
Written and Photographed by
John M. Young
I can’t remember if I had read about Senlar pipes then went out looking for one to restore or, if I came across a Senlar pipe while searching estate lots on eBay then researched about Senlar pipes. Either way I ended up with an estate lot that contained three Senlar pipes which was the reason I bought the lot.

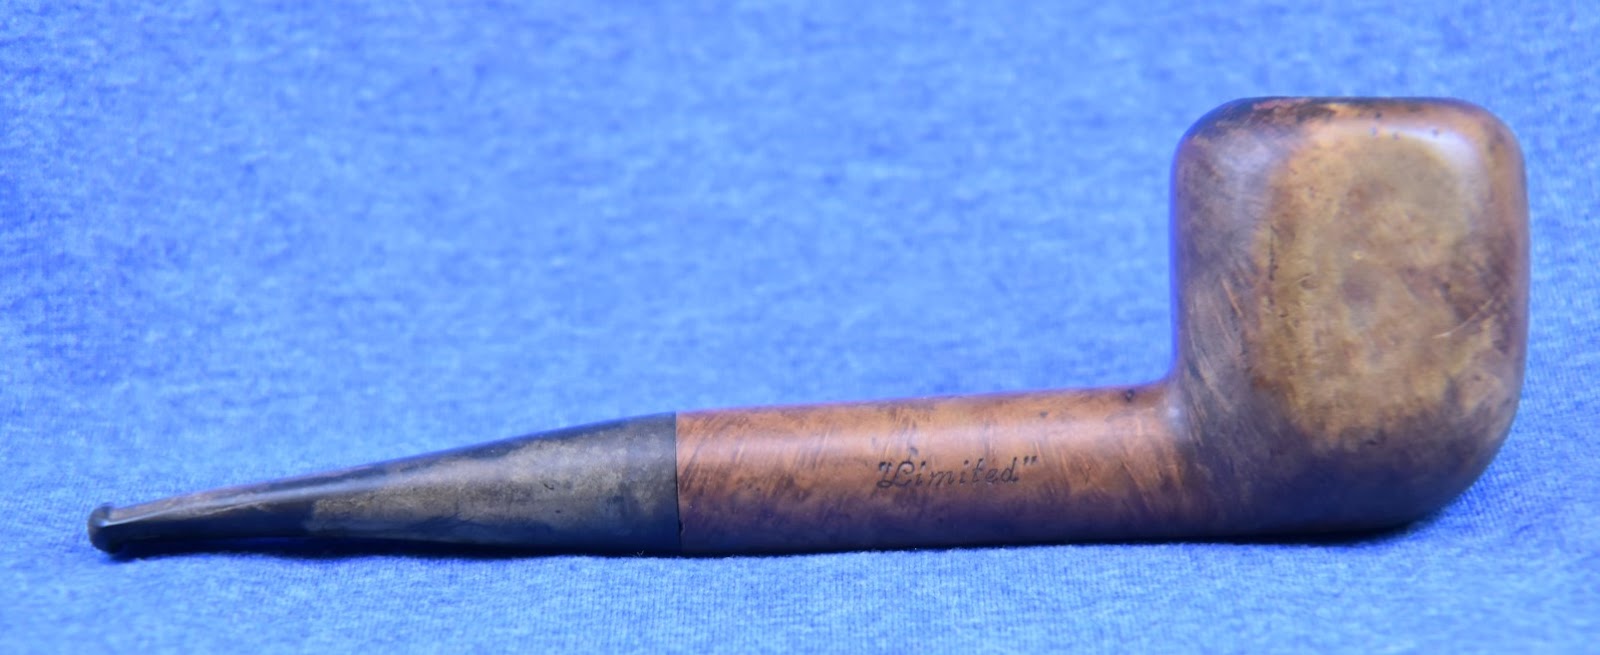
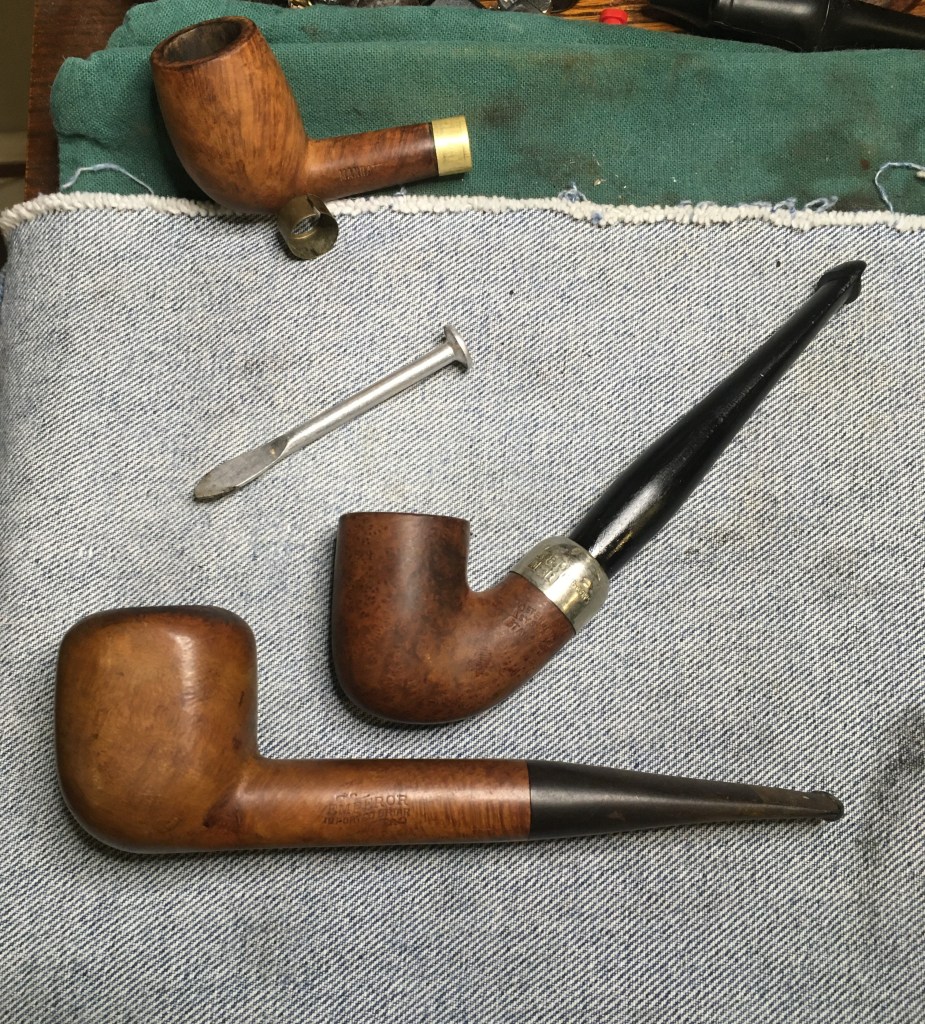
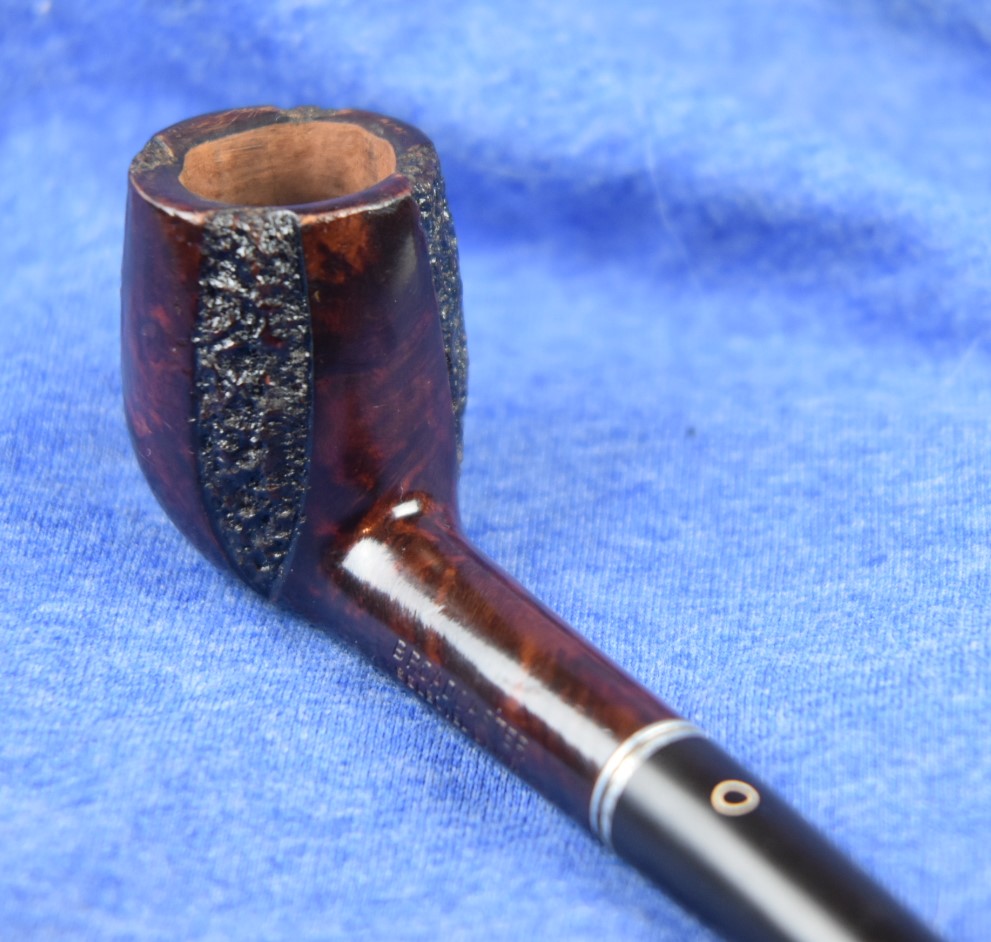
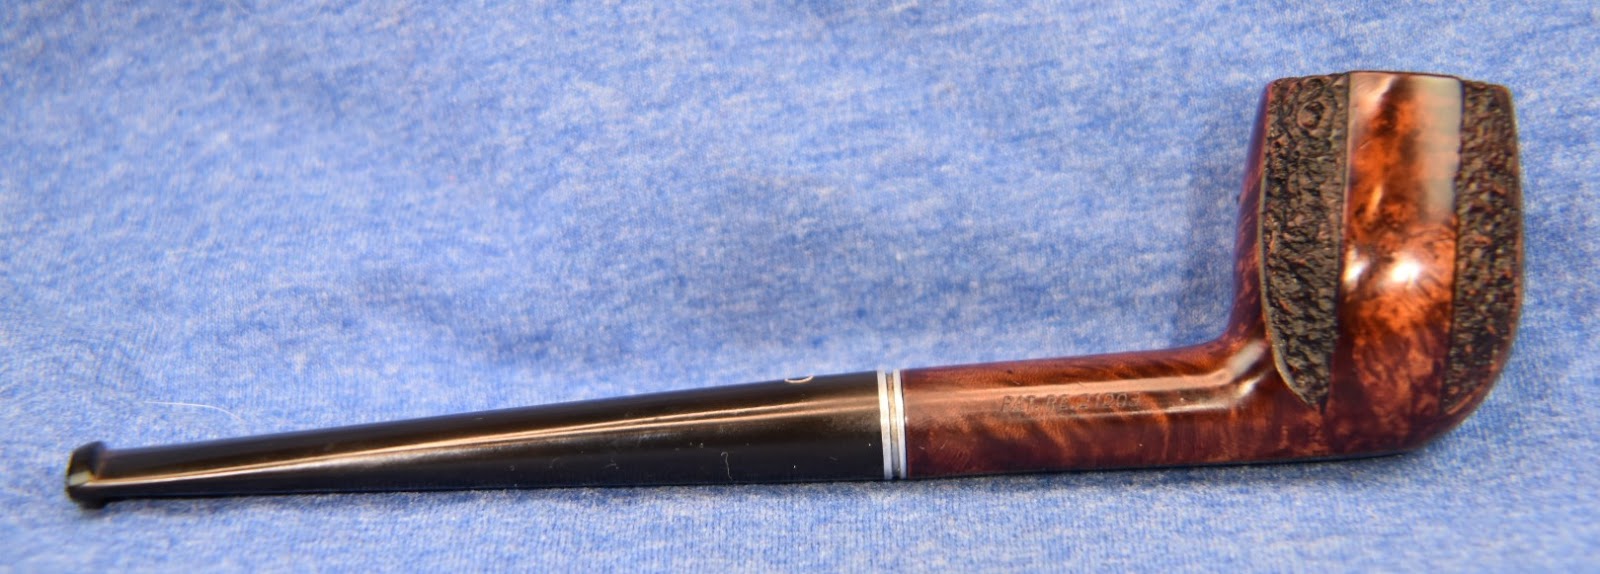
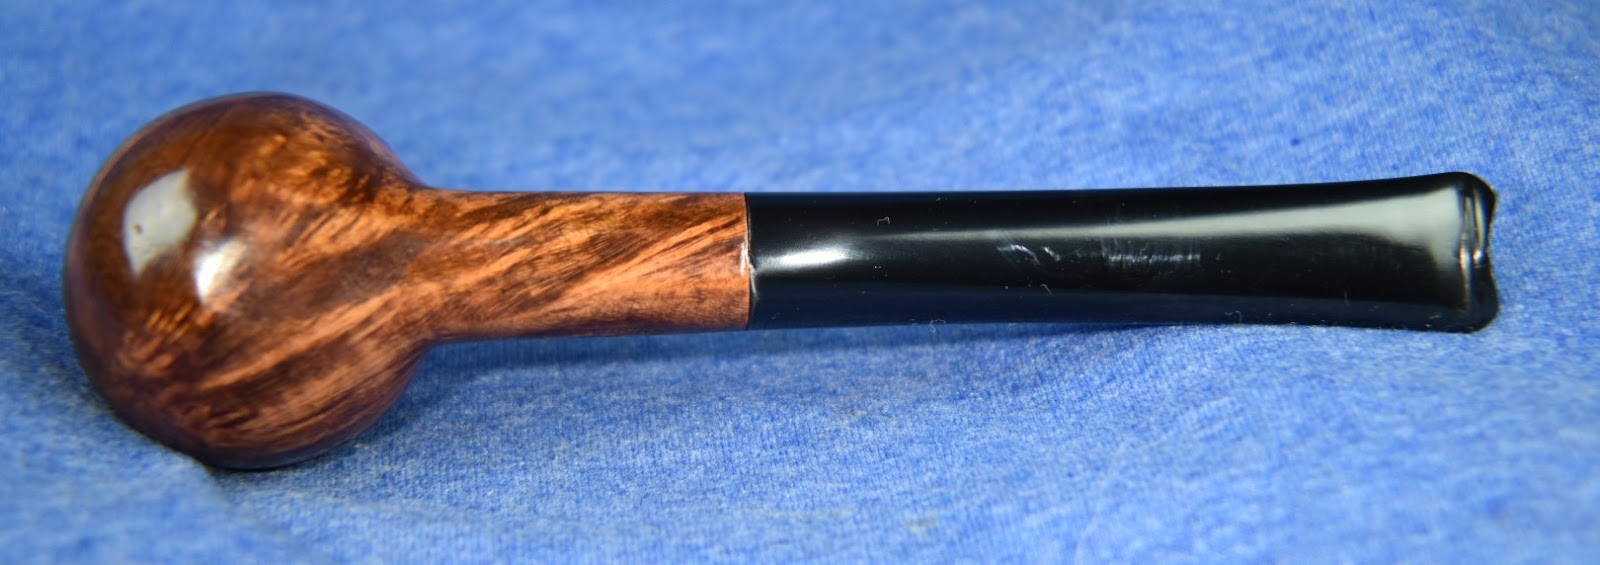
The three Senlars were all similar shaped pipes with two of them bening Canadians and one a billiard. When they arrived they all looked well used and well loved.

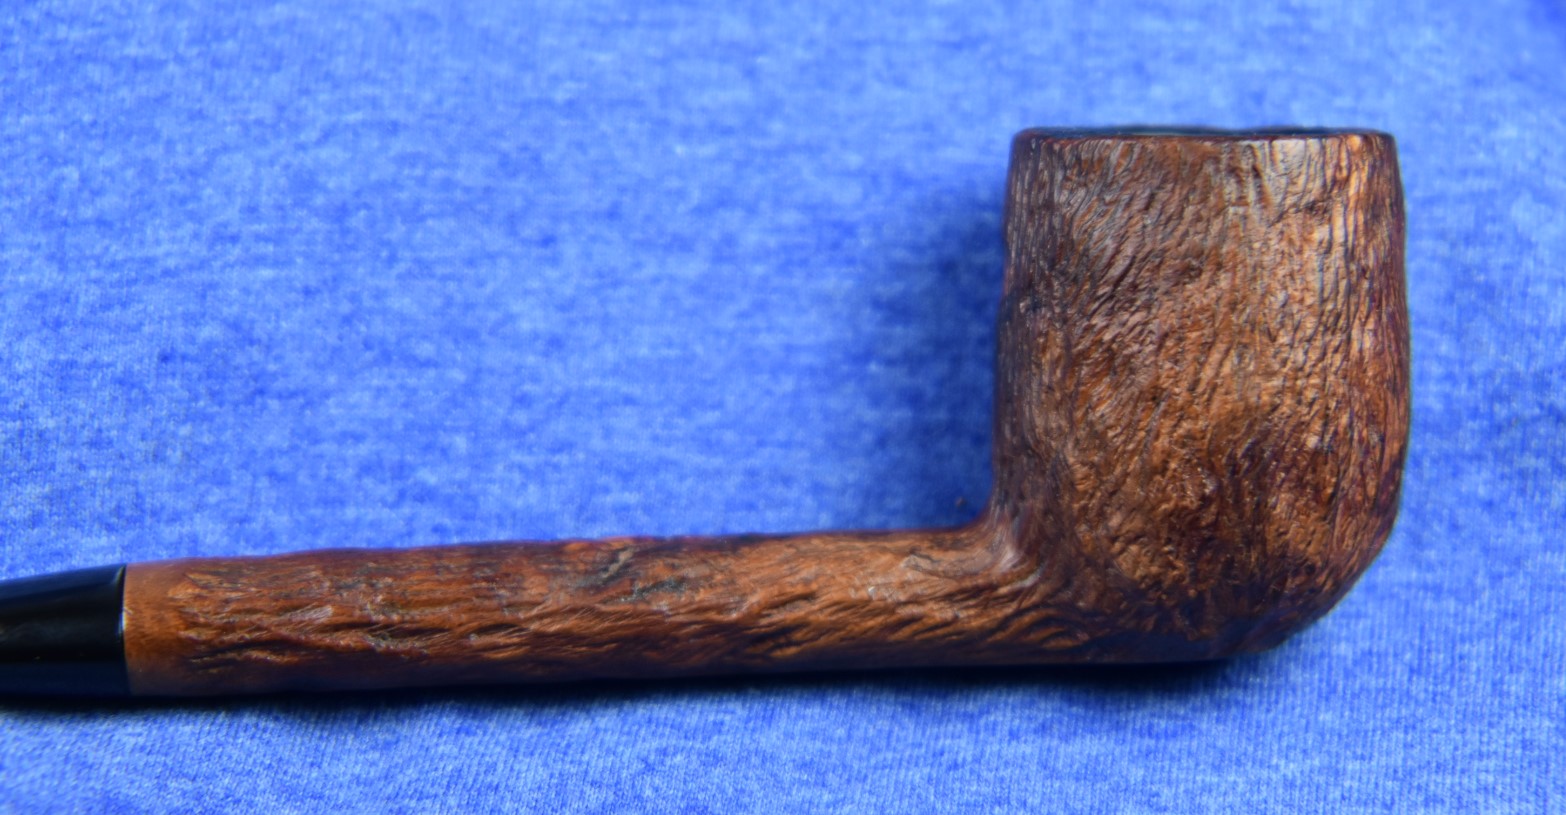
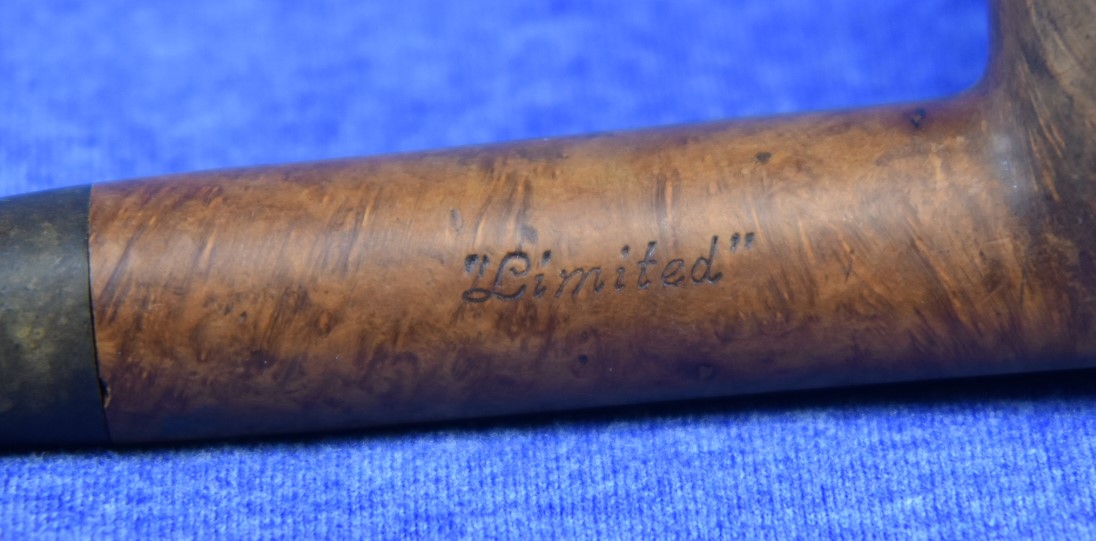
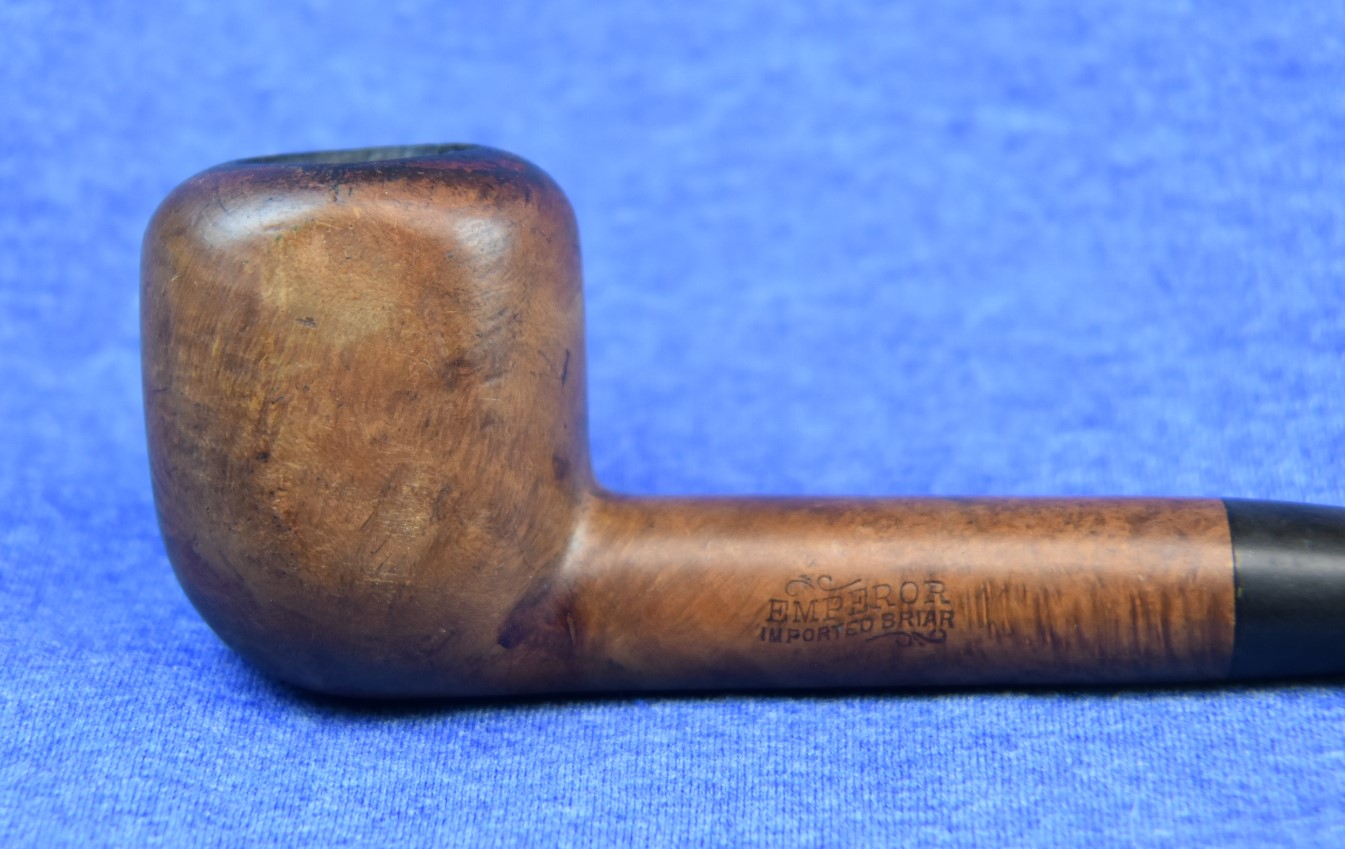
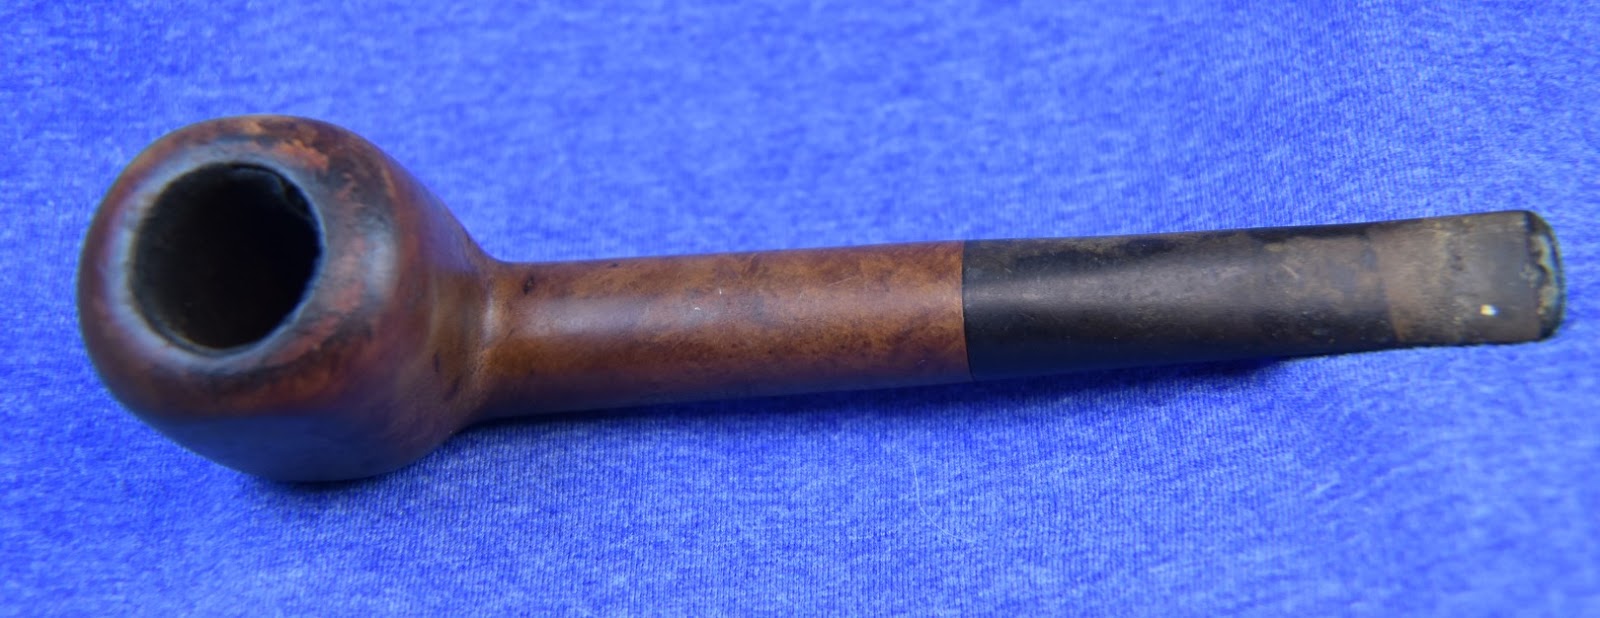
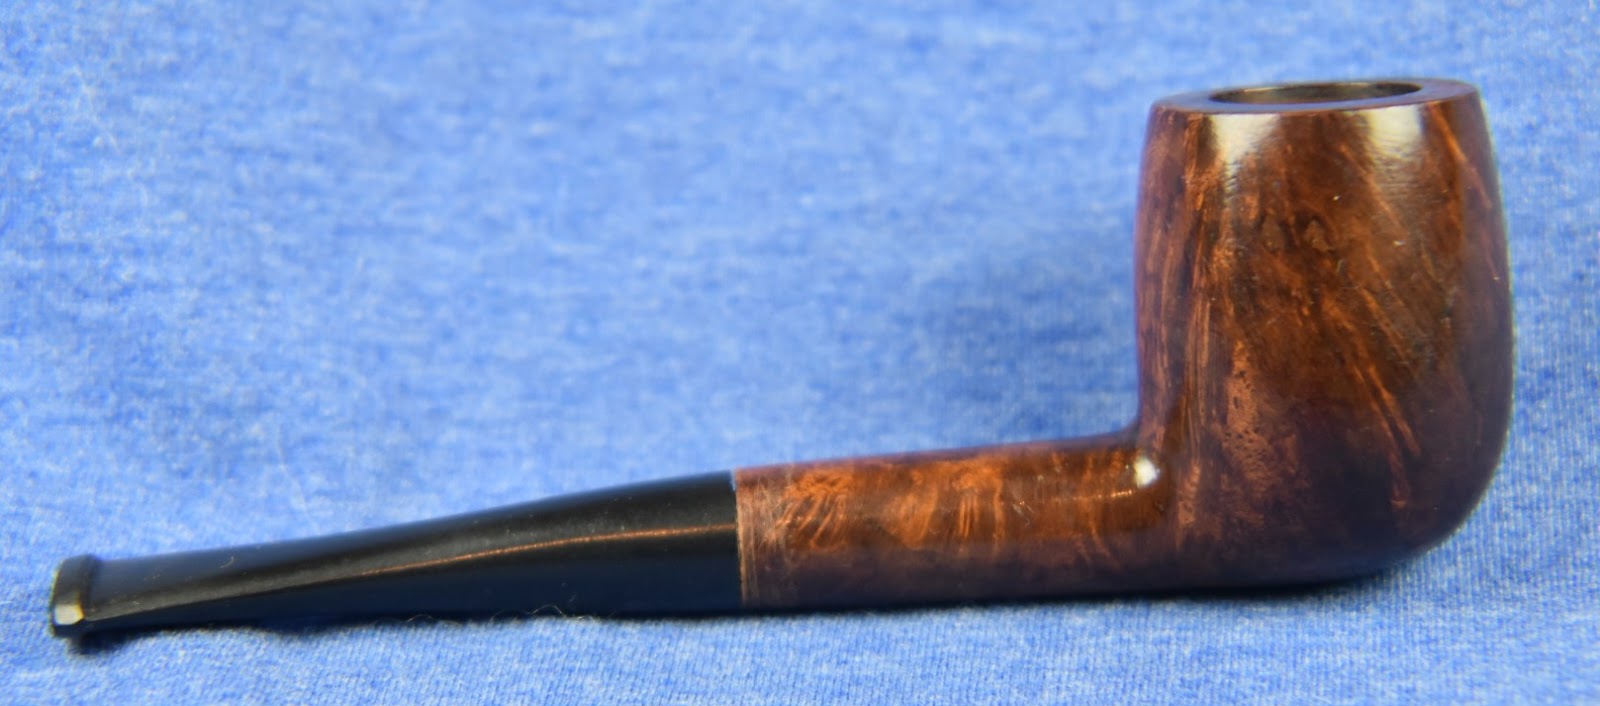
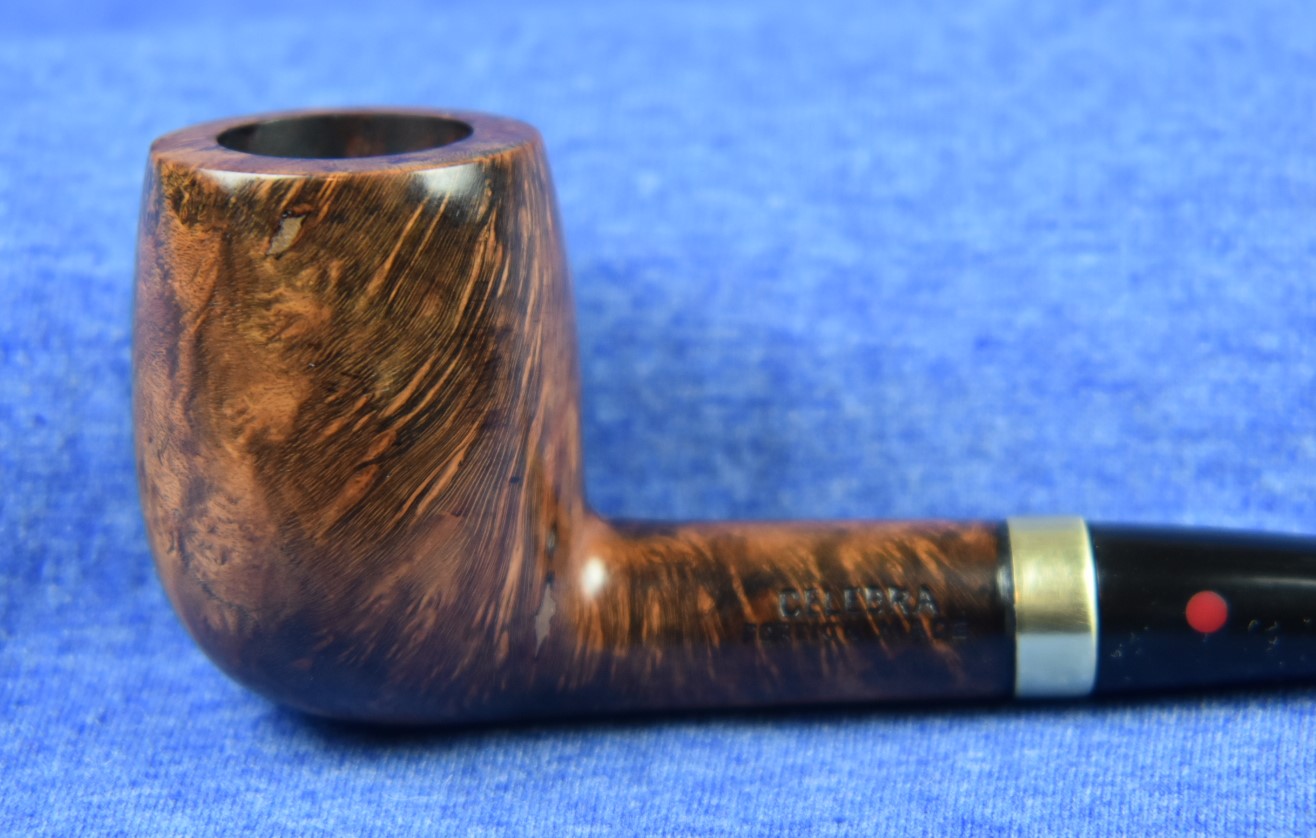
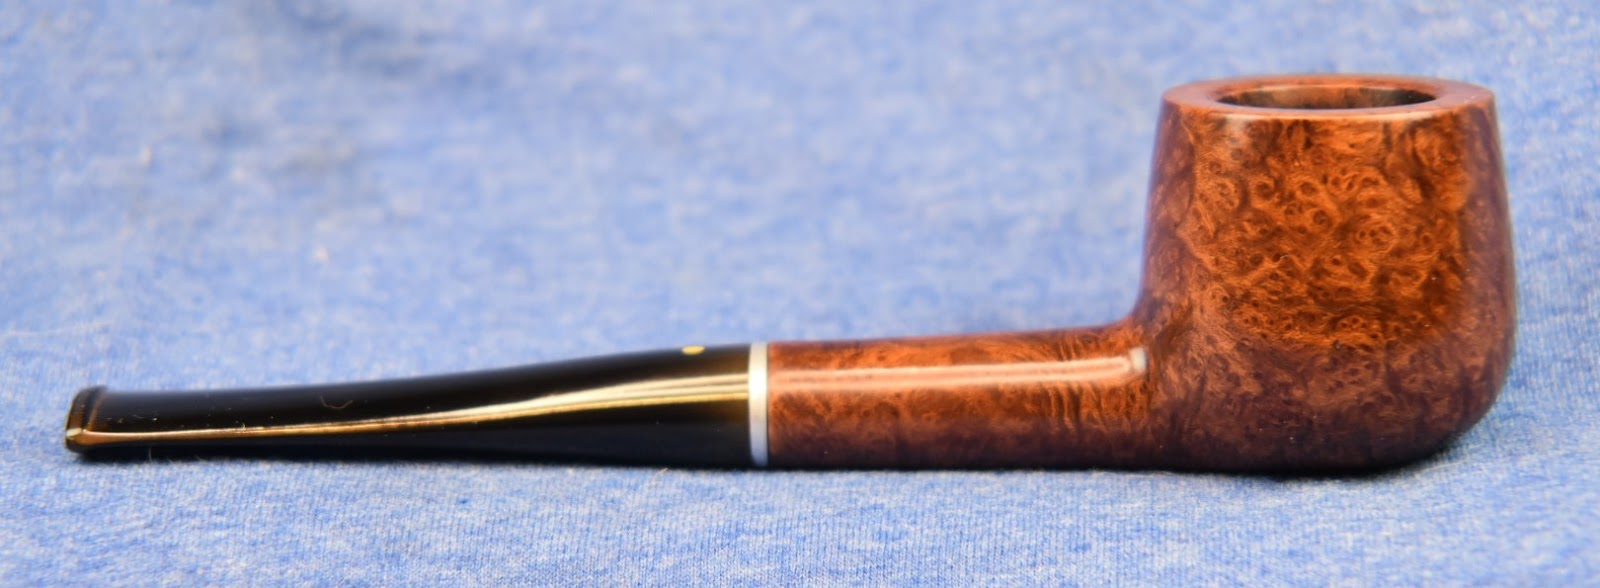
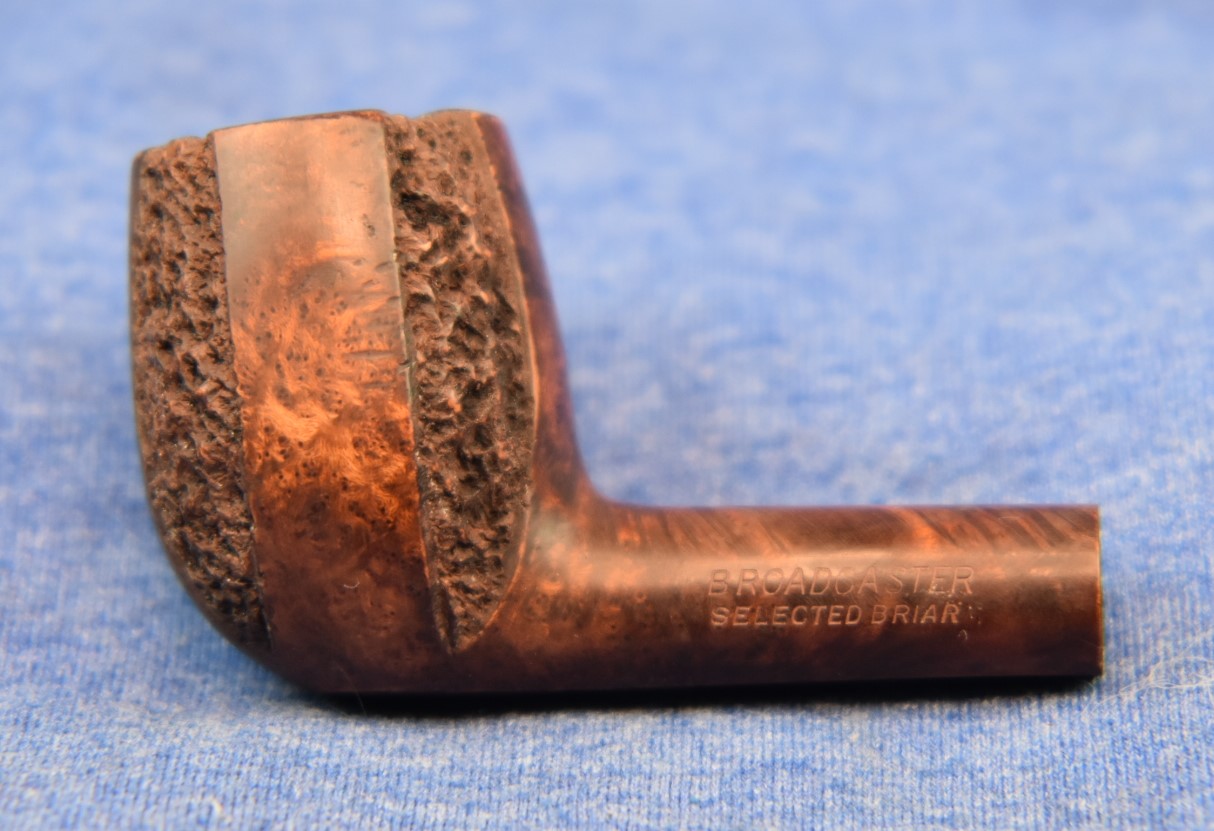
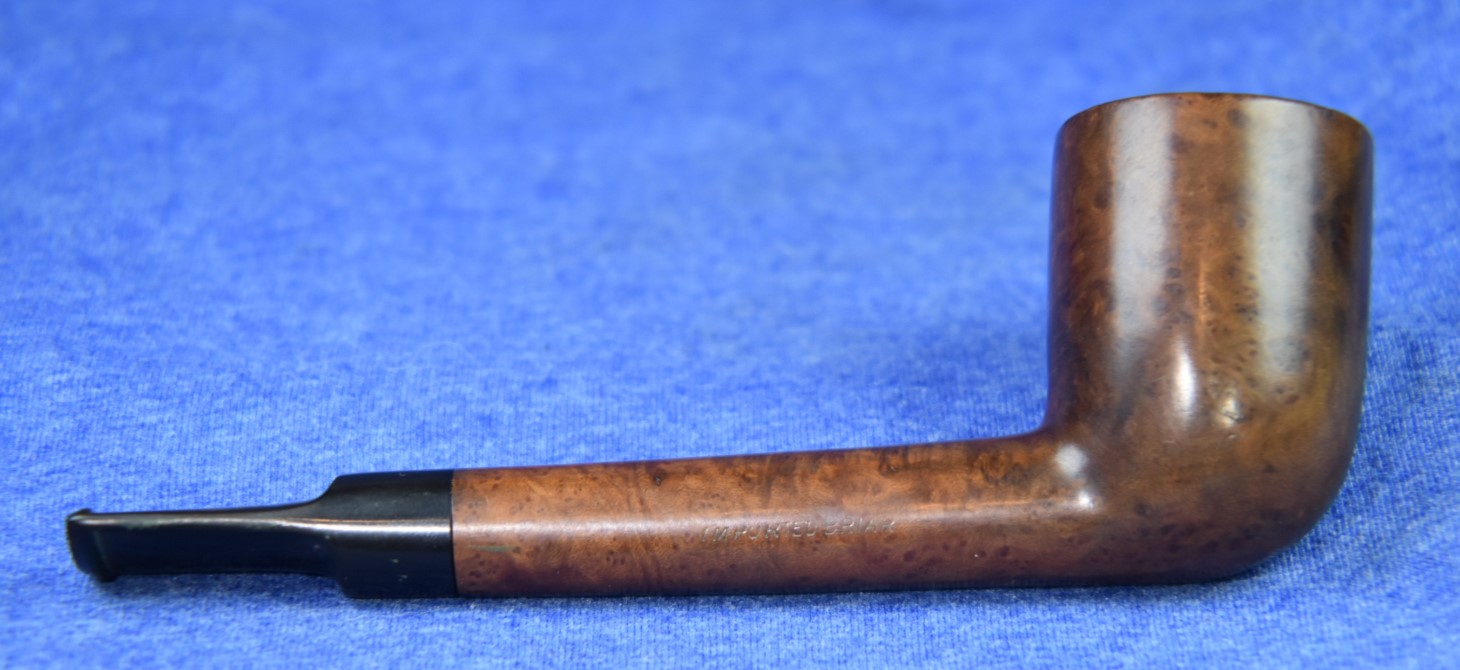
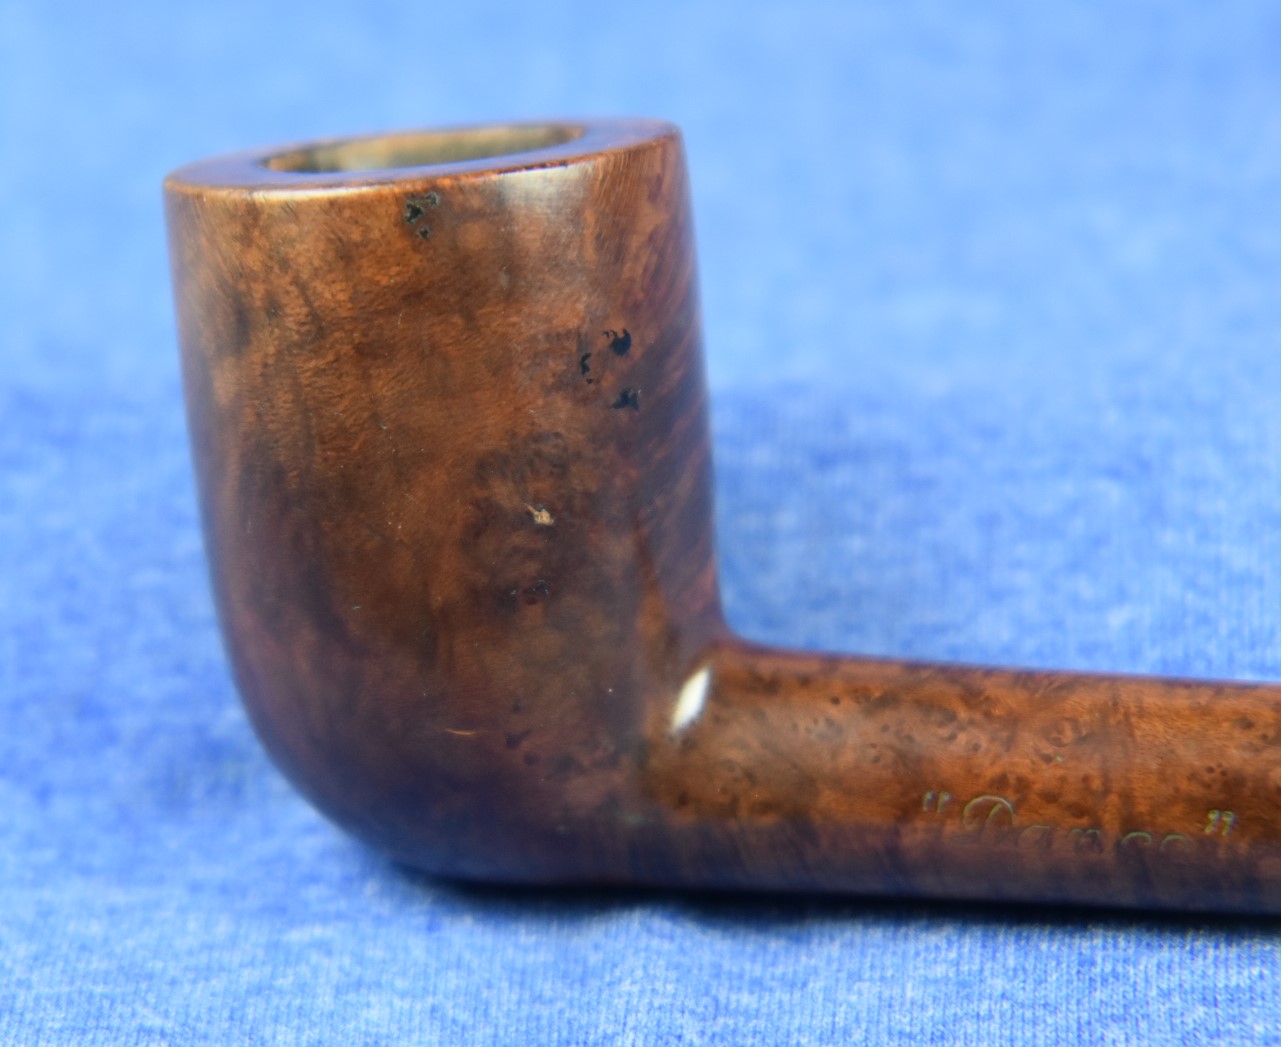
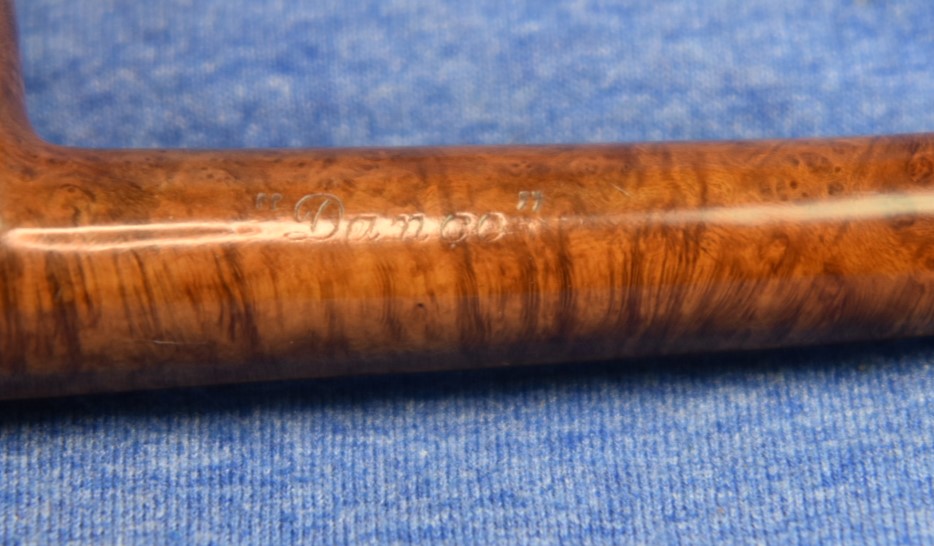
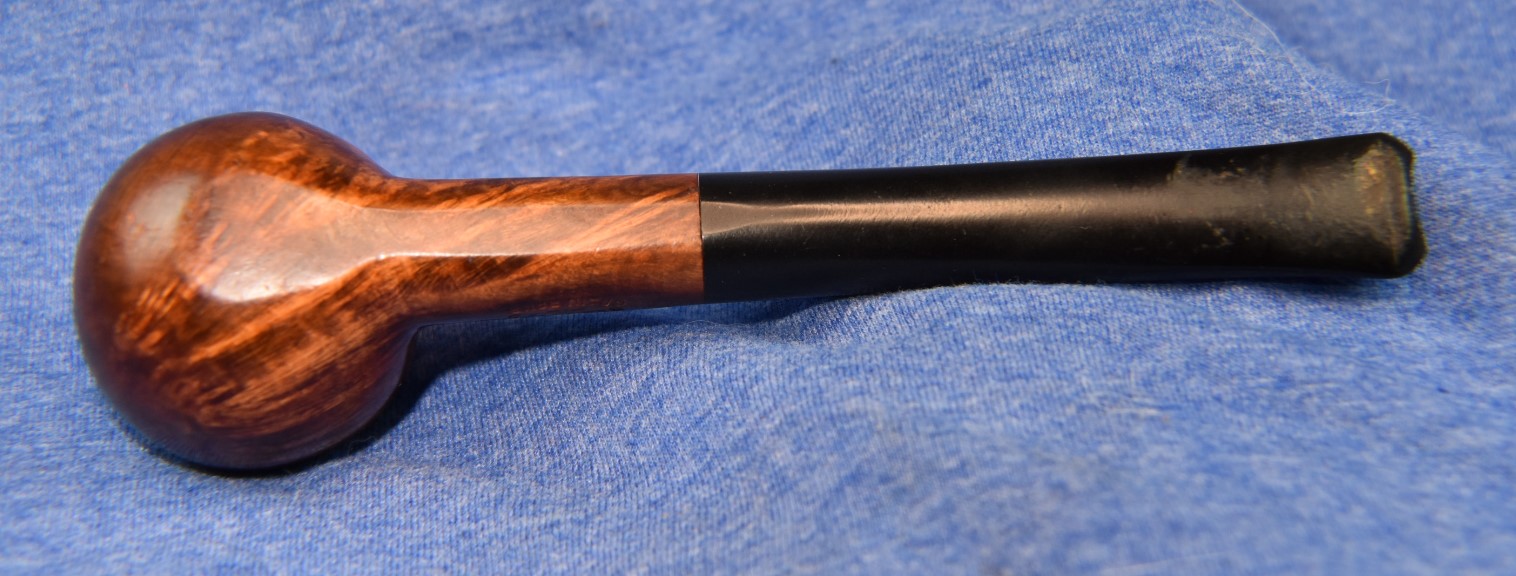
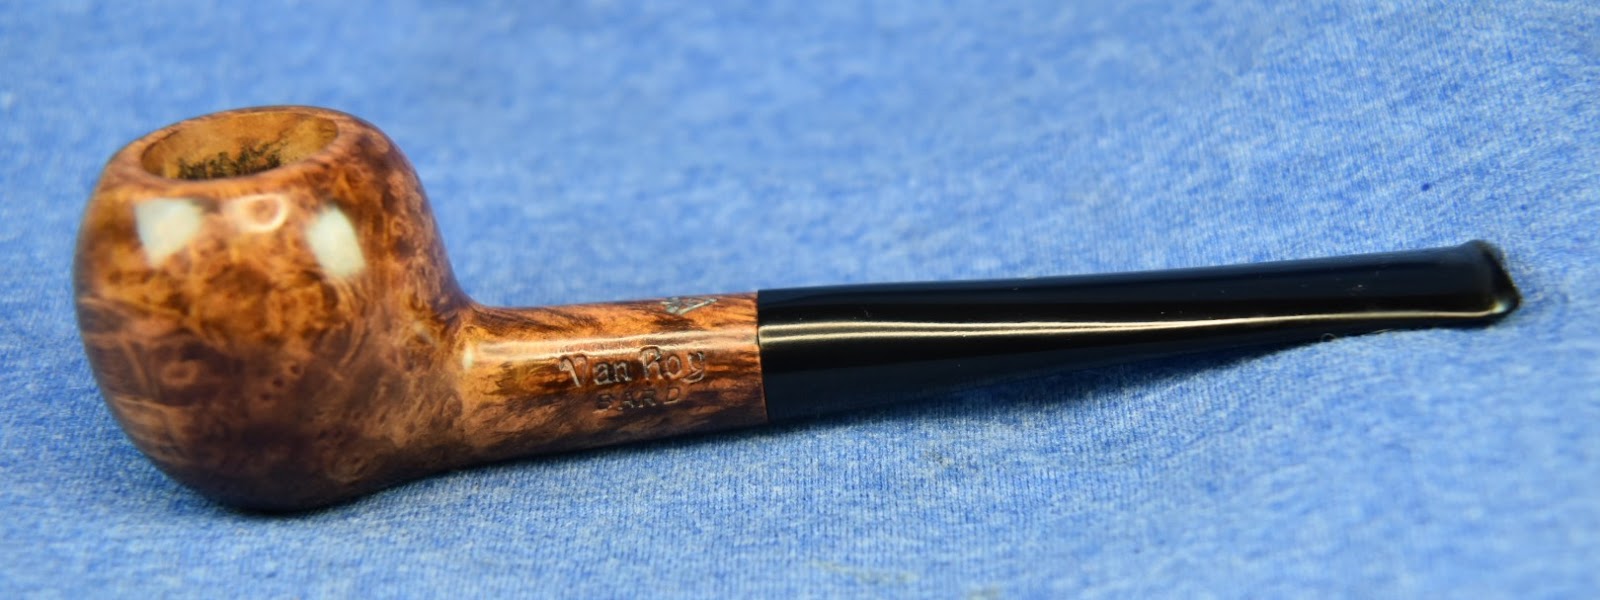
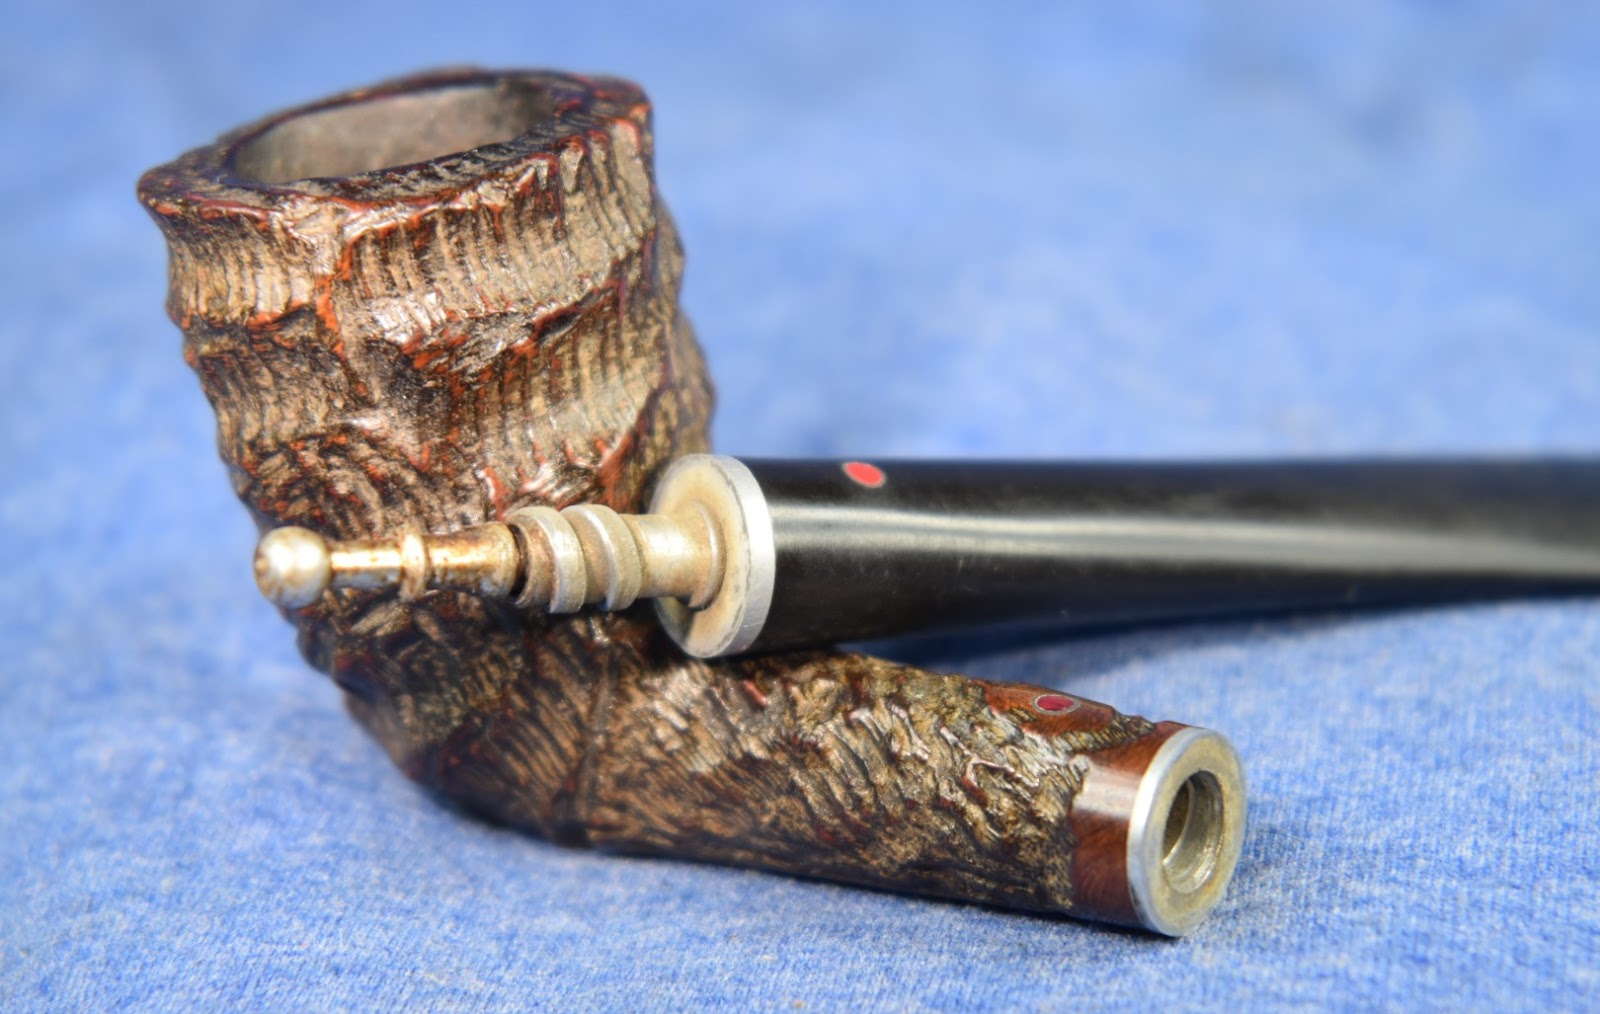
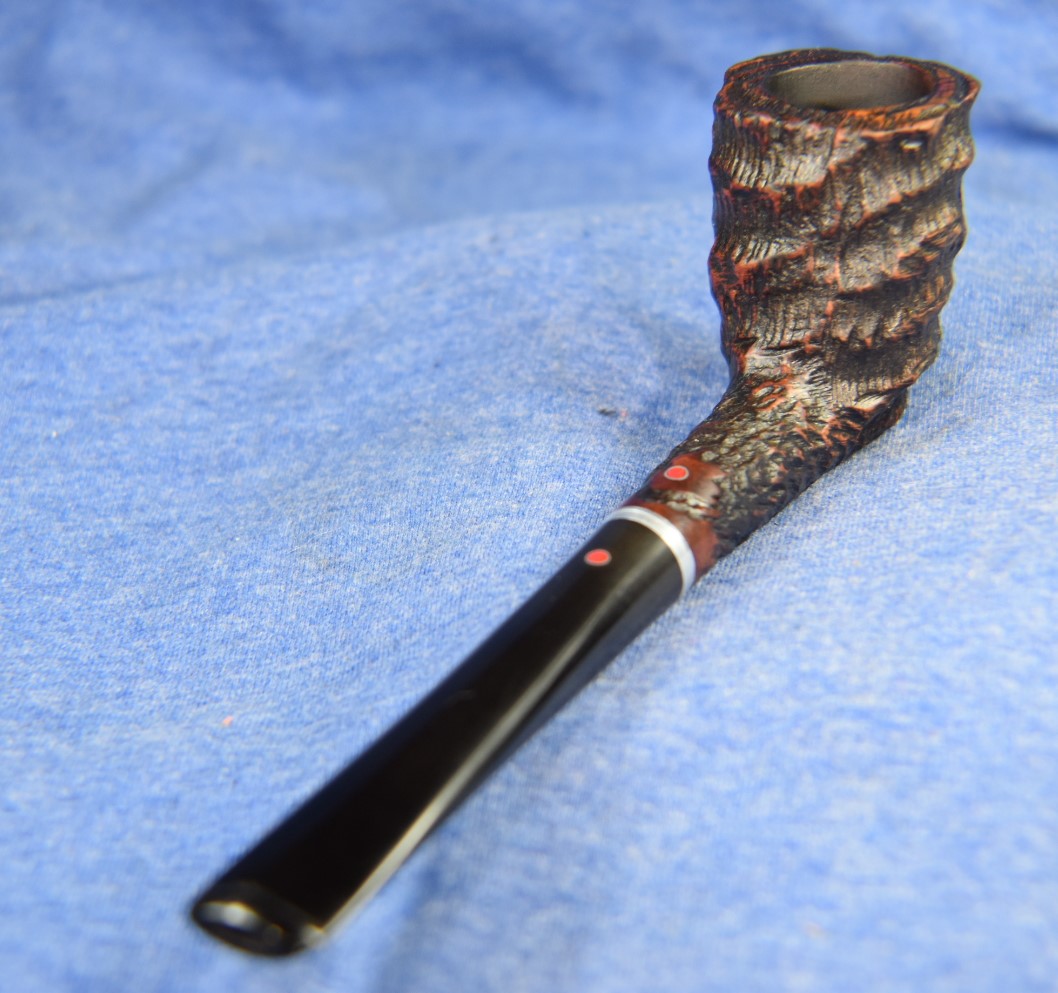
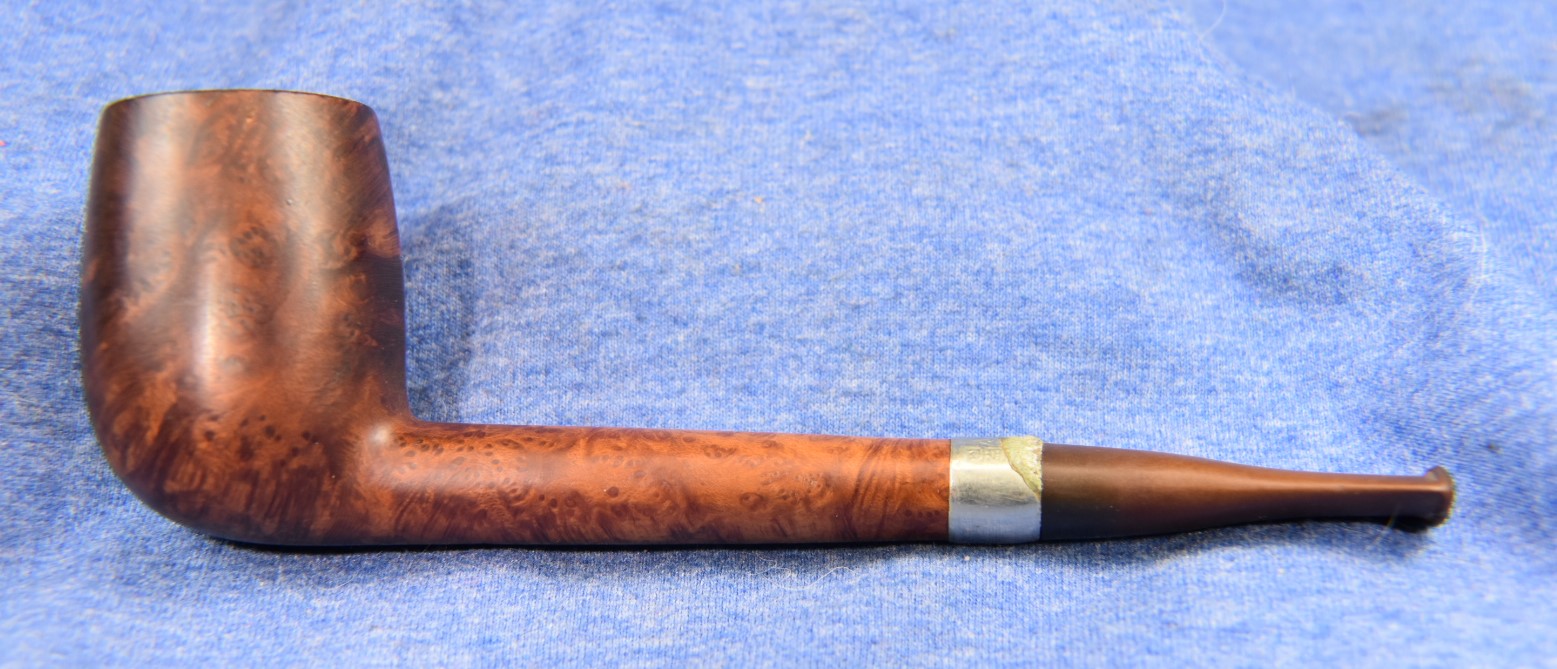
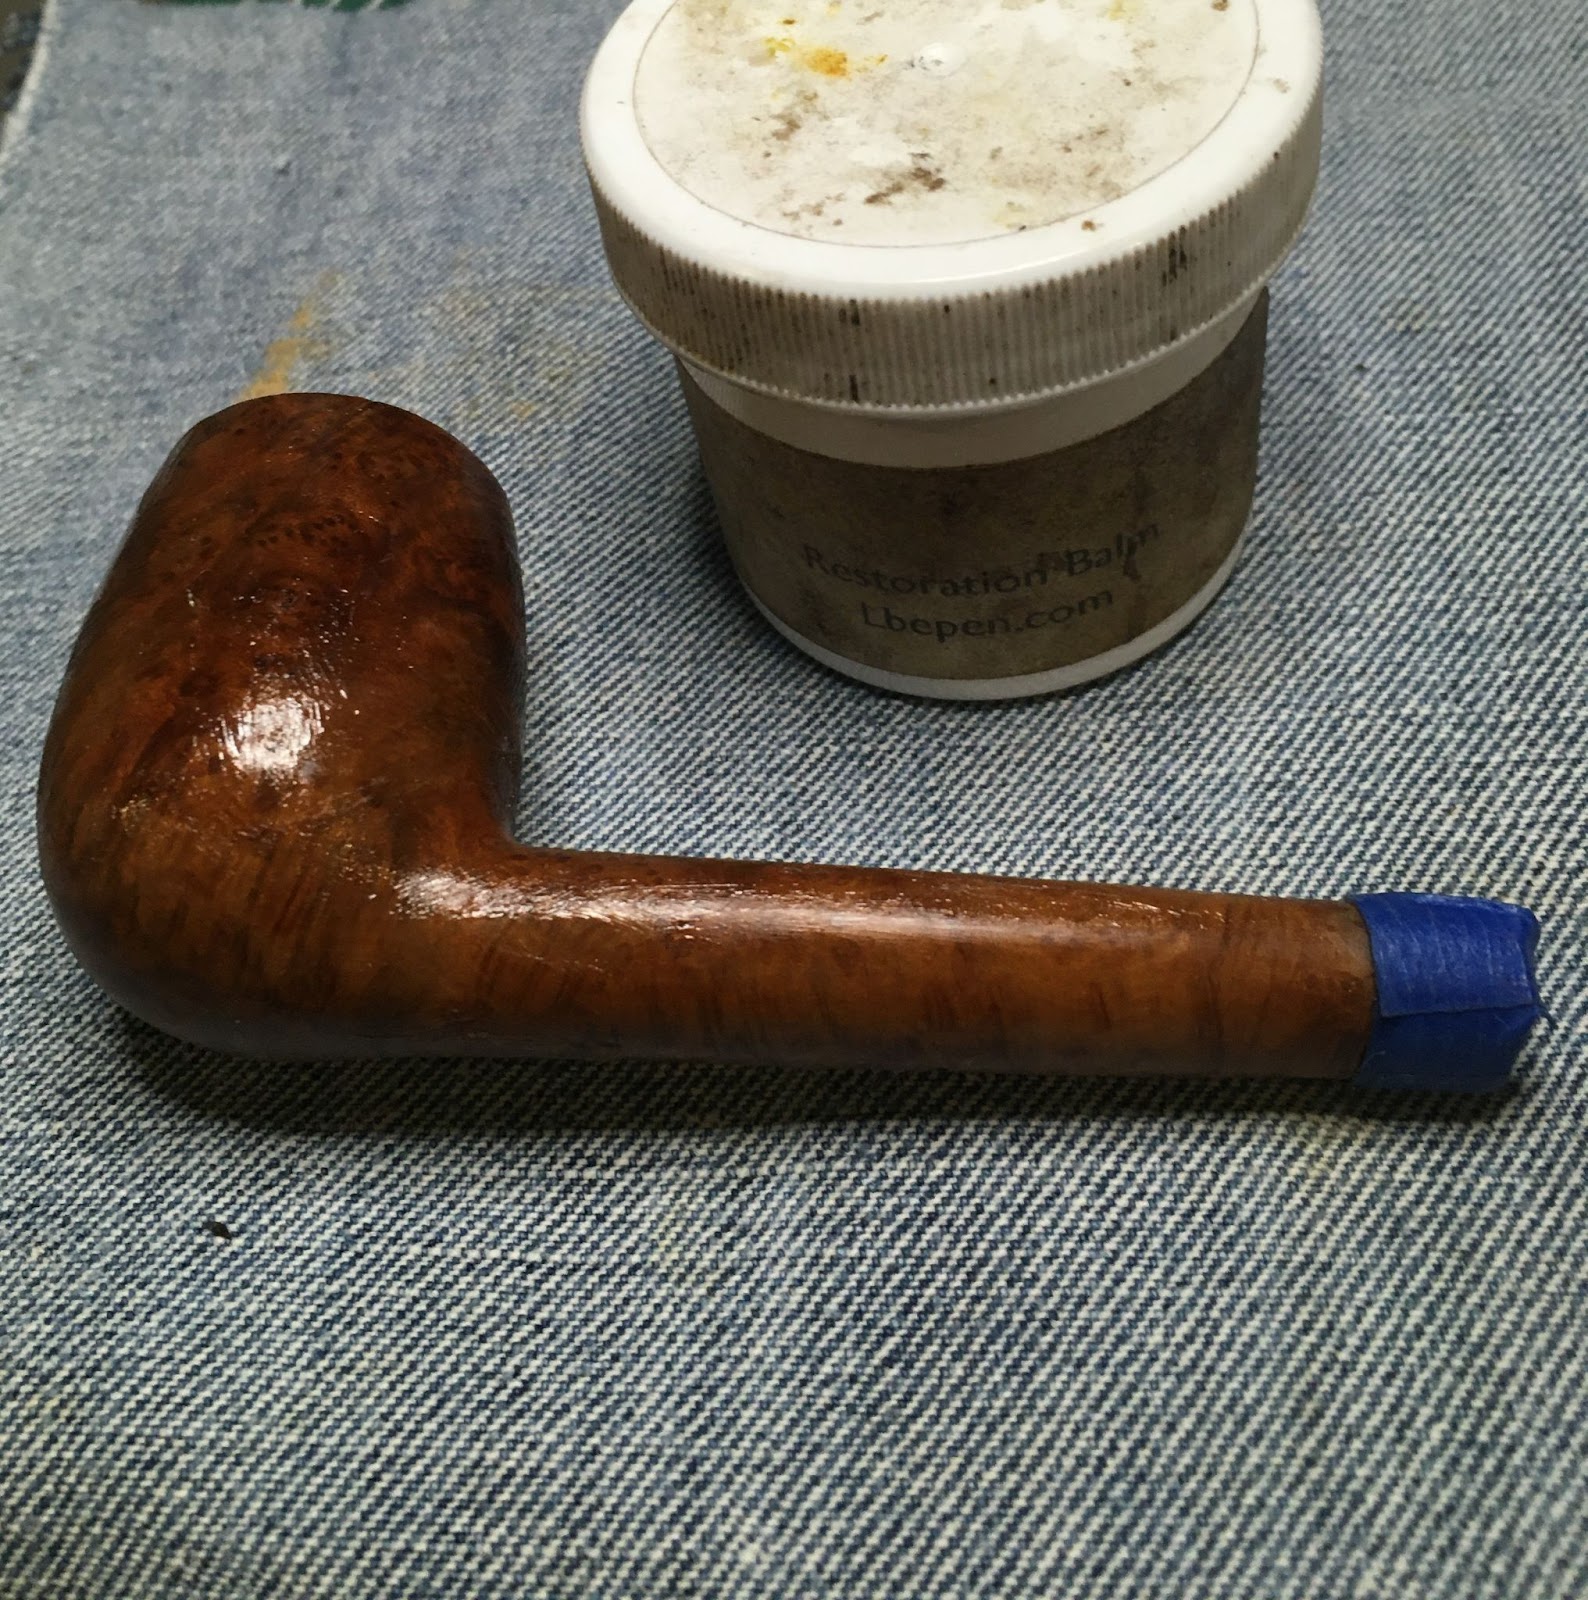
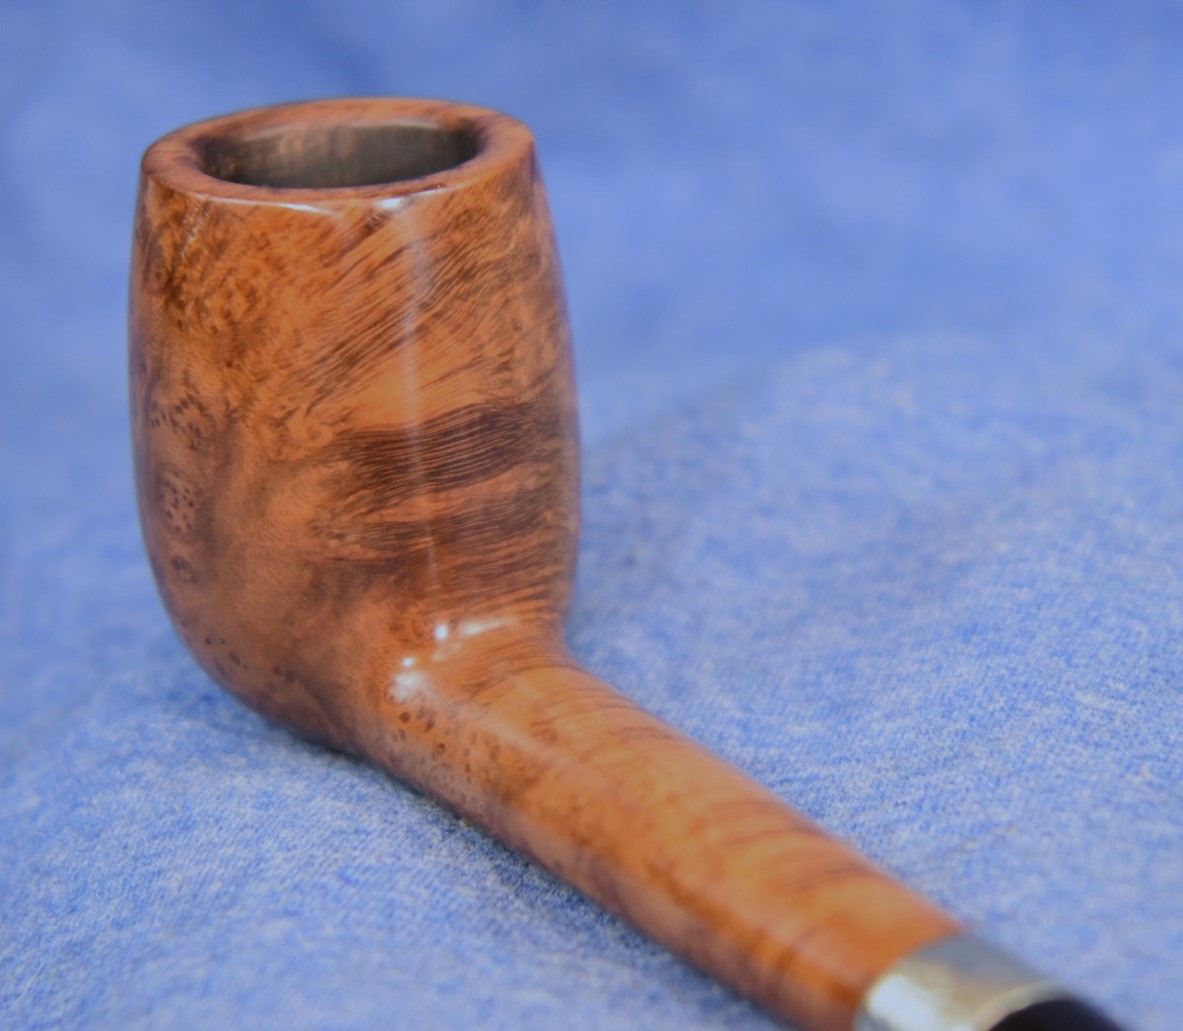
The first Senlar that Idecided to restore was the uppermost pipe in the photo above. As I saved the photos from the restoration they were all called “Senlar Canadian 1 …”. For this blog I’ll just be calling it the Senlar Canadian or the Canadian. Here is our subject by itself before any work has been done.


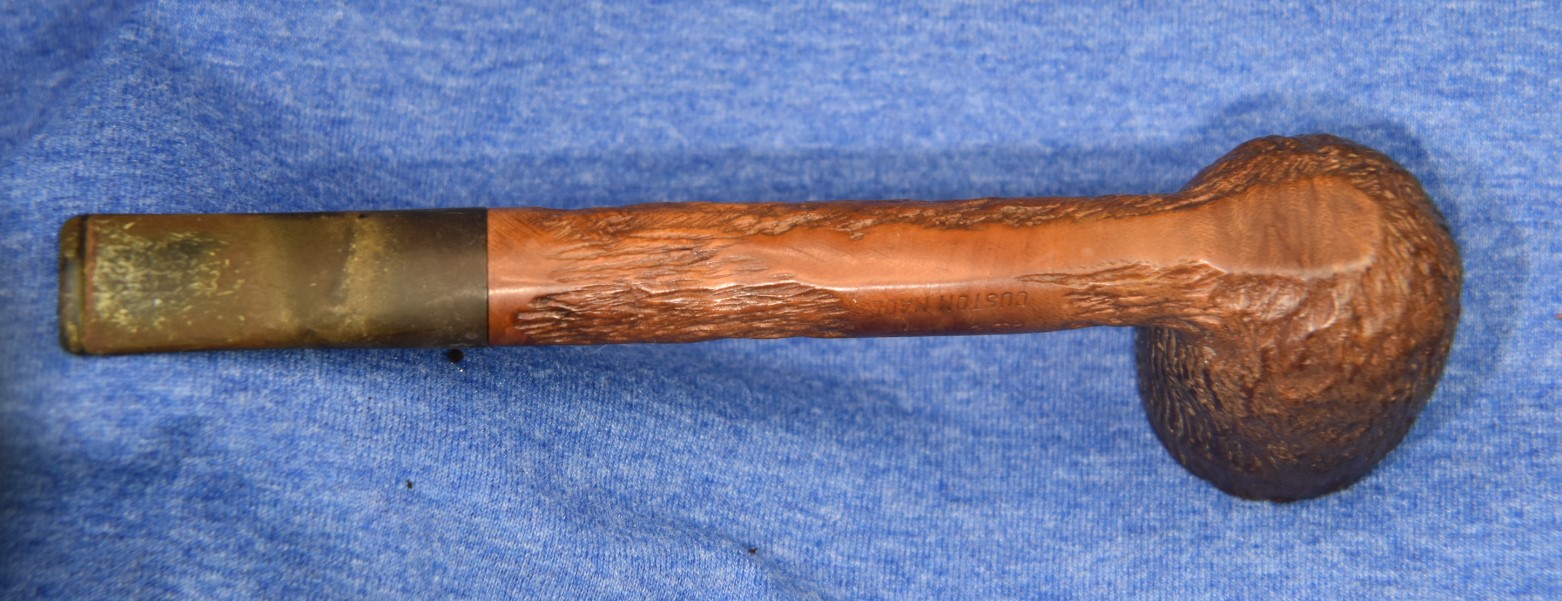
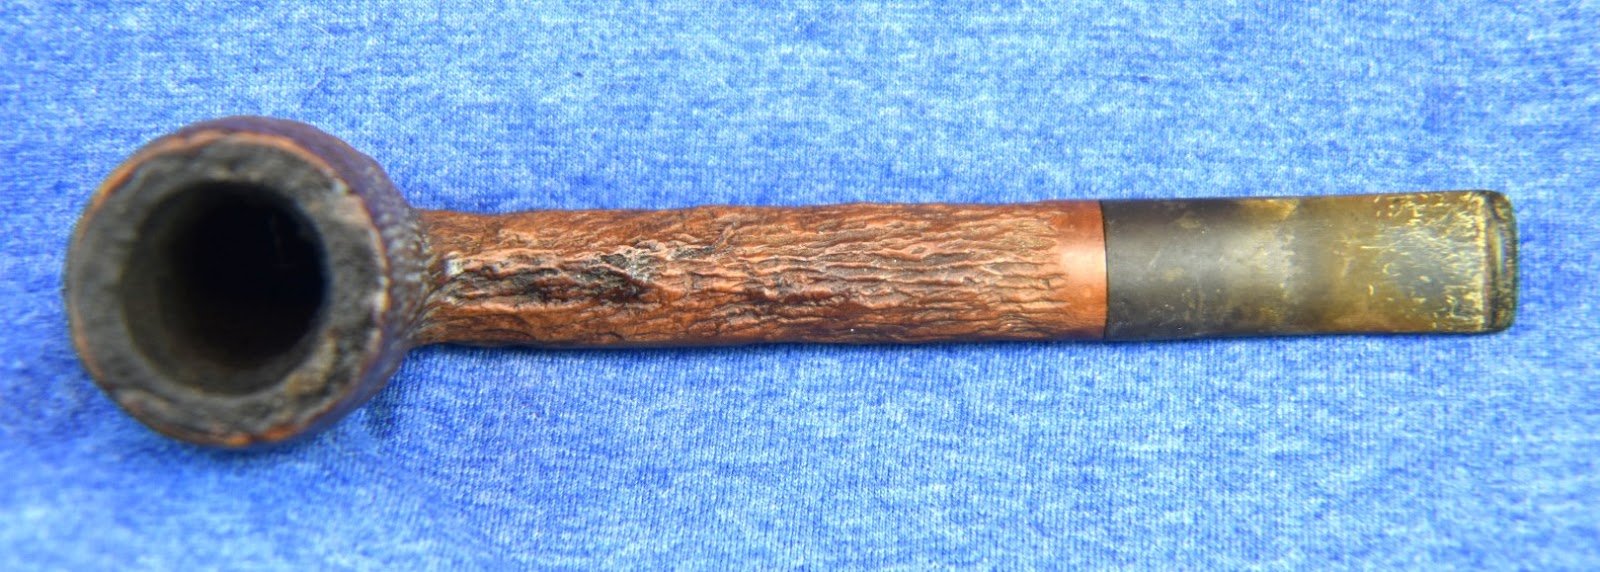


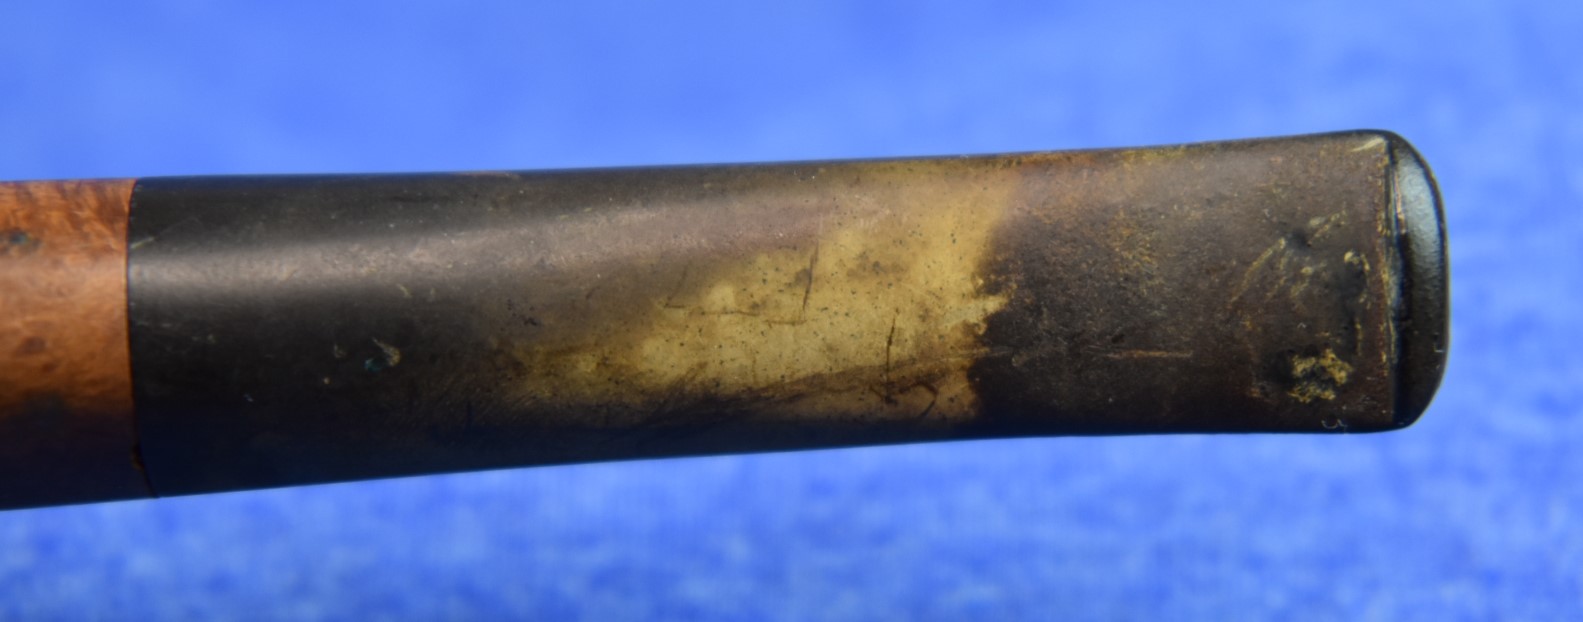
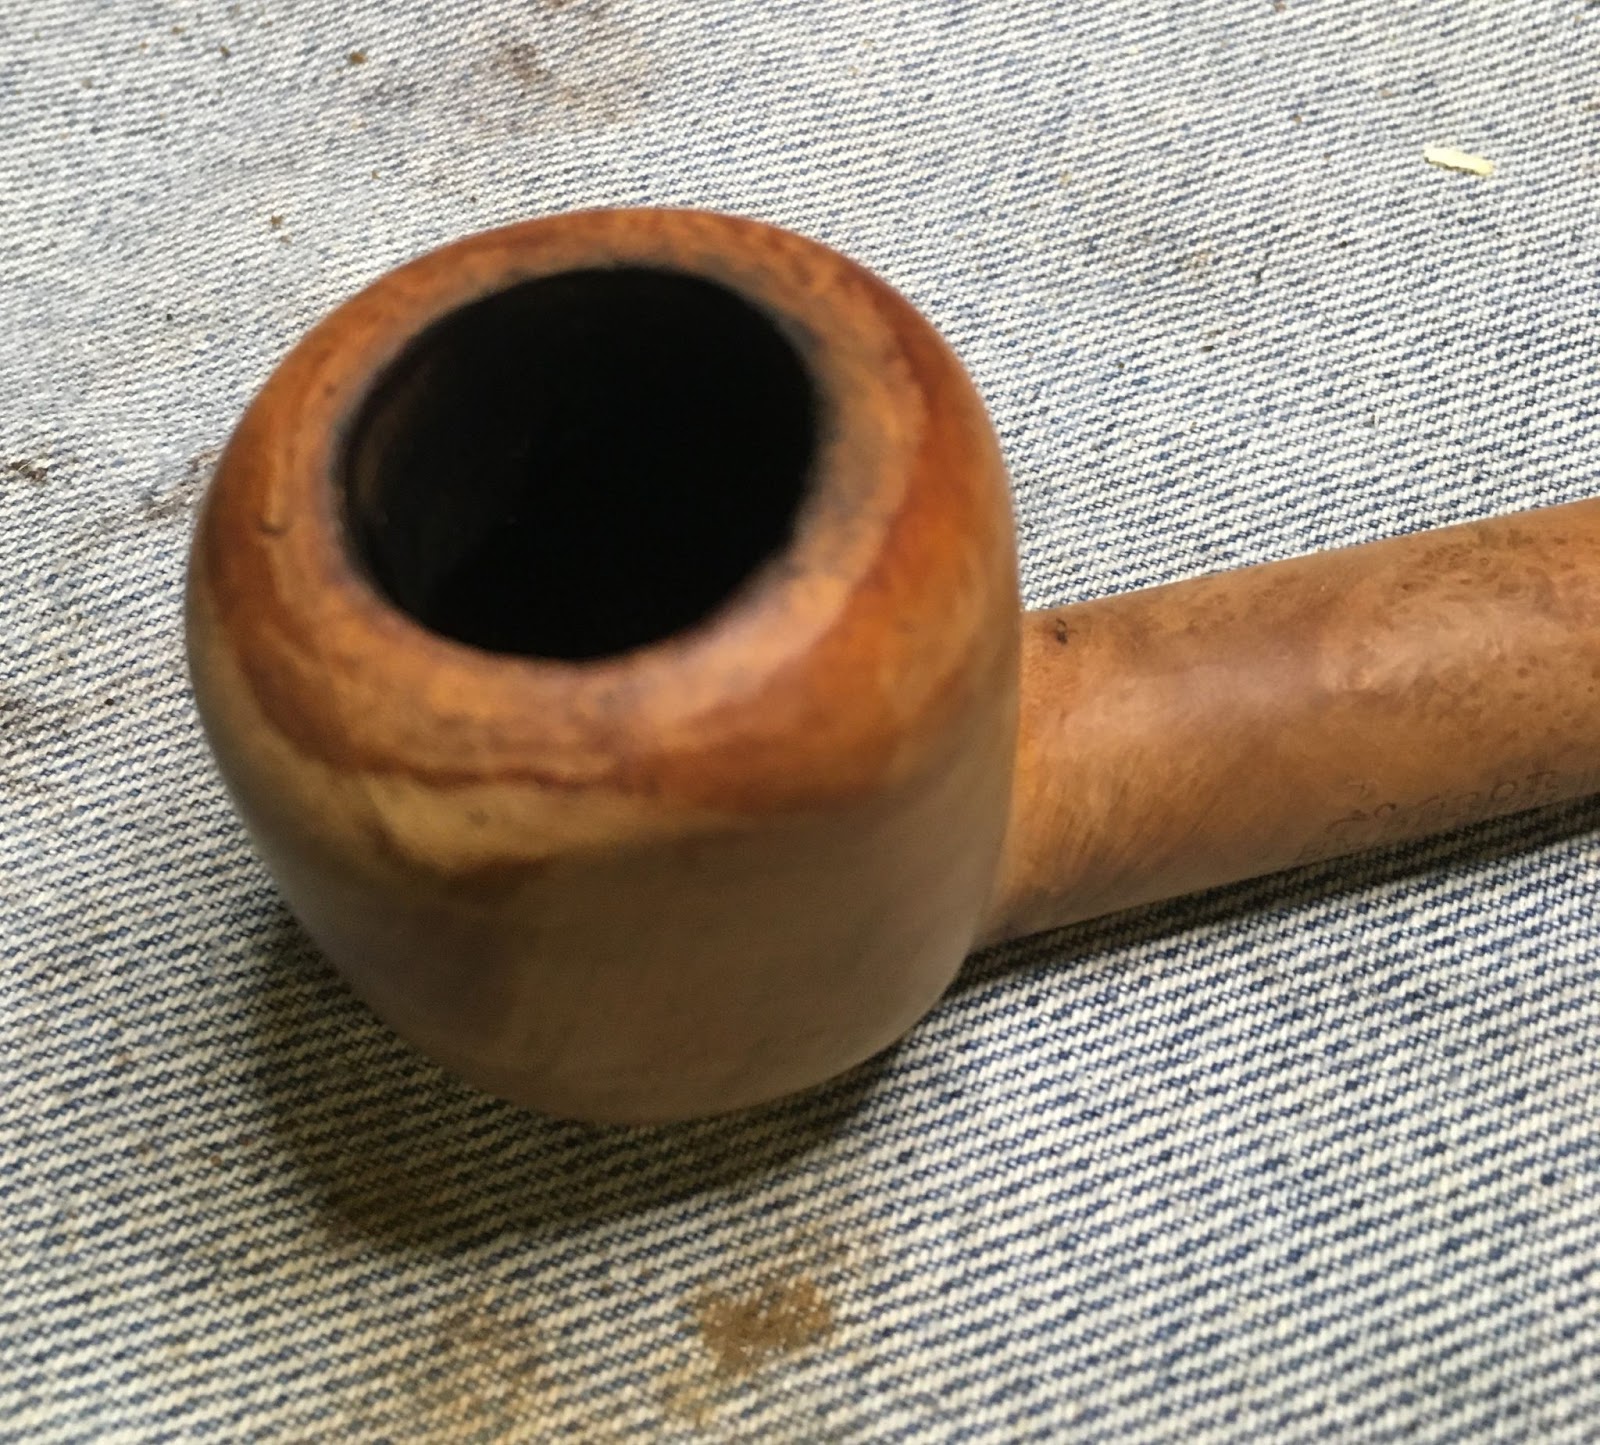
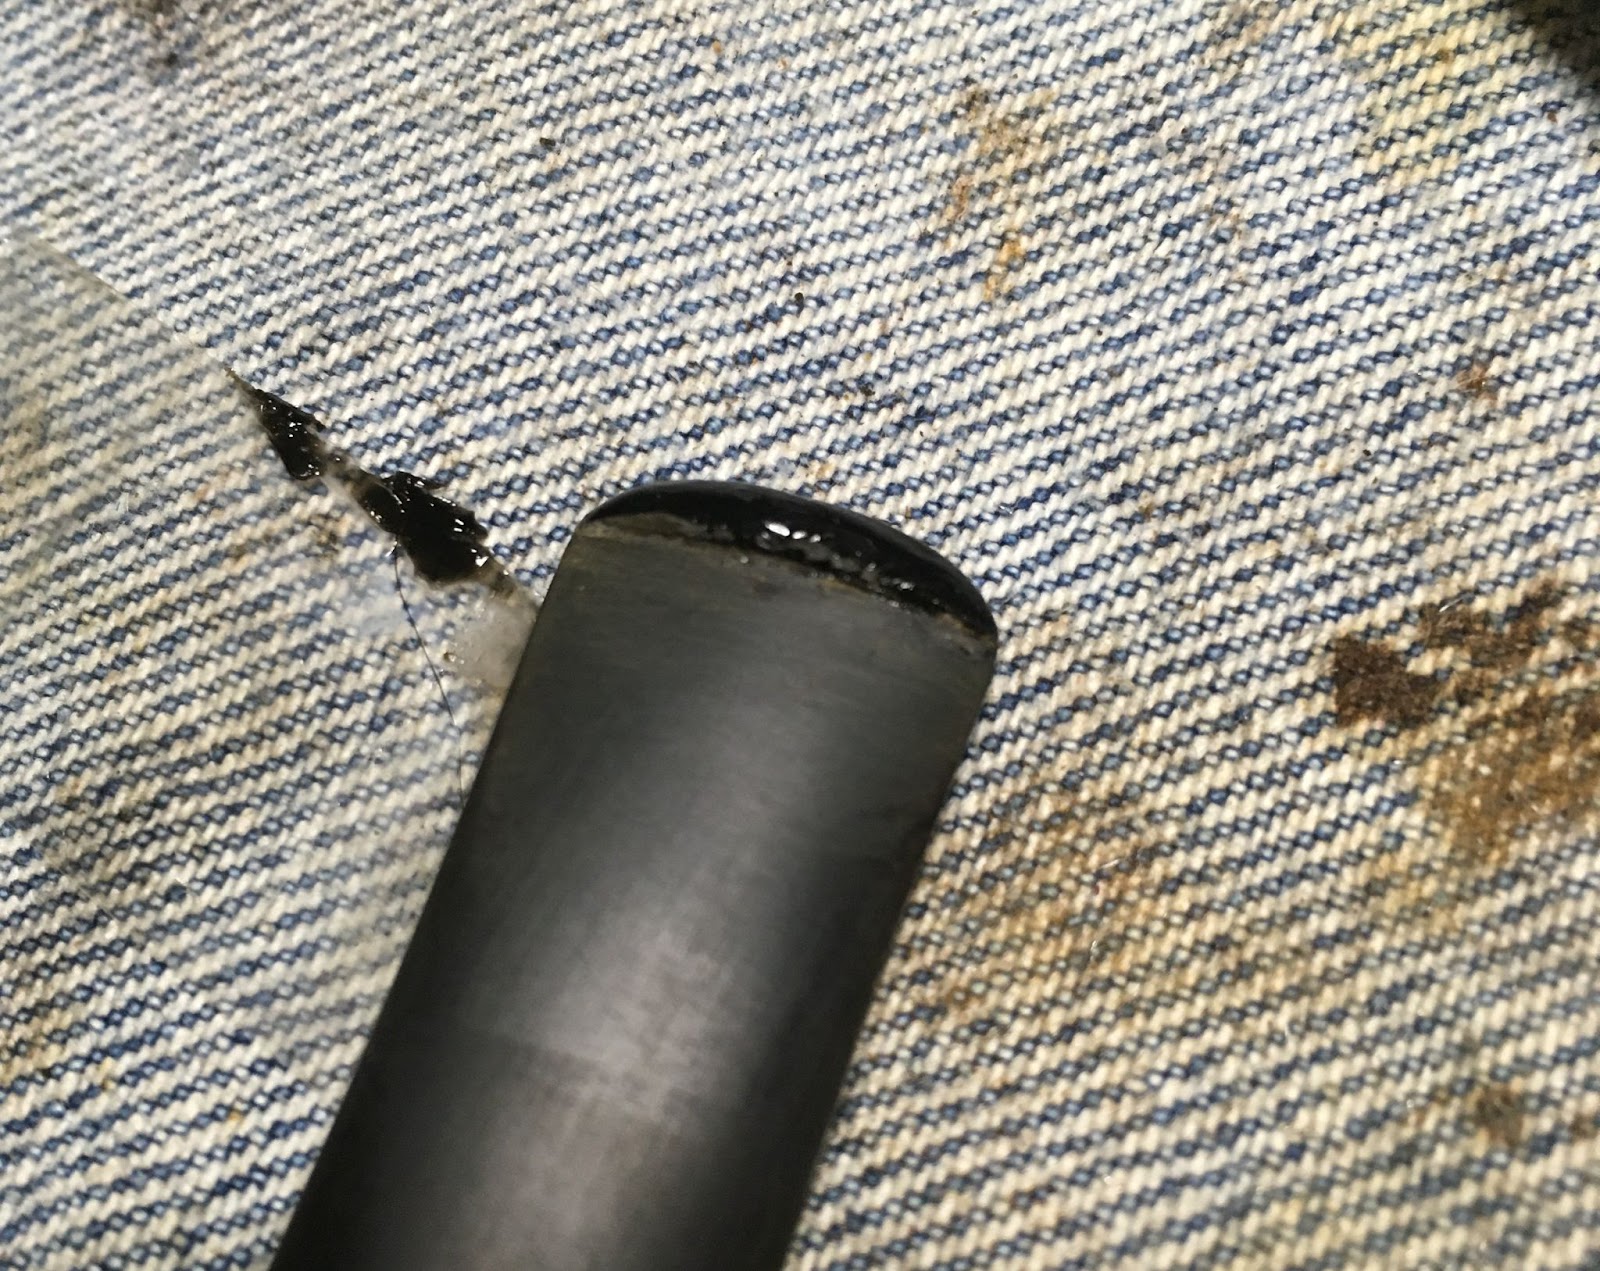
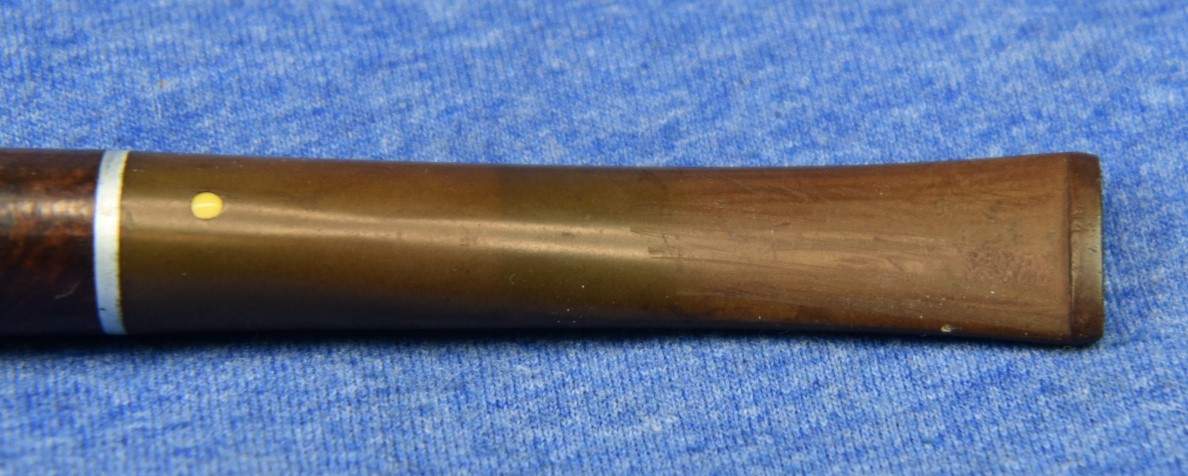
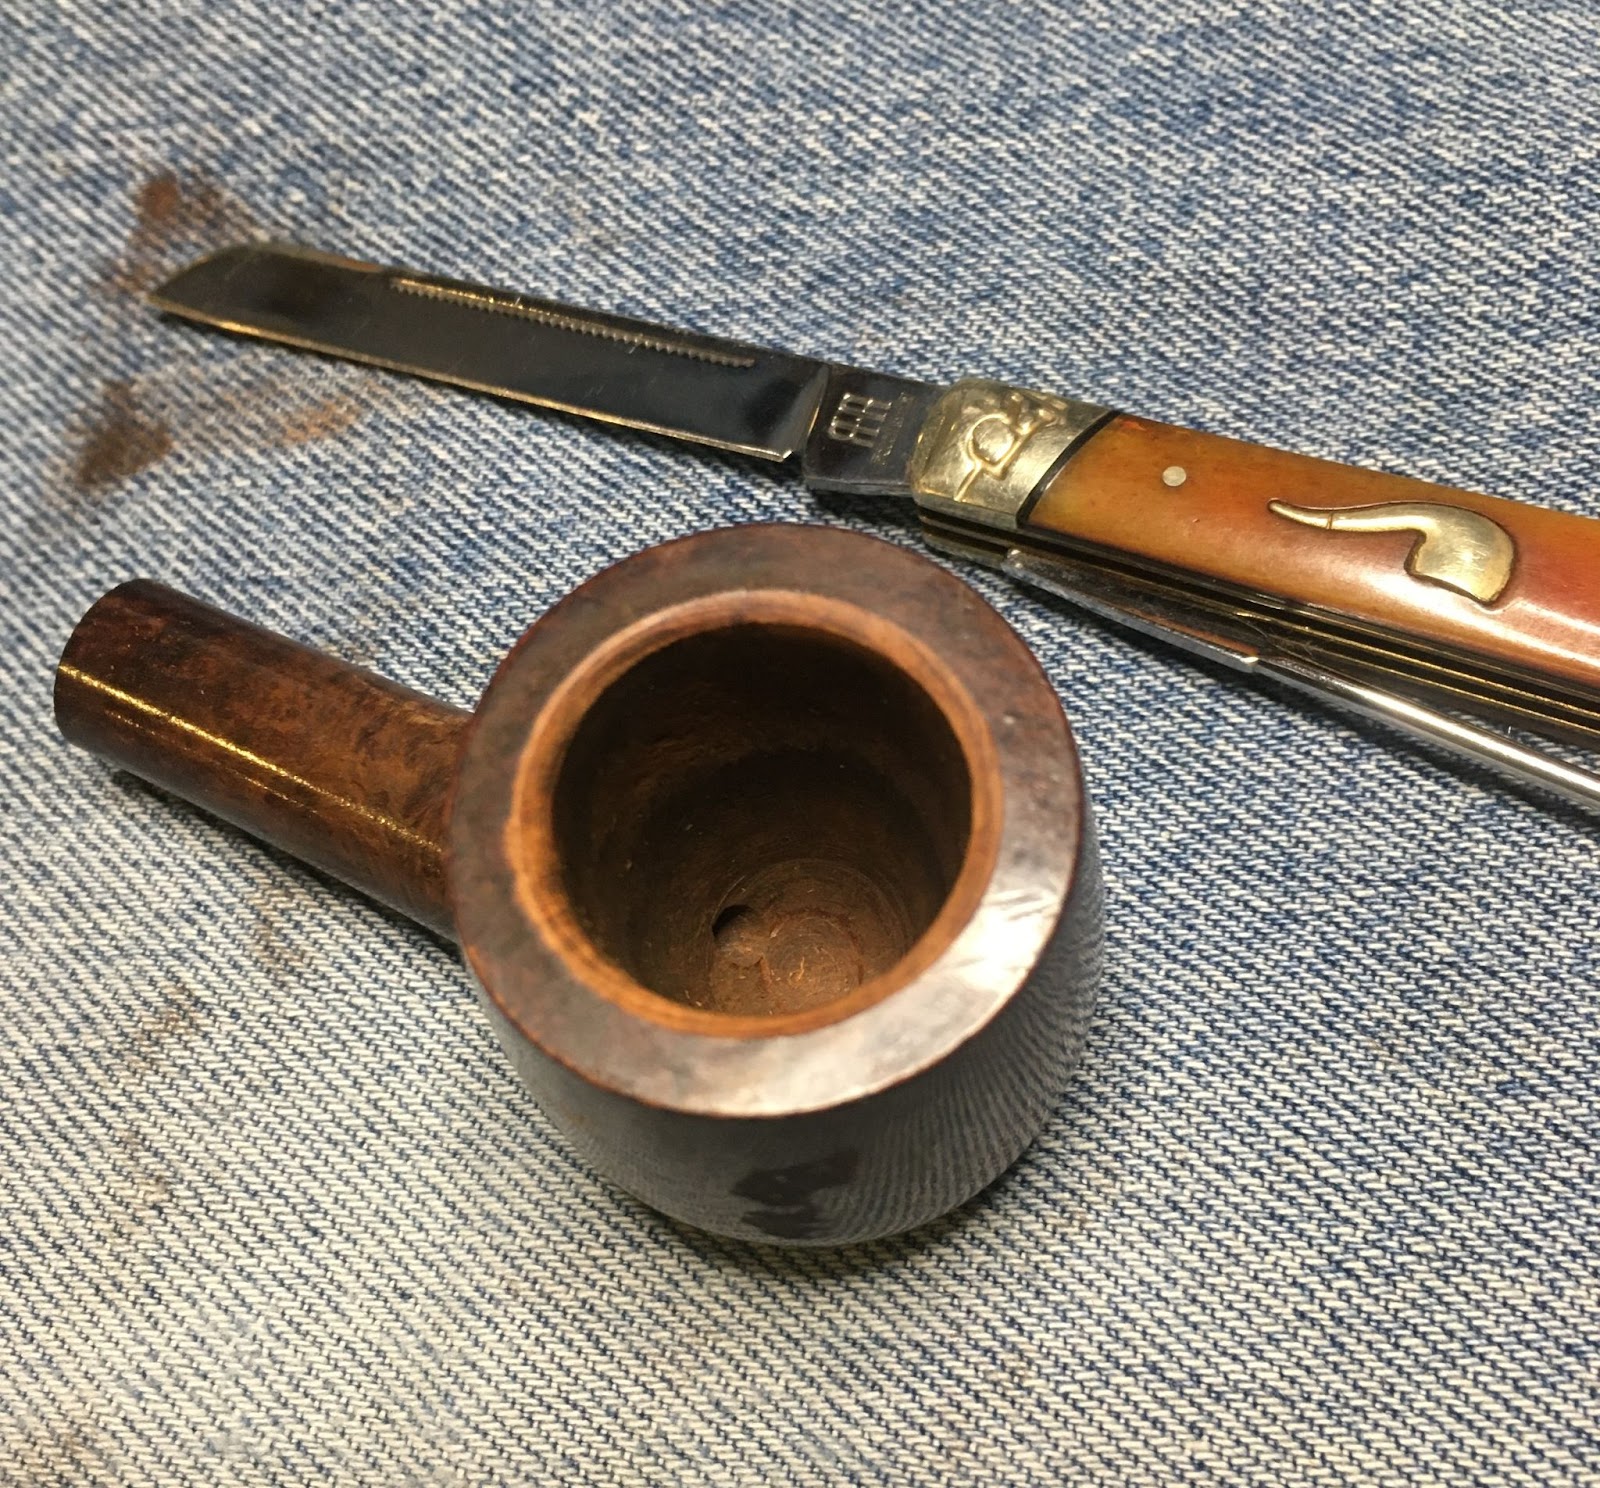
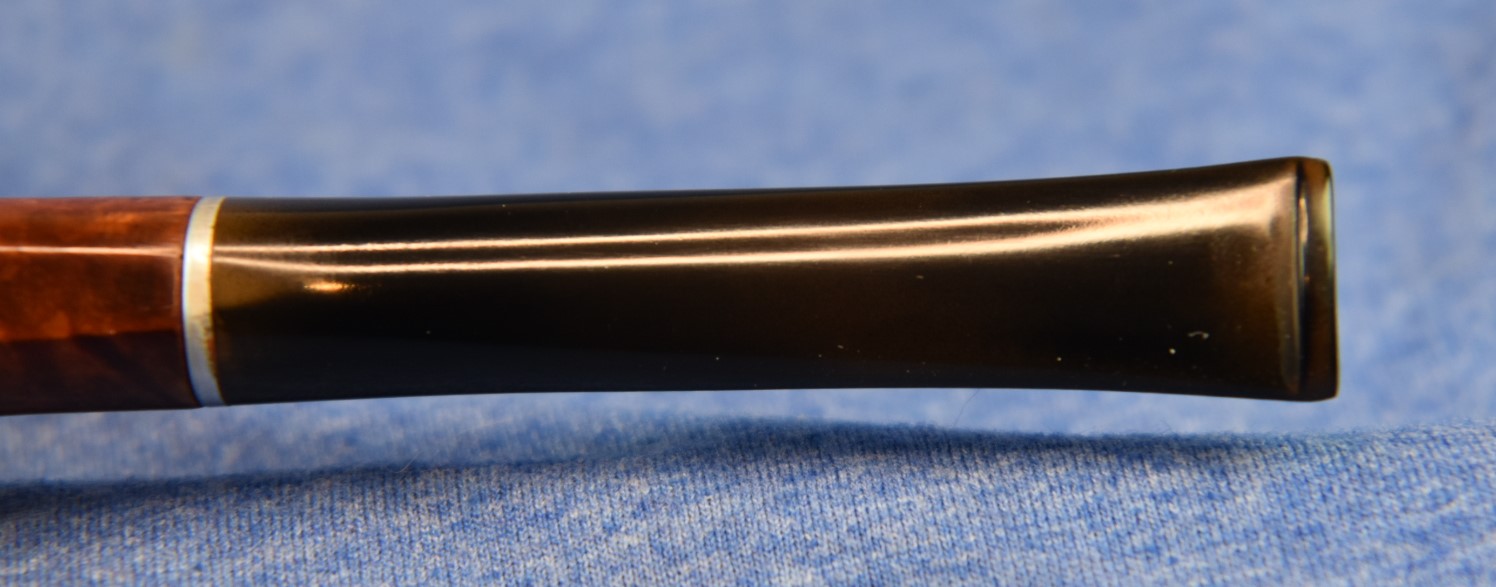
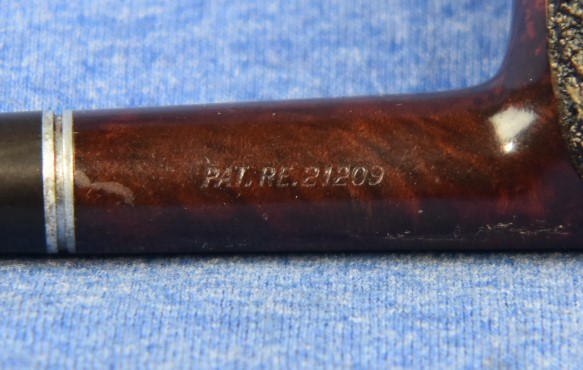
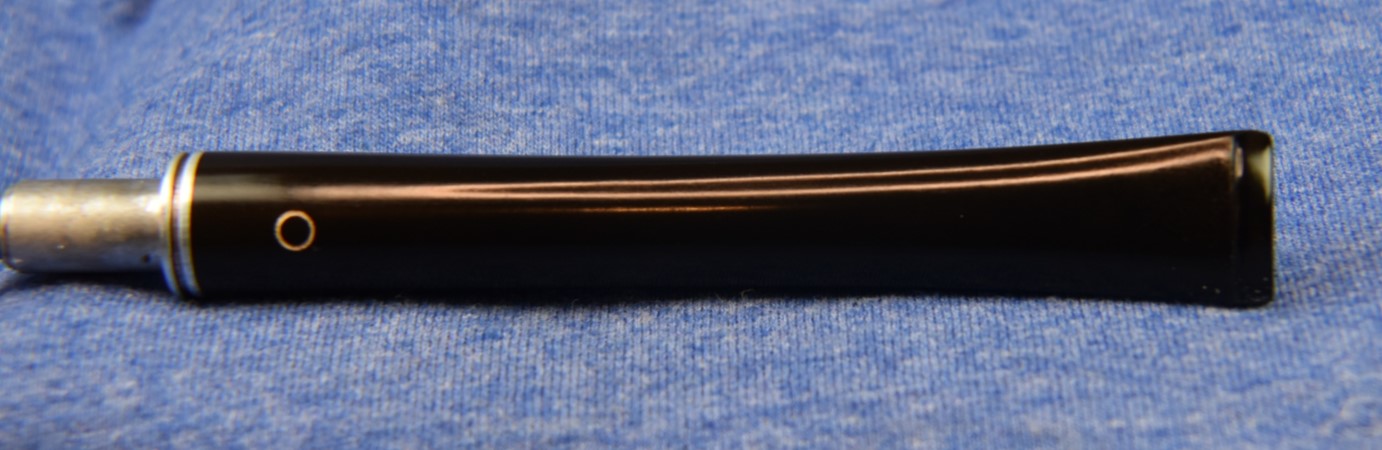
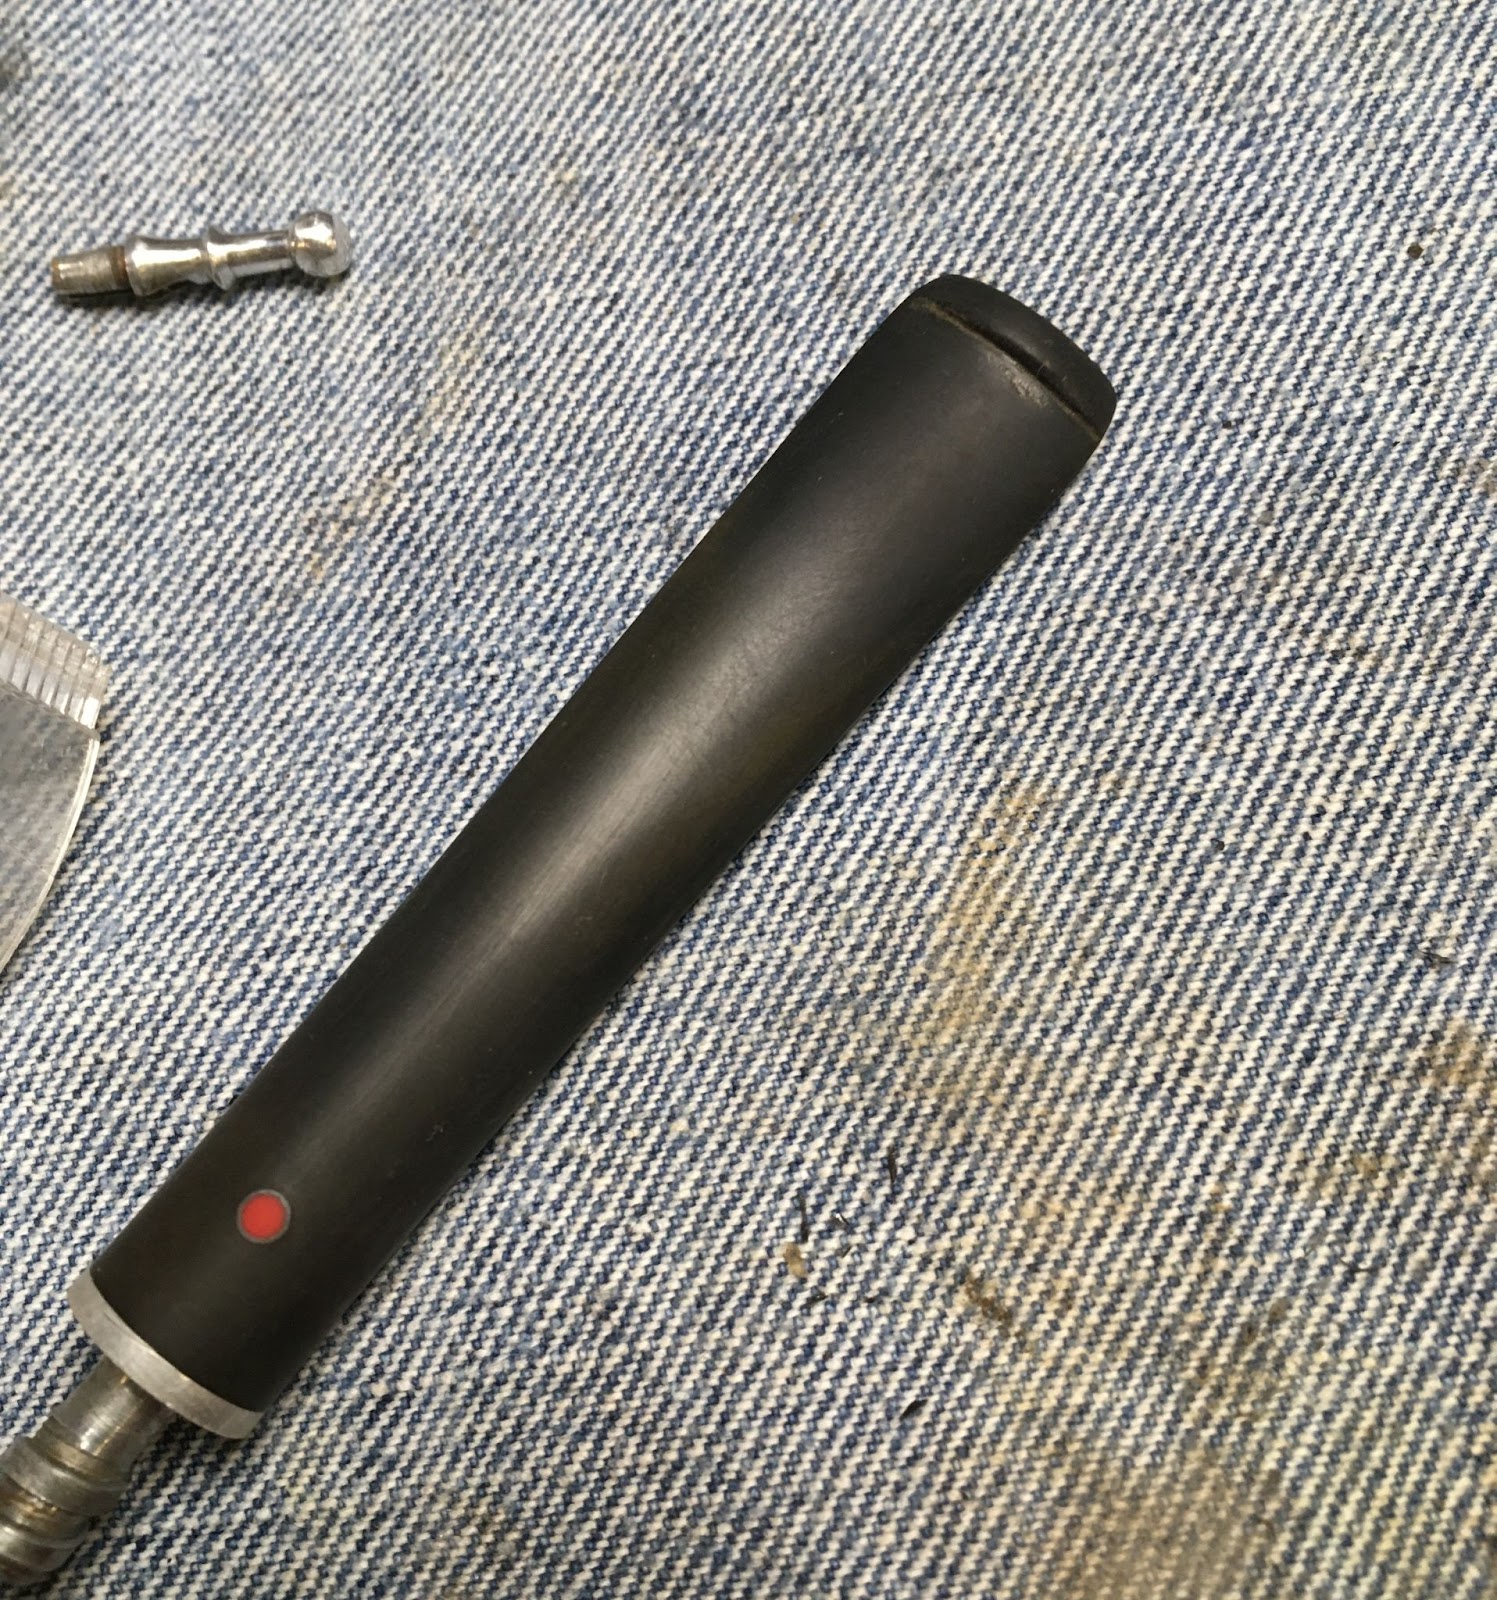
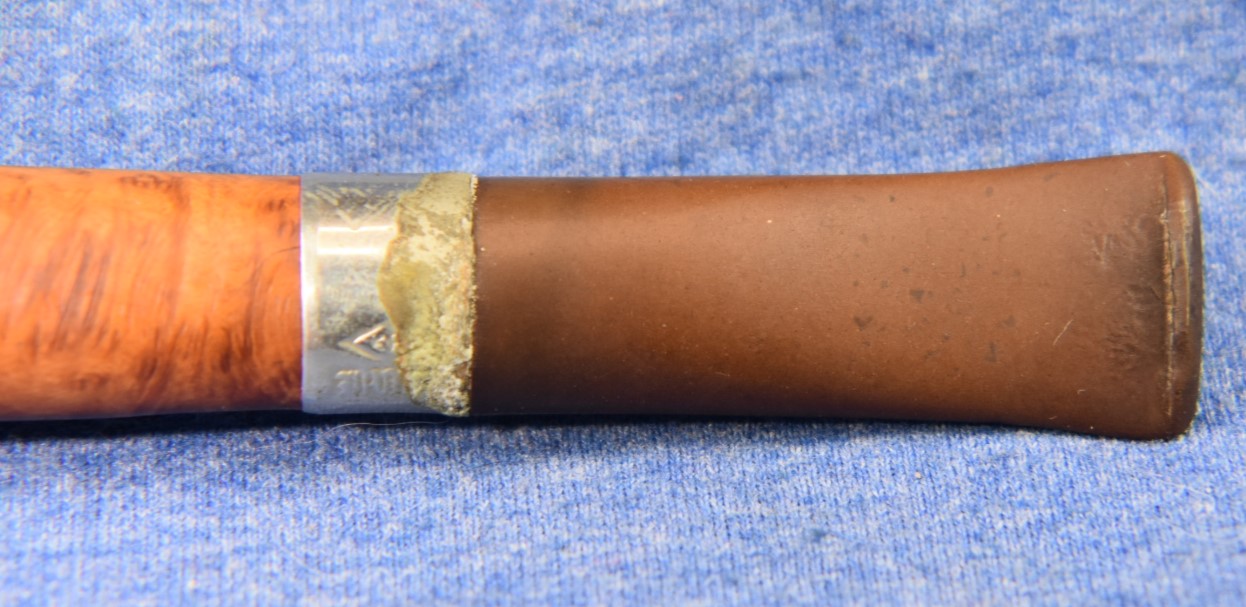
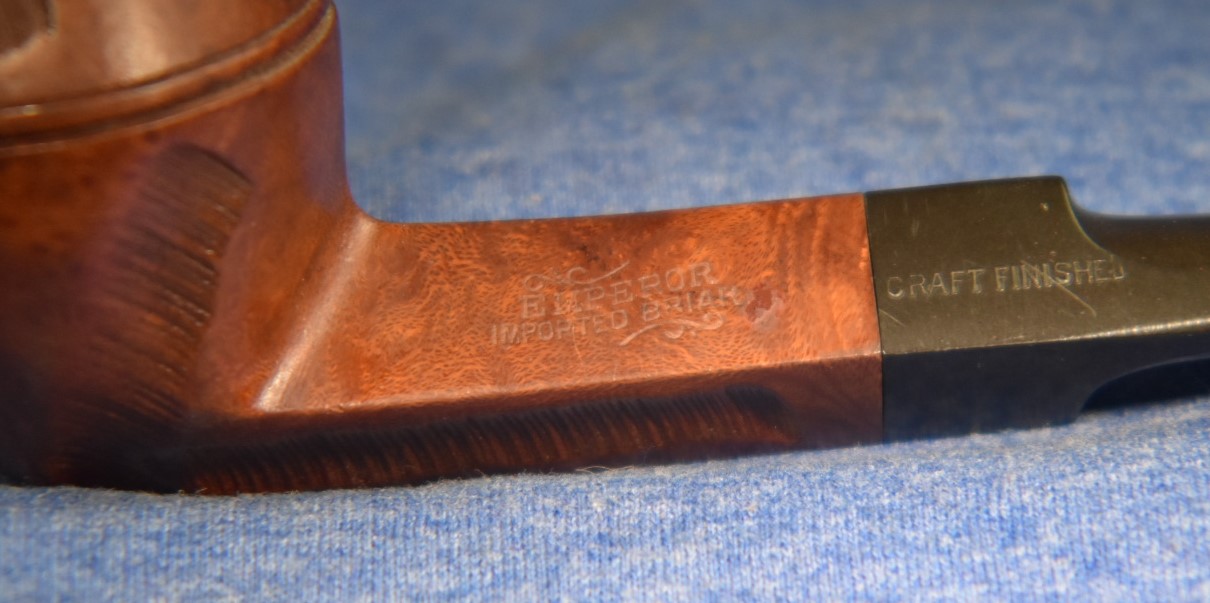
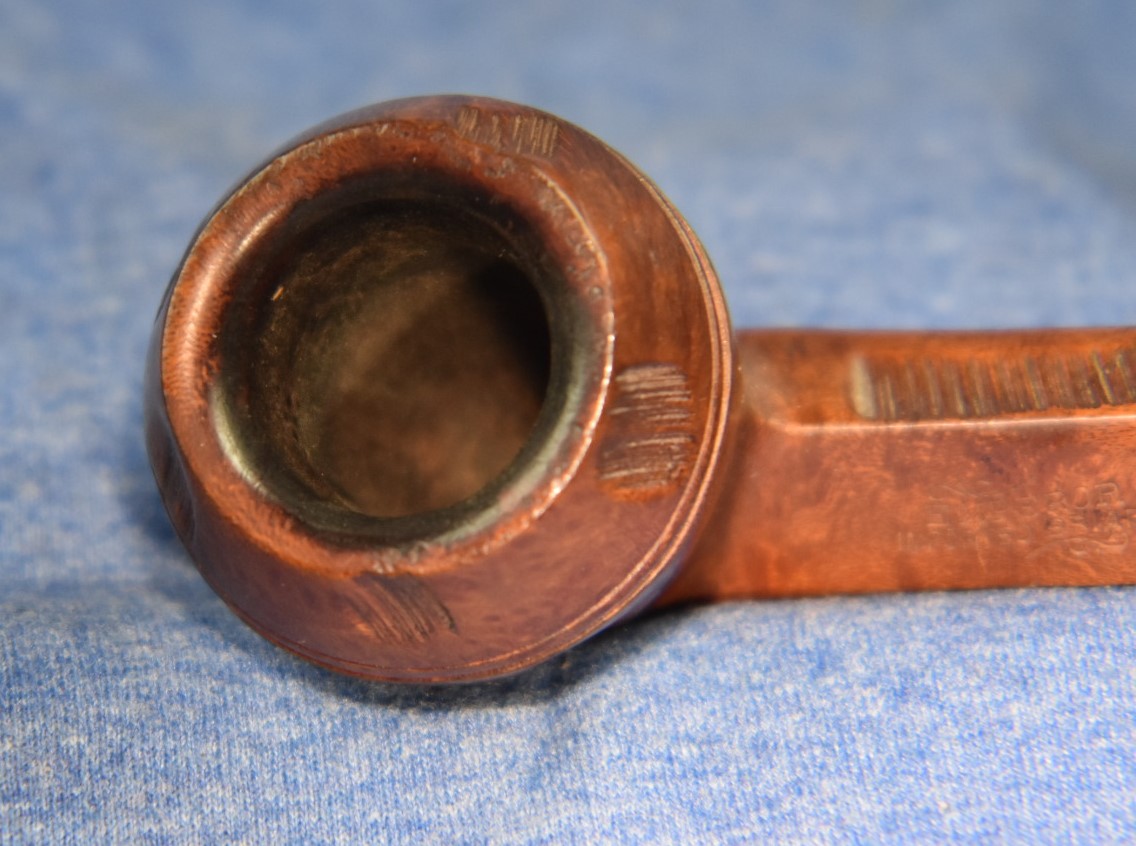
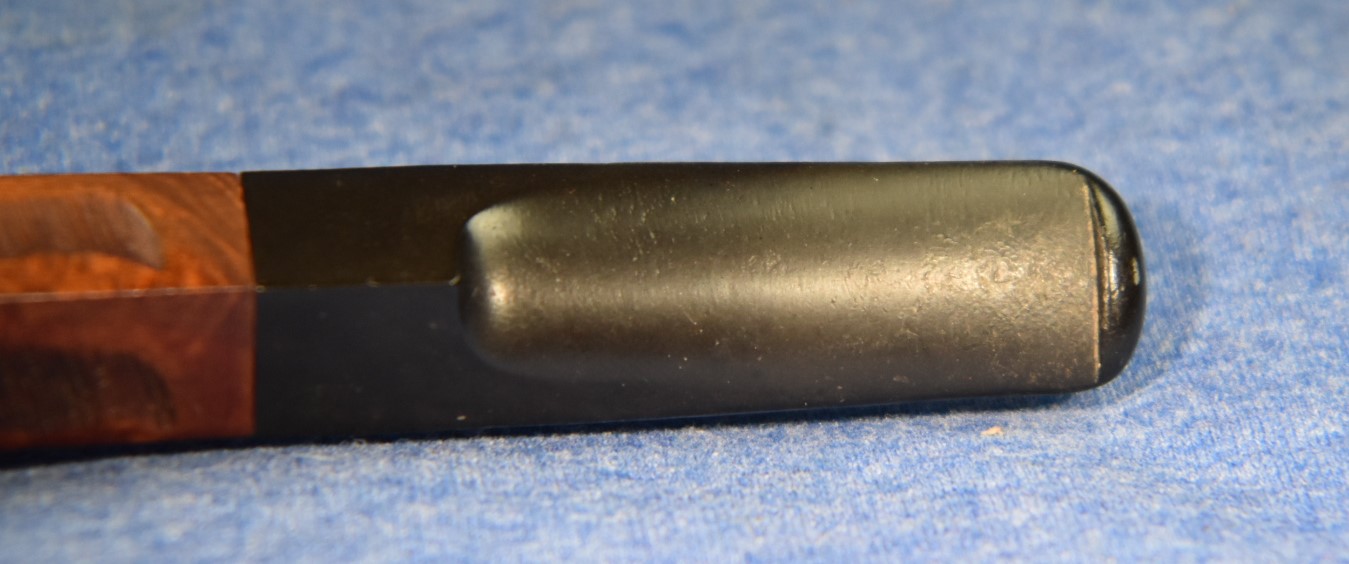
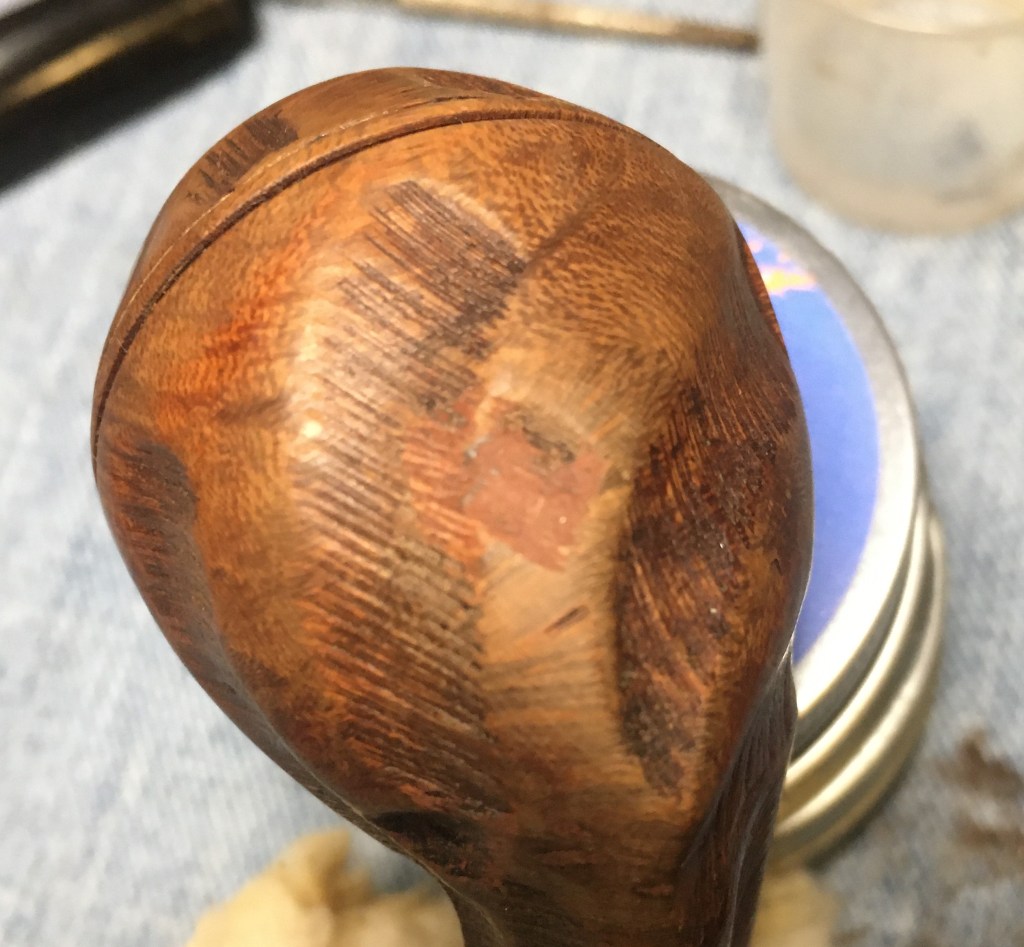
The stummel was in good shape and looked like it just needed cleaning. The stem on the other hand looked rough with teeth marks, calcium deposits and oxidation.
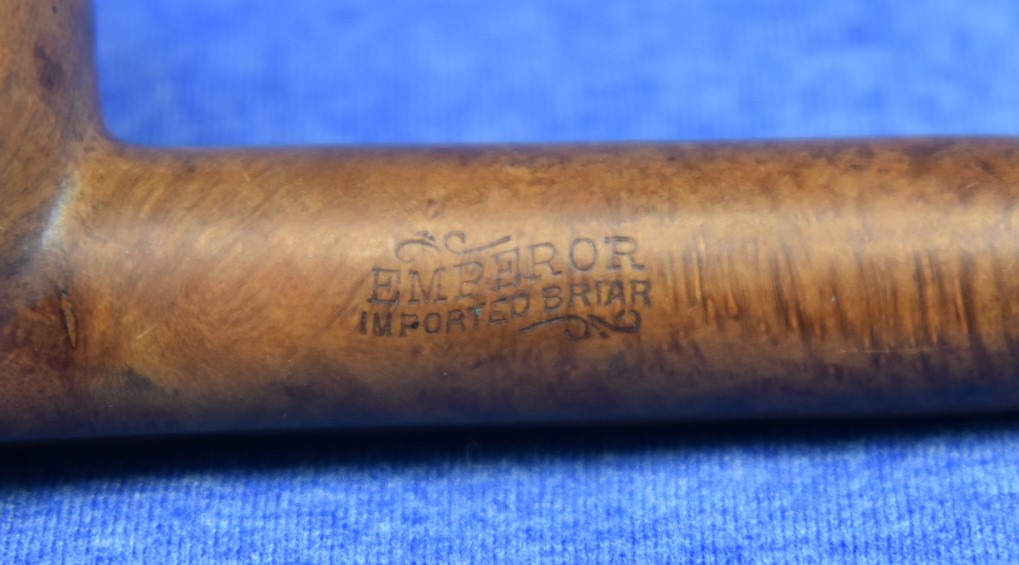
What was it about this brand that drew my attention? I think it was the idea of a guy up in St. Paul Minnesota making pipes in his basement and selling them to a public that seemed to have an insatiable want of them. The story of Senlar by pipedia.org reads as follows:
“”Senlar” – Pipes were made in Minnesota by pipe maker Wally Larsen who inverted his last name LAR SEN to come up with SEN LAR. The Saint Paul Pioneer Press nicknamed Larsen “The Great Dane Of The Pipe World” in 1973. Larsen’s pipes were made in the basement of his Minnetonka home, with pipes selling in 1973 for as much as $75. Larsen learned the pipe making craft in the 1940’s when an established pipe maker moved into the home next door. After observing this craftsman work for three years Larsen decided to make a pipe for himself. That first pipe got him some attention from fellow smokers and he sold his next nine before being able to keep another for himself.
Senlar pipes were apparently primarally sold in only three shops, St. Marie’s and the Tobak Shop in St. Paul, and Tobaccoland in Rosedale. Larsen expressed difficulty keeping up with the demand of just these three outlets.
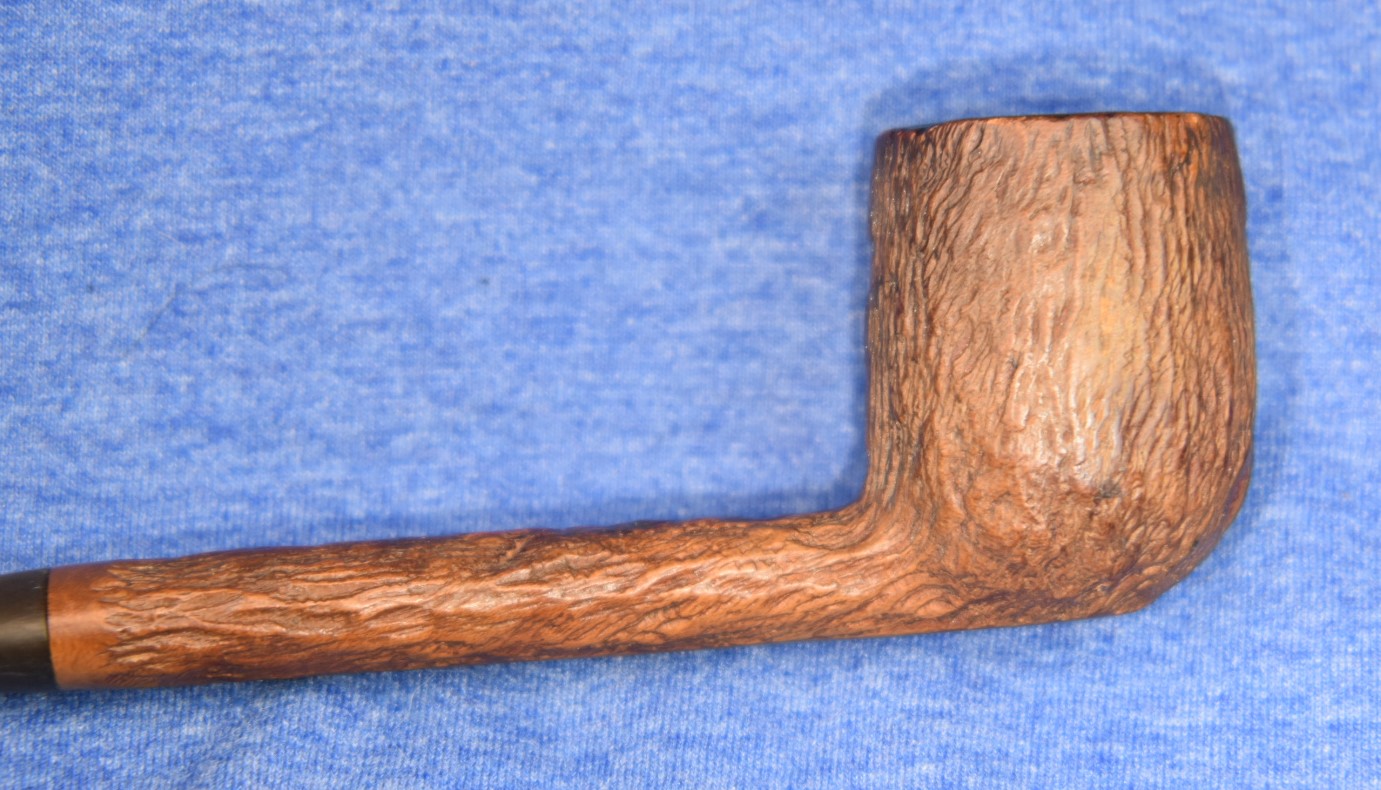
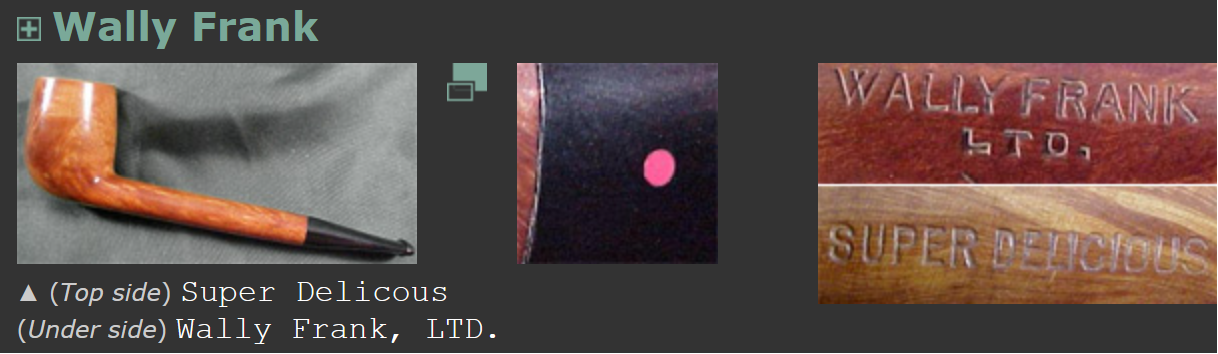
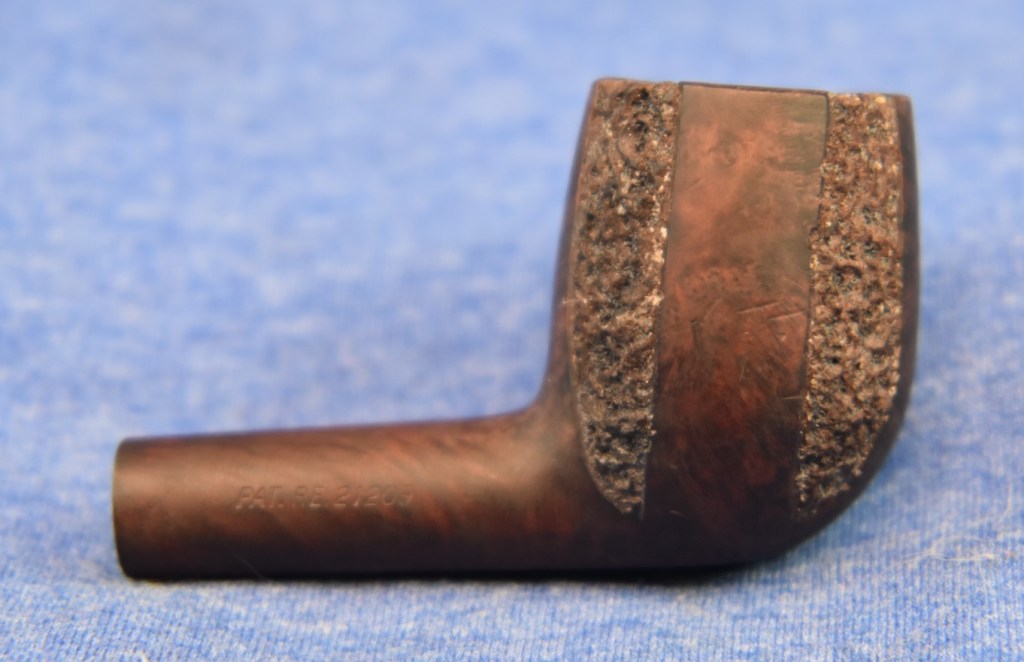
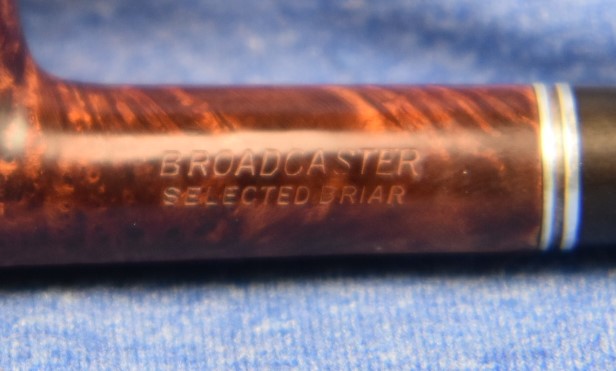
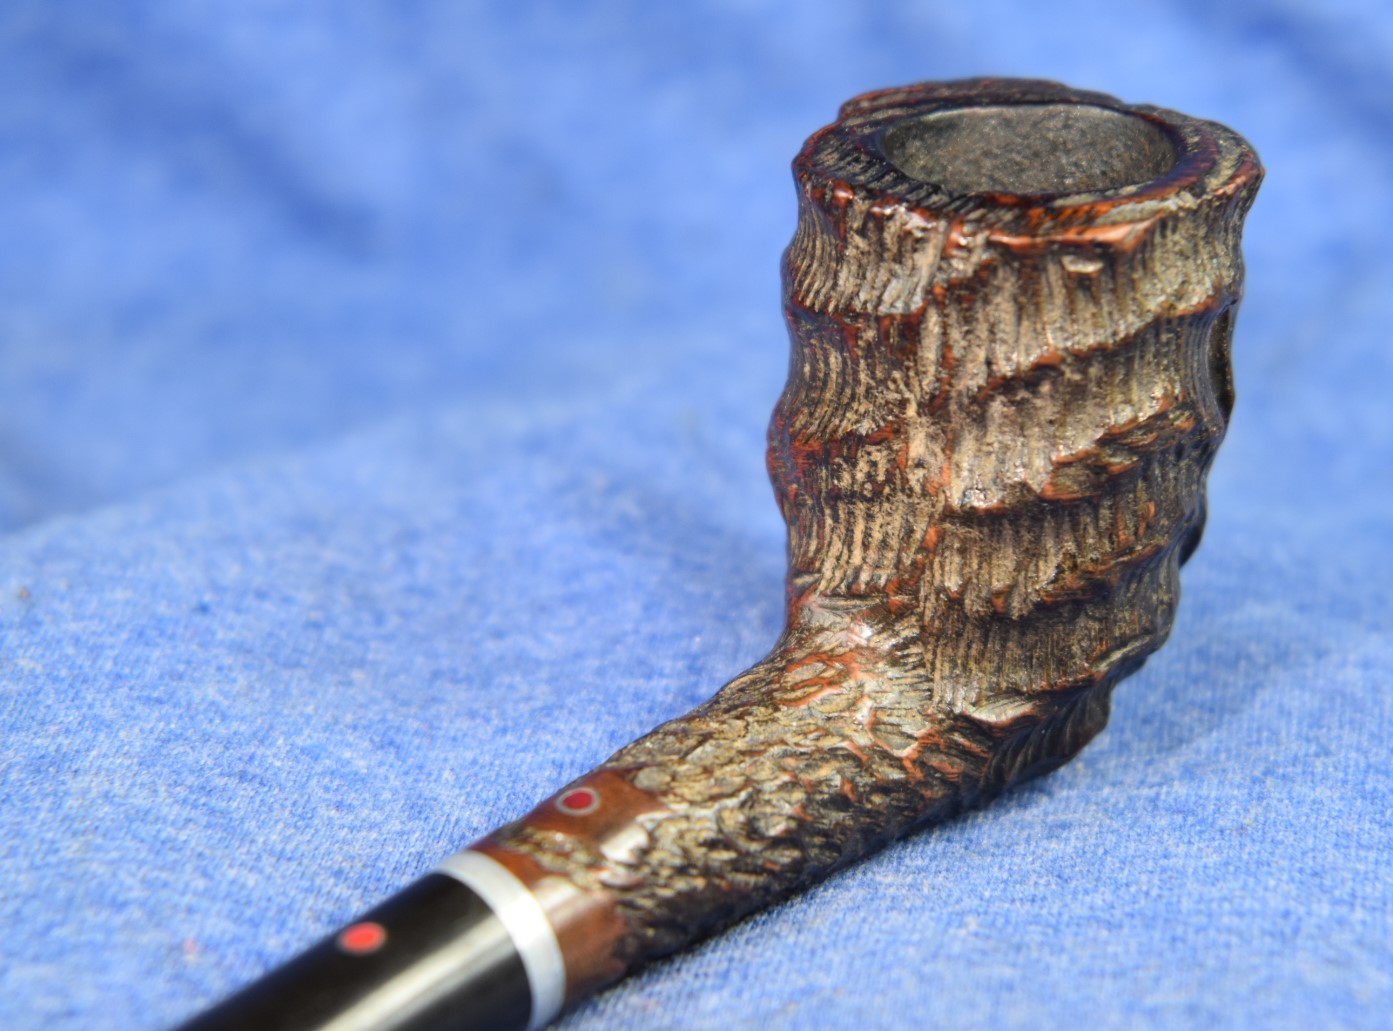
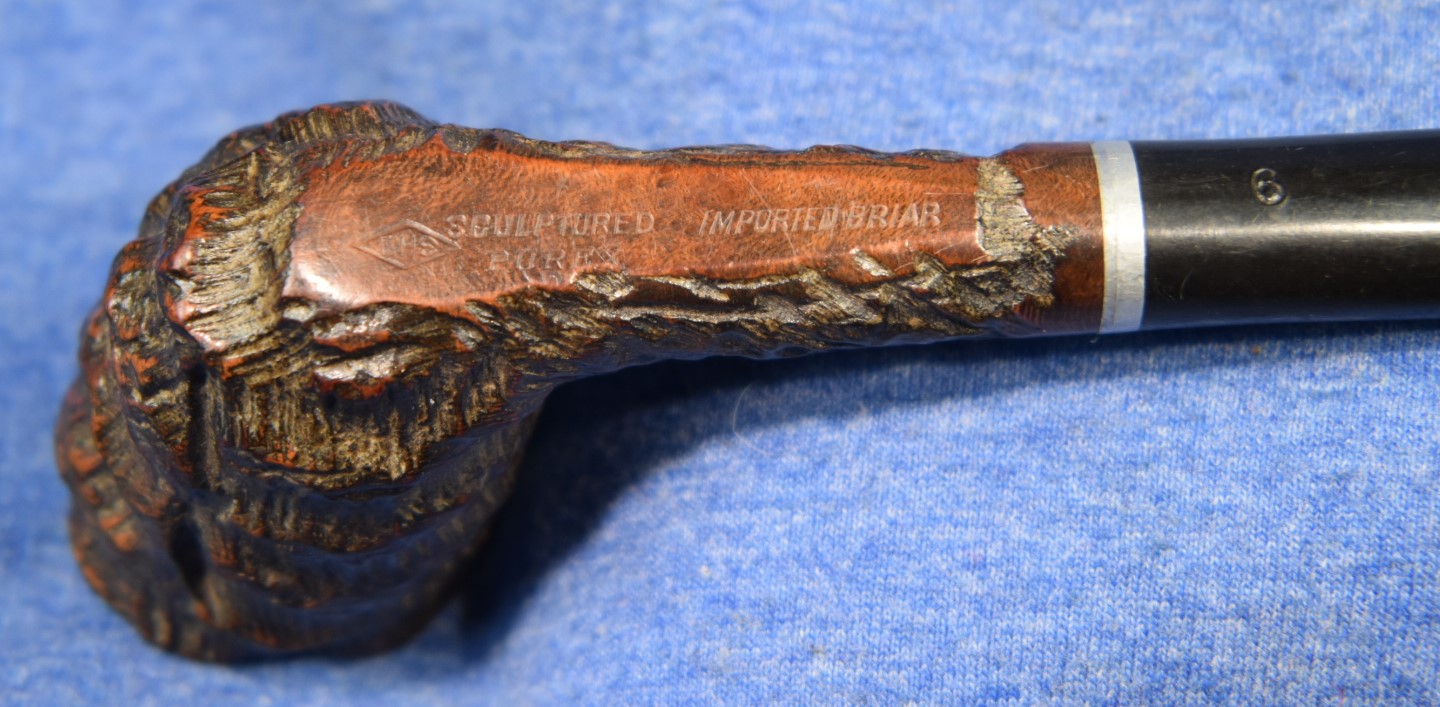
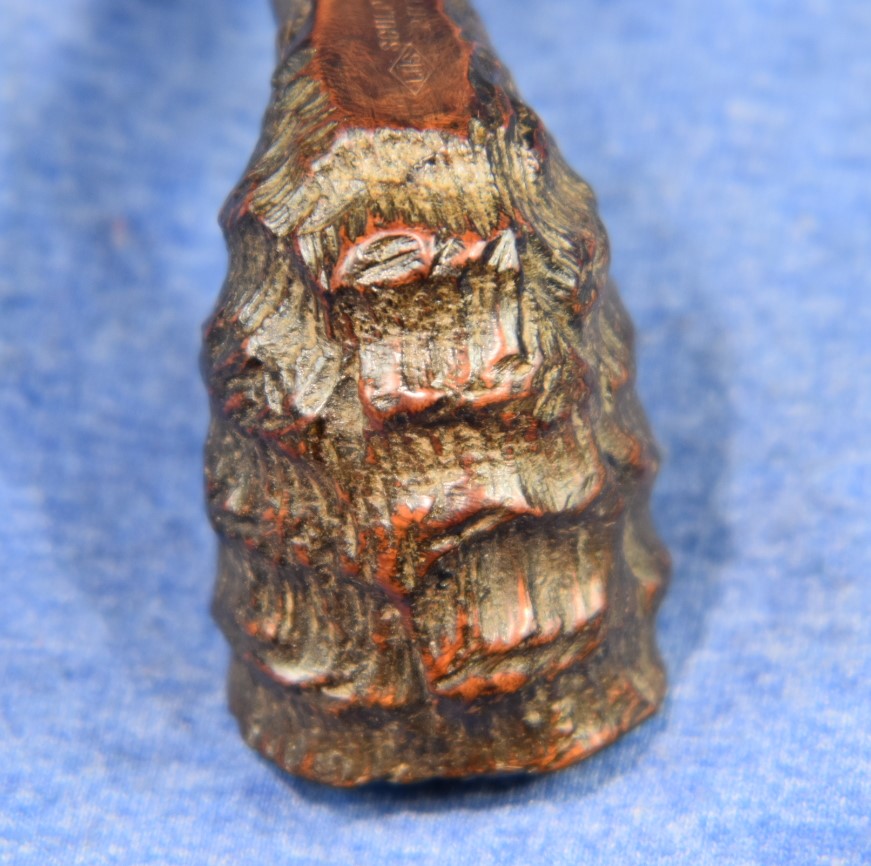
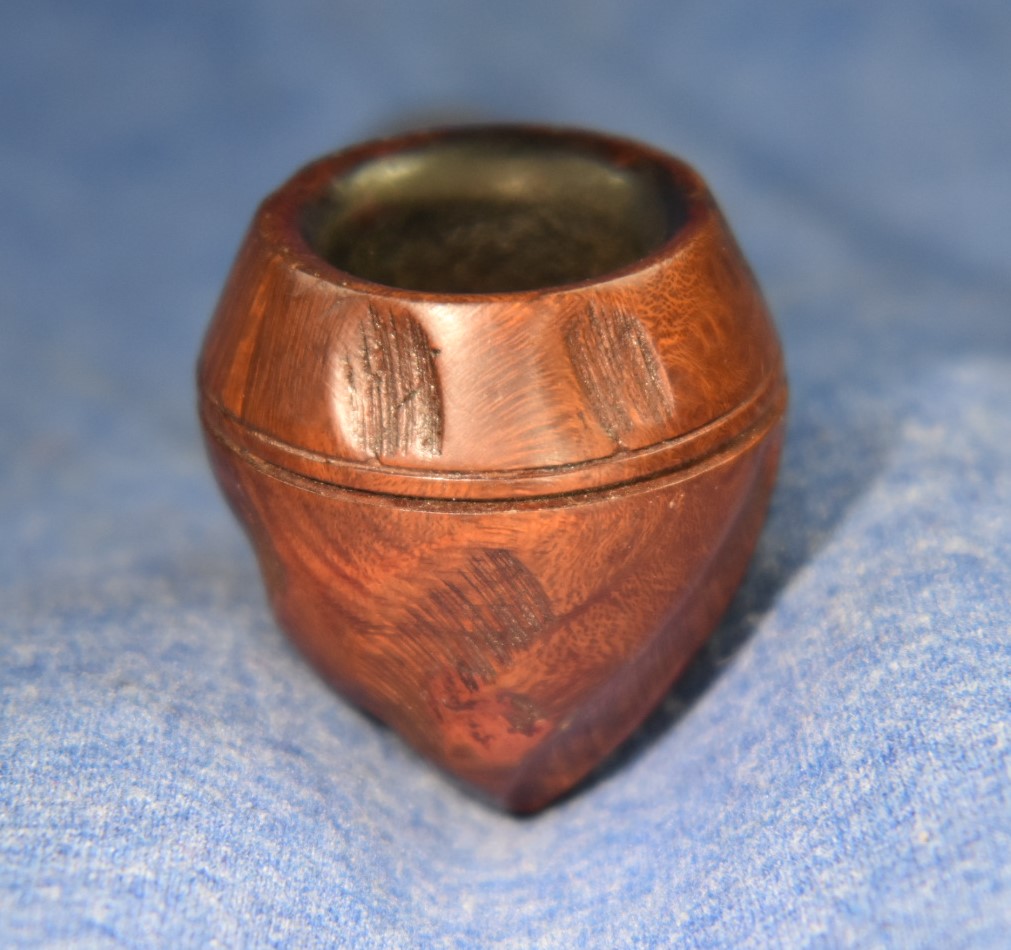
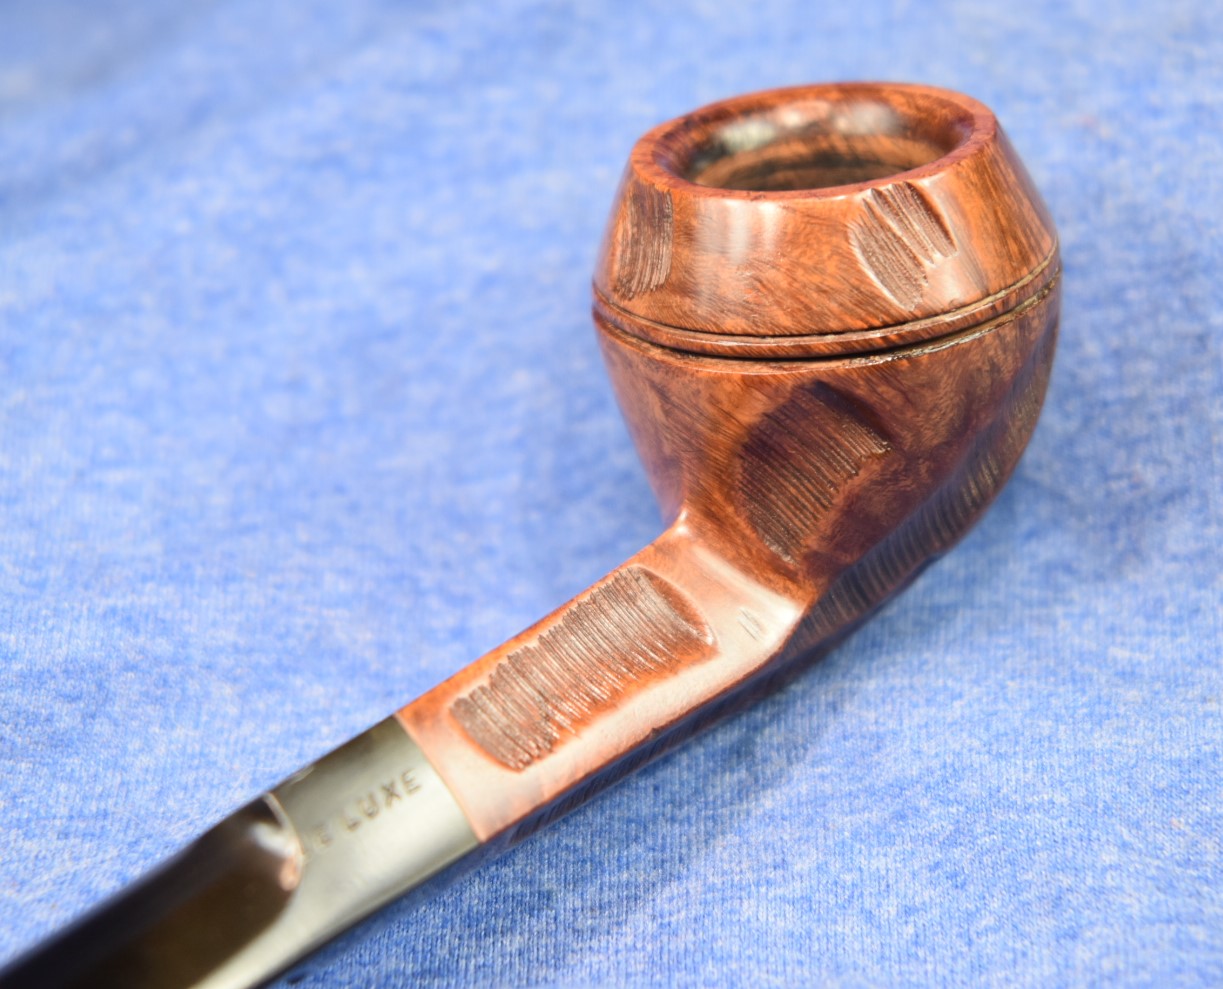
Larsen sought to make Senlar pipes “Look like a tree.” Which he accomplished by using a whirling drill to carve a distinctive bark like finish on the pipe. It is a finish seen on most Senlars and Larsen regarded it as a sort of trademark.
He died in approximately 1988.” (https://pipedia.org/wiki/Senlar)
Smokingpipes.com had an estate Senlar for sale at one point in history.

(https://www.smokingpipes.com/pipes/estate/united-states/moreinfo.cfm?product_id=157760)
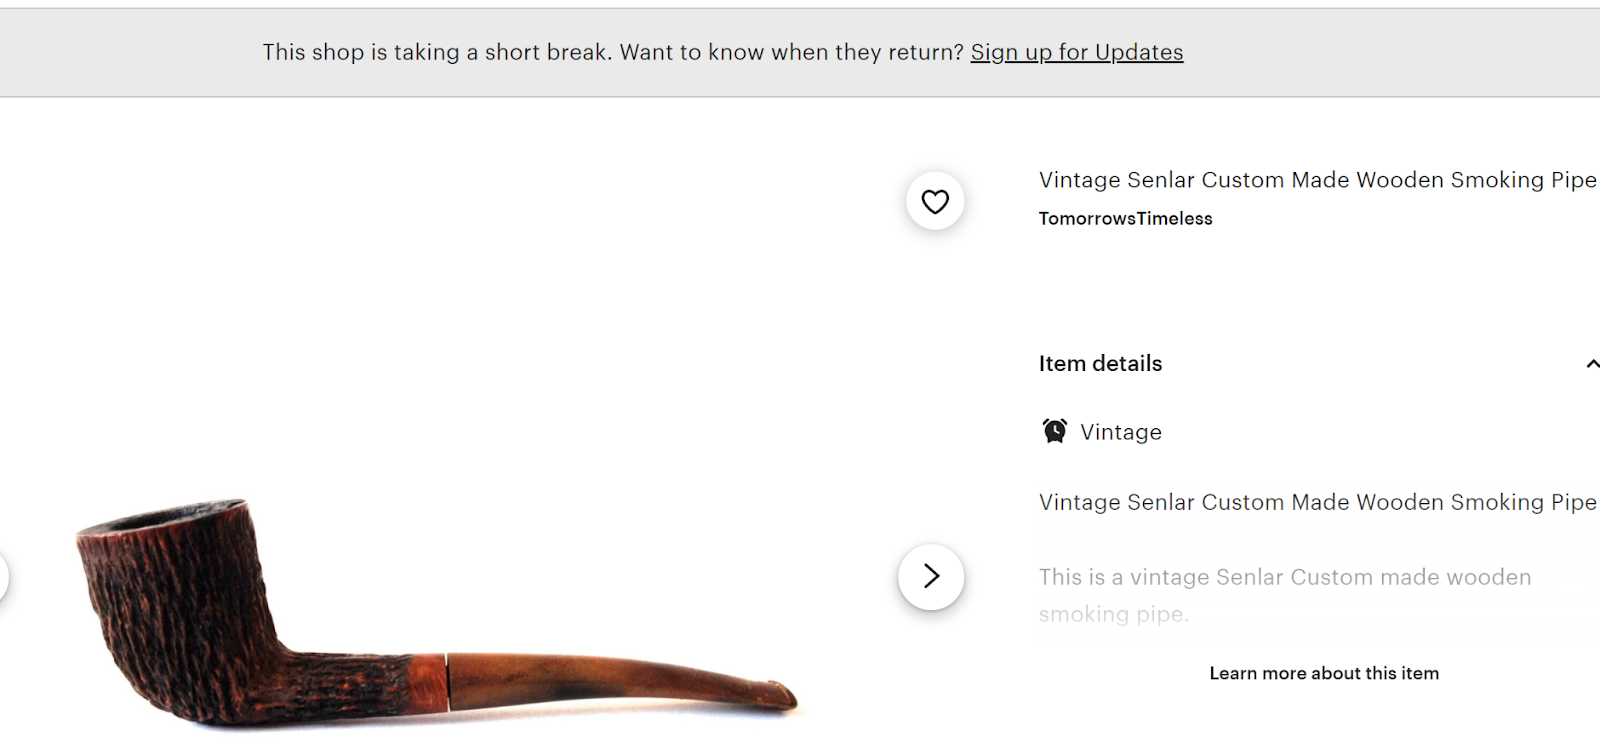
As did etsy.com, this seller is apparently no longer active.
I did try to search for the old The Saint Paul Pioneer Press newspapers but found that associated sites all wanted a subscription to their services and I am too cheap for that. Honest and cheap. So, there we have it; Senlar pipes made by Wally Larsen, in his basement, some time between the latter 1940’s-1988 in St. Paul, Minnesota.
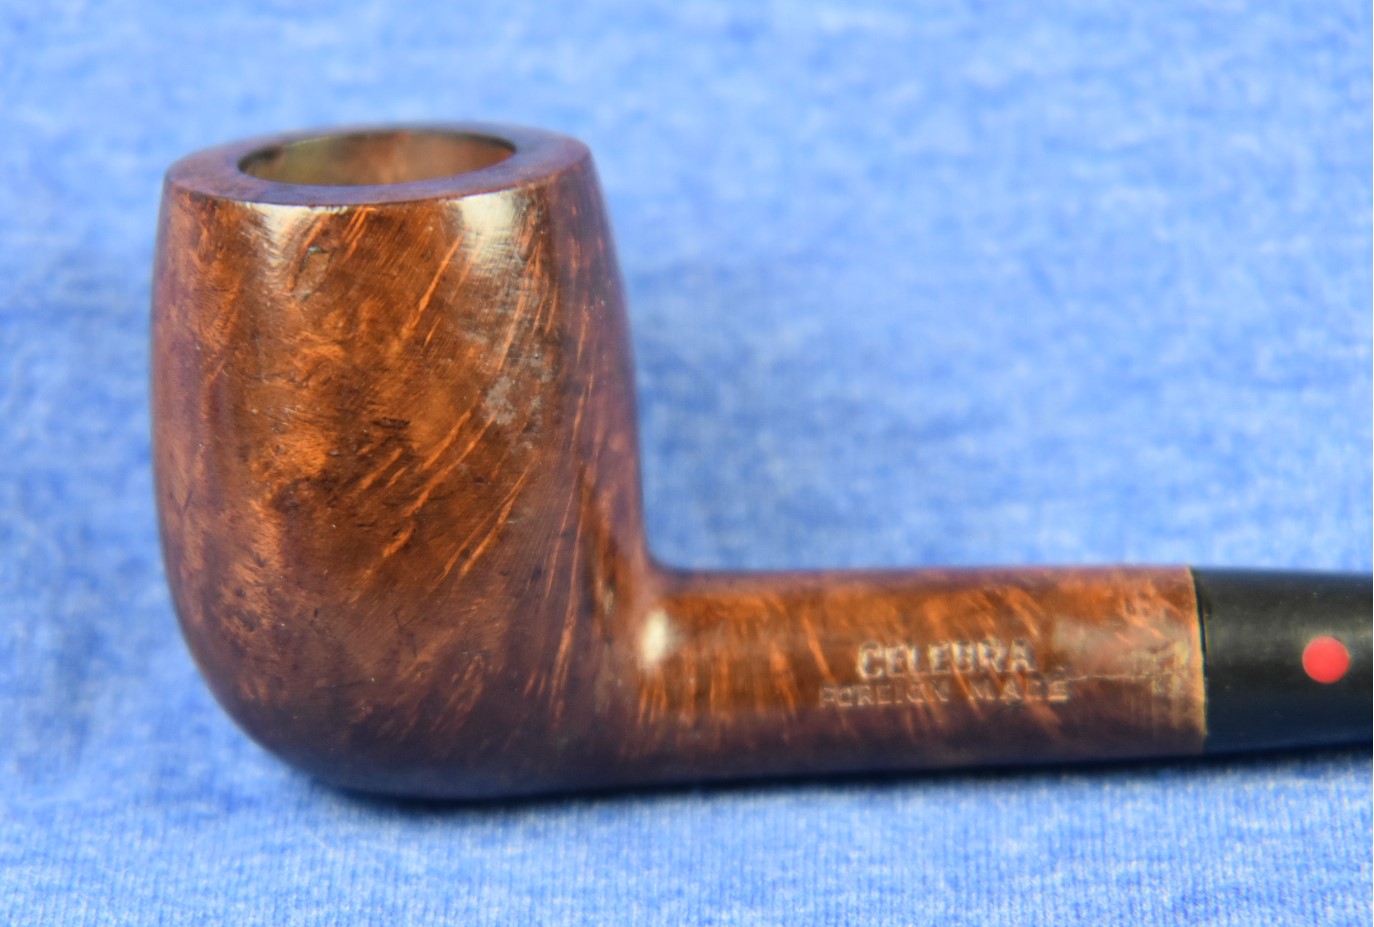
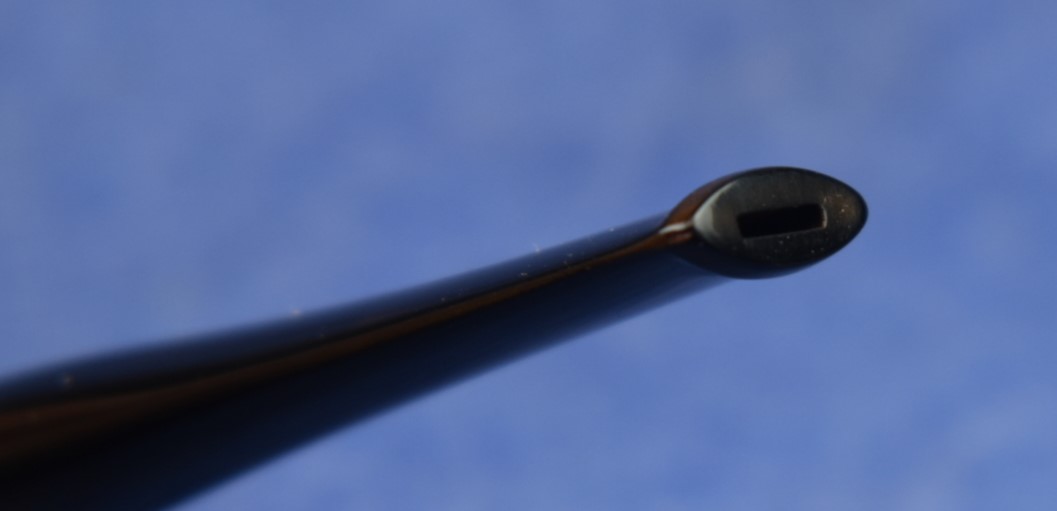
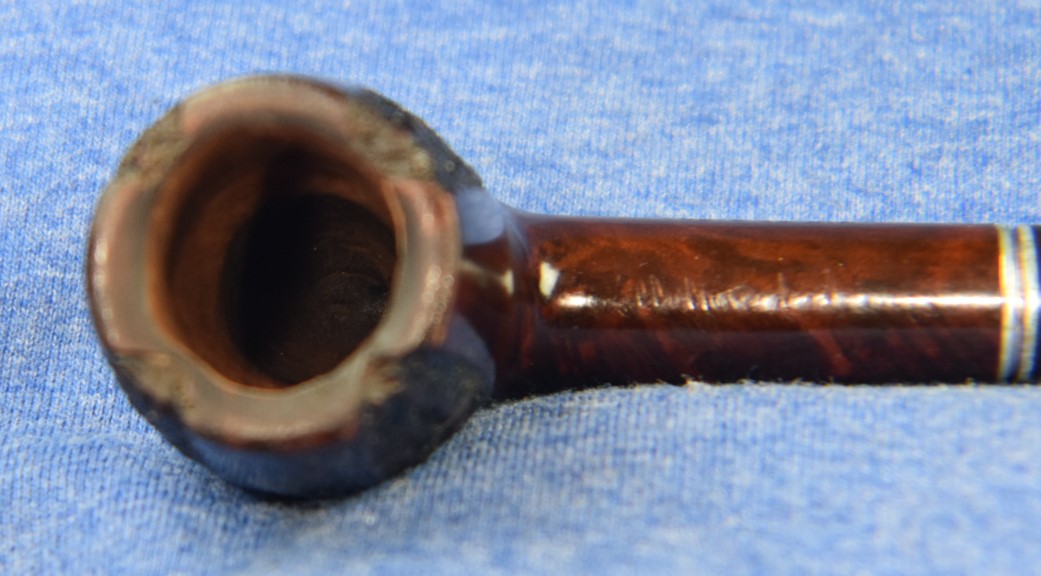
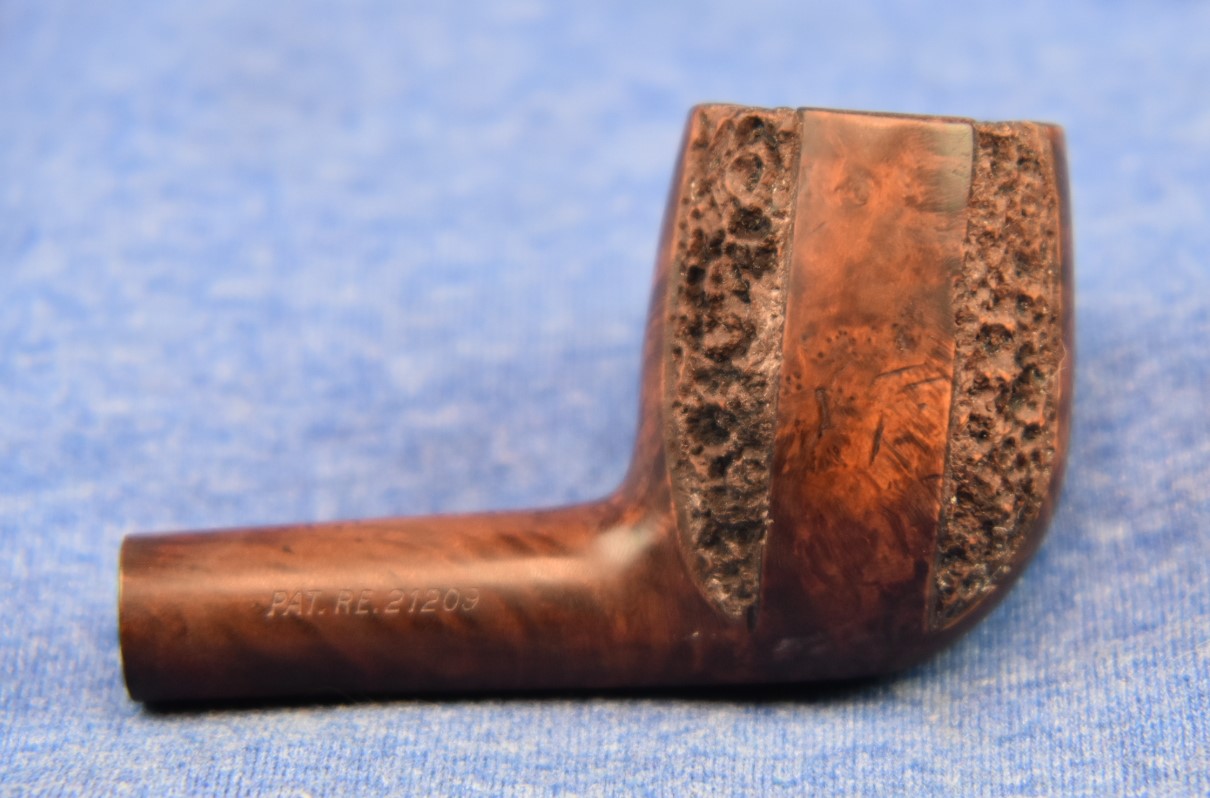
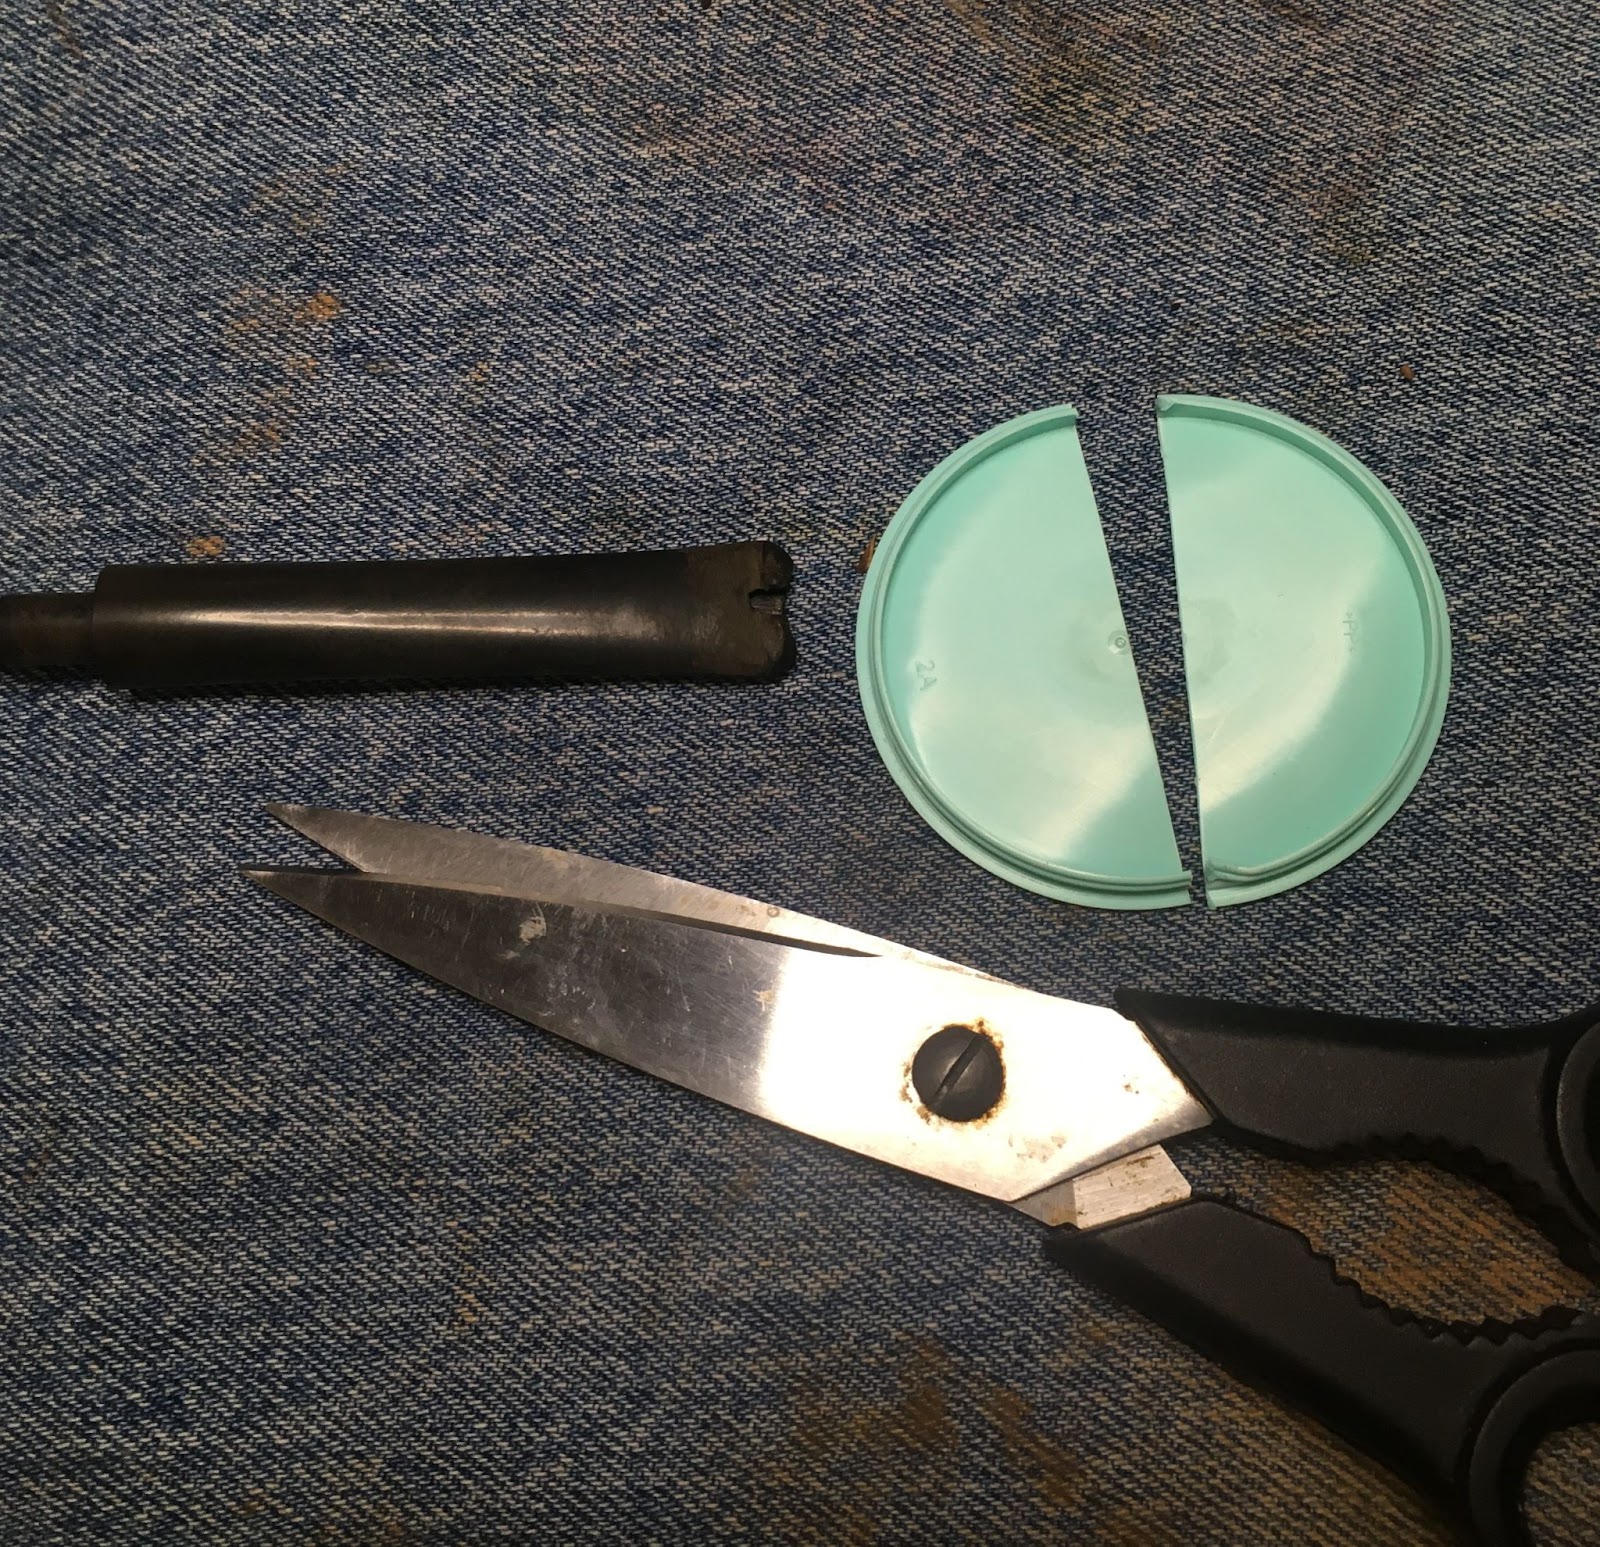
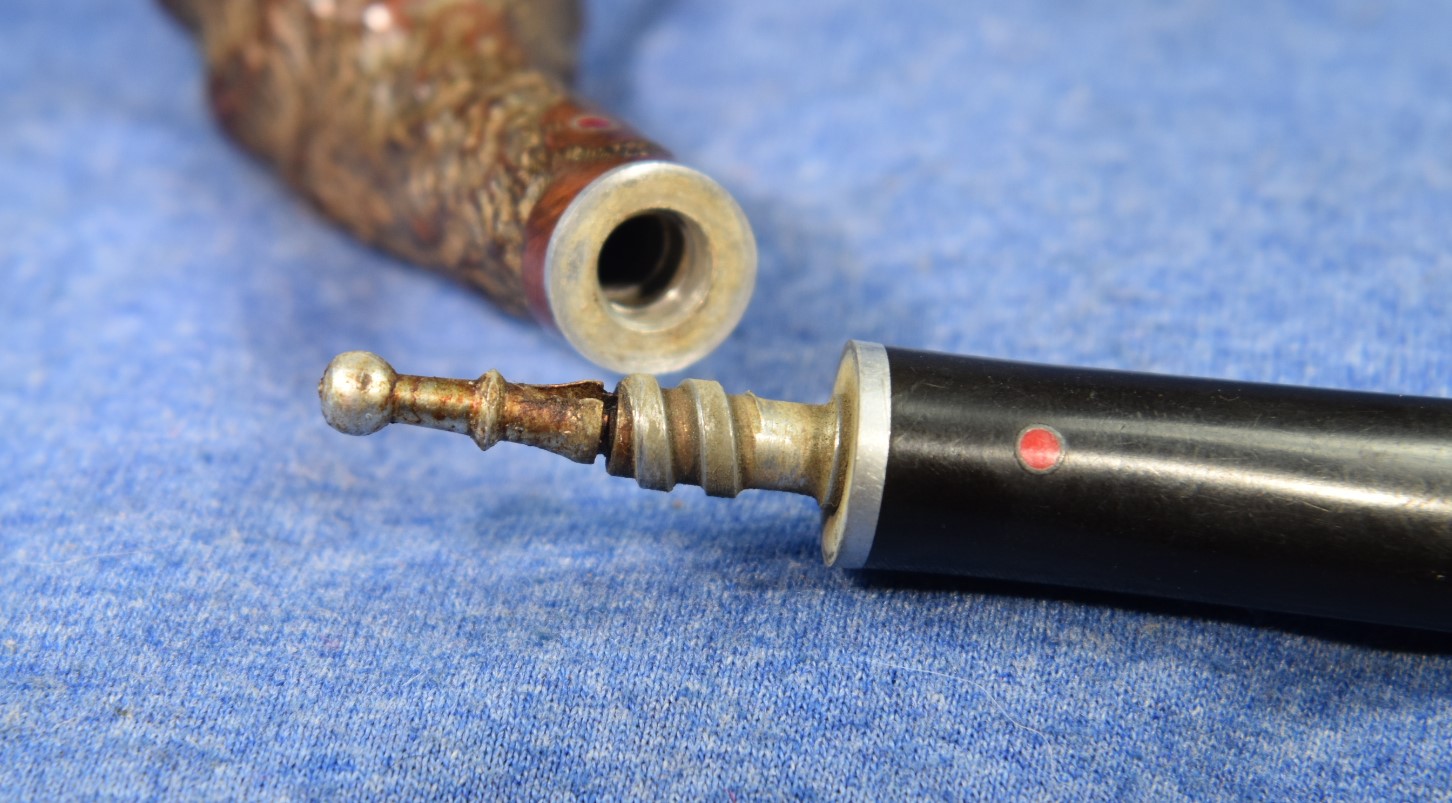
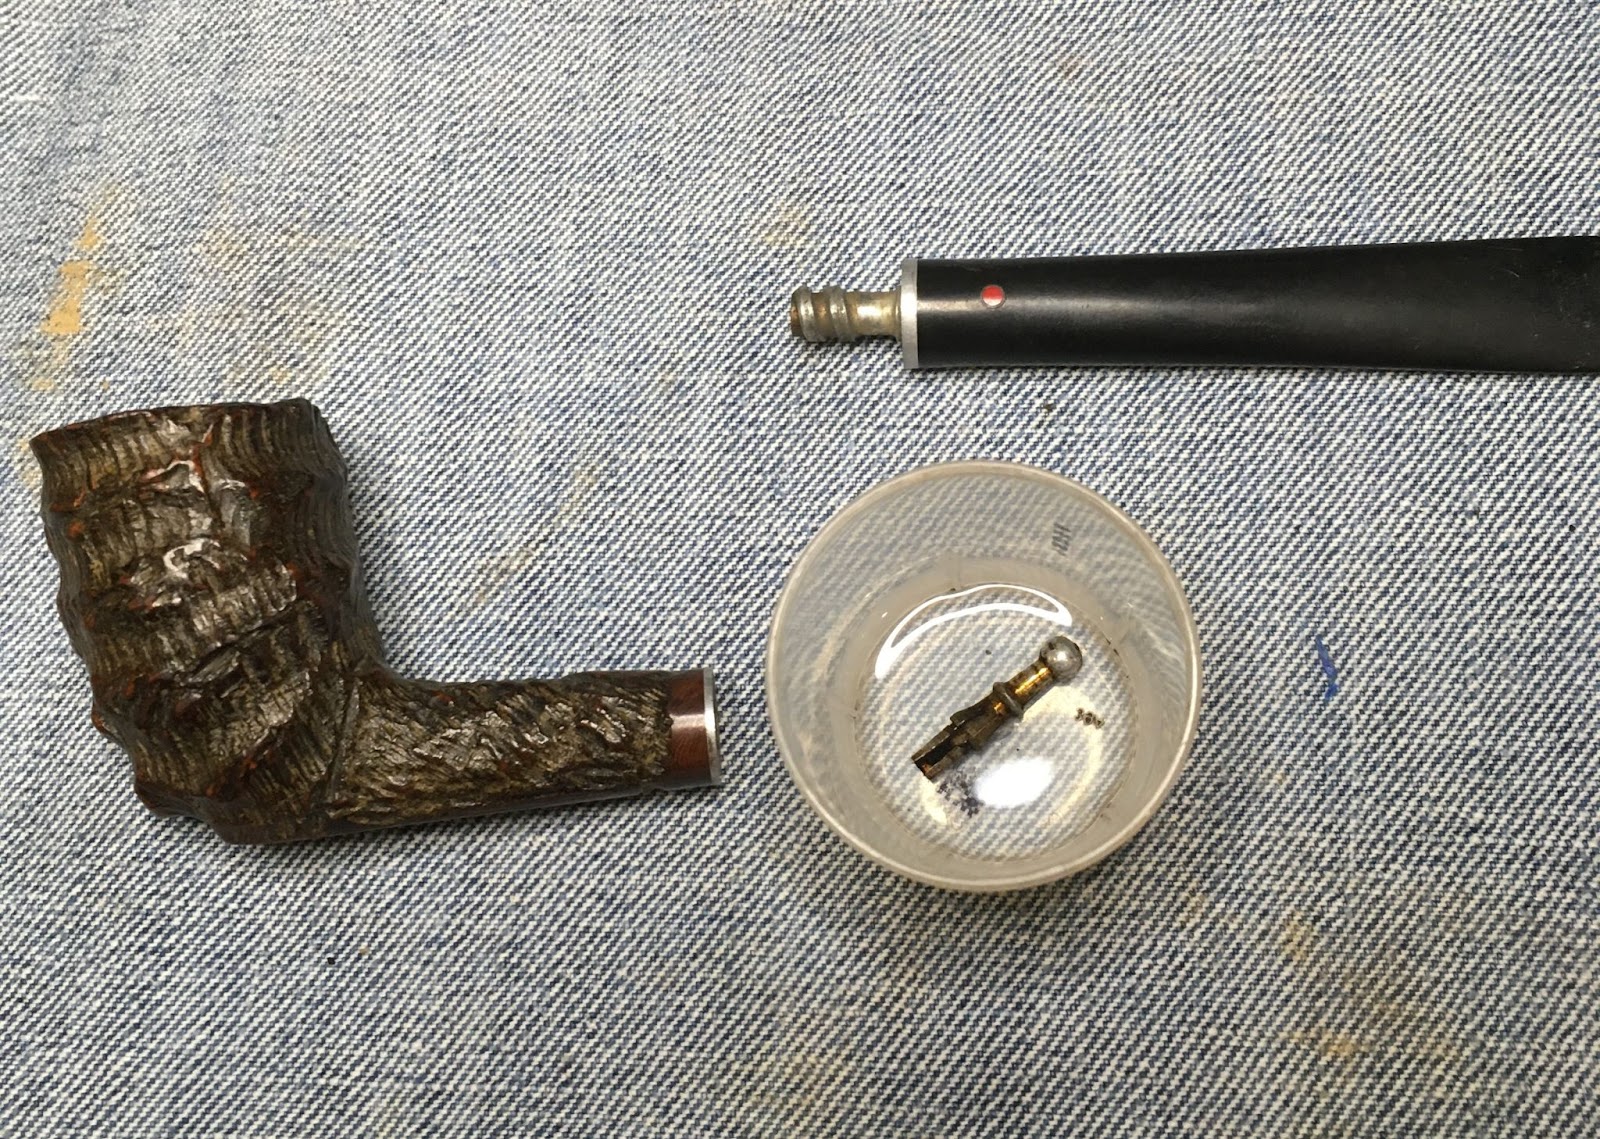
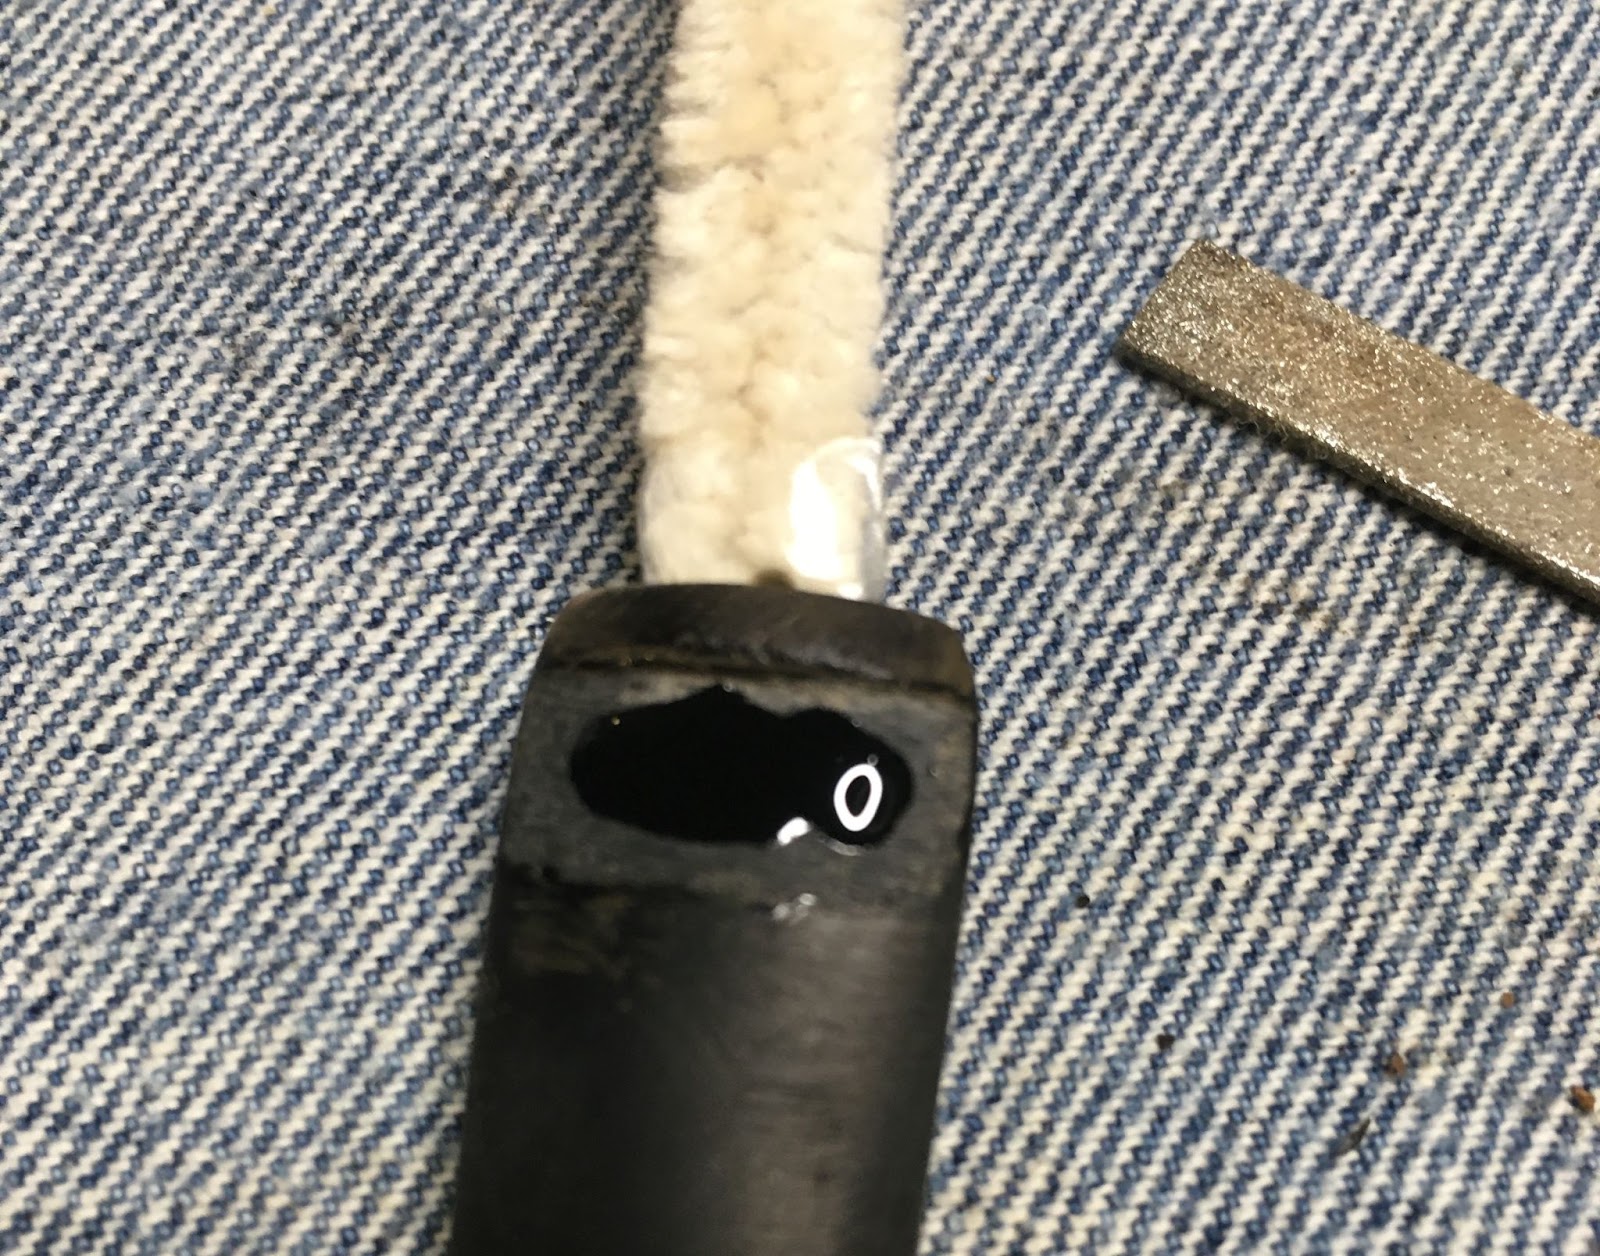
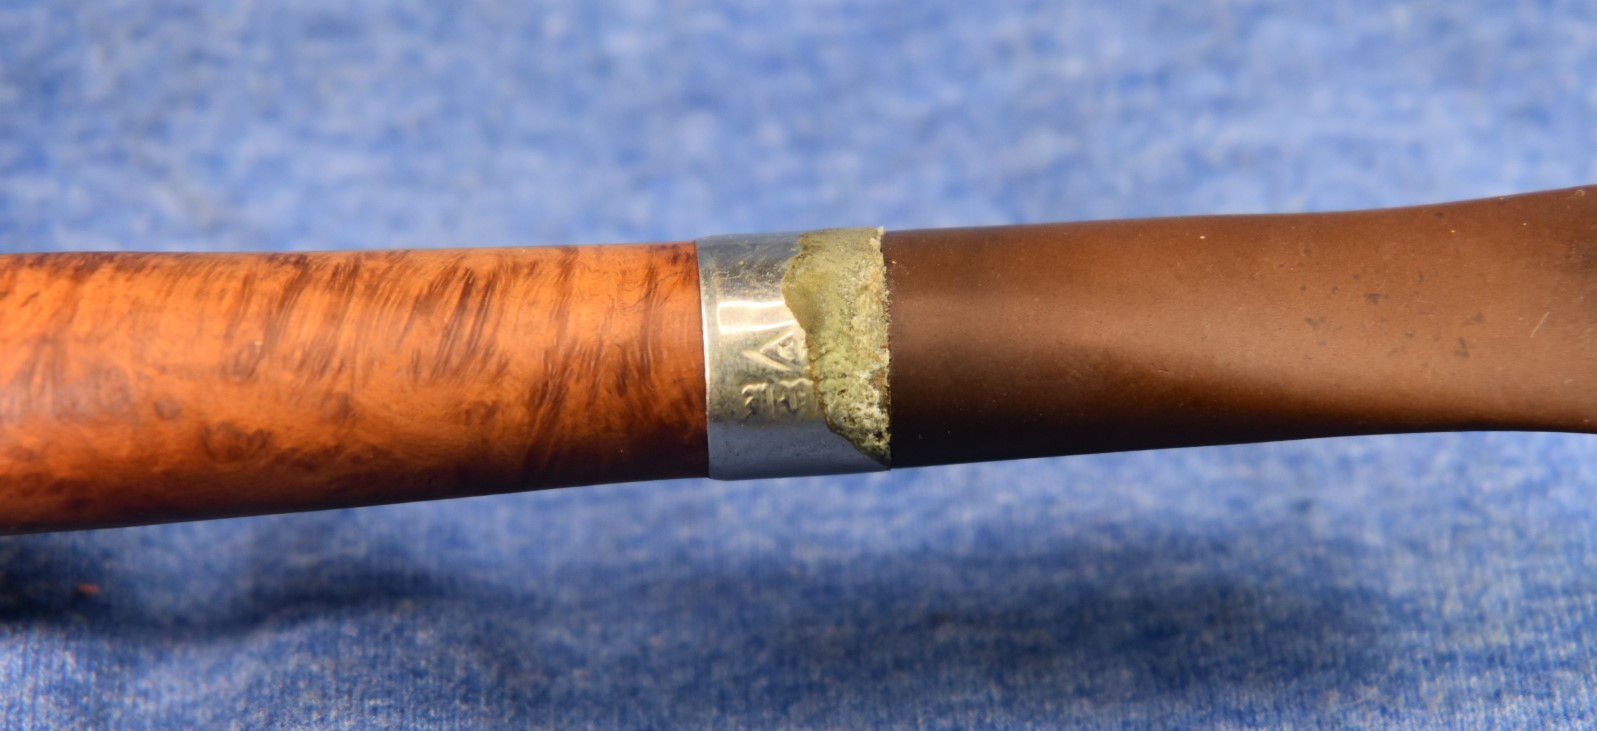
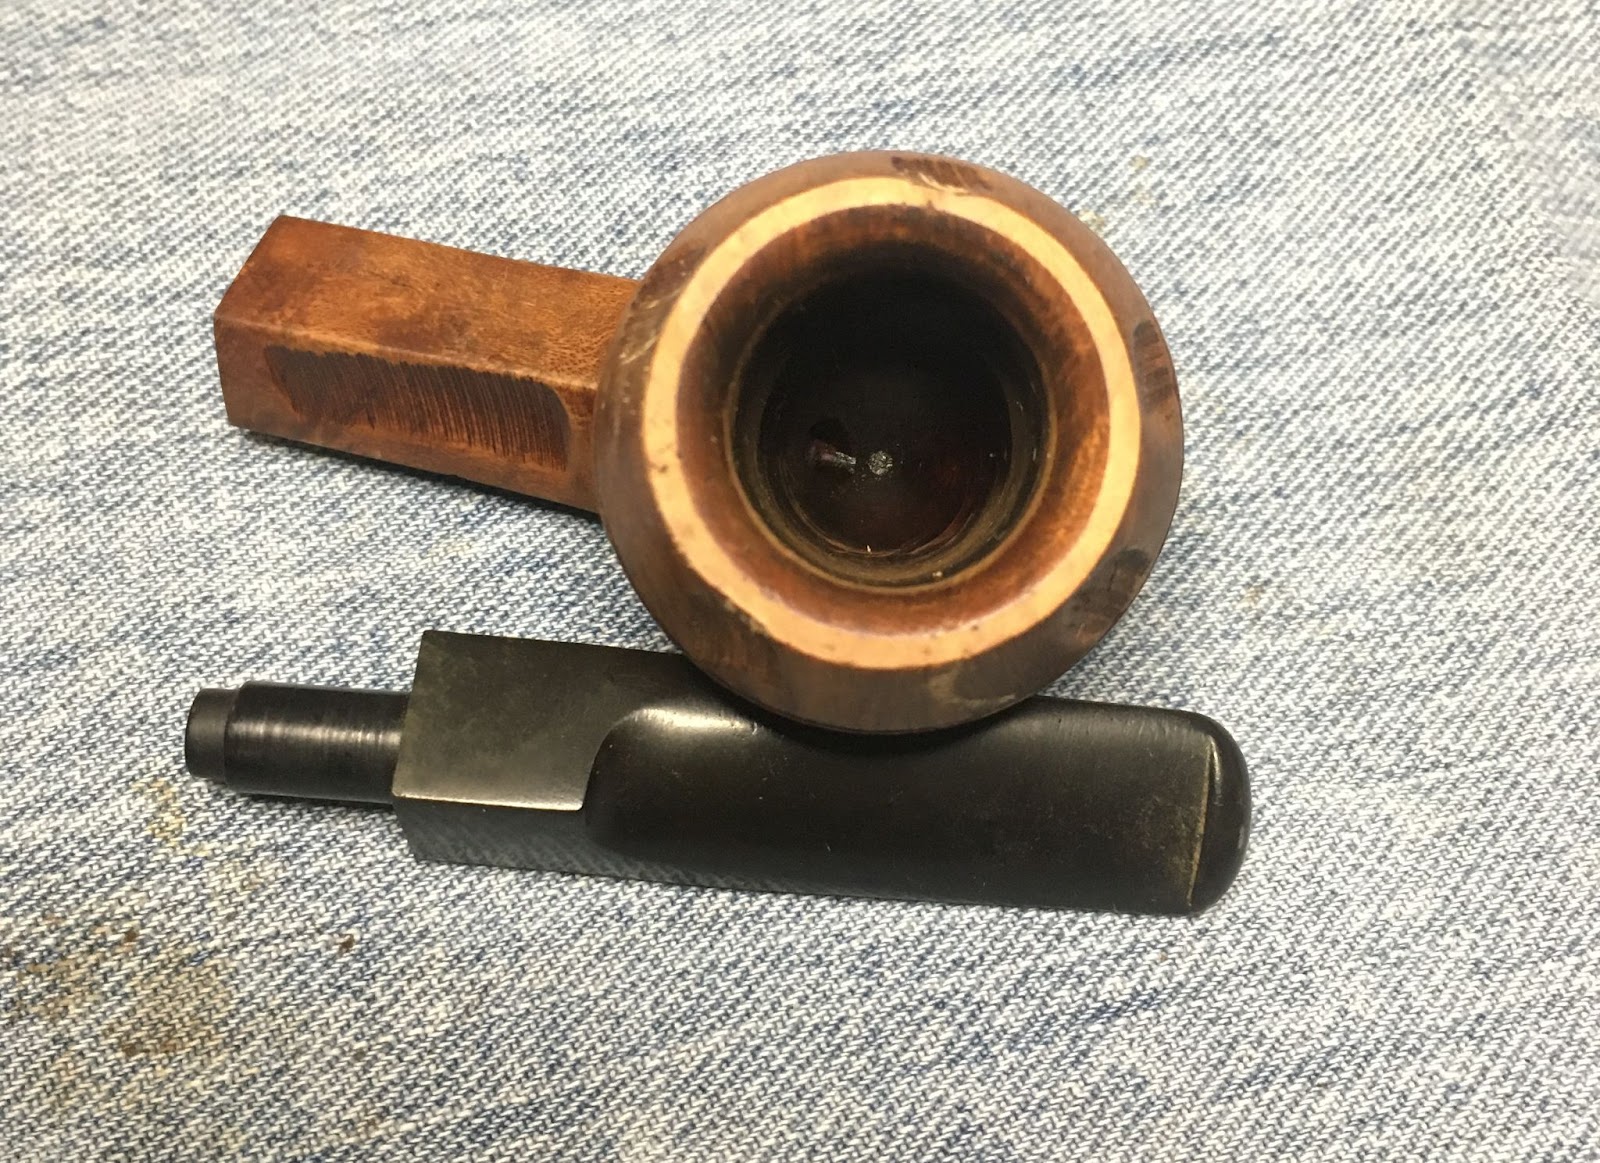
On to the restoration. The pipe received a new piece of denim for the work surface and was disassembled. The rim showed lava accumulation and maybe a bit of charring. This required cleaning to assess the condition of the rim. The stummel was shiny but I wasn’t sure if it was due to a clear coat of some kind or an accumulation of wax. Either way cleaning of the stummel would reveal that. The stem was in need of sanding and oxidation removal with potentially a slight reshaping of the button.

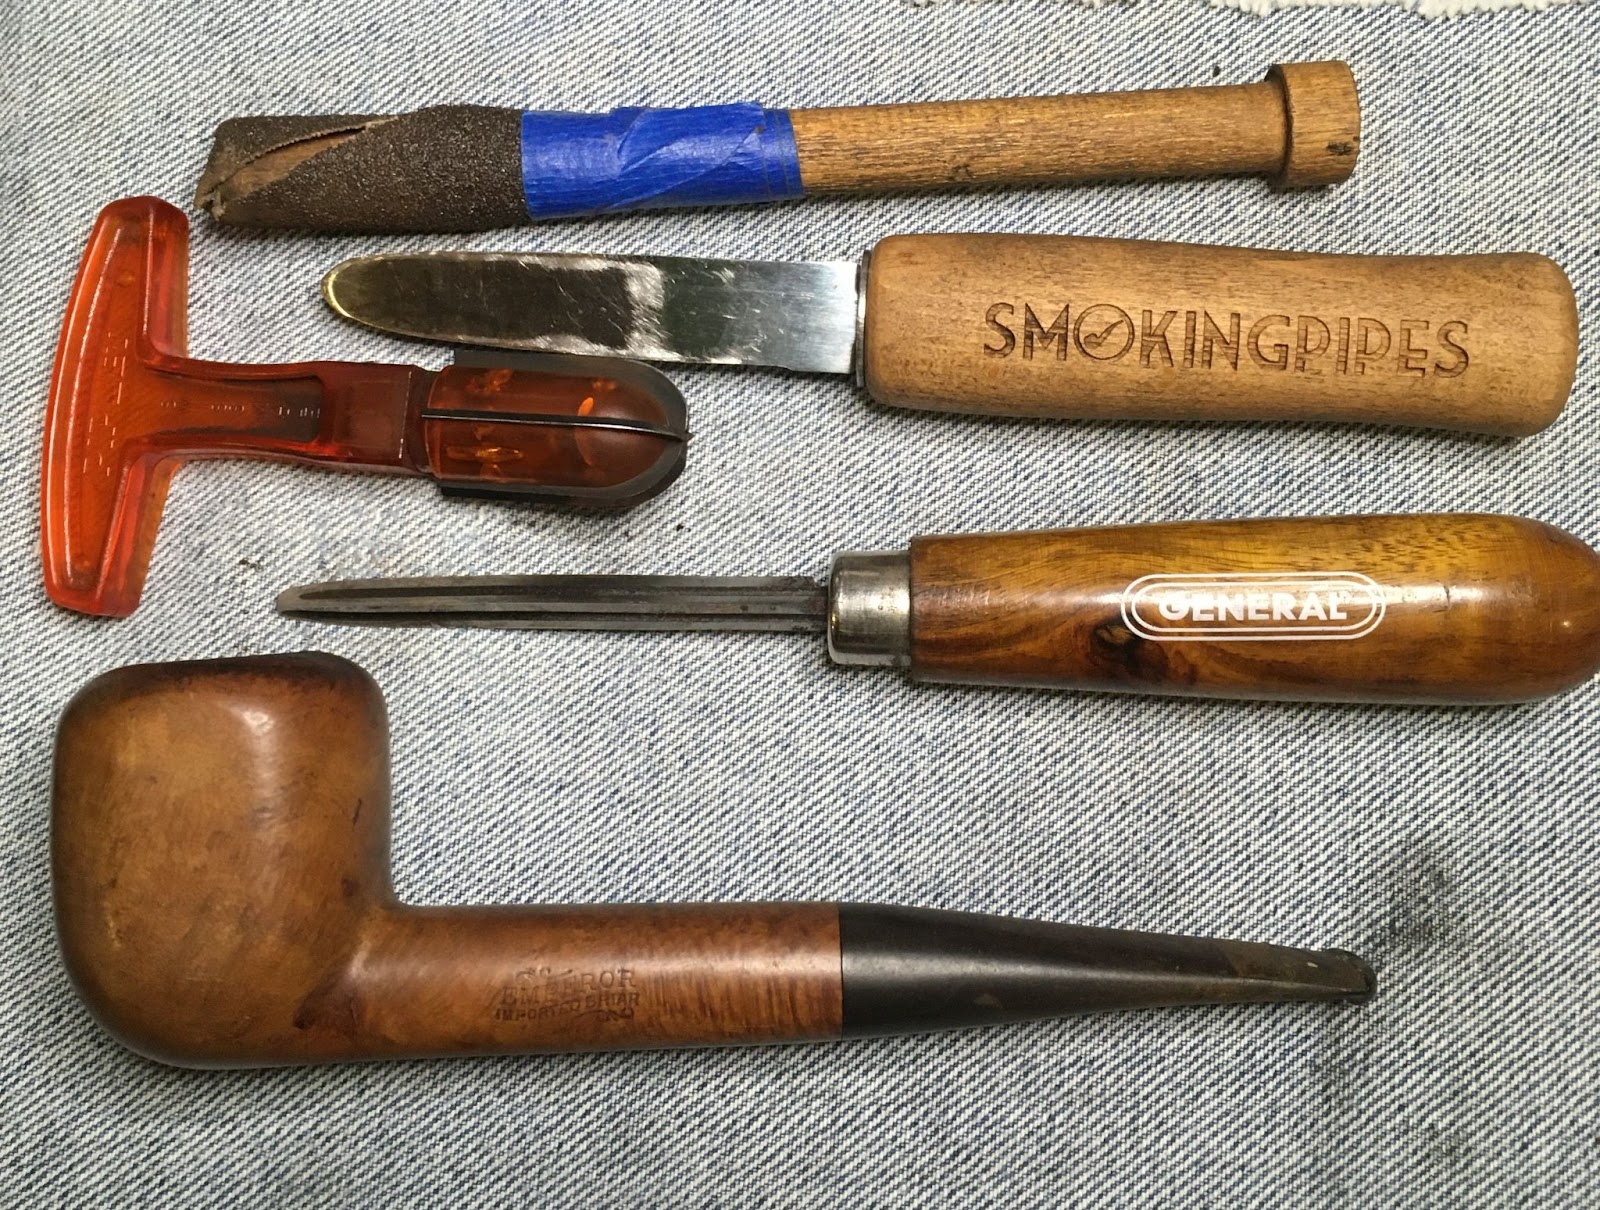
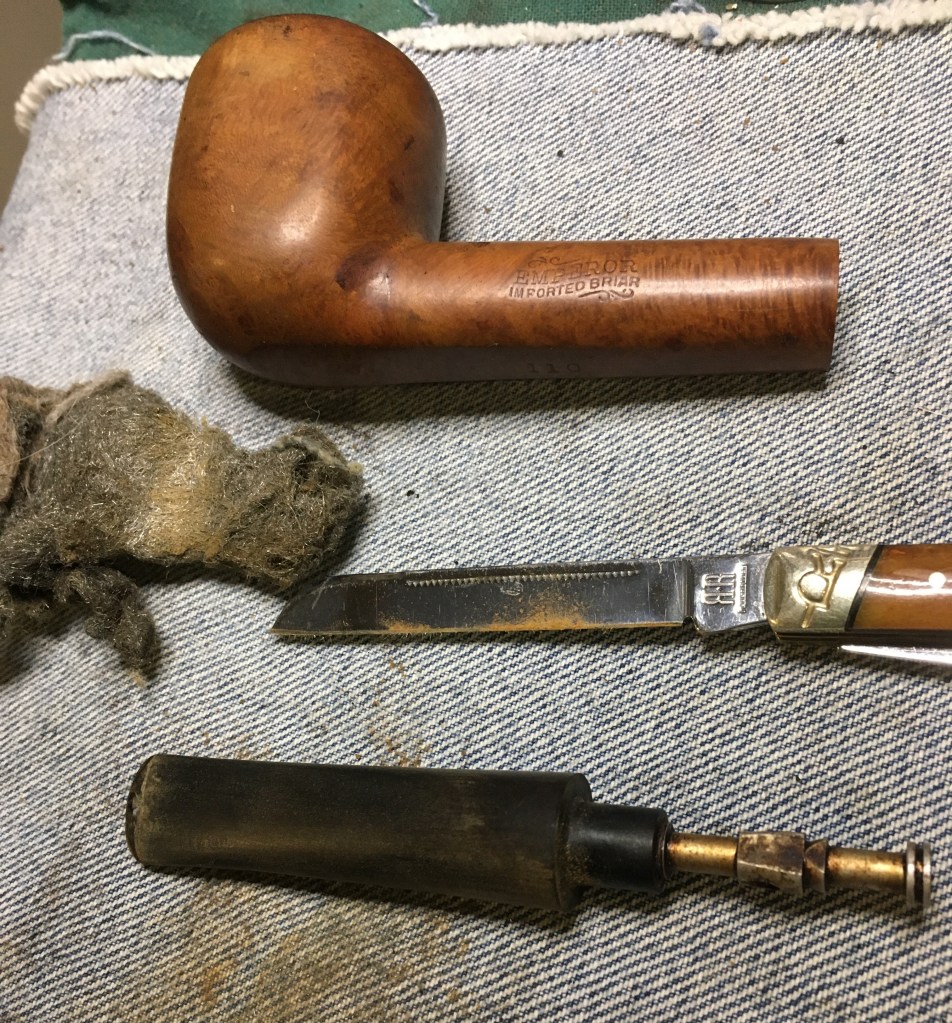
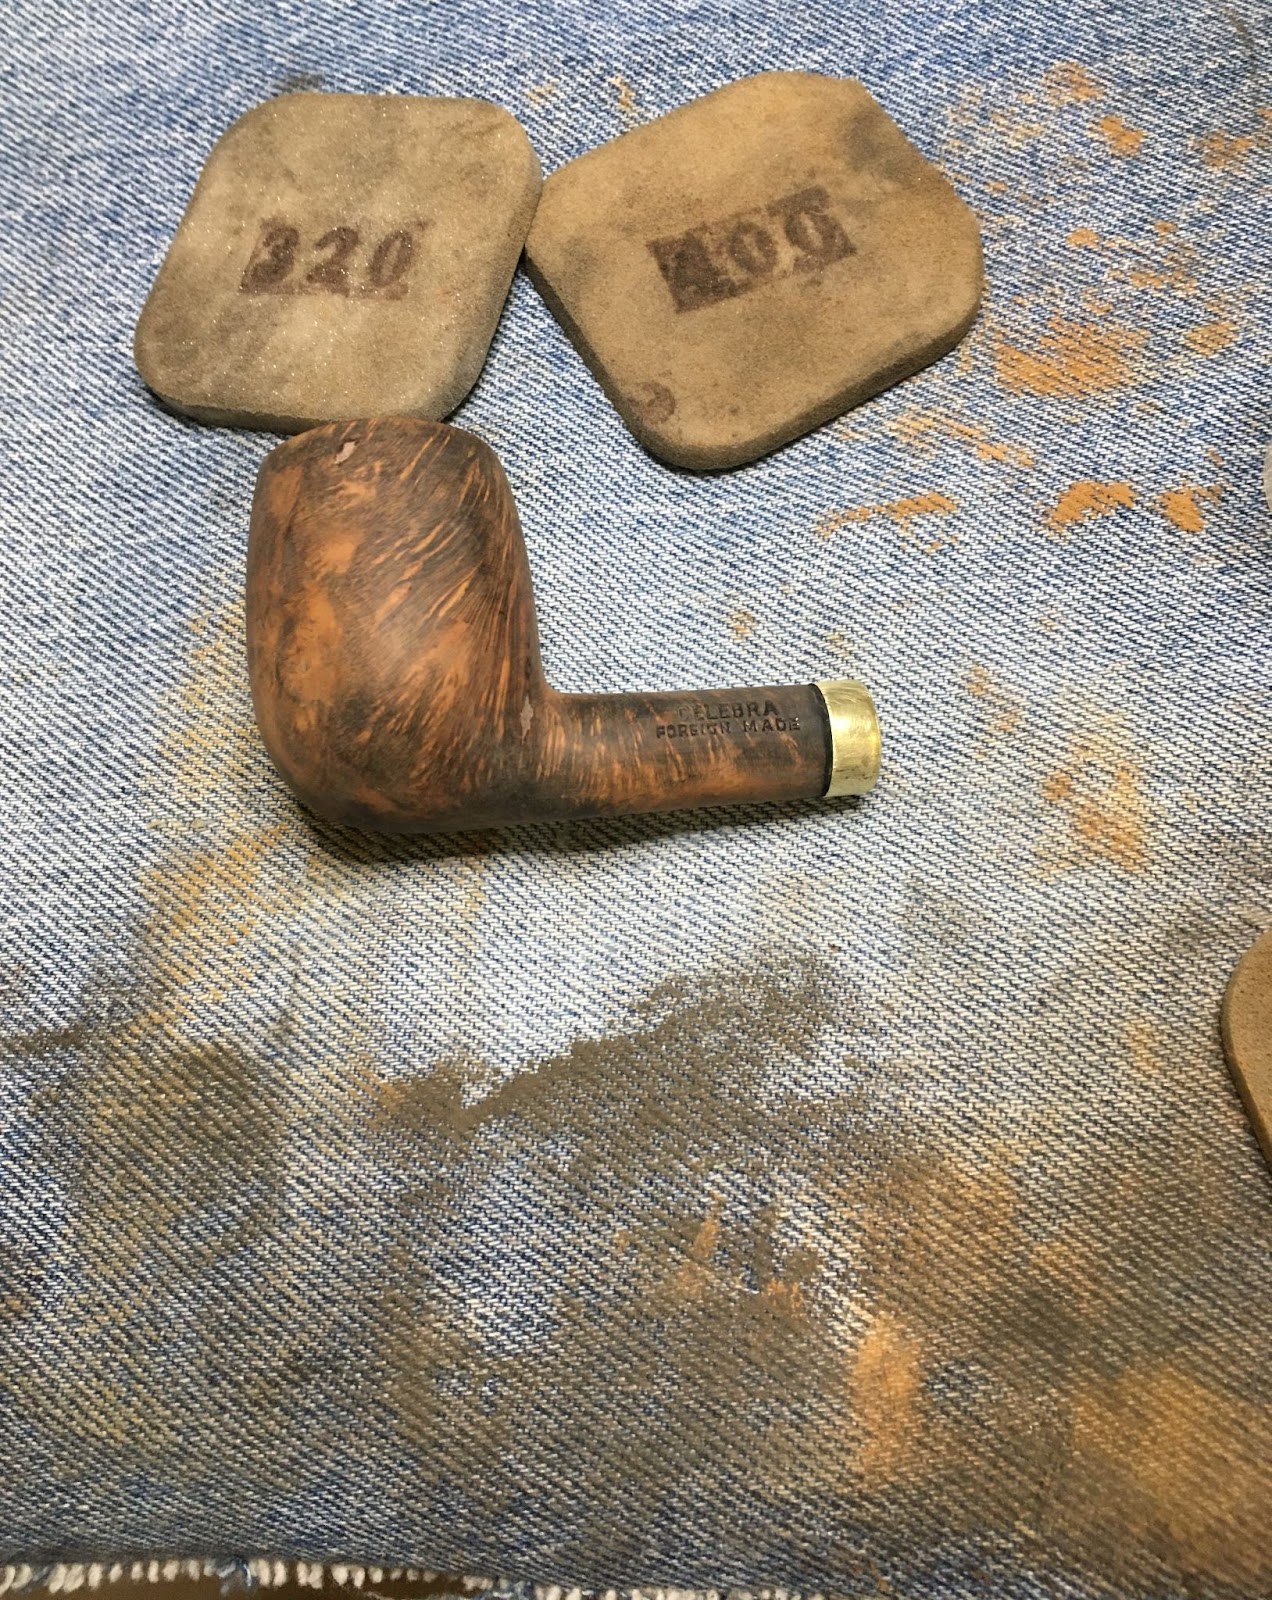
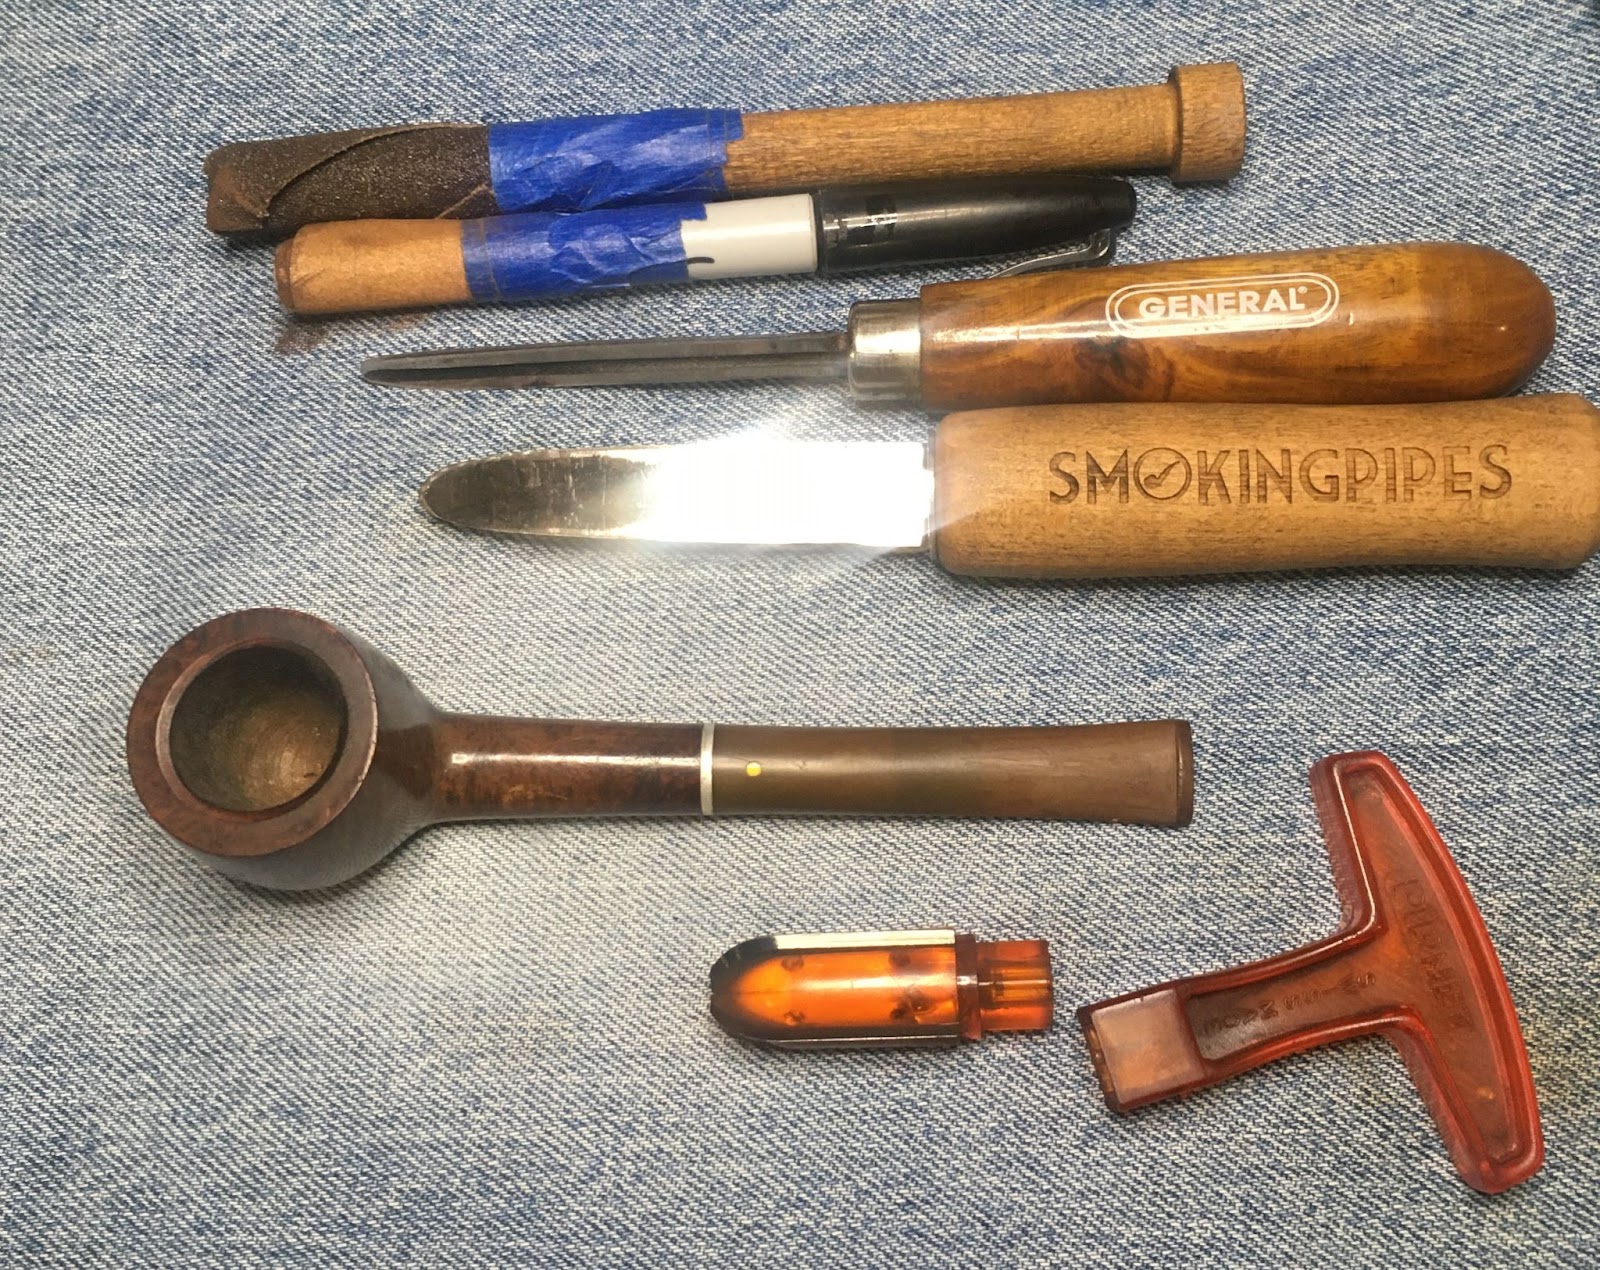
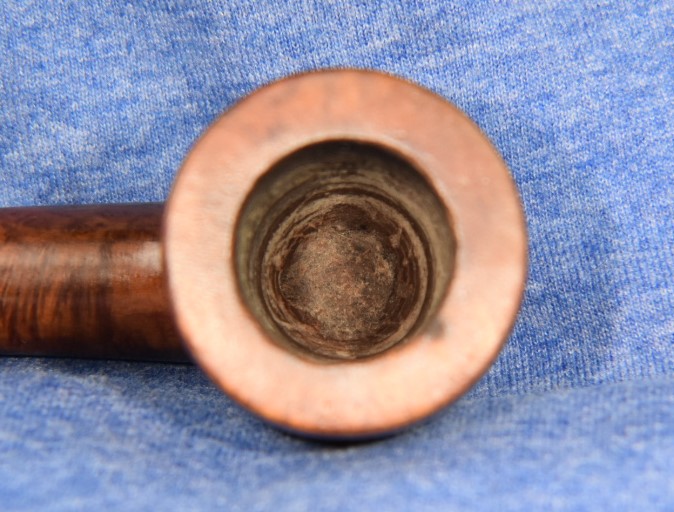
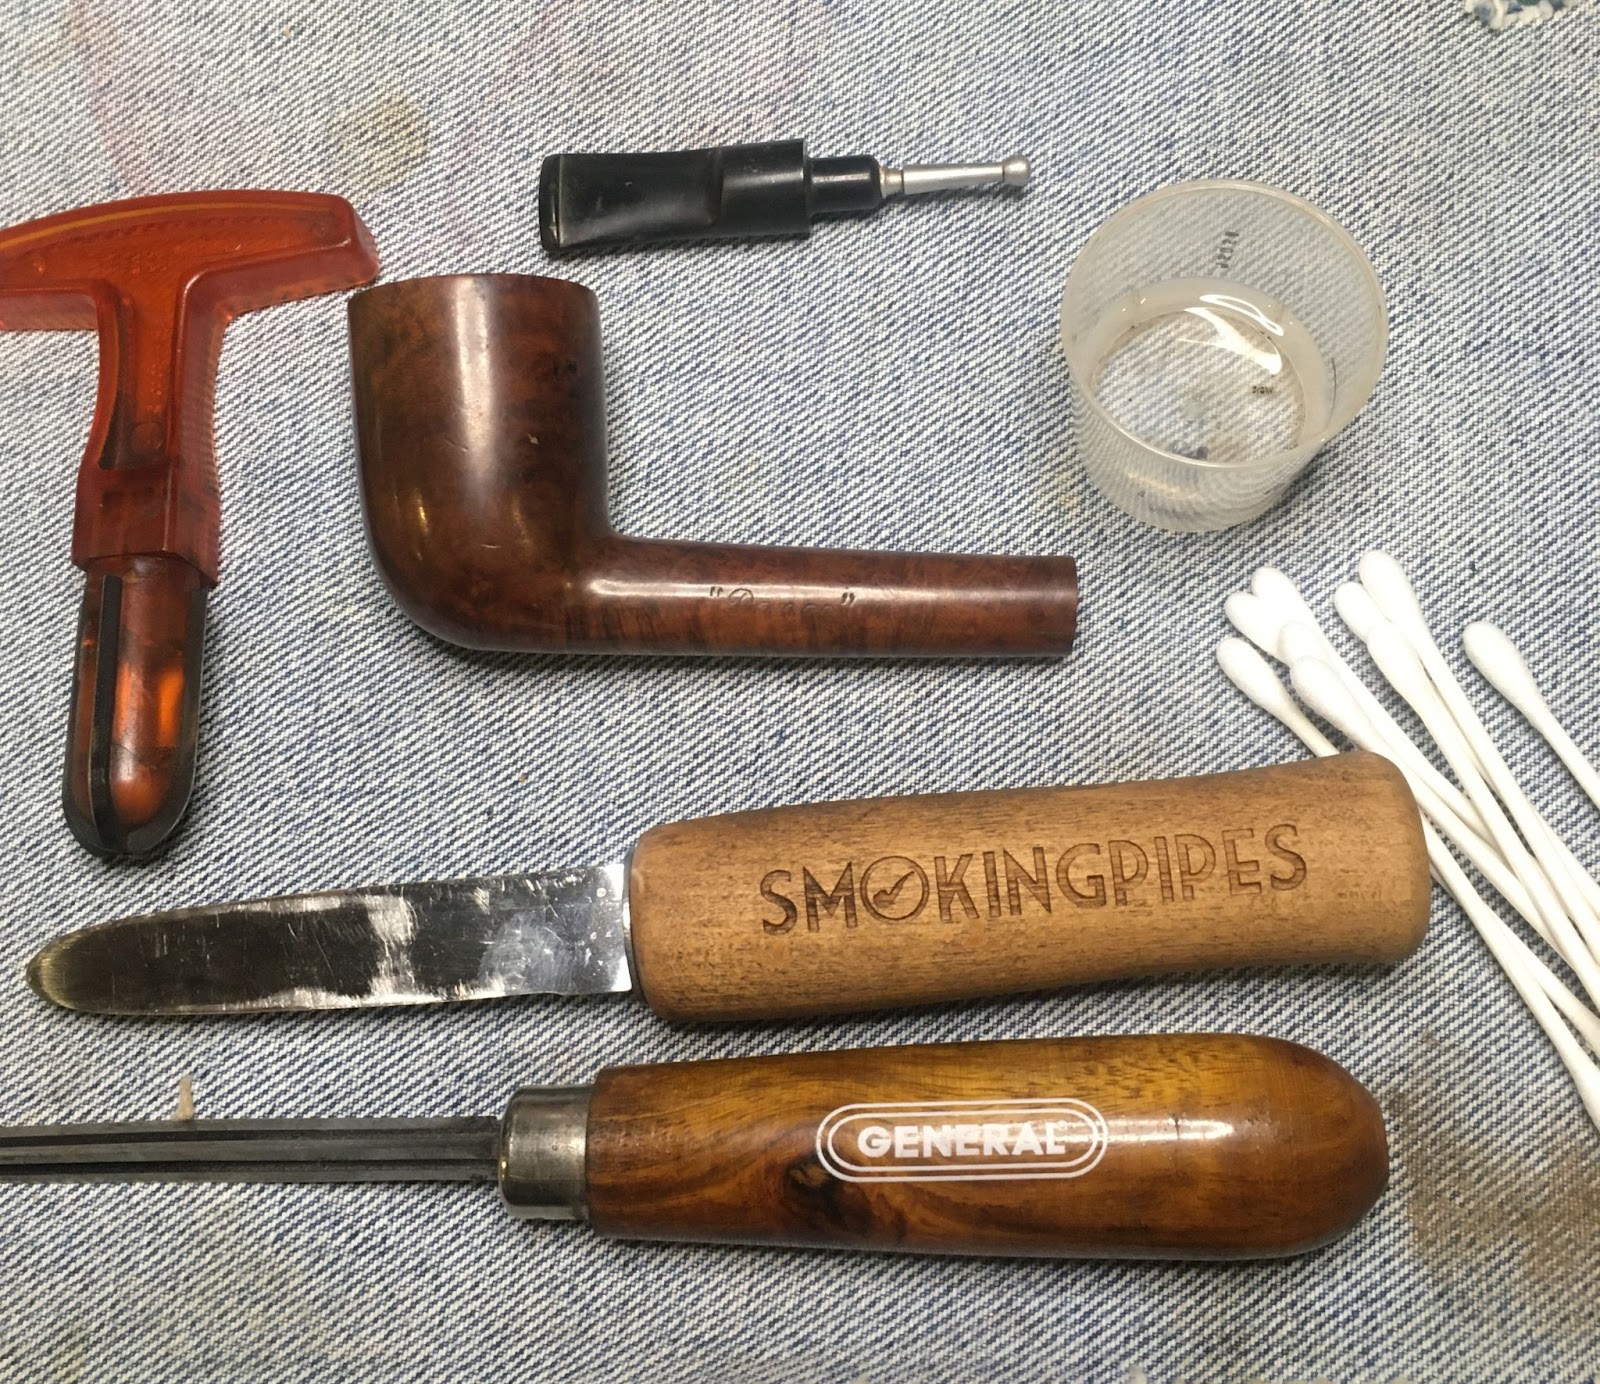
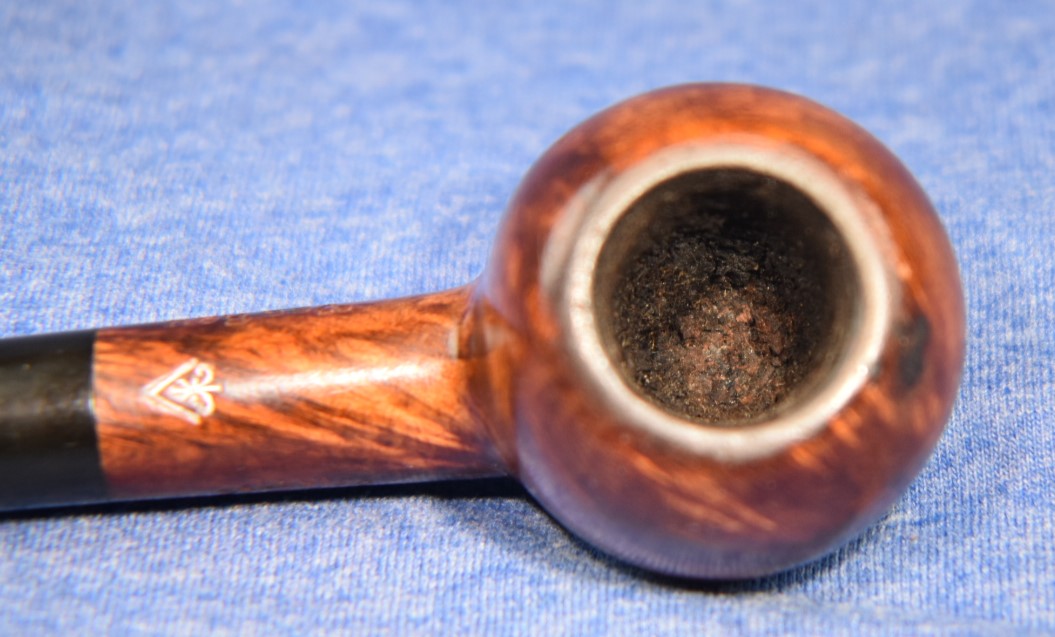
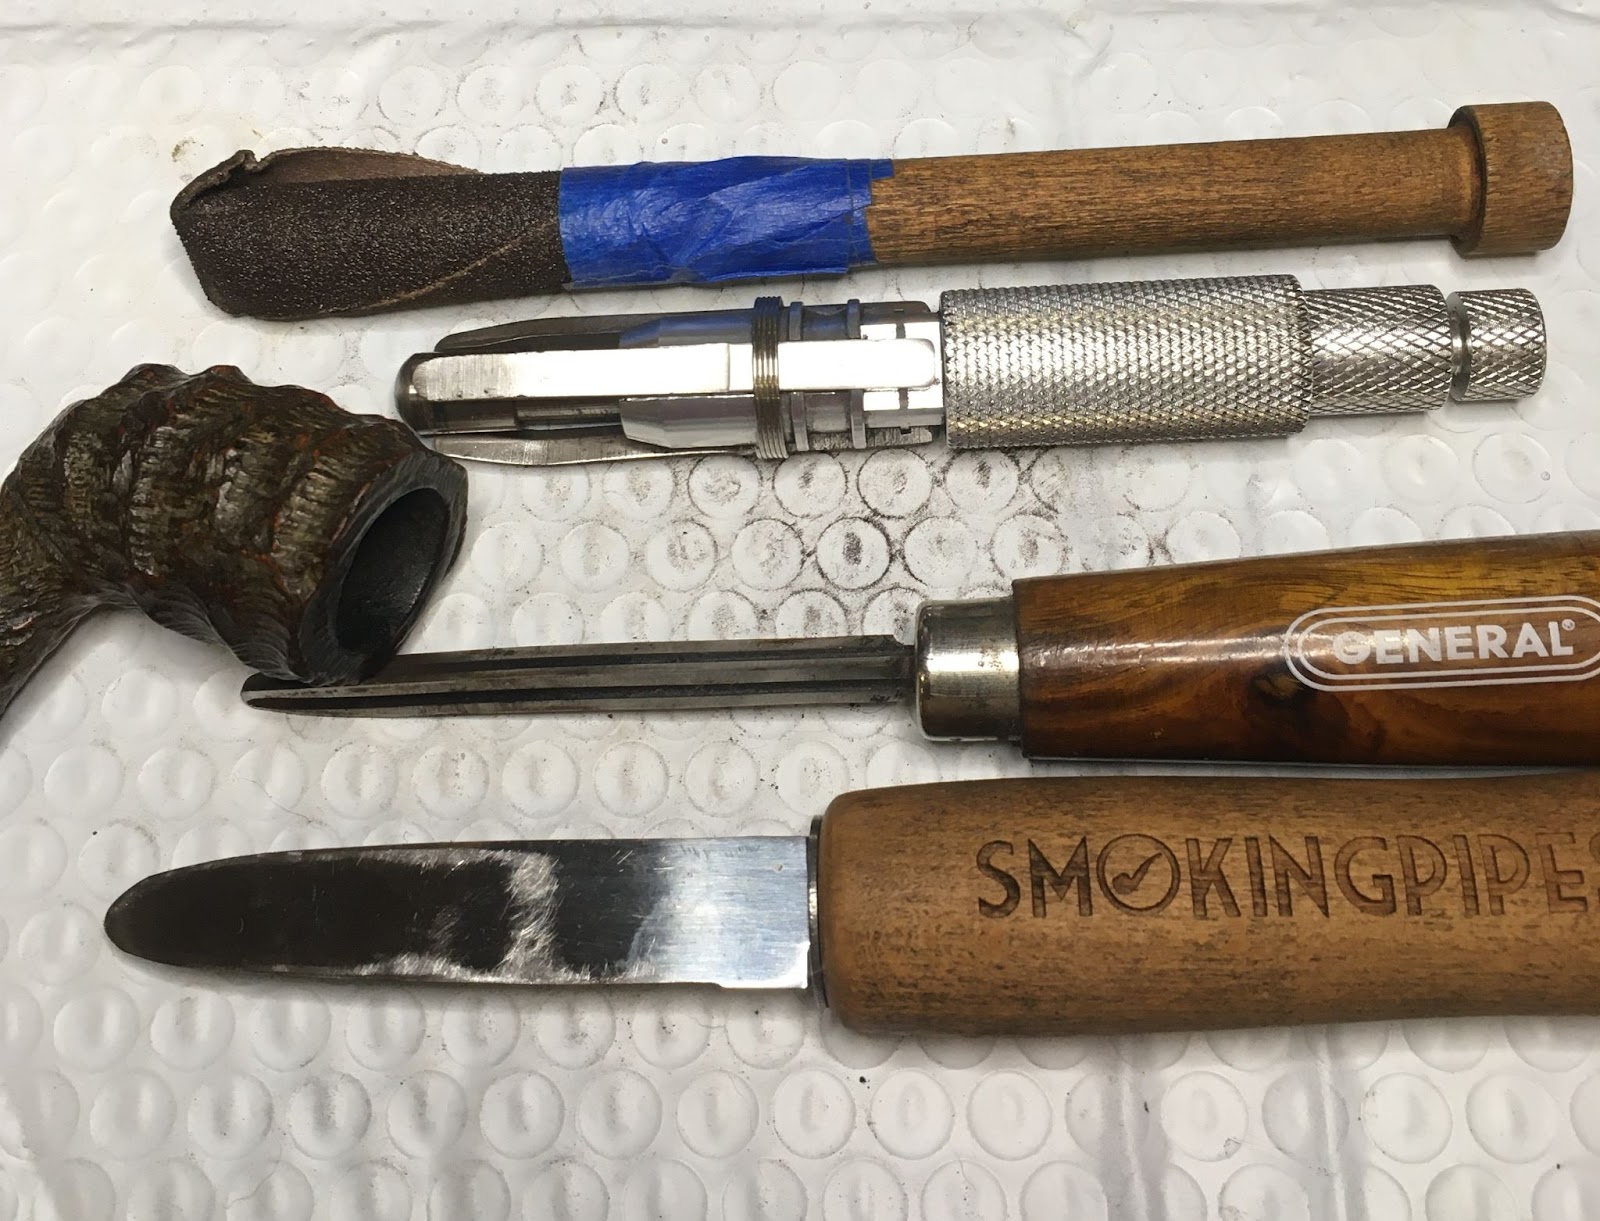
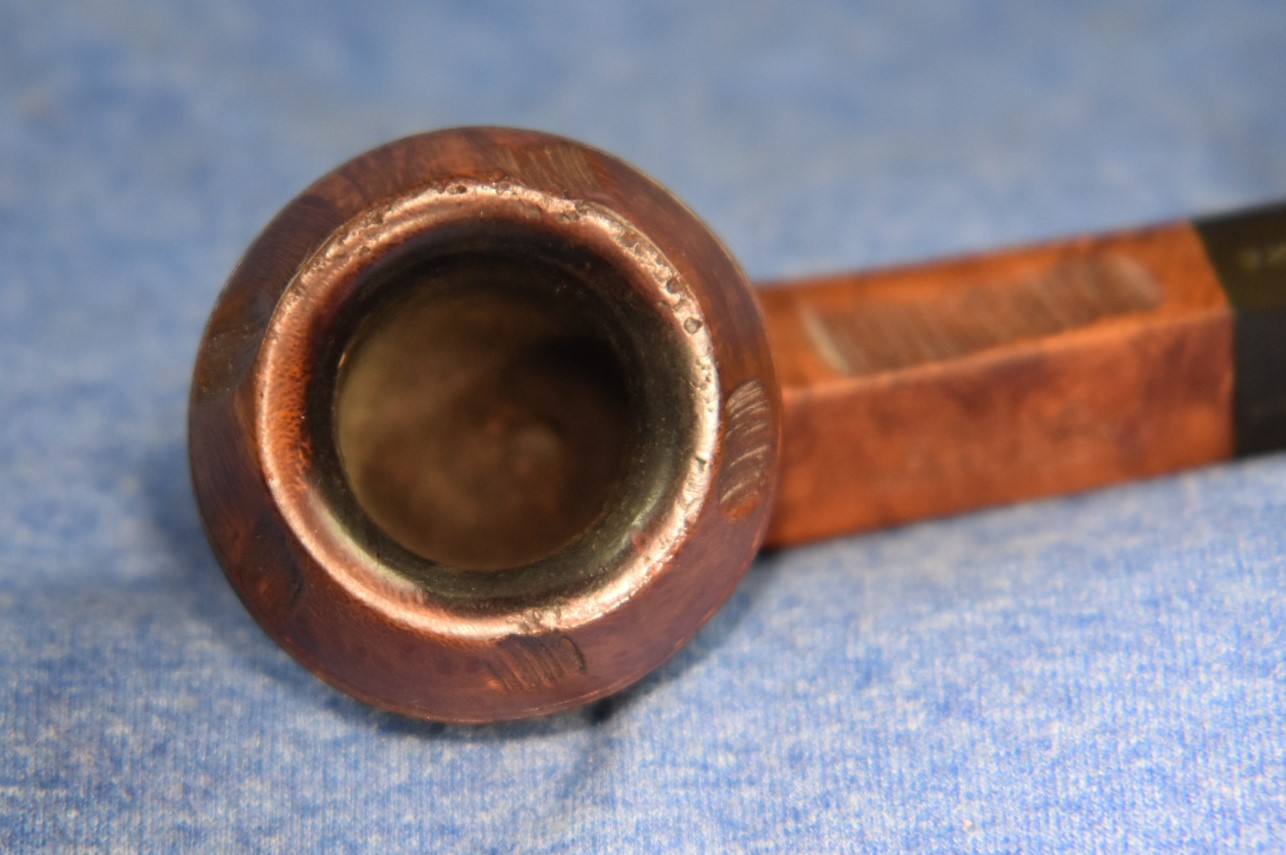
The first step was to ream the tobacco chamber. I used the PiNet reaming toot with the #2 blade, the Smokingpipes Low Country knife and the General triangular scraper for the brunt of the work. THe chamber was then sanded with 220 sandpaper wrapped around a wood dowel and 320 sandpaper wrapped around a Sharpie marker.


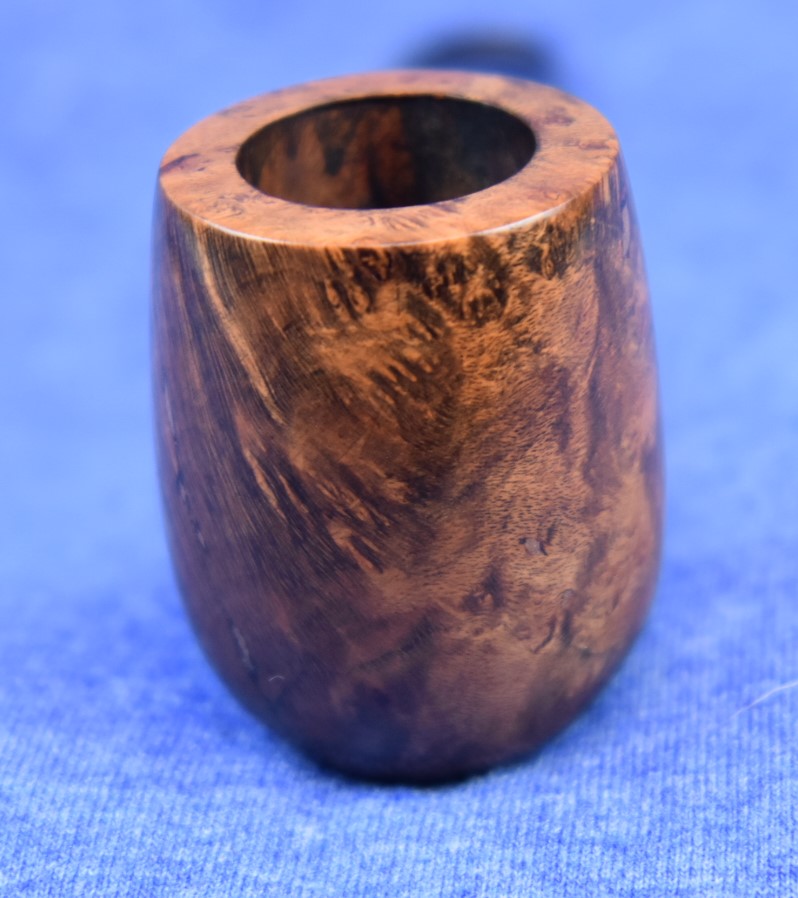
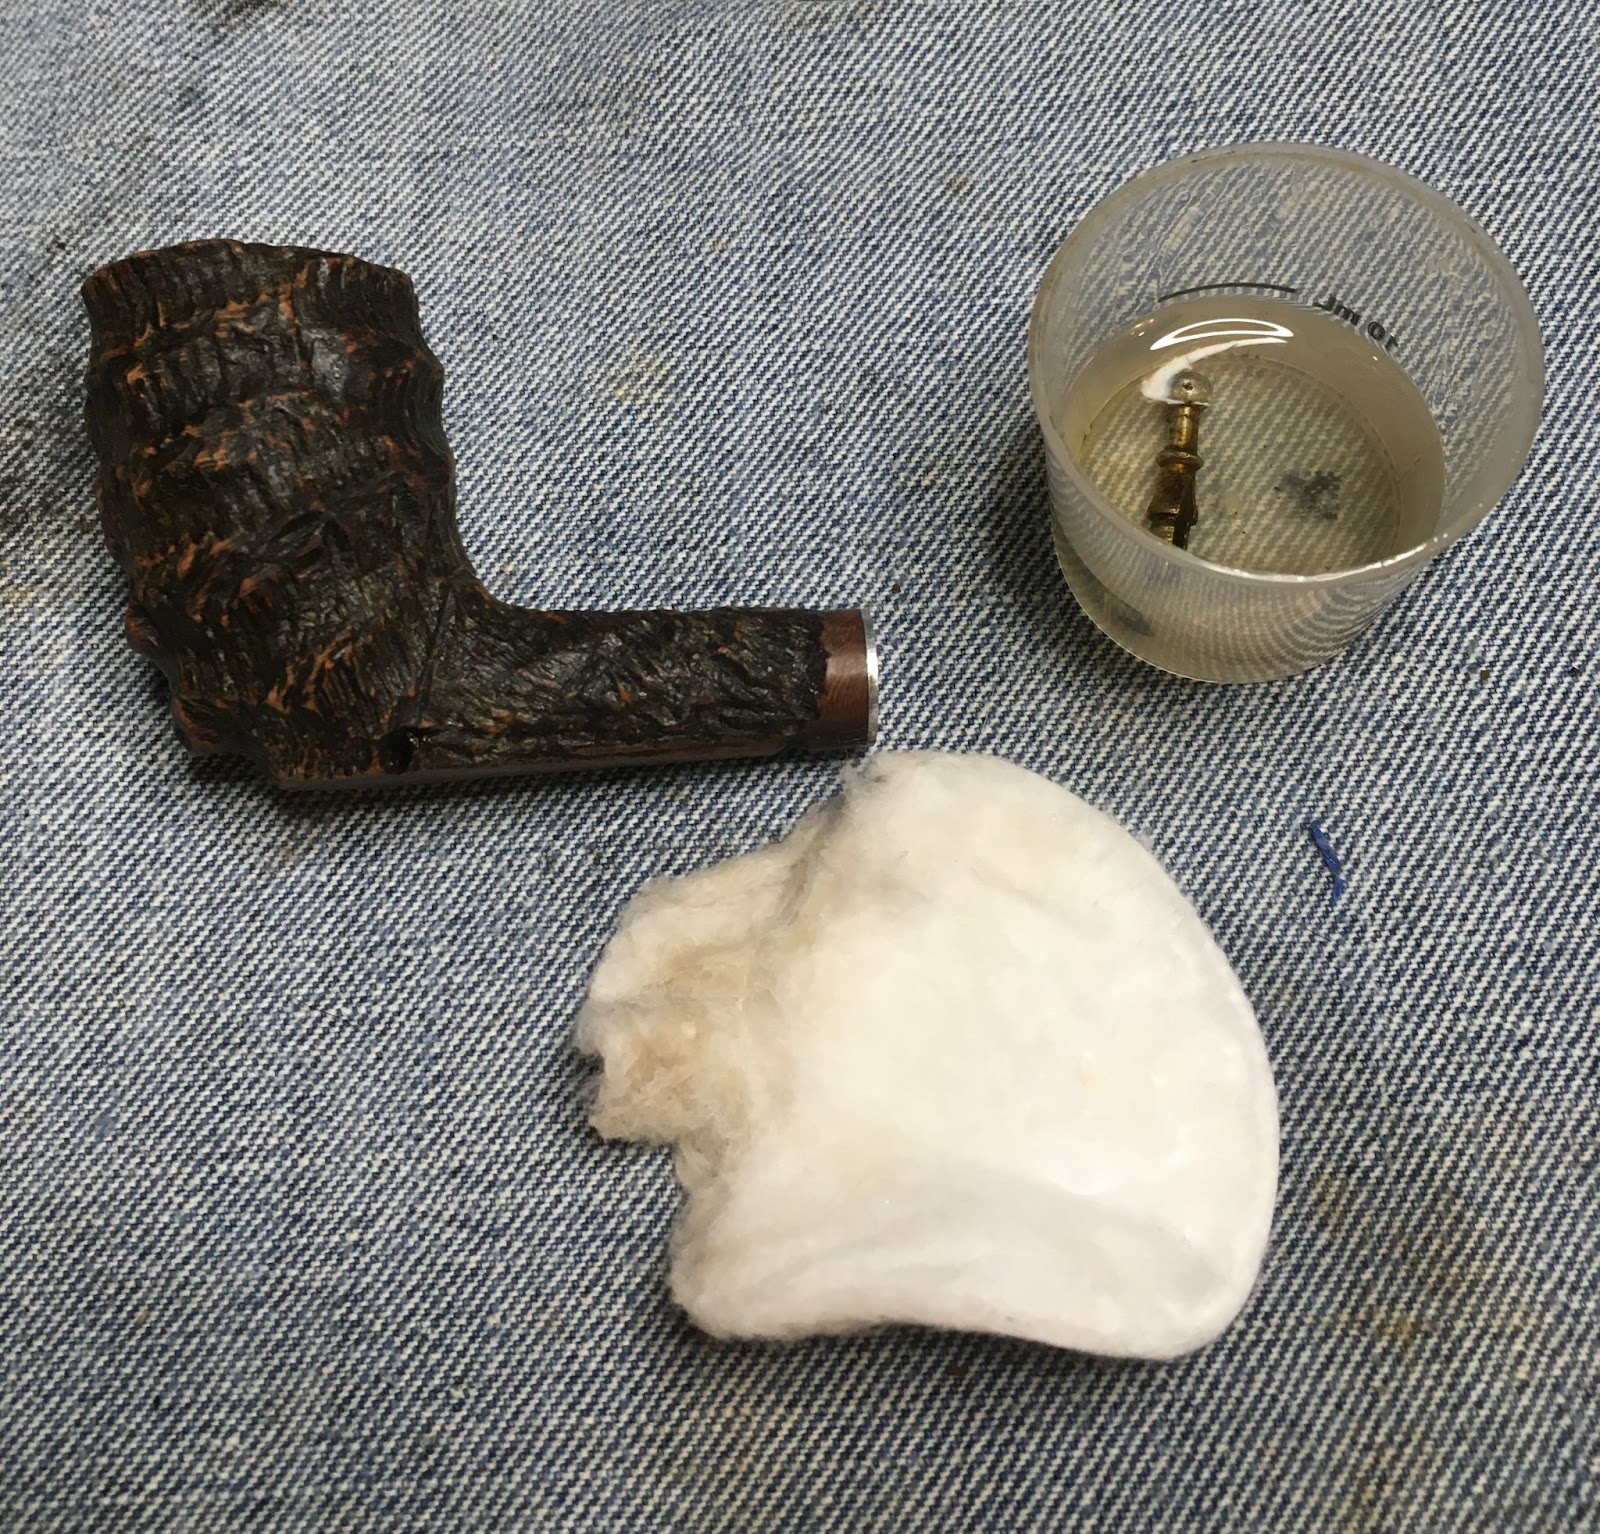
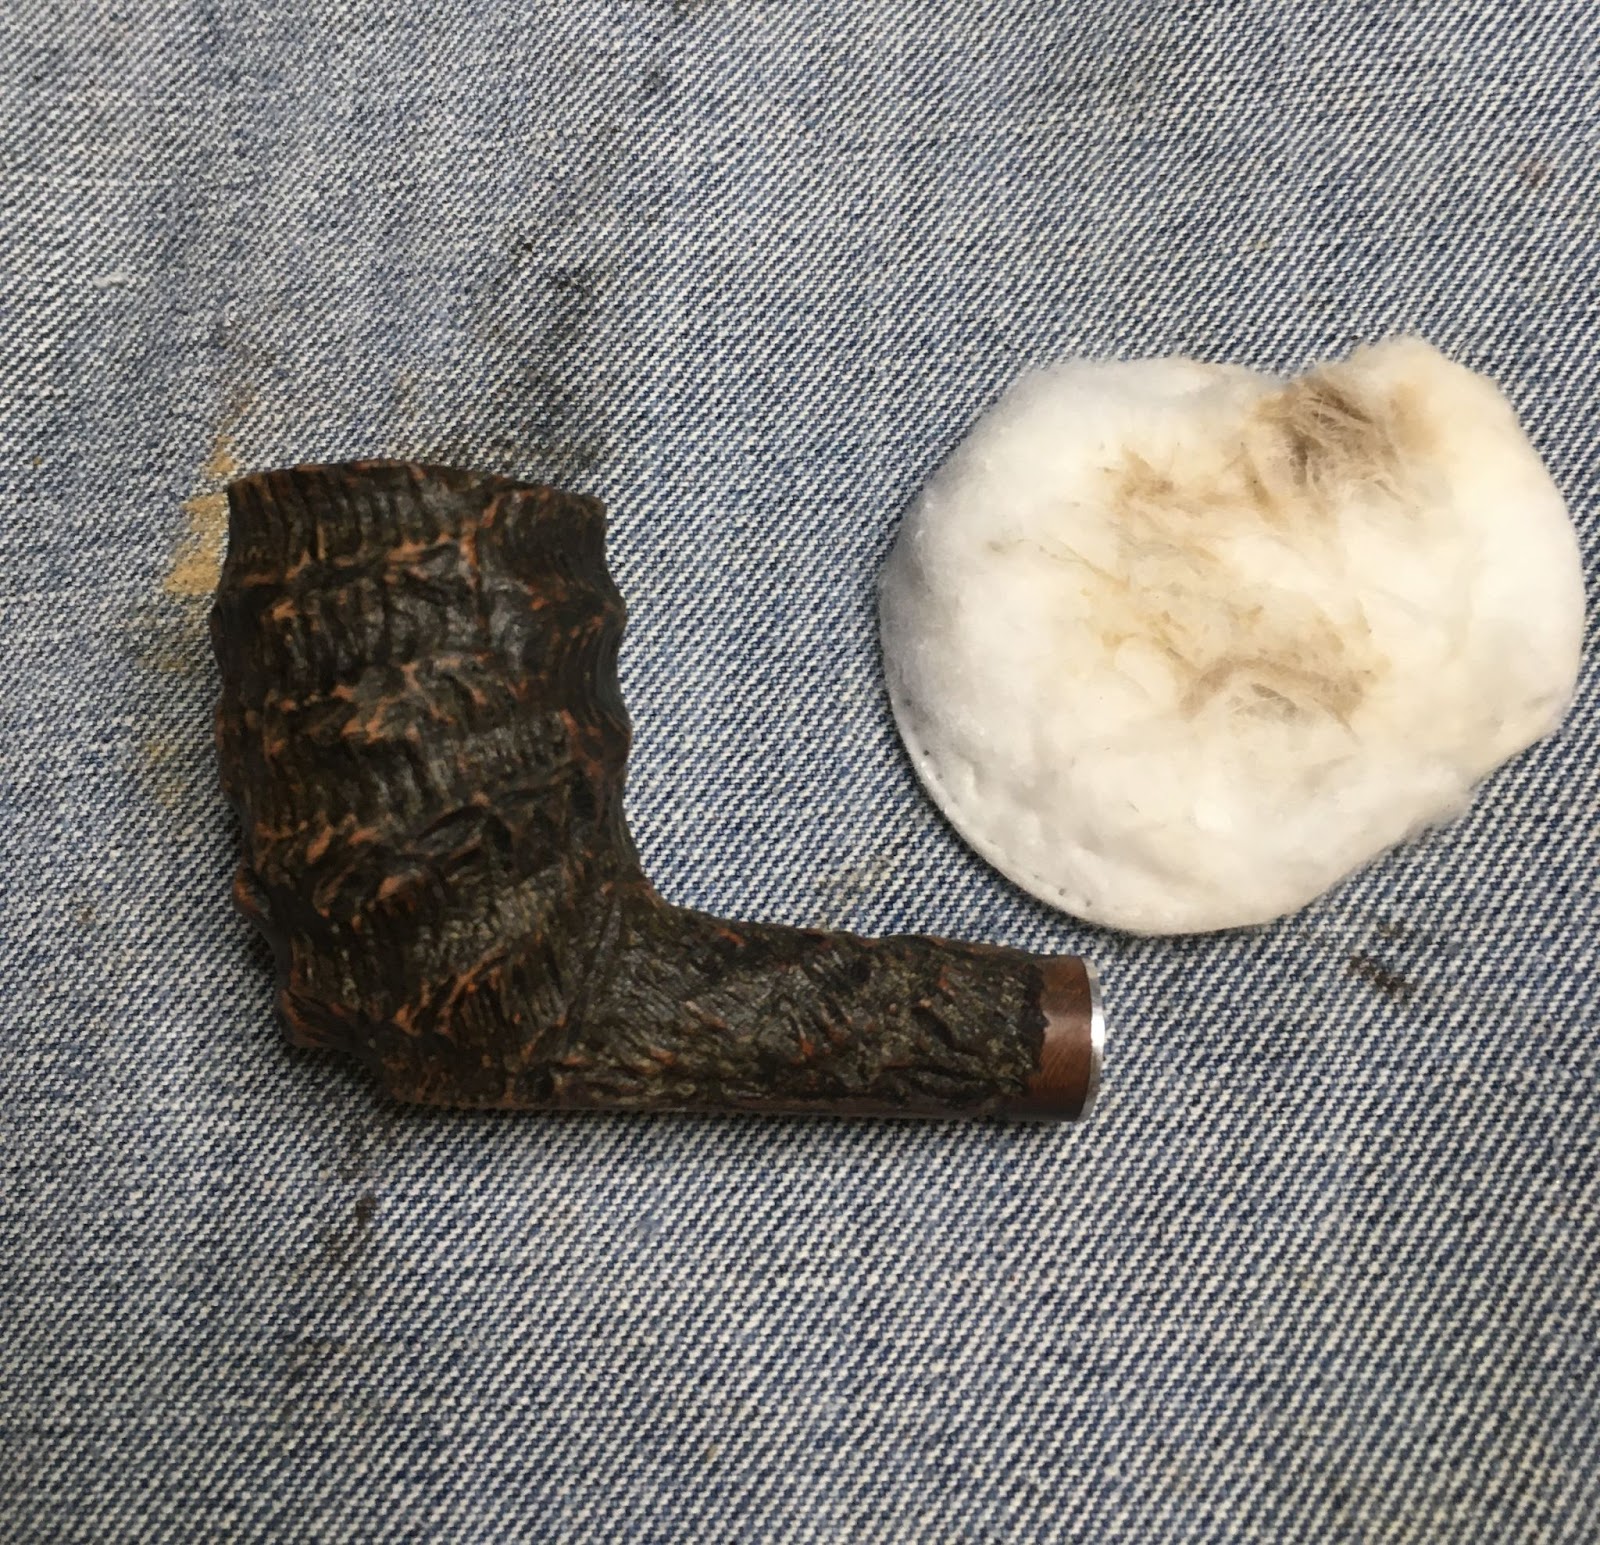
The inside of the tobacco chamber looked great and showed no signs of any heat damage.
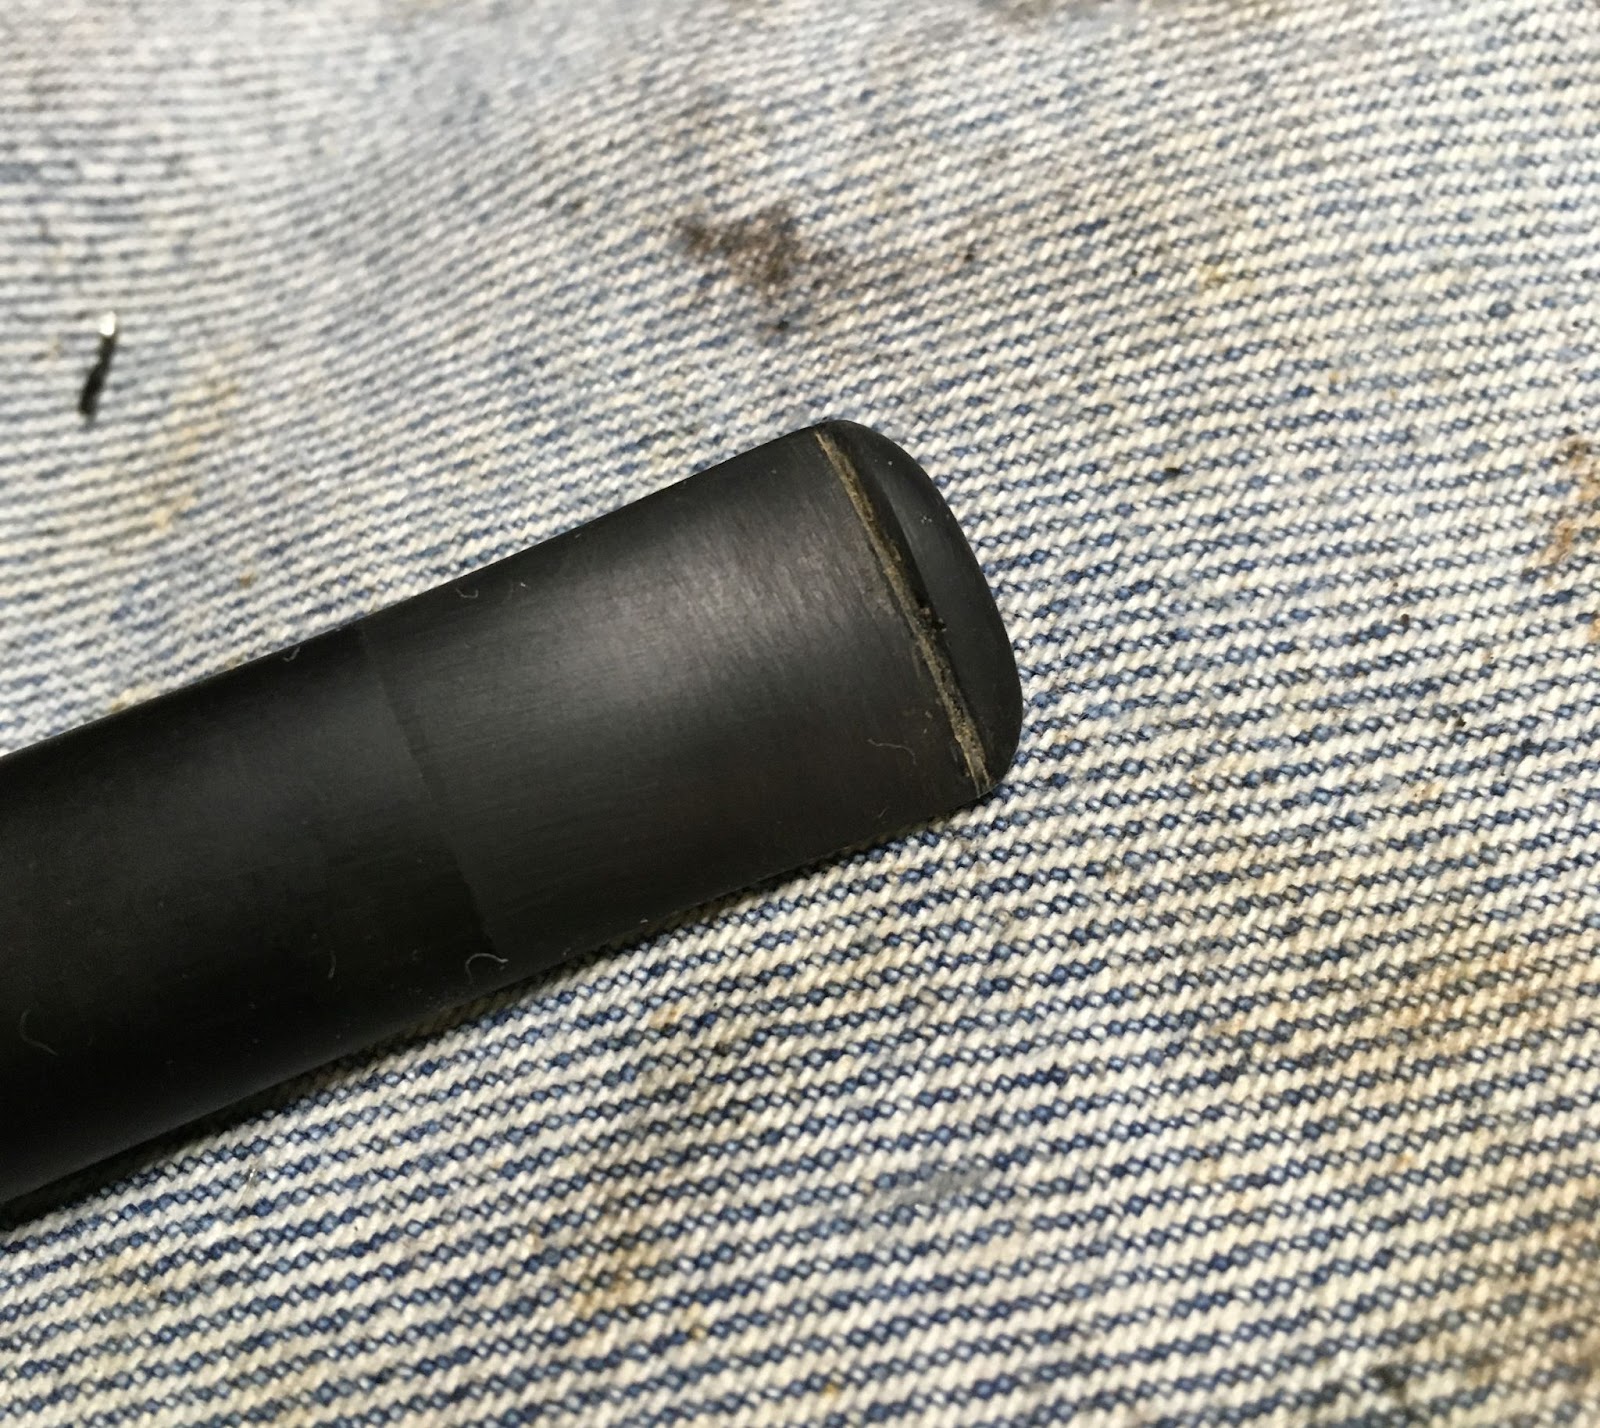
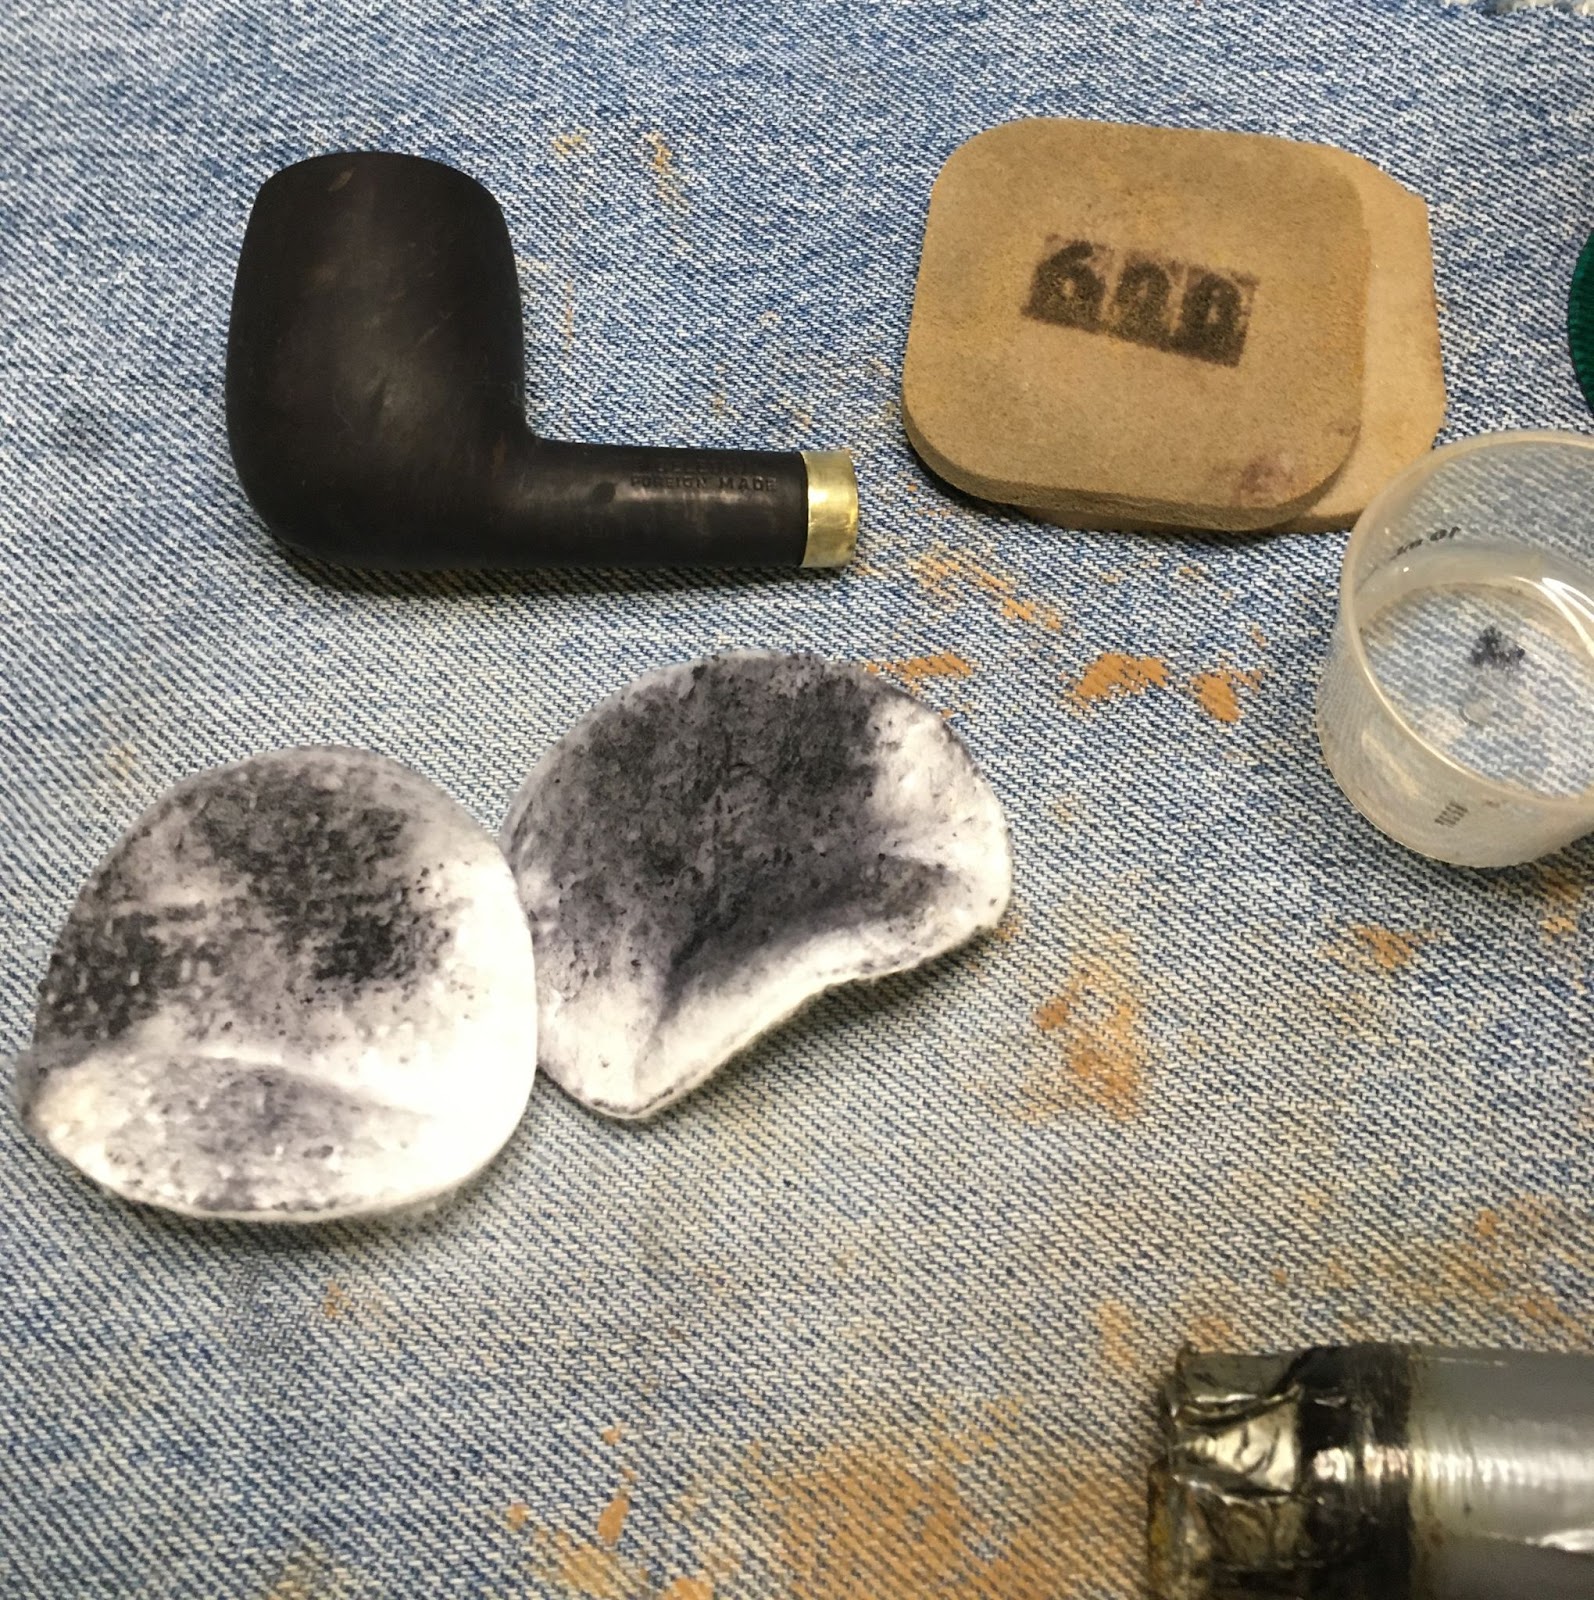
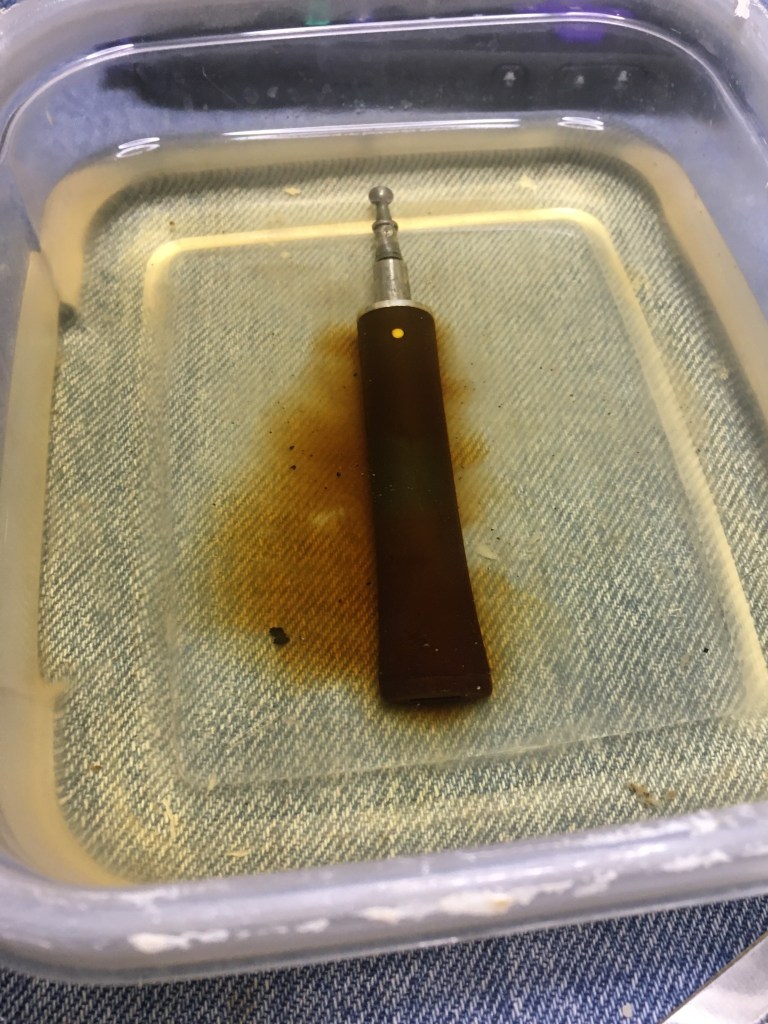
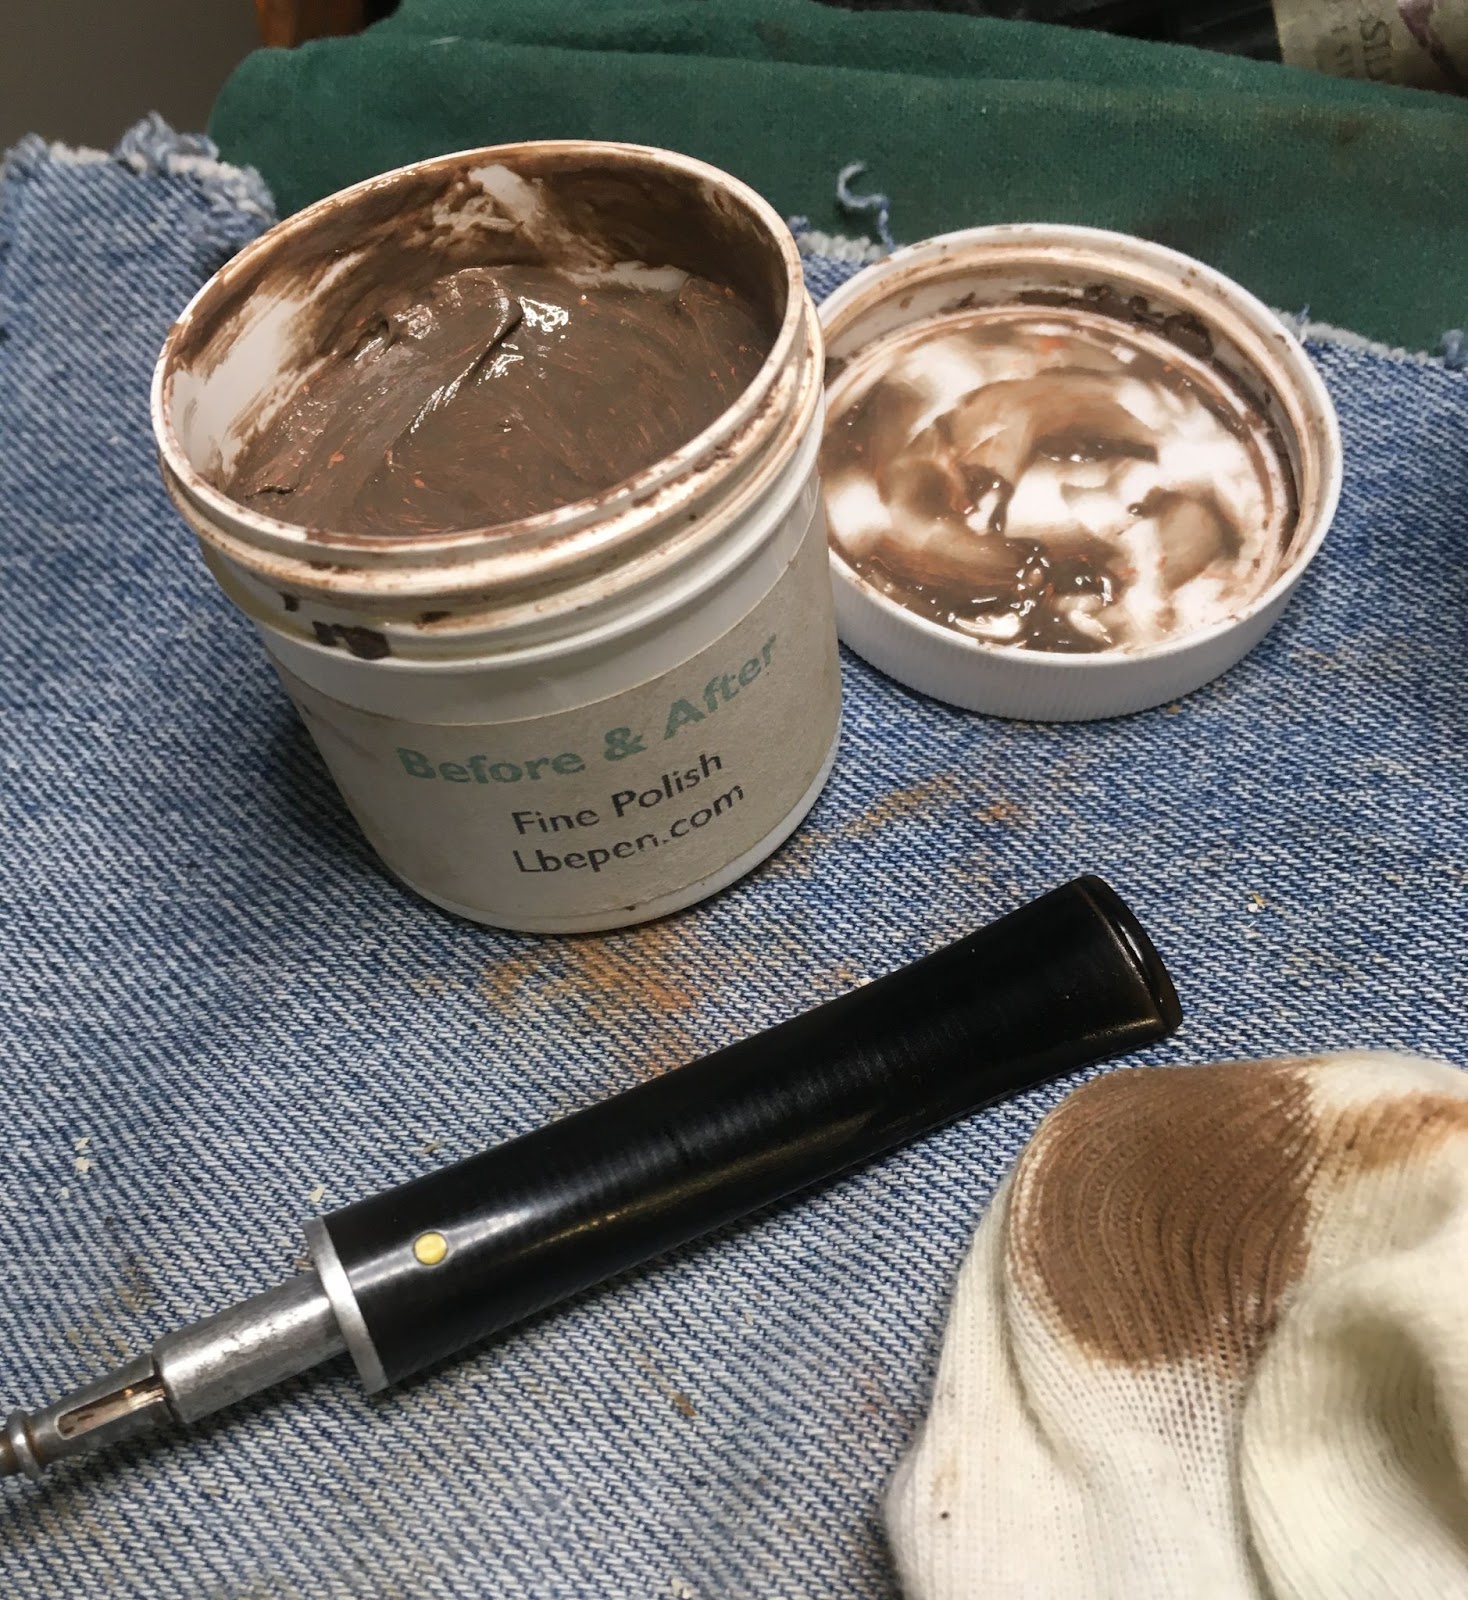
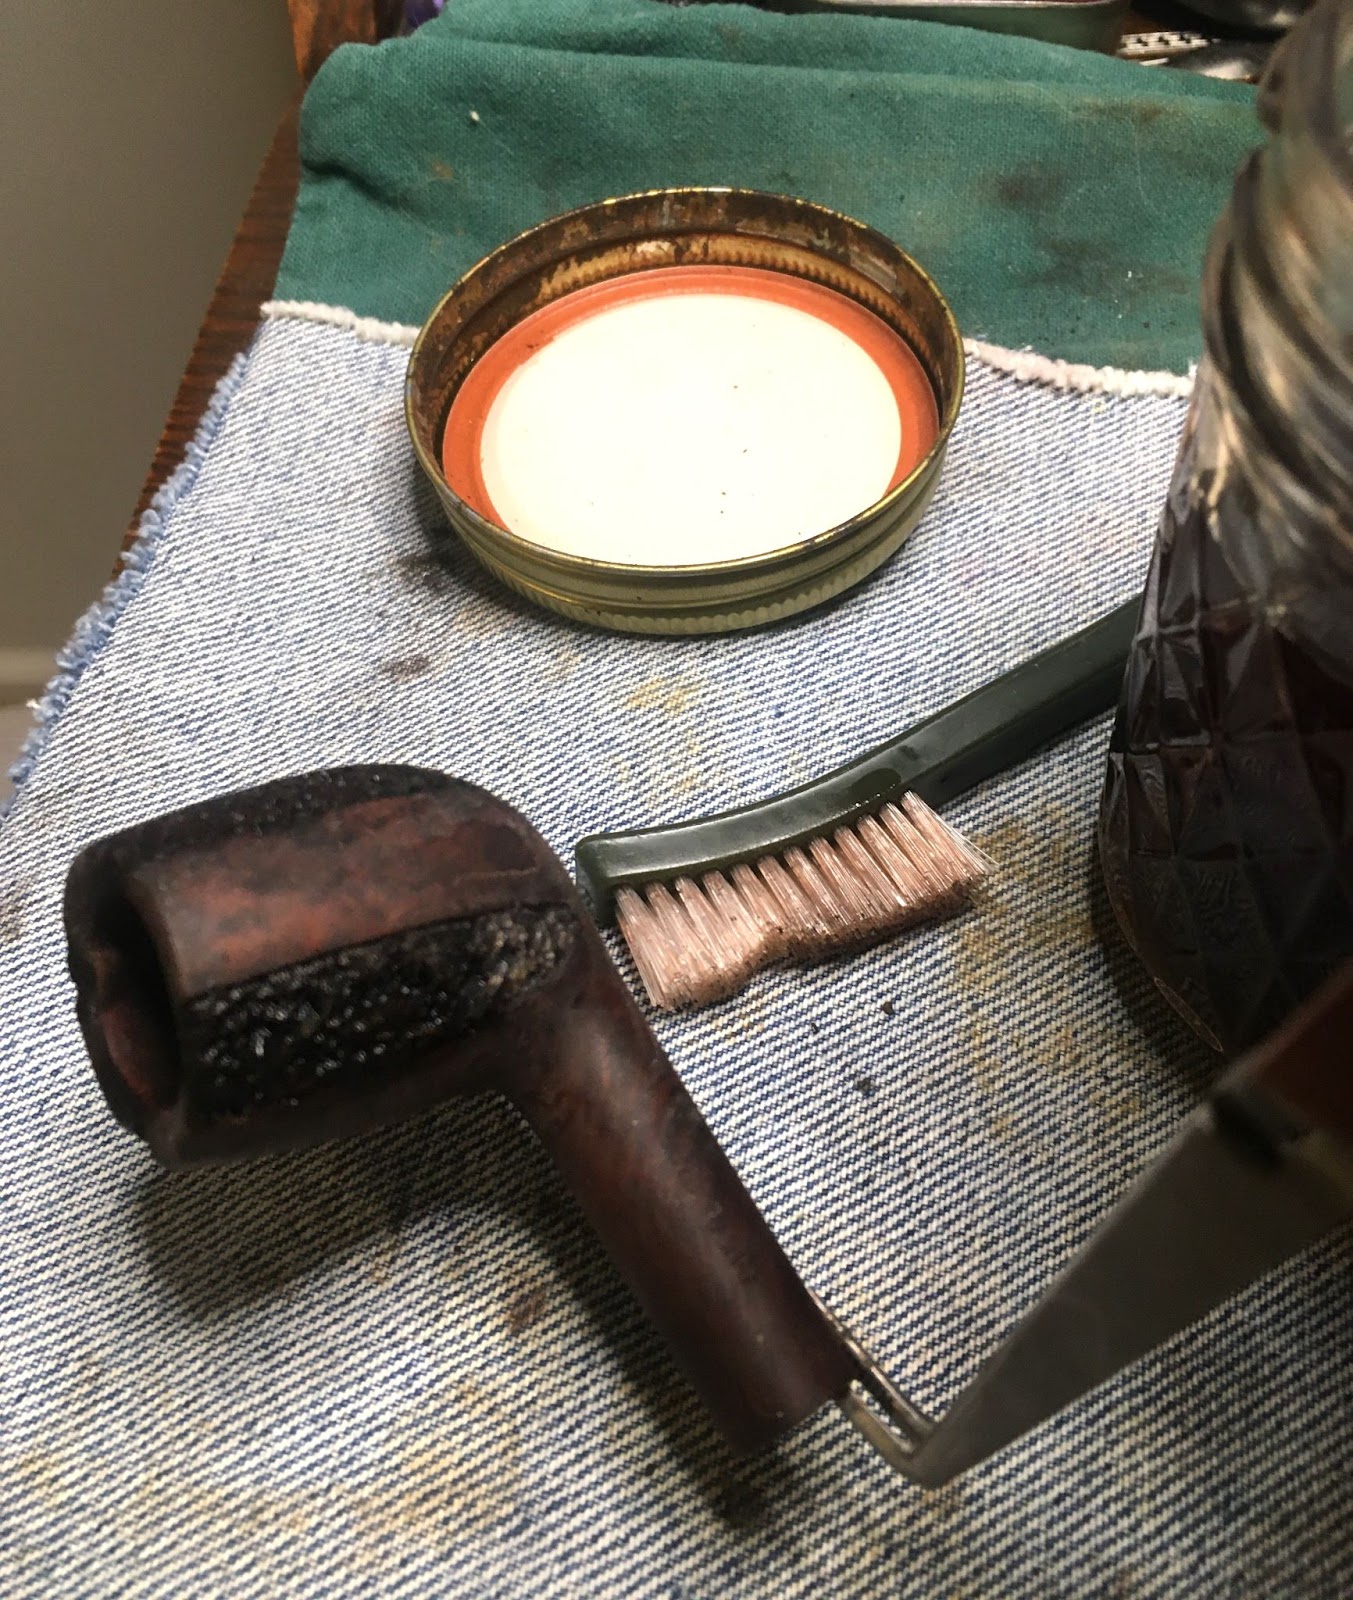
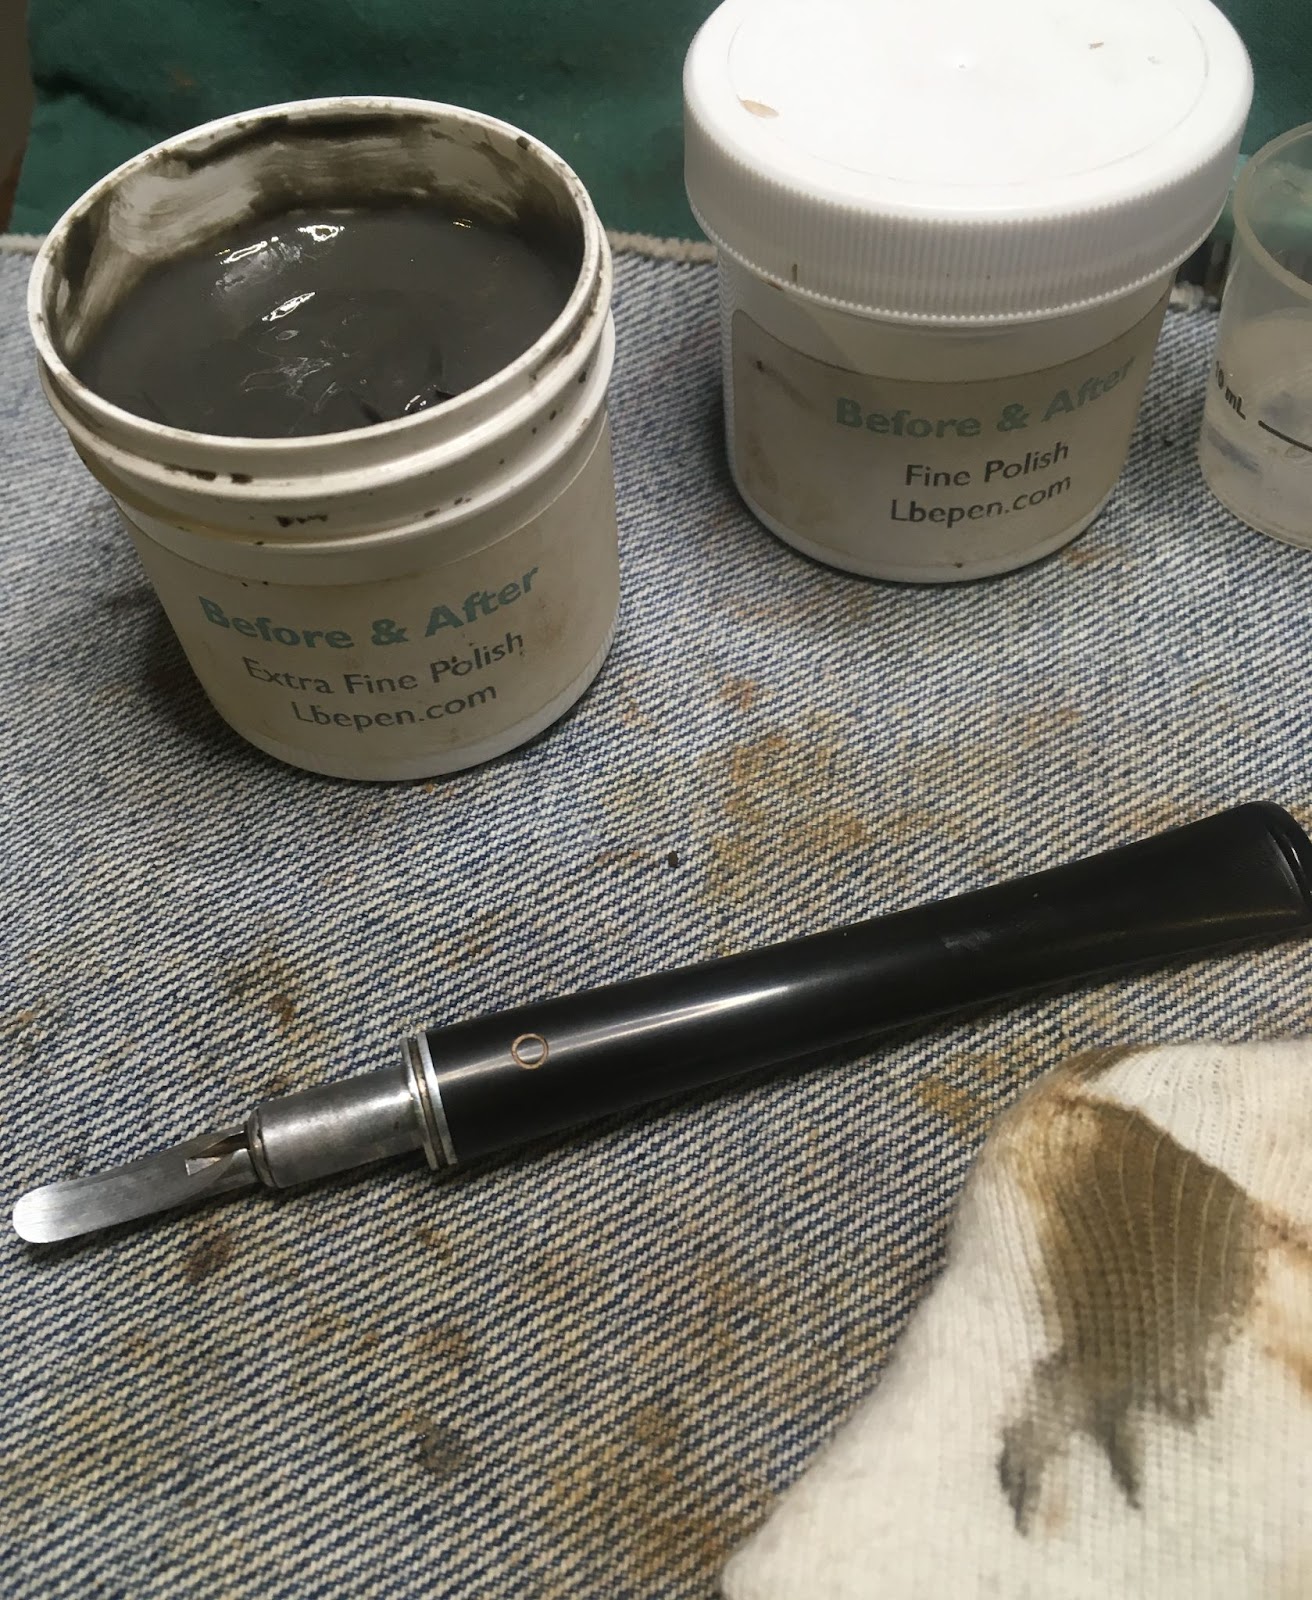
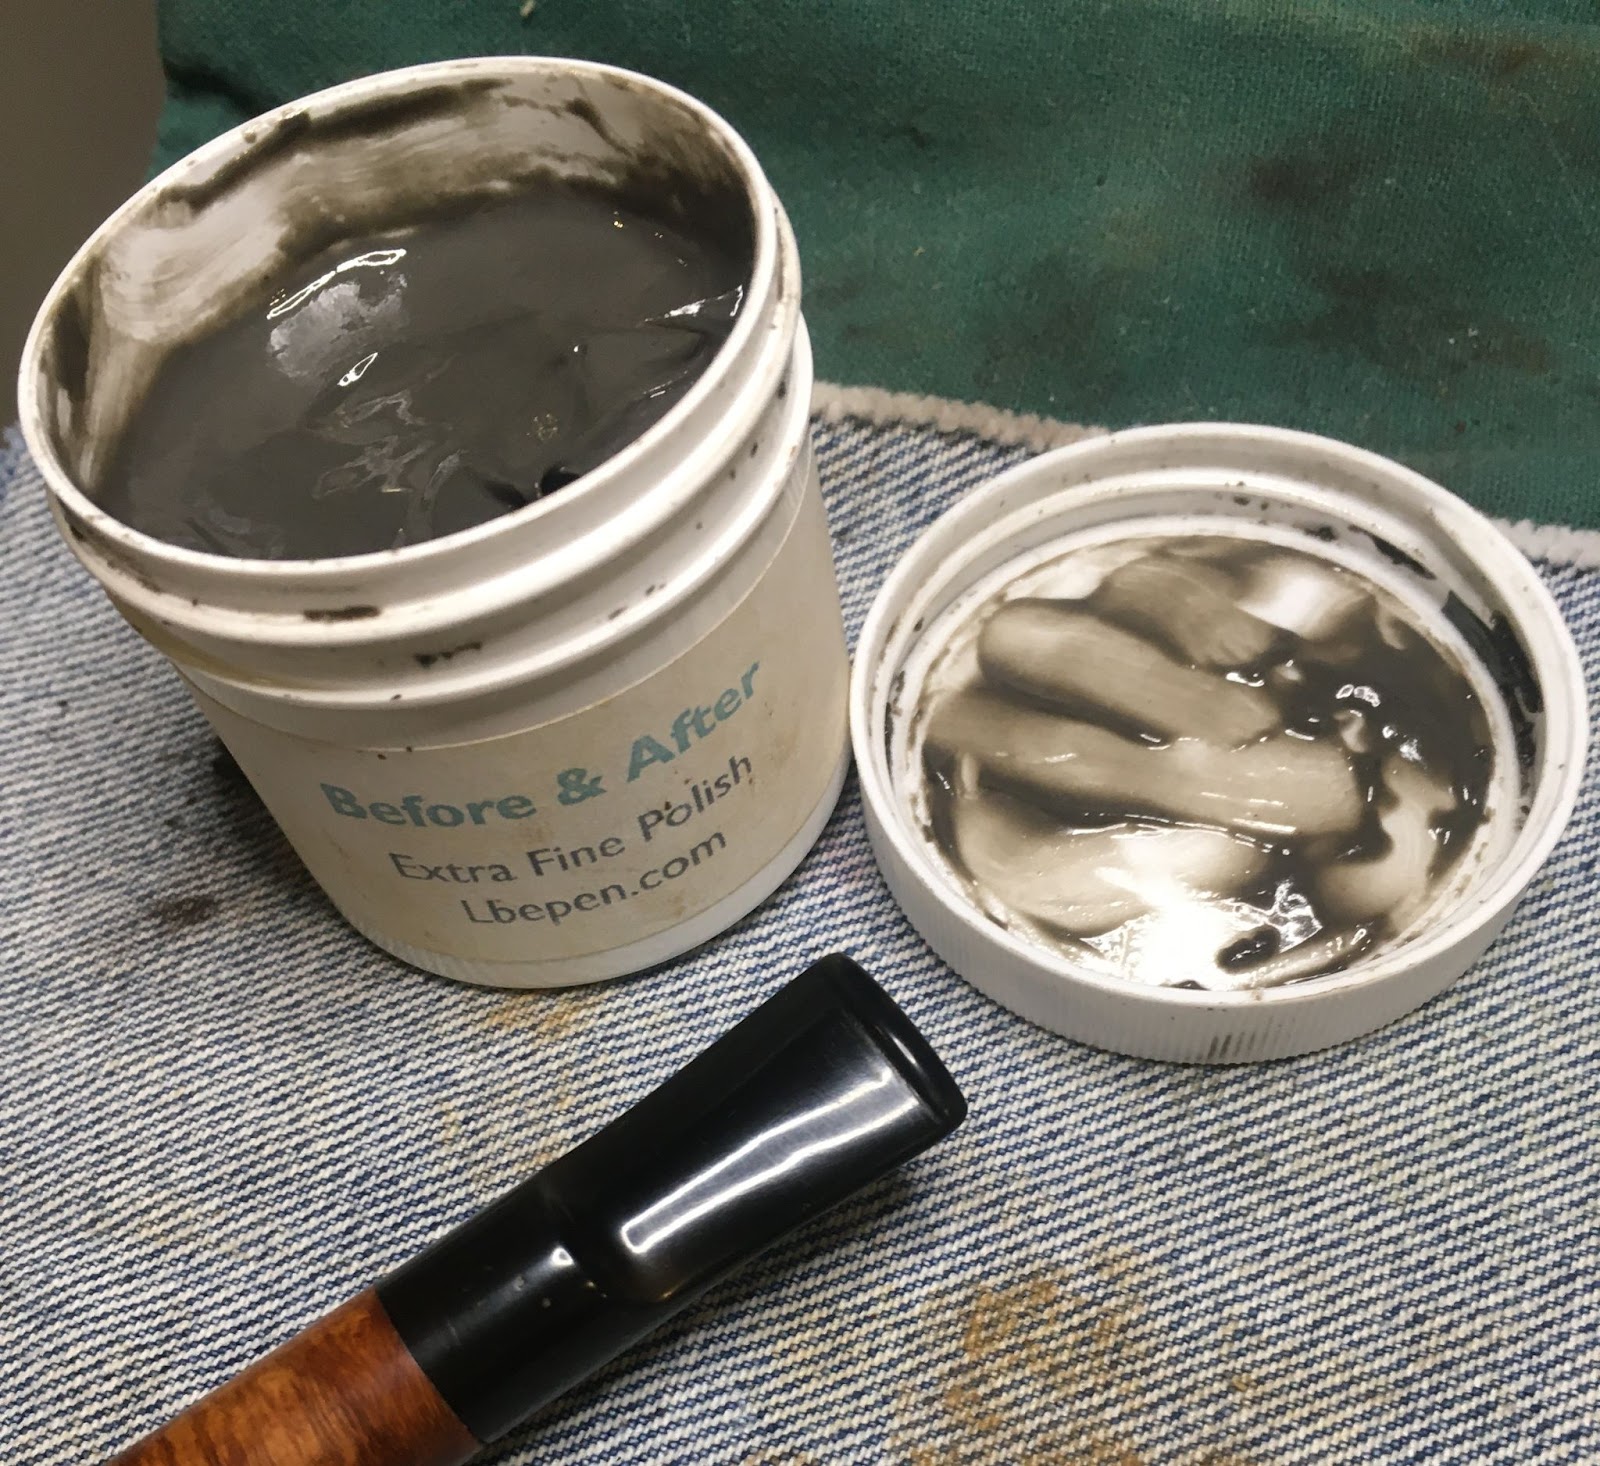
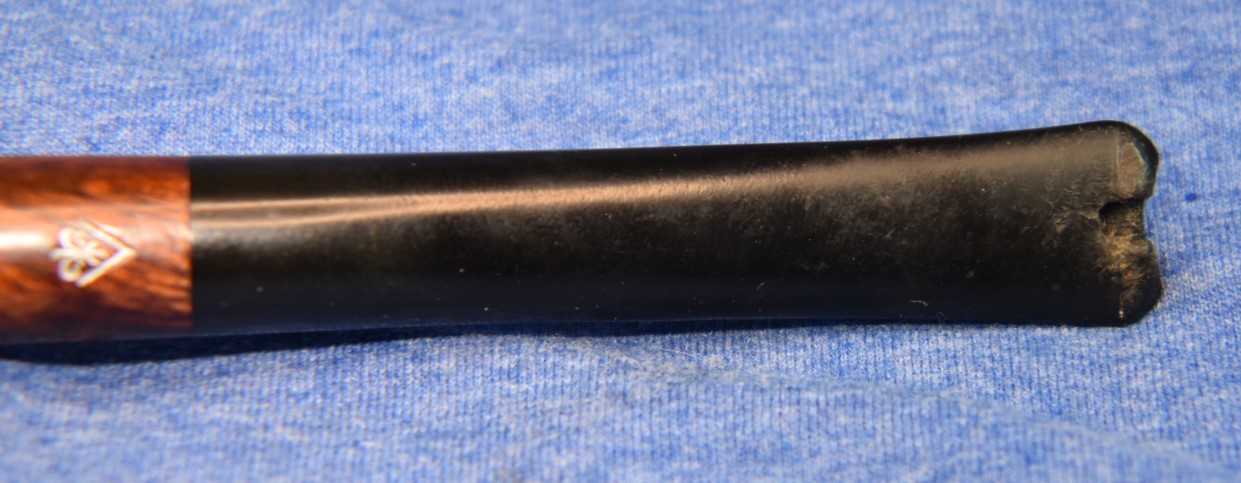
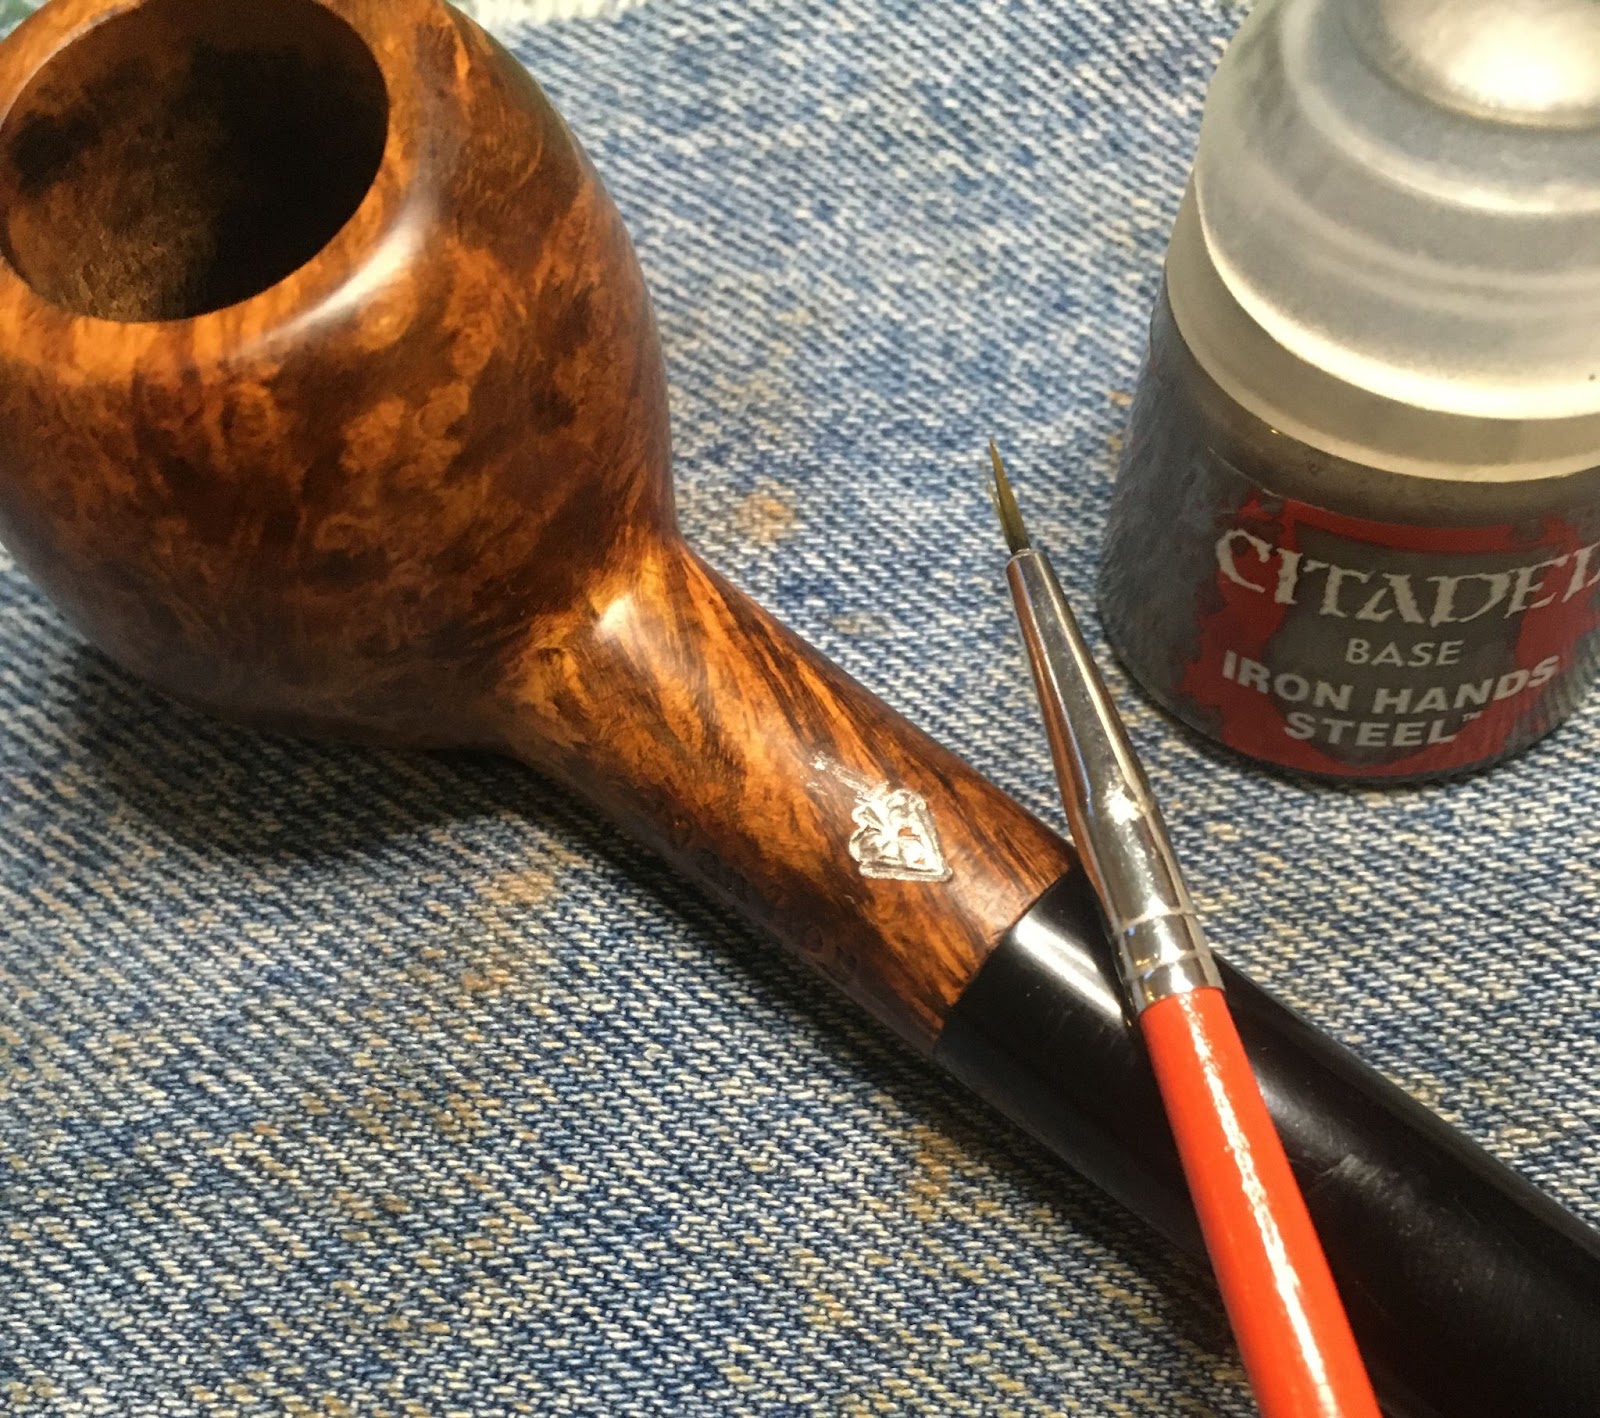
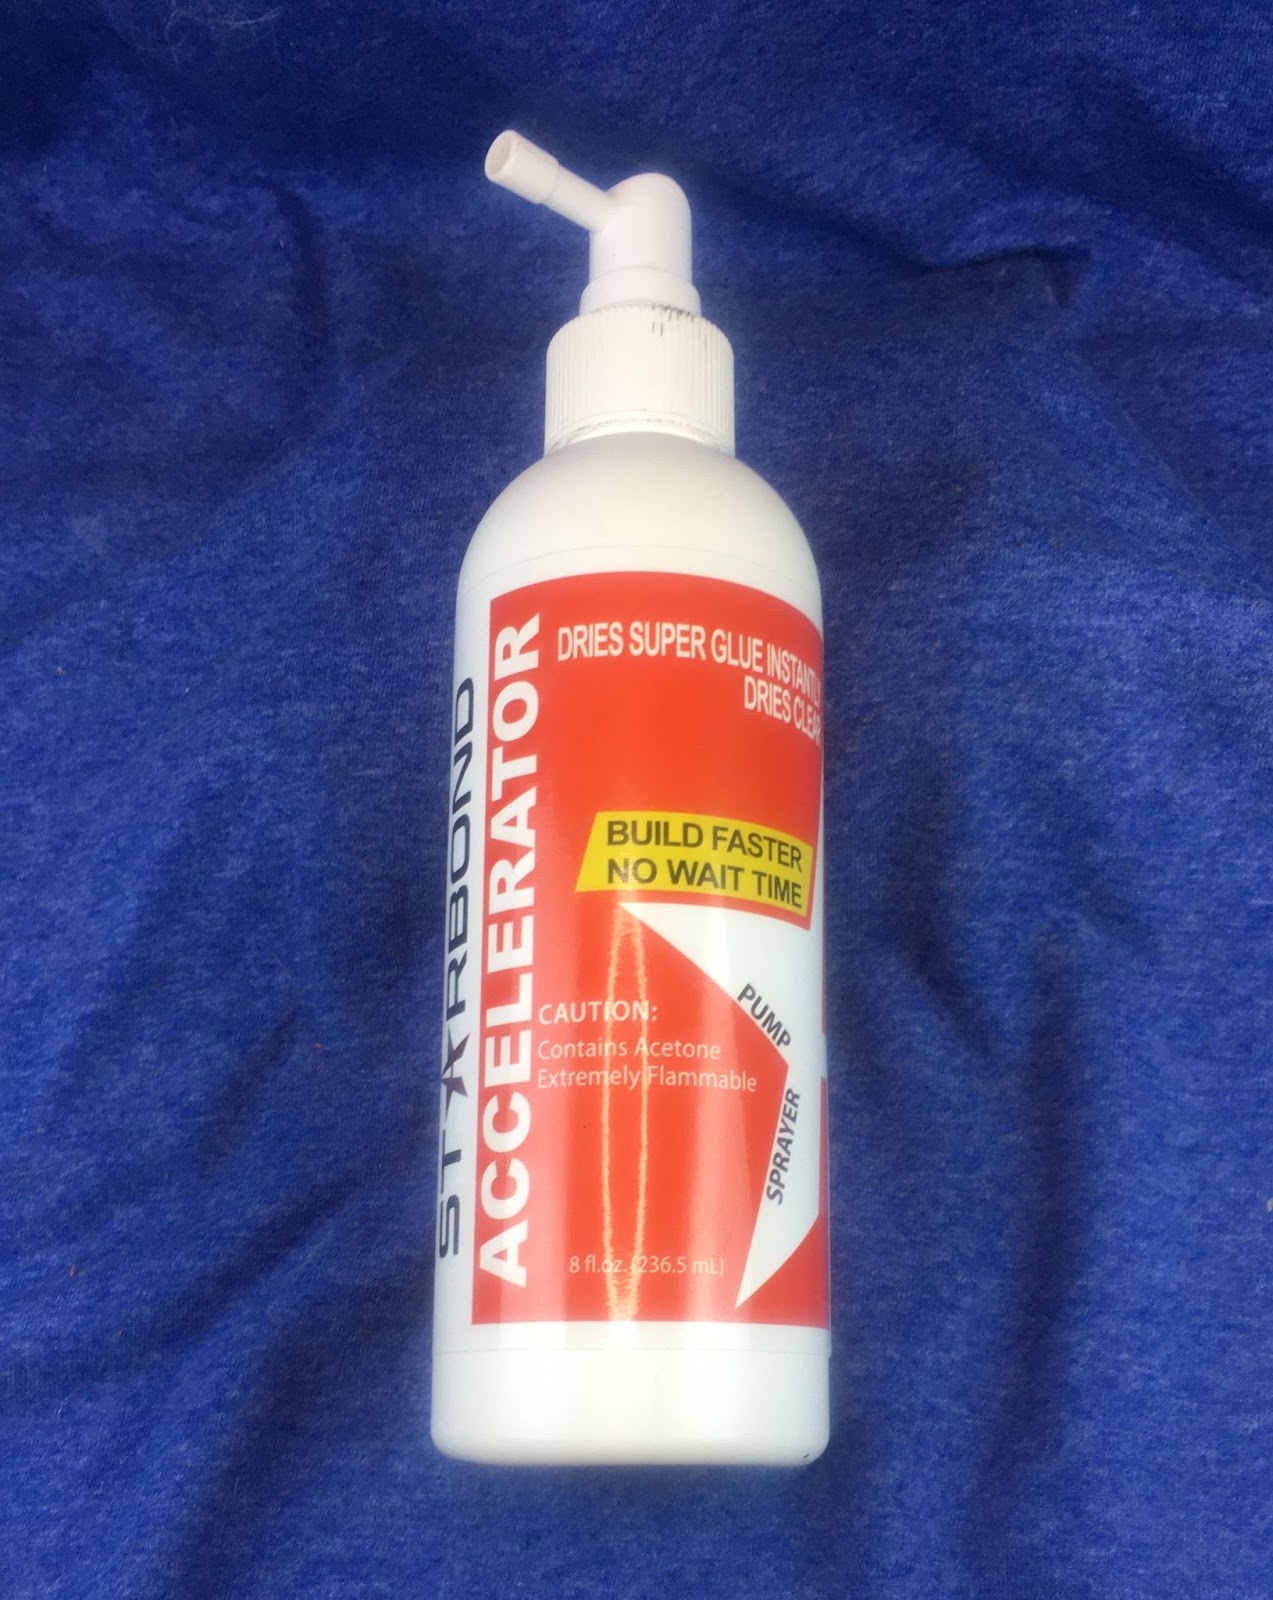
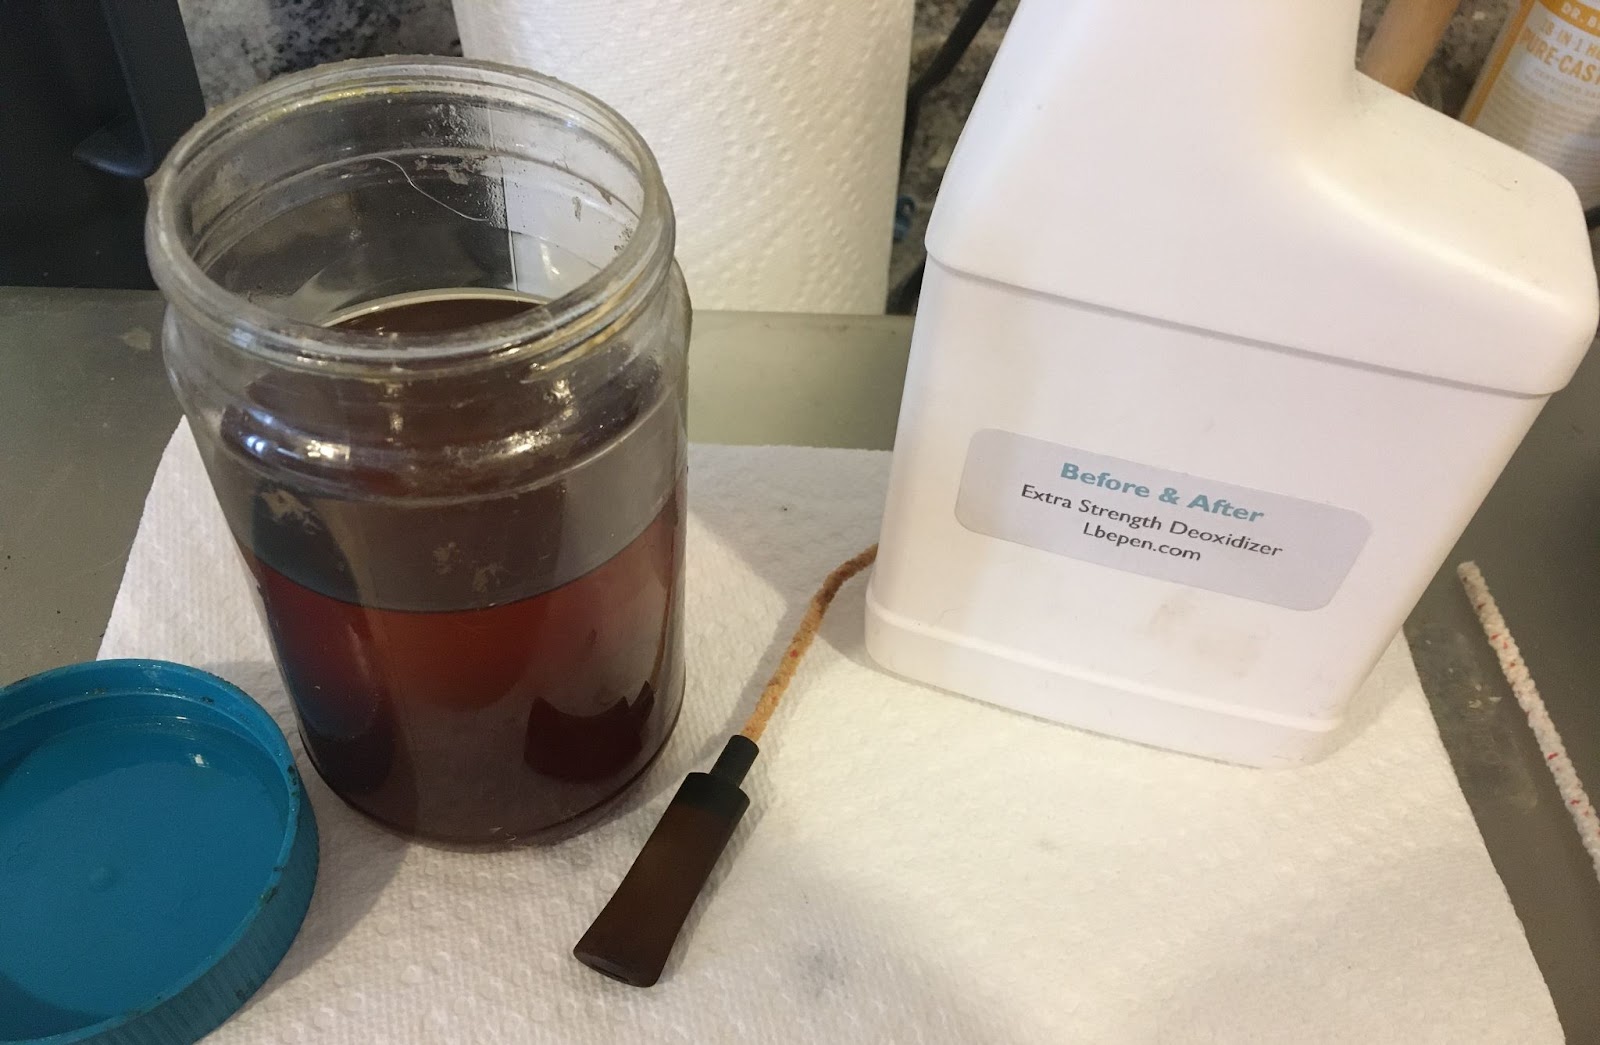
Next, I lightly sanded the surface of the stem with a 320 sanding sponge to remove the calcium and the worst of the oxidation. I decided to give it a soak in the Before and After Deoxidation solution. I figured that I would start with a 2 hour bath and see how that worked before advancing. I used a pipe cleaner to suspend the stem in the deox jar and turned my attention to the stummel.
With the stem soaking, the stummel was taken to the sink for a scrubbing with Murphy’s Oil Soap. The Murphy’s was used undiluted while the scrubbing was done with a medium stiff toothbrush. I graduated to a brass brush with additional Murphy’s Oil Soap to better clean the lava from the rim. The soap was rinsed with warm water and dried with a cotton dish towel. Back at the workbench the stummel was wiped with a make-up pad dipped in 95% ethyl alcohol. The pad removed something from the stummel. I was not sure if it was accumulated wax or a shellac finish. Either way it did a good job at removing the something and leaving the briar bare.
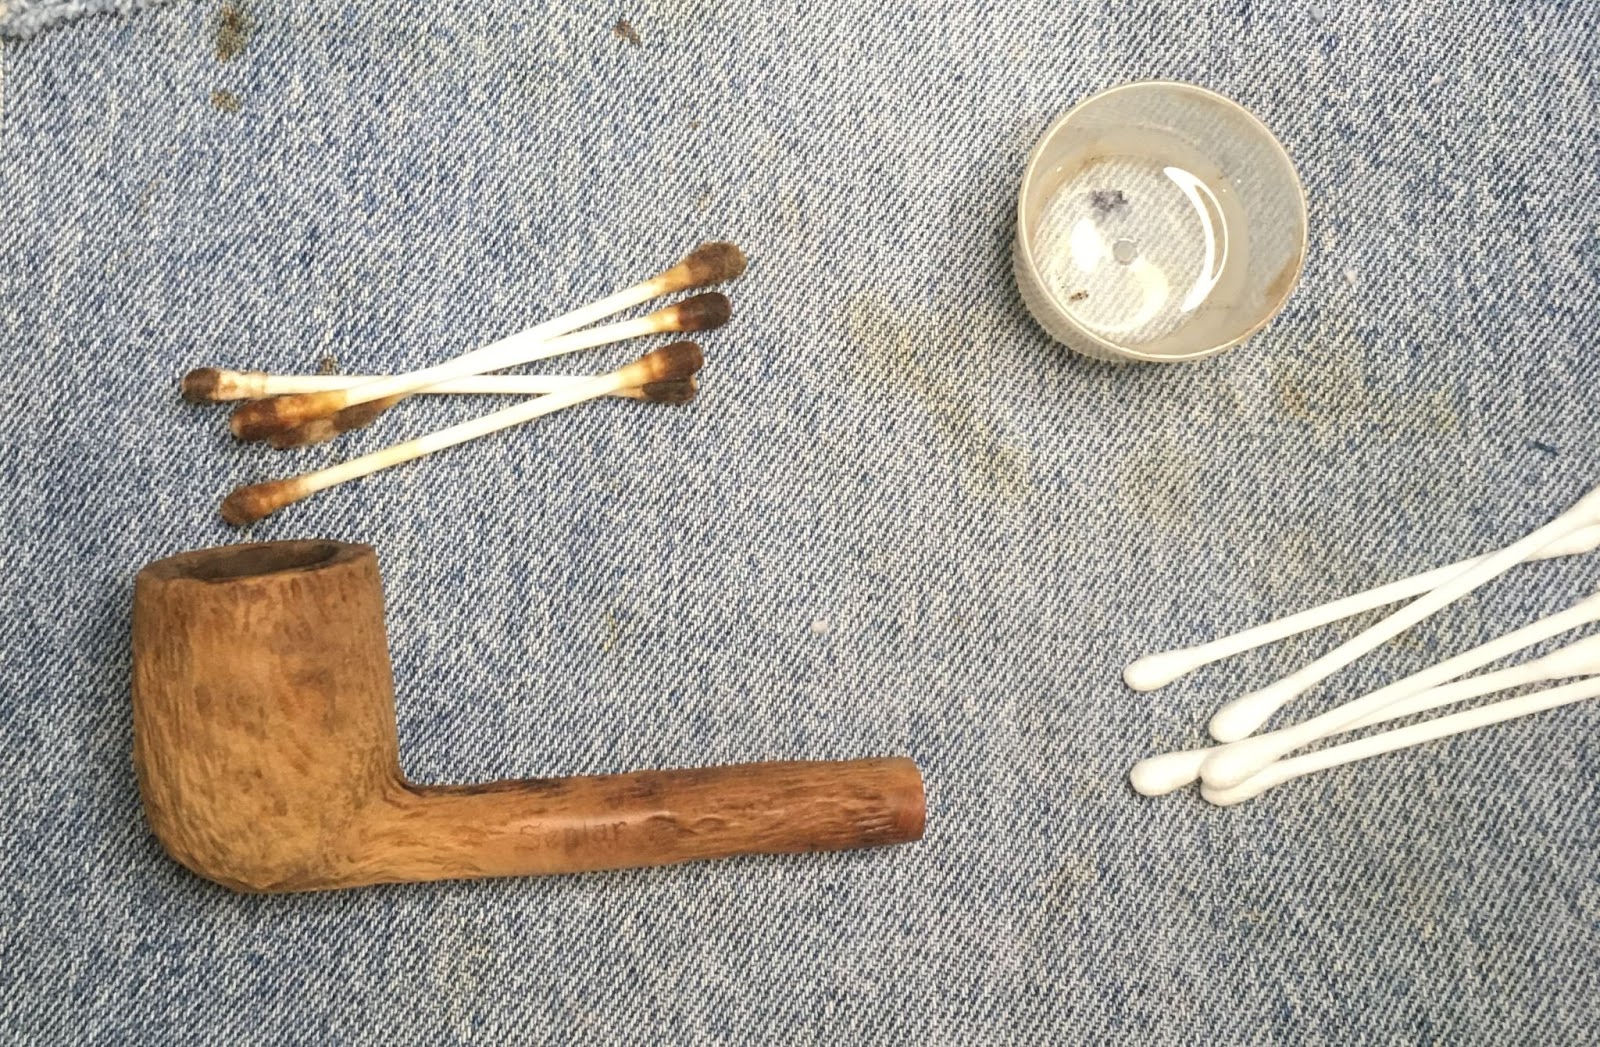
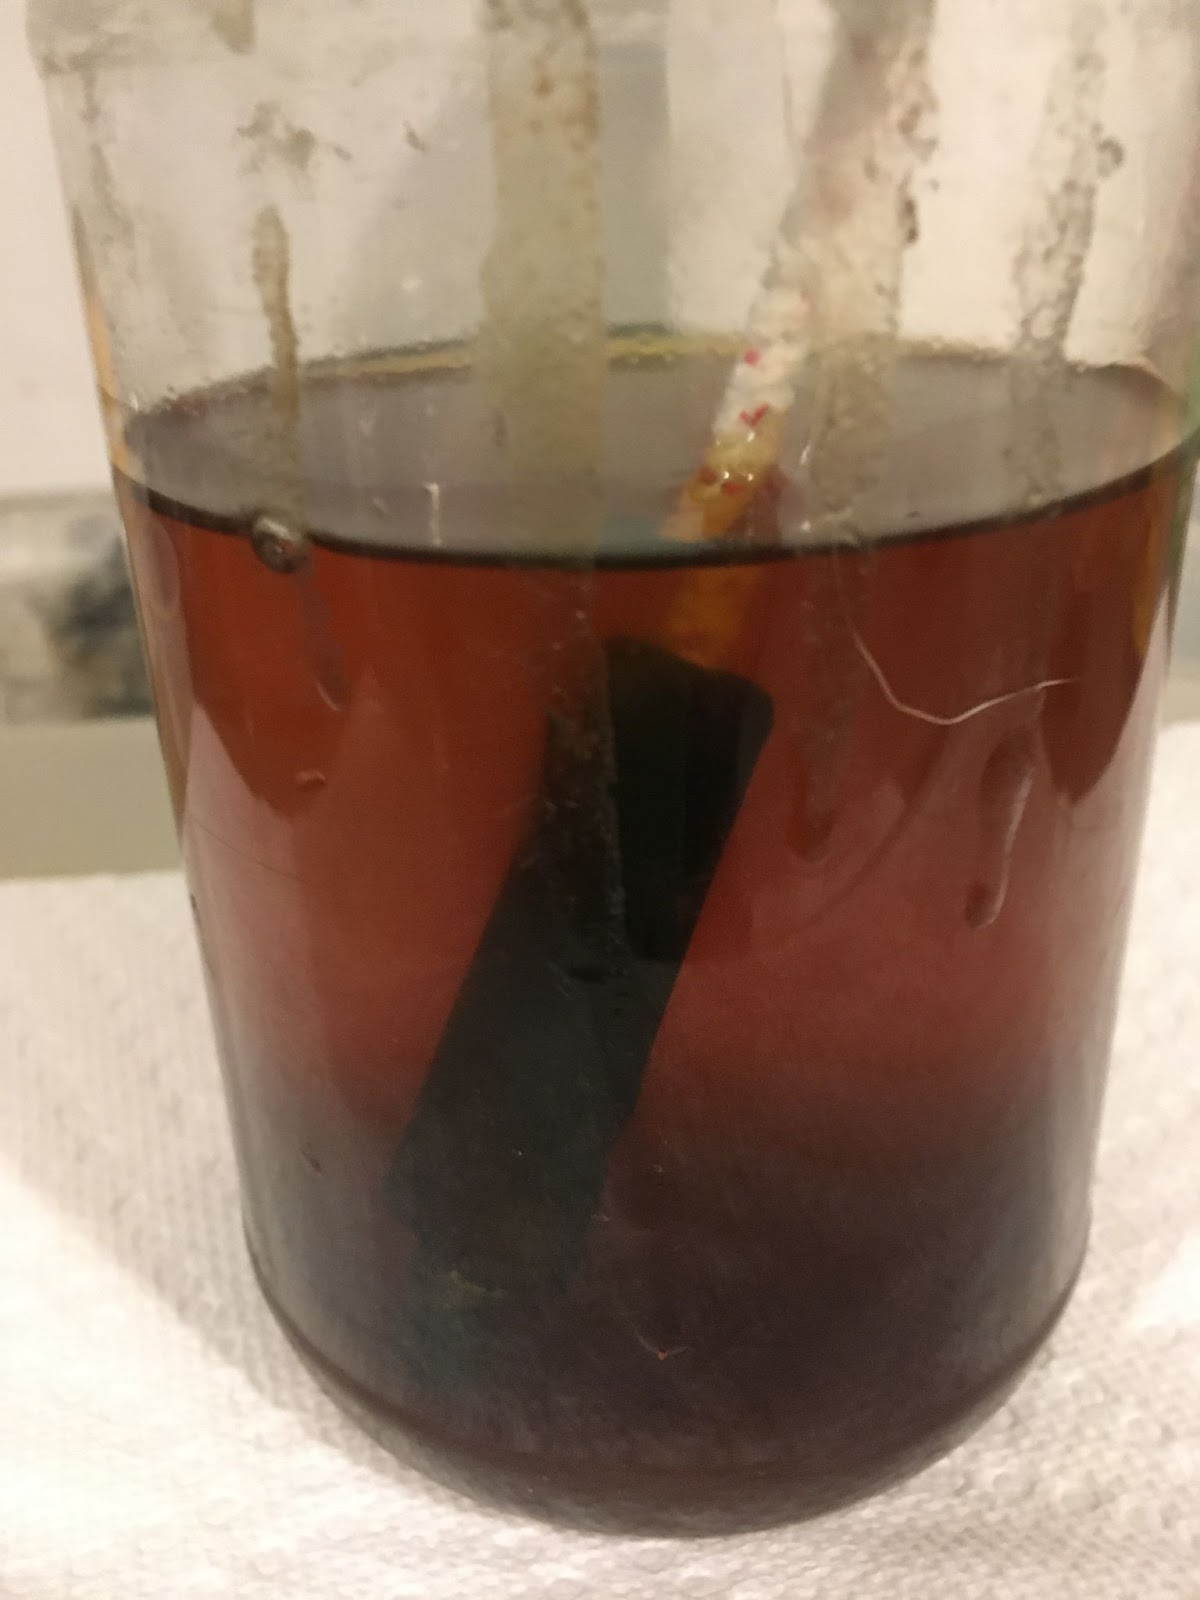
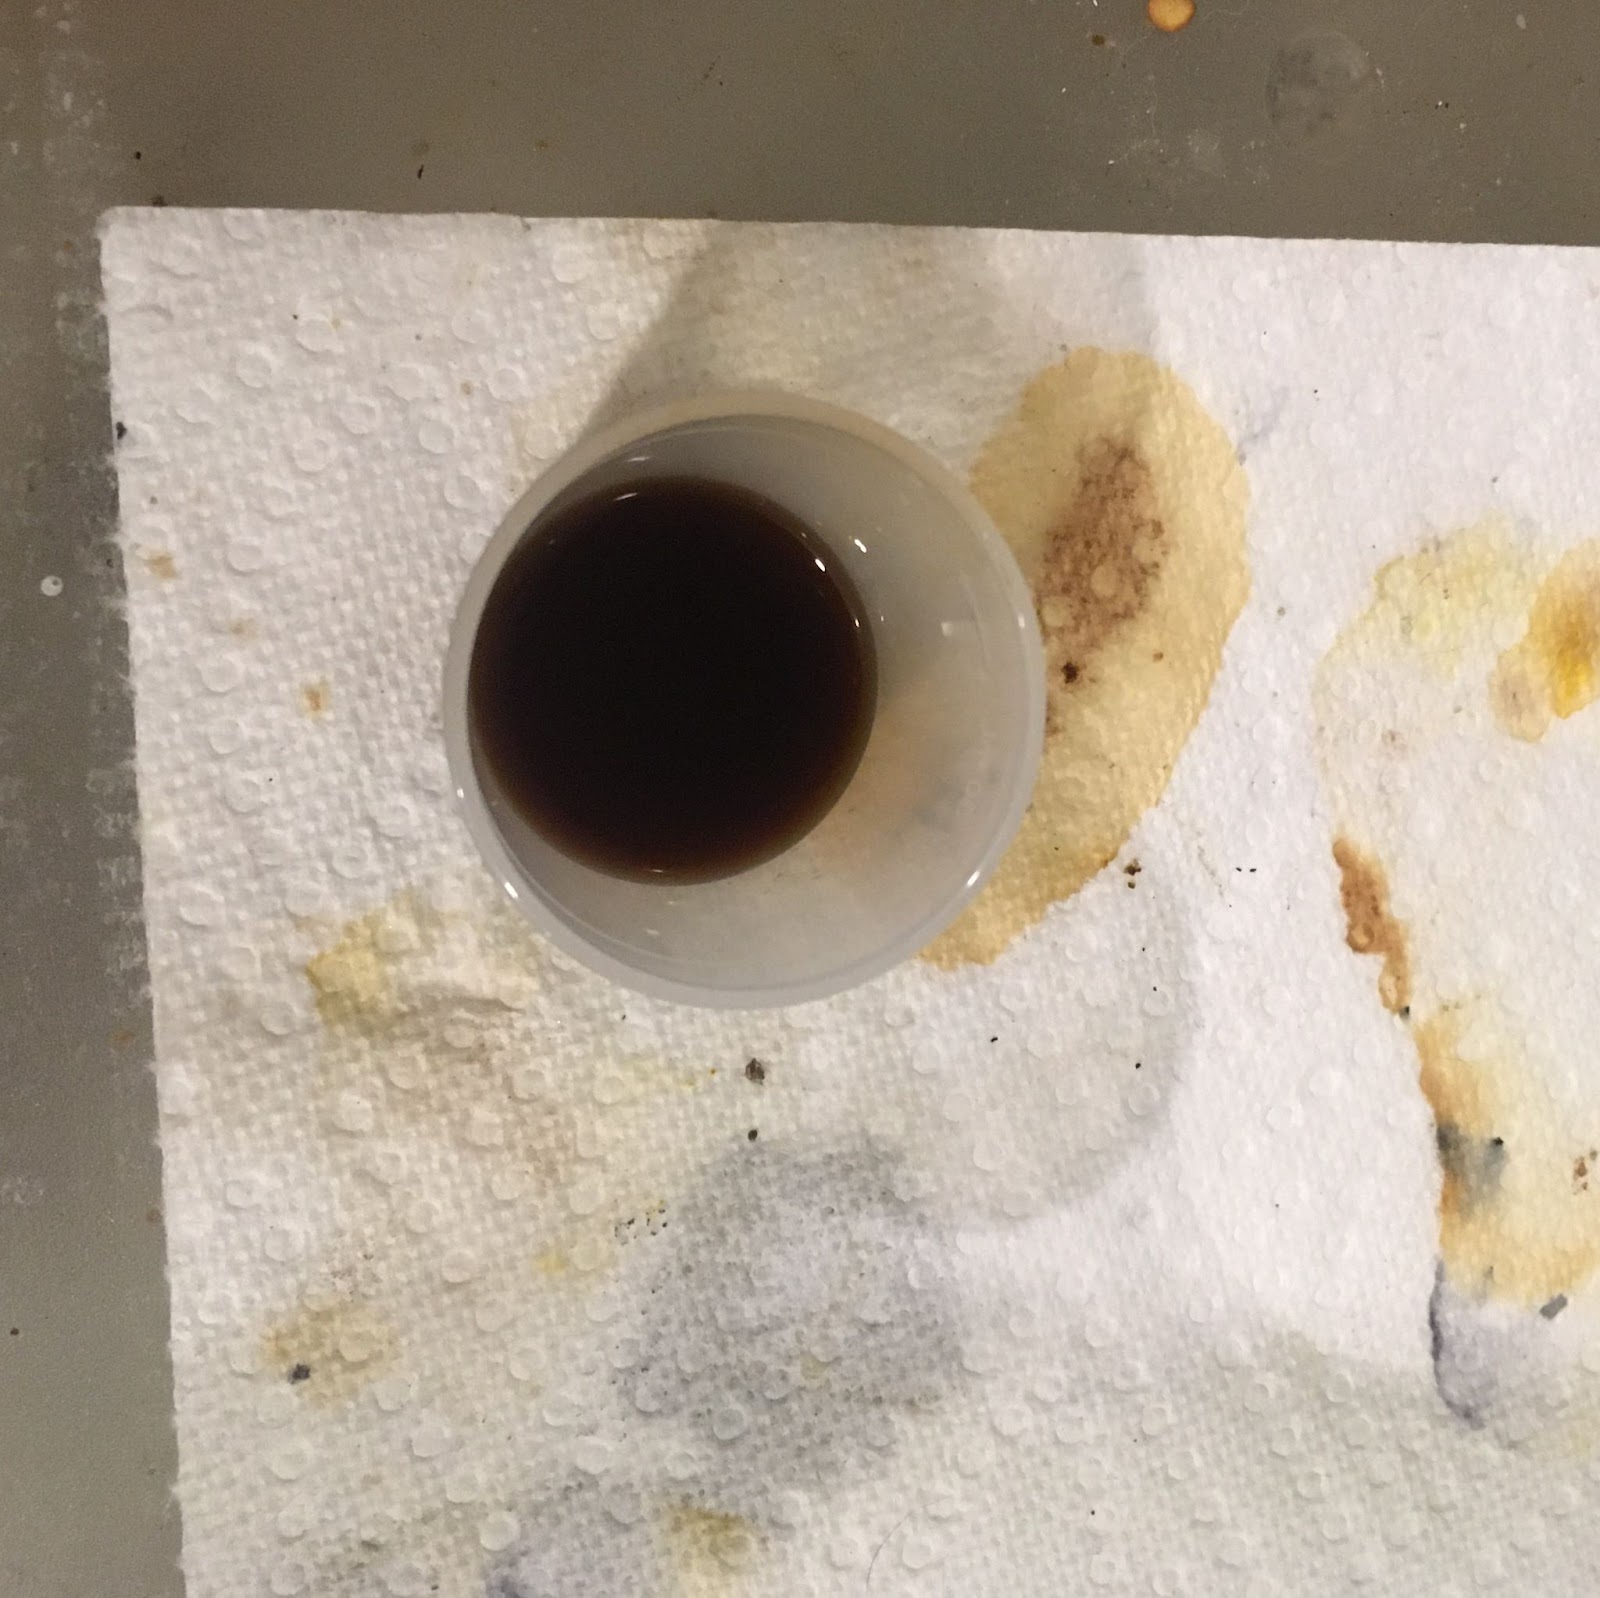
With the exterior cleaned it was time to address the interior. I tried cleaning the airway of the shank with cotton swabs dipped in 99% isopropyl alcohol. In the photo above you can see the scrubbed stummel and the first few swabs. The airway had a thick deposit of tar throughout. The nature of the long shank made scraping with a dental scraper difficult. This left me with scrubbing with nylon shank brushed as the best option. I returned to the sink and poured 3-5 ml of 95% ethyl alcohol into the bowl. I held the stummel at an angle to allow the alcohol to flow into the shank but not out of the mortise. I then scrubbed the airway with the nylon brush. After several seconds I poured the alcohol through the shank into a medicine cup. I then applied a few drops of Castile Soap to the brush and scrubbed the airway with the soap, rinsed with hot water and went back to the alcohol. I would reuse the alcohol three times before replacing it. In the below photos you can see the darkening of the alcohol with subsequent scrubbings.


This process of scrubbing with alcohol followed by soap was repeated numerous times. I lost track of the number. After replacing the alcohol more than 3 times I returned to the workbench and tried the cotton swabs again. Better but still very dark. My hands were tiring/cramping from the same repetitive motions so I took a break.
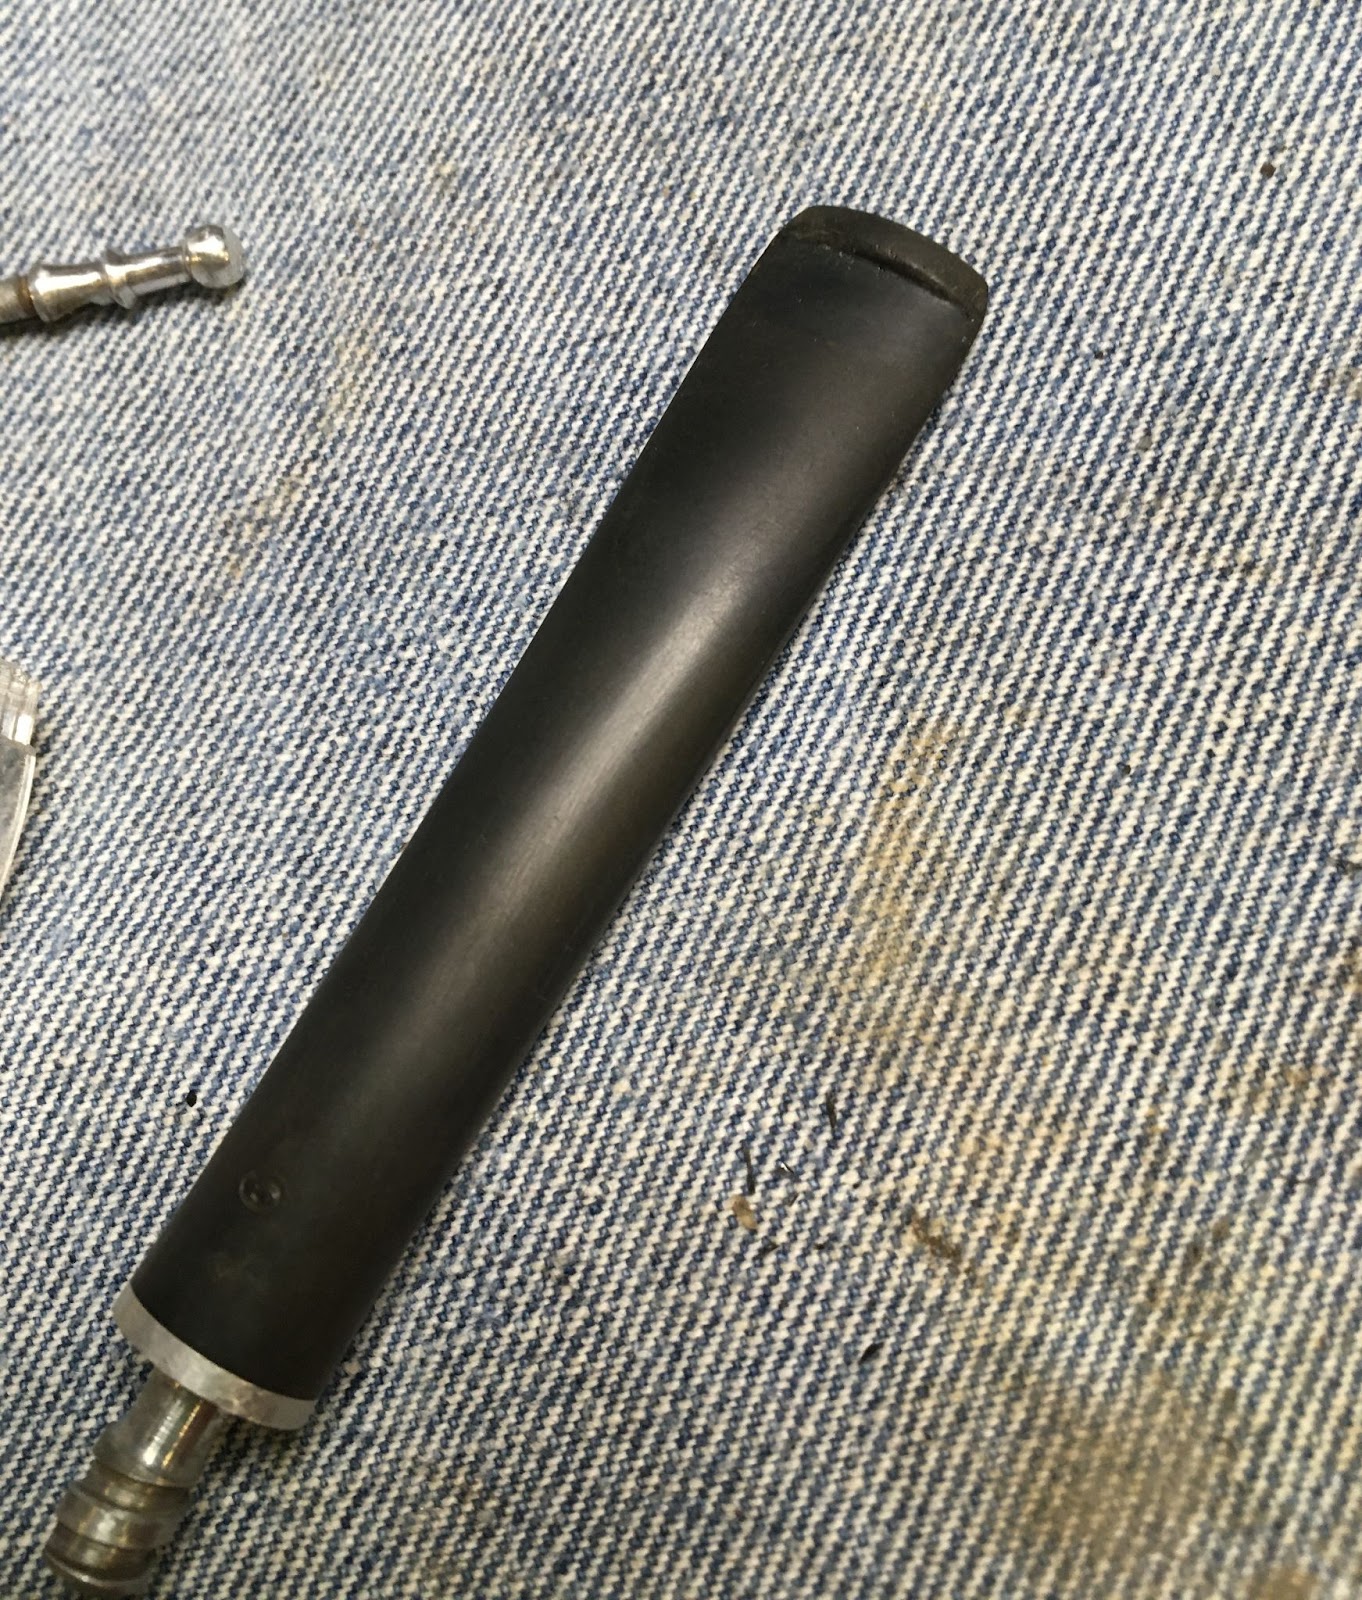
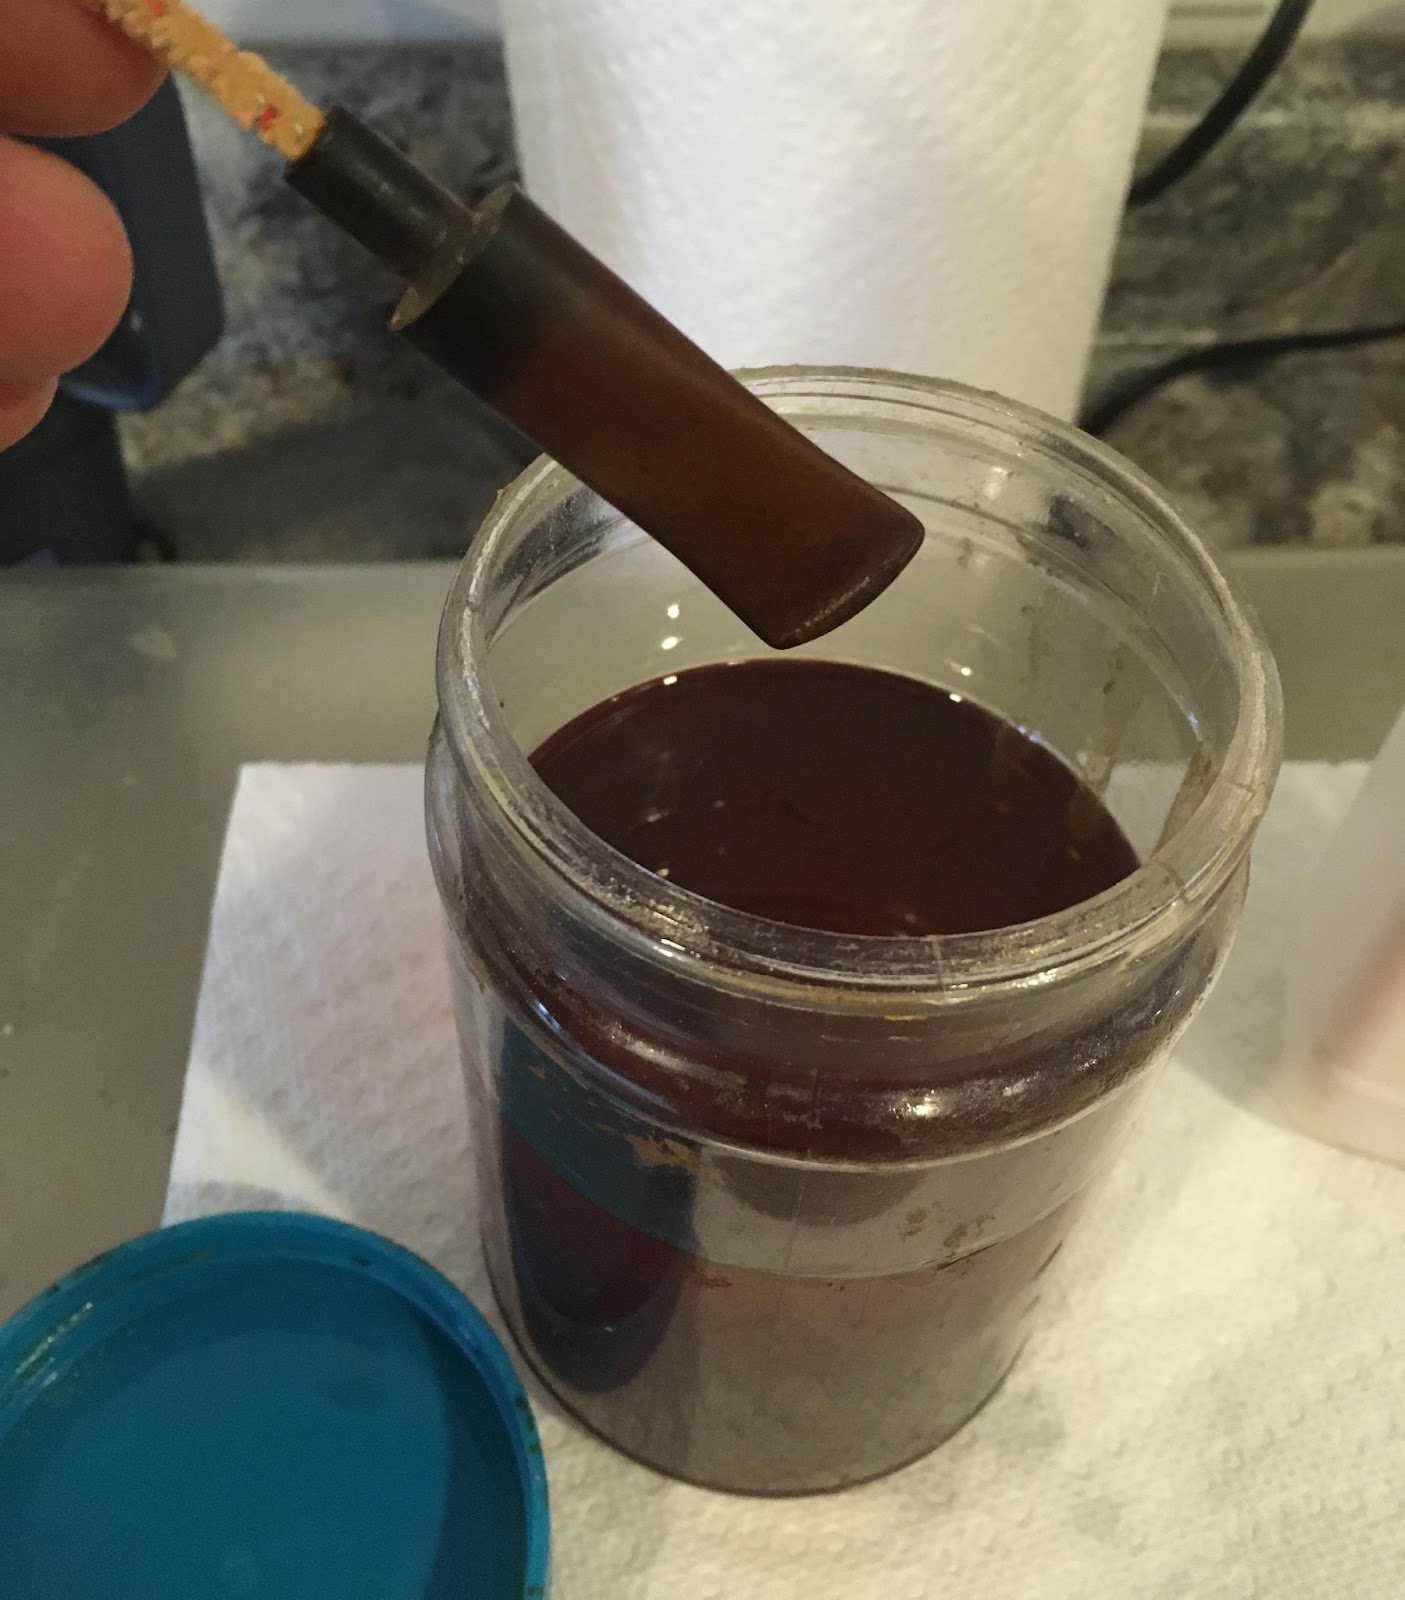
After the break I removed the stem from the deox jar. The excess solution was allowed to drip back into the jar. I used a coarse cotton shop rag to vigorously rub the solution from the stem until it was dry. The surface looked much better but still there remained a brown

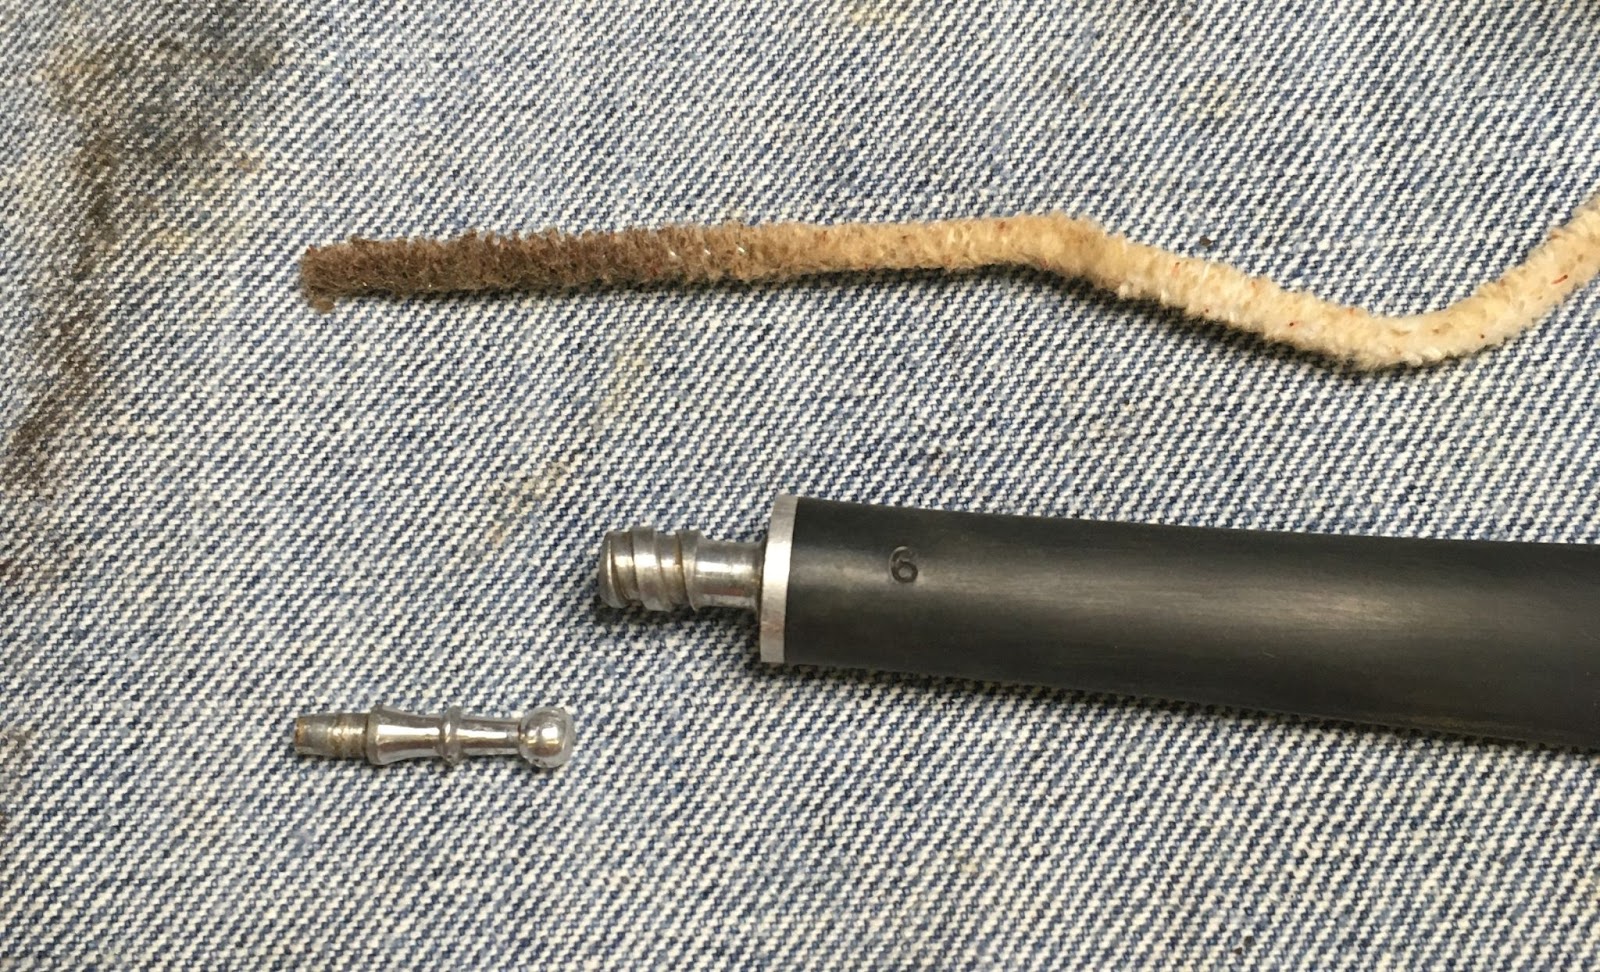
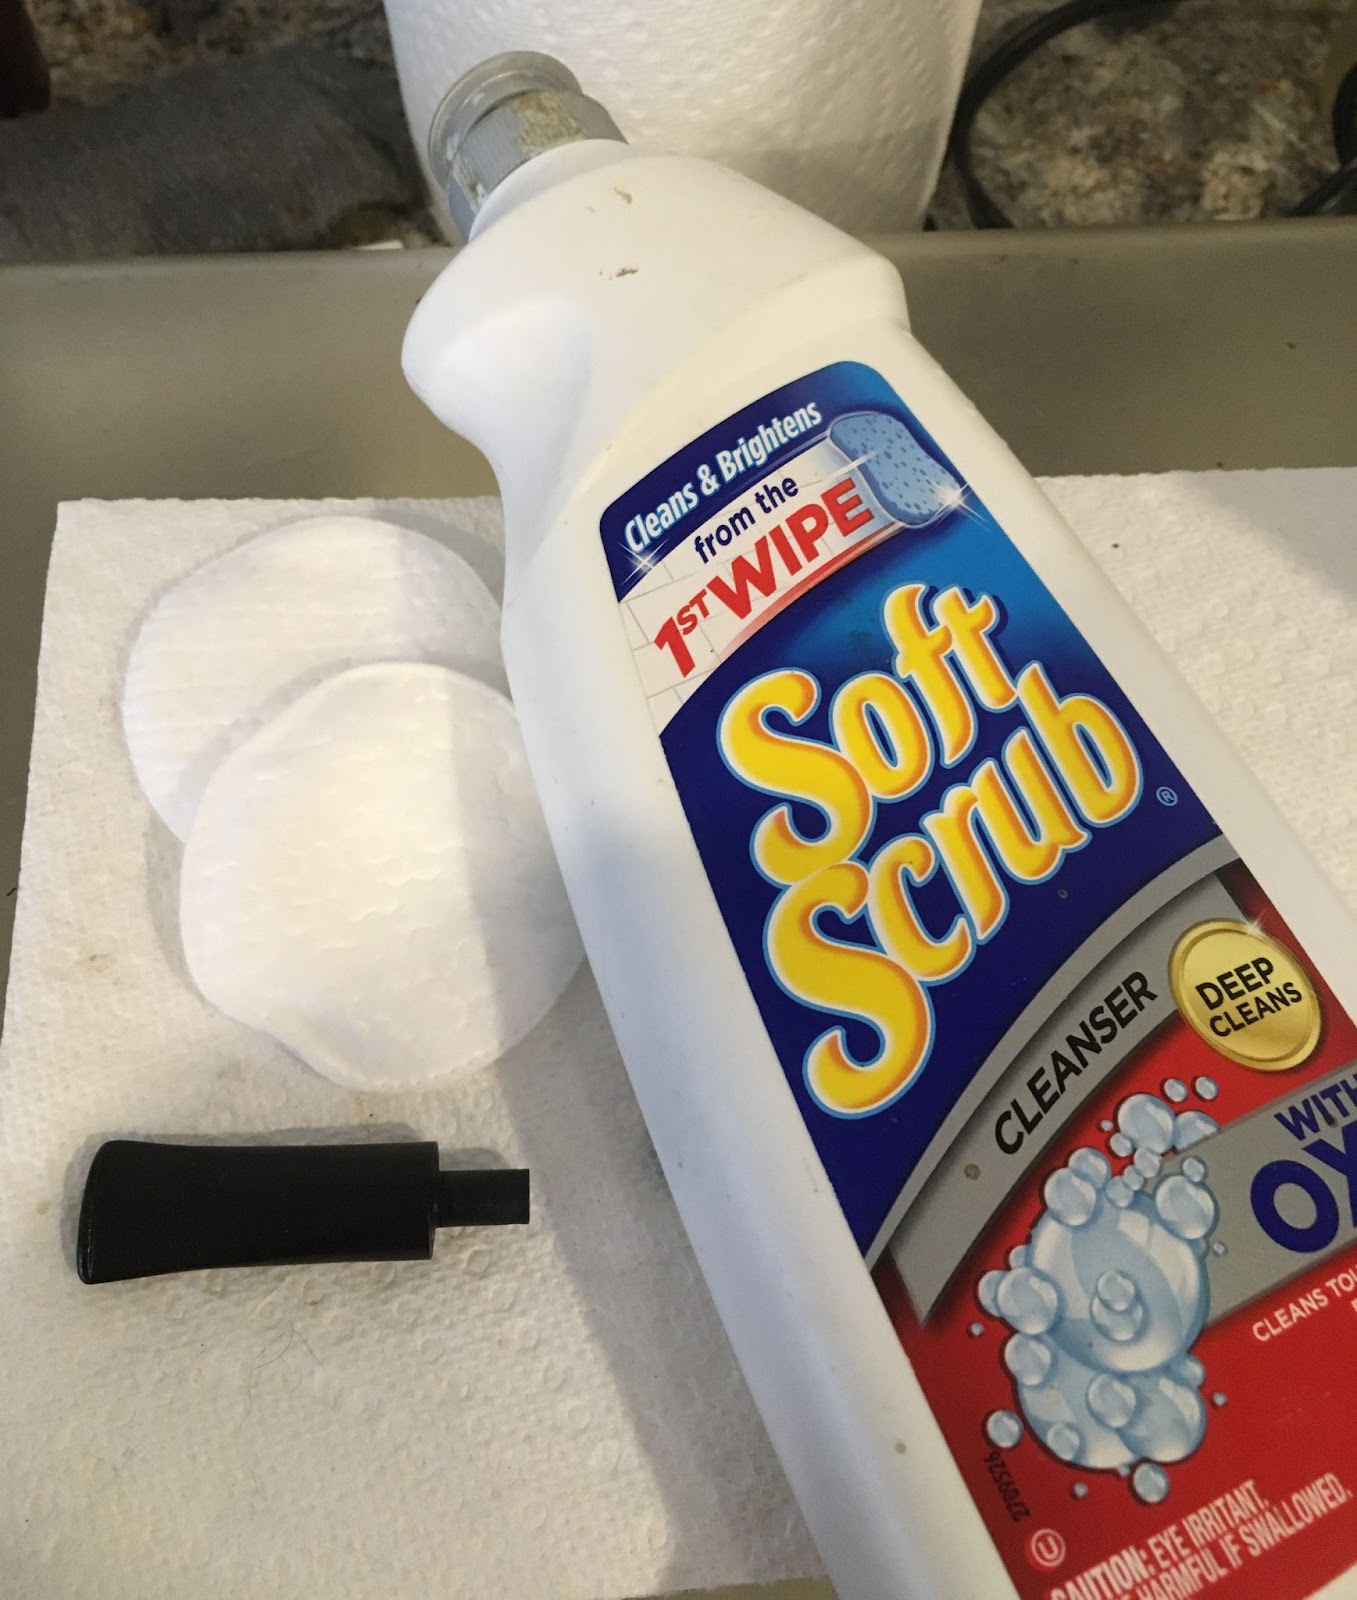
tinge to the stem. I ran a couple of pipe cleaners through the stem to clean it of the solution and started working on it with make-up pads with a dab of Soft Scrub. This quickly made the pad dark with oxidized rubber. After a few pads with Soft Scrub applications the stem was looking very nice. I cleaned out the inside with bristle pipe cleaners dipped in 99% isopropyl alcohol until they too returned clean.
Returning to the stummel, I went back to the alternating alcohol then Castile soap scrubbing. A few more changes of alcohol and a return to the workbench and cotton swabs finally showed a much lightened color to the cotton swabs. Eventually the airway was cleaned.
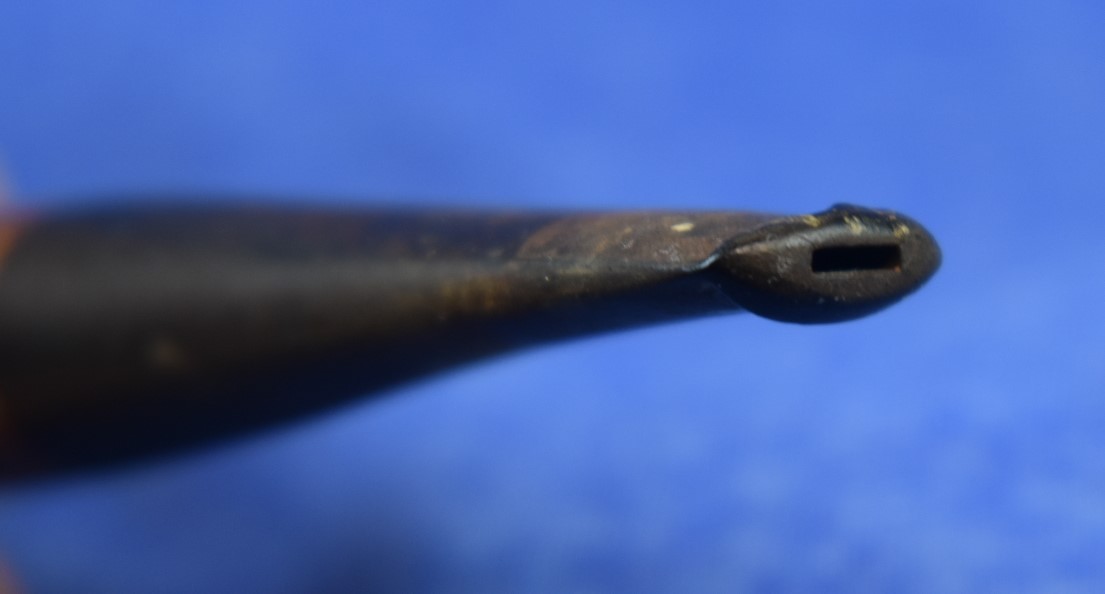
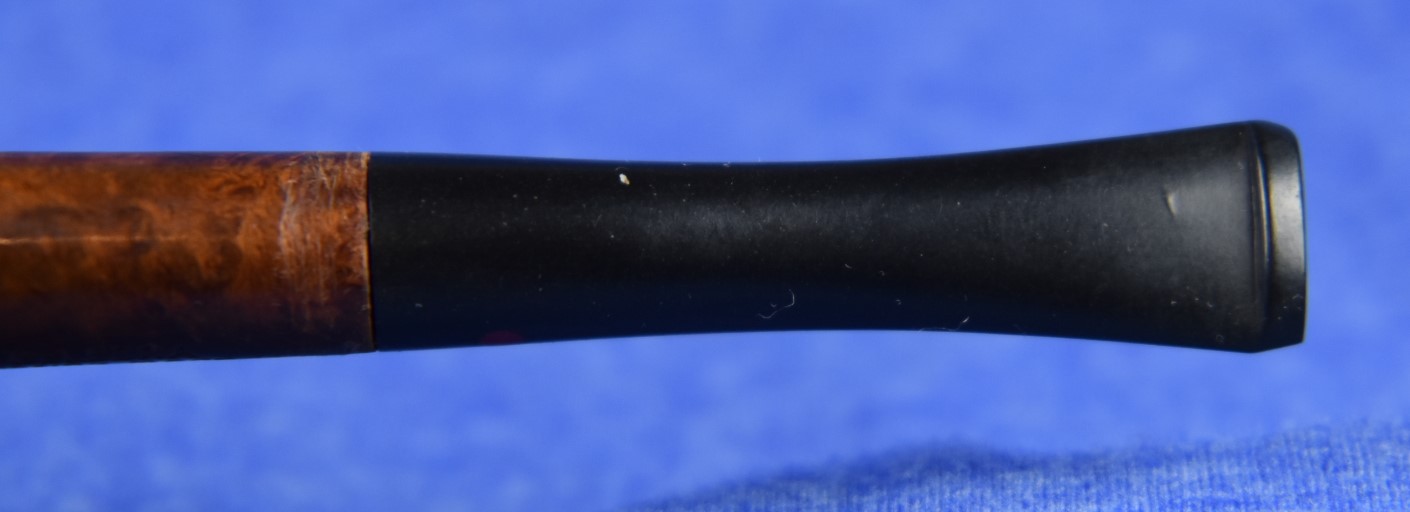
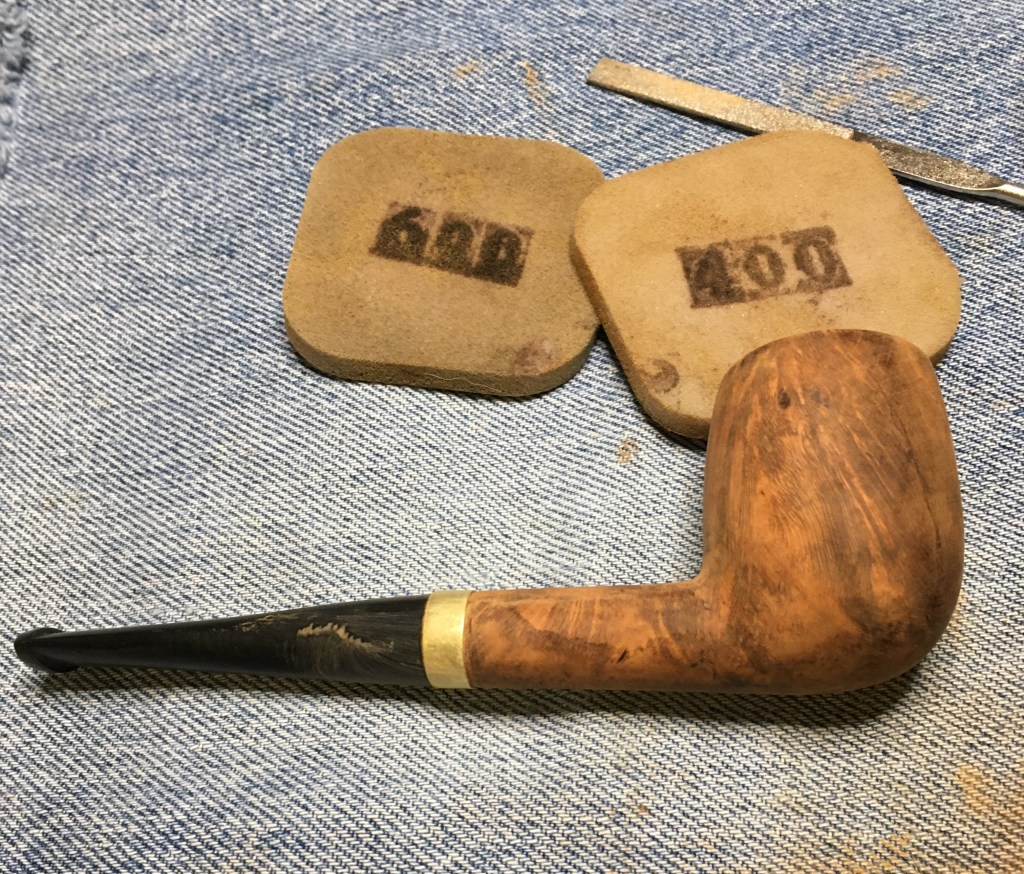
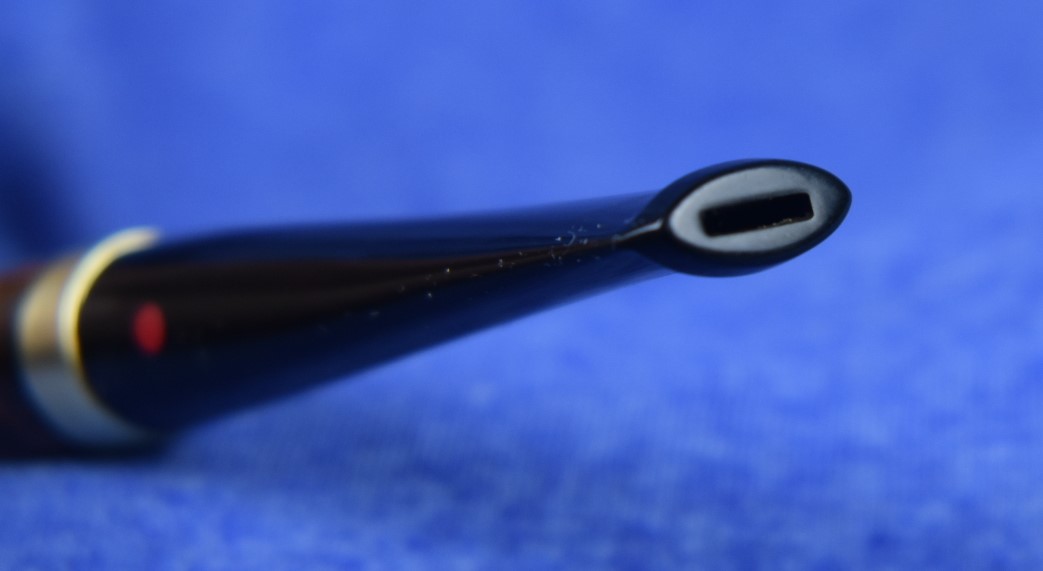
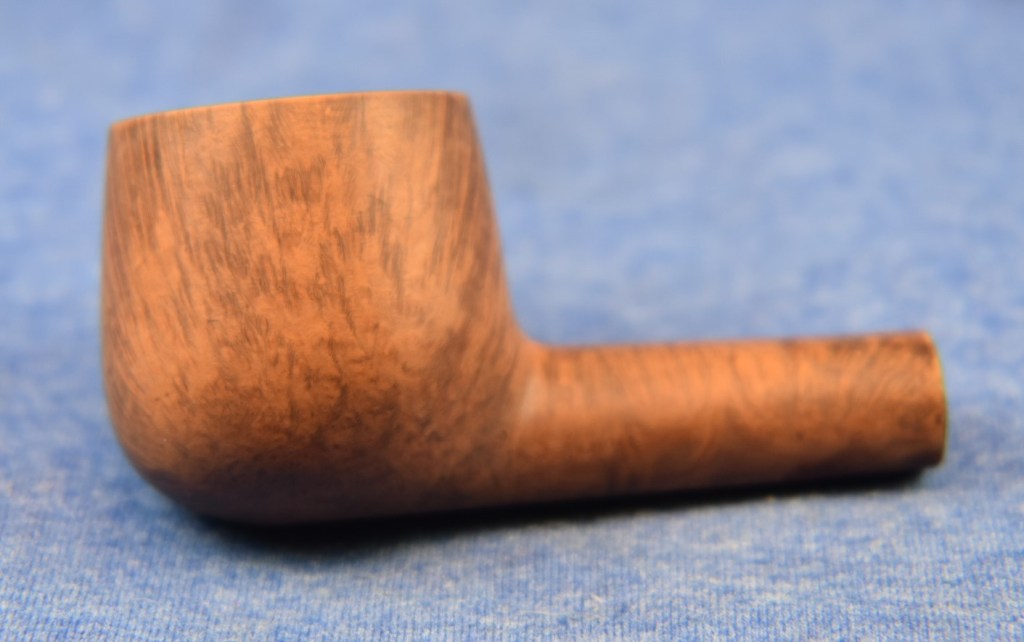
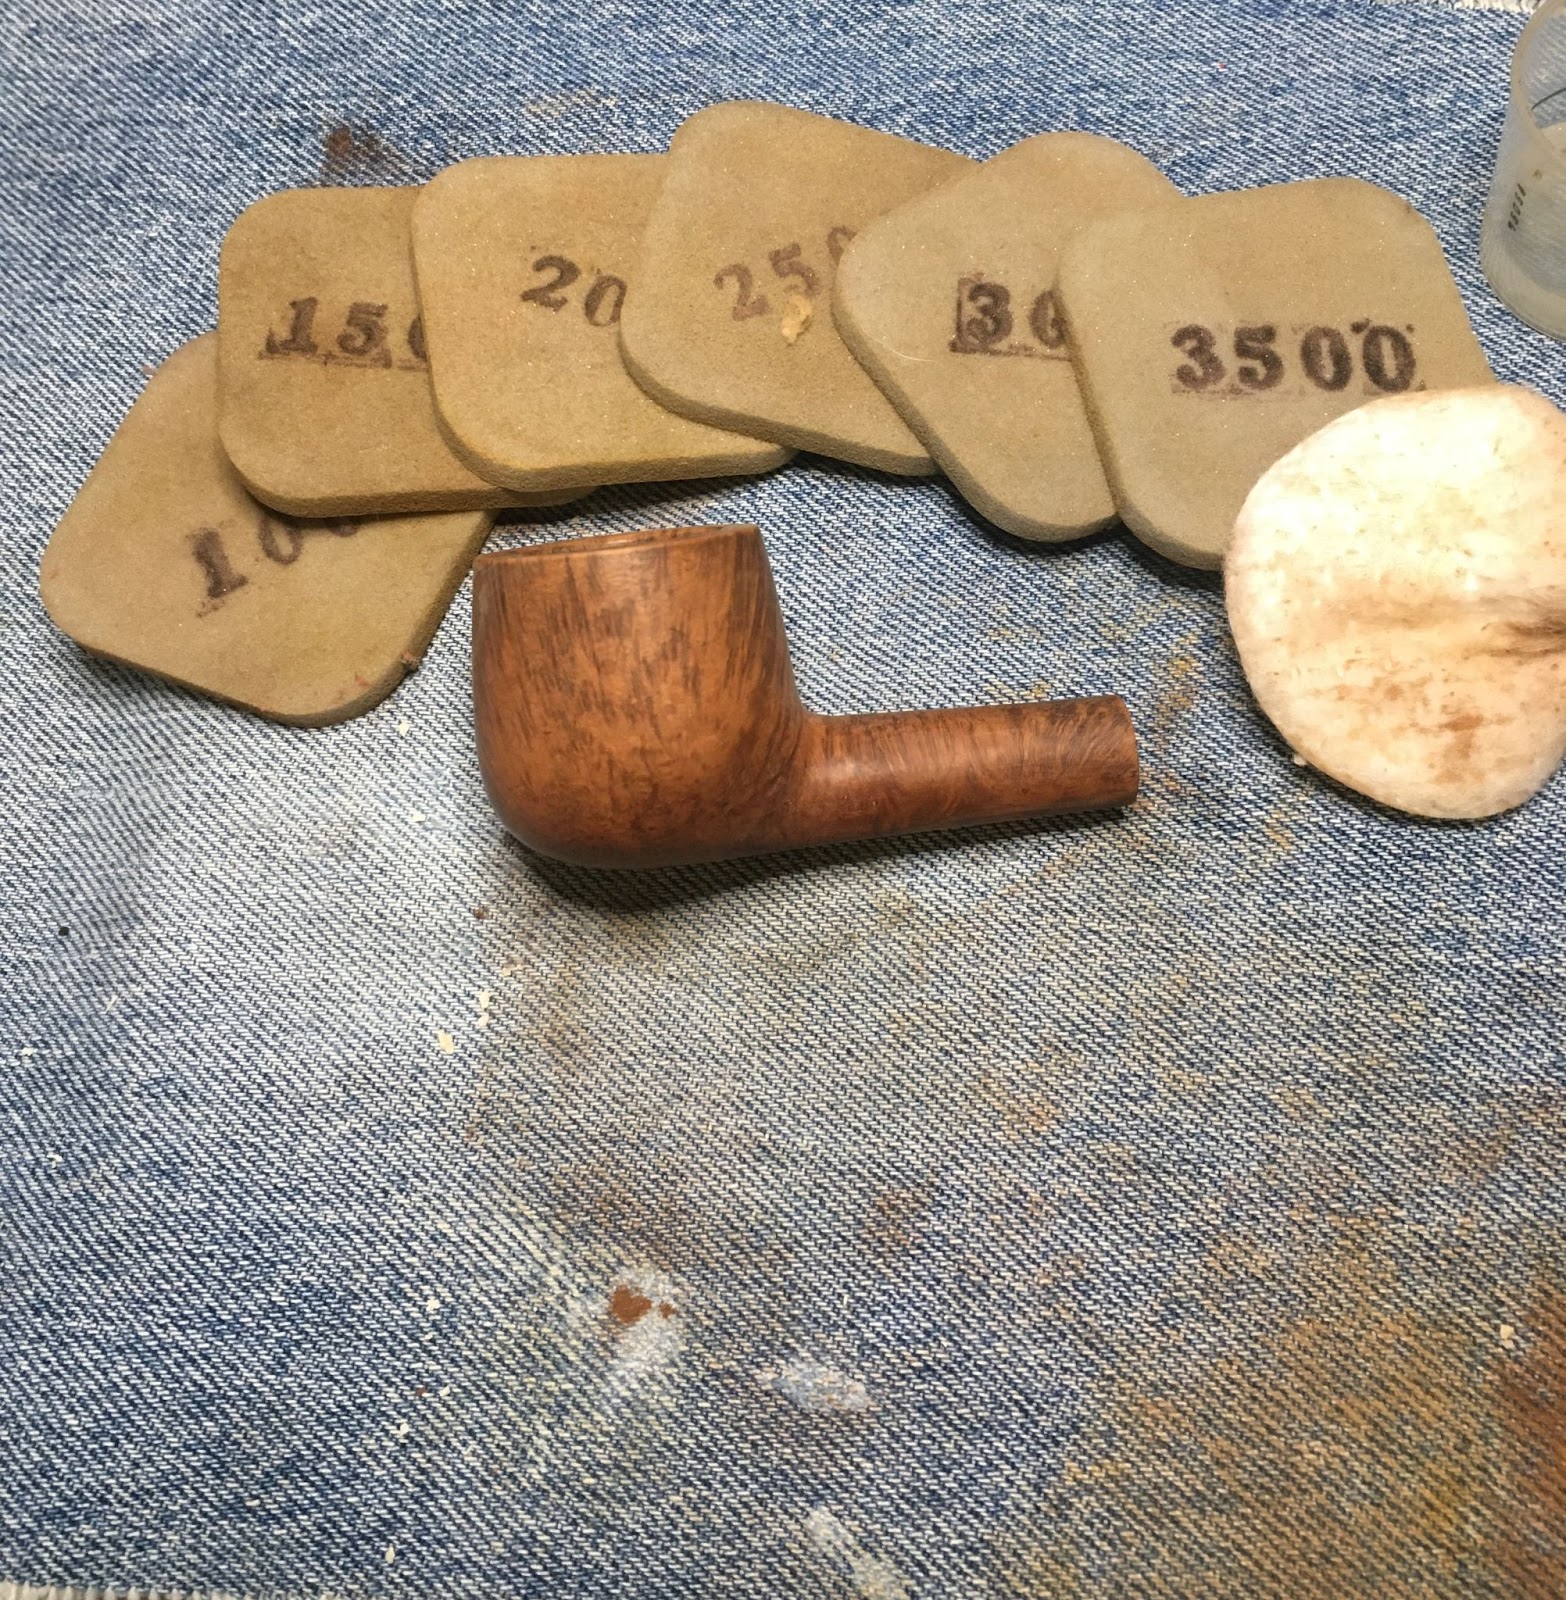
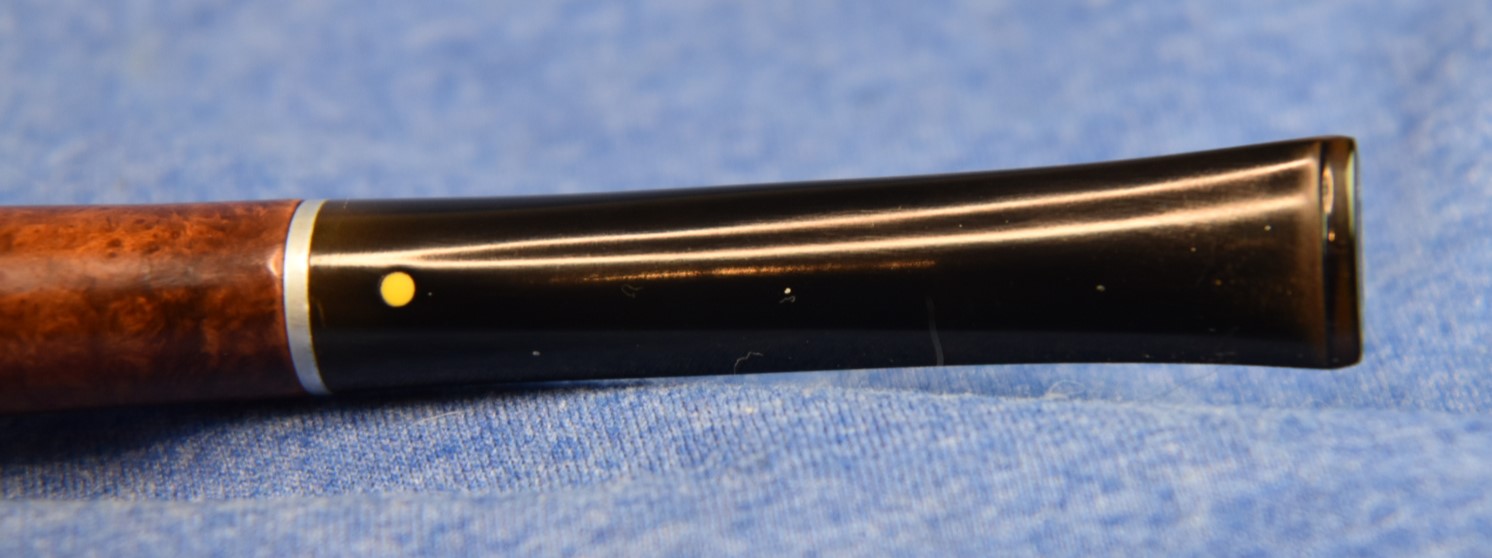
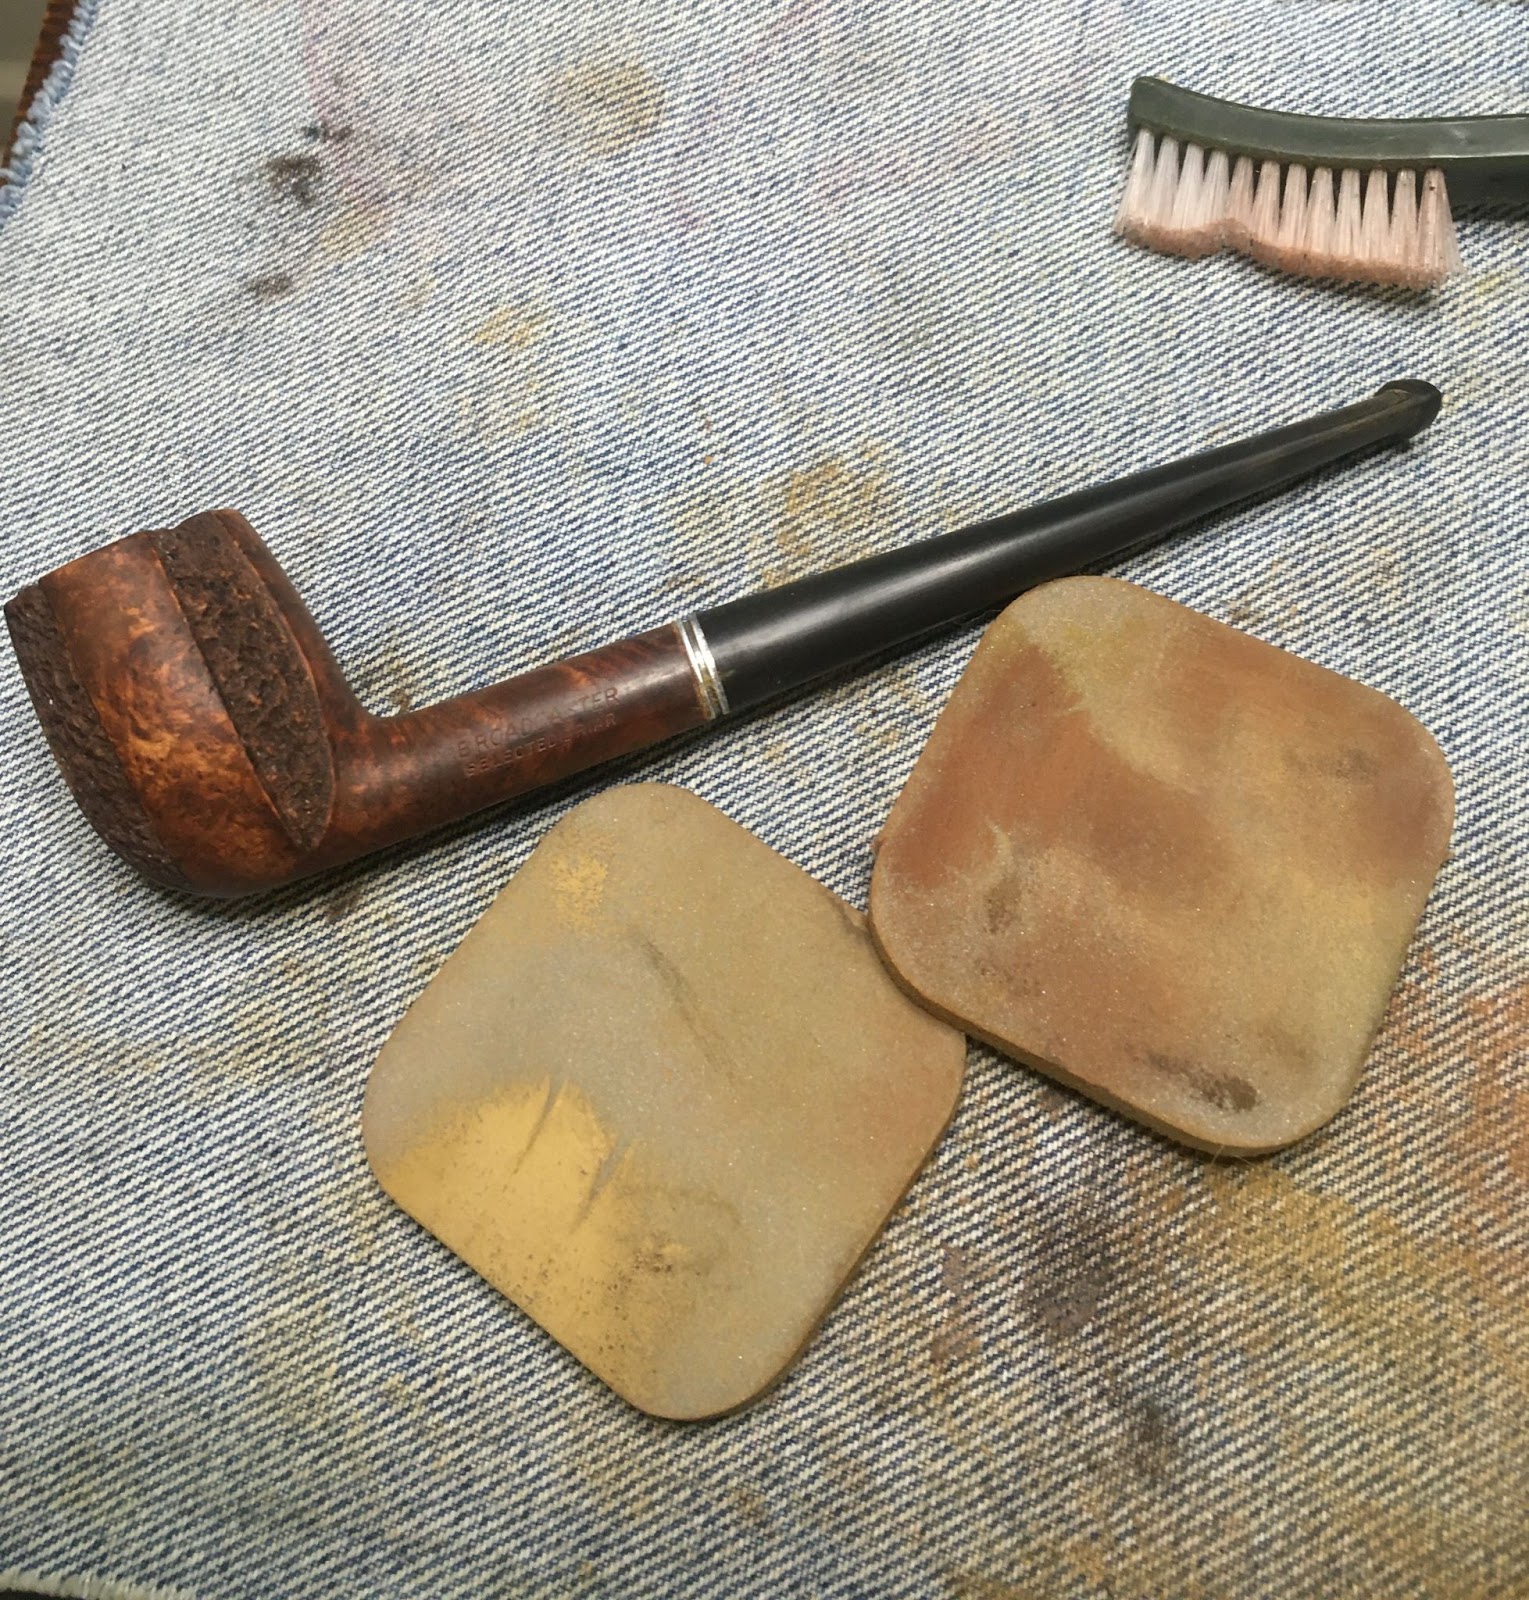
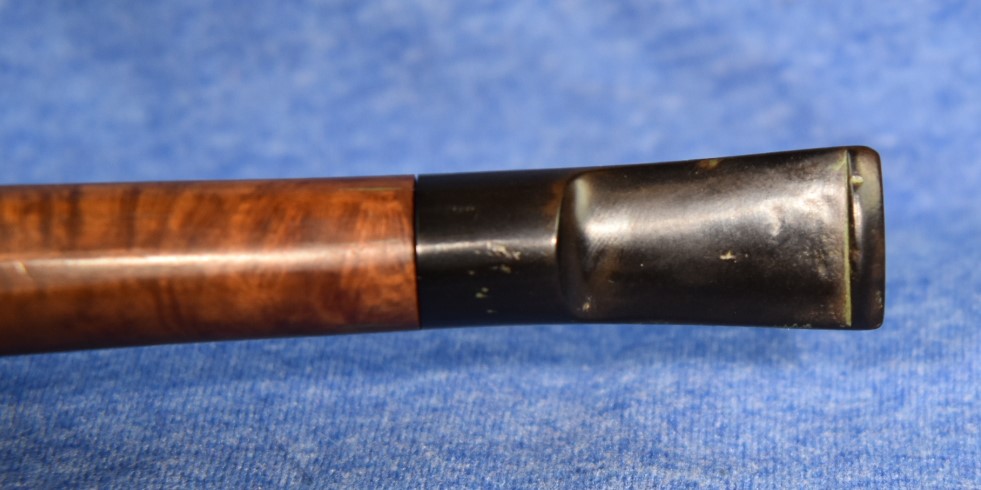
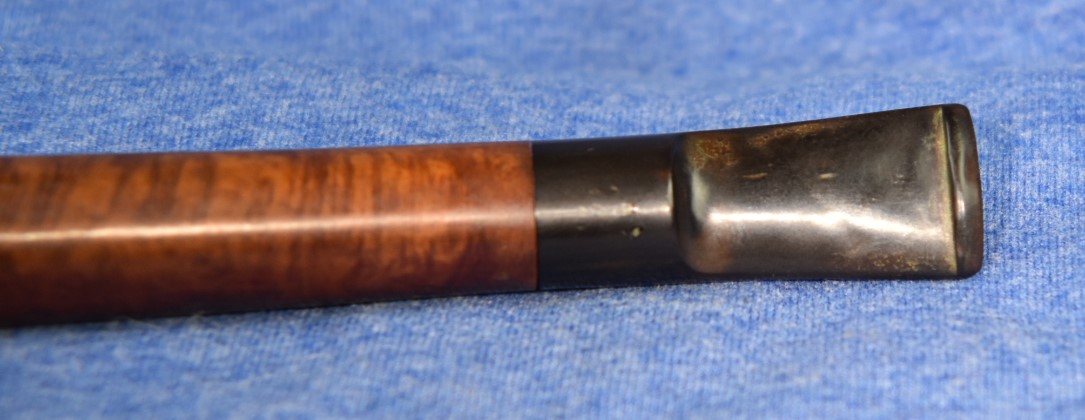
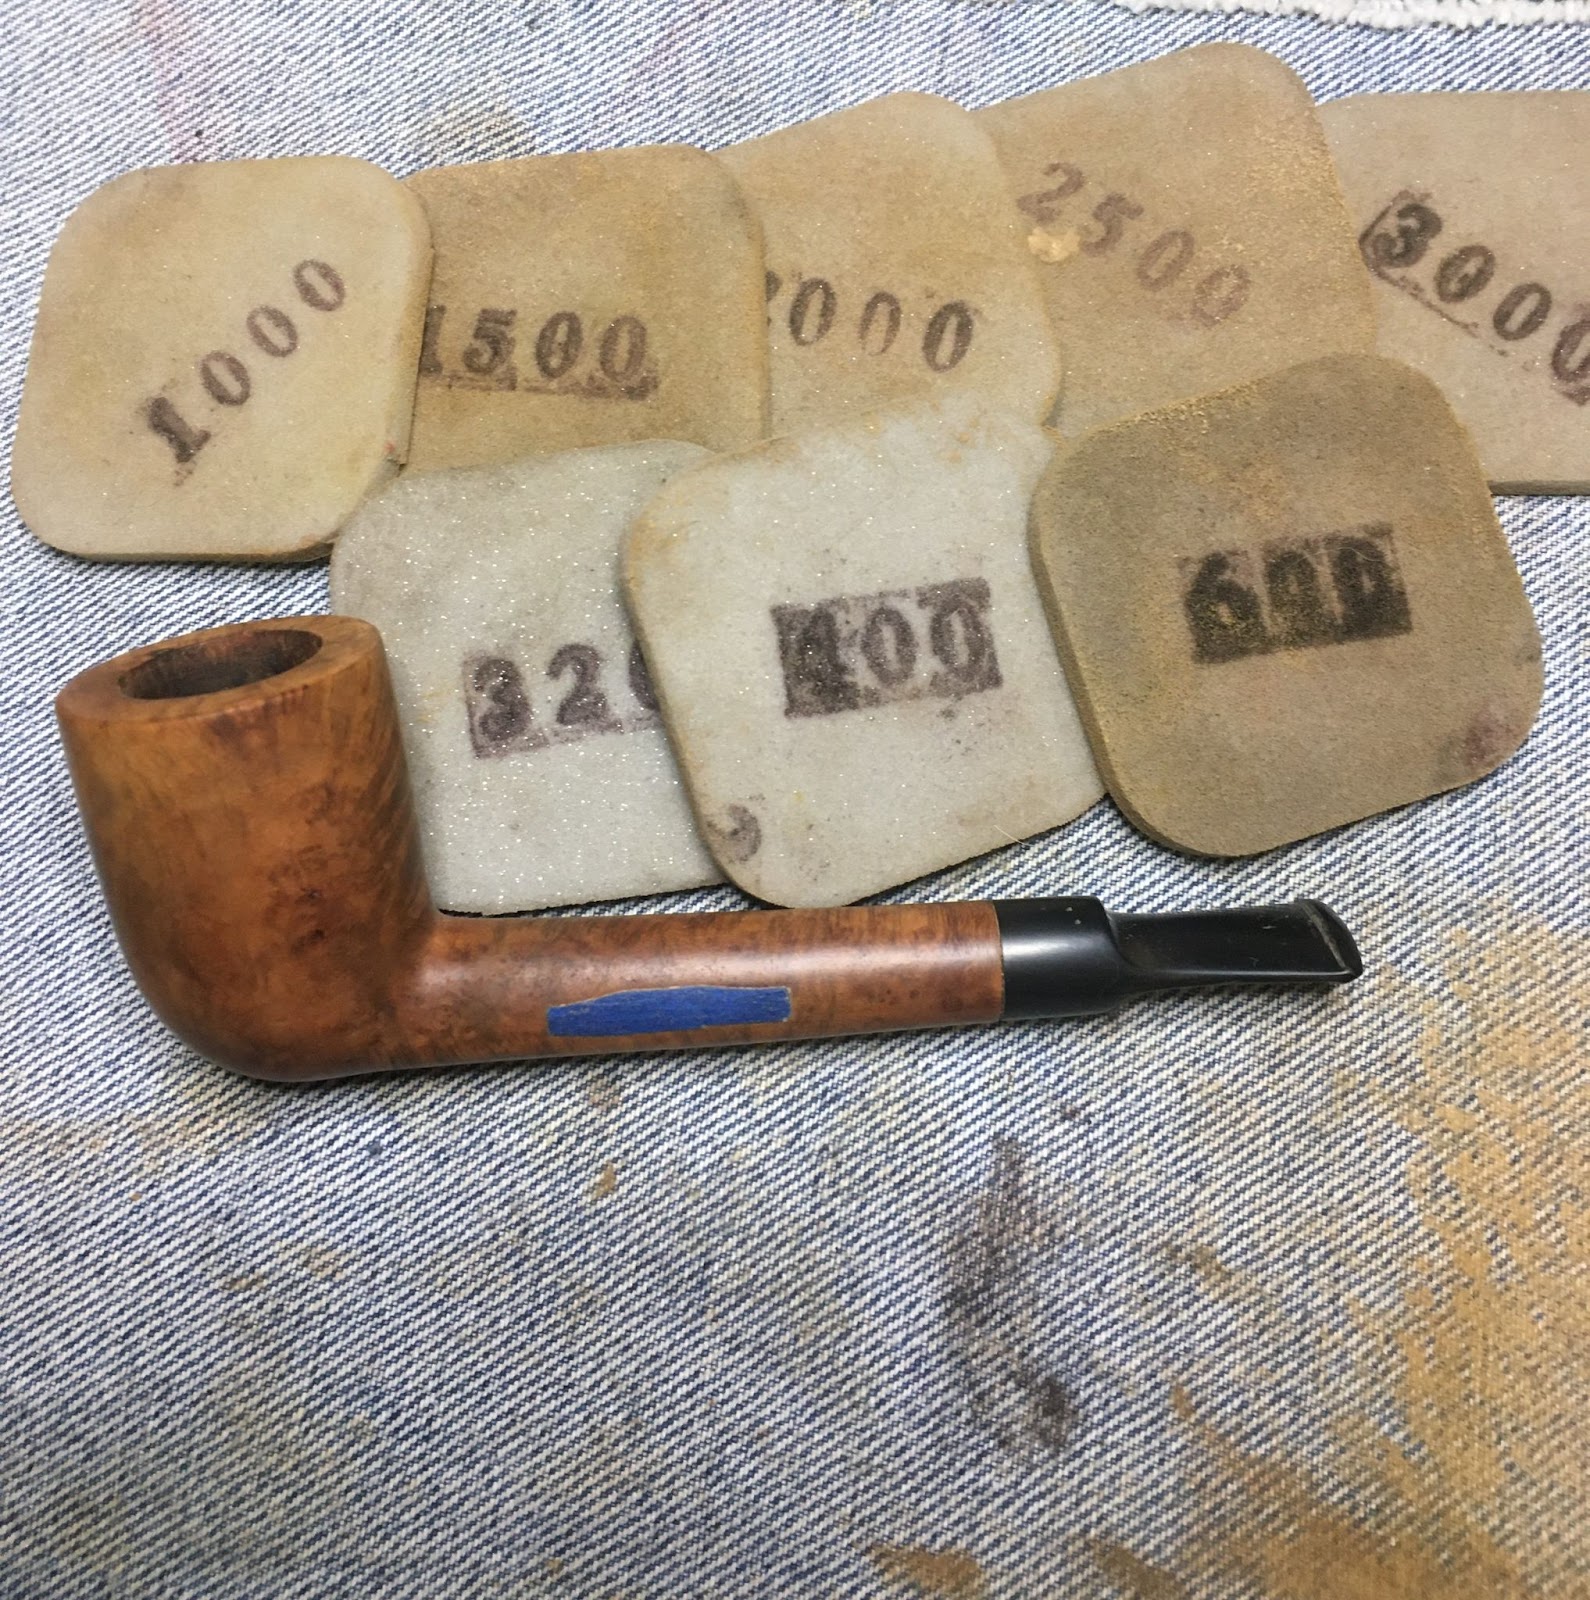
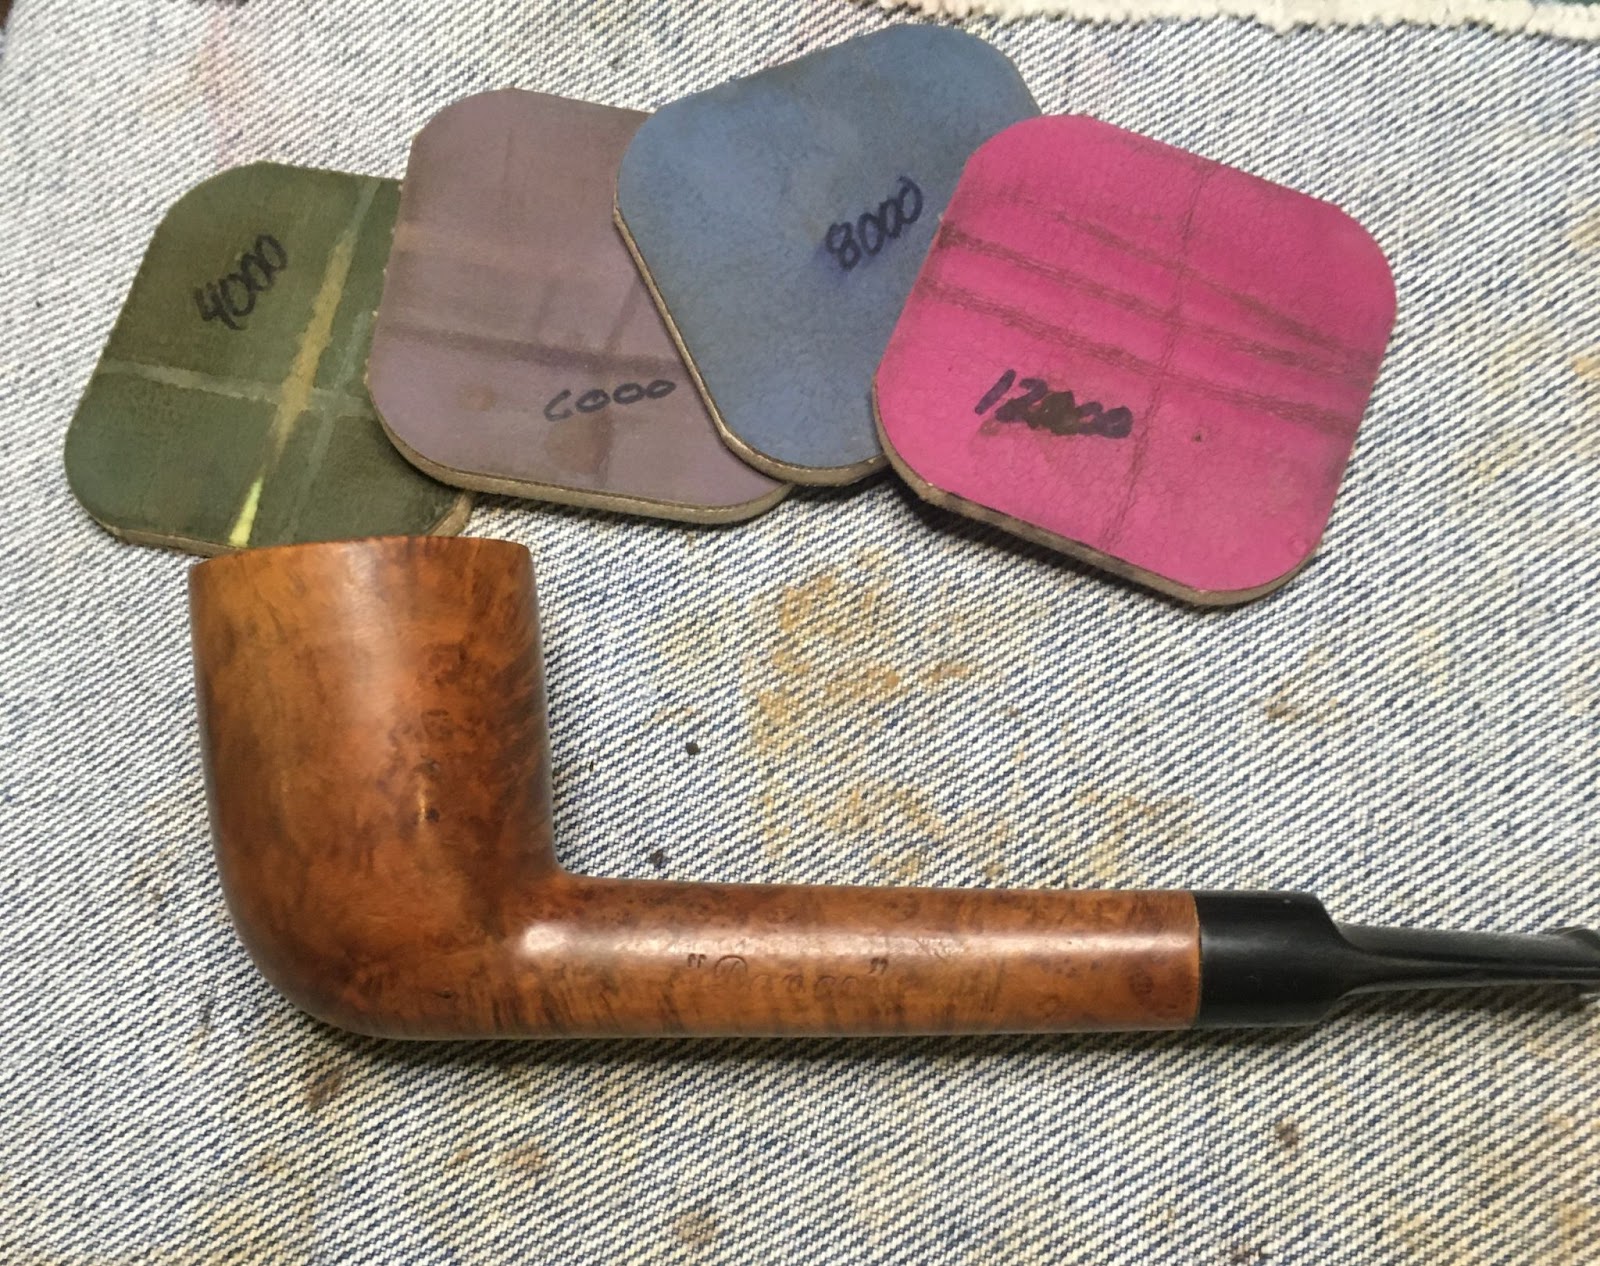
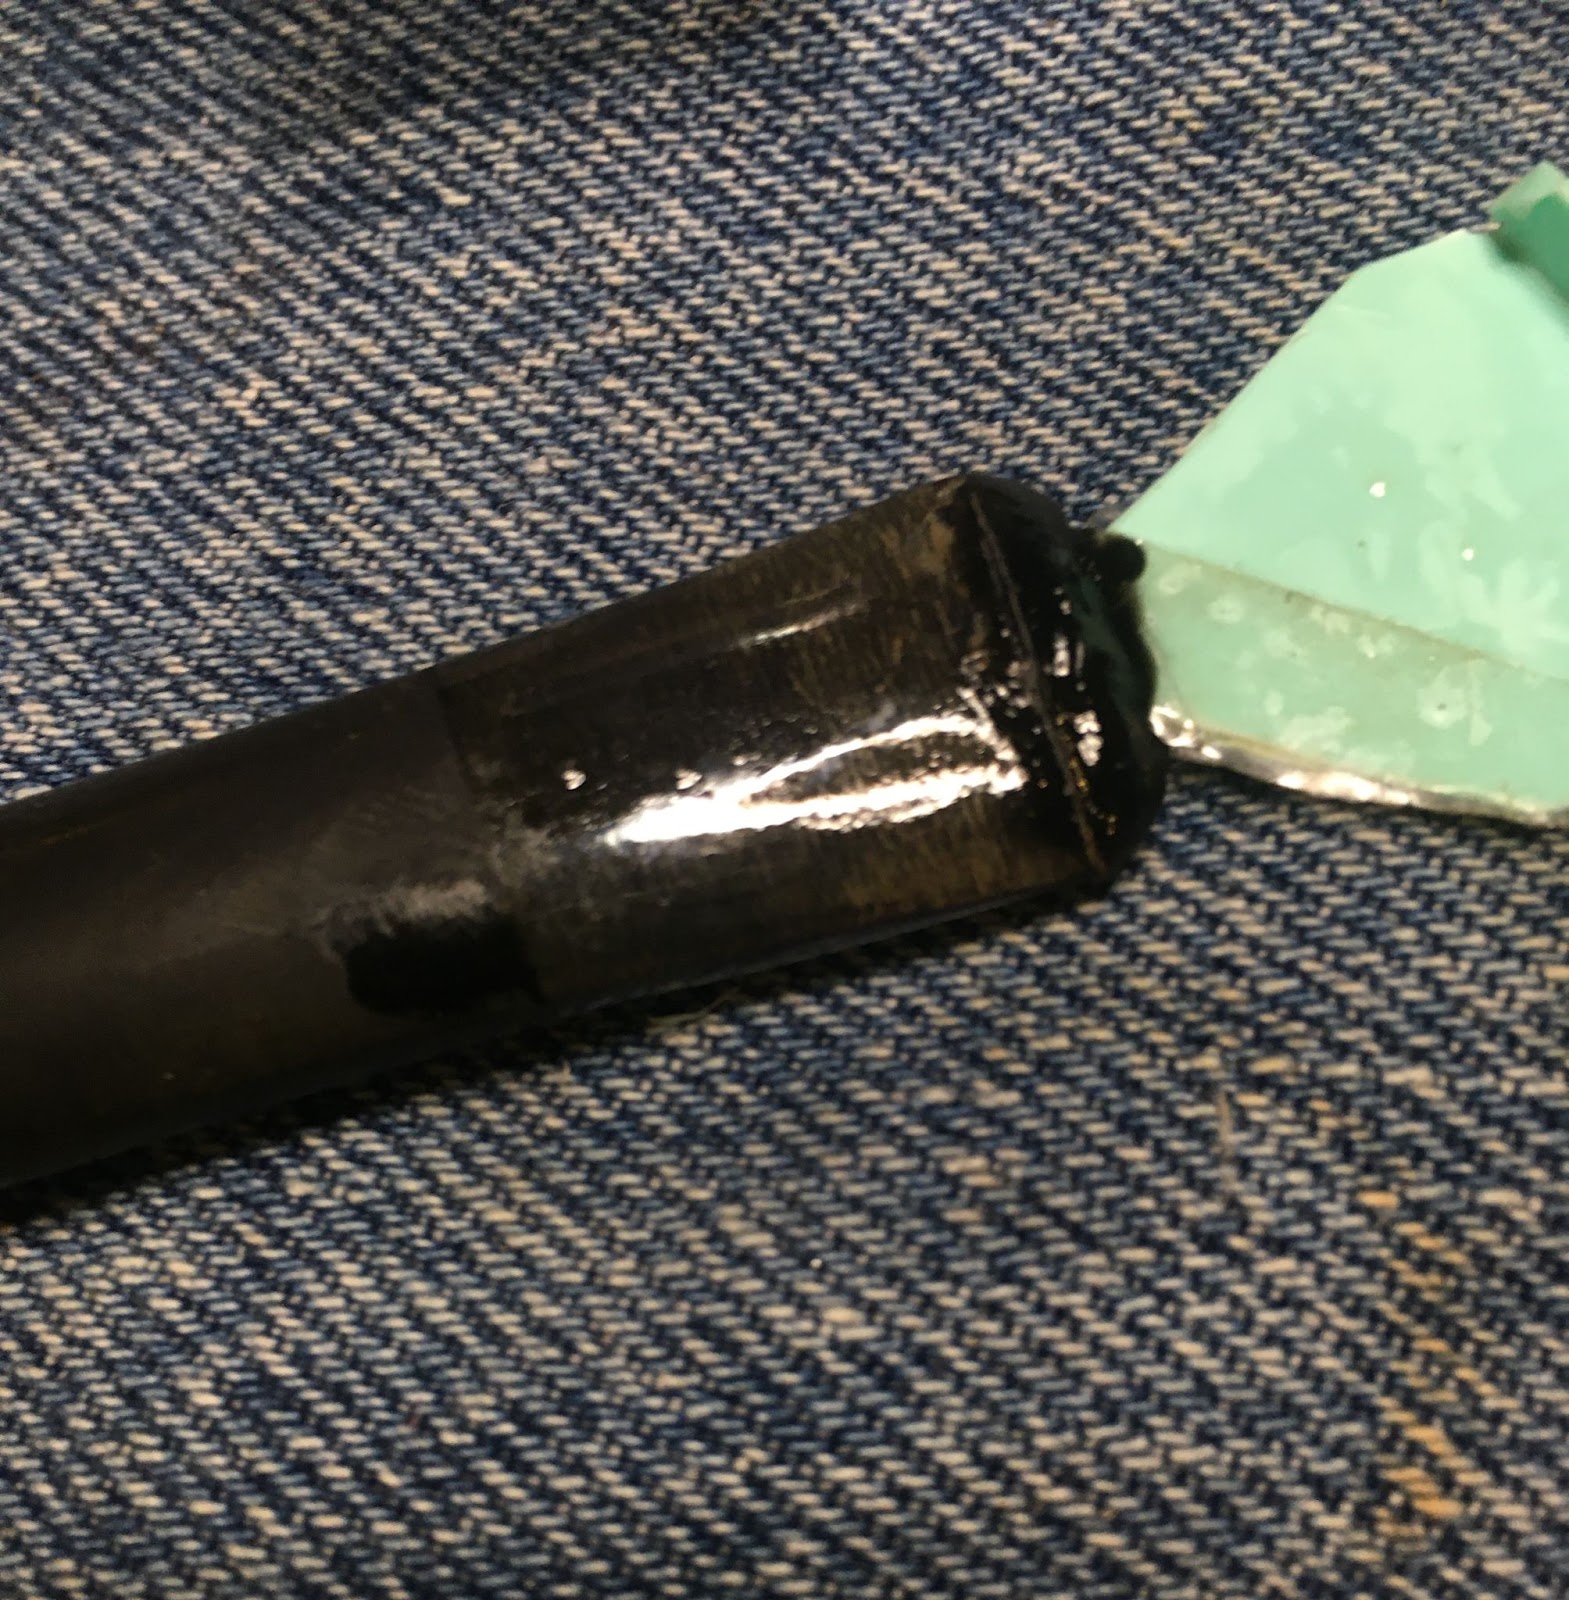
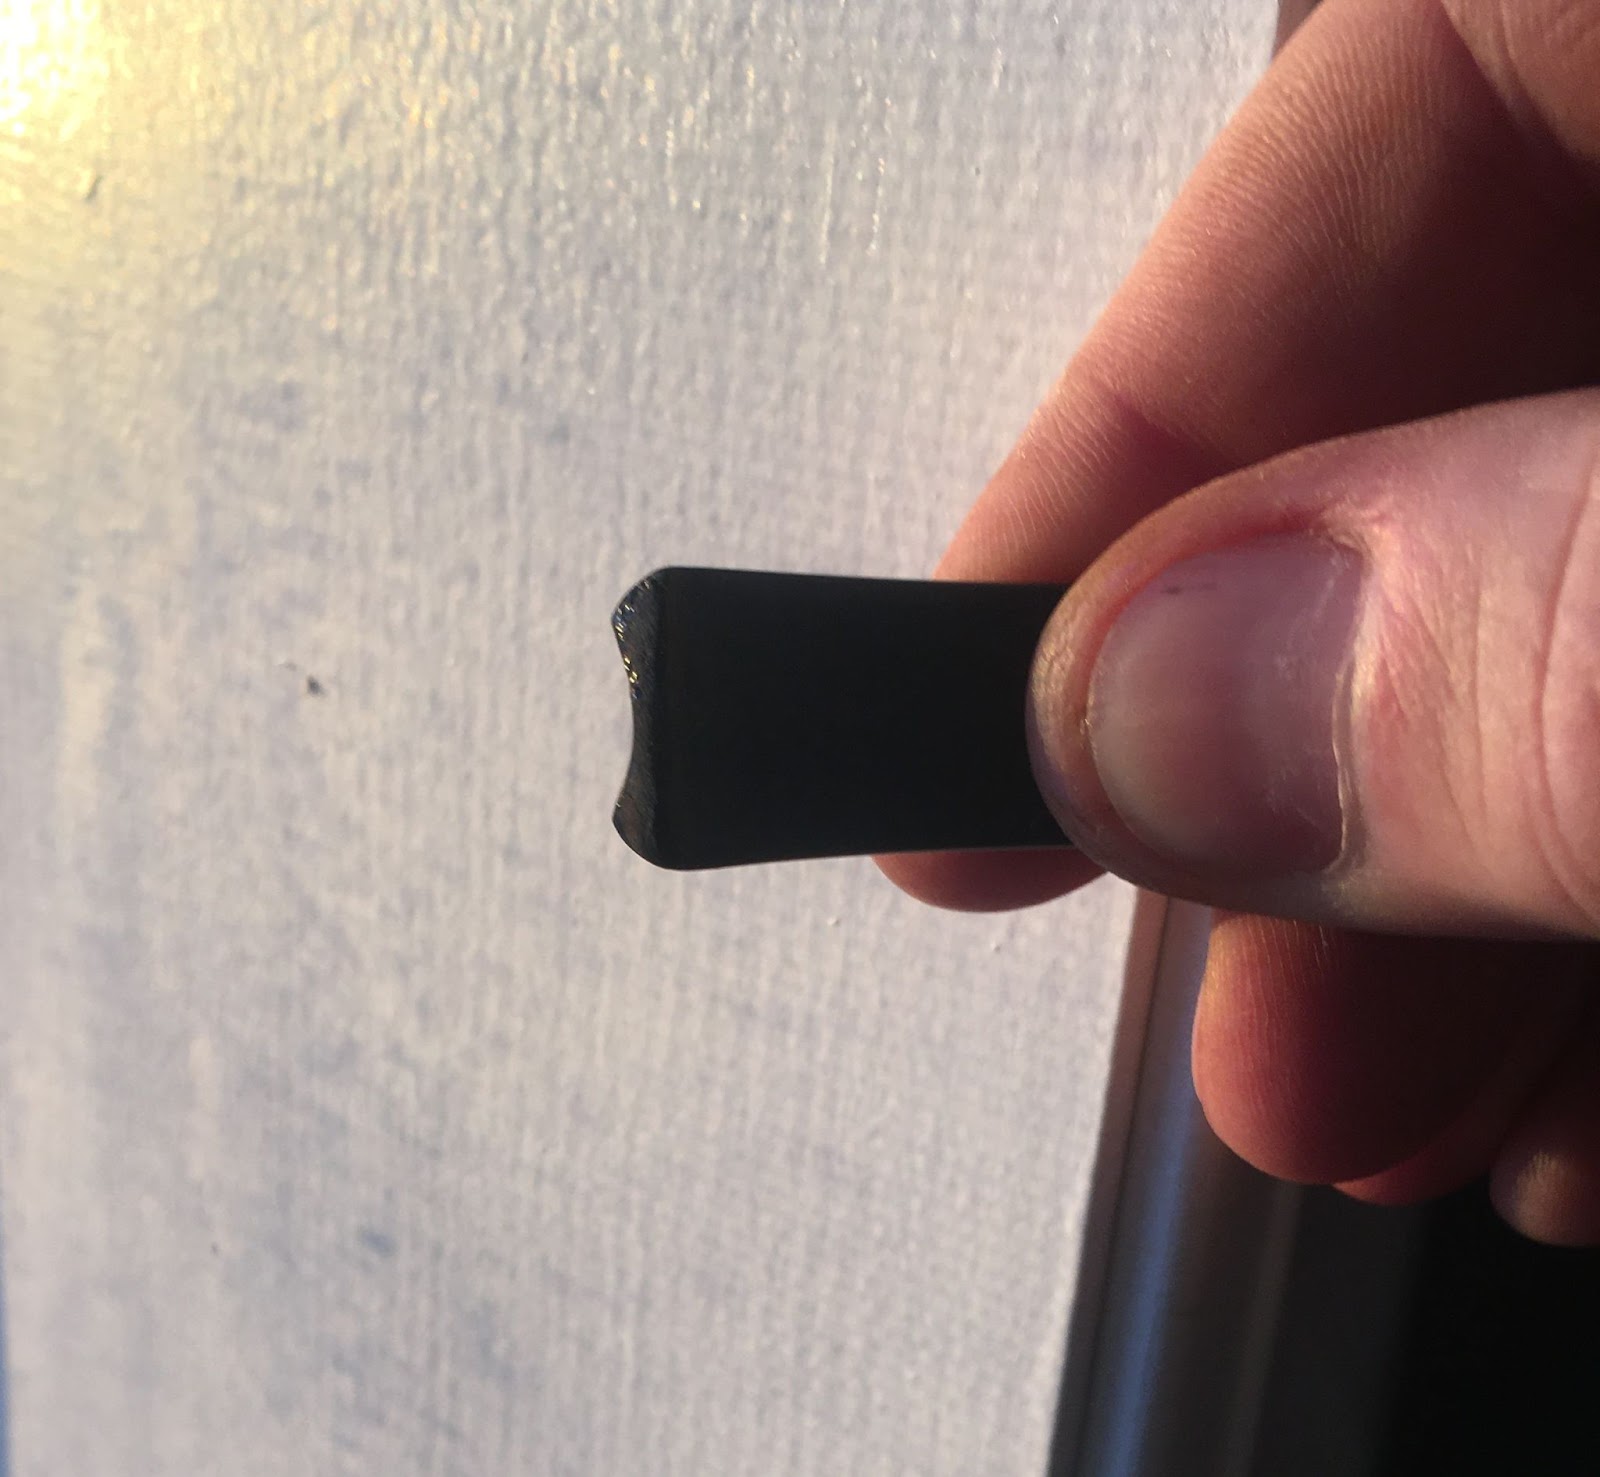
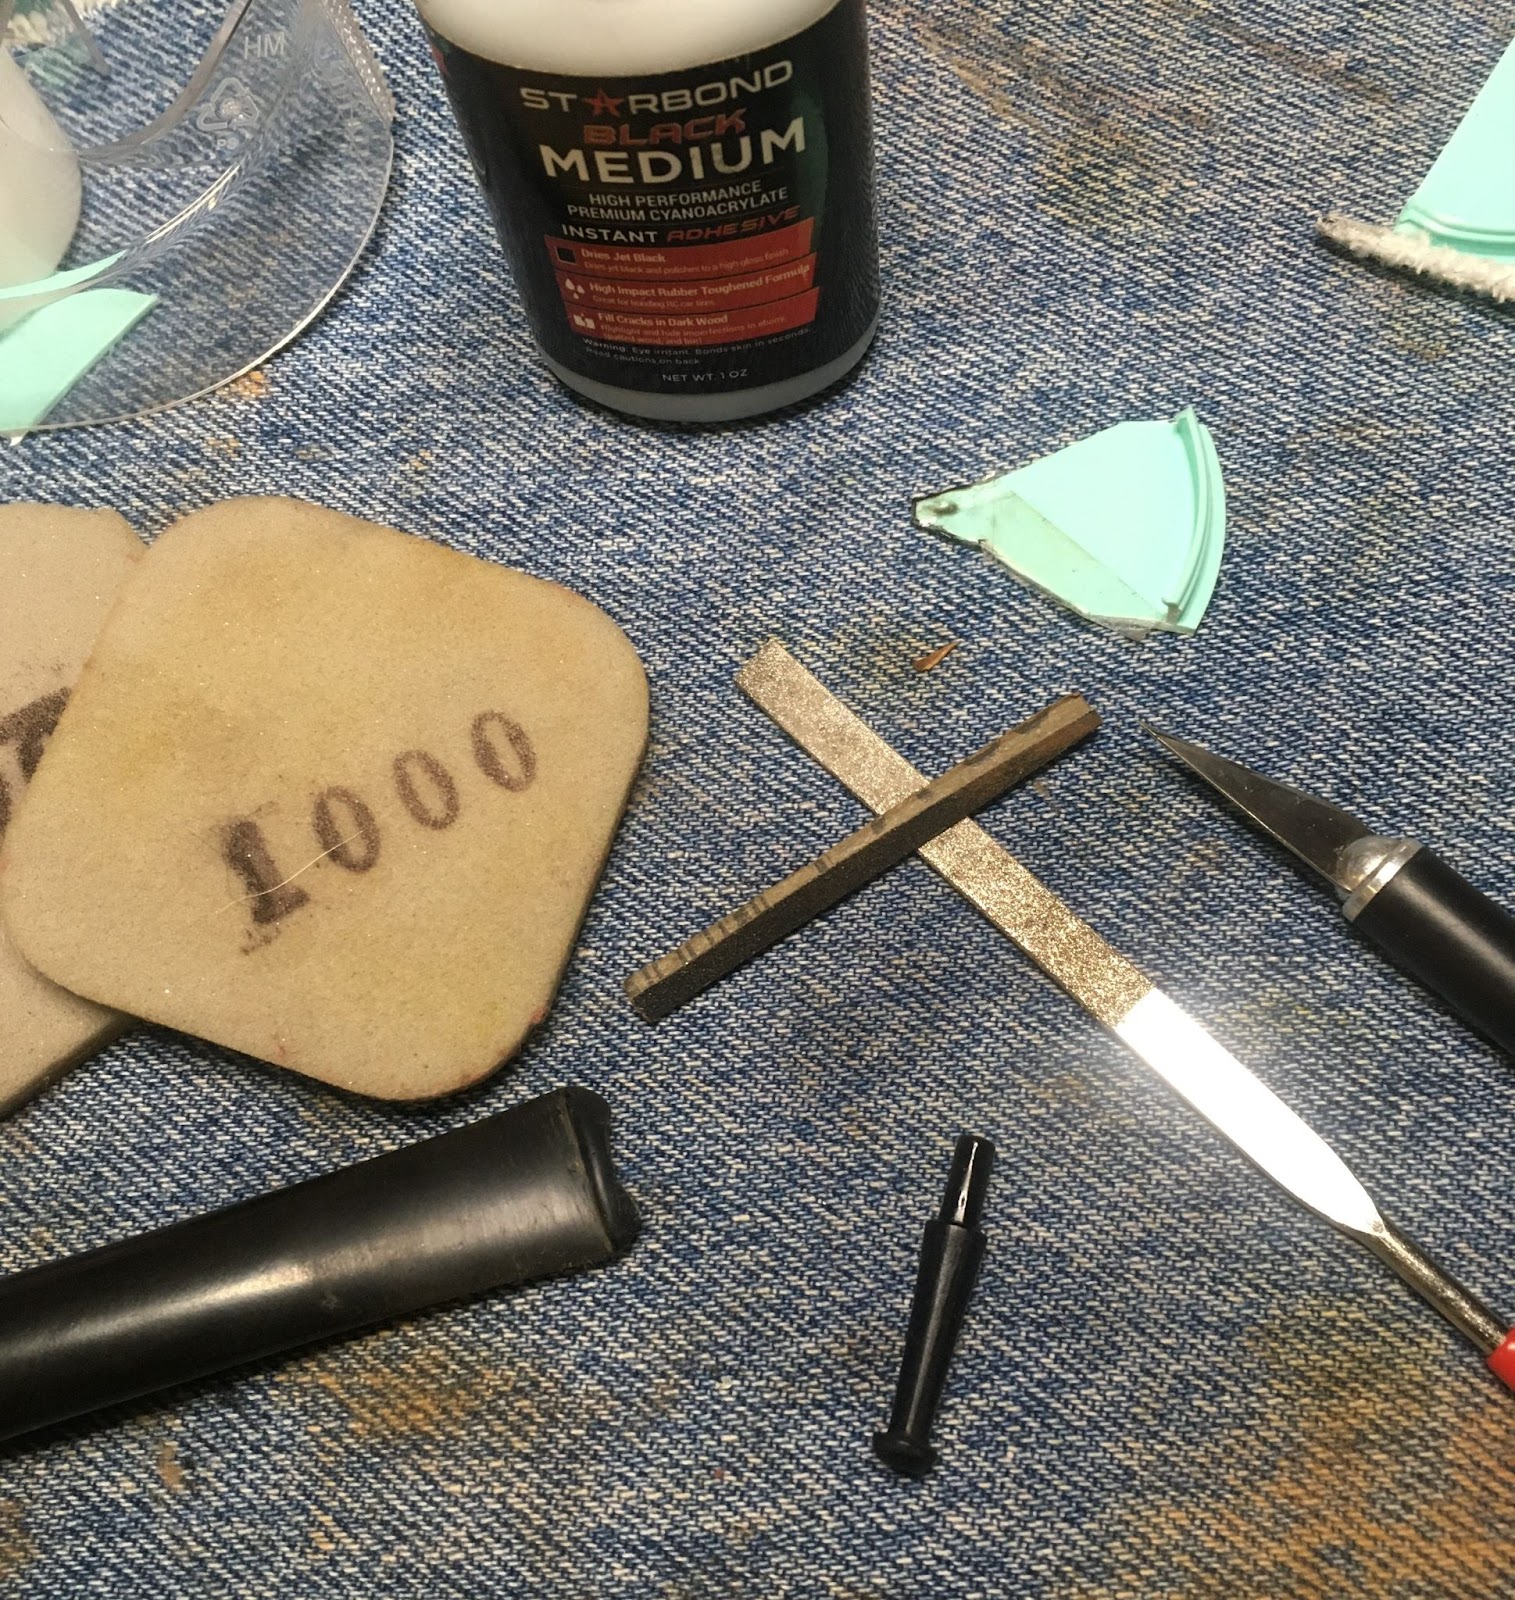
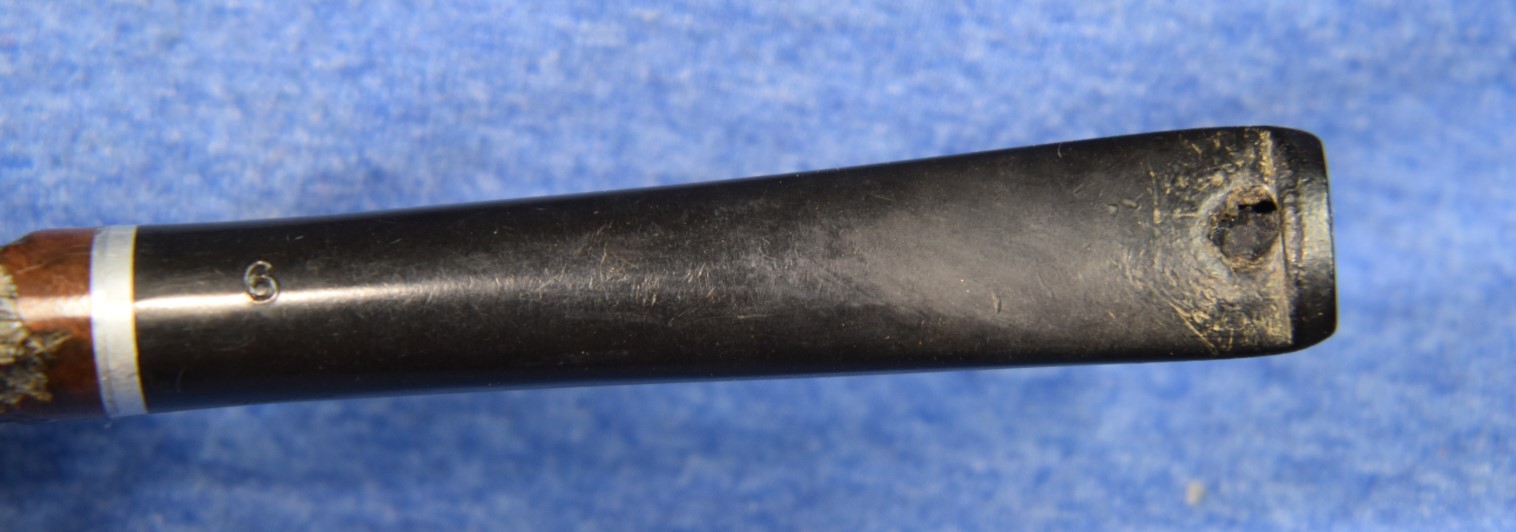
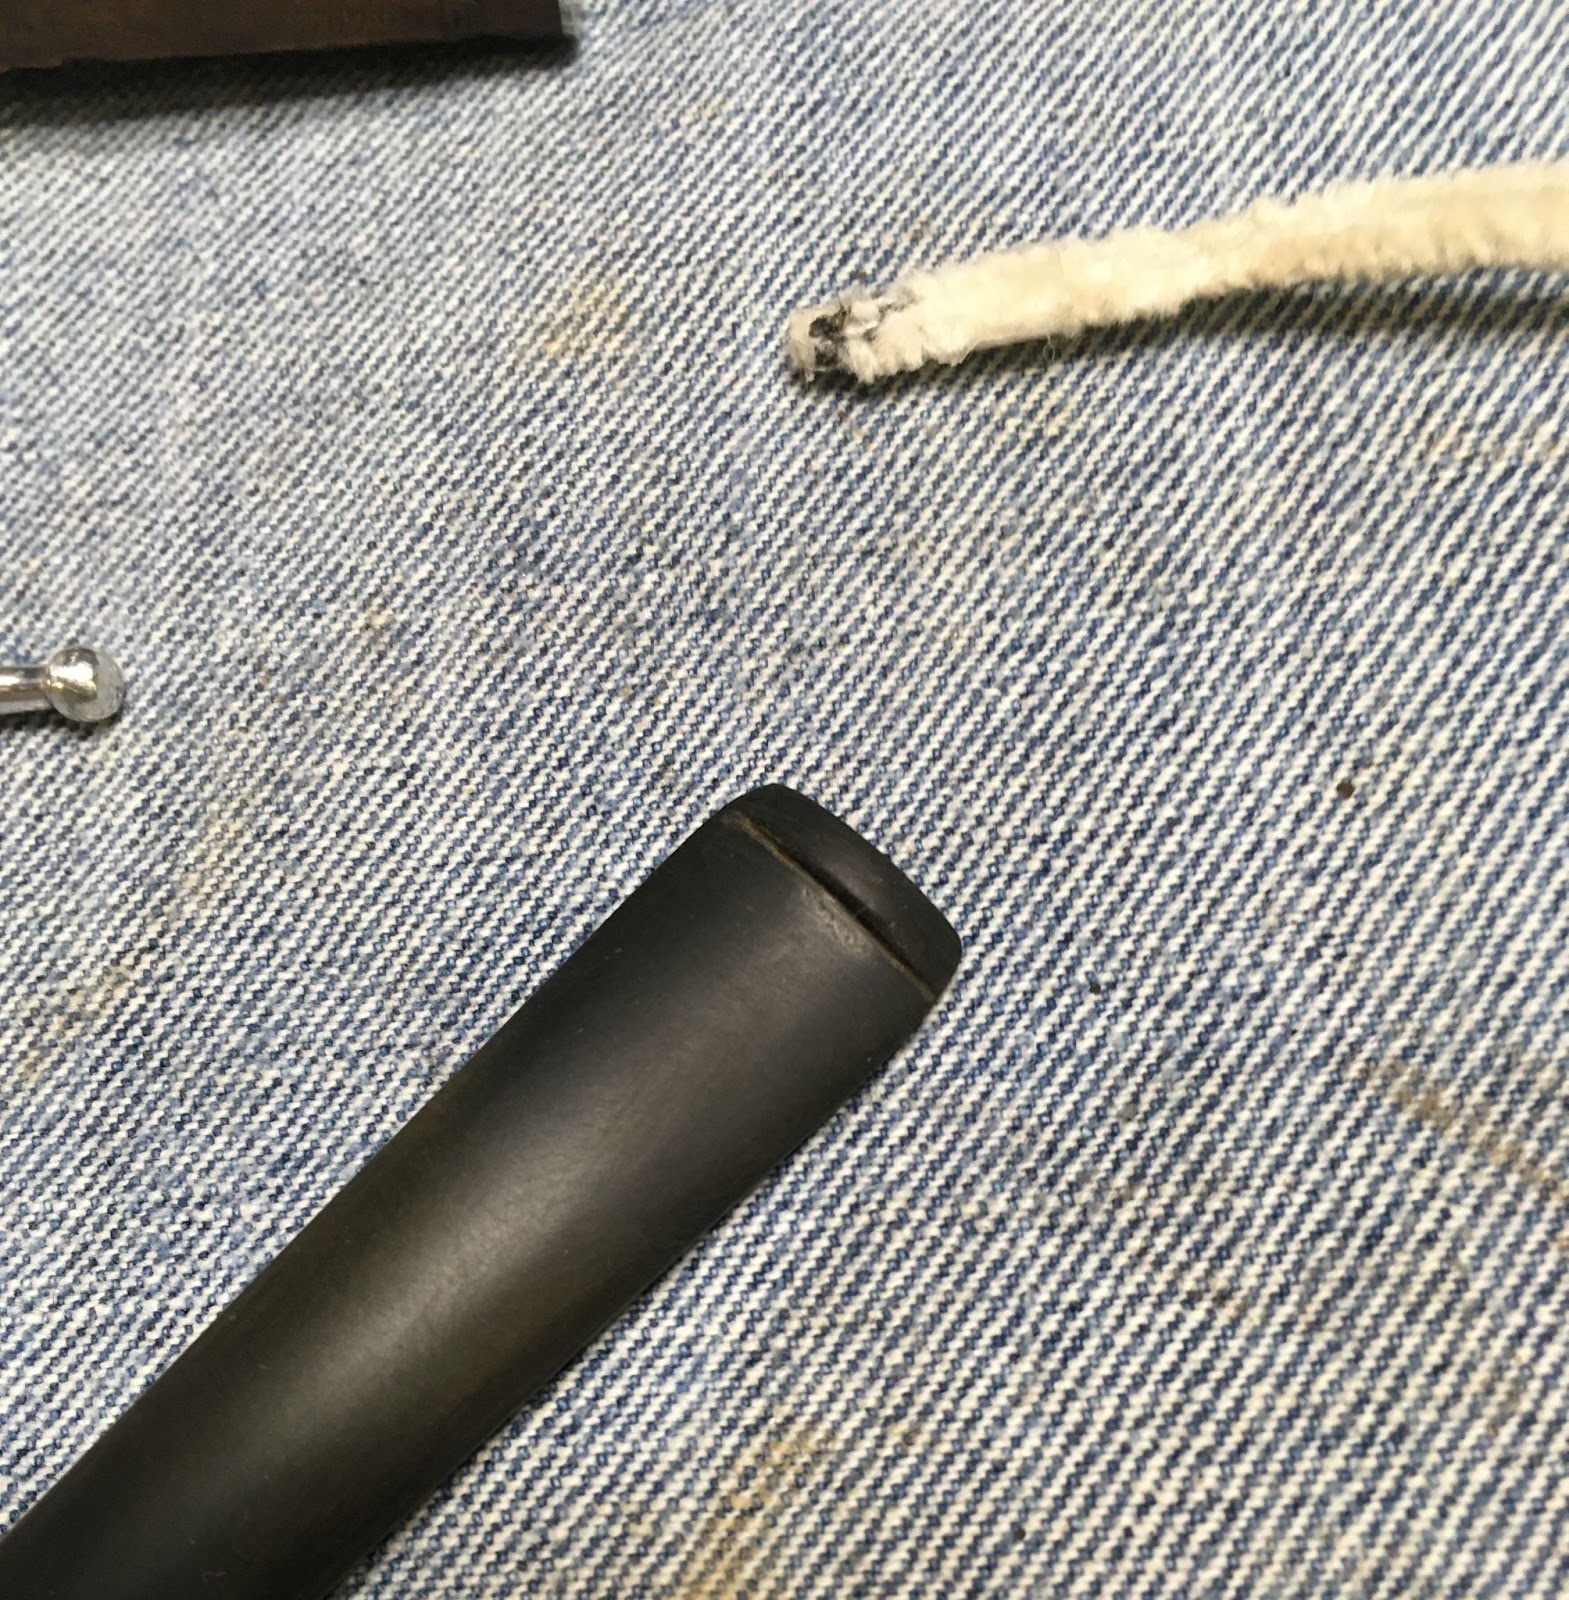
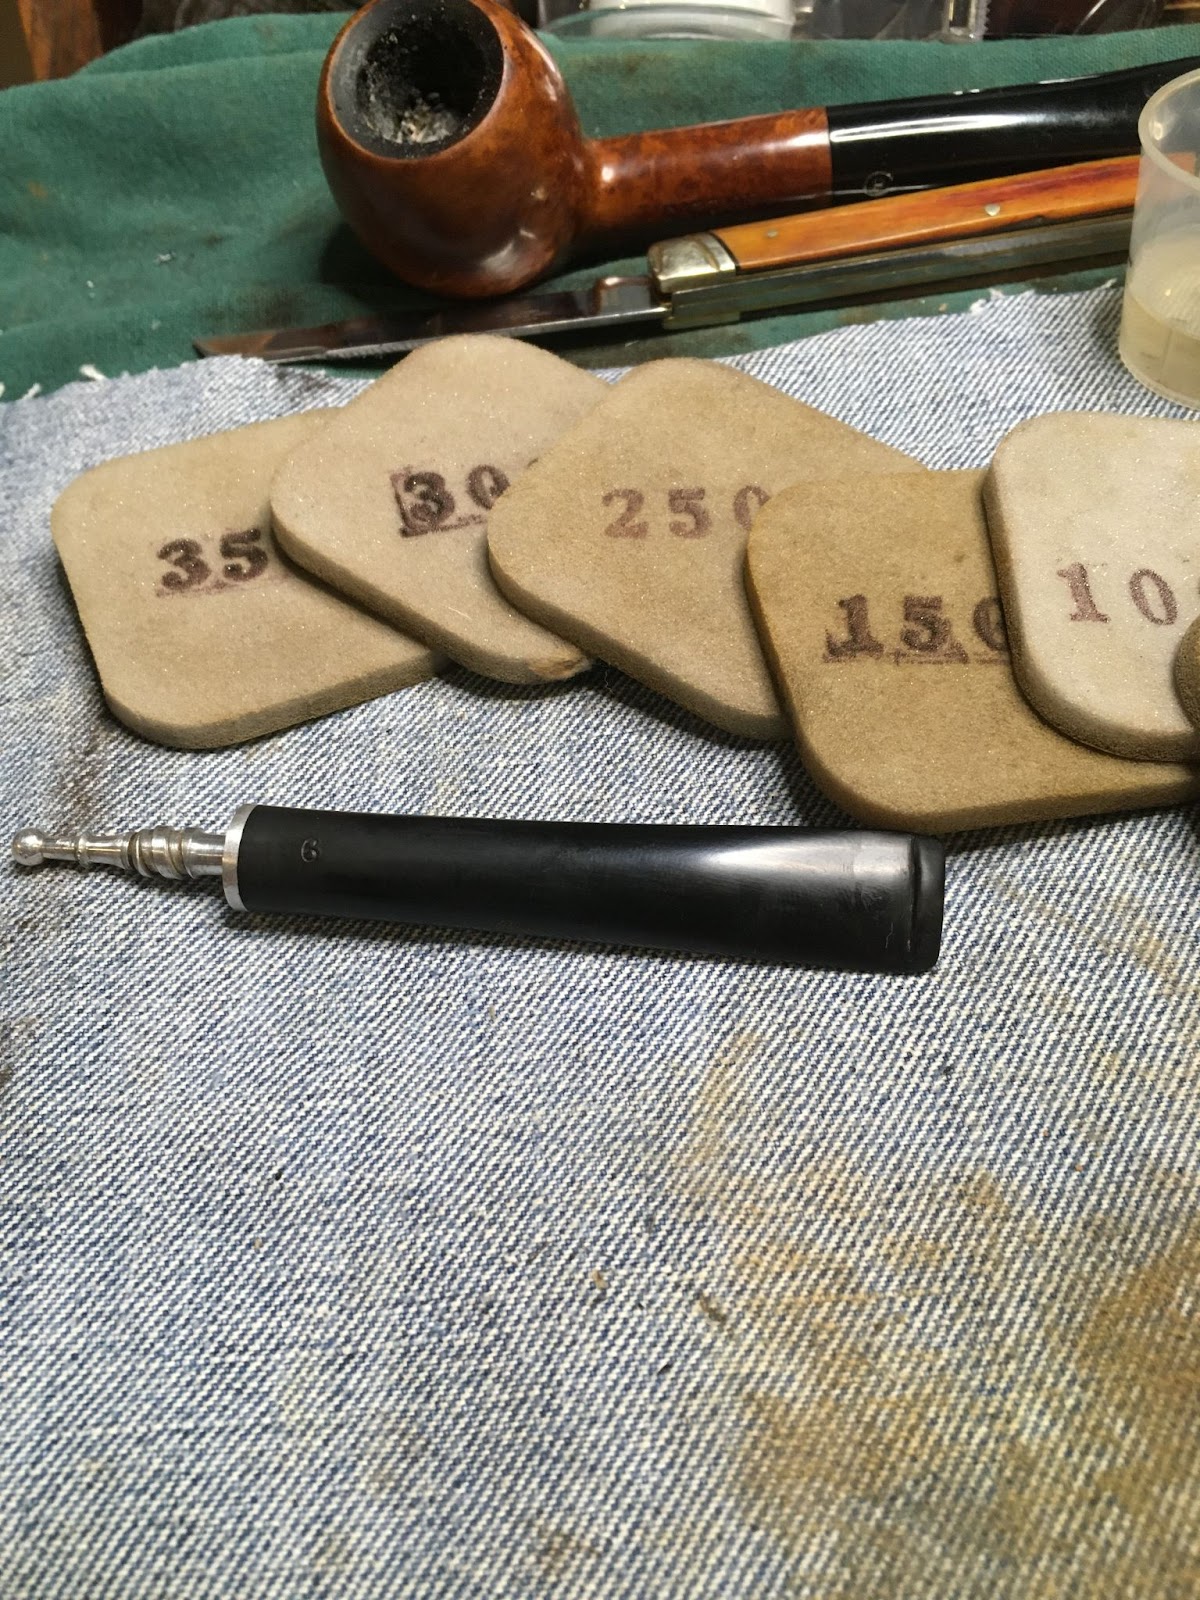
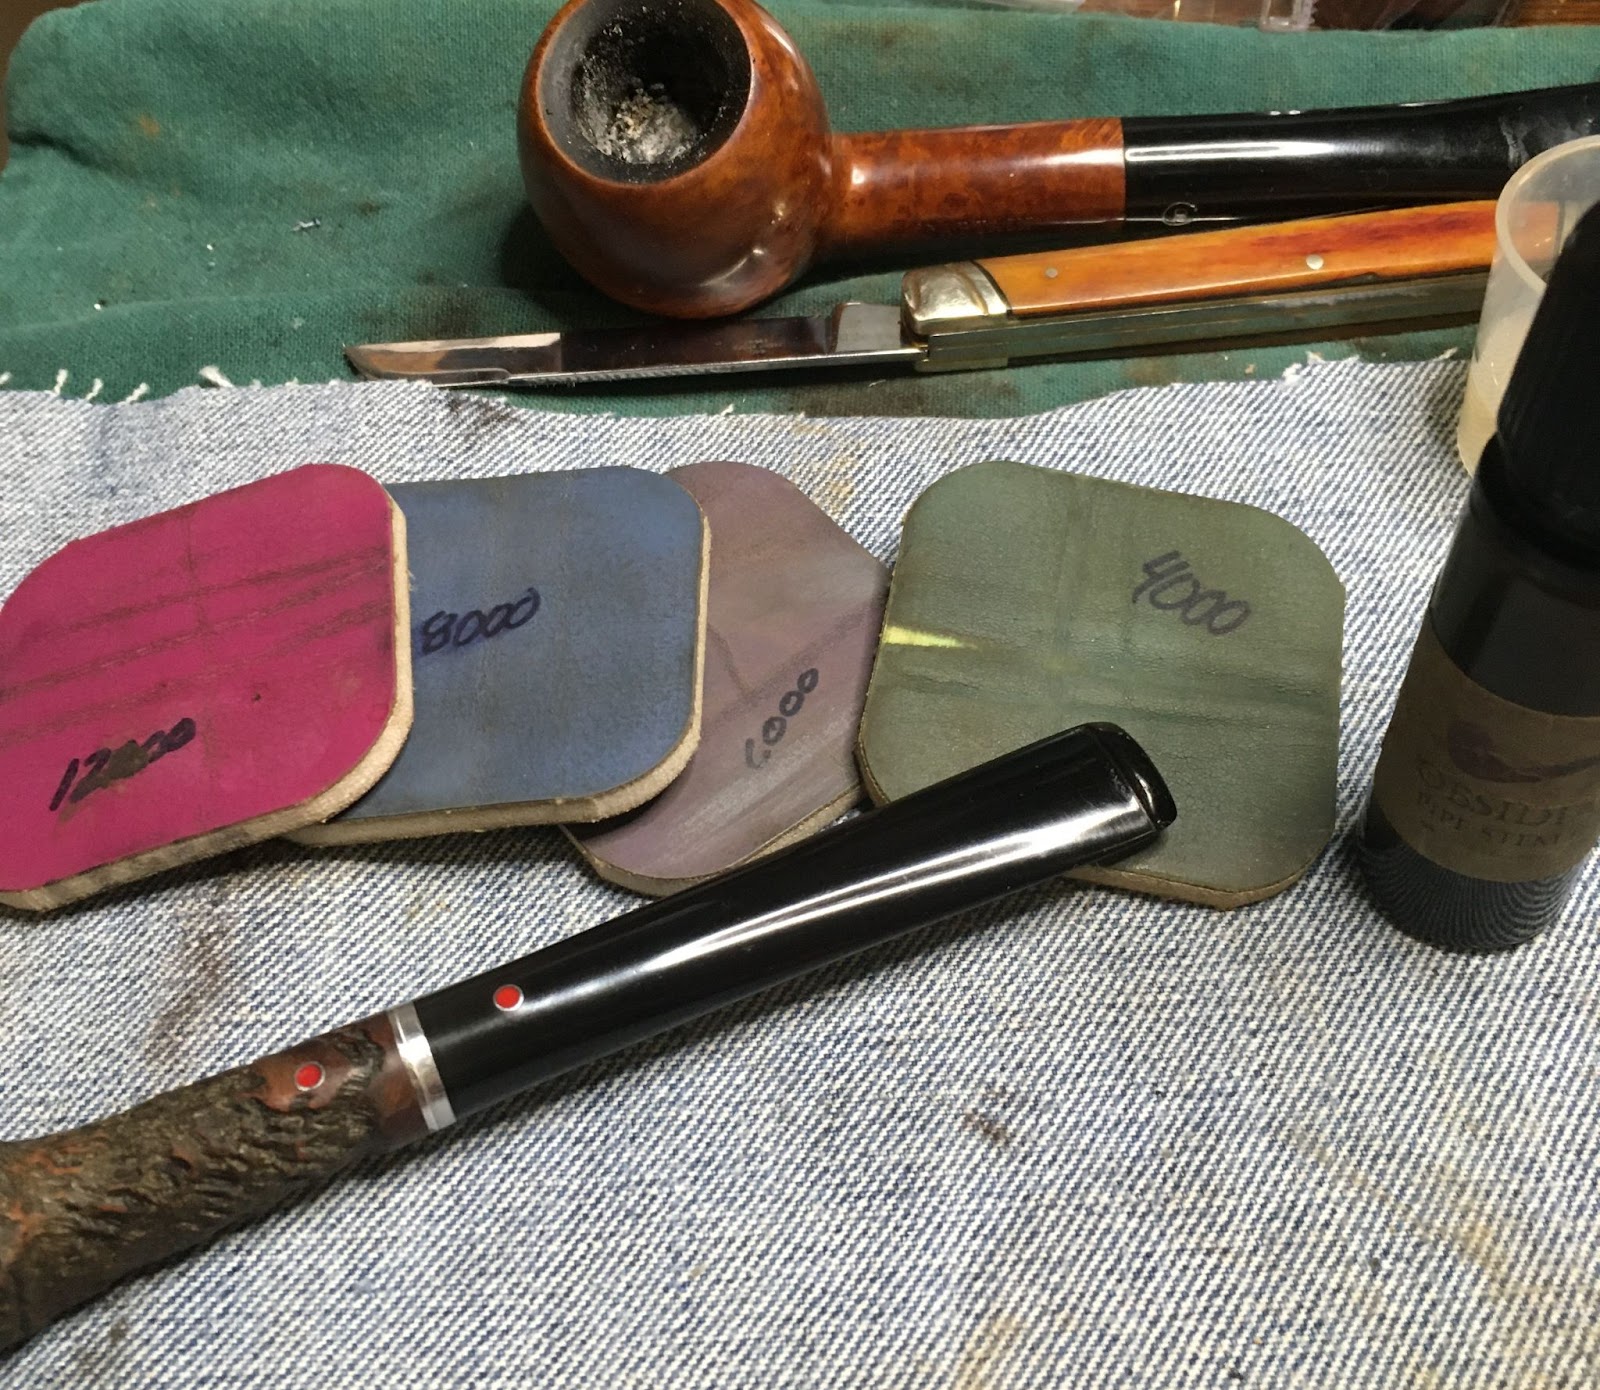
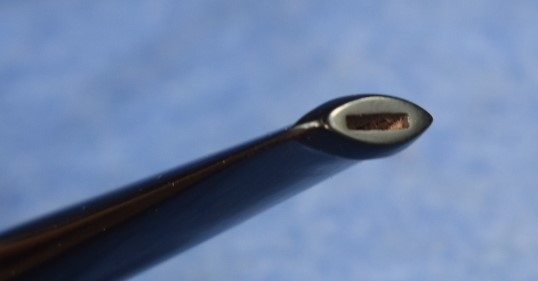
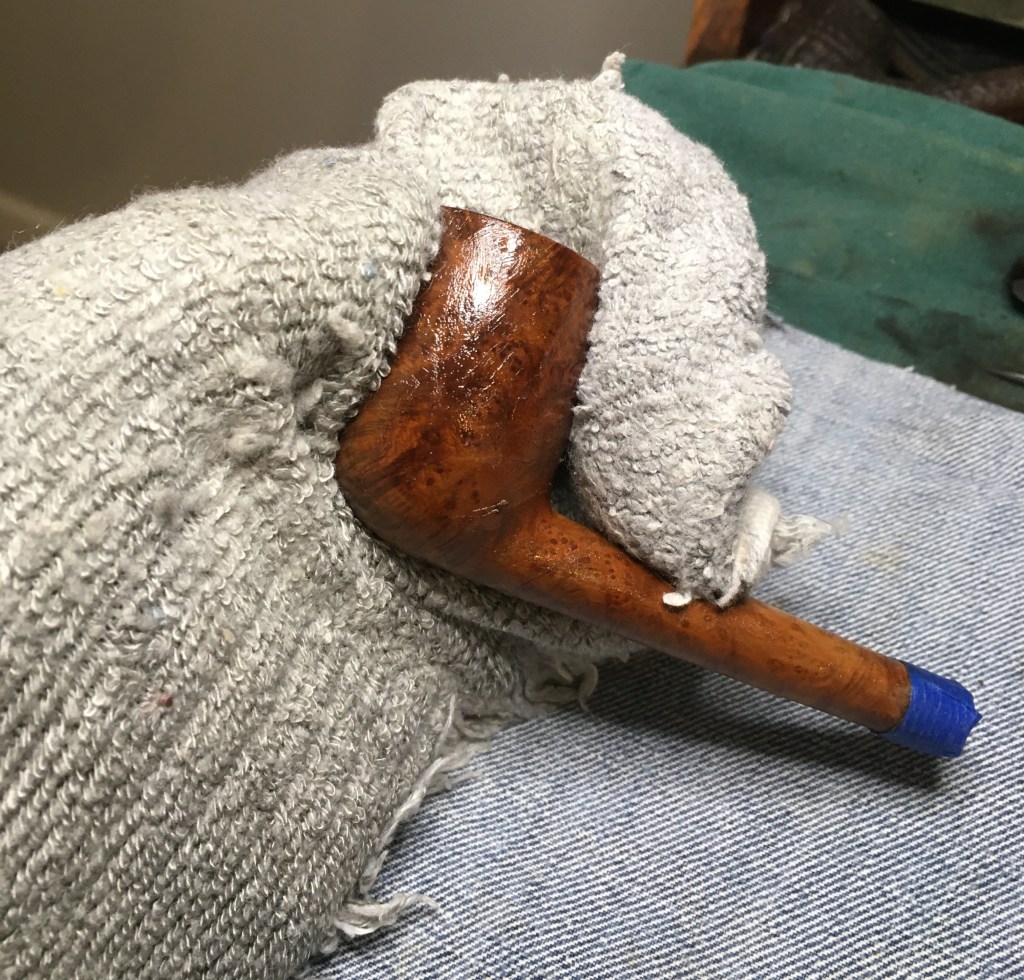
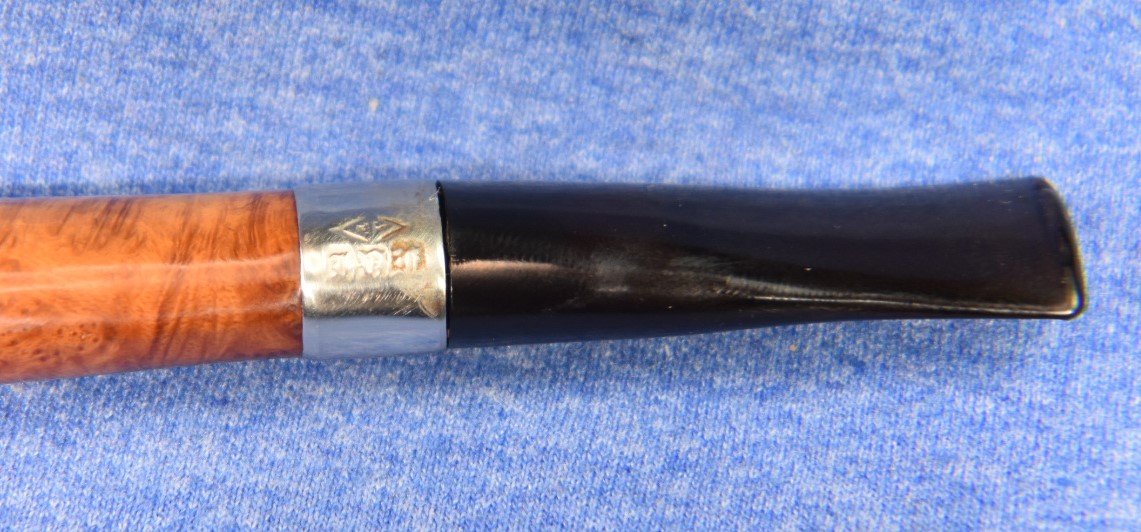
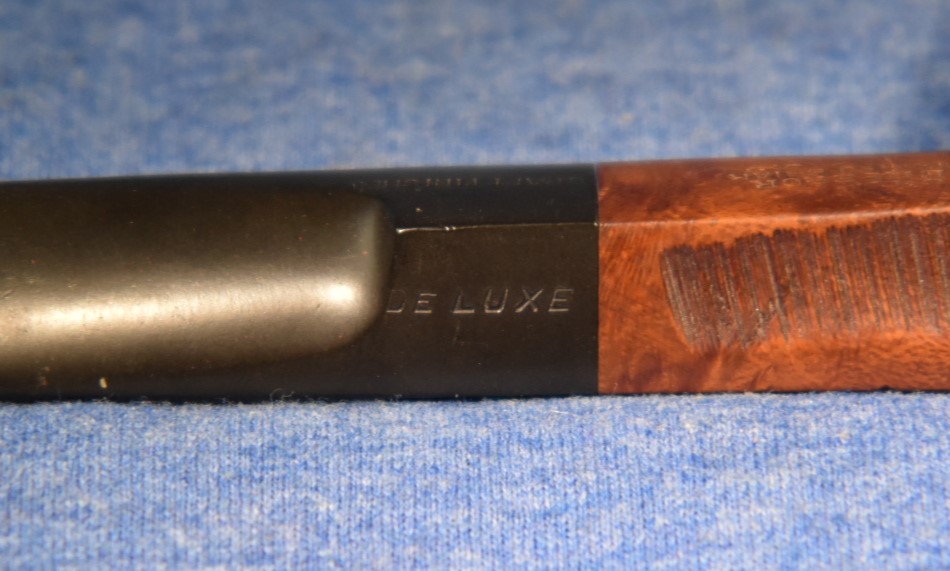
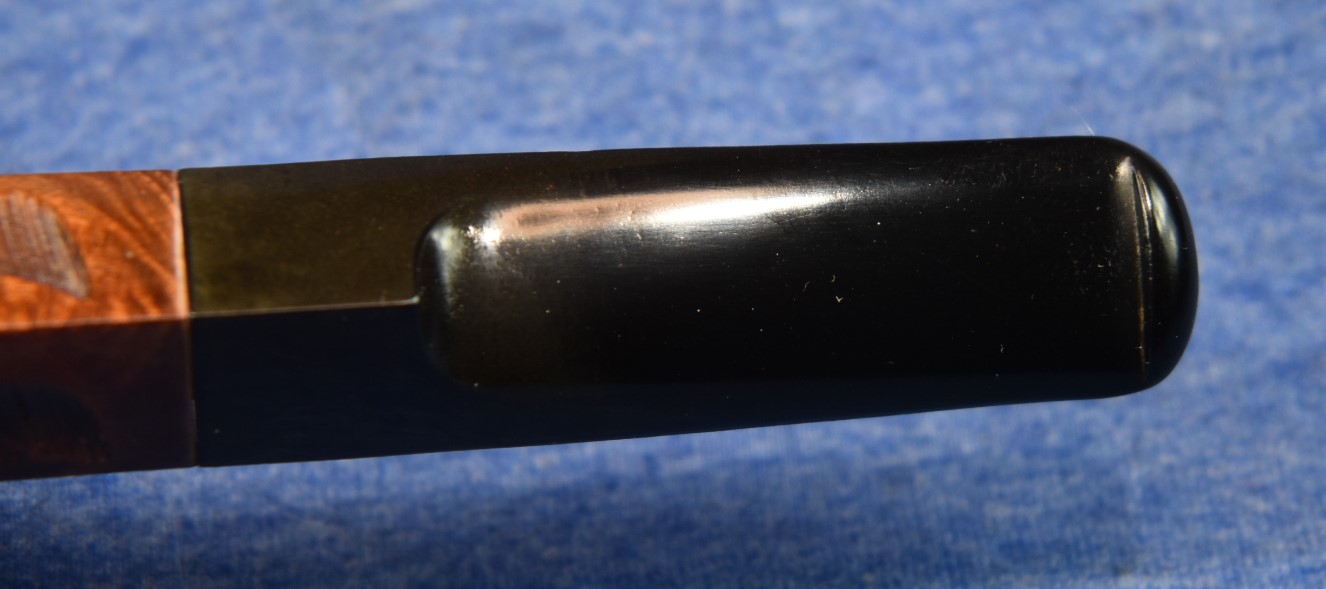
Next was the sanding of the stem. I reinserted it into the stummel as I did not want to round the junction of the stem/stummel by sanding them apart. I did not want to sand the rustication of the shank. Fortunately there was a narrow band of smooth briar next to the stem. With care I could sand and micro-mesh the smooth portion of the shank and the stem simultaneously. I started with the 600 sanding sponge and advanced through the 3500 sponge. Between each sponge I applied a drop of mineral oil rubbed in with my fingers and wiped away with a paper towel. Once finished with the sponges I moved on to the micro-mesh pads, 4000-12000. Again After each pad I applied a small drop of Obsidian Oil, working it in with my finger and wiped the stem with a paper towel.
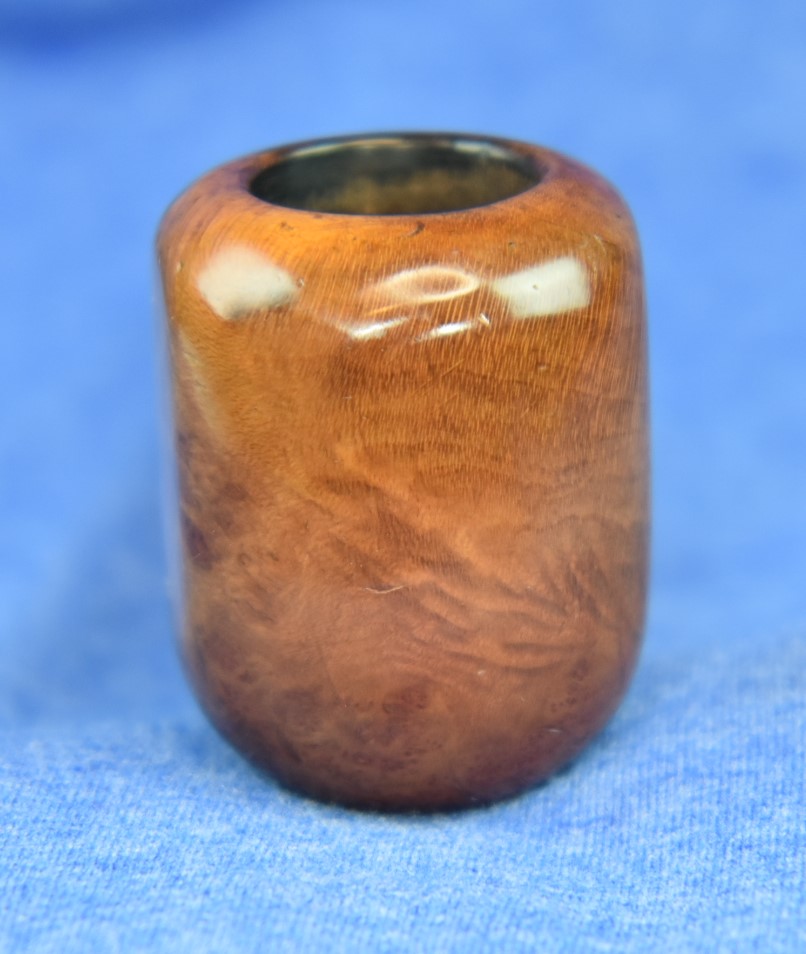
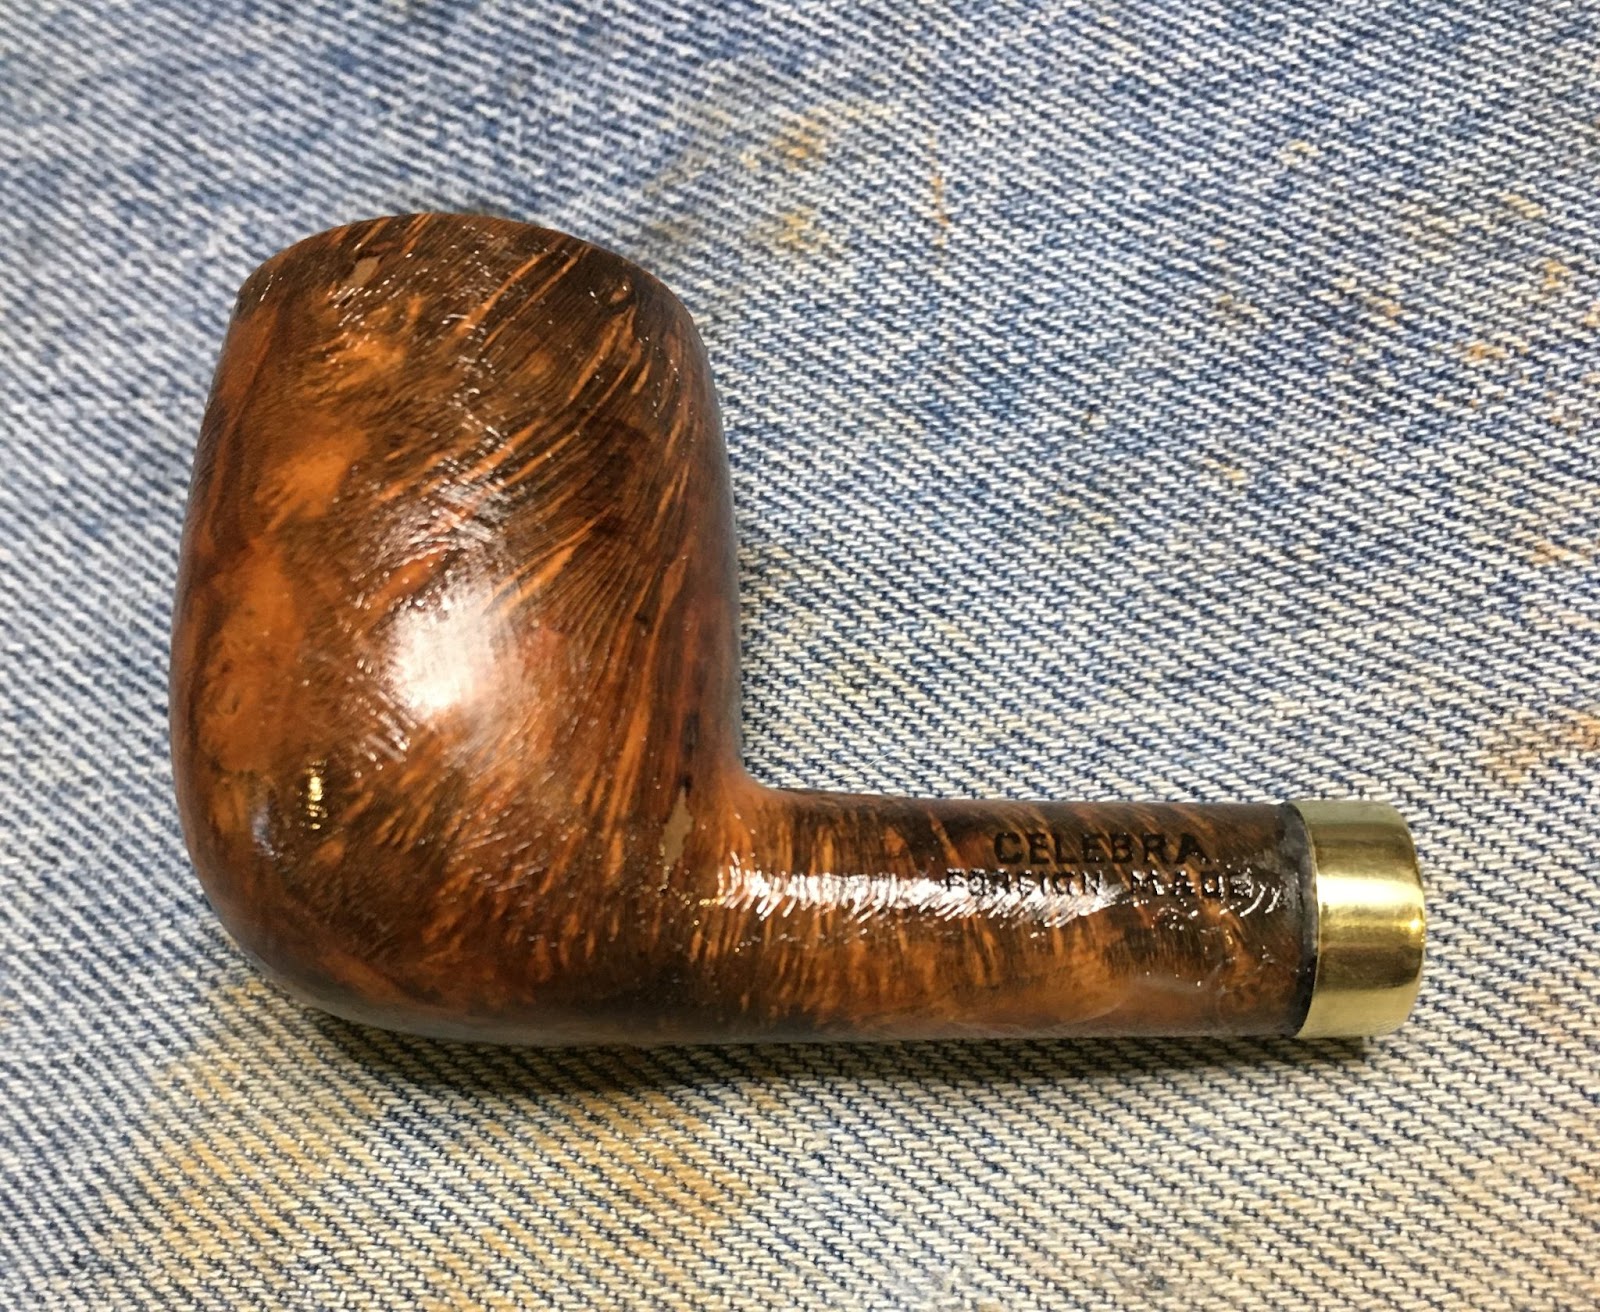
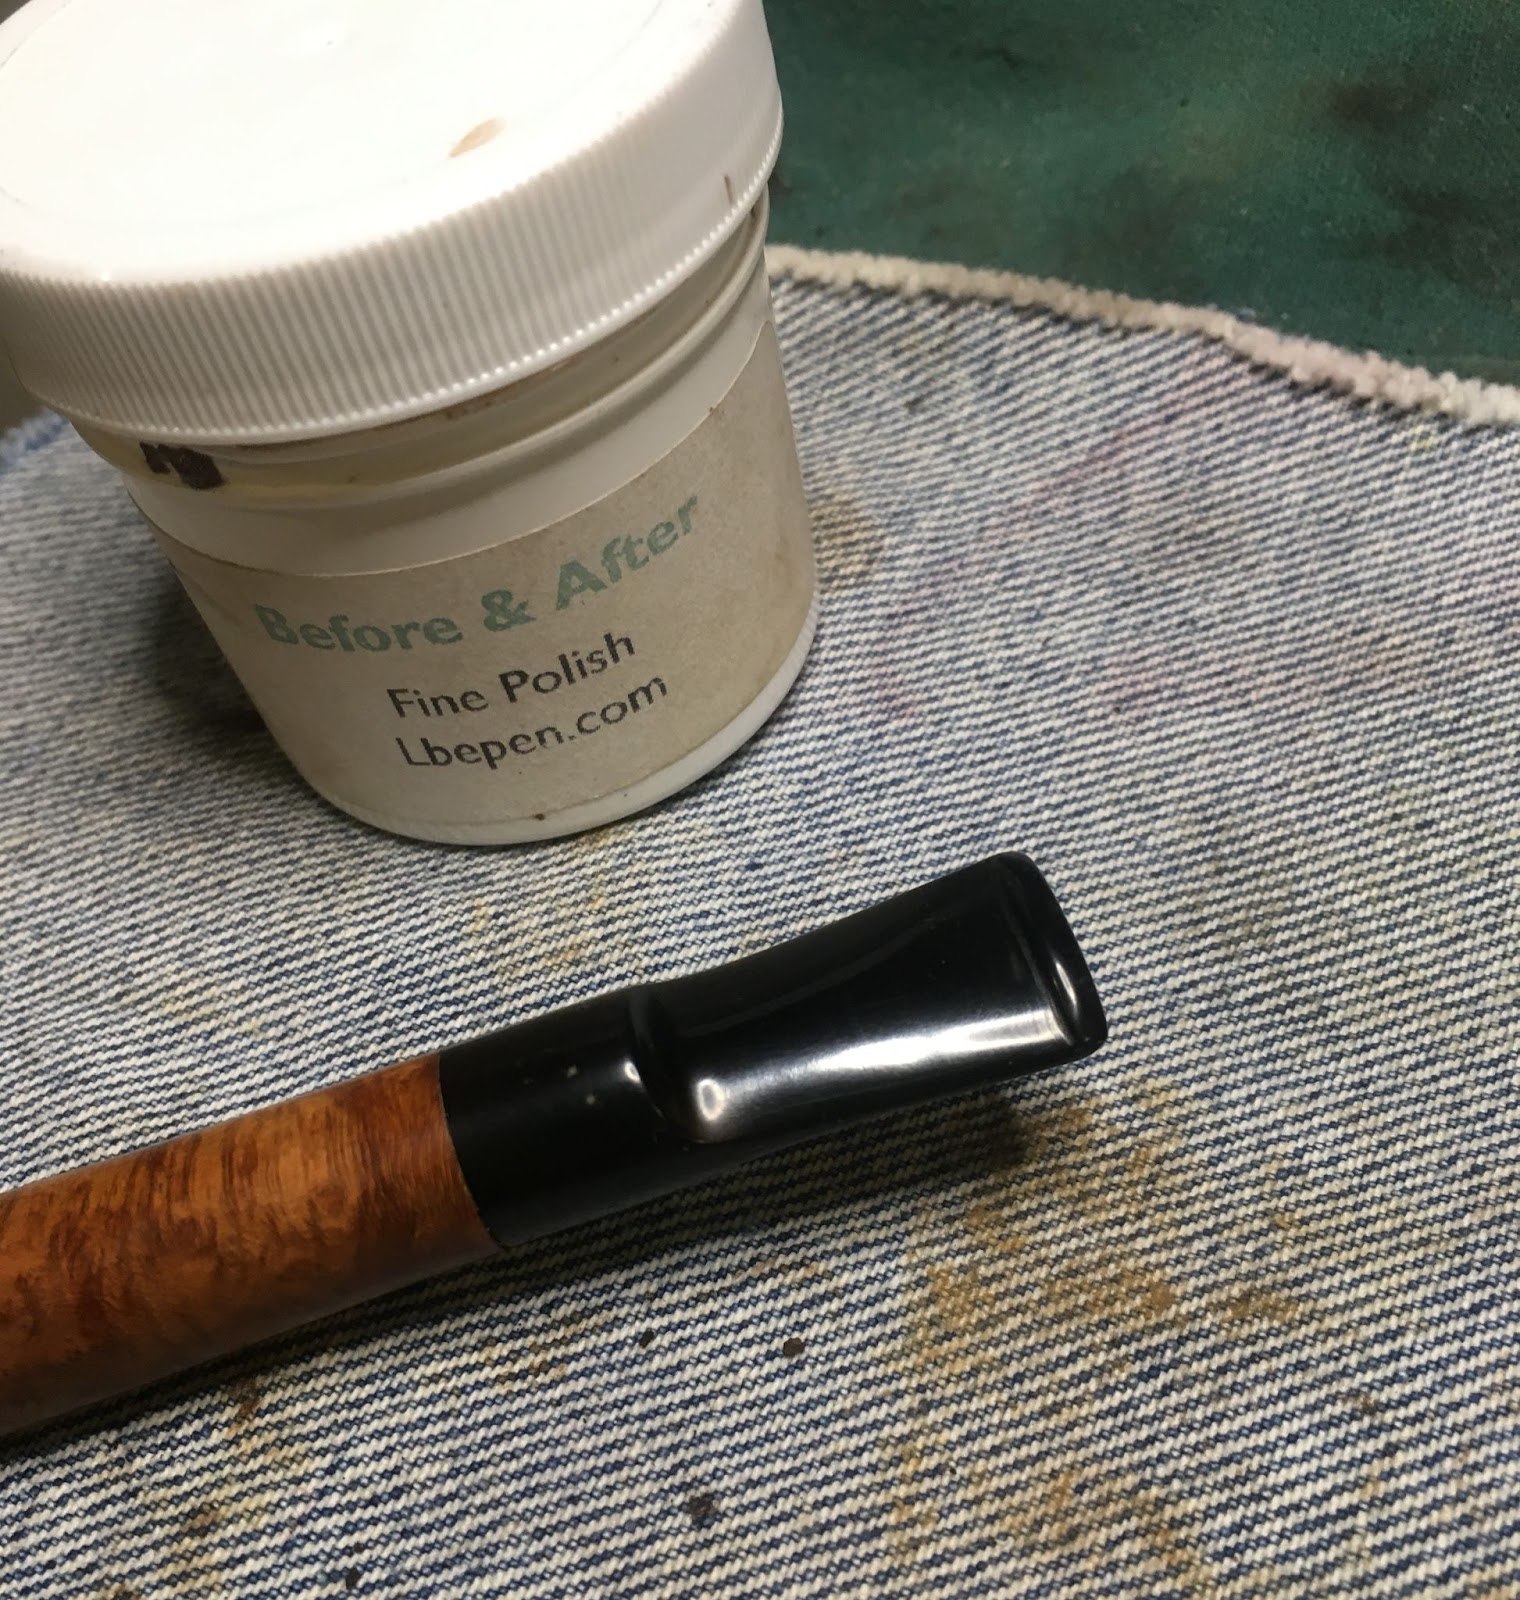
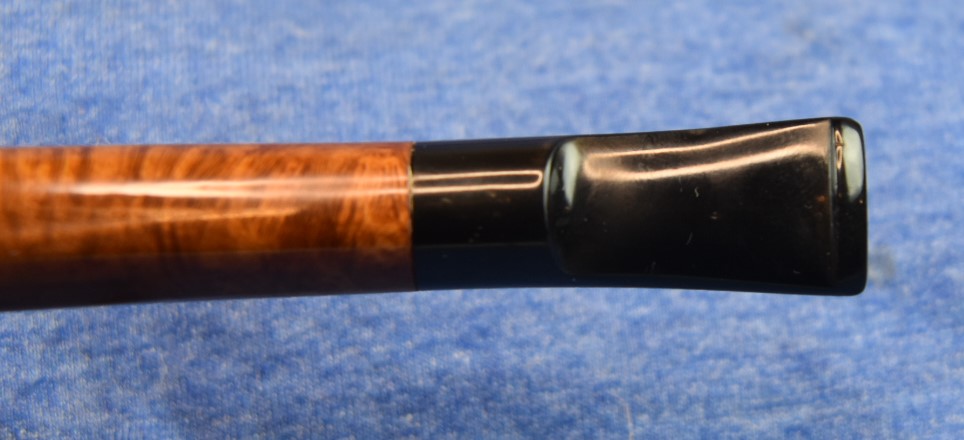
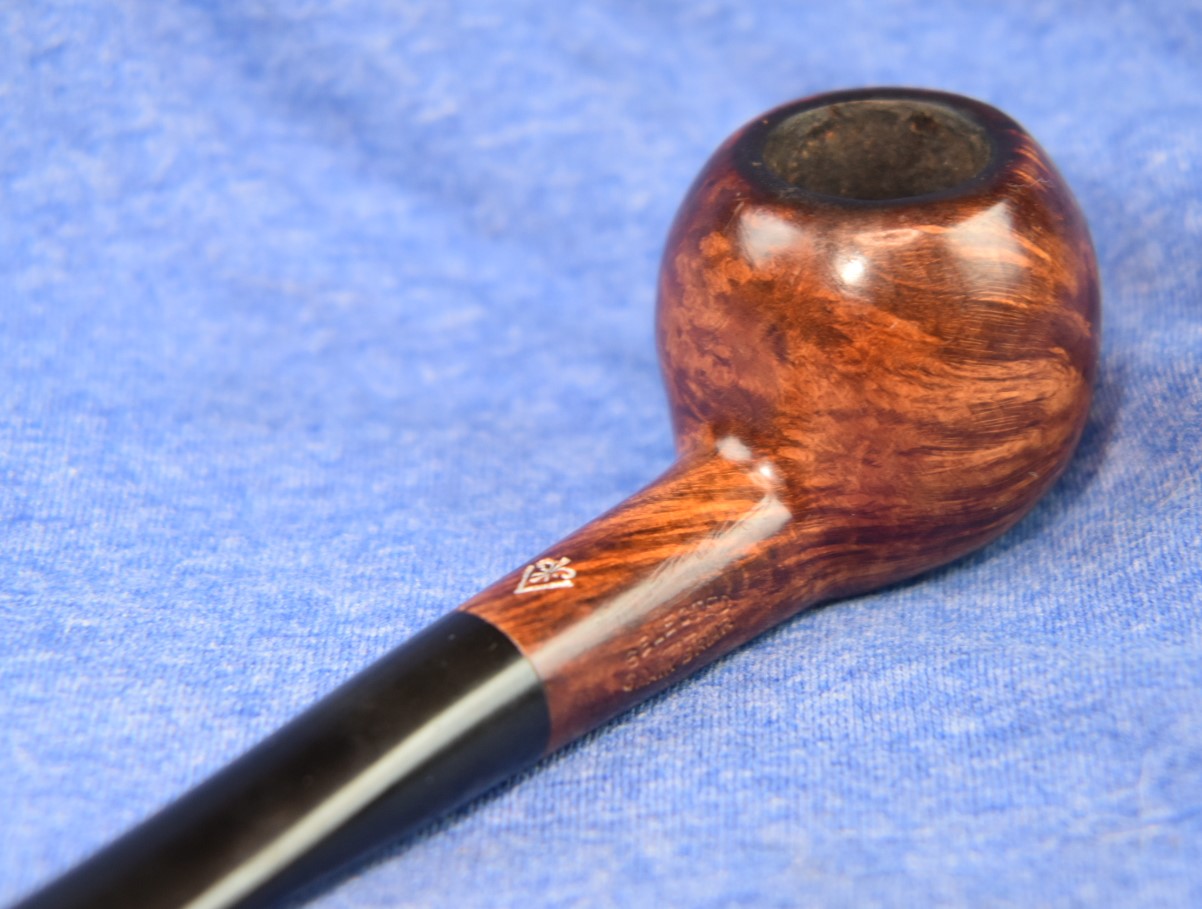
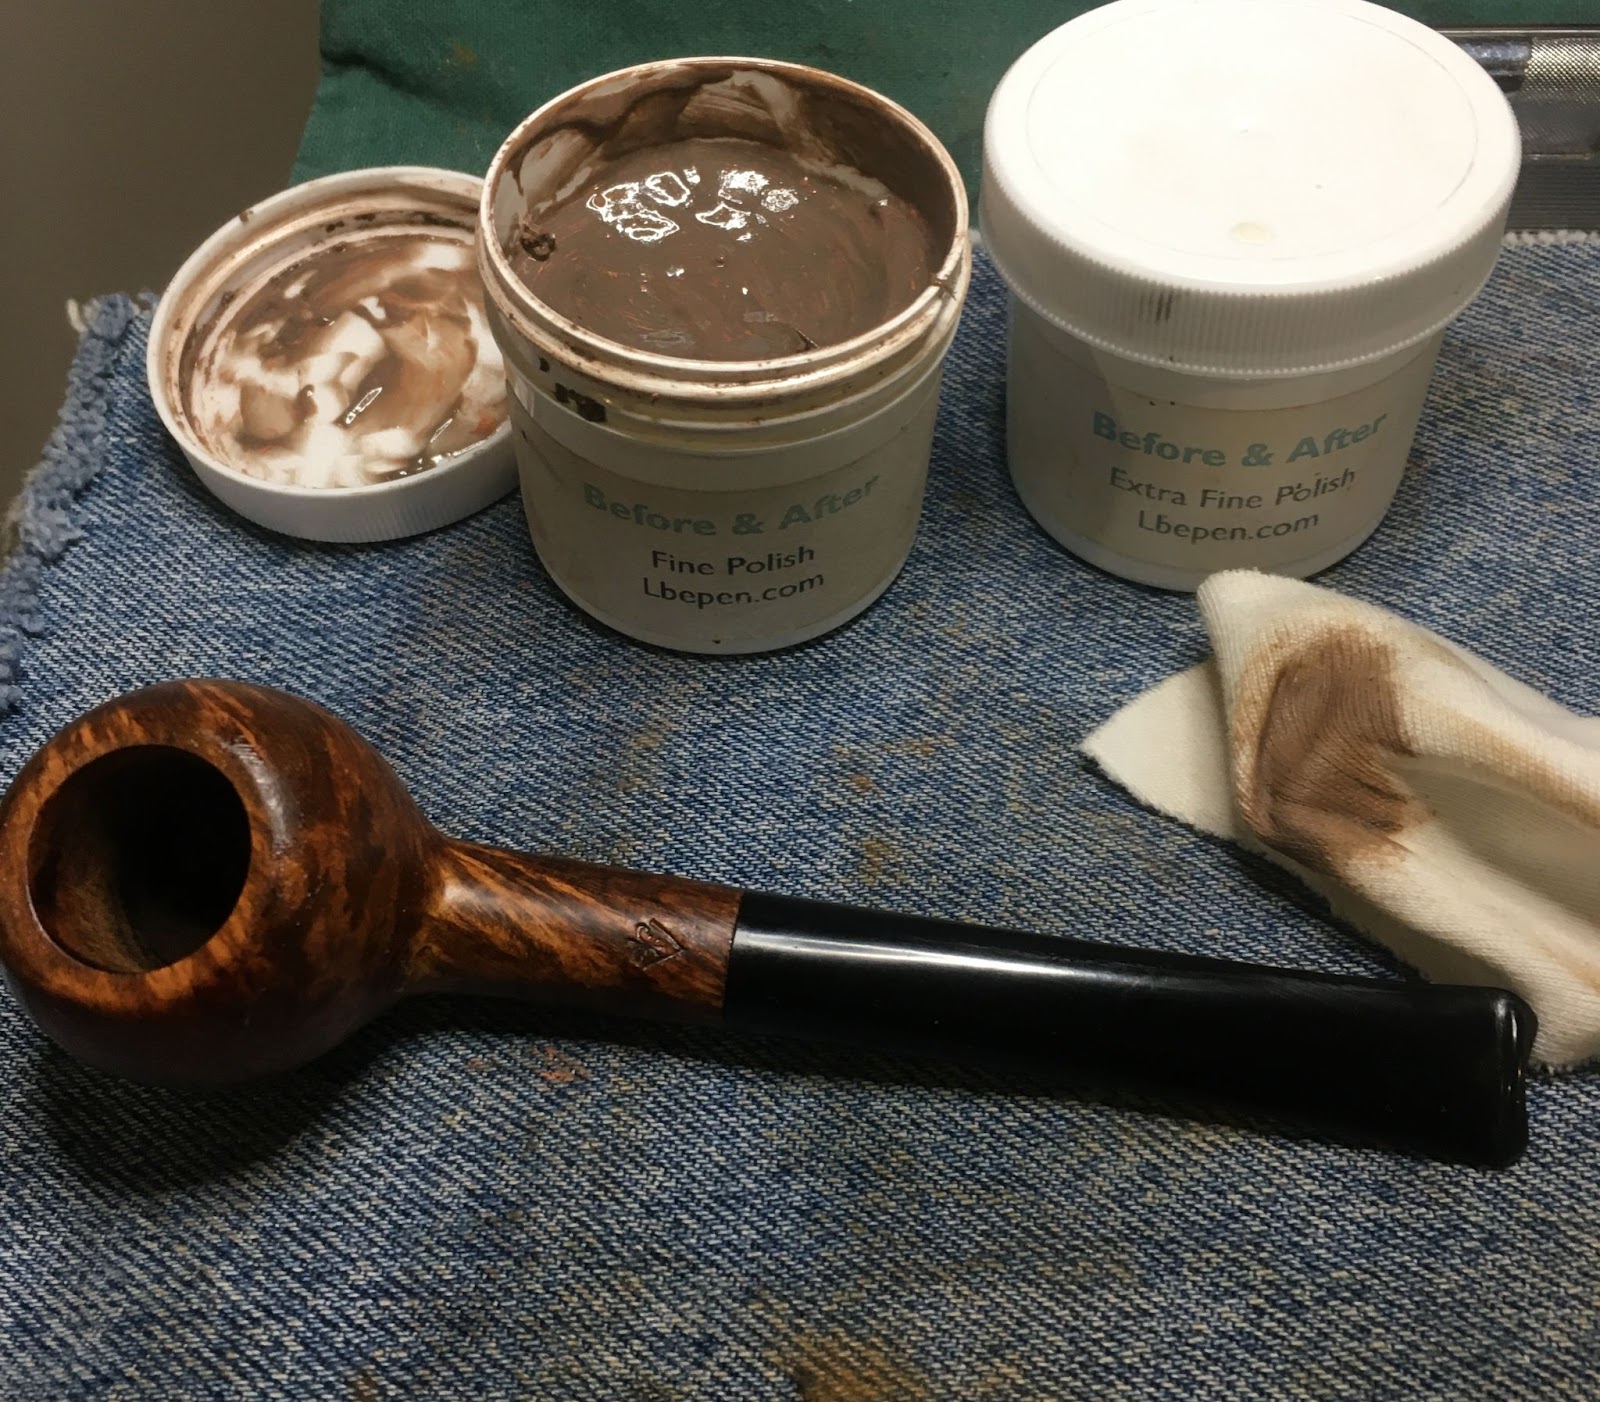
The stummel did not receive any sanding nor micro-meshing. I applied a coating of Before and After Restoration Balm and allowed the pipe to sit overnight. In the morning the Restoration Balm had dried significantly yet remained tacky. I put a brand new cotton buffing wheel on the buffer and used that to buff away the excess balm. The pipe was looking very nice and like I assume it did when new. I did want to apply wax to it though. I chose to use the Decatur Pipe Shield No-Buff Wax. This was applied with my finger

then rubbed in with a baby toothbrush. The was was allowed to dry for 2 hours then rubbed with a clean terry cloth towel. I took the pipe back to the buffer and applied a couple of coats of carnauba wax to the stem and the smooth stamp area on the shank.
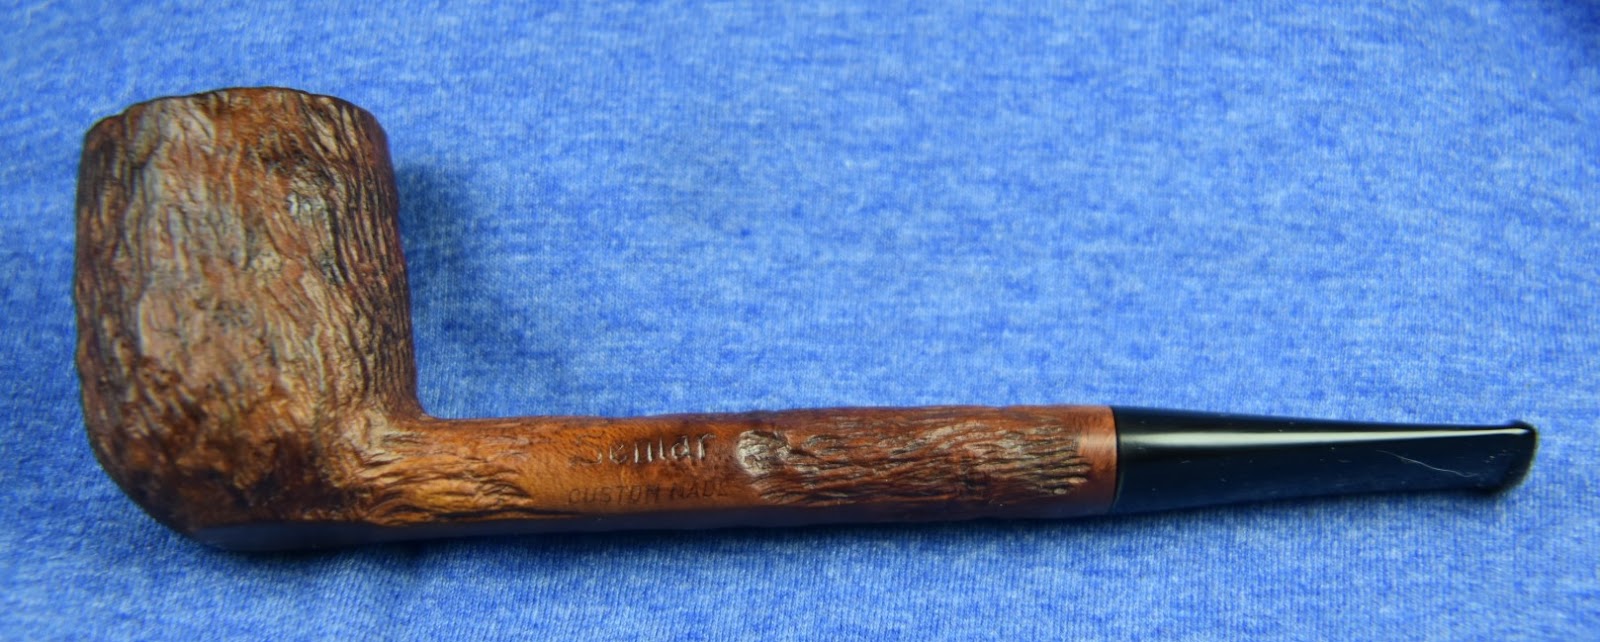
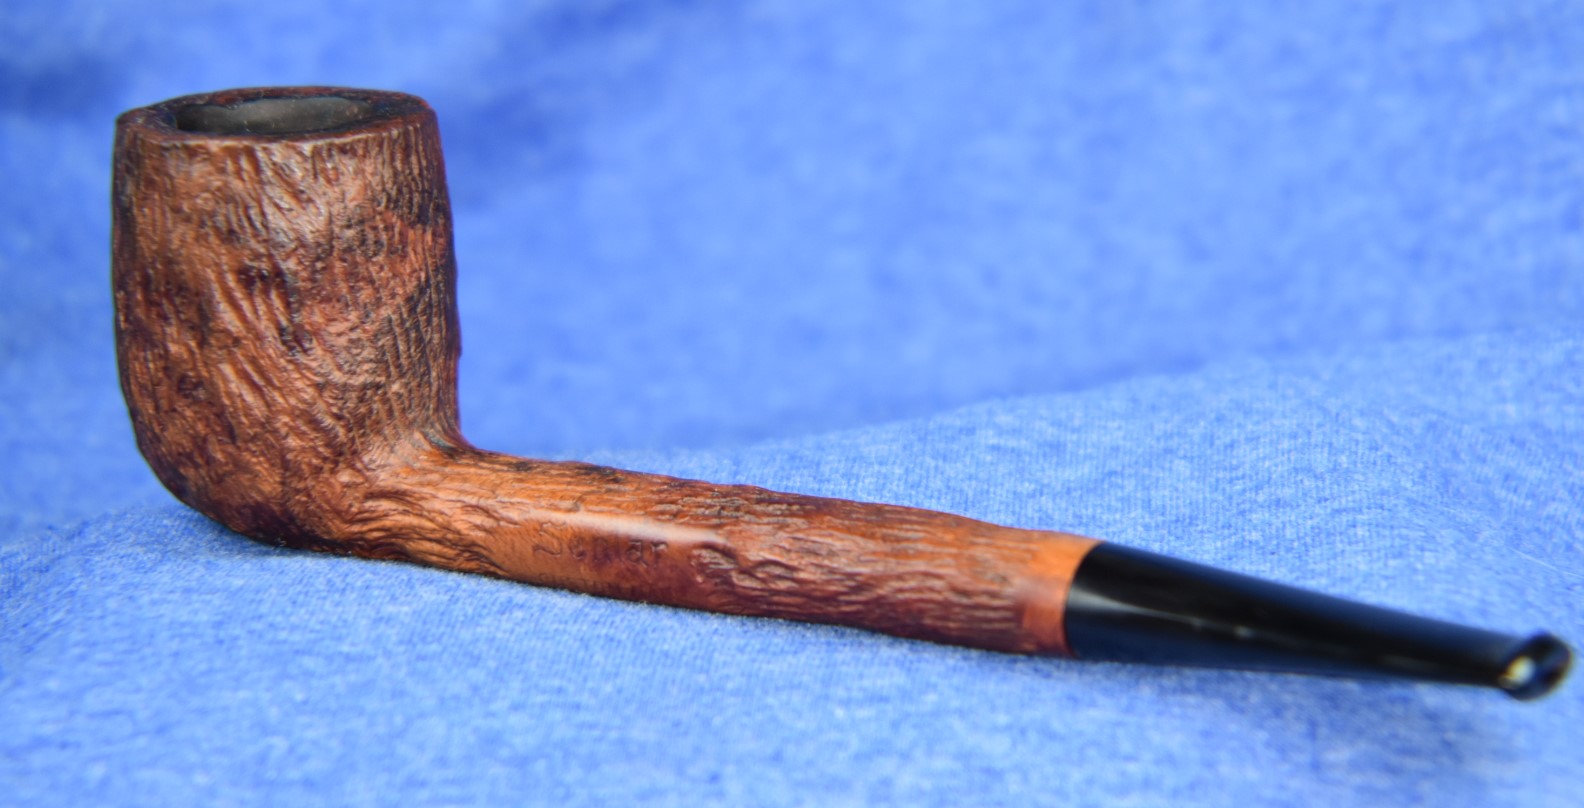
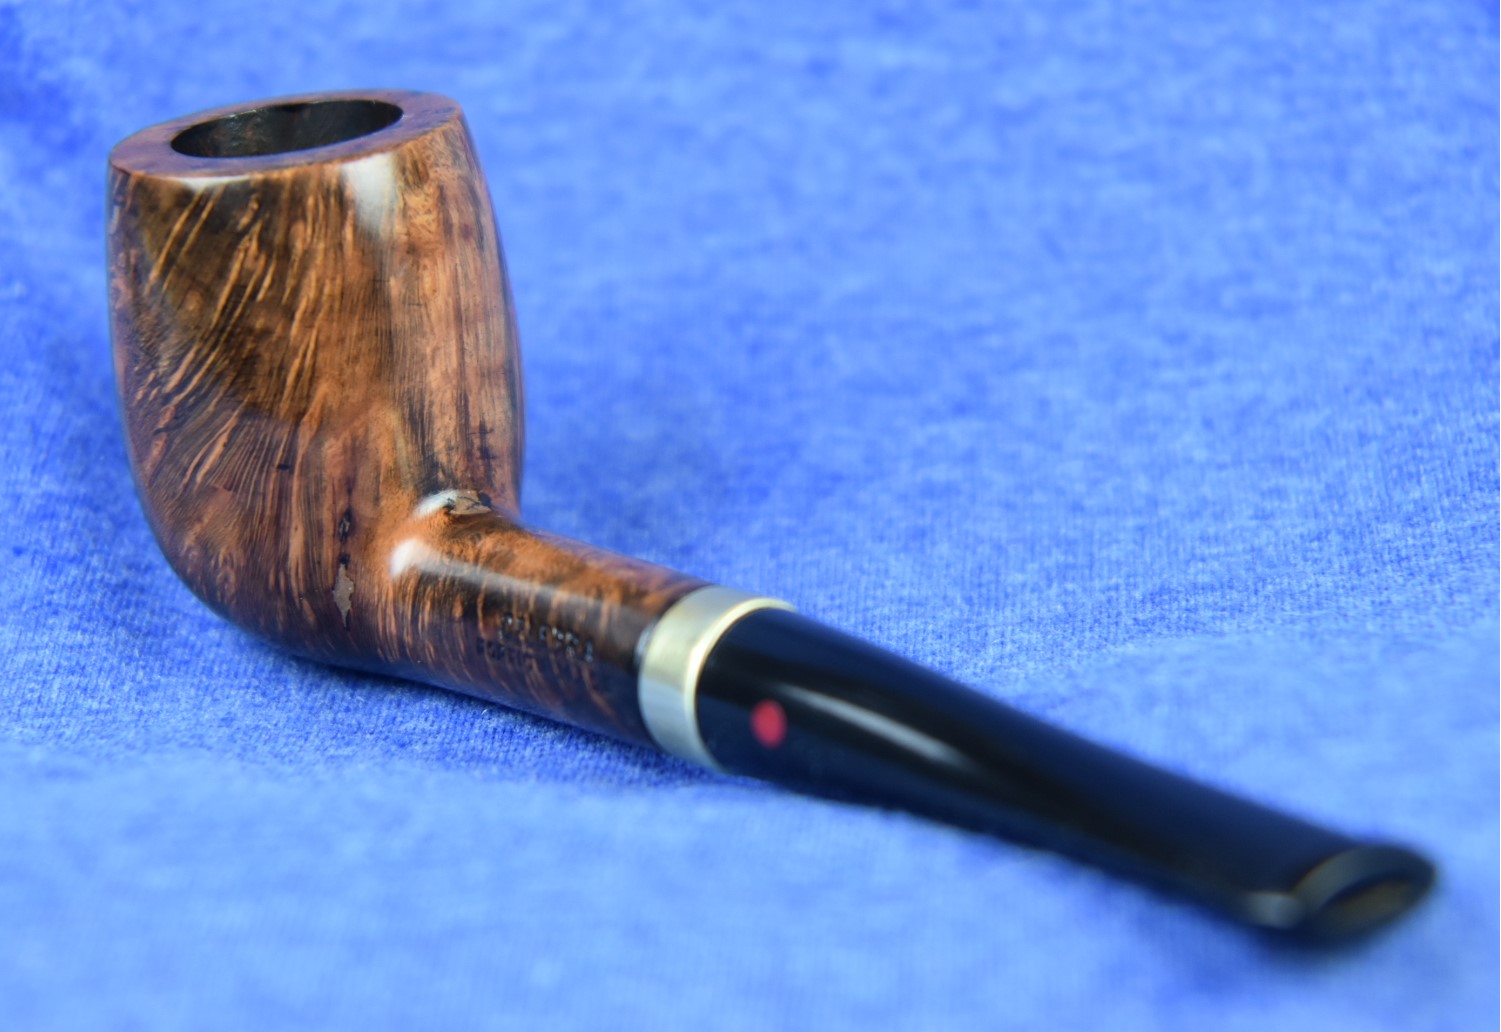
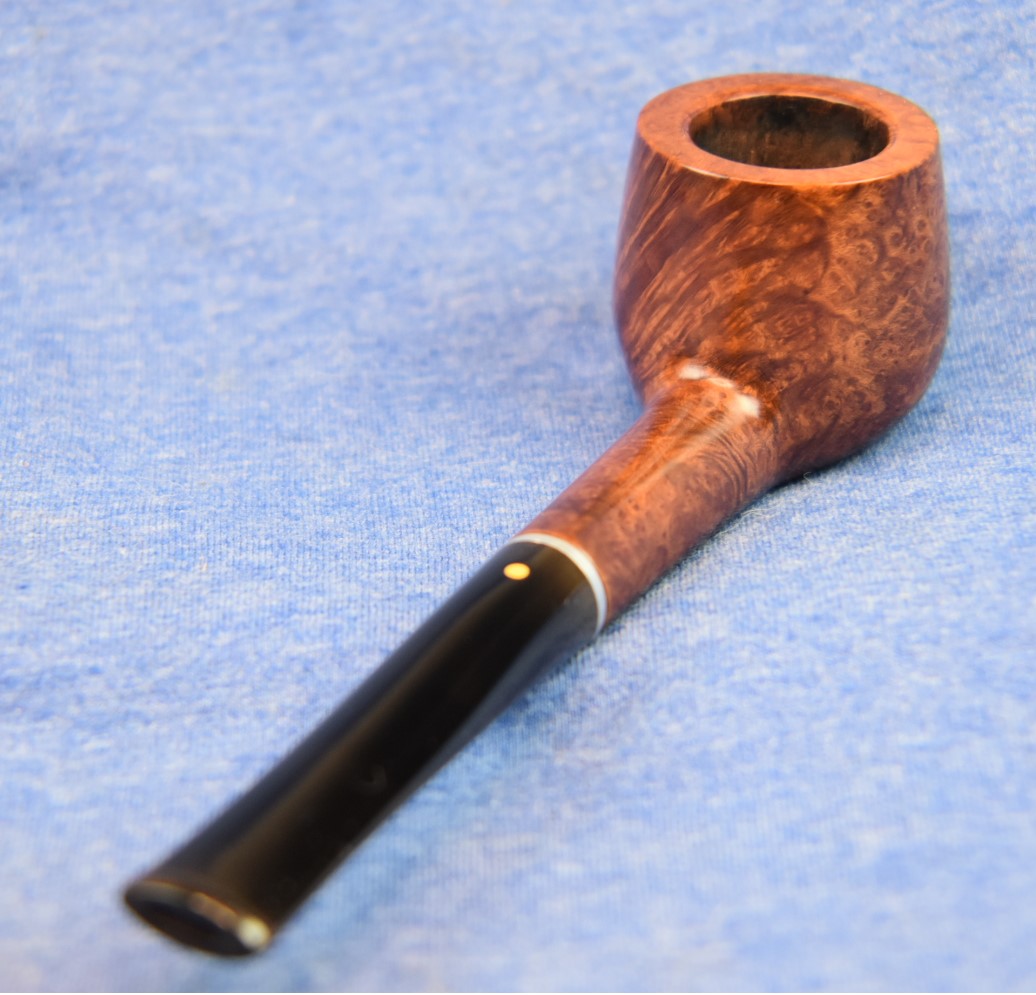
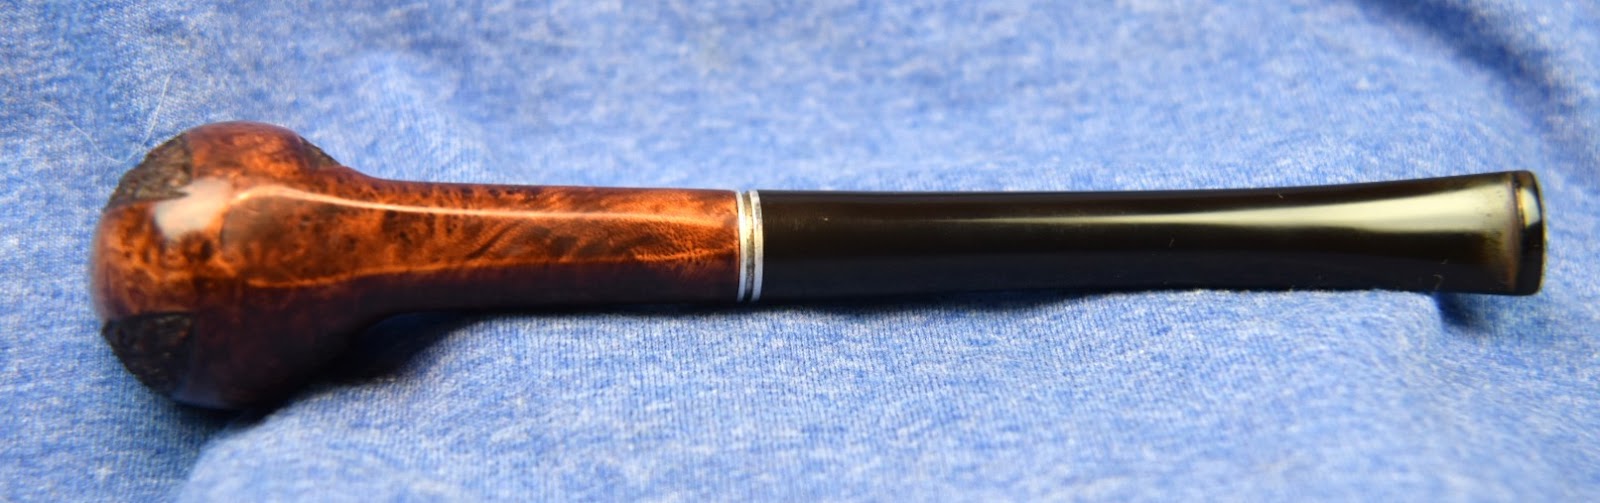
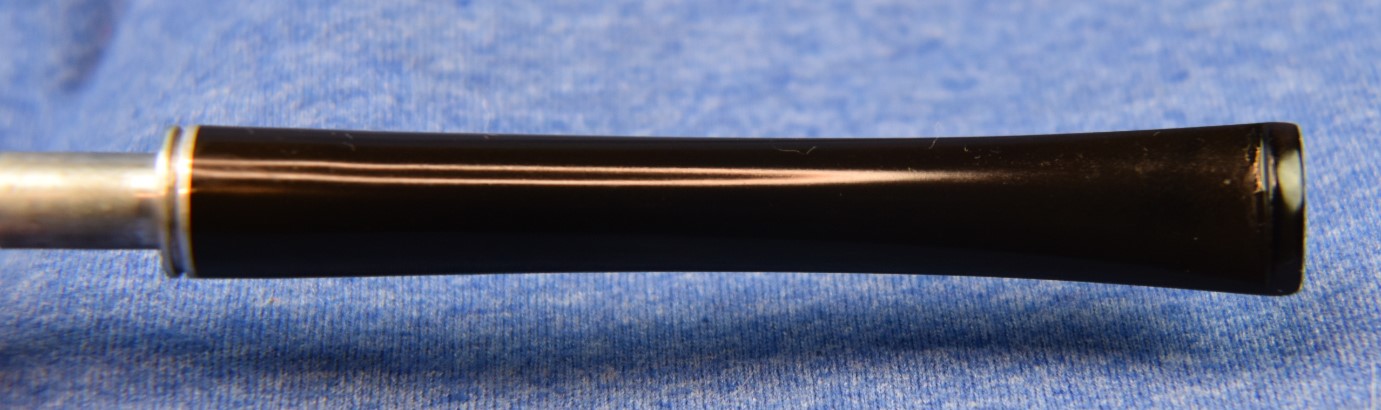
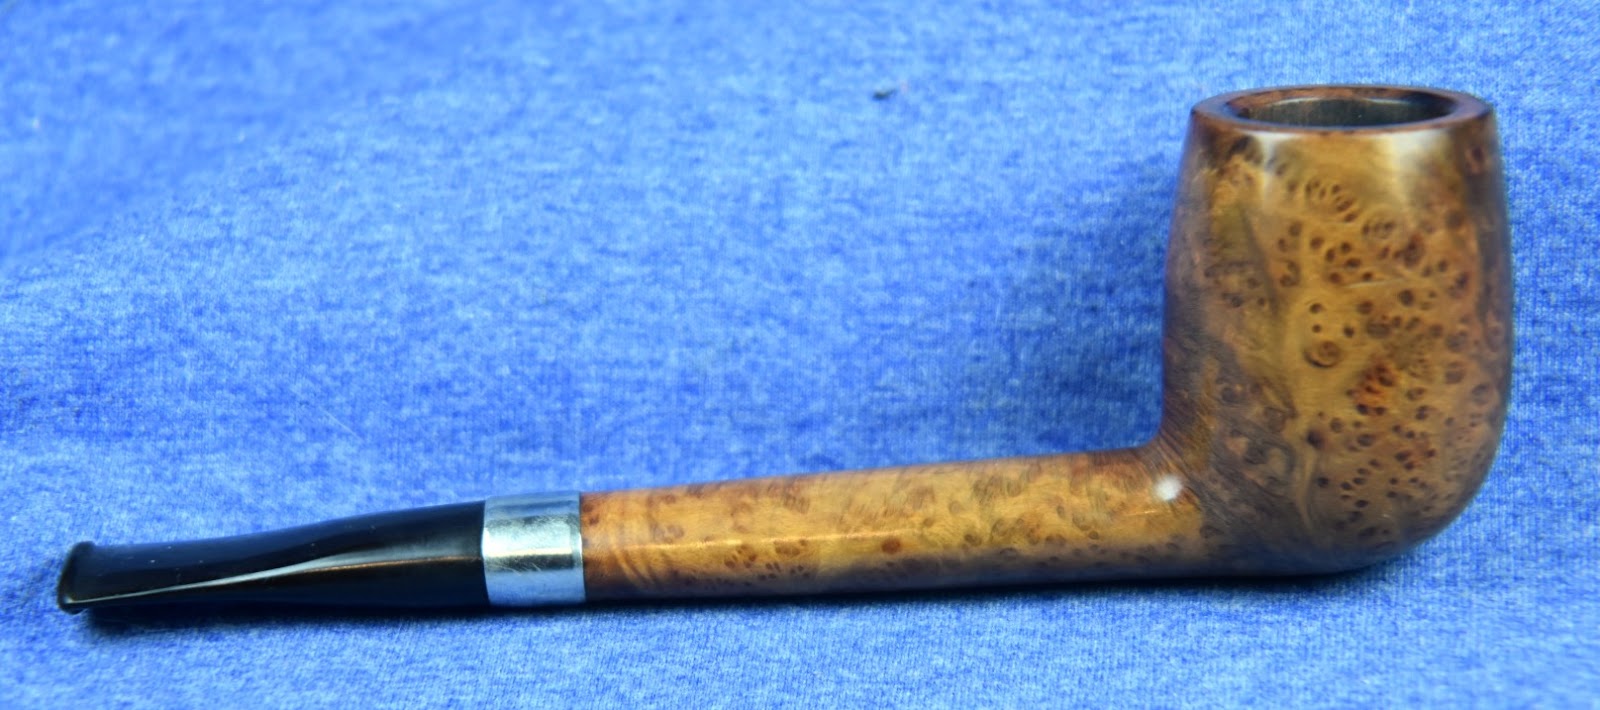
Overall, I am happy with the way this old Senlar Canadian turned out. It is not the same sense of accomplishment one gets from refinishing a smooth pipe when beautiful grain is discovered hiding underneath years of old finish and grime but, this rusticated pipe is pretty in it’s own way. The pipedia.org quote talks about Wally Larson trying to make his pipes look like the bark of a tree and this does have a resemblance to a small scale Ash tree. The stem turned out very nicely and the glossy black sets against the rustication with grand results. I do hope that you have found something here useful in restorations of your own or at least found this entertaining. If you do like this sort of thing, please click the like and subscribe. Thank you for reading the ramblings of an old pipe lover.
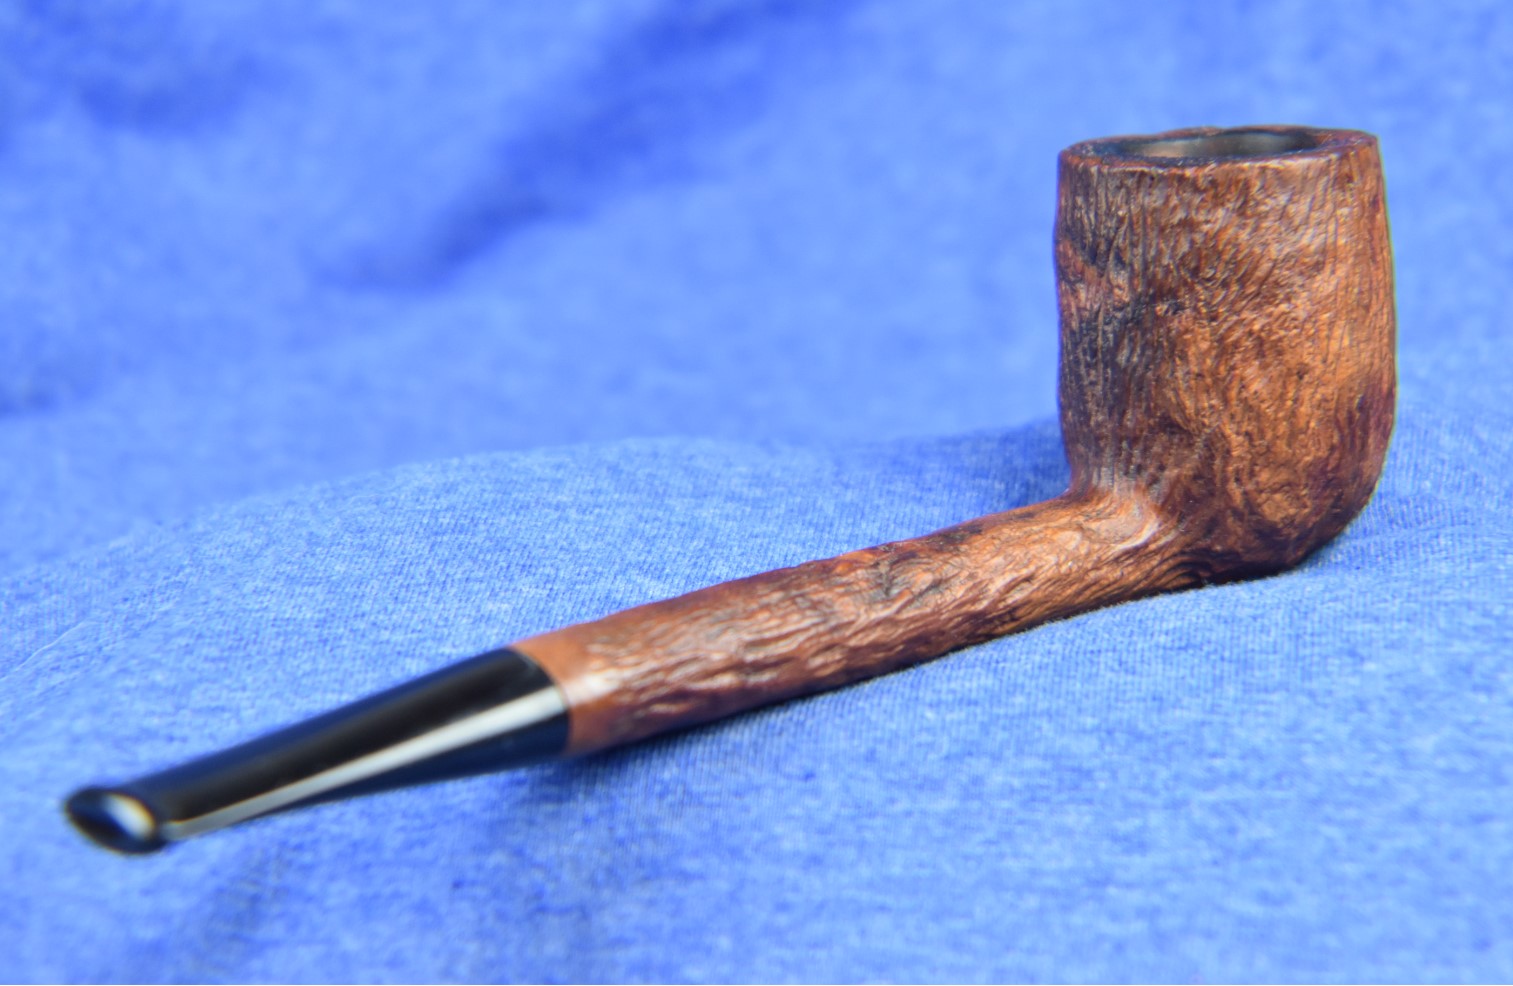
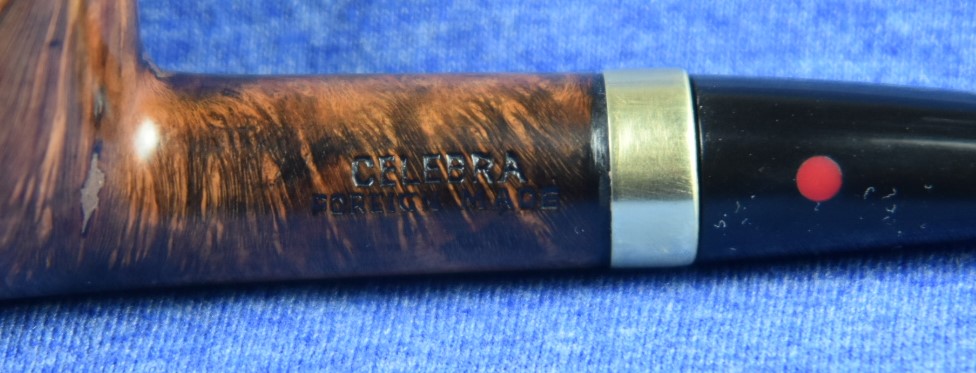
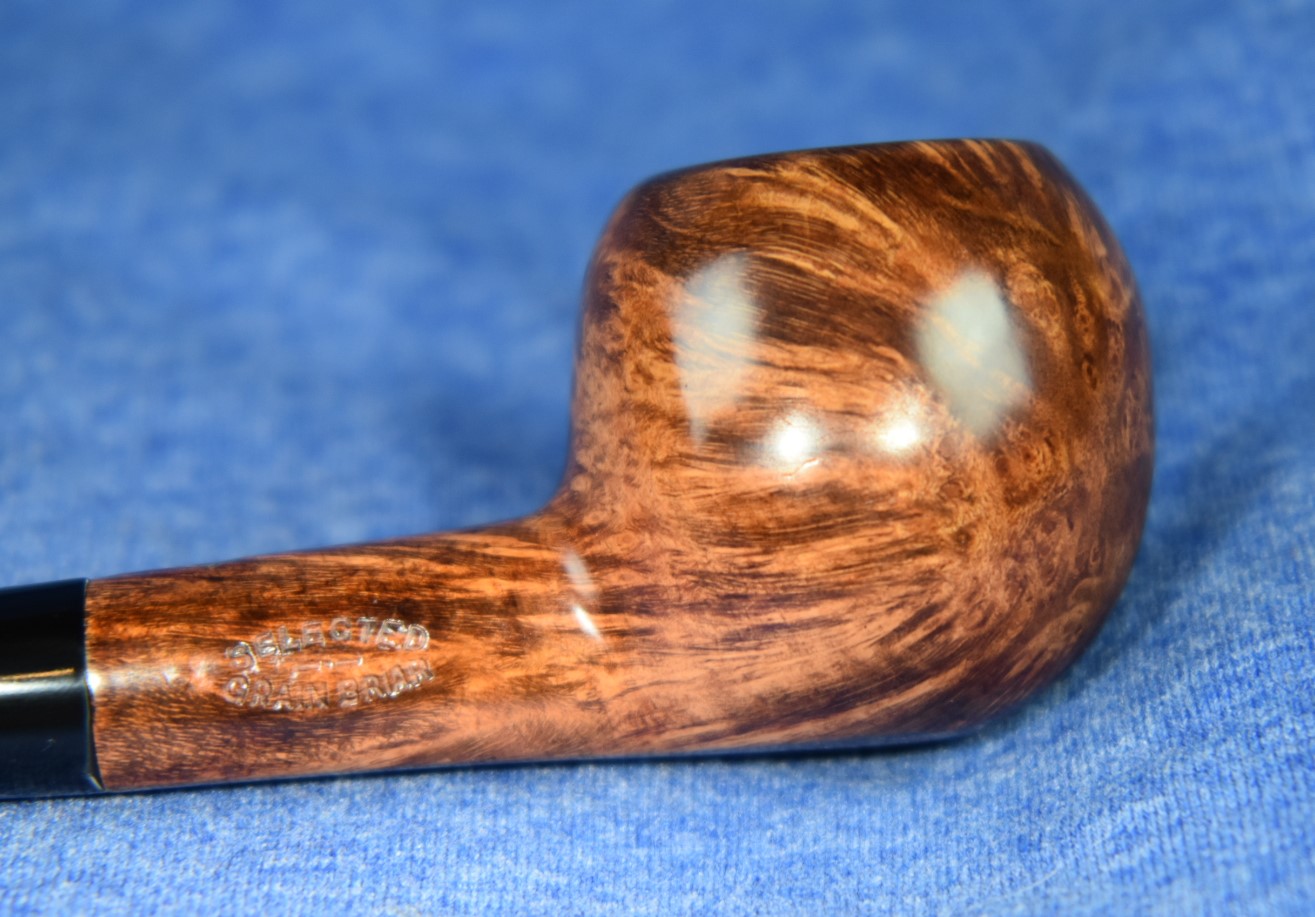
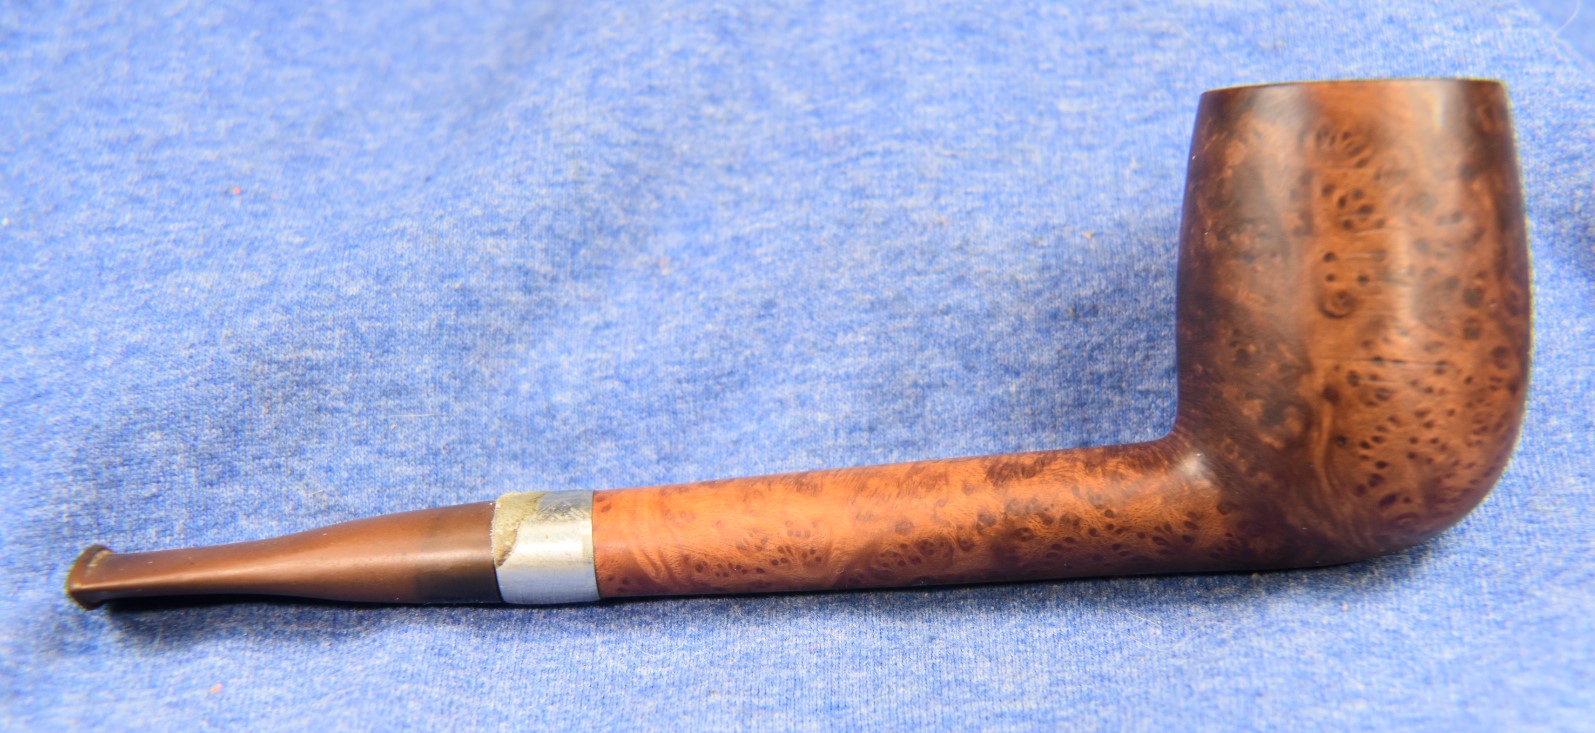
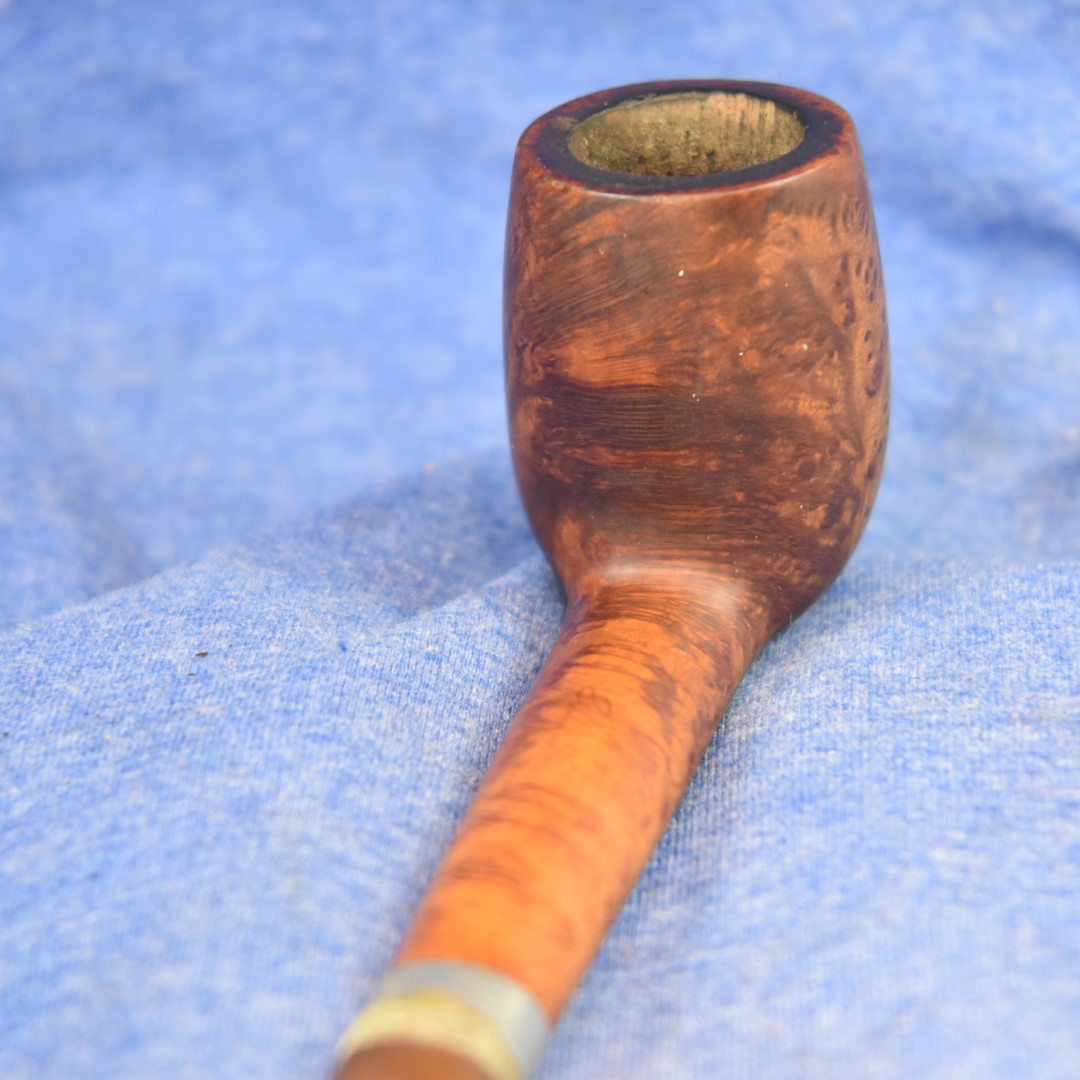
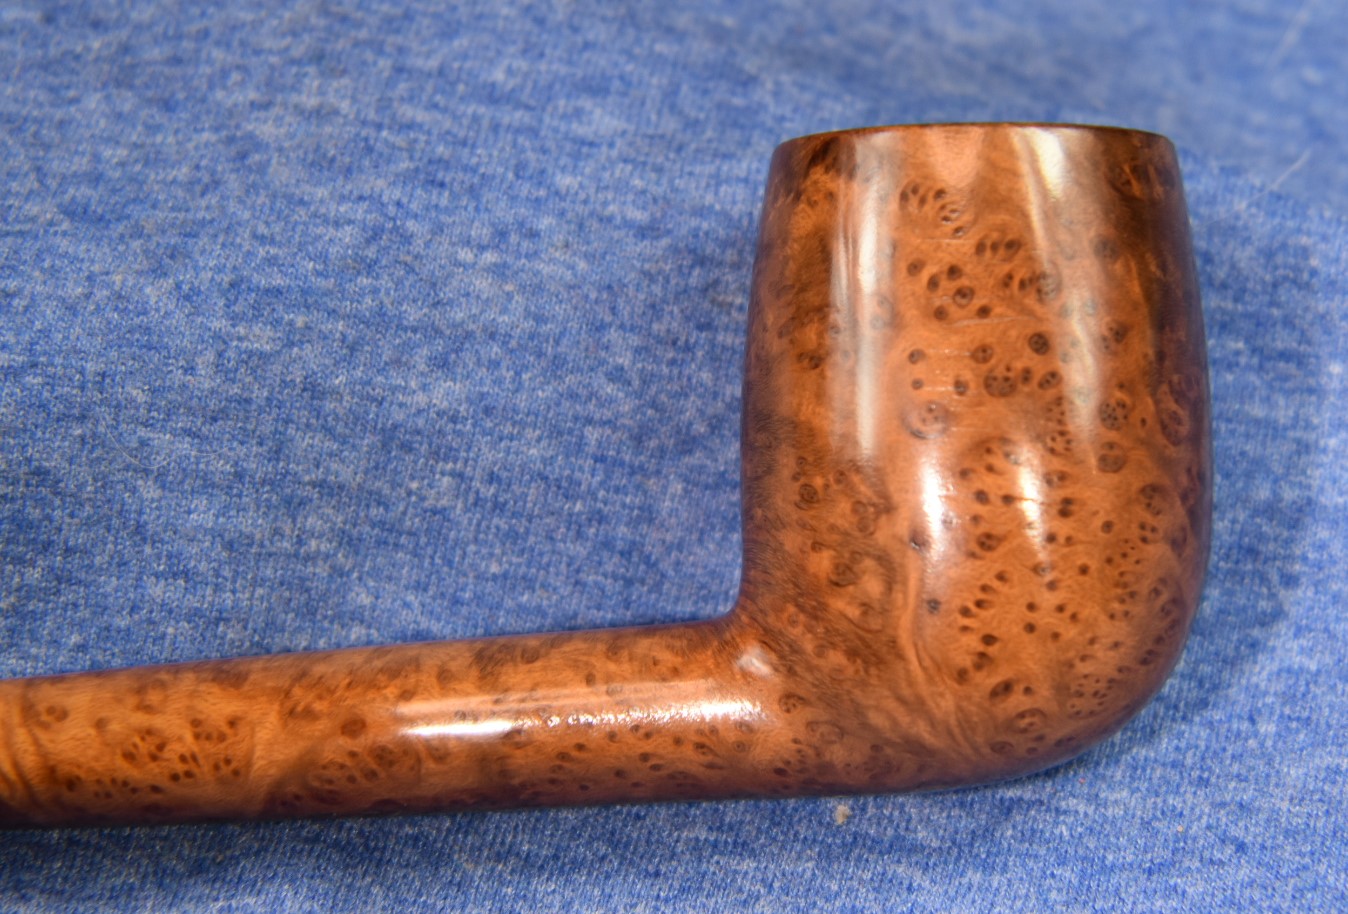
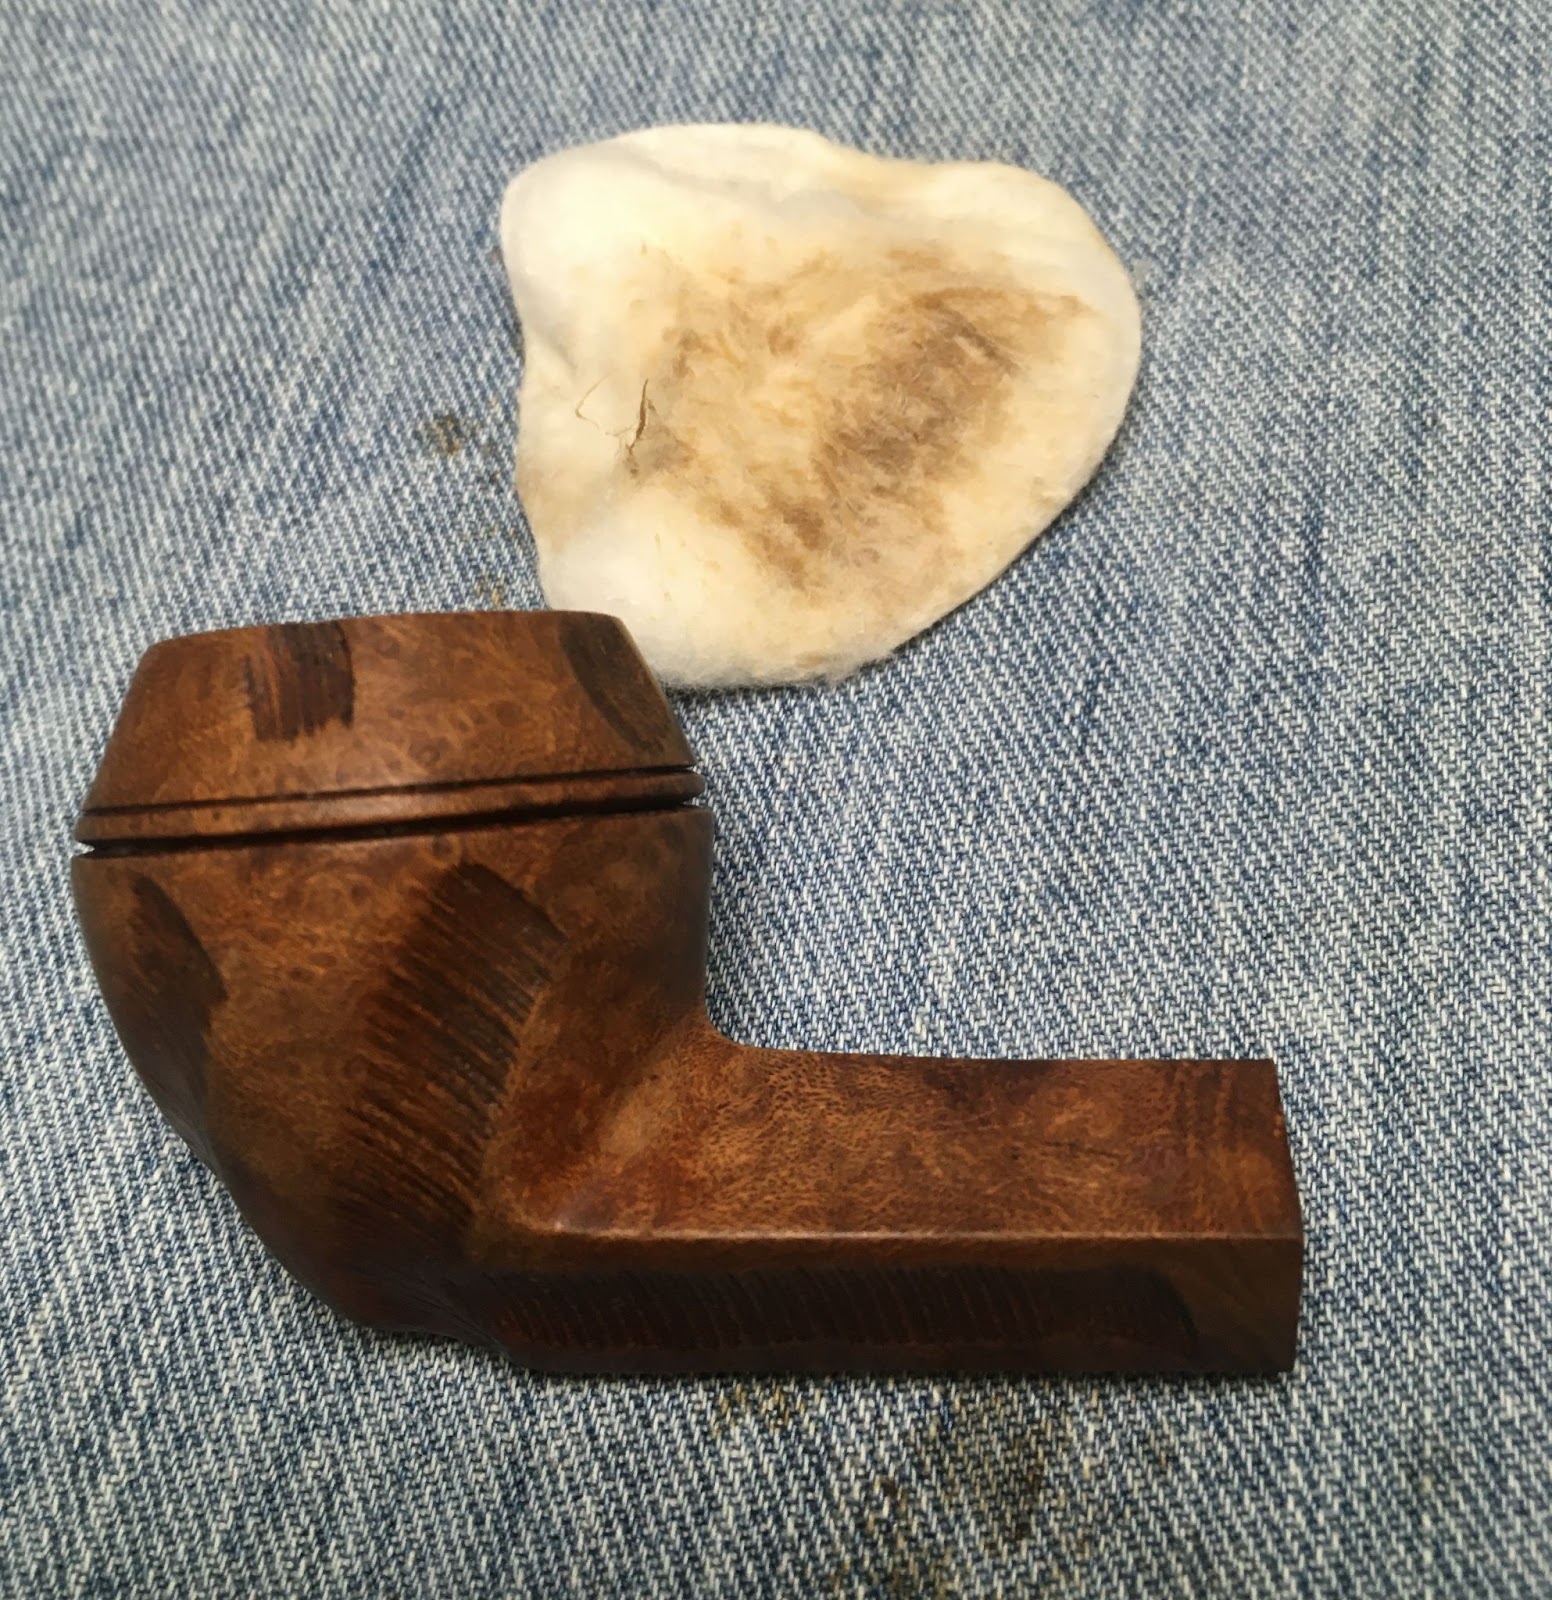
Below are some photos of the finished Senlar Canadian.


