Photographed and written by
John M. Young
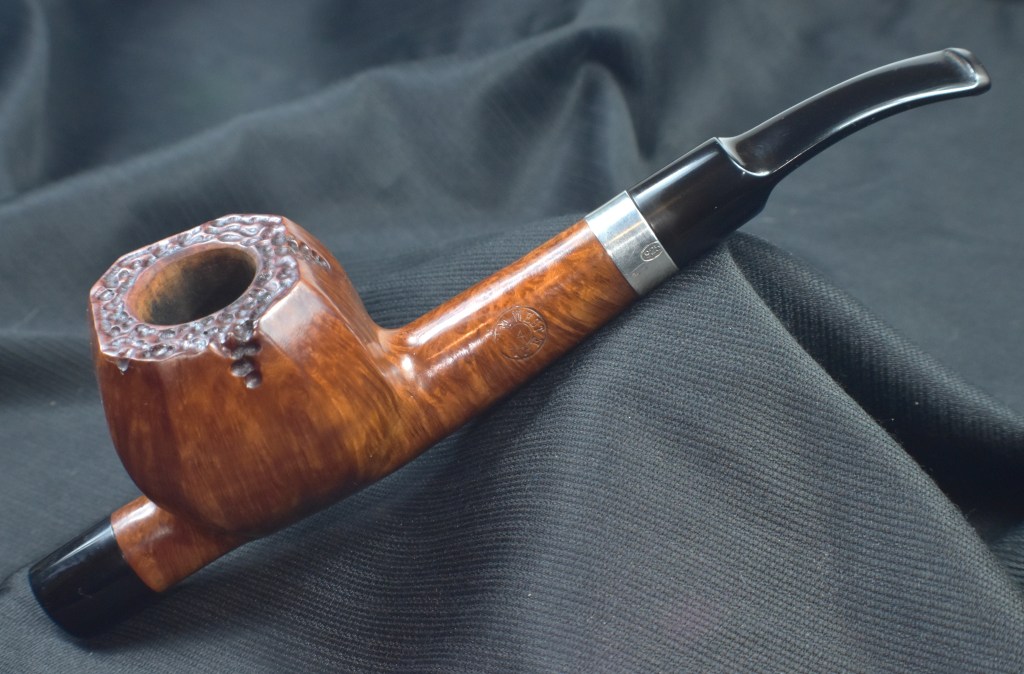
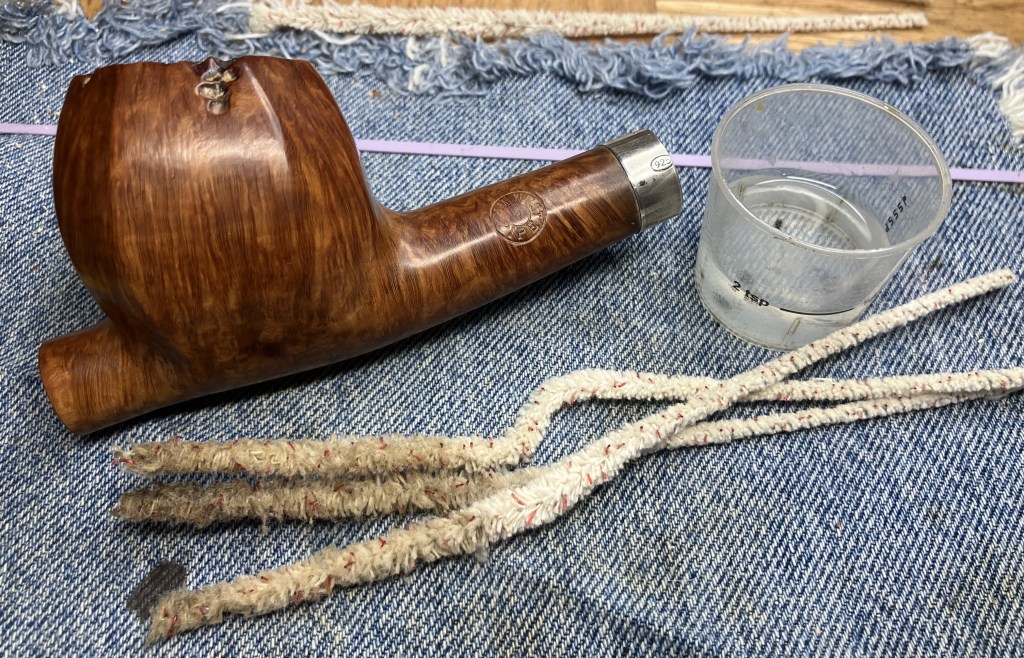
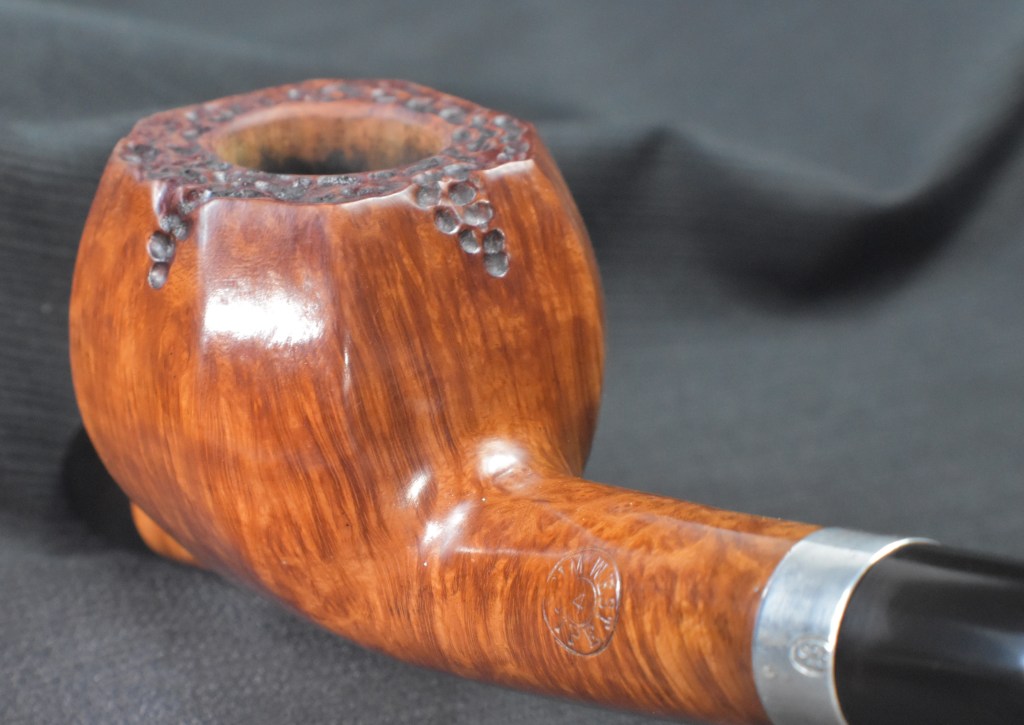
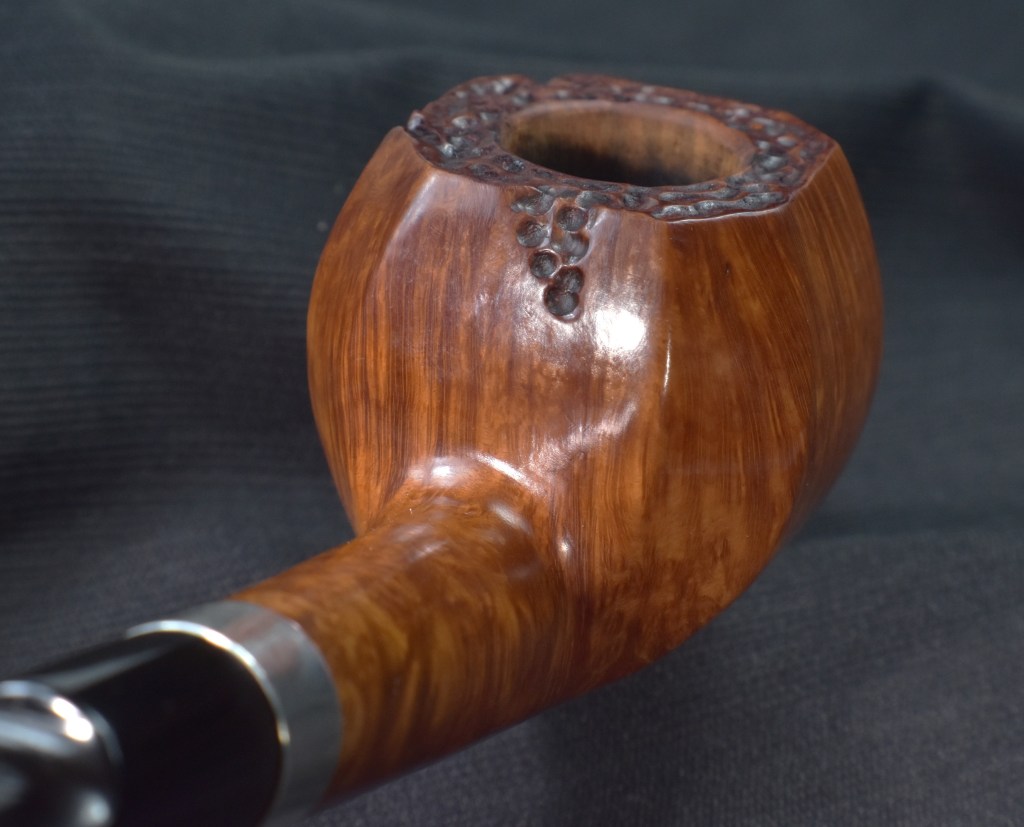
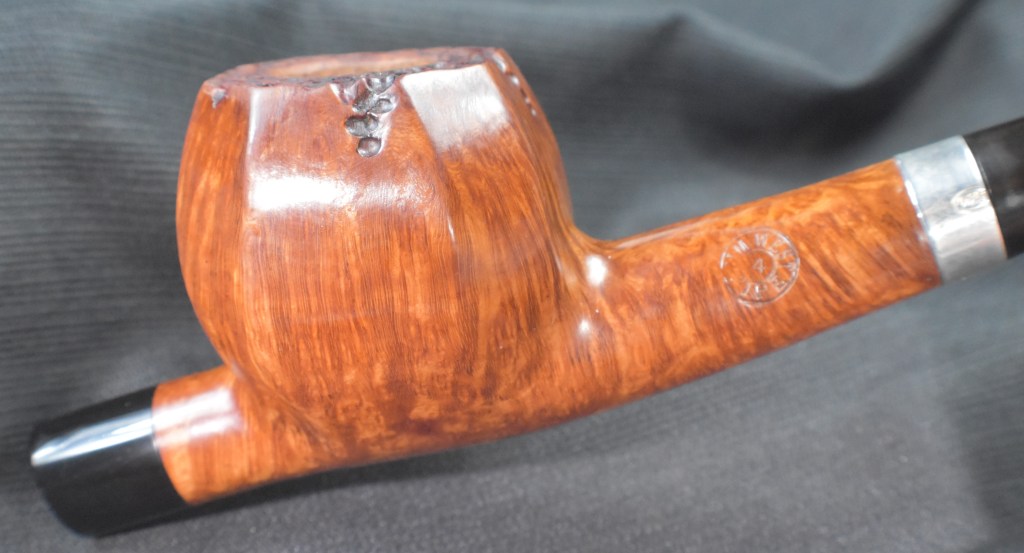
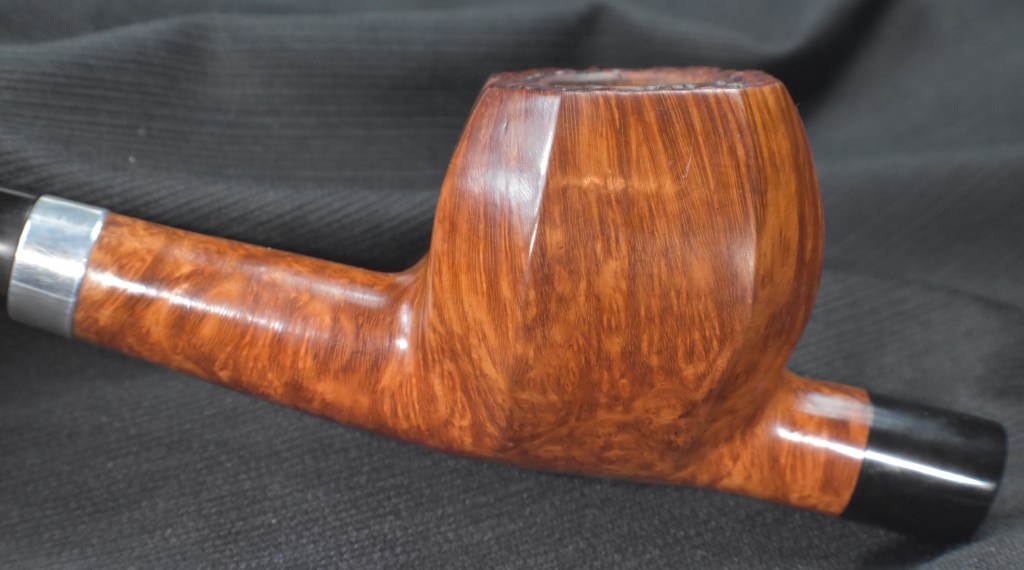
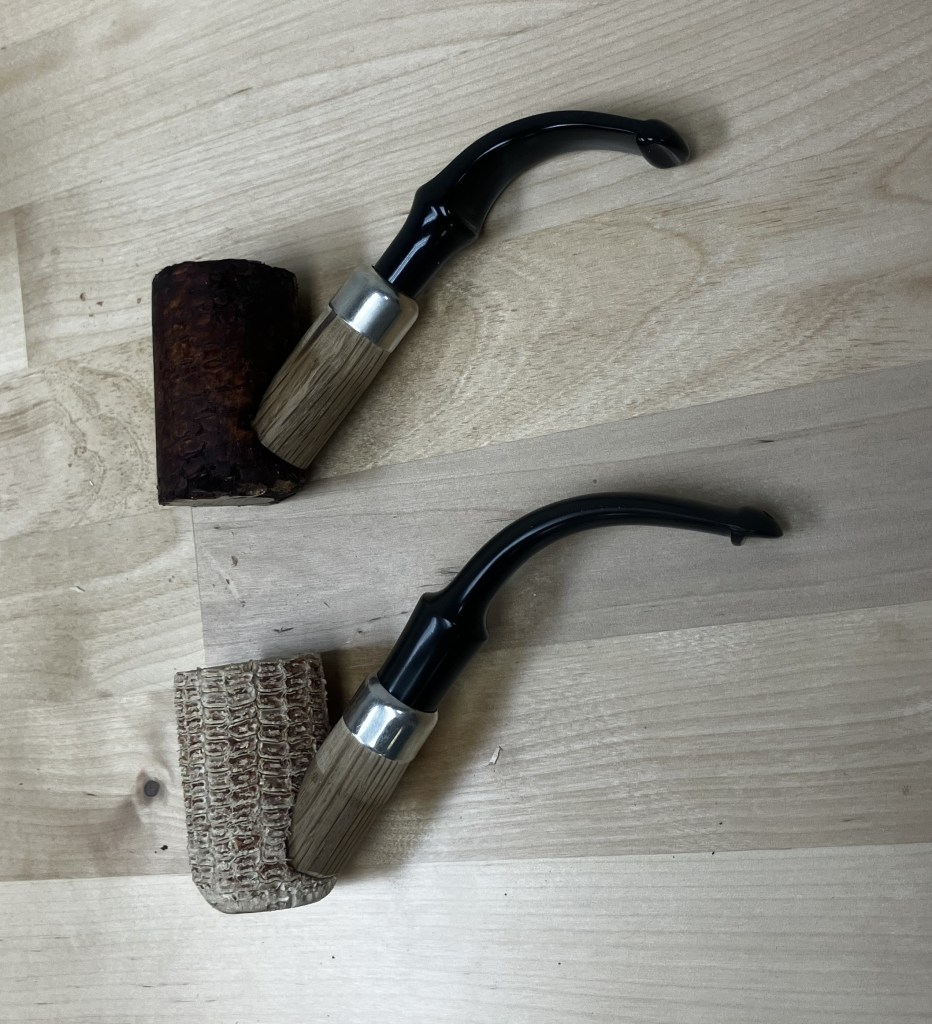
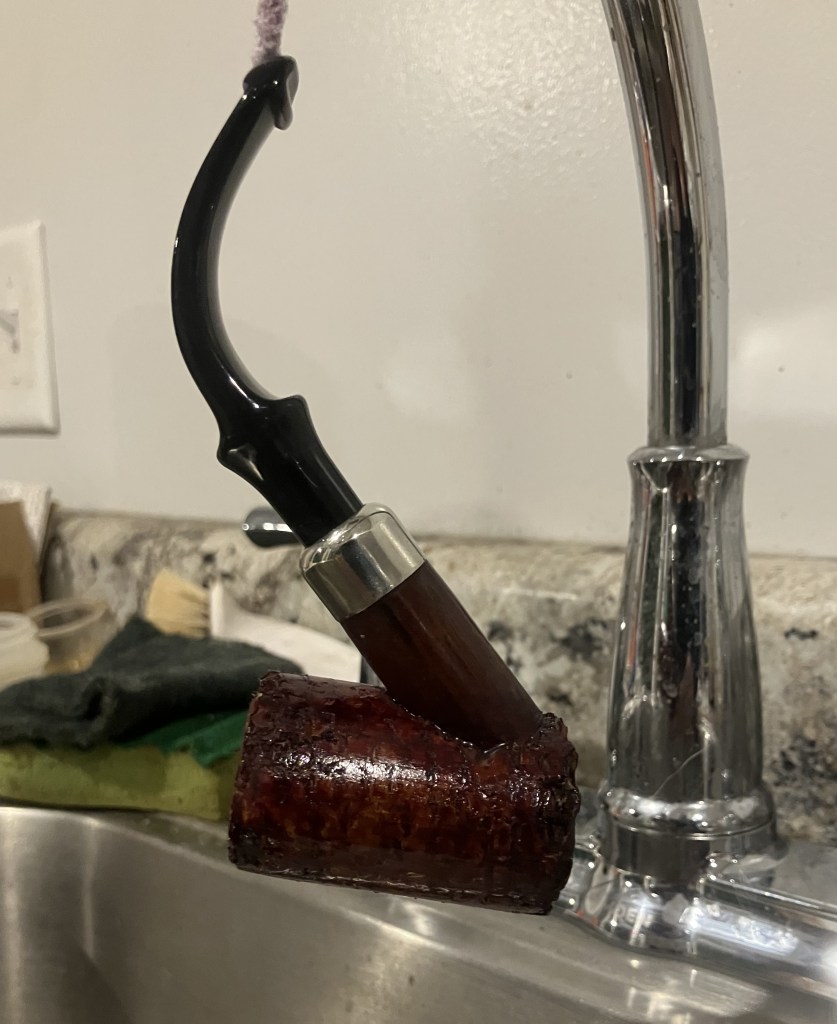
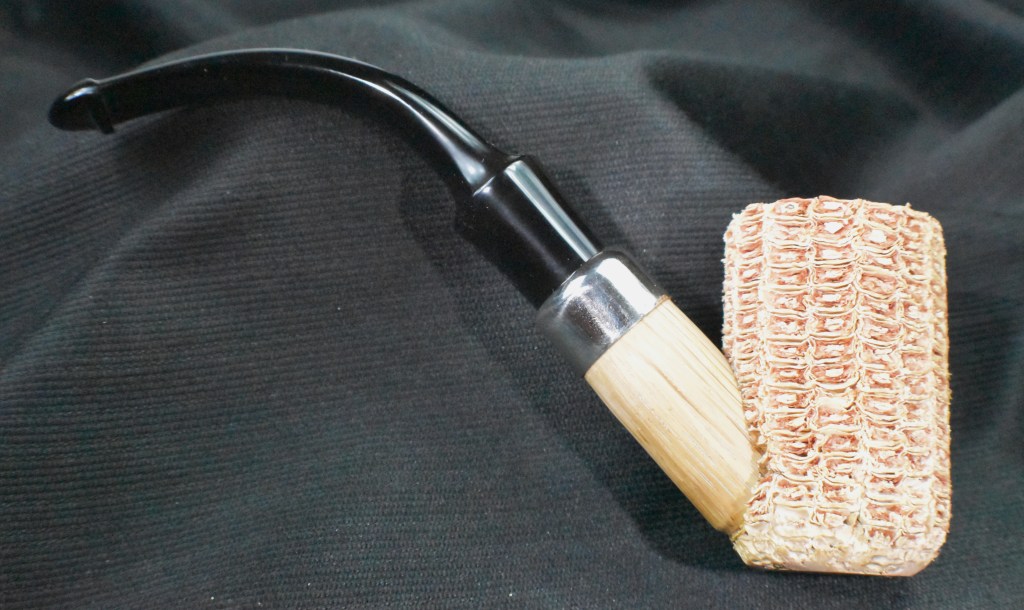
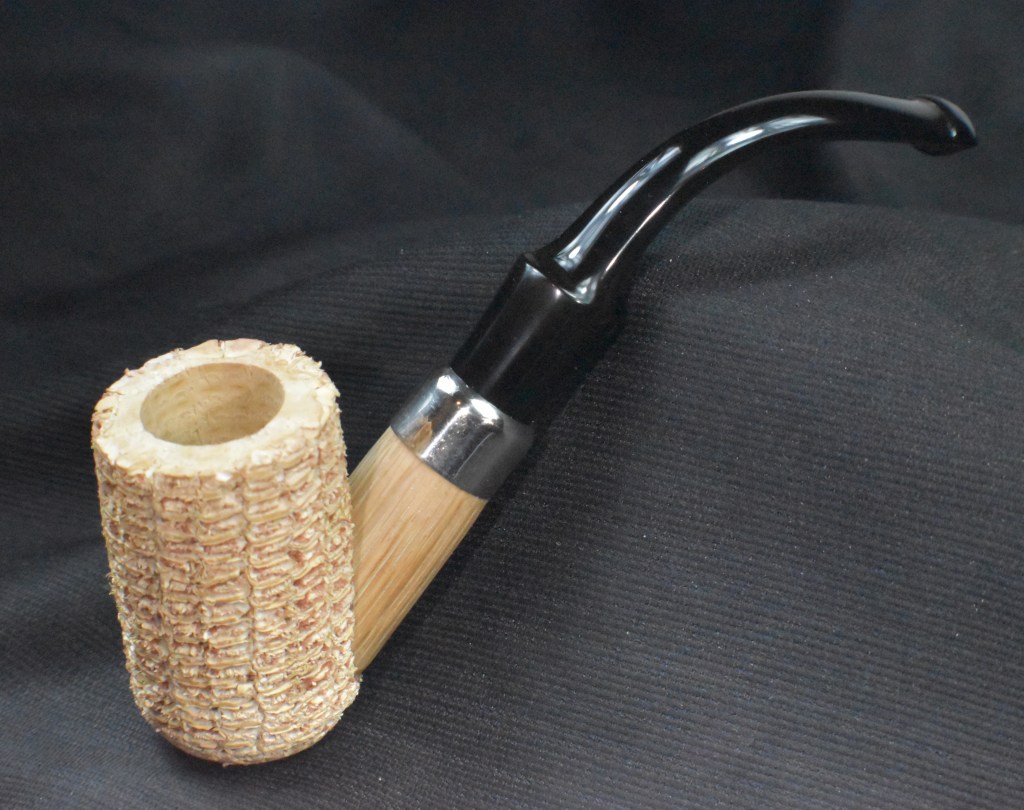
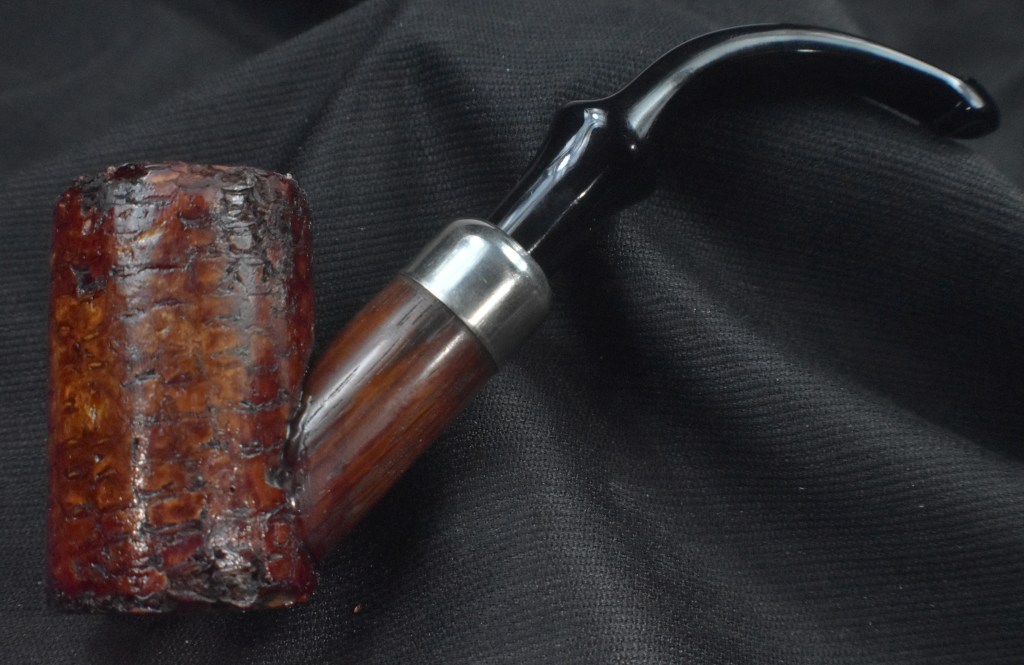
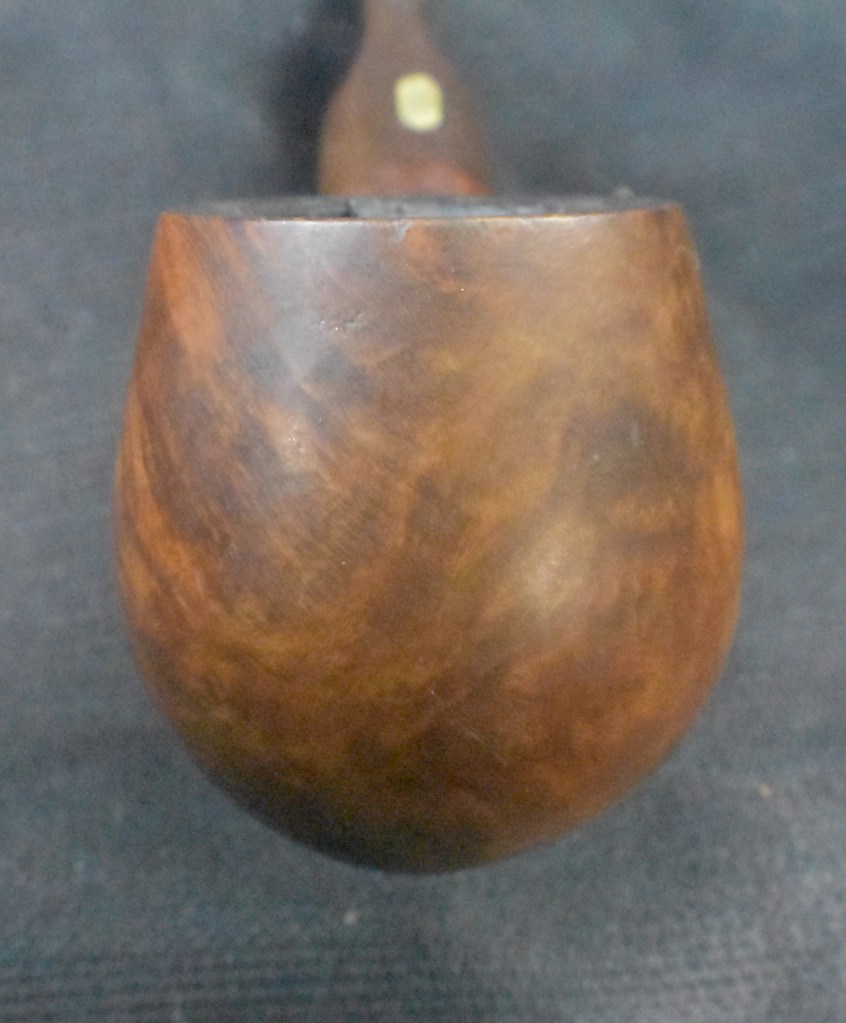
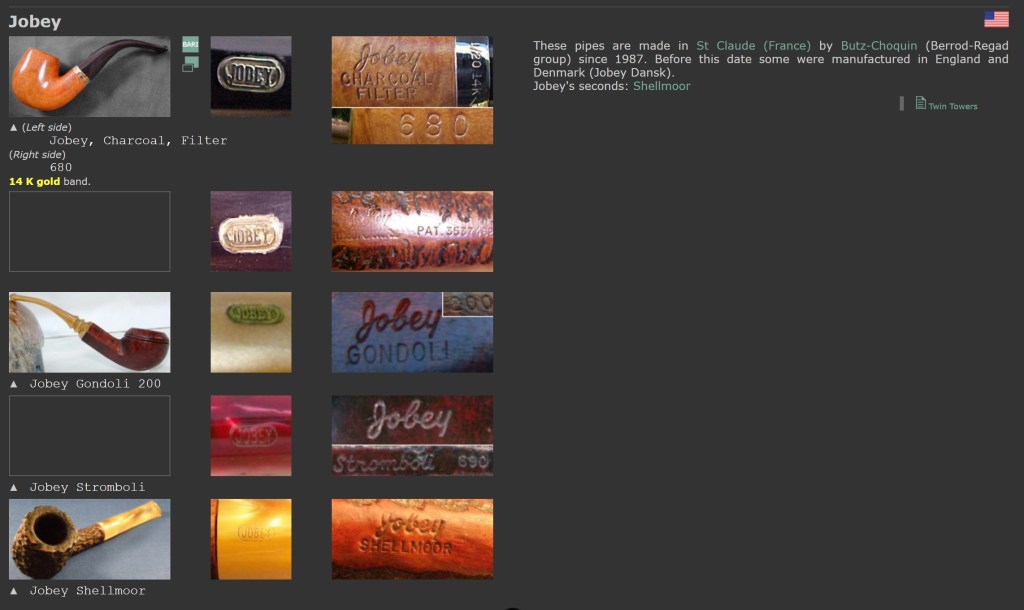
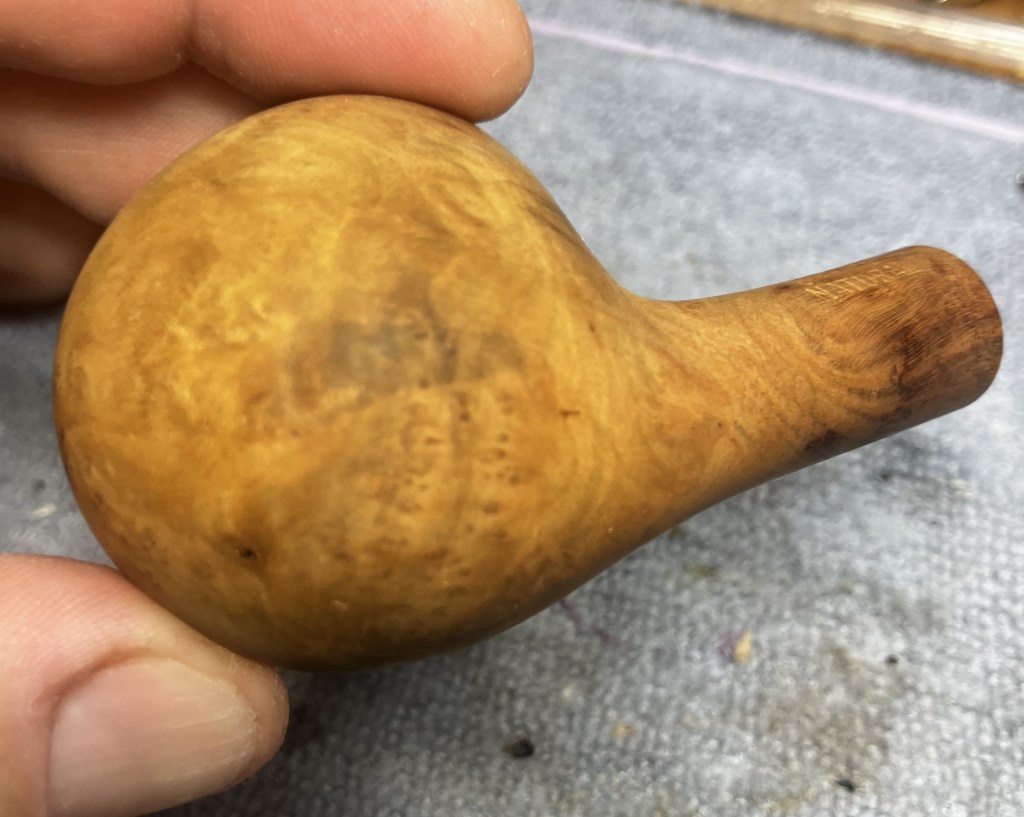
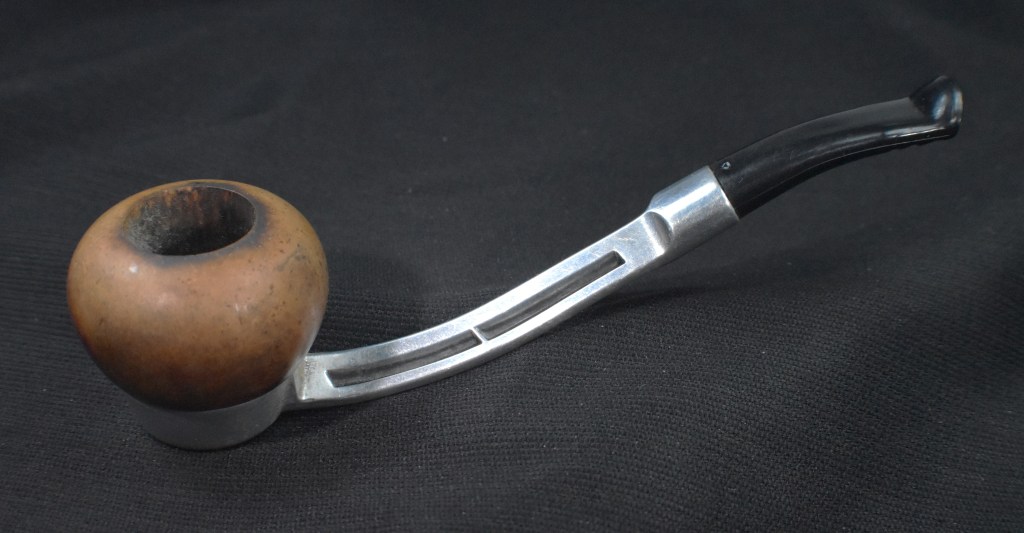
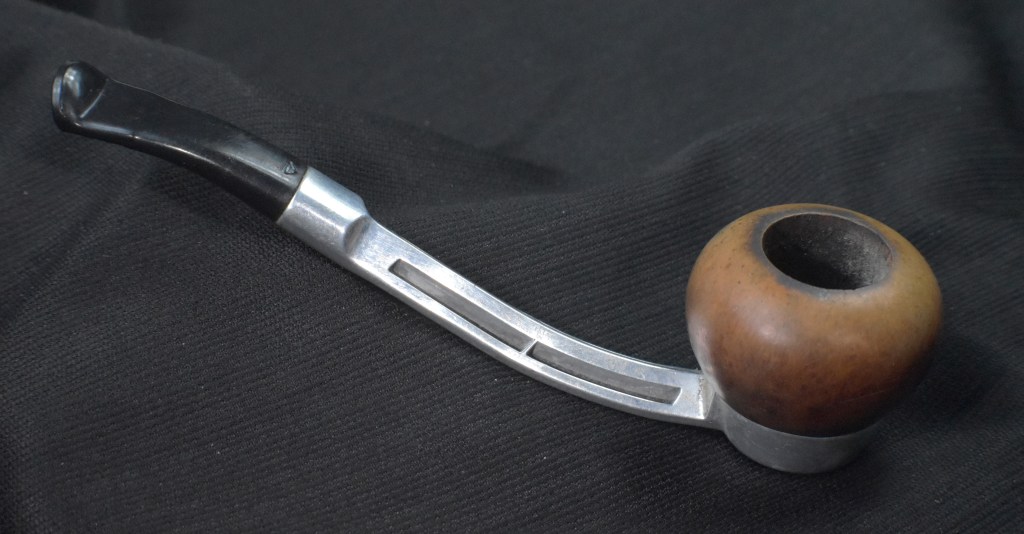
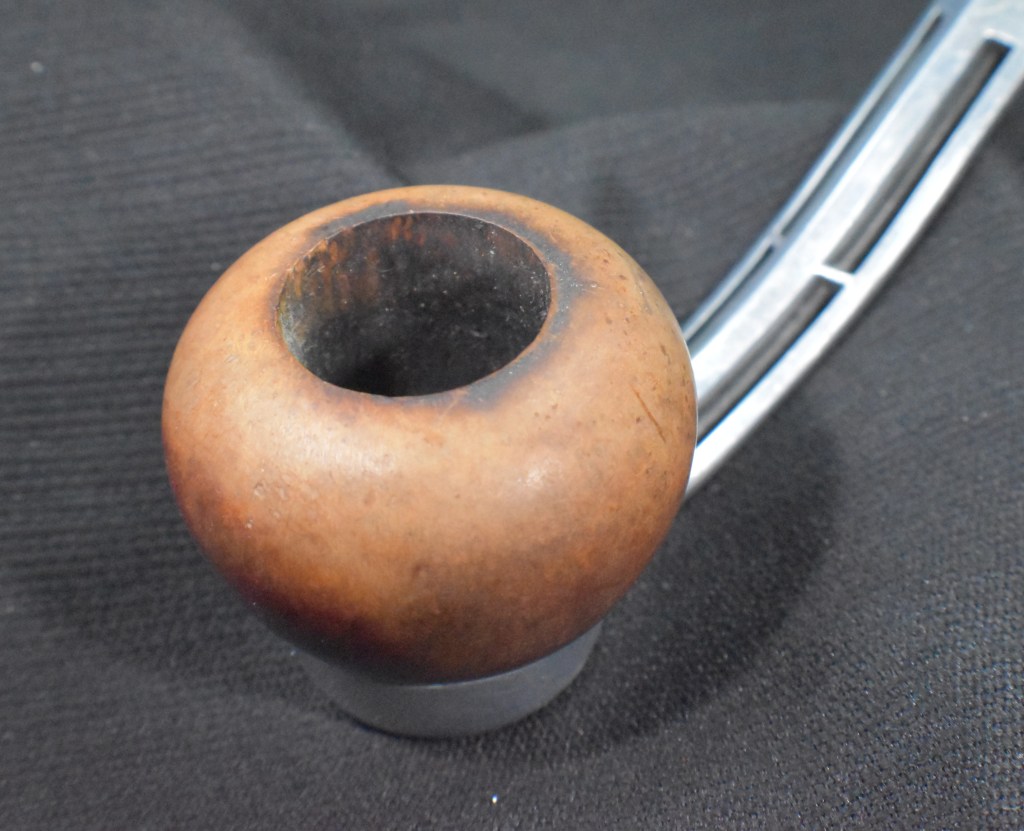
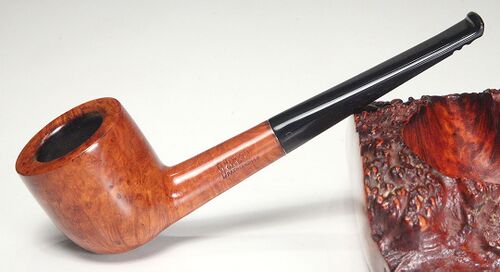
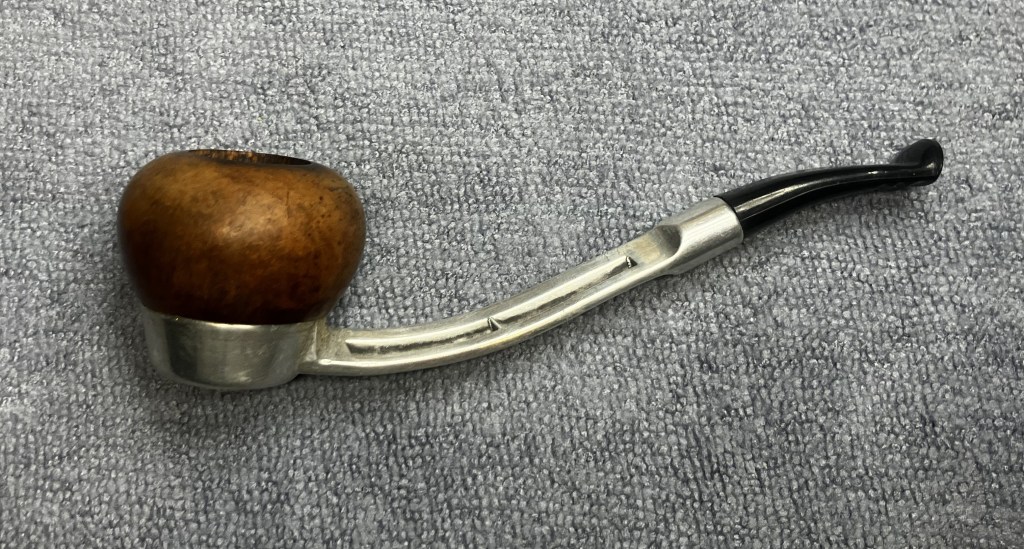
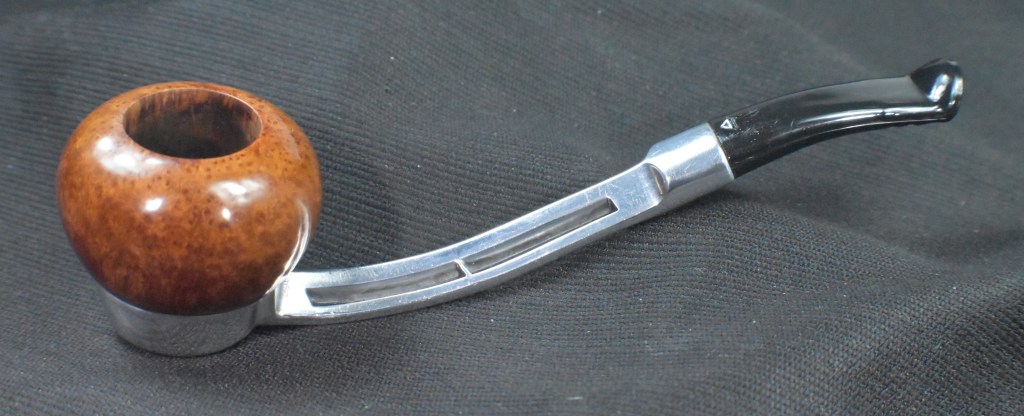
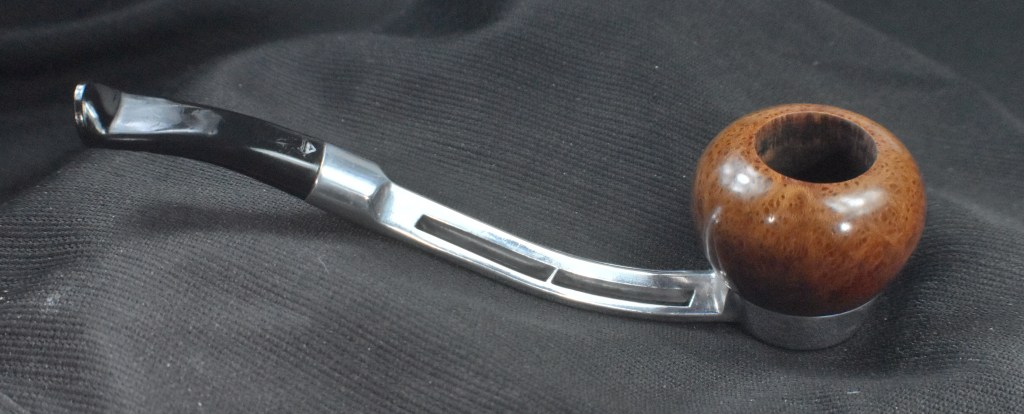
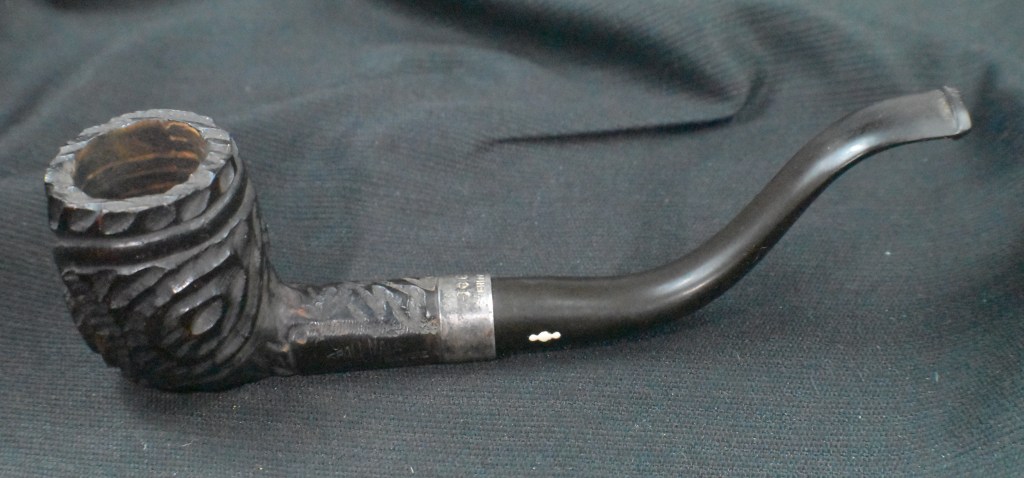
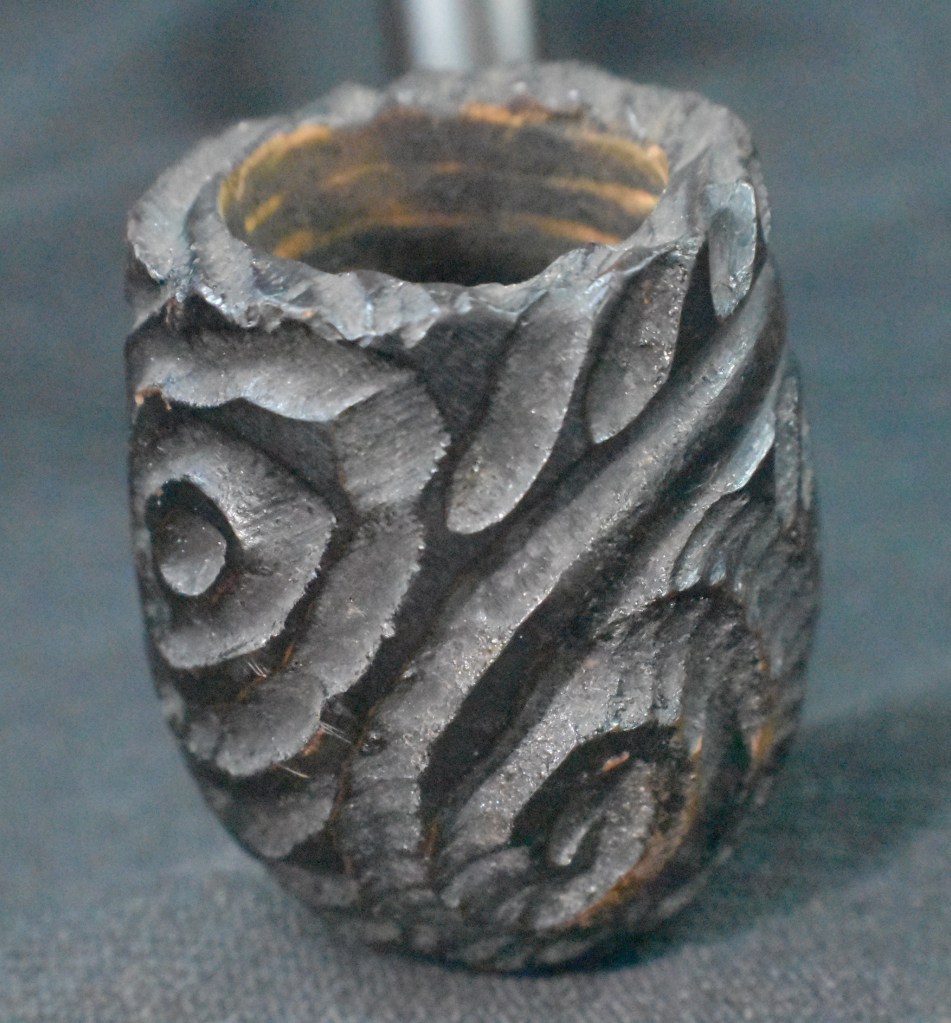
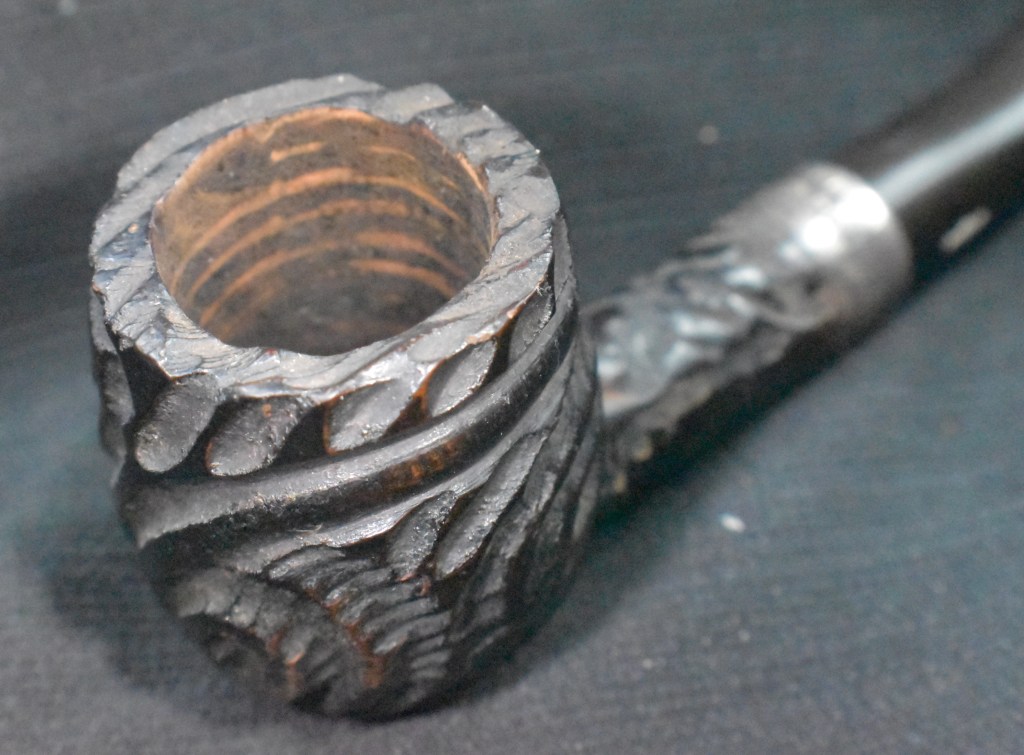
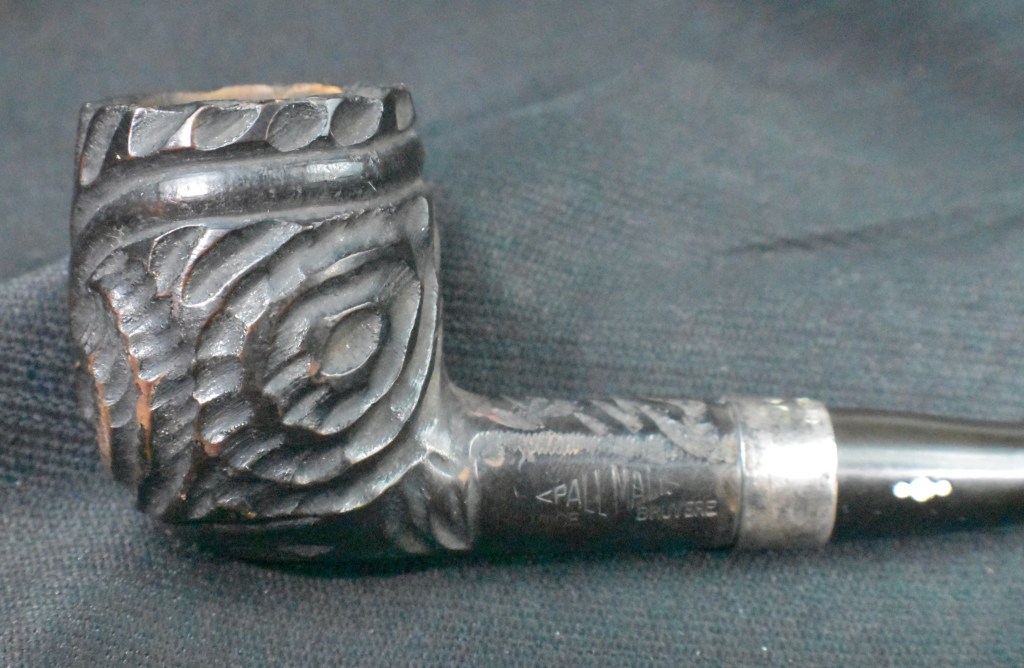
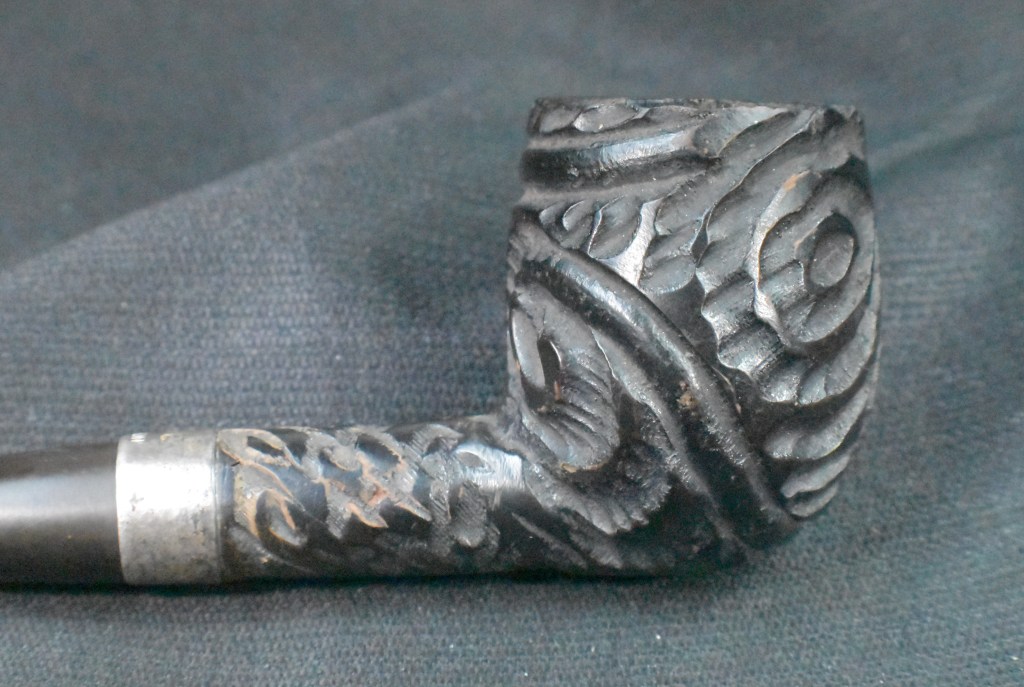
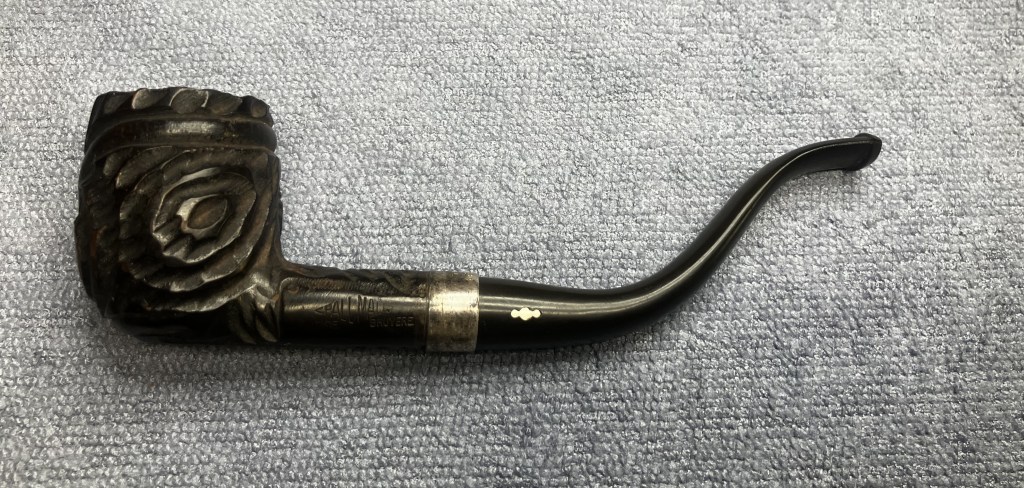
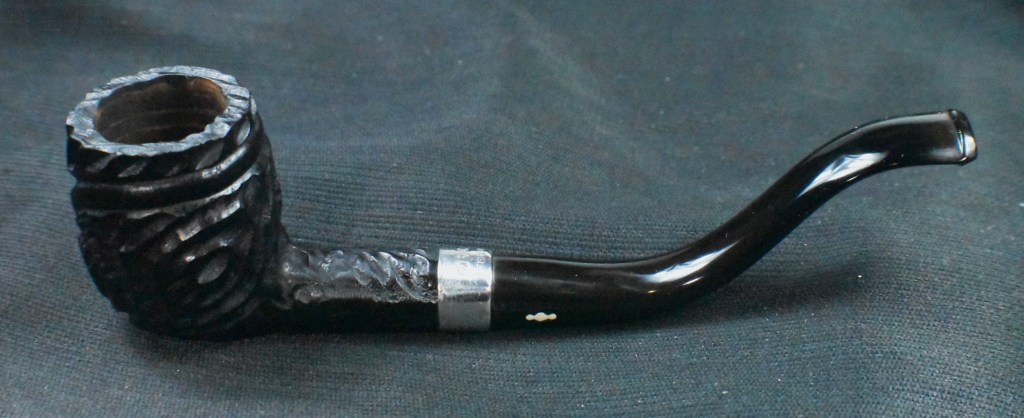
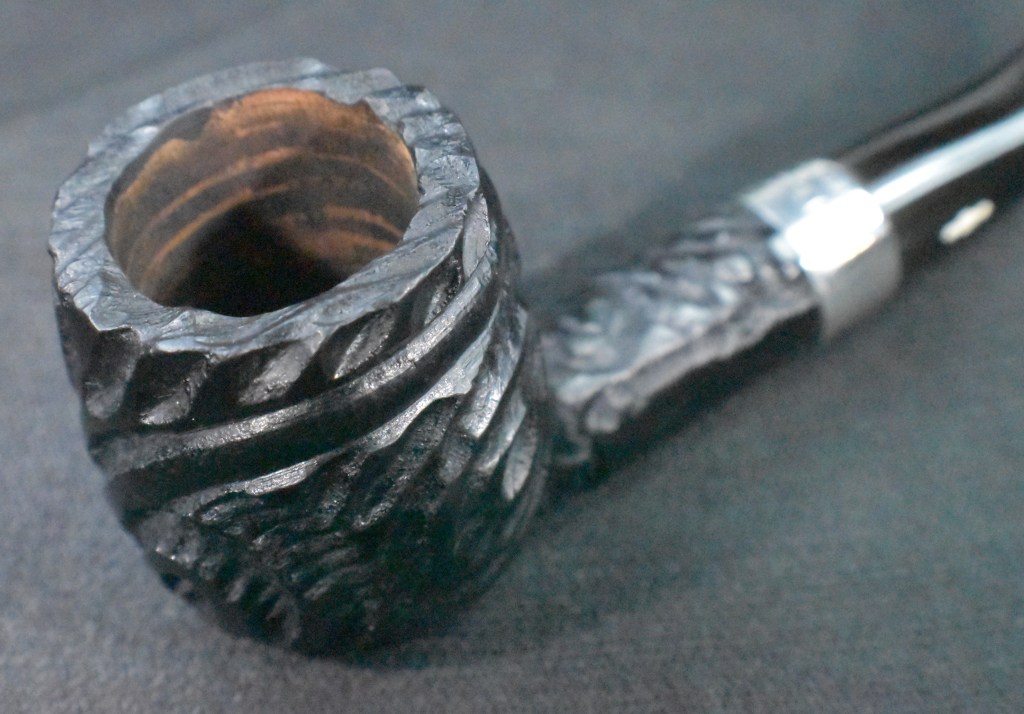
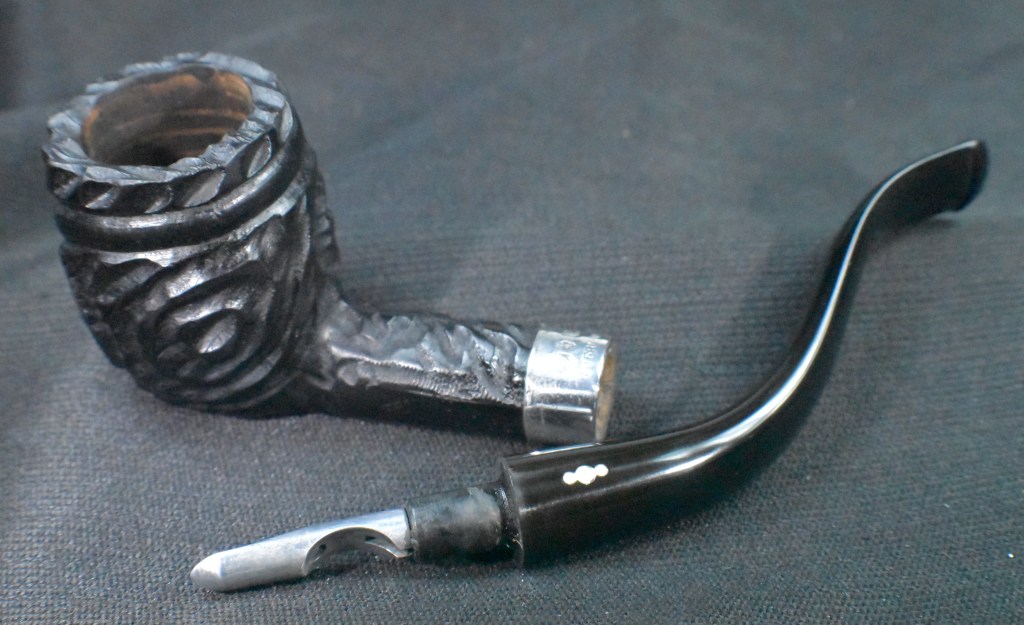
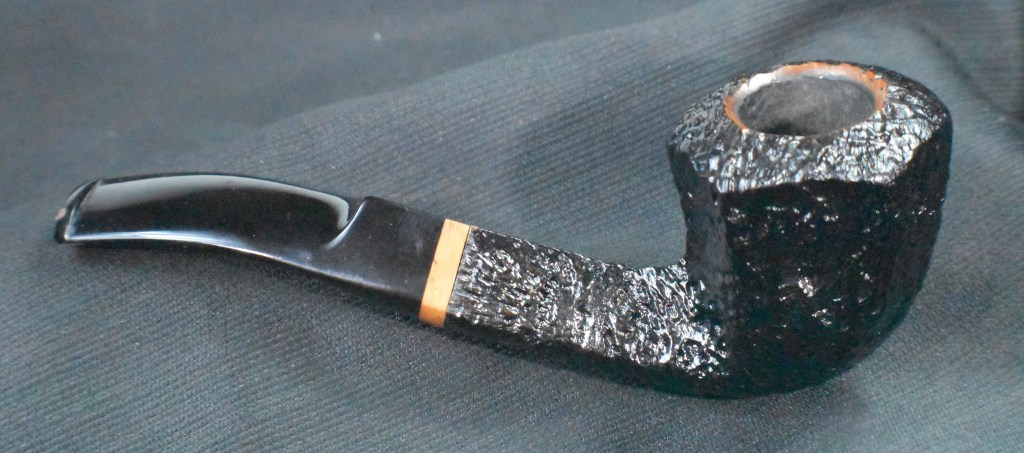
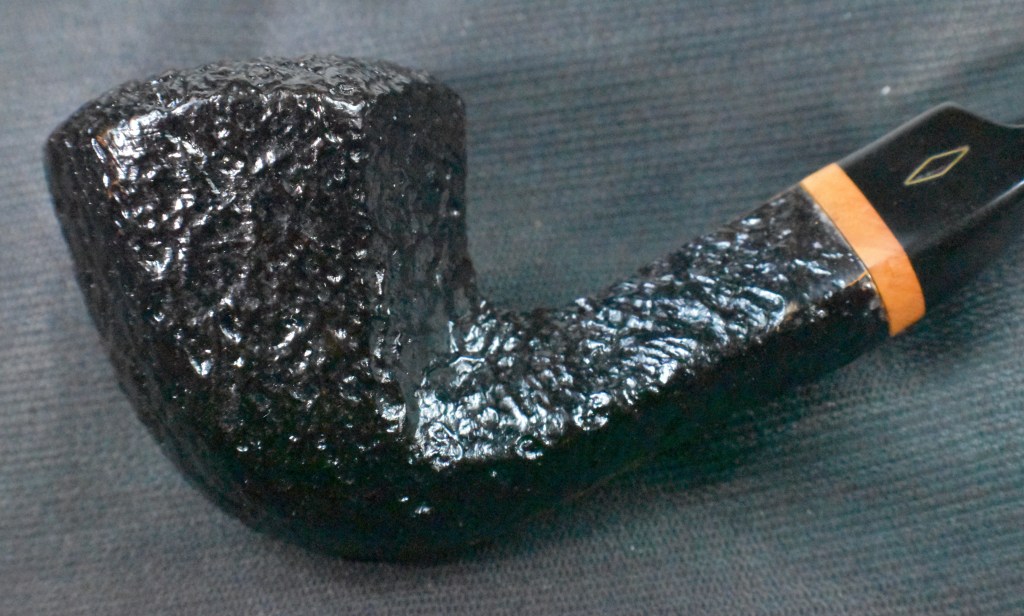
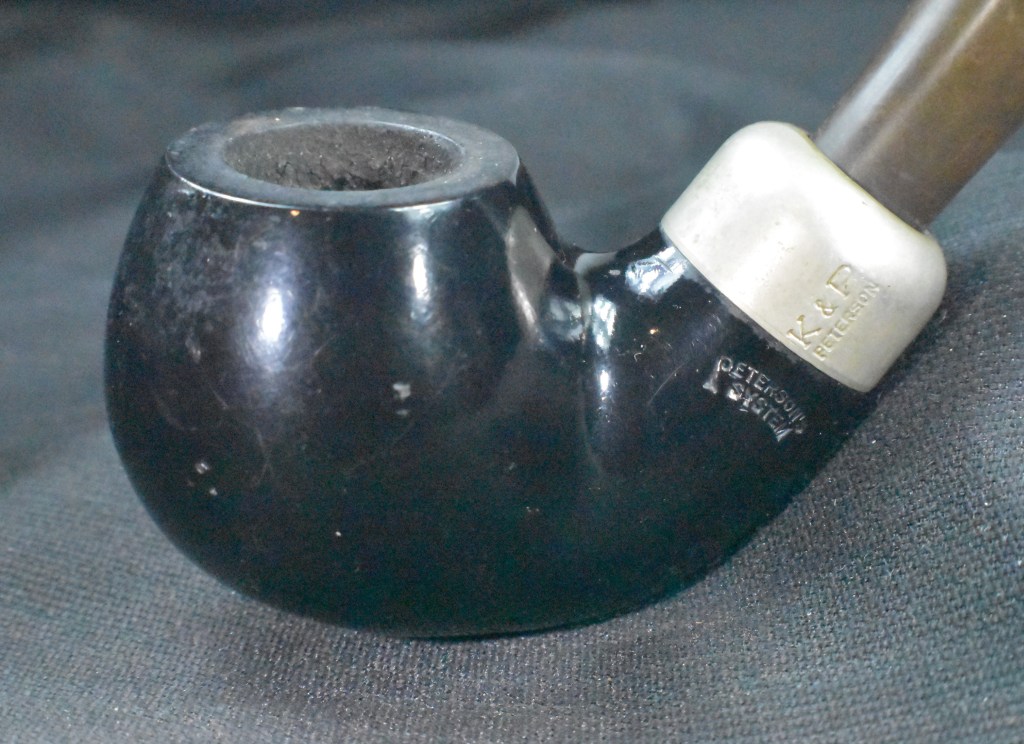
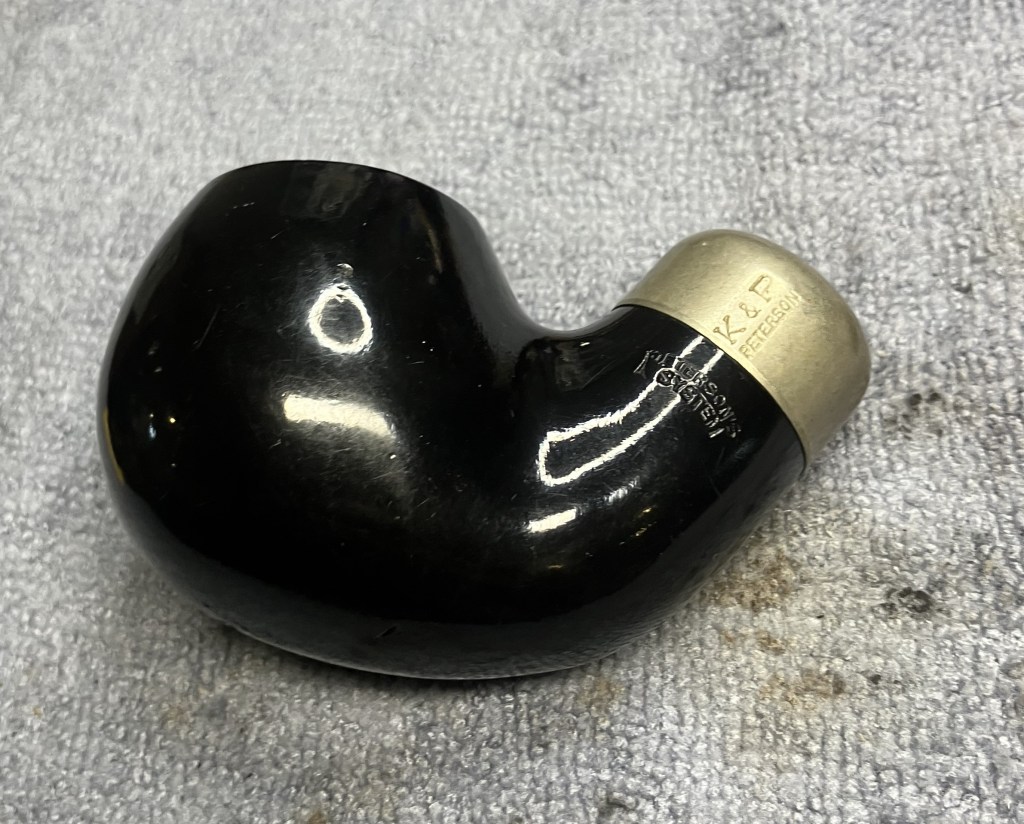
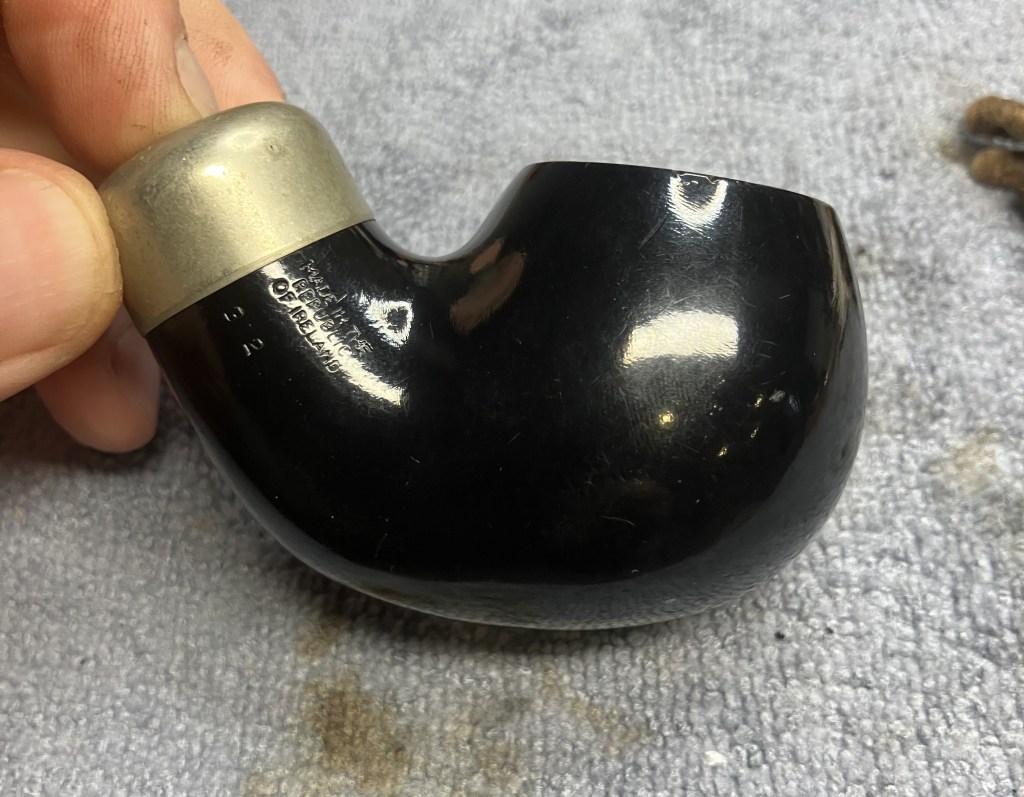
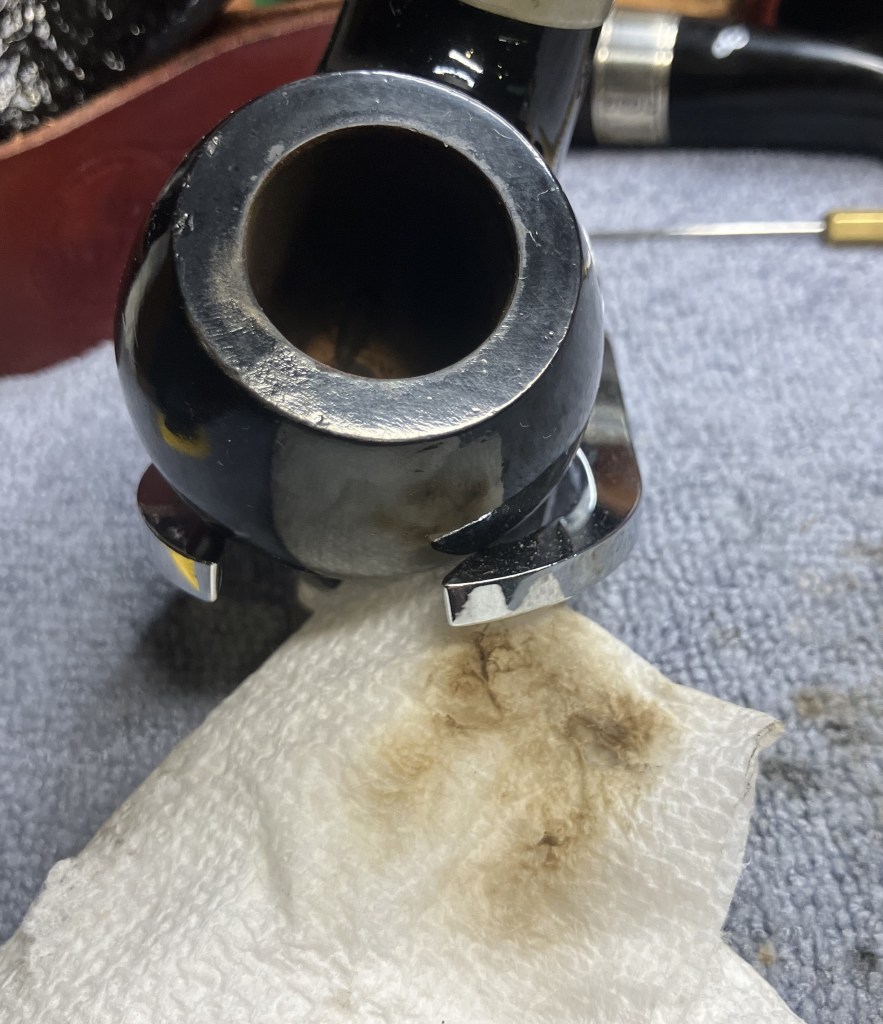
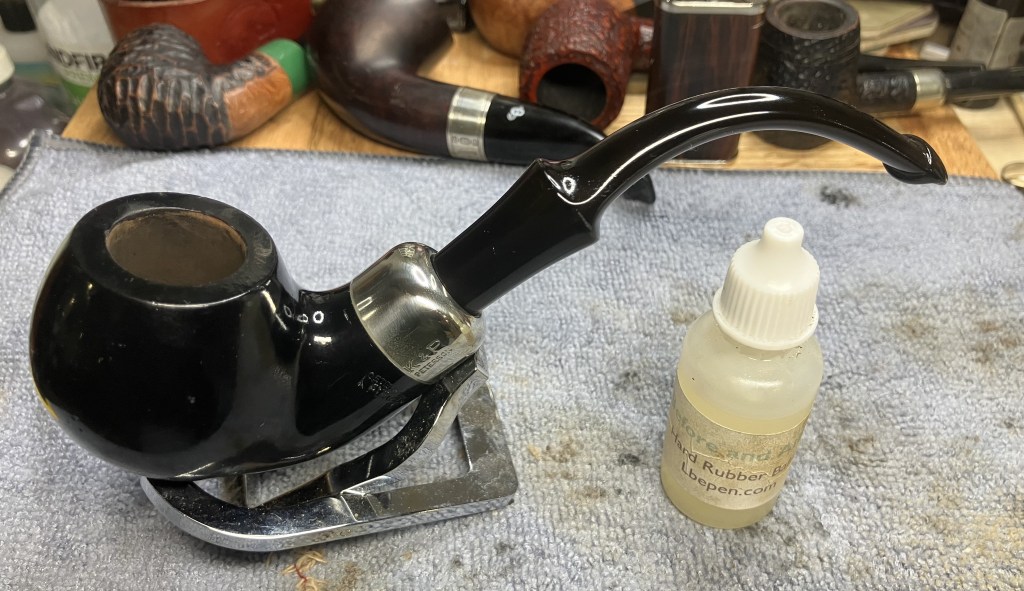
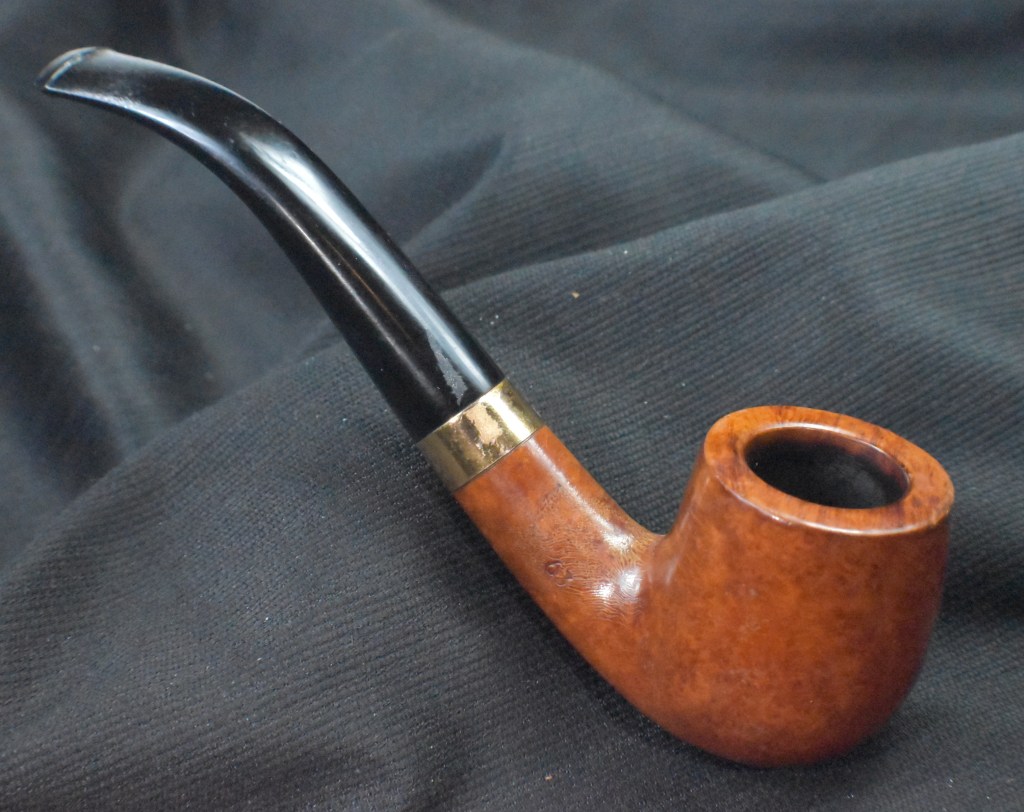
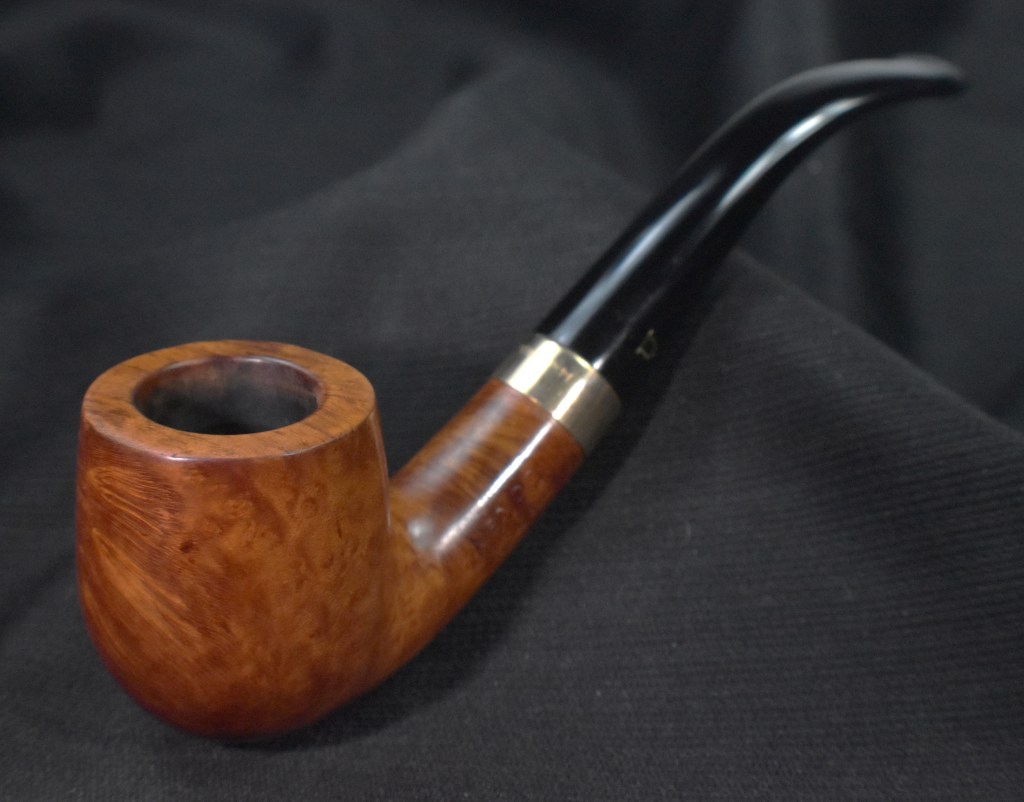
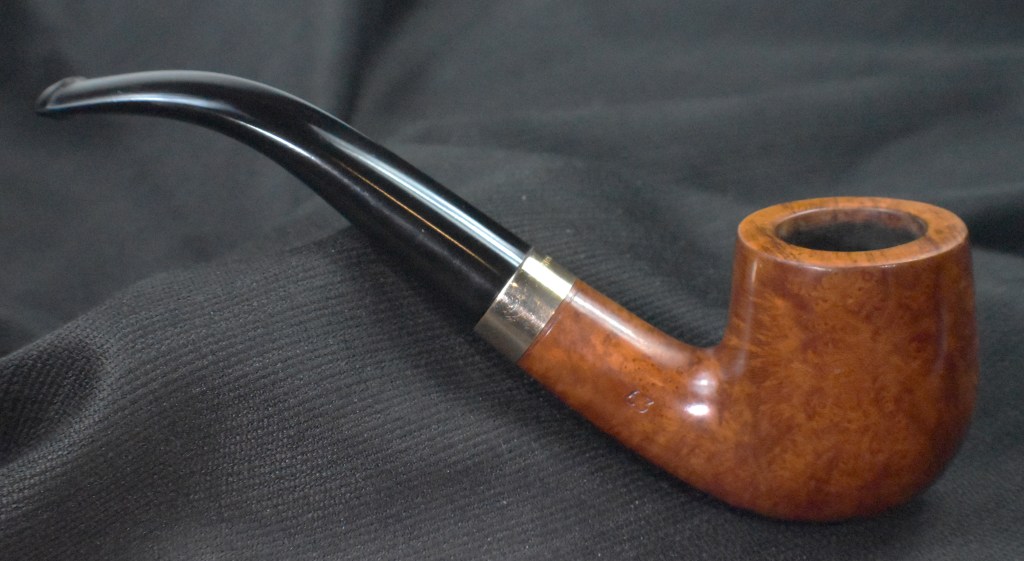
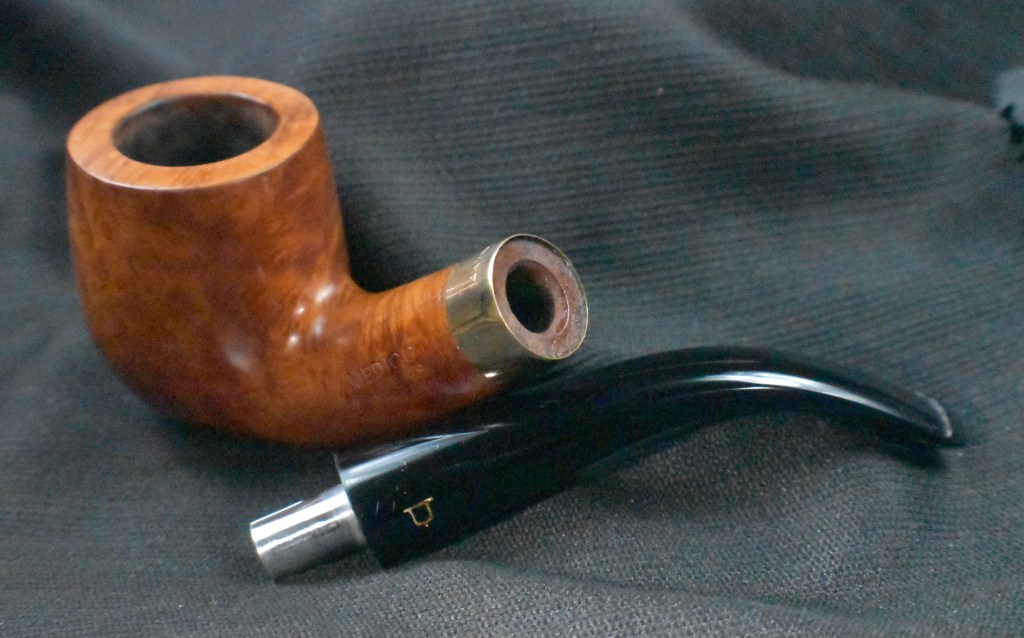
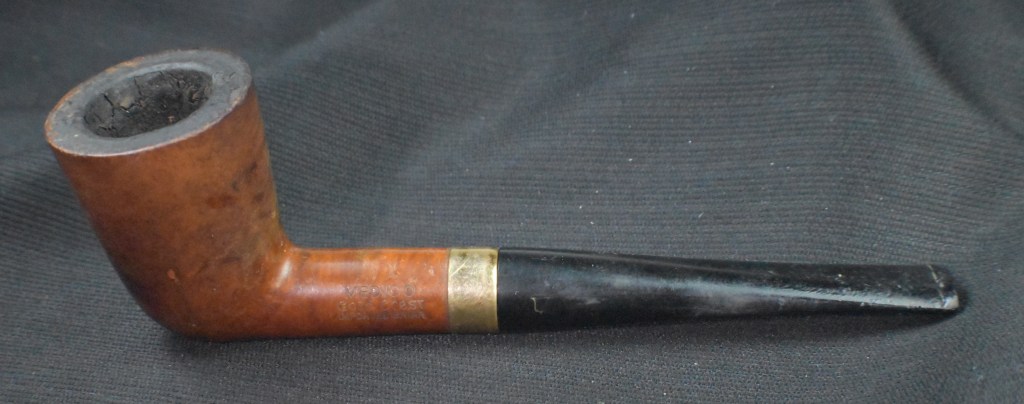
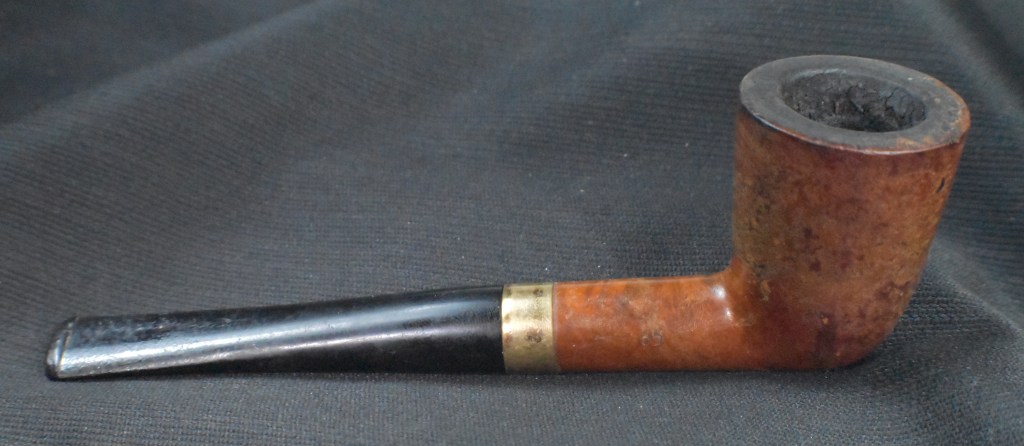
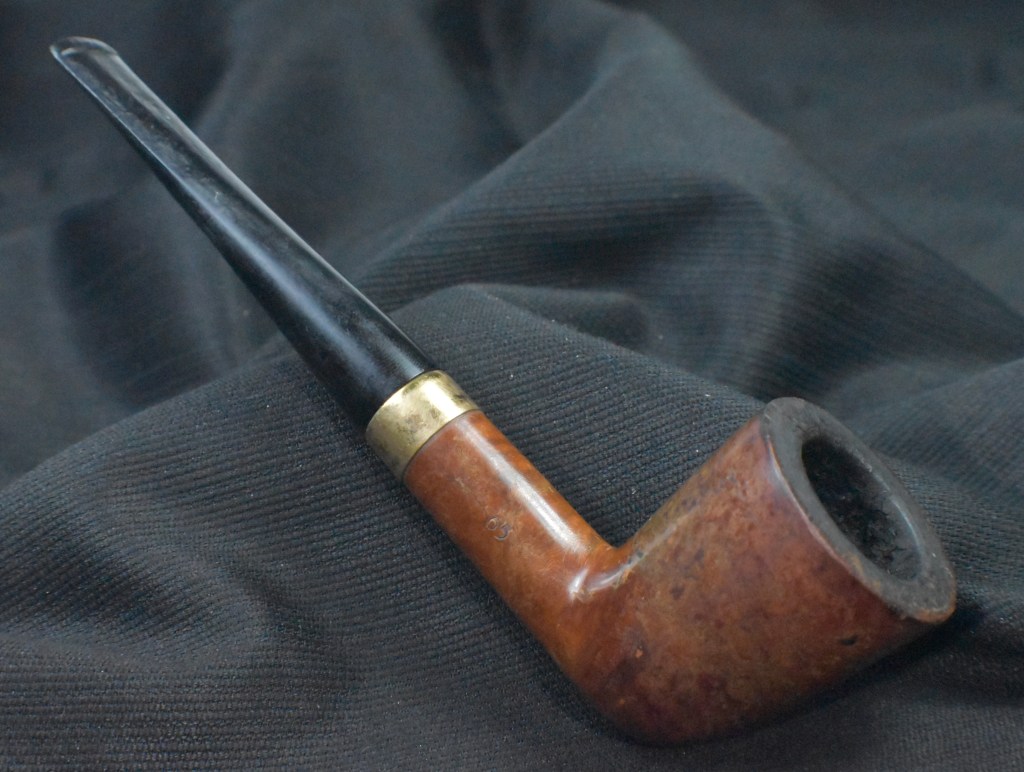
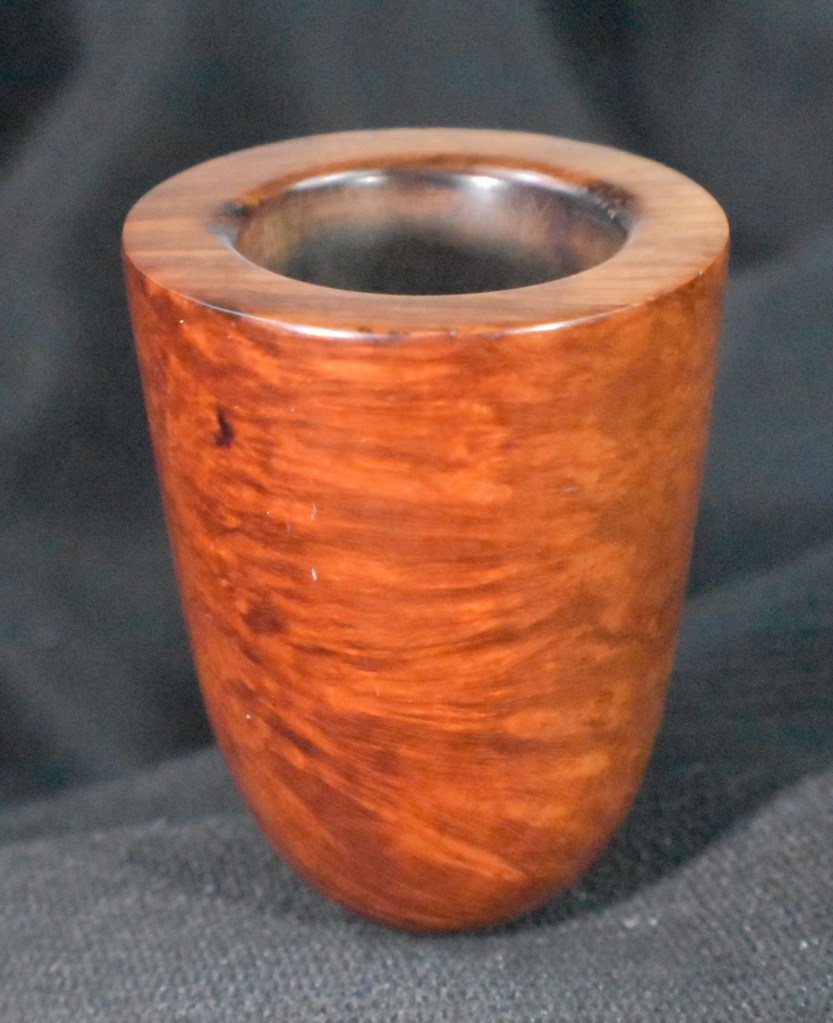
I had wanted to work on one of Tim West’s pipes for a long time. When I saw this one on an eBay auction I kind of fell in love with it. I have restored a couple of cavaliers as of late and really like the shapes. The built-in reservoir also intrigues me, especially when there is a separate drain plug, like this pipe has. When the pipe arrived I was in awe of the size of it. It is massive. If you are familiar with Peterson Pub pipes, it is nearly that size. Below are some photos of the pipe upon its arrival and prior to any work done.

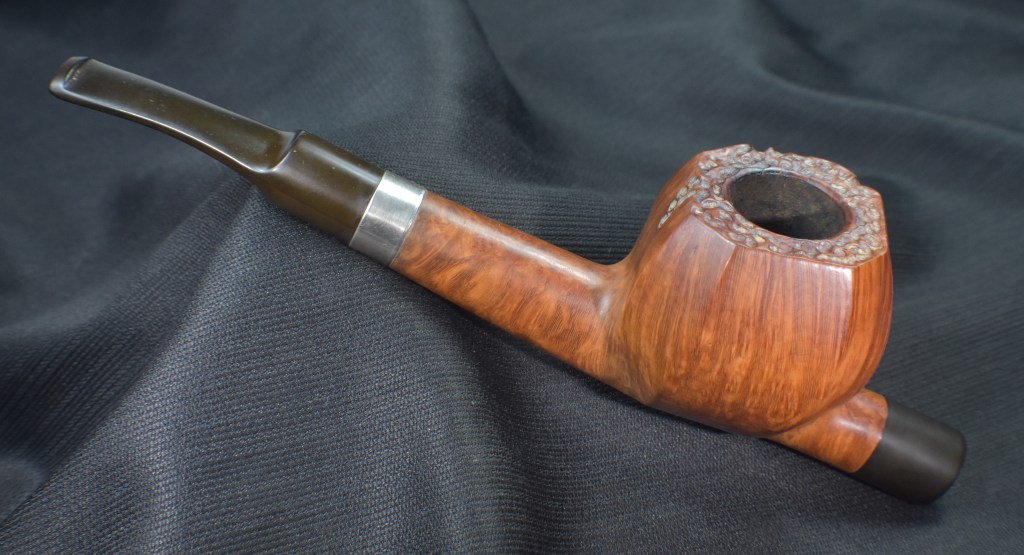
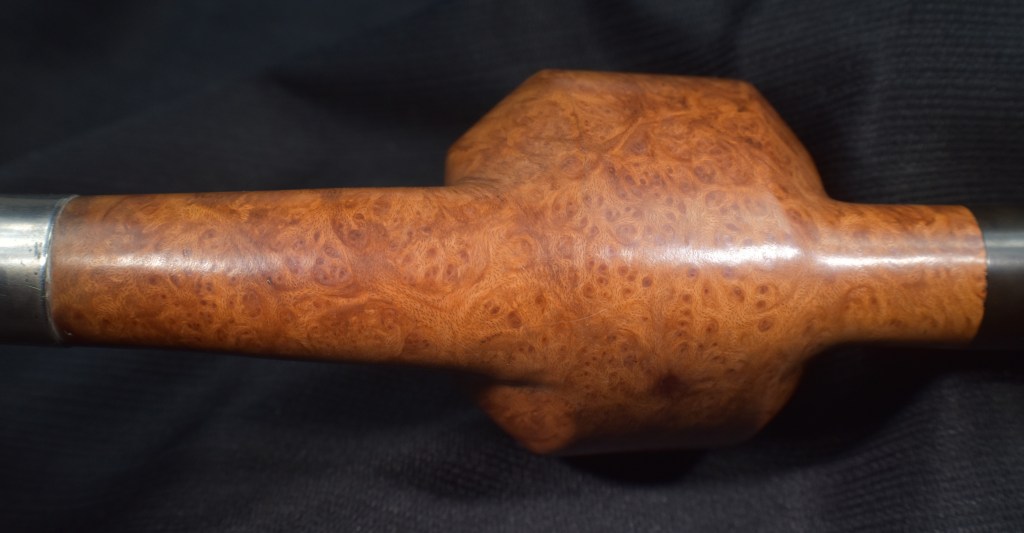
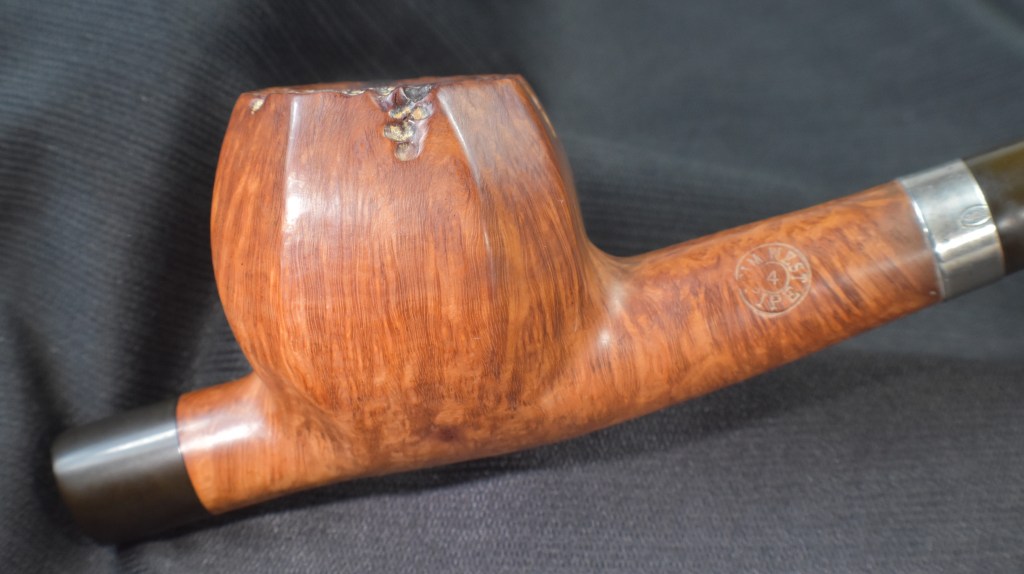
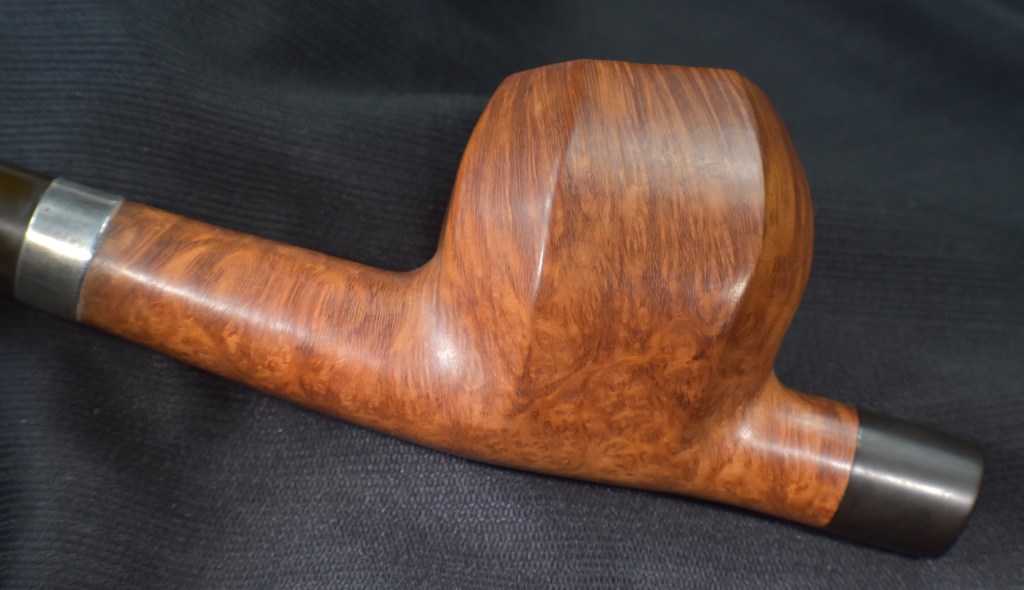


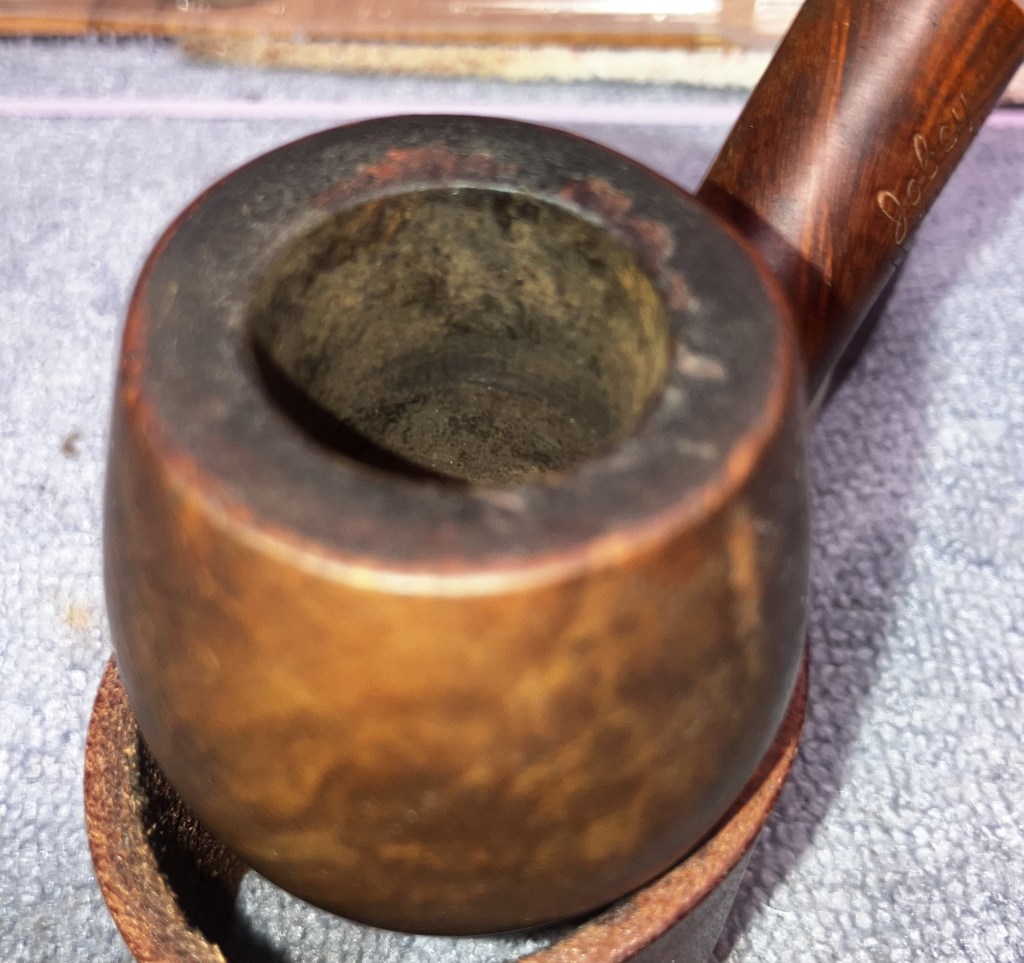
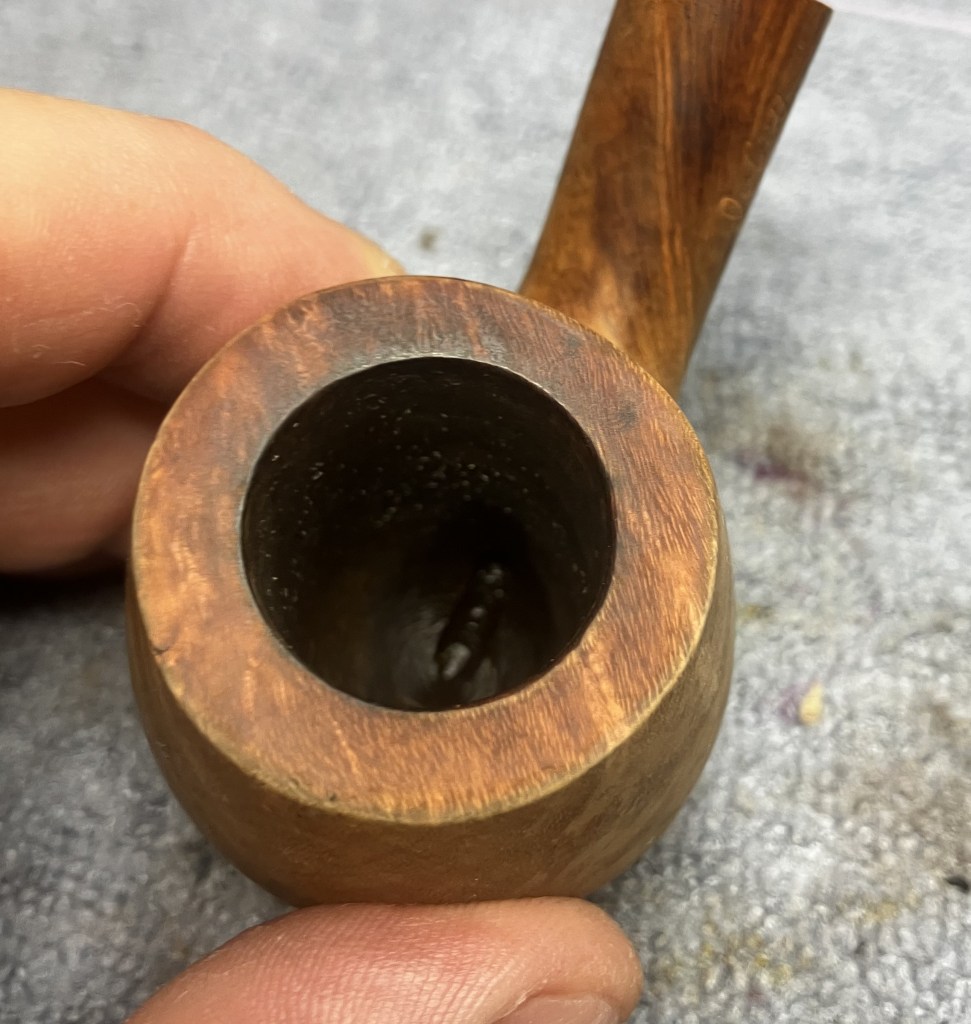
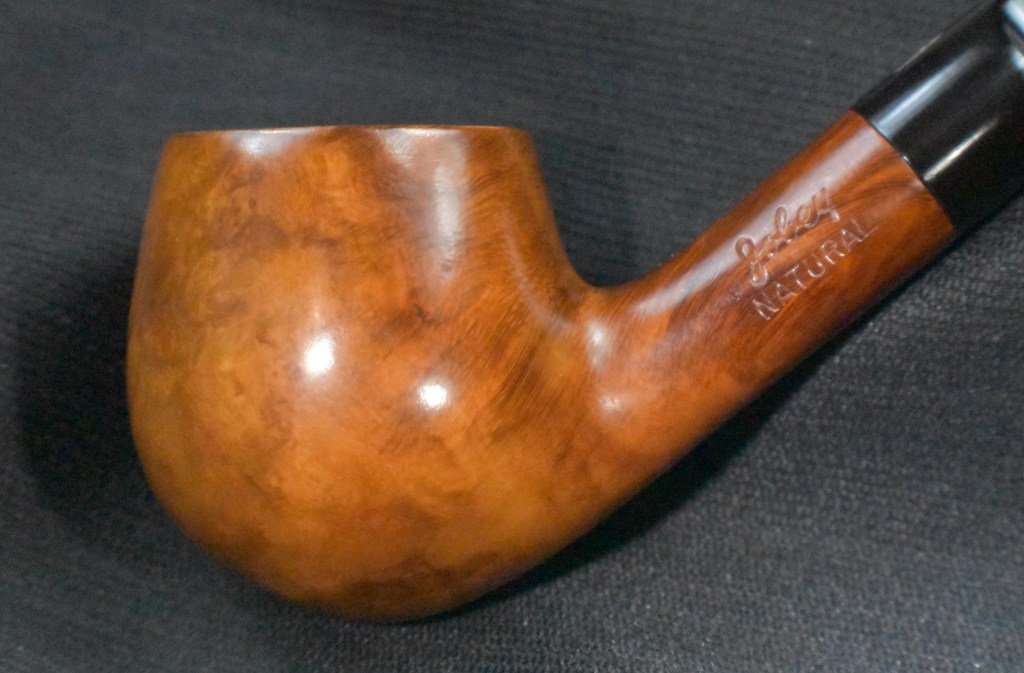
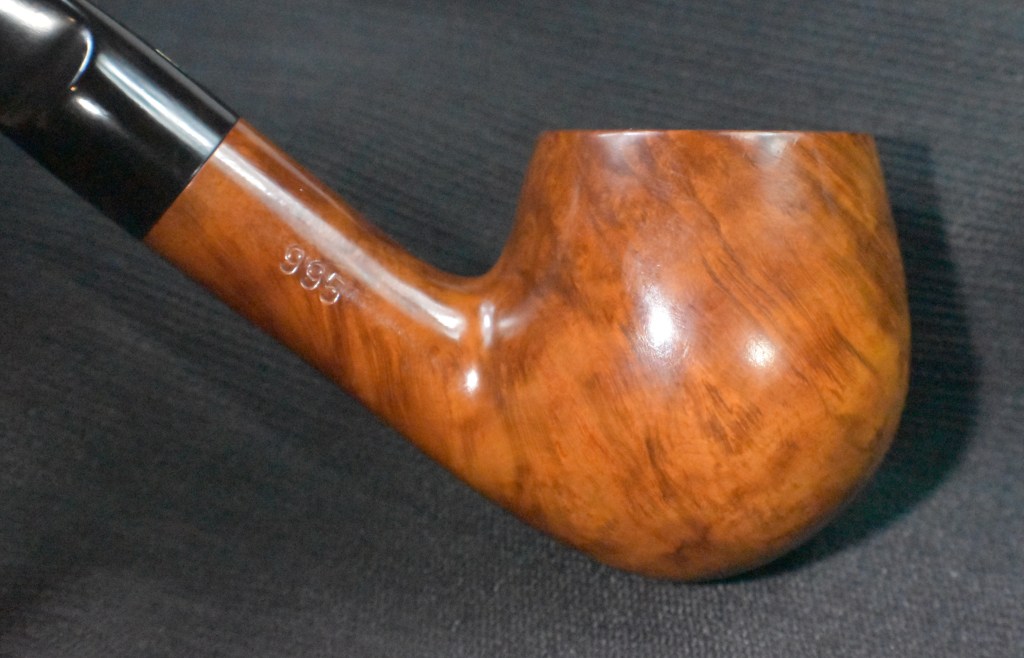
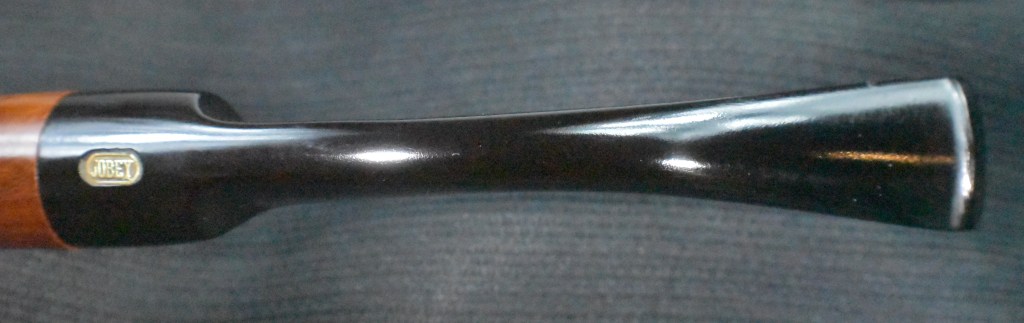
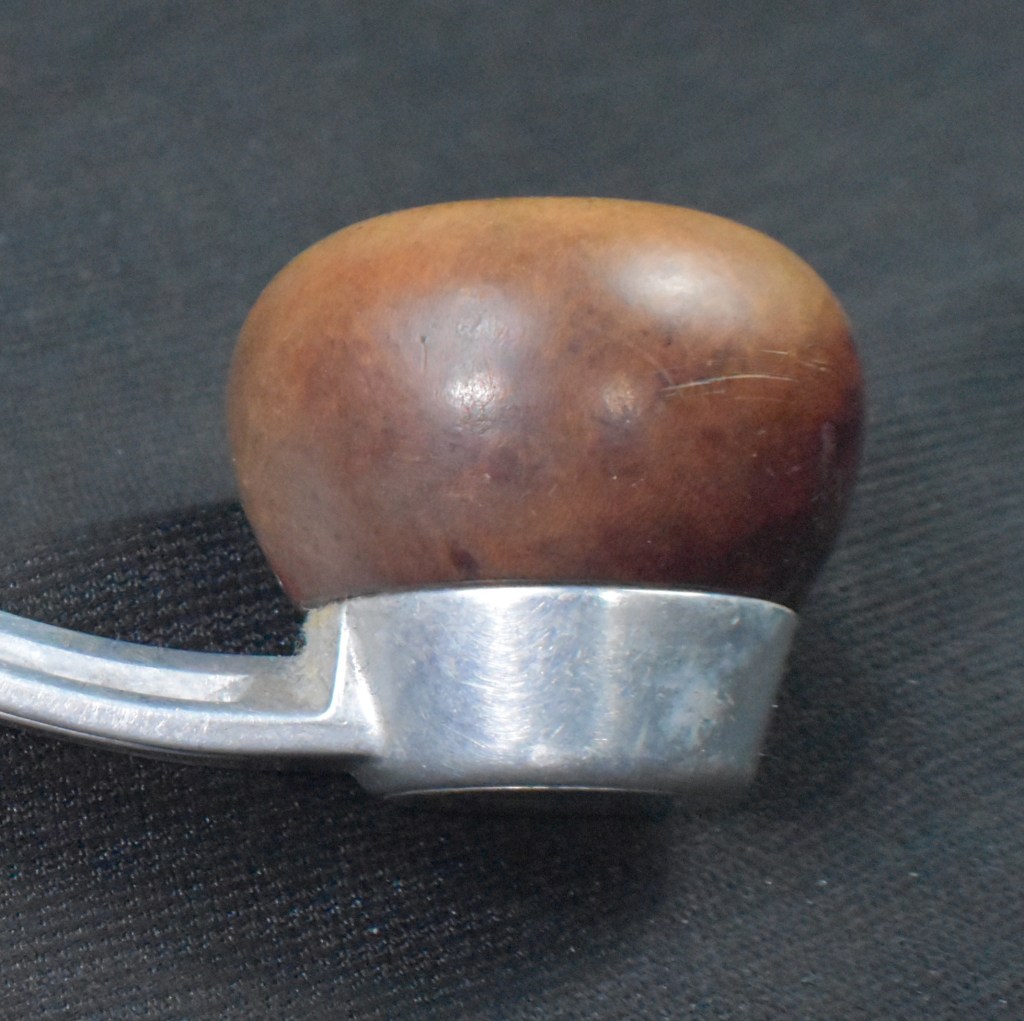
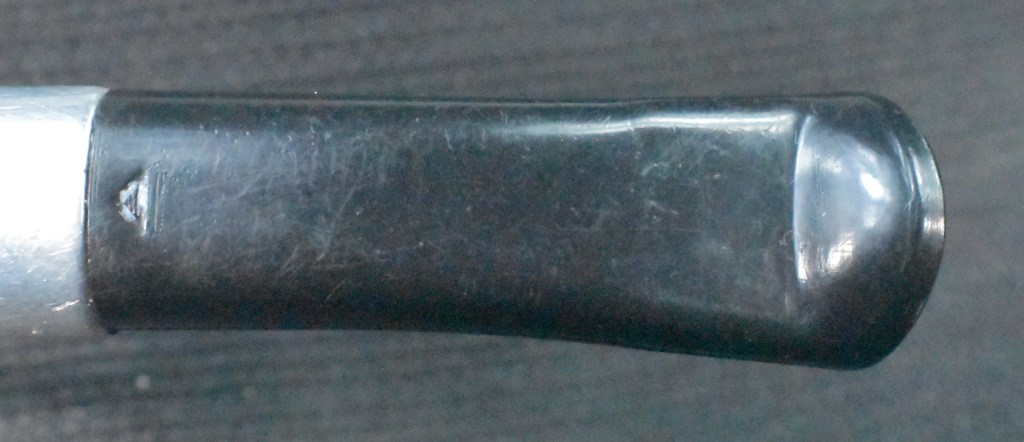
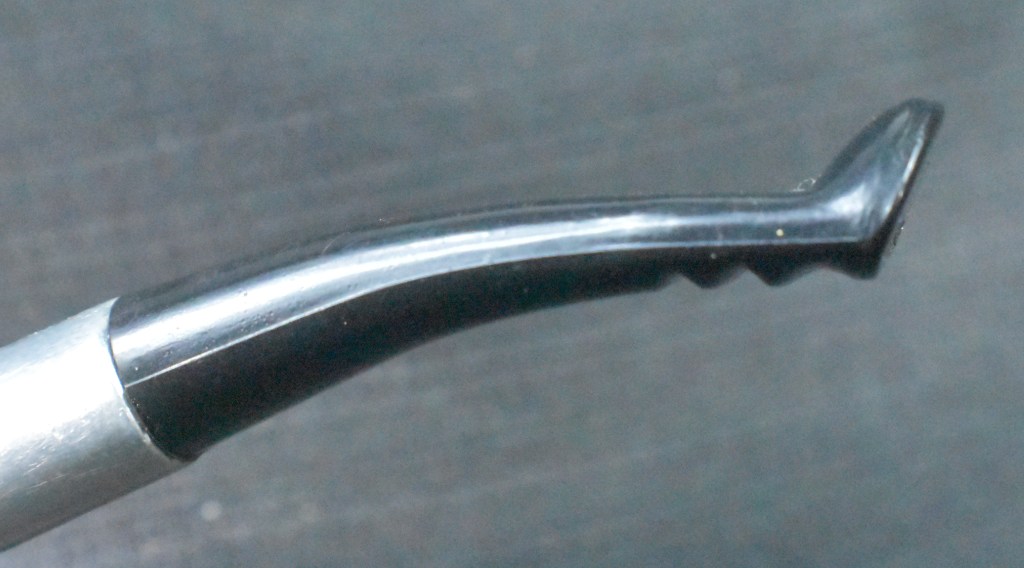
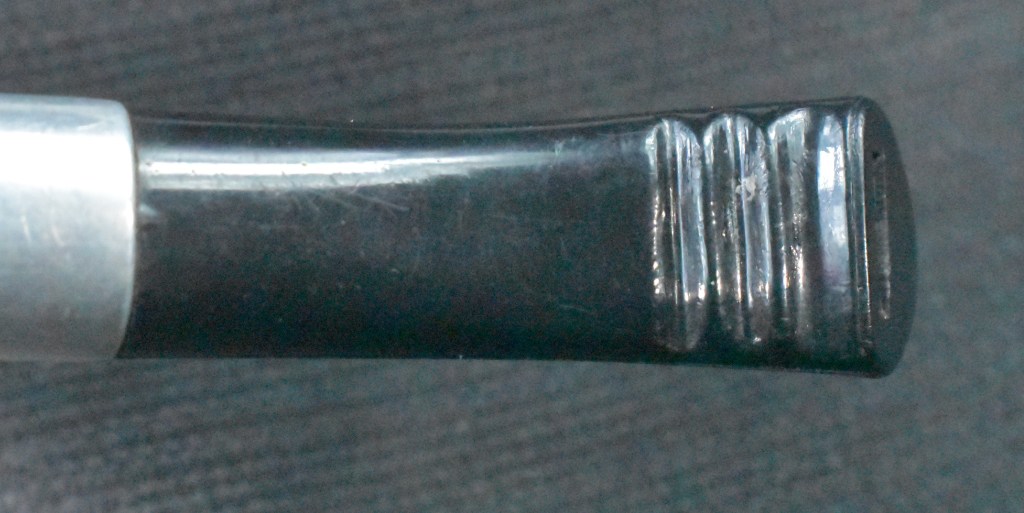
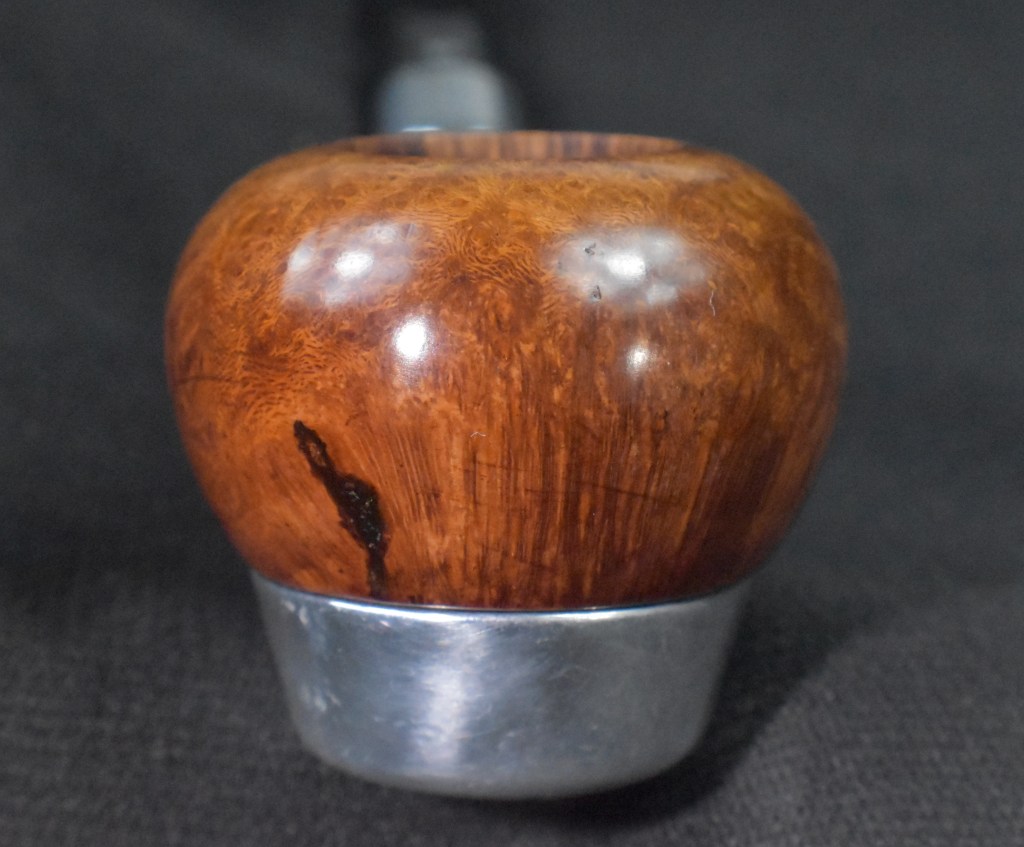
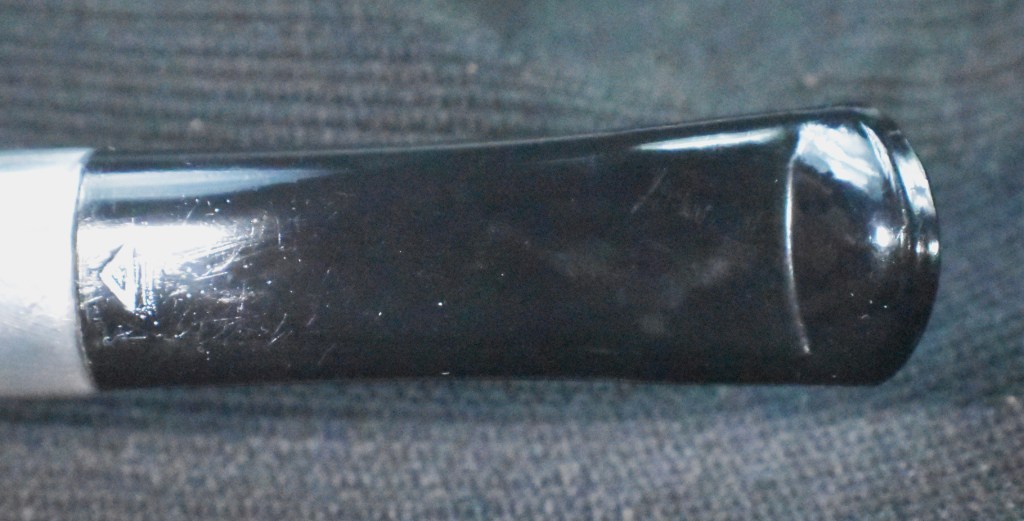
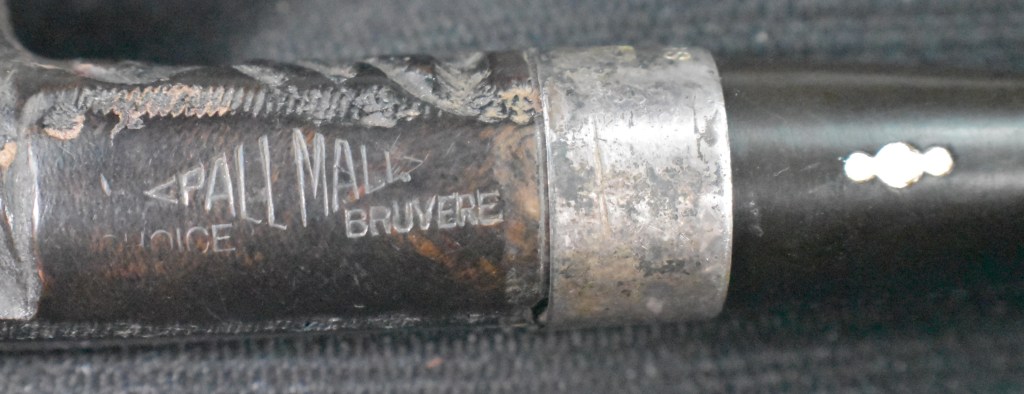
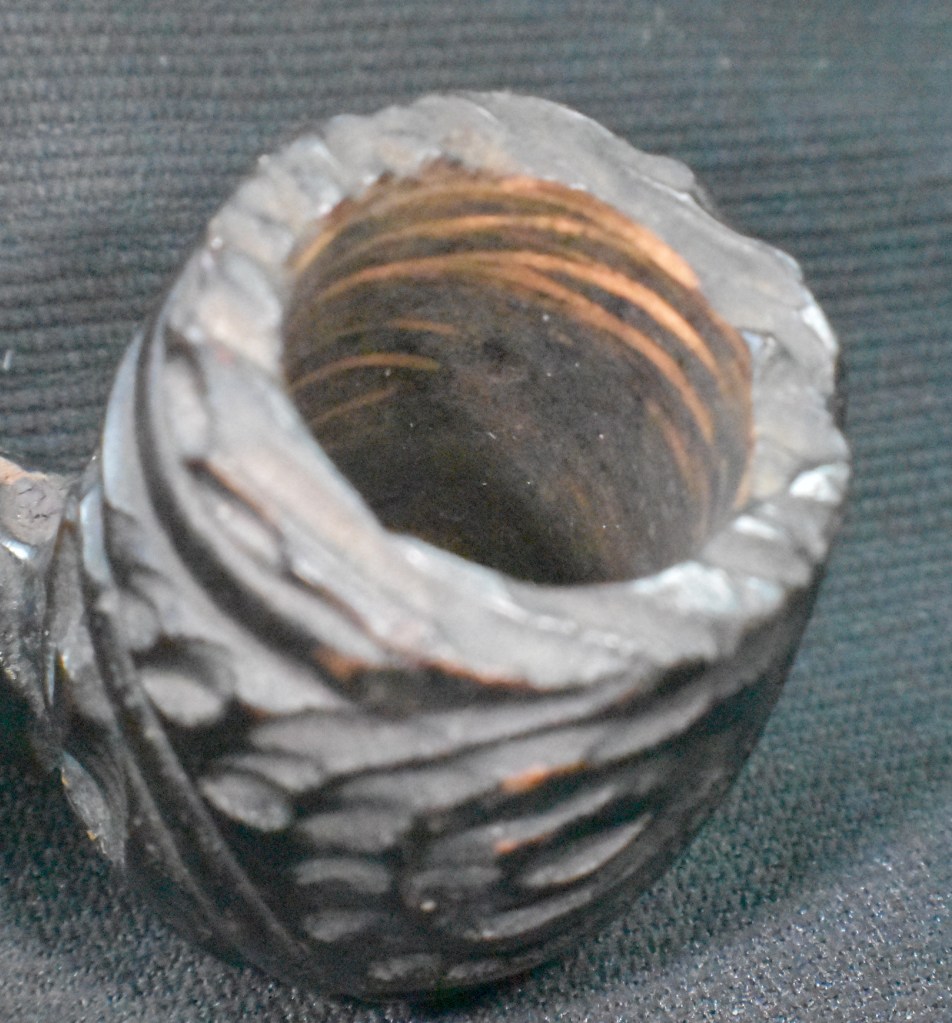
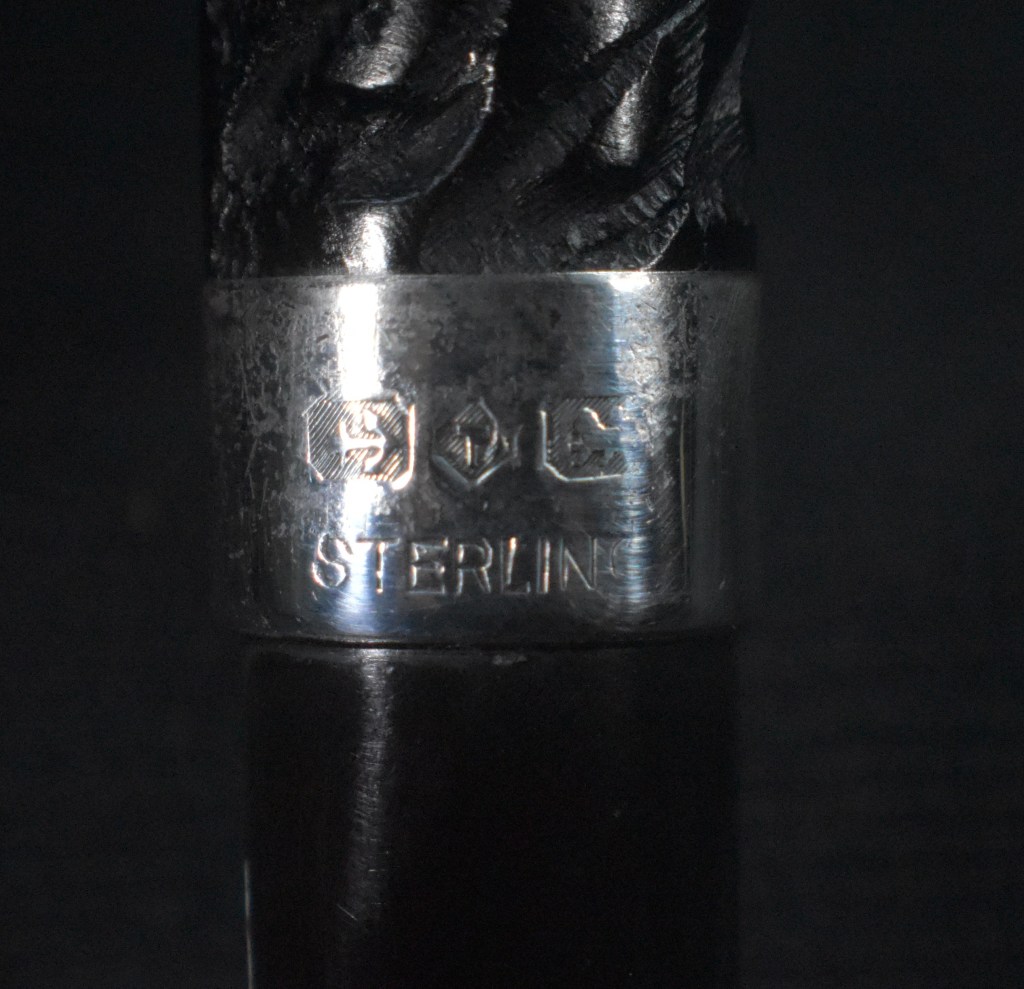
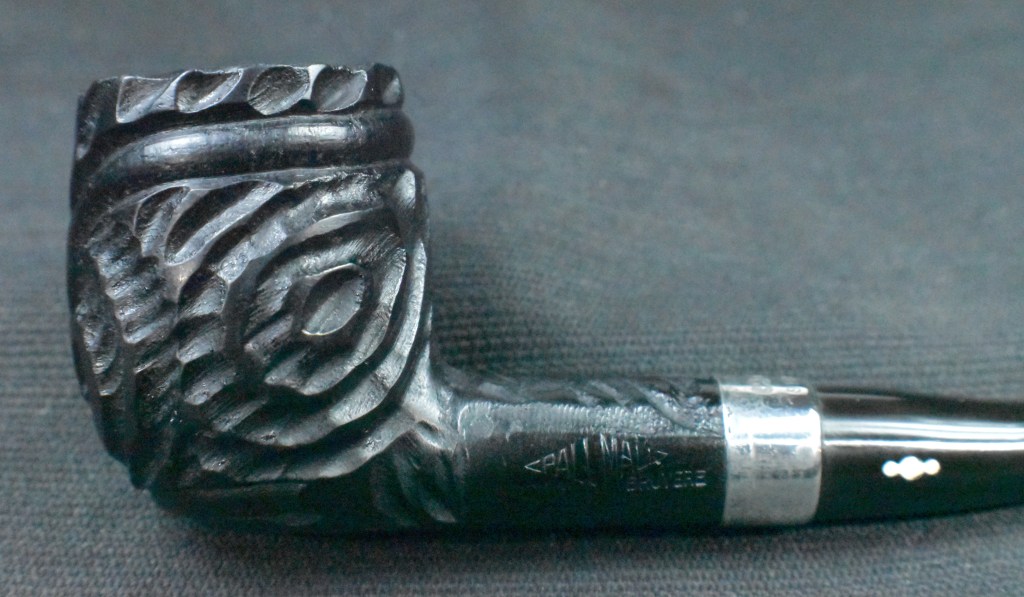
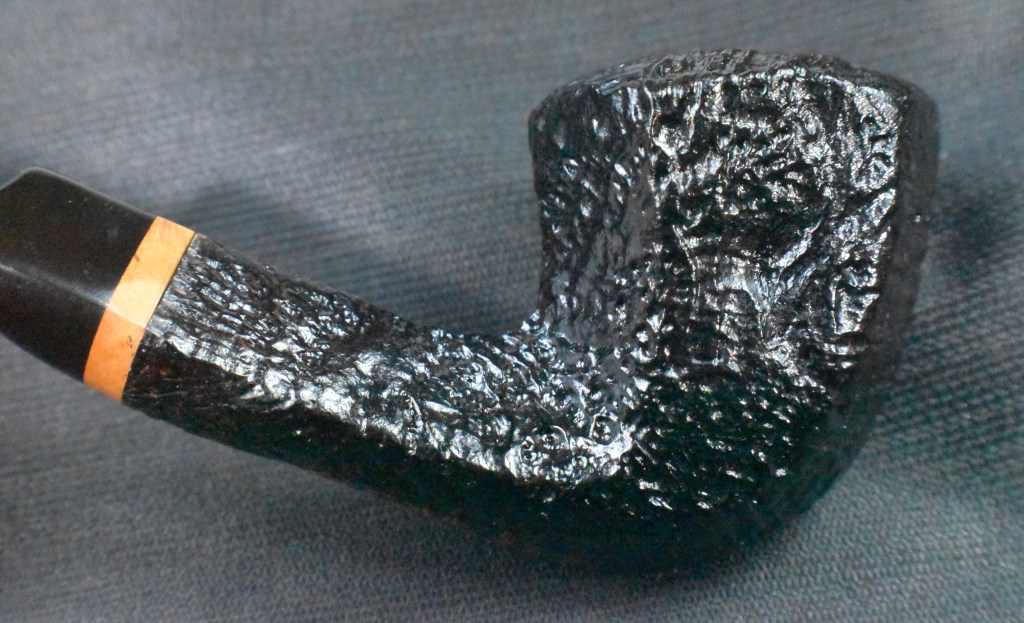
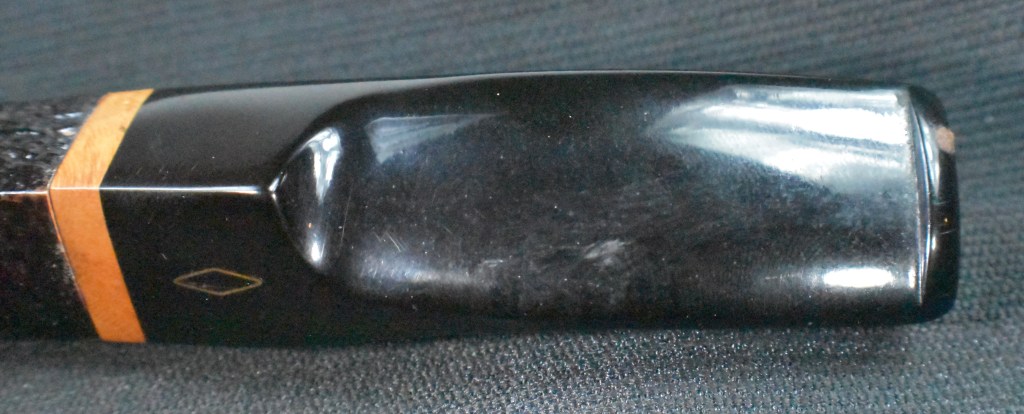
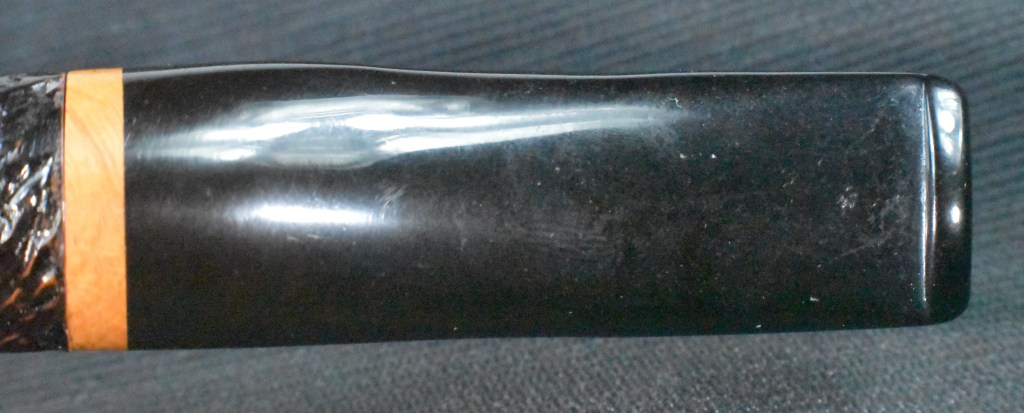
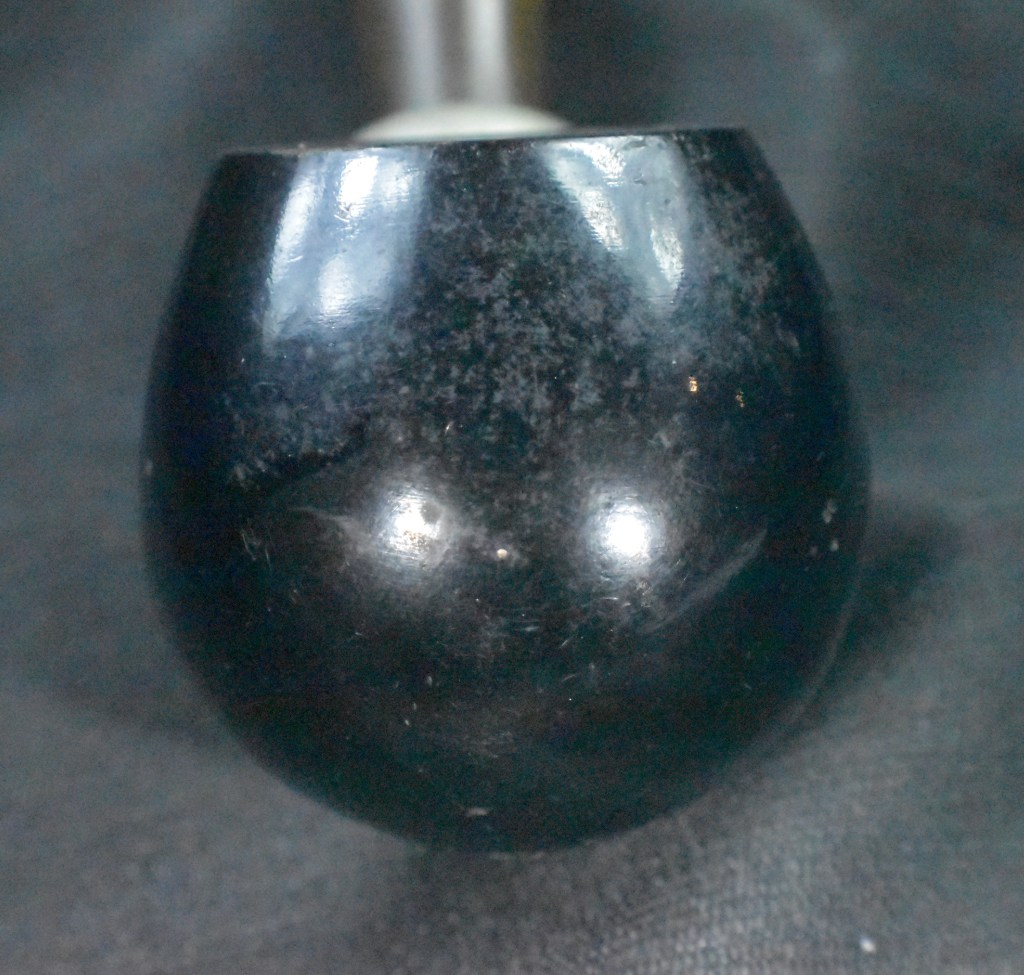
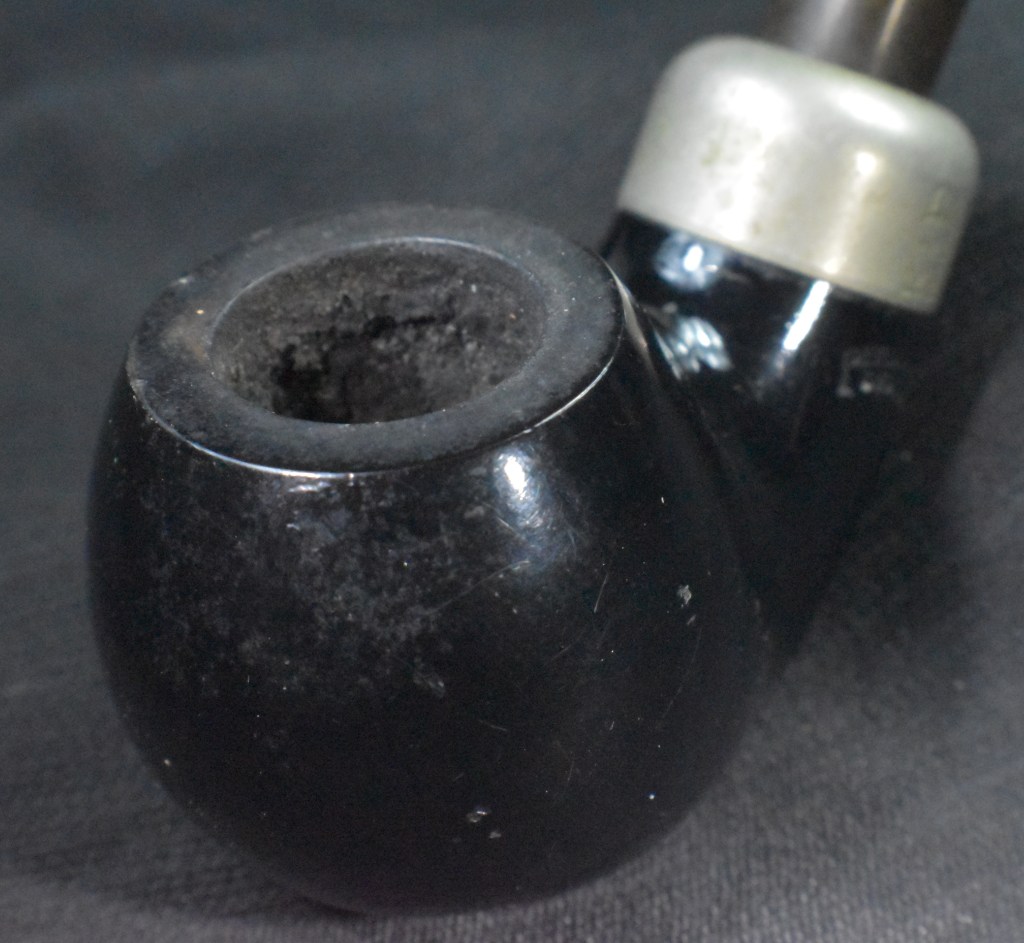
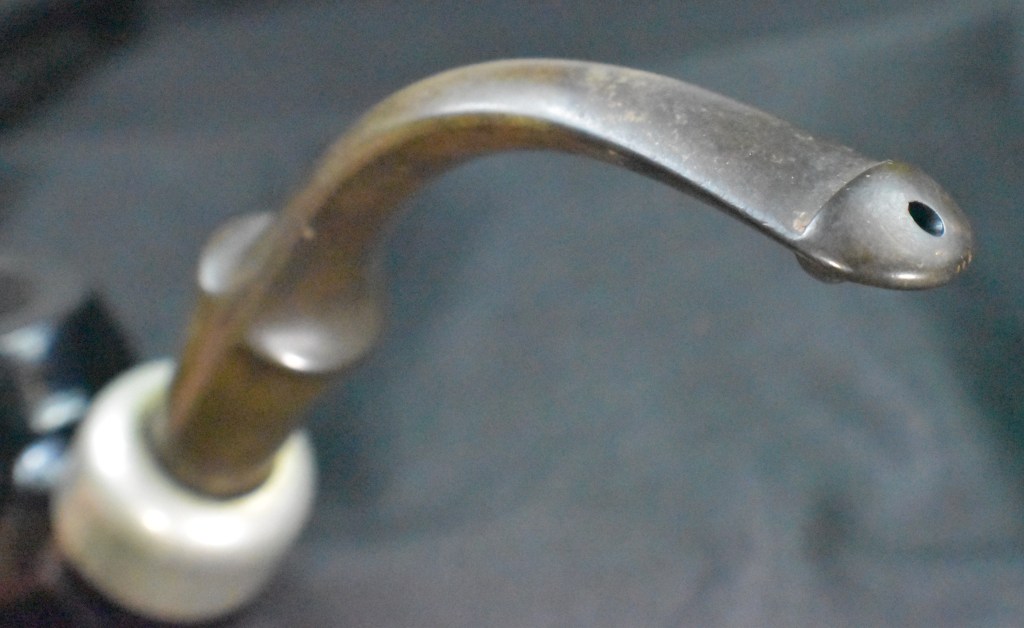
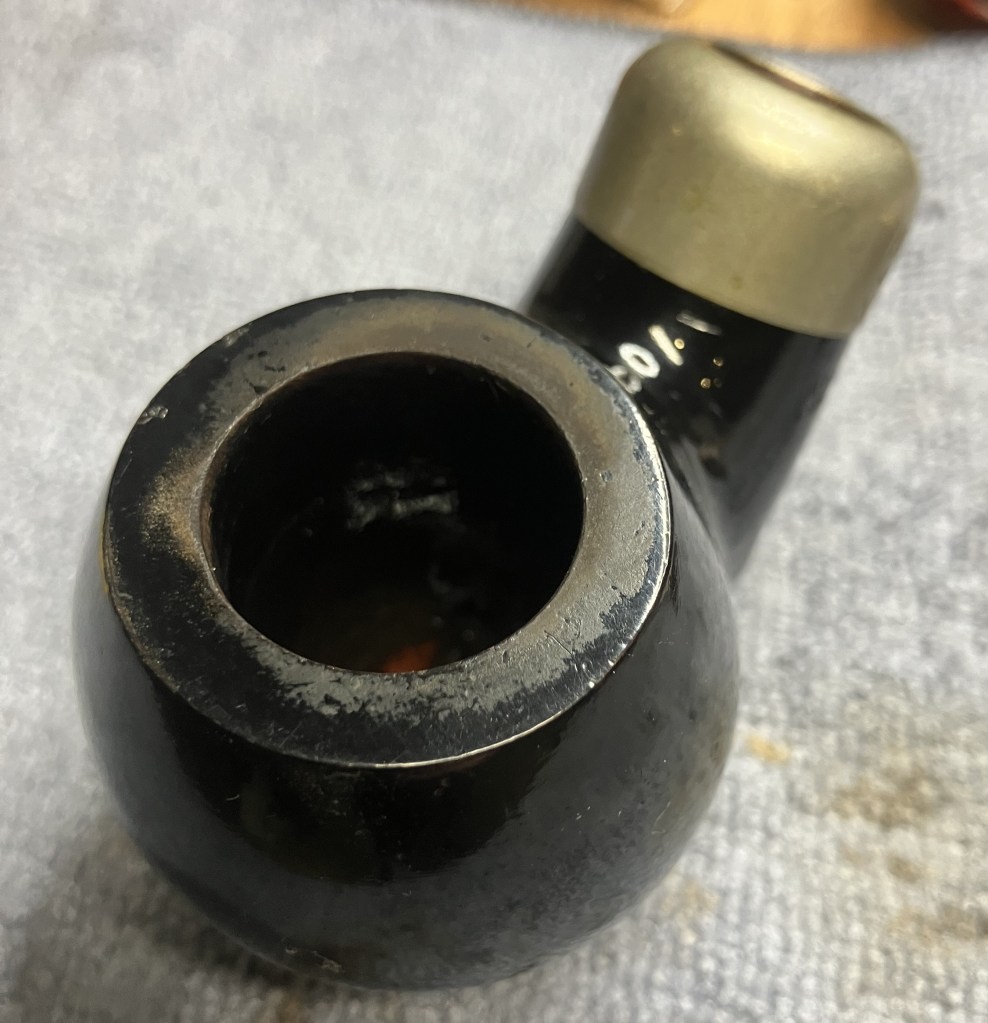
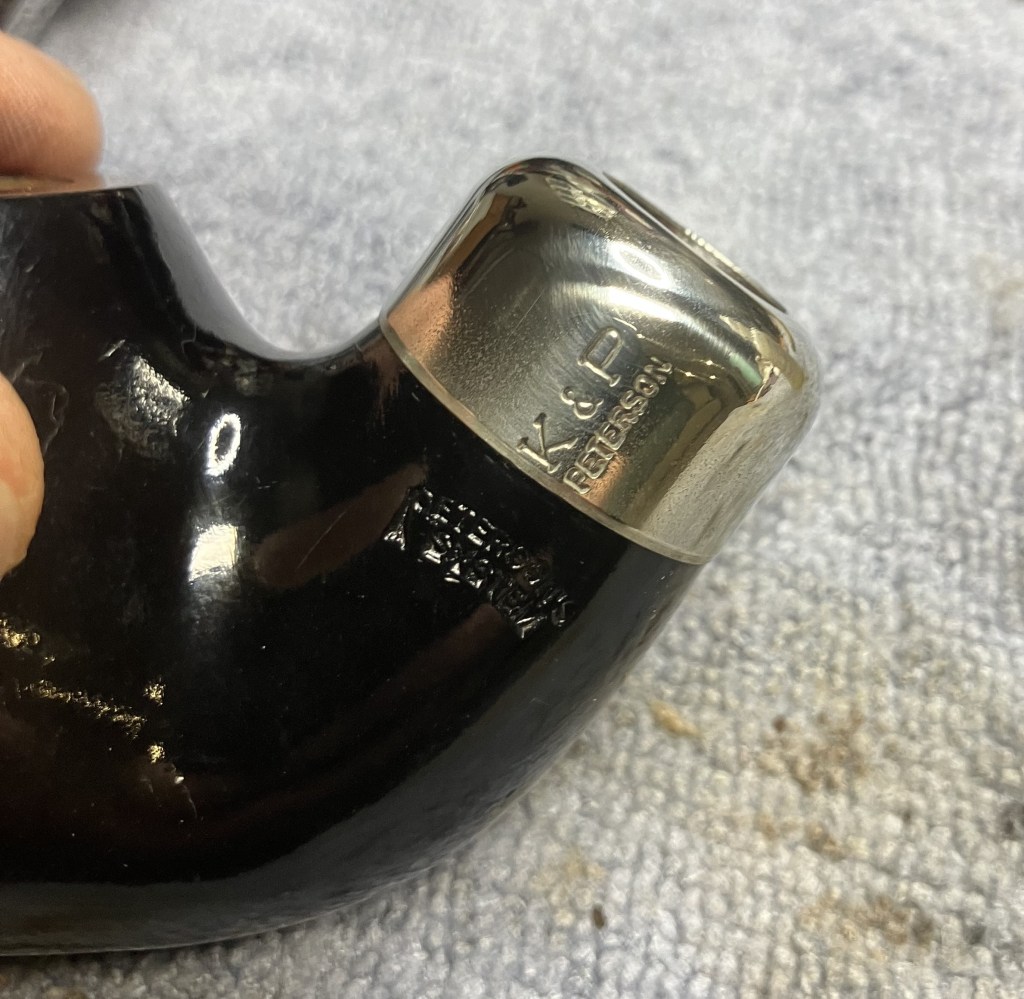
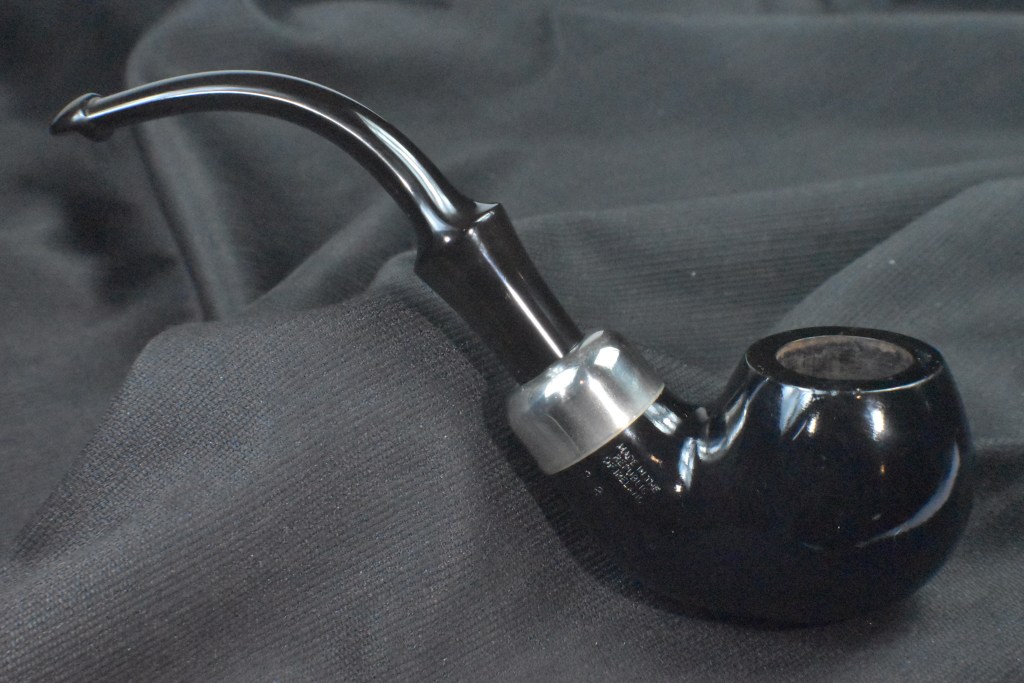
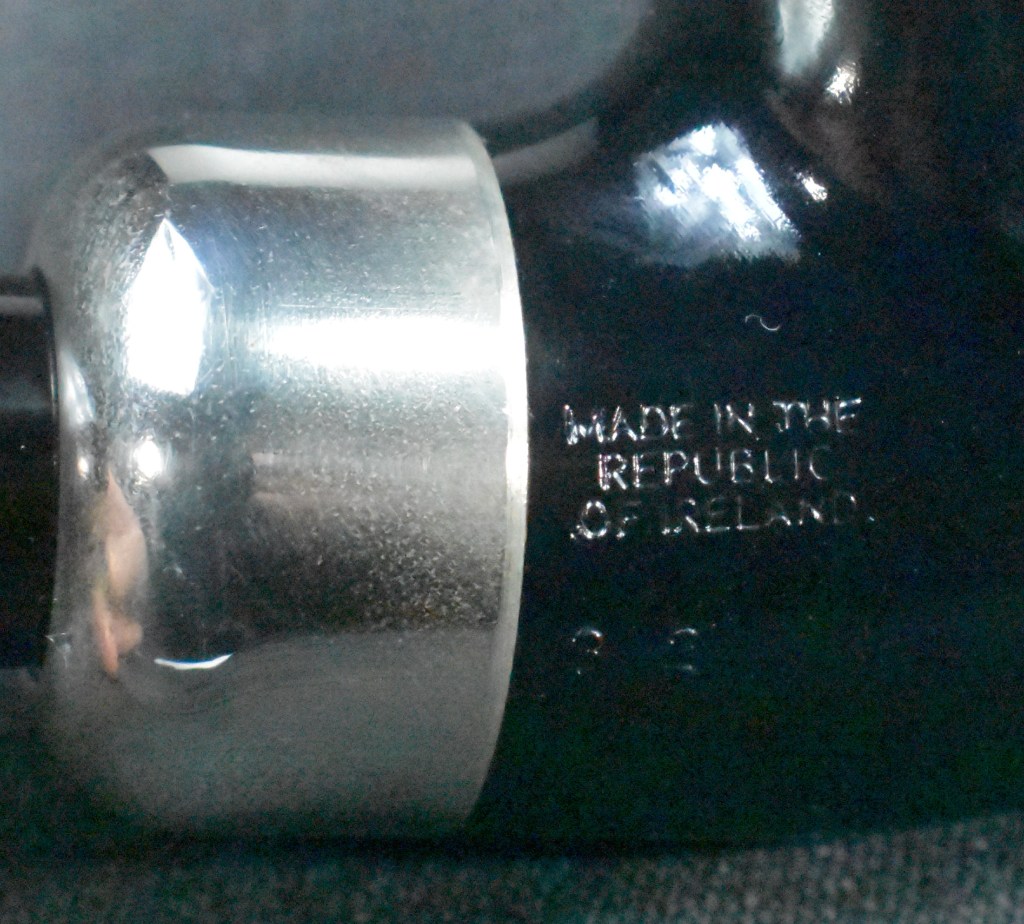
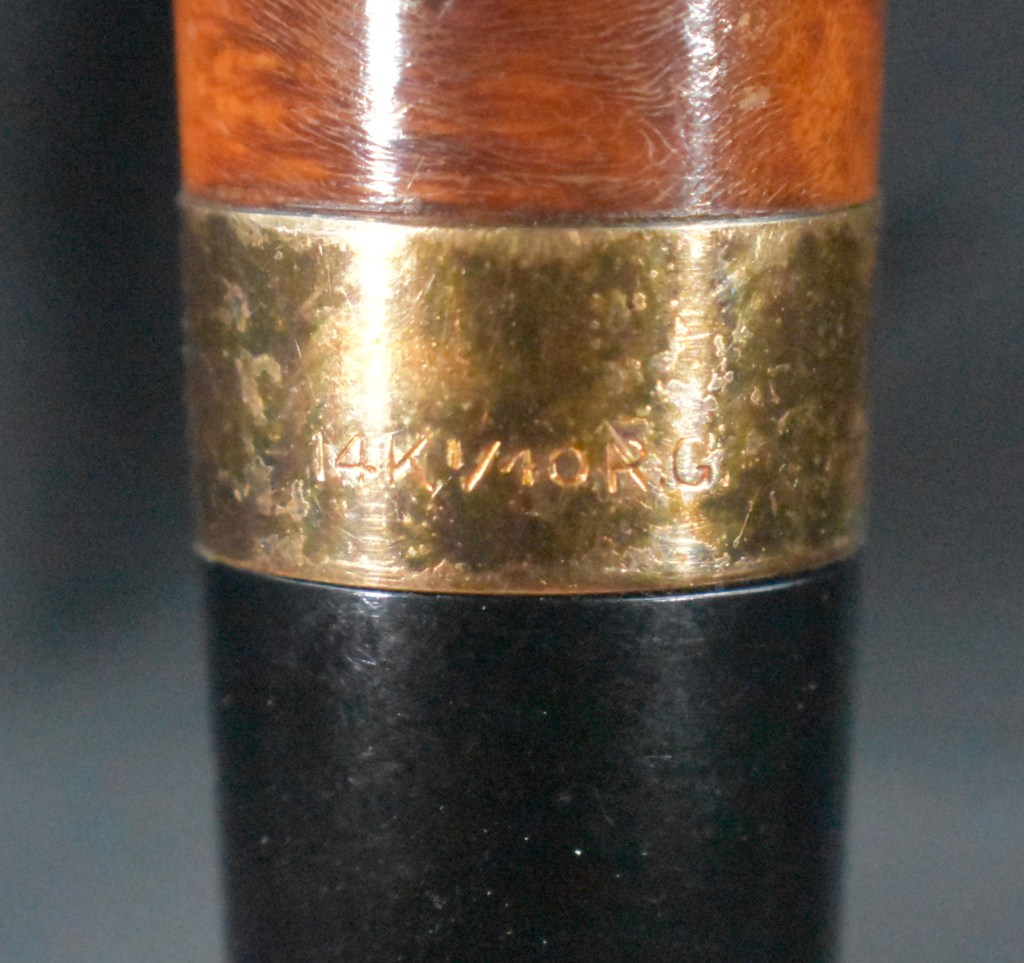
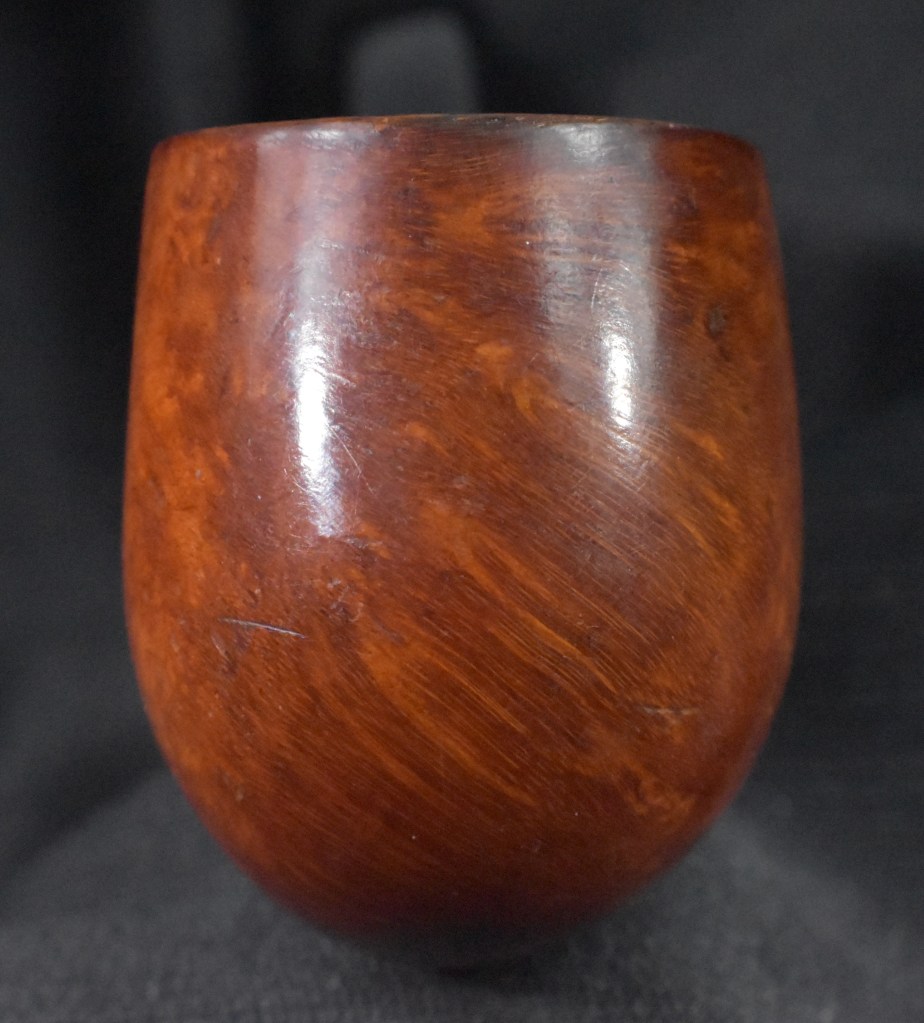
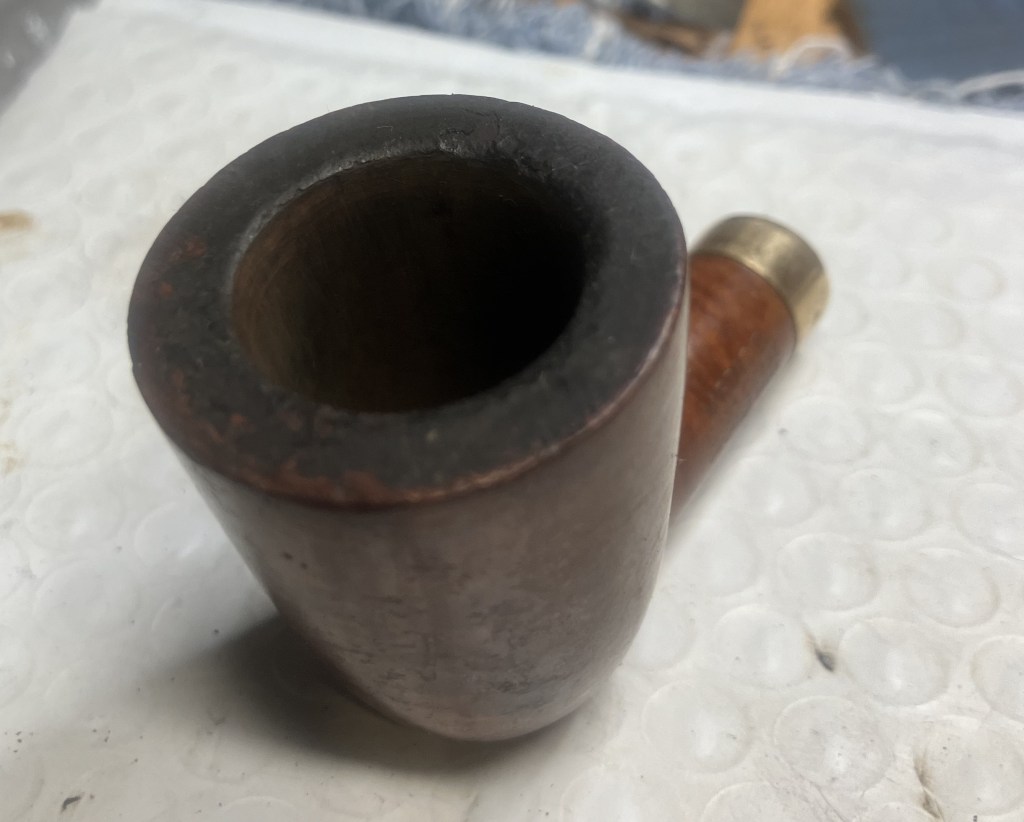
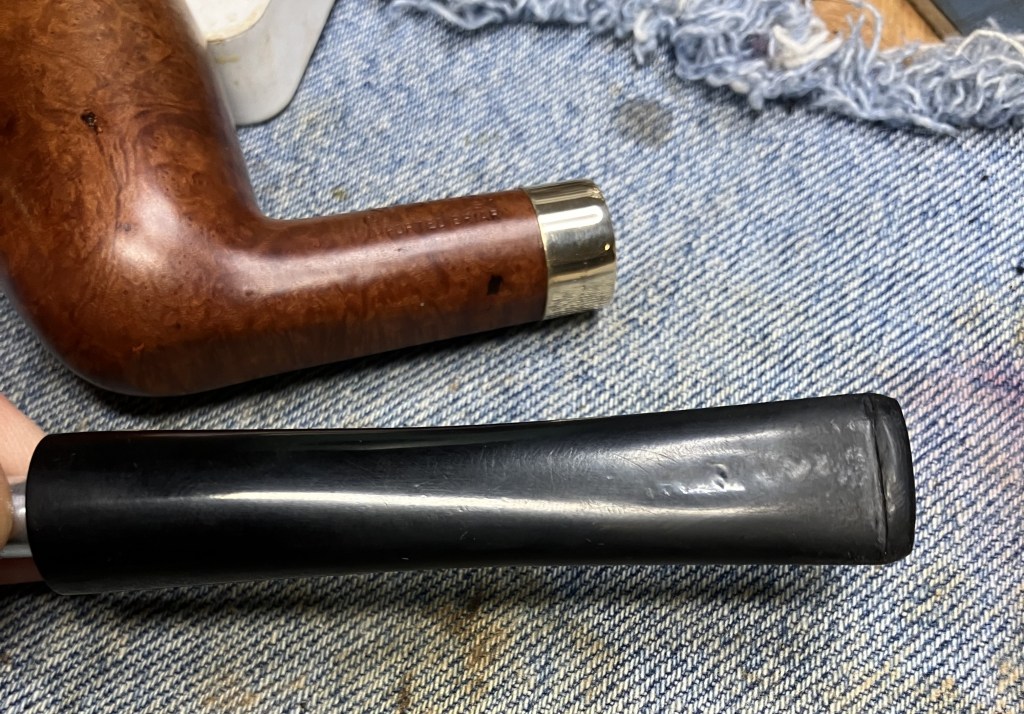
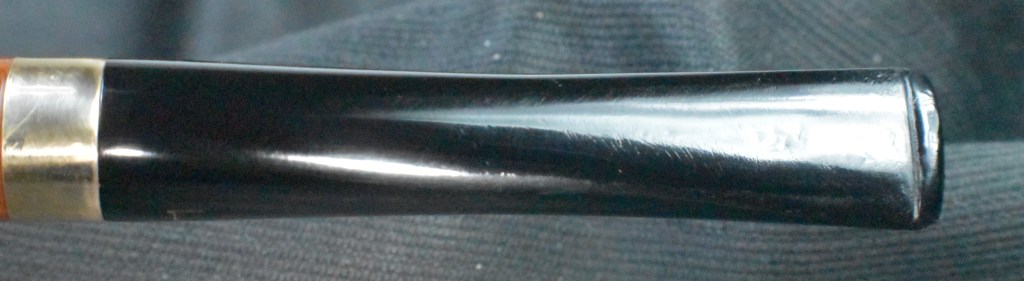
Great shape, right? I mean the stem is oxidized which is to be pretty much expected from any estate pipe but the briar looked amazing. Sure there is a bit of wax build up in some of the rustications, that’s an easy fix. I think I’ll refer to the rustication as a faux plateau, not just because it rhymes and is fun to say but because I think that is what Mr. West was trying to achieve this with this pipe. The silver band was in great, untarnished shape. The tobacco chamber showed a light cake development indicating the pipe had been smoked but I would guess it had only been smoked less than a dozen times. The only other thing which struck me was the straightness of the pipe’s general shape. I thought that the stem needed a bit more bend, also a simple adjustment. This looked like it would be an easy relaxing restoration.
Background
I have talked to Tim West a few times over the phone regarding parts and restorations over the years. He had always been extremely helpful. He is the current owner of J.H. Lowe & Co. Below is a screenshot from that website and a link to it.

(J. H. Lowe & Co. | Tobacco Smoking Pipe Maker)
J.H. Lowe has a vast selection of pipe parts for those wanting to repair or restore pipes. He also offers repair service and has likely seen and done it all in his many years of experience.
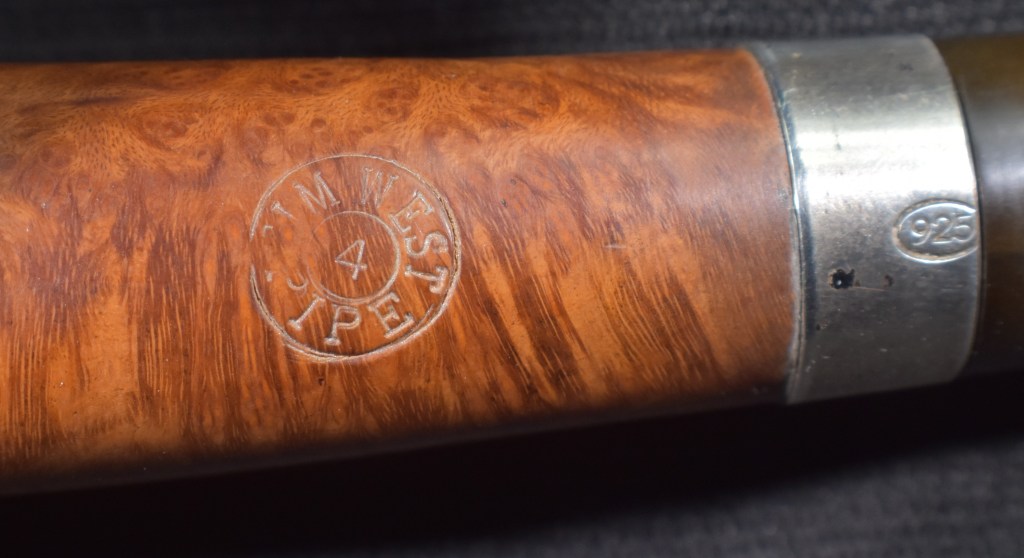
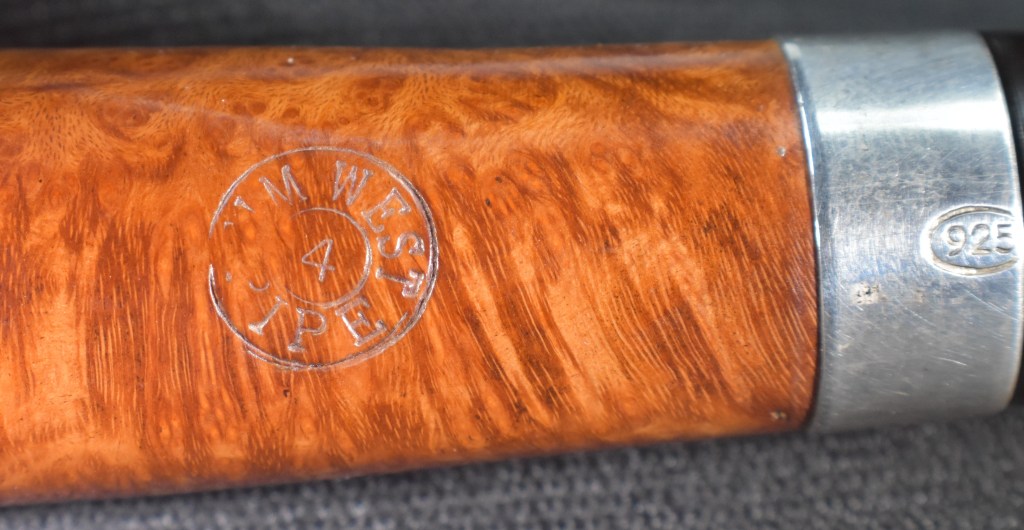
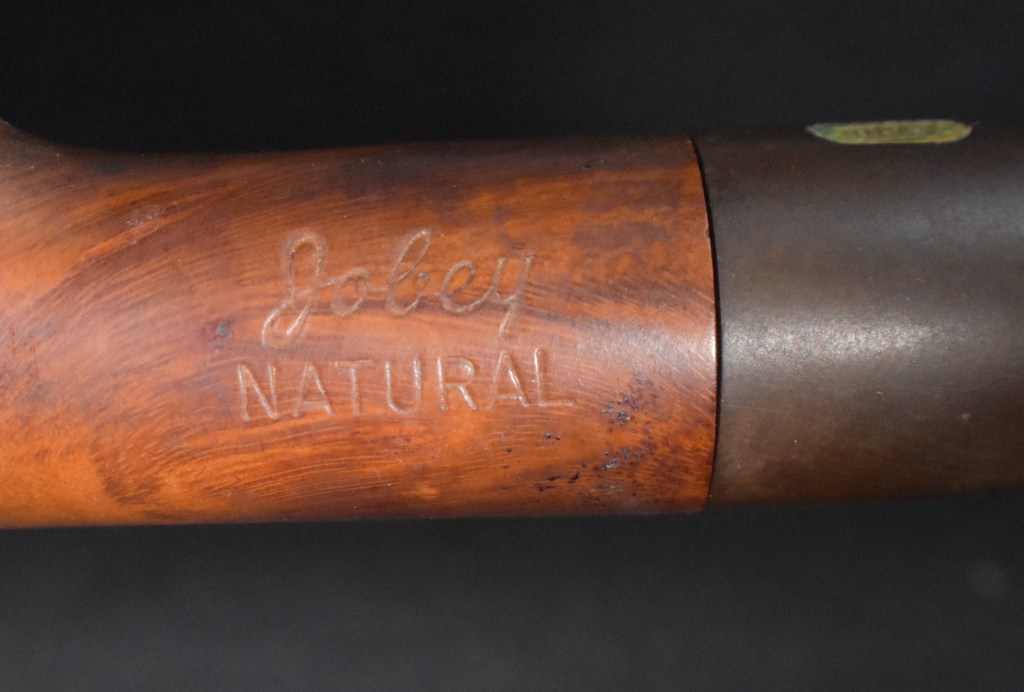
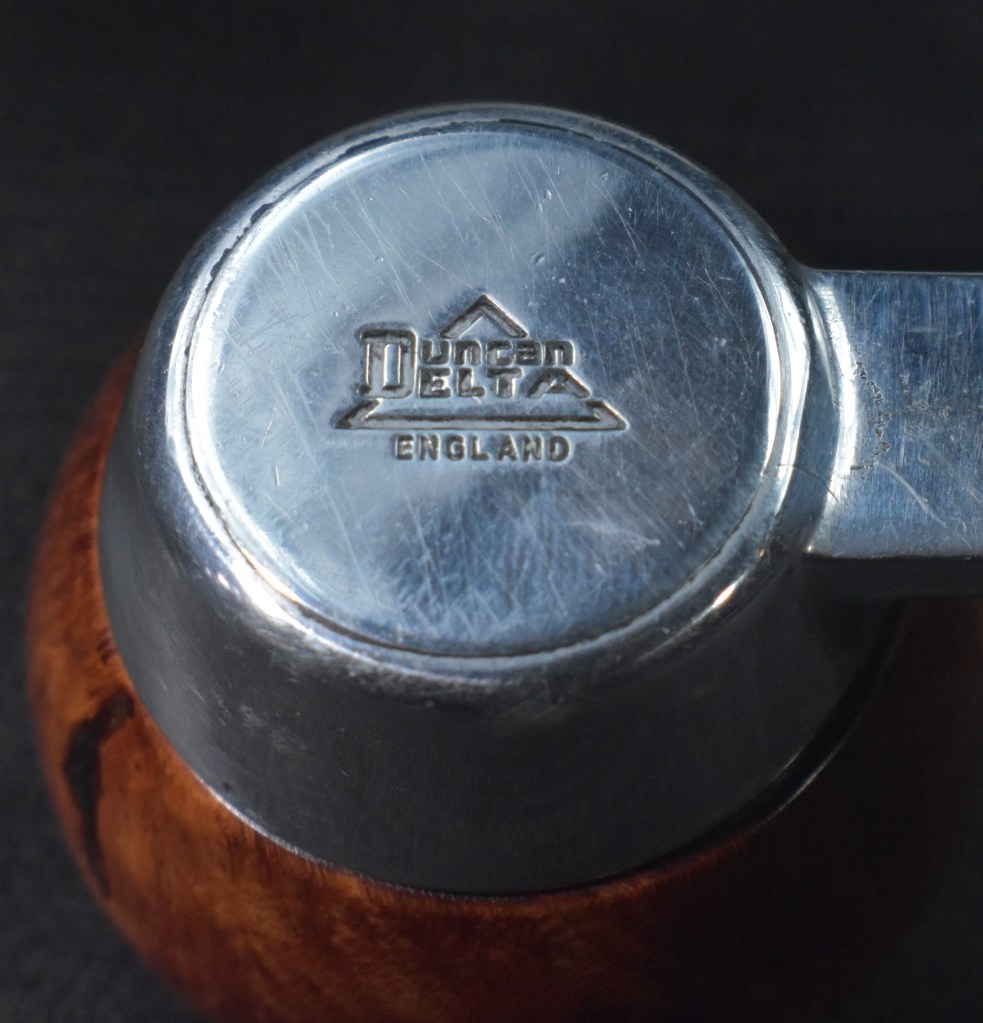
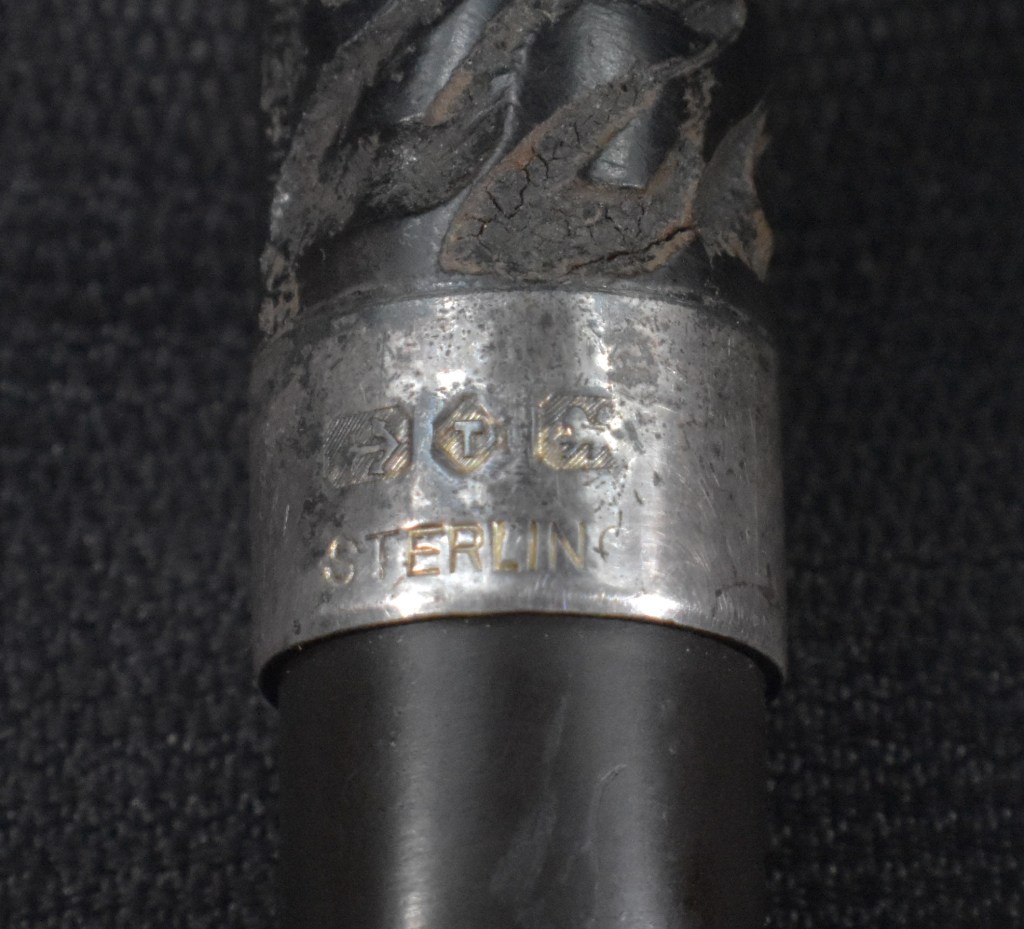
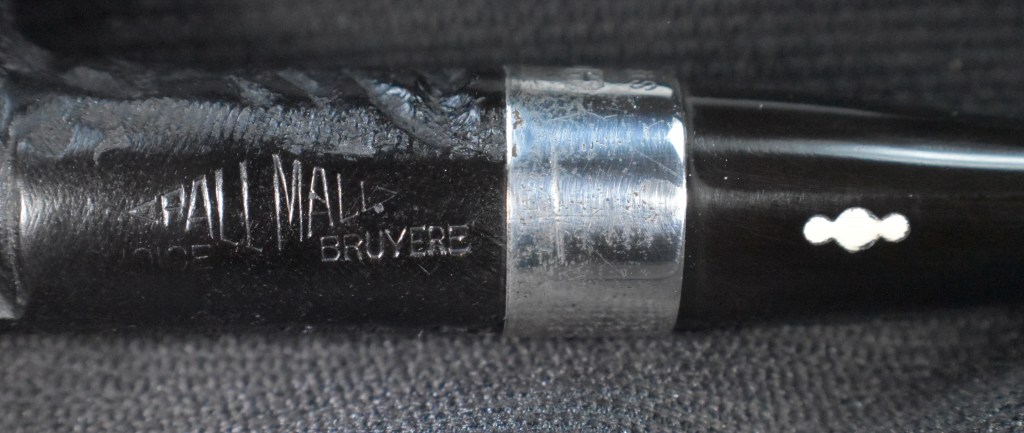
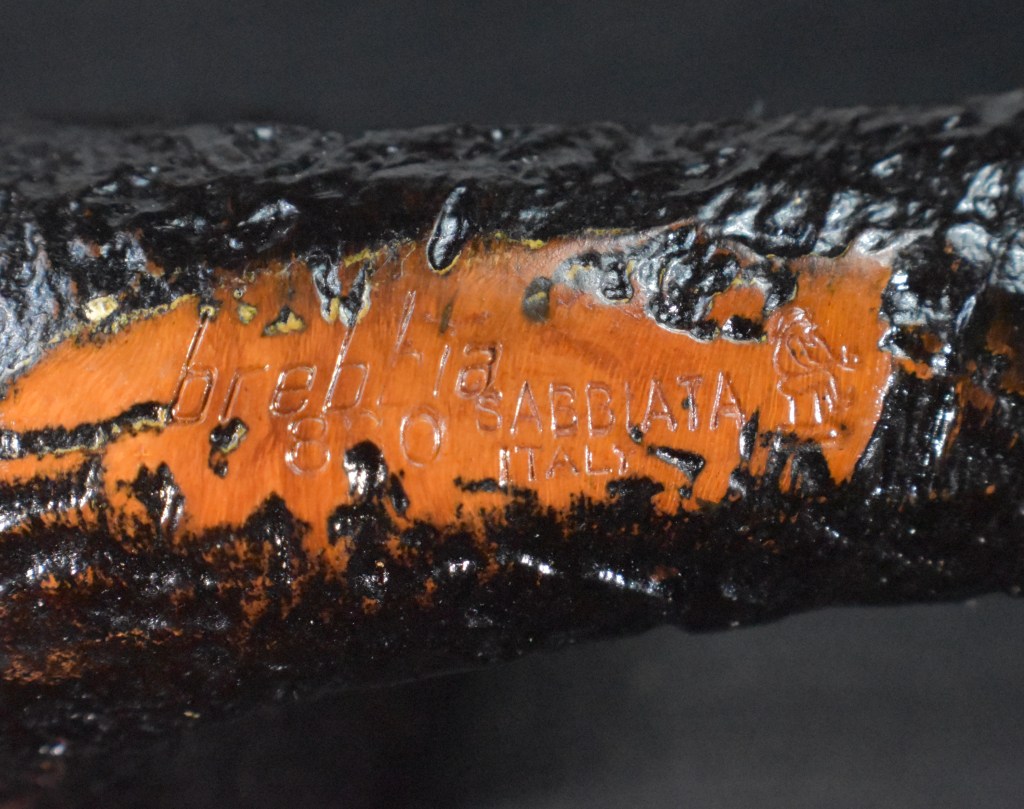
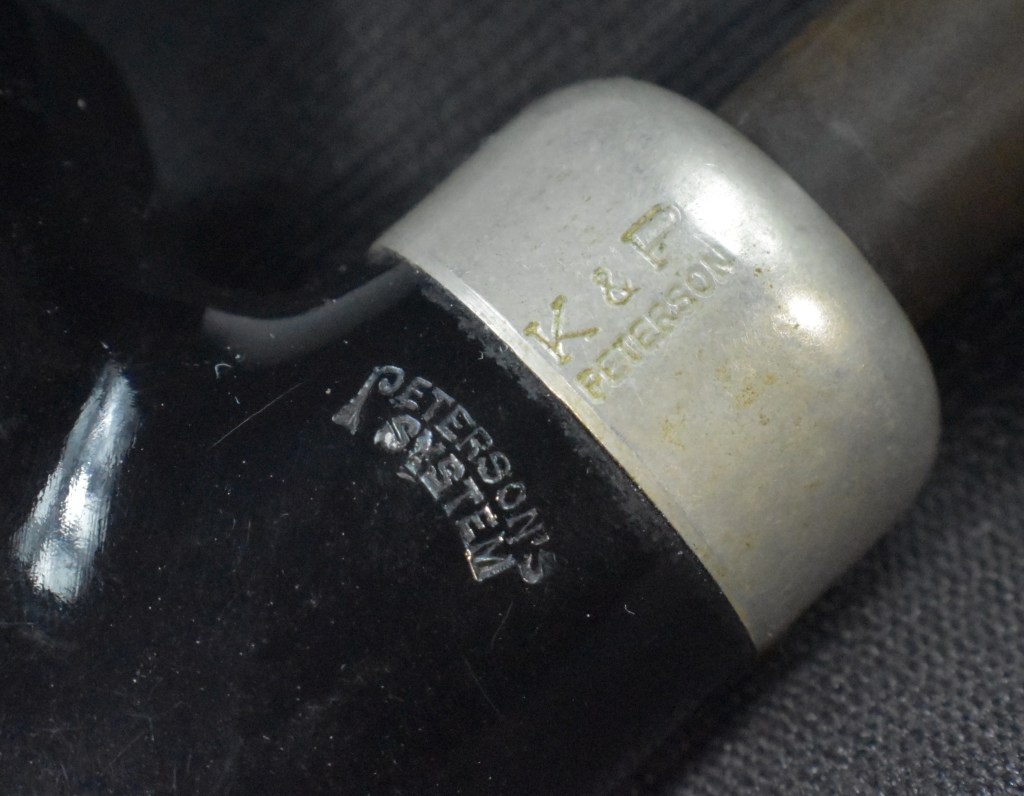
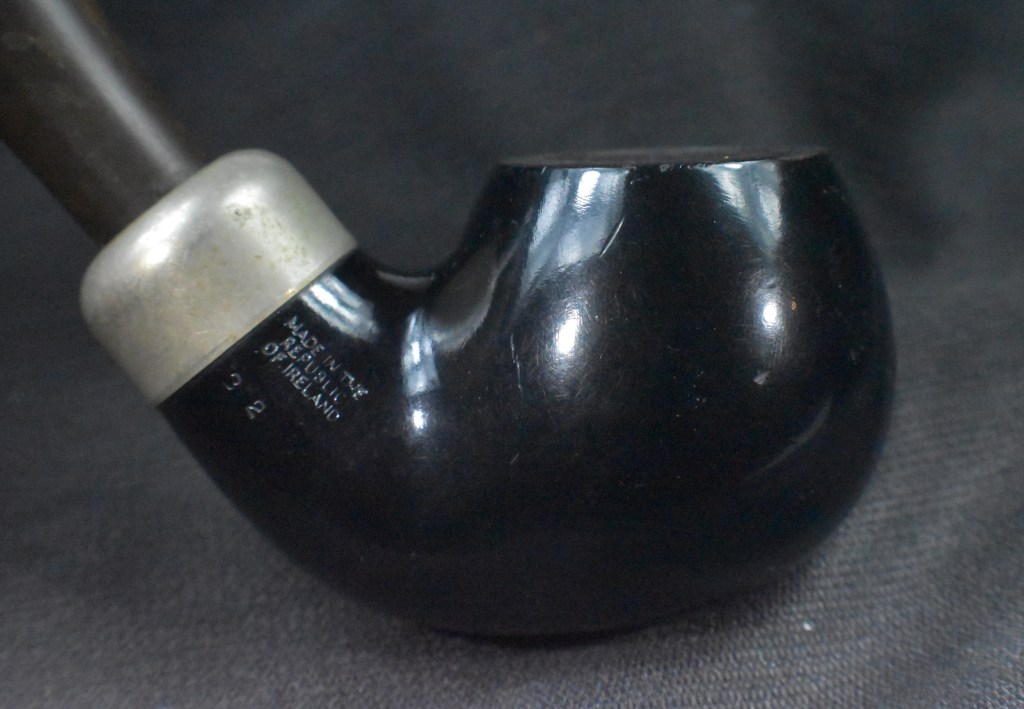
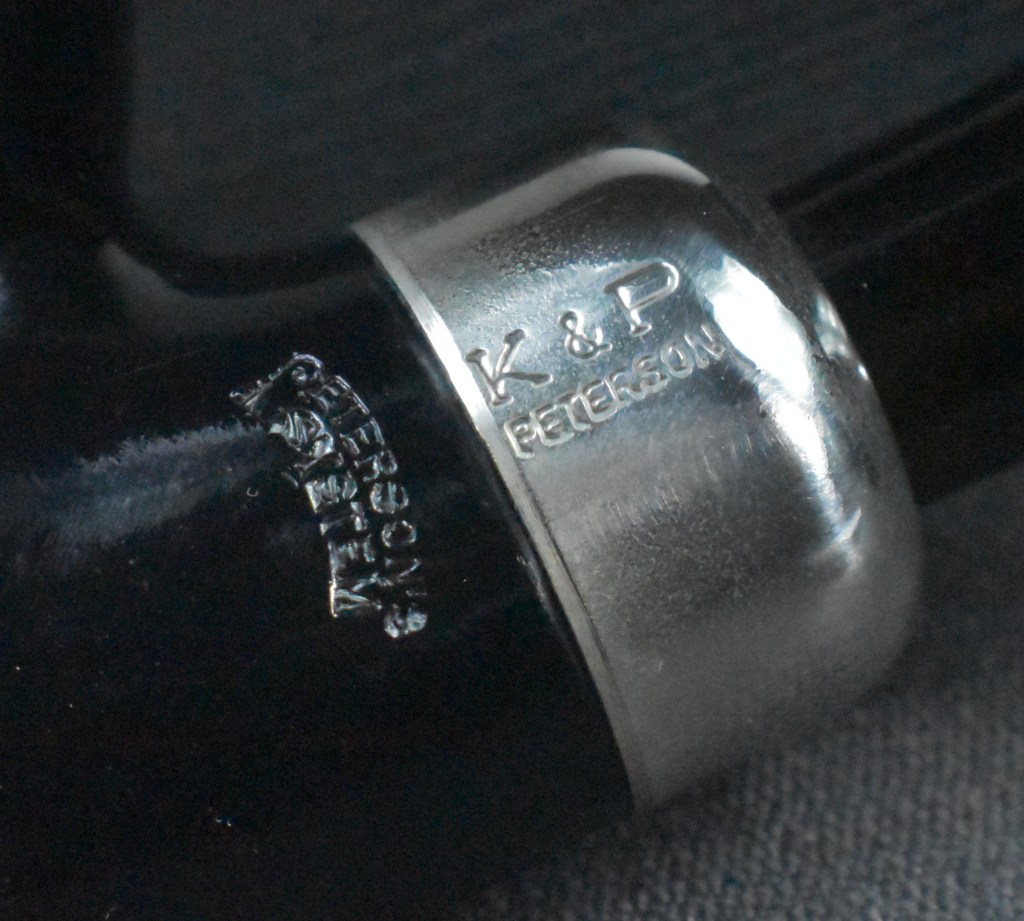
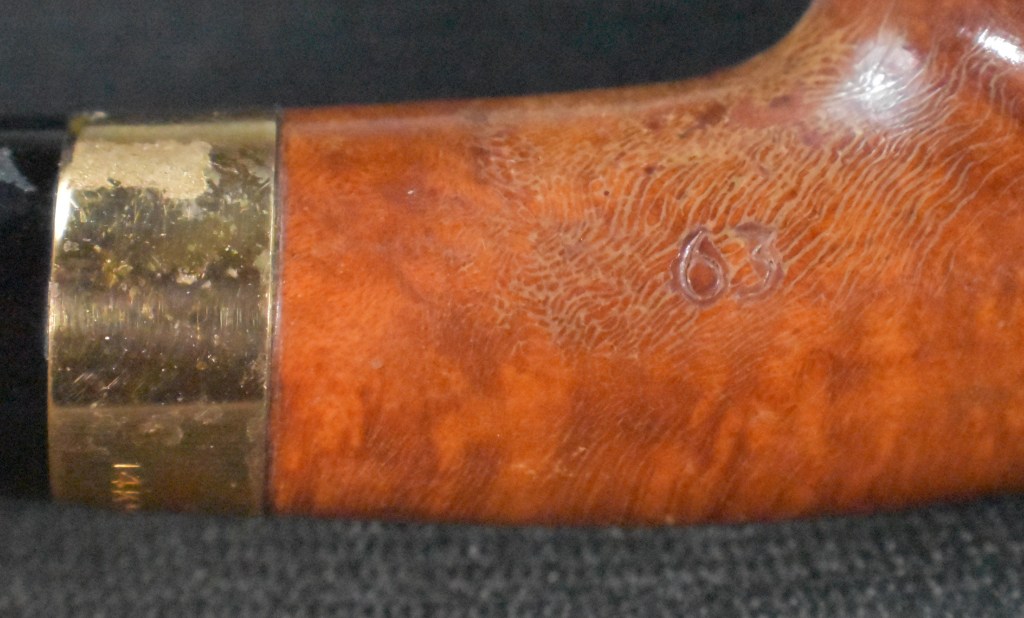
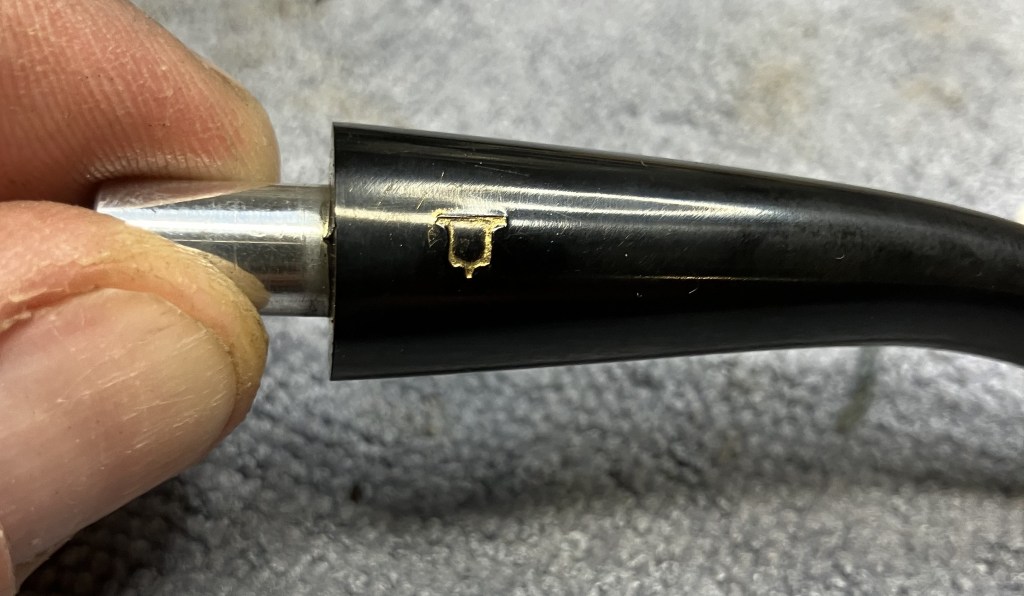
It feels weird to do research on a person I have talked with, like I am stalking them or something. Anyway, the normal research goes to pipephil.eu for all things “logo” and that is where I went next. The brief entry for Tim West included one piece of information I found helpful: “The number on the shank corresponds to the last digit of the manufacture year.” On this pipe there is a “4” inside the TIM WEST PIPE (circle) stamp. More on that in a minute.

The next stop on the research route was the ever-popular pipedia.org. Here Mr. West has a nice write-up. It is rather long, so rather than including it I will link to it: West – Pipedia. The article is full of information and I highly recommend giving it a read. Now, back to that “4” on the shank. The pipedia piece says that Tim West started making pipes in 1967, but professionally in 1975. This pipe doesn’t strike me as an early pipe, as it shows exceptional briar and technique. Two things that I think would take years to develop. I am assuming that the pipe was made in 1984, 1994, 2004, 2014 or 2024. Judging from the oxidation on the stem, I believe I can rule out 2024. That leaves 1984-2014 as the likely date of manufacture. I think I’ll give Tim an email and ask if he remembers this lovely large lass.
The Restoration
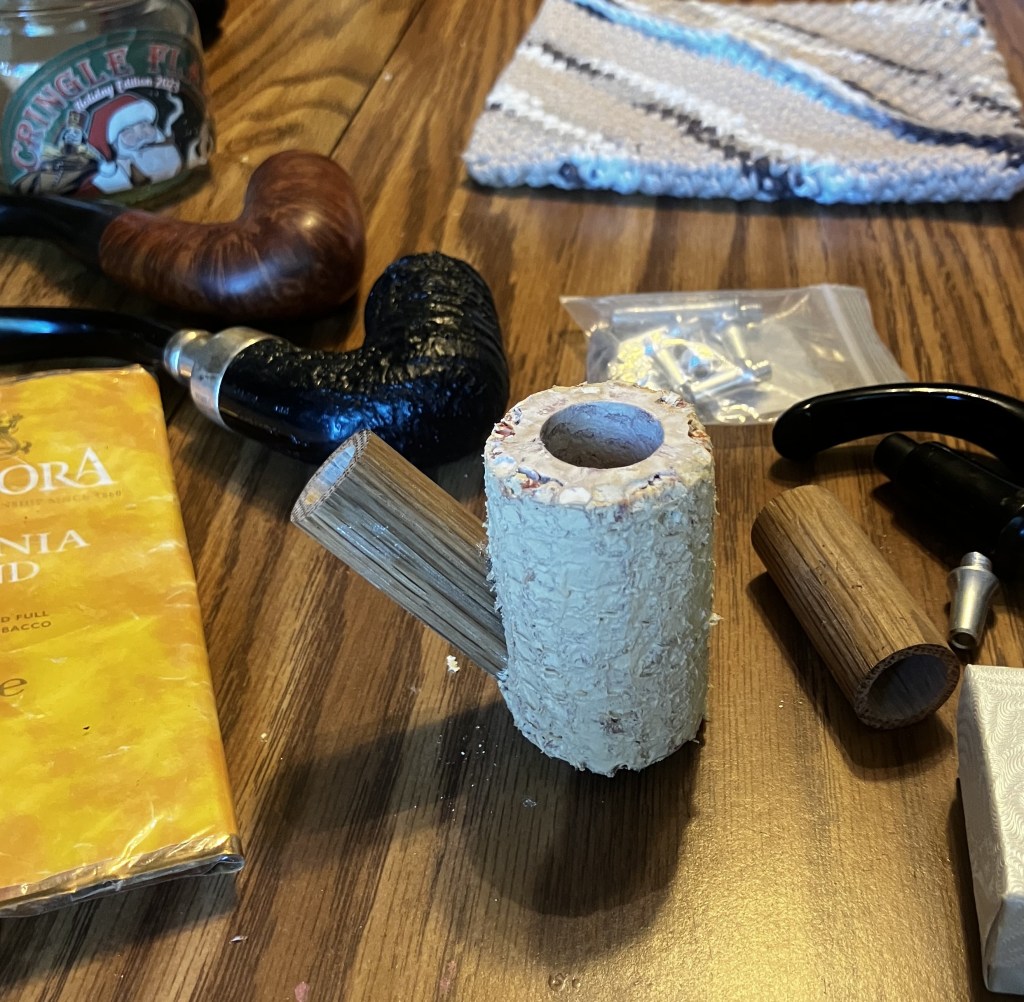
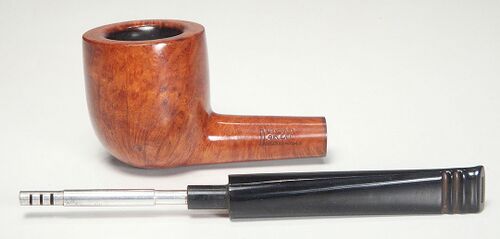
The panel cavalier made its way to the workbench. If you’ve read a few of these you may recall that I recently tried some softer towels instead of my typical denim workbench protectors. I’m back to denim. Those towels were nice for photography but were constantly snagging on any rough surface and moving about. Annoying. If it ain’t broke don’t fix it.

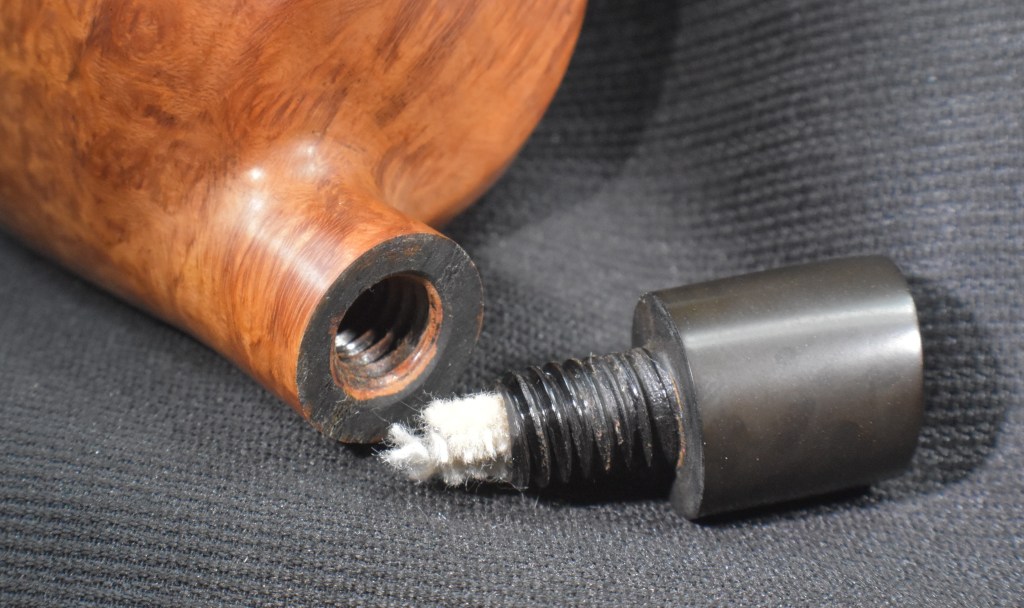
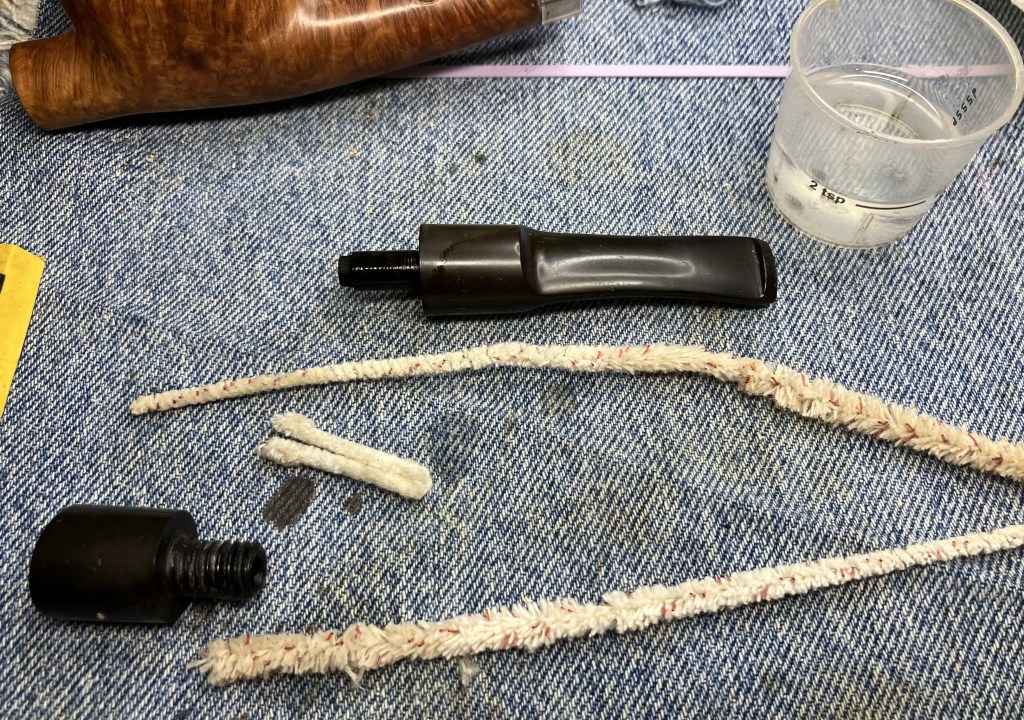
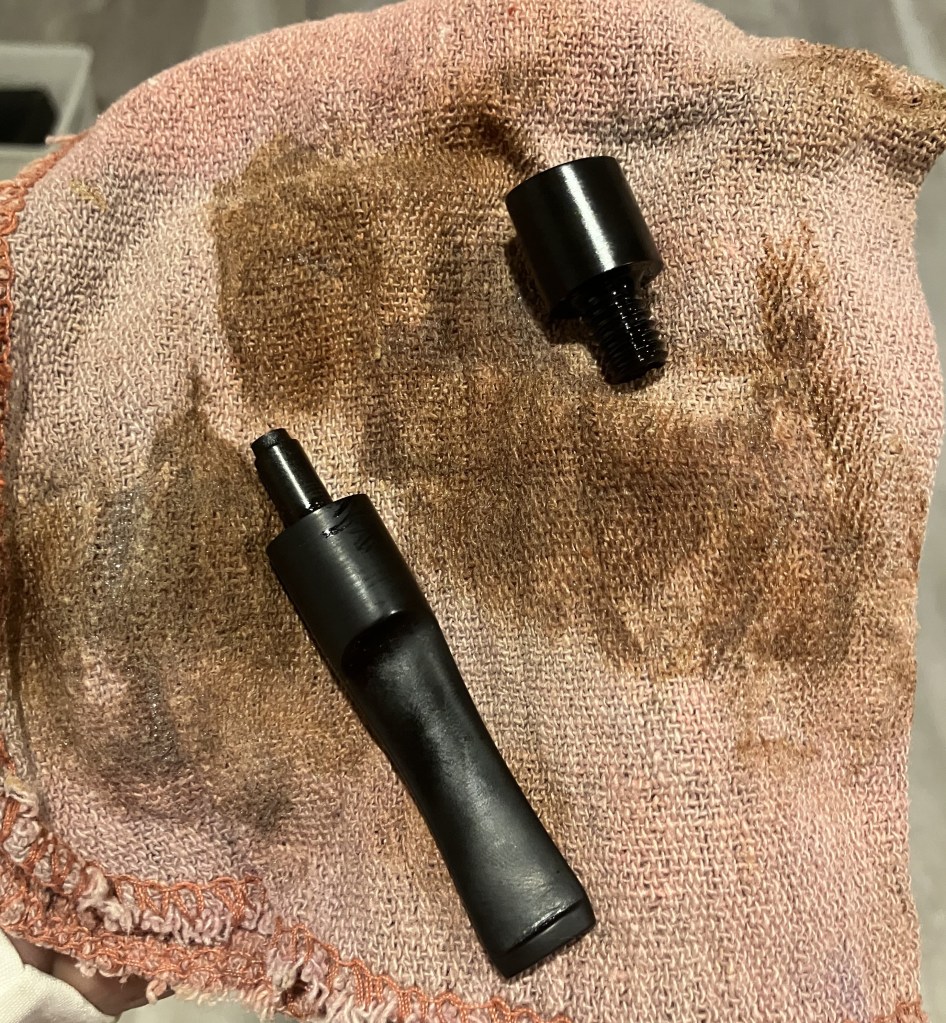
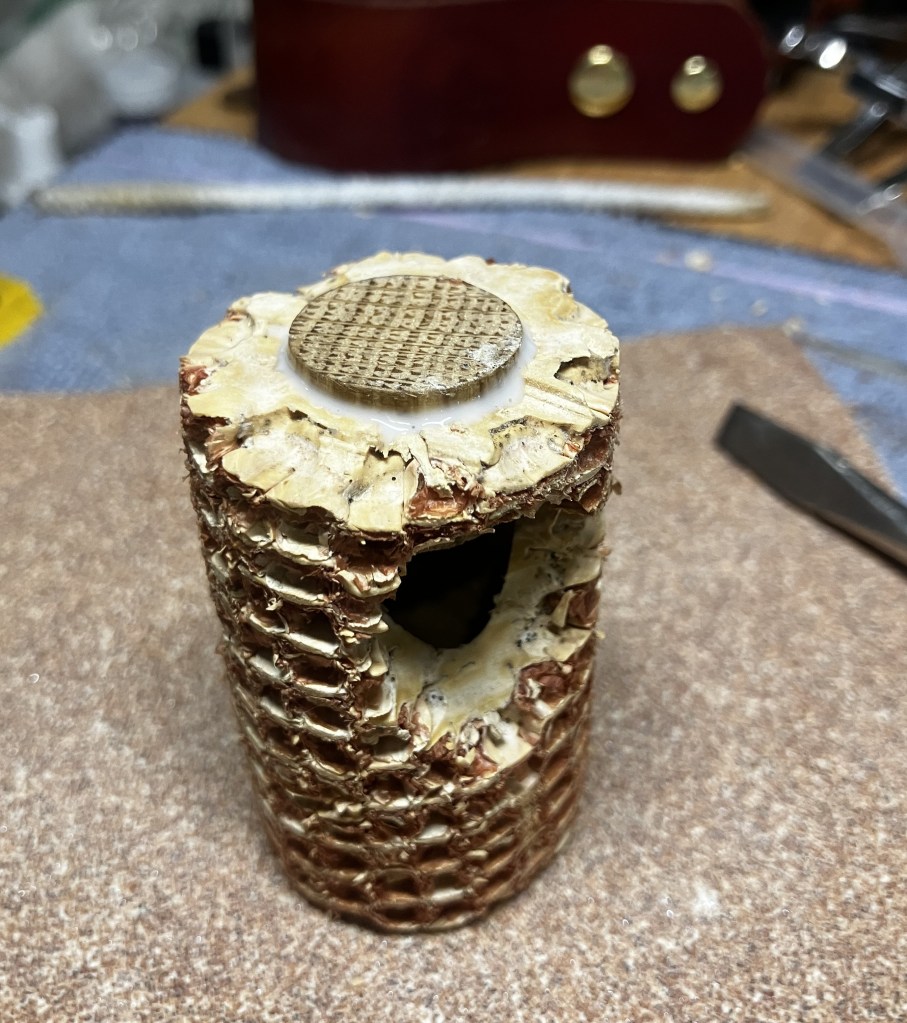
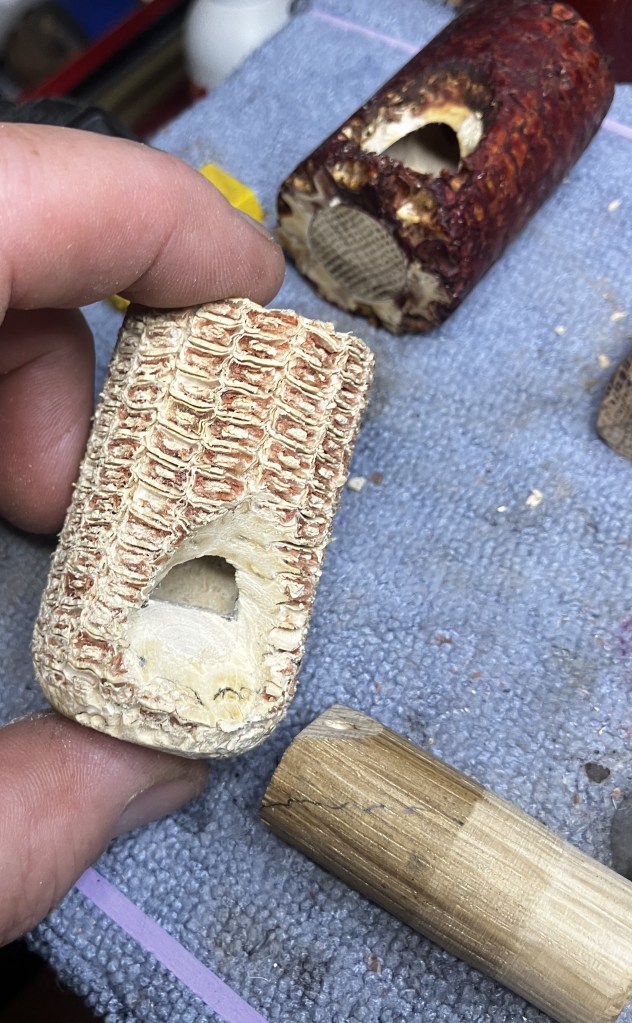
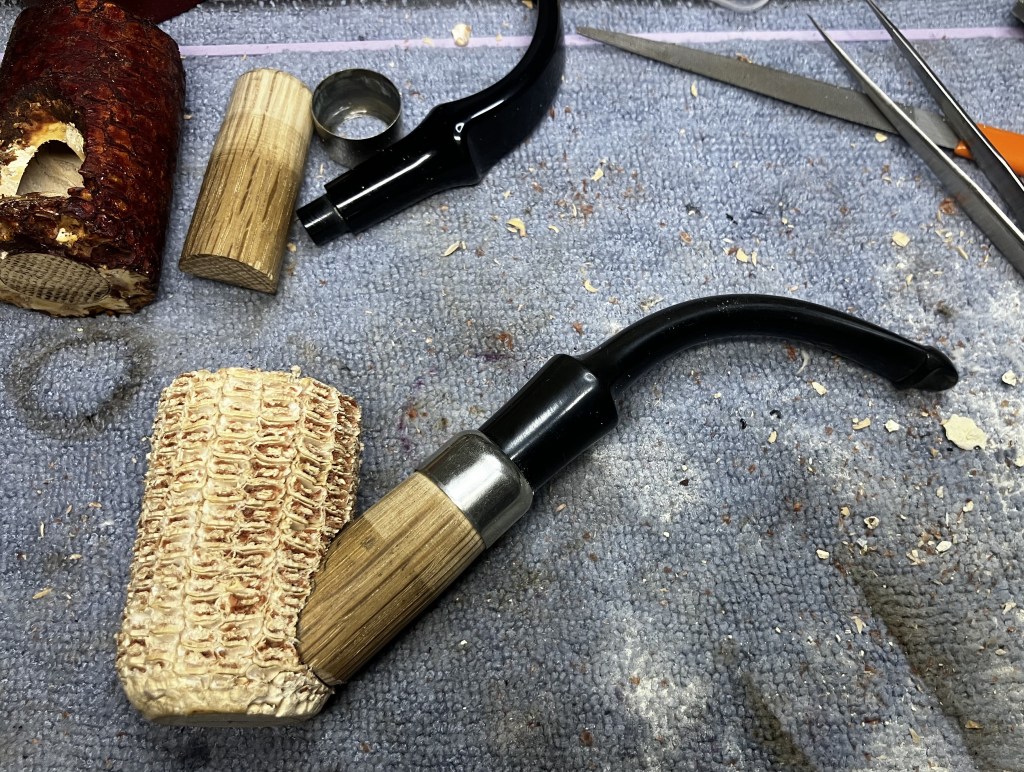
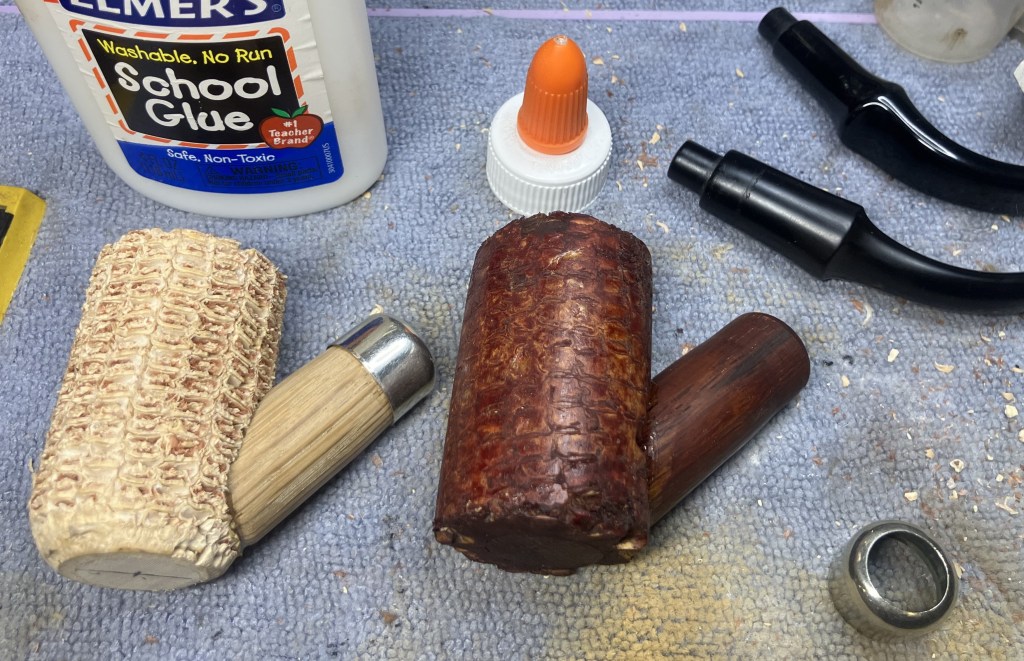
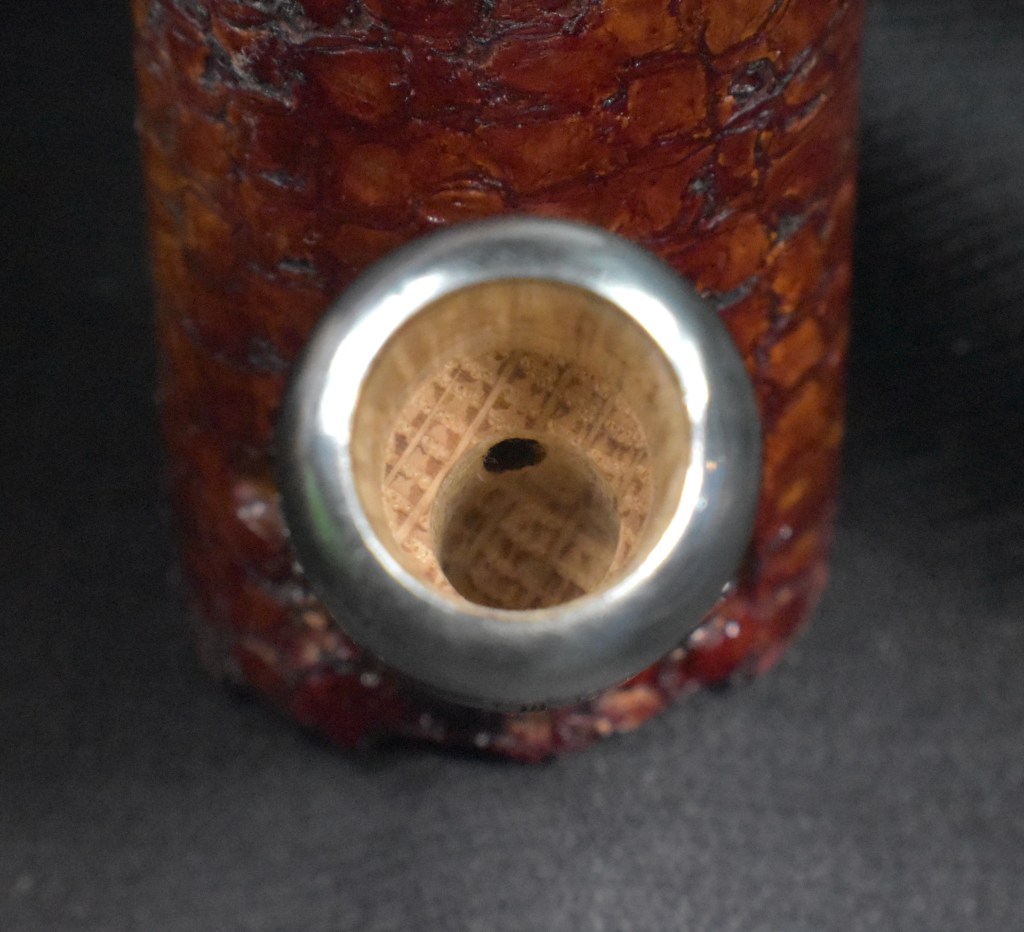
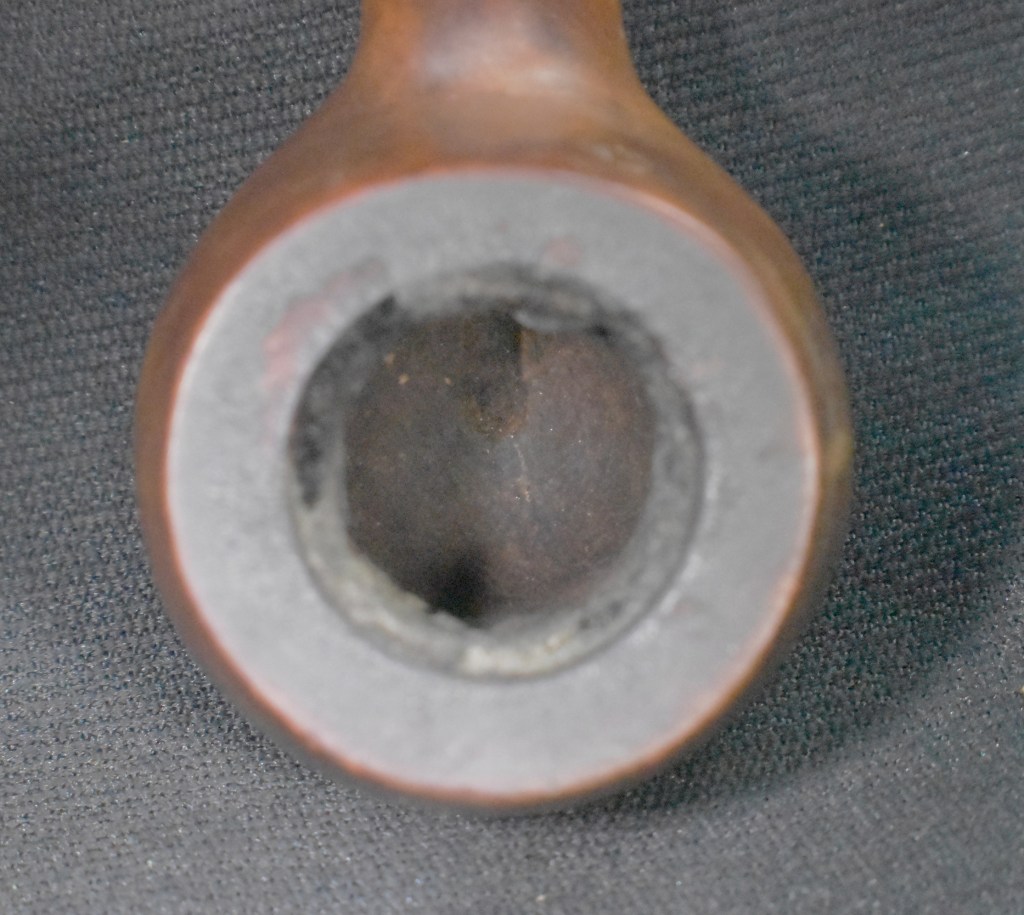
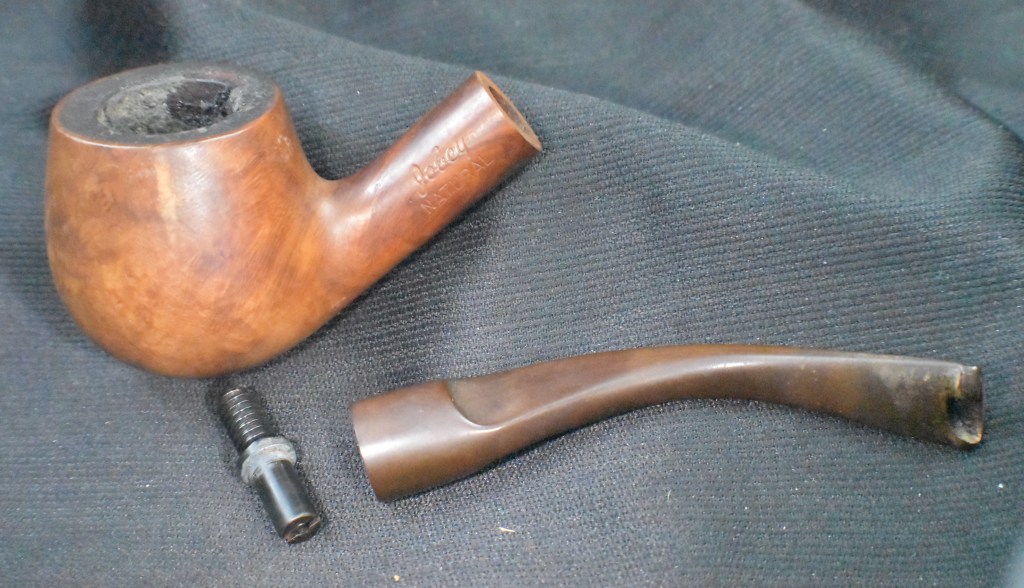
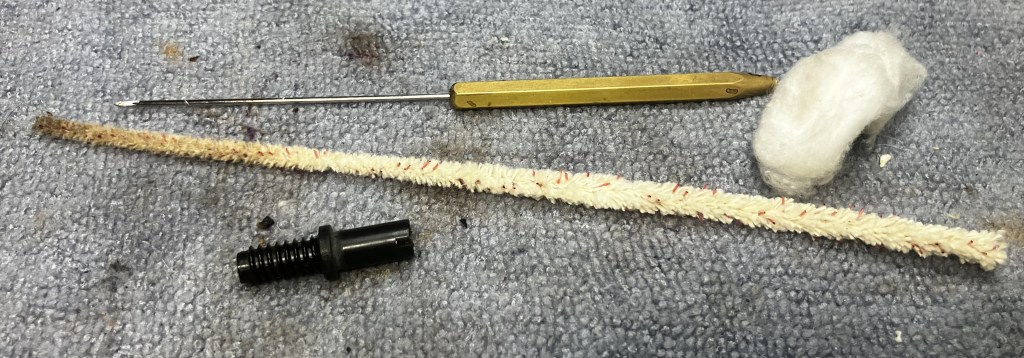
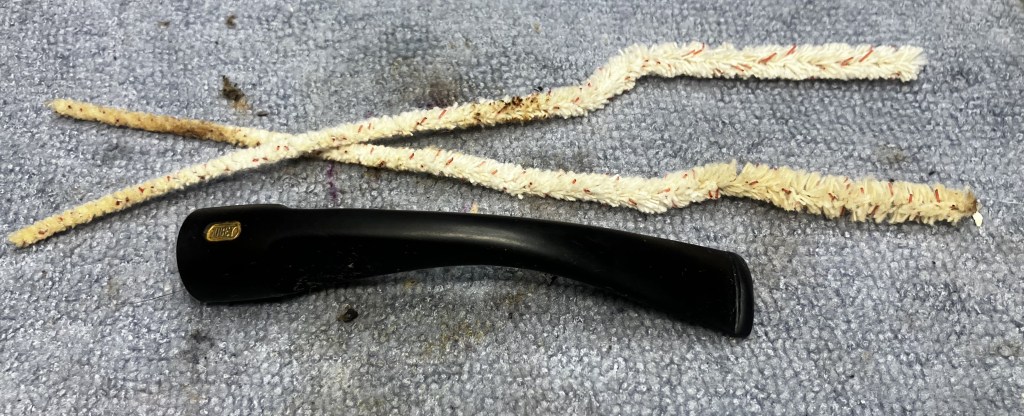
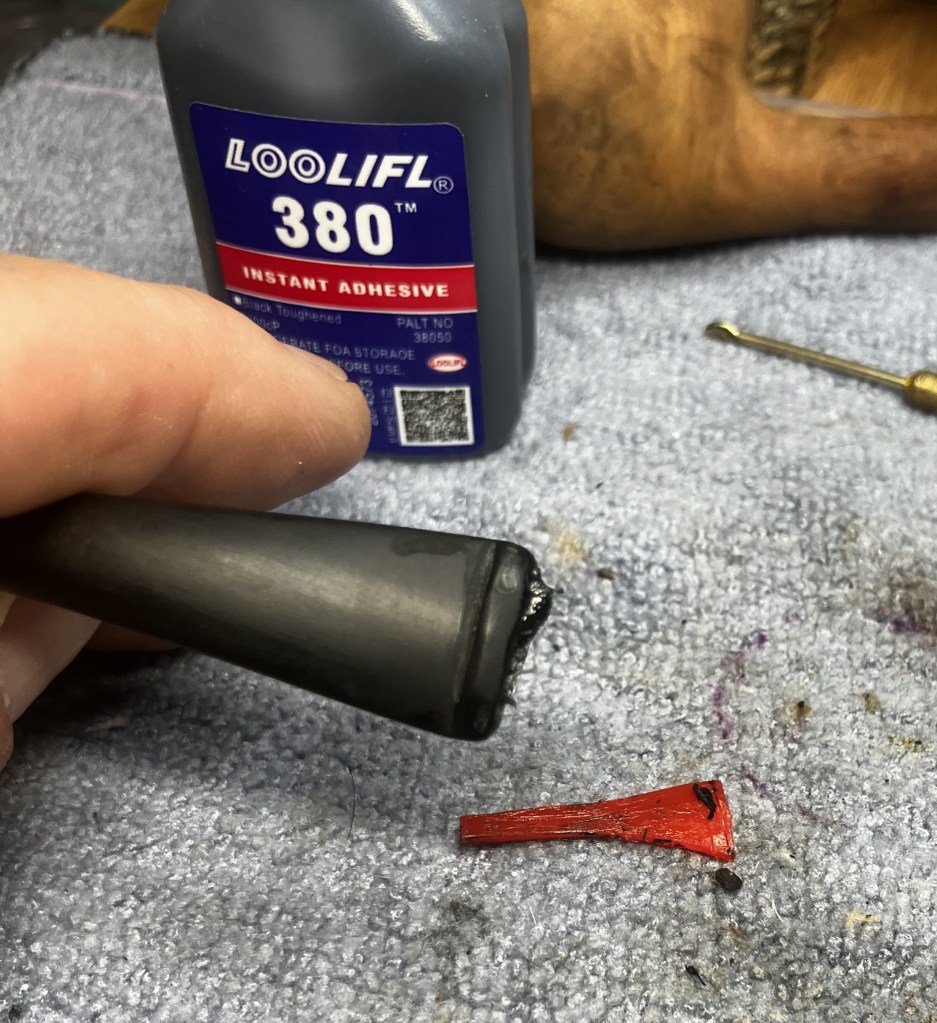
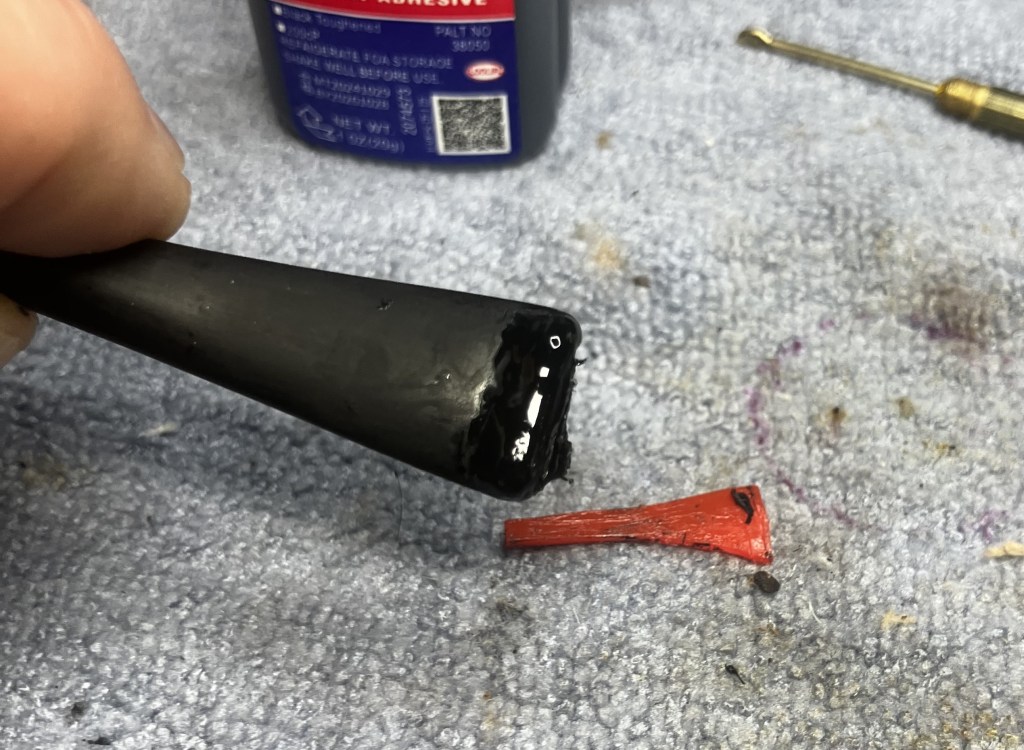
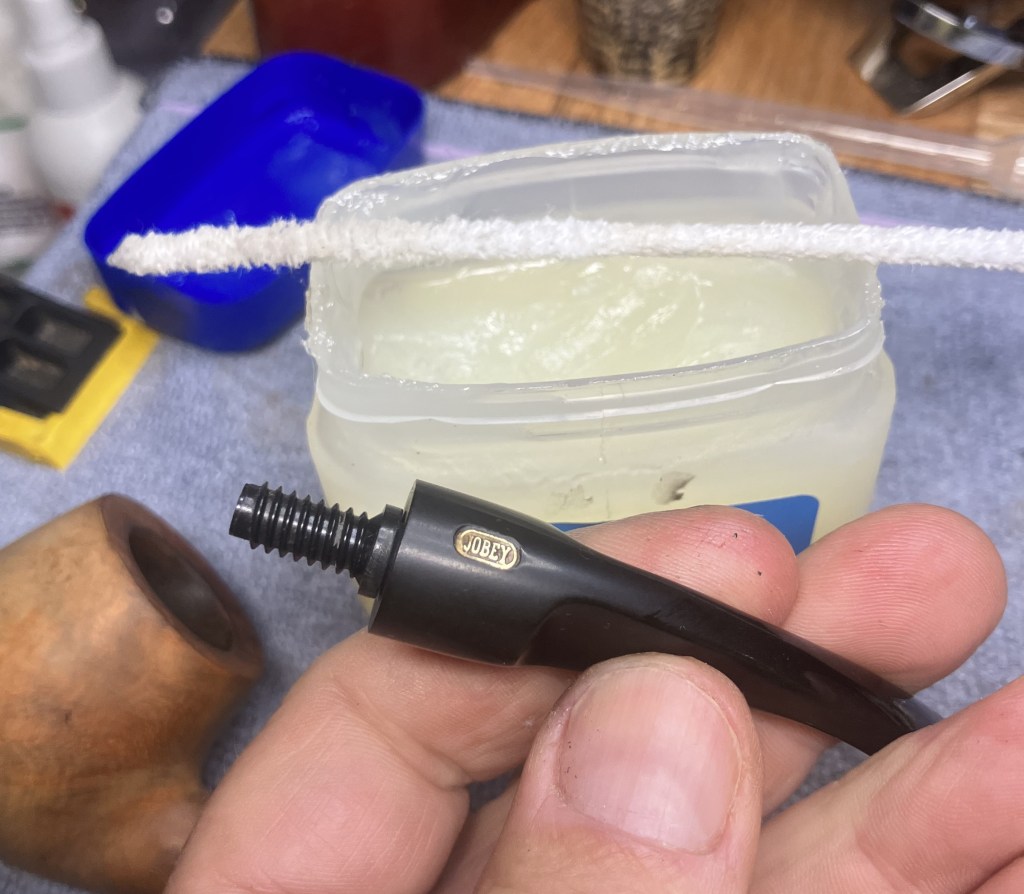
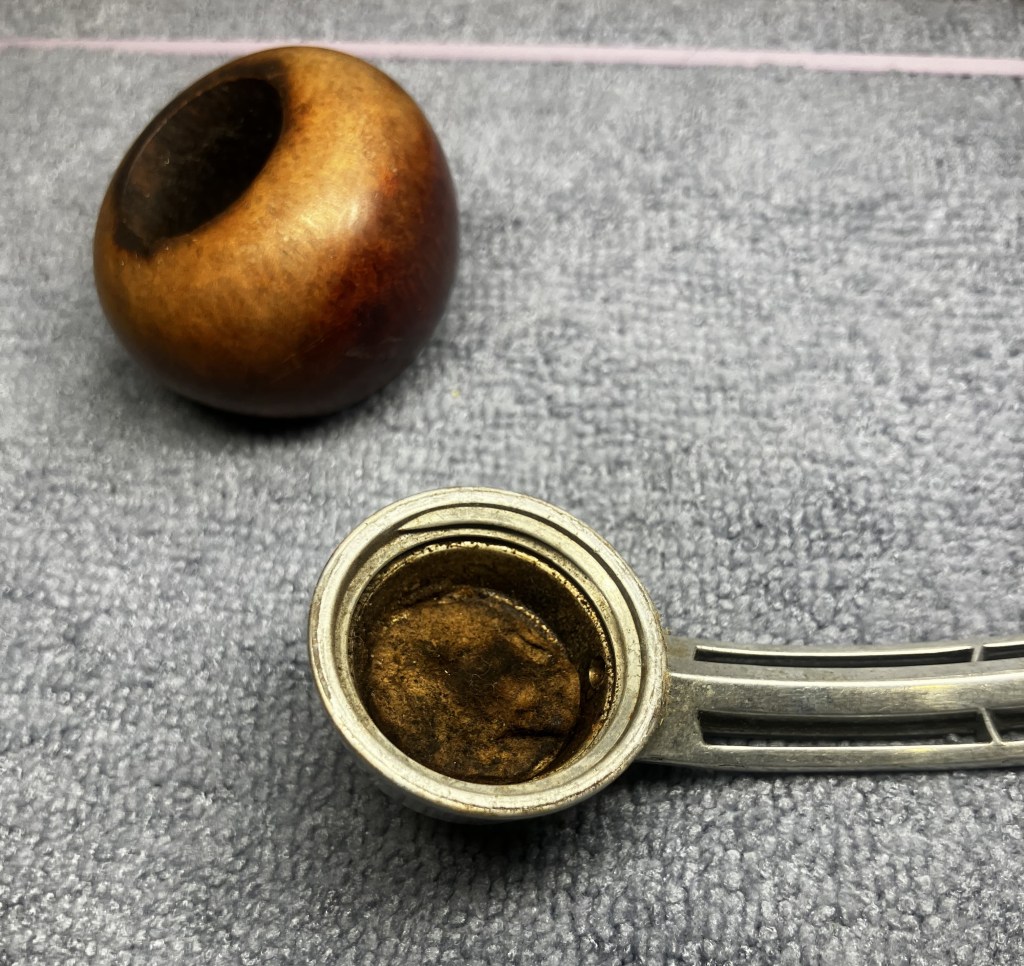
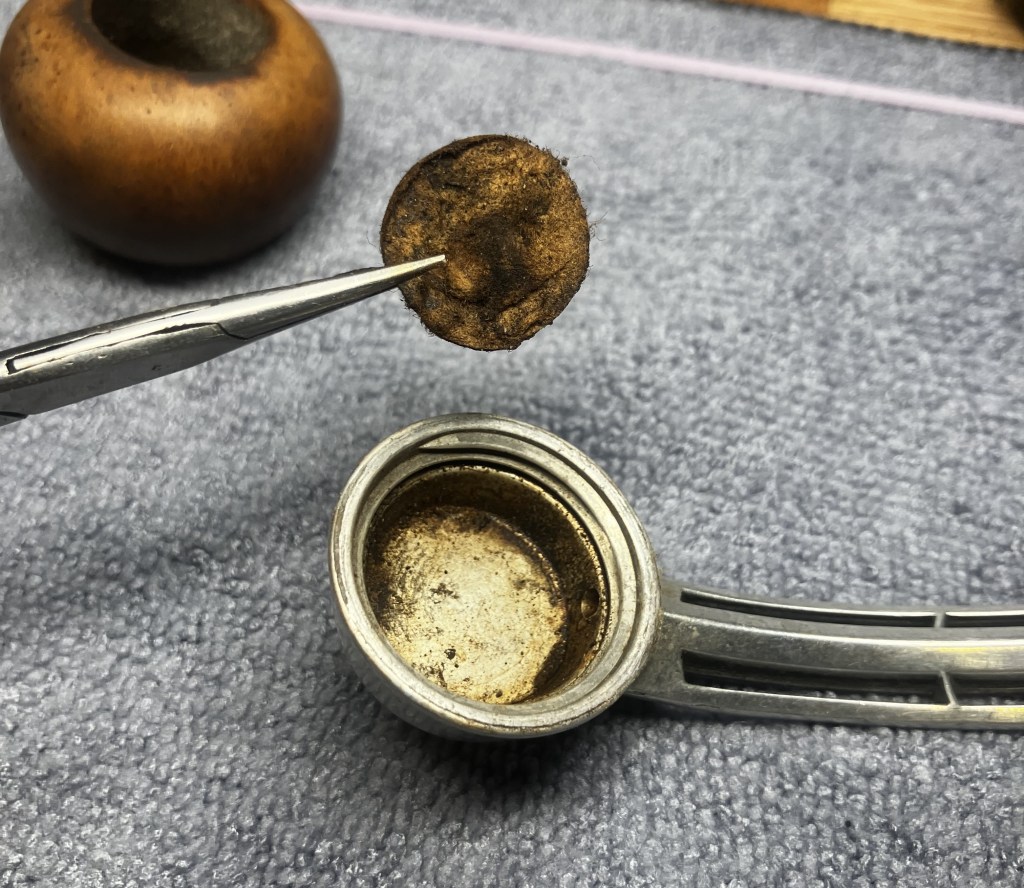
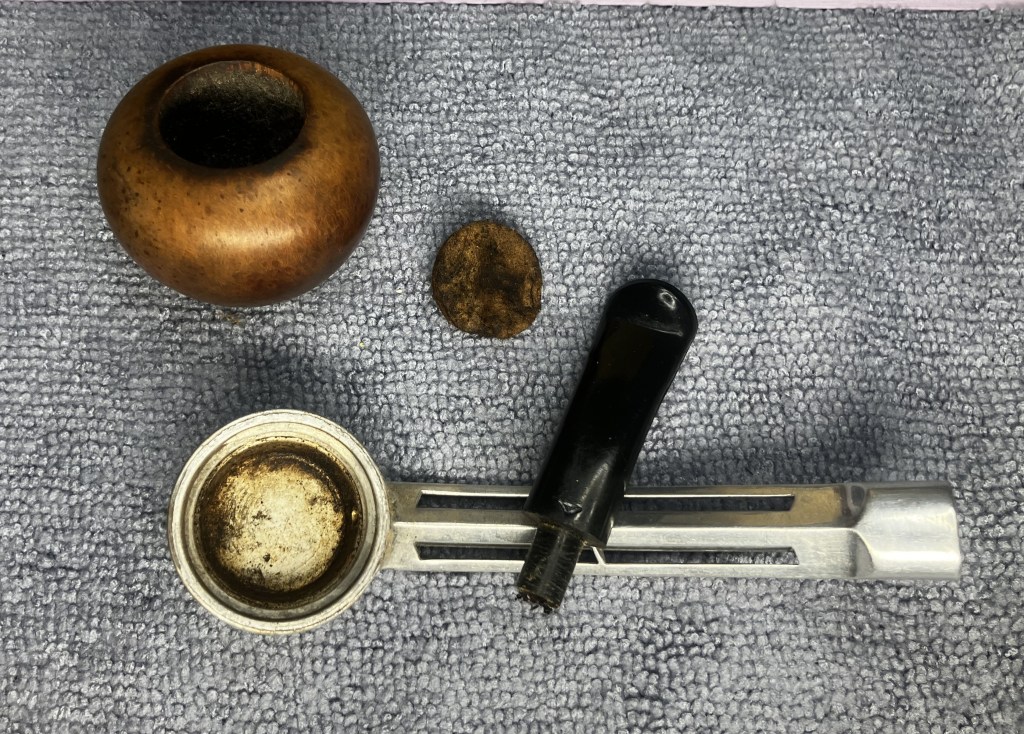
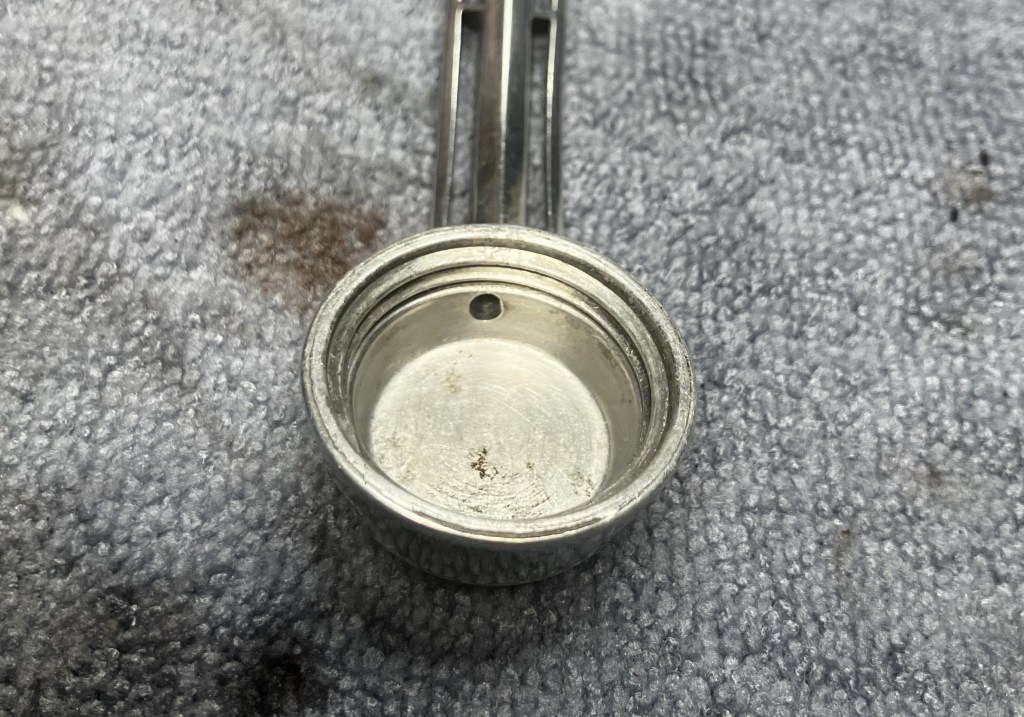
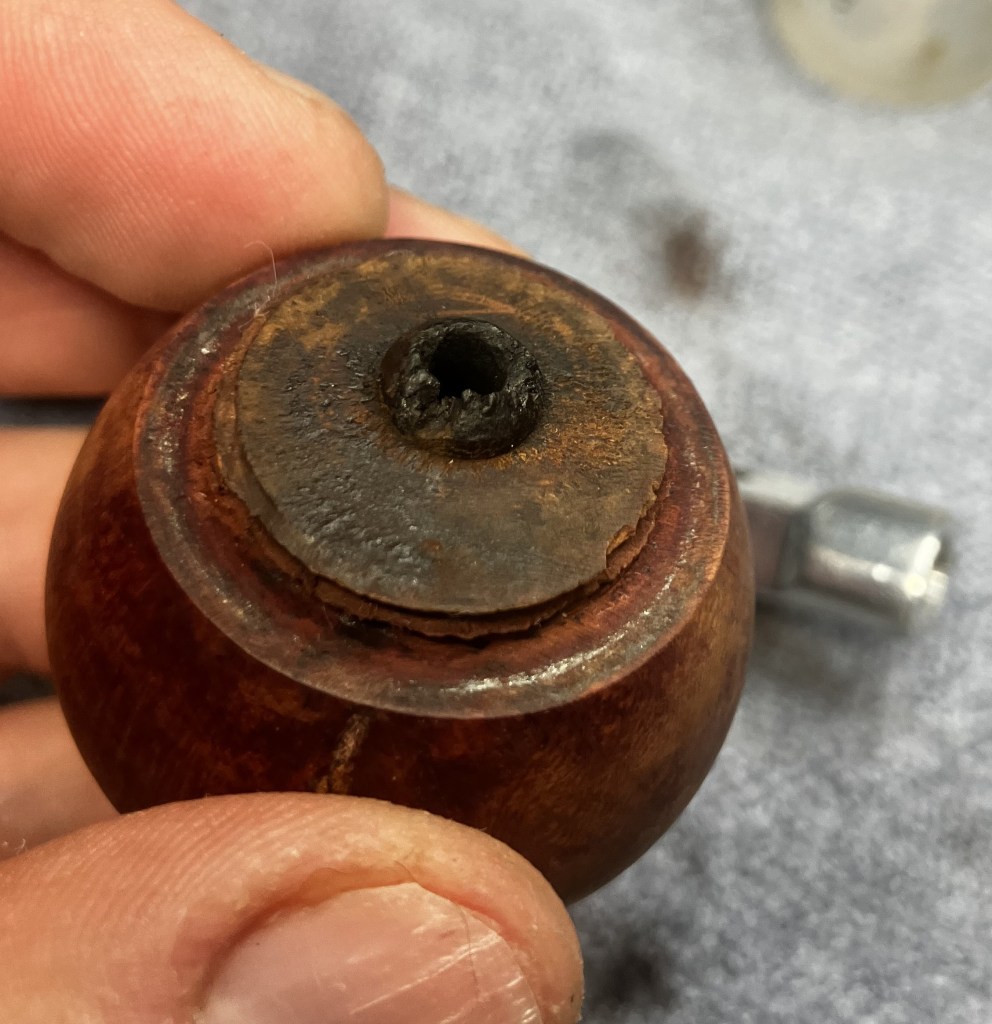
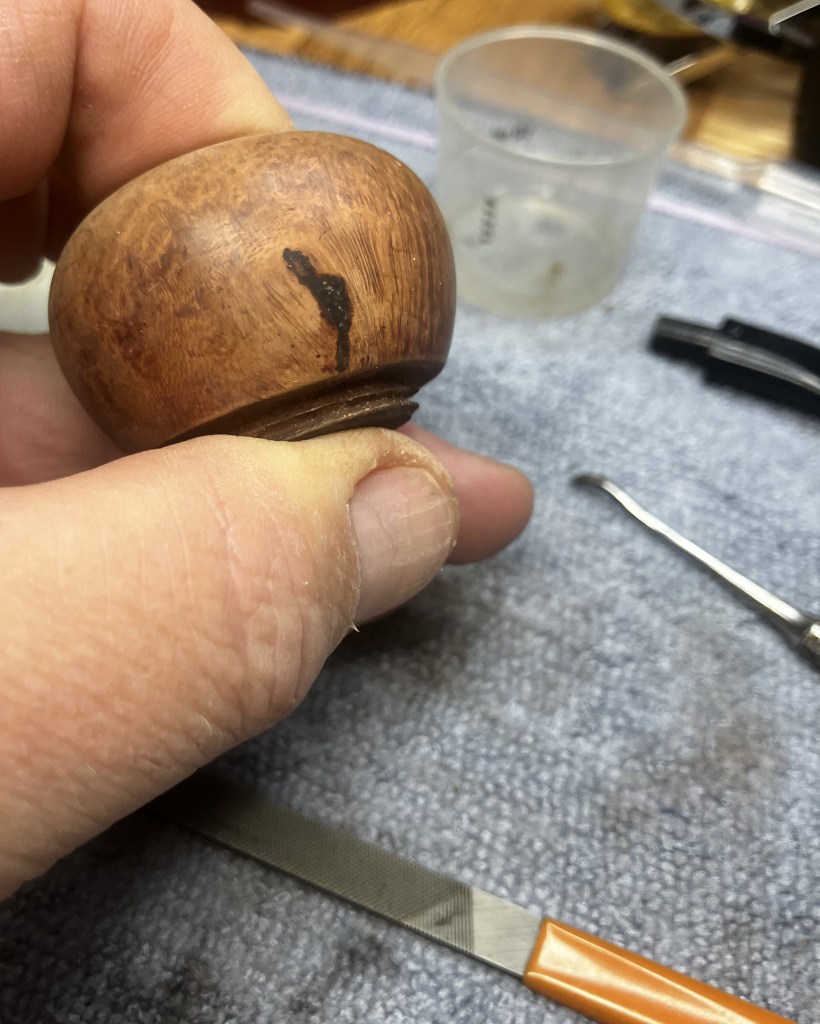
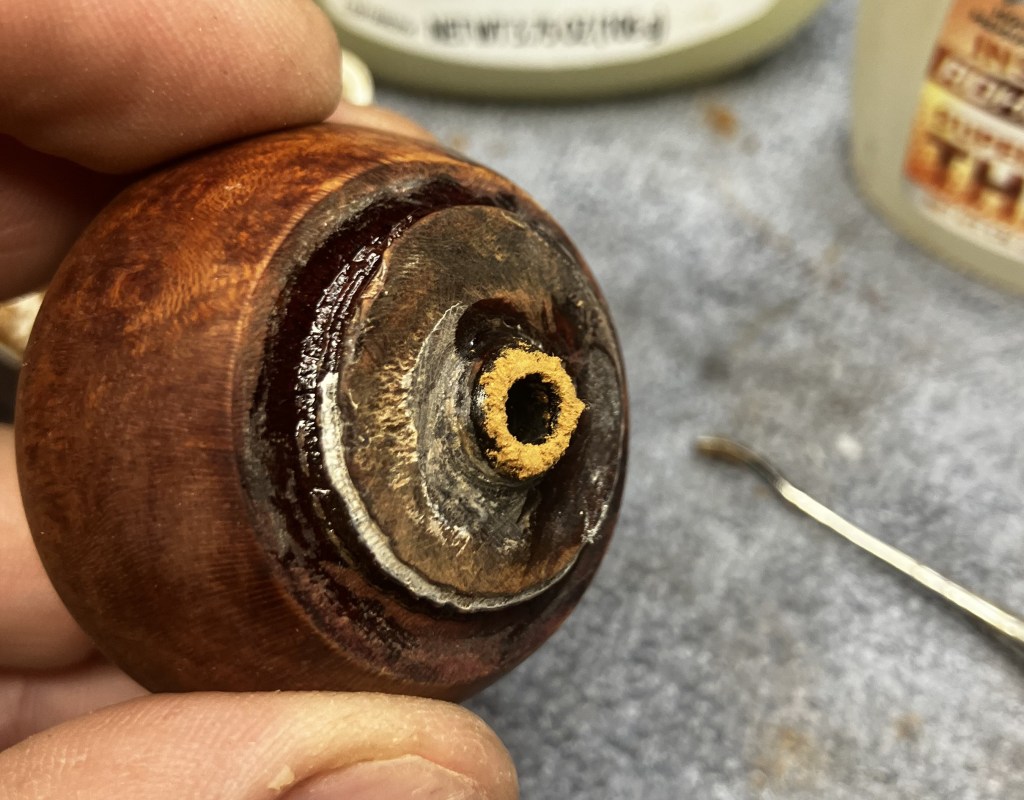
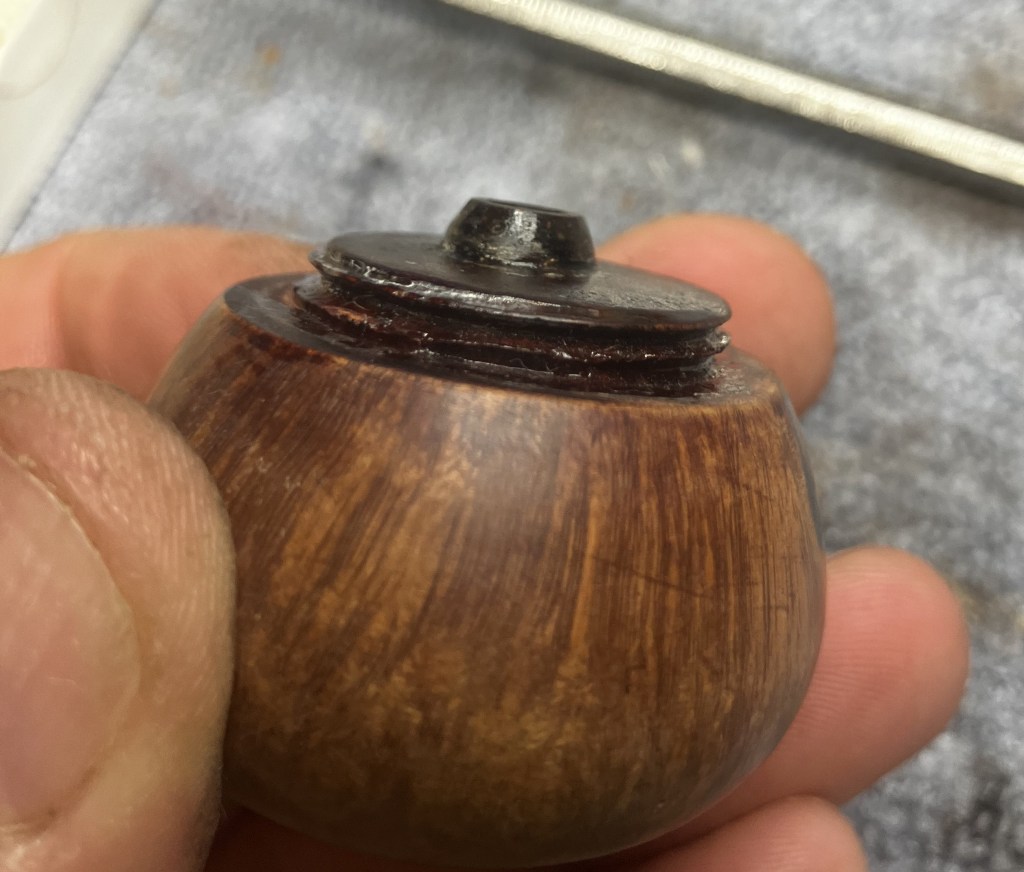
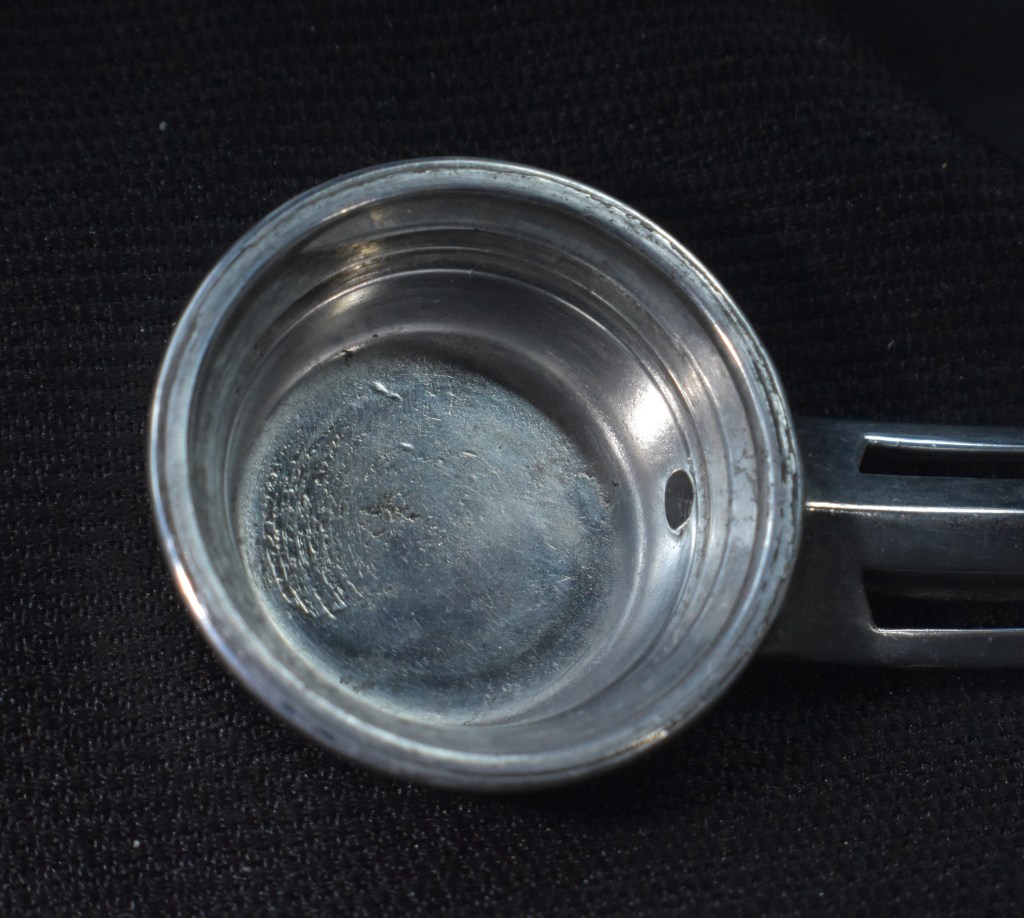
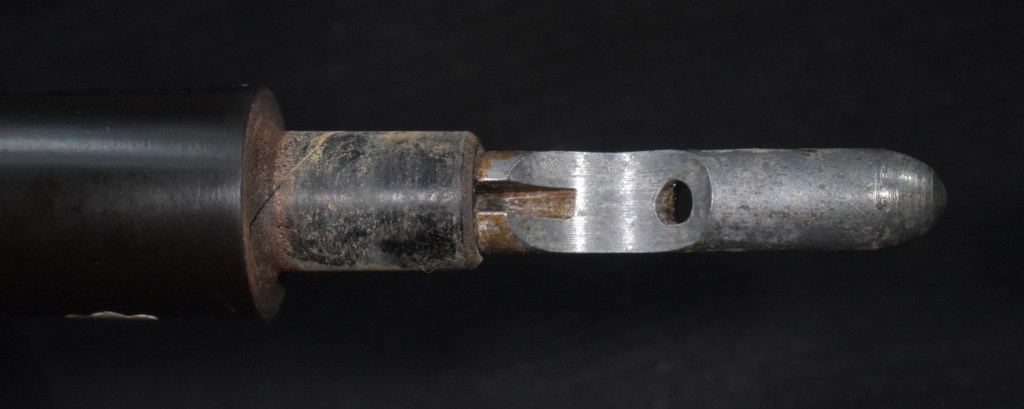
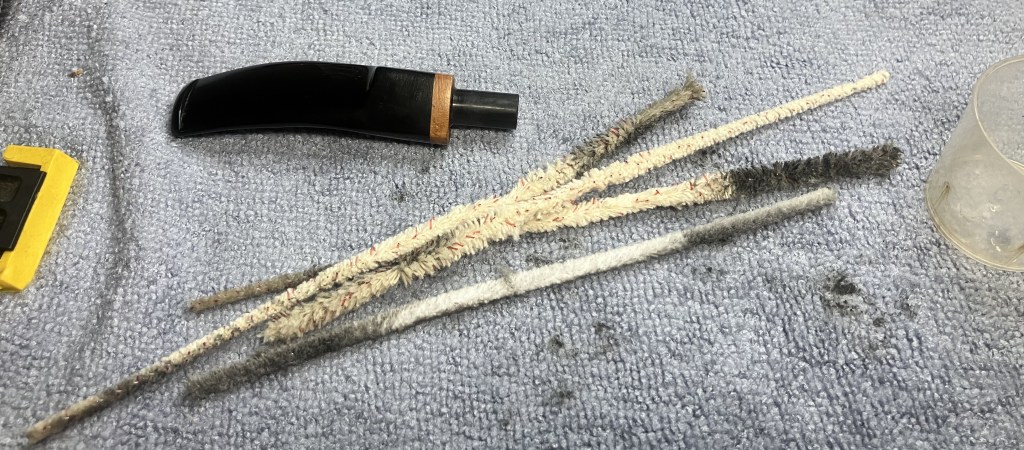
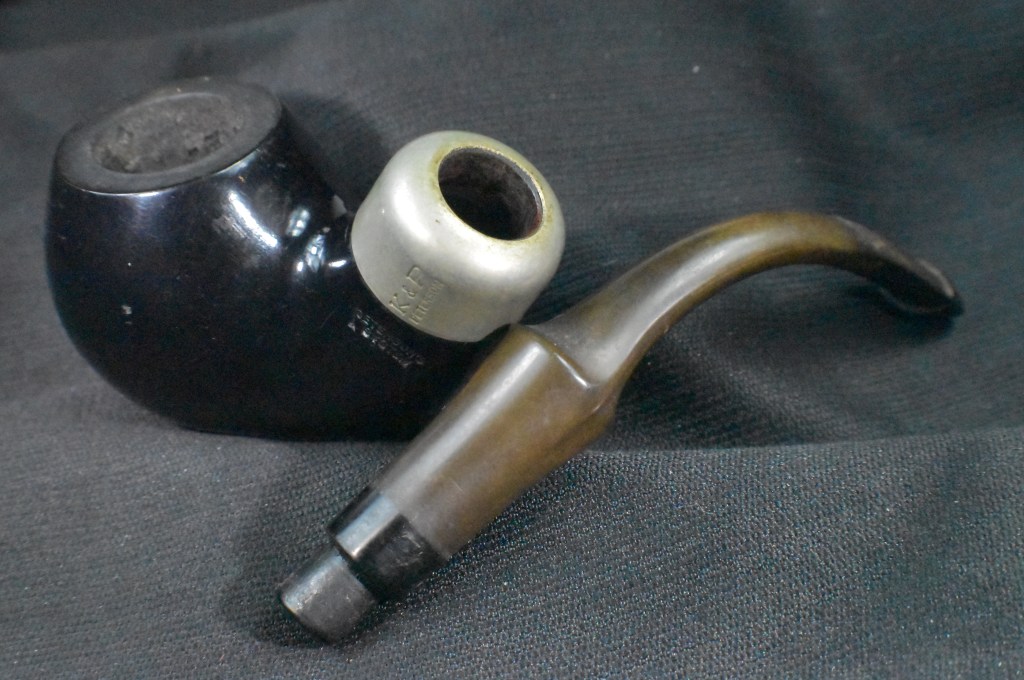
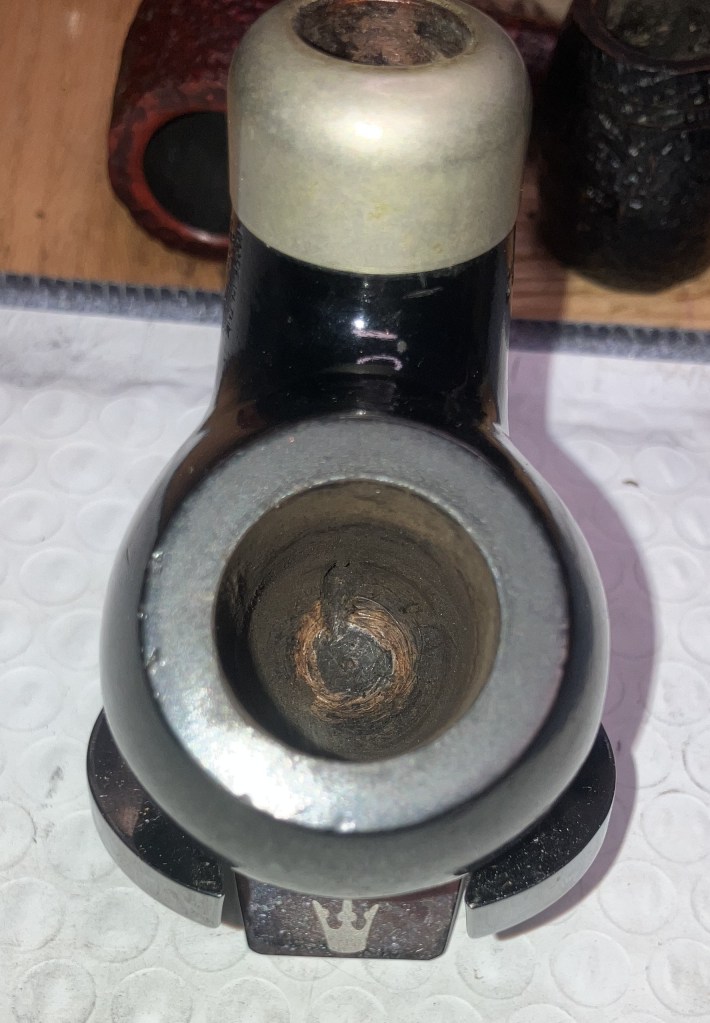
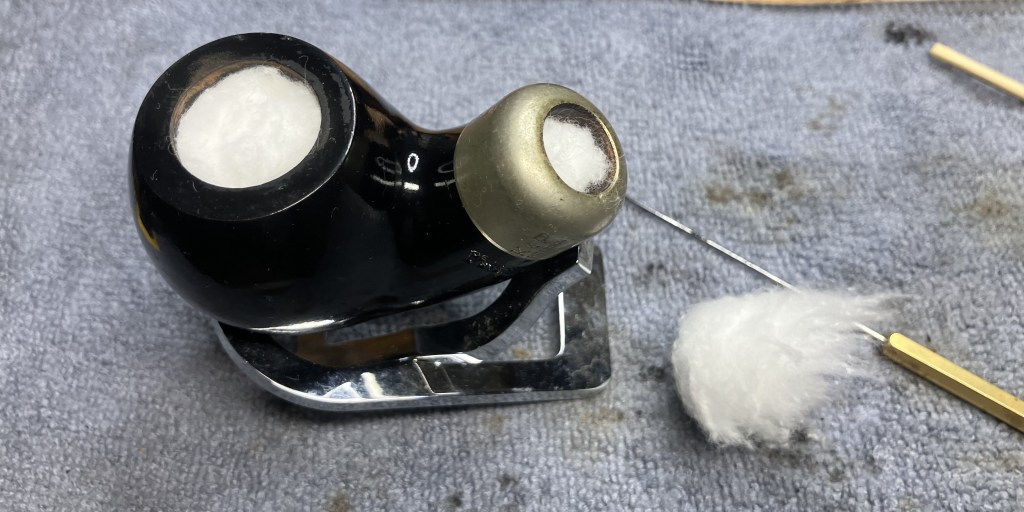
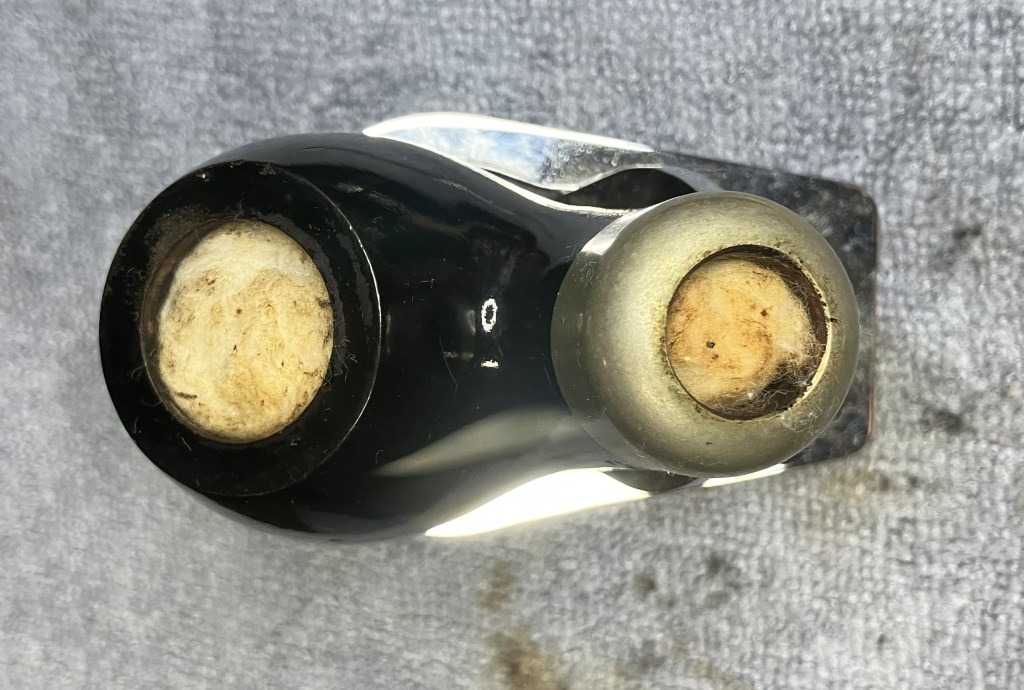
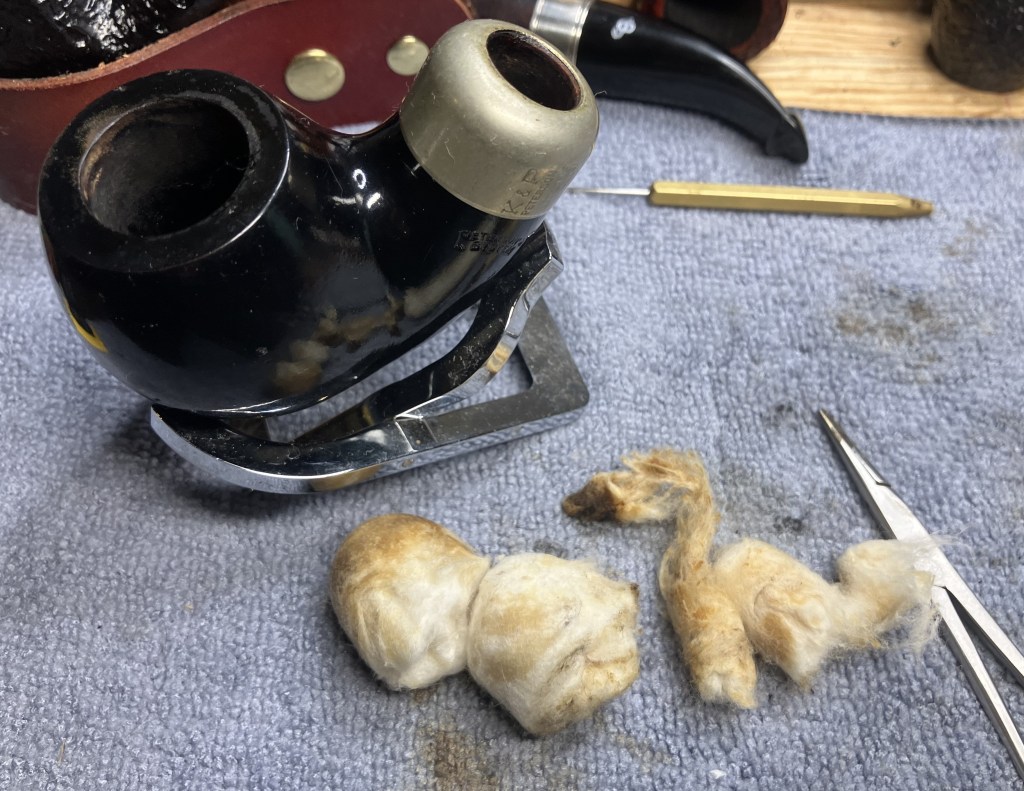
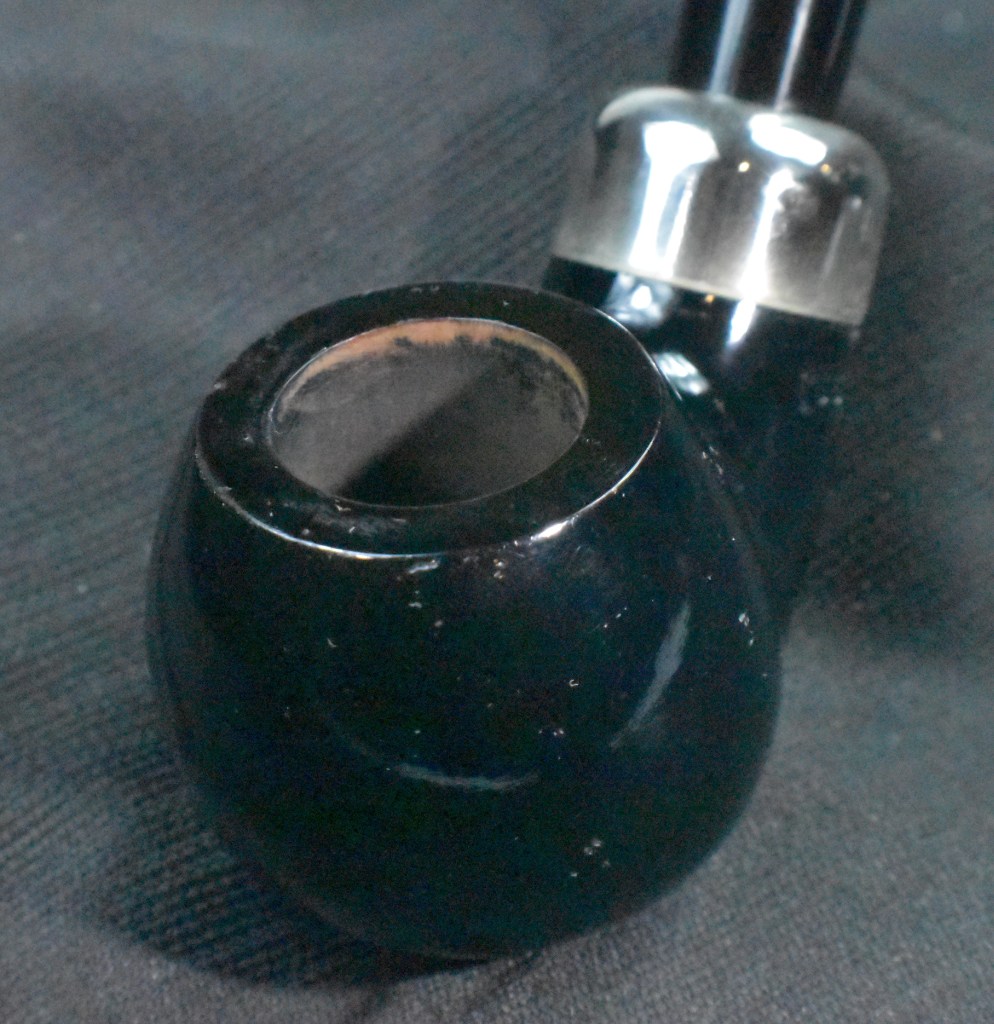
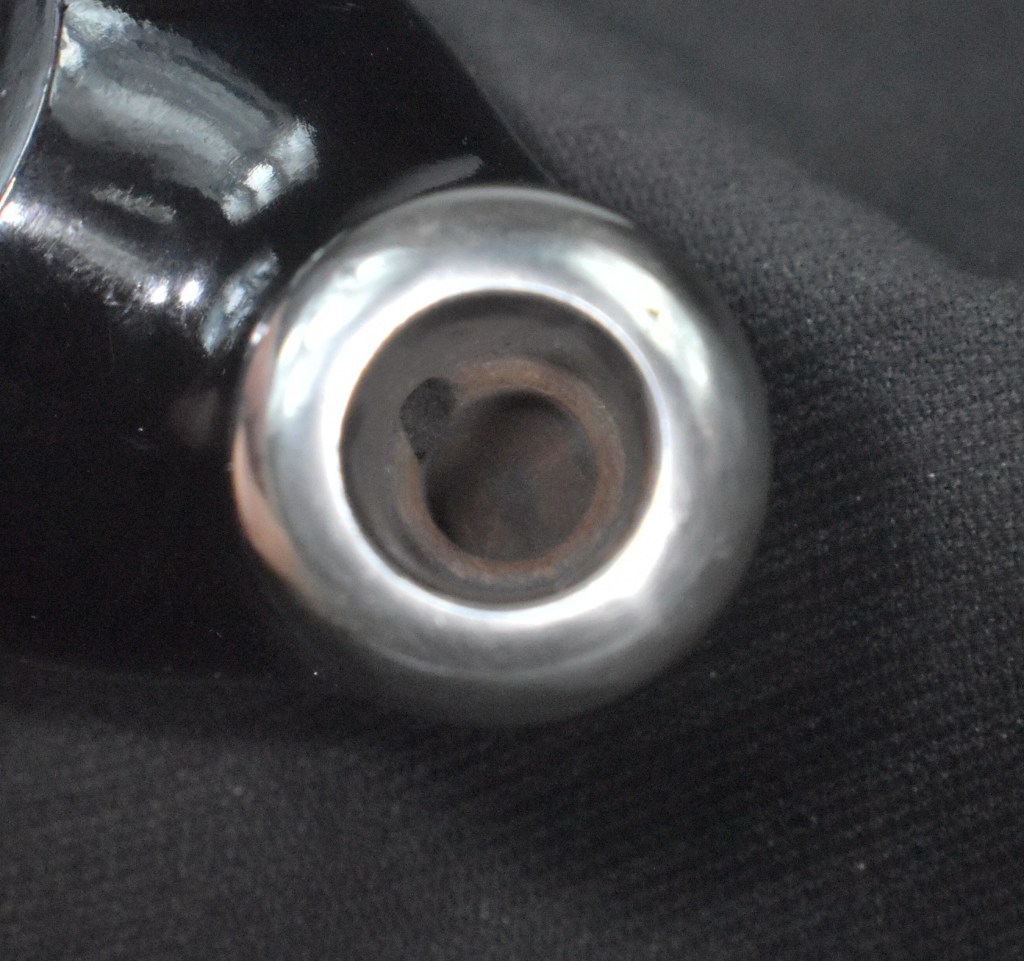
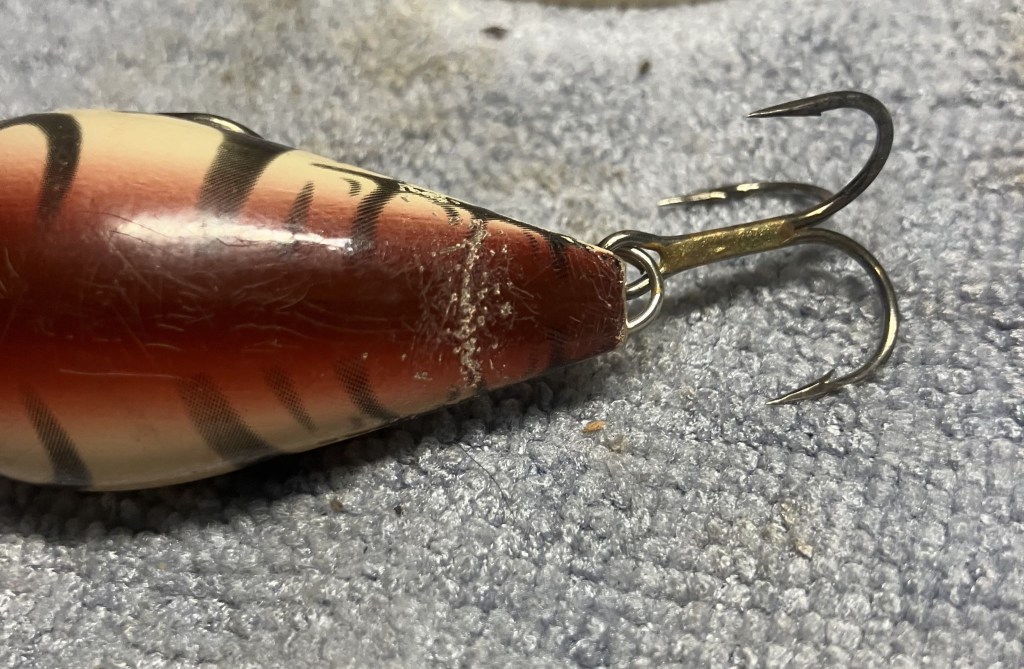
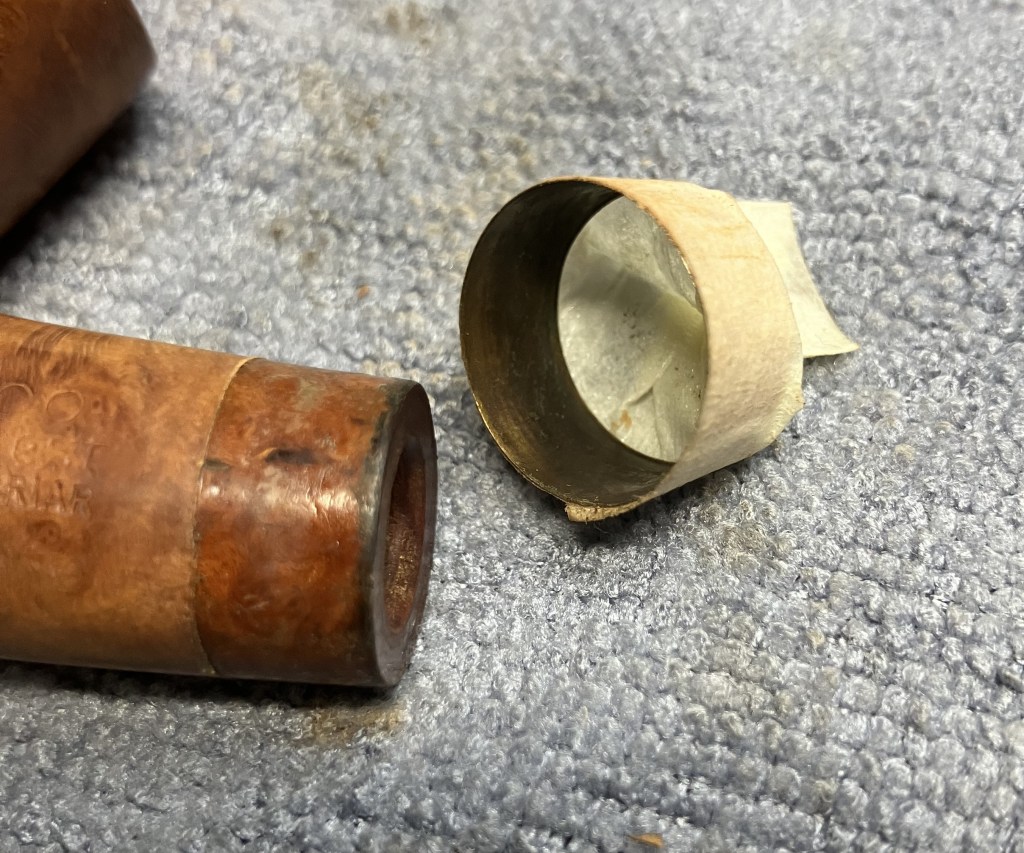
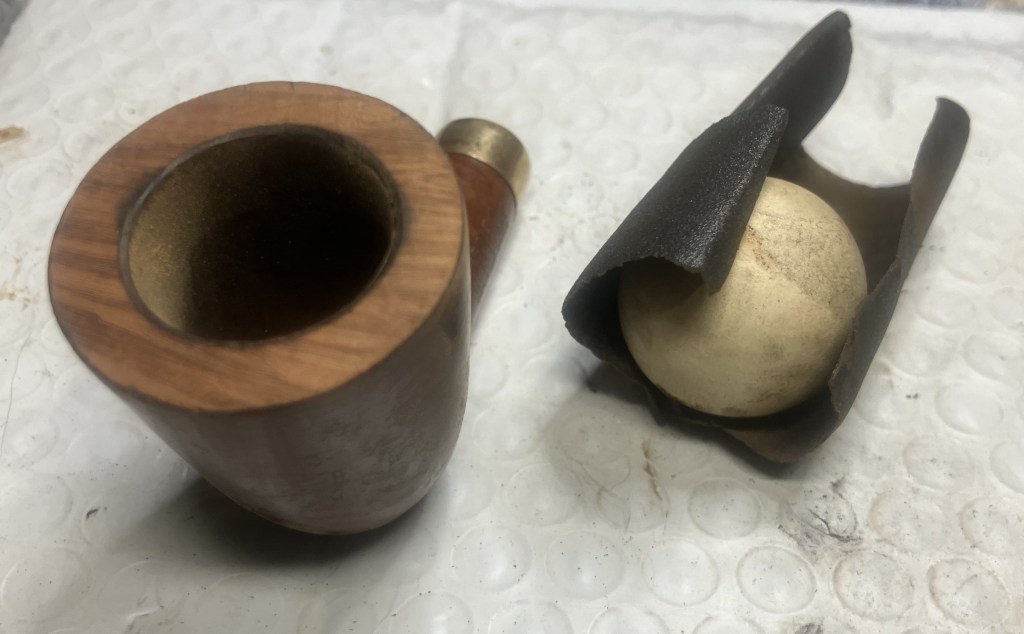
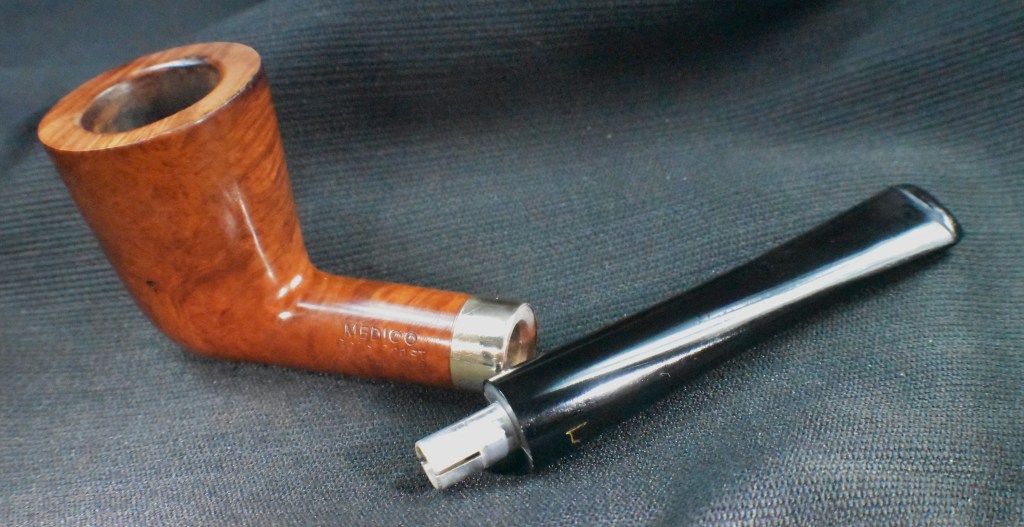
I wanted to get the vulcanite into the deoxidizing bath first, so the pipe was disassembled. Imagine the piece of pipe cleaner shoved in the plug was there to absorb the condensed moisture that would drip into the reservoir as the smoke cooled. That made sense.
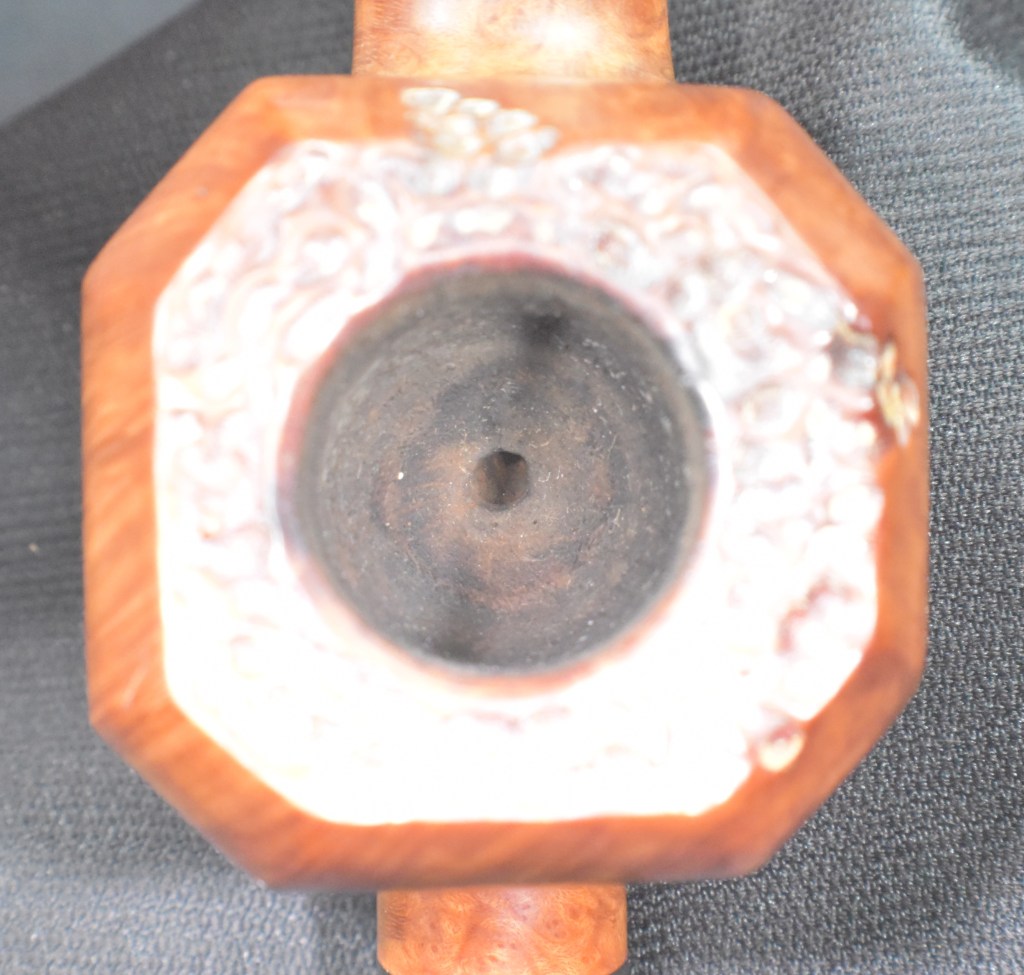
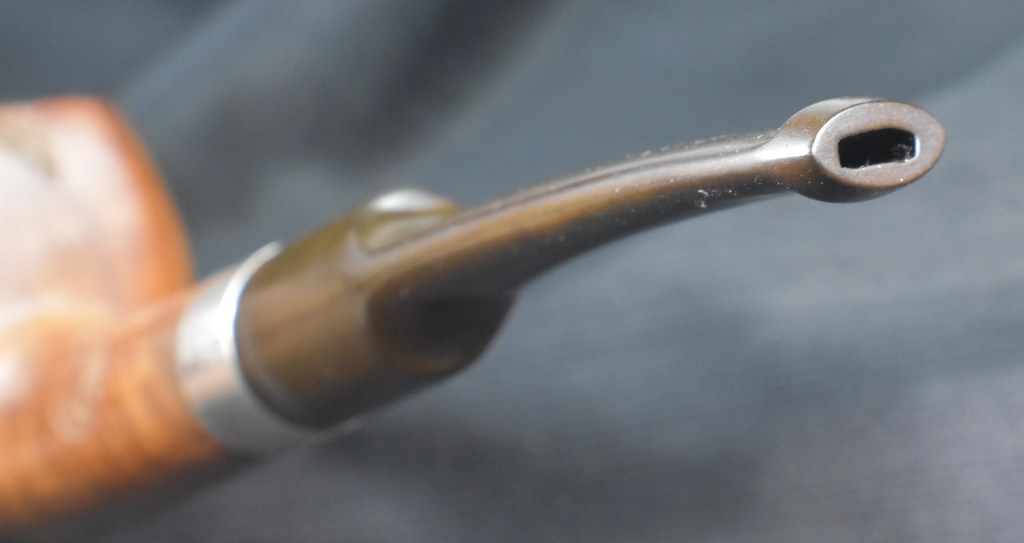
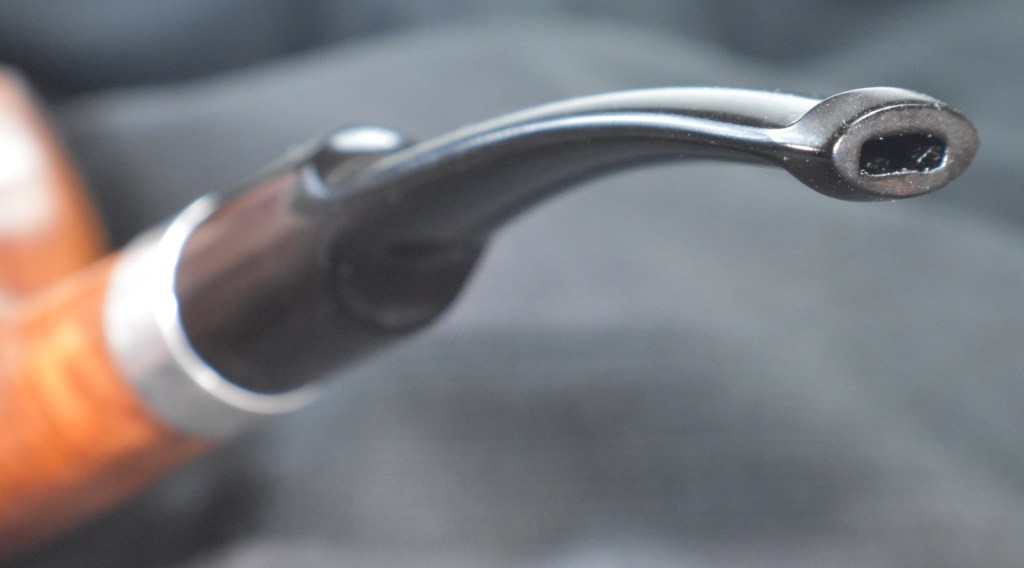
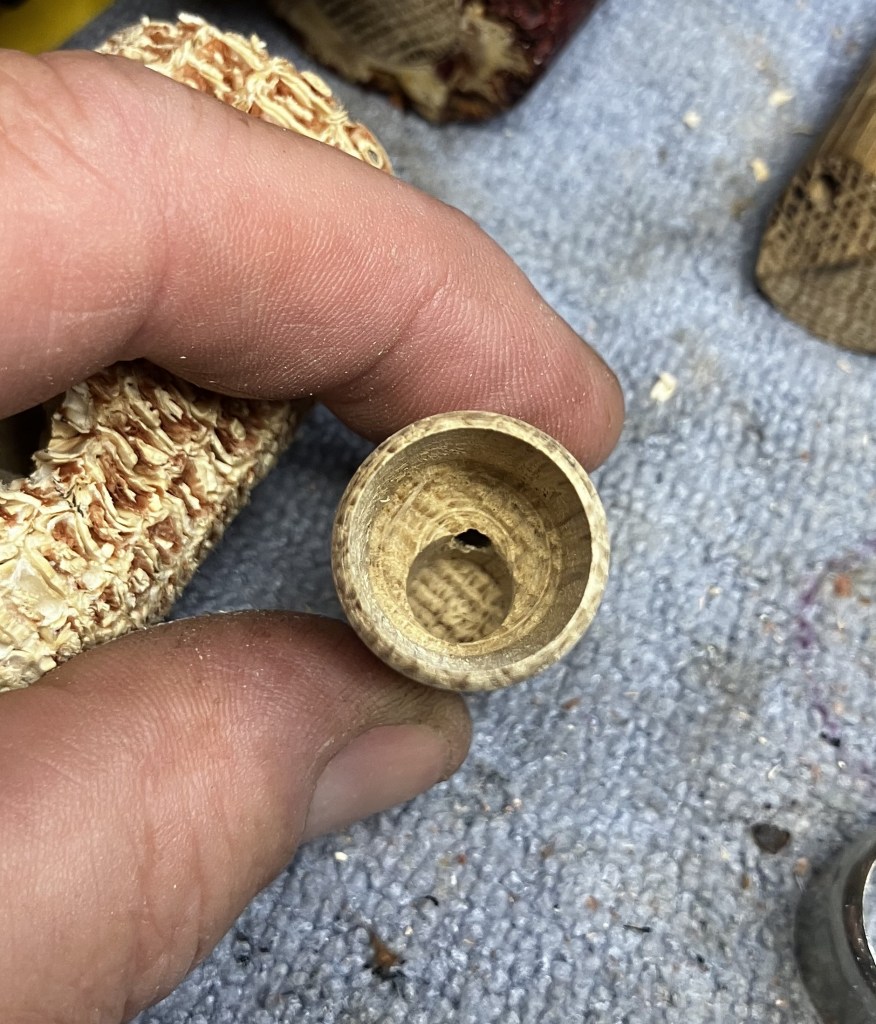
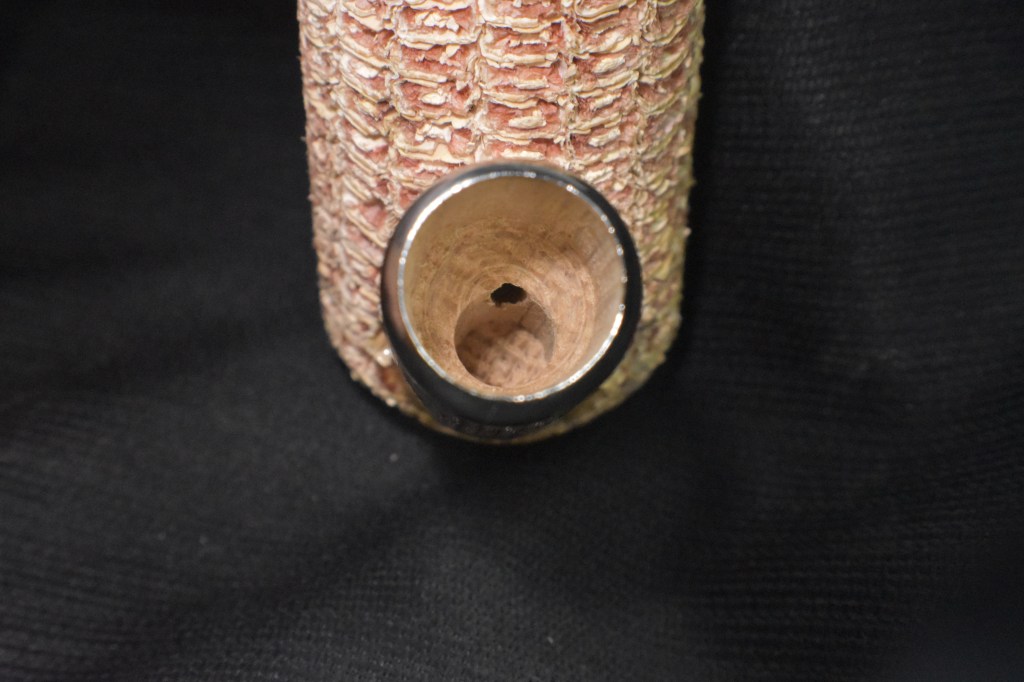
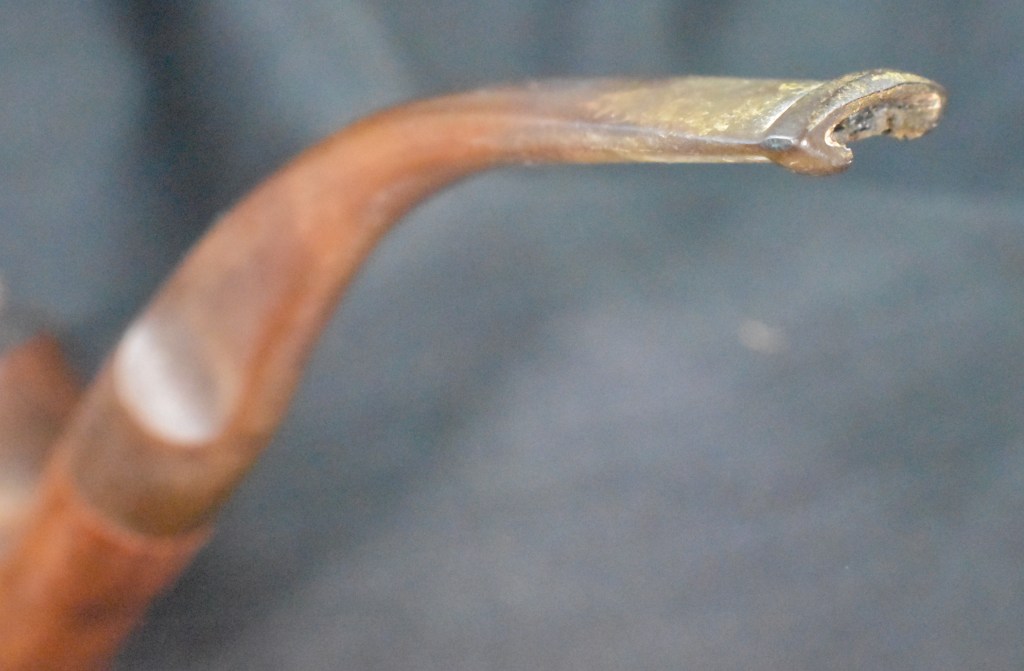
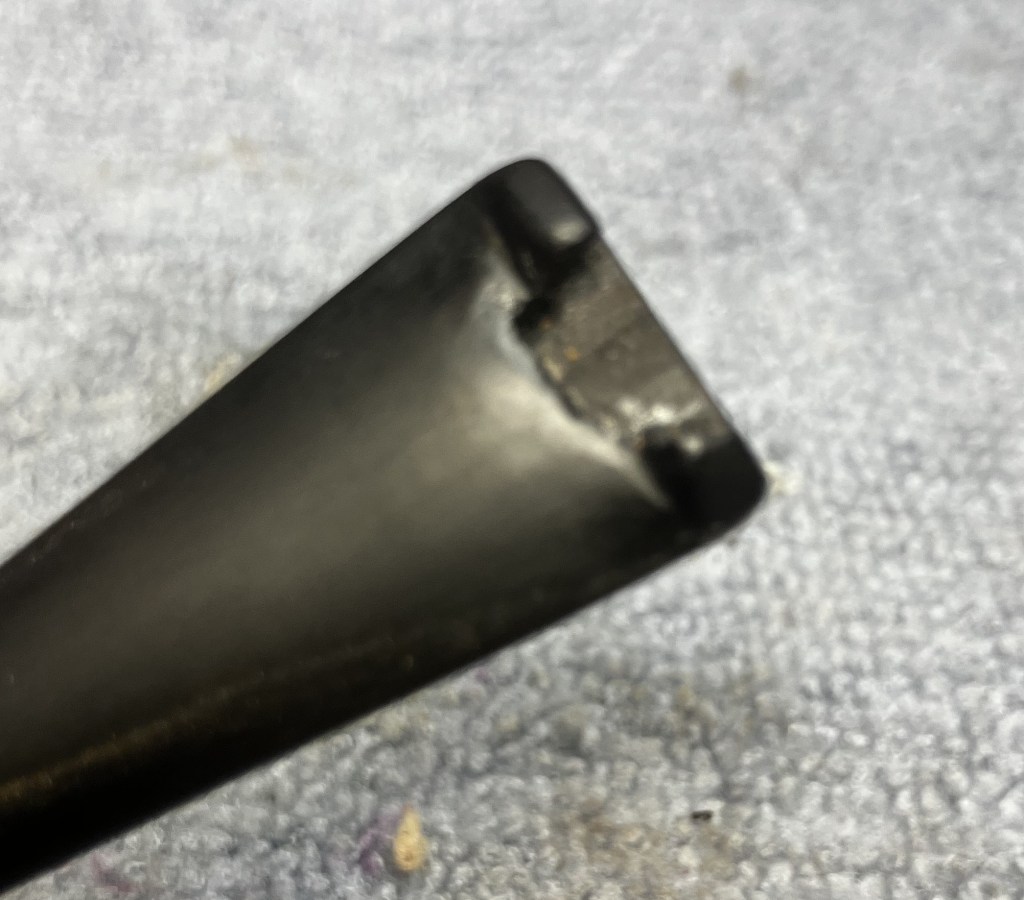
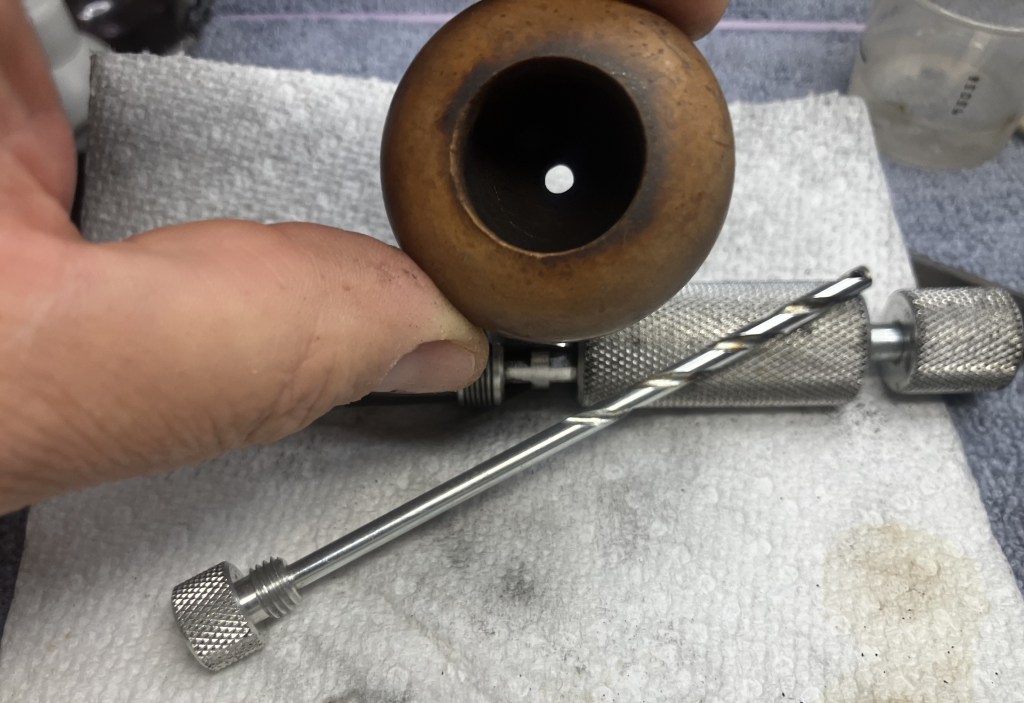
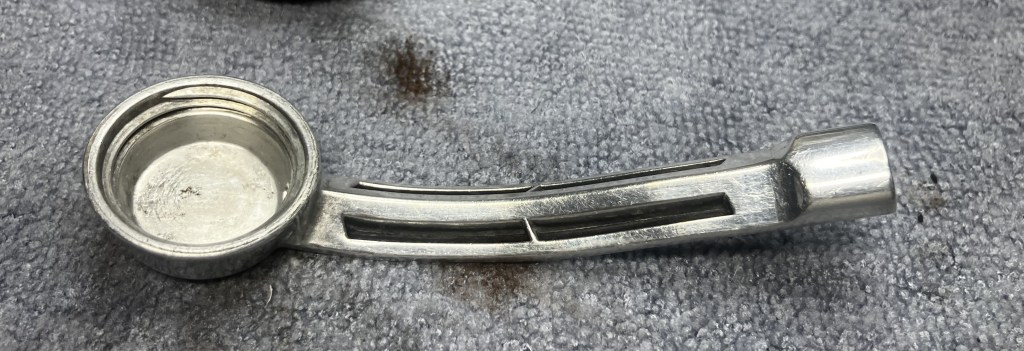
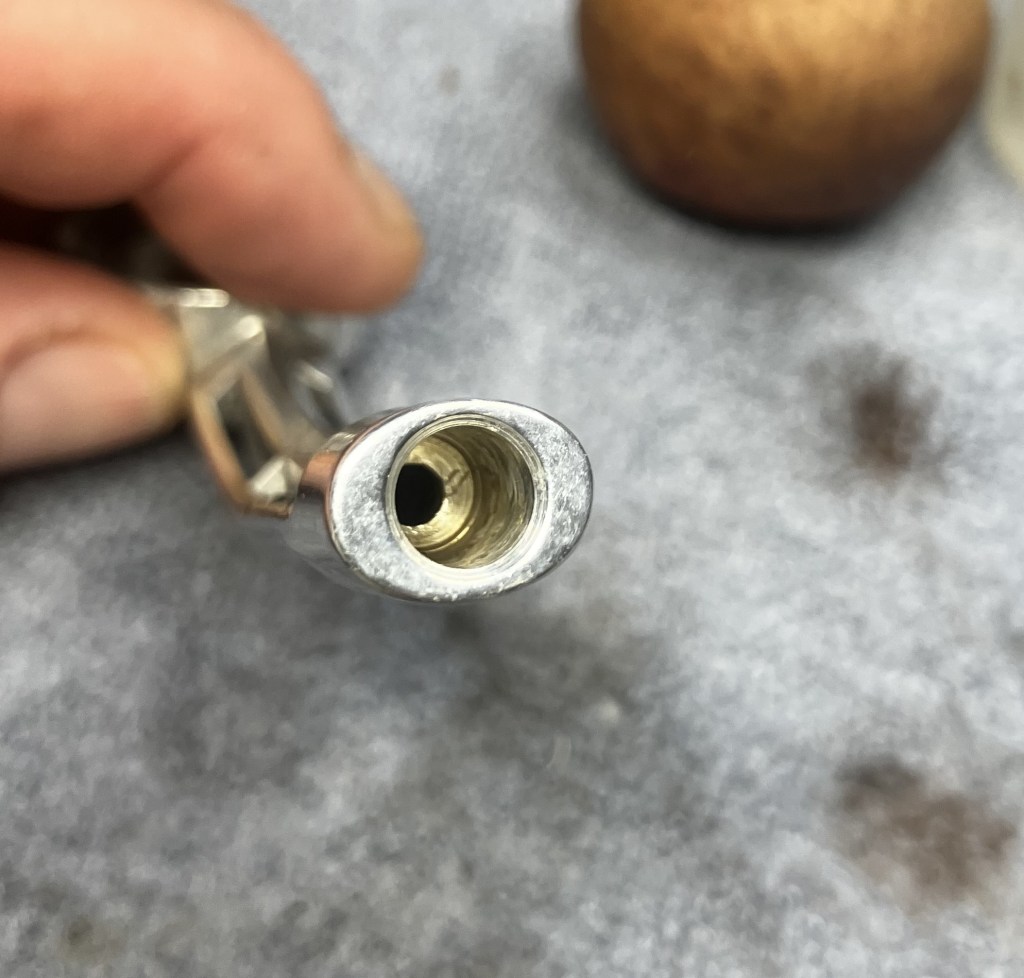
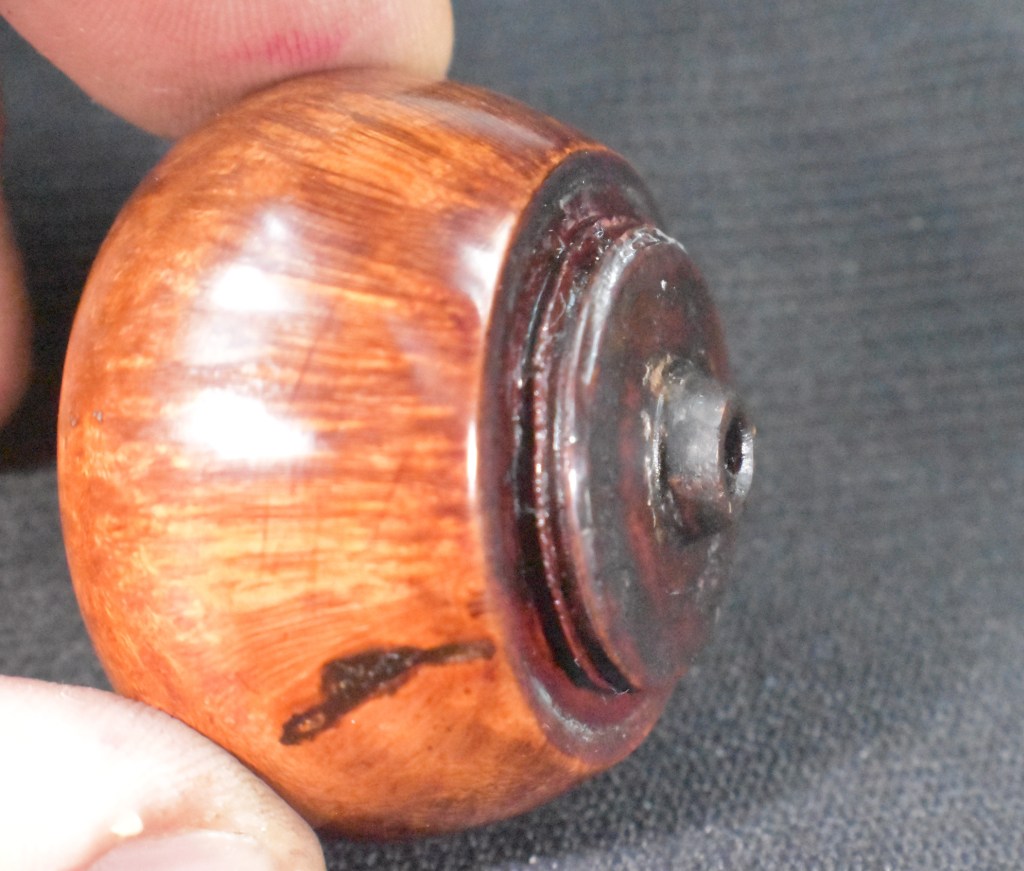
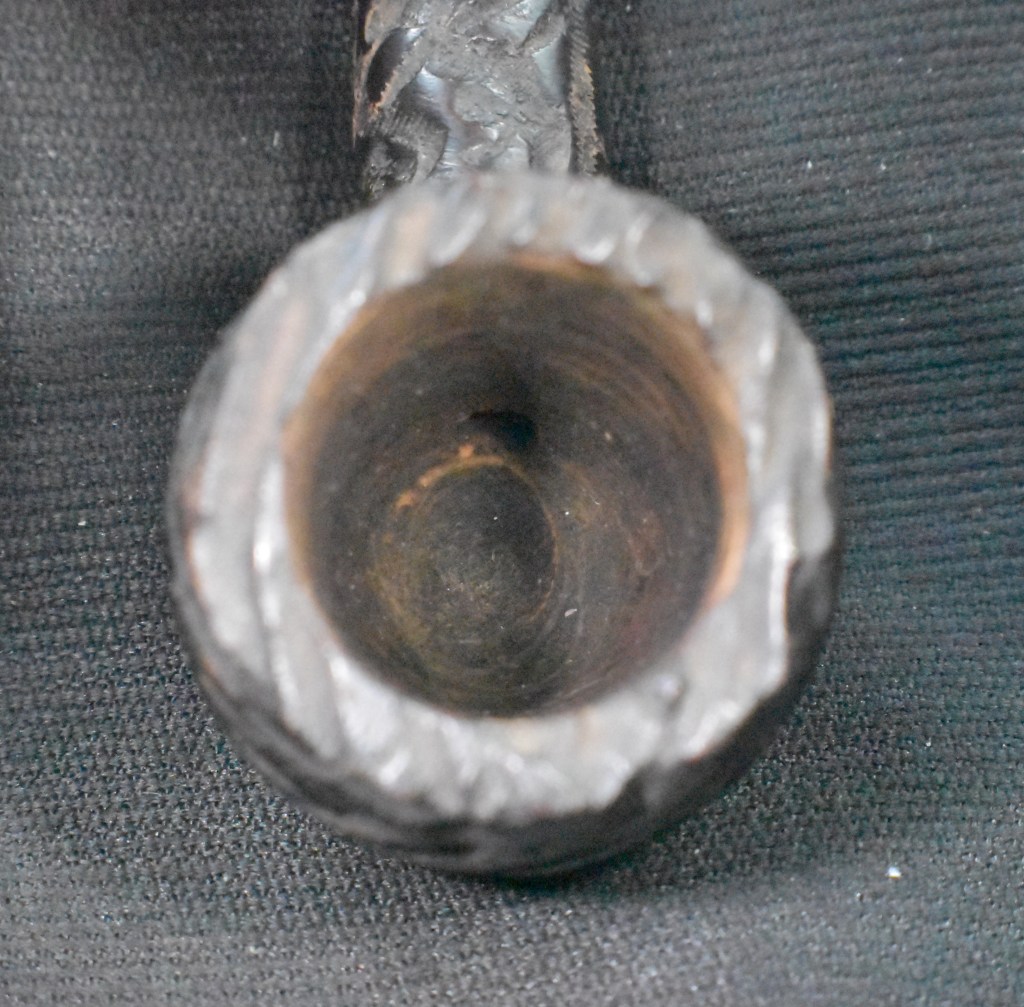
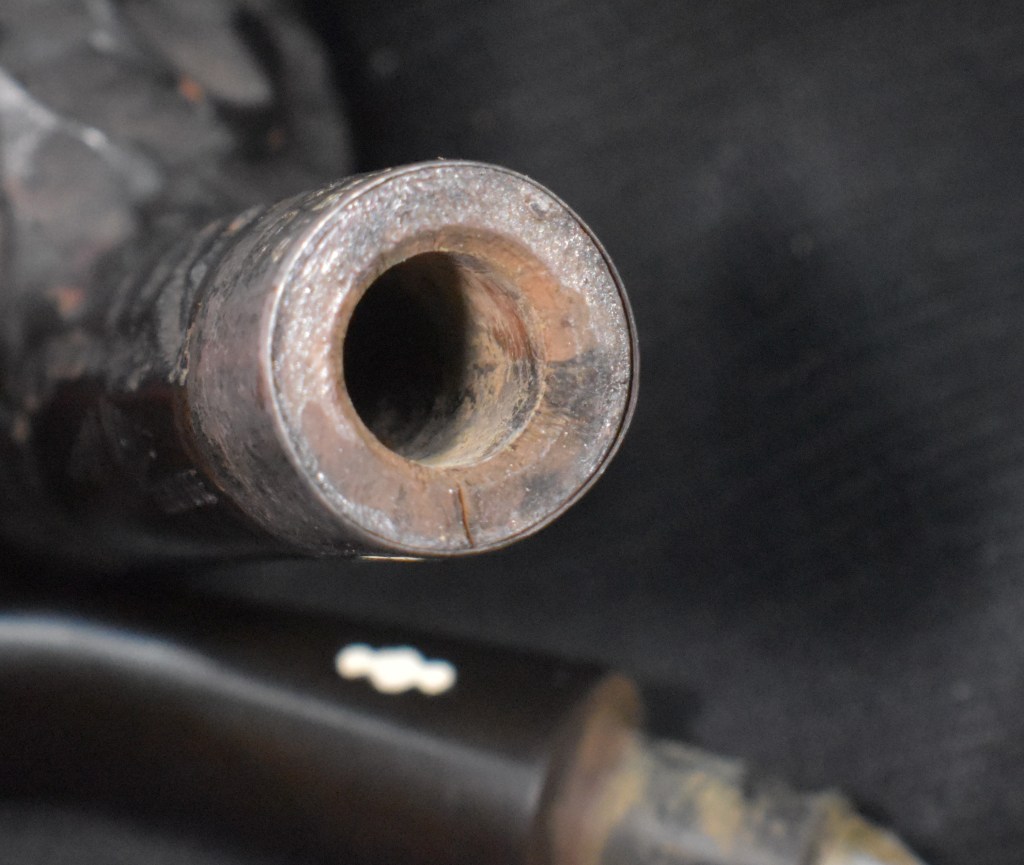
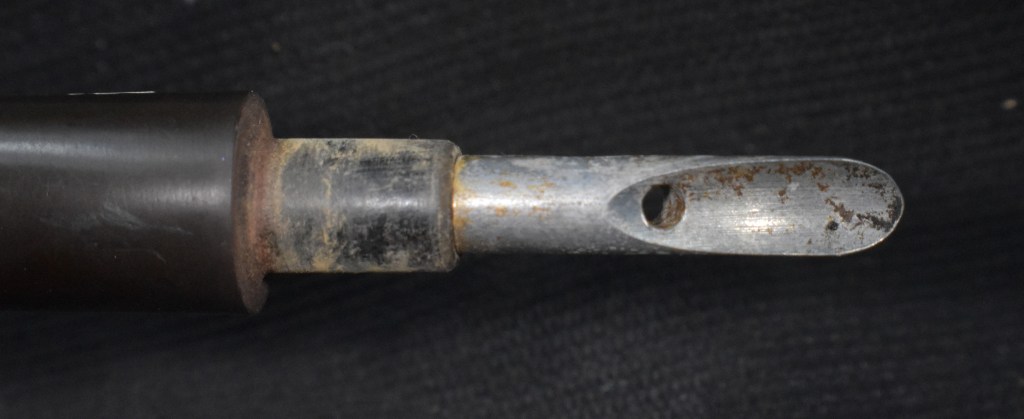
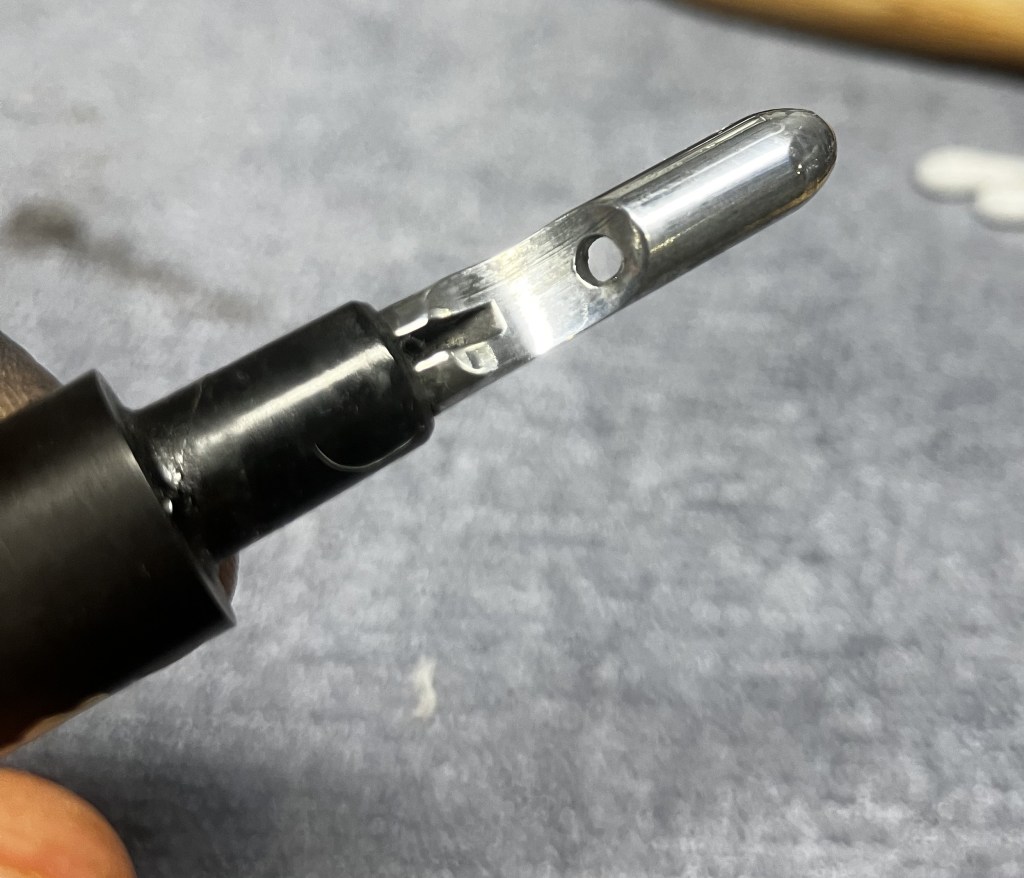
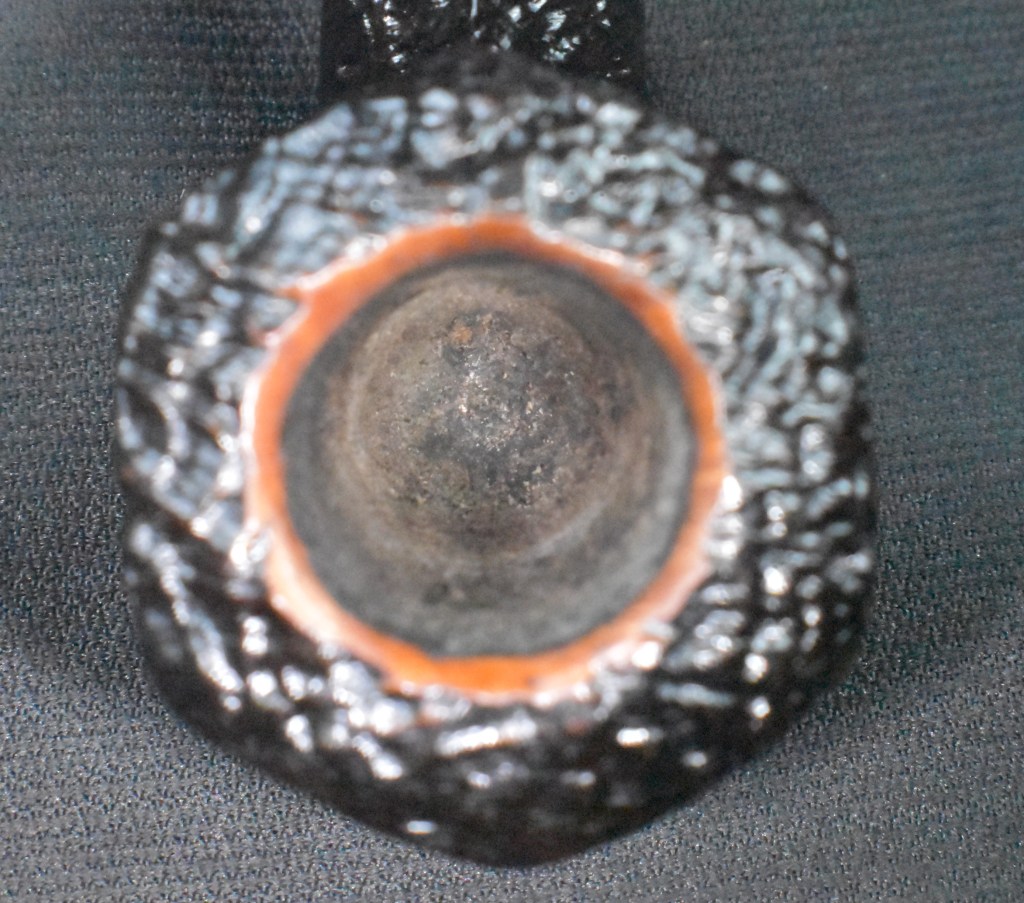
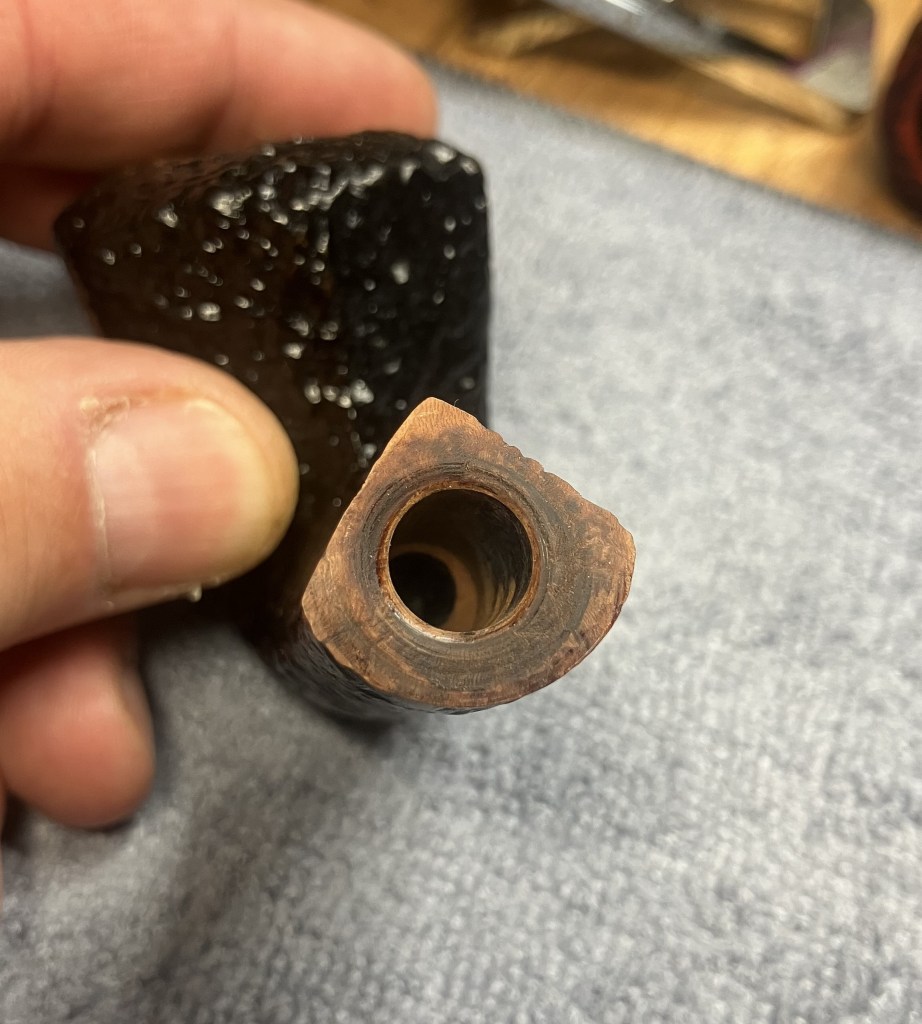
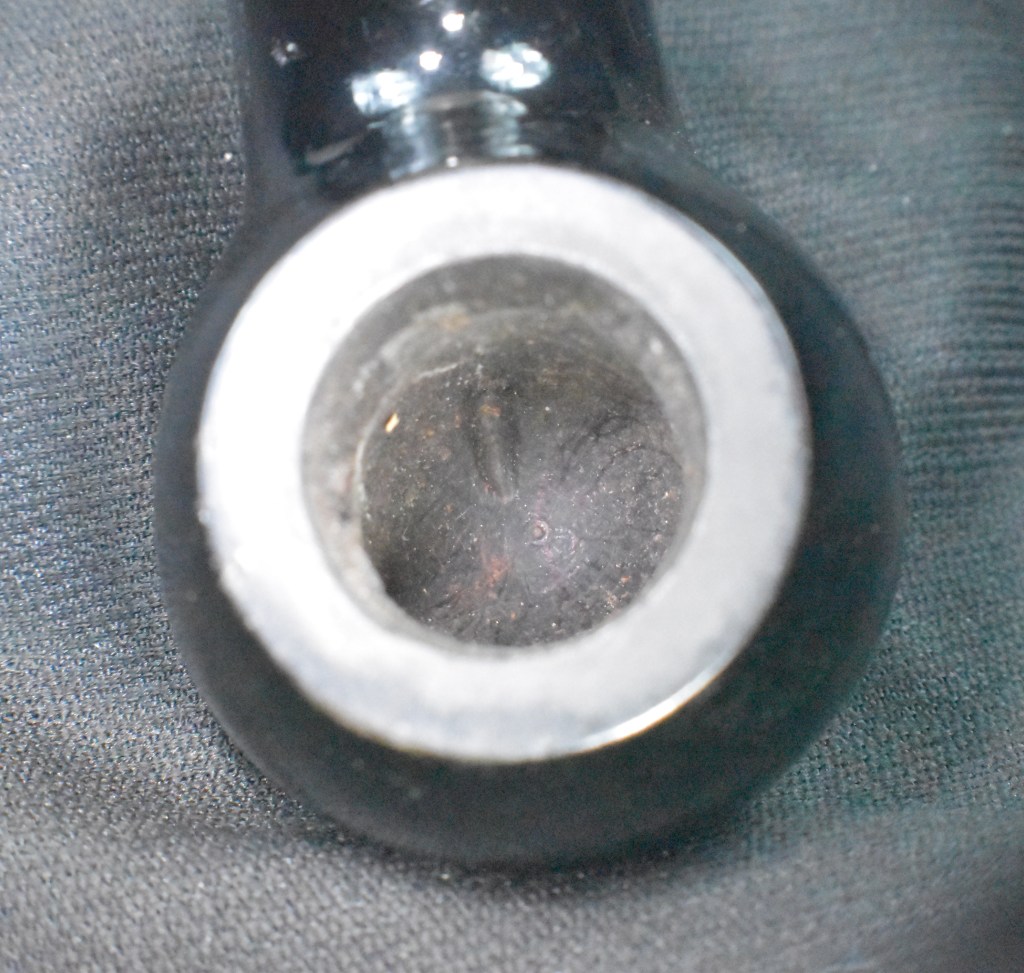
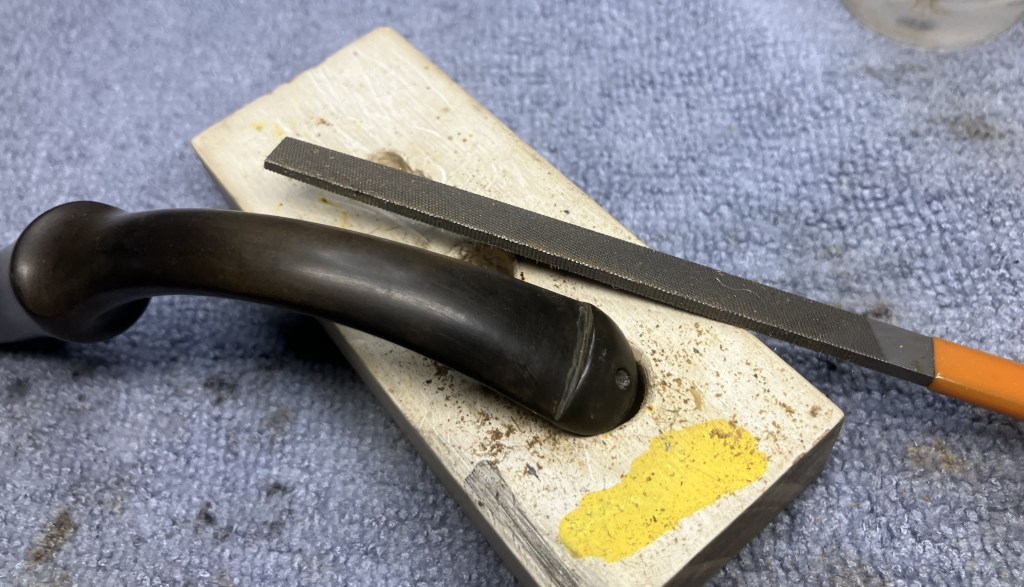
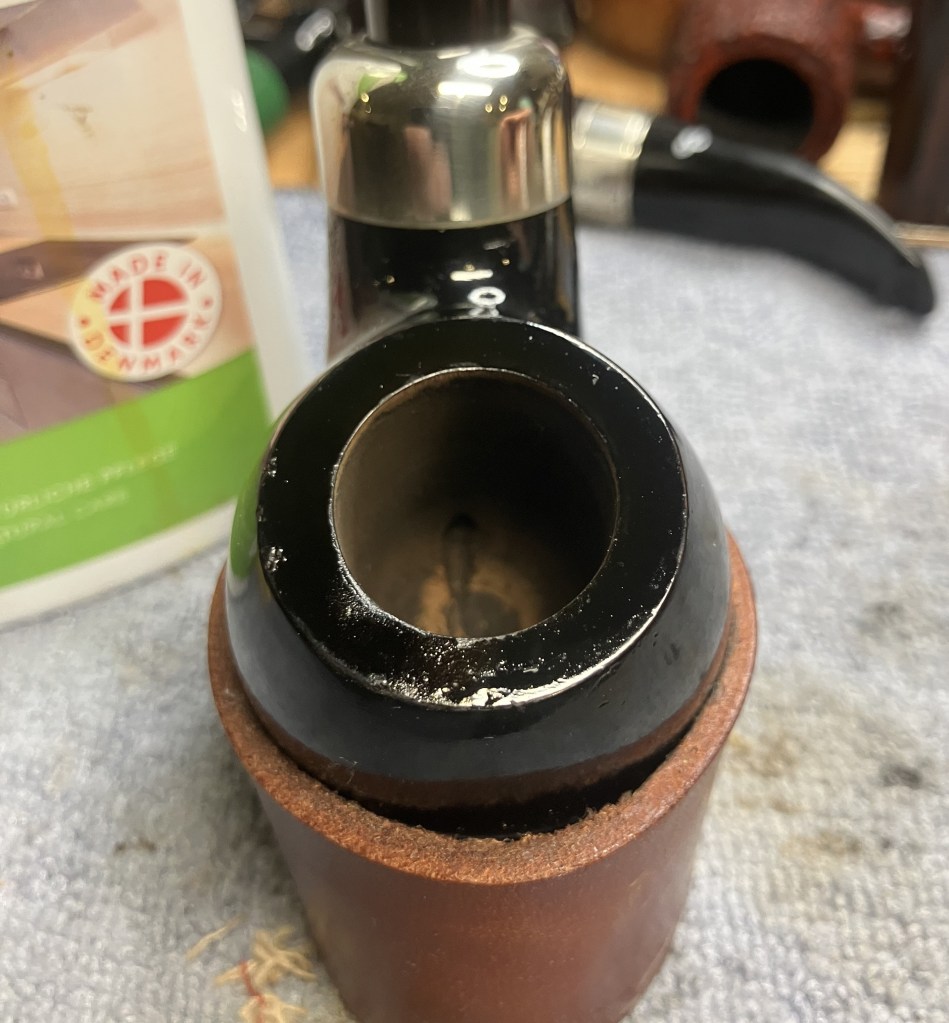
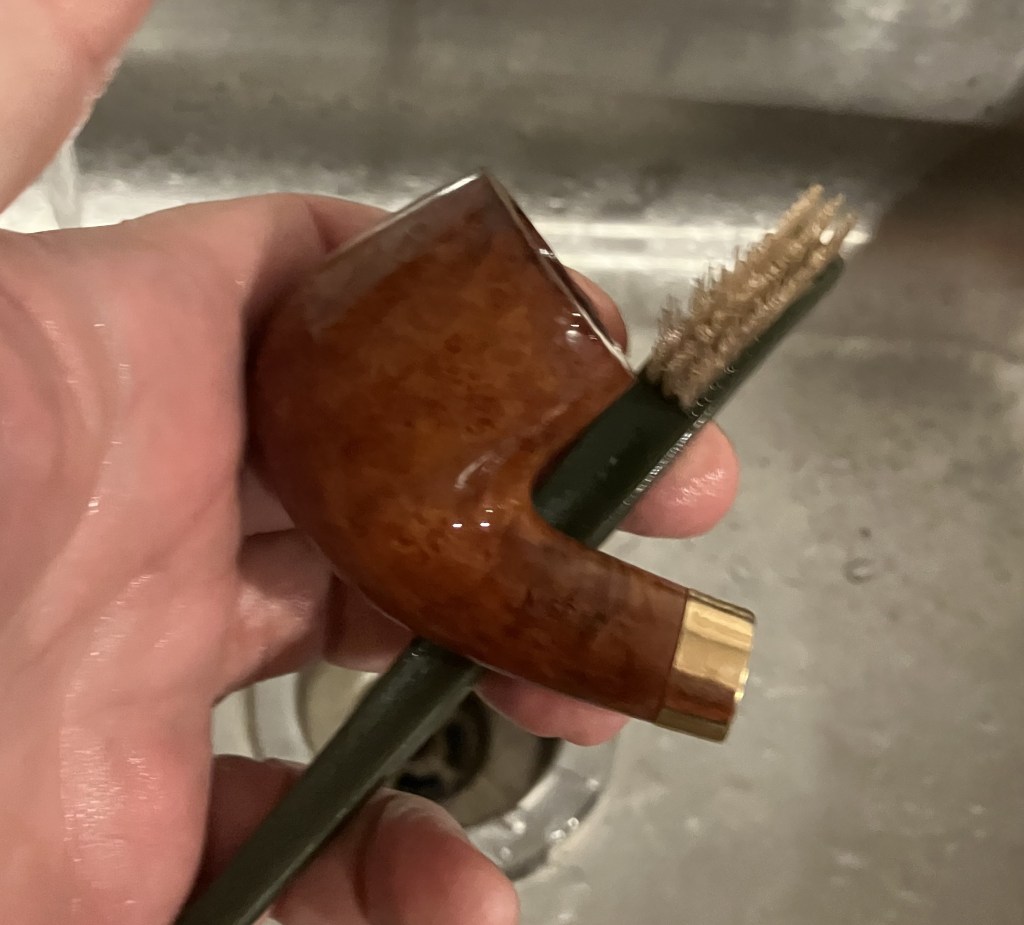
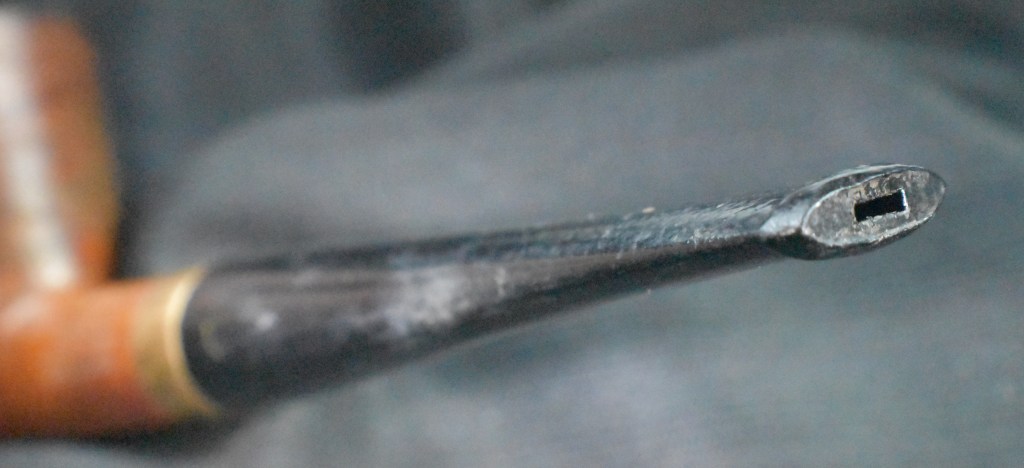
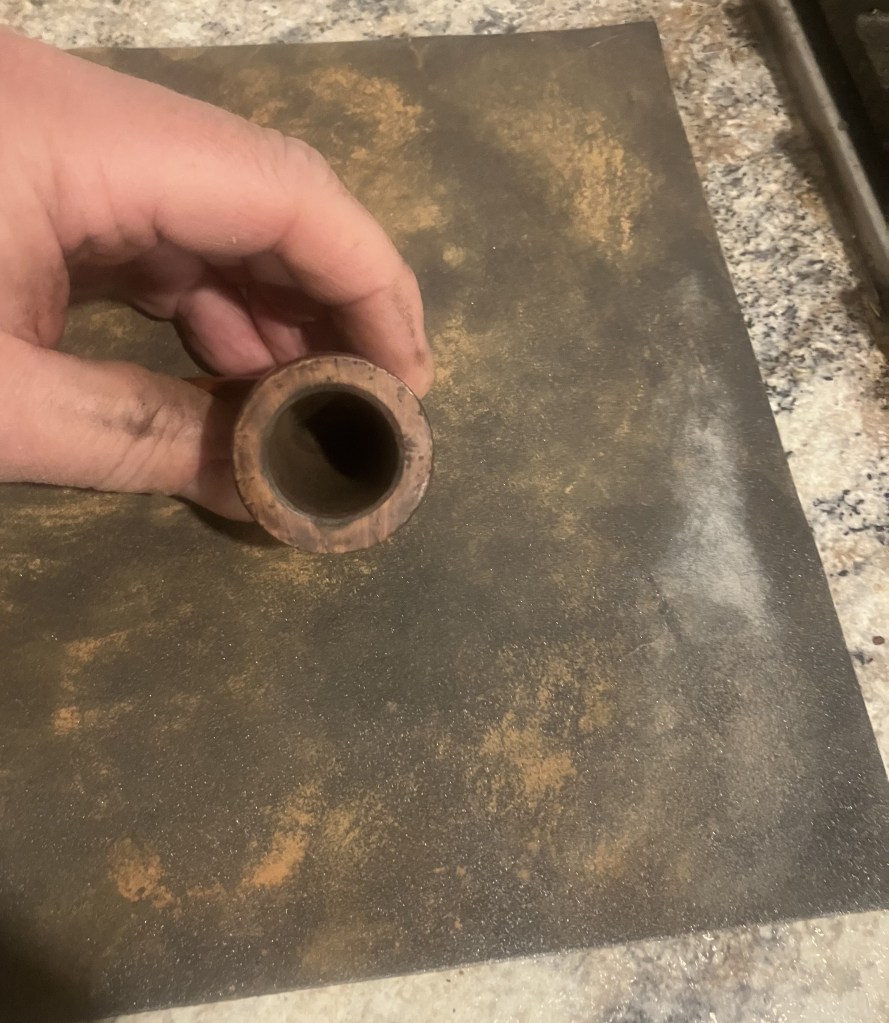
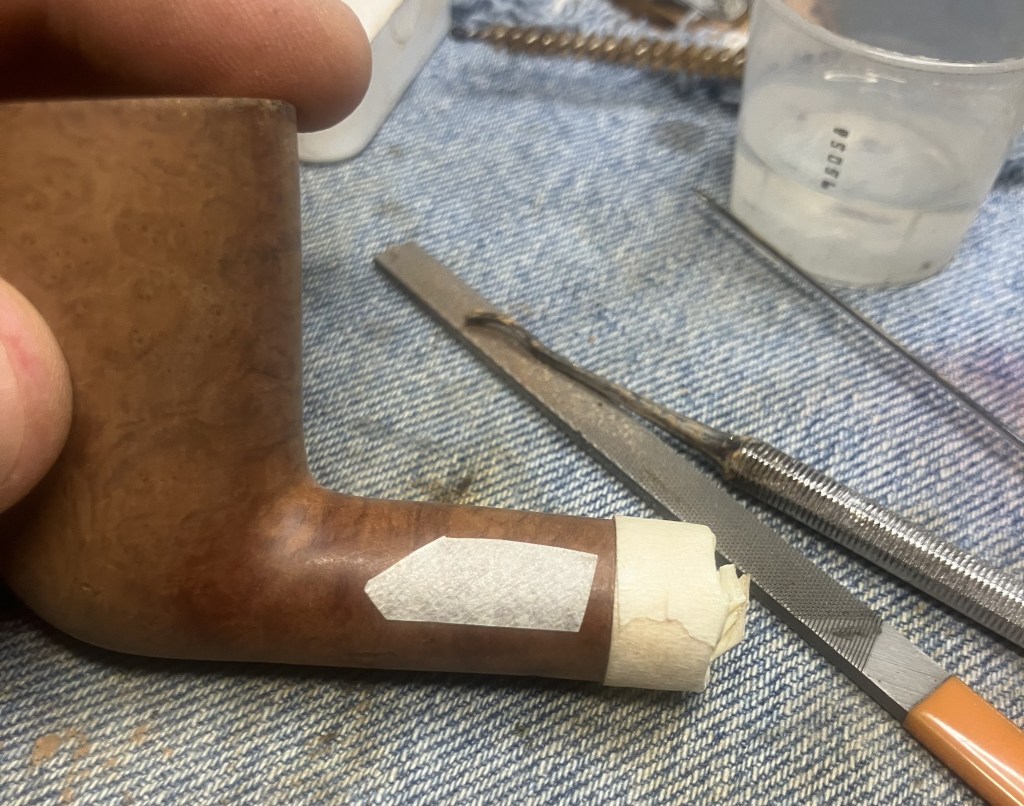
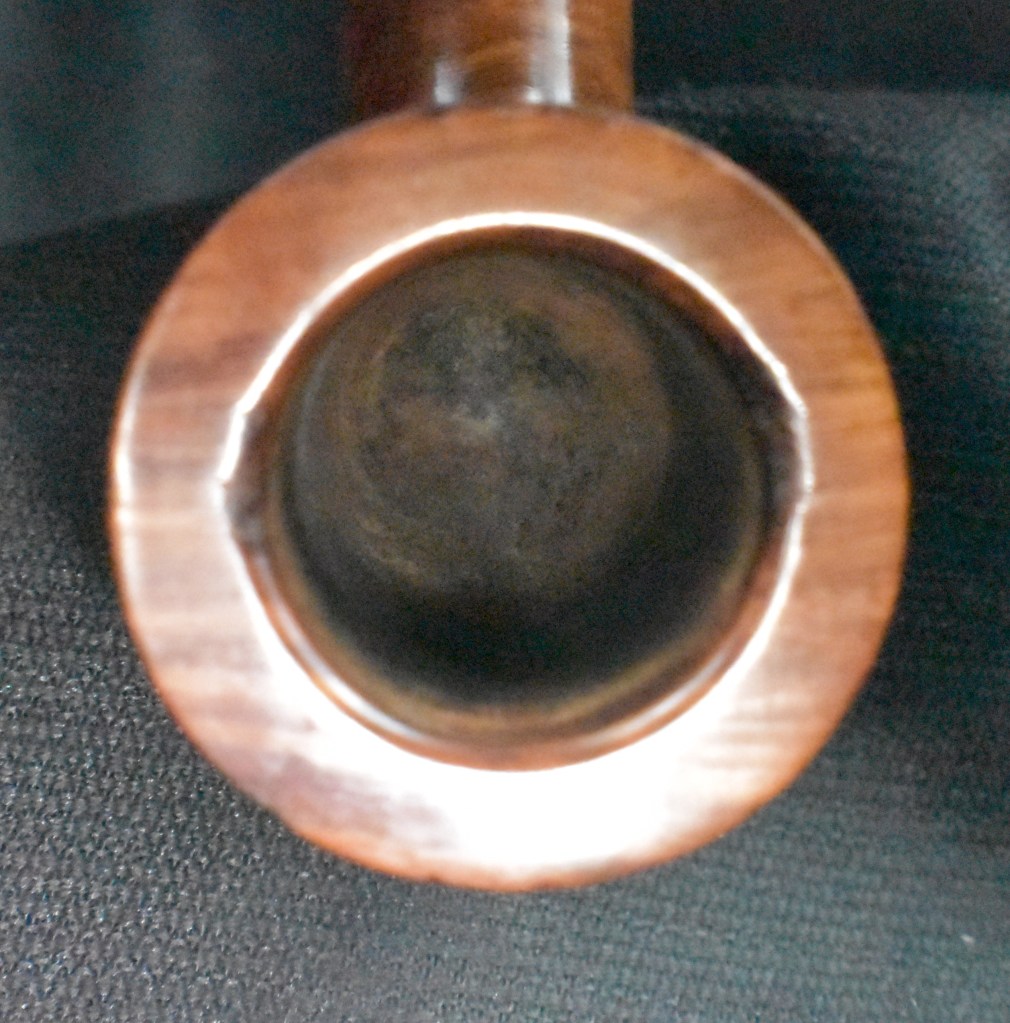
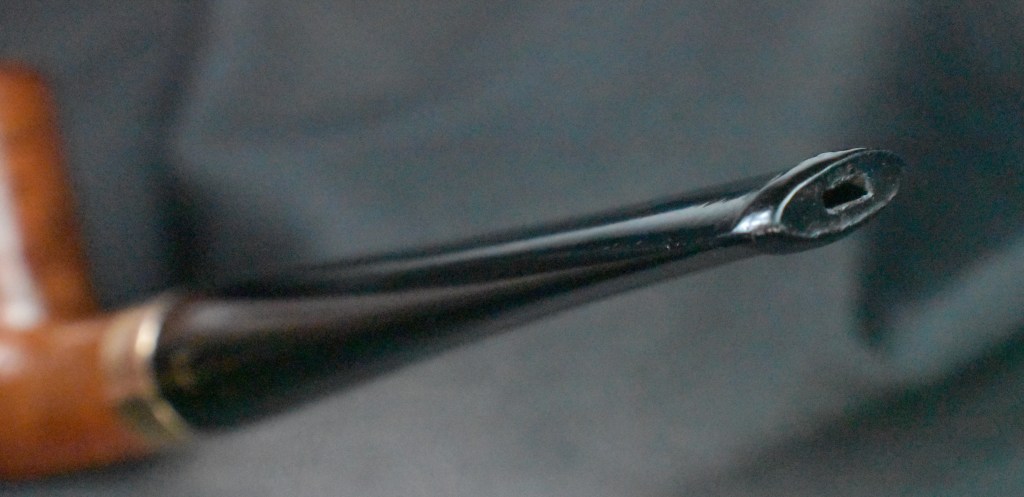
Looking down the mortise I could see light shining through the airway. It also showed that Mr. West bored two holes, one from each end of the shank, since it was not a straight through drilling
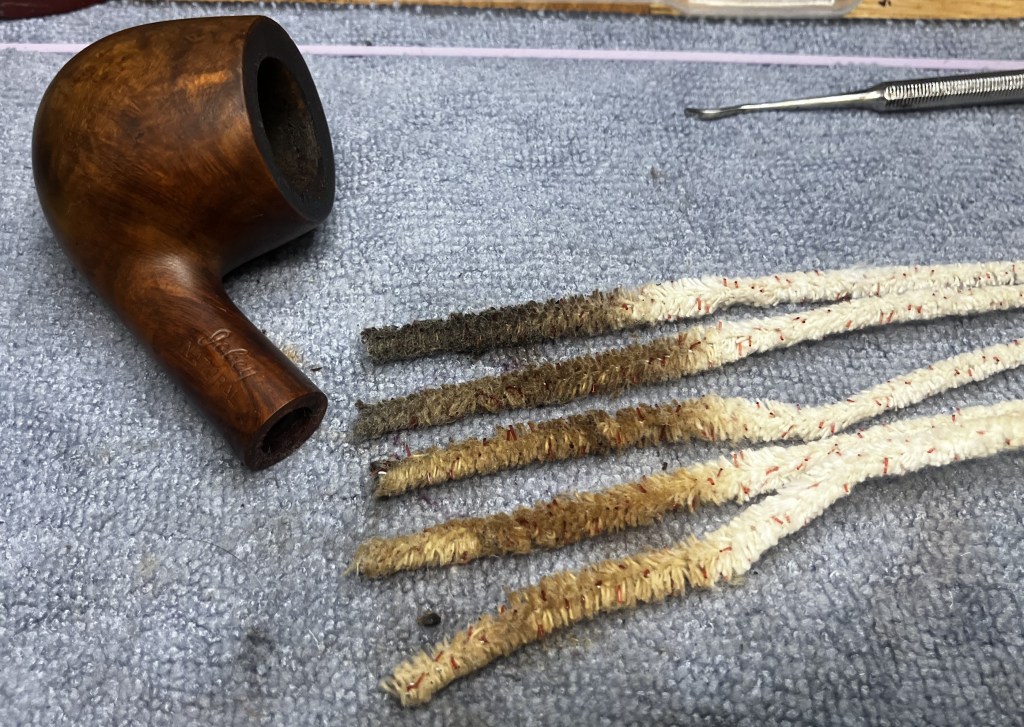
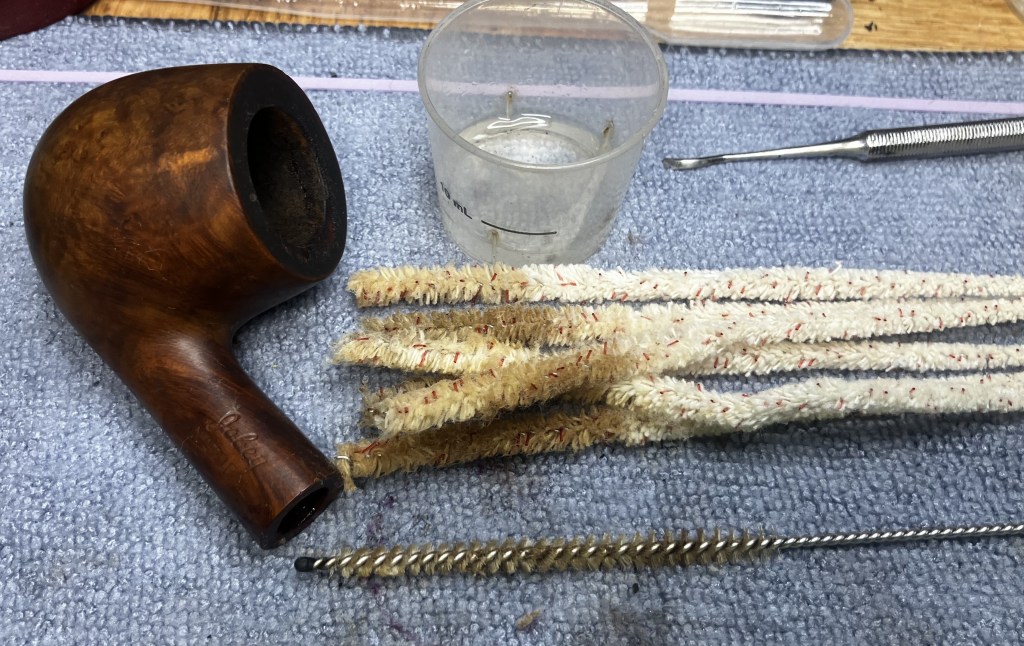
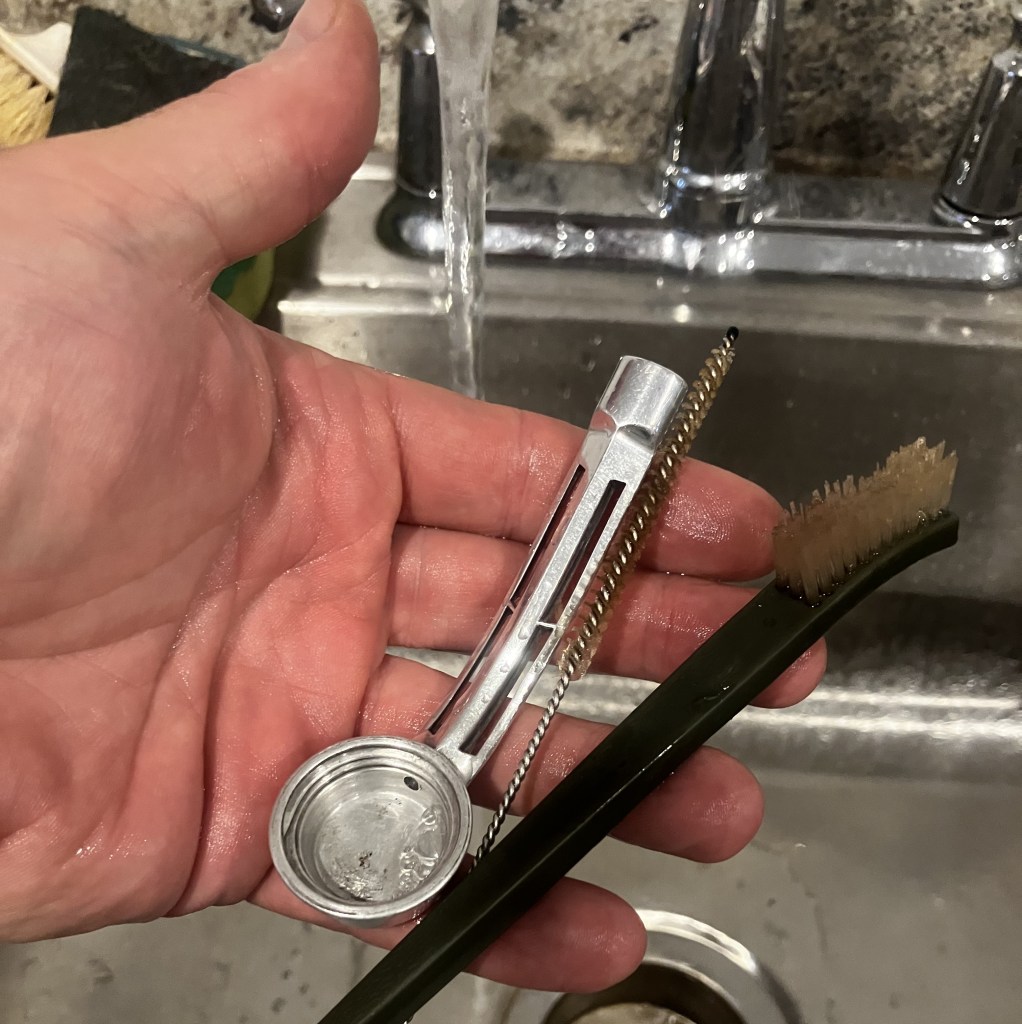
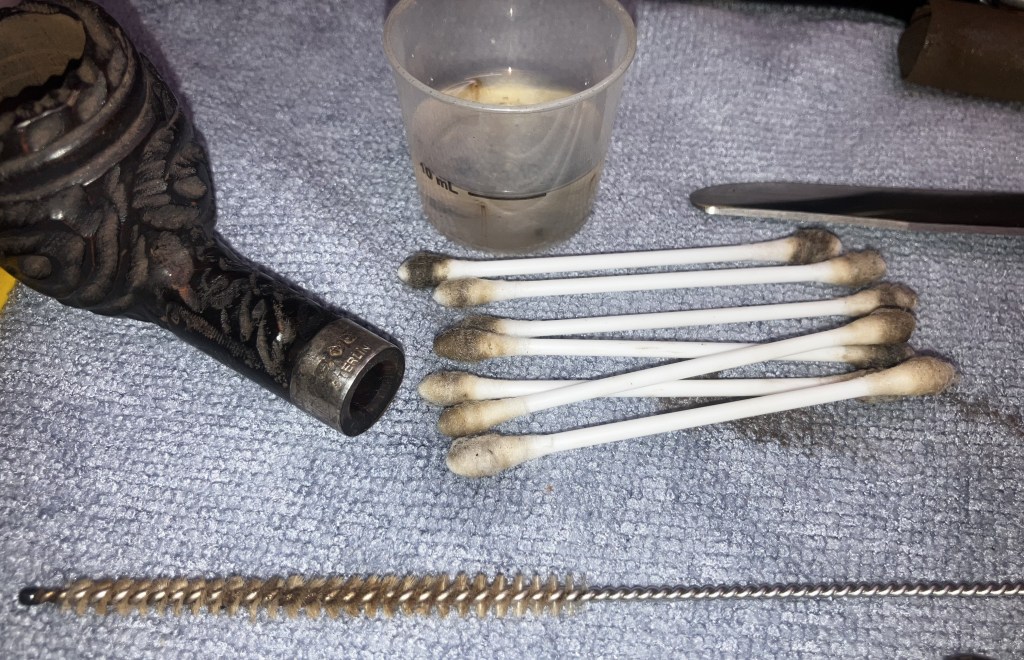
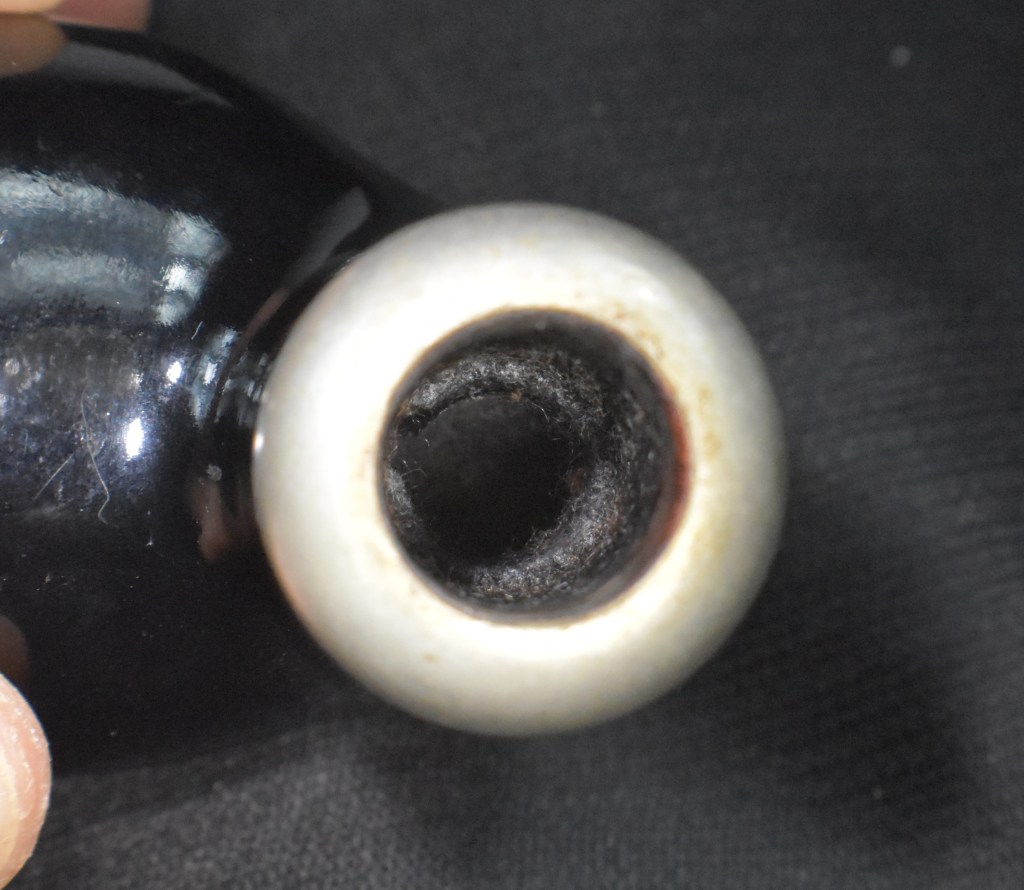
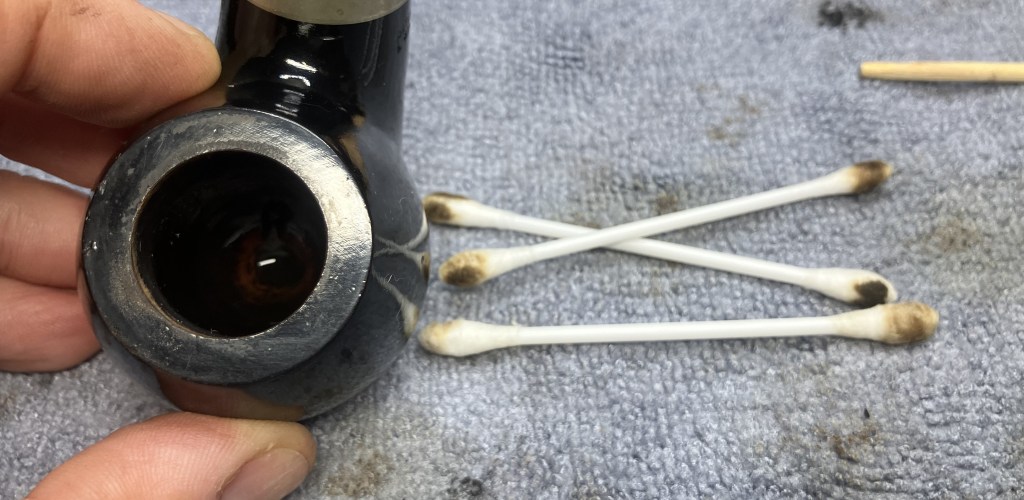
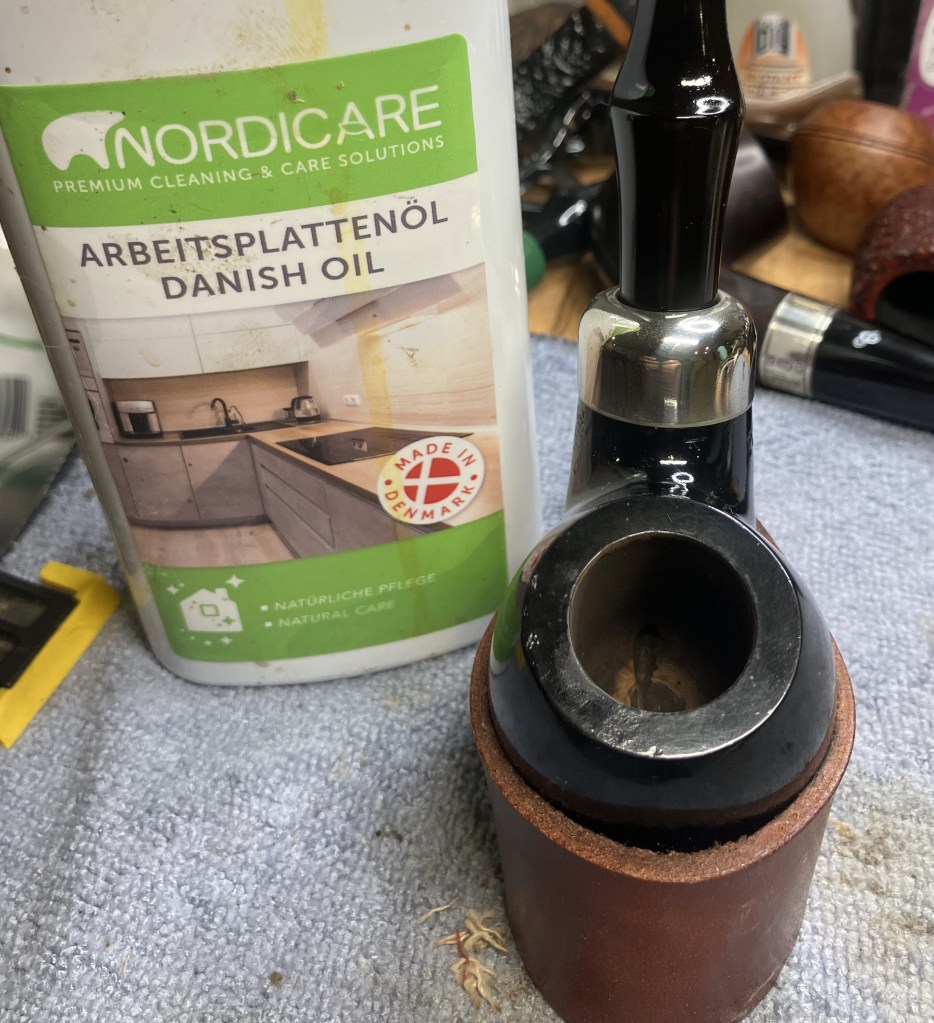
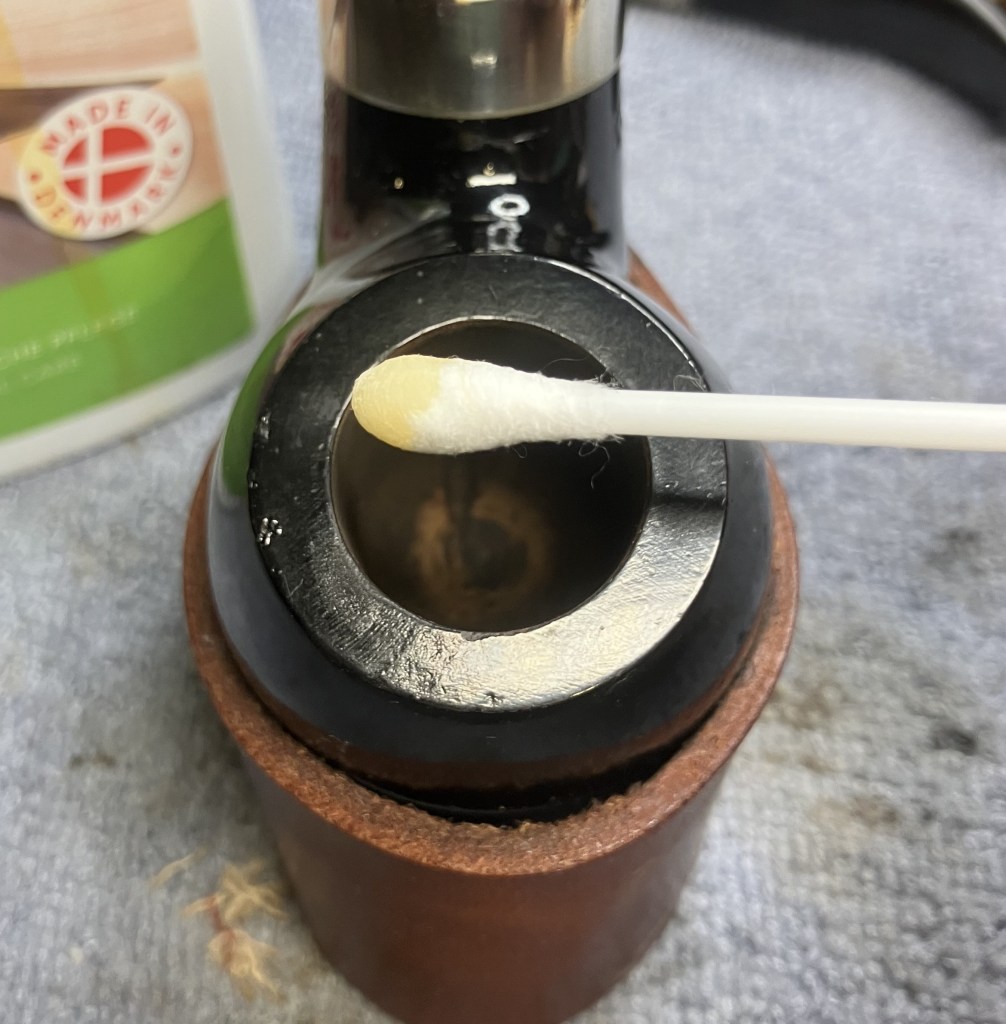
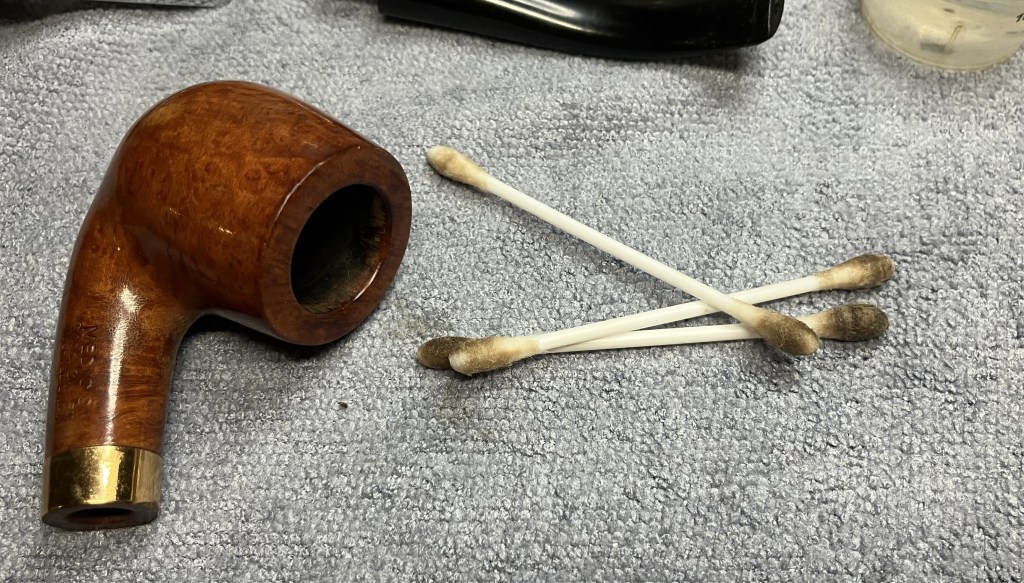
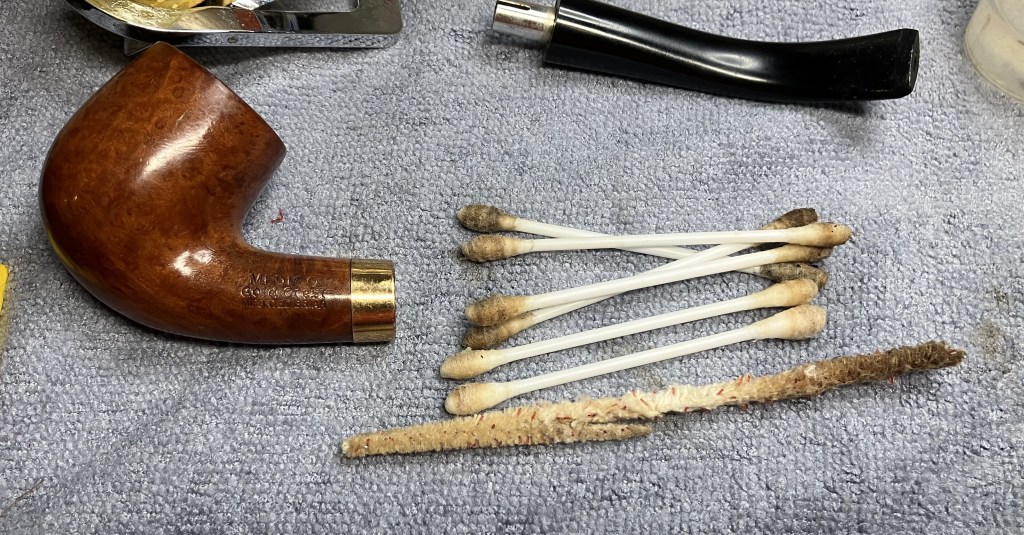
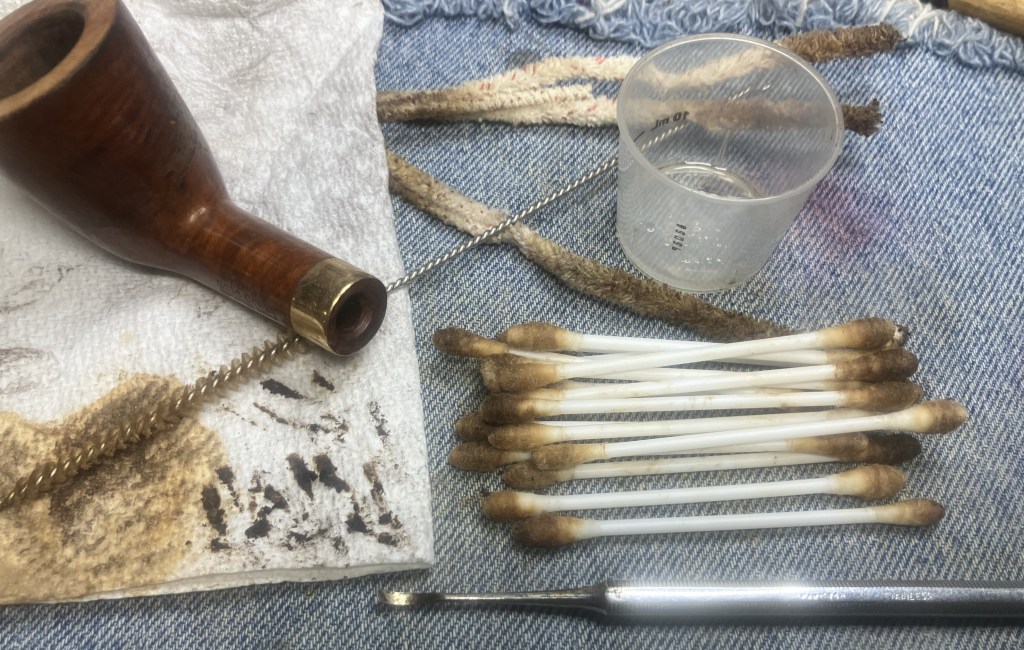
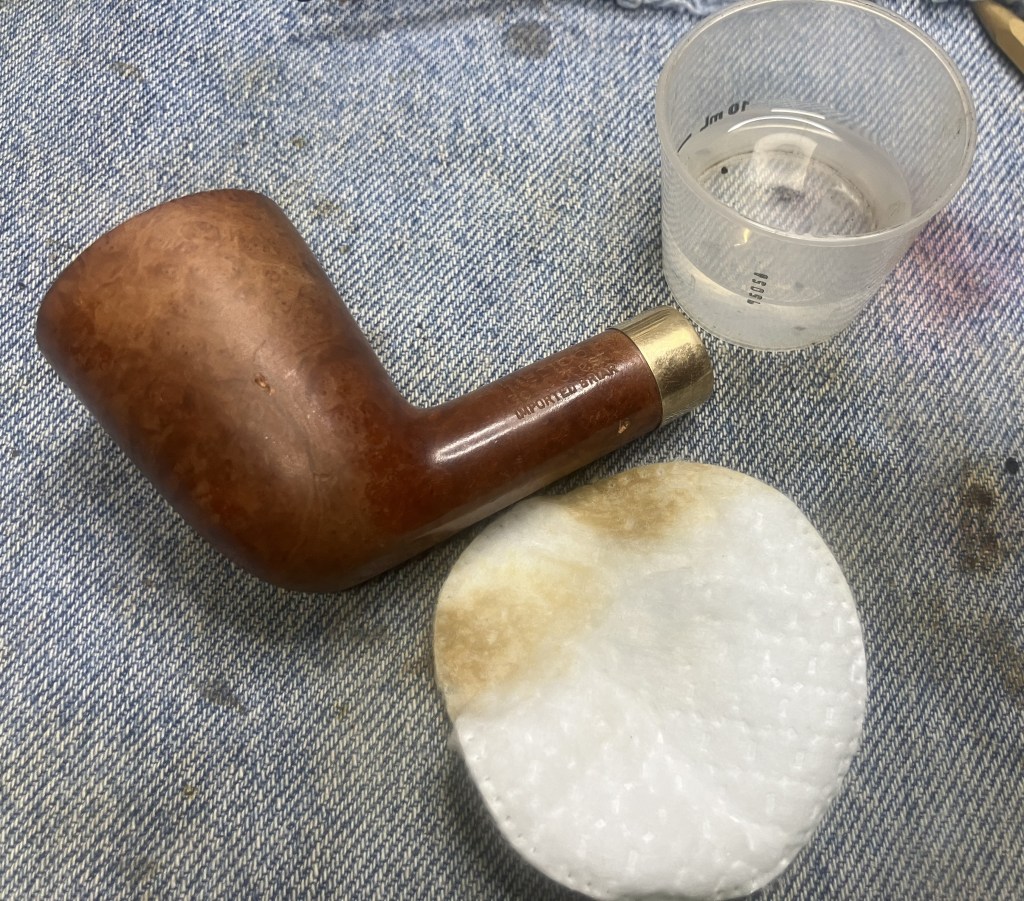
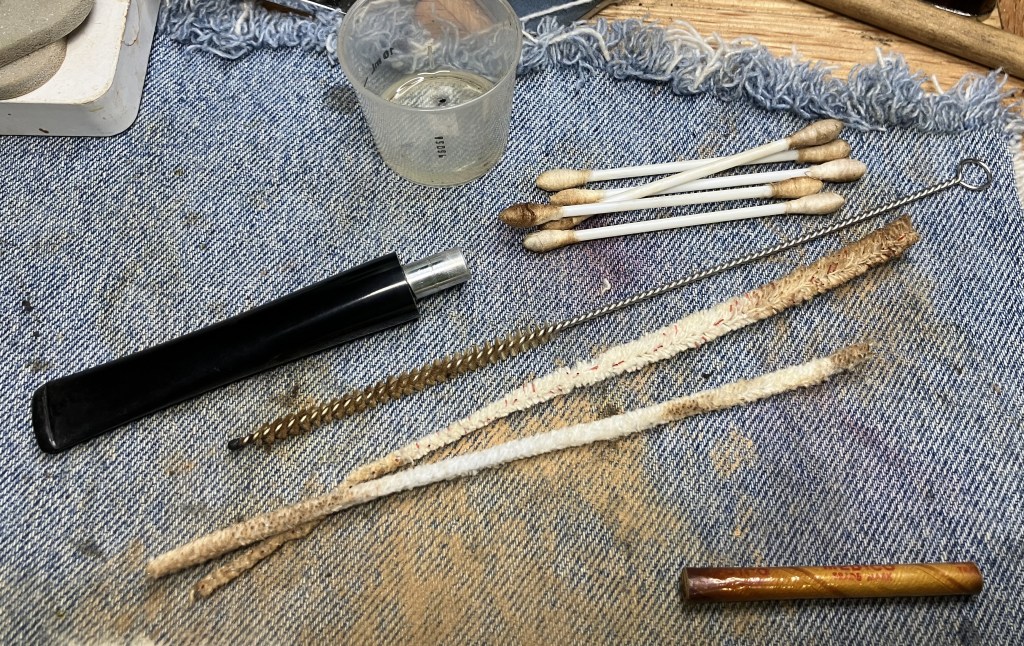
The stem and plug were both remarkably clean, requiring little work with a bristle pipe cleaner and 95% ethyl alcohol.
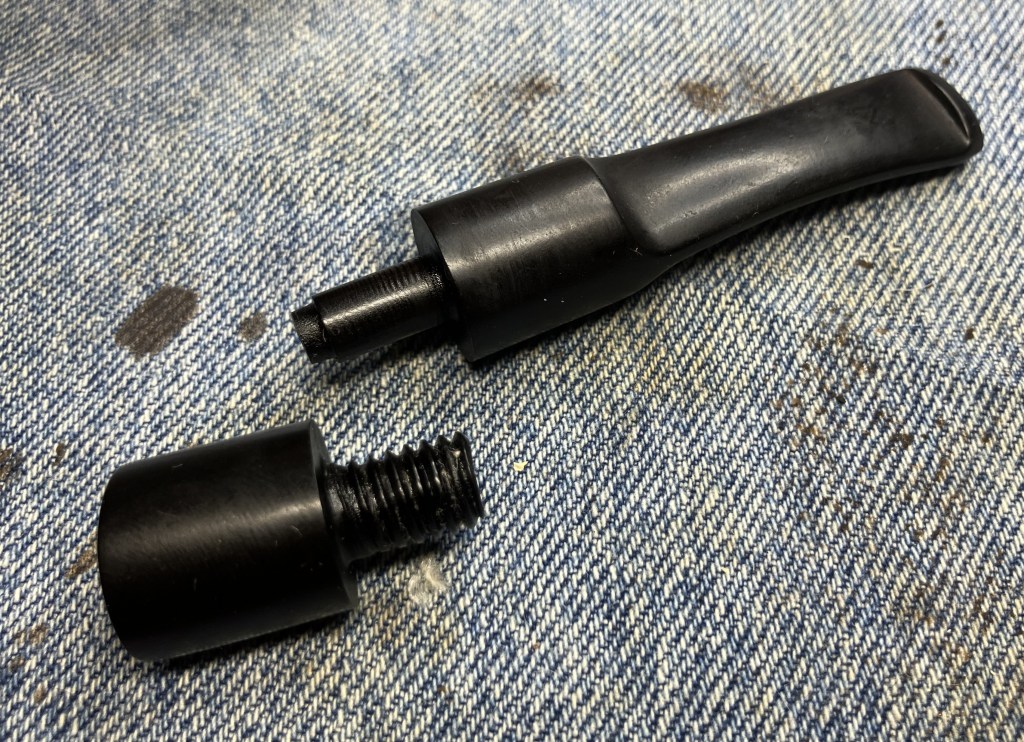
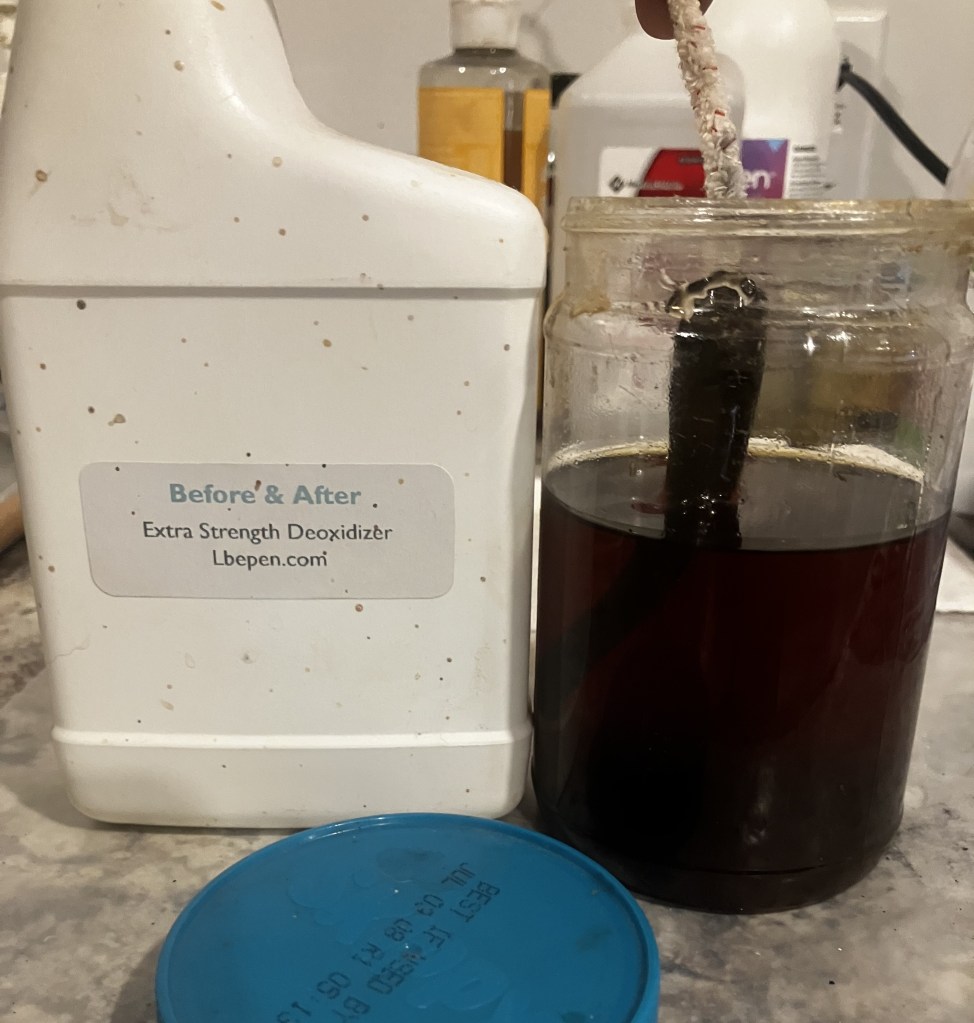
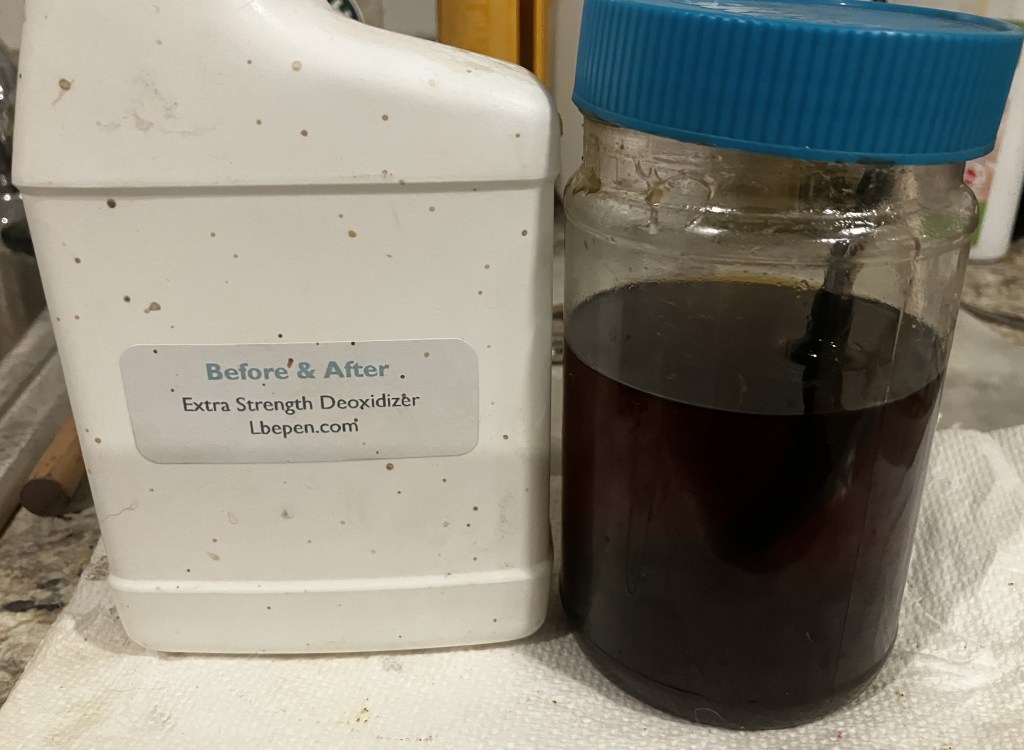
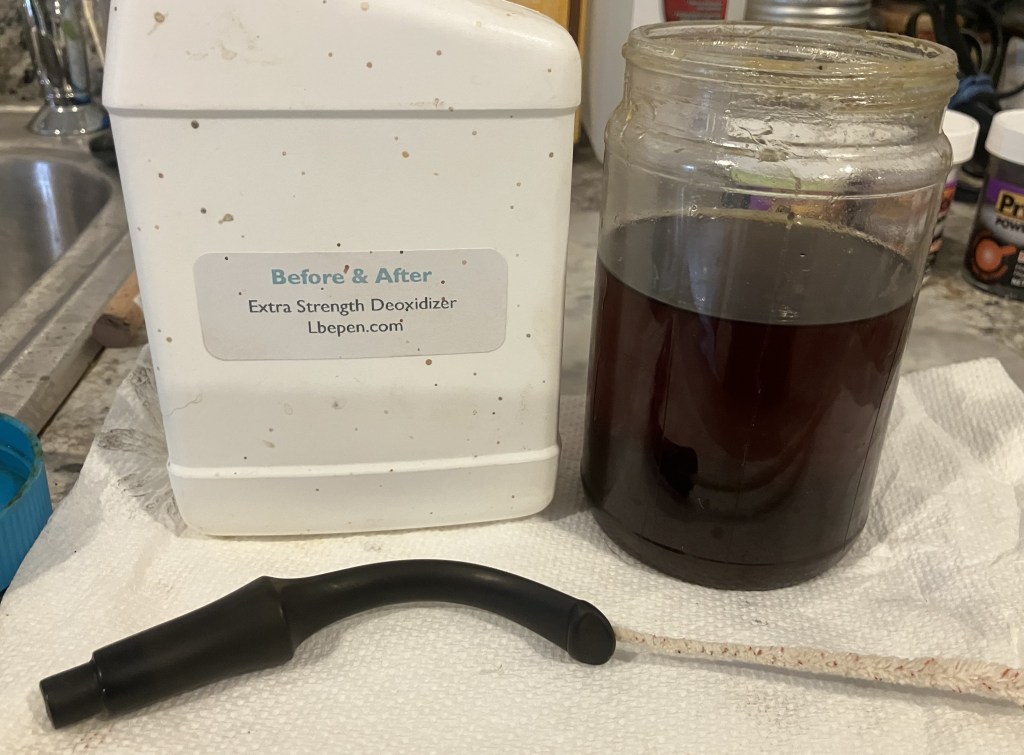
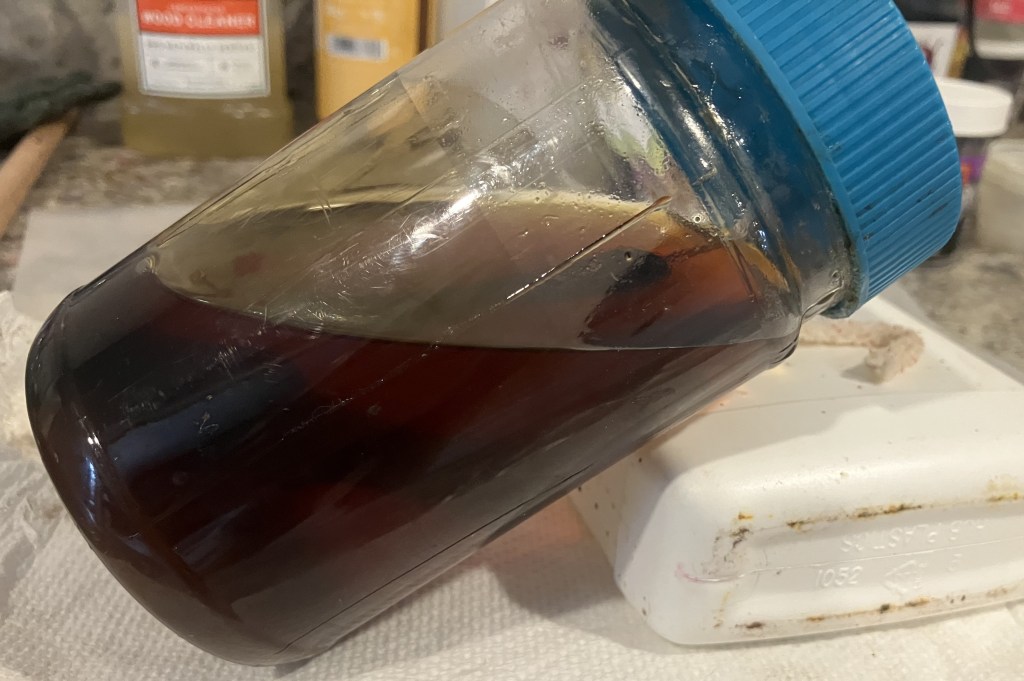
Both pieces were inserted with a pipe cleaner and submerged in Before and After Extra Strength Deoxidizer (deox).
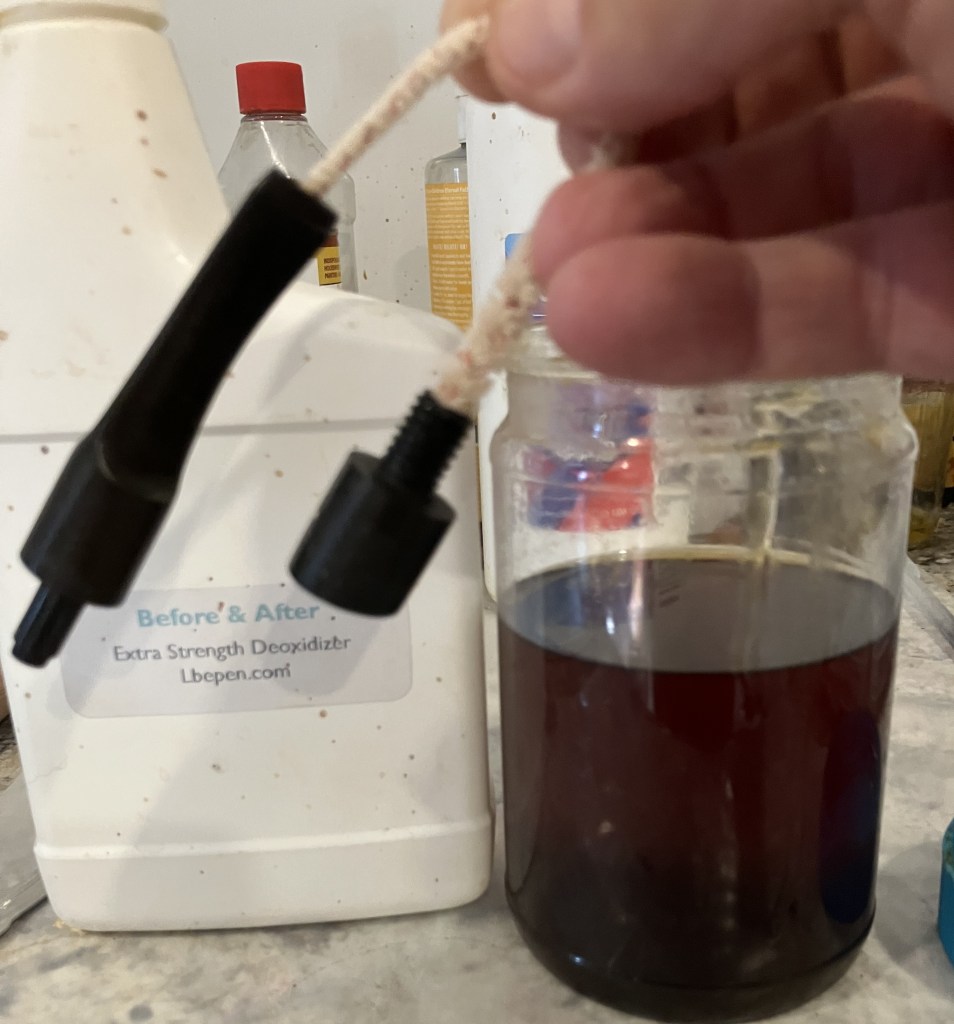
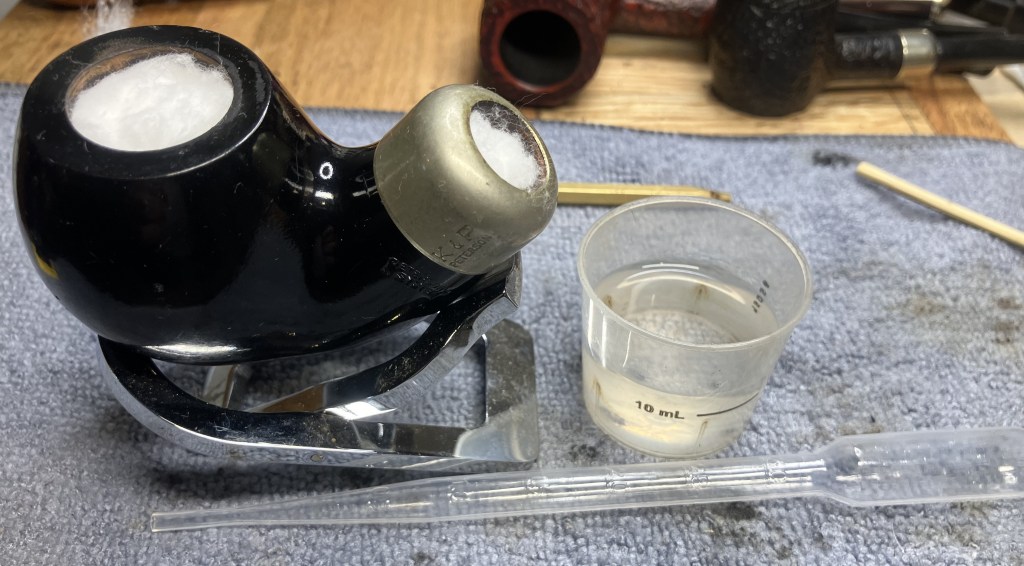
The pipe cleaner was just used as a handle for easier removal after the three hour deox bath. Why three hours? I don’t know, it just seemed right.
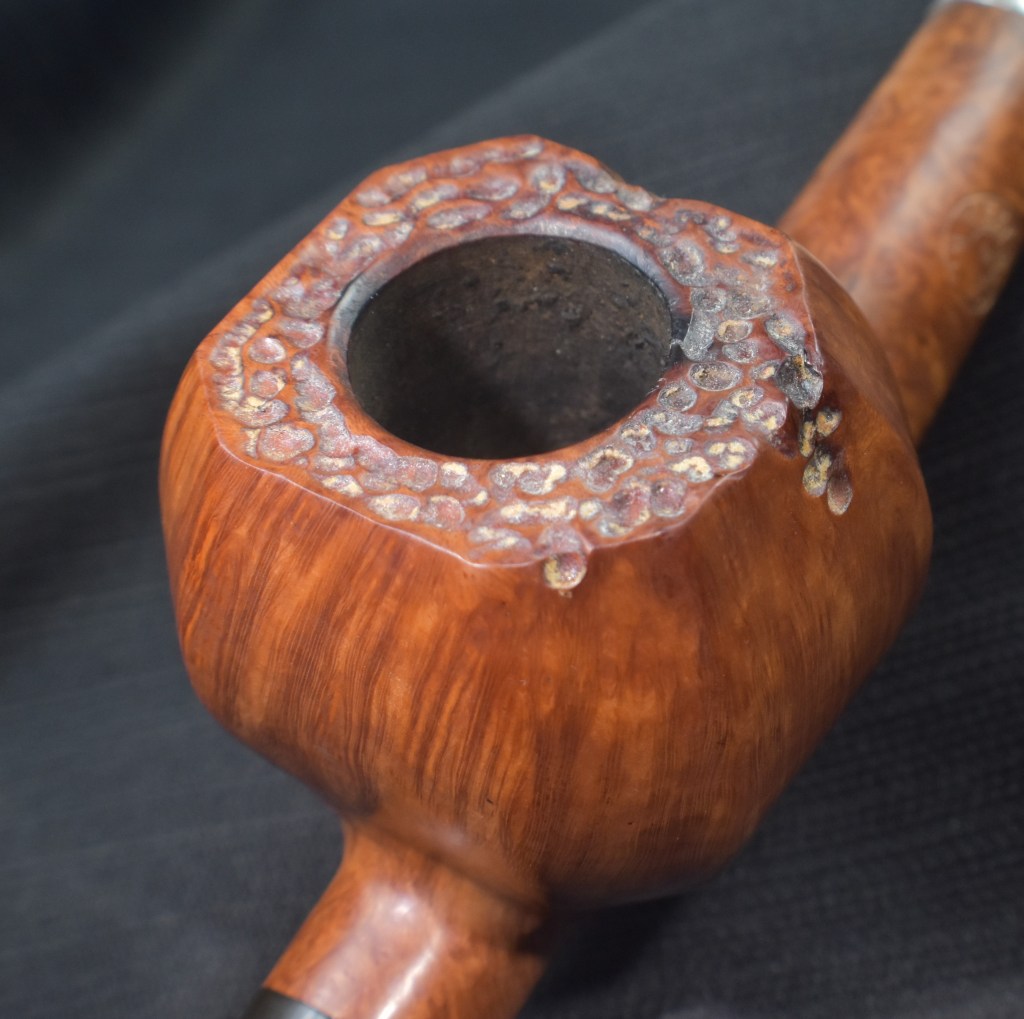
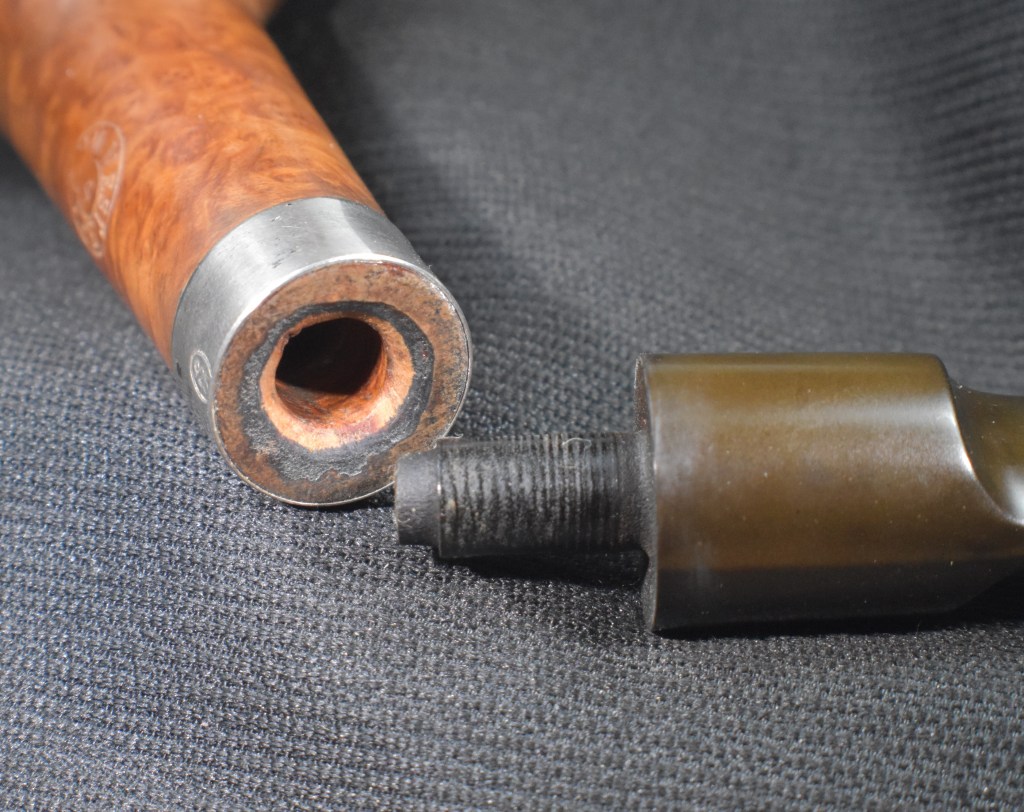
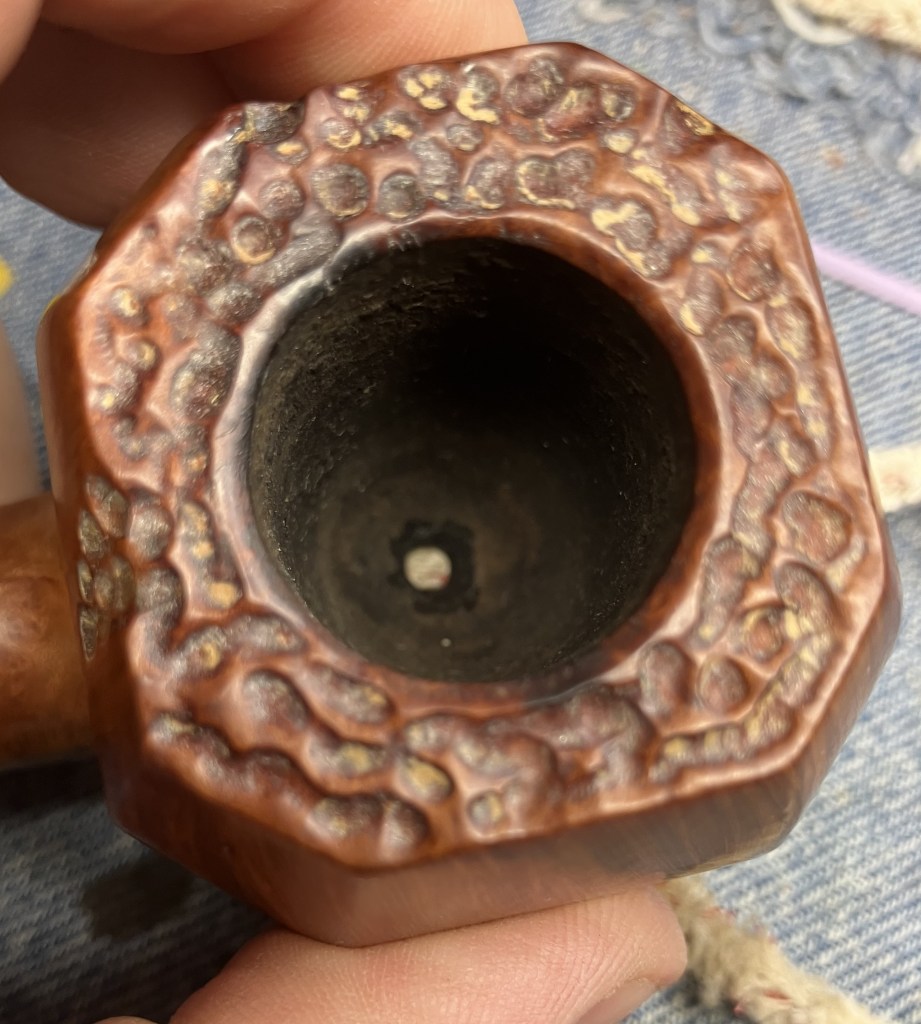
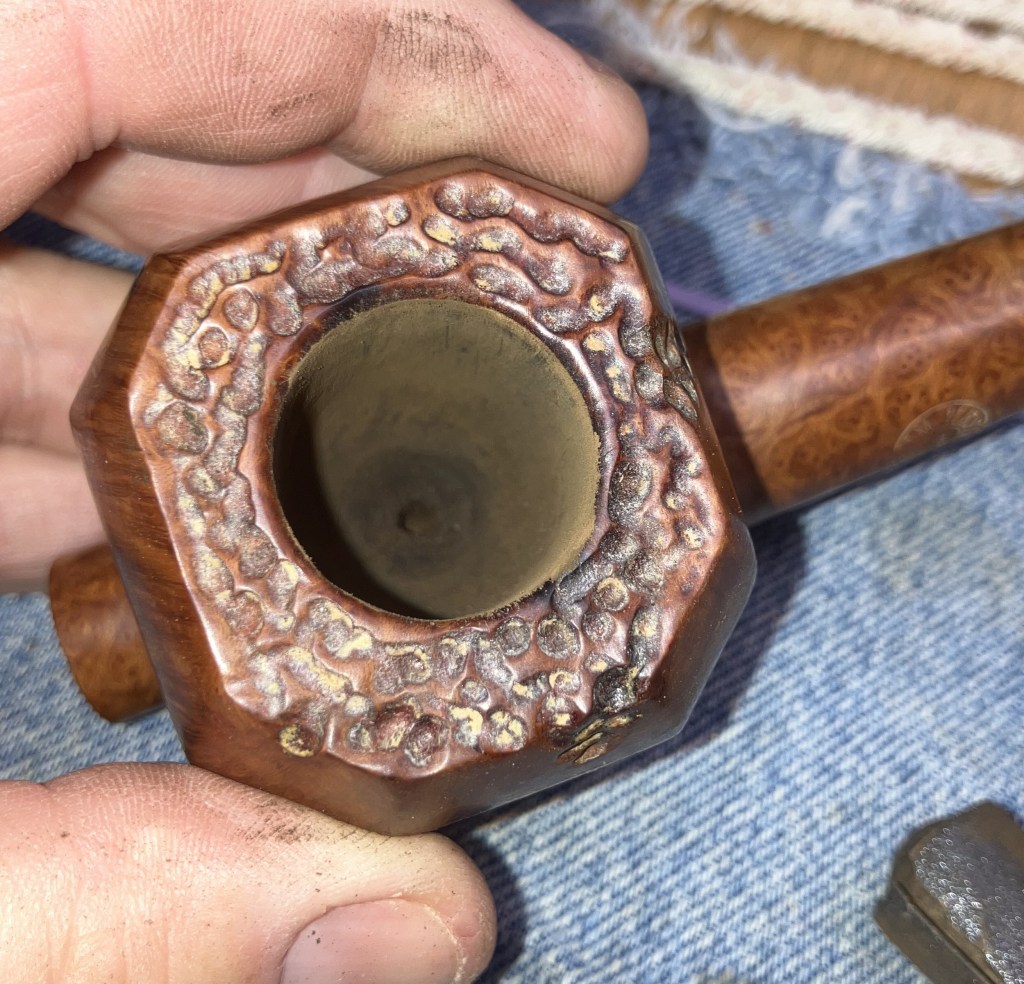
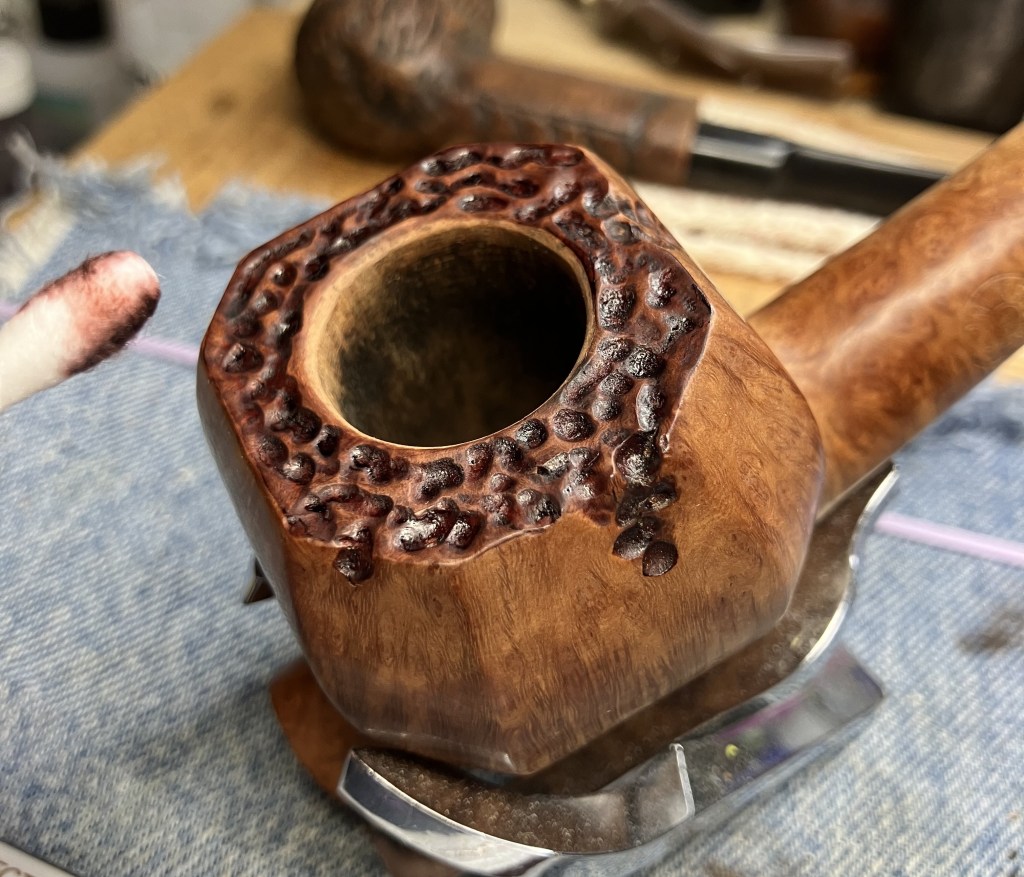
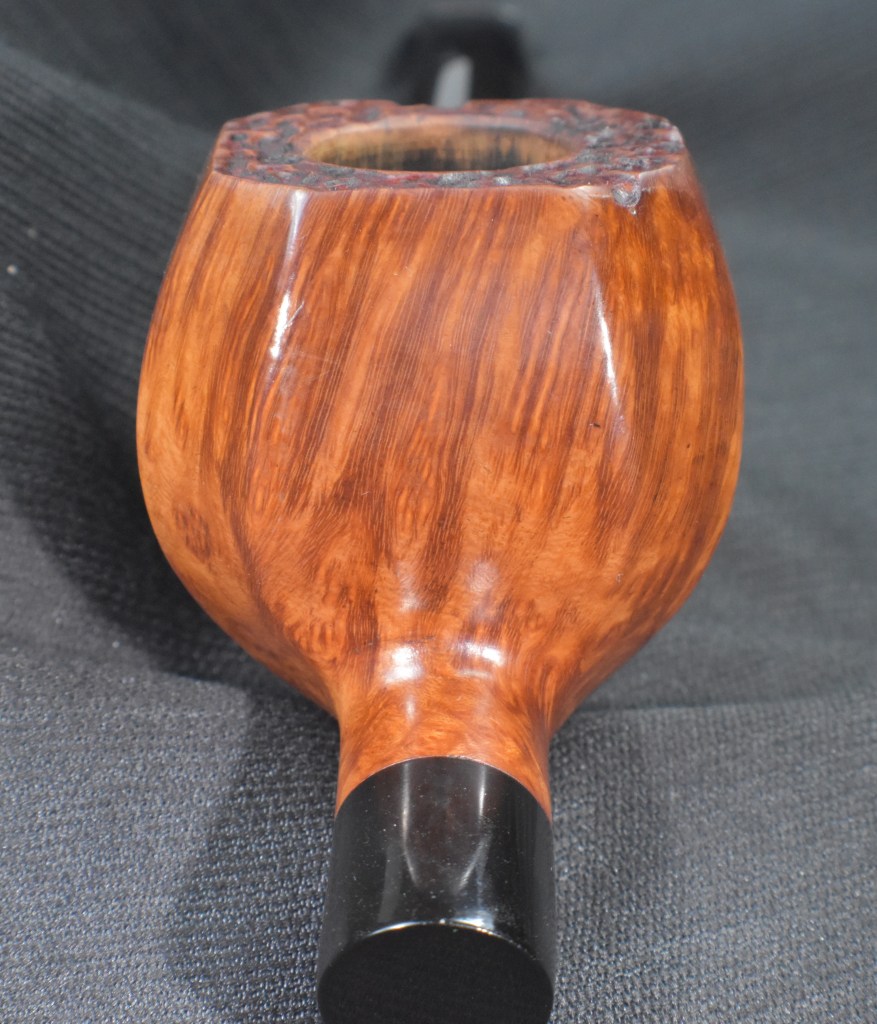
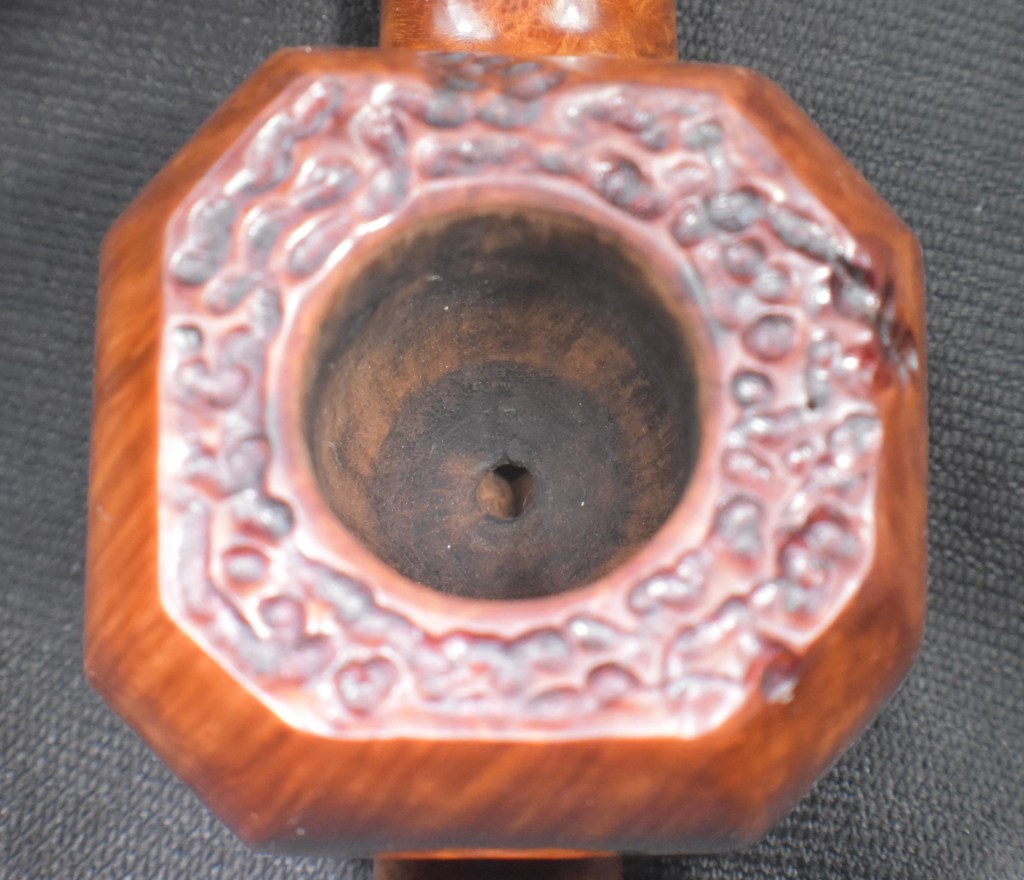
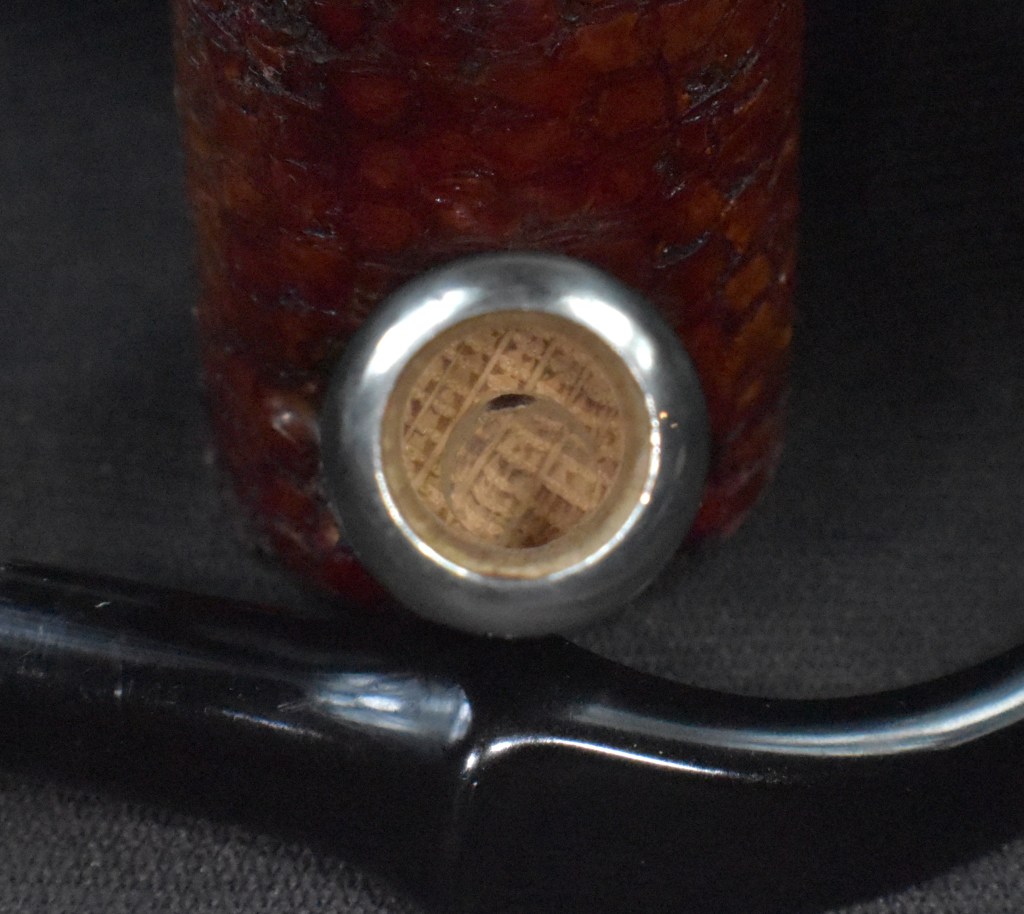
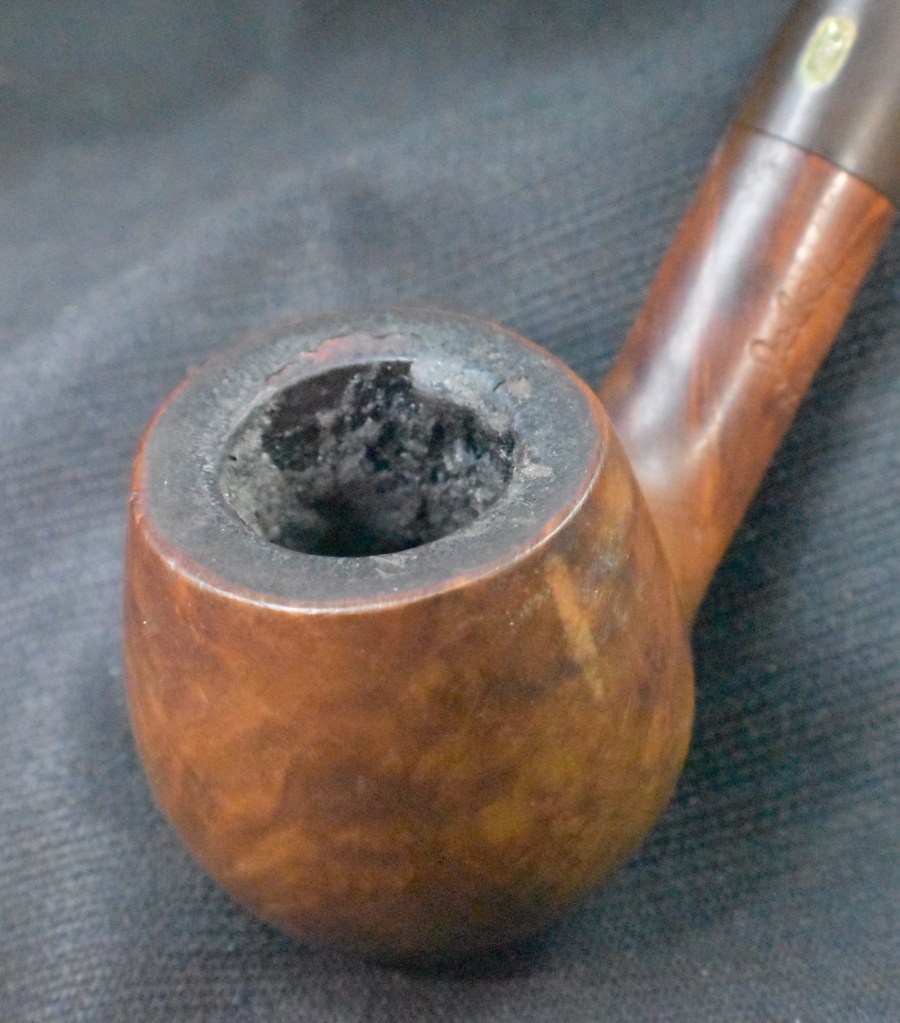
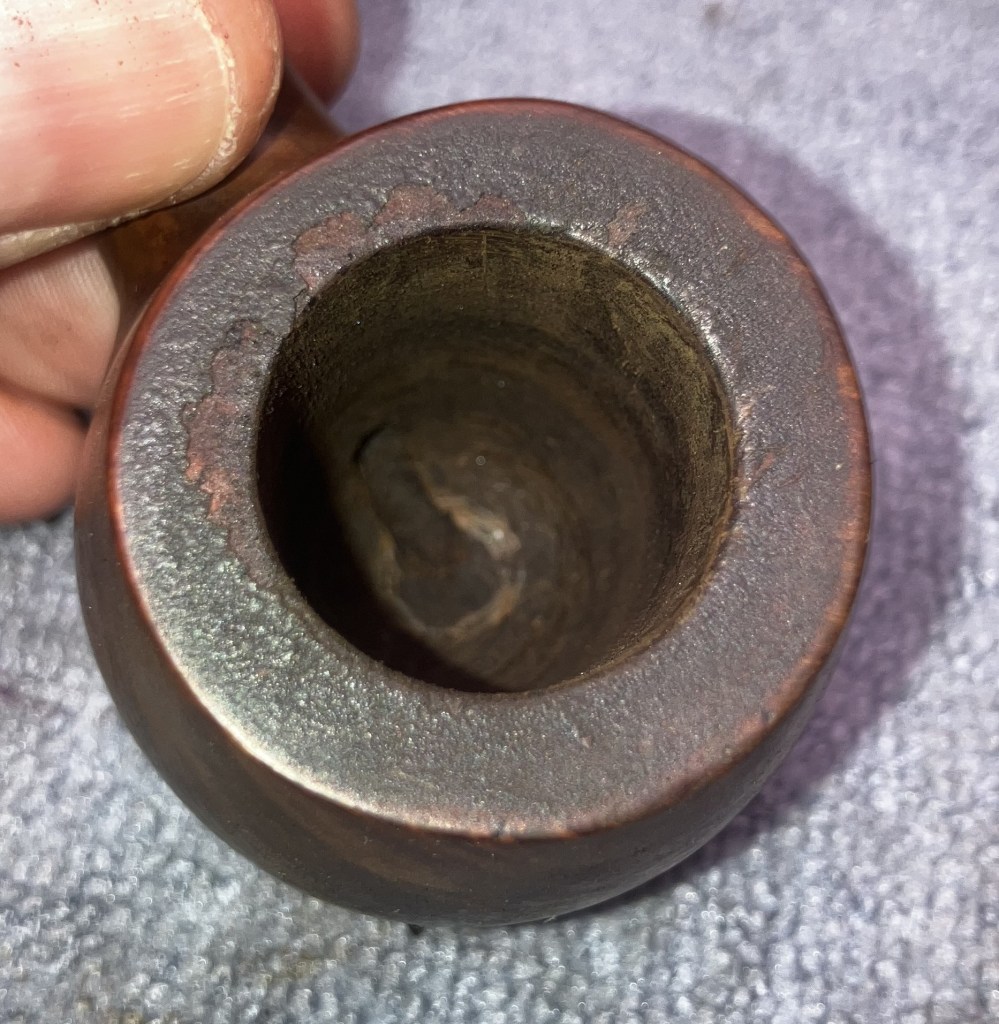
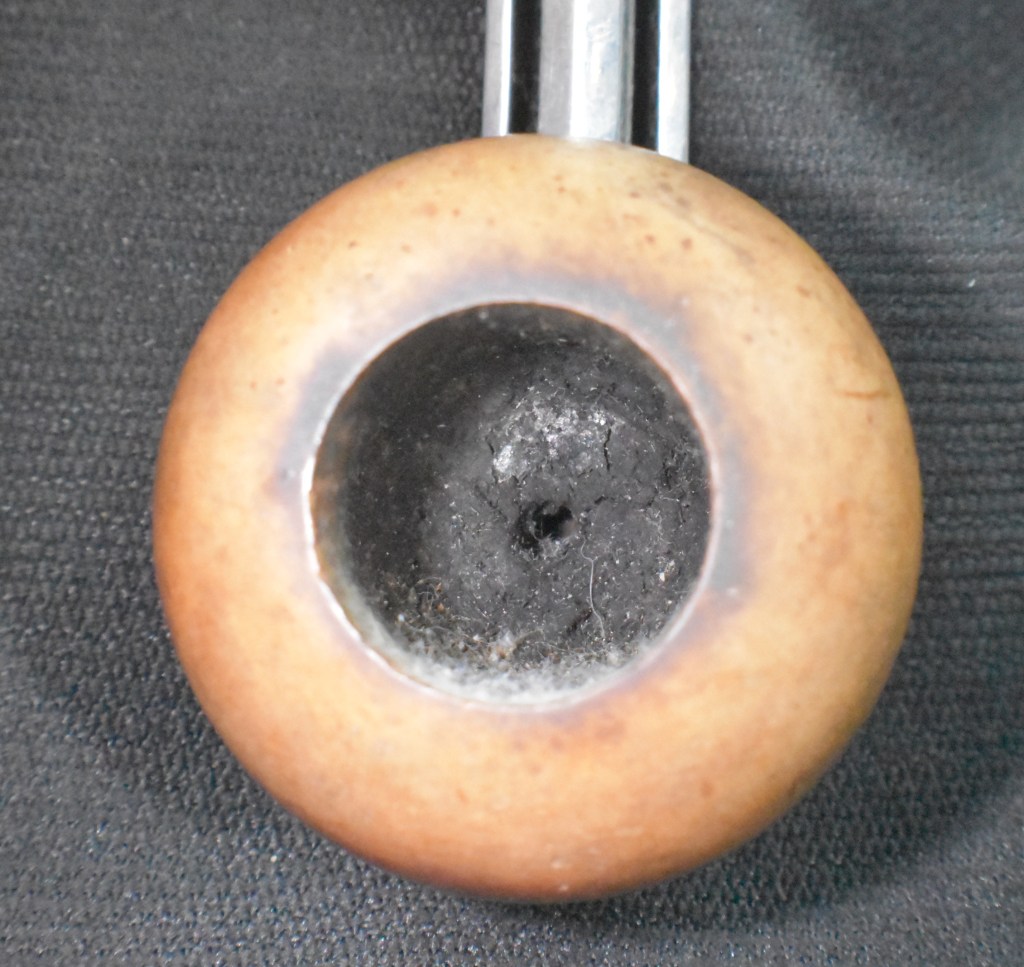
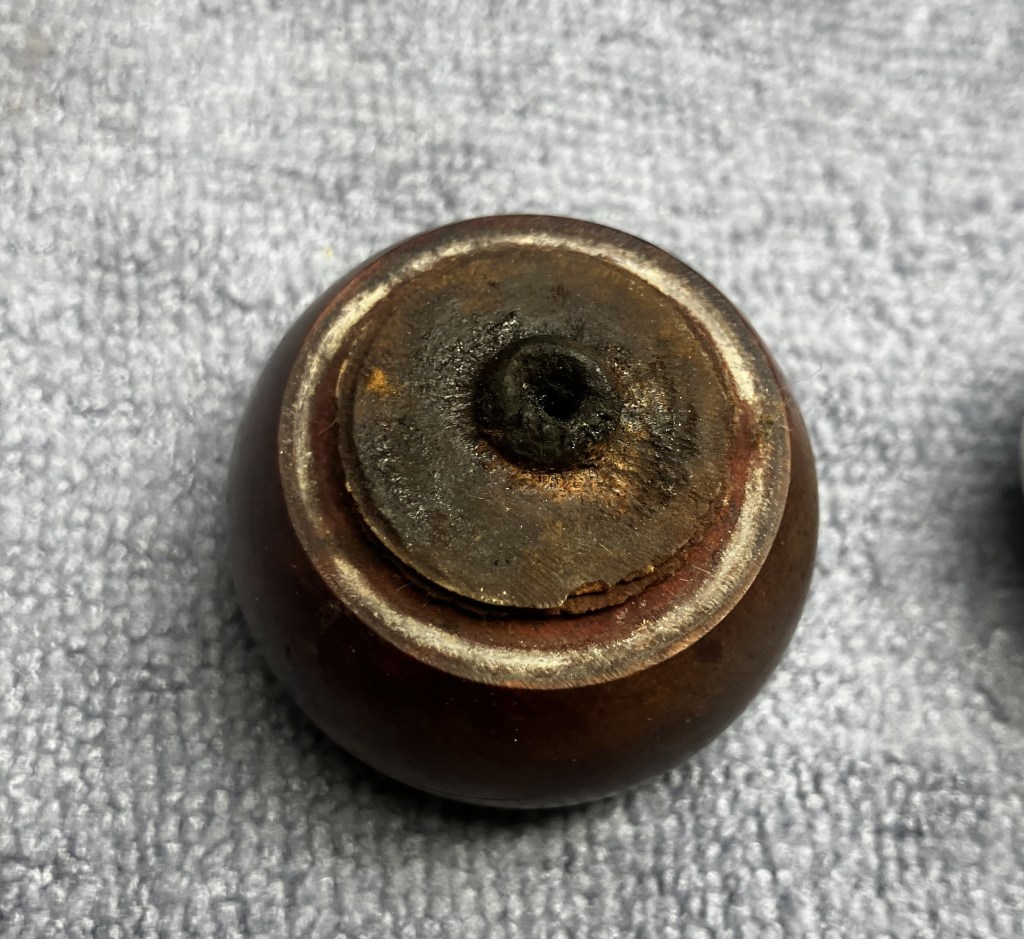
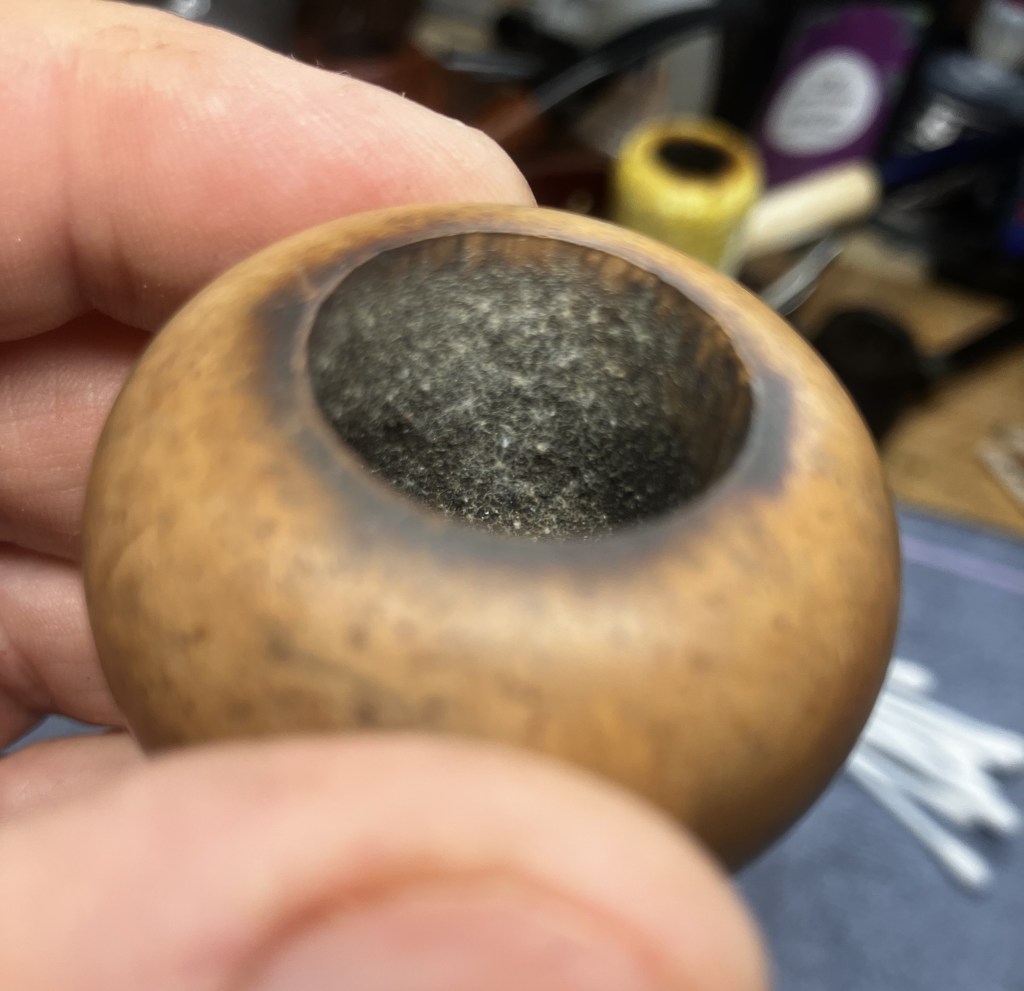
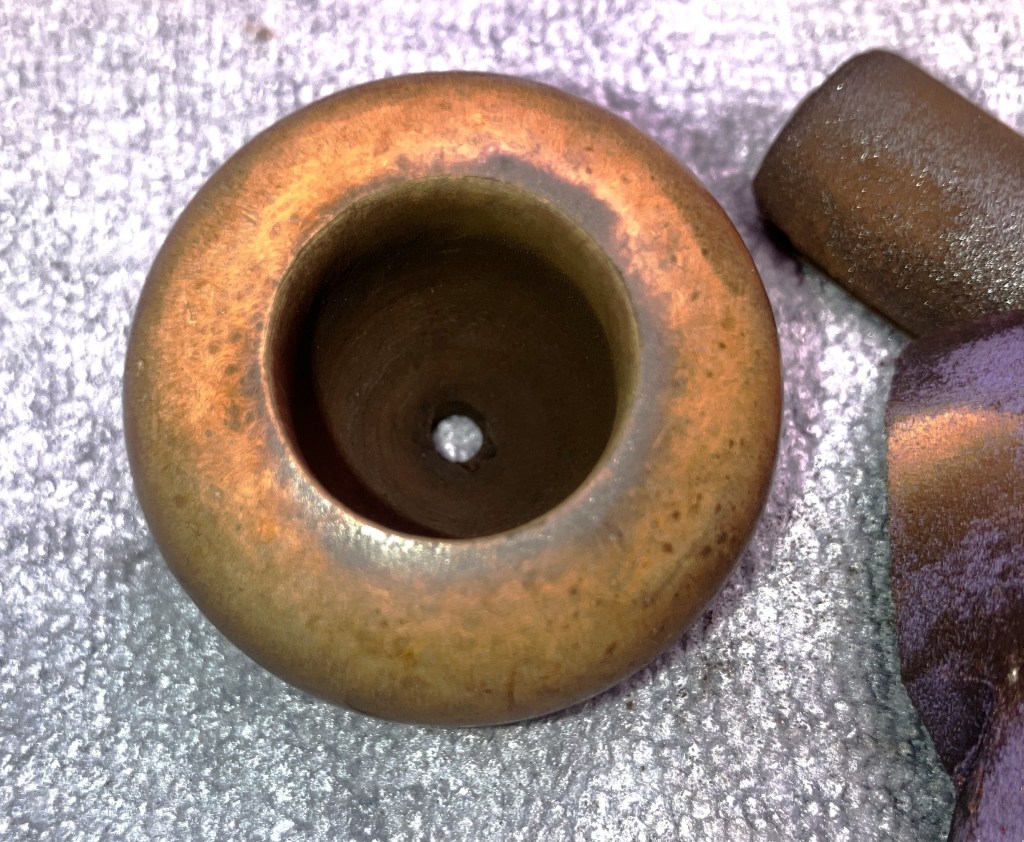
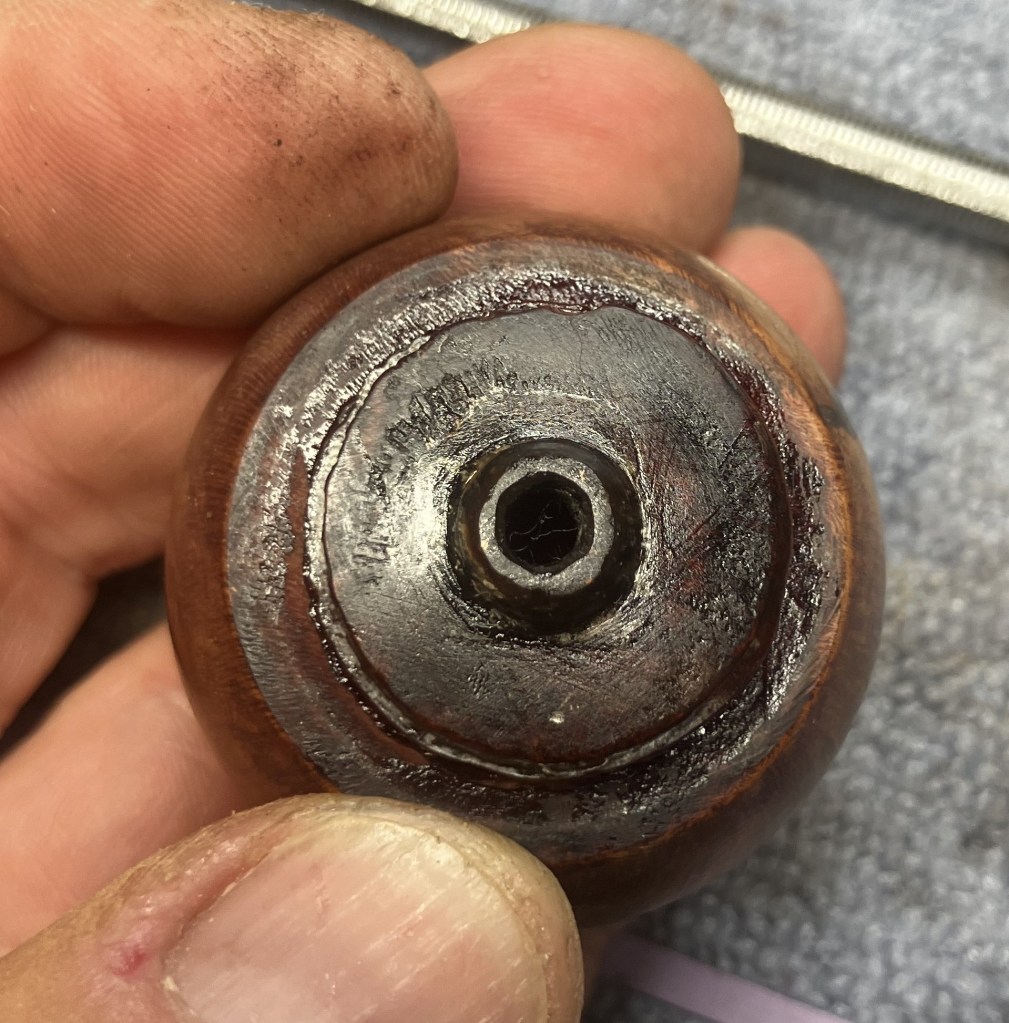
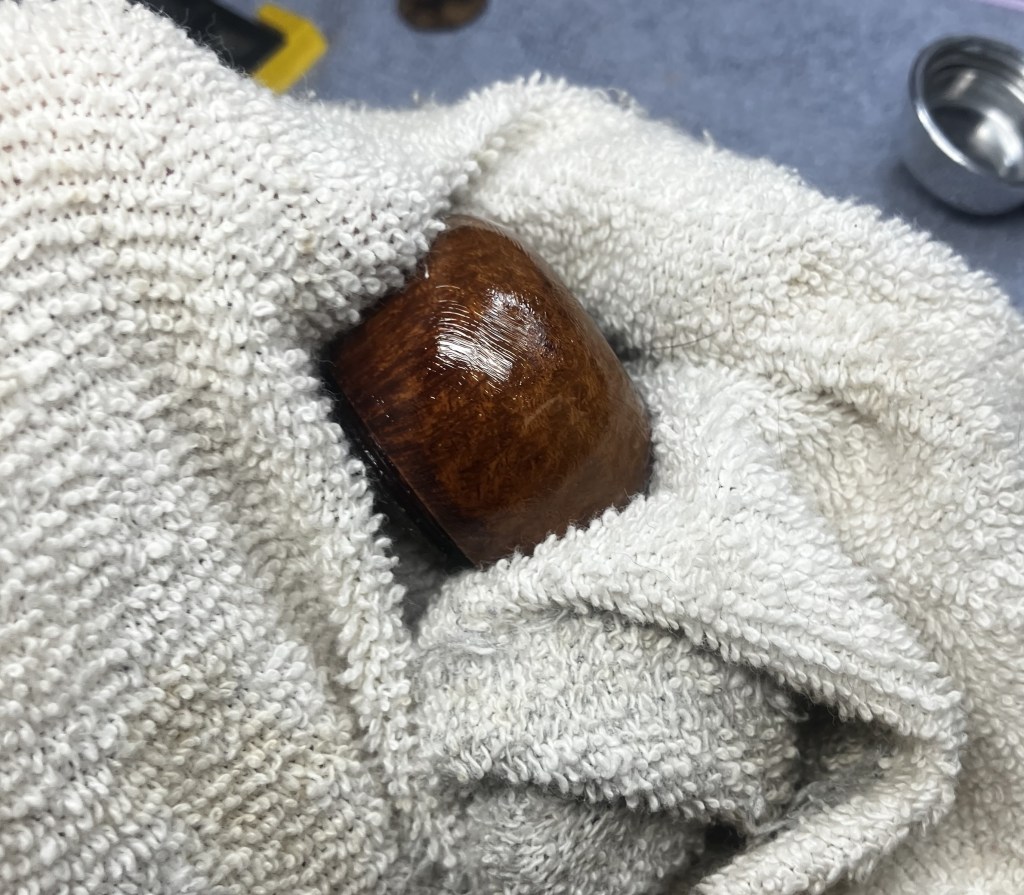
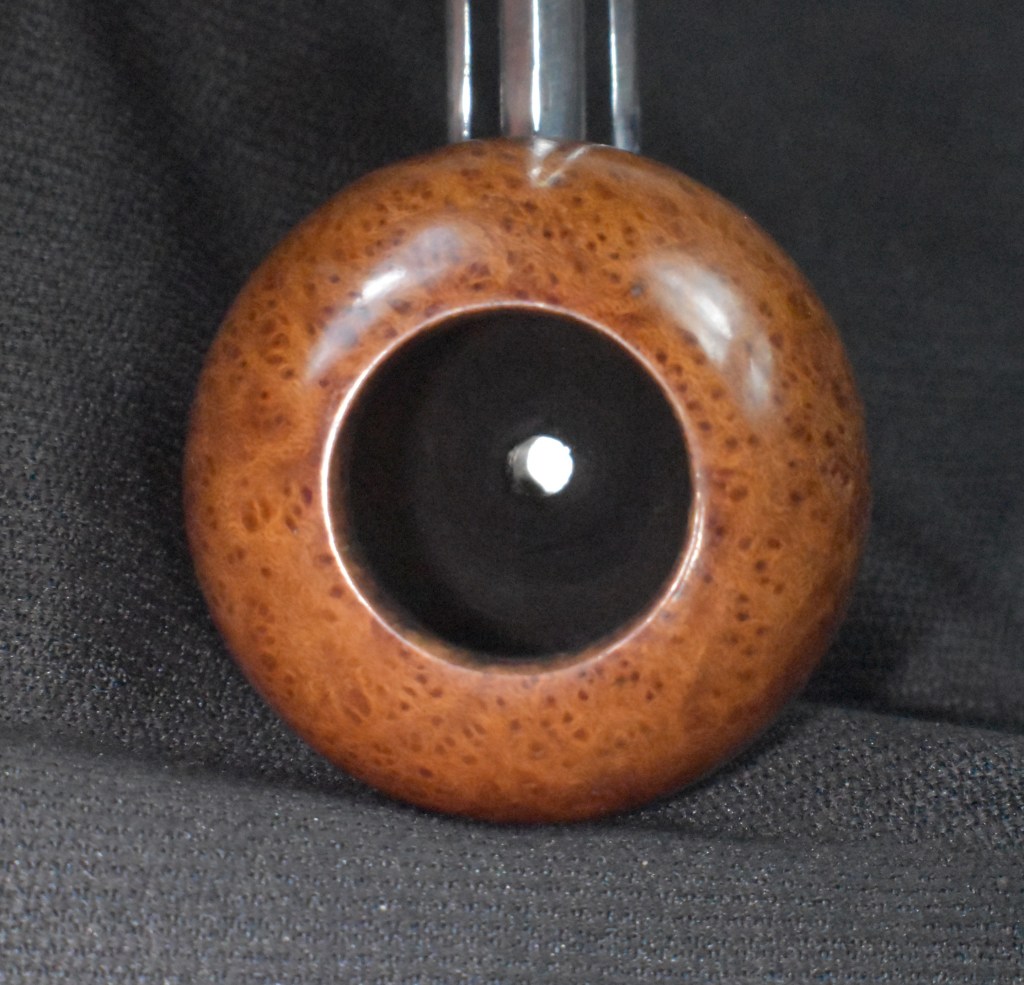
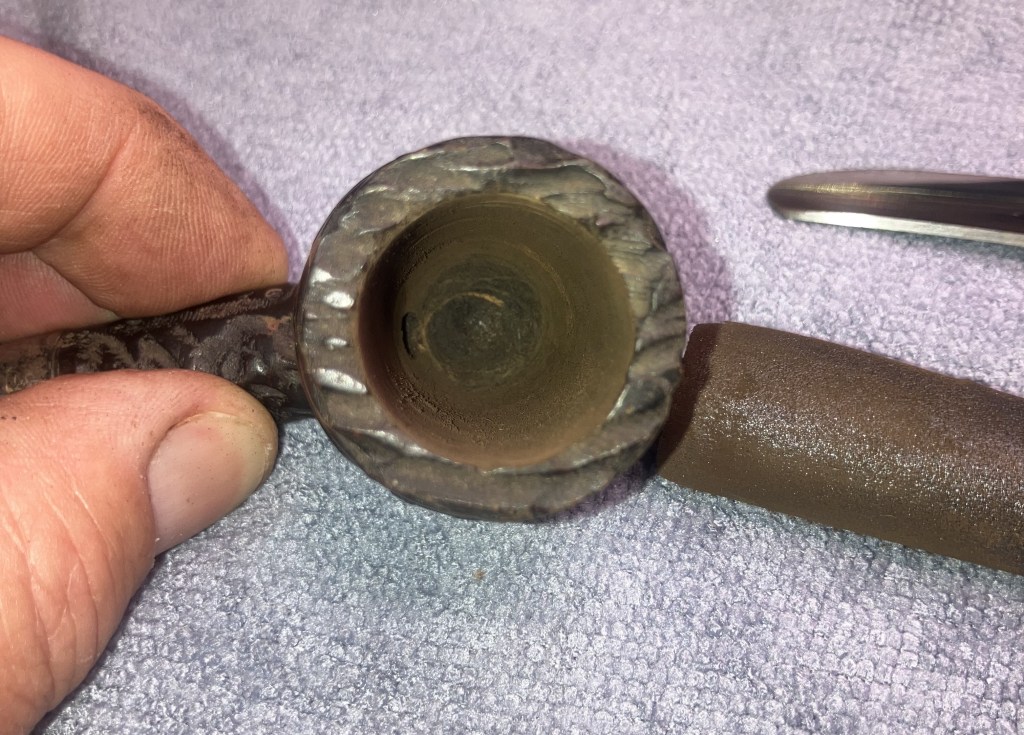
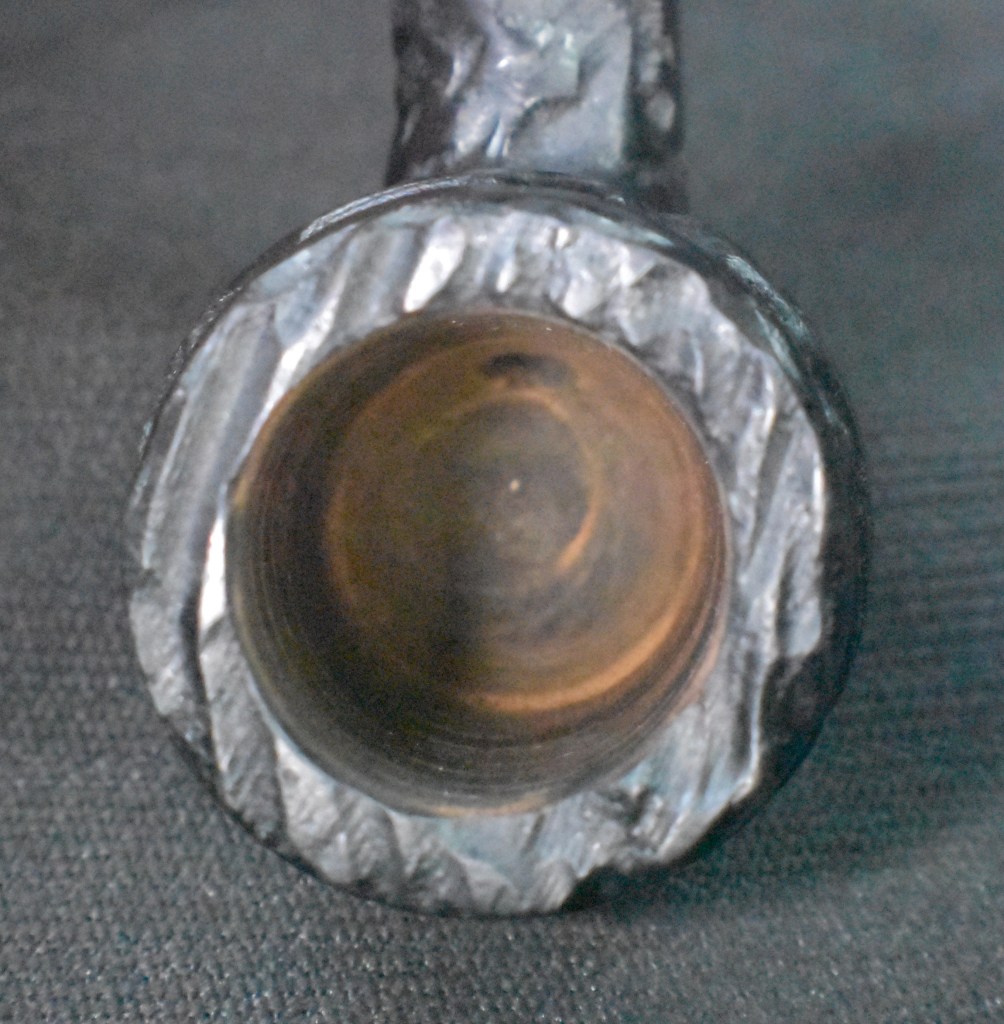
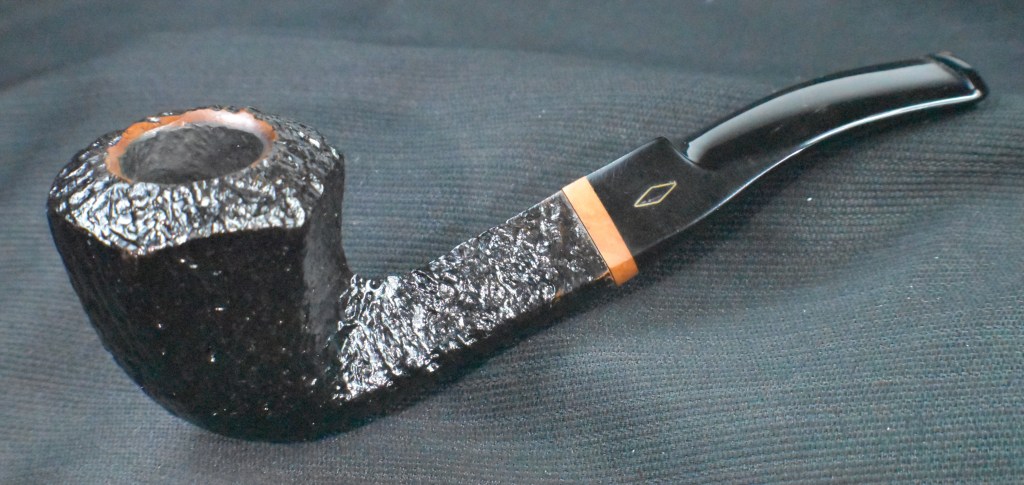
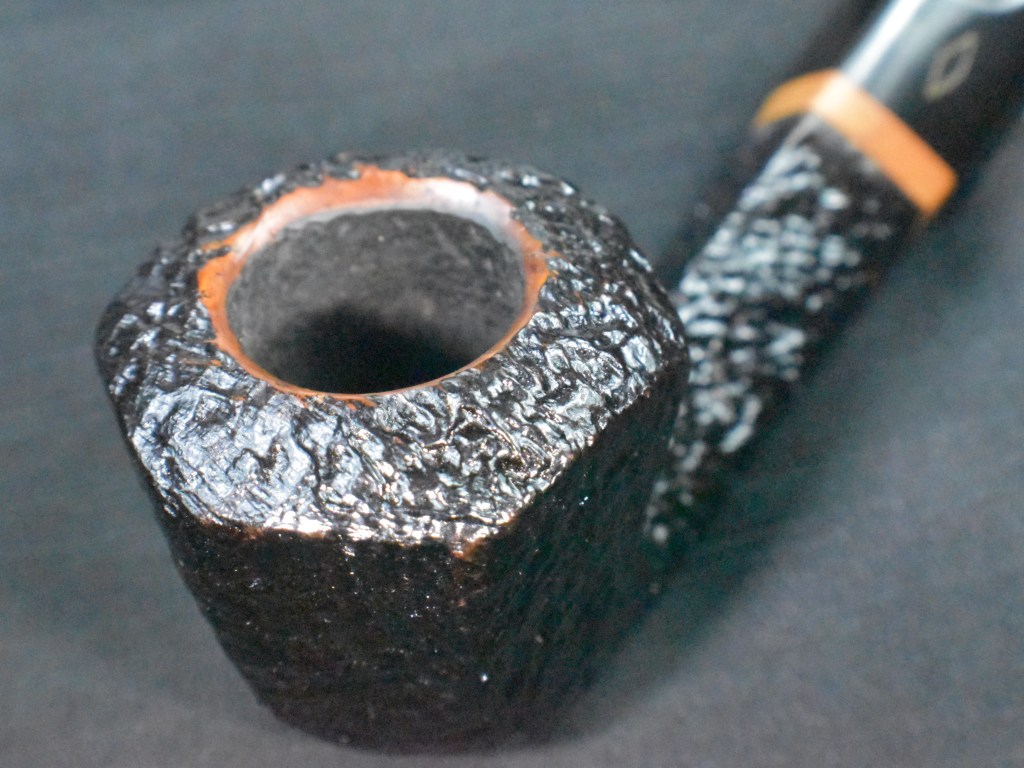
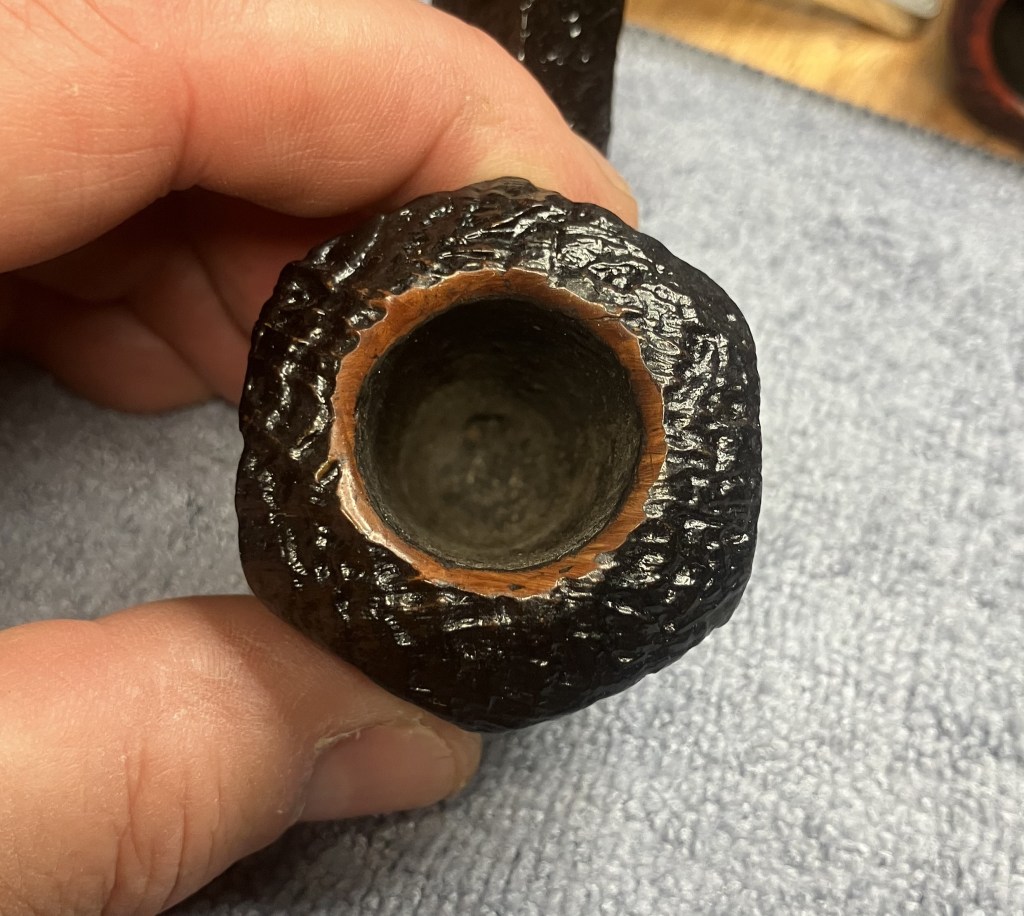
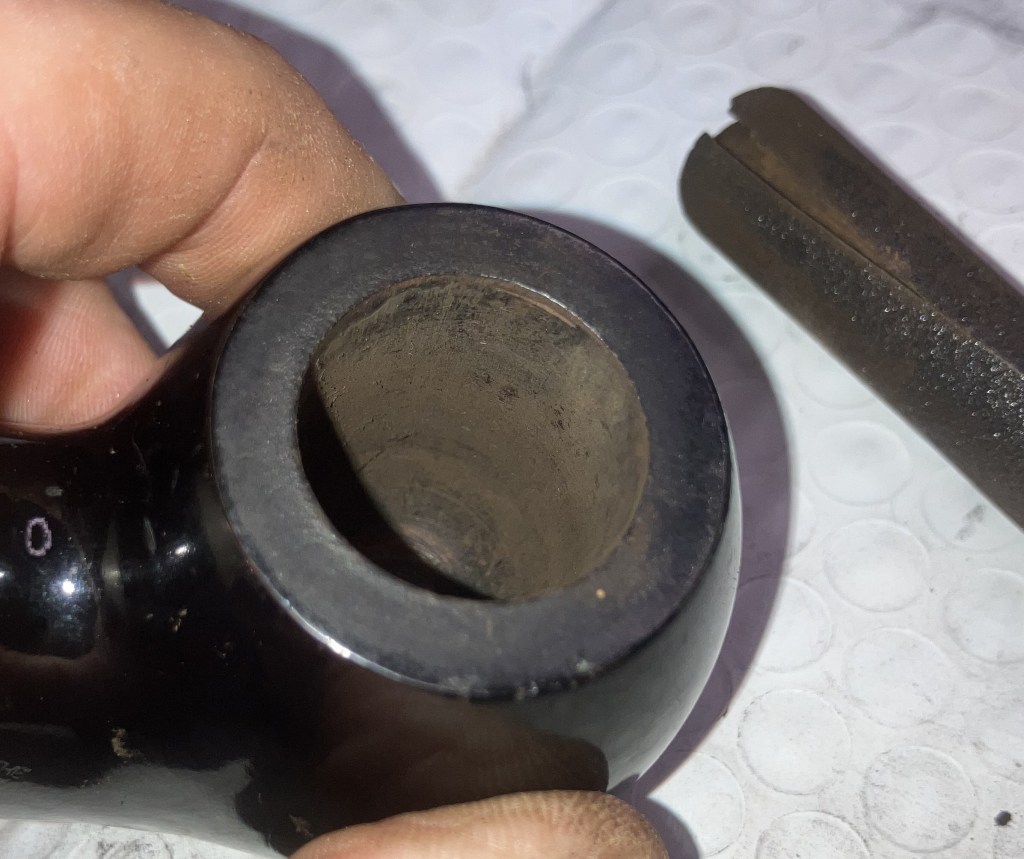
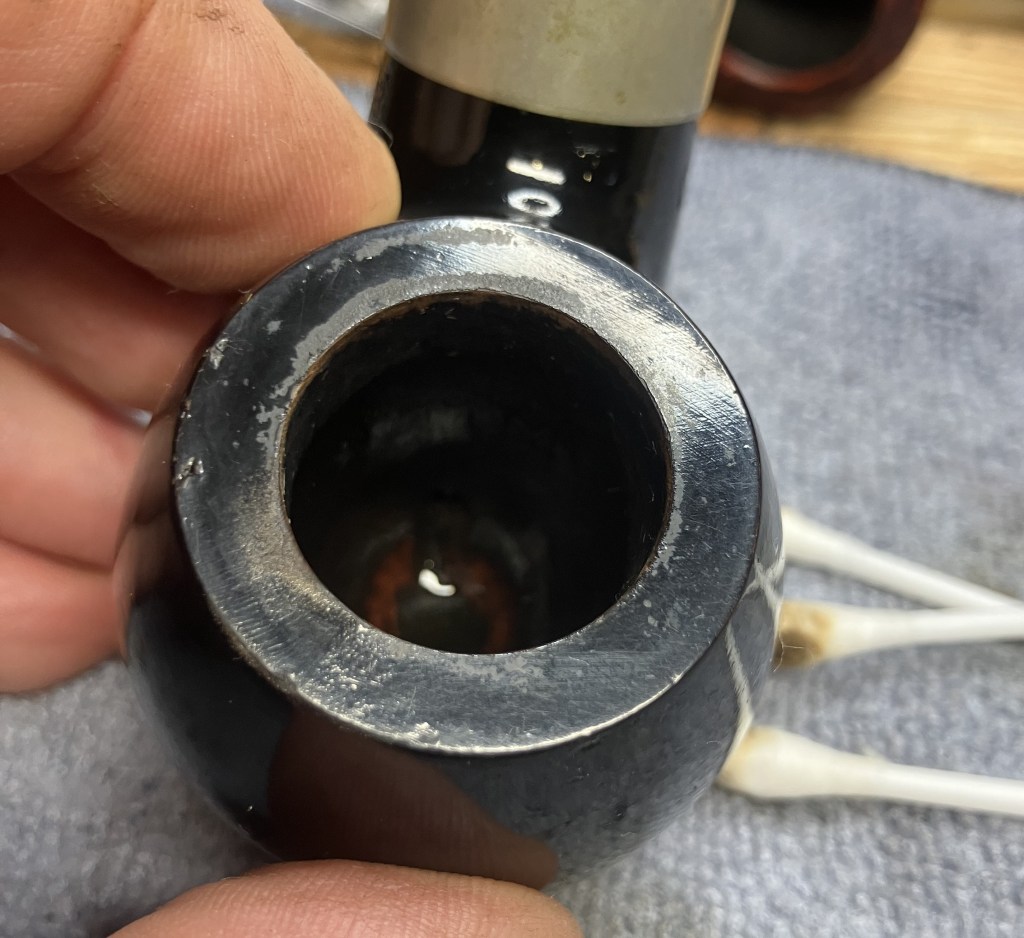
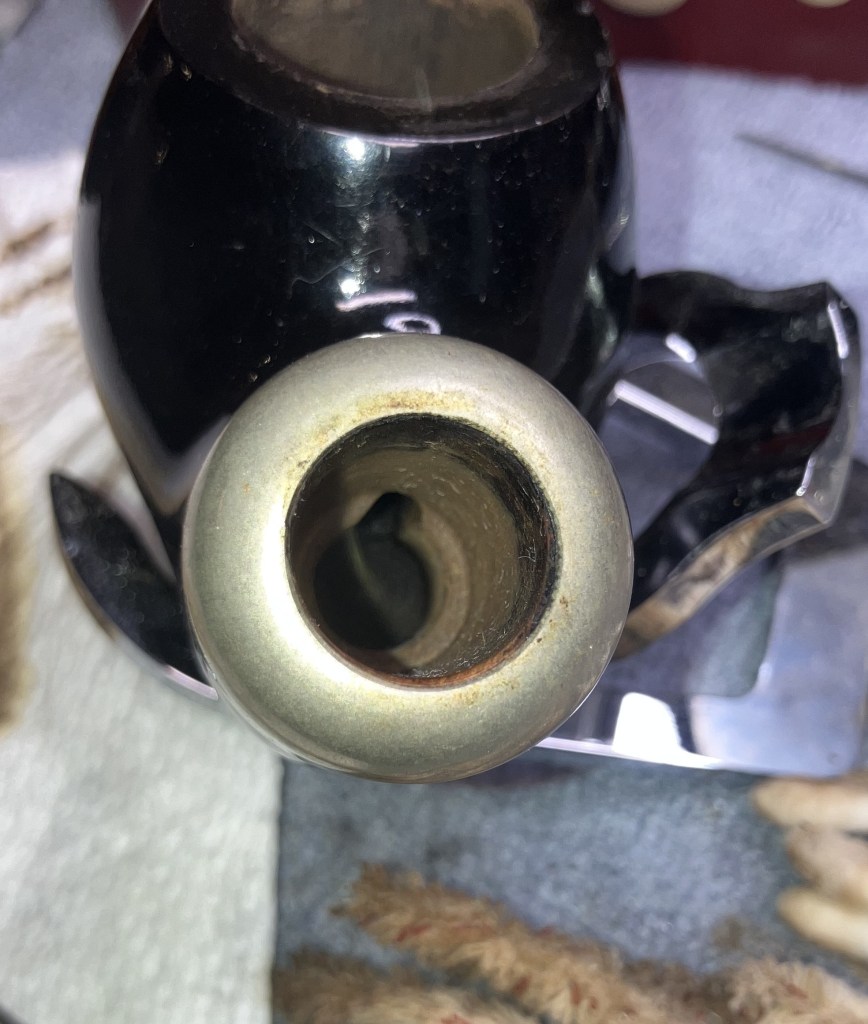
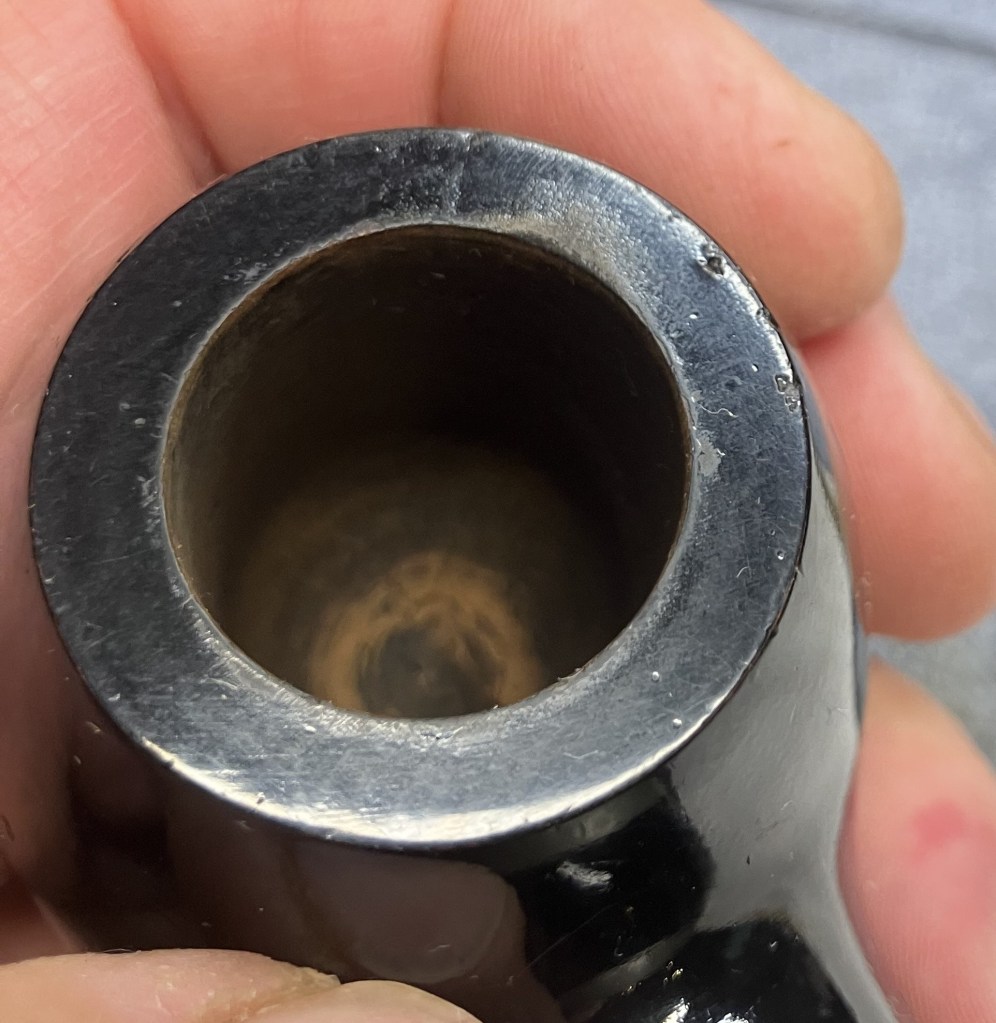
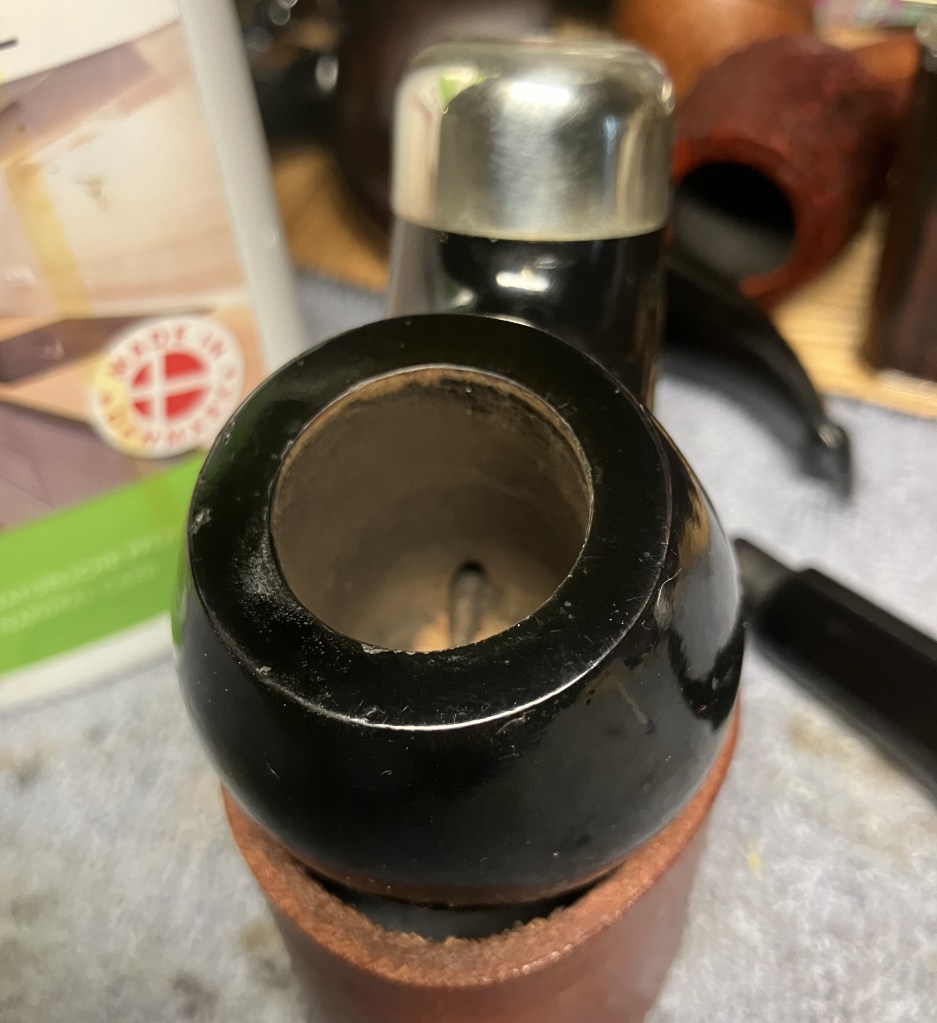
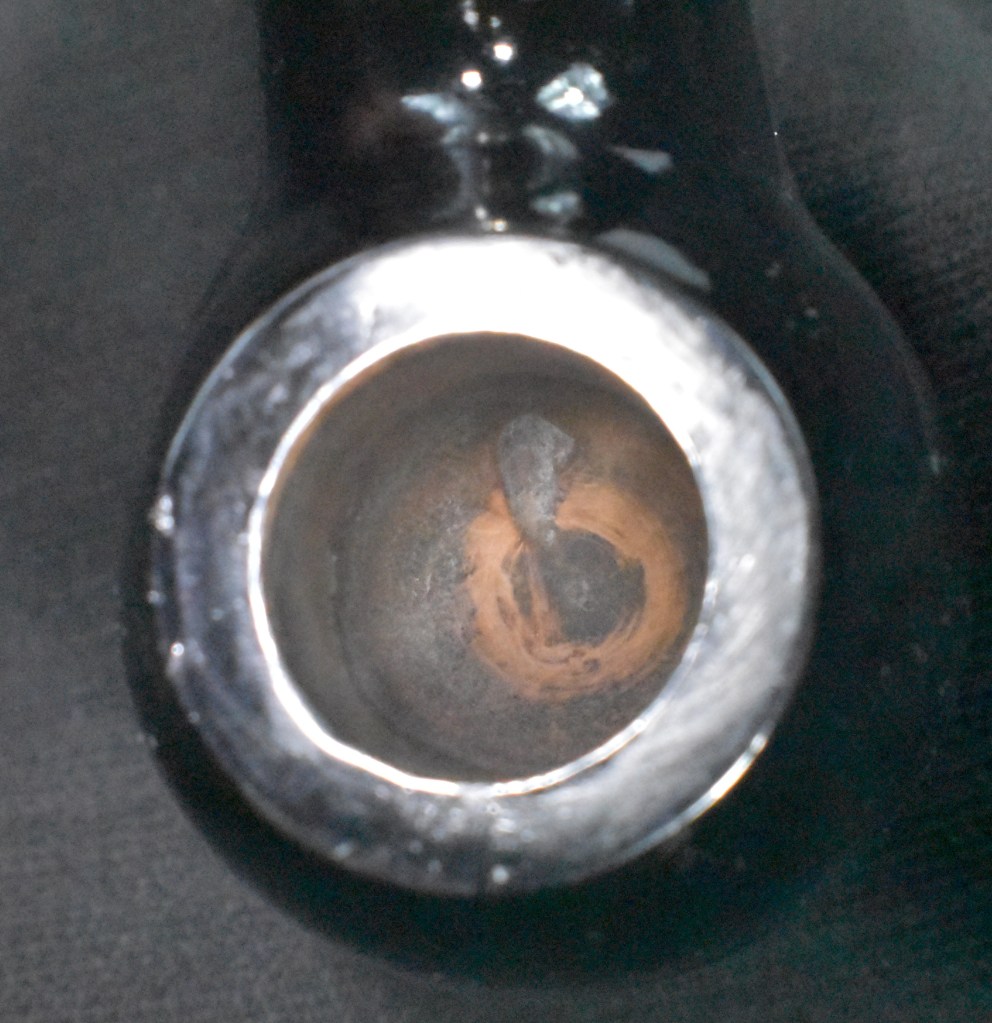
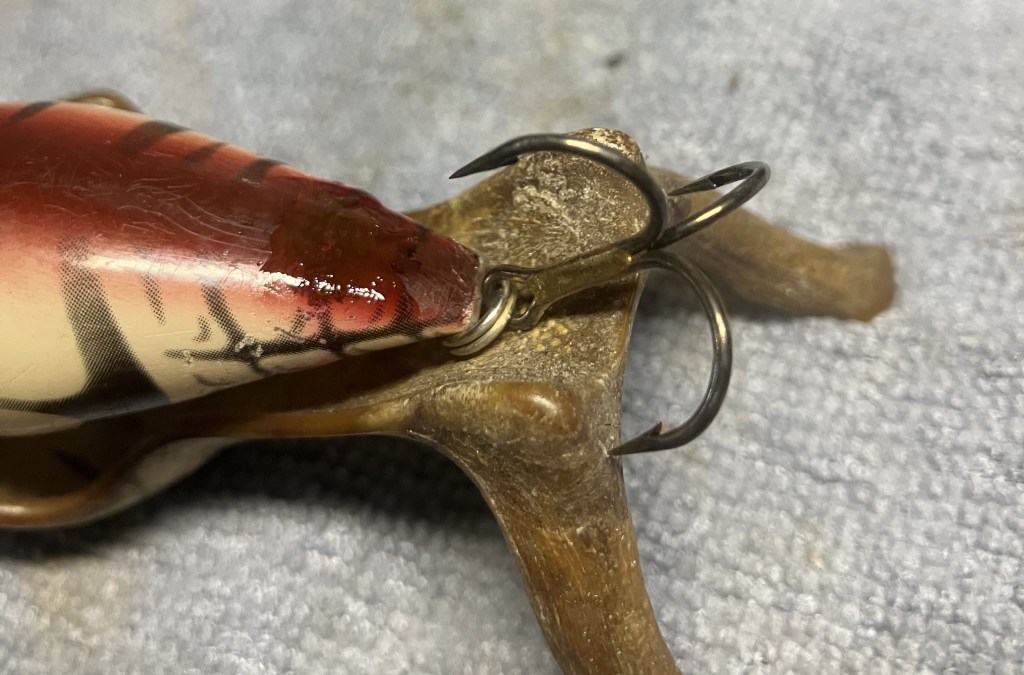
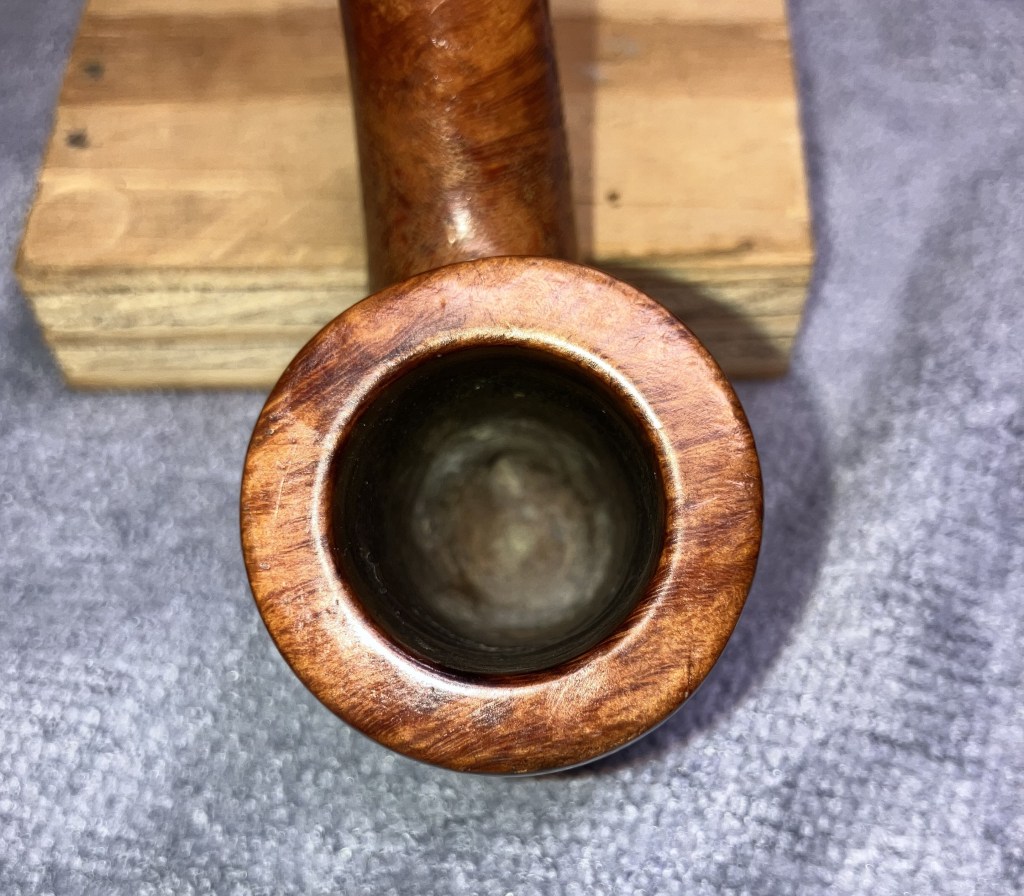
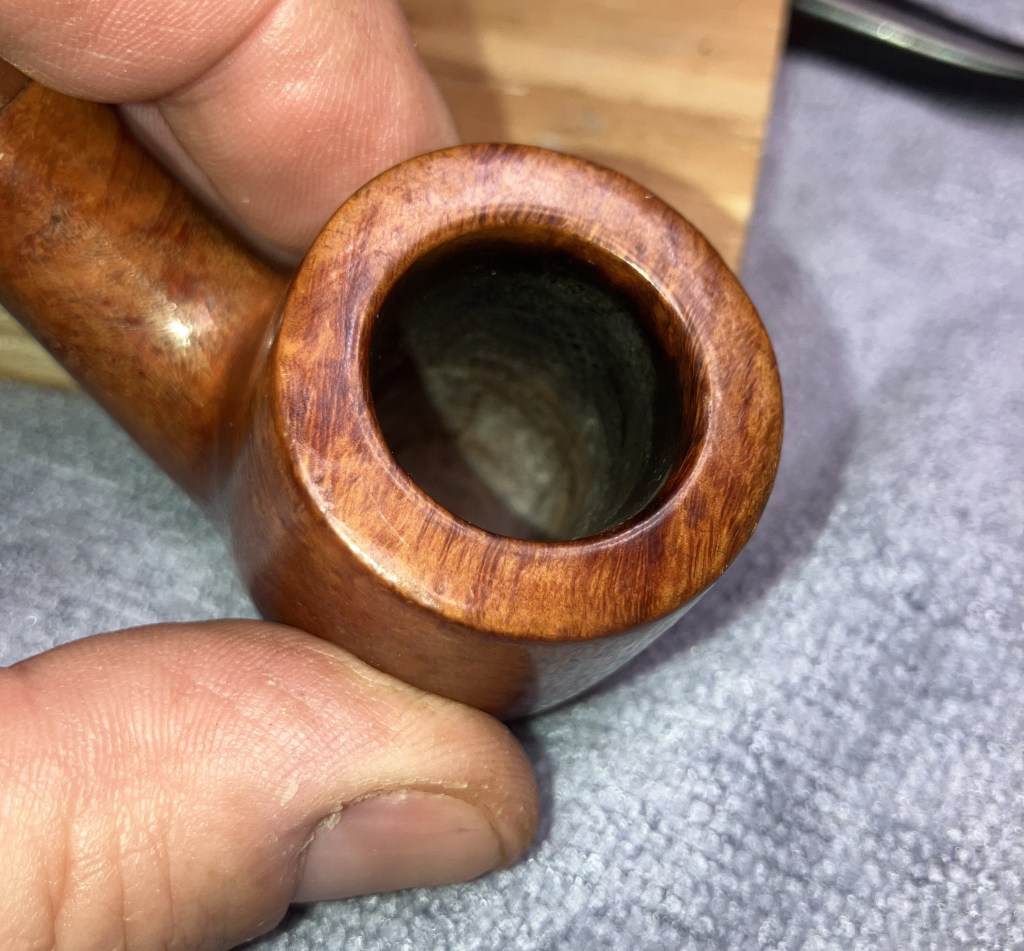
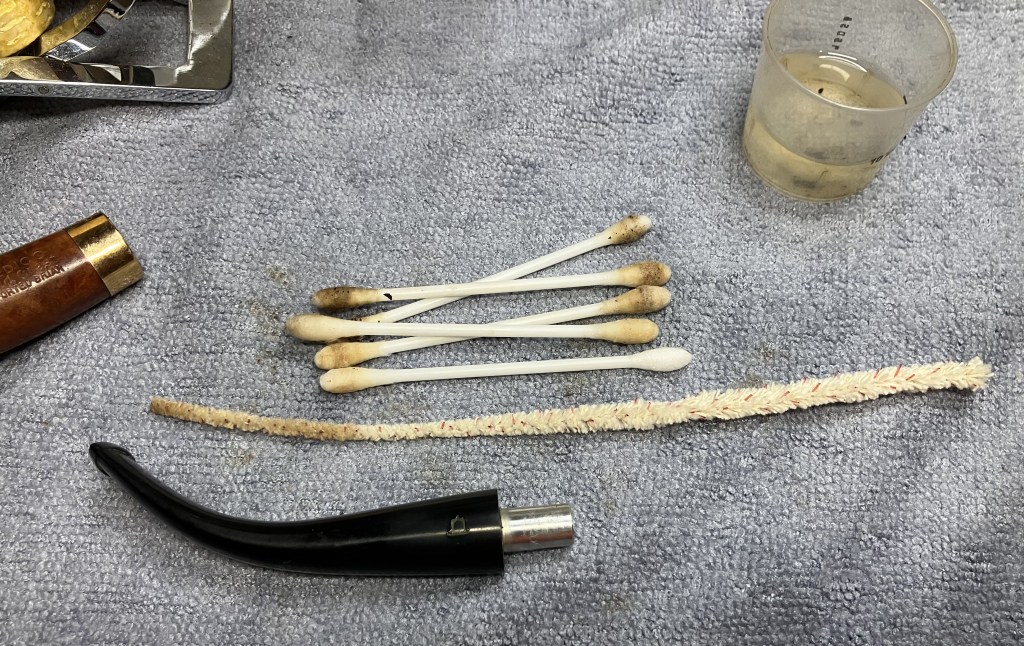
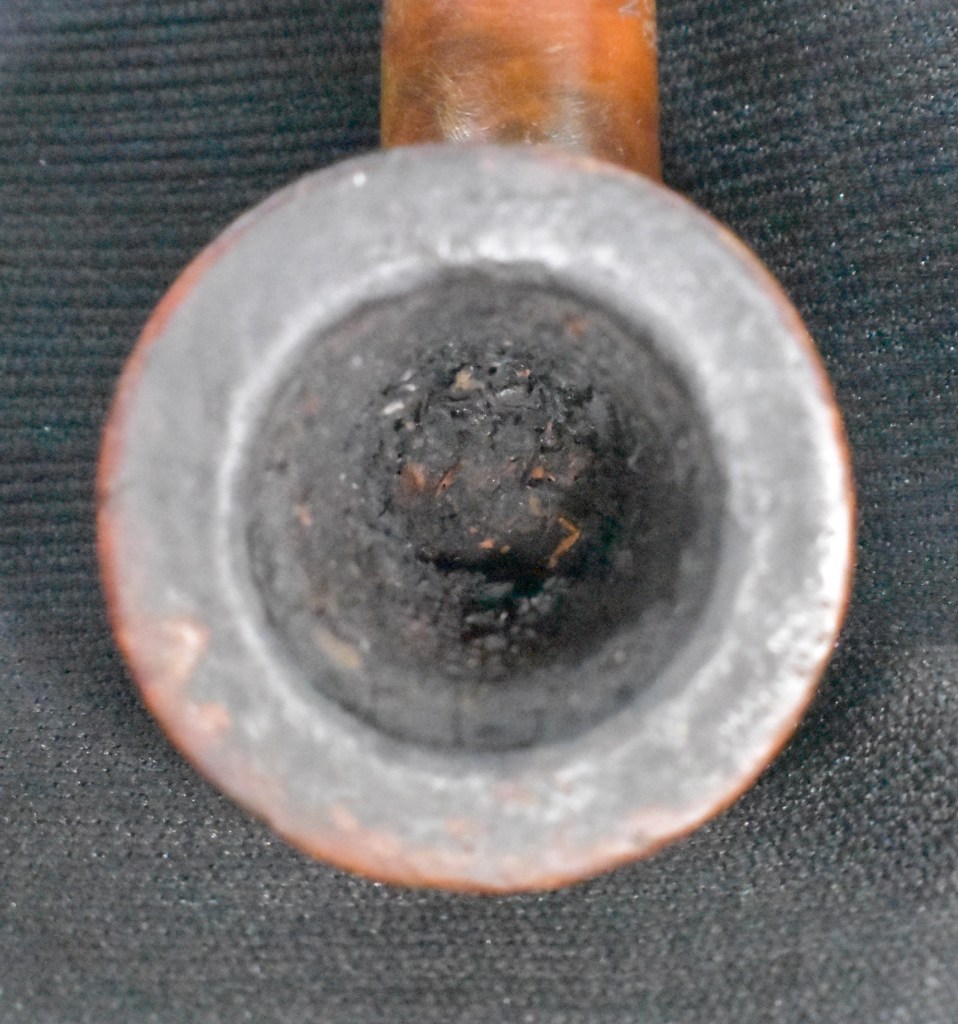
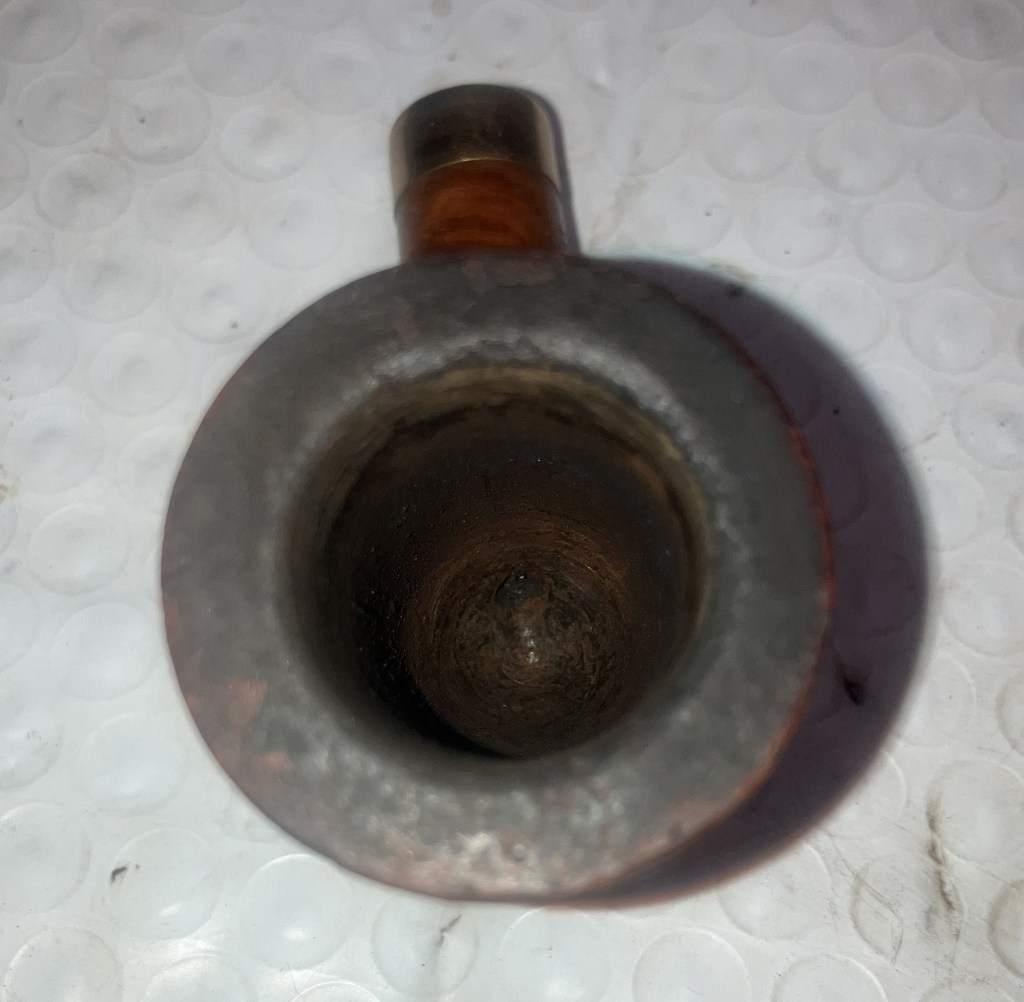
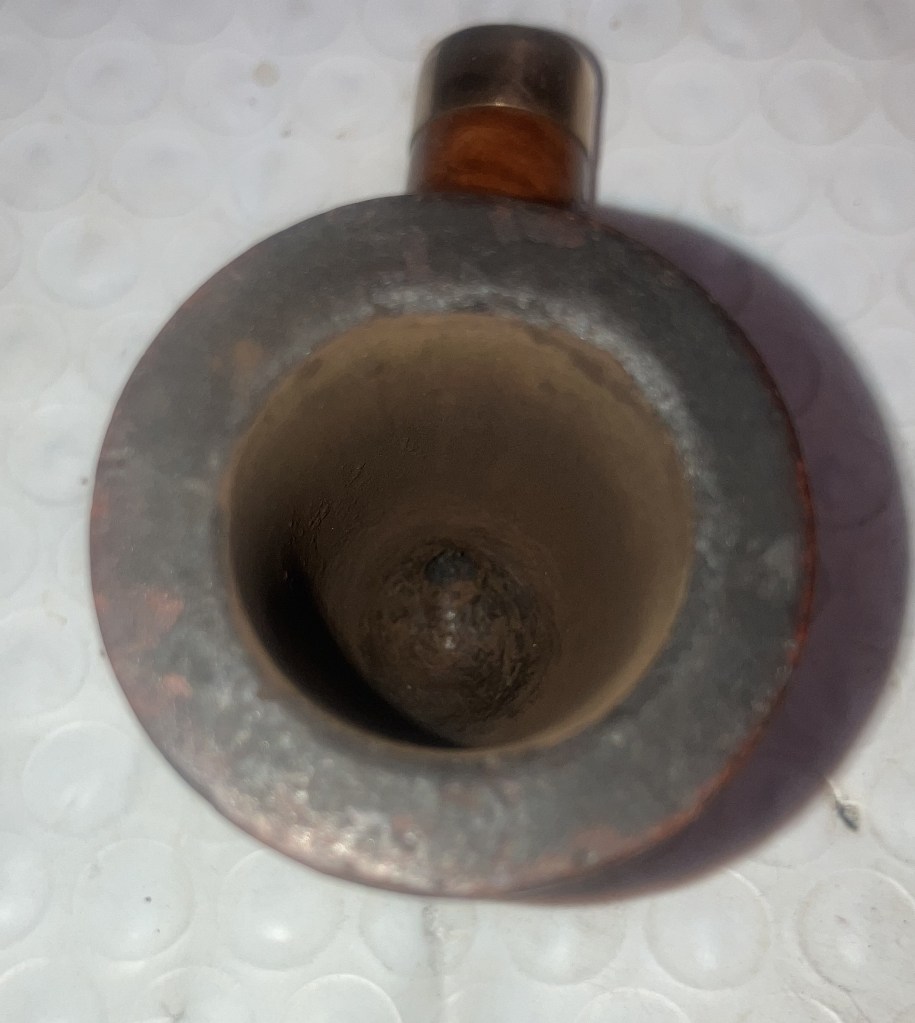
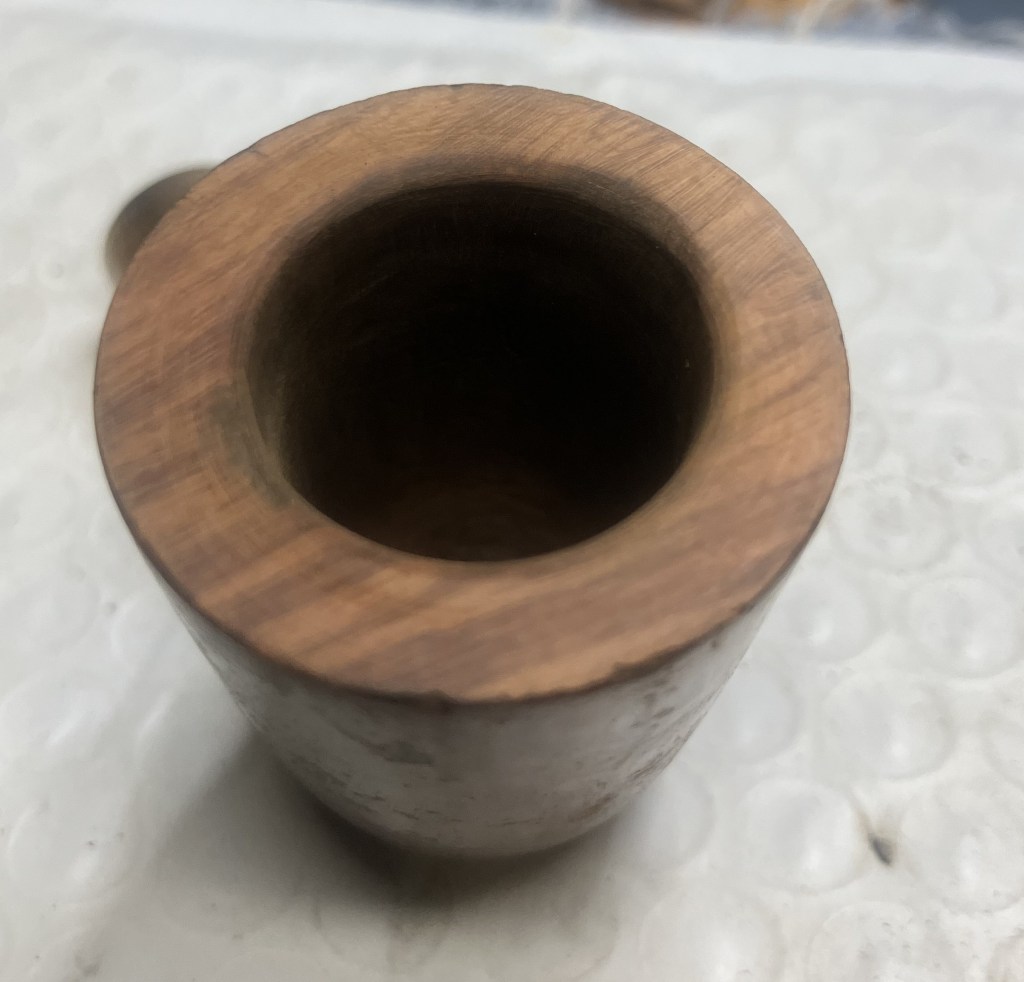
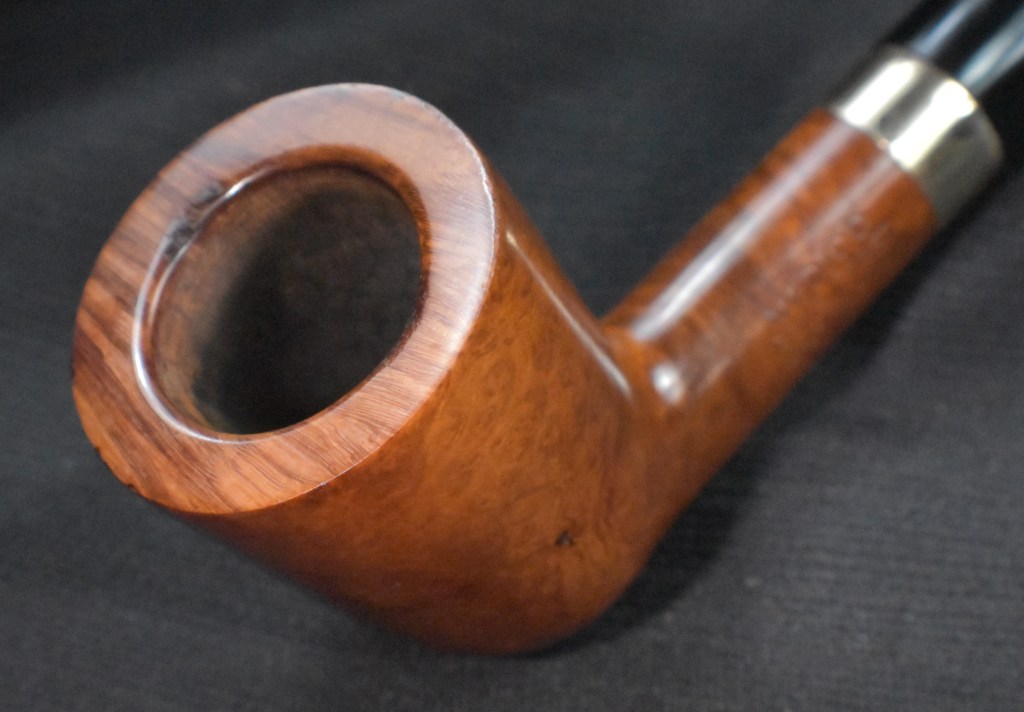
Looking at the stummel I saw numerous light patches which I assumed were wax deposits. The tobacco chamber was quite clean with only a light cake. The below photo also shows the drilling at the bottom of the bowl allowing the smoke to draw into the airway of the shank.
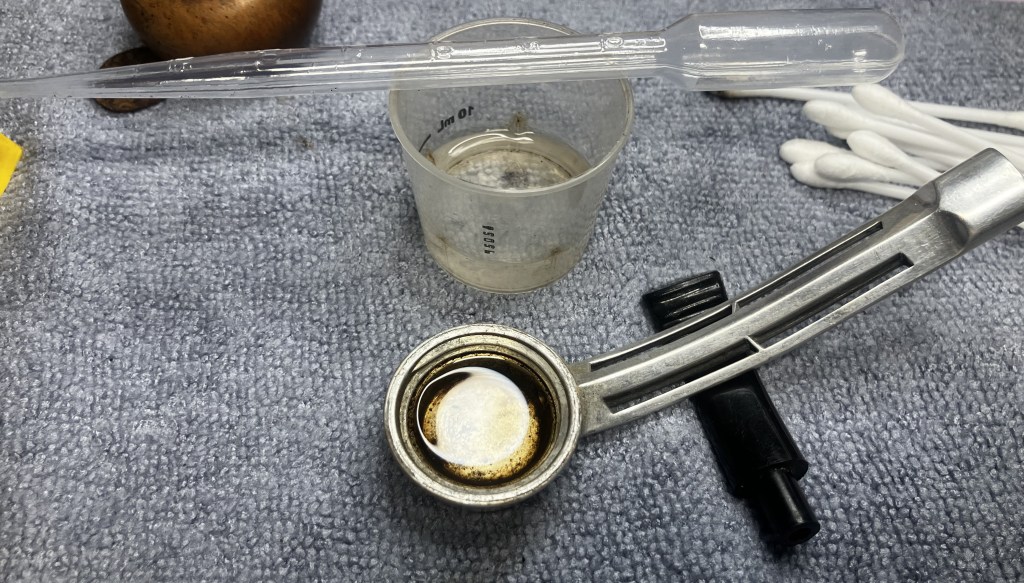
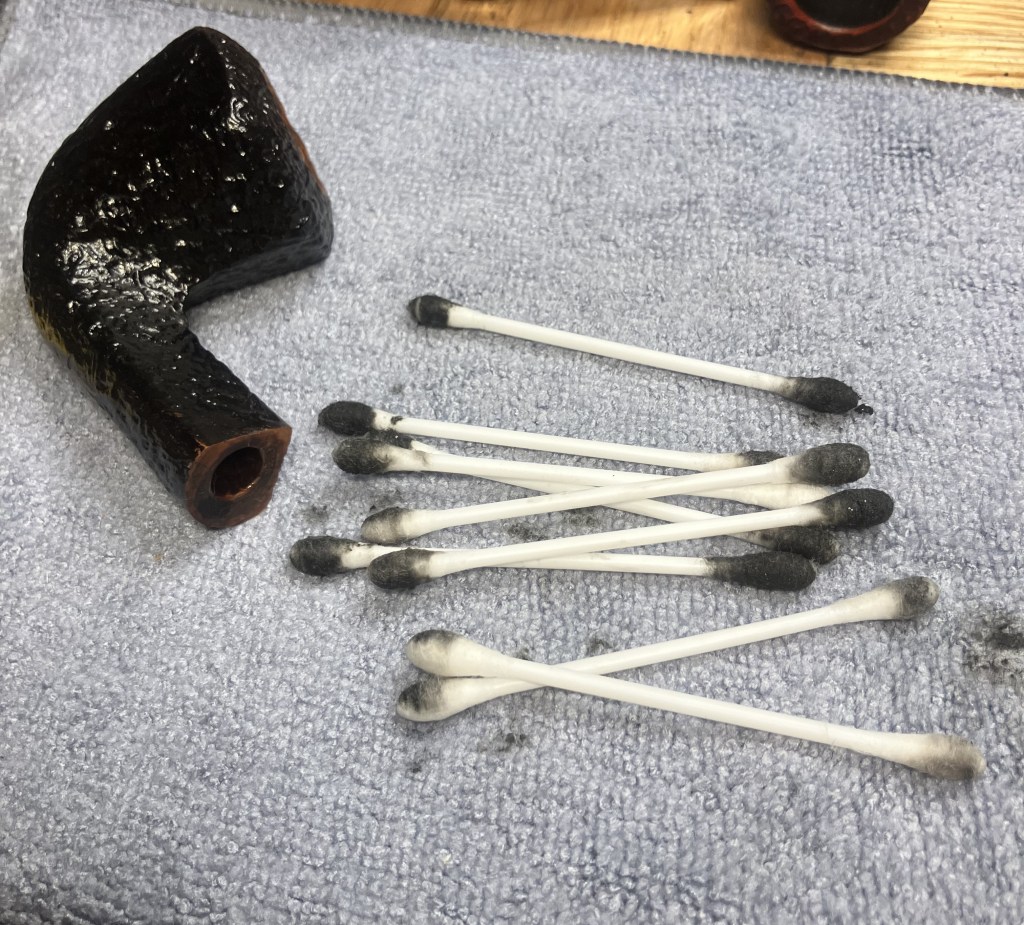
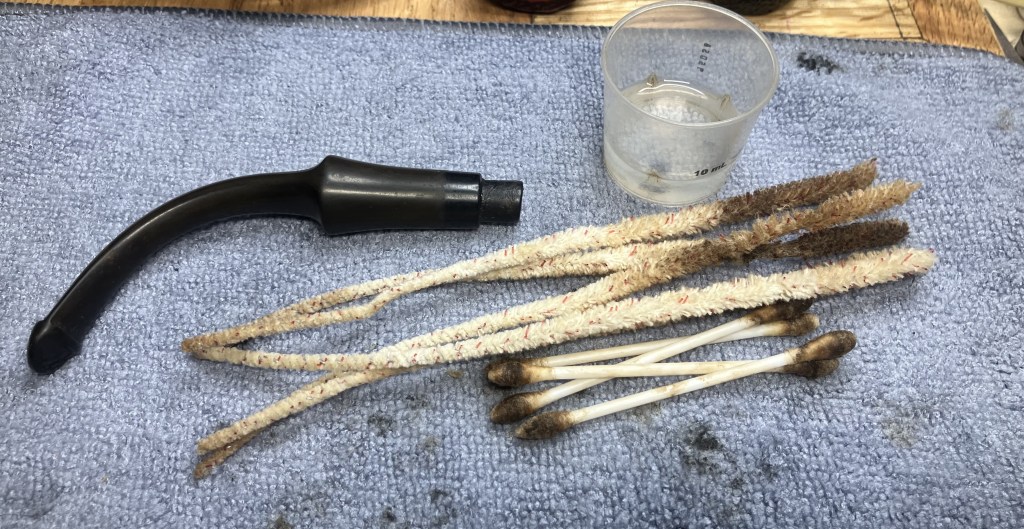
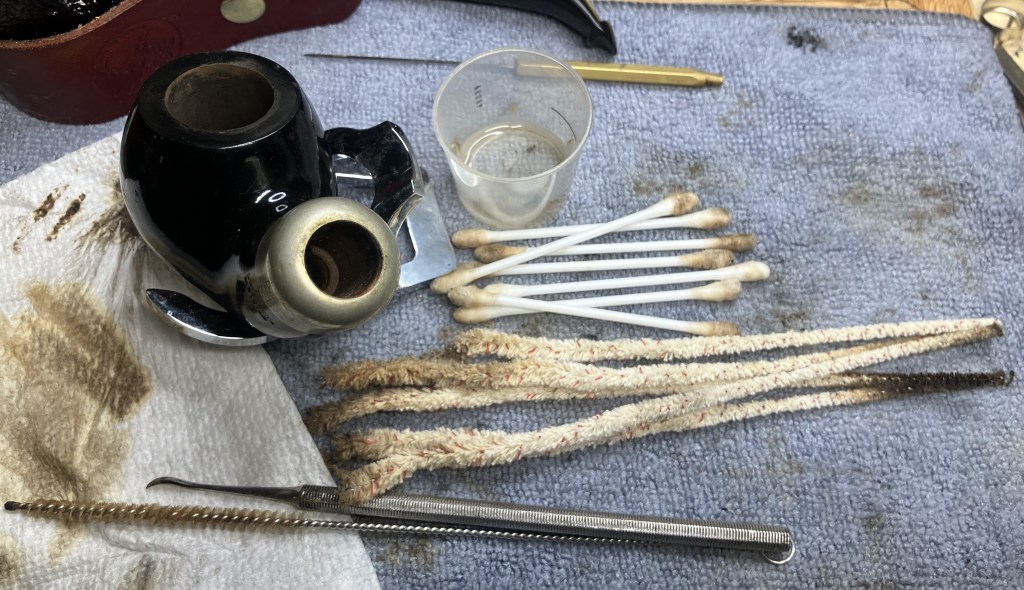
The airway was cleaned with bristle pipe cleaners and 95% ethyl alcohol.
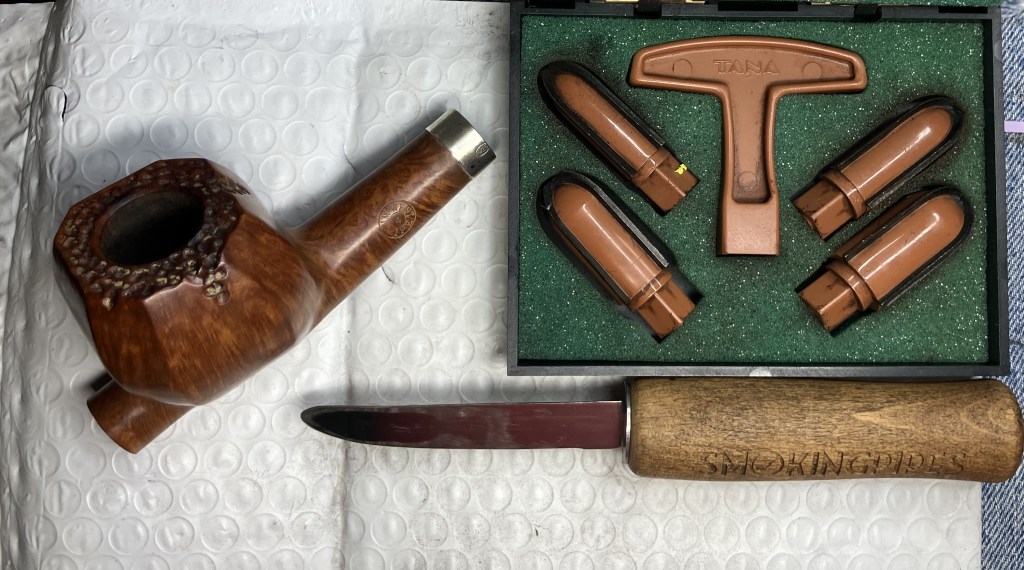
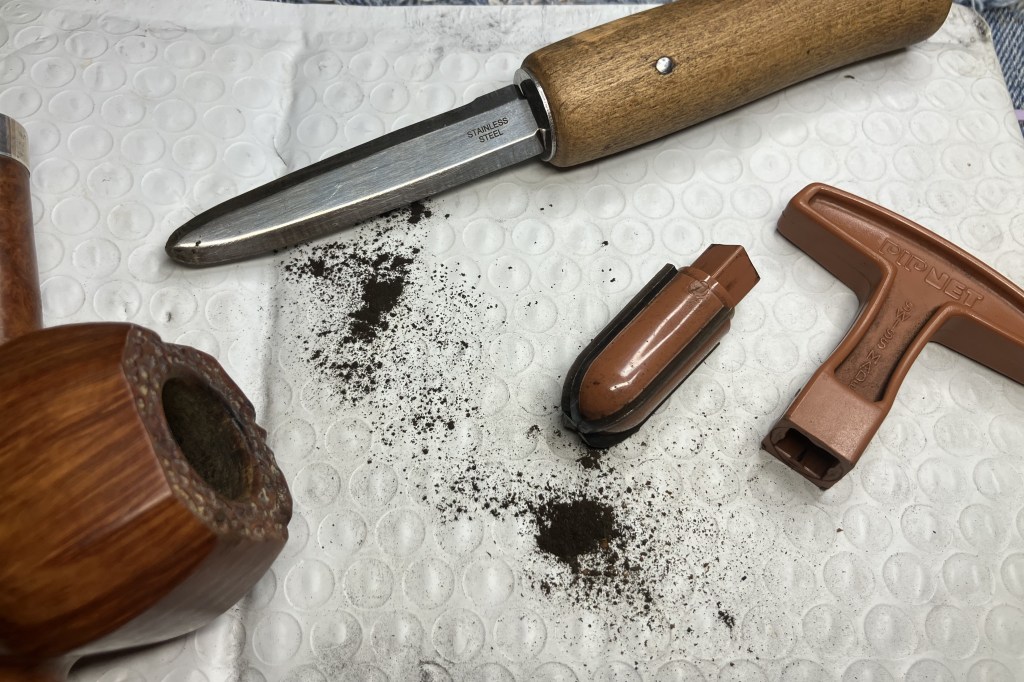
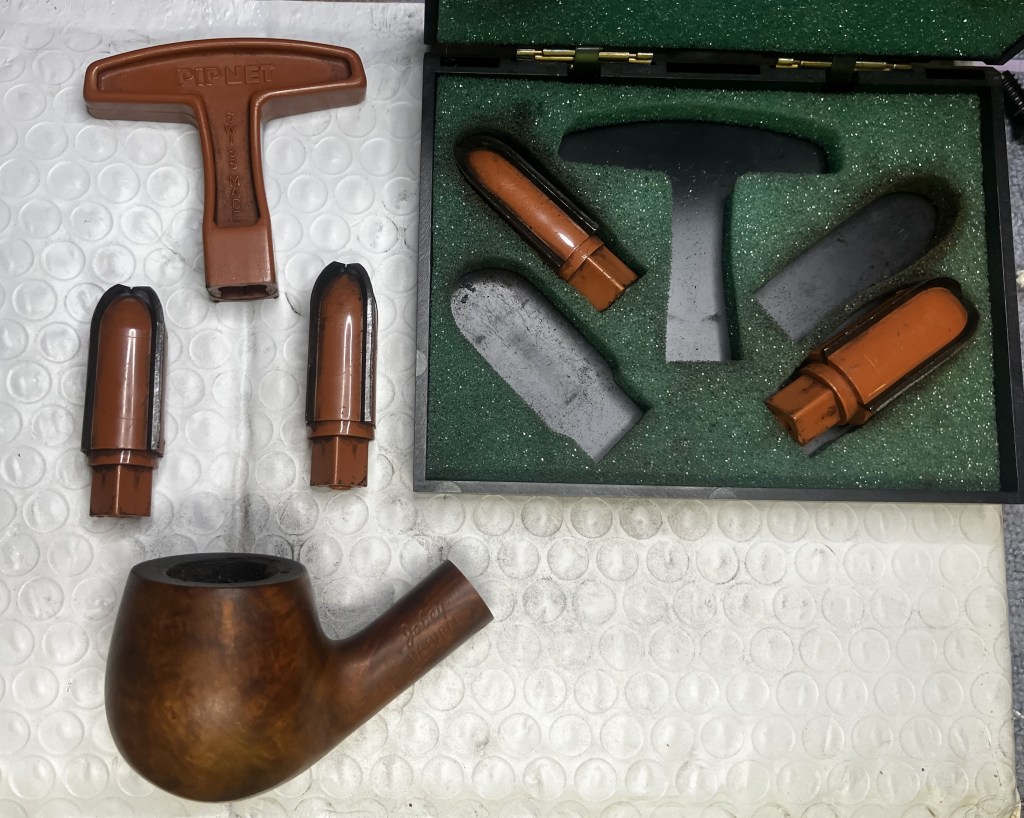
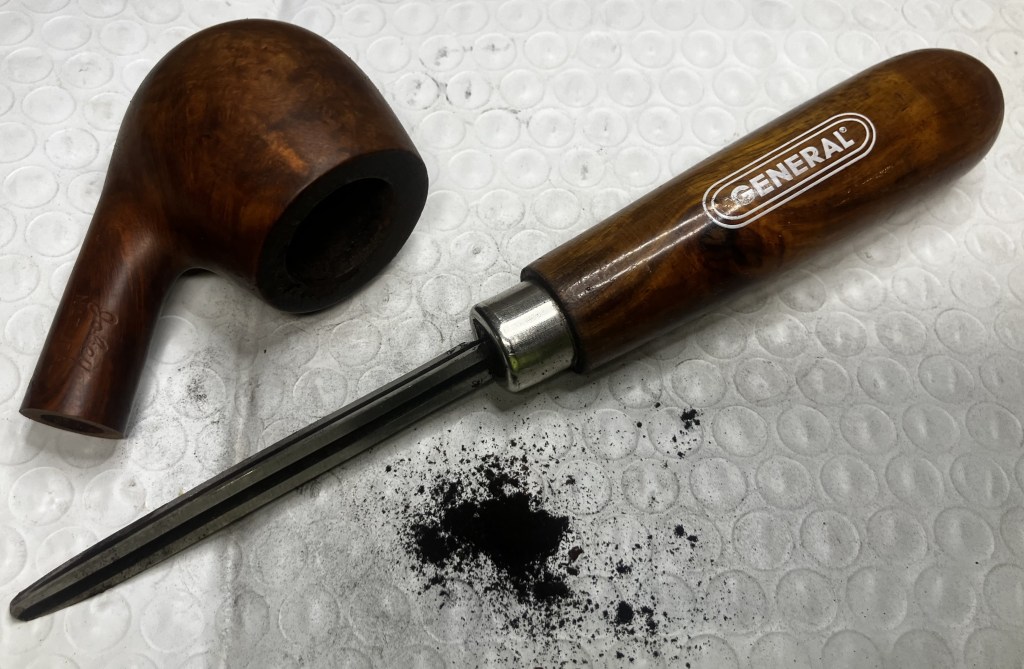
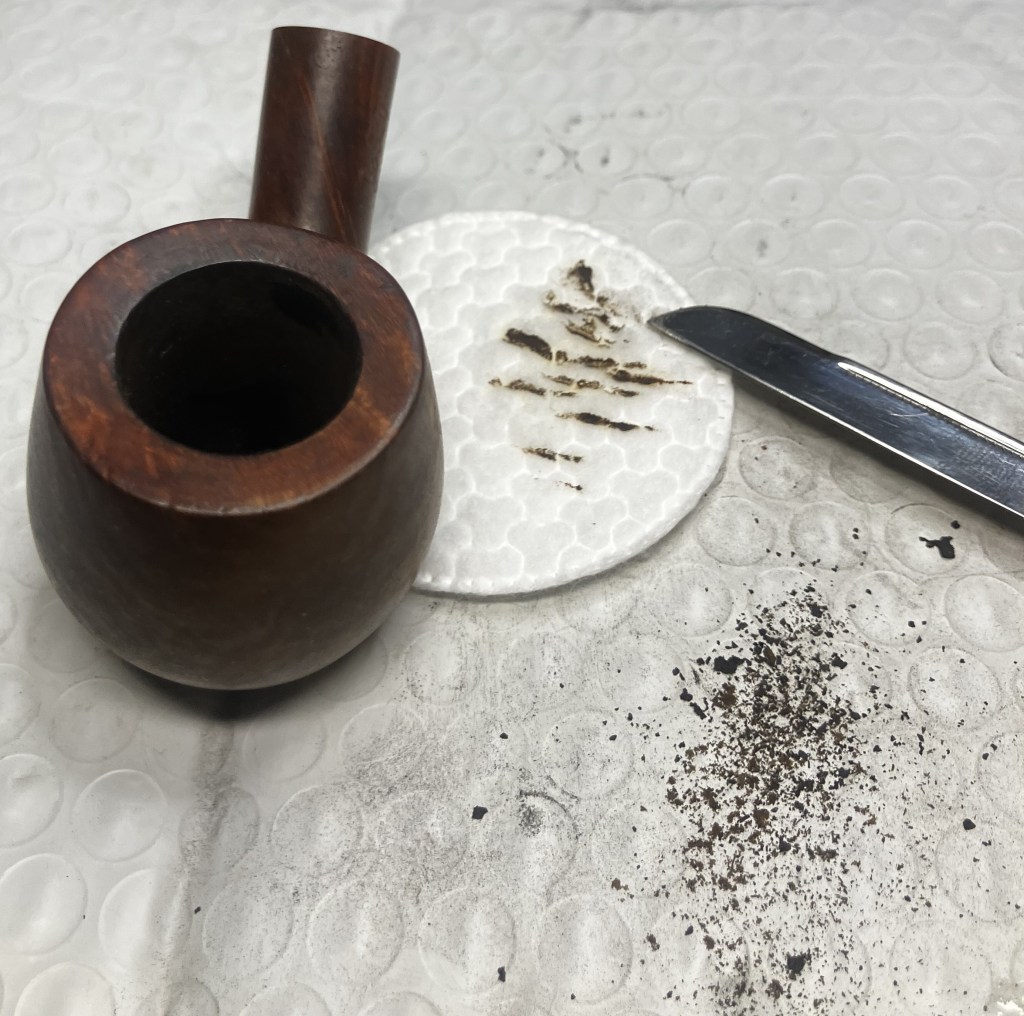
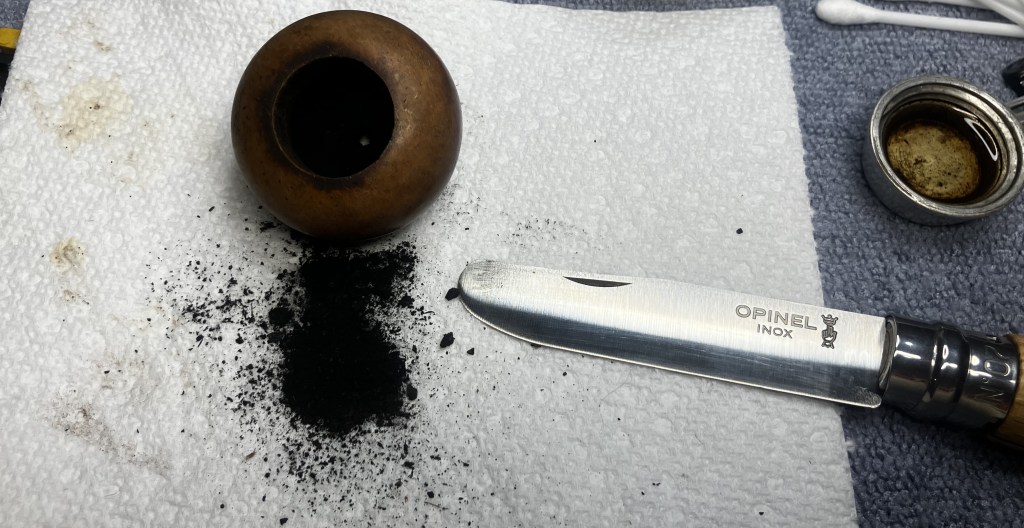
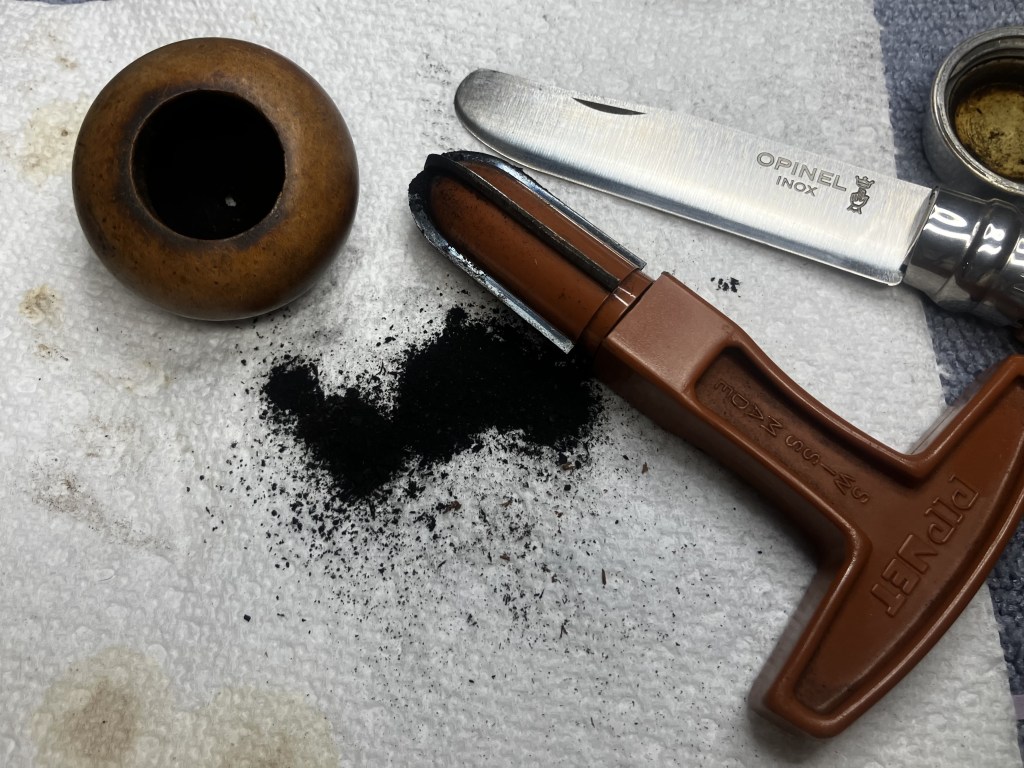
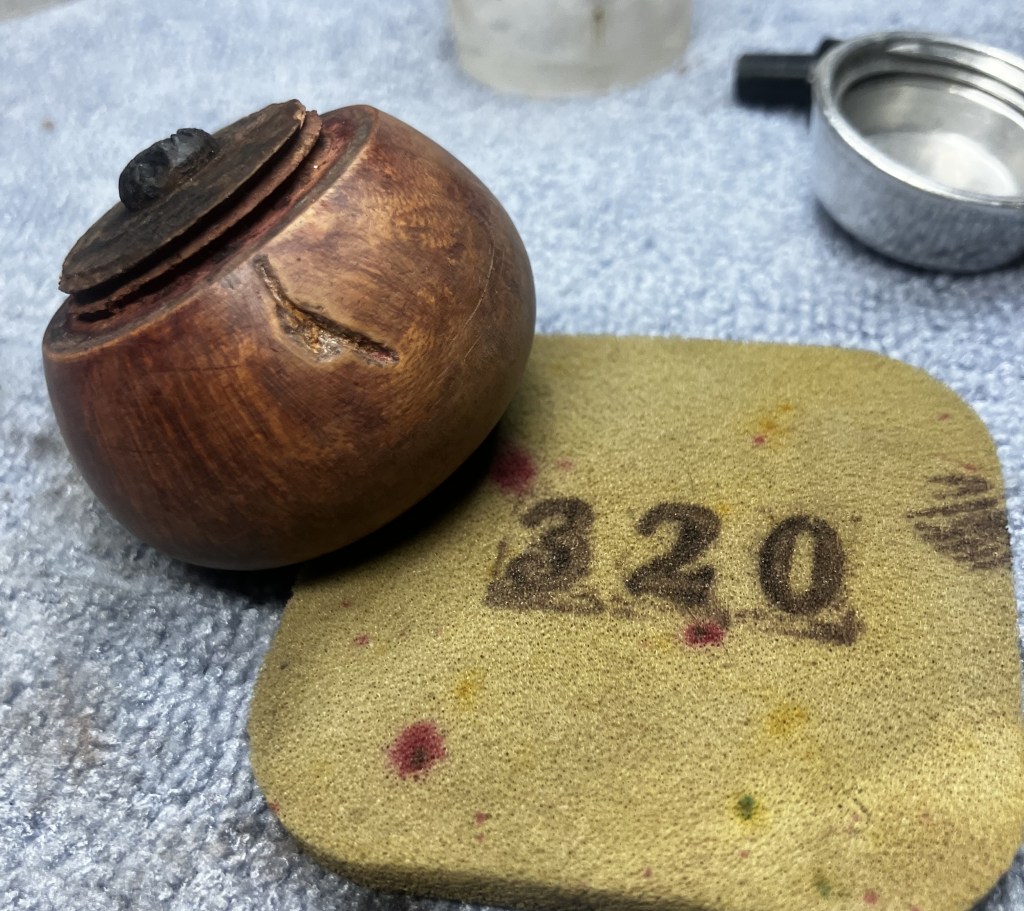
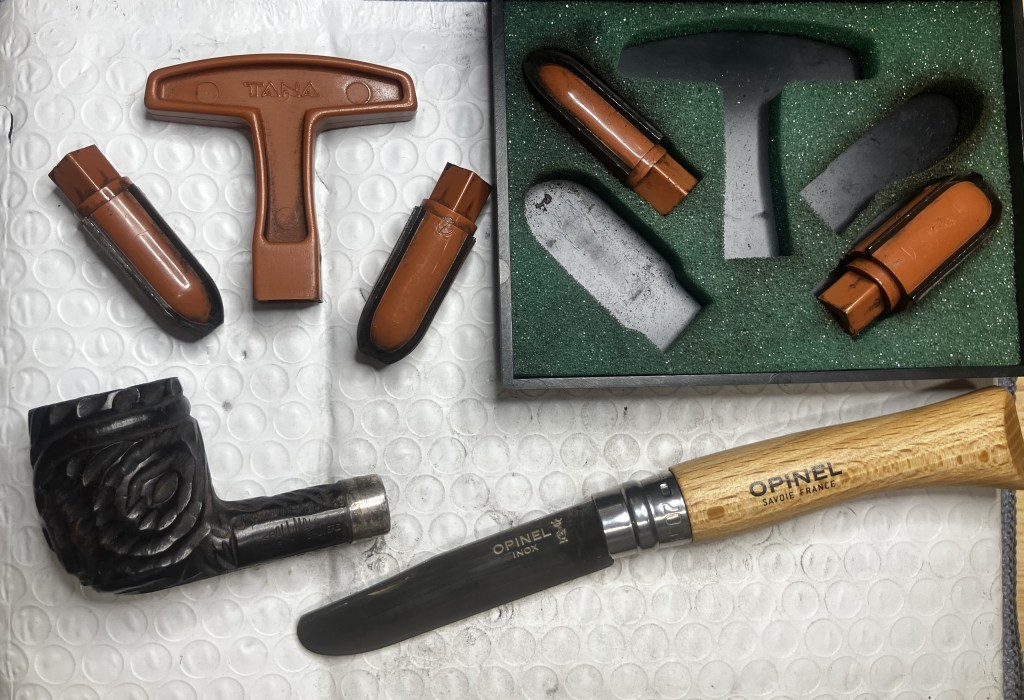
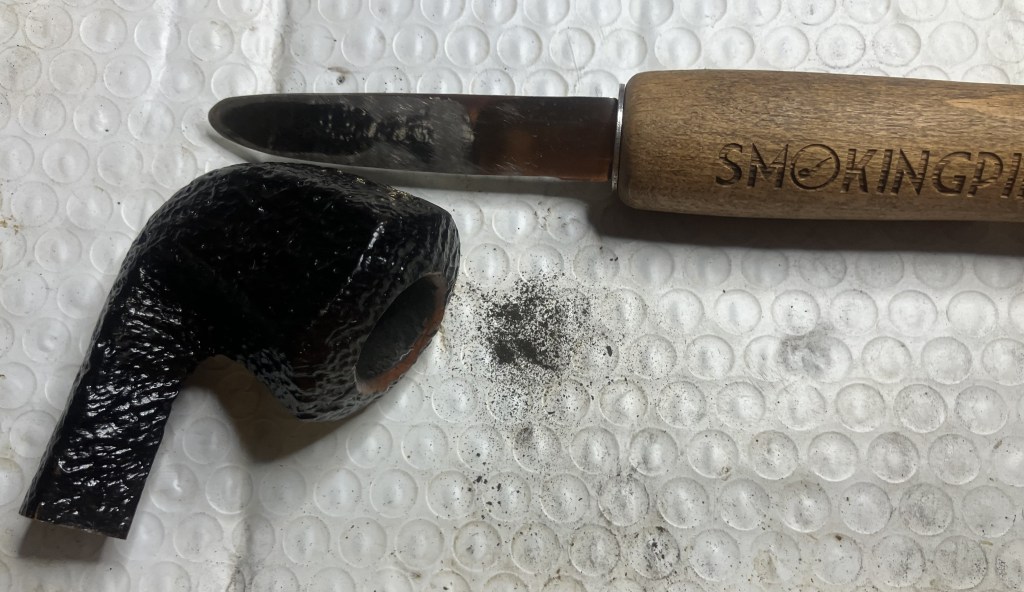
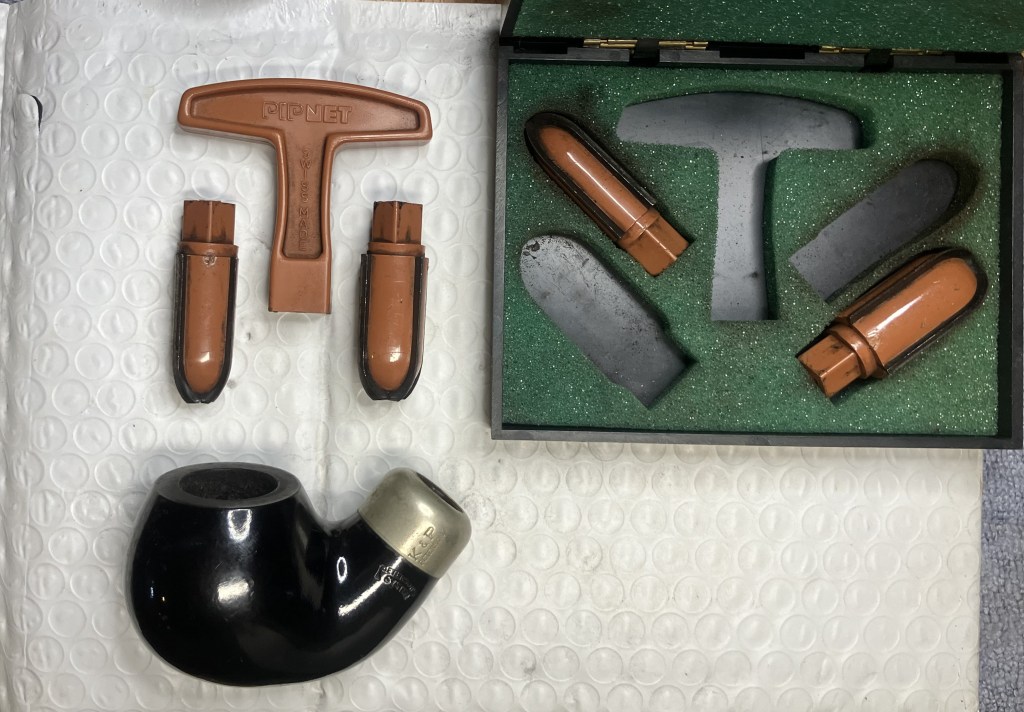
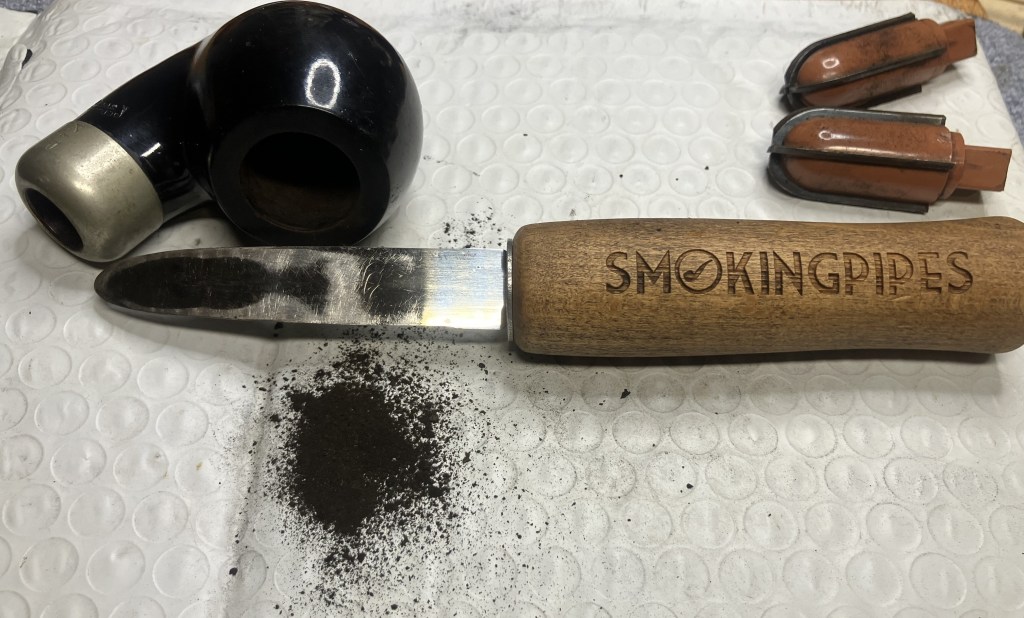
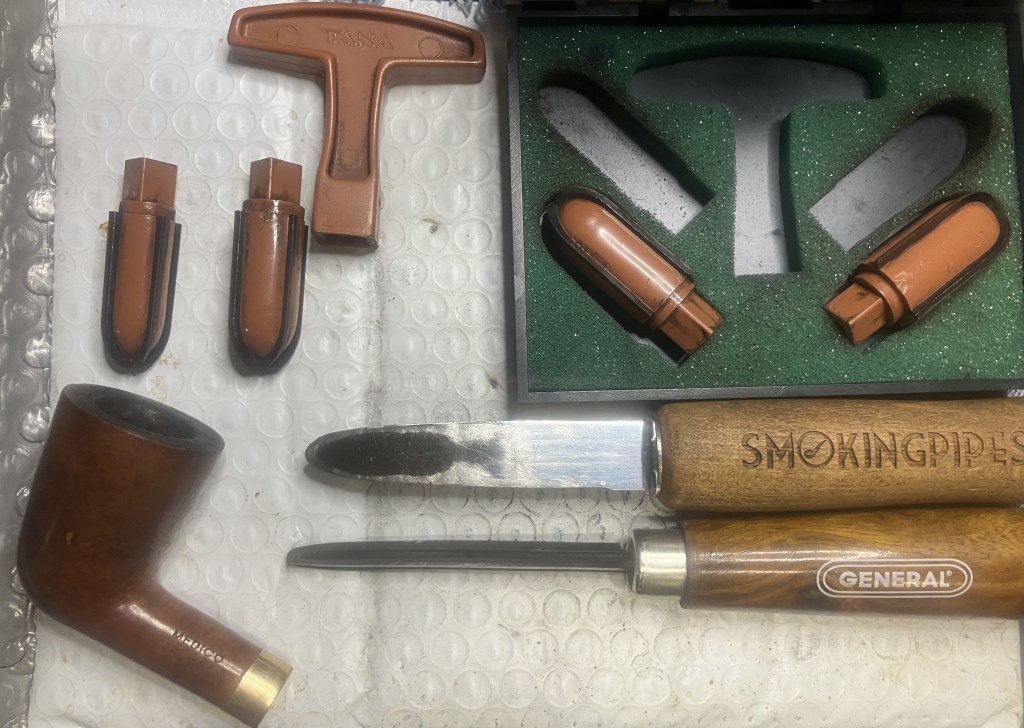
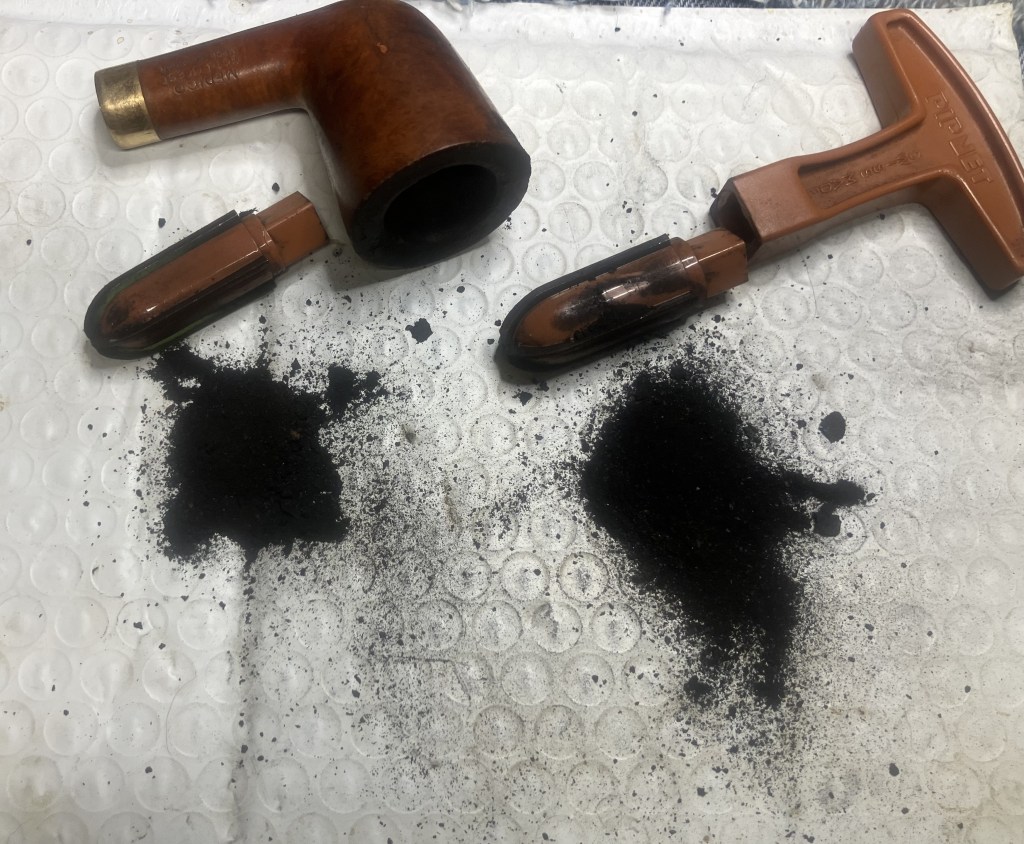
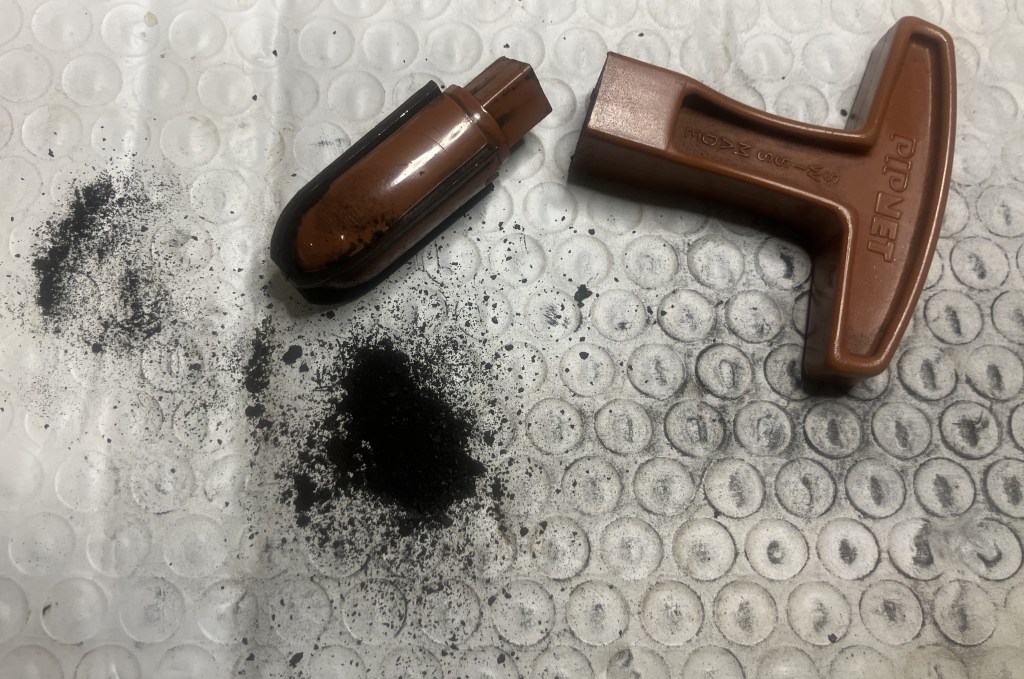
The little reaming that would be done was completed with a PipNet reamer and a Smokingpipes Low Country reaming knife.
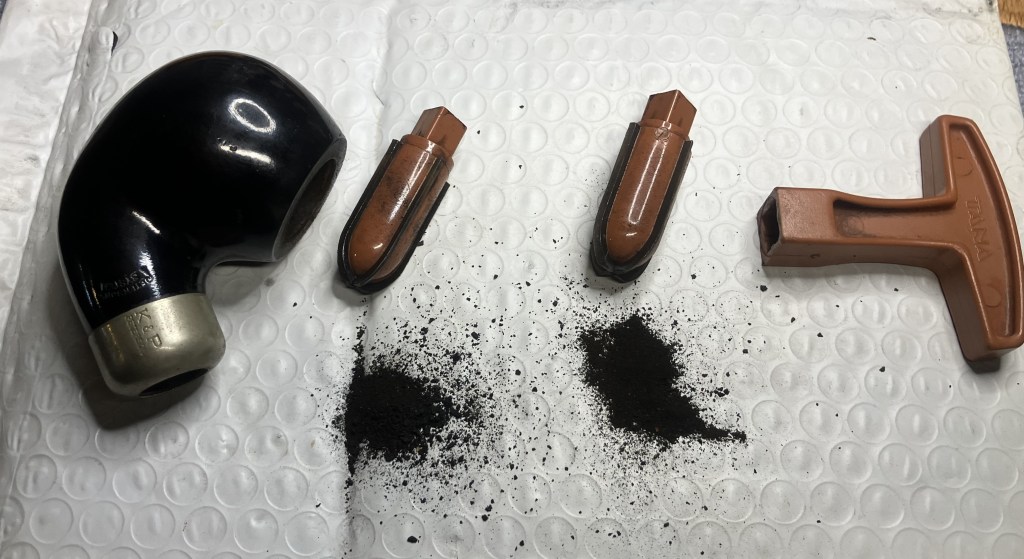
Like I said, light cake and easily removed.
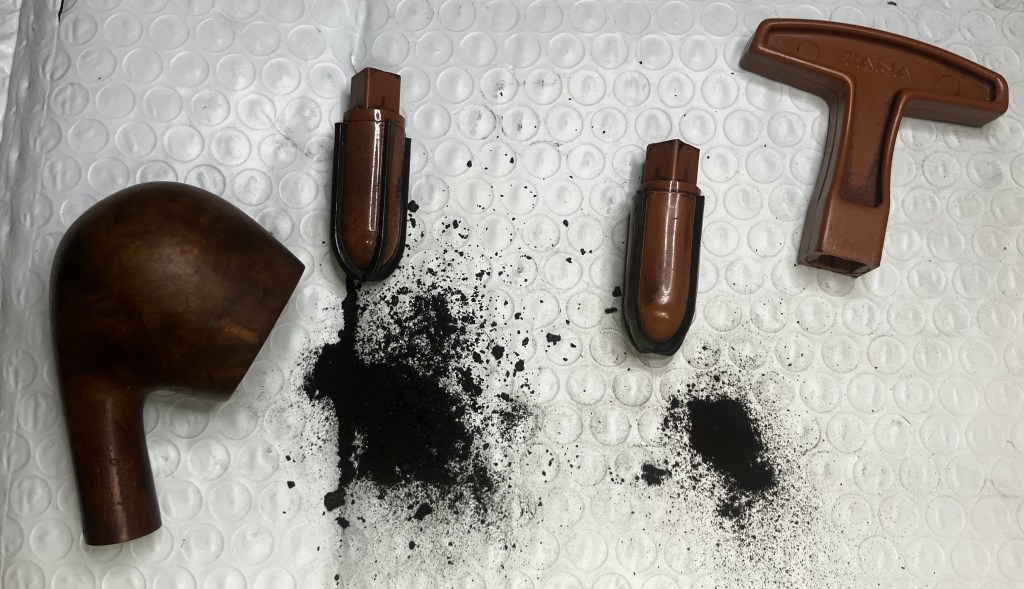
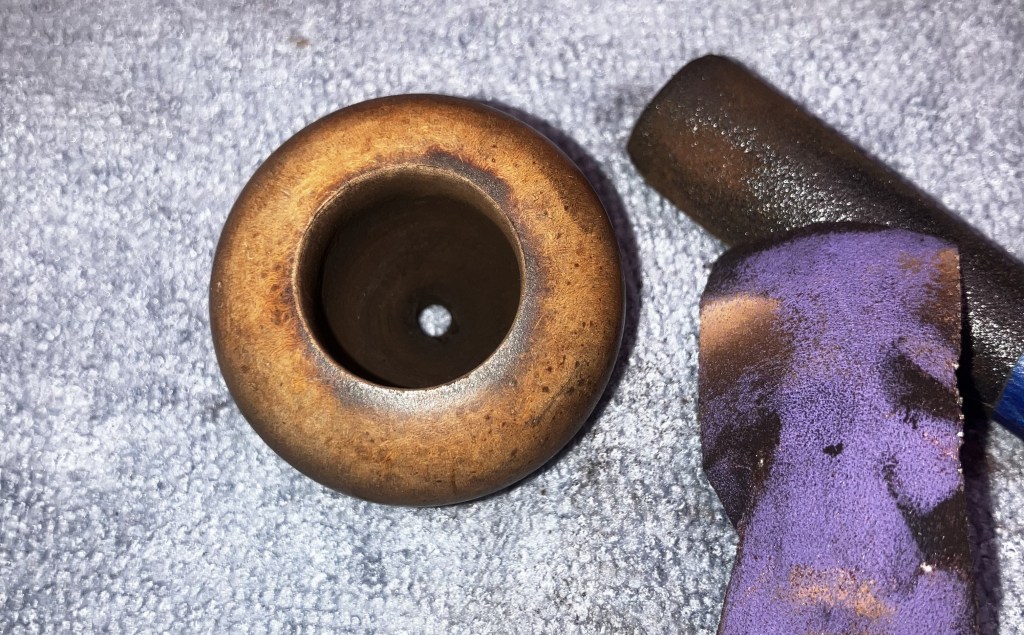
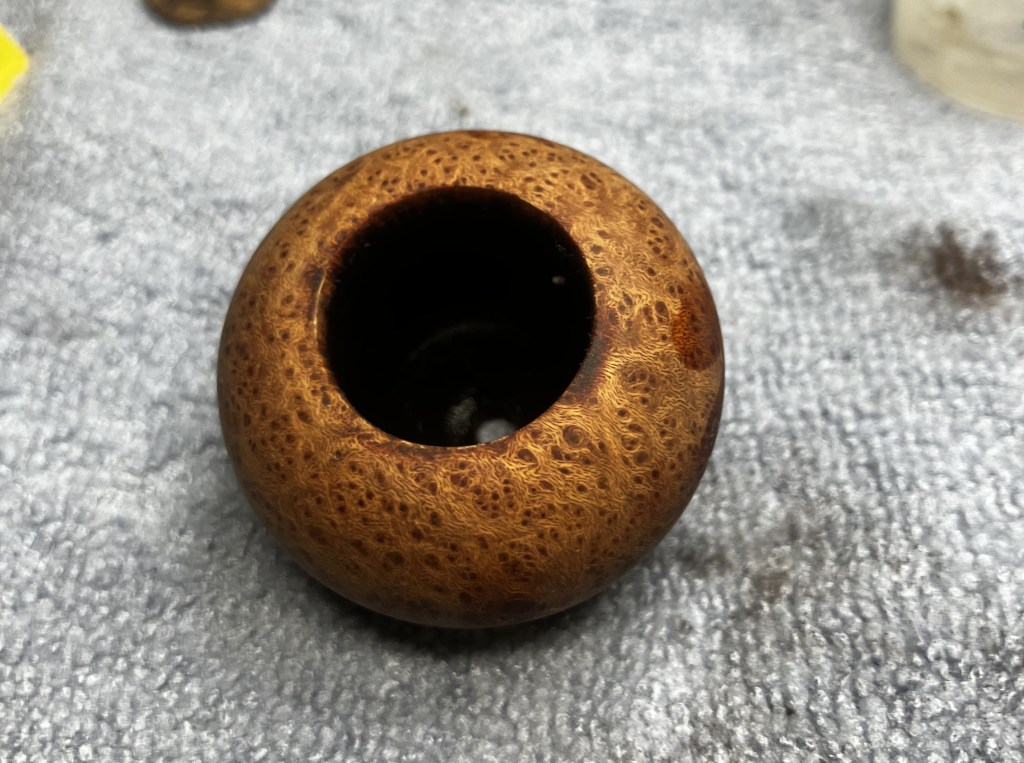
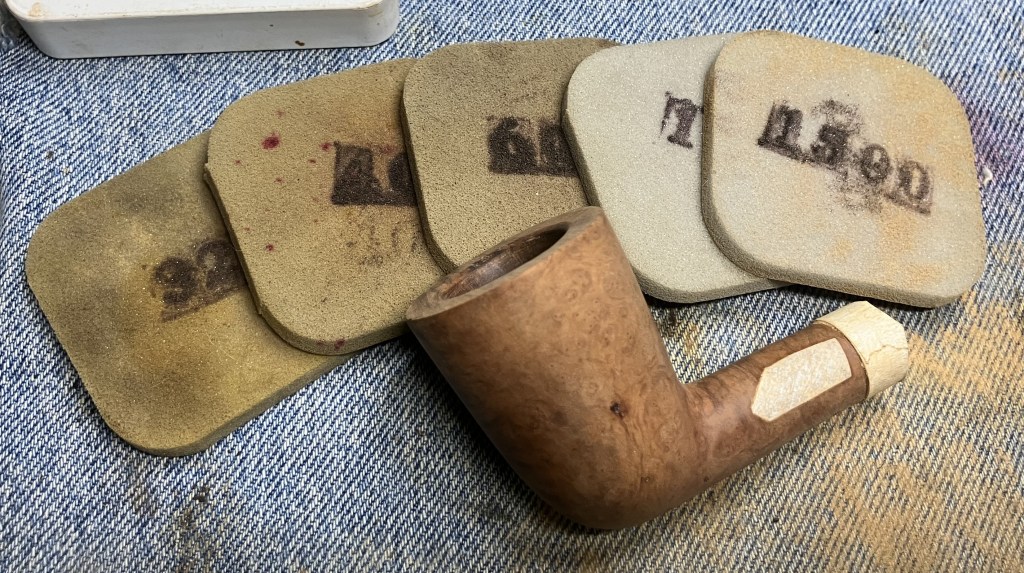
The tobacco chamber was sanded the 320 grit sandpaper wrapped around a wood dowel and by finger.

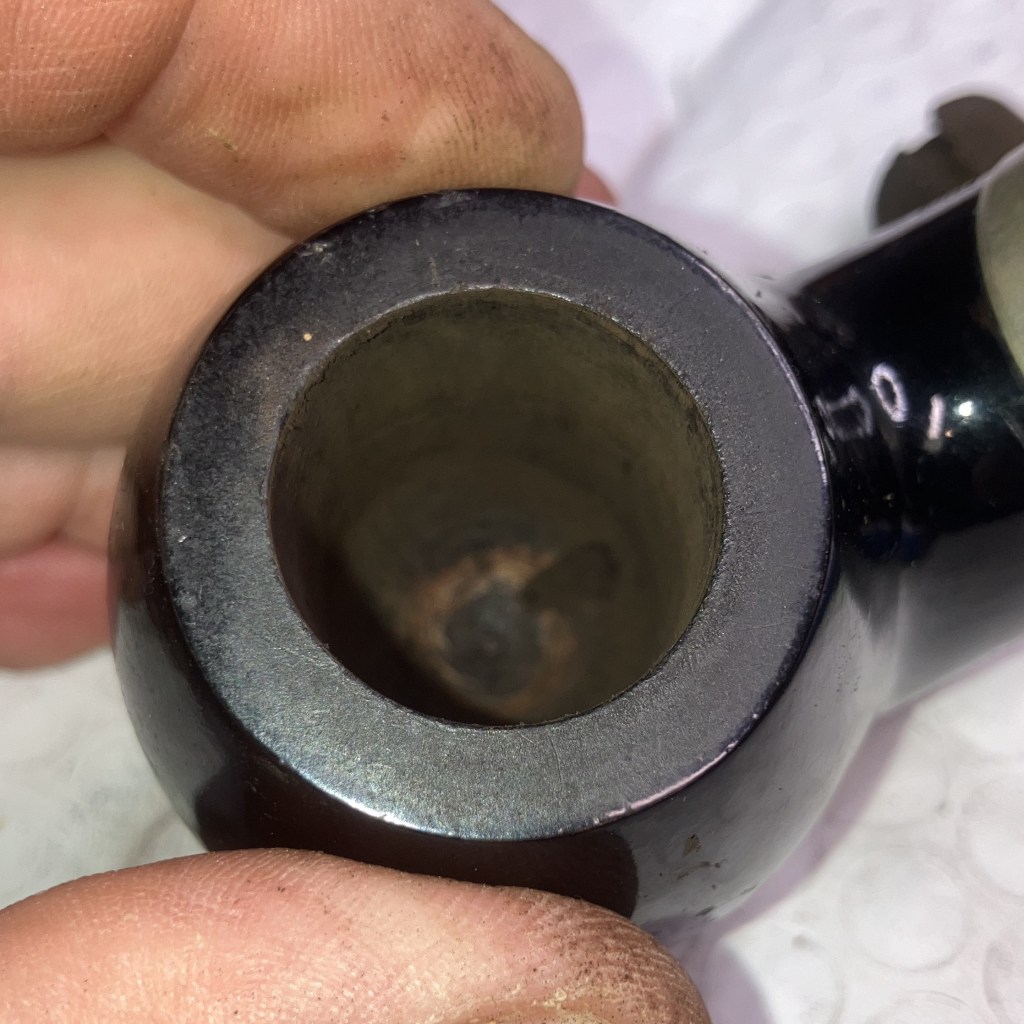
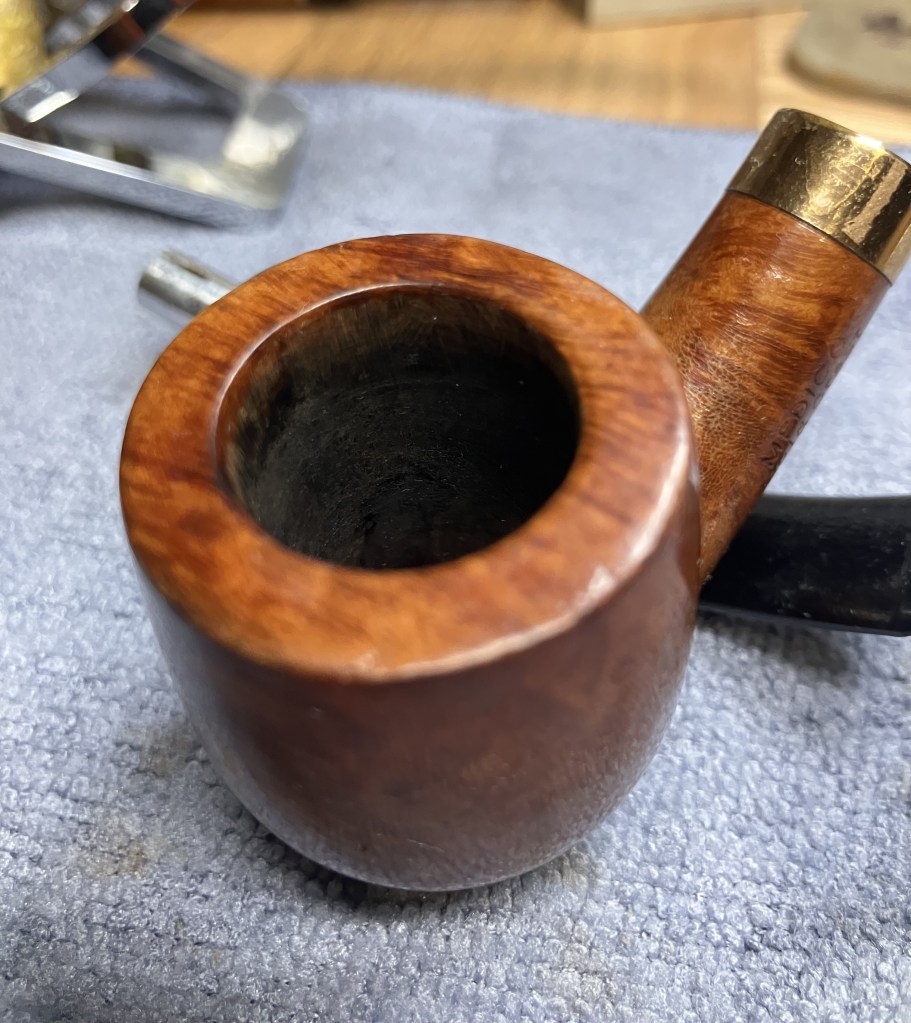
The interior of the chamber showed no signs of heat damage and was taken back to bare briar.
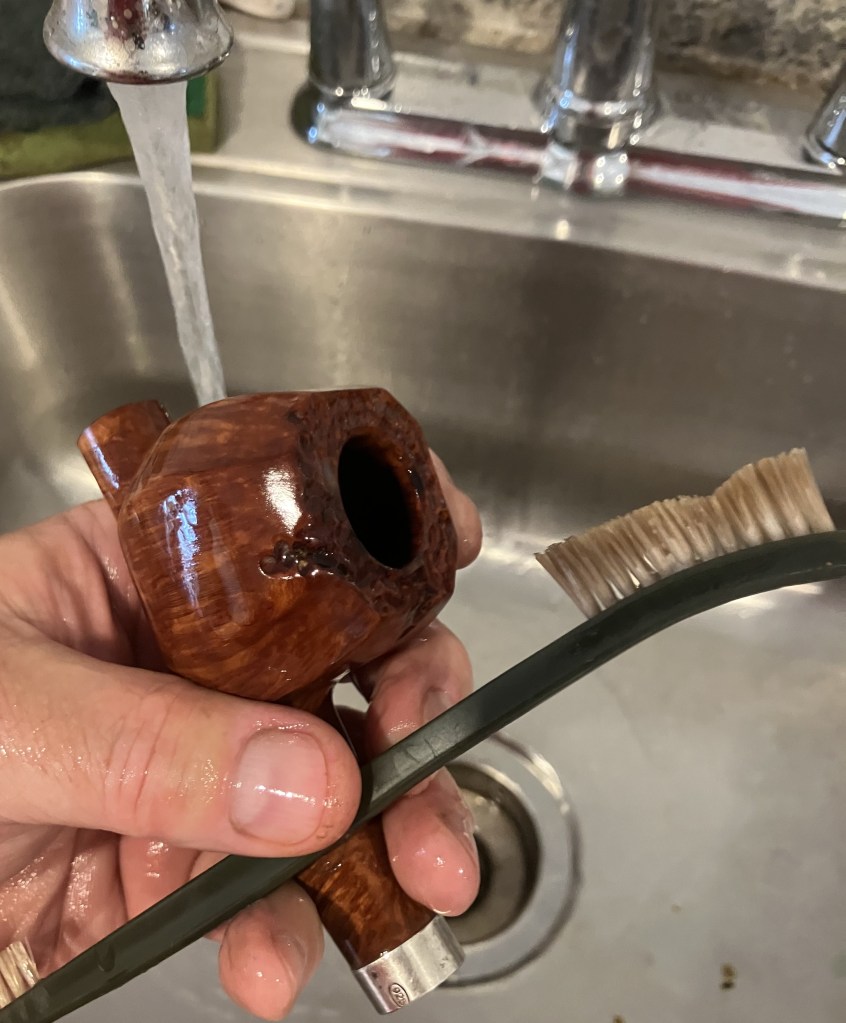
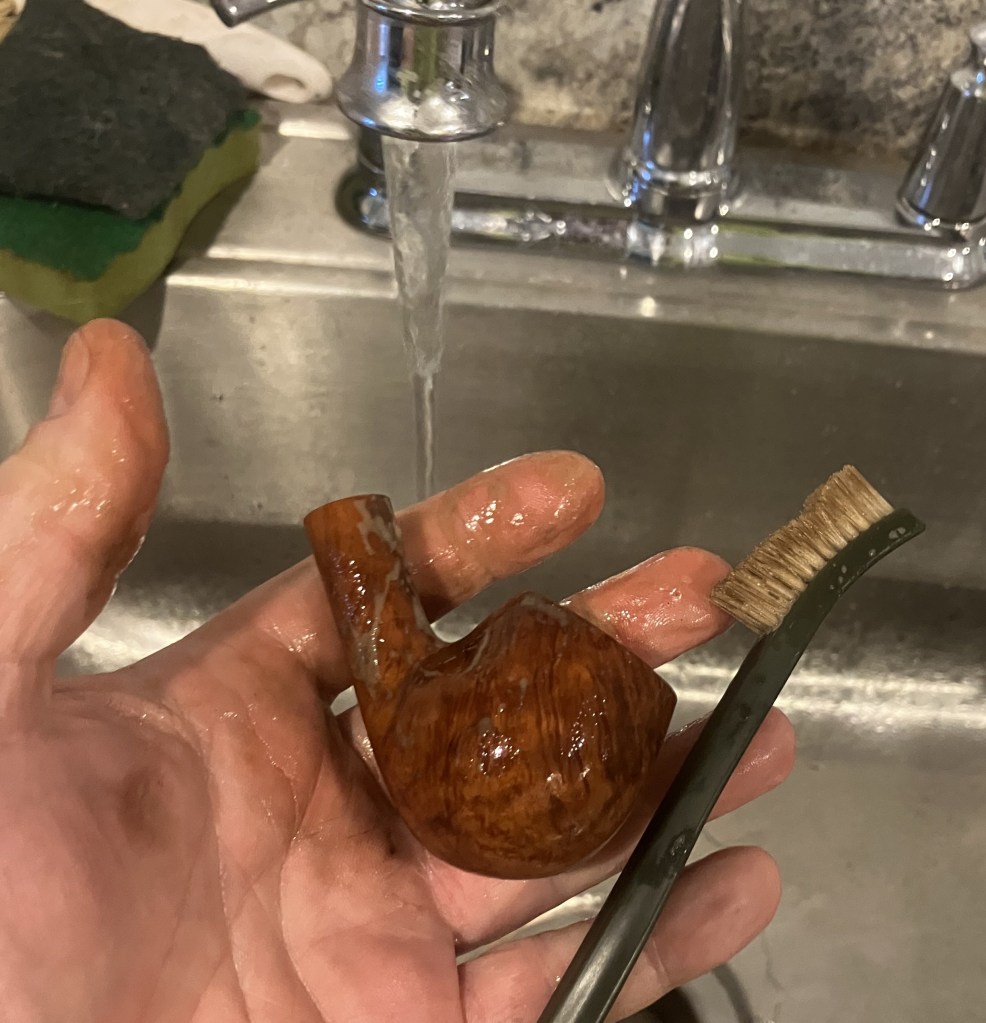
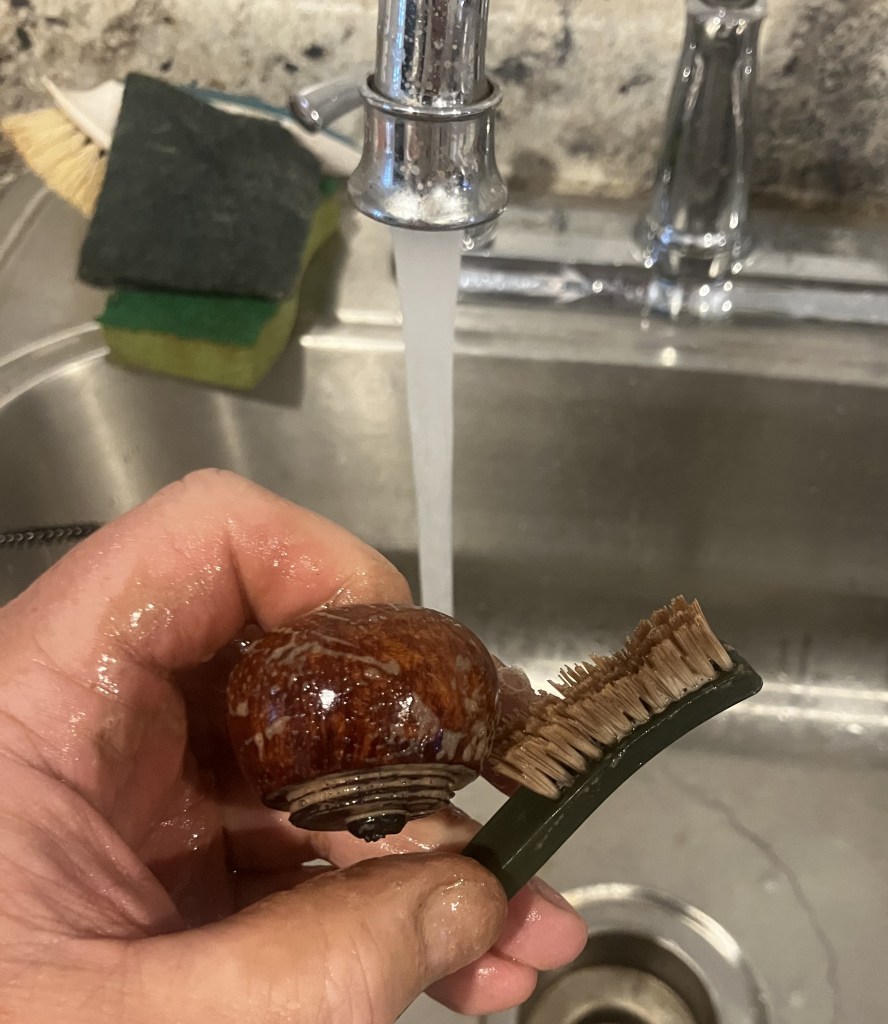
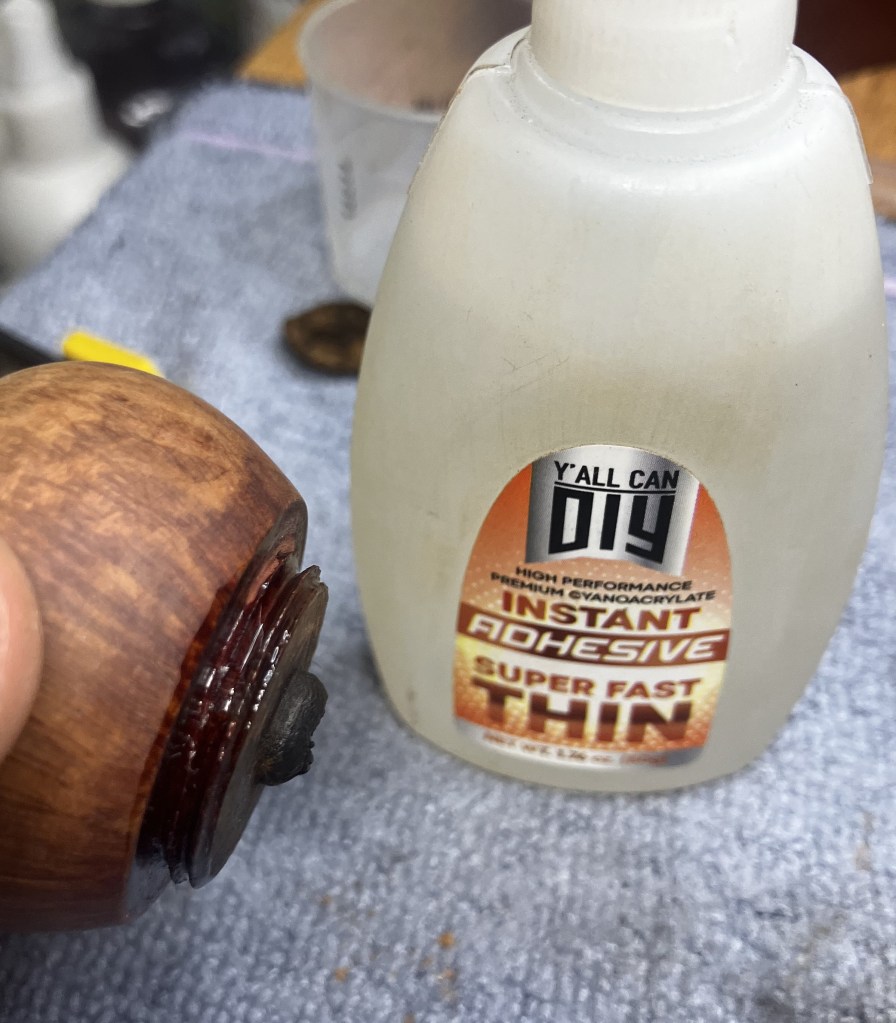
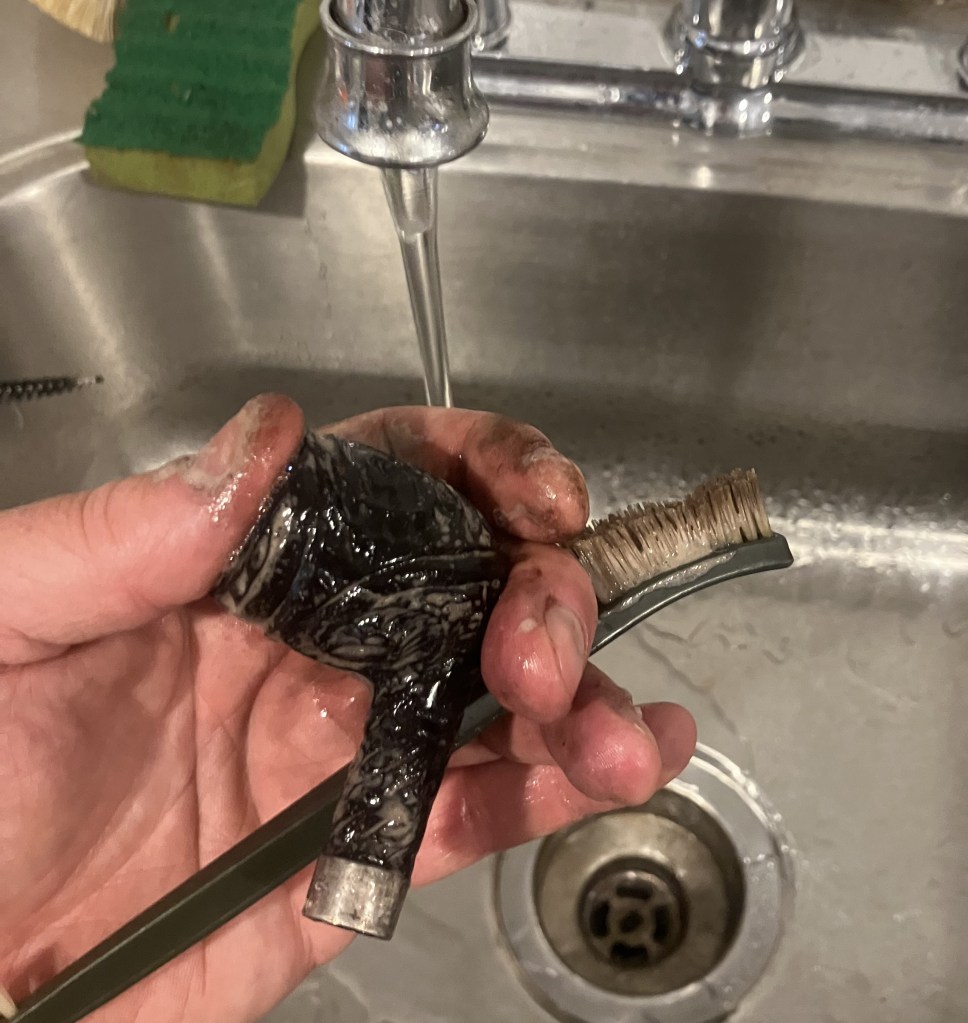
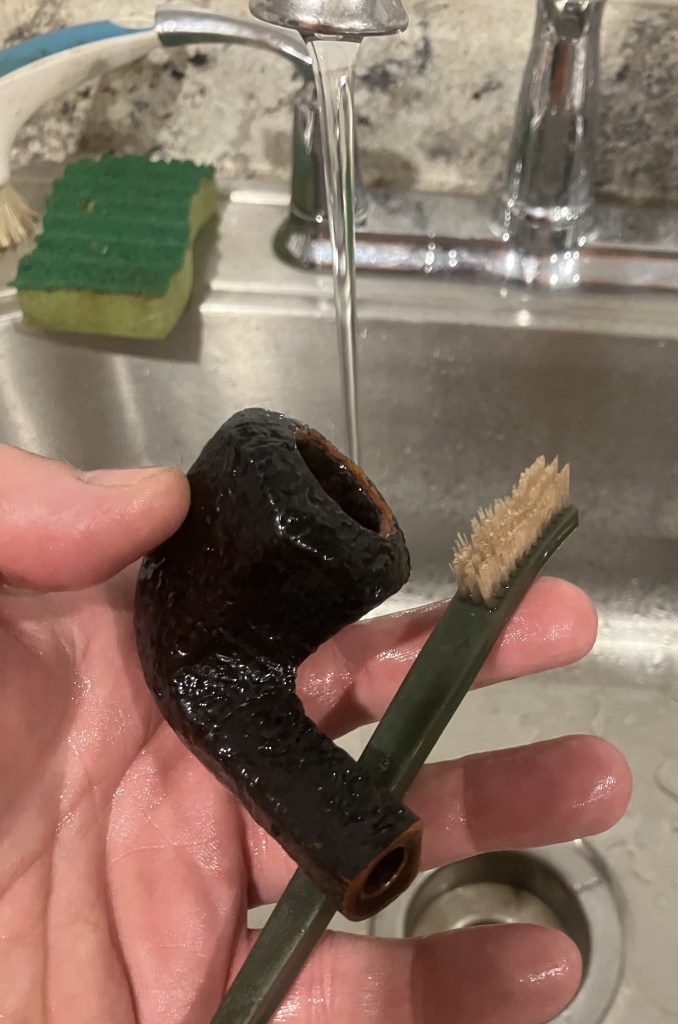
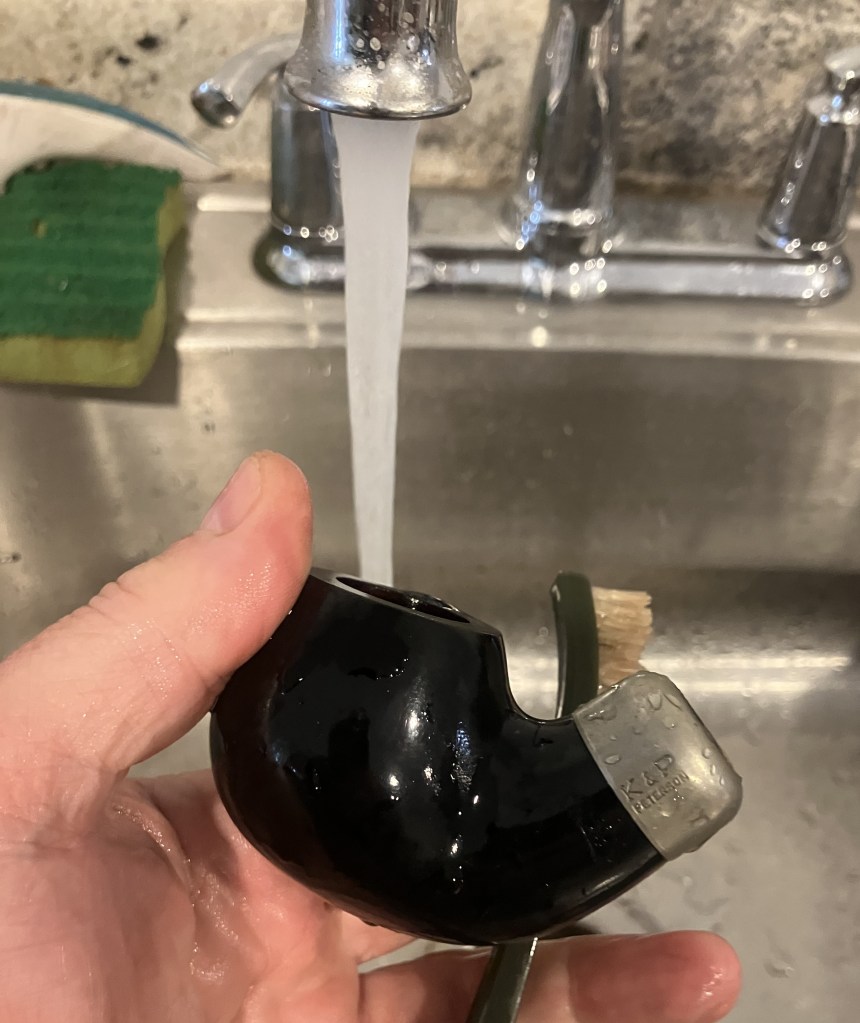
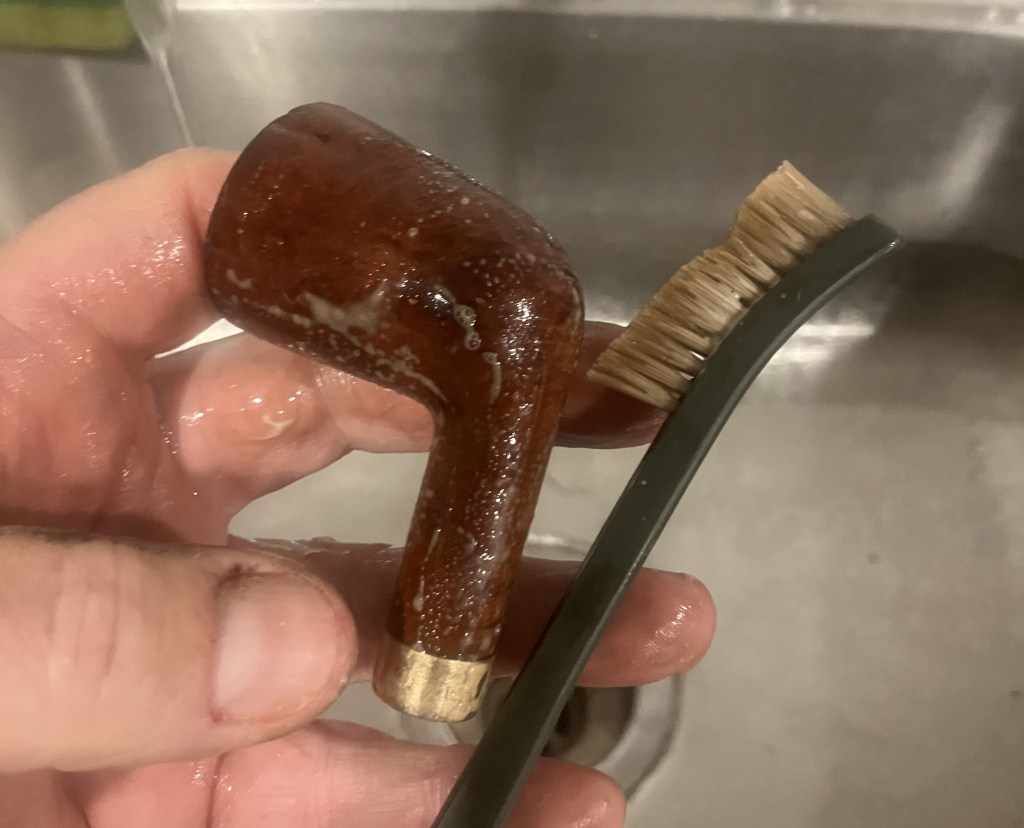
To the sink! Here the stummel was scrubbed with undiluted Murphy Oil Soap and a nylon brush. The soap was rinsed away with warm water and the stummel dried with a cotton hand towel.
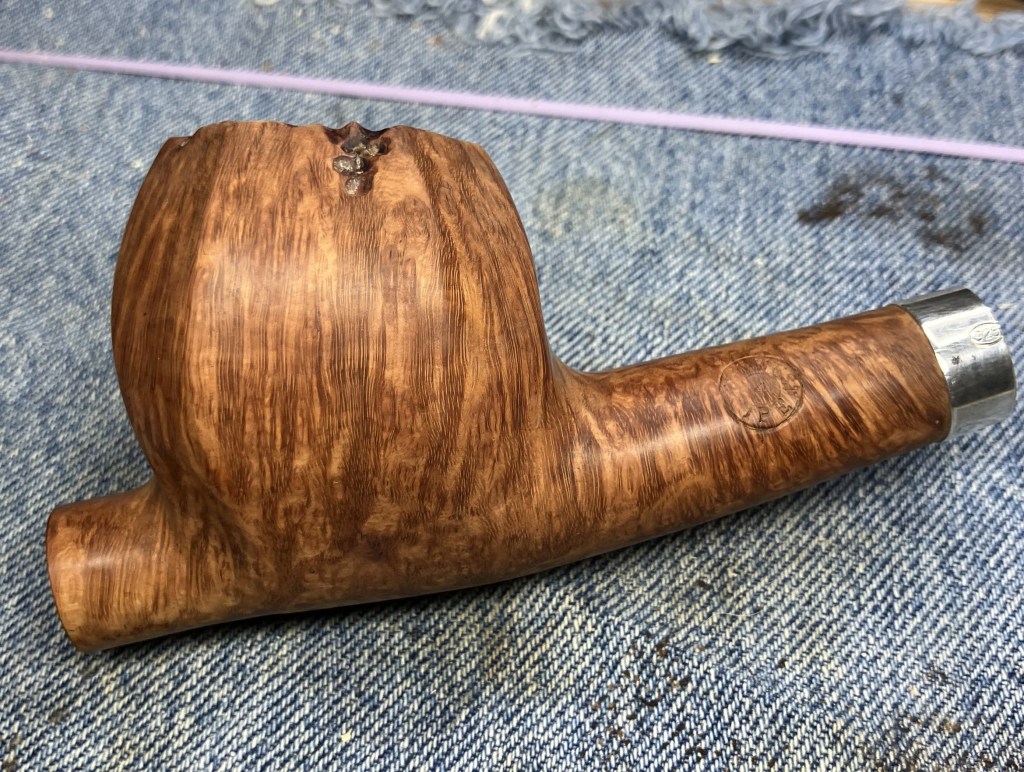
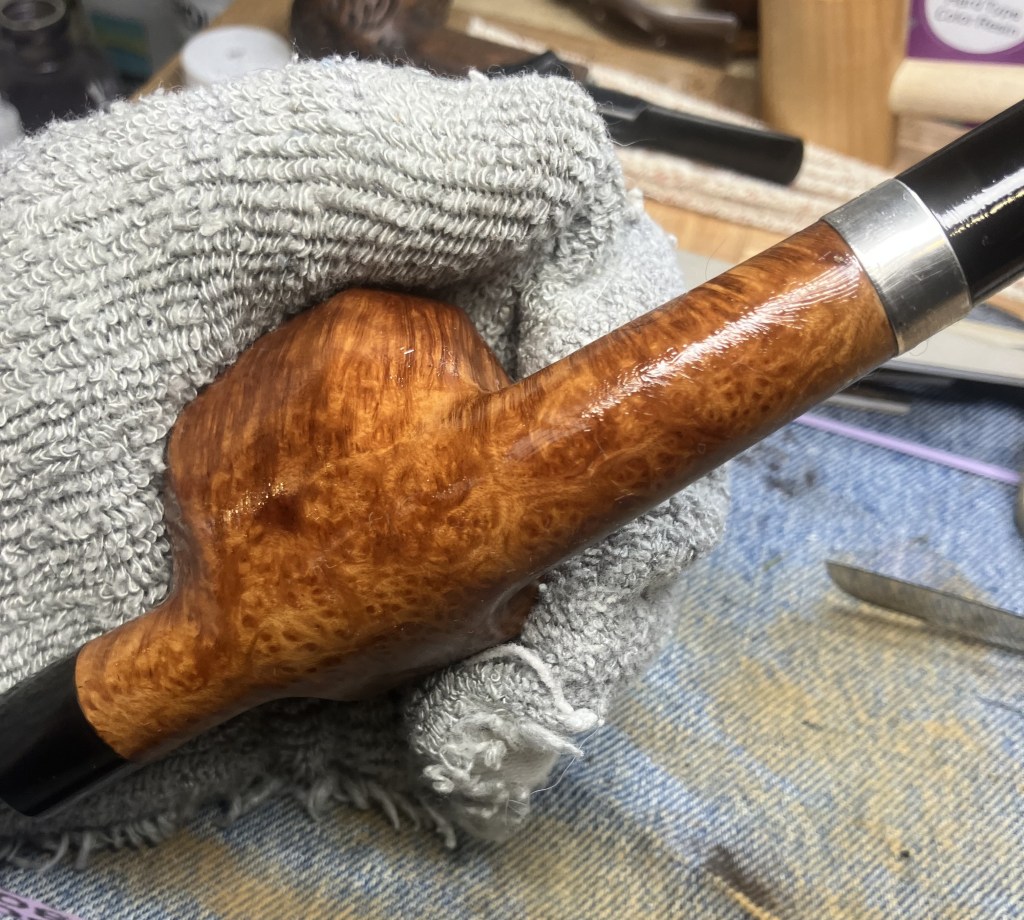
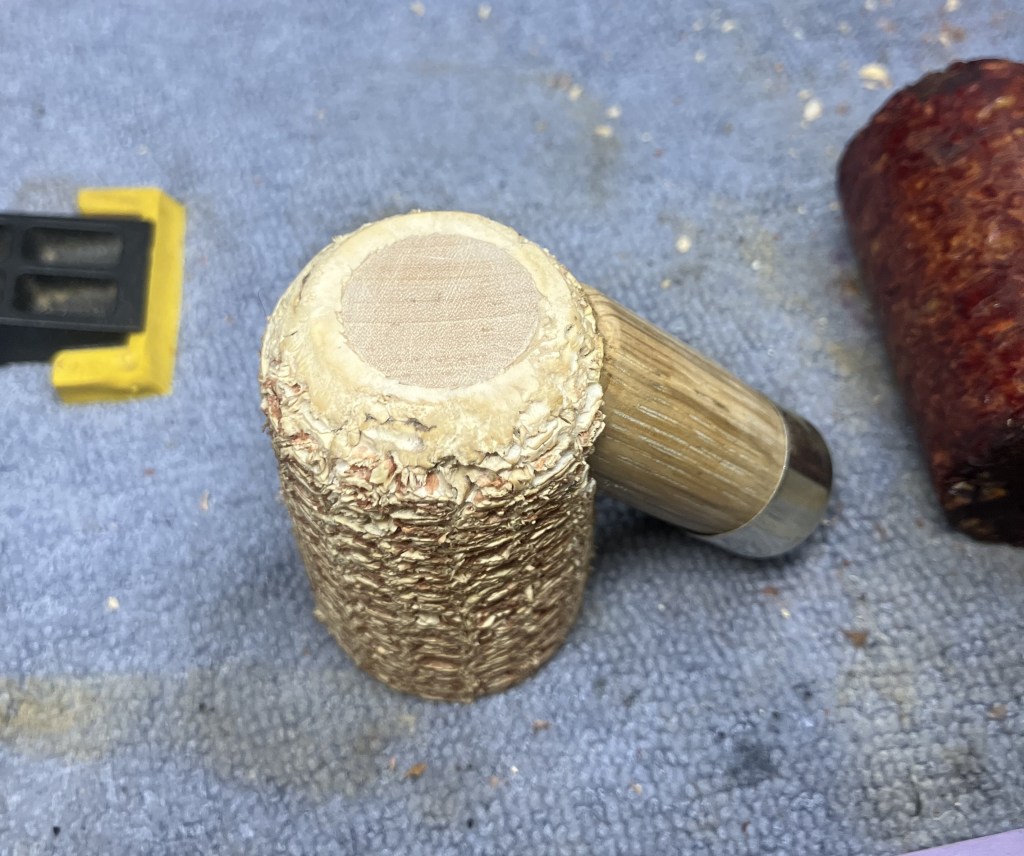
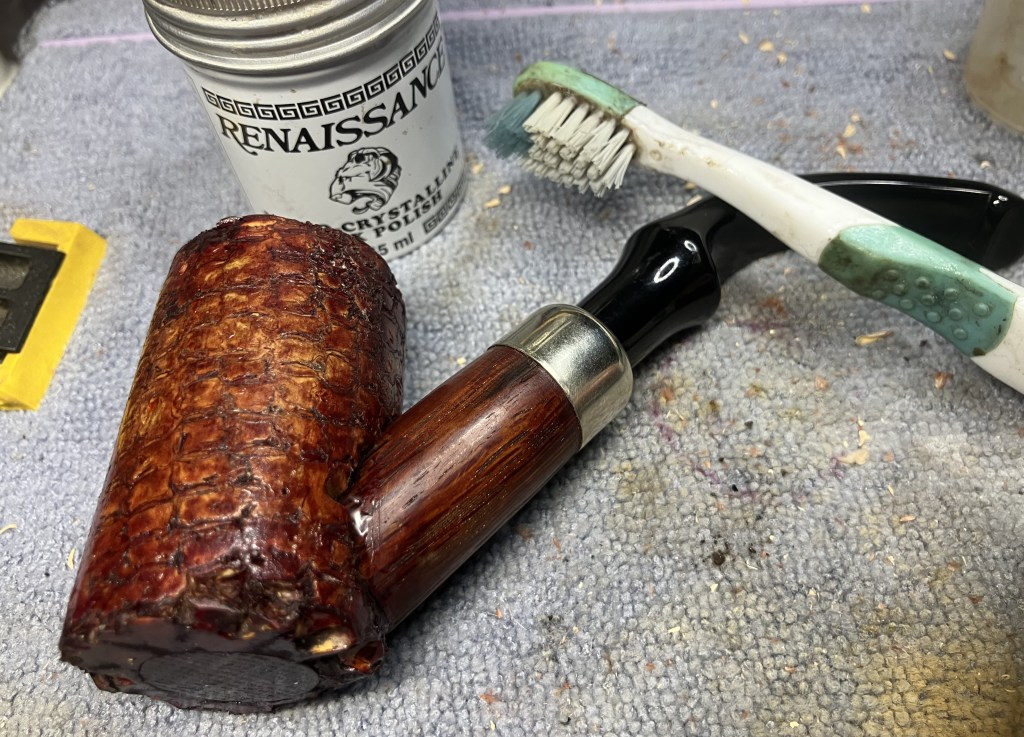
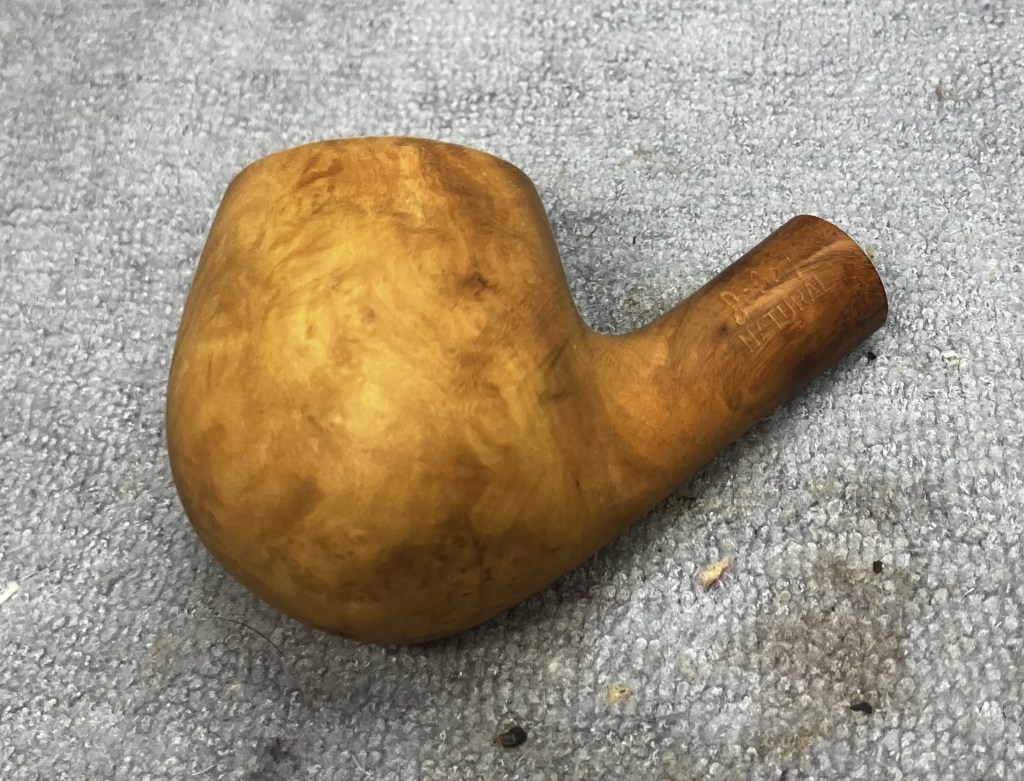
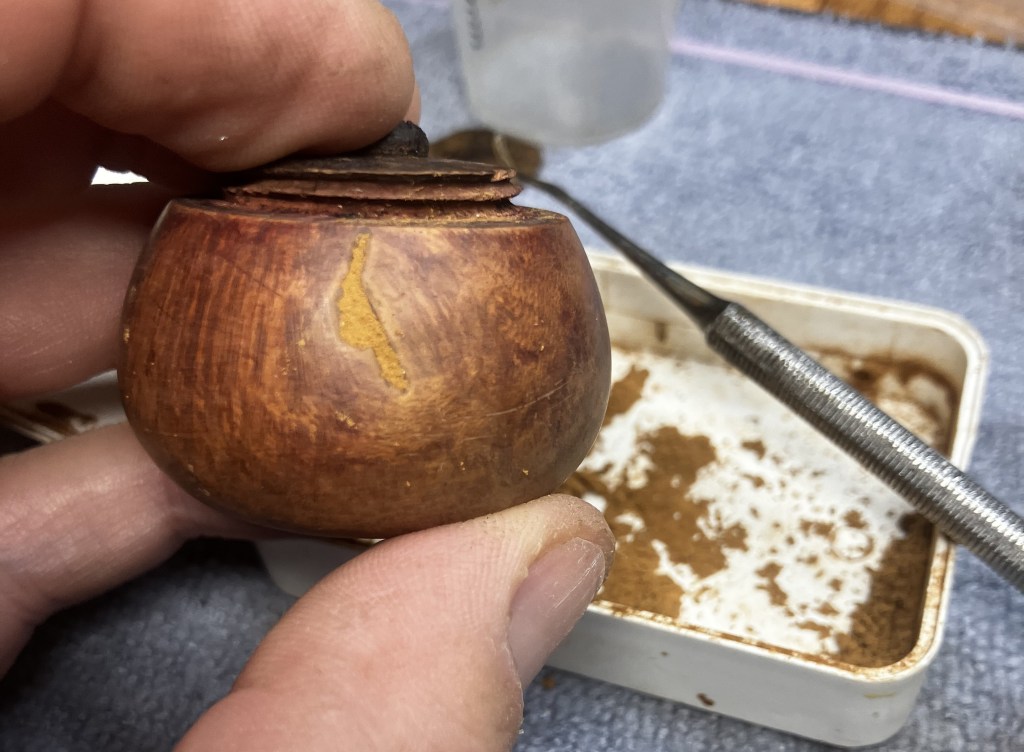
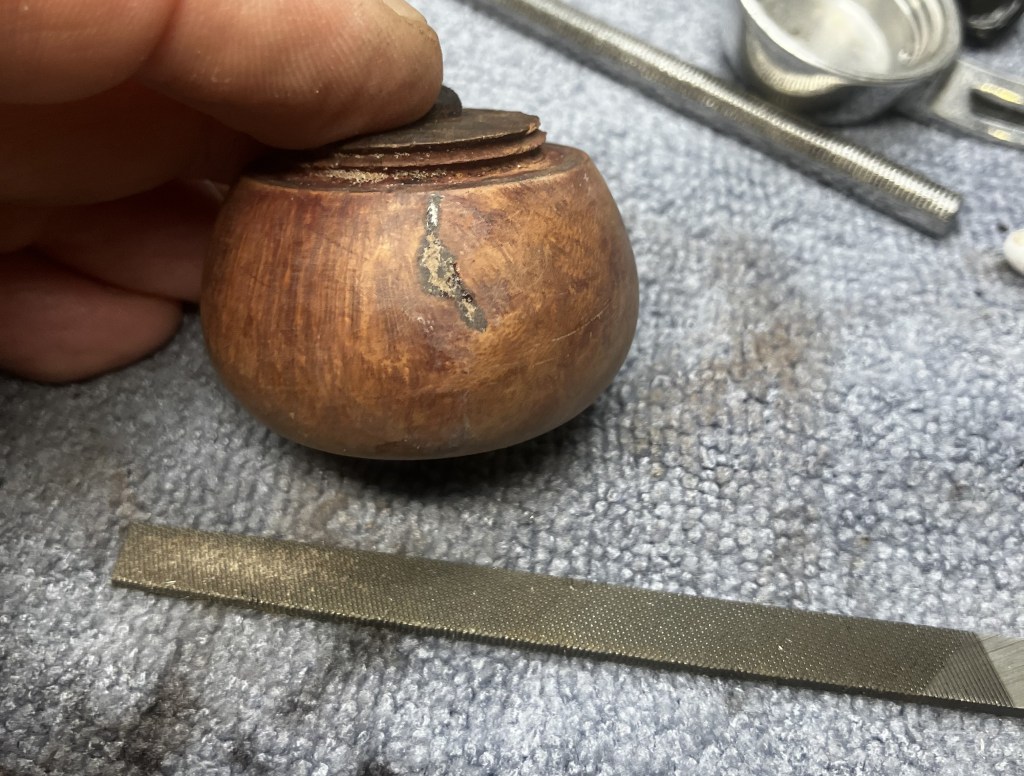
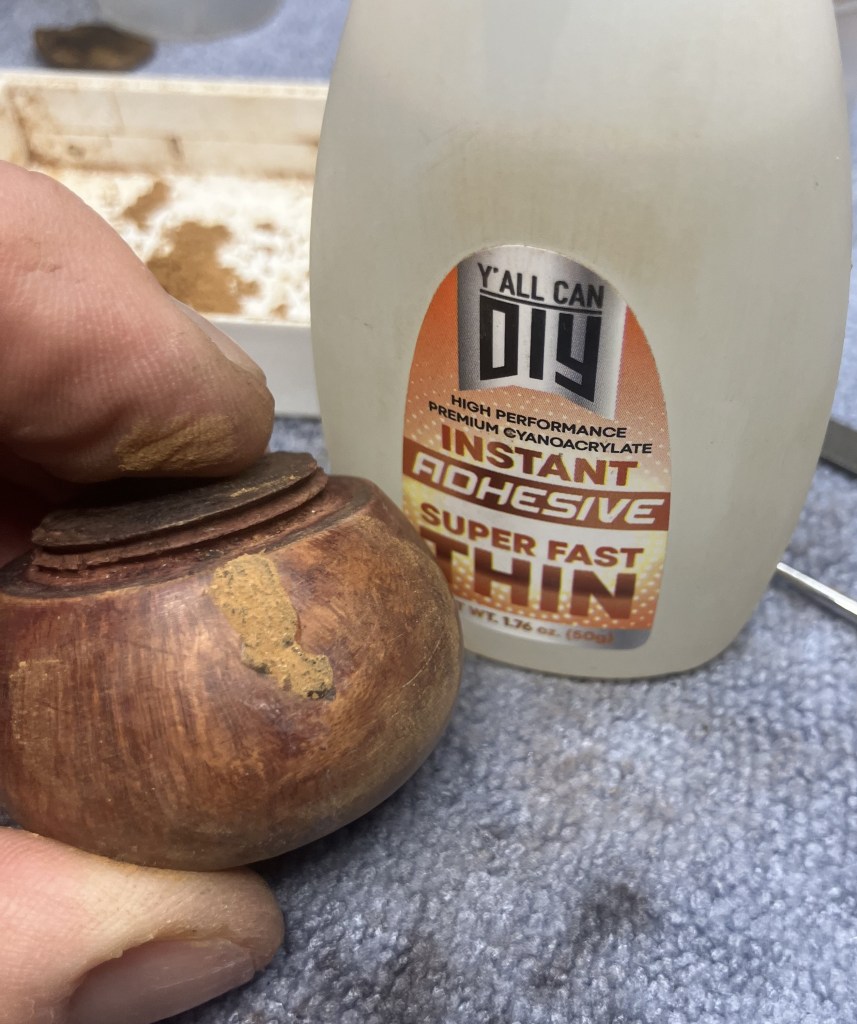
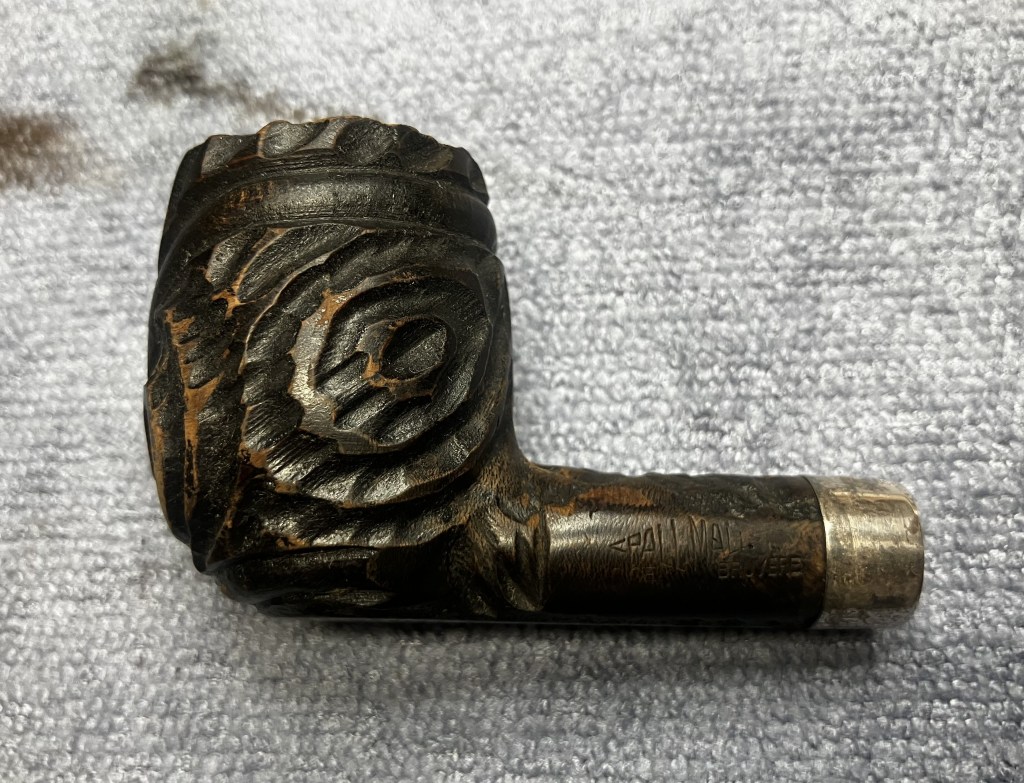
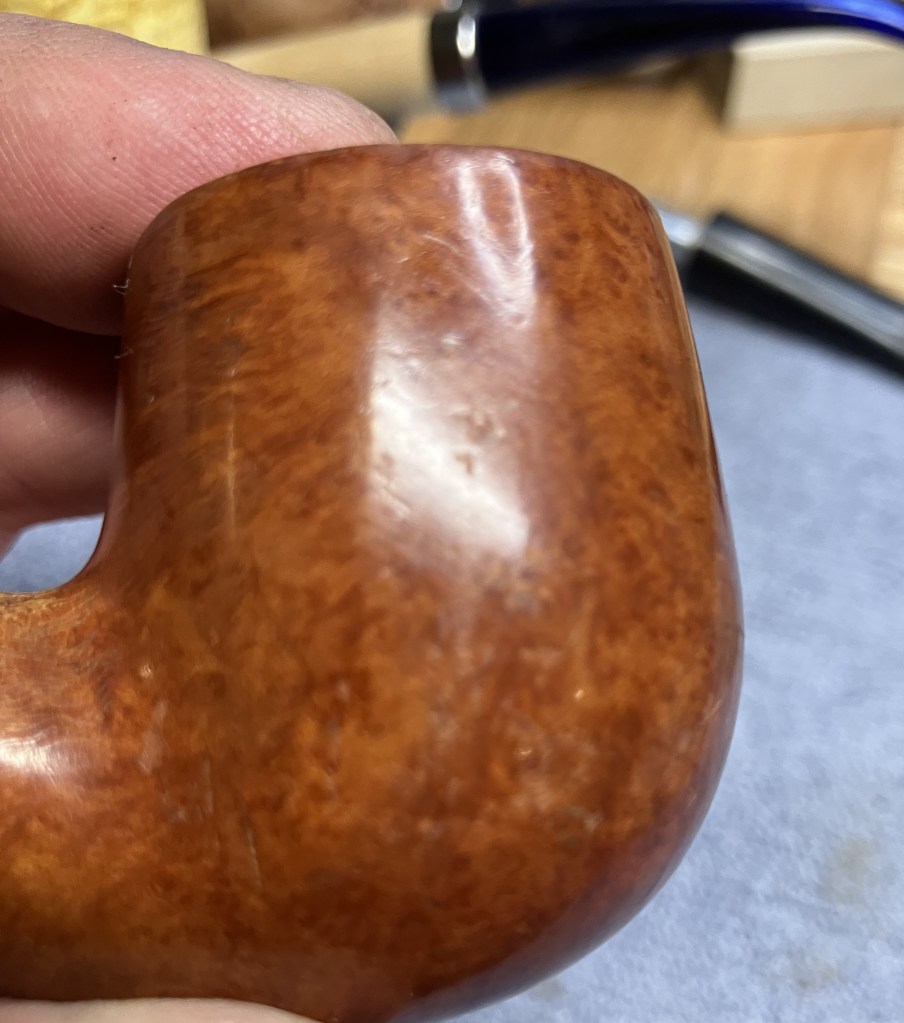
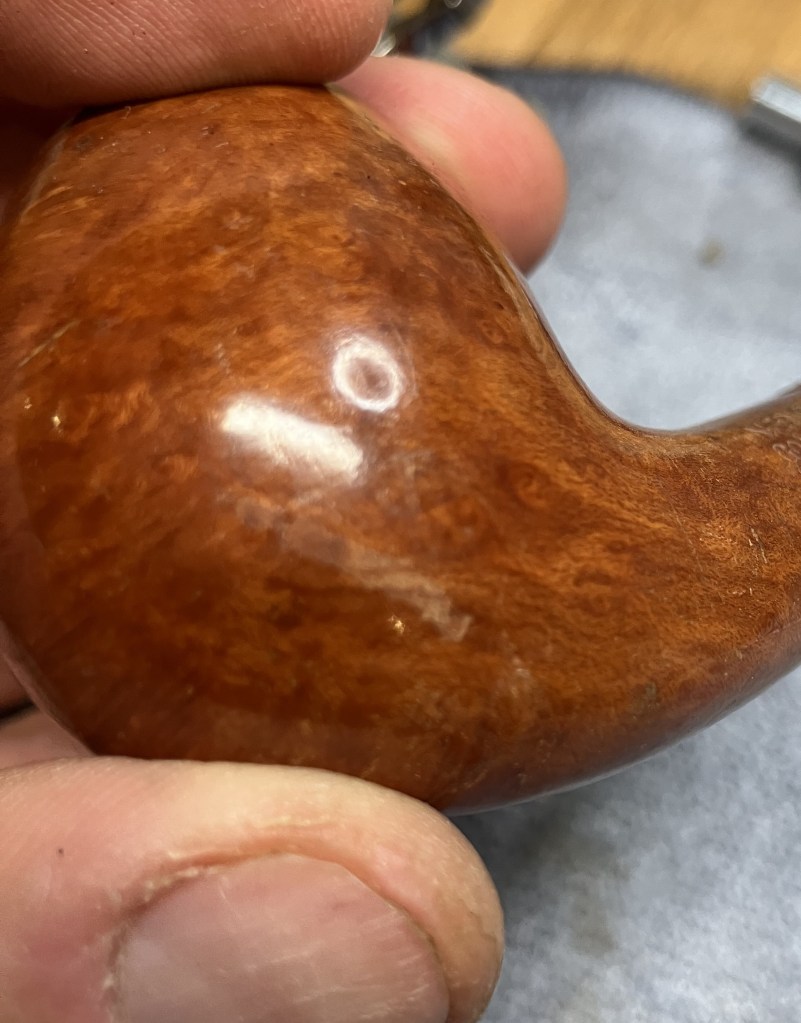
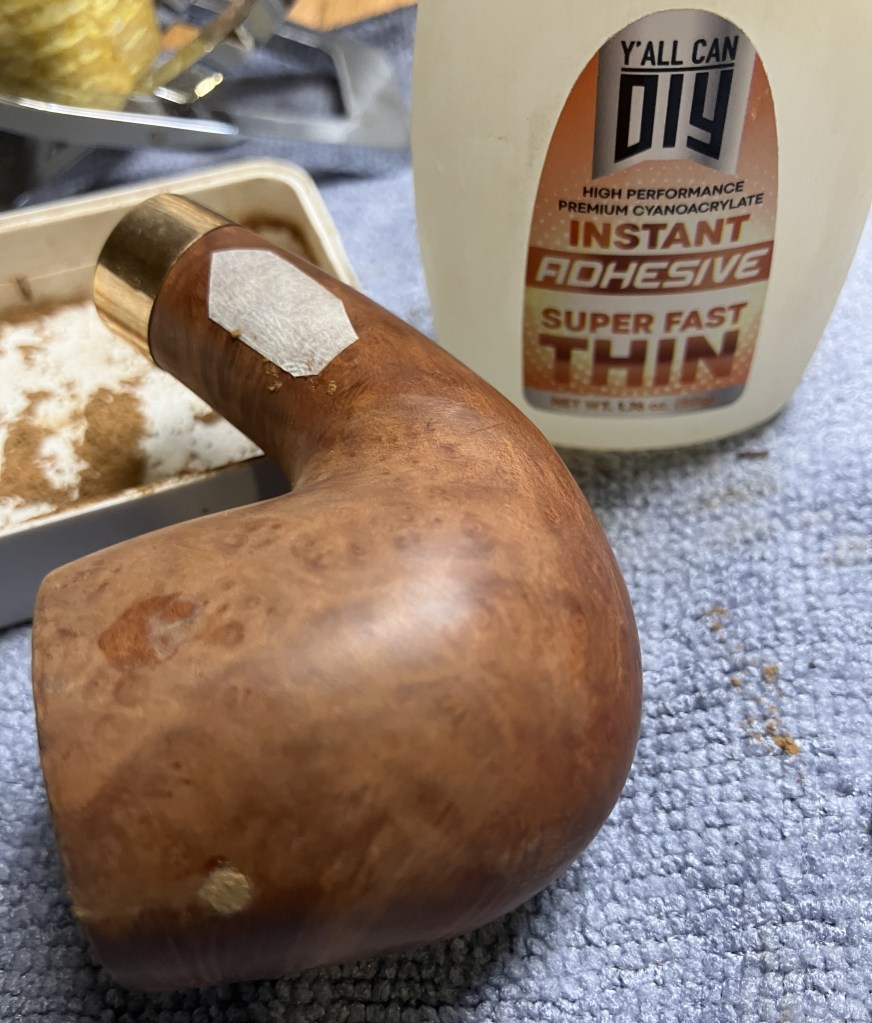
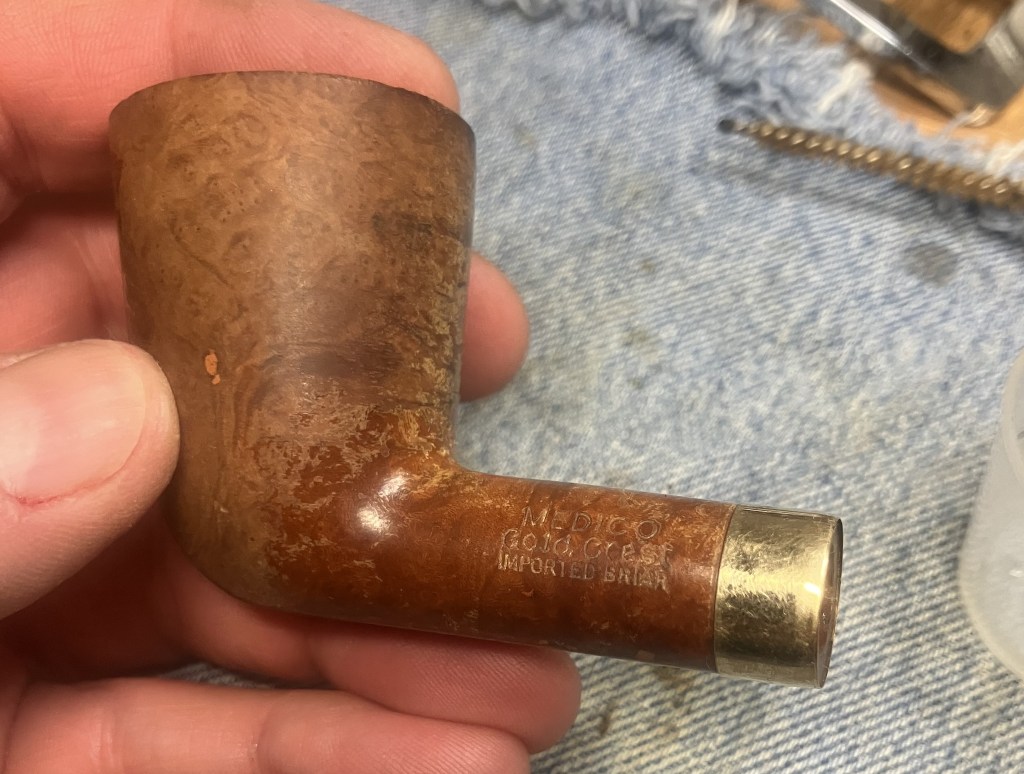
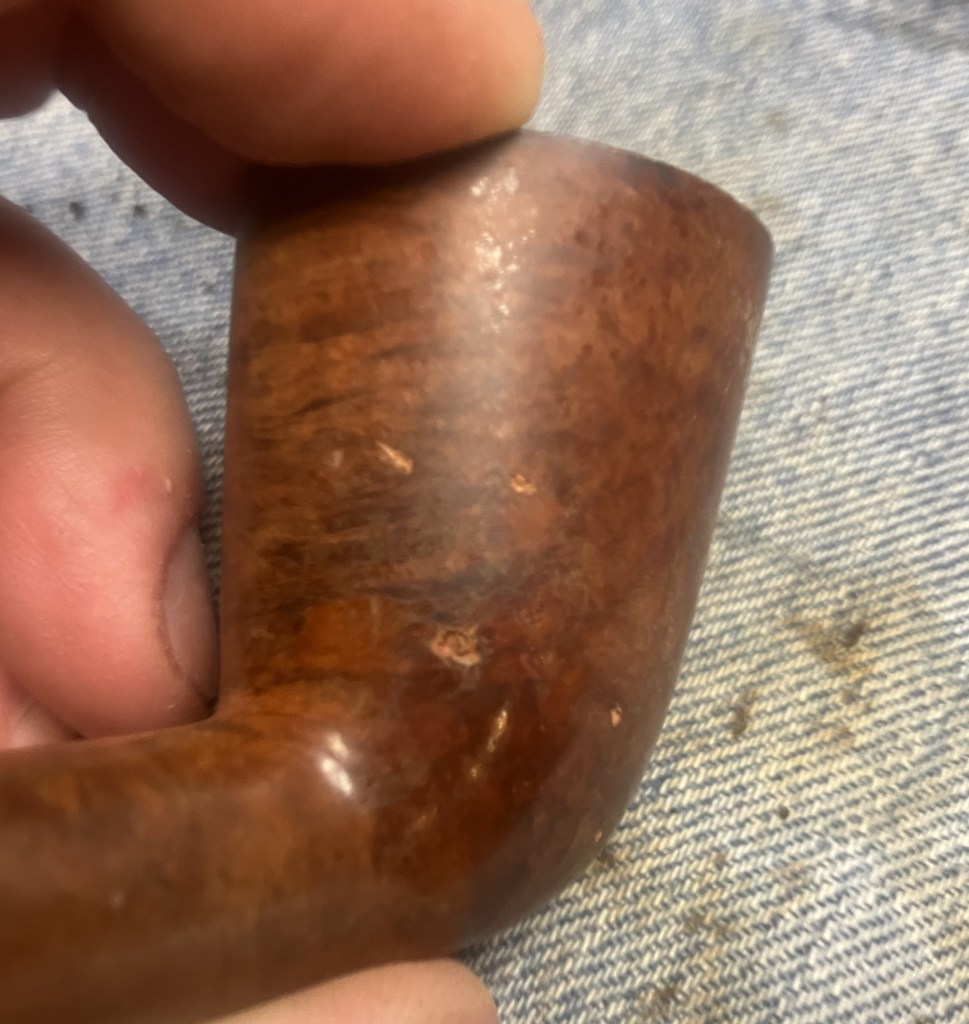
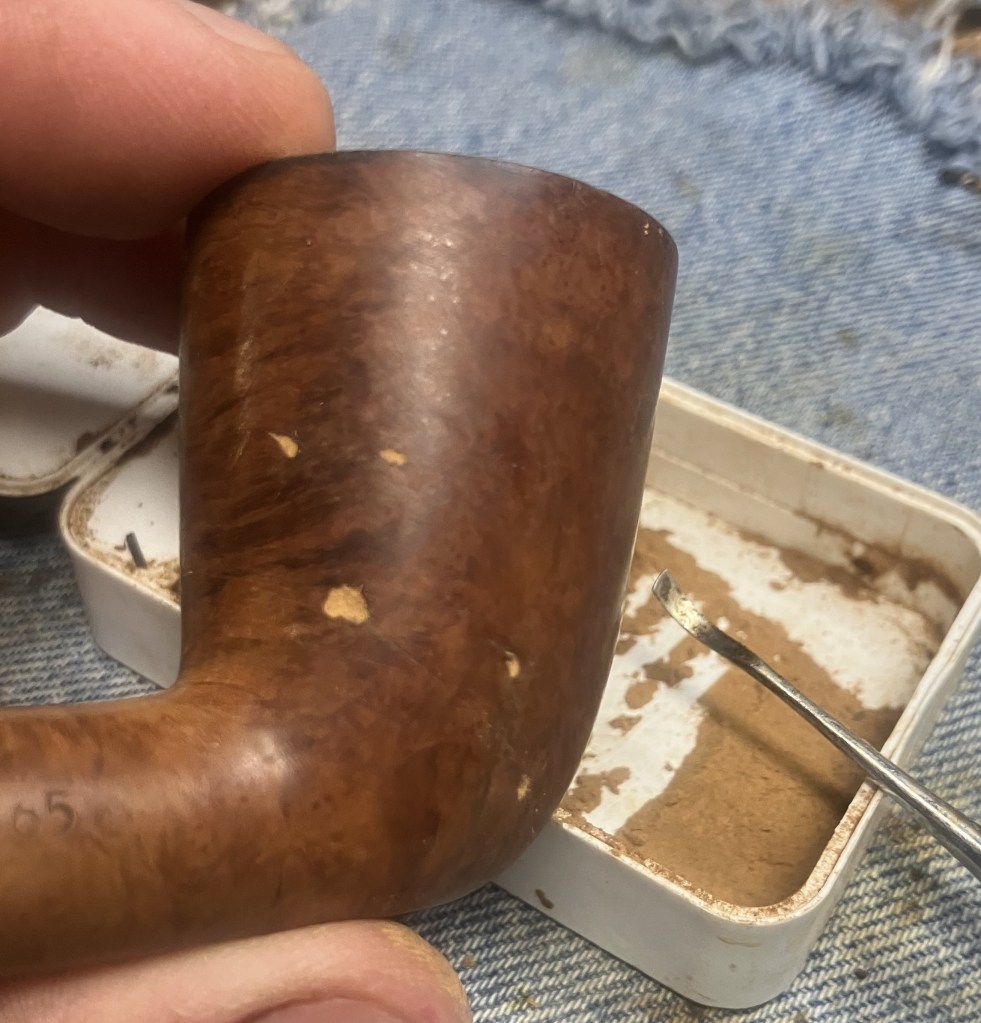
Back at the workbench those light spots in the rustications were annoying me but the wood grain looked even better than before. Mr. West sure does use good briar, though the rustications may very well have been done to mask the existence of small pits. If so, that too was a very attractive way to address the pits.
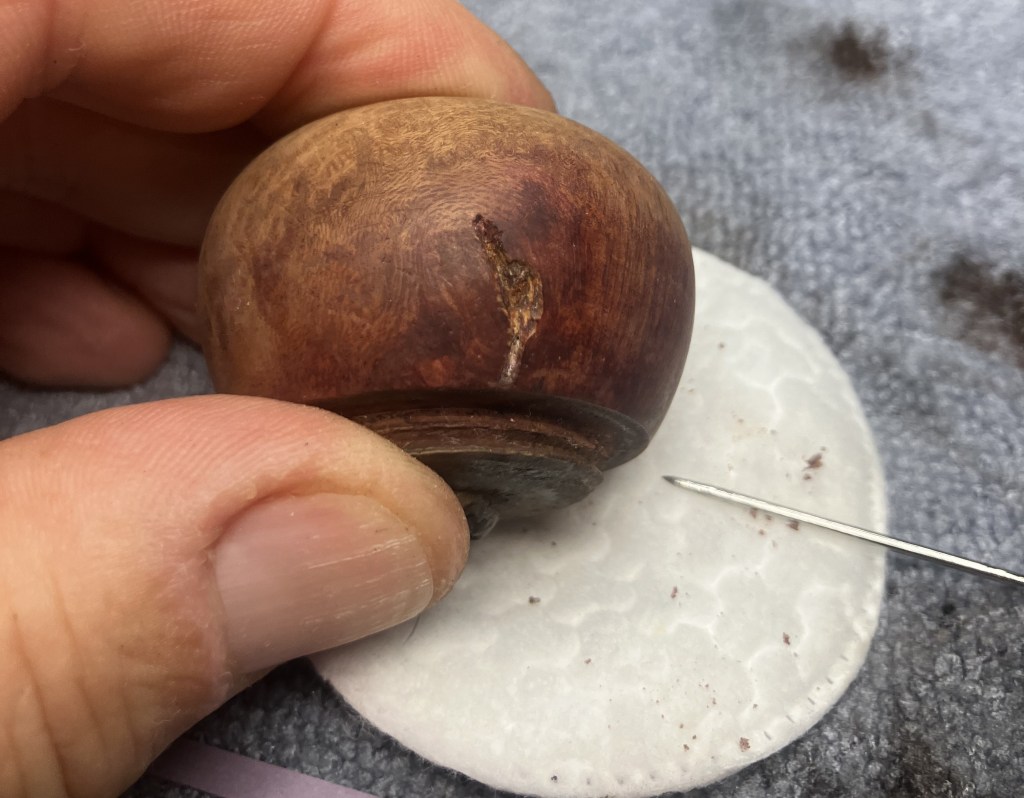
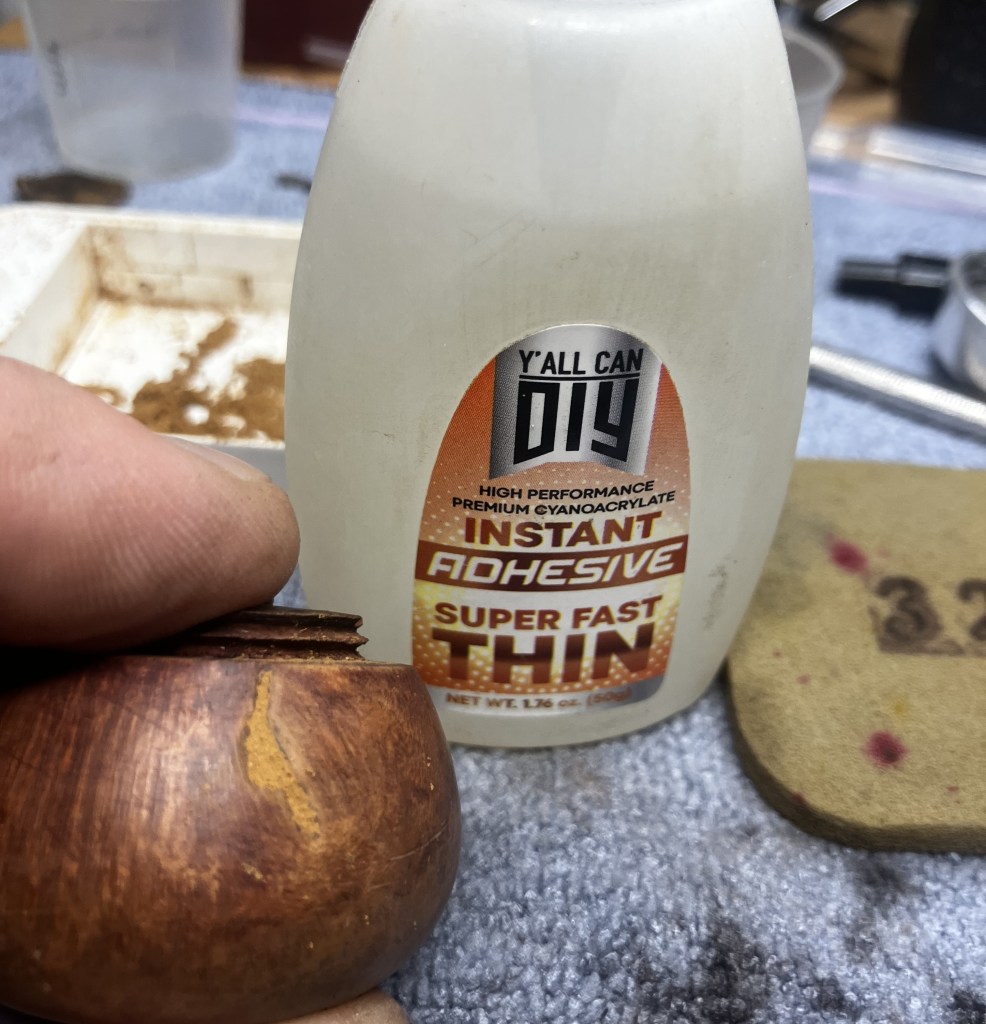
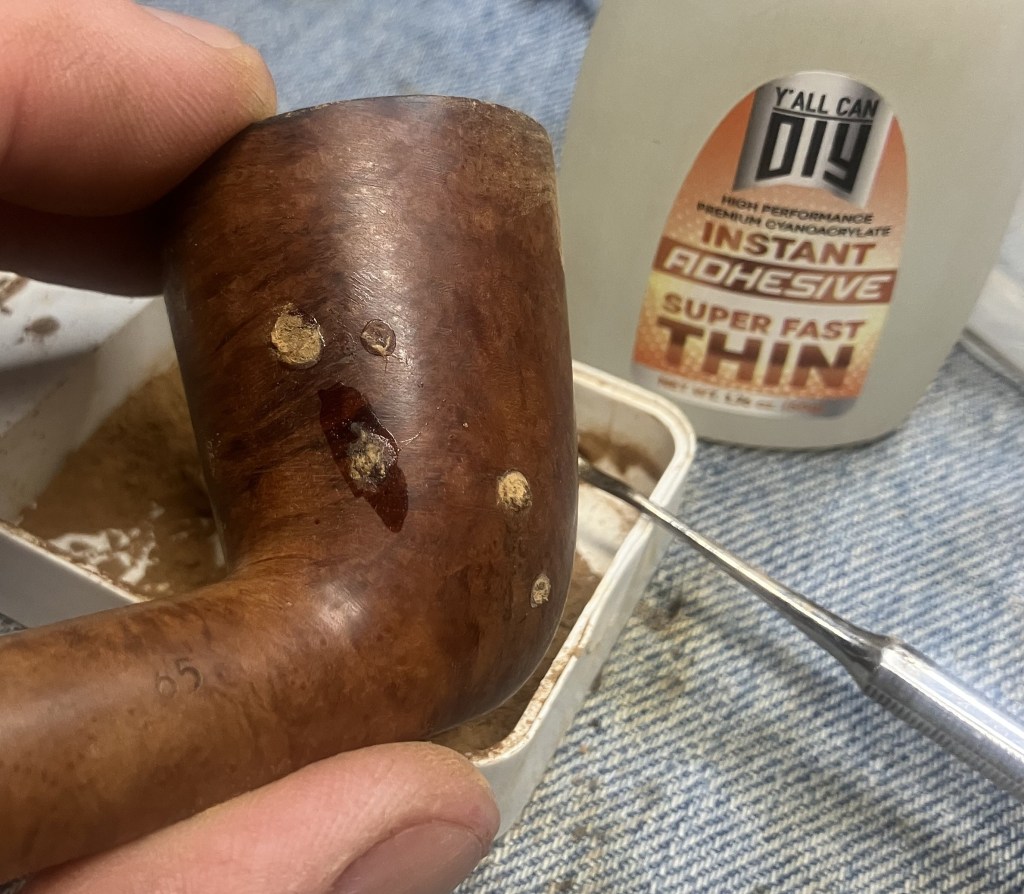
Augh, the light flakey stuff had to go.
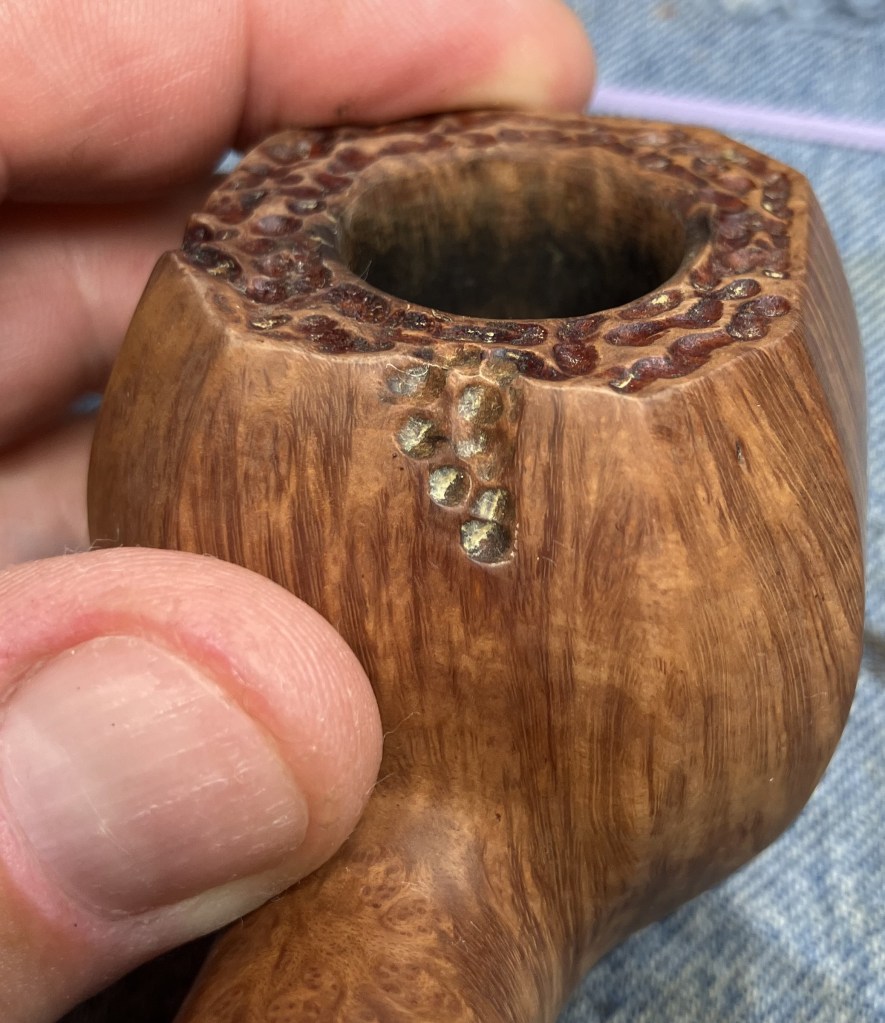
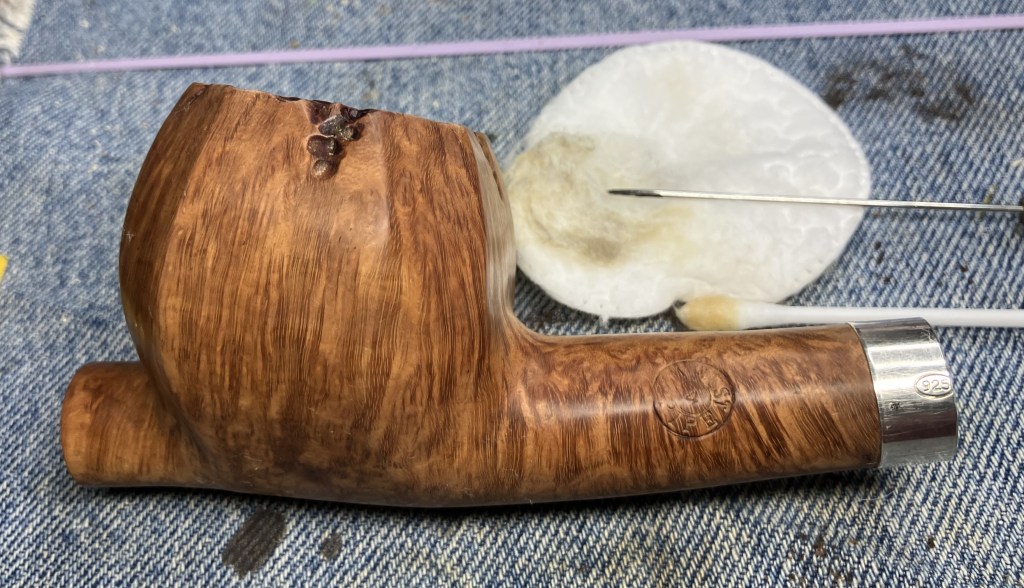
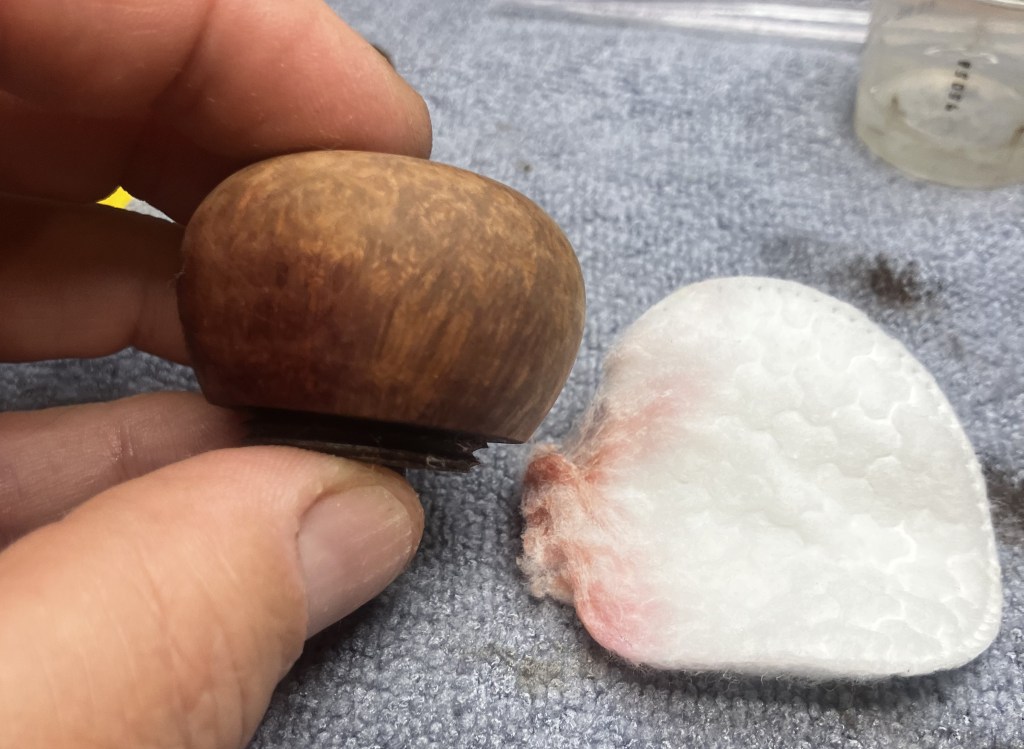
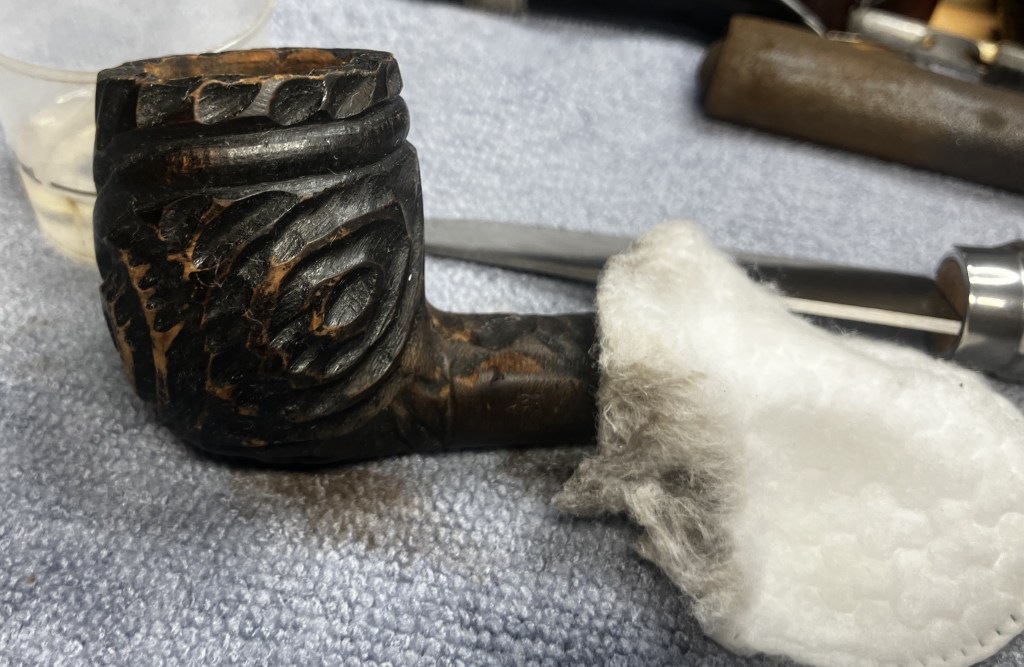
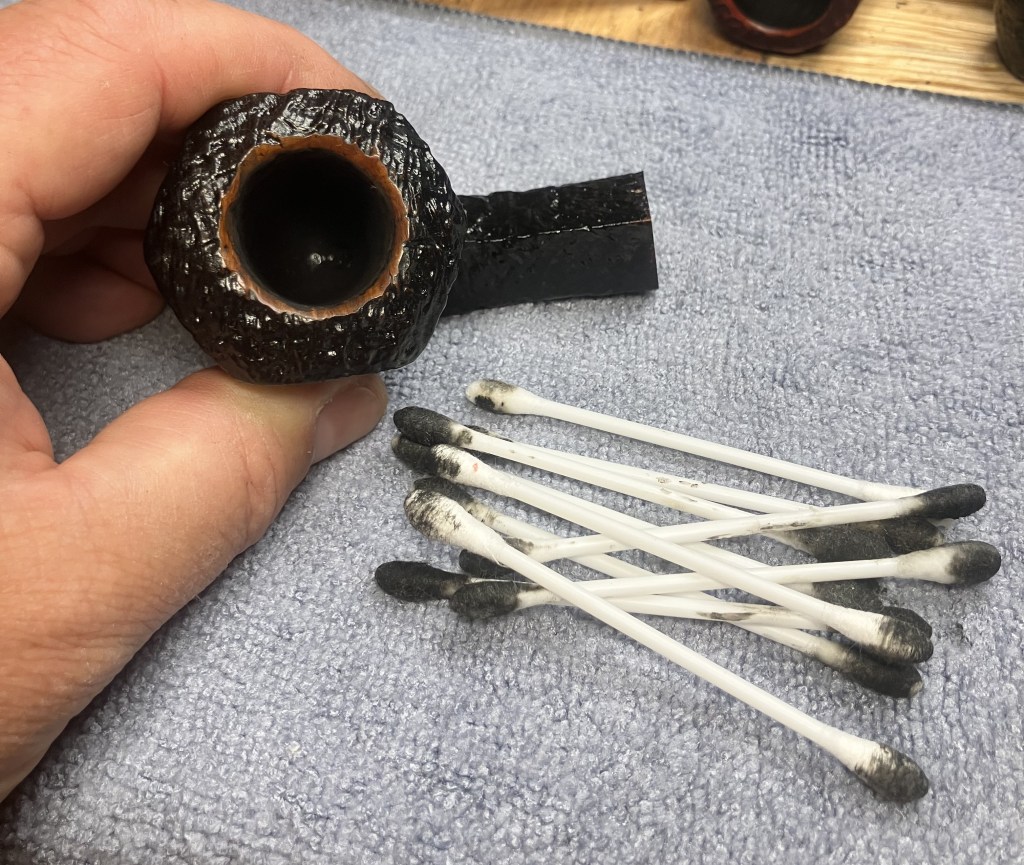
I used a fly tying bodkin to pick most of the wax from the rustications. The depressions were then cleaned out with 95% ethyl alcohol on a cotton swab and wiped with an alcohol wetted make-up pad.
It was at this point that I decided to go fishing. The look on the dog’s face is disapproval of me abandoning her on the comfy couch. Poor abused hound.

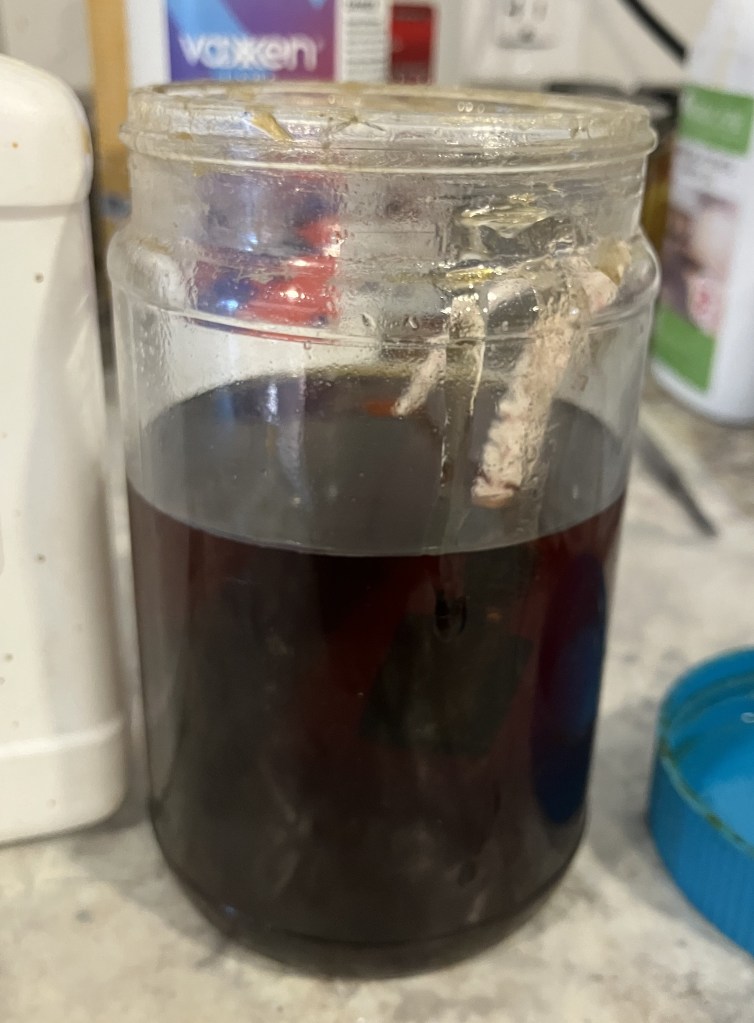
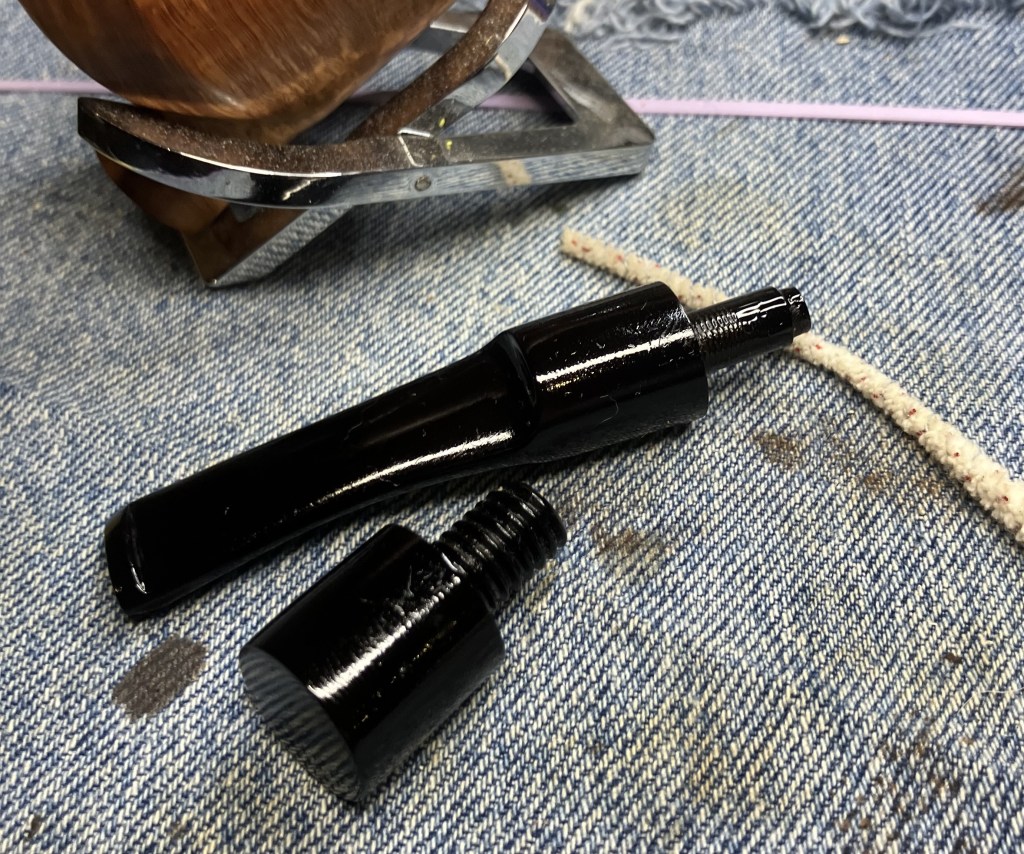
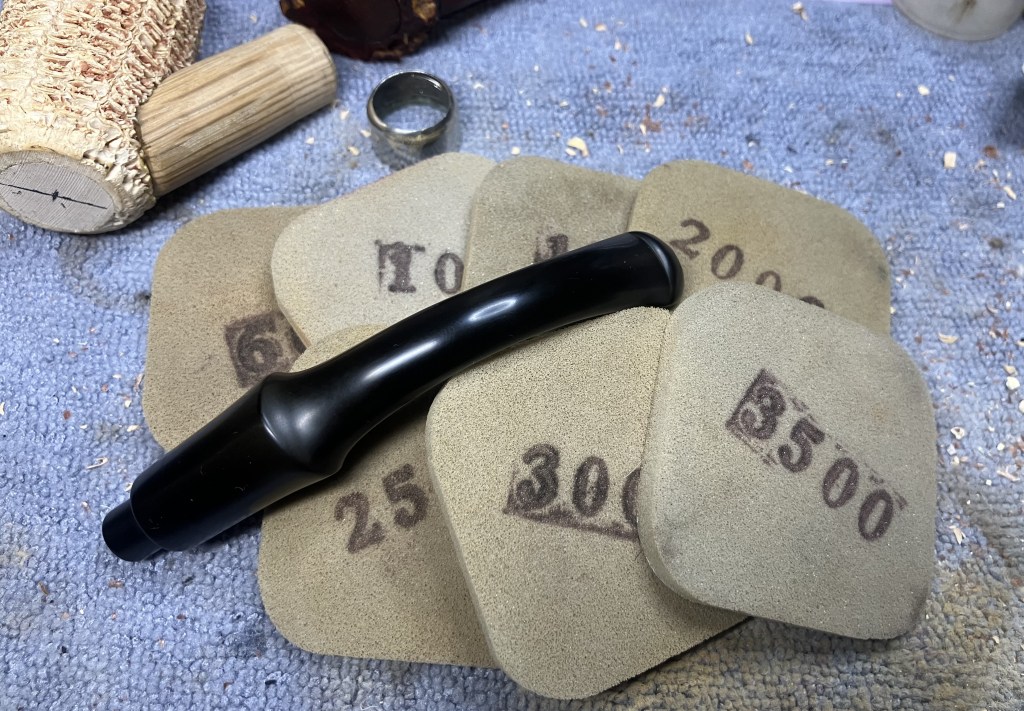
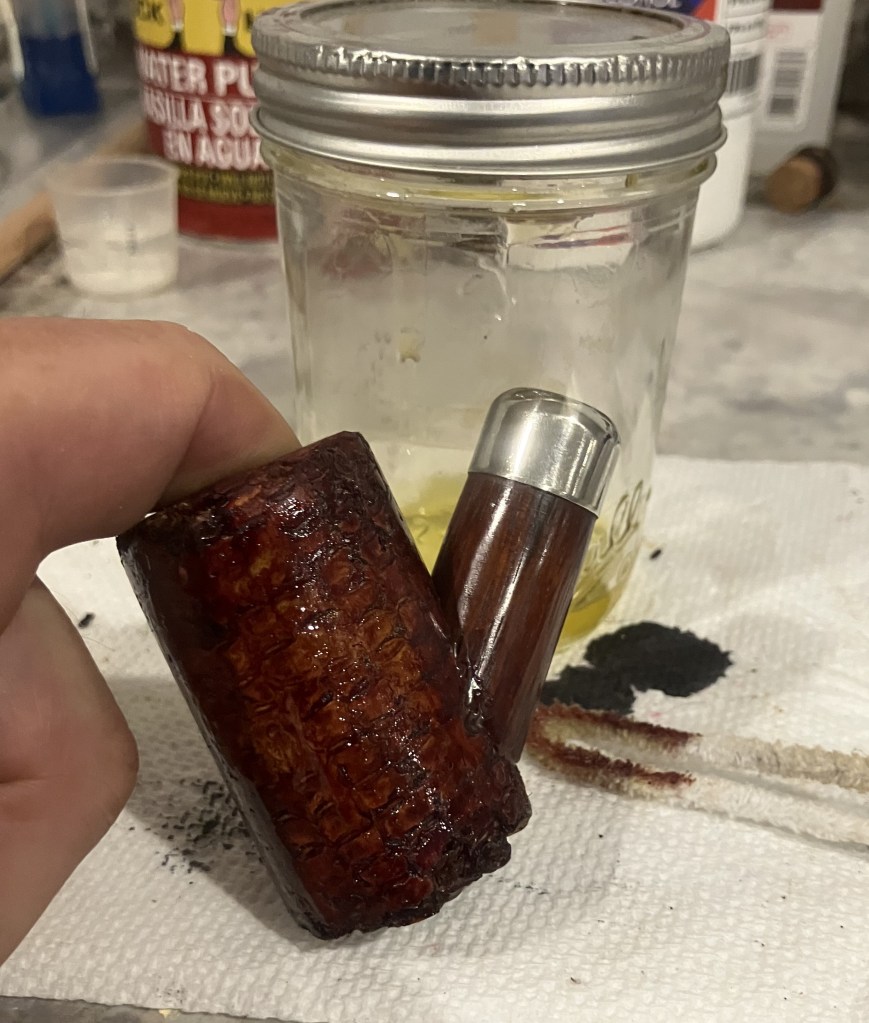
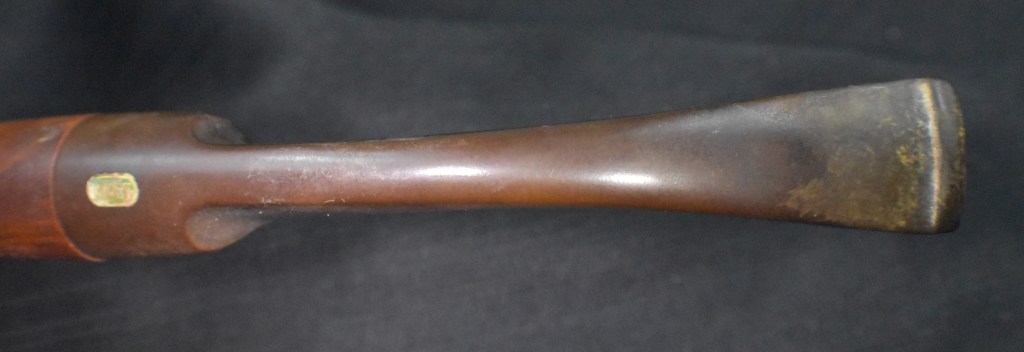
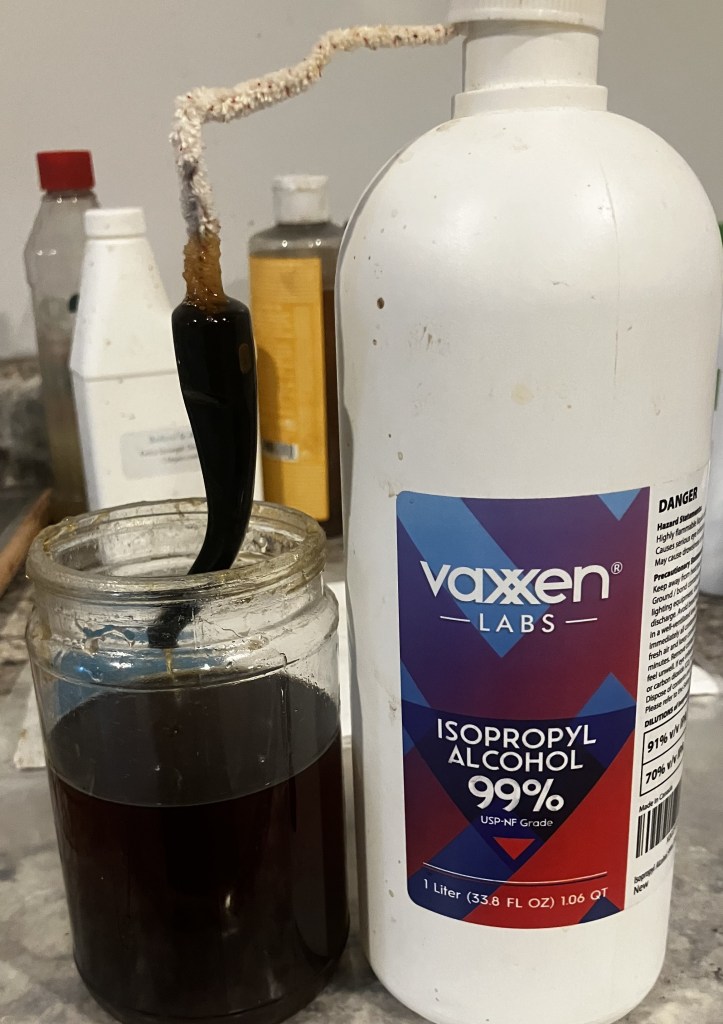
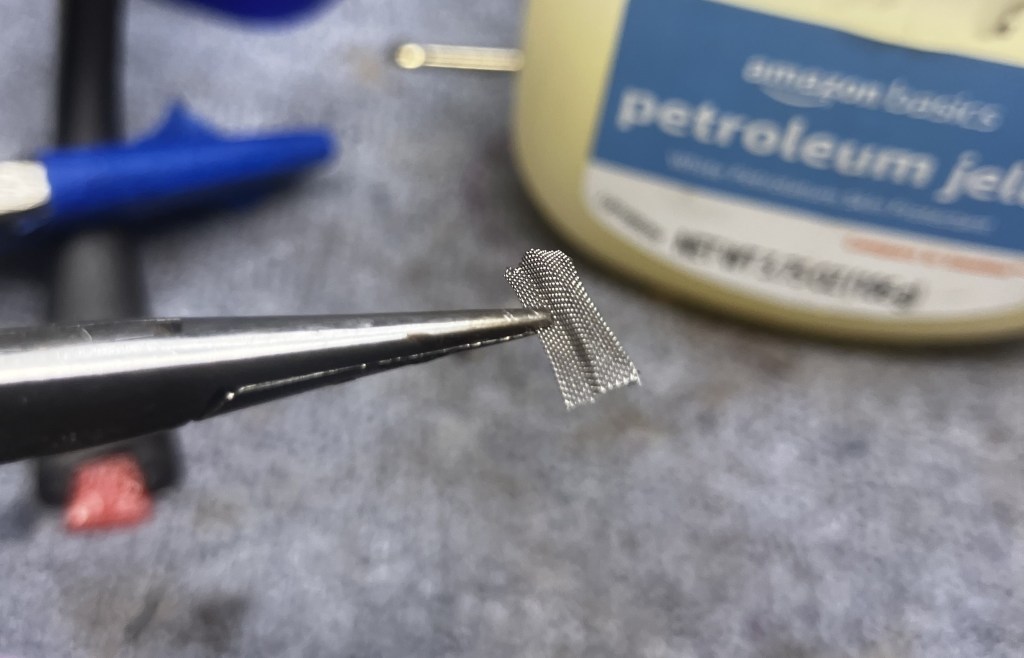
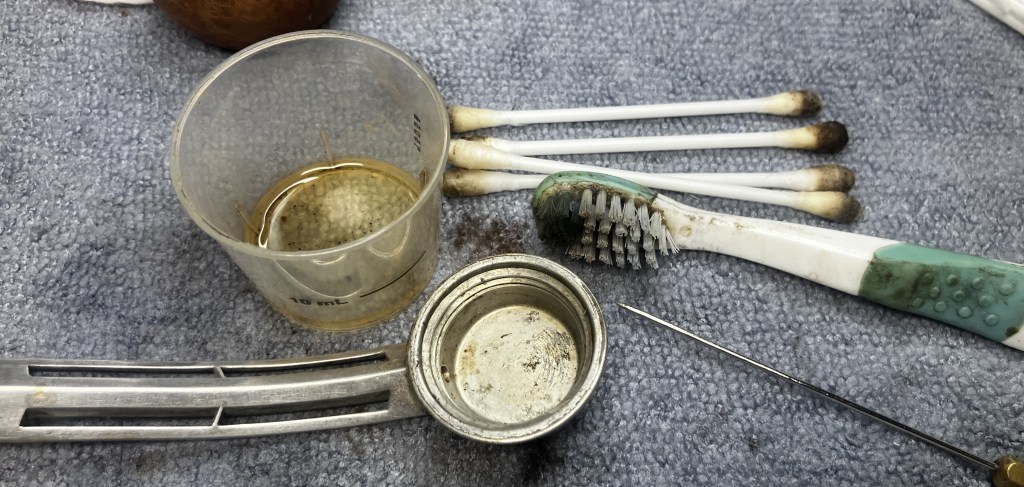
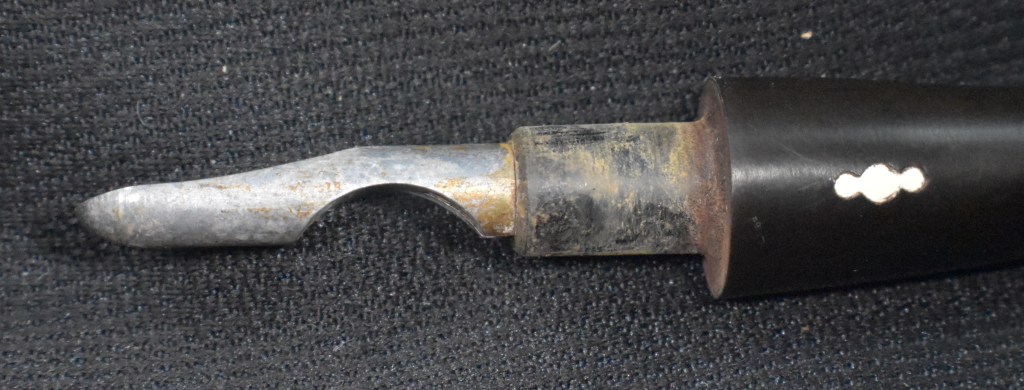
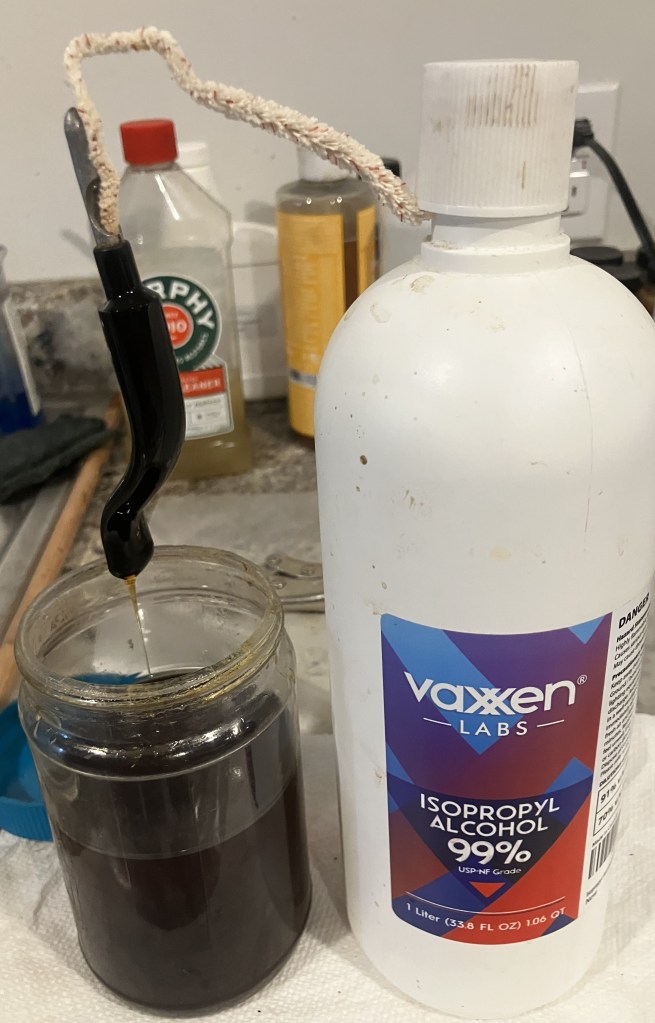
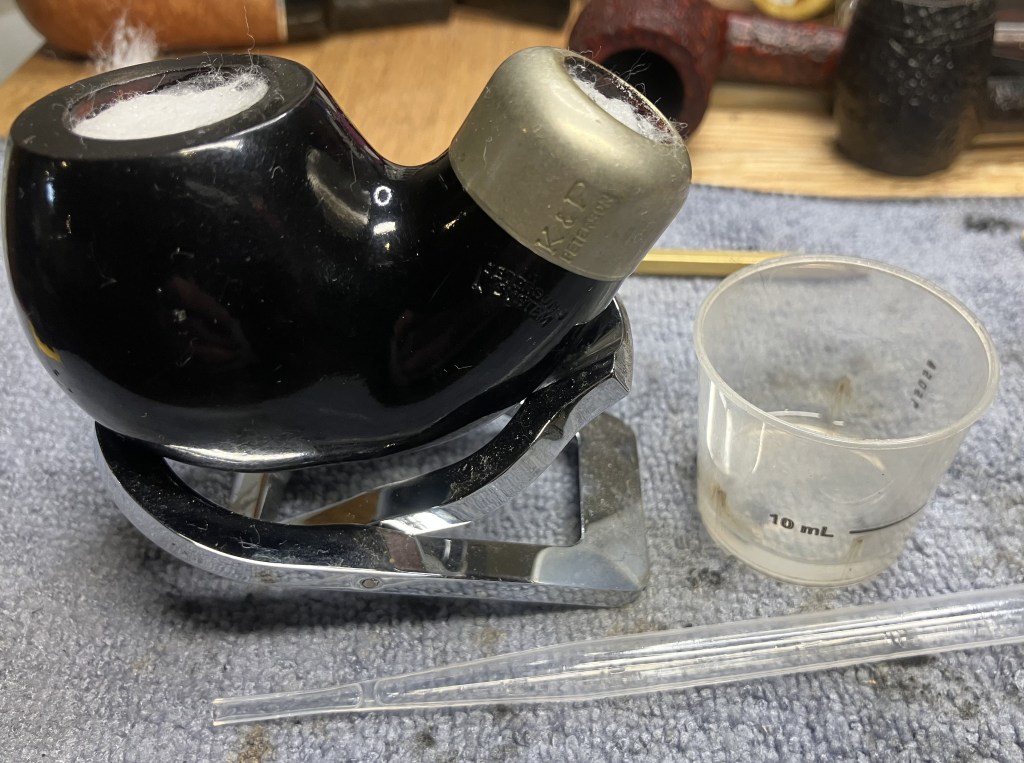
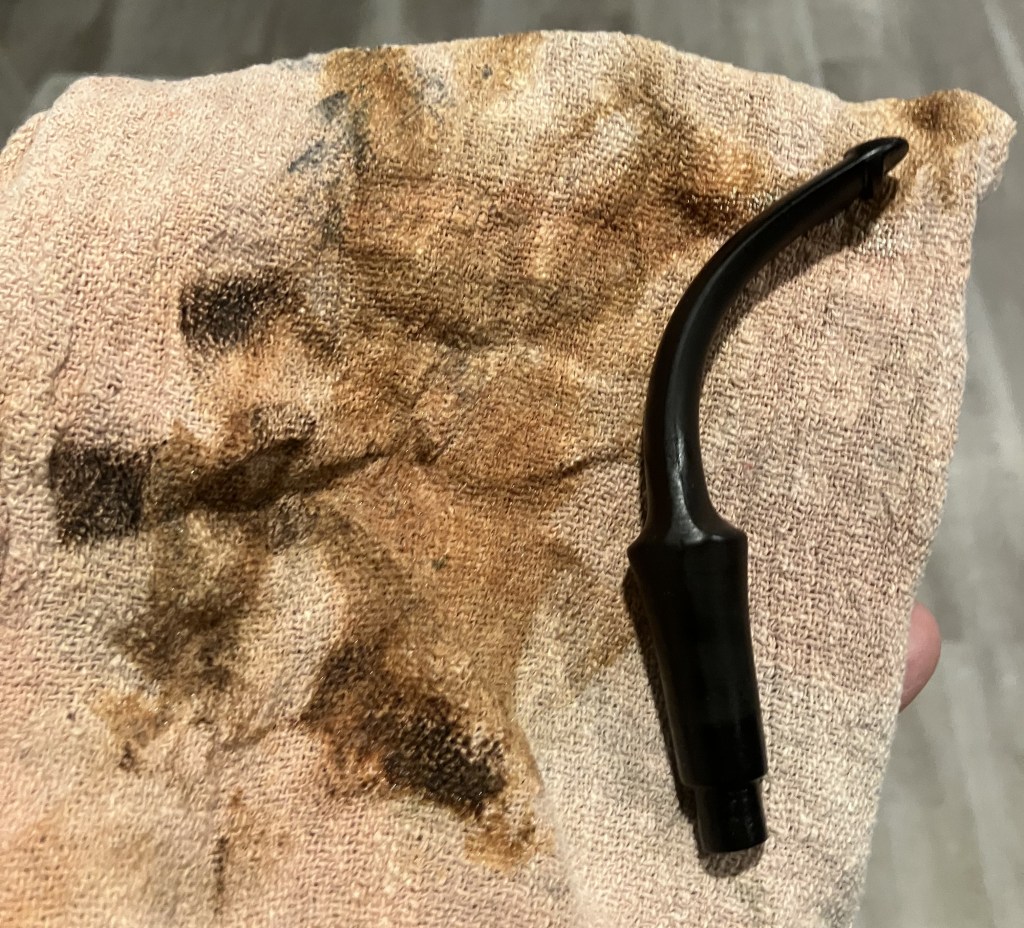
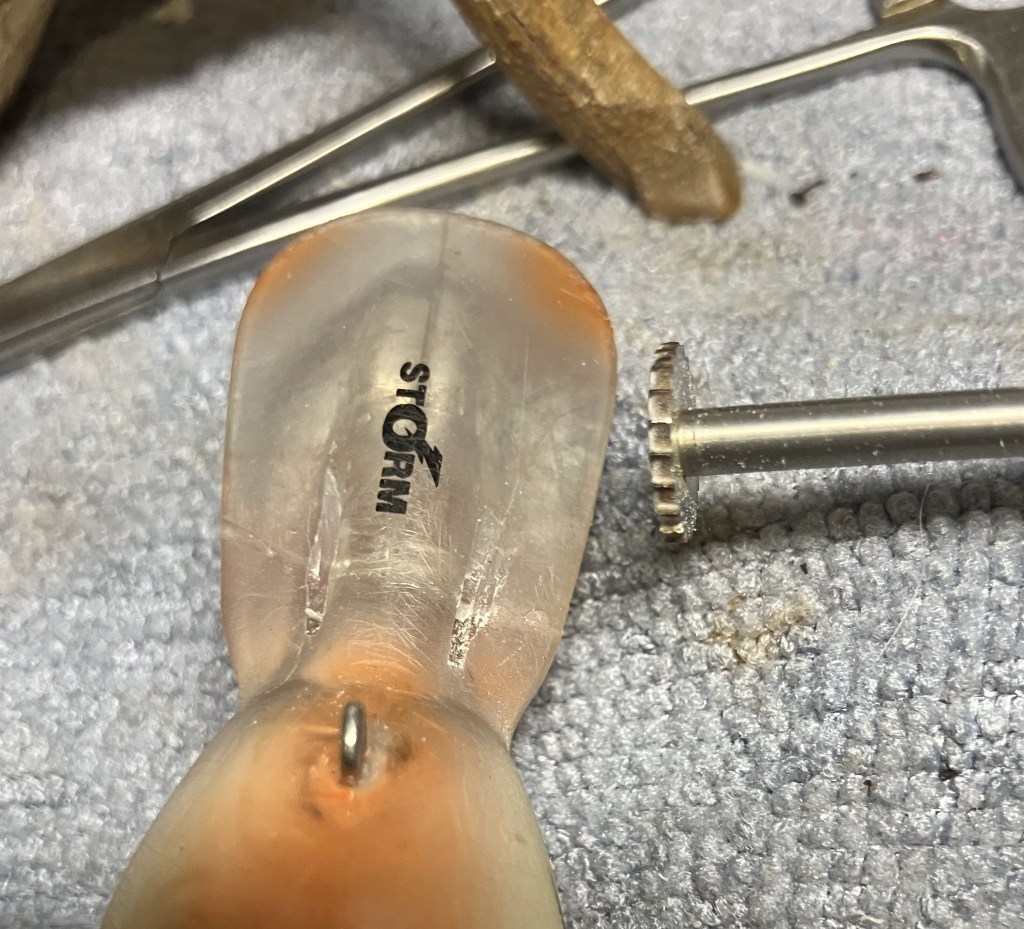
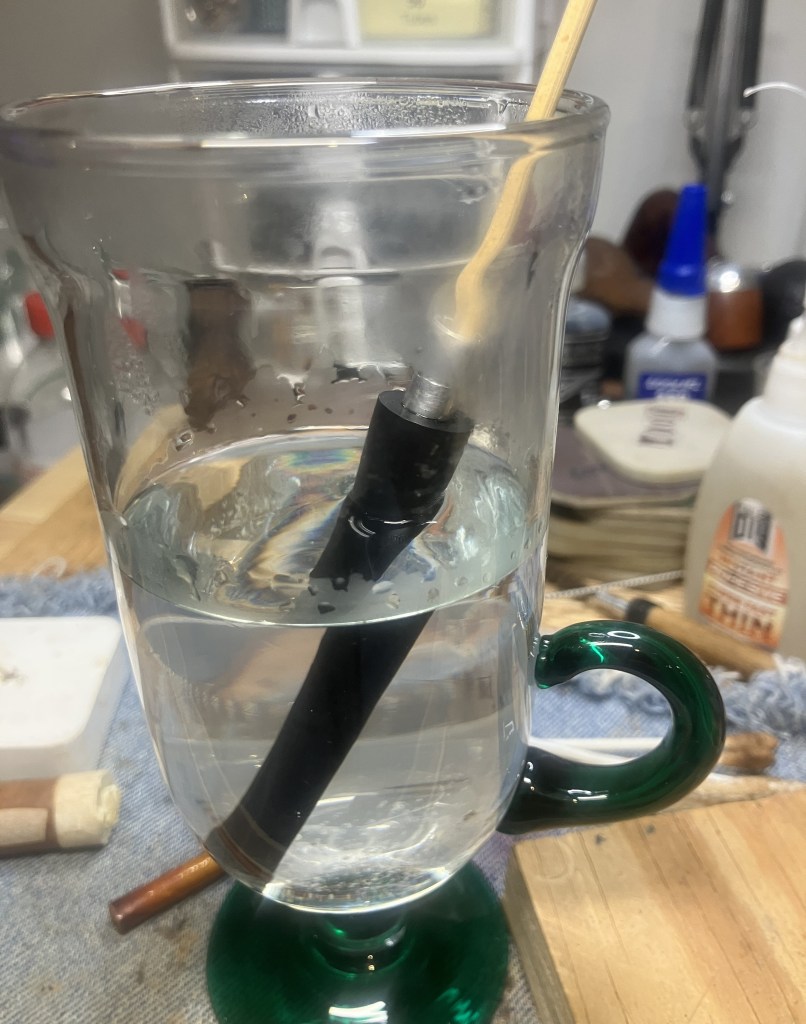
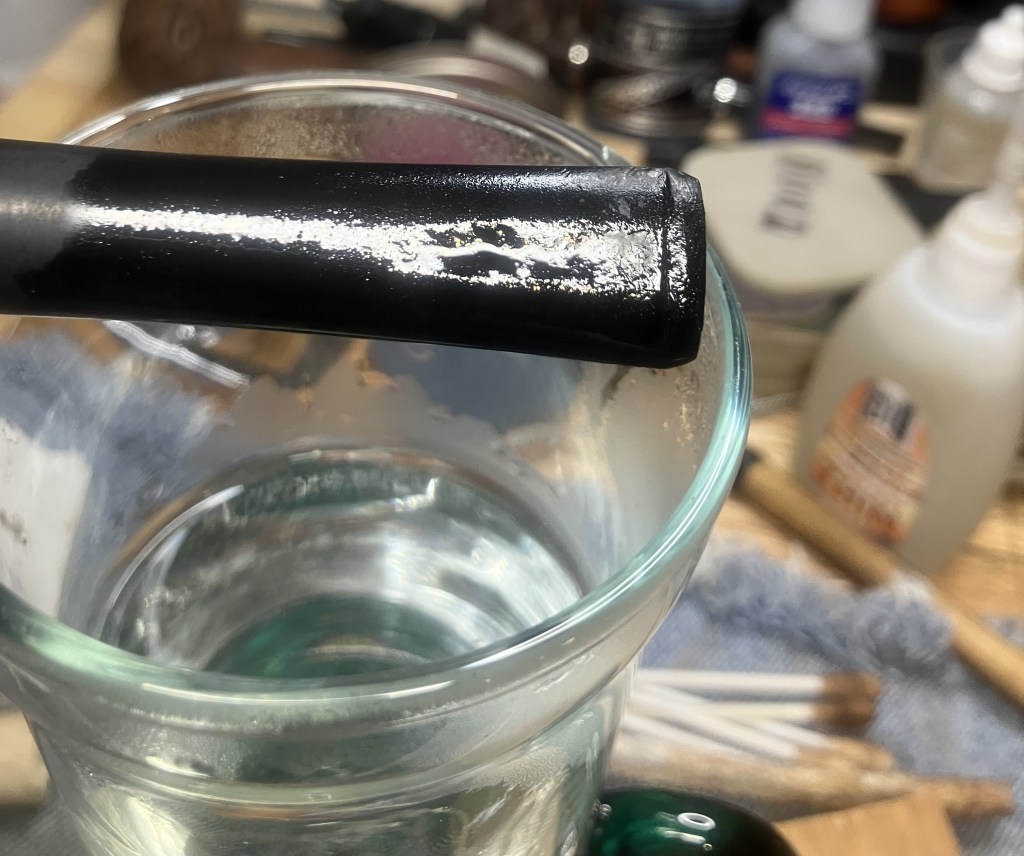
Returning from my stroll with a pole, and no fish, I returned to the stem. It was removed from deox and using the Drip-O-Matic 3500, was allowed to drip excess deox solution back into the jar.
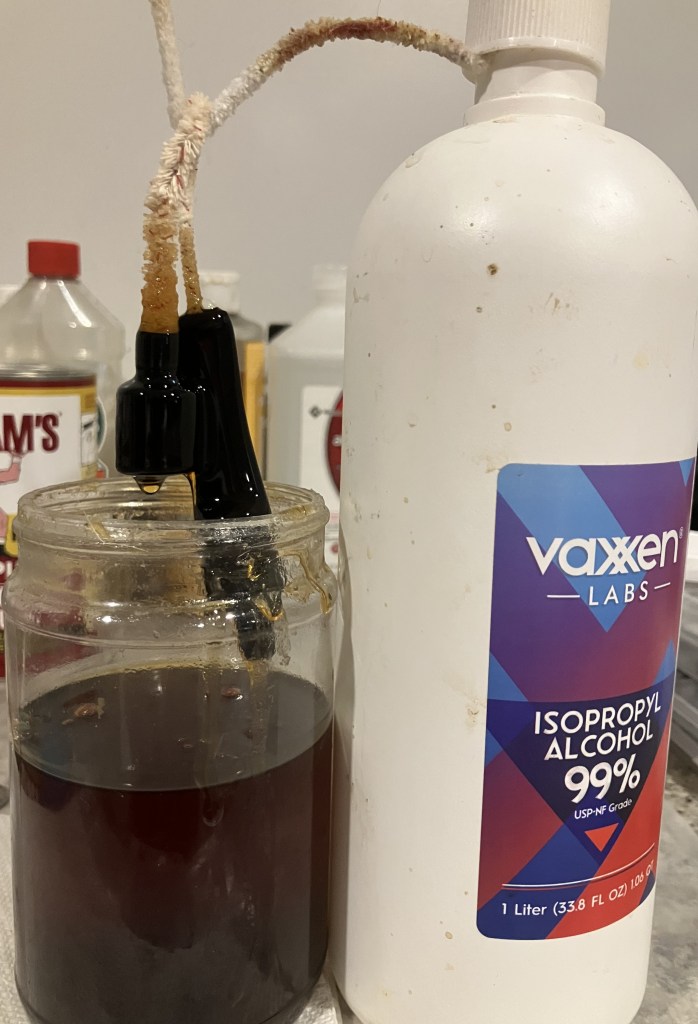
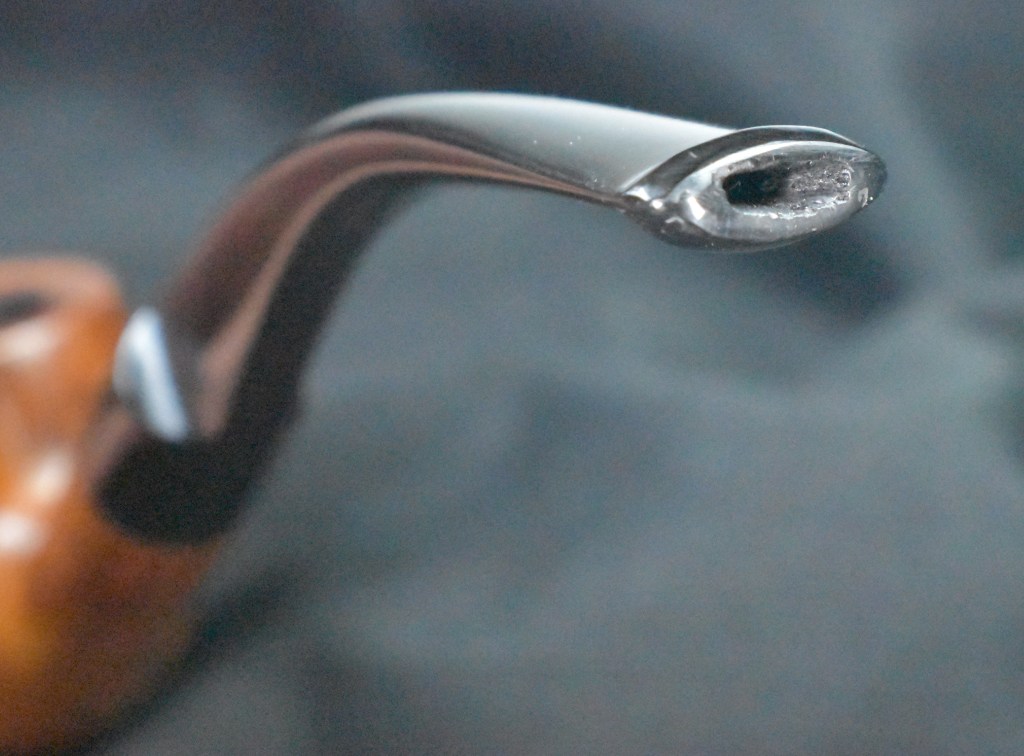
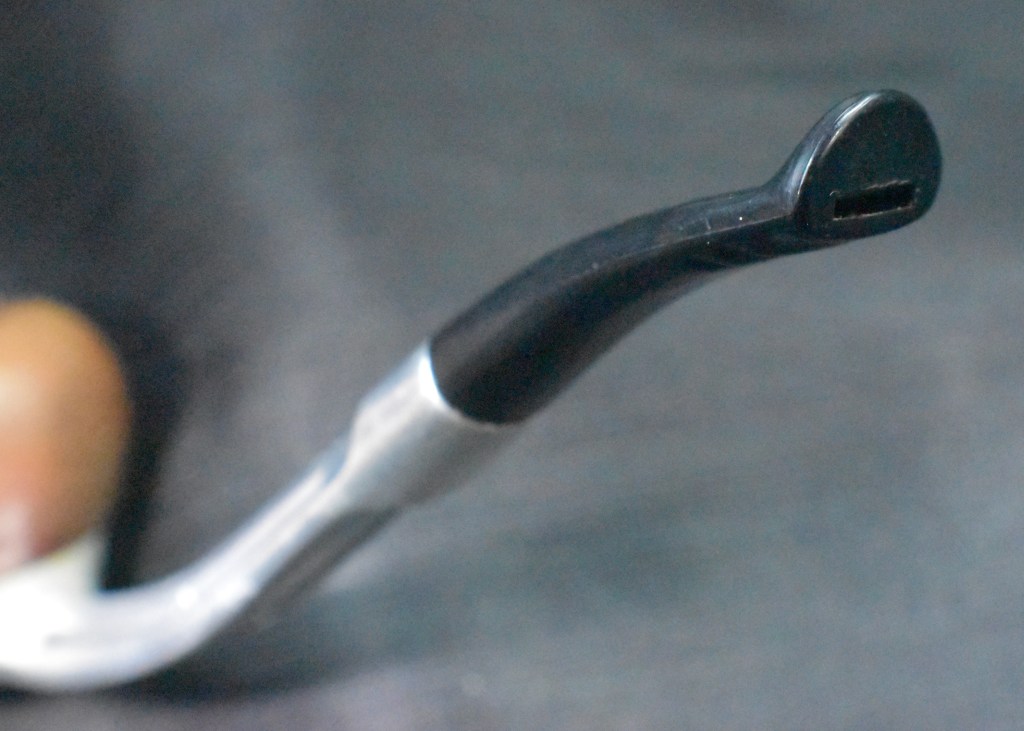
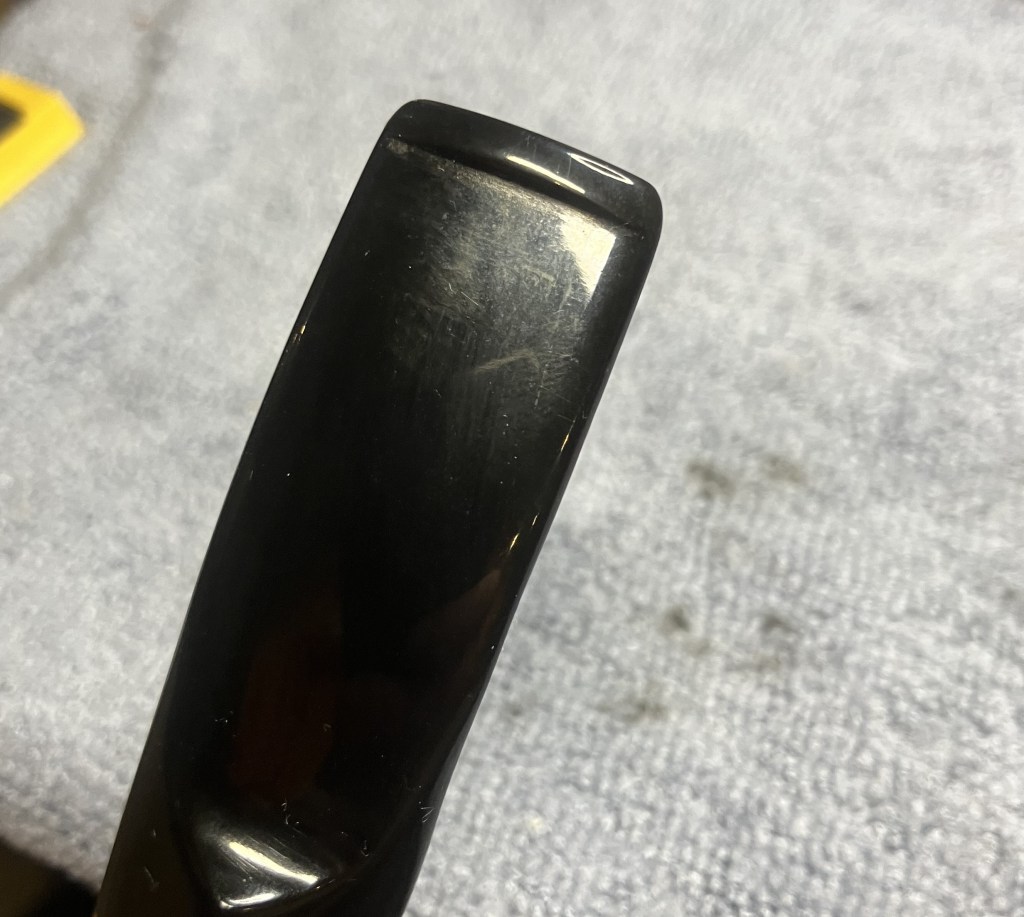
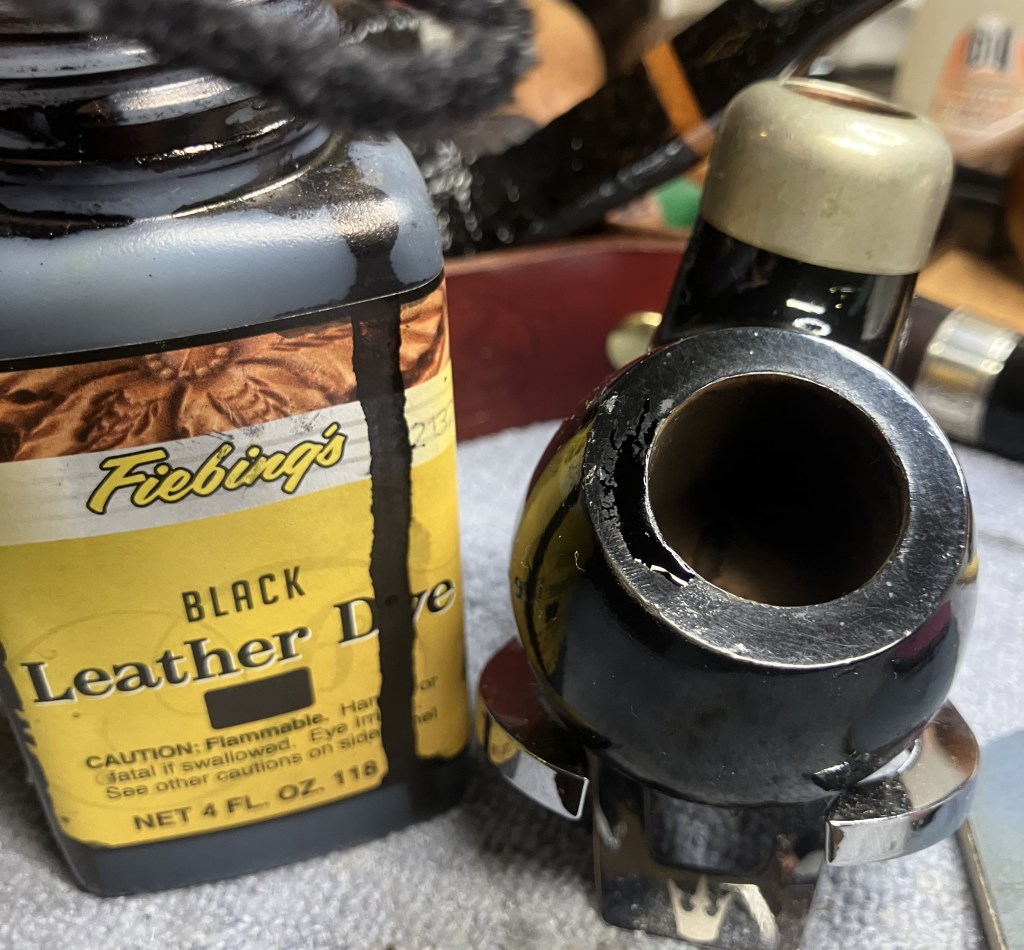
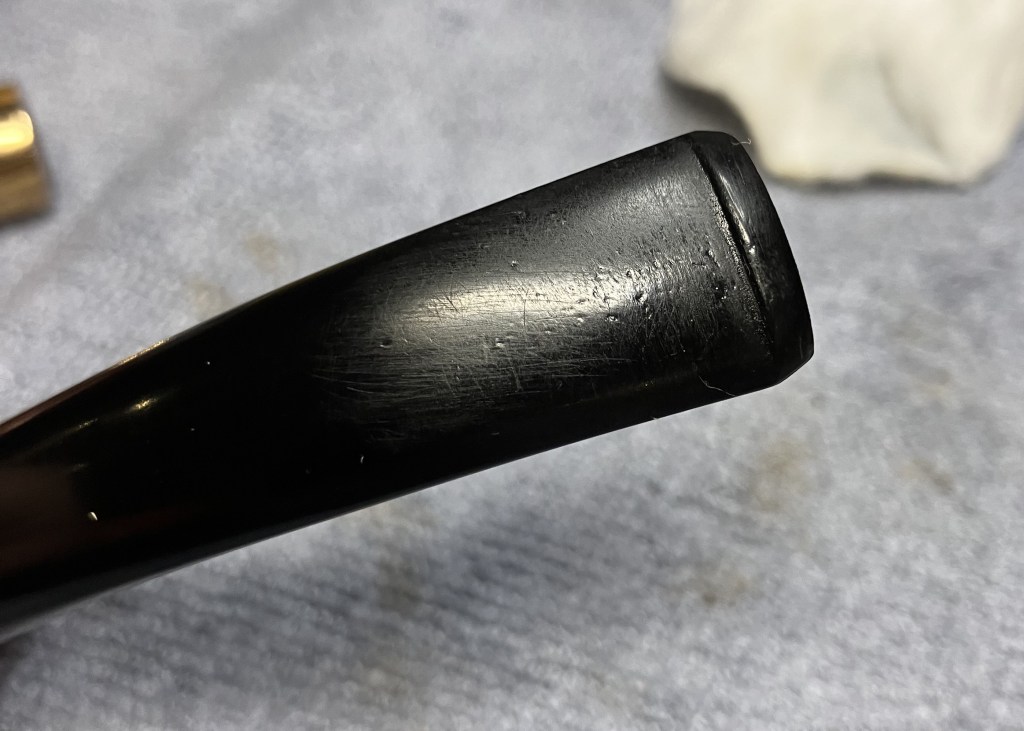
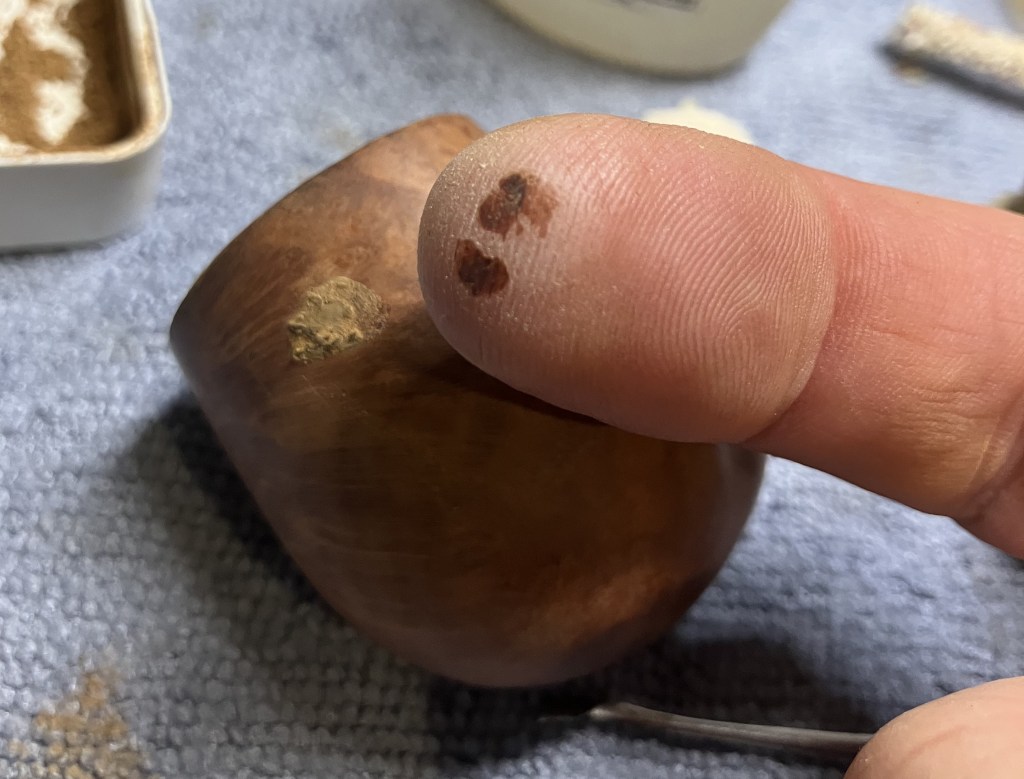
As the stem was dripping, I looked at the rim. There were a couple of charred spots from supposed lighter flames.
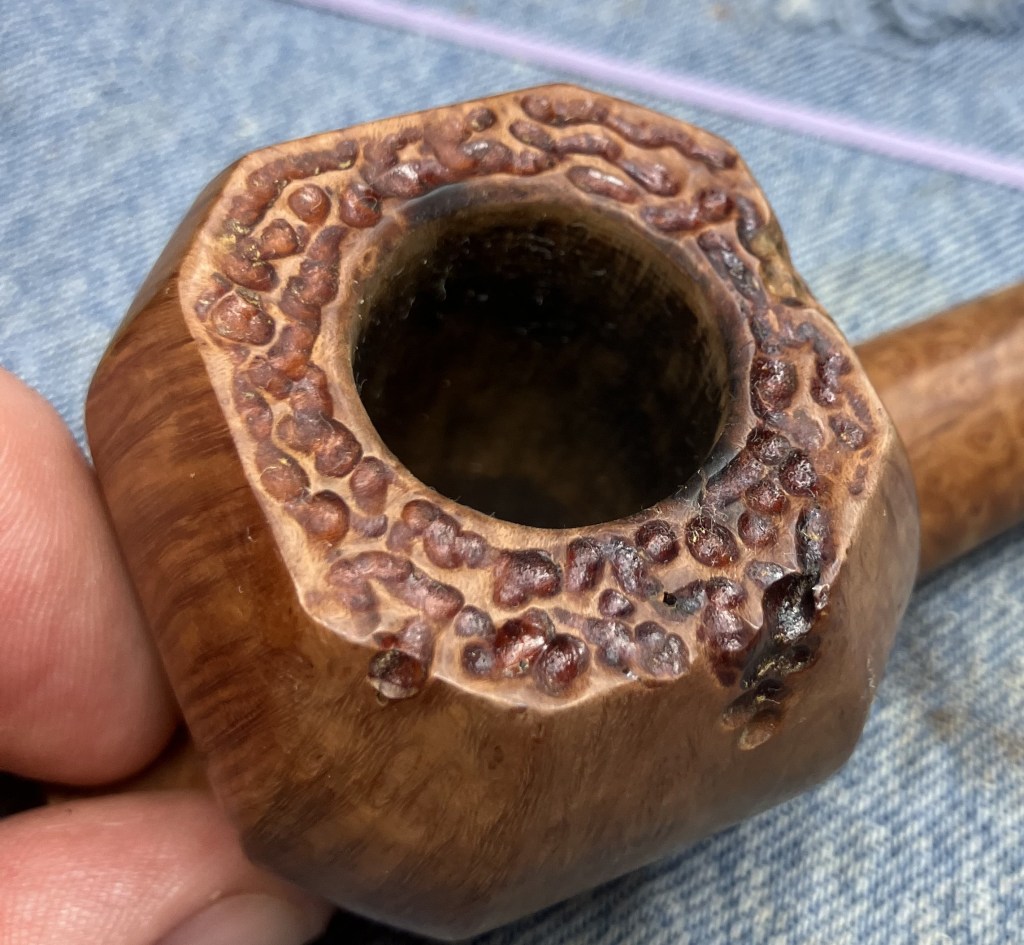
These were scraped with a sharp knife blade and touched up with sandpaper.

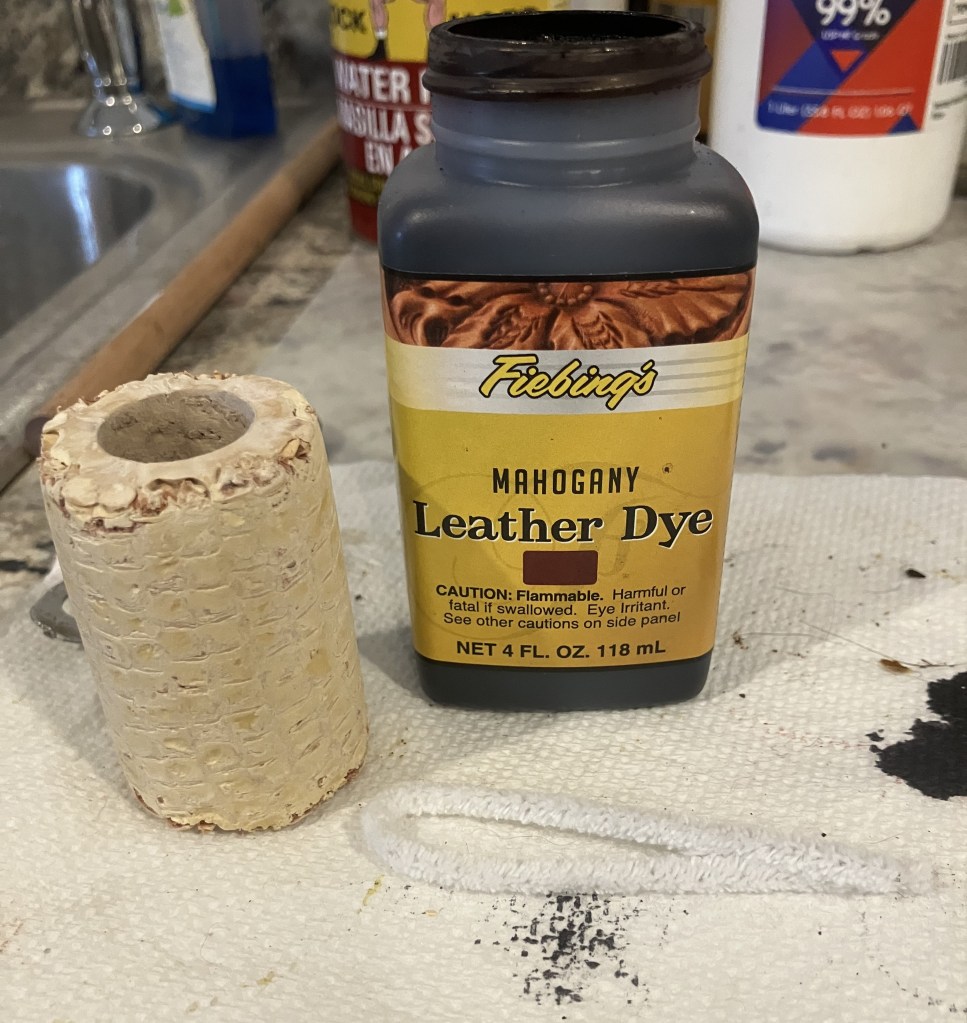
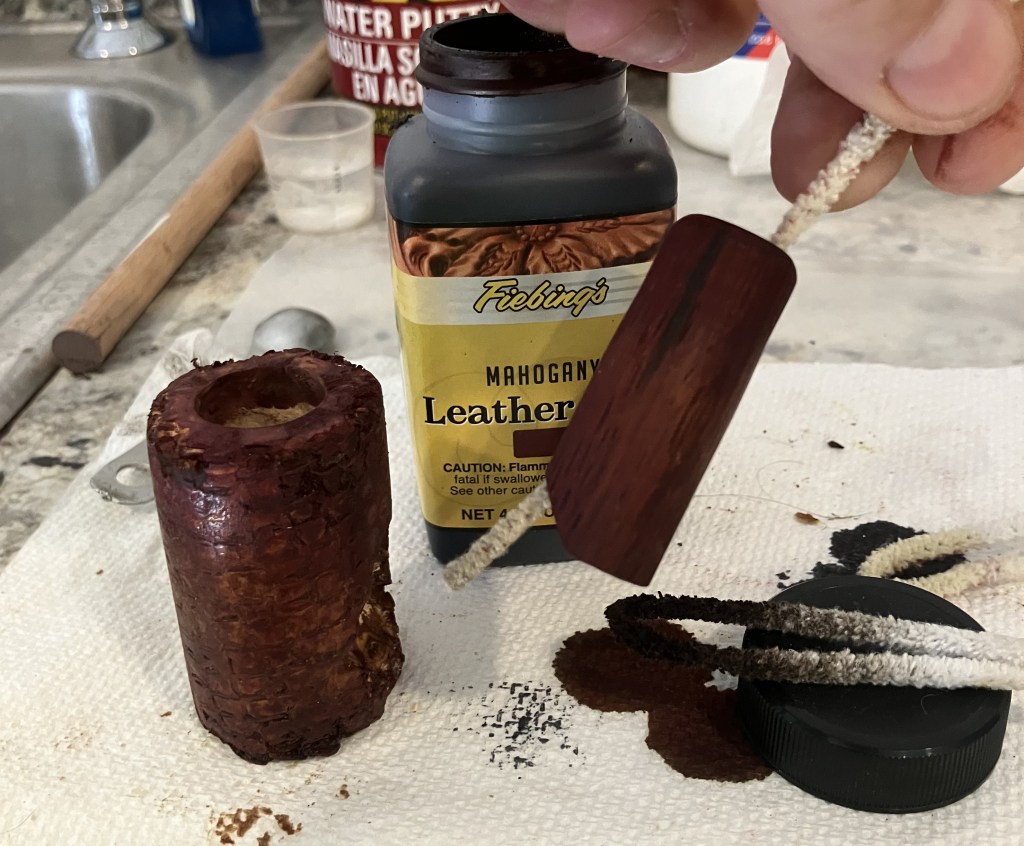
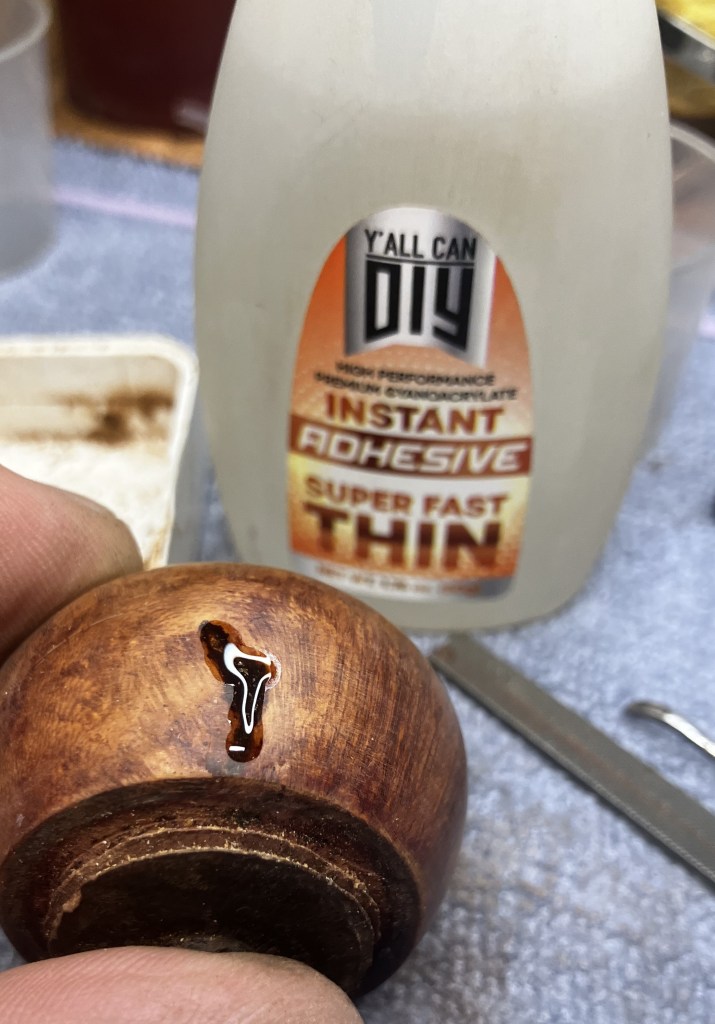
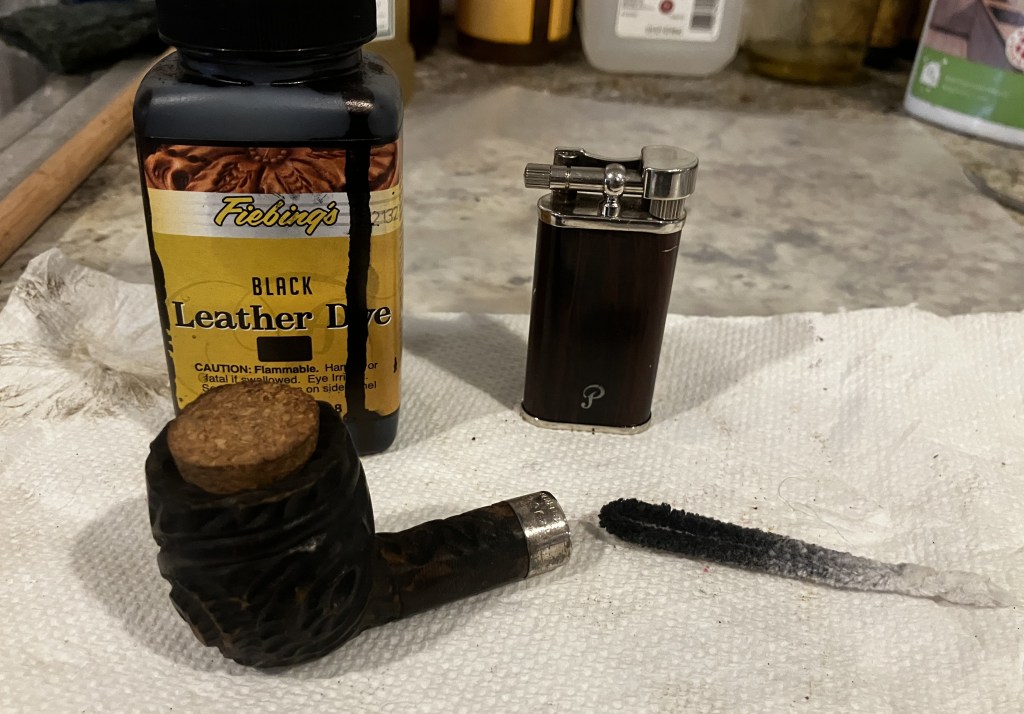
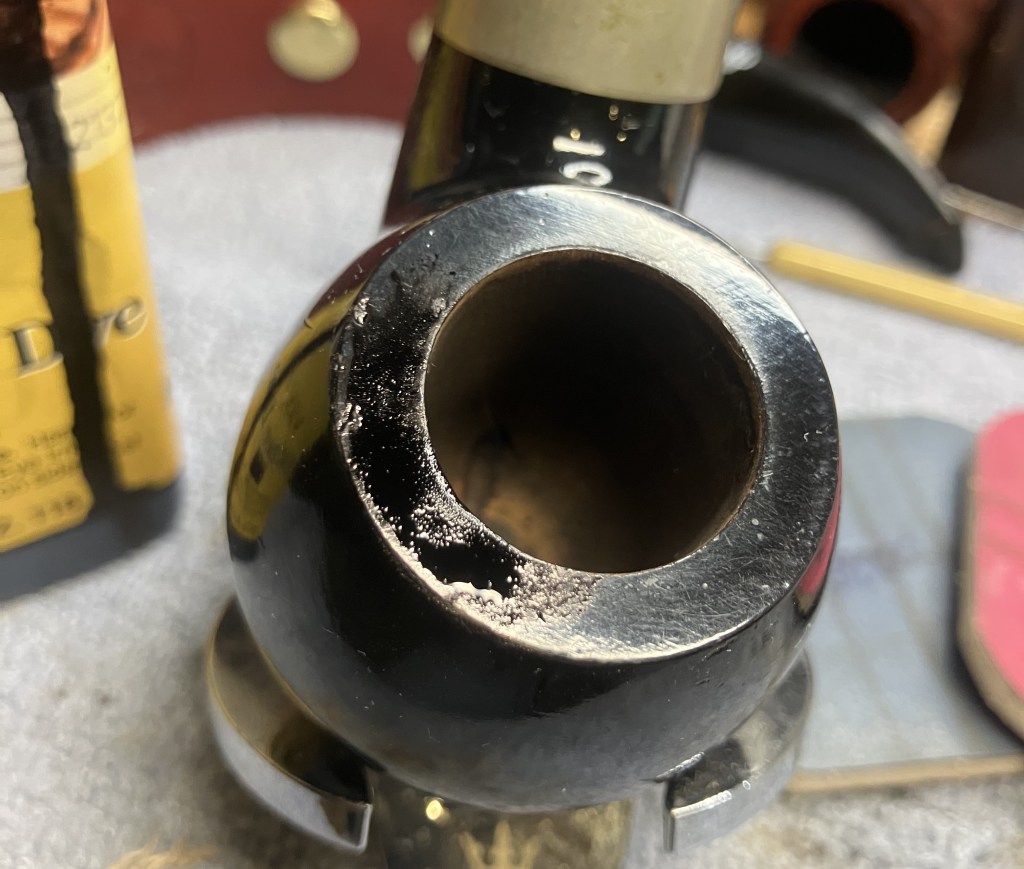
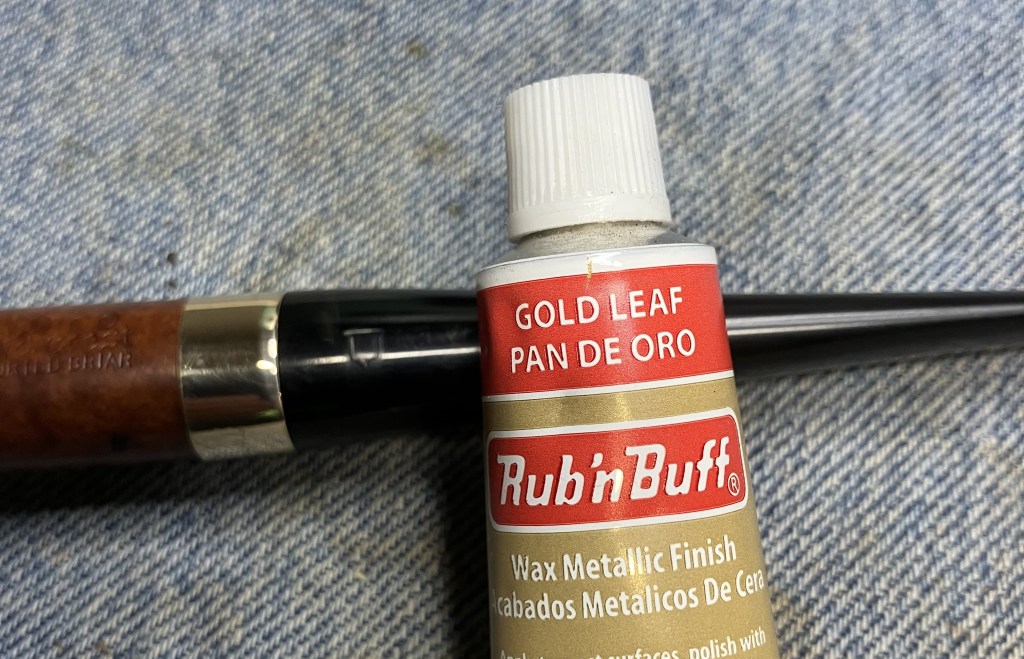
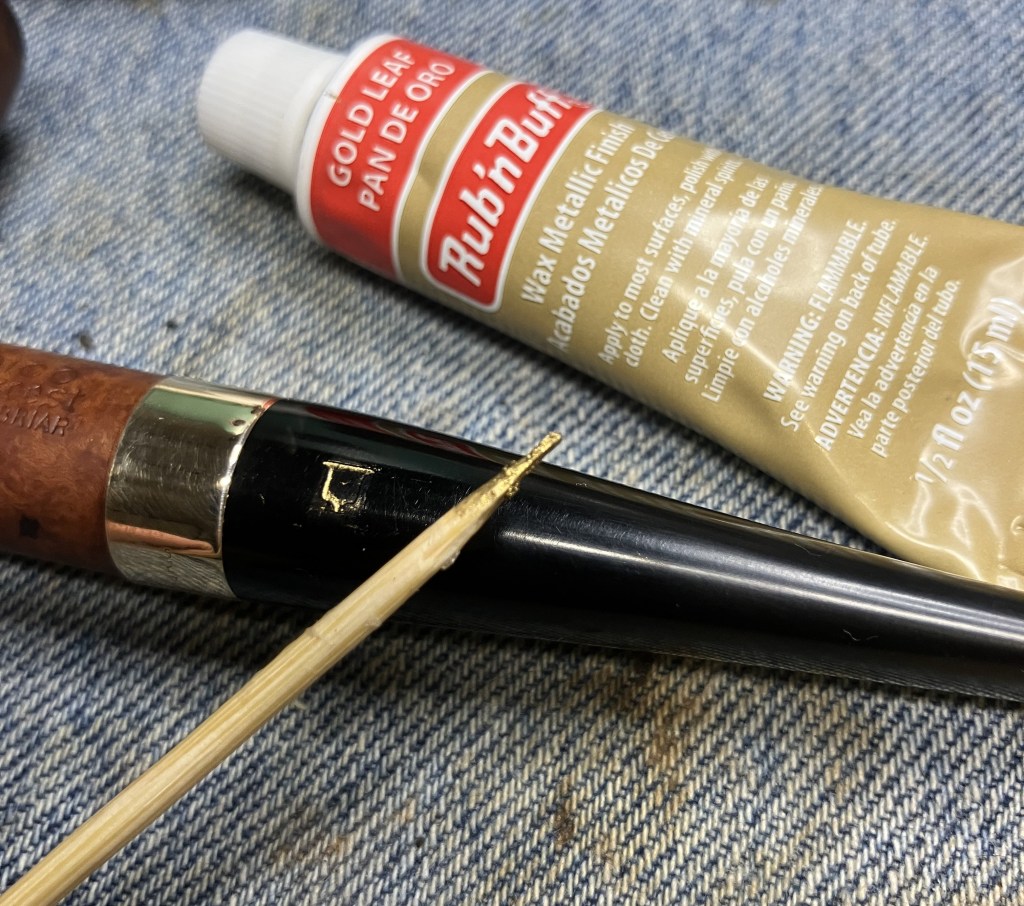
The results looked good. I then thought that a typical plateau top is traditionally darker than the carved briar. Hmm, I could use a Furniture Touch-up Marker and darken the faux plateau. Okay, I just wanted to say that again. Faux Plateau.
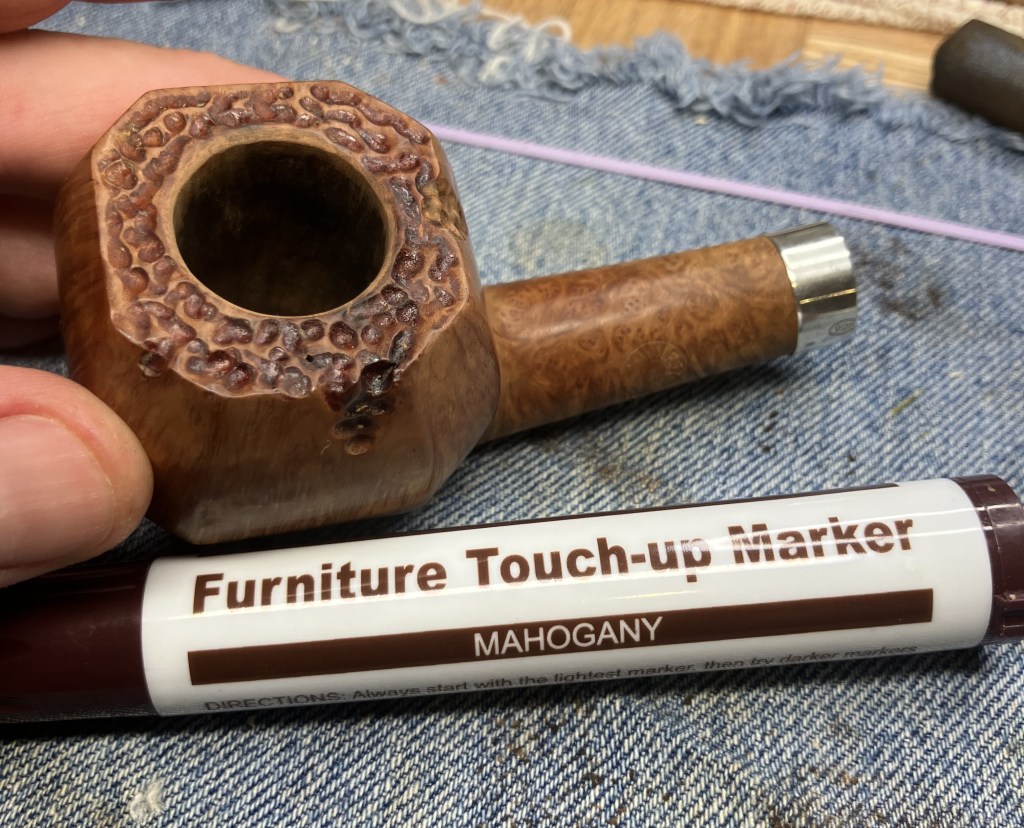
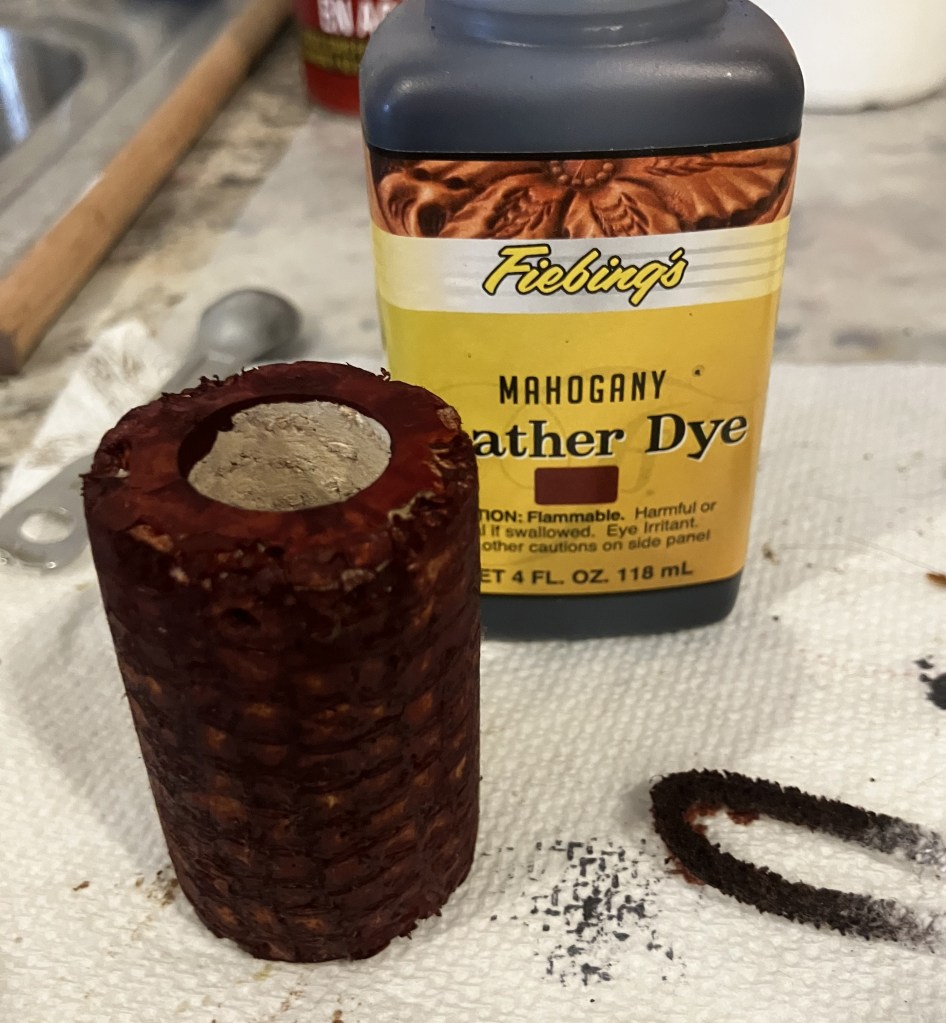
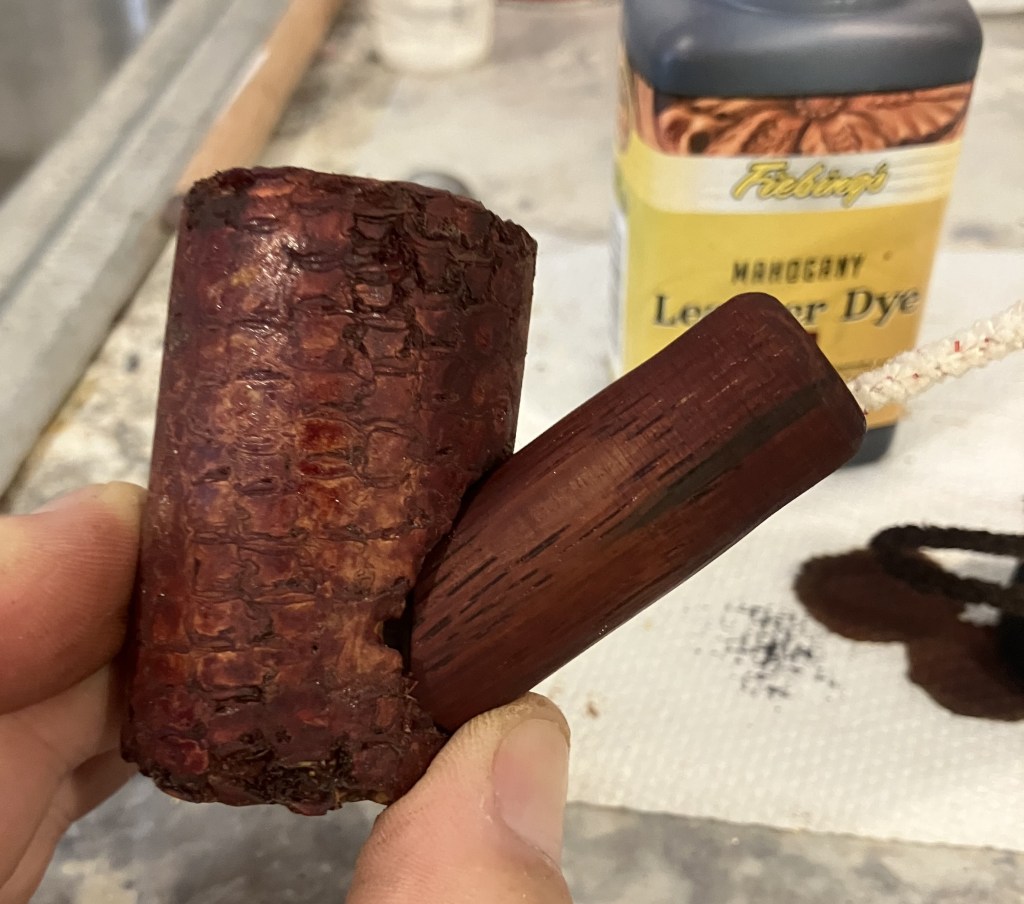
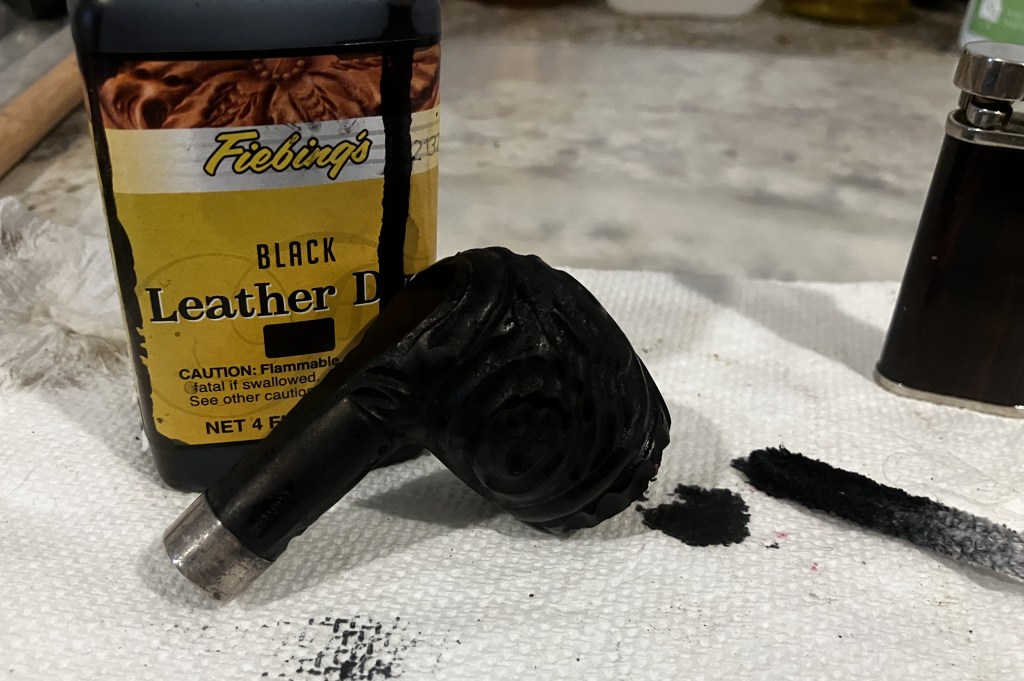
Hmm, that looks like too much.
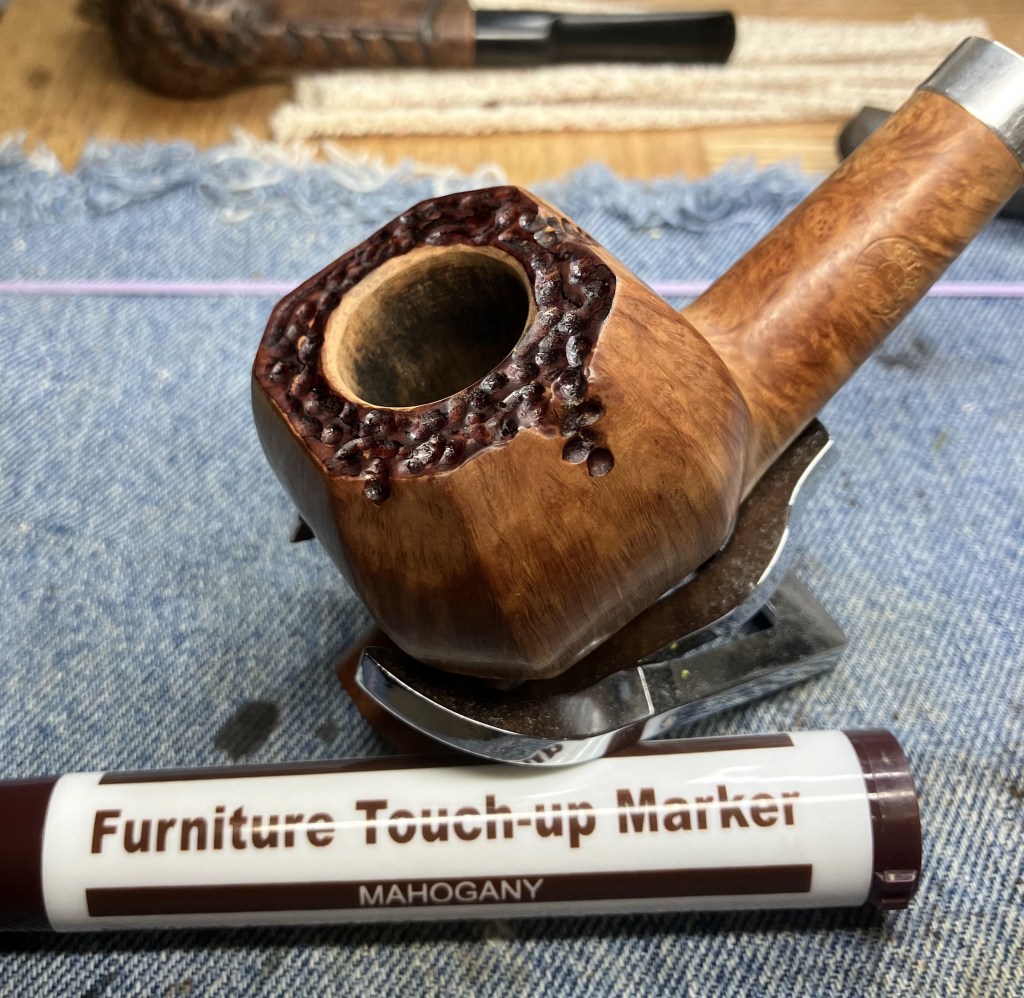
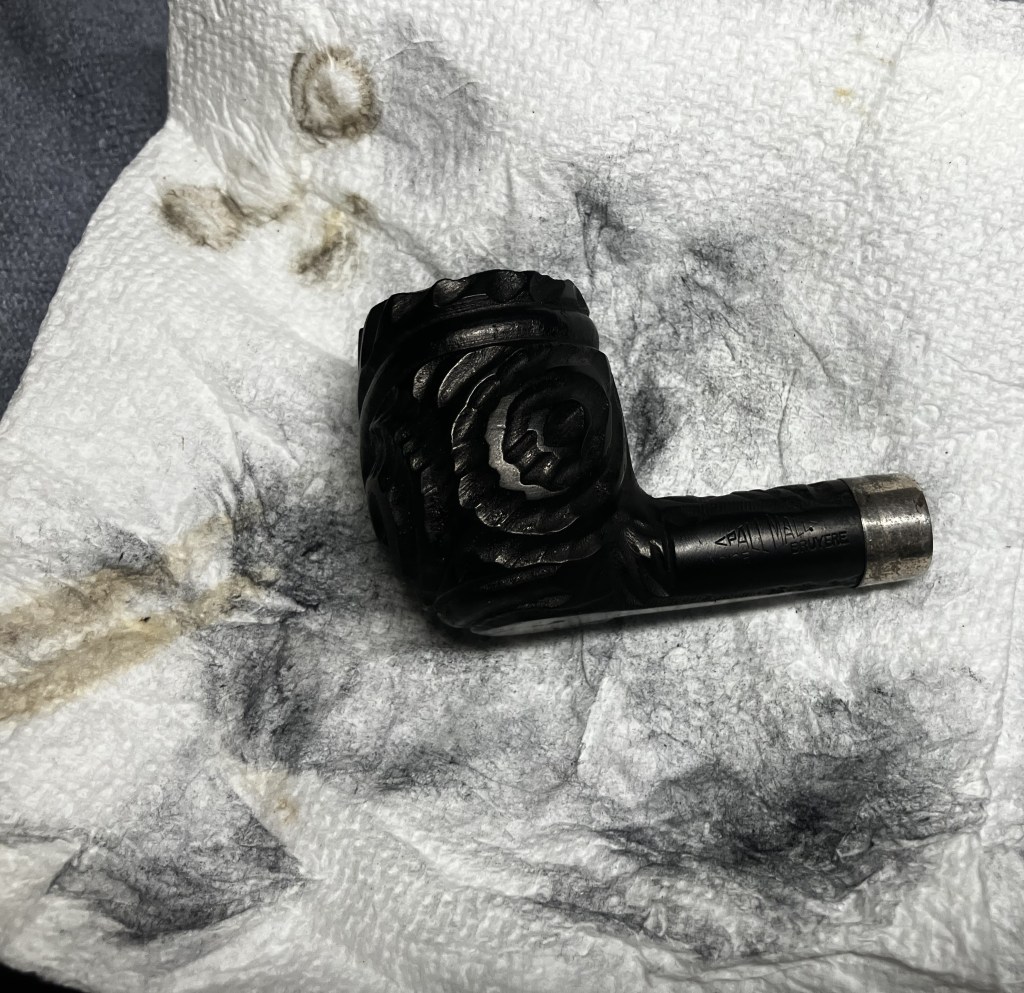
I removed a bit of the stain with an alcohol dipped cotton swab to allow the high spots to be highlighted. I liked that better.
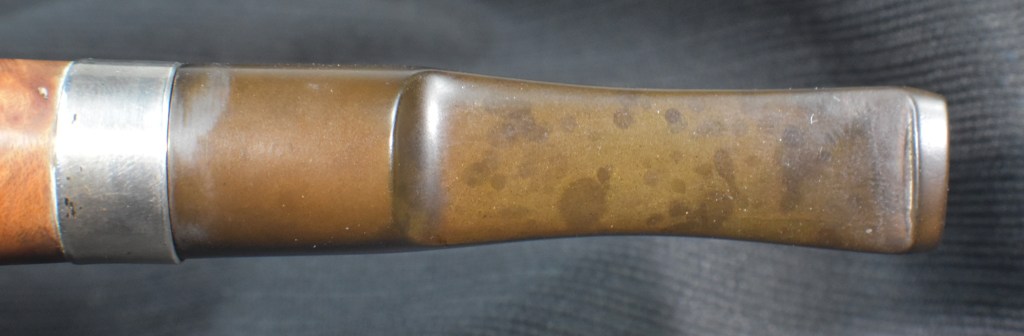
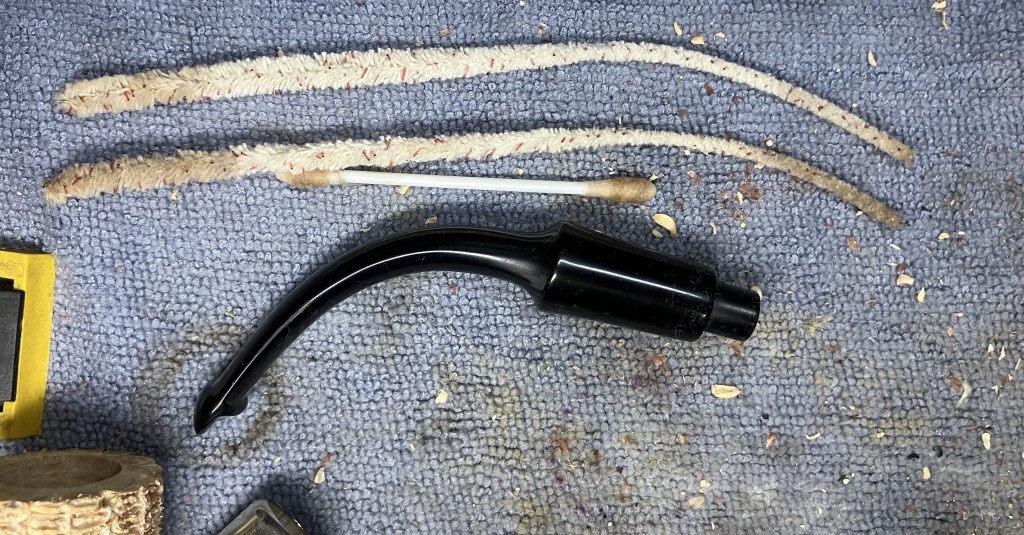
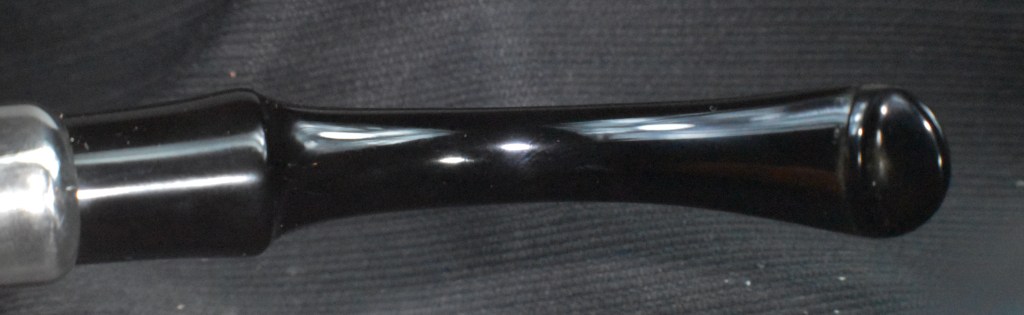
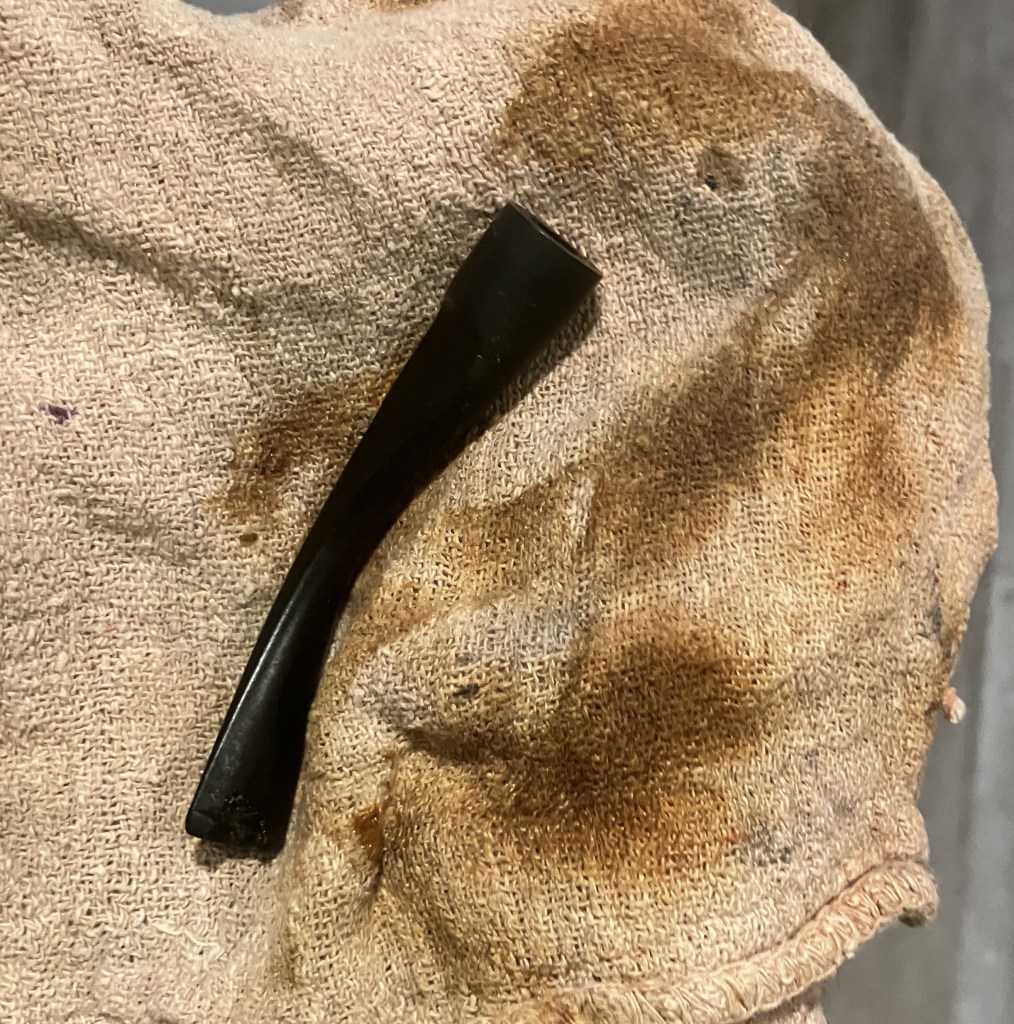
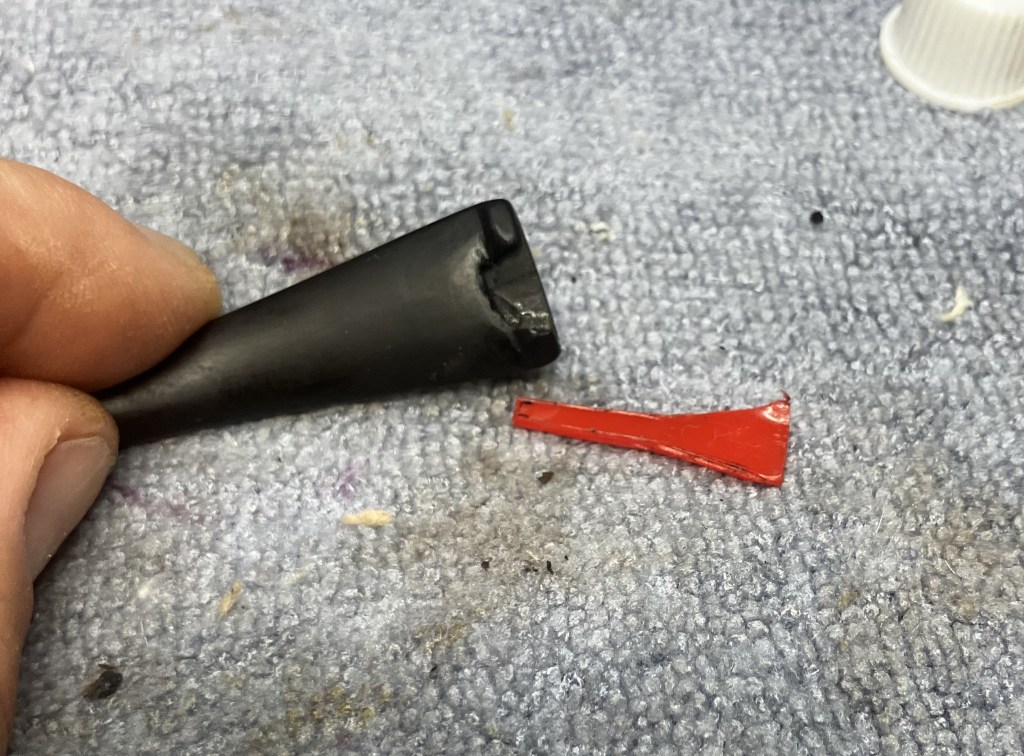
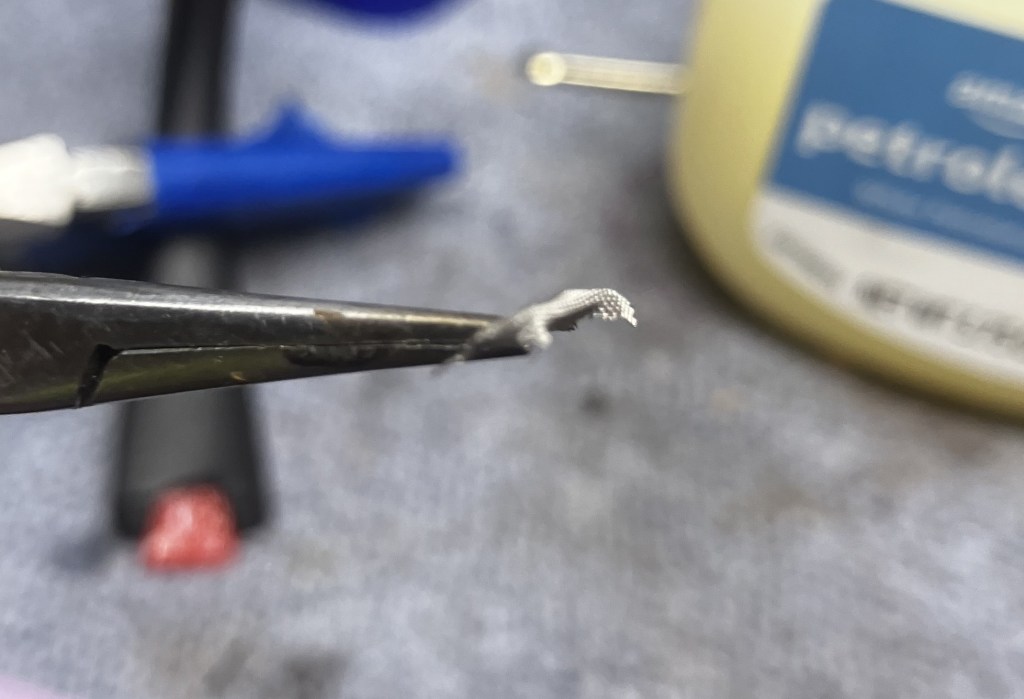
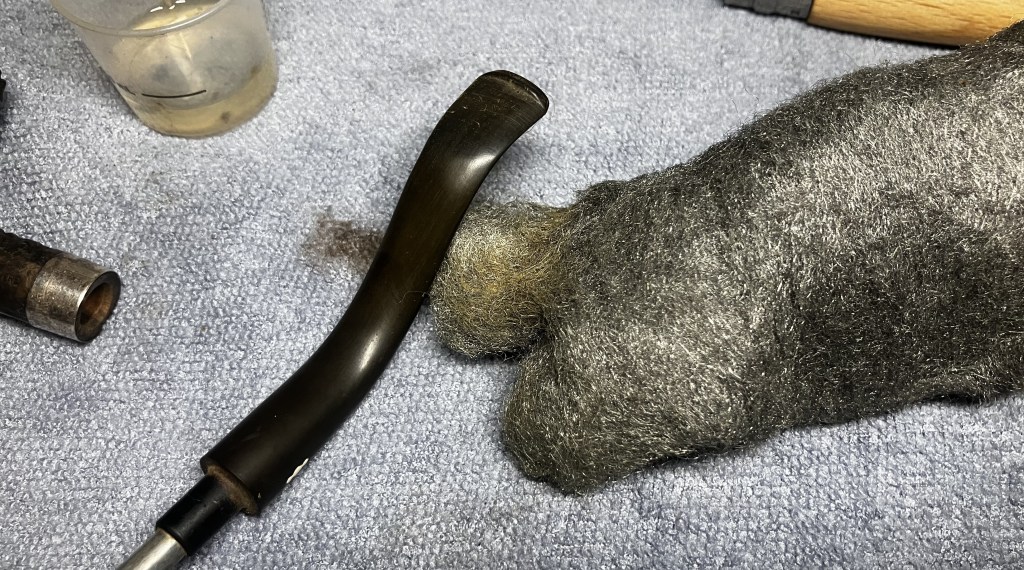
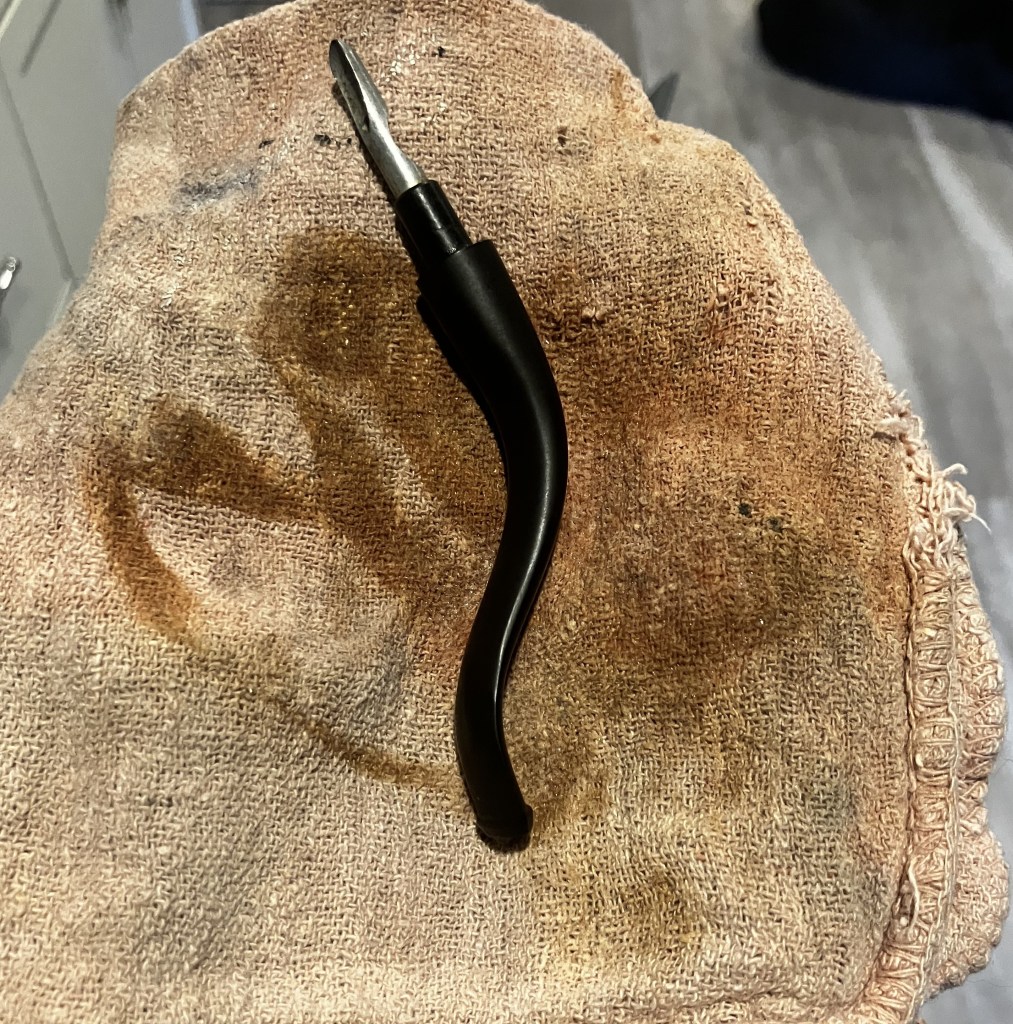
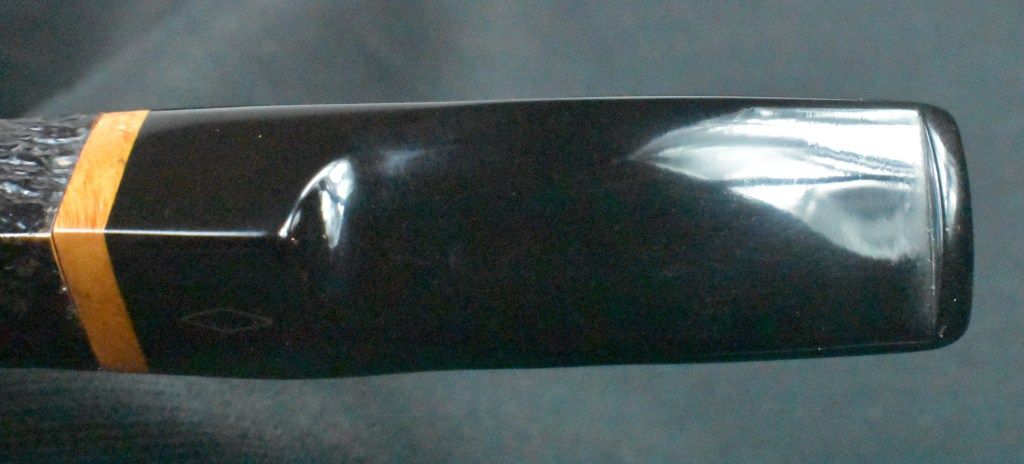
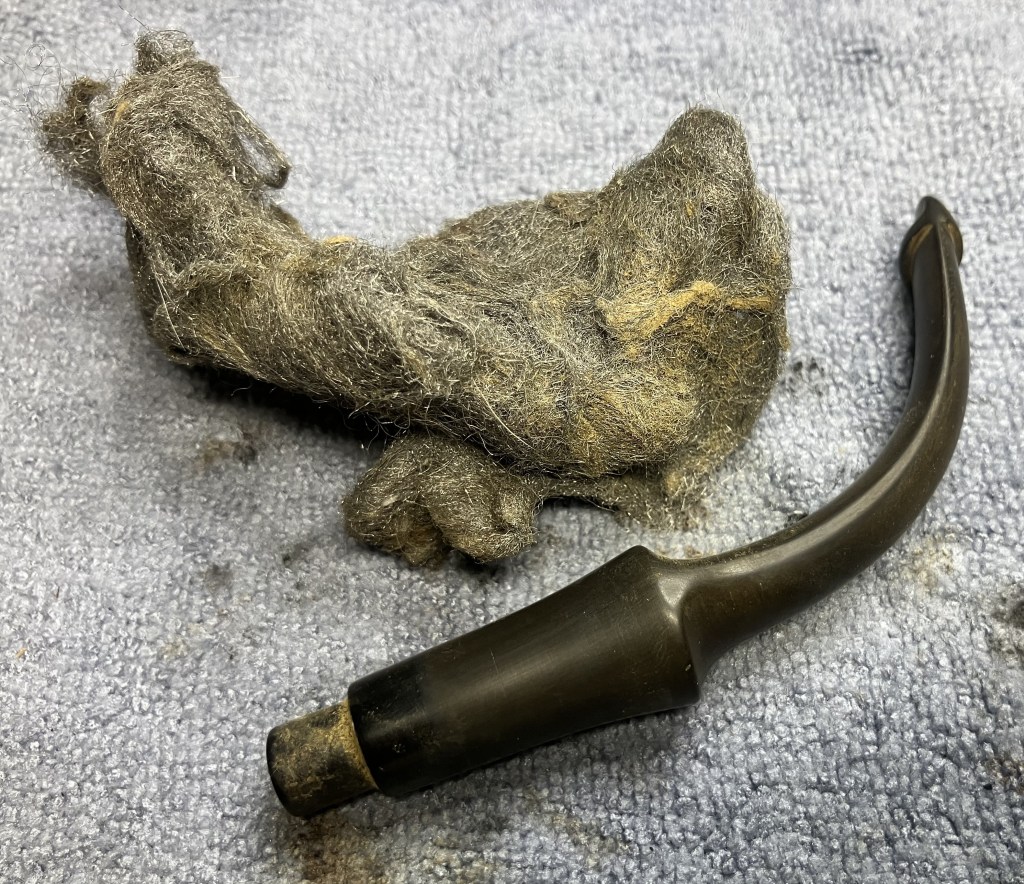
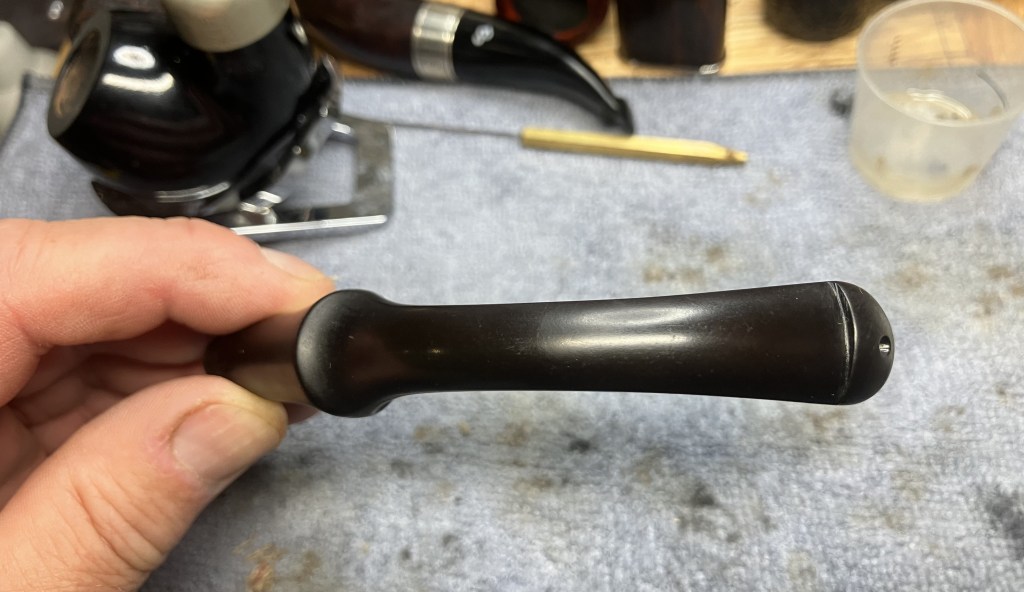
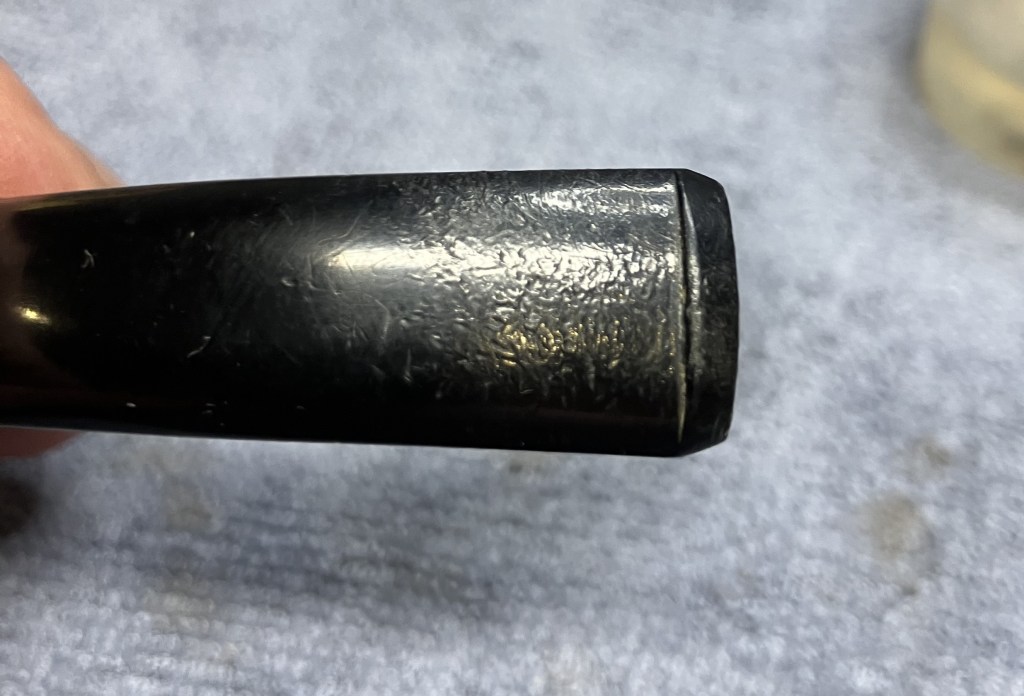
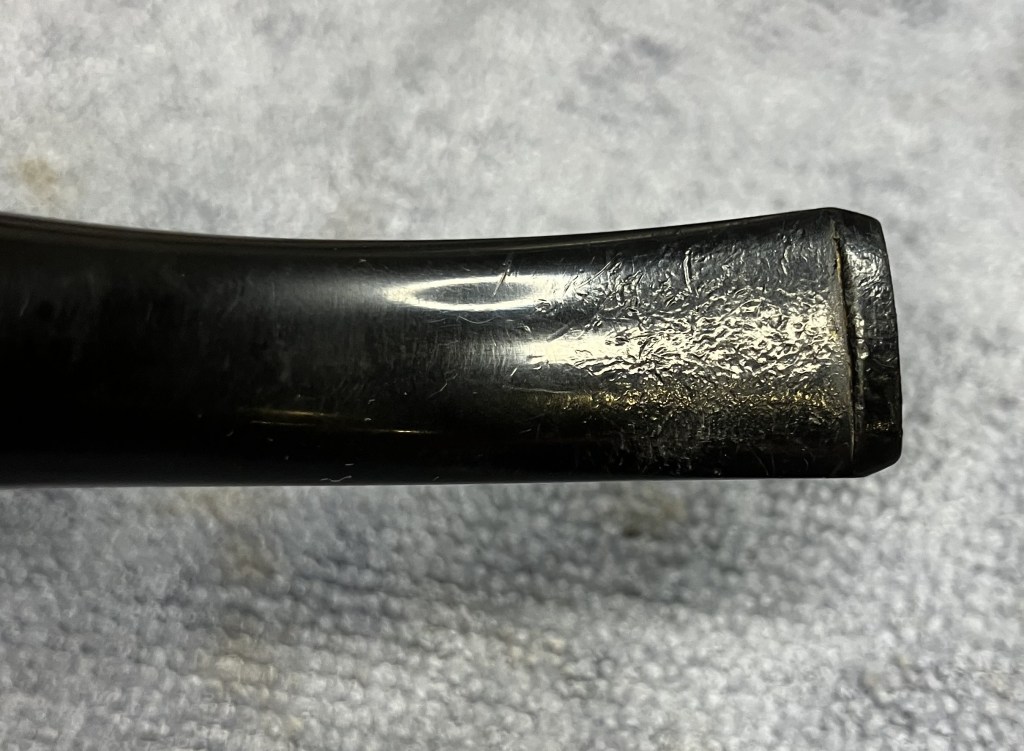
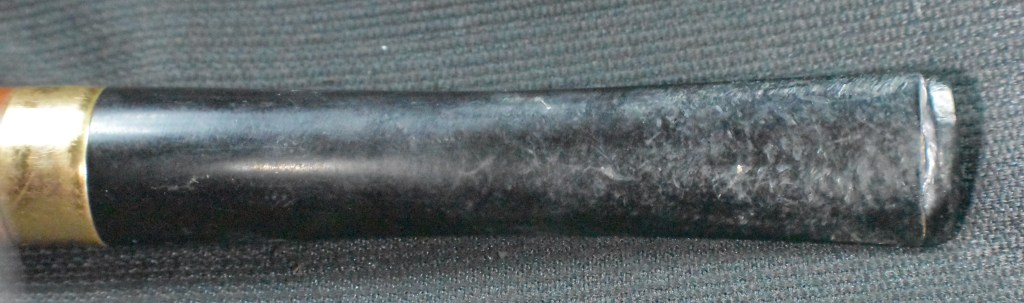
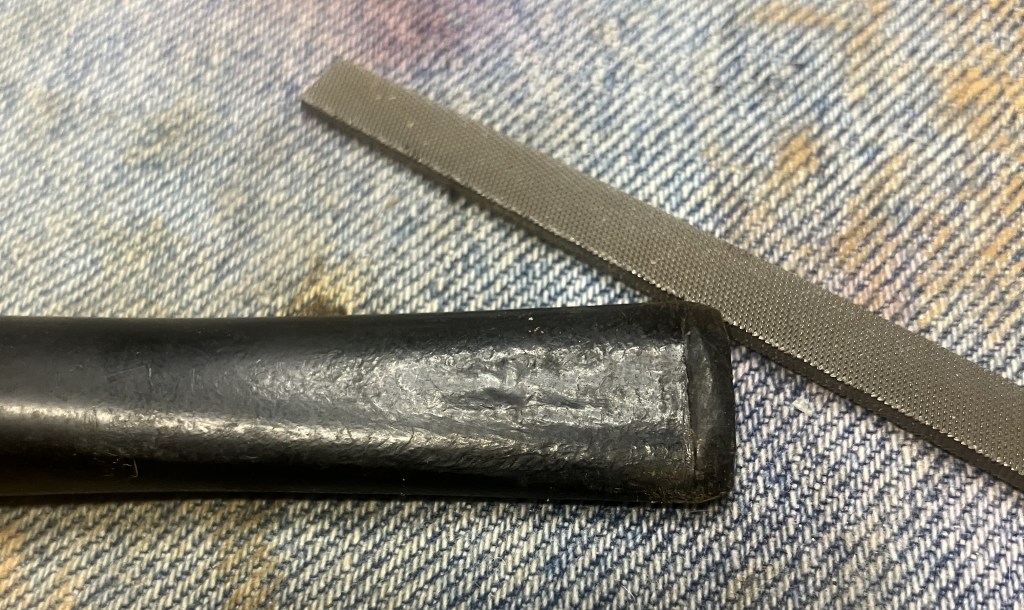
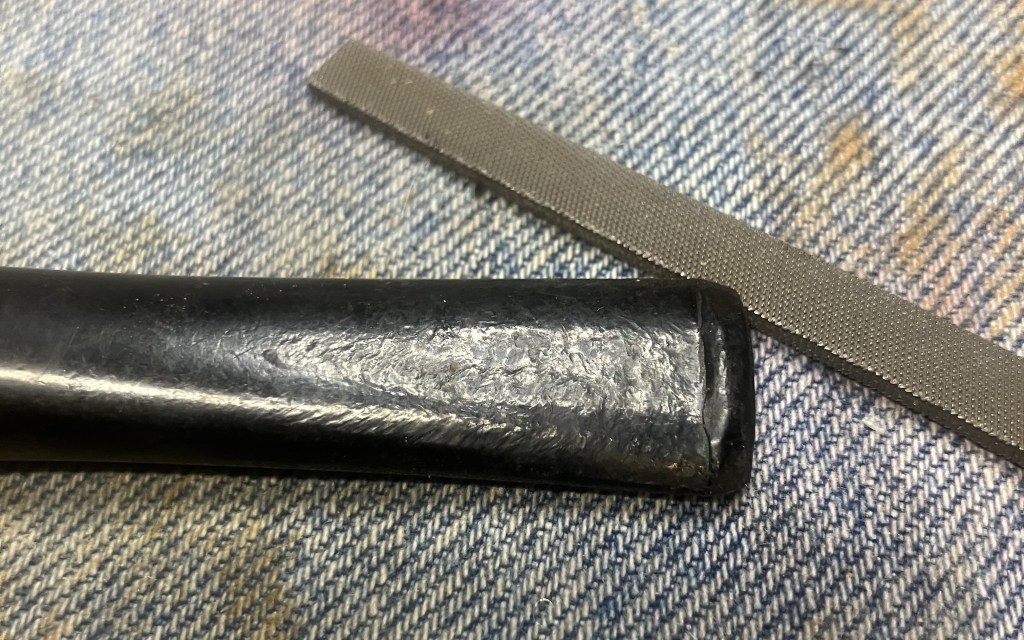
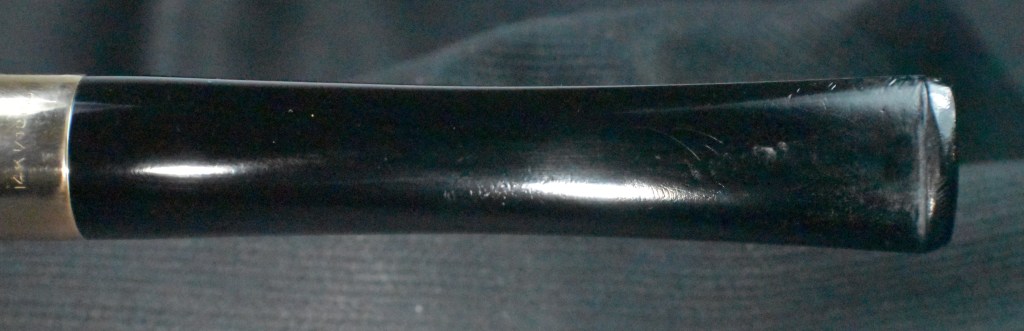
Back to the stem. I vigorously rubbed the vulcanite with a coarse shop rag. This removed more of the loosened oxidized vulcanite.
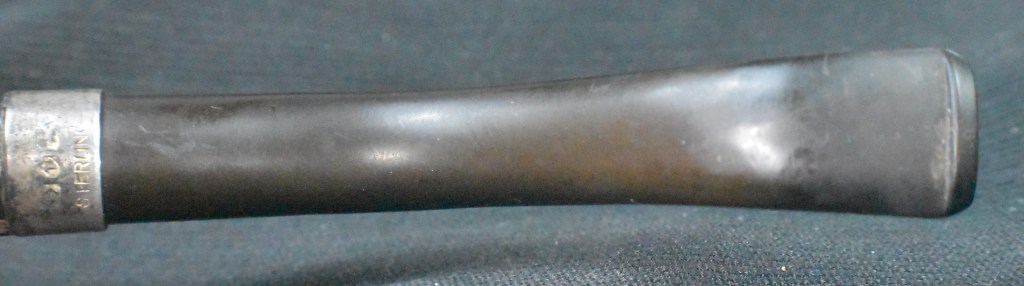
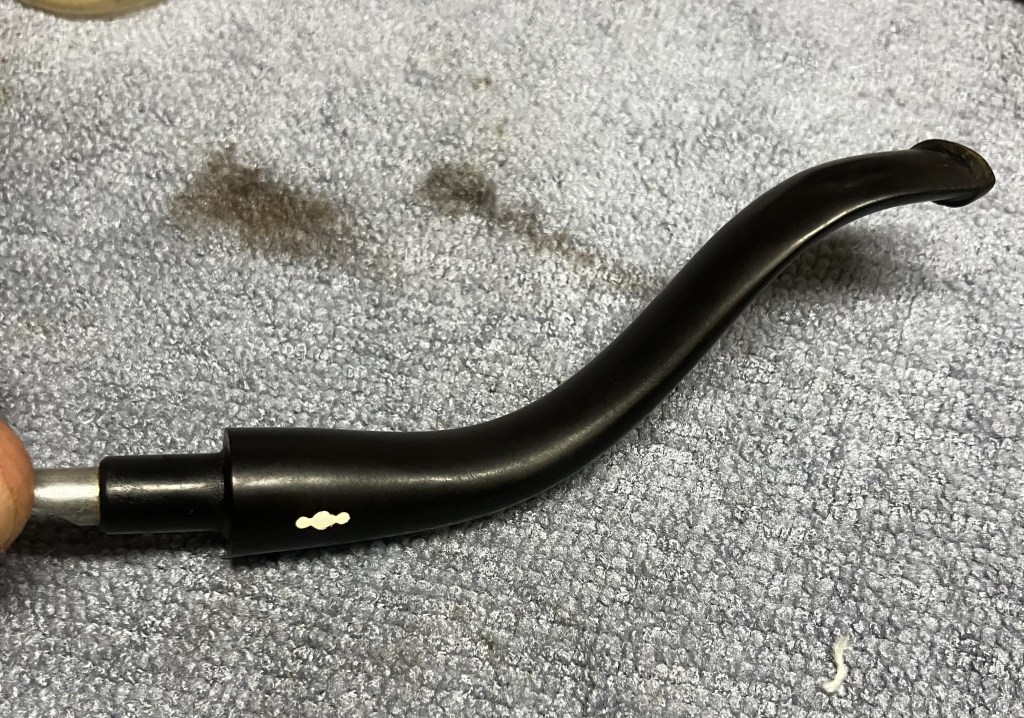
The pieces looked much better.
I rubbed them with mineral oil and allowed them to soak in the oil and me to watch some TV.
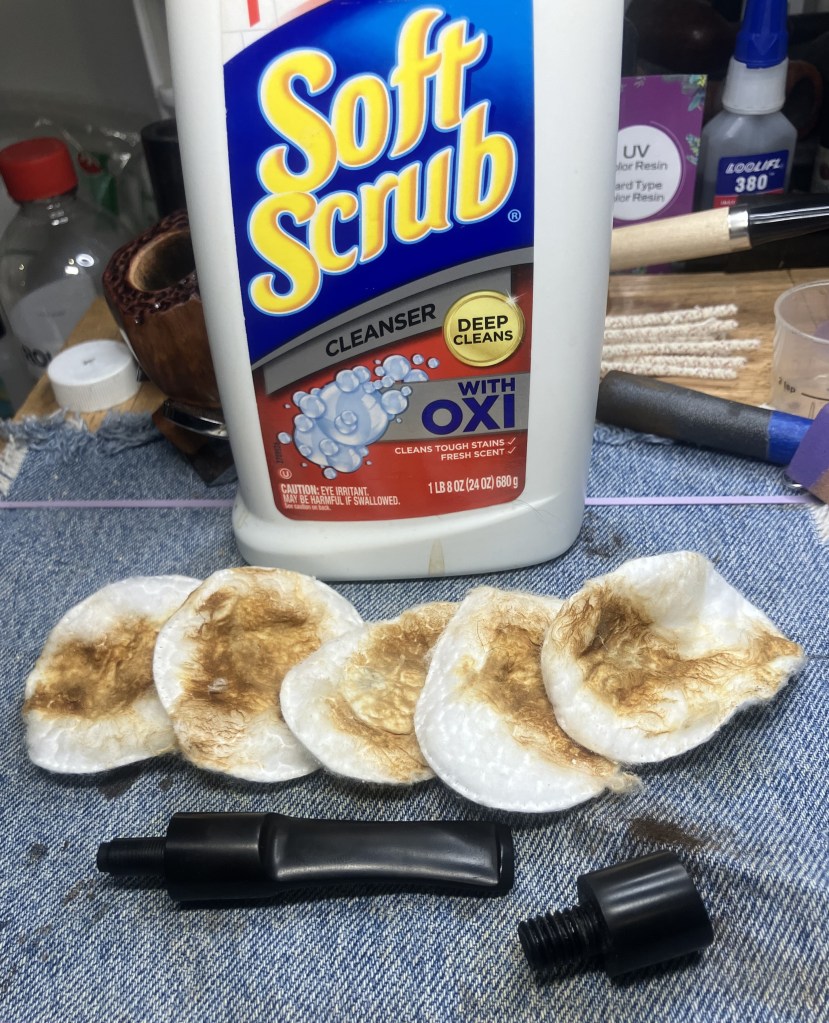
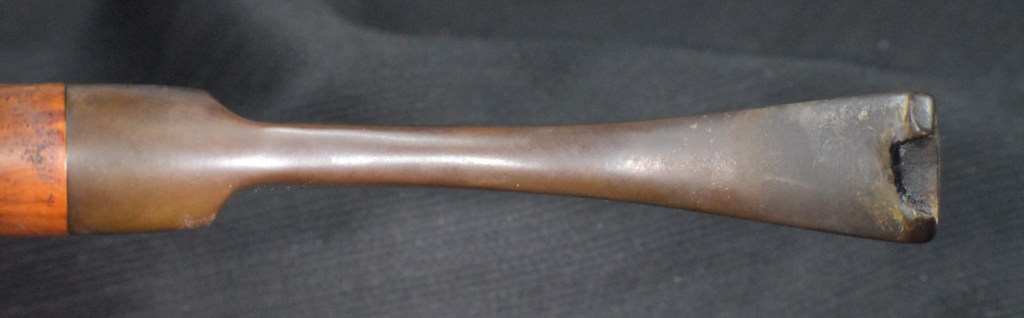
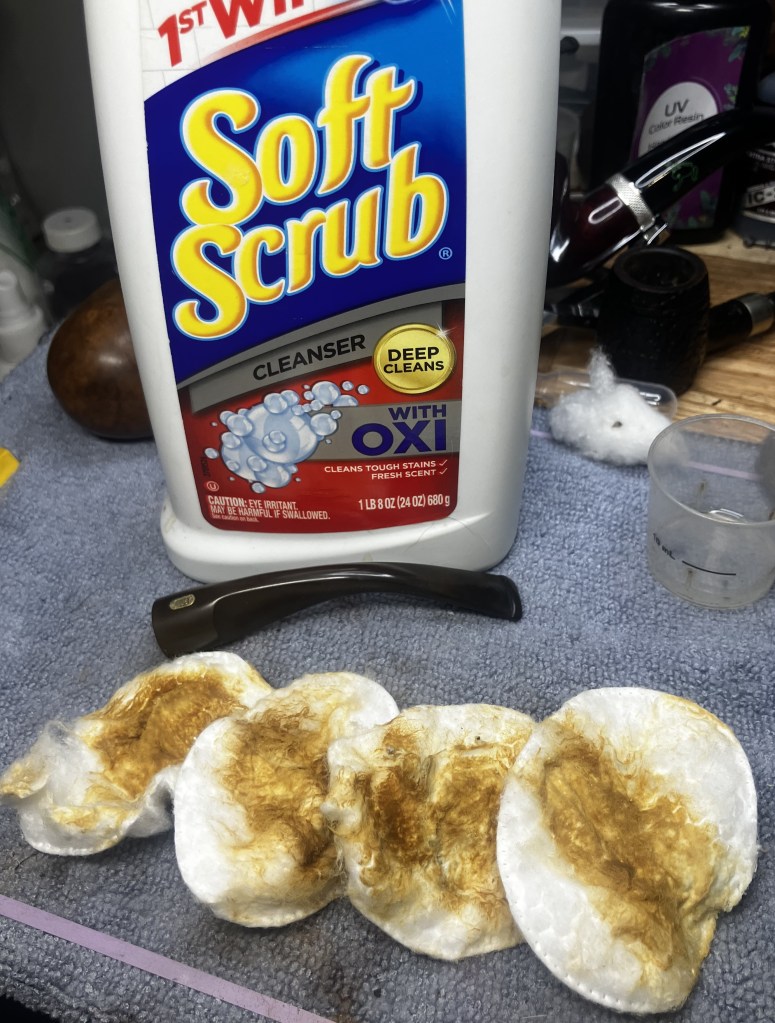
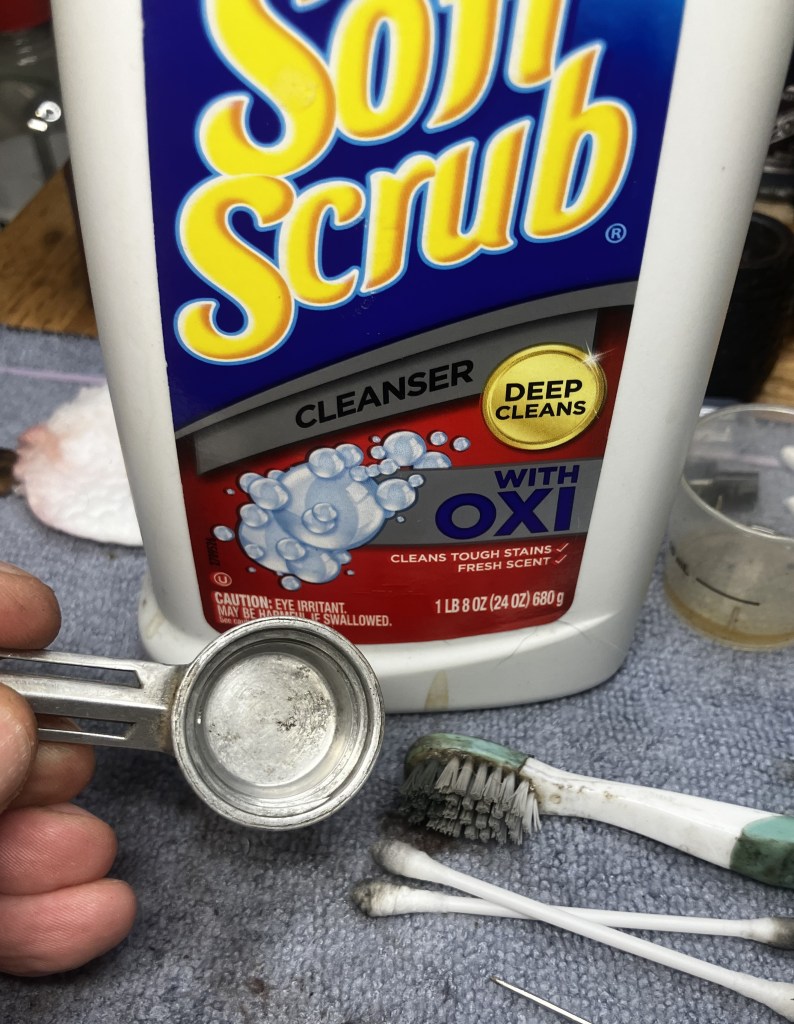
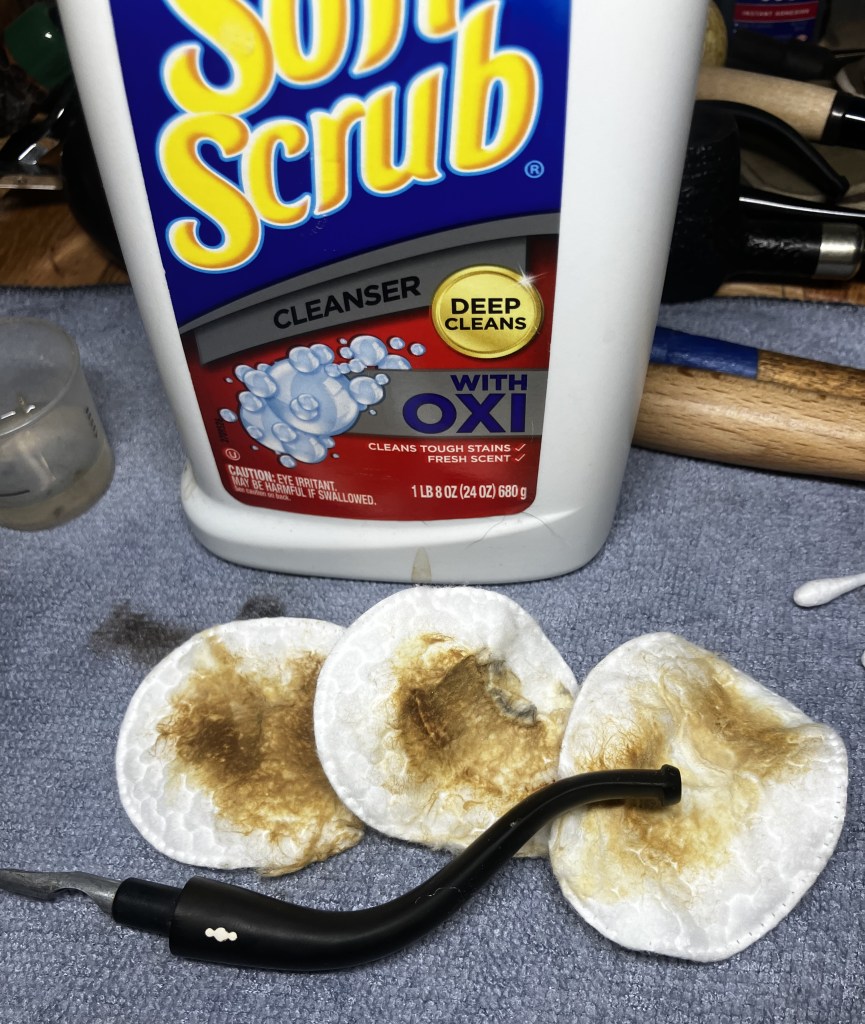
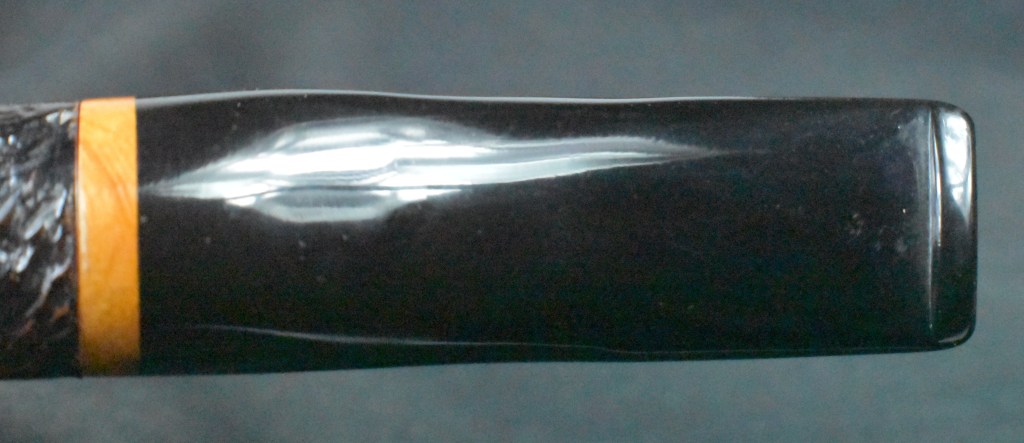
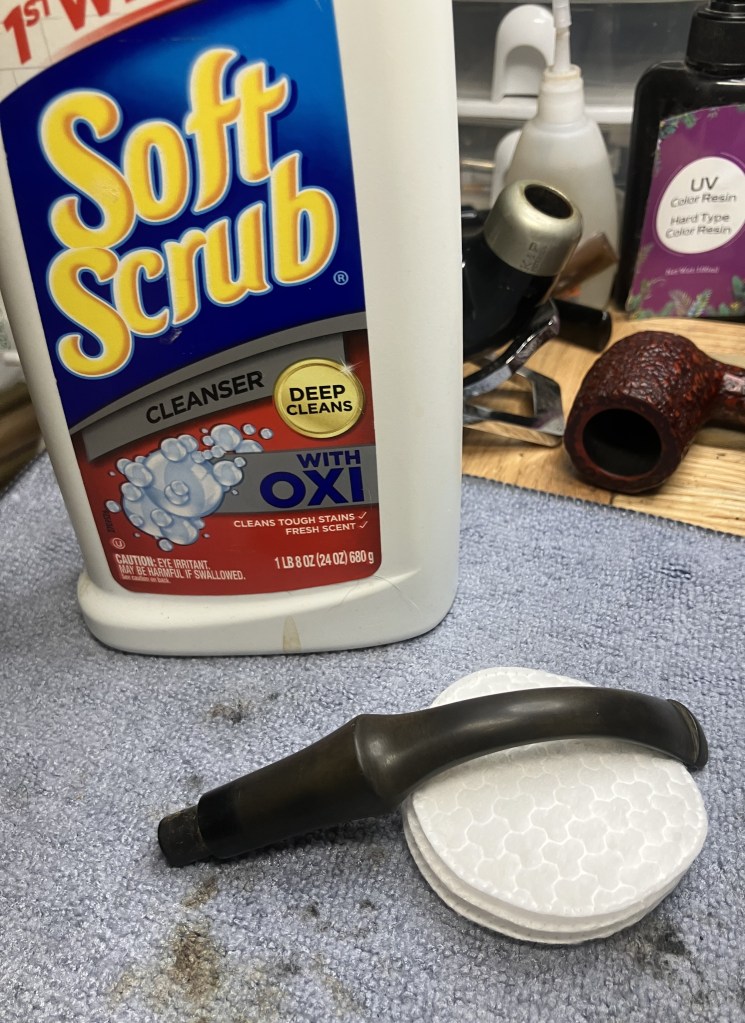
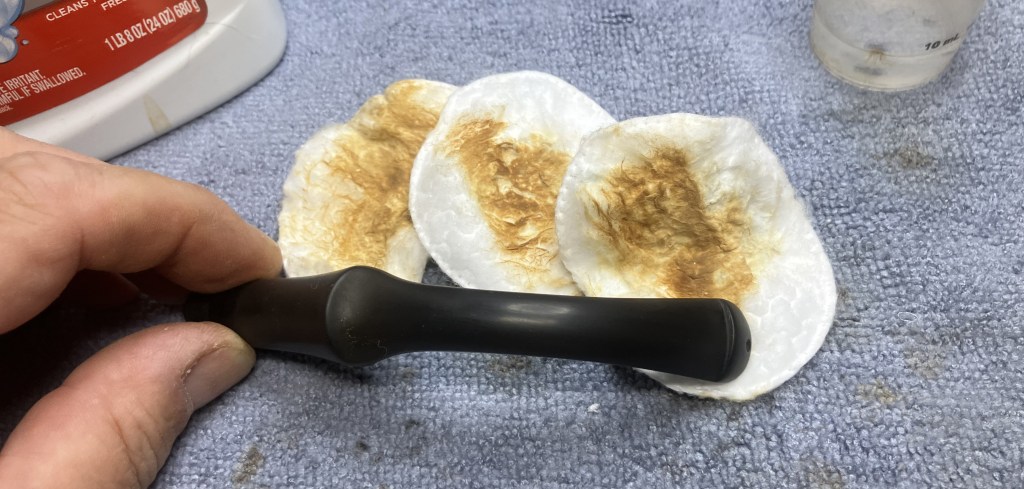
The next day I scrubbed the vulcanite parts with Soft Scrub Cleanser on make-up pads.
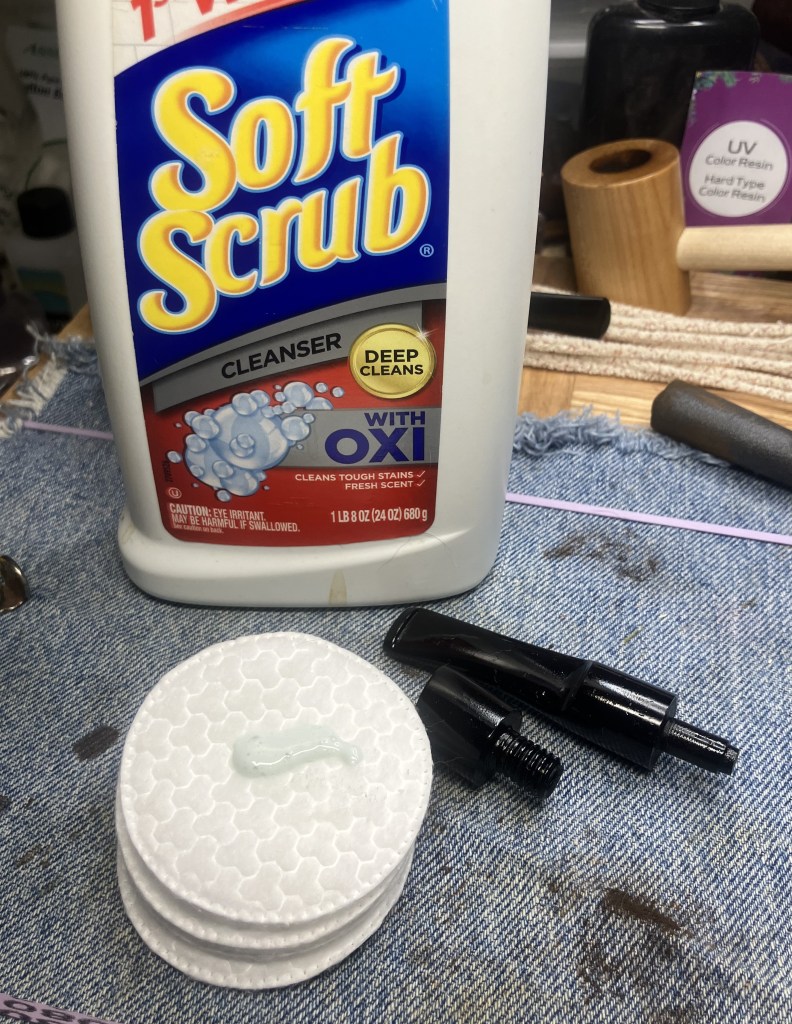
This removed more of the oxidized vulcanite.
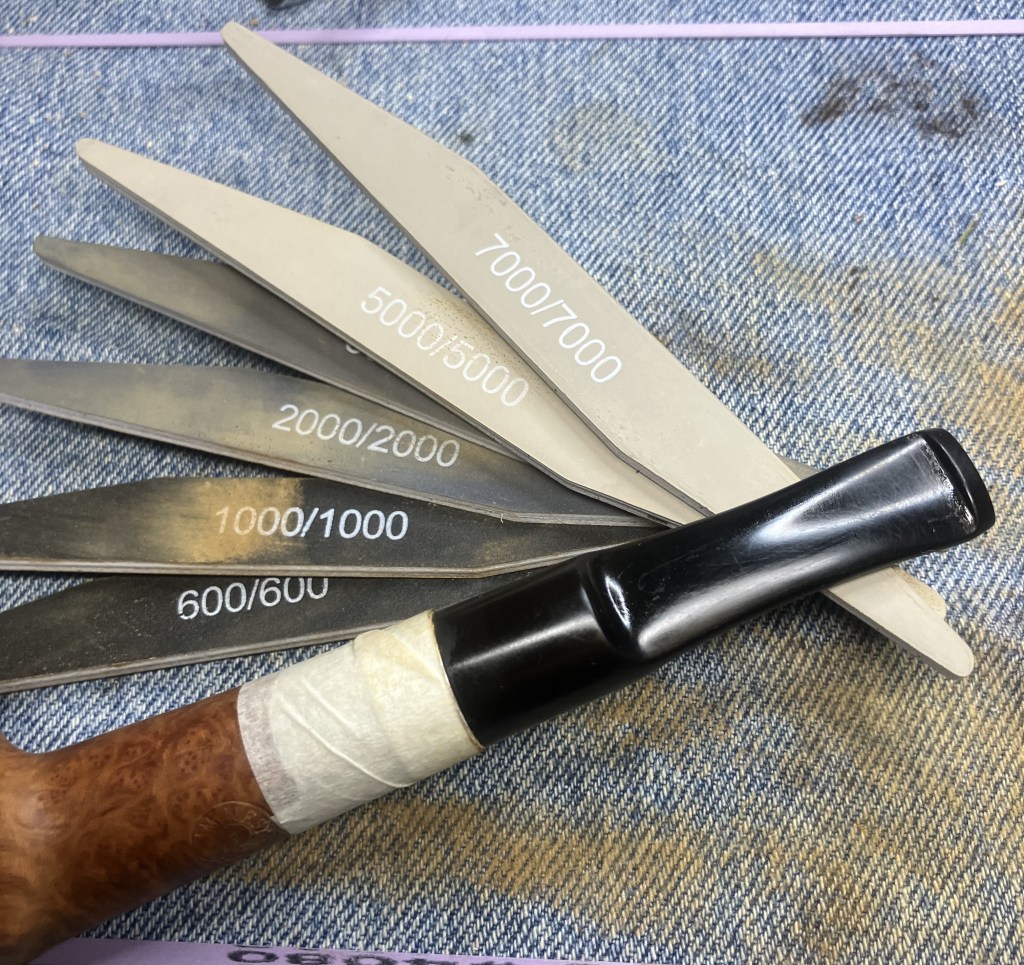
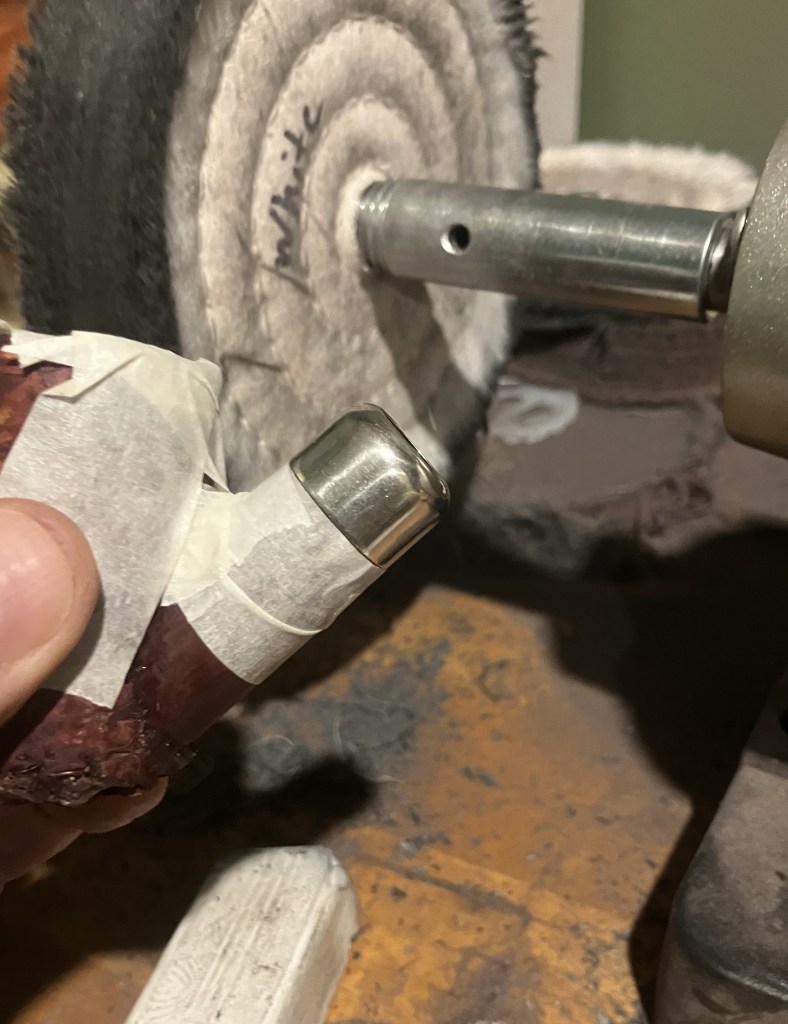
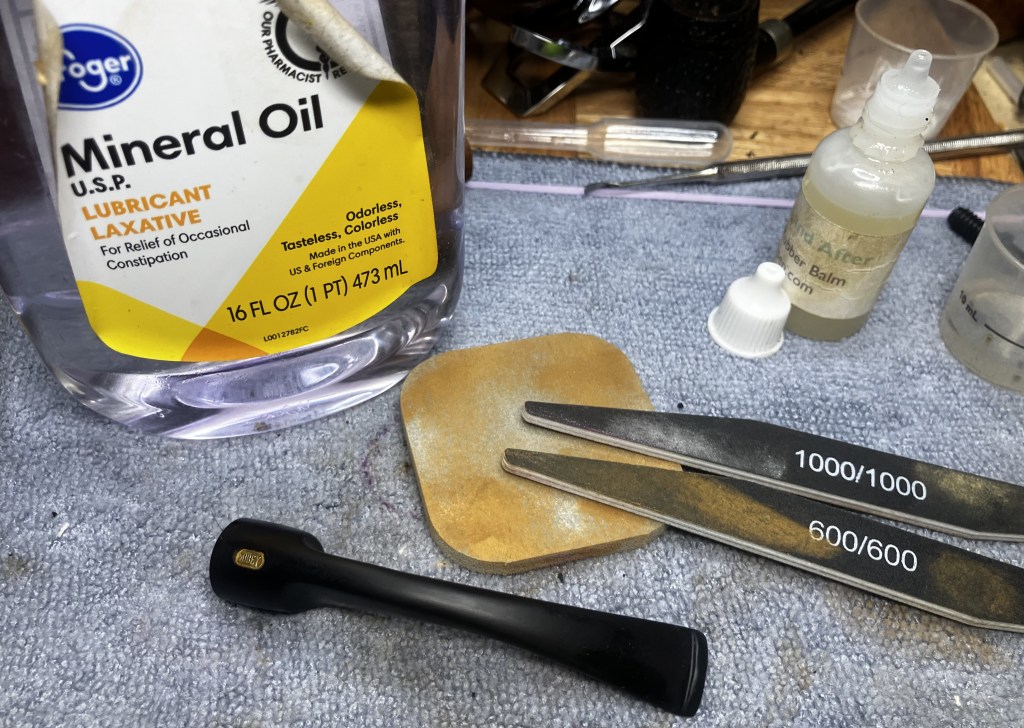
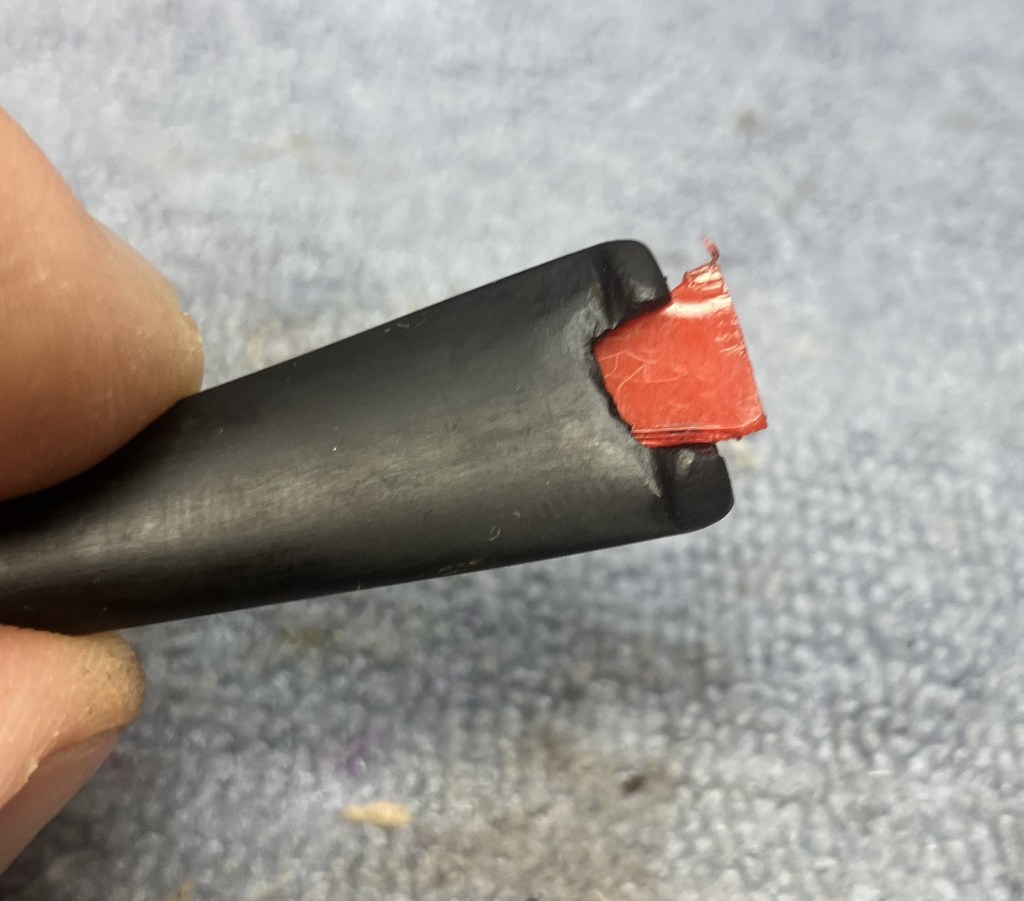
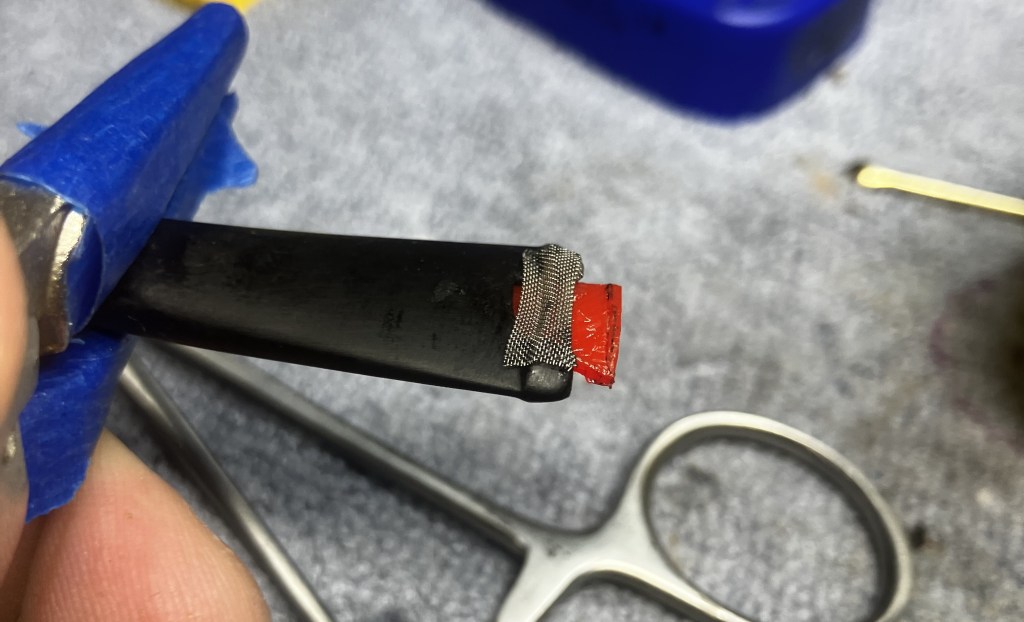
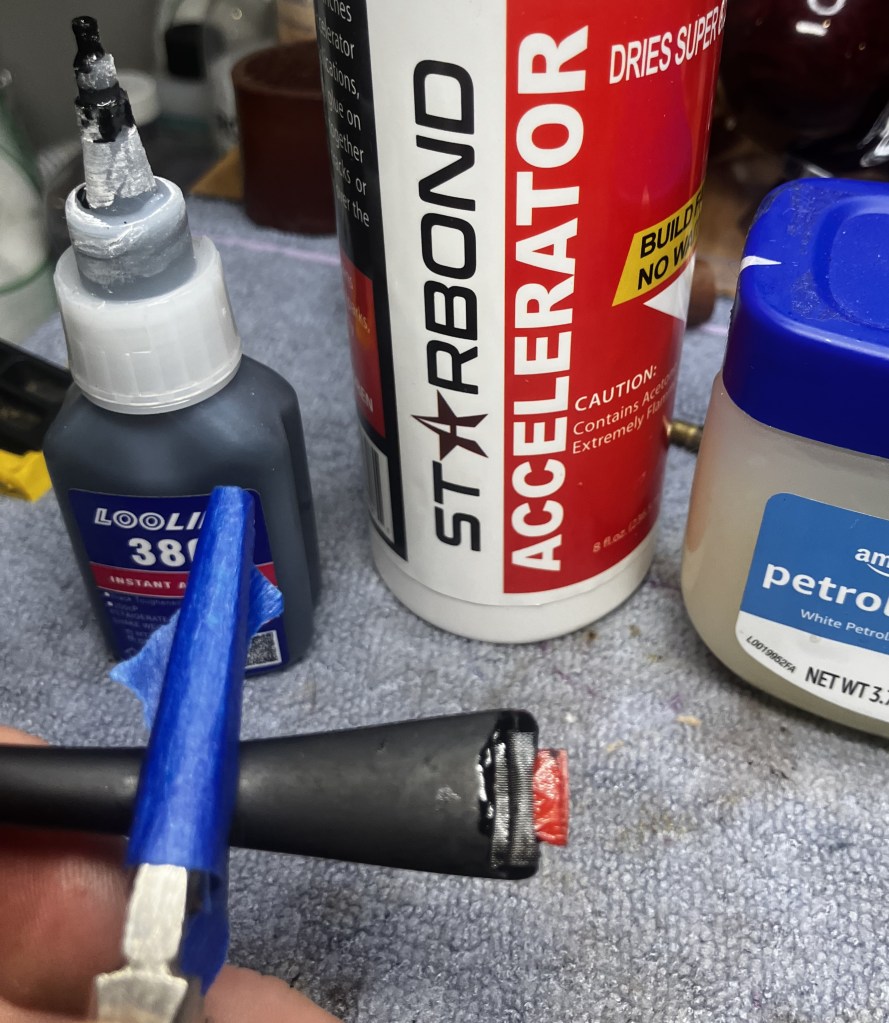
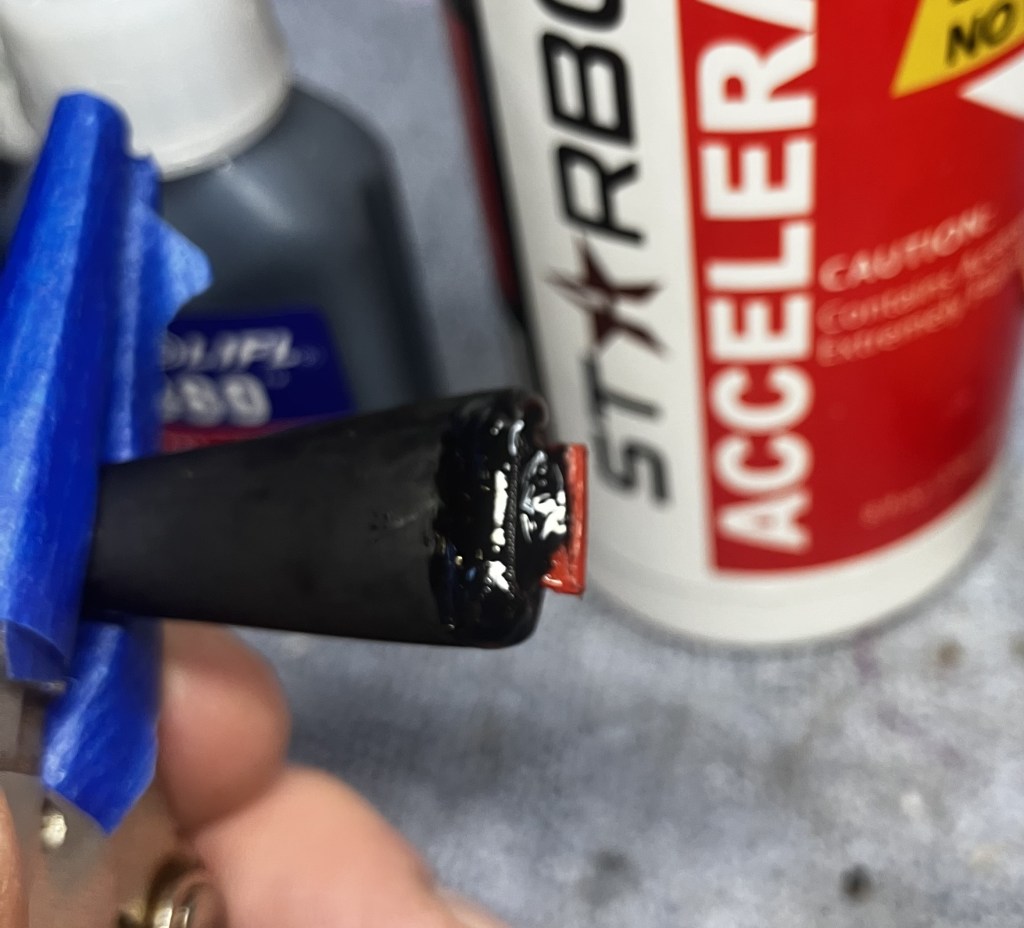
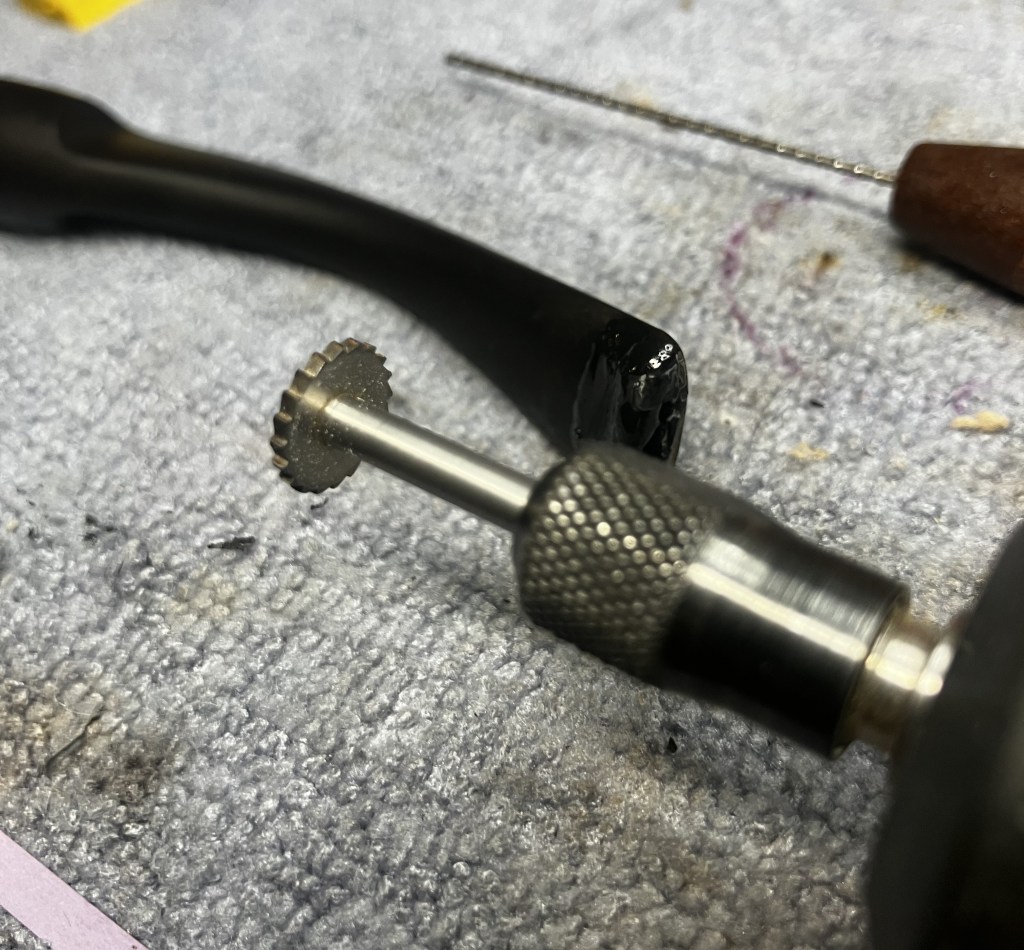
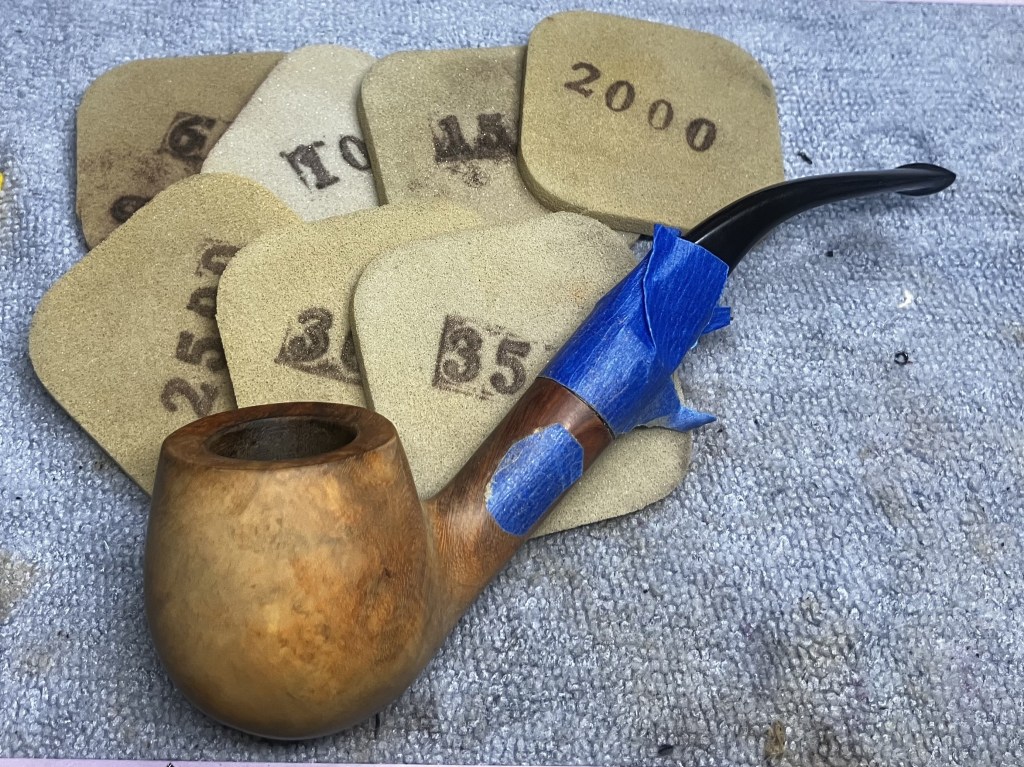
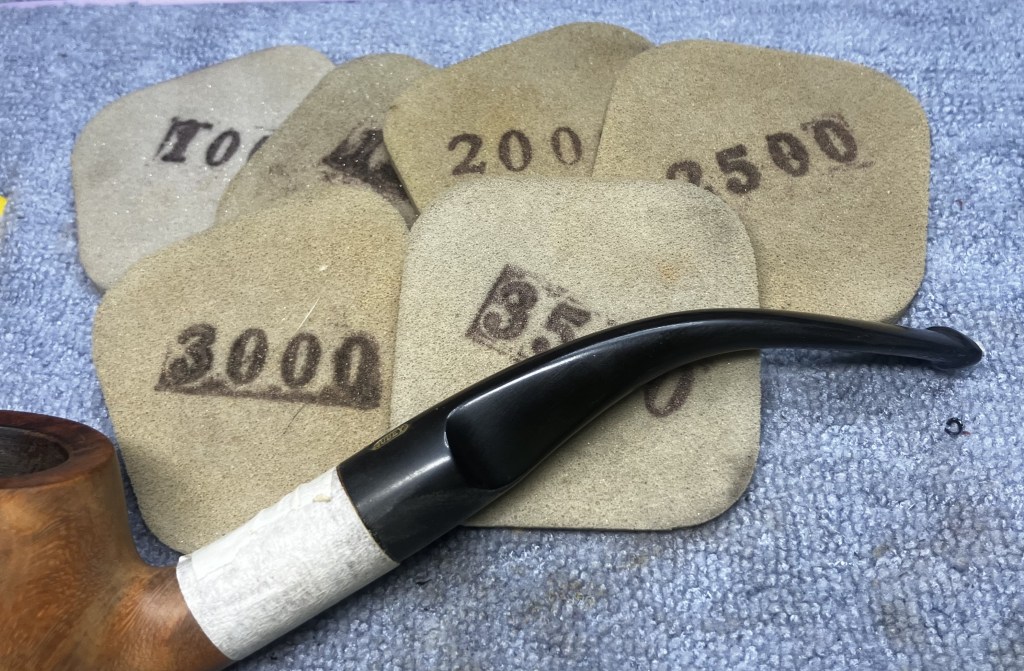
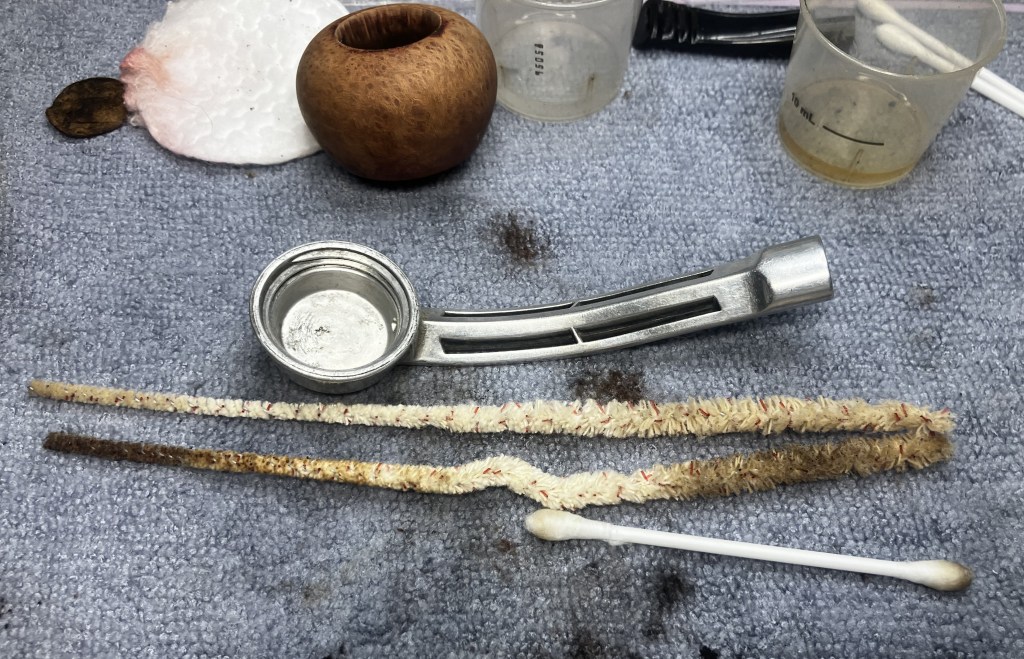
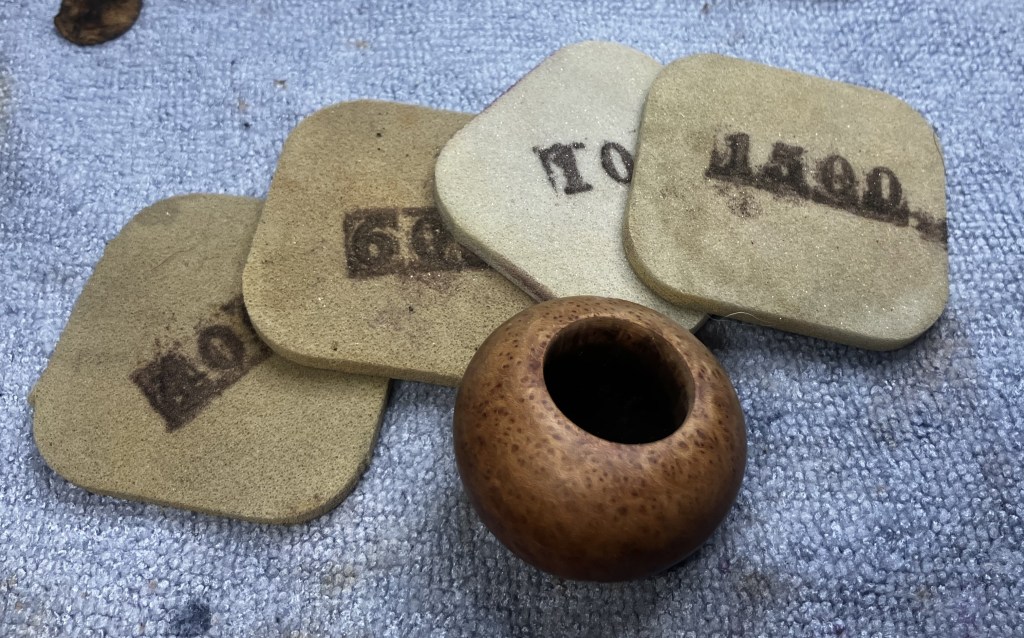
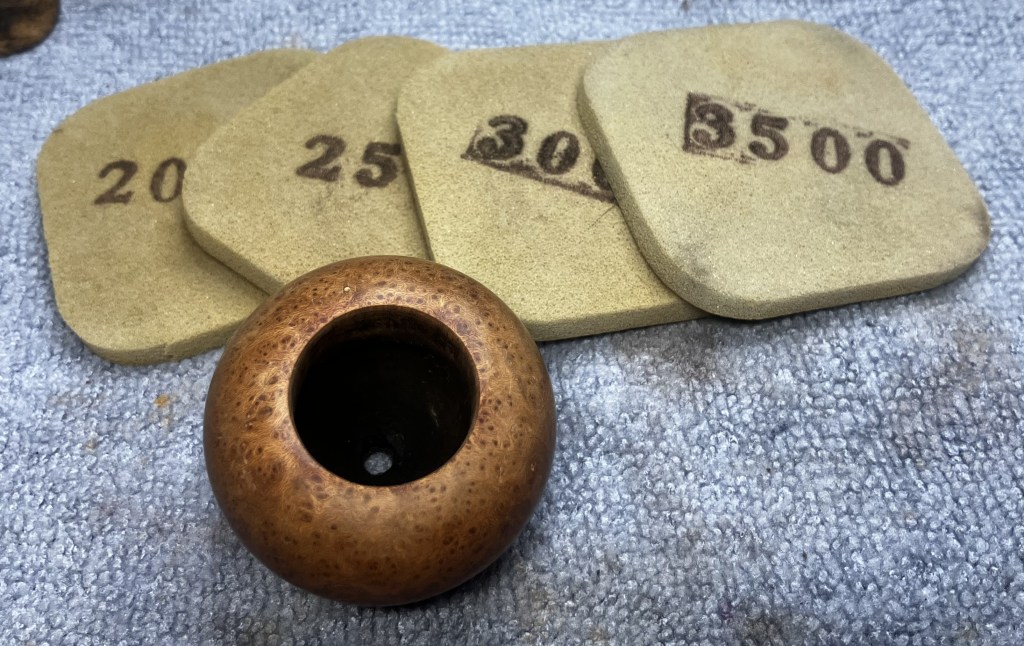
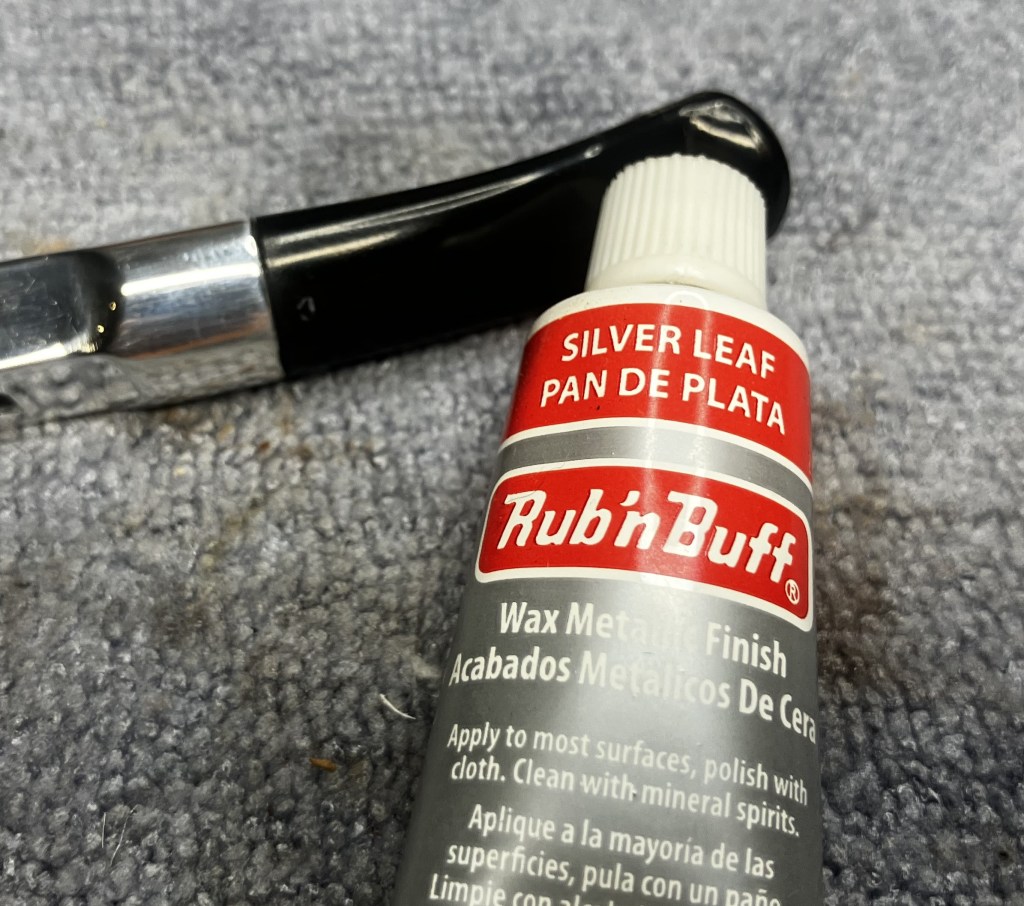
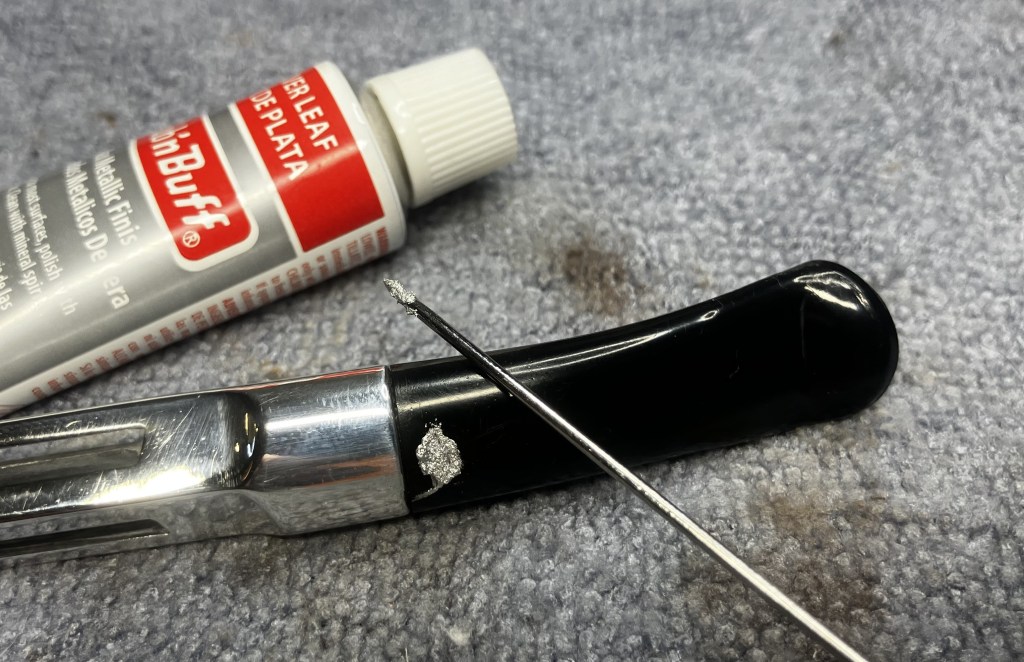
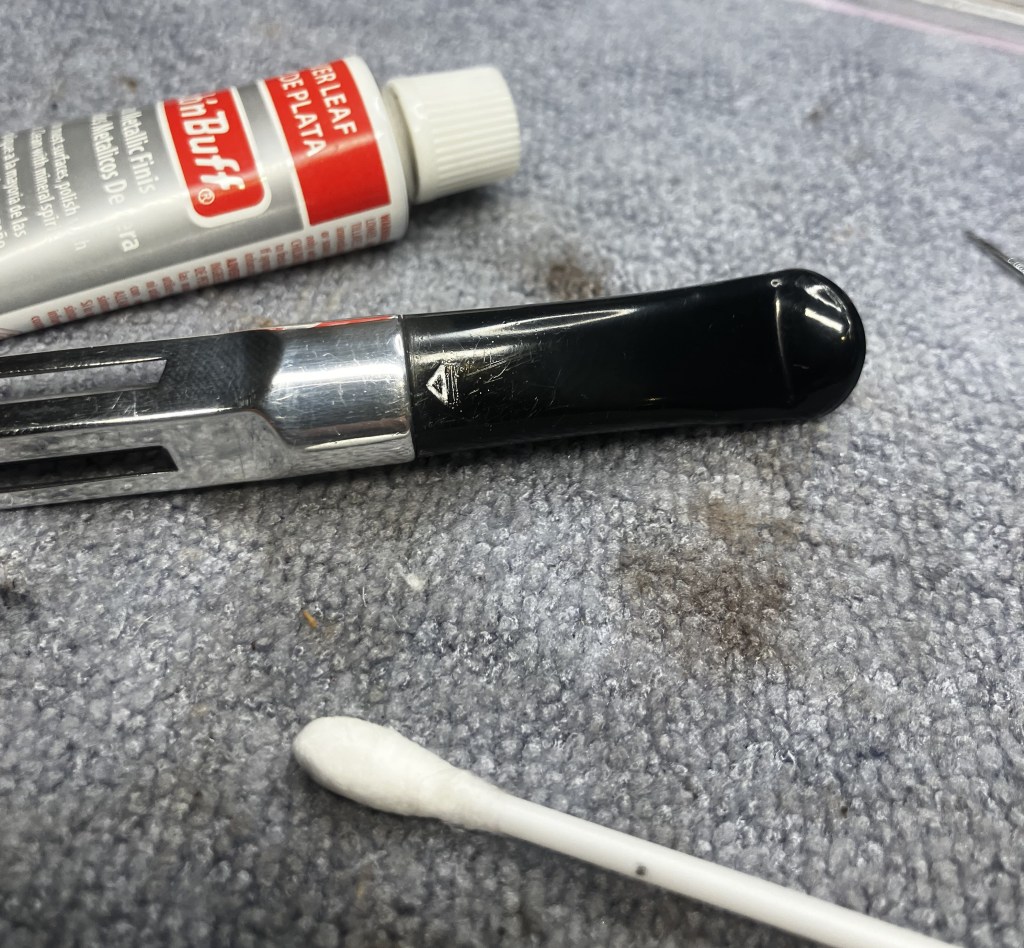
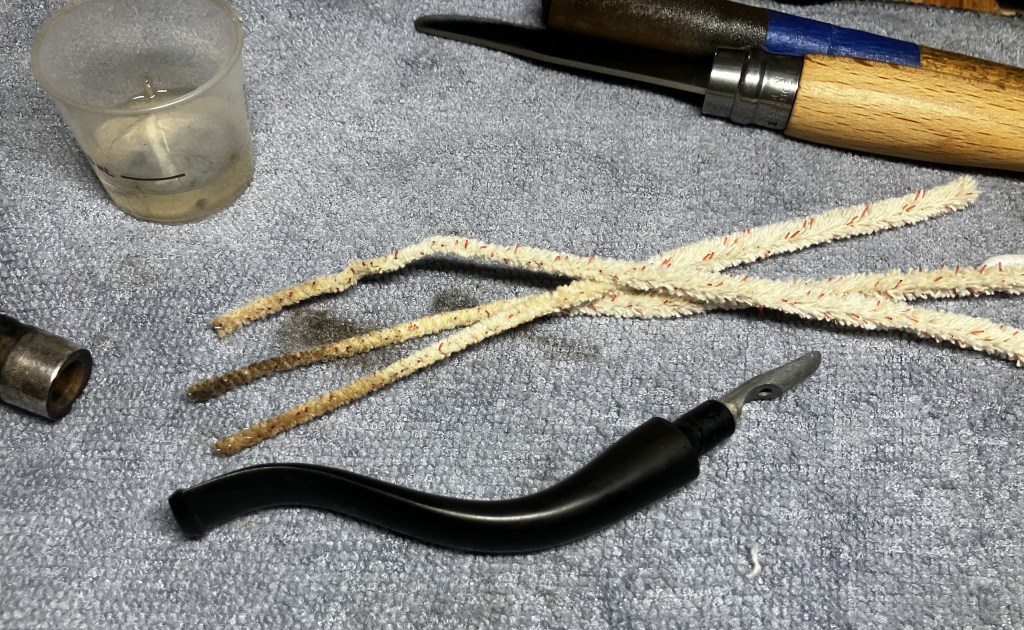
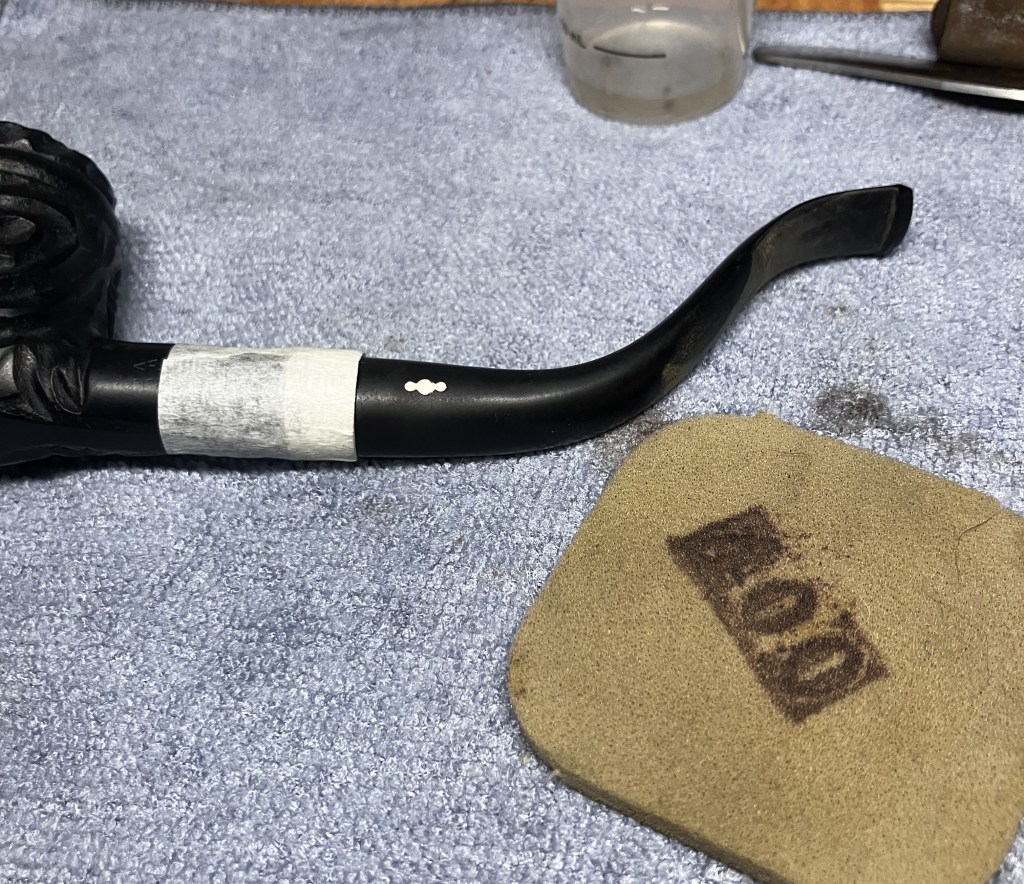
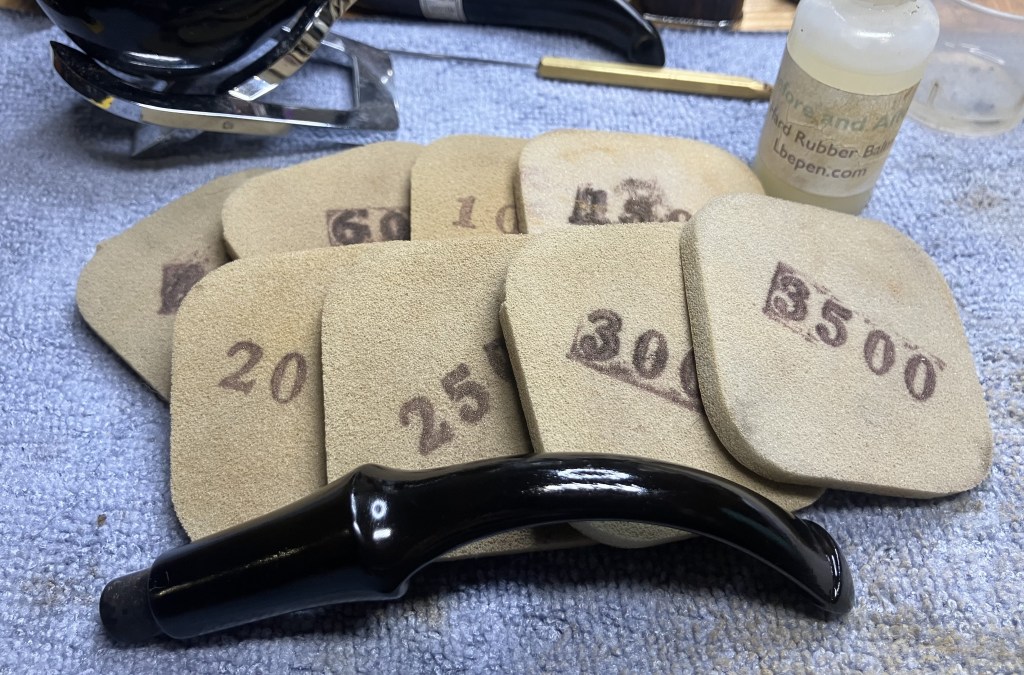
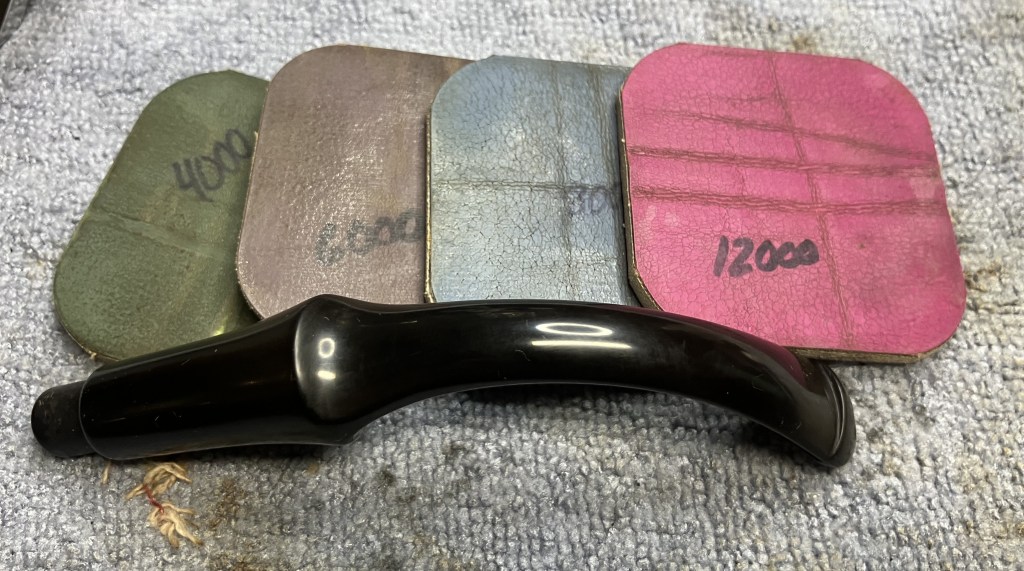
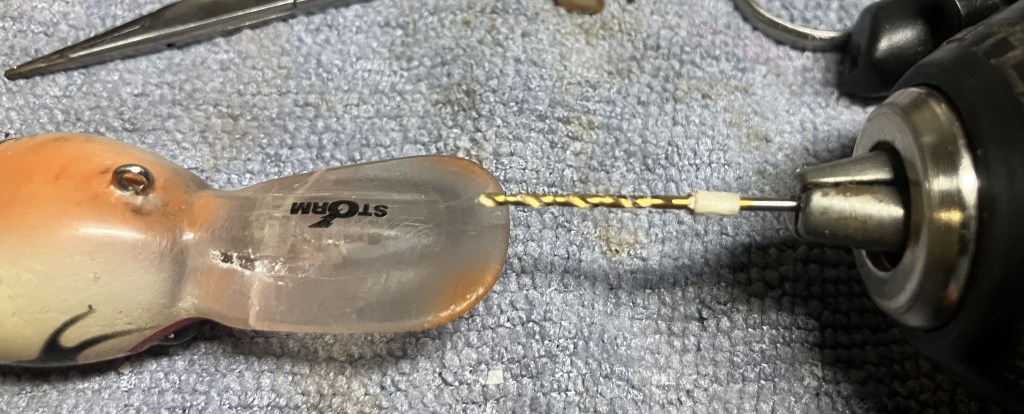
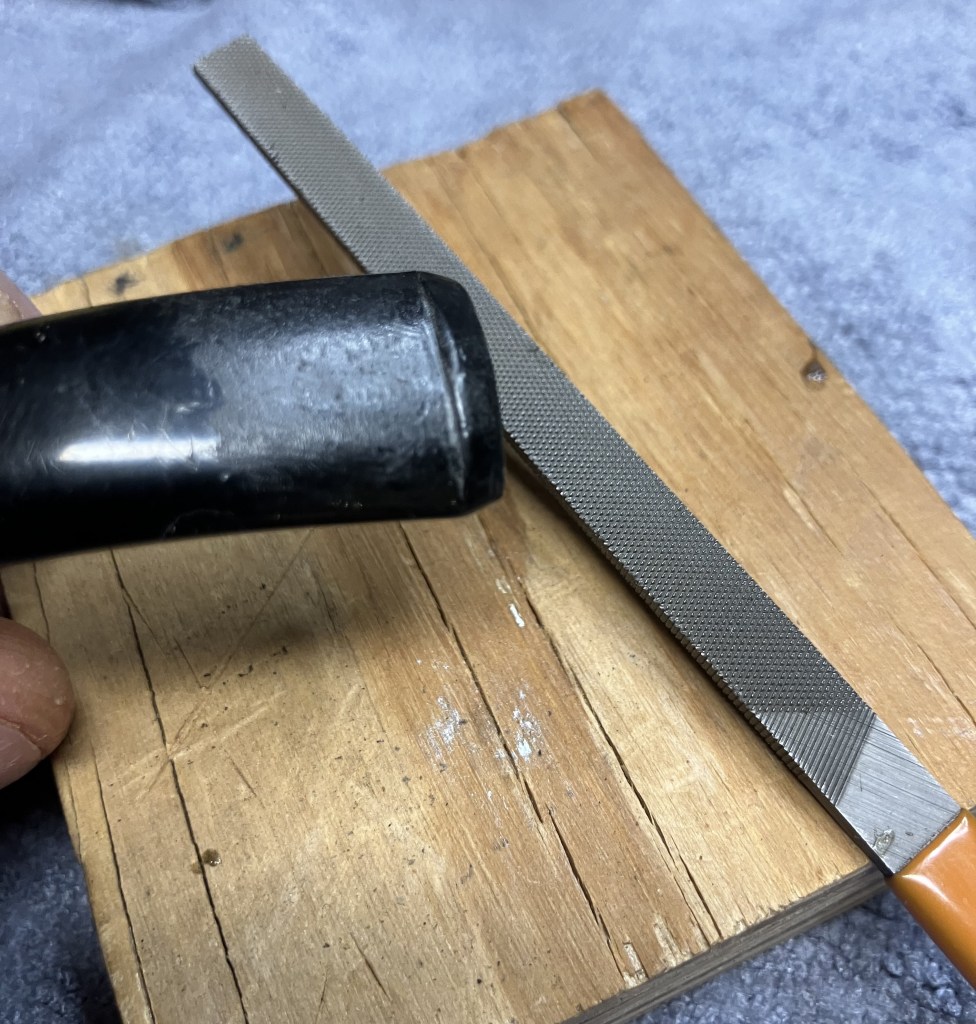
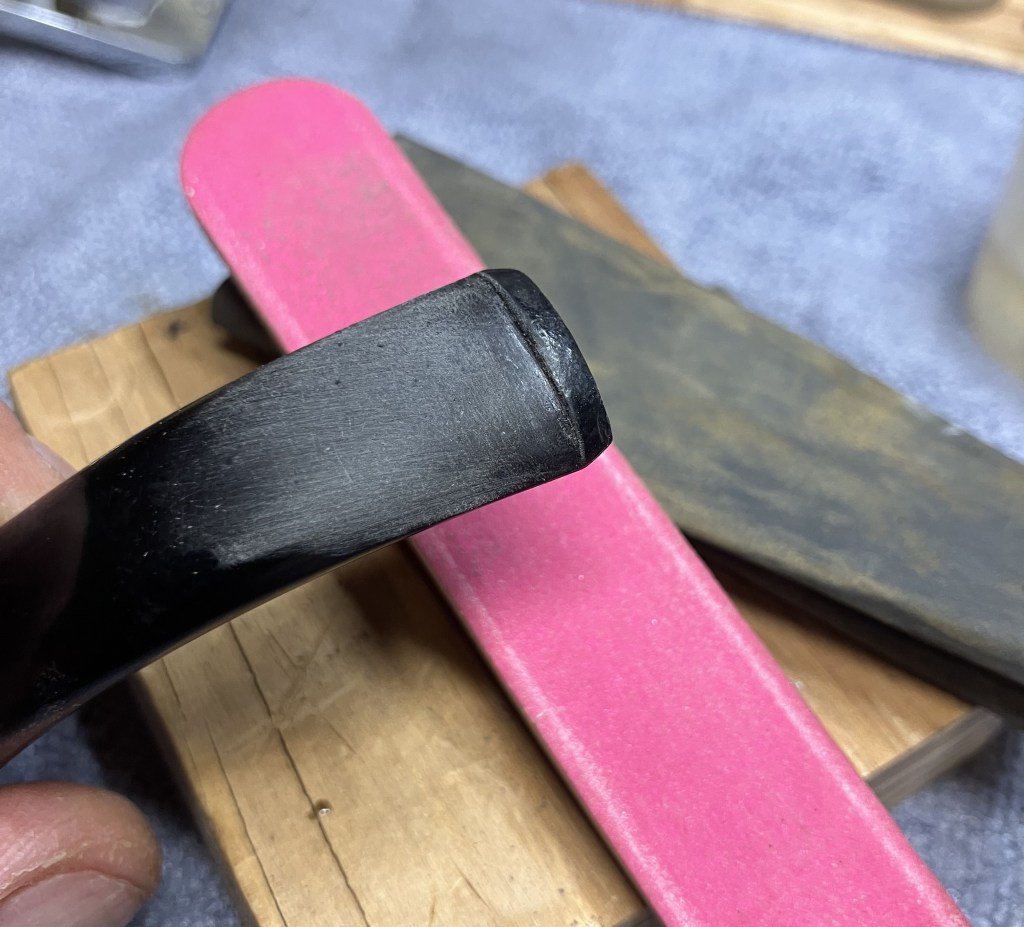
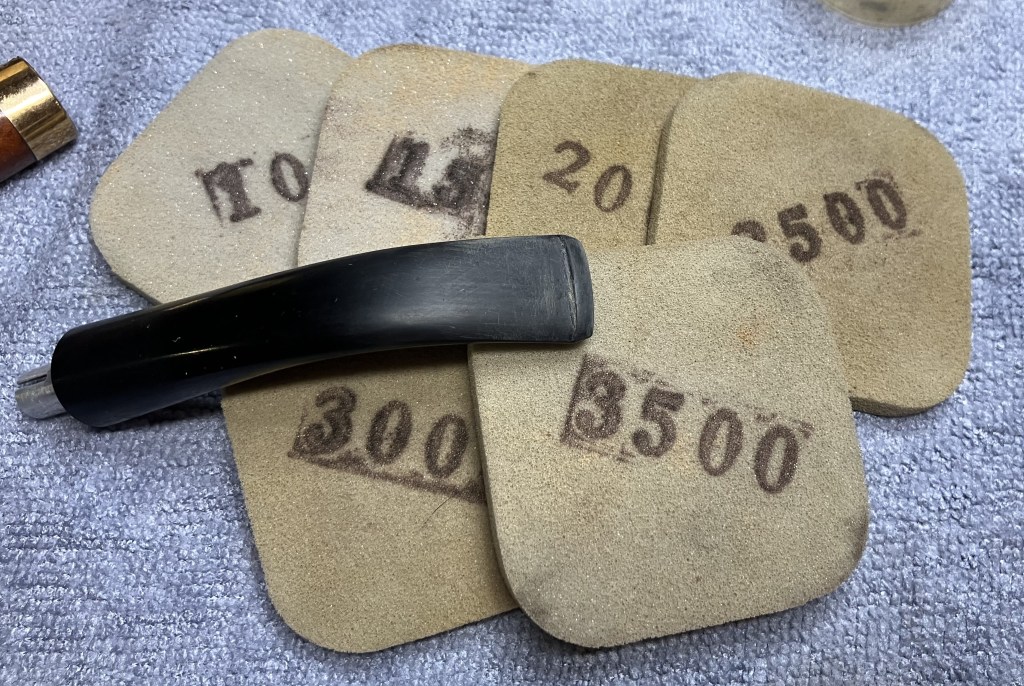
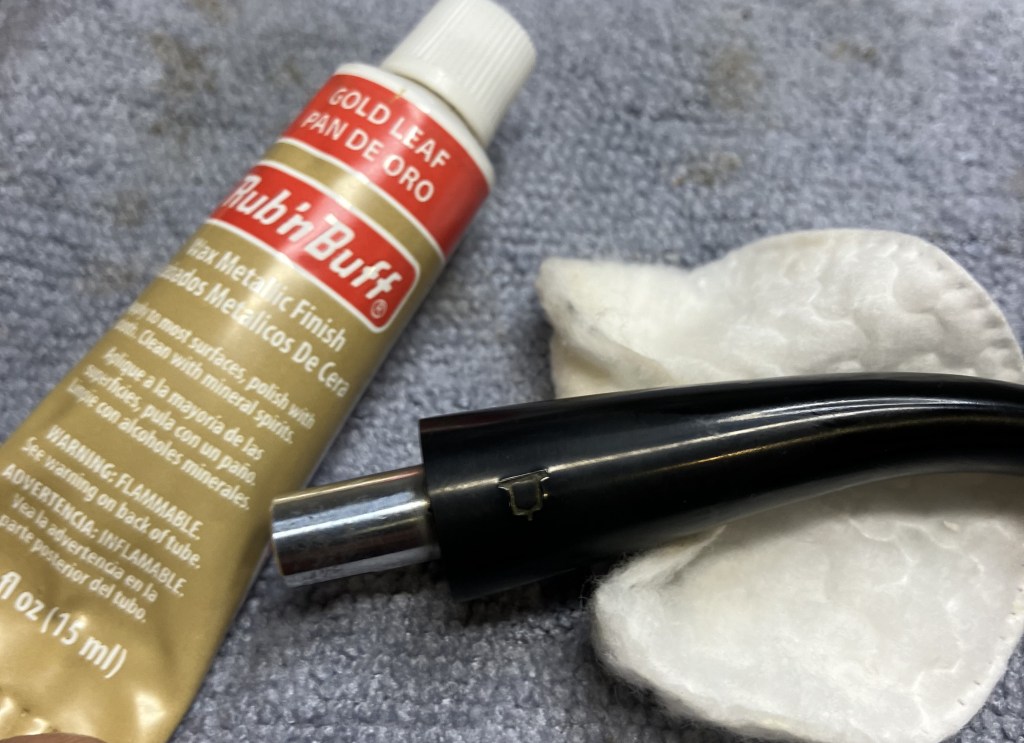
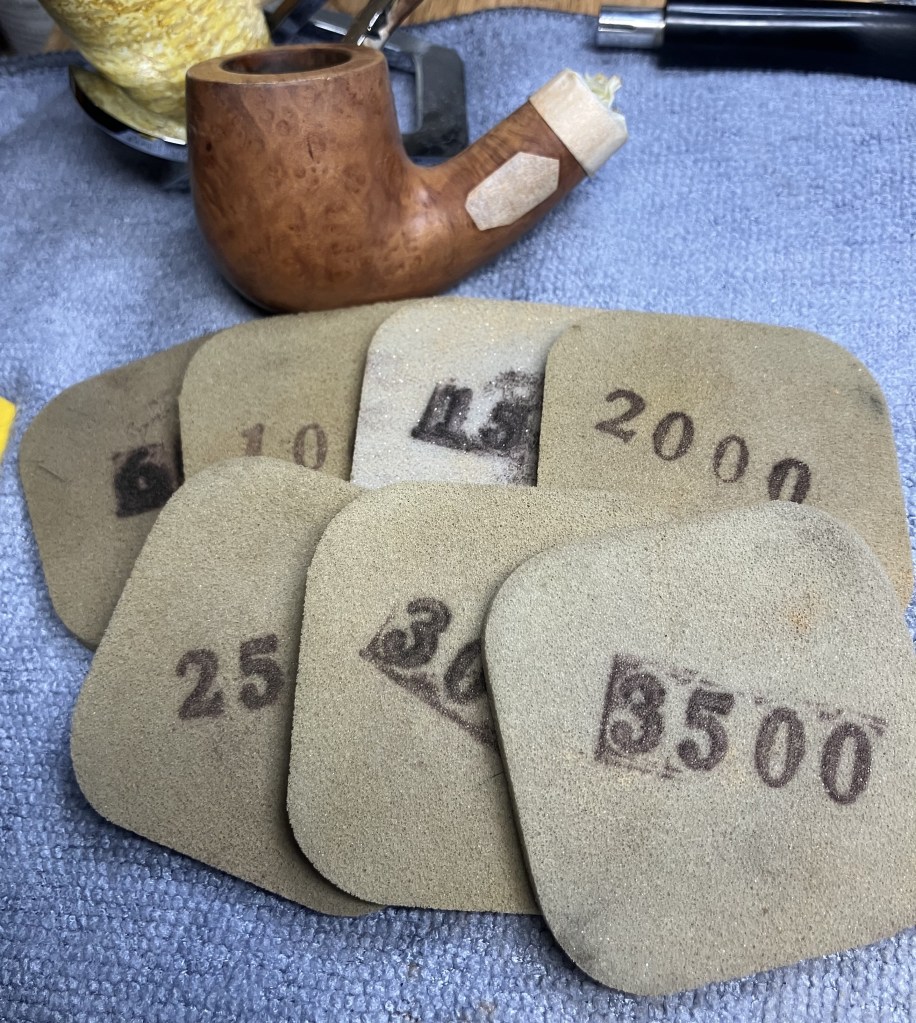
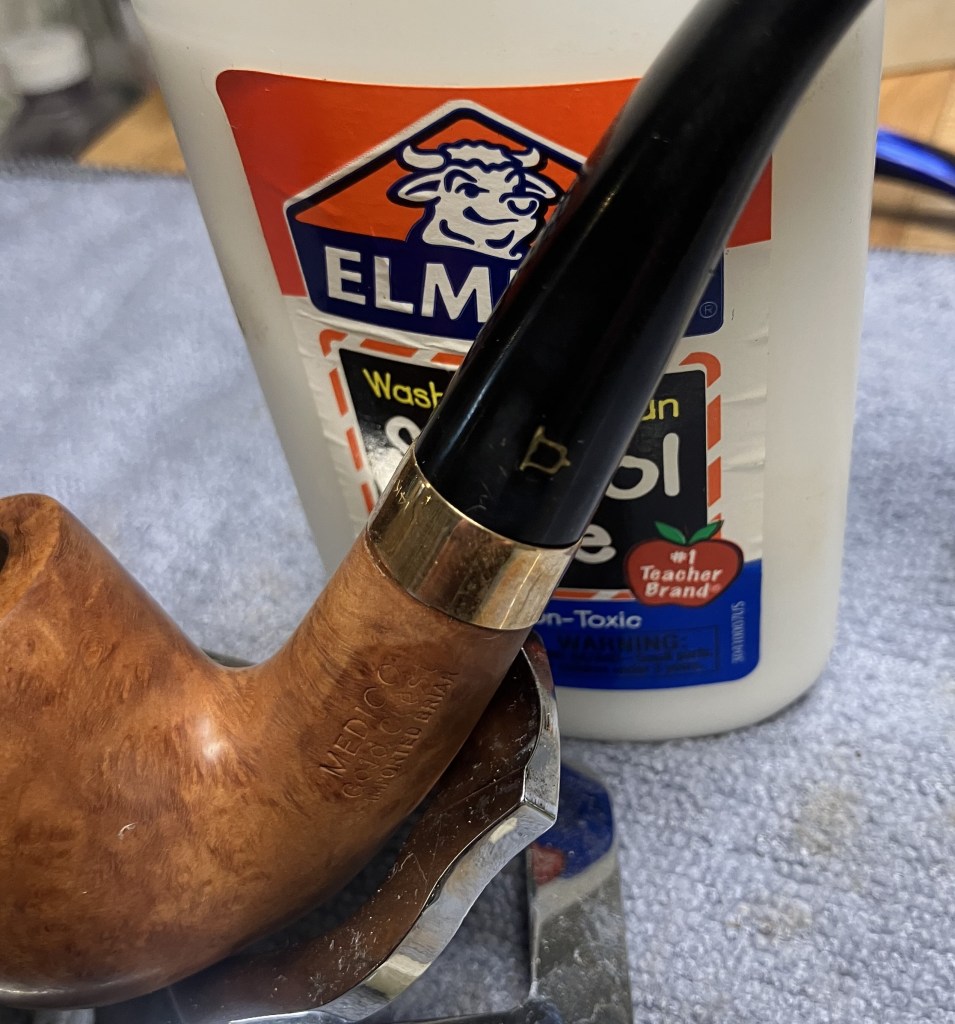
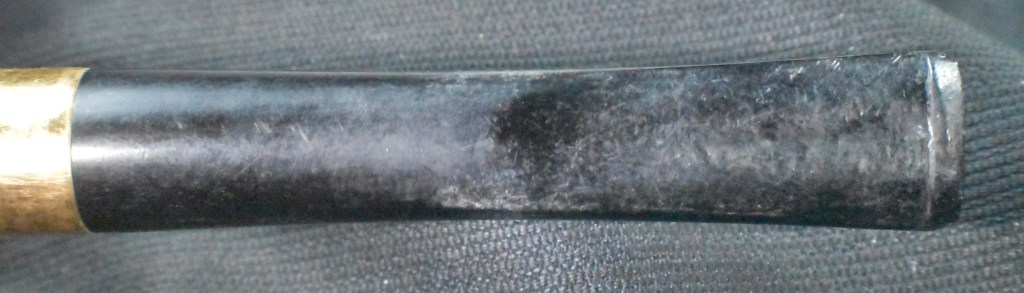
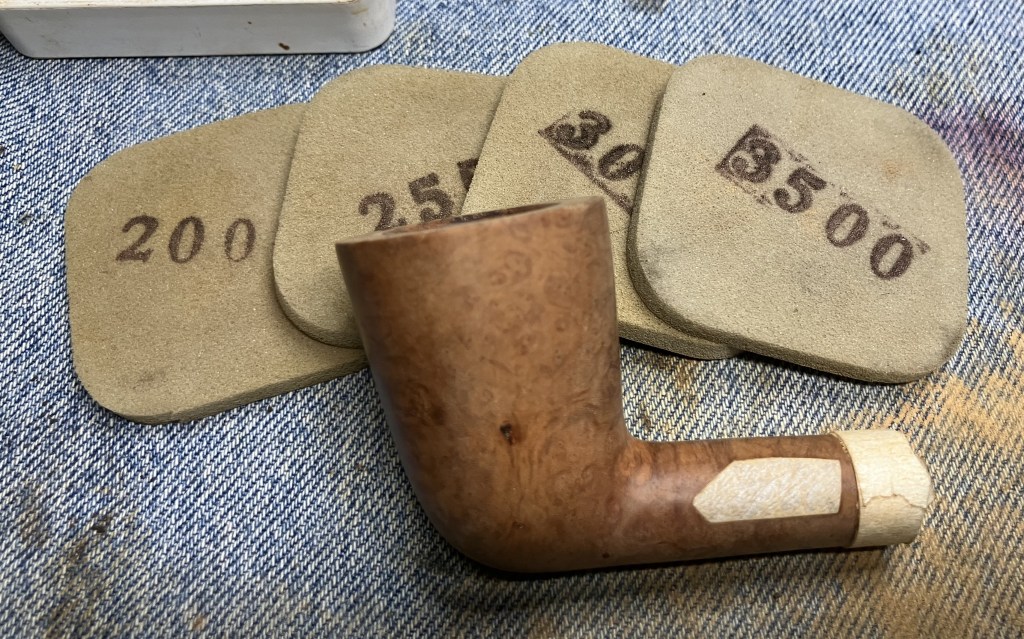
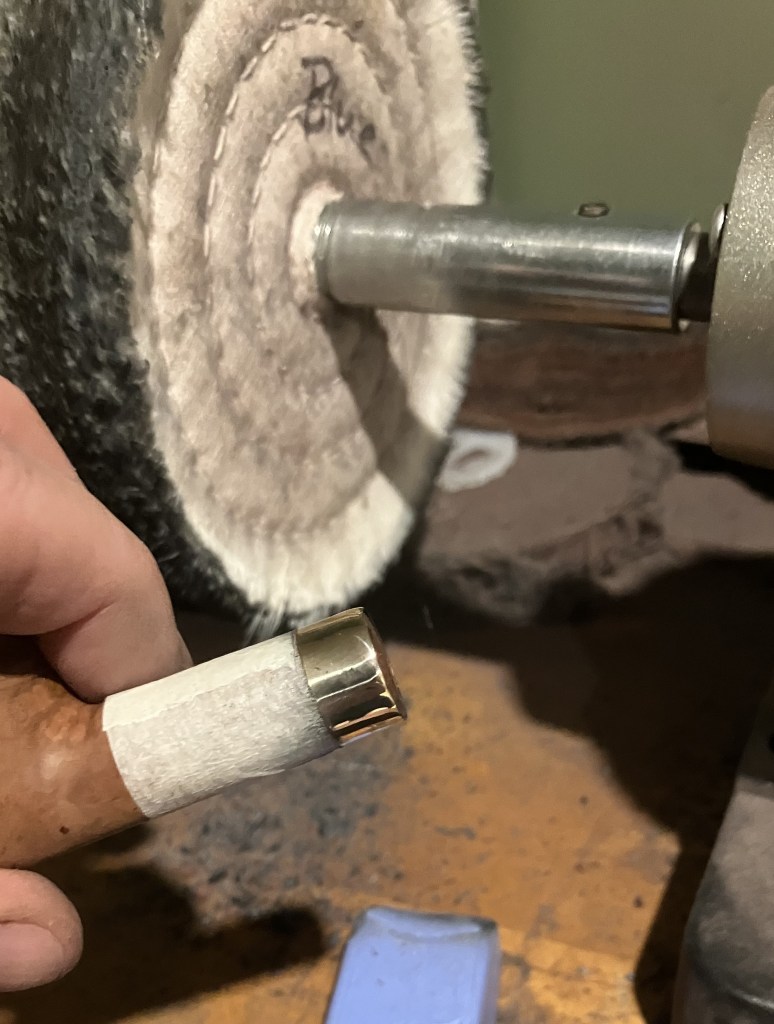
I recently purchased some sanding sticks and tried them out with this stem. BeforeI used the grits 600-7000, I wrapped the silver band with masking tape. Between sanding sticks I rubbed the stem with mineral oil and wiped it with a dry paper towel.
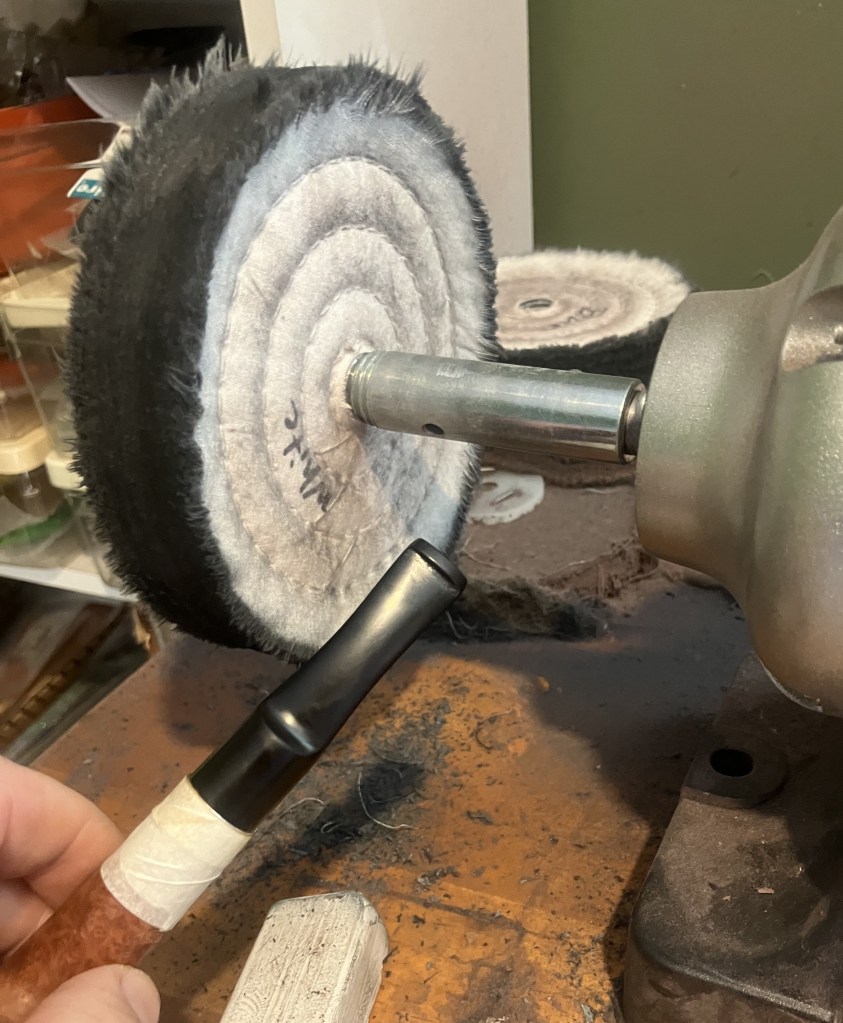
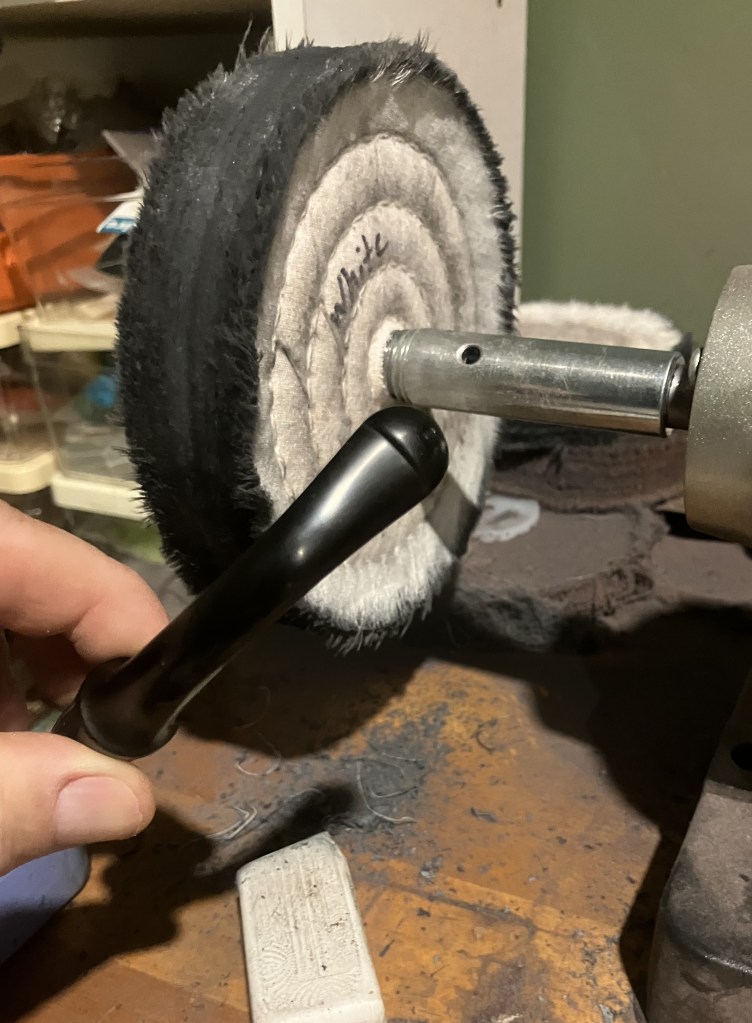
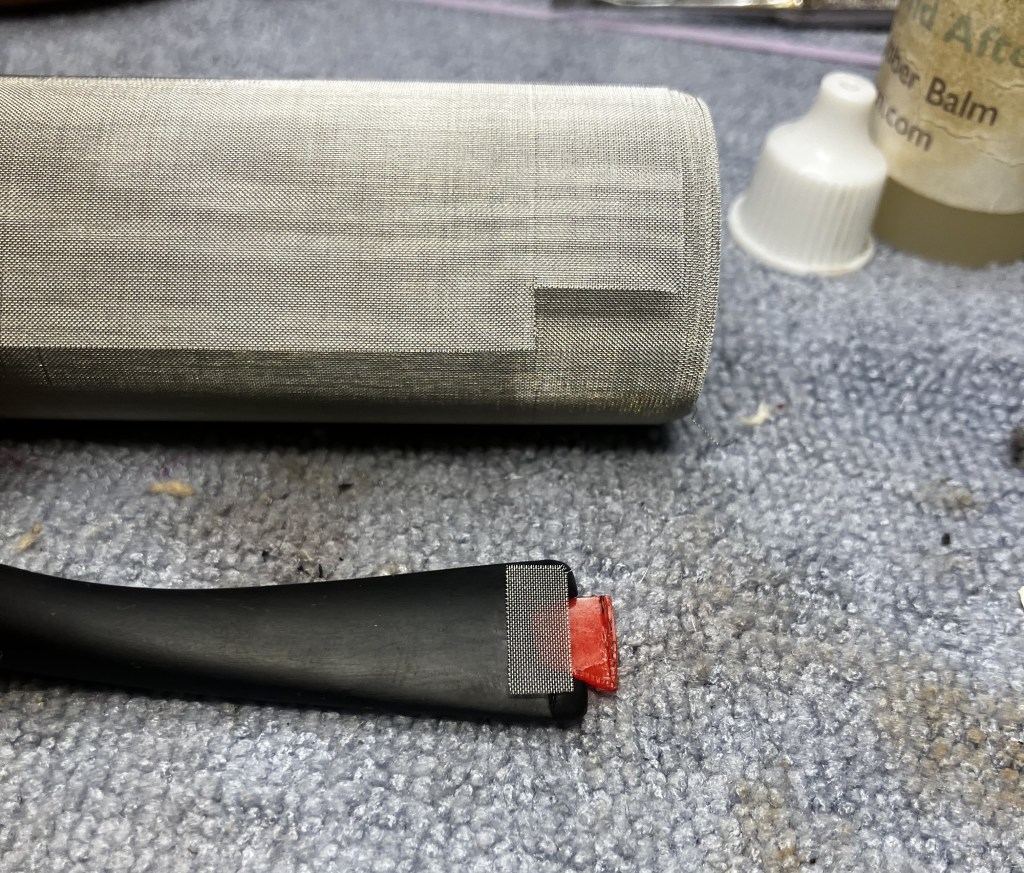
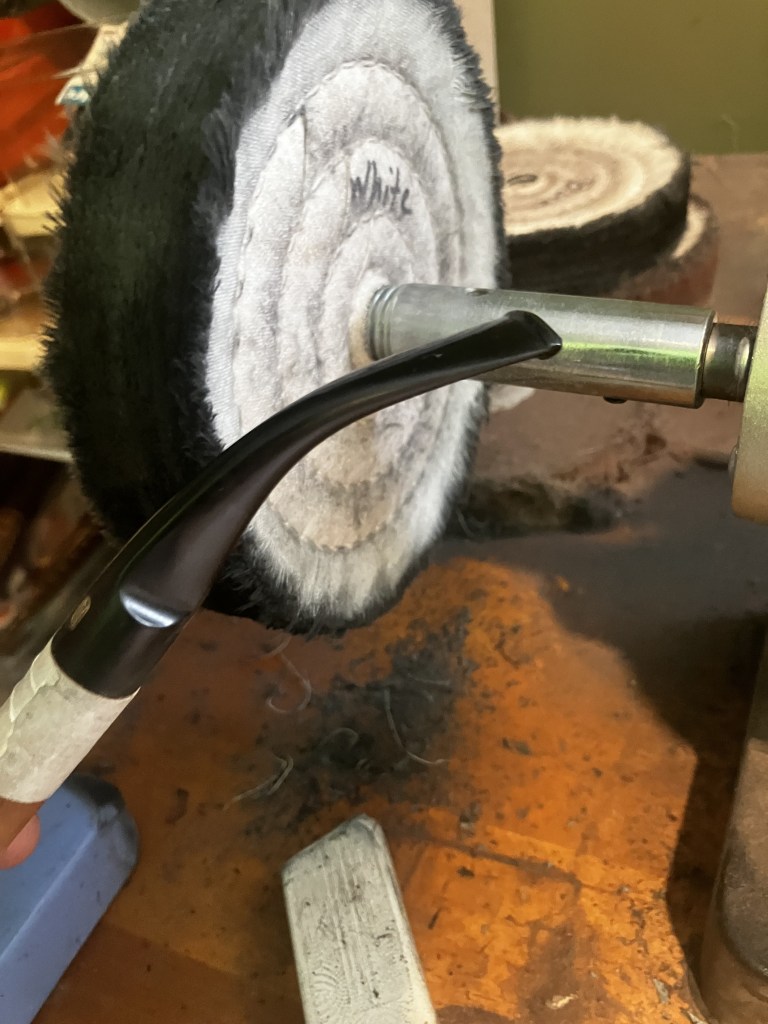
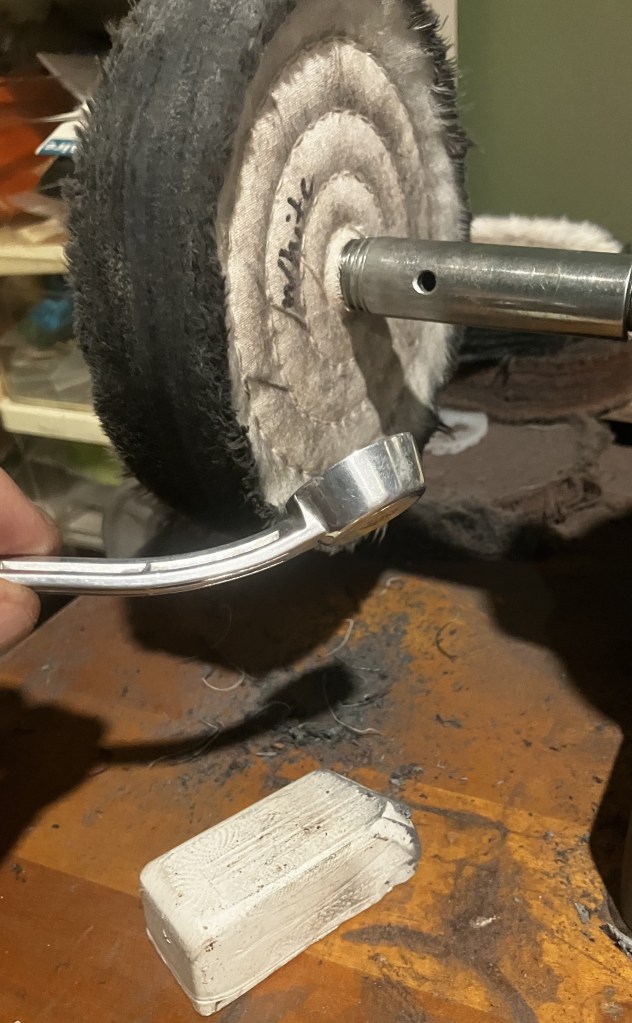
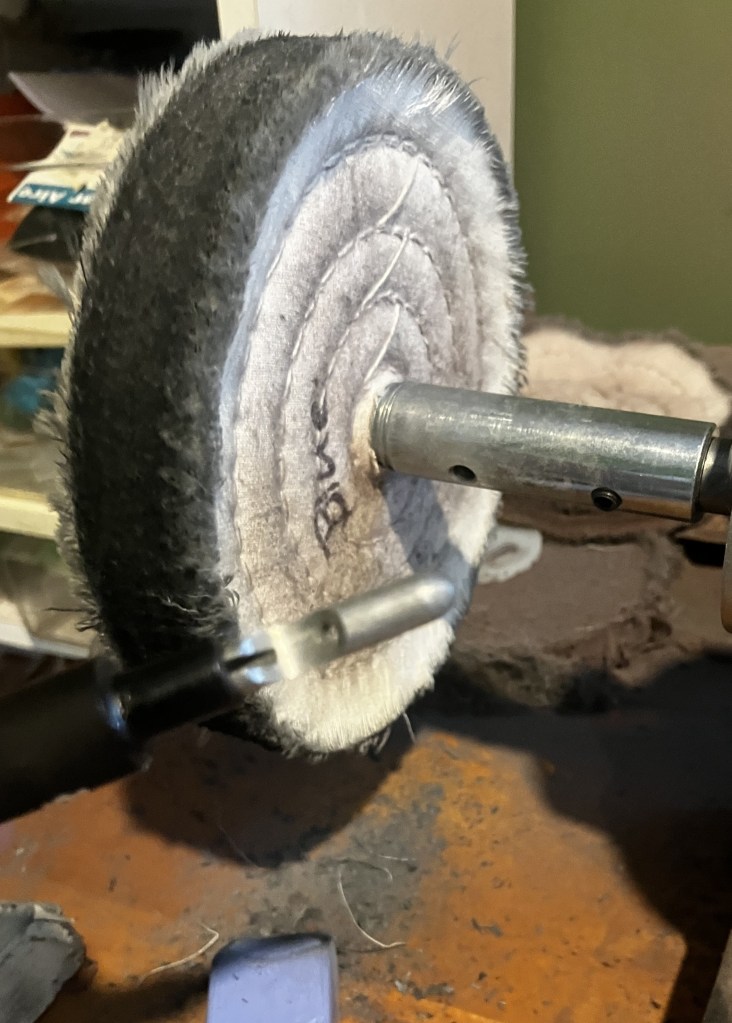
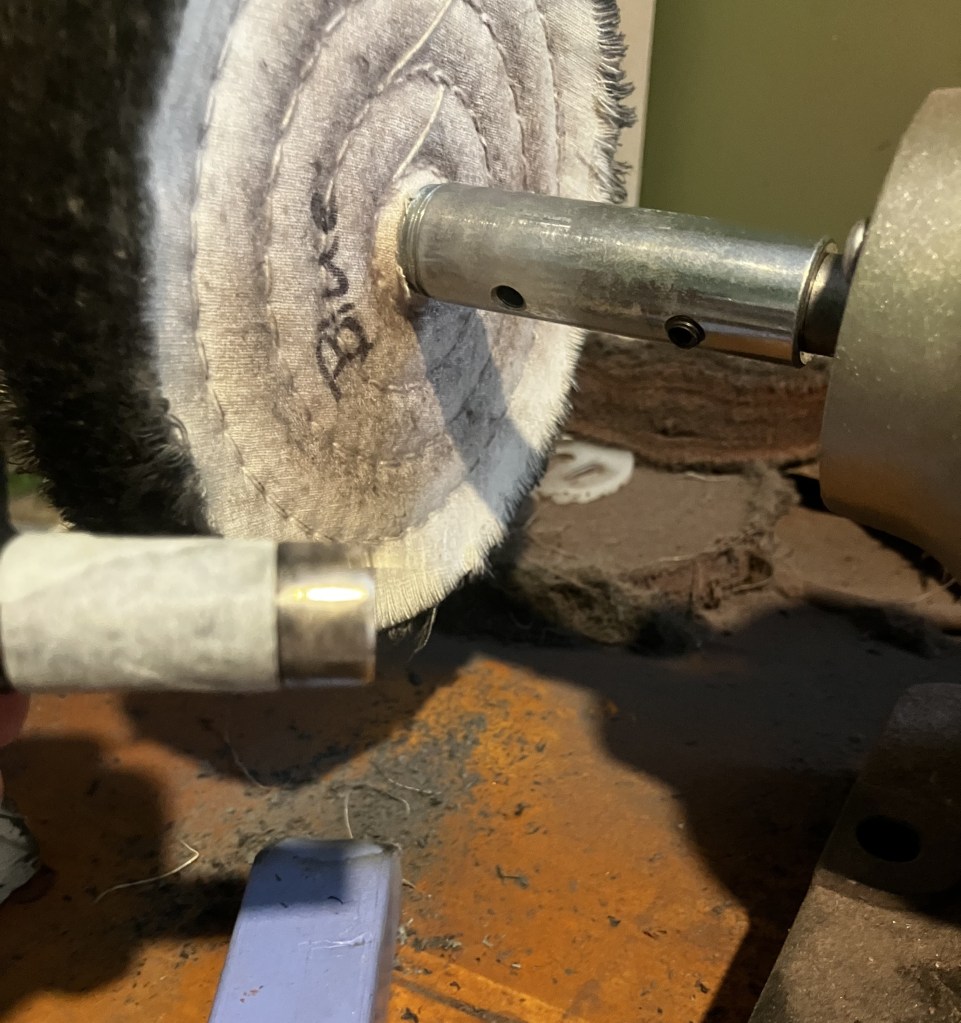
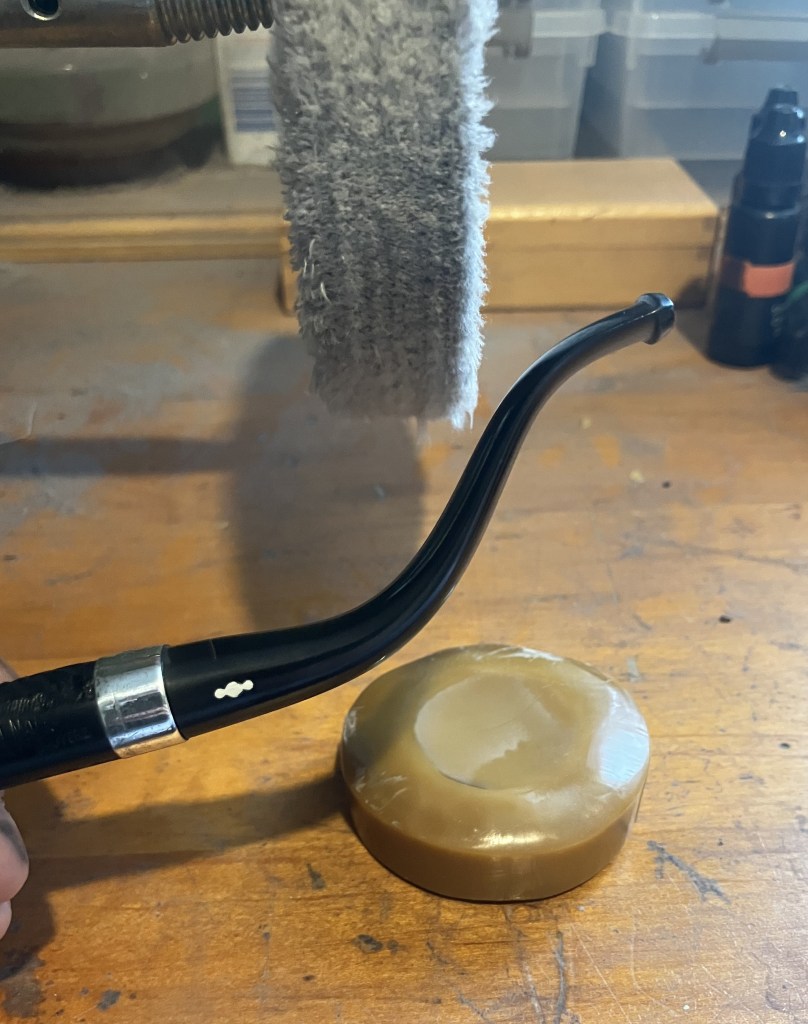
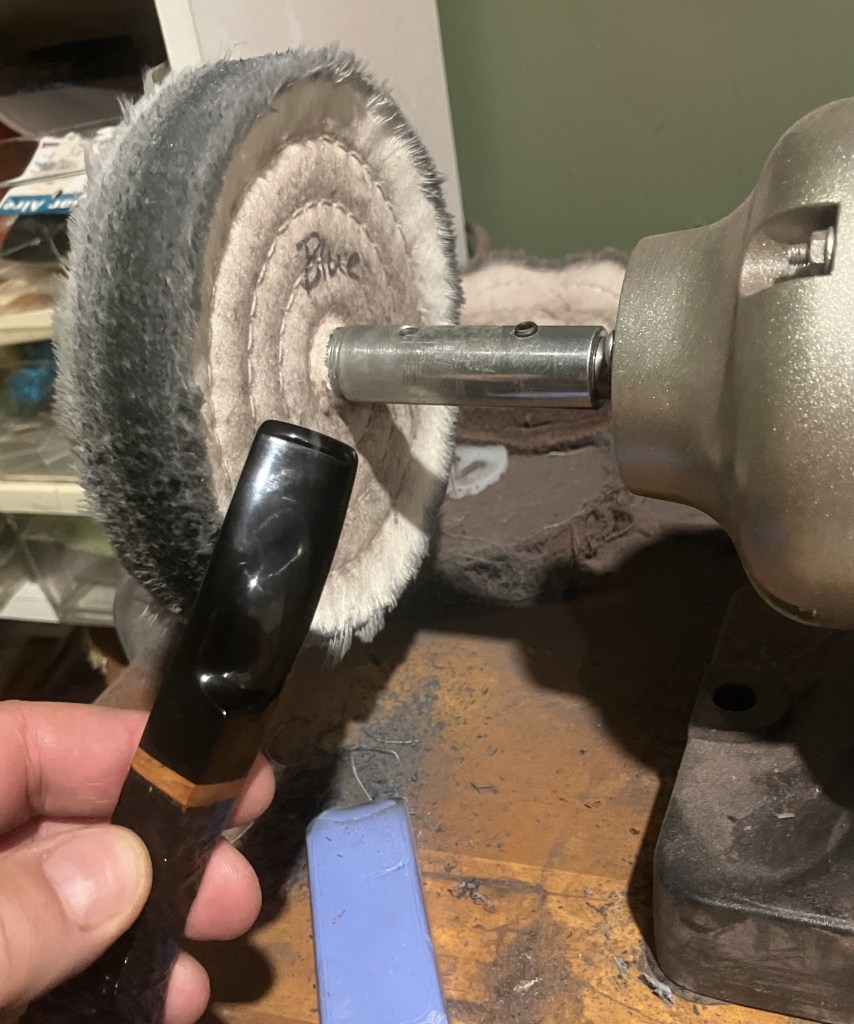
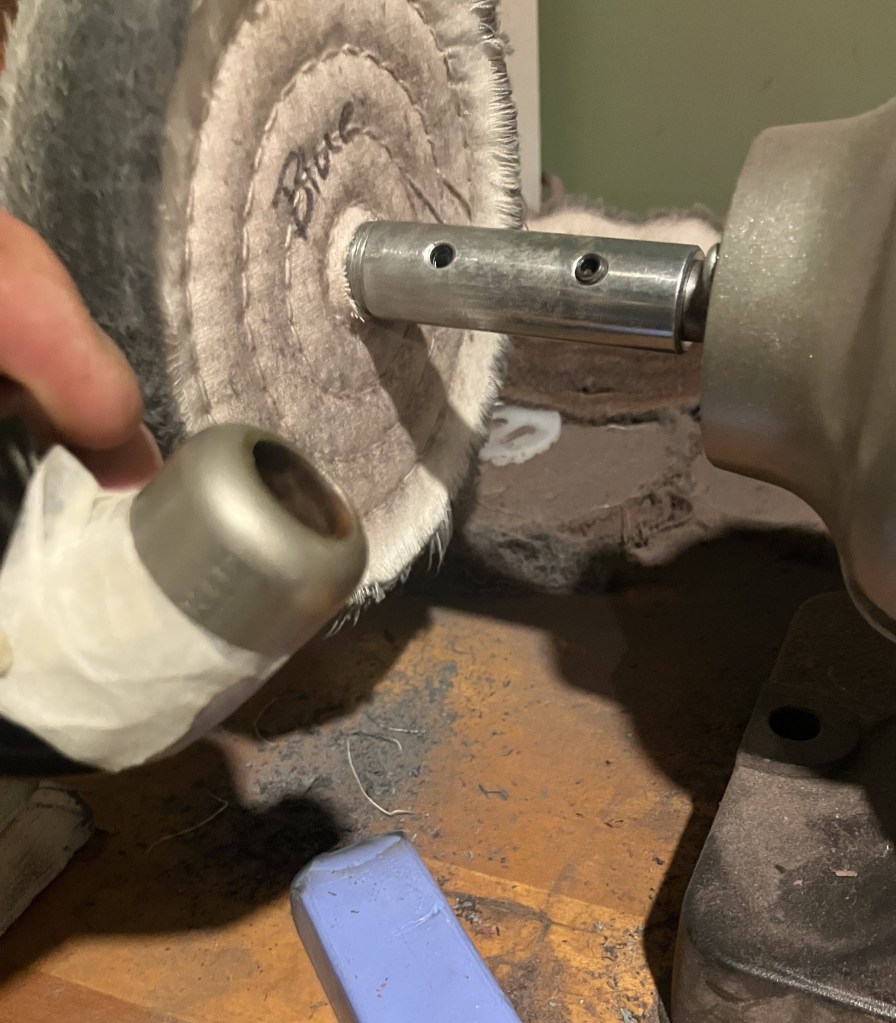
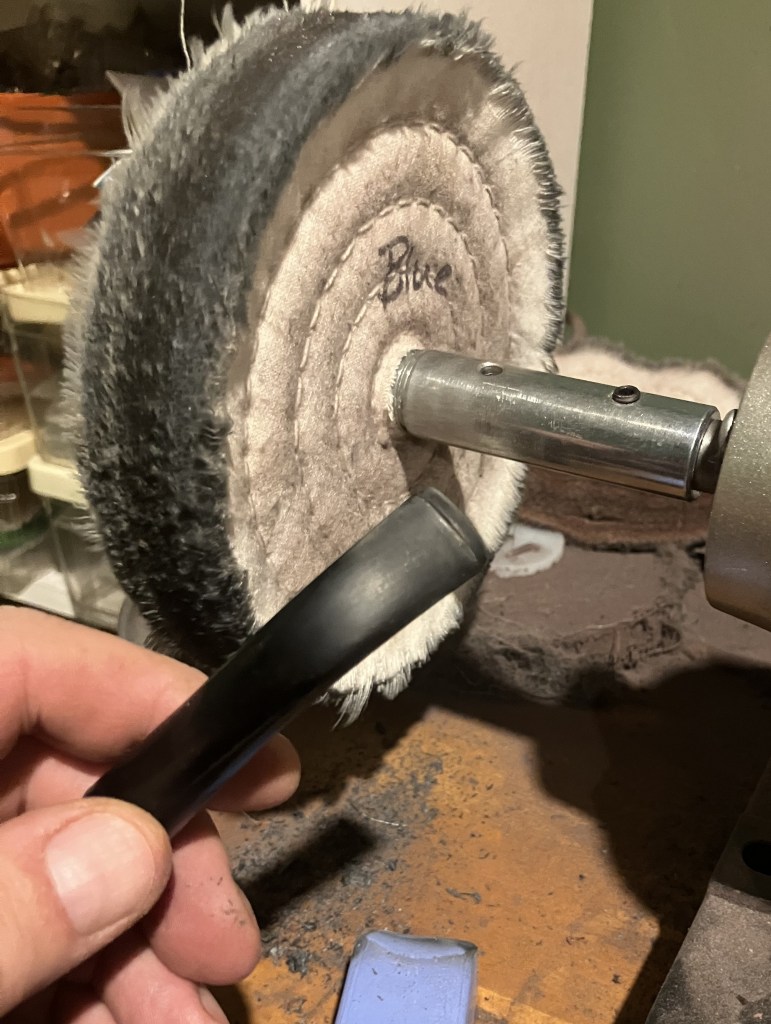
I buffed the vulcanite parts with White Diamond compound.
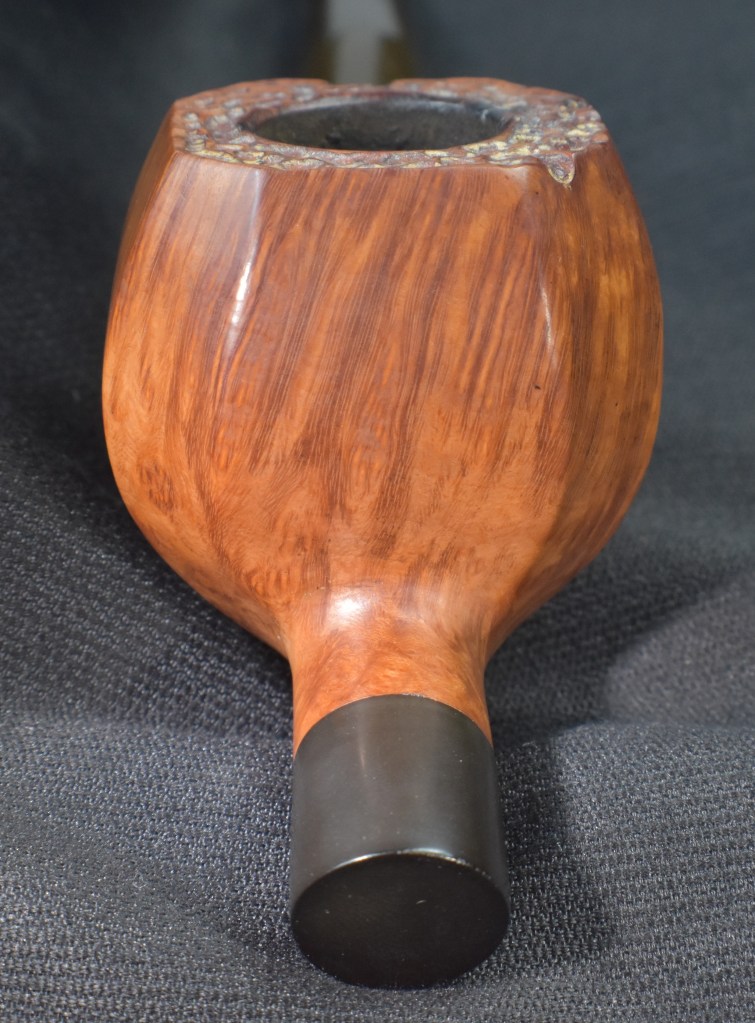
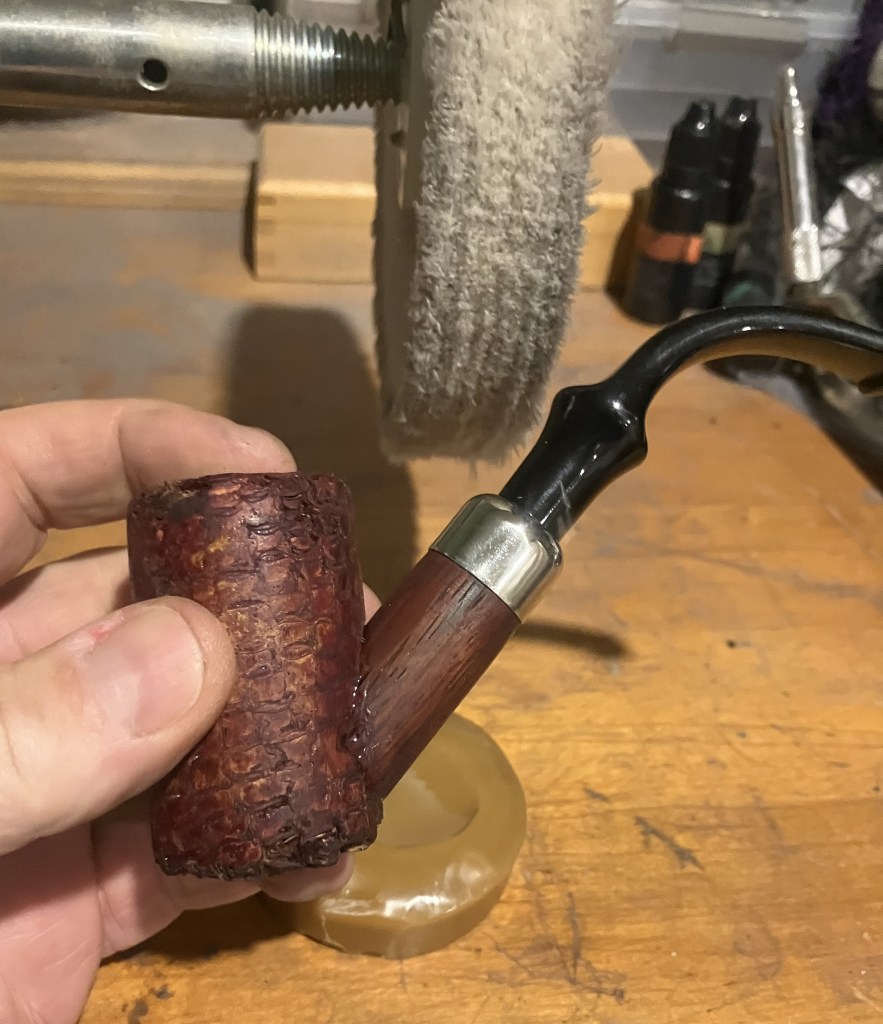
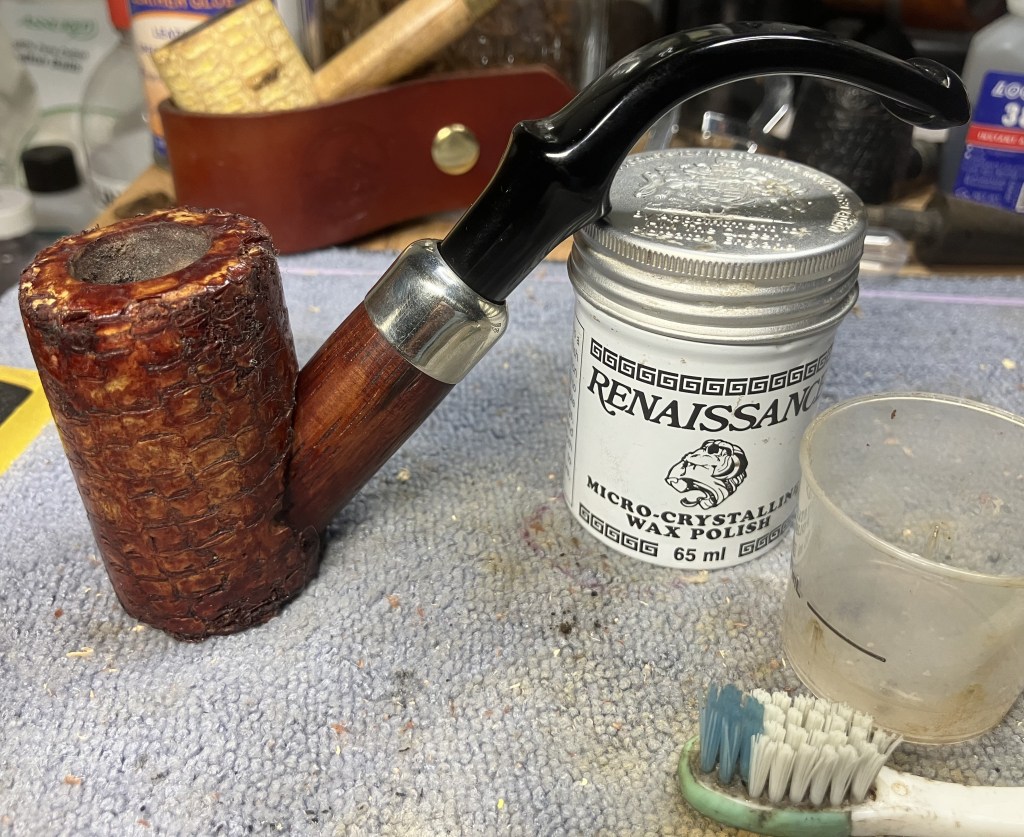
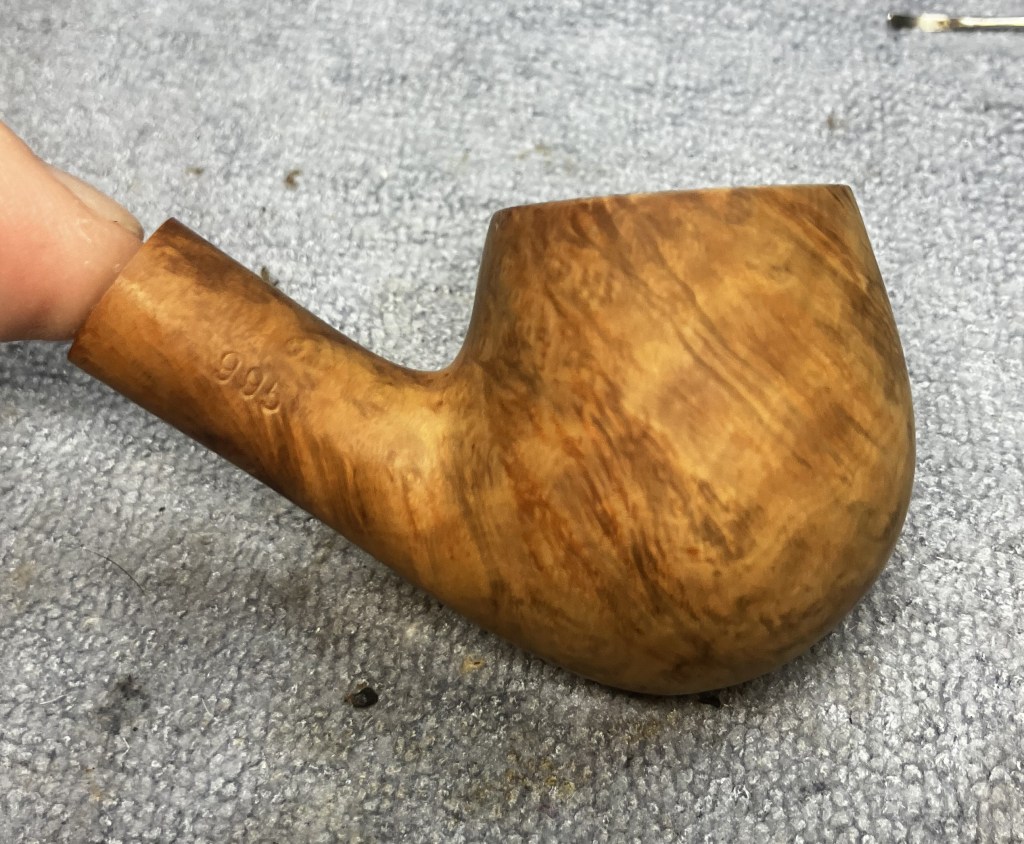
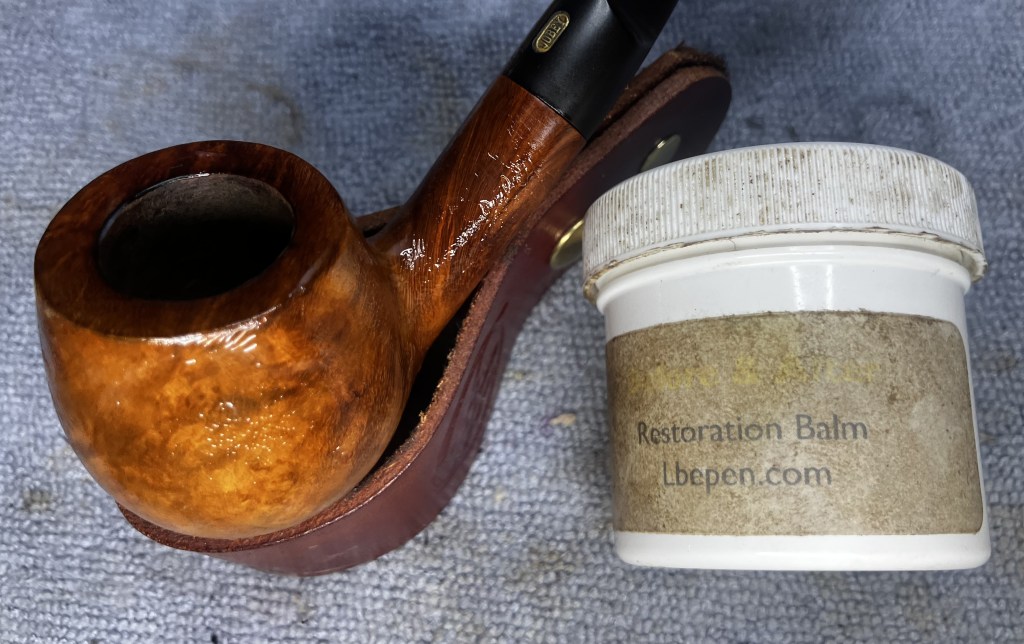
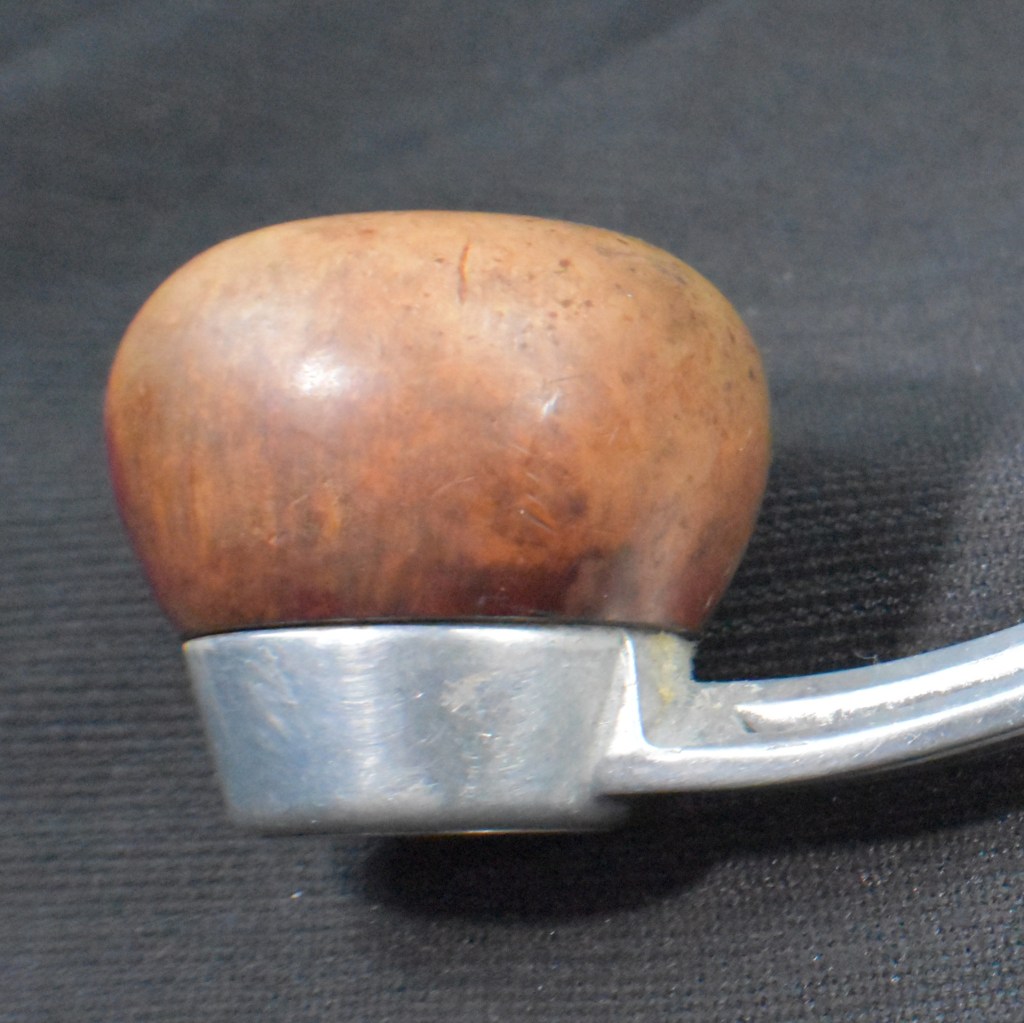
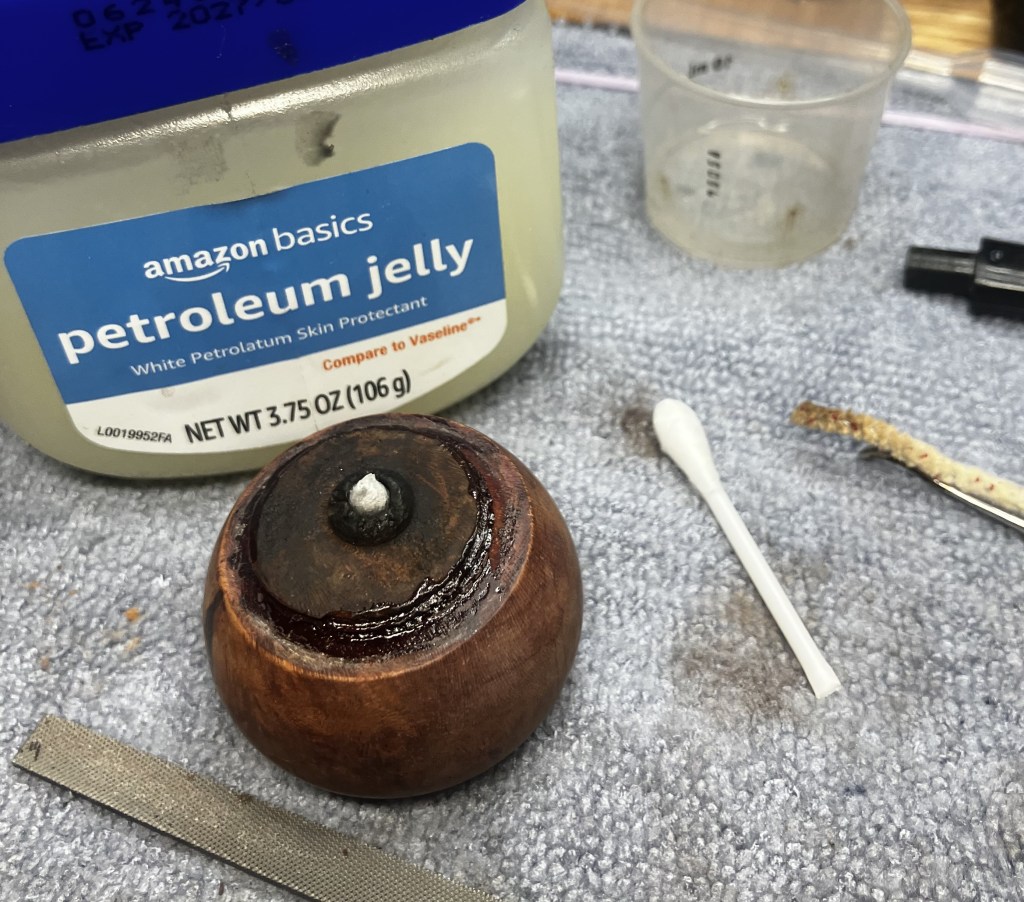
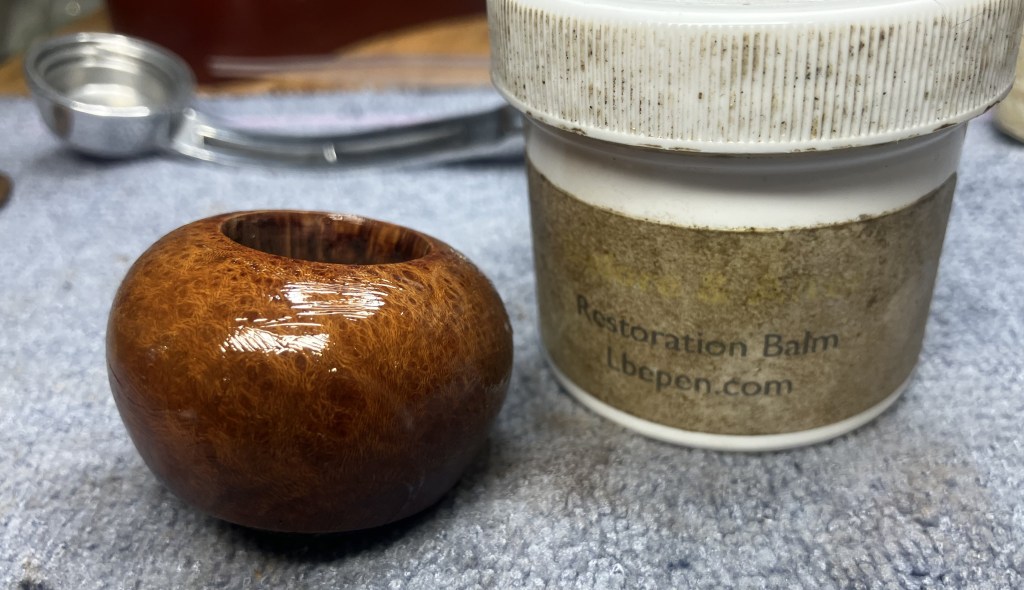
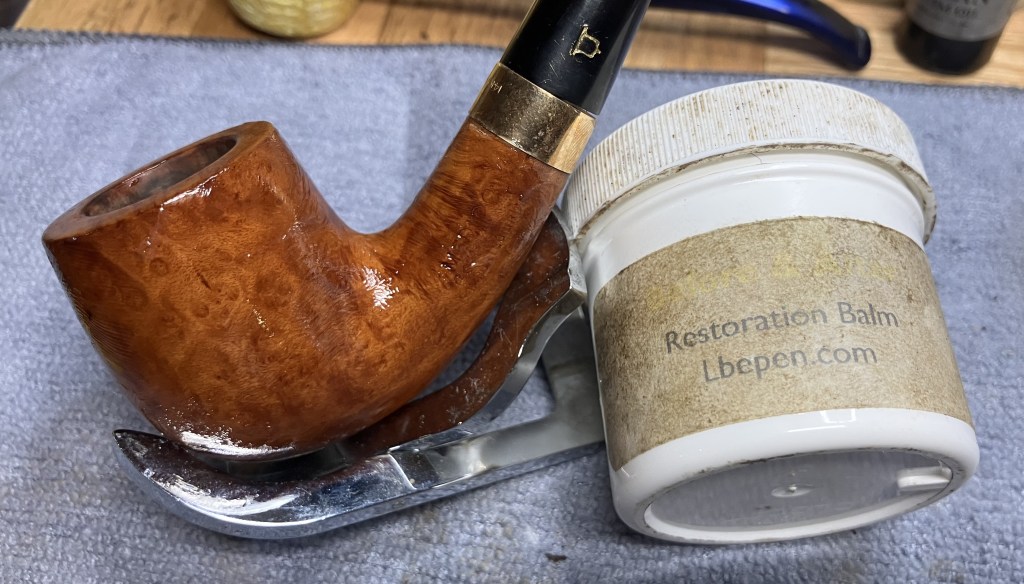
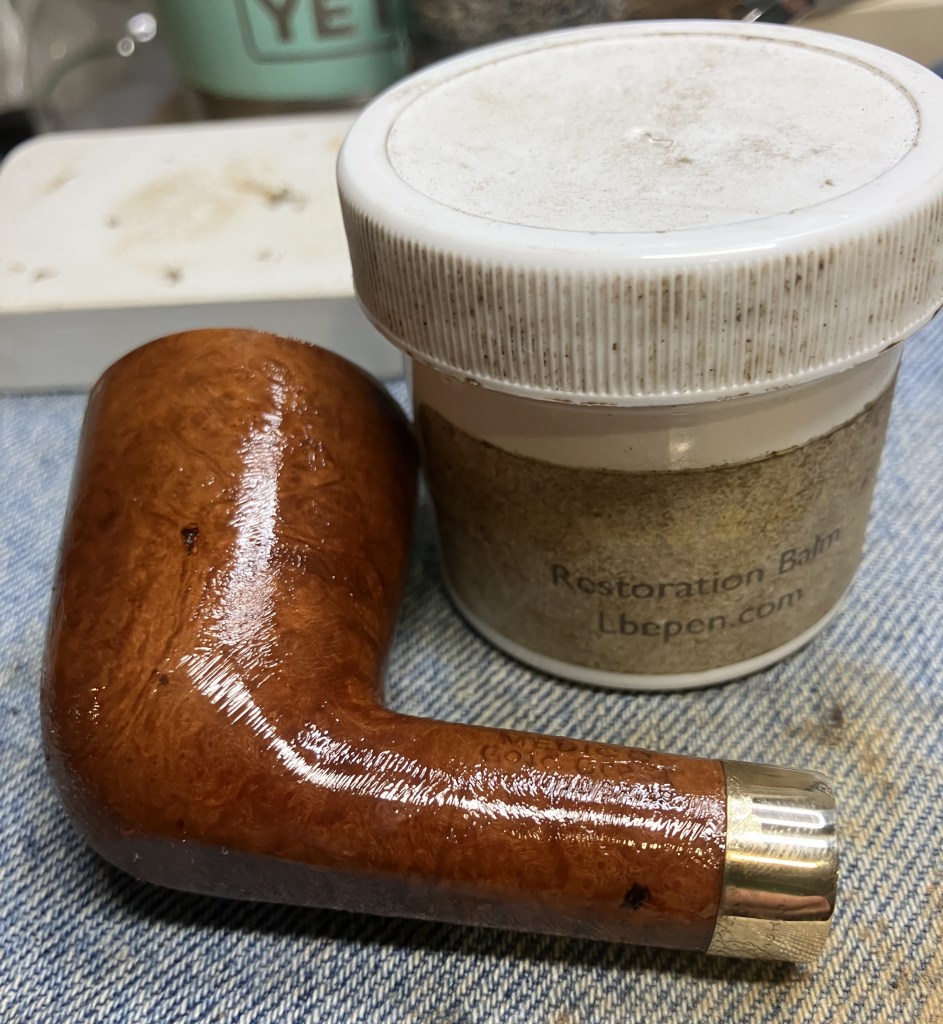
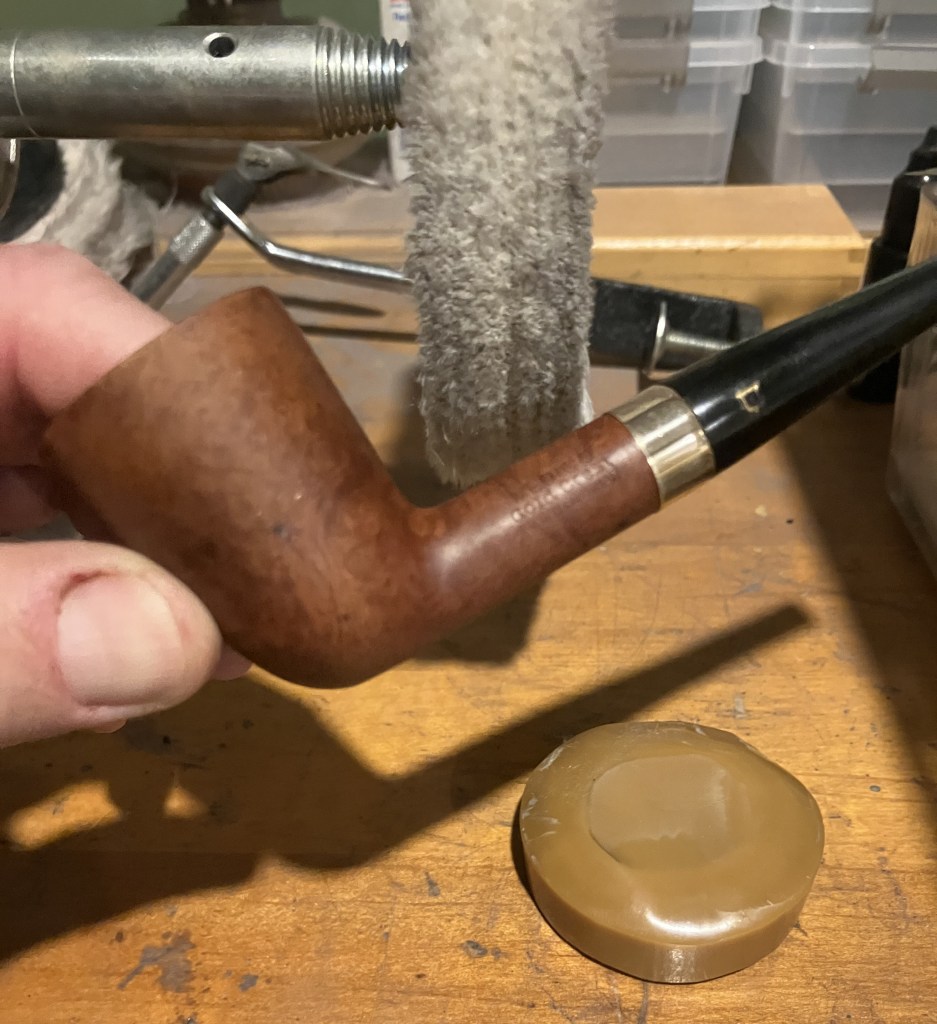
I did not think it necessary to do any sanding on the stummel as the briar was in great shape and showed no signs of wear or scratches. Whoever owned this pipe previously took very good care of it. The stummel was liberally coated with Before and After Restoration Balm and allowed to sit for 30 minutes.
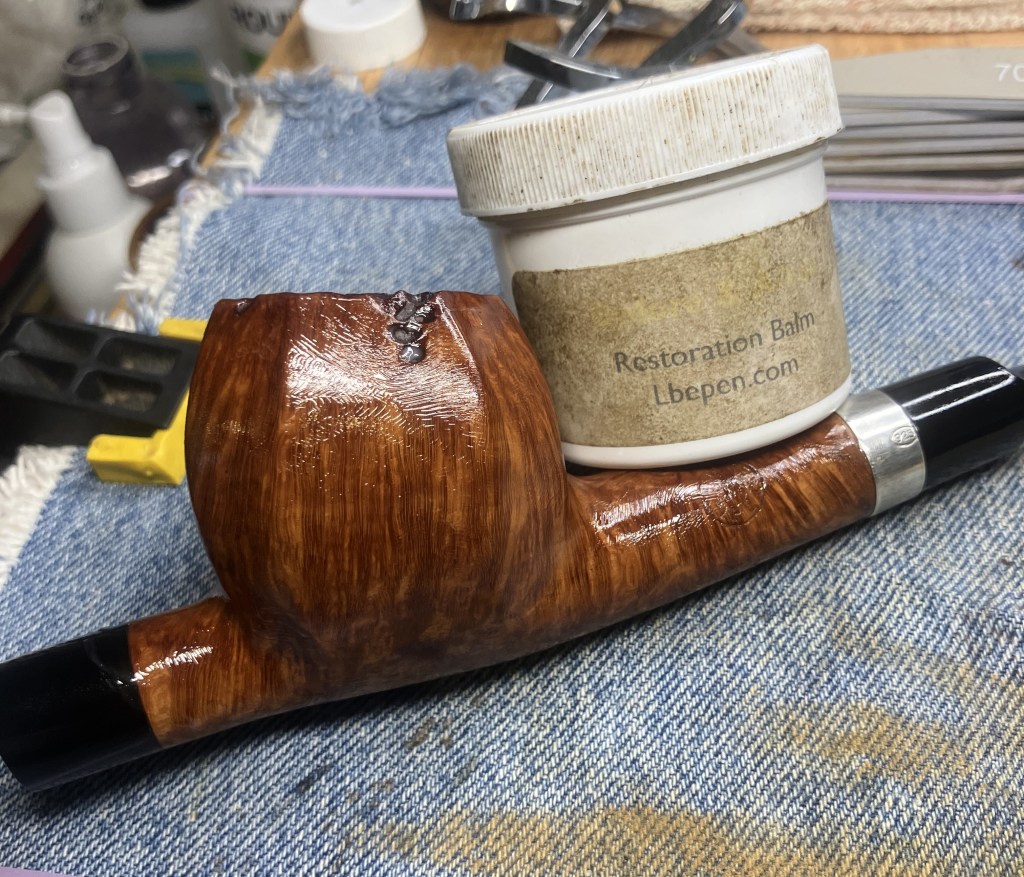
The excess balm was hand buffed away using an inside out athletic sock.
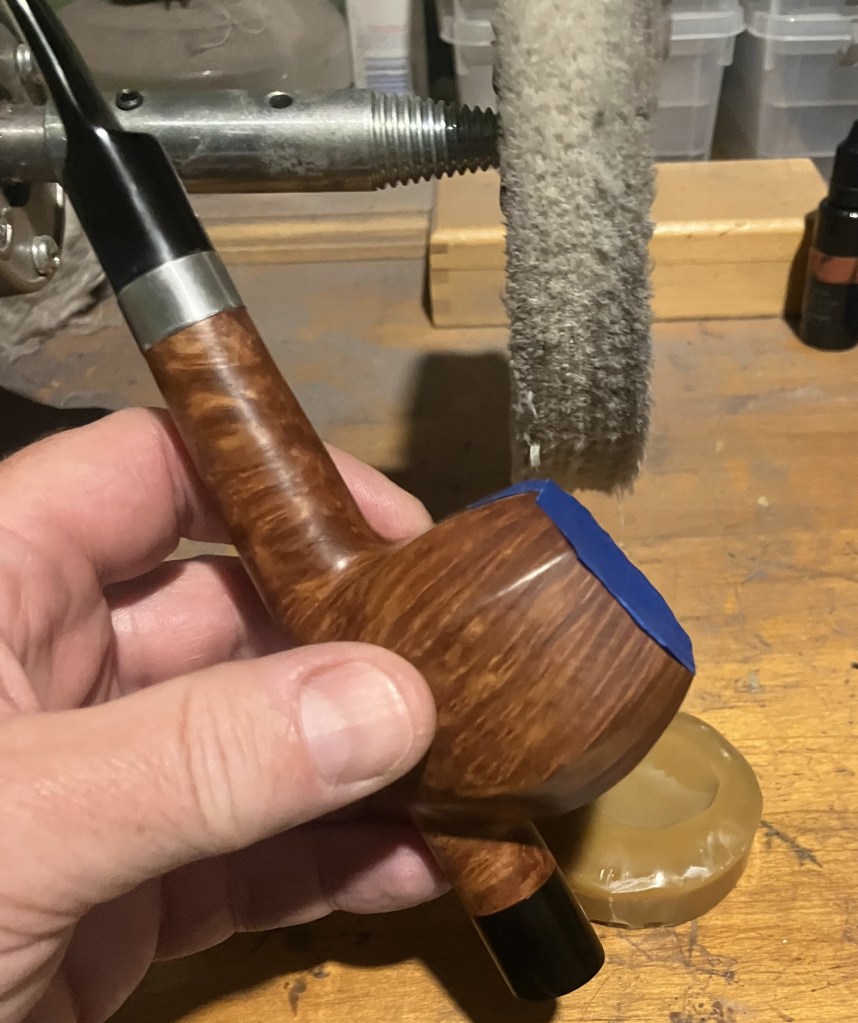
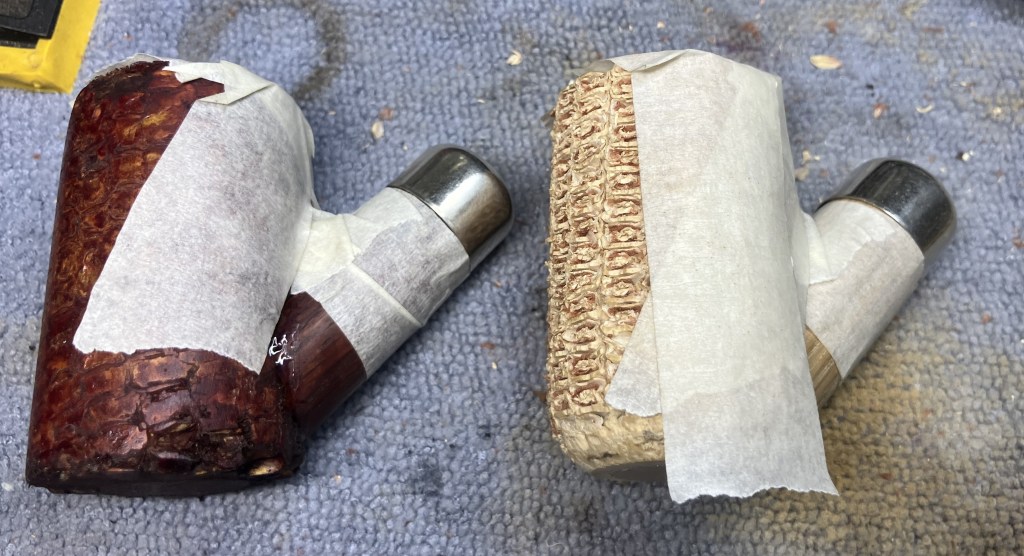
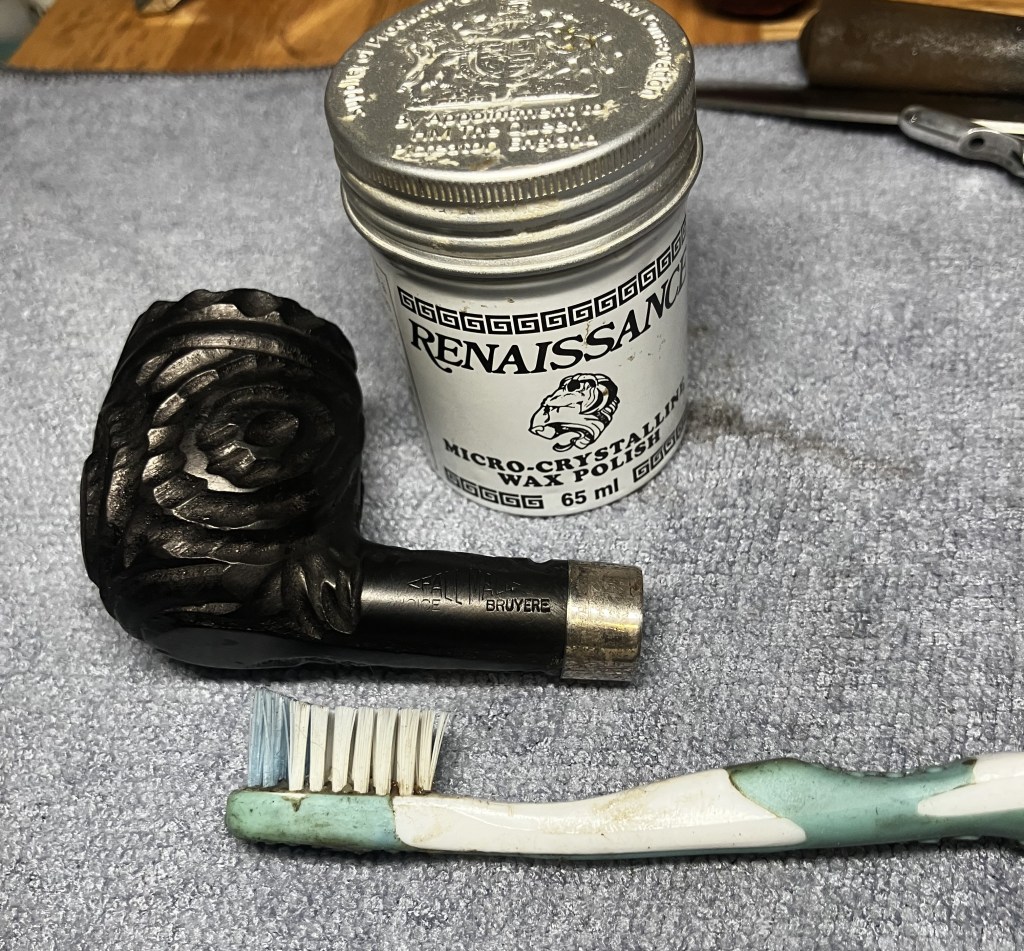
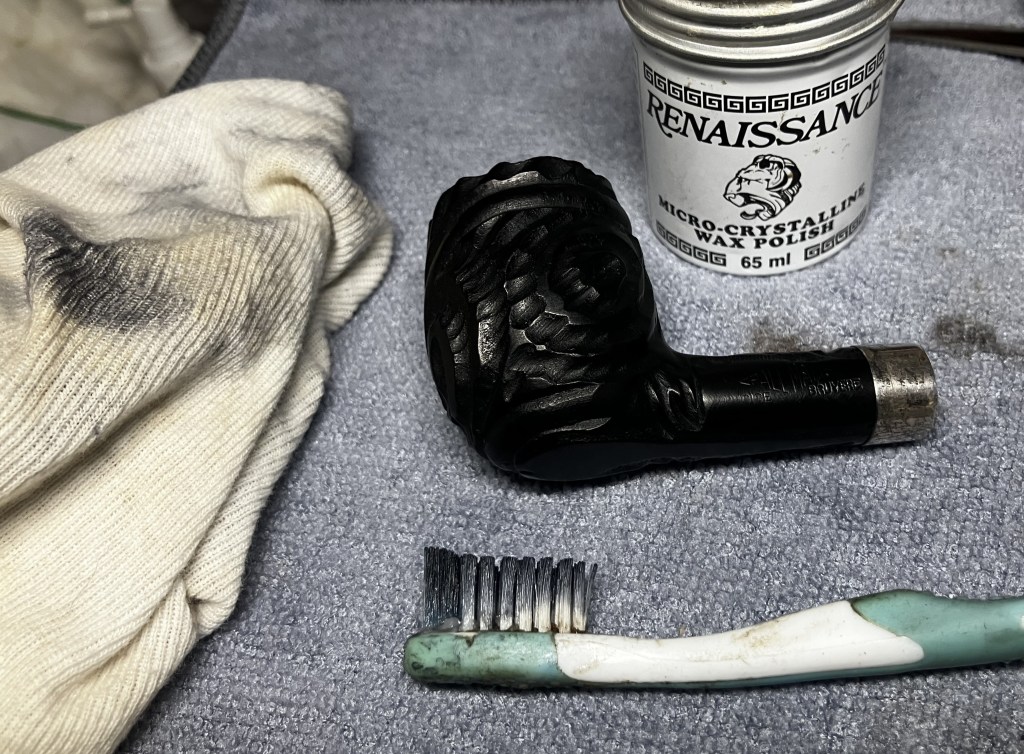
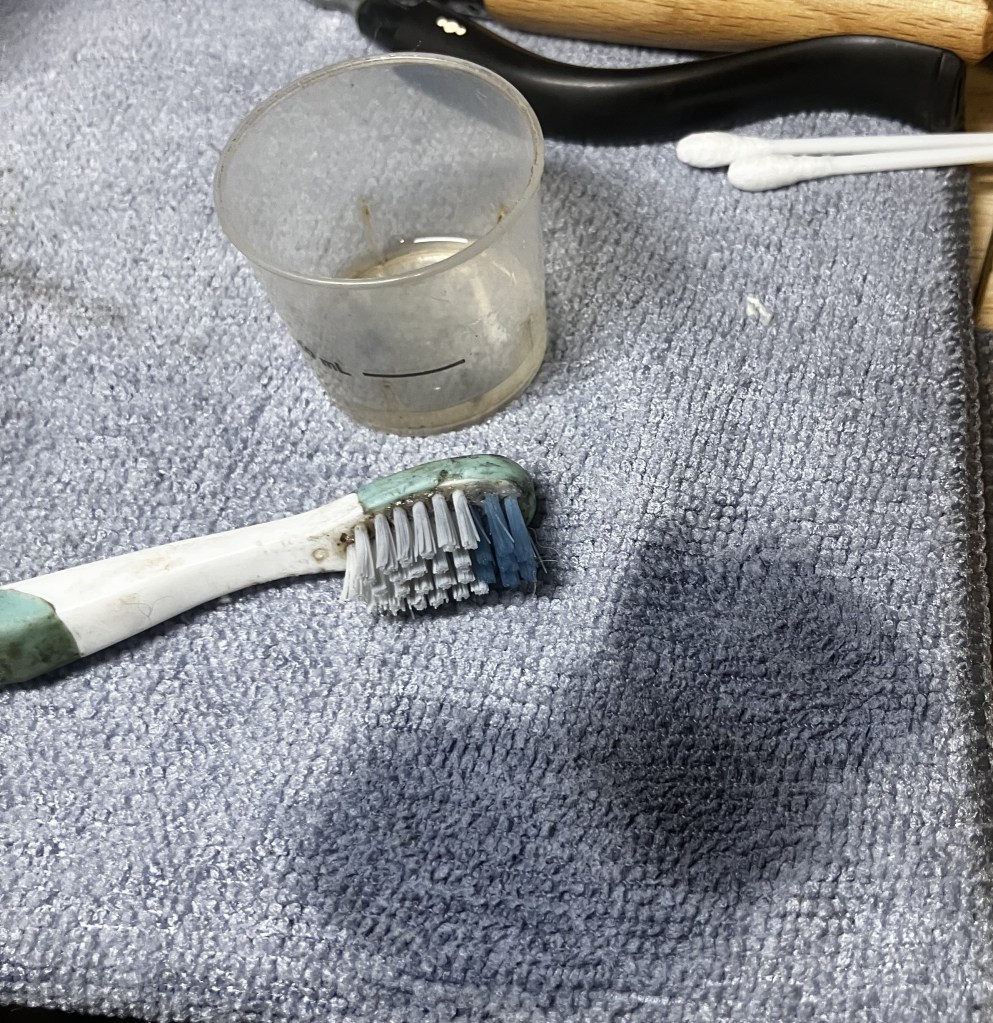
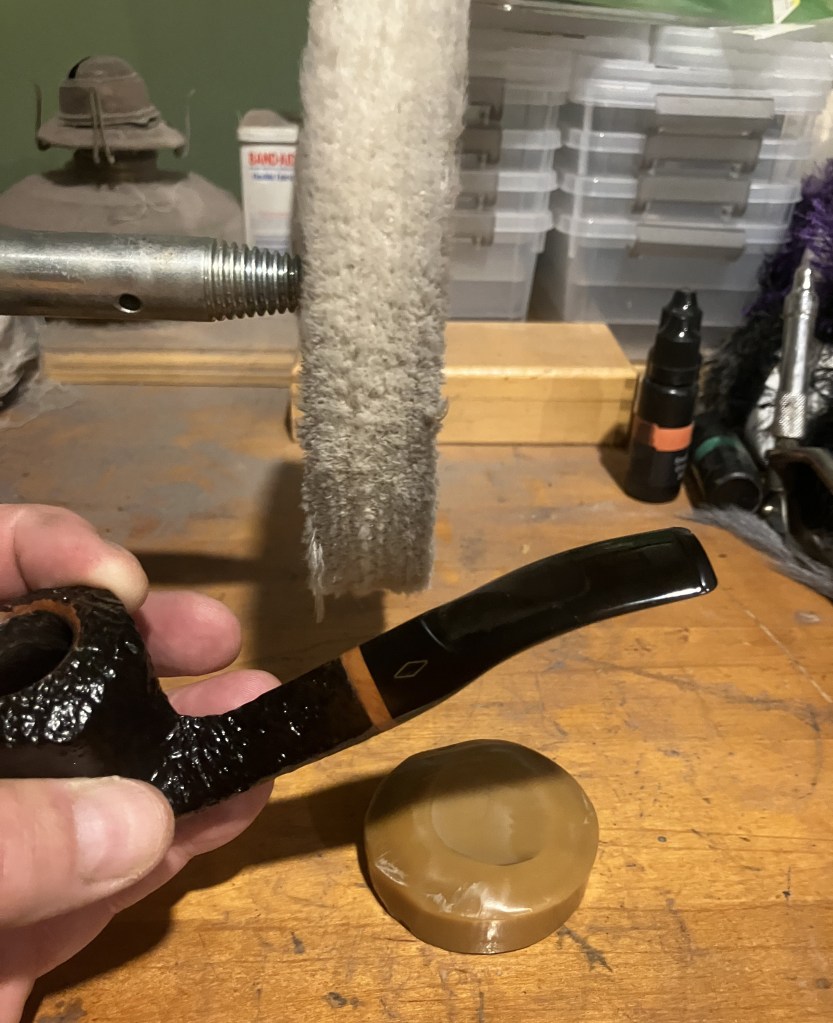
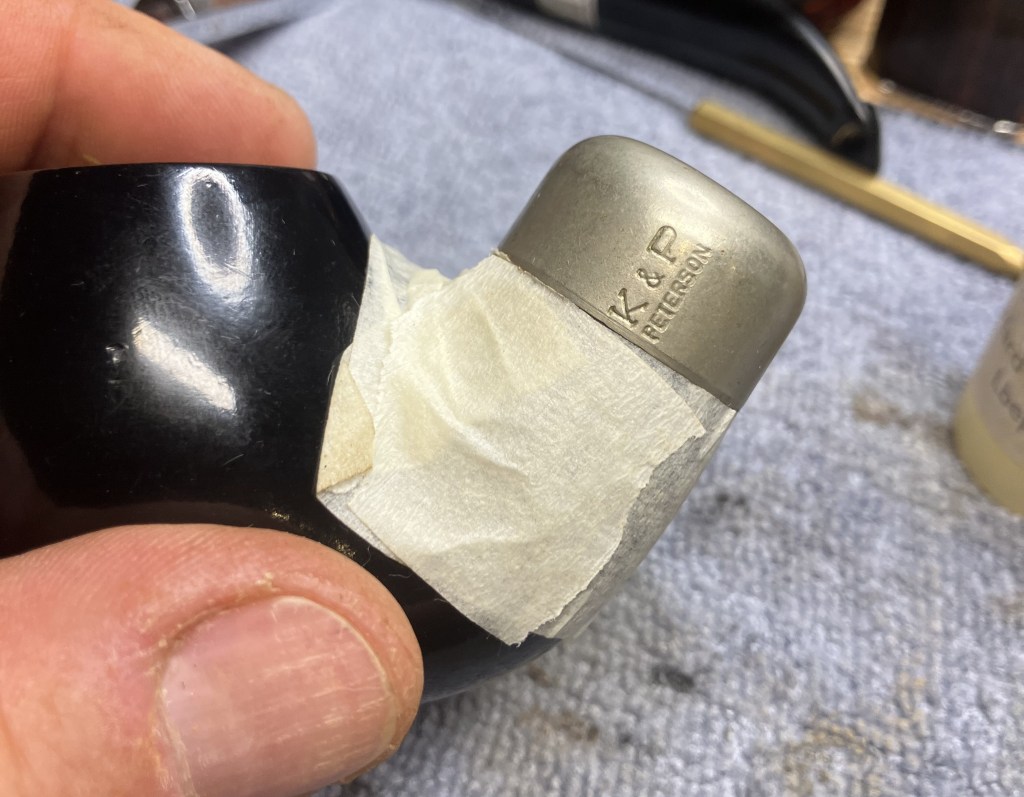
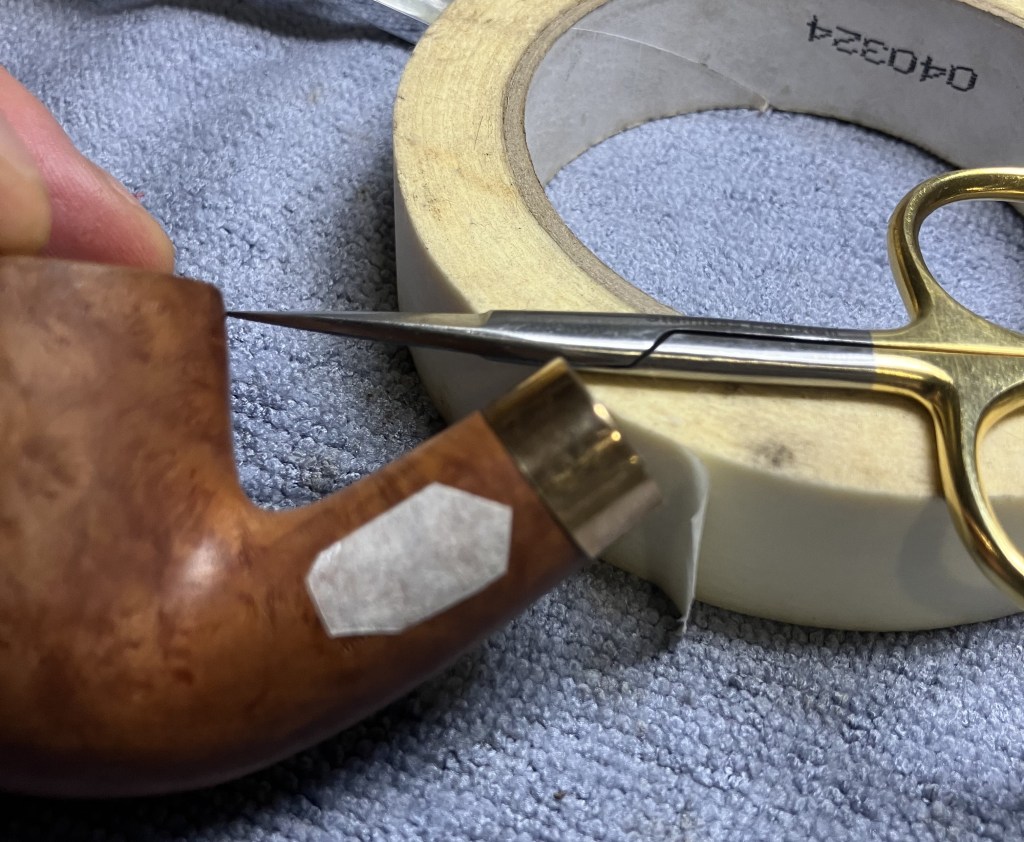
Waxing was next on the agenda. I wanted to keep excess wax from accumulating in the rustications, so I had the great idea of taping them with painters tape.
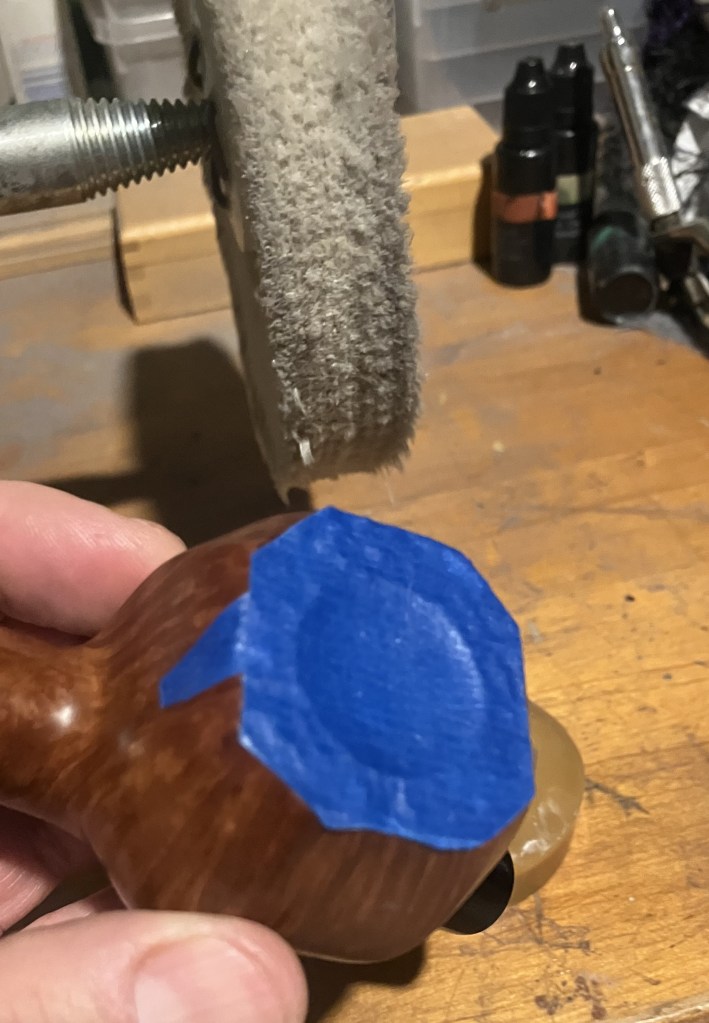
Great ideas often prove to be dumb ideas. The little pieces of tape were quickly removed during the waxing. I sure do wish that I had a dollar for every “great idea” which proved to be a “dumb idea”.
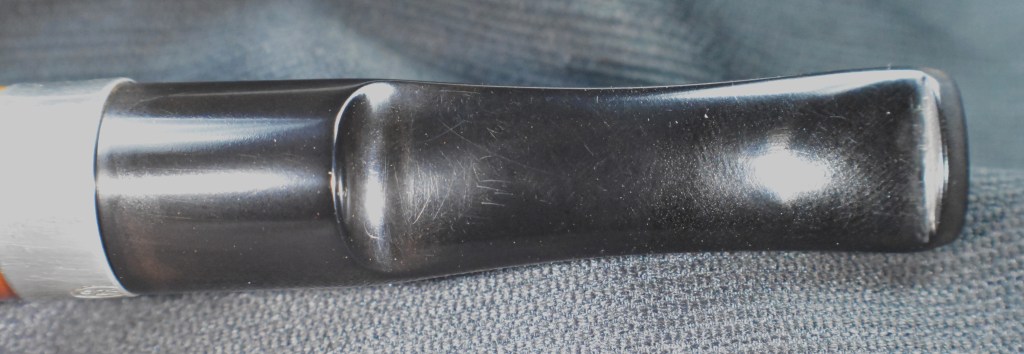
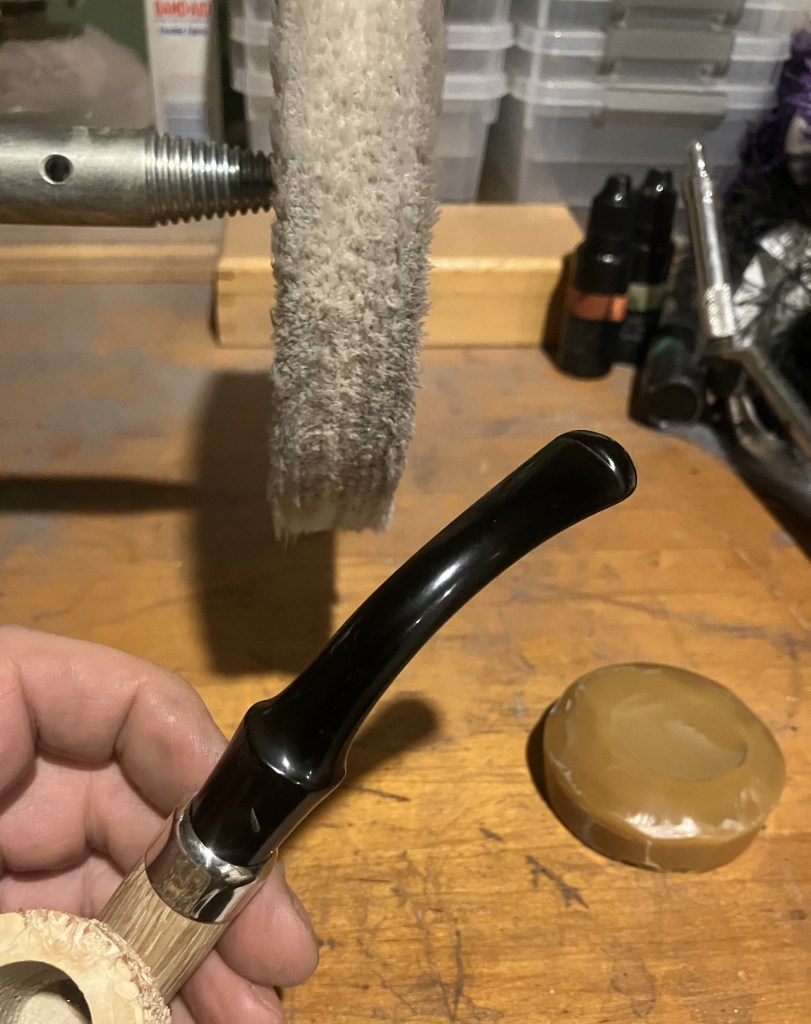
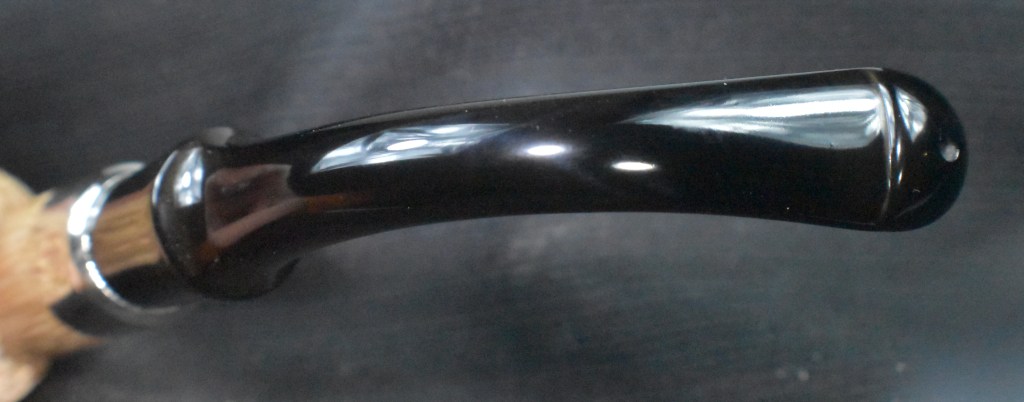
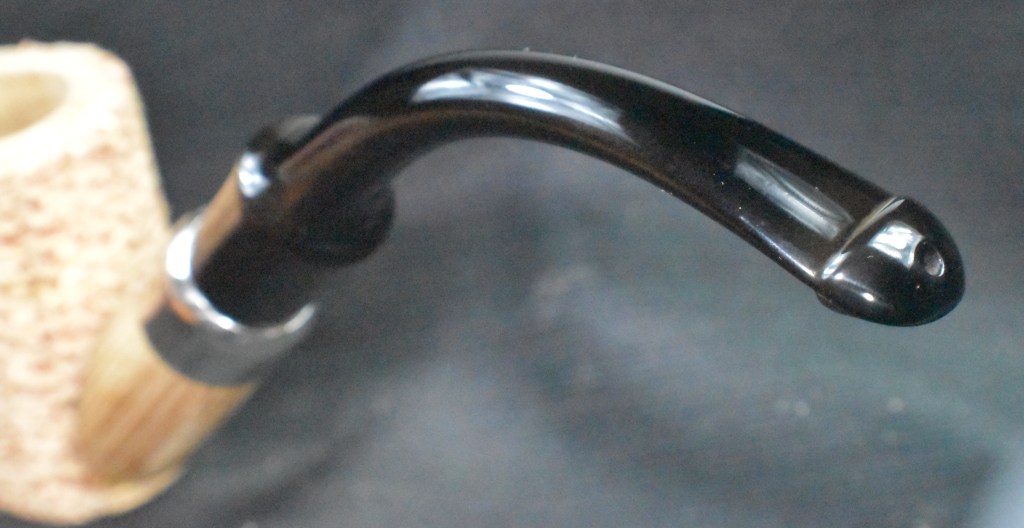
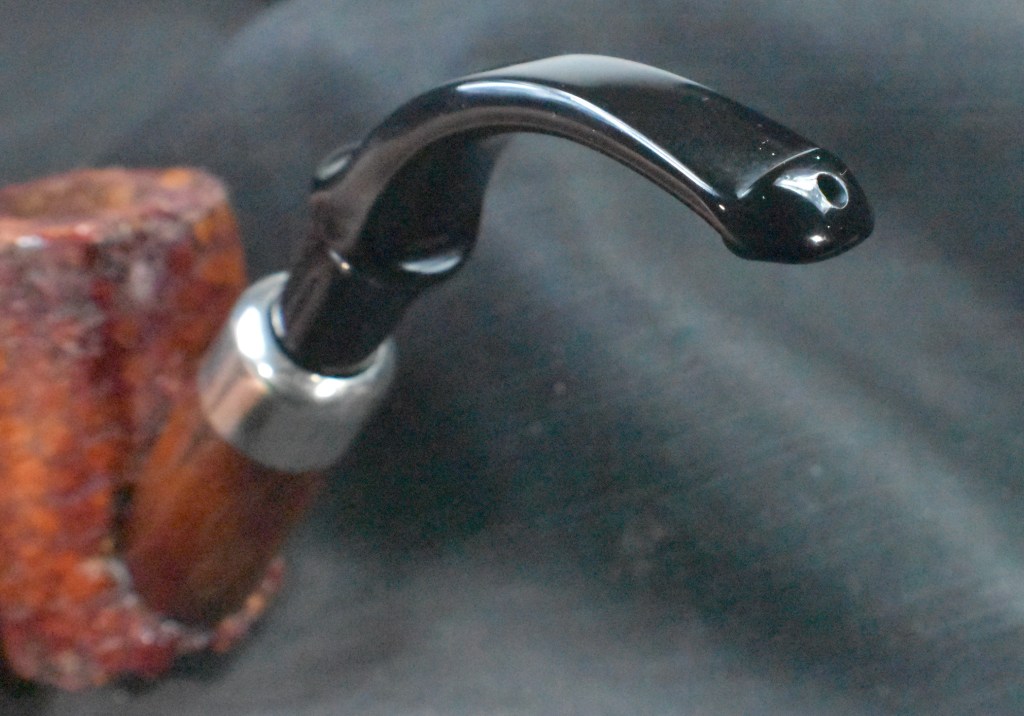
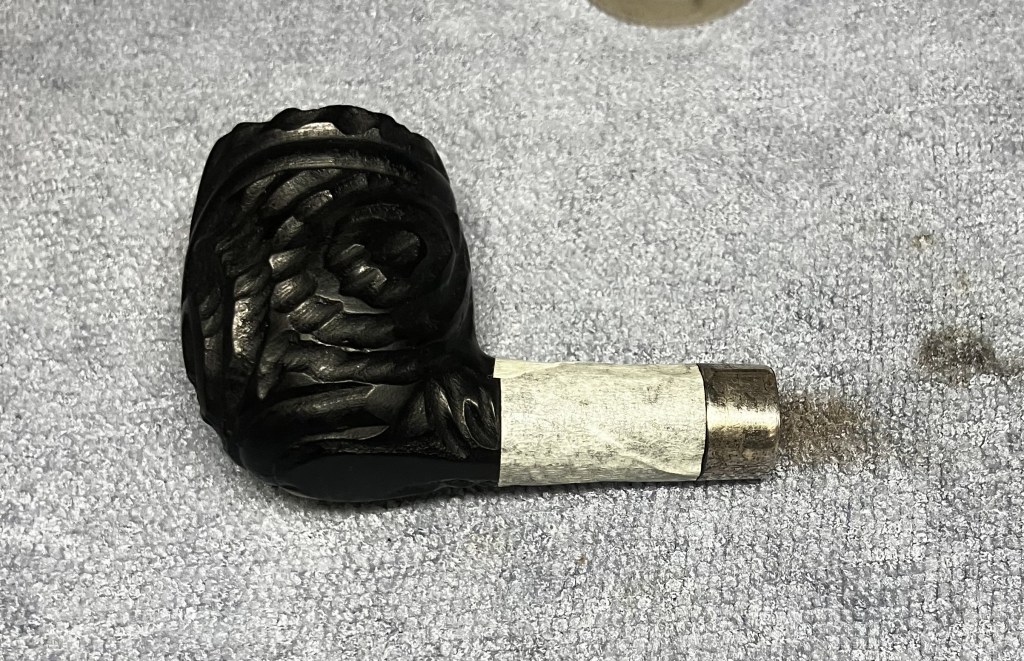
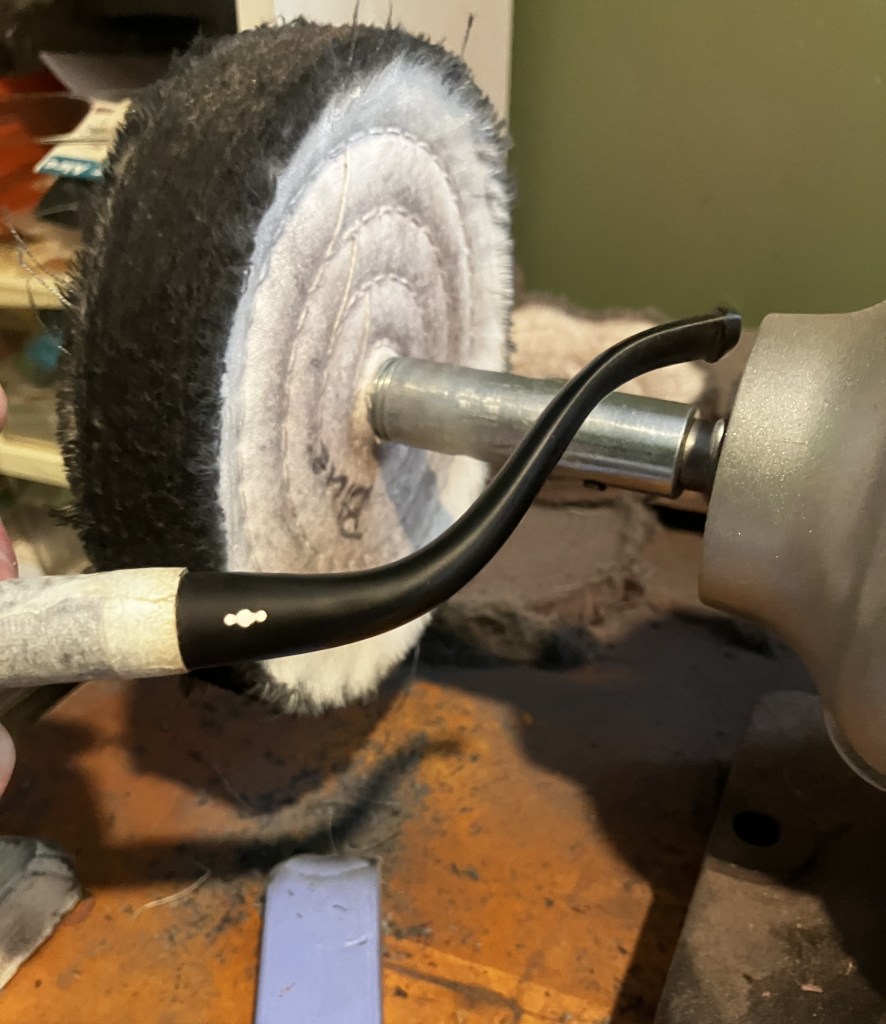
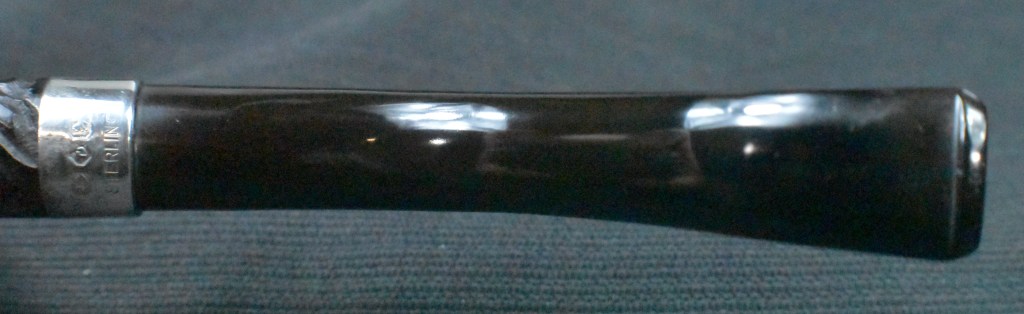
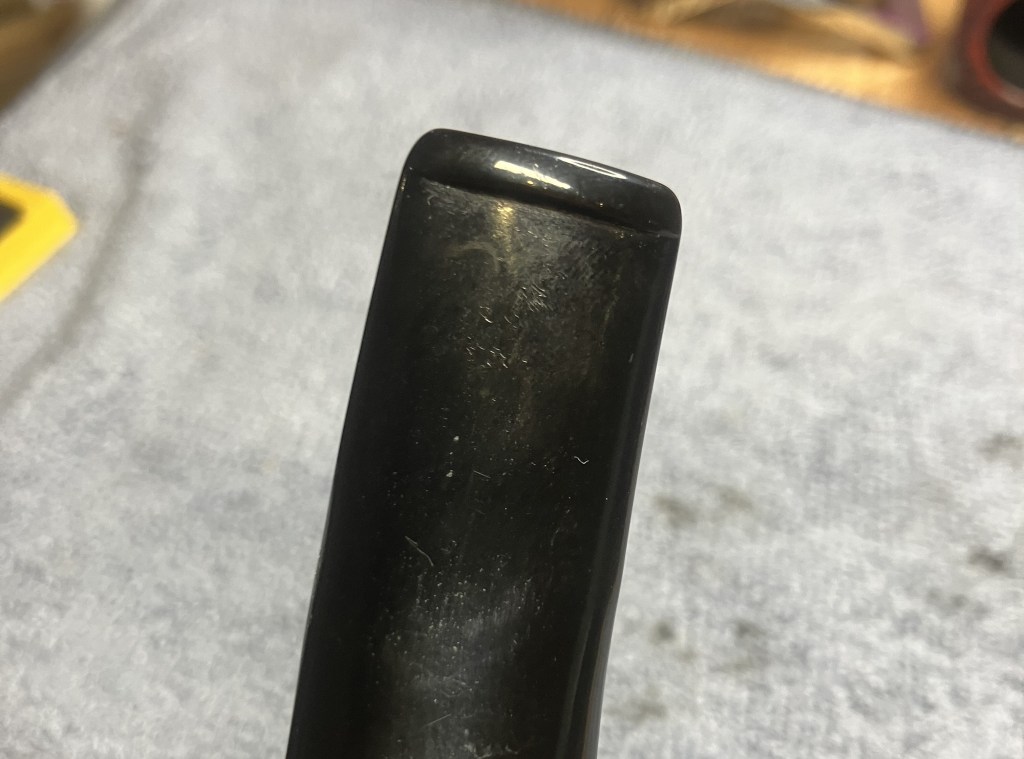
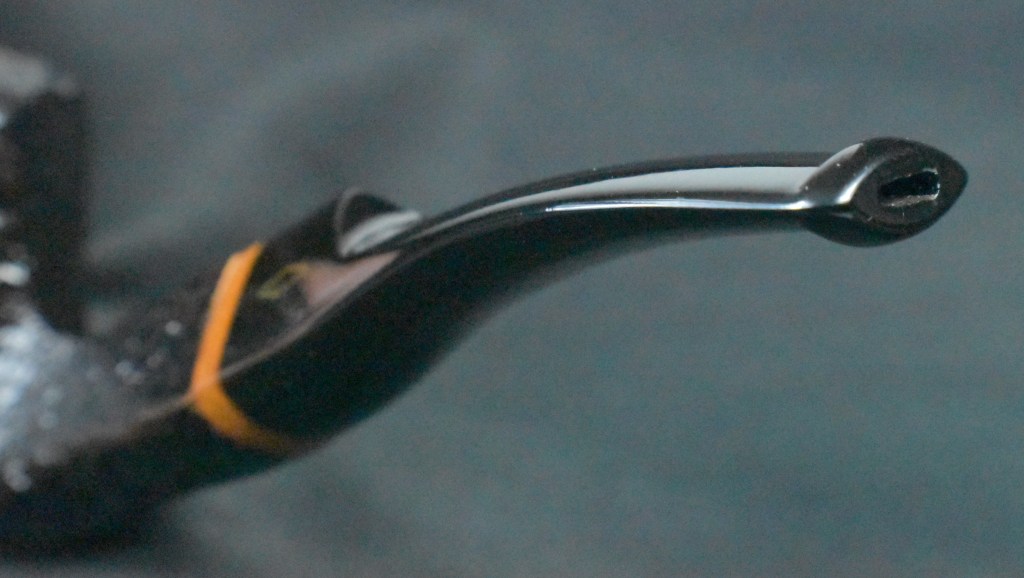
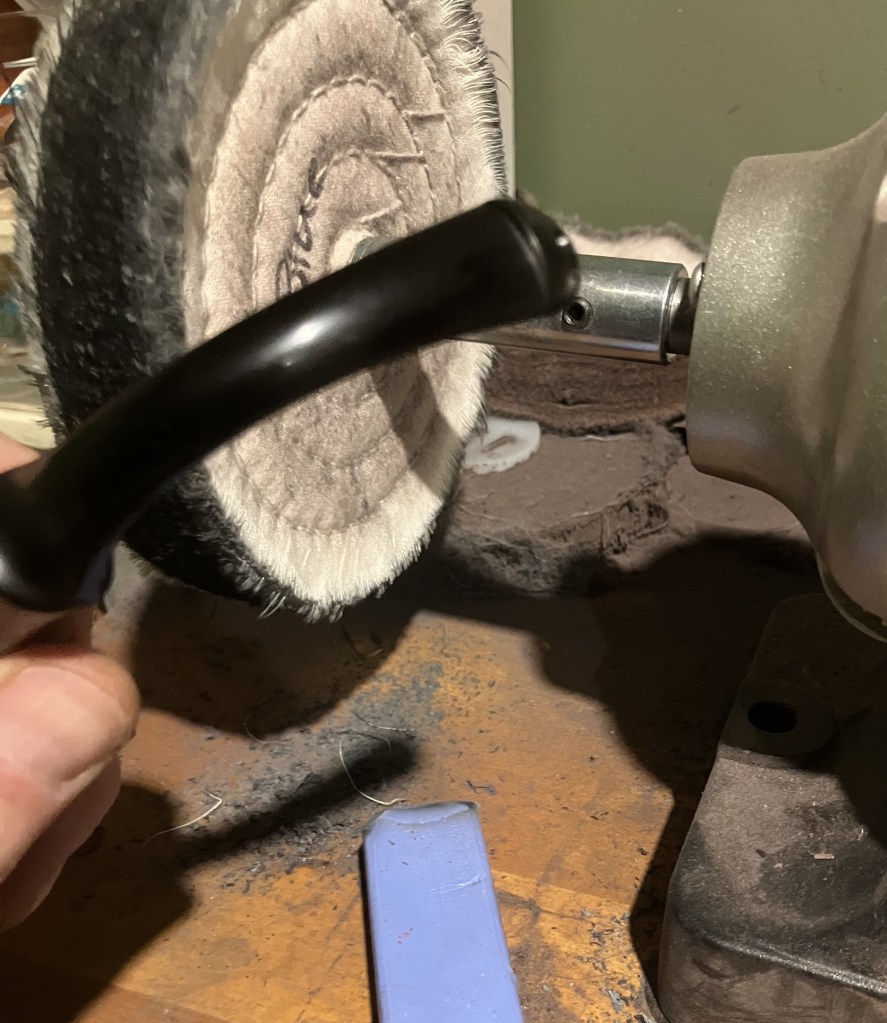
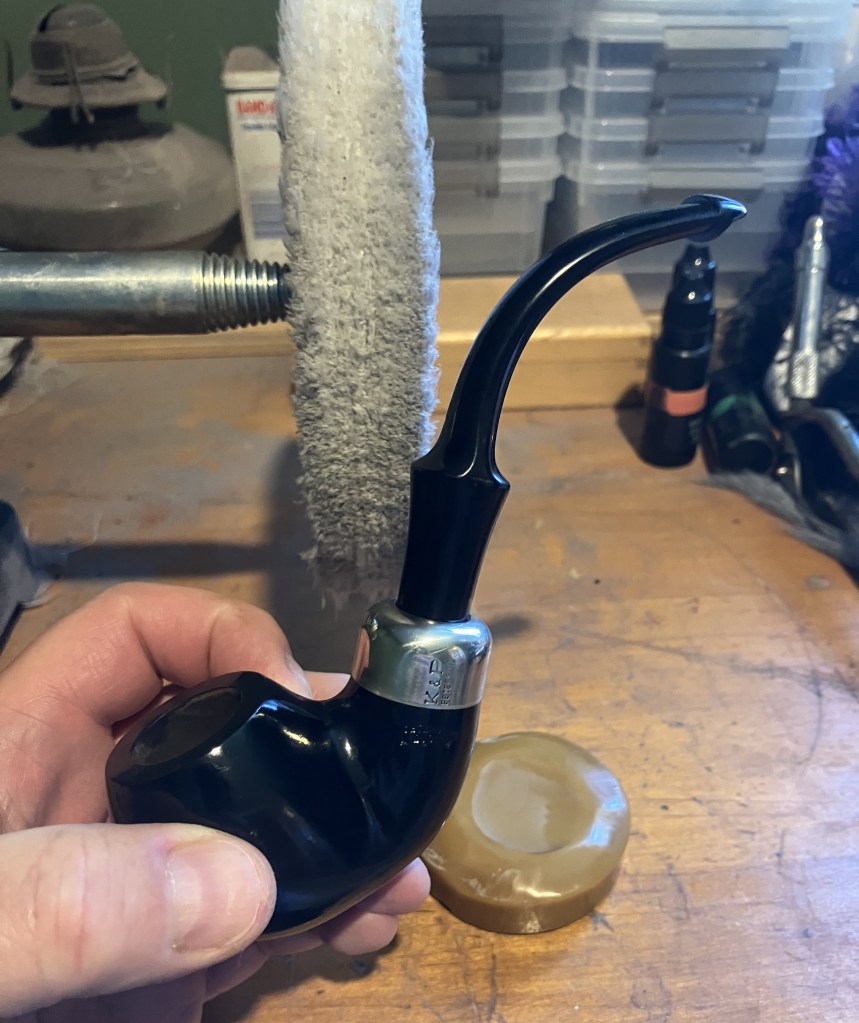
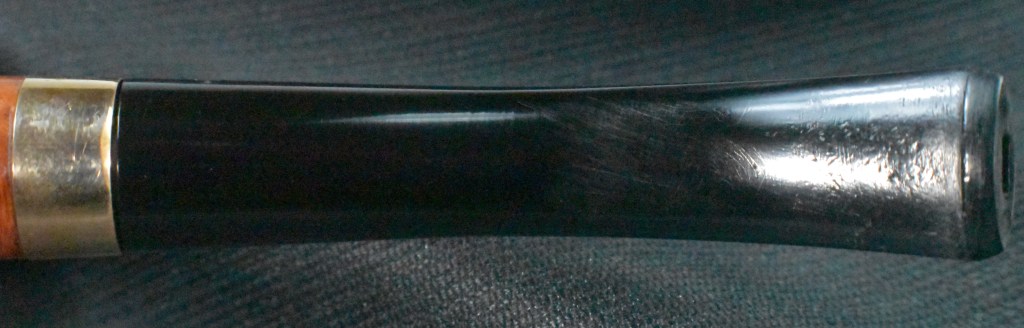
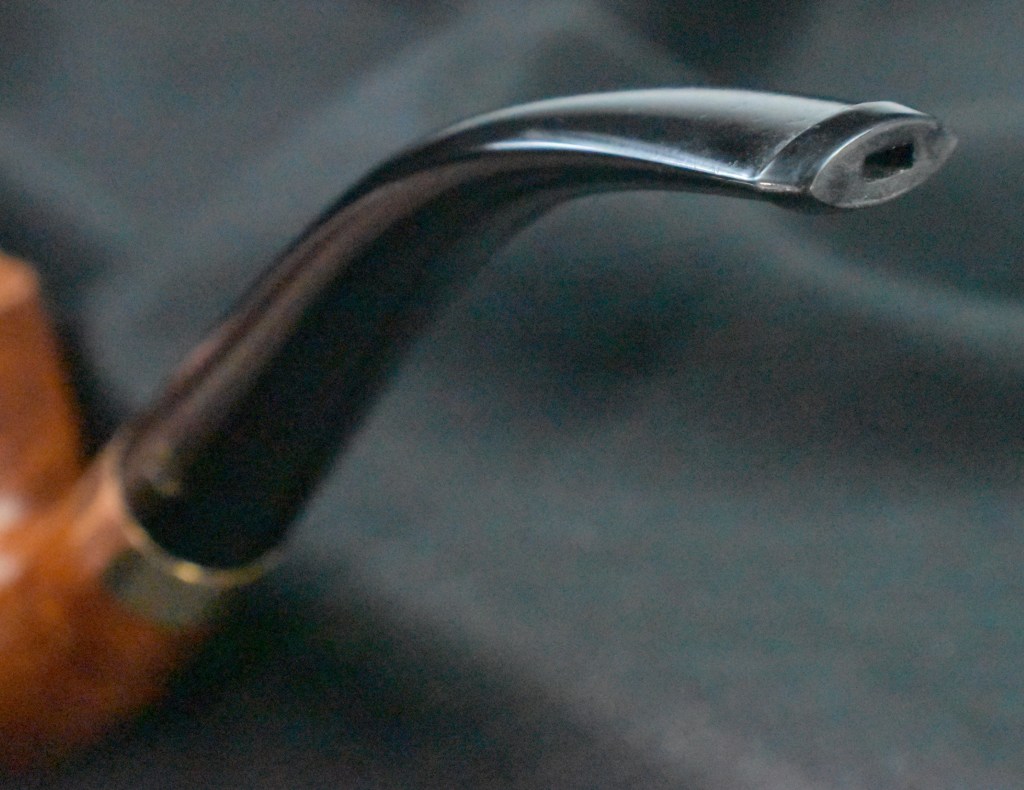
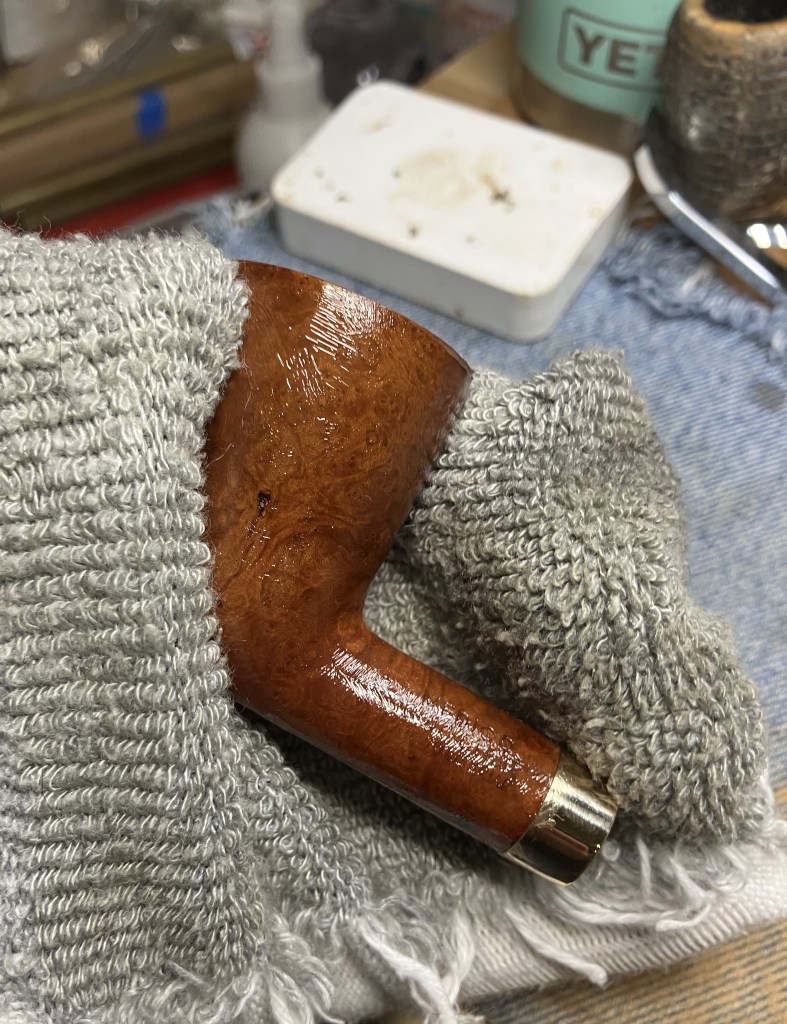
Normally I’d say, “the final step was a hand buffing with a microfiber polishing cloth.” Here I would be telling an untruth. The next step was to heat the stem and give it a slightly more pronounced bend. Then came the microfiber polishing cloth.
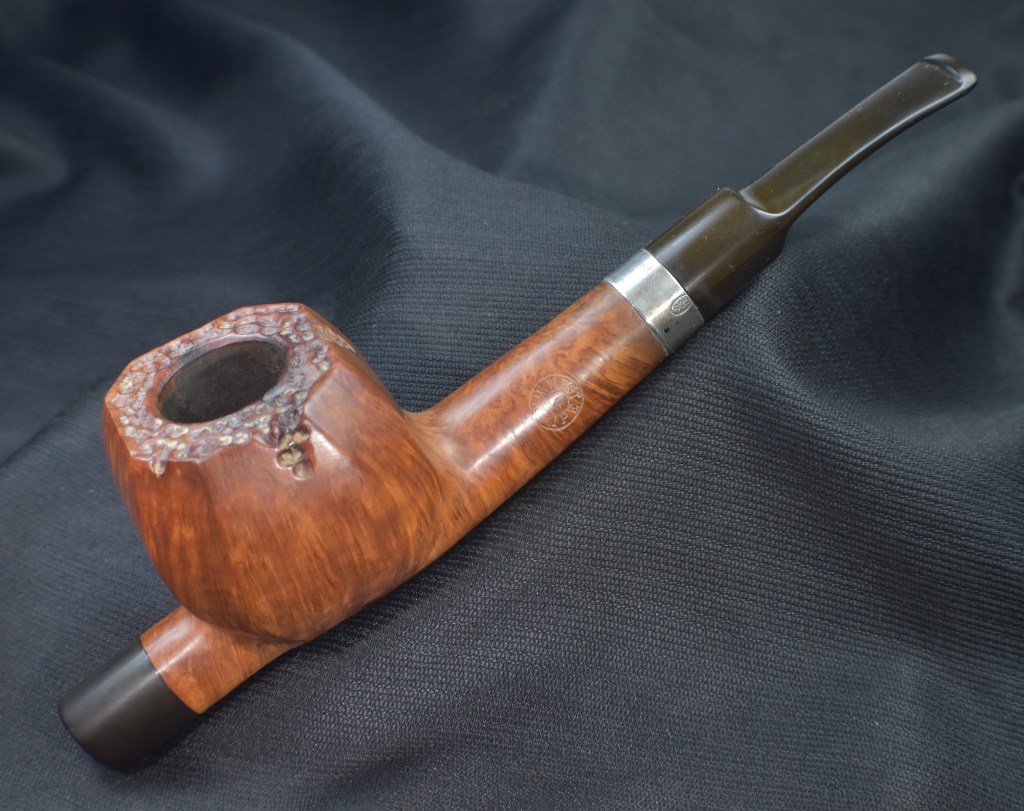
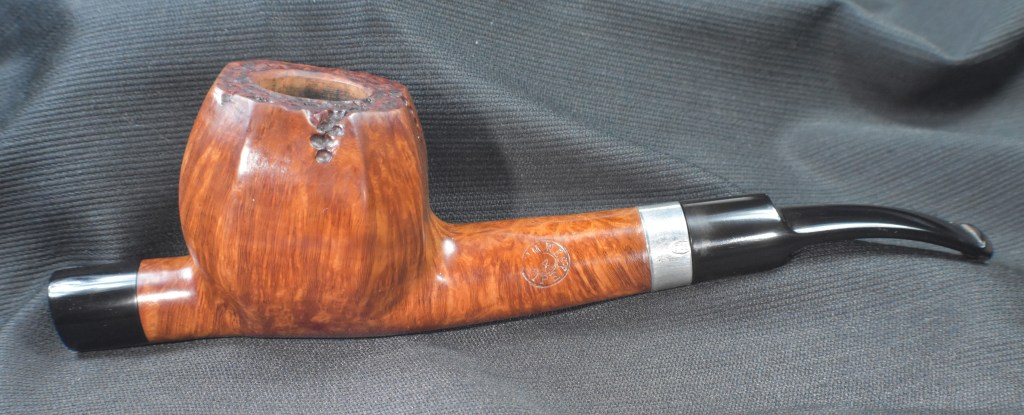
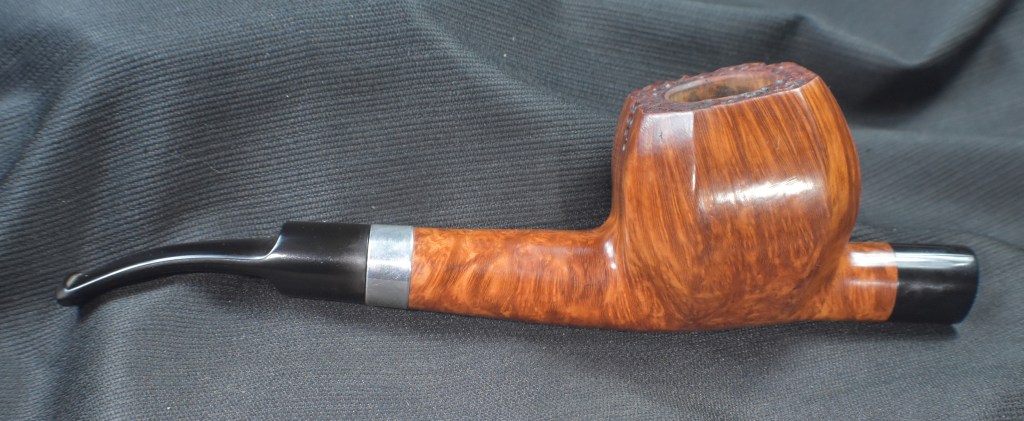
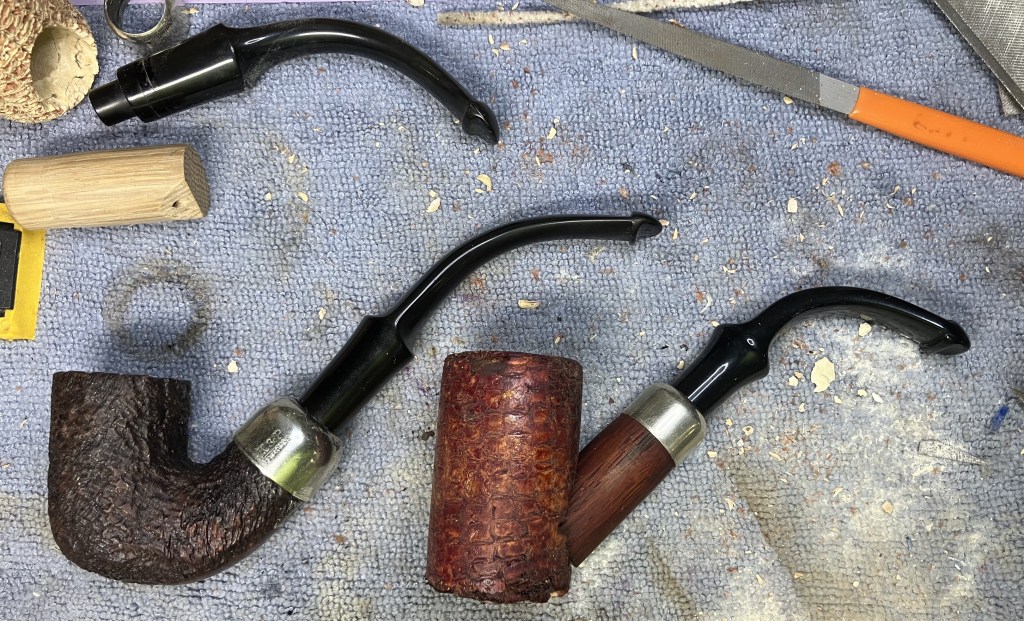
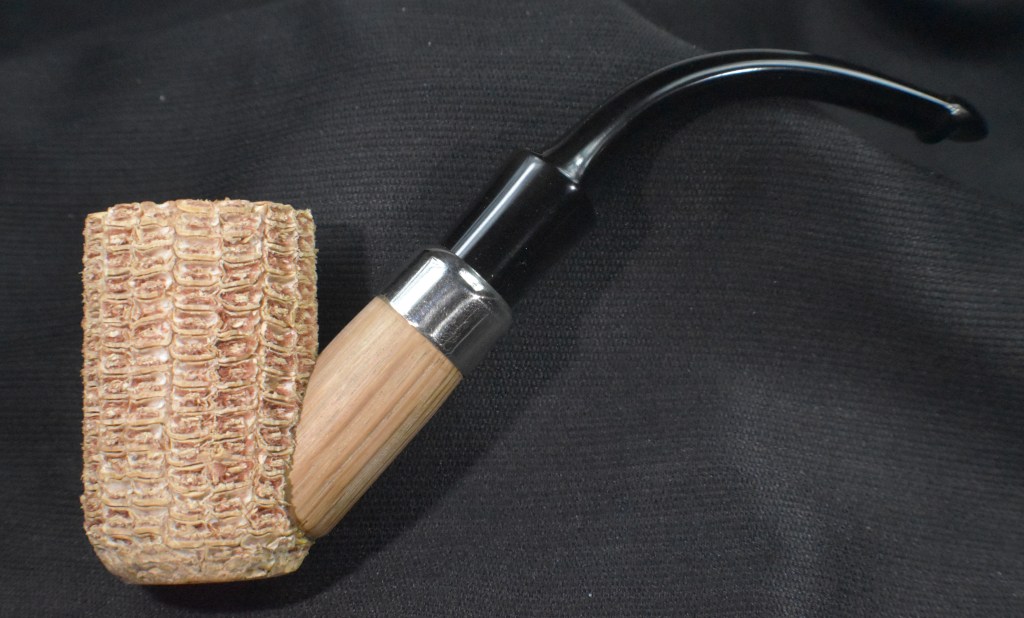
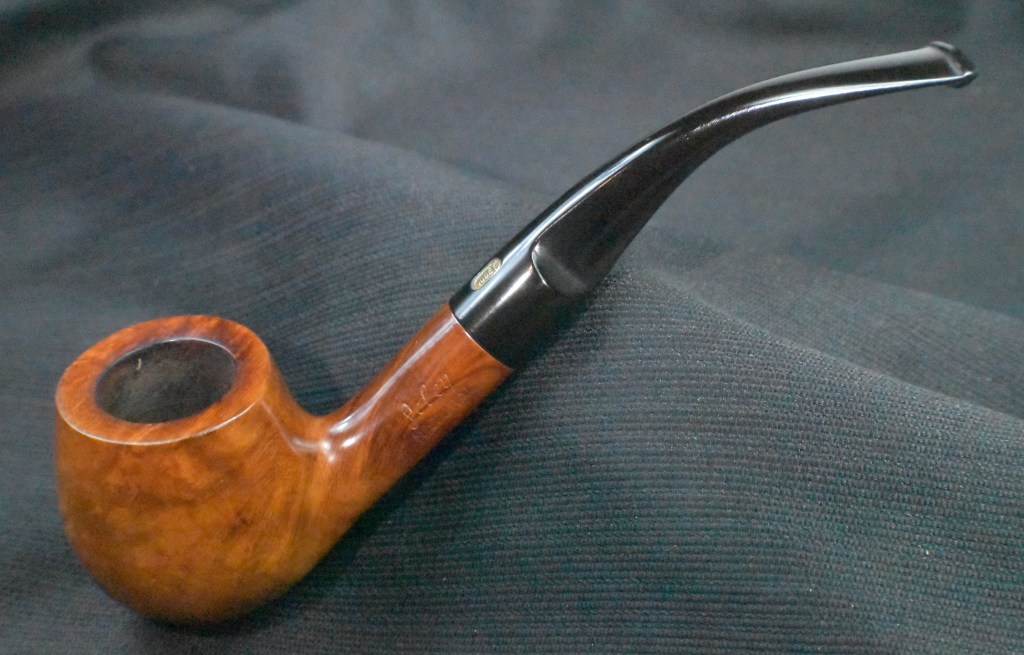
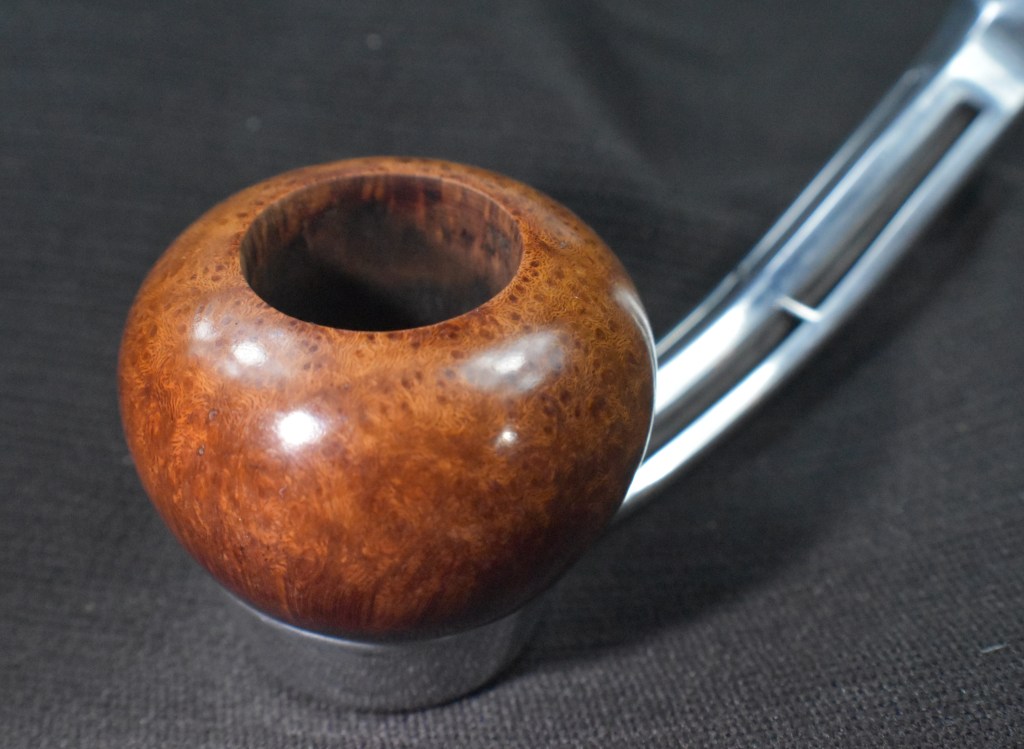
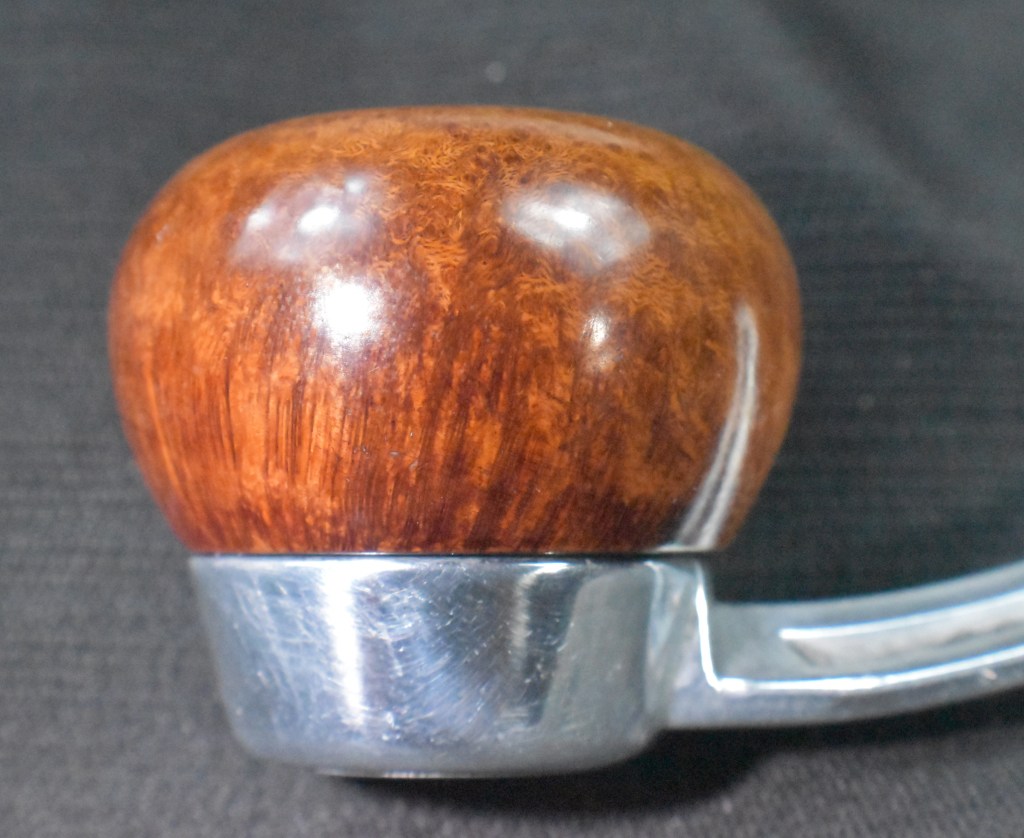
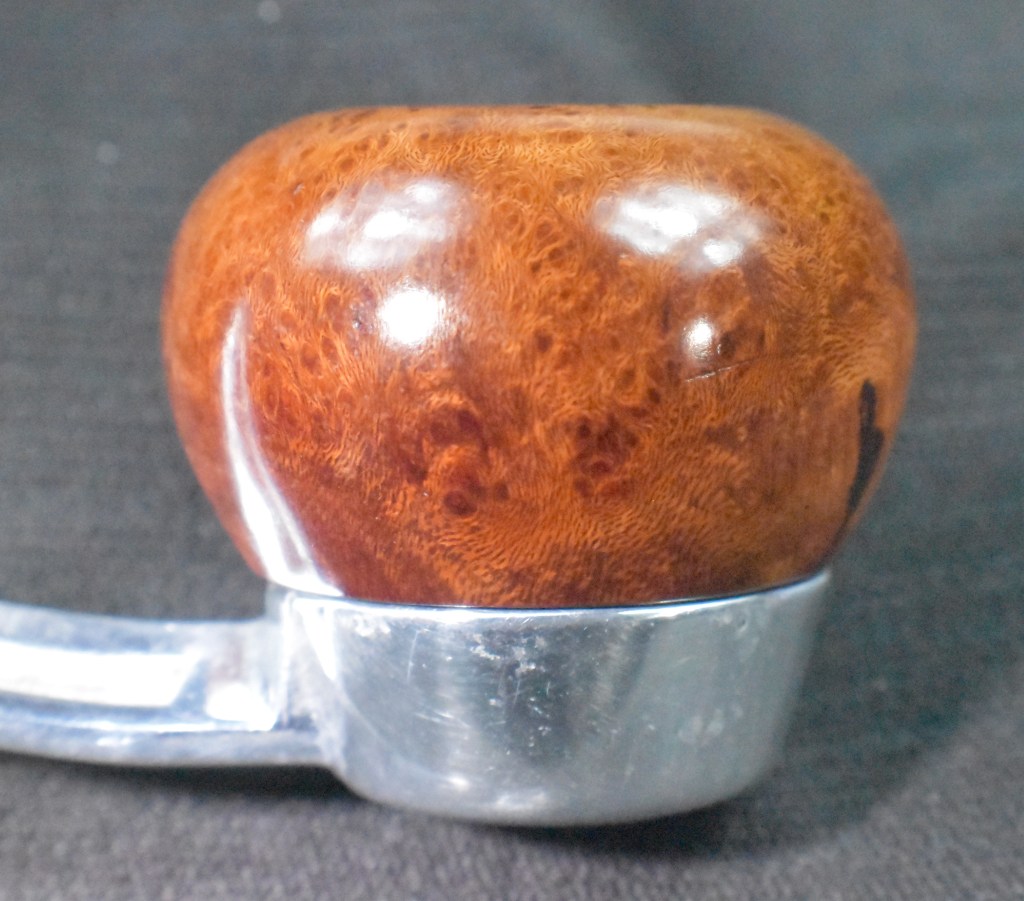
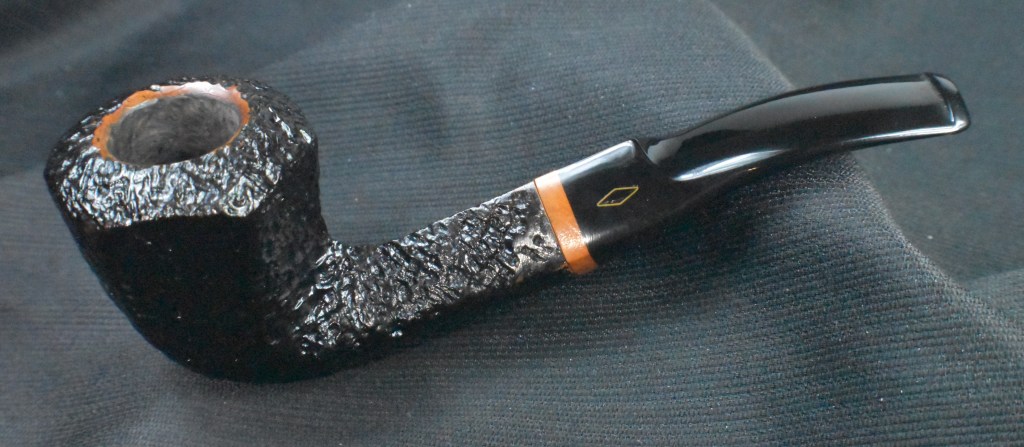
Well there it is, my first Tim West pipe restoration. I’d thought that I would surely want to keep this pipe for myself, but after finishing it, holding in my hand and attempting to clench it, I realized that it may just be too large a pipe for me. Weighing in at nearly 3 ounces and being that straight, makes the pipe uncomfortable to clench. I am sure it will smoke incredibly well, with those ½ inch thick walls. Maybe I should just plant myself with a good book or movie and give it a try. I will say that if you are a lover of large pipes, this beauty may be more for you than for me. It was still an absolute pleasure to work on the pipe and make it look like new again. The dimensions of the Tim West Panel Cavalier are follows:
Length: 7.56 in./ 192.02 mm.
Weight: 2.96 oz./ 83.92 g.
Bowl Height: 2.03 in./ 51.56 mm. (bowl only) 1.70 in. / 43.18mm (with tube)
Chamber Depth: 1.52 in./ 38.61 mm.
Chamber Diameter: 0.84 in./ 21.34 mm.
Outside Diameter: 1.93 in./ 49.02 mm.
I do hope that you have found something here useful to your own pipe care, maintenance or restorations. If you like this sort of thing, please click the like and subscribe buttons. Thank you for reading the ramblings of an old pipe lover.
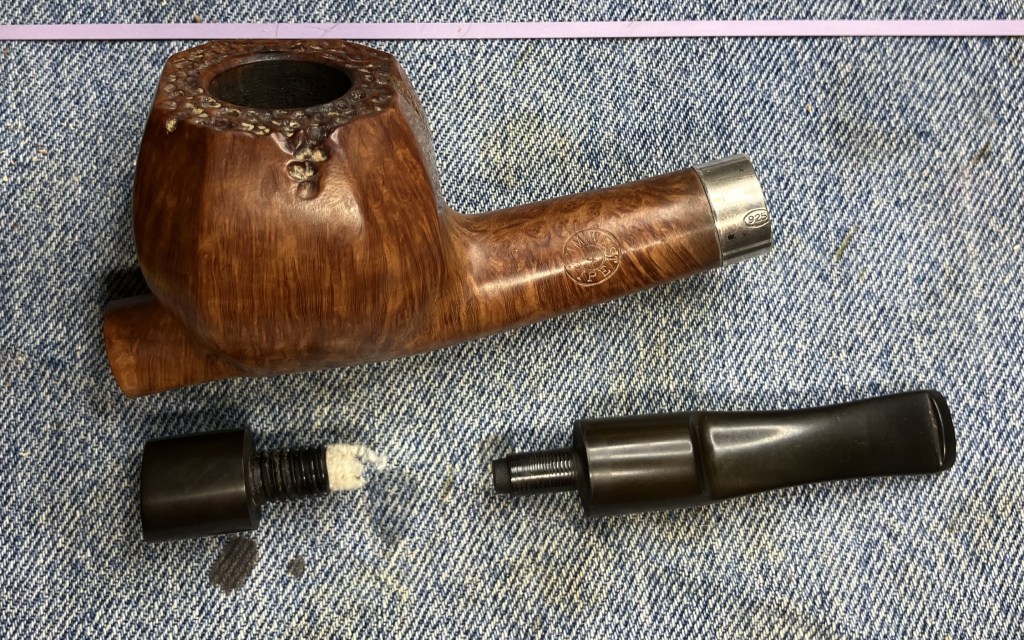
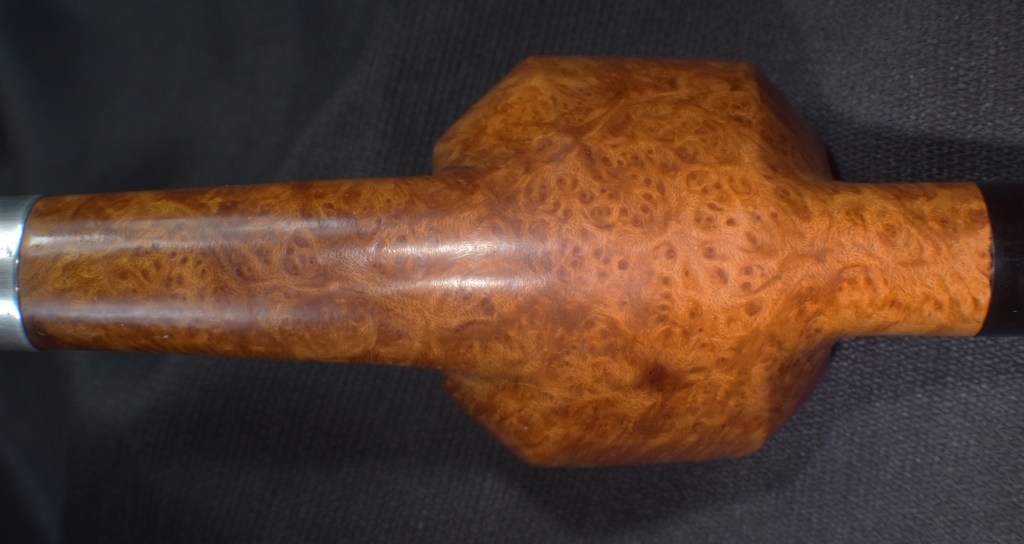
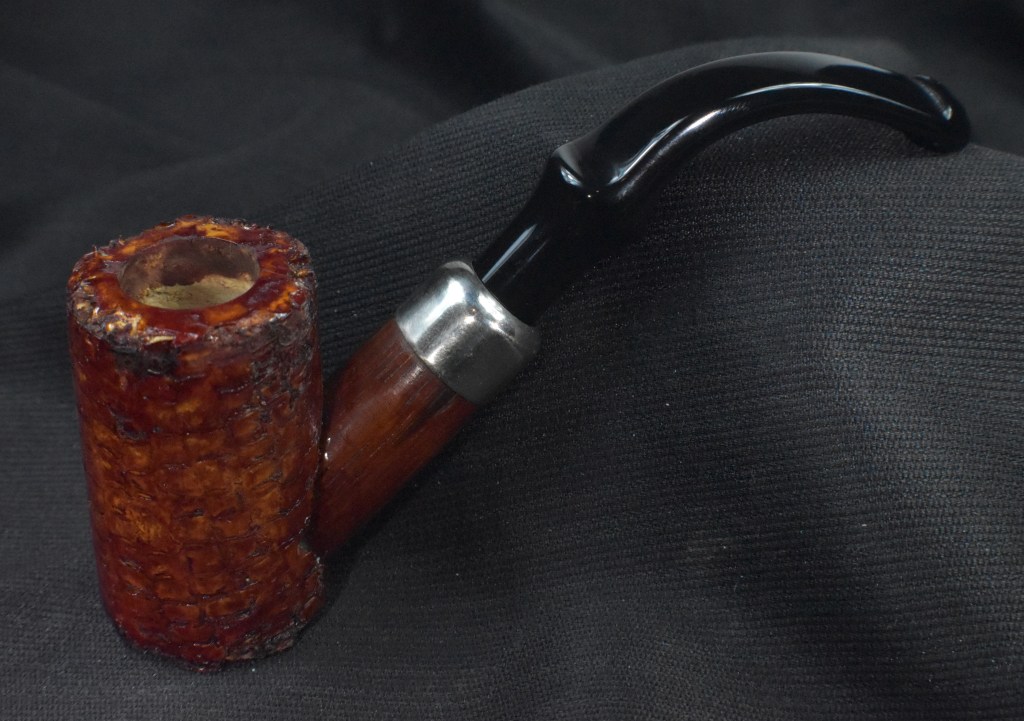
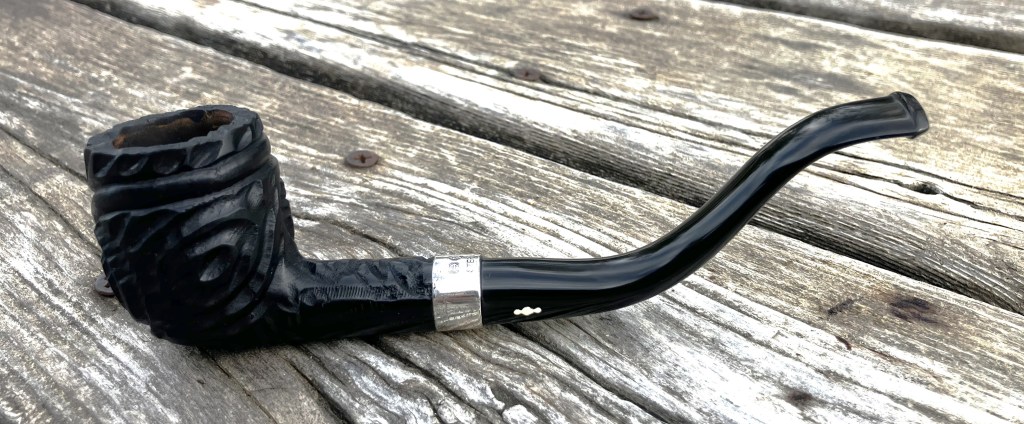
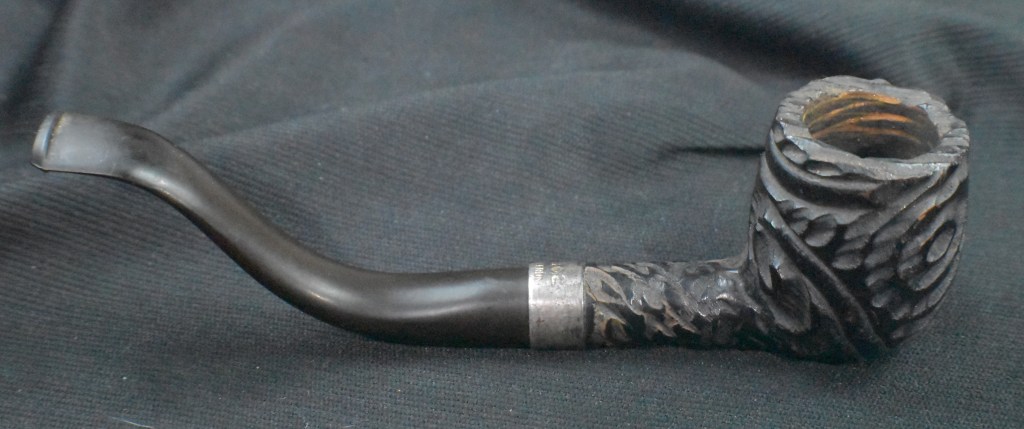
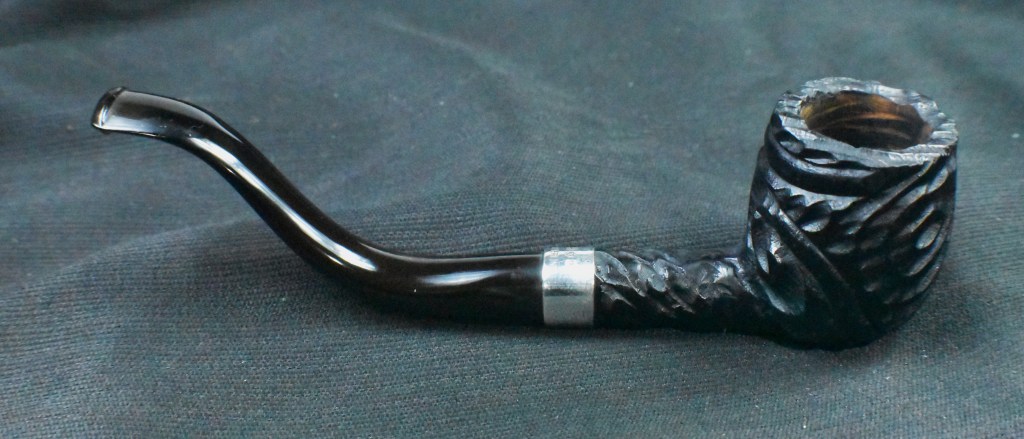
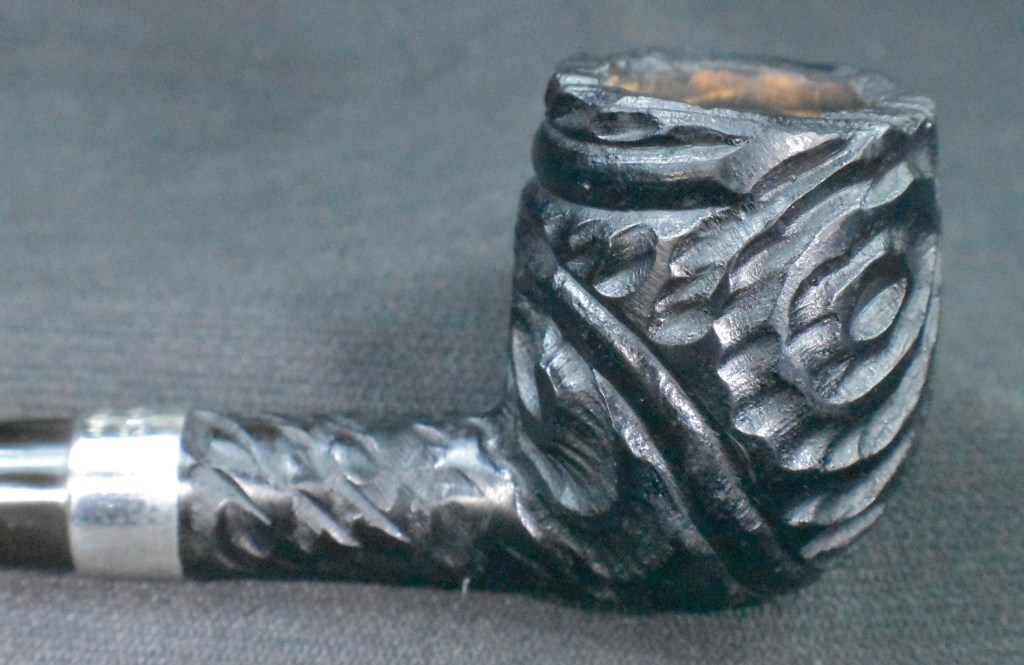
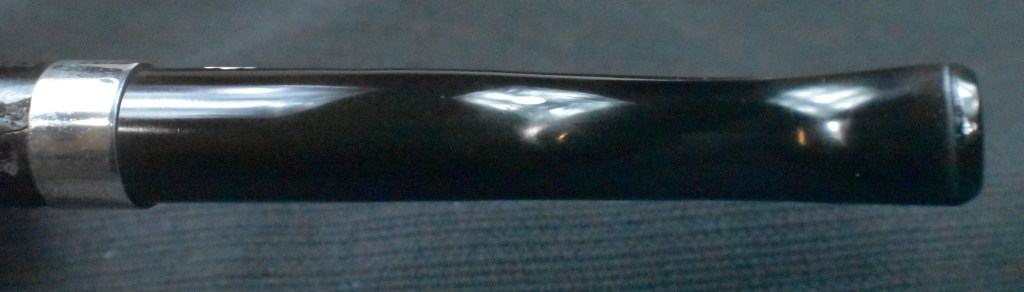
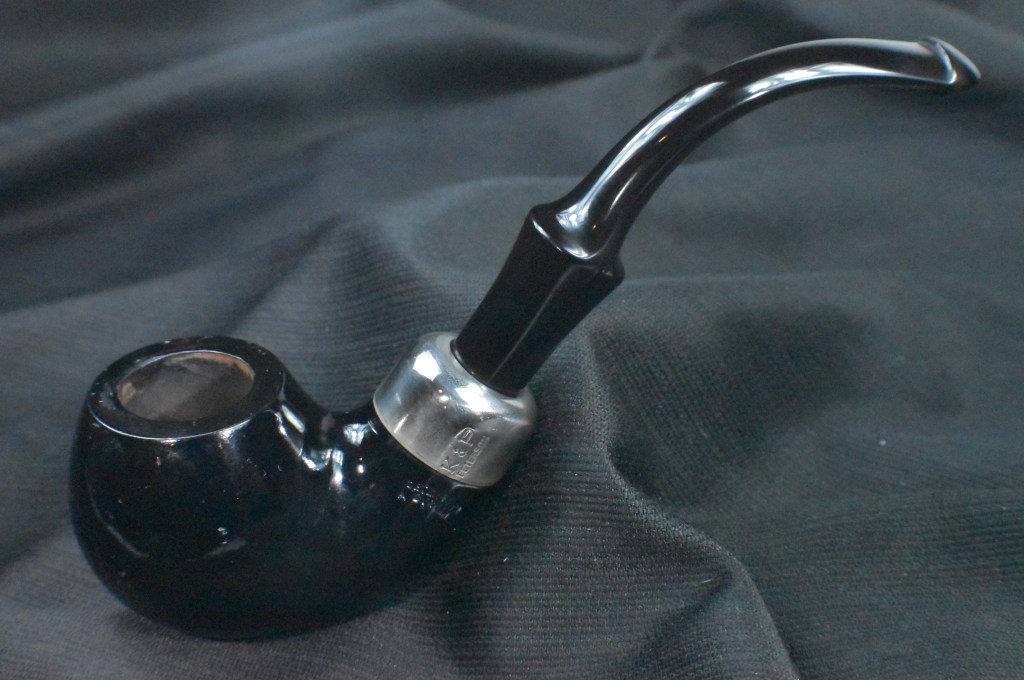
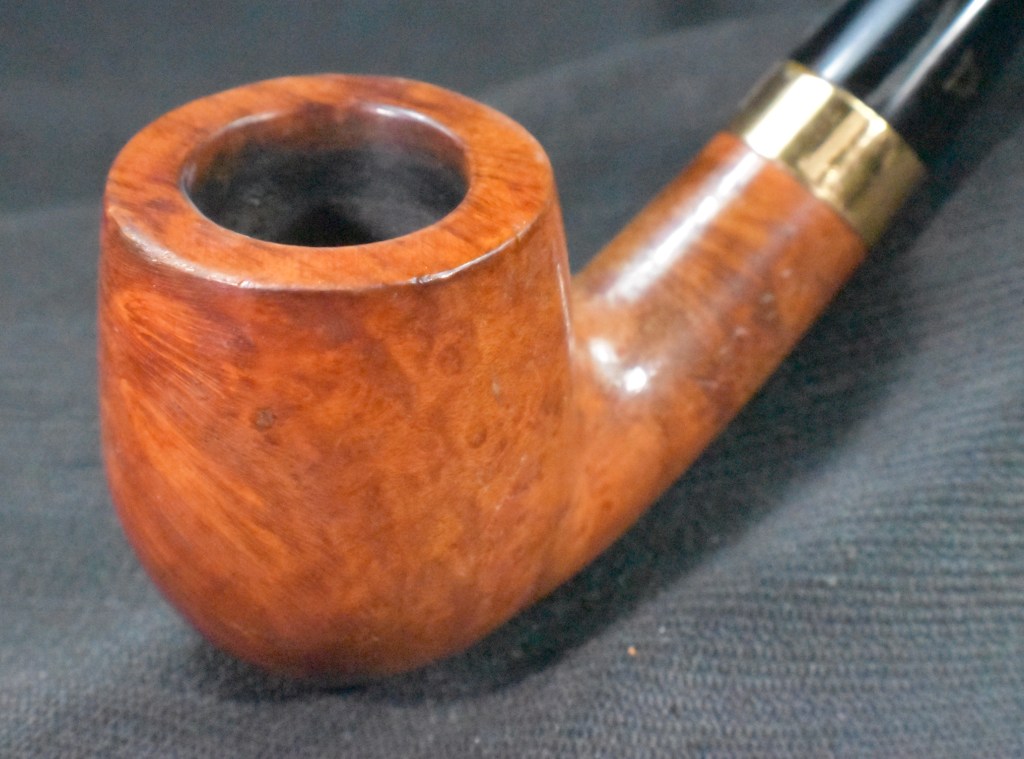
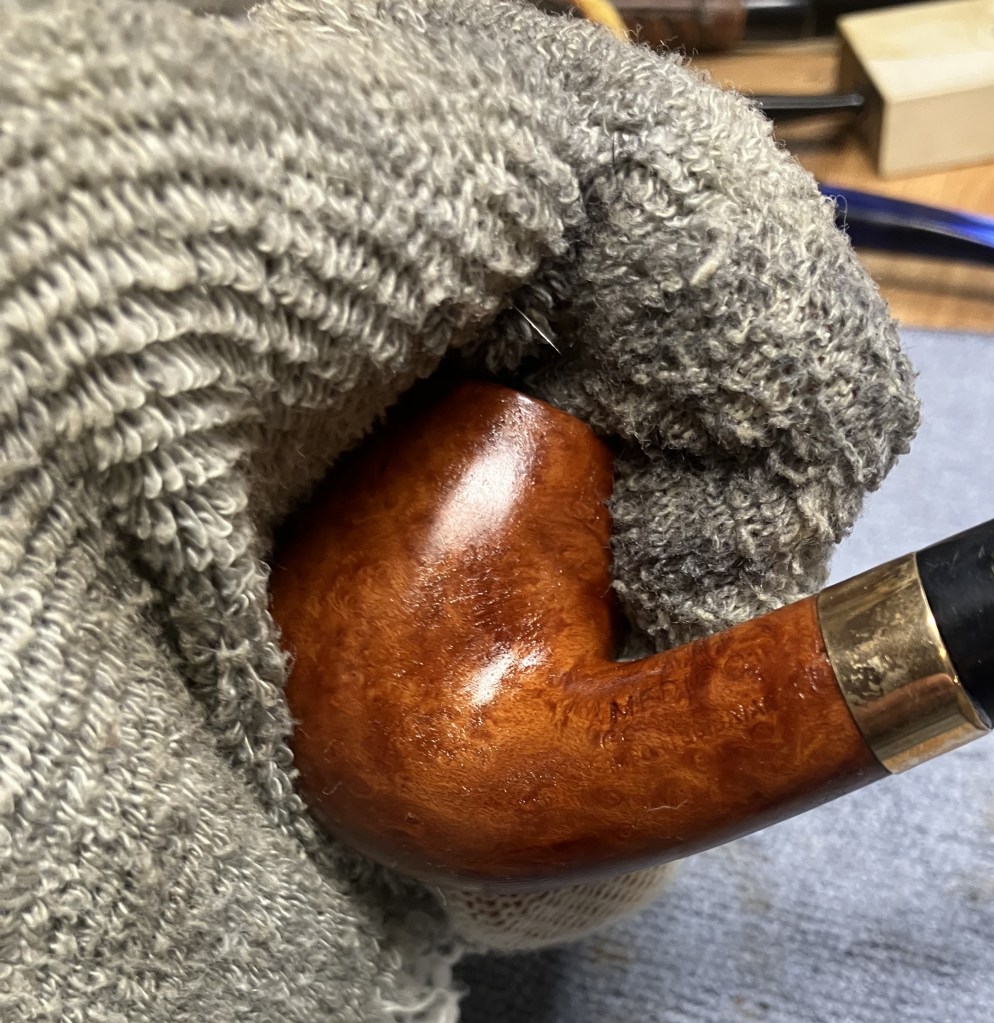
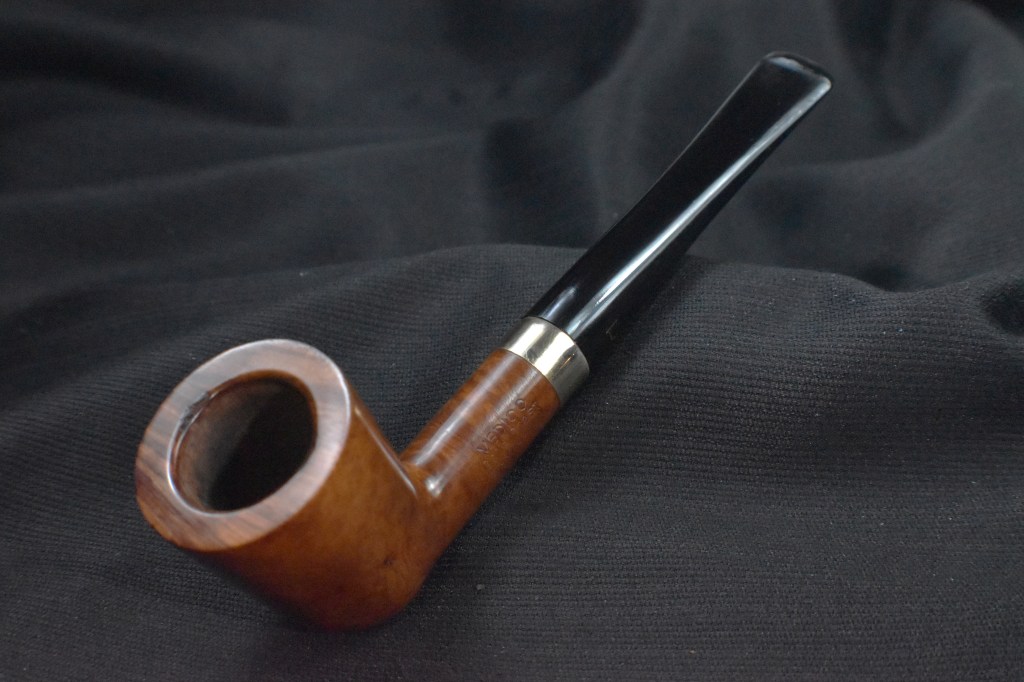
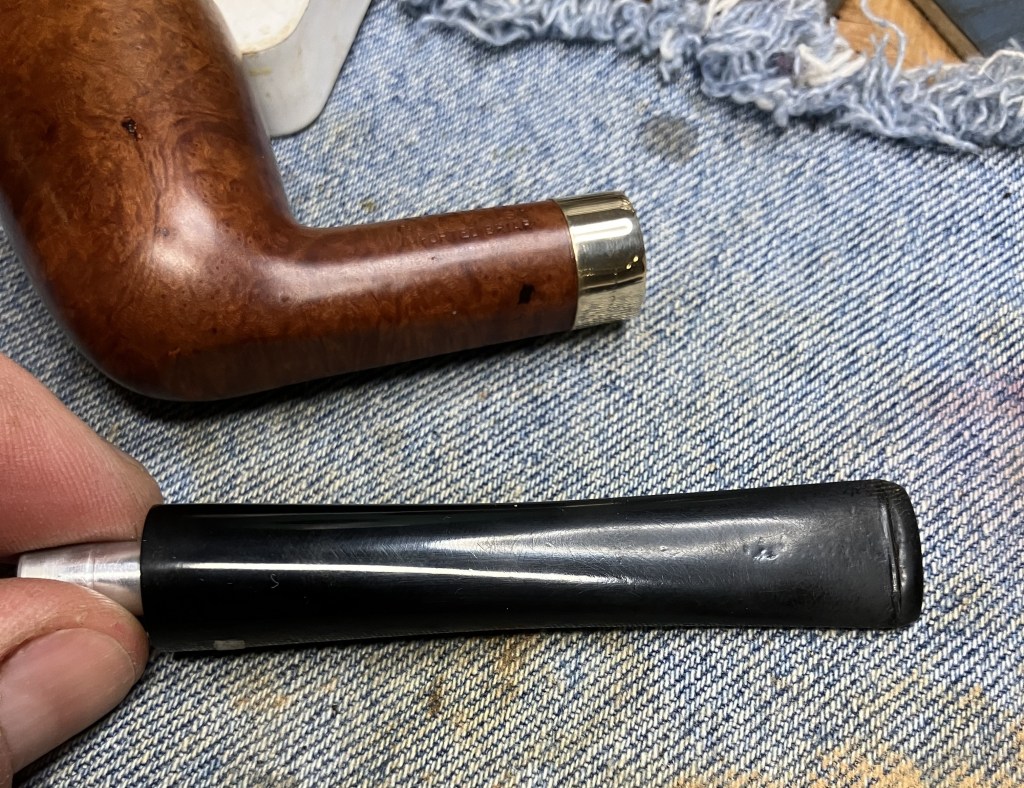
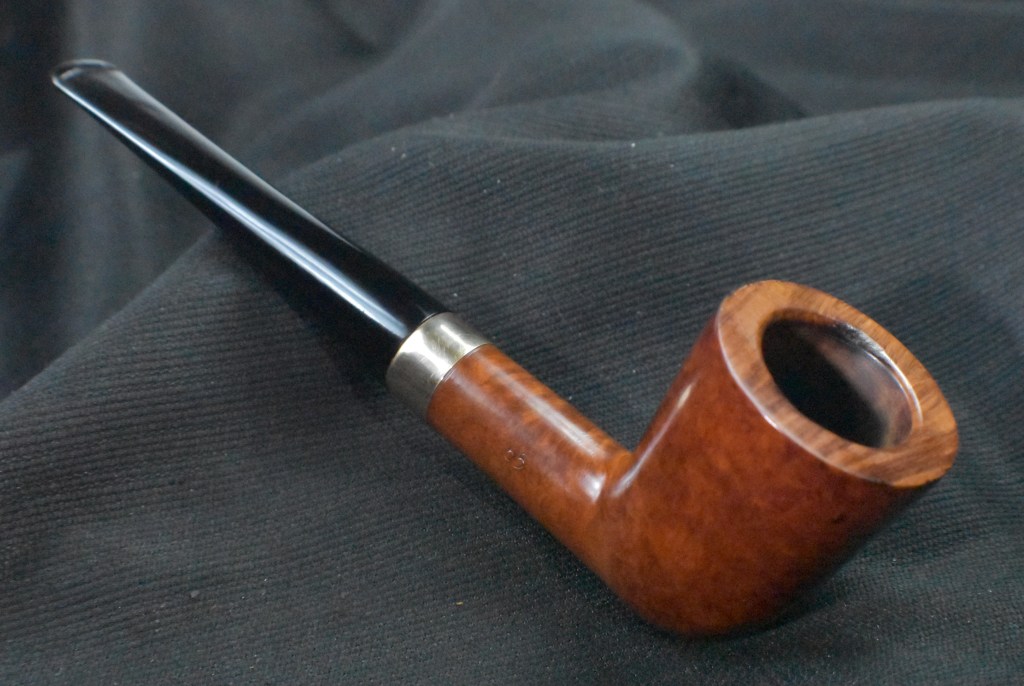
Below are some photos of the finished Tim West Panel Cavalier.


