Photographed and written by
John M. Young
In February of 2024 I joined the Facebook (FB) group Real American Pipe Smokers. I found my first post in that group, below:

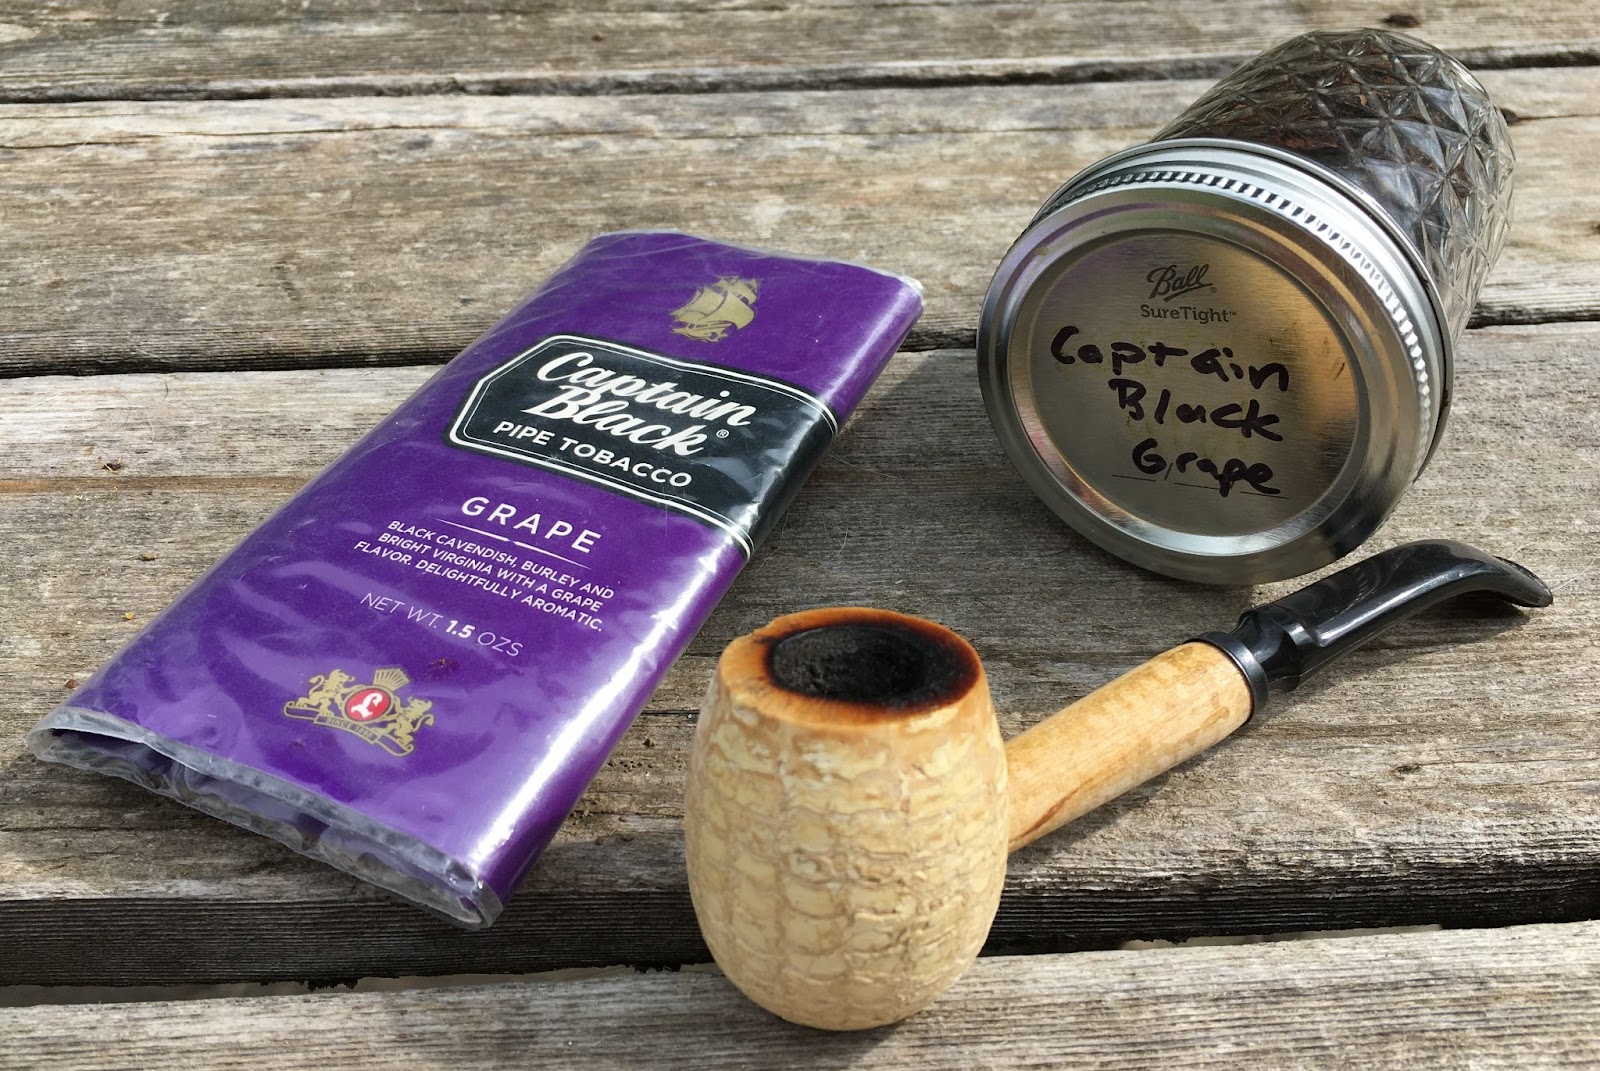
I have found in this group a unique group of about 1,600 folks that are open to others and even accept pipe smokers who like Captain Black Grape. Yeah, I know, crazy right. Oh, by the way, I have a jar of Captain Black Grape and a dedicated MM cob for that aromatic delight. The members are everything someone like me is looking for in a FB group, a bunch of friendly, funny, knowledgeable, giving individuals who put up with my nonsense.
Anyway, I have been part of a cabal within the group who has been giving away some of the pipes I have restored and various other items like tobacco, tampers, rare bourbon samples, etc… I was recently asked if I would be interested in restoring three pipes, donated by another member, which we could in turn give away to group members. I said, “Sure”. So the next three restorations will be those pipes. Here is a photo taken of the three:
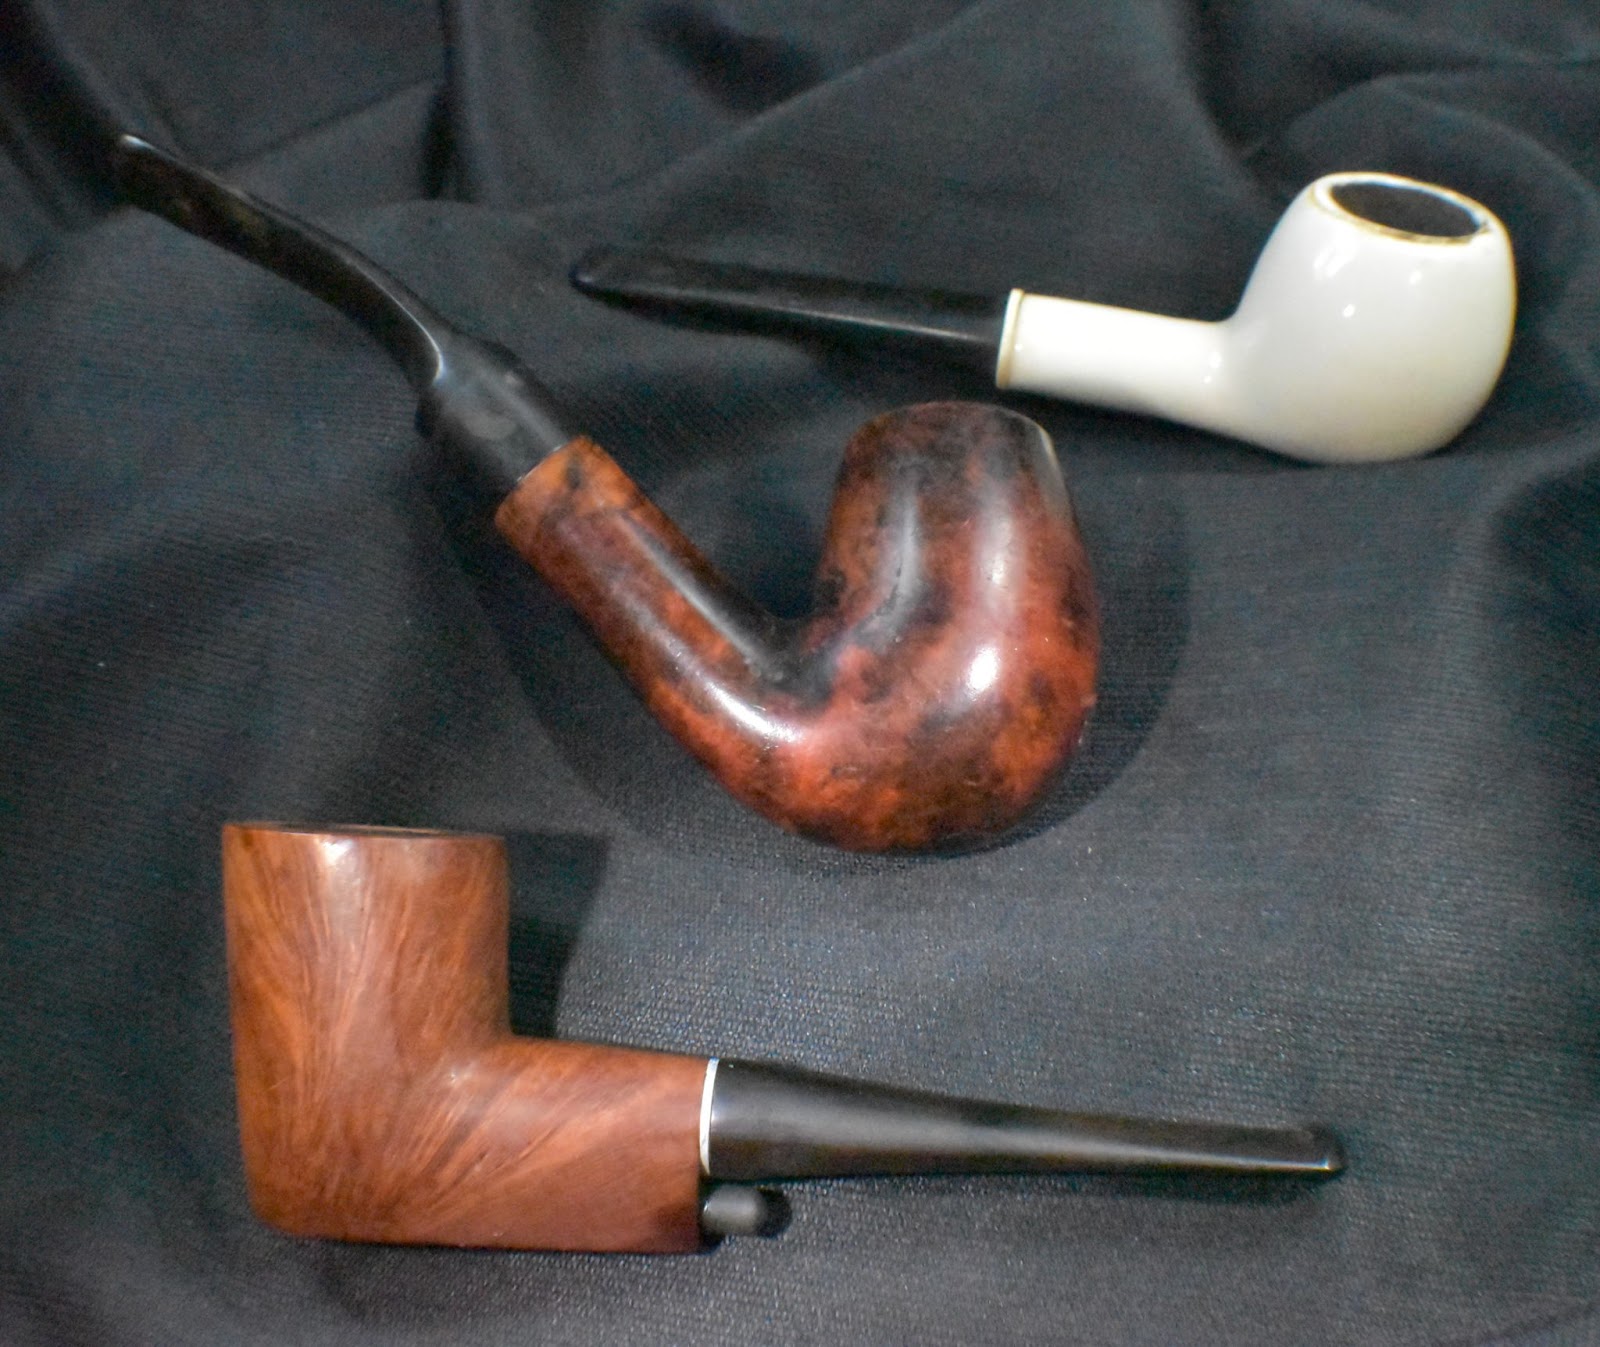
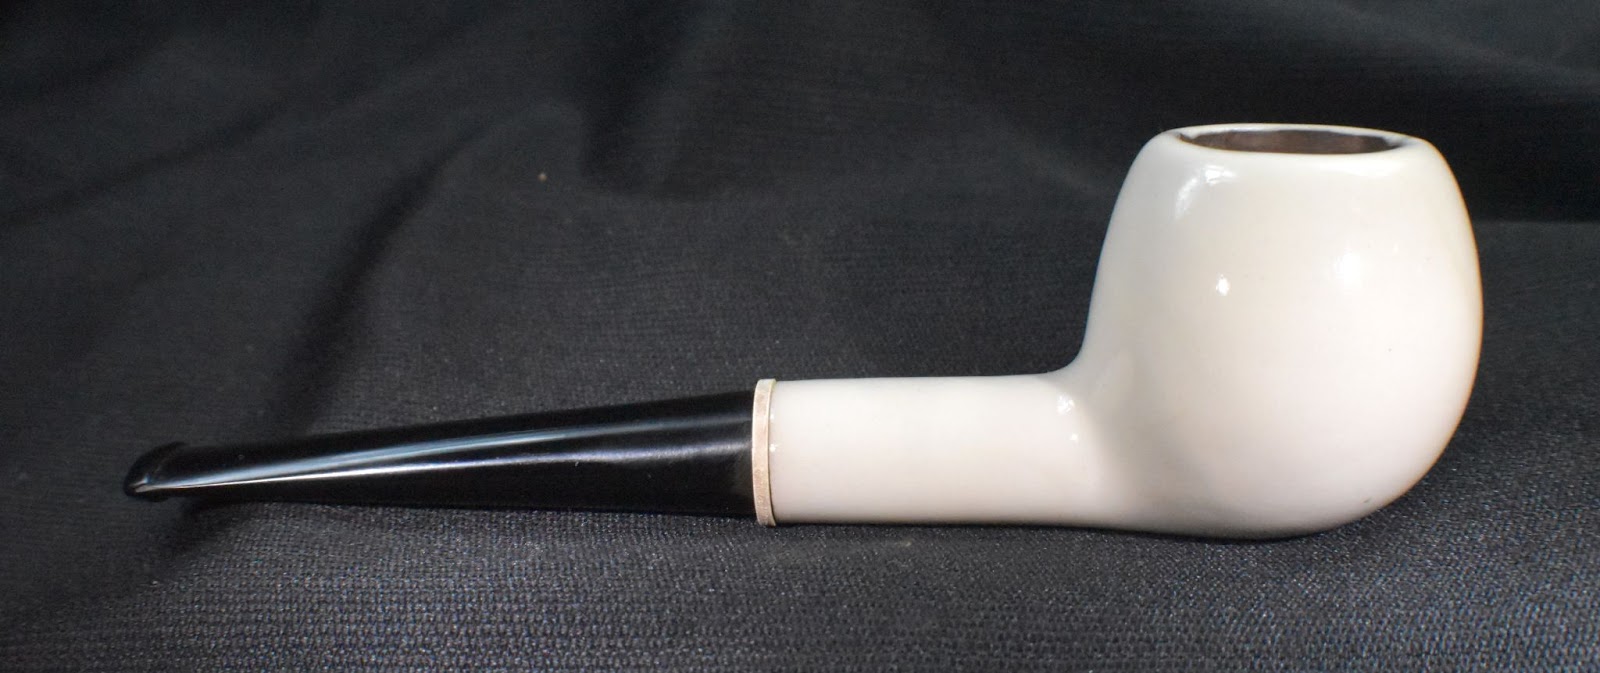
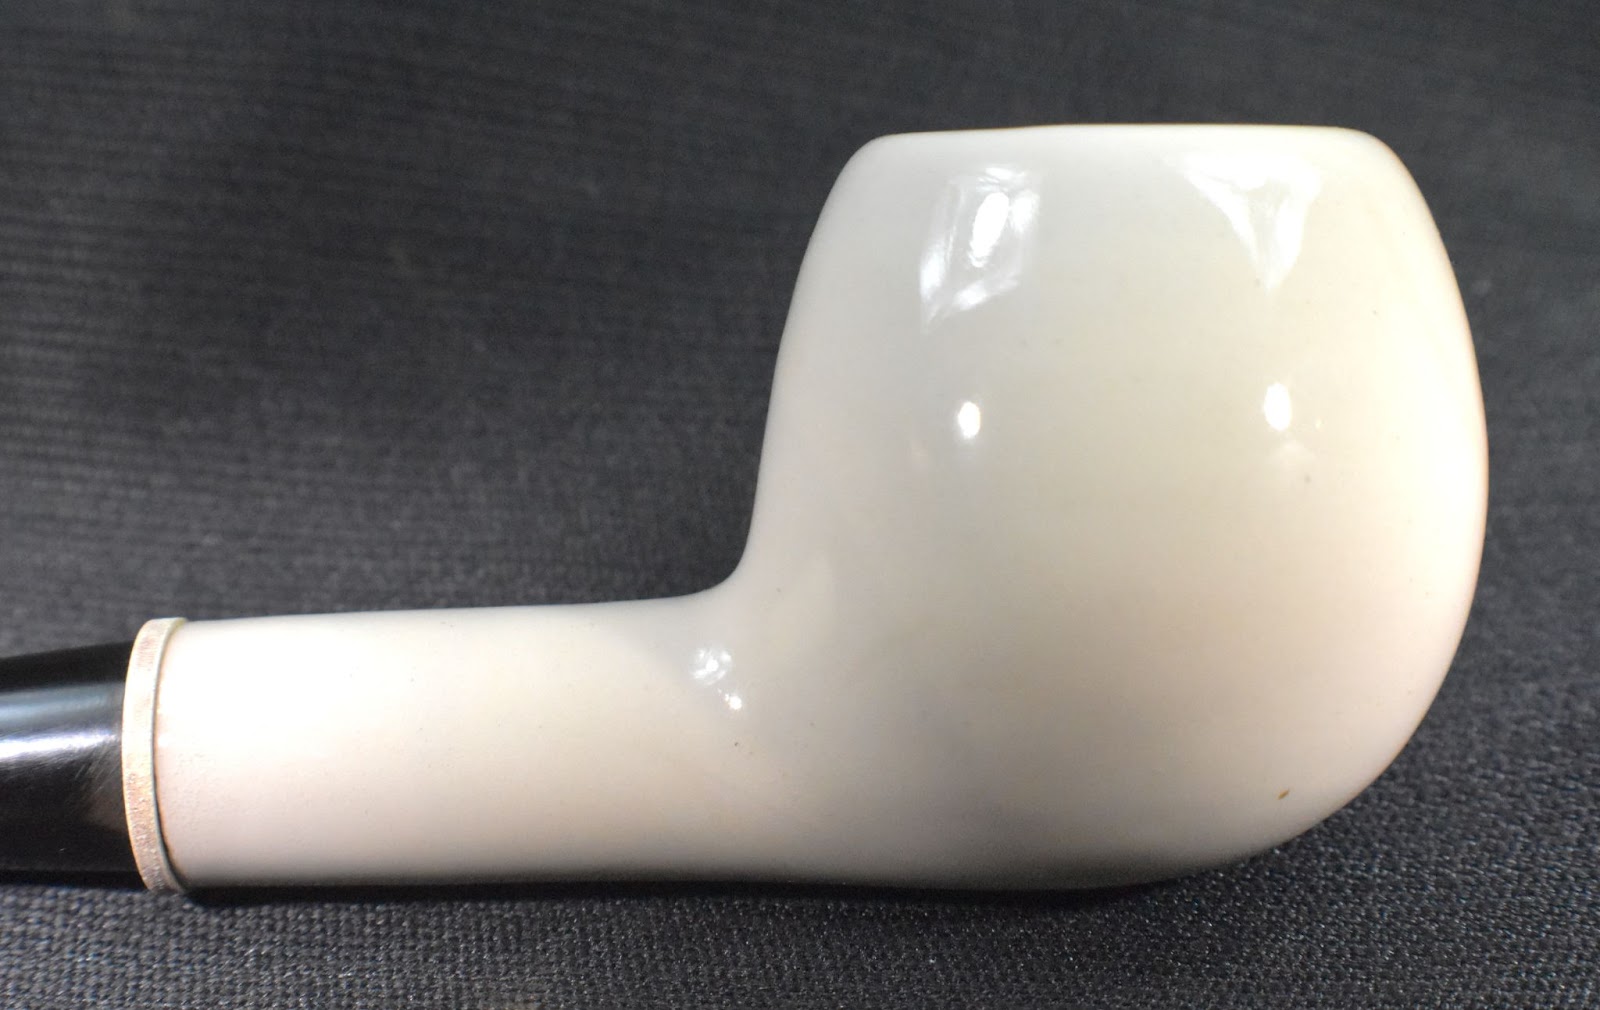
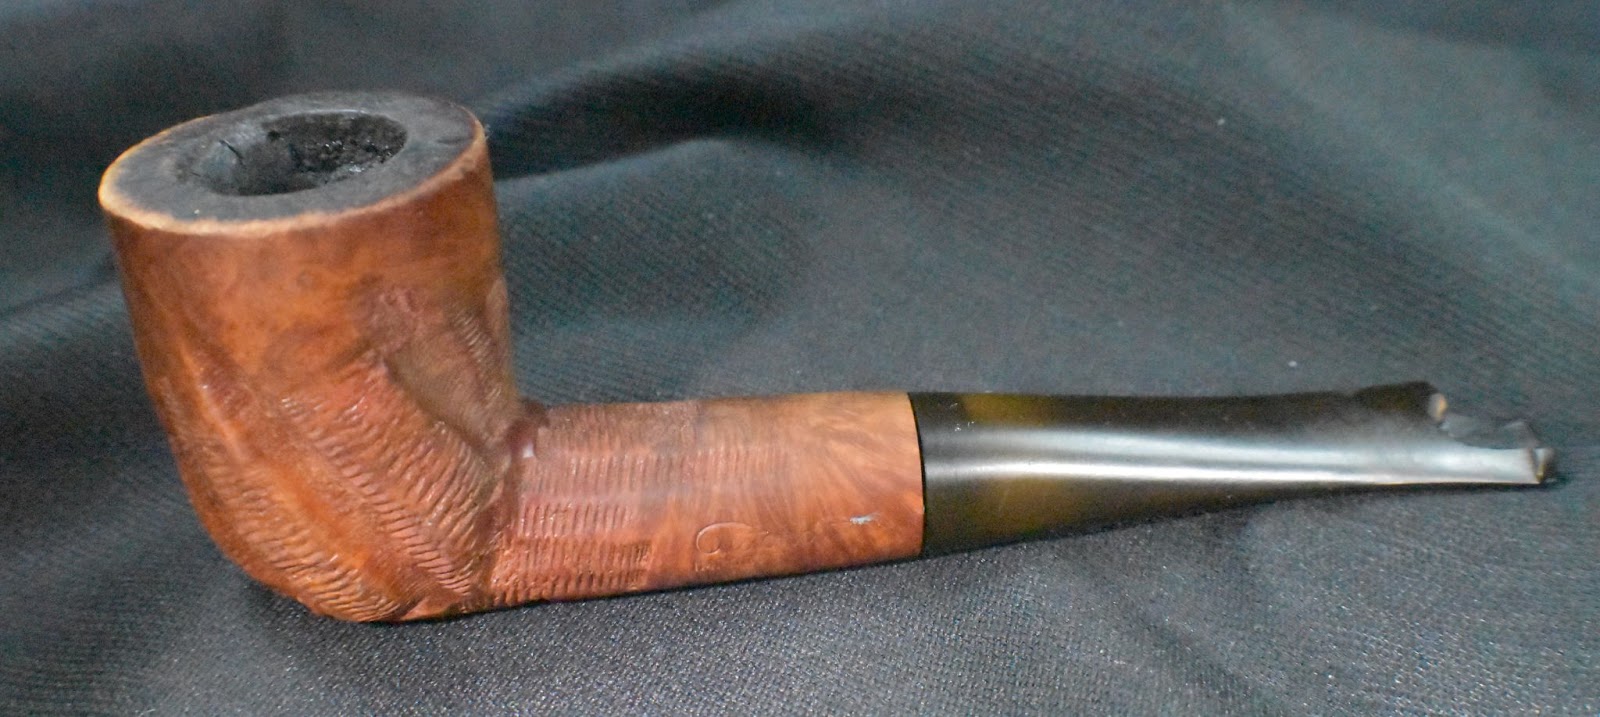
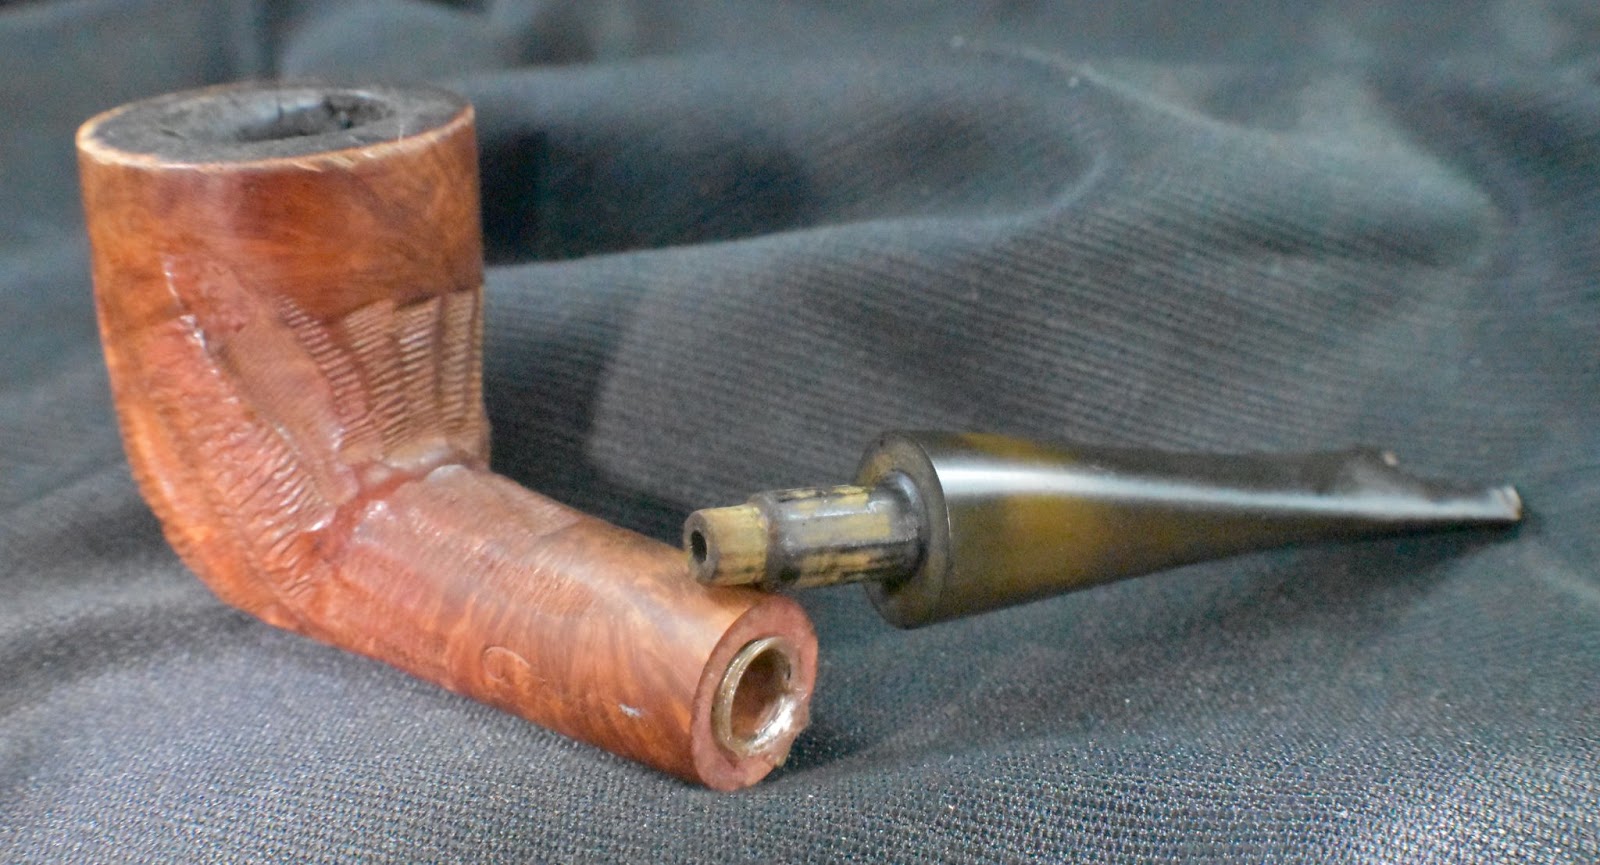
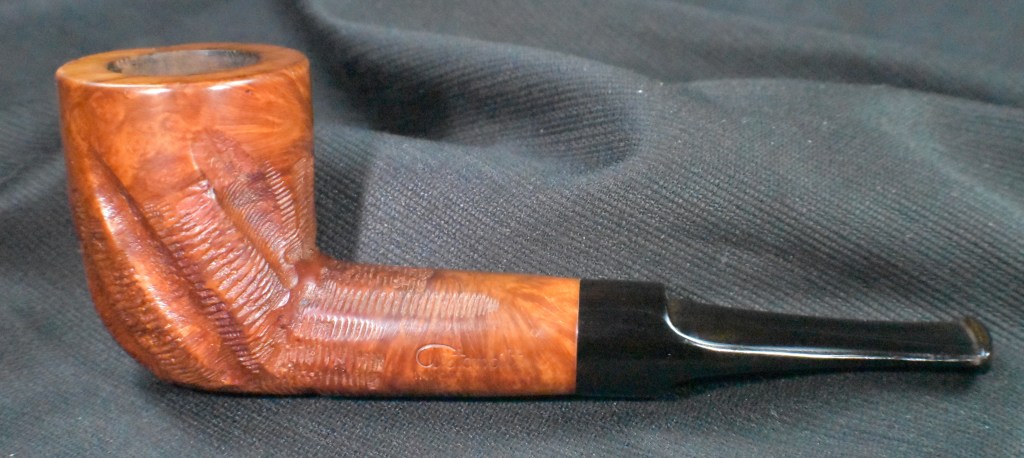
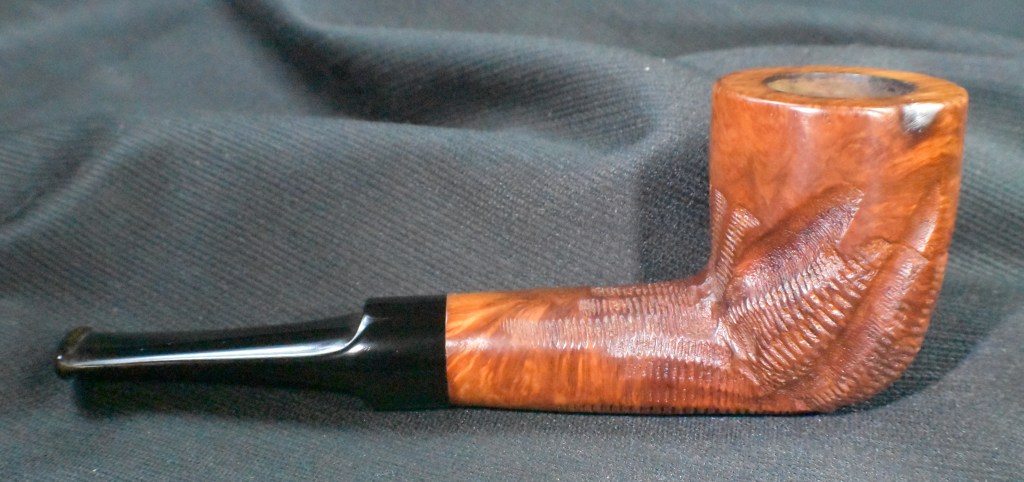
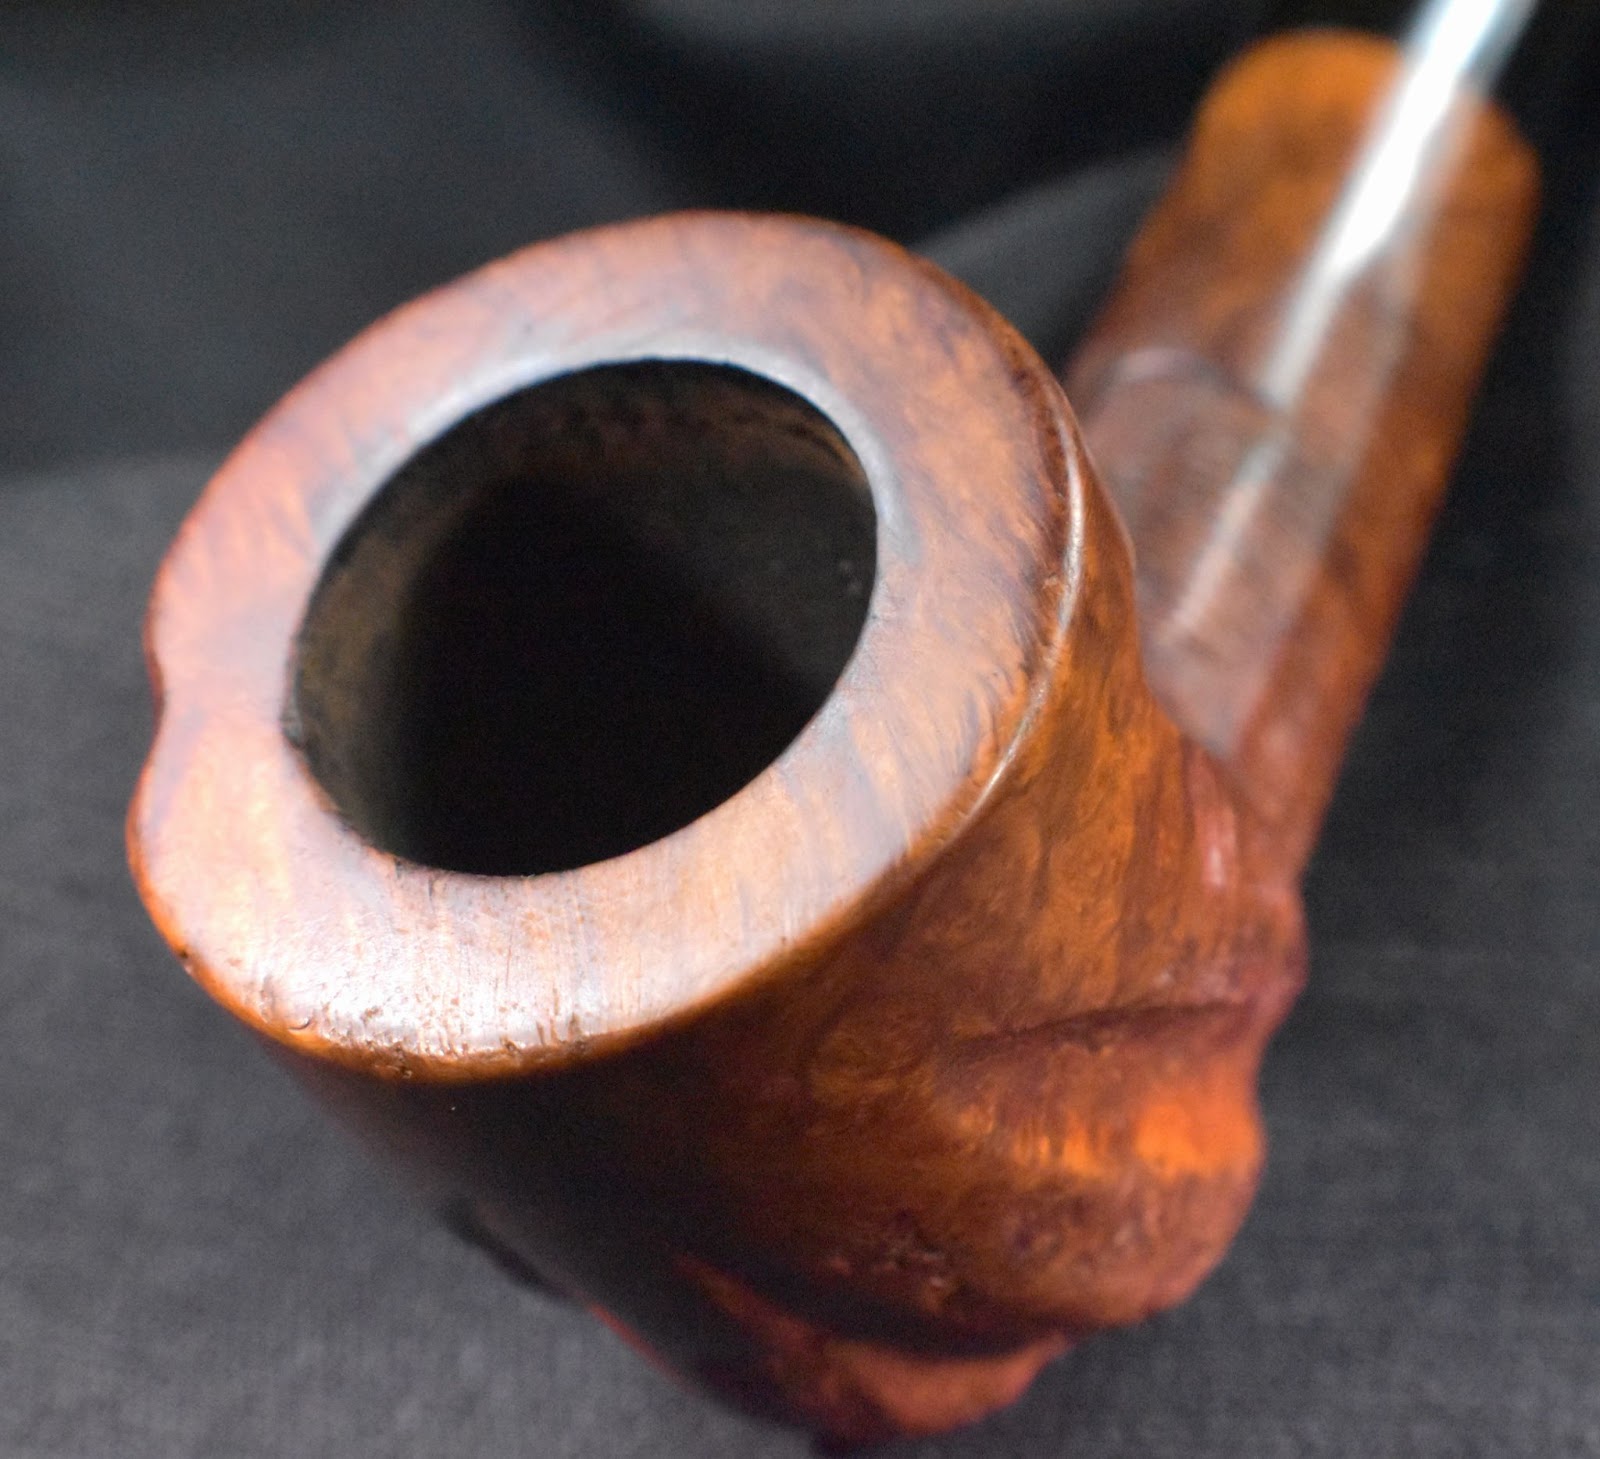
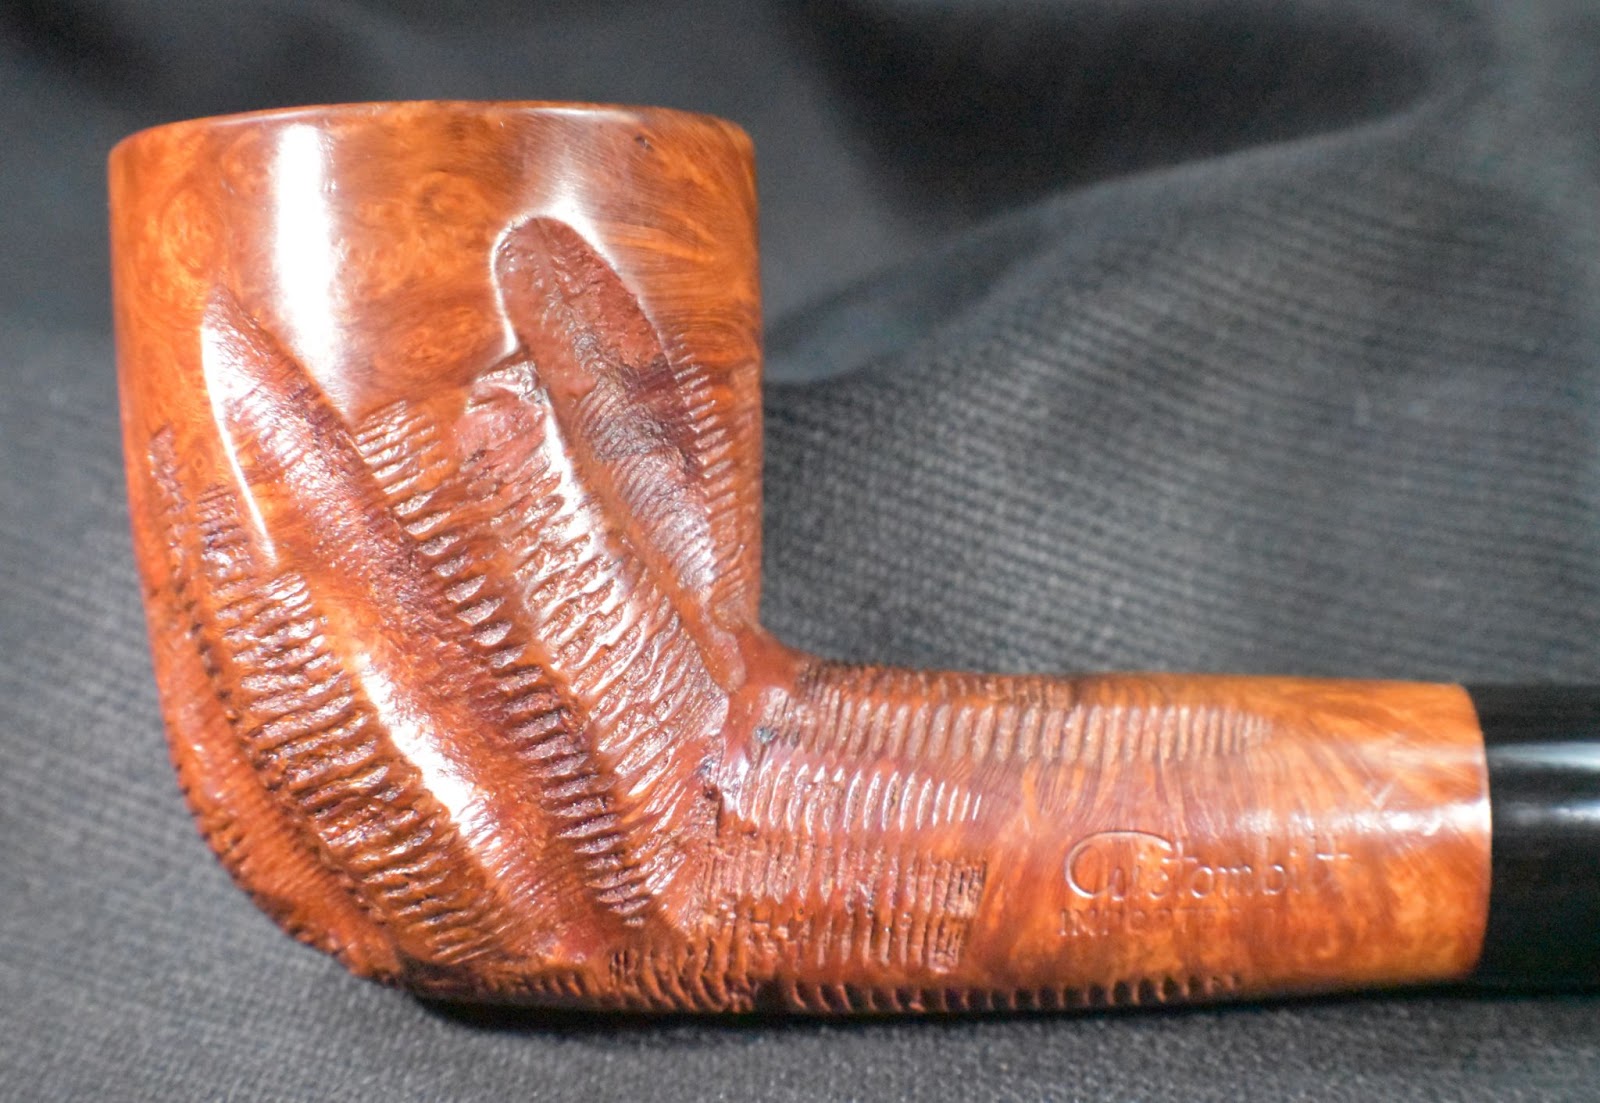
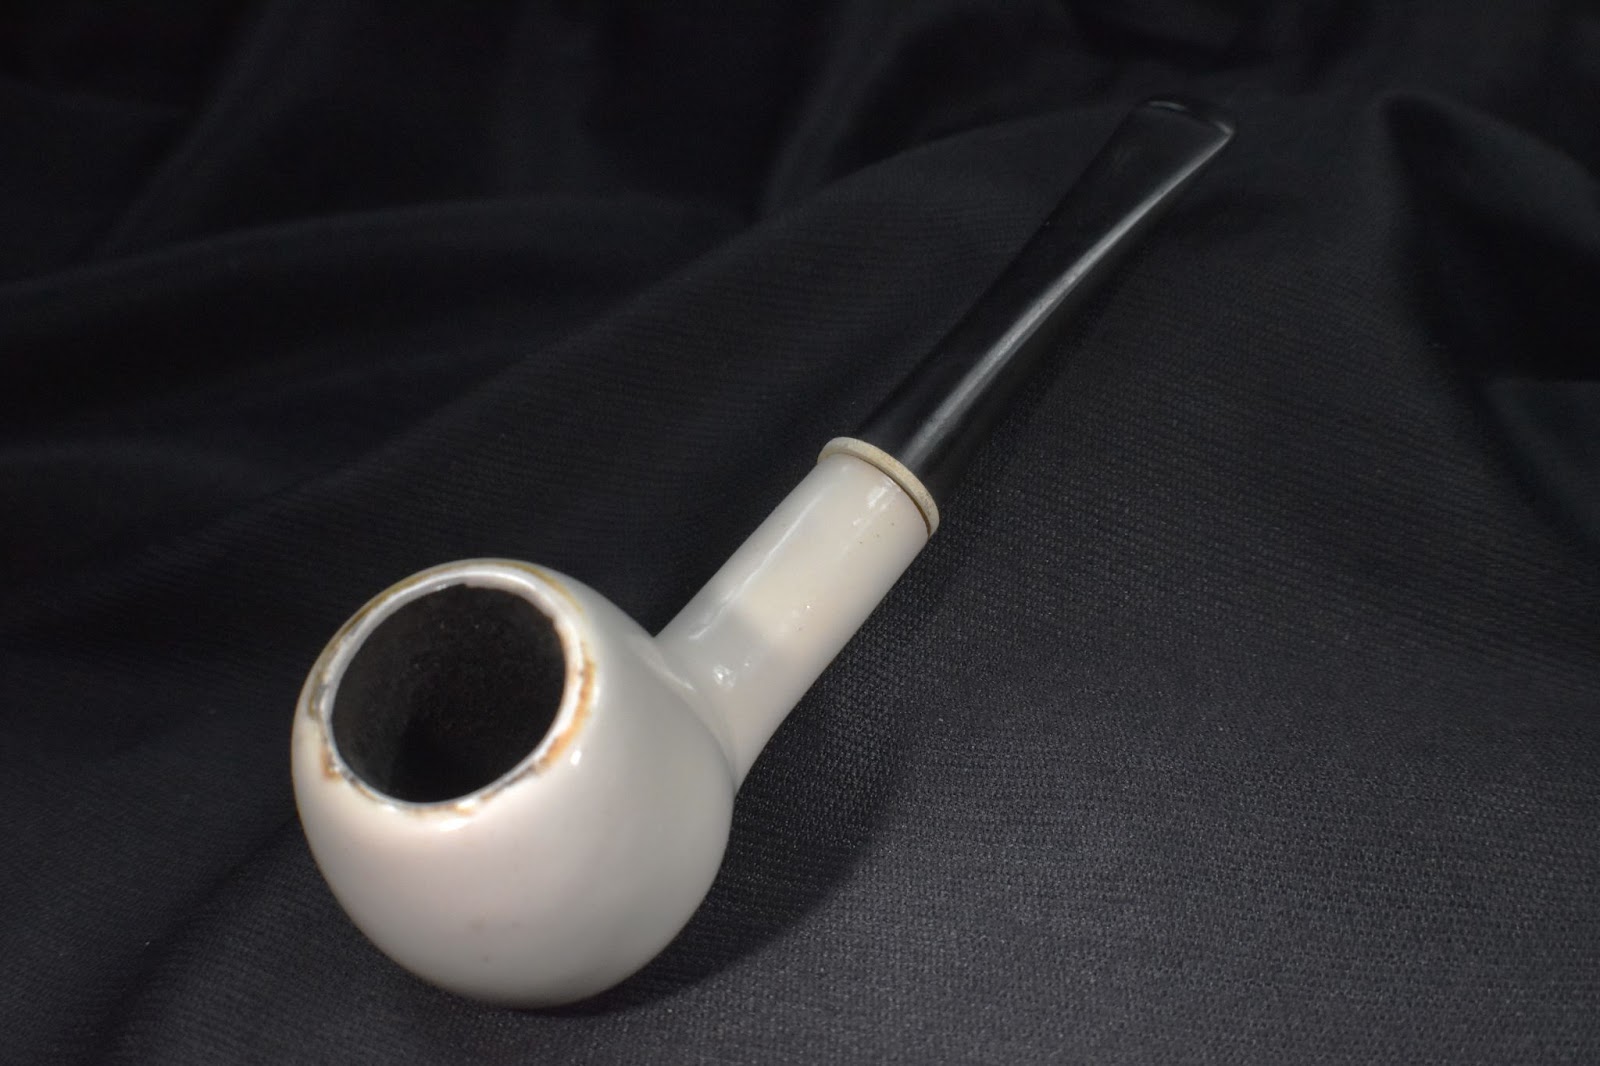
The first pipe I decided to work on was the porcelain apple, thus the title and subject of this posting. Below are some photos of the pipe before I did anything with it.
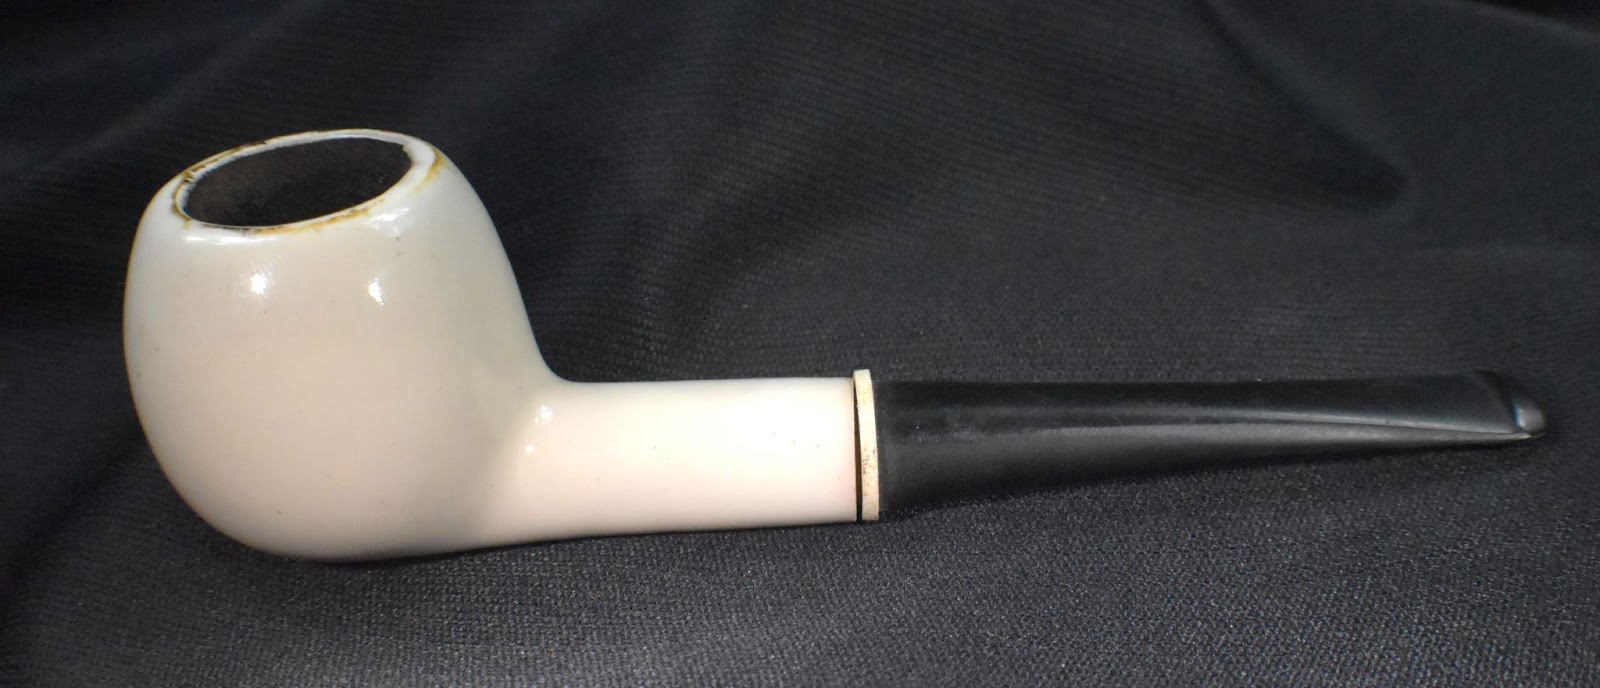


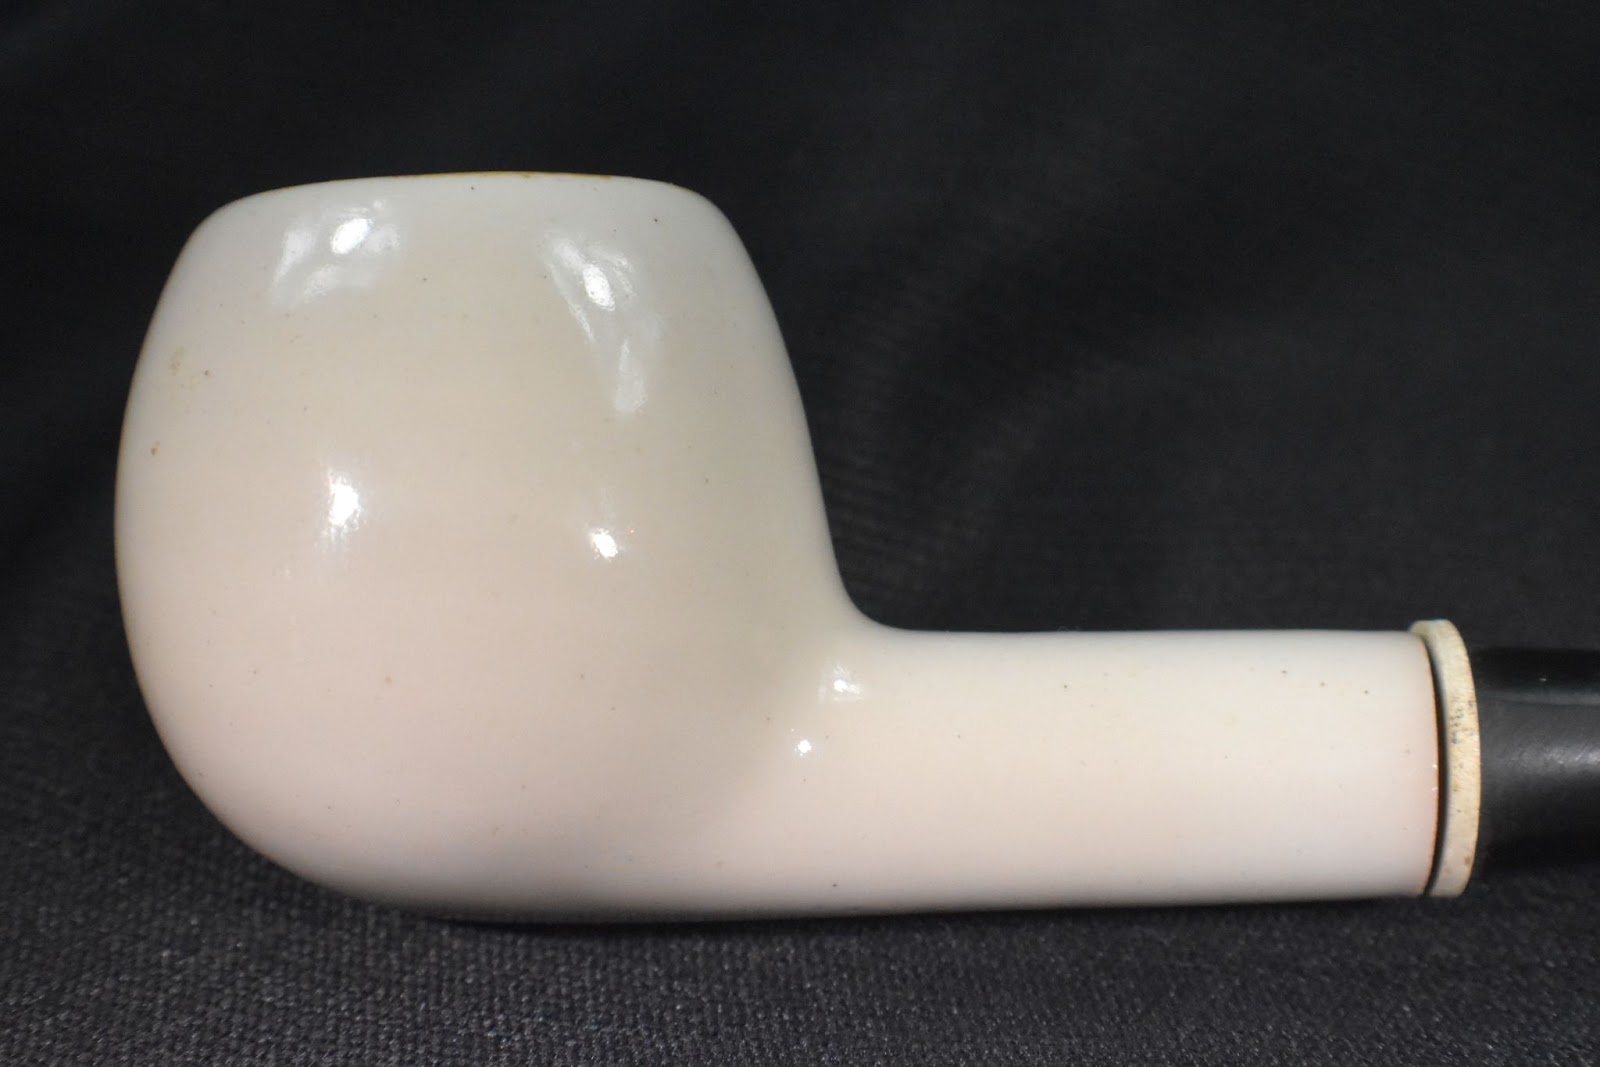


This restoration looked to be more of a cleaning and stem polishing than a true restoration. Some work would have to be done to improve the fit of the cork tenon. Other than that there was not a lot that the pipe needed.
Background
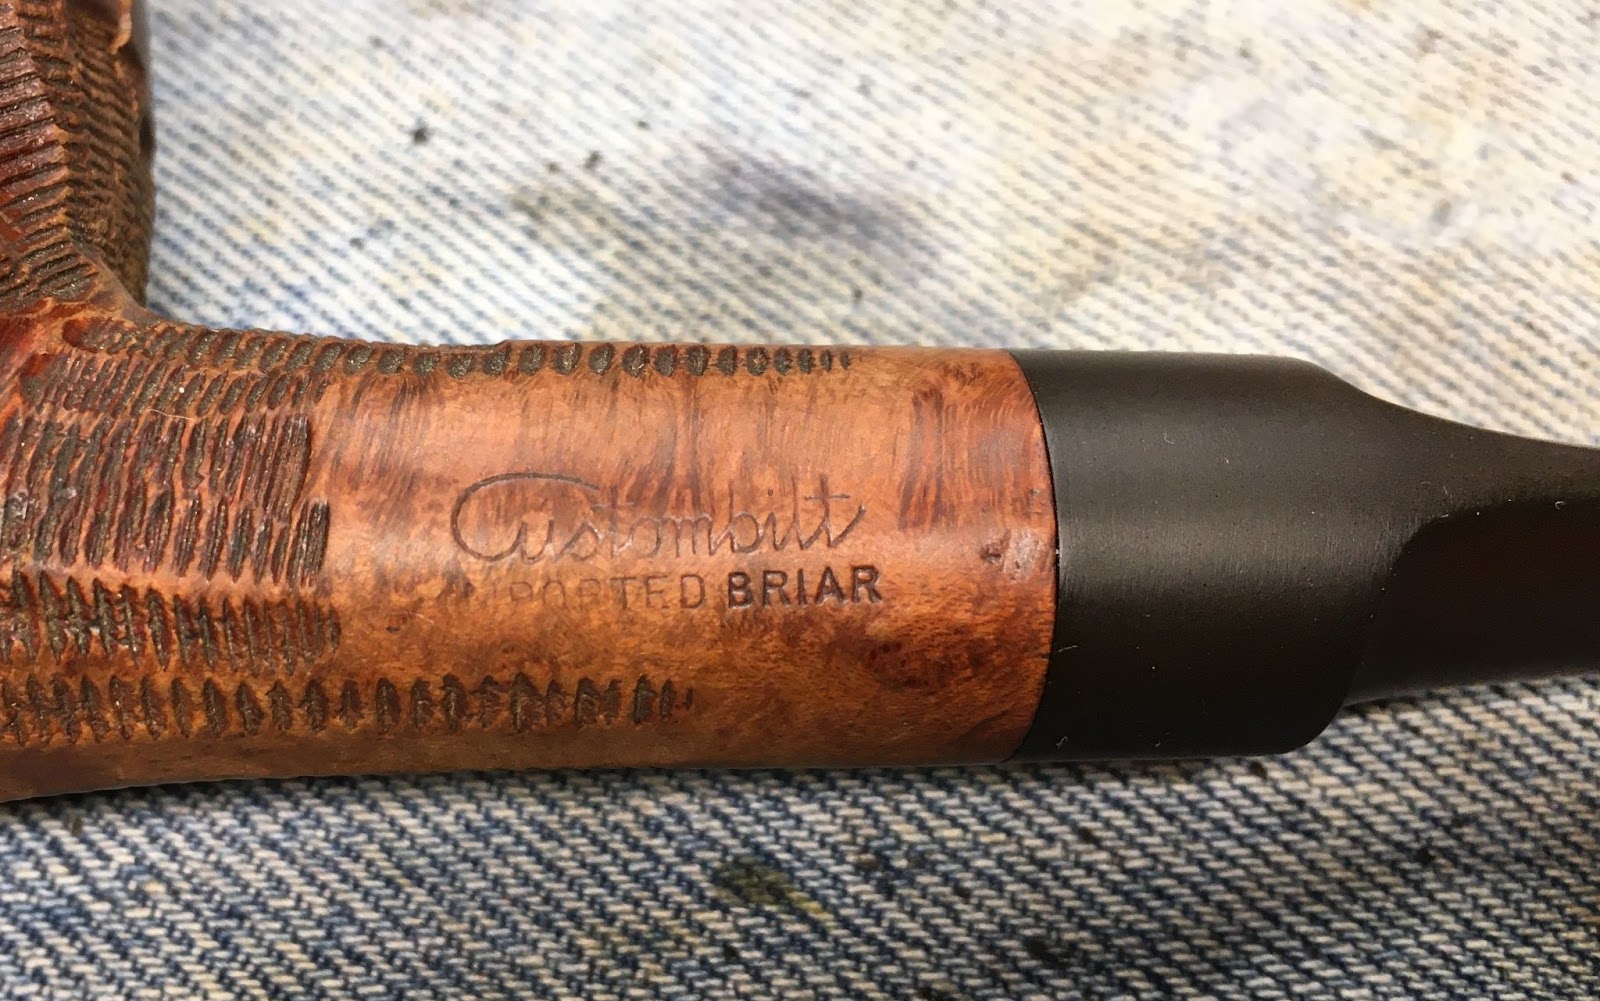
There really isn’t much I can say about this pipe without a whole bunch of imaginative conjecture. This pipe has no identifying stamps or marks. If I had to venture a guess, I’d say this pipe was made in Europe post WWII to 1980. I have included some links for those interested in porcelain in general and a couple more specific to pipes below.
List of porcelain manufacturers – Wikipedia
Amsterdam Pipe Museum – Royal Goedewaagen,
Catalogue | Porcelain Tobacco Pipes
The Restoration
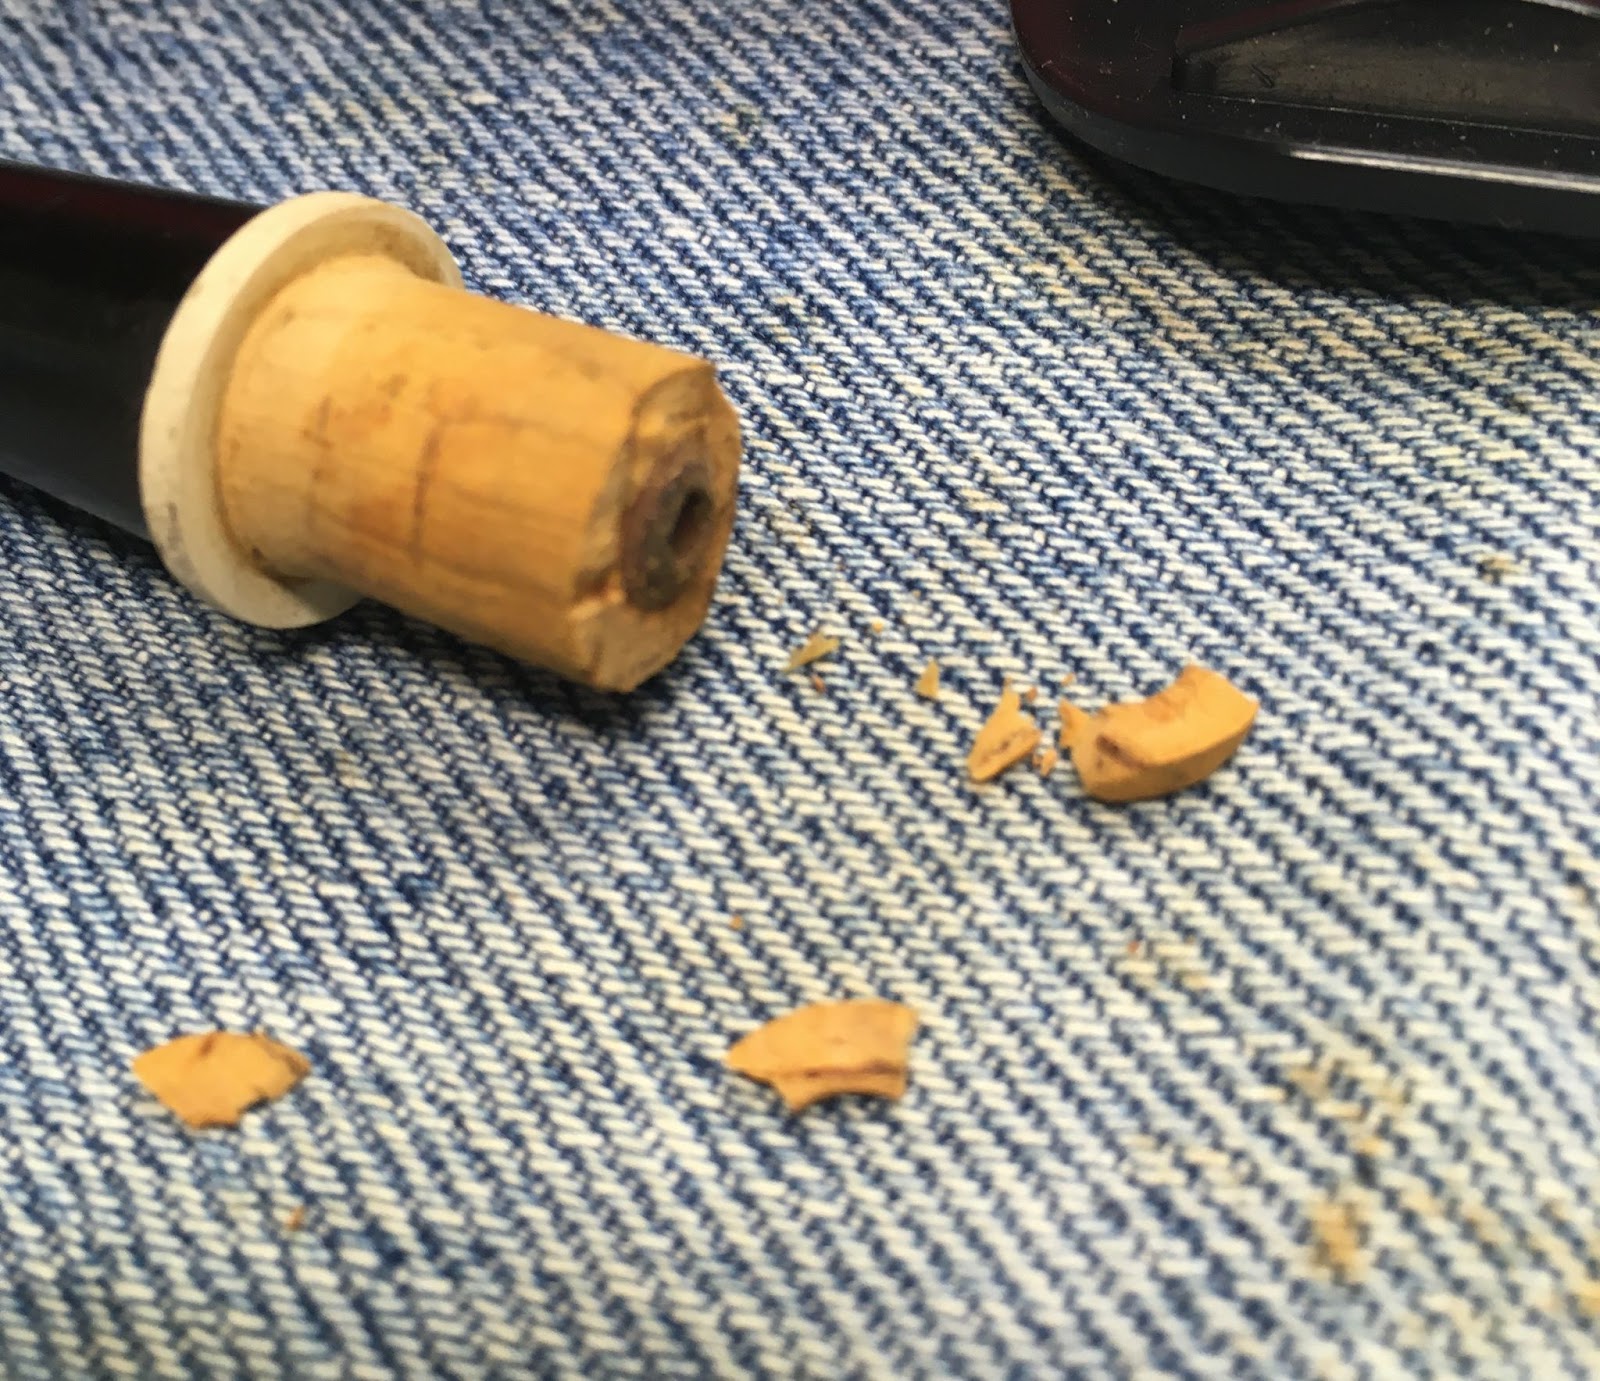
The pipe began on the workbench with a cleaned denim piece.

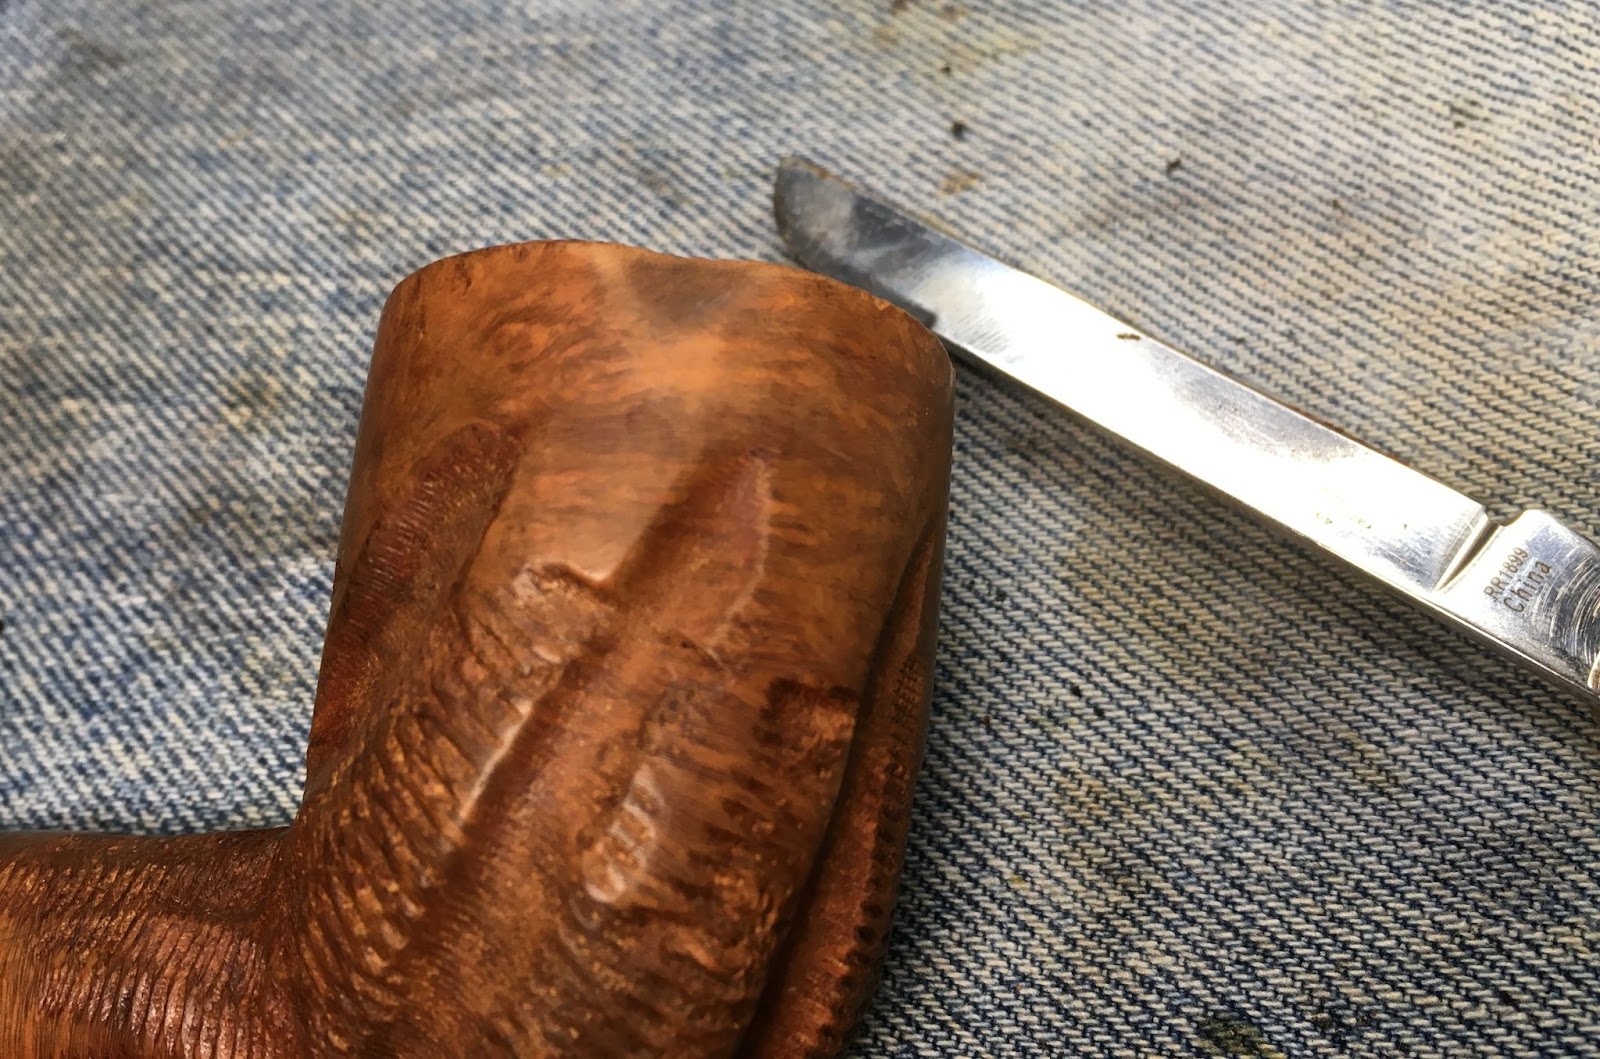
An Exacto knife kit was broken out for a little bit of cork trimming.

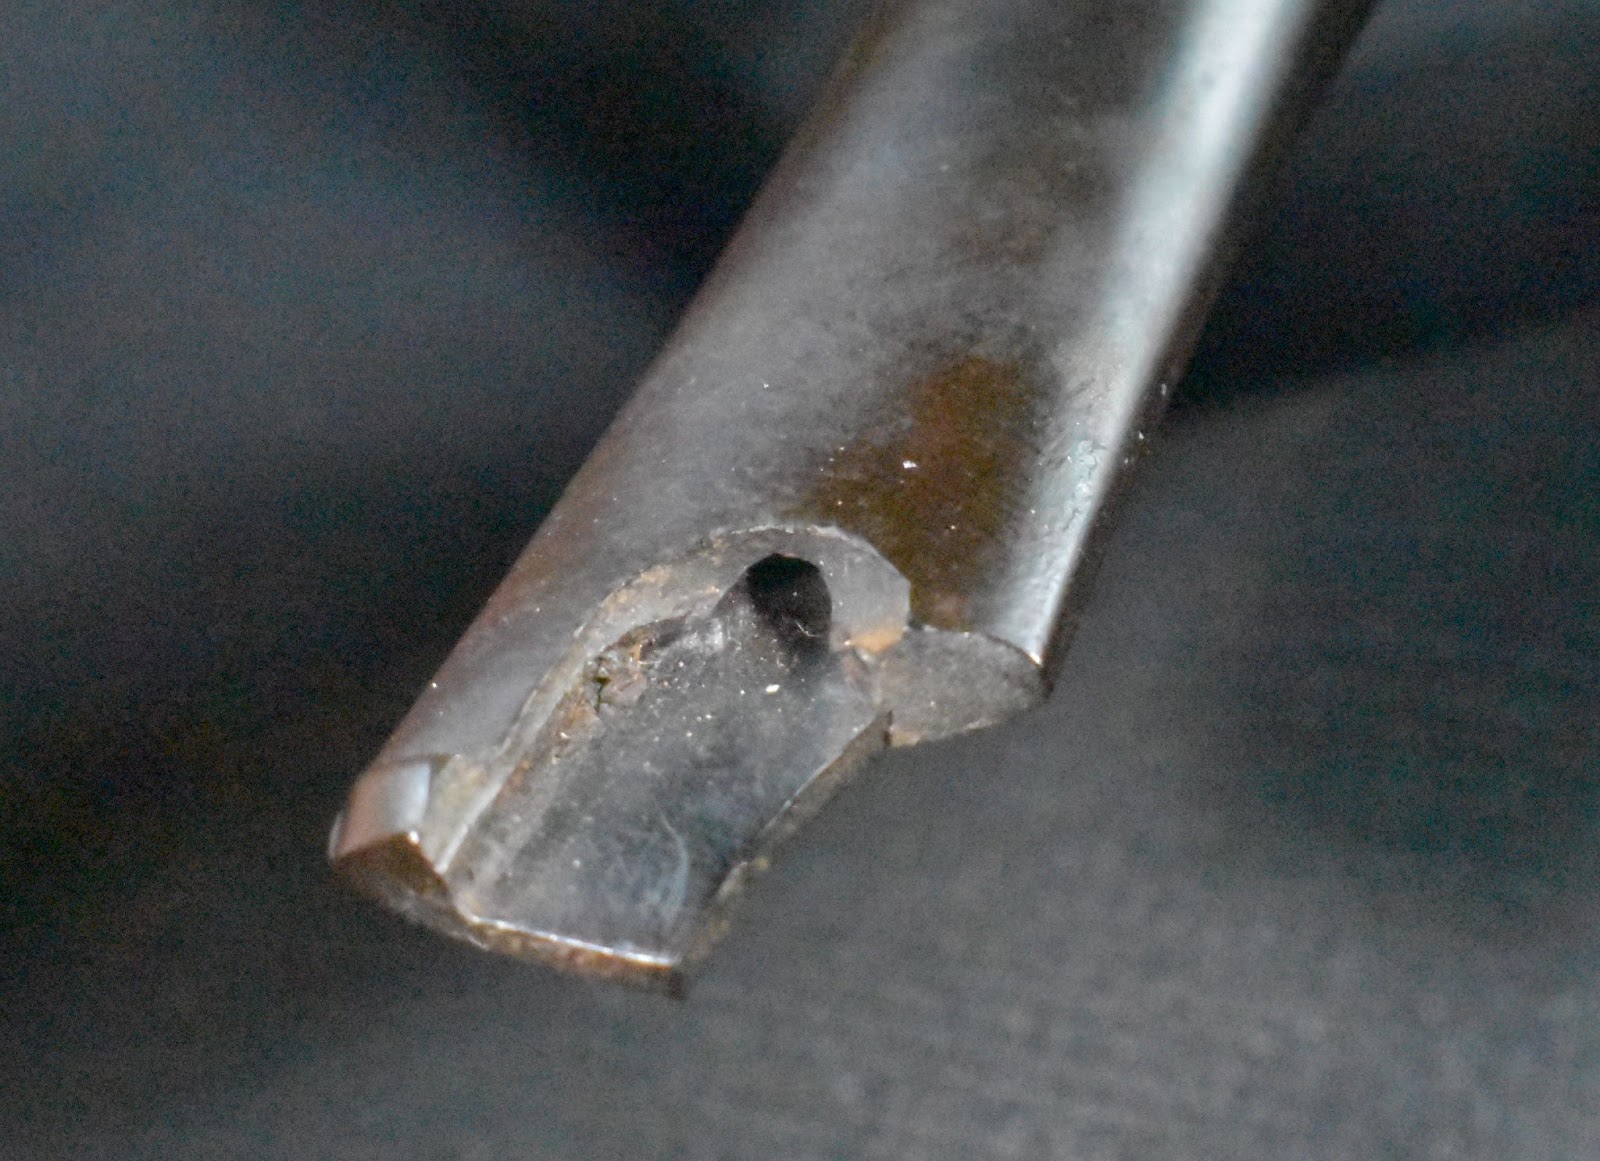
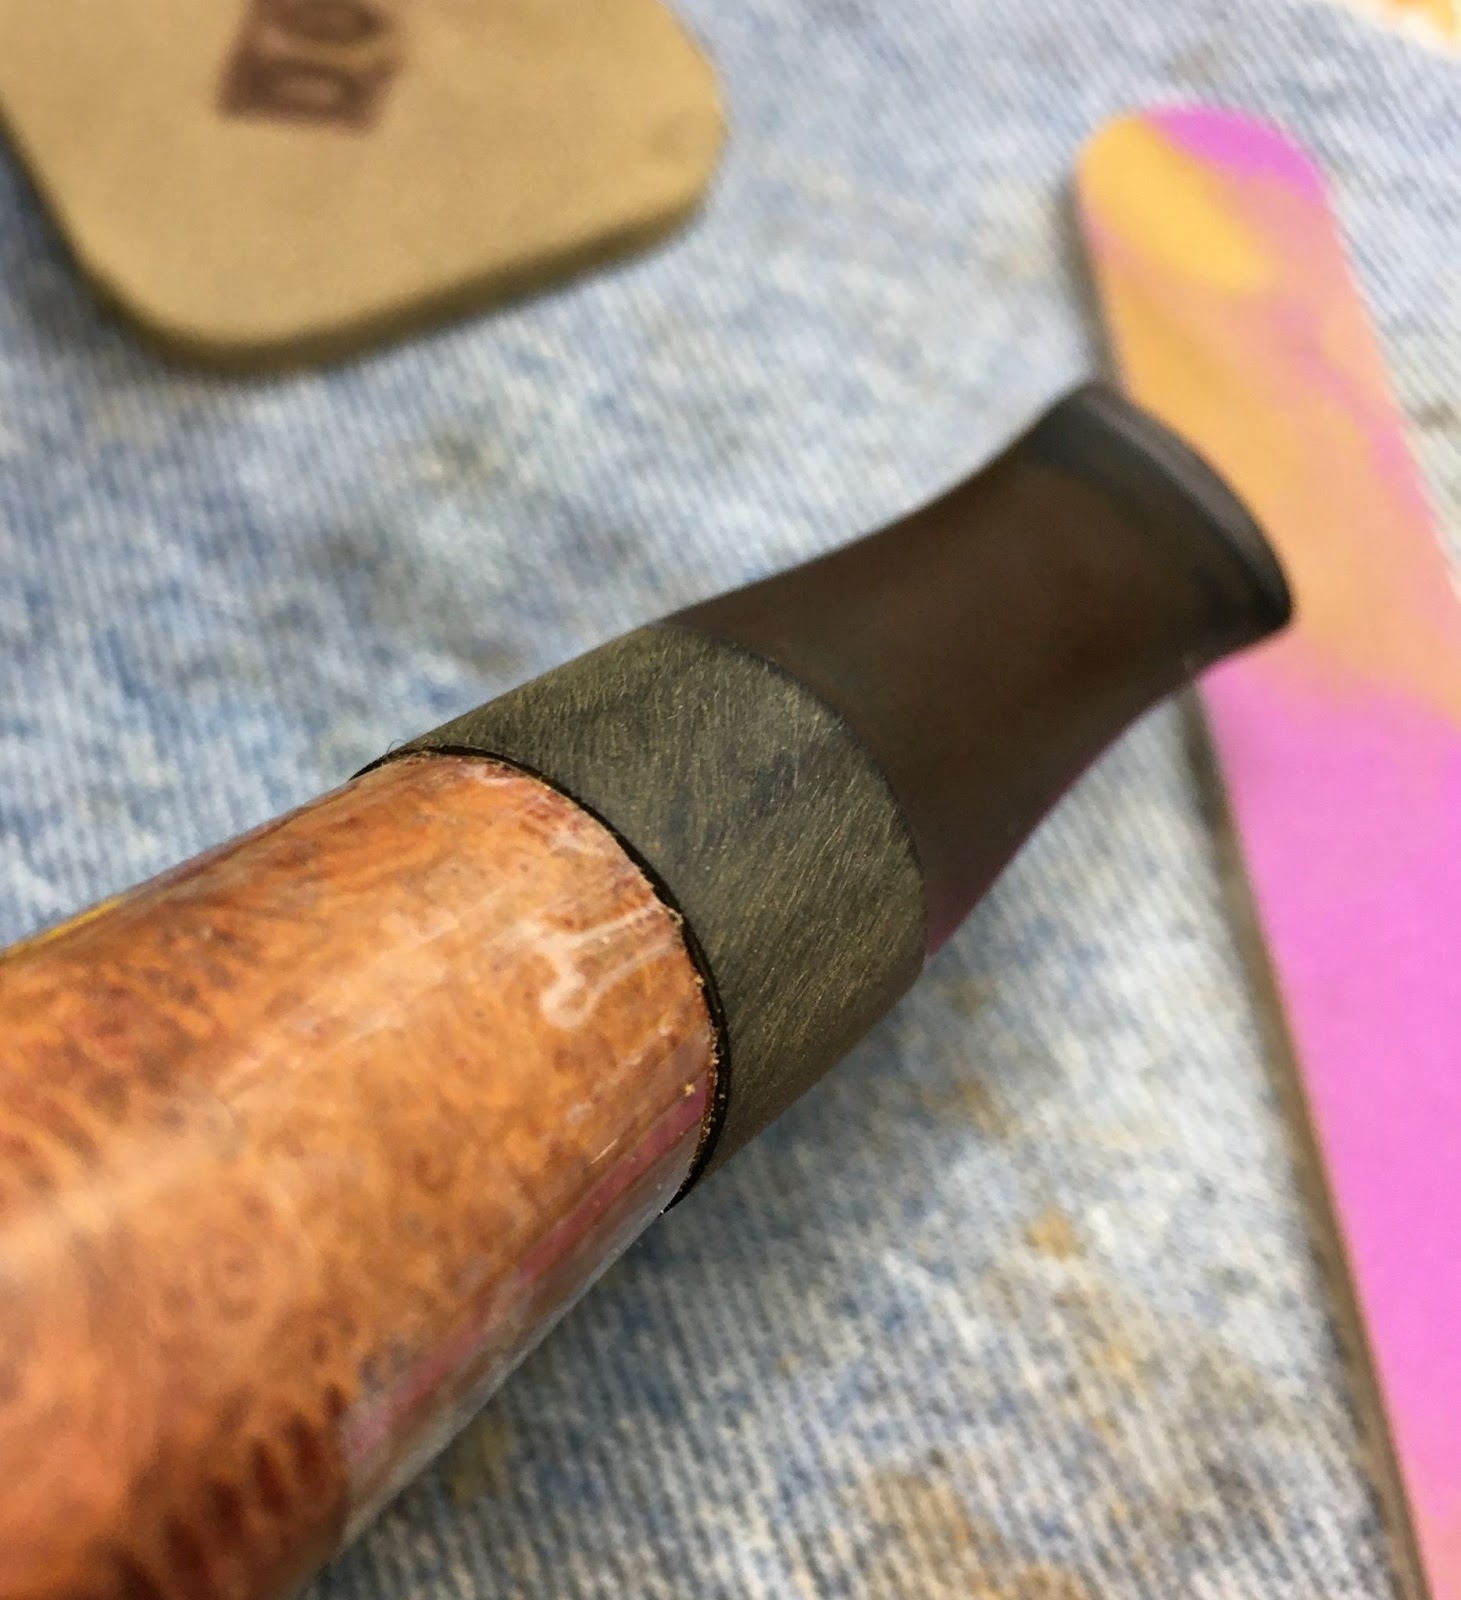
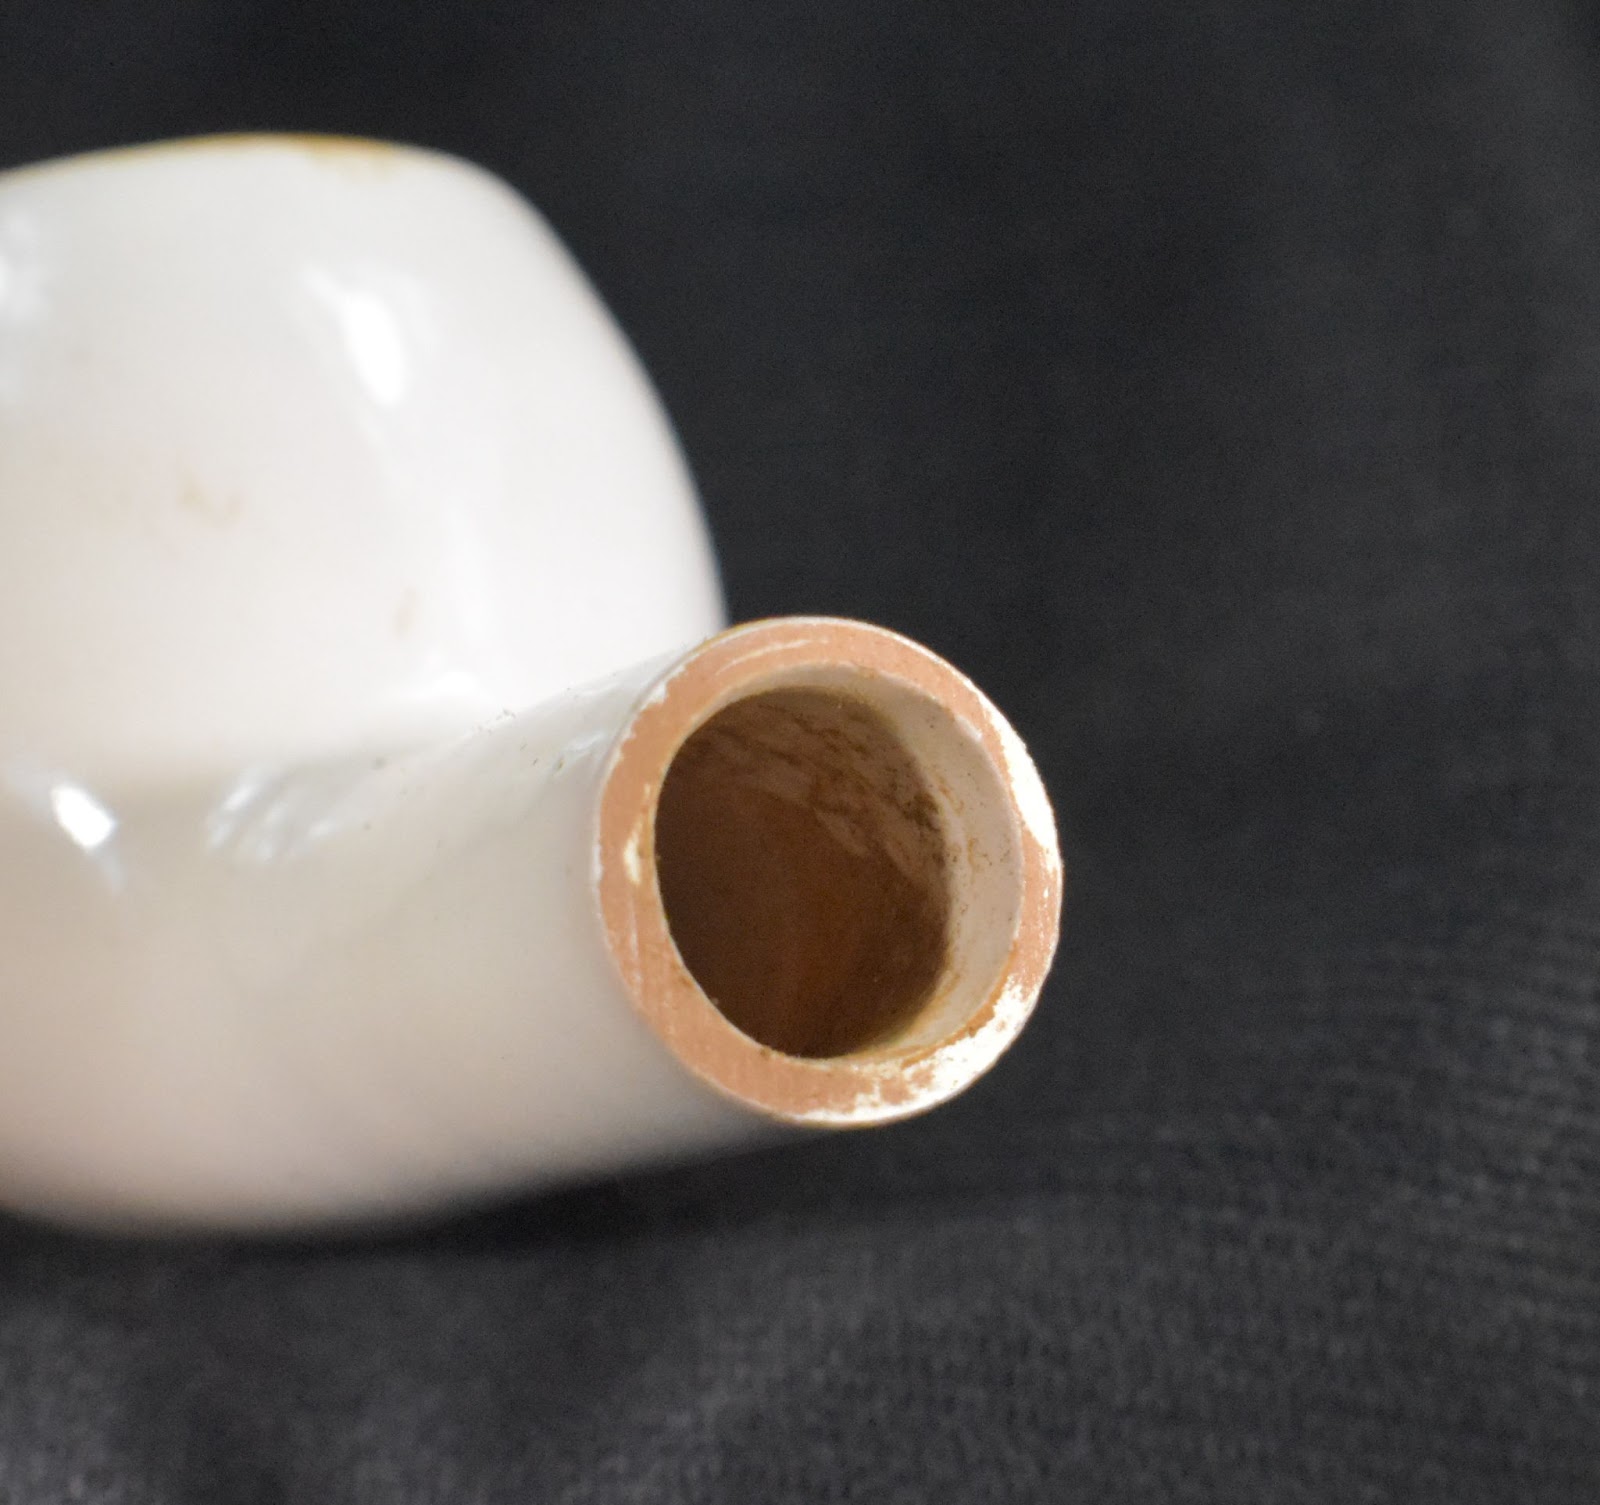
The cork tenon had a rough and unsightly end. This would need to be trimmed and sanded.

The cork proved to be very dry and brittle leading me to think that it was probably at least 50 years old.
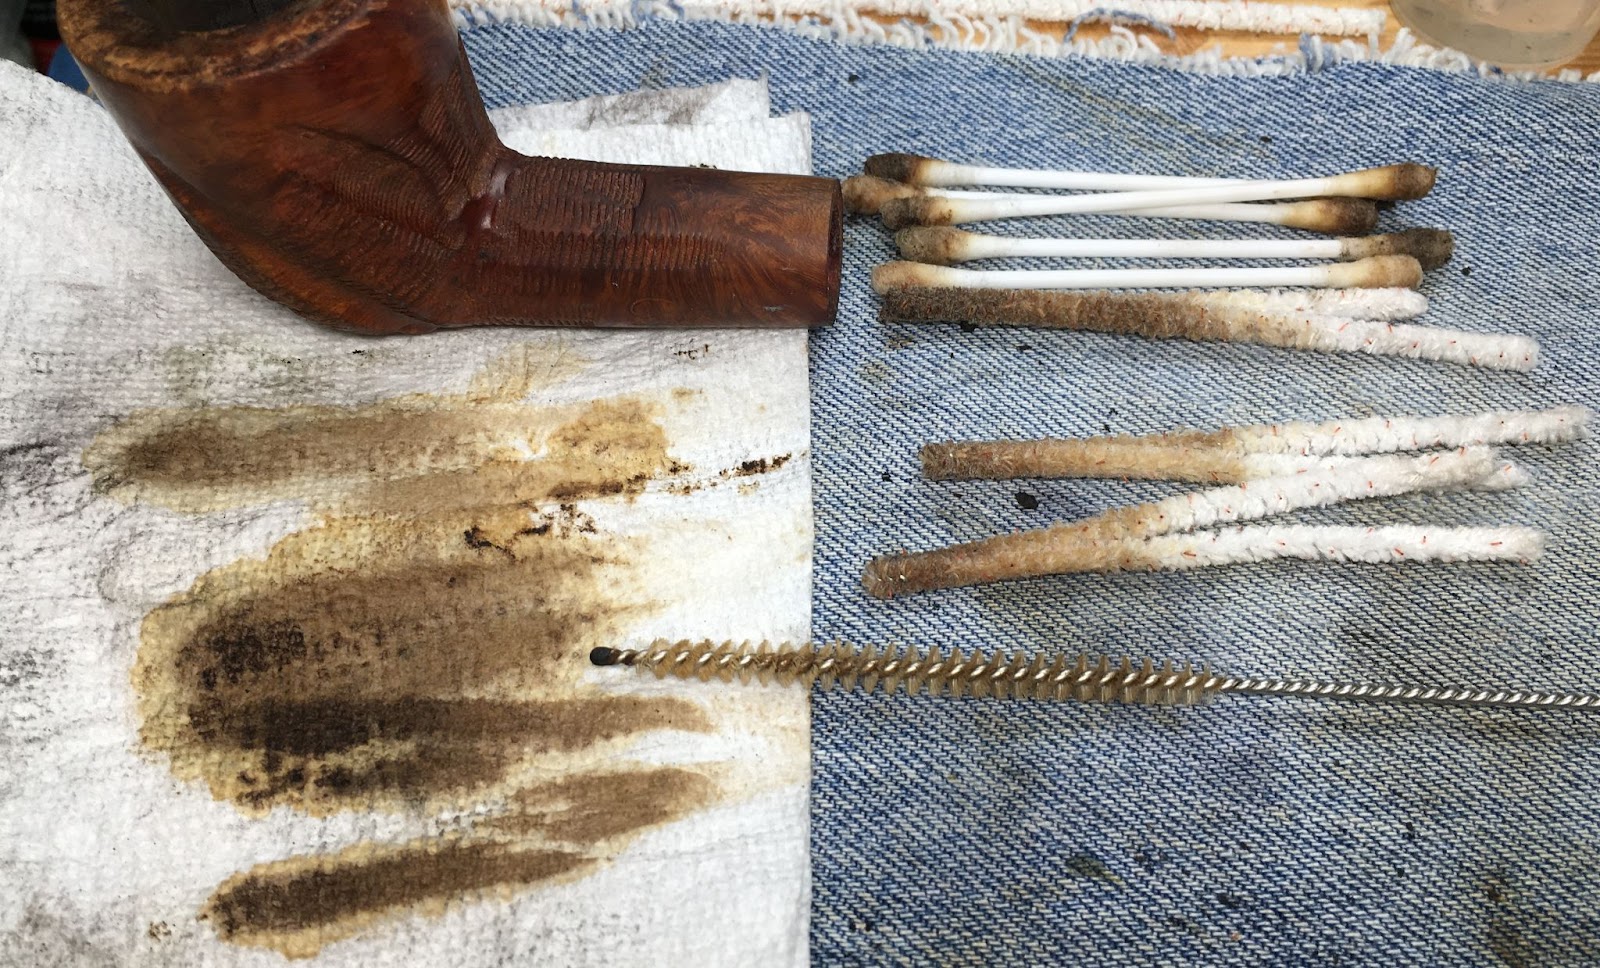
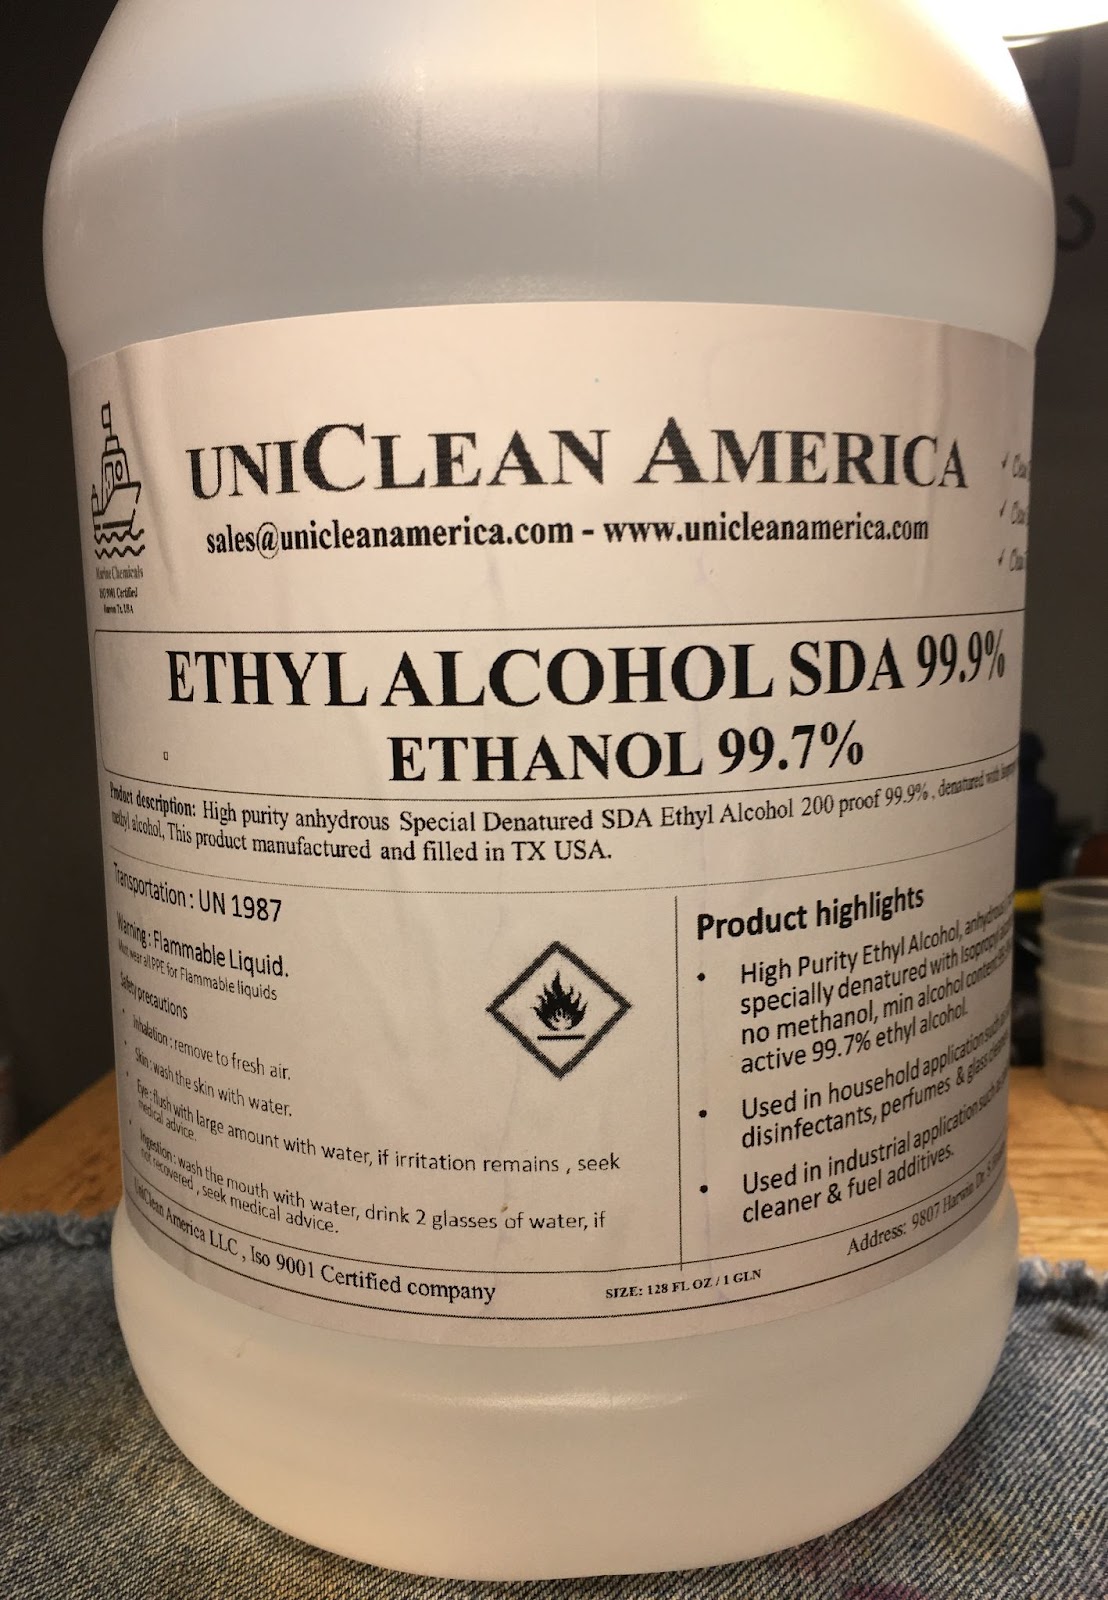
With the cork trimmed and sanded, I cleaned out the stem using bristle pipe cleaners and 99% ethyl alcohol. I had been using 95% ethyl and recently switched to this product.

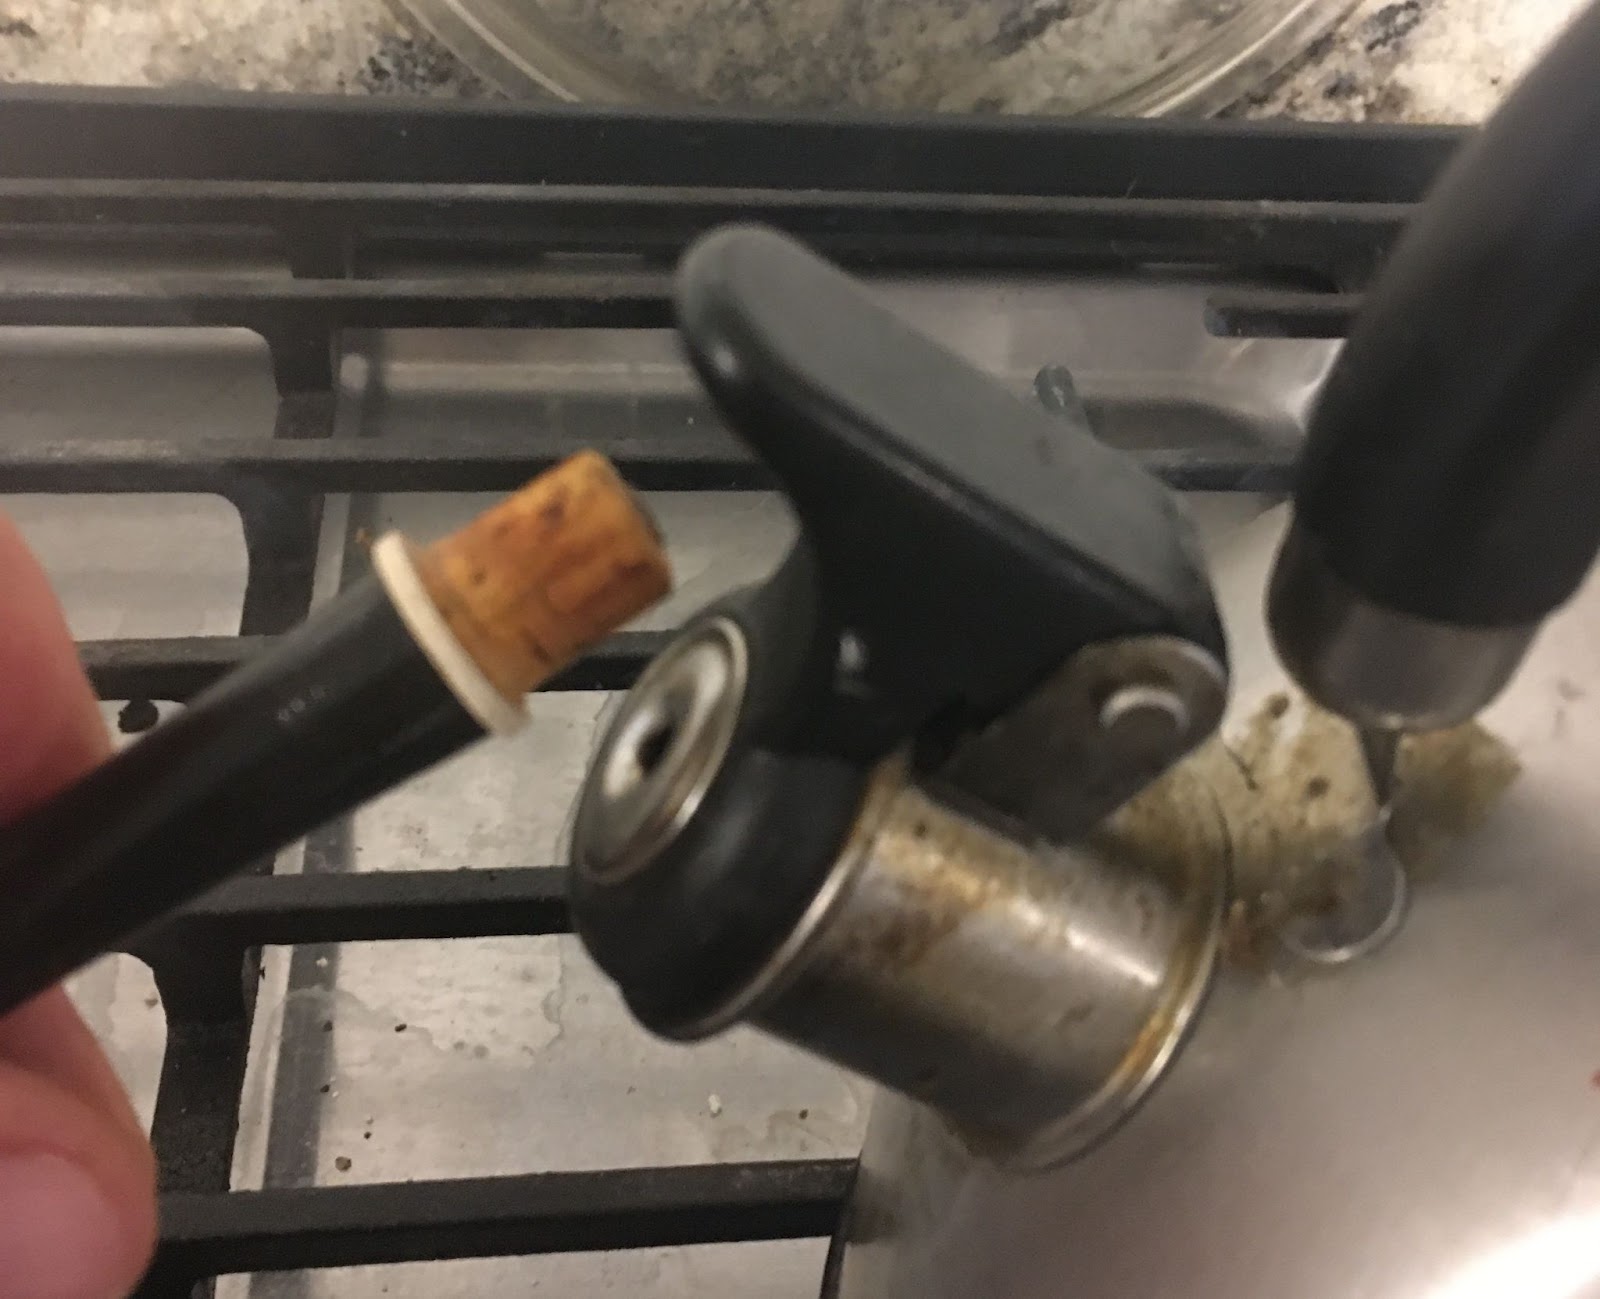
To address the dryness of the cork I got out the trusty old tea kettle and started some water on the stove.

The cork was steamed for about 5 minutes. This is precisely the amount of time it takes for the kettle’s whistle to become so annoying that you have to stop or become patient at Homicidal Acres Home for the Mentally Unstable.
I then rubbed some petroleum jelly onto the cork to hopefully preserve the now swollen cork. This did greatly improve the fit of the stem to the stummel.

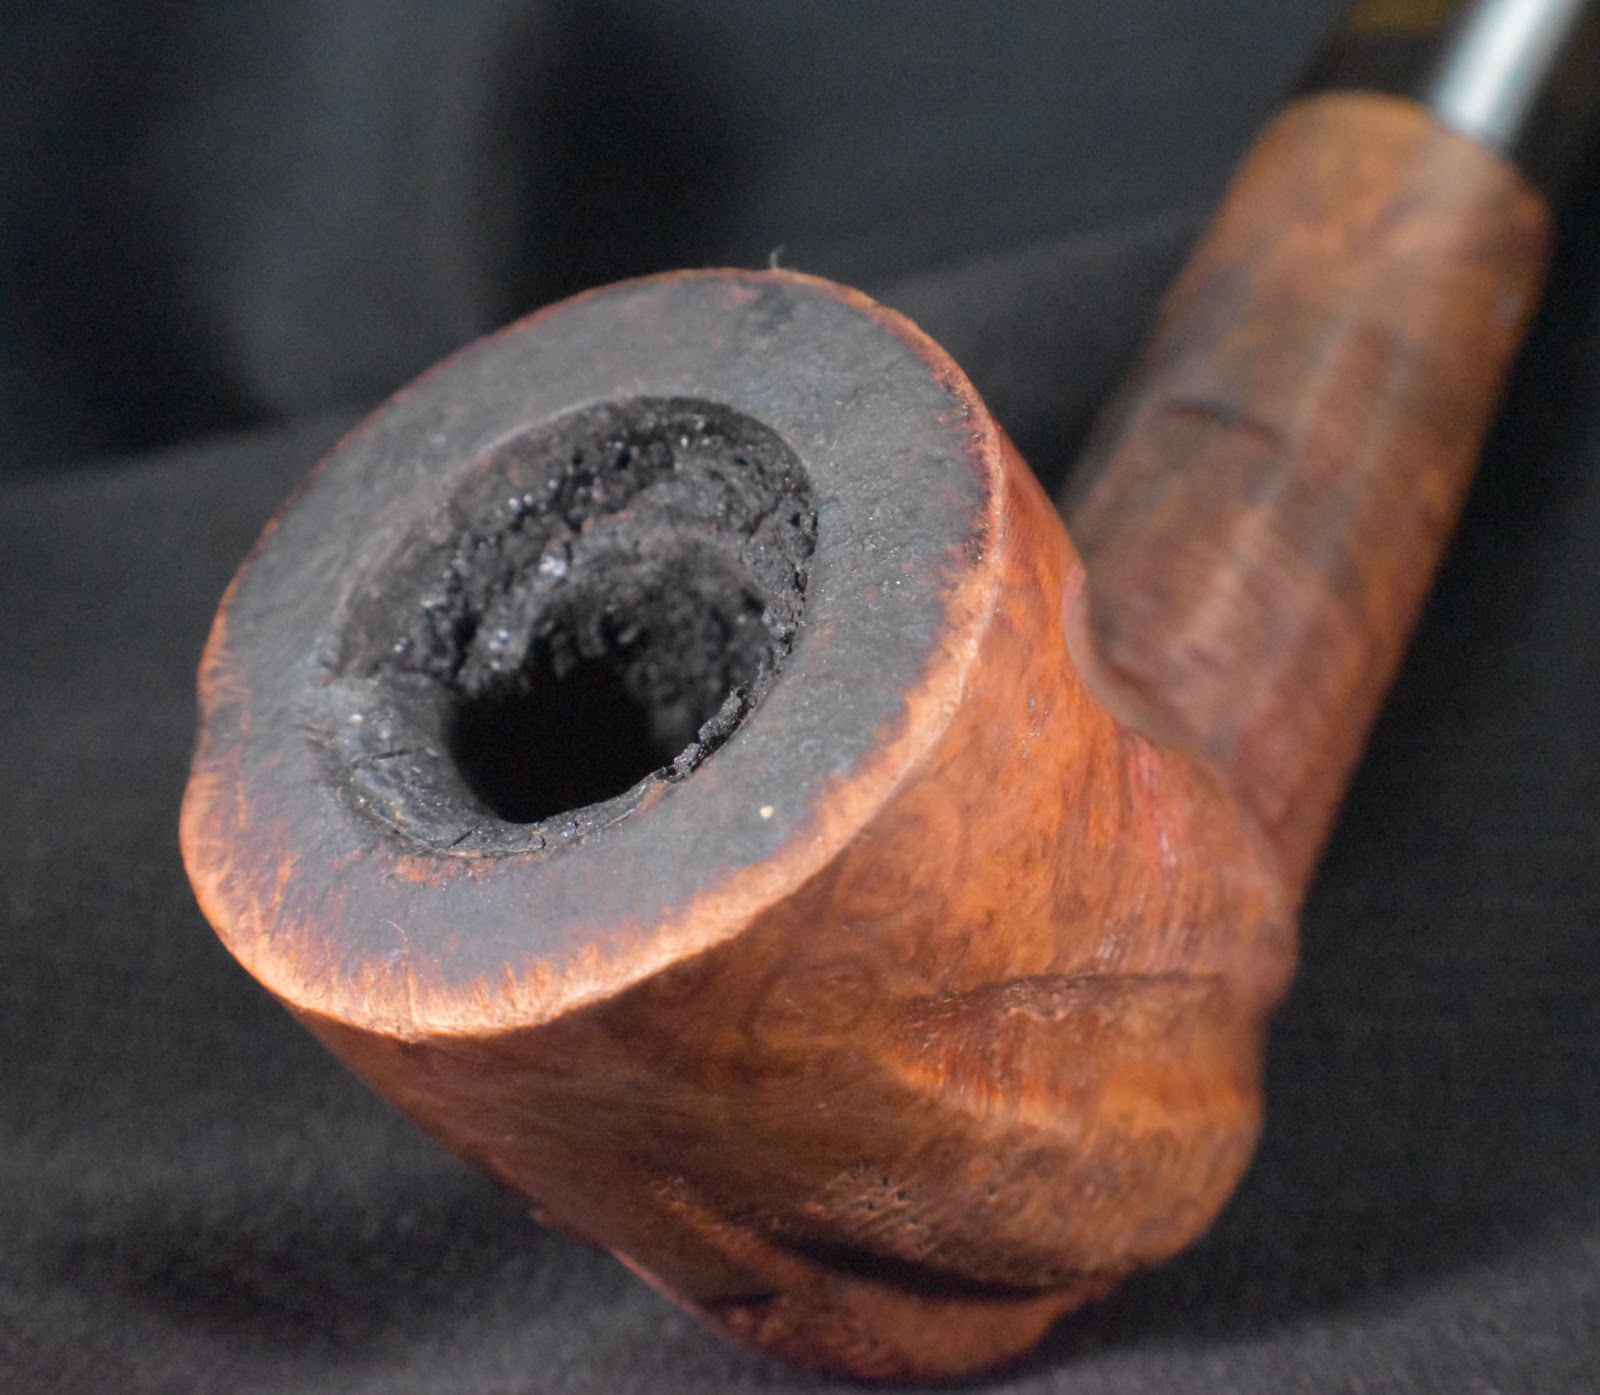
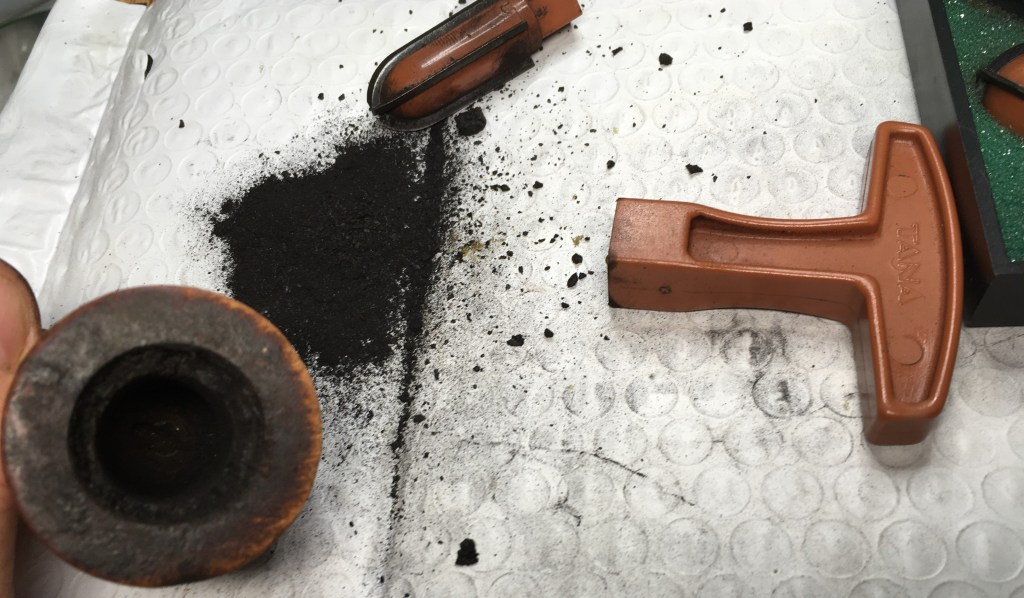
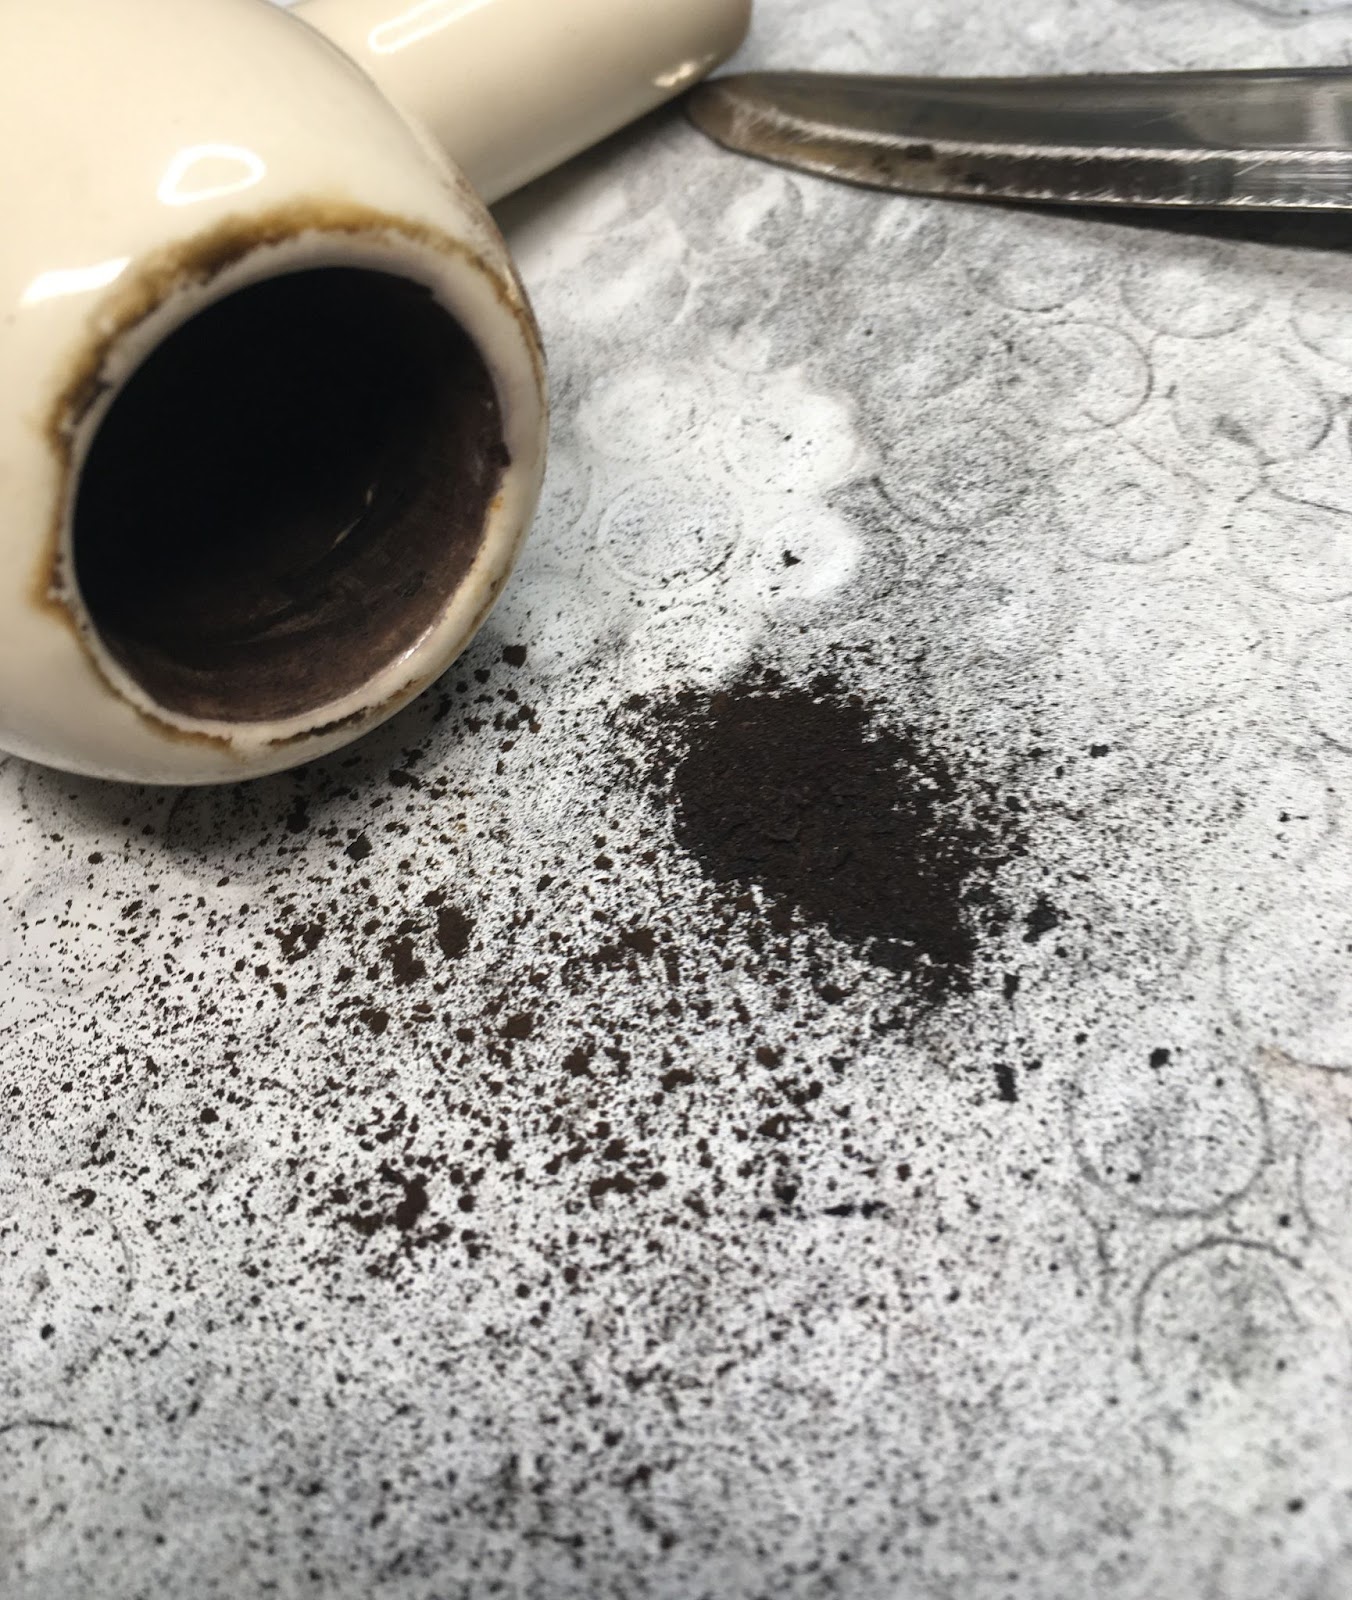
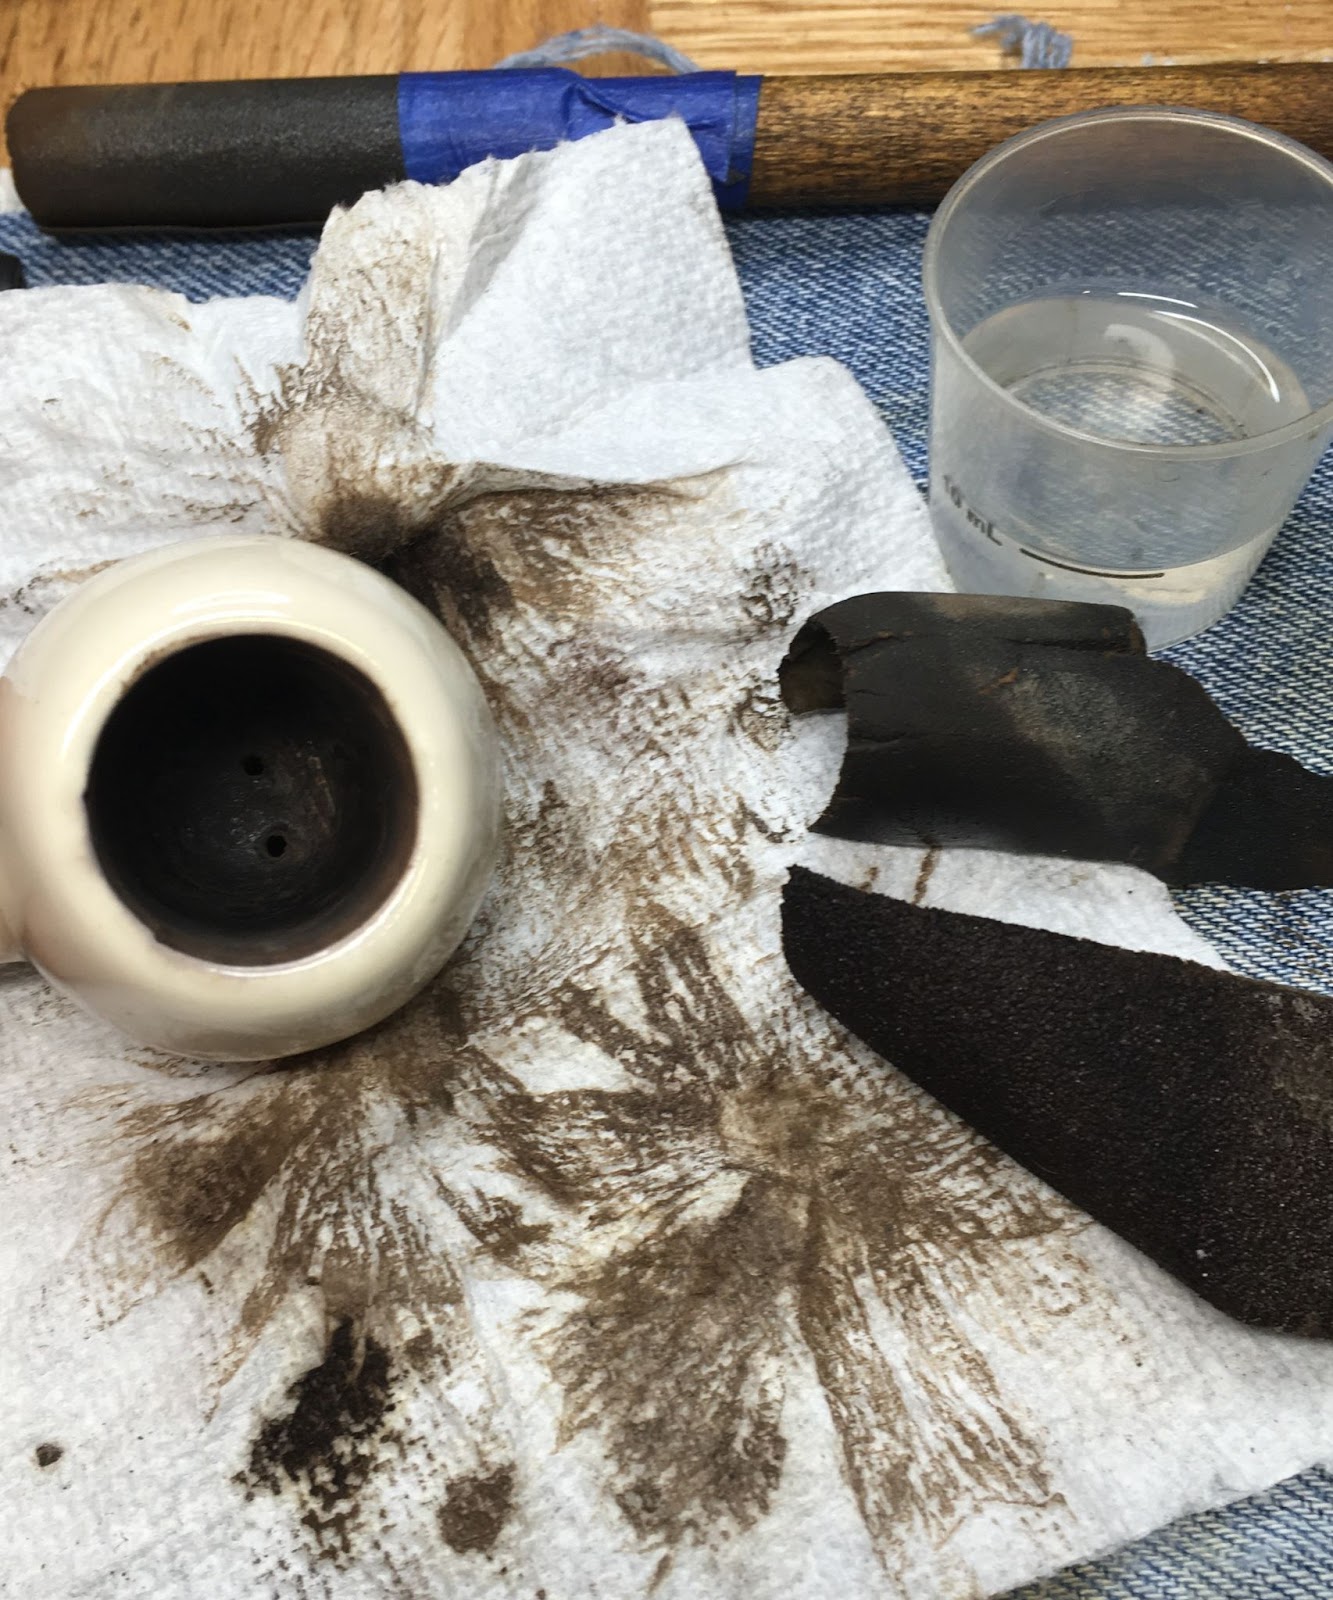
Next came the reaming of the tobacco chamber. Porcelain is a hard material but in my mind, it is also brittle. I’ve never broken a porcelain pipe during cleaning but I have only worked with one other so my experience was rather limited. I chose to treat it more like a meerschaum pipe and only used the Smokingpipes Low Country reaming knife to scrape the chamber.

A small amount of cake had been deposited within the chamber.
Alcohol dipped cotton swabs removed the smaller particles and more soluble cake remnants.

I used 3200 sandpaper wrapped around a wood dowel and a piece of sandpaper wetted with alcohol to sand the interior of the tobacco chamber.

And some more sanding. The carbon cake seemed to be well on its way to becoming diamond.
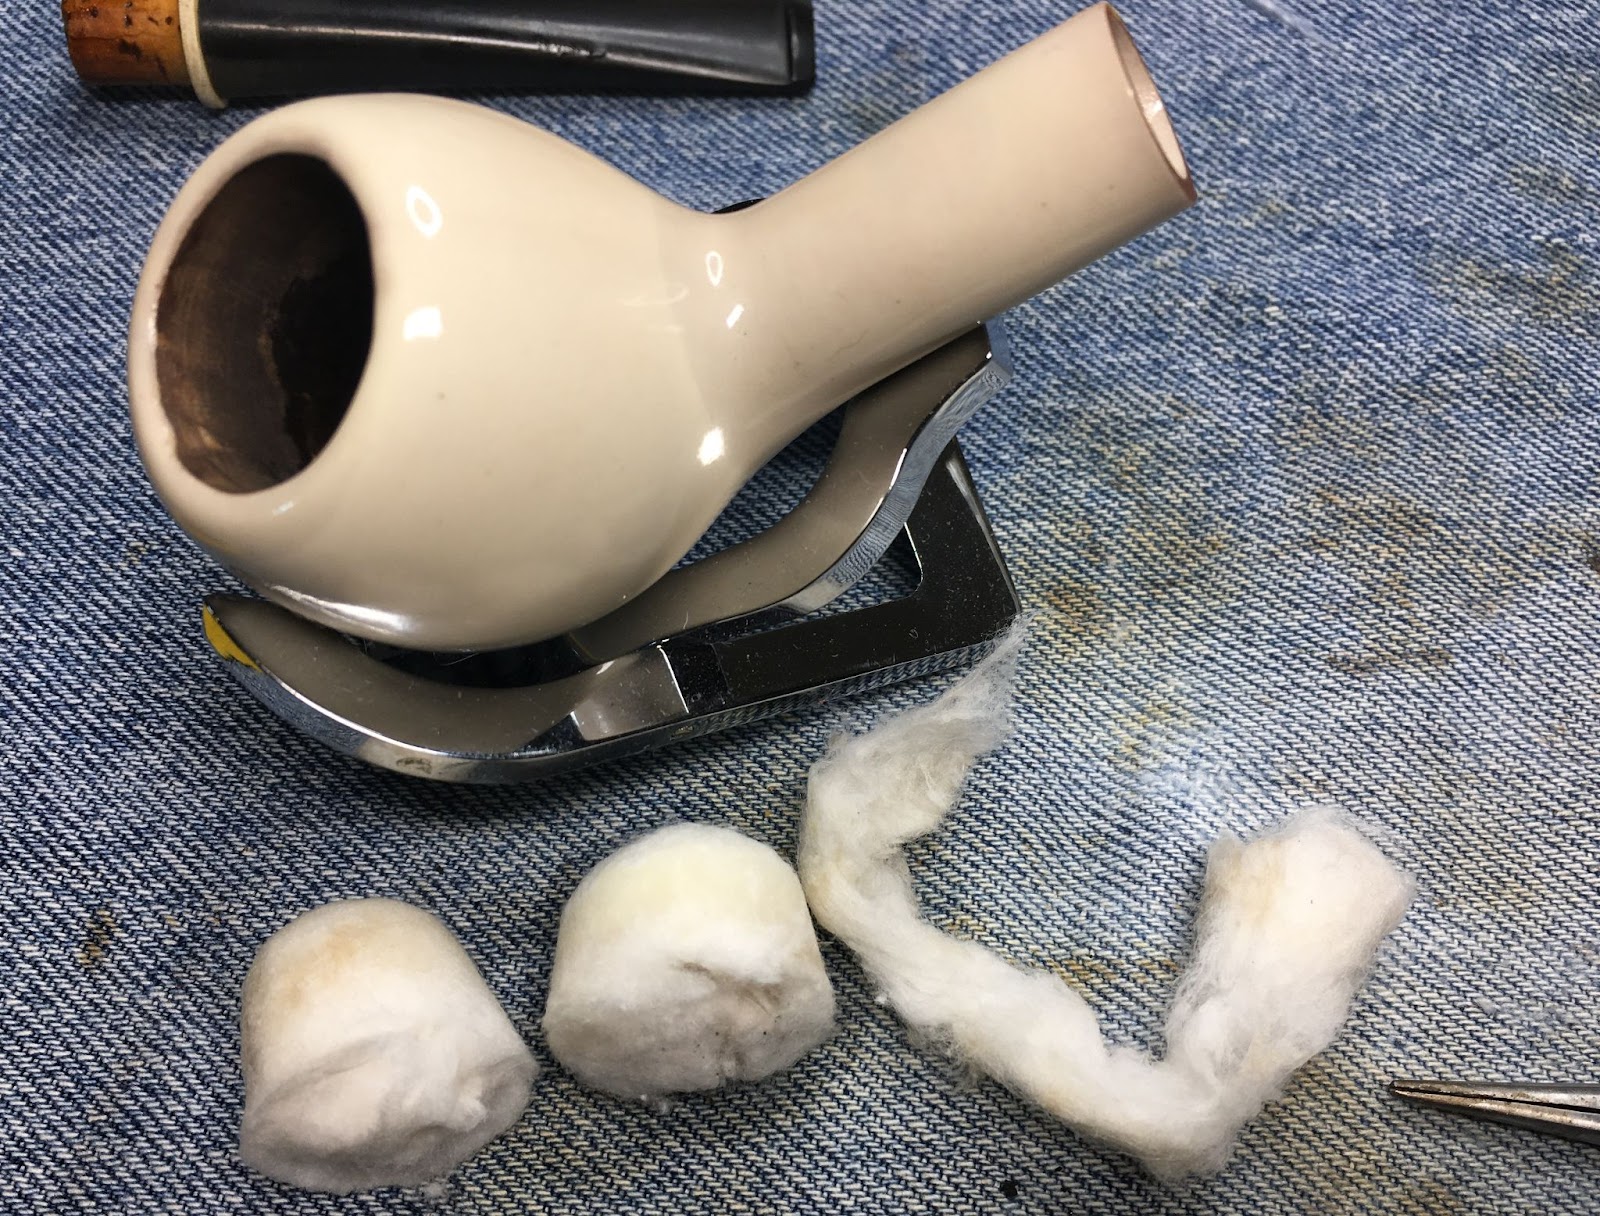
I eventually called it quits on the sanding and thought that perhaps a cotton stuffing and alcohol soak treatment might soften the remaining cake and remove any residual “old tobacco” aroma.

The tobacco chamber and shank were stuffed with cotton and then saturated with the 99% ethyl alcohol.

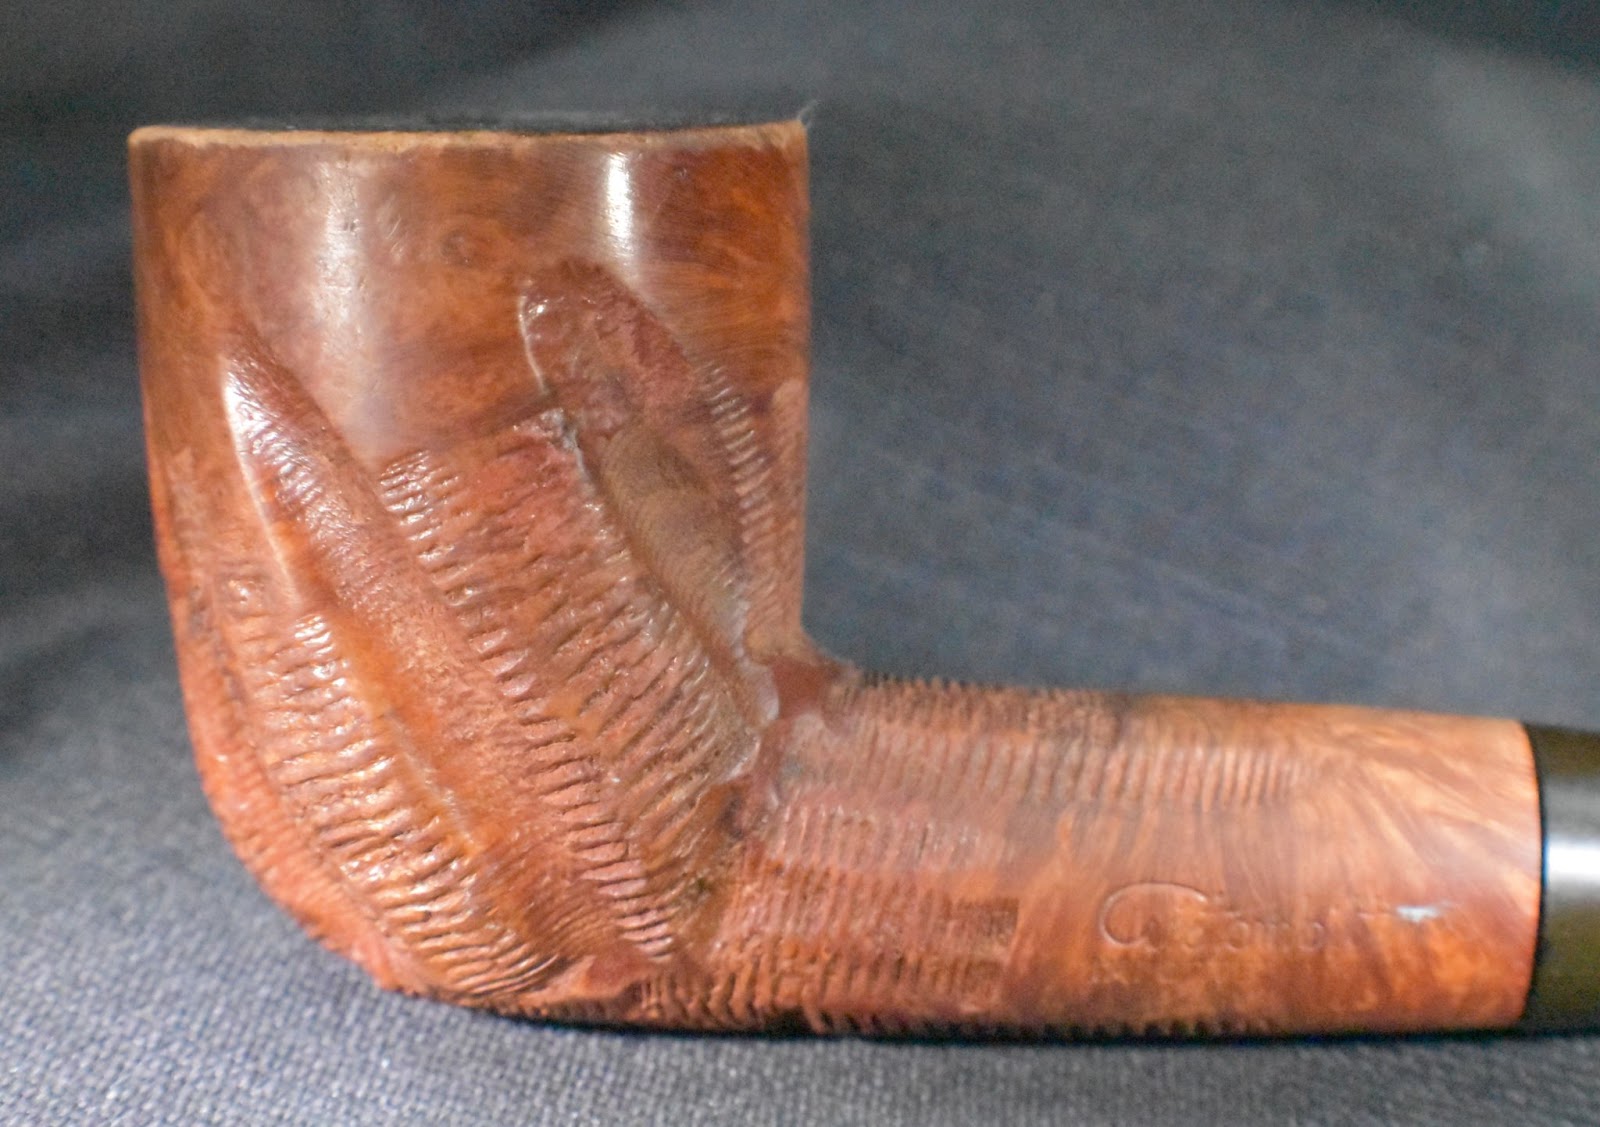
The unglazed porcelain of the shank began to discolor from the alcohol. I did not think this would be permanent with the evaporation of the alcohol.
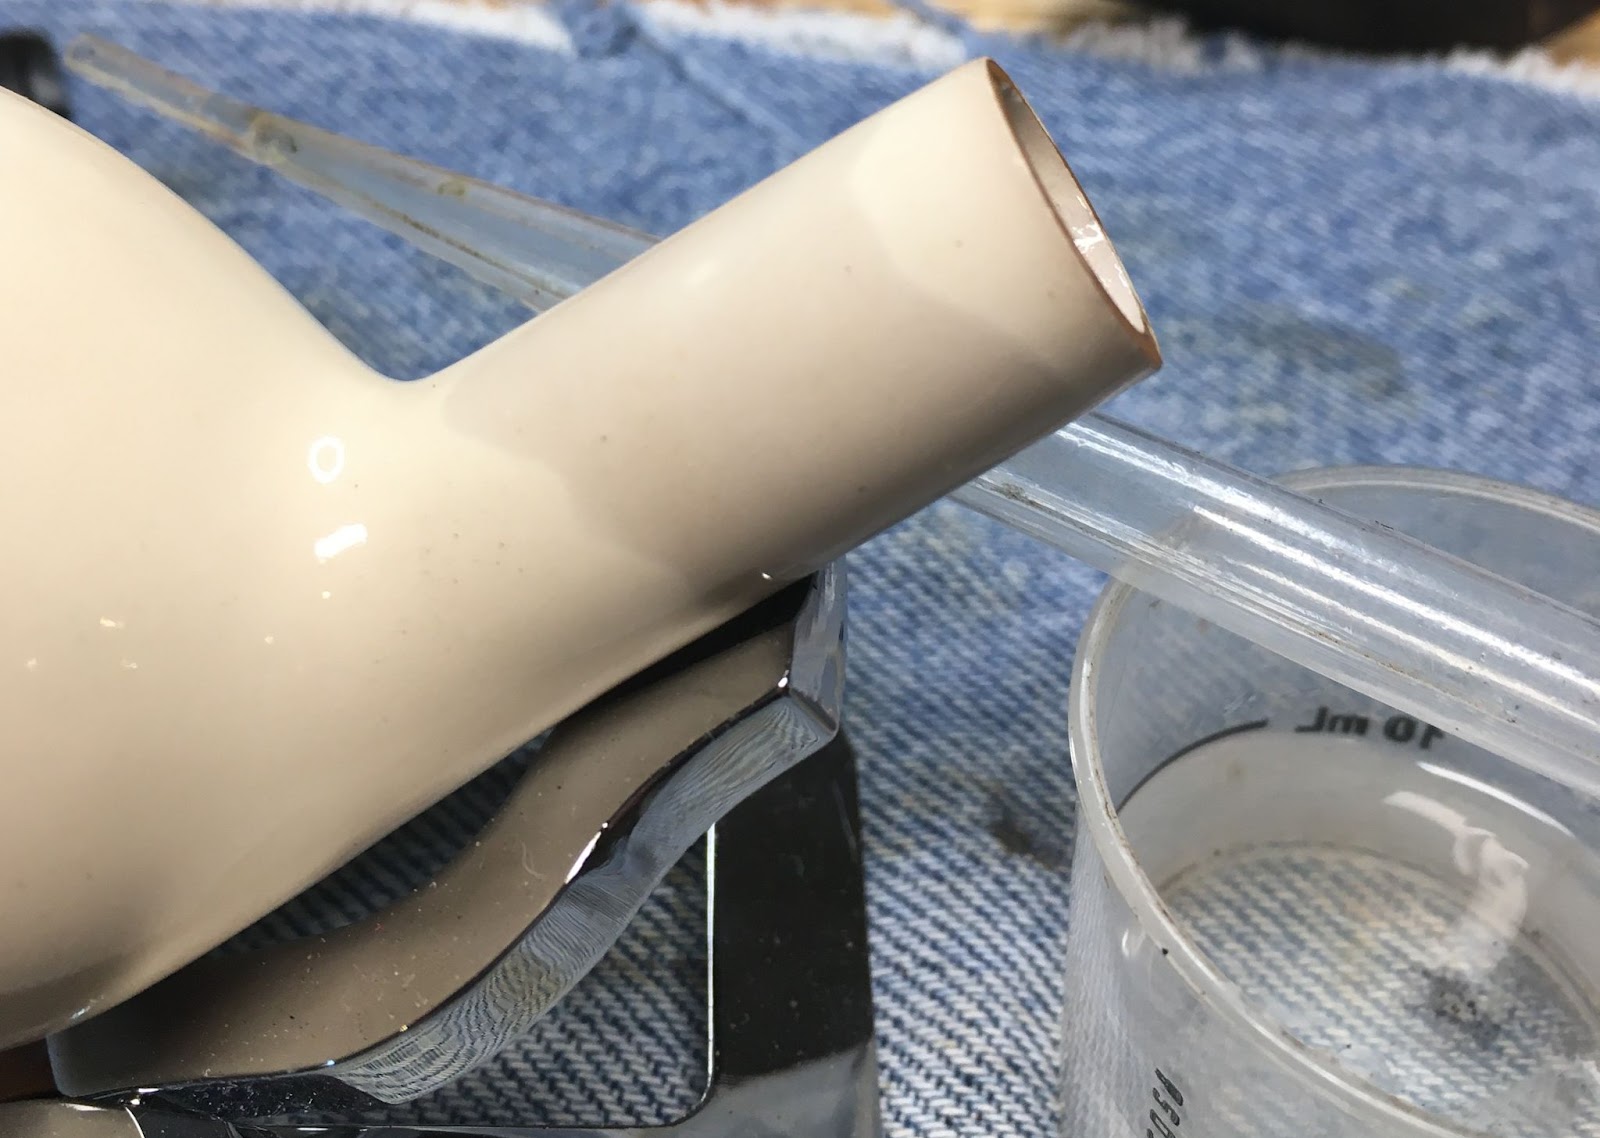
I compared my other example of a porcelain pipe to this pipe. I was struck by the color difference. My bent pipe has been smoked numerous times and it has taken on a very nice creamed coffee color. It was originally a bright white as well. The apple had obviously been smoked but had not experienced the same coloring.

After allowing the alcohol to work its magic overnight, I removed the now dry cotton. As you can see in the photo below very little smoking residue was absorbed by the cotton. The discoloration on the shank had also disappeared.
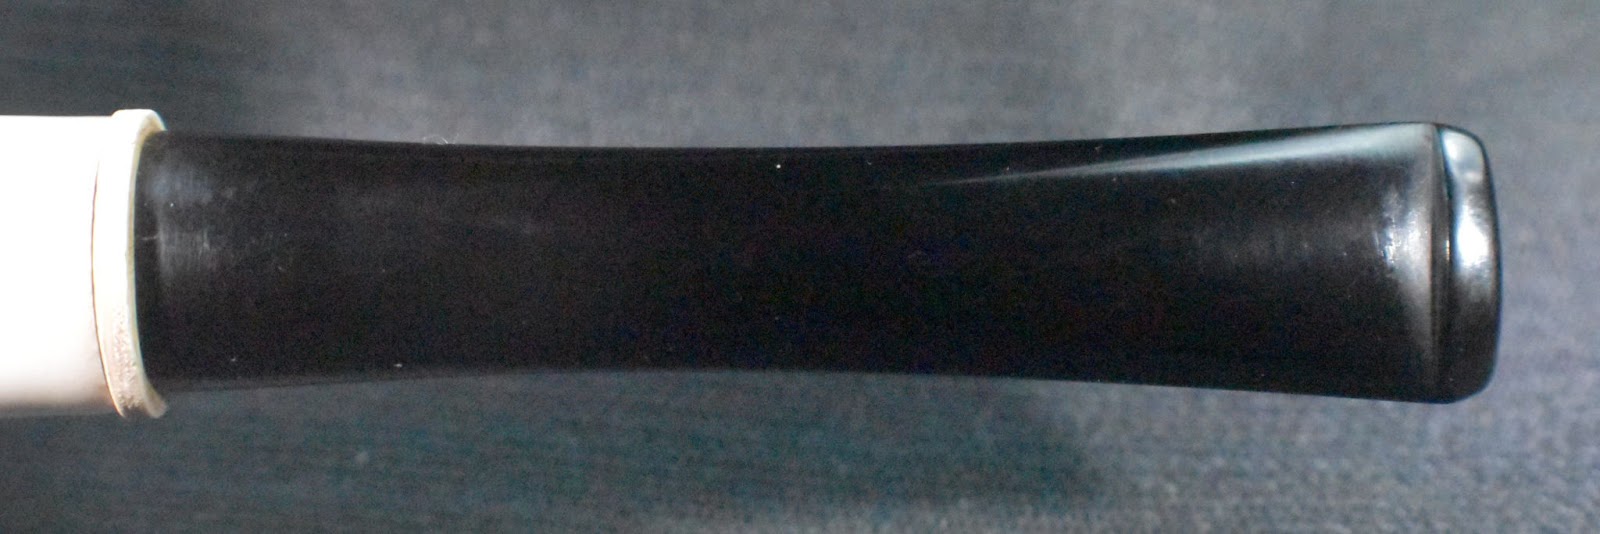
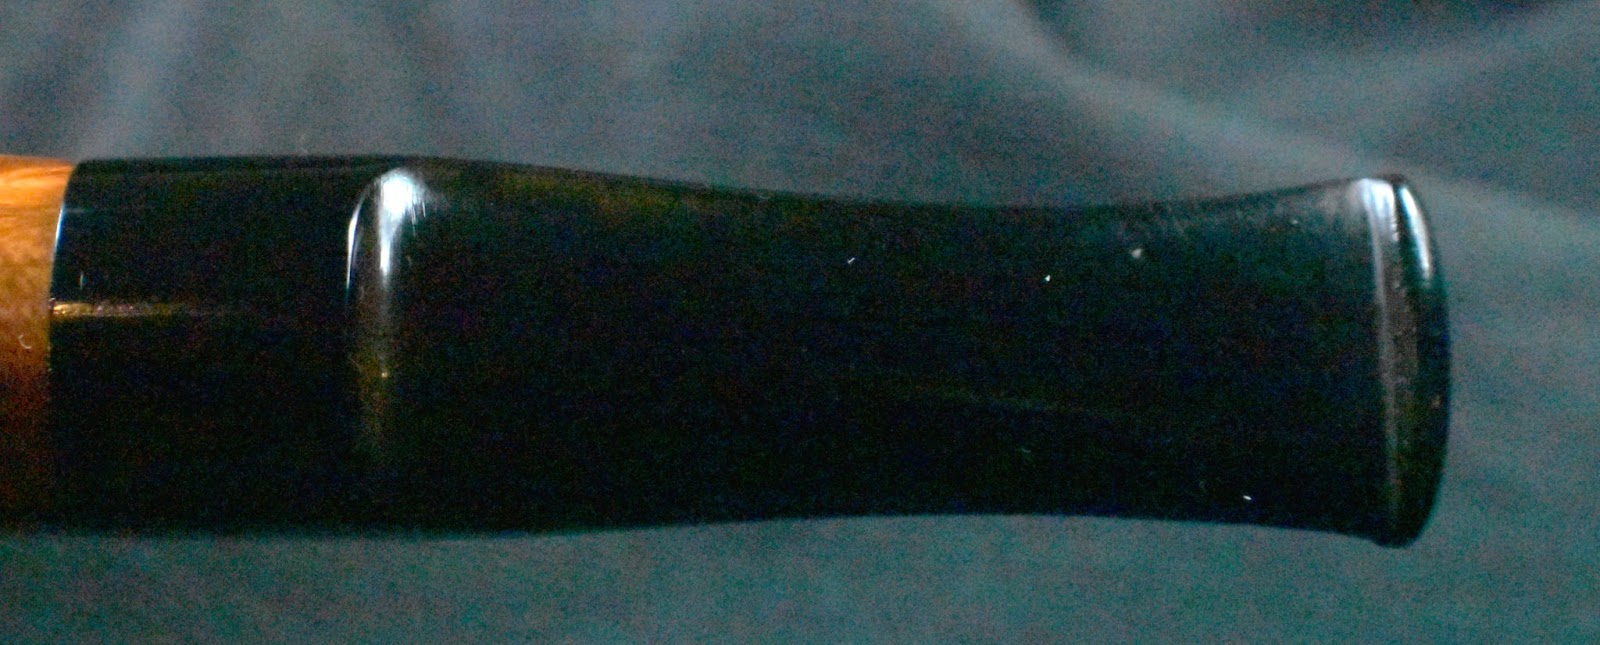
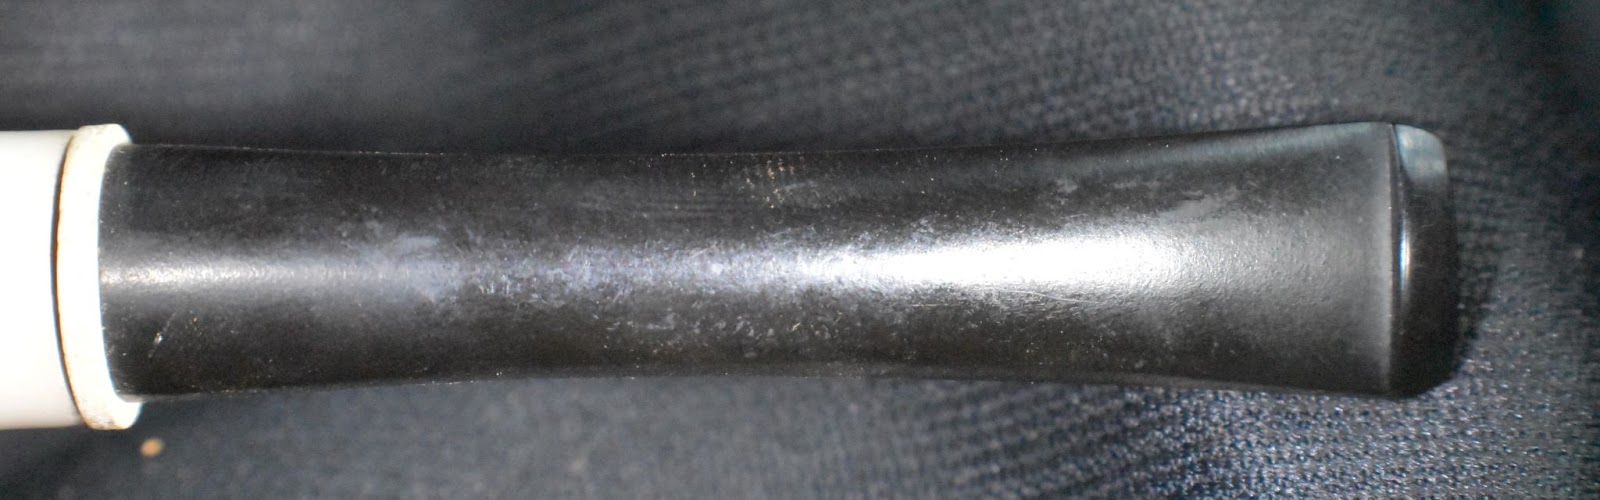
I turned my attention to the stem. I filed the tooth chatter with a small flat file and lightly sanded the bite zone with a 320 grit sanding sponge.

The stem was then worked with sanding sponges from 320-3500 grits. Between each sponge I rubbed the stem with mineral oil and wiped it with a paper towel.
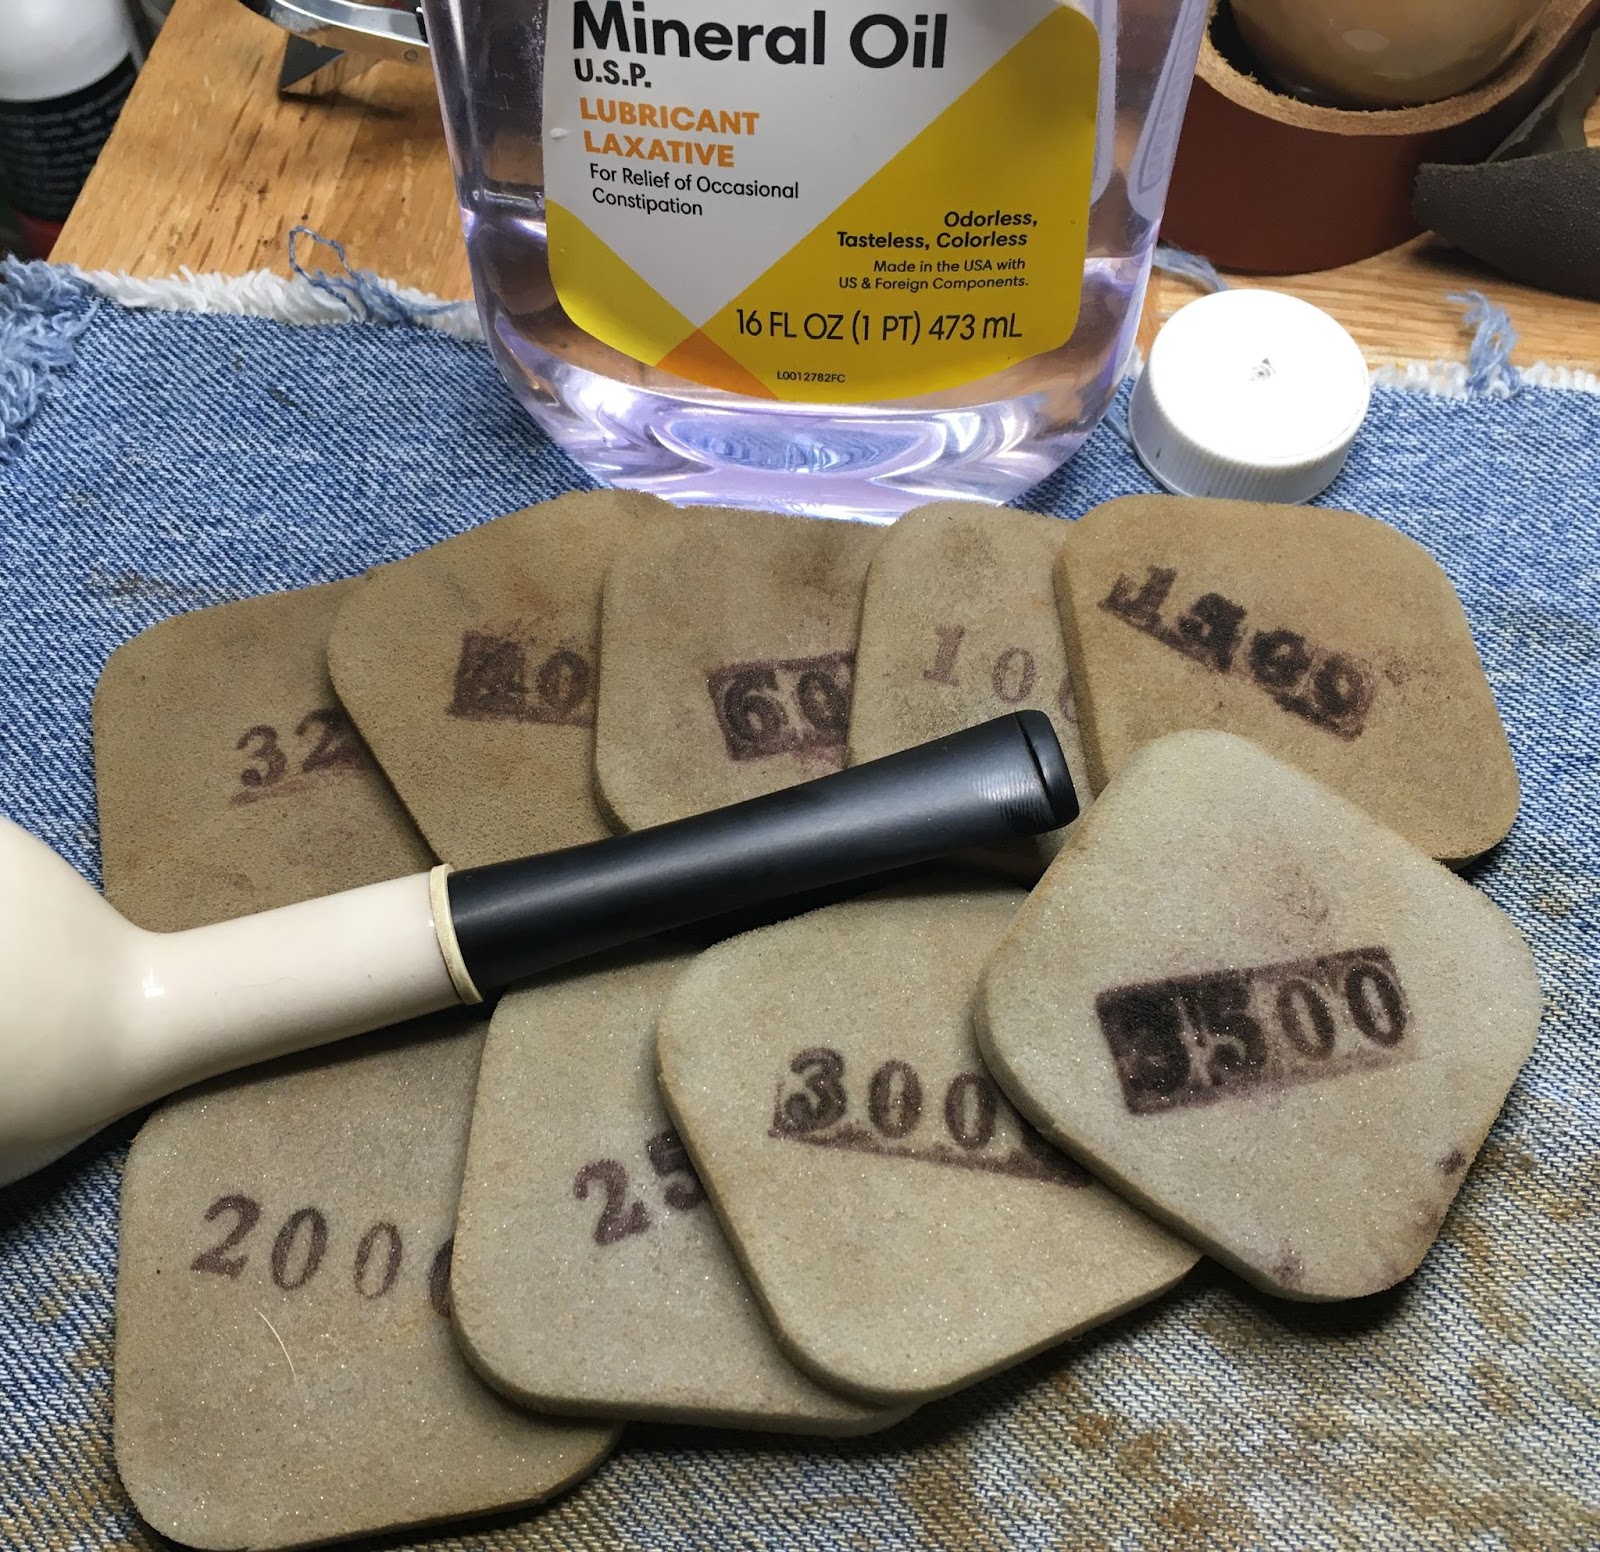
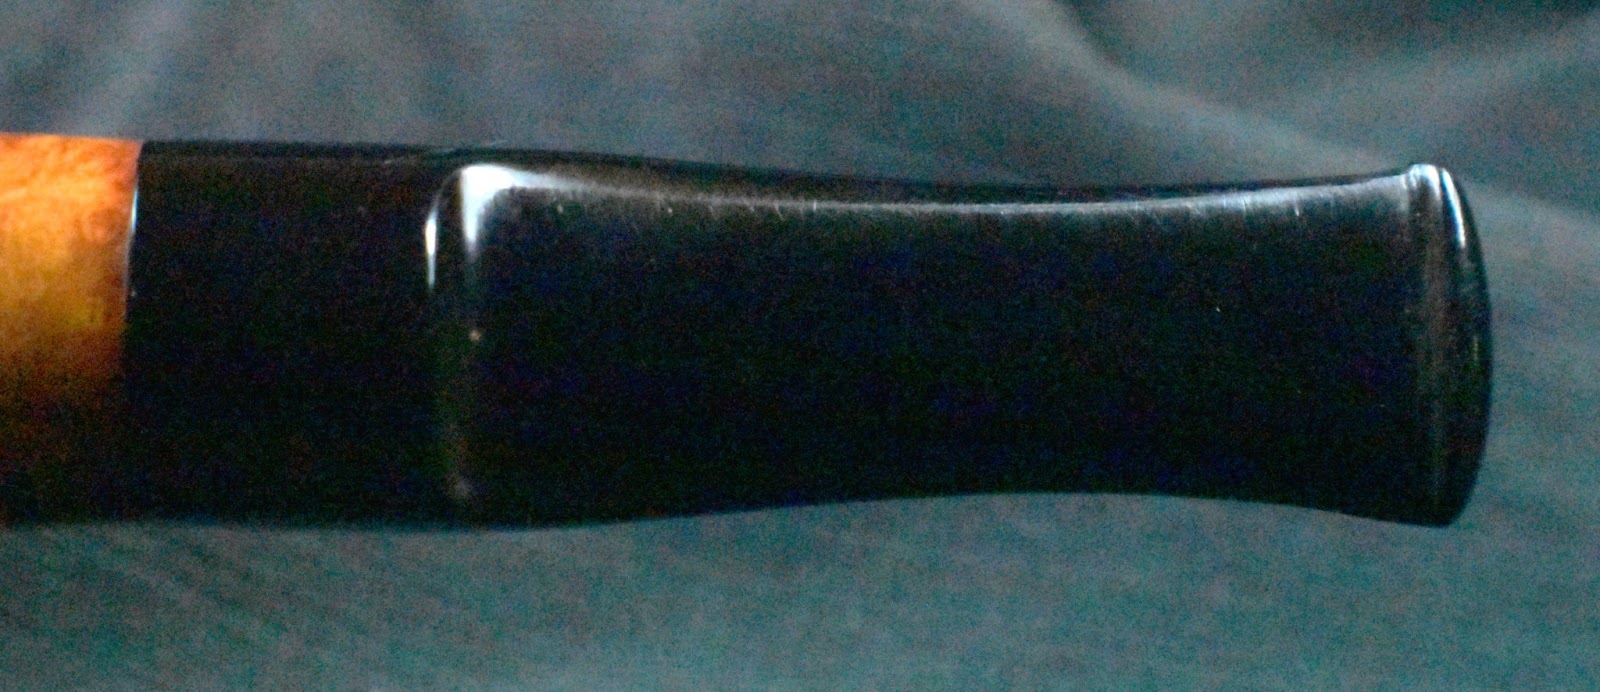
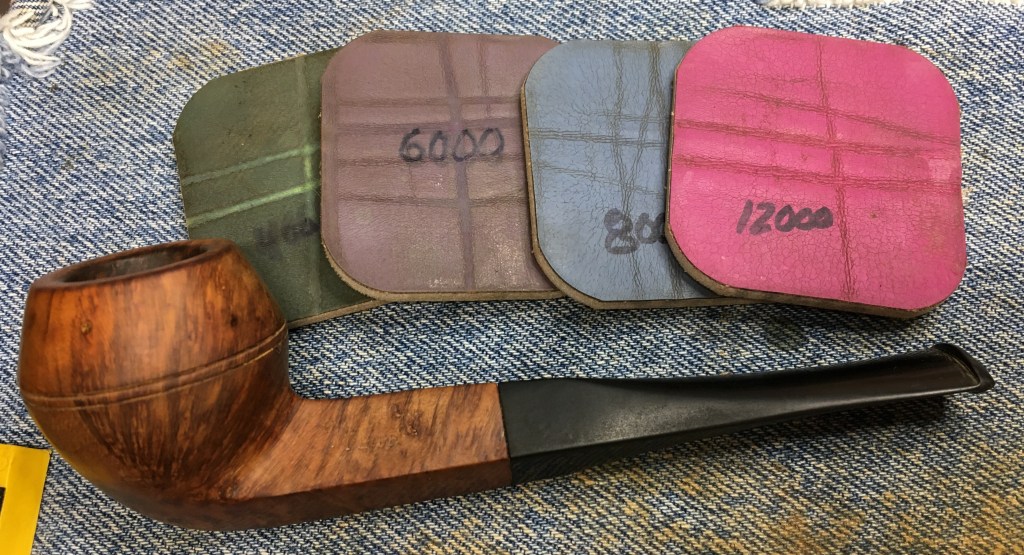
The stem was then worked with micro-mesh pads in grits of 4000-12000. Between these pads I rubbed the stem with Obsidian Oil and wiped with a paper towel.

I rubbed a coating of Before and After Hard Rubber Balm onto the stem and let it sit overnight.

The next day the pipe was taken to the buffer where I applied several coats of carnauba wax to the stem and stummel. The final step was to hand buff the pipe with a microfiber polishing cloth.
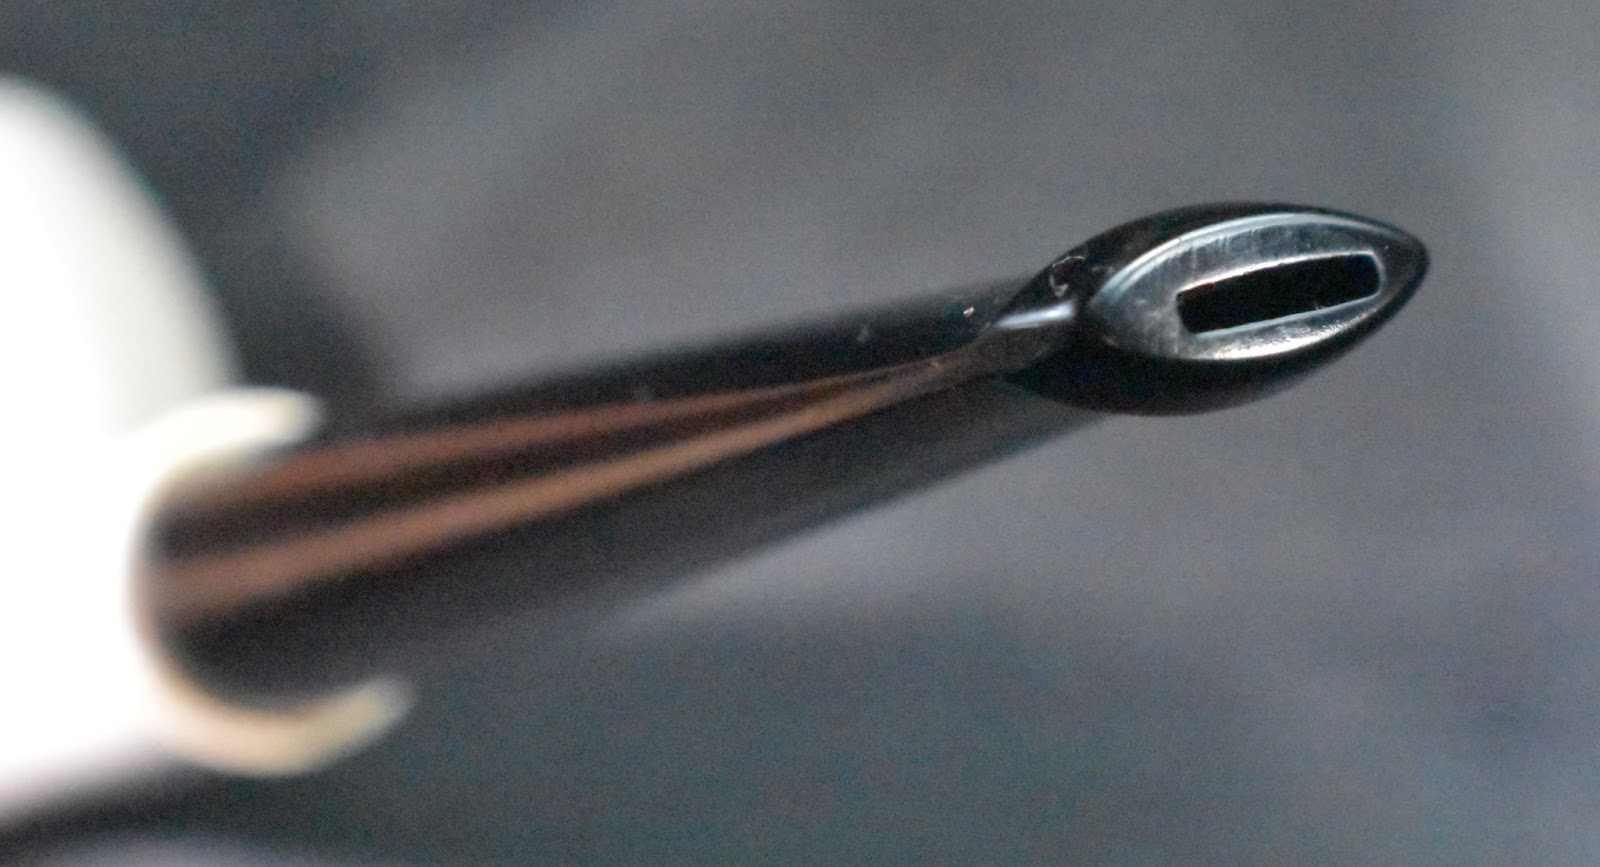
I think the porcelain pipe is a unique piece of our hobby and history. I only have a single example of my own and I have mixed feelings about it. I do like how mine has colored over time, taking on a creamed coffee color. I do worry about the fragility of the porcelain and my tendency to drop things. This porcelain apple is a wonderful shape and size. The exterior is a brilliant glossy white. The tobacco chamber interior has discolored and I suppose that I could have been more aggressive with the restoration but I did not want to damage the porcelain. My inexperience with this material kept me from “tough love” during the chamber restoration. The expansion of the cork tenon worked well and the stem polished up very nicely. The black and white of the piece is truly eye-catching. The double holes at the bottom of the tobacco chamber provide an exceptionally smooth draw and I am sure that this pipe will treat its new owner with years of contemplative relaxation. The dimensions of the Porcelain apple are:
Length: 5.78 in./ 146.81 mm.
Weight: 1.45 oz./ 41.11 g.
Bowl Height: 1.64 in./ 41.66 mm.
Chamber Depth: 1.17 in./ 29.72 mm.
Chamber Diameter: 0.77 in./ 19.56 mm.
Outside Diameter: 1.62 in./ 41.15 mm.
I do hope that you have found something here useful to your own pipe care, maintenance or restorations. If you like this sort of thing, please click the like and subscribe buttons. Thank you for reading the ramblings of an old pipe lover.
Below are some photos of the finished Porcelain apple.