Written and photographed by John M. Young
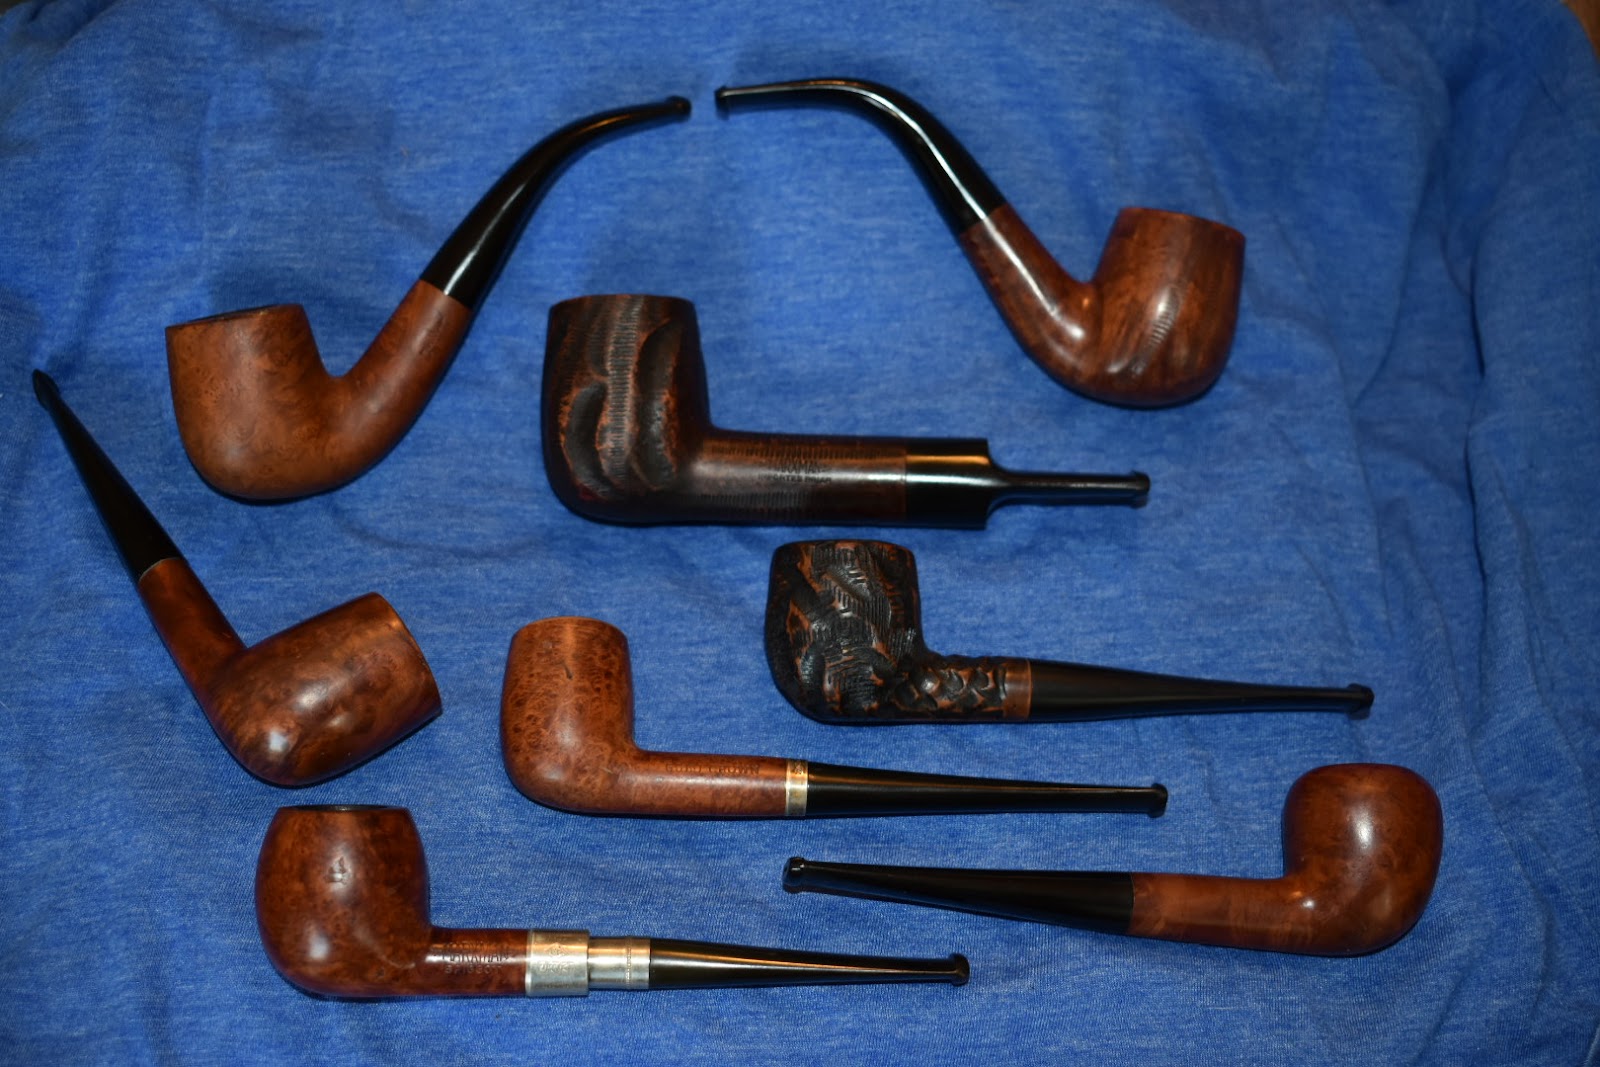
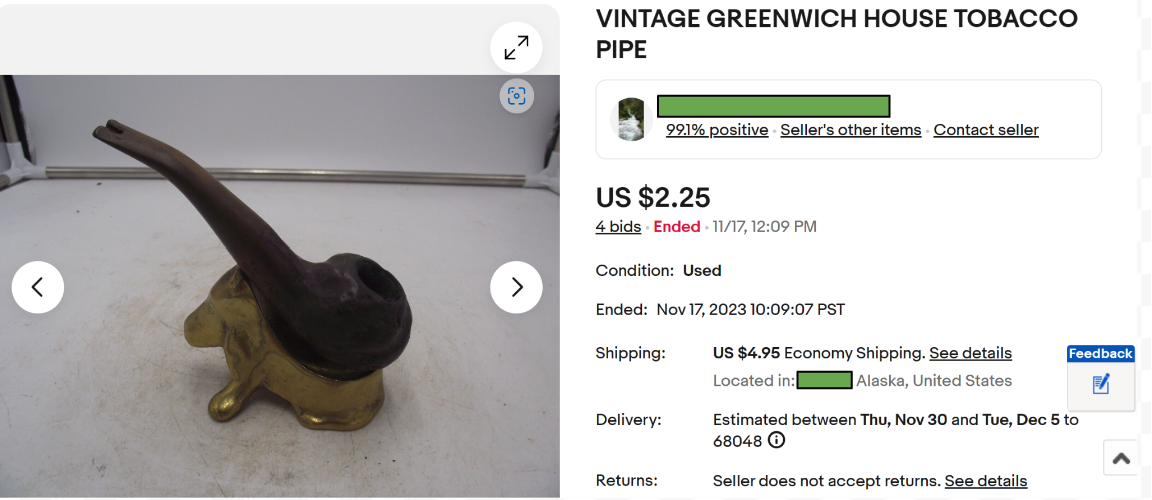
I recently won an auction for 6 Kings Cross pipes. They are a mixture of 2-Made in England, 2-Made in France and 2- no Country of Manufacture (COM) just “ALGERIAN BRIAR”. They all looked like just what I needed after two recent restores that were rather difficult. Wonderfully dirty, oxidized old pipes WITHOUT major issues. I apologize if you are here for some nail biting cliff hanging drama like with the Pipe by Lee restoration that led to the restoration of the restoration (I linked those if your nails need biting). These, looked like a relaxing day on the lake fishing for crappies.
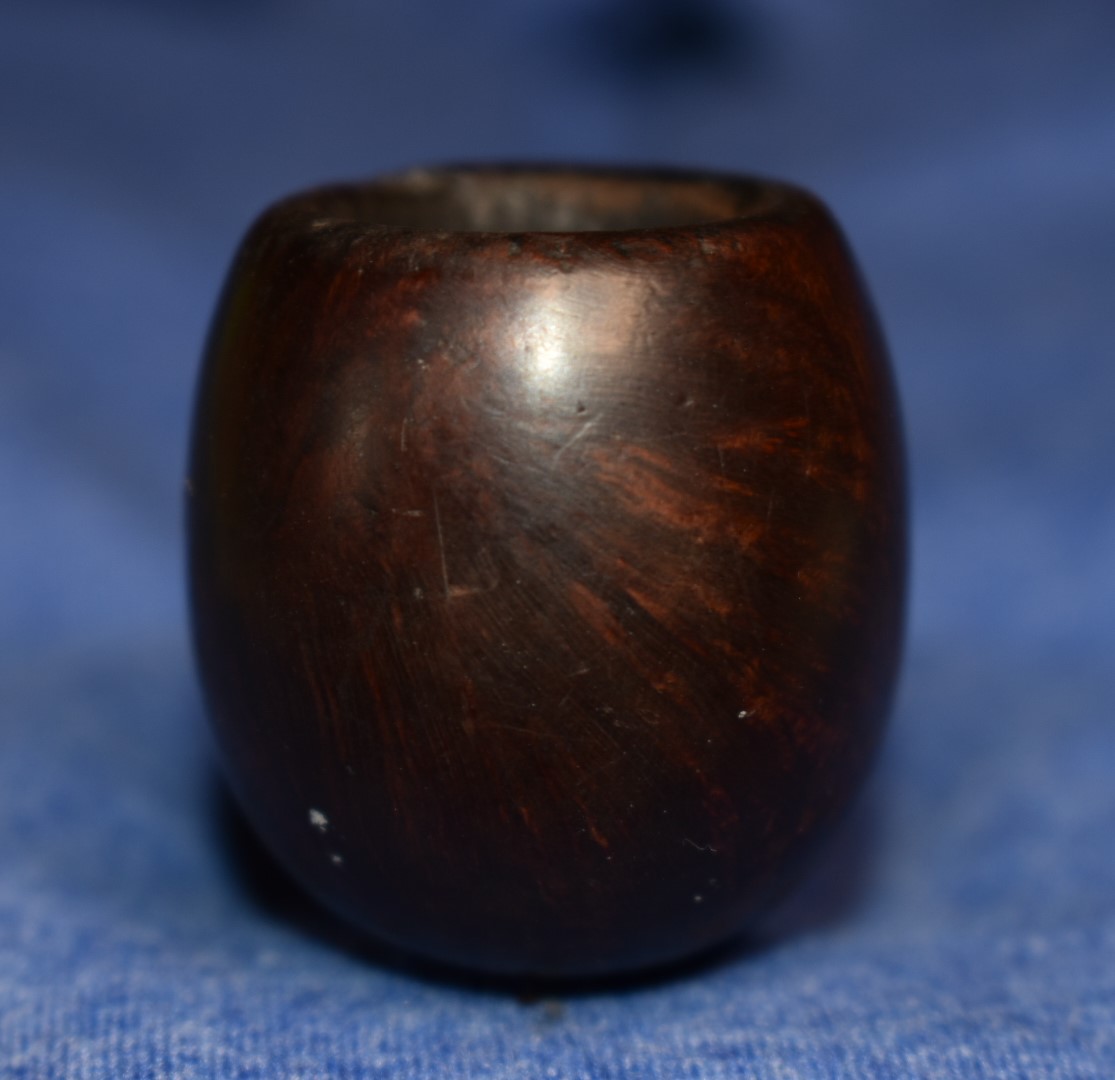
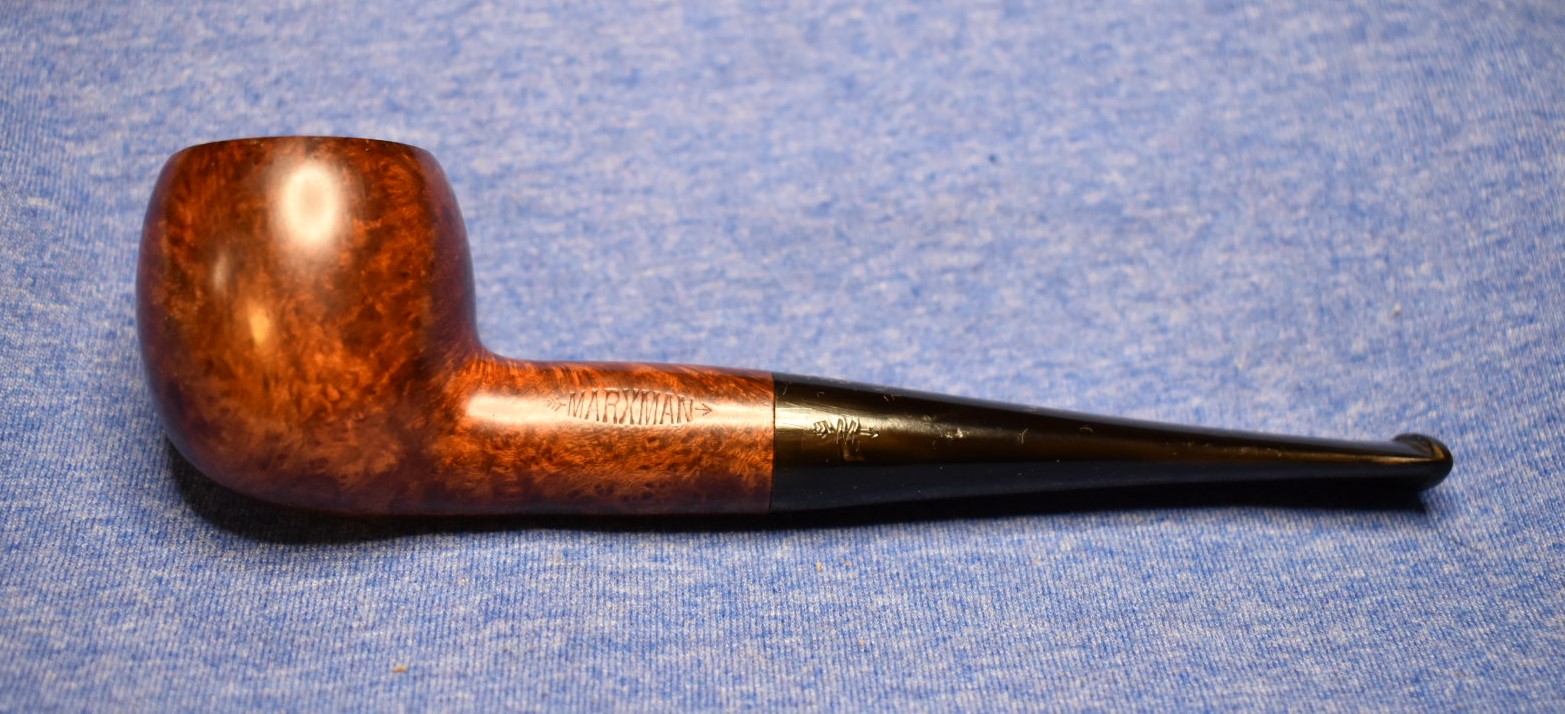
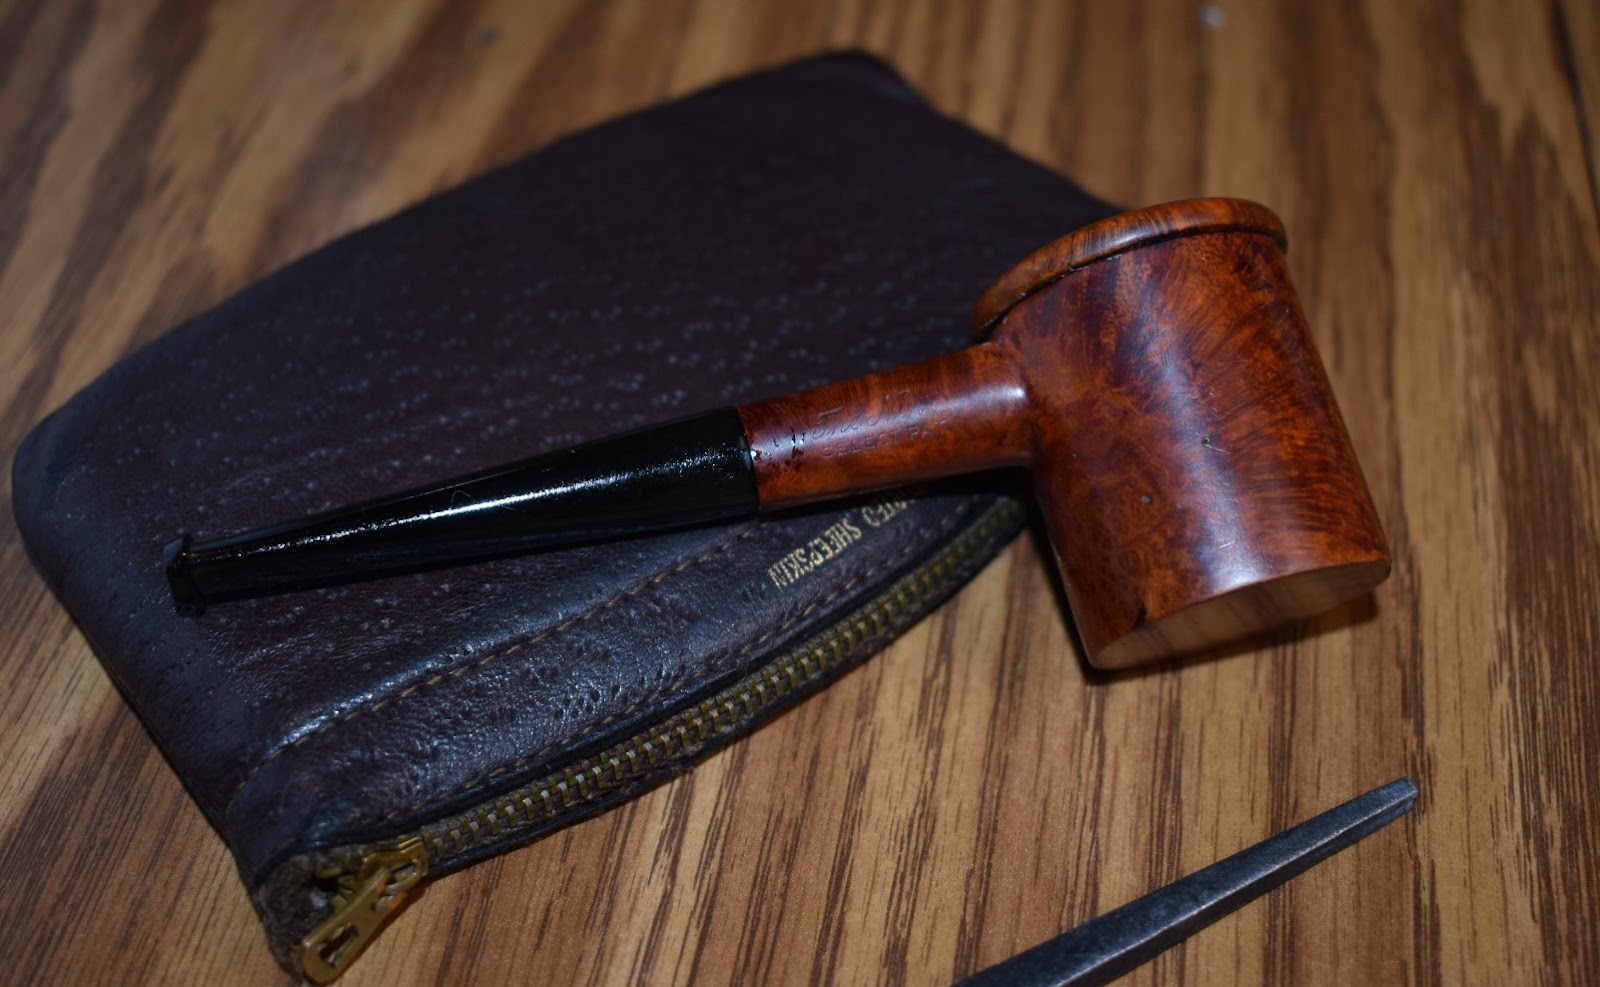
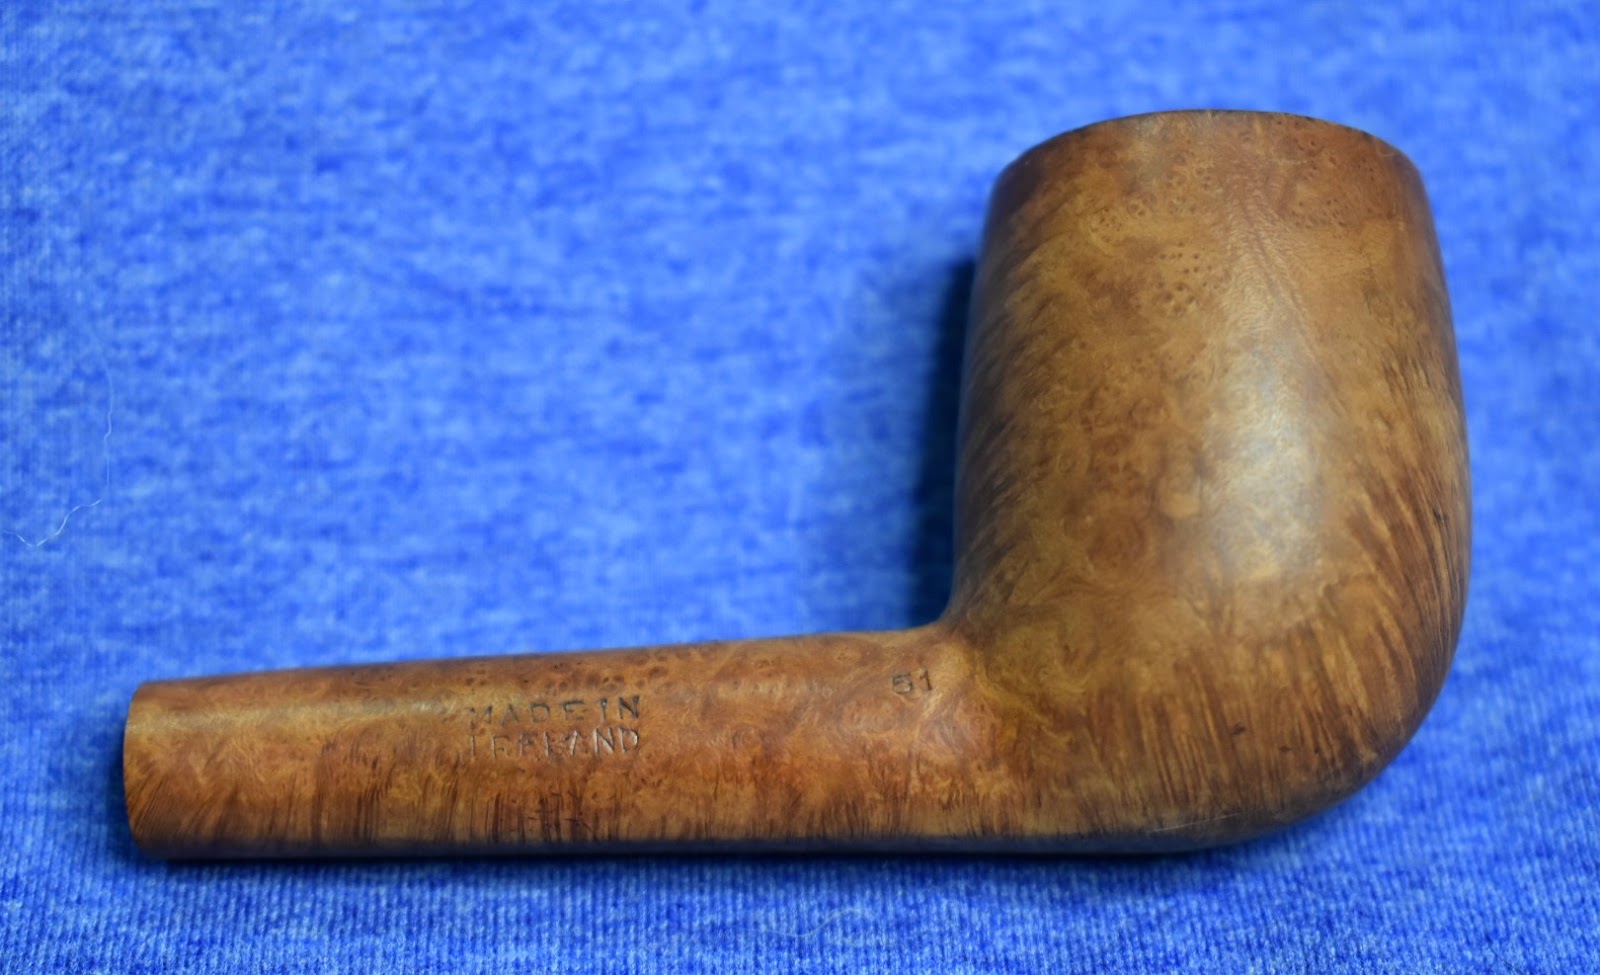
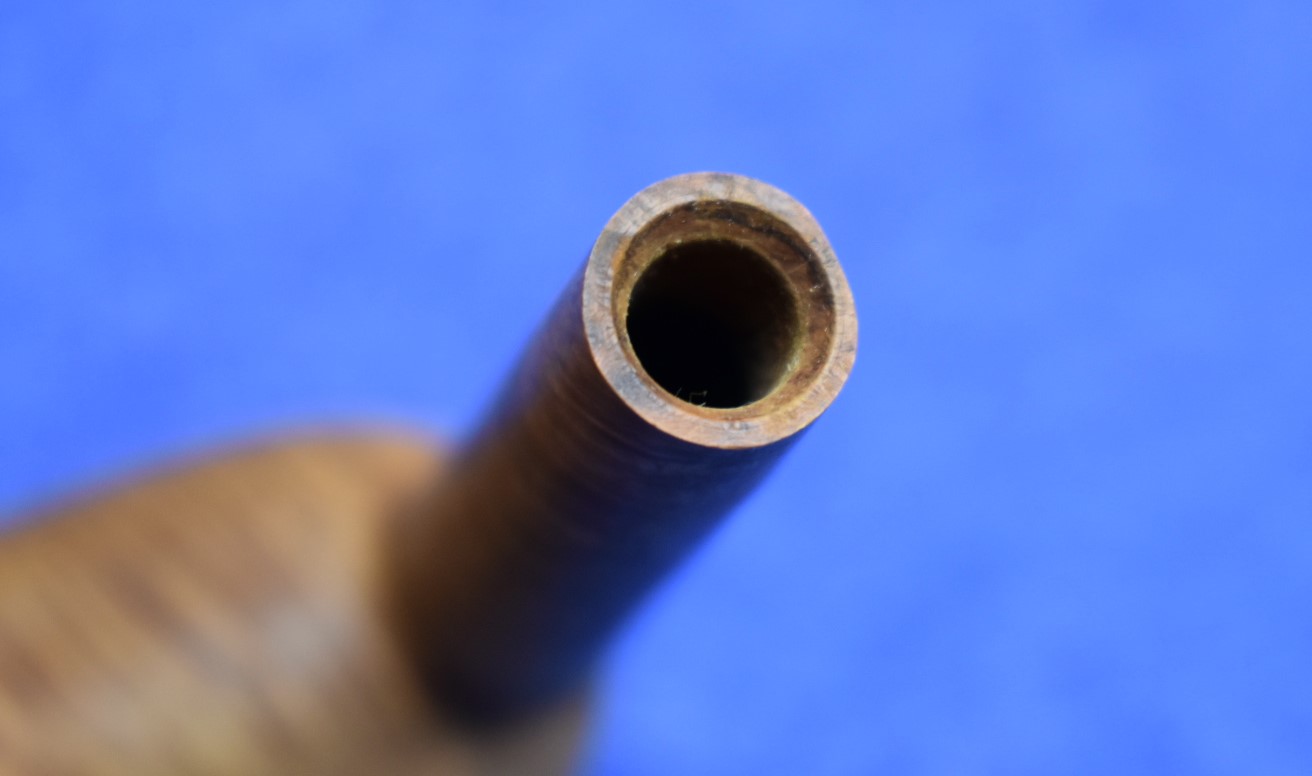
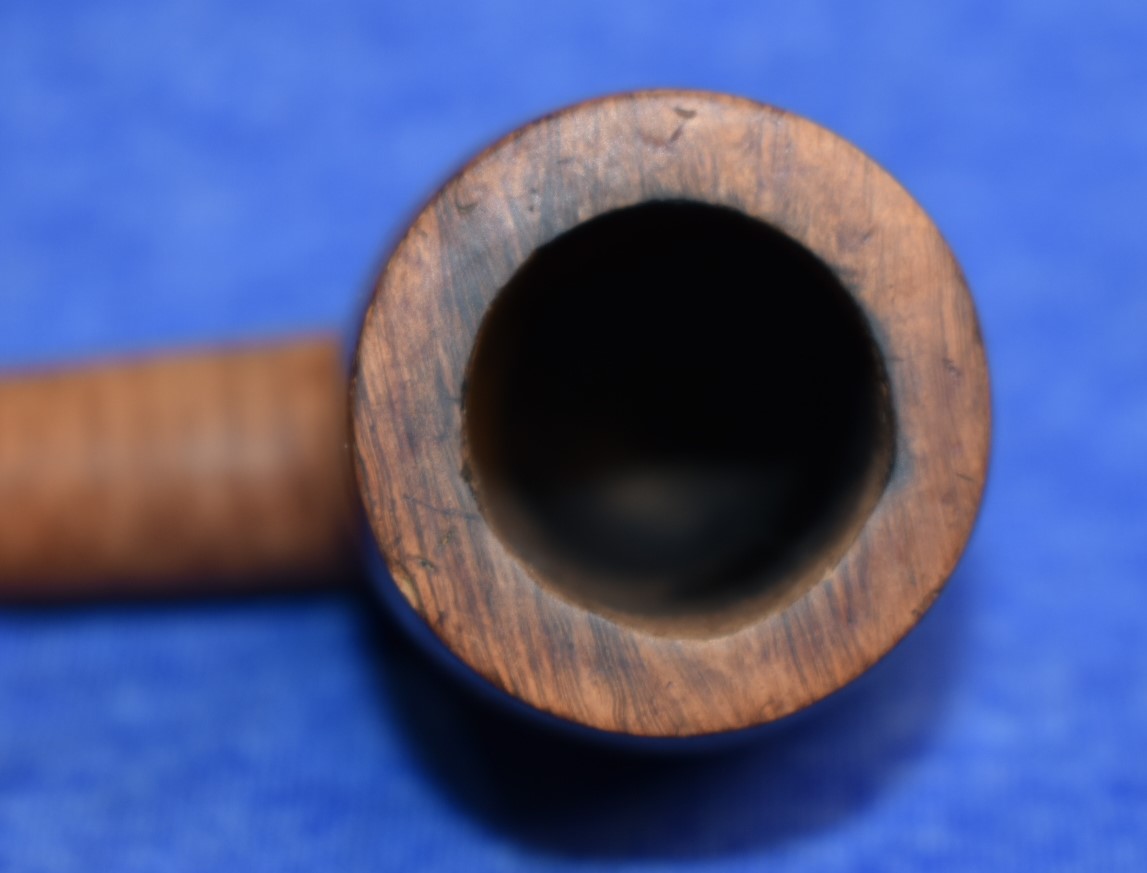
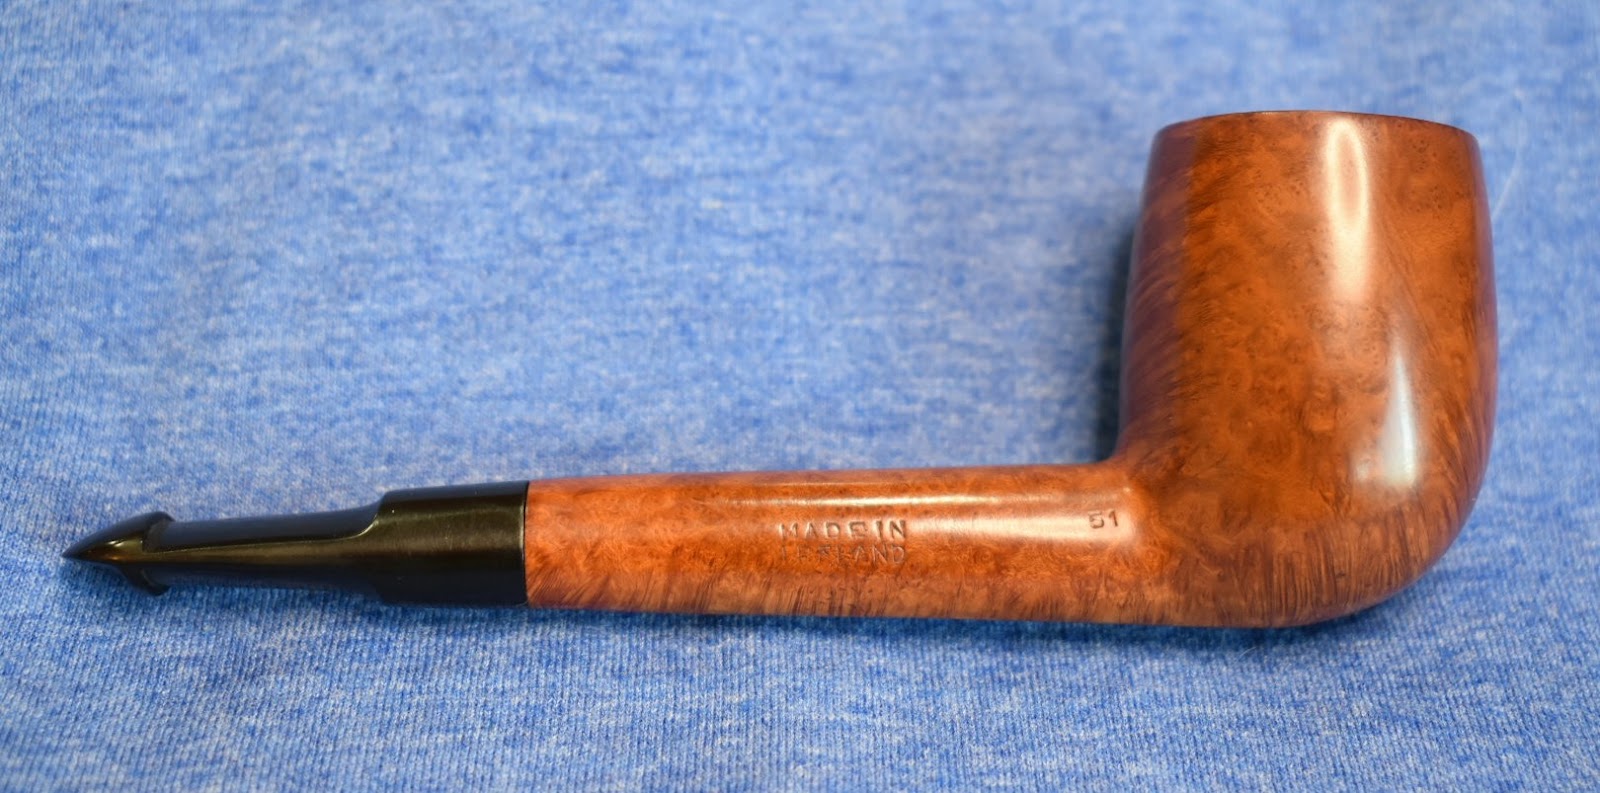
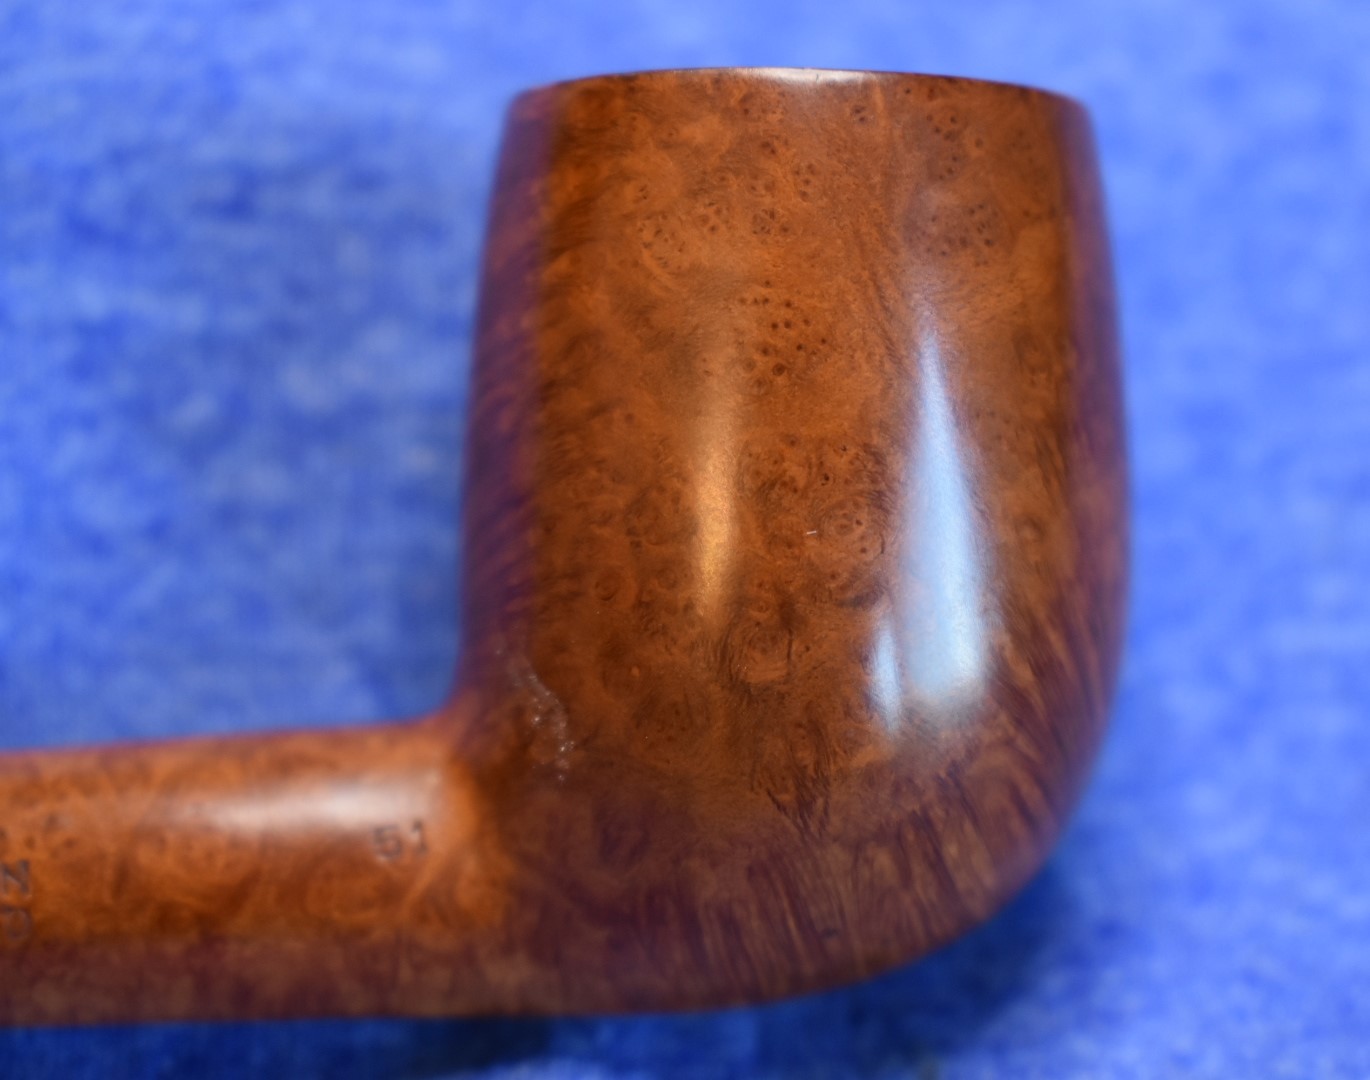
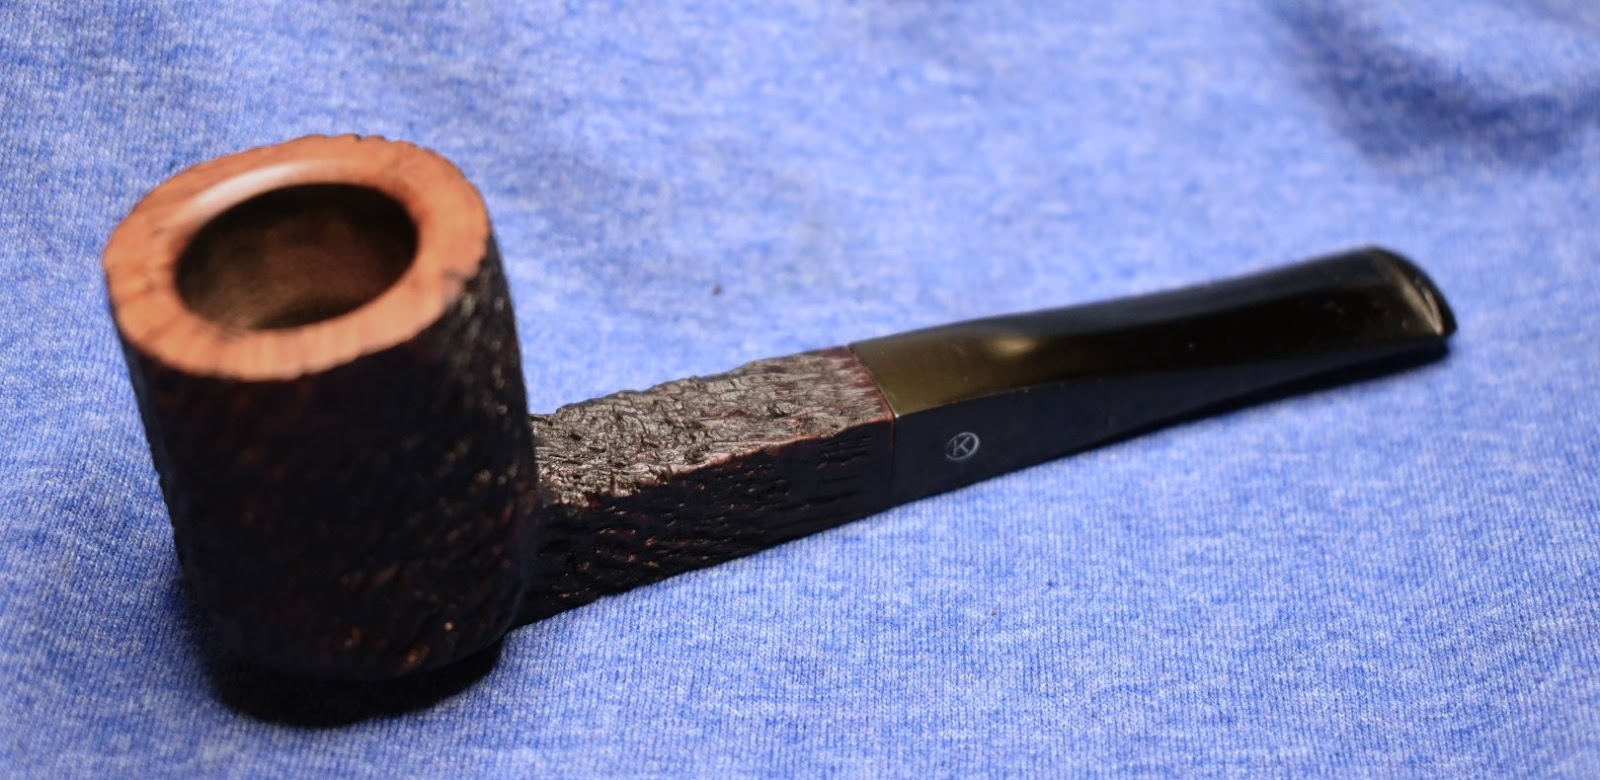
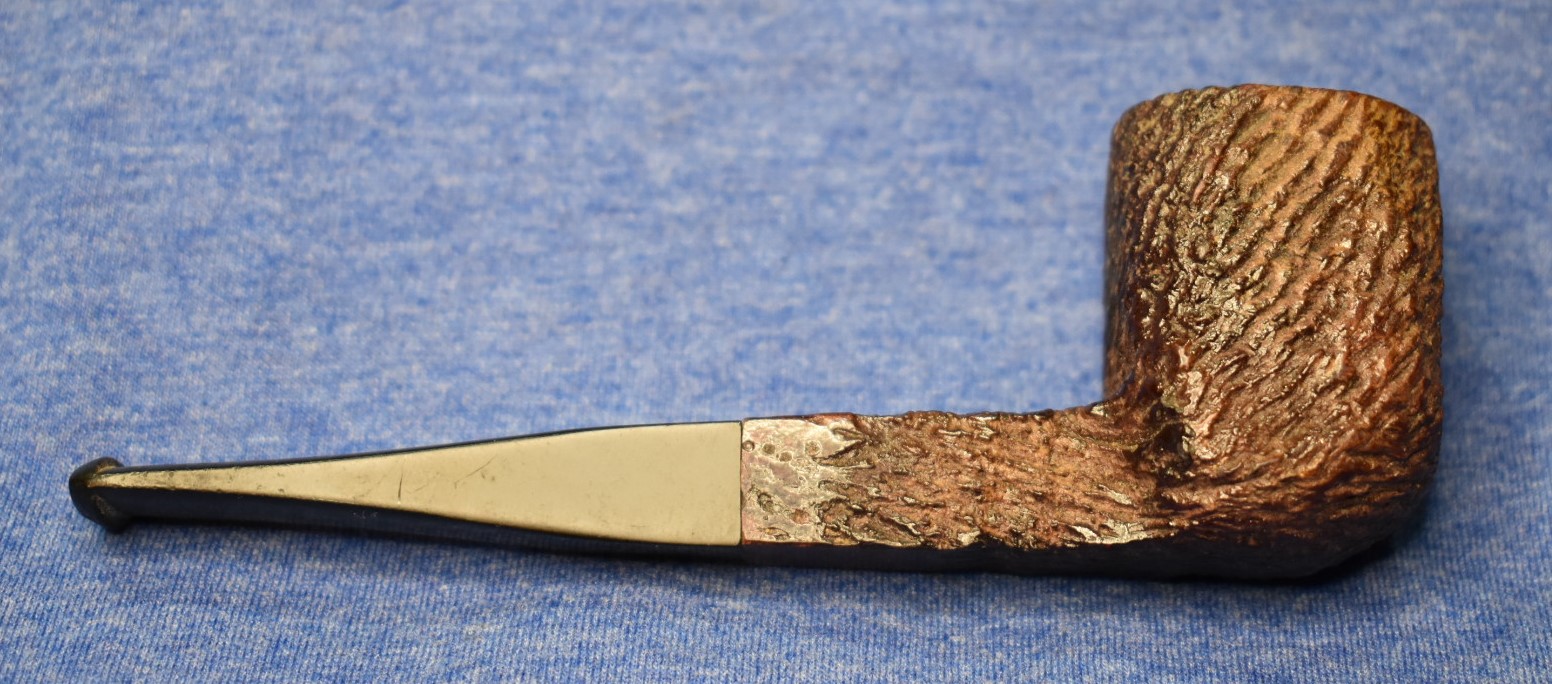
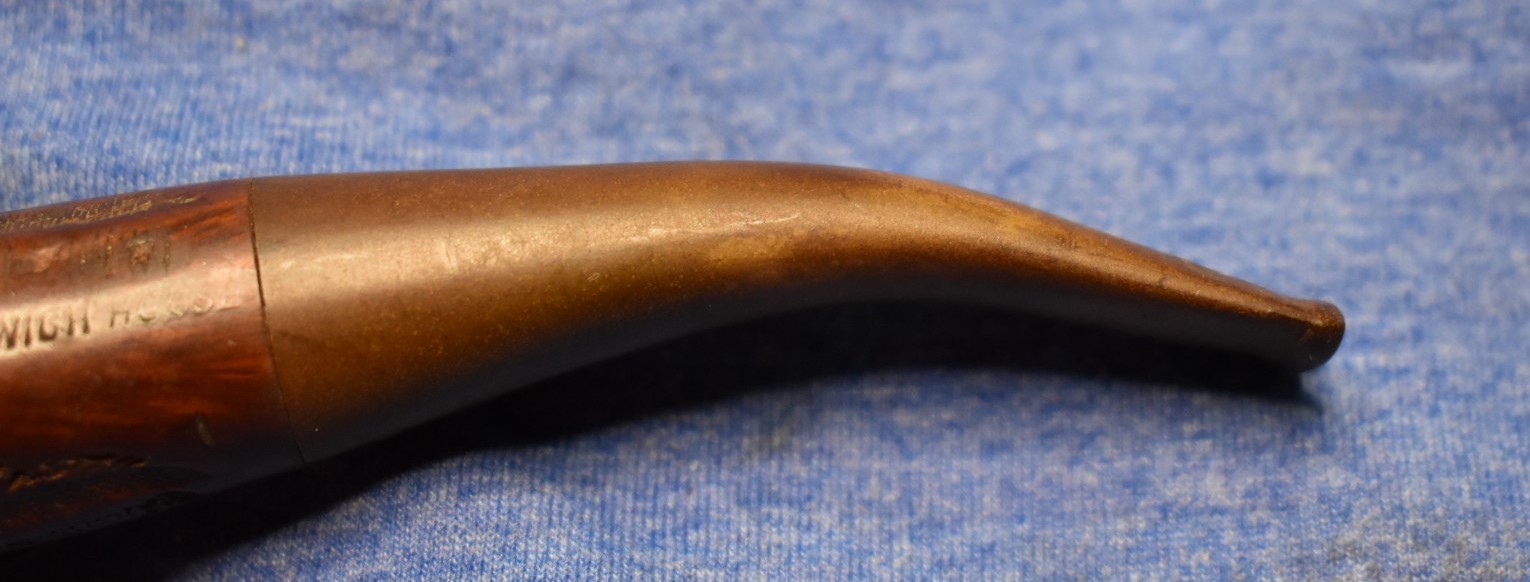
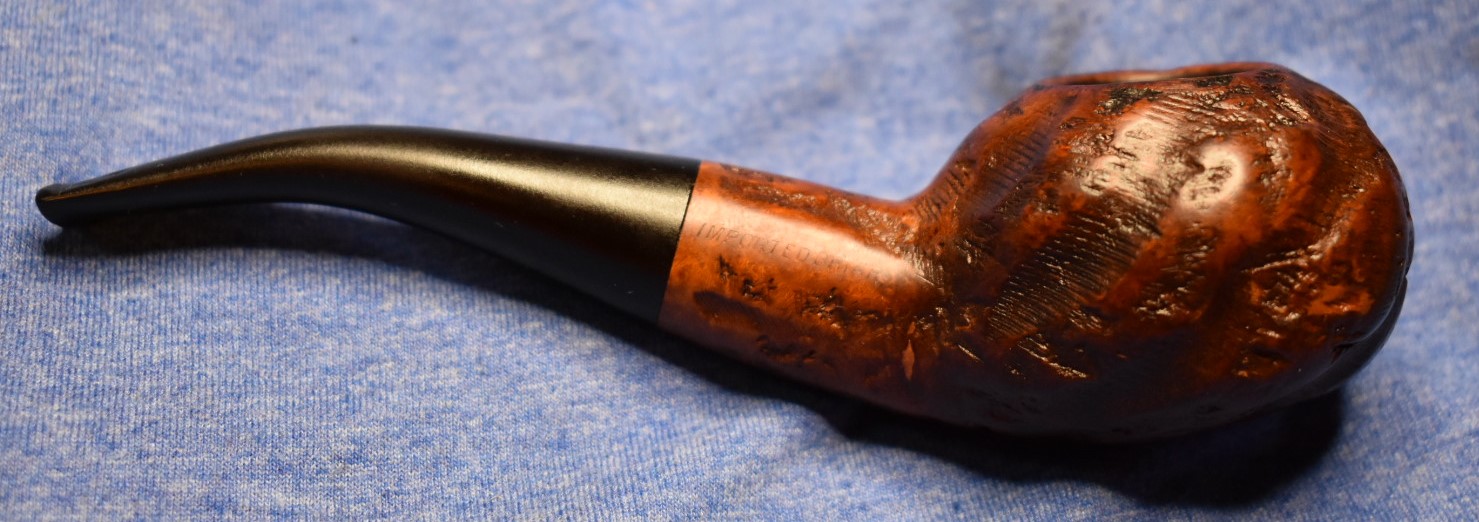
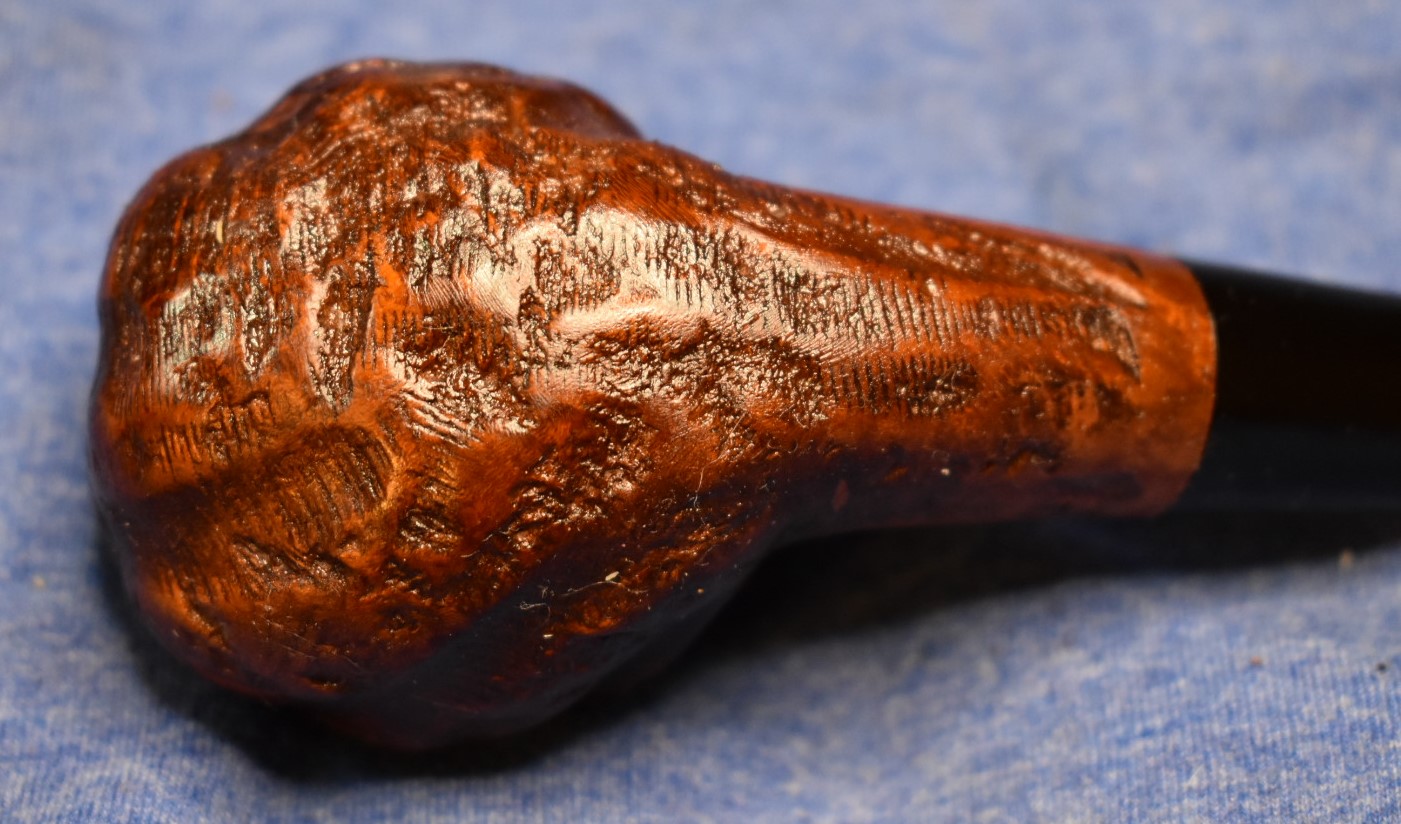
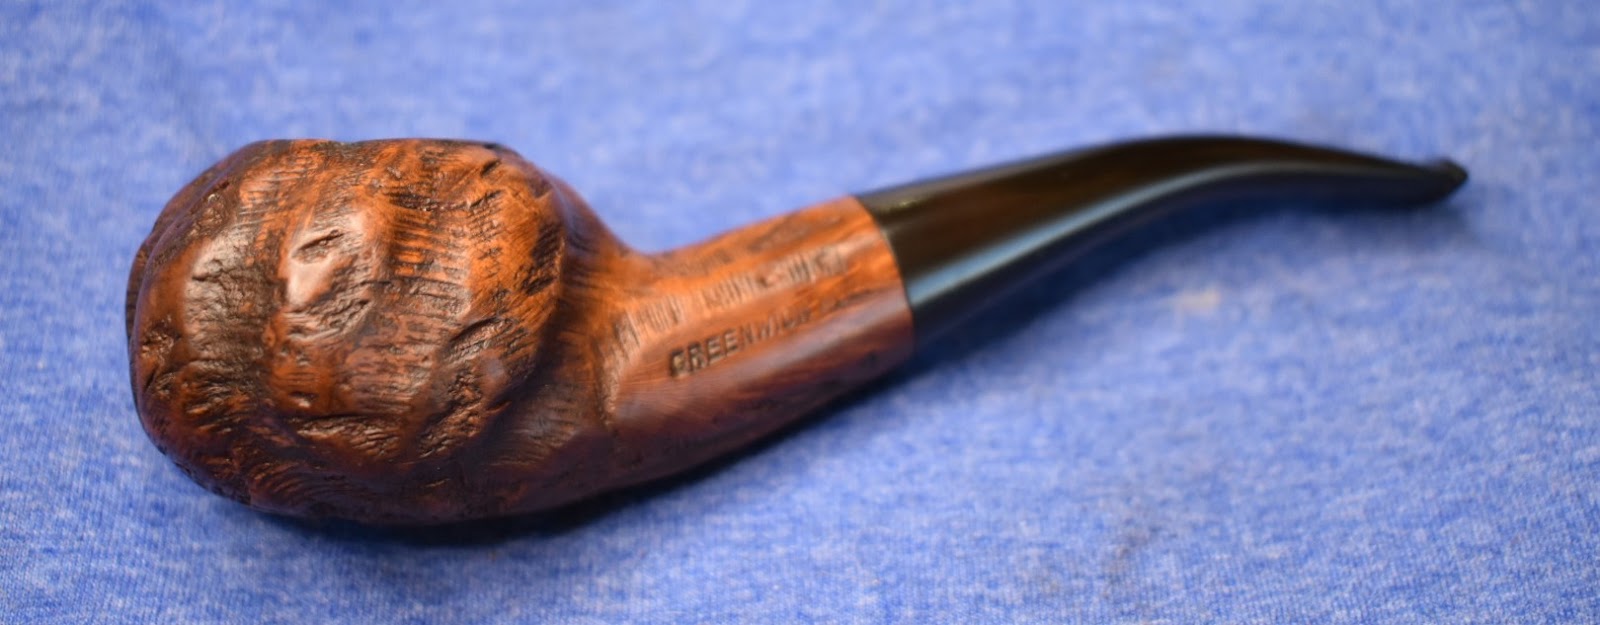
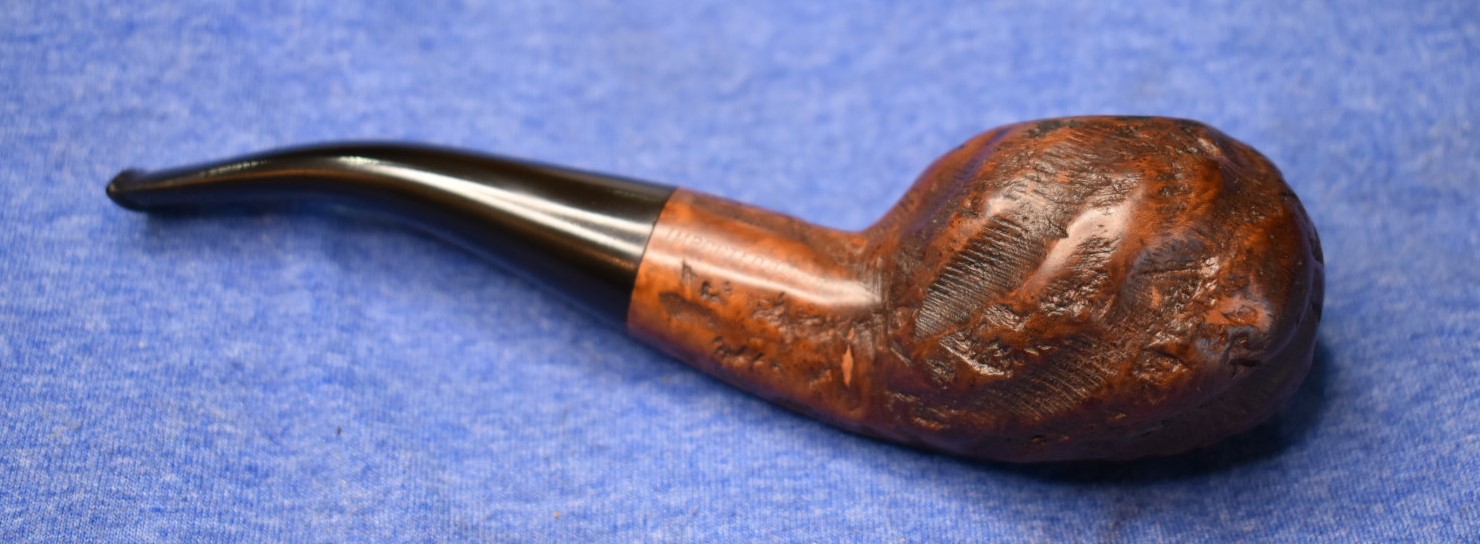
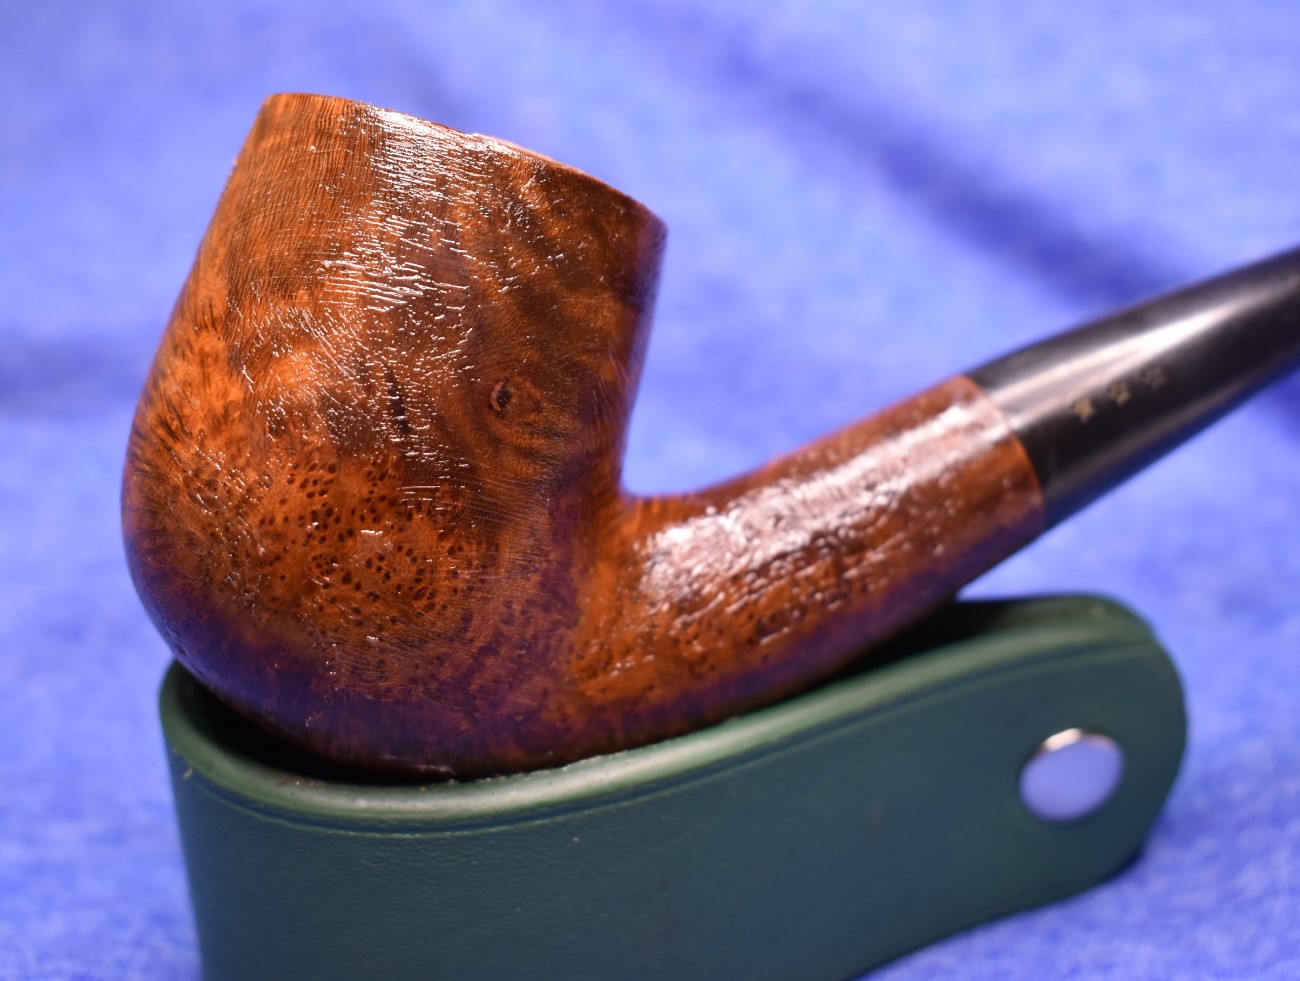
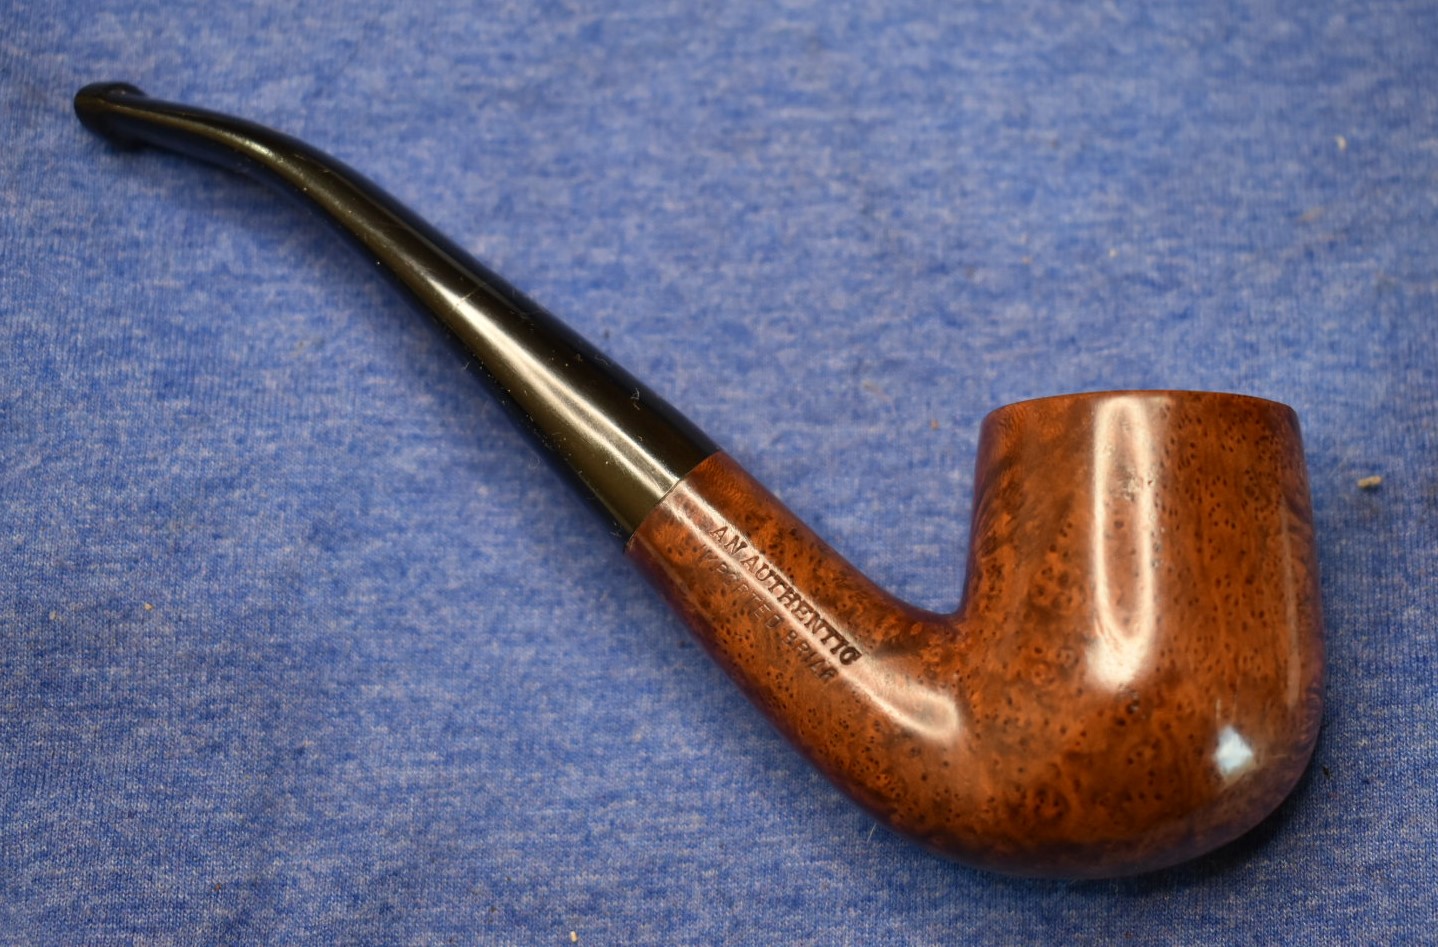
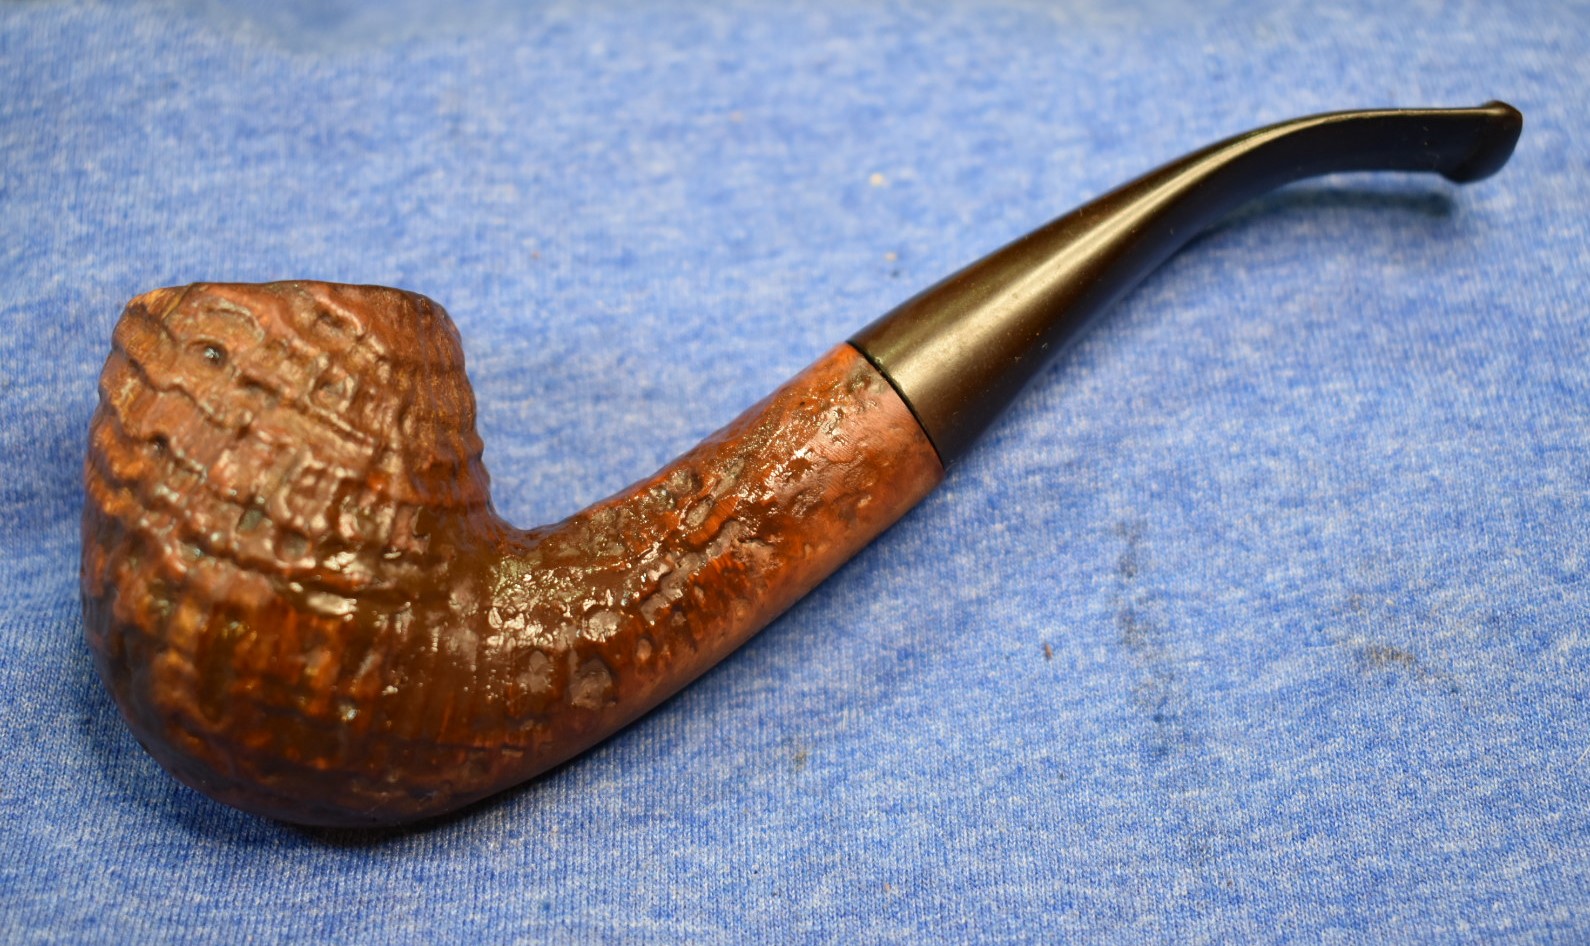
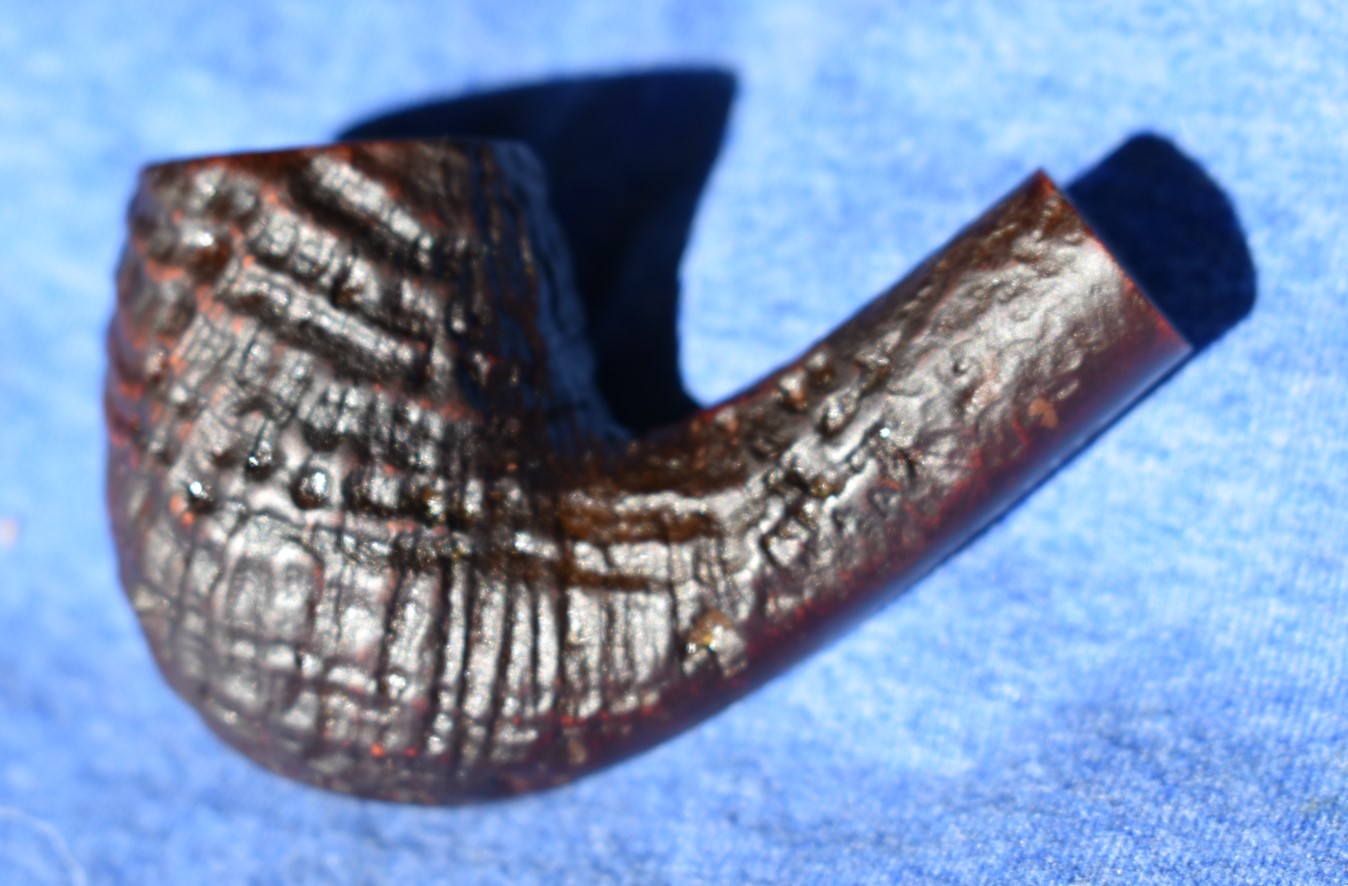
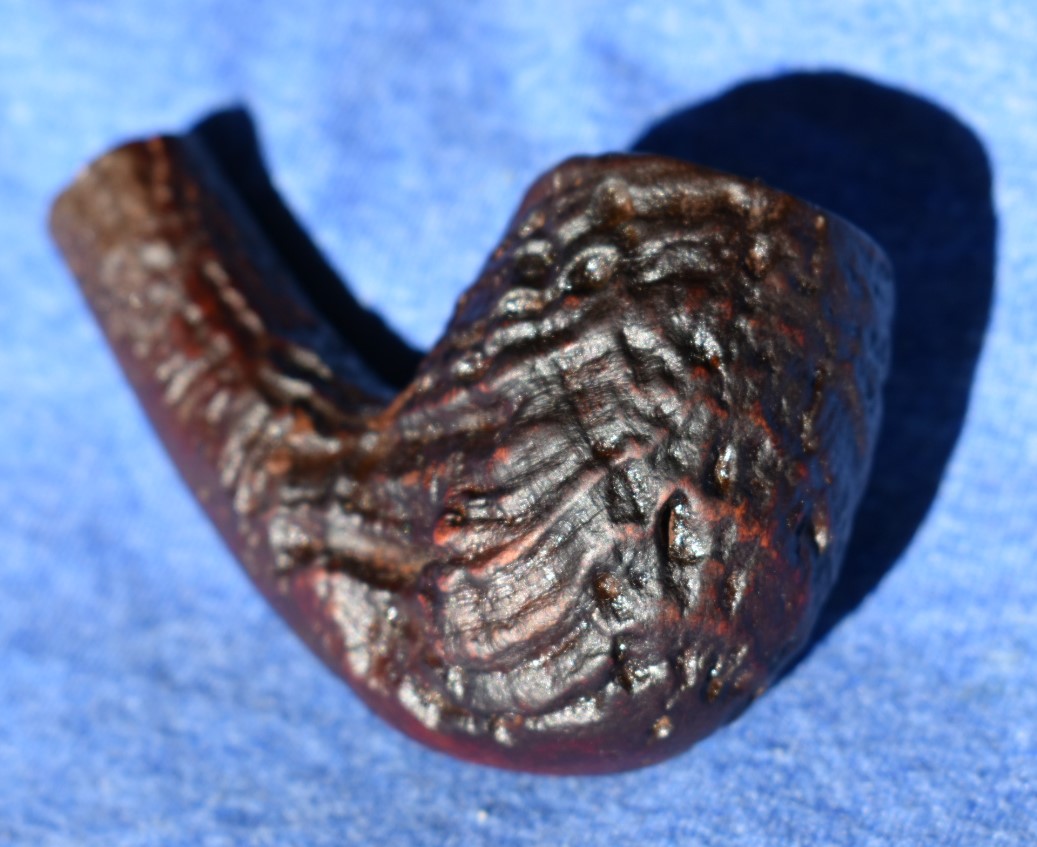
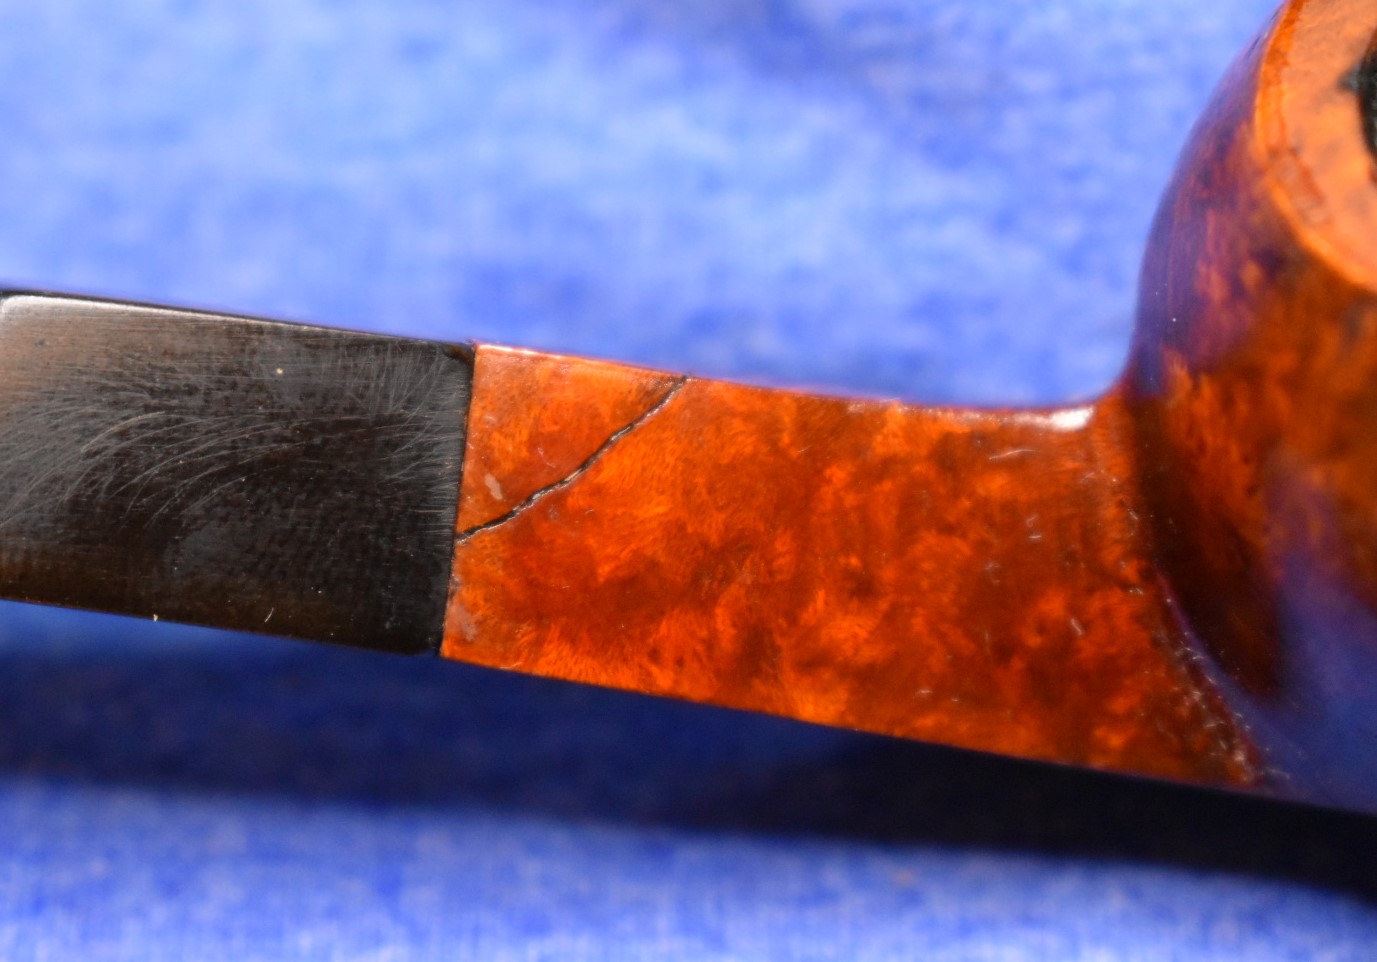
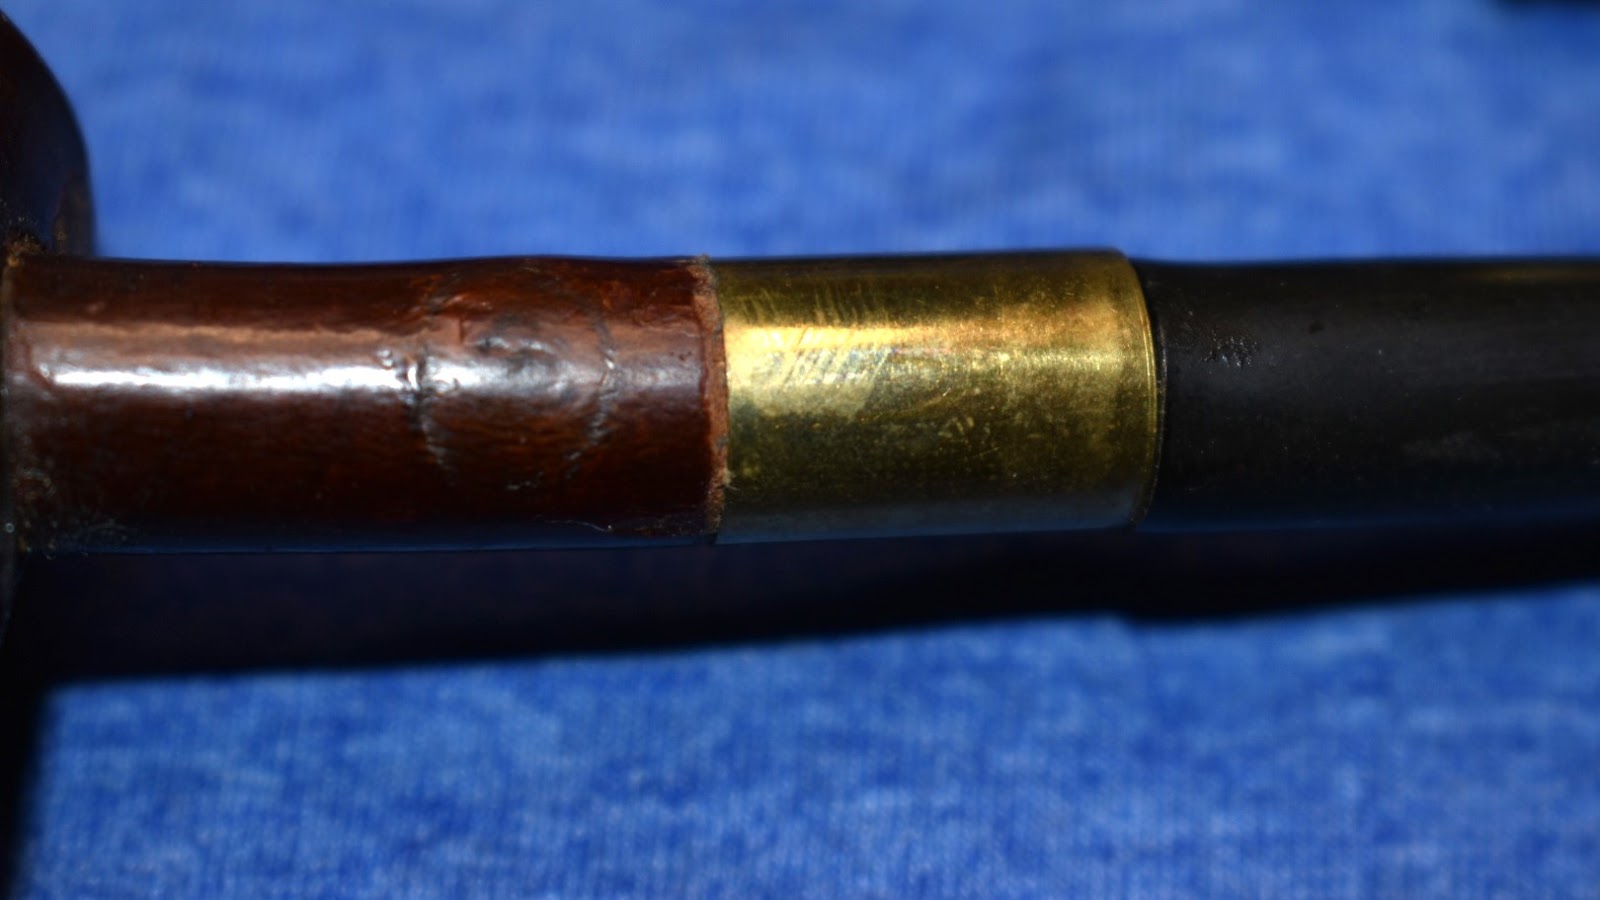
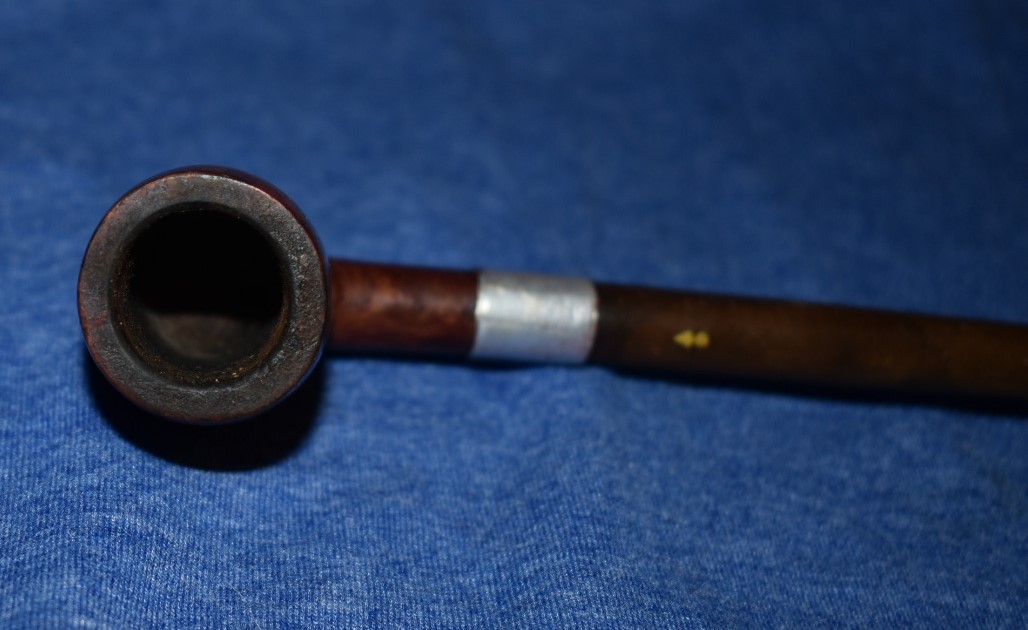
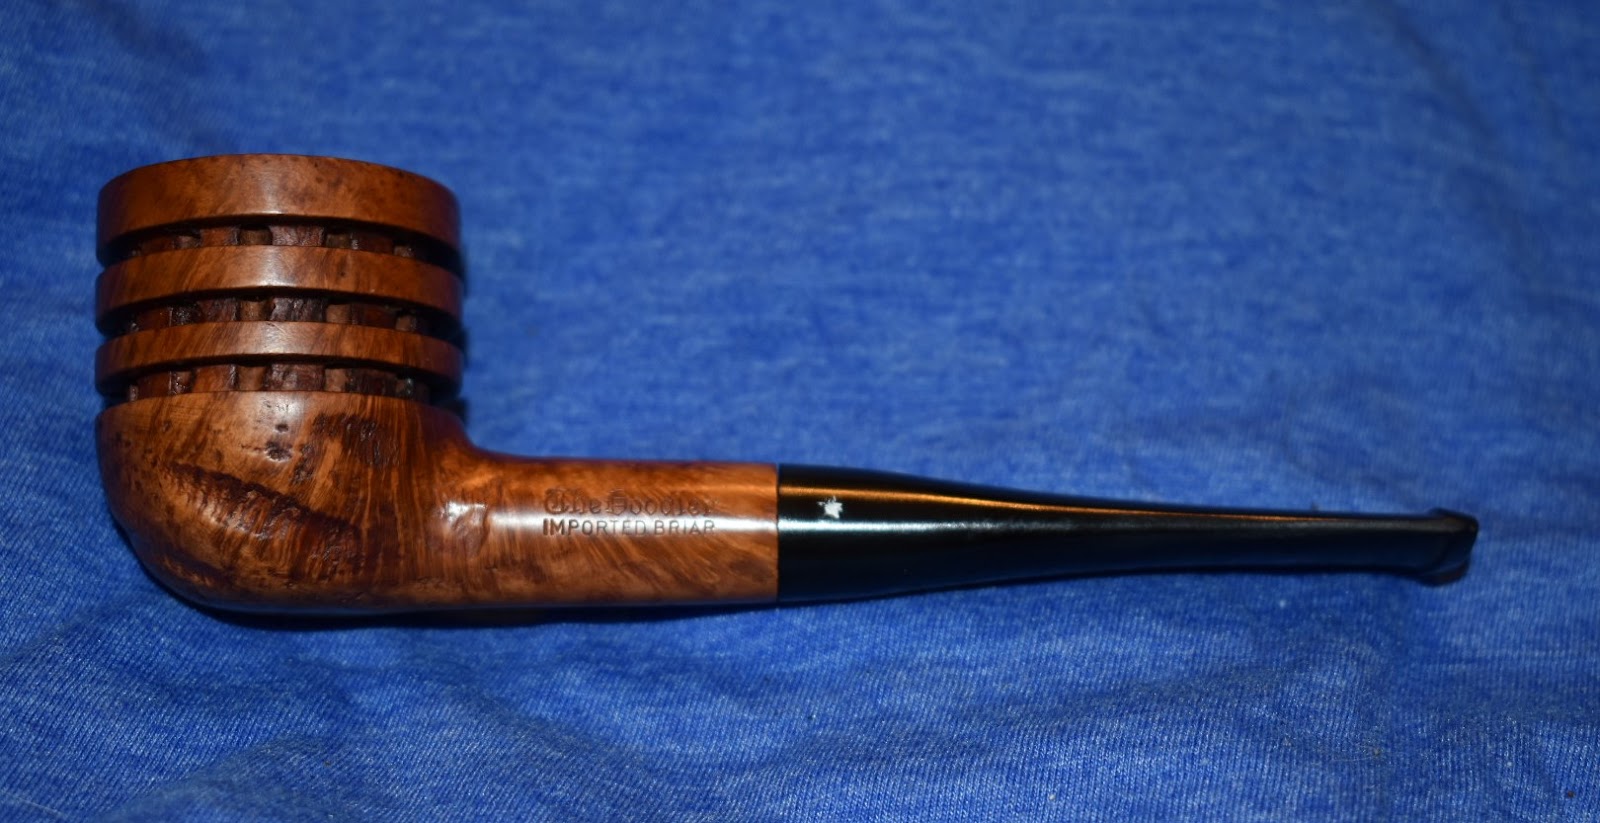
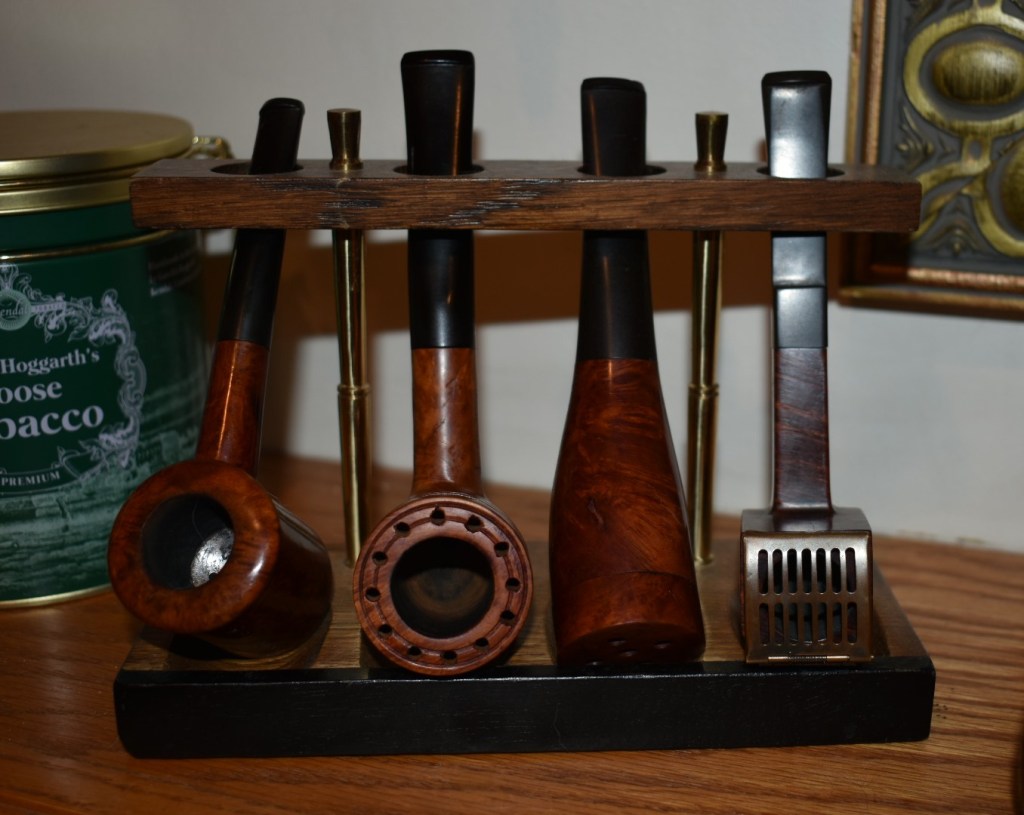
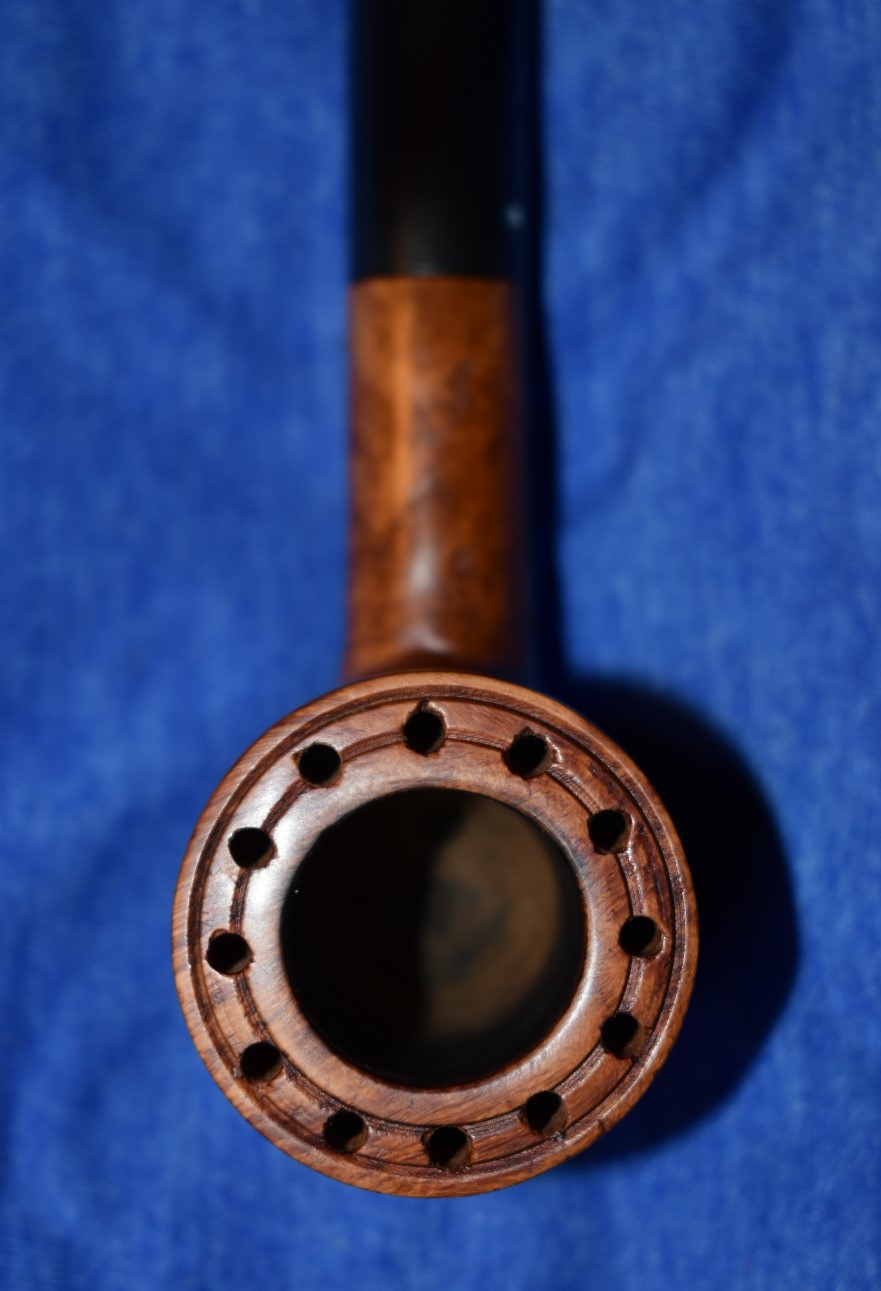
I chose to work on the rusticated paneled billiard first. Here are her arrival photos:


A little bit of history is one of those things that I love about these projects. Here is what we know:
- I own a Kings Cross made in Italy by Savinelli
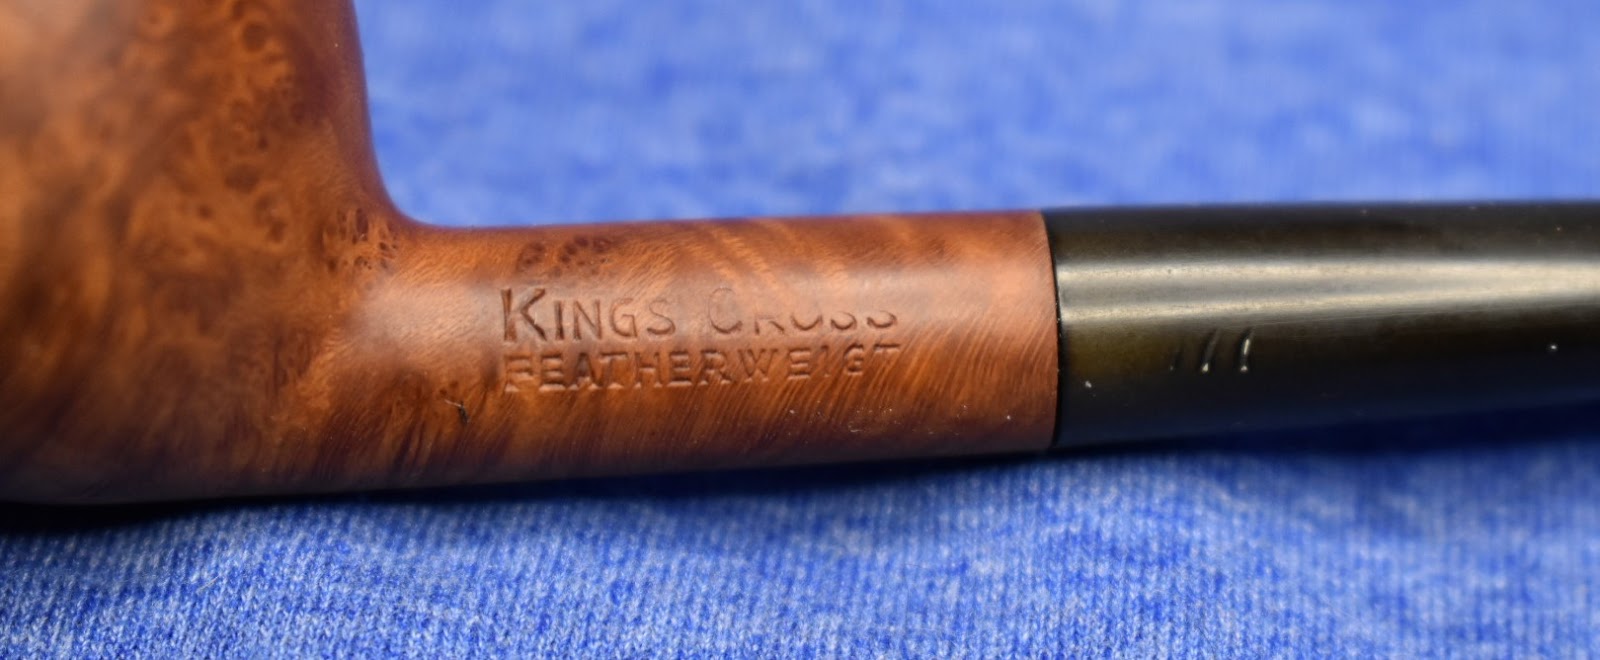

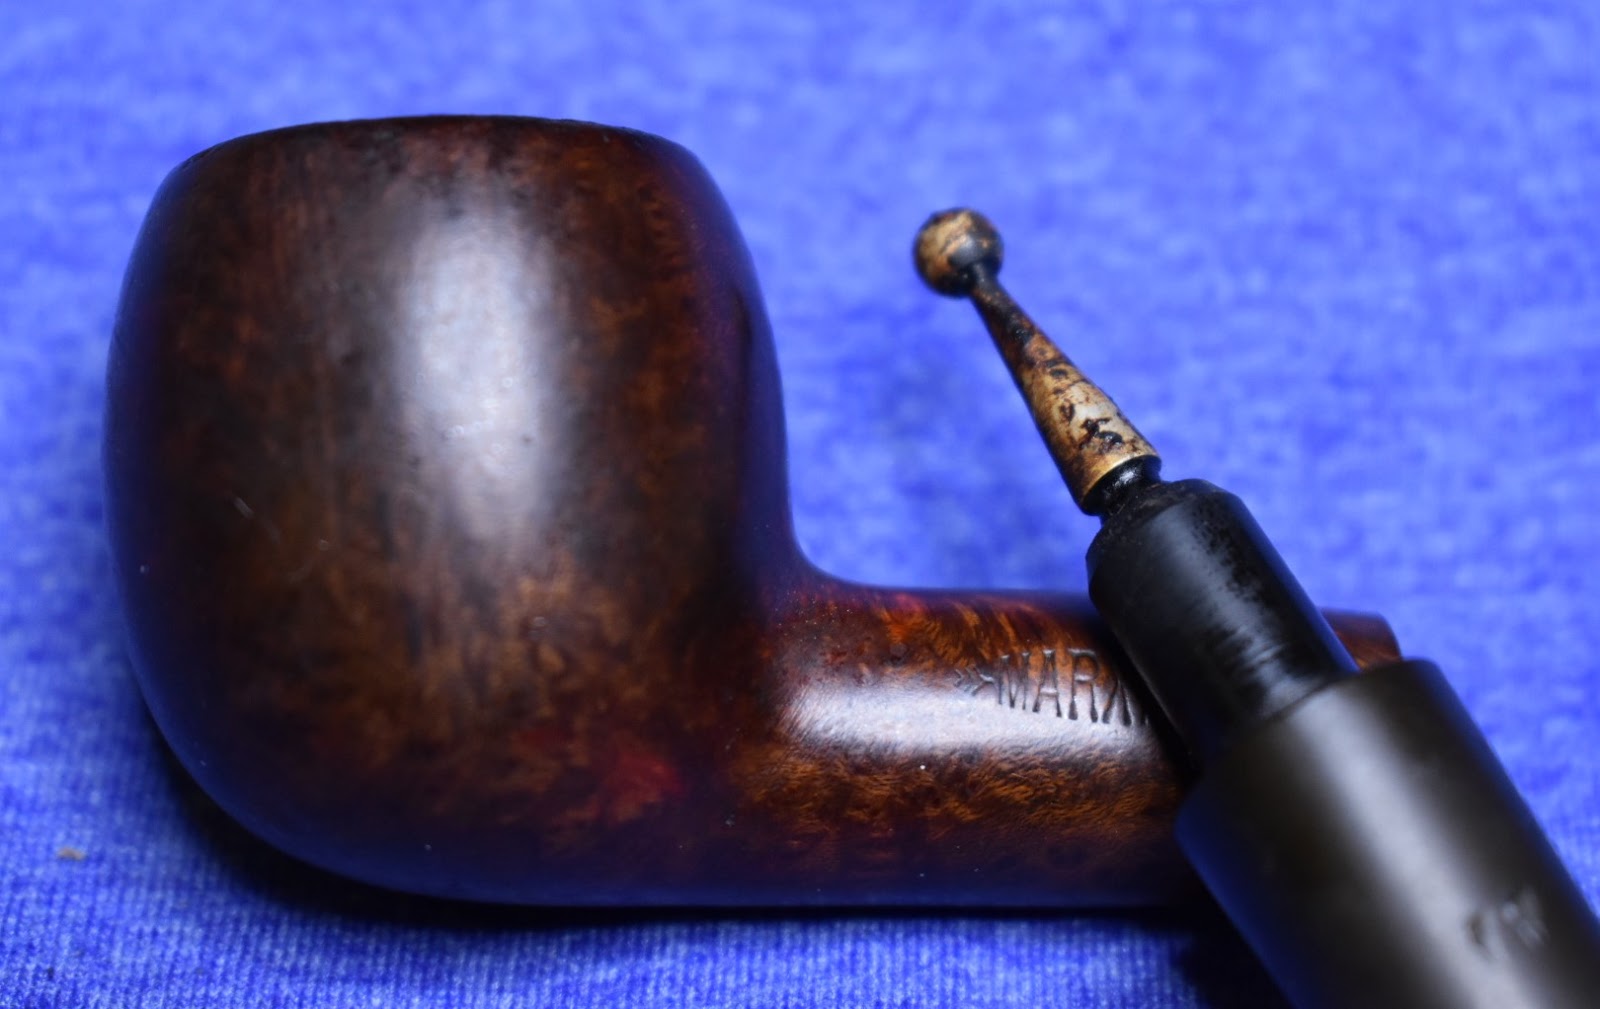
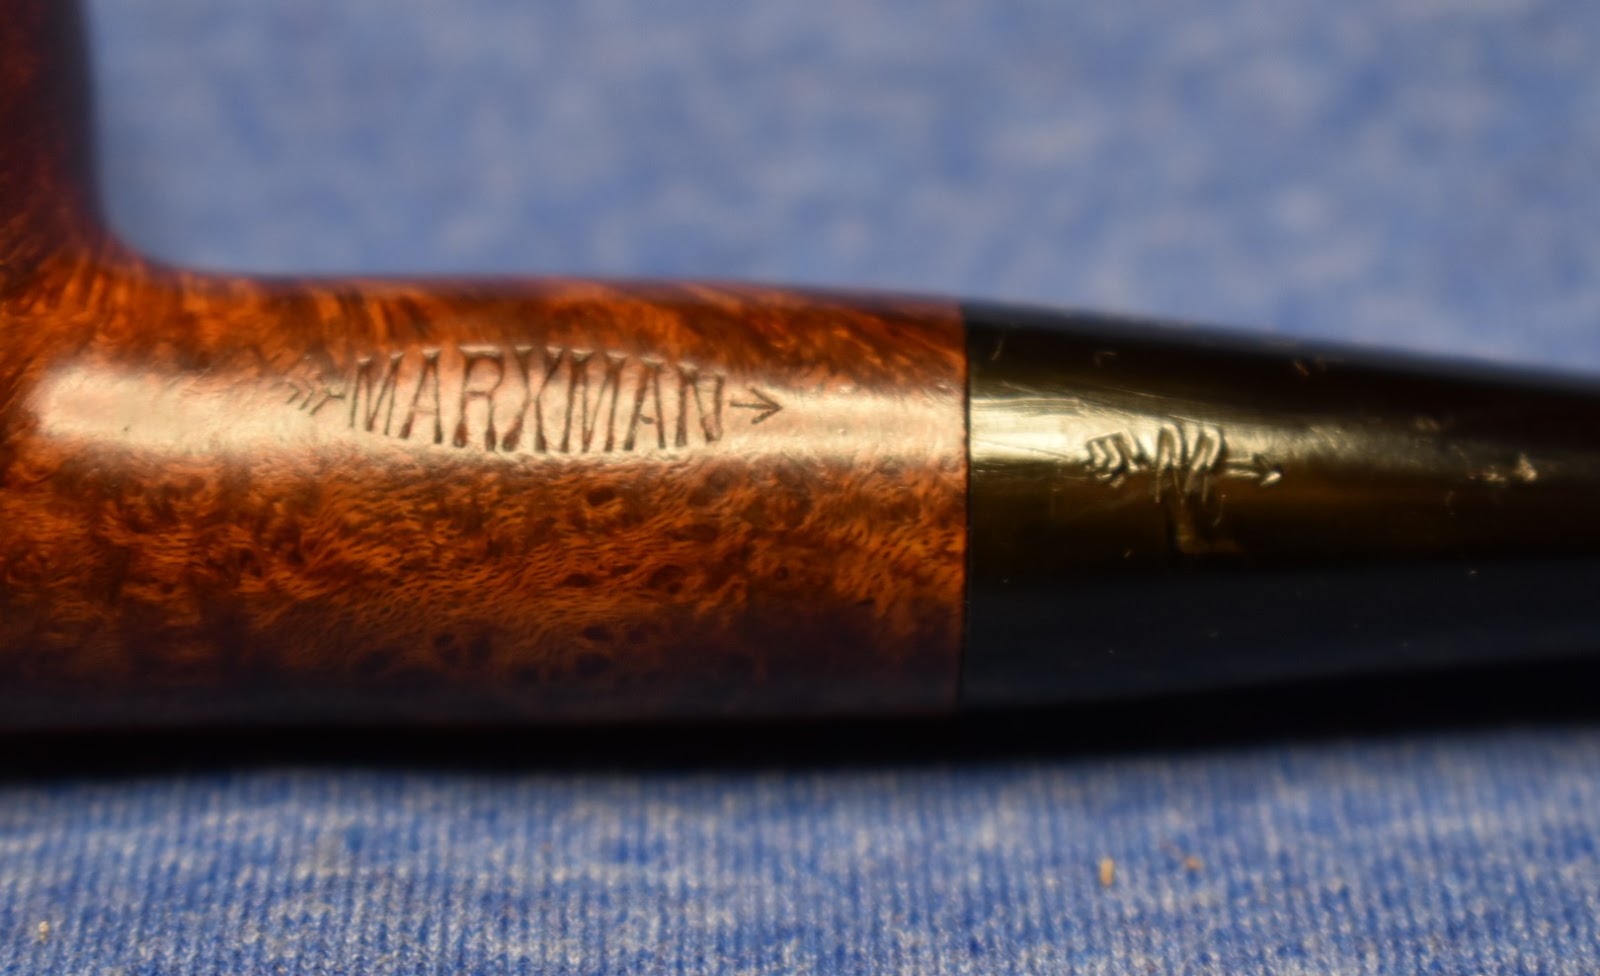
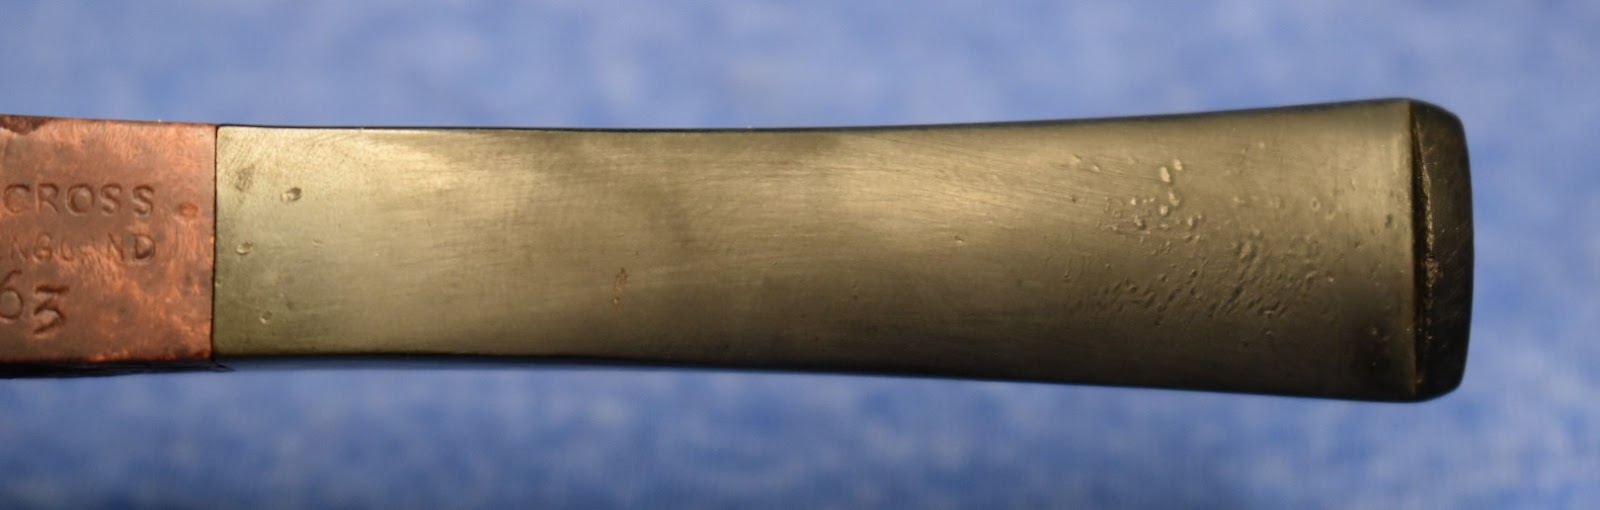
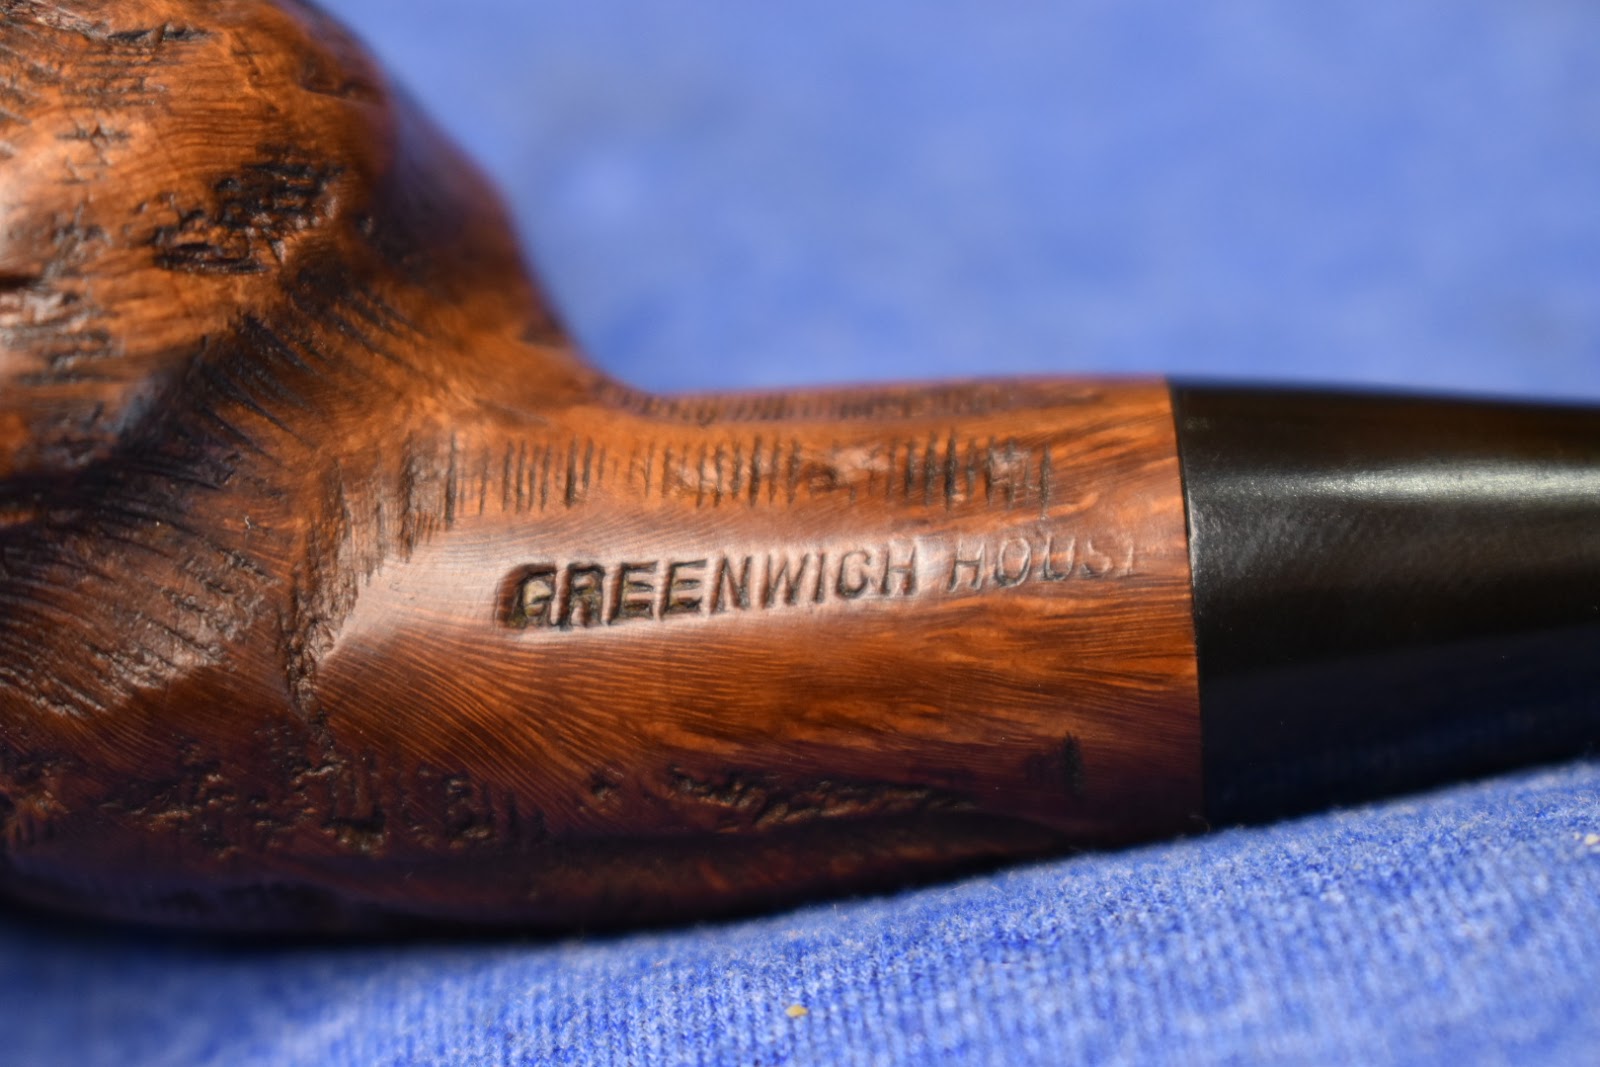
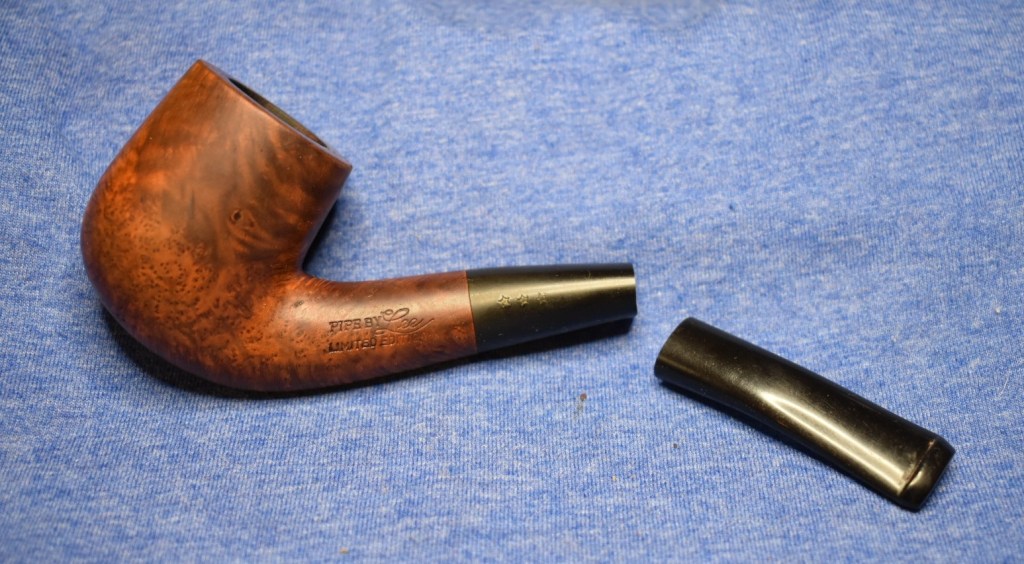
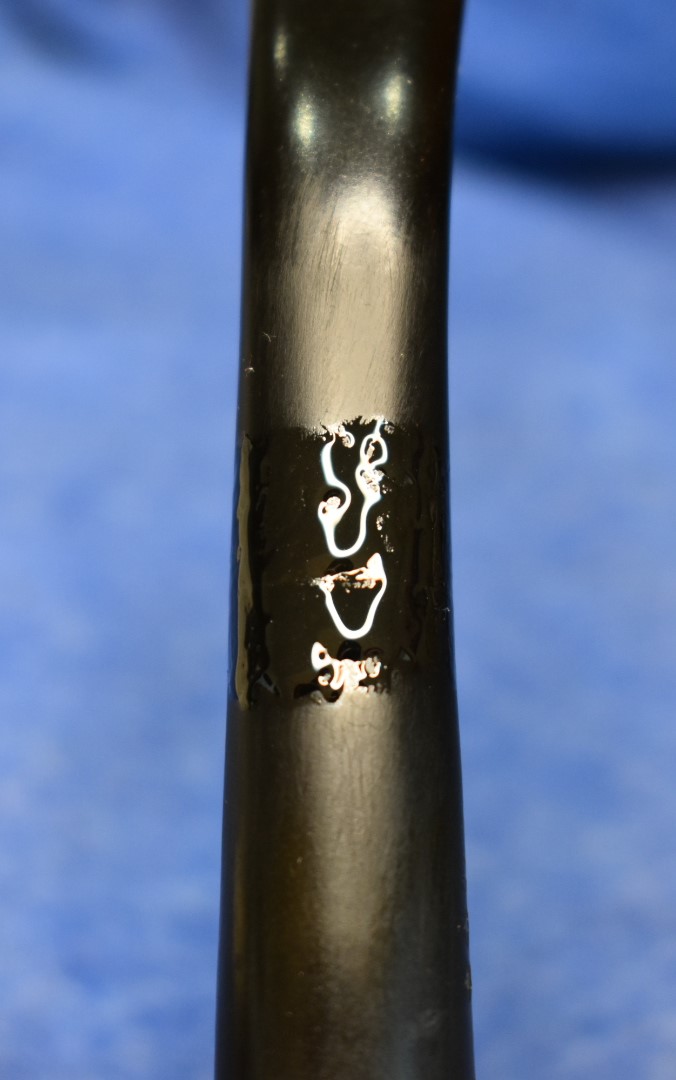
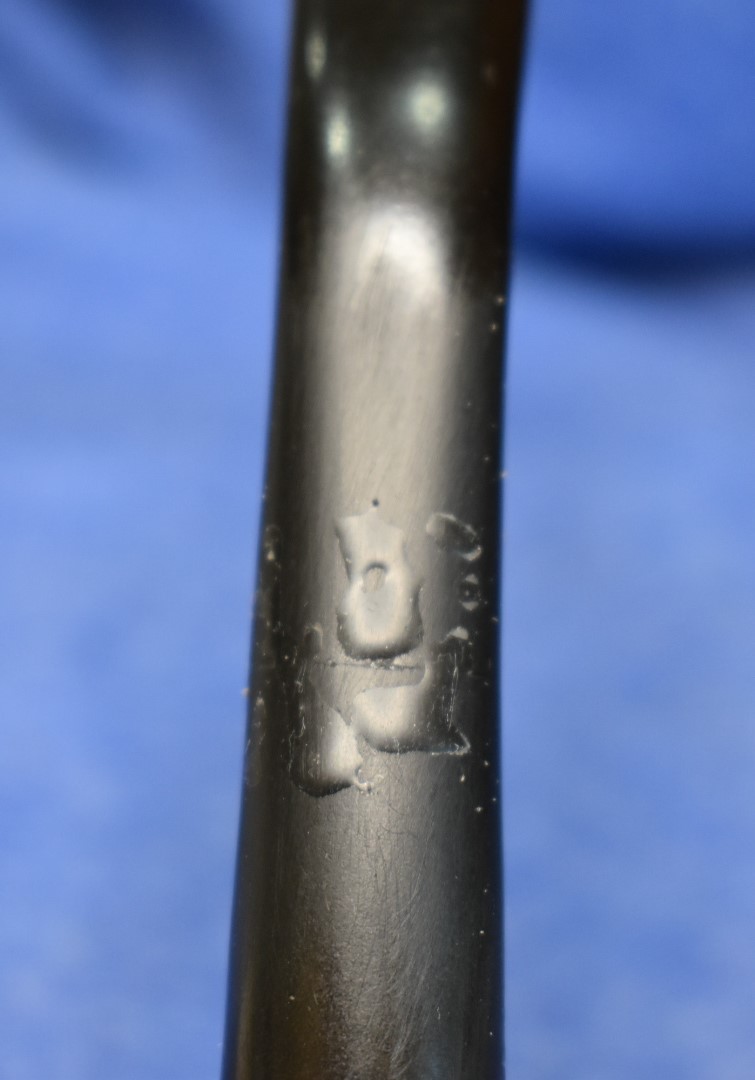
2. The Kings Cross I chose to start with is Made in England.

- The stampings look nothing alike.
What do you deduce, my dear Watson?
Umm, Mr. Savinelli moved?
No, there obviously is mystery afoot, old chap.
The first search of “Kings Cross” led me to the following quote from Pipedia.org:
“Kings Cross is a brand made by both Chapuis-Comoy in France using Algerian Briar. Kings Cross is also a brand name used by Savinelli, which is more commonly seen in the U.S. market. Those pipes are made using Italian Briar”
Comoy’s is an English pipe maker and Chapuis is French. Hmm, the mystery deepens. I checked the Comoy page on Pipehil.eu and found the Comoy seconds.

Comoy — Pipes : Logos & Markings (pipephil.eu)
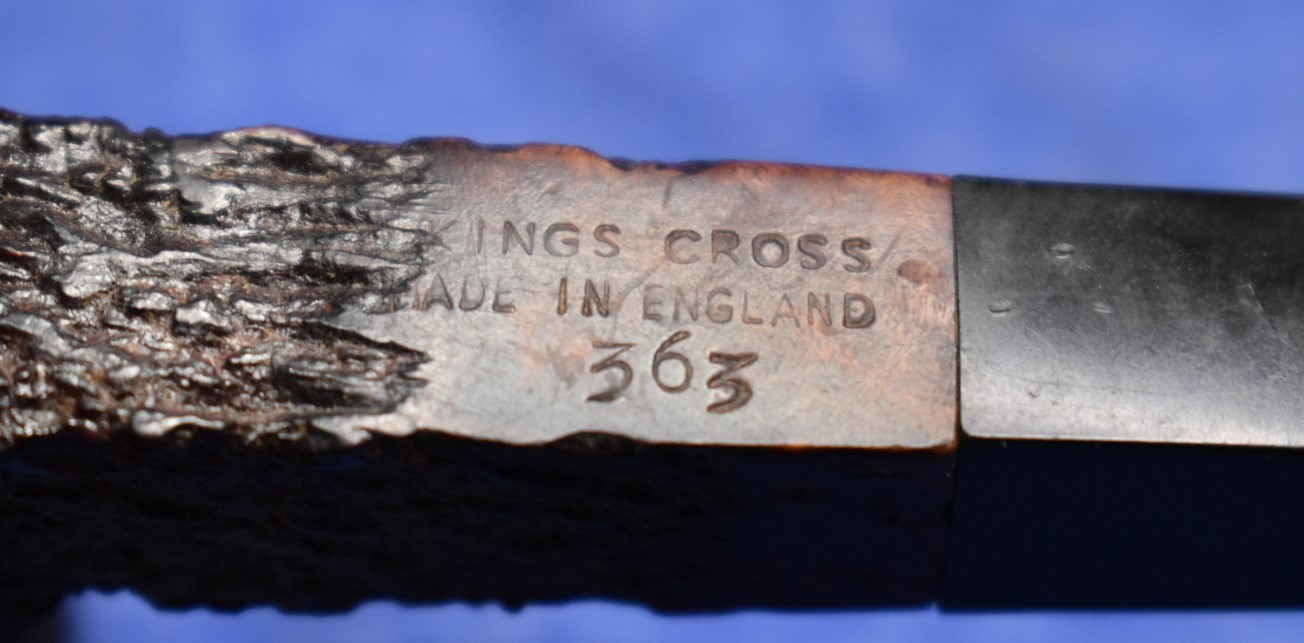
No mention of “Kings Cross” as a second of Comoy. Strangely, there is no Comoy stamping on the pipe either. So, this Kings Cross is not a second of Comoy yet, they apparently didn’t want it known that she was a Comoy either. To verify the Comoy heritage I found a list of Comoy shapes and shape numbers on Pipedia.com. Sure enough, the 368 was there.


(Comoy’s Shape Number Chart – Pipedia)
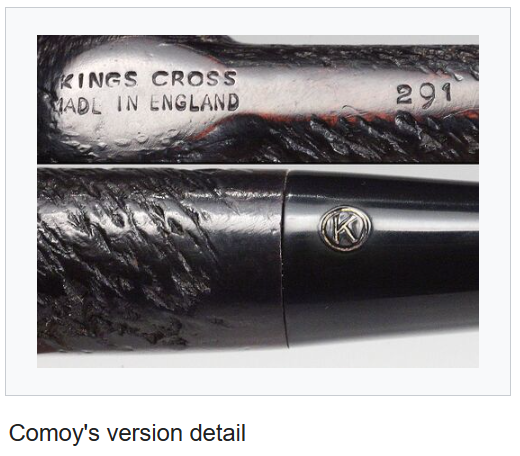
Now we know that the Kings Cross is definitely a member of the Comoy family with that specific shape fitting in with their listed shape chart. I returned to the Kings Cross page on Pipedia.org. For more information. And found nearly the exact stamping. They called it “Comoy’s version” of the Kings Cross and visually compared it to the Chapuis version.

What is the relationship between the two companies and their English and French COMs? It seems odd that two separate companies would both make the same line of pipes with the same name. The plot thickens.

(http://www.pipephil.eu/logos/en/infos/connect-en.html)
Talk about your confusing family trees. The present day briar pipe owes a great deal to the Comoy family. Below is an abbreviated history.
Chapter One- “Francois Comoy and his brothers started making pipes (probably clays, boxwood and beech) in 1825 in the small monastic town of Saint-Claude in eastern France. Francois and his son Louis discovered that briar had vastly superior qualities and from 1848 made pipes only in this wood.” (Comoy’s – Pipedia)
Chapter 2- “In 1879 Francois’s son Henri, who was born in 1850, moved to London with a small bag of tools, but a great deal of experience. Henri set up a small factory in Seven Dials which is today known as Cambridge Circus. He was one of the prime movers in the establishment of the briar pipe trade in London and is credited with being the author of the appellation “London Made”.” (Comoy’s – Pipedia)
Chapter 3- “He was helped at first by some of his brothers and around 1891 was joined by his two nephews, Louis and Charles Chapuis. Louis took the name of his adoptive parents. By 1895 the business had outgrown the Seven Sisters site and a new factory was built in Newcastle Place, Clerkenwell. By 1905 markets were being sought in America and the extra business required a new factory to be built in 1913 at 72 Rosebury Avenue.” (Comoy’s – Pipedia)
Chapter 4- A couple of world wars, financial issues, mergers, independence from mergers and general corporate mayhem leads to the above family tree of chaos.
The below timeline allowed me to deduce a couple of dates of relative importance to the Kings Cross in question:
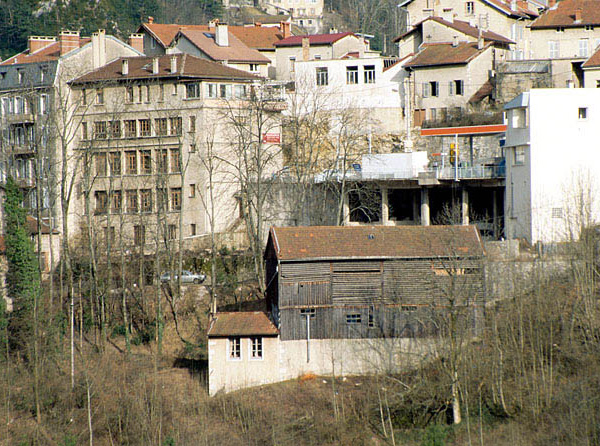
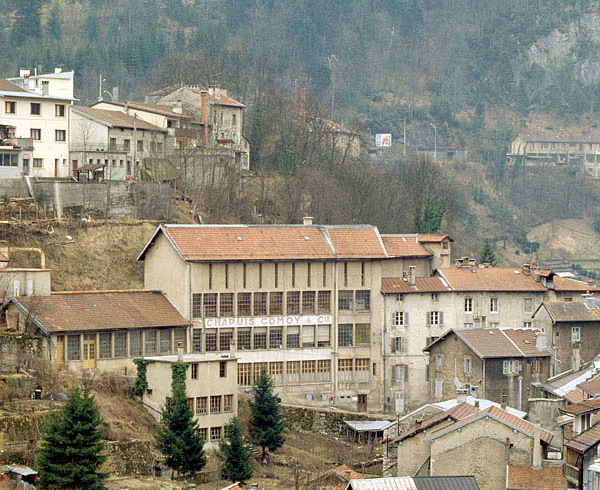
The Chapuis-Comoy factory
The Chapuis-Comoy factory
1922
This date corresponds to the Chapuis-Comoy society establishment. But it is rooted in the end of the 19th century and its origin is indissociable from two branches of a unique family.
Henry Comoy (1870-1924) was a pipe maker established in Saint Claude prior emigrating to London where he started the “H. Comoy & Co Ltd”.
He convinced his Chapuis cousins to form a partnership with him and start a factory in Saint Claude. That’s how was born “Chapuis-Comoy & Cie”.
1924
At this time Oppenheimer group(1) holds the capital of the society as for C.J. Verguet or La Bruyère, two others pipe firms in Saint Claude.

Acquisition of an ebauchon drying shed at “rue des Etapes”.
The factory in Saint Claude provides the London one with ebauchons
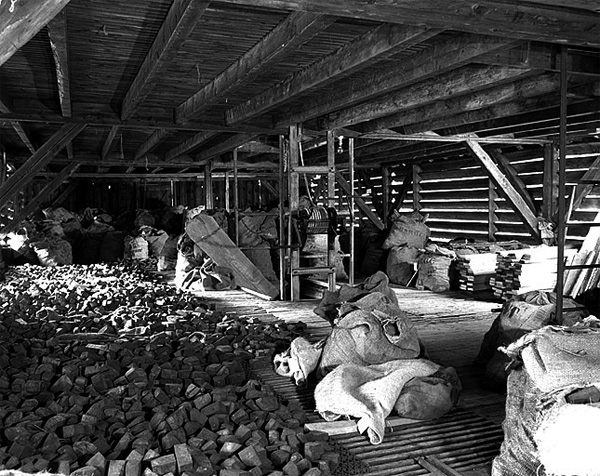
The drying shed : ▲ Inside
The wood of your old and very british Comoy probably seasoned in this place a while. Outside ▼
1928
Création of the Chacom brand.
1932
Merger of La Bruyère and Chapuis-Comoy & Cie. The Chapuis-Comoy brand disappears.
1957
In view of the success encountered by the Chacom brand, La Bruyere takes back the “Chapuis-Comoy & Cie” society name.

1972
The society recovers its whole independence to London thanks to Yves Grenard, grand cousin of Pierre Comoy (Henry’s grand son) and manager of Chapuis-Comoy & Cie.
1988
Creation of the S.A. Cuty-Fort(2) bringing together Chapuis-Comoy, Emile Vuillard, Jeantet-David and Jean Lacroix. They have the production in common, but the different brands are preserved for the pipe’s distribution.

Antoine Grenard 2008
2012
Yves Grenard passed away on Feb 8, 2012. His son Antoine manages Chapuis-Comoy & Cie
(1) An overview of the connexions between French and English pipe companies here.
(2) S.A. (Société Anonyme) : Limited Company (UK) or Incorporated Company (US)
Document: The Chapuis-Comoy factory — Pipes: Logos & Markings (pipephil.eu)
Here we have, what I think would be the earliest date that the pipe would have been made: “In 1971, the London factory (see Comoy’s) became independent, and Yves Grenard, second cousin to Pierre, took over Saint-Claude” (Chapuis-Comoy – Pipedia) On another Comoy page in Pipedia.org they state that: “Comoy’s remained a family owned company until it was finally taken over by Cadogan Investments during the early 1980’s.” (Comoy’s – Pipedia) I added the bold to “1971”.
I think that the quote that best identifies the latest date of production would be 1988 when the Comoy pipe production joined the Chapuis production: ”They have the production in common, but the different brands are preserved for the pipe’s distribution.” Joint production at the Chapuis factory would mean the pipe could not have been “Made in England”.
Document: The Chapuis-Comoy factory — Pipes: Logos & Markings (pipephil.eu)
With the beginning date of 1971 and end date of 1988, this would put the Kings Cross more recent than what I am used to restoring. Hah, I am older than you, pipe. I am not sure if Sherlock Holmes would agree with my deductions or not but, I could certainly convince Watson.
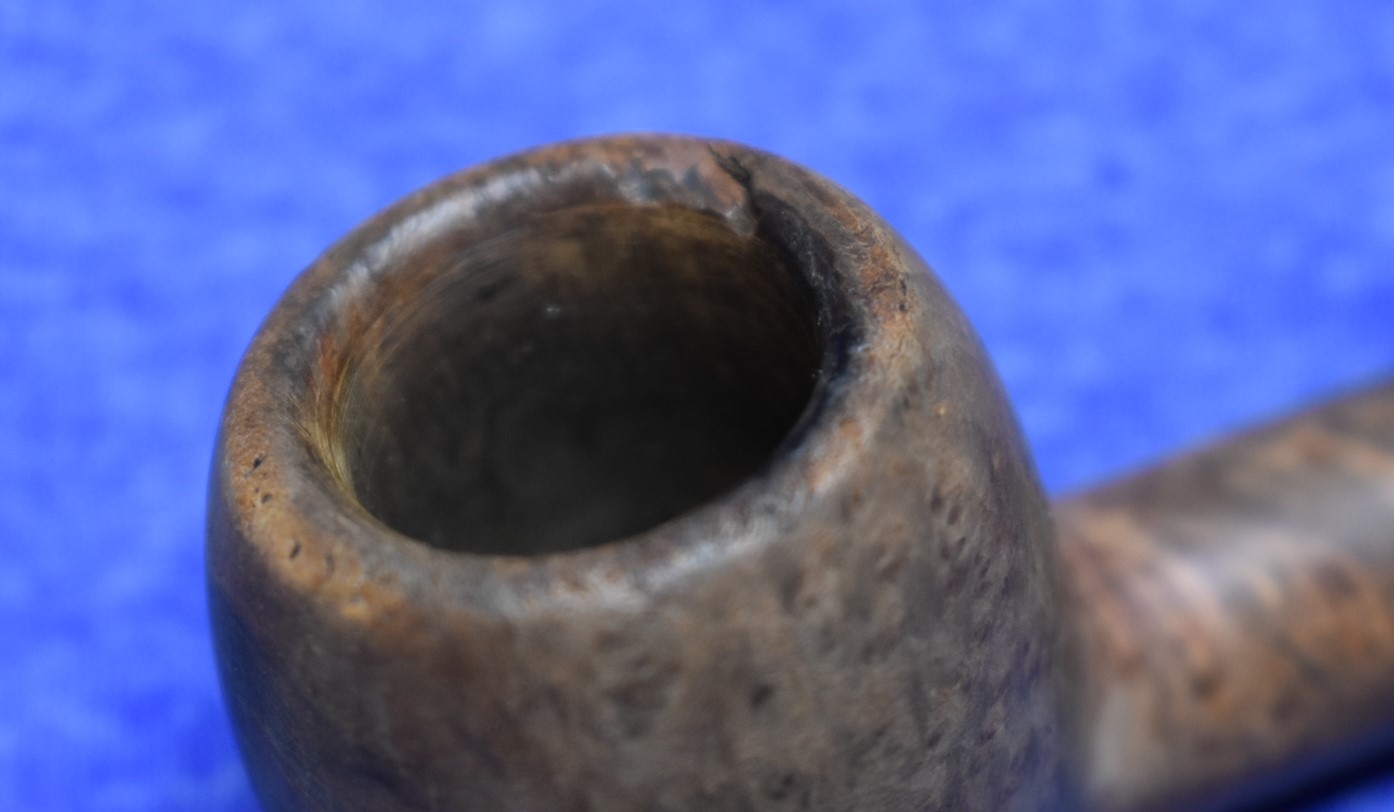
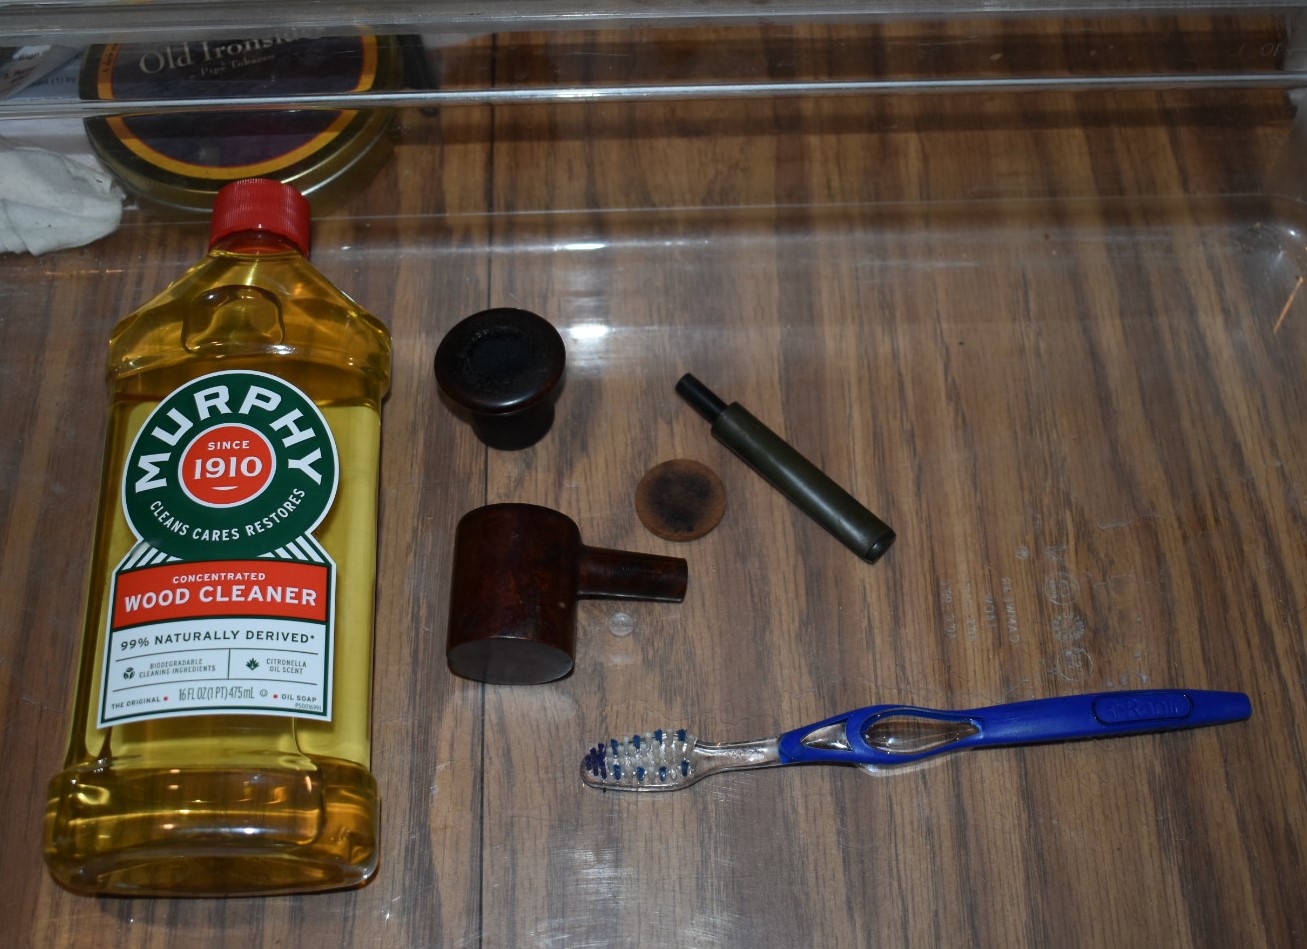
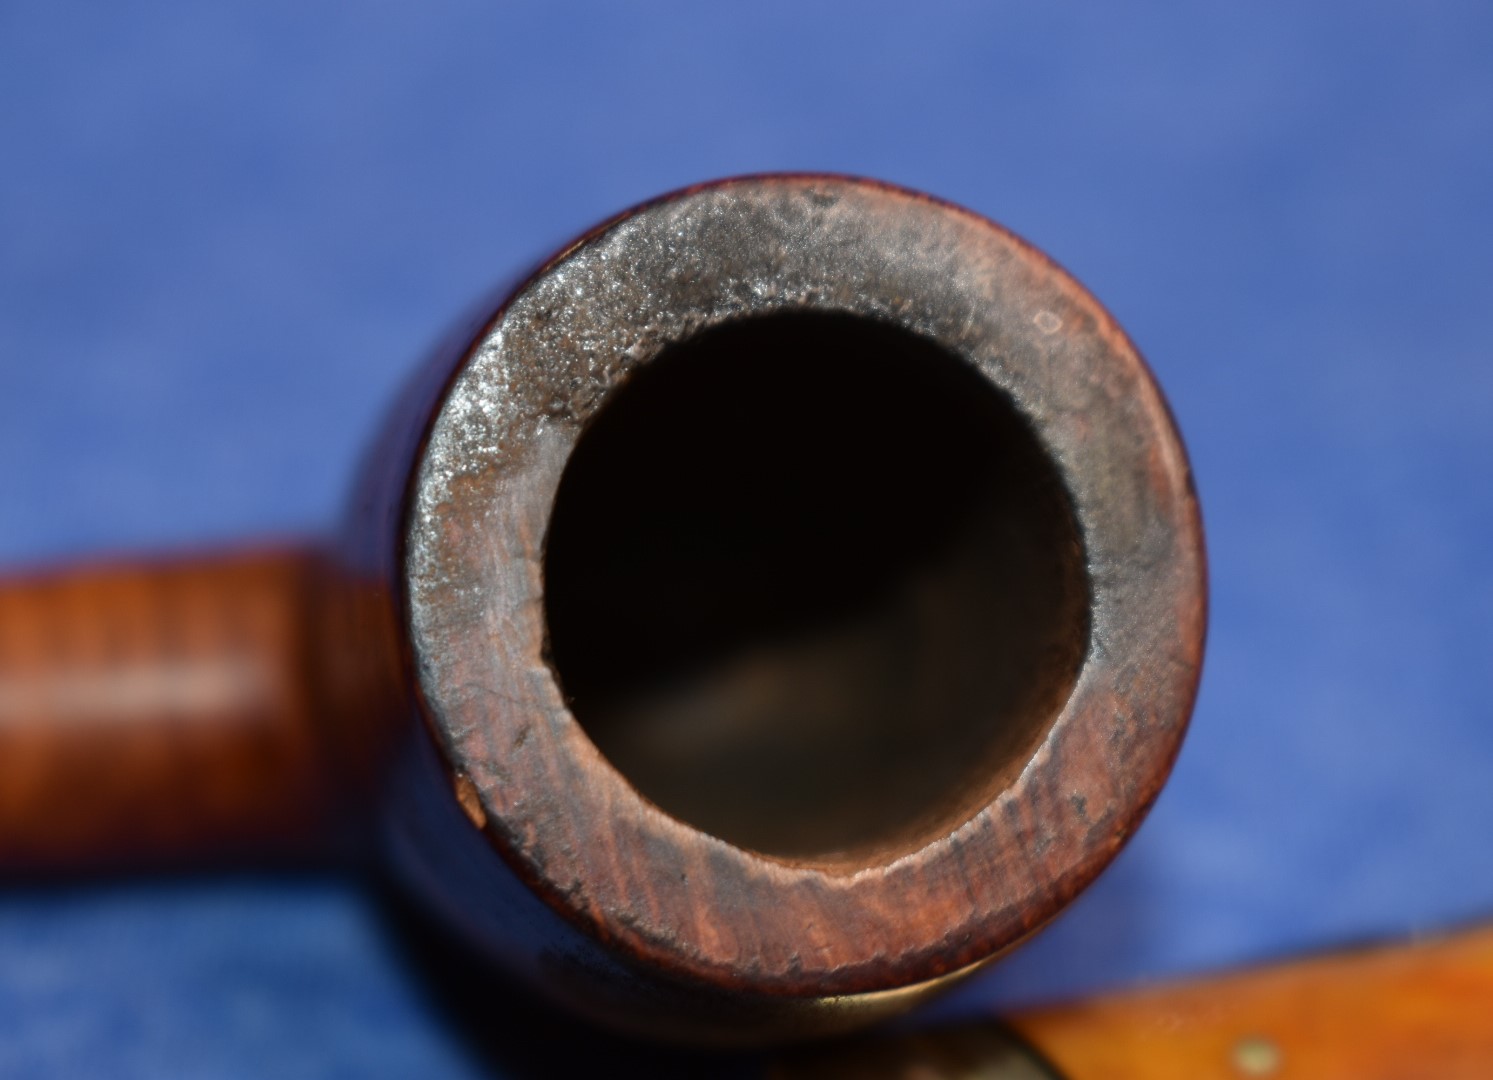
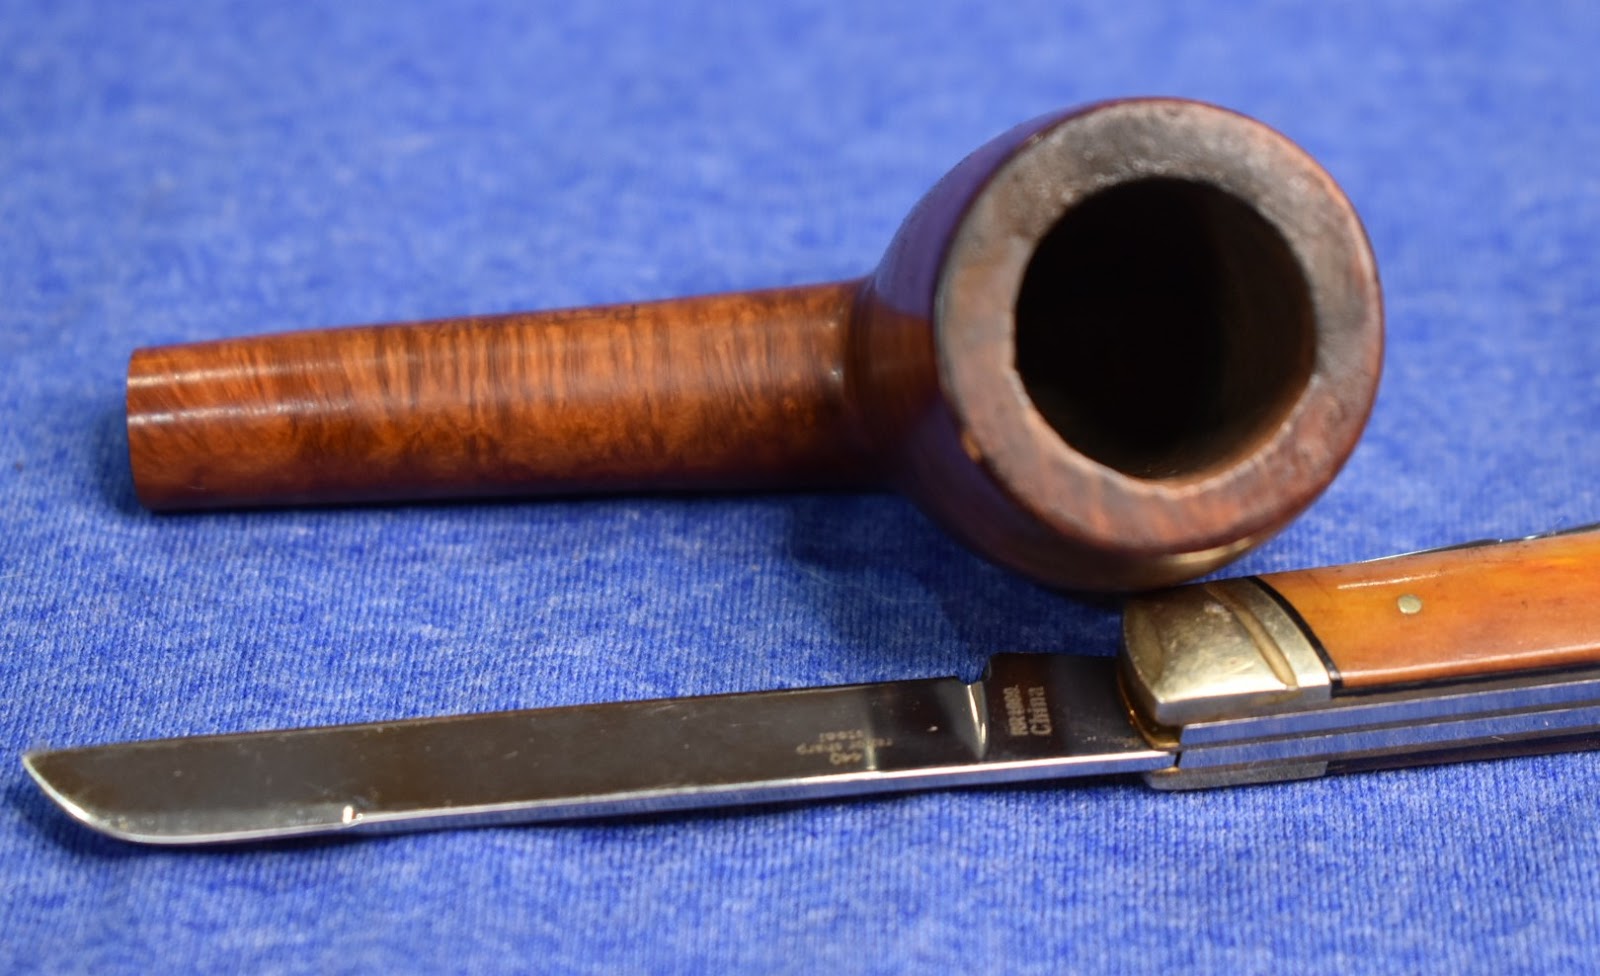
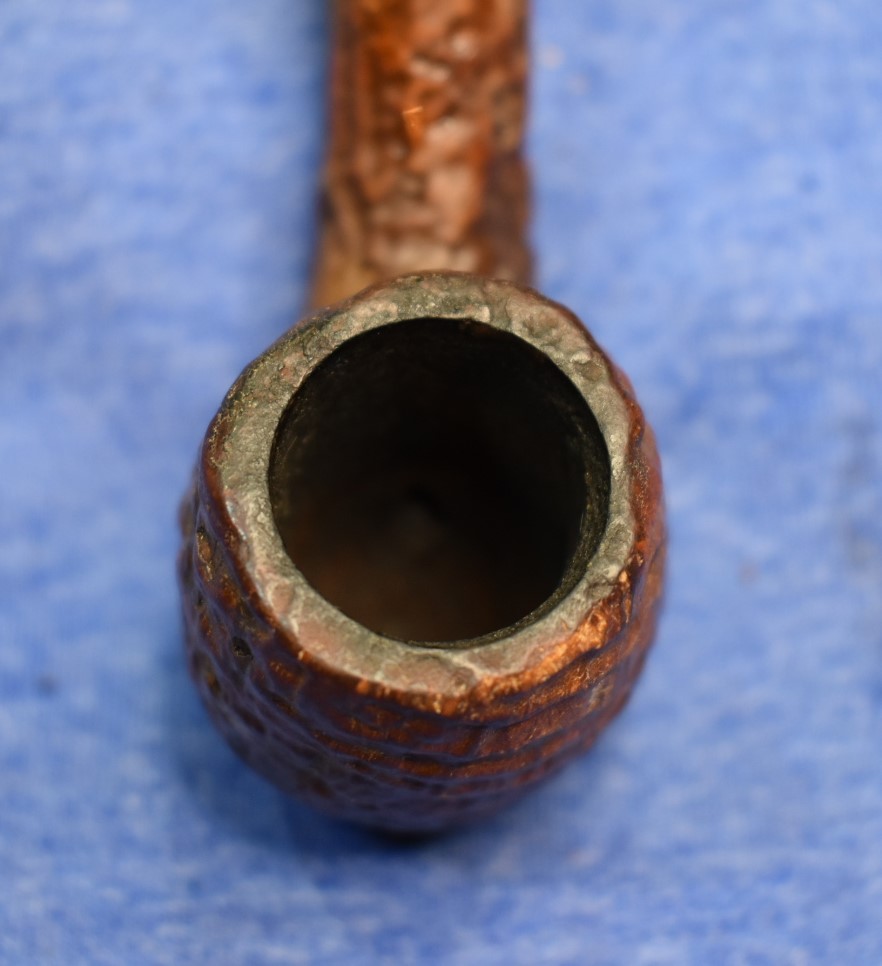
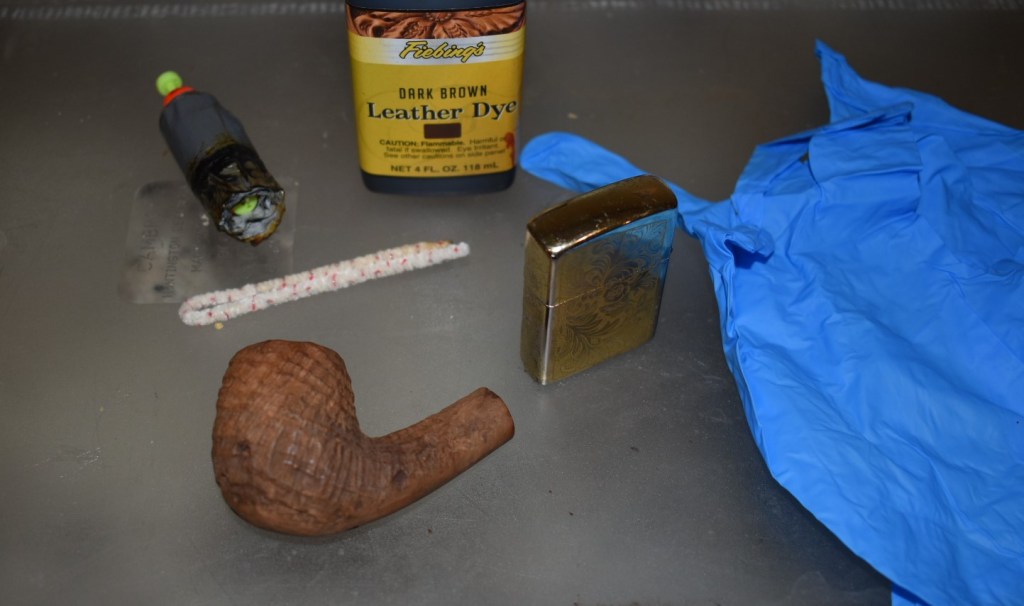
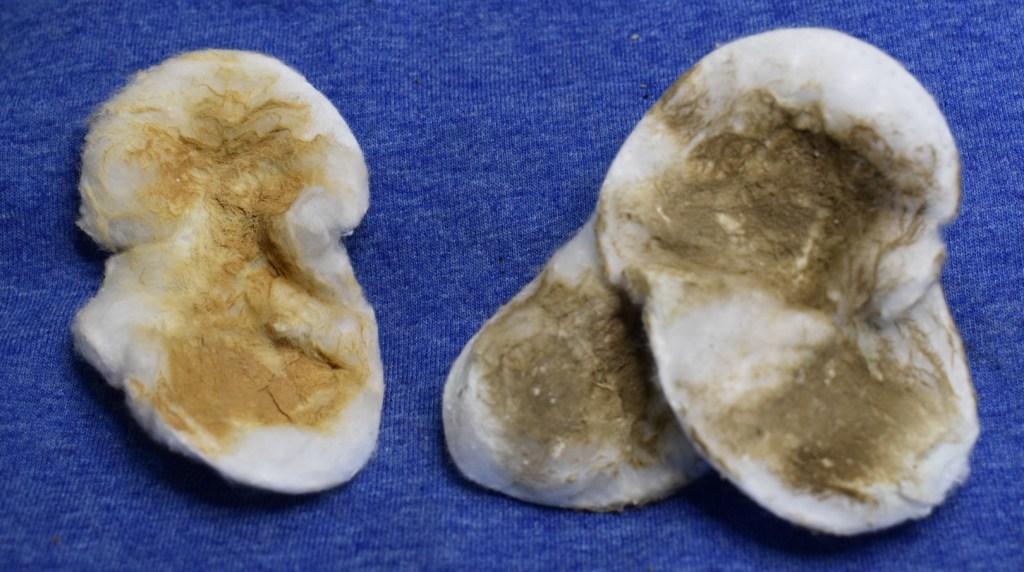
To the restoration. First thing I did was to ream the Kings Cross and rid it of the cake. There was a pretty healthy deposit that the
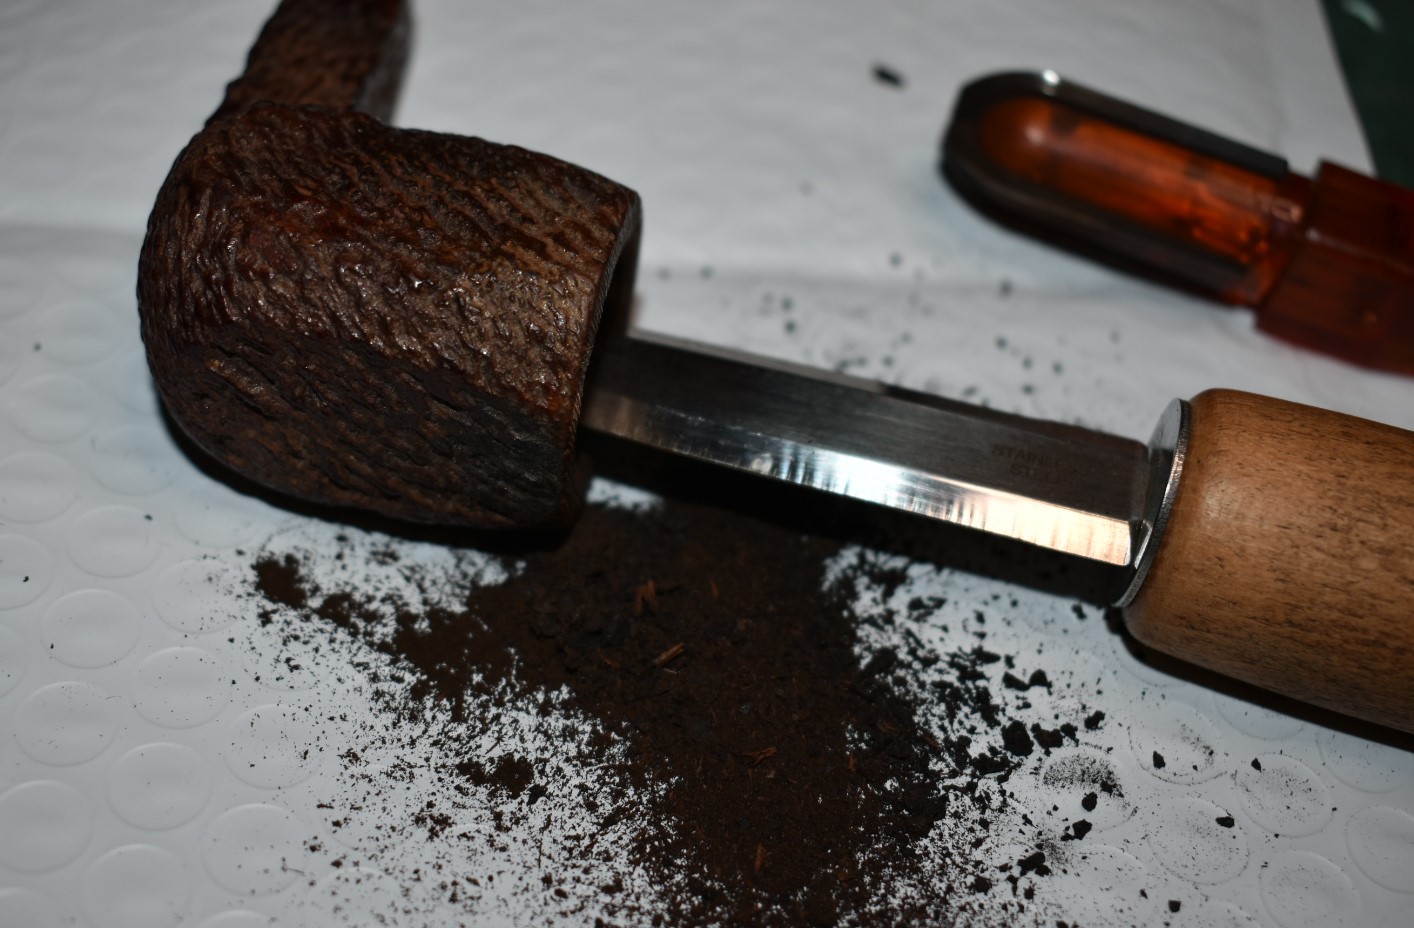

Smokingpipe Low Country Reamer scraped out quickly. I followed up with the number two blade of the PipNet and gave it a final scrape again with the Low Country. Next I sanded the interior of the bowl with 220 sandpaper wrapped around a wooden dowel.
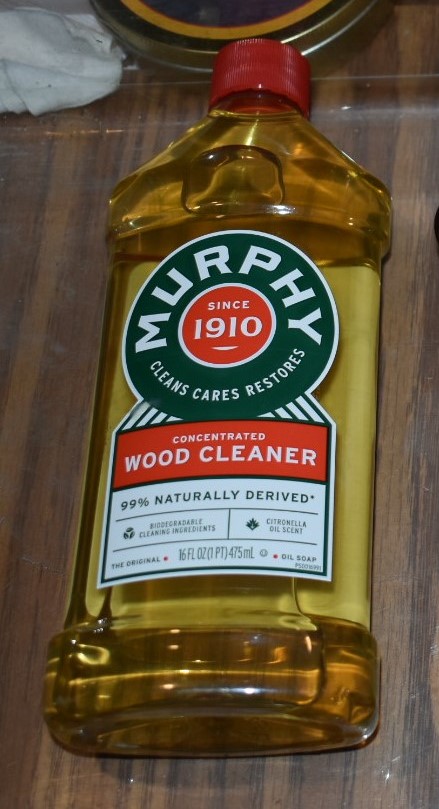
Next stop the sink for a Murphy’s Wood Cleaner scrub. I use Murphy’s undiluted and scrub with a medium stiff toothbrush. This will usually remove the dirt and grime accumulated through years of use. The Murphy’s did its job quite well but there was a layer of some kind of clear finish that I did not want on this pipe.
“What kind of finish is it?” I wondered. Hopefully shellac and please don’t be some space-age-polymer. (Yeah Kaywoodie Magnum, I’m talking about

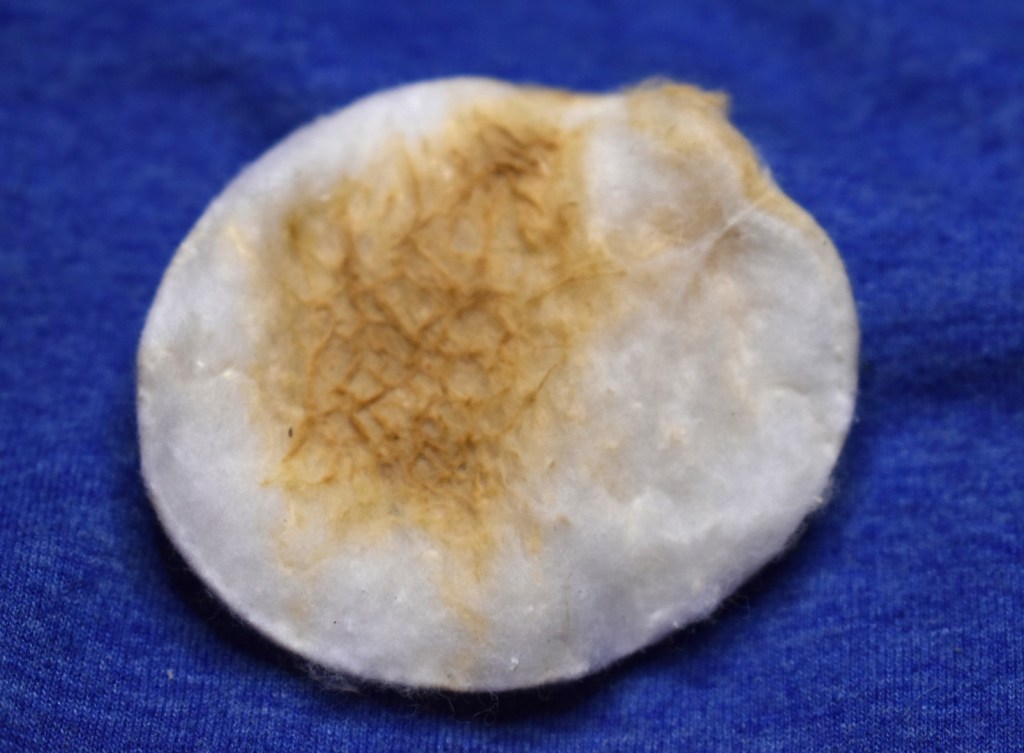
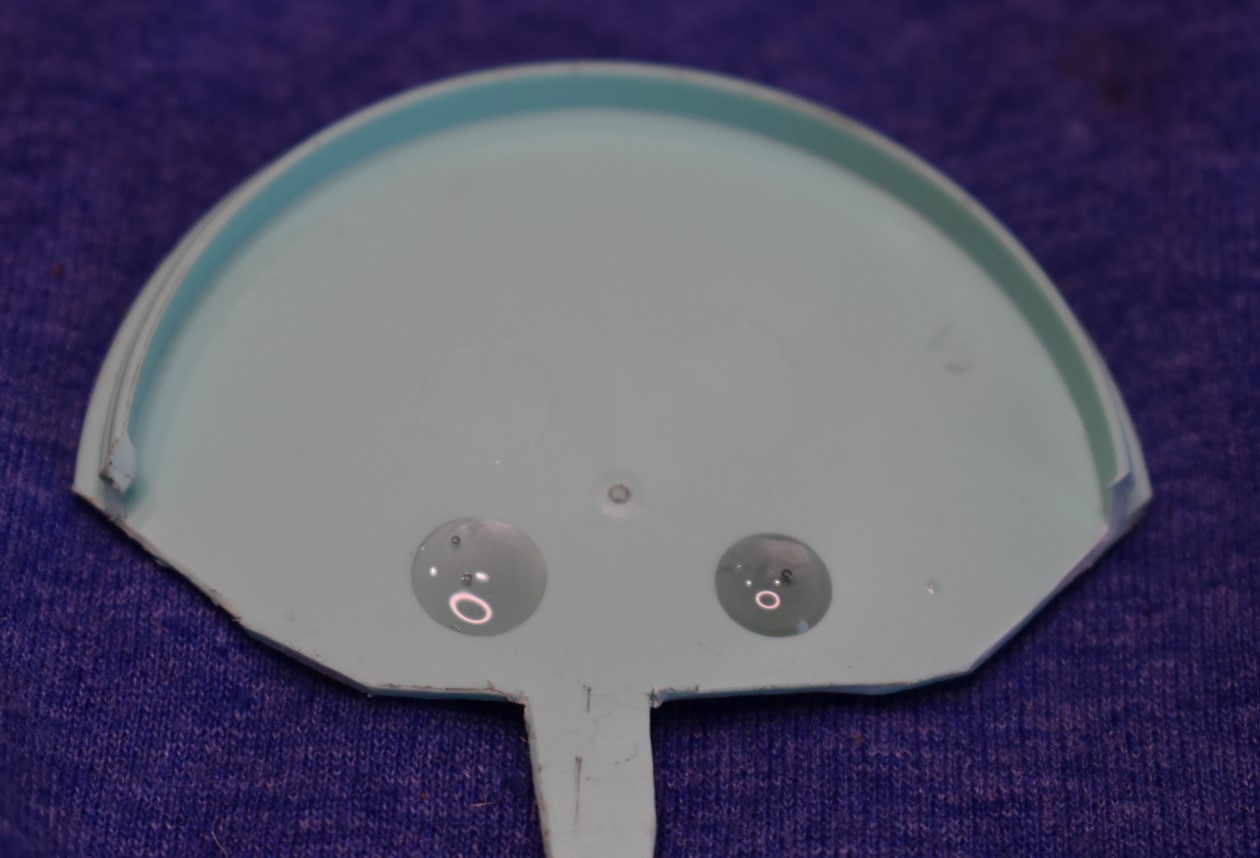
you. How they ever liquified diamonds and put them on a pipe I’ll never know) I wetted a make-up removal pad with 99% isopropyl alcohol and tried rubbing the flat surface of the stamp. A little bit of color came off but the surface remained shiny. I wetted the other side of the pad with 95% ethyl alcohol and tried again. This time a bit more color but the shine


remained. New pad, with acetone. This time more color and the shine was gone. We have a winner.

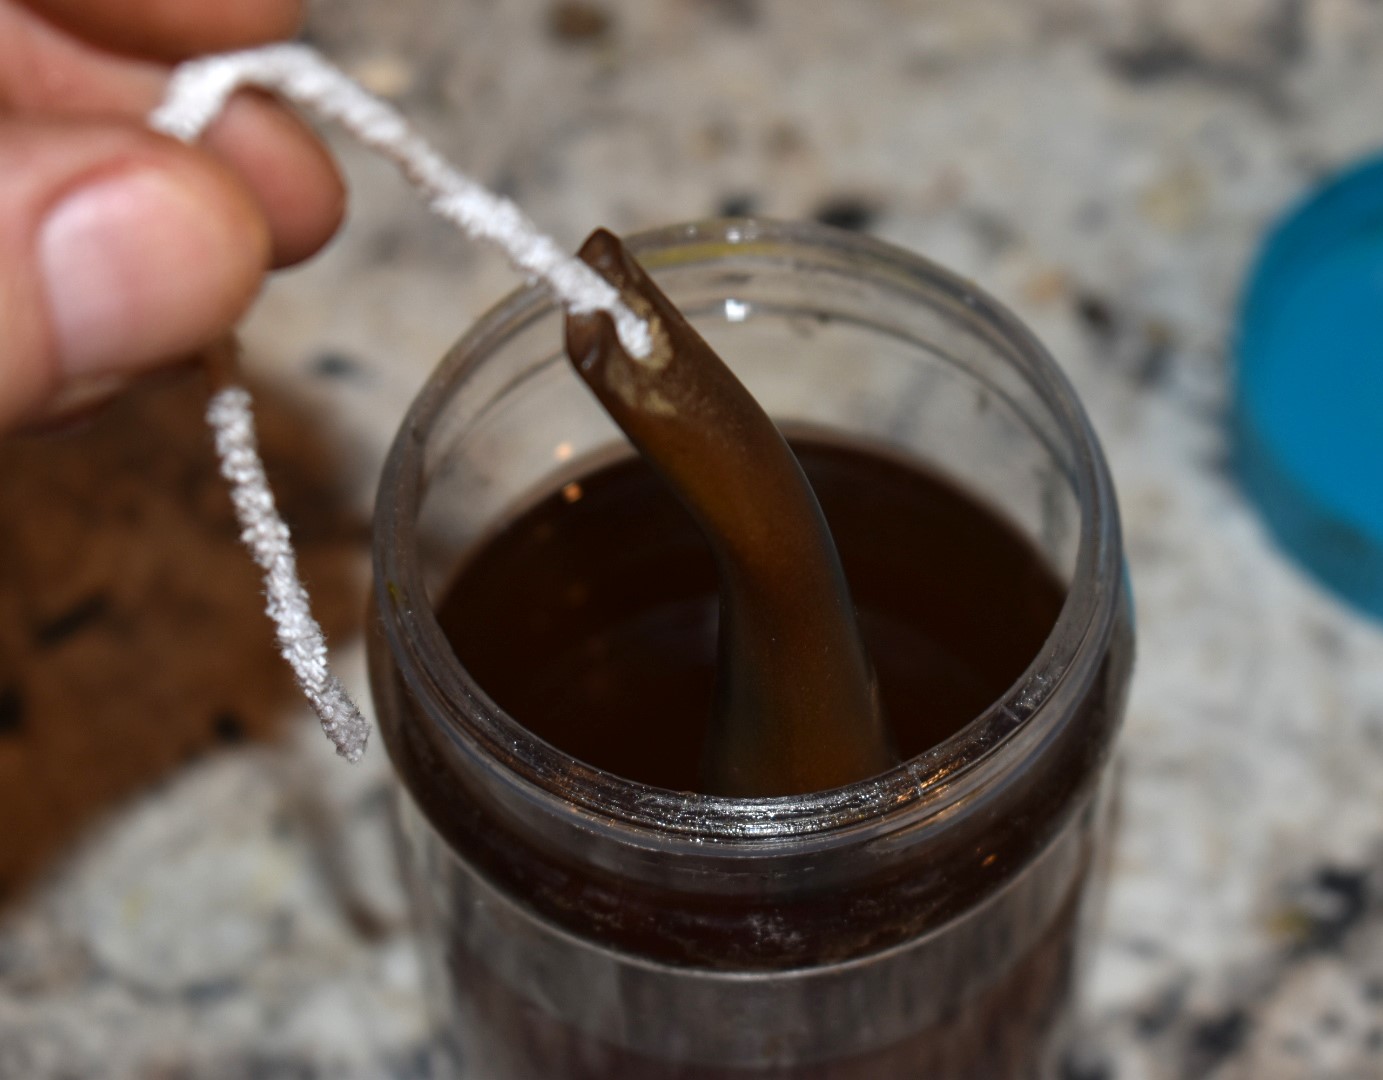
That meant that the stummel would have to take a bath in the acetone jar.


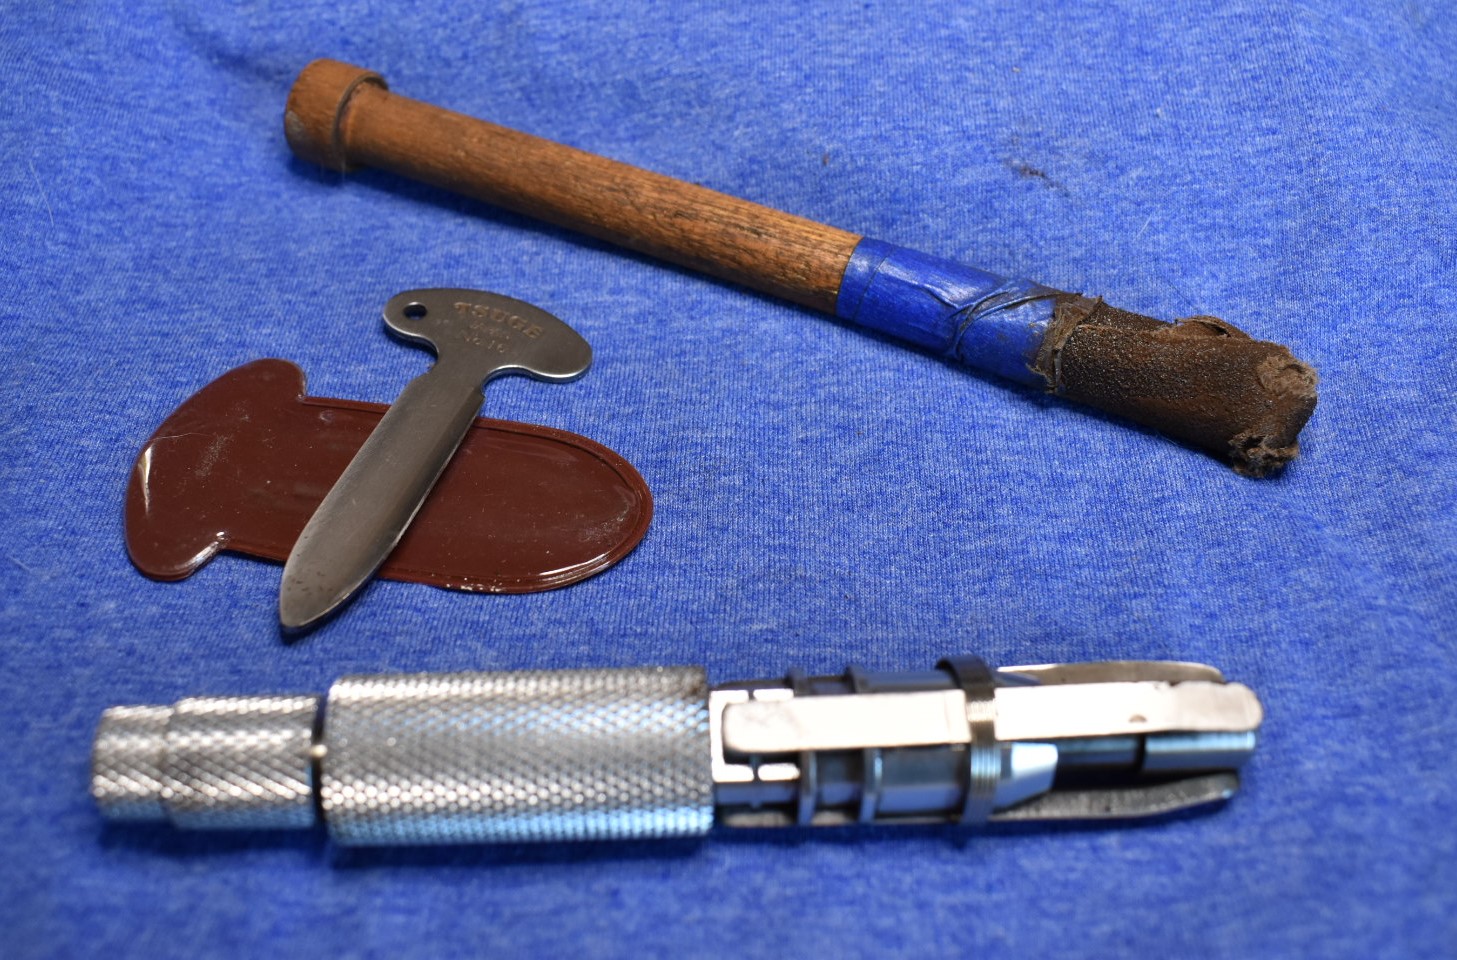
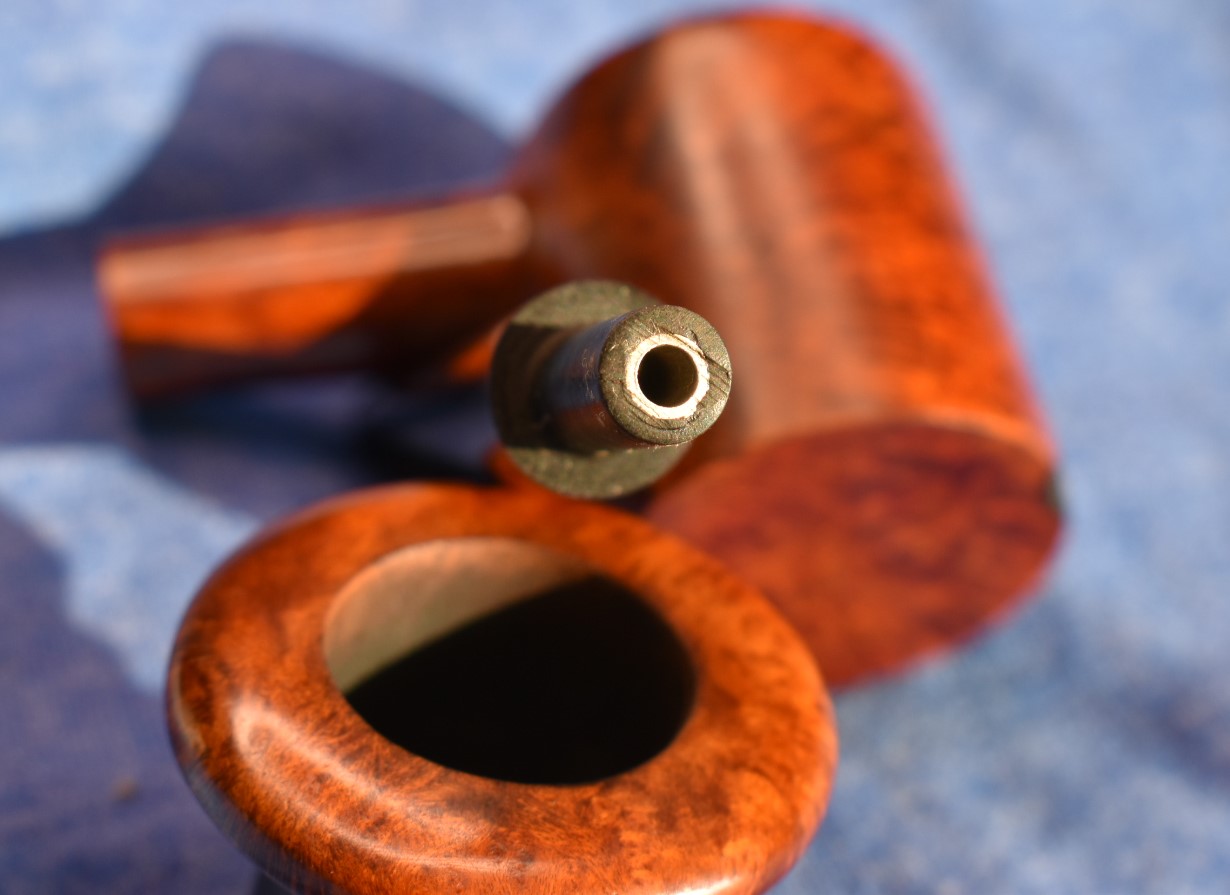
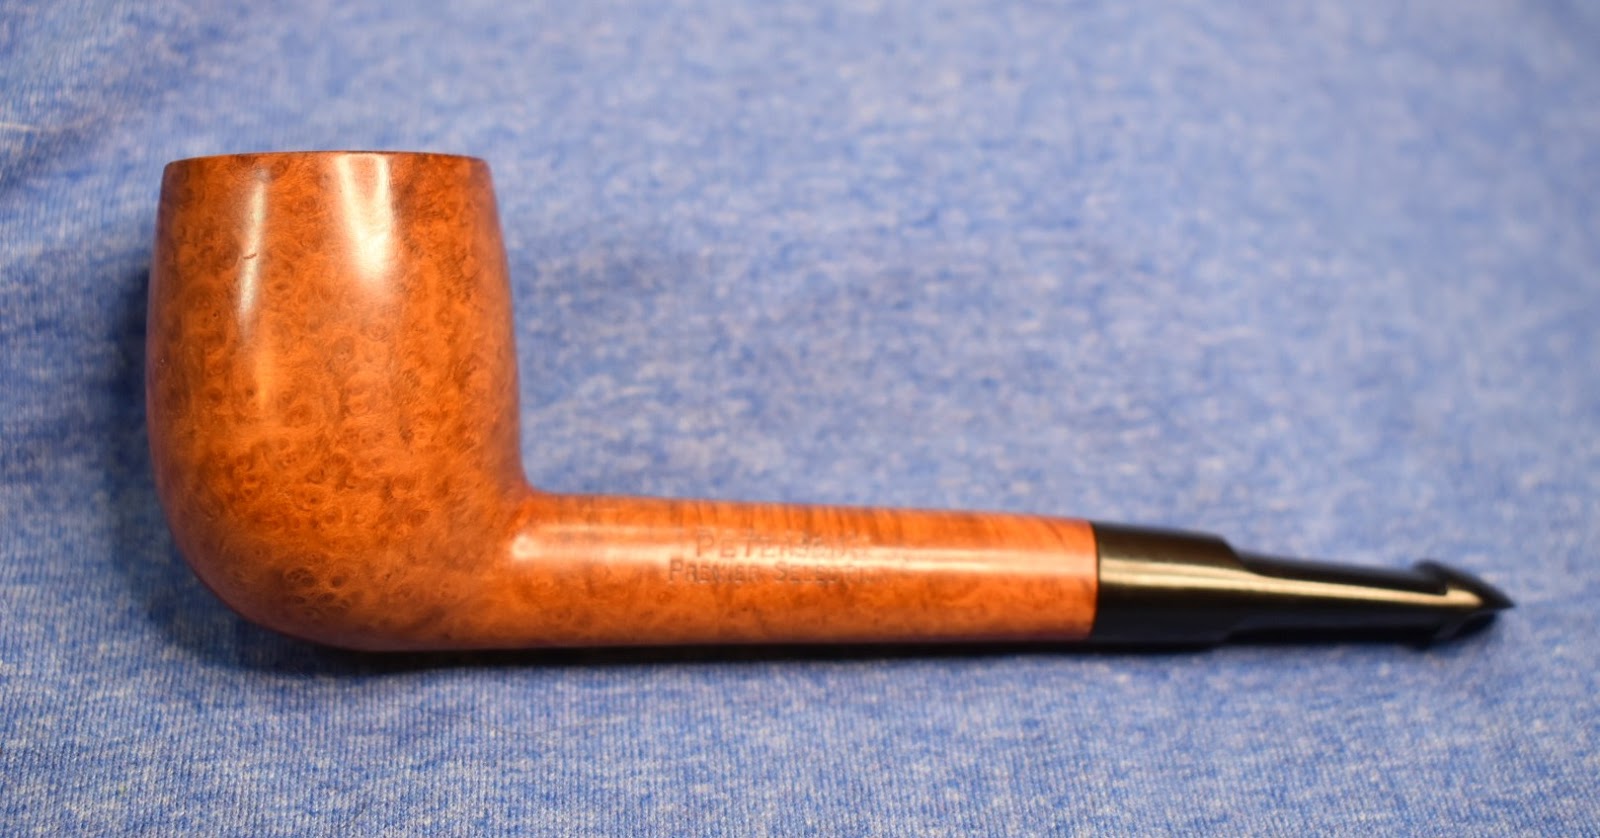
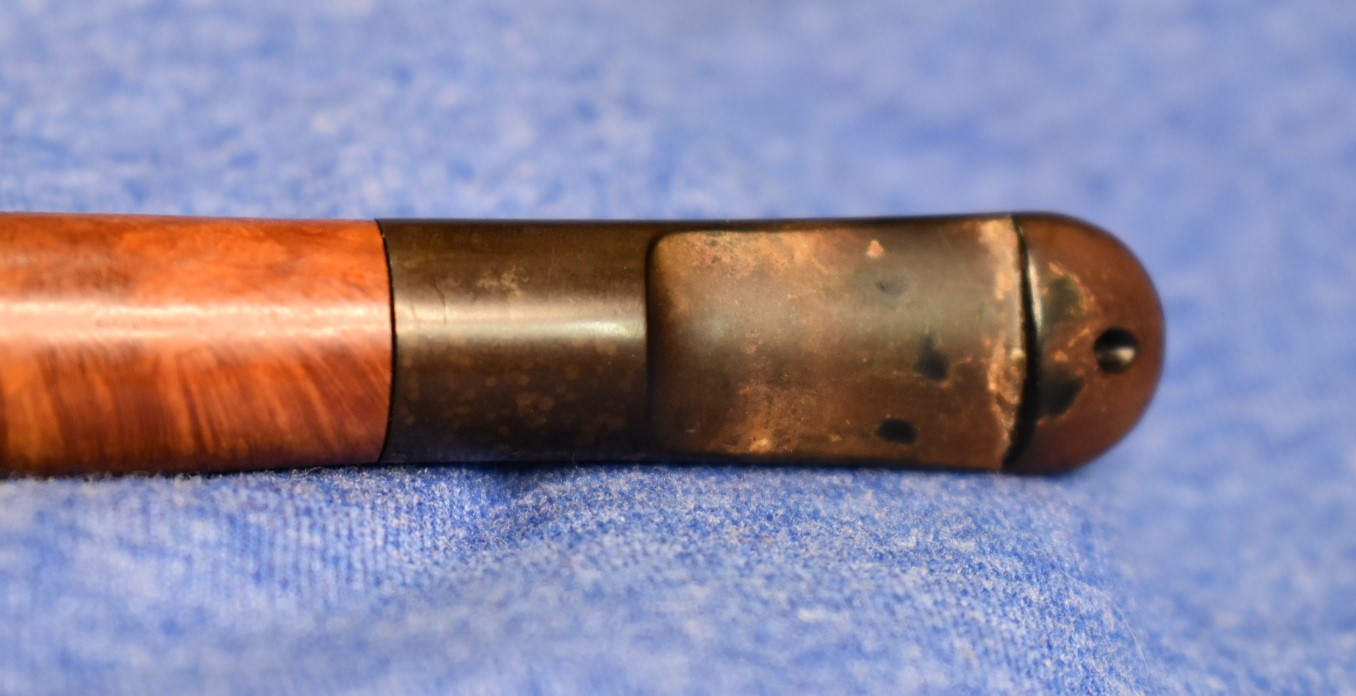
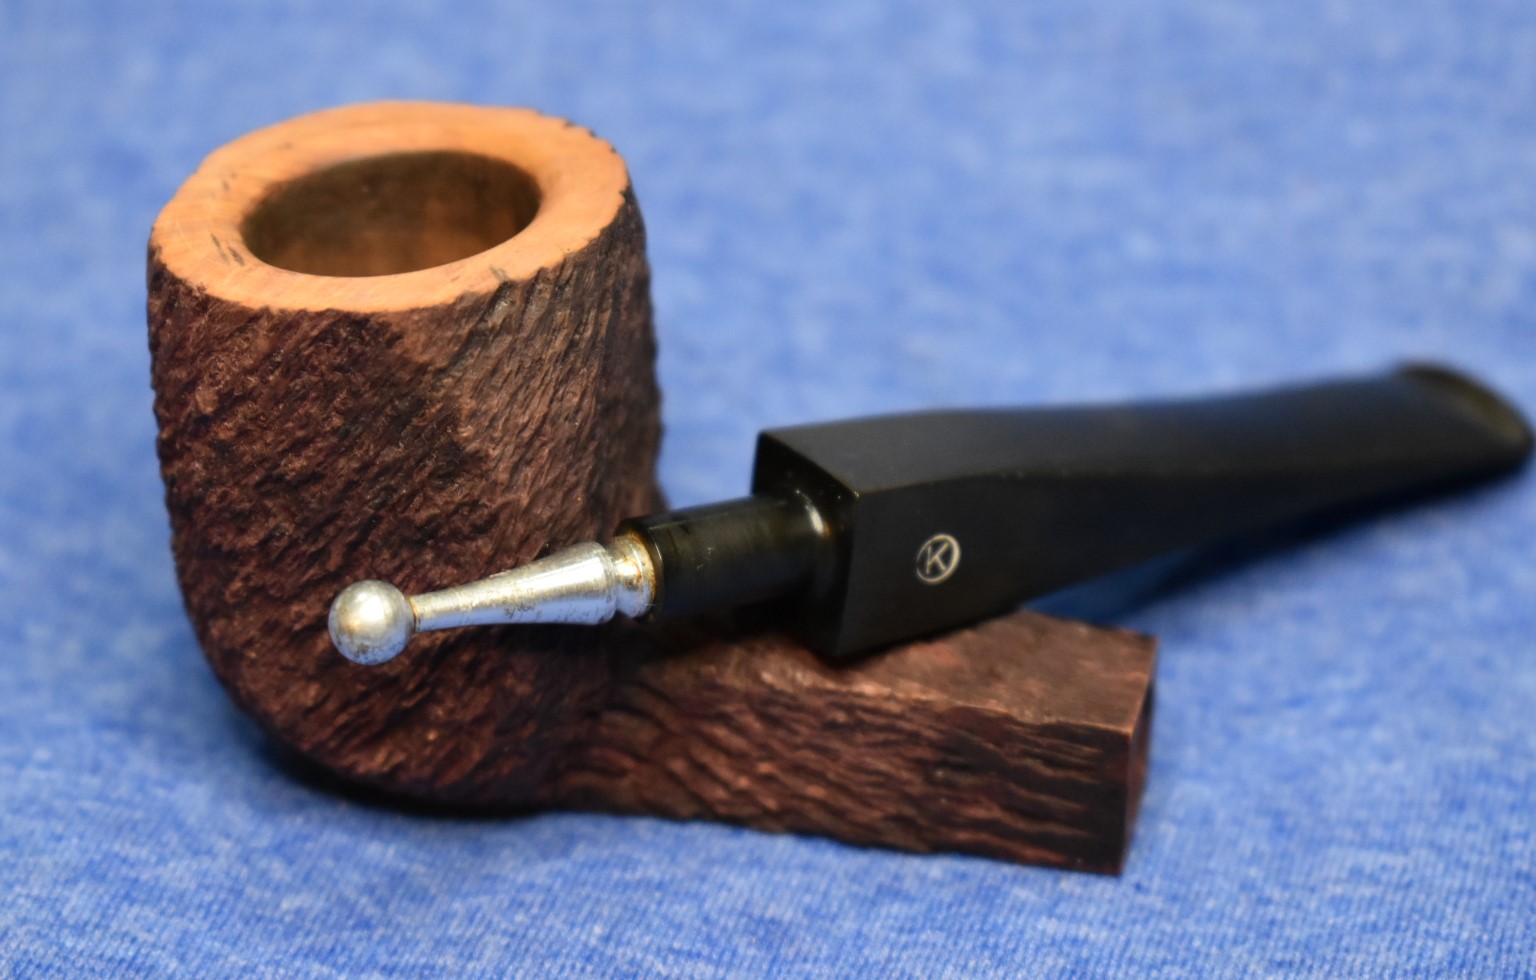
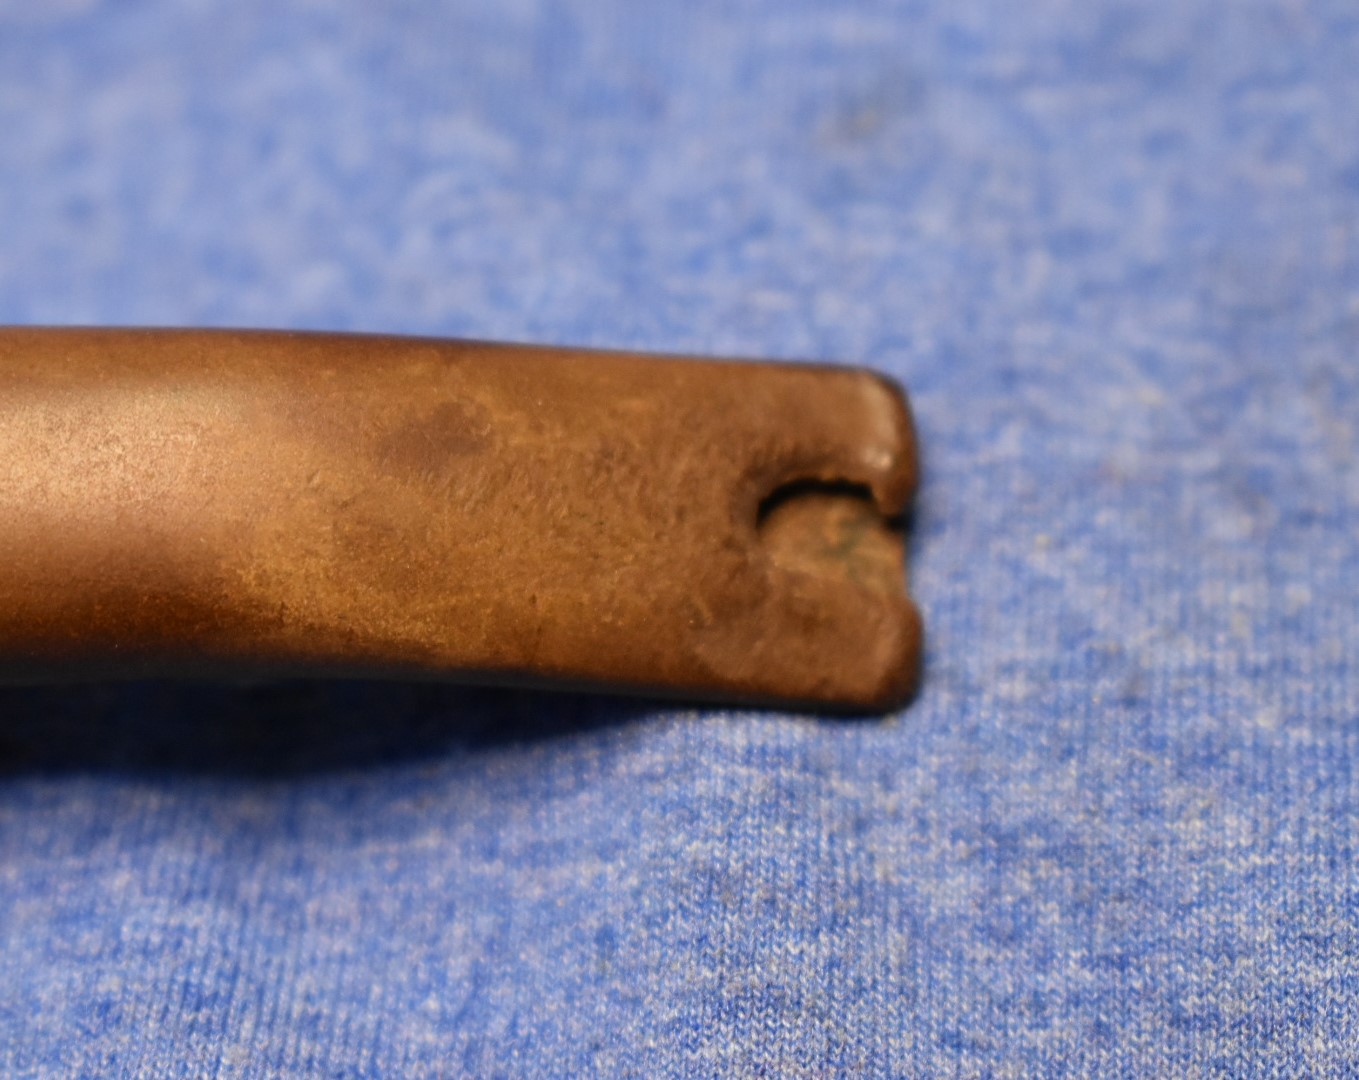
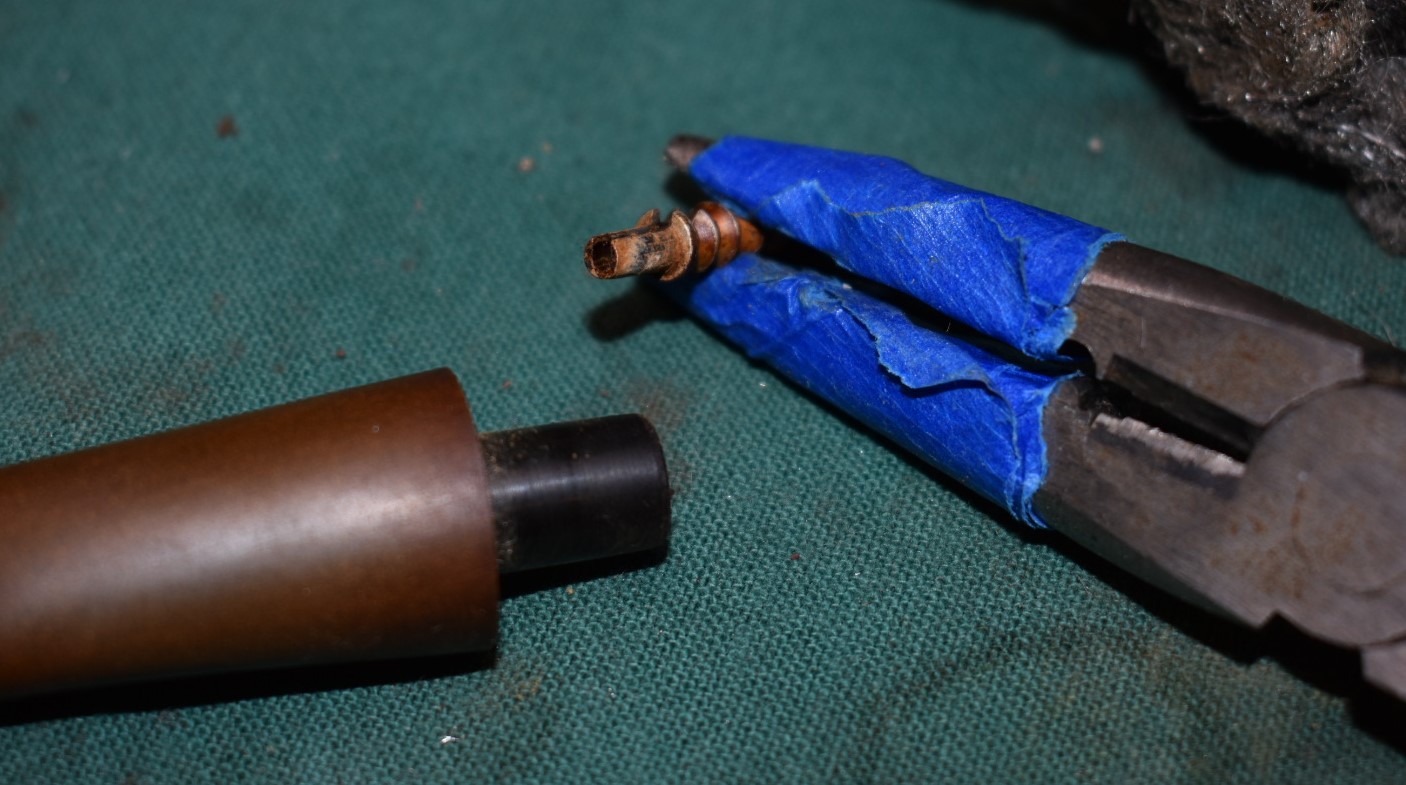
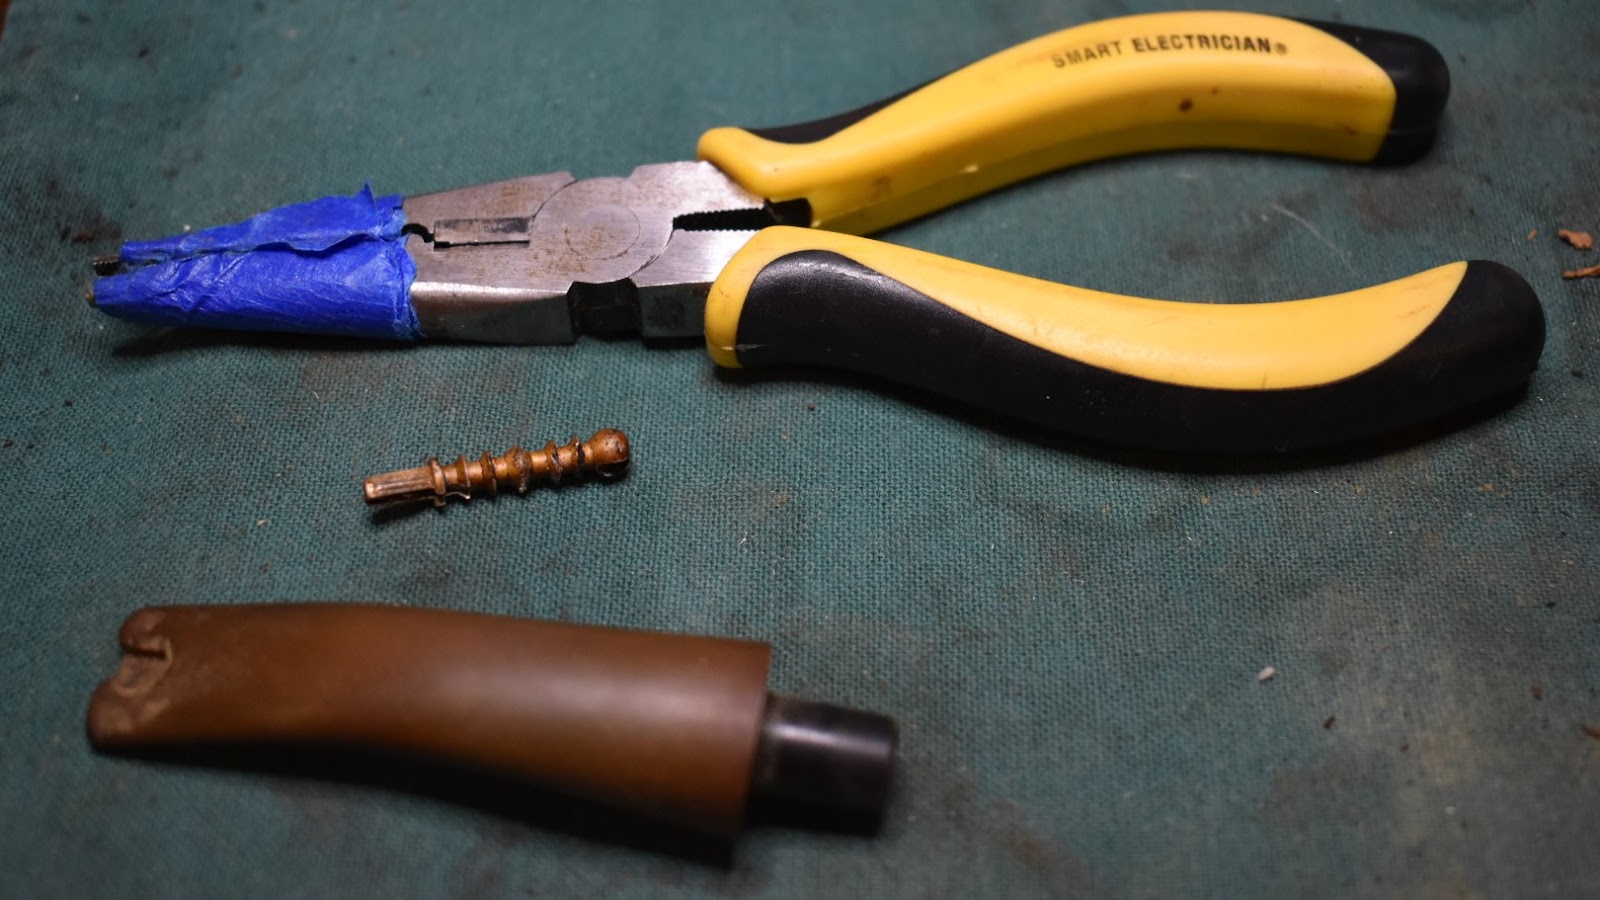
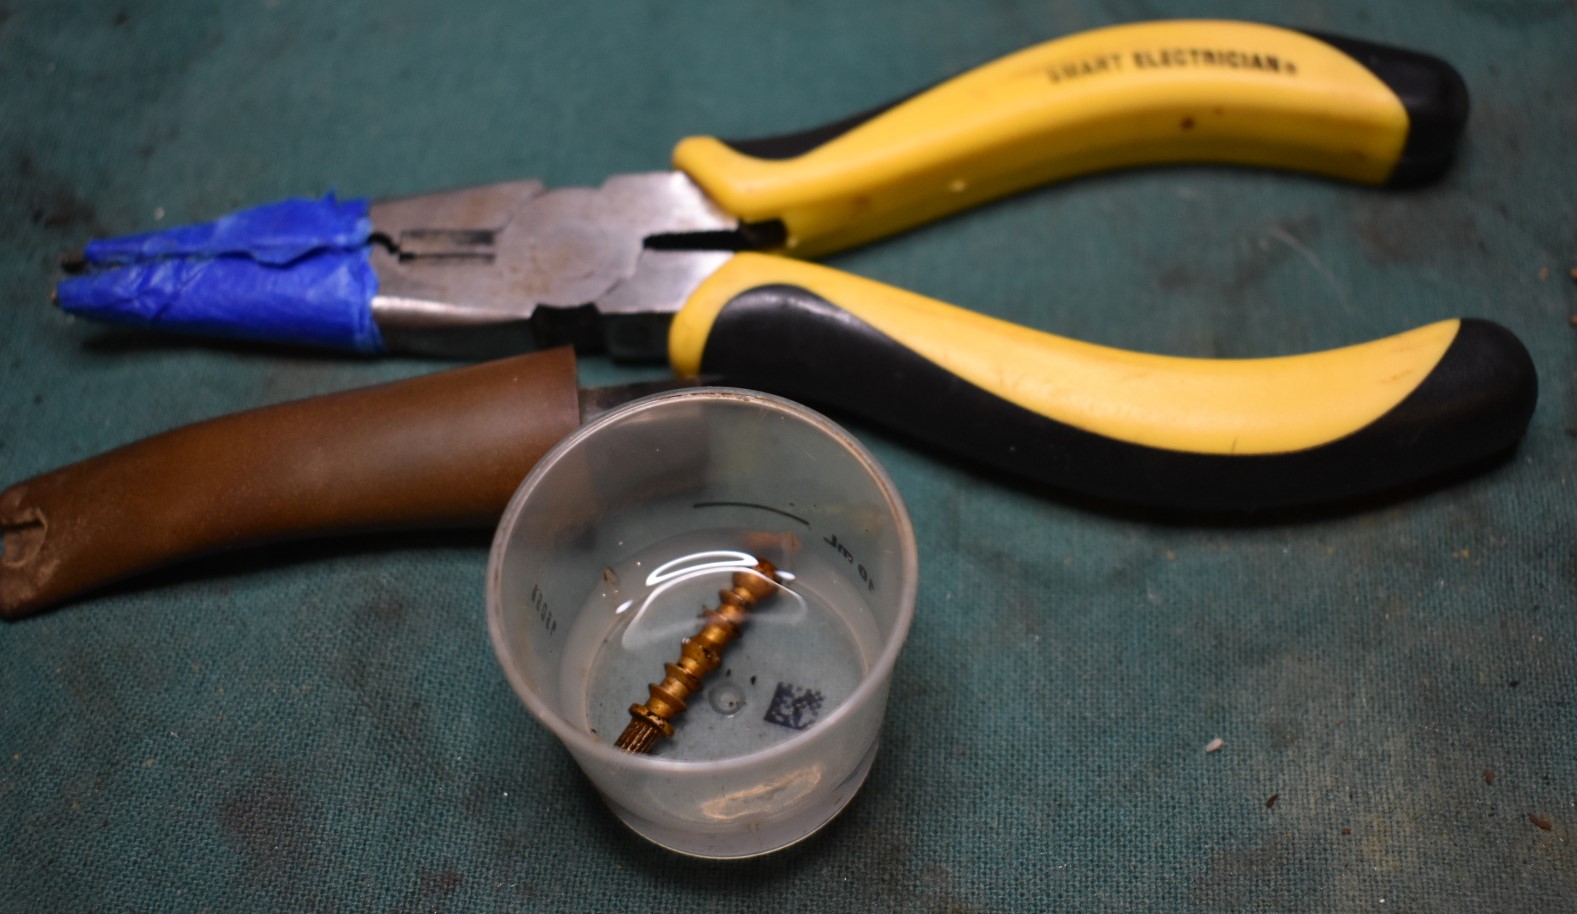
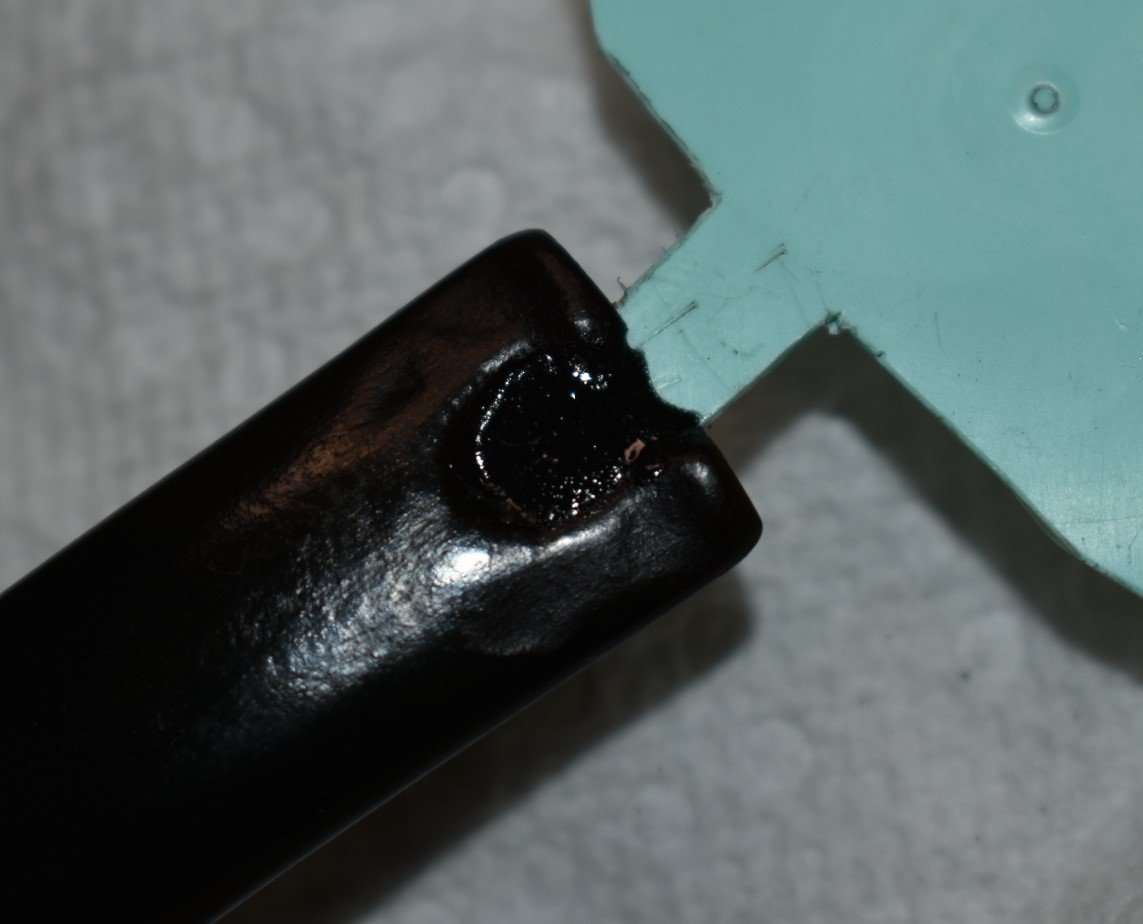
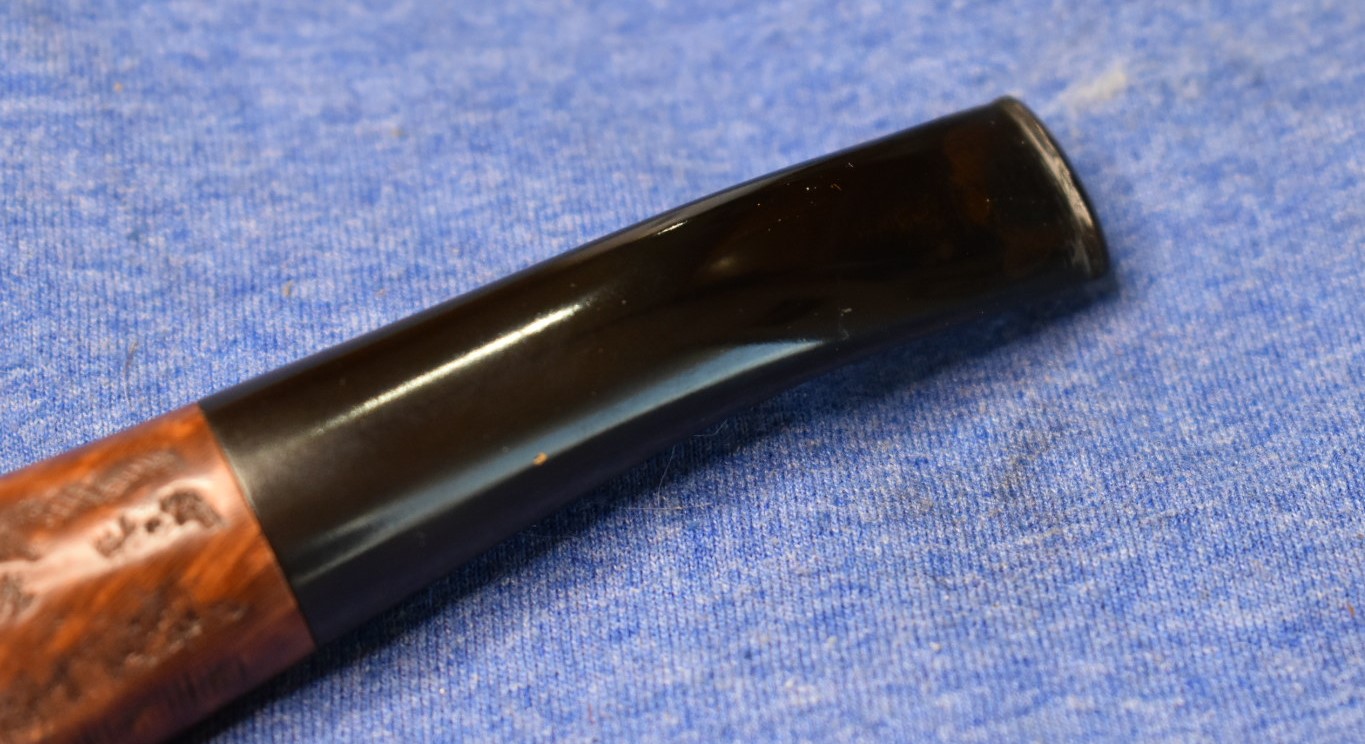
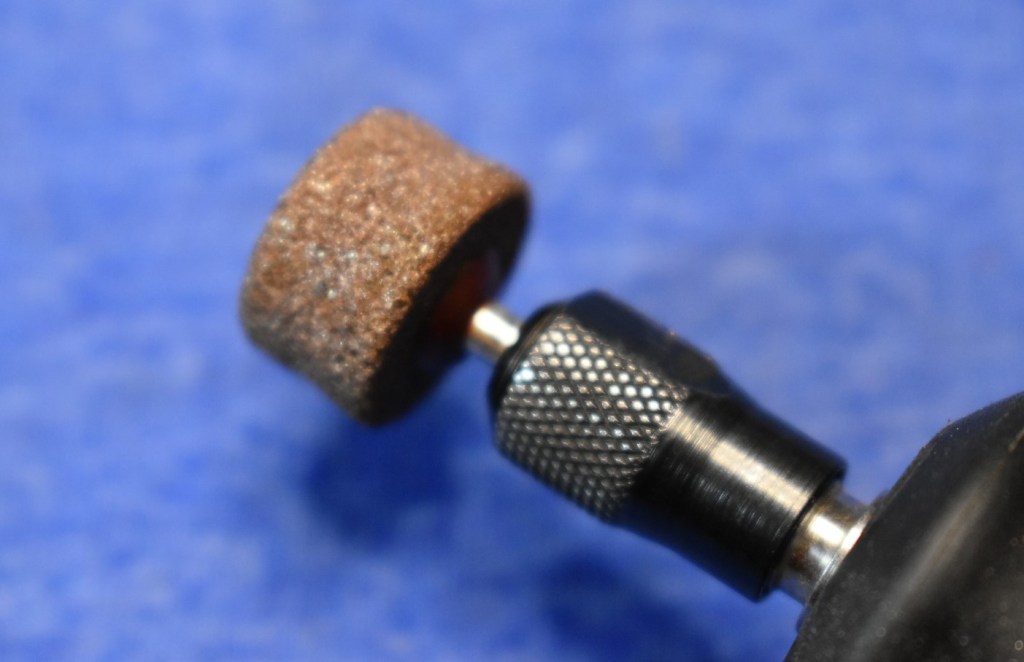
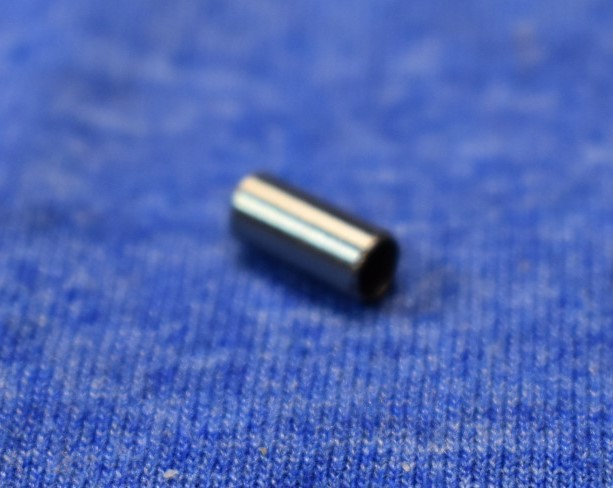
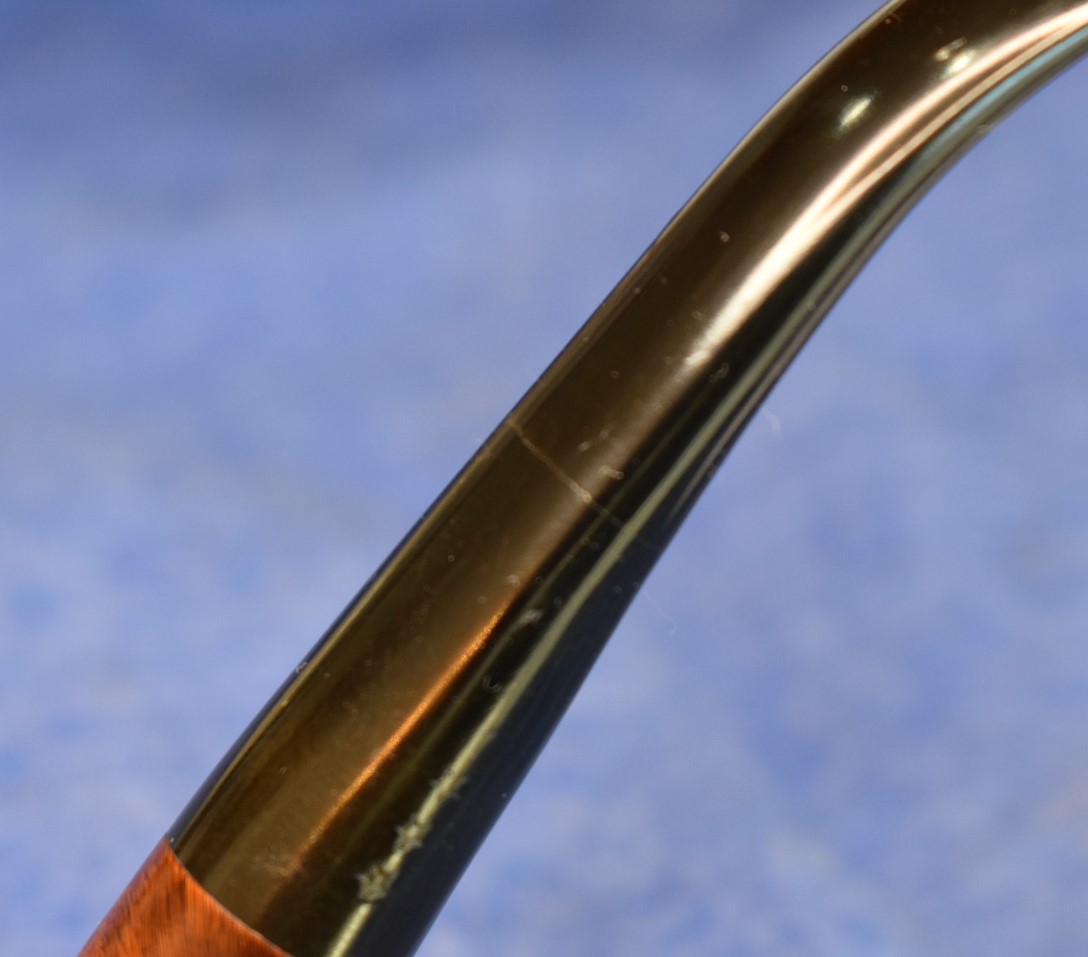
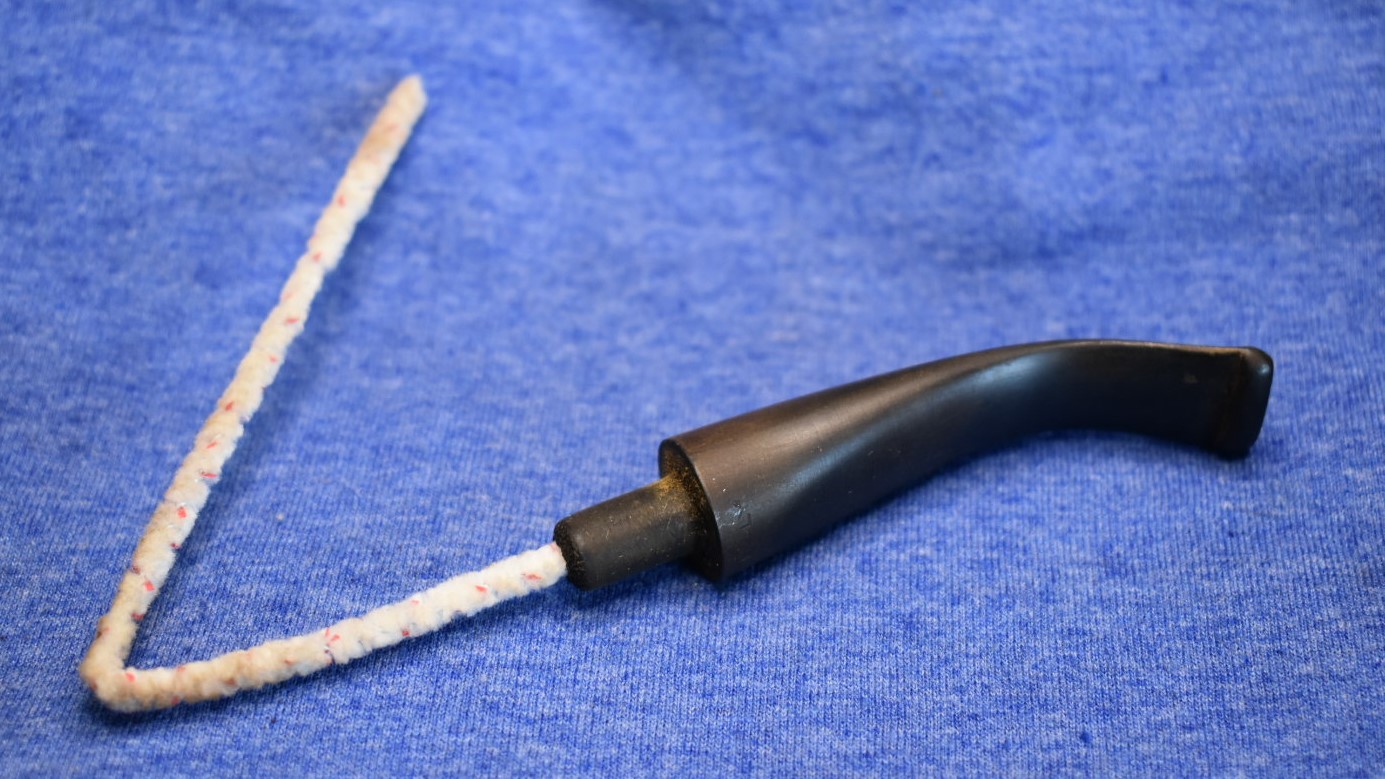
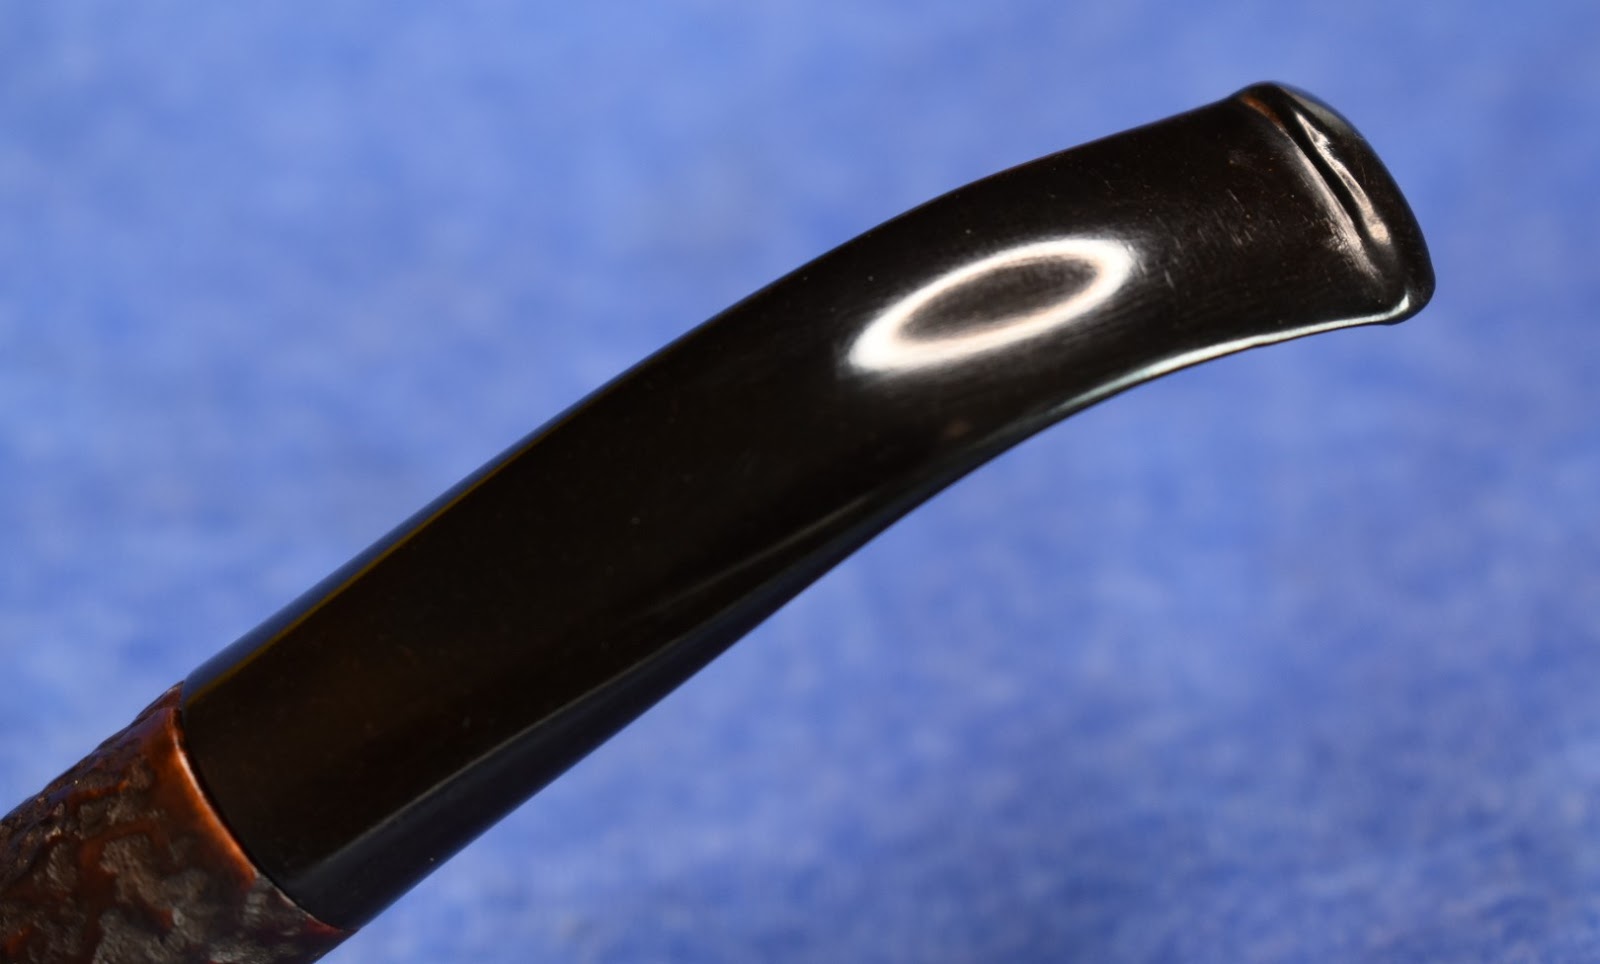
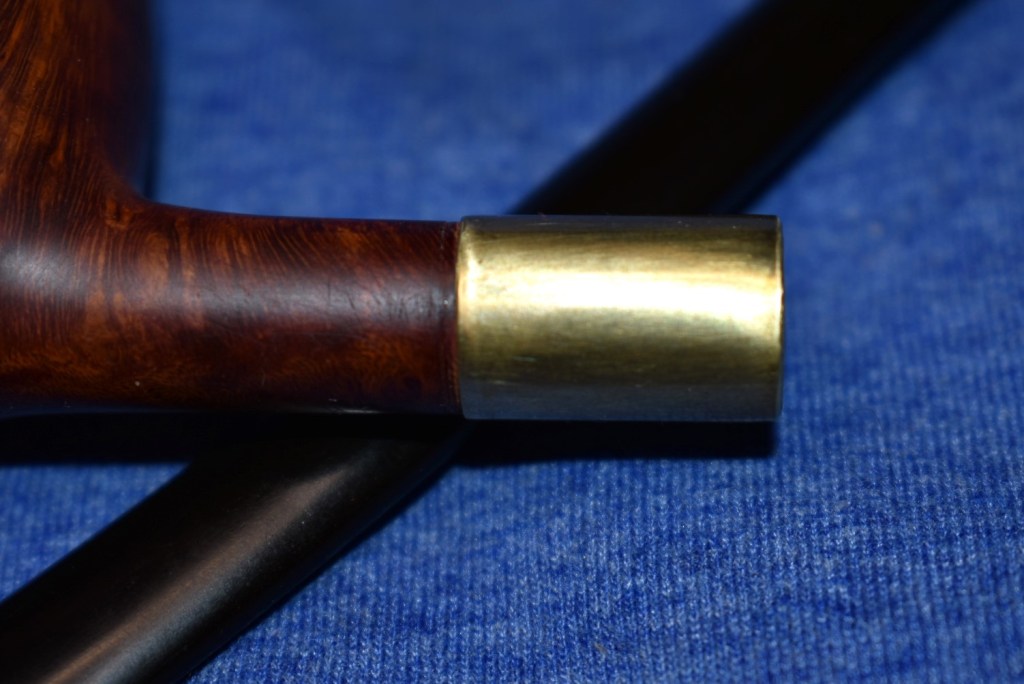
While the acetone was dissolving the finish I addressed the stem. Oh joy, a stinger. I am not a big fan of stingers, in general. I love the tenon extensions

or chimney in a Peterson pipe, tolerate them in a Kaywoodies and feel okay about them in a Dr. Grabow Westbrook but generally they are not my cuppa tea. I’d never go and deface a pipe by cutting one off but I have been known to remove them and forget where they have gone. This one looked like it was just a push fit aluminum type. The highly technical stinger extractor was used to try to pull it out. By the way, that’s just a pair of pliers with painters tape wrapped around each jaw. It doesn’t budge. Hmm, maybe it will become loosened with the airway cleaning? Spoiler, it didn’t.
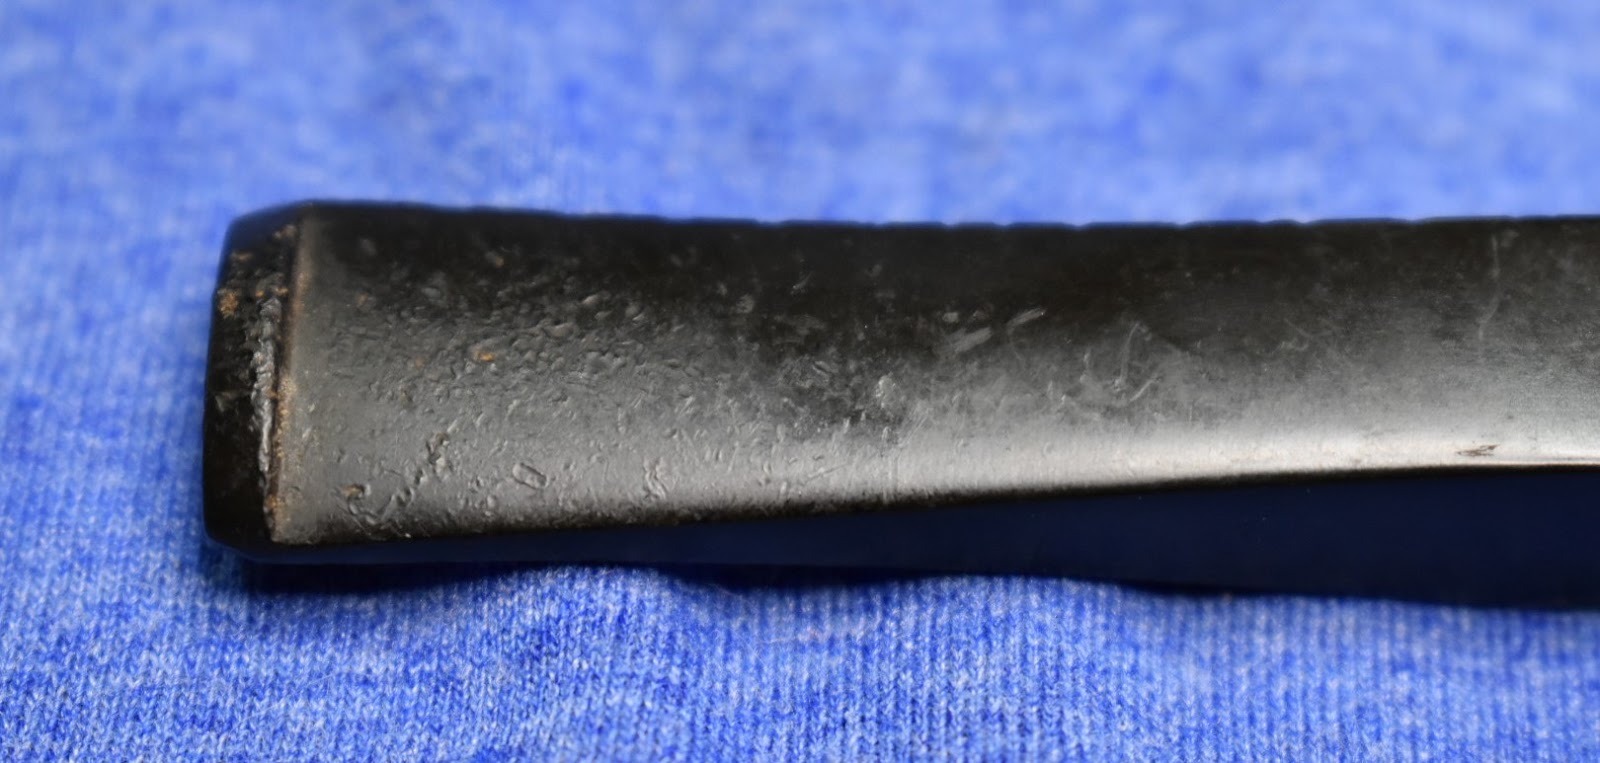
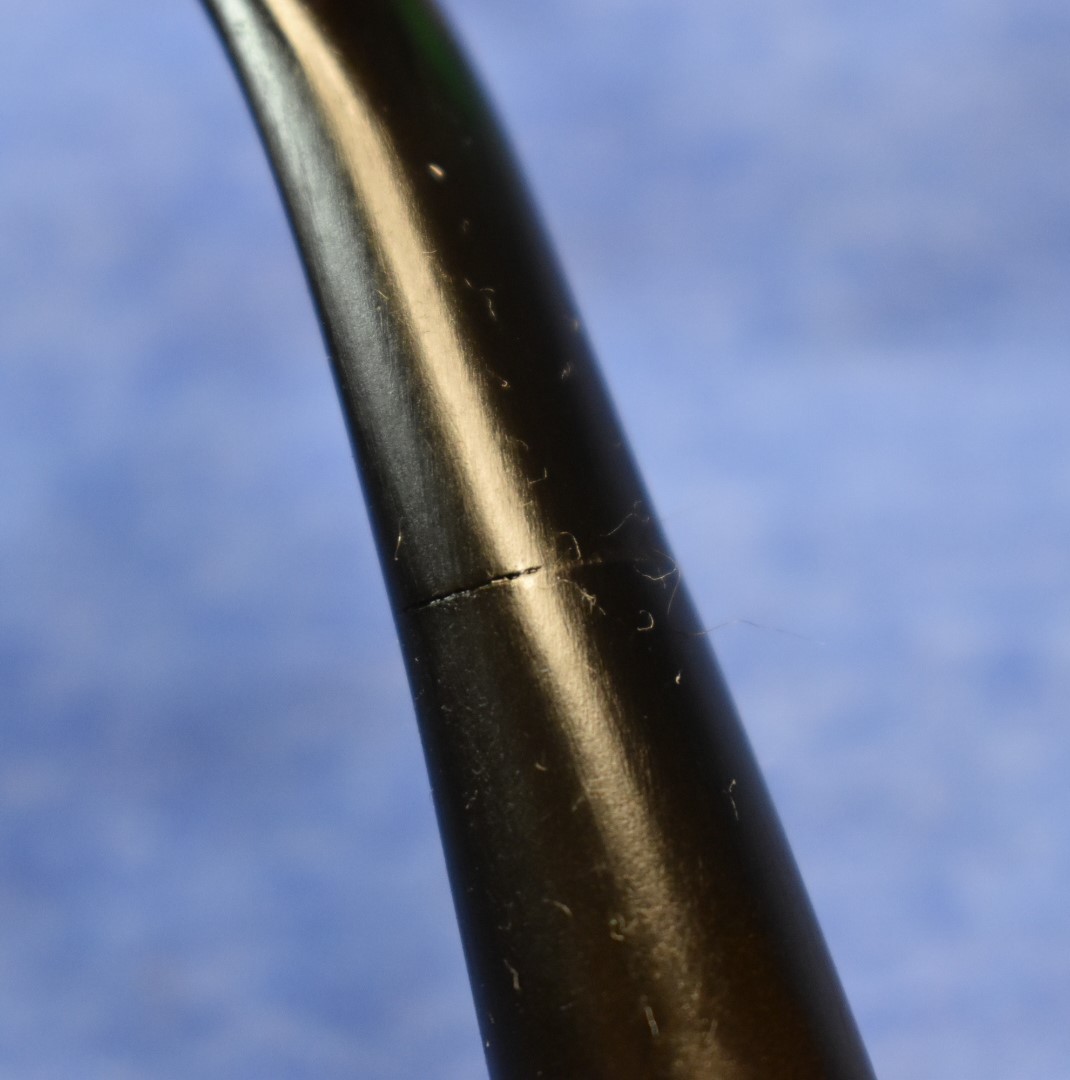
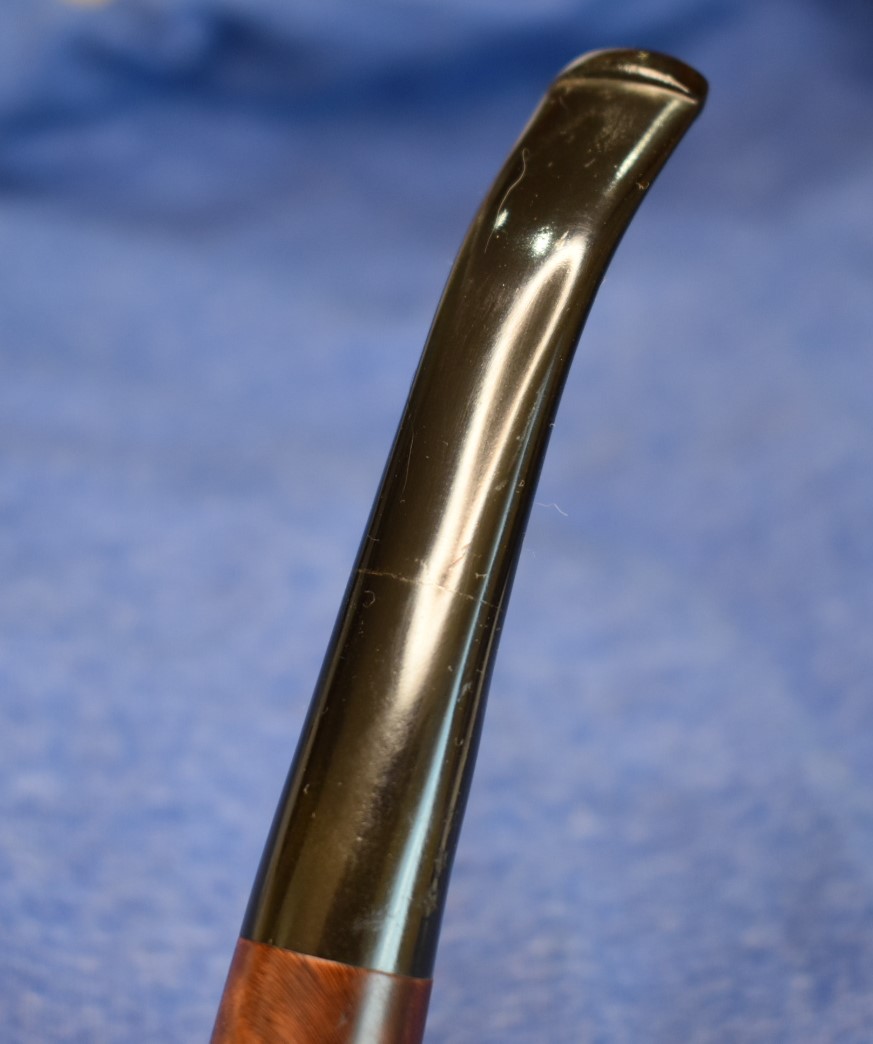
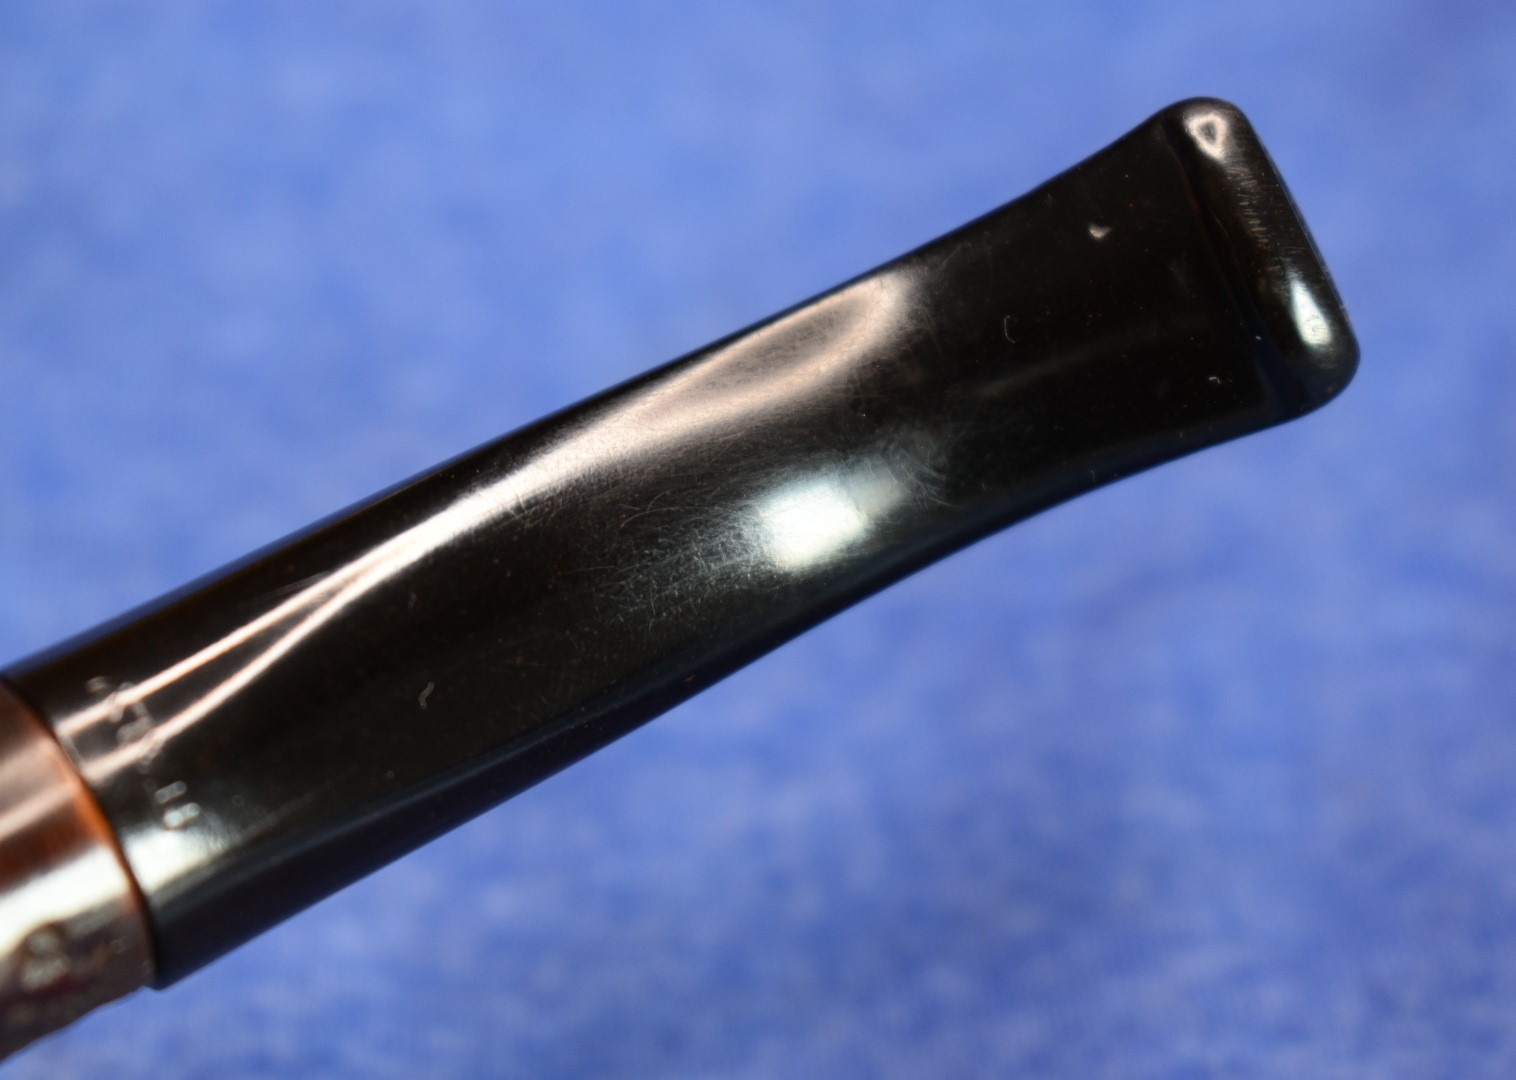
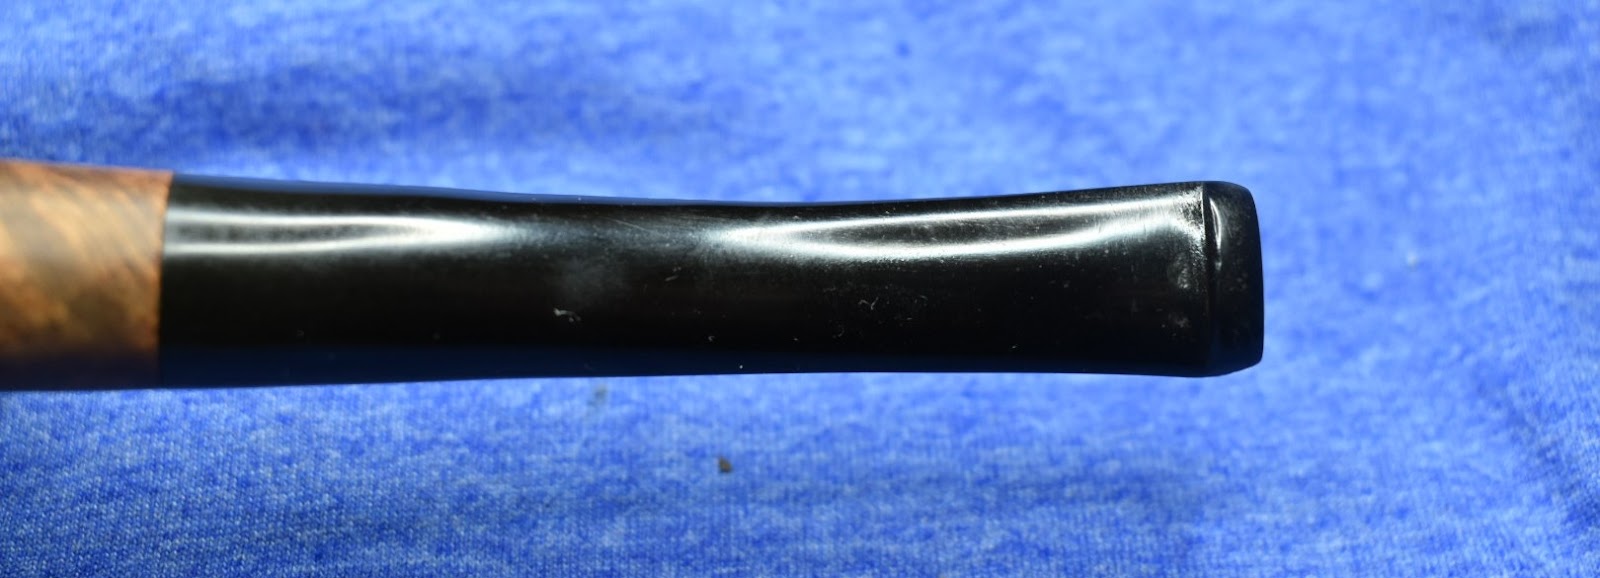
The stem had a lot of small tooth chatter marks on both the top and 


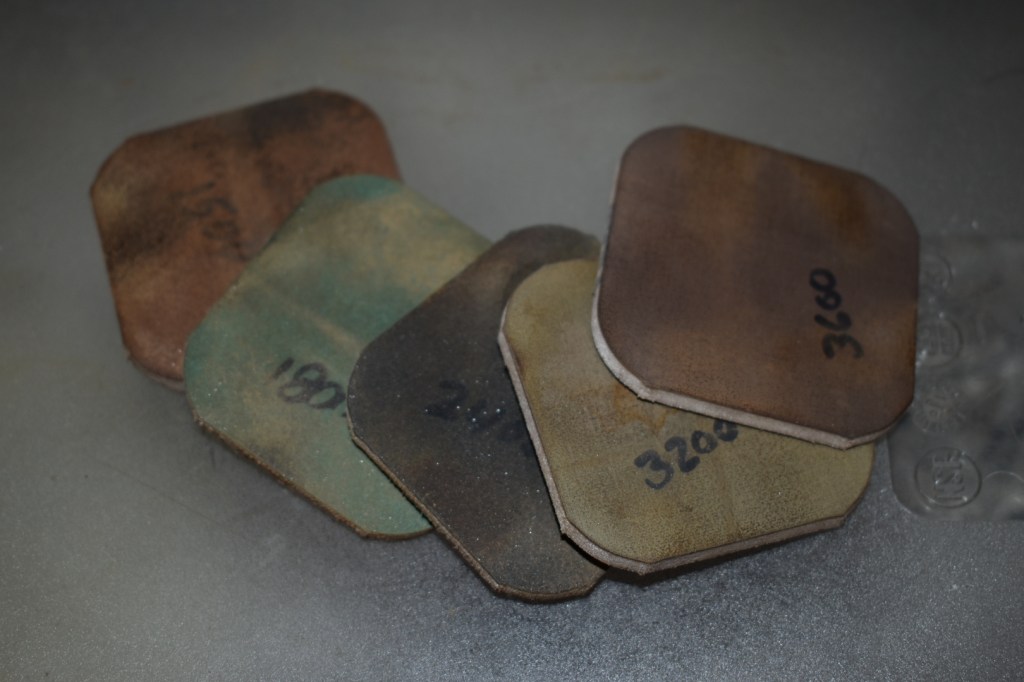
I painted the chatter and the dents with the flame of a disposable lighter. That seemed to reduce the dents but did not remove them. Next I got out the 400 wet dry sandpaper. With a light hand and small circular rubbing I started to work on the chatter. For the sides I tried to keep the stem as flat as possible and work the stem on the sandpaper with the sandpaper flat on the bench surface. I still had to sand the edge to remove the dents but did so on each side to mask the rounding.


I hoped that the remaining dings would come out with the micro-meshing.
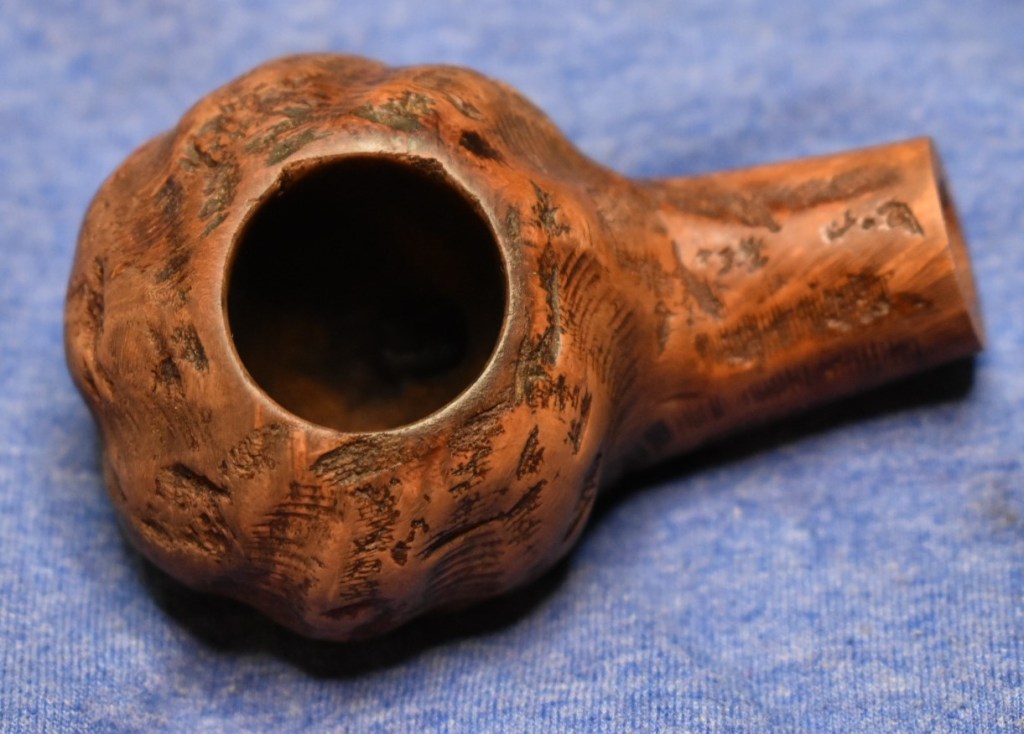
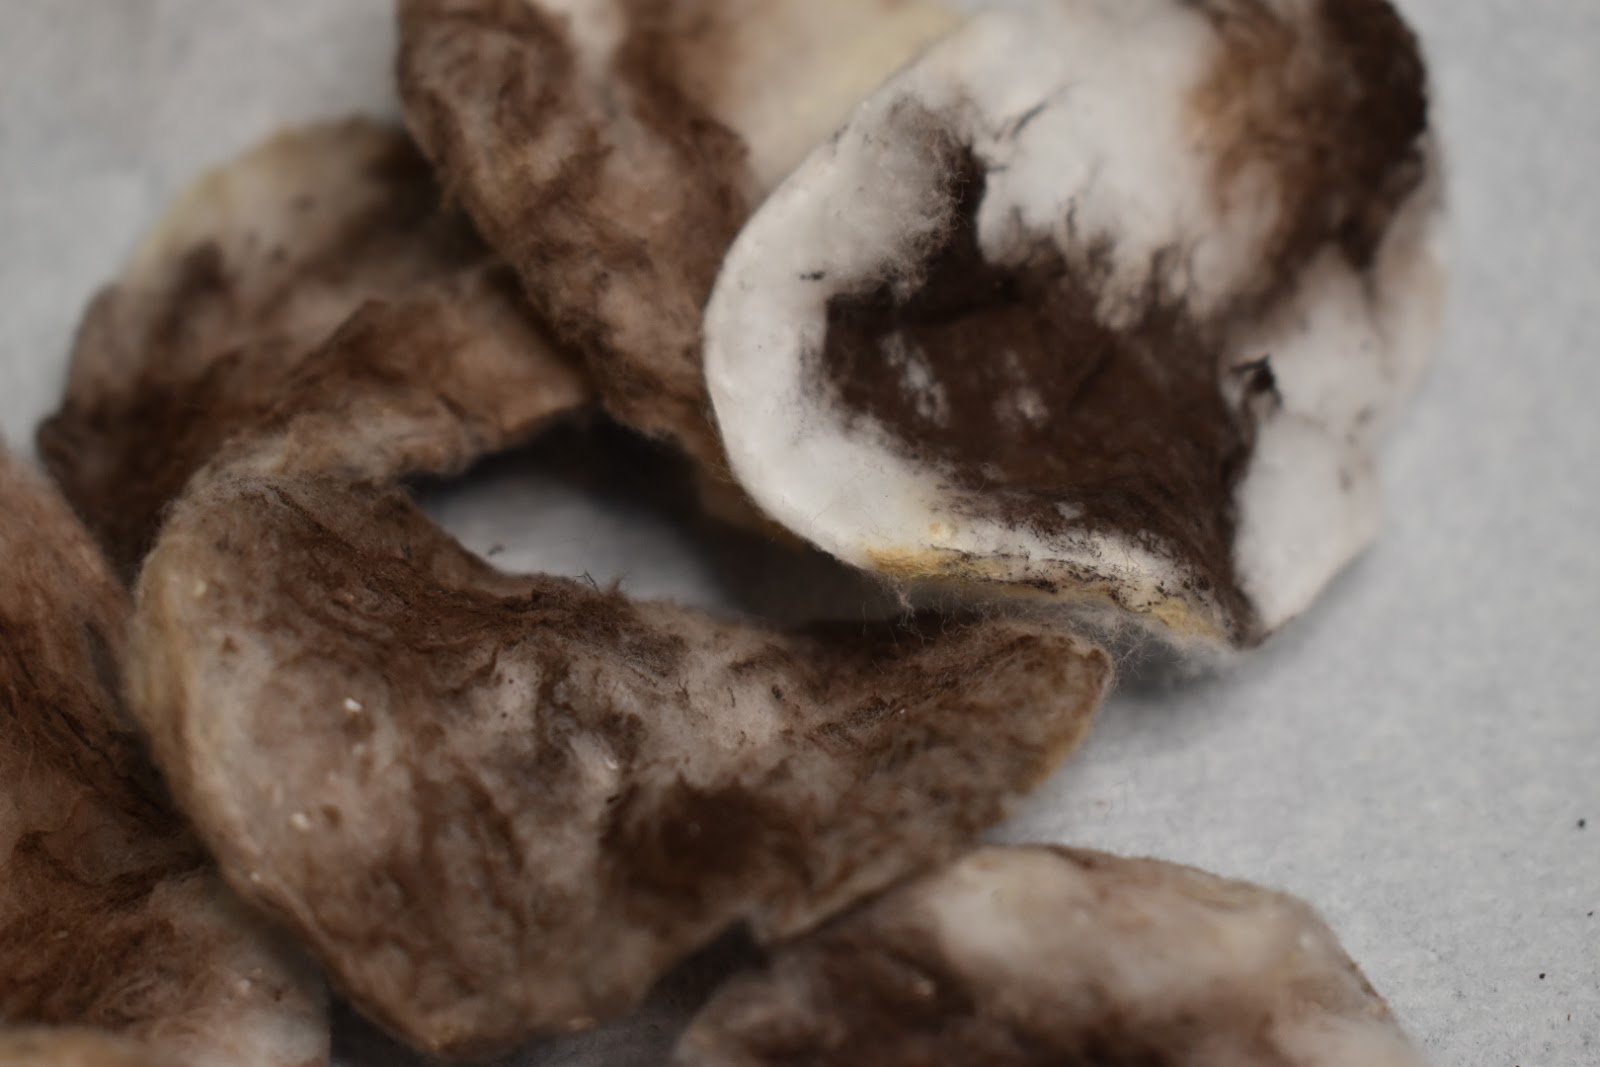
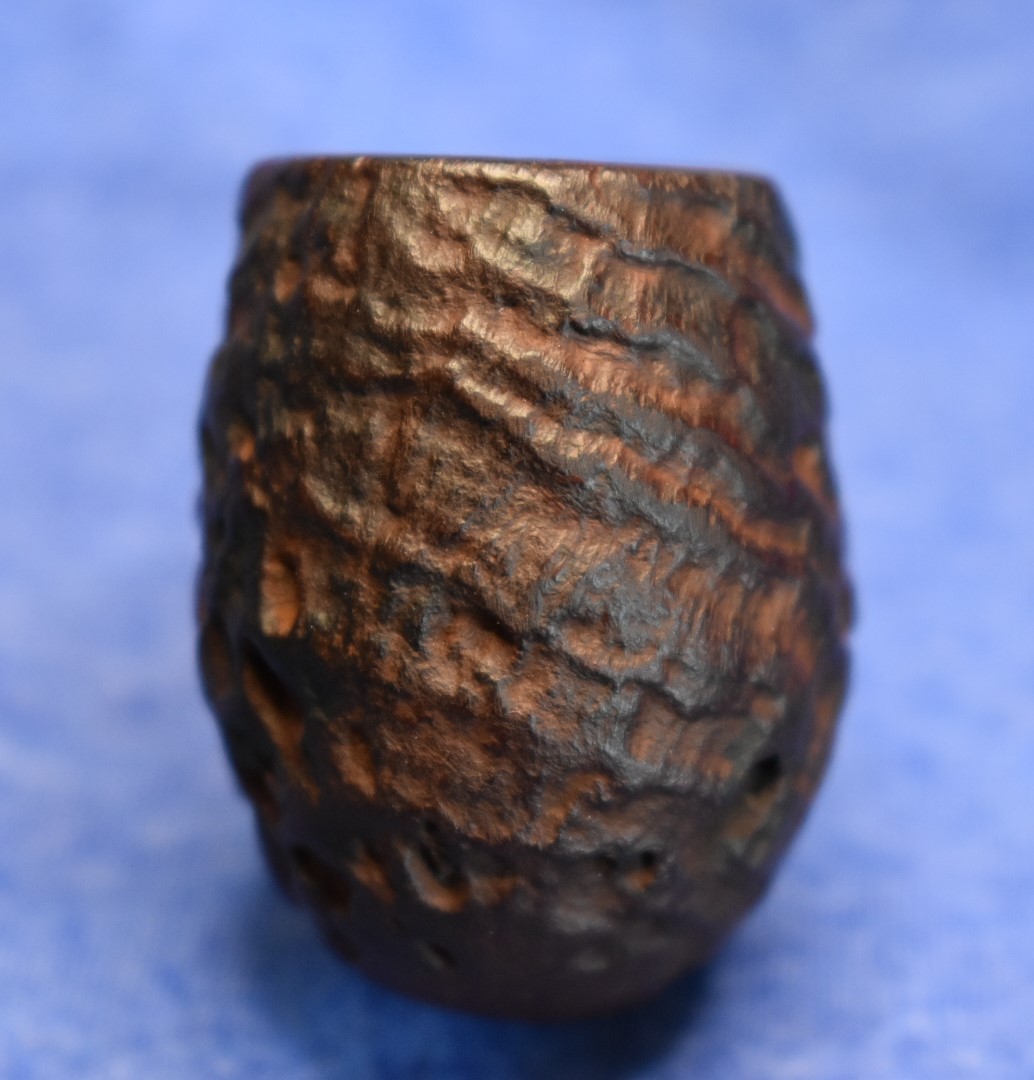
Time to check on the stummel. I removed the stummel from the acetone. I recommend nitrile gloves when handling a wet with acetone stummel. I completely ignored my own recommendation. I used a brass brush to work the finish free from the grooves of the stummel. Frequent dips of the brush were needed to fully saturate the air with acetone fumes. I recommend using a respirator classified for fumes. I also ignored this recommendation. I would rinse the stummel in the acetone, allow it to evaporate and check for shiny spots then repeat the scrubbing as needed. I did this until I saw no further shine or until I saw more stummels than I could count, from the acetone fumes.
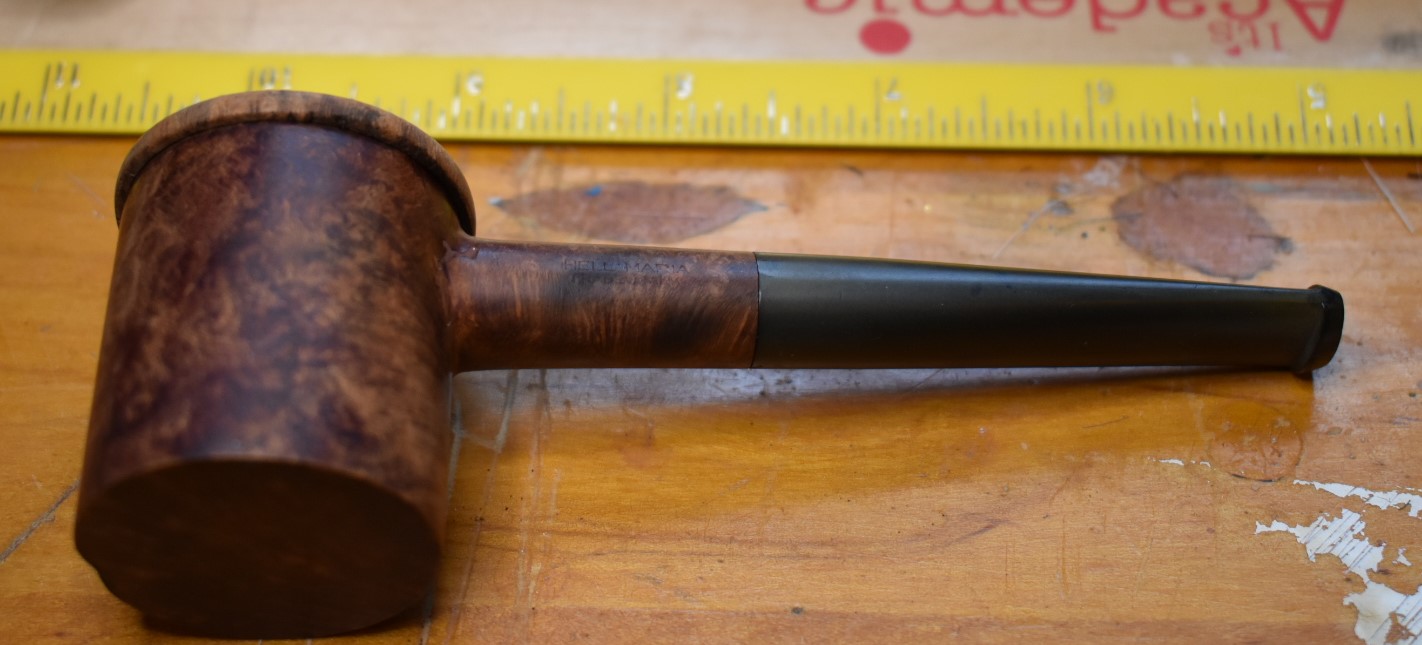
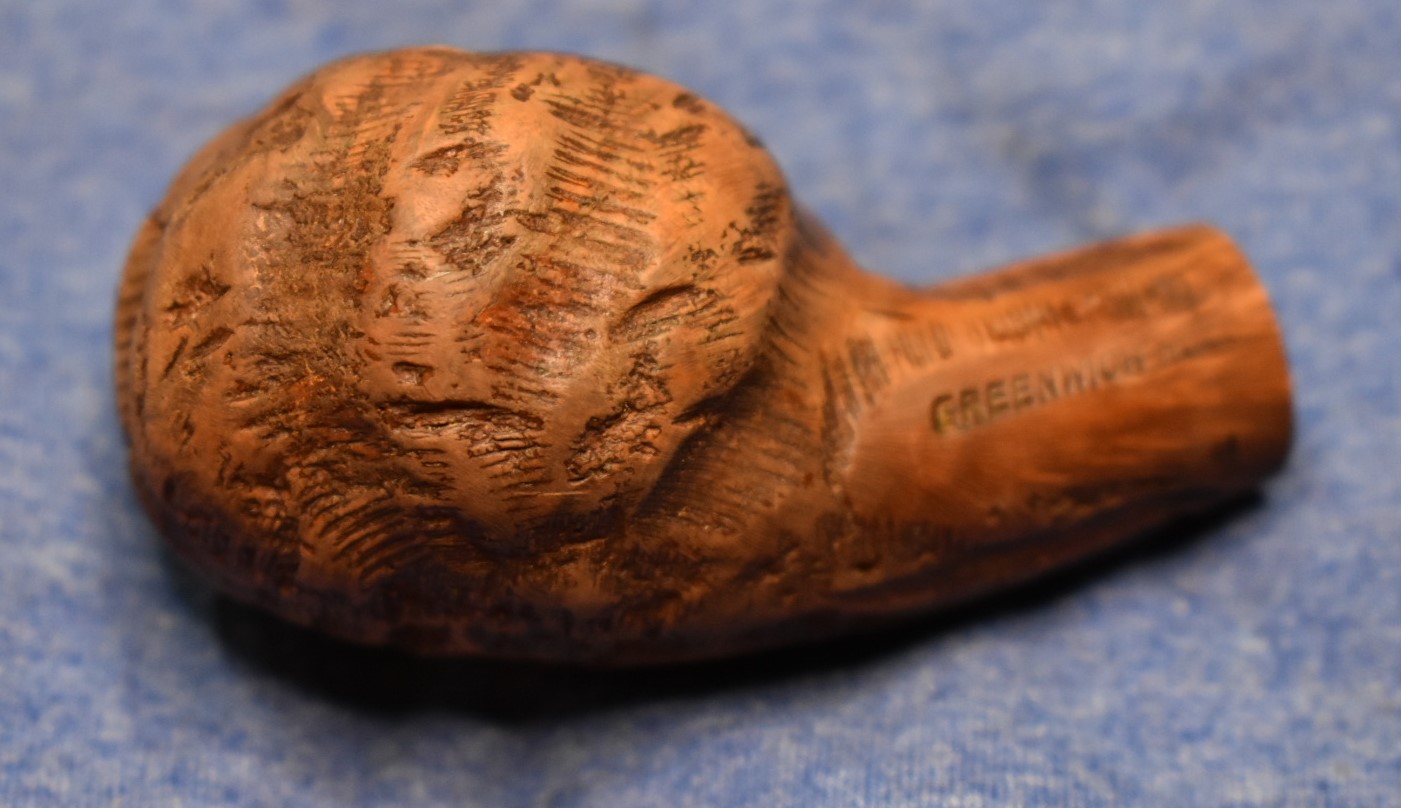
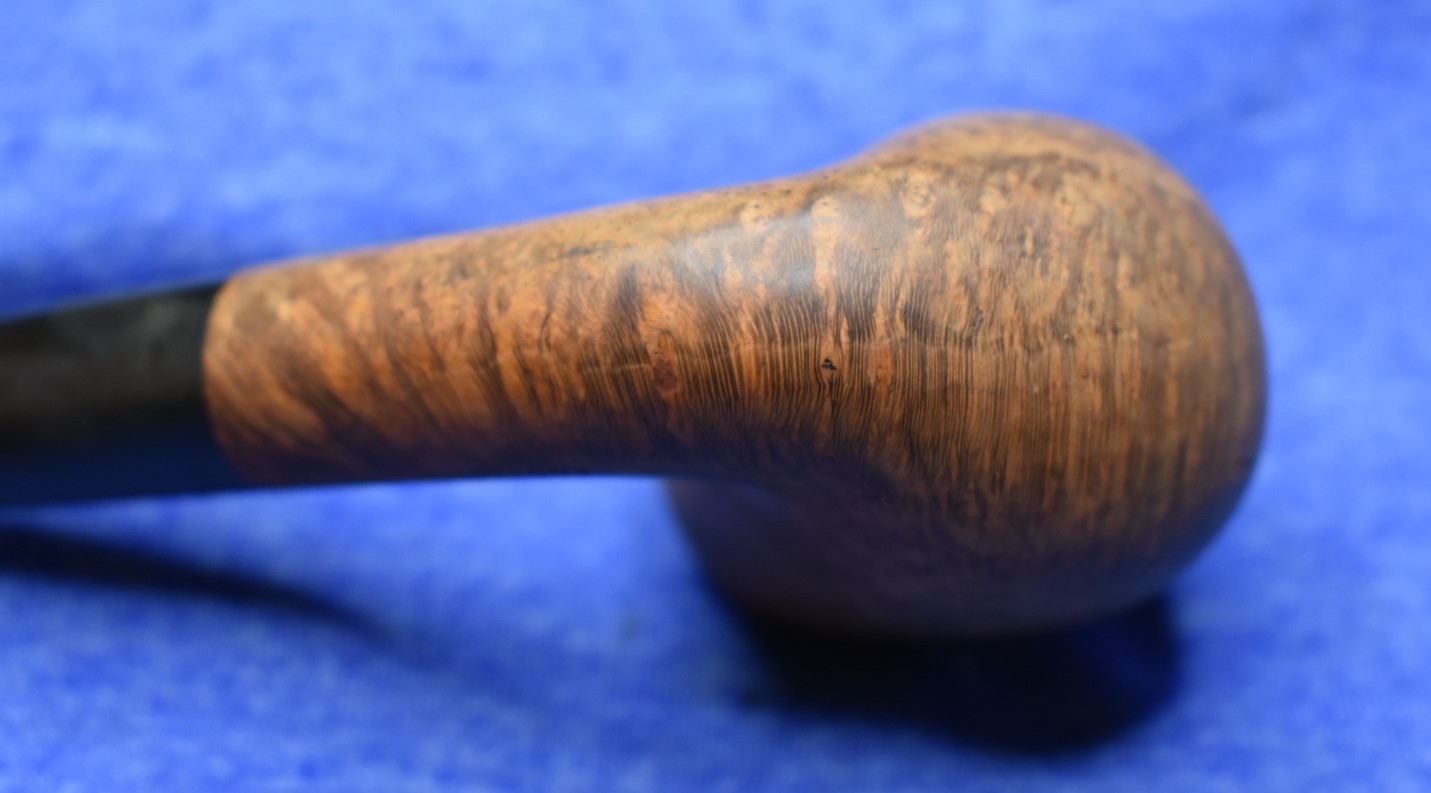
Here is what I had after the acetone scrub:

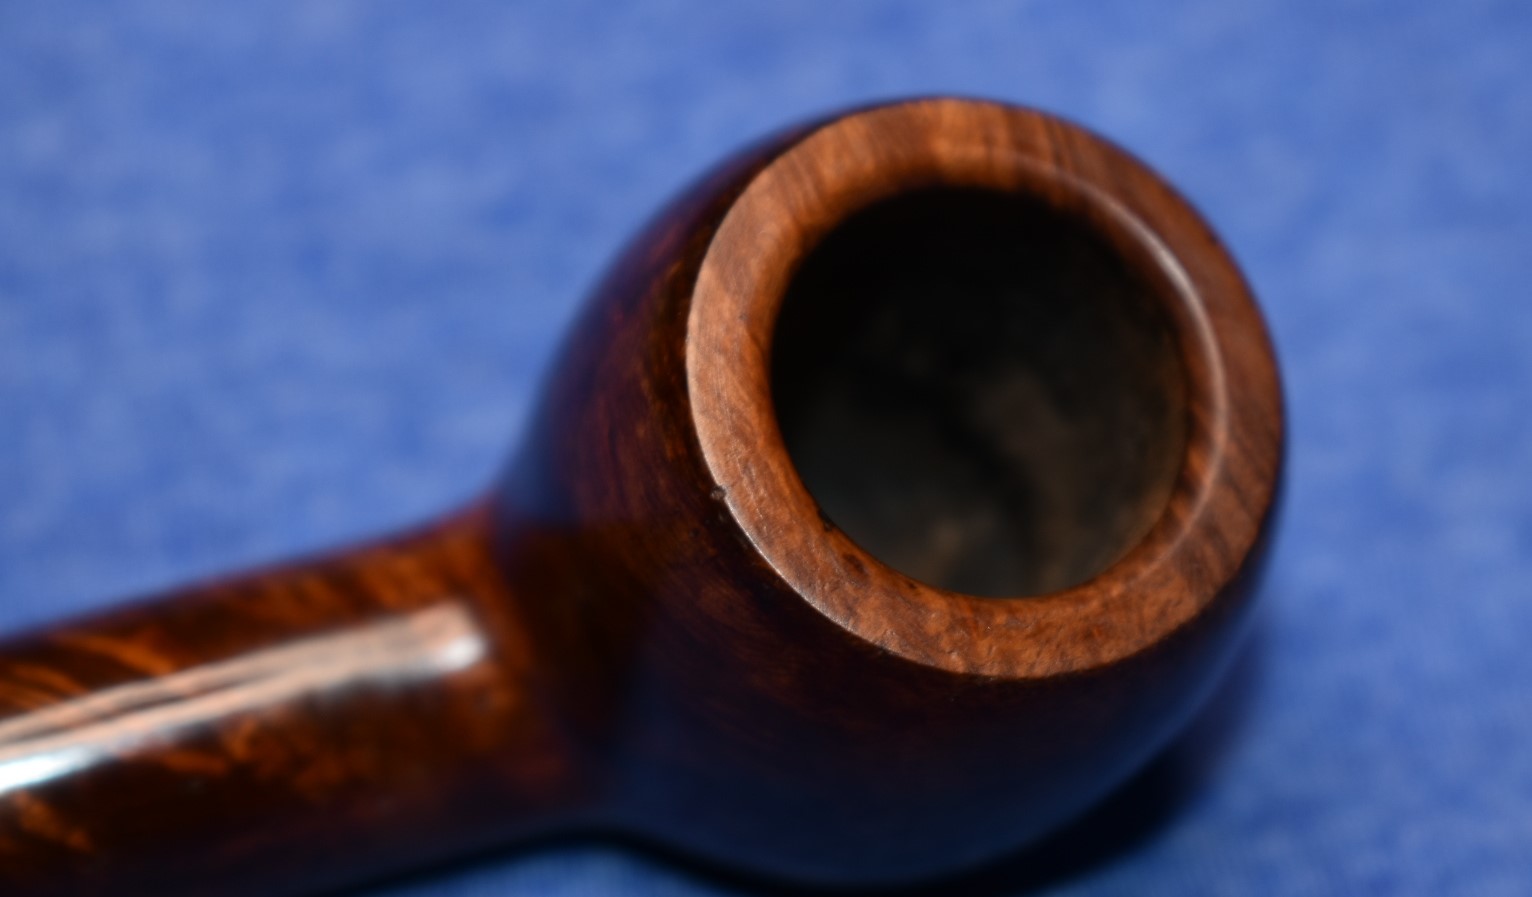
Next on the agenda was to top that wire brushed rim. I know, do no harm, restore doesn’t mean remake but, I couldn’t help myself. This rustic look was screaming for a touch of class. I topped the rim with 220 sandpaper followed by 400. I left a couple of scratches on the rim because I thought the looked cool.
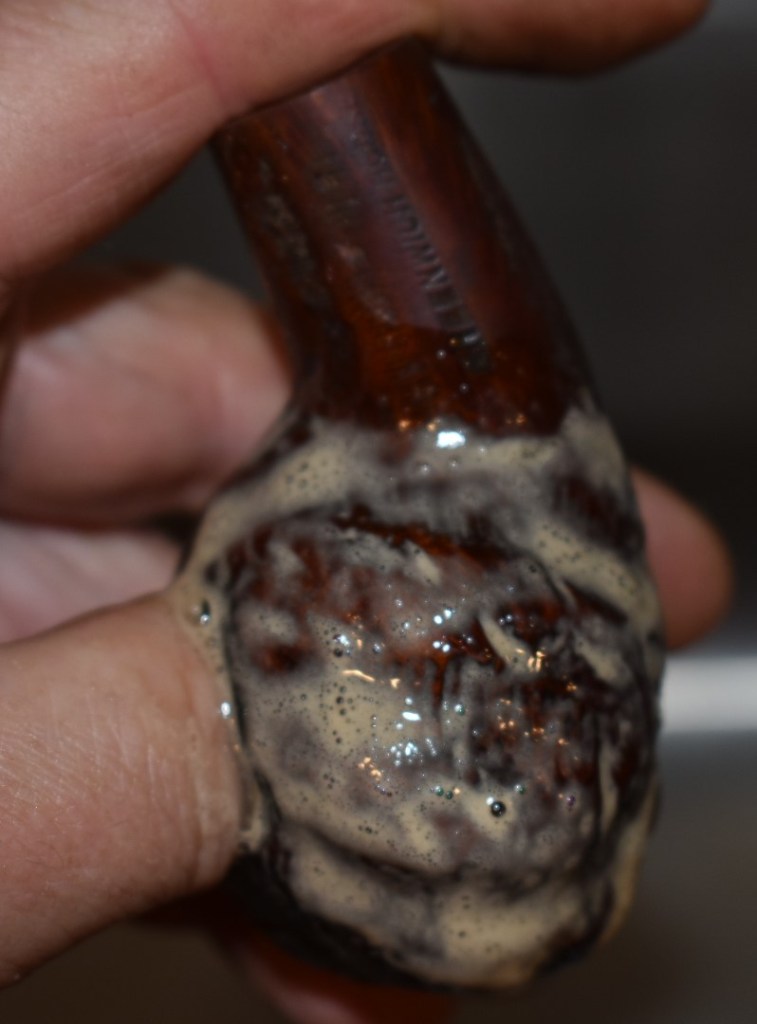
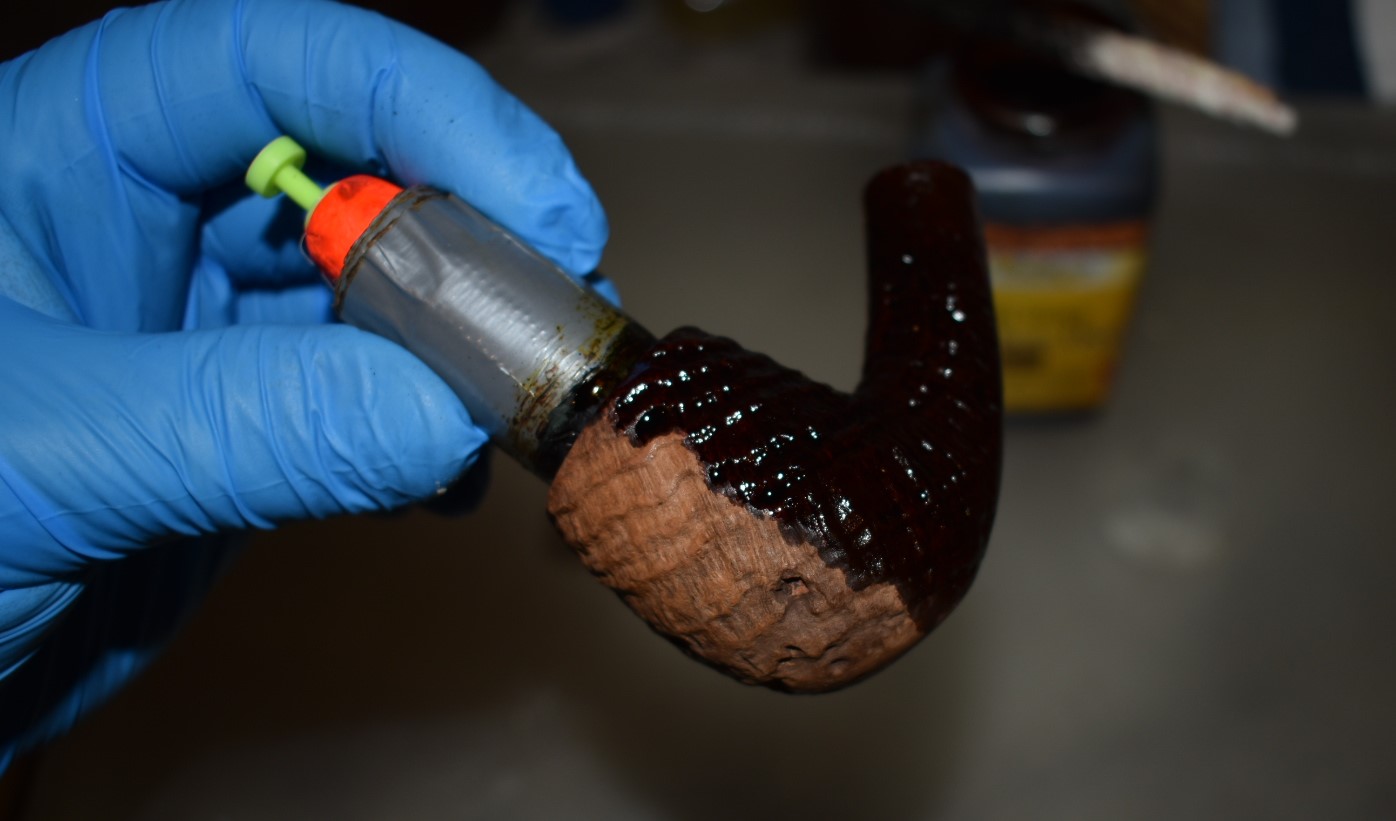
After that the stummel got a healthy dose of Before and After Restoration balm. I rubbed the balm in with my finger and thumb them worked over the whole surface with a soft bristled baby toothbrush to work the balm into all the nooks and crannies.
Here is what she looked like all slathered up:


I let the restoration balm sit all night for no other reason than I went to bed after taking those photos.
All that was left was the final micro-meshing of the stem, a quick visit to the buffer for a final polish and a few coats of wax. First the micro-mesh. Normally I would moisten the 1500 and 1800 pads with a drop of water but here I still wanted to see if I could remove those last marks. So I ran through the entire series of pad dry. I still applied a drop of Obsidian Oil between pads and wiped with a paper towel before proceeding to the next. When
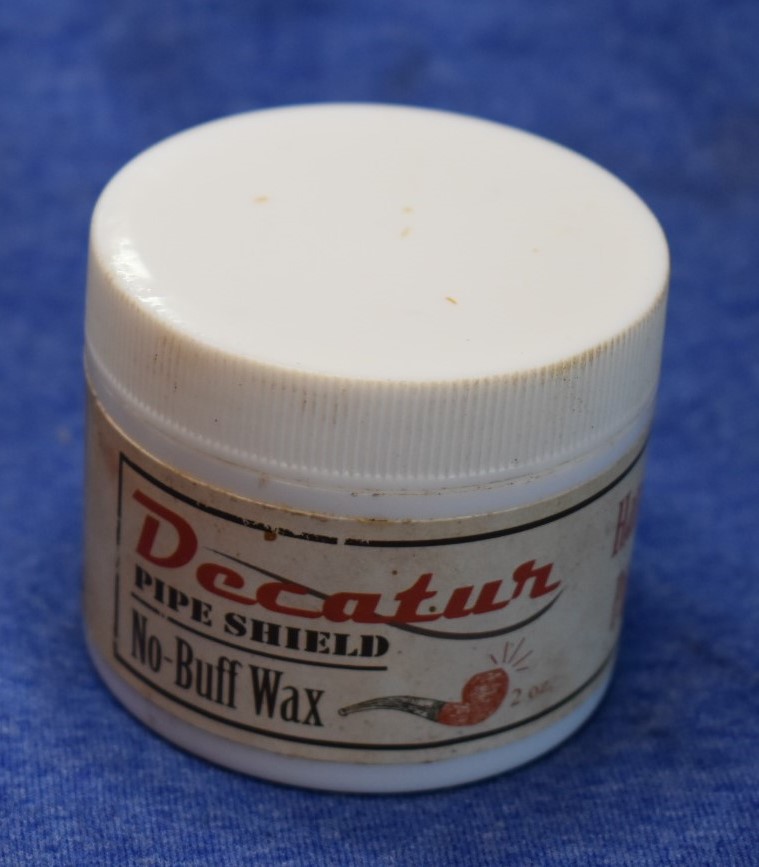
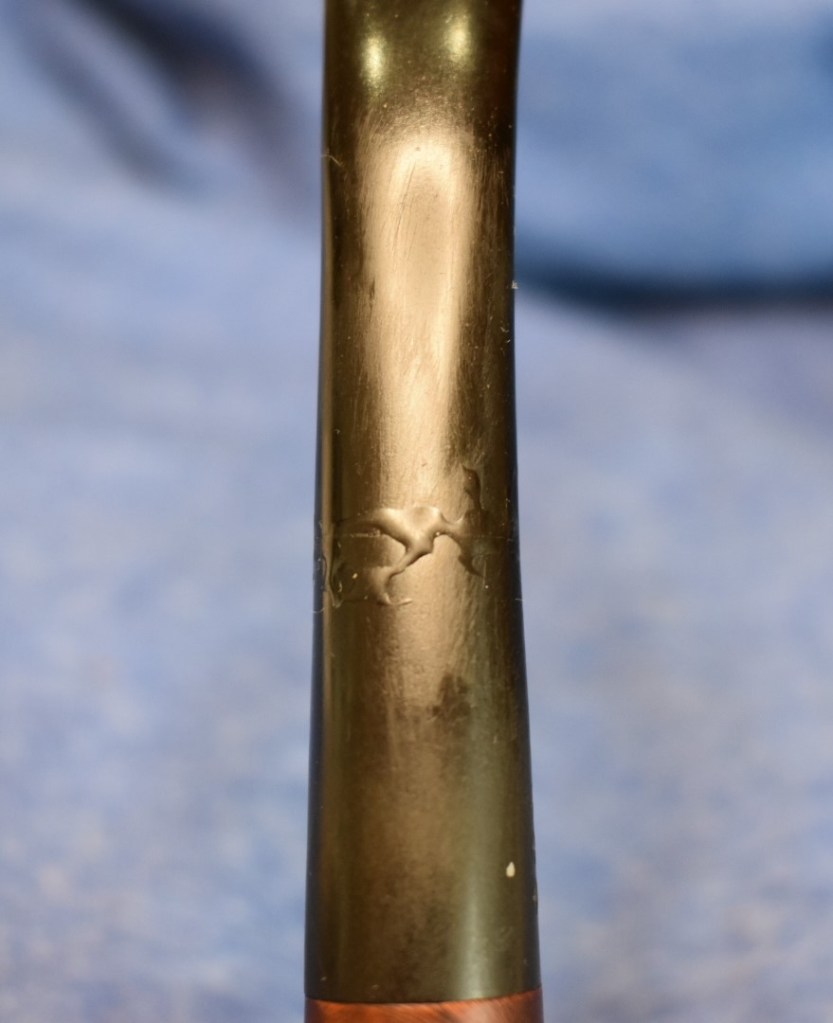
finished I took the pipe to the buffer and gave it a light buff with white diamond compound. Just on the stem and careful of the circle K logo. I finished the stem by wiping and remaining white diamond compound off with a rag. I then applied a couple coats of carnauba wax. For the stummel I finished it with a liberal rub of Decatur No-Buff Wax. I allowed it to dry for 15 minutes before buffing with a dry polishing towel.
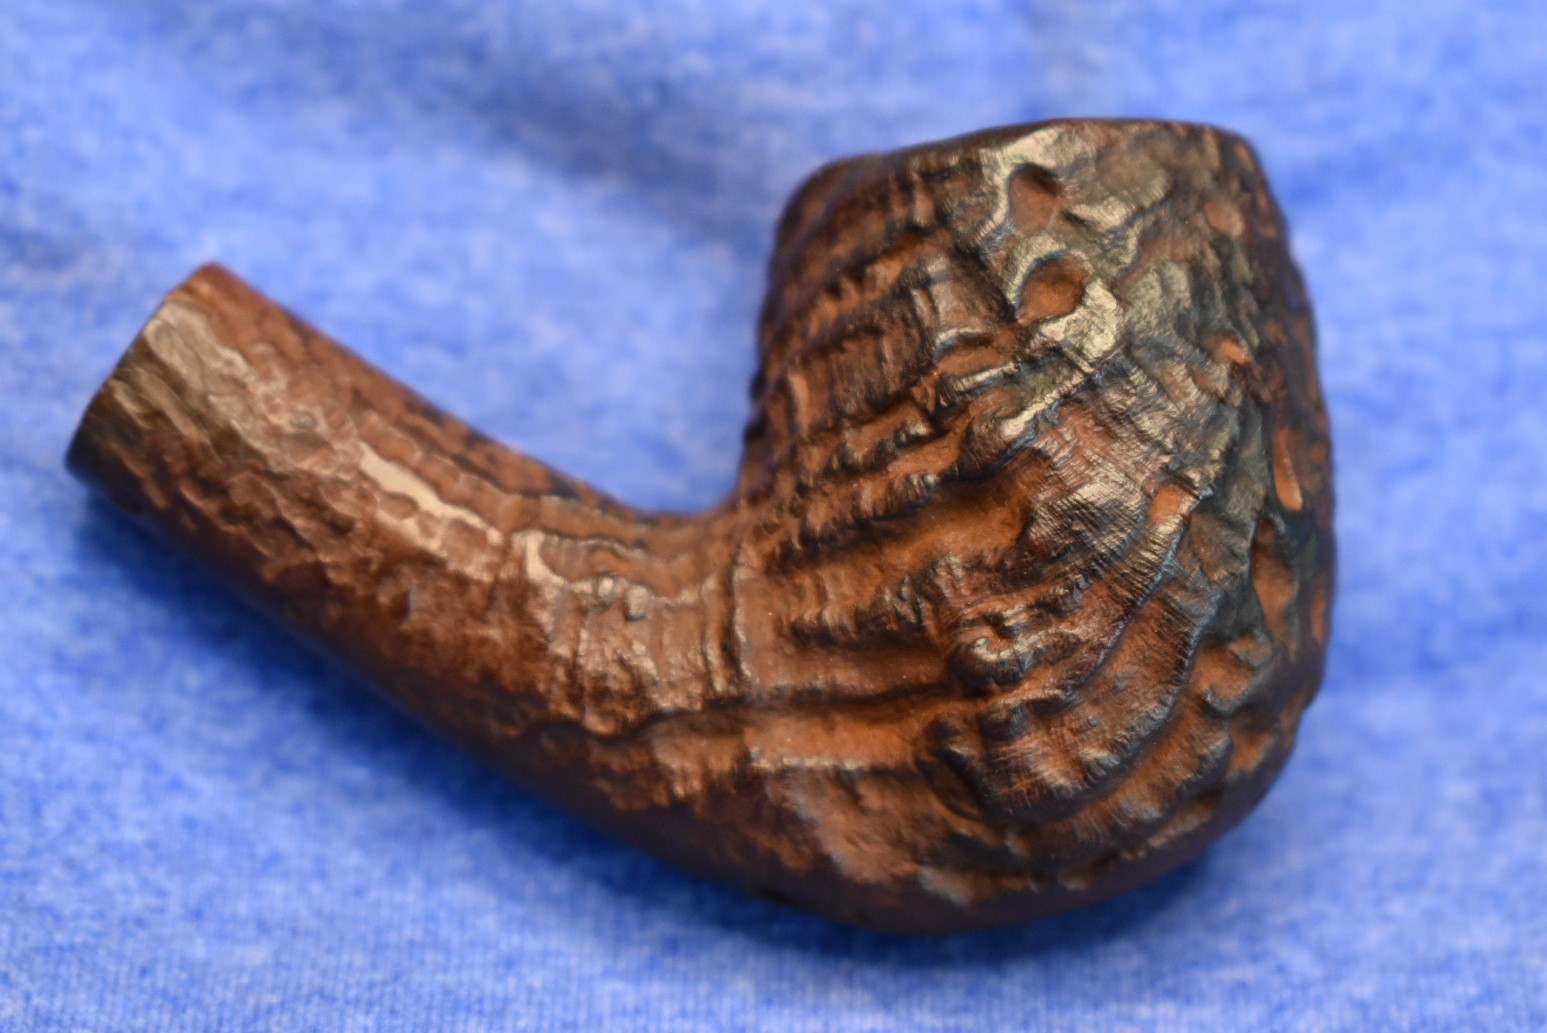
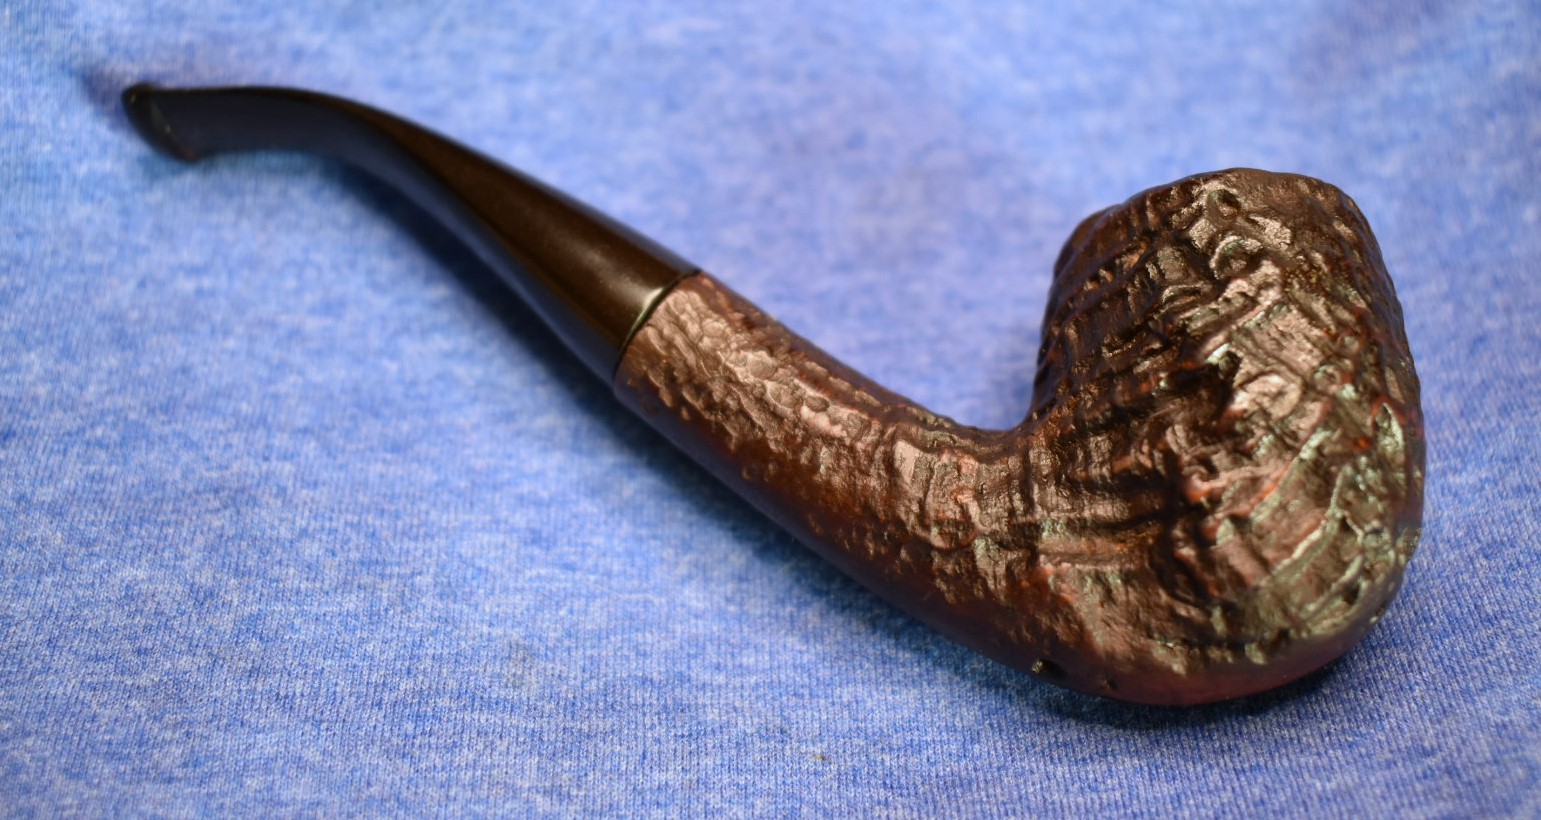
Overall I am pleased with how this restoration turned out. The old Kings Cross with all of its convoluted history looks good and will be a good companion pipe for someone for many years to come. Thank you for reading the ramblings of an old pipe lover. If you enjoy this kind of stuff please click the like and subscribe.
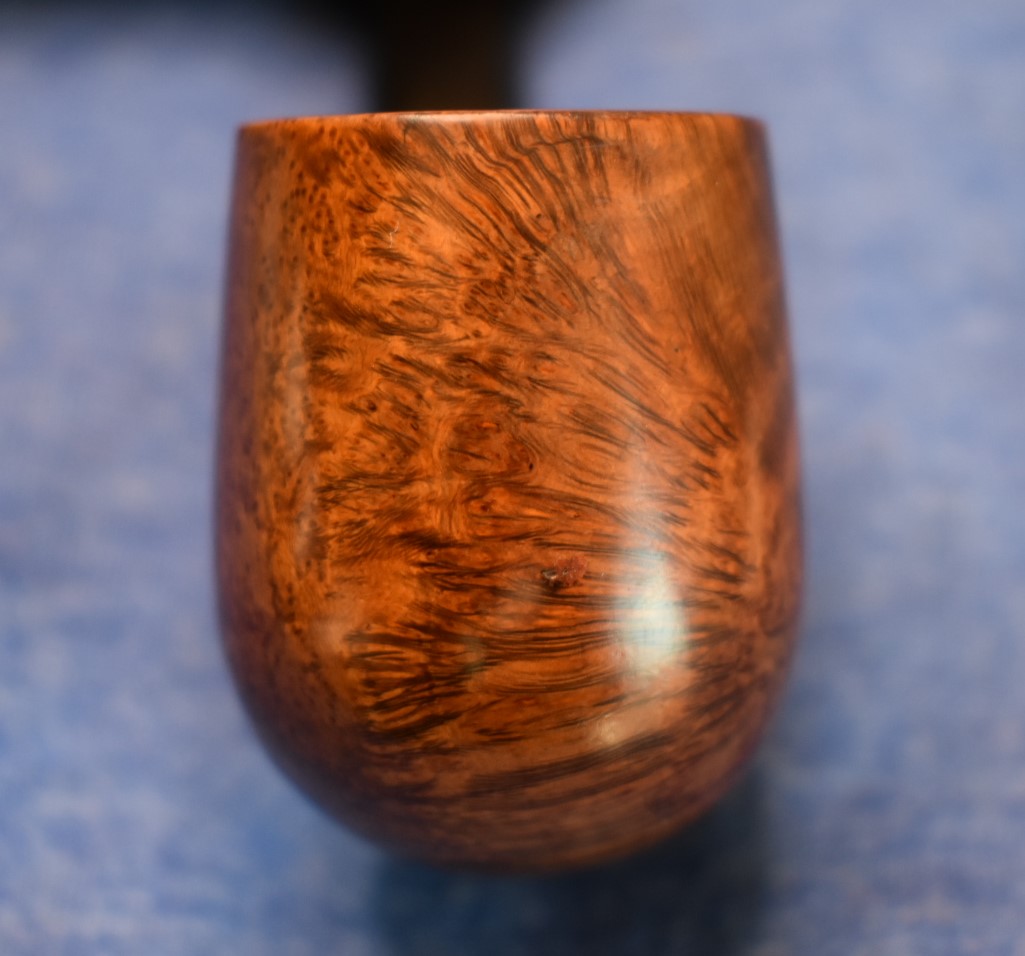
Here are the final photos of the Kings Cross Made in England Foursquare:


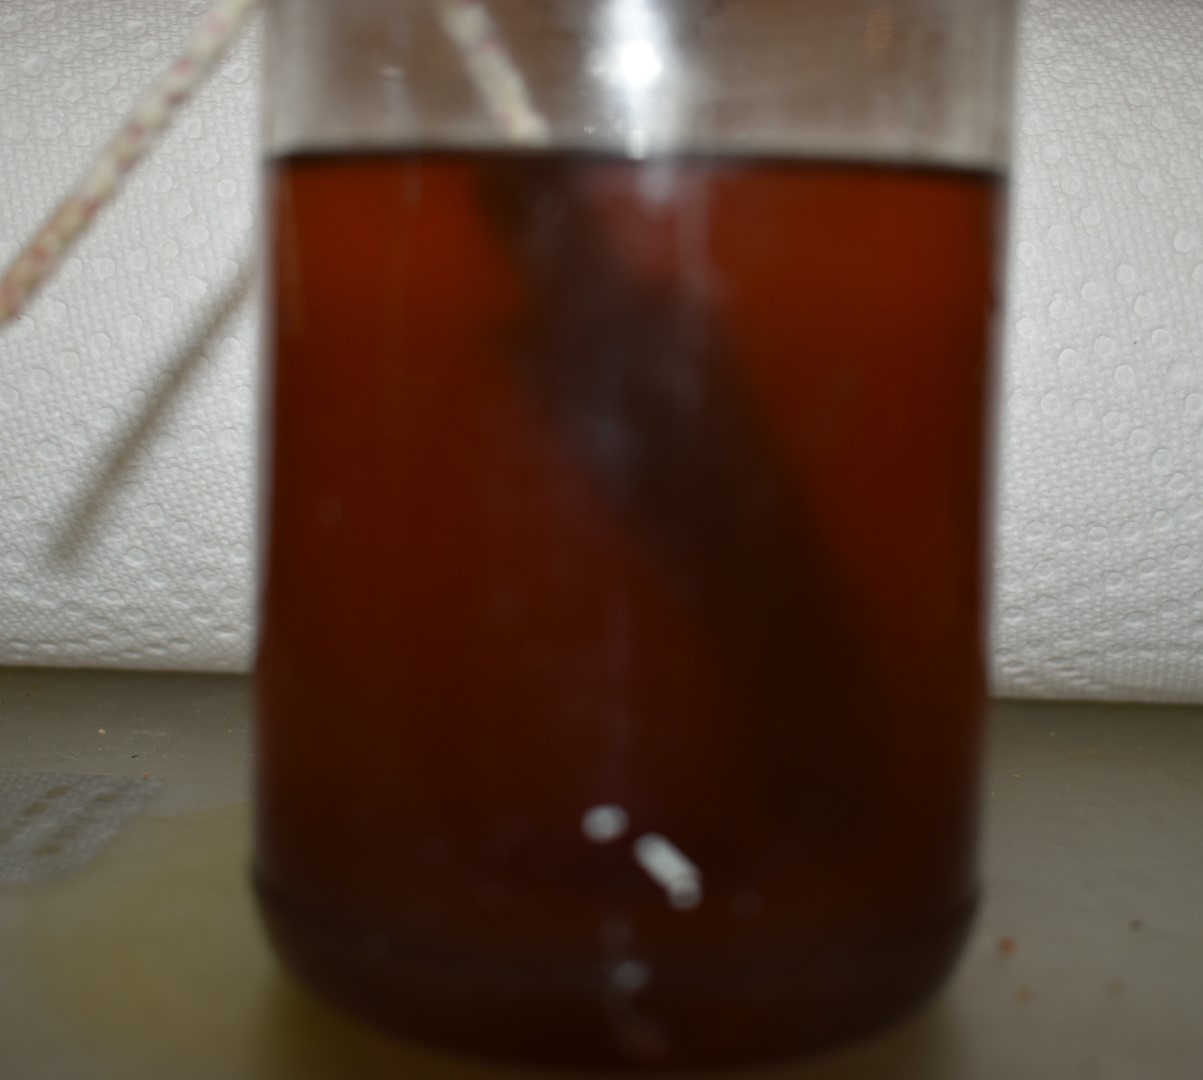
 needed to give the stummel a soaking. Fortunately I keep canning jars with ethyl alcohol (EtOH) and acetone for this very purpose. Into the ethyl alcohol (ethanol/EtOH) bath it went.


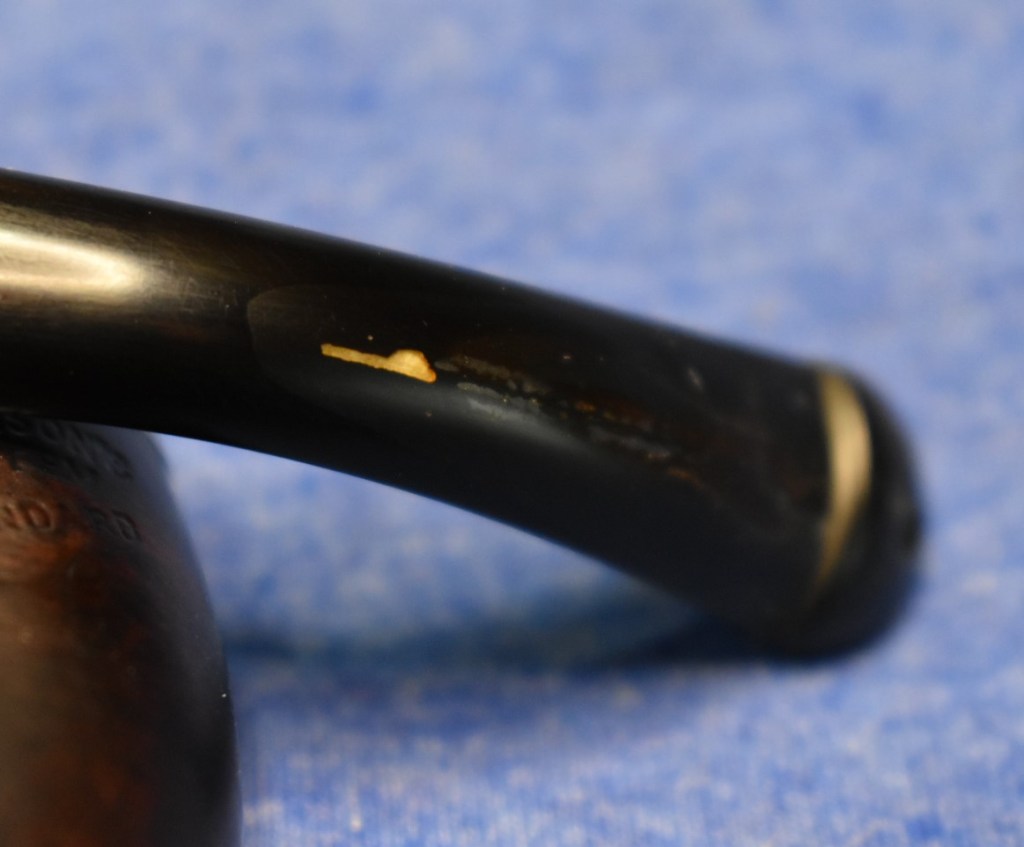
 Eventually I got to the point where I was needing to build up the rise of the button. I continued building up the area, curing the resin, filing the result and applying additional layers.


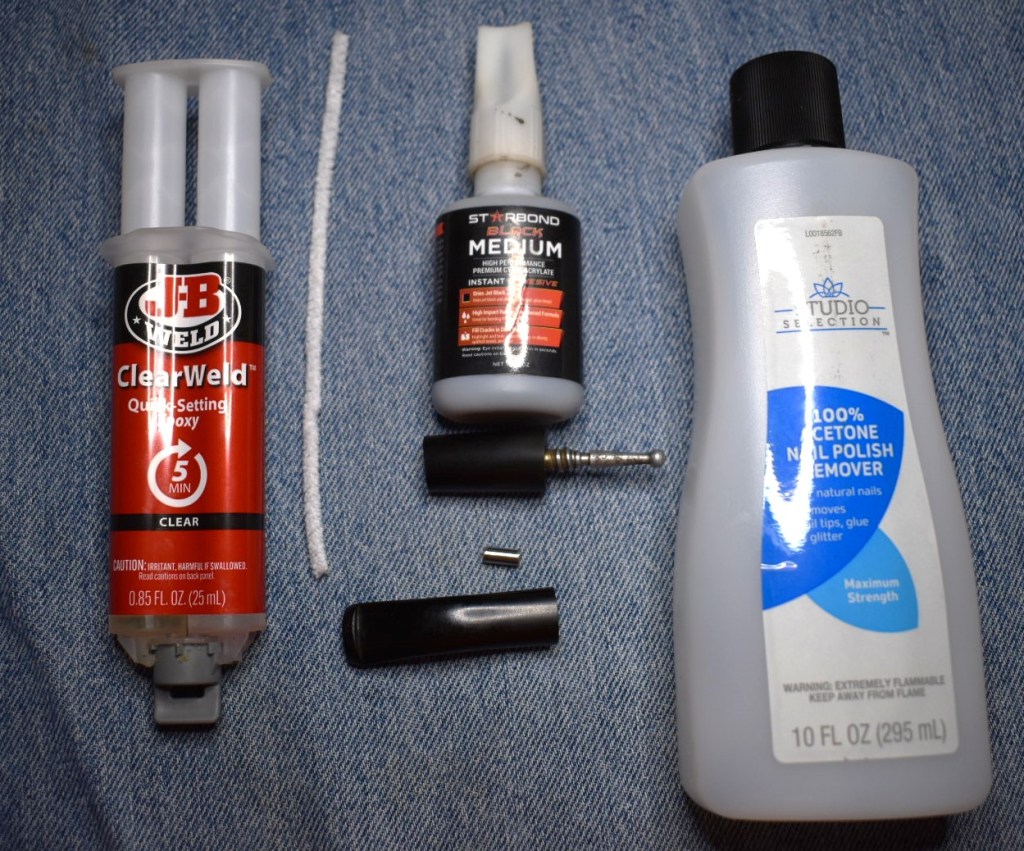


 The resin has proven very hard and resistant to scratching. I thought that this would make it a desirable product to add to the pipe restoration. I have not yet seen anyone use it in the restoration of pipes. How well it holds up to the wear and tear on a vulcanite pipe stem has yet to be determined. Feel free to ask me in the comments section how the product does over time.
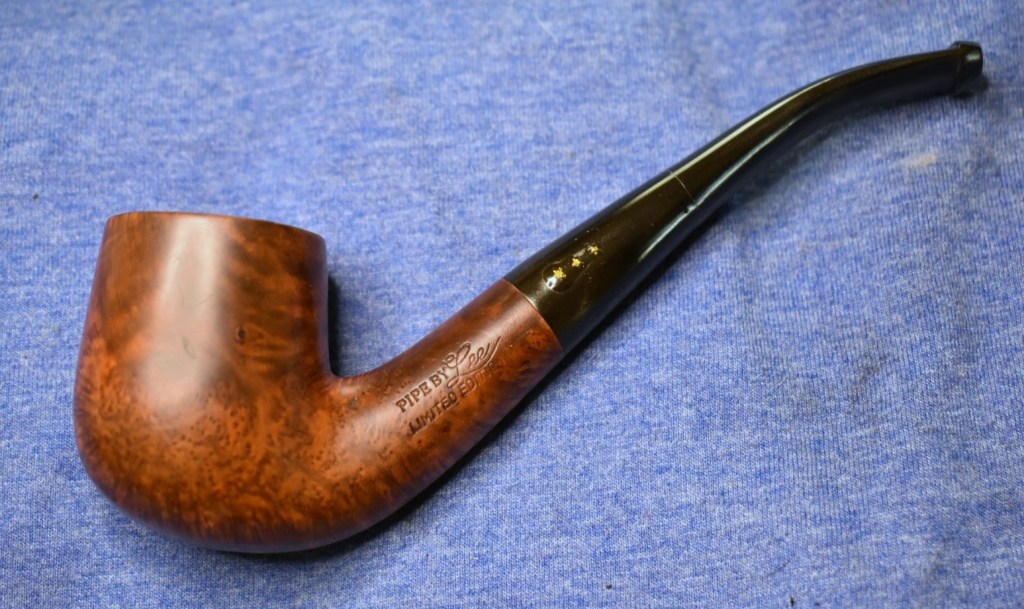


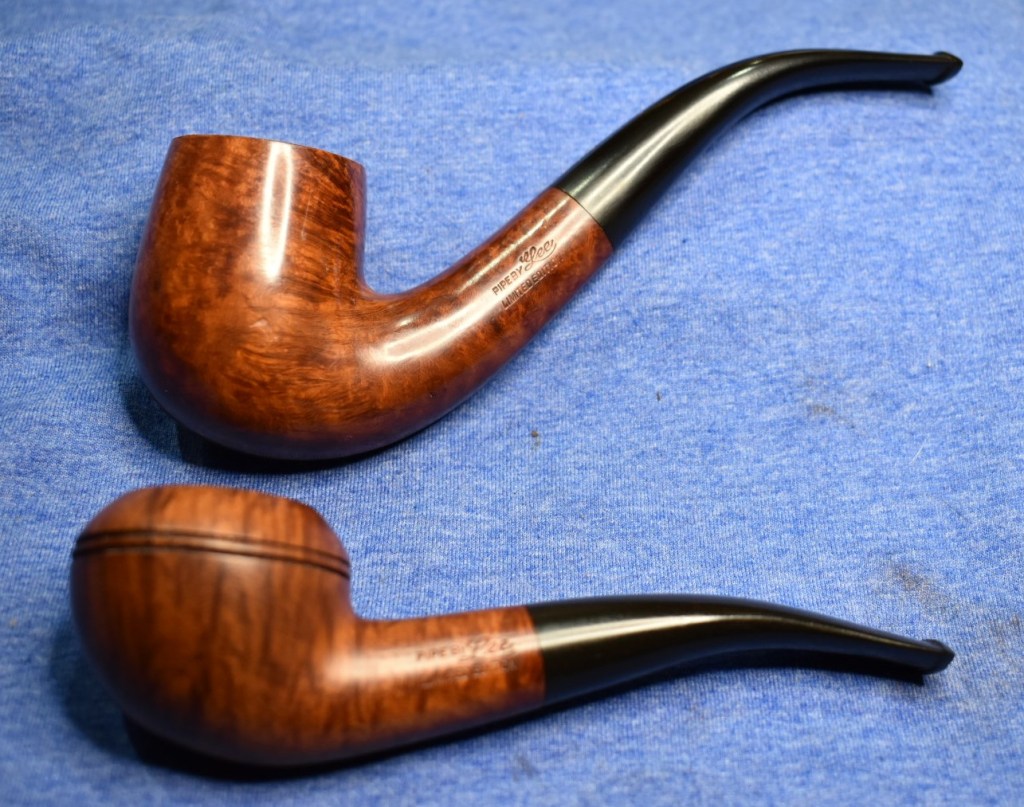
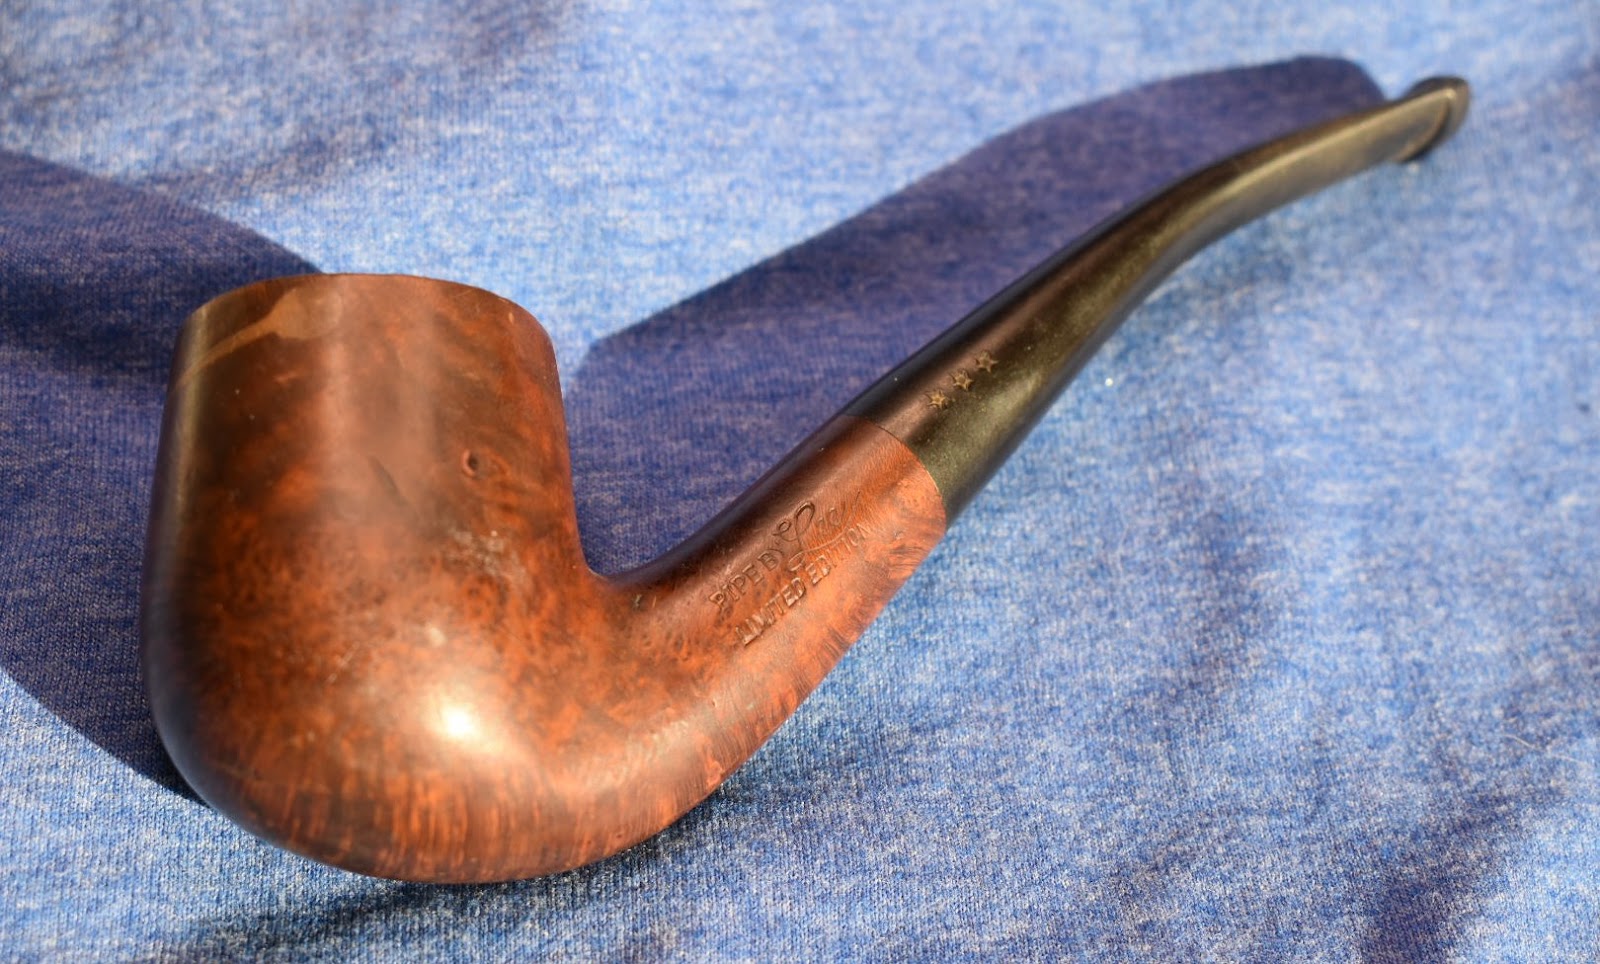


 Pipe by Lee 2 start bent billiard before bend
 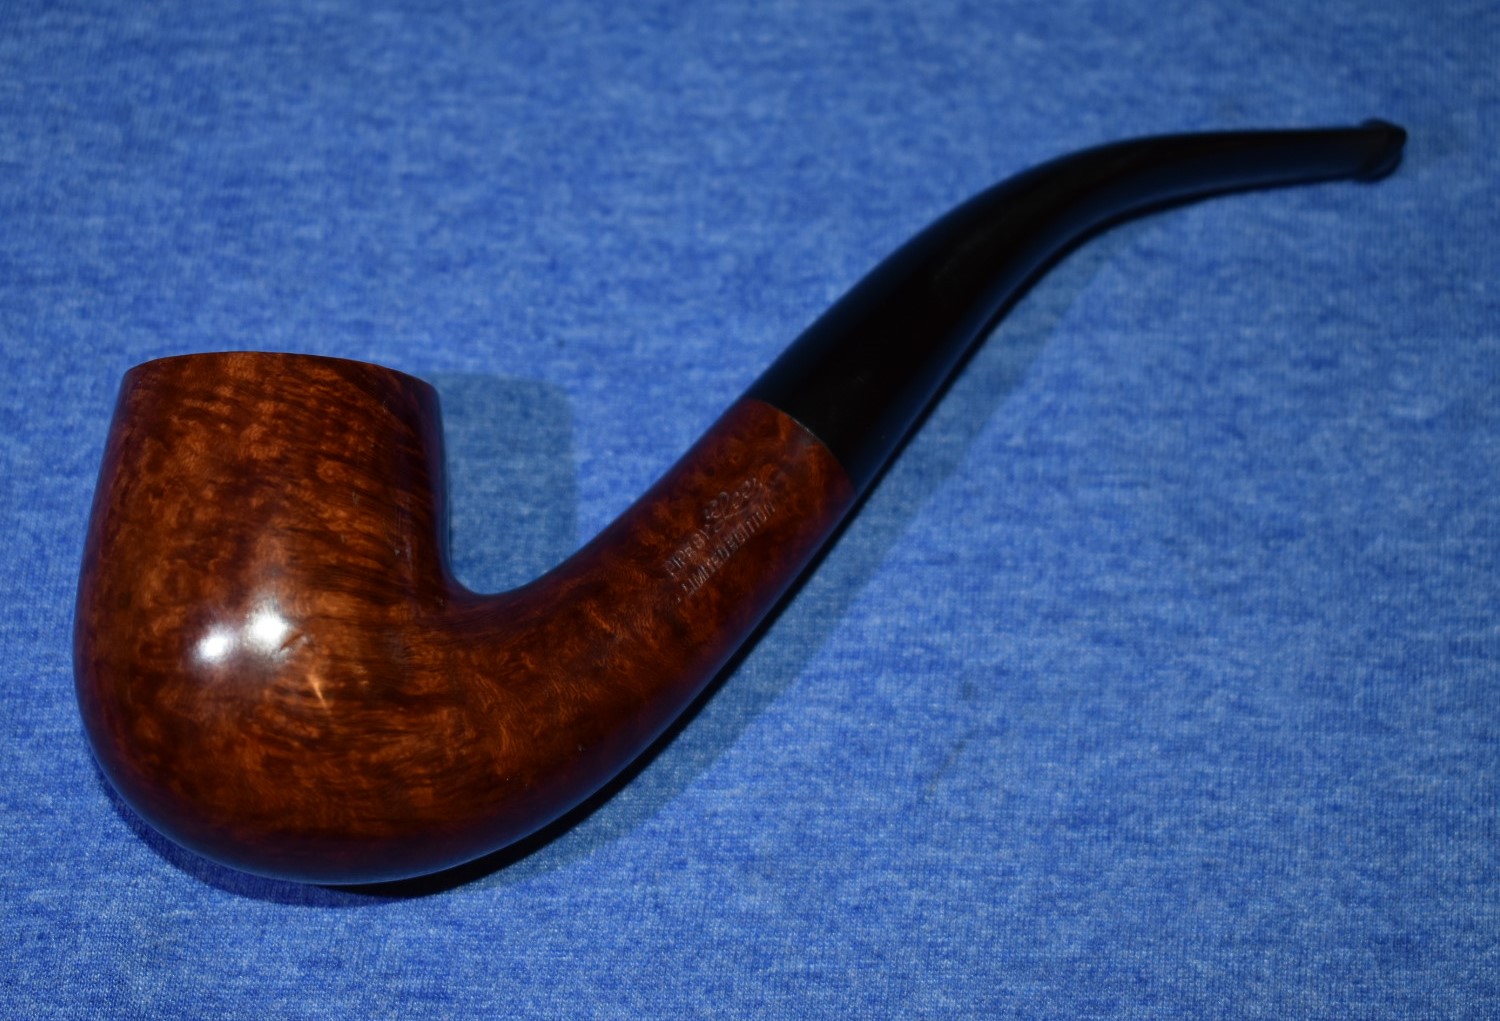 Pipe by Lee two star bent billiard after bend