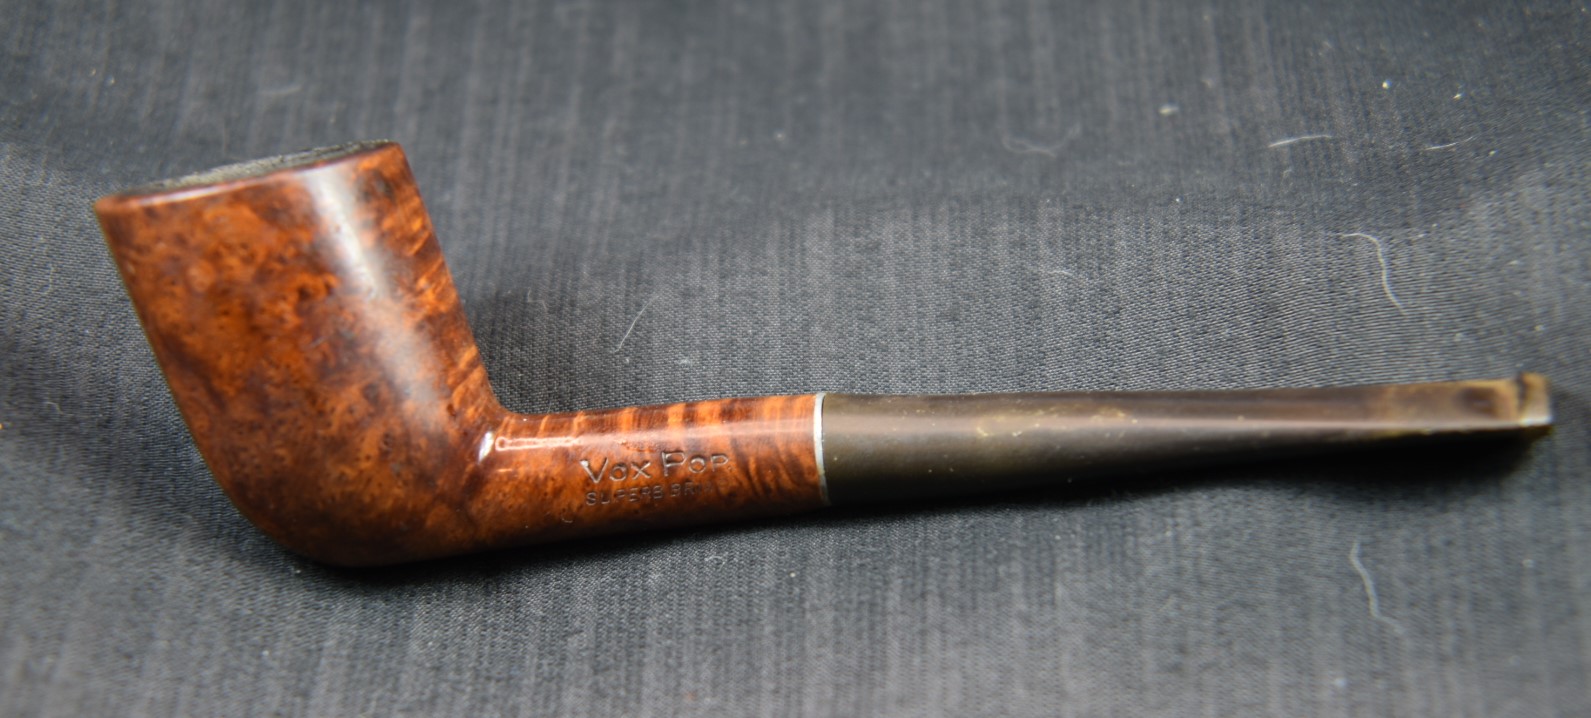
Benchmade Billiard
Photographed and written by
John M. Young
If you have been following my restorations for a while first, thank you and second, you know I love Marxman pipes. Not just any Marxman pipe though; those made before Robert Marx sold the company to MasterCraft in 1953, Marxmans made in New York City from Algerian briar, pipes made from briar that seems to shed the cake when reamed, and the freshly reamed briar has a cinnamon spice like flavor, Marxmans that darken like a meerschaum pipe when smoked and Marxmans with briar that feels almost too soft to sand. That seems like a long list of conditions but the Marxman pipes made between 1939-1953 generally have those characteristics. And no, I am not a paid spokesman for Marxman.
Looking back at the completed restorations that I have blogged about there have been 5 Marxman pipes. This will be number 6. Personally I own far more Peterson pipes but my Petersons are all older acquisitions from before my blogging days. I suppose I could go back and freshen some of them up but I kind of feel that would be cheating for the restoration blog. I mean they’ve been restored already. Feel free to let me know in the comments if you think that refreshing a previously restored and then used pipe counts as a restoration.
Back to the Marxman in hand. This pipe came to me as one of two Marxman pipes back in January. The first pipe to be restored was a Marxman Jumbo Dublin (there is the link).

This poor billiard had to wait it’s turn in the queue until this week. The little walnut is still waiting. Mottos like, “Patience is a virtue” and “Good things come to those who wait”, were running through my mind.
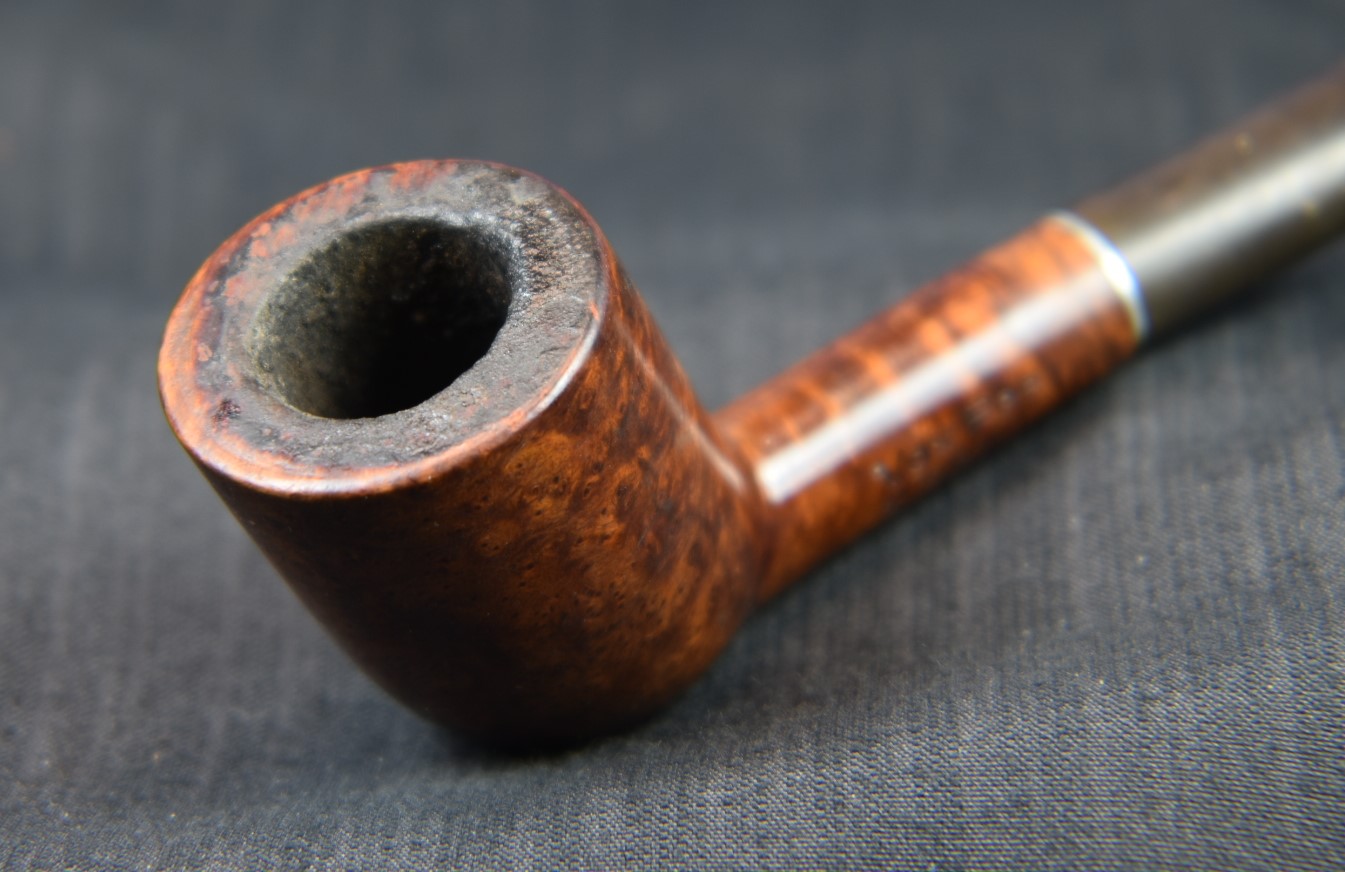
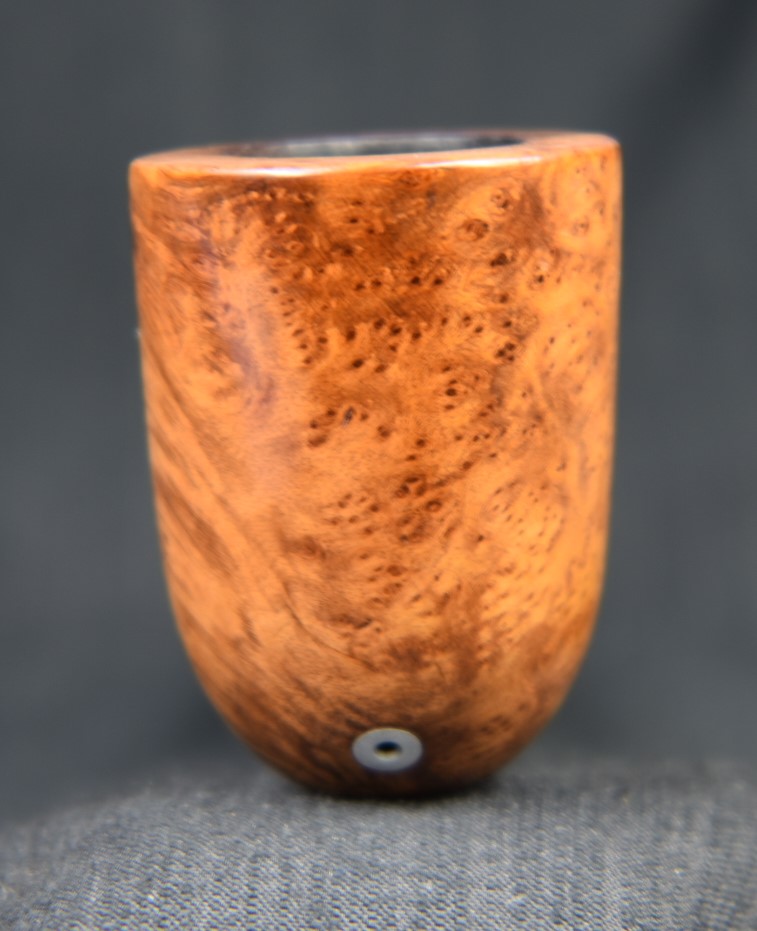
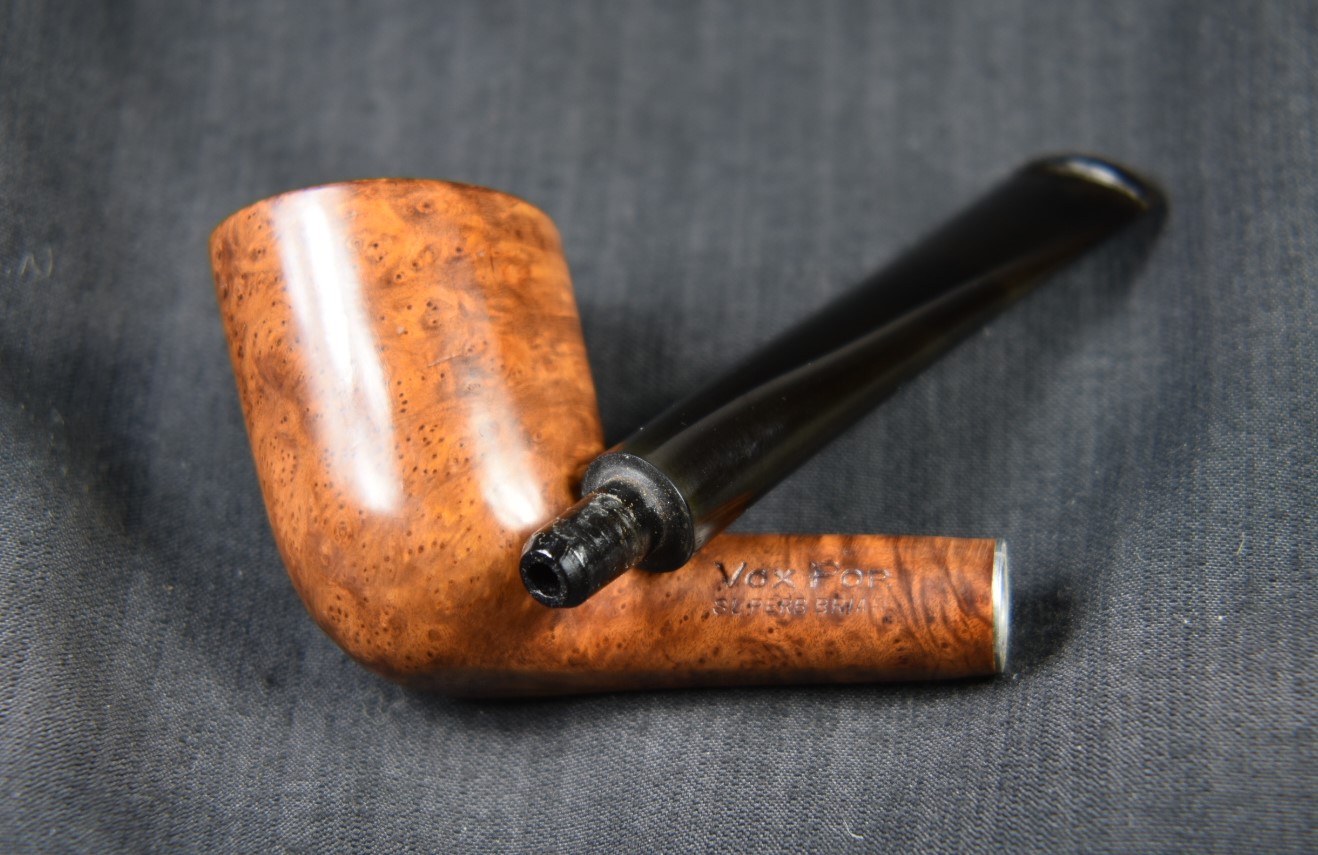
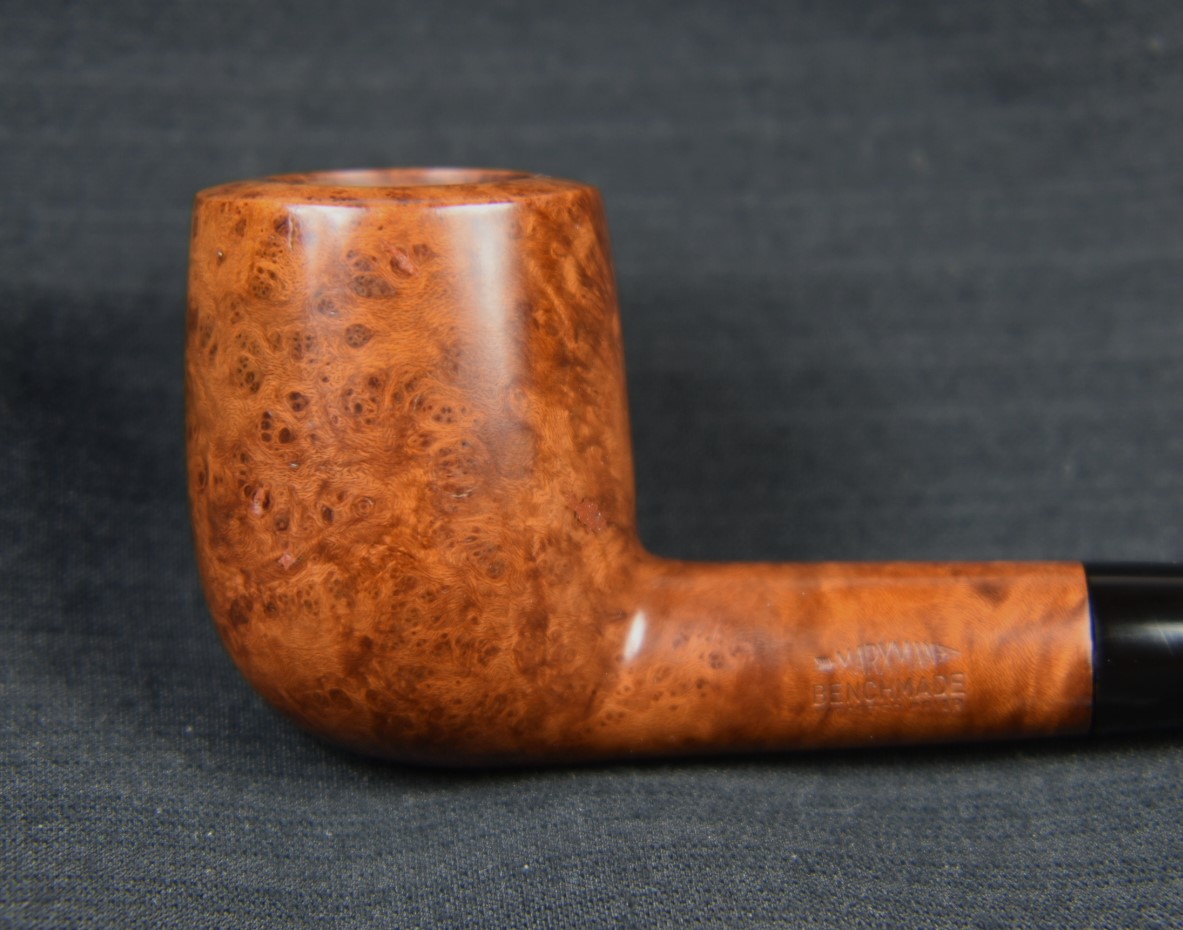
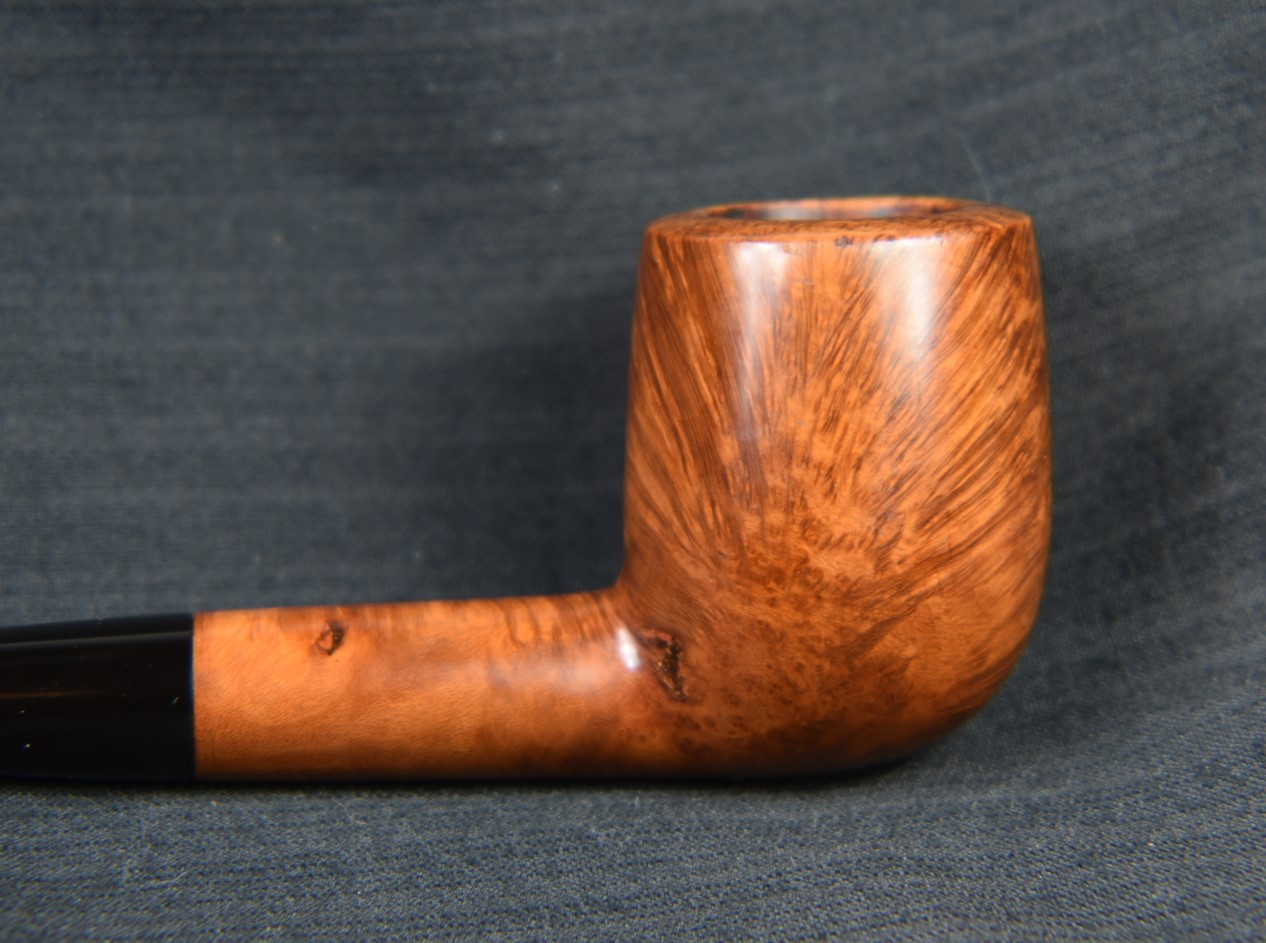
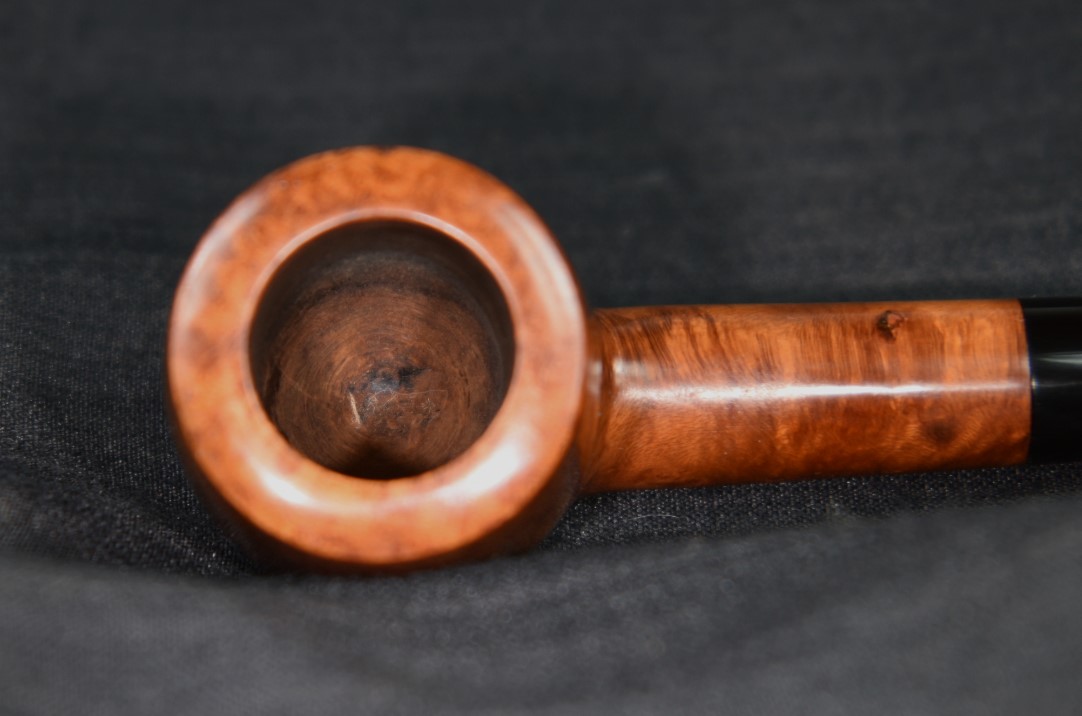
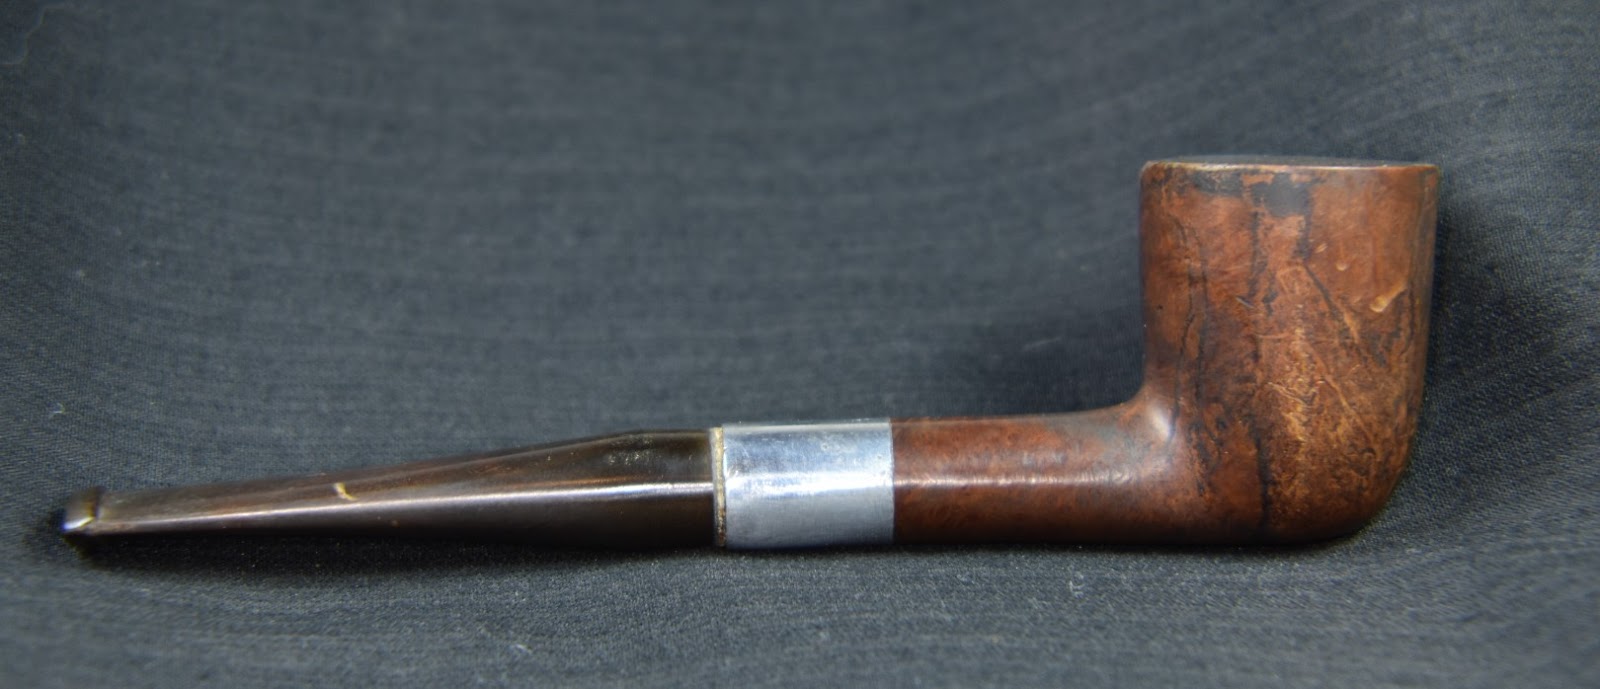
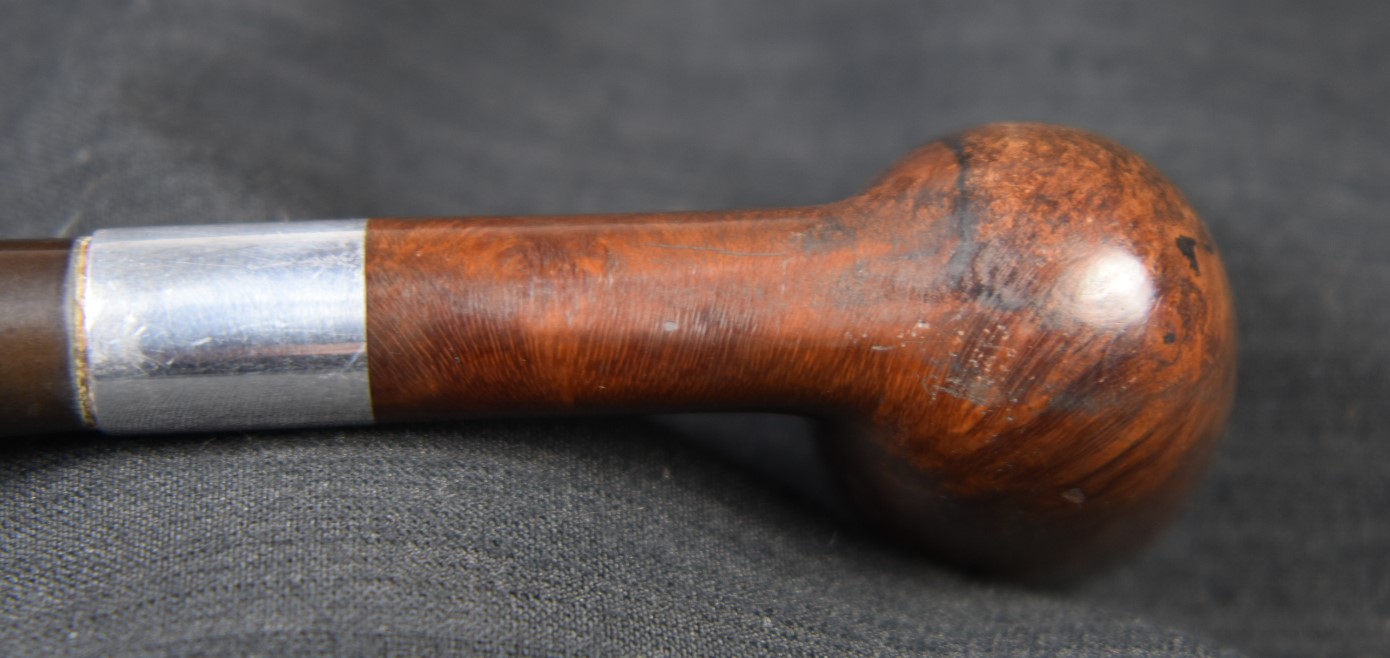
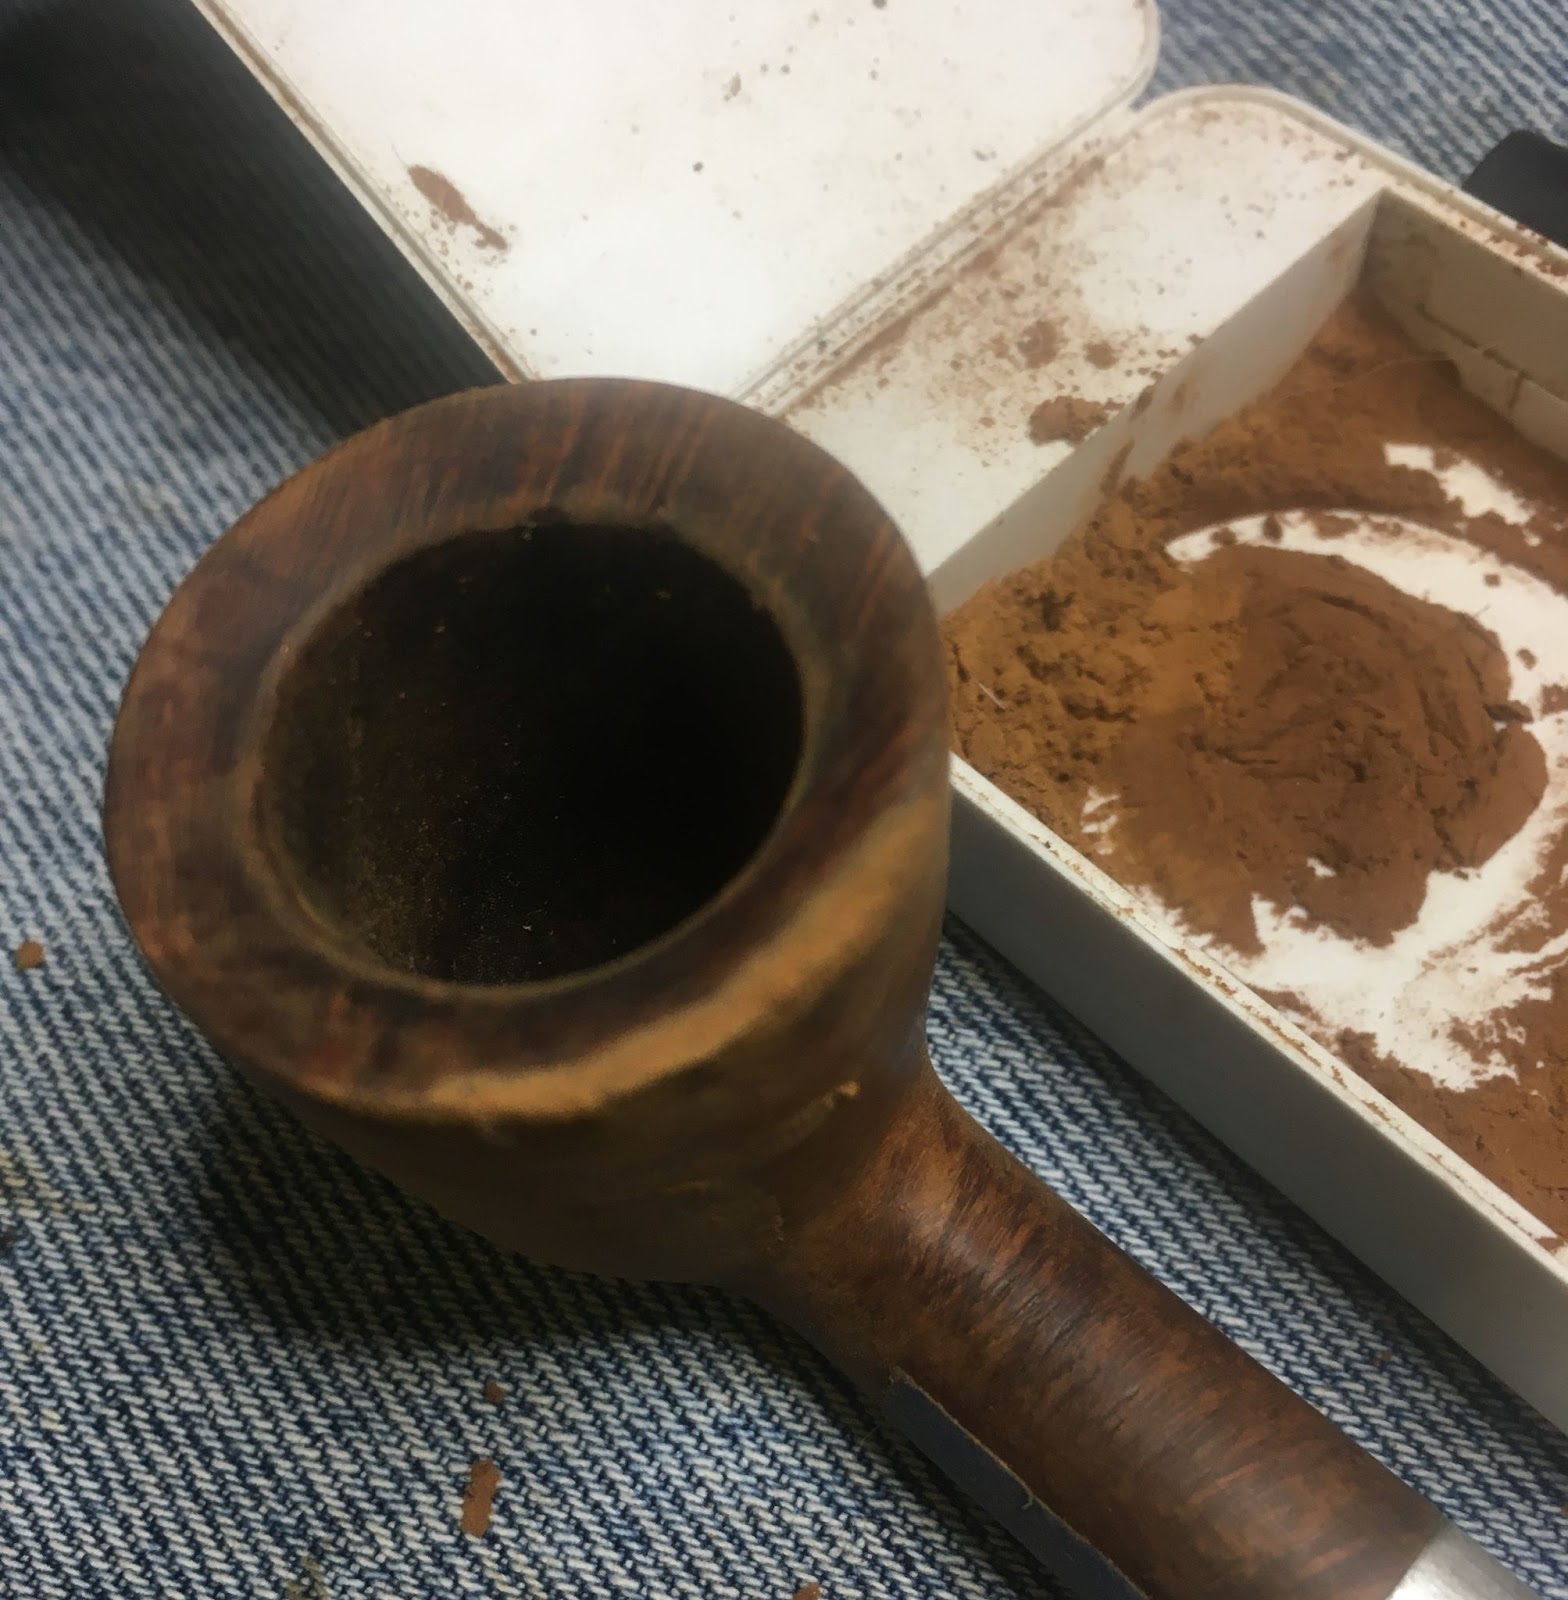
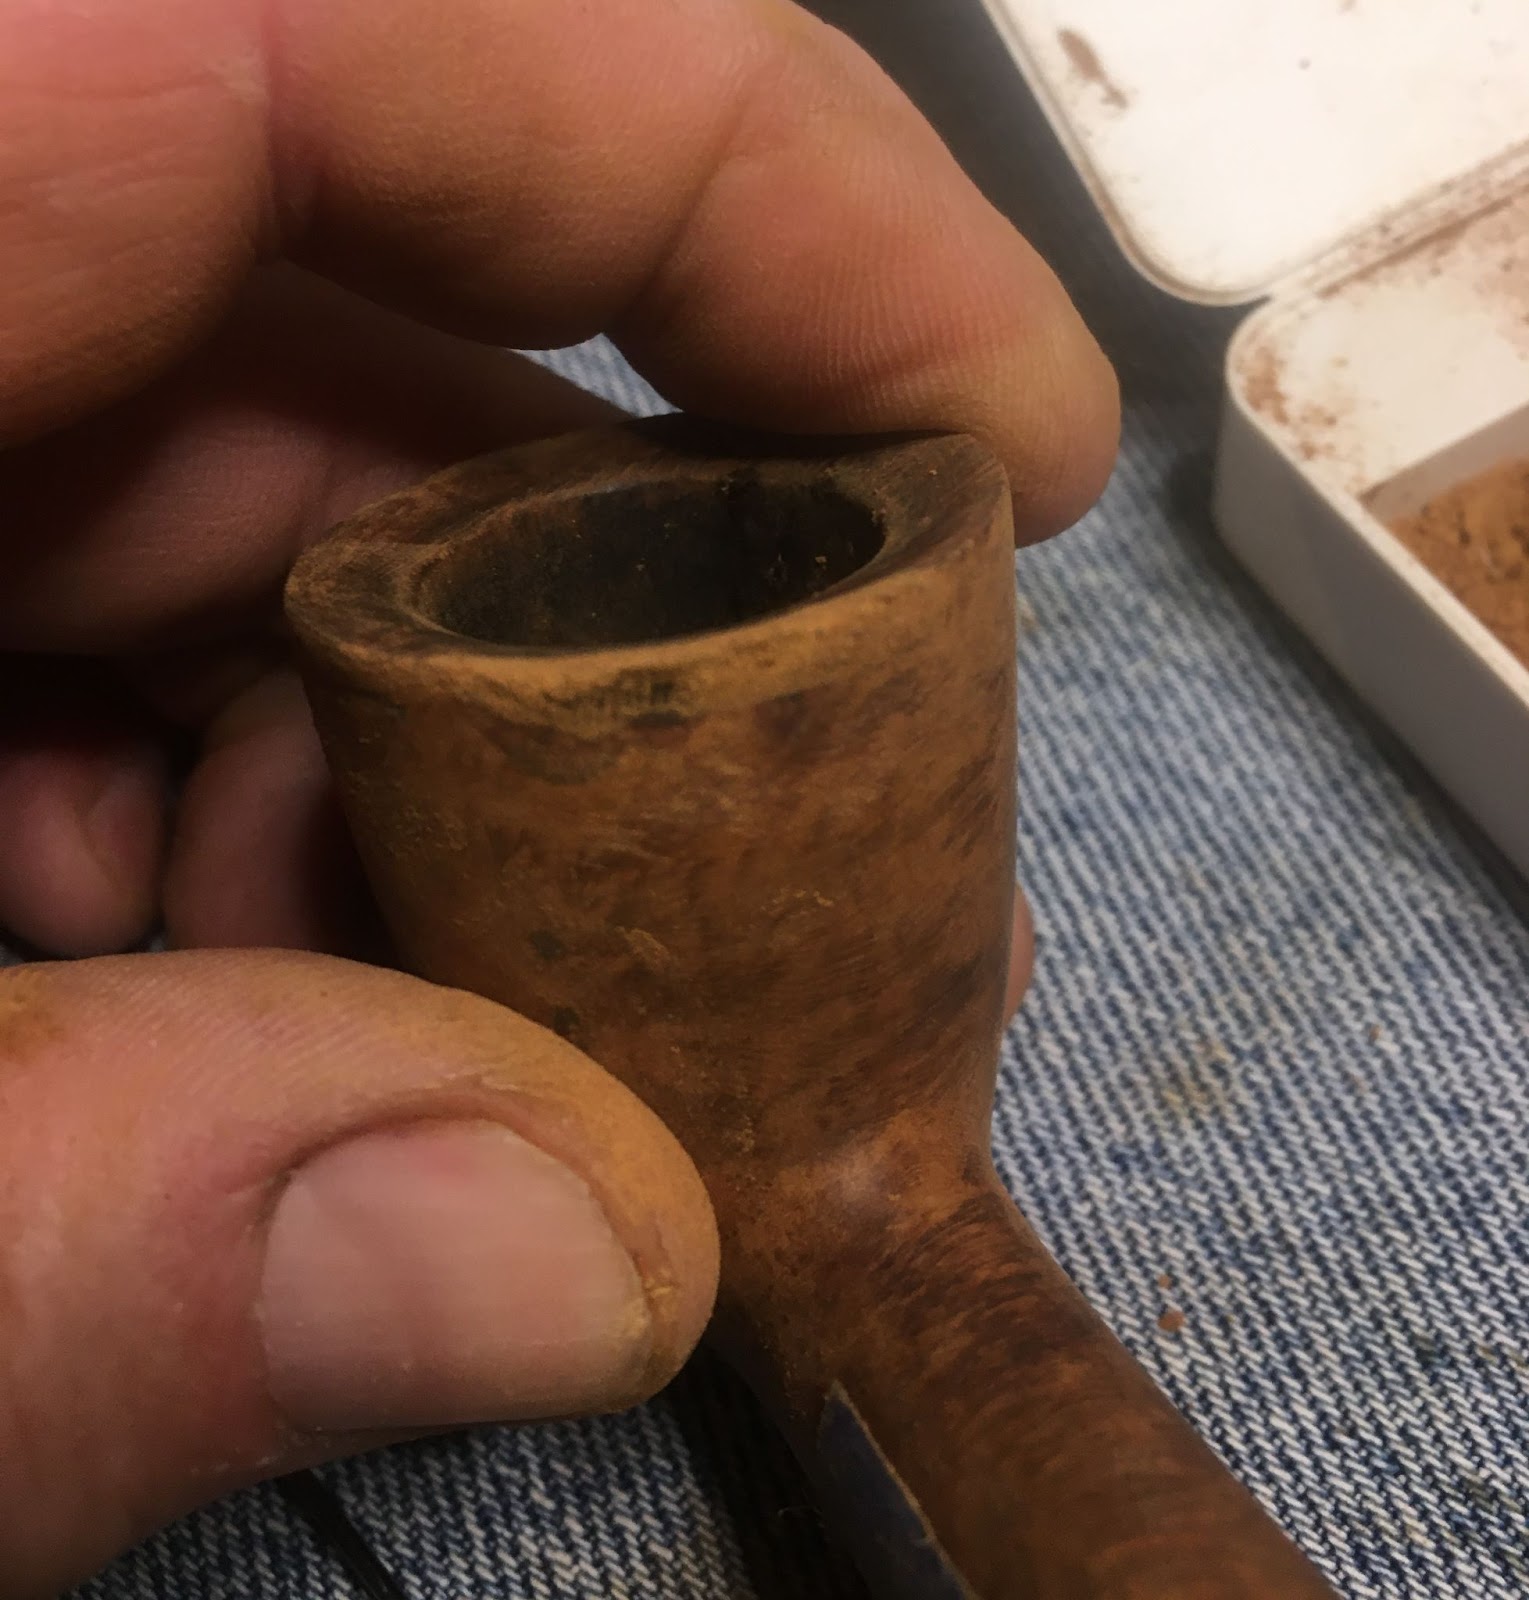
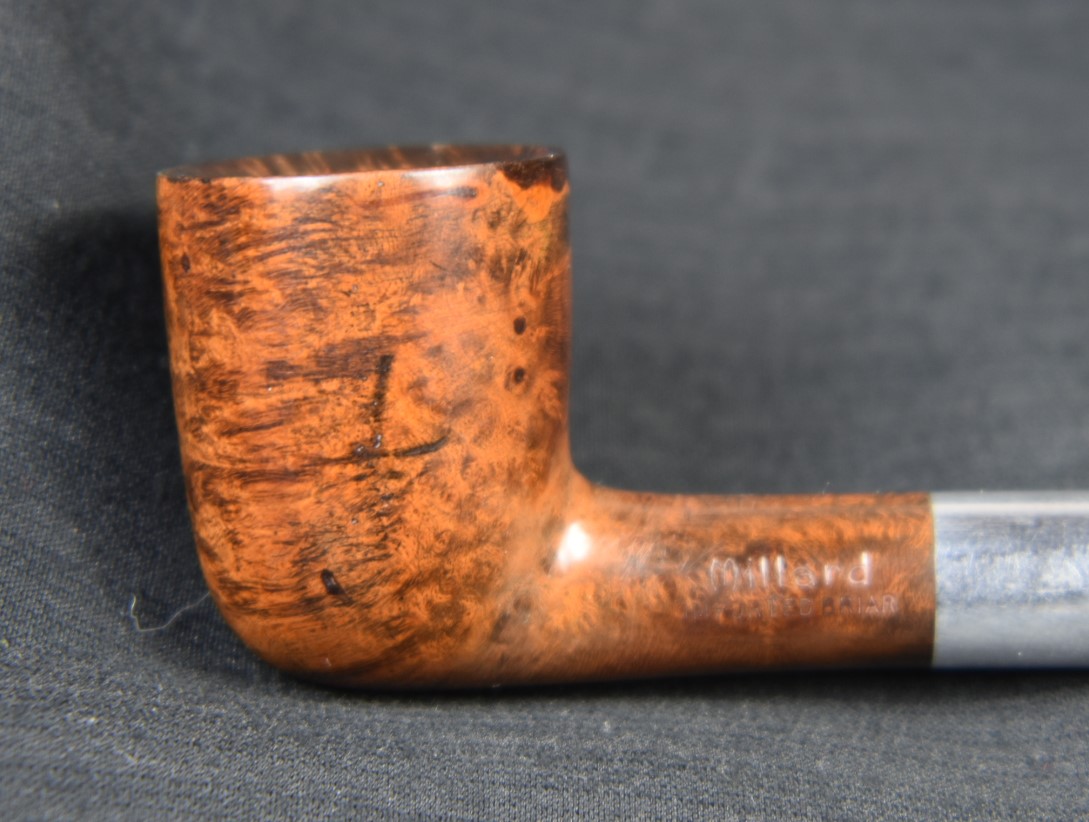
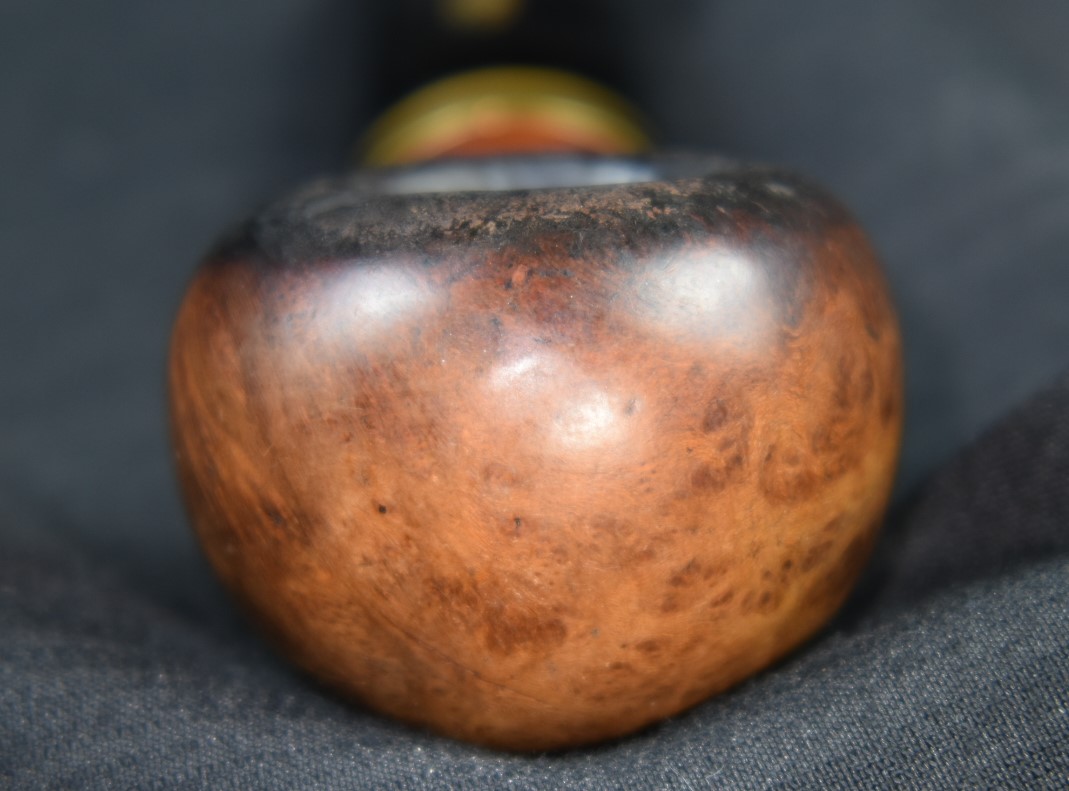
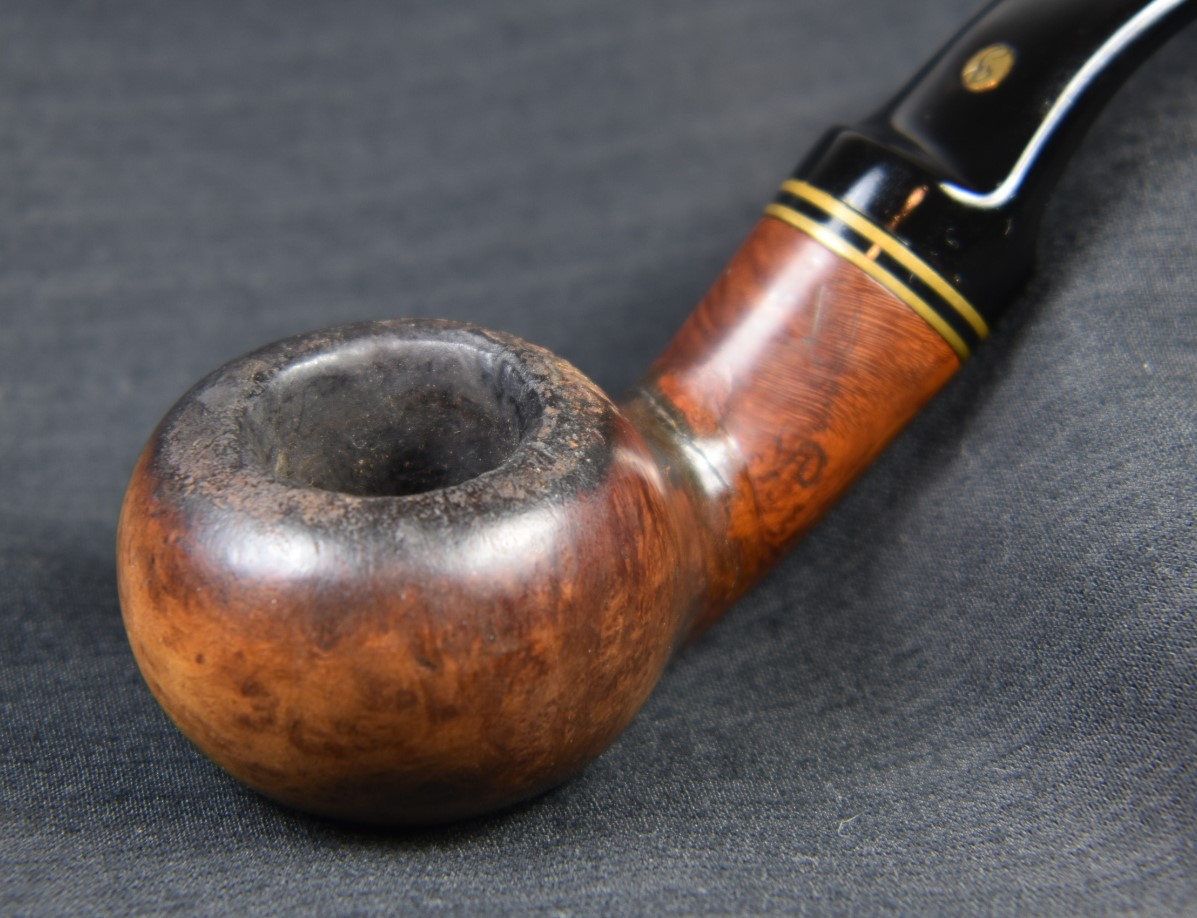
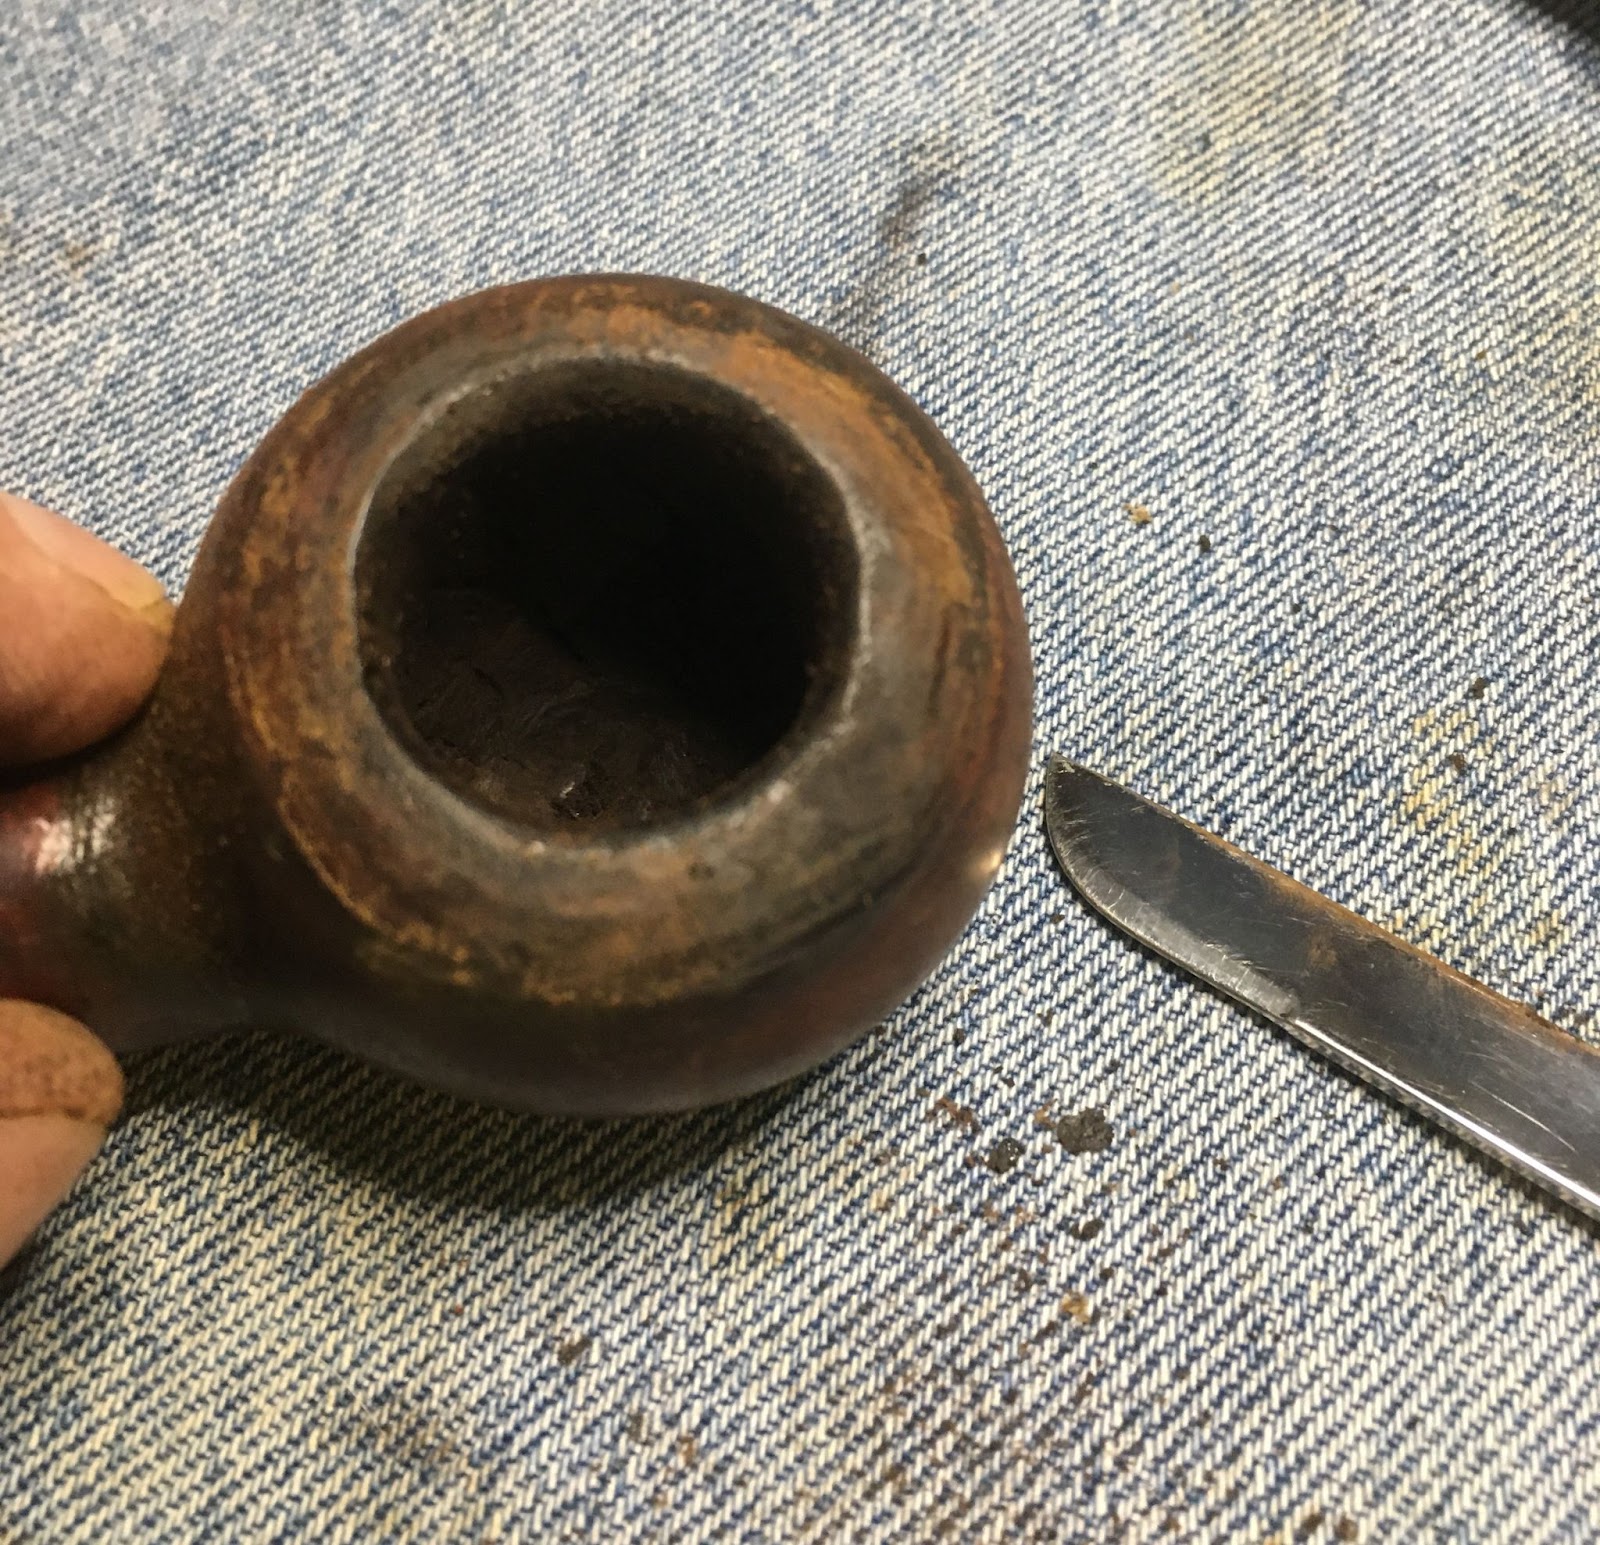
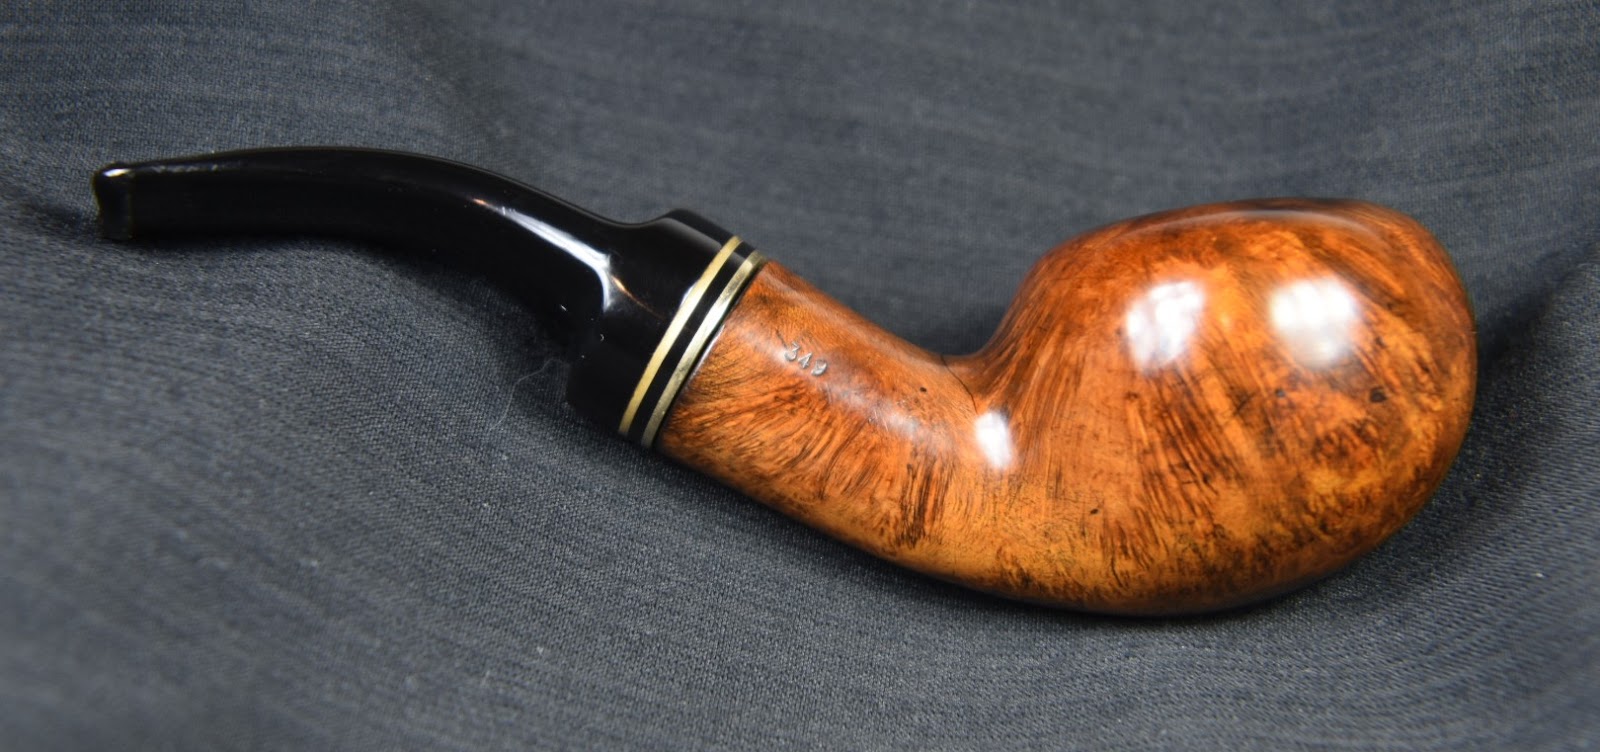
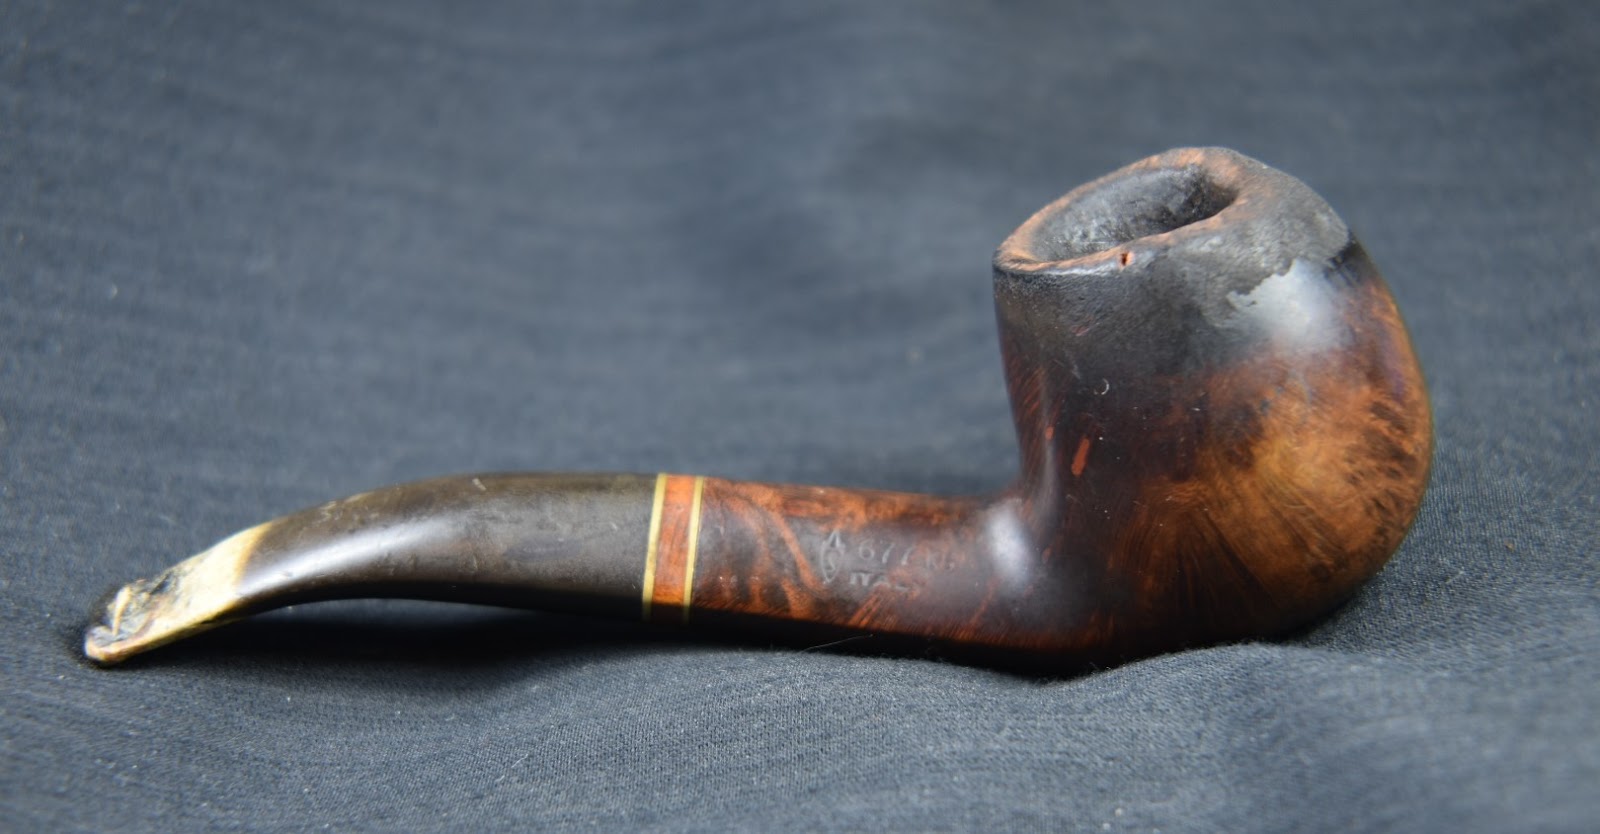
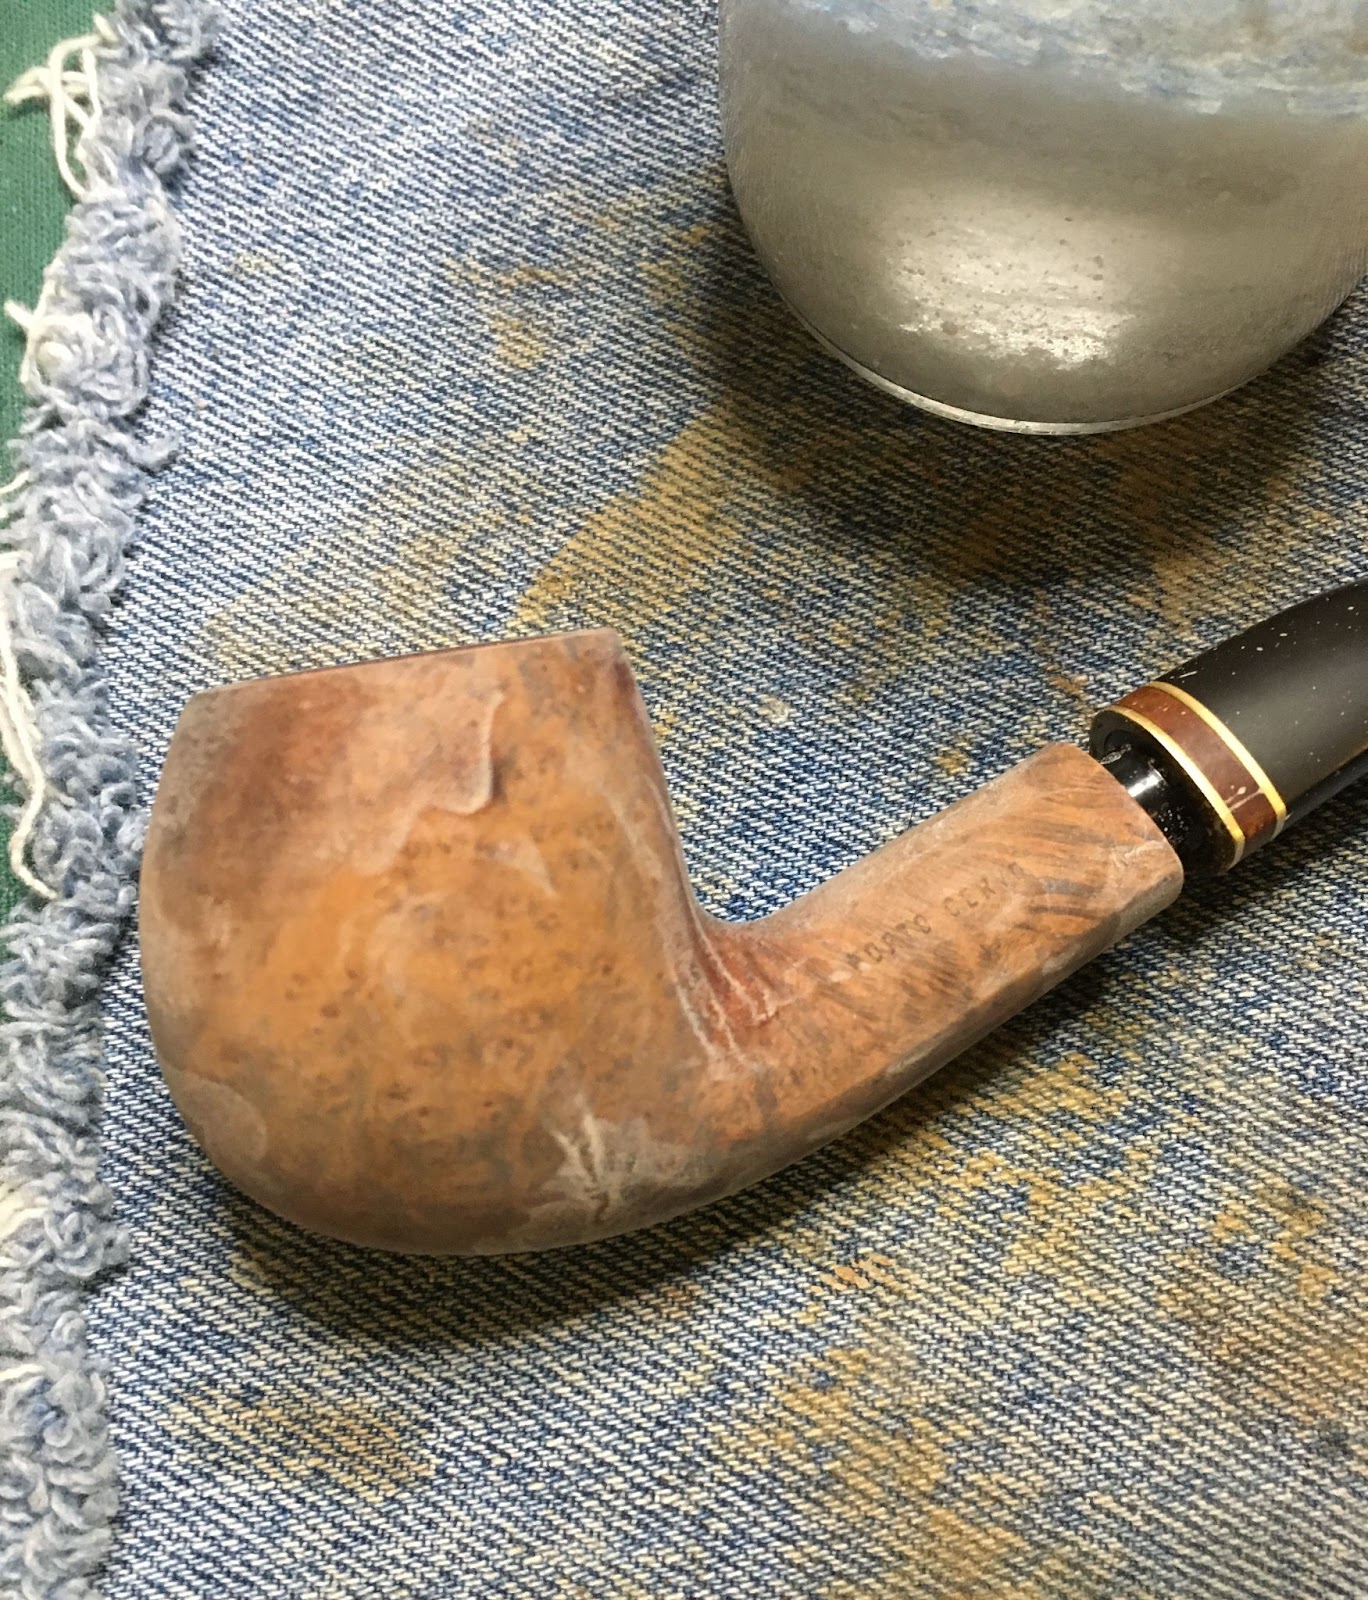
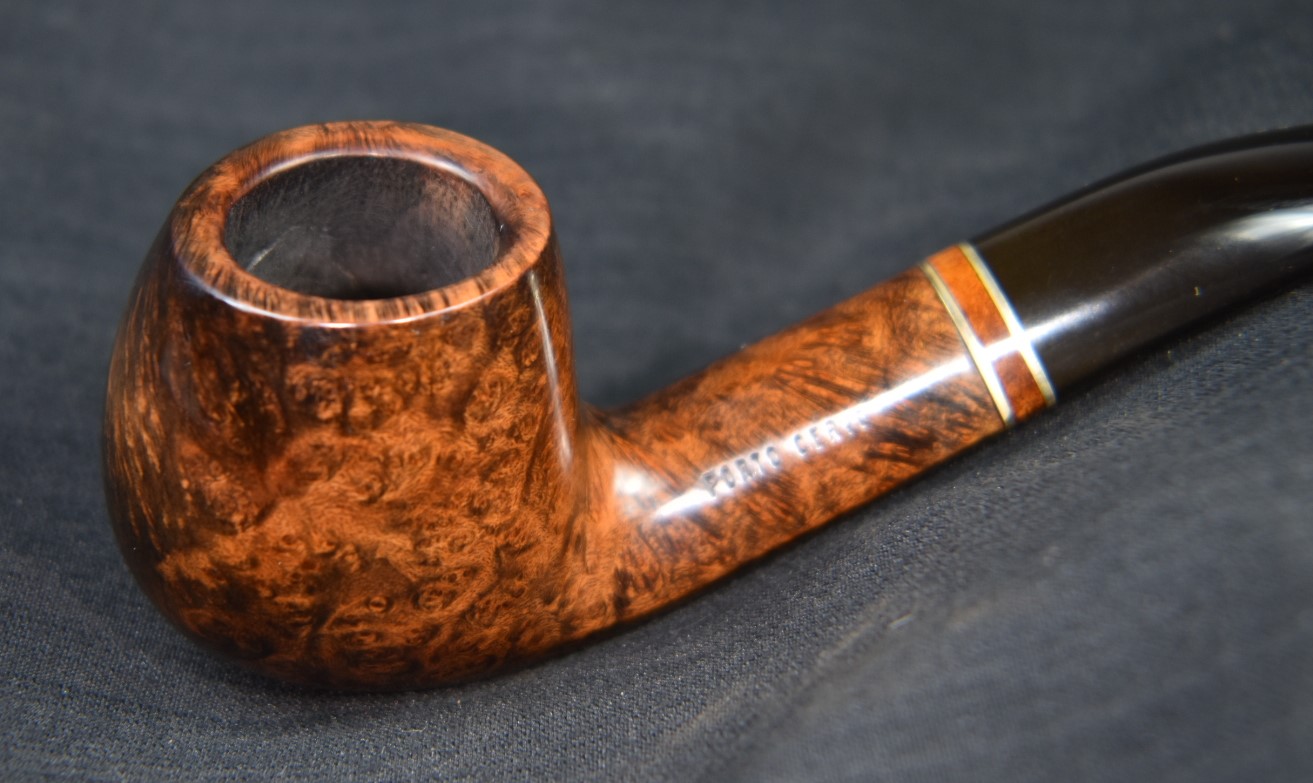
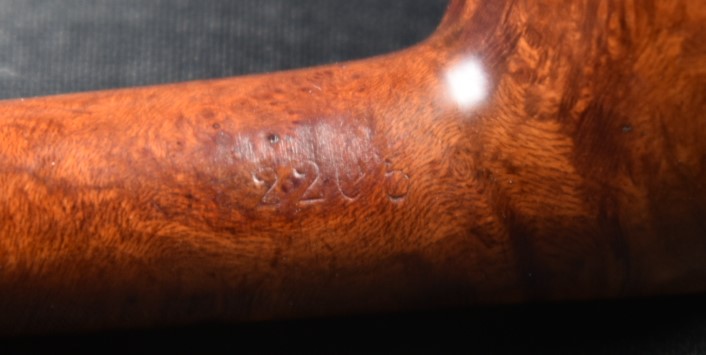
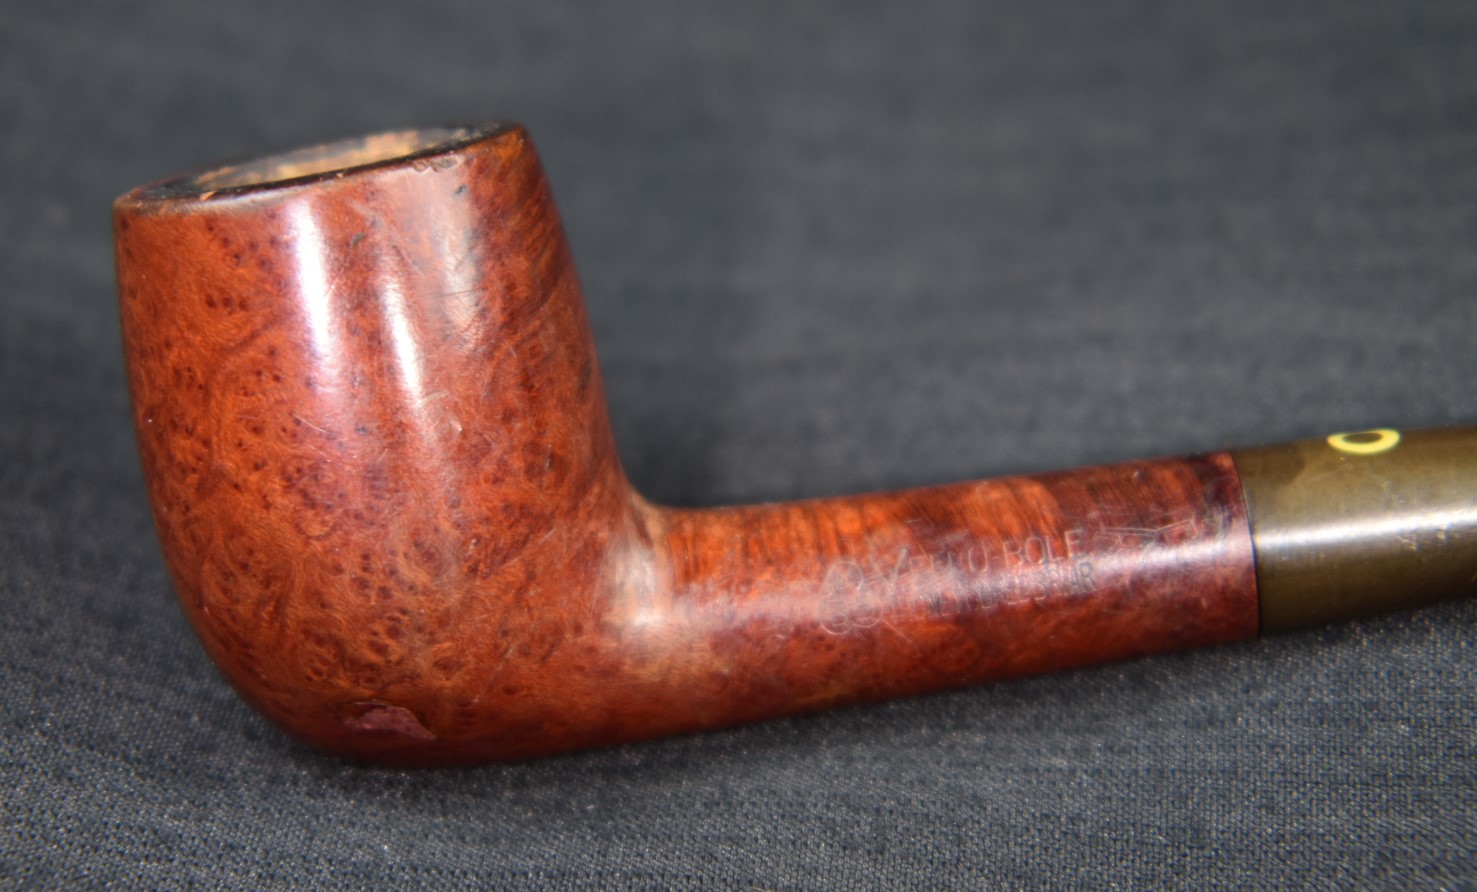
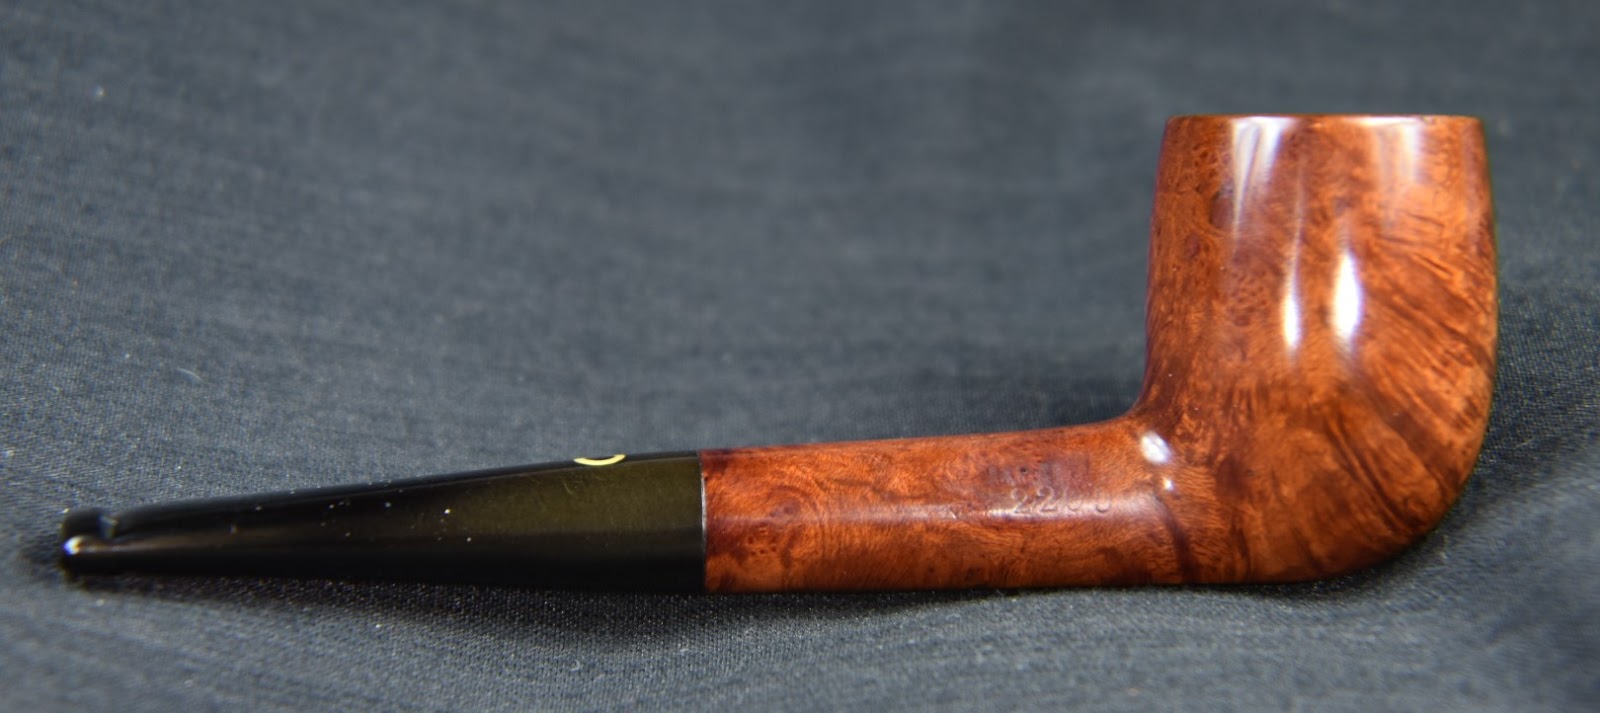
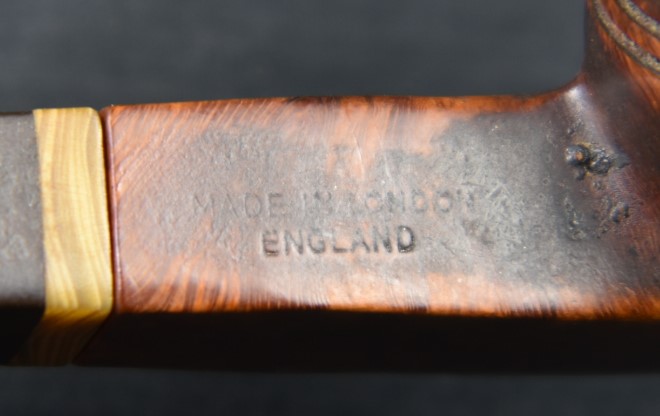
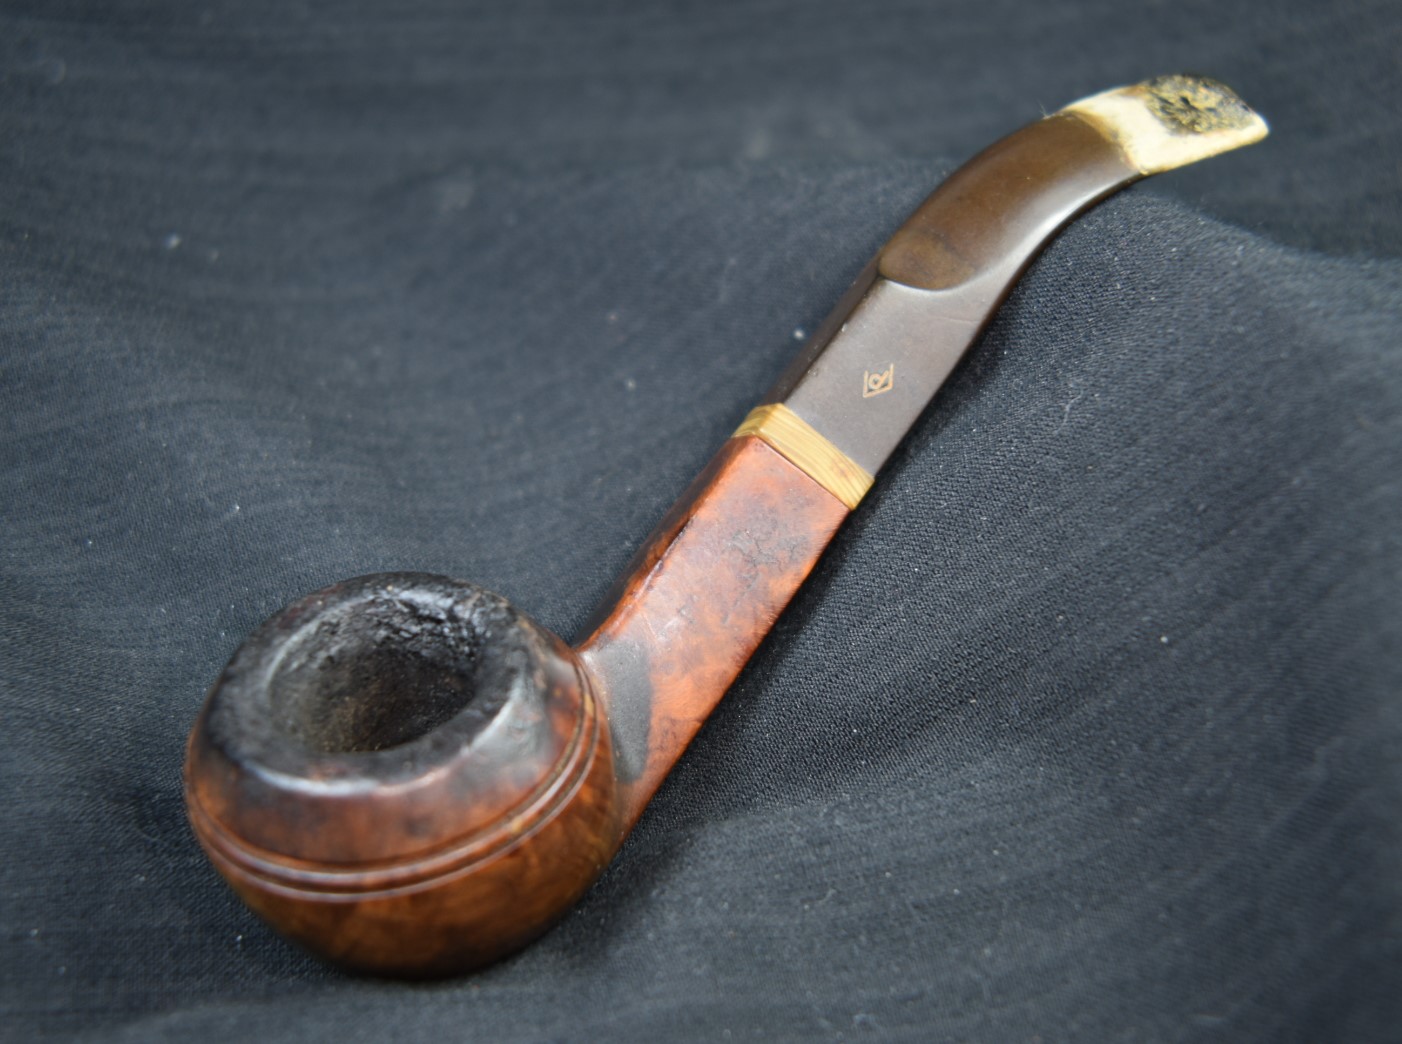
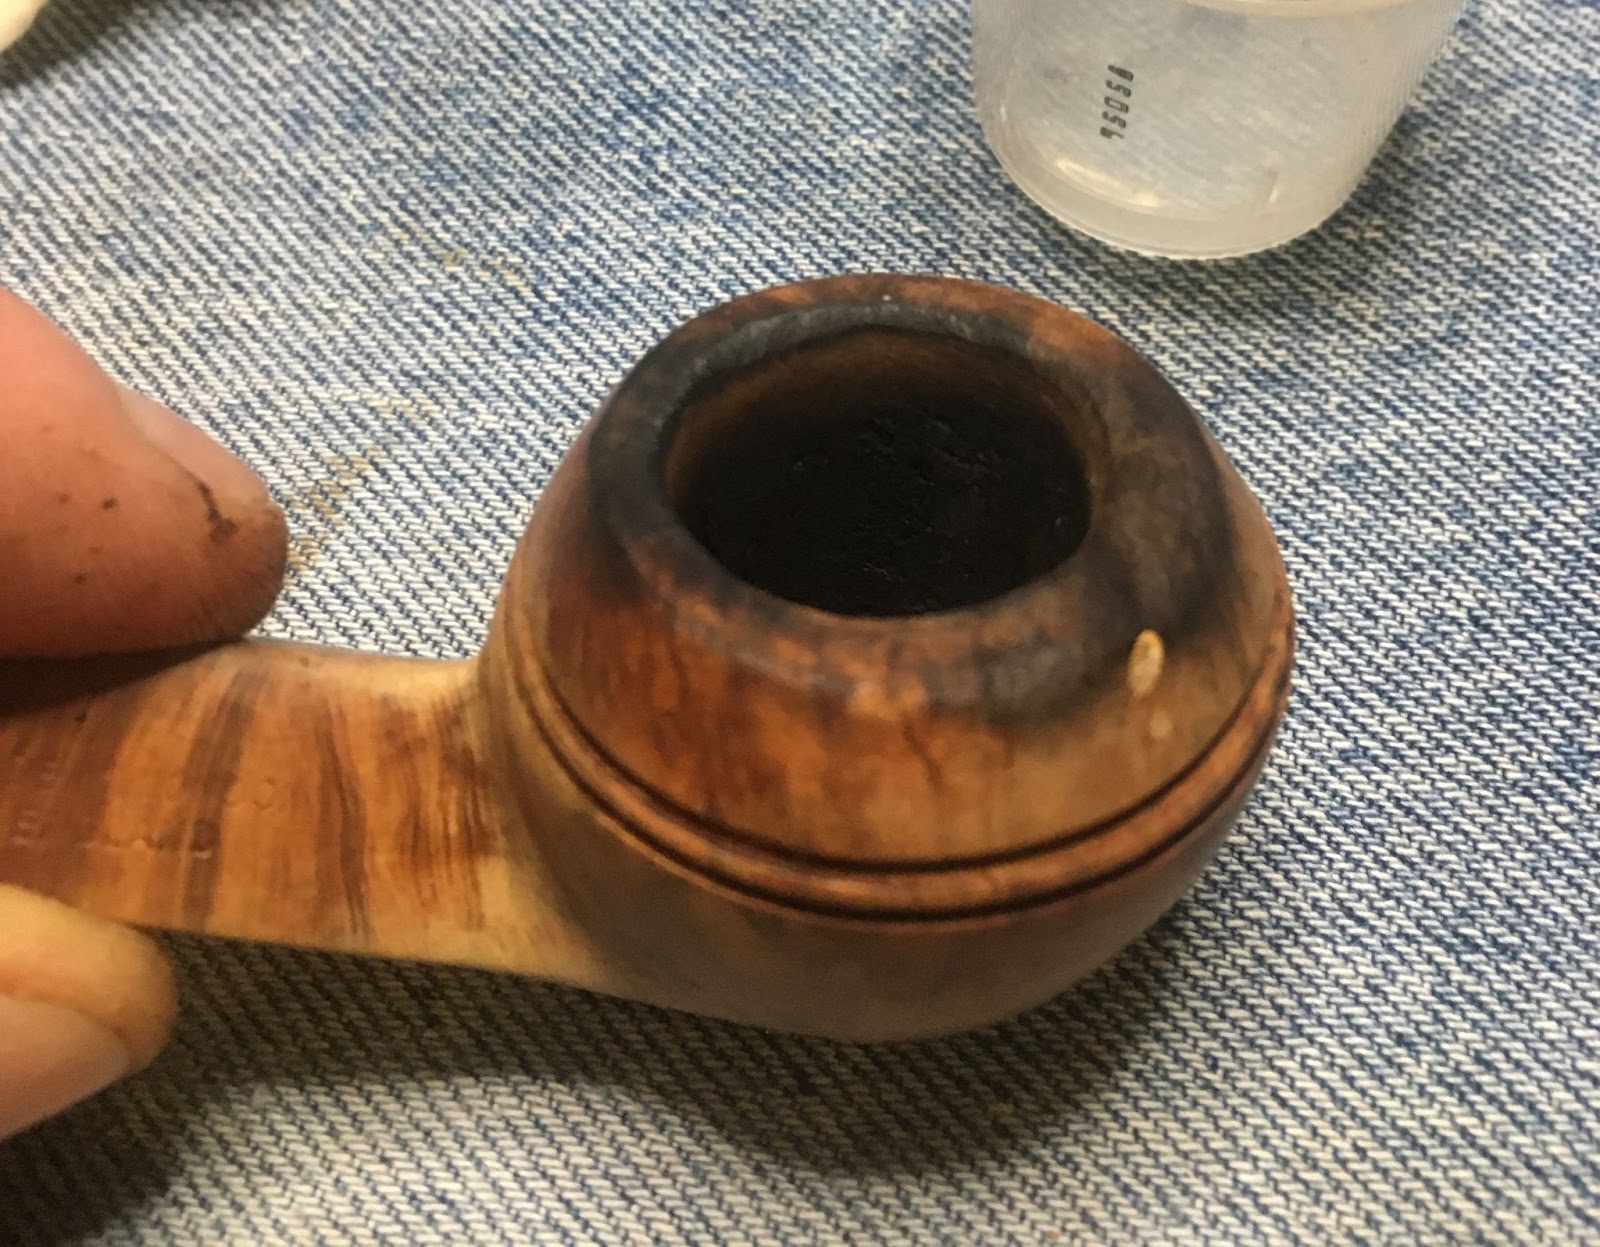
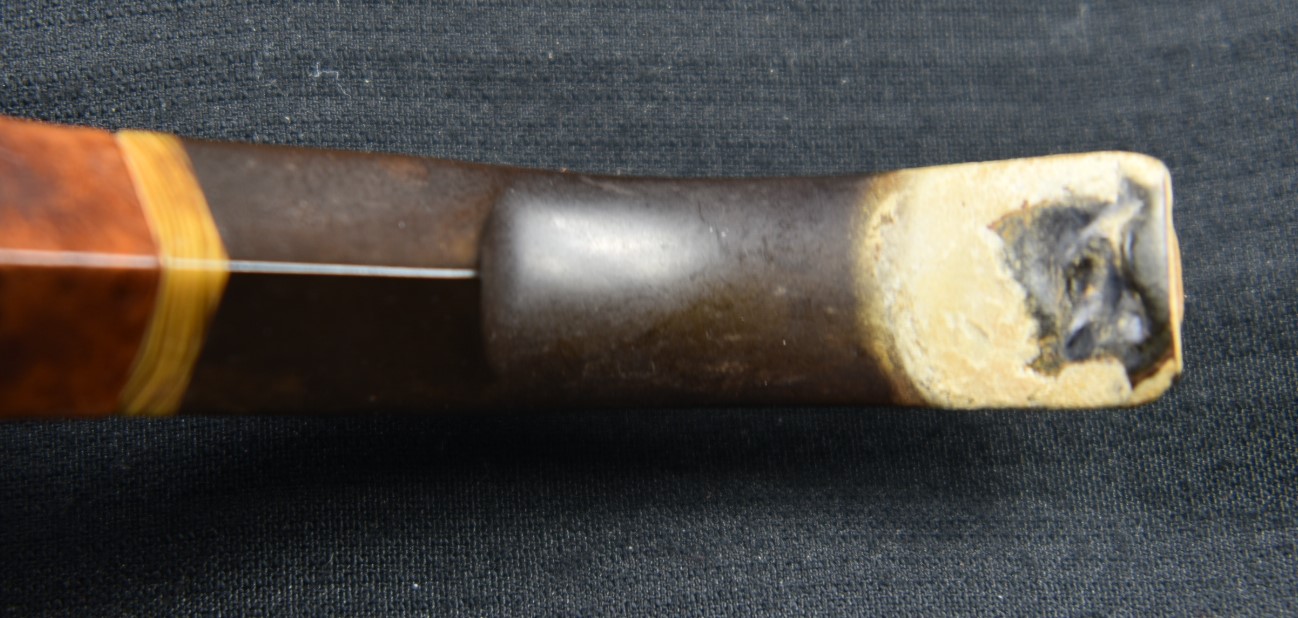
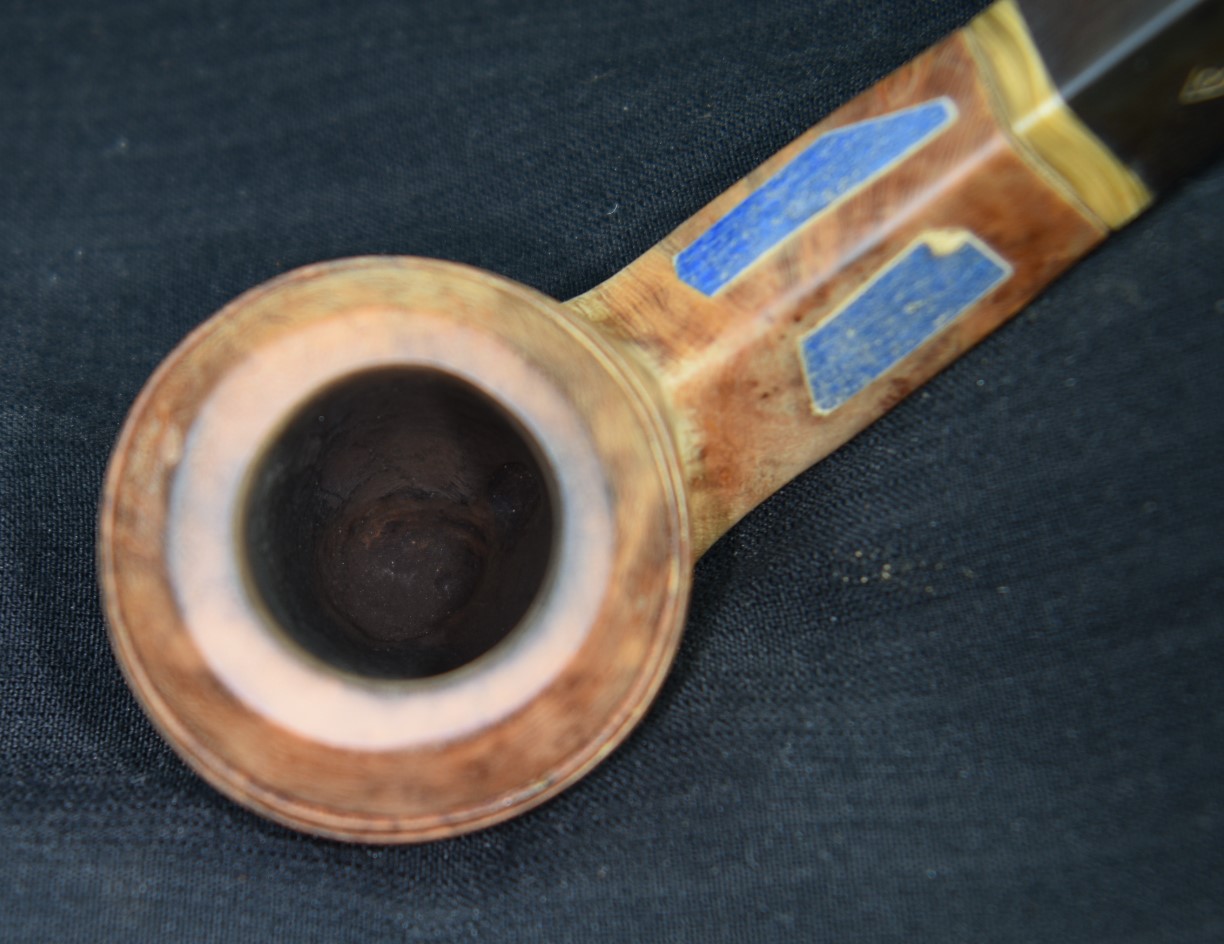
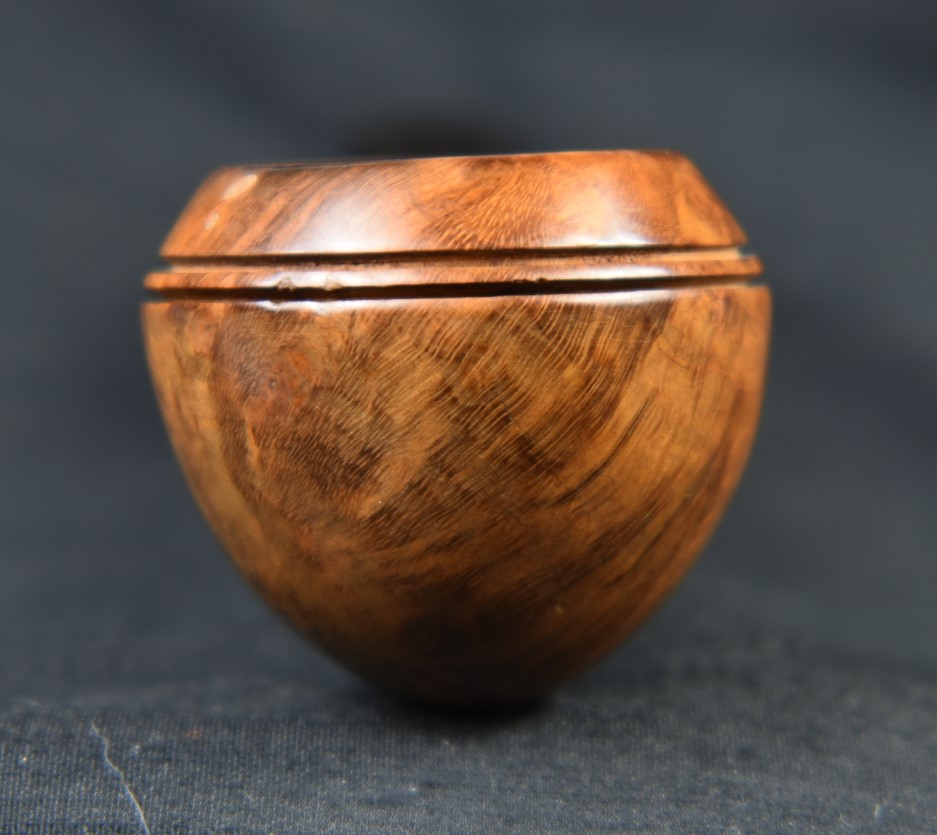
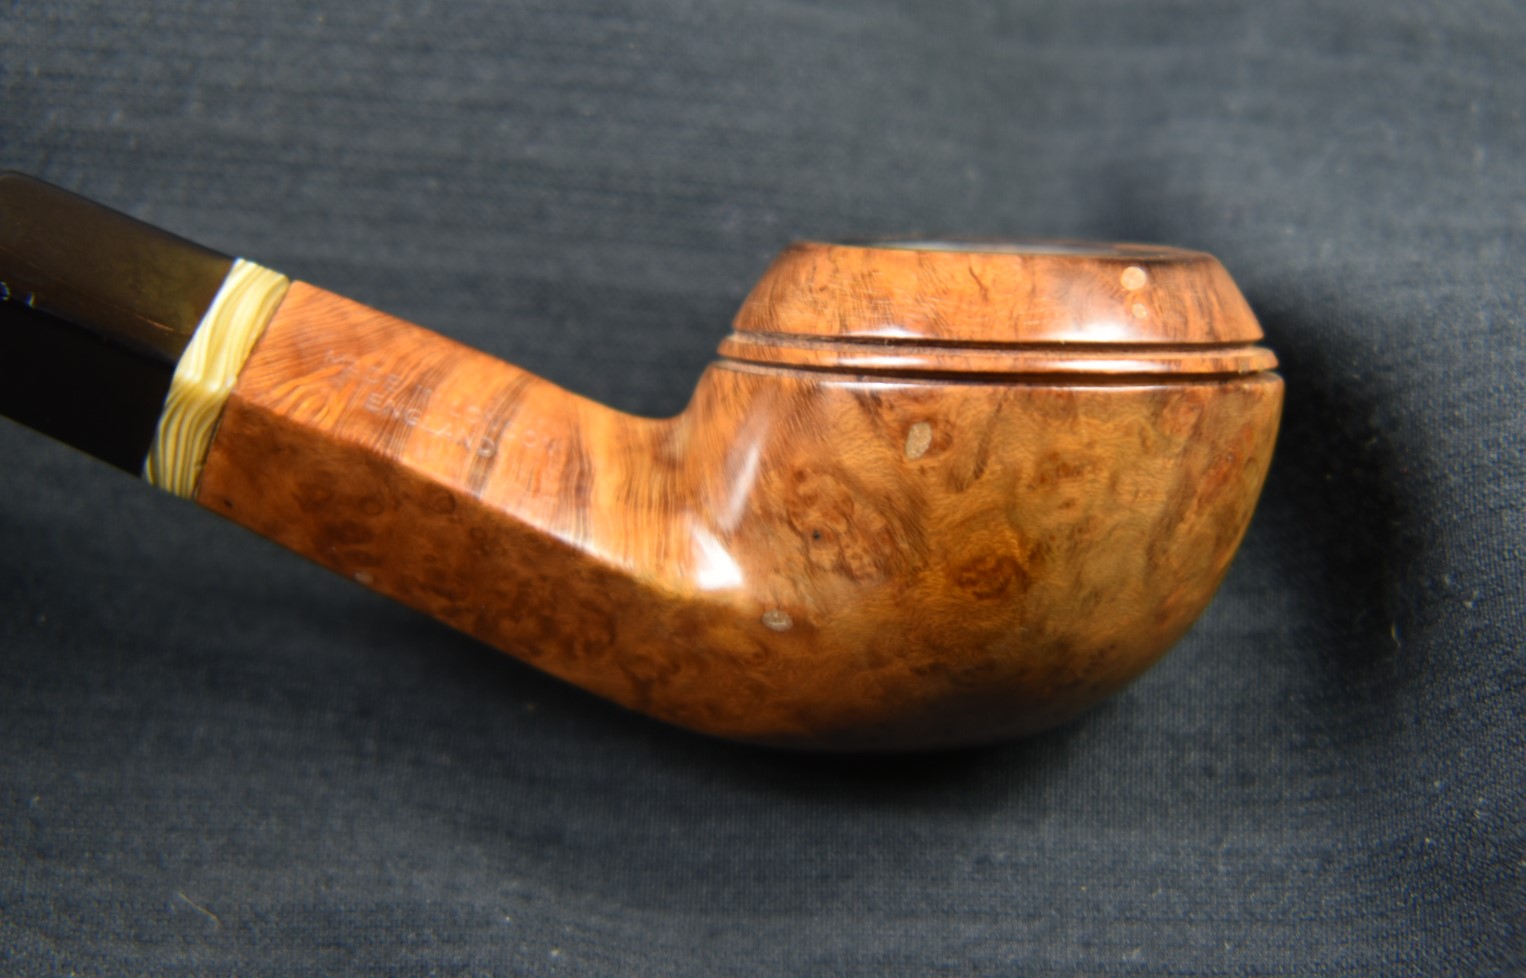
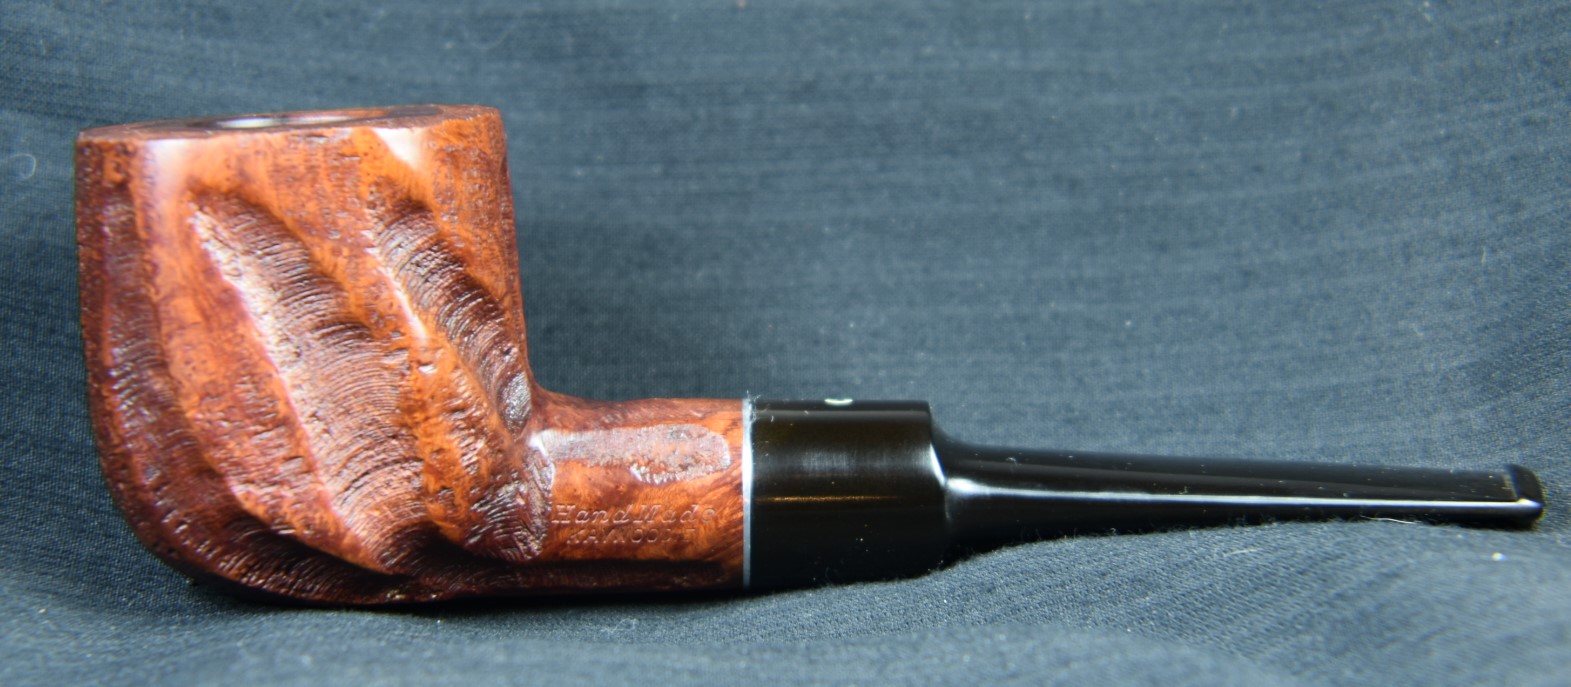
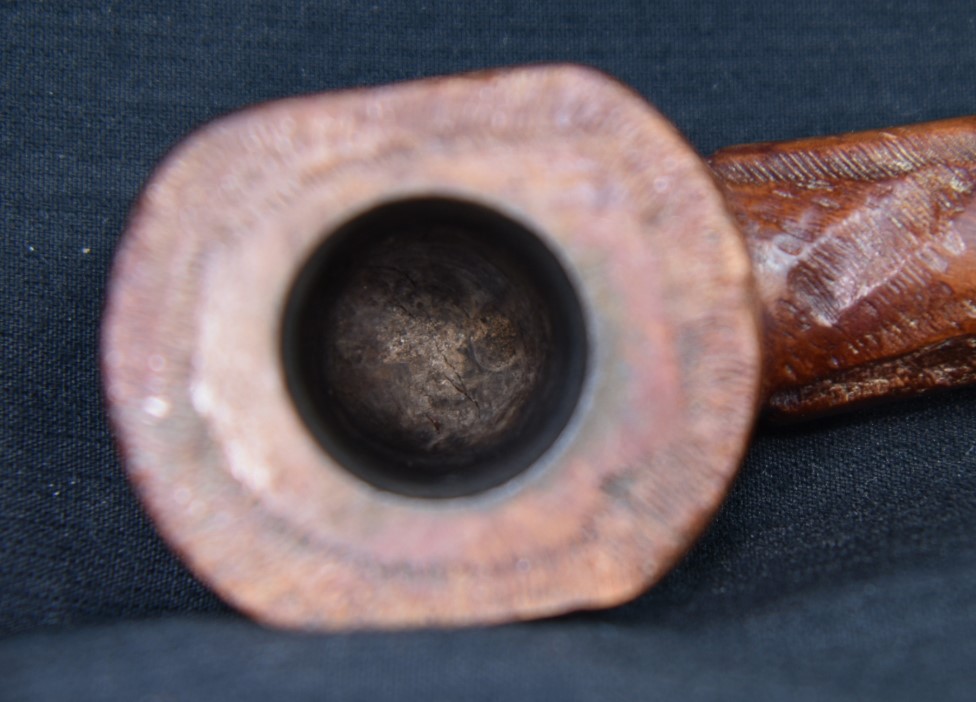
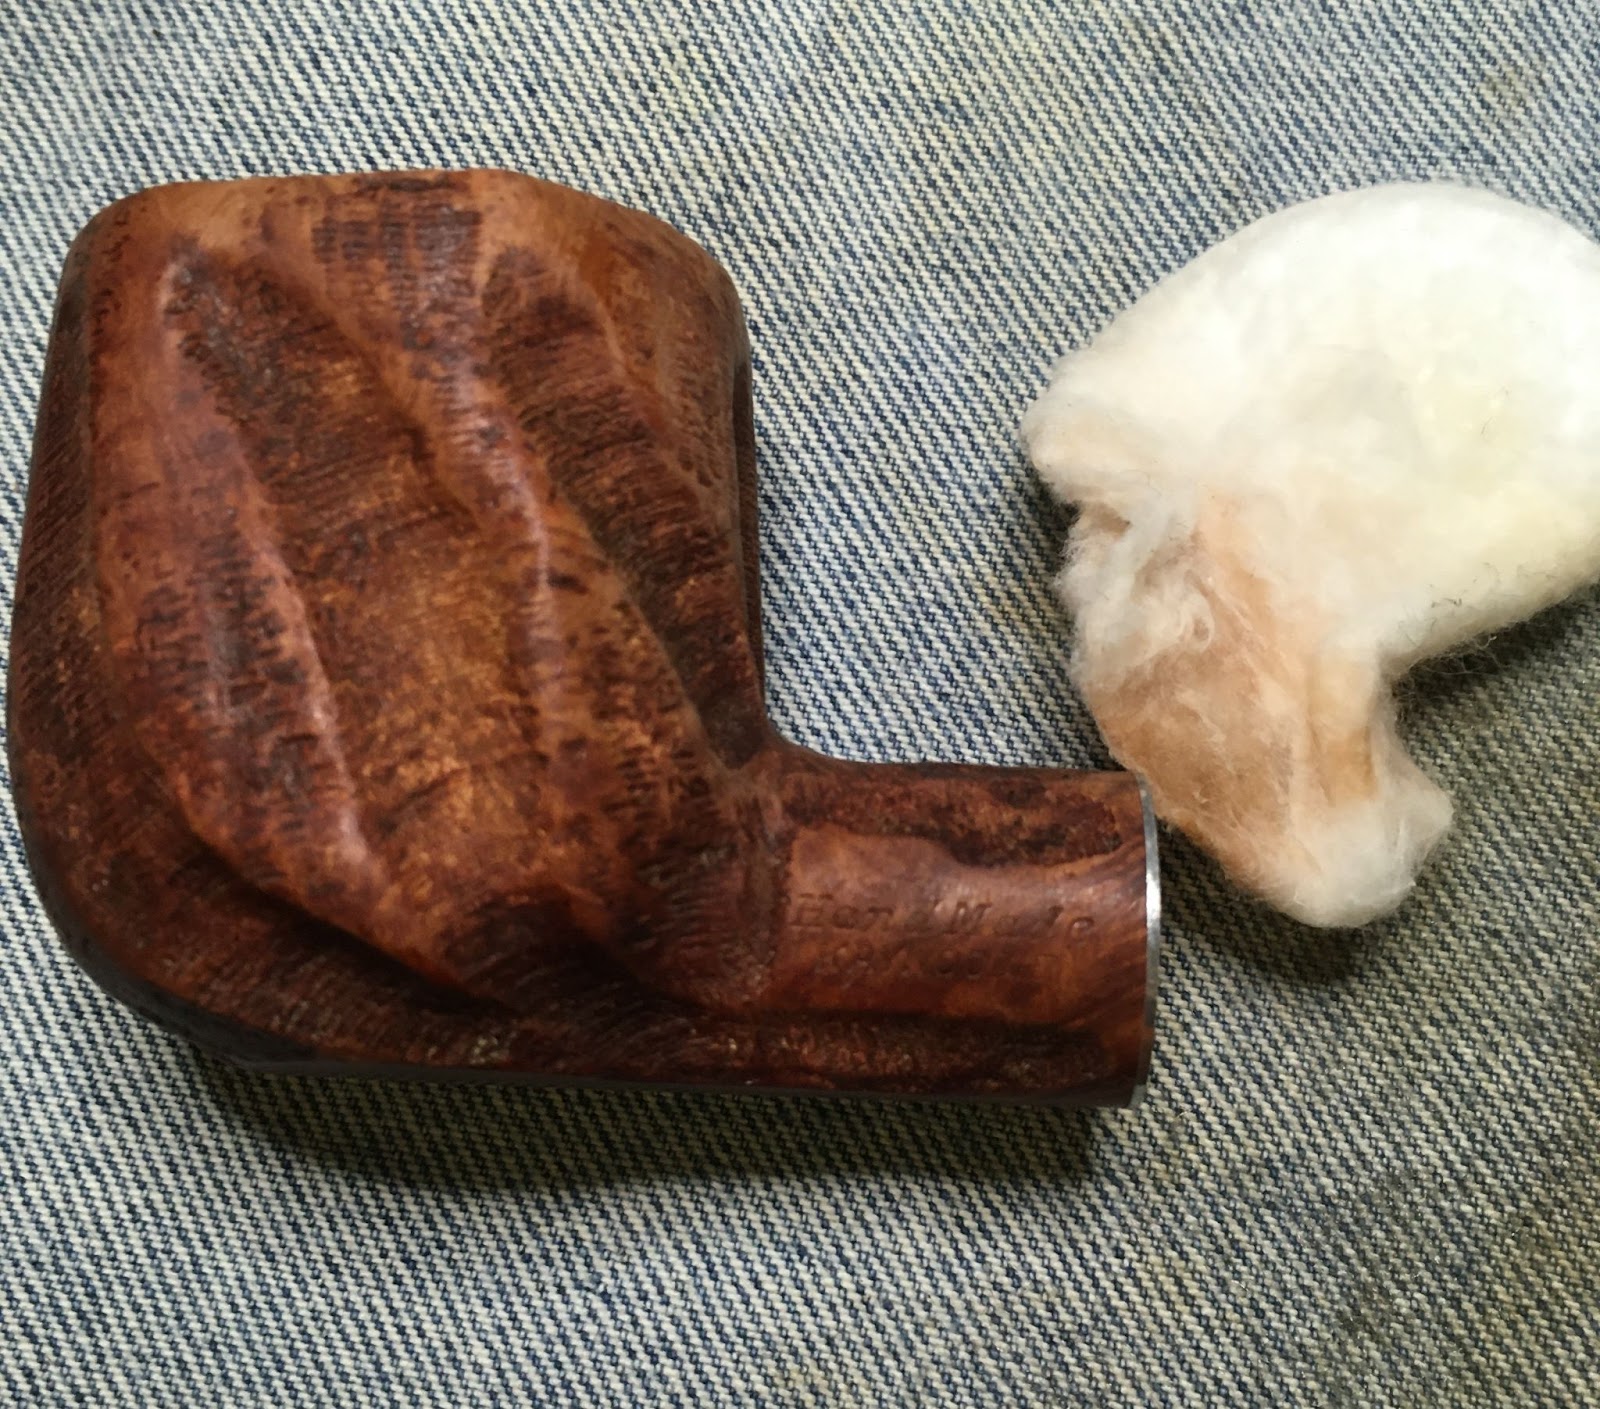
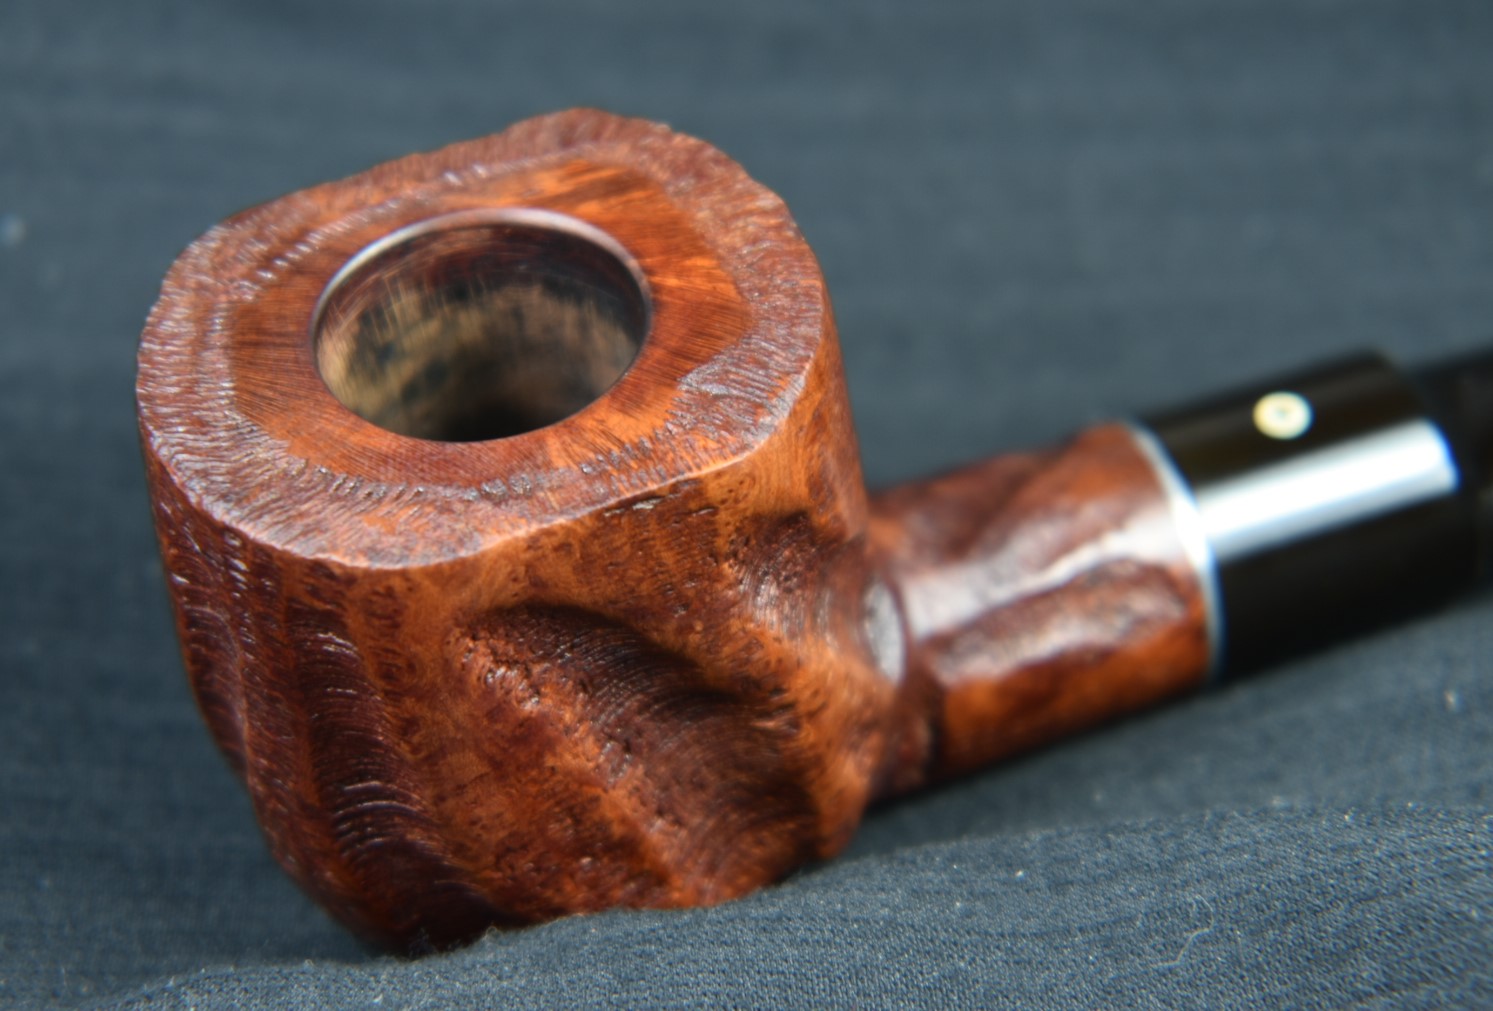
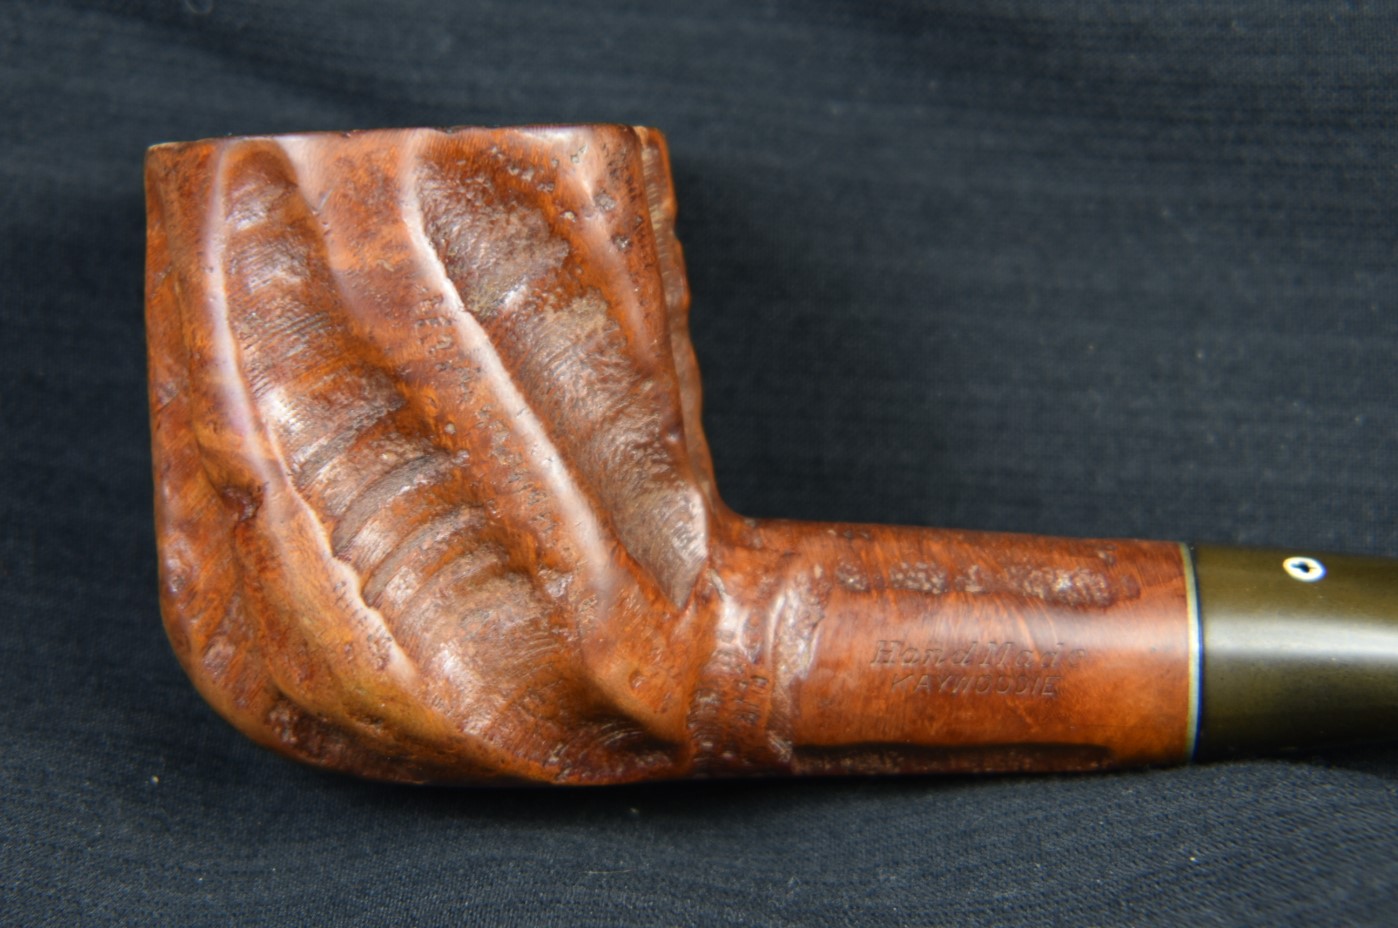
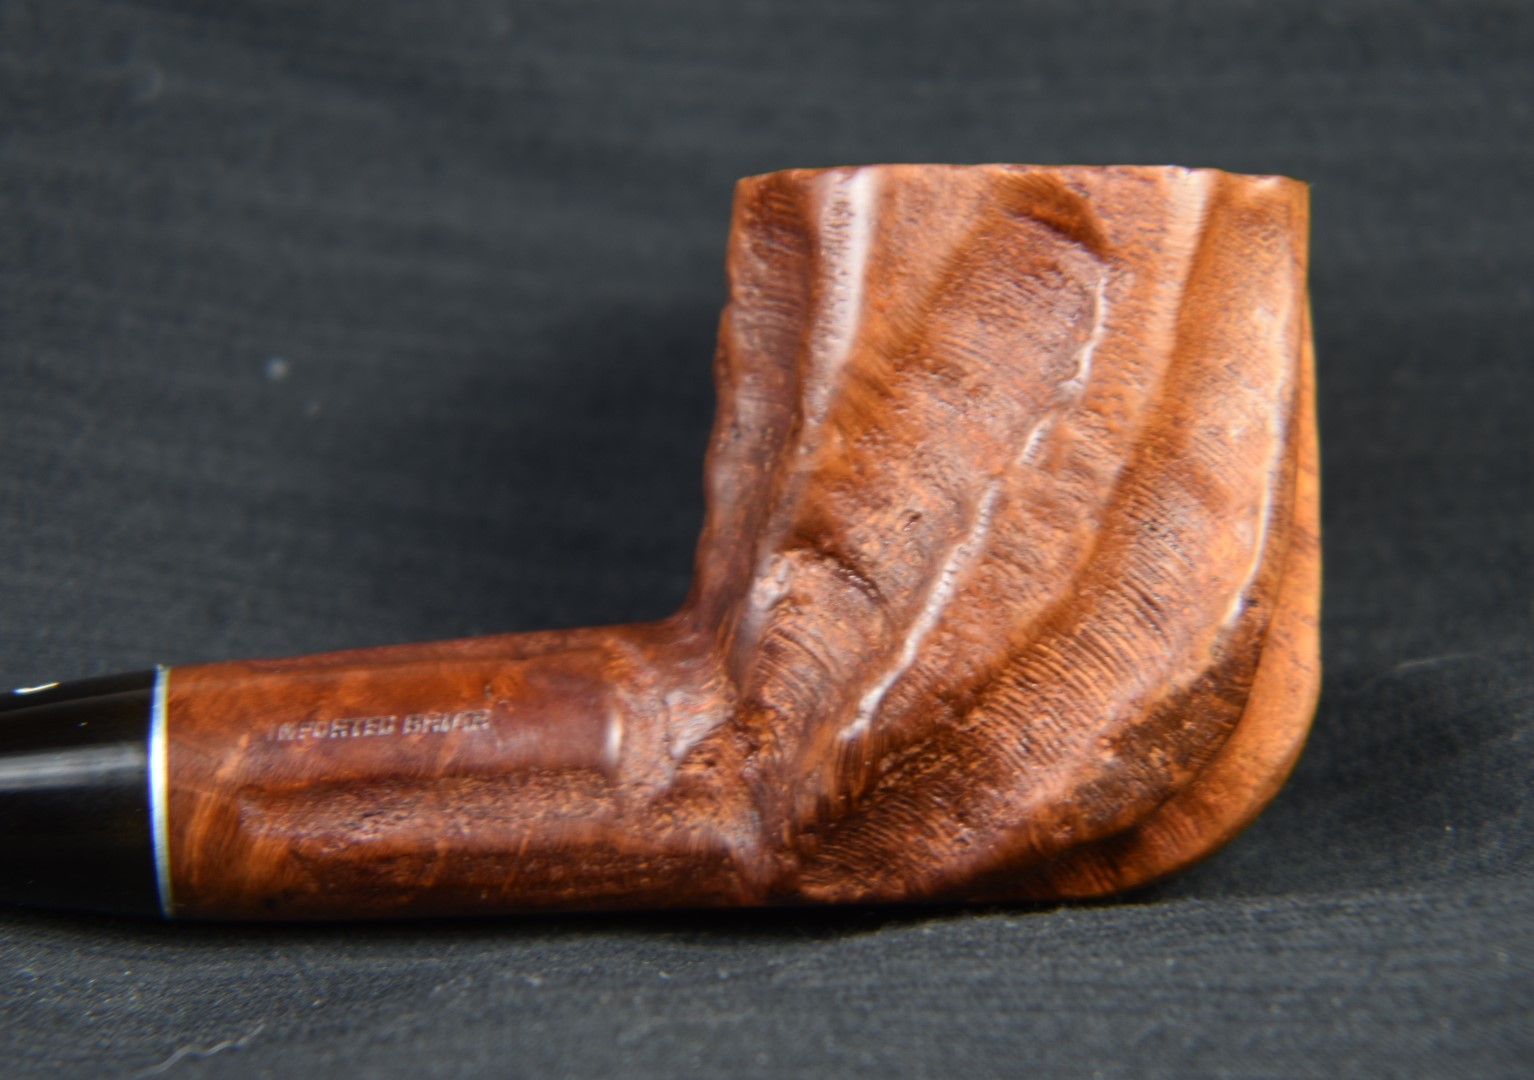
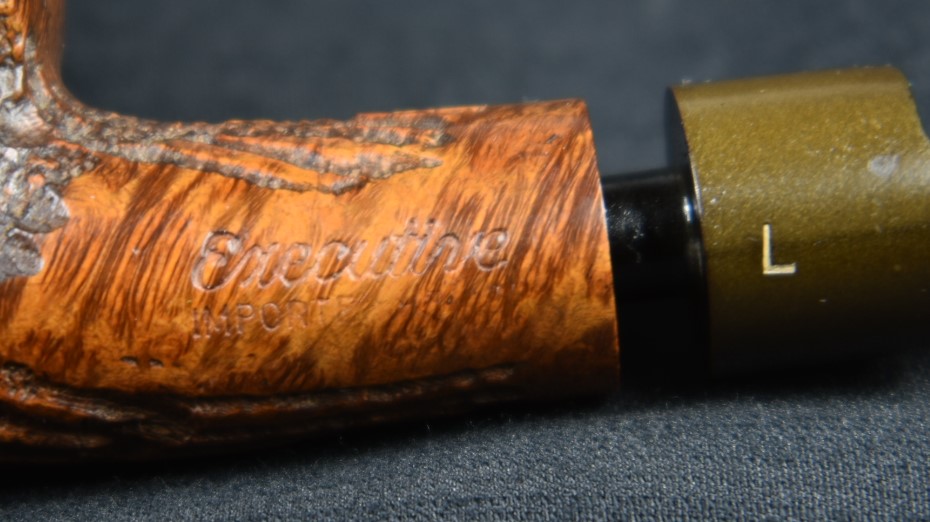
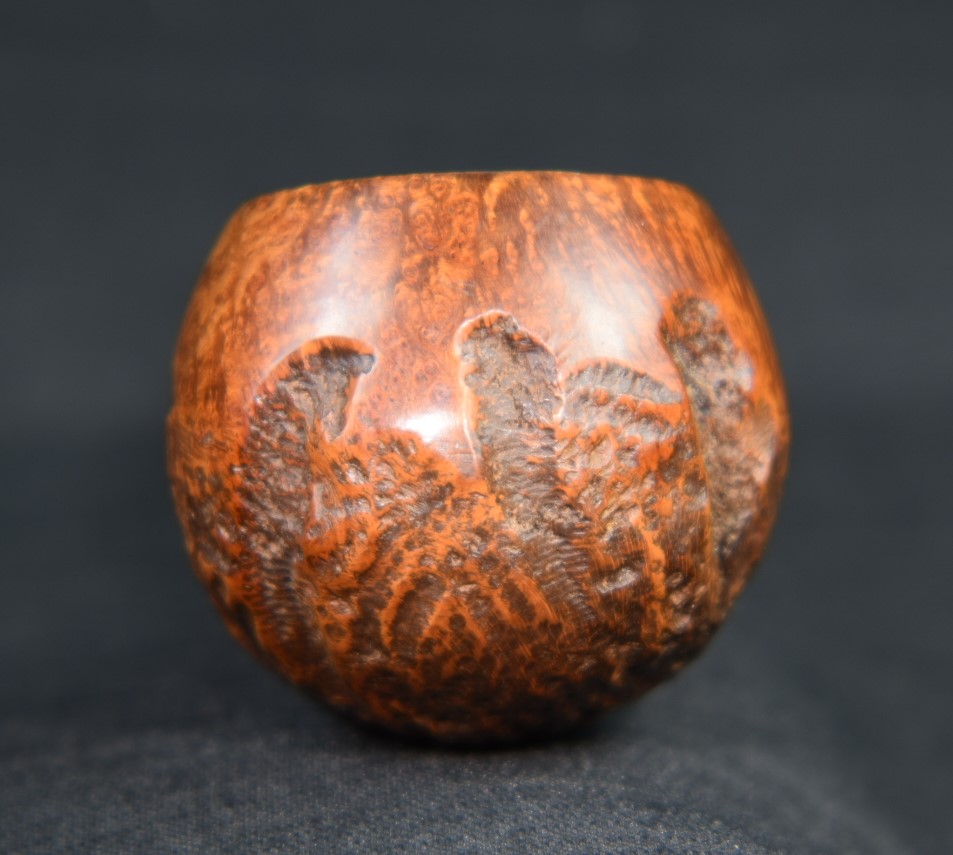
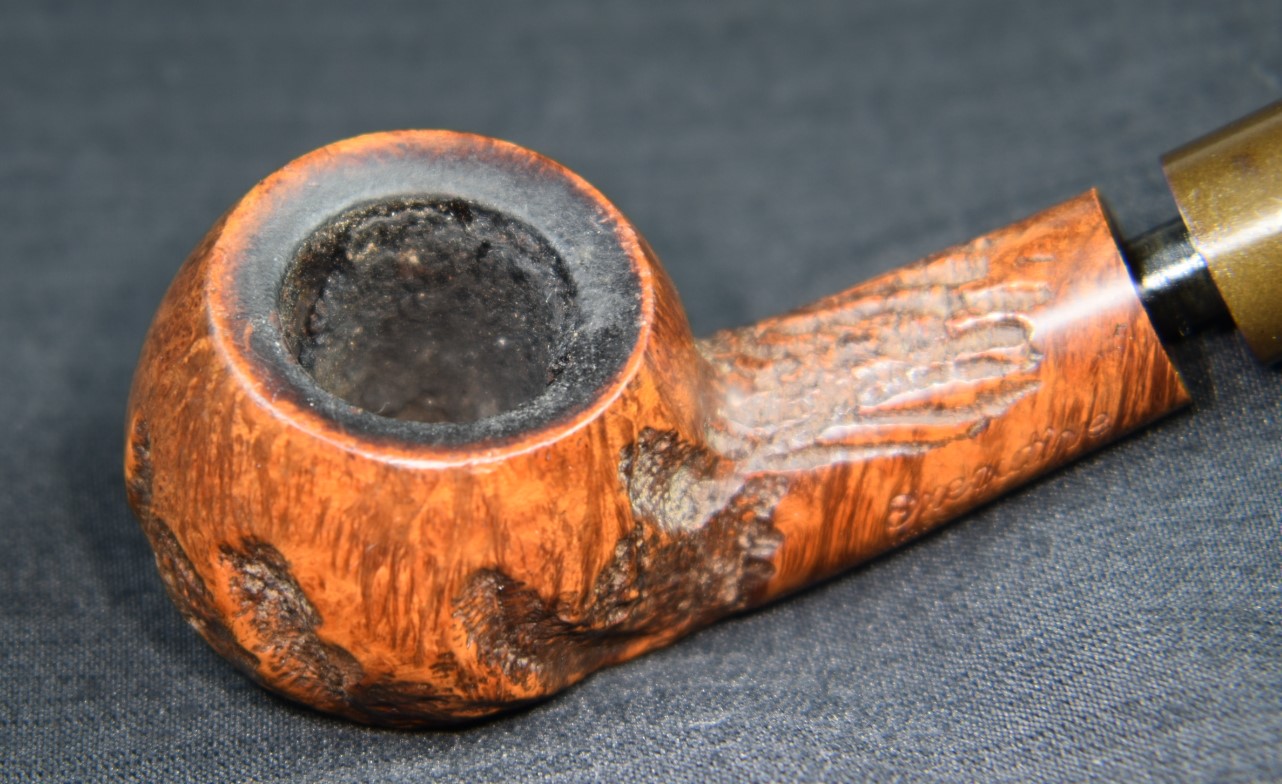
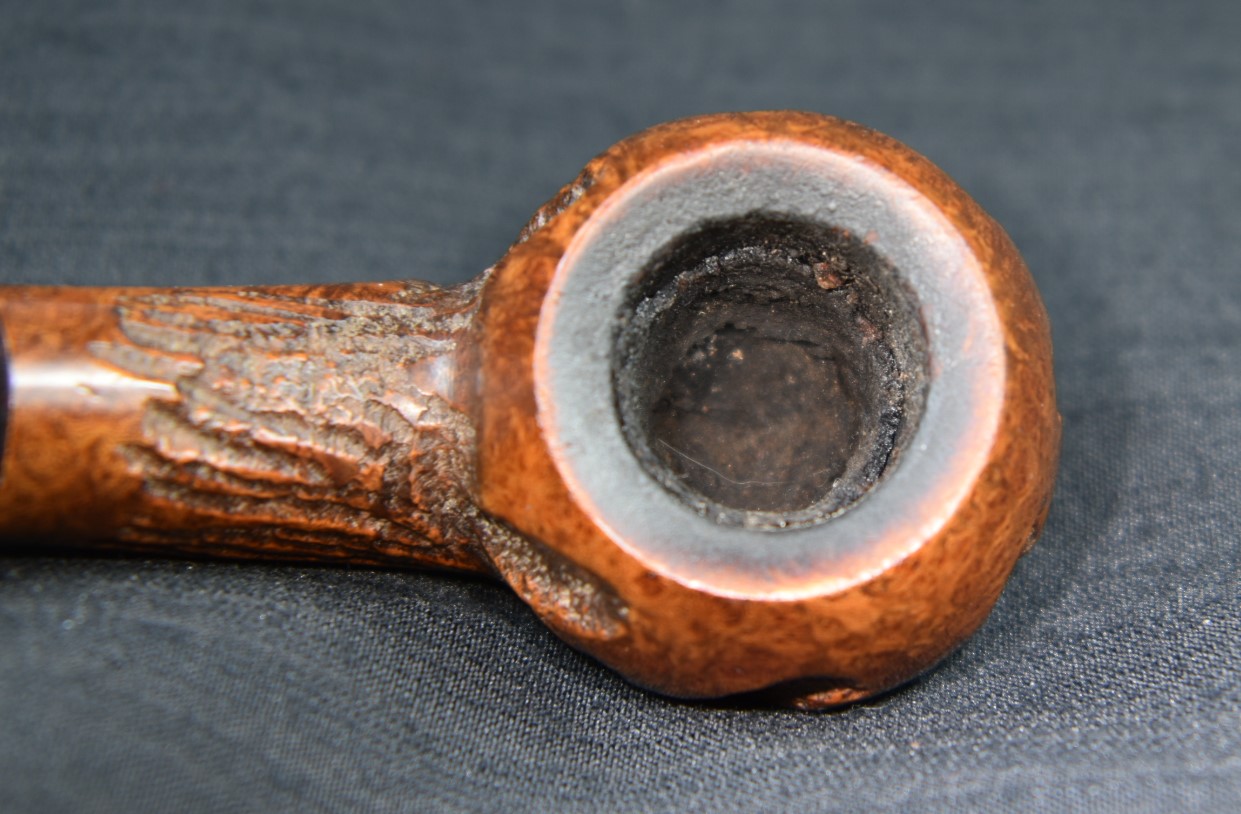
Below are some photos of the Marxman Benchmade Biliard prior to working on it.


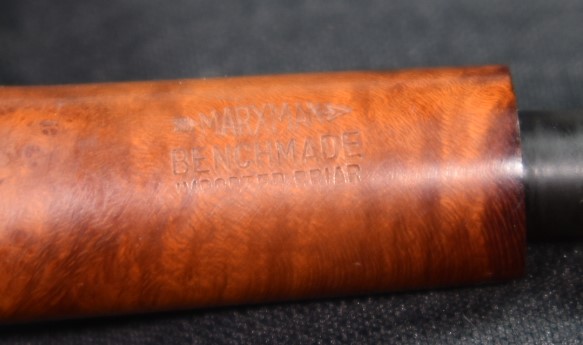
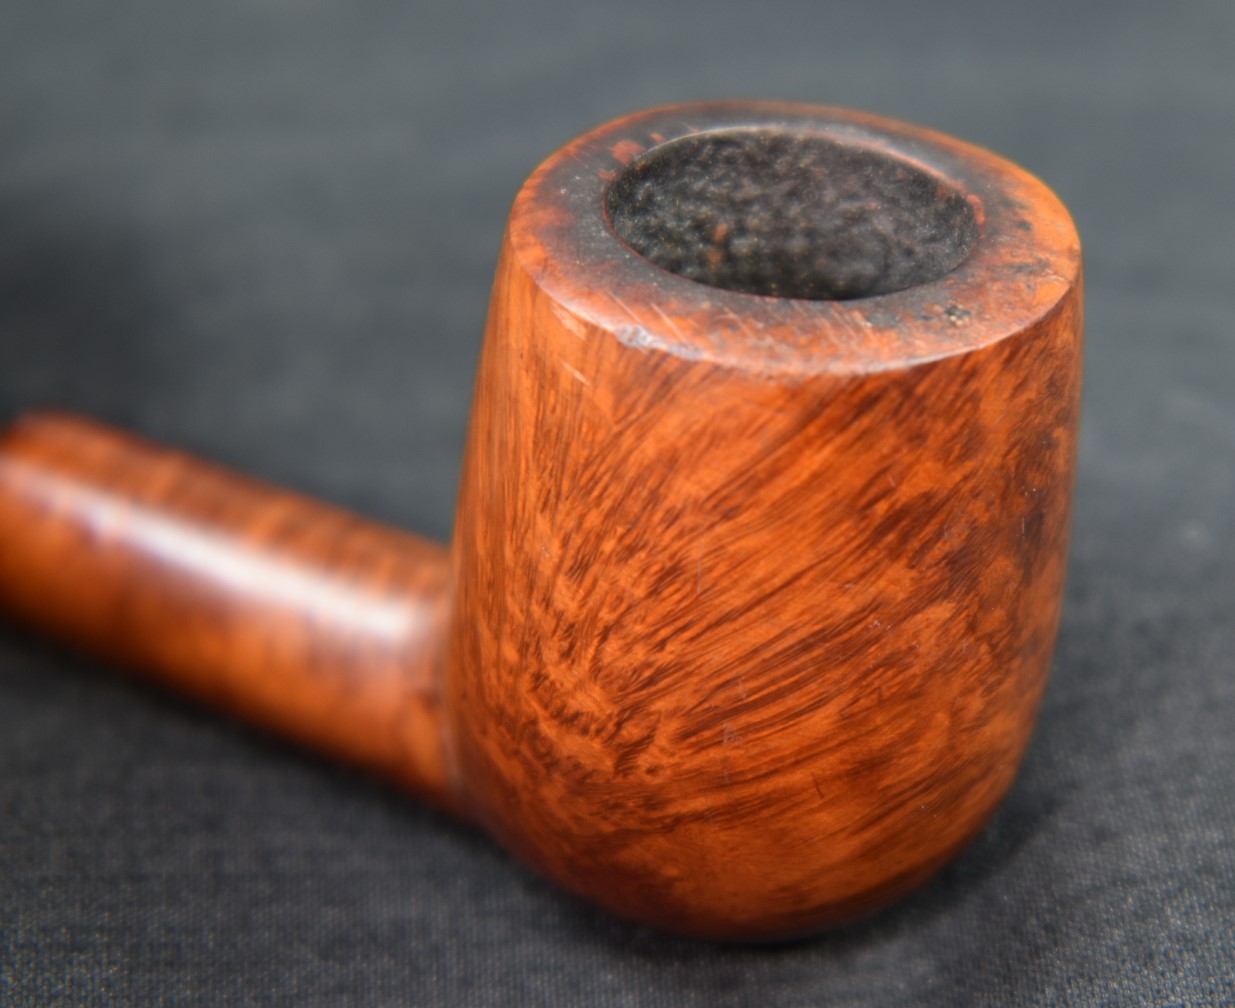

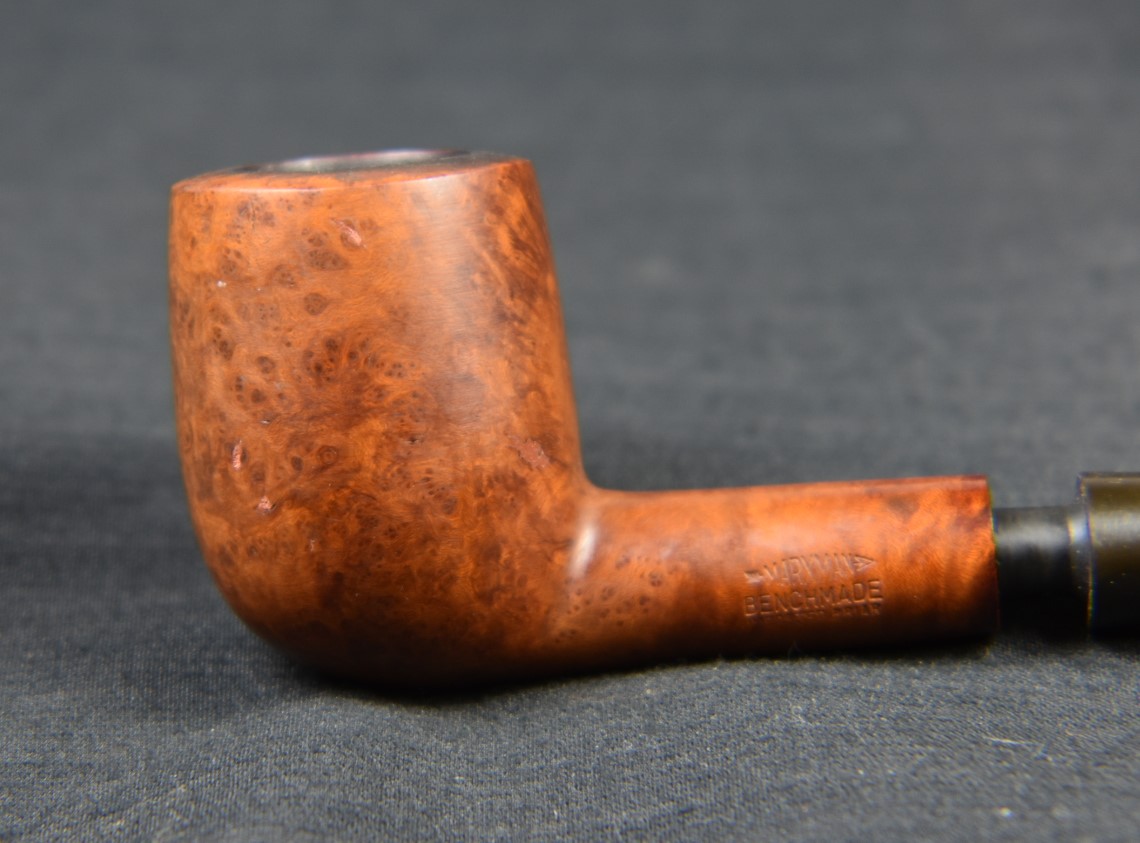

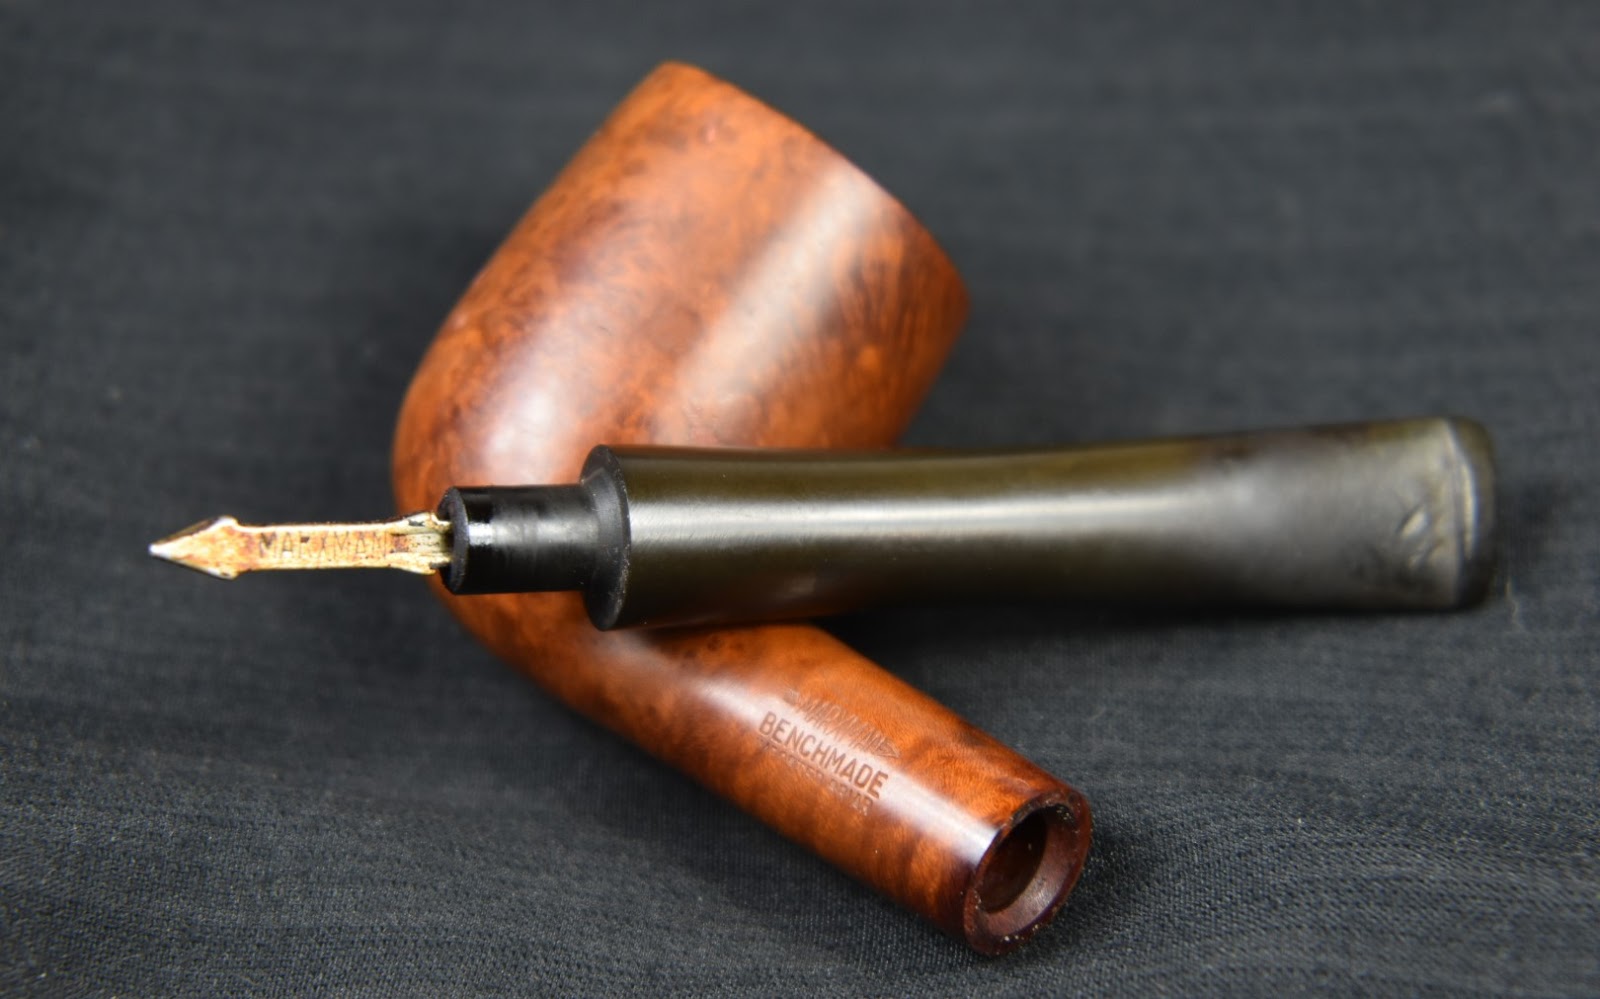
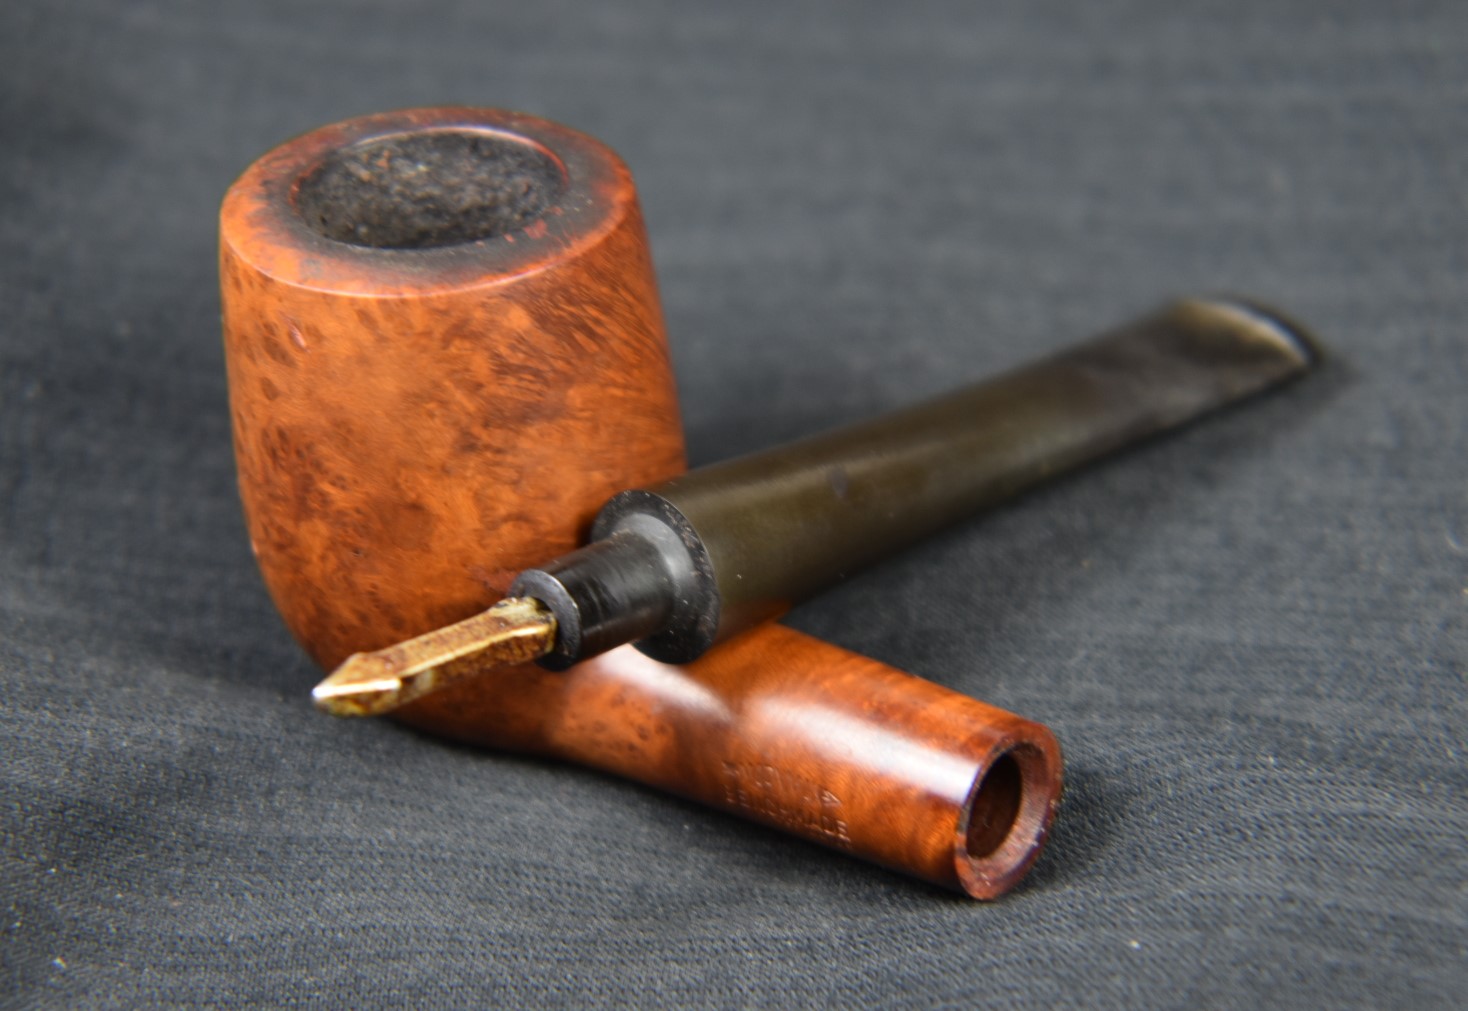


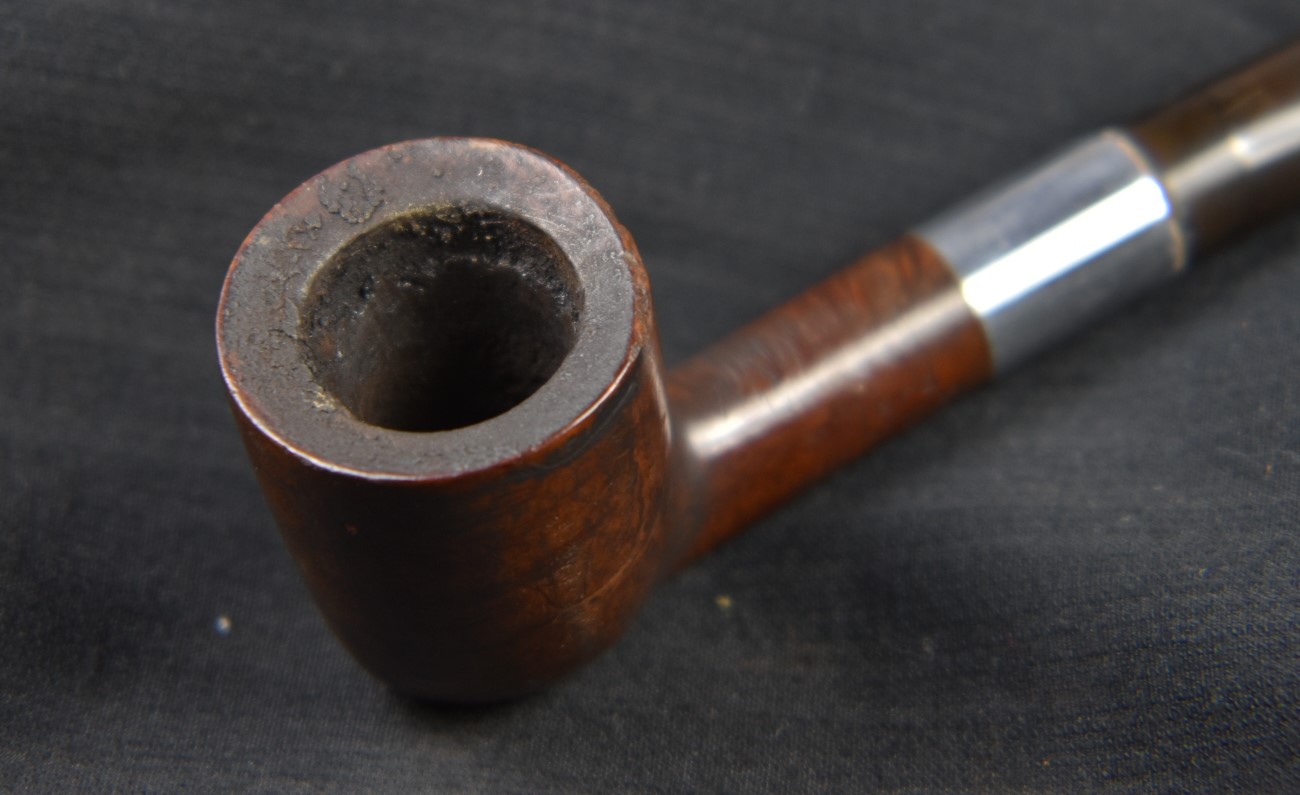
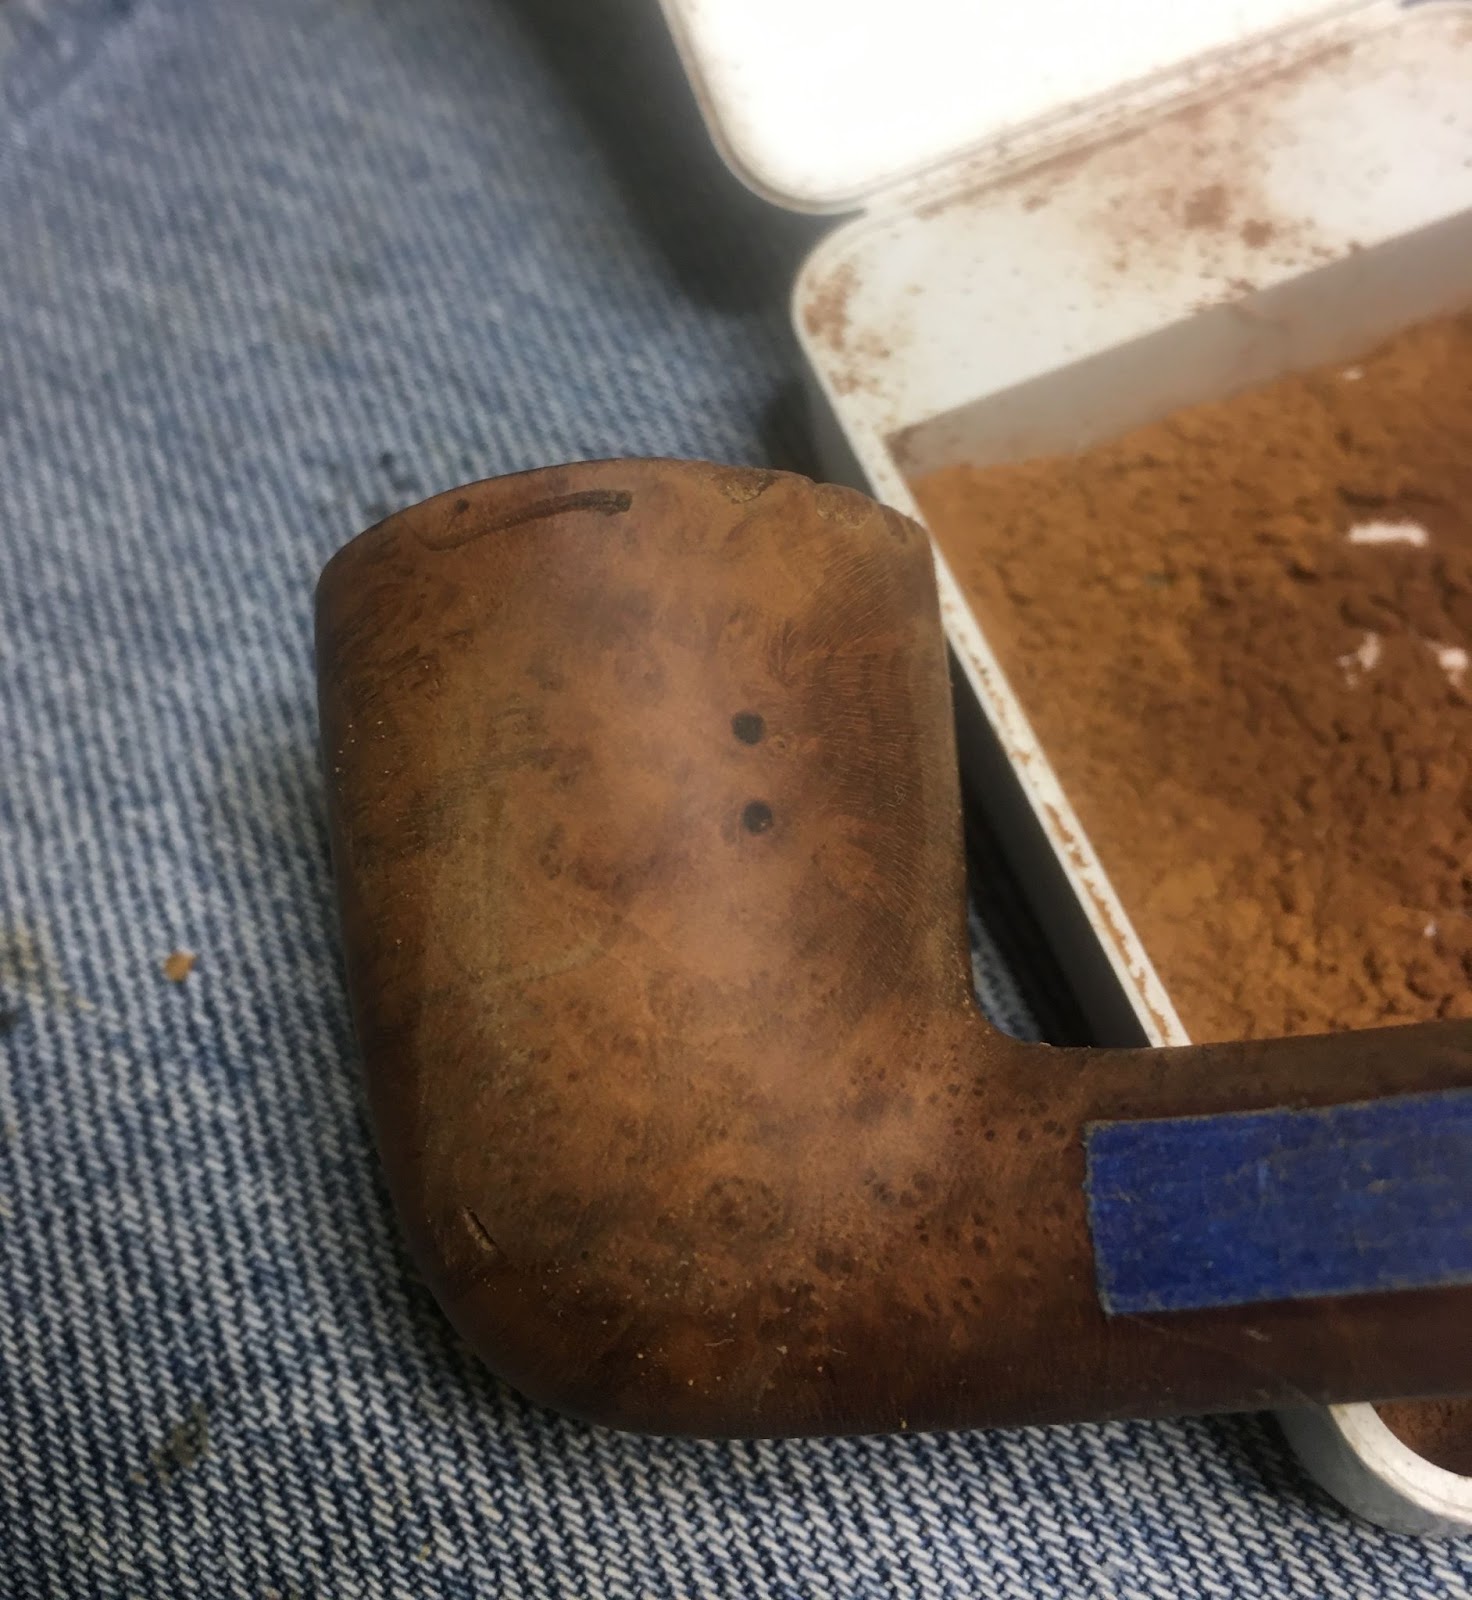
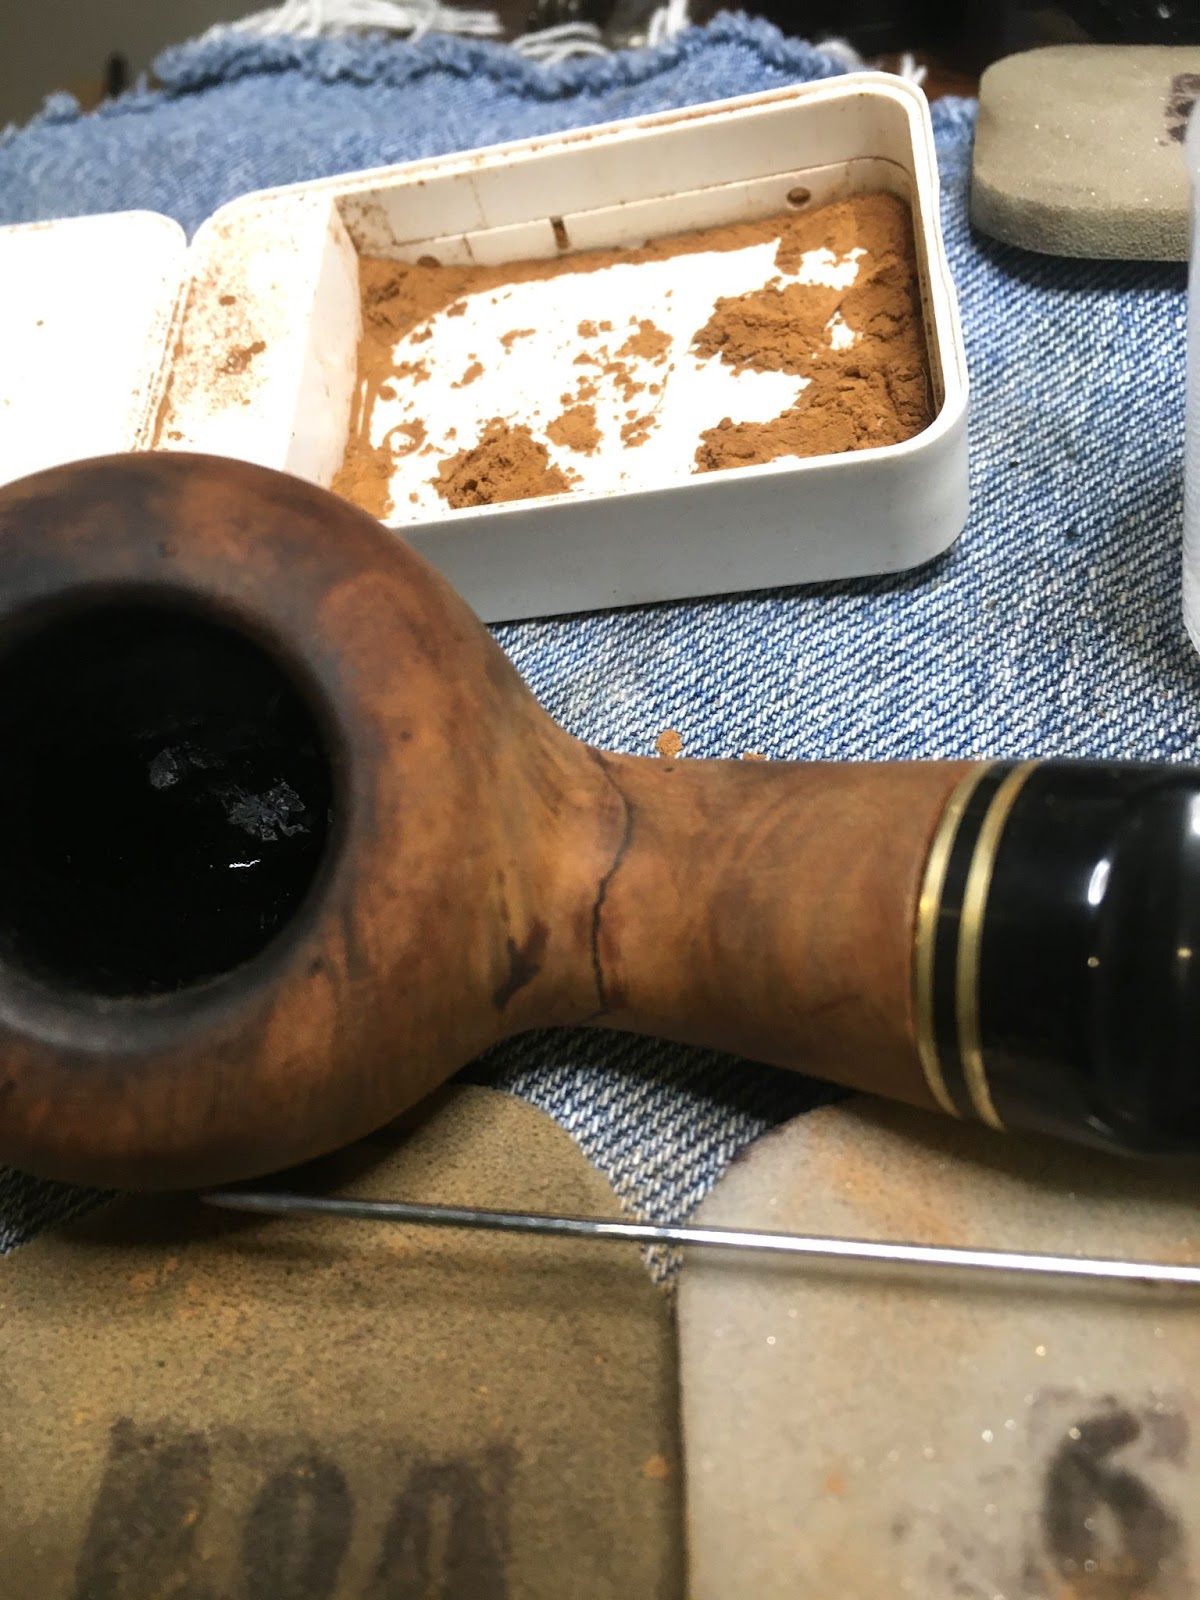
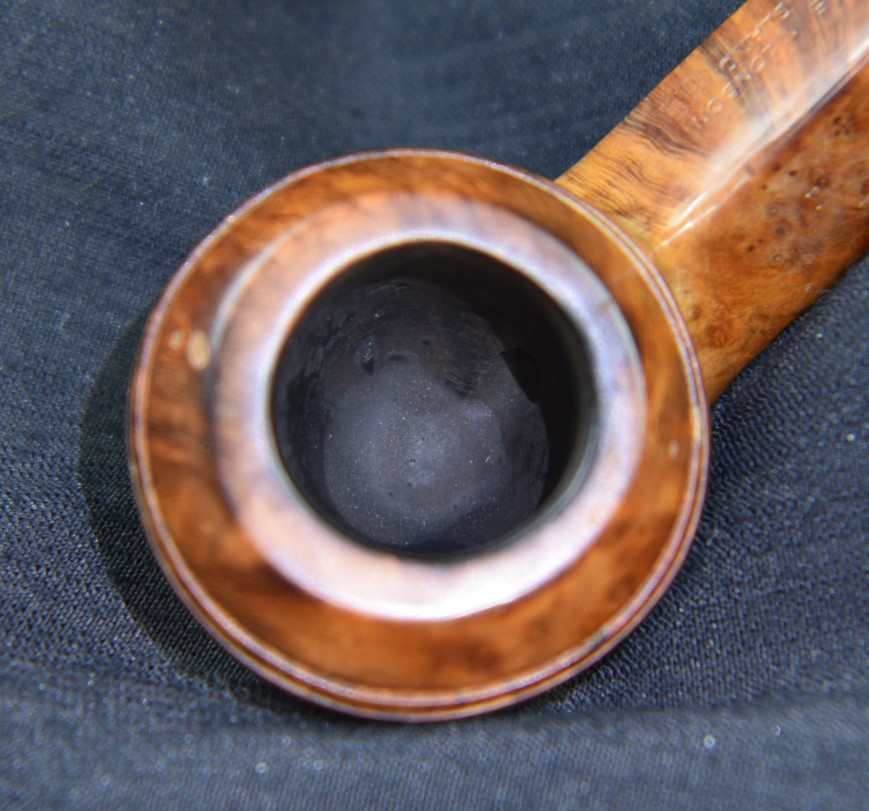
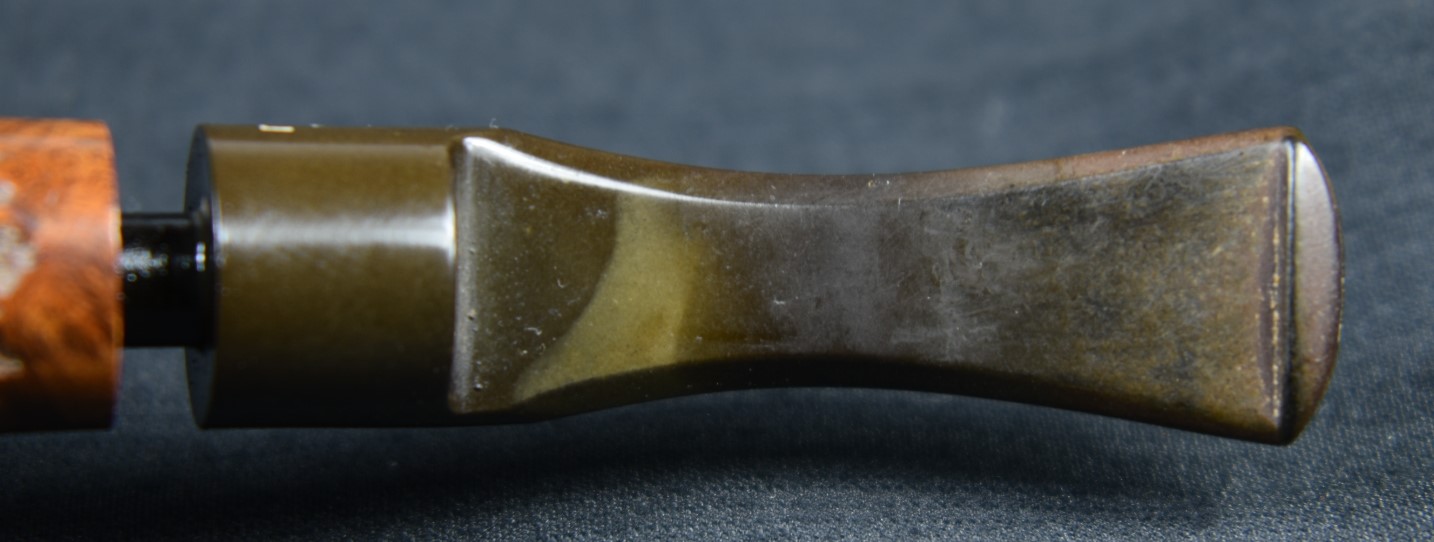
For a pipe that was at least 75 years old it was in pretty good shape. To my eye, the largest issue was the two large fills on the right side that would need to be removed and redone. The lava on the rim and cake within the tobacco chamber were minimal. The stem had a bit of tooth chatter and a couple of deeper dents that would need filling but overall this looked like a relaxing evening of a restoration.
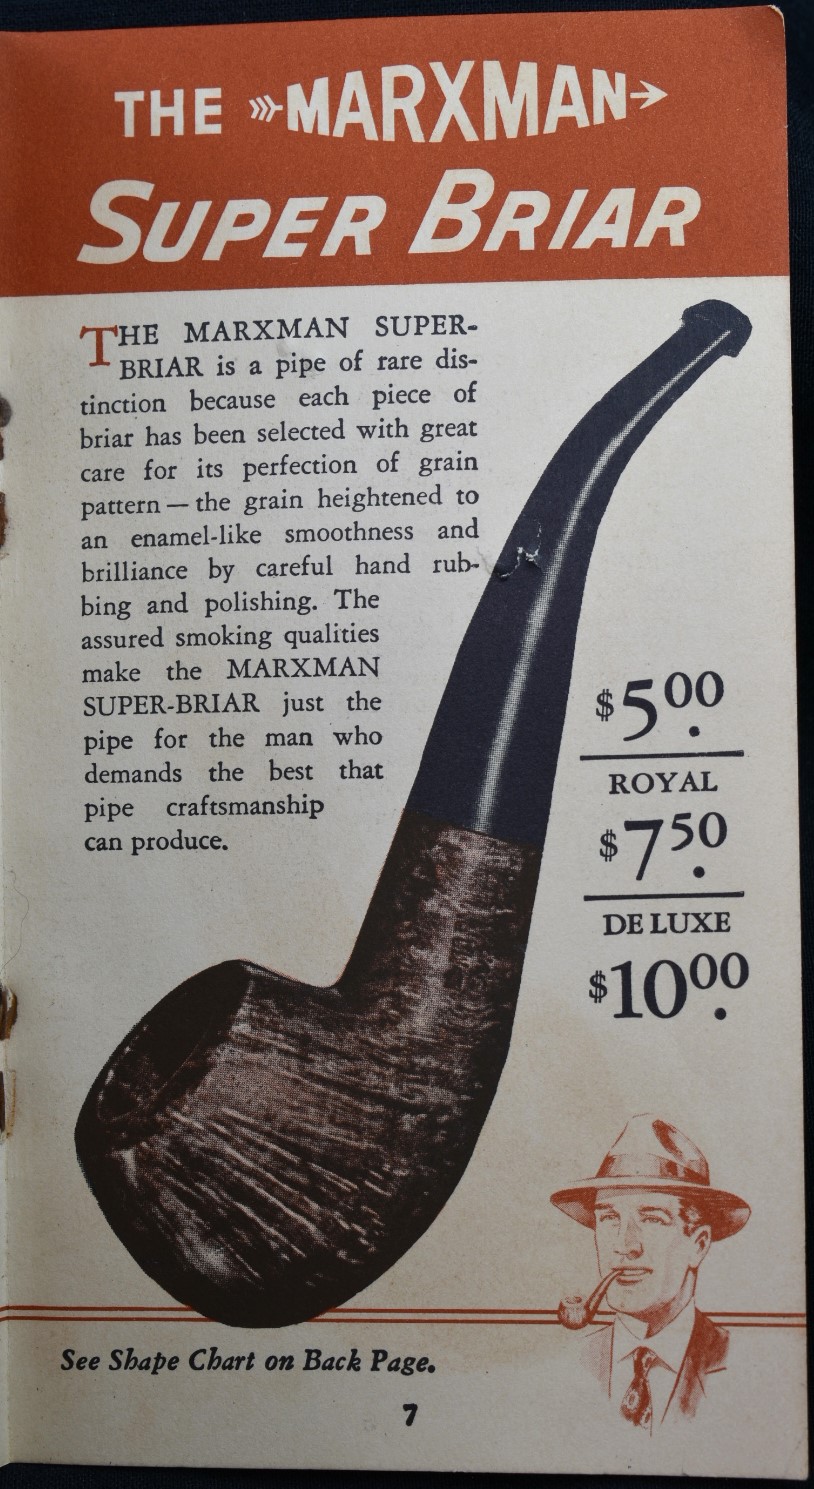
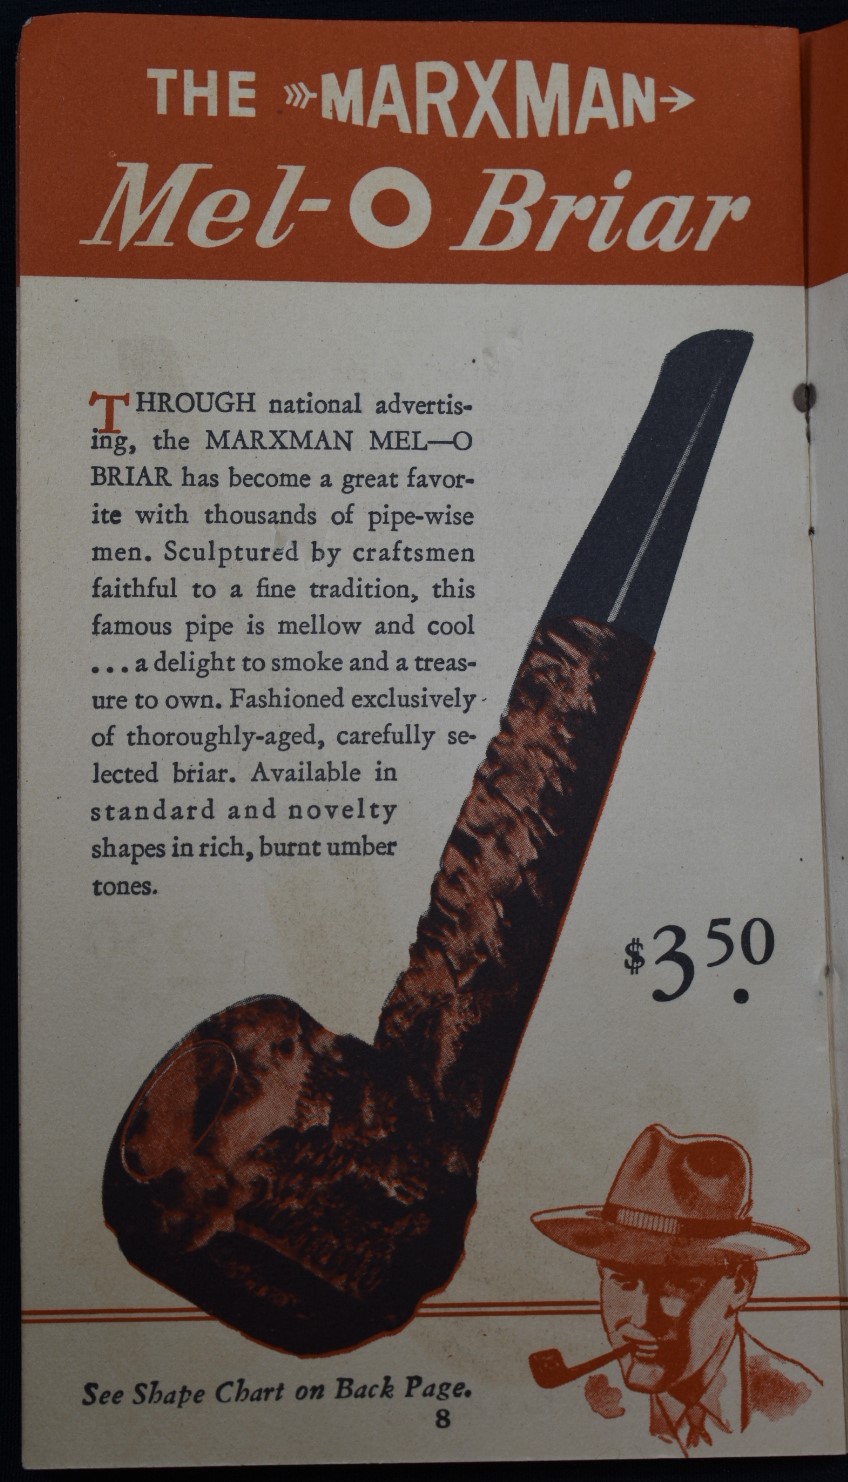
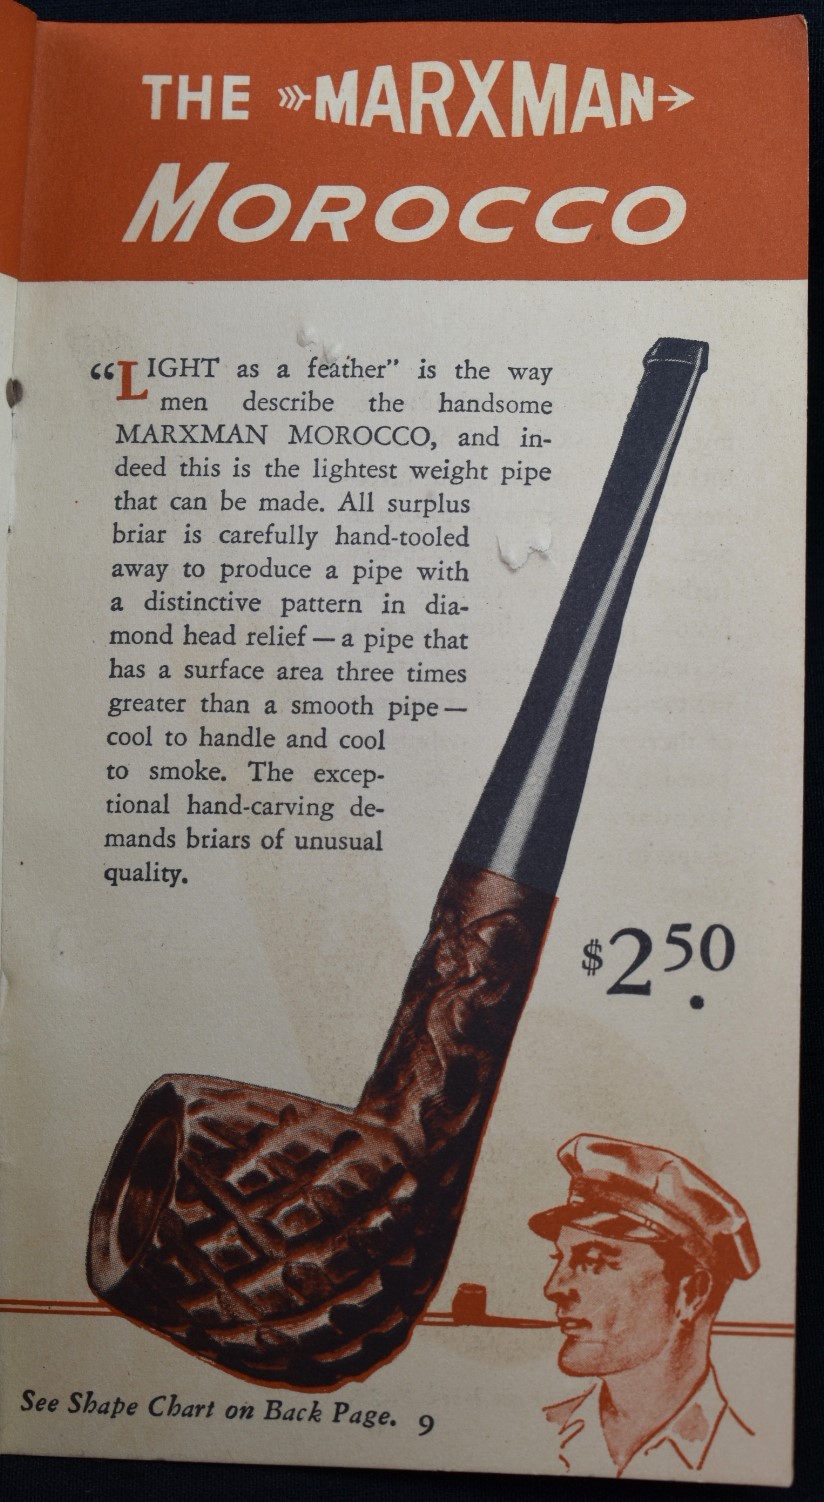
Background on Marxman
Before I get to the restoration let me give you a bit of Marxman background. I will use the pipedia.org Marxman entry to briefly explain: ““Marxman (Marxman Pipe Company) was created by Robert (Bob) L. Marx in 1934, when he was 29, and after he had worked for the William Demuth Company. His pipes were not outstanding because of the quality of their wood (probably Algerian), but Bob started making unique sculpted pieces, which brought the brand fame in the World of Hollywood cinema. Actors like Zachery Scott, Dennis Morgan, Jack Carson, Alan Hale, Joel McRae, and Ronald Reagan were some of the faces that appeared on the bowls.
Bob knew how to innovate and took full advantage of marketing and press advertising in order to sell the brand–one of his slogans being “Relax with a Marxman”.”
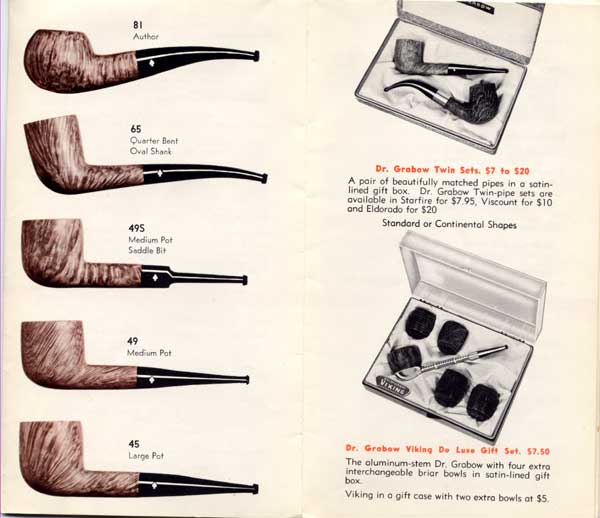
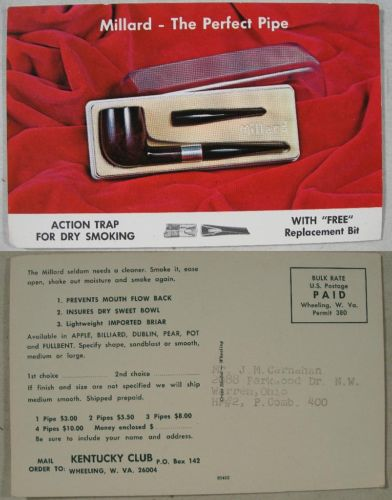
Recently, Mark Irwin, author of Peterson Pipe Notes (https://petersonpipenotes.org/) and The Peterson Pipe book sent me a 1940s “Relax WITH A MARXMAN” brochure. Thank you Mark. I photographed the brochure and included it below.


The Restoration
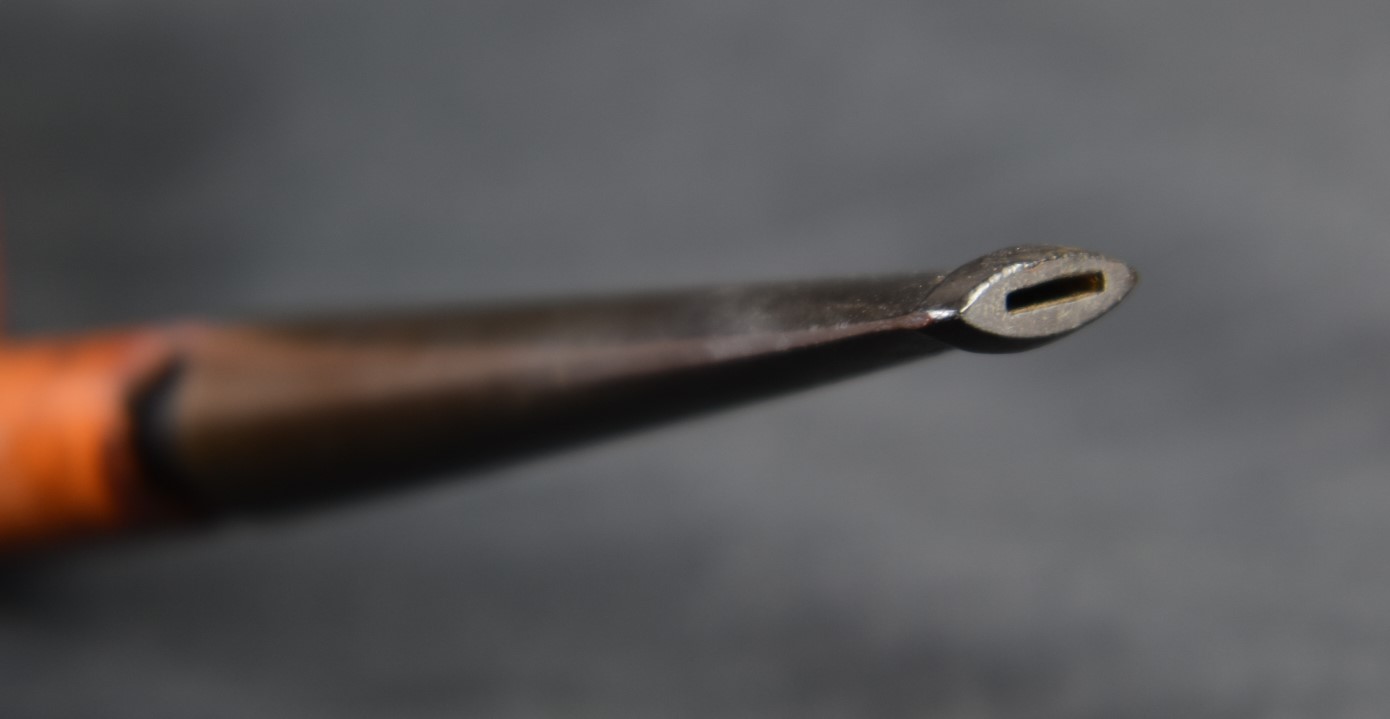
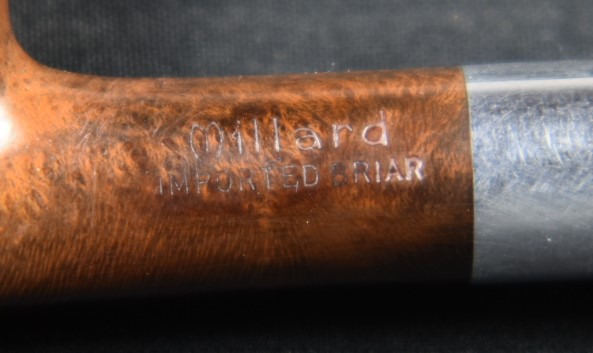
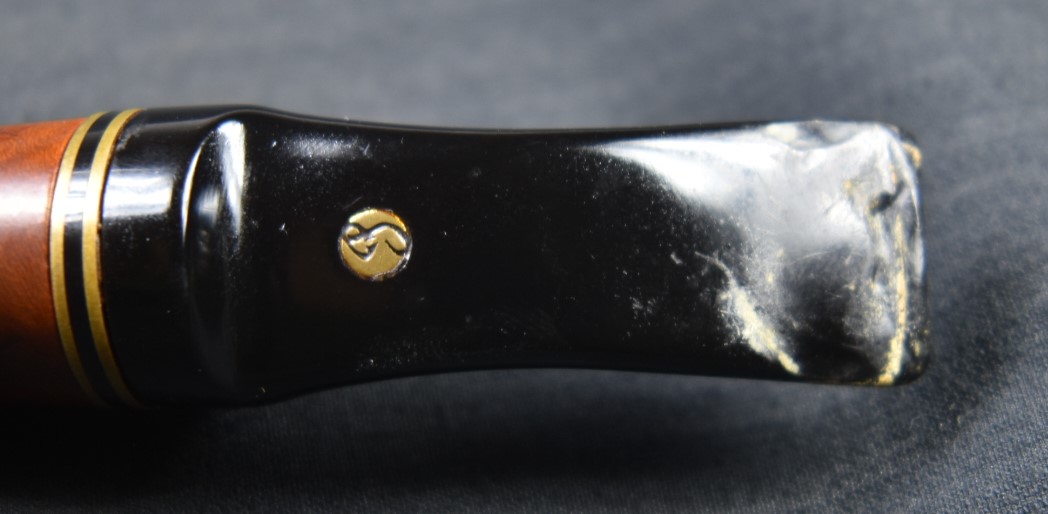
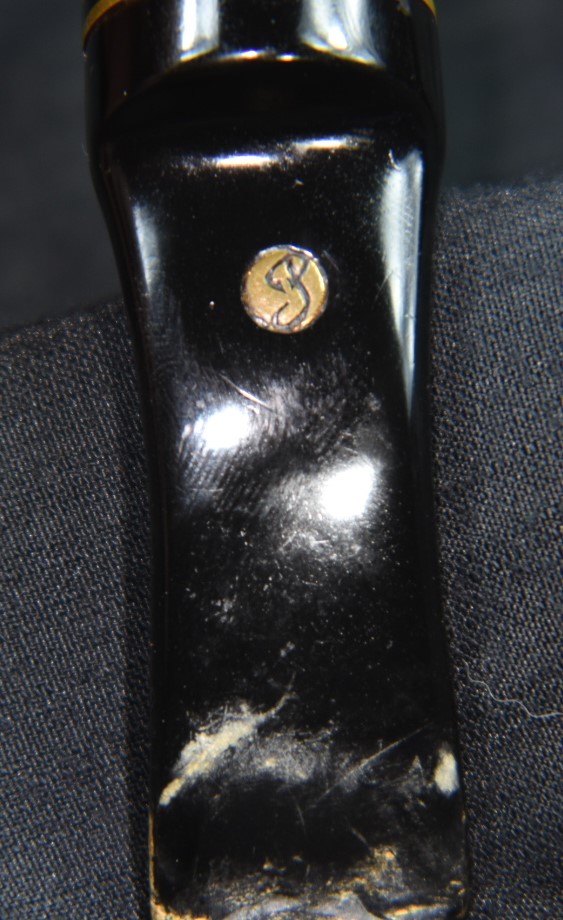
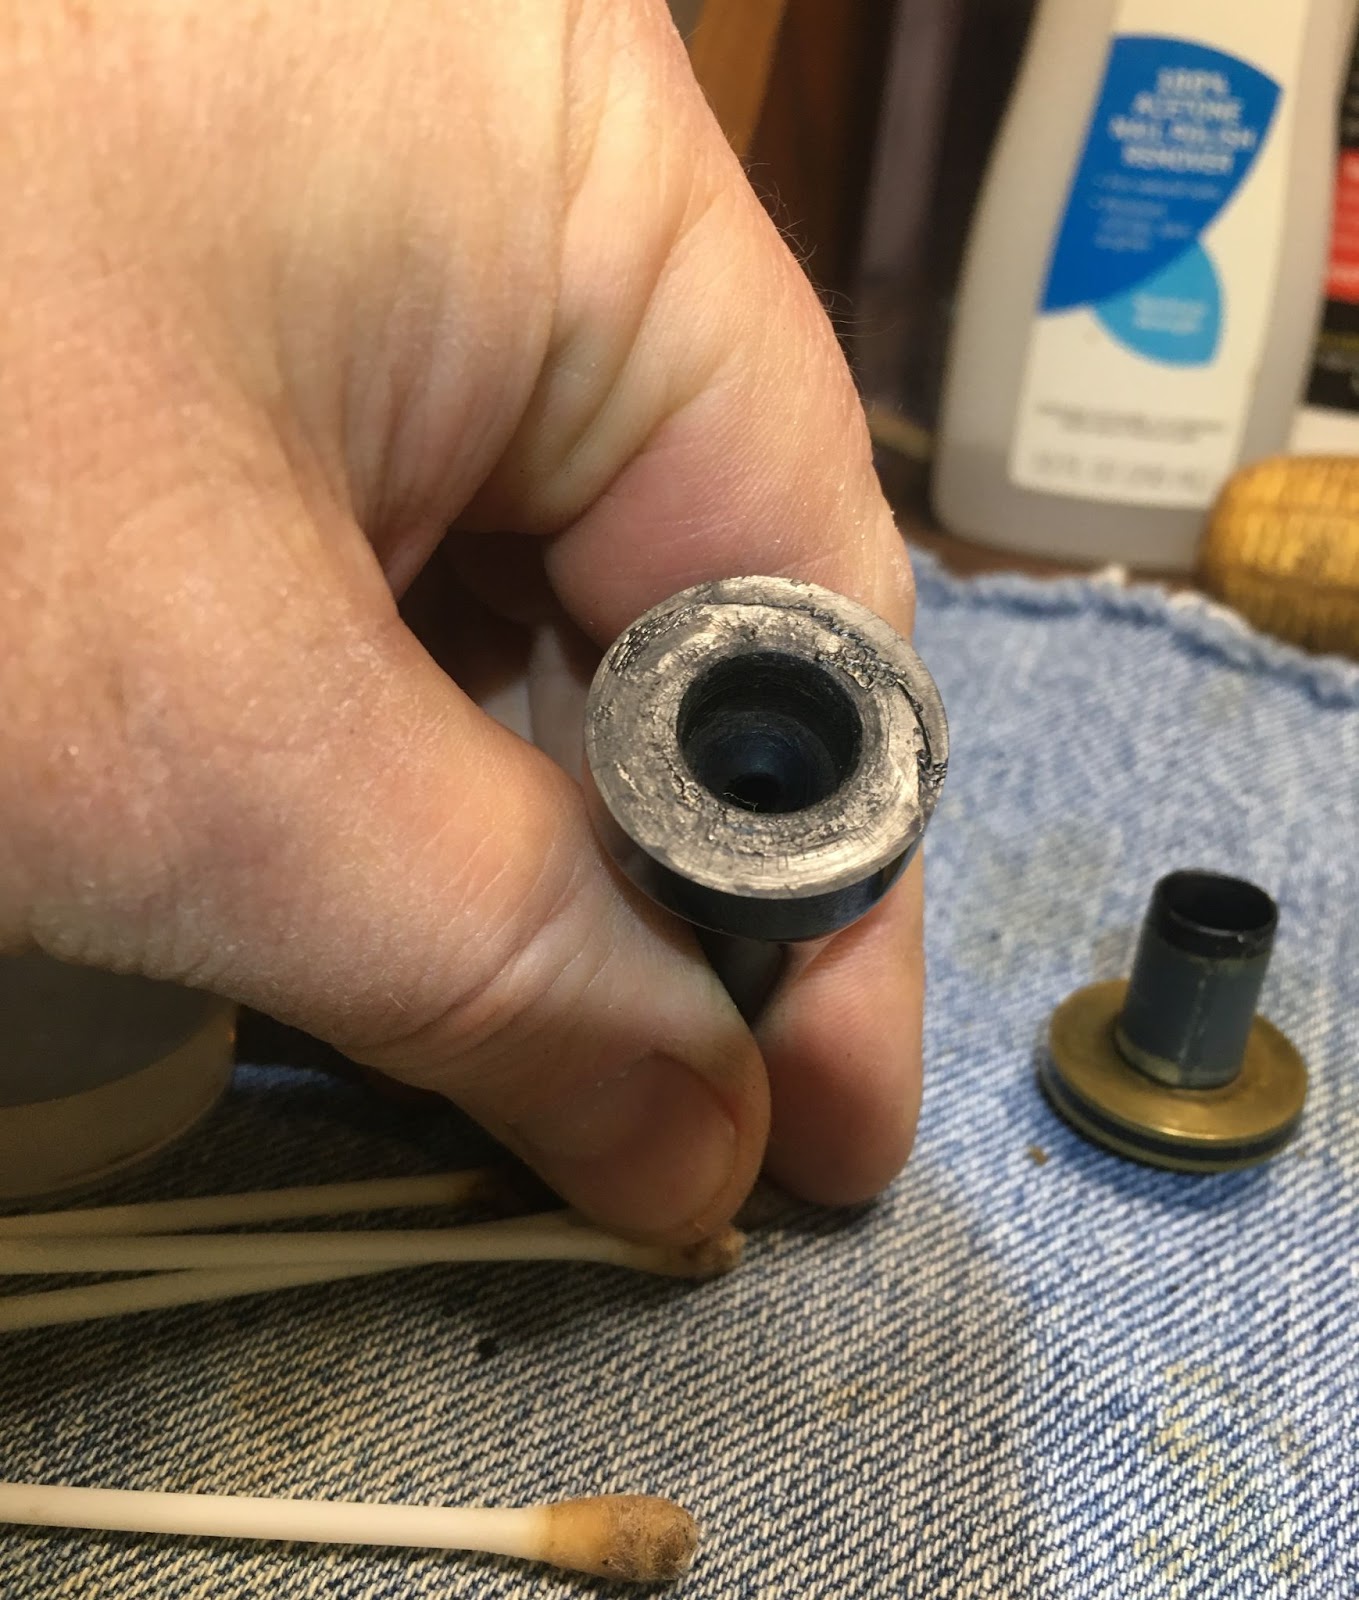
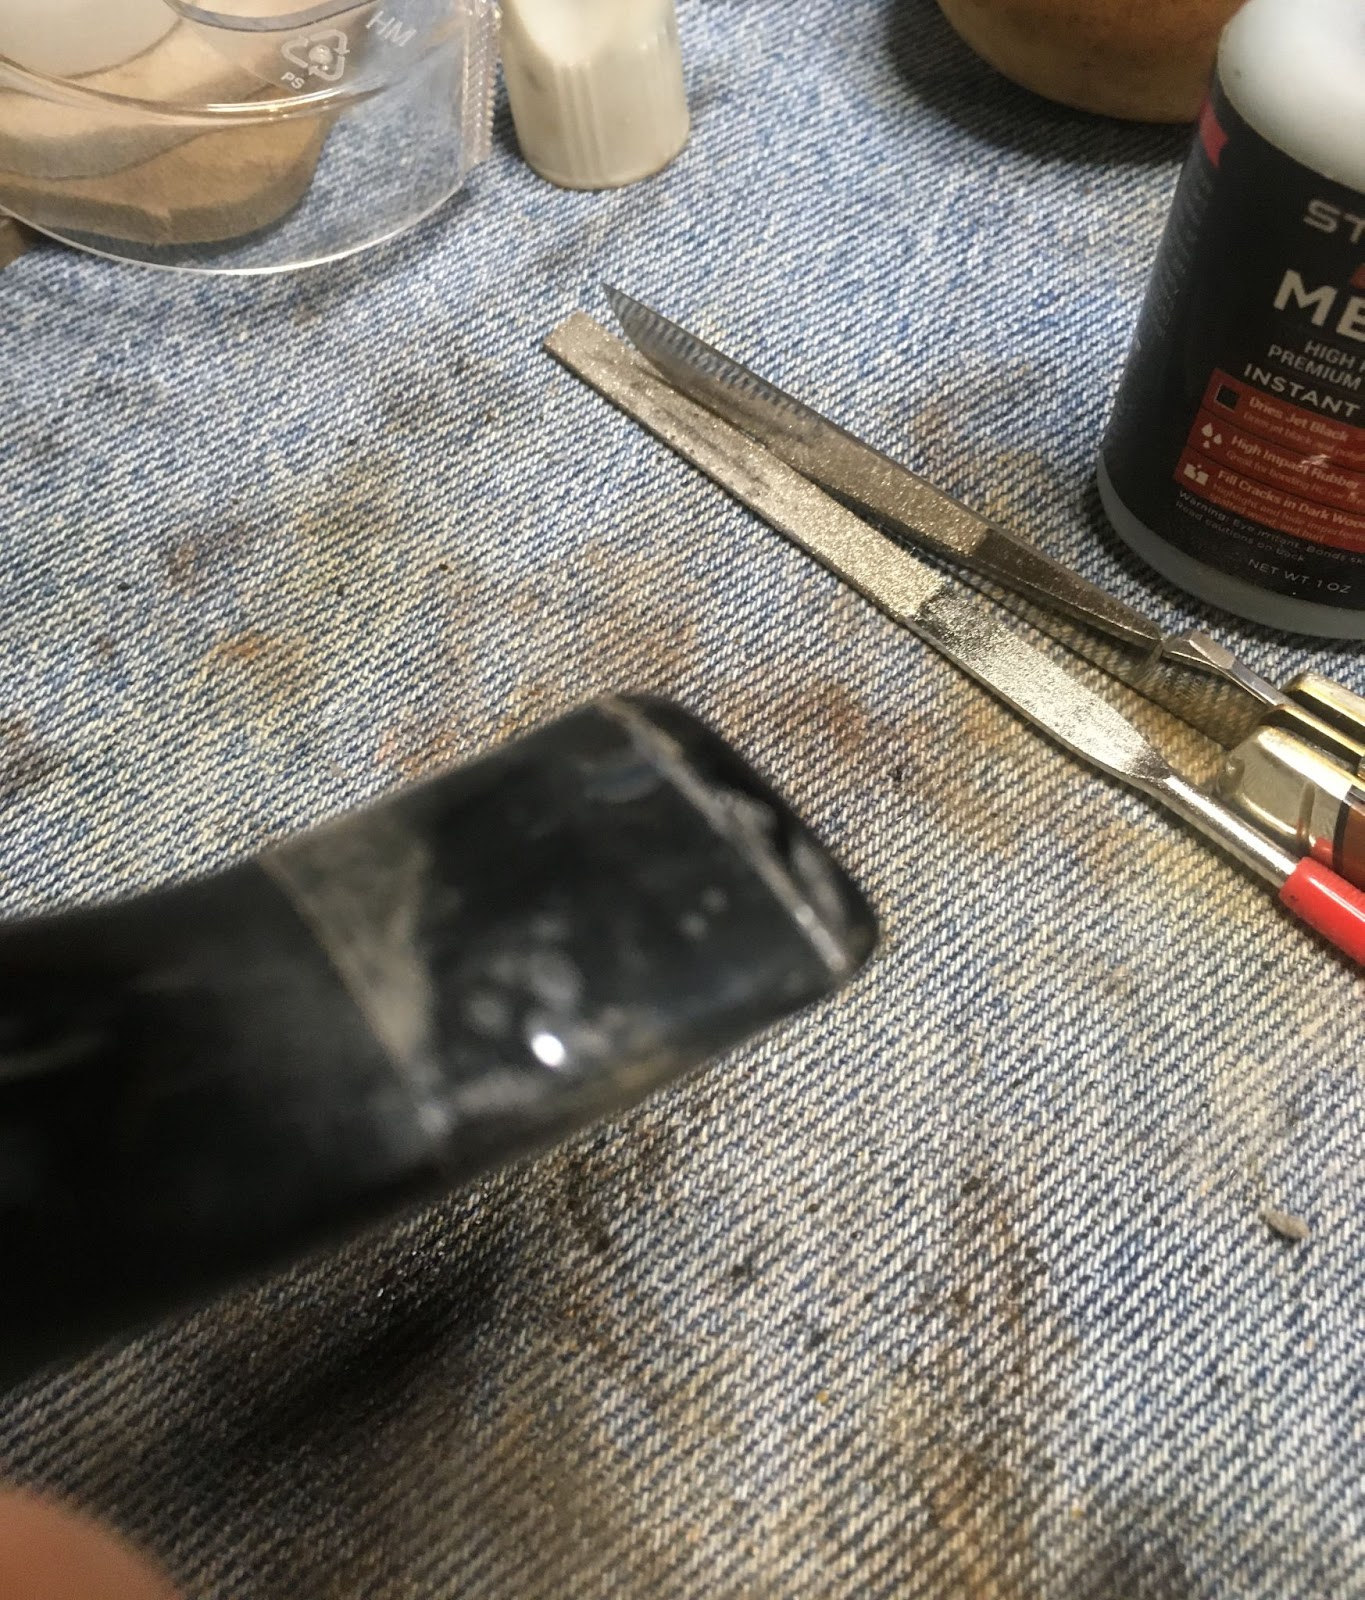
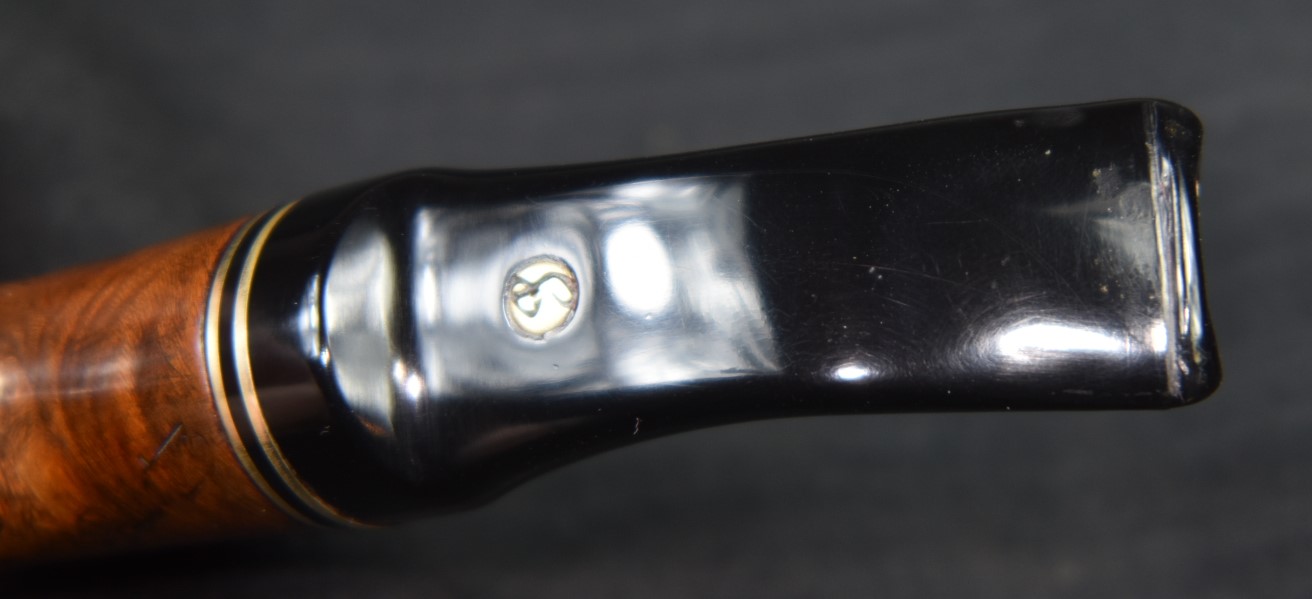
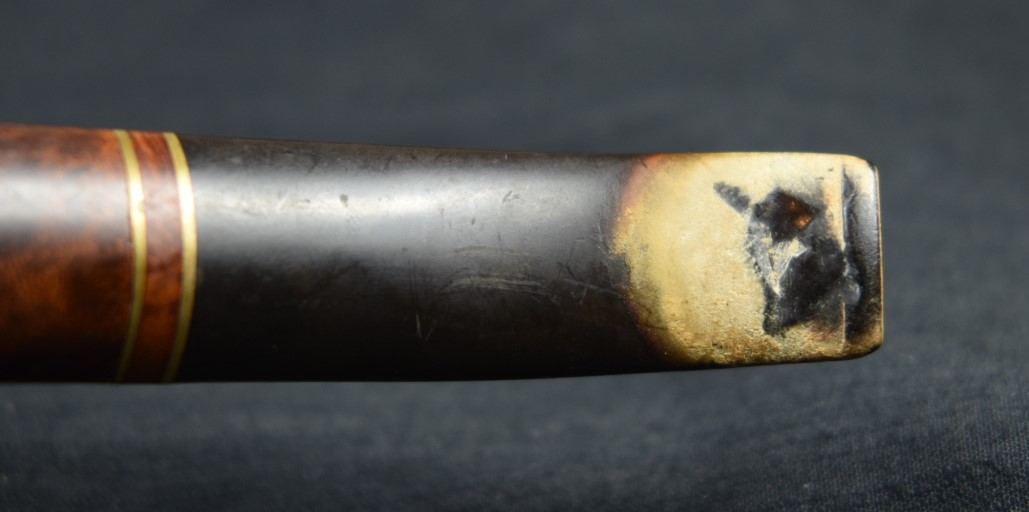
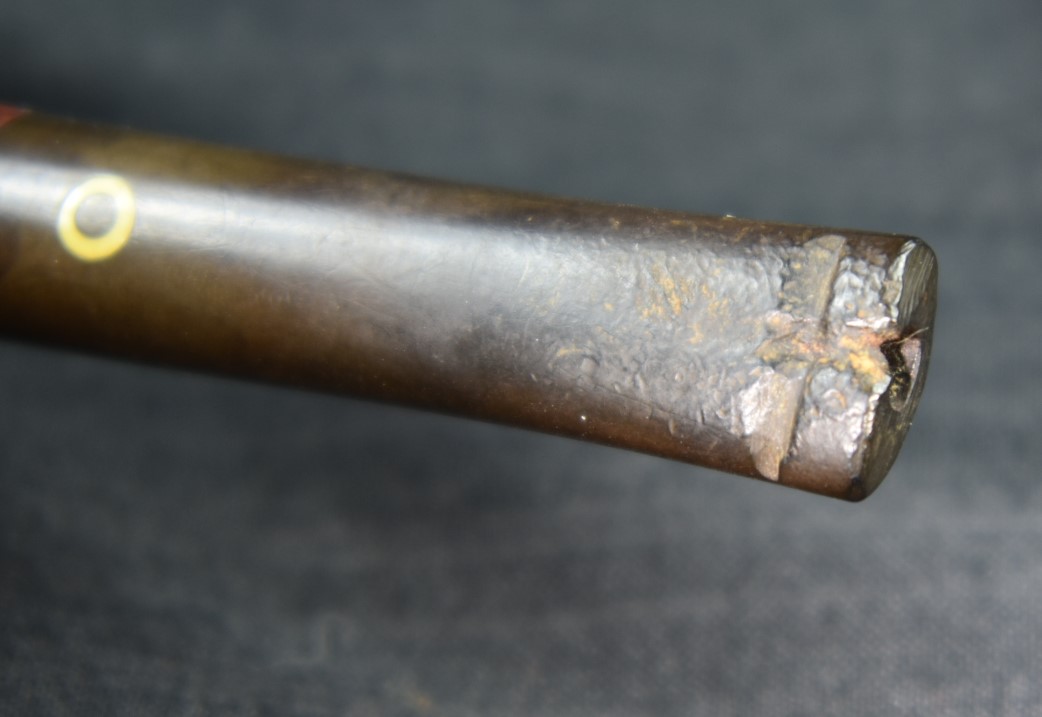
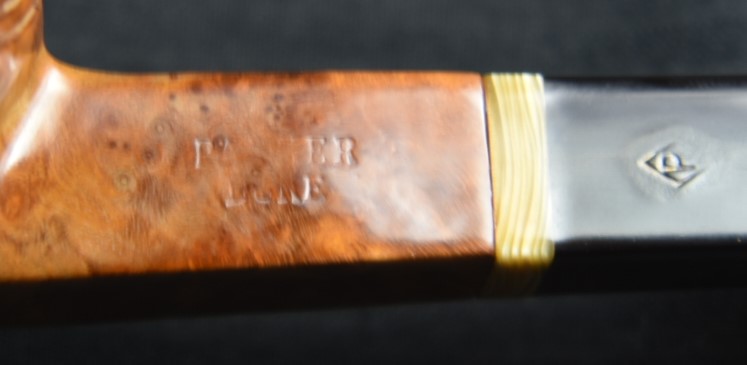
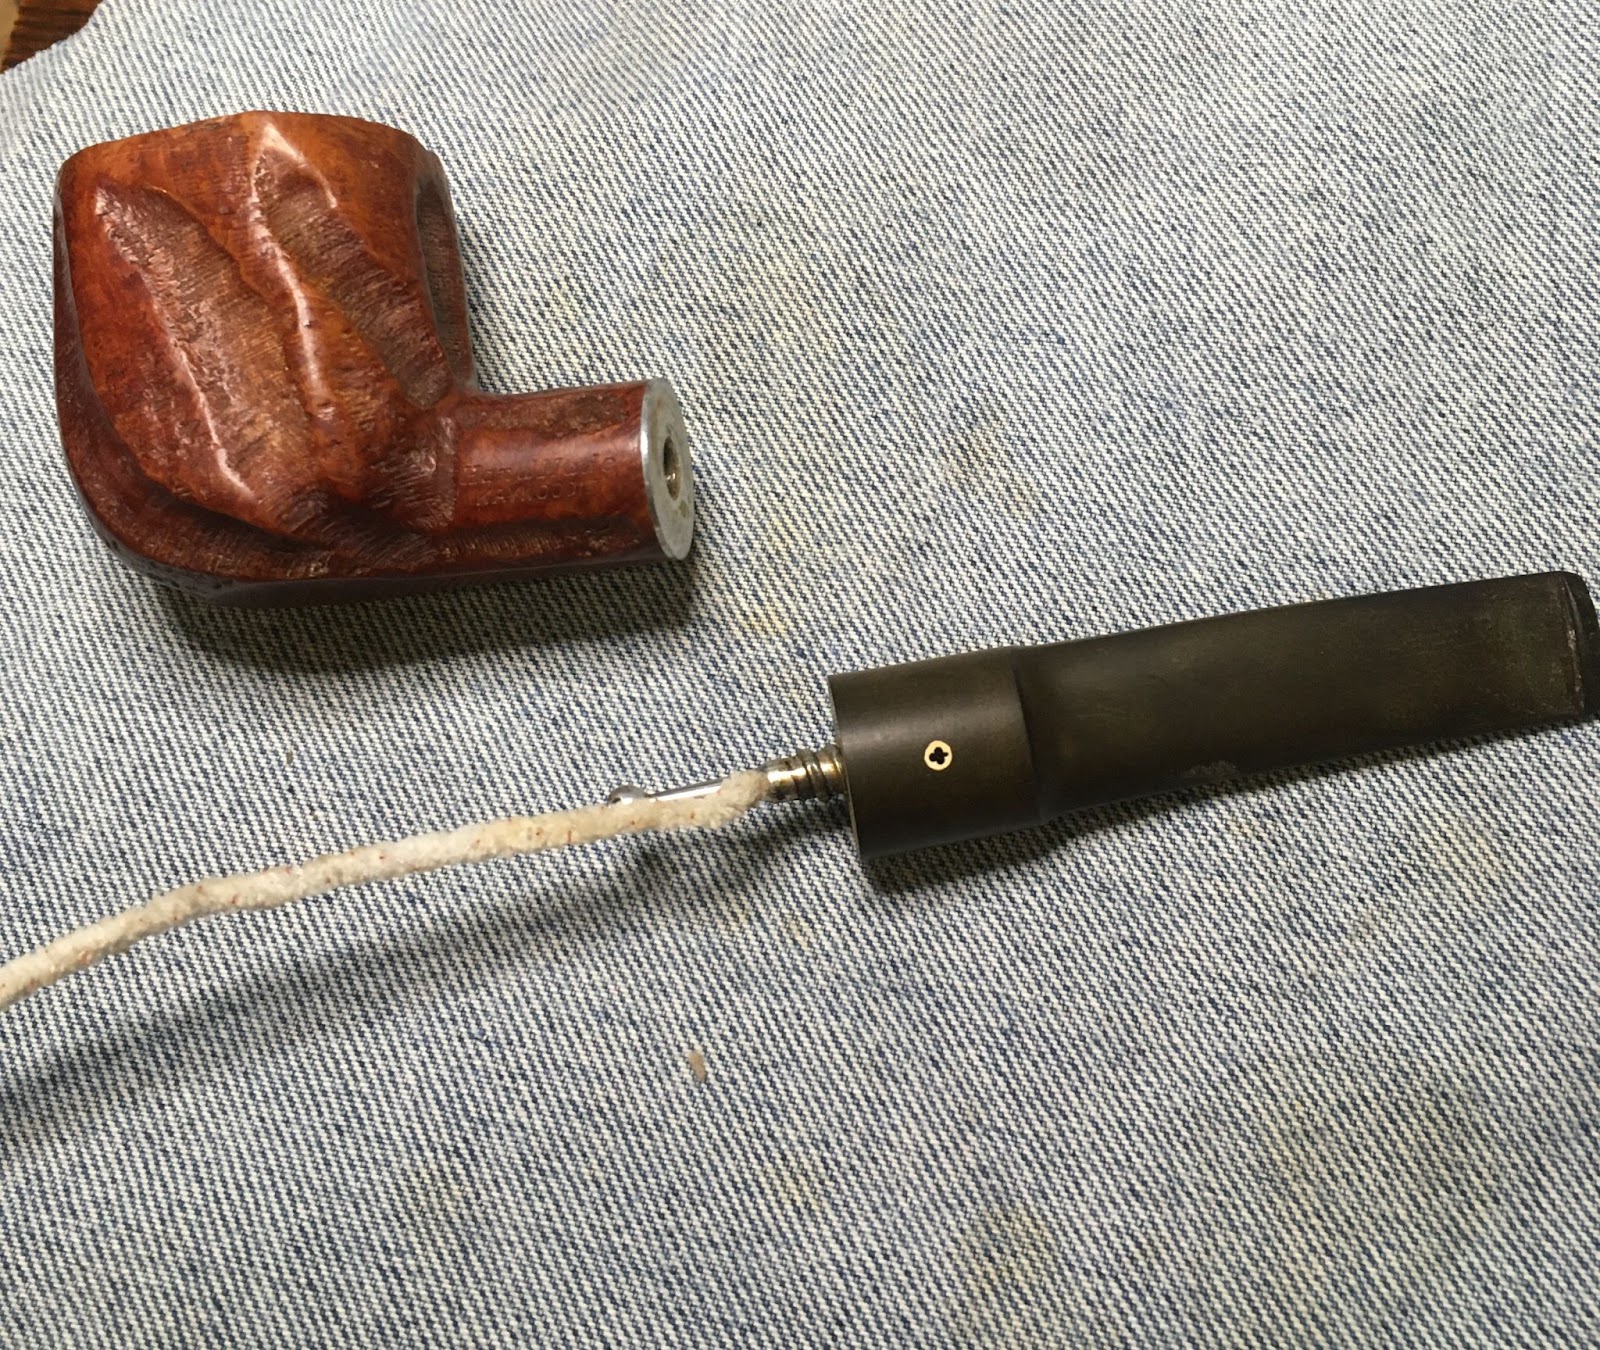
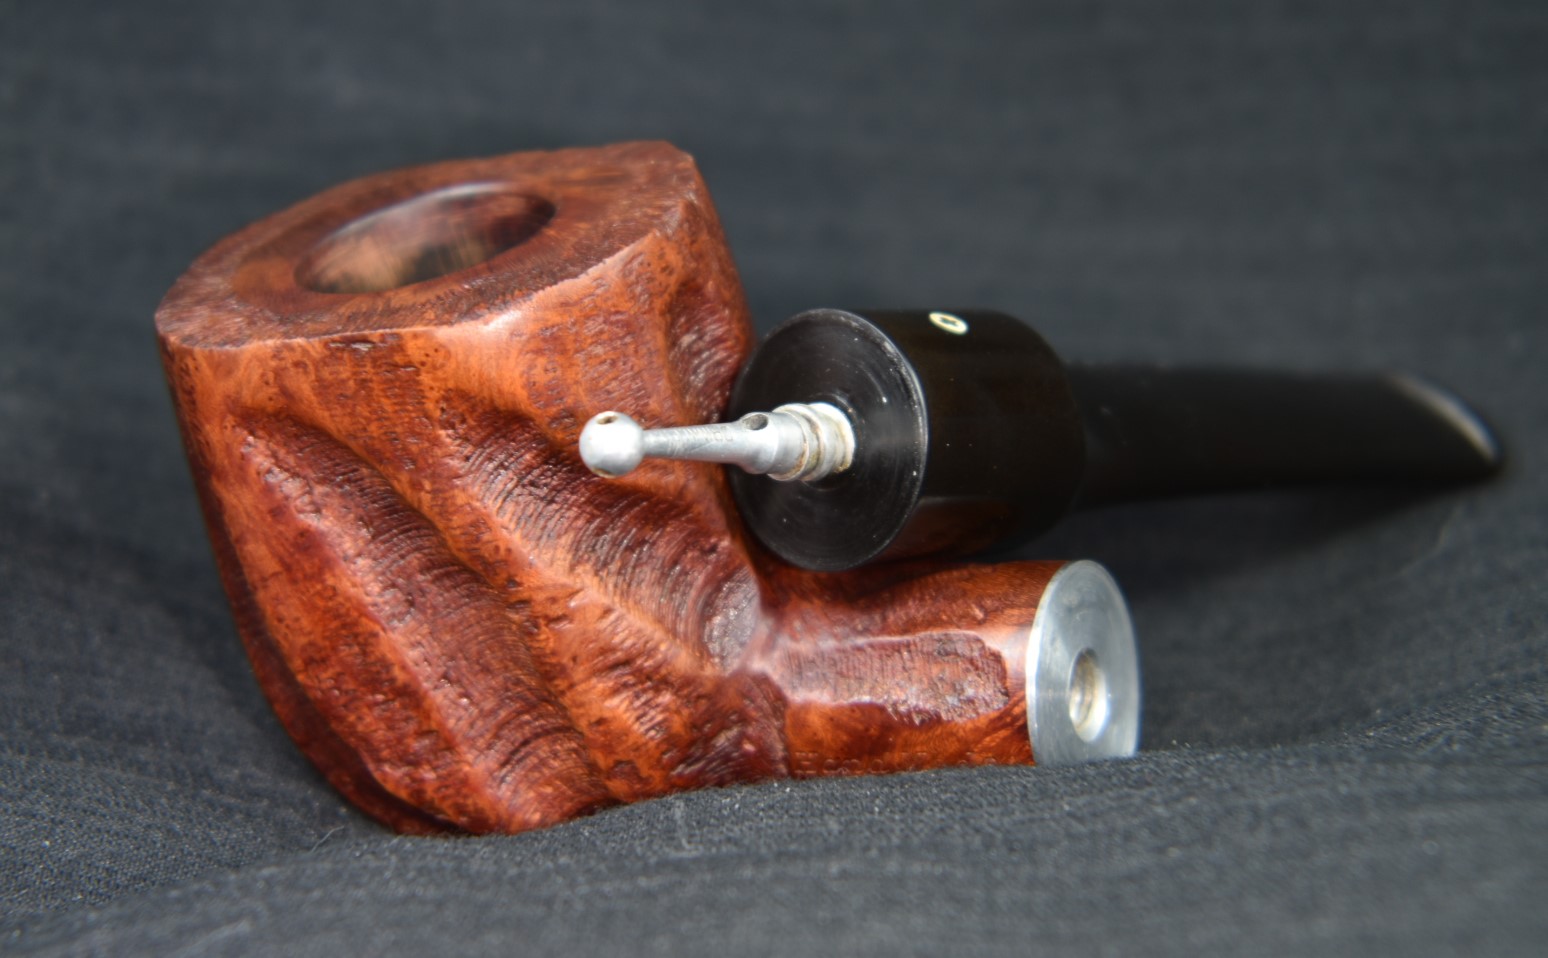
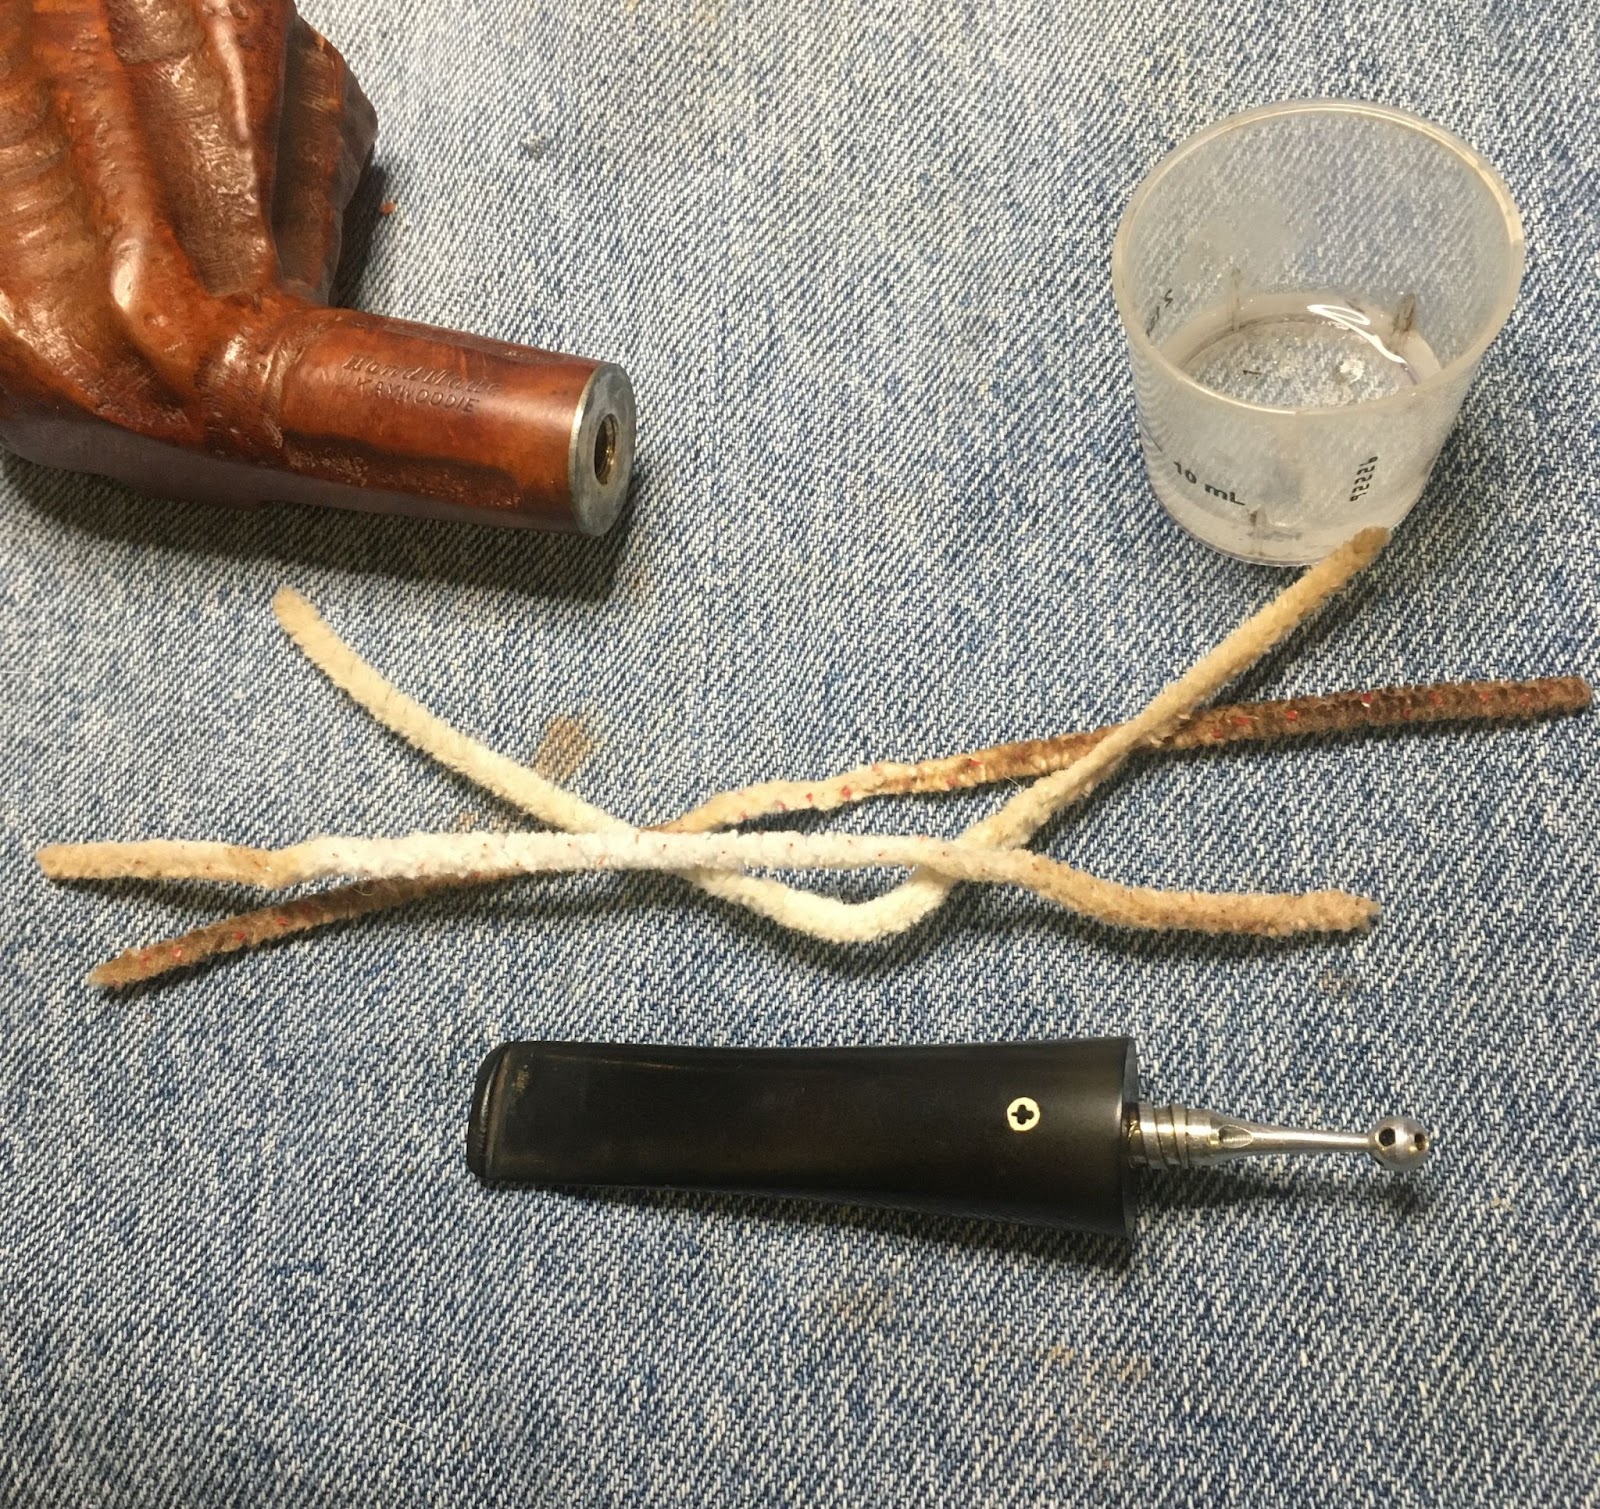
I started with a clean denim piece on the work surface. The stem on this pipe was very tight and I did not feel comfortable forcing it into the mortise. The “Marxman” stamped stinger had a light coating of tar and smoking reside (tar lacquer, my term for it).

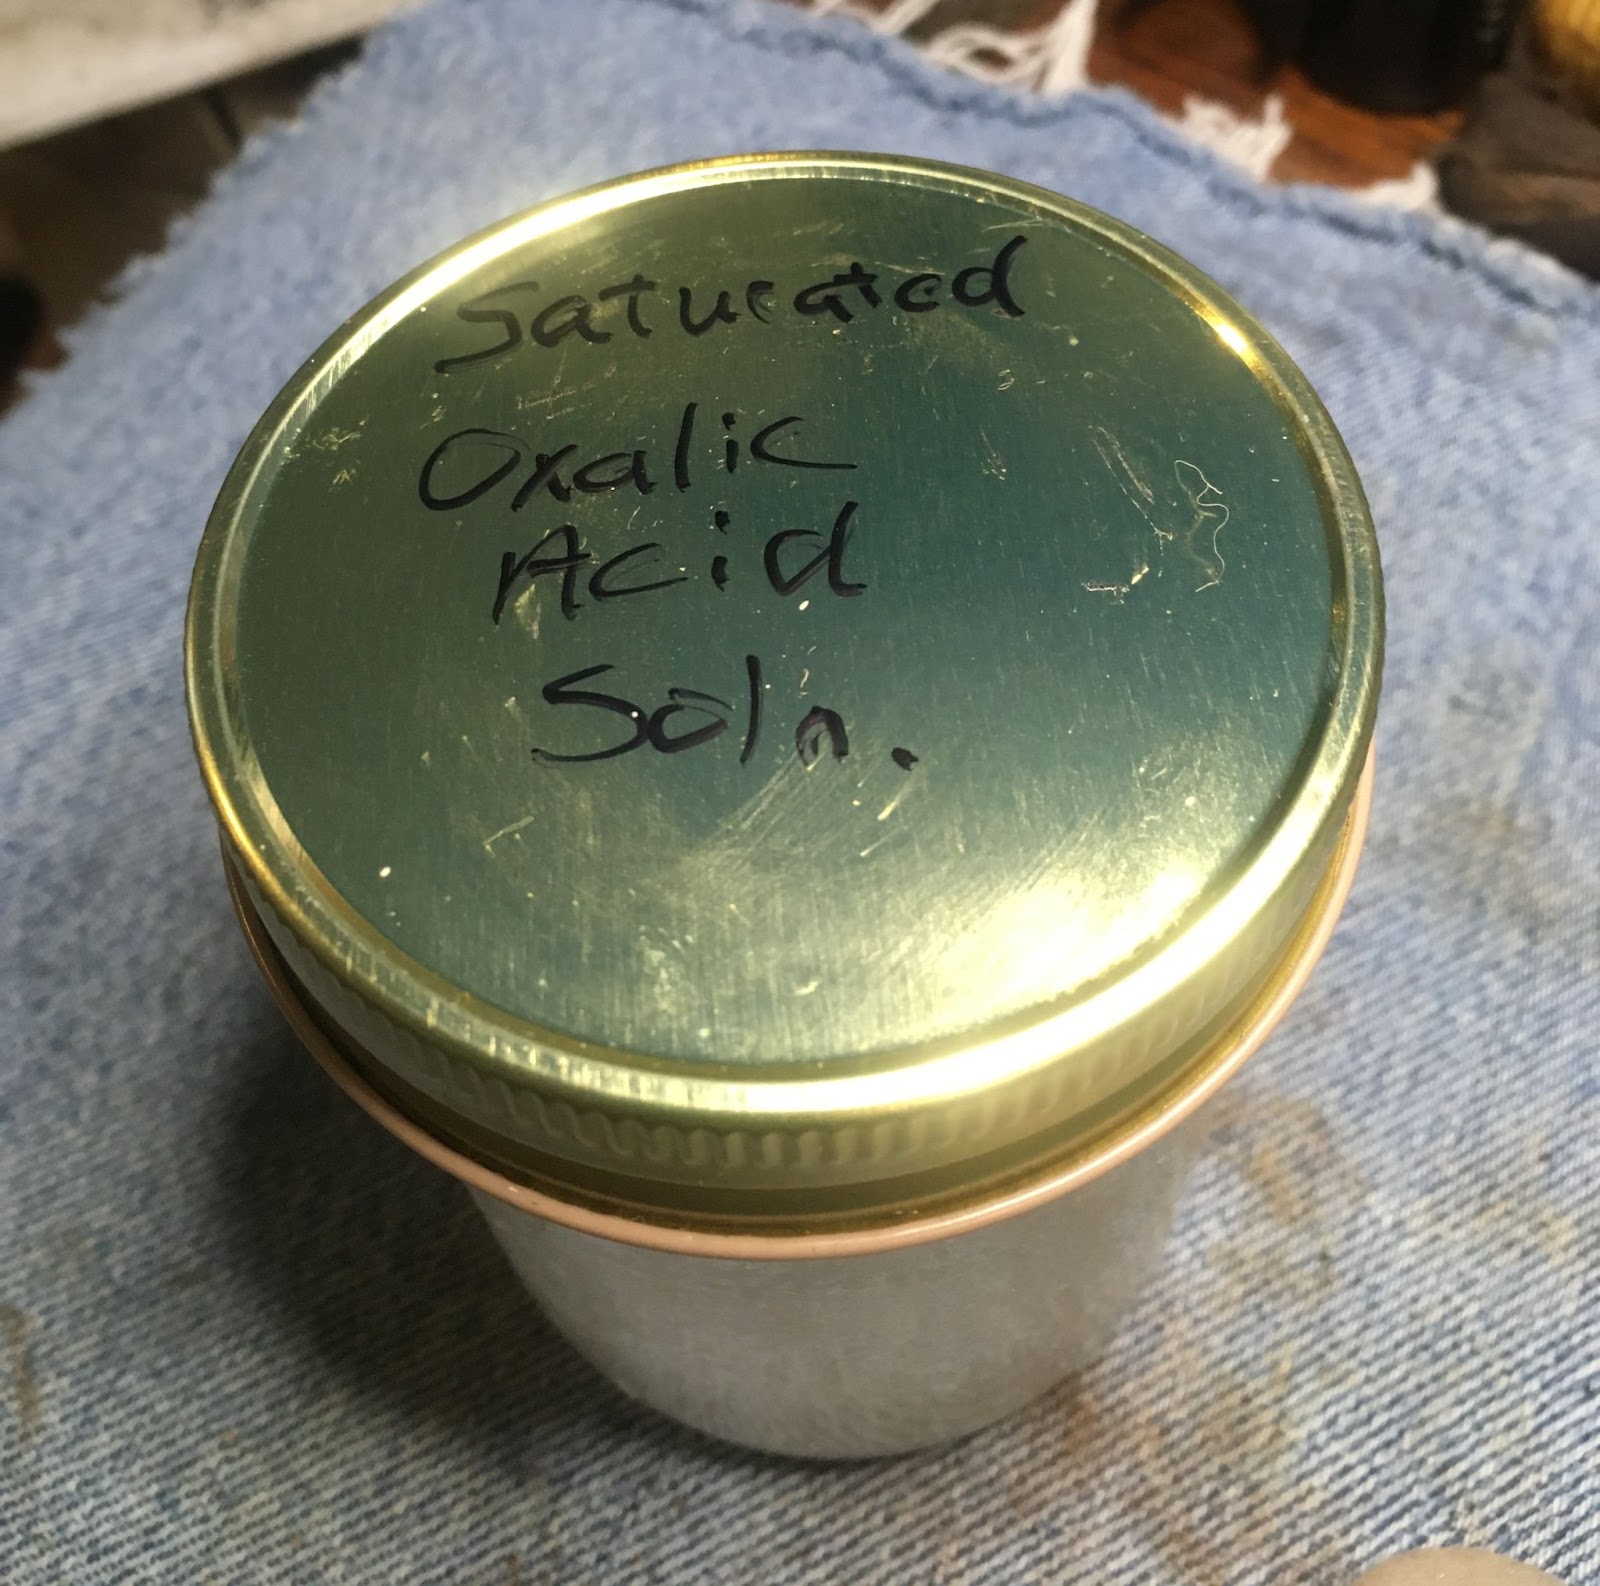
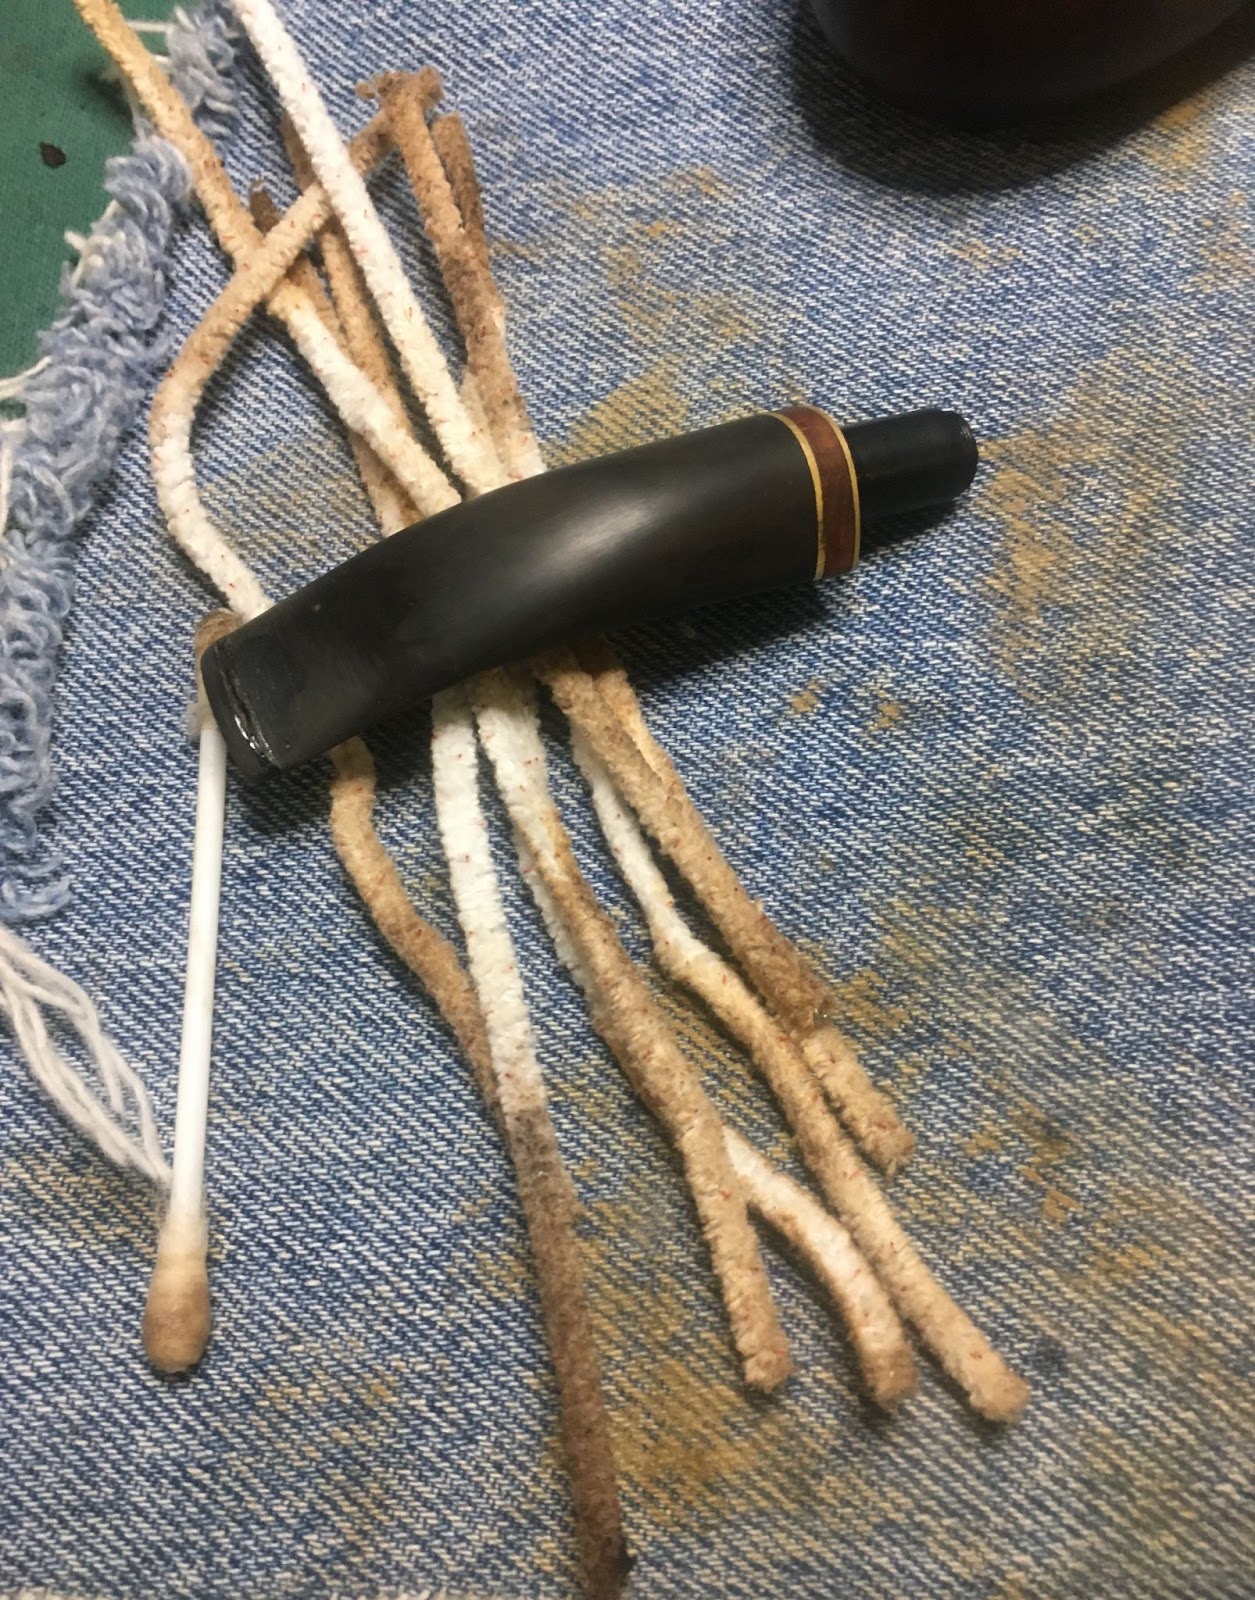
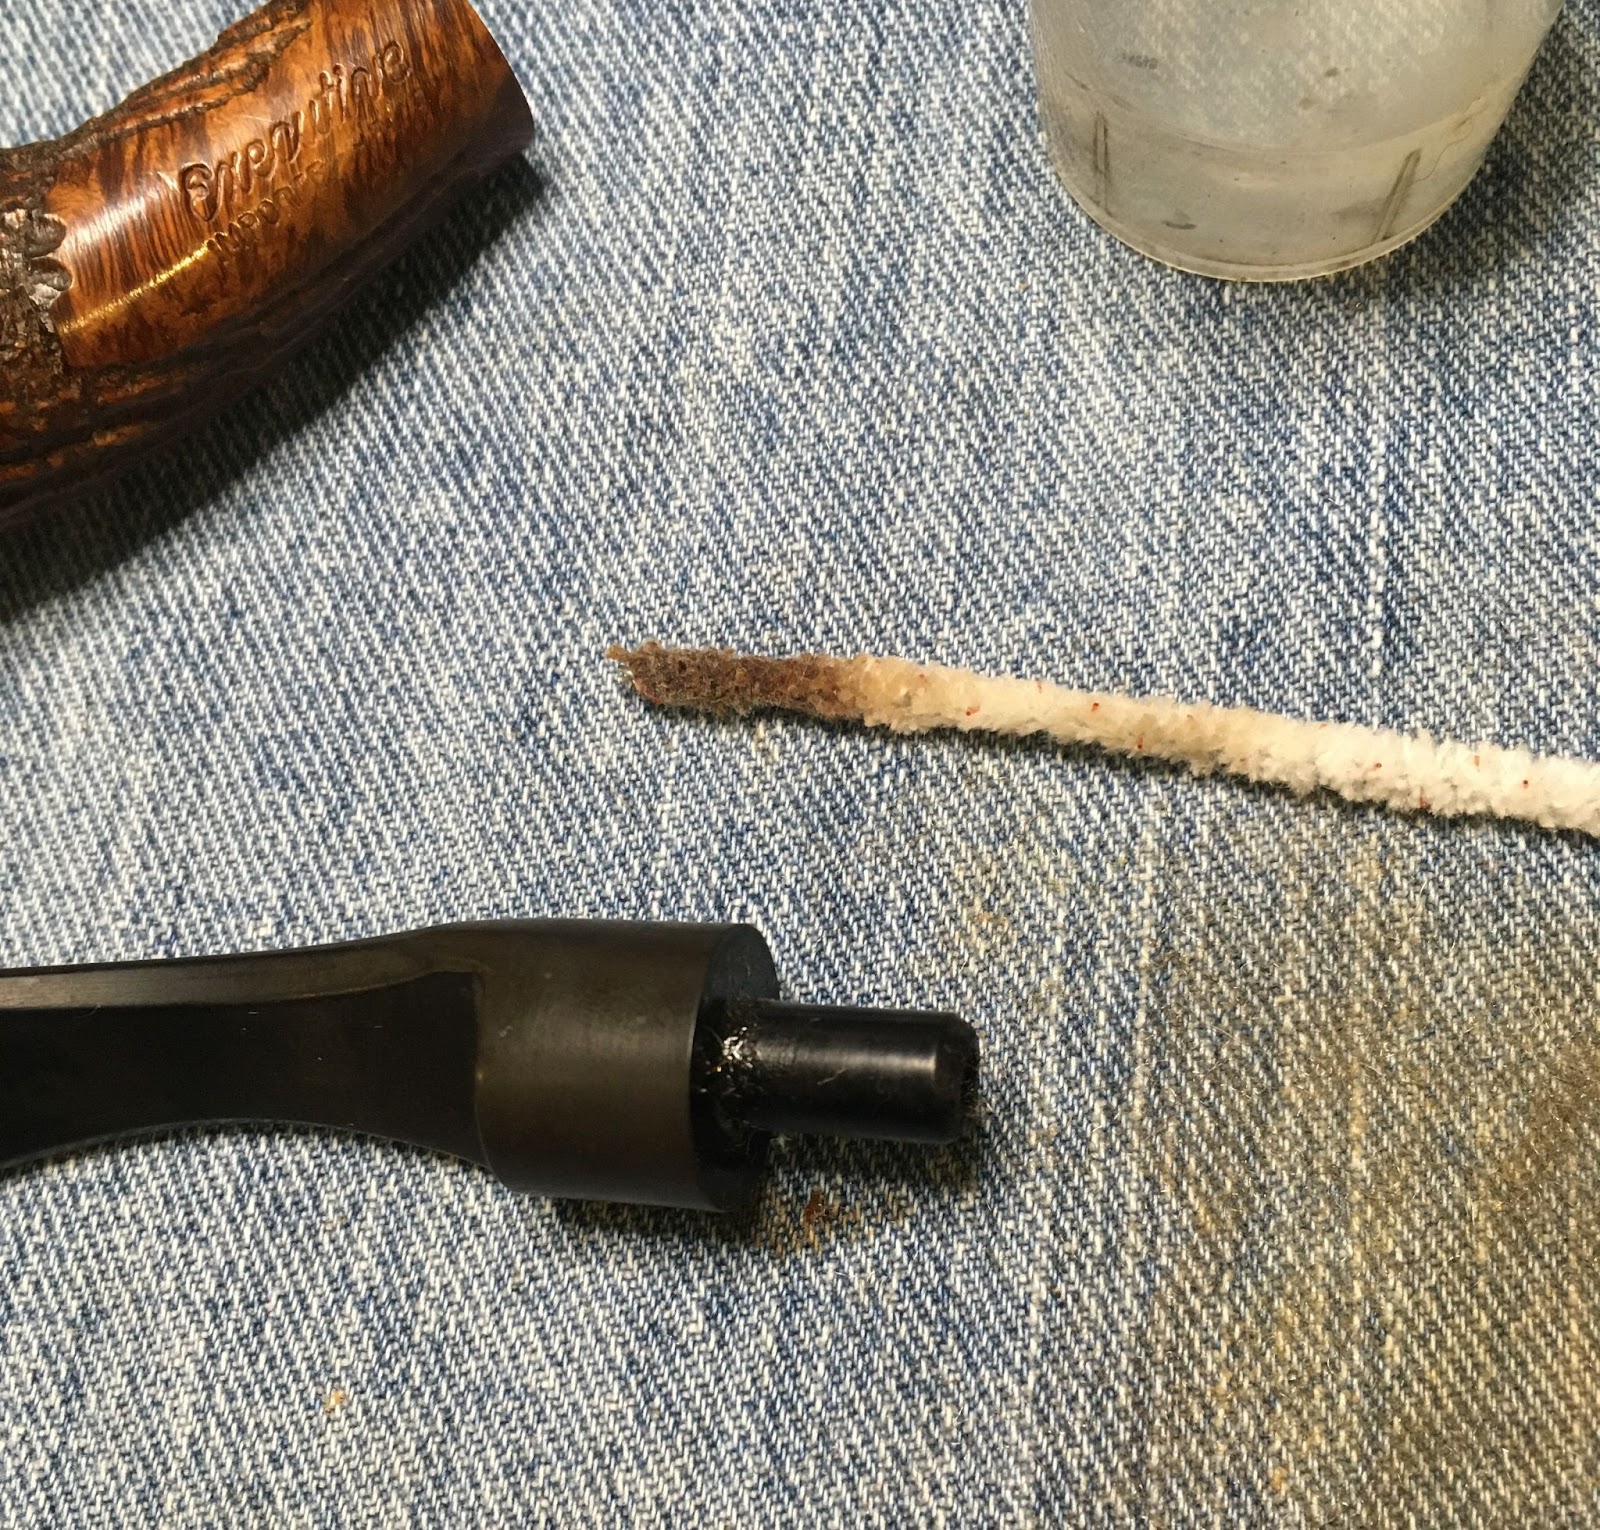
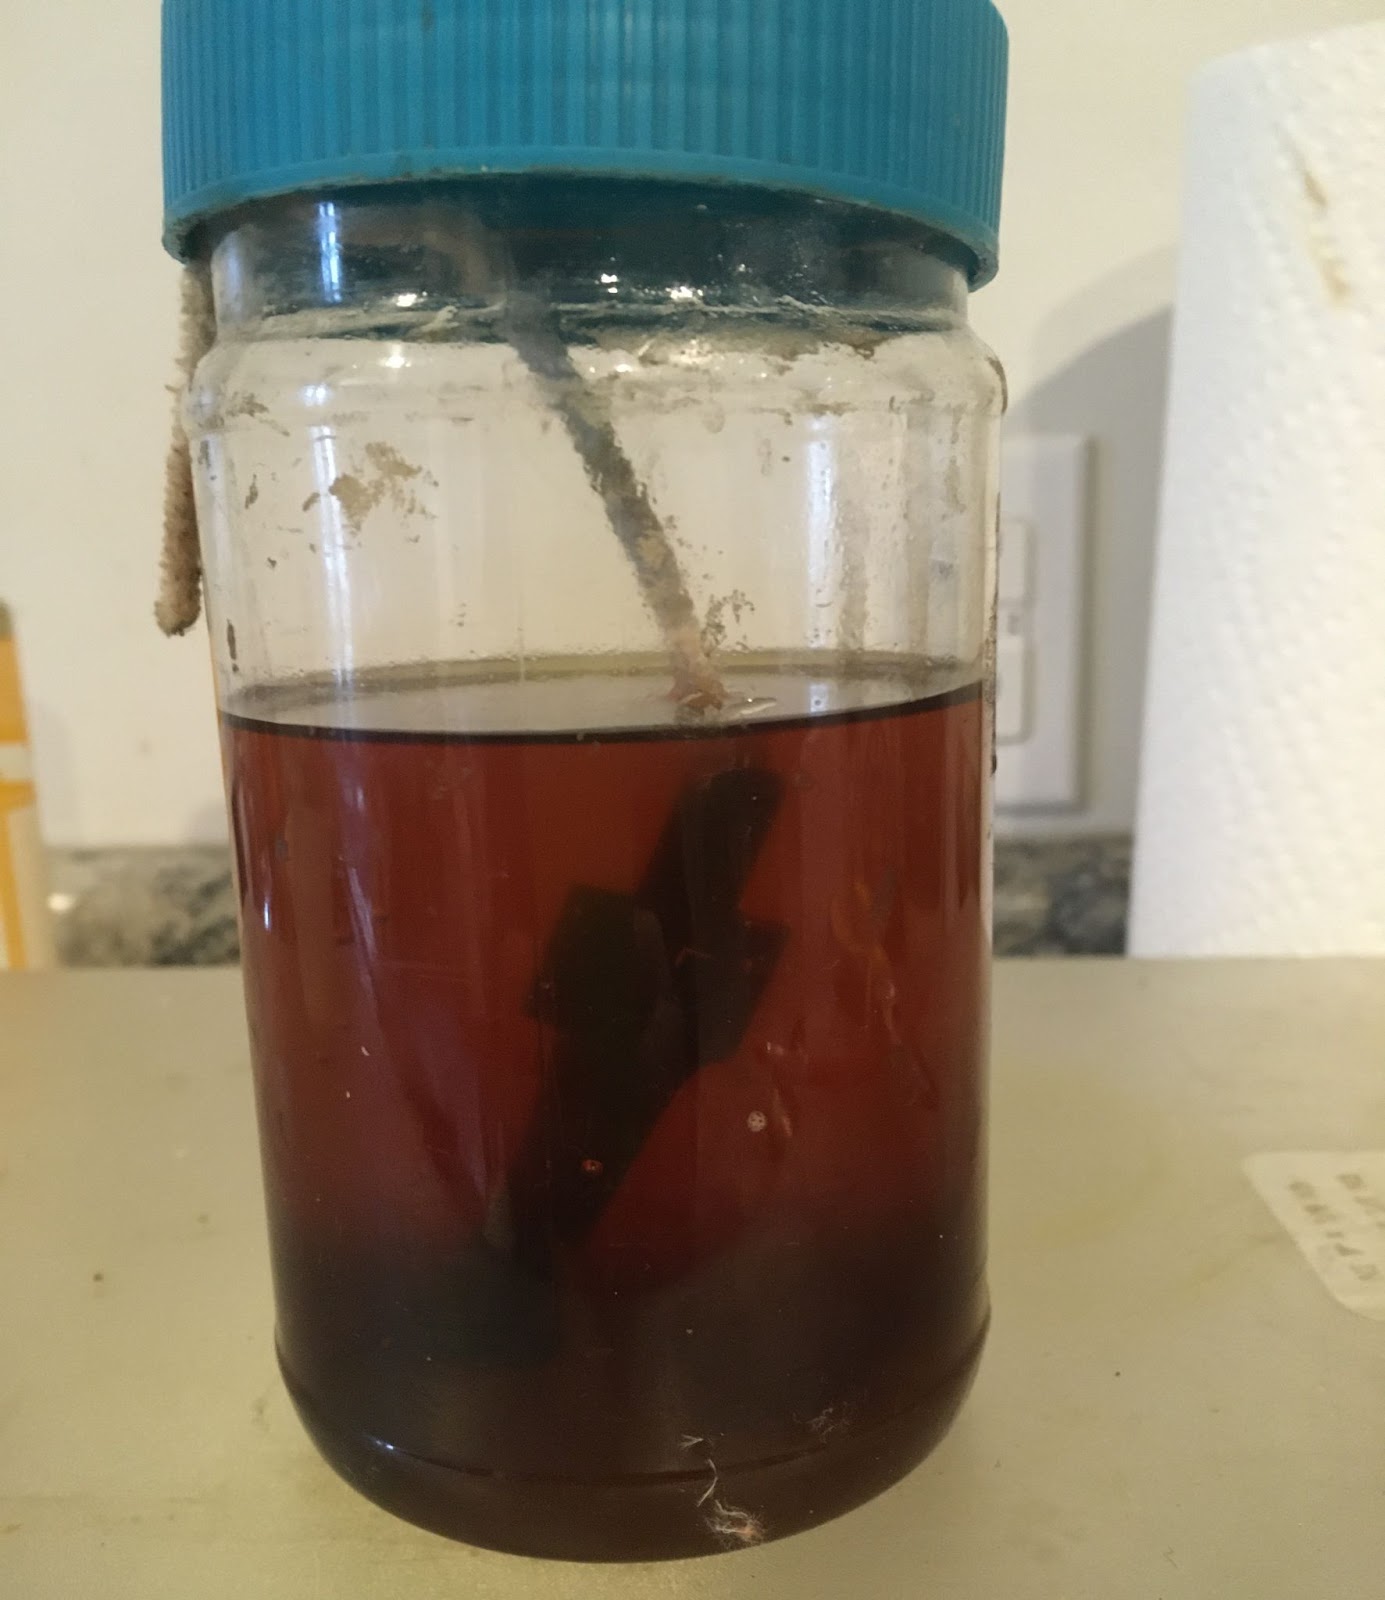
The stinger was placed into a medicine cup with a few milliliters (ml) of 95% ethyl alcohol to soften and dissolve the tar lacquer.

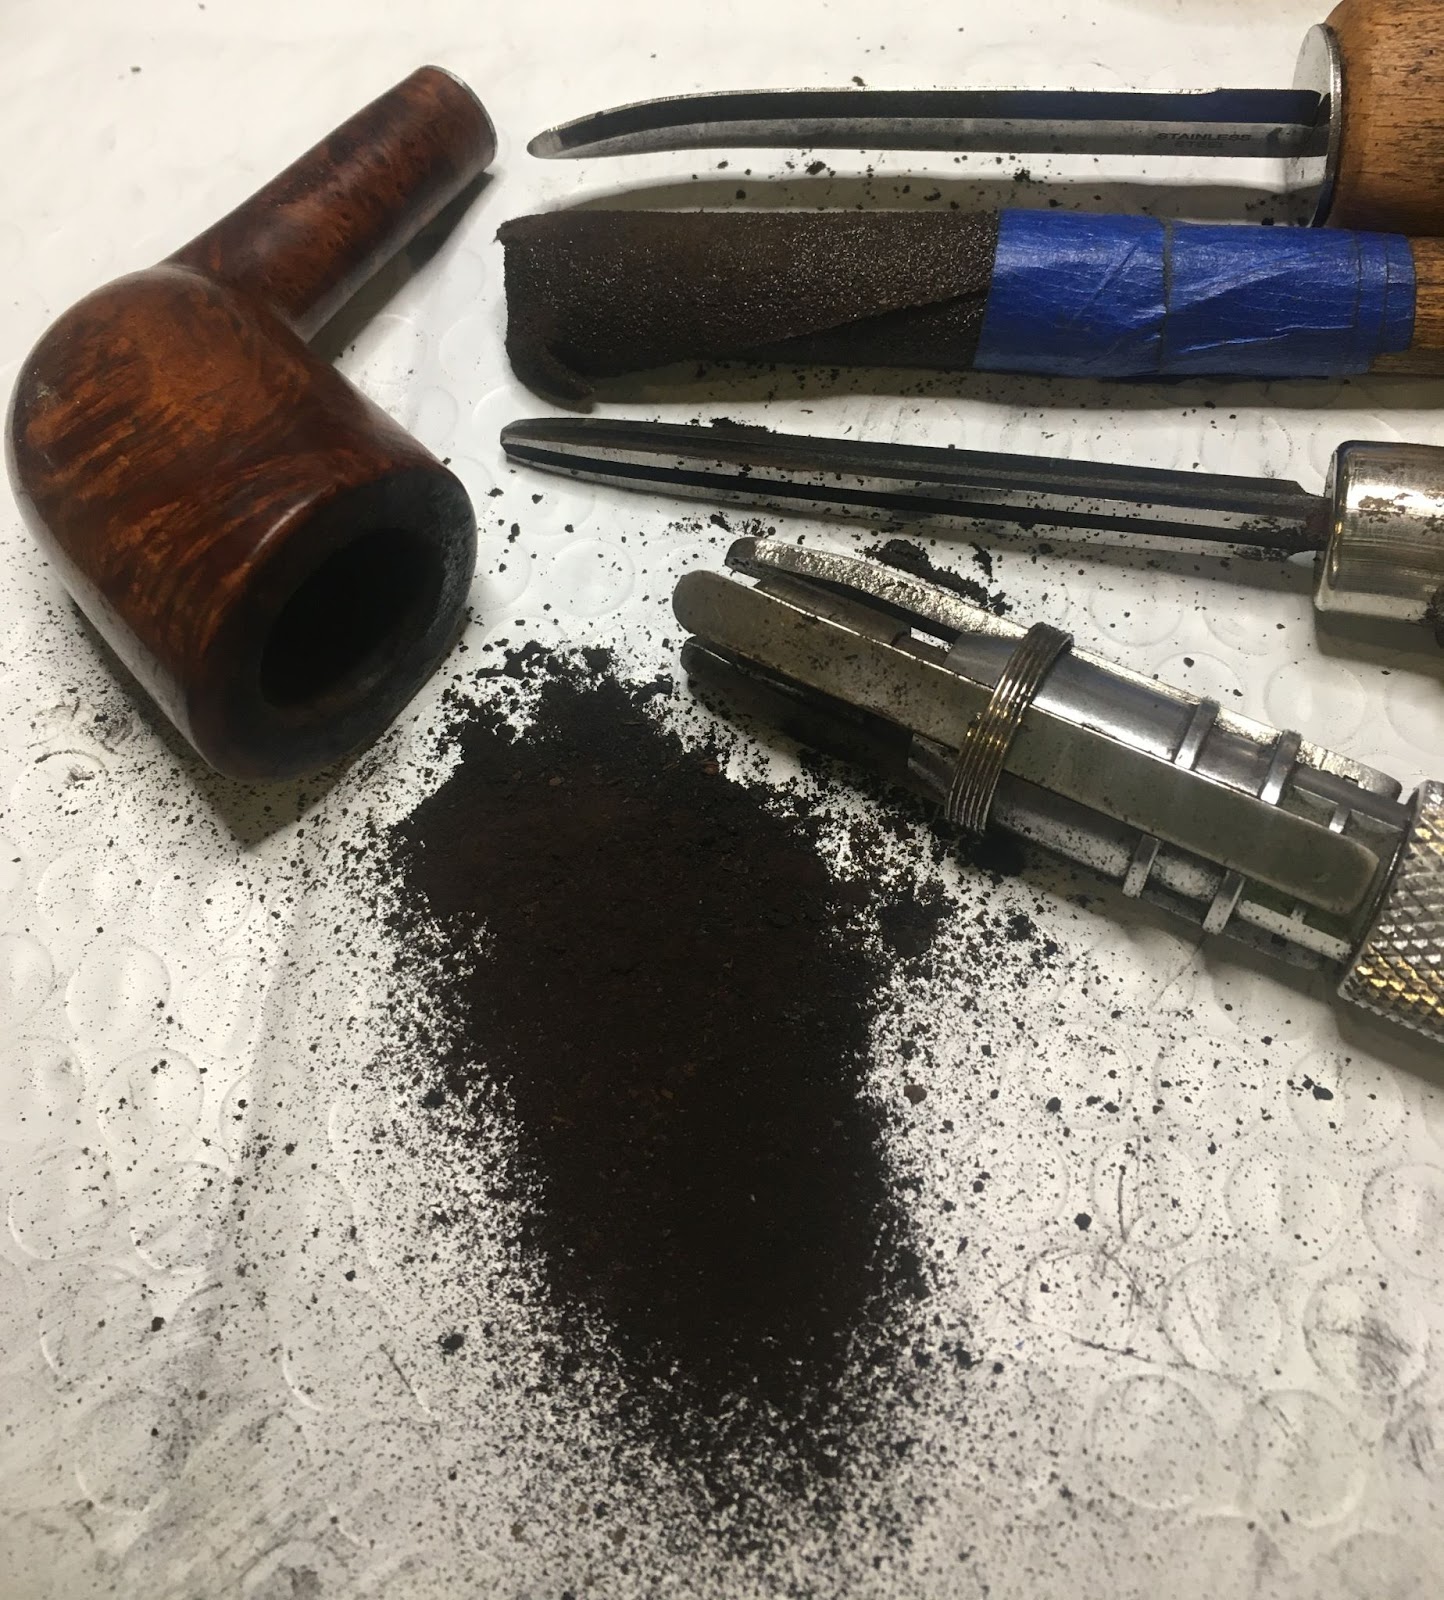
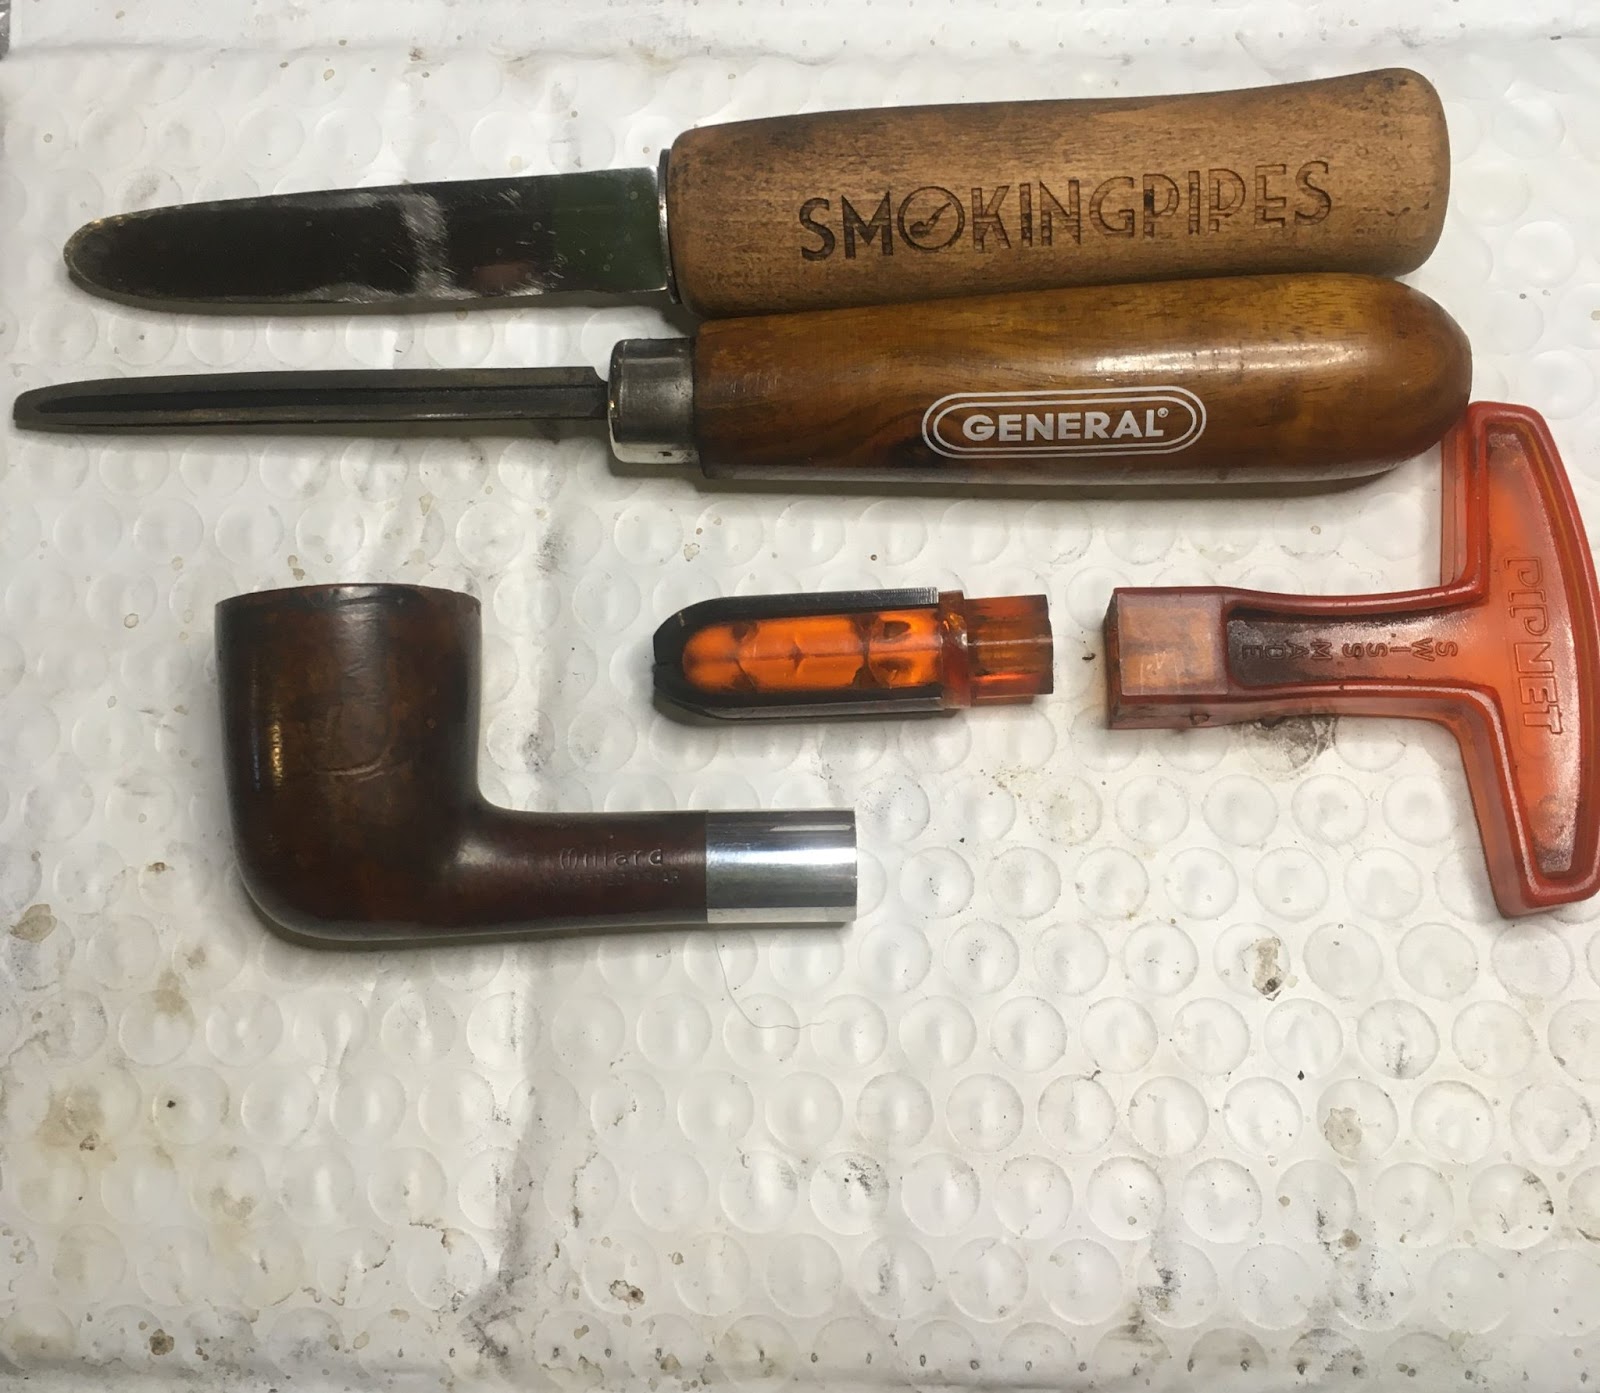
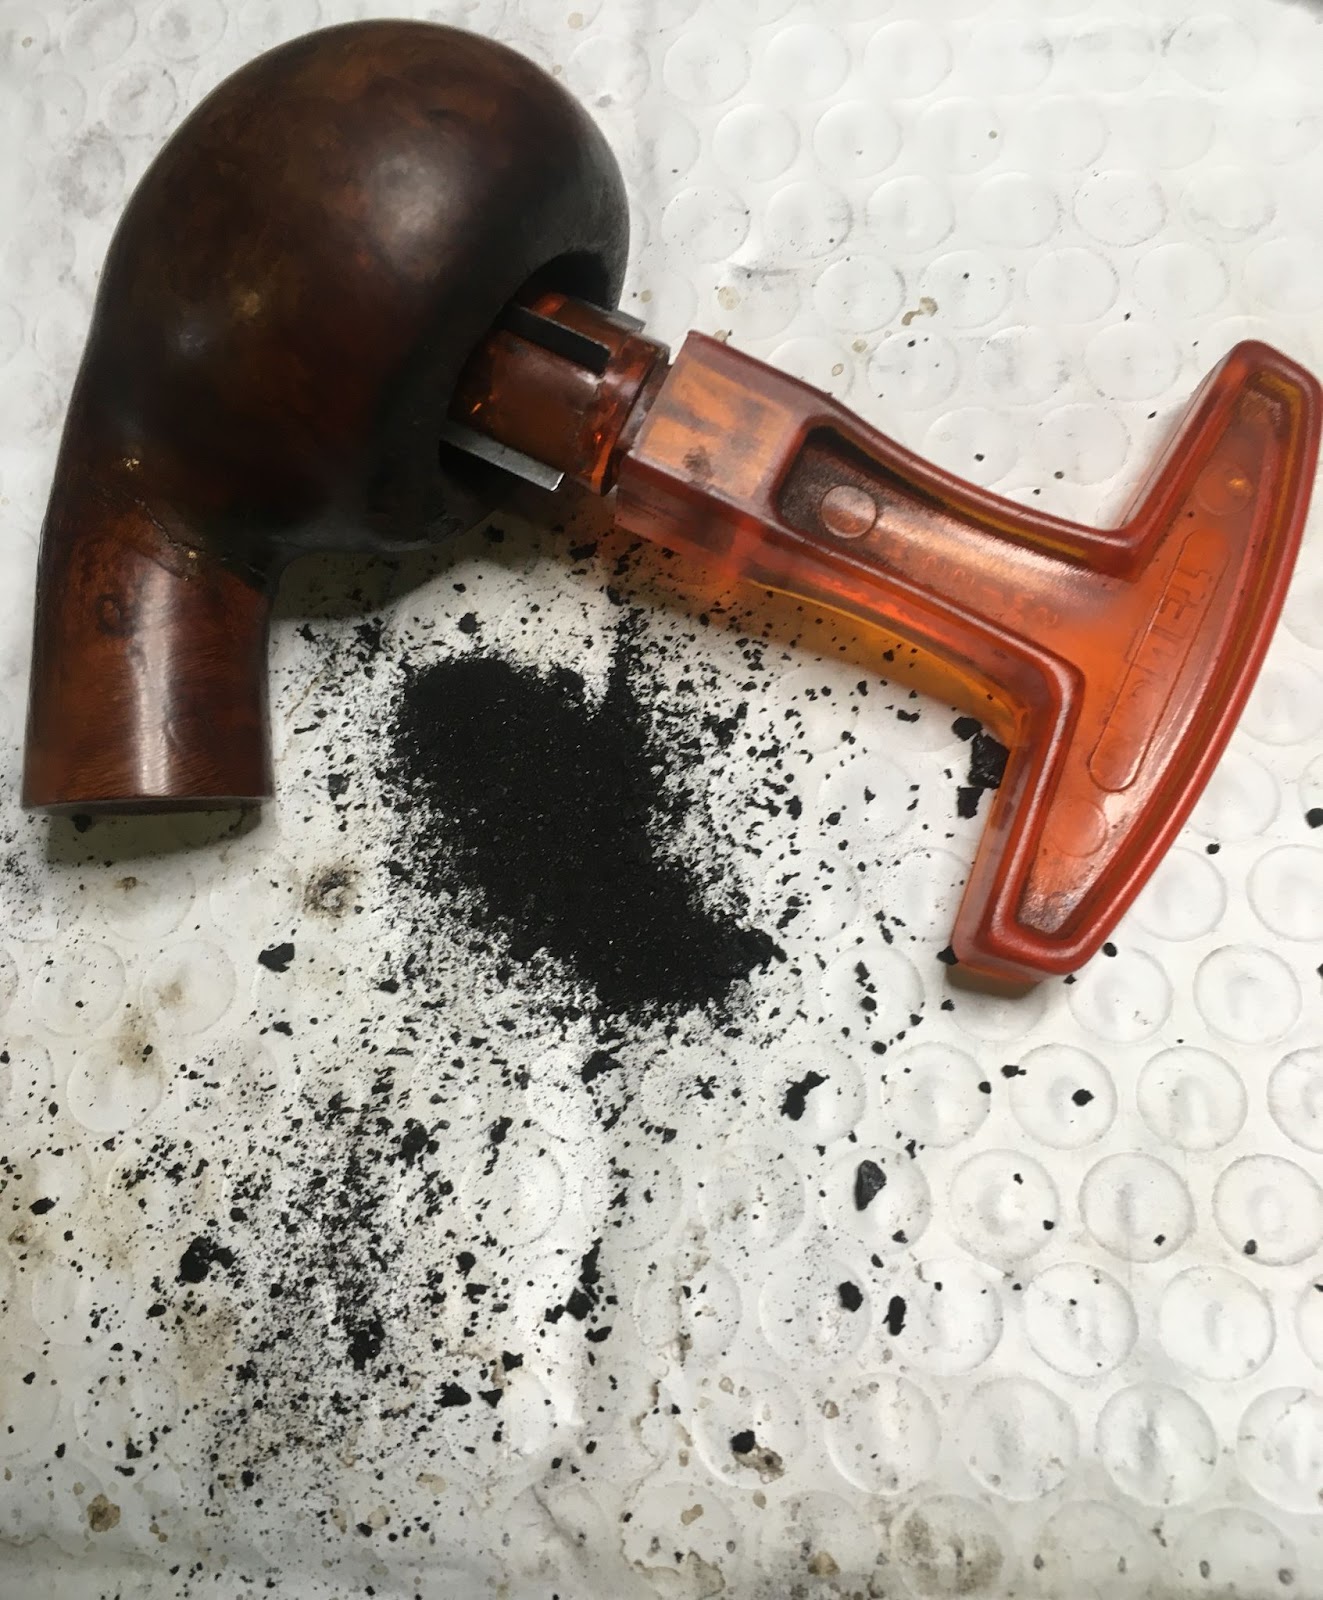
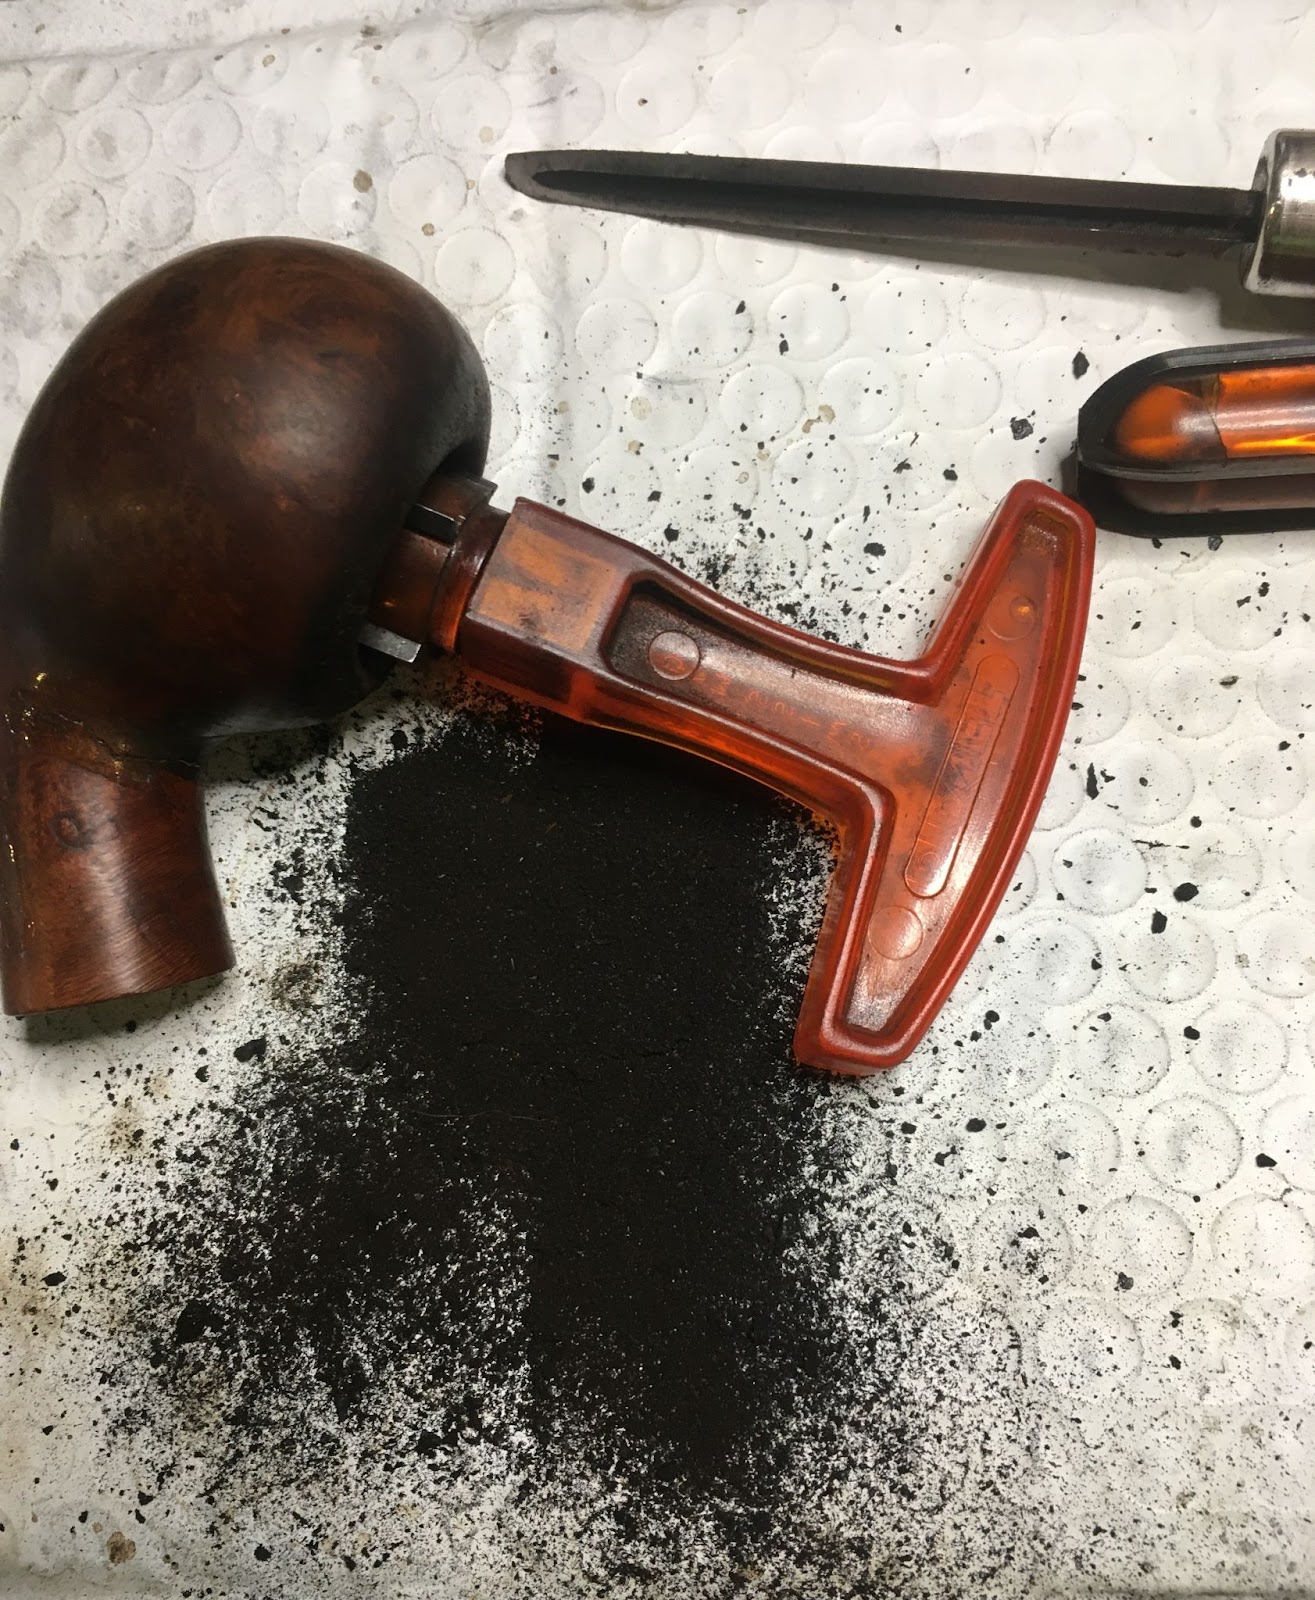
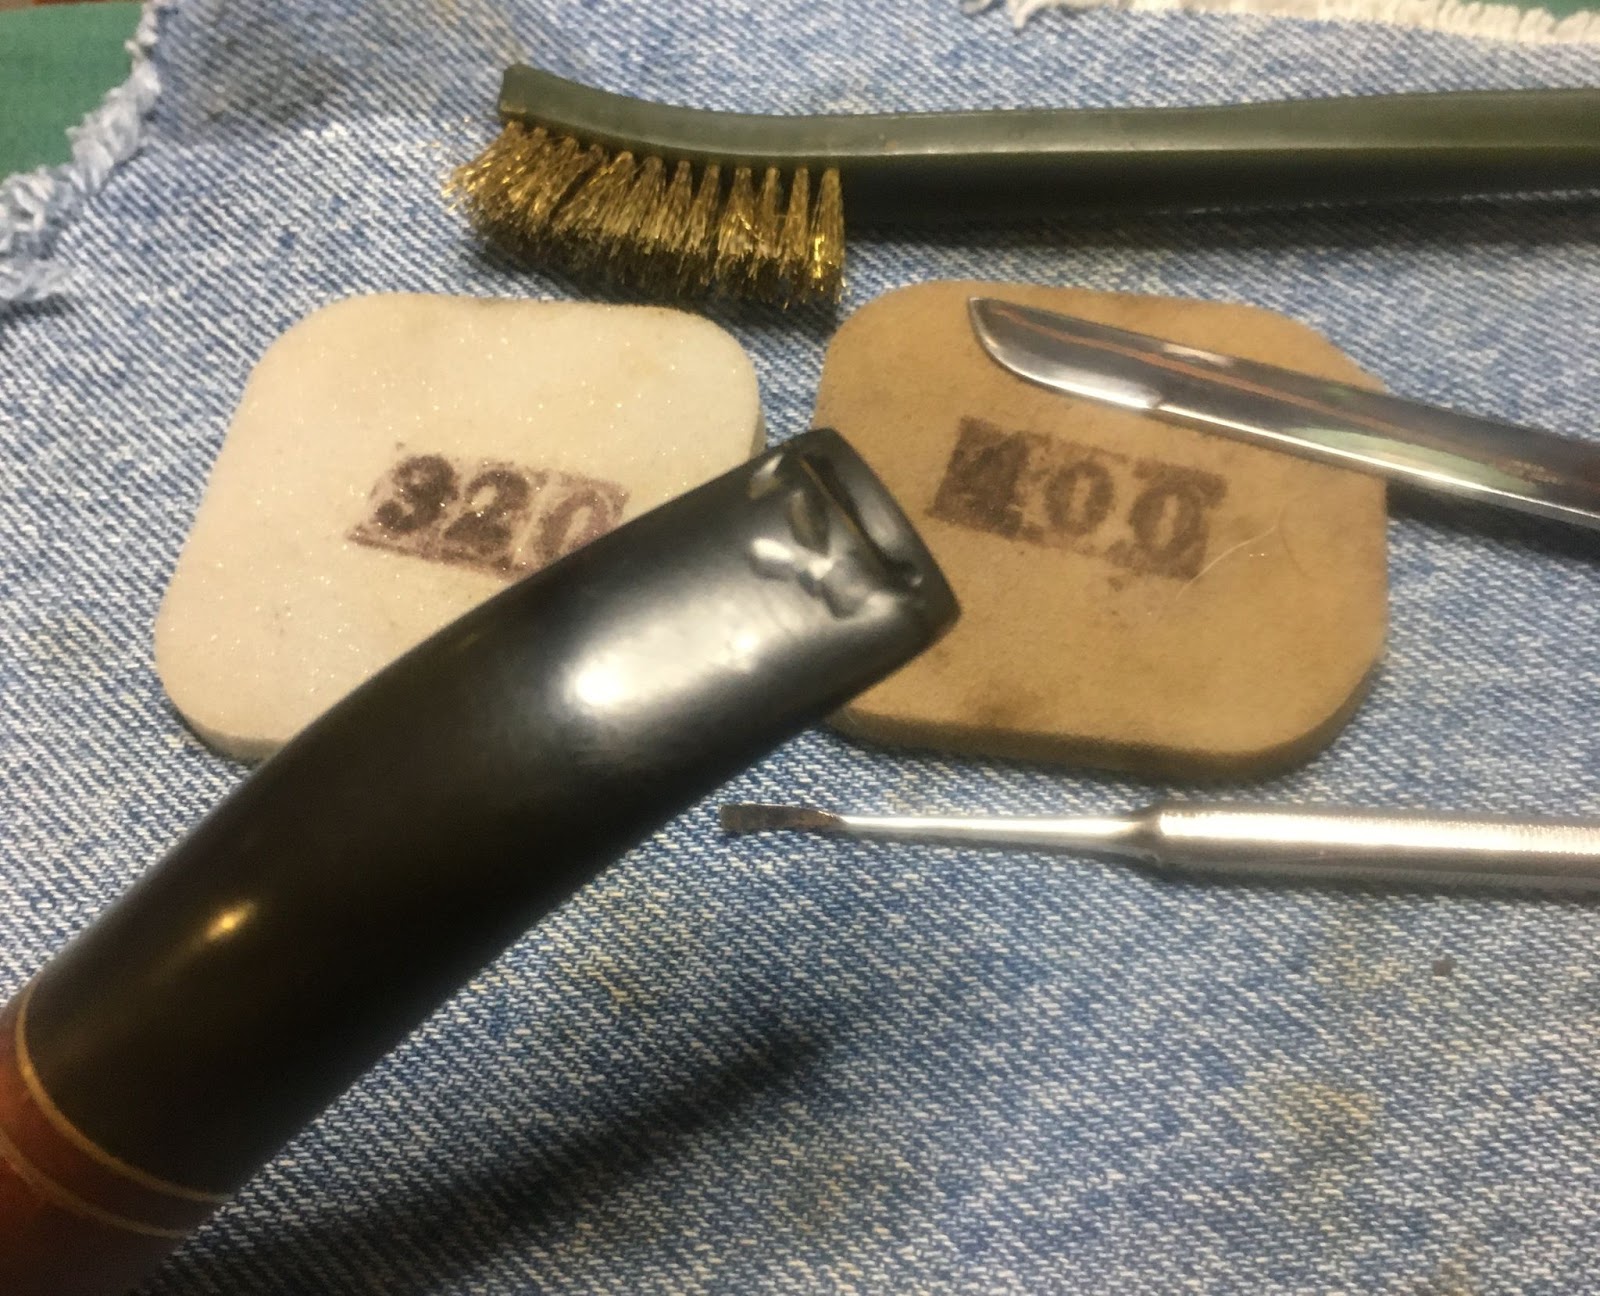
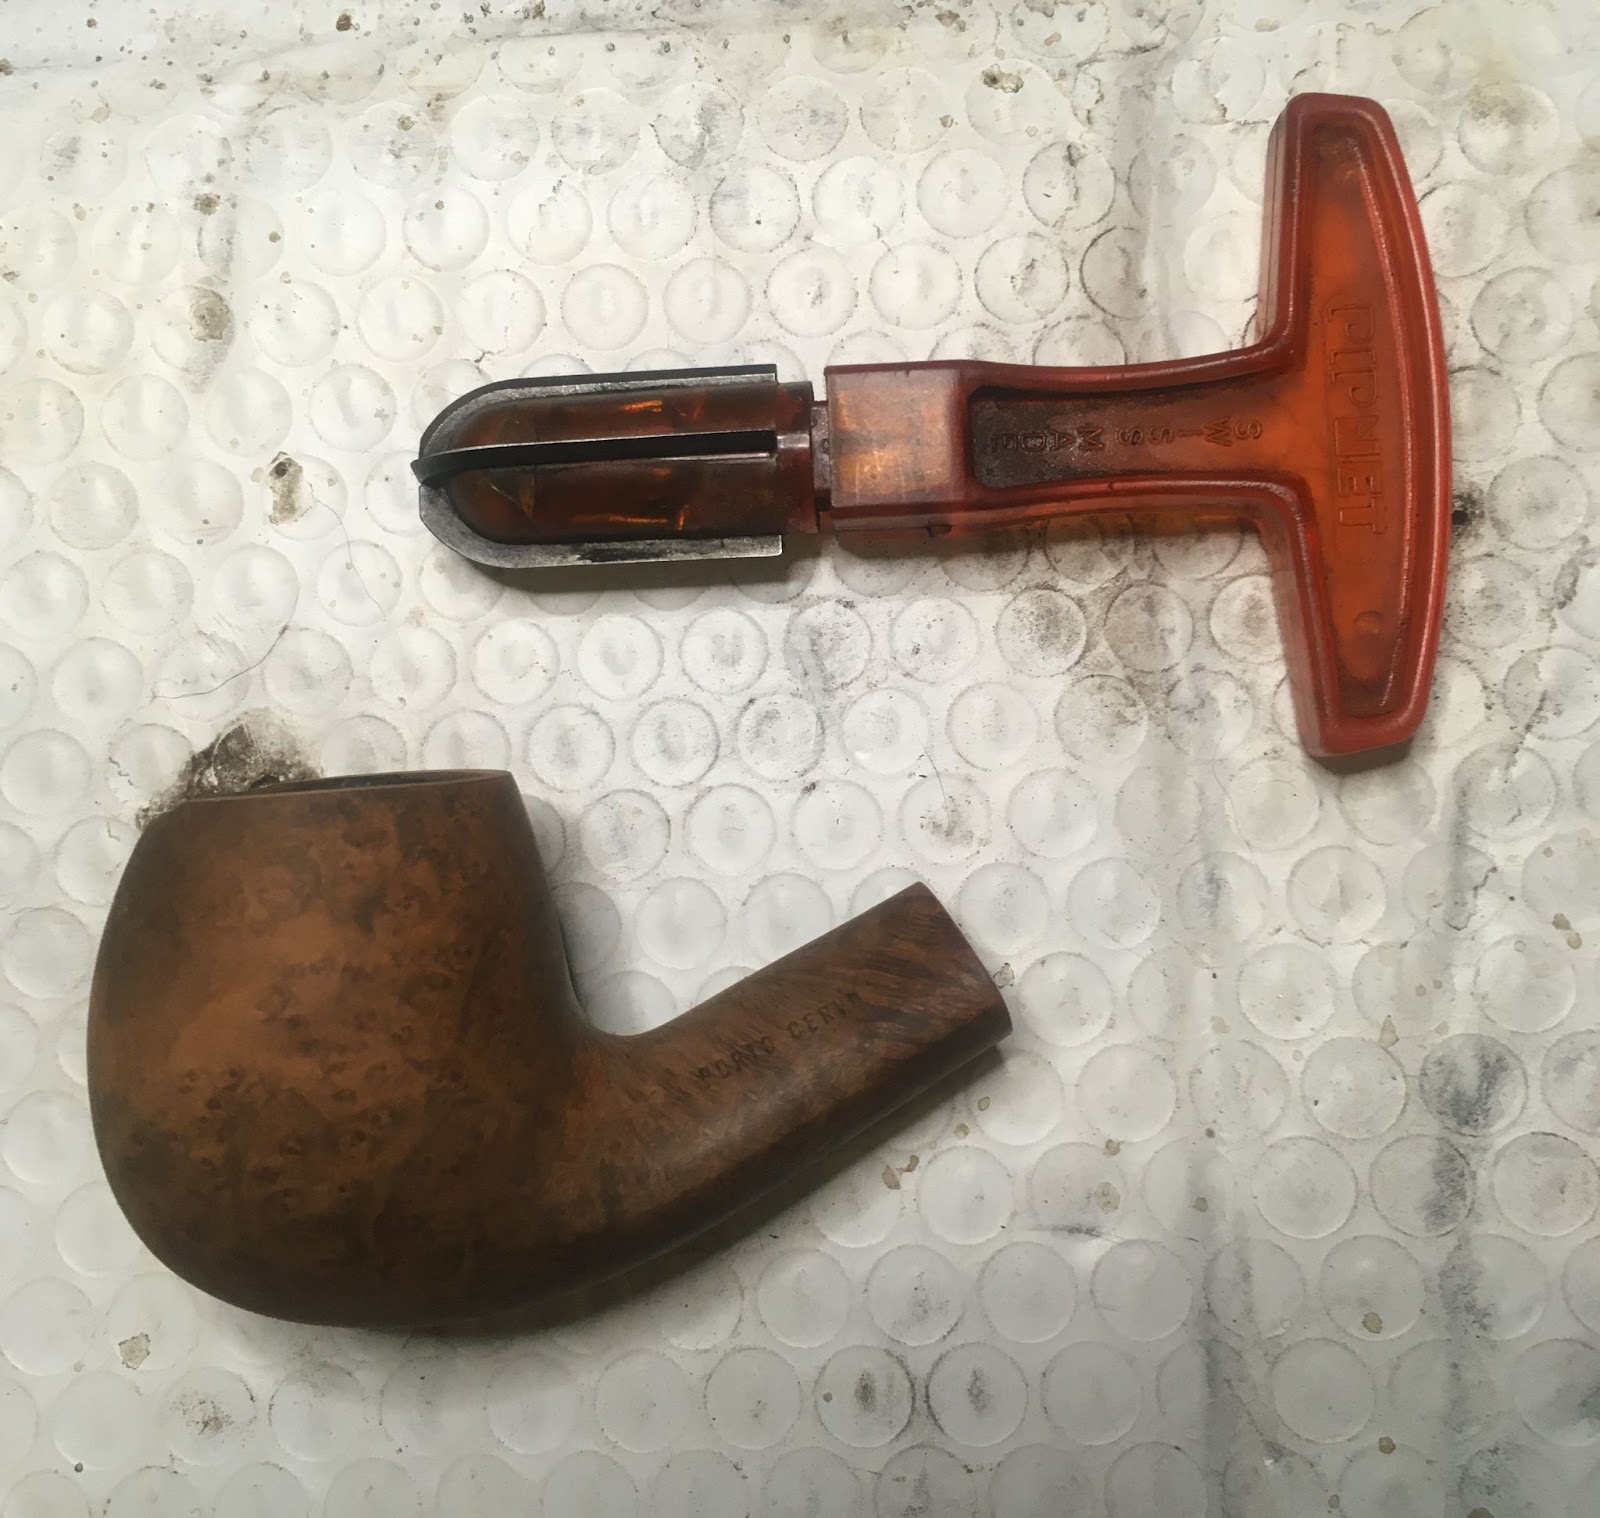
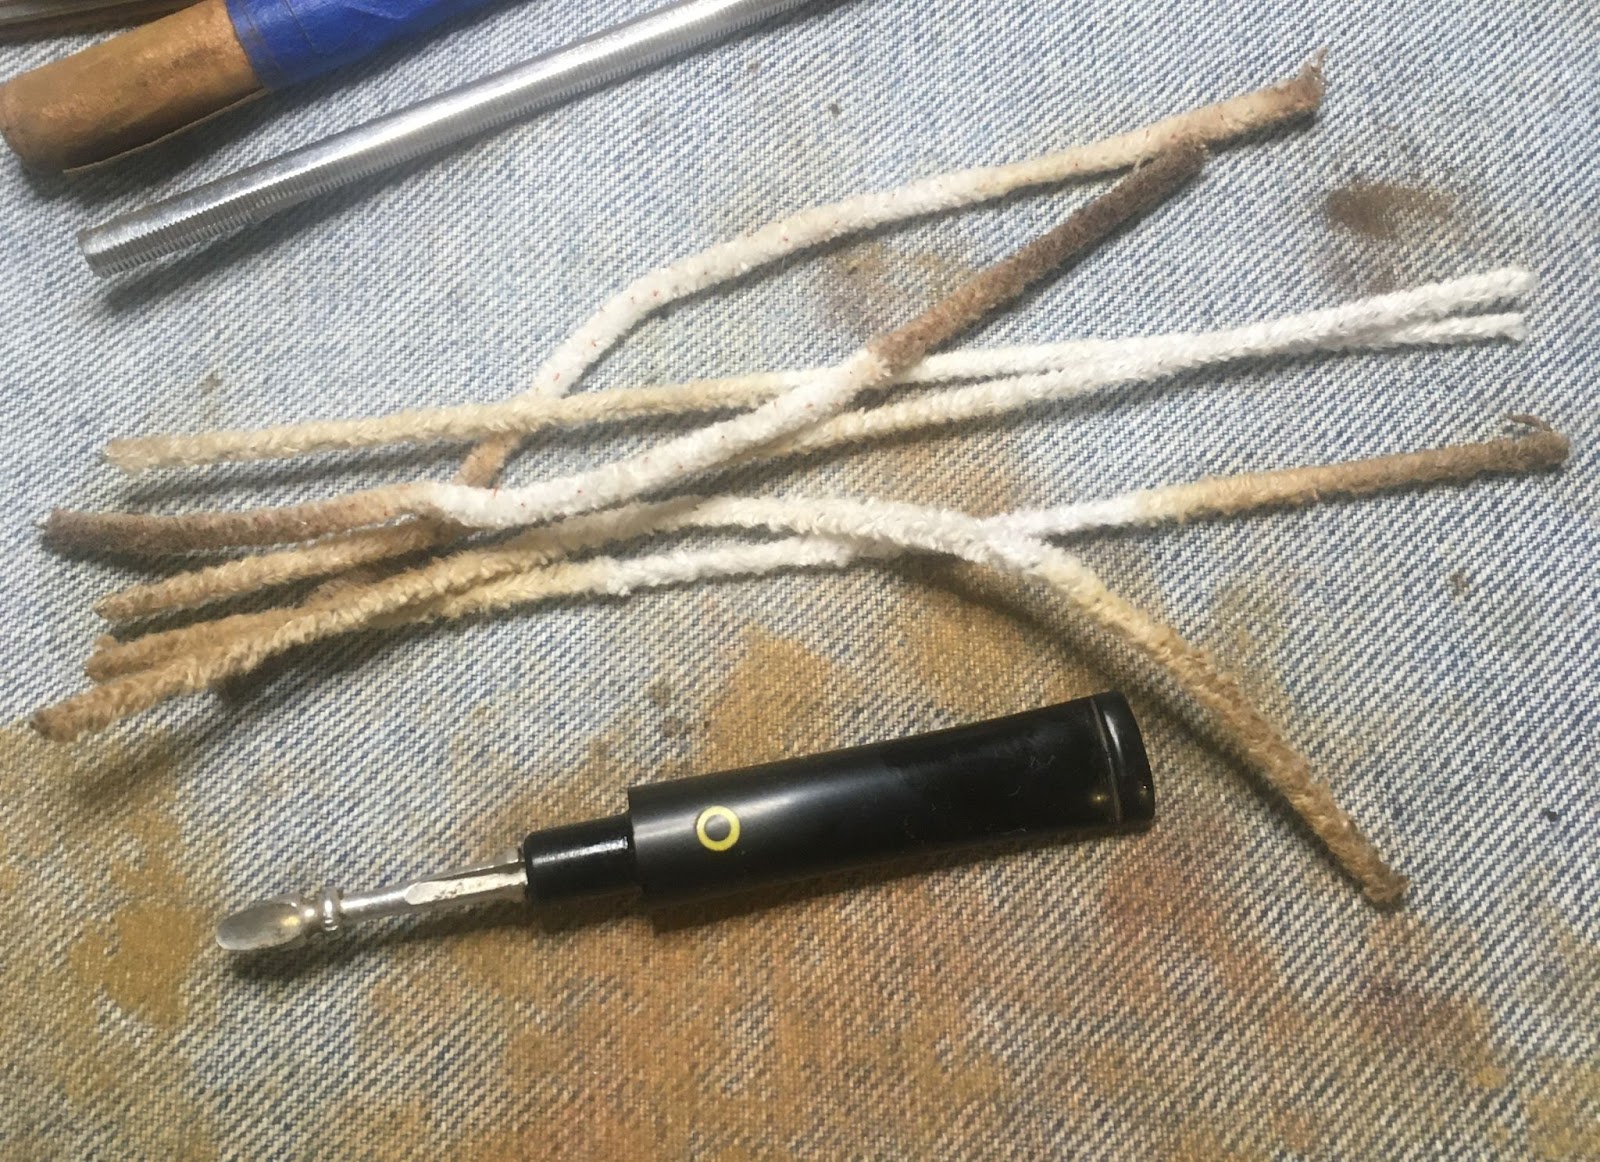
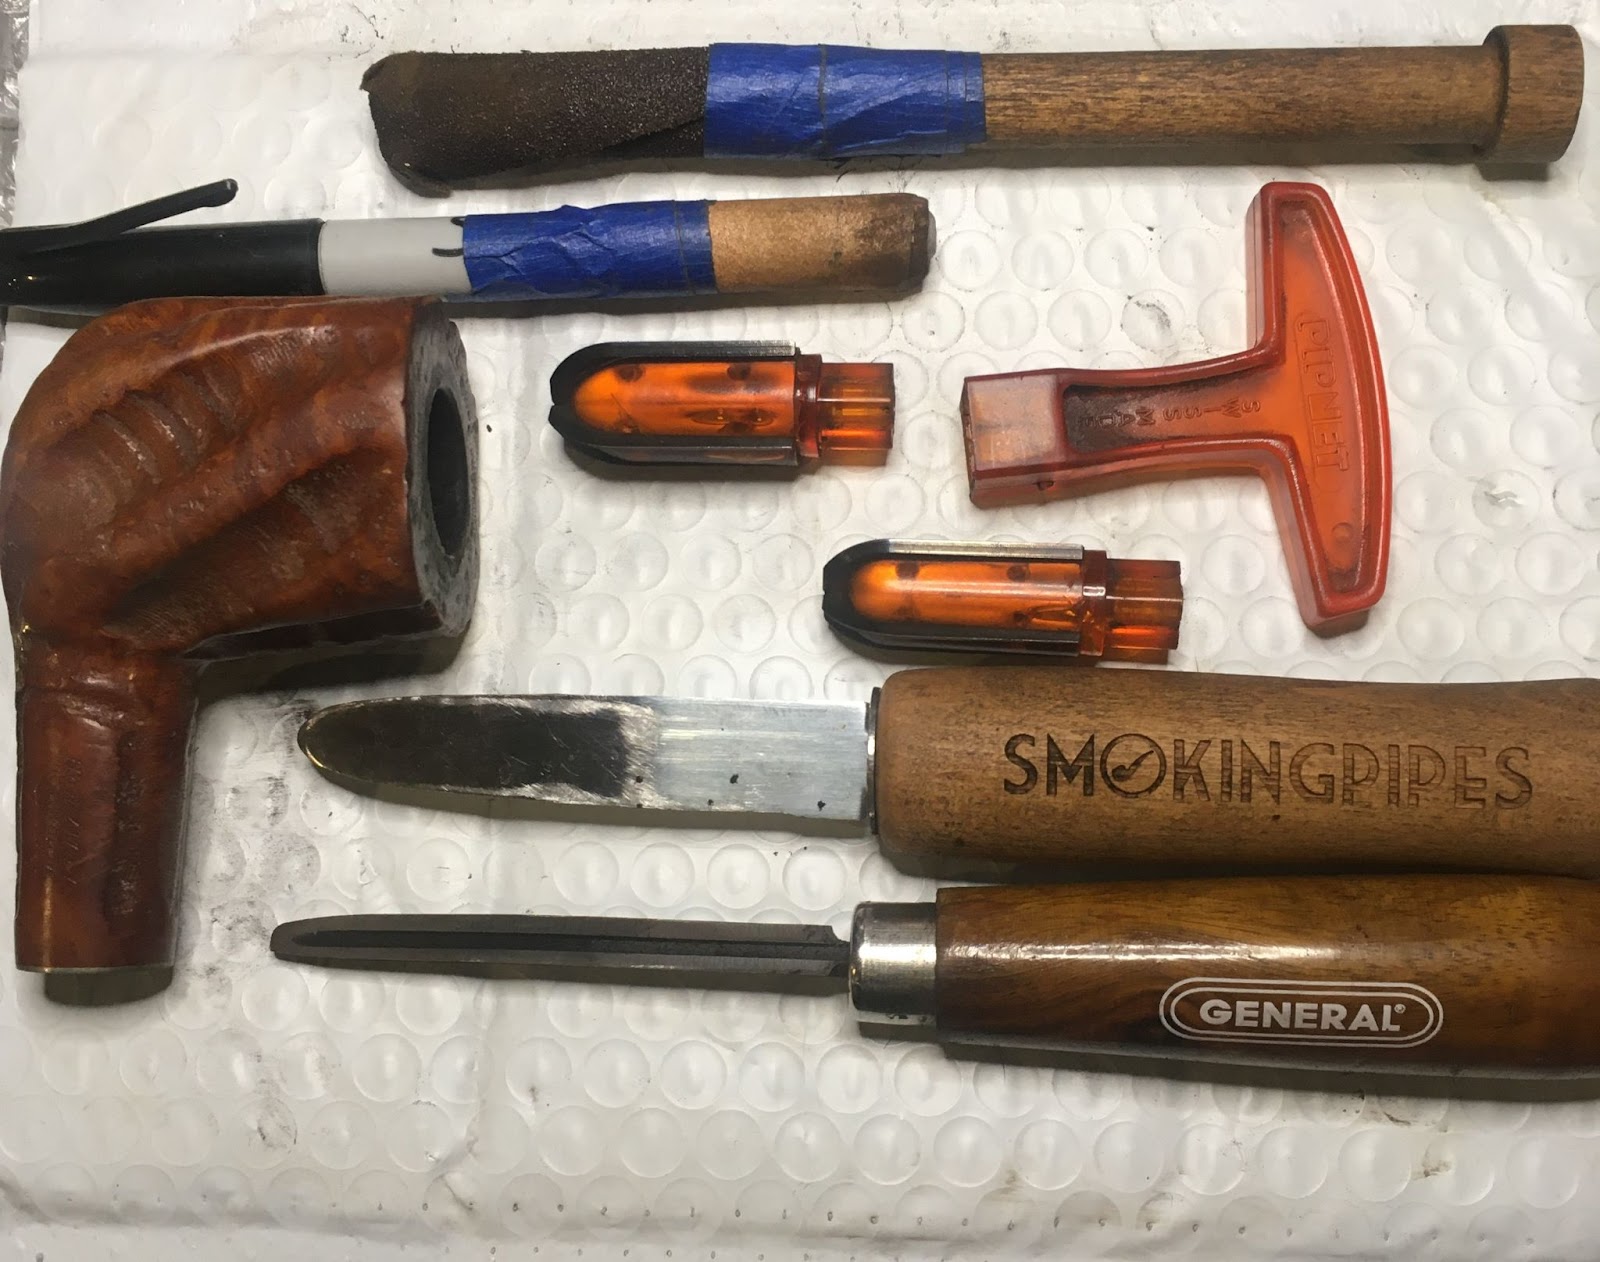
The reaming tools were gathered and set on the plastic coated envelope I use as a reaming surface.

As was typical of Marxman pipes, the cake was easily separated from the briar. I do not know why this is the case but it does make Marxman pipes easy to ream.

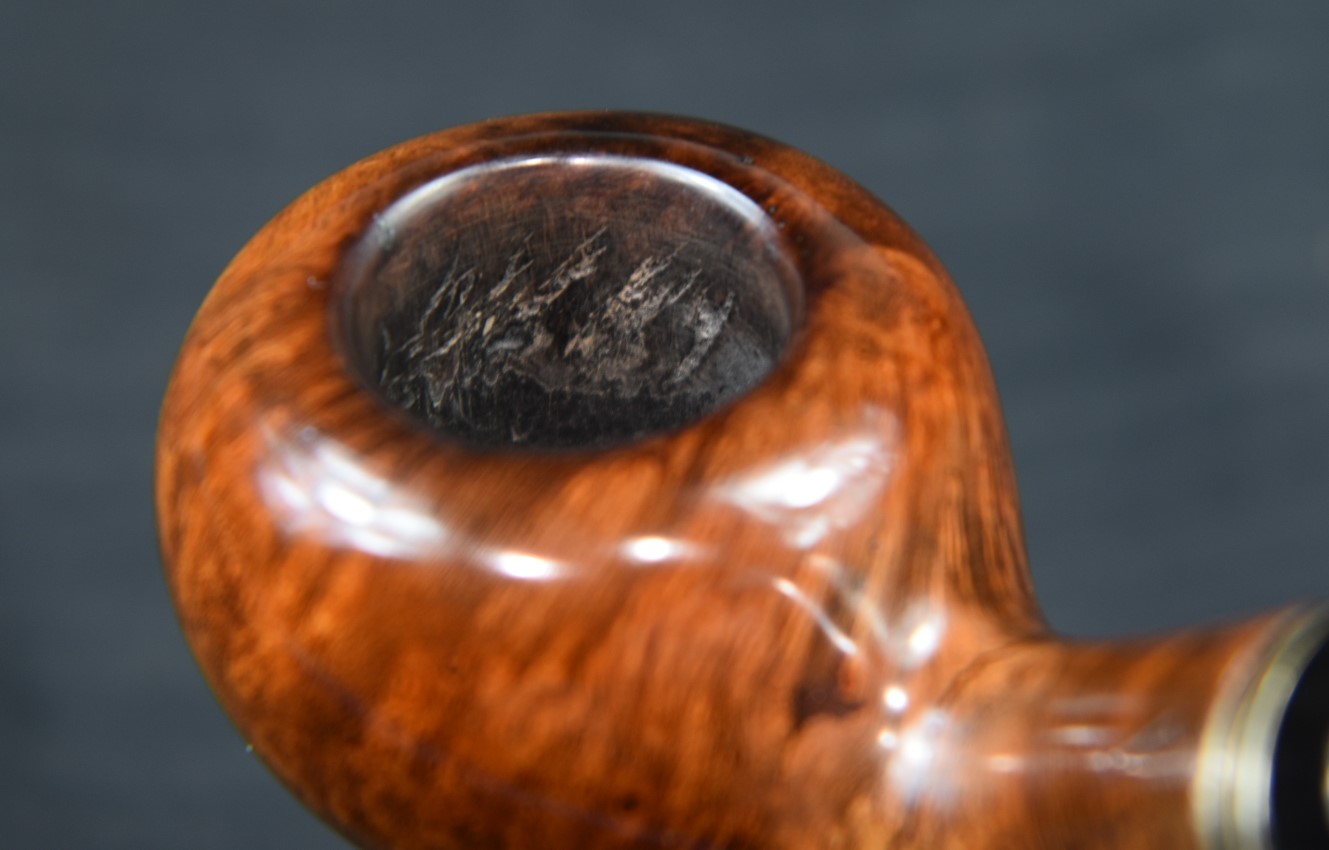
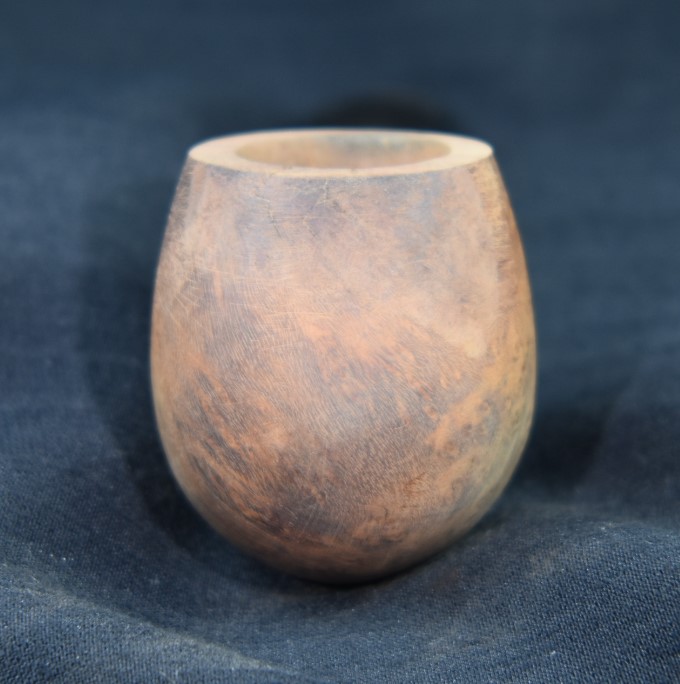
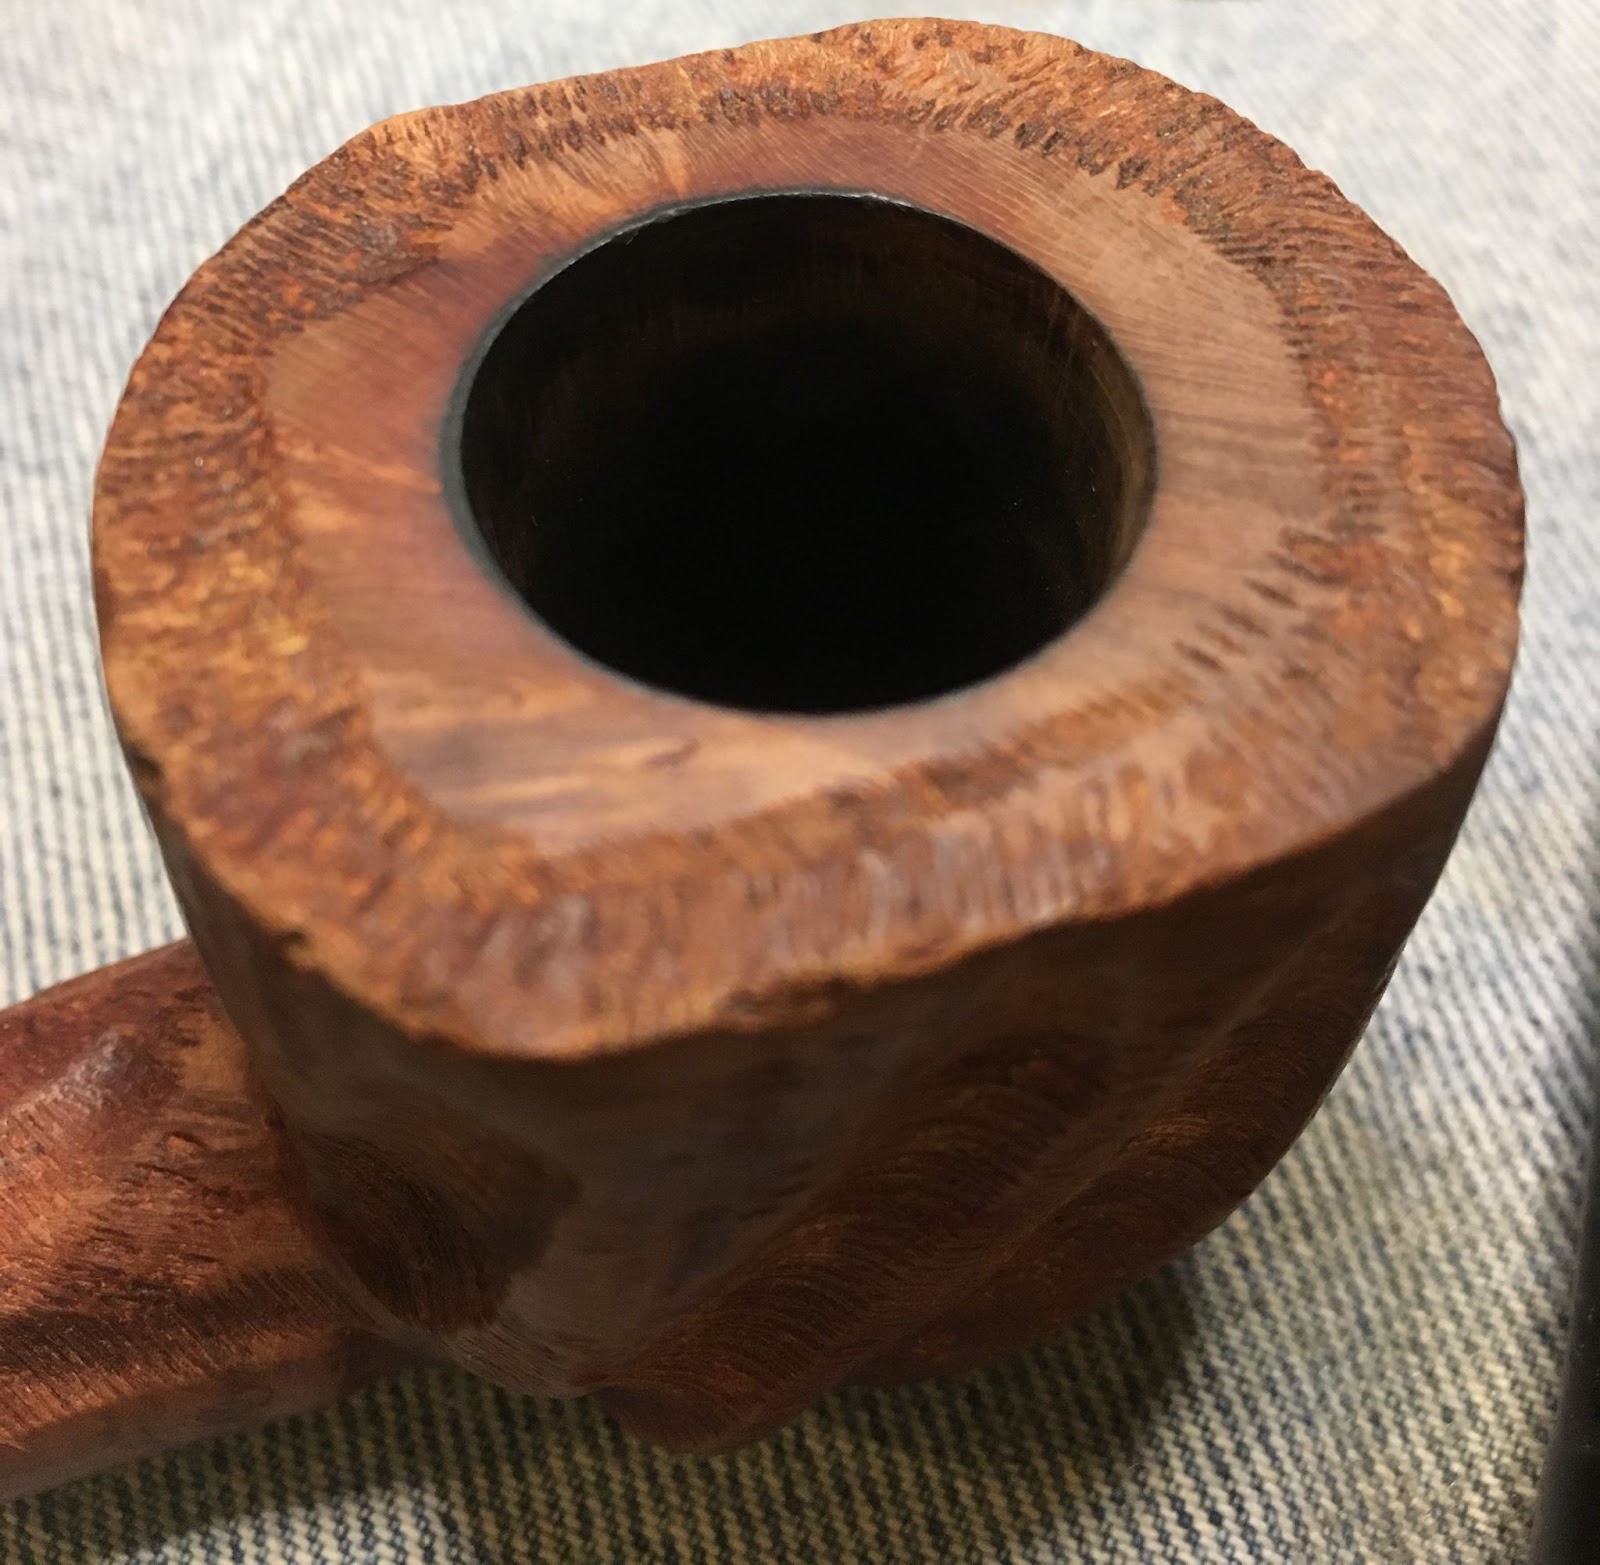
The chamber needed little scraping and was sanded with 220 sandpaper wrapped around a wood dowel and finished with 320 sandpaper wrapped around a Sharpie marker. The bare briar was exposed and was undamaged by use.

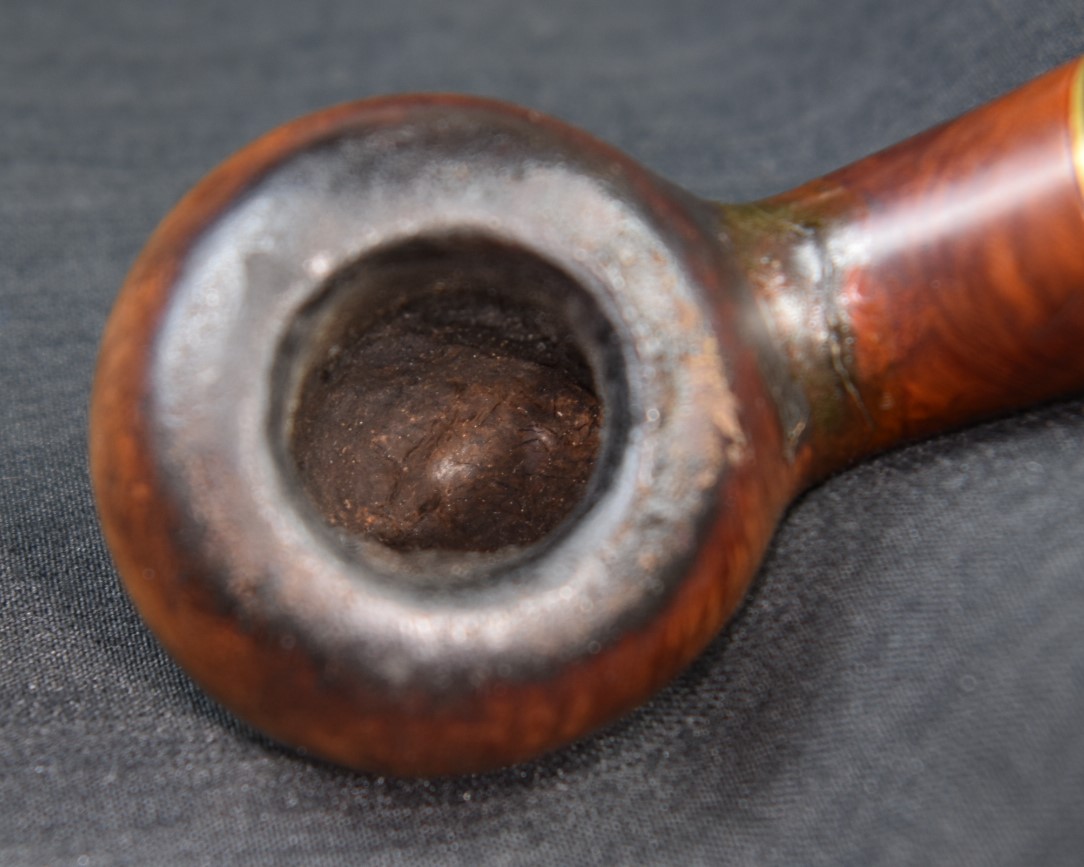
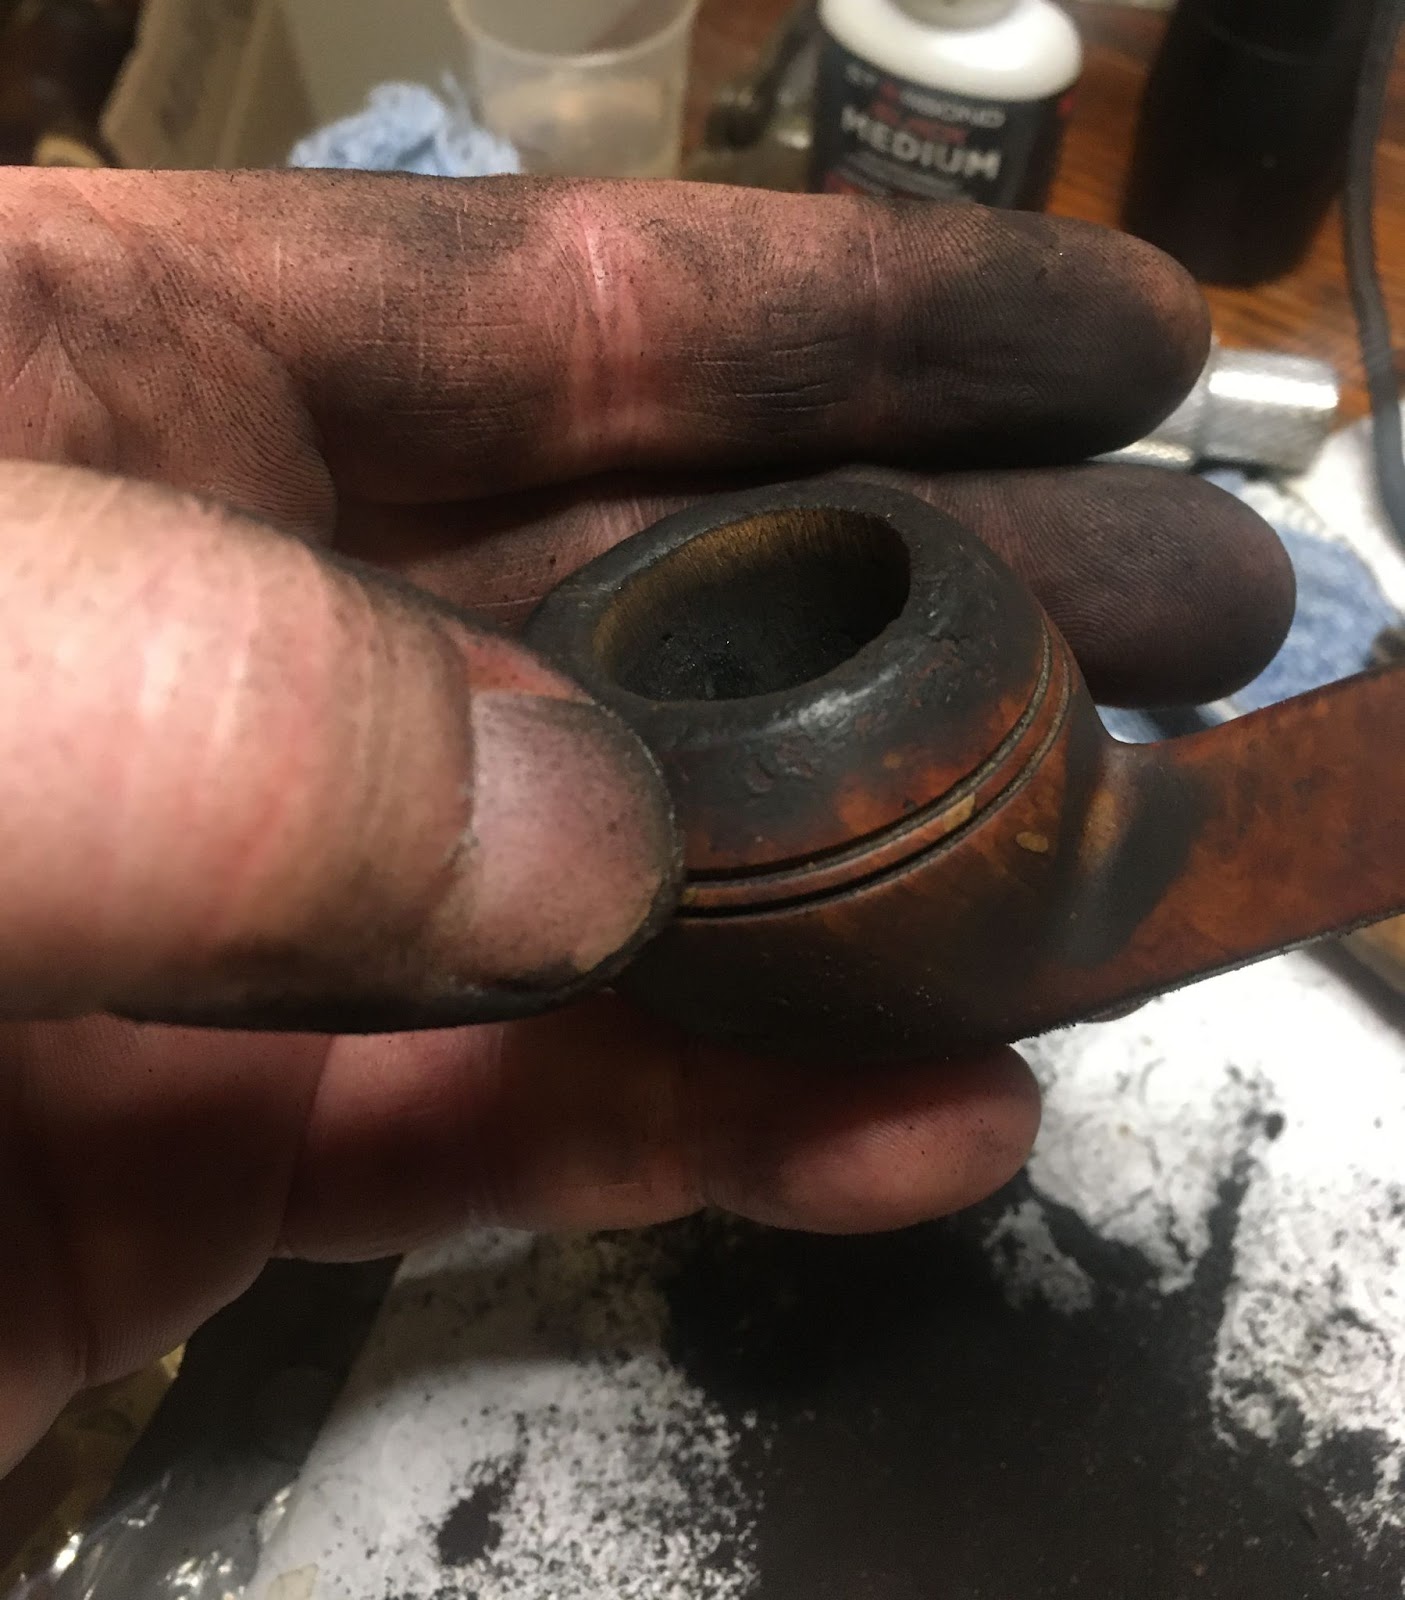
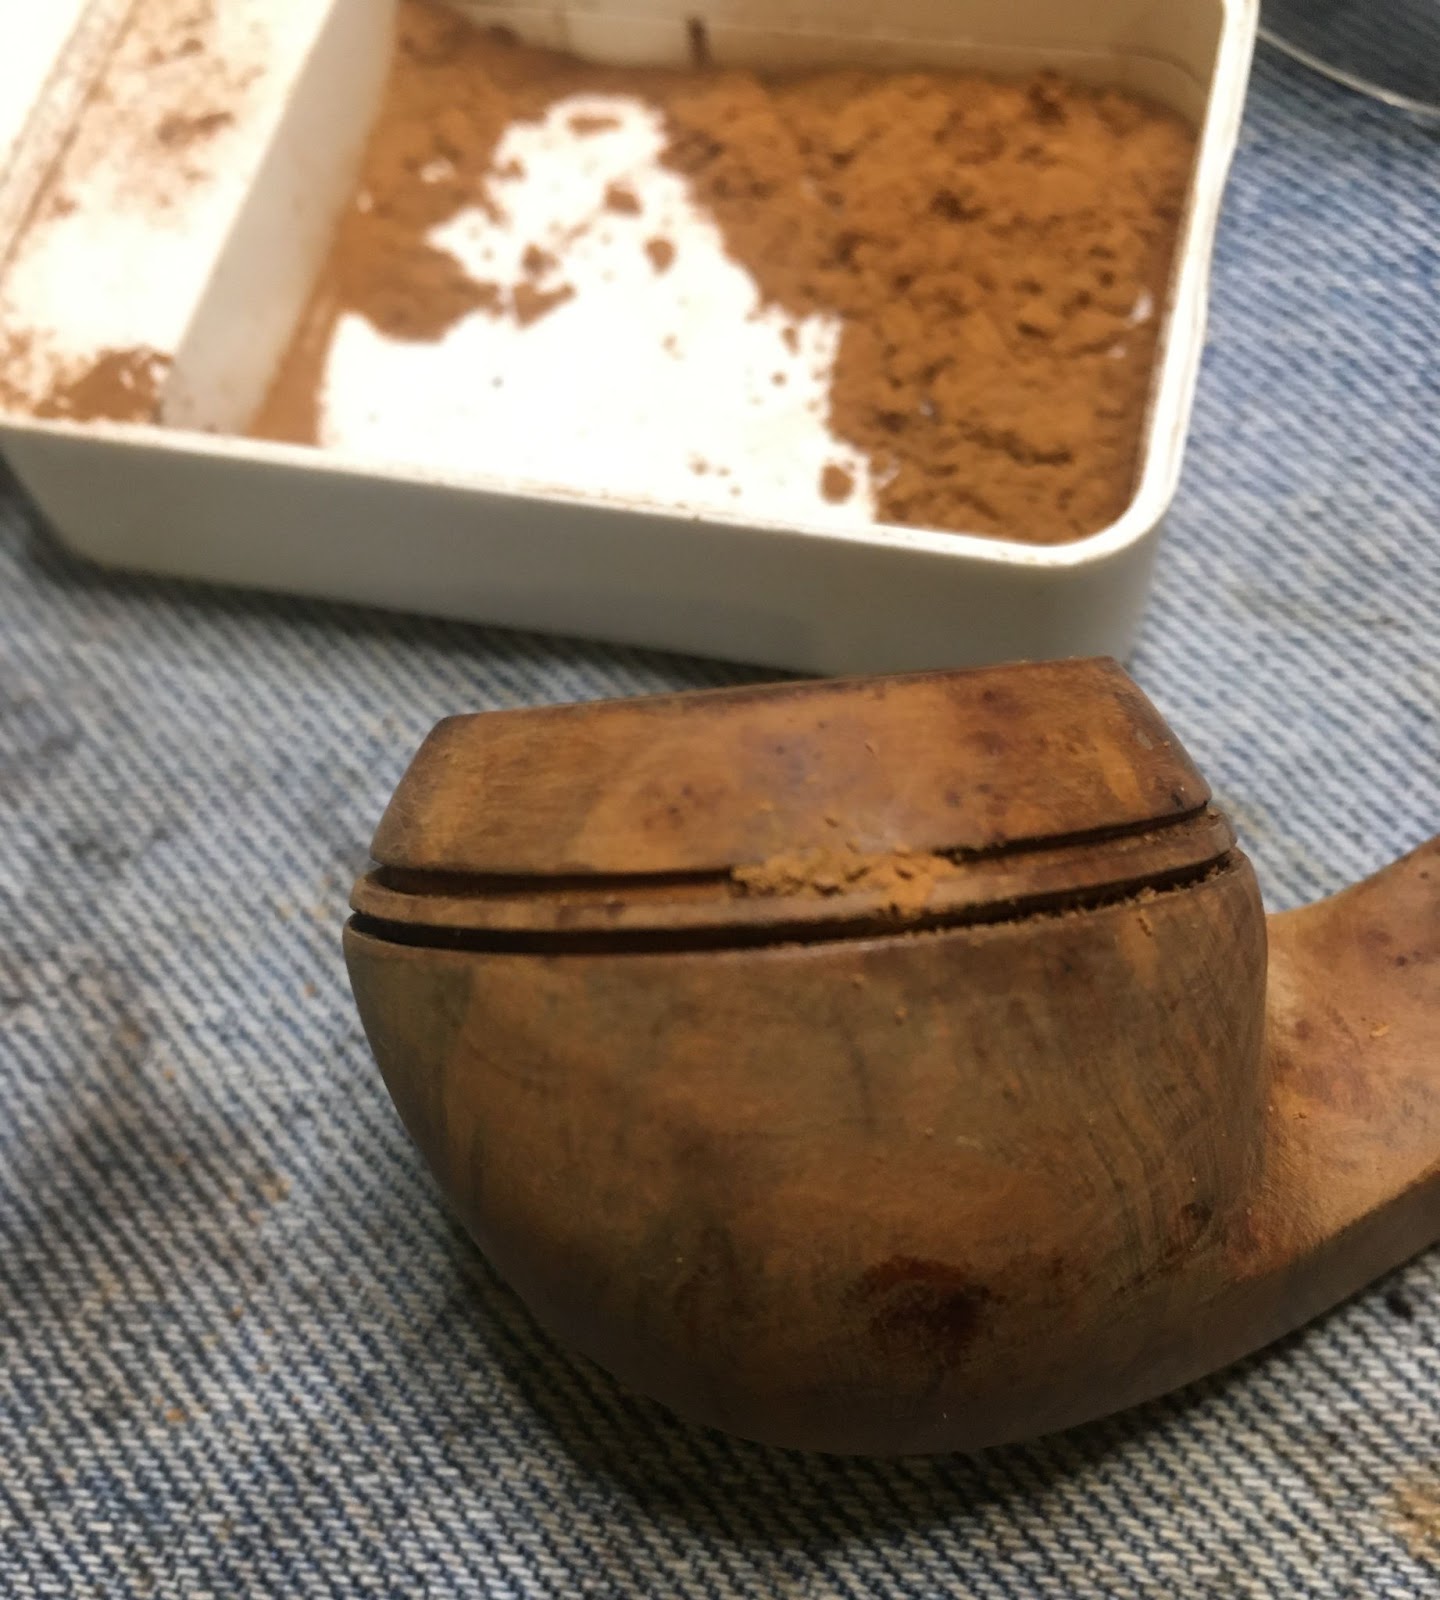
I then scraped the lava deposits from the rim with a sharp pocket knife.

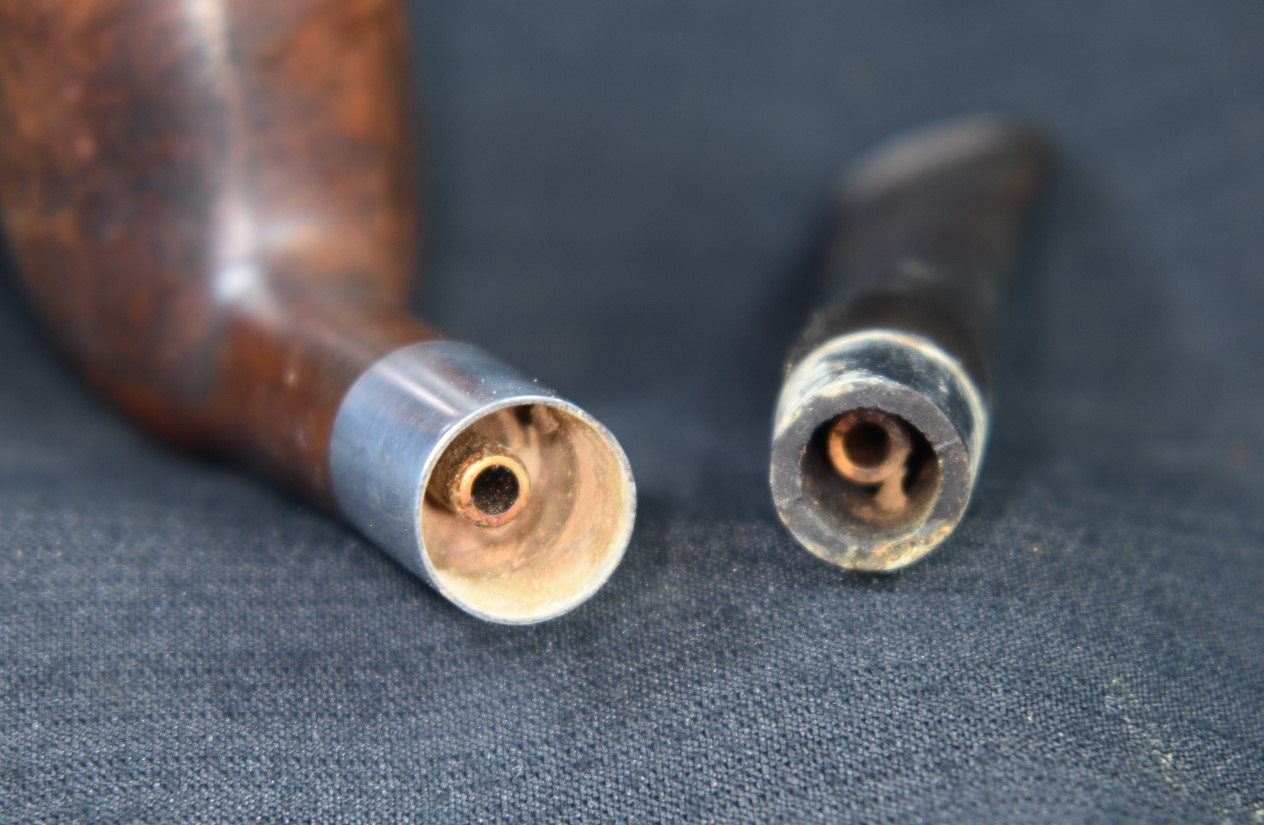
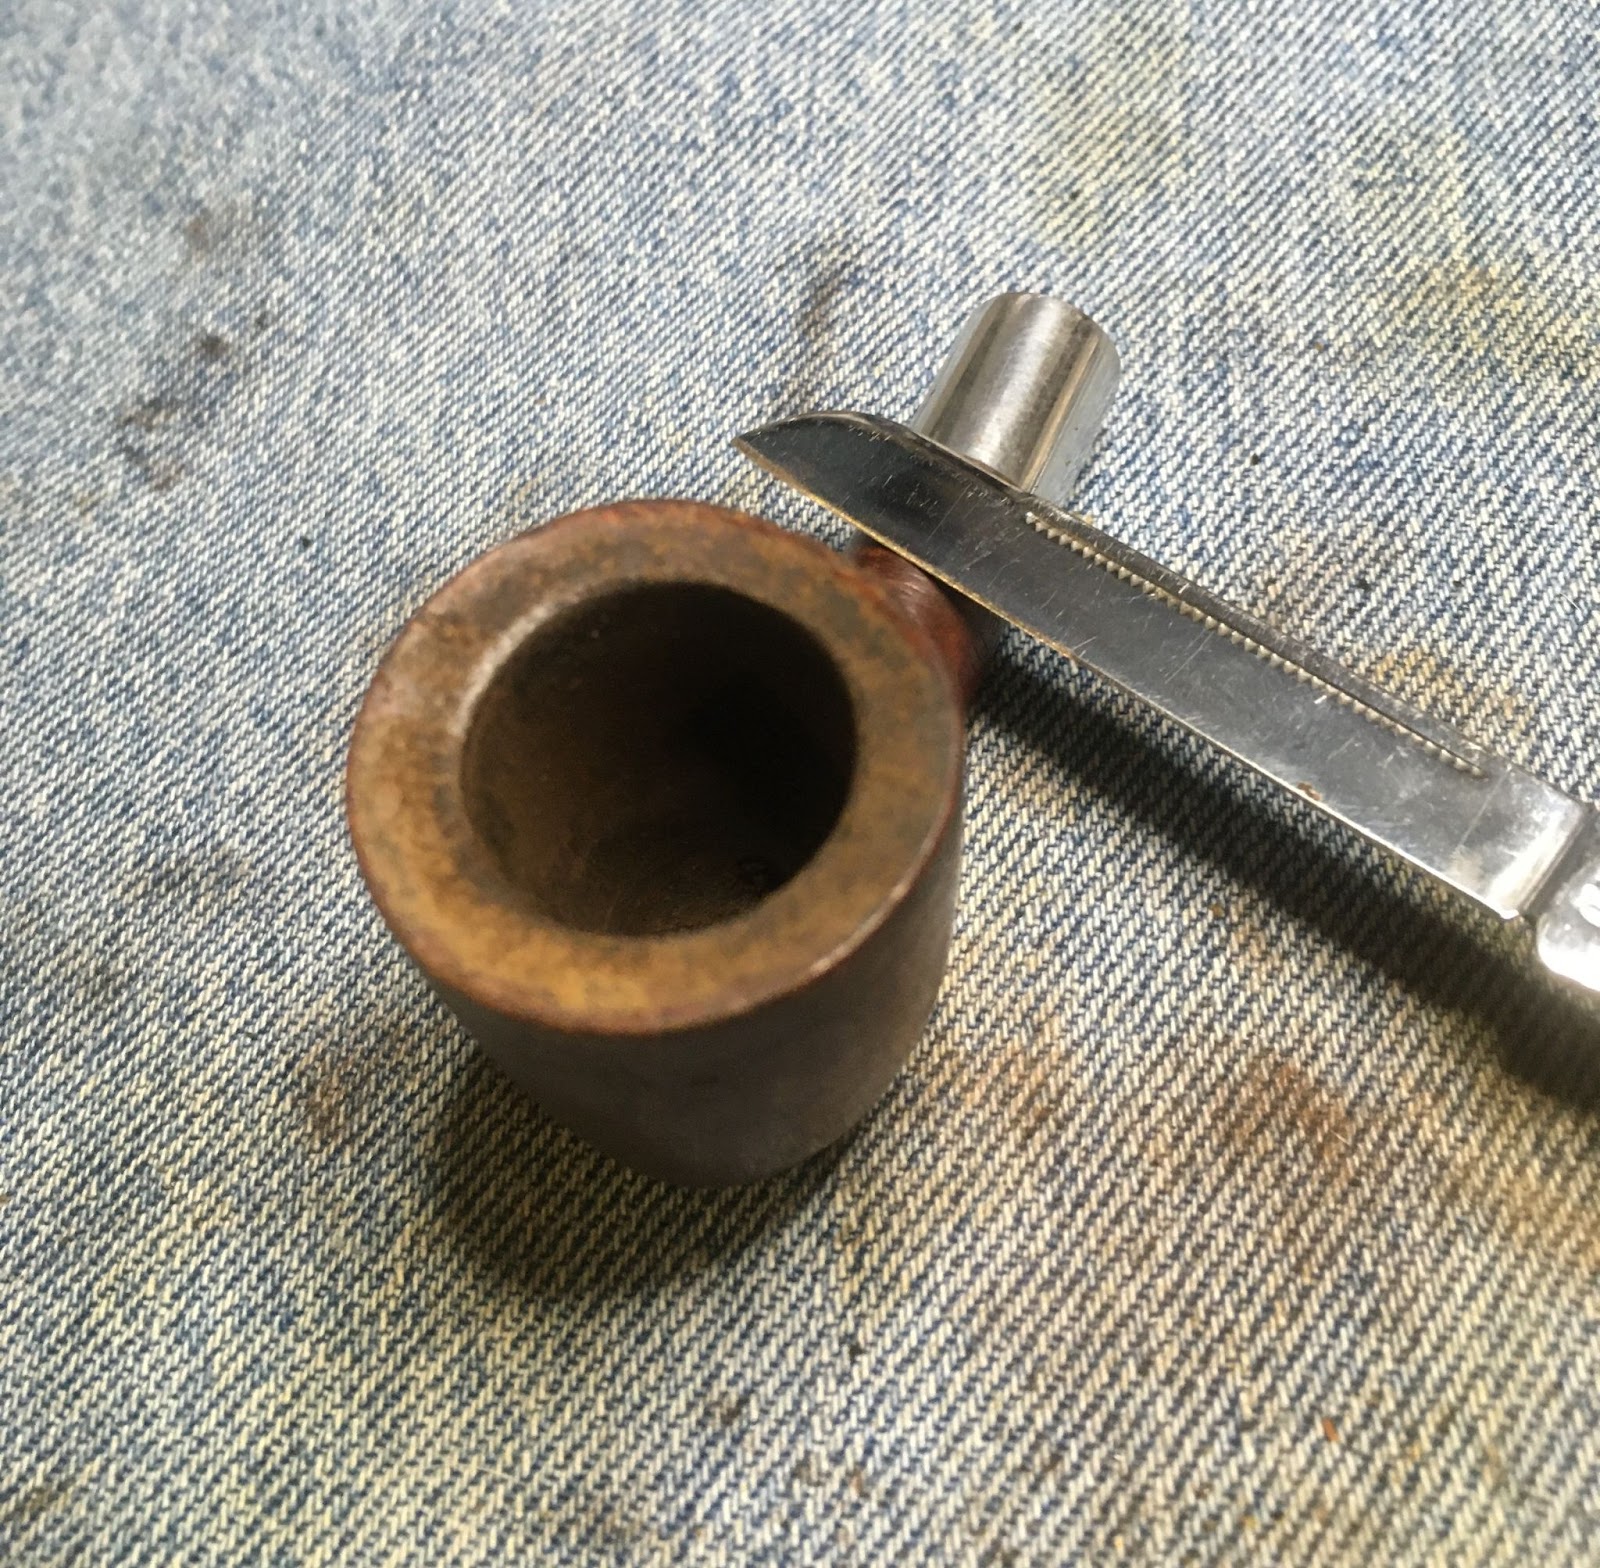
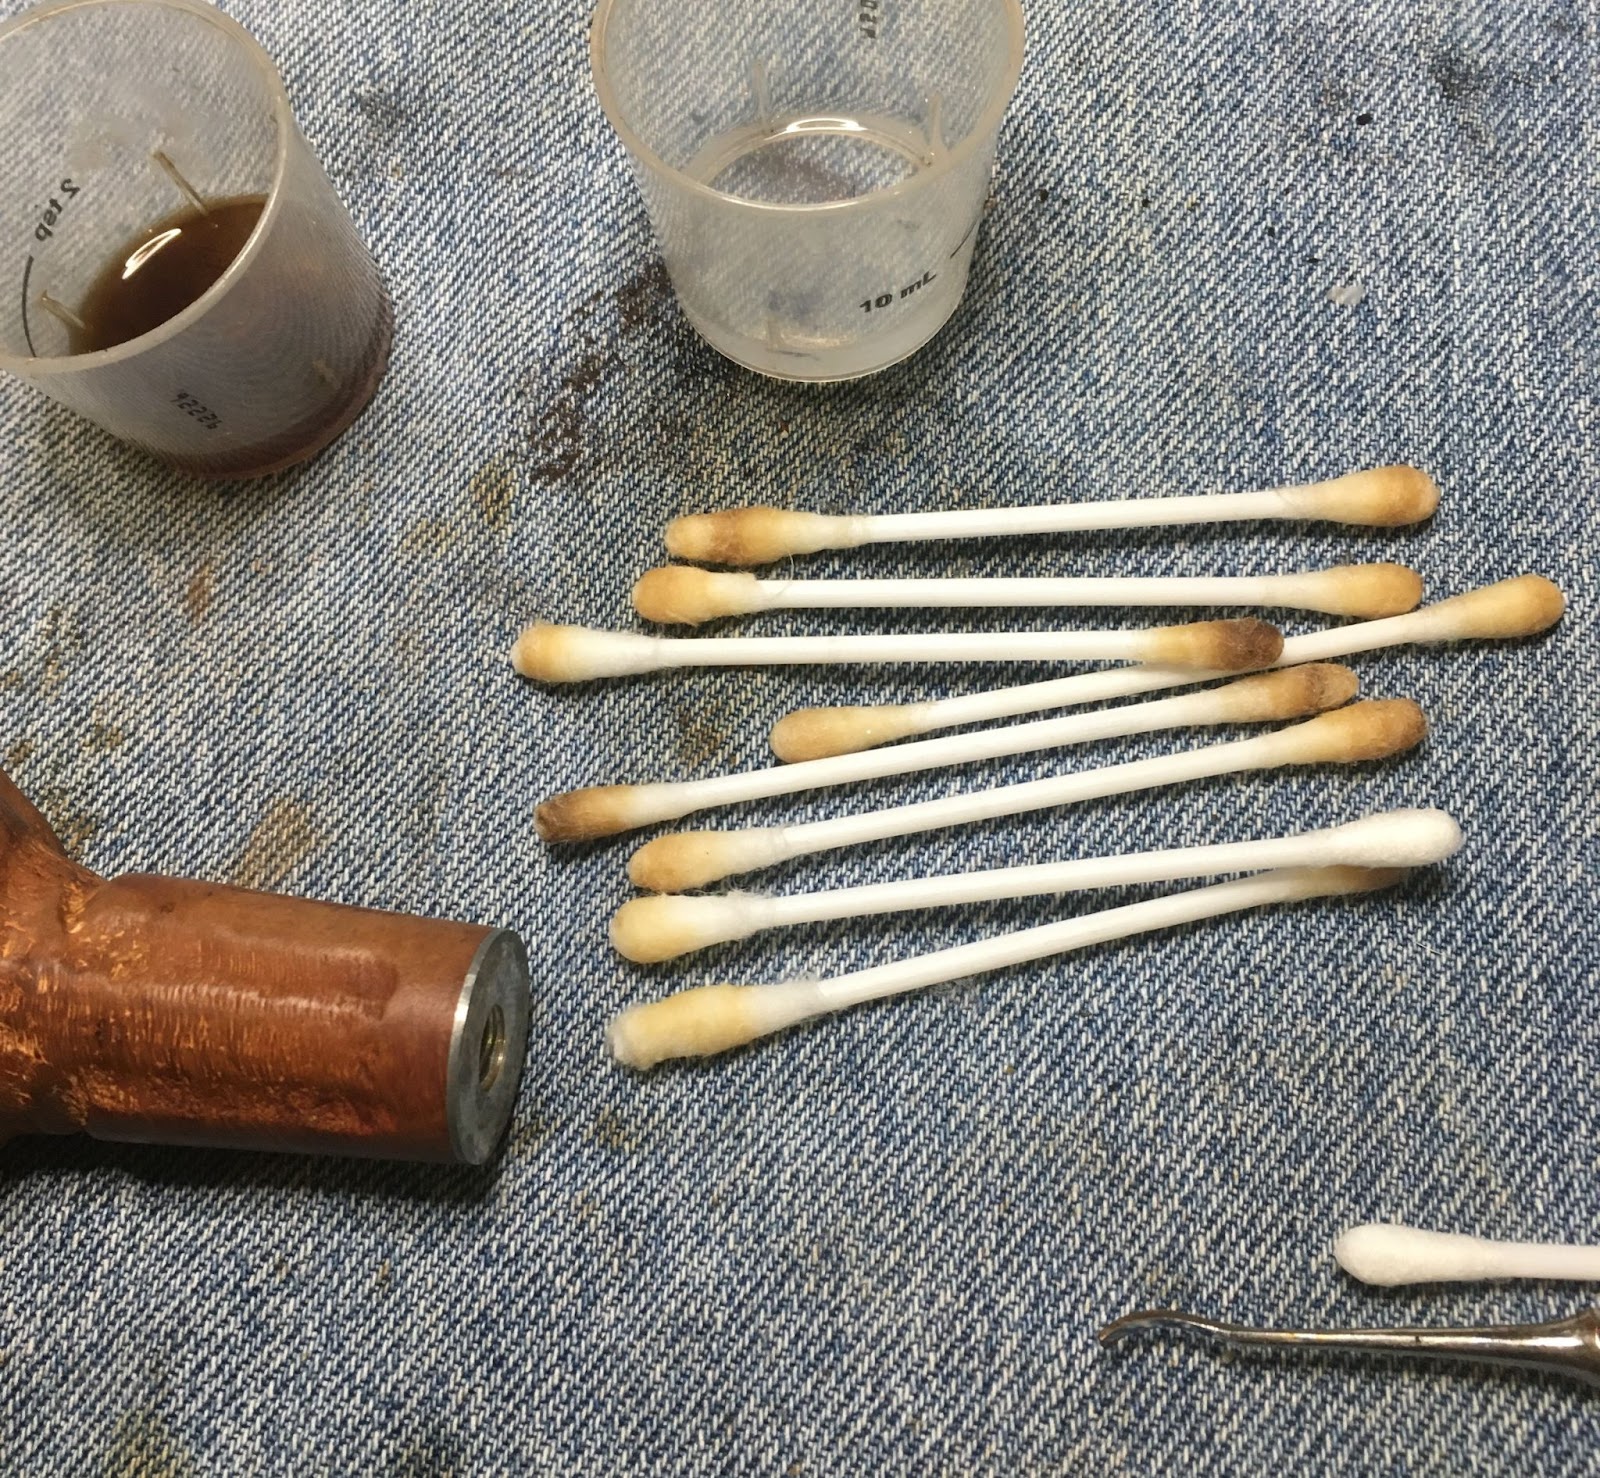
At this point I wanted to see how fouled the airway of the shank was. I dipped a cotton swab into the 95% ethyl alcohol and scrubbed around the airway. It came back blackened with smoking residue. I figured that I would deal with that after the stummel had been scrubbed.

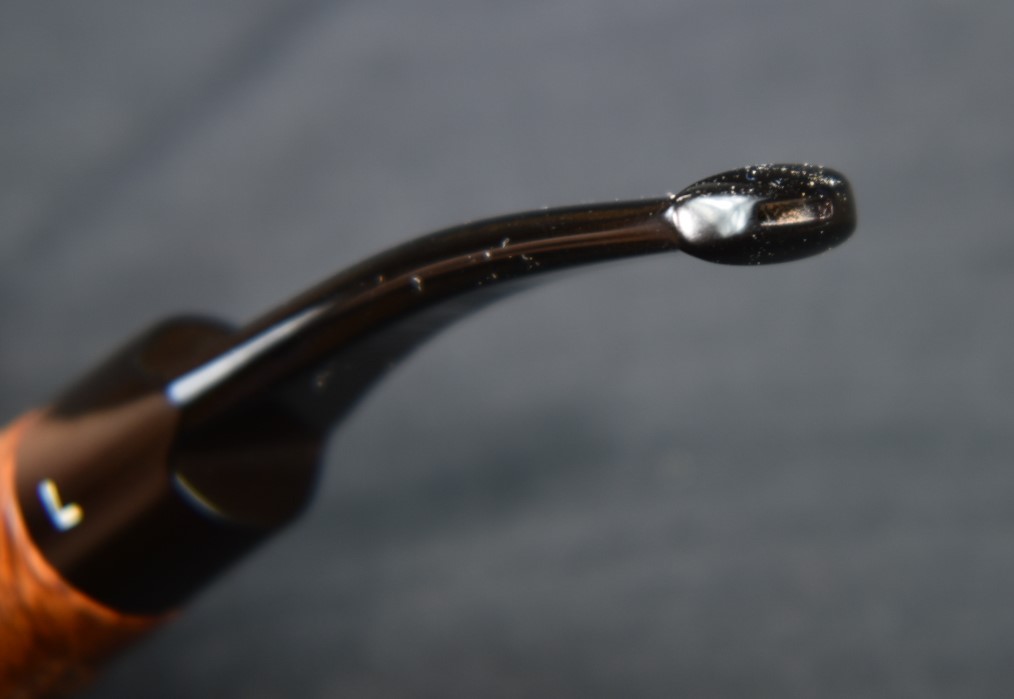
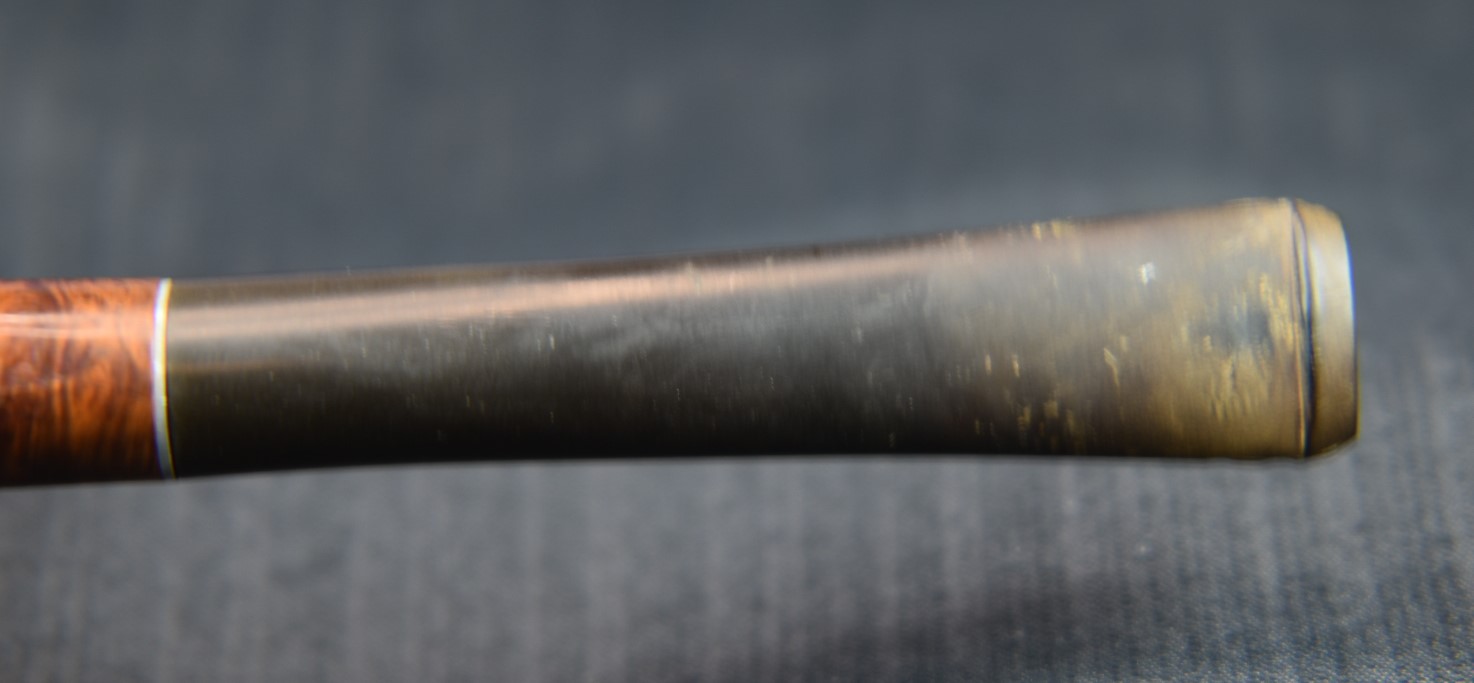
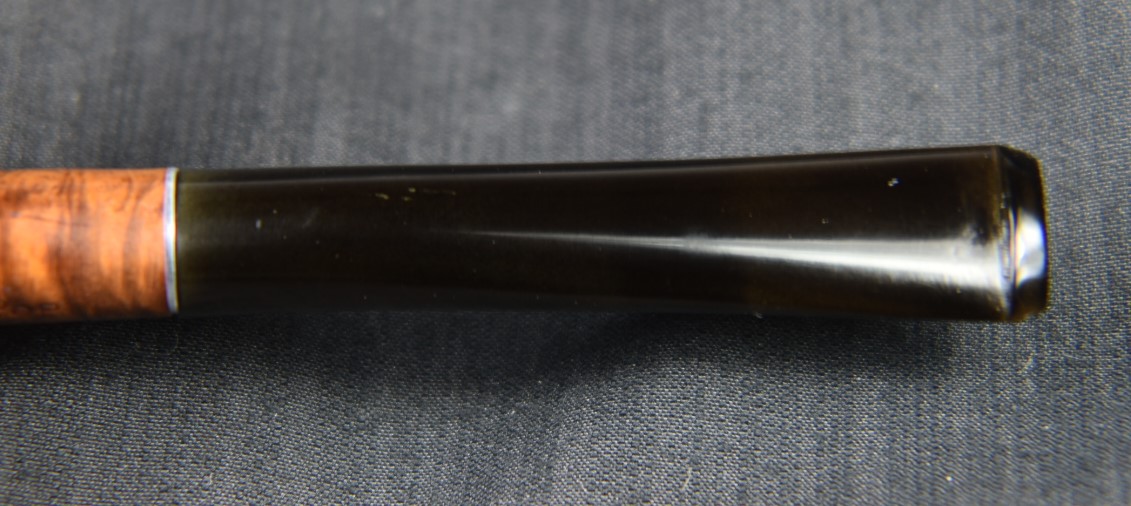
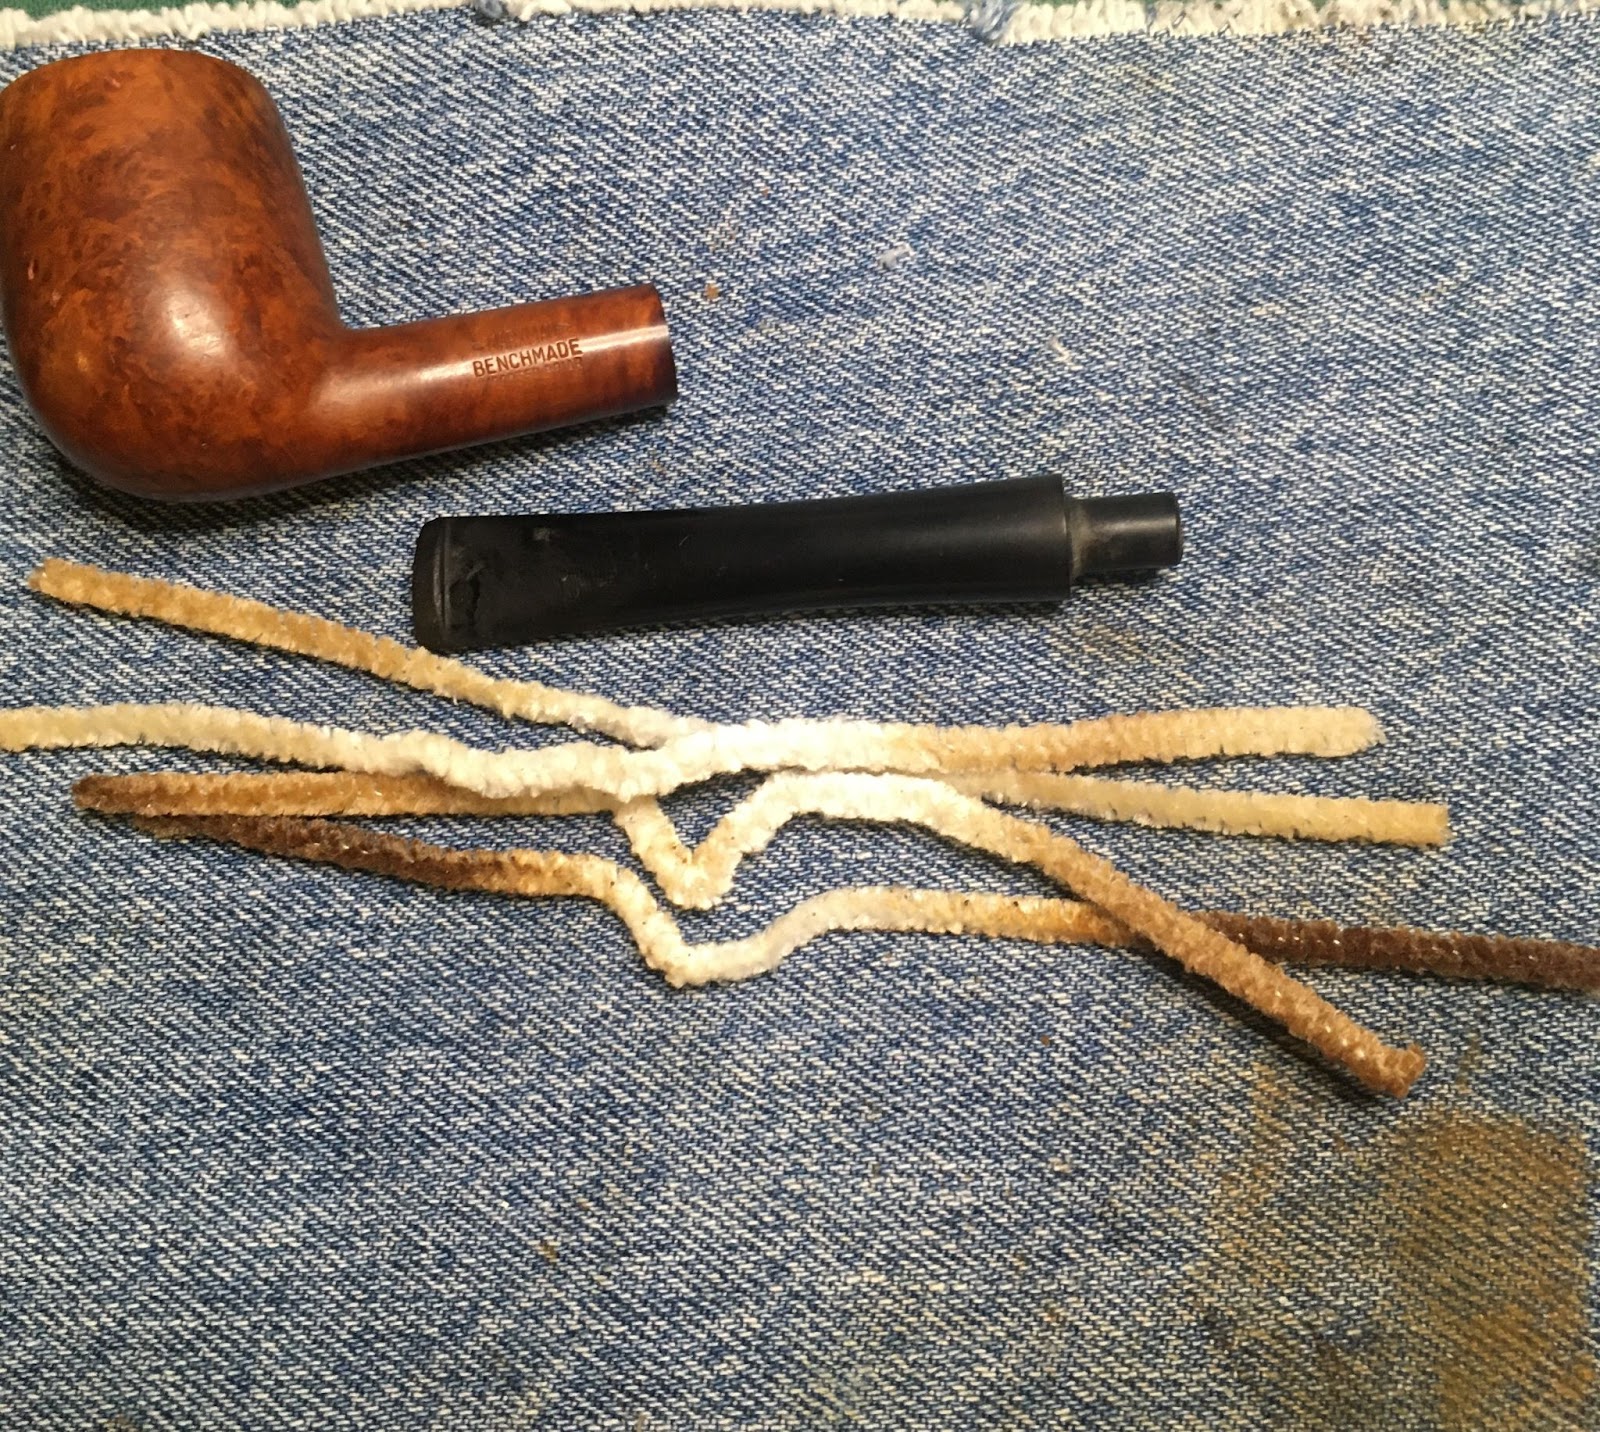
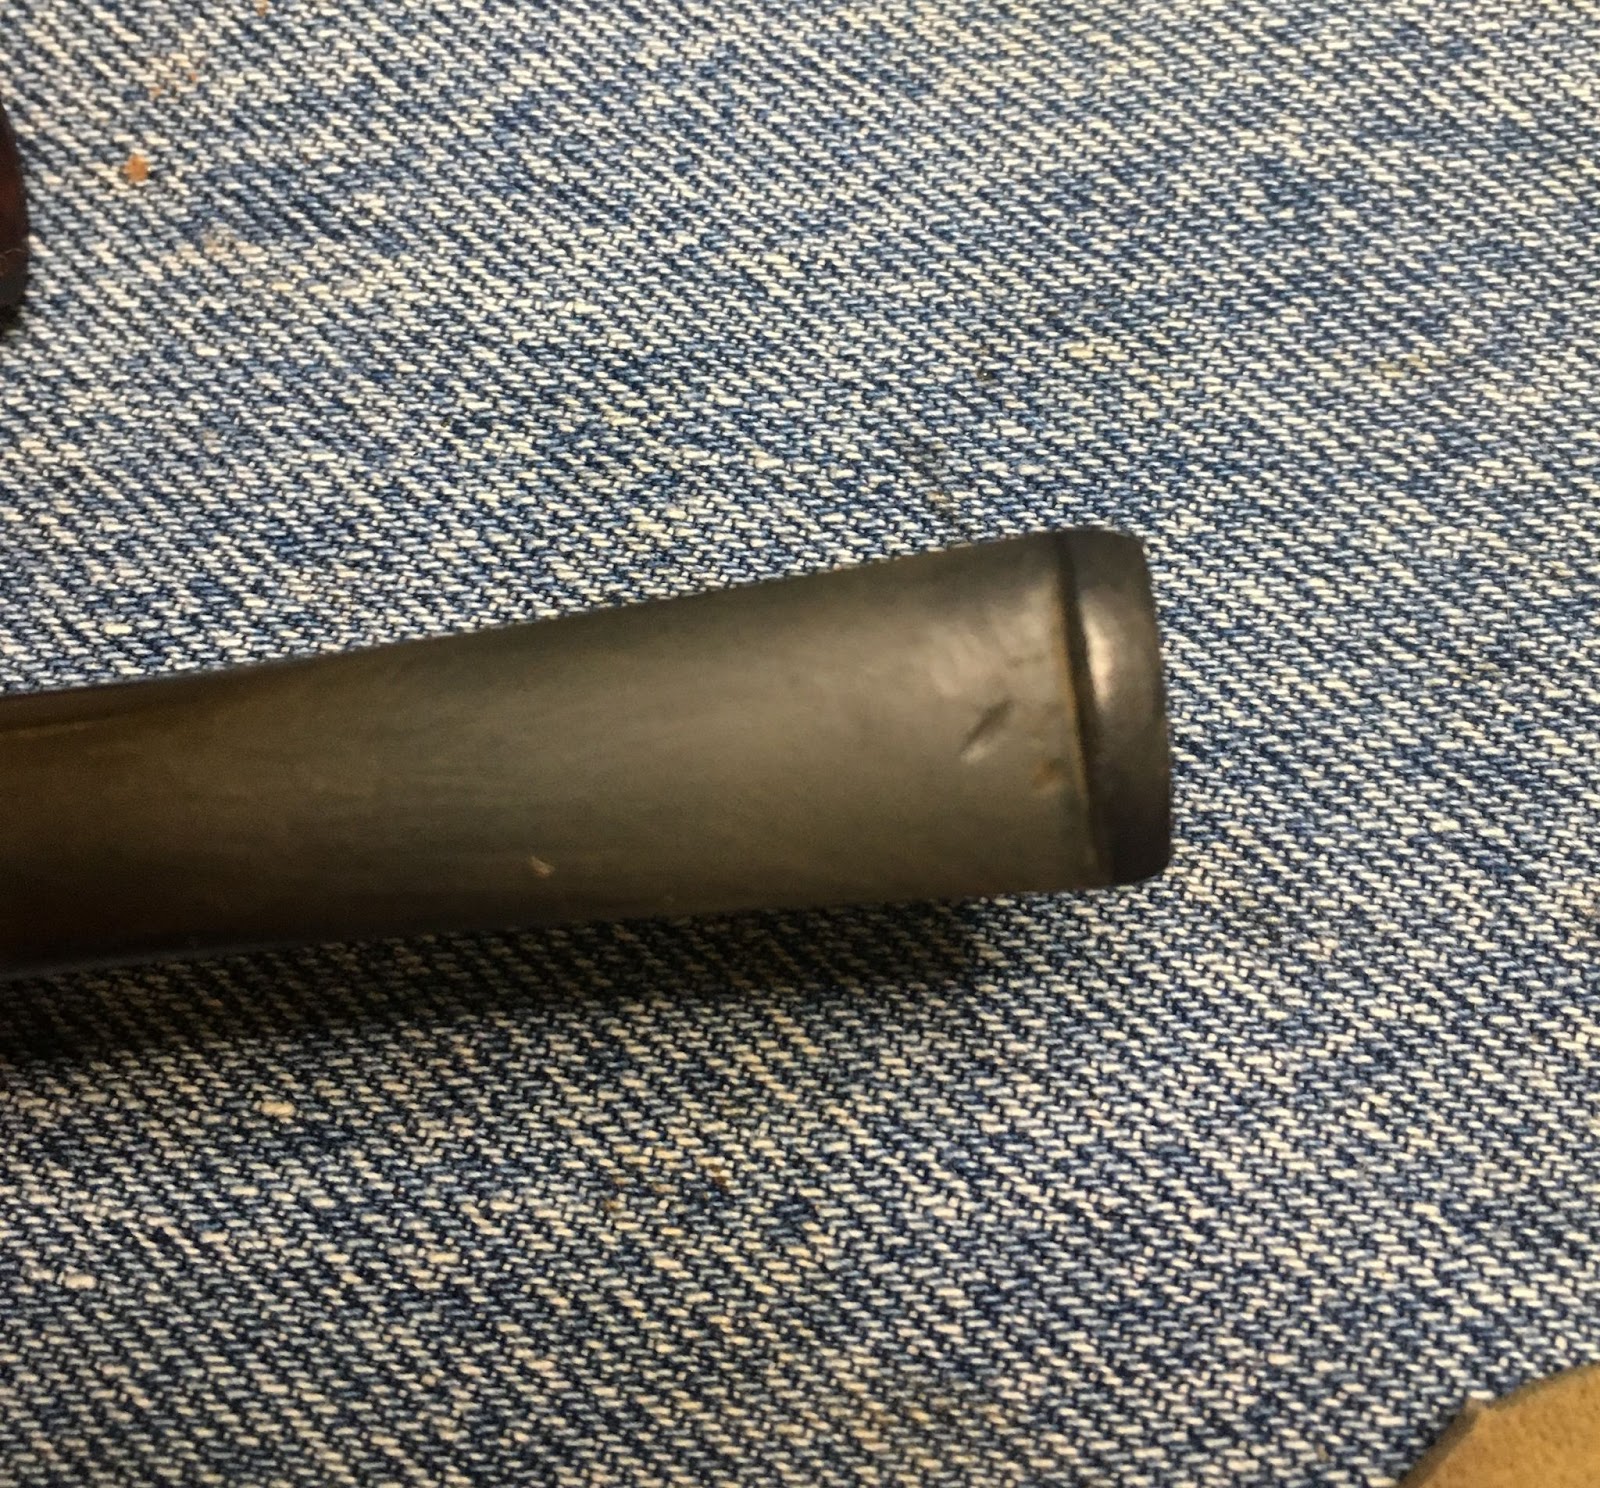
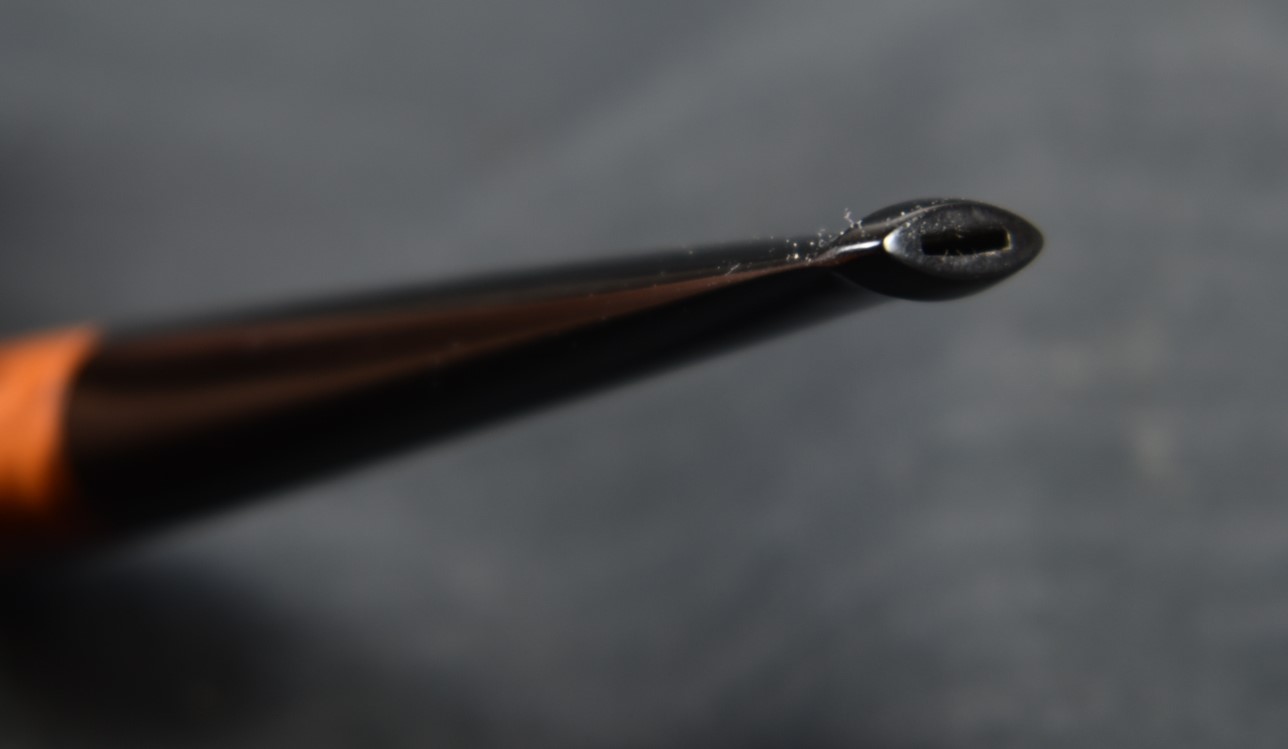
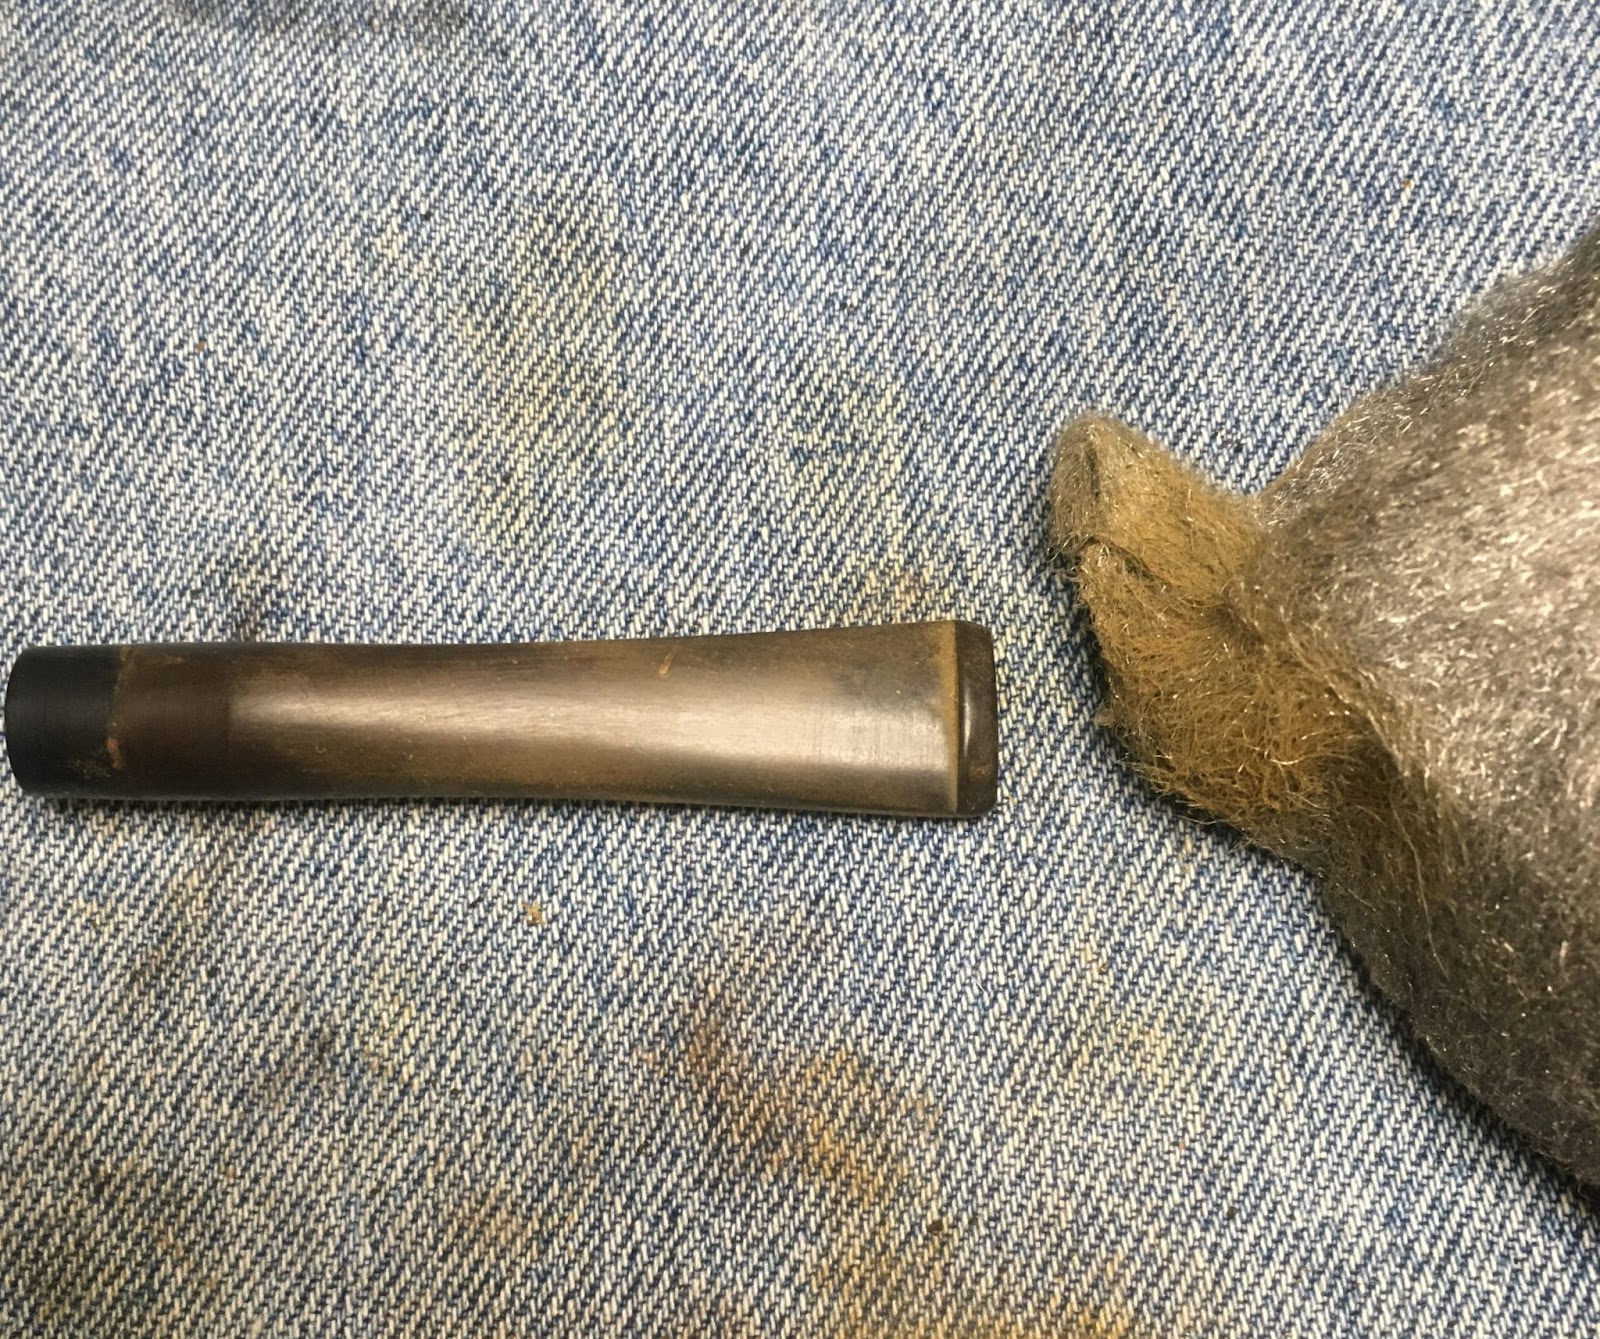
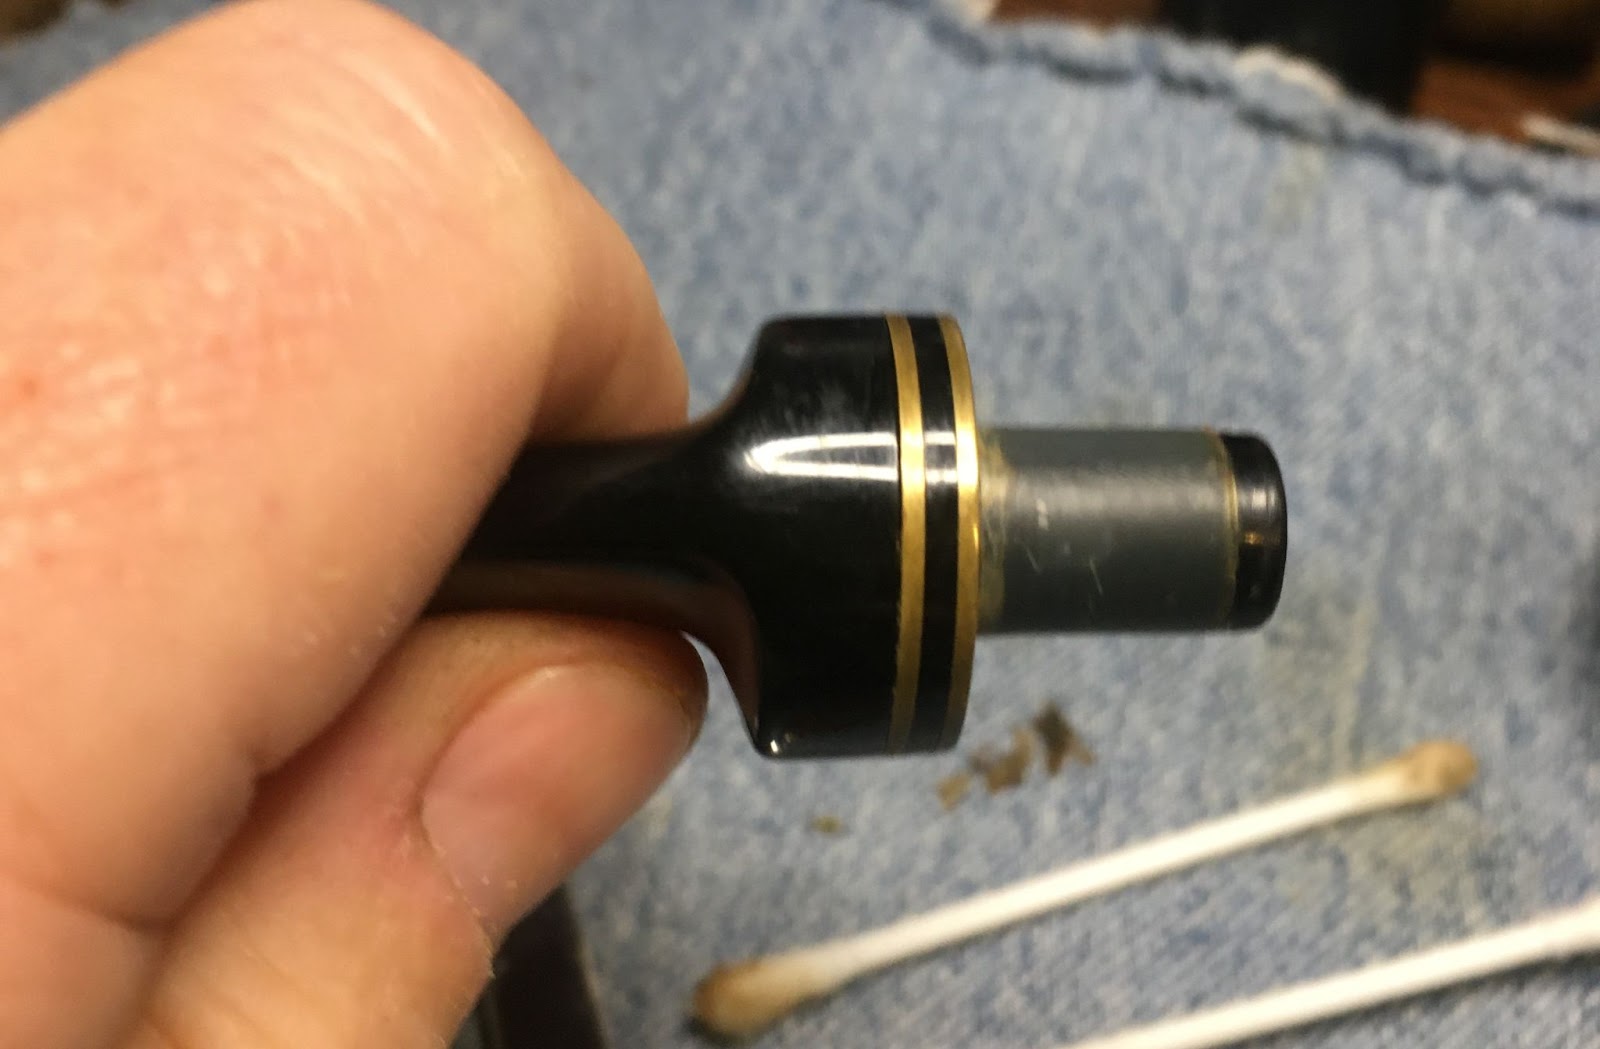
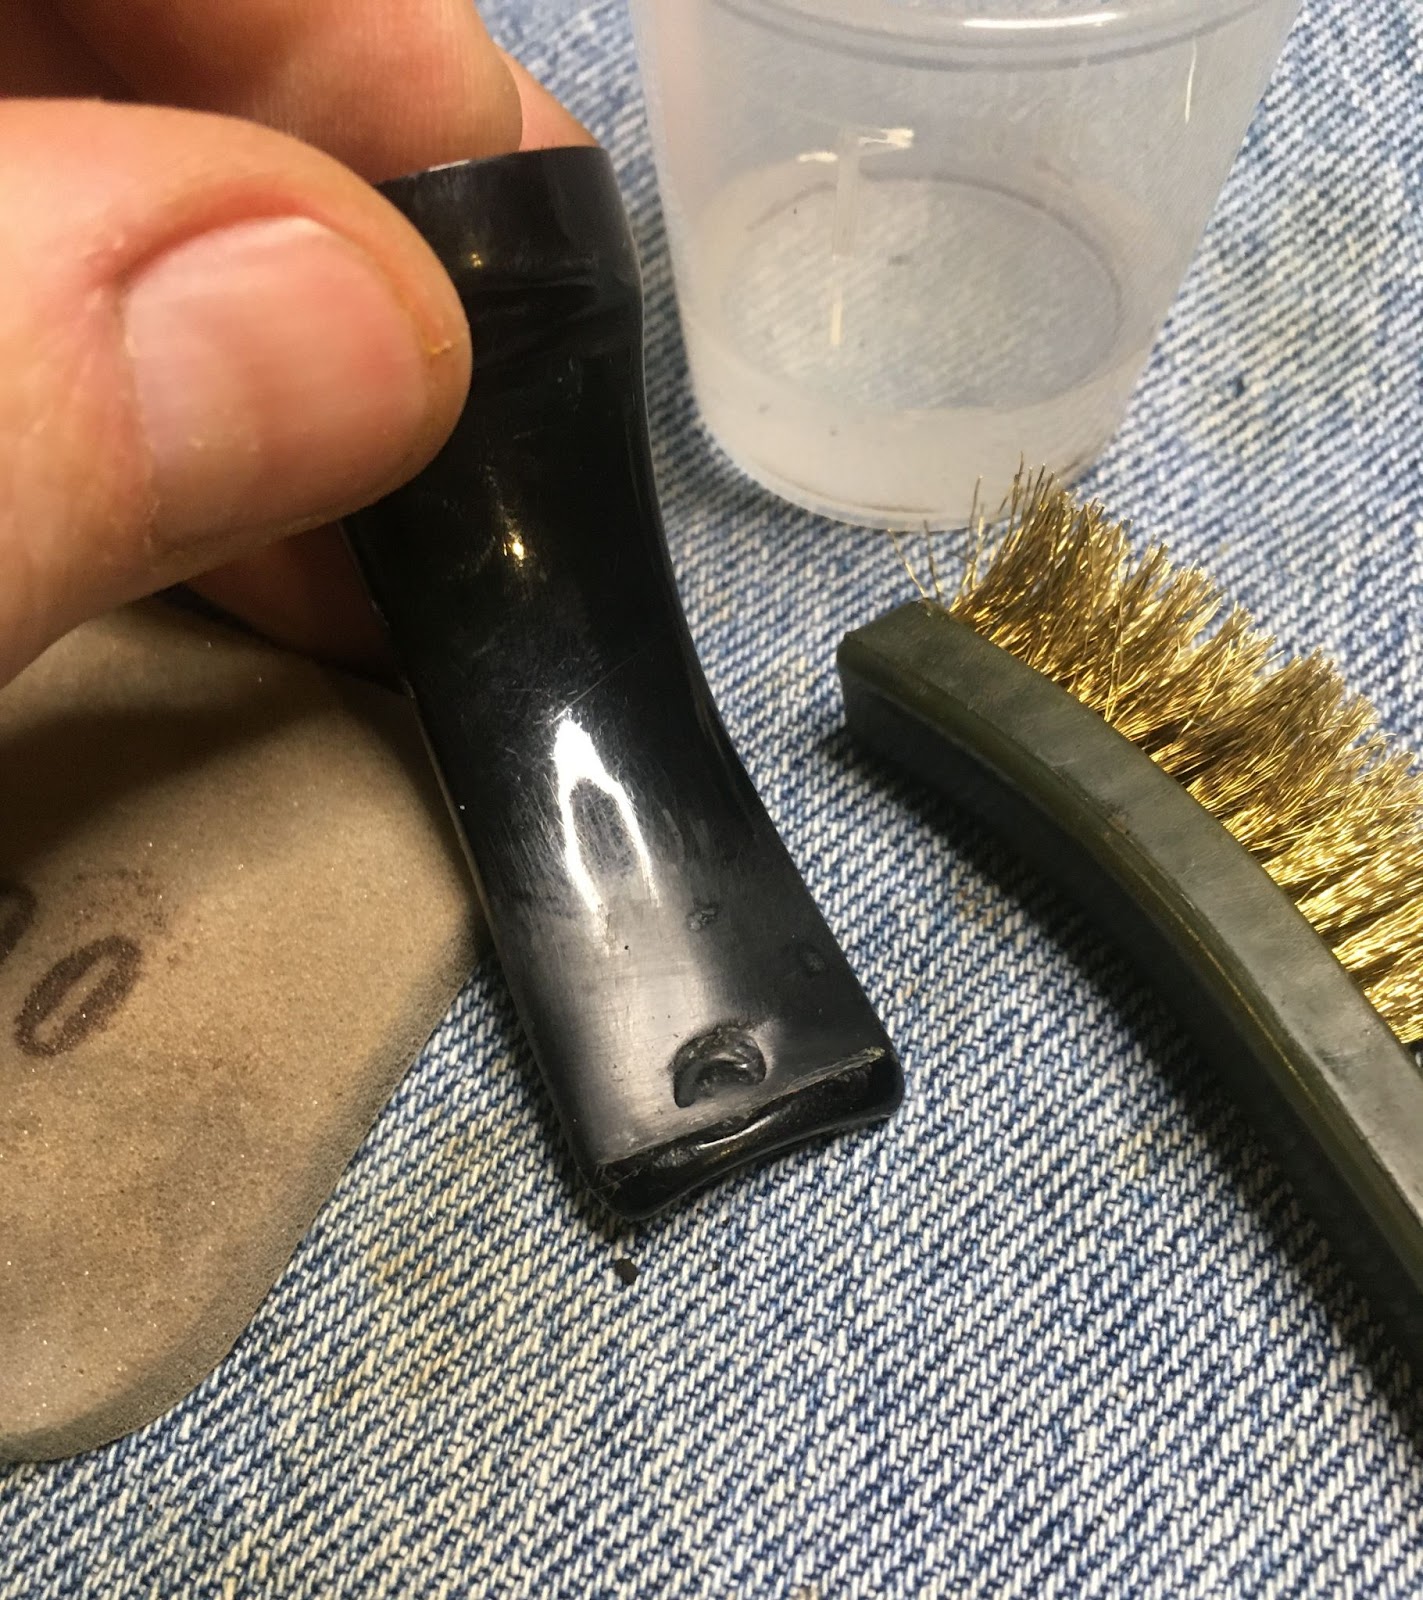
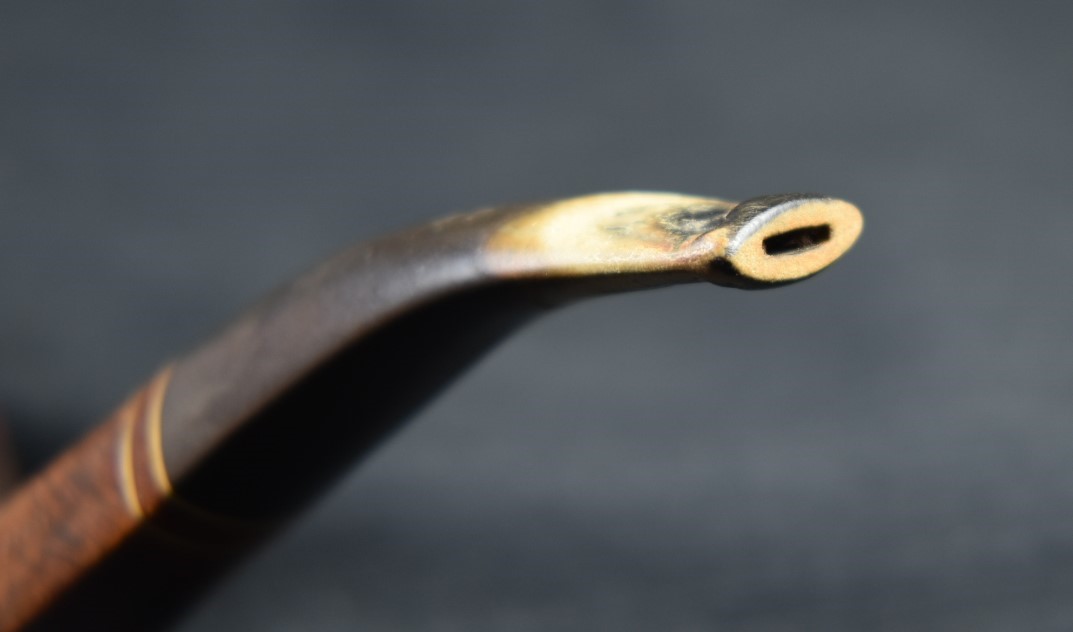
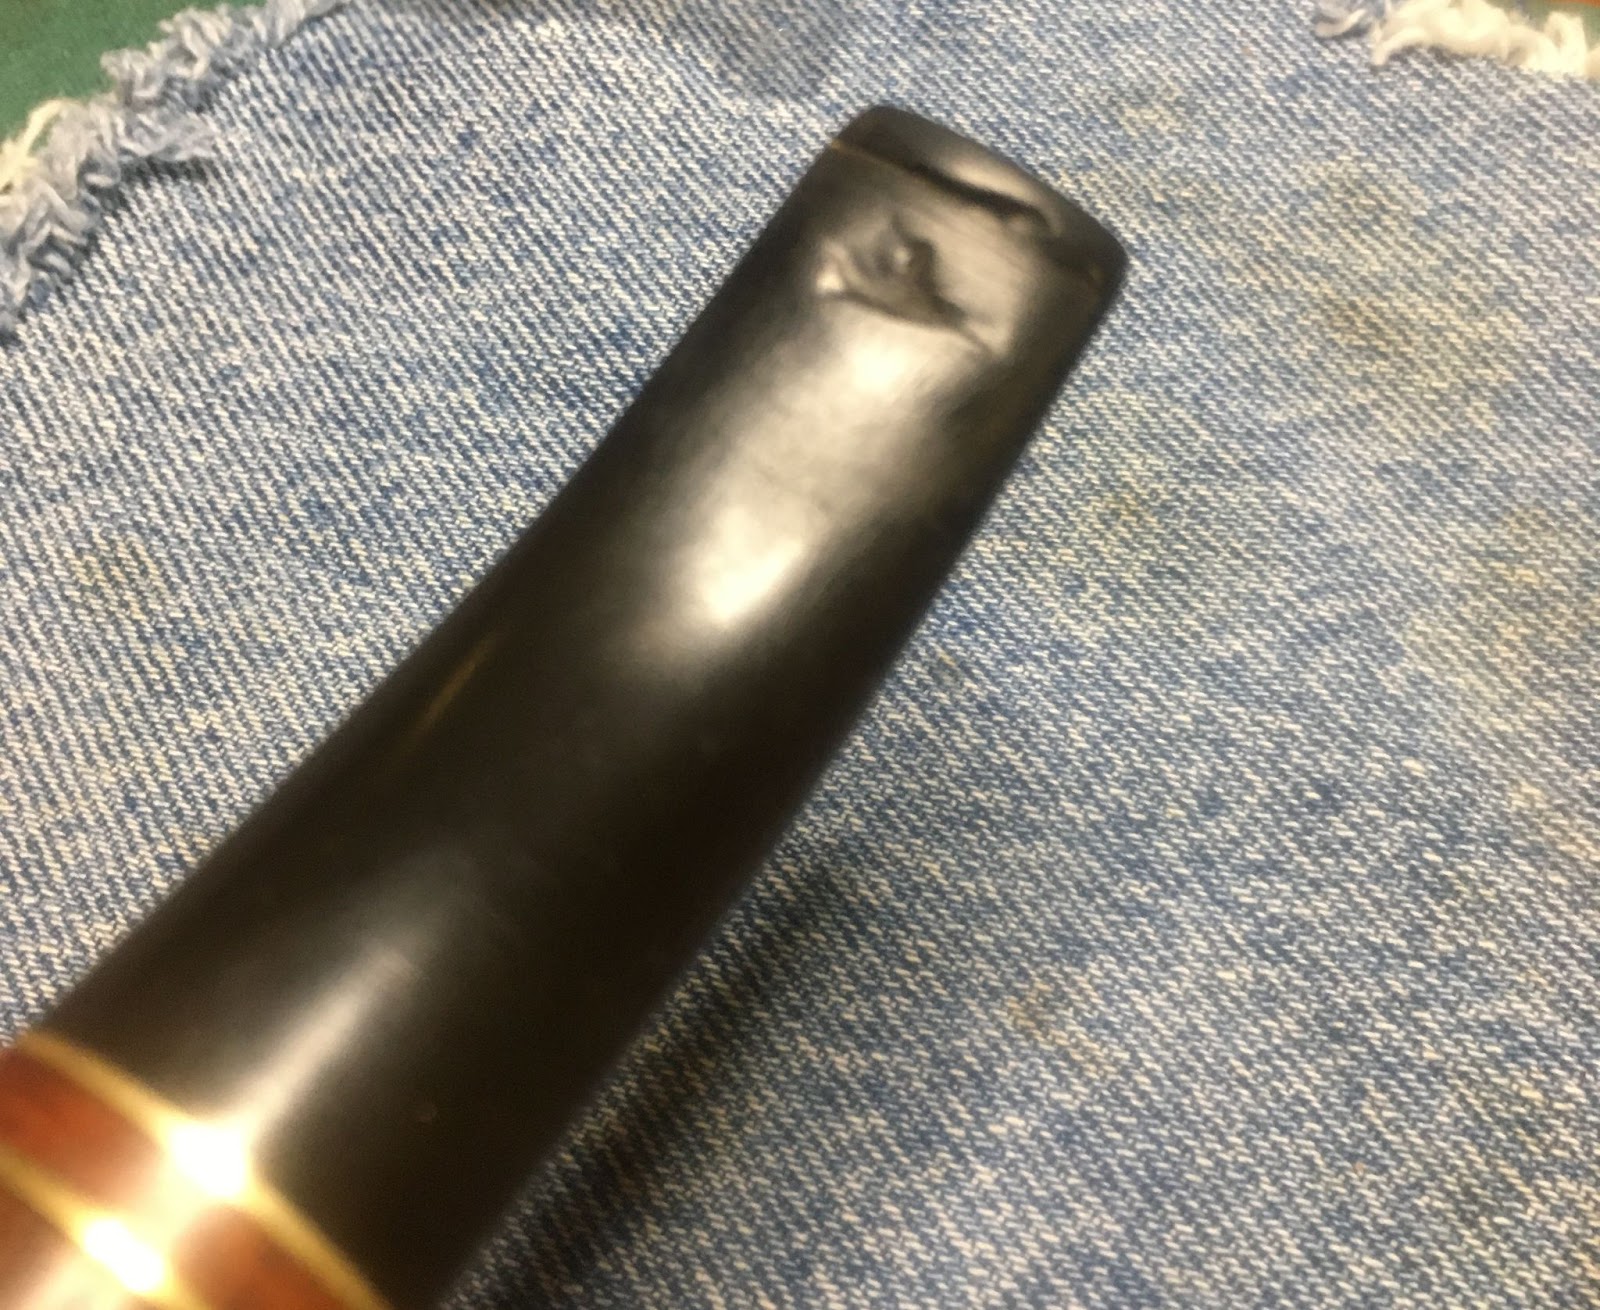
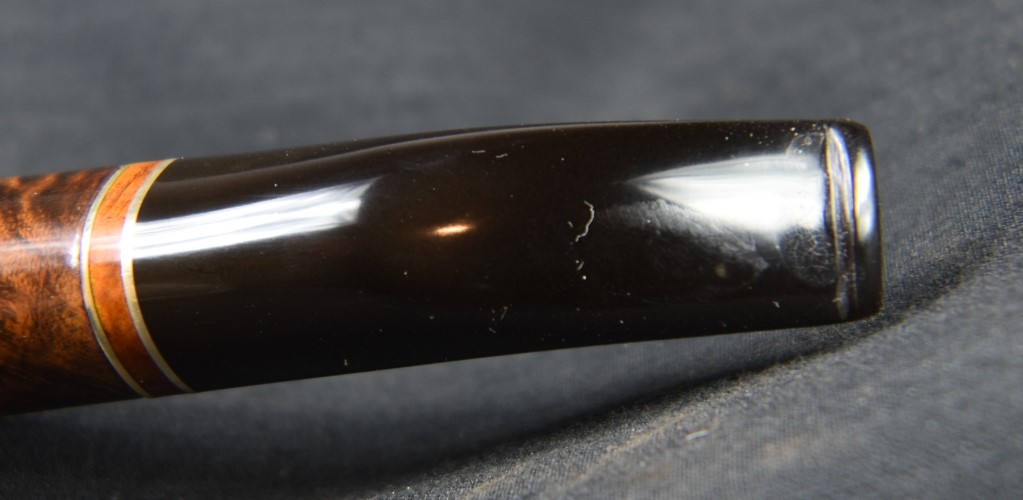
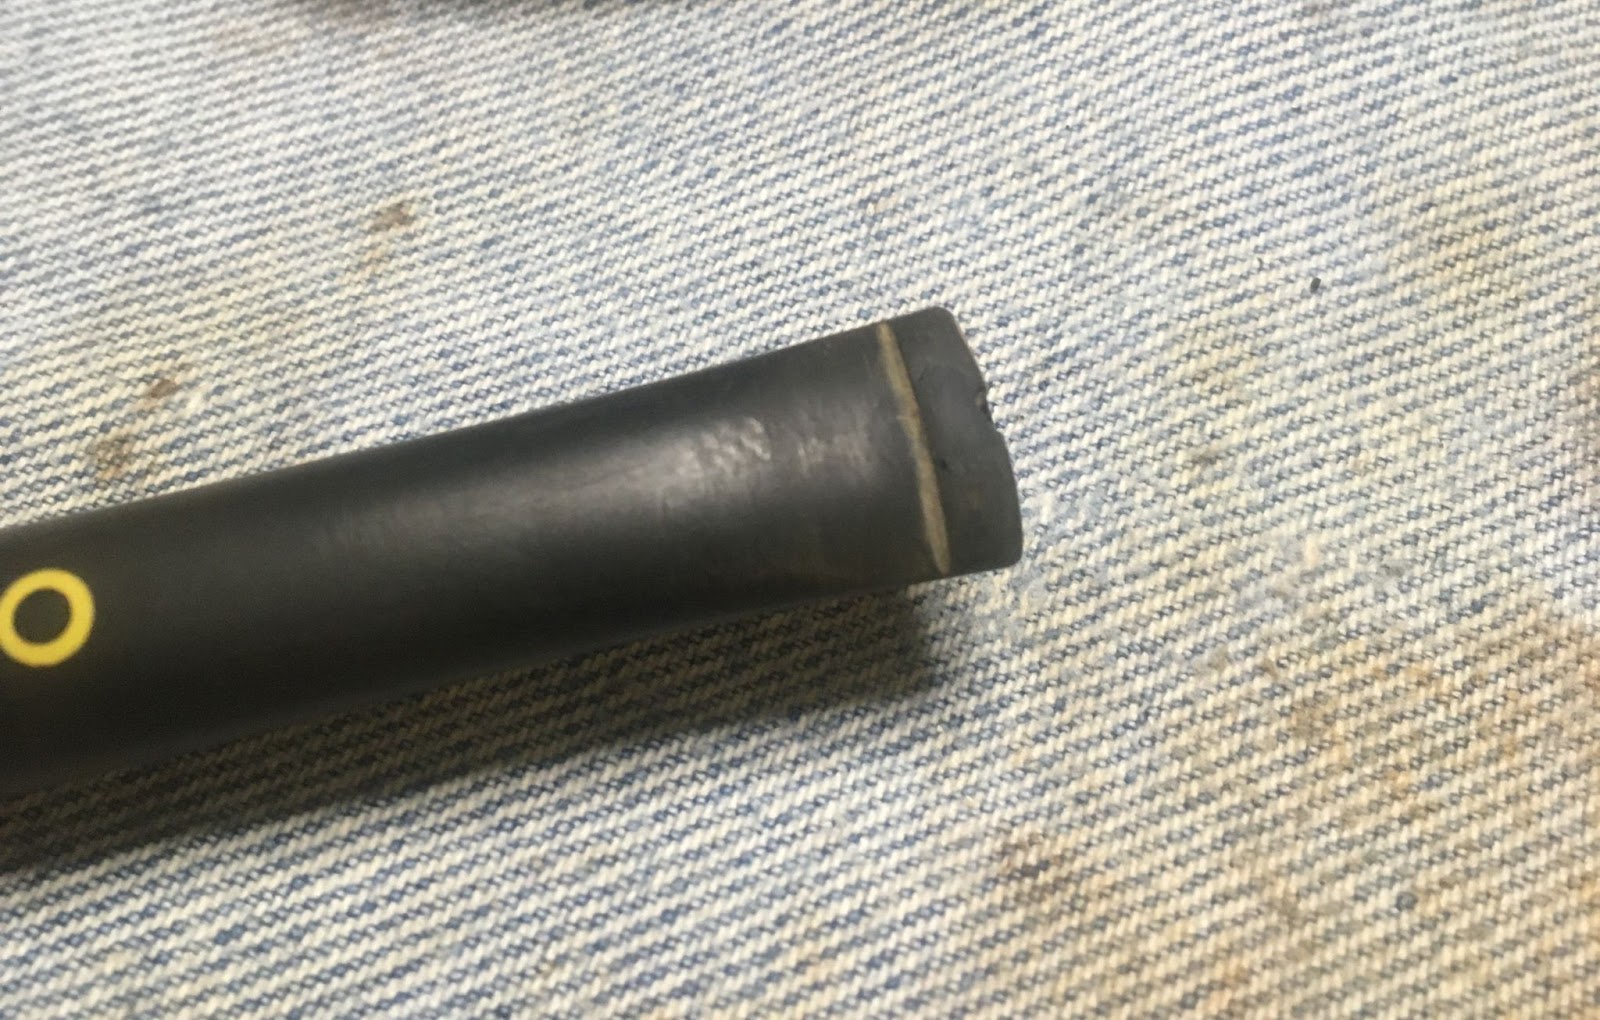
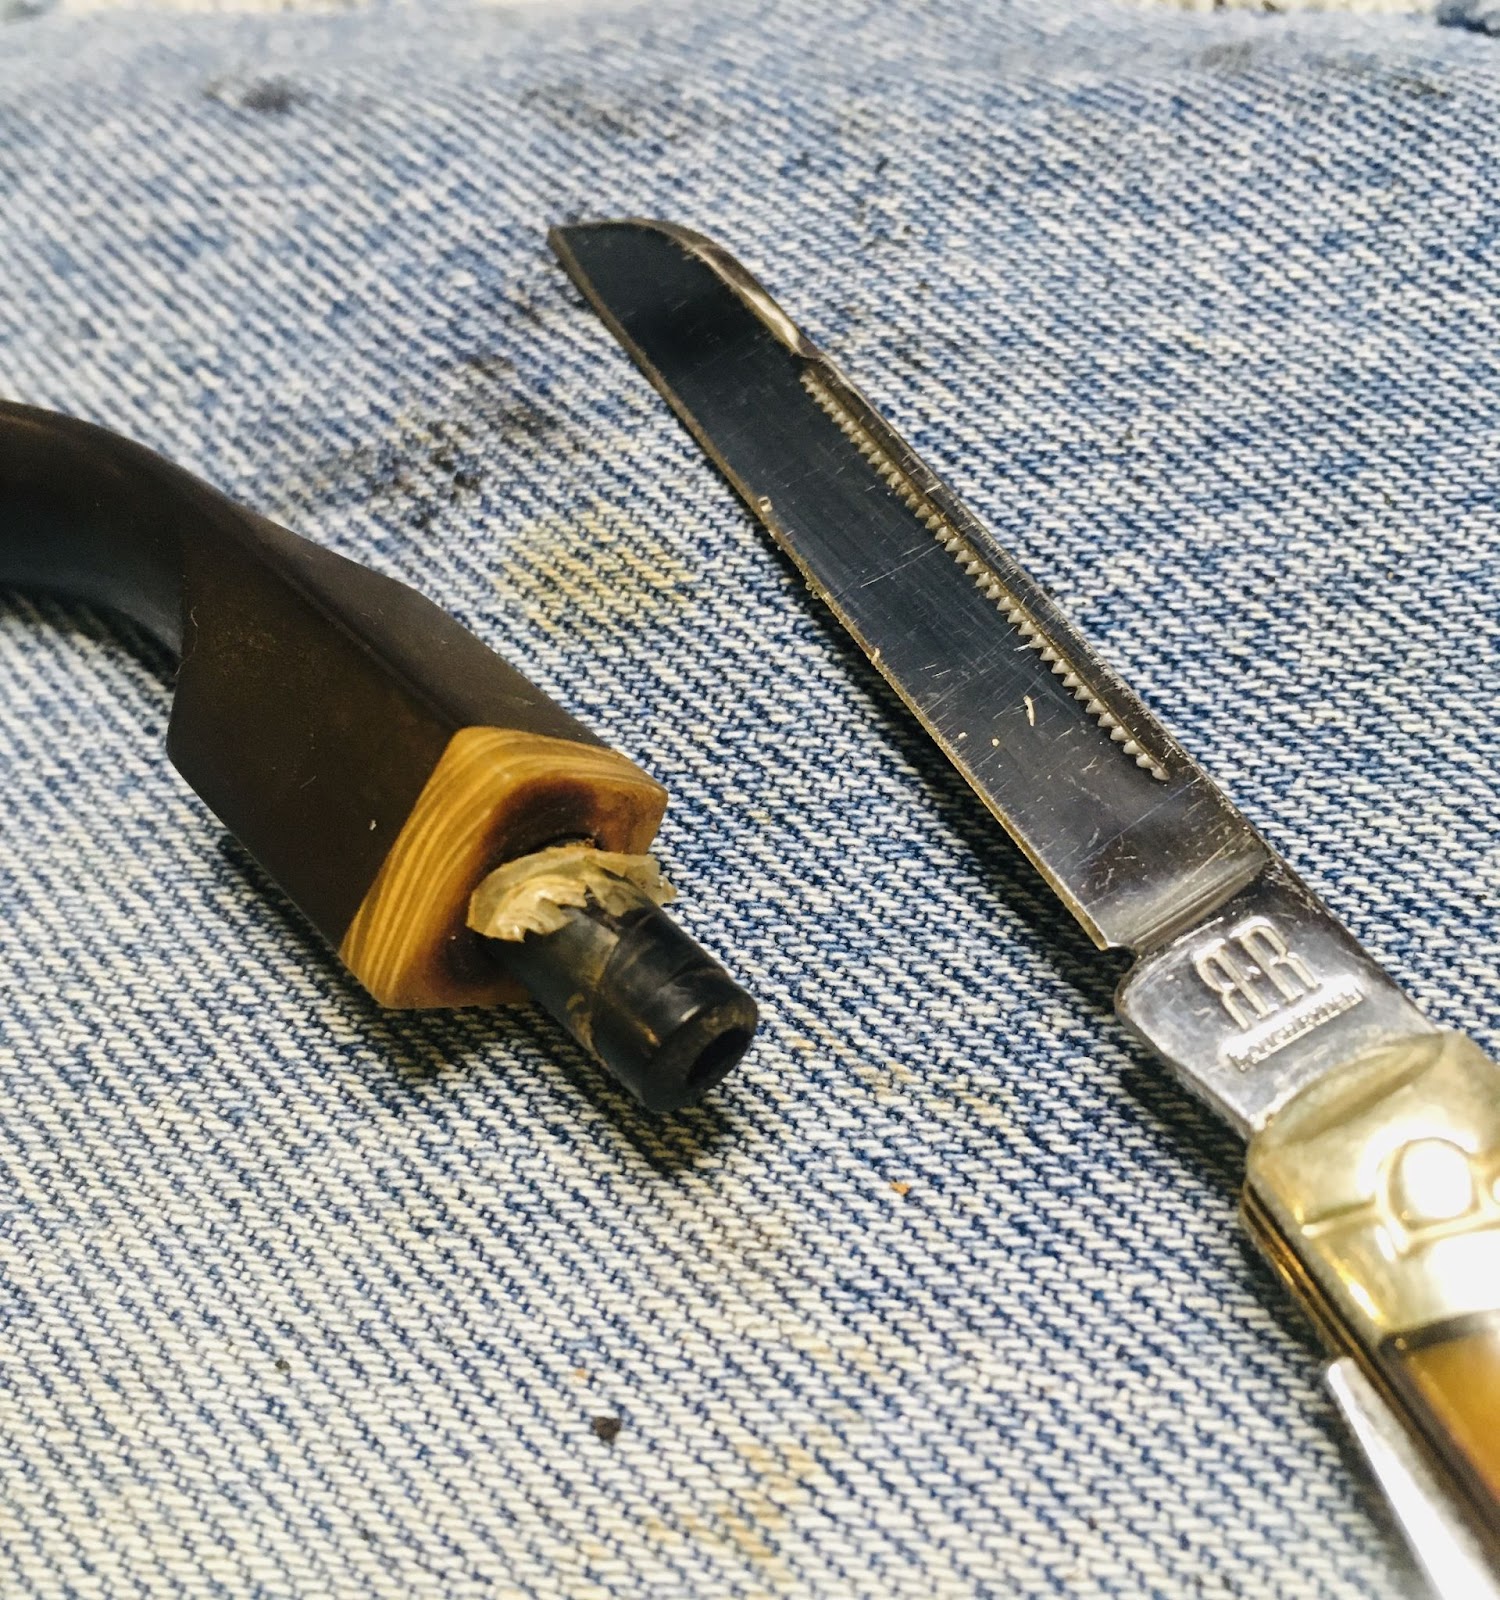
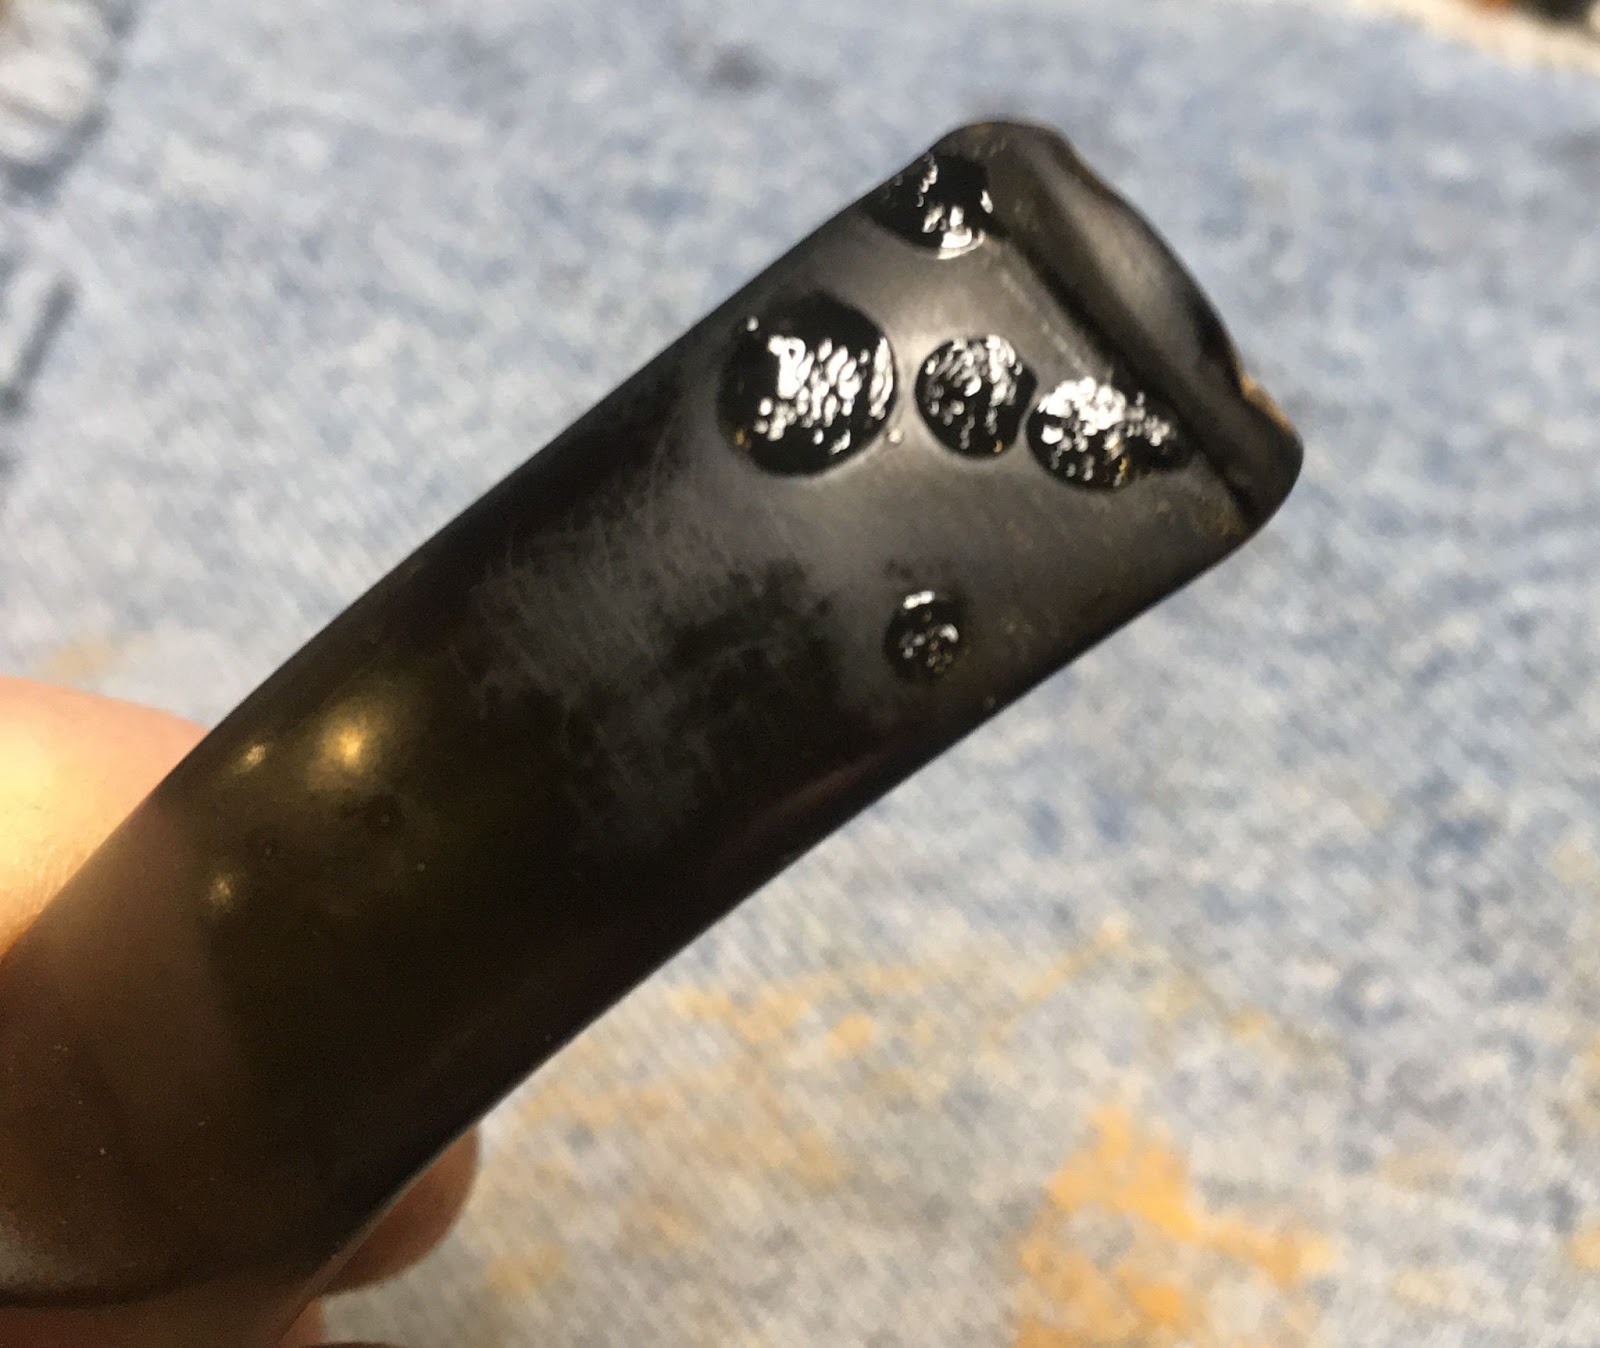
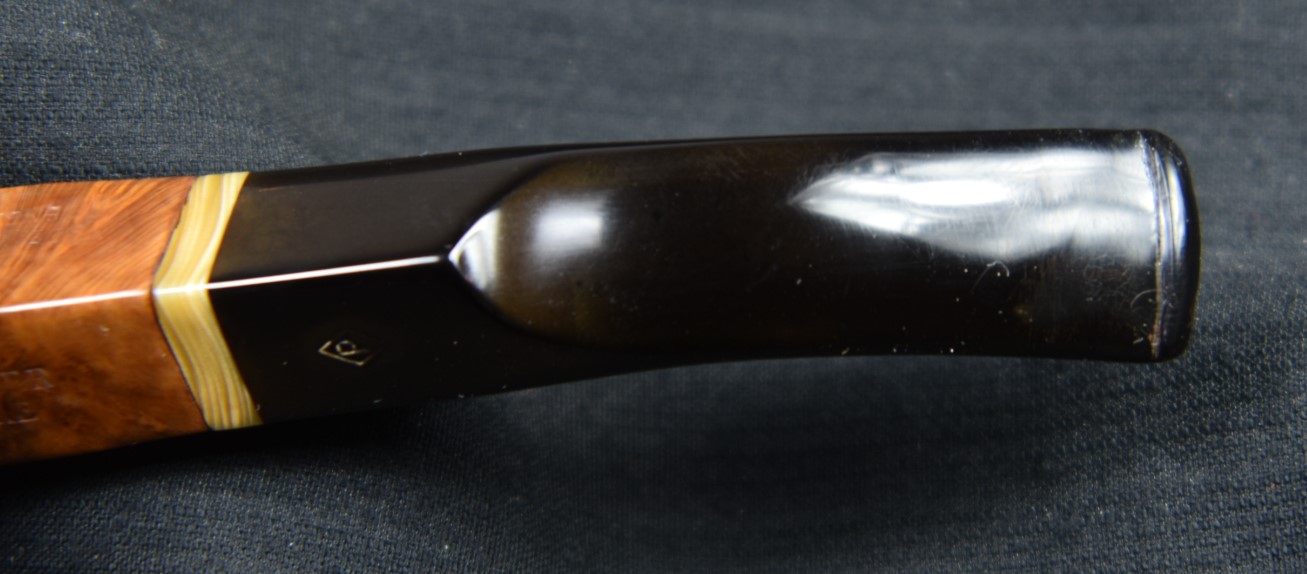
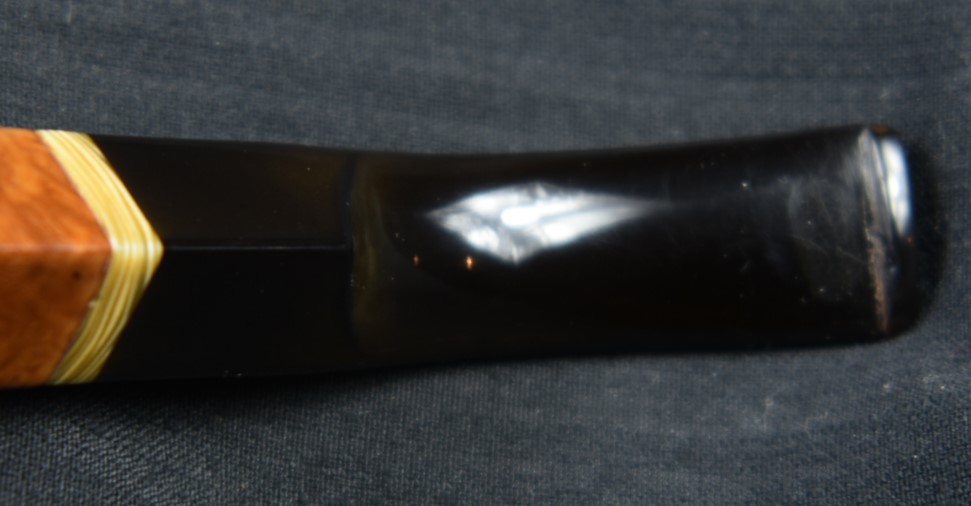
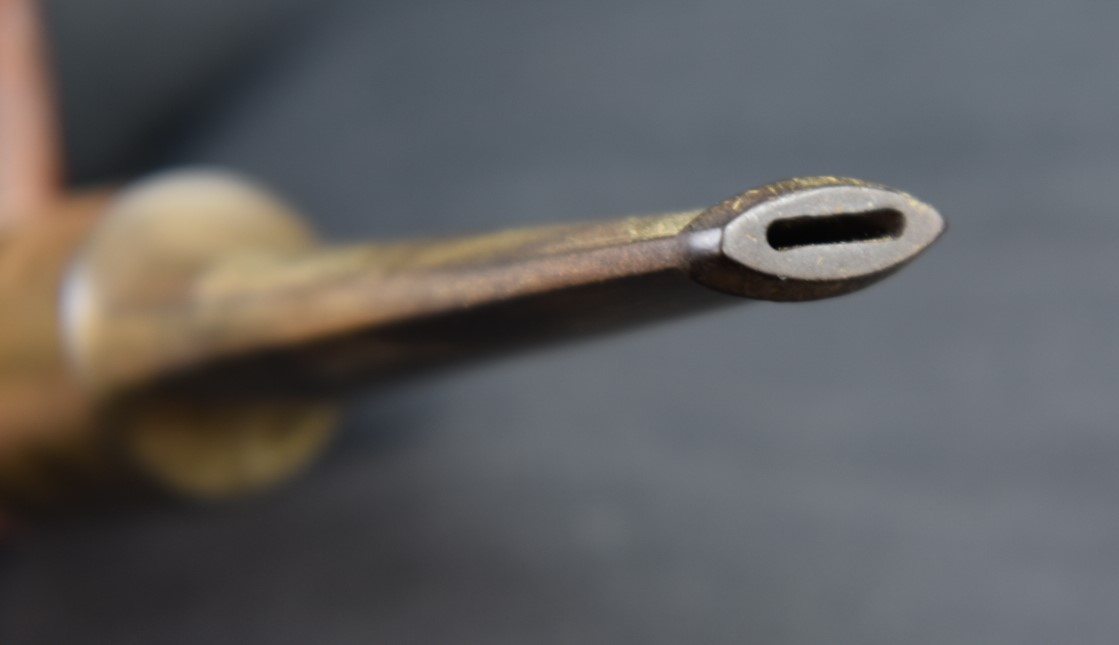
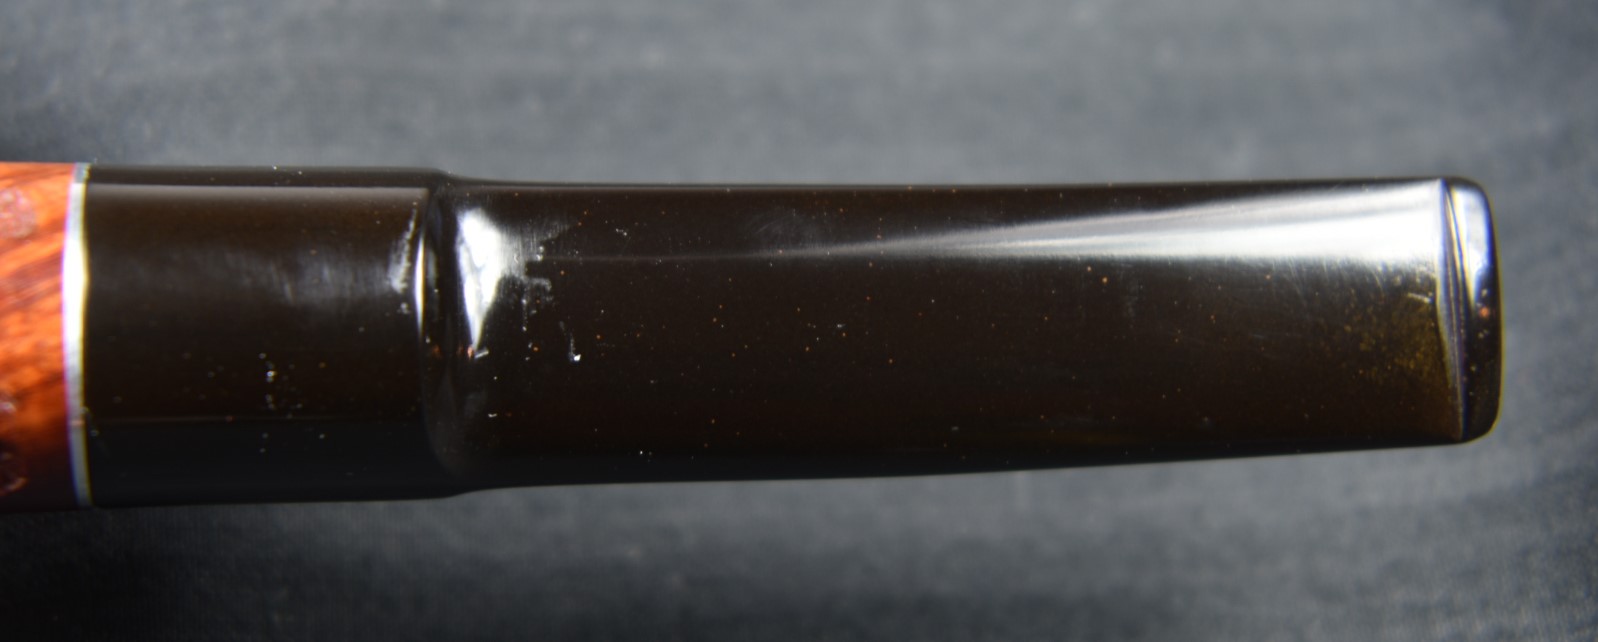
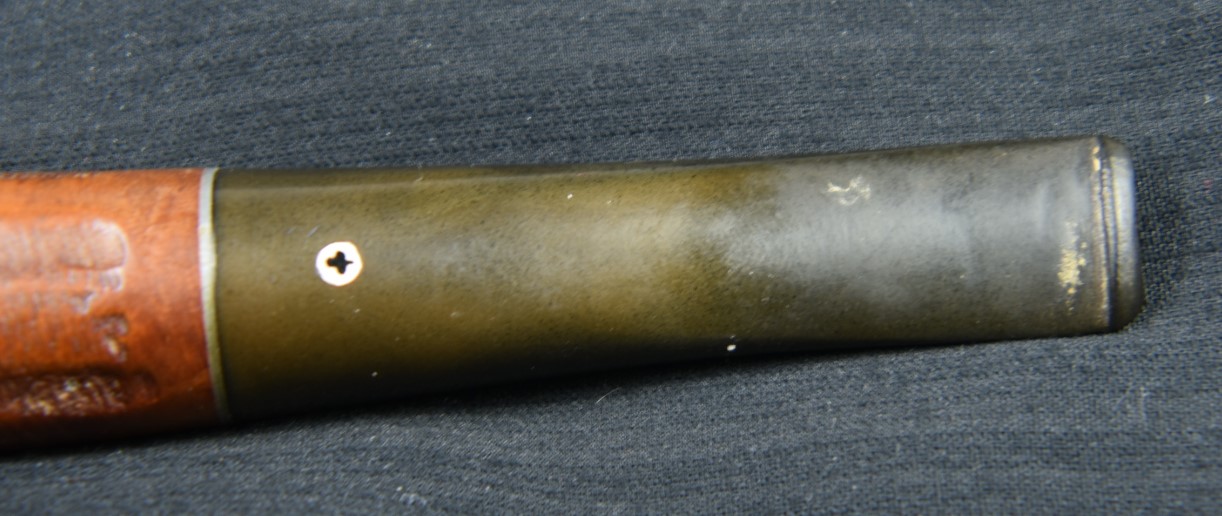
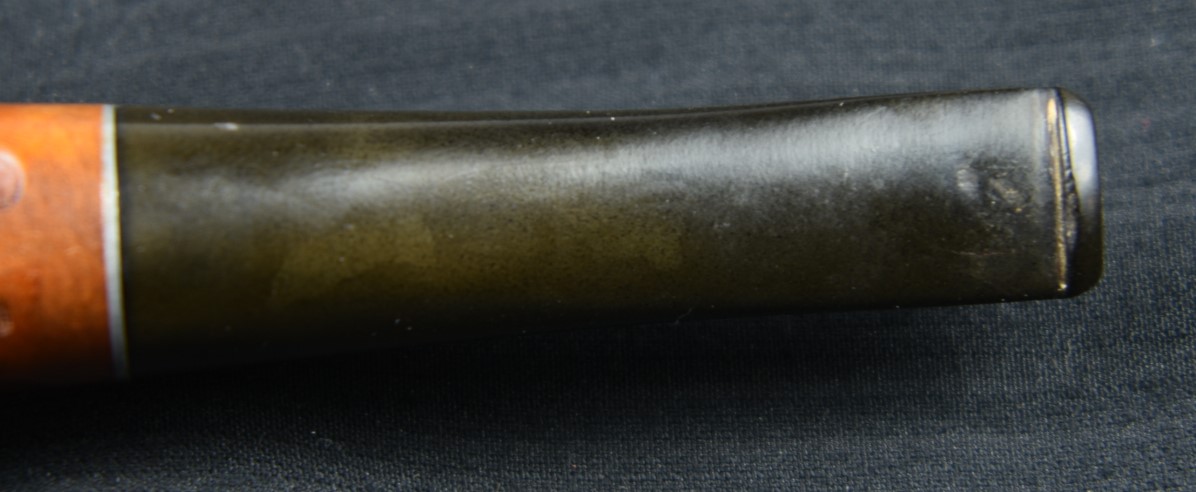
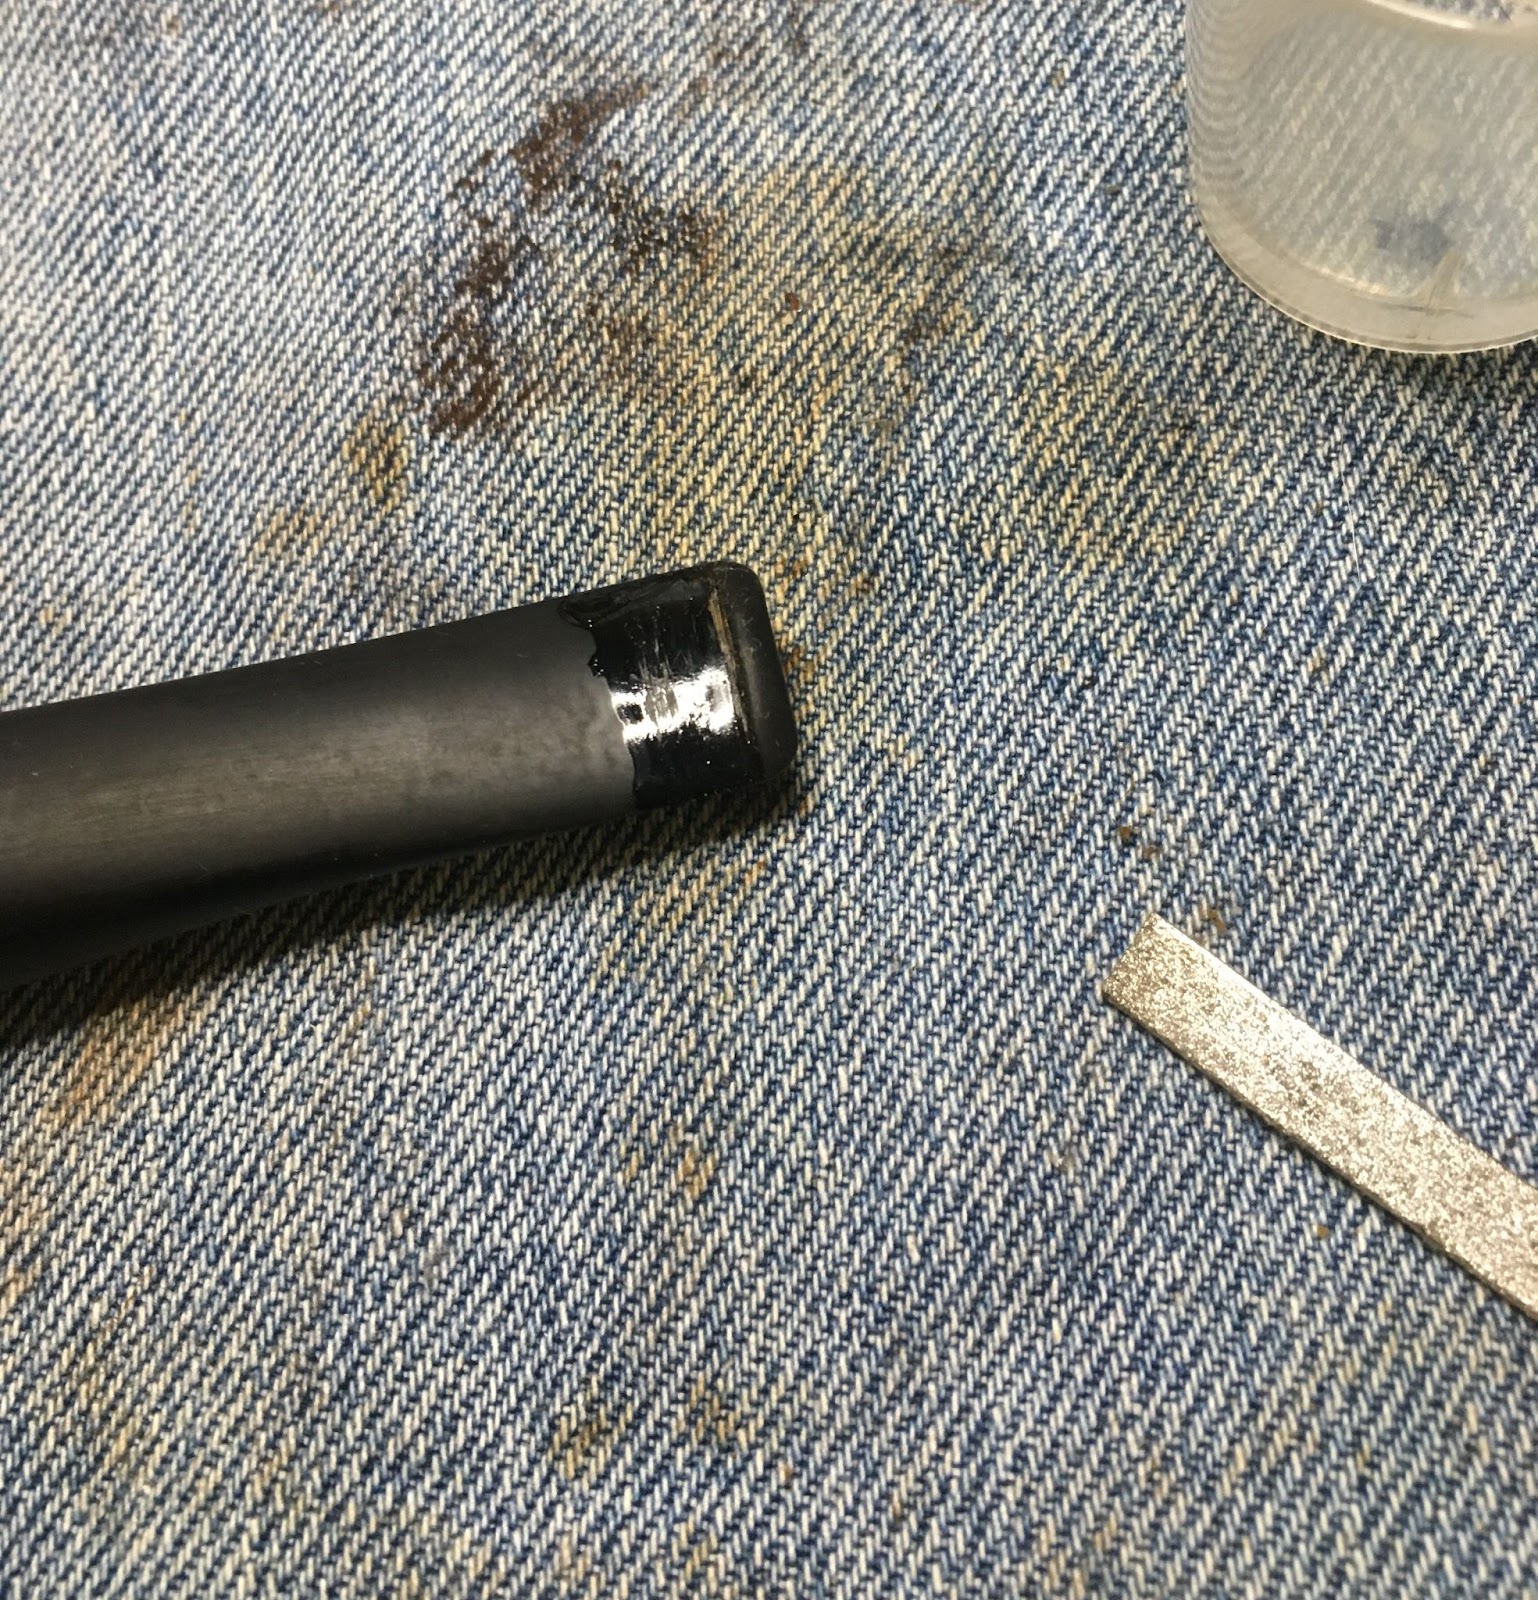
The next task I took on was the stem. There was some tooth chatter and a few deeper dents on both the top and bottom surfaces of the stem. The below two photos show the condition of the stem prior to any work (top, bottom).

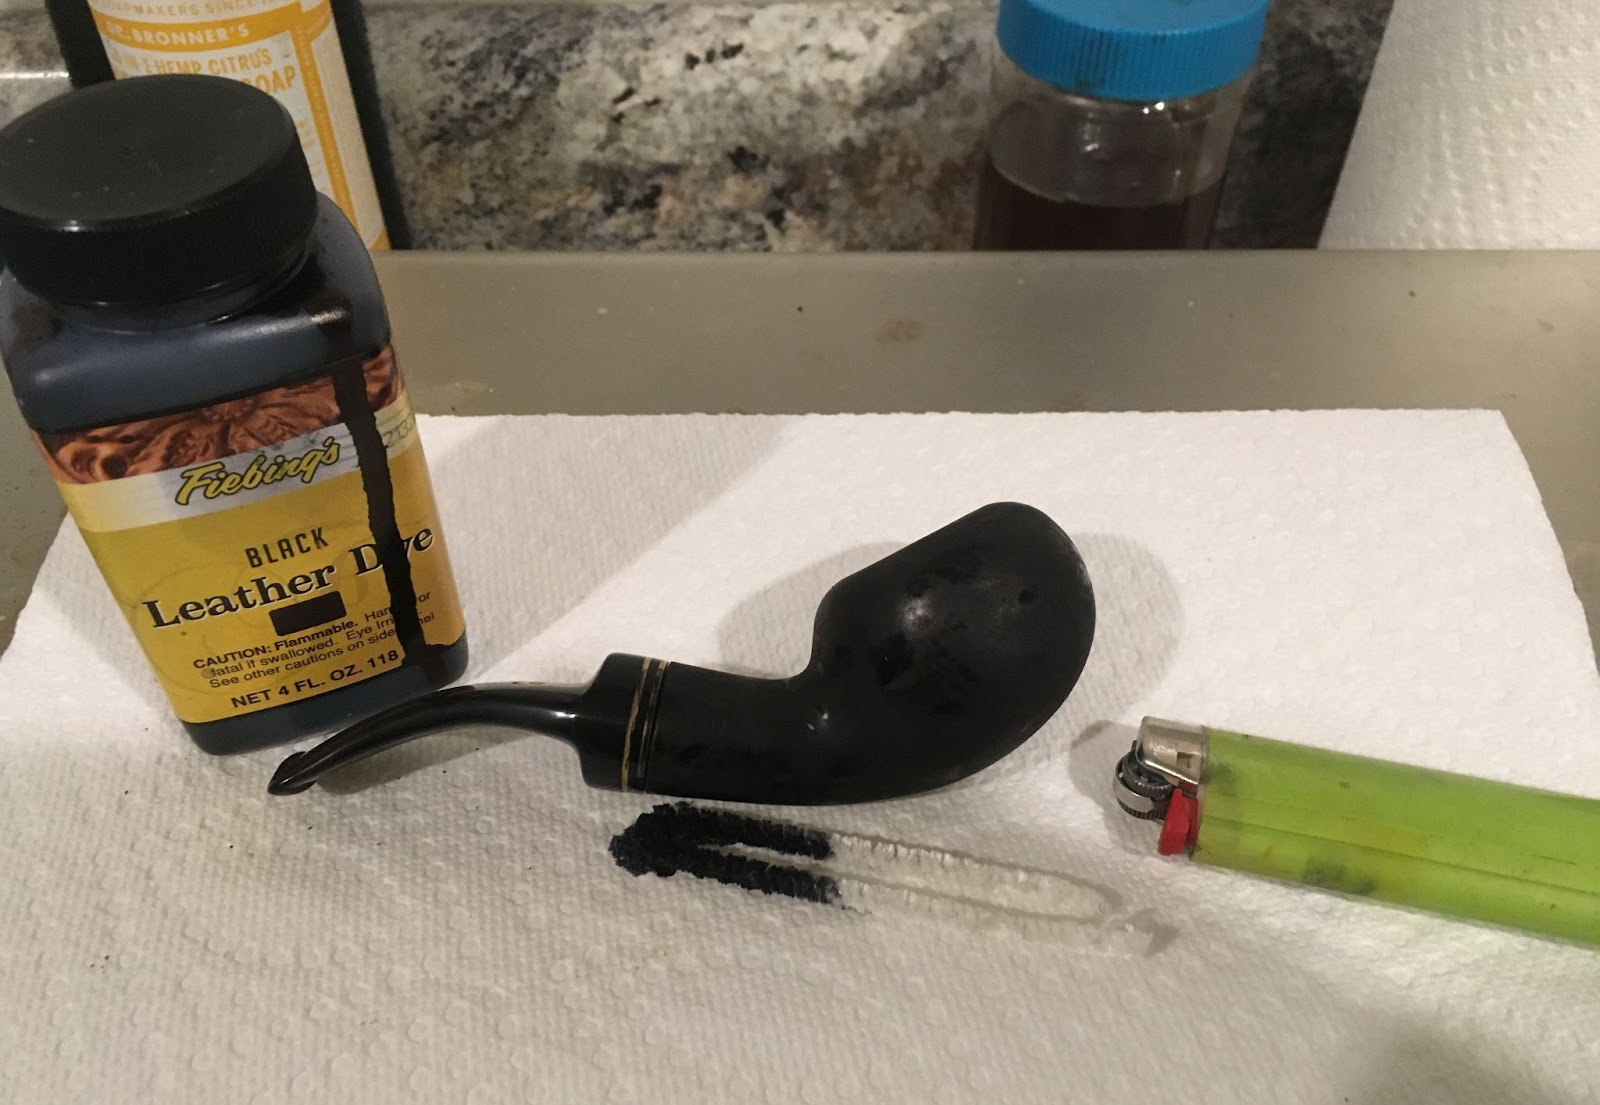
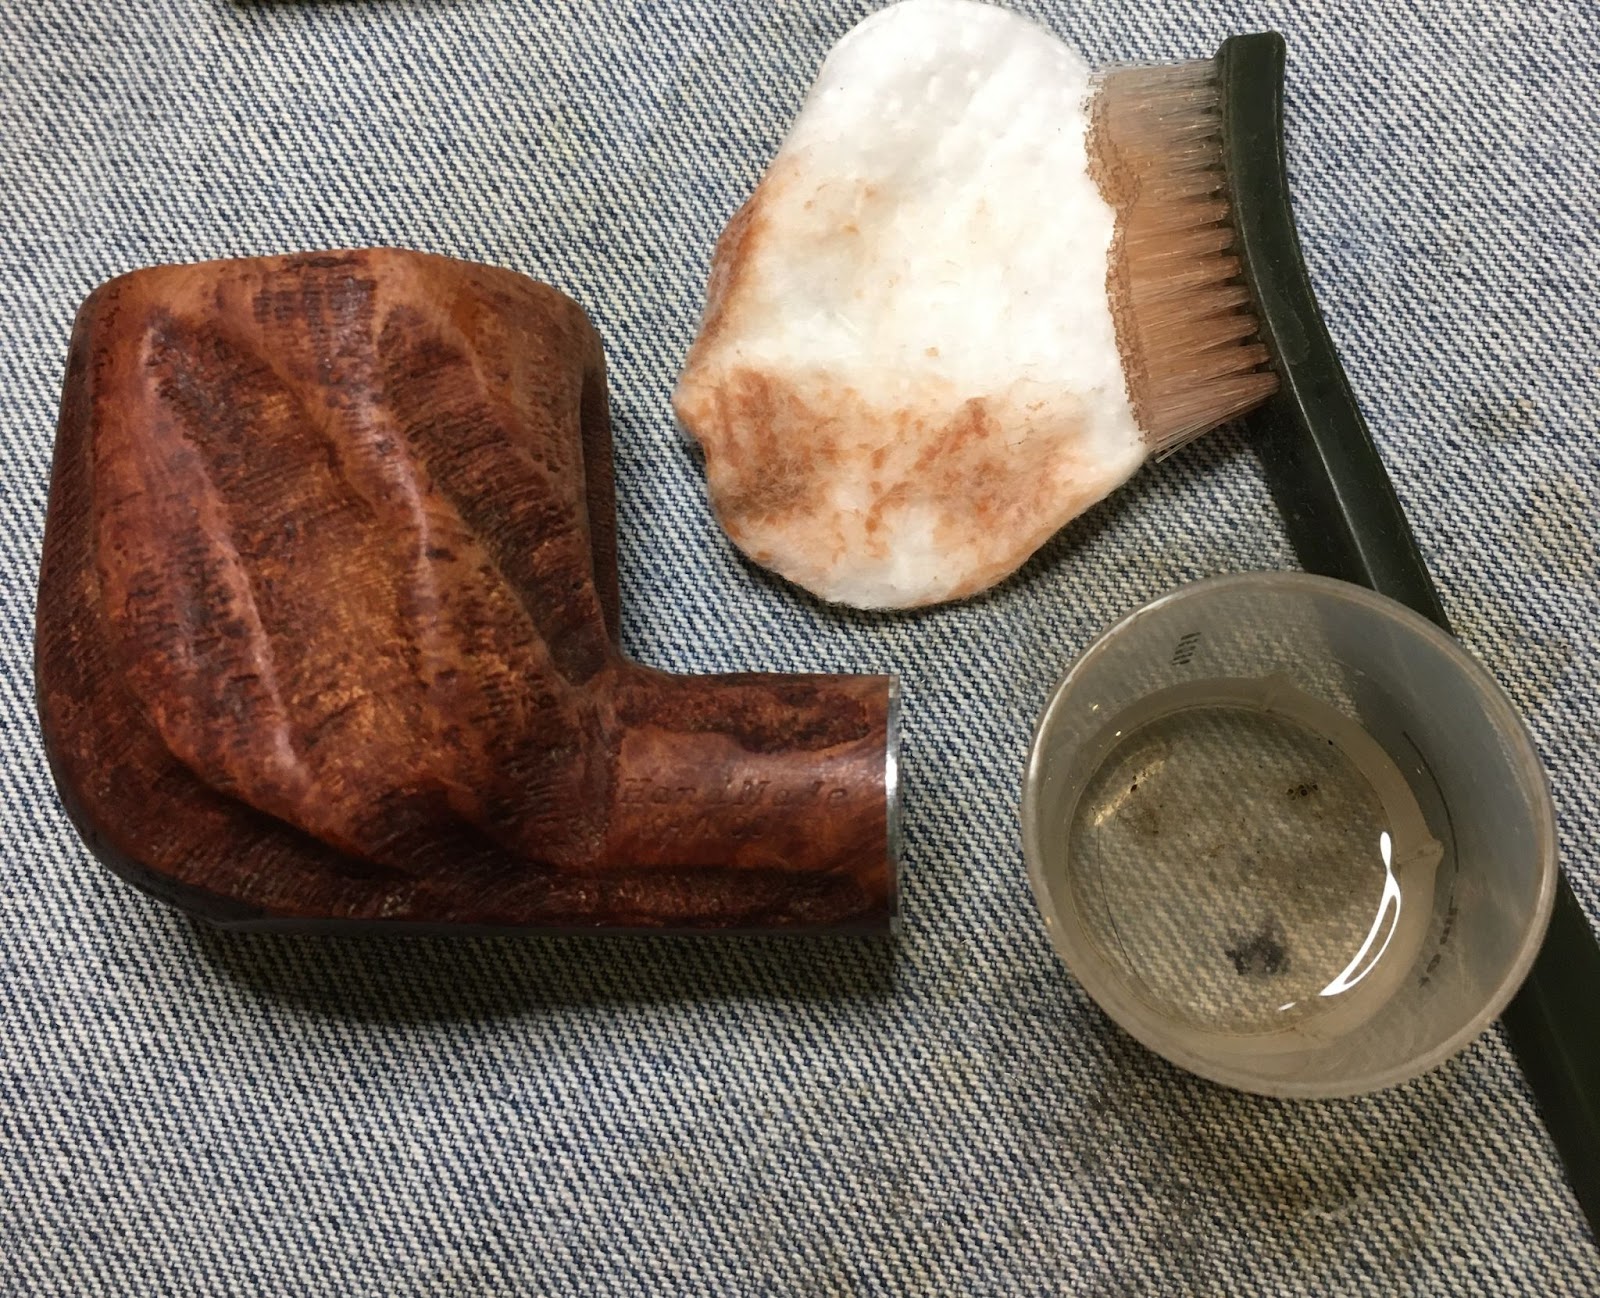
Both the top and bottom were filed and lightly sanded with a 320 sanding sponge. This removed most of the chatter leaving only the dents to be filled. I decided to scrub the entire stem with Soft Scrub at this time. I used the Soft Scrub with cotton make-up pads.
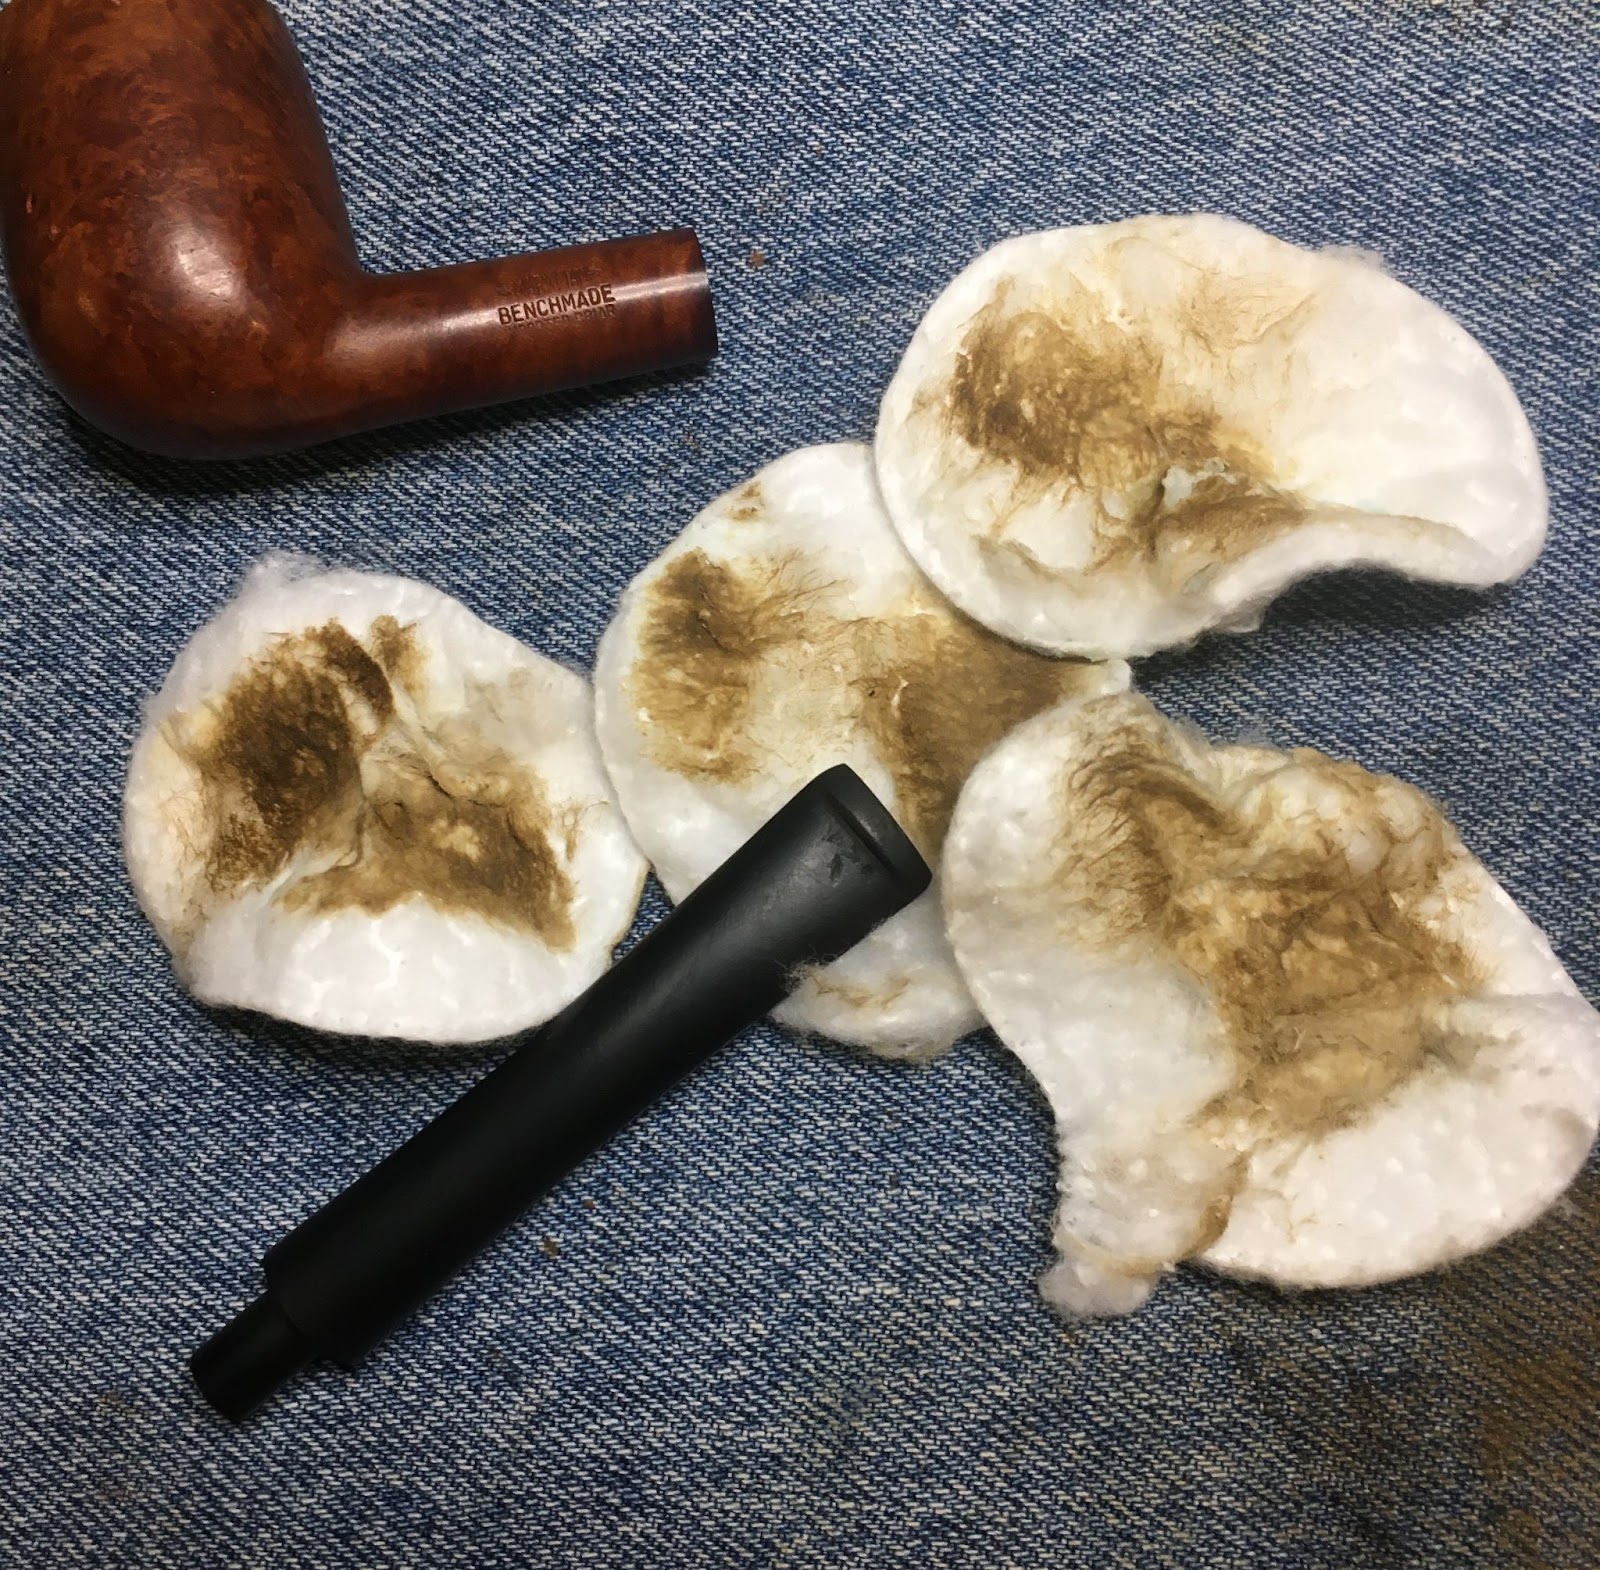
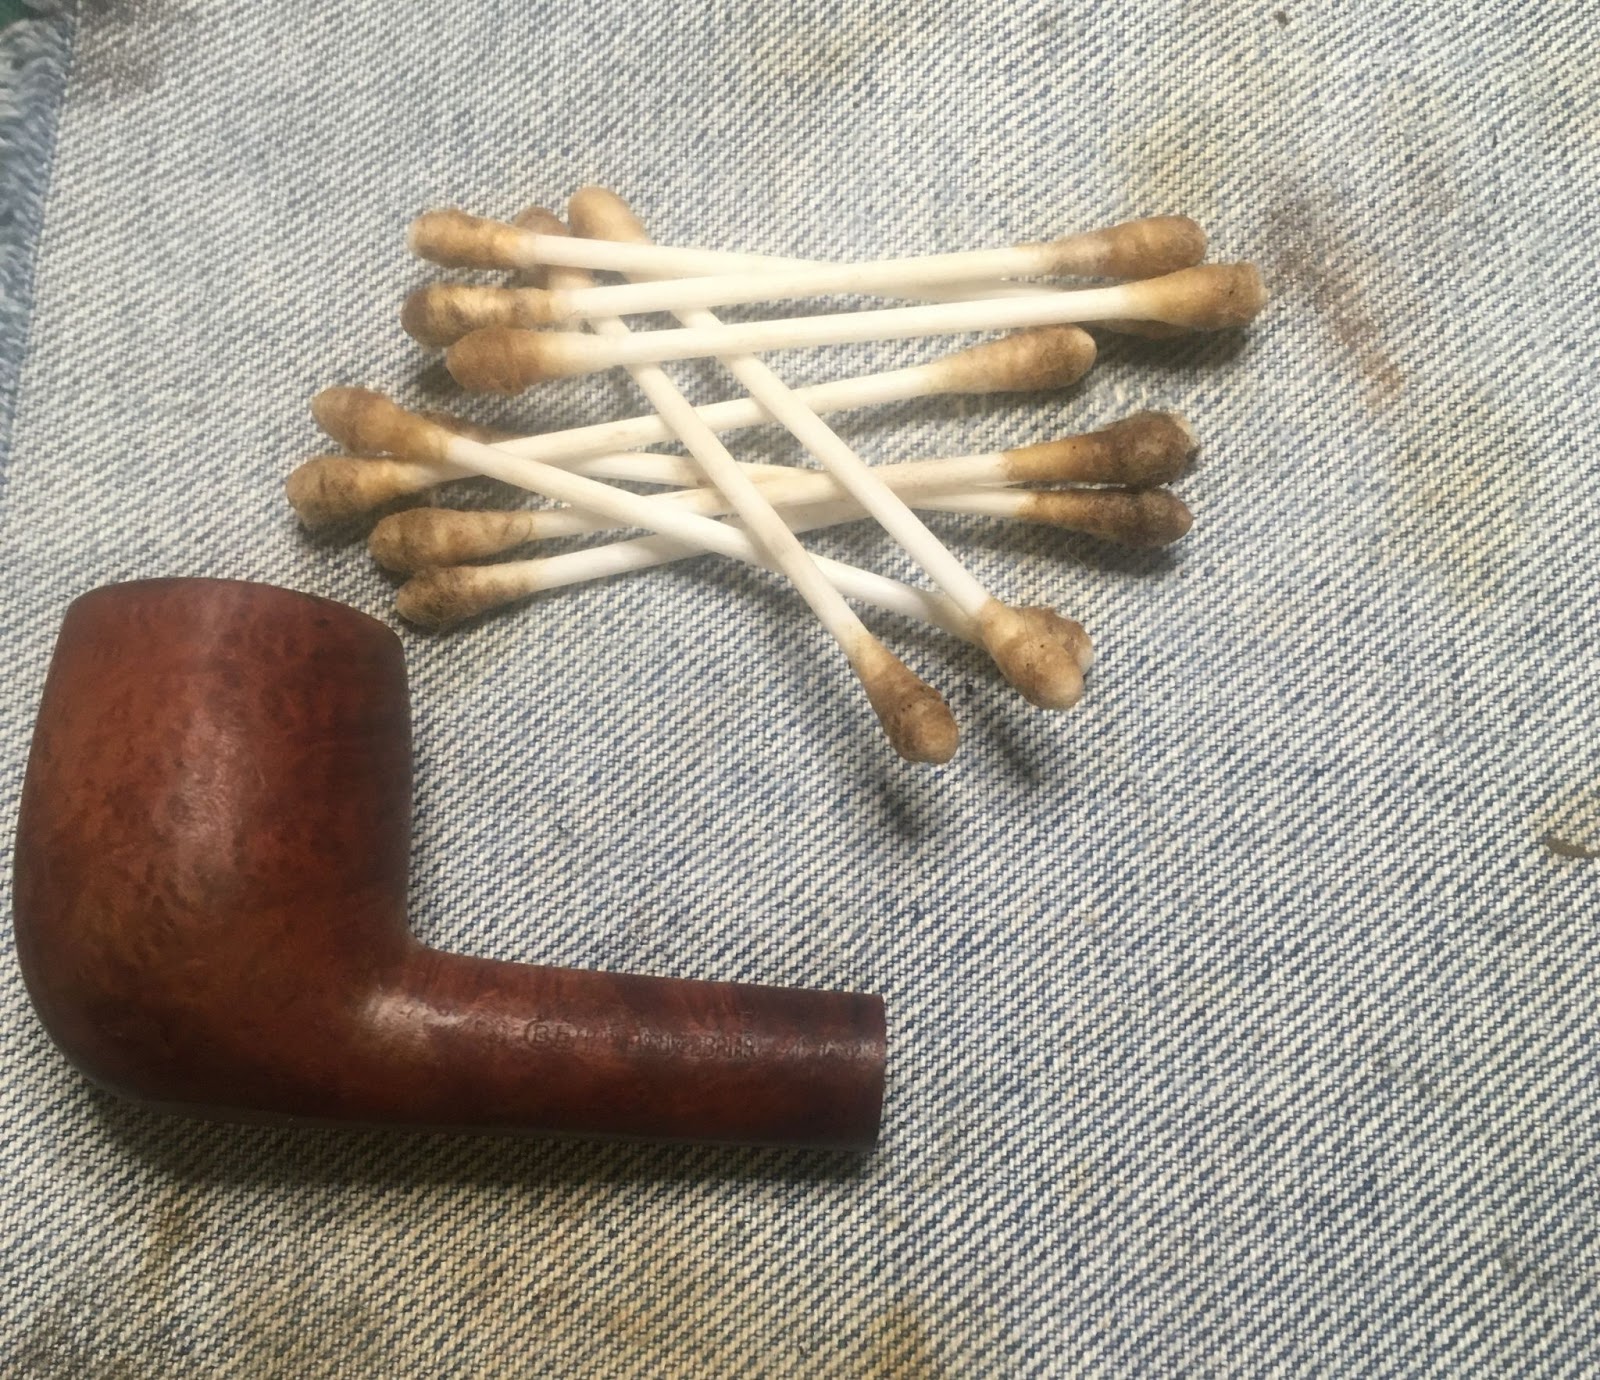
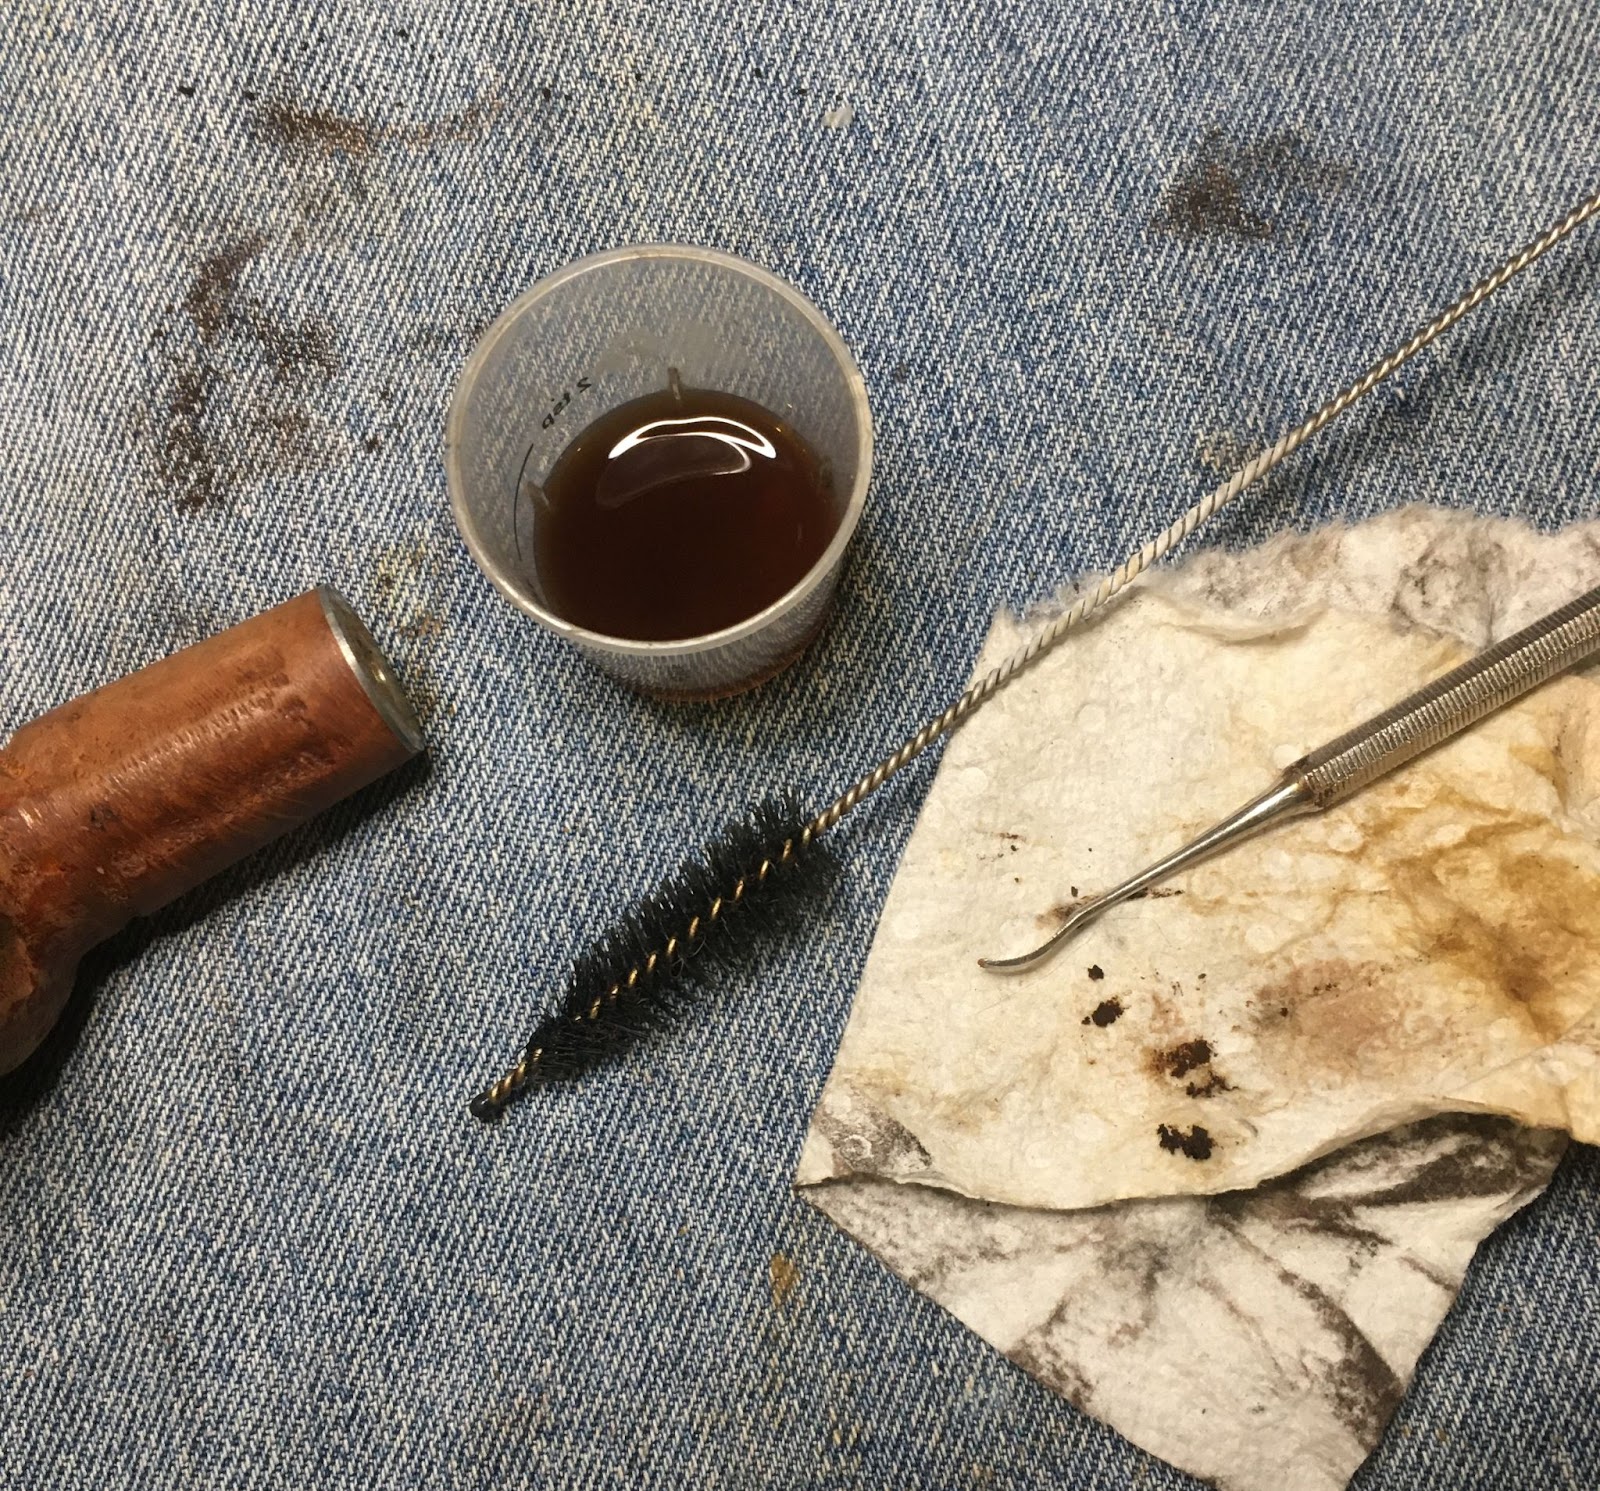
With the outside cleaned I turned my attention to the interior. The airway cleaned out quickly with bristle pipe cleaners dipped in 95% ethyl alcohol.
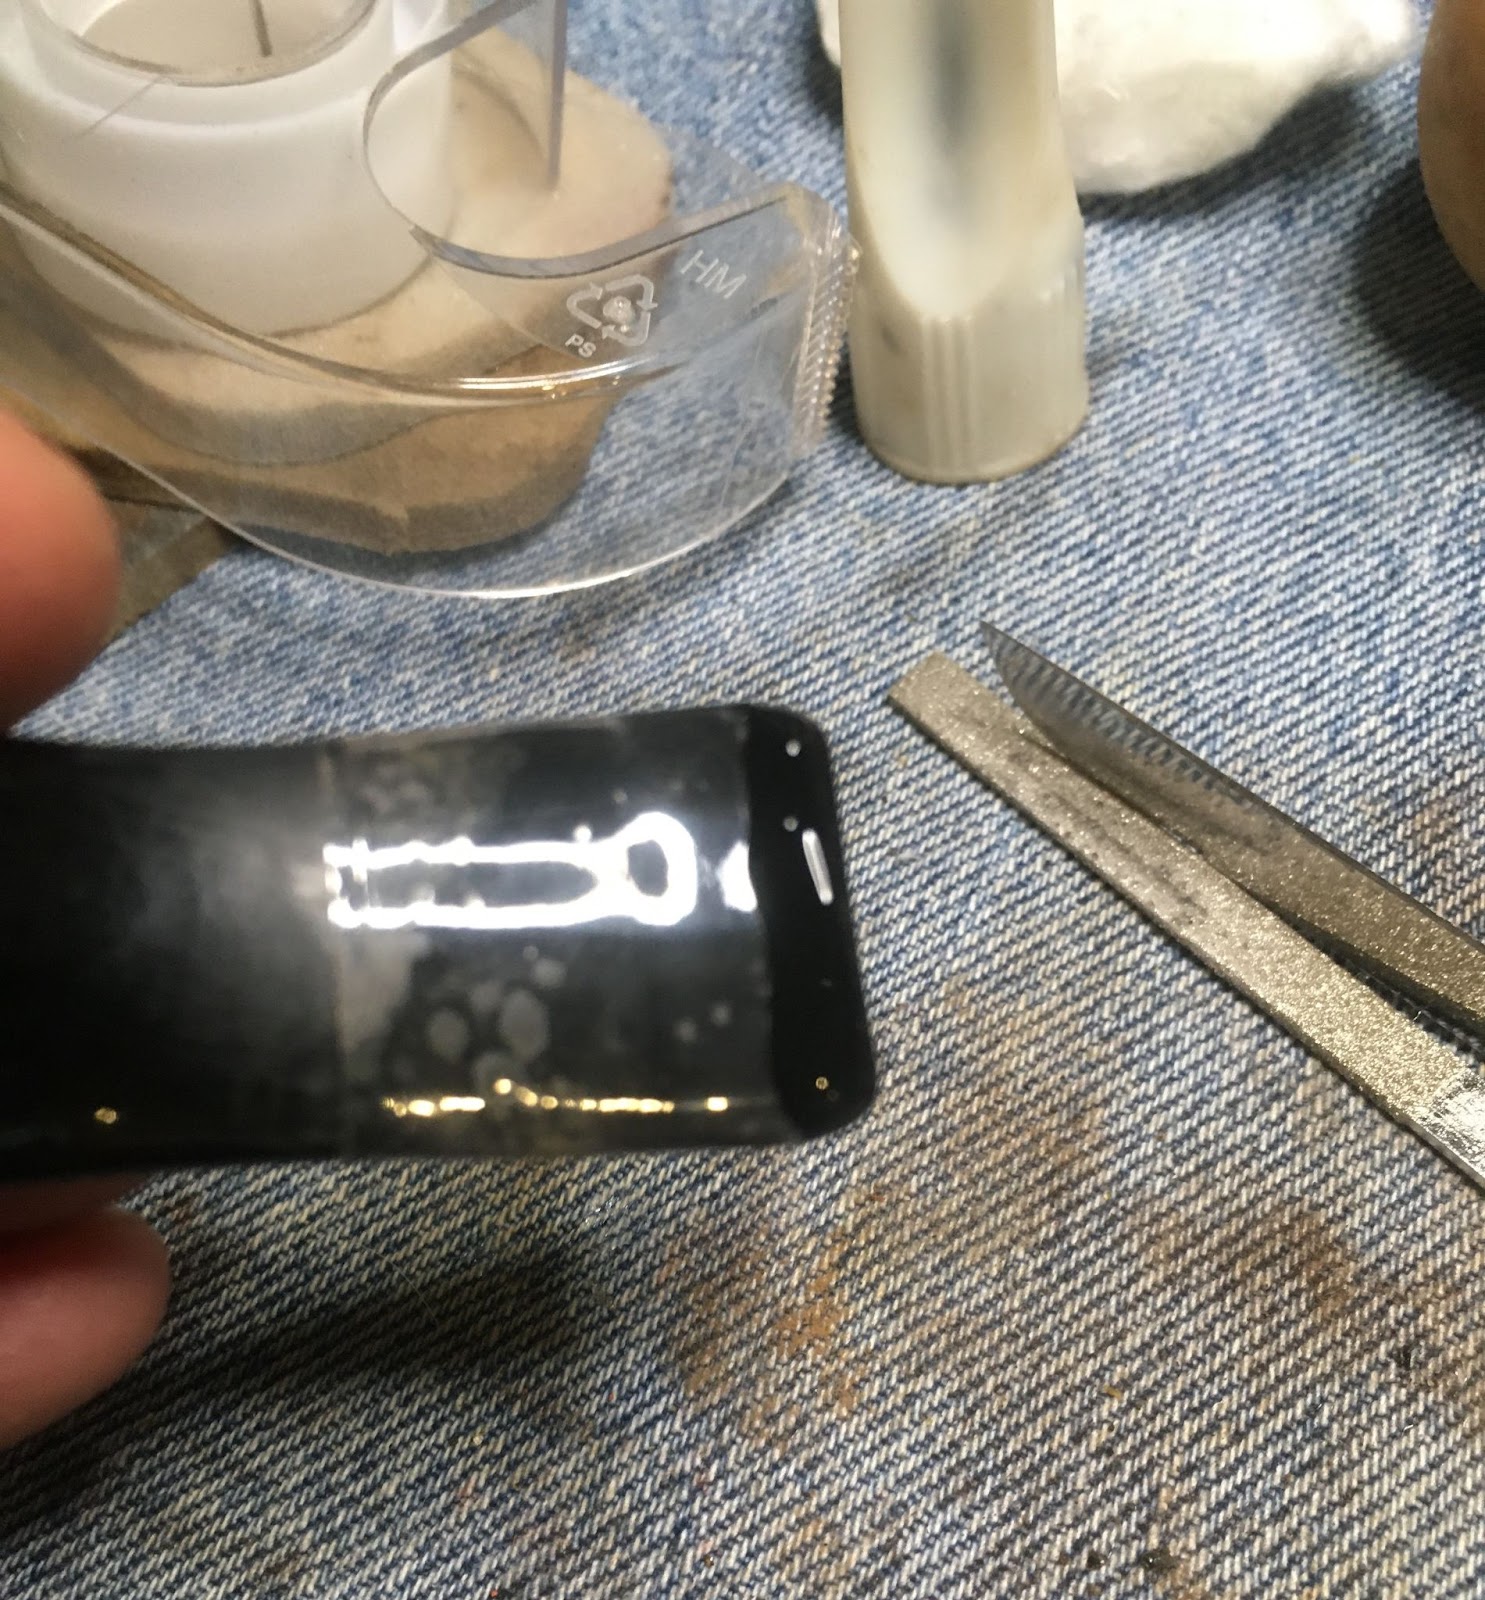
The stinger was removed from the alcohol and scrubbed with a nylon stem brush to clean off the old tar lacquer.

The stem looked much better which made the stummel look a bit worse. OK, stummel you turn for some cleaning. I took the stummel to the sink. Here I used Murphy Oil Soap undiluted with a medium stiff bristle toothbrush to scrub the exterior. After the exterior was scrubbed I applied a small amount of Dawn dish soap to a nylon shank brush. I scrubbed the airway with the nylon shank brush and Dawn. I rinsed the stummel with warm water and dried it with a cotton dish towel.

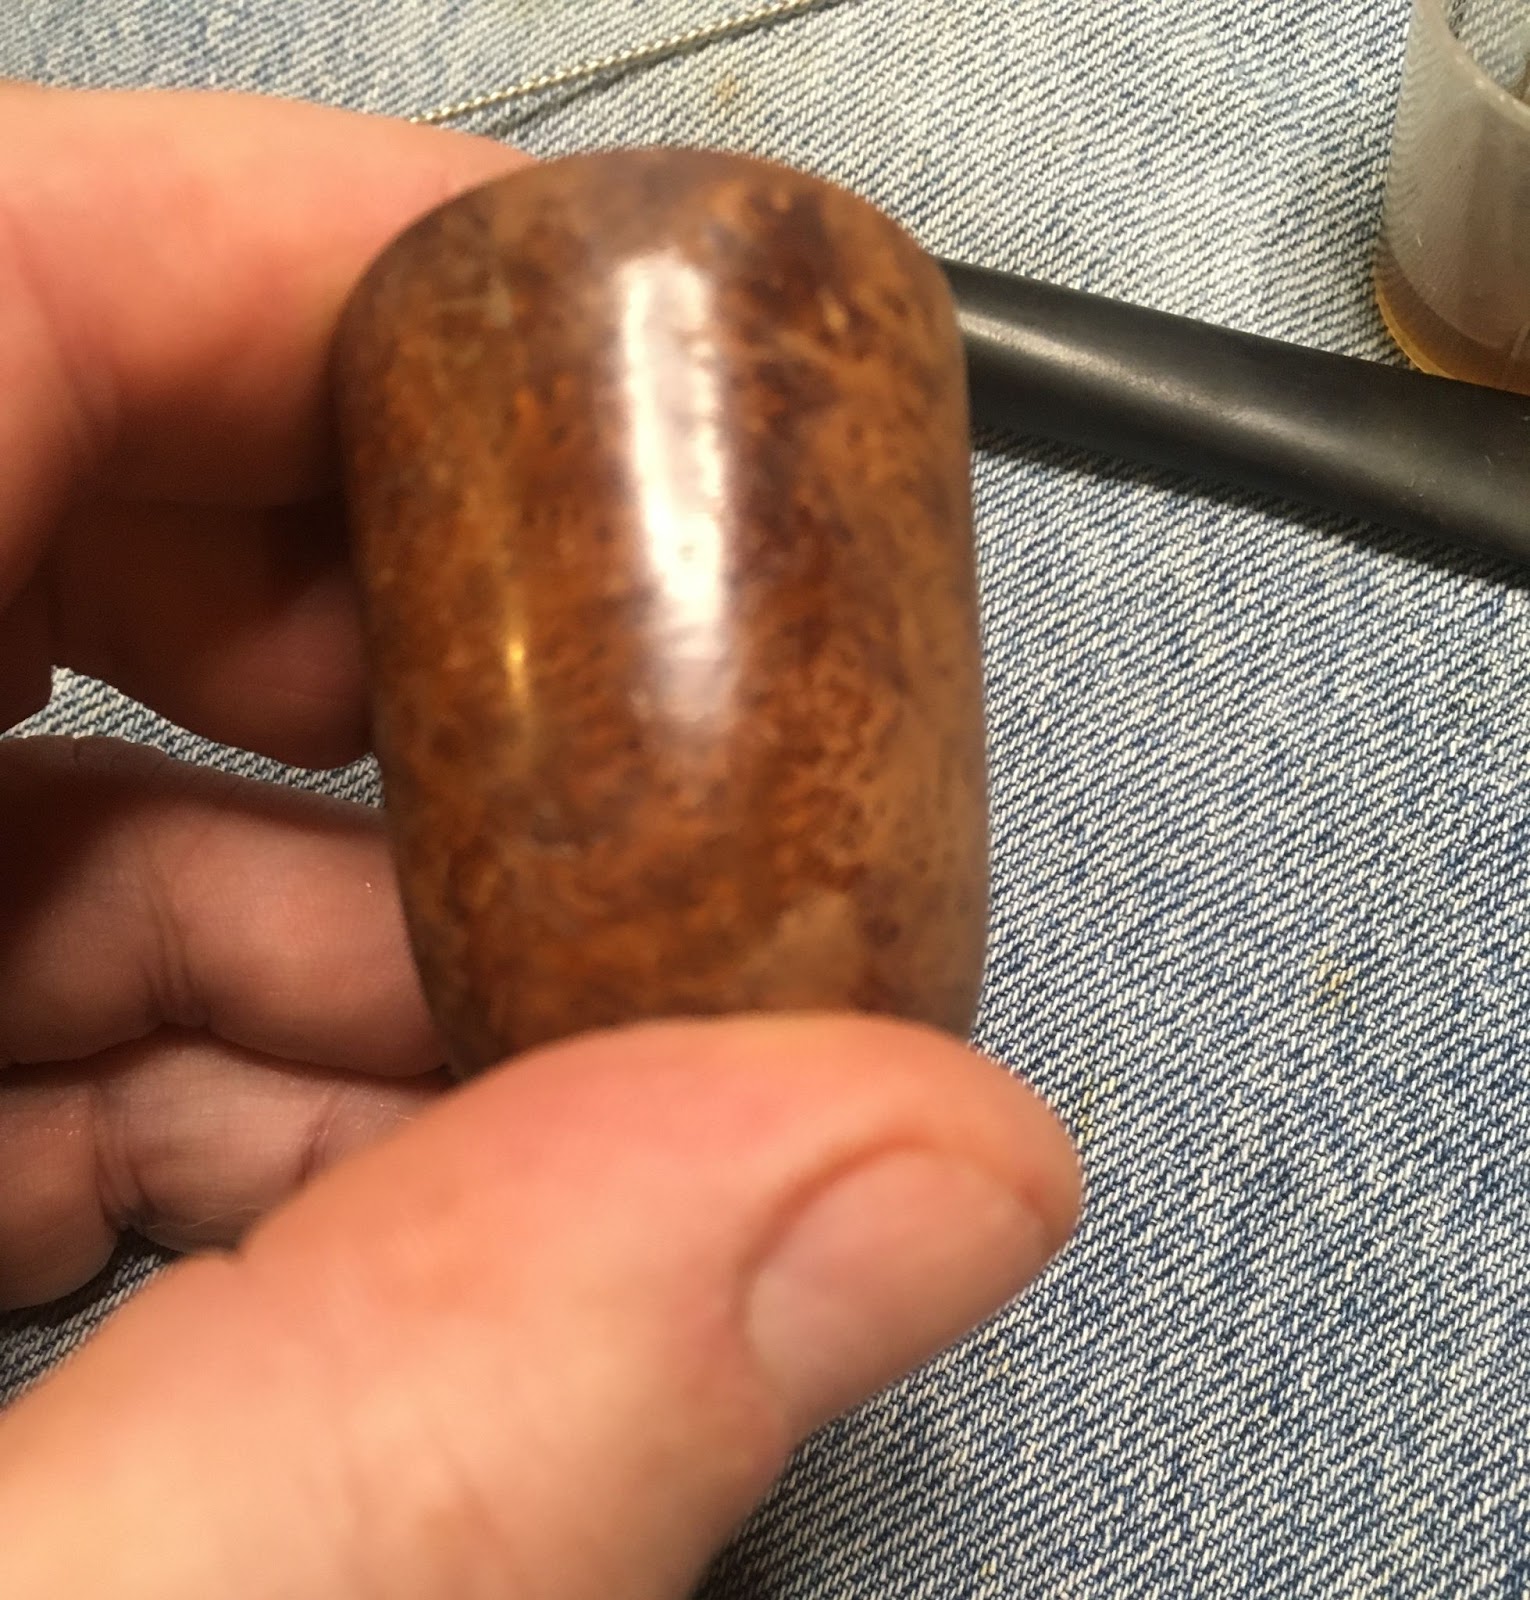
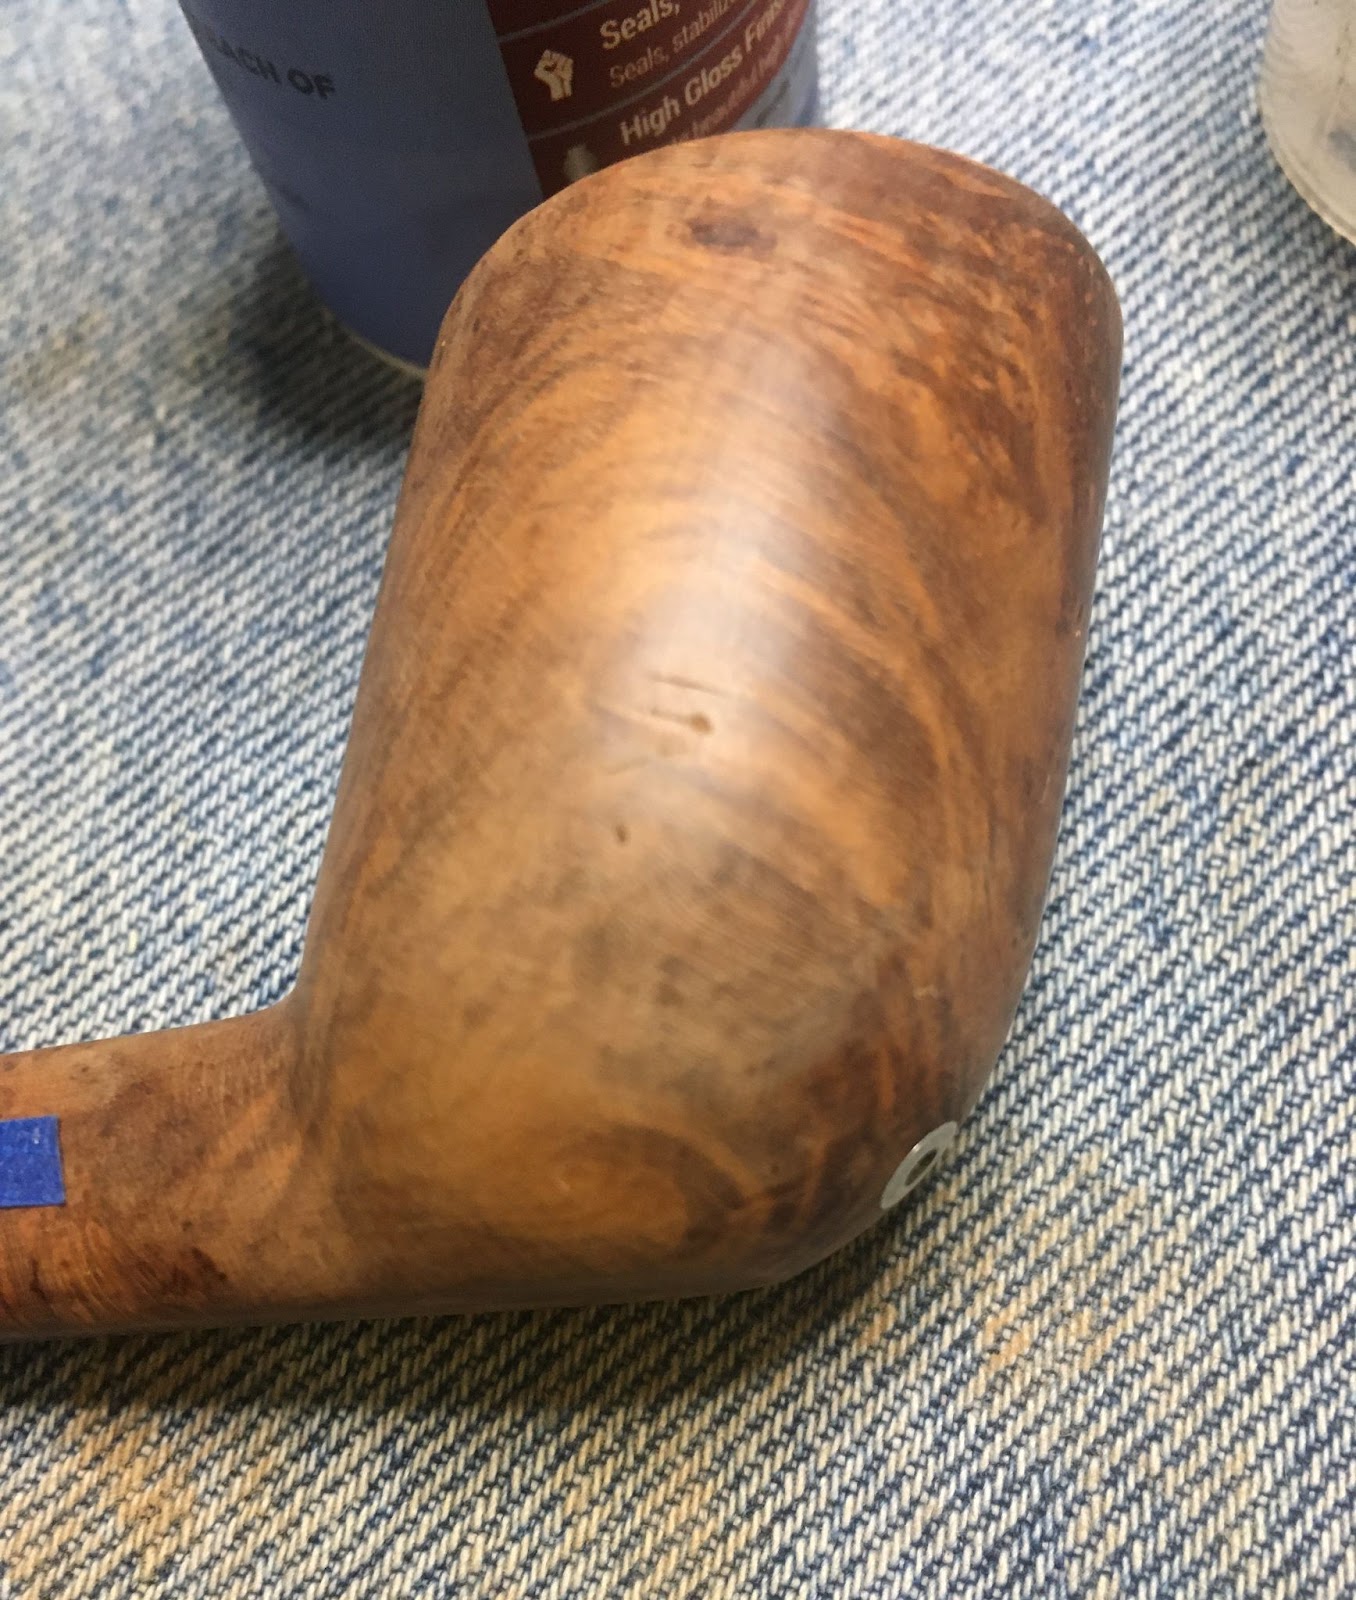
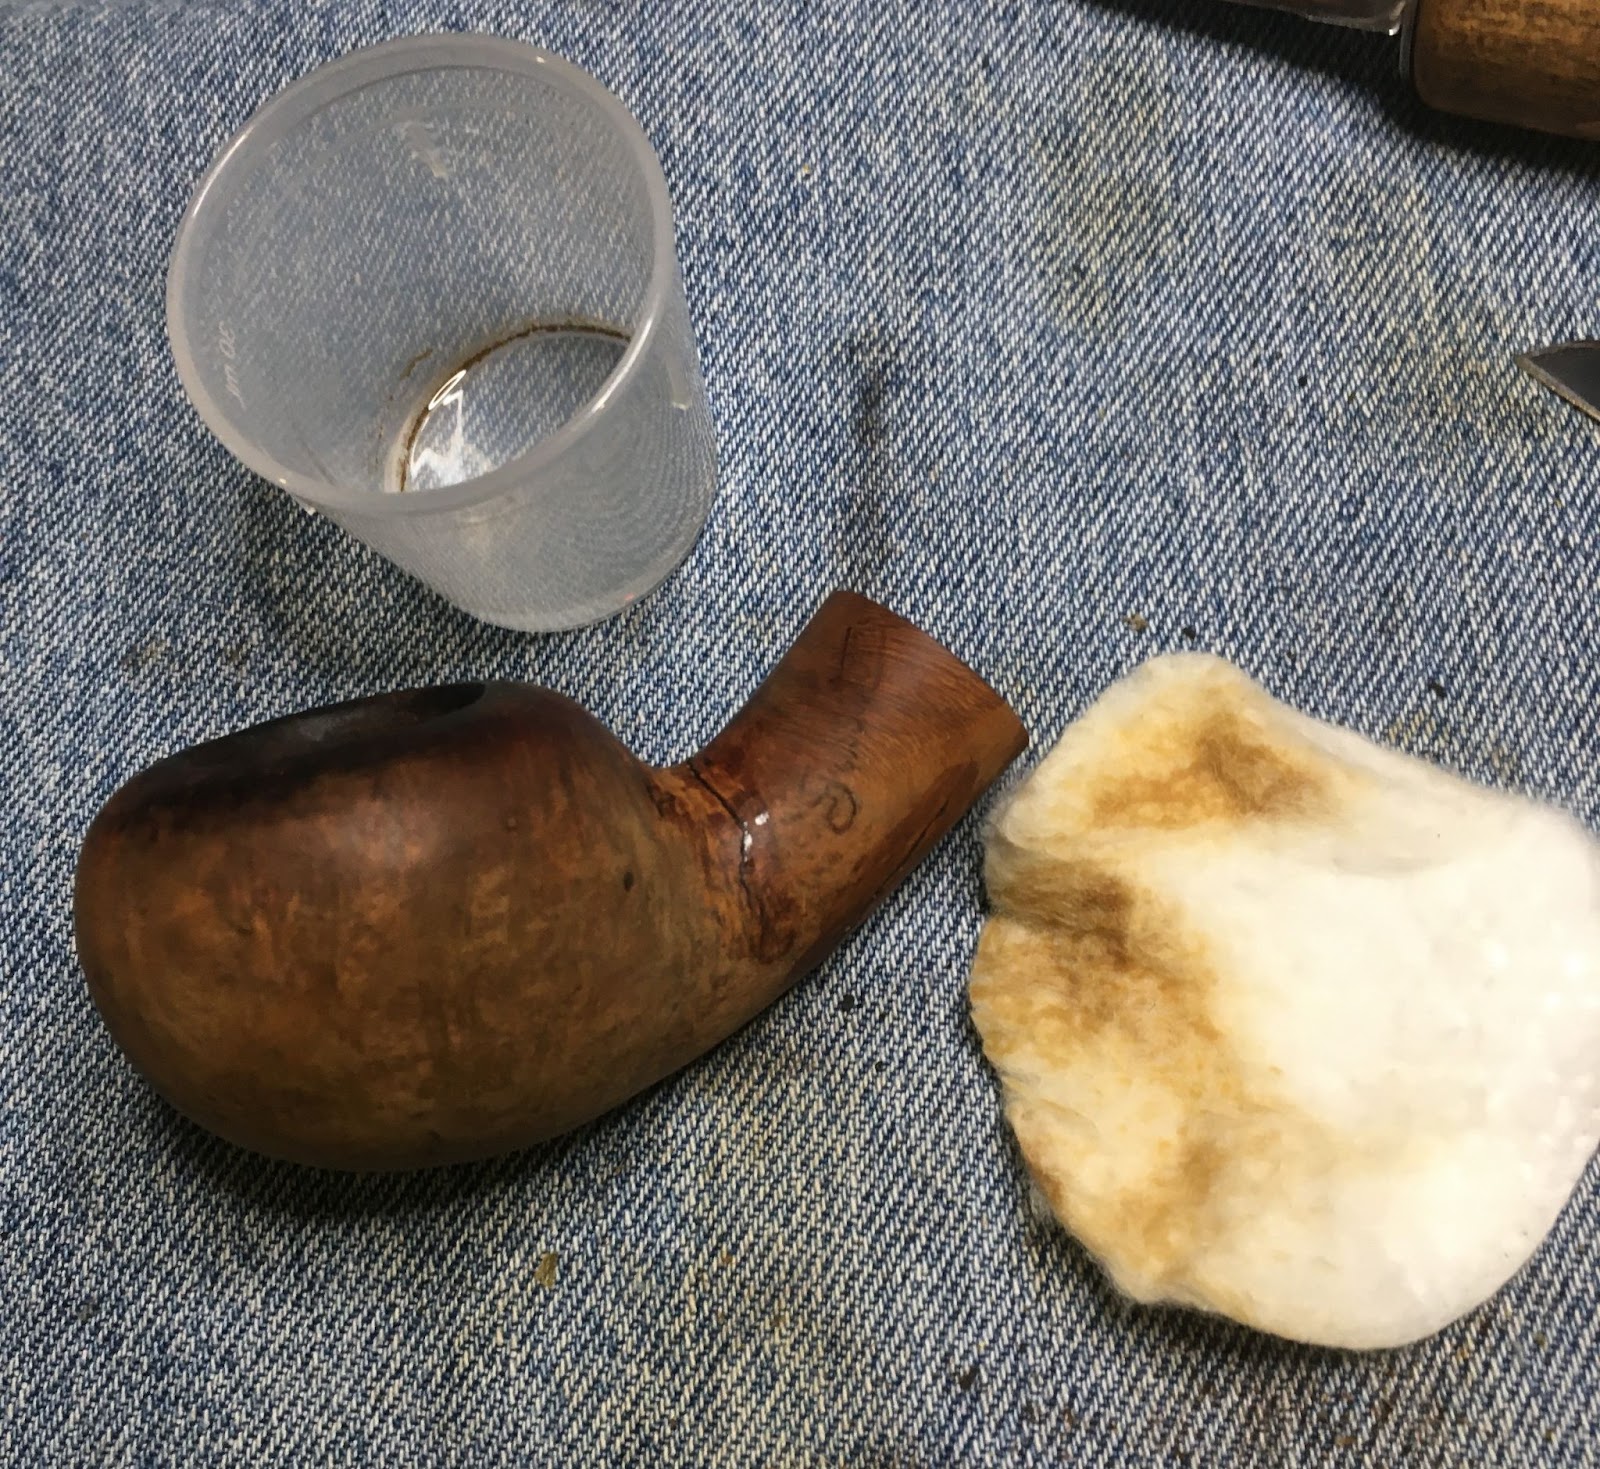
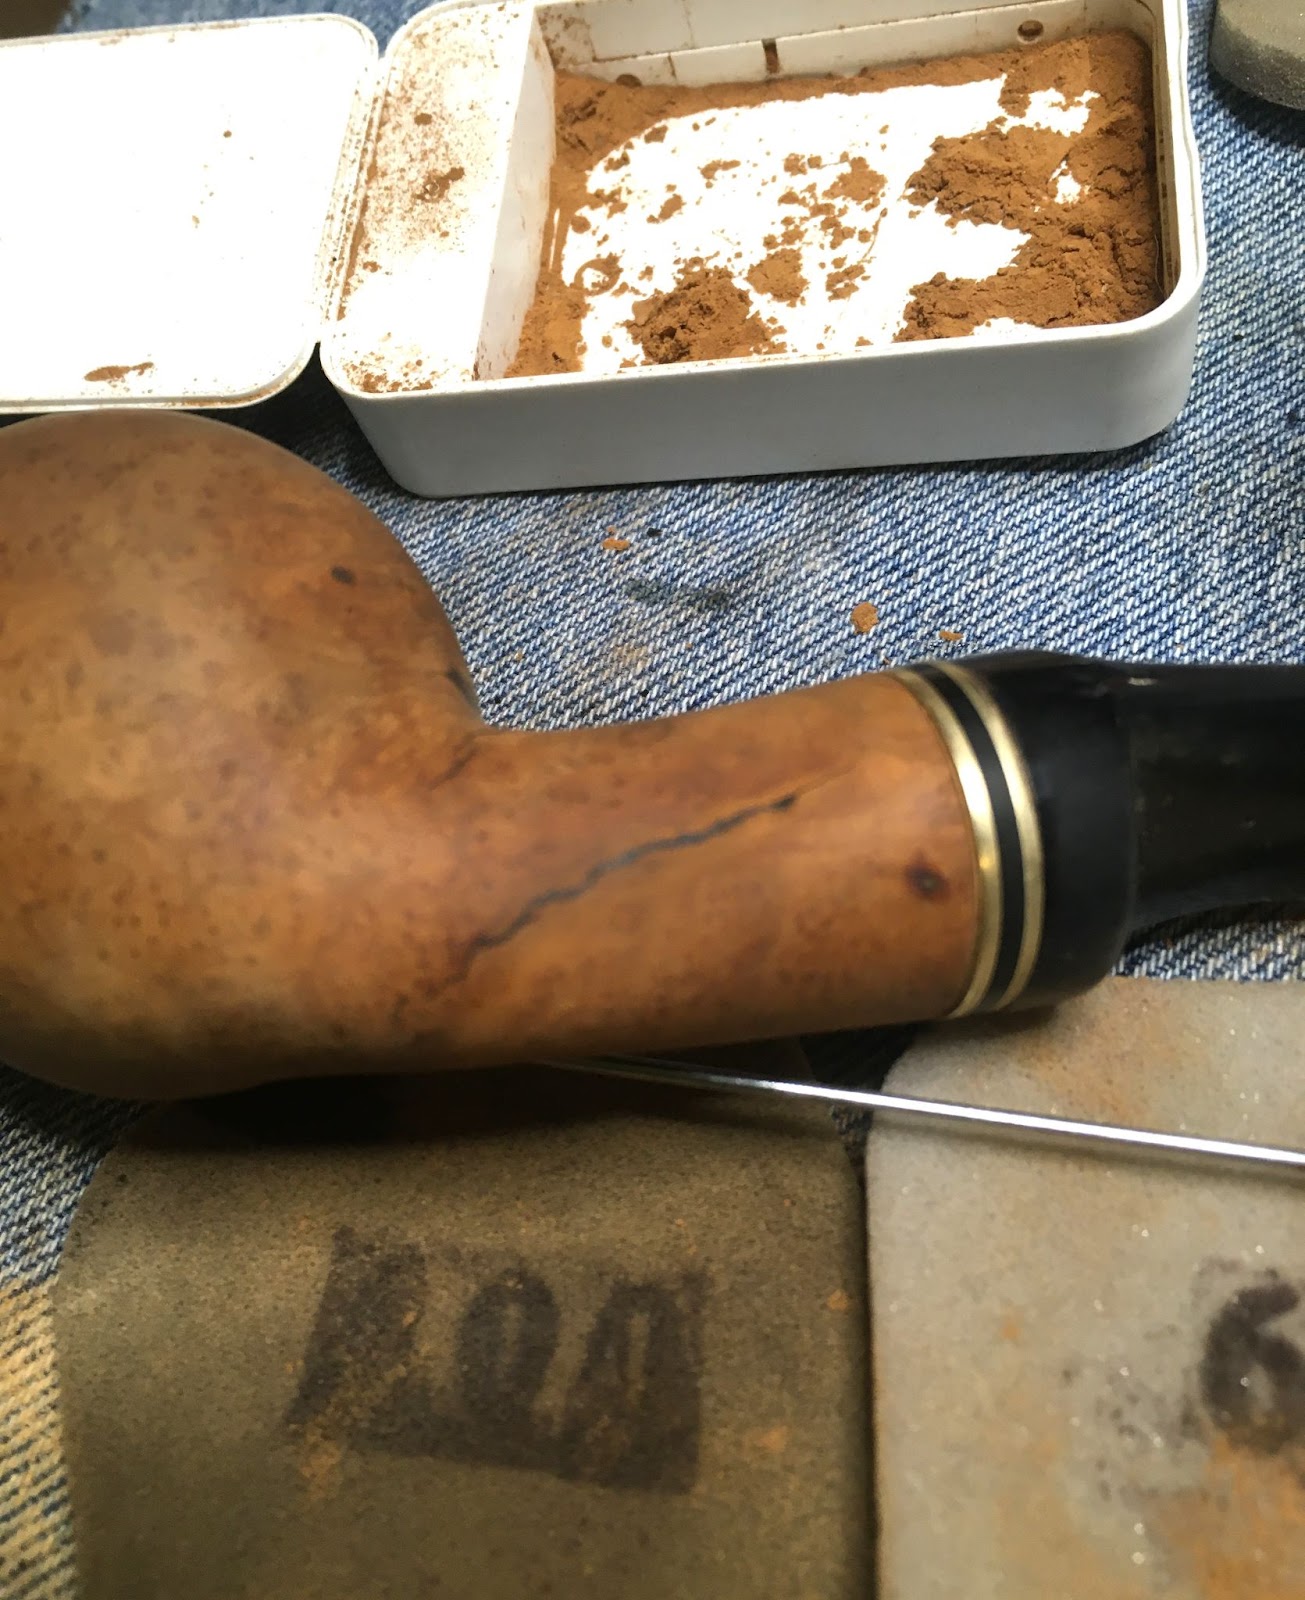
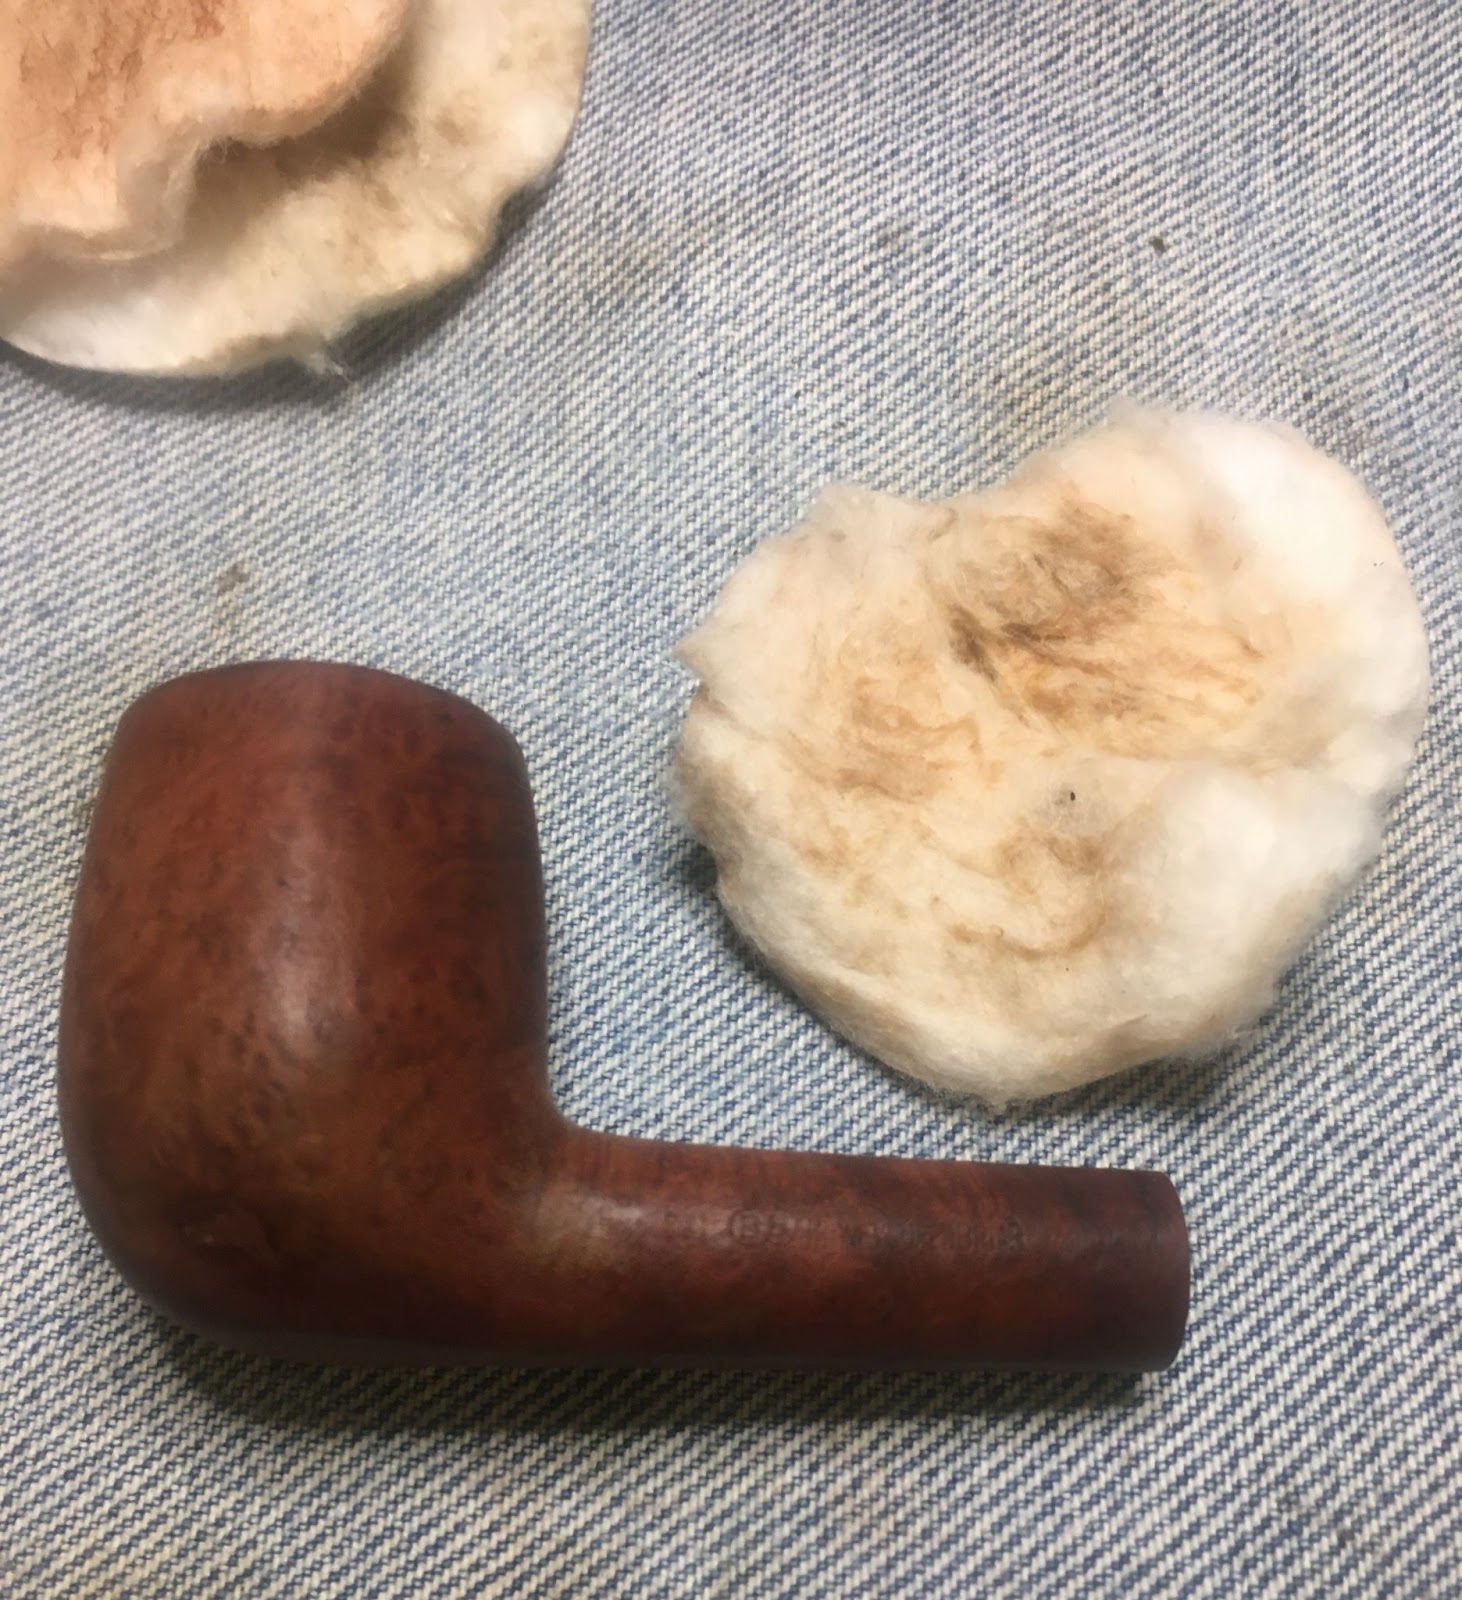
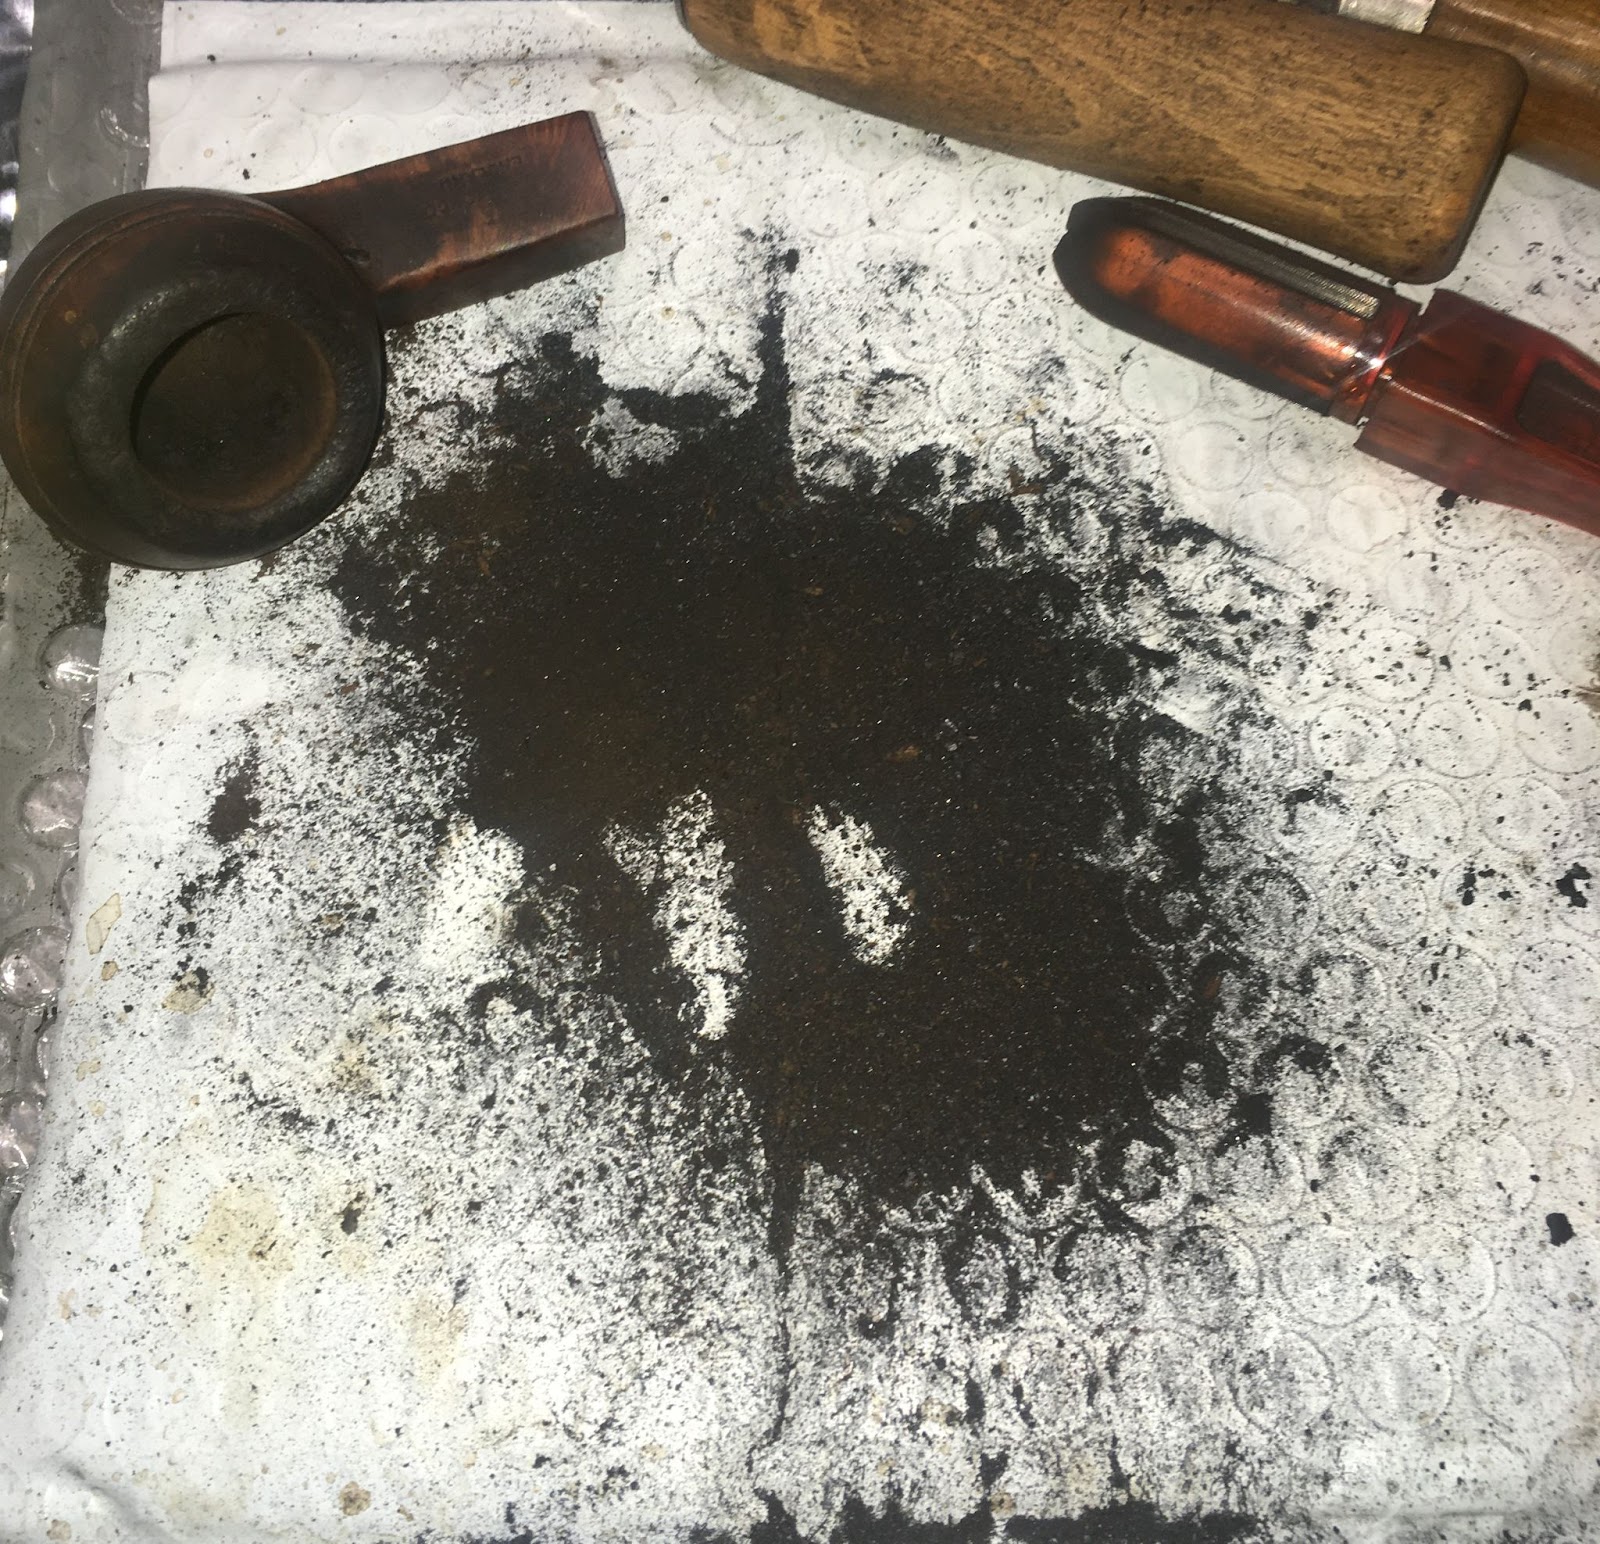
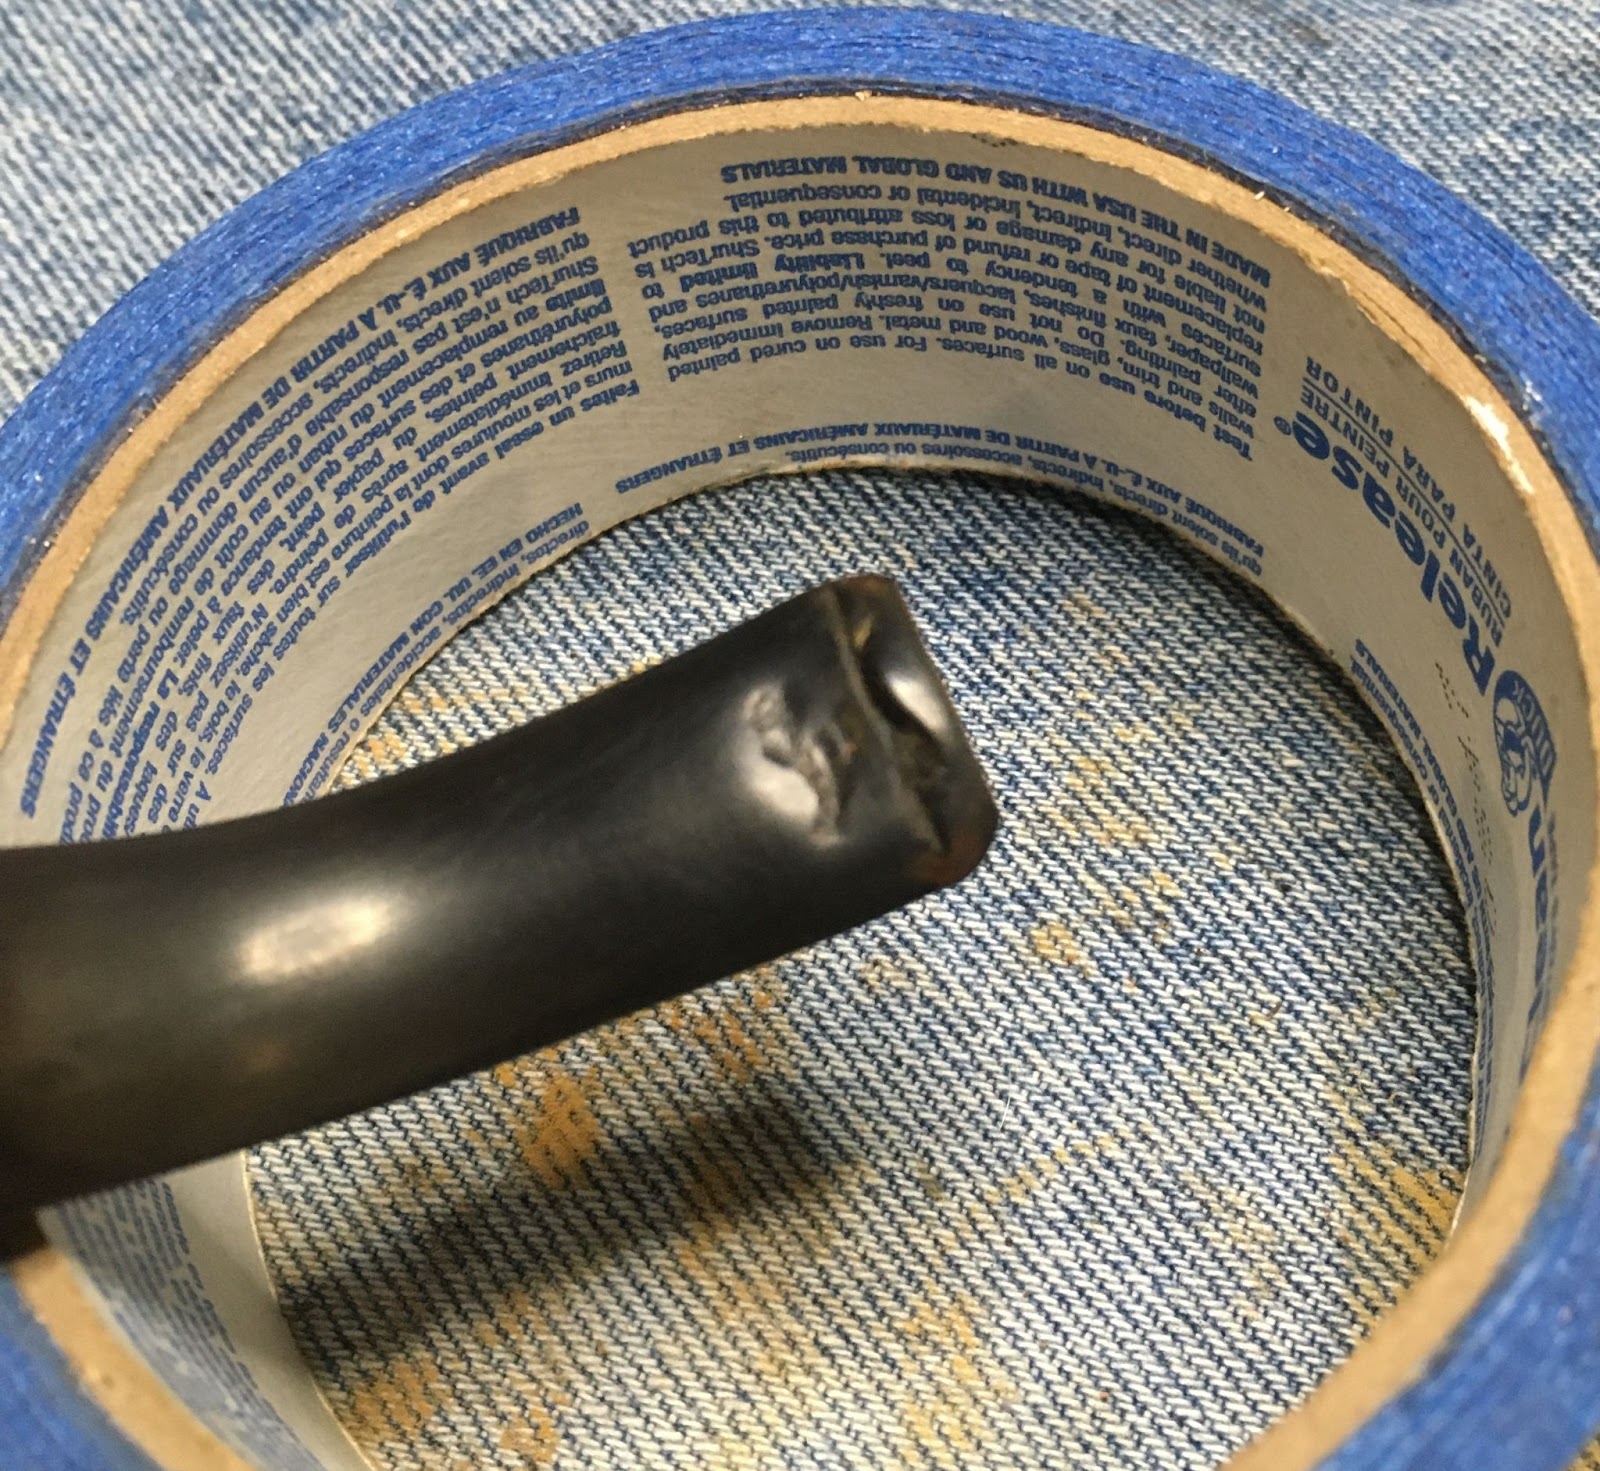
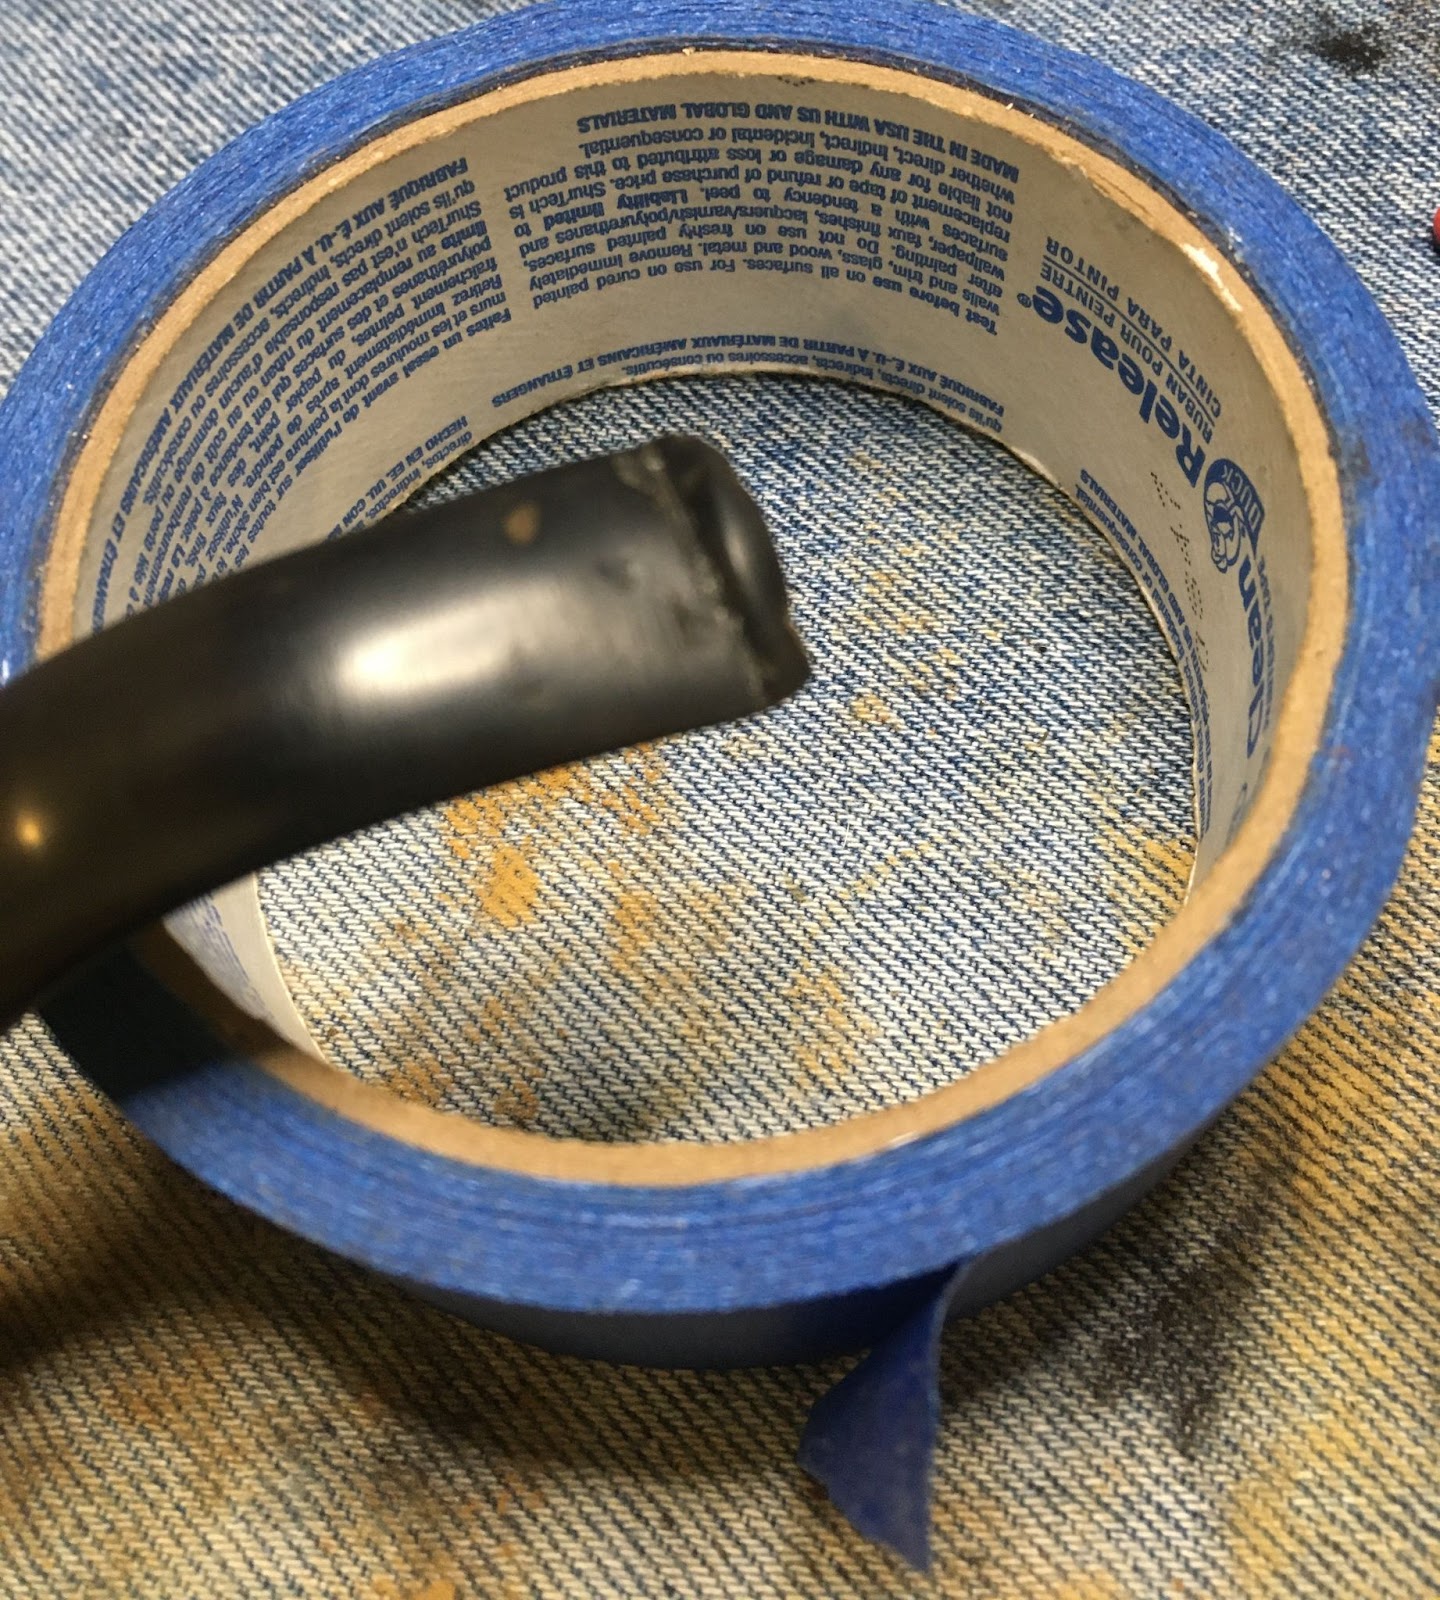
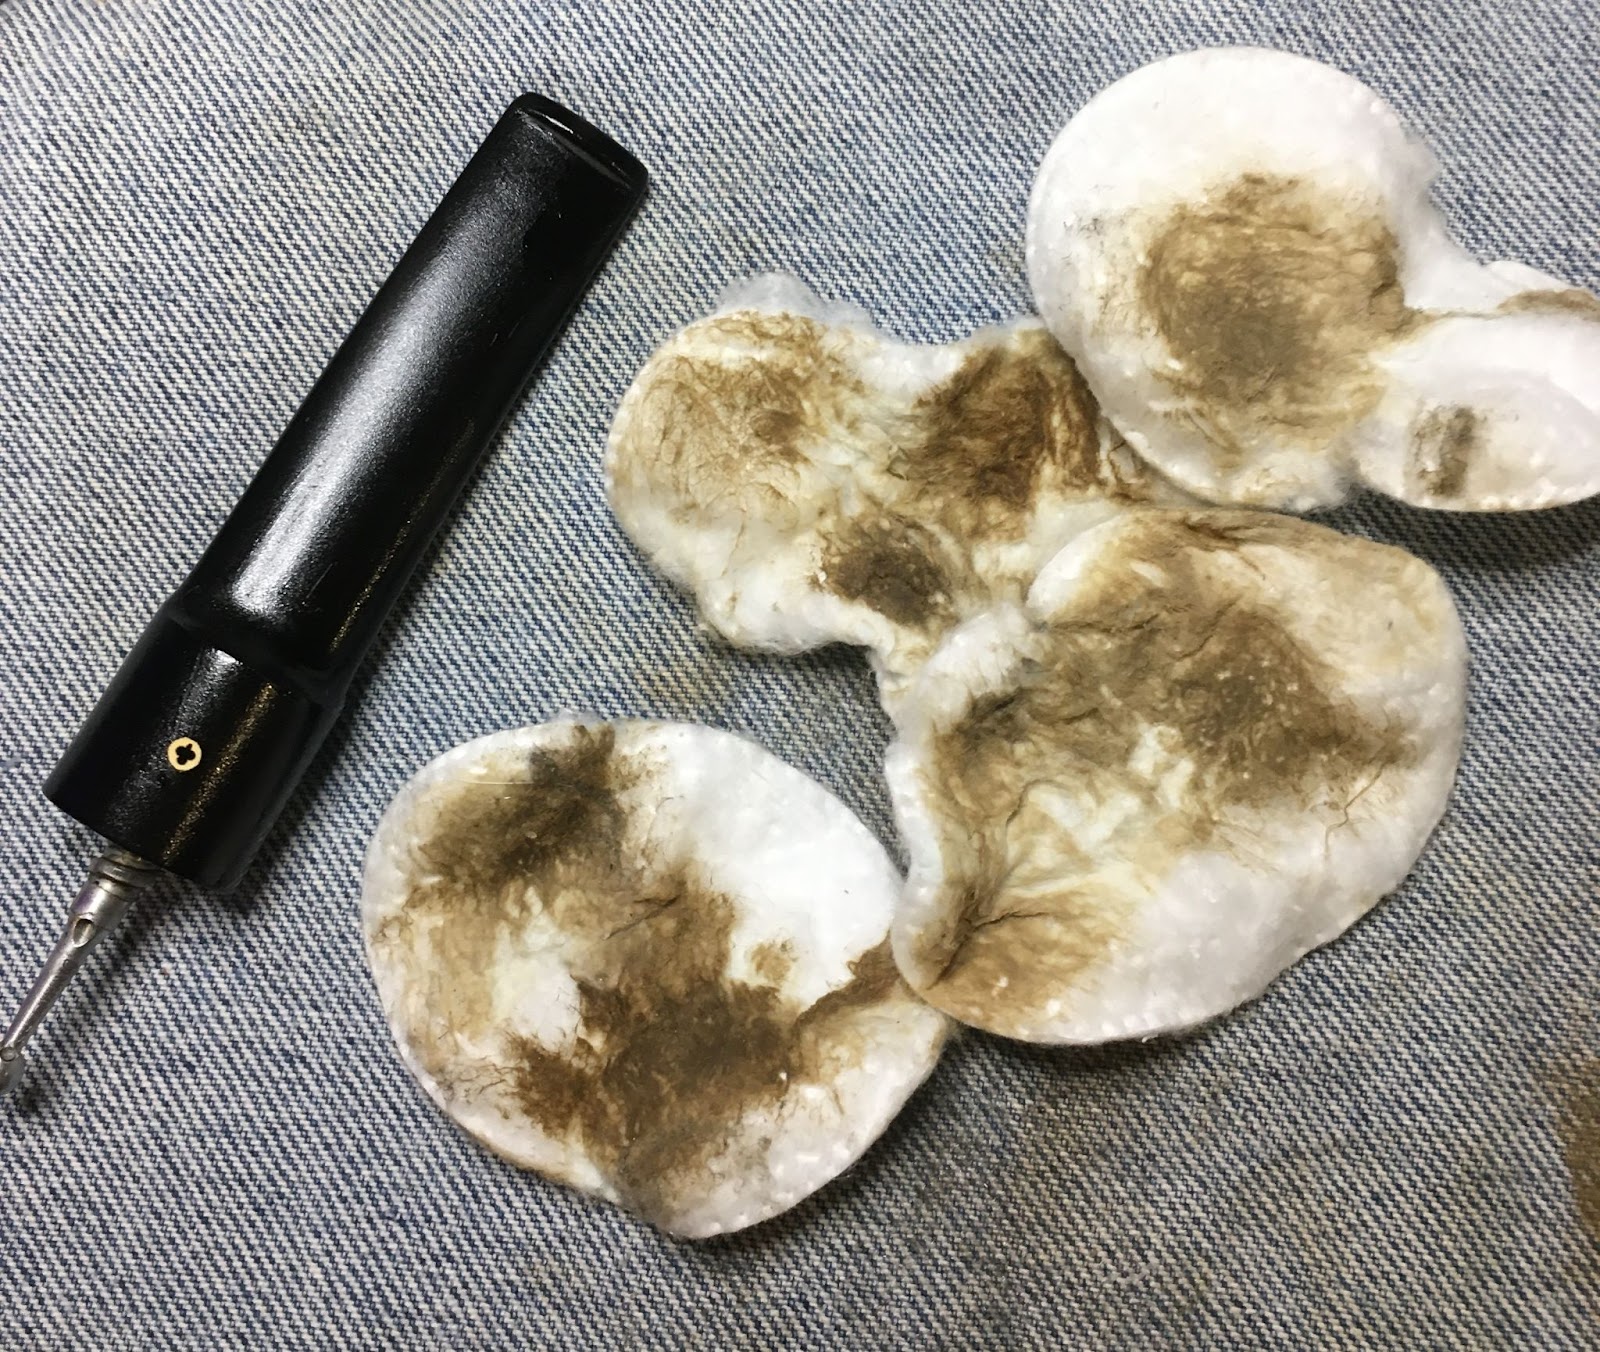
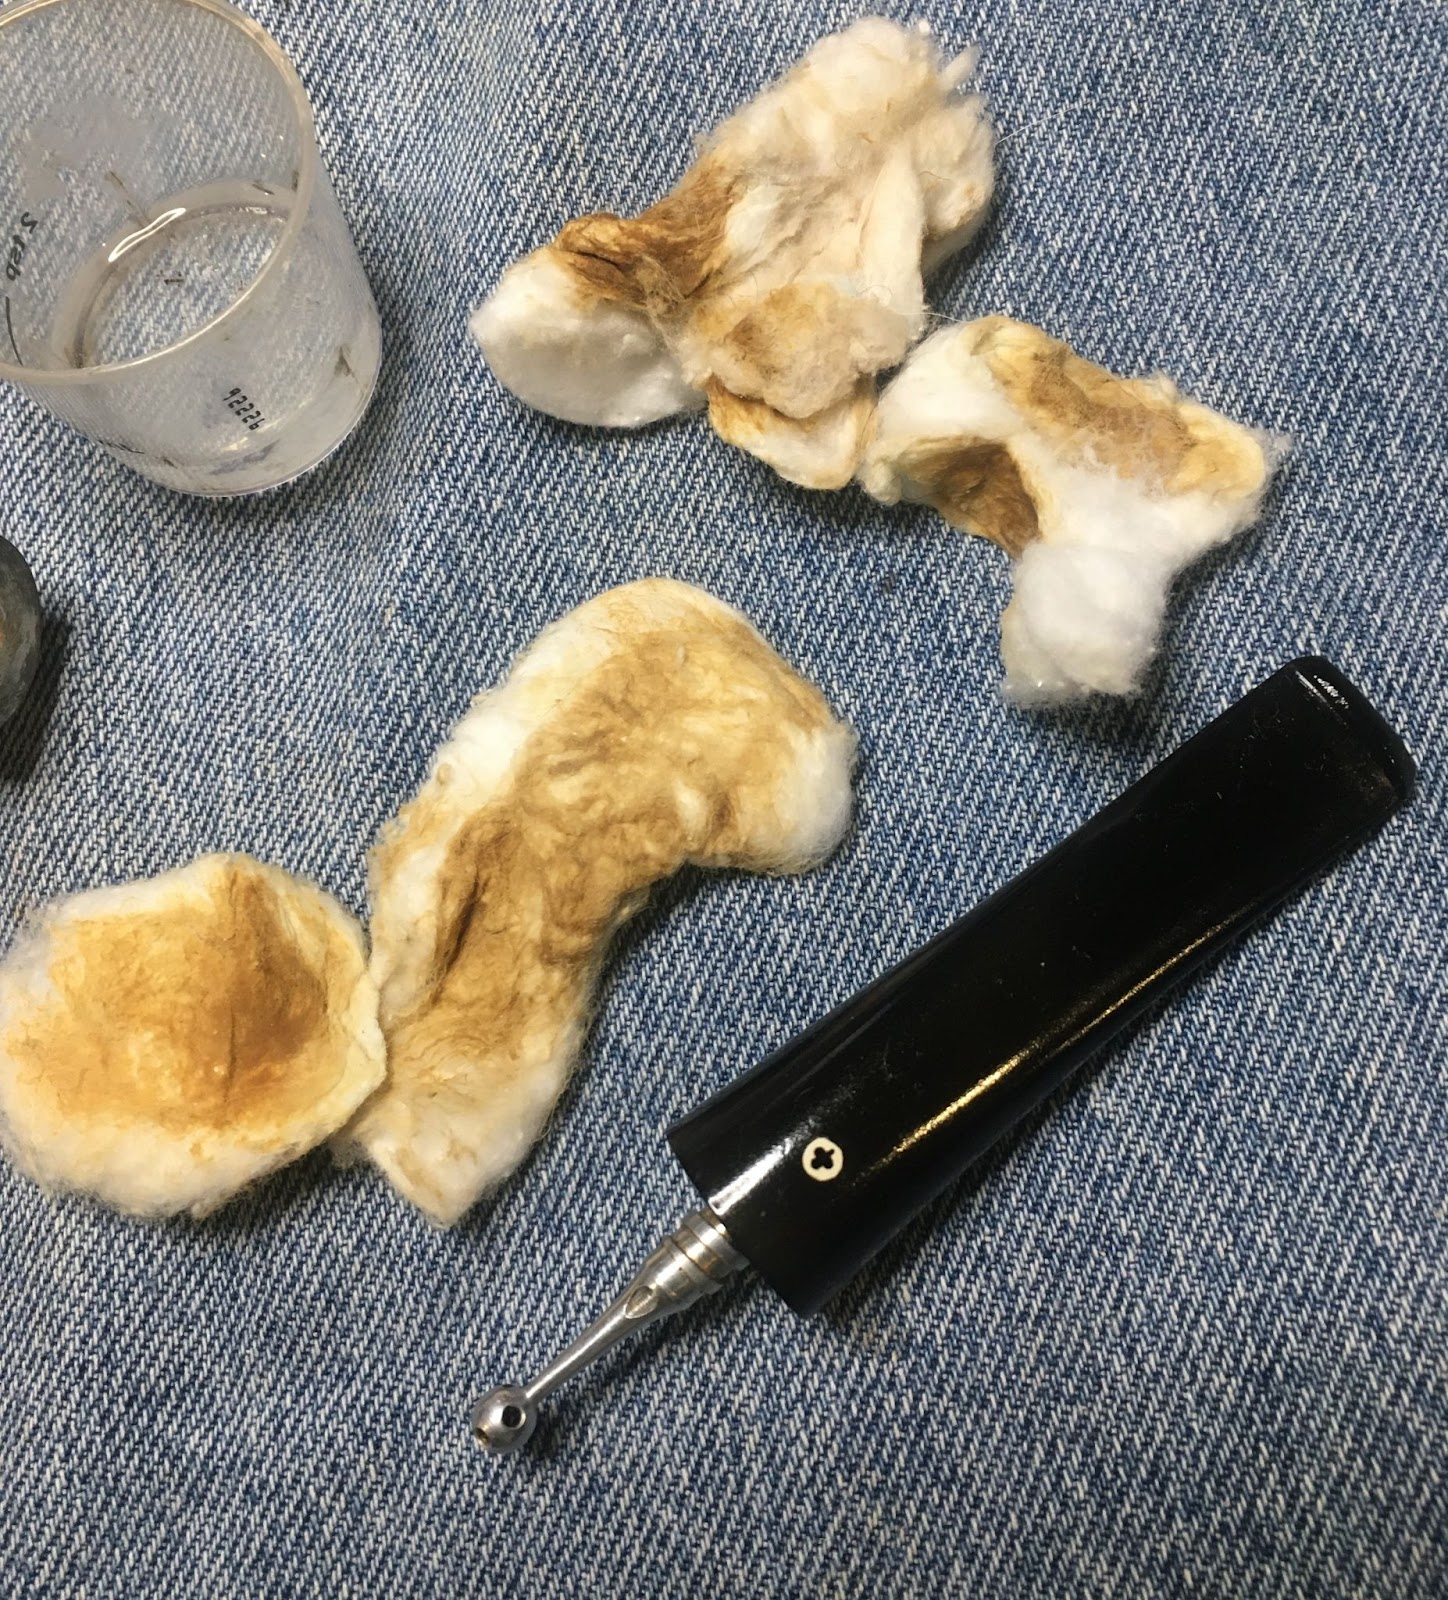
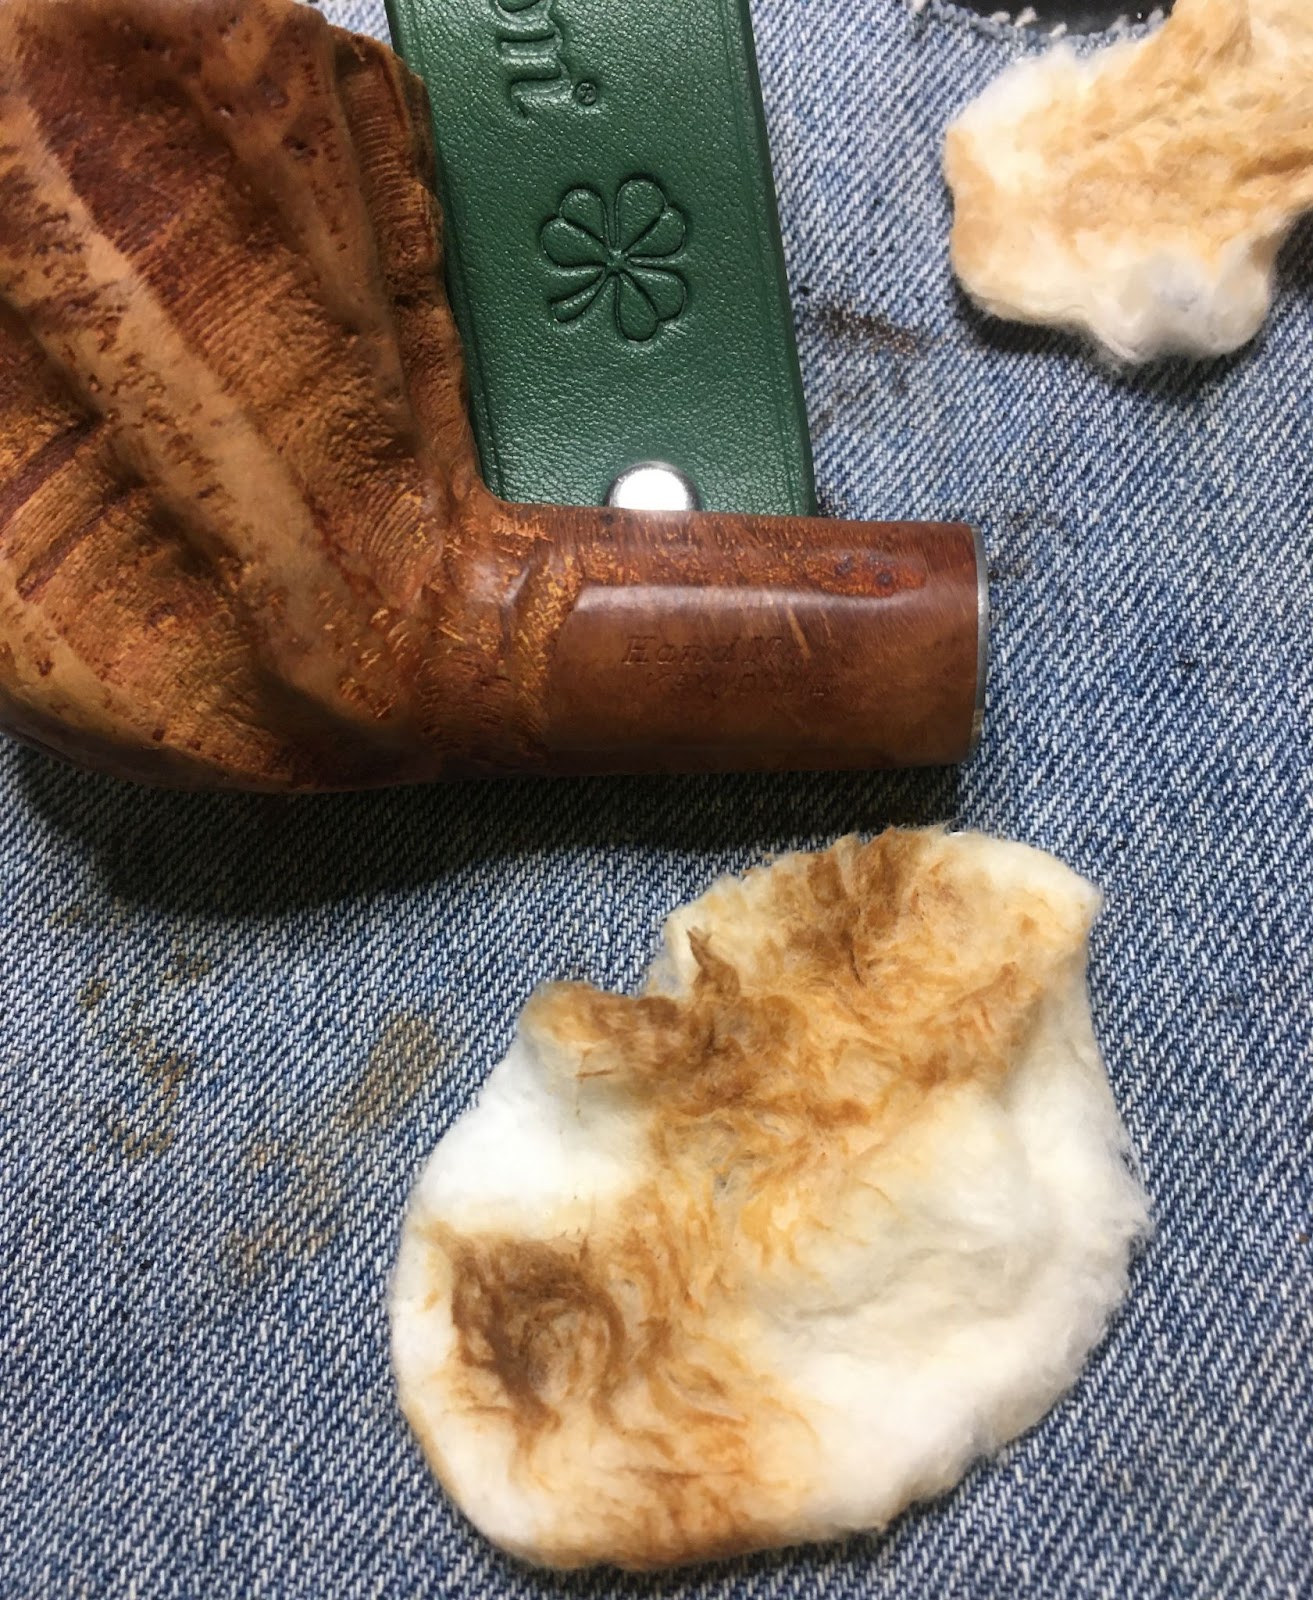
The stummel was returned to the workbench. Here I used a make-up pad dipped in 95% ethyl alcohol to wipe/scrub the exterior of the stummel. The photo below shows that the pad removed some material from the stummel, most of it came from the rim.

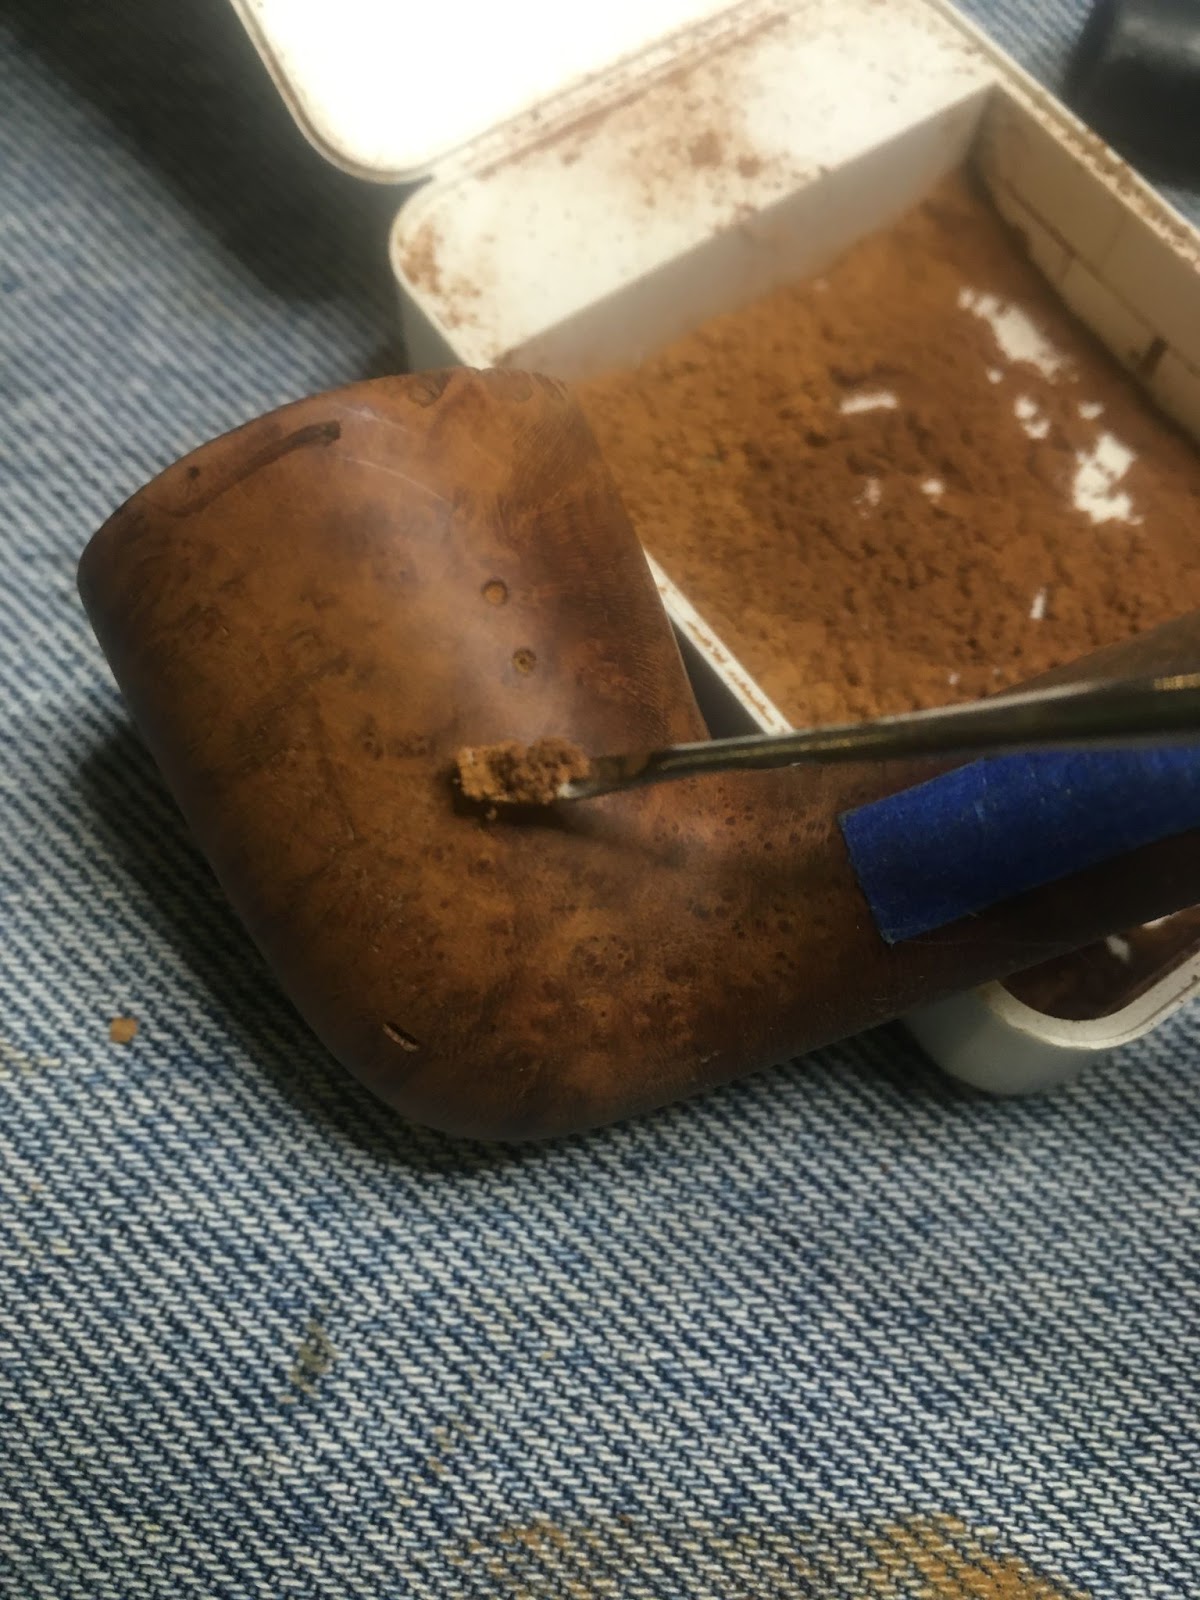
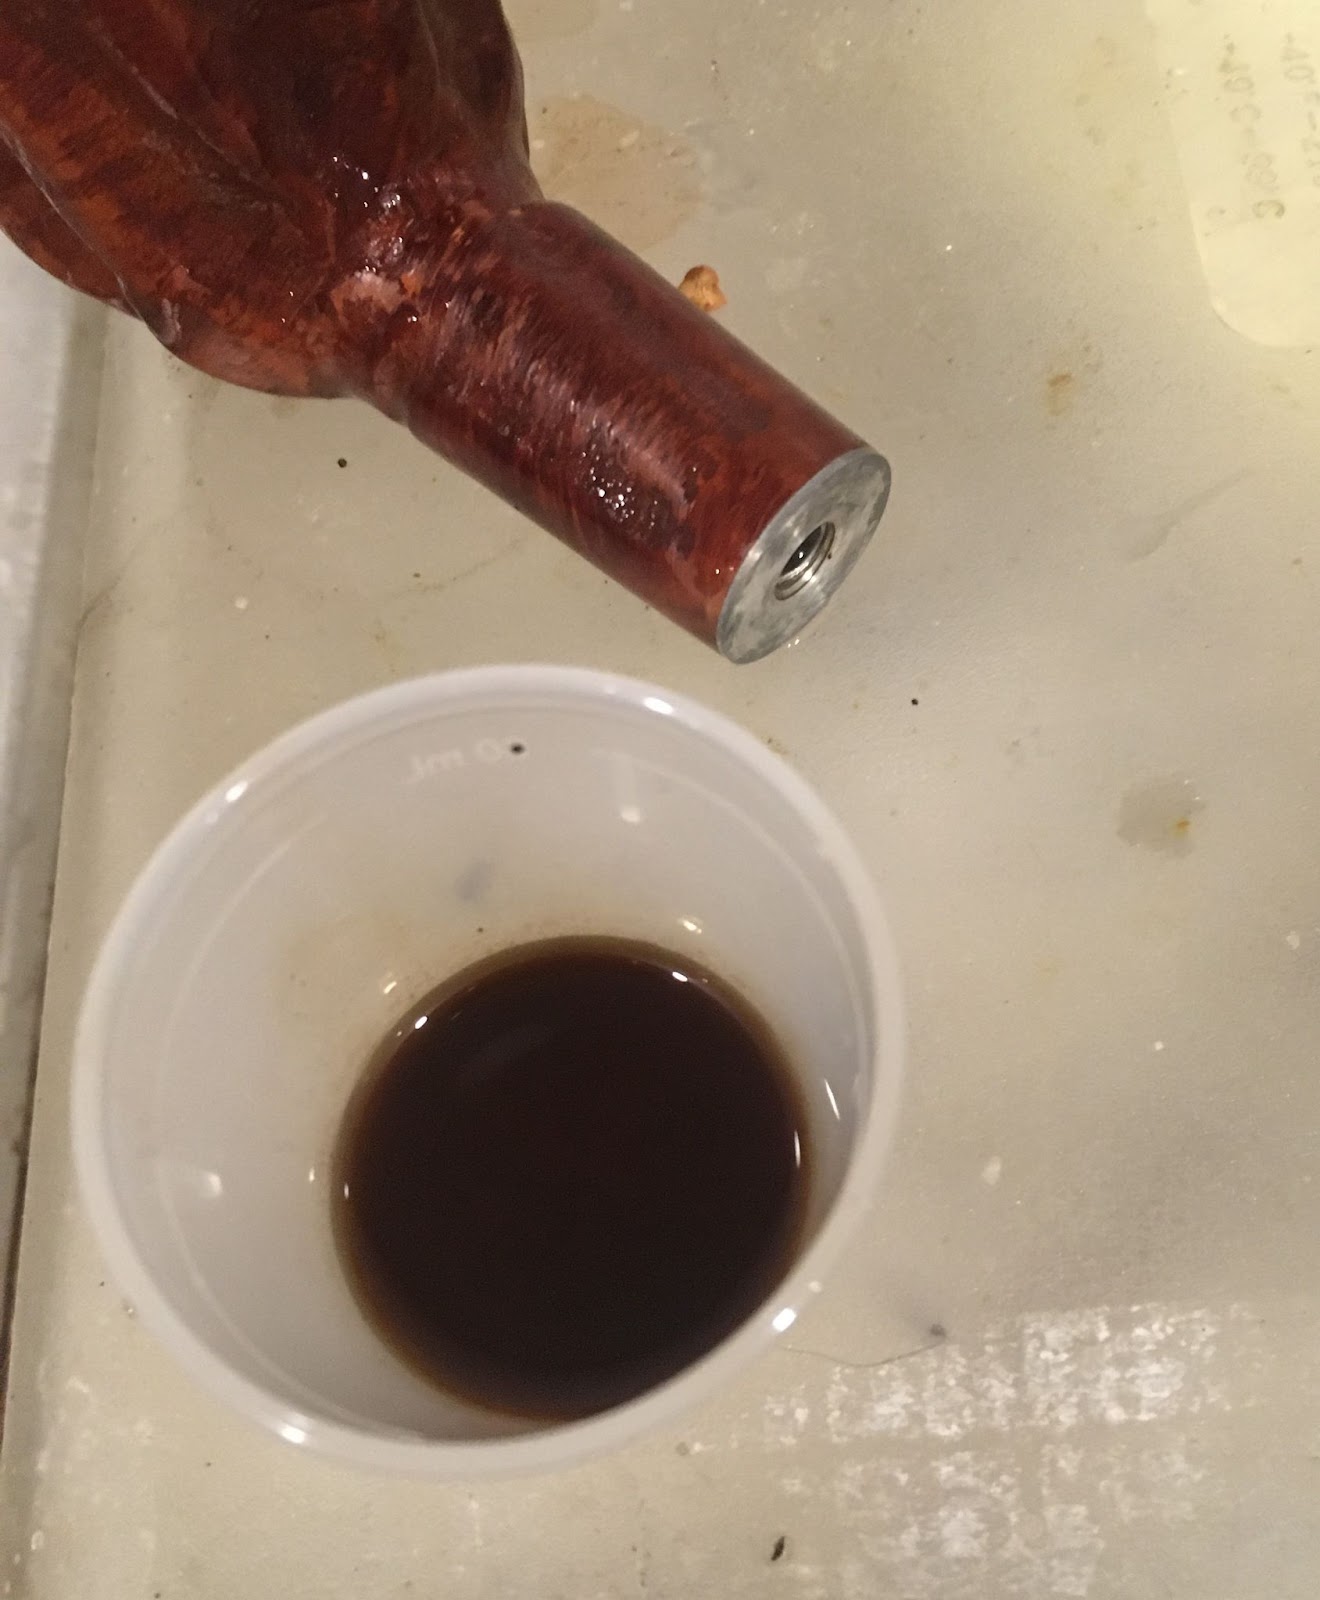
The scrubbing of the airway softened the tars and yuck (the technical term for black smoking residue) within the shank. I scraped the airway with a dental scraper, the scrapings seen on the make-pad. 3-4 ml of 95% ethyl alcohol was poured into the bowl and allowed to flow into the shank. I scrubbed the shank with a nylon bore brush and the alcohol. This alcohol into a medicine cup and I scrubbed further with cotton swabs dipped in alcohol. The shank was not as dirty as I had initially thought and after a few alcohol scrubbings the cotton swabs were emerging clean.

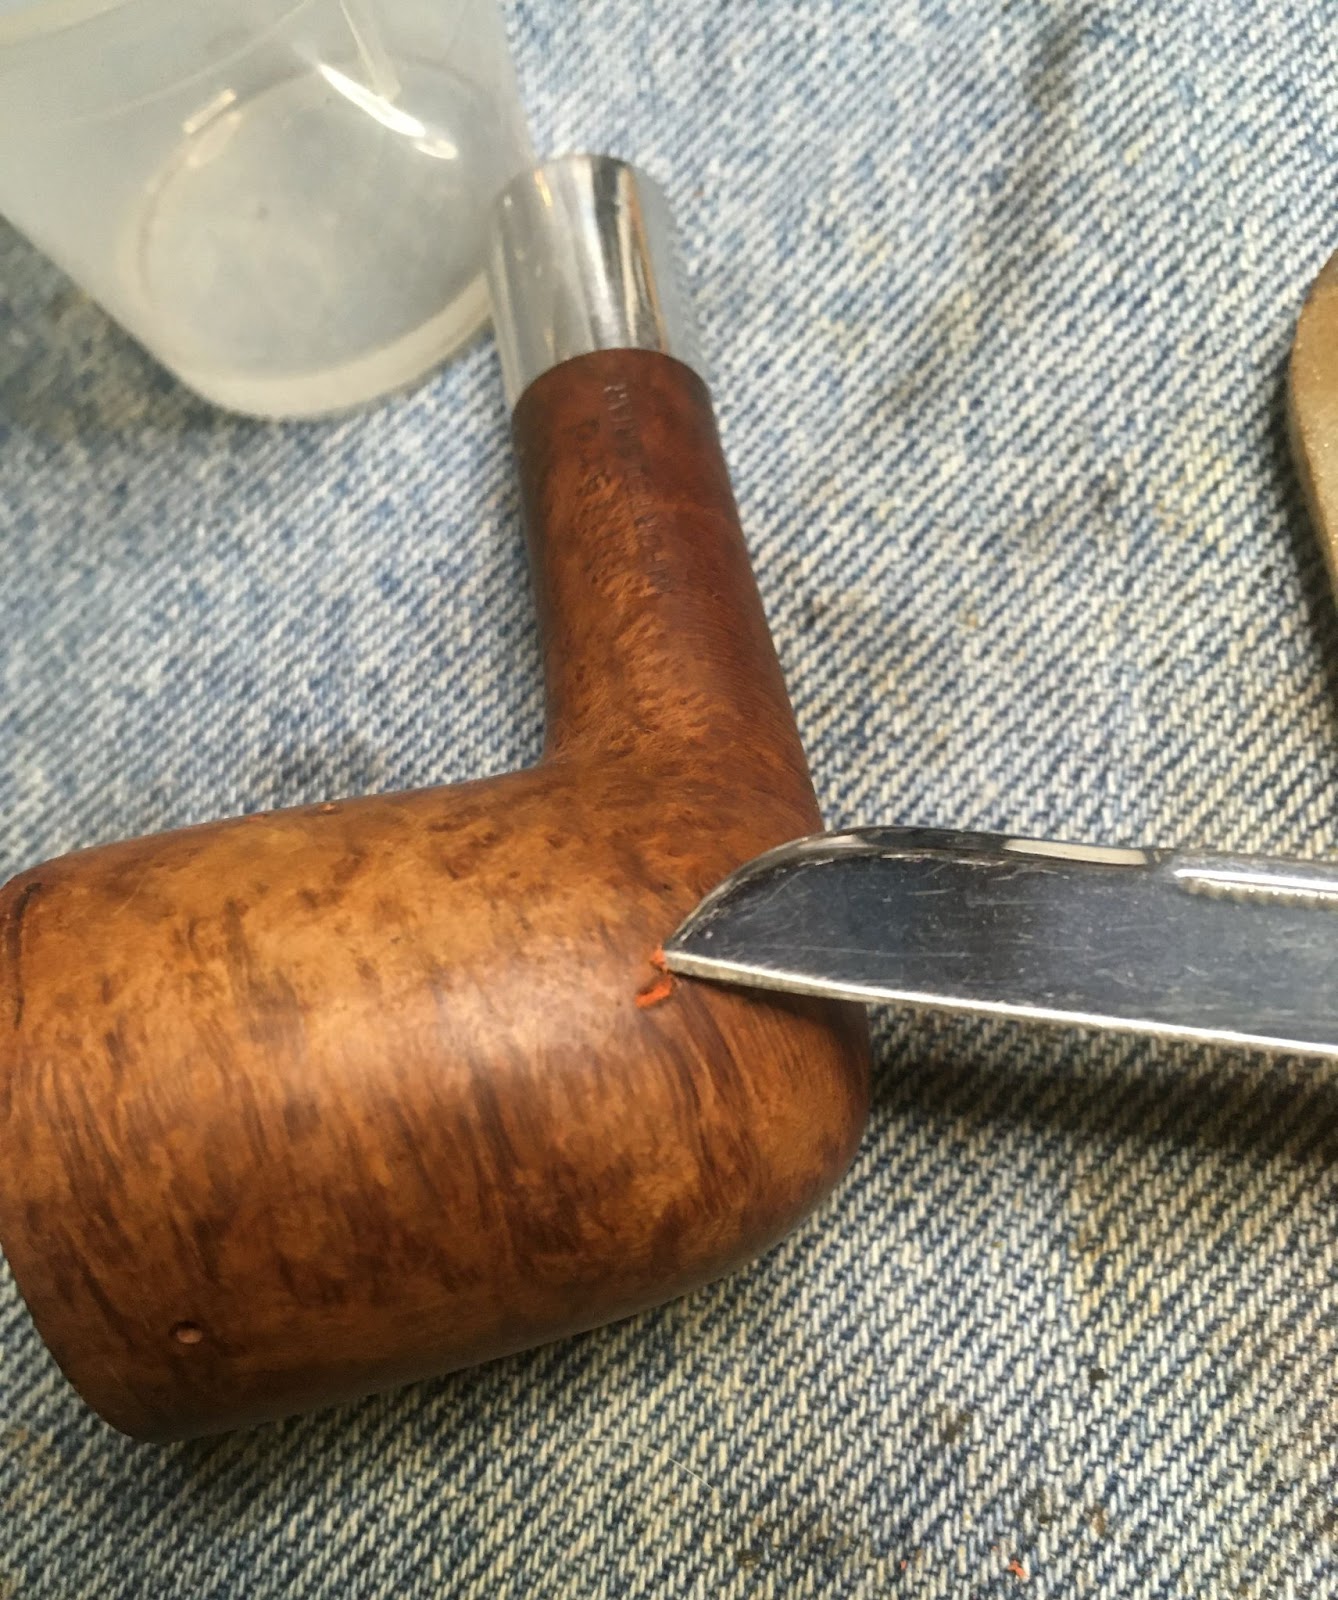
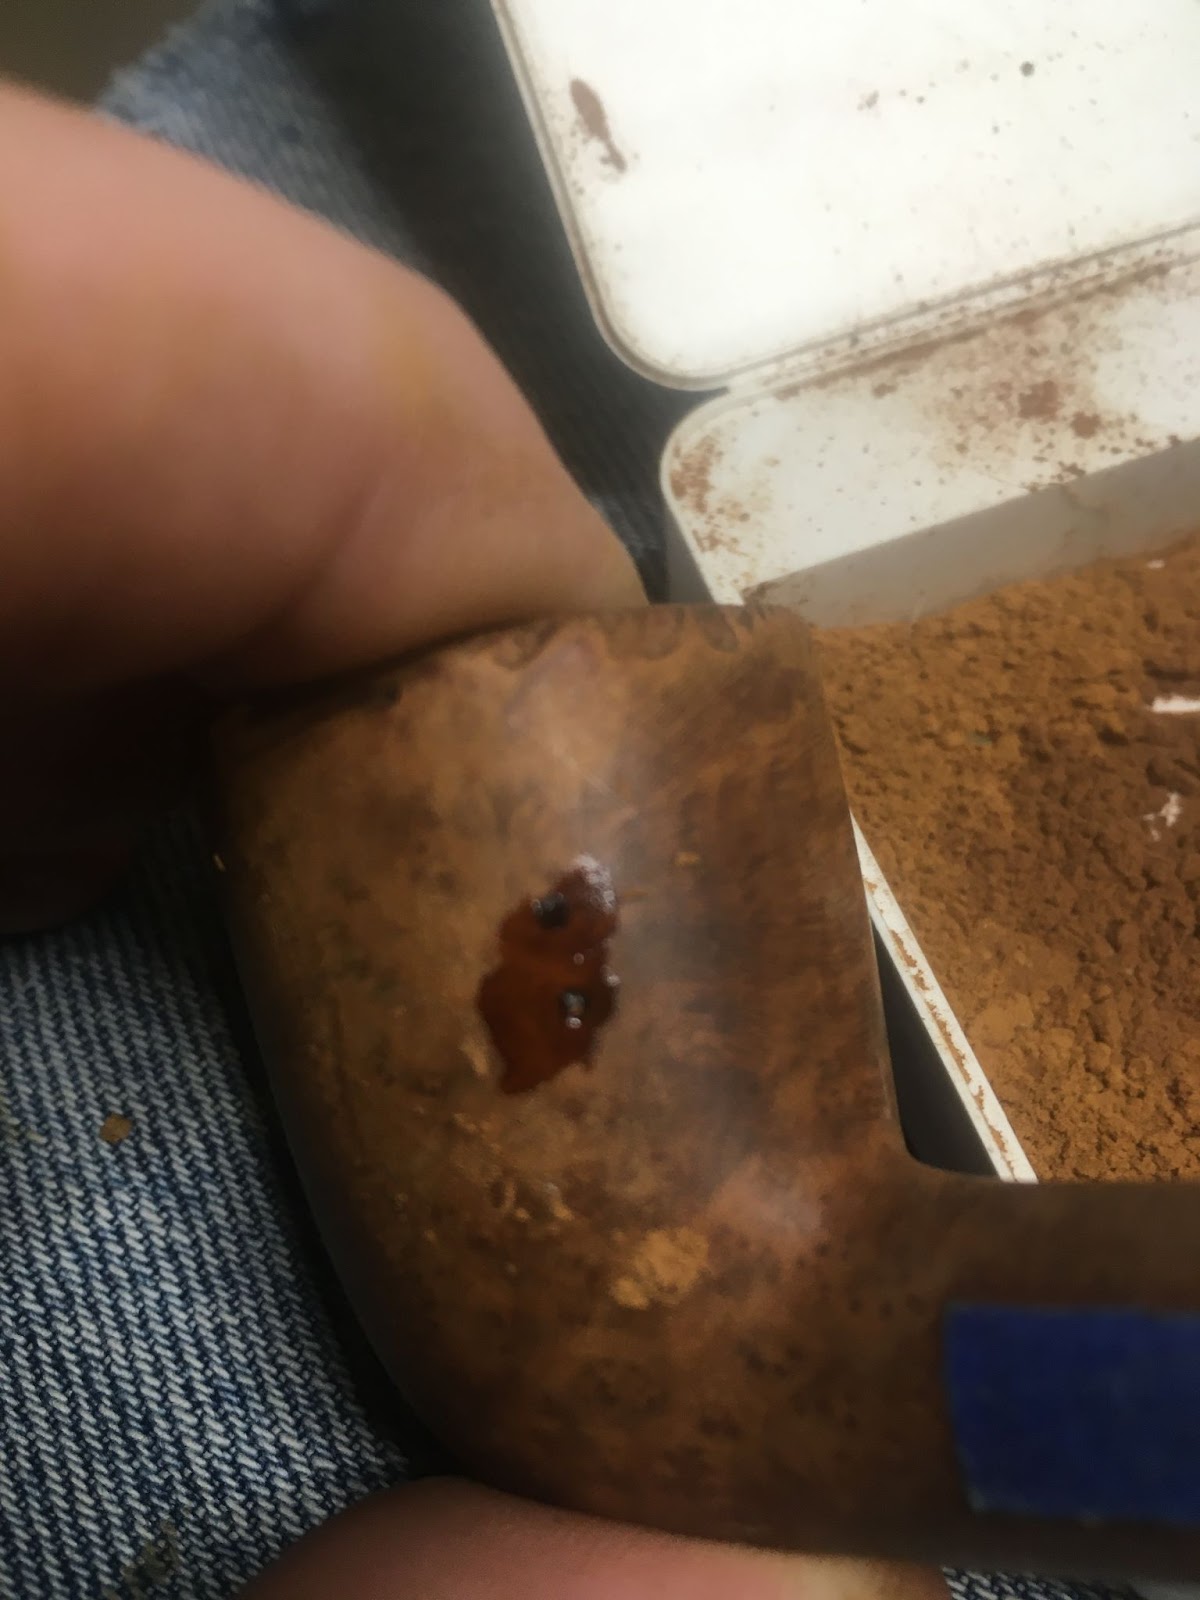
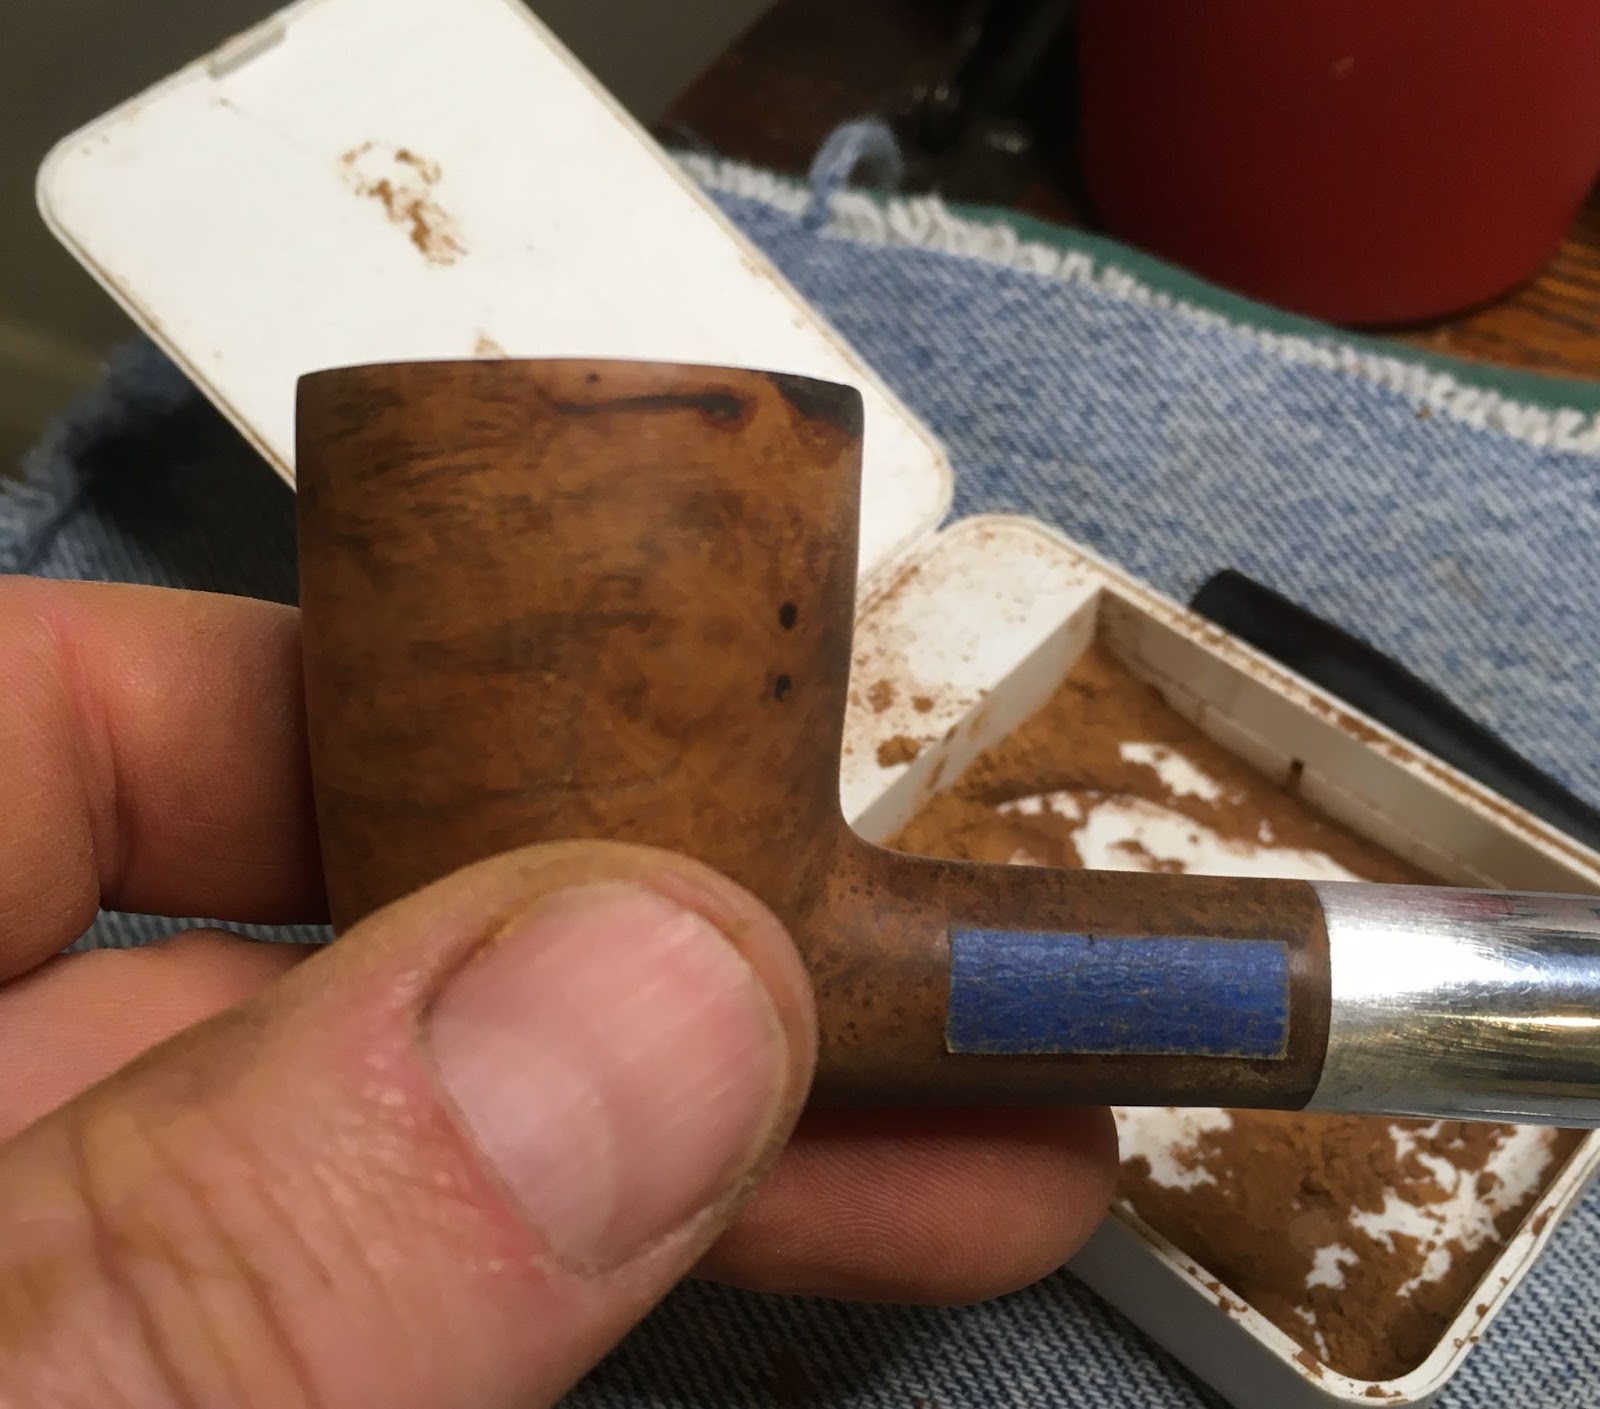
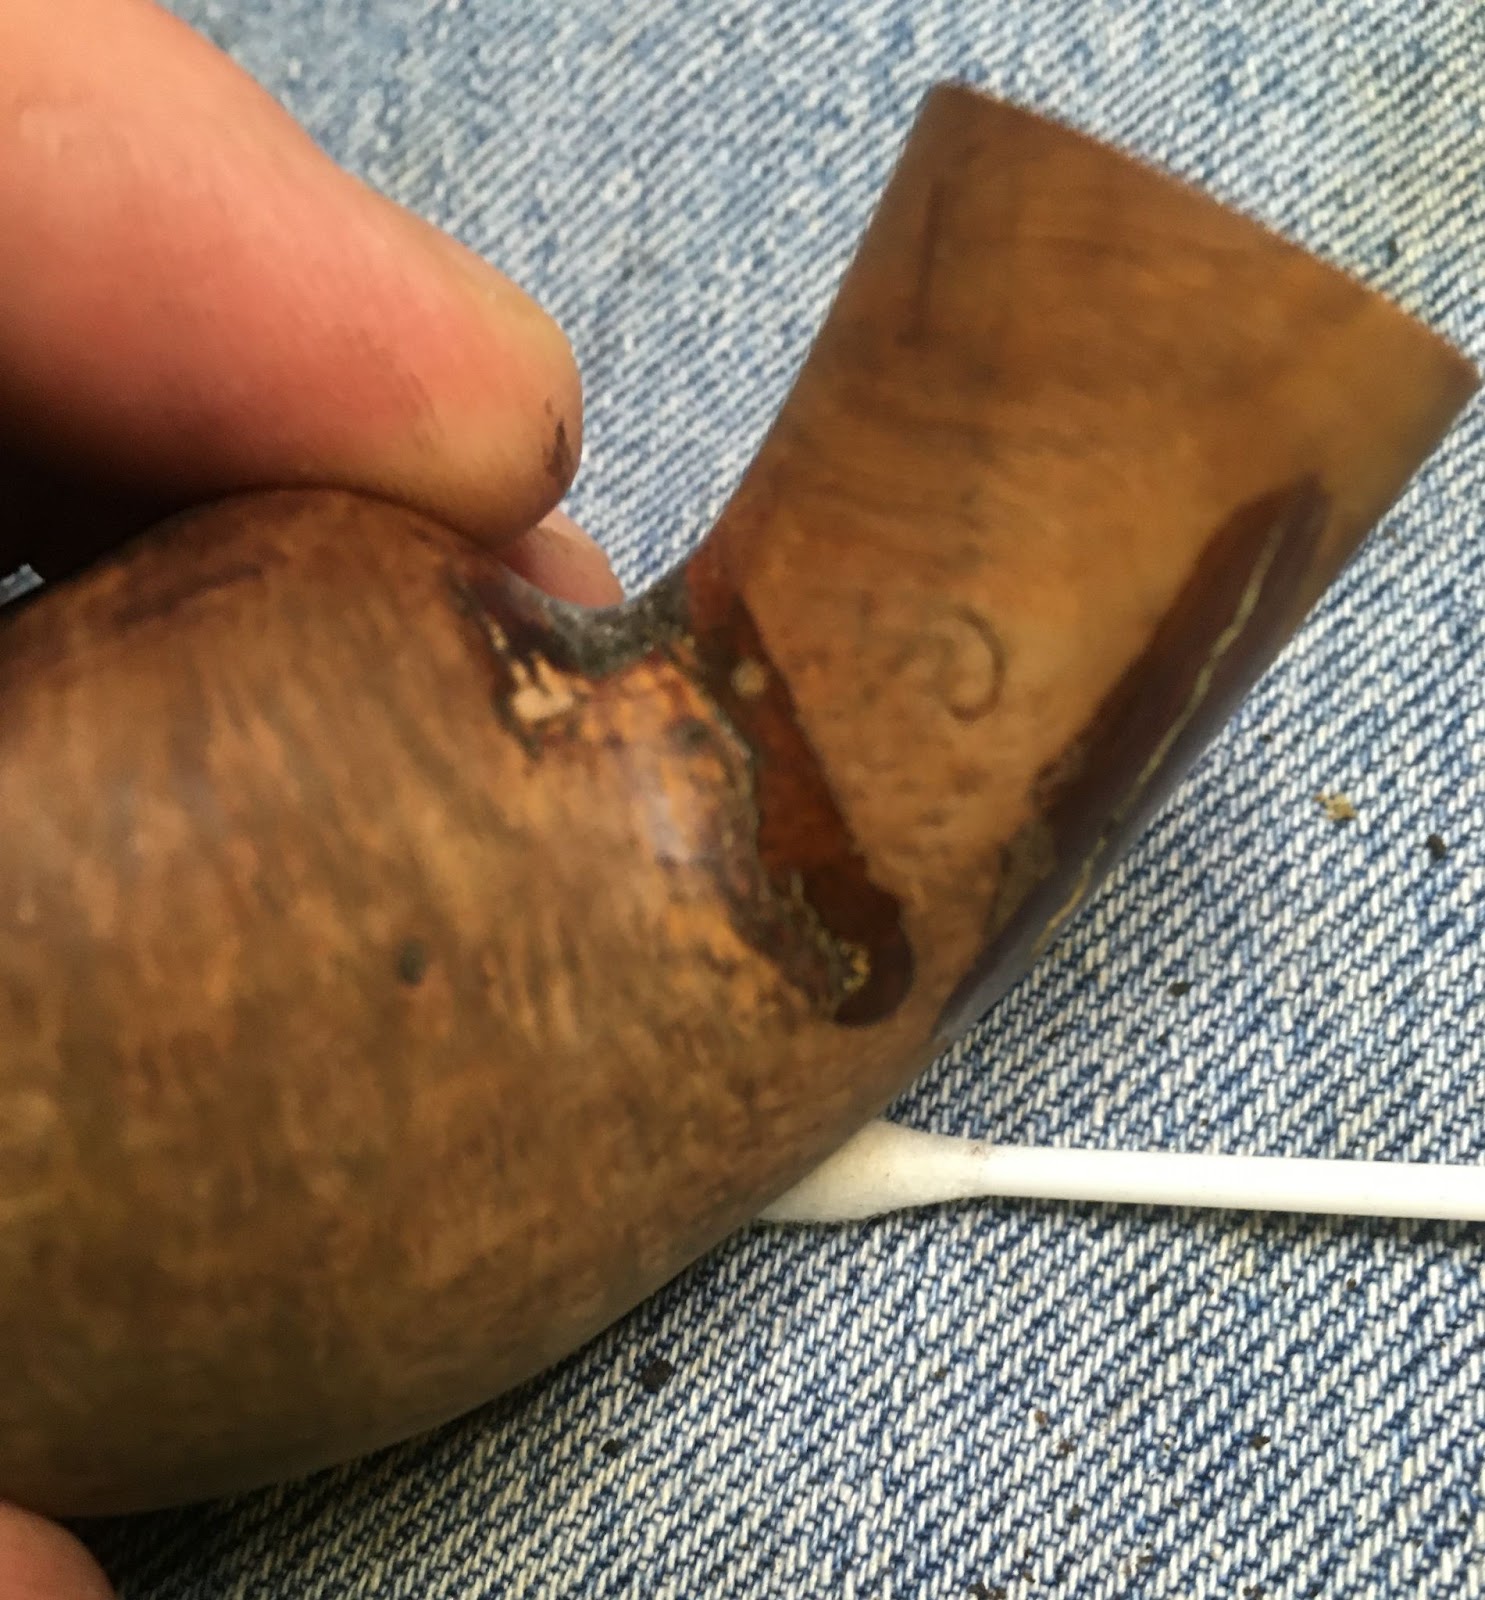
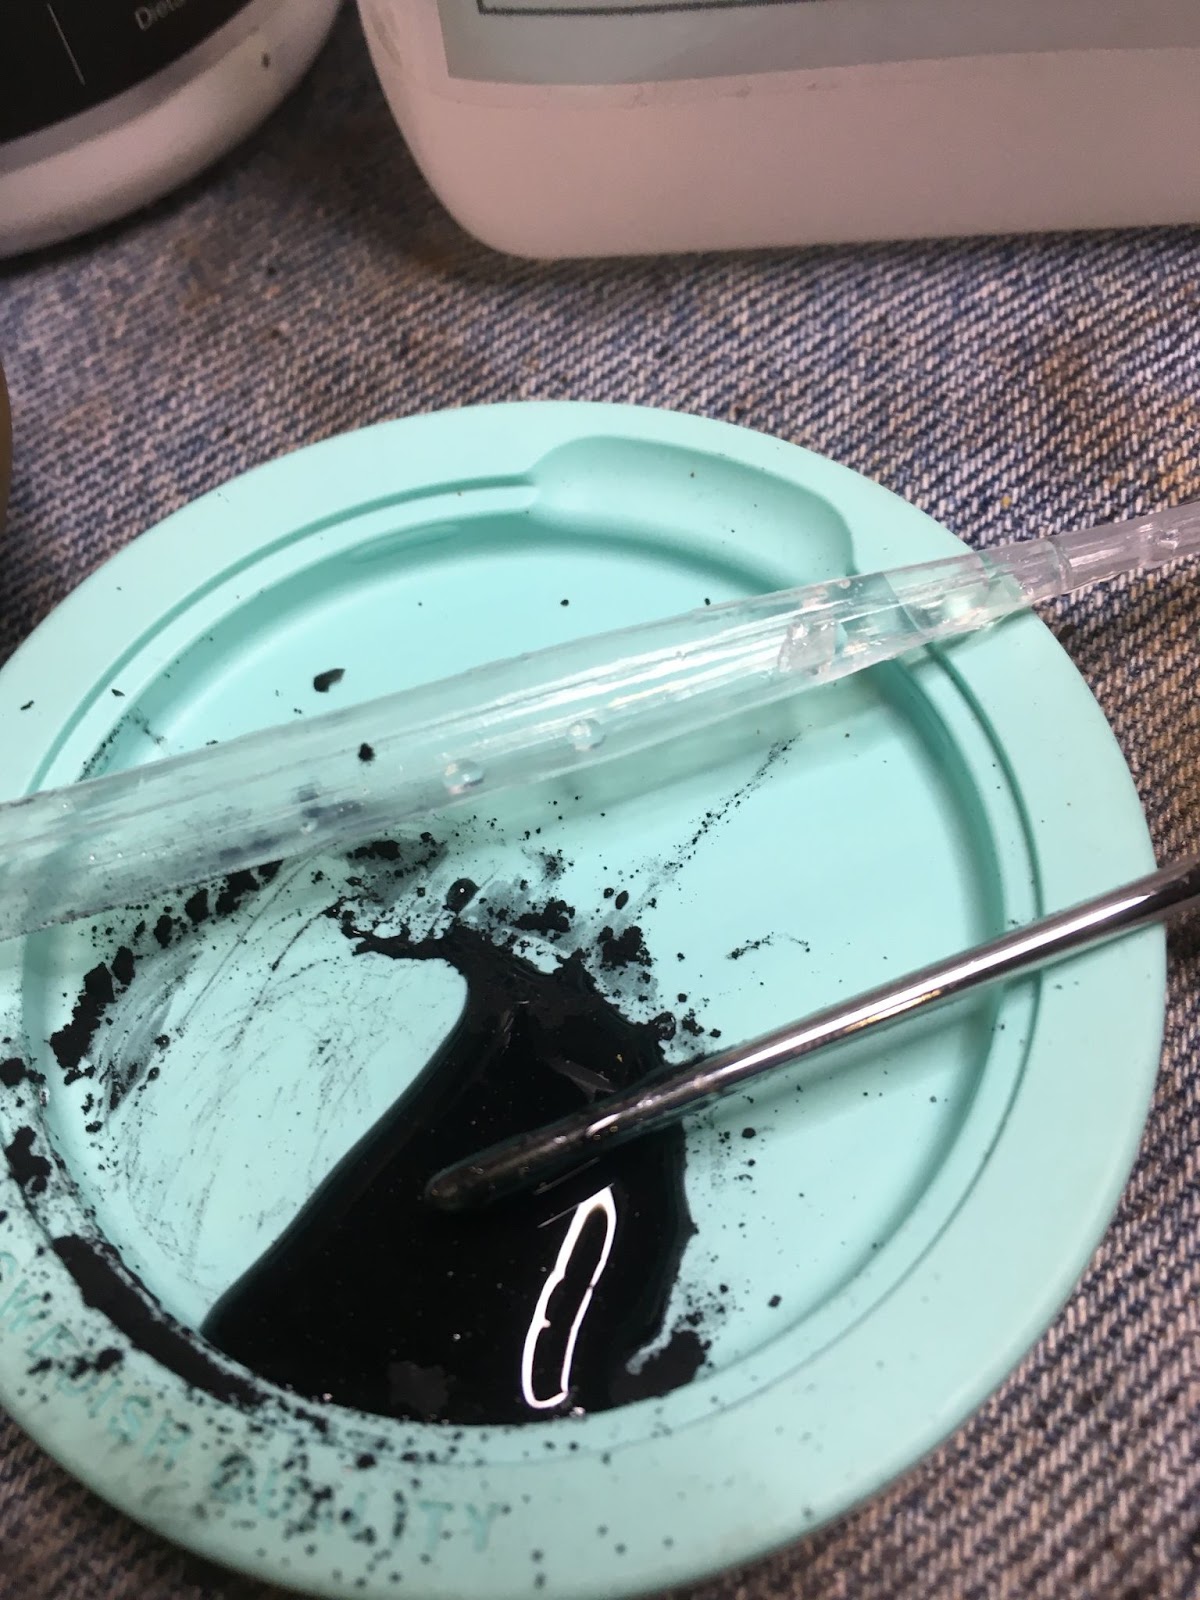
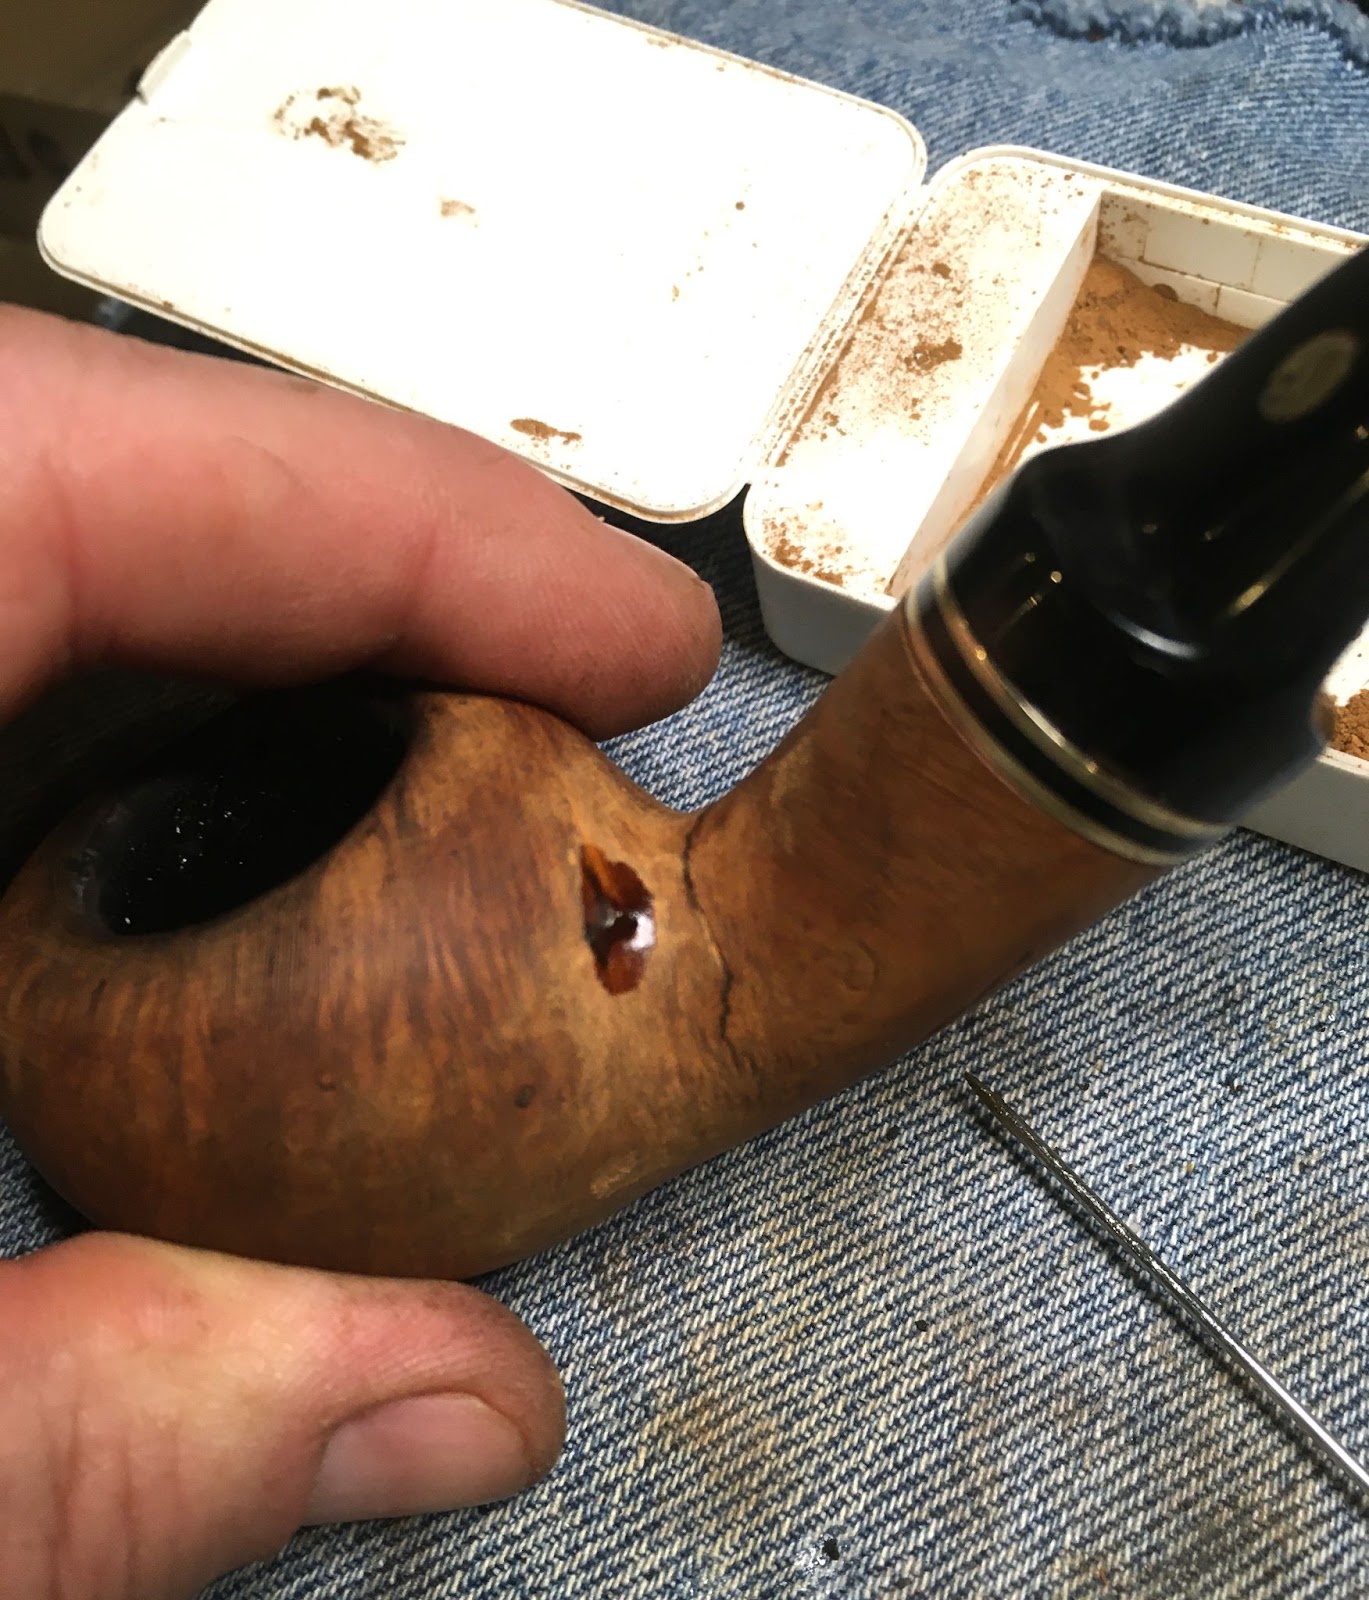
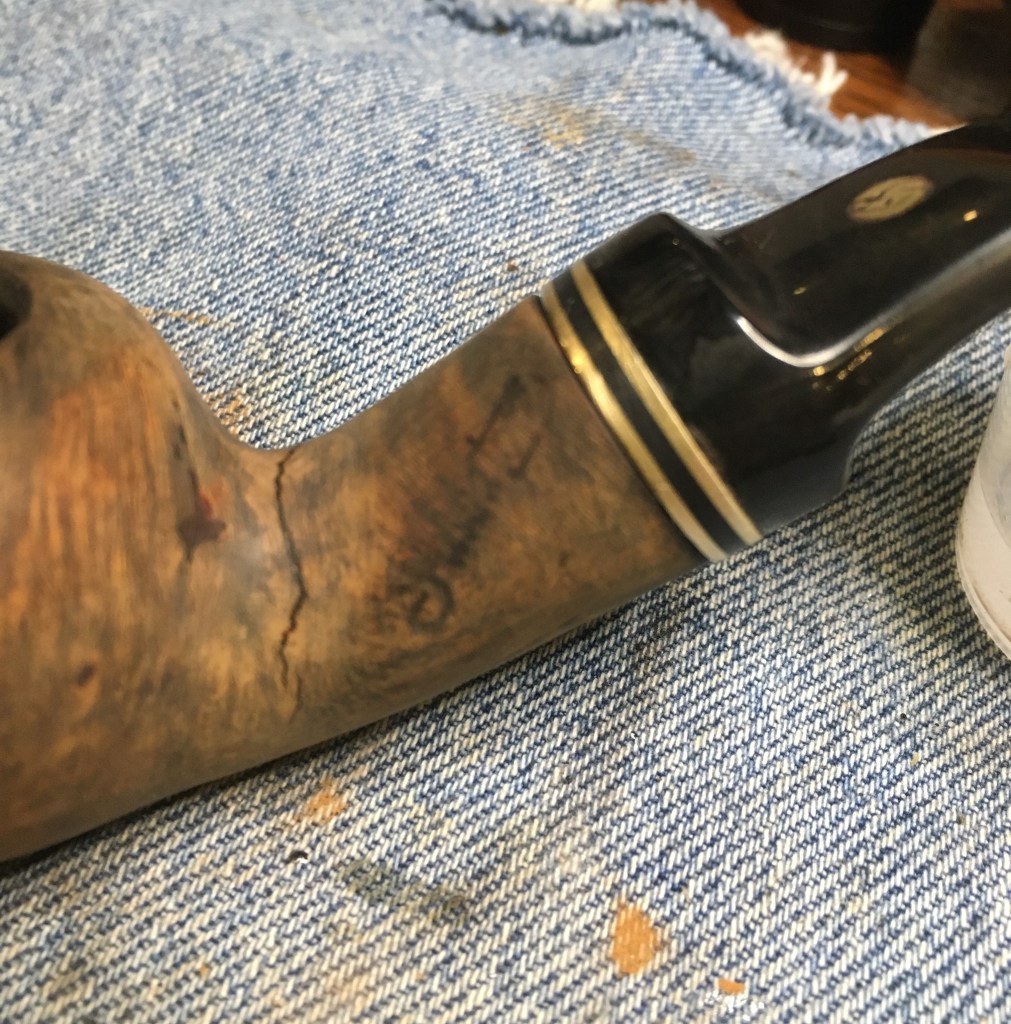
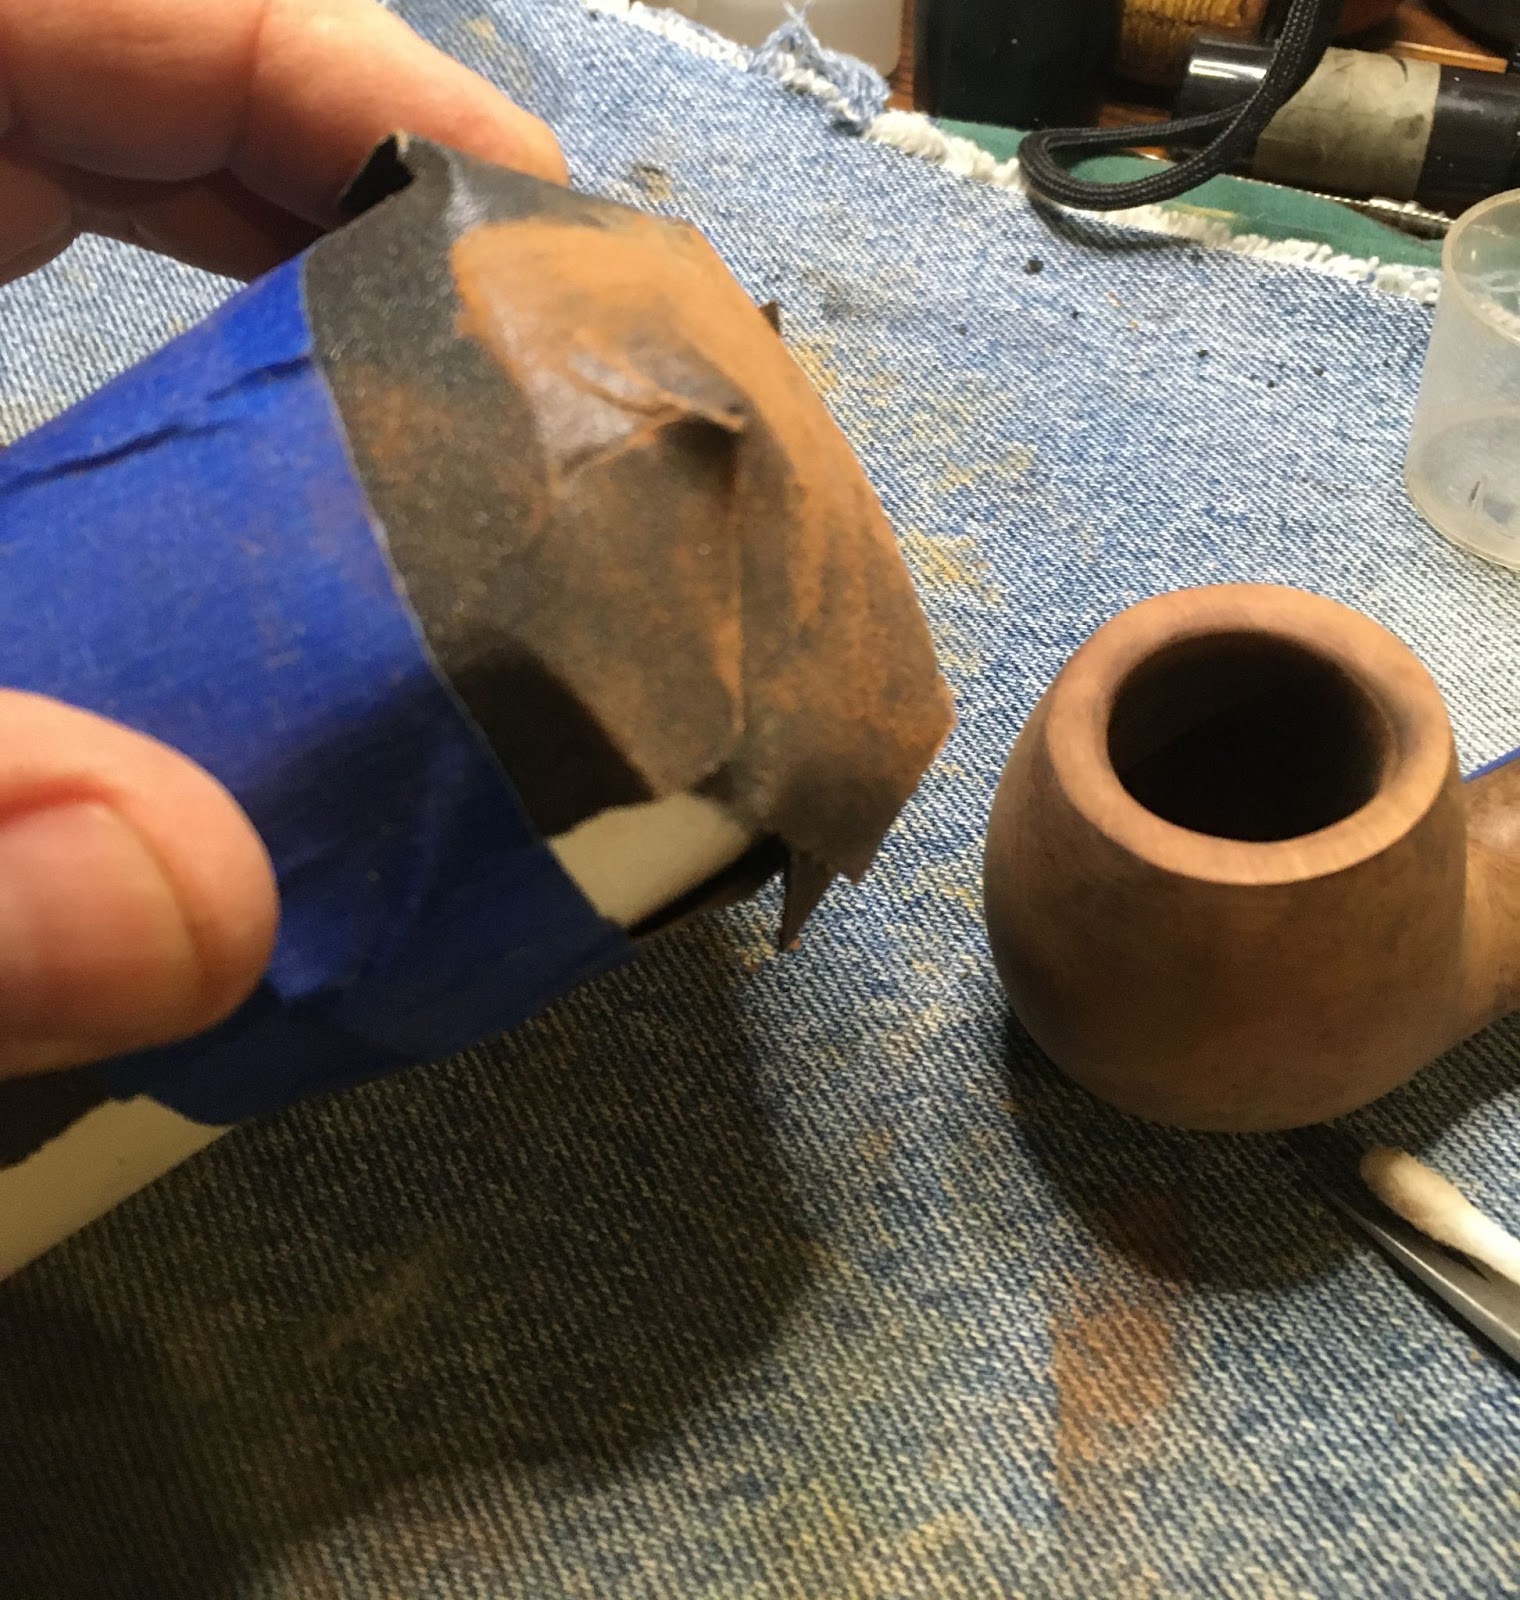
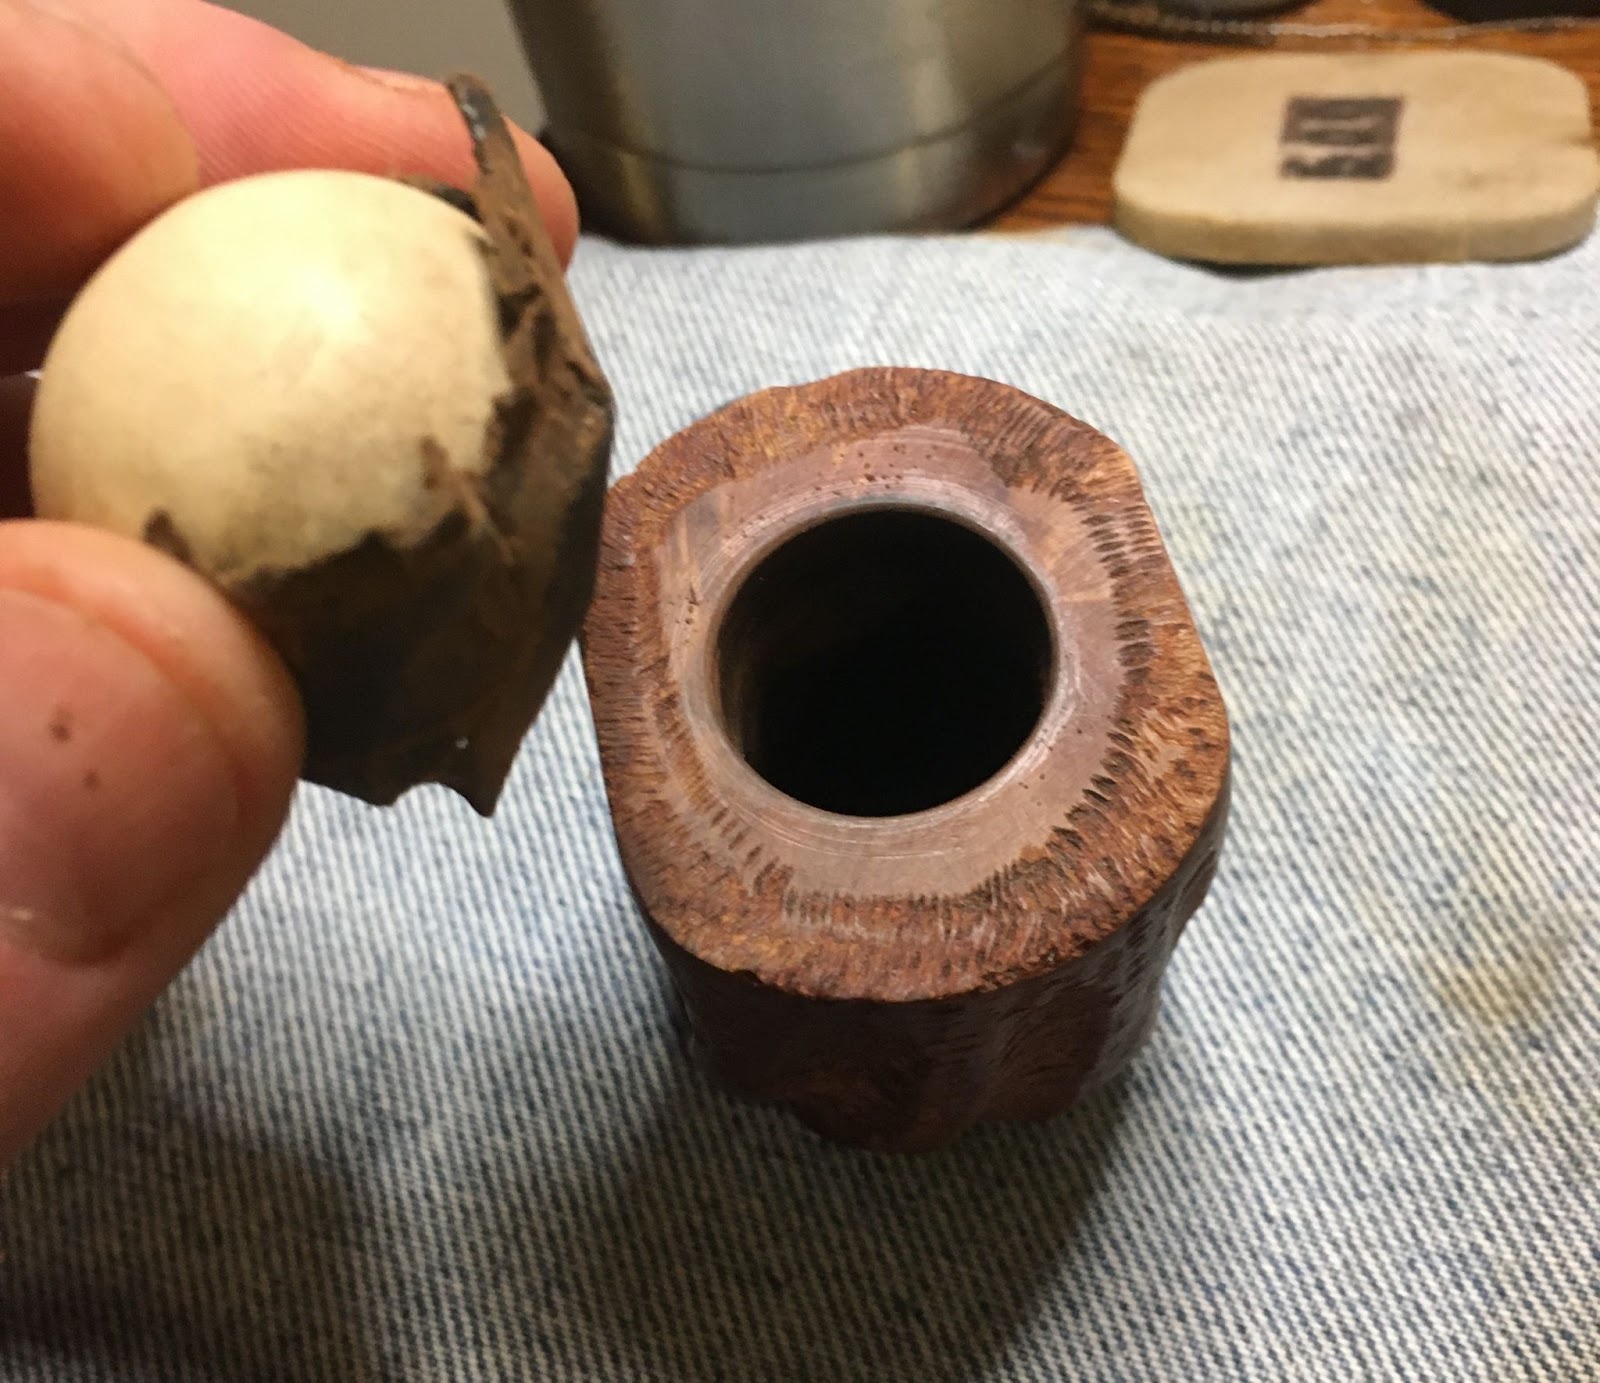
All of this stummel cleaning had the effect of making the two large fills on the shank even more noticeable. They had to go. I tried to soften the original fill material with 95% ethyl alcohol.

The old fill material was picked out using a dental pick and scraper.

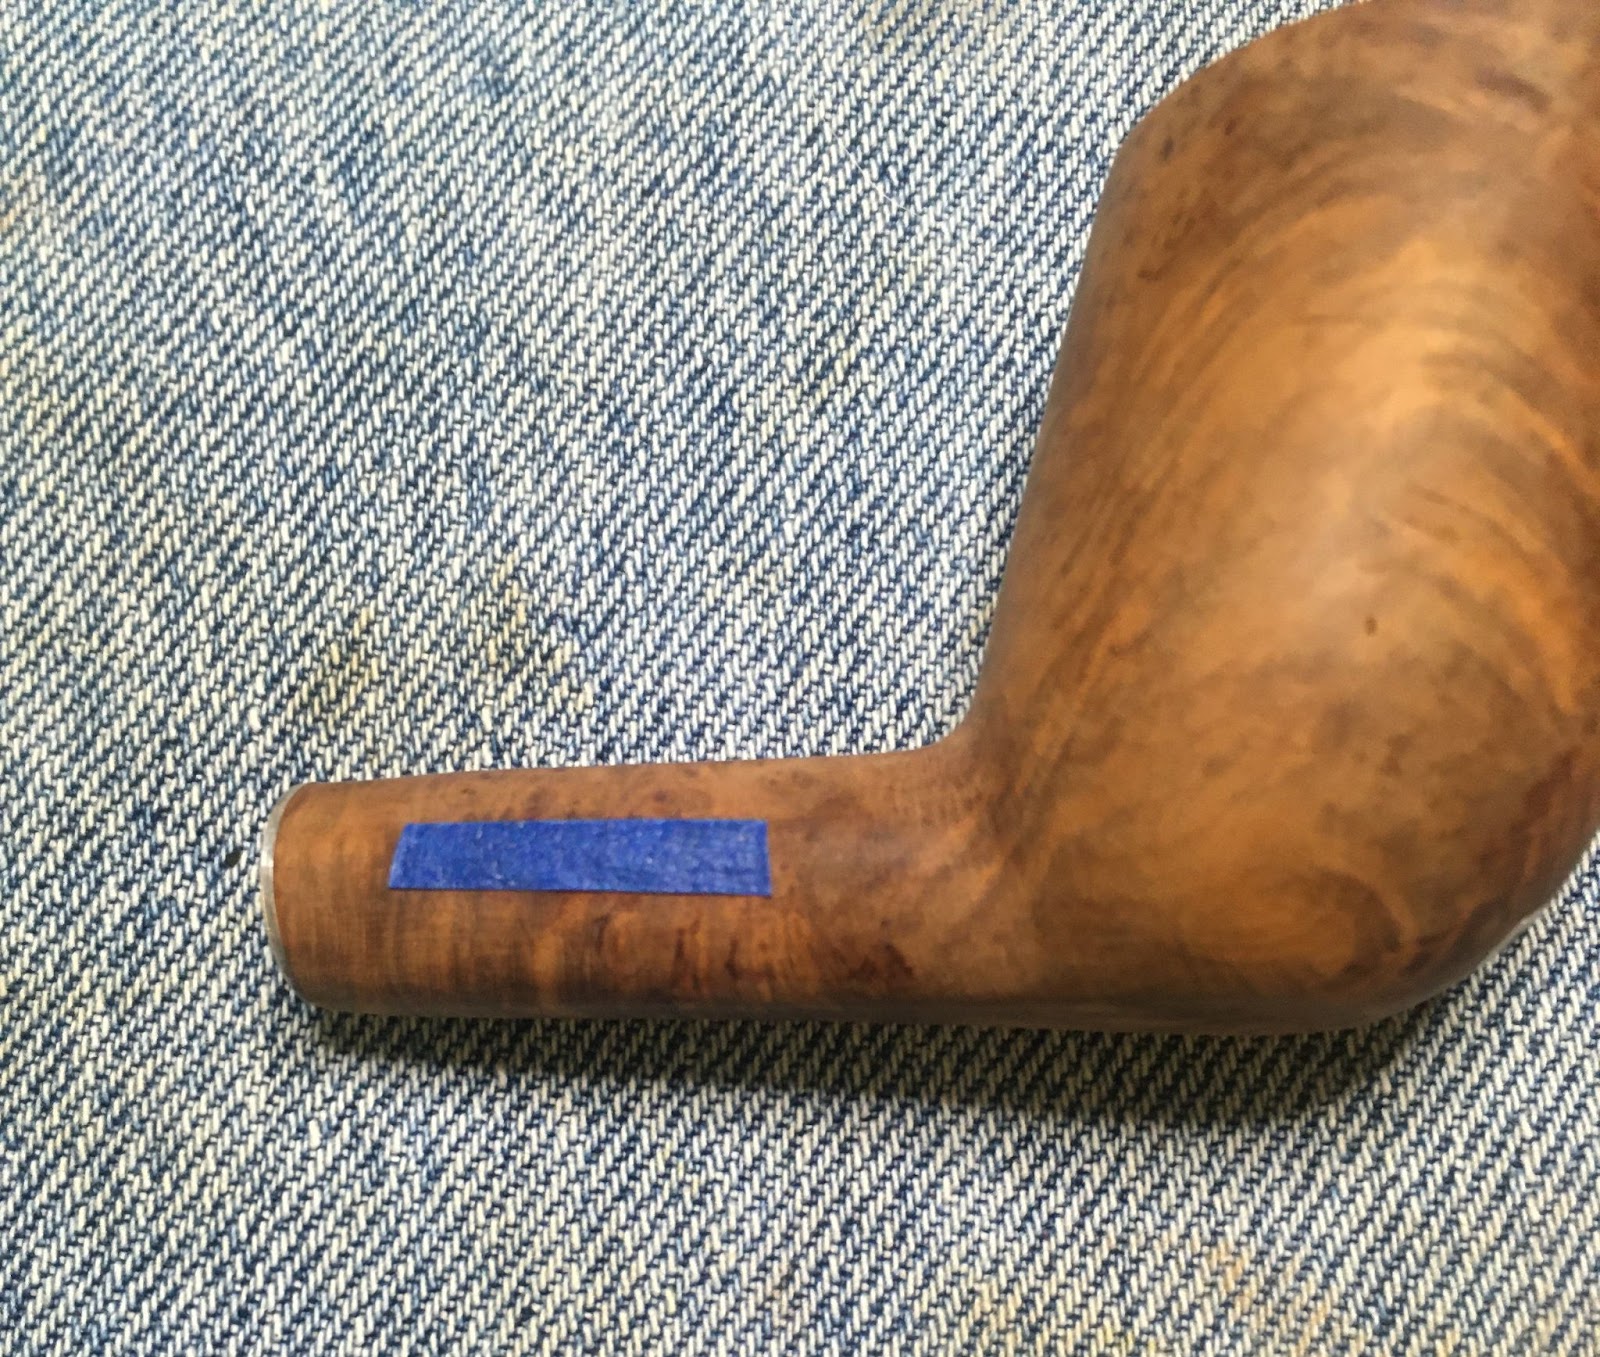
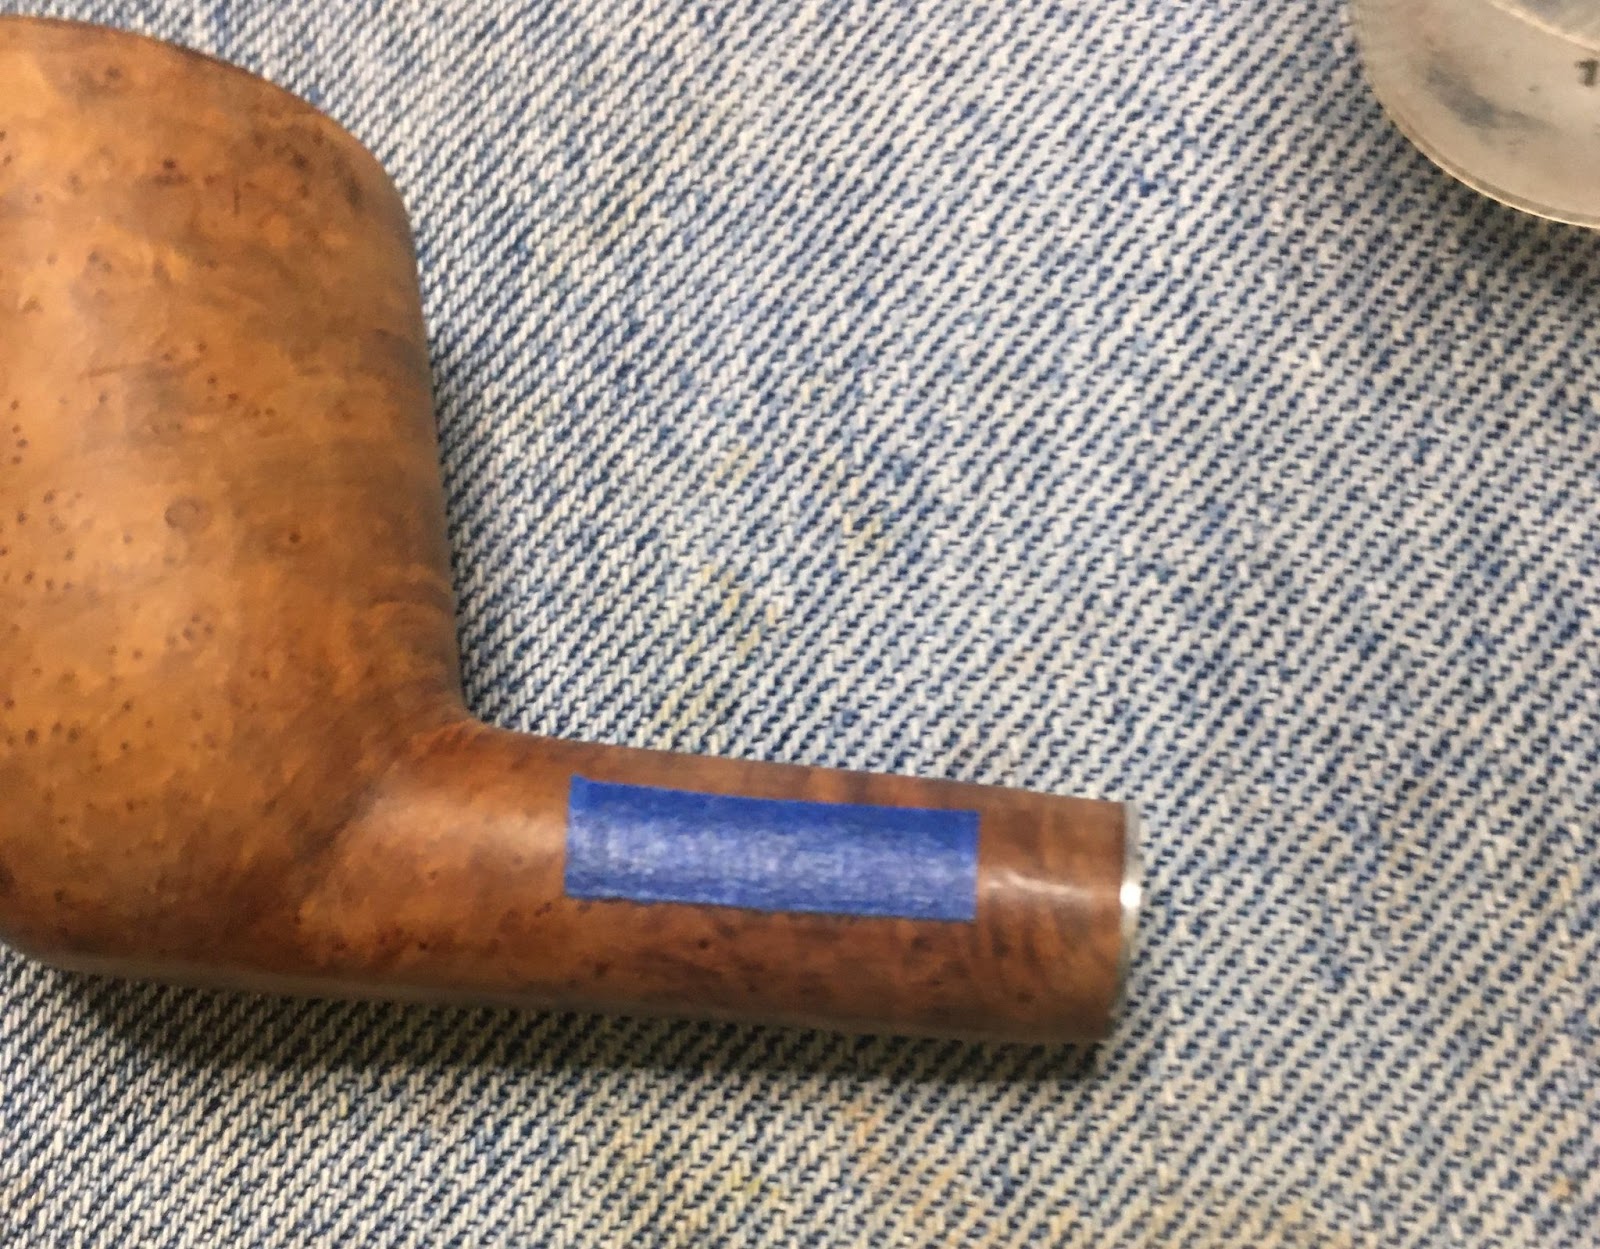
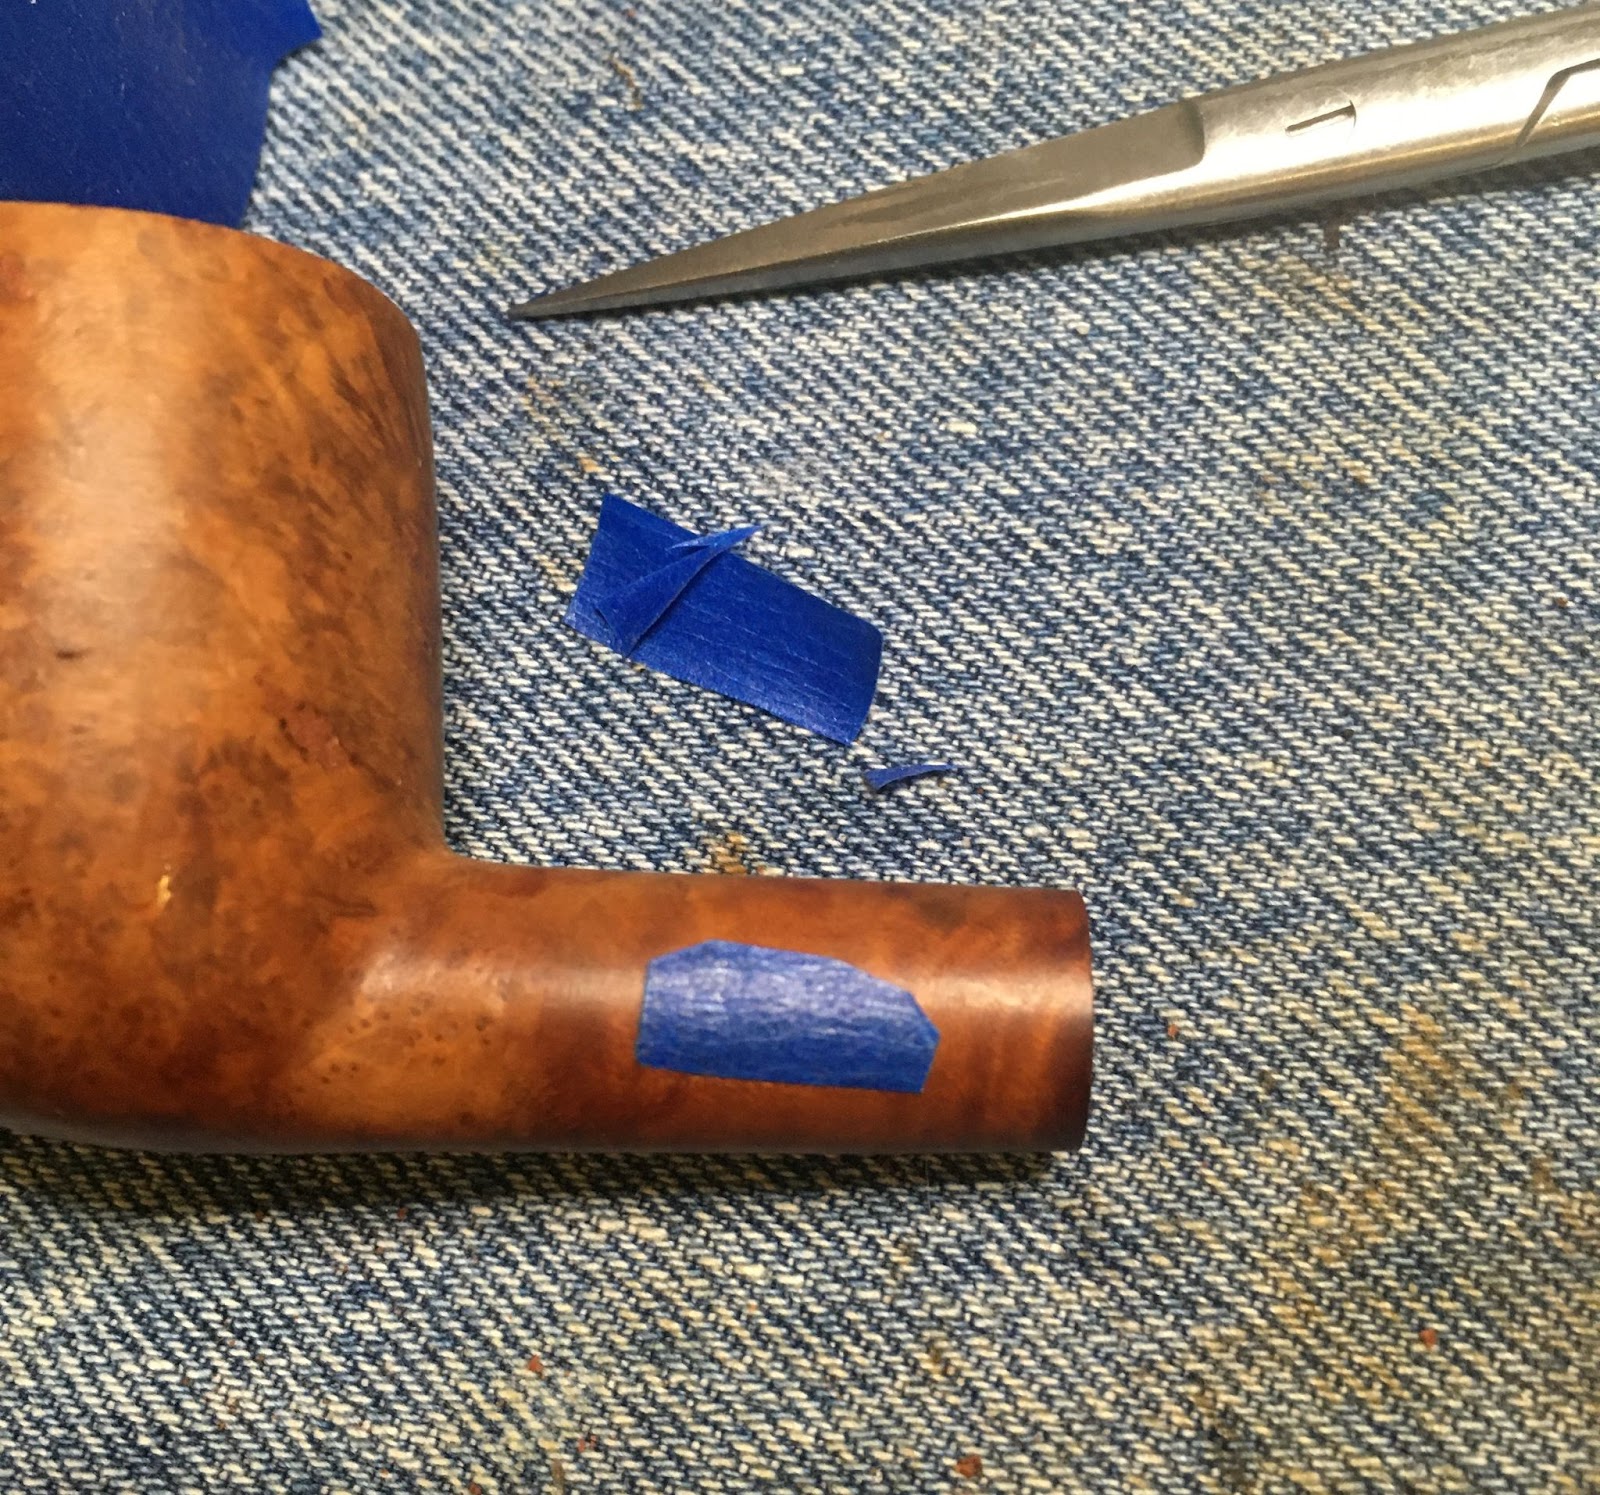
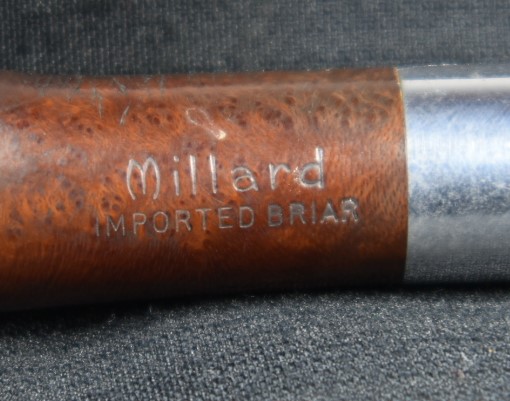
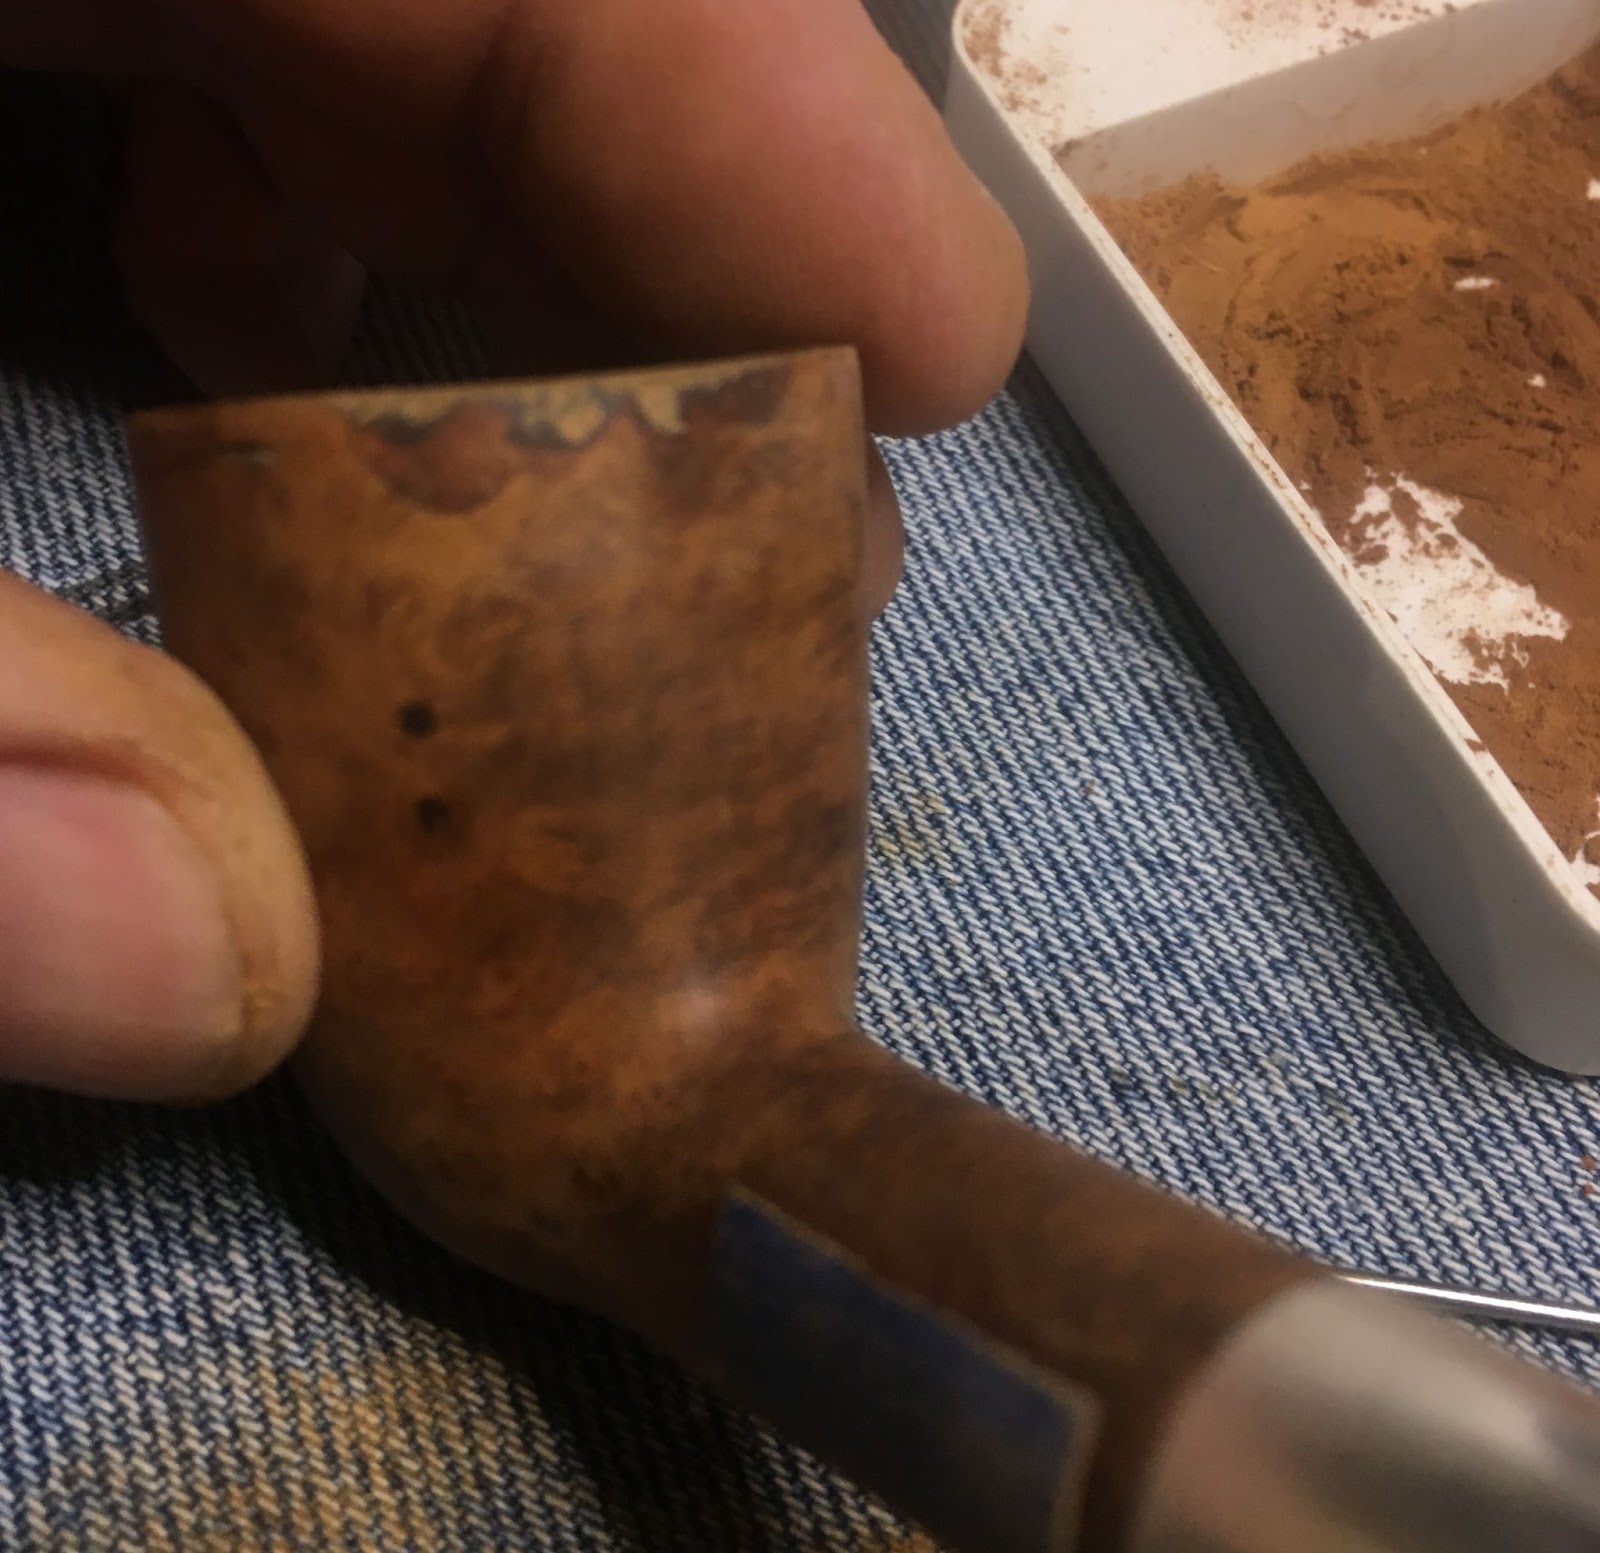
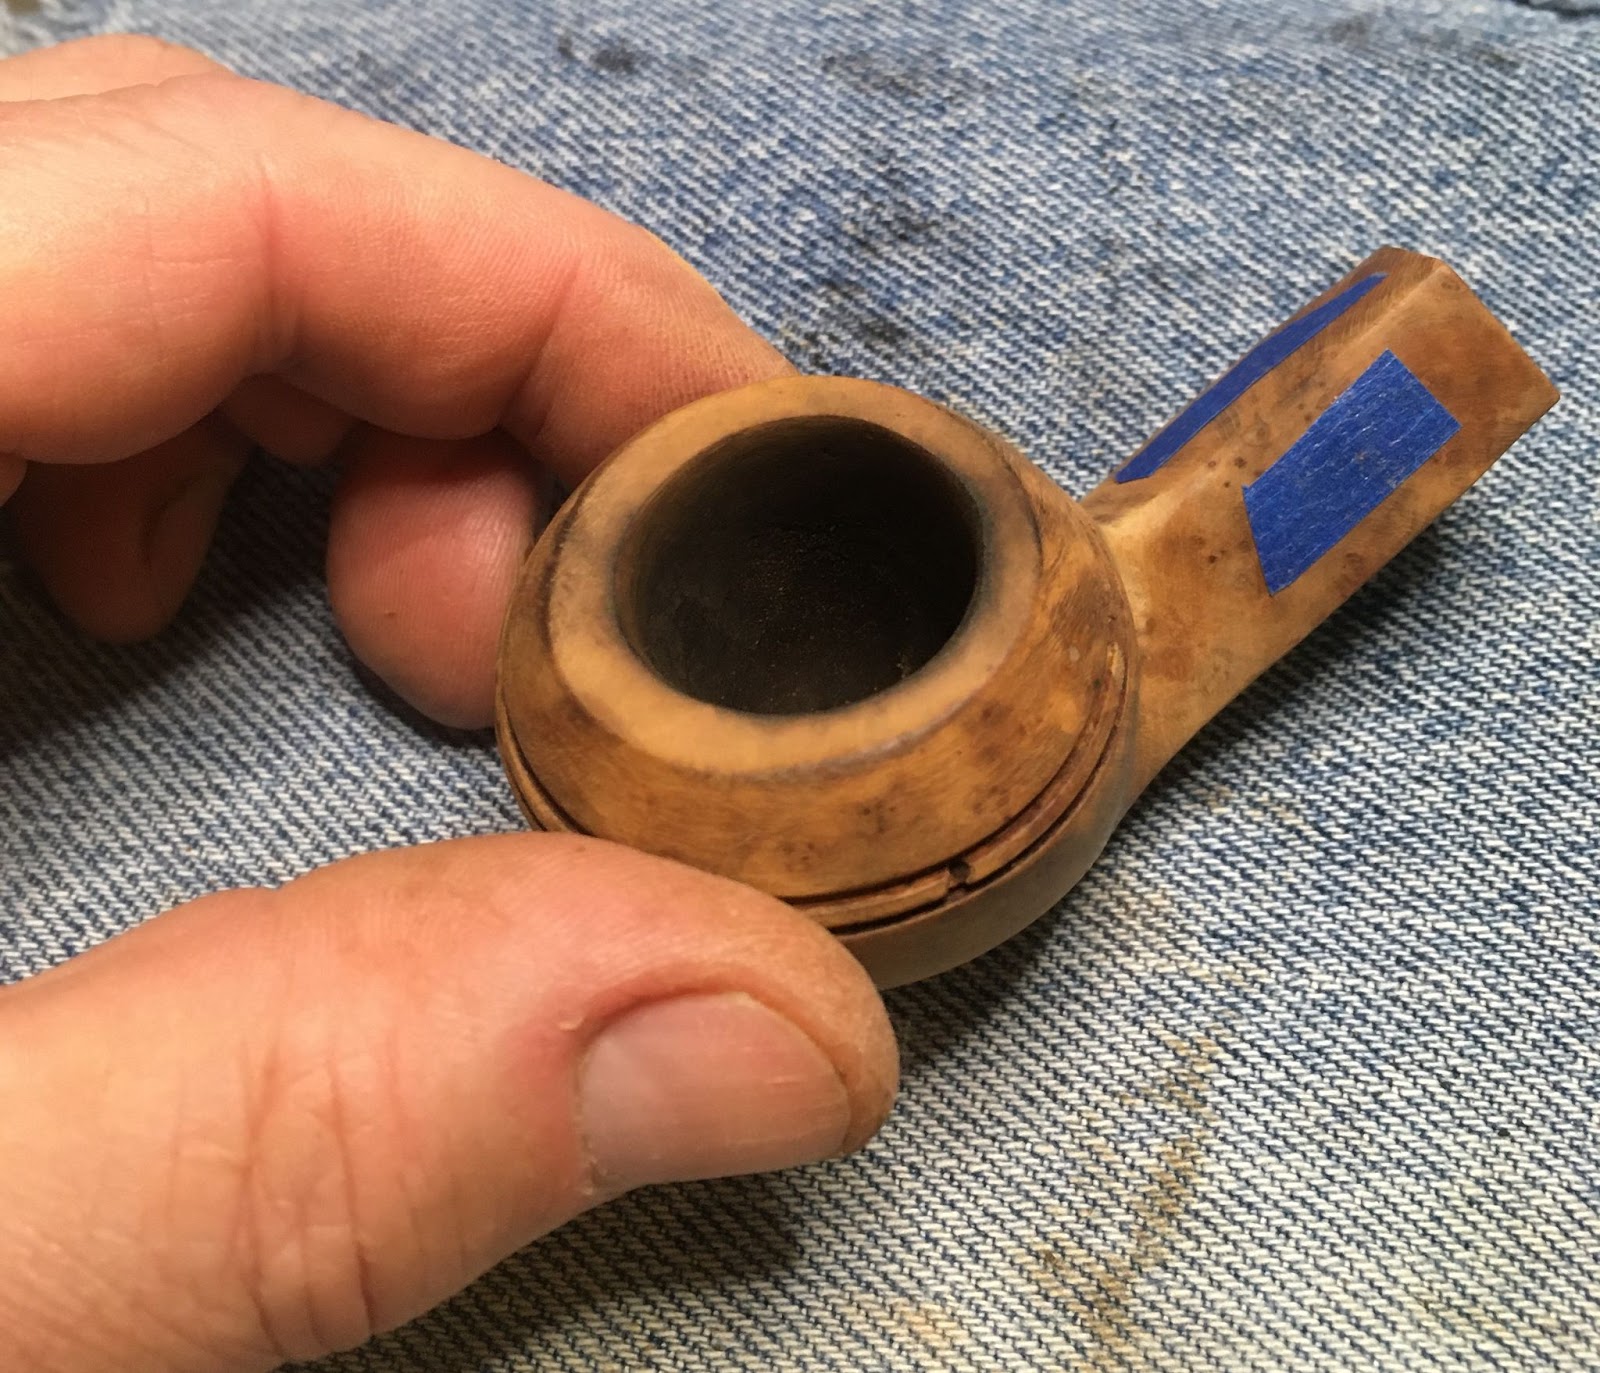
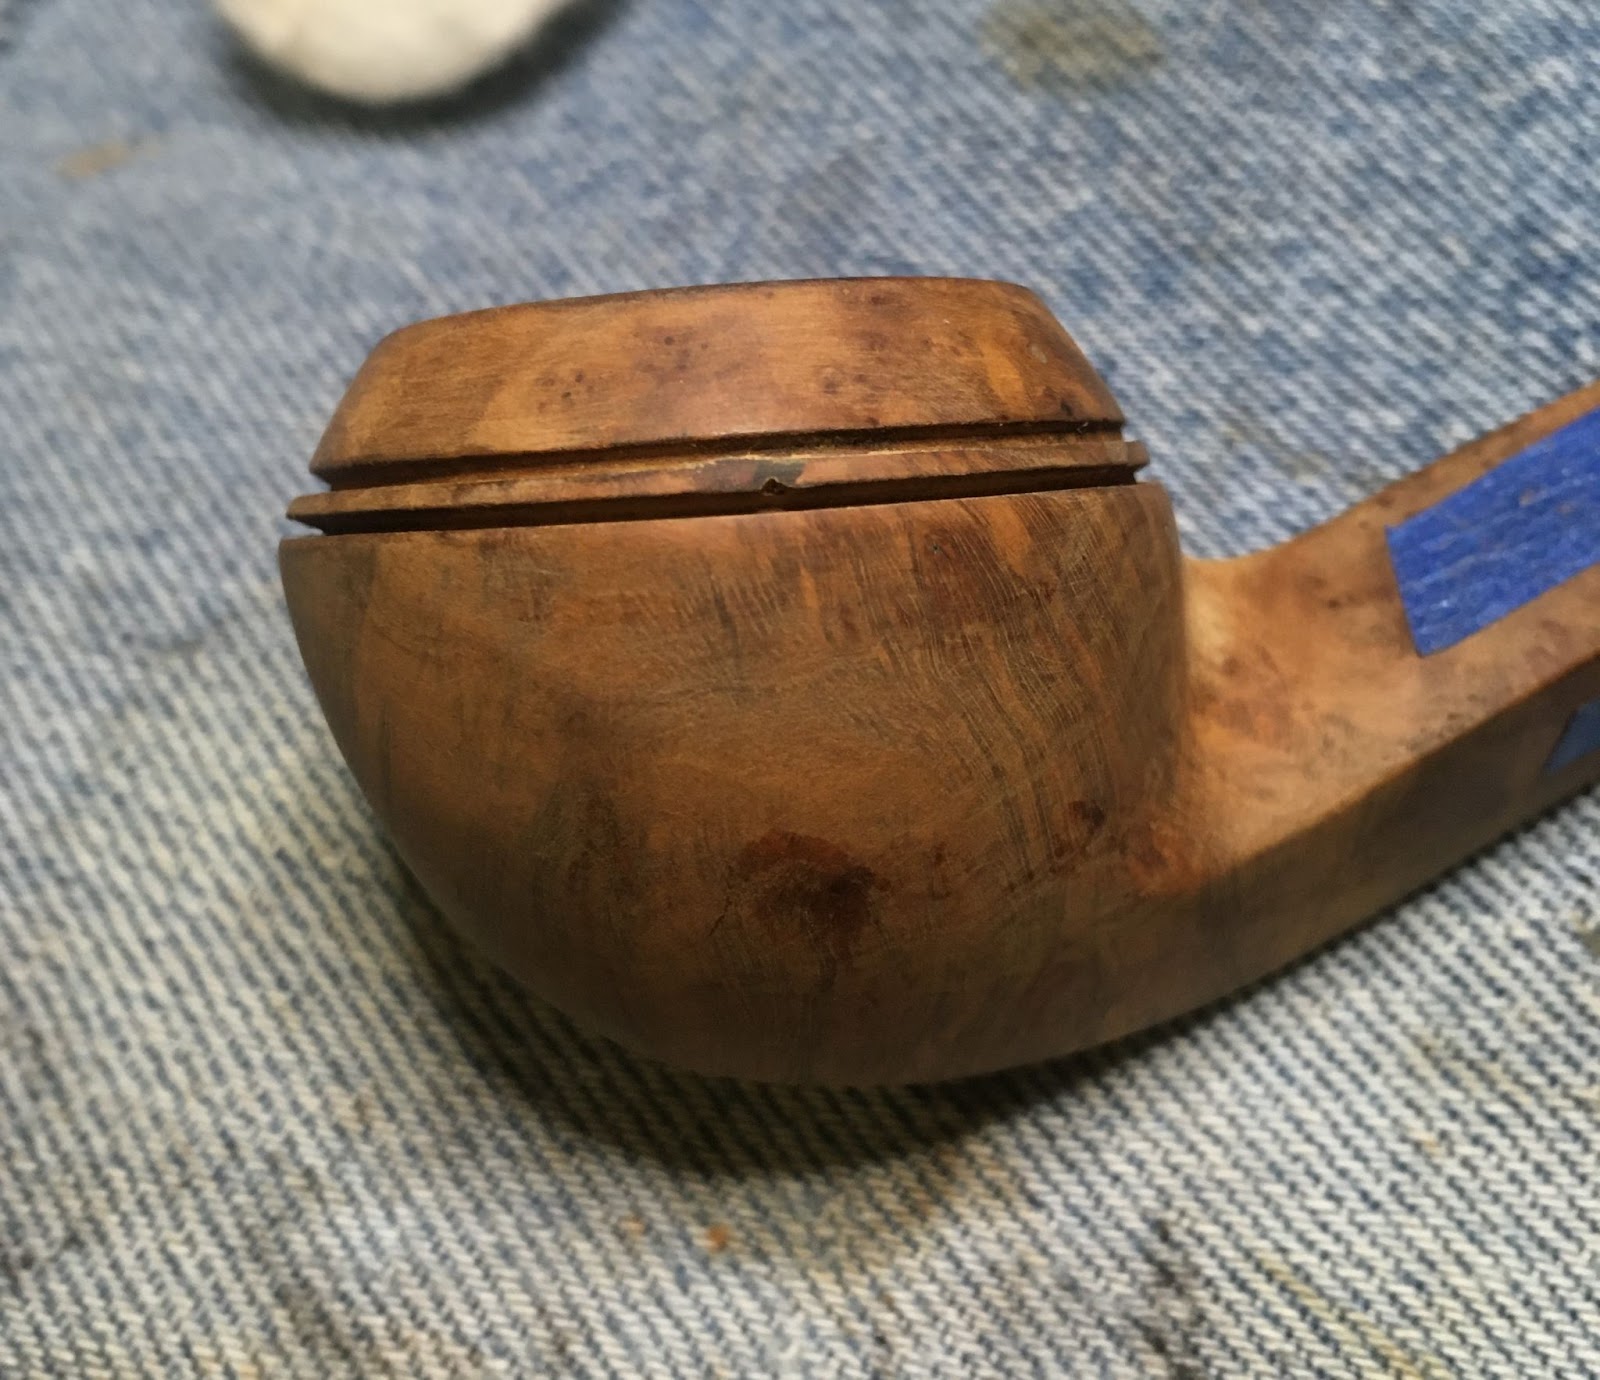
Since I knew that I would be doing a good deal or sanding during this fill replacement, I taped over the stamps for their protection.
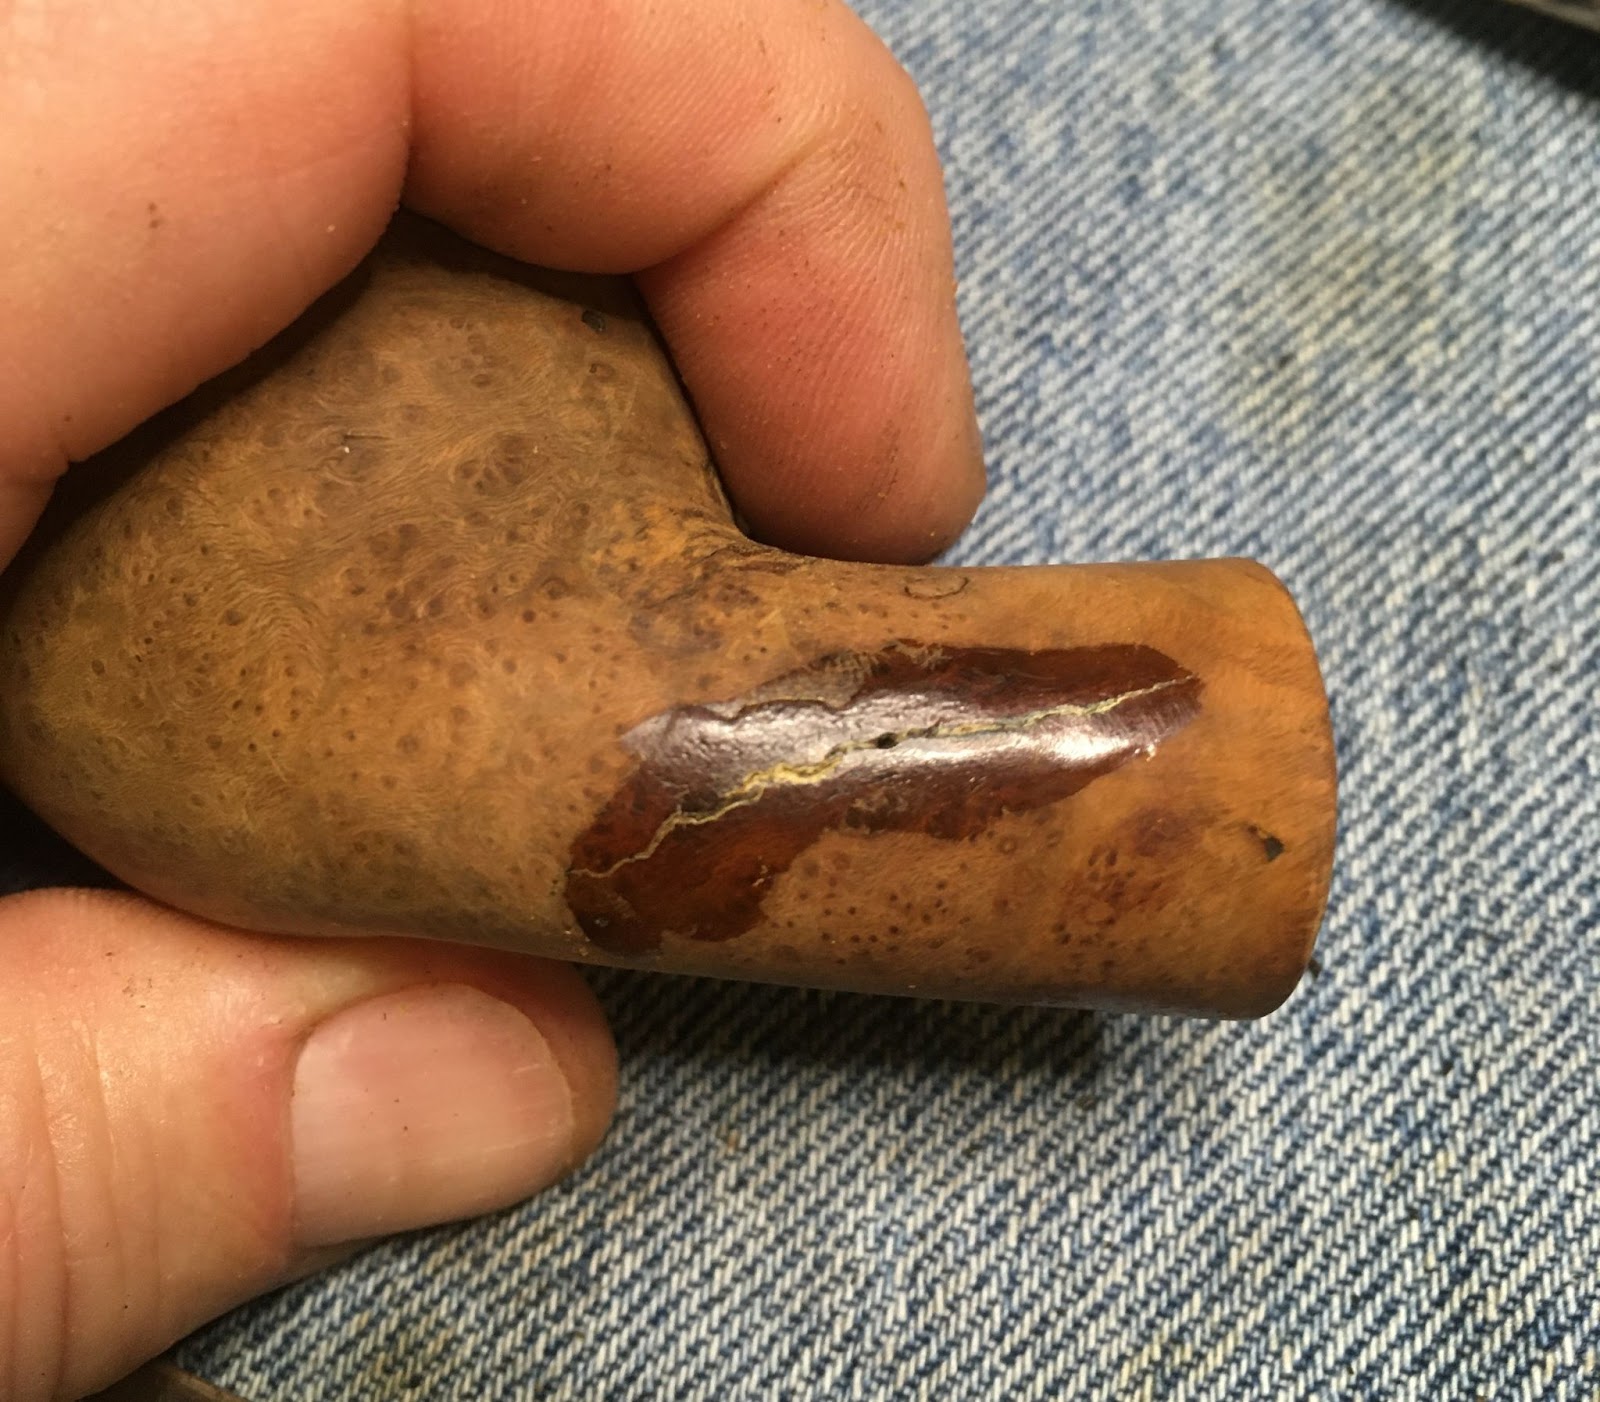
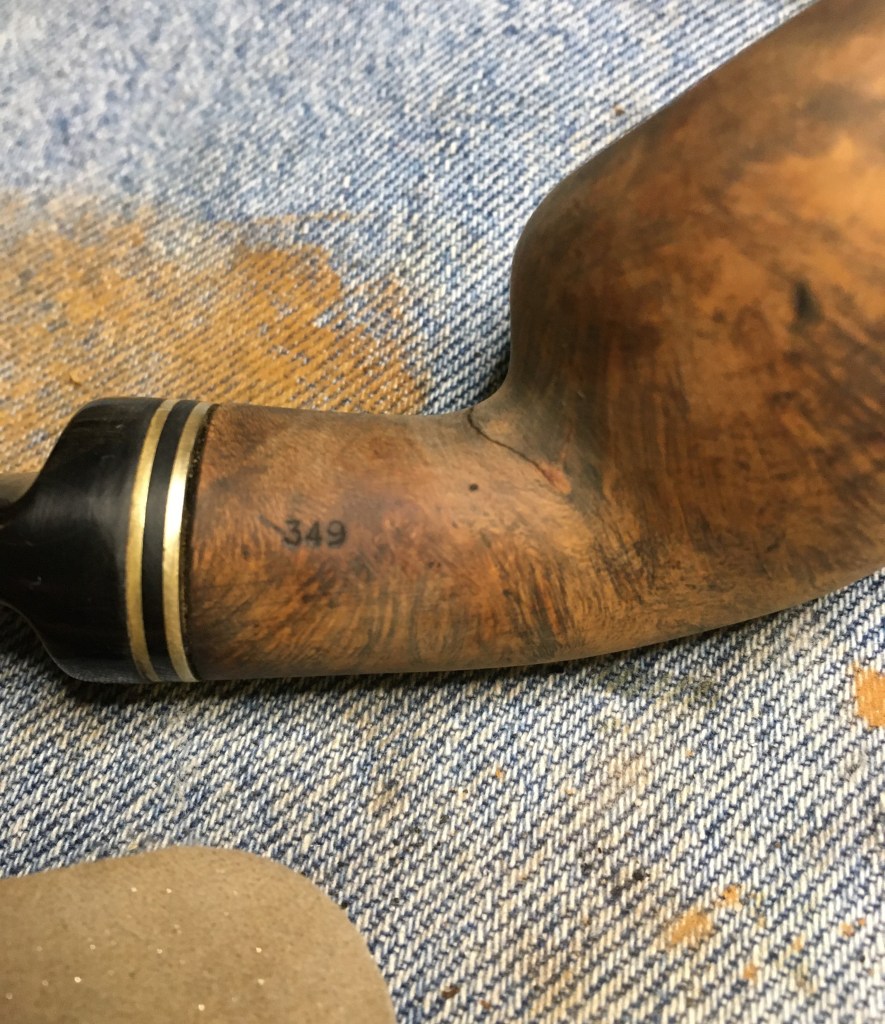
First a drop of brown CA was placed in the newly opened pit and a healthy pinch of briar dust was pressed into the CA filled pit. The CA combined with the briar dust to create a hard CA/briar dust fill.

This new fill was then filed with both round and rounded needle files.

The filed left a rough surface on the new fill.

Additional Thin CA was applied to the rough surface of the new fill. This was quickly sanded with a 400 sanding sponge which had not had the briar dust removed from the sponge’s surface. The wet CA combined with the existing dust and the new dust generated from sanding to fill the rough surfaces of the fill and pit.

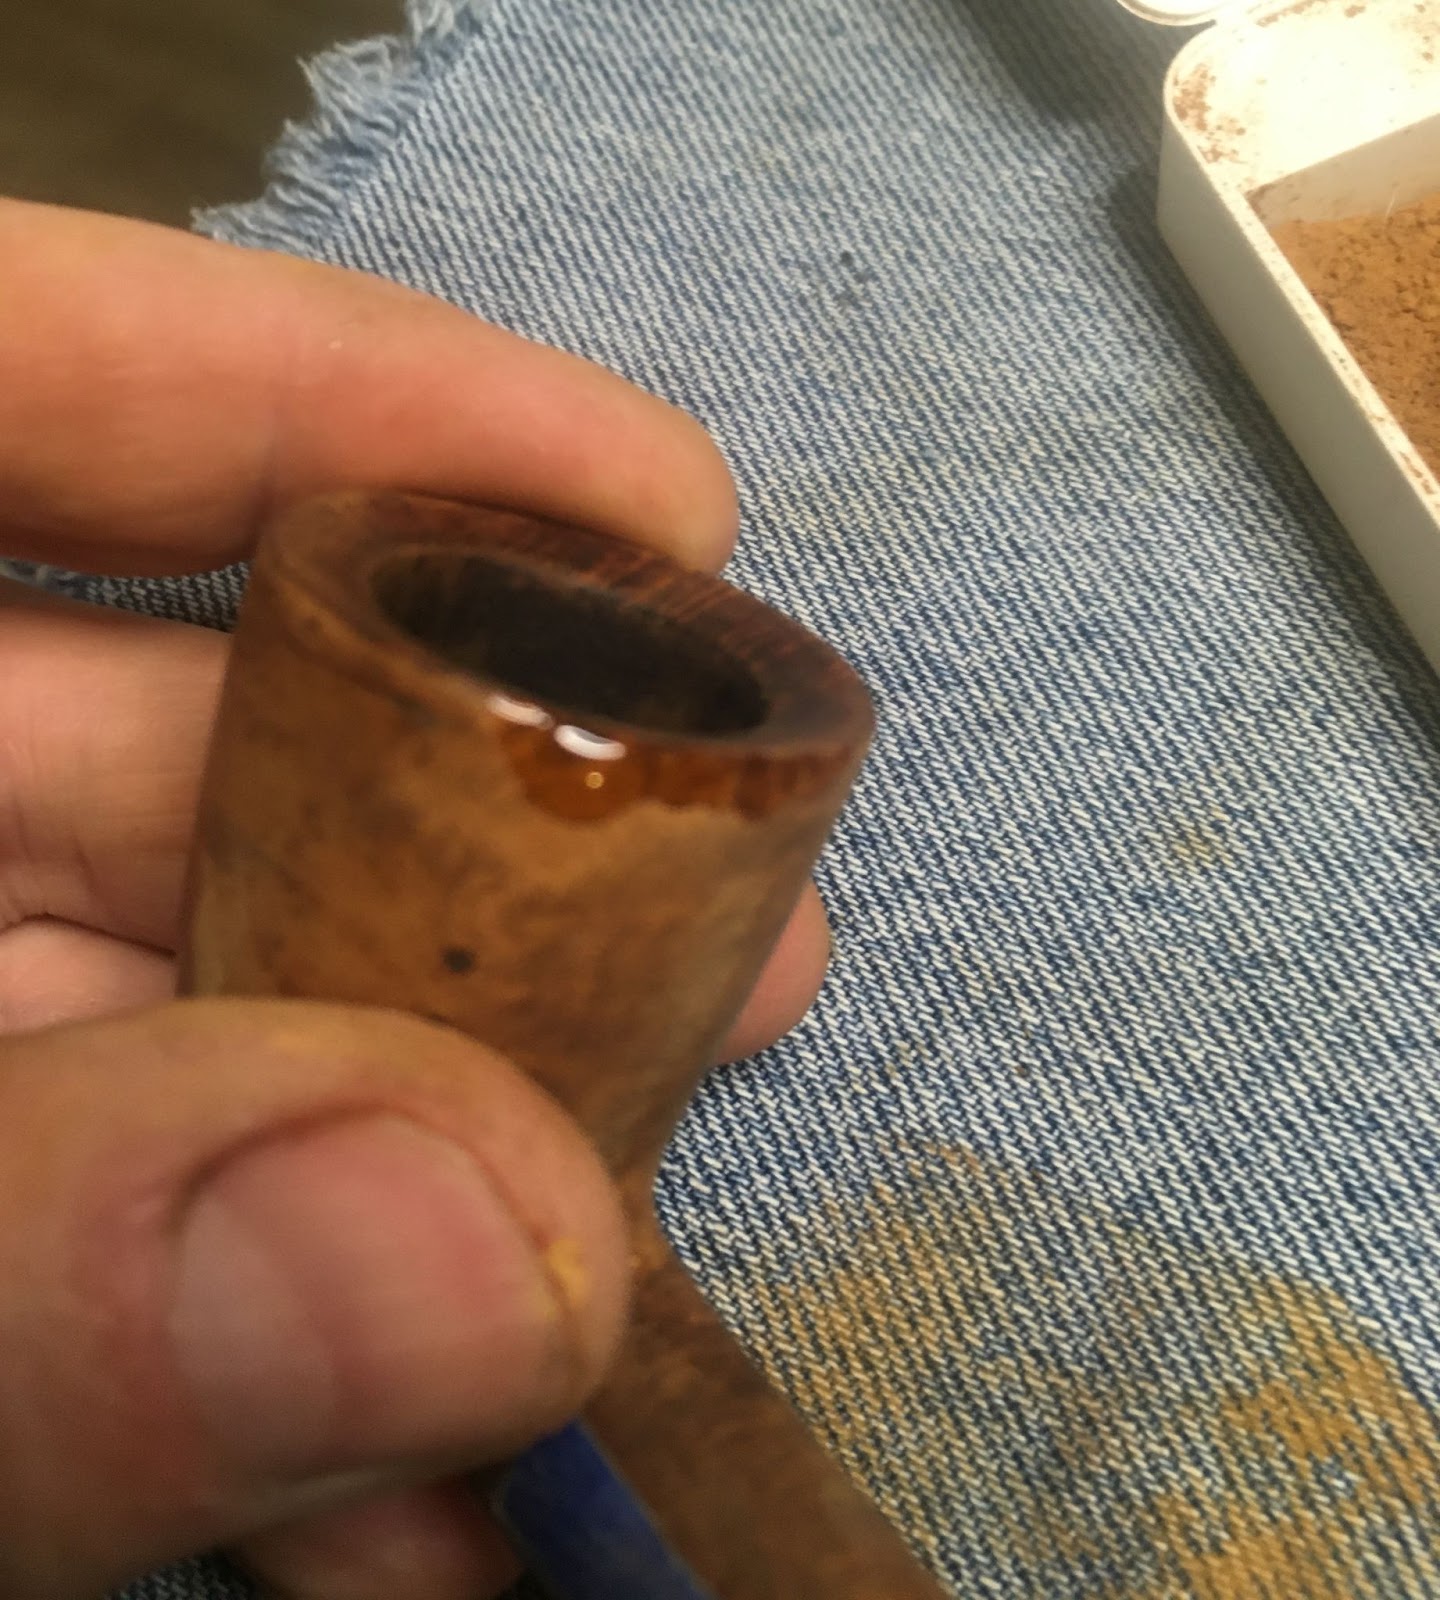
Below you can see the color change of the new briar dust fill. The dark color shows that the CA and briar dust have combined and are a single new fill. The fill on the shaft, by the stem has yet to receive the drop of Thin CA, adhering the fresh dust to the existing new fill.

WIth the fills completed I returned my attention to the stem. Below is the top surface of the stem after sanding and Soft Scrub cleaning.
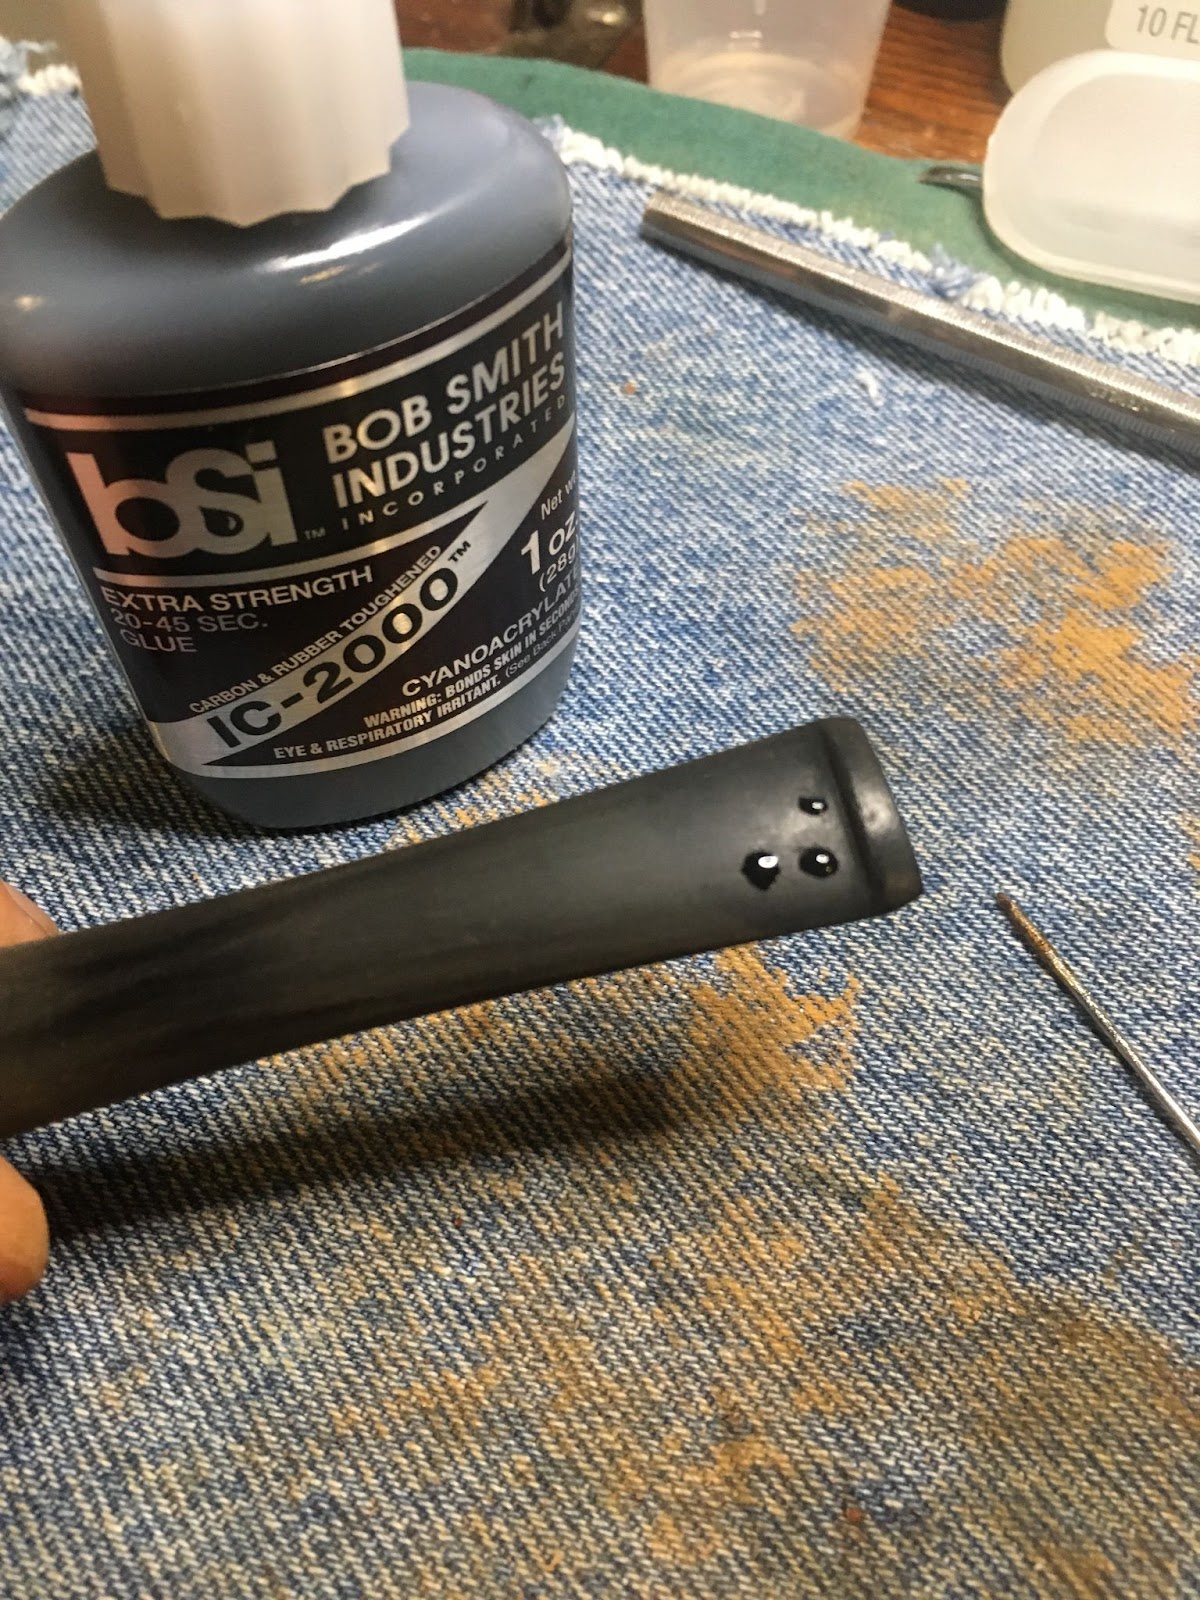
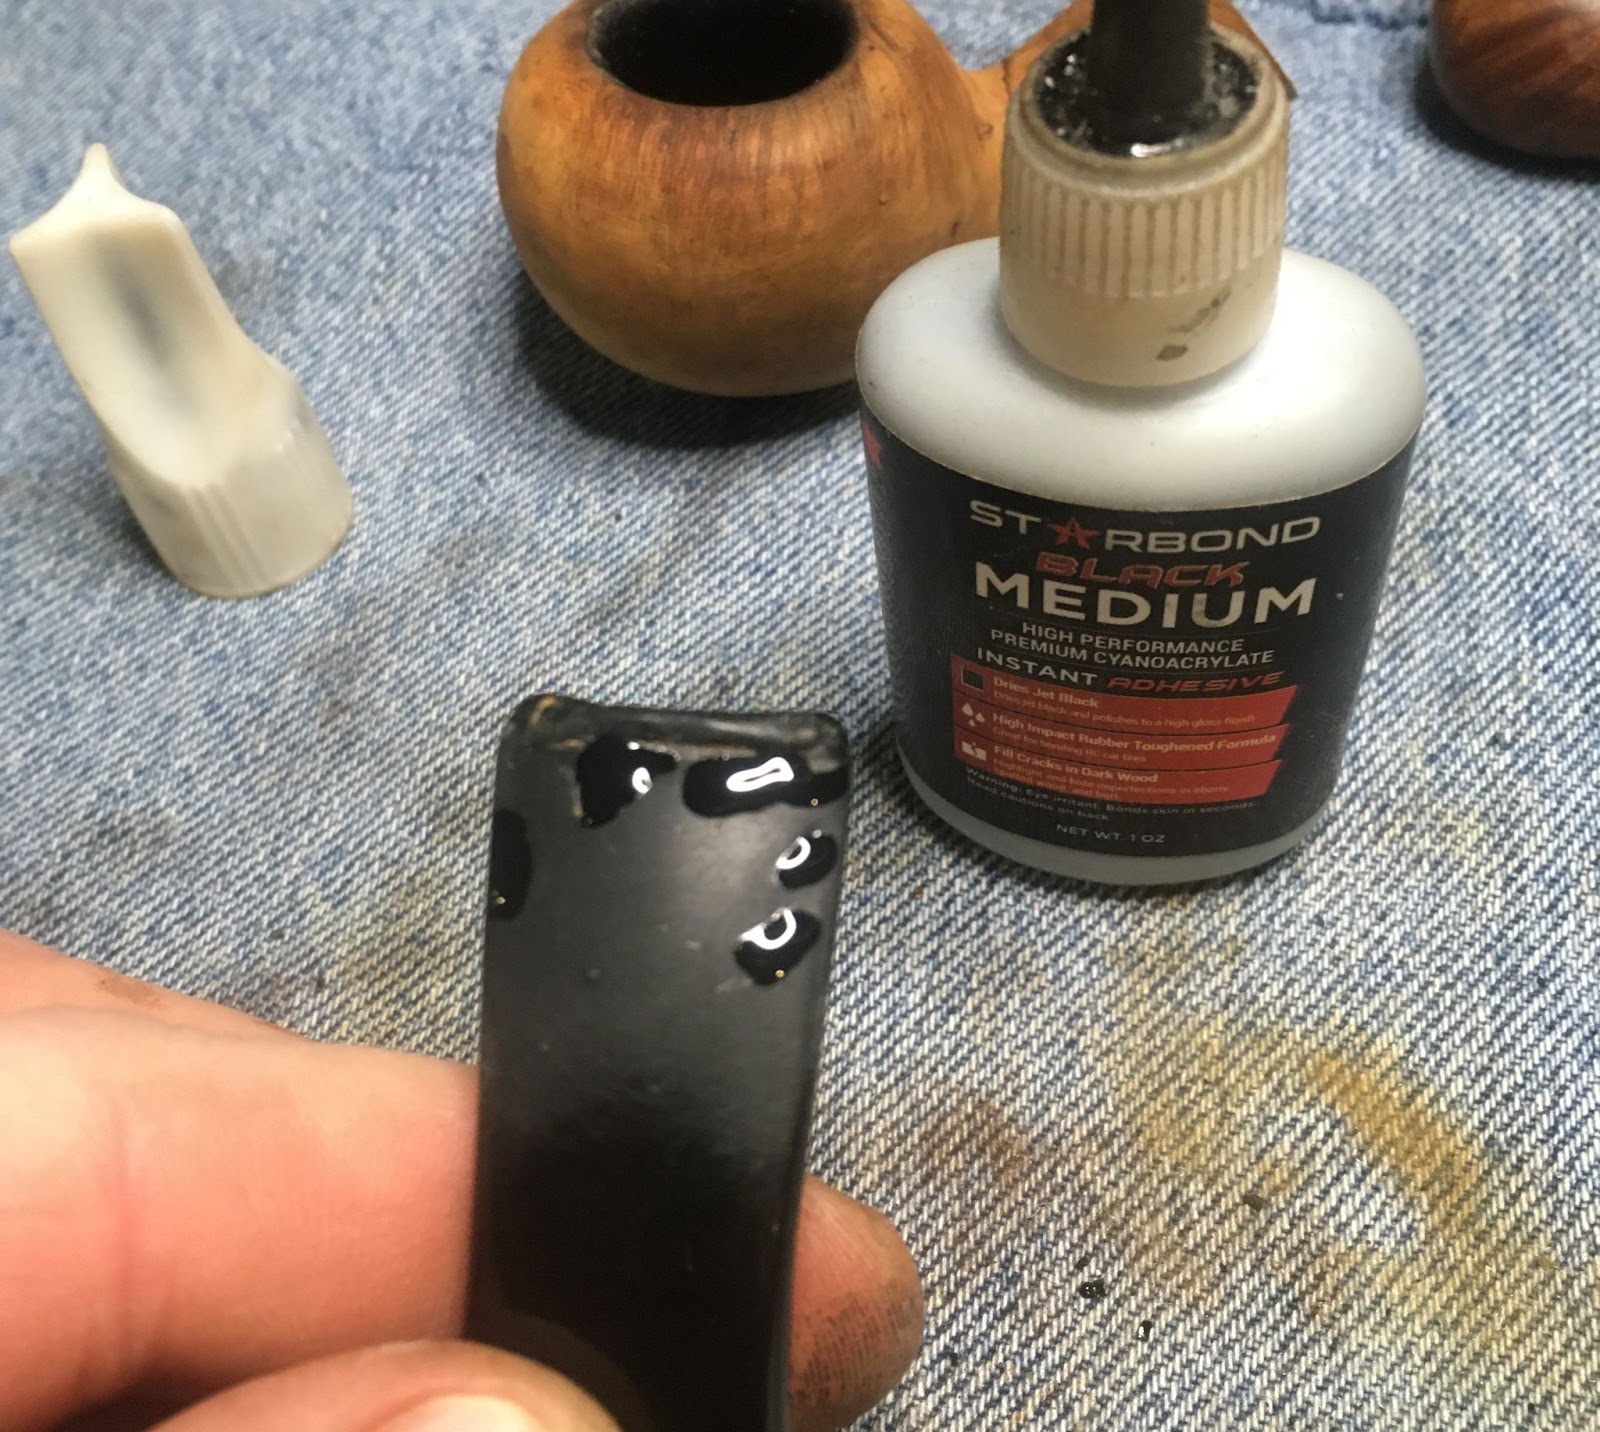
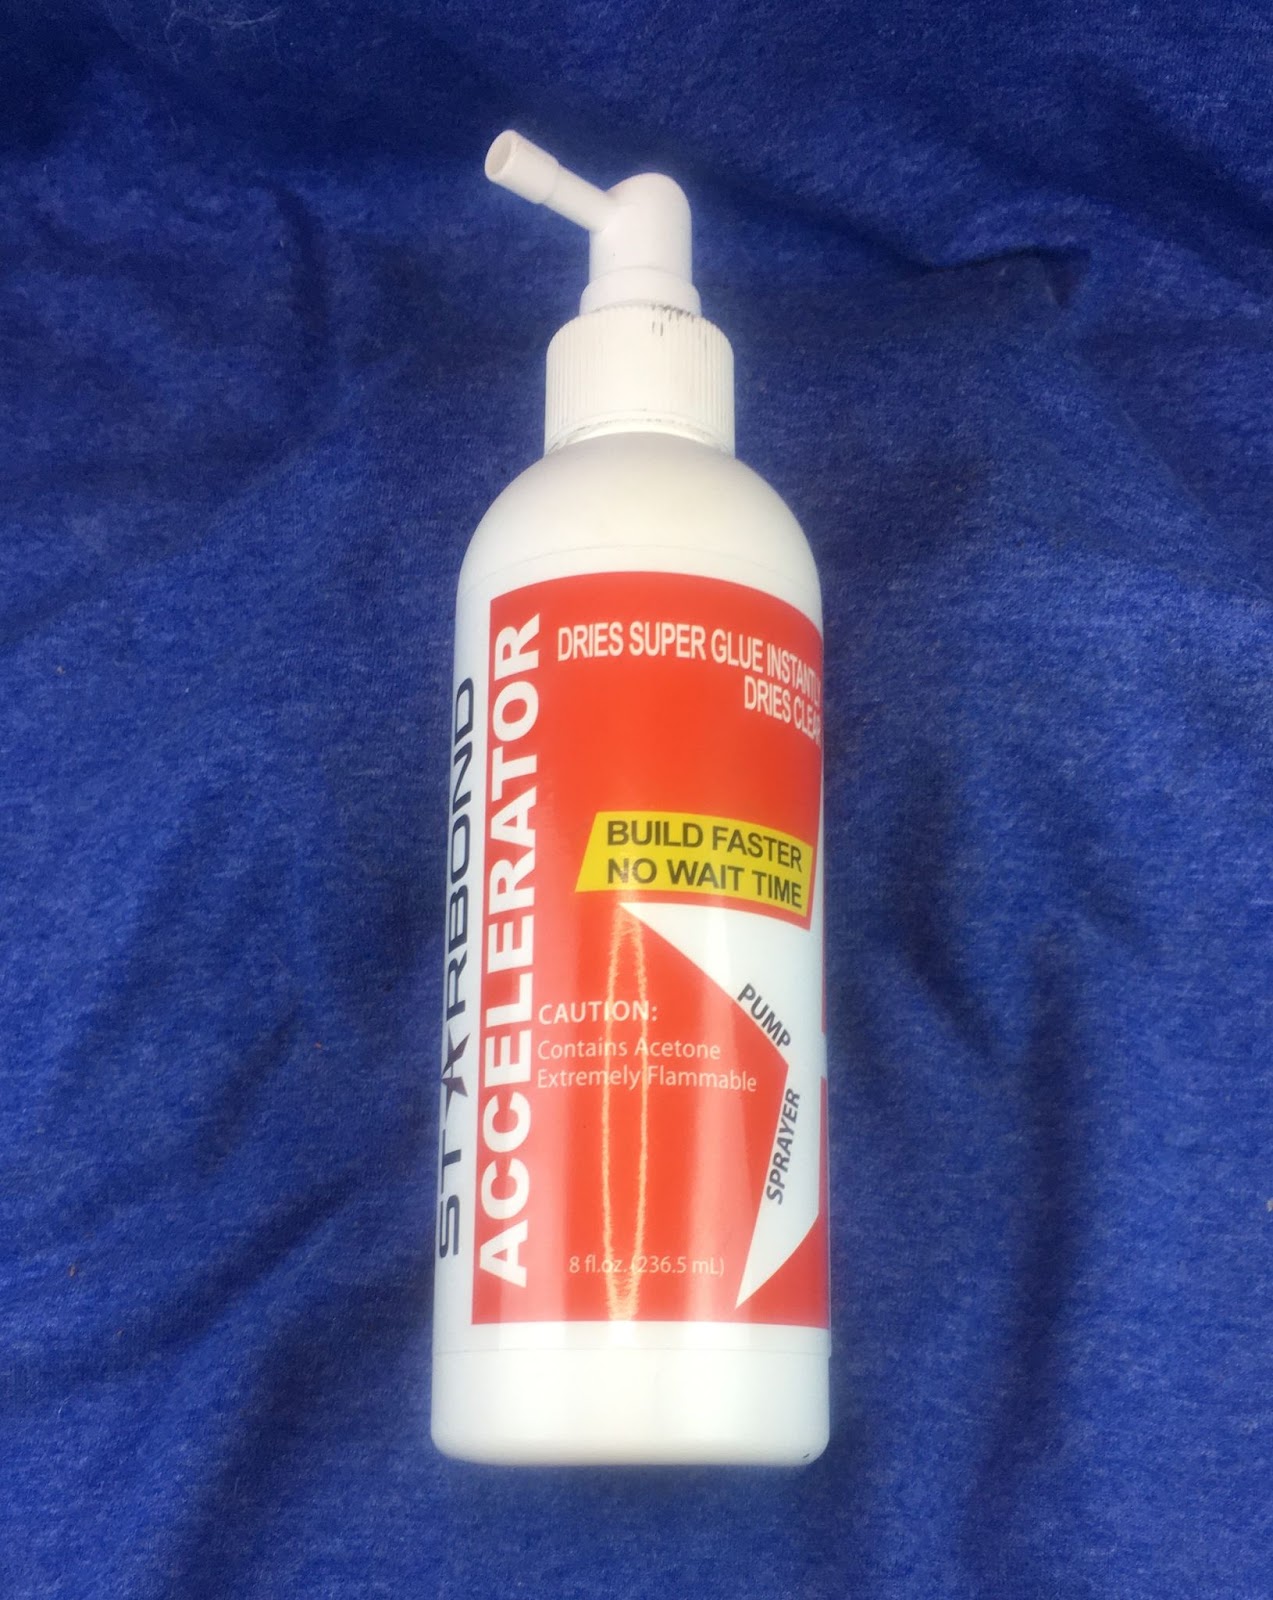
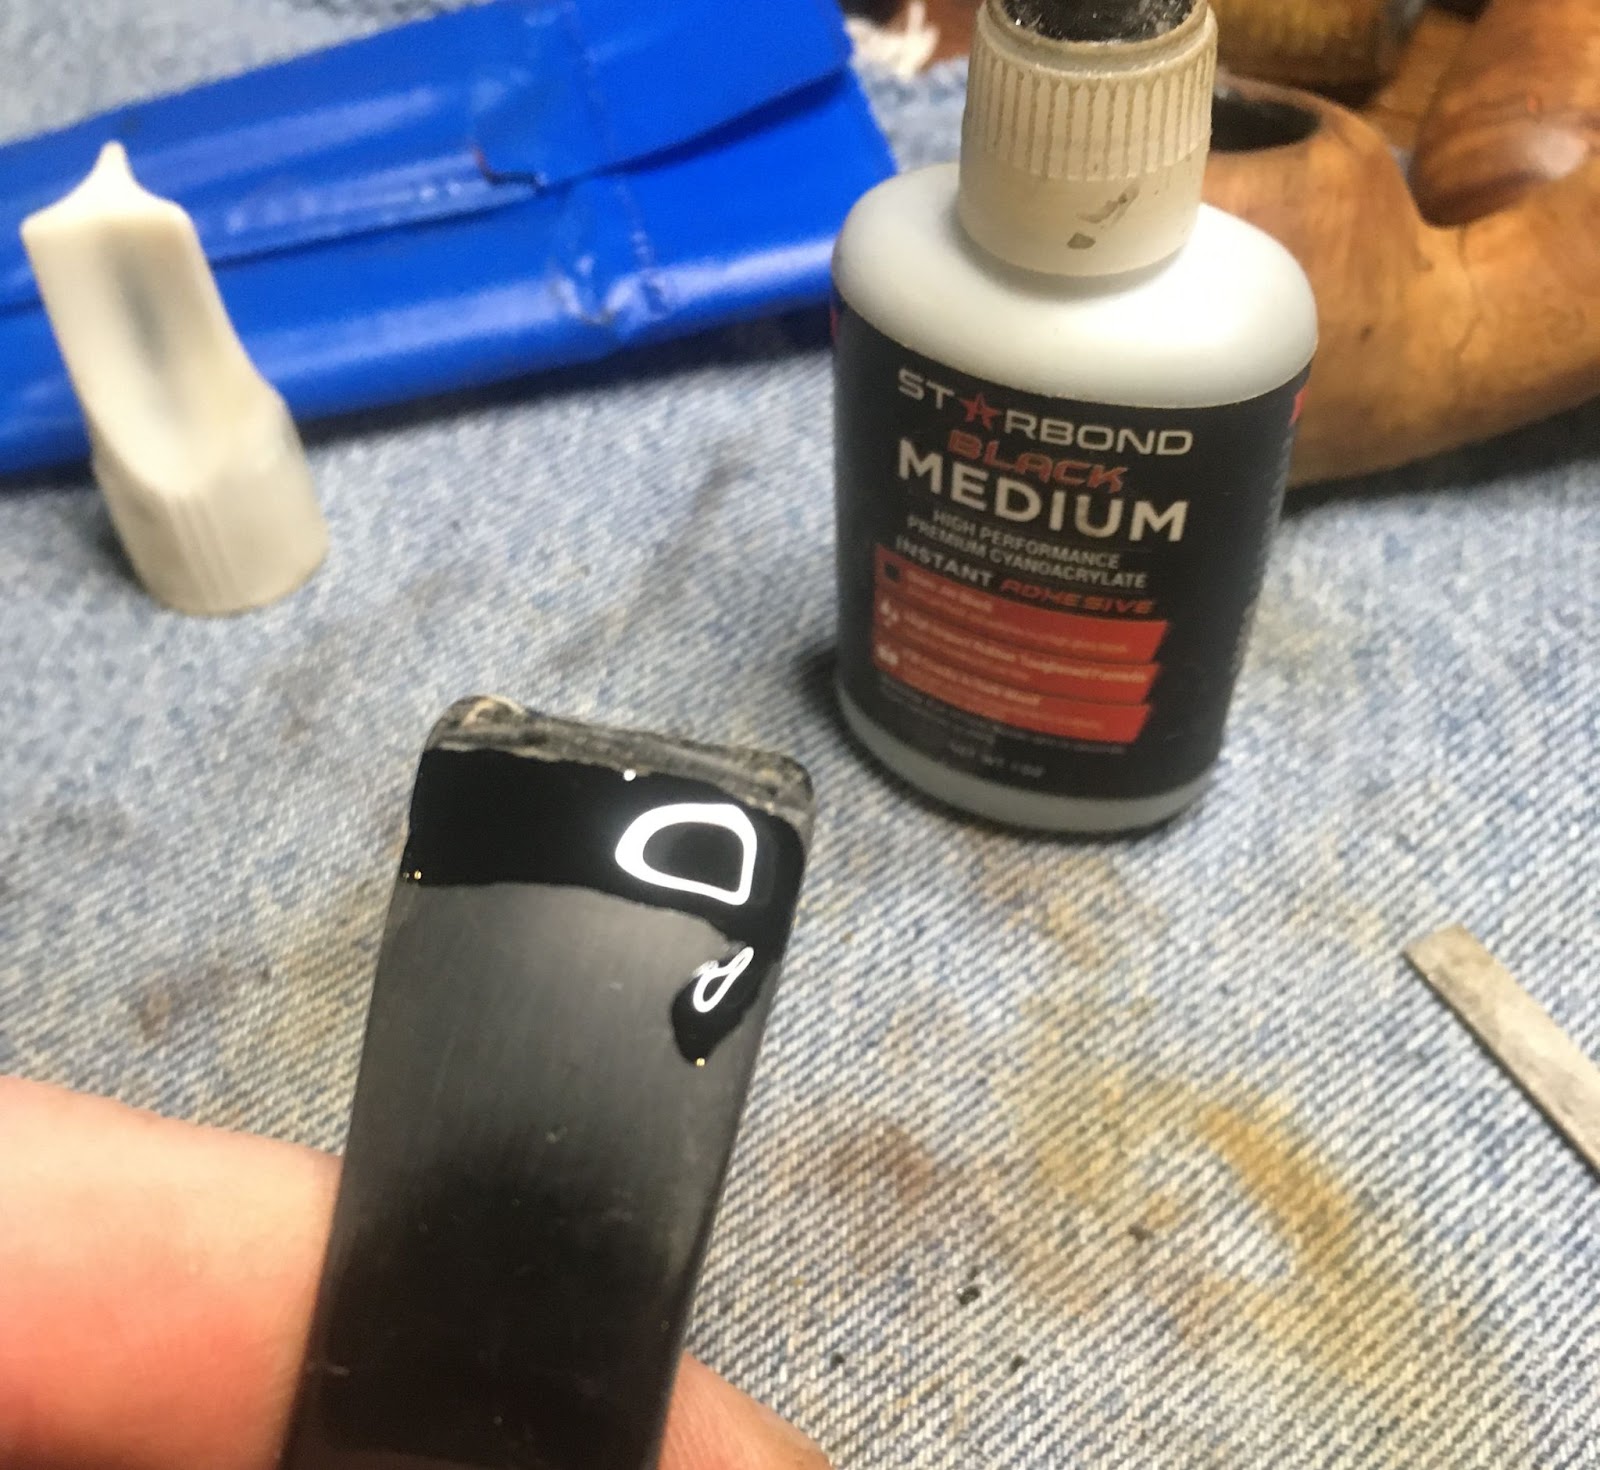
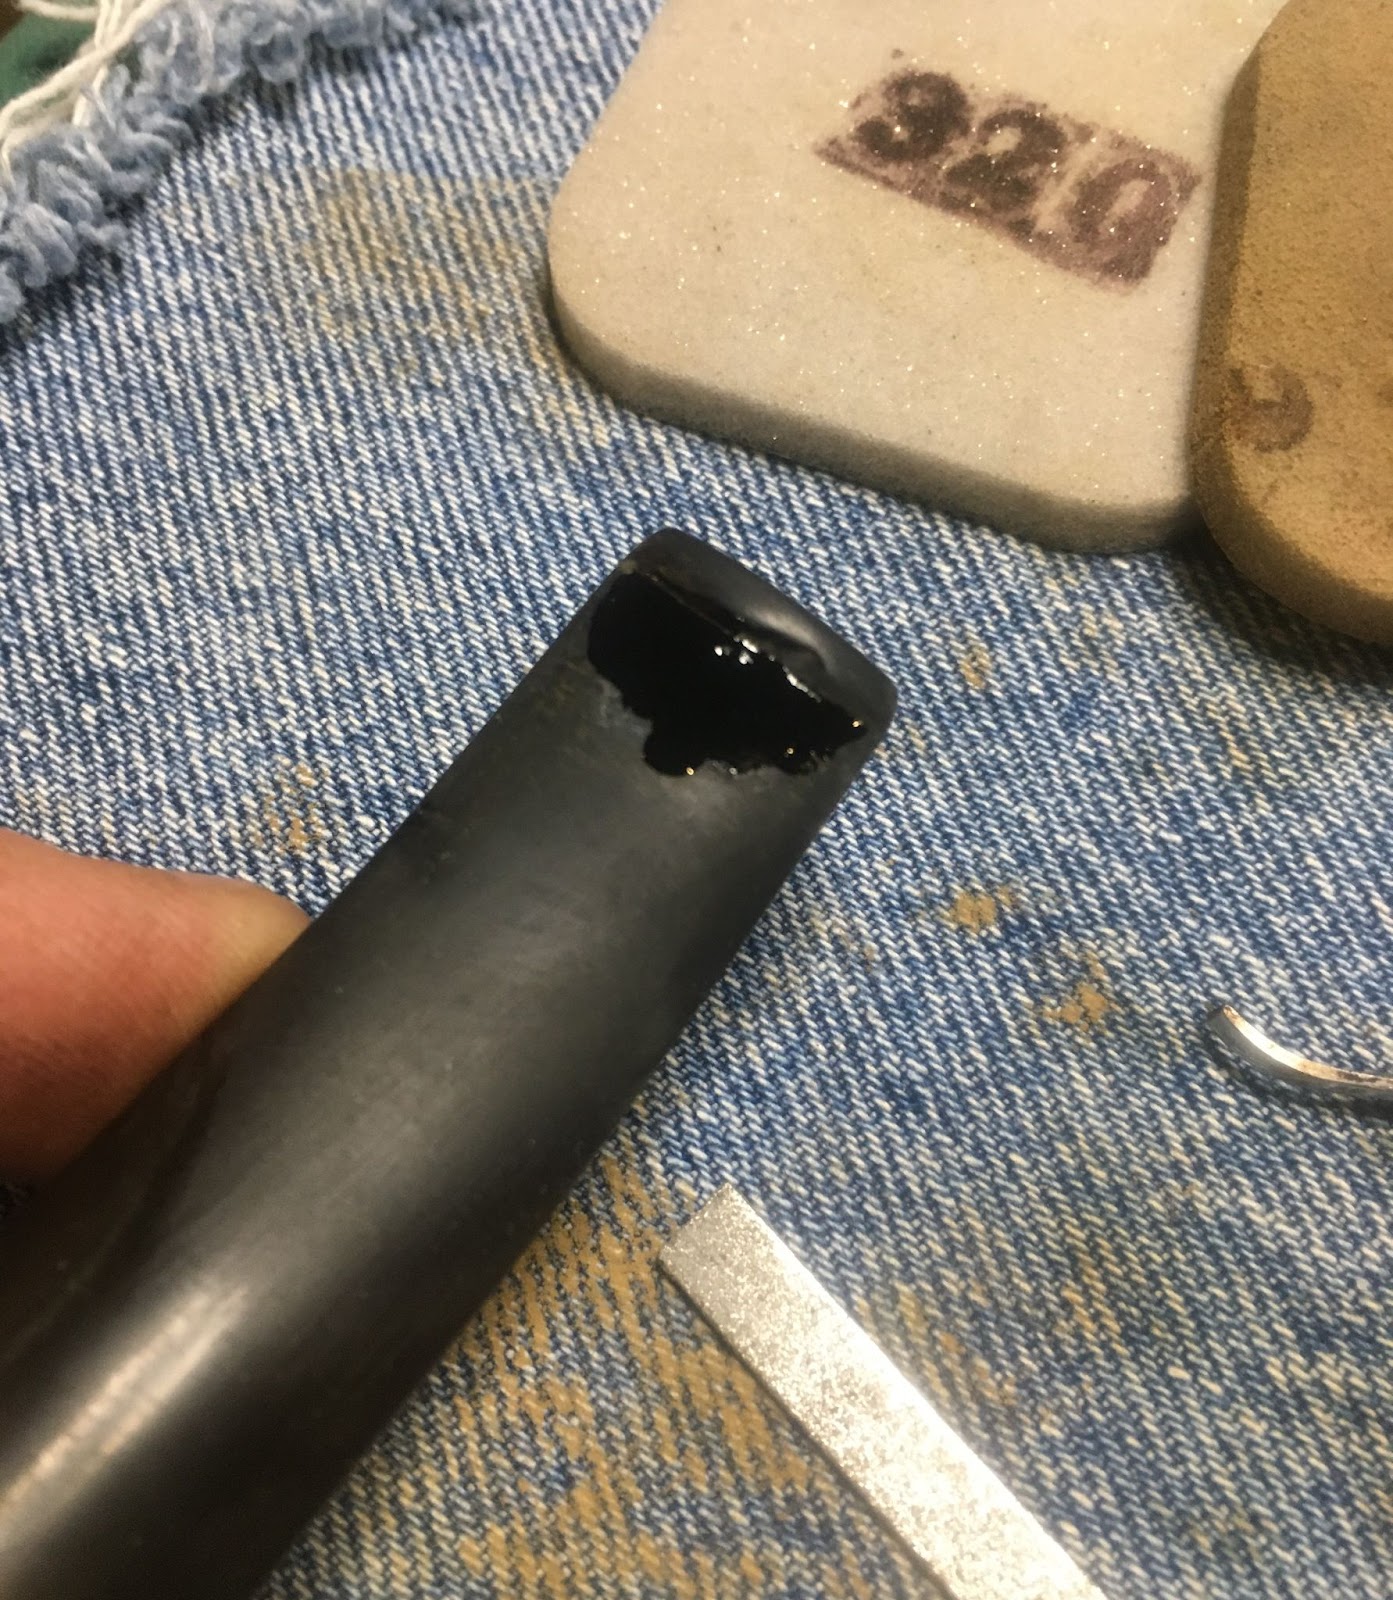
The dents were filled by placing small drops of black cyanoacrylate (CA, super glue) and spritzed with a CA drying accelerator. This is a new-to-me product that is supposed to be strengthened with rubber. The “About this item” from Amazon.com states:

(https://www.amazon.com/dp/B0188IHONQ?psc=1&ref=ppx_yo2ov_dt_b_product_details) That sounds like it was made for this use. Or, that I am a sucker for a well written claim… Either way, I am always willing to try something new to see if it is better than the way I had been doing something. By the way, if you represent Bob Smith Industries, I am more than happy to accept corporate sponsorship.

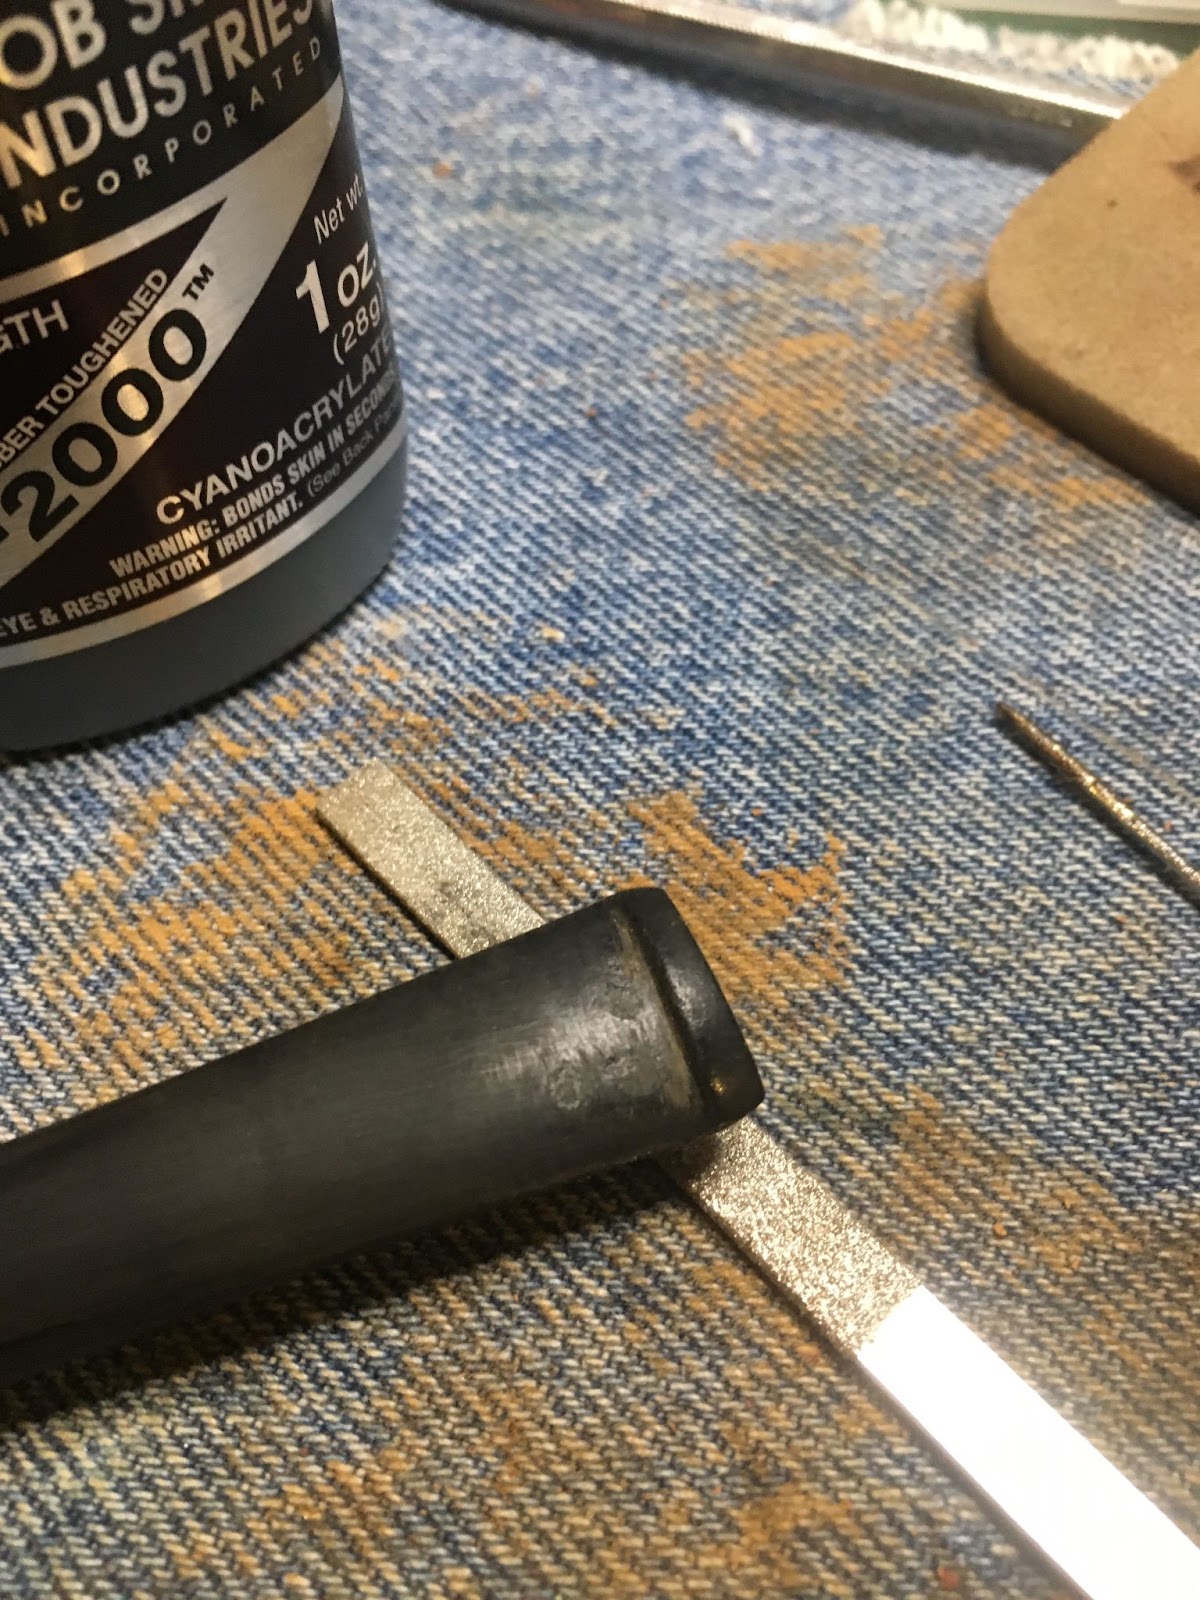
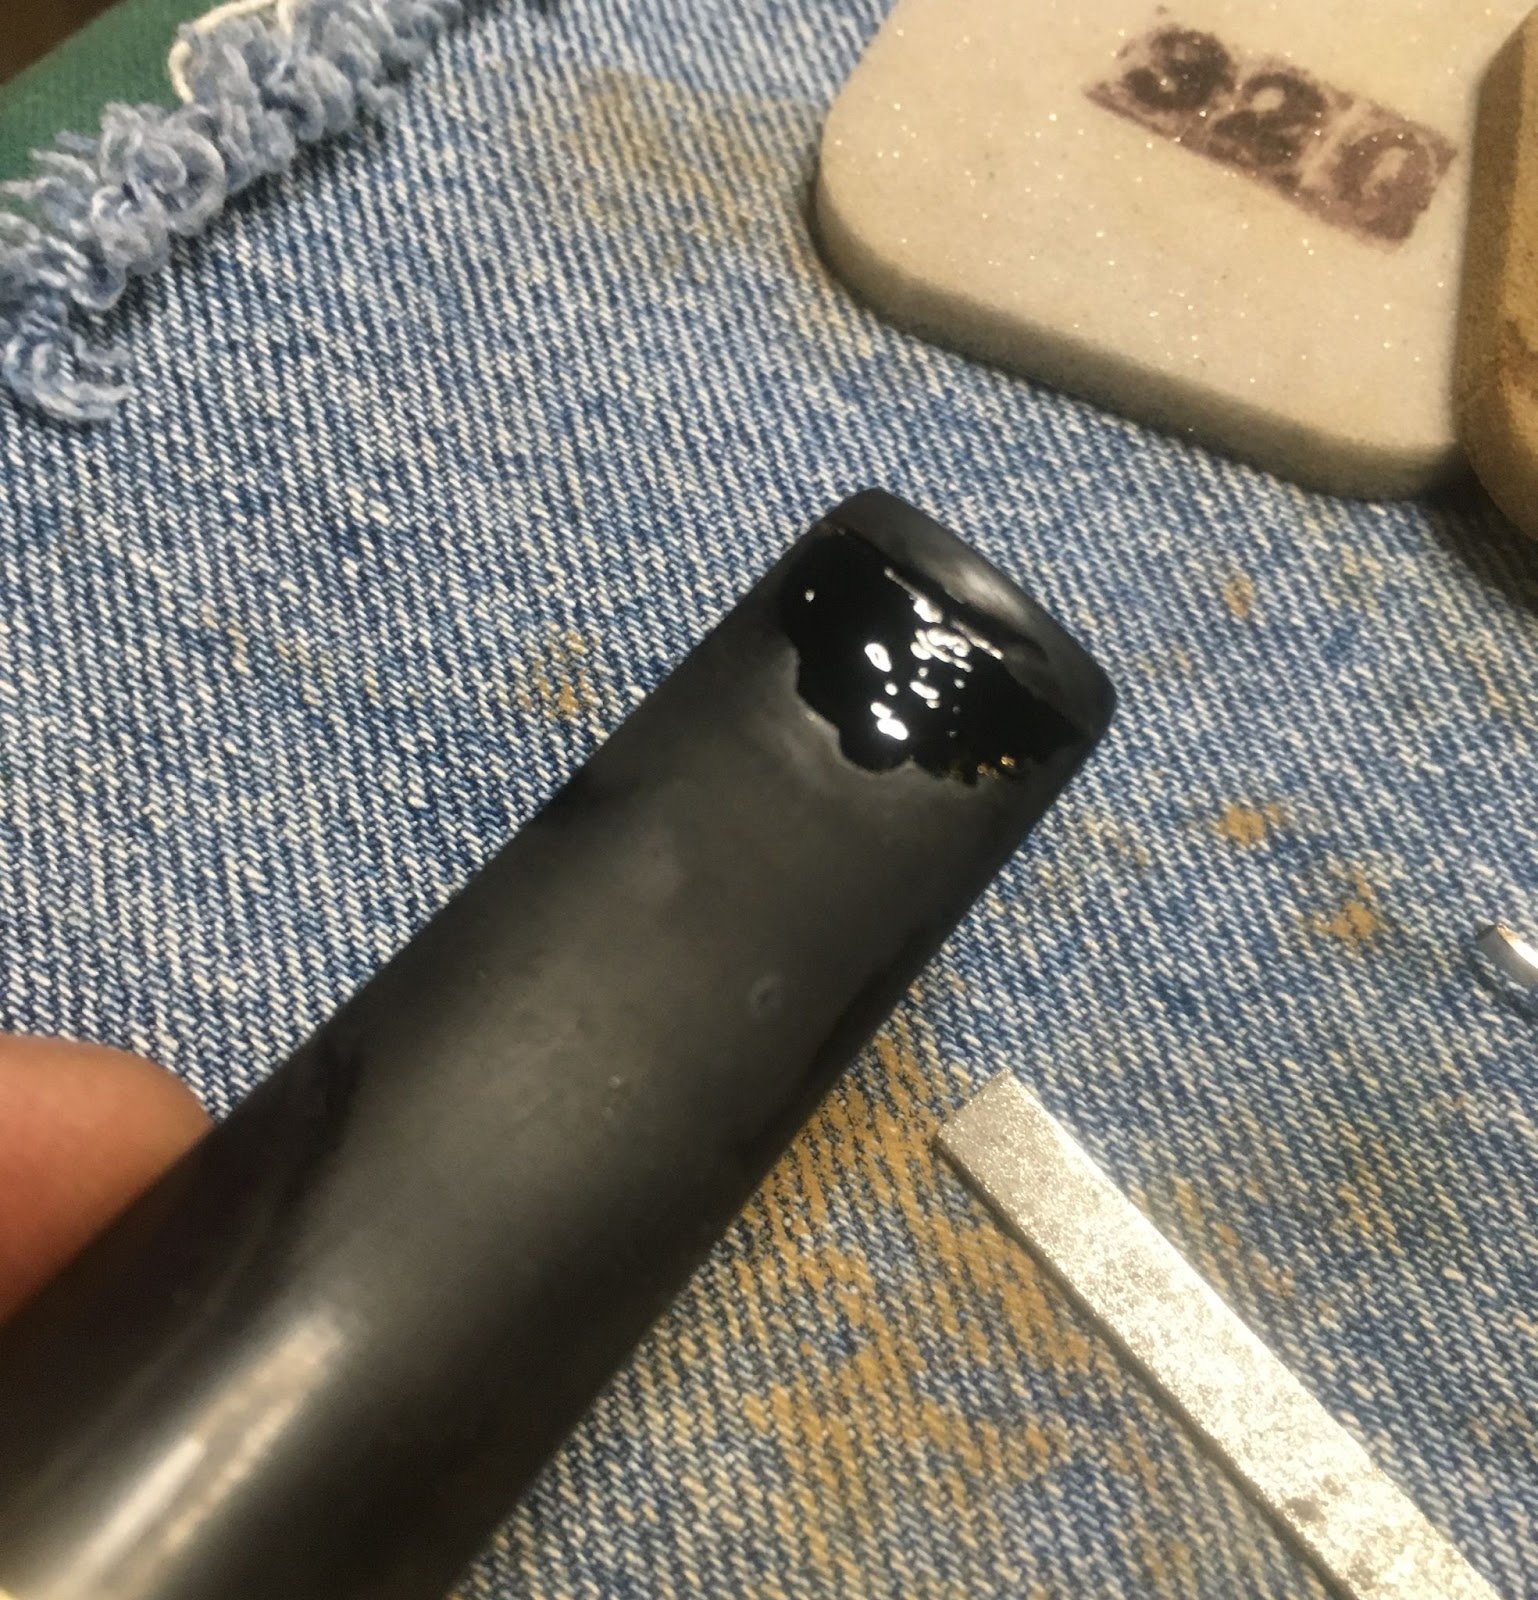
The CA was filed smooth with a flat needle file and further smoothed with a 400 sanding sponge.

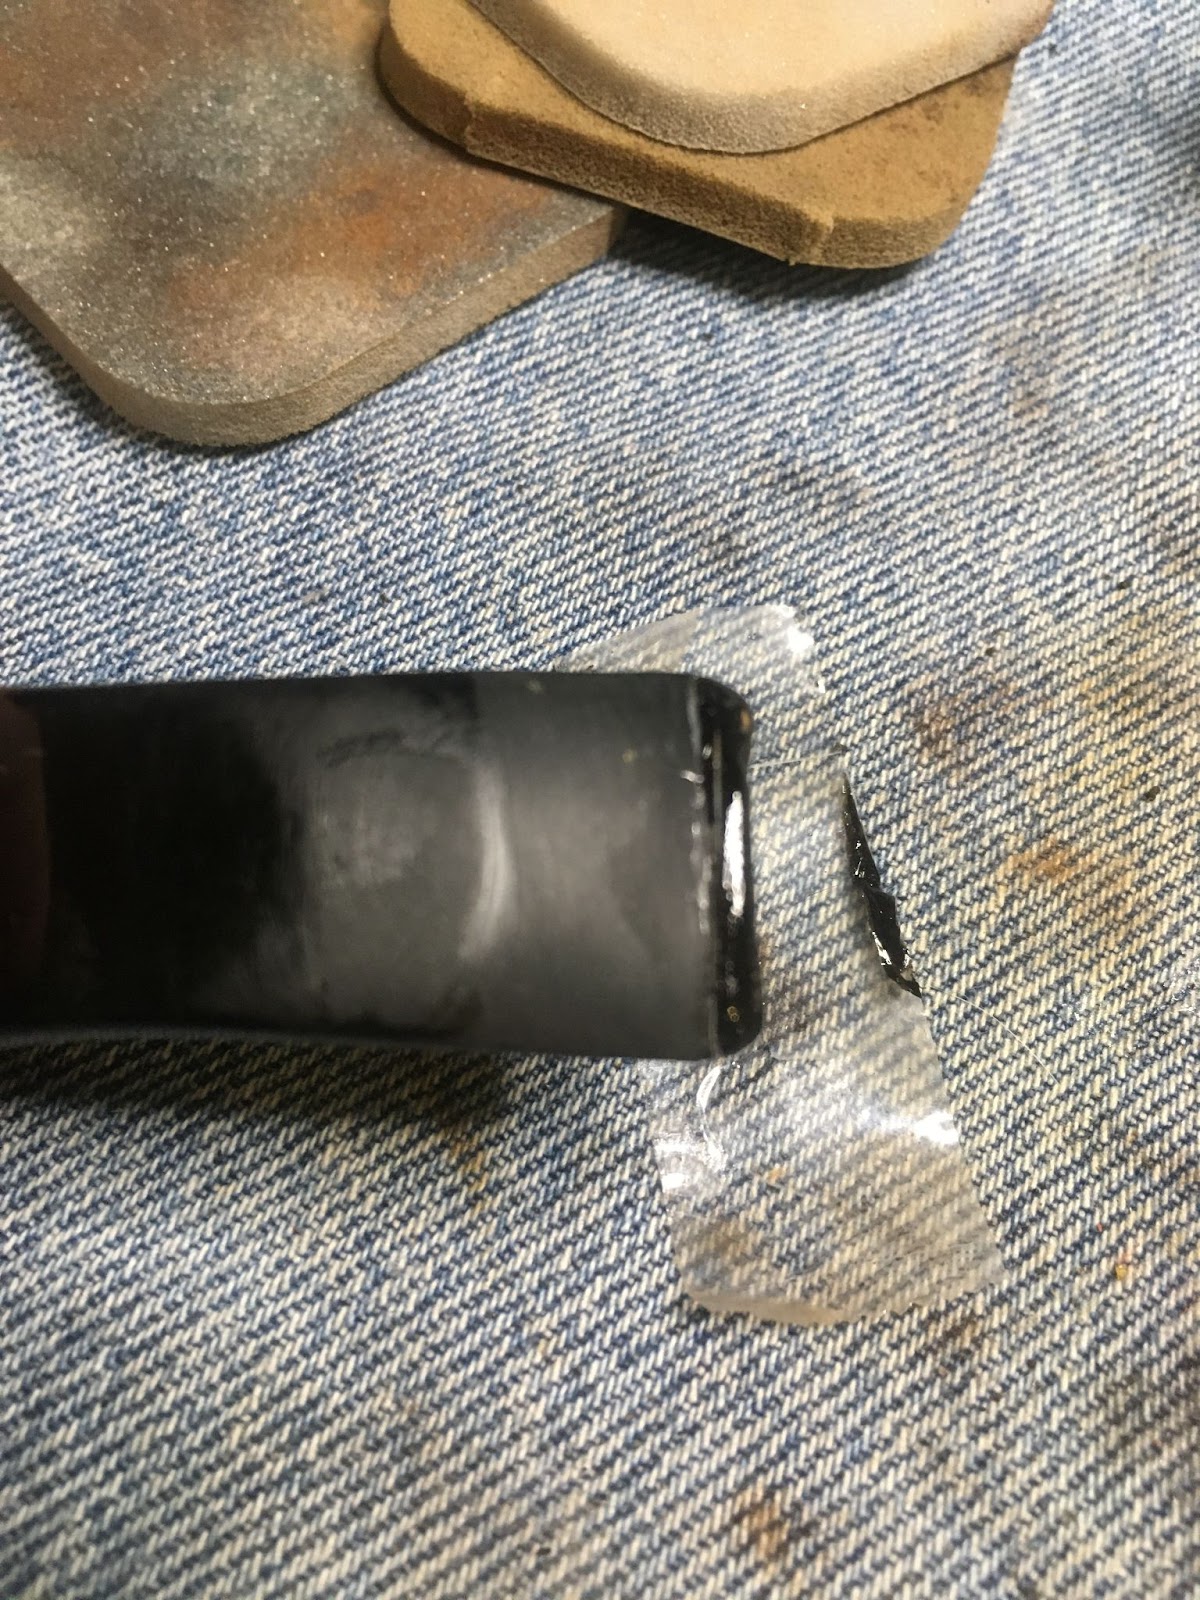
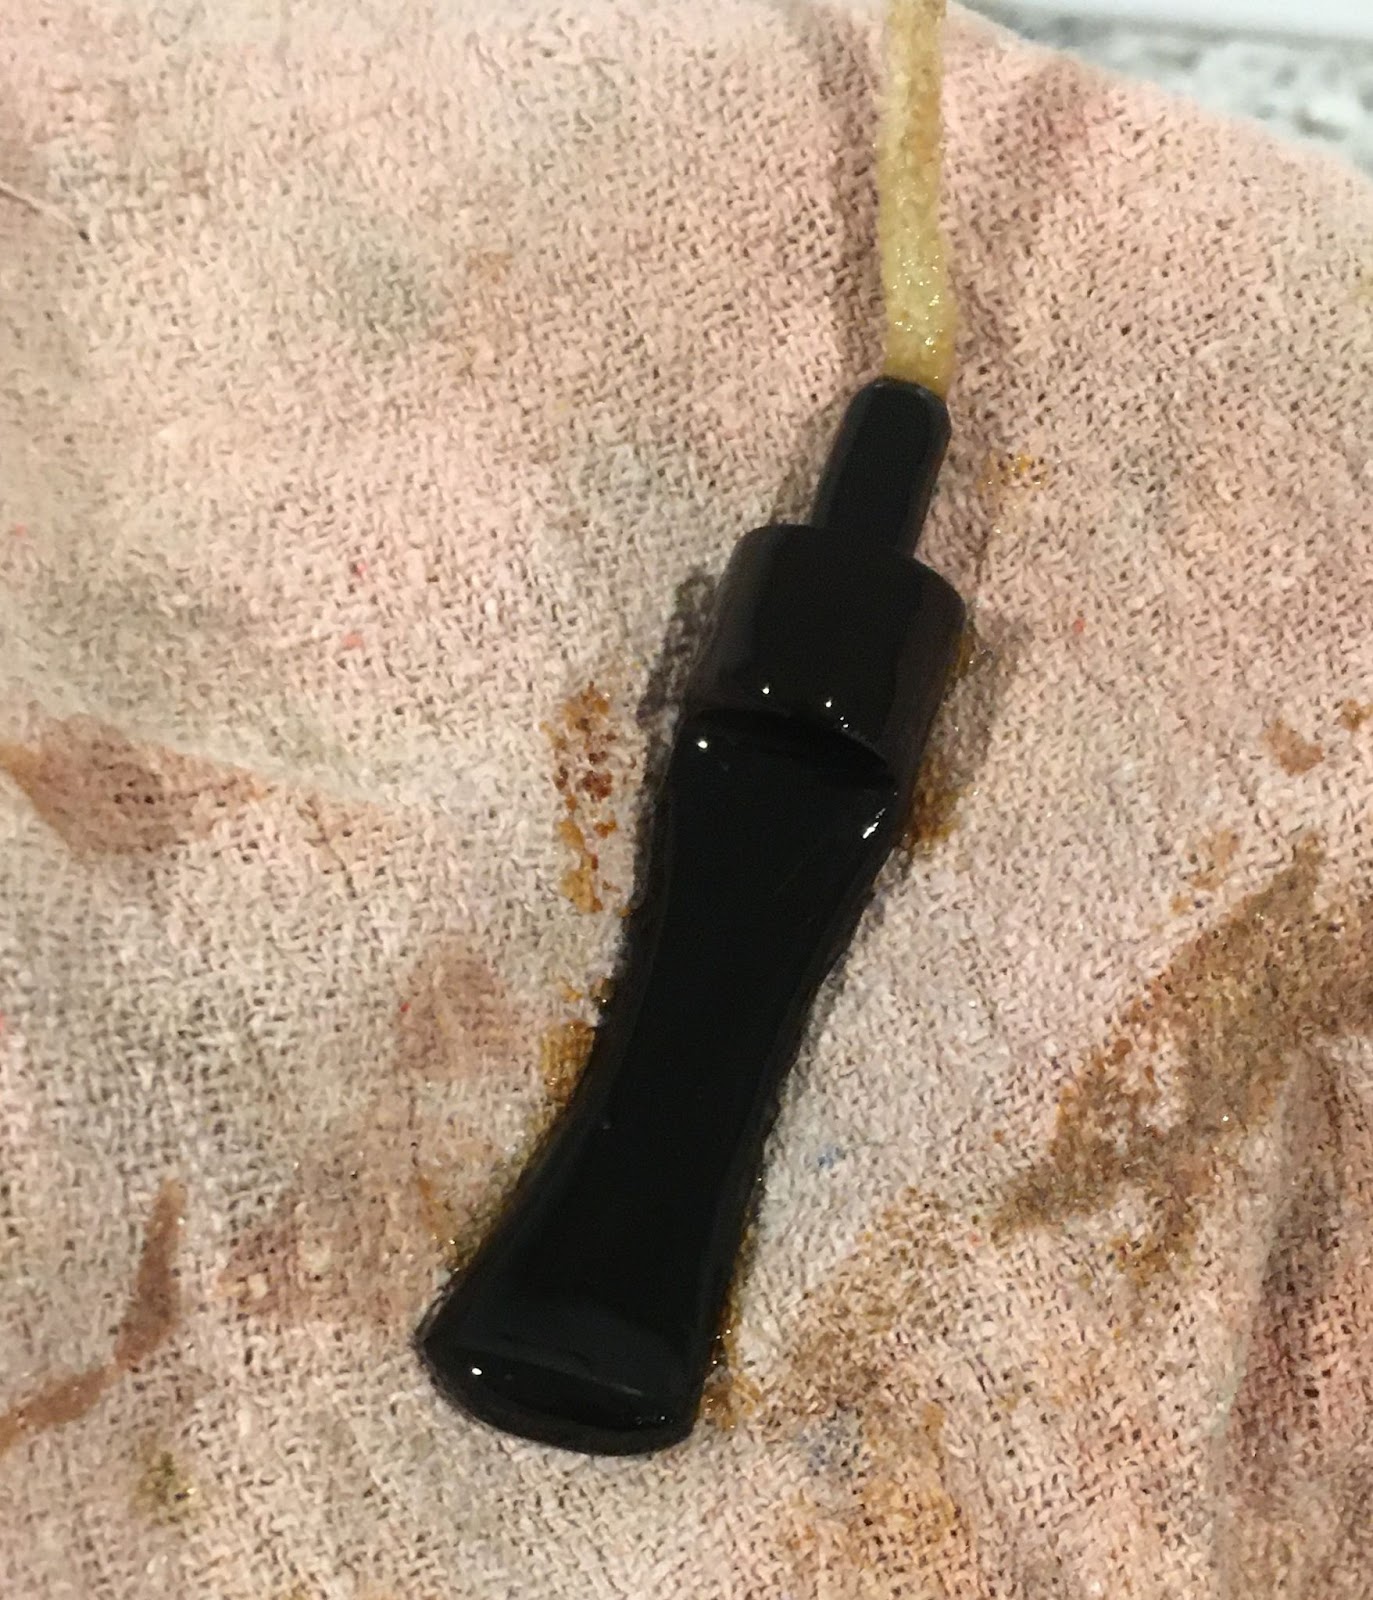
I then applied a drop of black CA and spread it out over a larger area. This was also spritzed with the accelerator. Once cured I sanded the area smooth and applied a light coating of mineral oil.


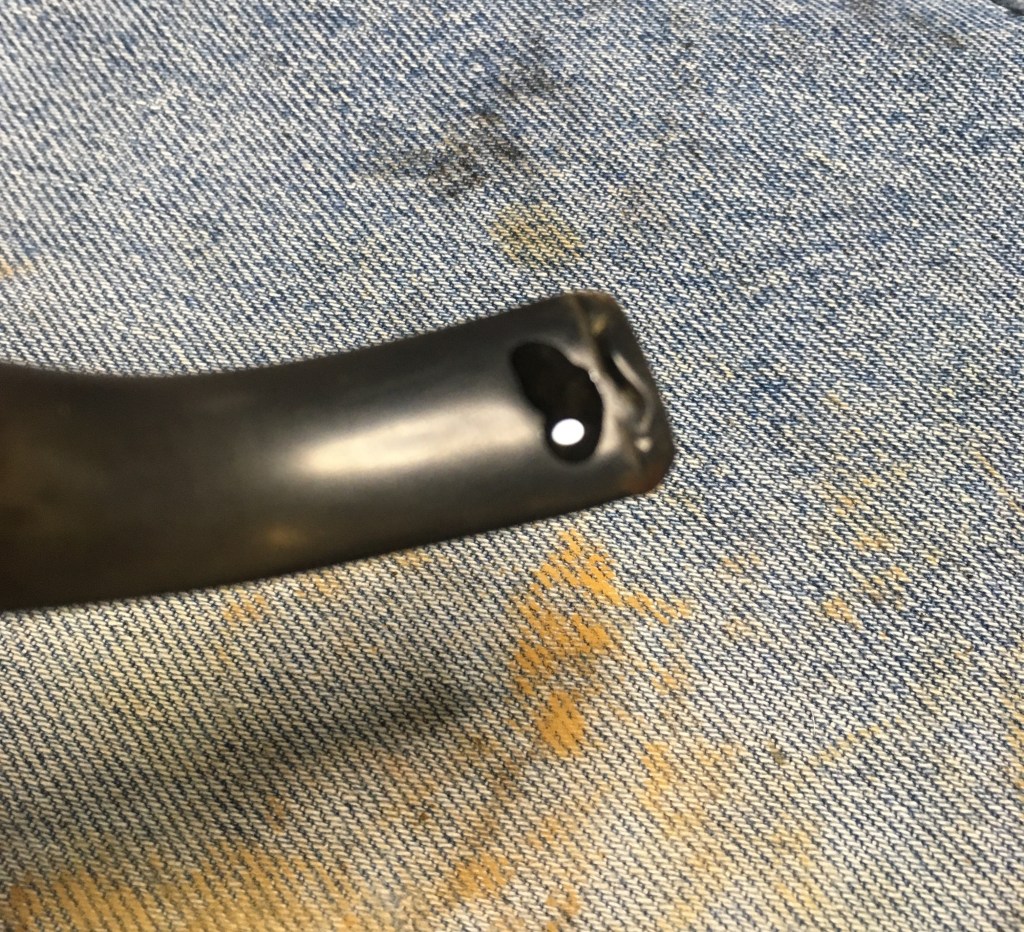
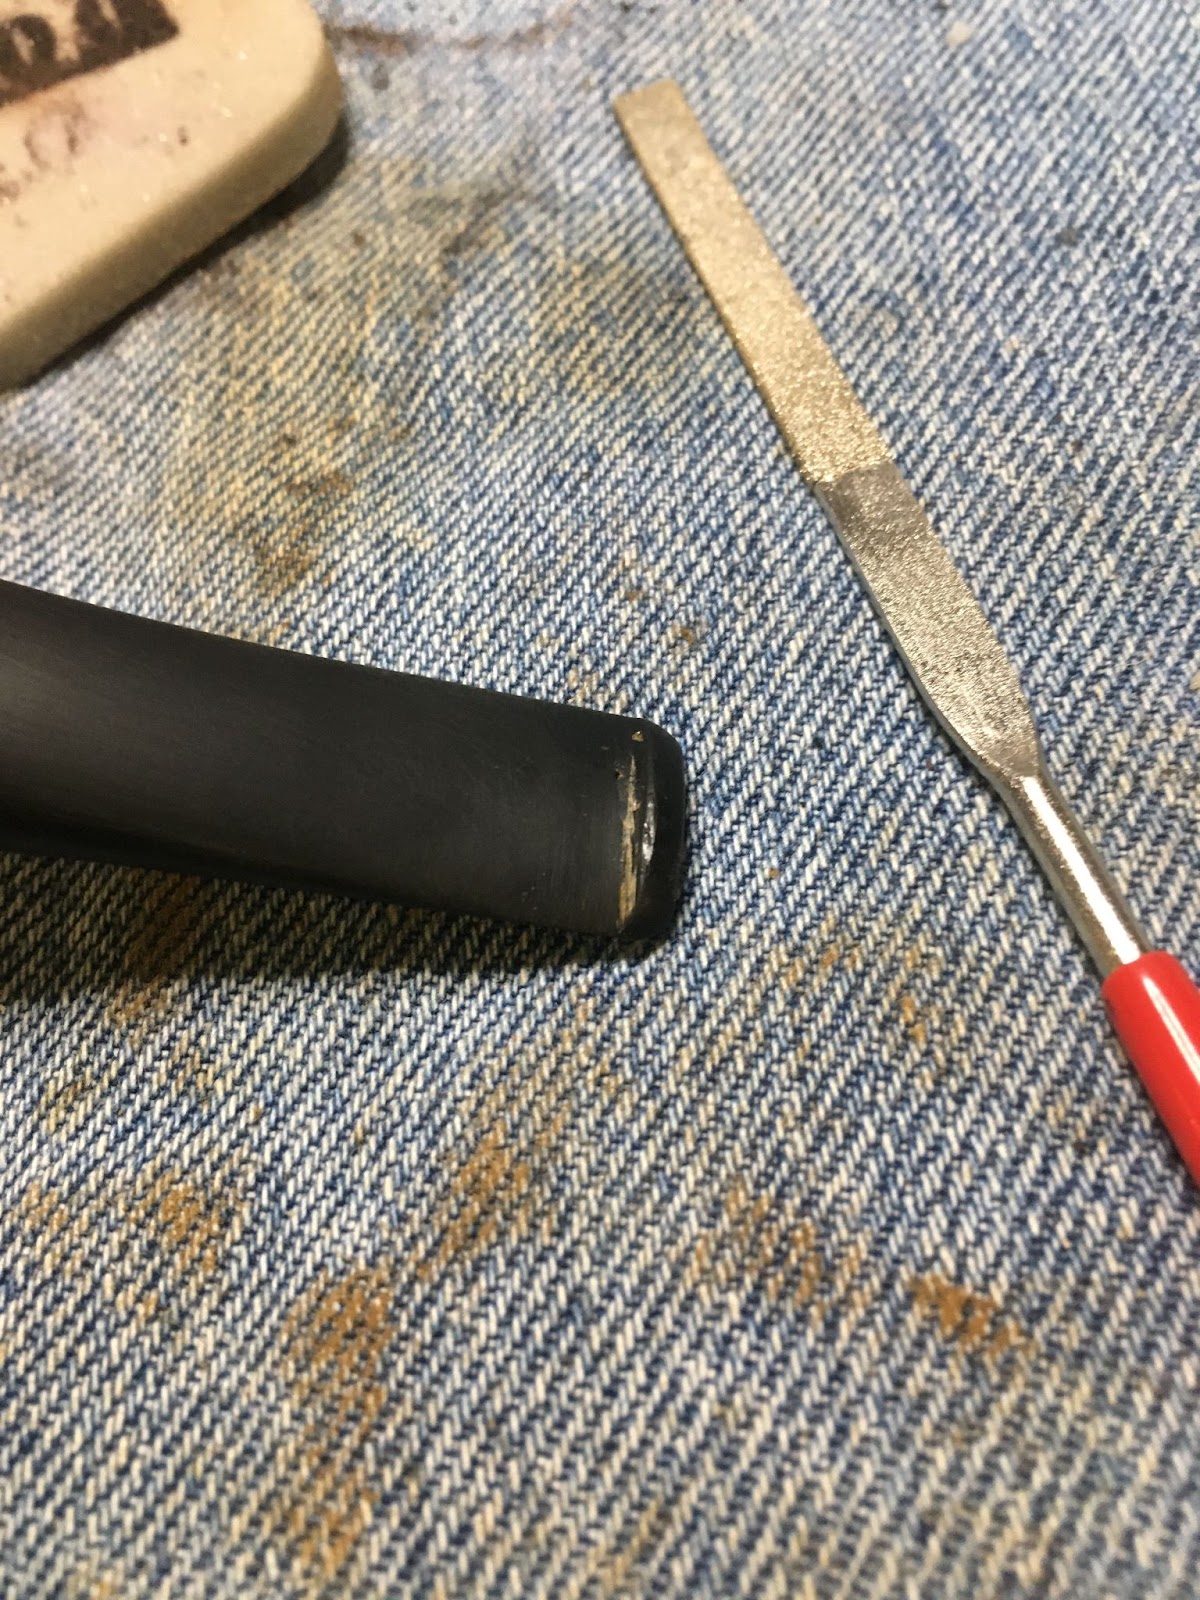
The next few photos show the same process with the bottom surface of the stem. Starting with the initial condition.

Here the surface had been filed and sanded with a 320 sanding sponge.

The CA had been applied and was spritzed with the accelerator.
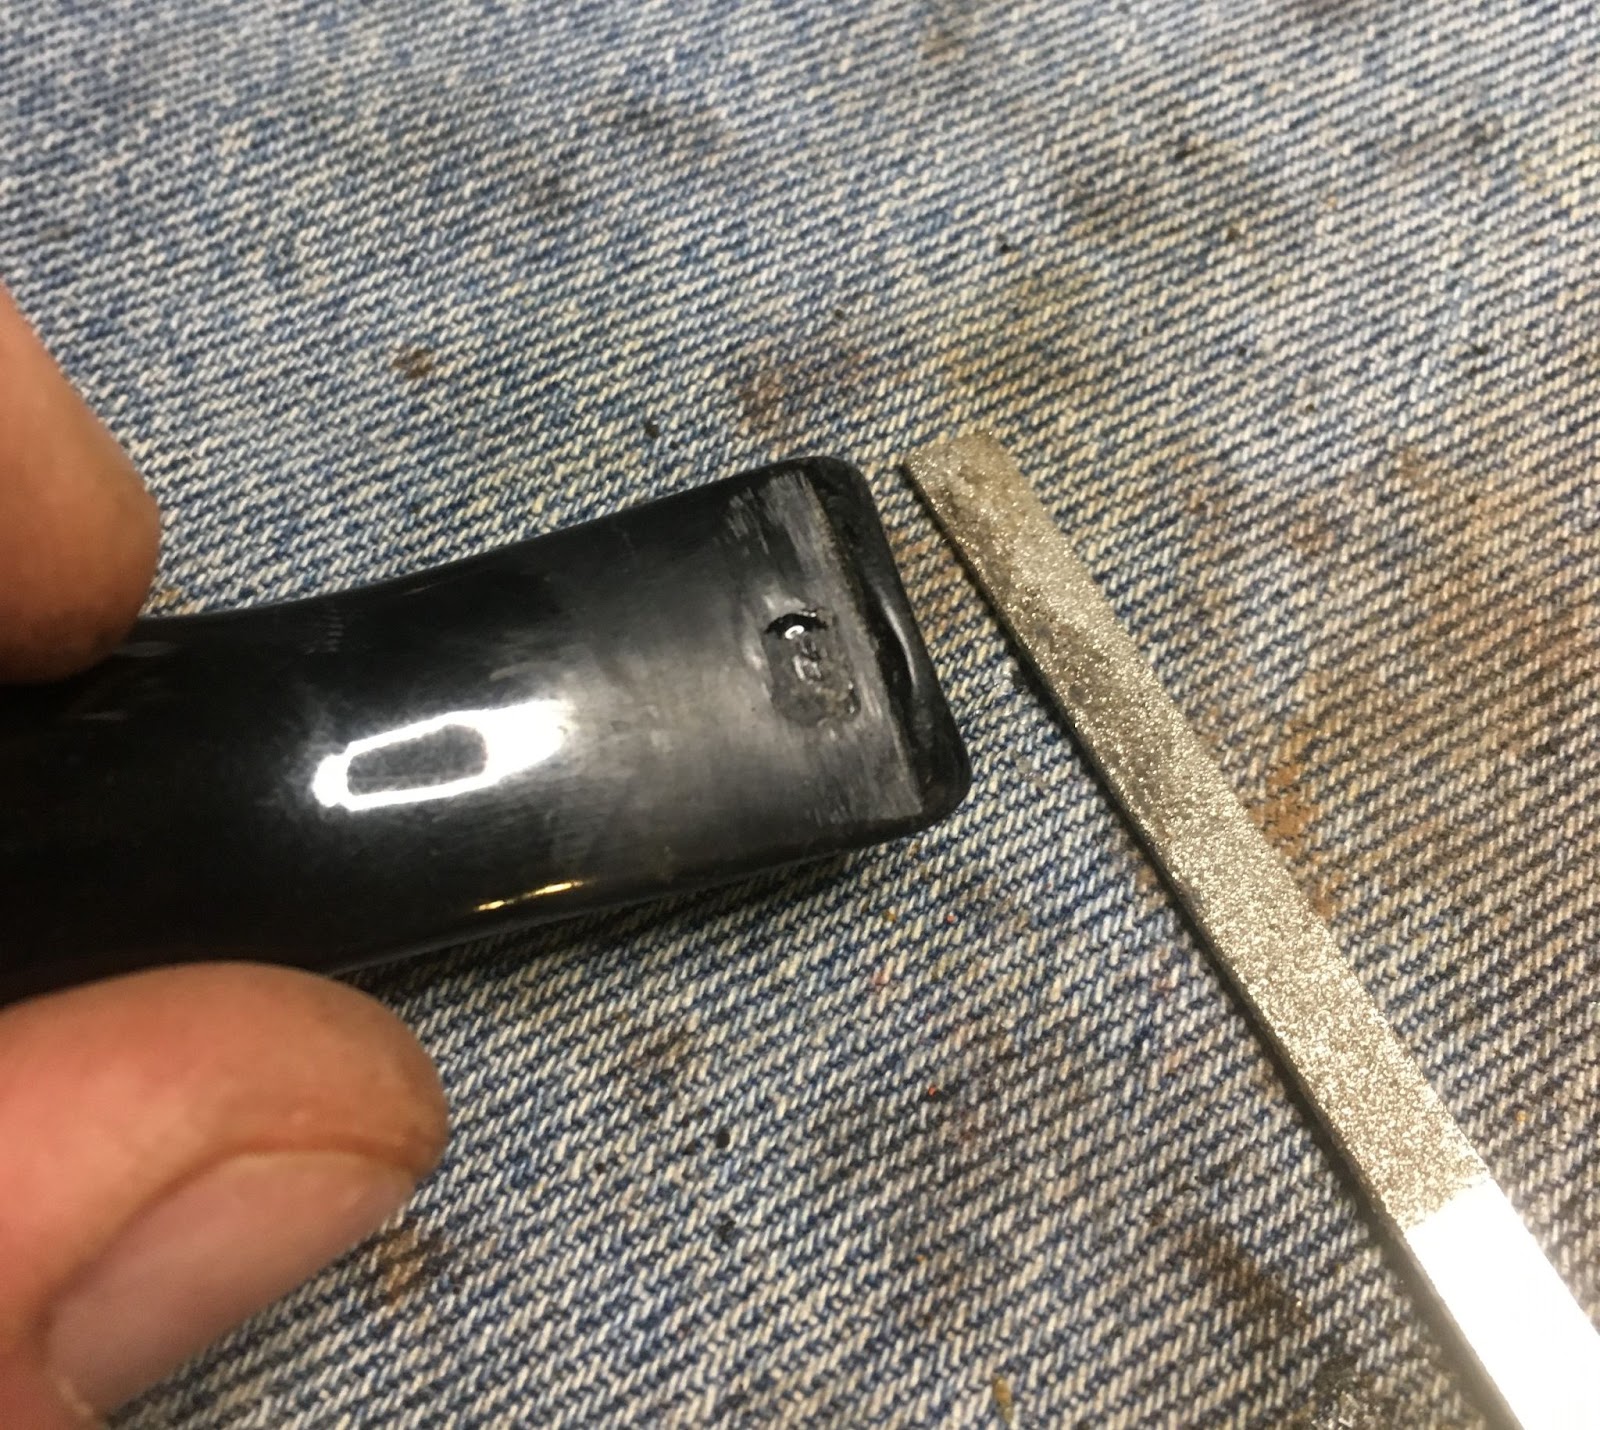
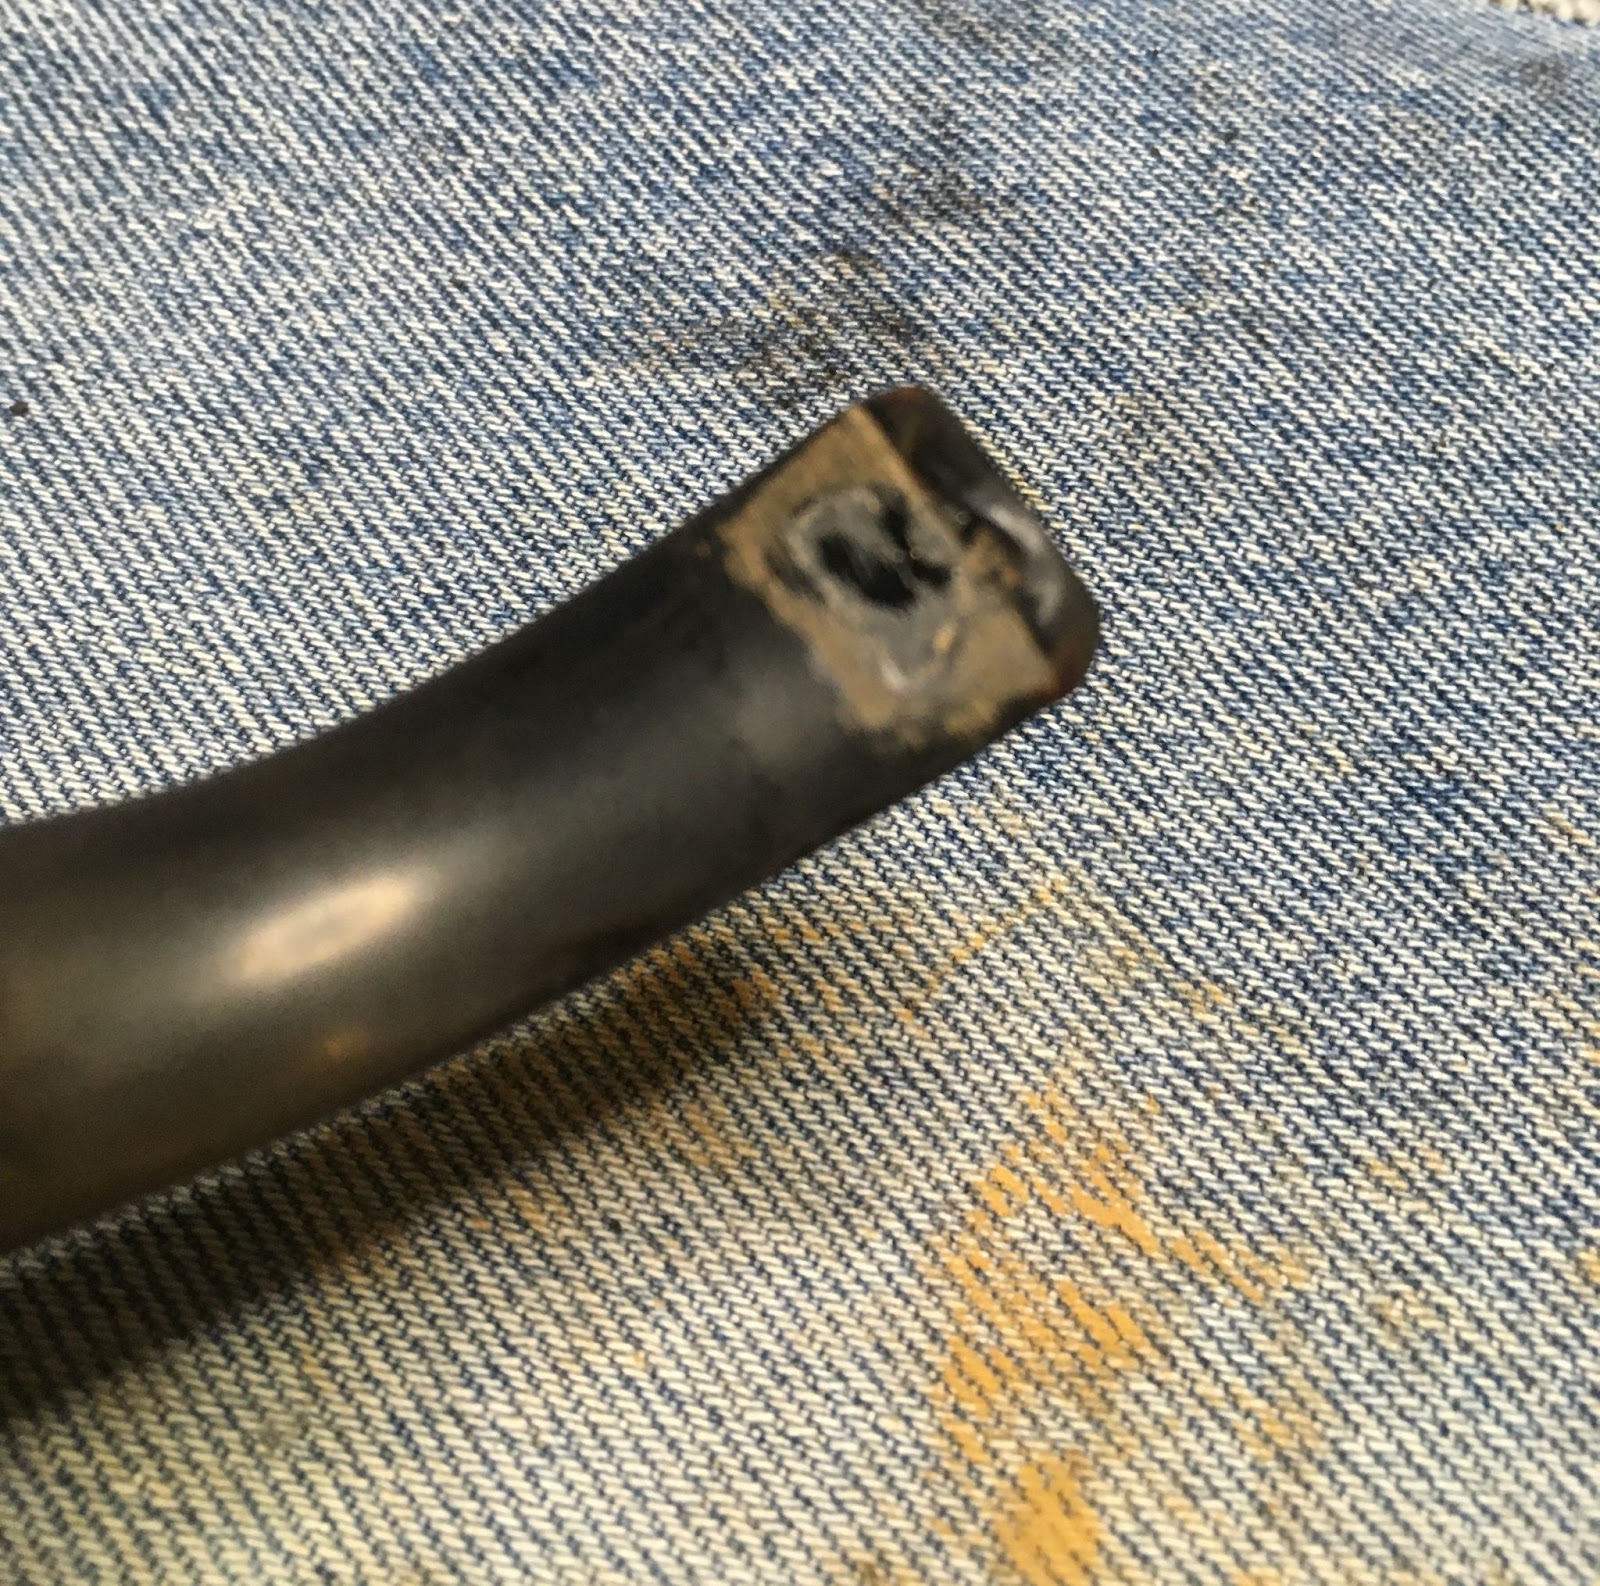
The CA had been filed smooth.

The surface was then sanded with a 320 sanding sponge.
A drop of CA was applied and spread evenly over a wider area. This was then spritzed again with the accelerator and once cured, was sanded smooth.
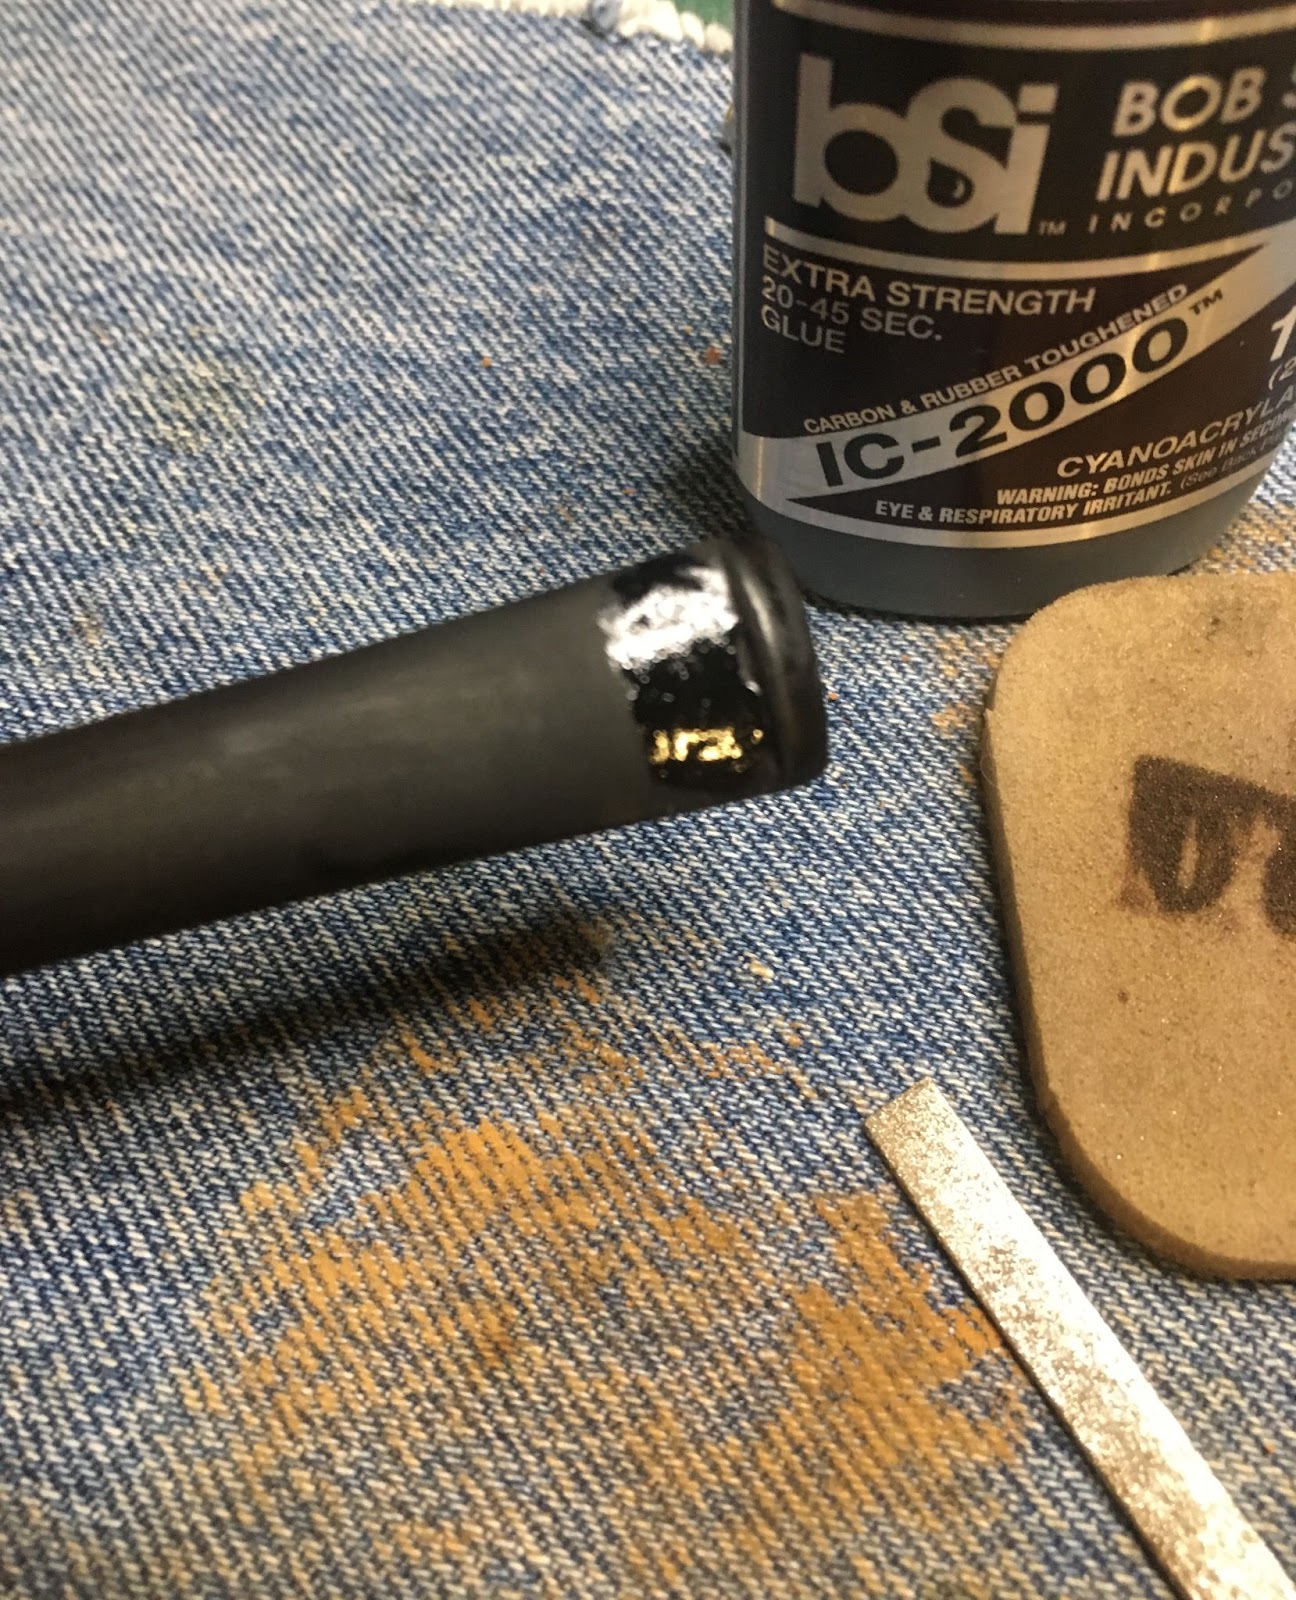
Below is the sanded stem bottom after a coating of mineral oil.

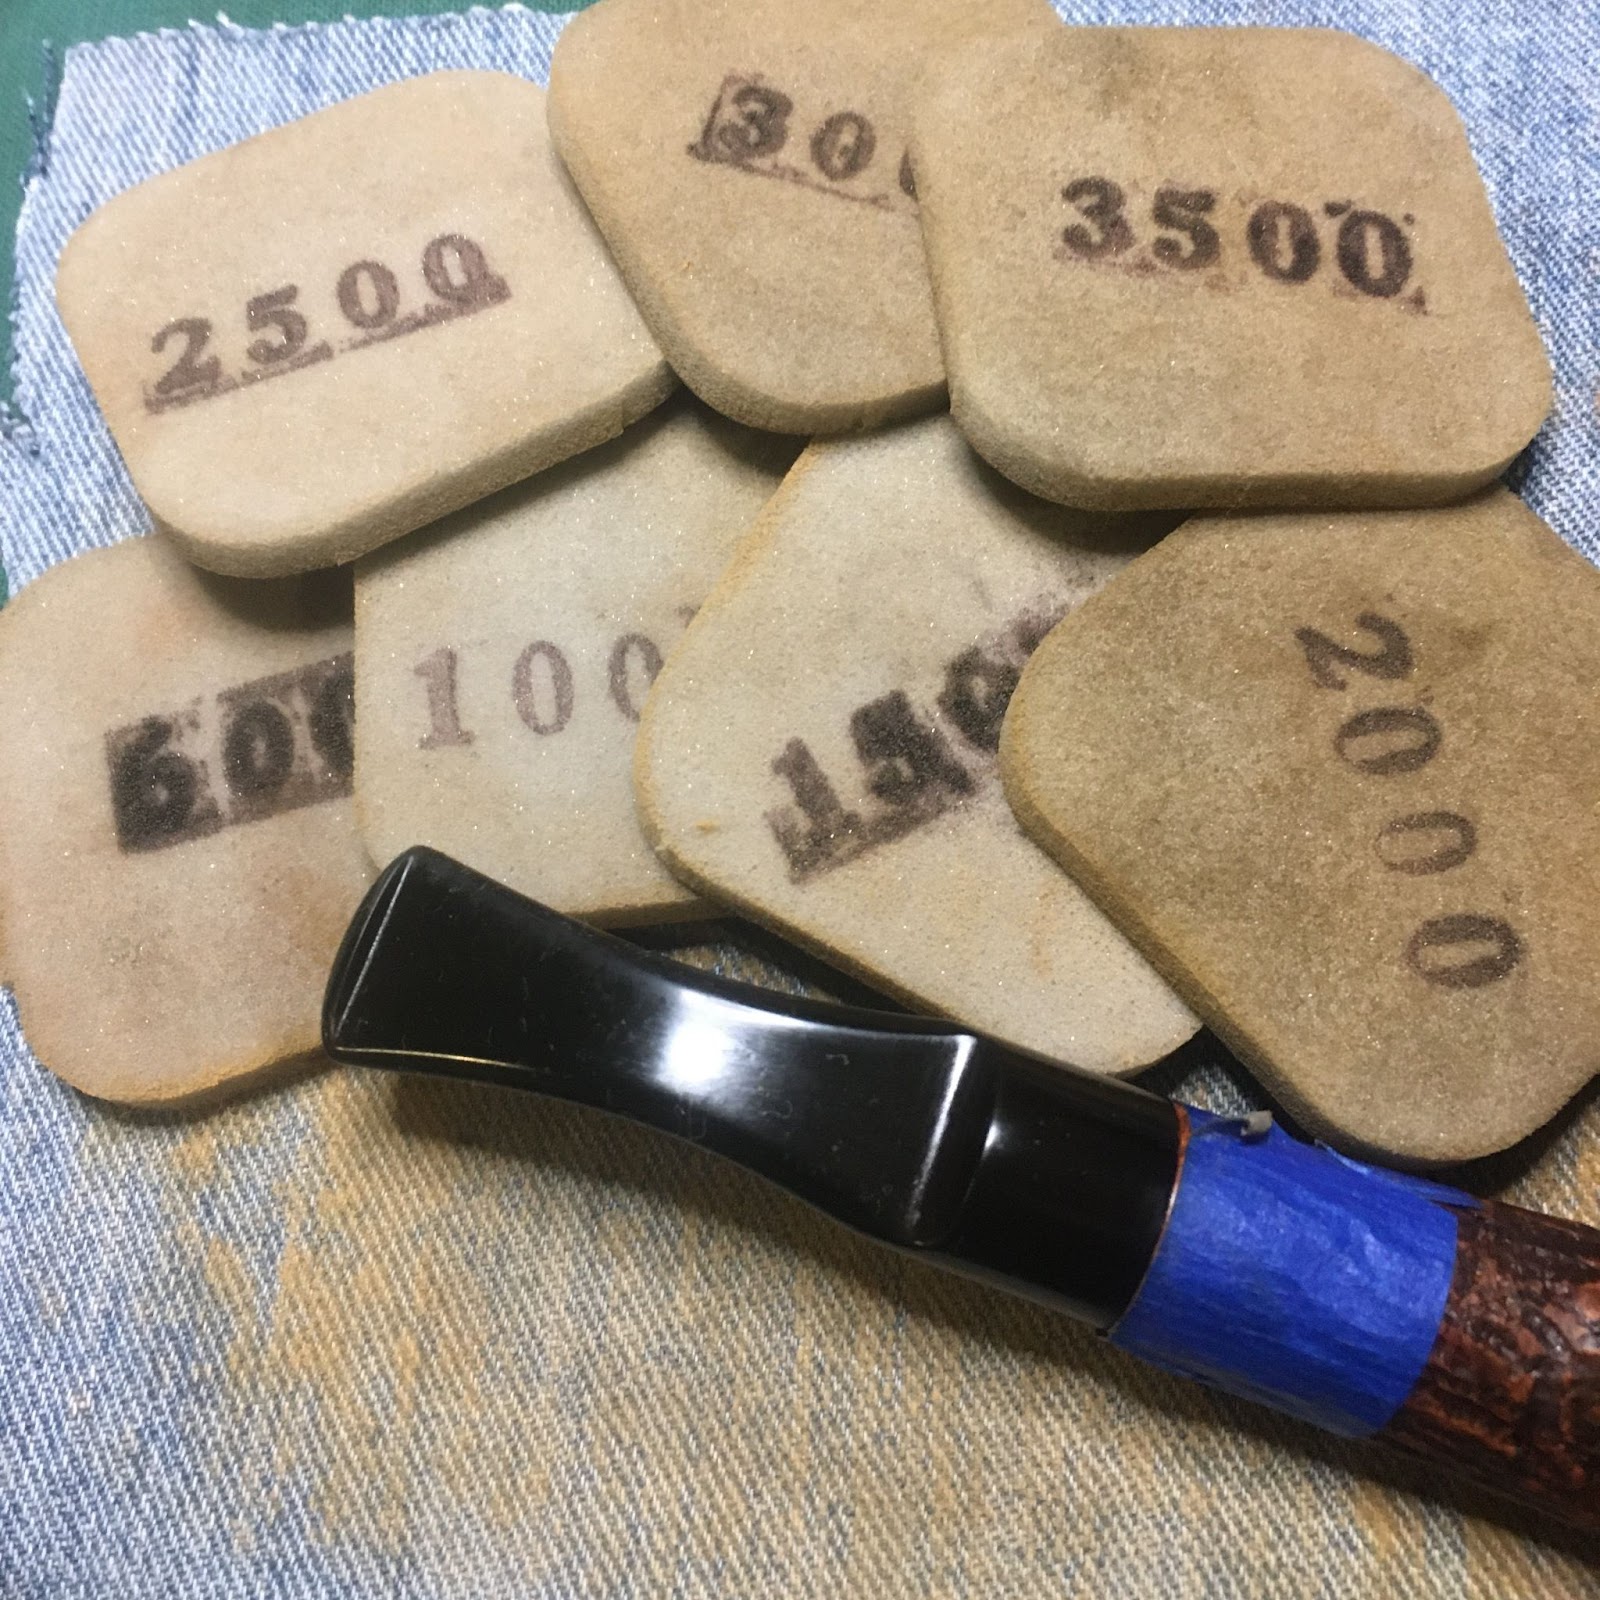
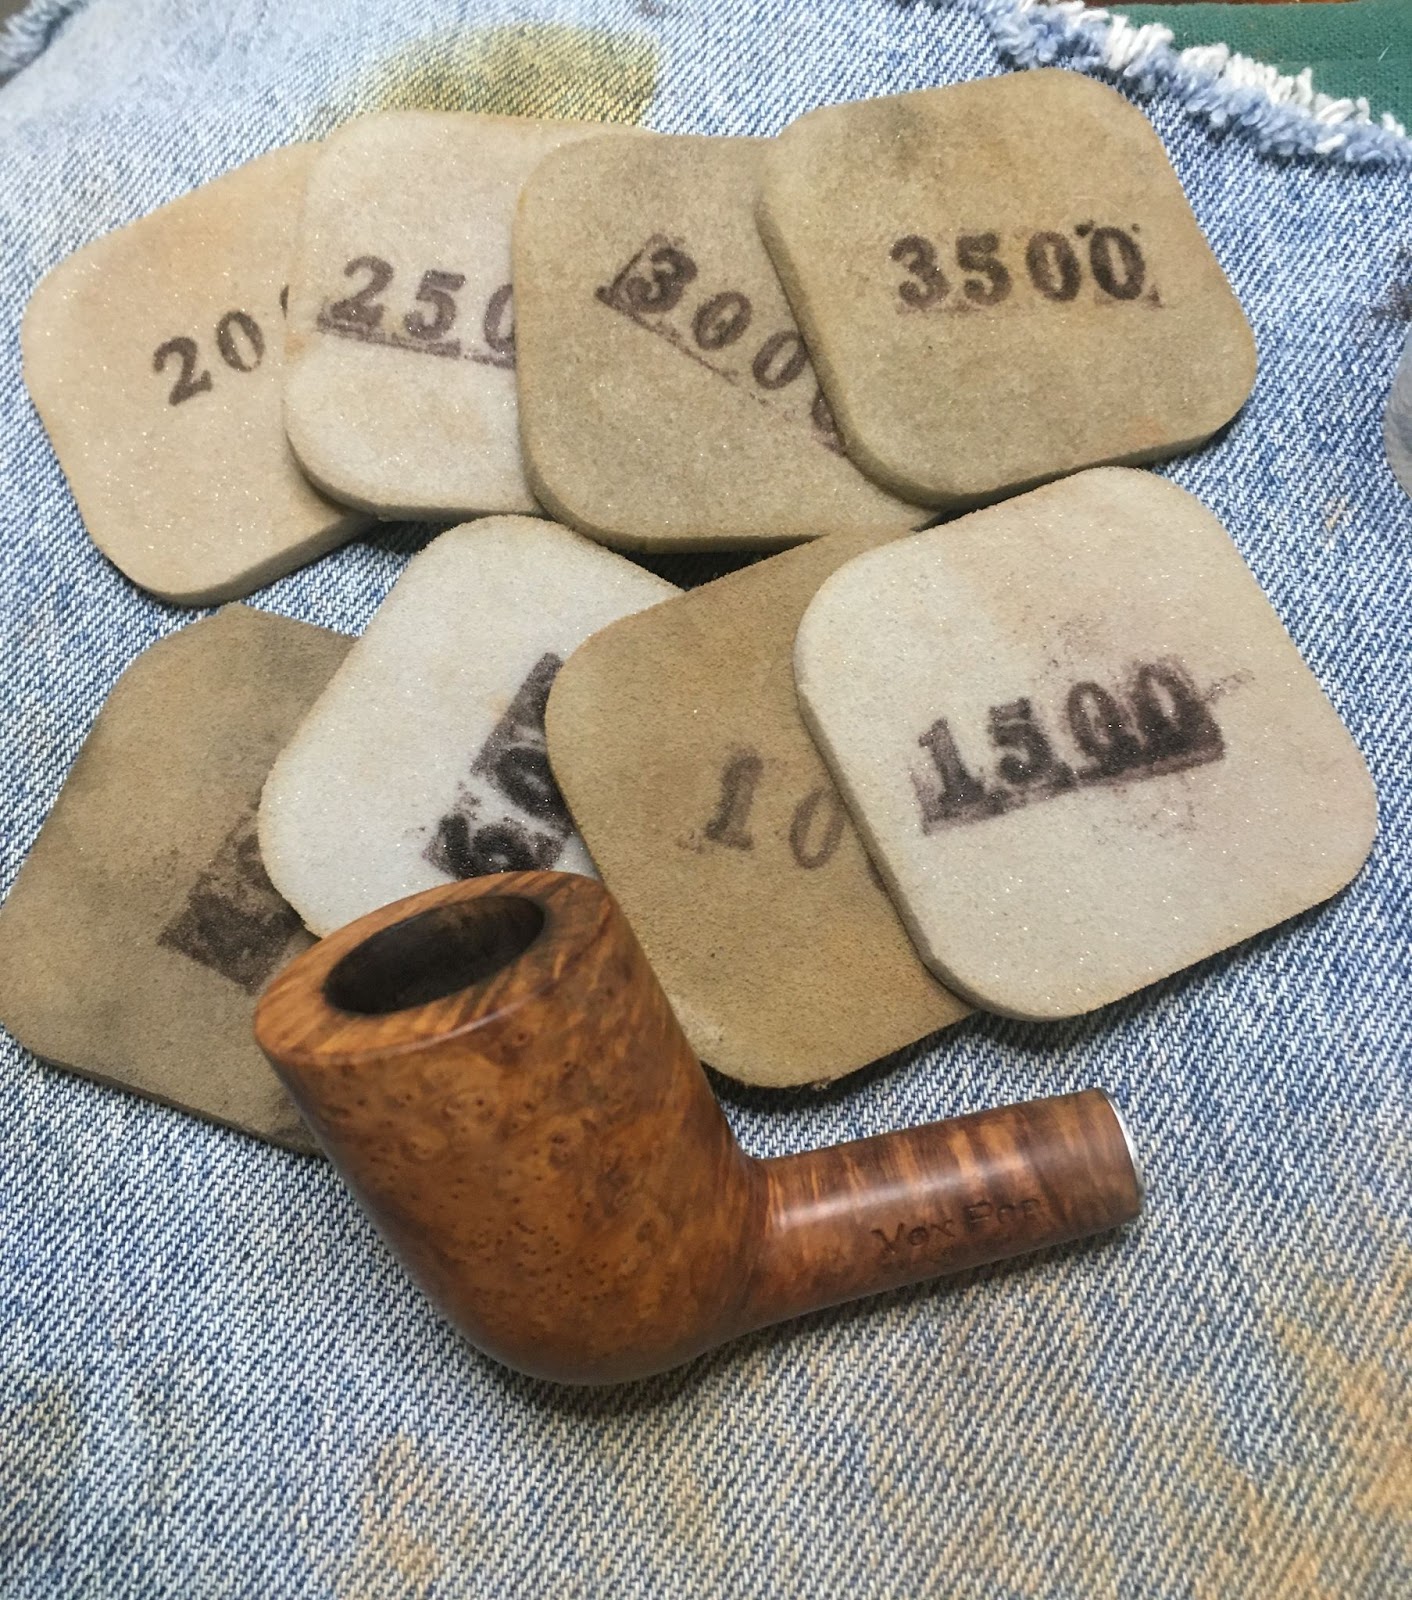
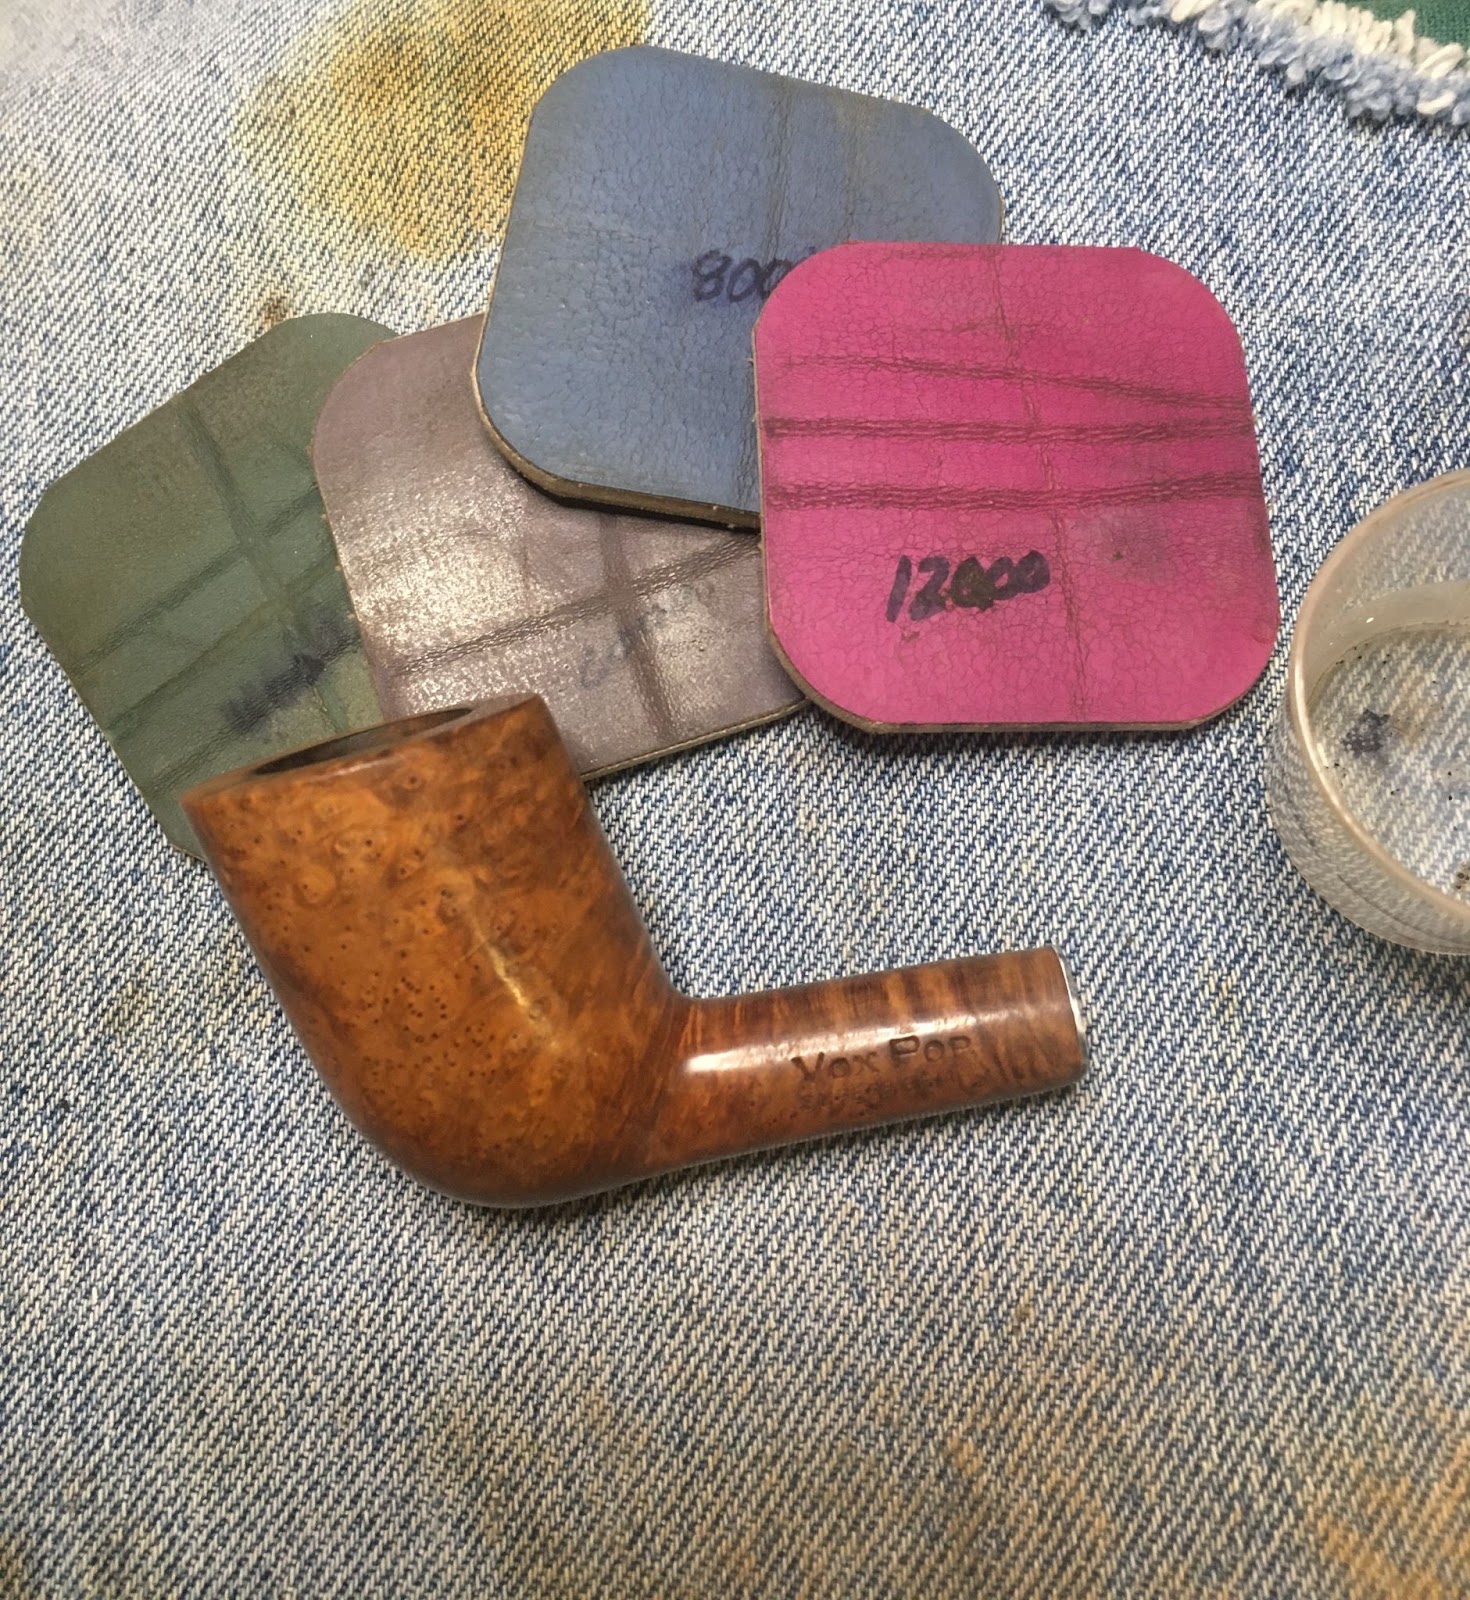
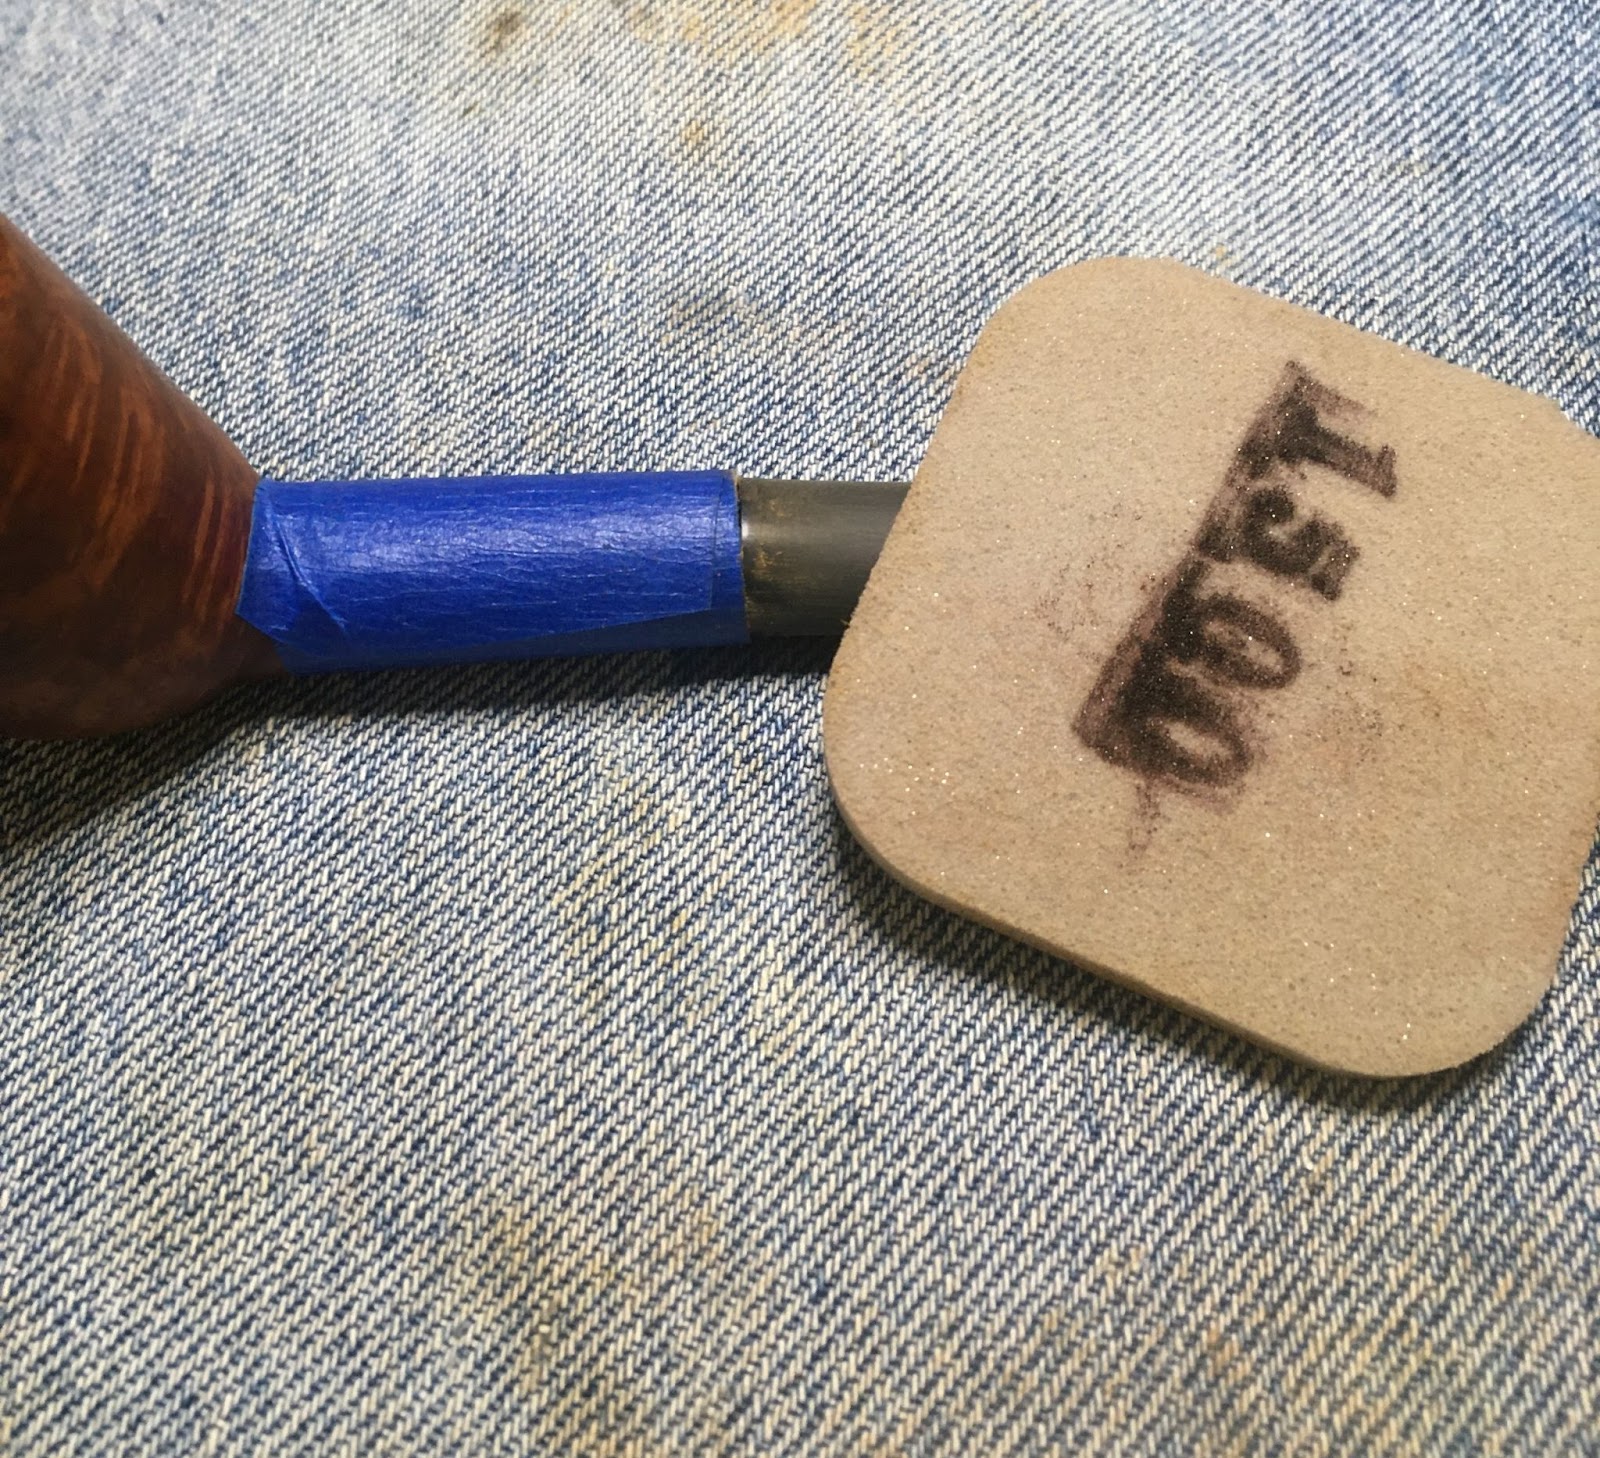
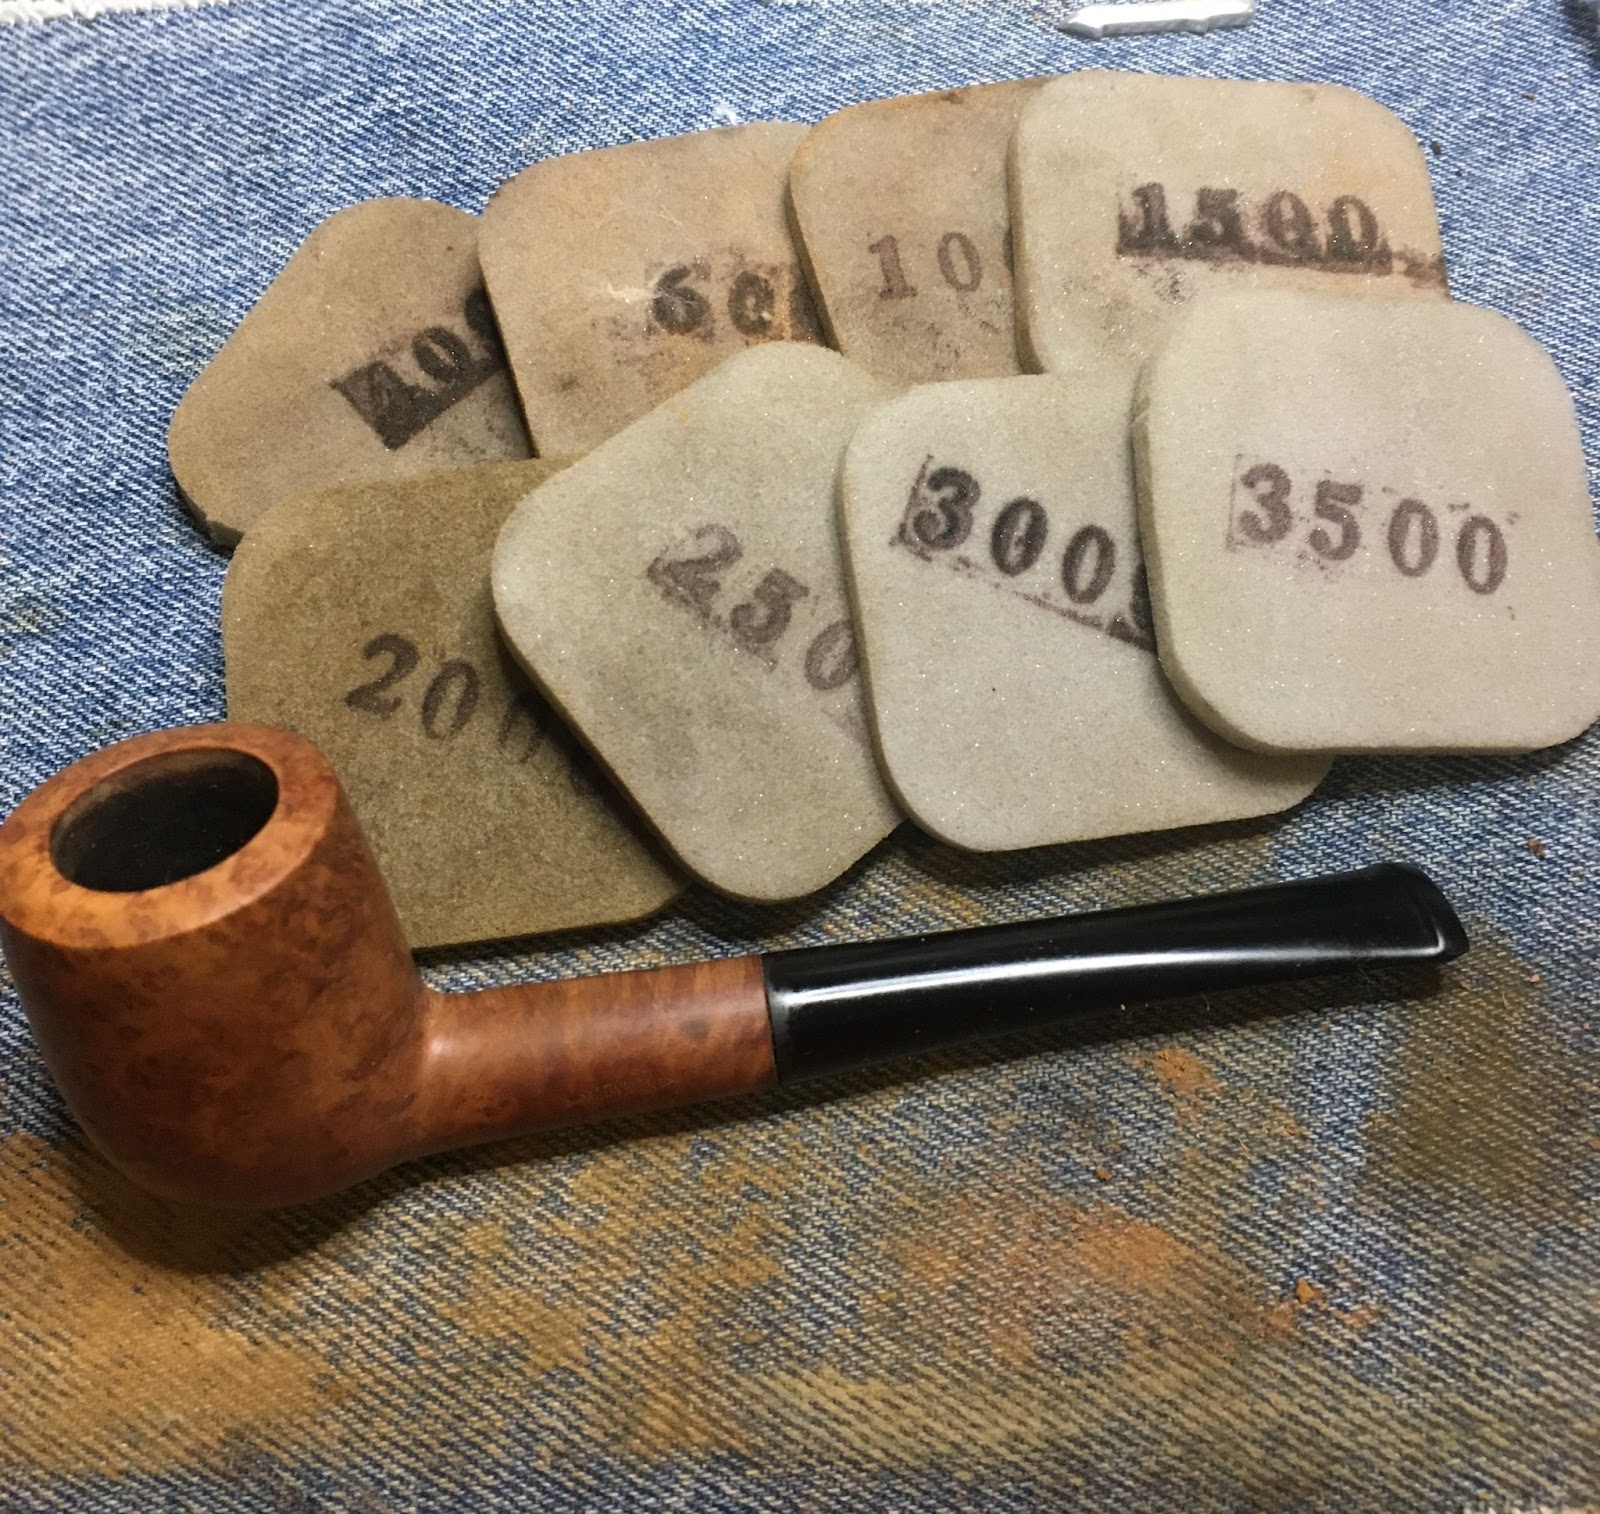
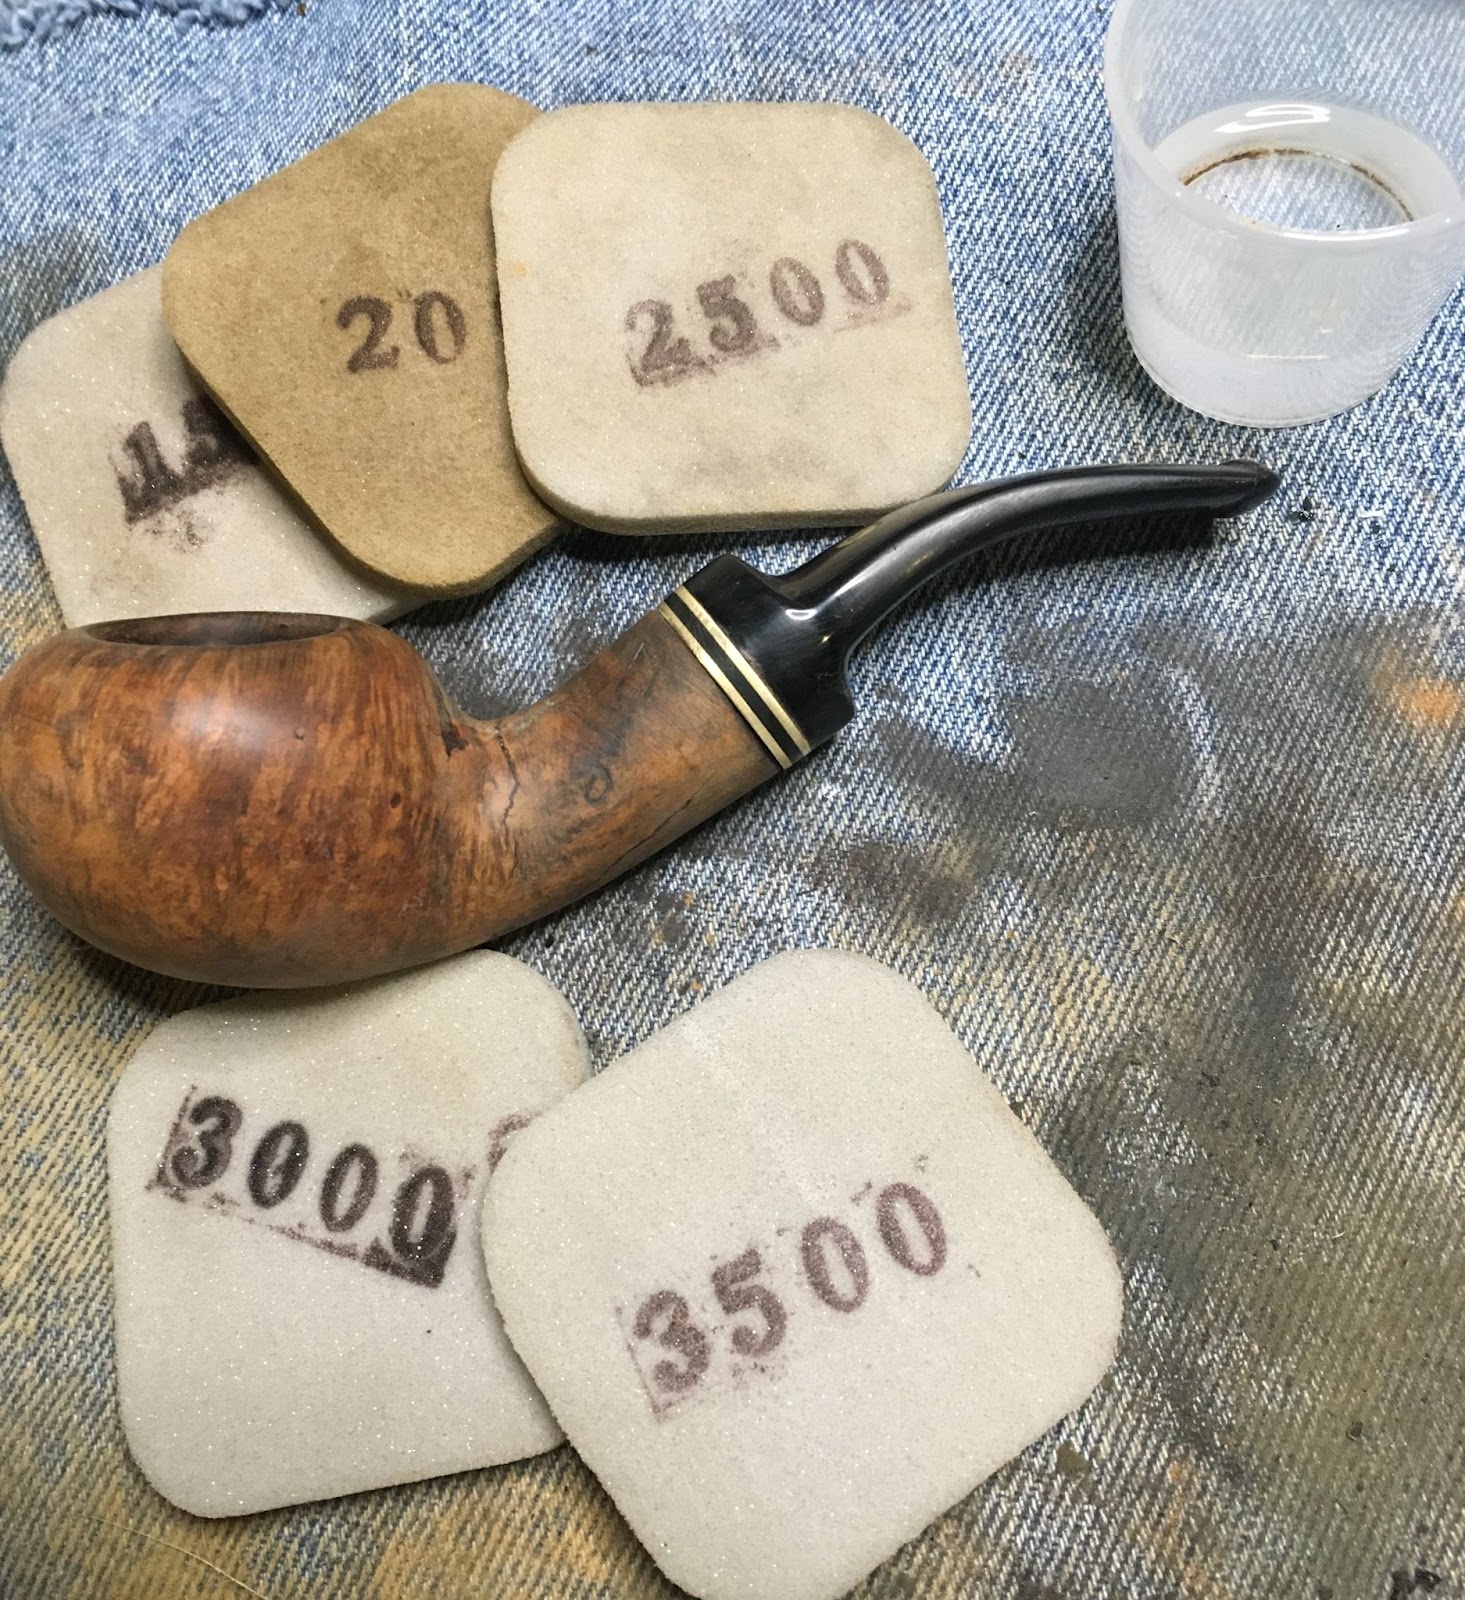
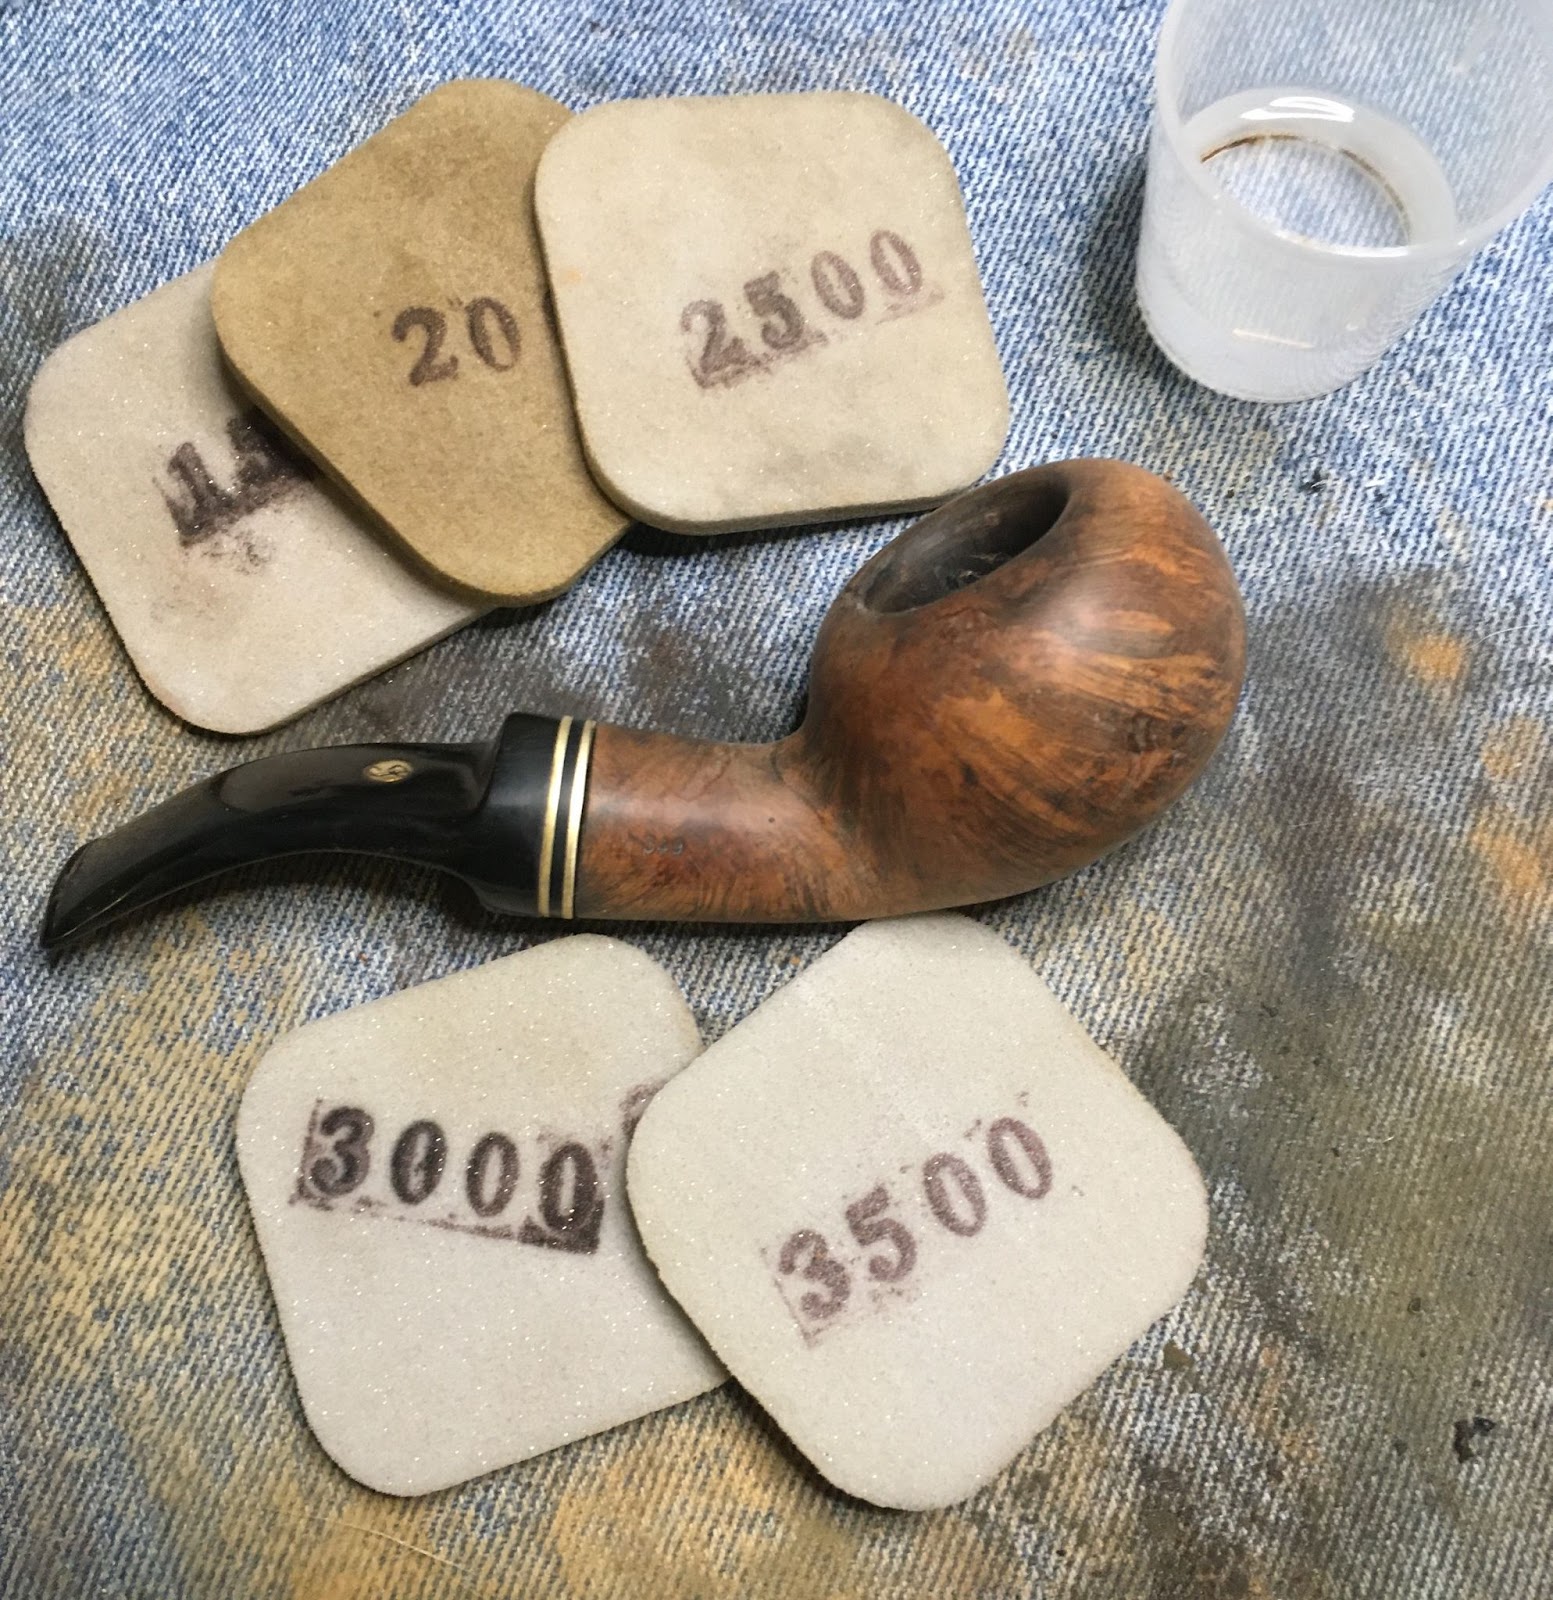
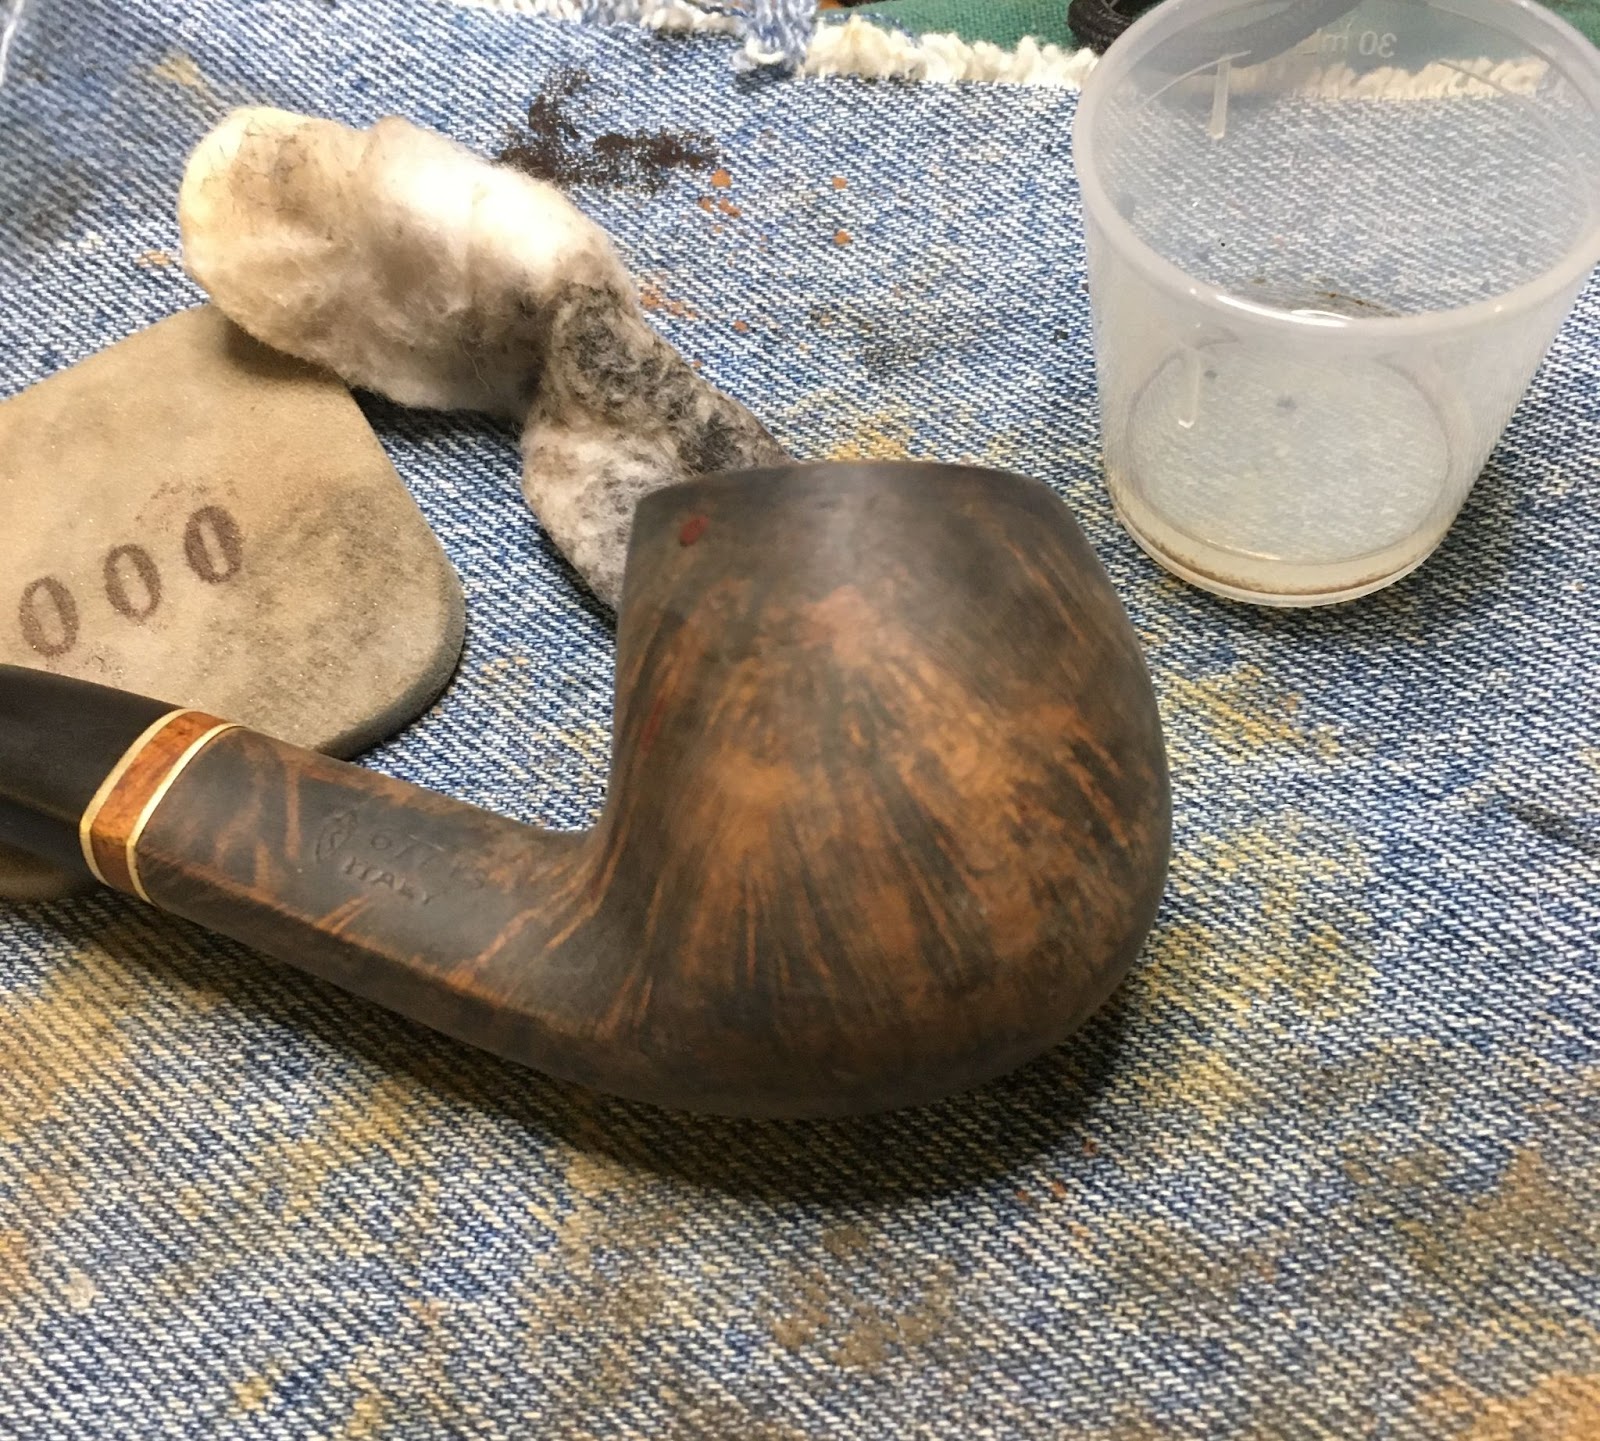
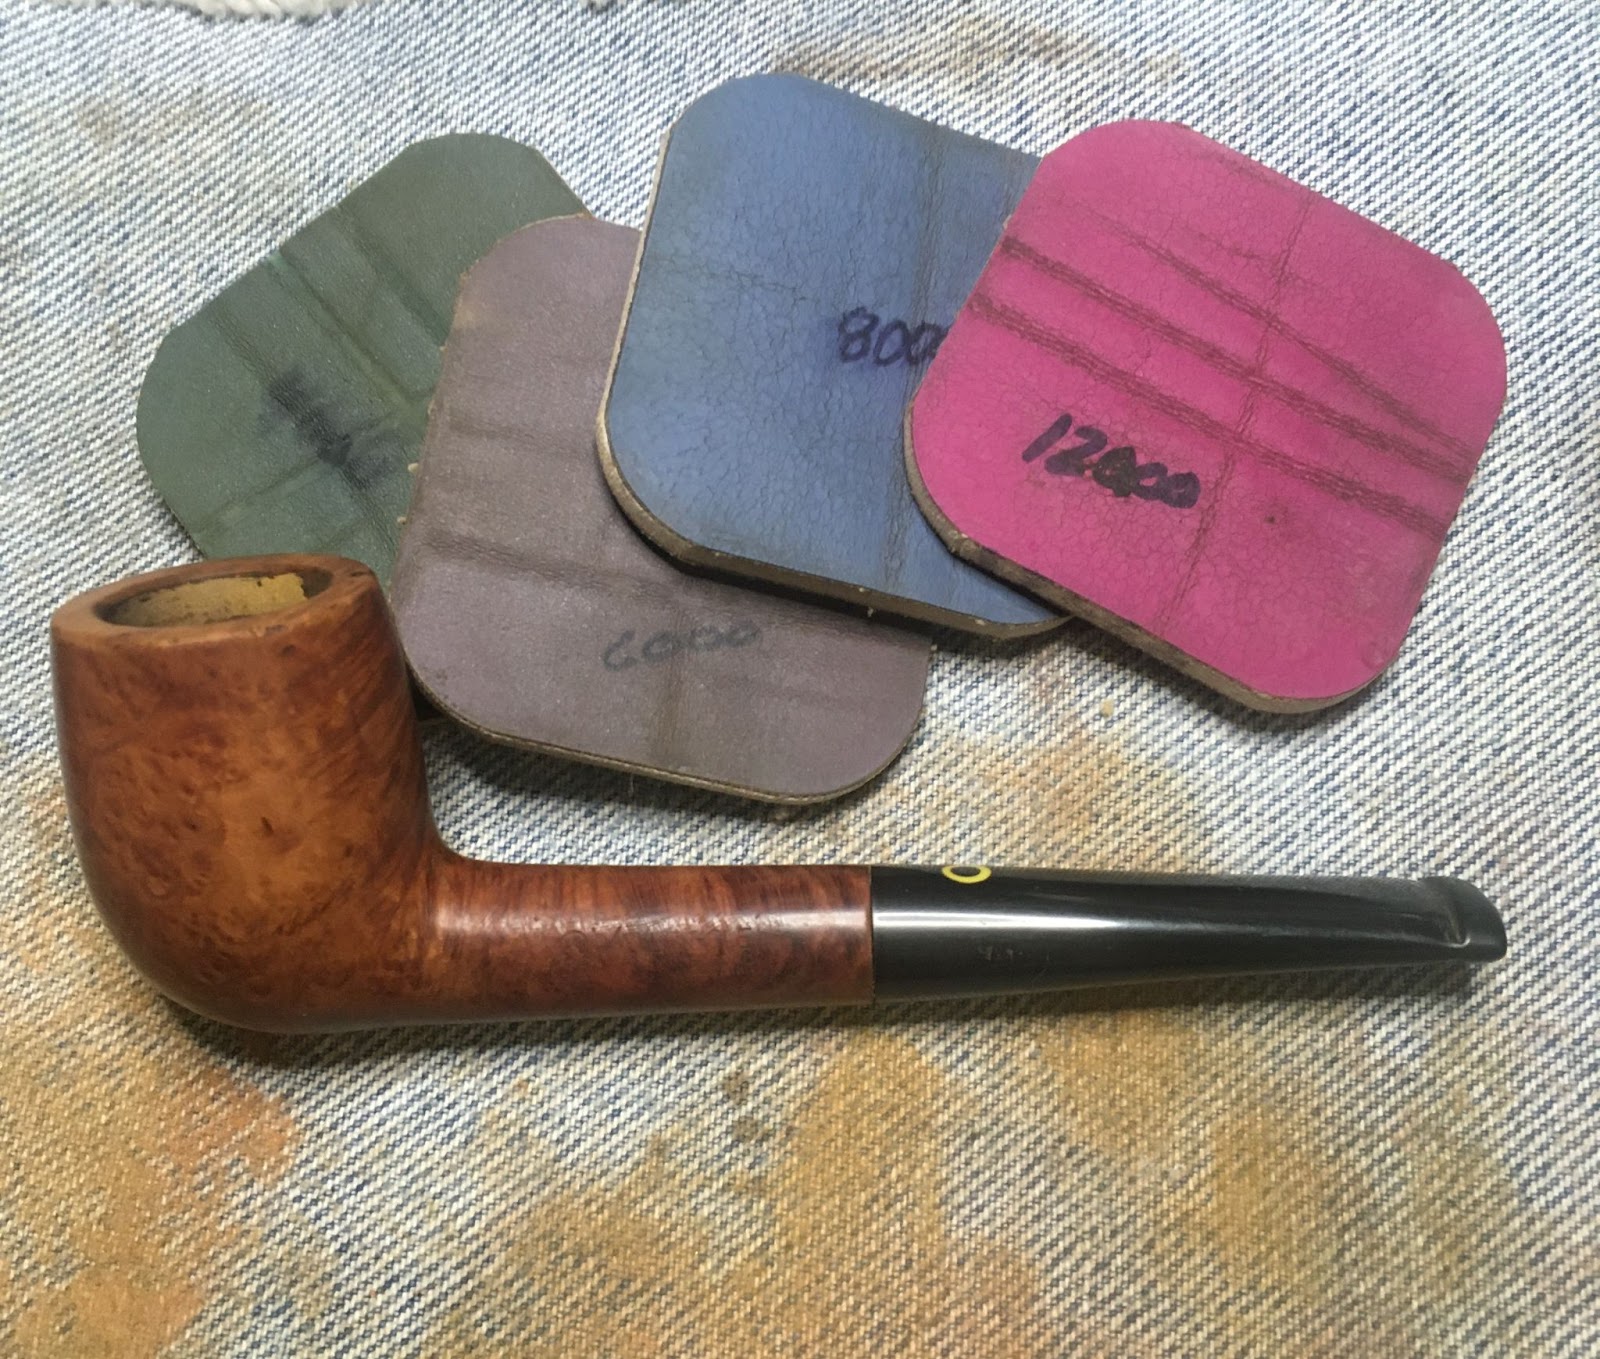
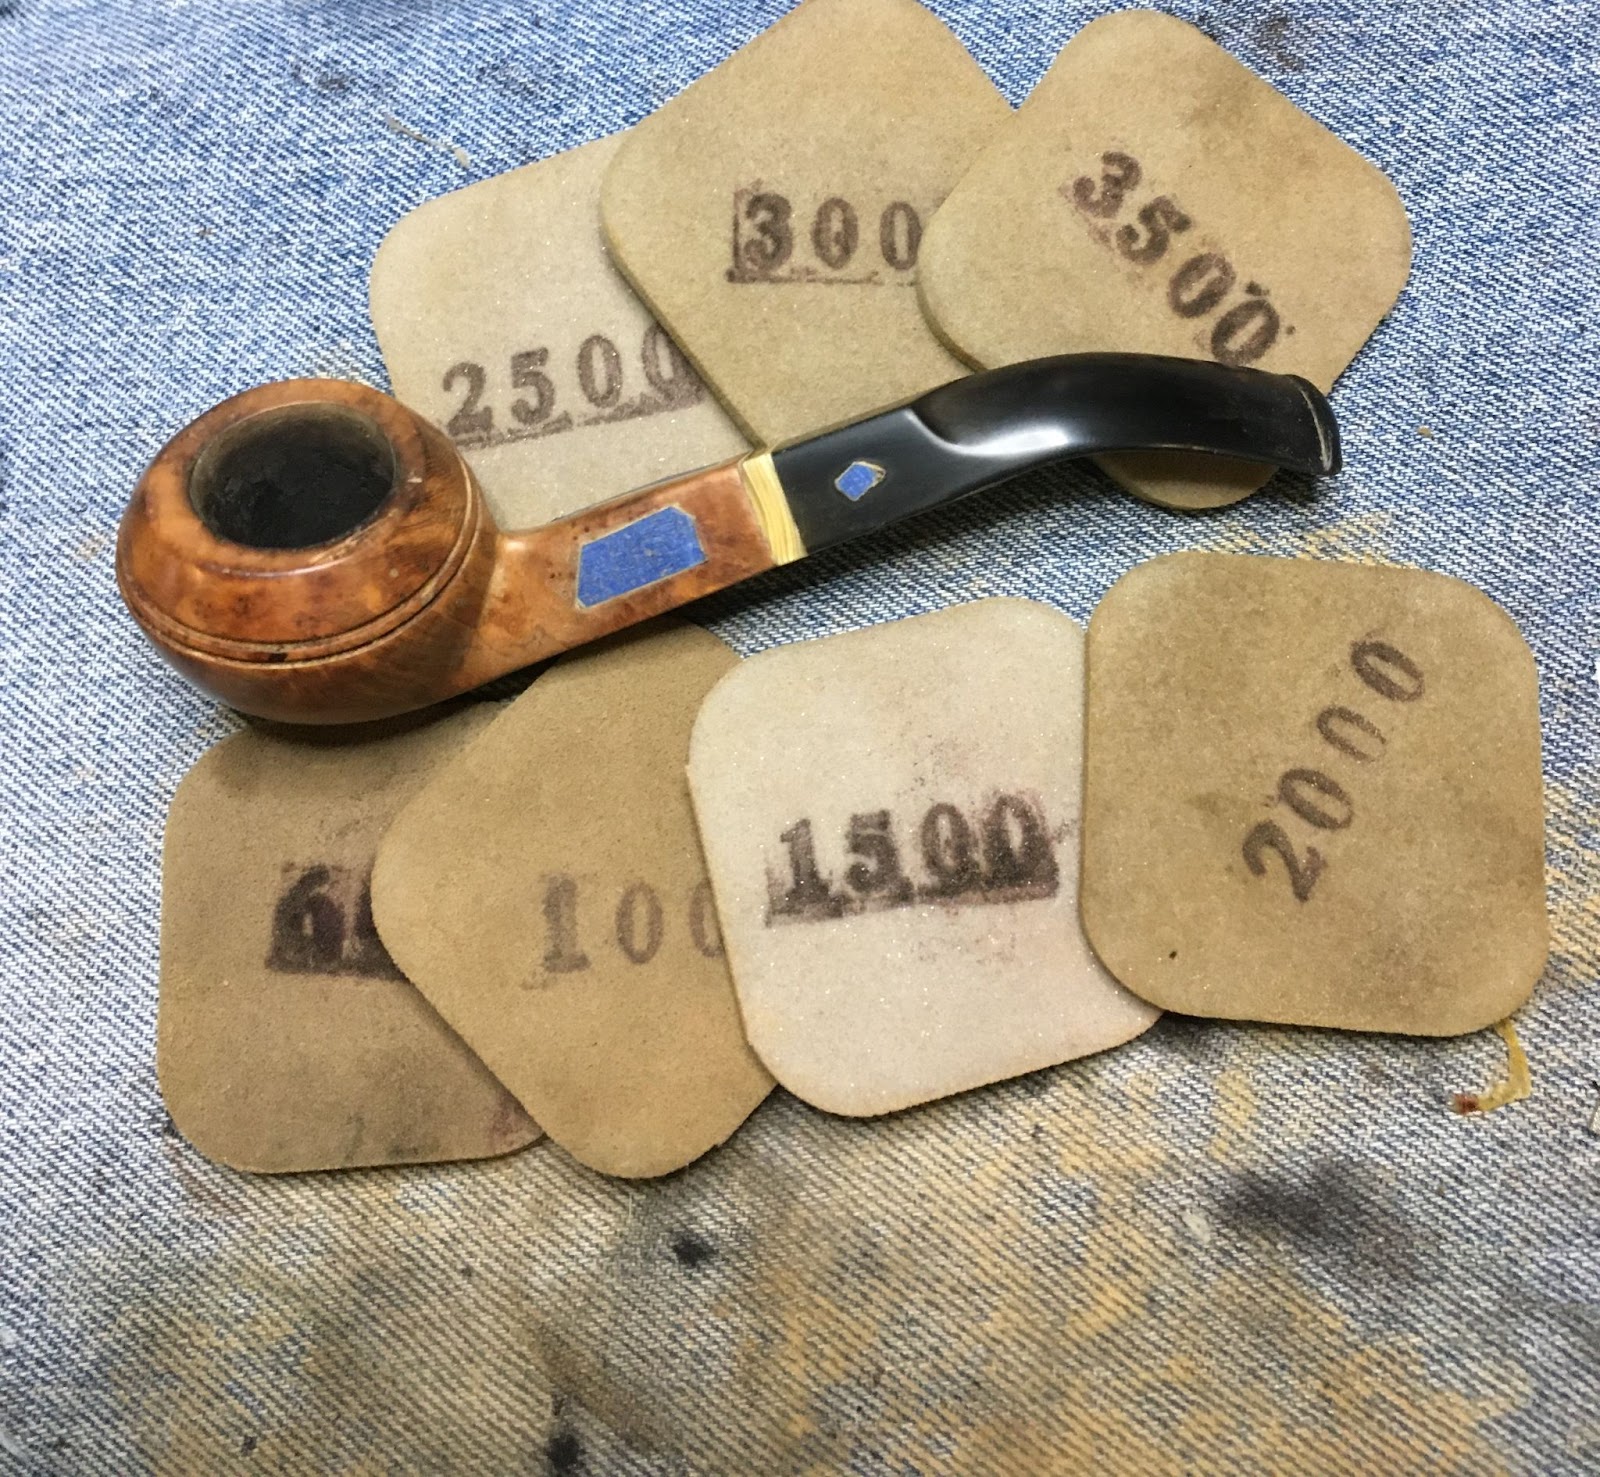
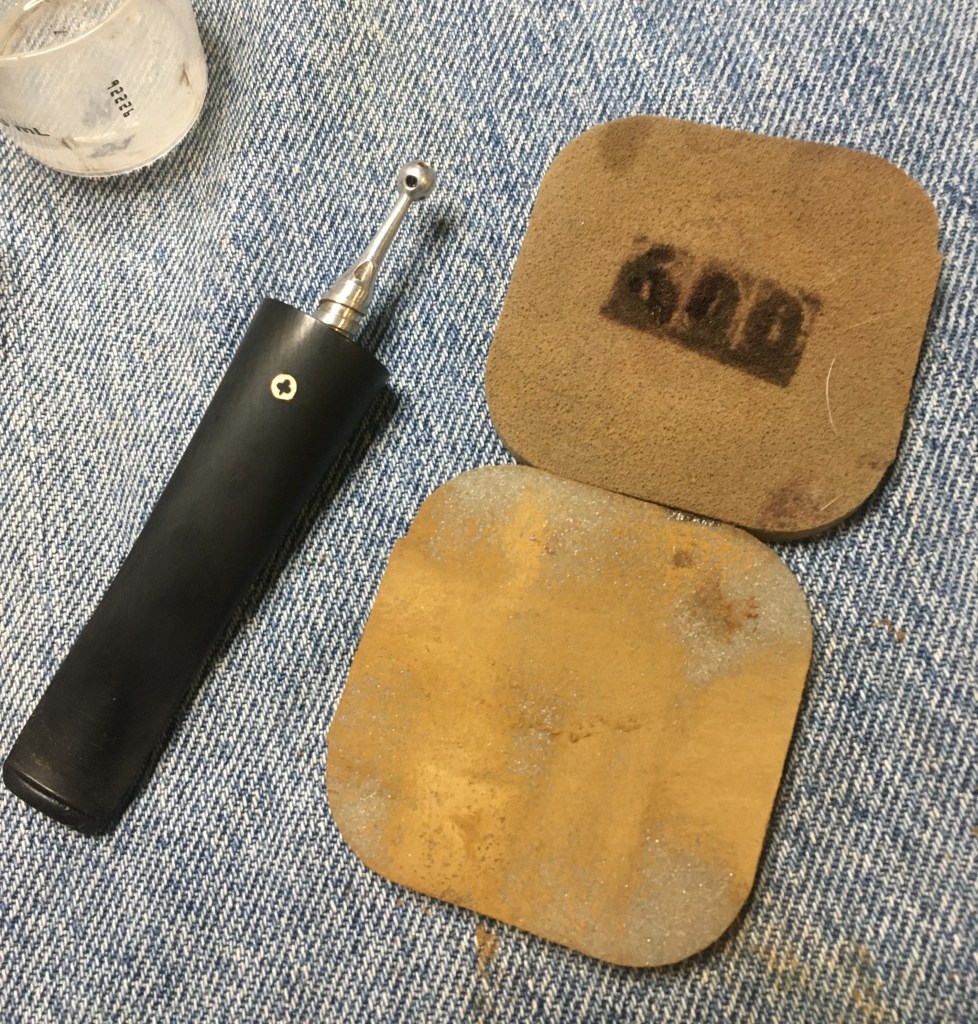
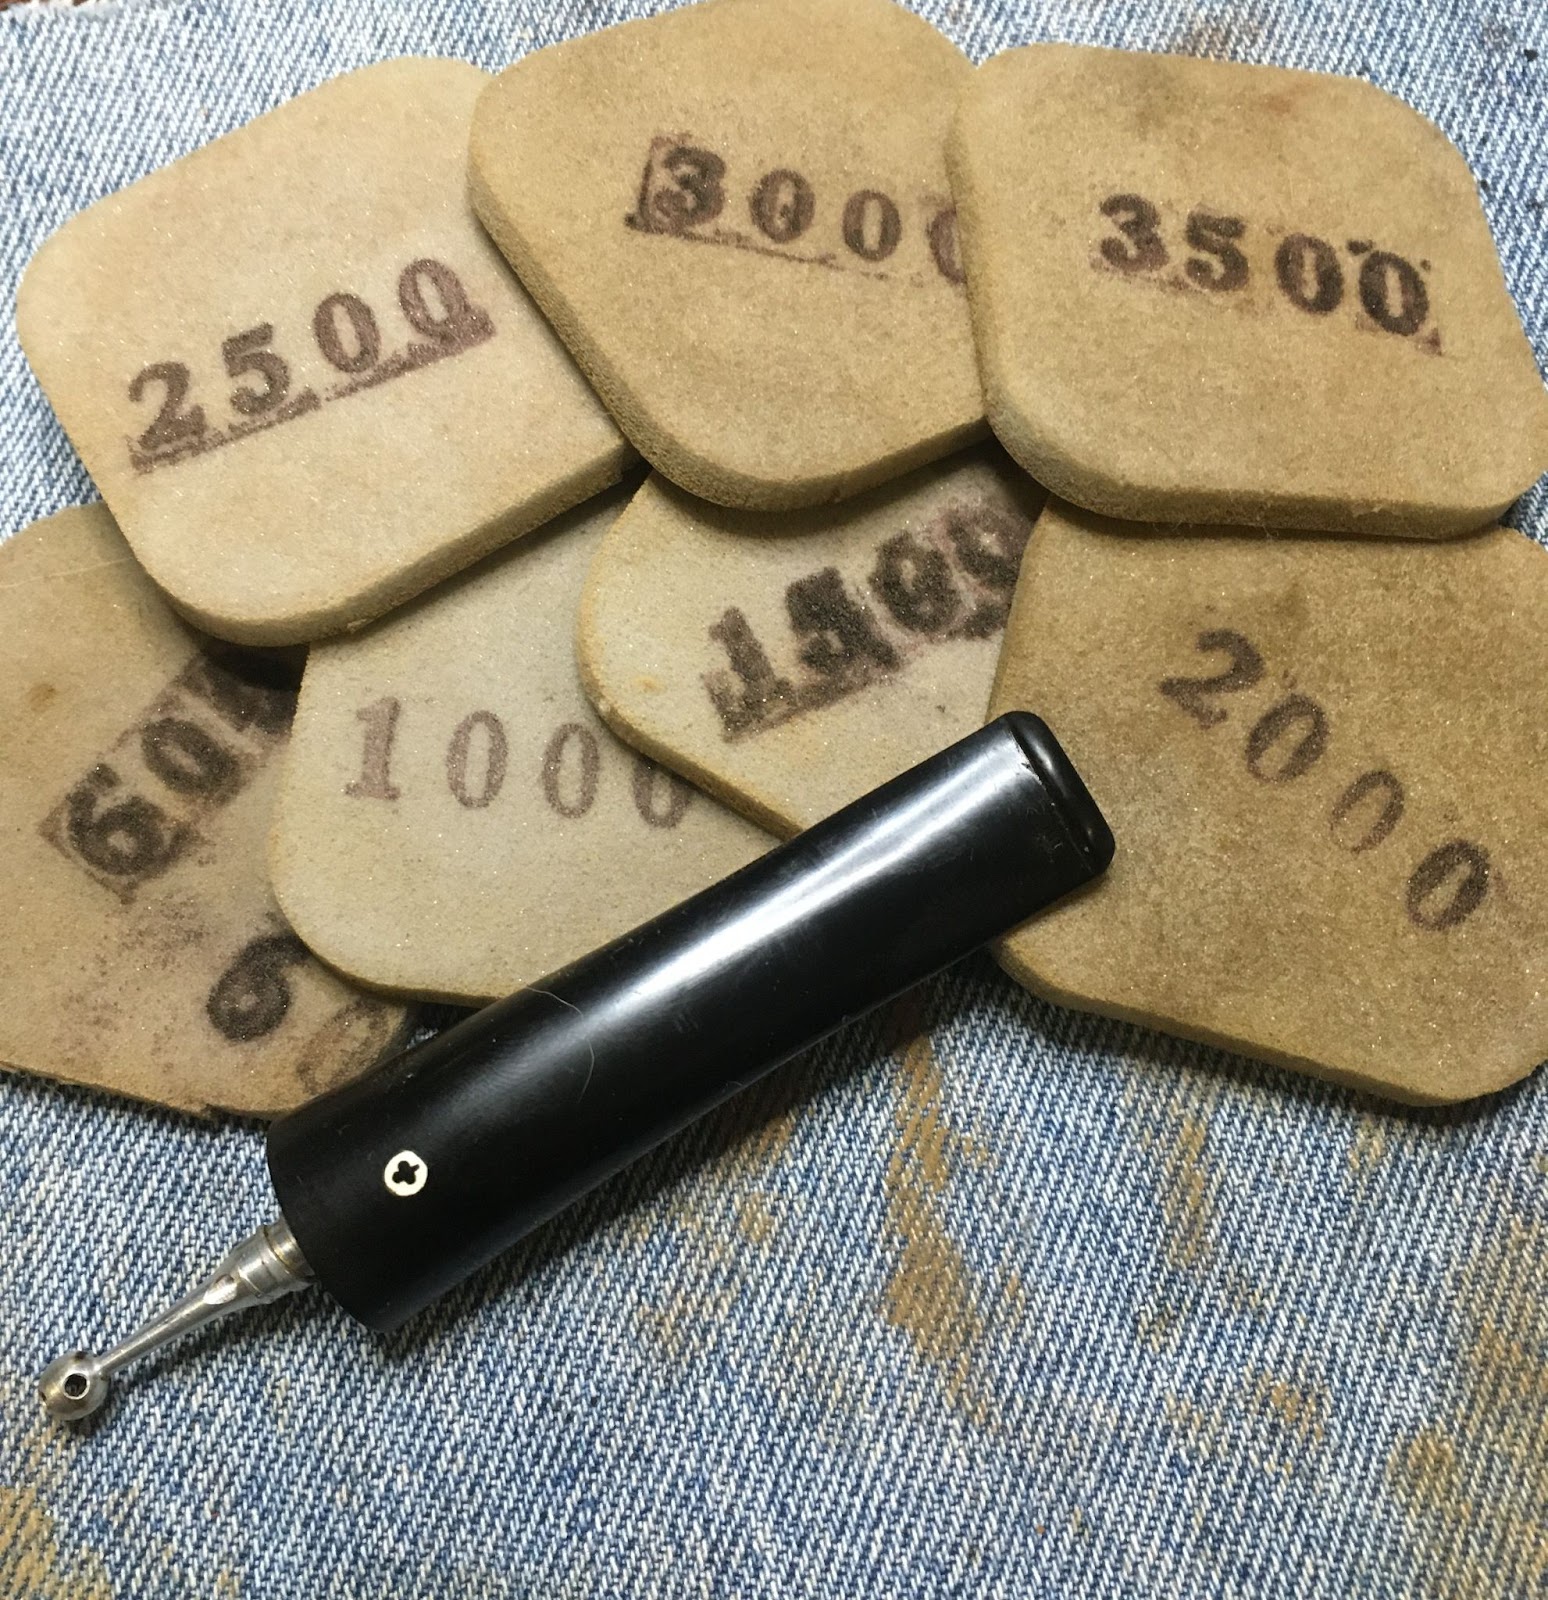
At this point all that remained was the finish sanding, micro-meshing, stem polishing and waxing. That makes it sound like a lot of work but all these steps proceed quickly compared to the reconstructive work. The stummel and stem were sanded together in order to maintain the smooth joint where they contact each other. The sanding sponges were used in sequence from 400-3500. The stummel was wiped with an alcohol dipped make-up pad between sponges. The stem was wiped with mineral oil then a paper towel between sponges.
The micro-mesh pads were used in sequence from the 4000-12000 pads. The stummel received the alcohol wipe between pads. The stem received a drop of Obsidian Oil rubbed in by fingertip and wiped with a paper towel between pads.

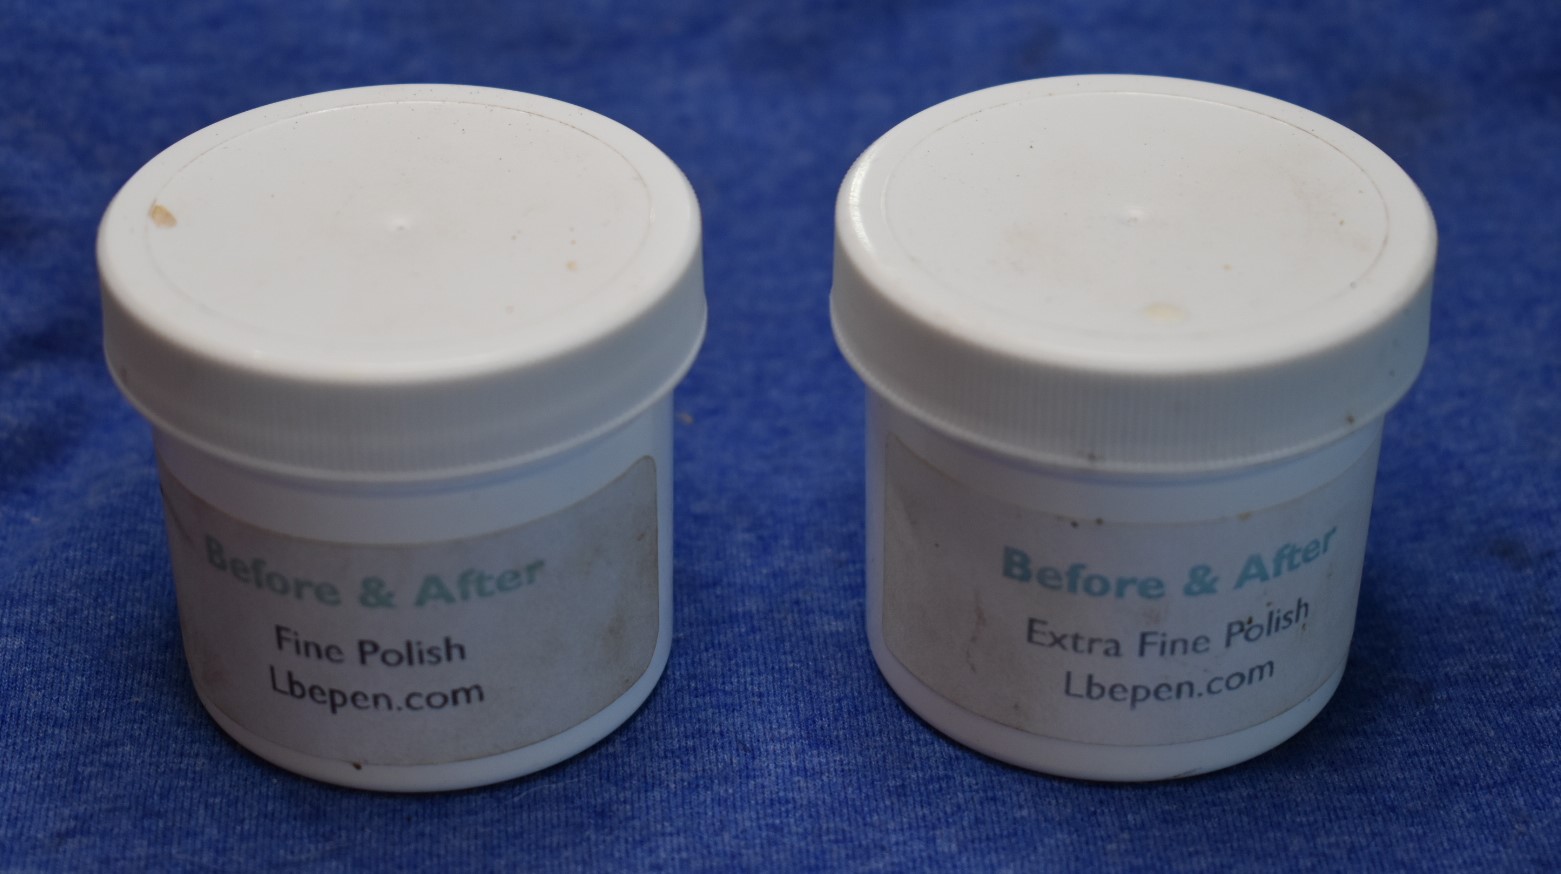
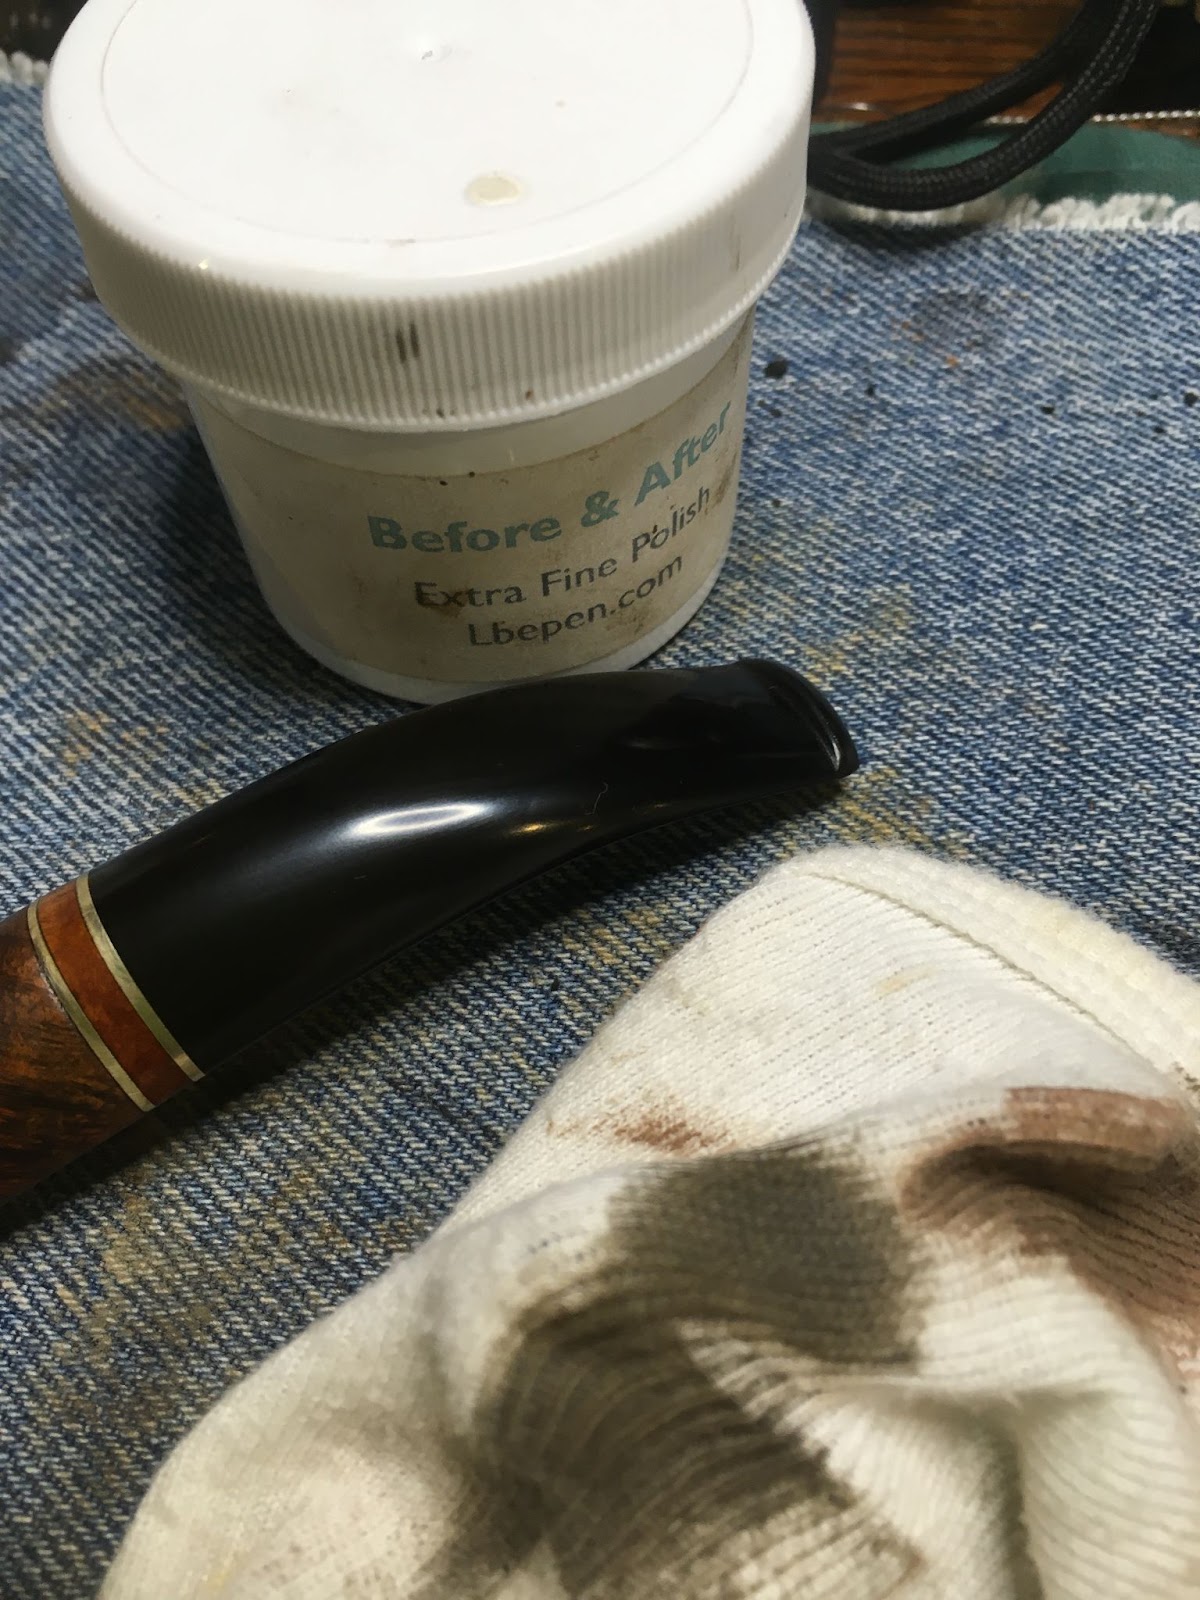
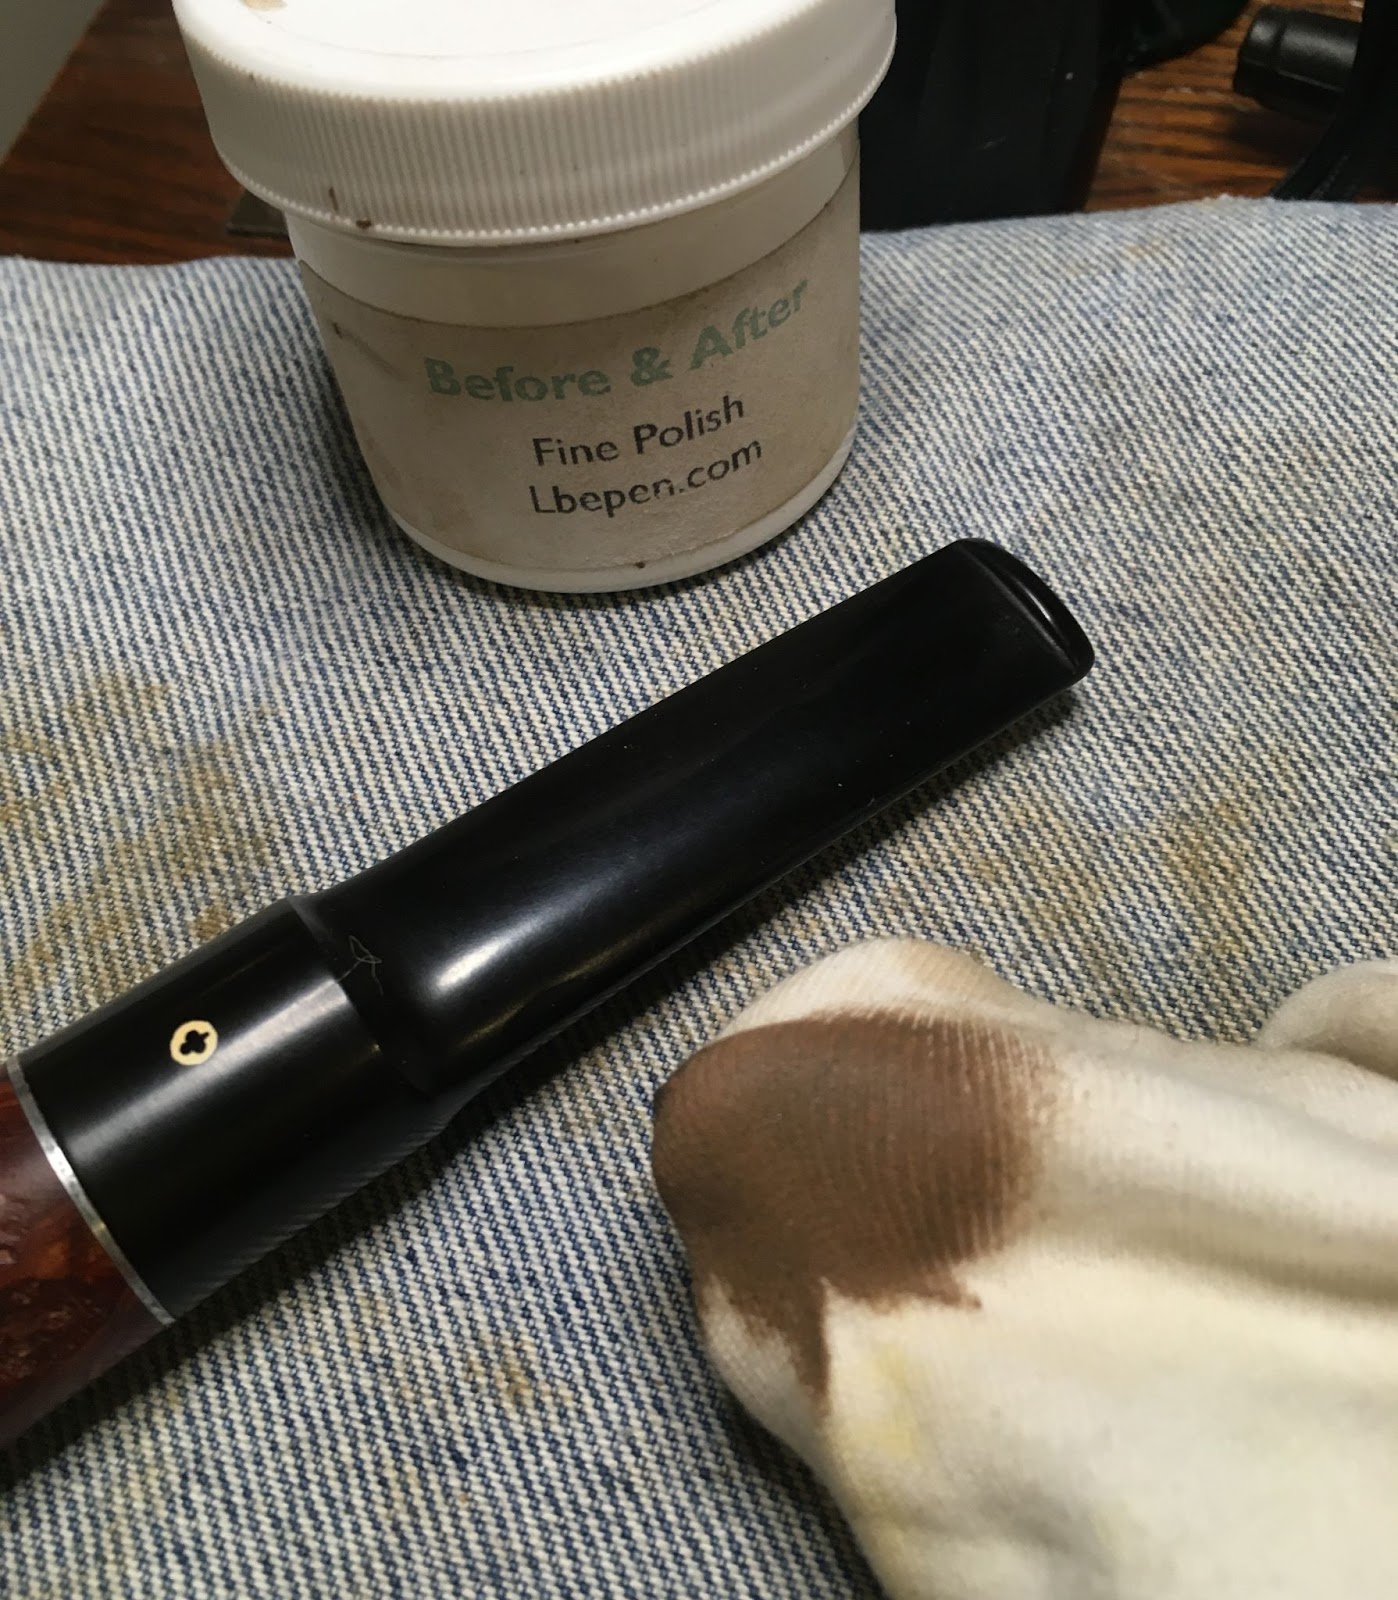
The stem was polished with Before and After Fine Polish applied by fingertip then rubbed with a soft cotton cloth.

The stem was then polished with Before and After Extra Fine Polish applied by fingertip then rubbed with a soft cotton cloth.
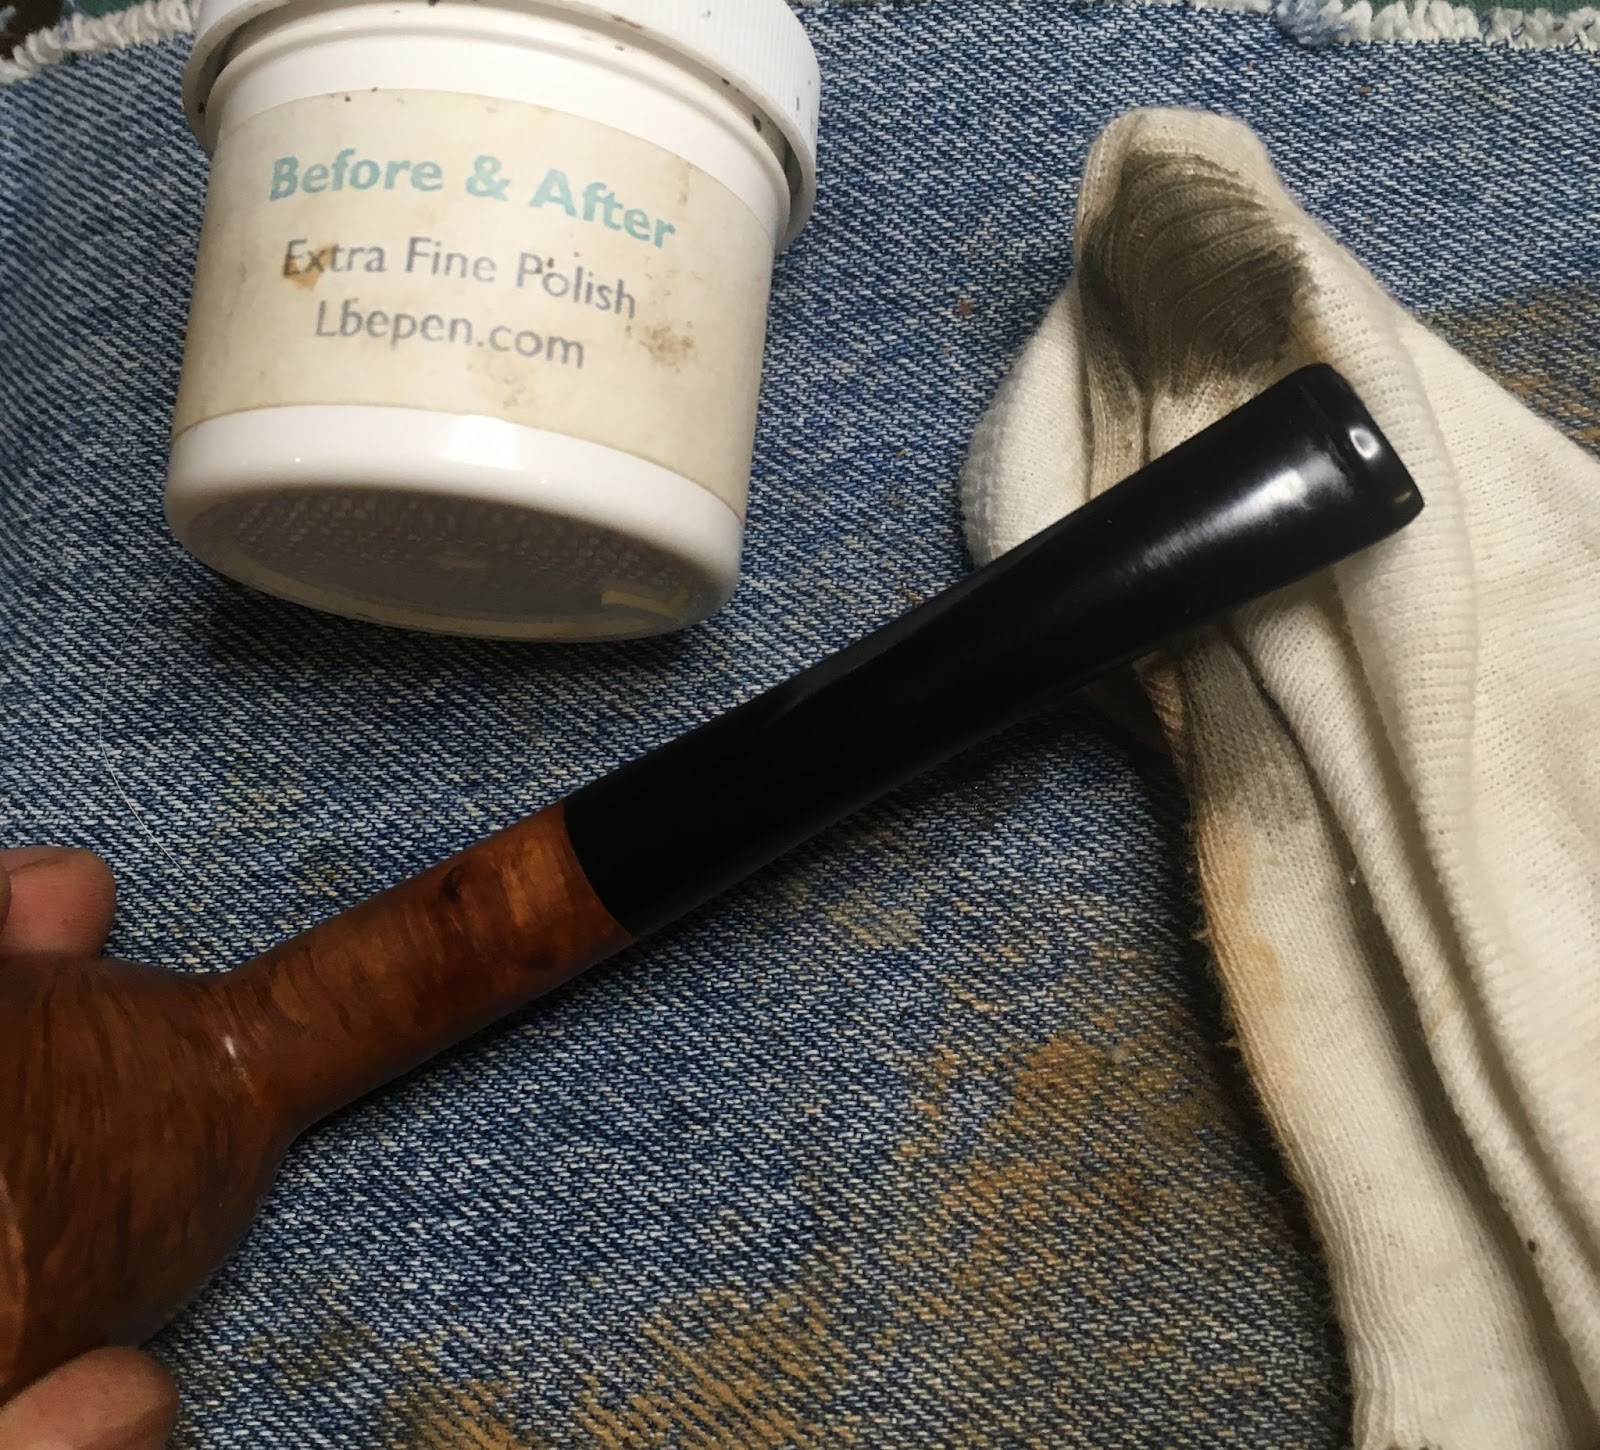
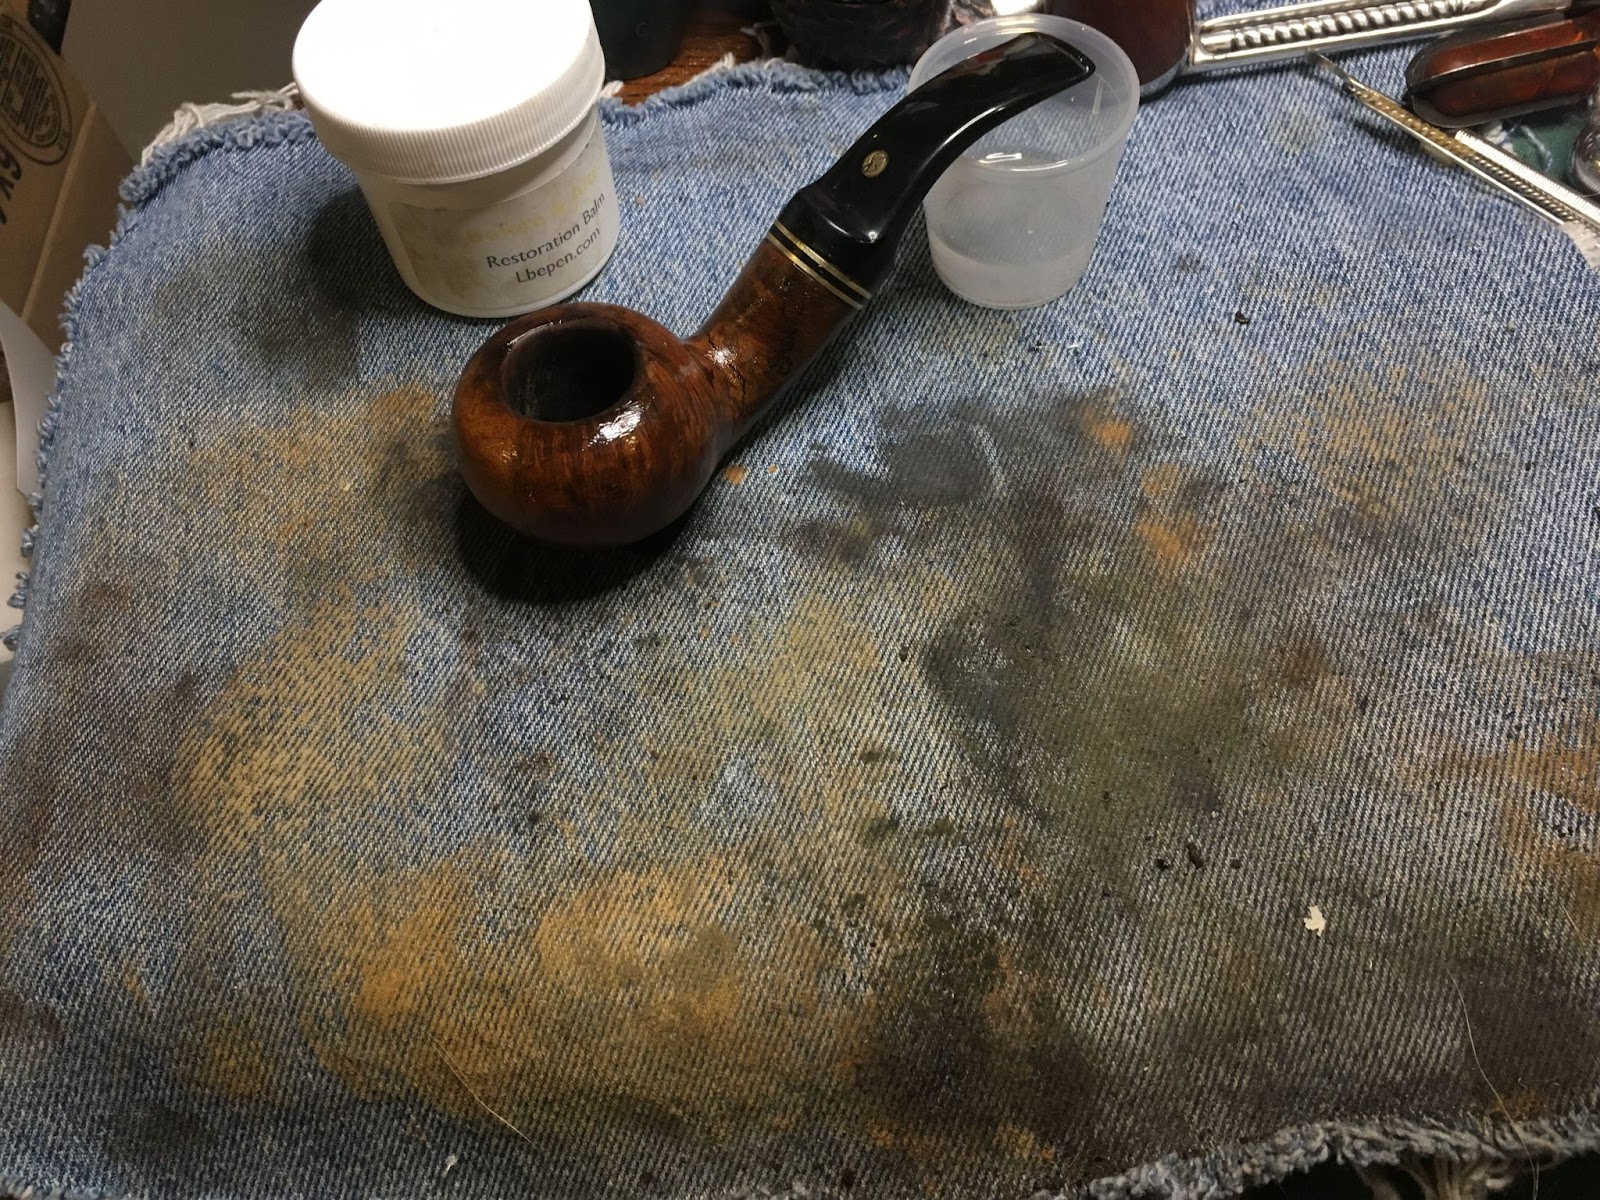
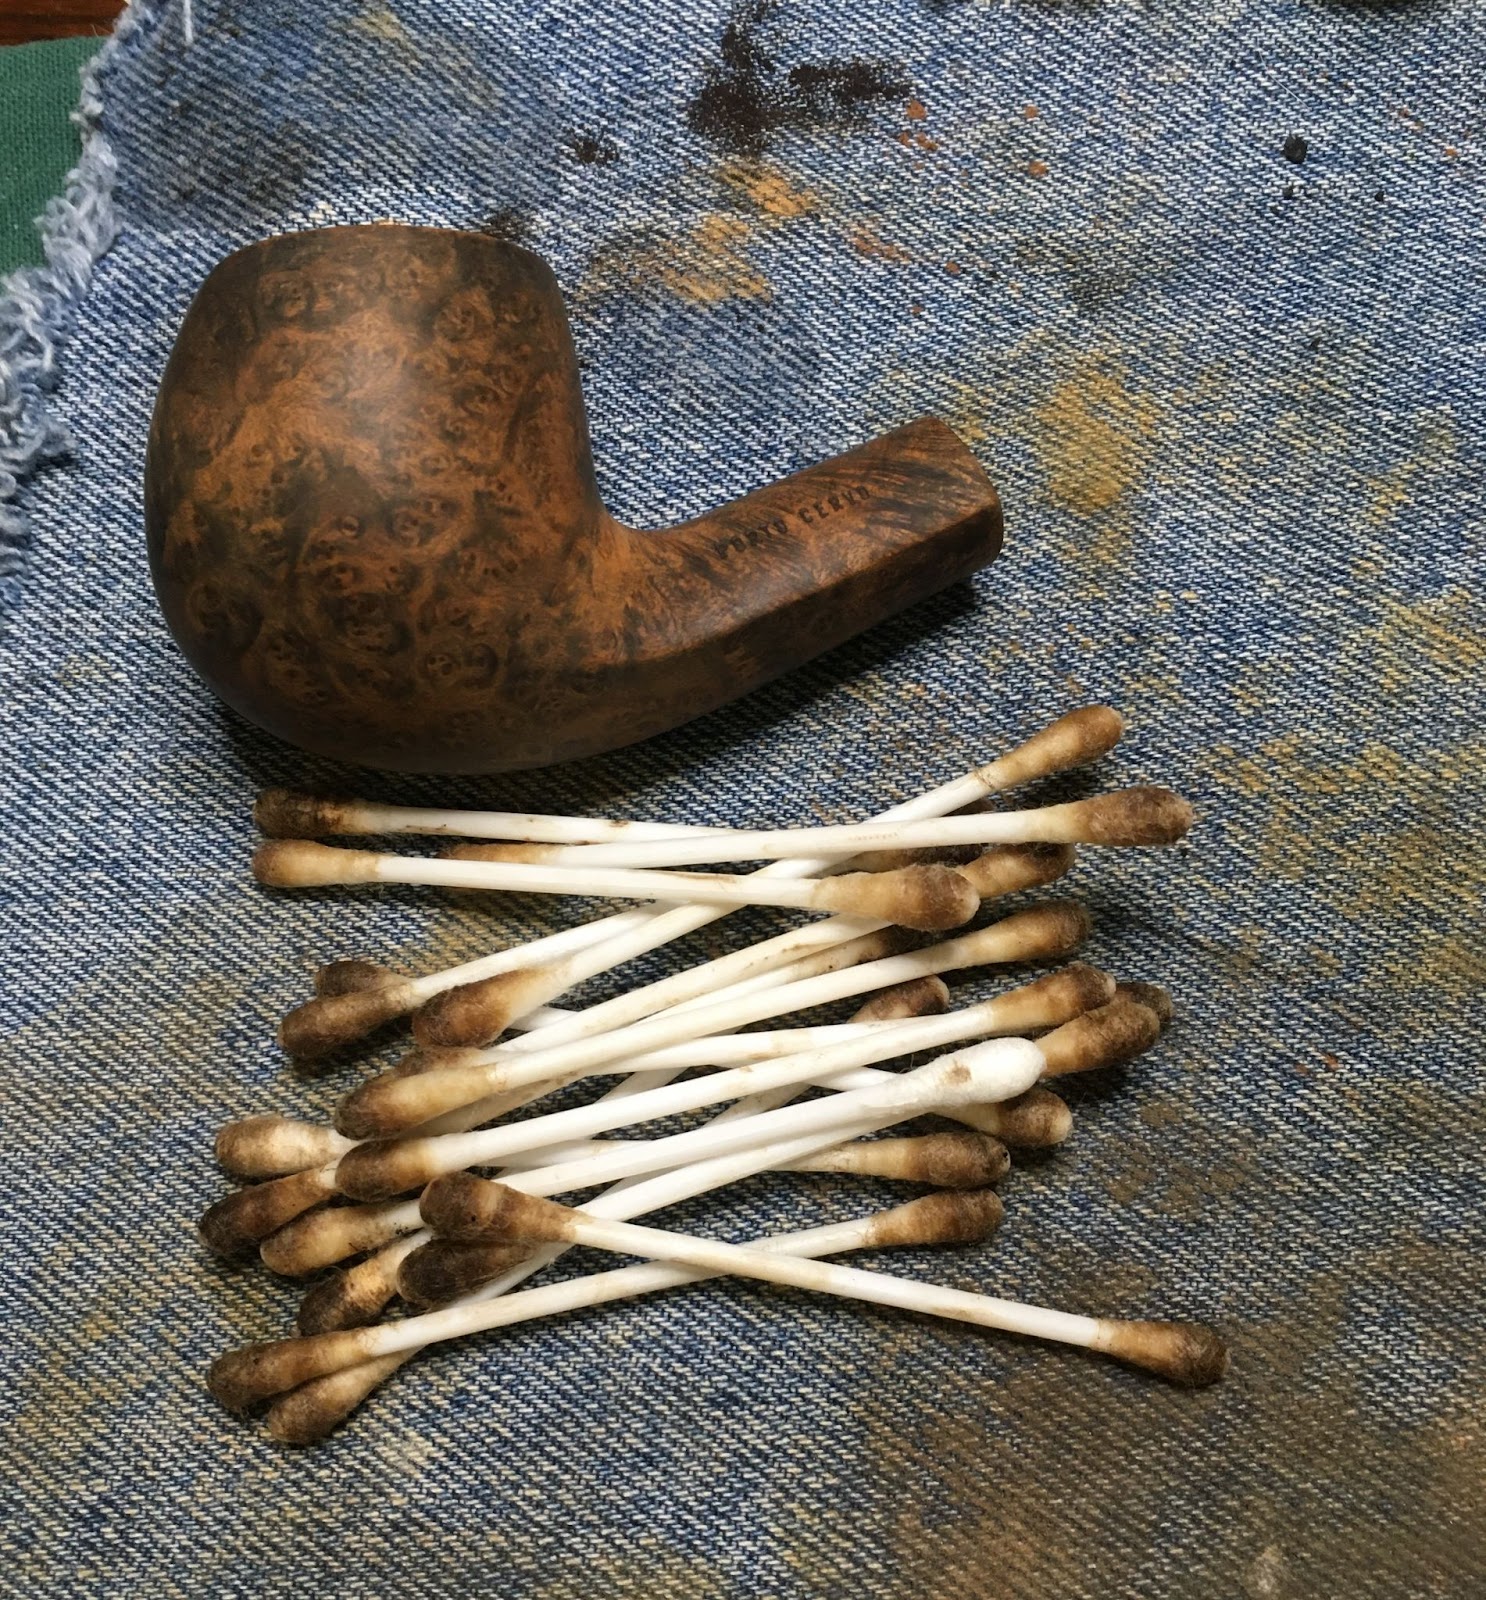
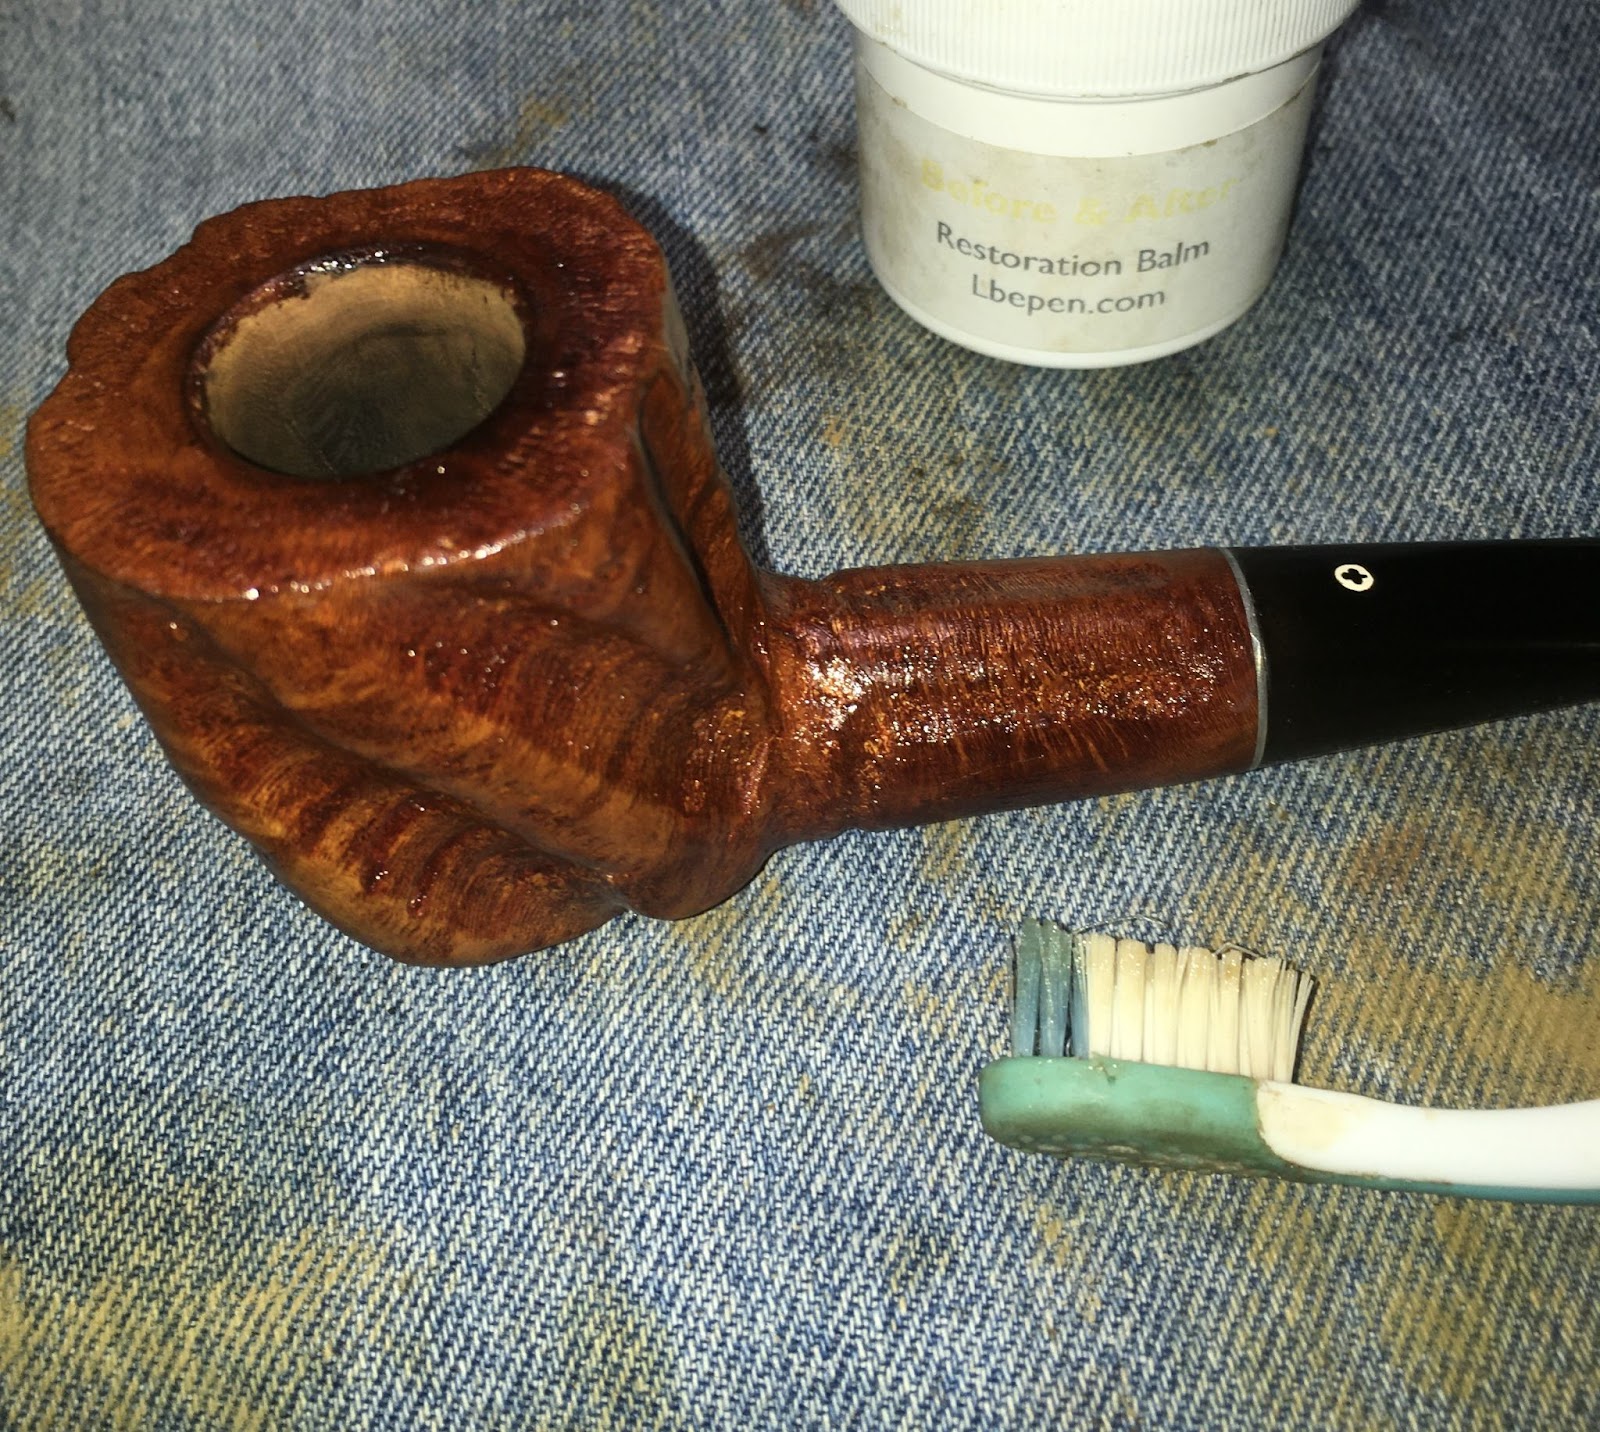
Before and After Restoration Balm was applied to the stummel by fingers and allowed to do the magic that it does for 30 minutes.

30 minutes later the remaining balm was wiped from the stummel using the inside of an athletic sock.

After the sock wipe the pipe was taken to the buffer to receive several coats of carnauba wax on the stummel and stem.
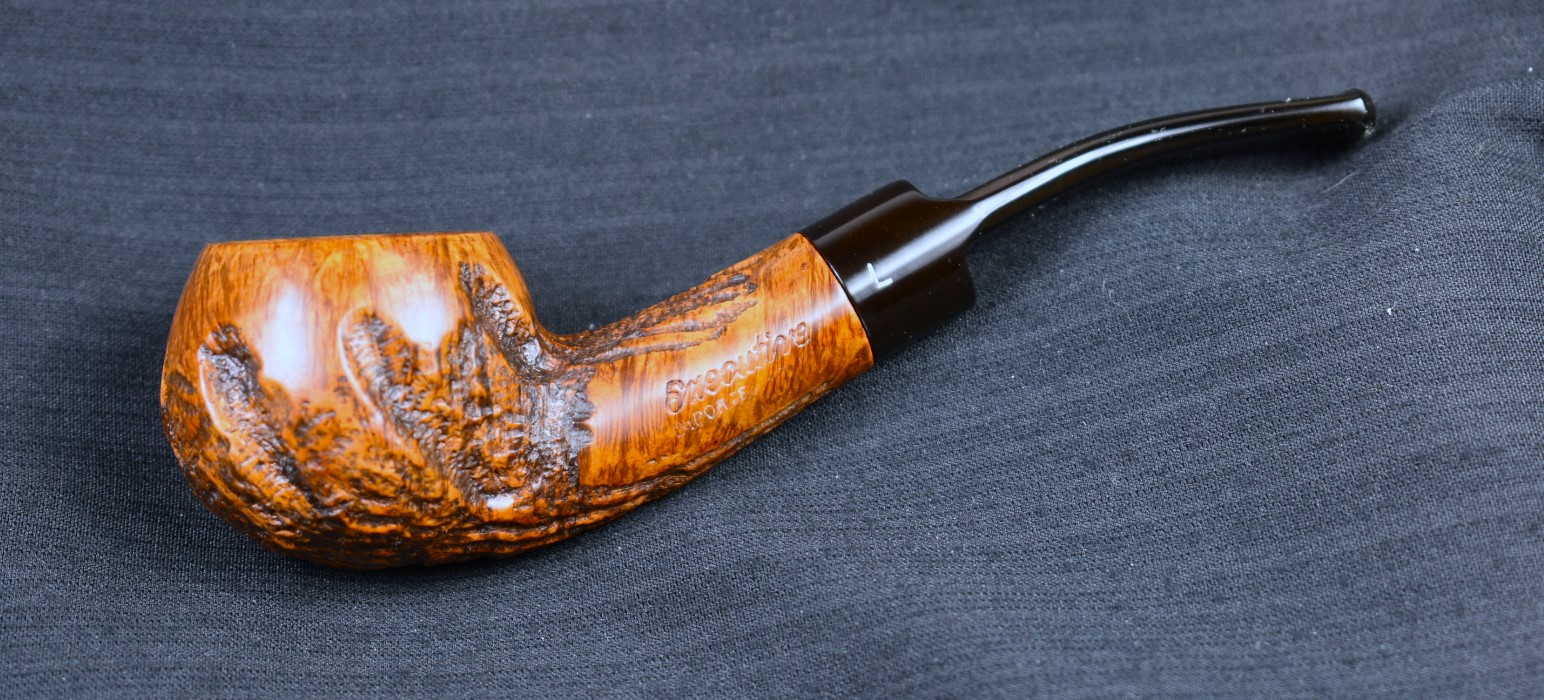
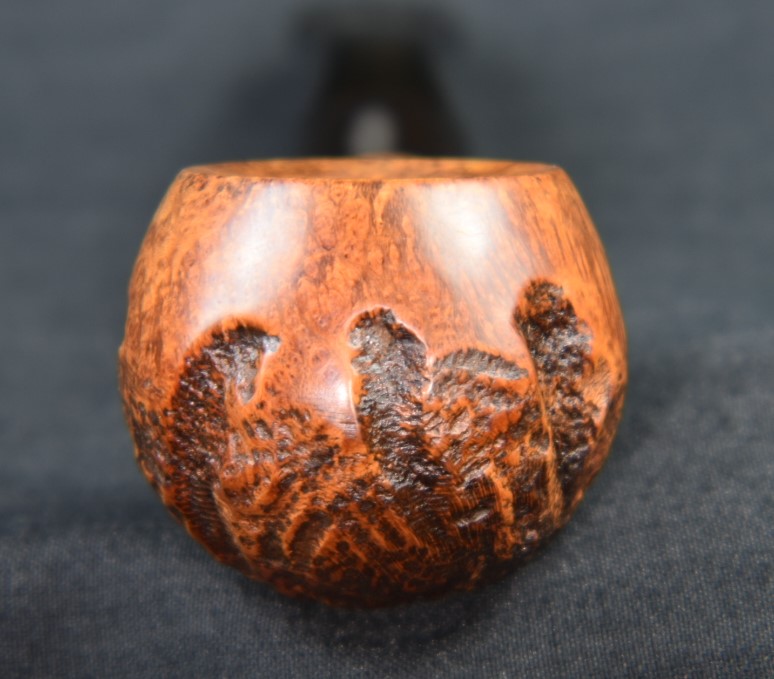
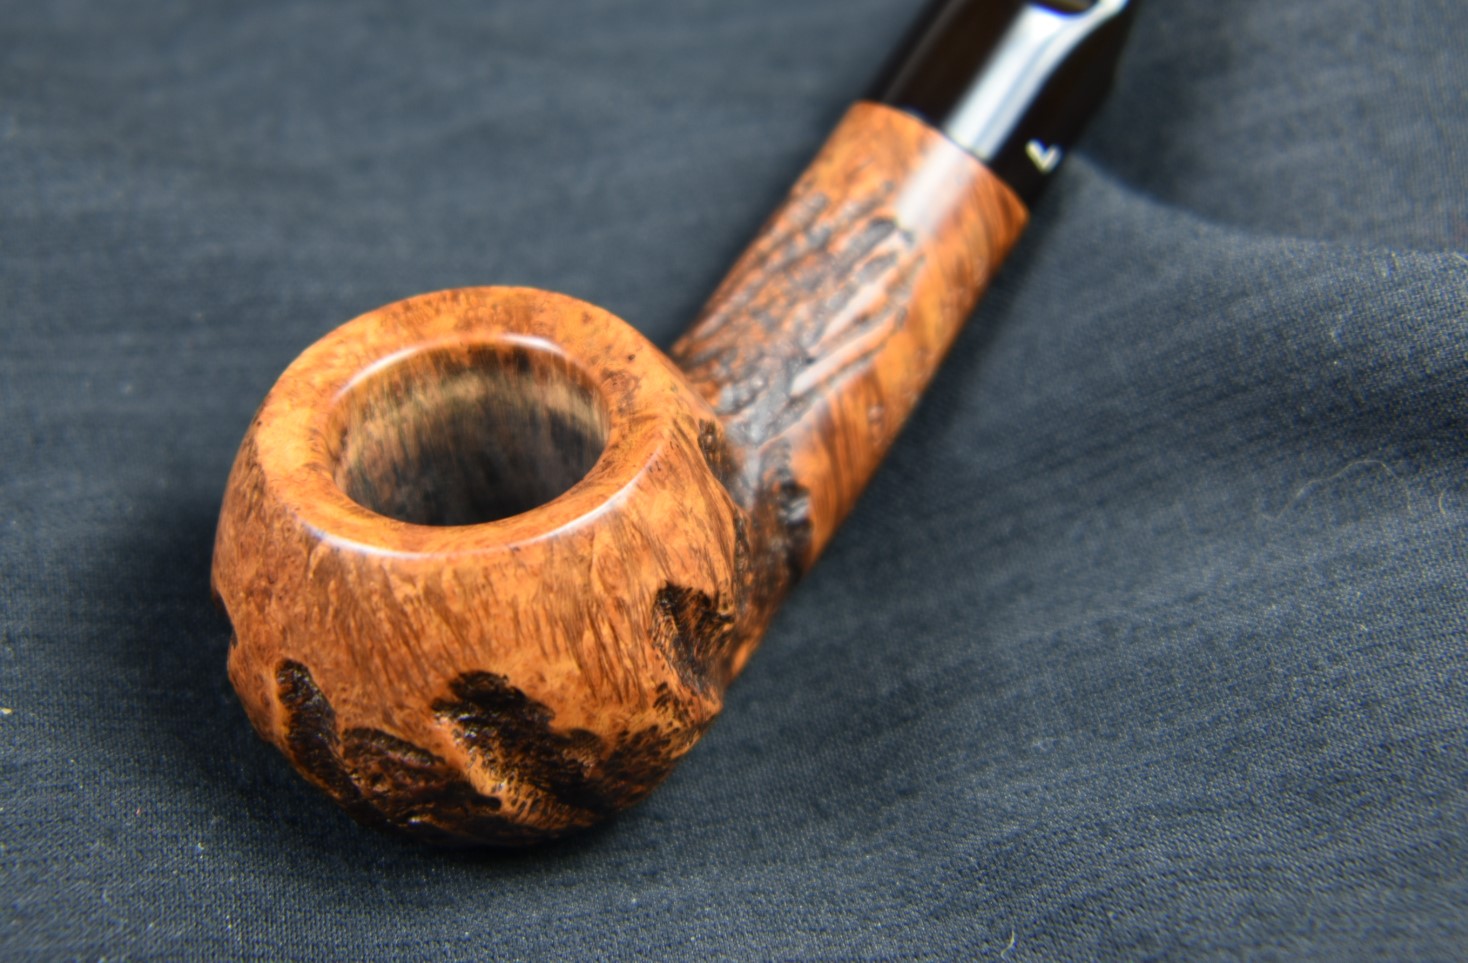
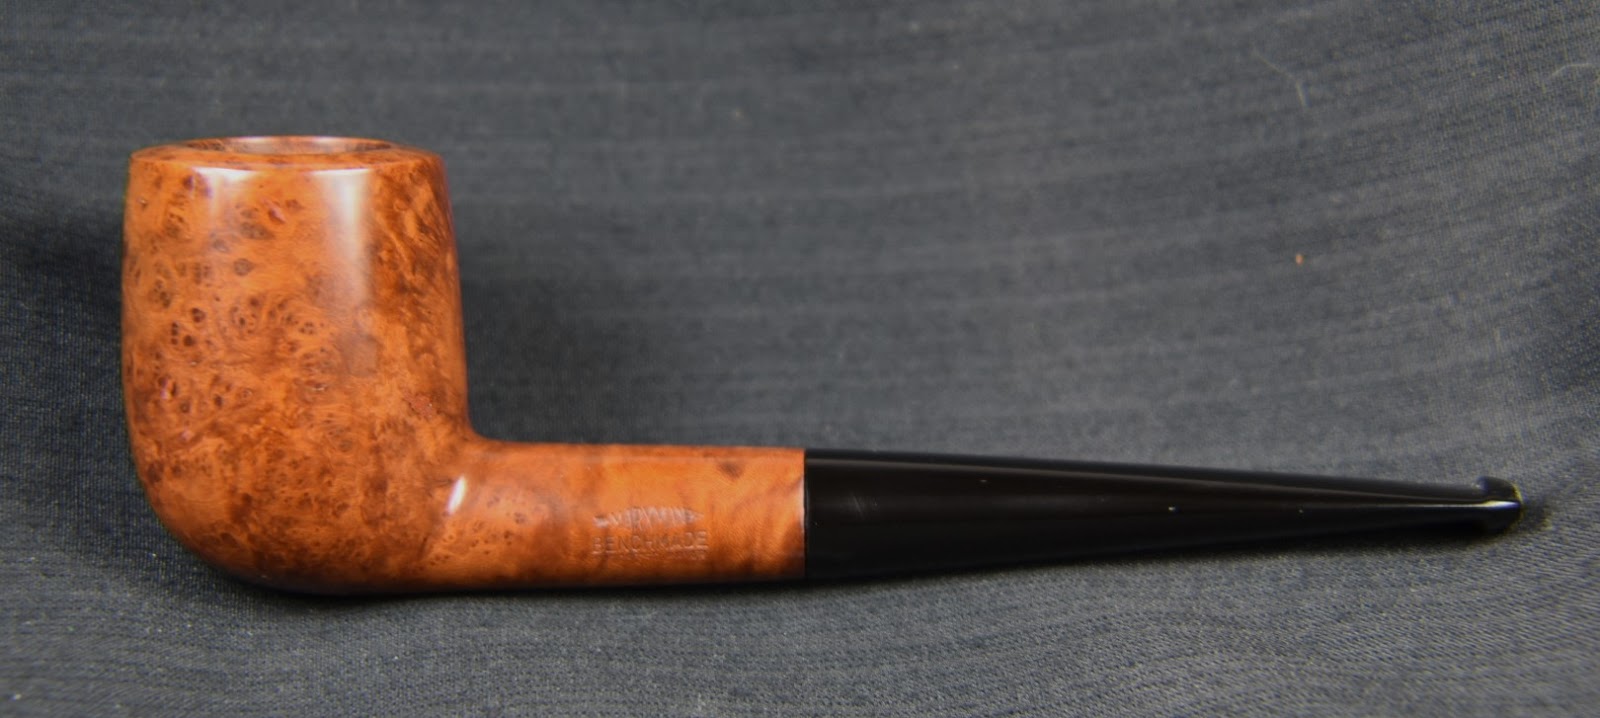
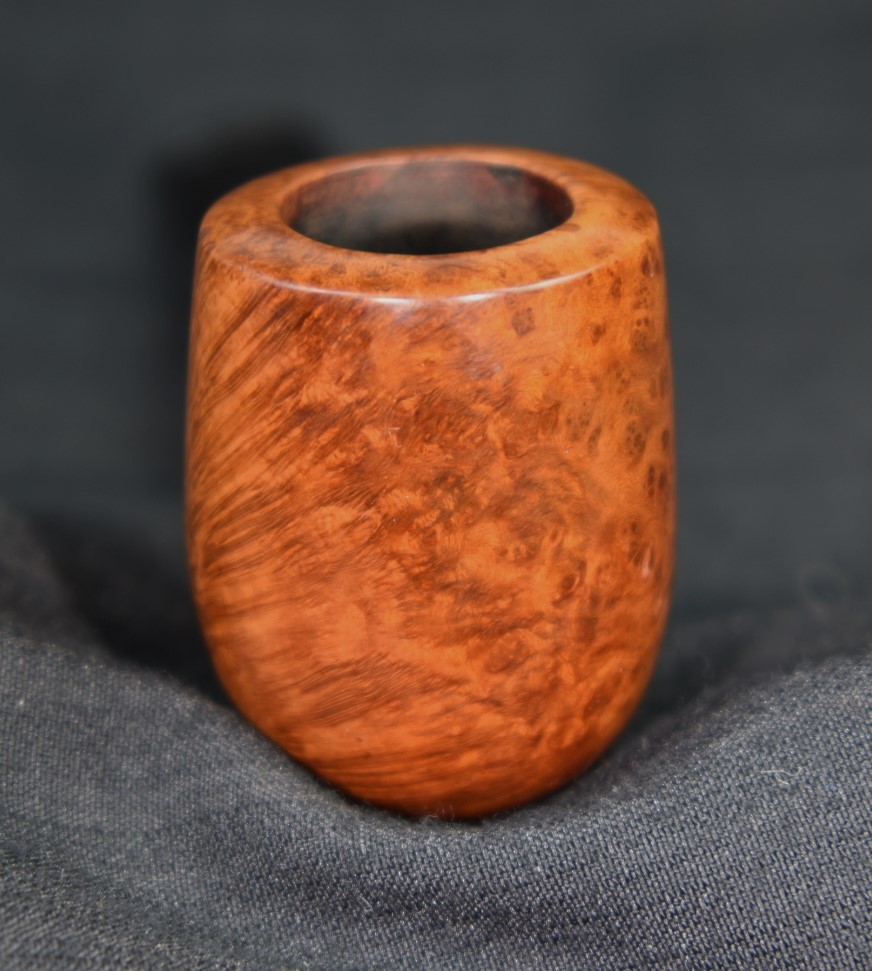
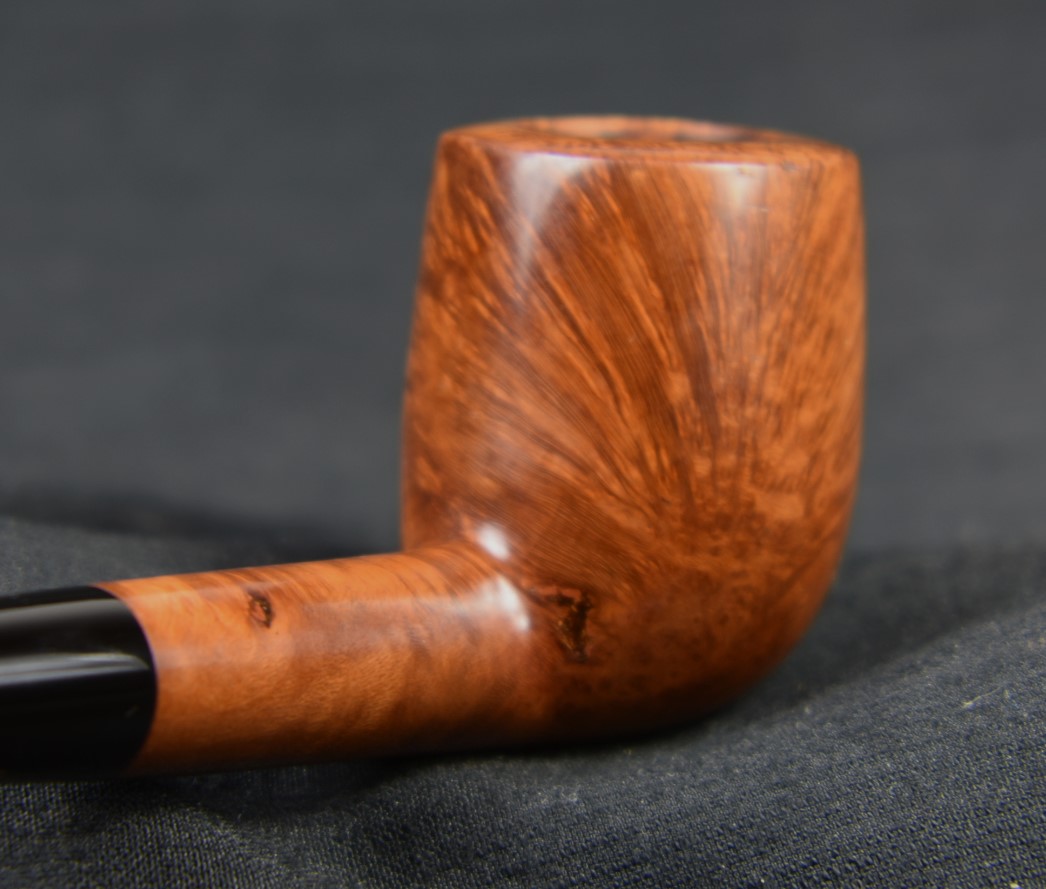
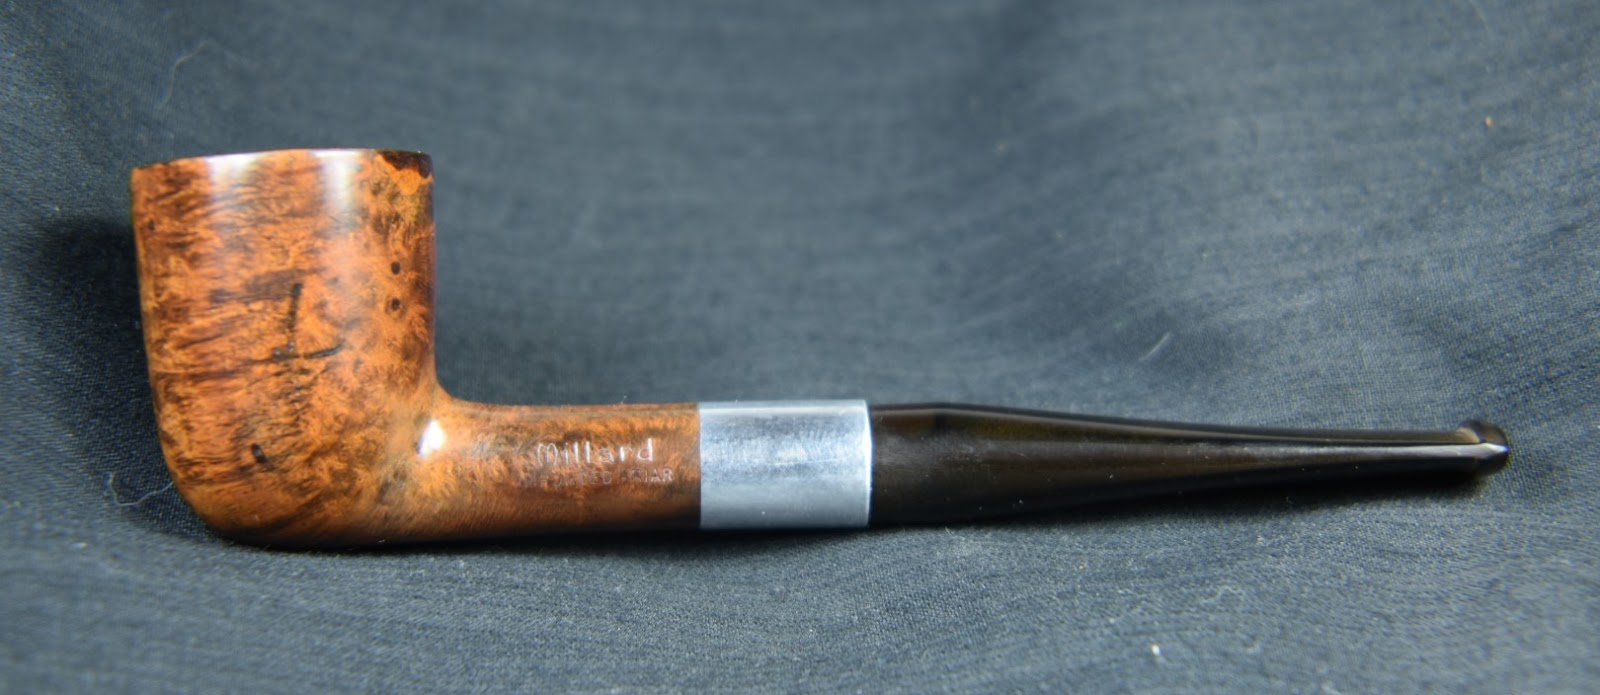
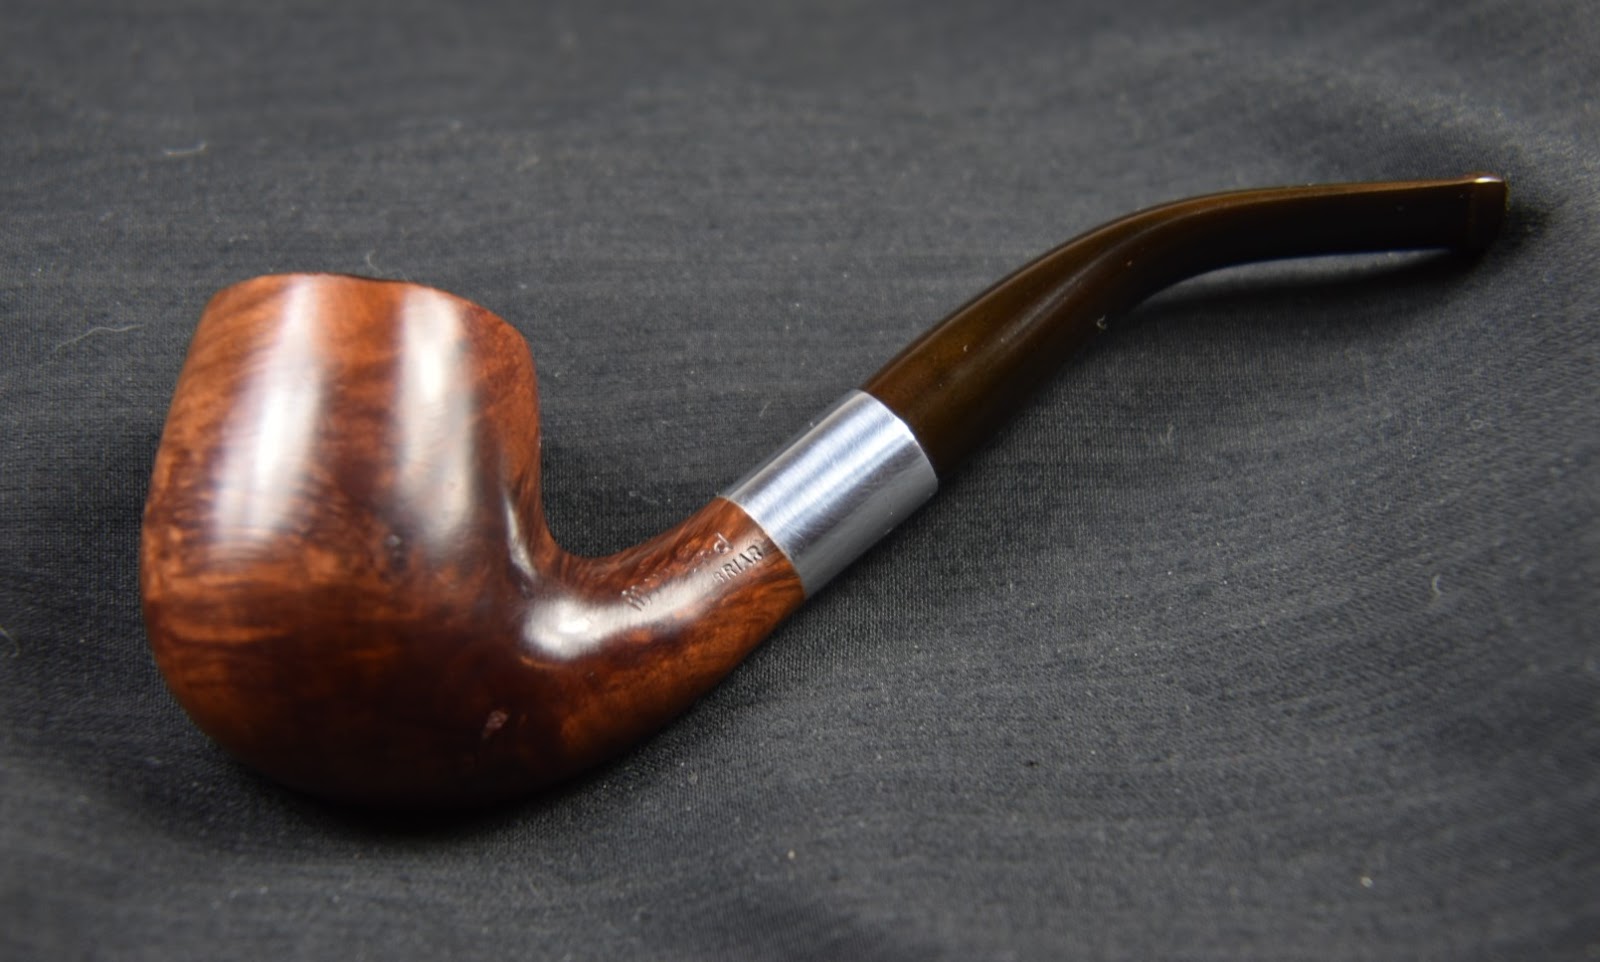
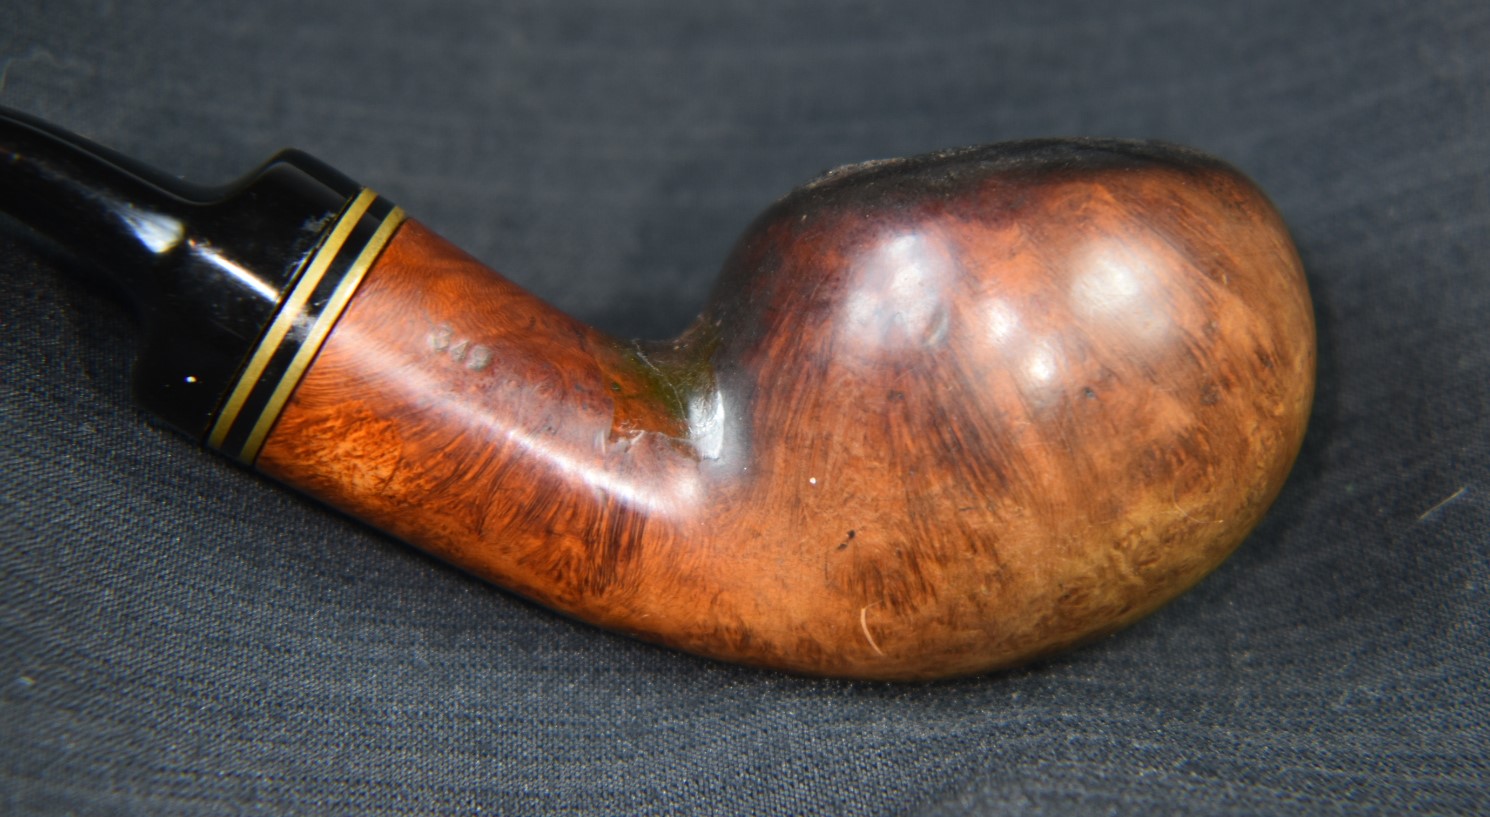
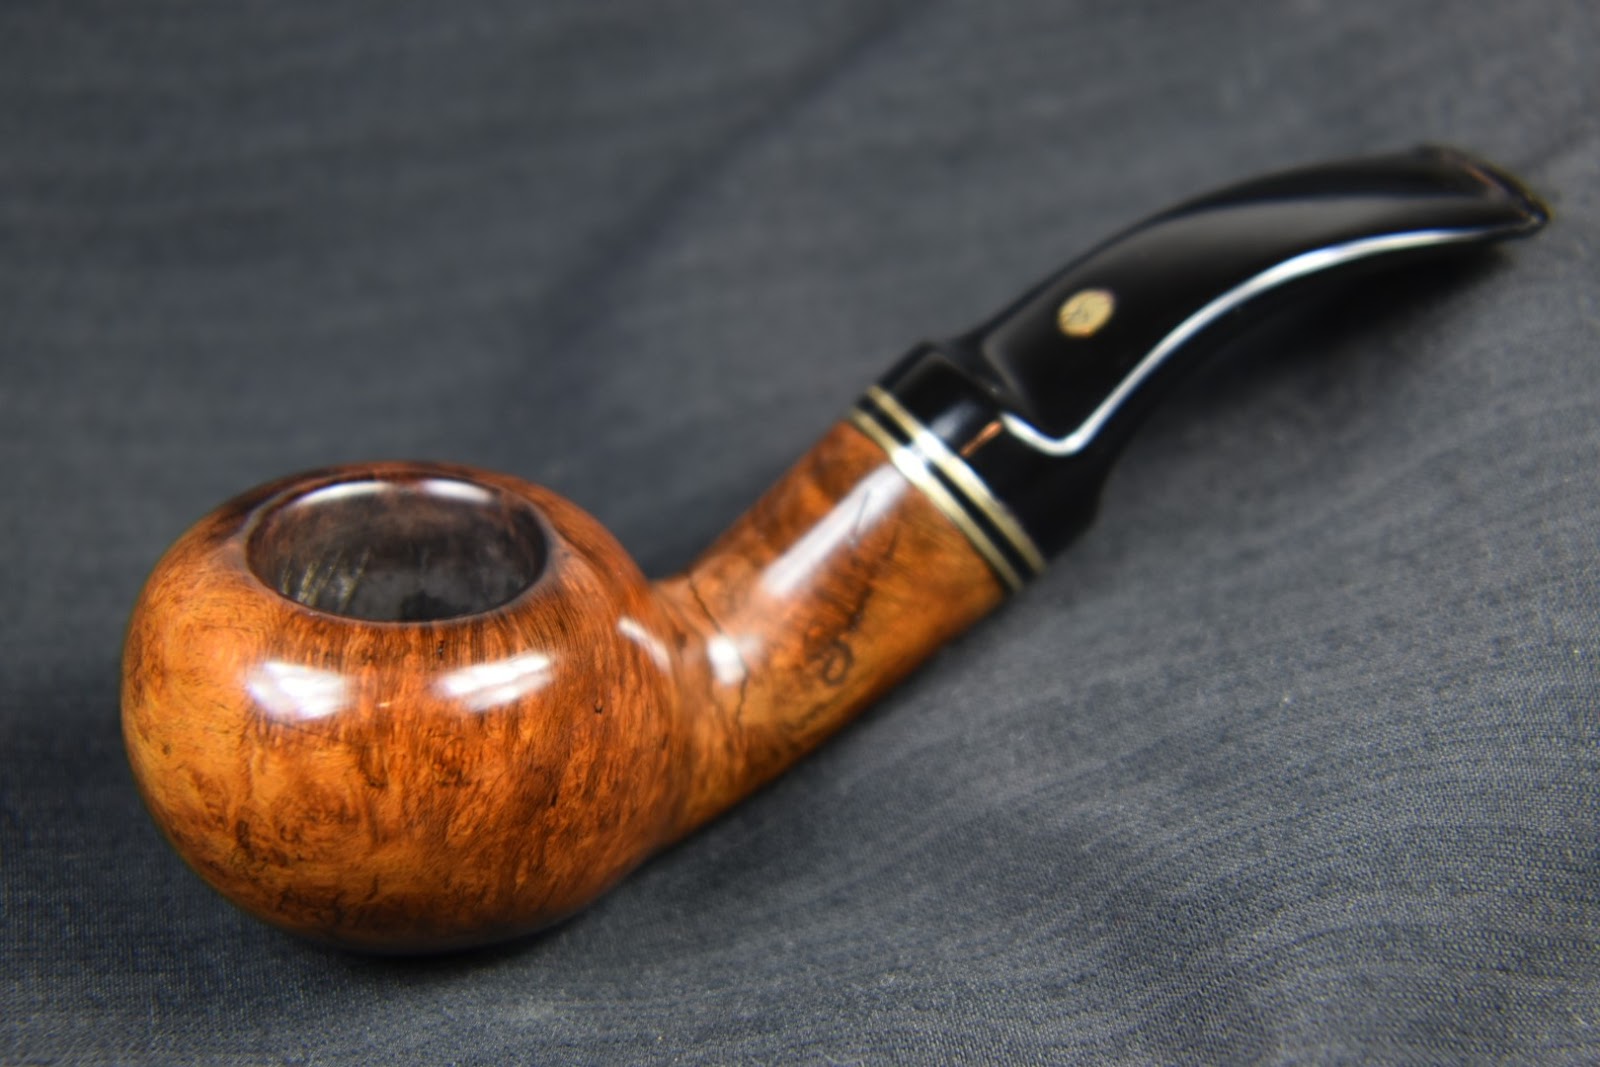
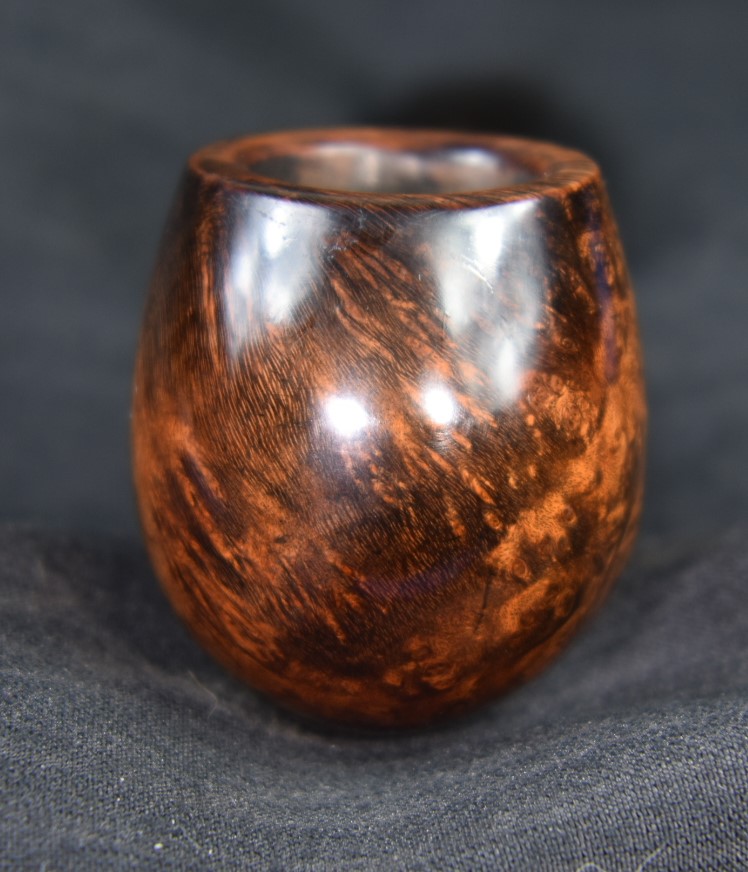
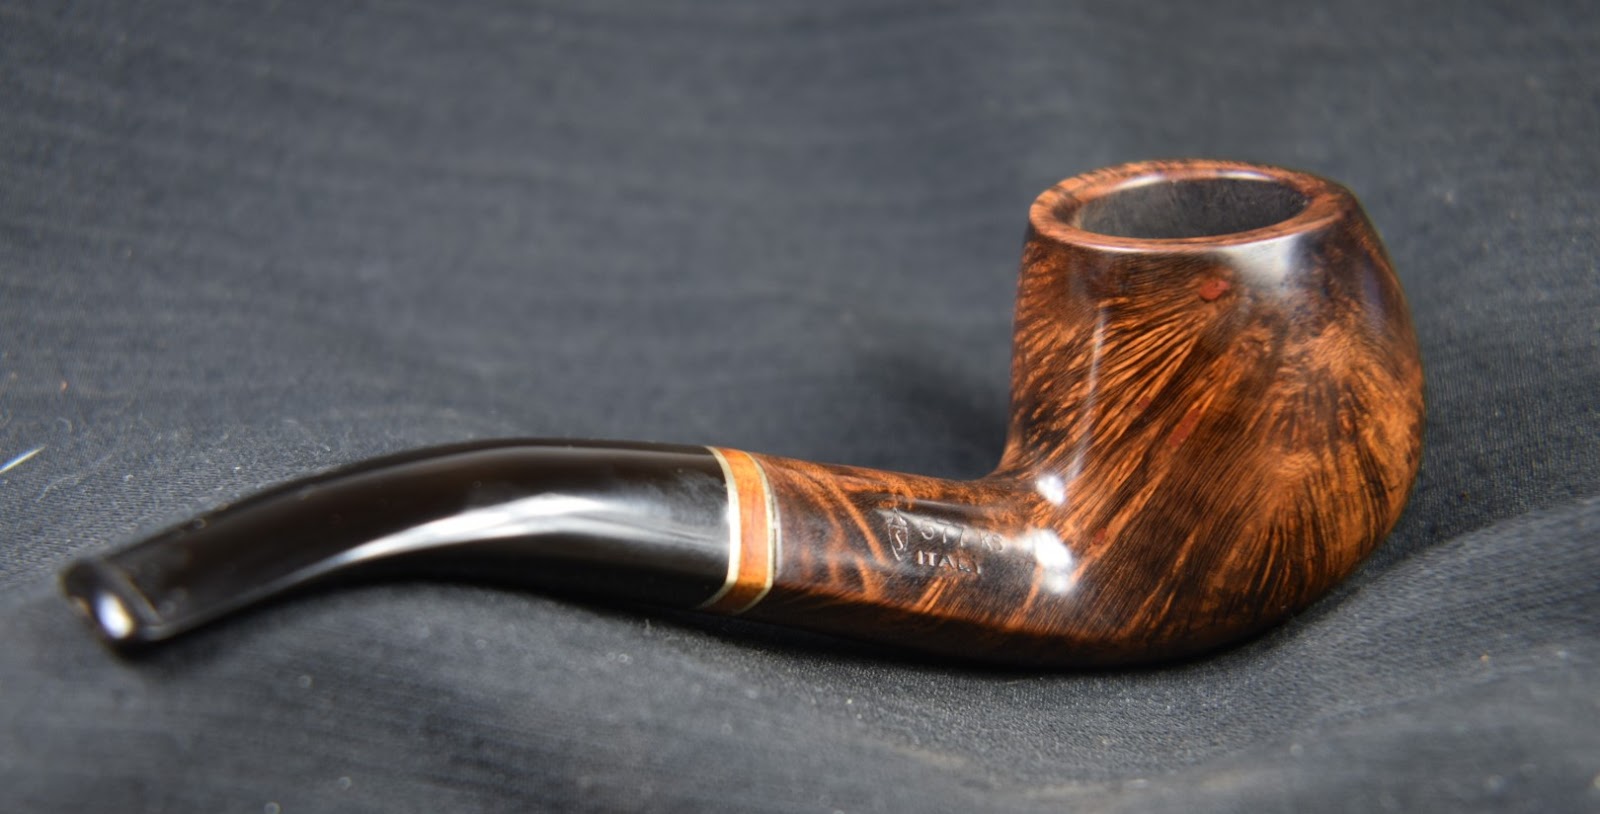
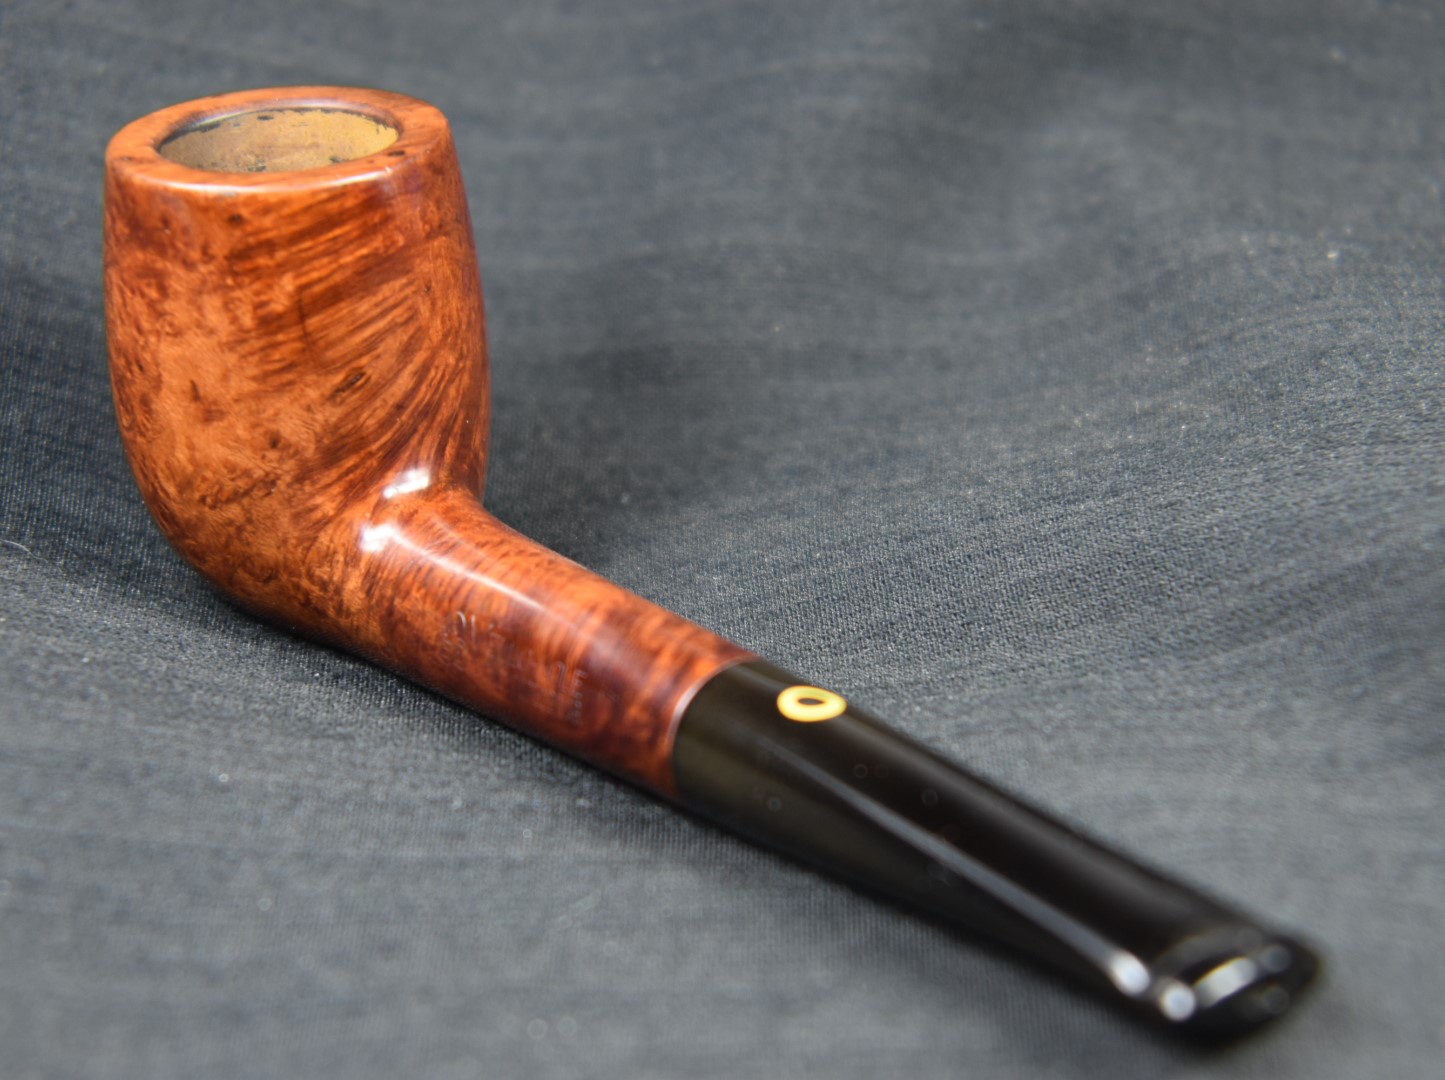
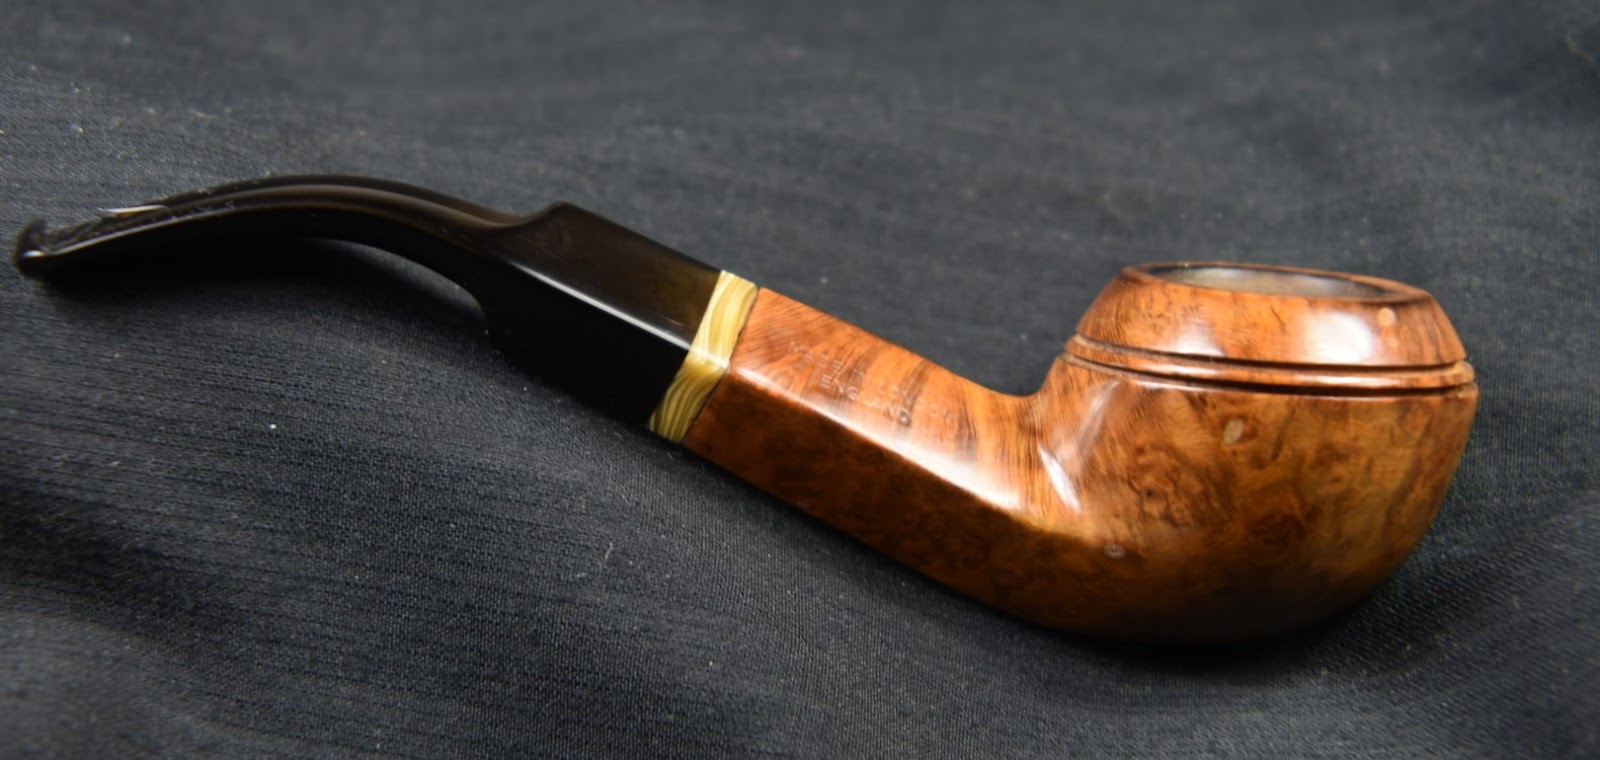
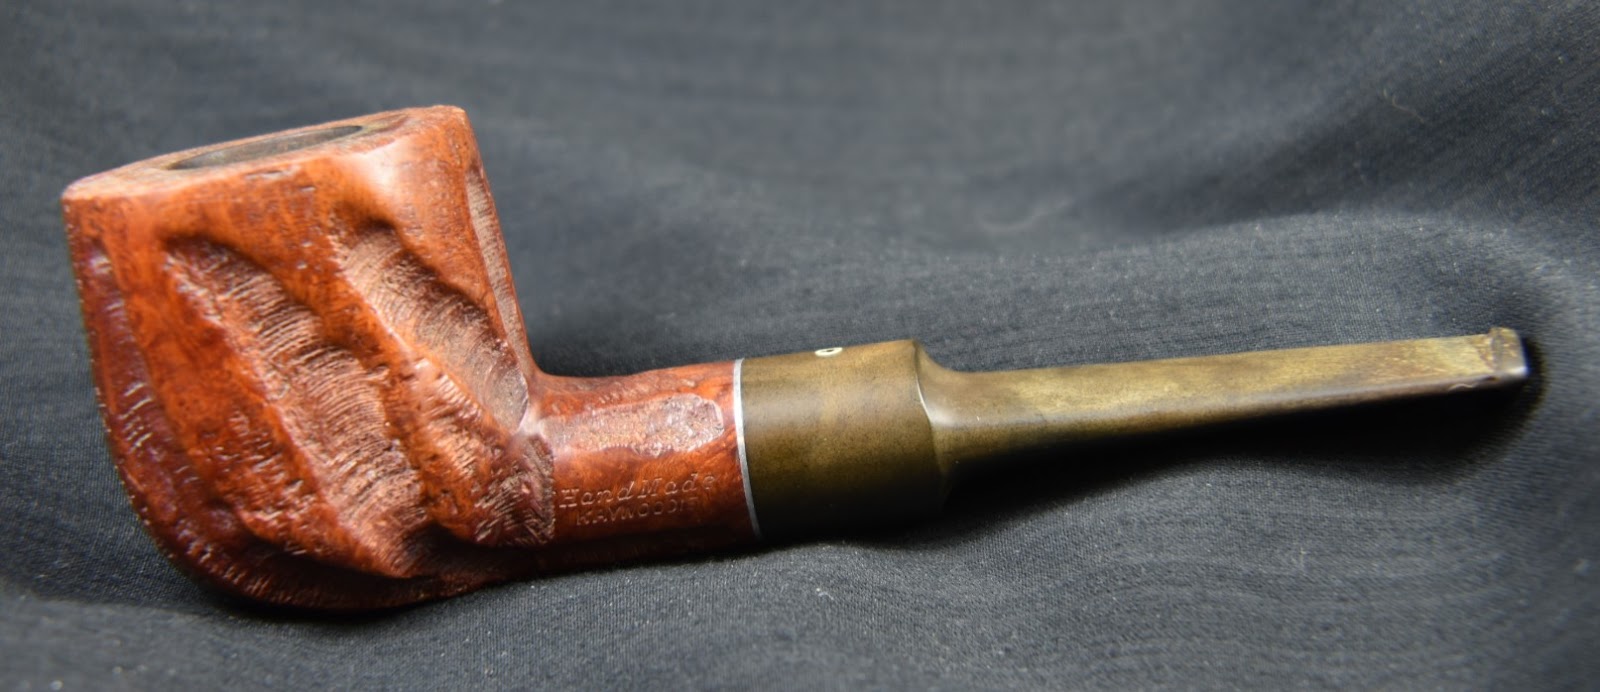
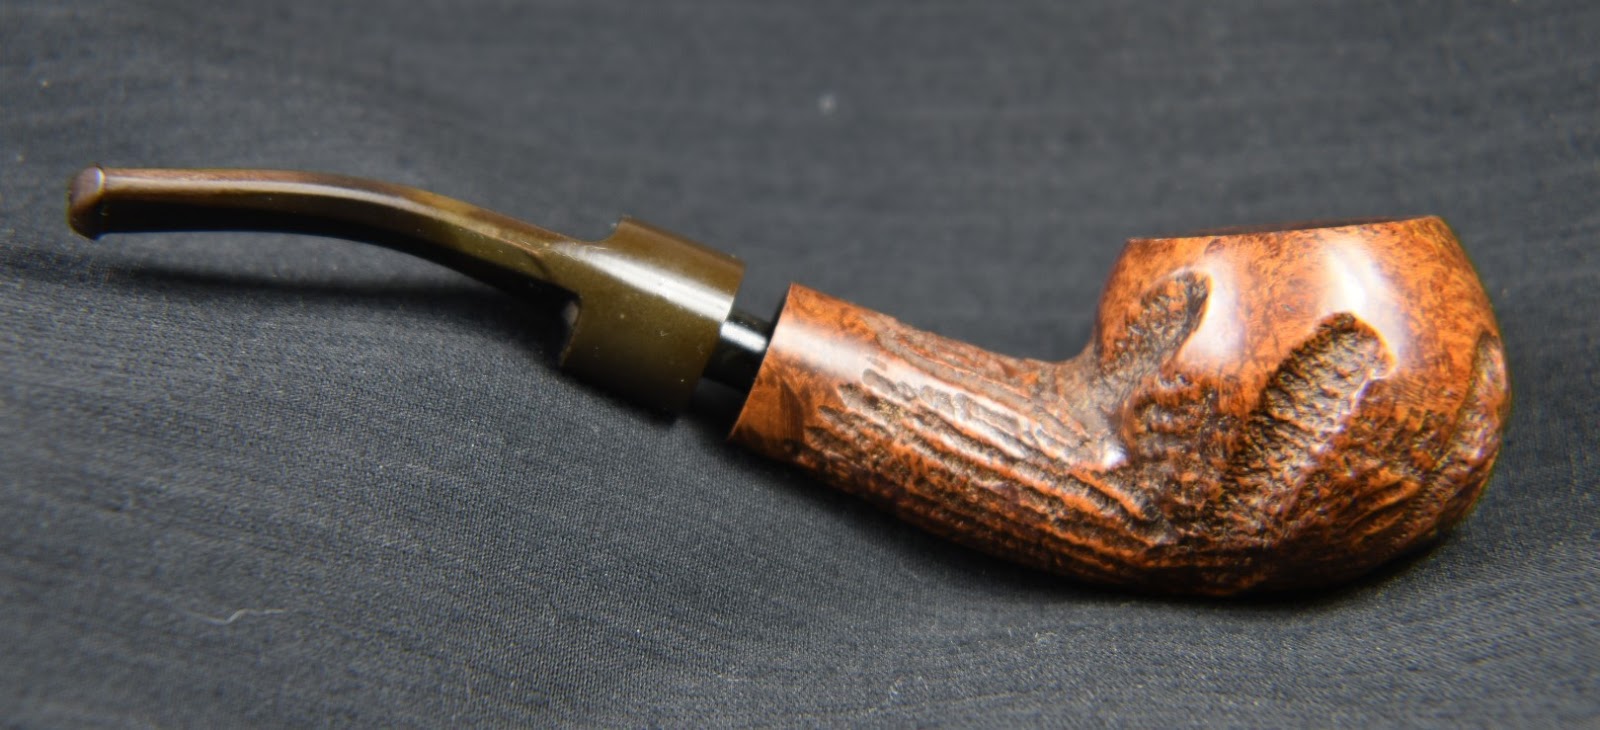
There you have it – another Marxman pipe restored to what is probably better than factory finish. I am very pleased with how well this Marxman Benchmade Billiard turned out. I was almost as glad to see the original pink fill fill gone as I was to see the finished product. I am sure pink is a grand color for lung tissue but certainly not for pipe fills. The bird’s eyes on this stummel are just lovely and contrast very nicely with the radiating grain on the opposite side. The black of the stem sets off the briar grain beautifully. I am sure that this pipe will have that unique taste upon firing, that cinnamon/cardamom taste that is so hard to describe. I do hope that you found something here useful in the care and restorations of your own pipes. If you like this sort of thing, please click the like and subscribe buttons. Thank you very much for reading the ramblings of an old pipe lover.
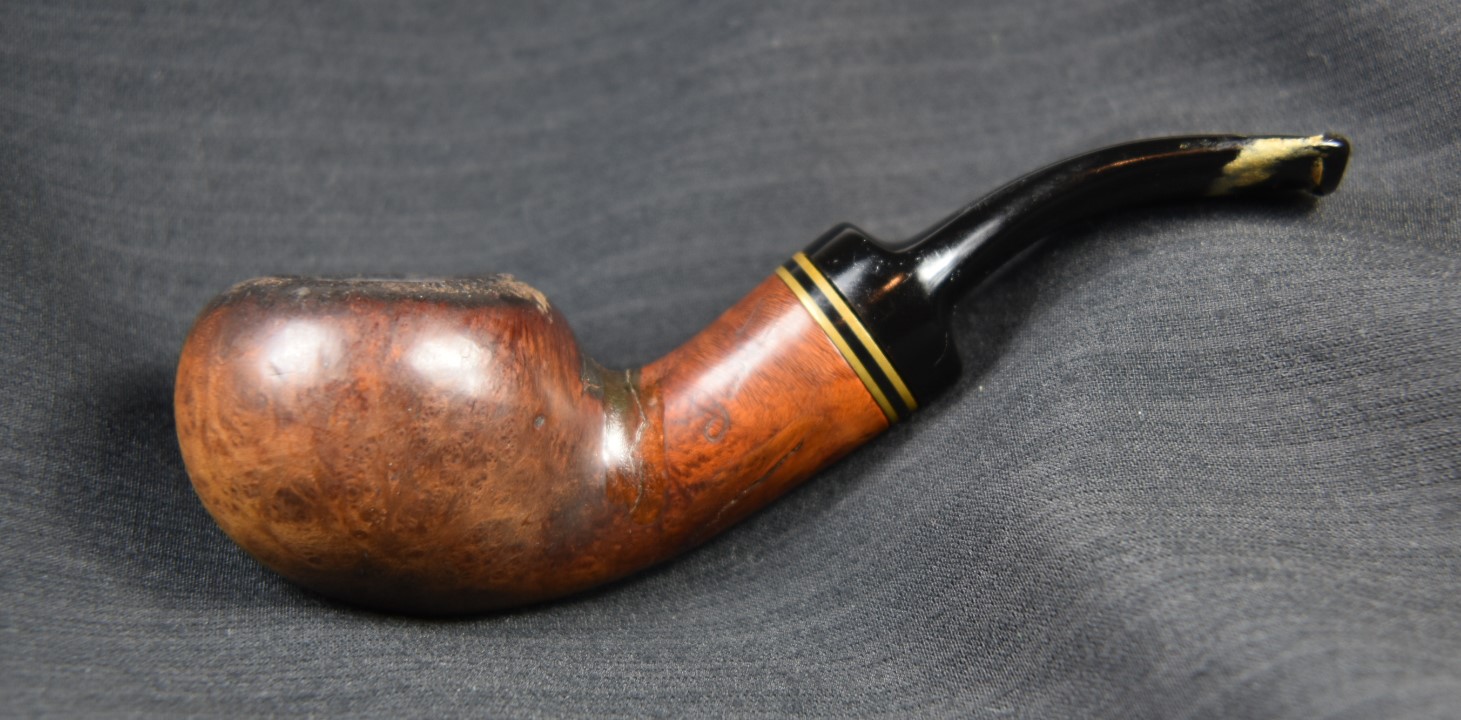
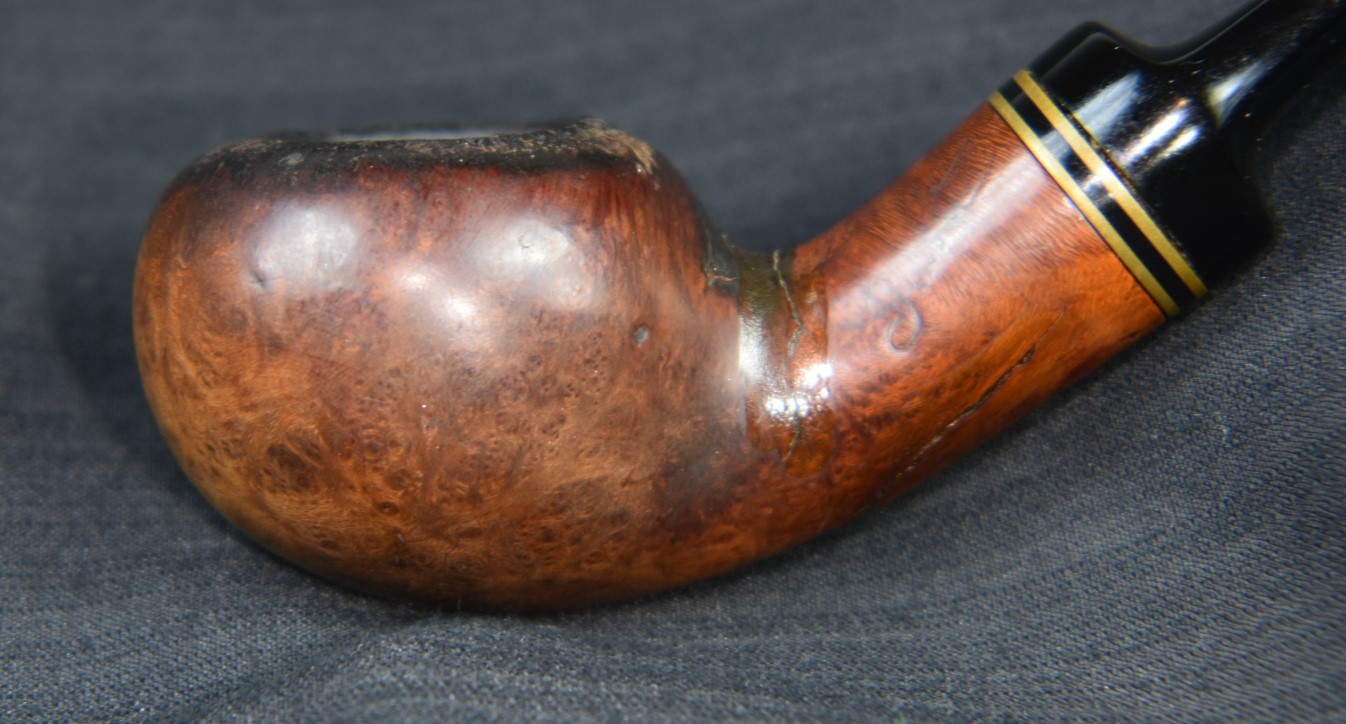
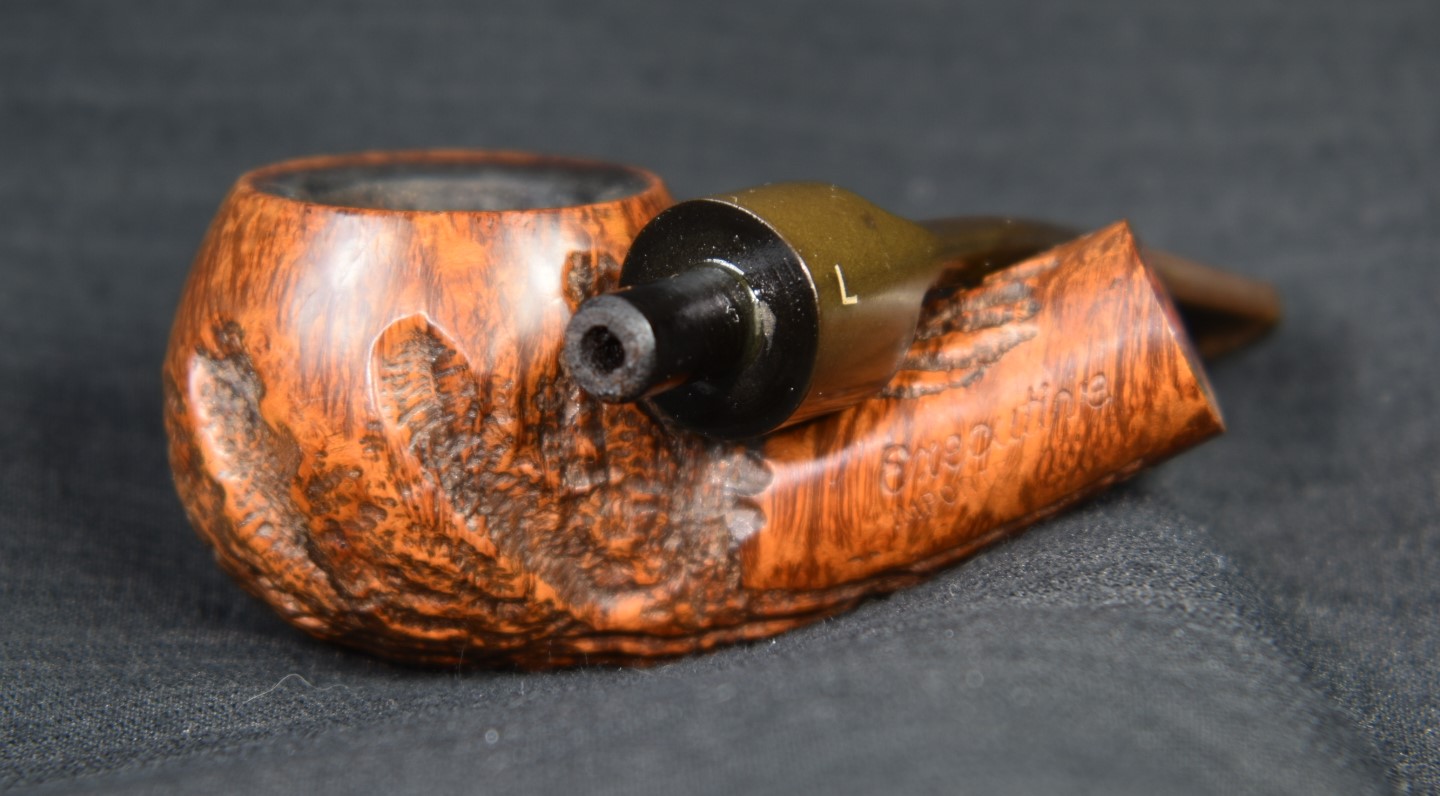
Below are some photos of the finished Marxman Benchmade Billiard.


 (
(
 (Photo courtesy of Steve Laug)


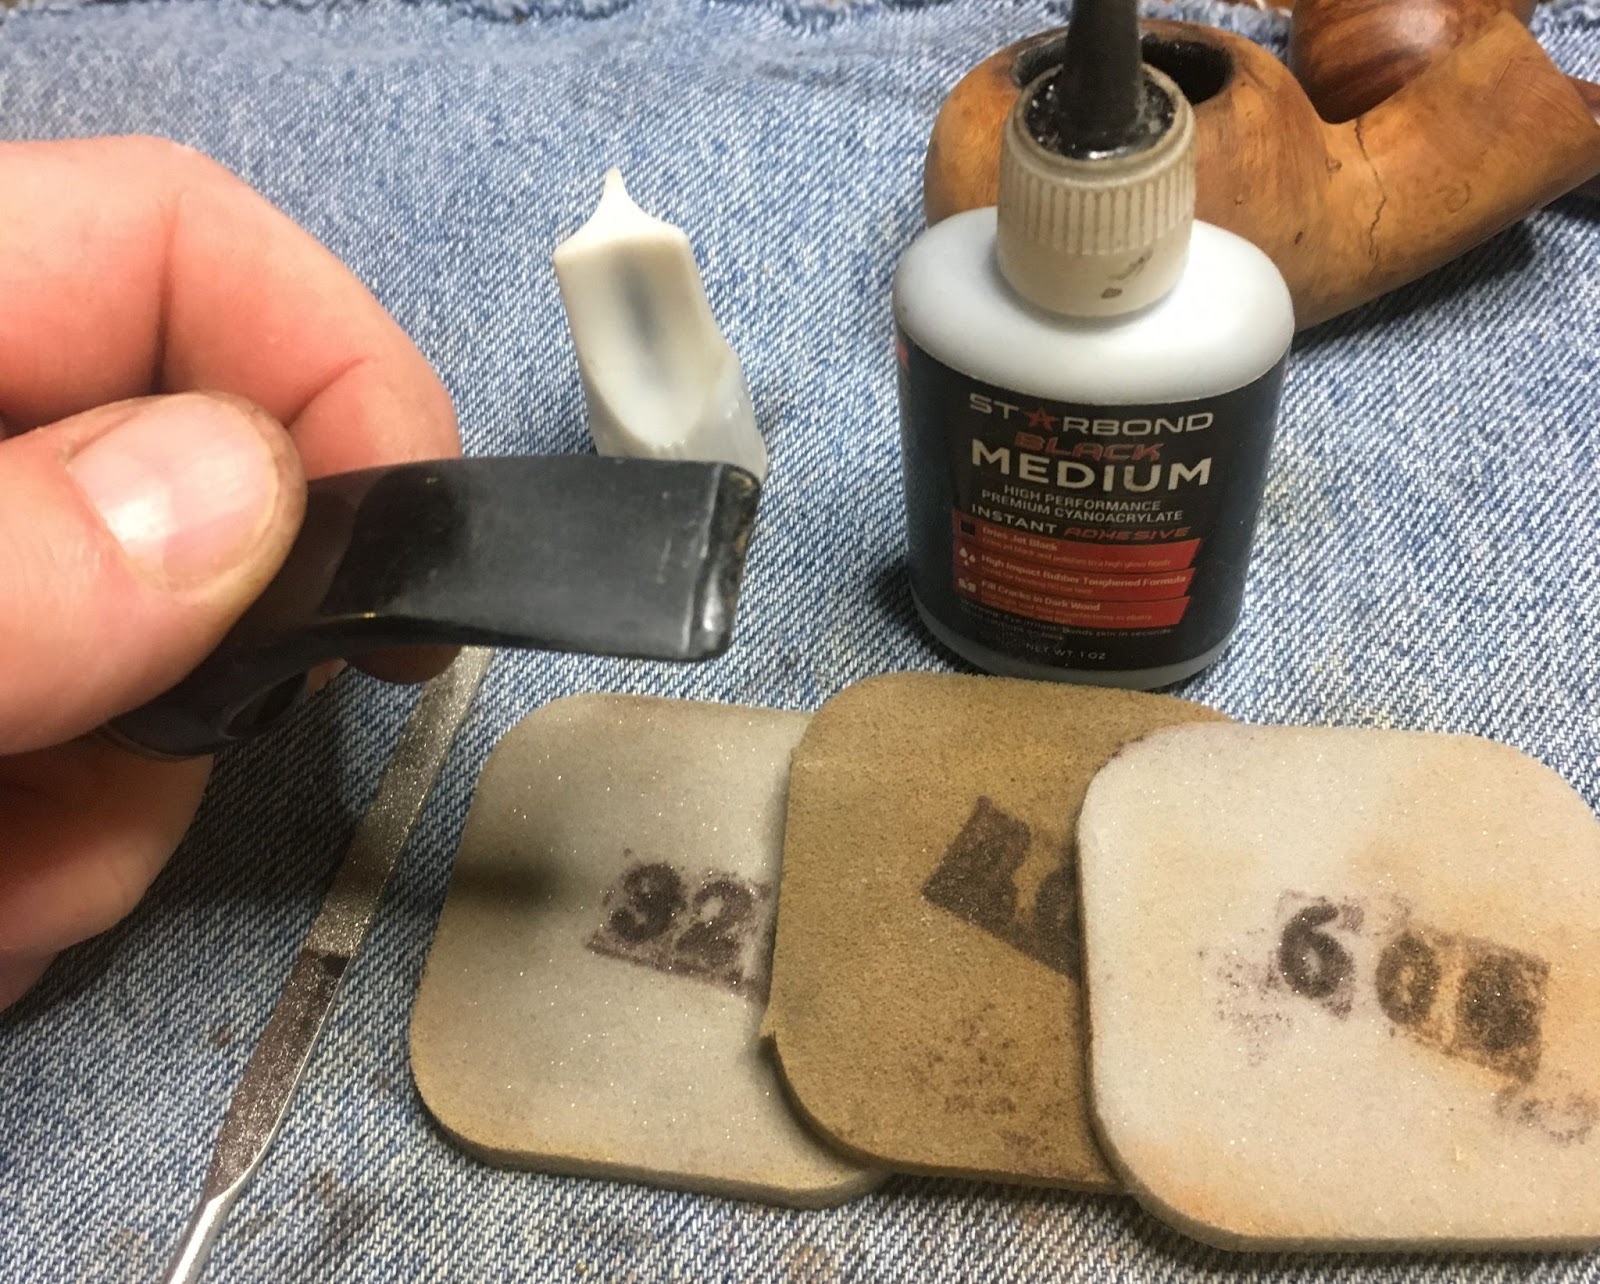


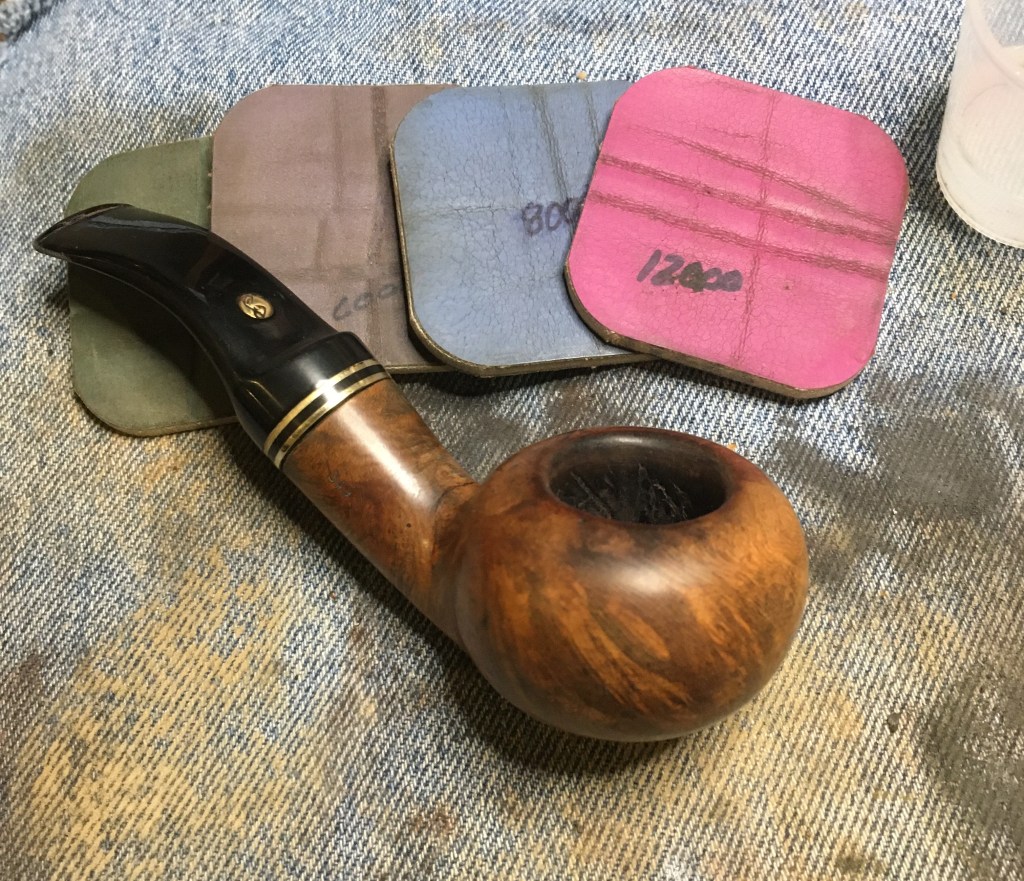


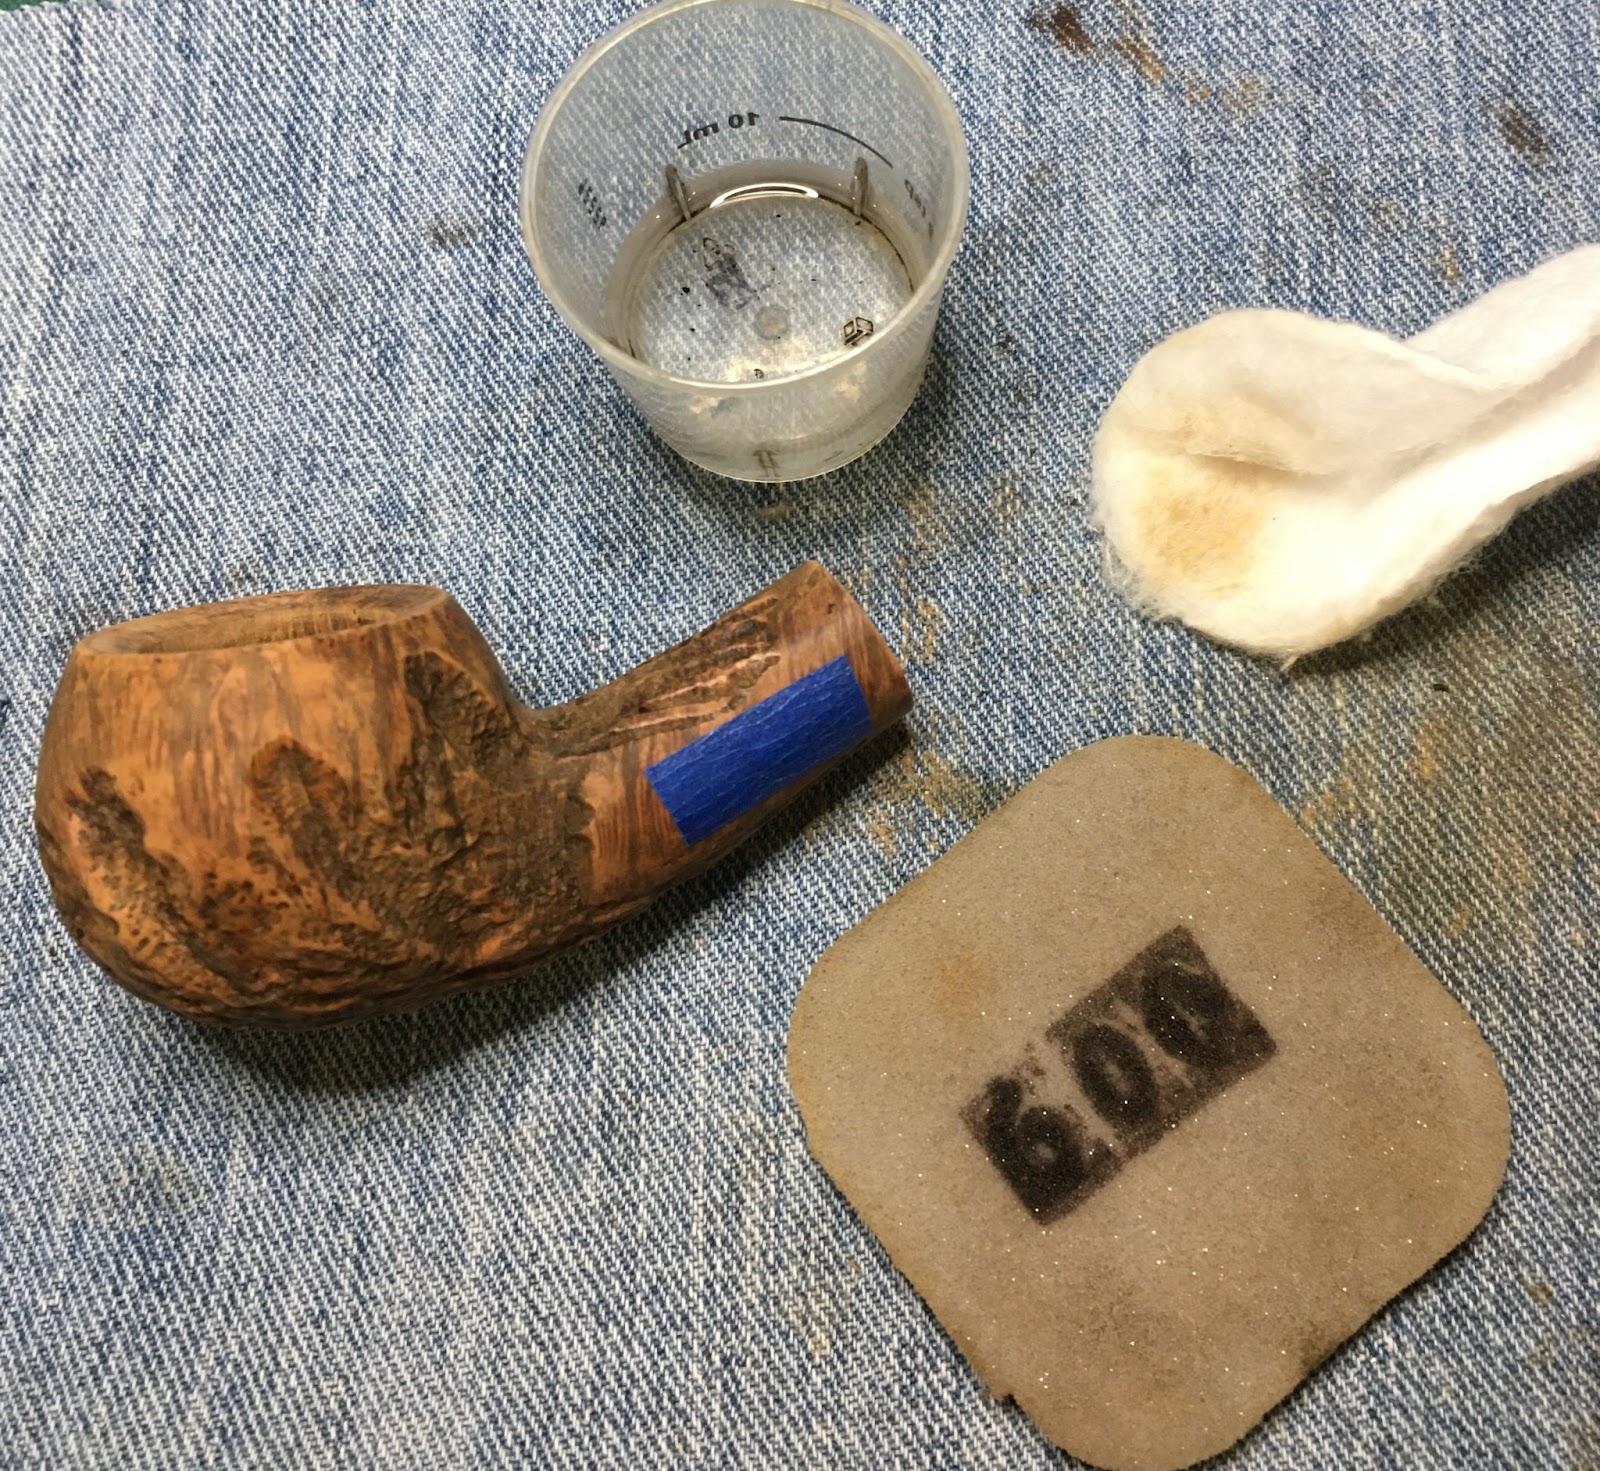


 I worked on the stem with the sanding sponges from 600-3500 in sequence. Between each sponges I applied mineral oil from my finger and wiped the stem with a paper towel.