
Photographed and written by
John M. Young
I have restored a few Wally Frank pipes and find them ever-interesting. I suppose they are interesting because there is no archetypal Wally Frank pipe, this is opinion and meant to be taken as such. What I mean is that Wally Frank was an effective businessman and followed the trends and style changes like a master marketer. He seemed to always be searching for a “new” pipe that people would want to buy rather than focus on developing classic pipes which people would return to purchase as “classics”. I’ll stop talking about Wally Frank for a few minutes and just focus on the pipe at hand.
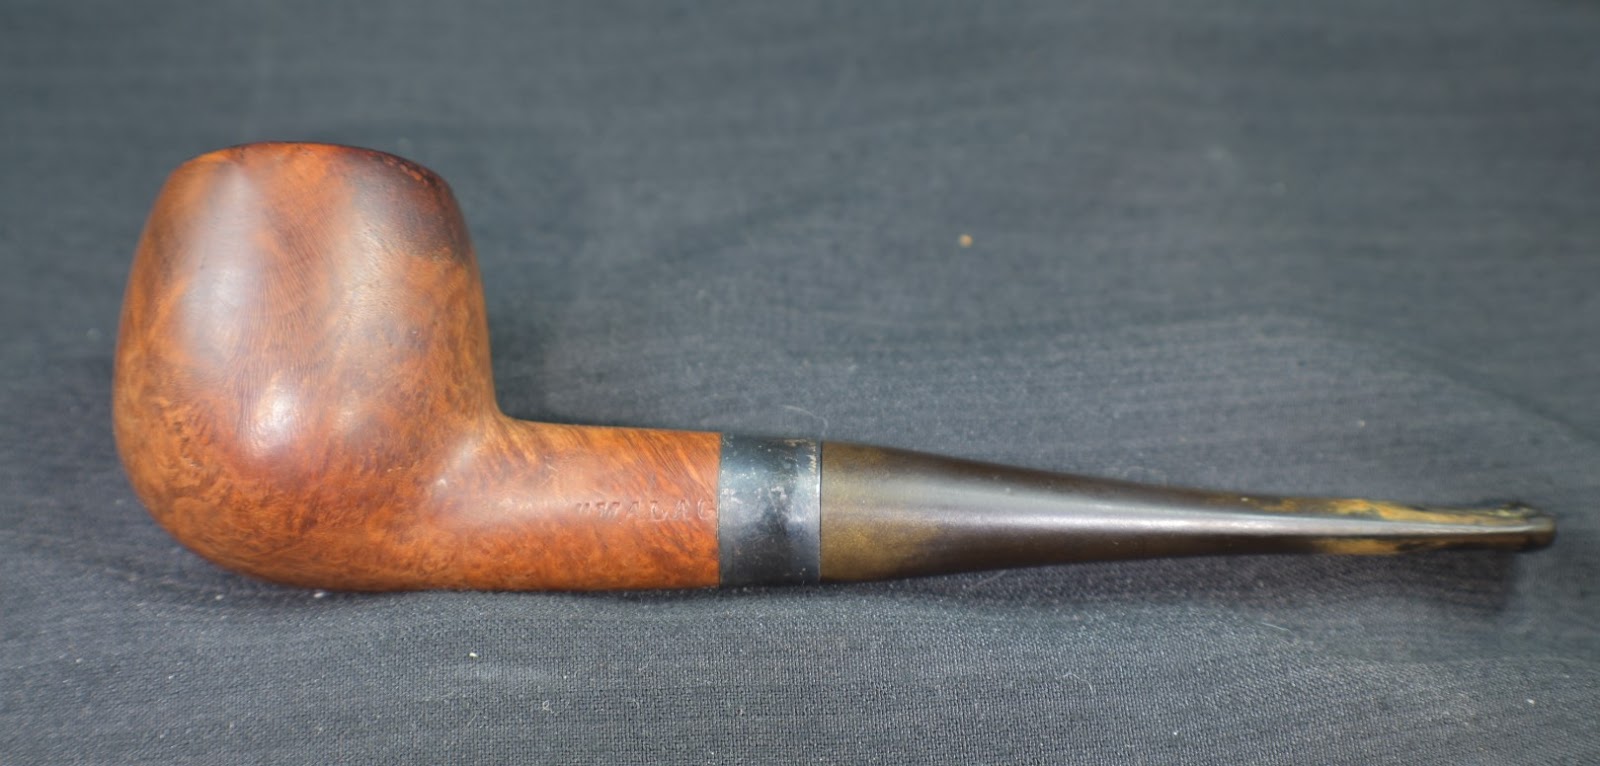
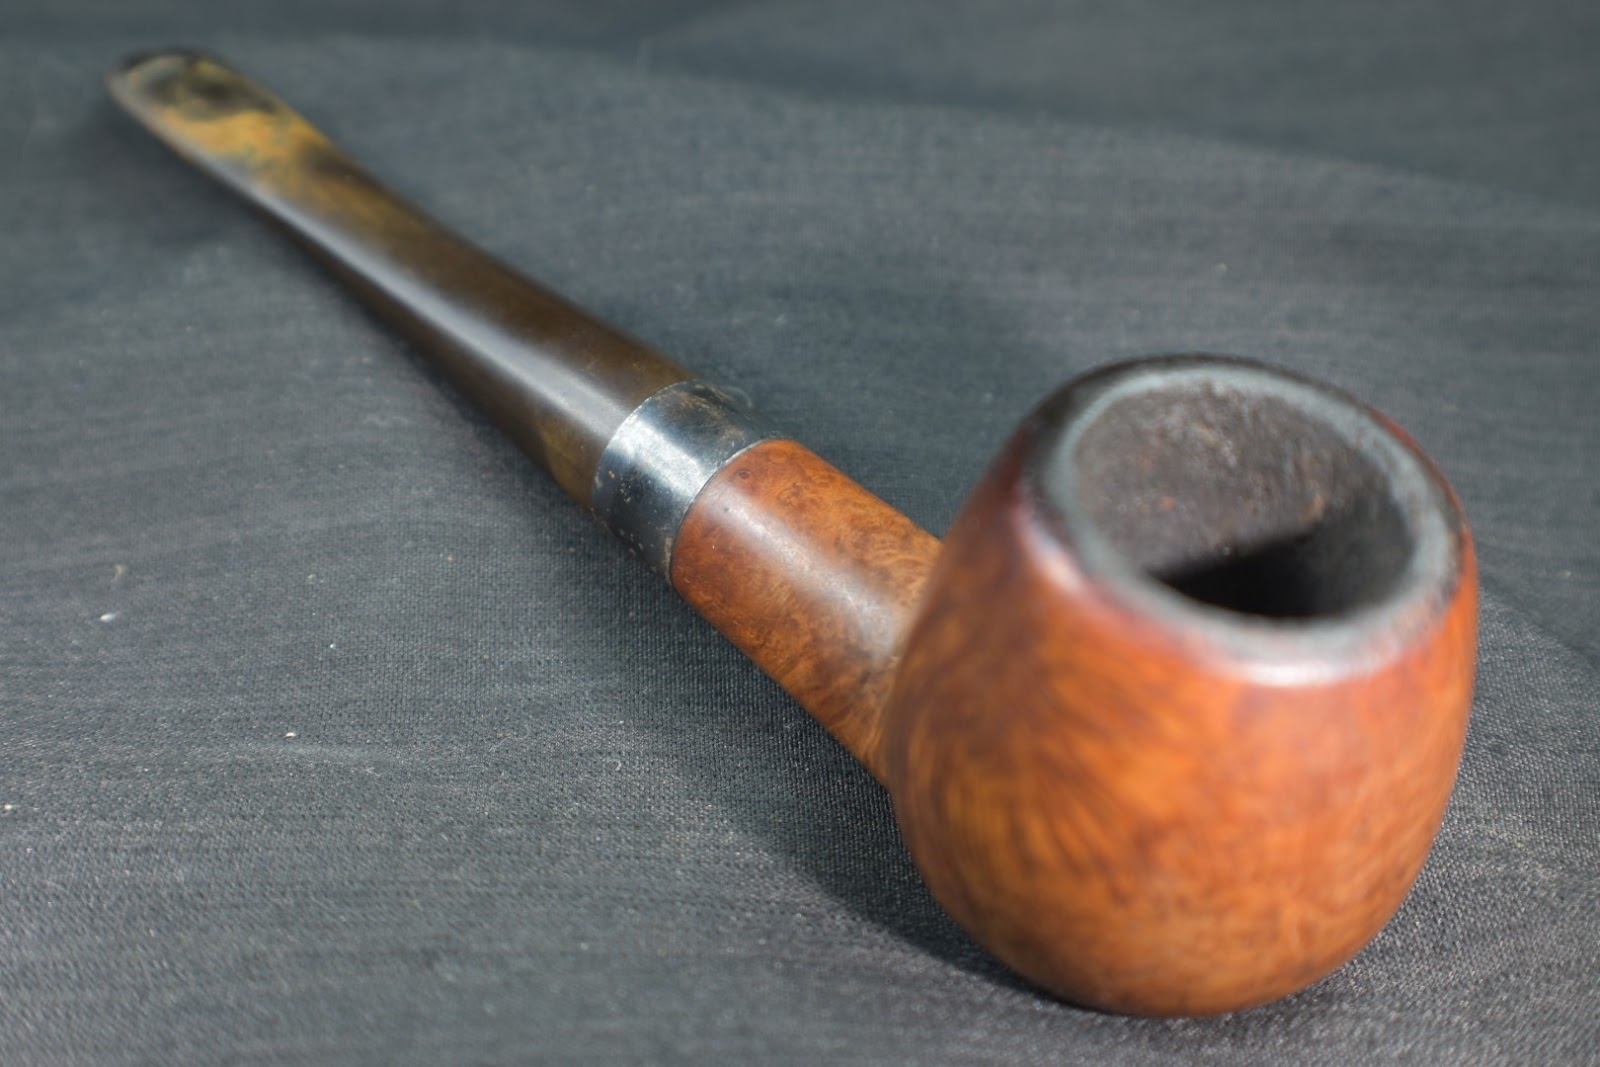
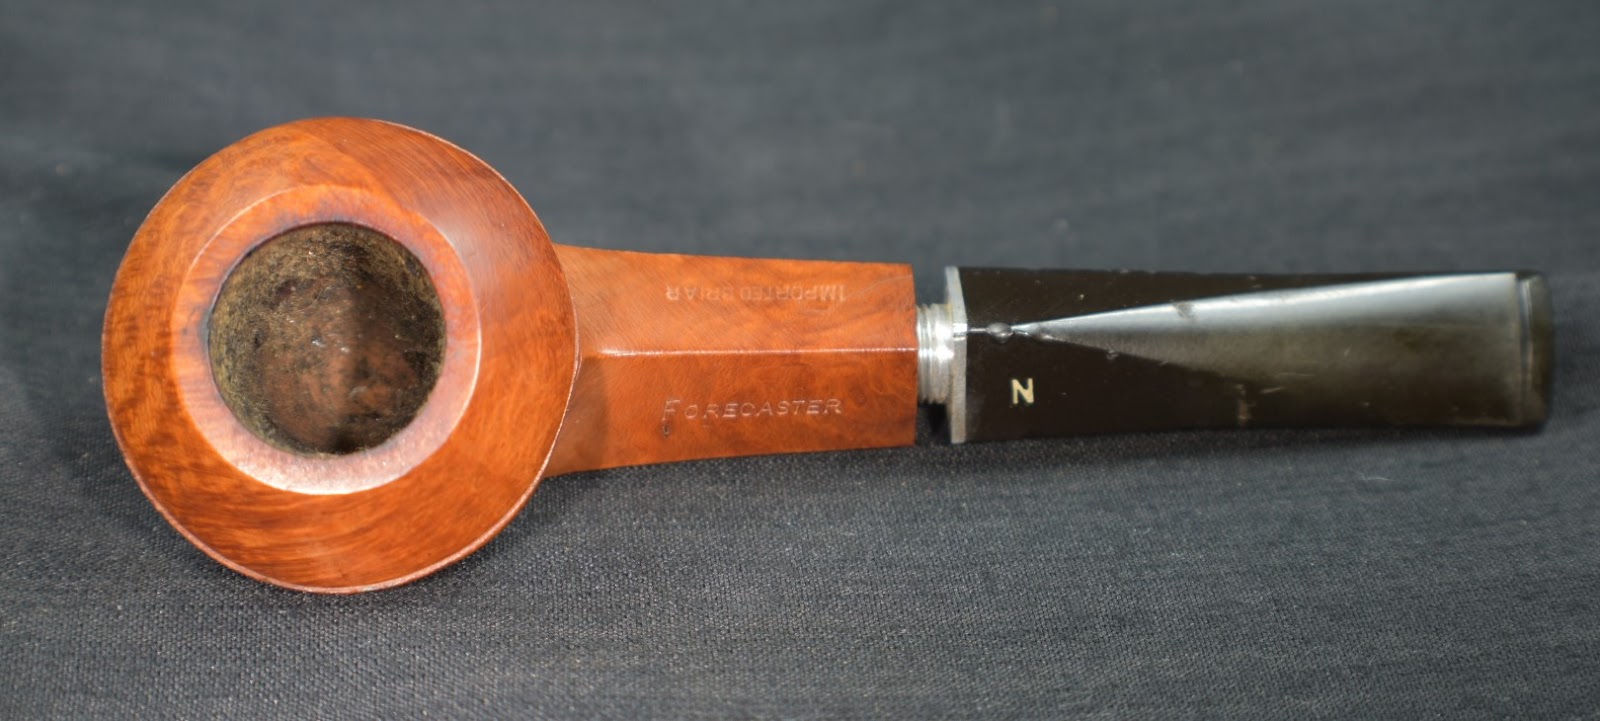
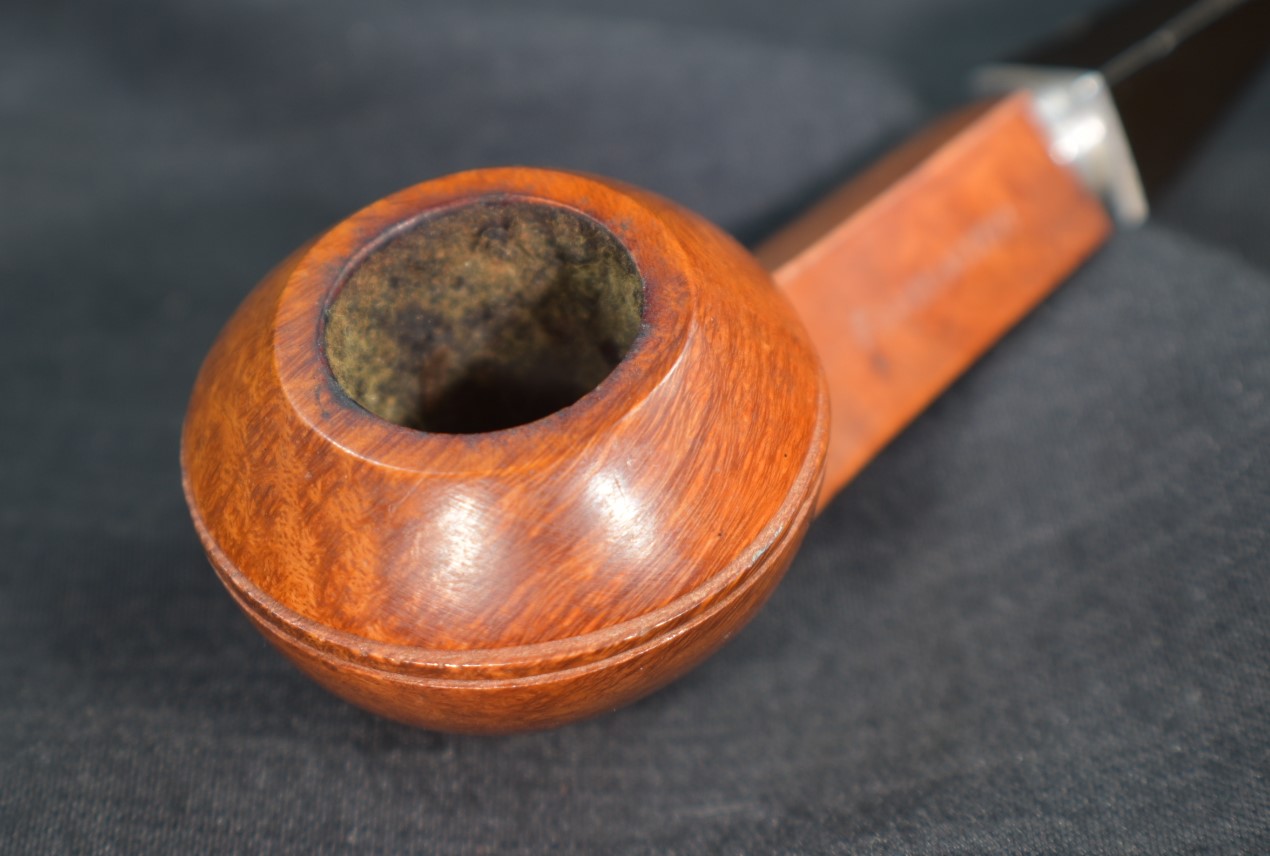
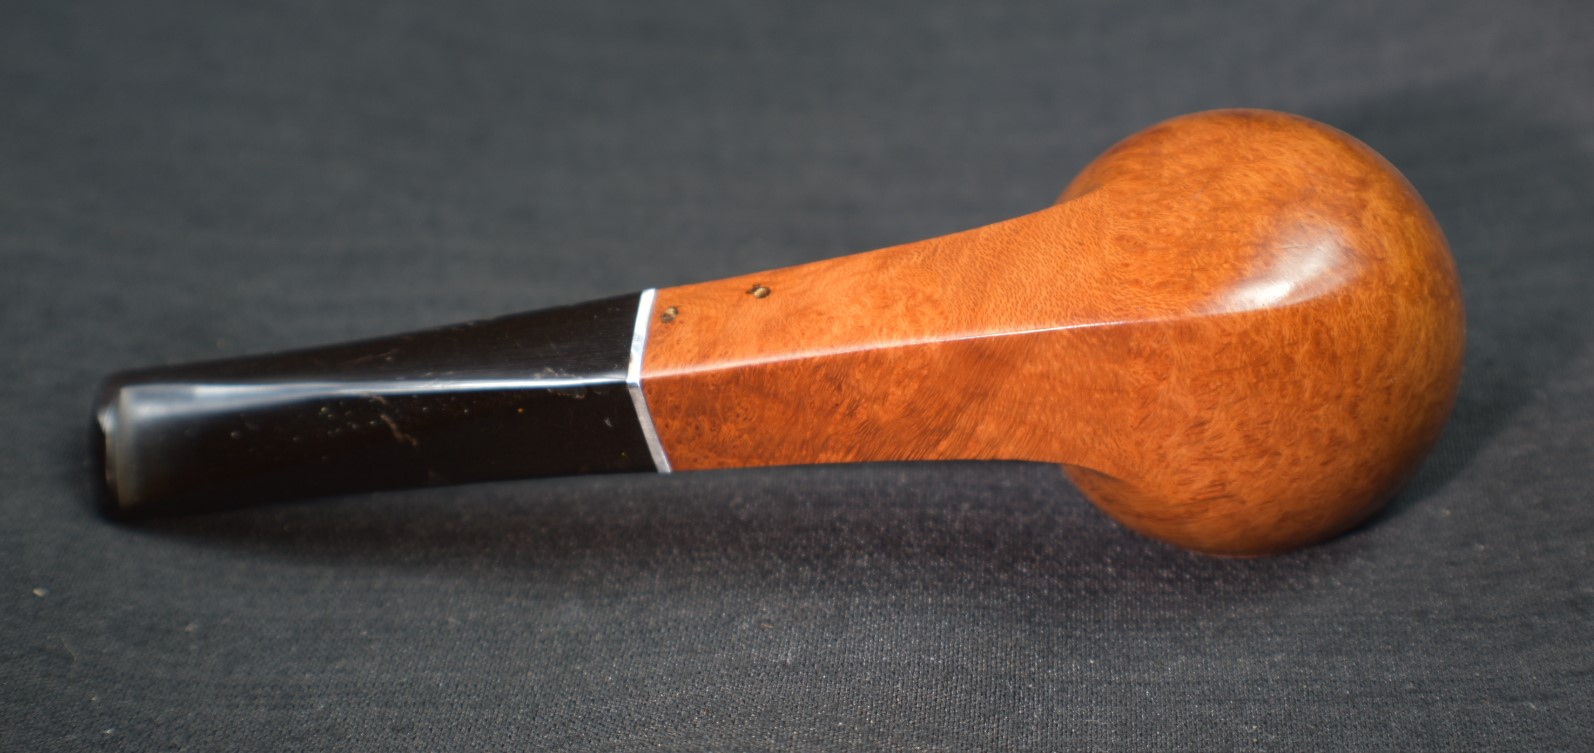
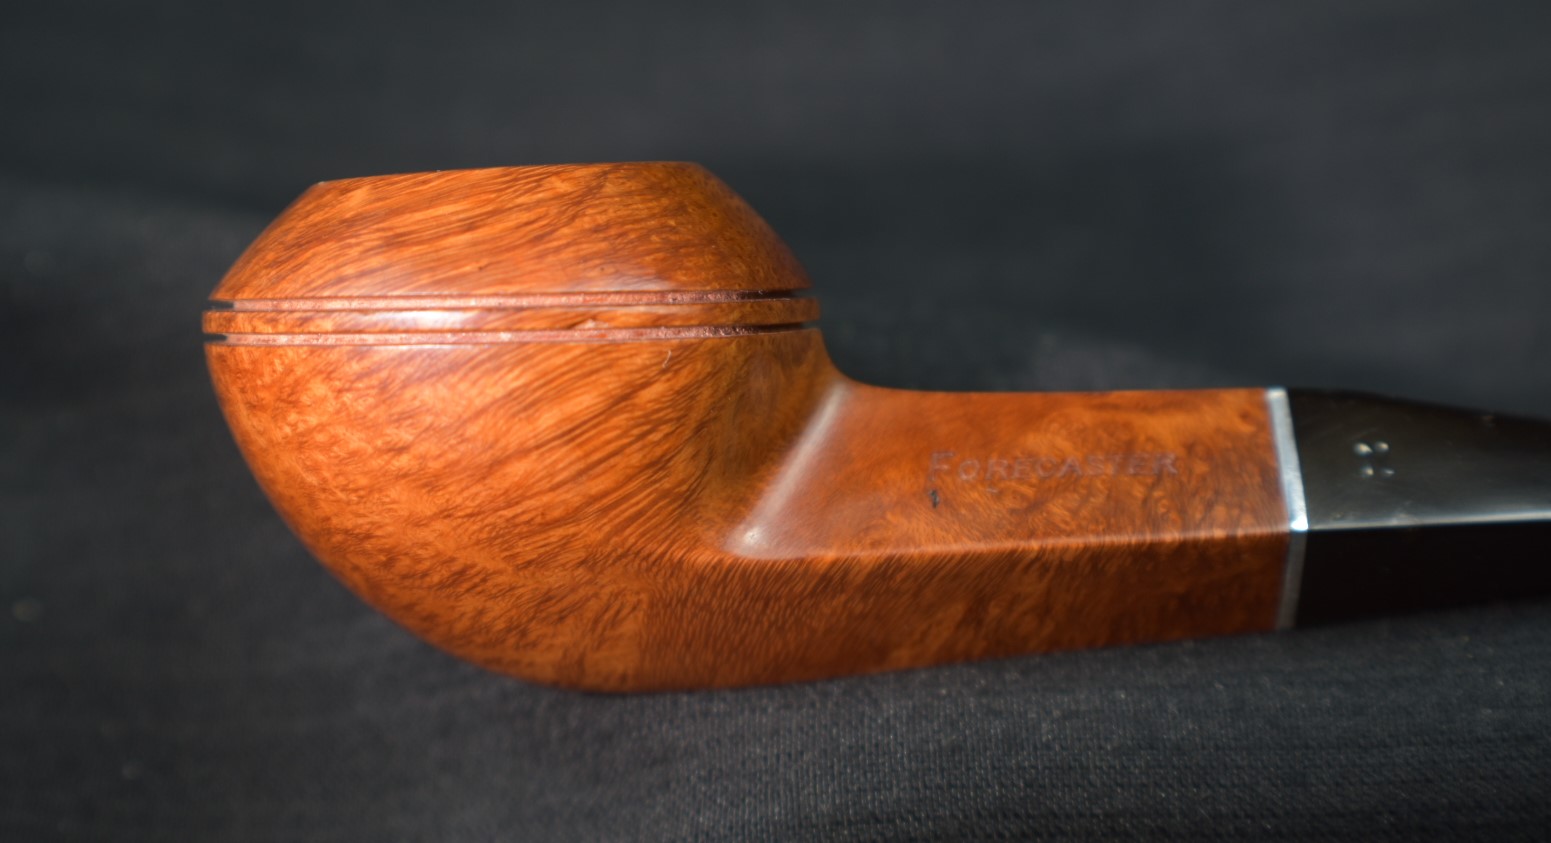
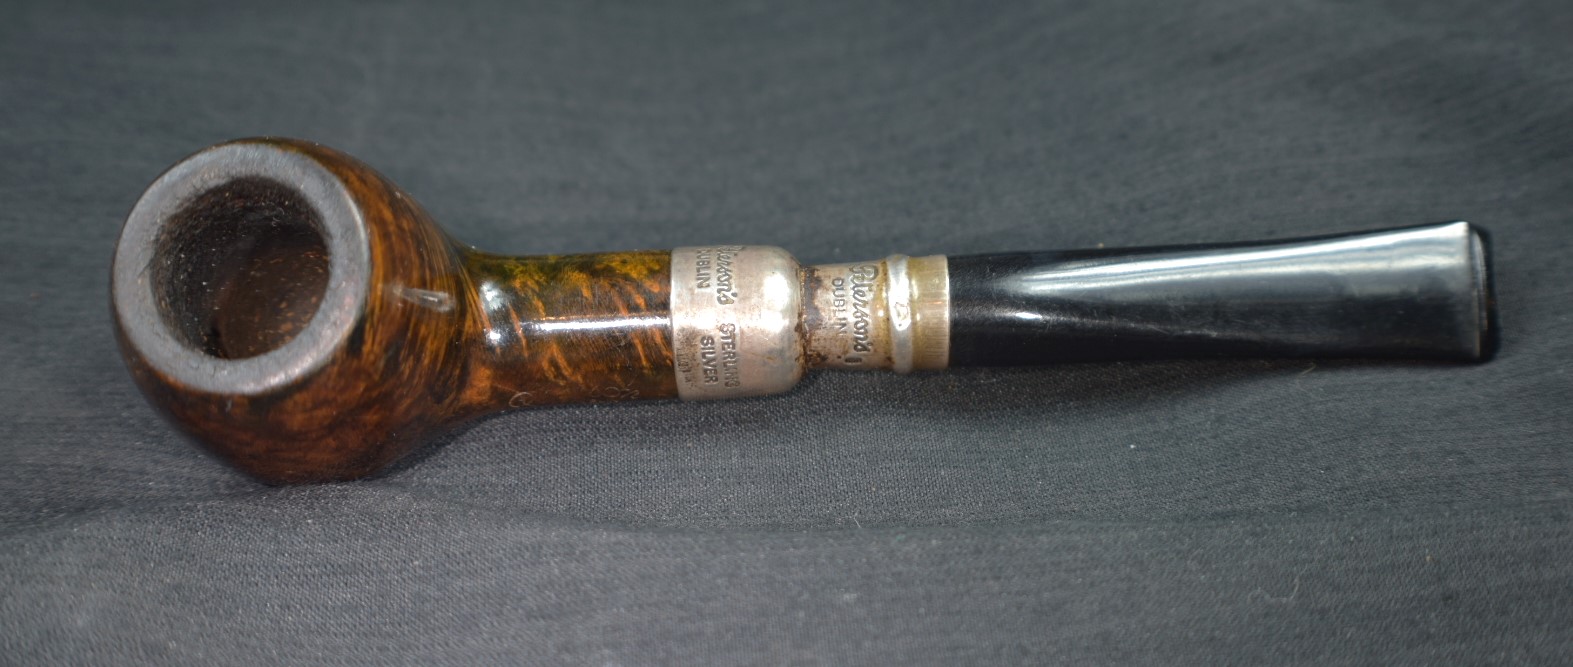
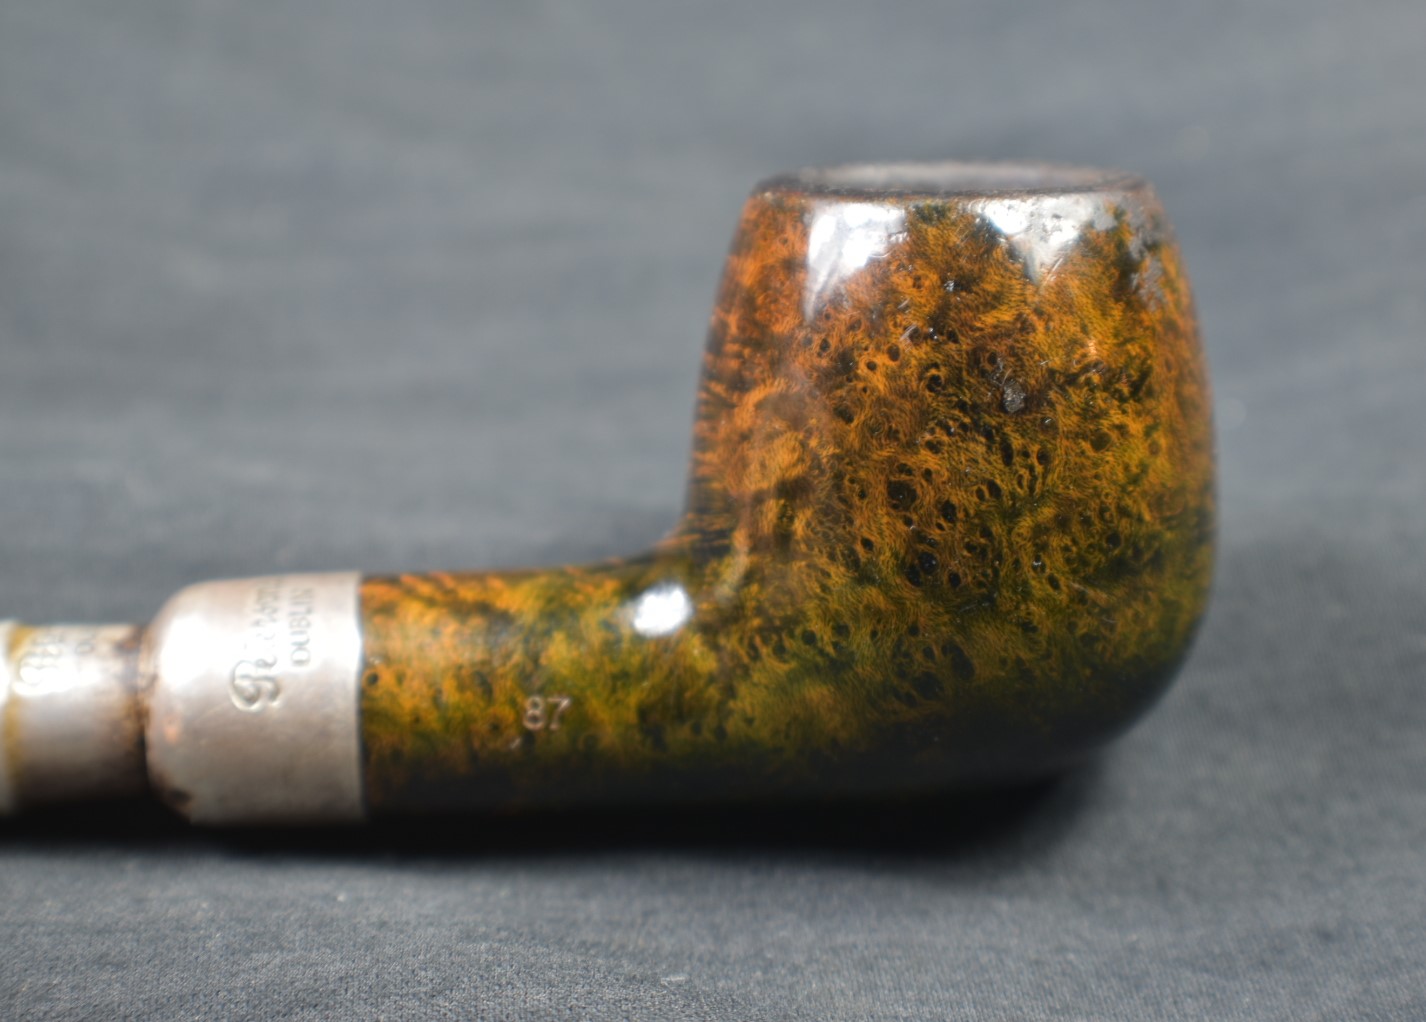
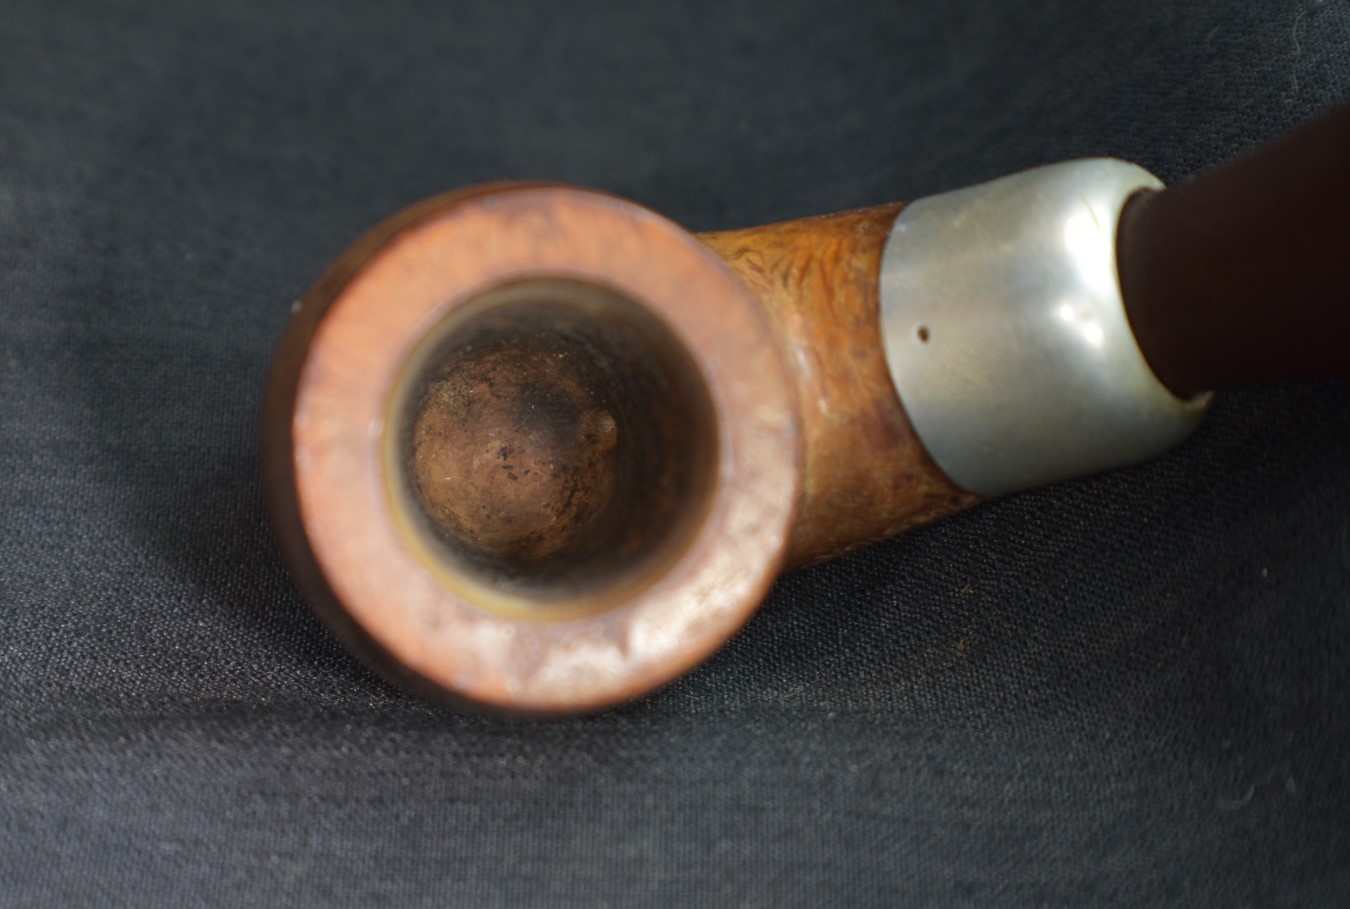
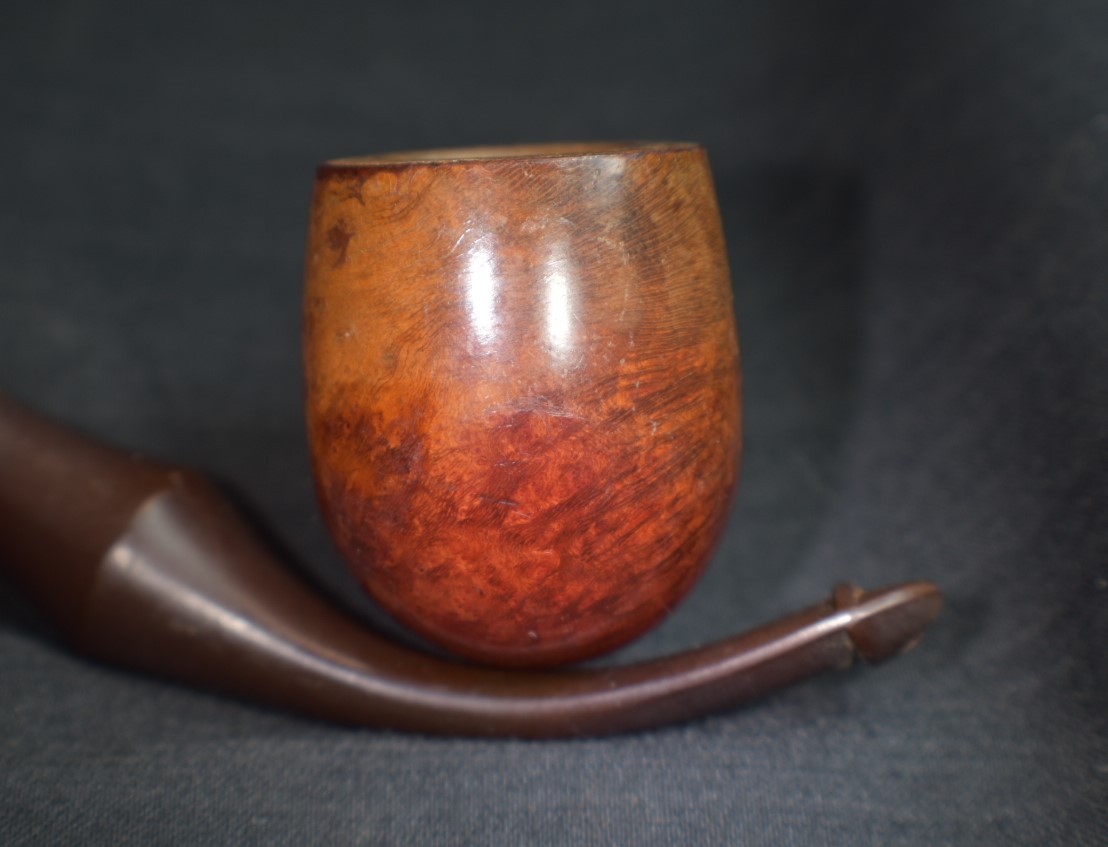
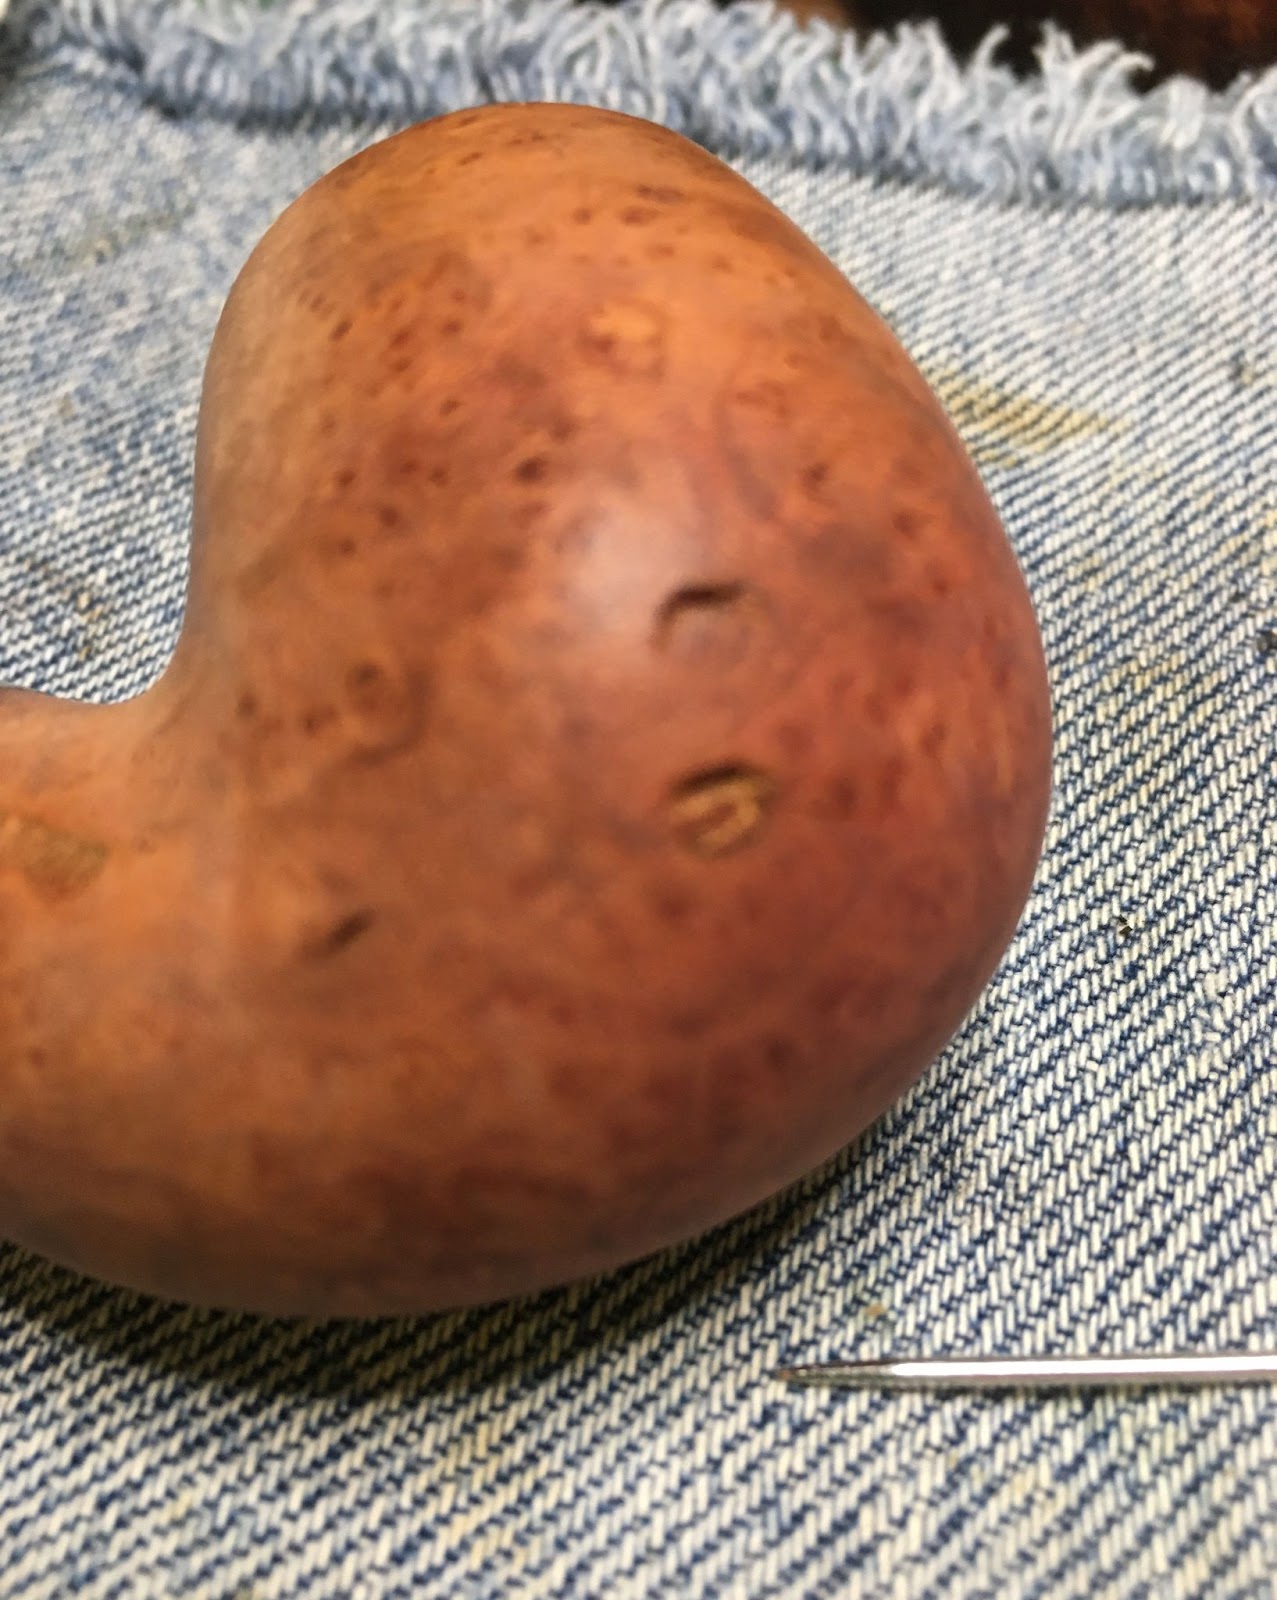
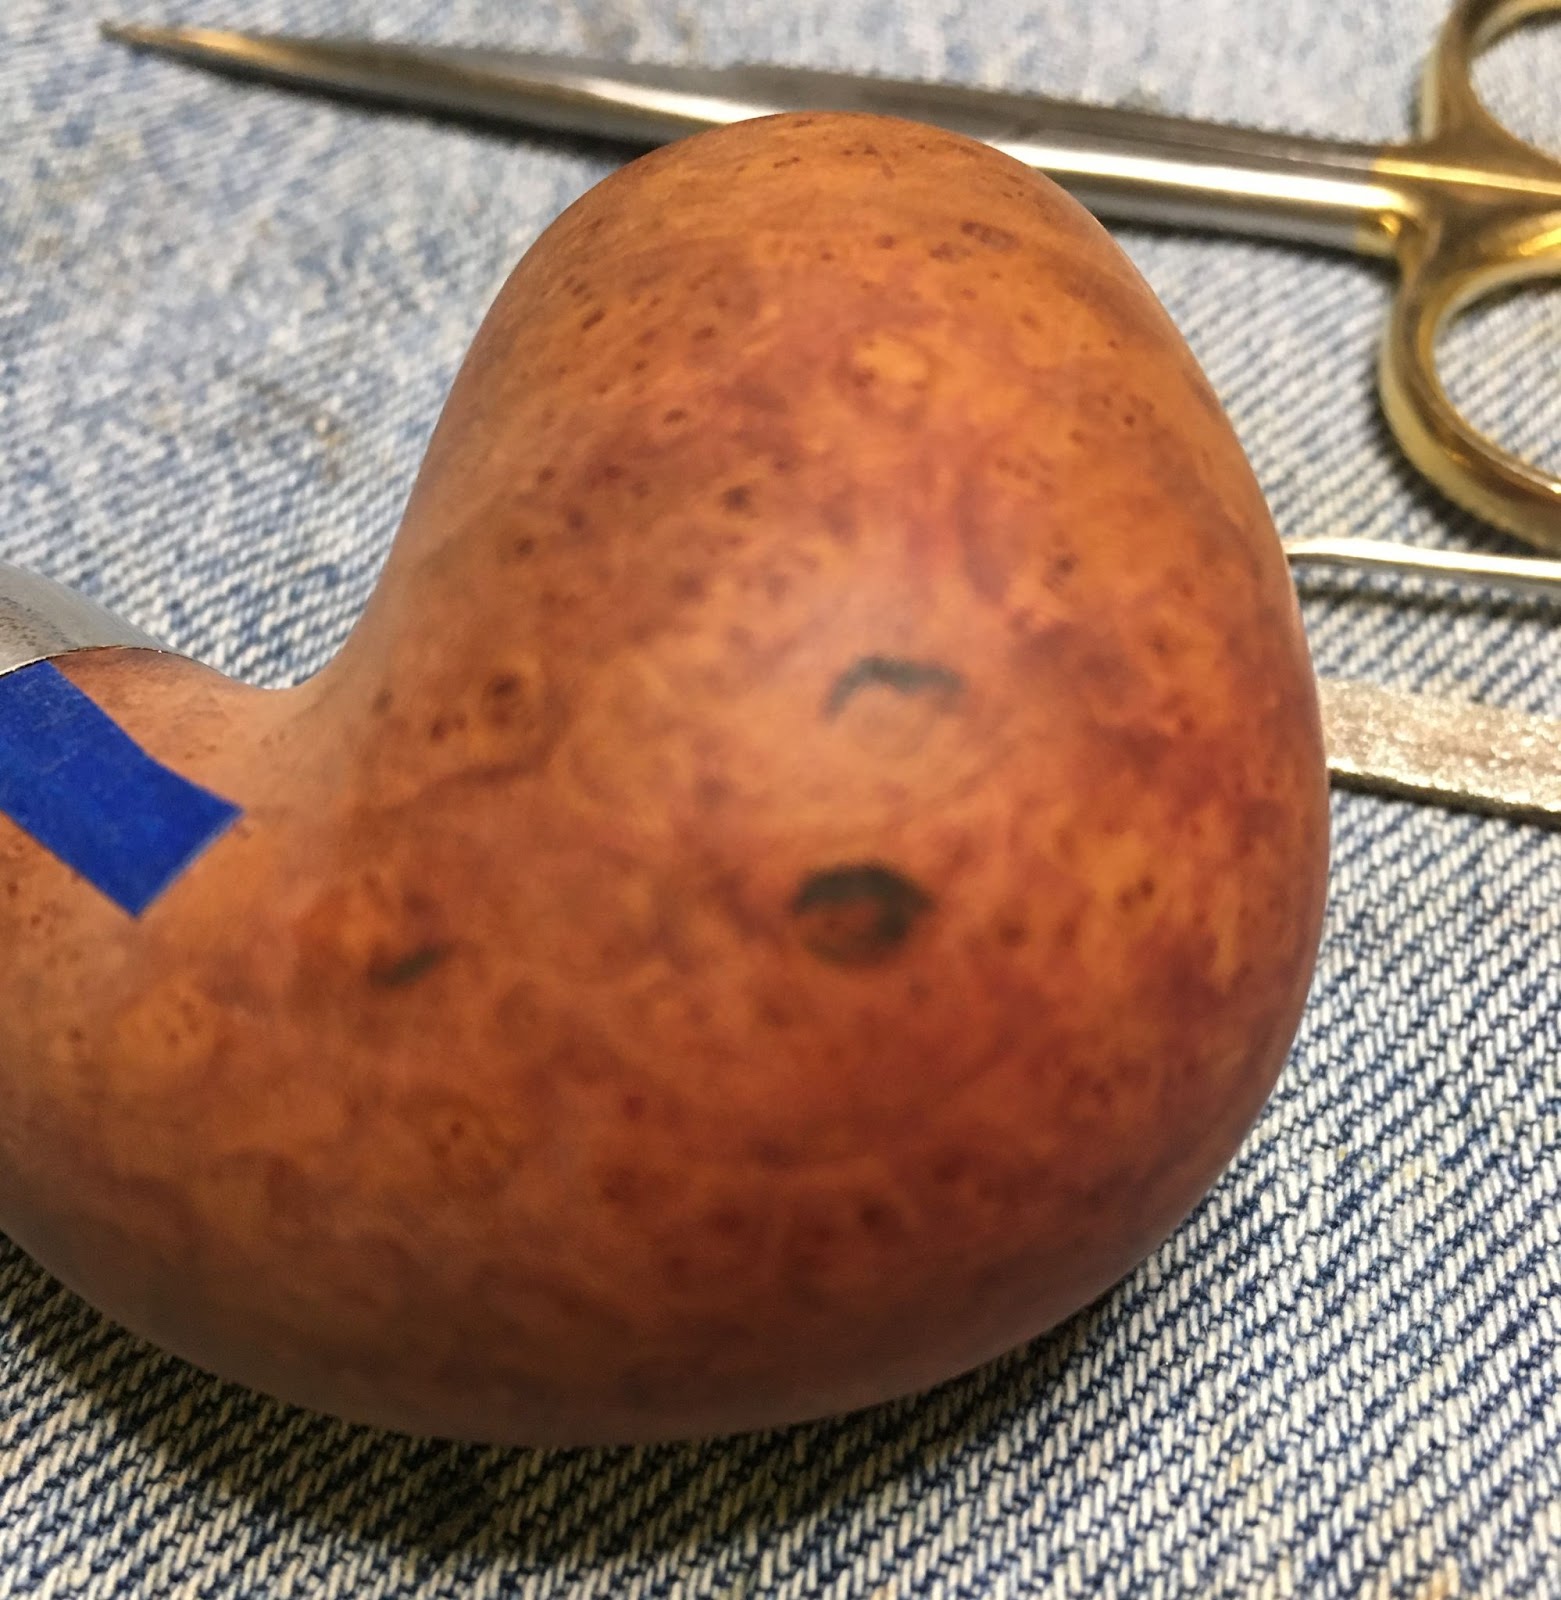
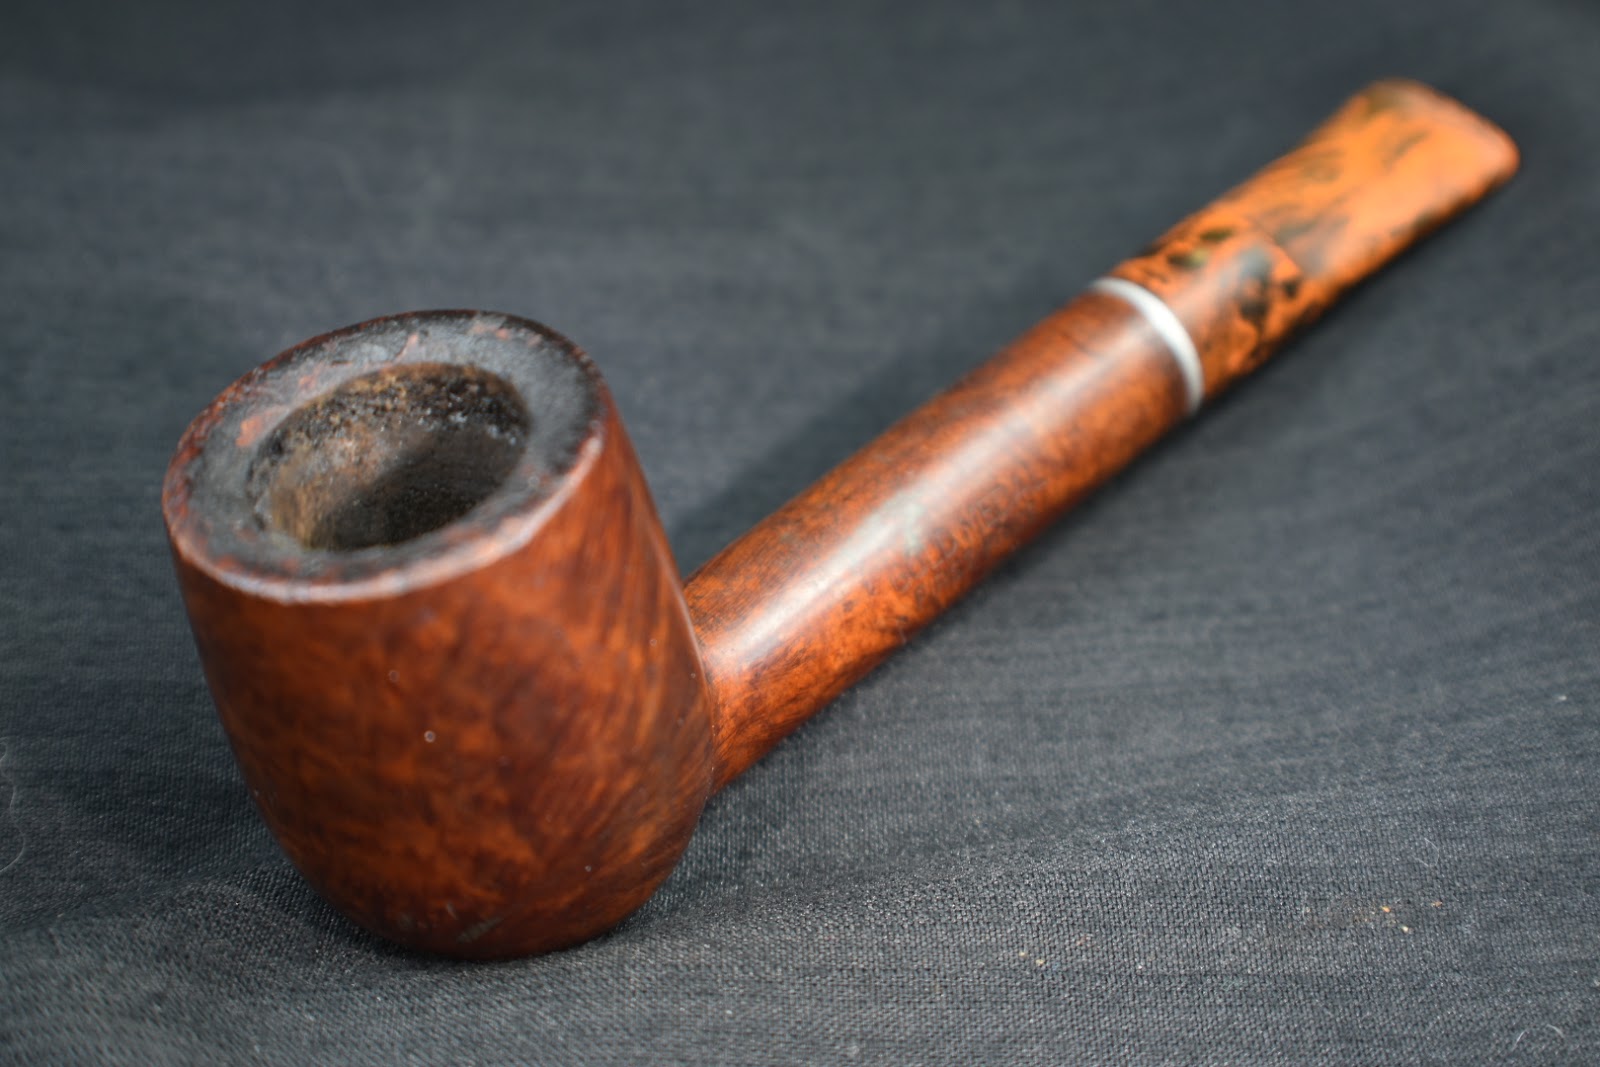
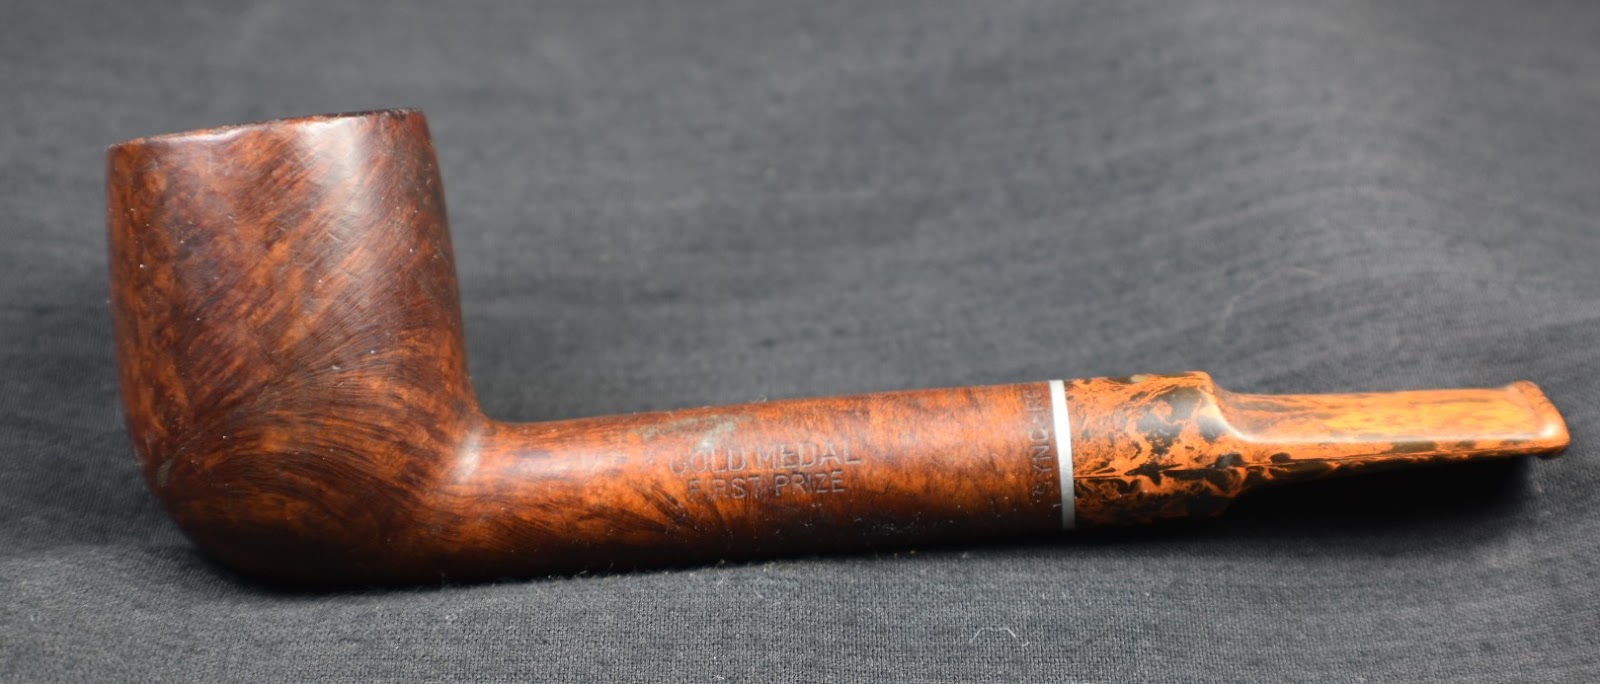
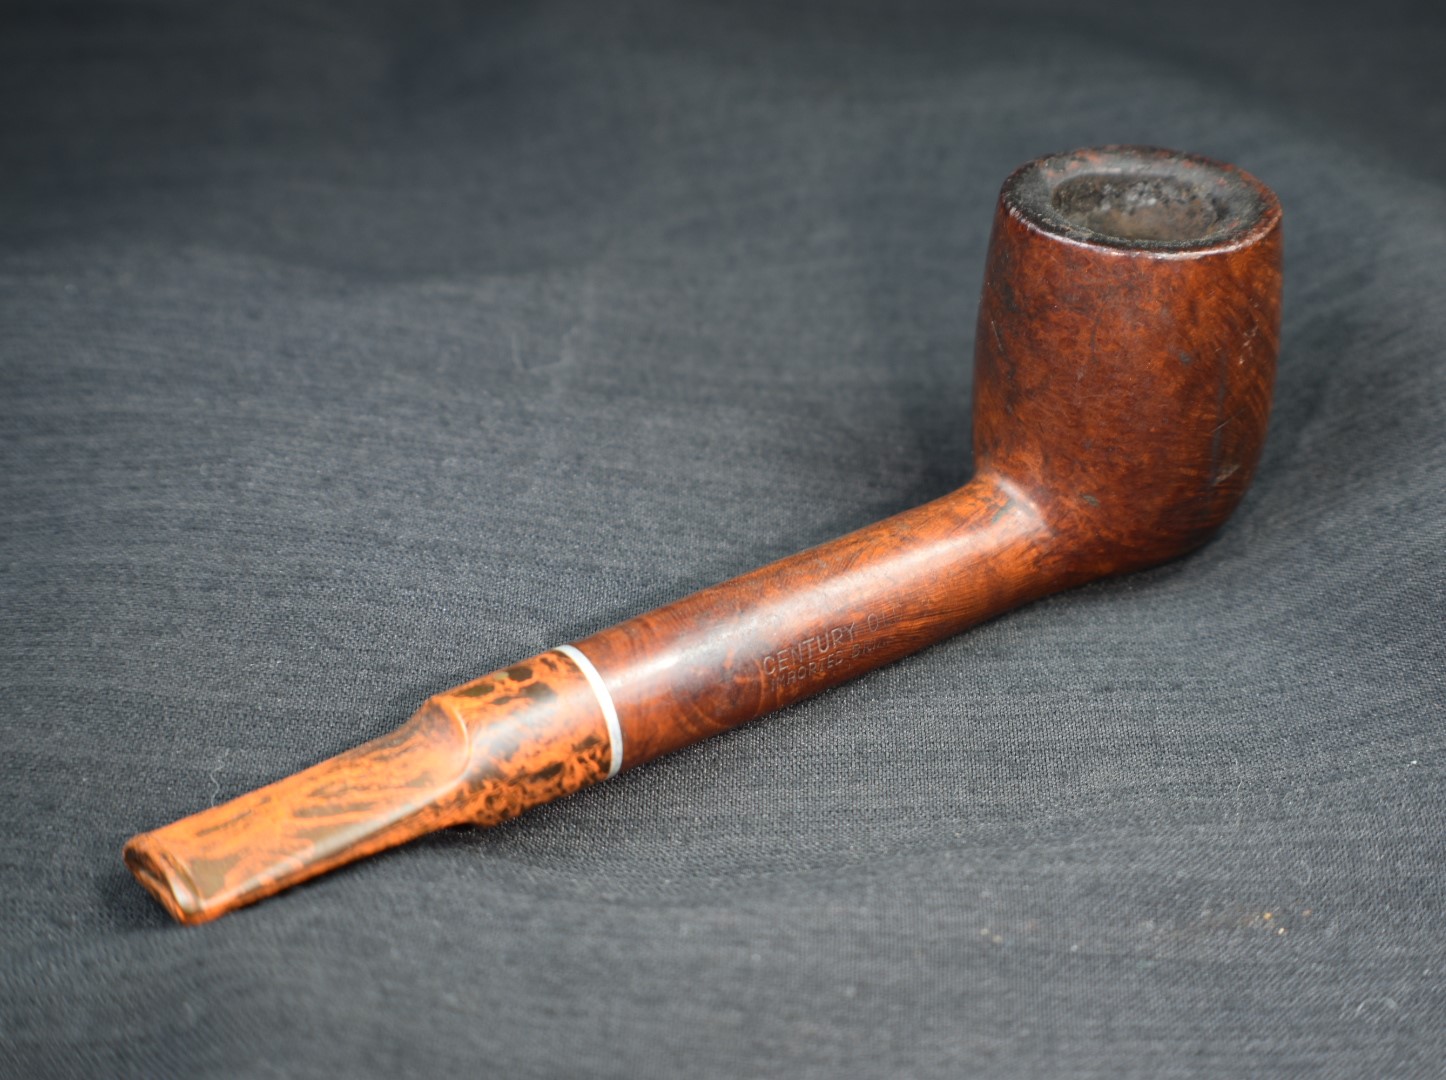
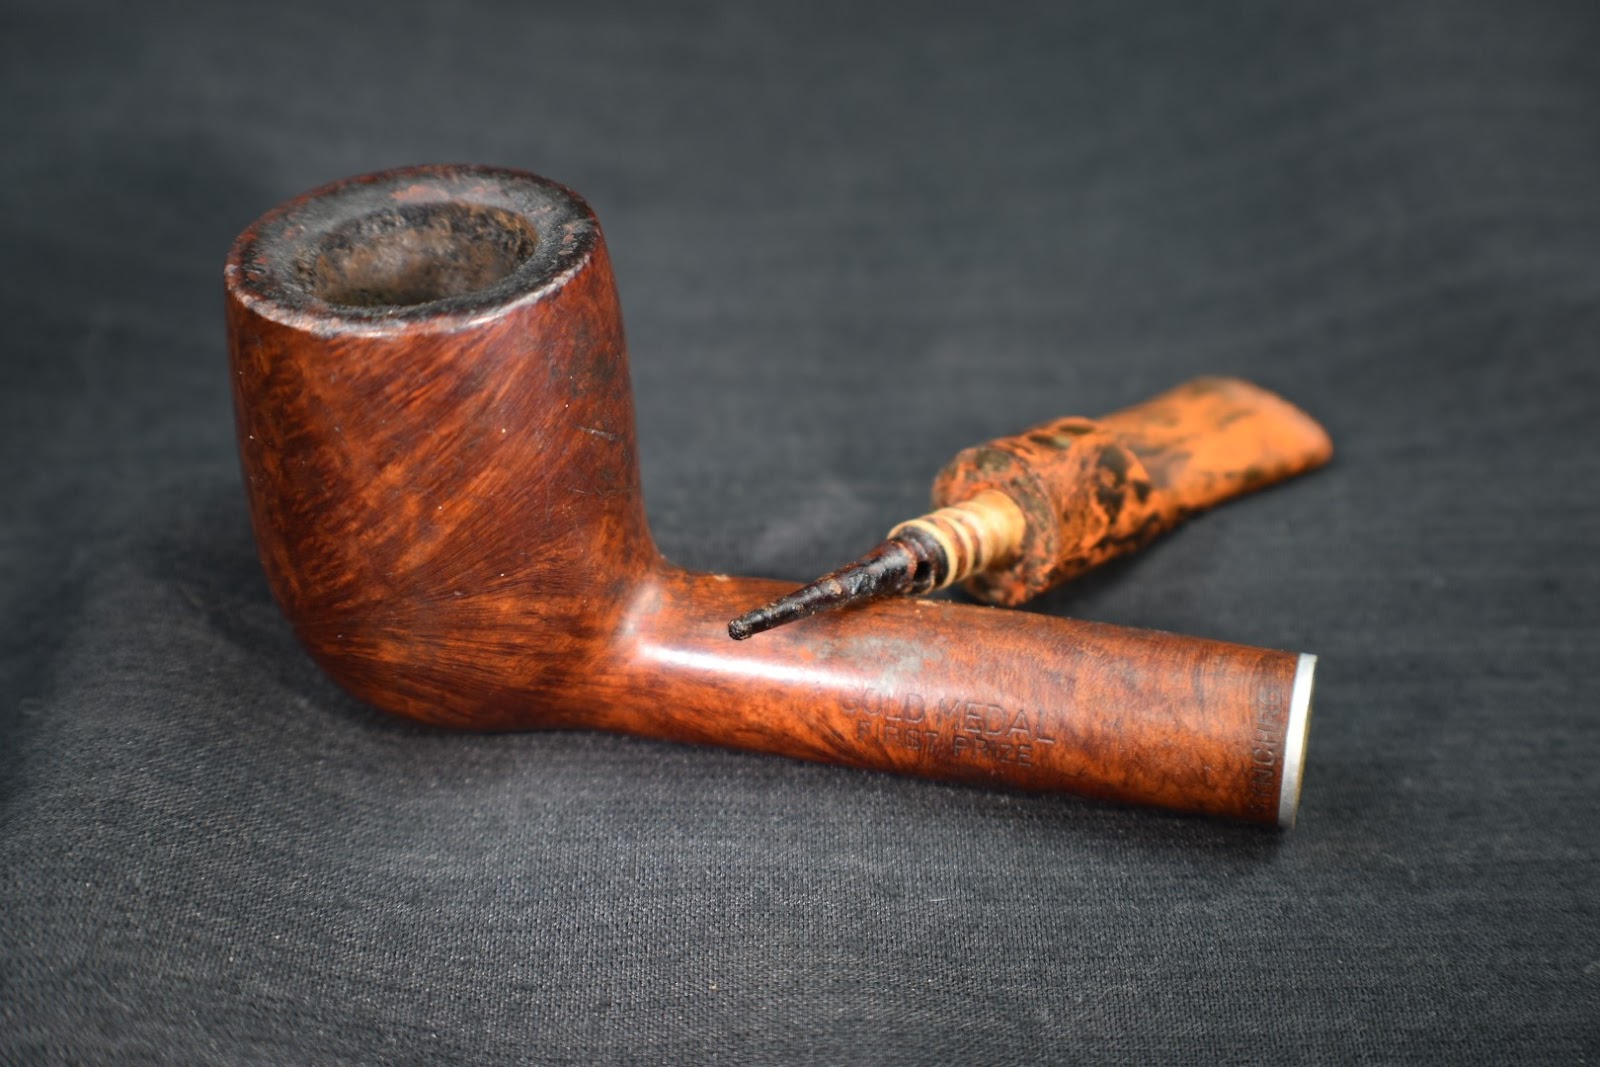
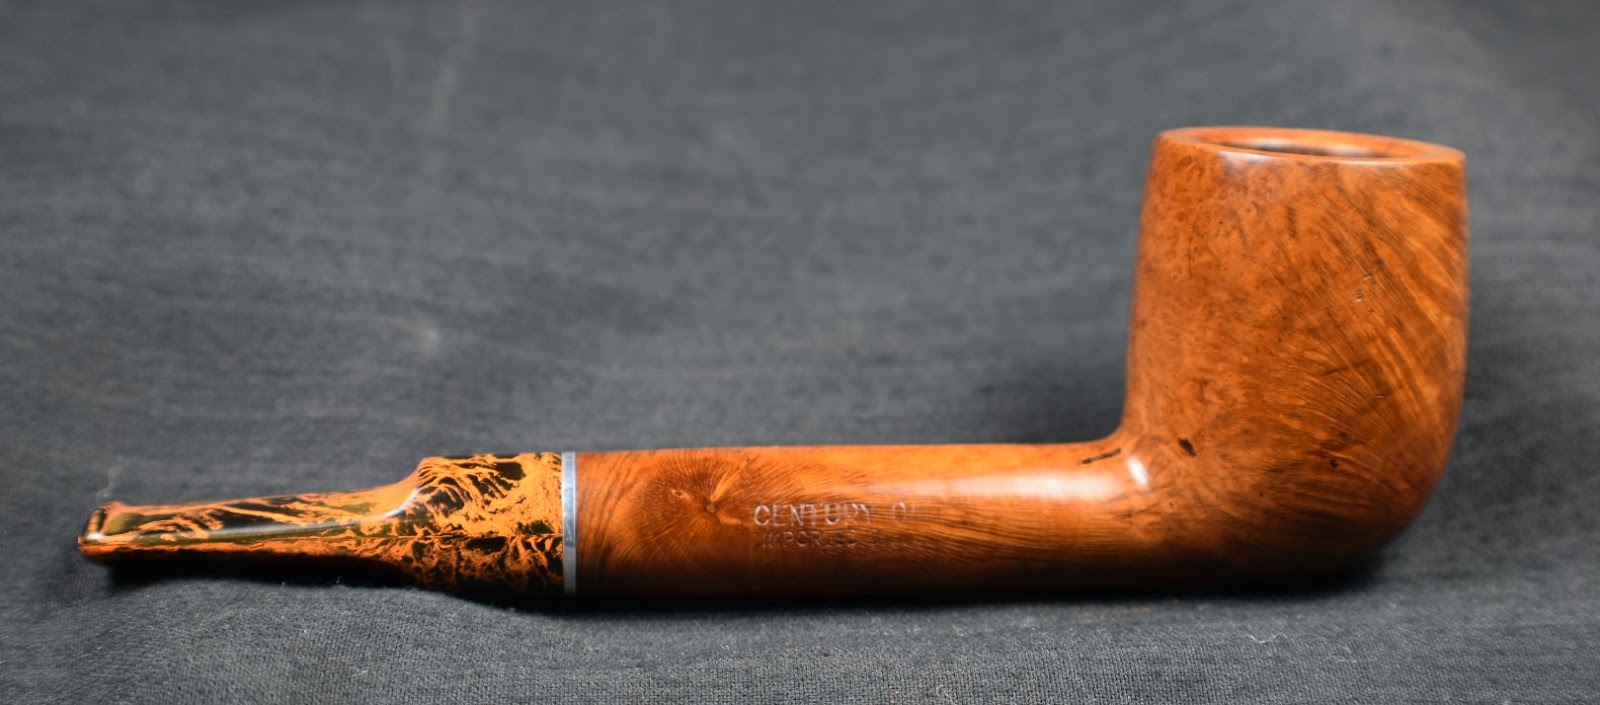
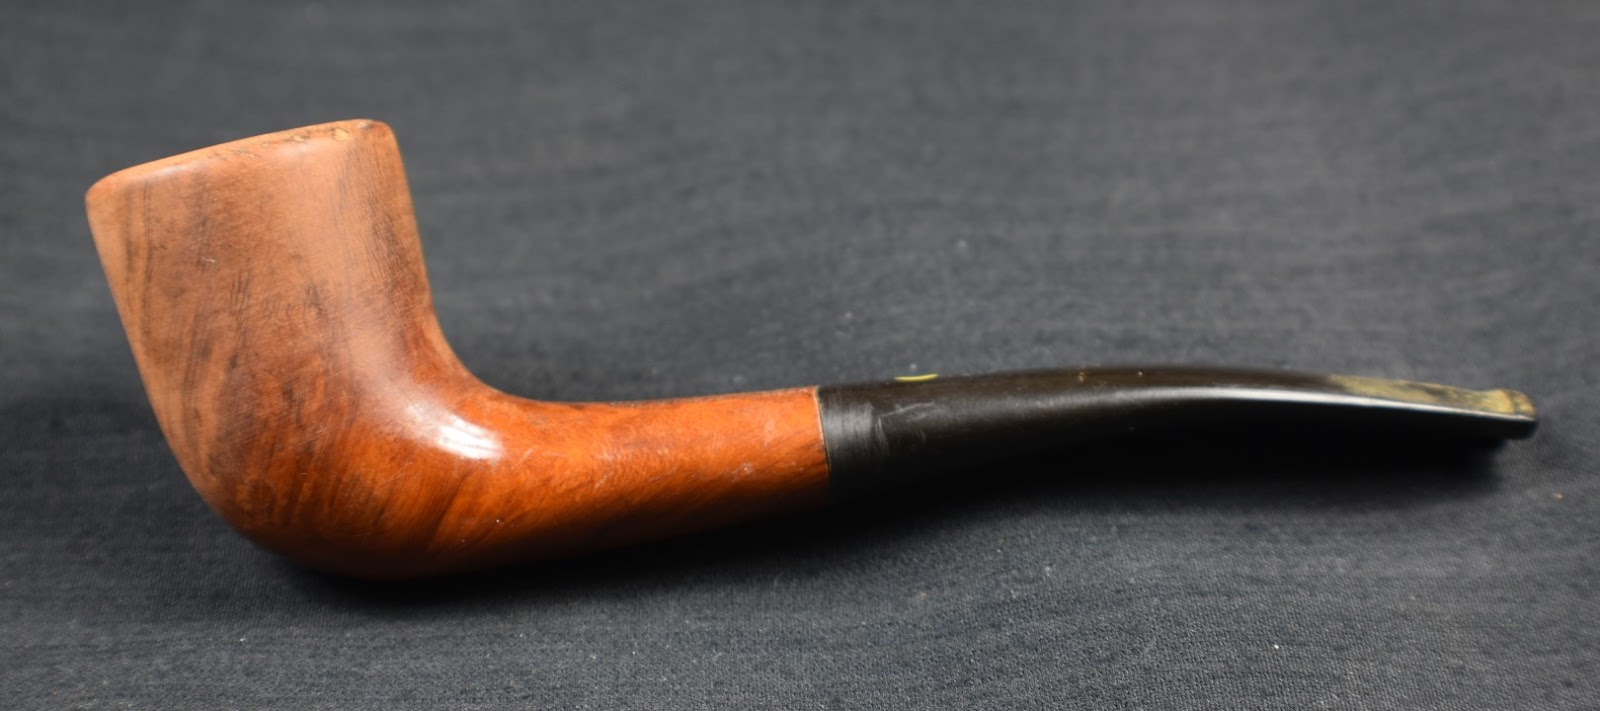
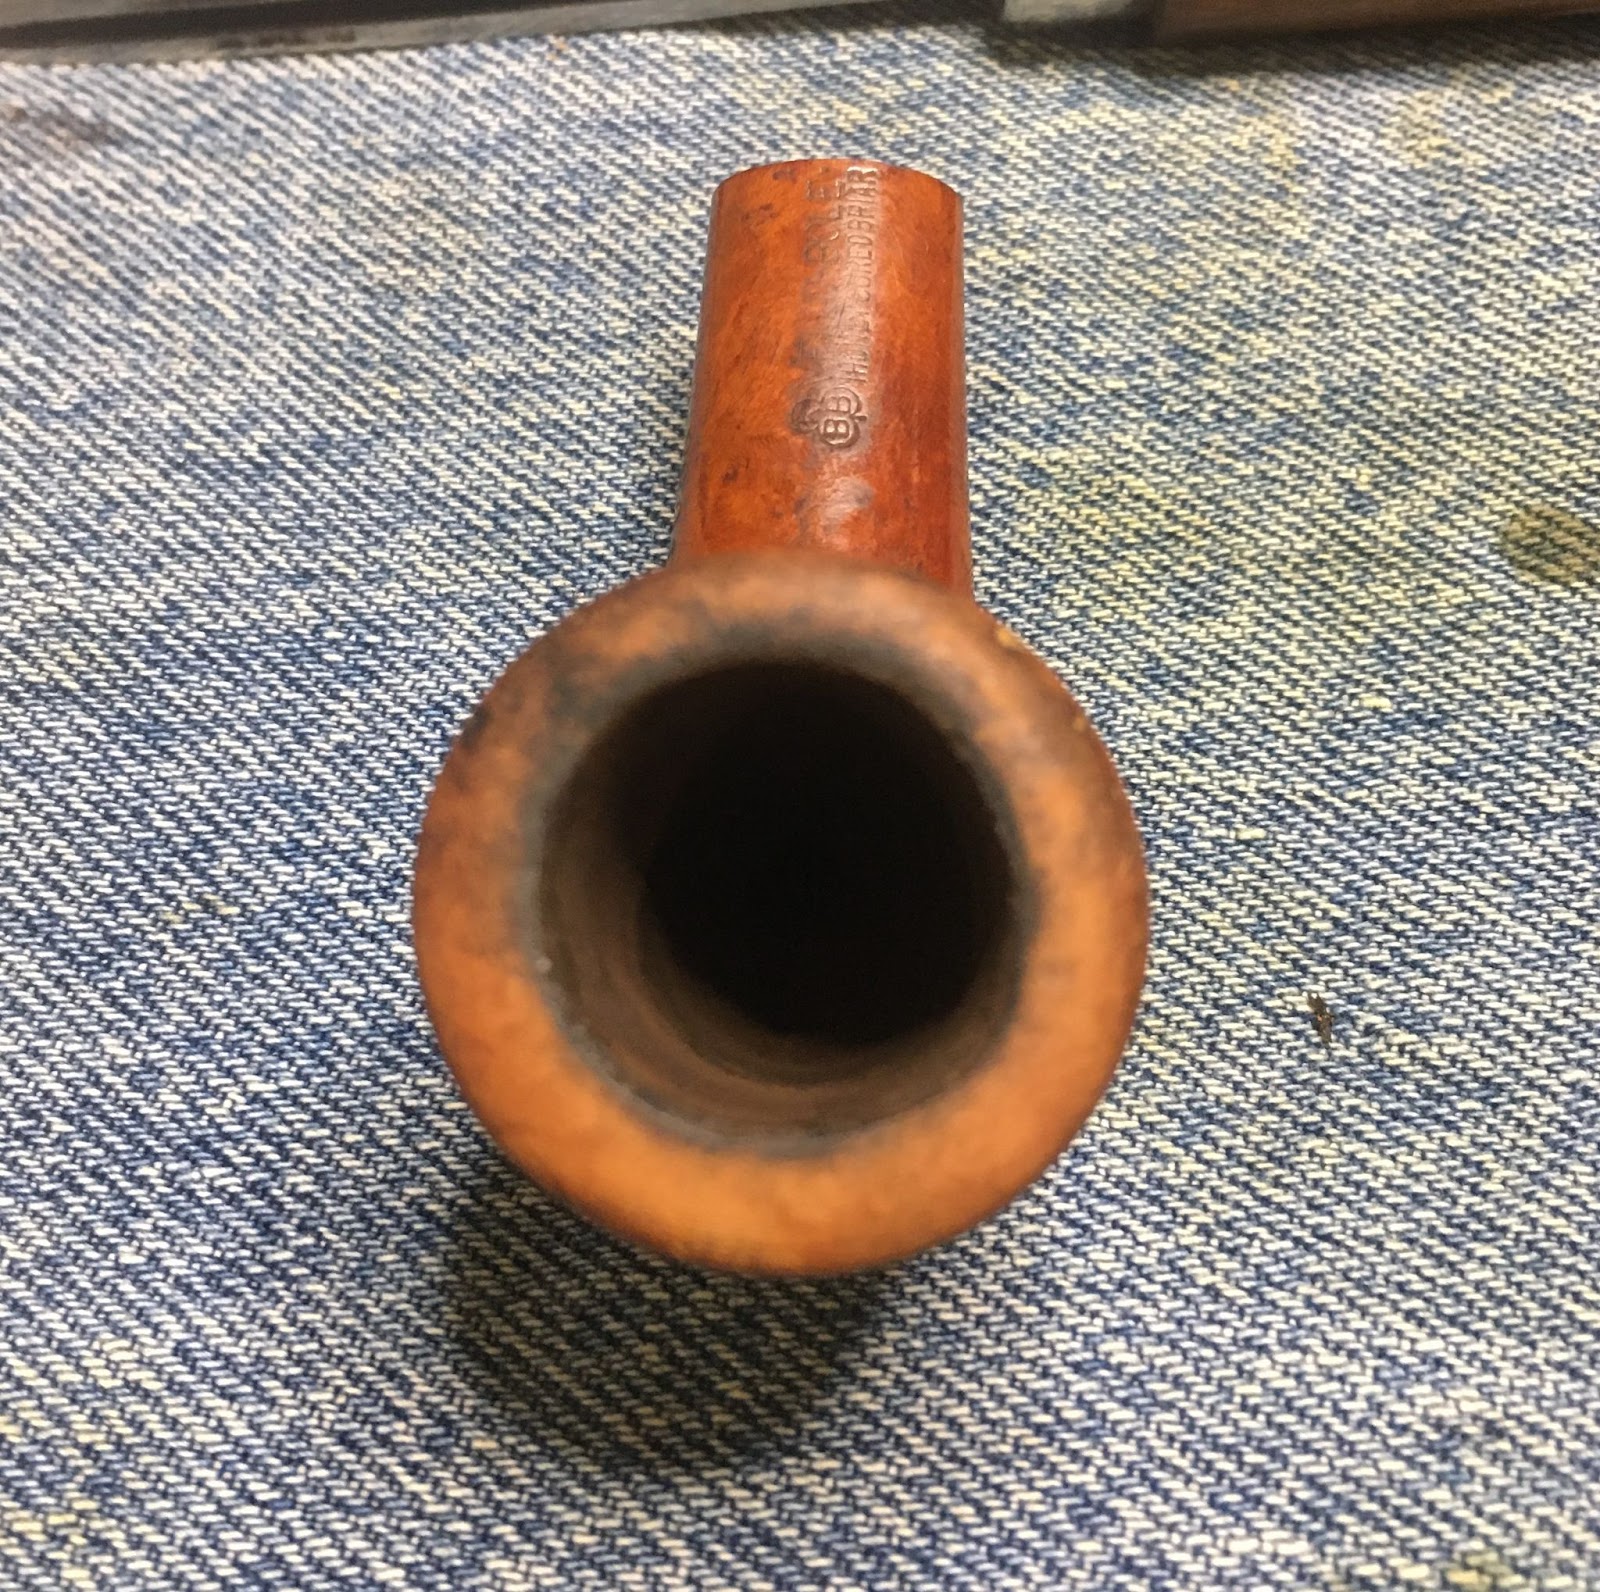
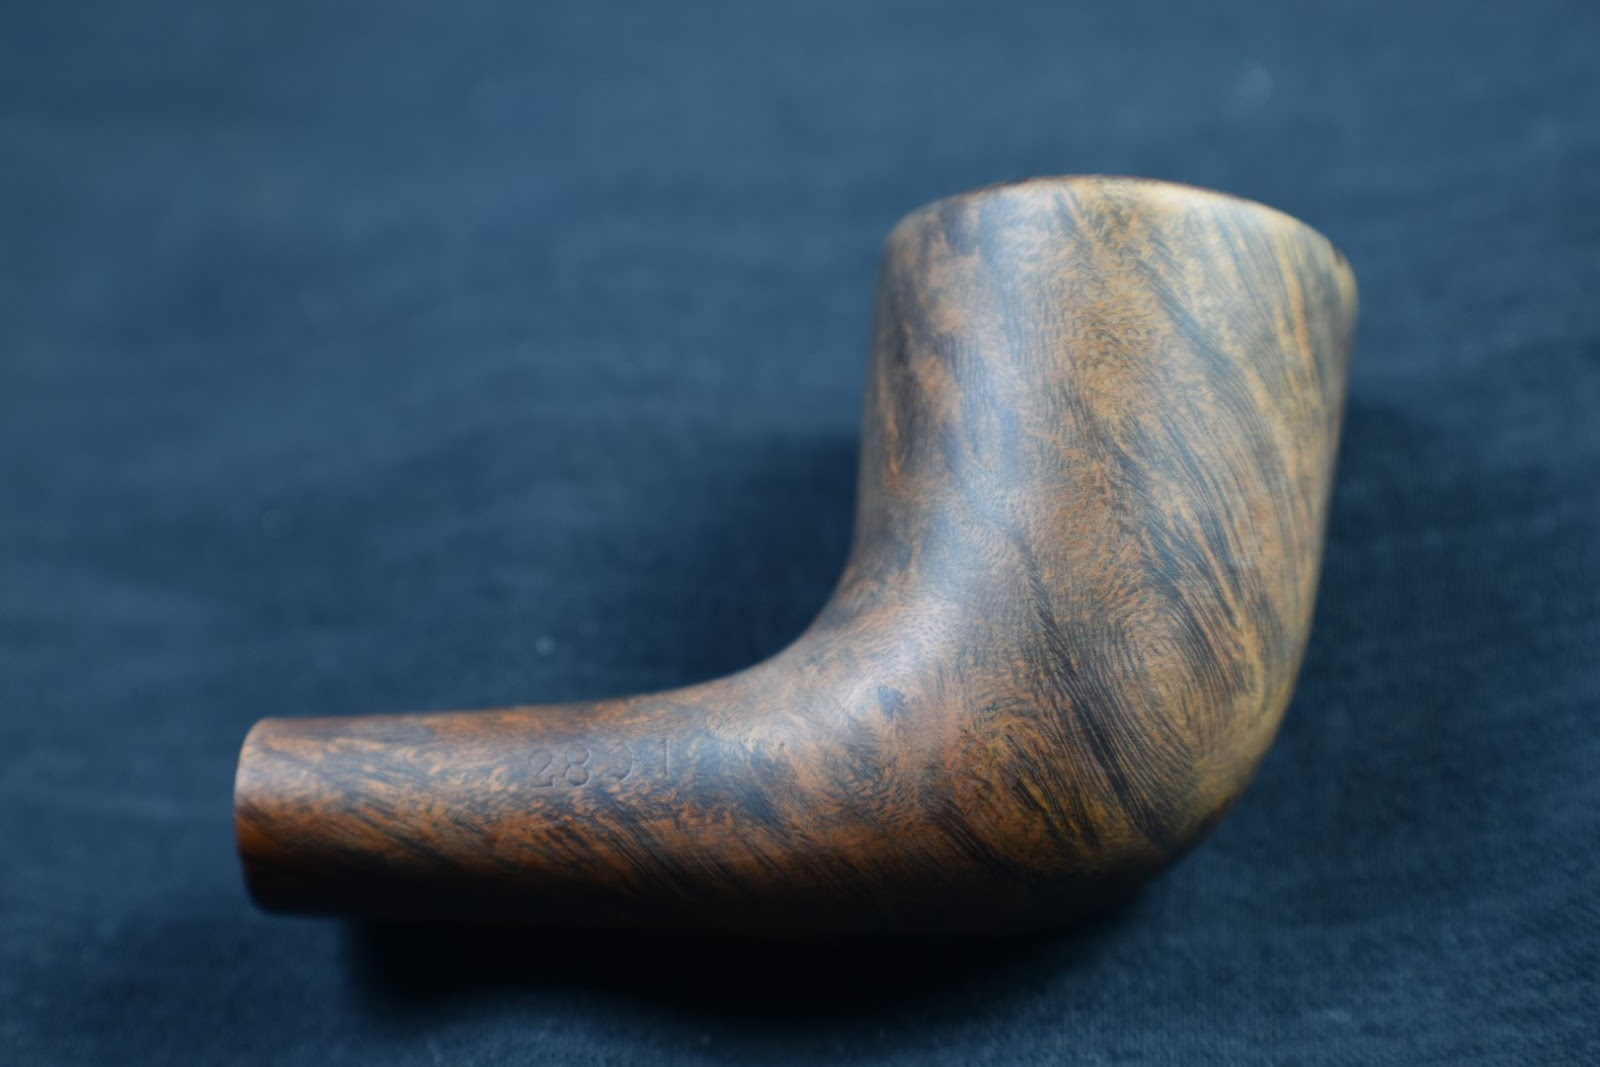
This Wally Frank came from an eBay auction that I just couldn’t ignore. Well, not for the price anyway. It is a carved or rusticated billiard in the fashion of the Custombilts from the 1940s-1950s. The little darling arrived in the middle of May and got bumped up in the restoration queue due to her good looks and to be completely honest, I was looking forward to a stress free restoration. Here is what she looked like upon arrival.


Stress free; some oxidation on the stem, a few decades of grime, minimal sanding, serious reaming and airway cleaning aside, this looks like relaxation therapy to me.
Wally Frank Background
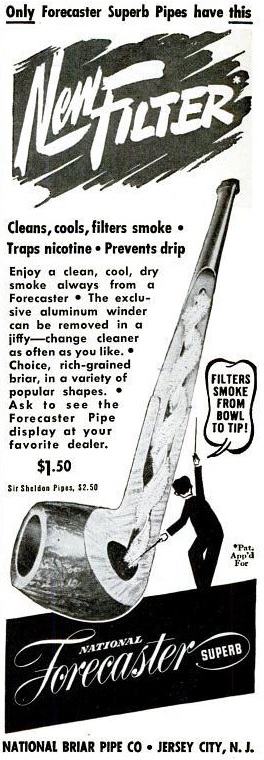
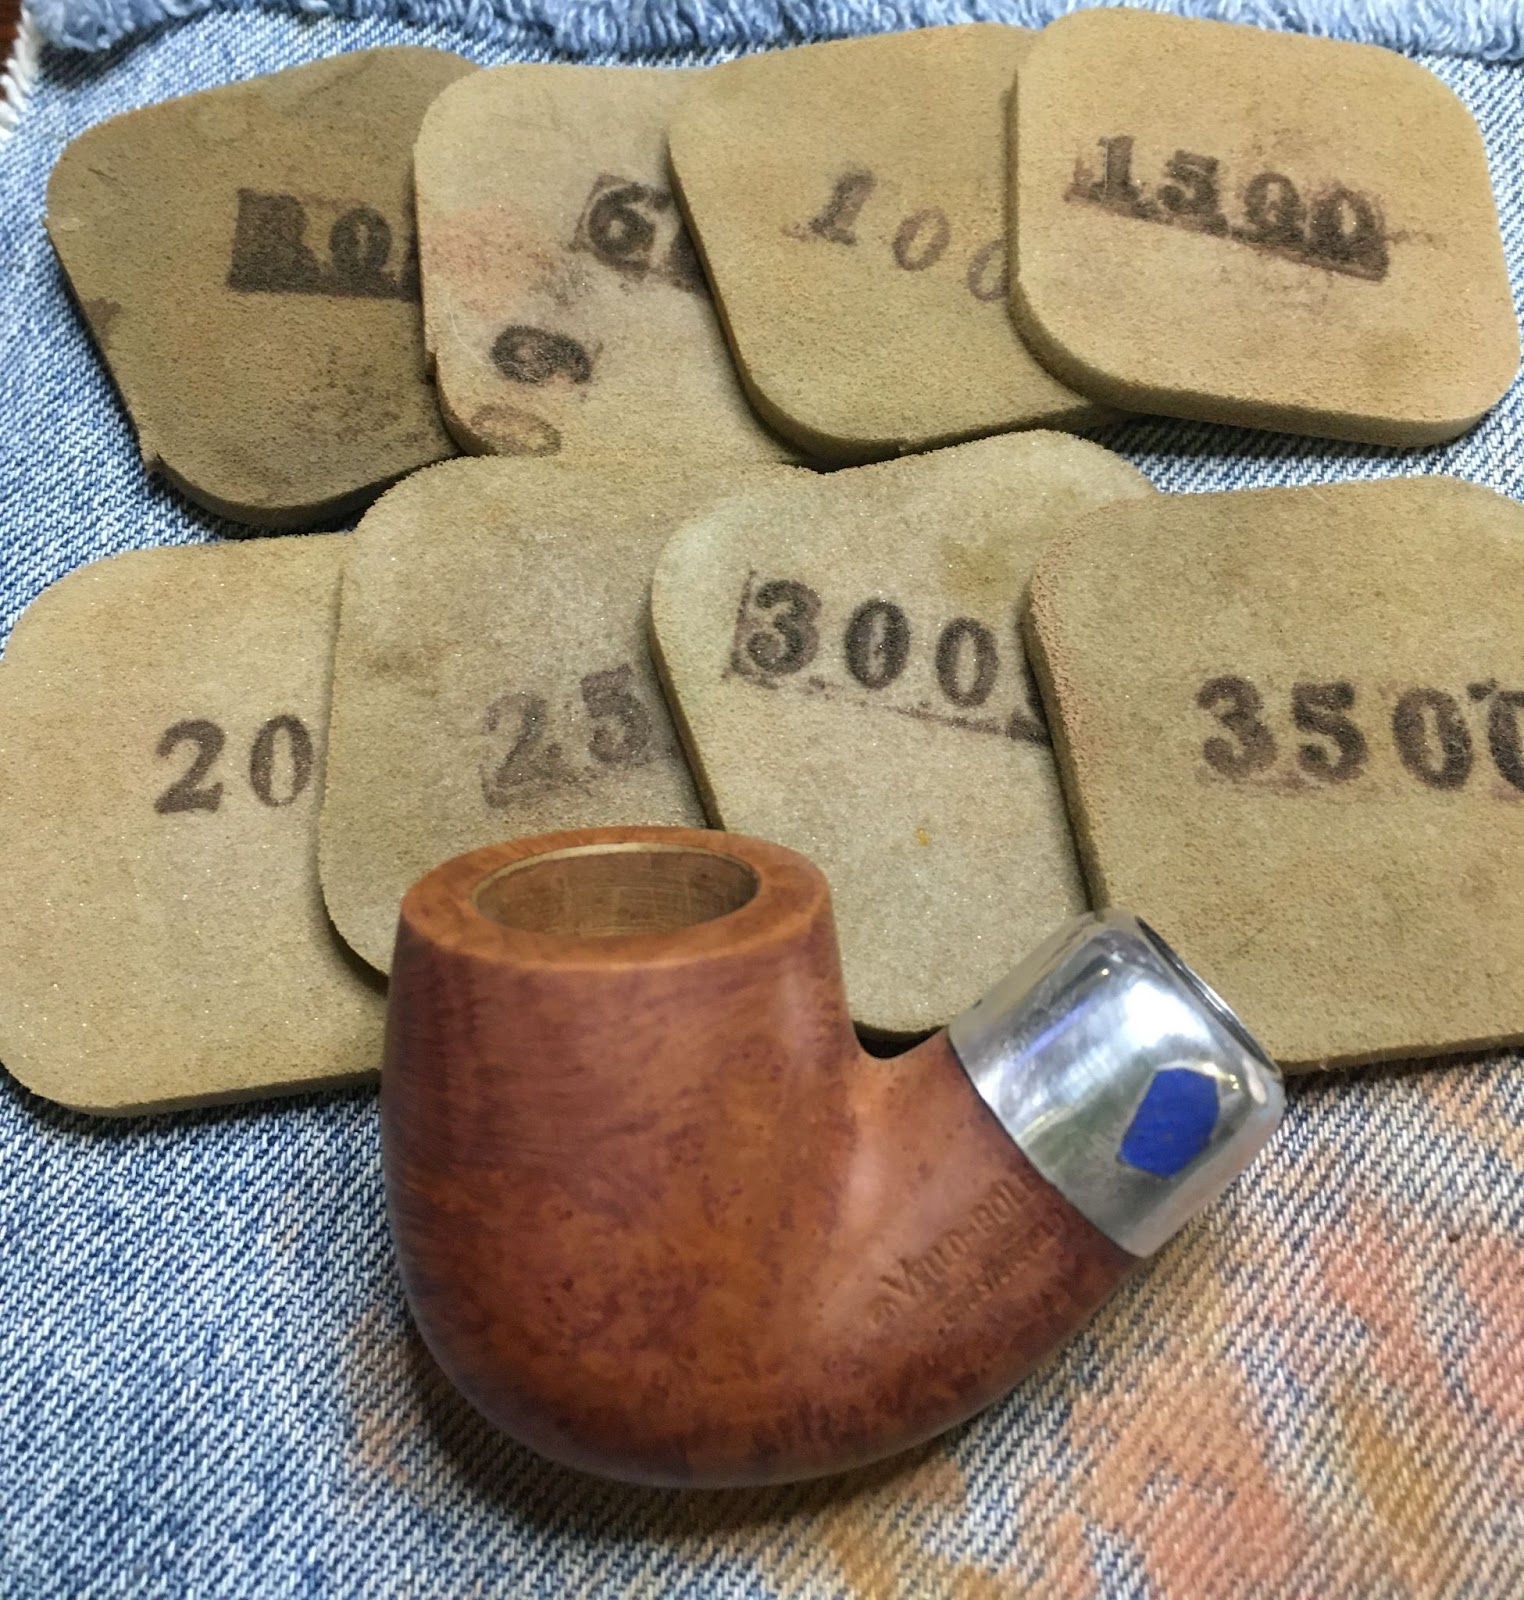
Okay, back to my editorializing about Wally. The huge variety, nearly schizophrenic in nature, of Wally Frank style pipes may be due to his constantly trying to keep his offerings fresh in a competitive pipe market. Frank’s pipes were not what I would consider high end pipes. He was likely going after customers with less disposable income and mimicking a variety of popular styles . He was known to venture throughout Europe searching for less known carvers and small shops where he could purchase quality at lower prices. Wally Frank’s unique pipe offerings may make more sense when you consider the Wally Frank “Pipe of the Month Club”, an early subscription pipe offer. He apparently wanted to keep the customers satisfied with new and unique offerings. Here is the order form from http://www.pipephil.eu/logos/en/logo-w1.html

The date on the form is difficult to make out but, I think it is 1947. $1 in January of 1947 is equivalent to $14.58 in April of 2024 (https://www.bls.gov/data/inflation_calculator.htm). Who wouldn’t jump at the chance to get a new pipe every month for $15 dollars today?
The first paragraph about Wally Frank from Pipedia pretty much sums up Frank’s contributions to our hobby:
Wally Frank, Ltd. was one of America’s oldest and most respected names in pipes and tobaccos, beginning in the early 1930’s. Wally Frank operated a chain of tobacco stores in New York City (the flagship store was in Lexington Avenue) and had a vast catalog business for pipes and pipe tobaccos. Their numerous private-label pipes were made by many makers, including Charatan, Sasieni, Weber, and many others. Wally Frank, Ltd. also owned the Pioneer brand of meerschaum pipes, made from both Turkish and African meerschaum. In addition to importing pipes, he had many pipes made in his own name and also employed pipemakers like Peter Stokkebye, Svend Bang, and Ed Burak (who later became the owner of Connoisseur). As a result, each Wally Frank pipe must be individually evaluated on its own merit. (Wally Frank – Pipedia) Mr. Frank did this for many years, Wordcat.org is a library of print material available via interlibrary loans. They have several Wally Frank catalogs available from 1930-1958 (au:Wally Frank, Ltd. – Search Results (worldcat.org)).
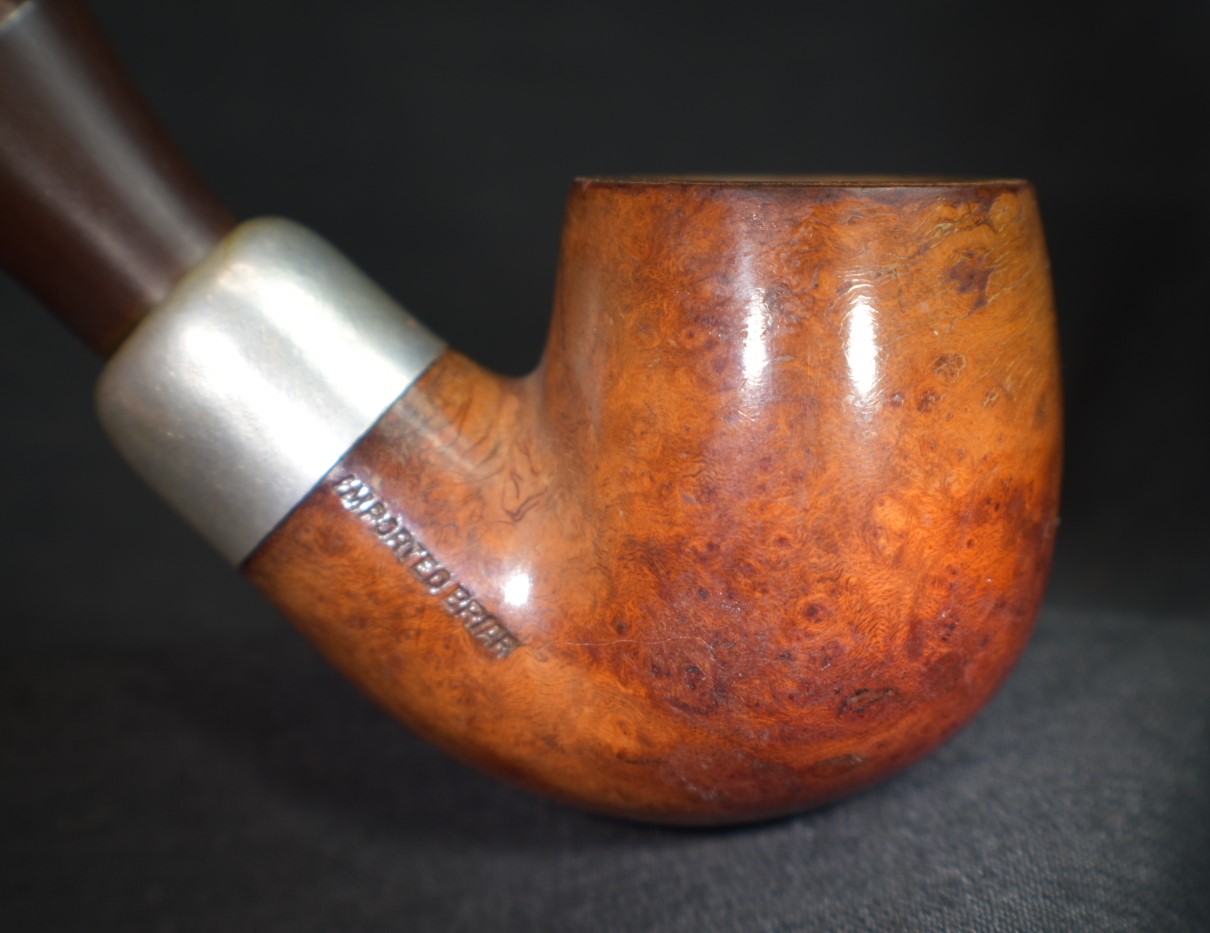
Due to the large number of sources of Wally Frank pipes there is no Wally Frank shape chart to use as with Dunhill, Peterson, Kaywooodie and other manufacturers. I looked through the several Wally Frank pipes that I have kept for personal use and I could find only one with a shape number stamped on the pipe. And that is a Custombilt pipe from the Wally Frank Era of ownership. So, in a sense not really a Wally Frank pipe. The


Above photos are from a restoration I did in February 2024, here is the link for those interested: Custombilt Original 699.
The Restoration
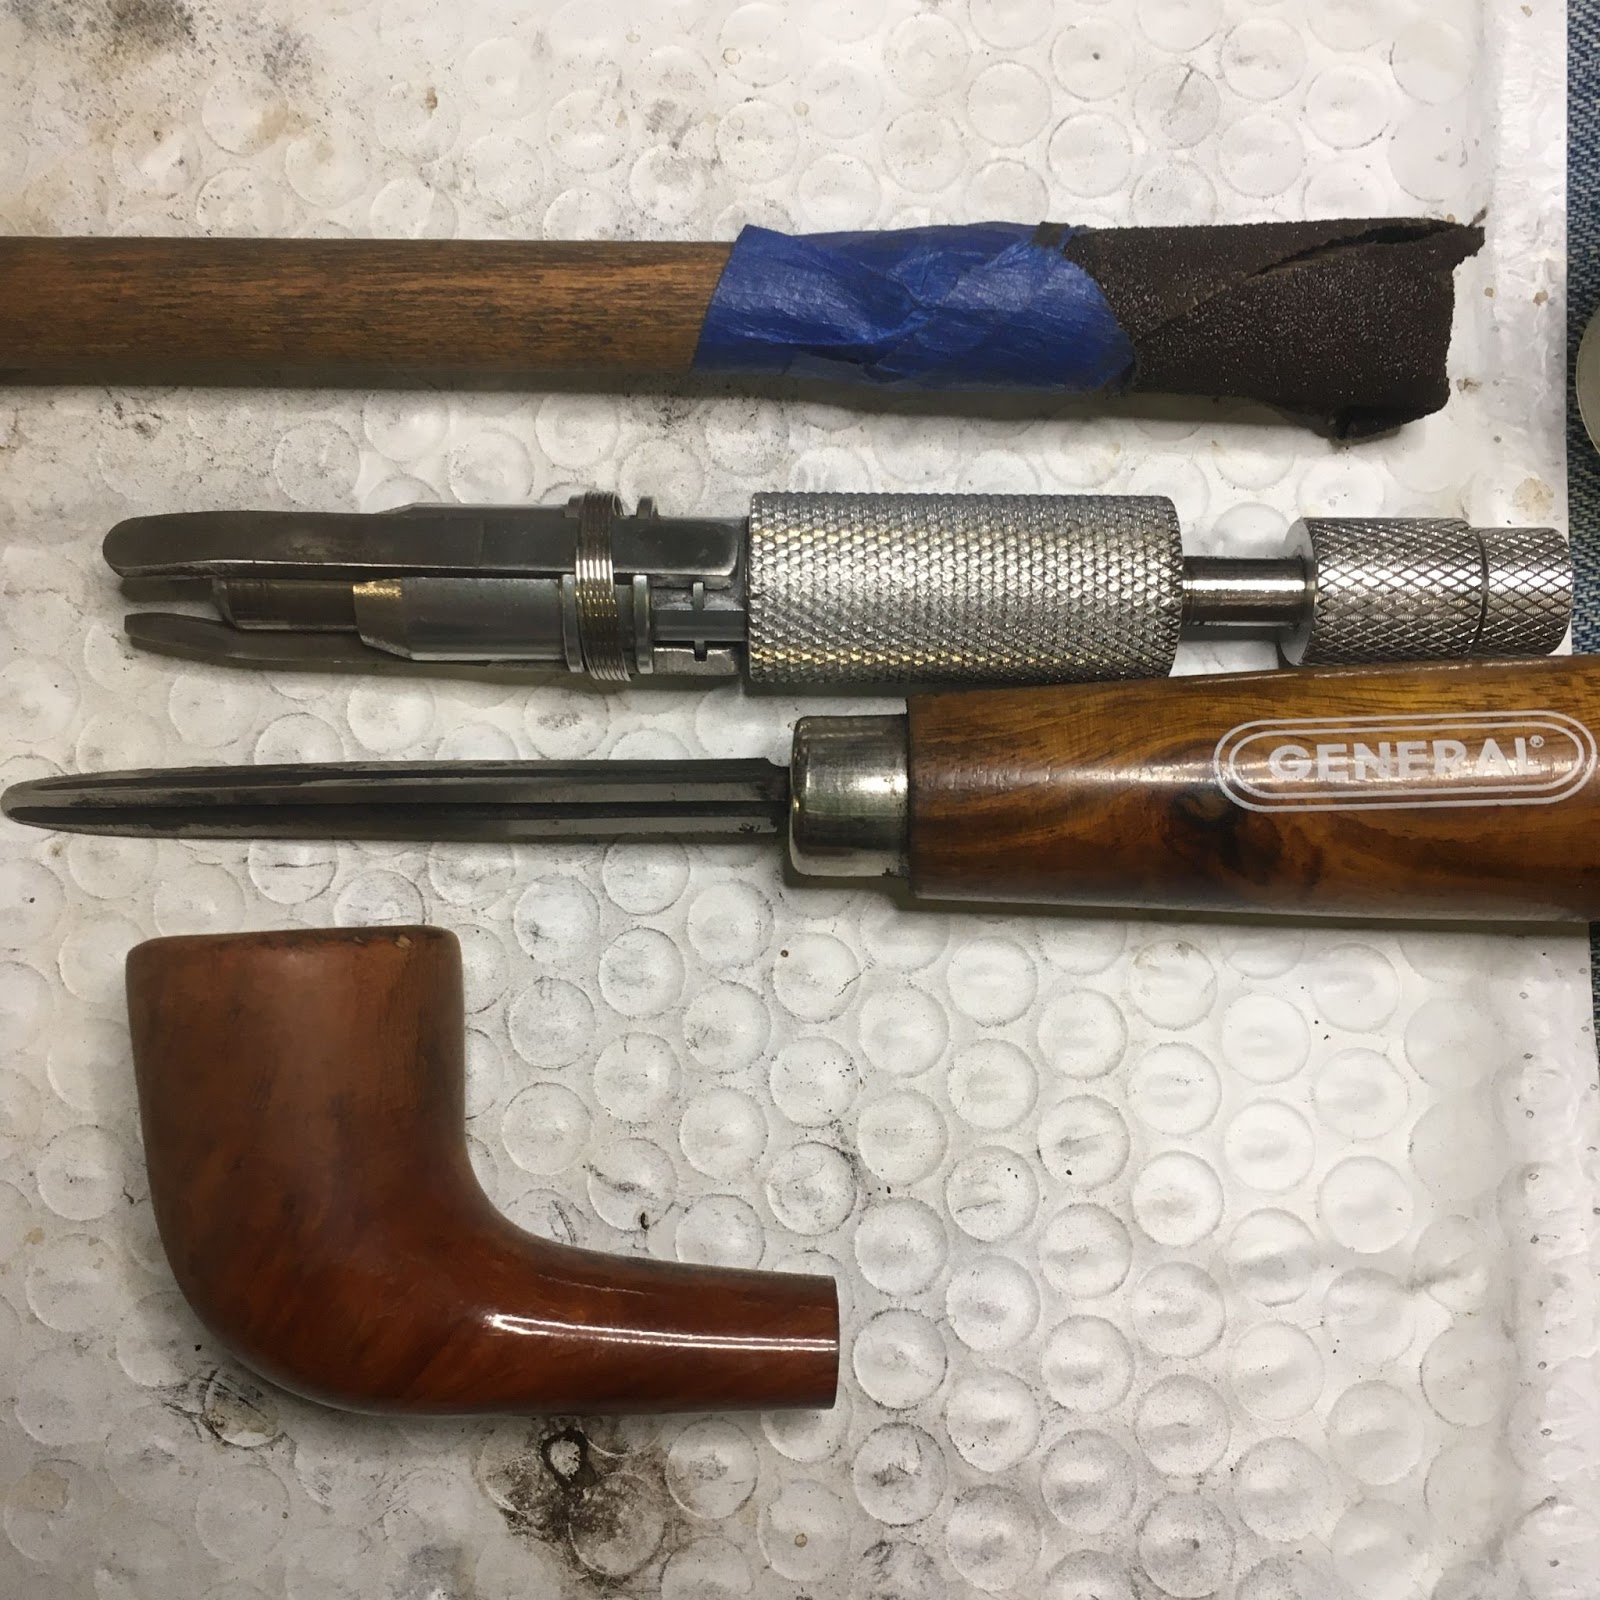
Typical of my restorations I began with a cleanish denim piece on the workbench. Clean is a relative term and my denim pieces are losing family members quickly and few clean relatives remain.

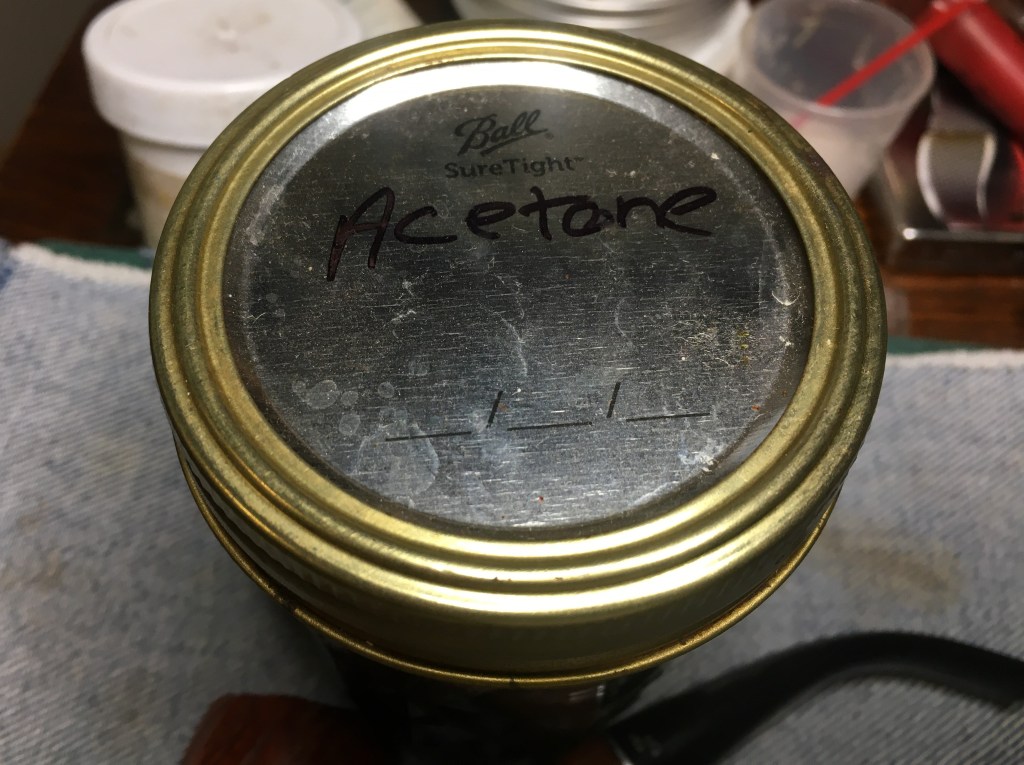
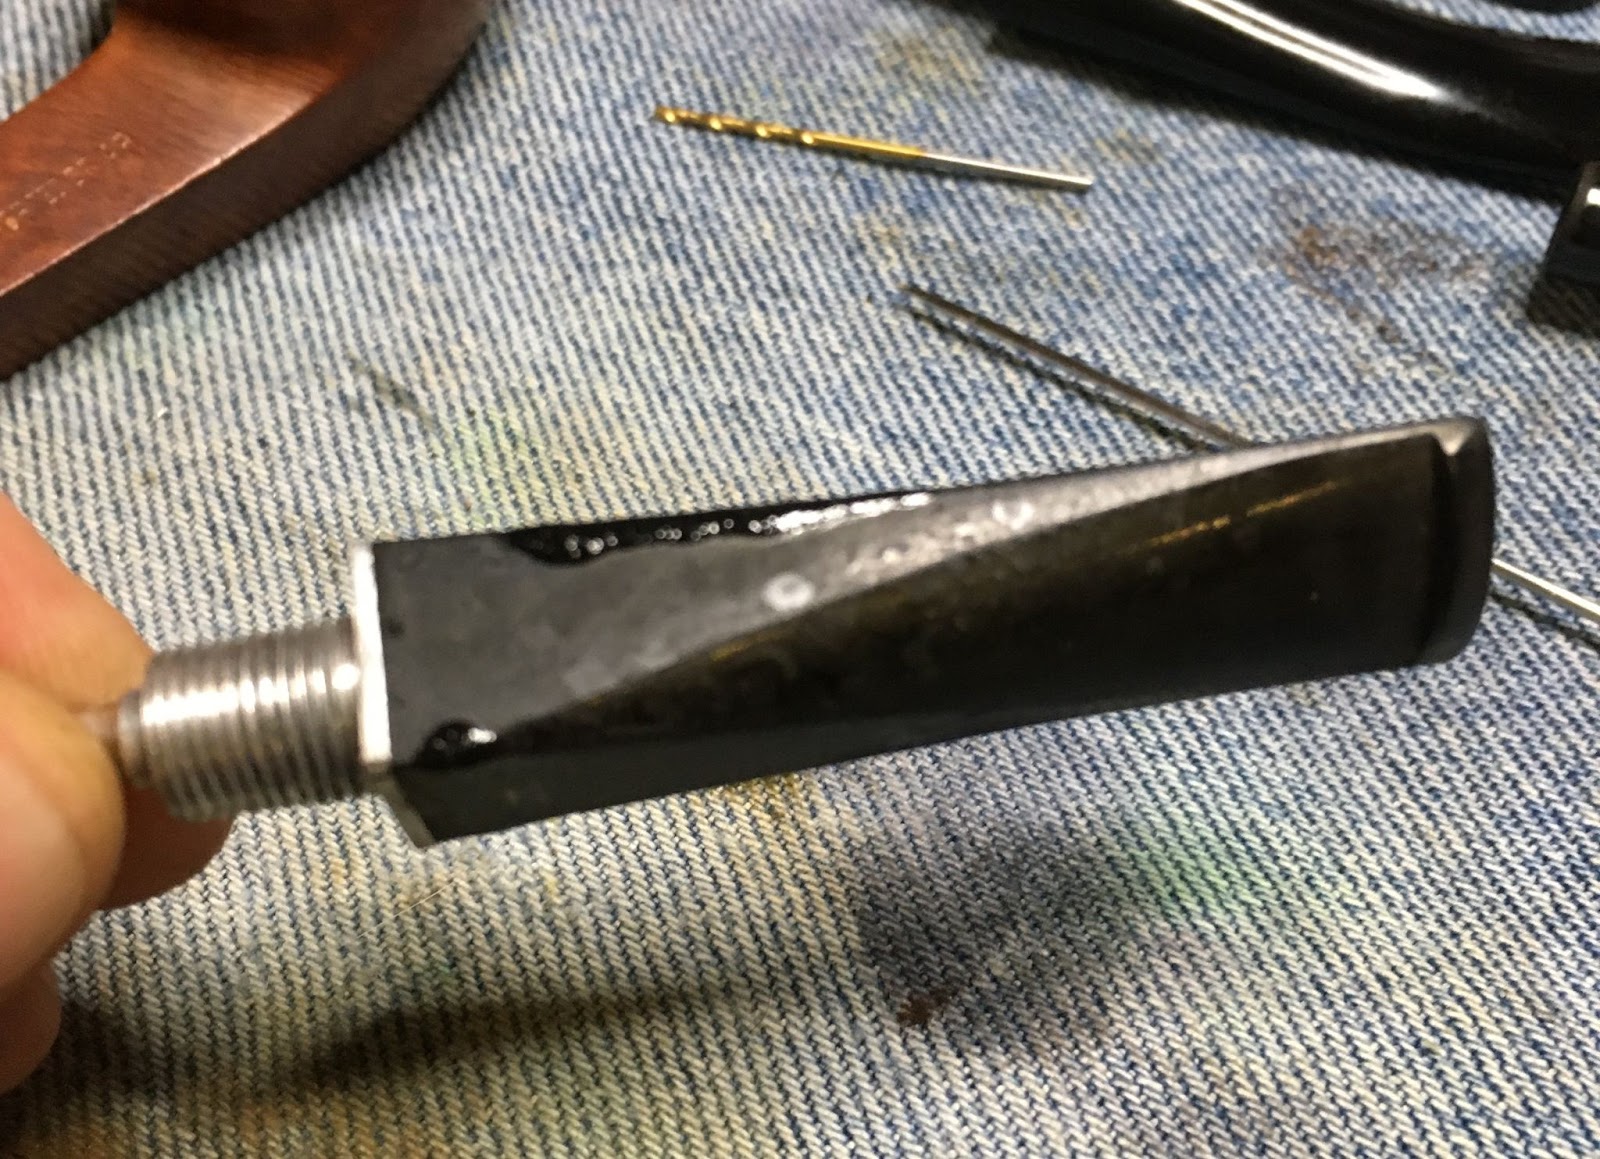
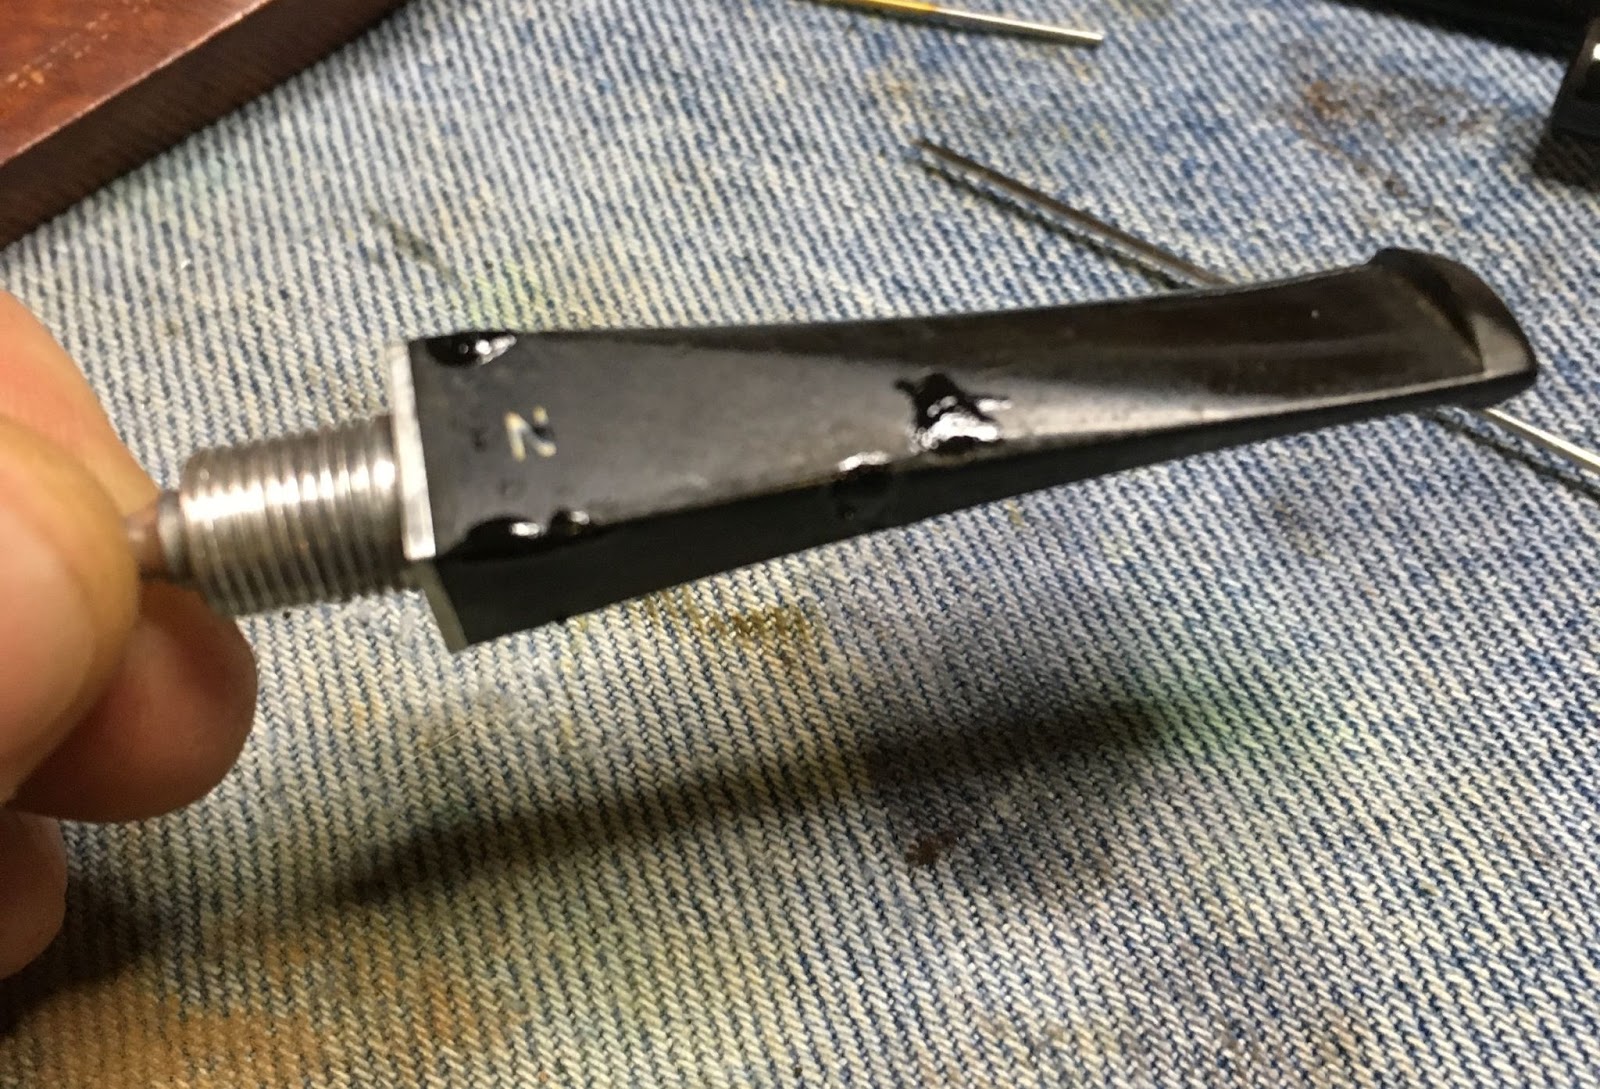
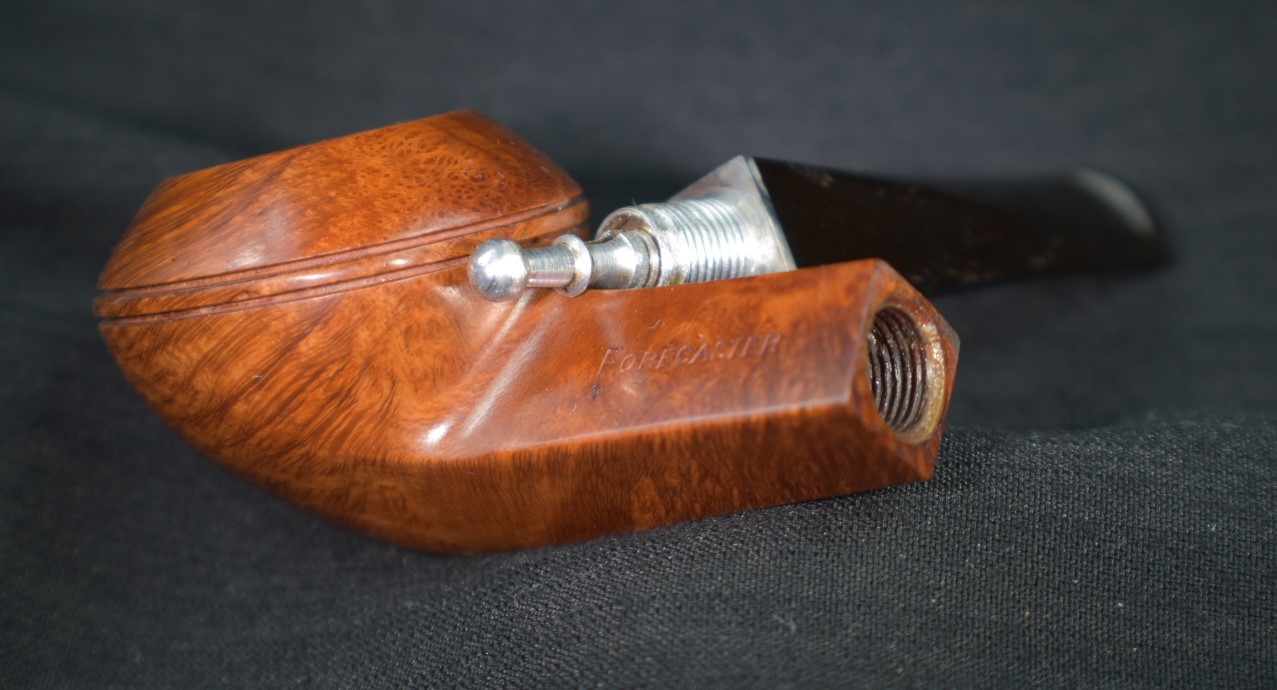
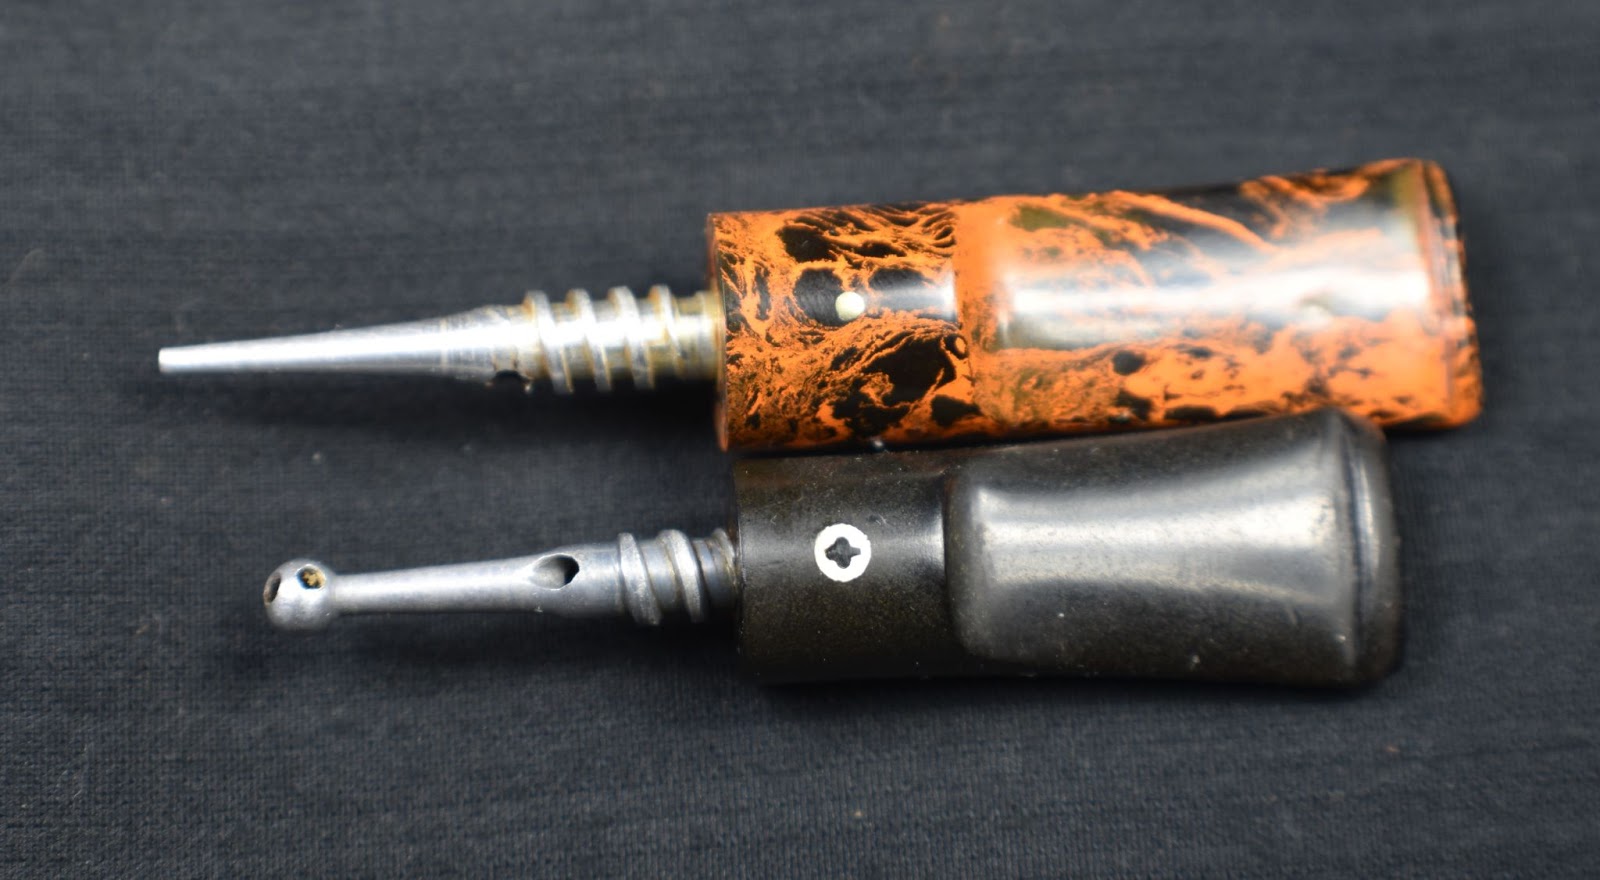
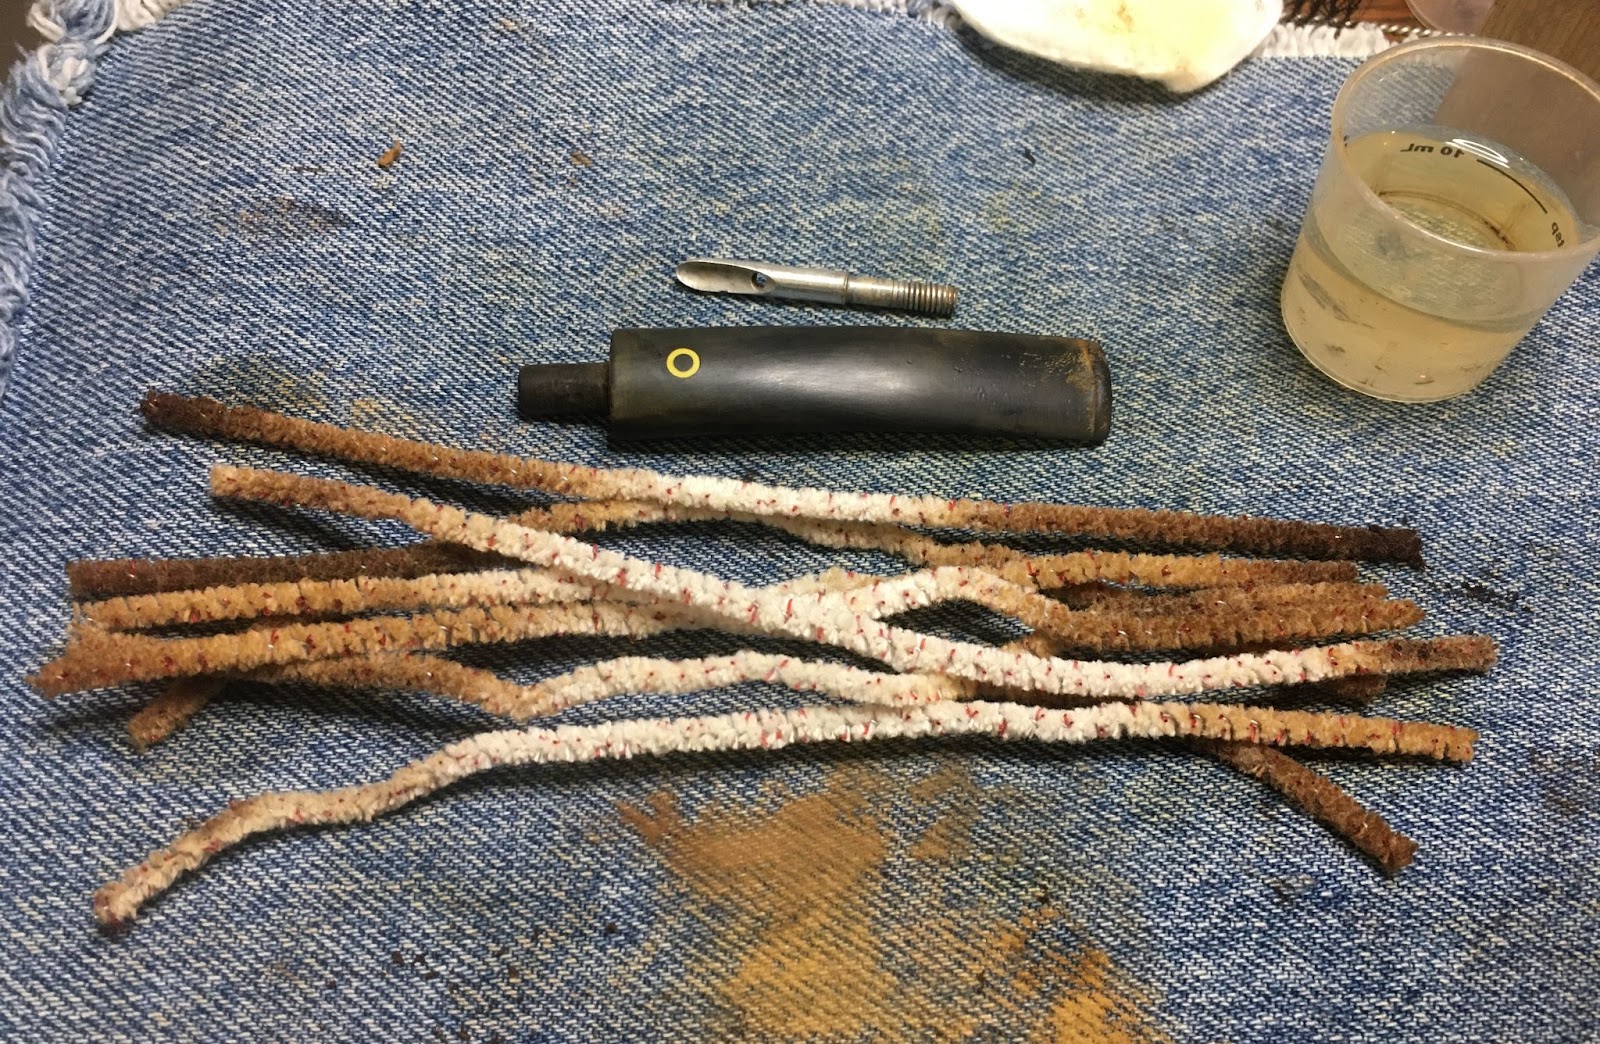
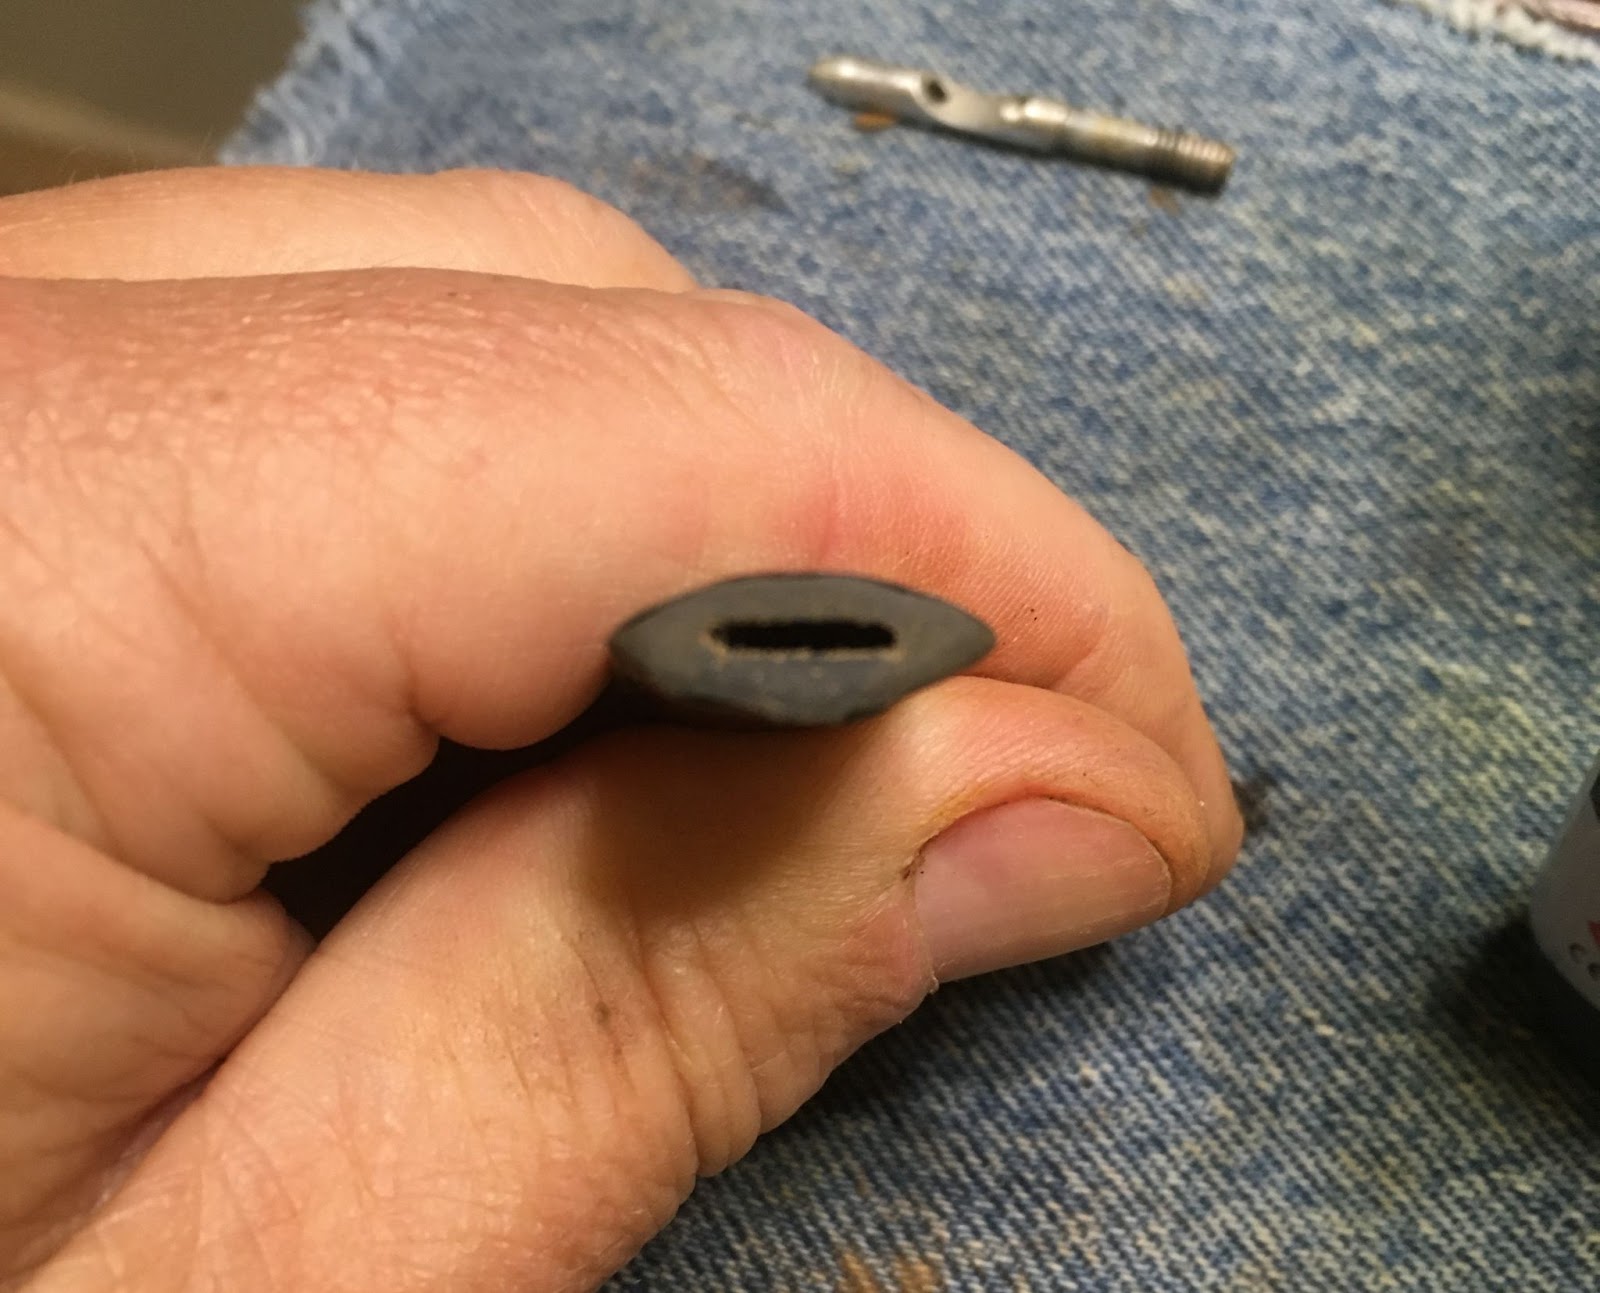
I pulled the stinger from the stem and placed it into a plastic medicine cup with 95% ethyl alcohol.

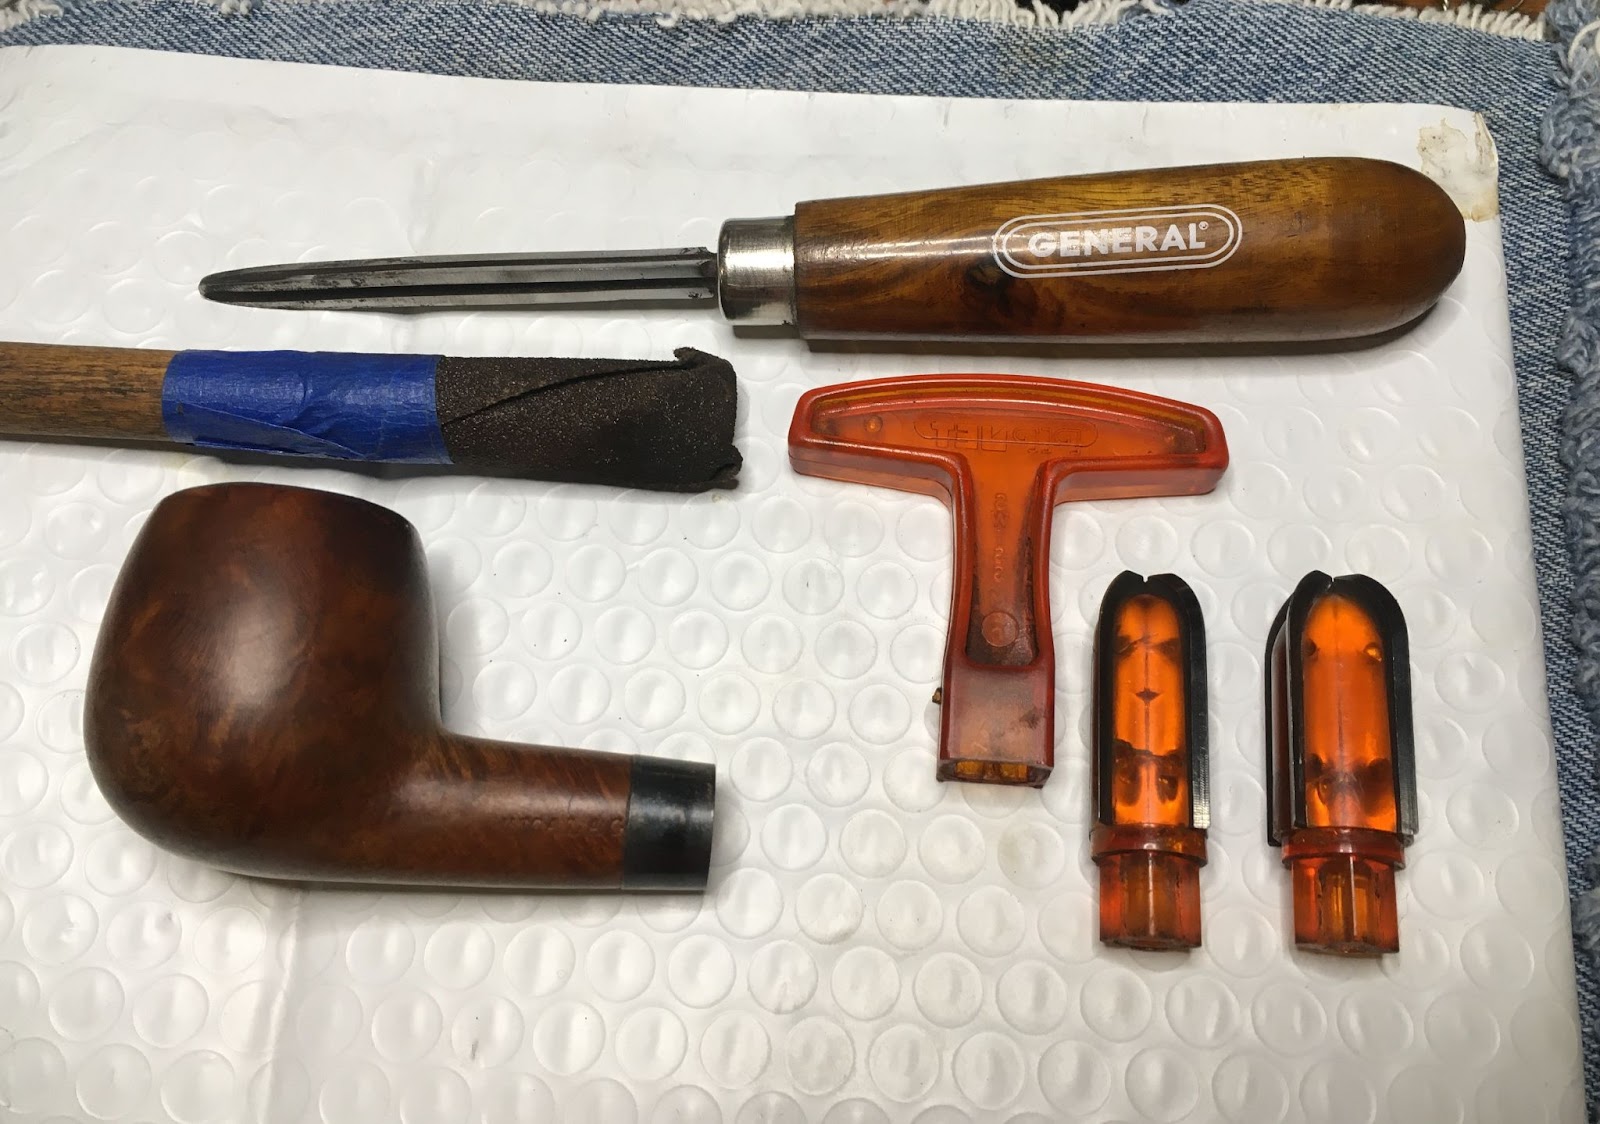
The reaming tools were assembled.

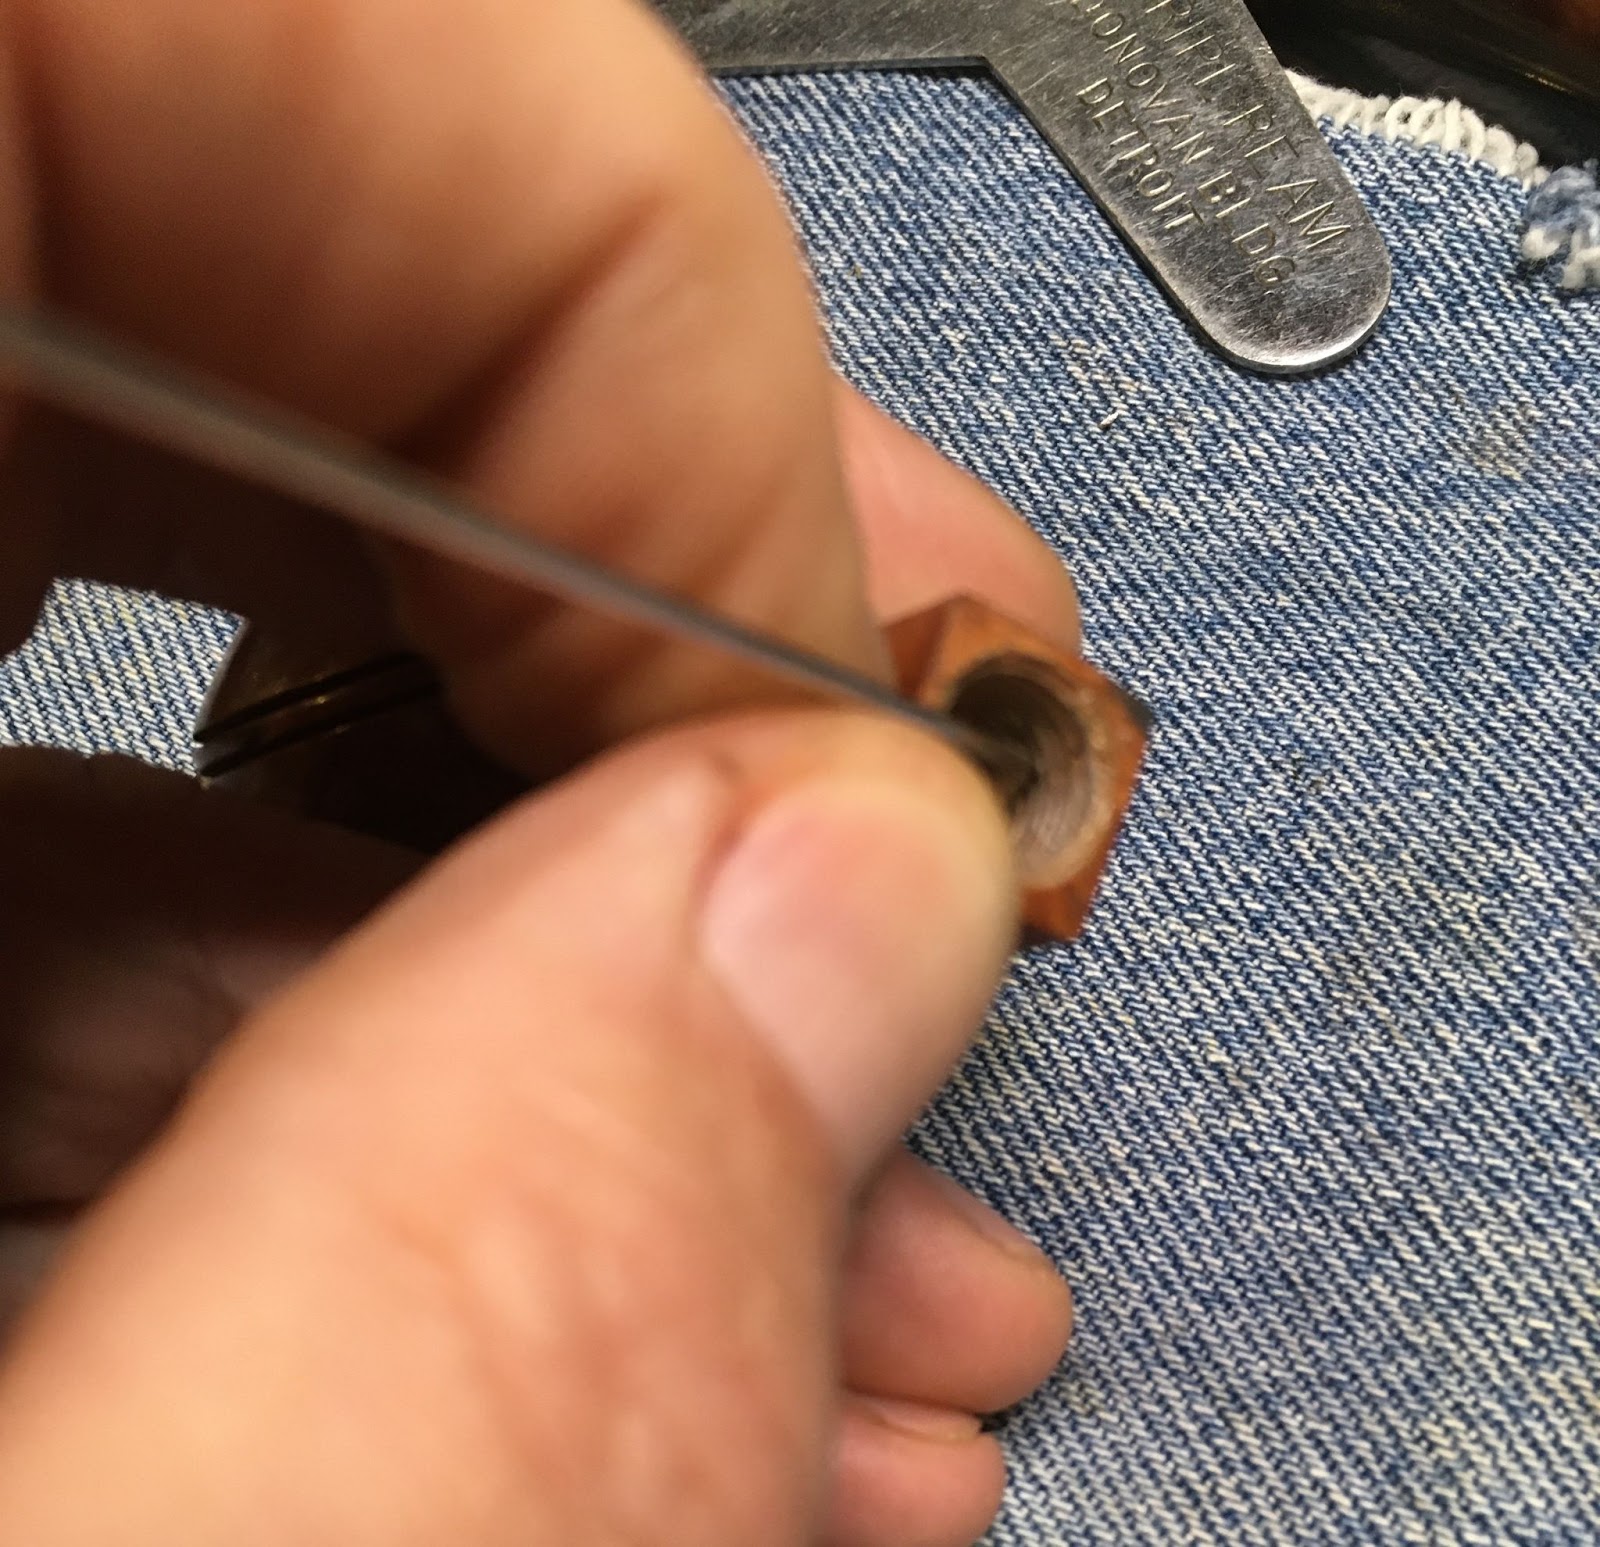
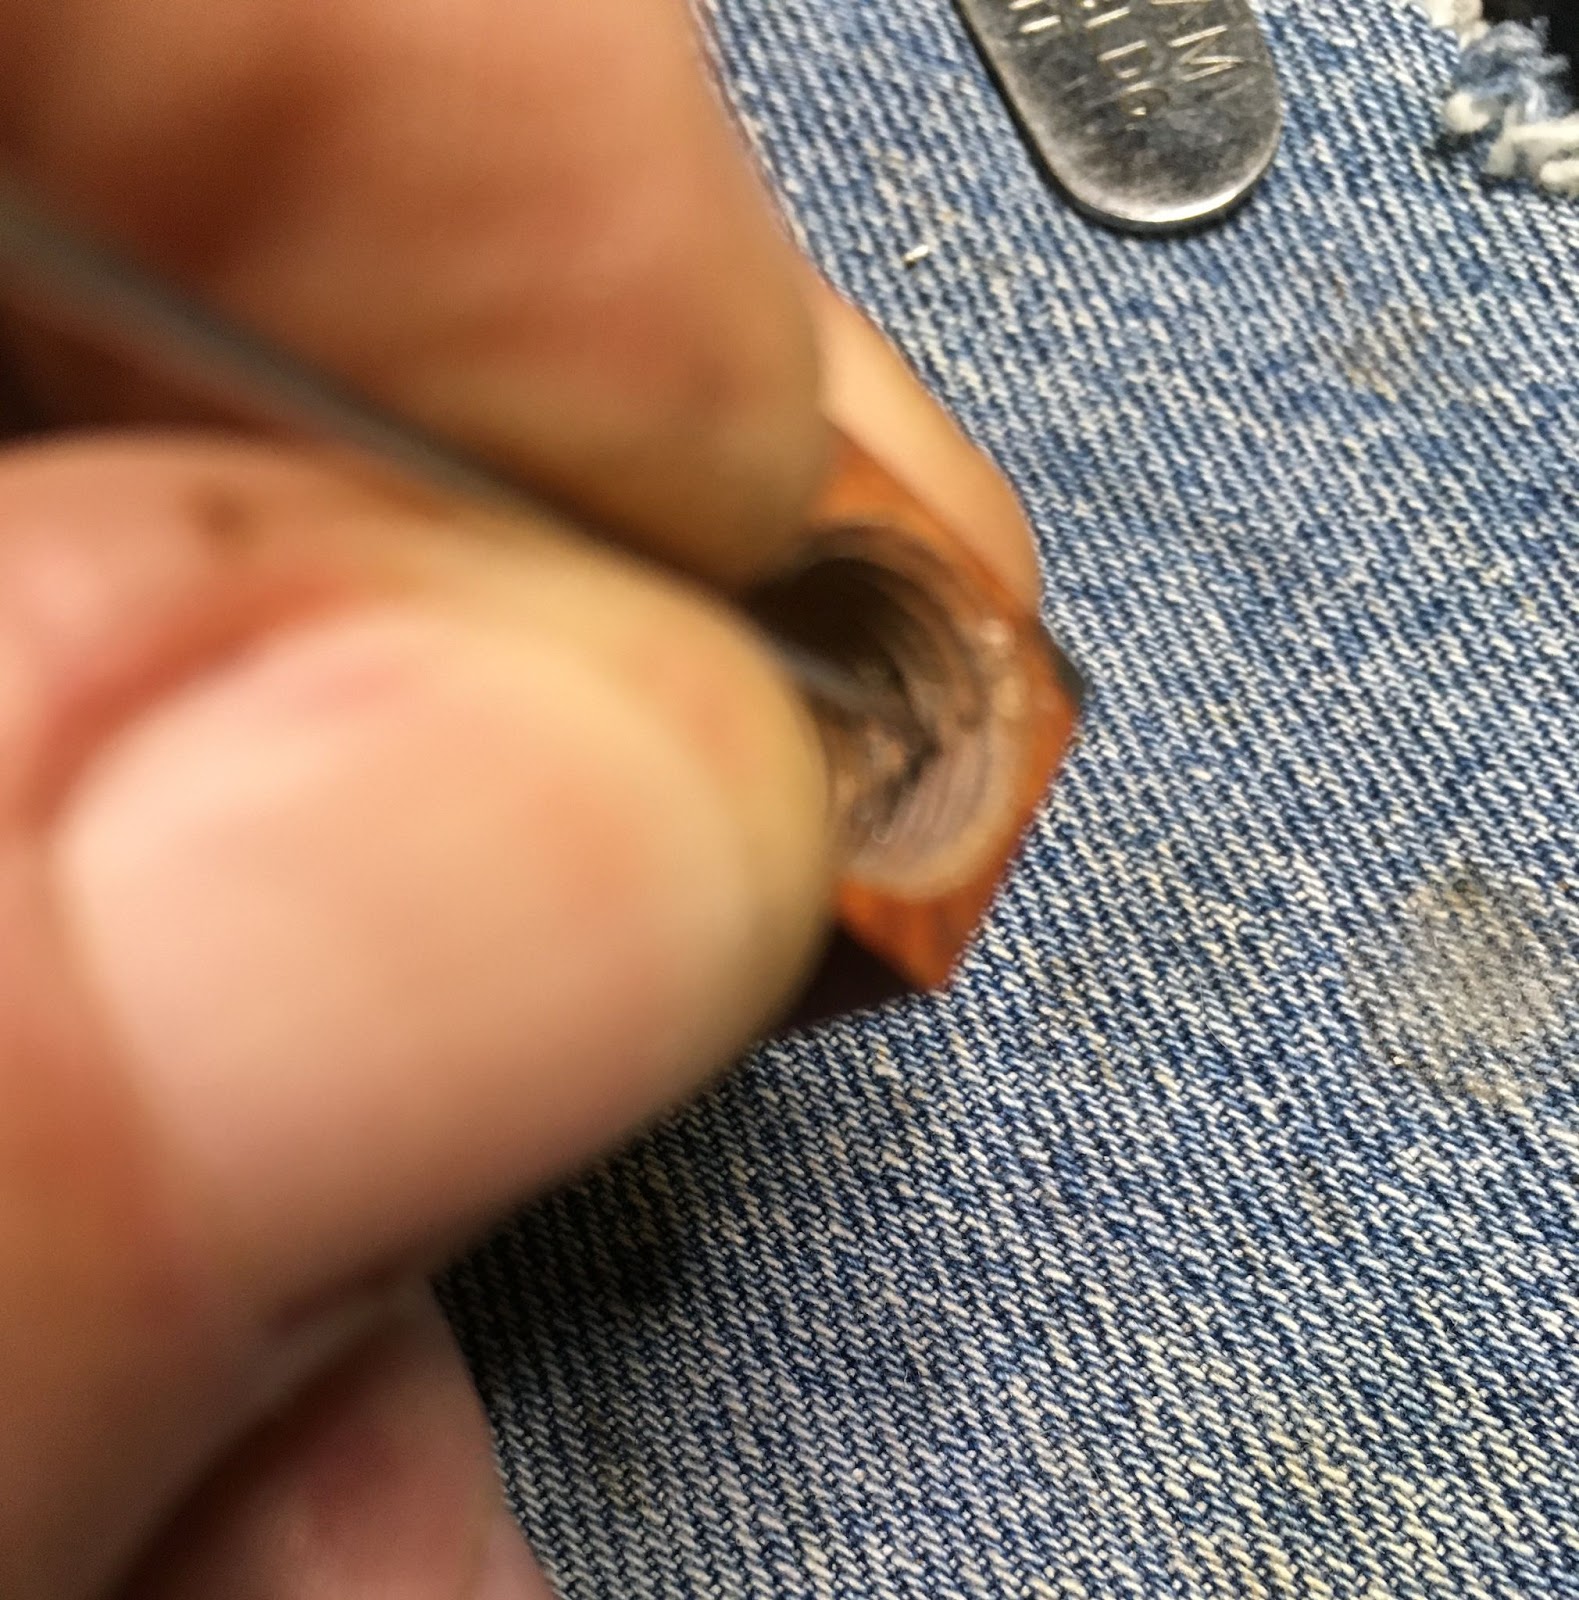
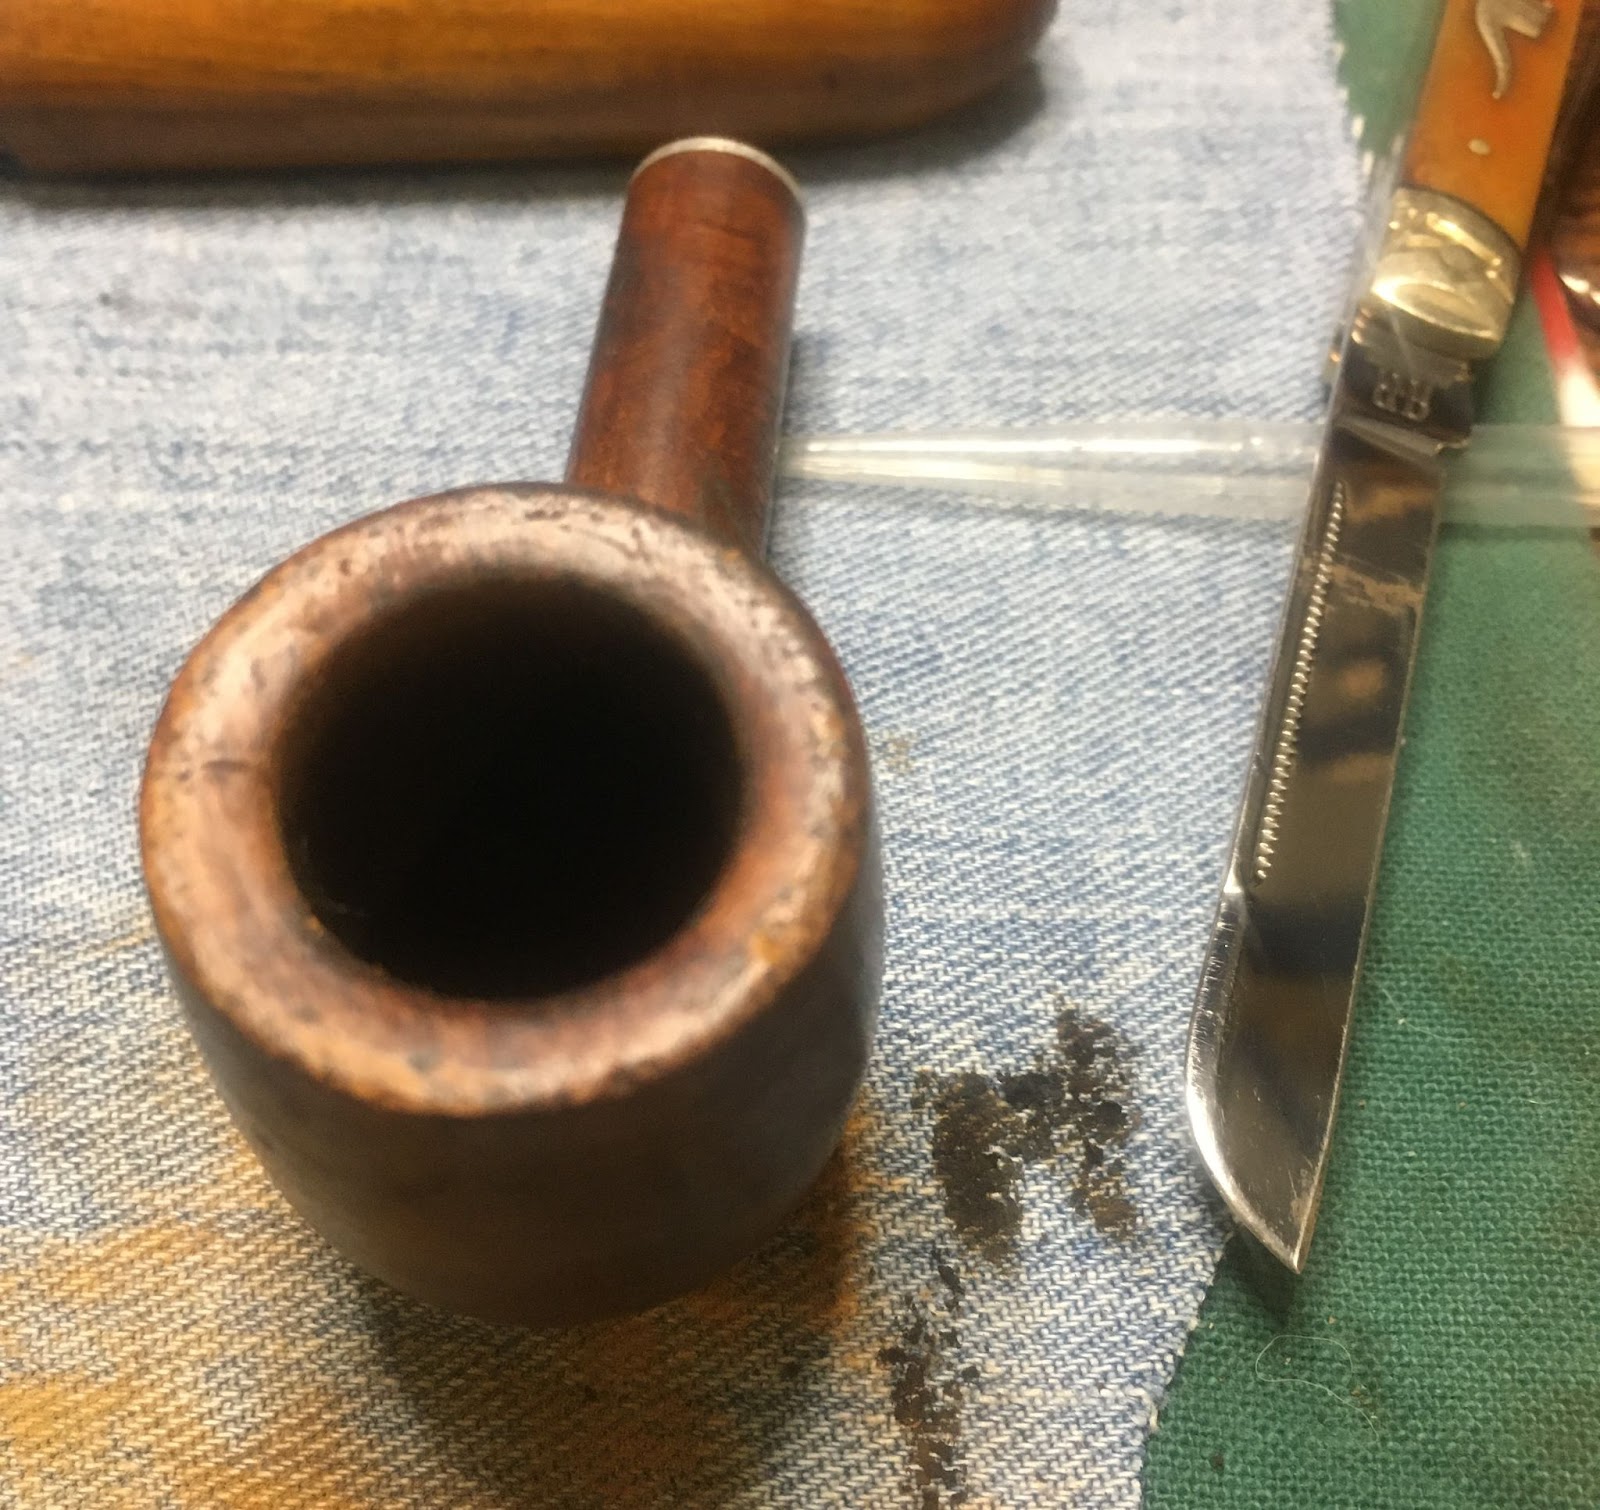
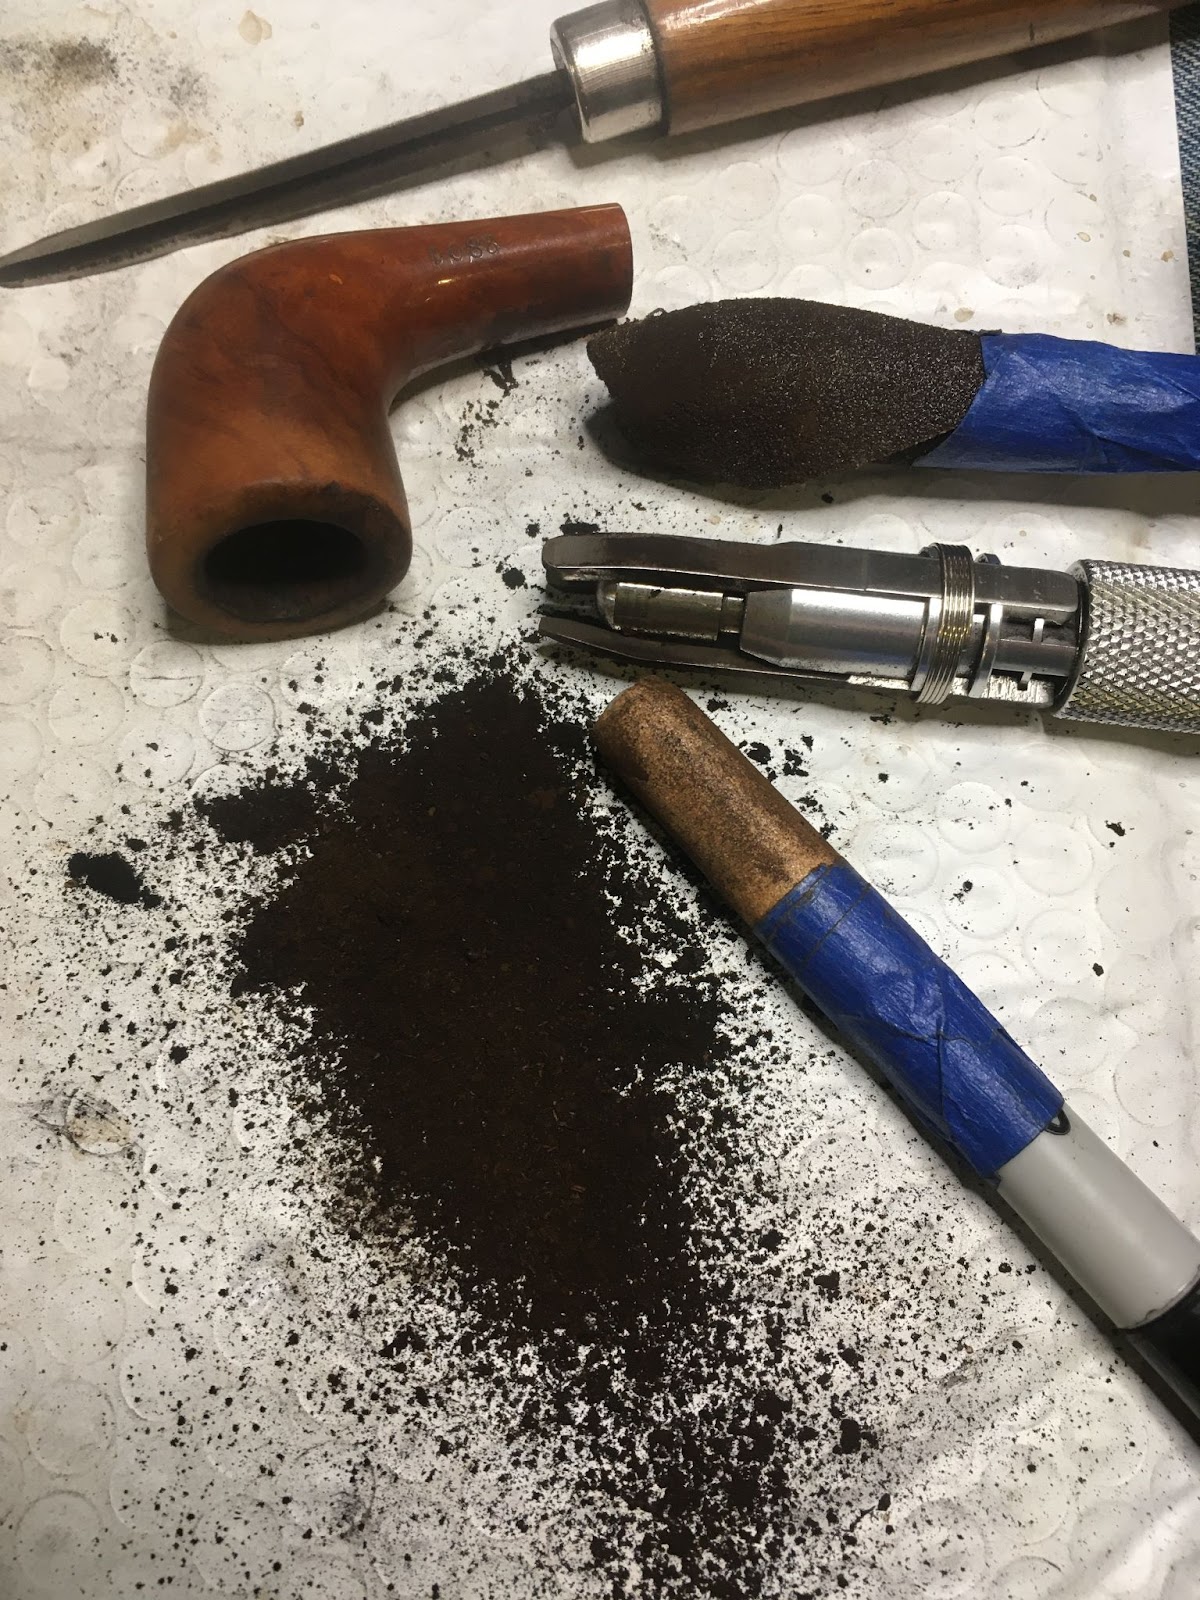
The only tool that would fit into the tobacco chamber was the General triangular scraper. The scraper did well and eventually opened up a hole in the cake.

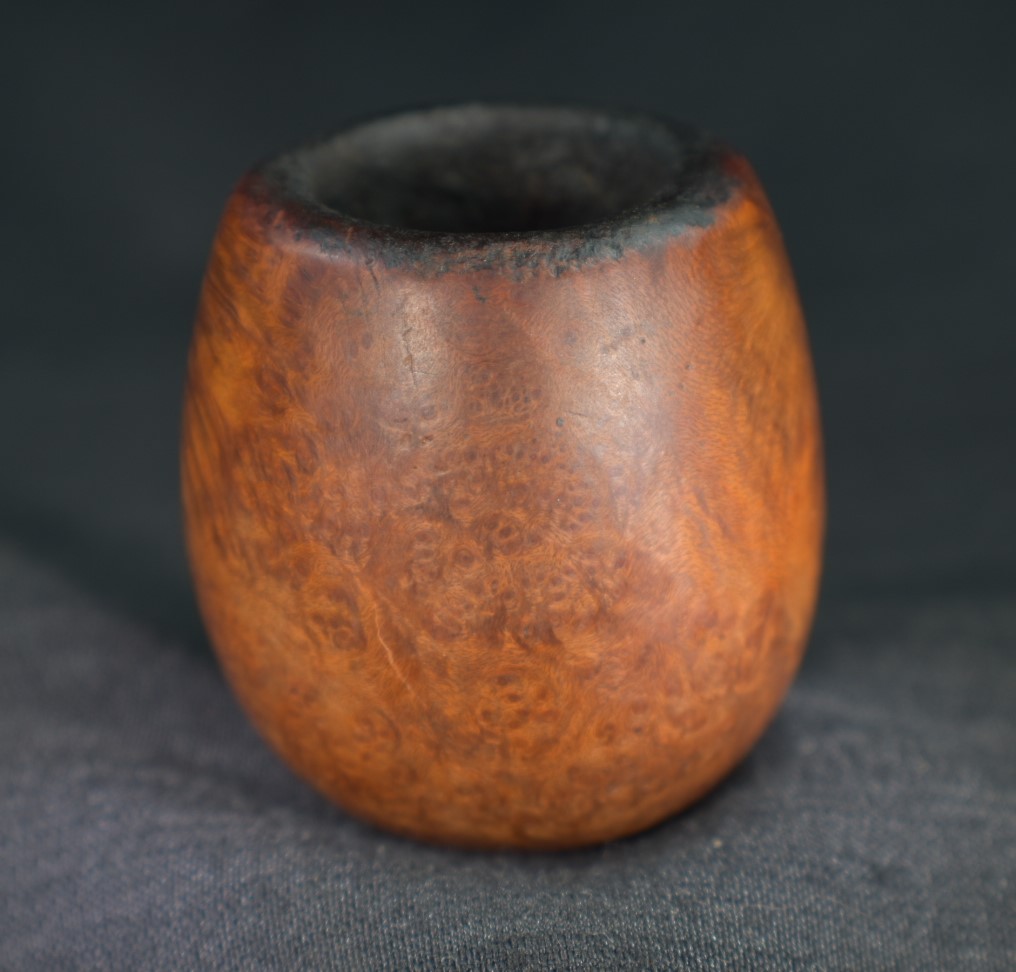
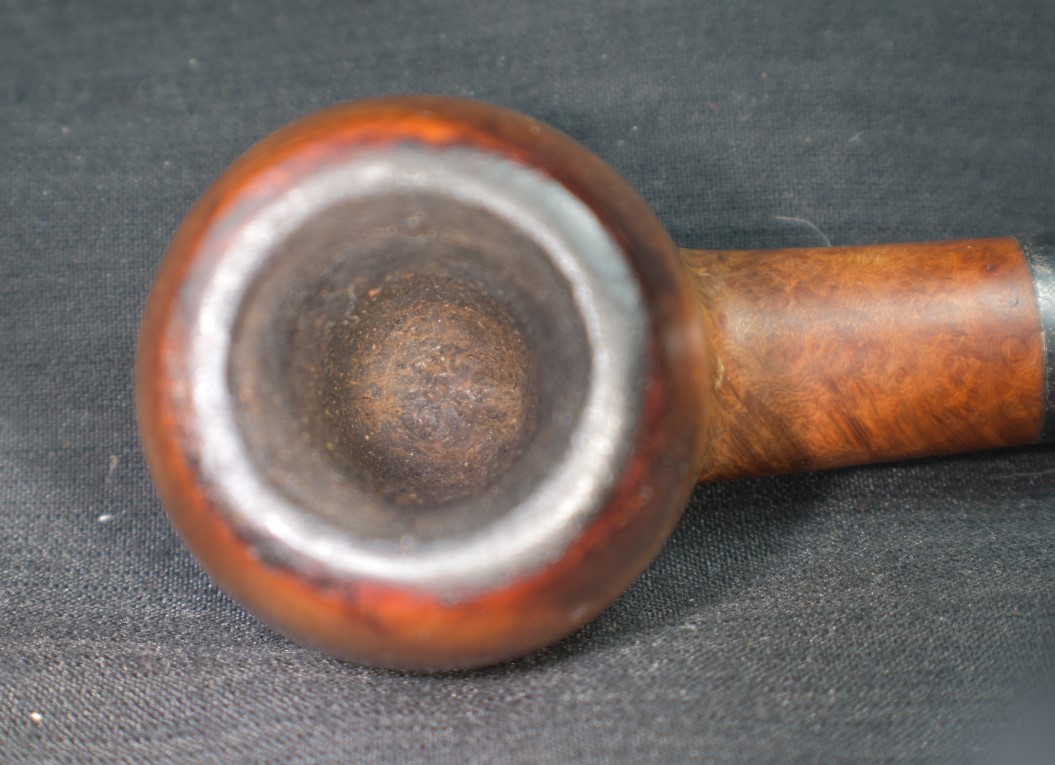
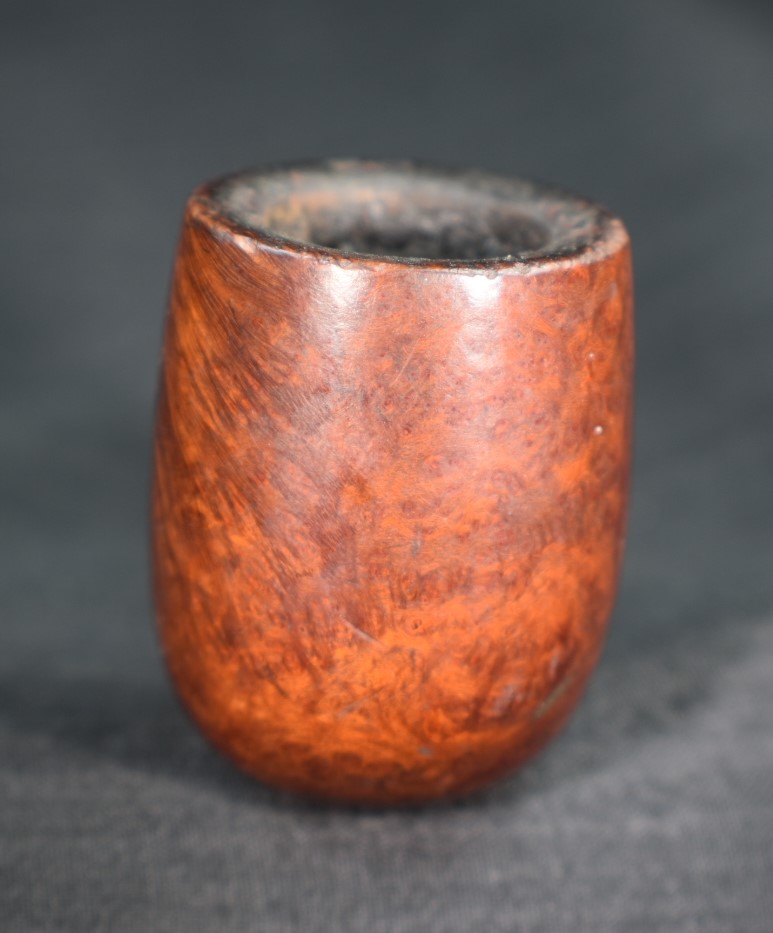
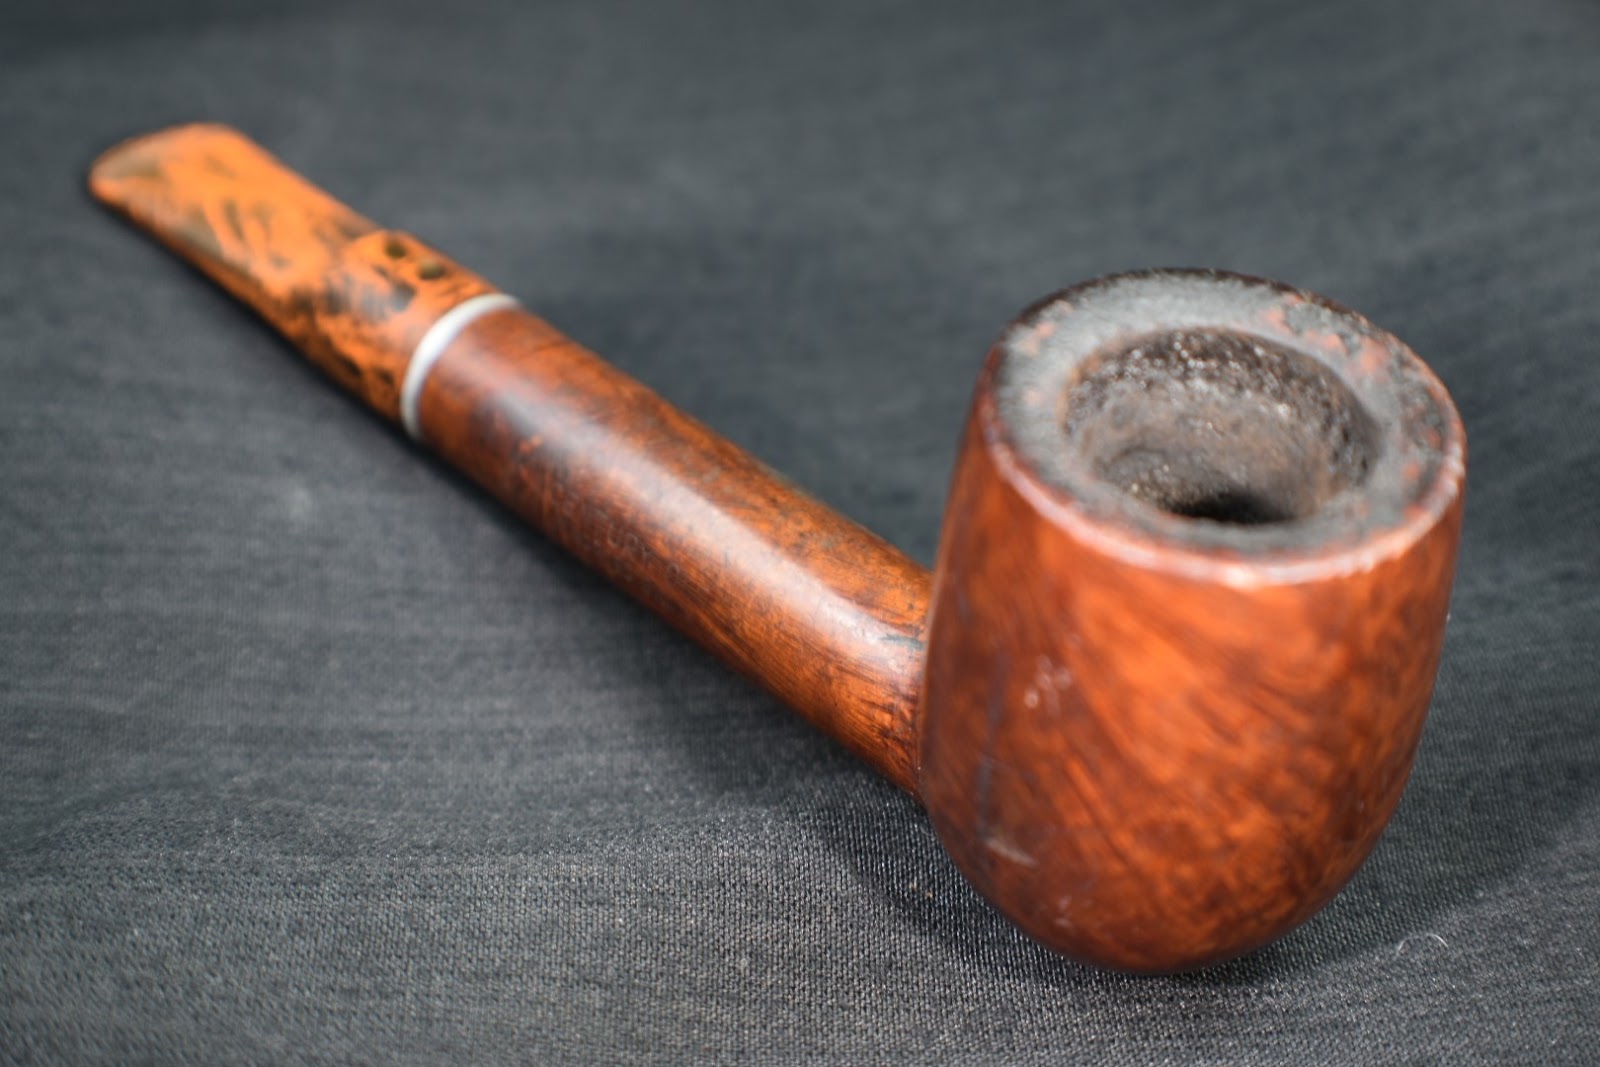
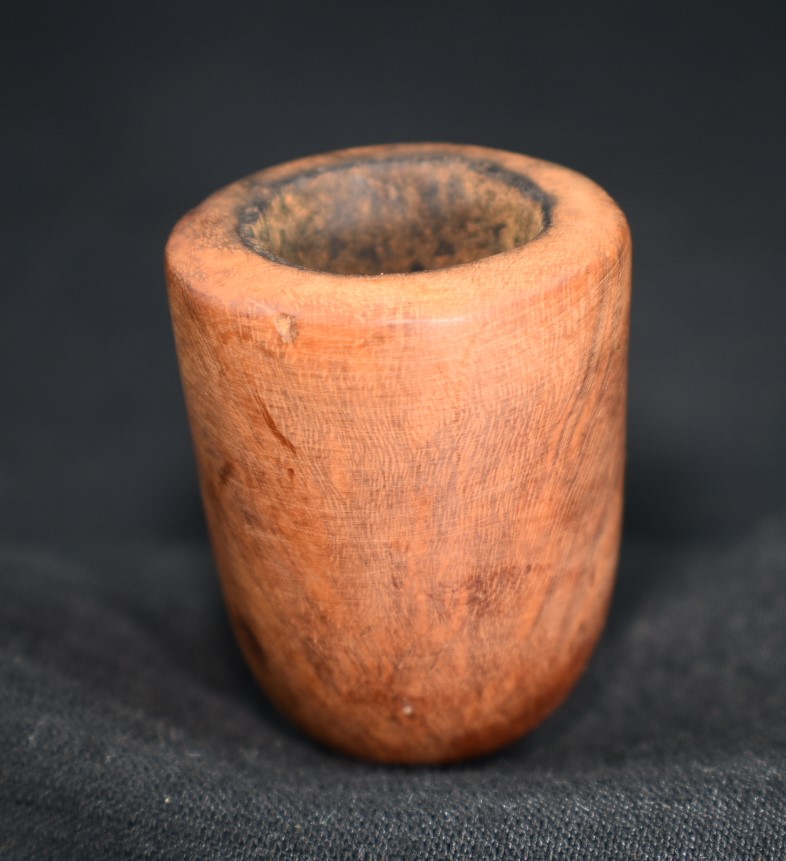
Once the hole was large enough the Scotte Stainless Steel reamer could enter the fight. The lava on the rim was so thick that I couldn’t tell where the cake ended and the briar began.

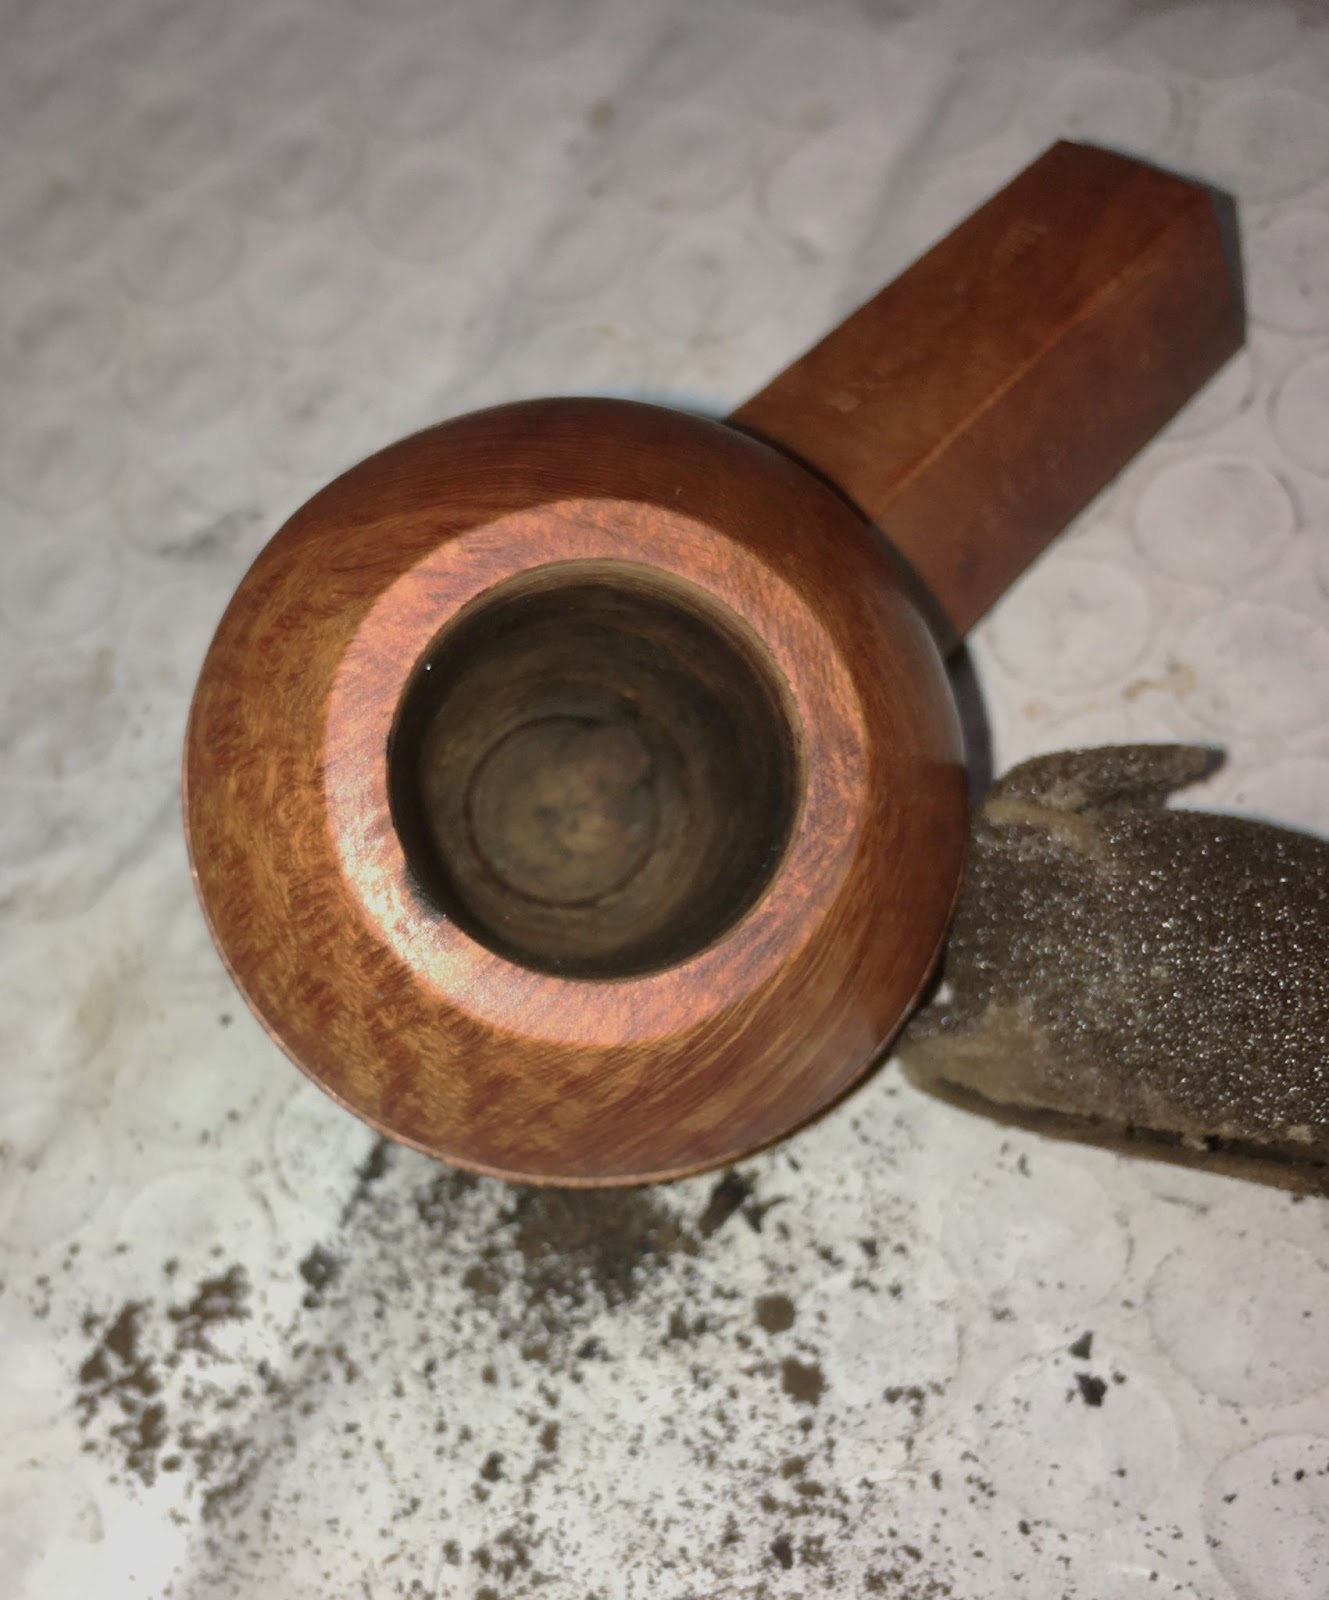
A large pile of cake scrapings had appeared on the plastic envelope, AKA reaming surface. The rim was still lava encrusted. I had to scrape the rim to assess the tobacco chamber reaming.

I was able to see the rim with the lava scraped away and able to get the PipNet into the reaming action.

I was curious about how much cake had been removed. I weighed a larger medicine cup of the electronic scale – 2.1 g (empty).

I brushed all of the reamed cake into the cup and re-weighed it – 5.4 g. I am pretty sure 3.3 grams is what the average kindergartener weighs in at.

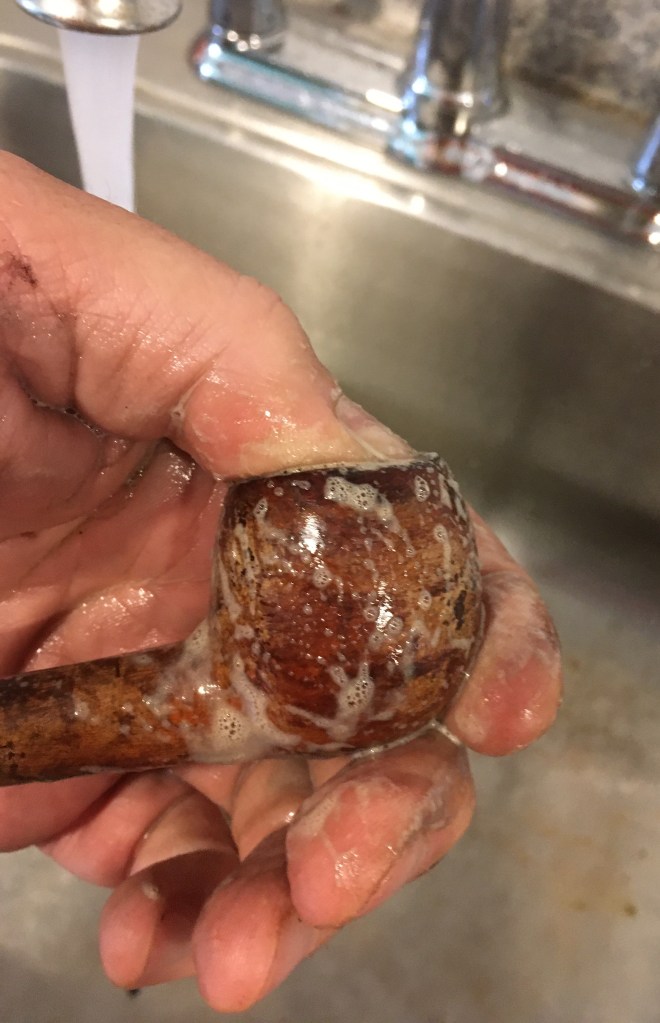
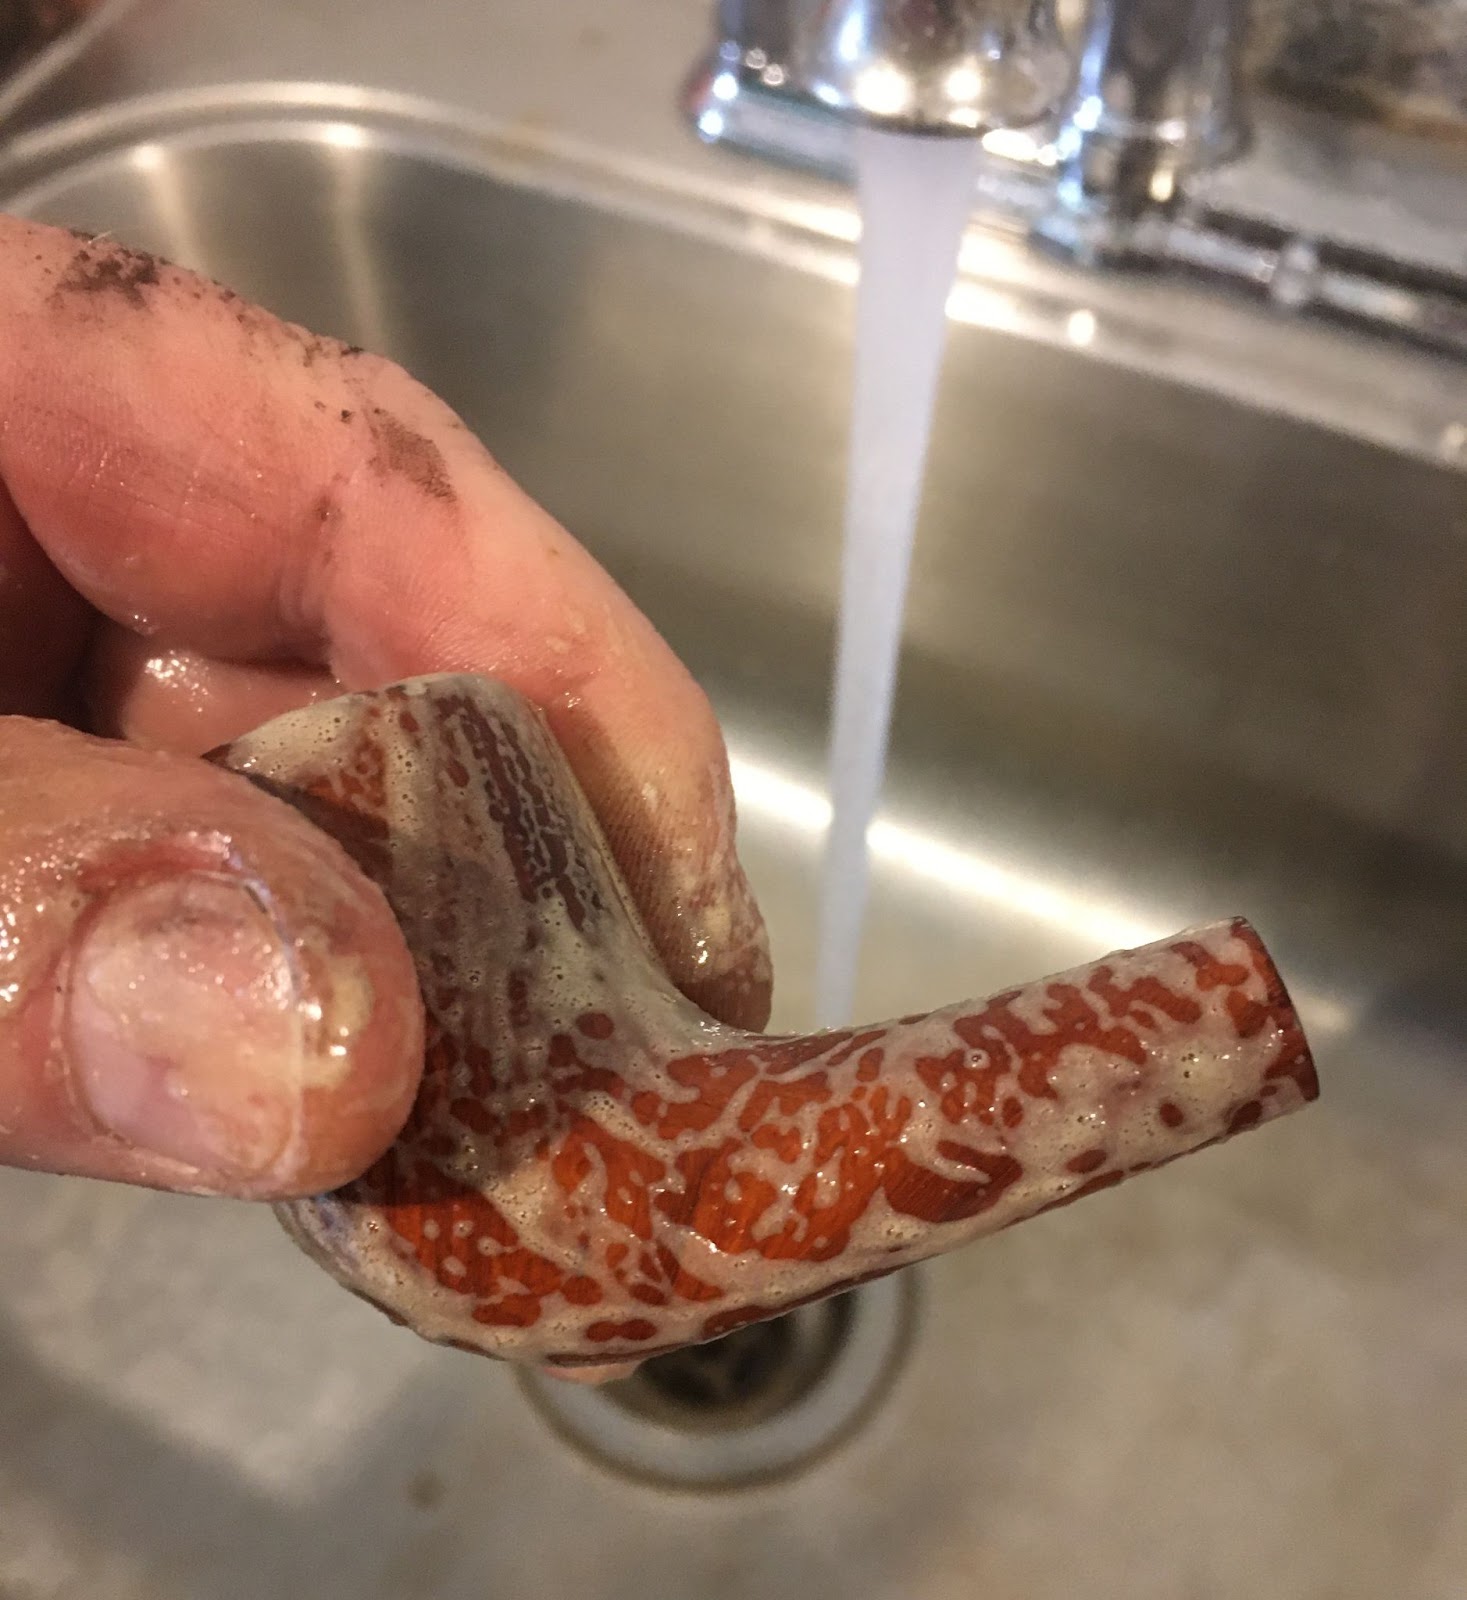
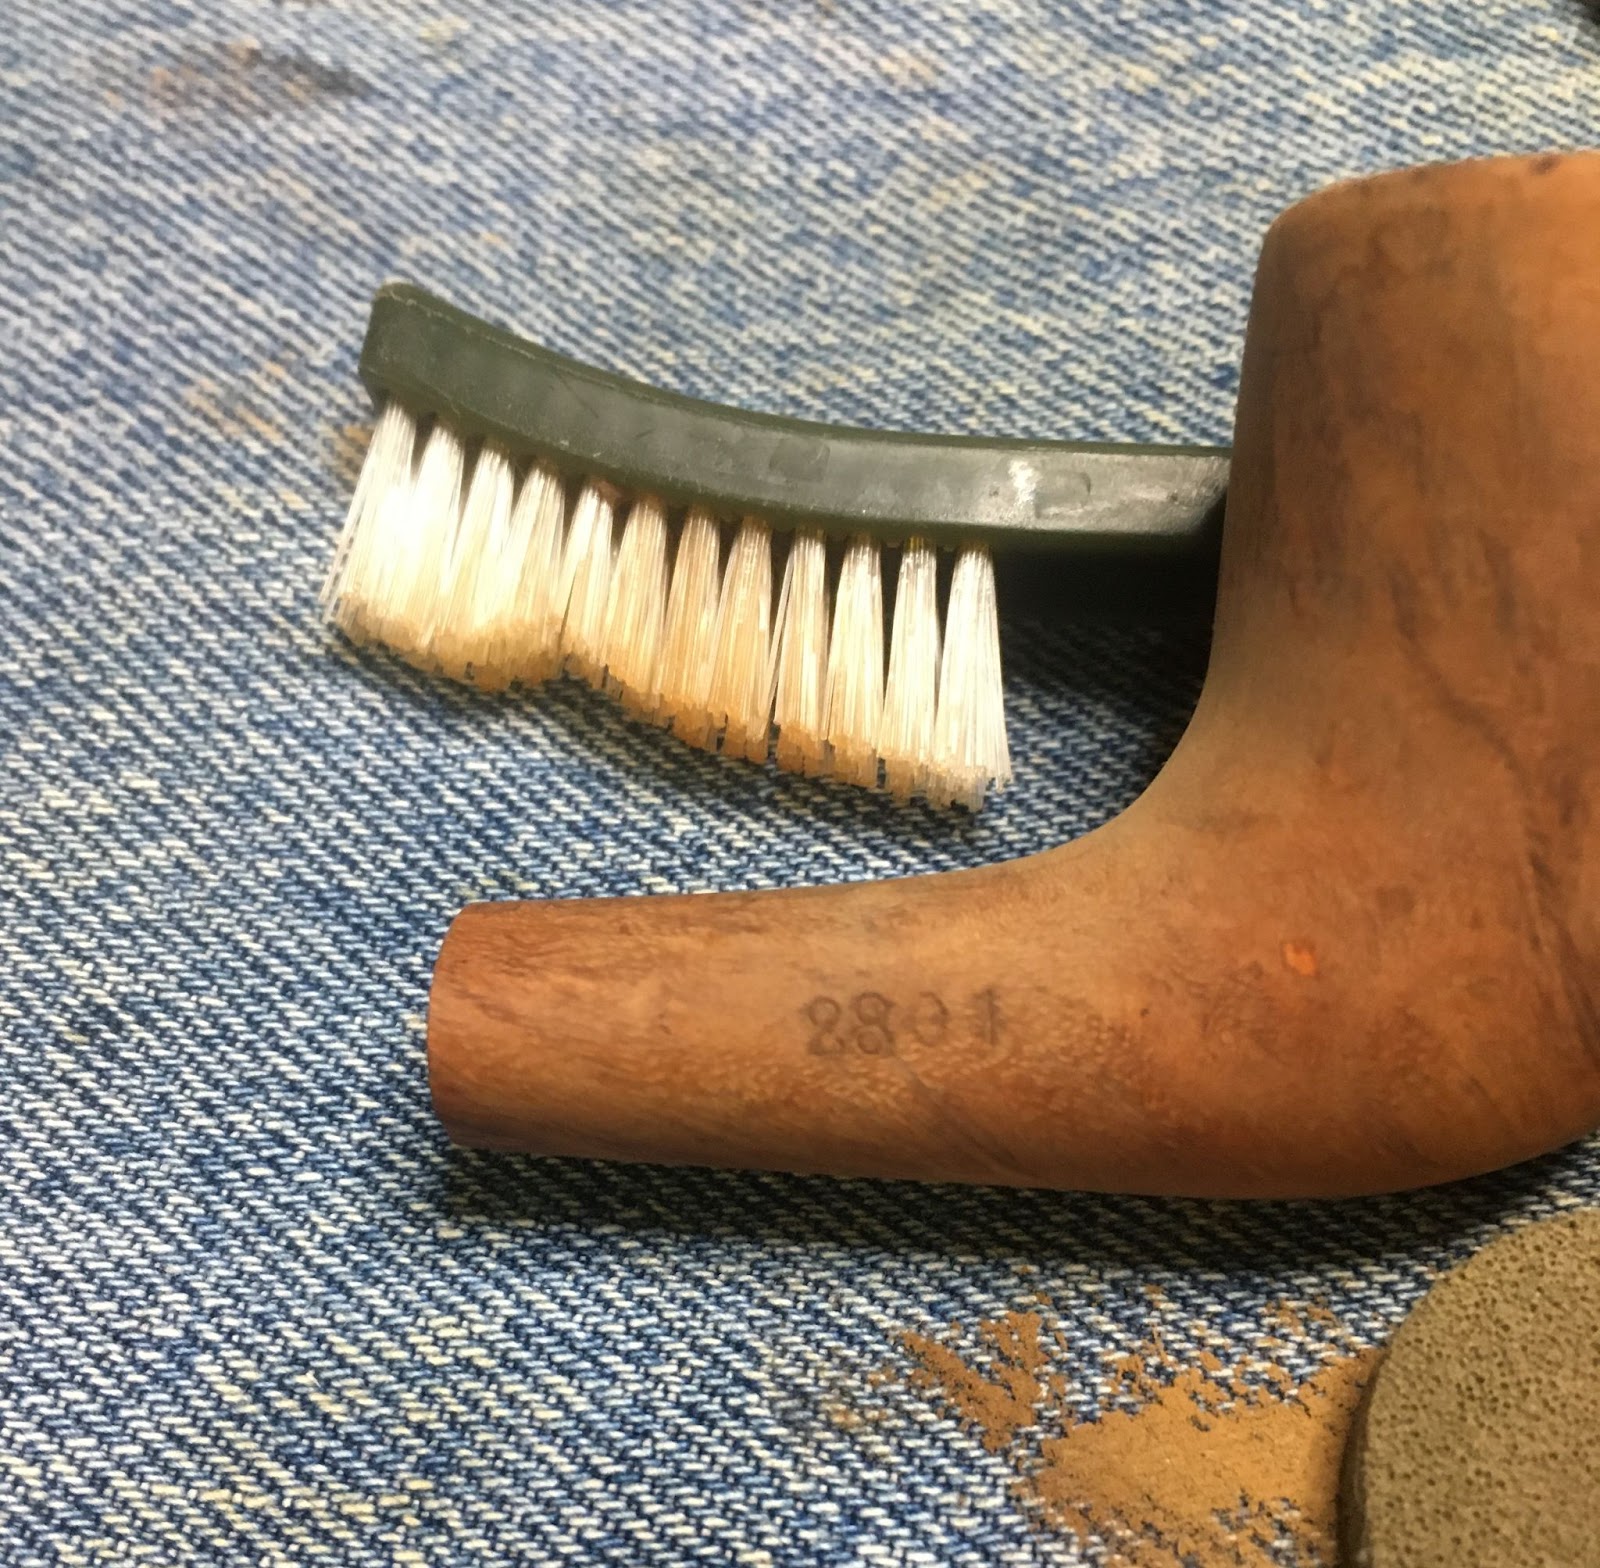
On to the scrubbing. The stummel went to the sink where it was scrubbed with undiluted Murphy Oil Soap and a medium bristle toothbrush. A second soap application was used with a stiffer nylon scrub brush due to the years worth of grime and the rusticated surface of the stummel


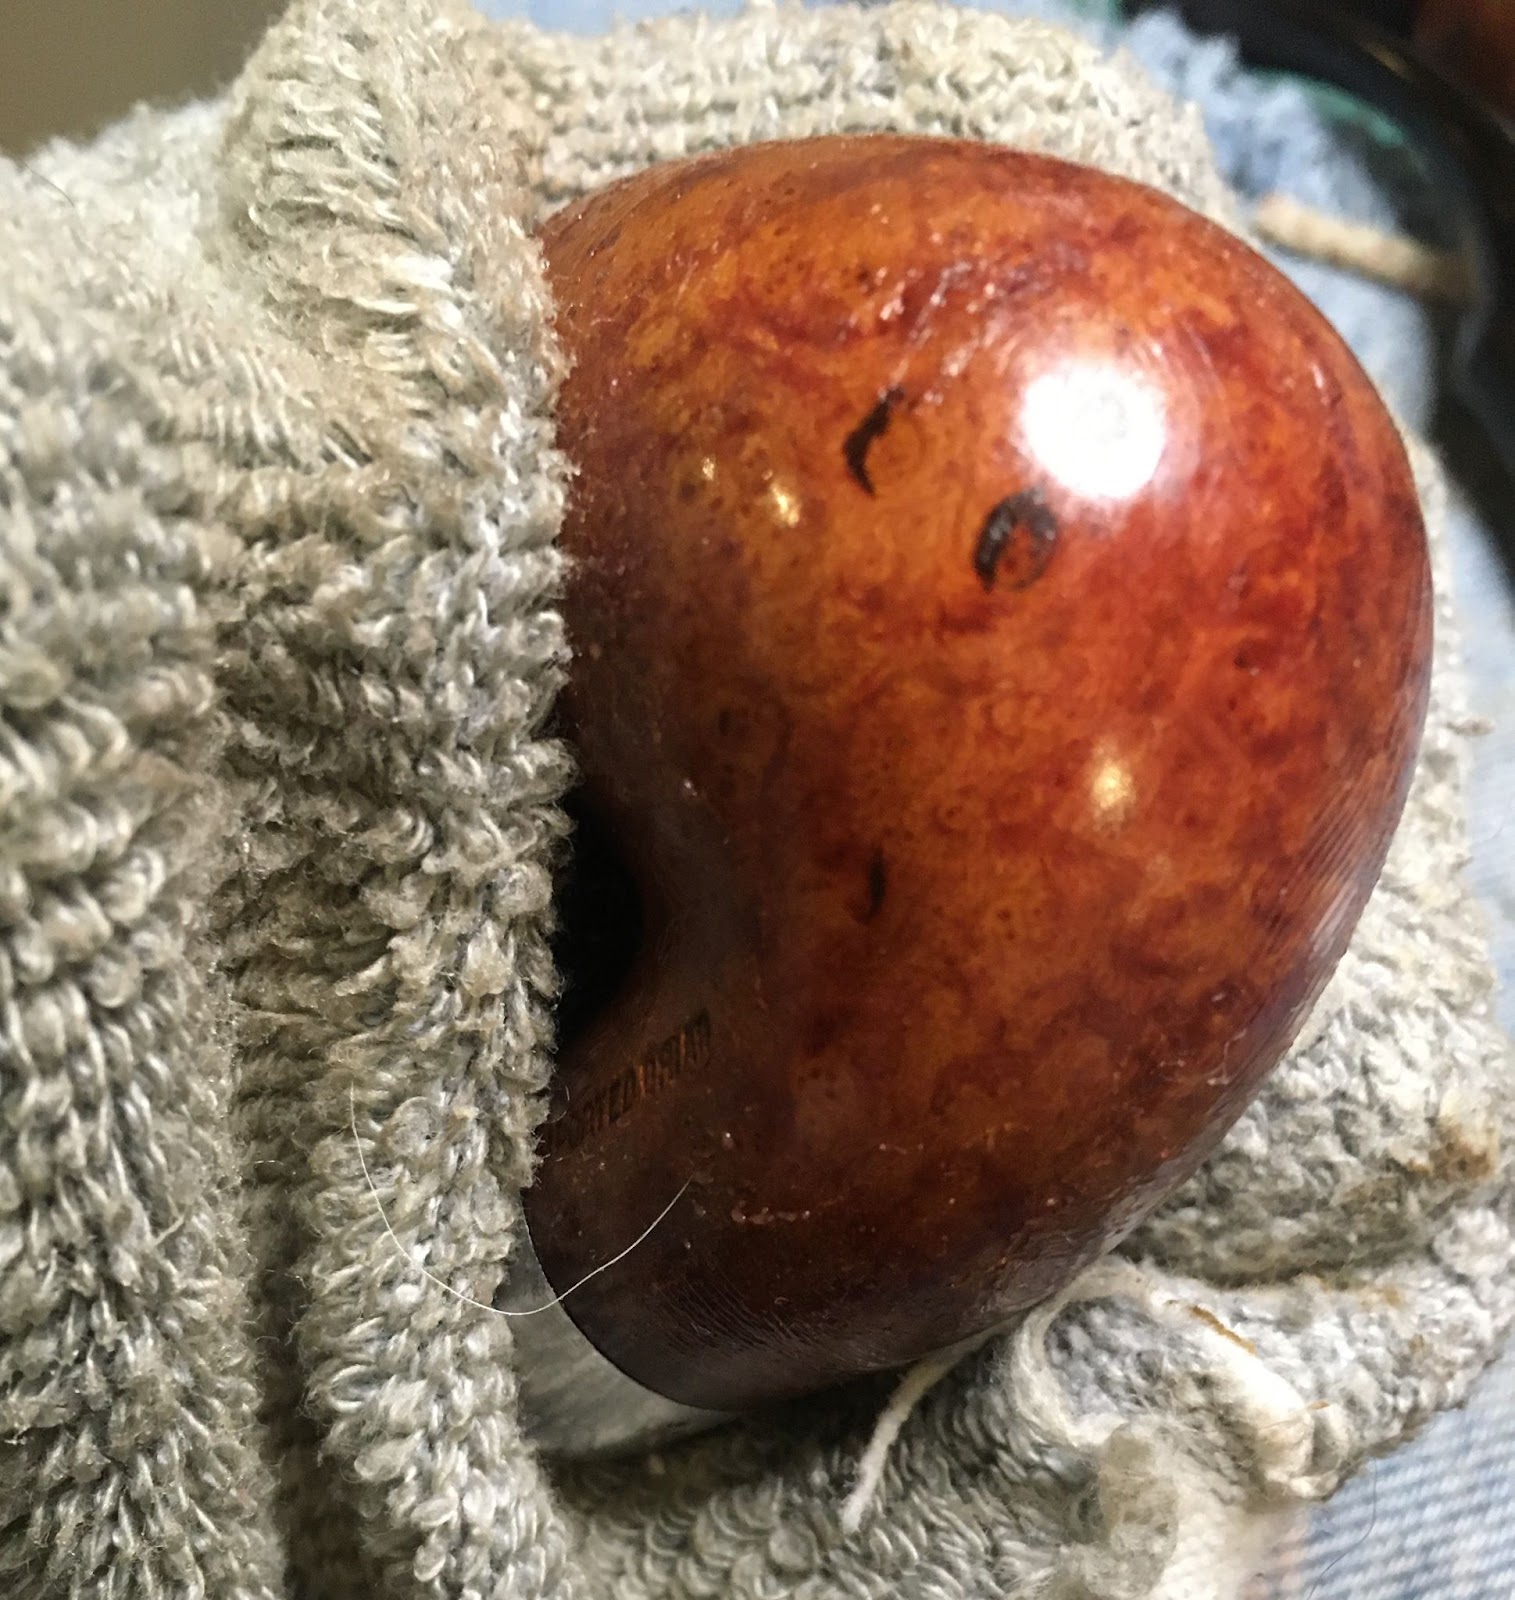
After the scrubbing the stummel was rinsed with warm water and dried with a cotton hand towel. I returned to the workbench and scrubbed the stummel further with a nylon brush dipped in ethyl alcohol. I had to dip the brush numerous times. I was removing clear finish, which I assumed was shellac and stain from the stummel. The use of shellac made me think that this pipe may have been older than I had thought.

Since my fingers were already covered in alcohol and finish I figured a bit more alcohol would be good. I scrubbed the stinger and freed it from its tar coating. The alcohol and a .30 caliber brass bore brush were used since the regular brass brush was over by the sink and I’m lazy.

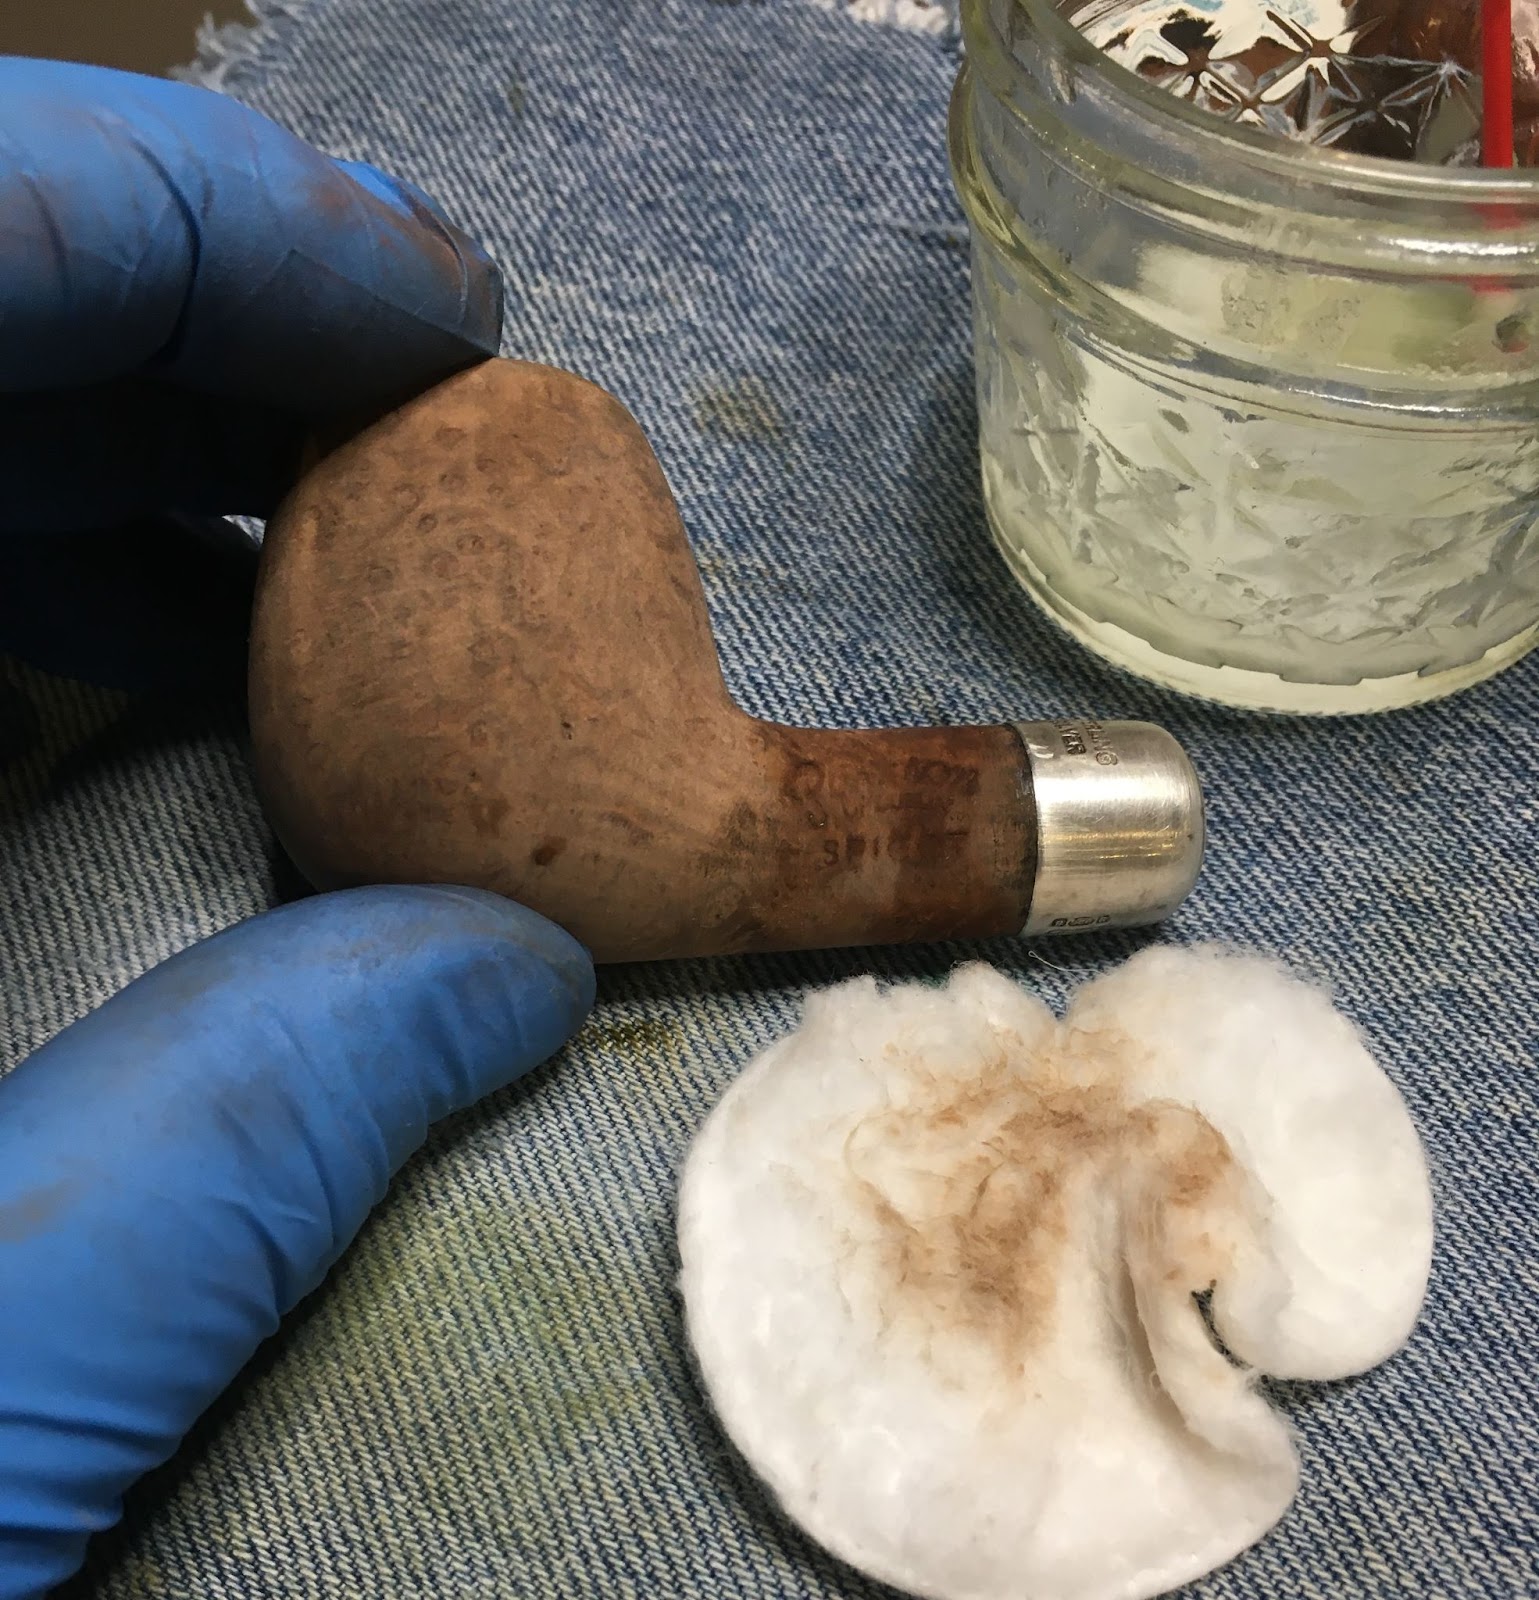
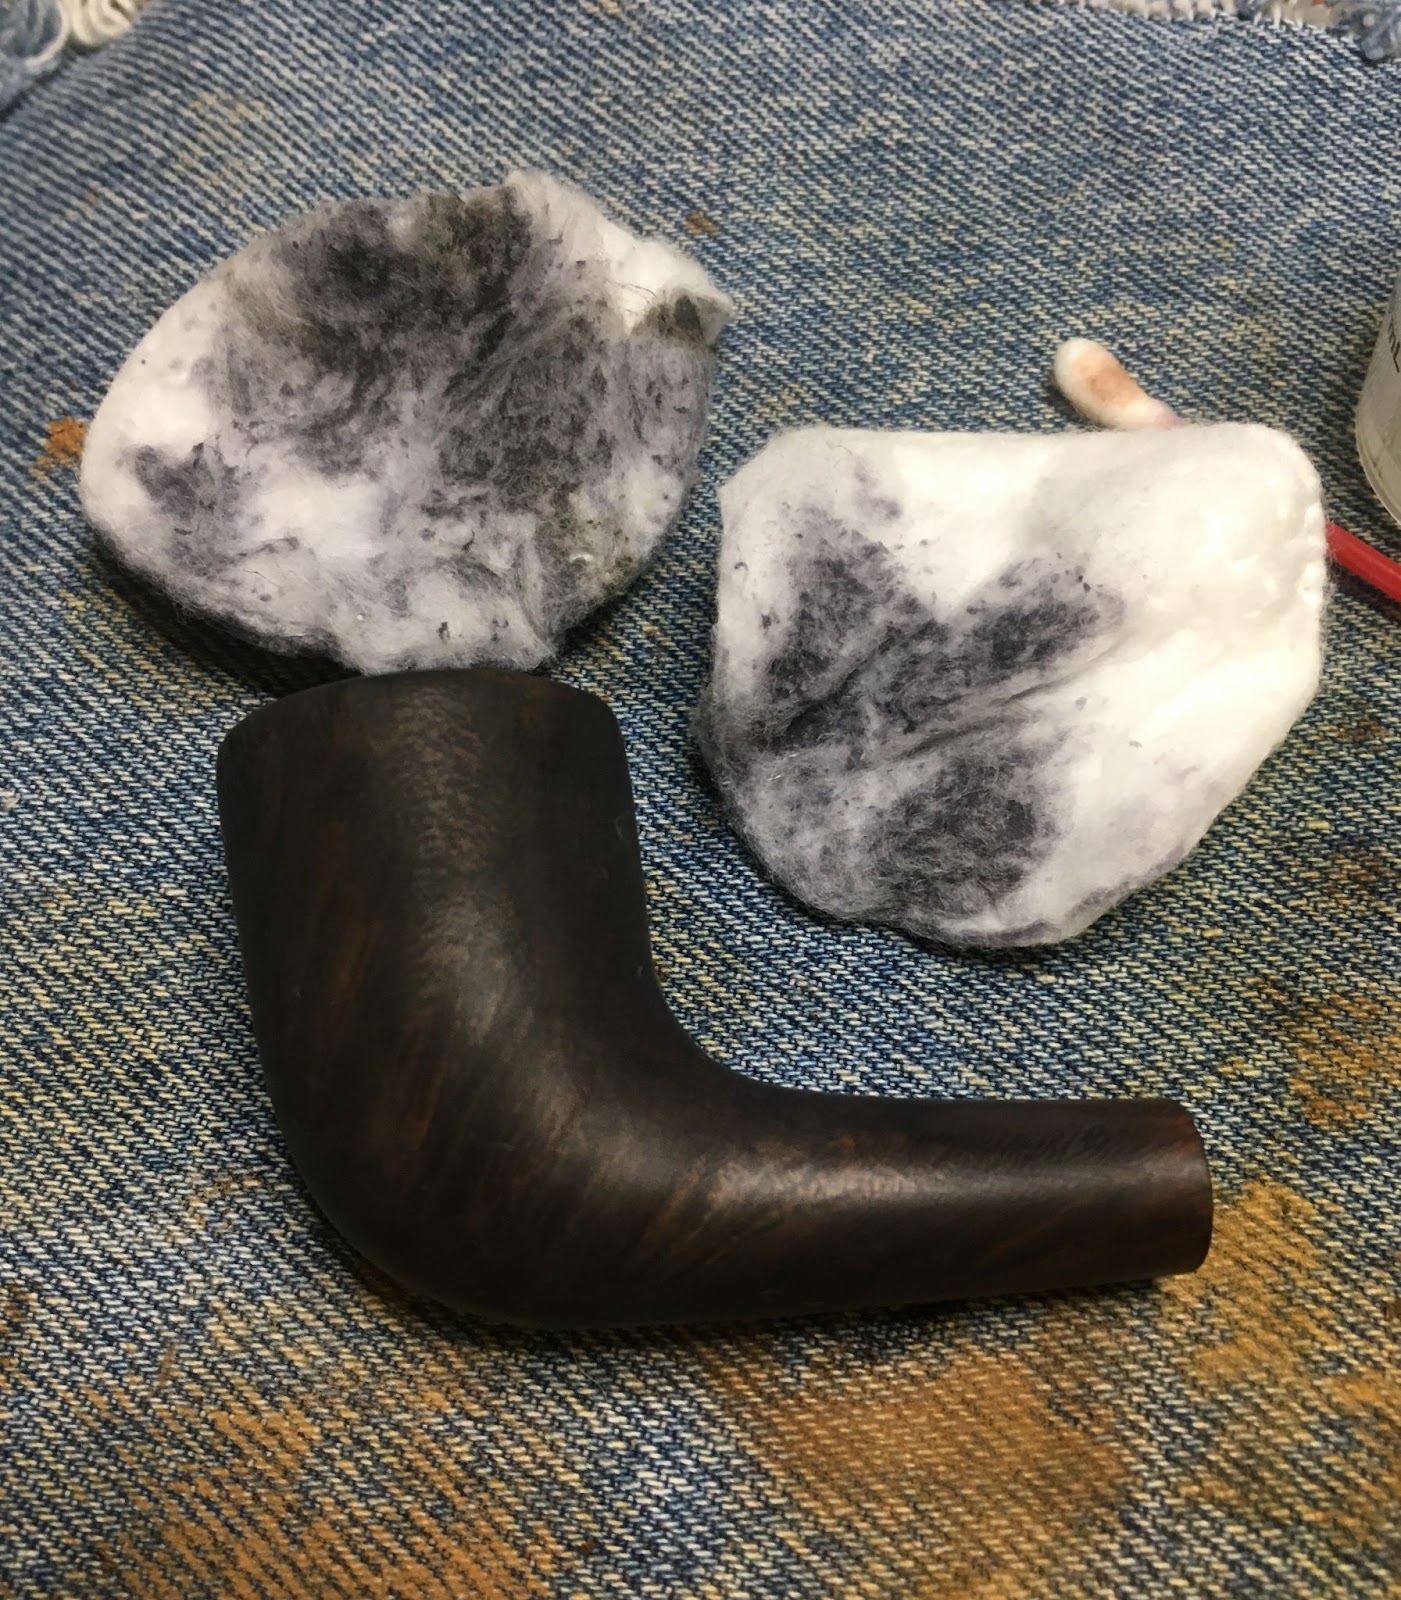
The stummel was wiped several times with make-up pads dipped in ethyl alcohol to remove any traces of finish and traitorous stain from the stummel.

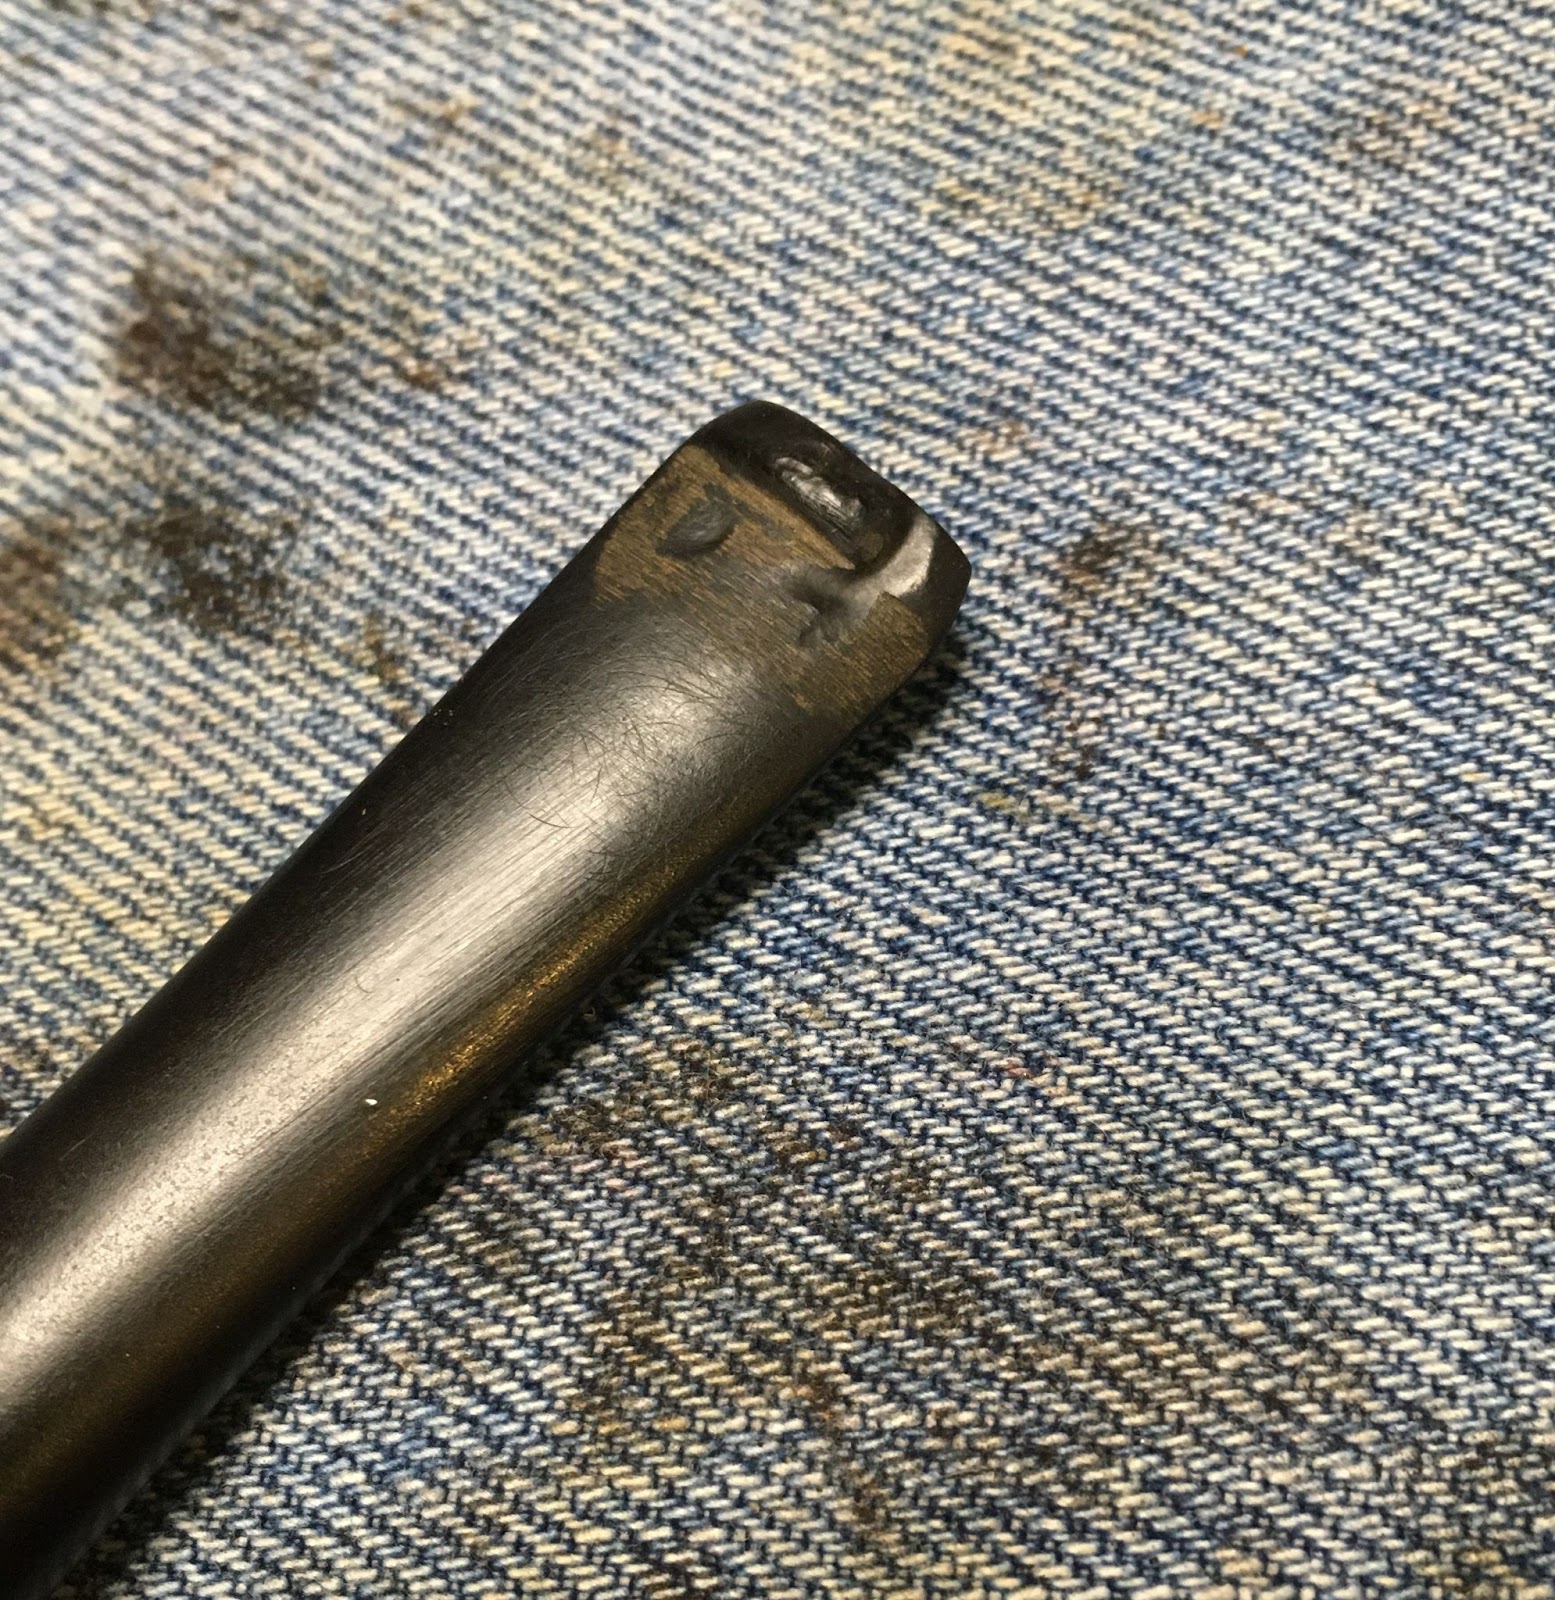
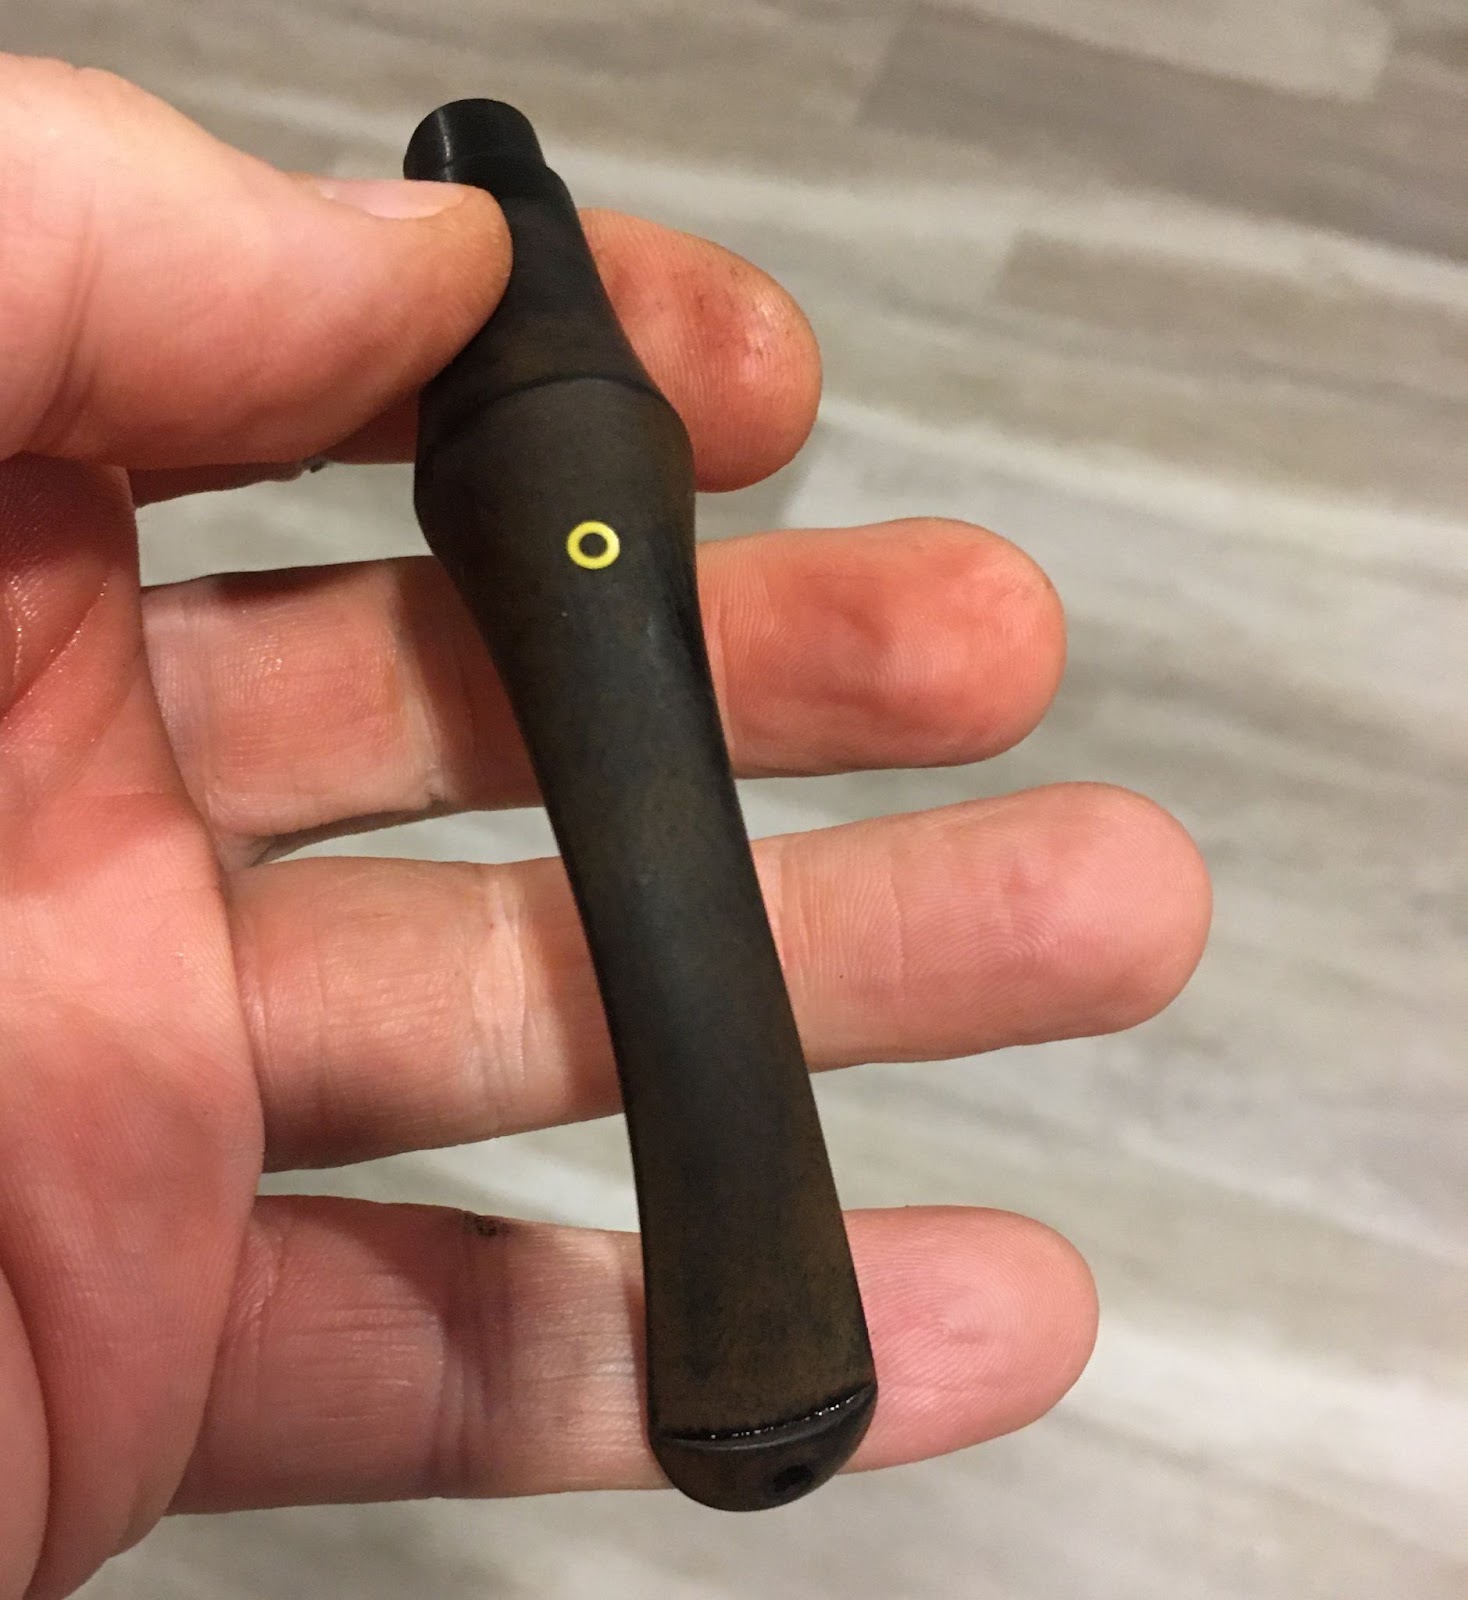
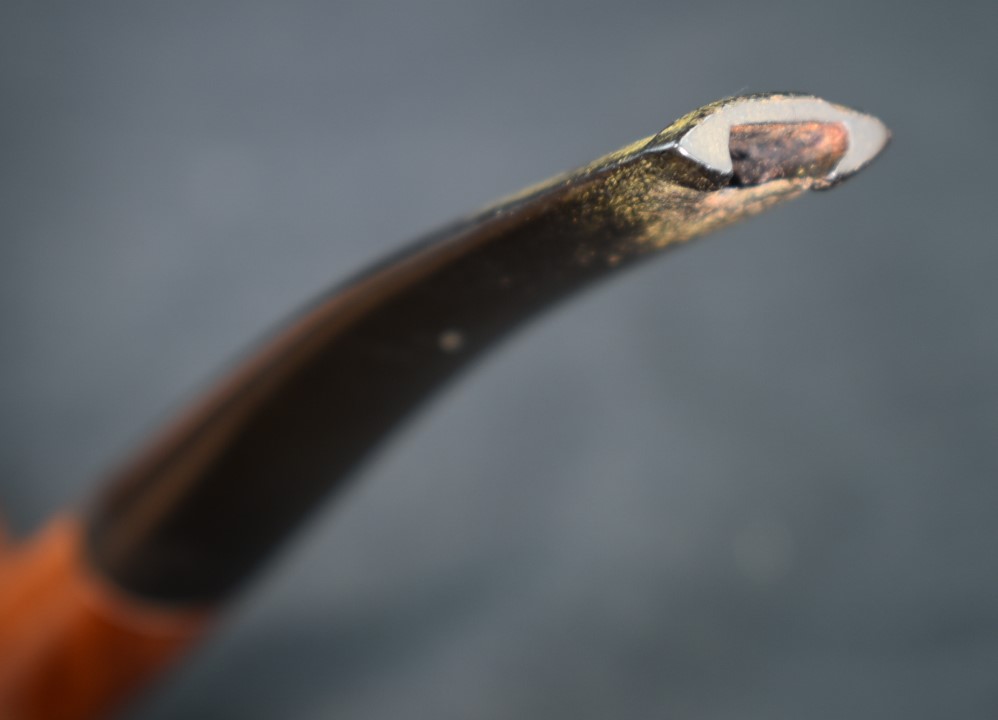
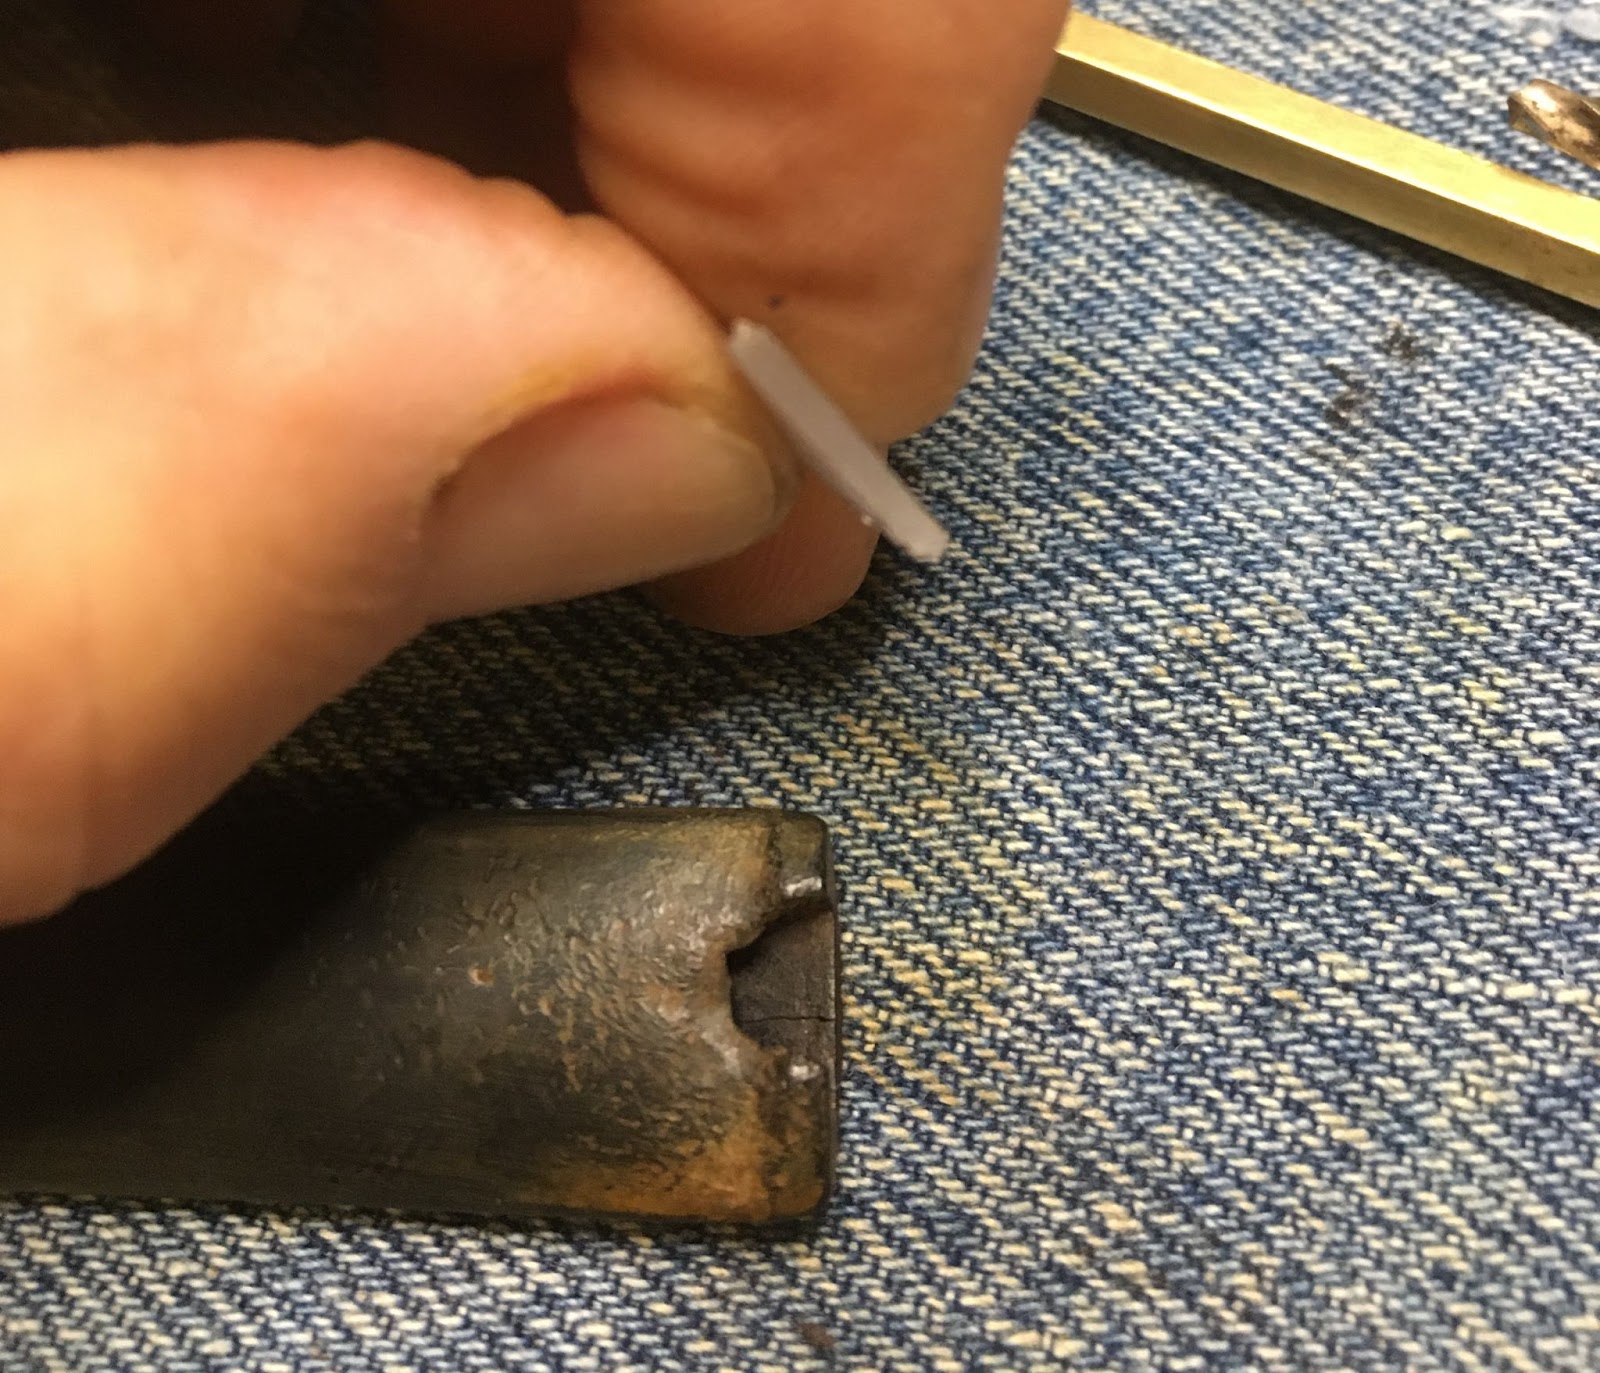
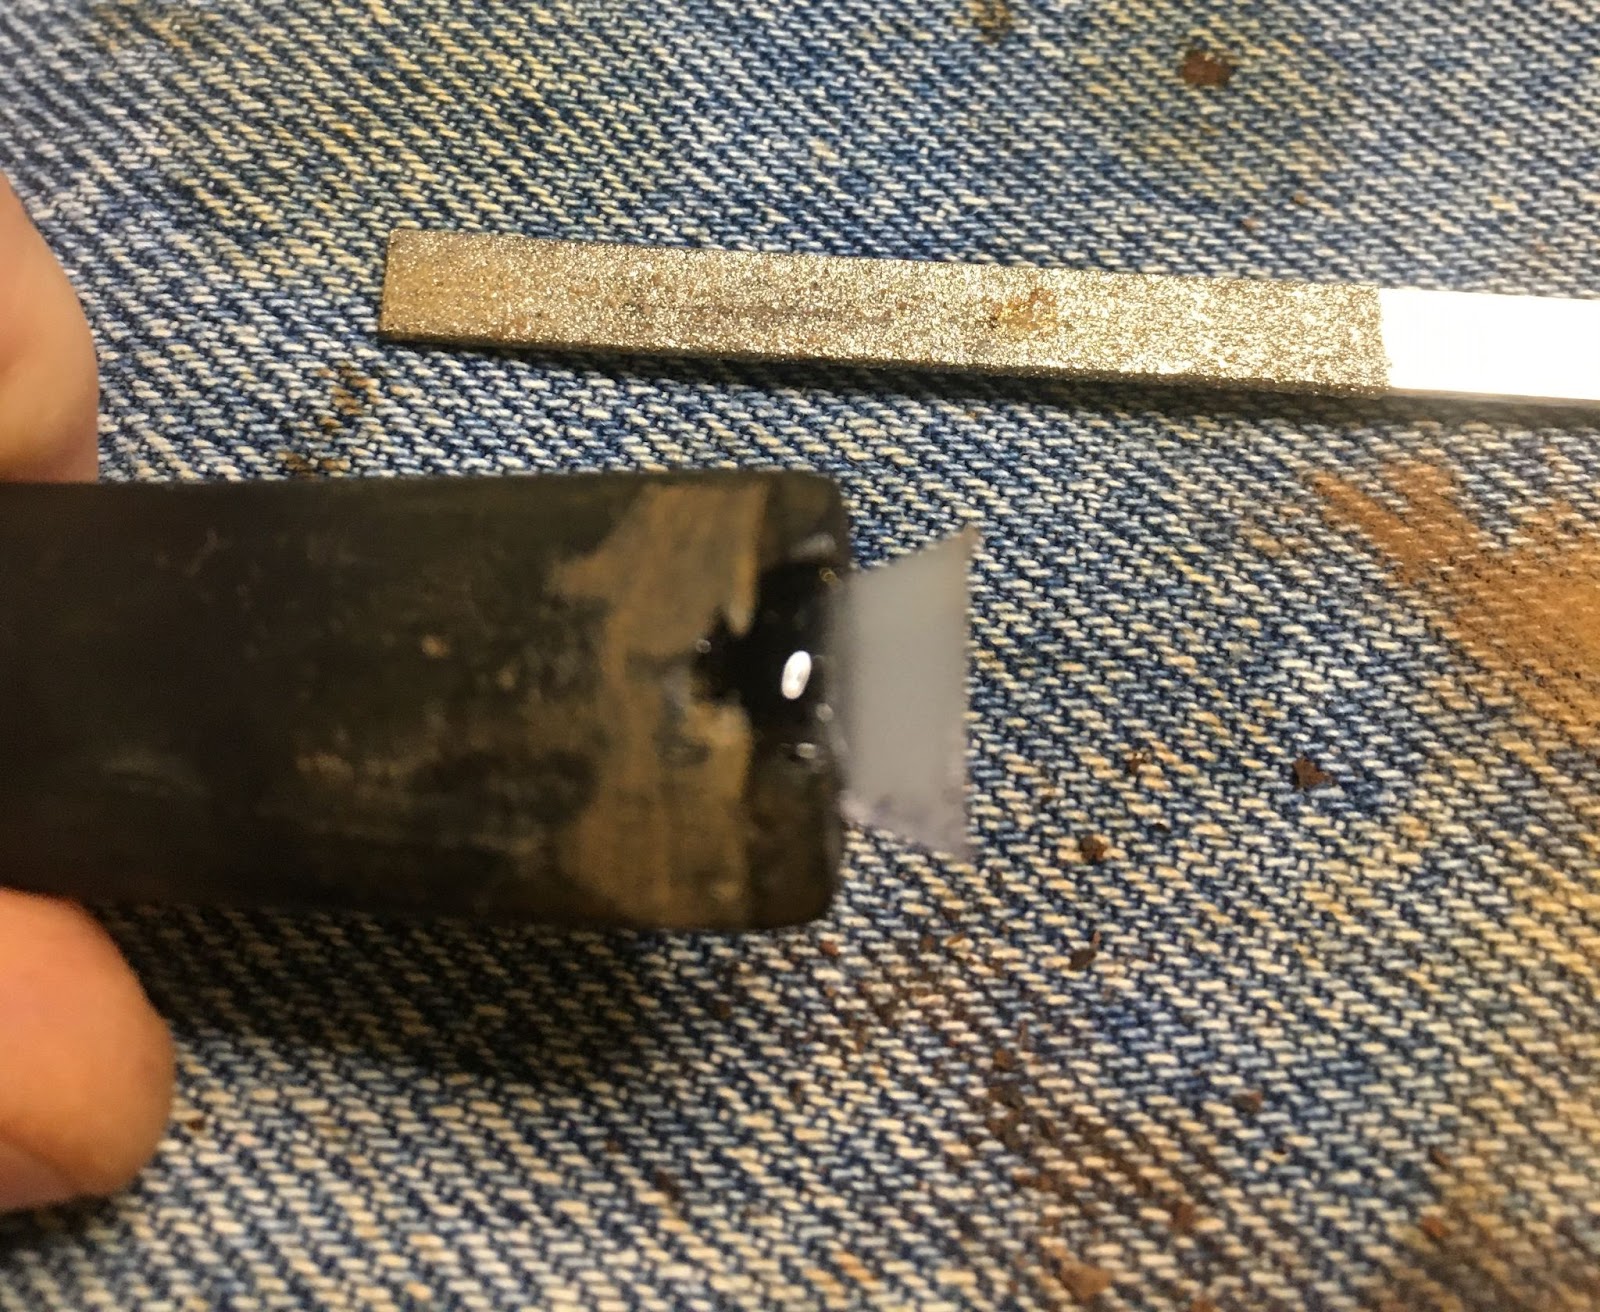
With the stummel exterior cleaned I decided to let it dry for a few minutes and get the stem ready for a soak in an OxyClean solution. The stem was lightly sanded using a 320 grit sanding sponge.

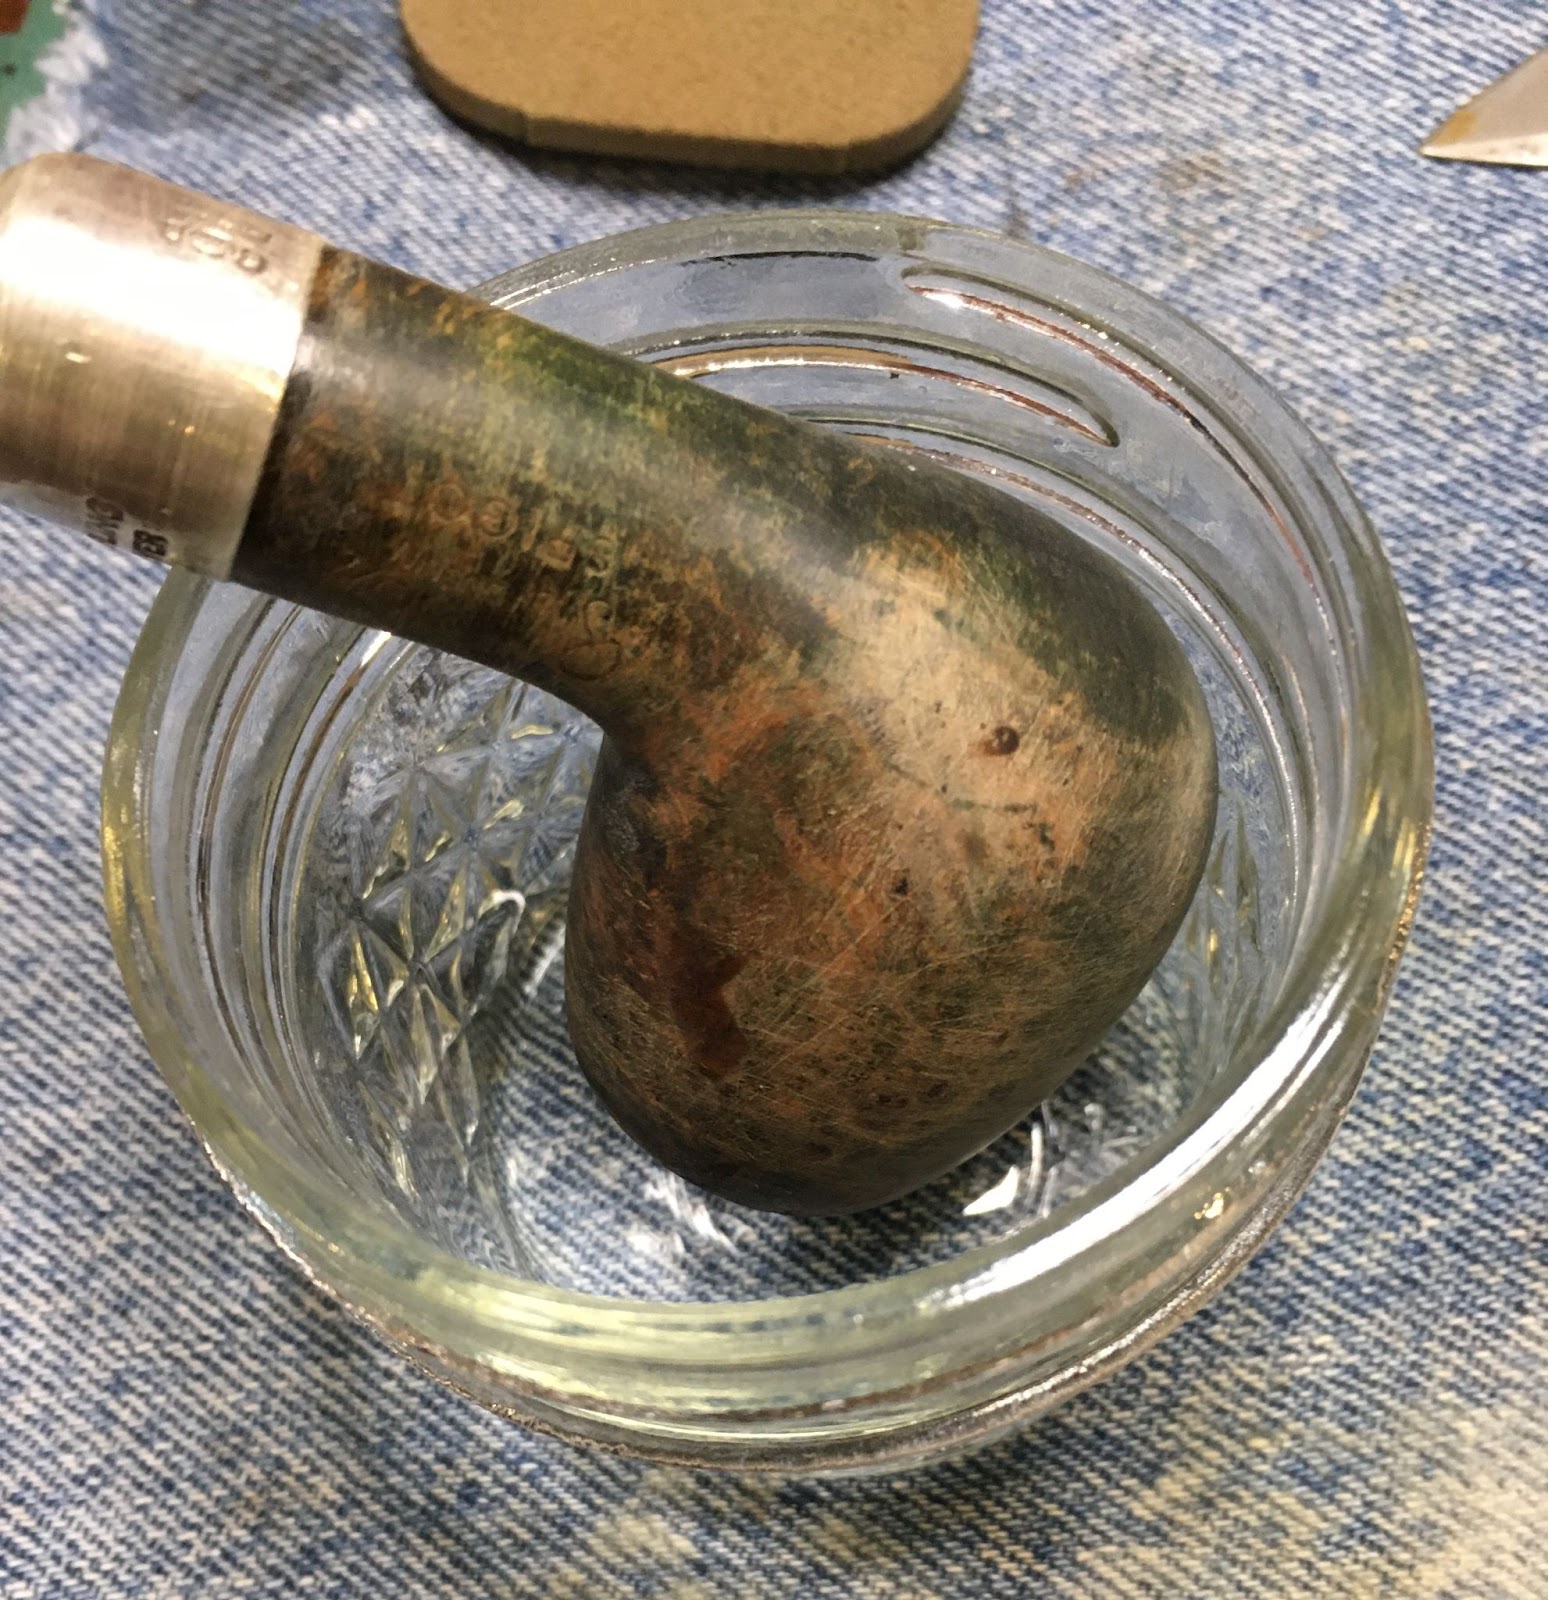
Then it went into the solution. I cannot remember what concentration this solution was mixed at but it is less than a saturated solution.

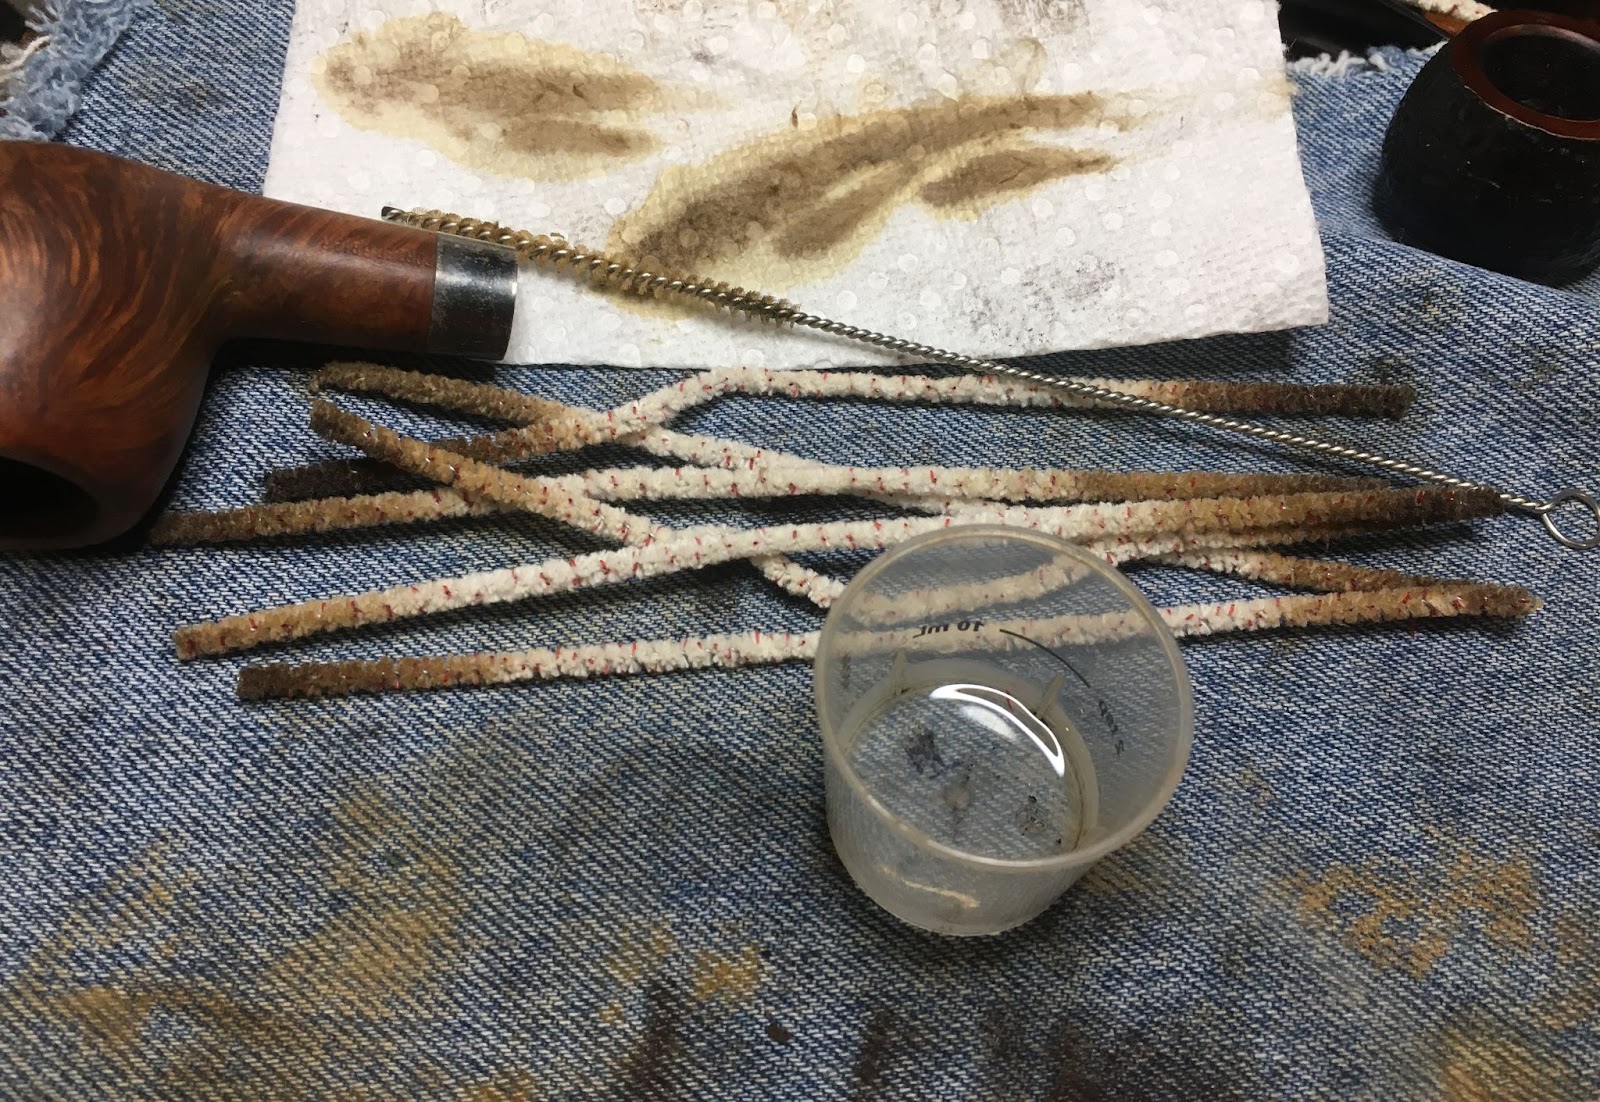
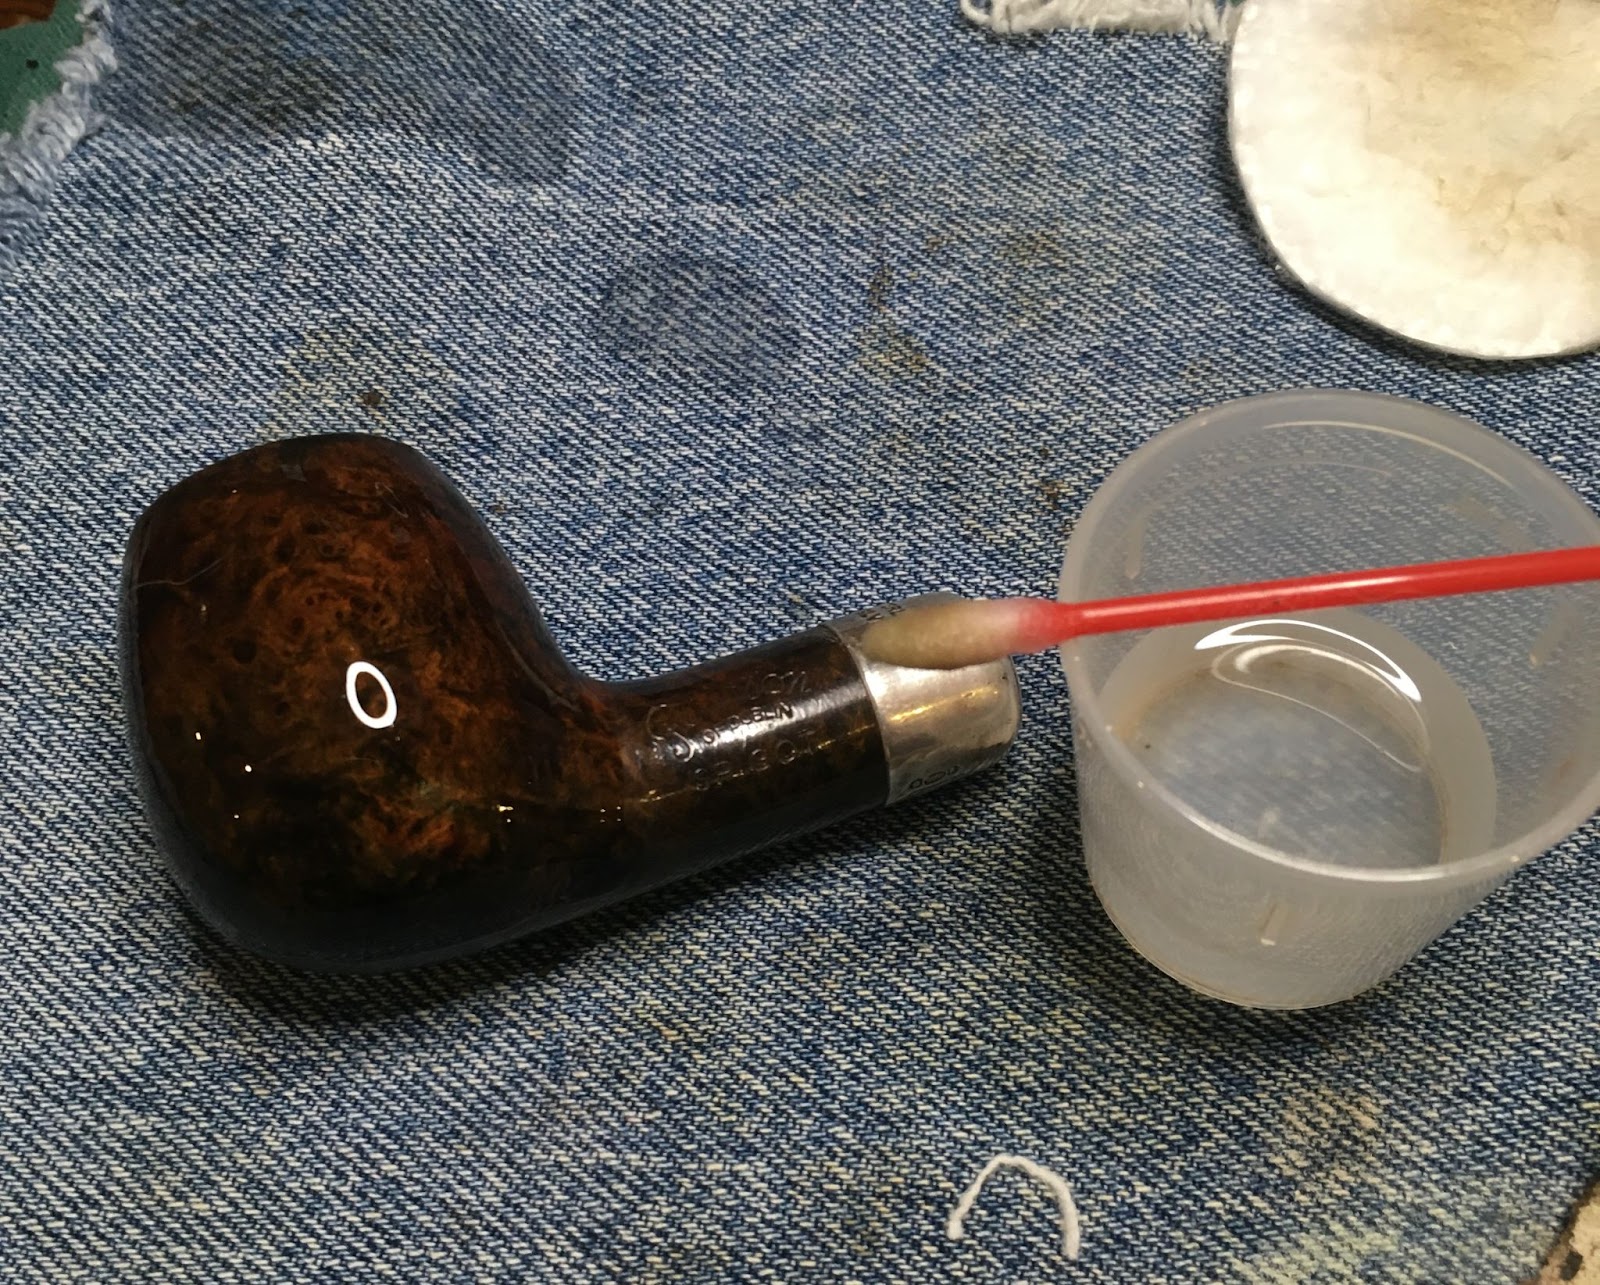
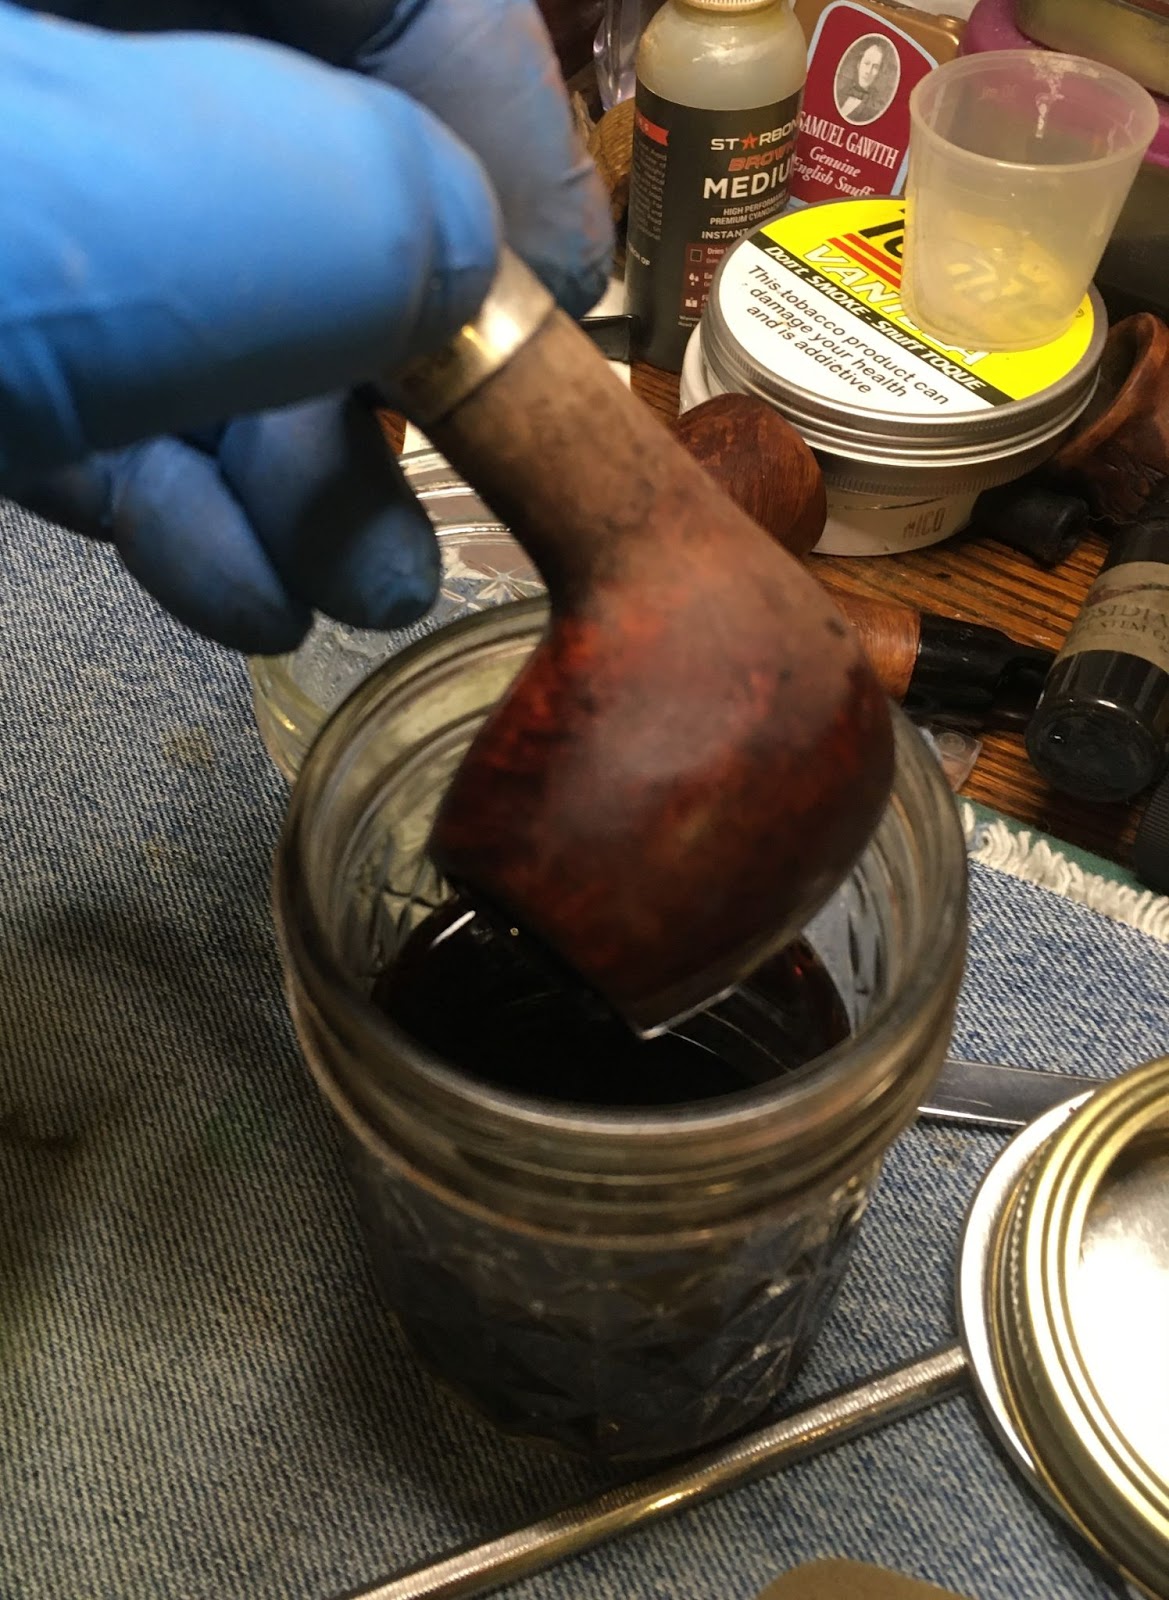
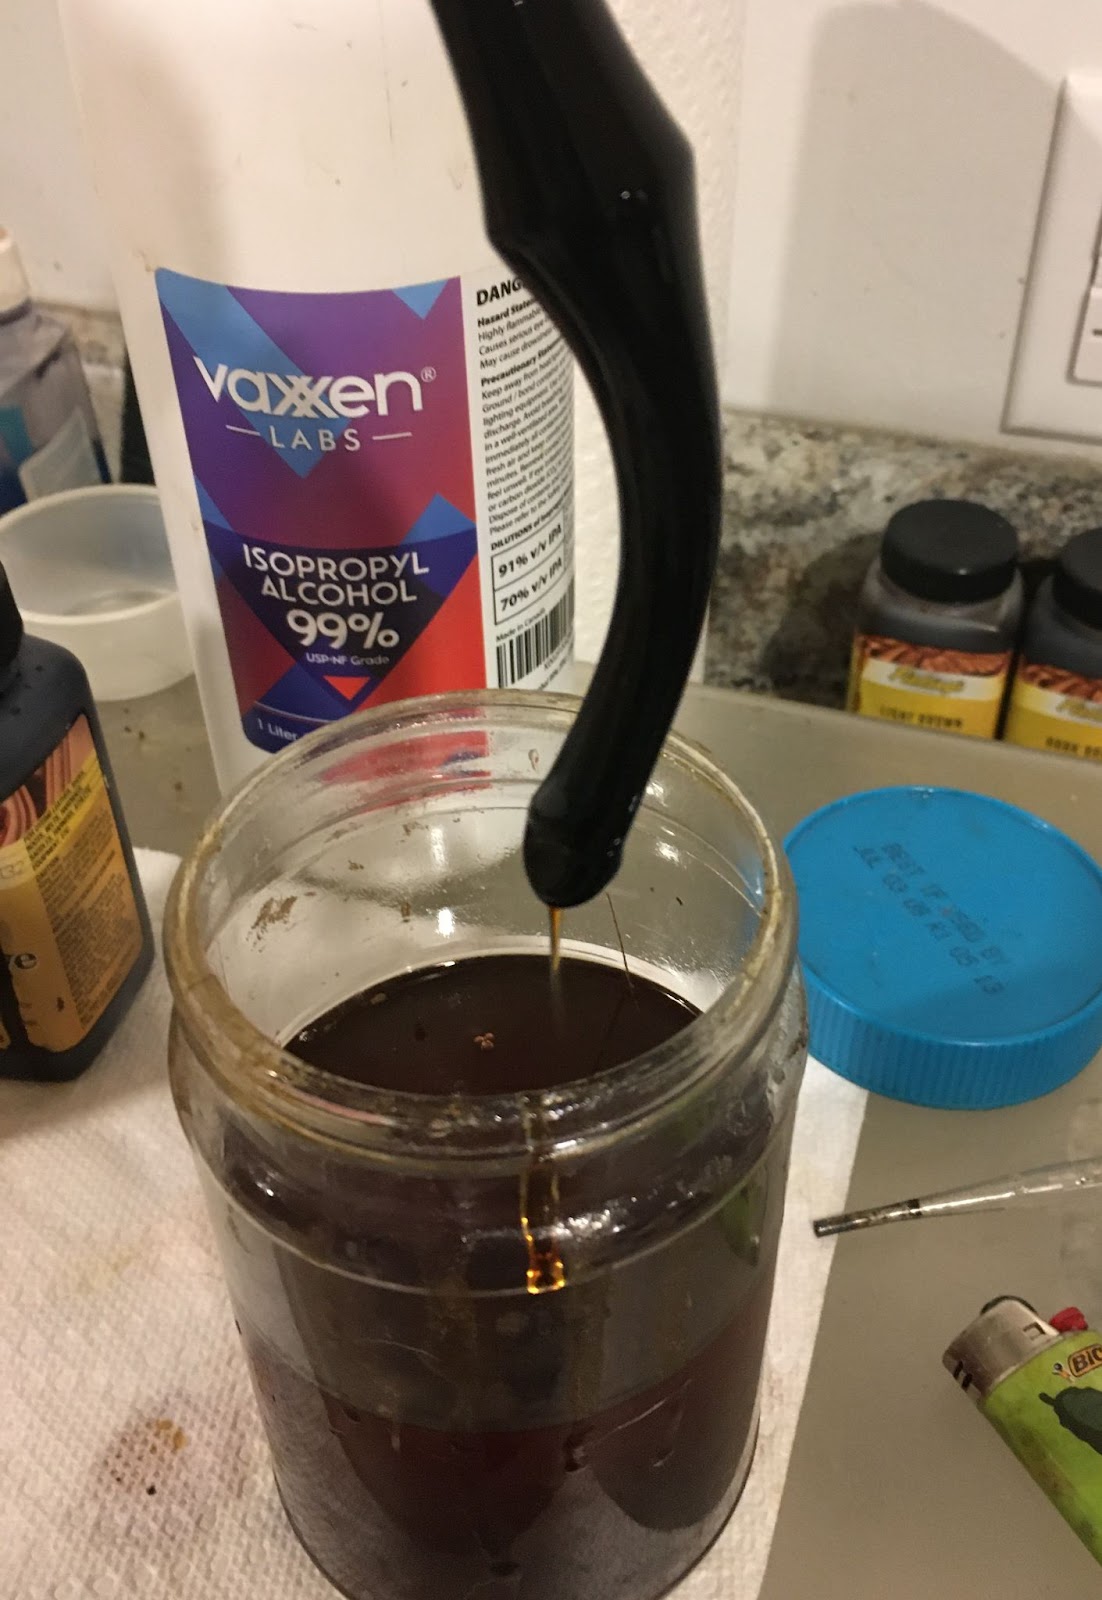
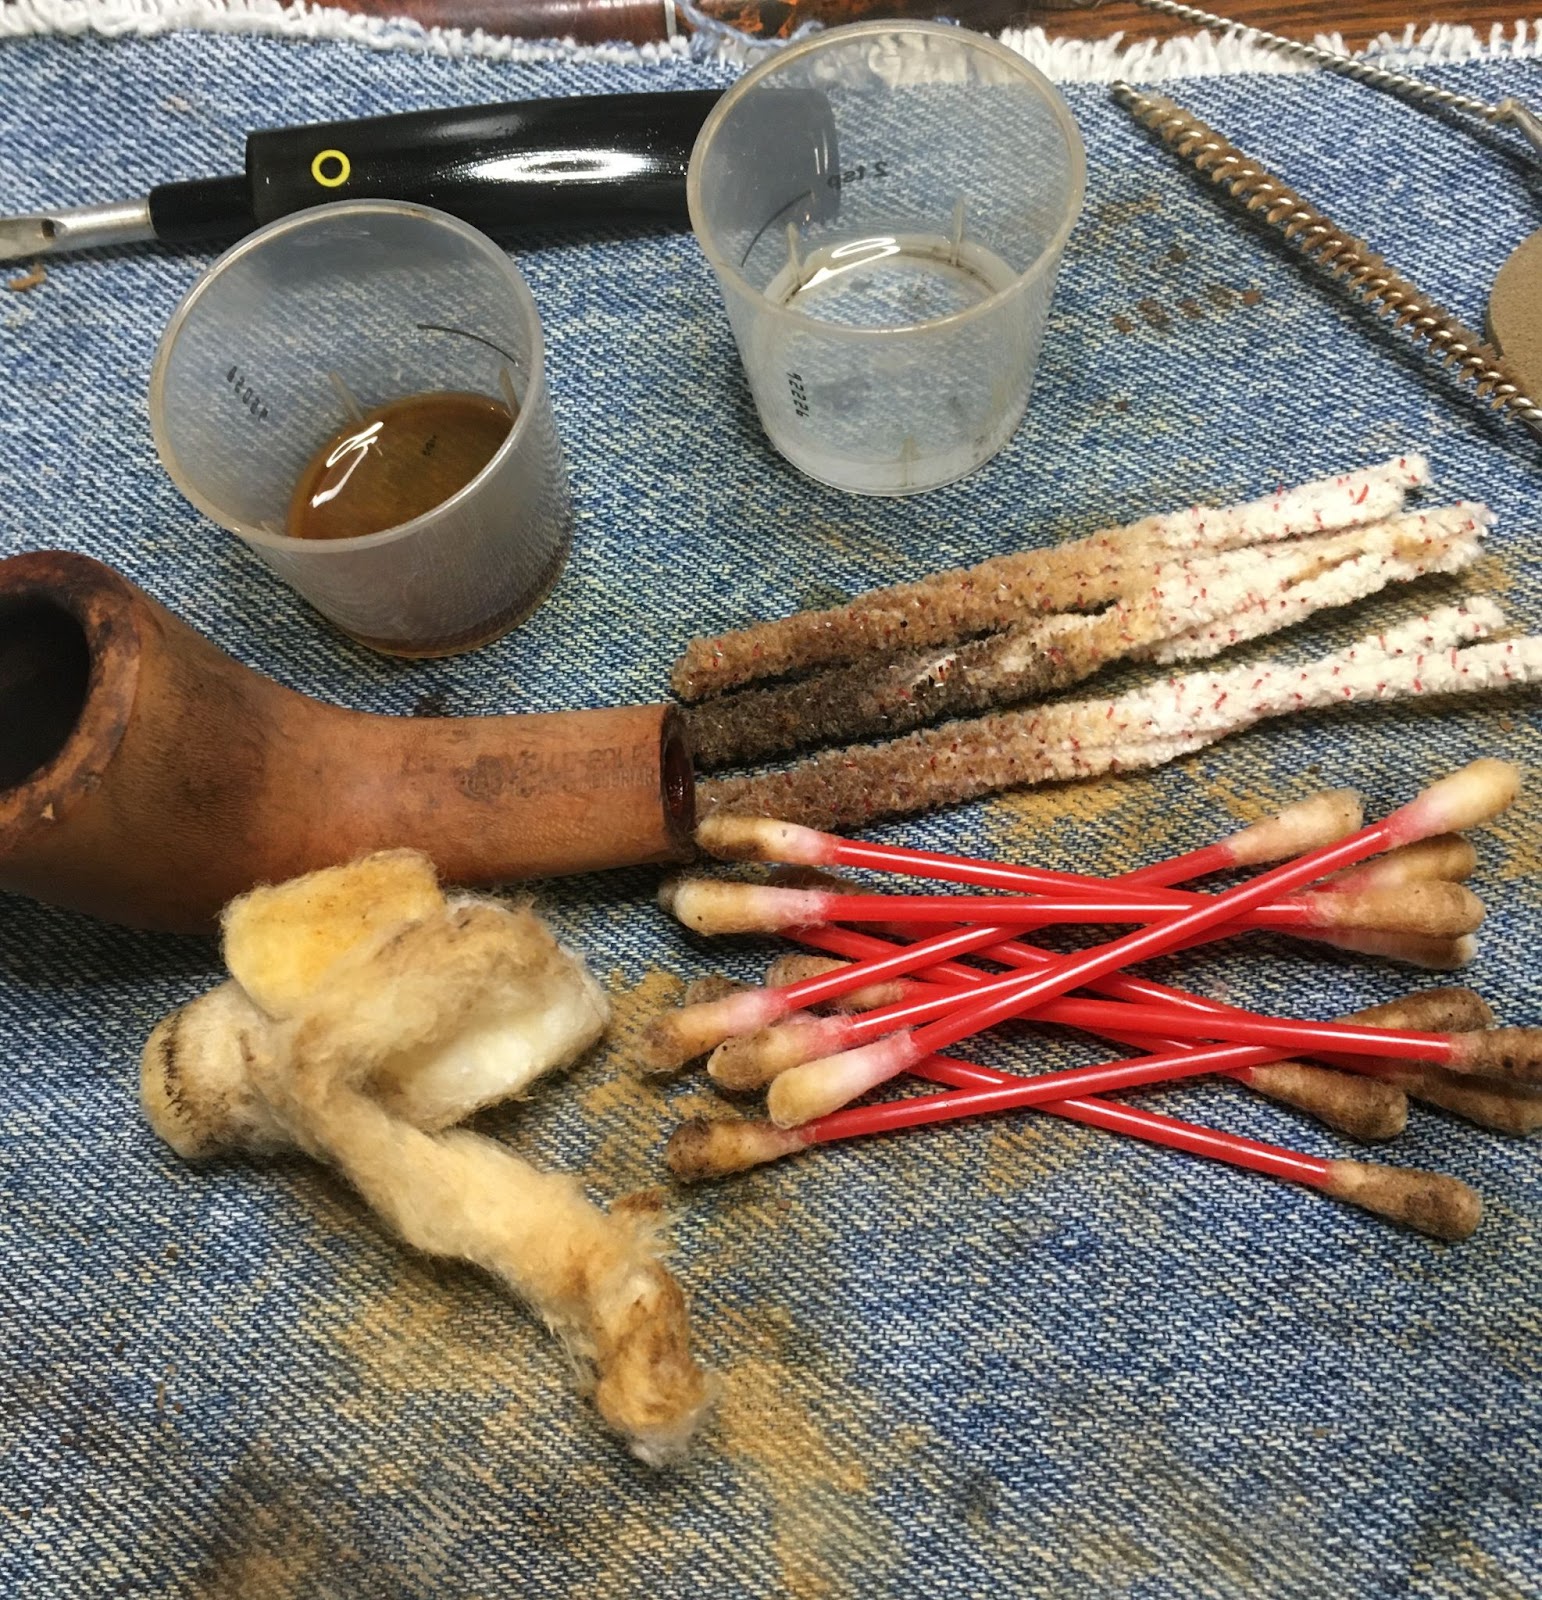
I began cleaning the airway by softening the residues with alcohol wetted cotton swabs then scraped with a dental scraper. A nylon shank brush was used with alcohol poured into the bowl and through the shank. That is the brown liquid in the cup below. Alternating cycles of scraping, scrubbing, swabbing – repeat – were done until the airway was clean.

Finally a doubled over bristle pipe cleaner dipped in alcohol emerged from the airway non-brown.

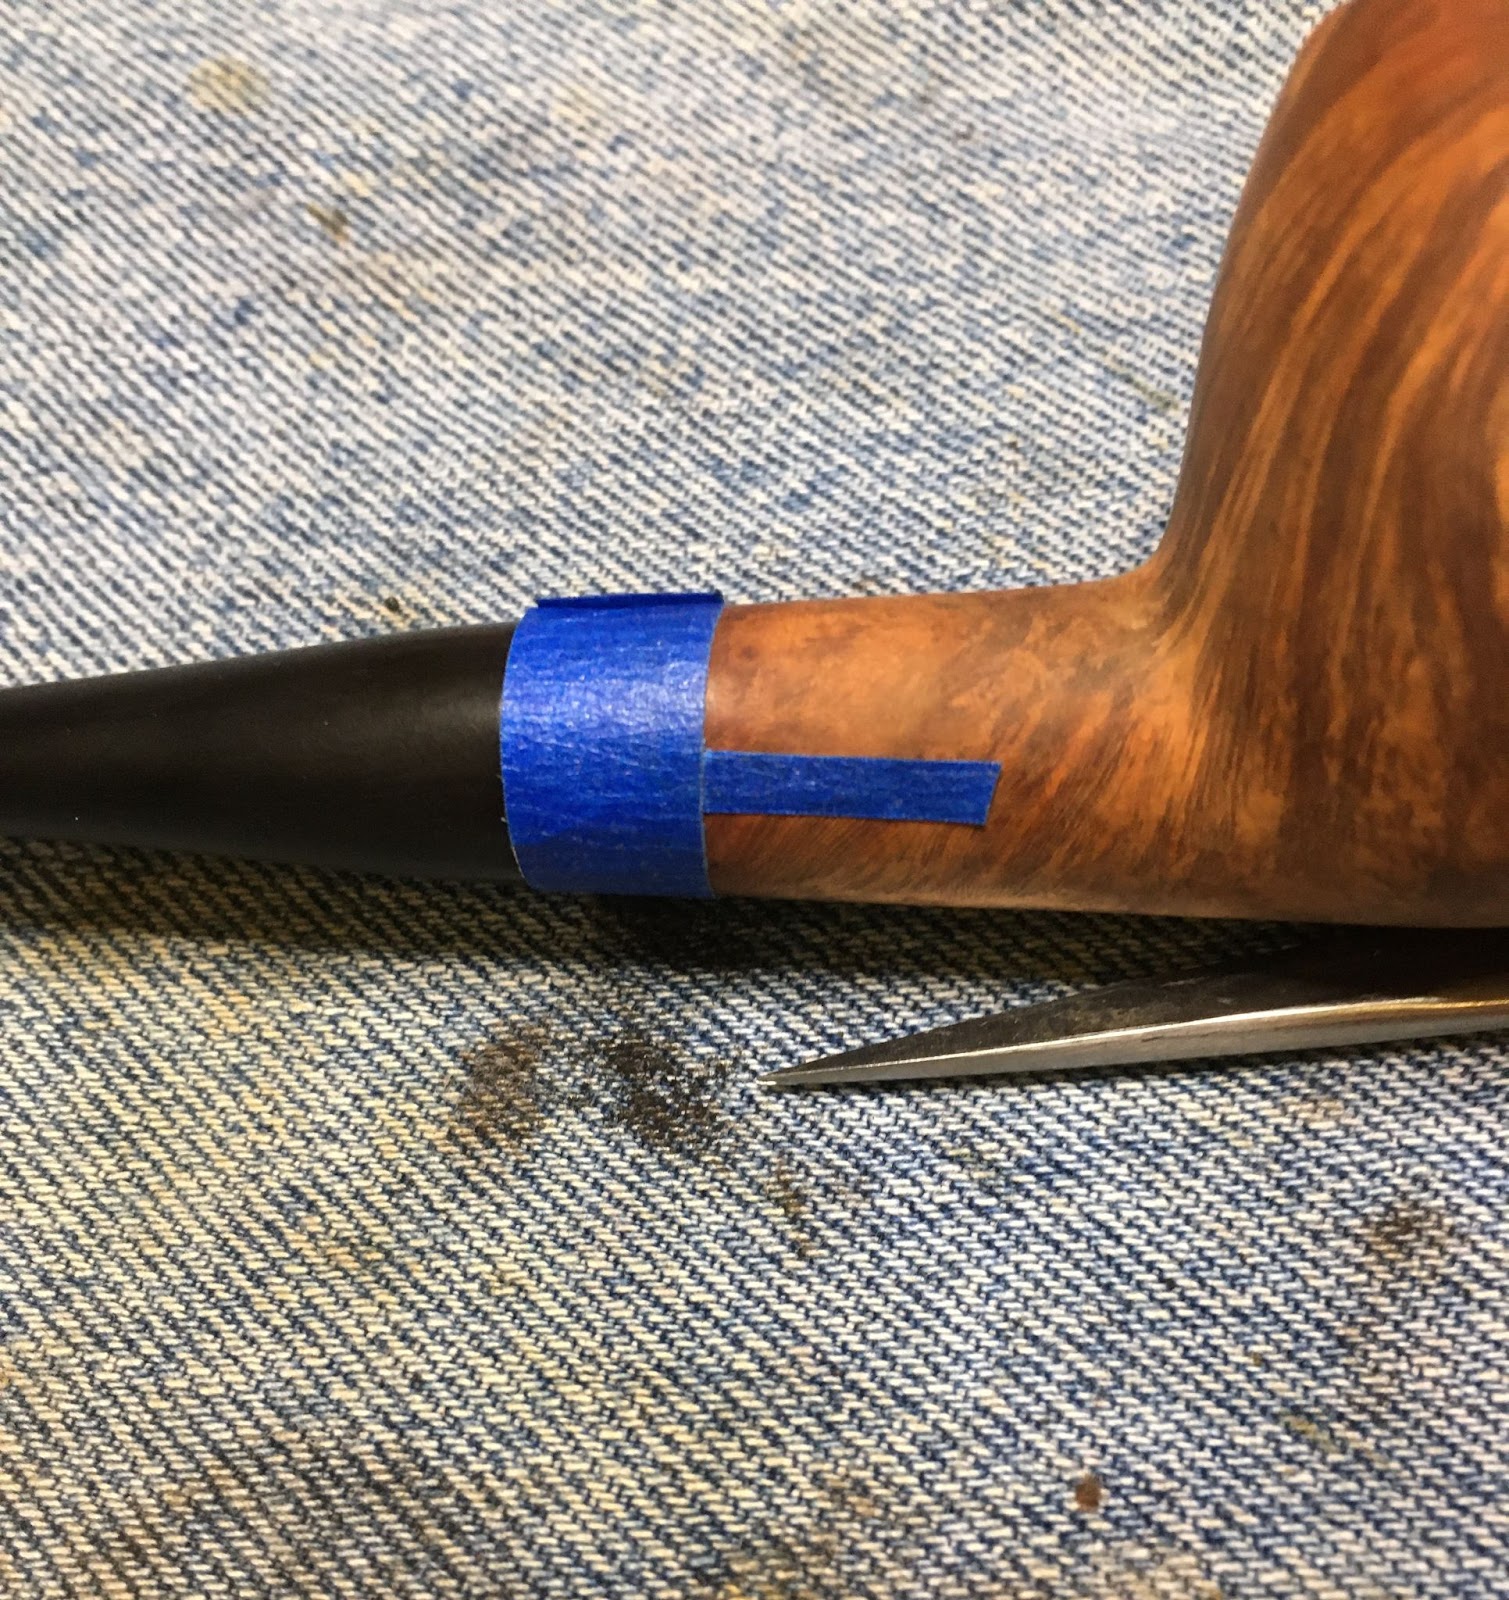
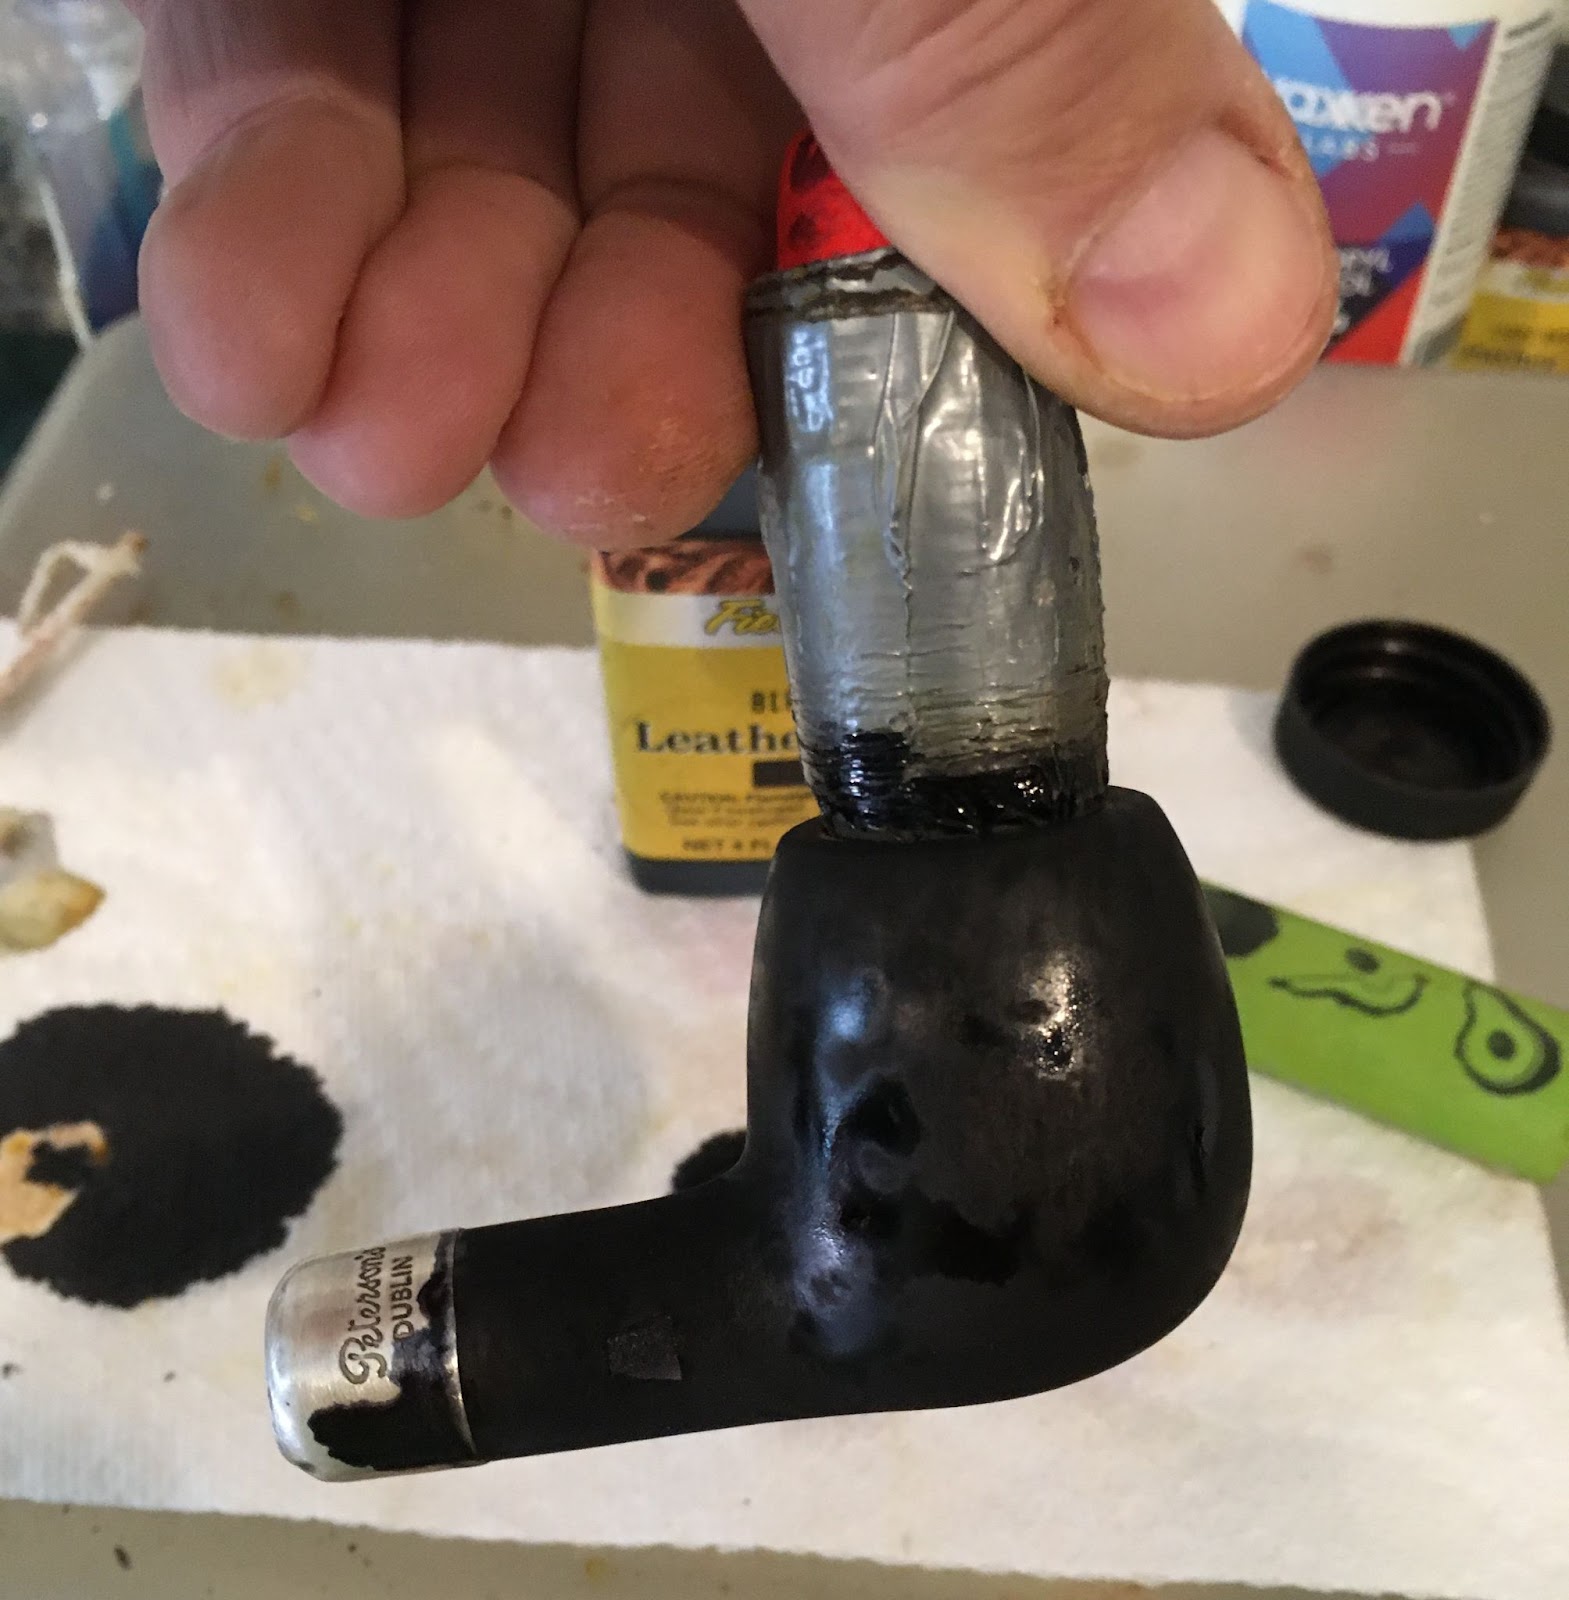
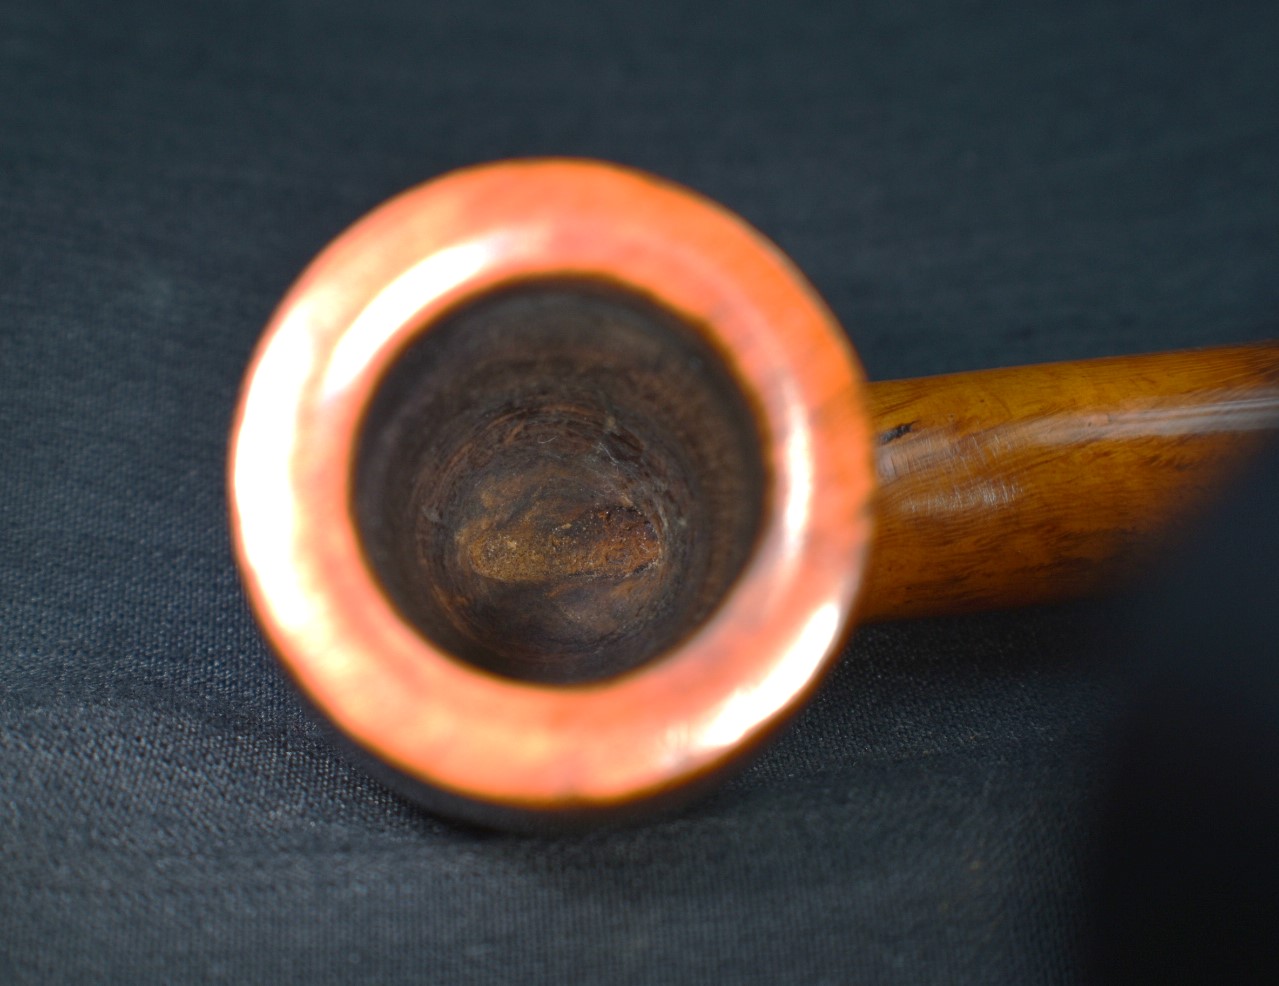
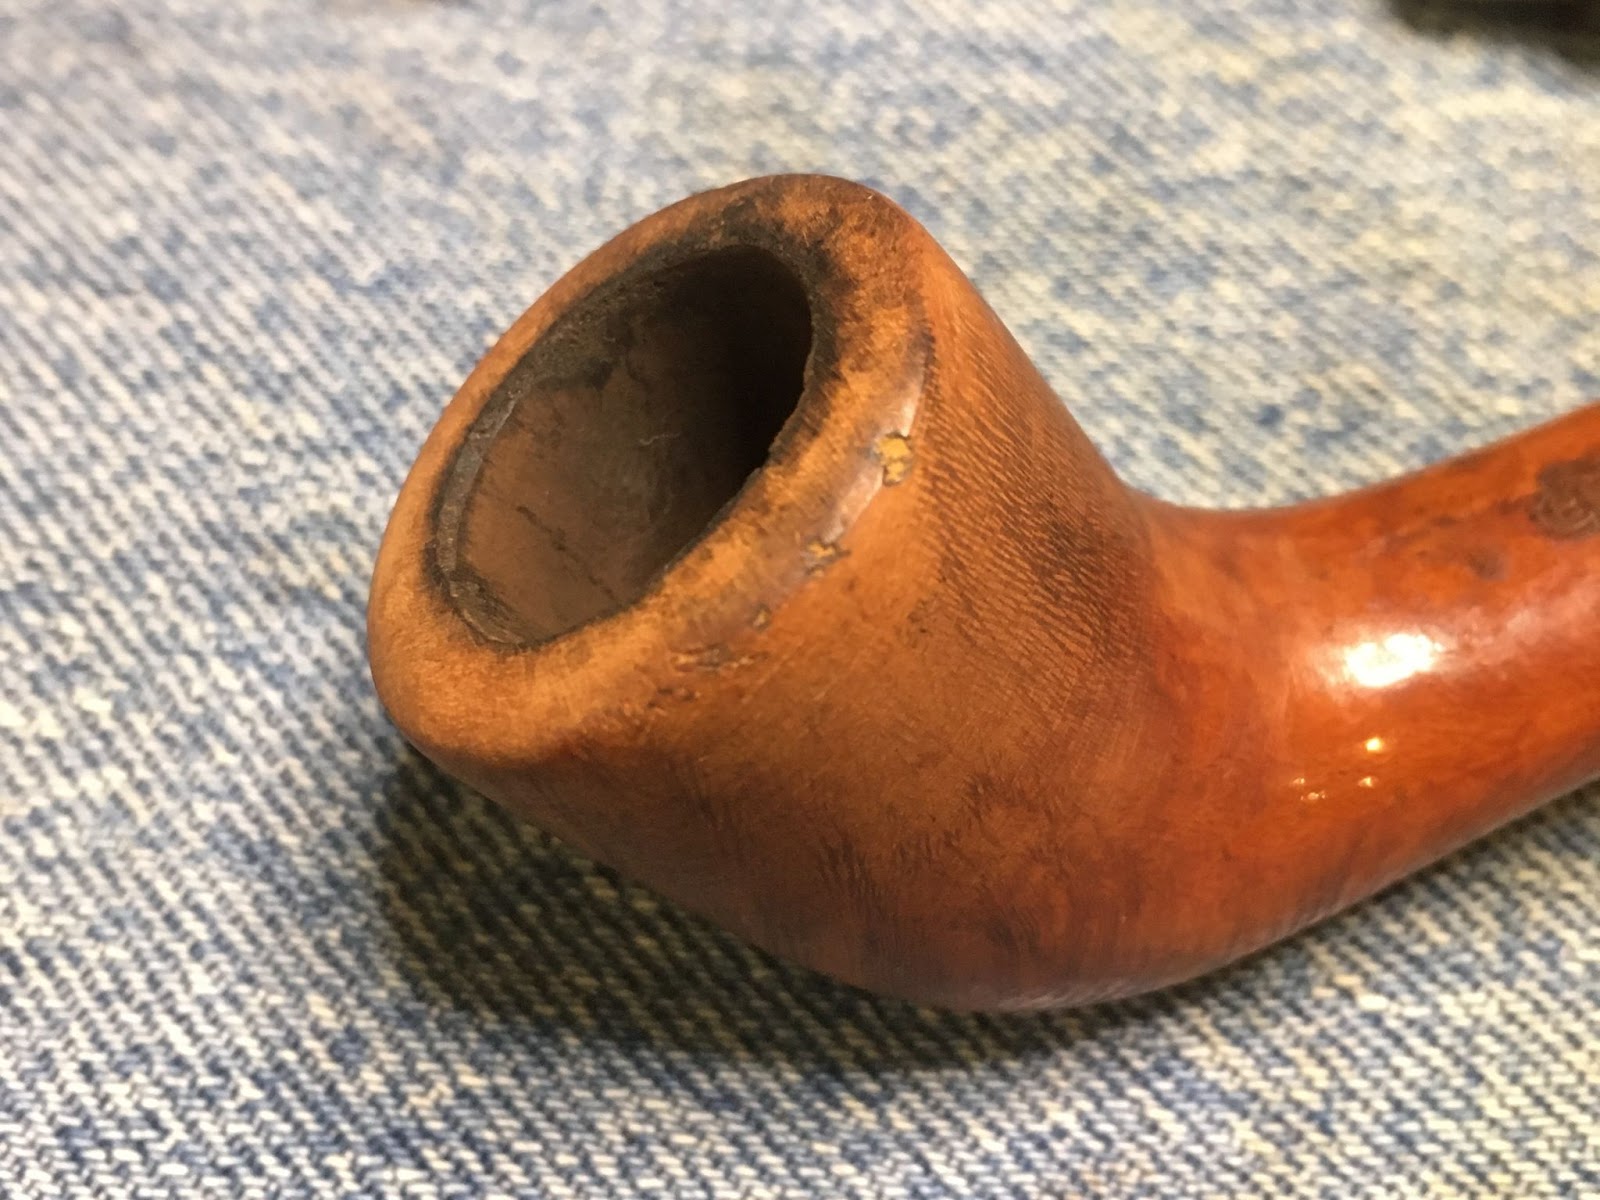
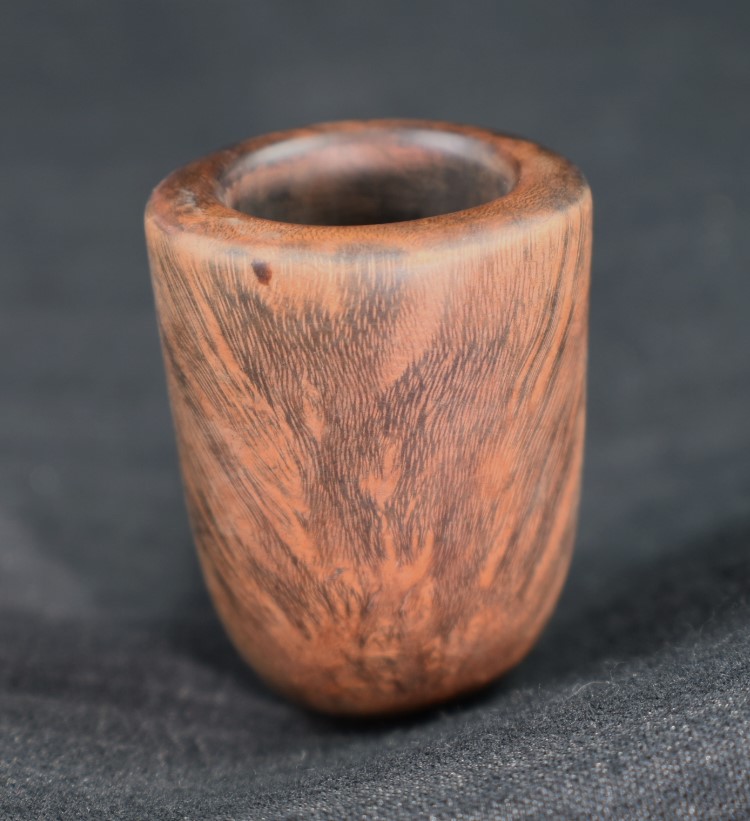
The rim had seen some hard nocks, literally. Below is a photo with sunlight. This would require a light topping.

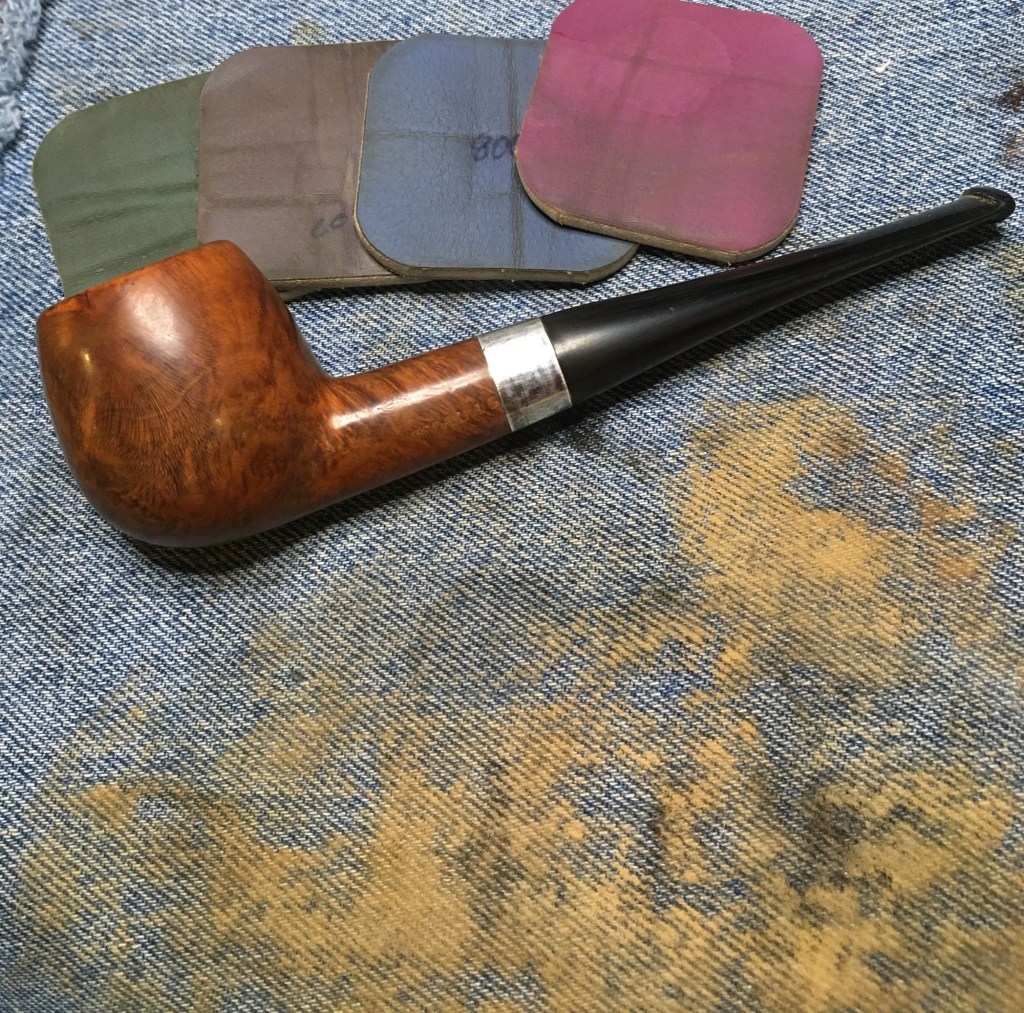
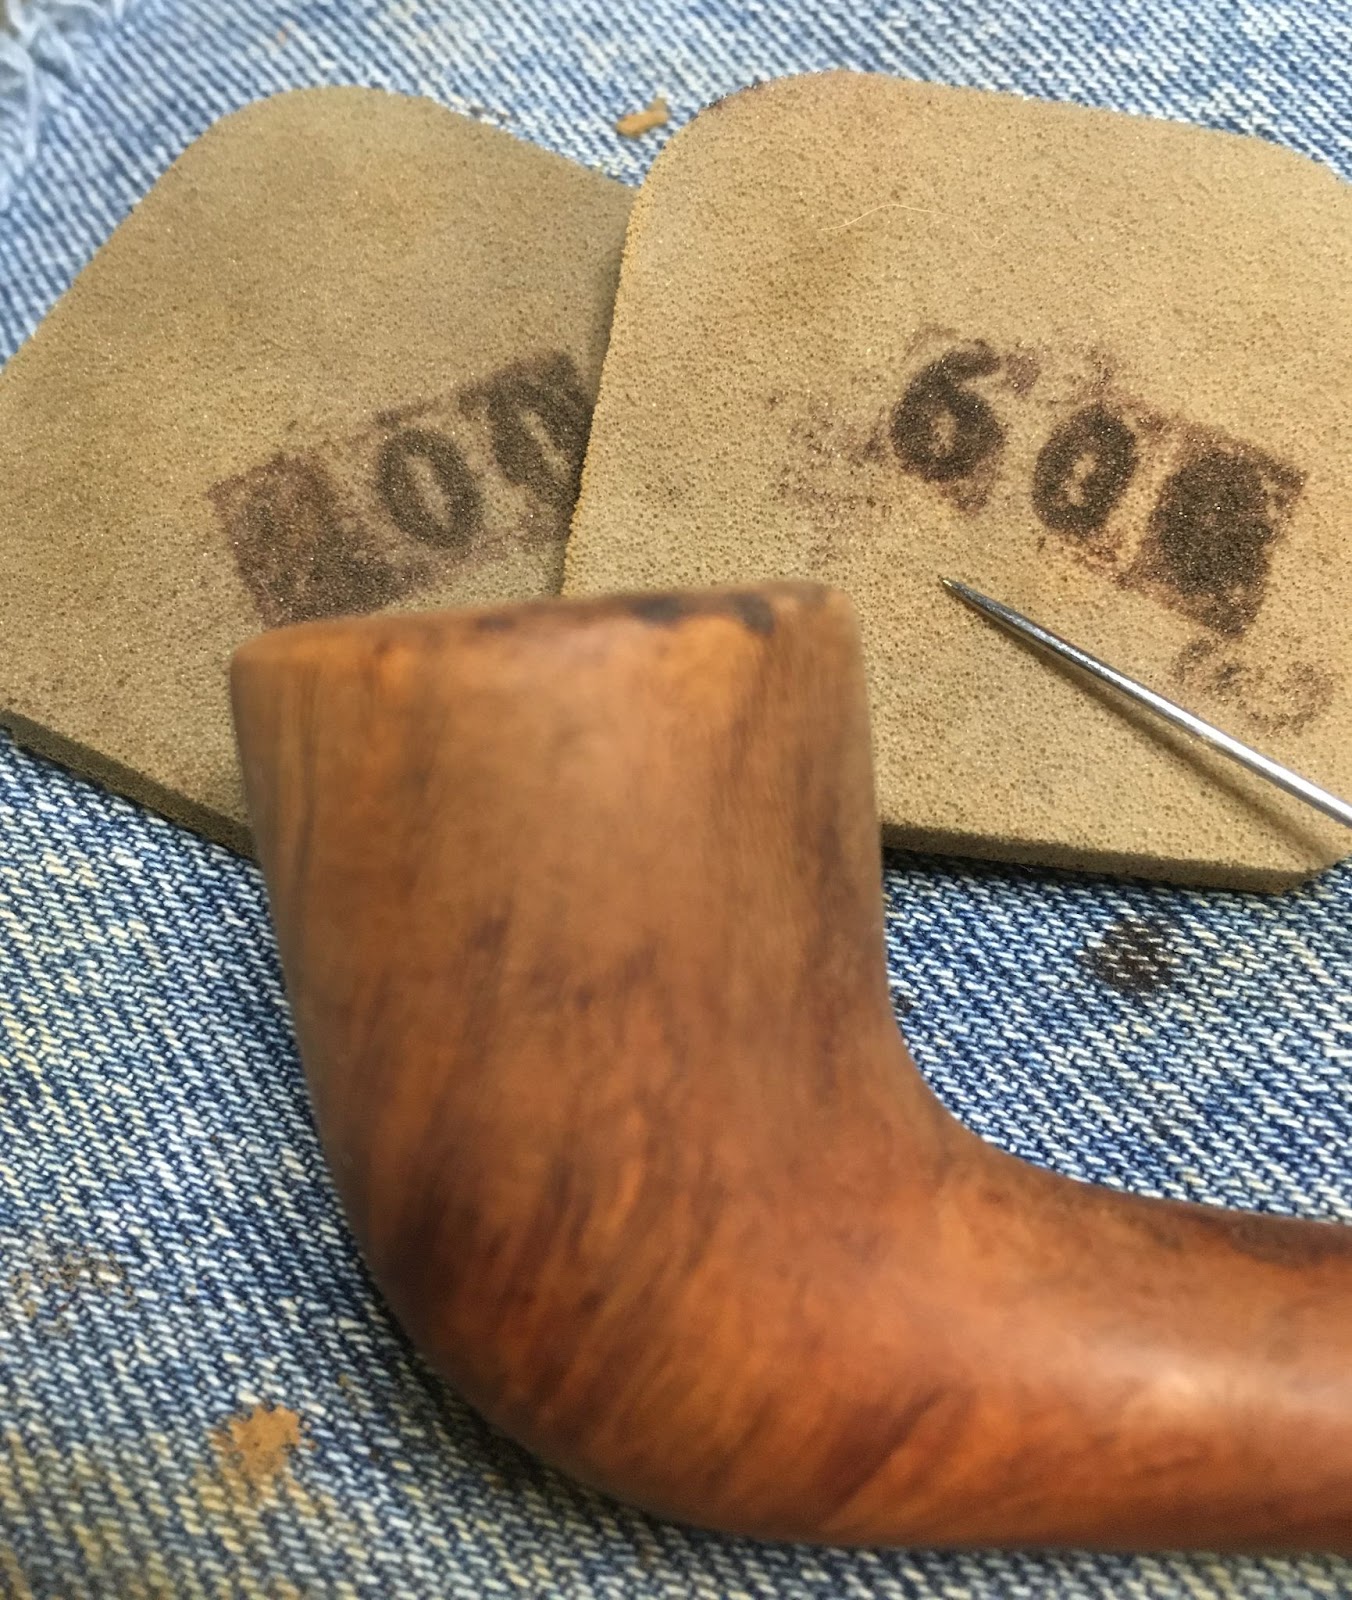
I topped the rim with 220 sandpaper (on the right) and 400 sandpaper (left) using small circle motion. I would rotate the stummel in my hand 90 degrees after 4 circles and repeat. This is done to keep even pressure on the entire rim surface.


Below is the rin in sunlight after topping with the 400 grit sandpaper.

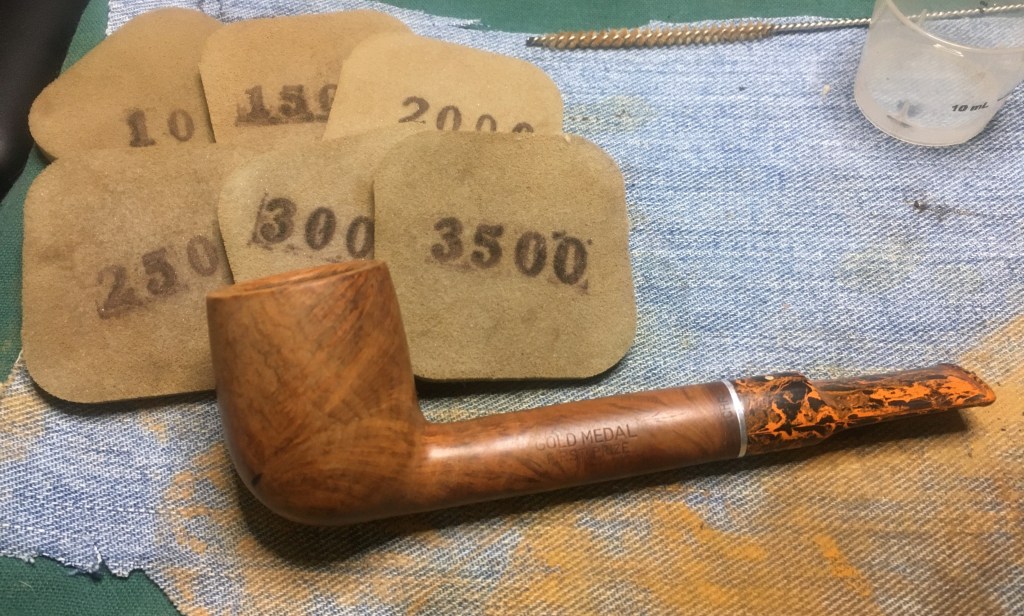
I lightly sanded the highspots of the stummel with a 600 grit sanding sponge. I did not want to reduce the rustication but I did want to sand through the stain a little bit to add highlights to the briar.
The rim was sanded using a sequence of sanding sponges 600-3500. In between each sponge the rim was wiped with an alcohol dampened make-up pad.

The rim was then micro-meshed with pads 4000-12000, in sequence. In between each pad the rim was again wiped with an alcohol dampened make-up pad.

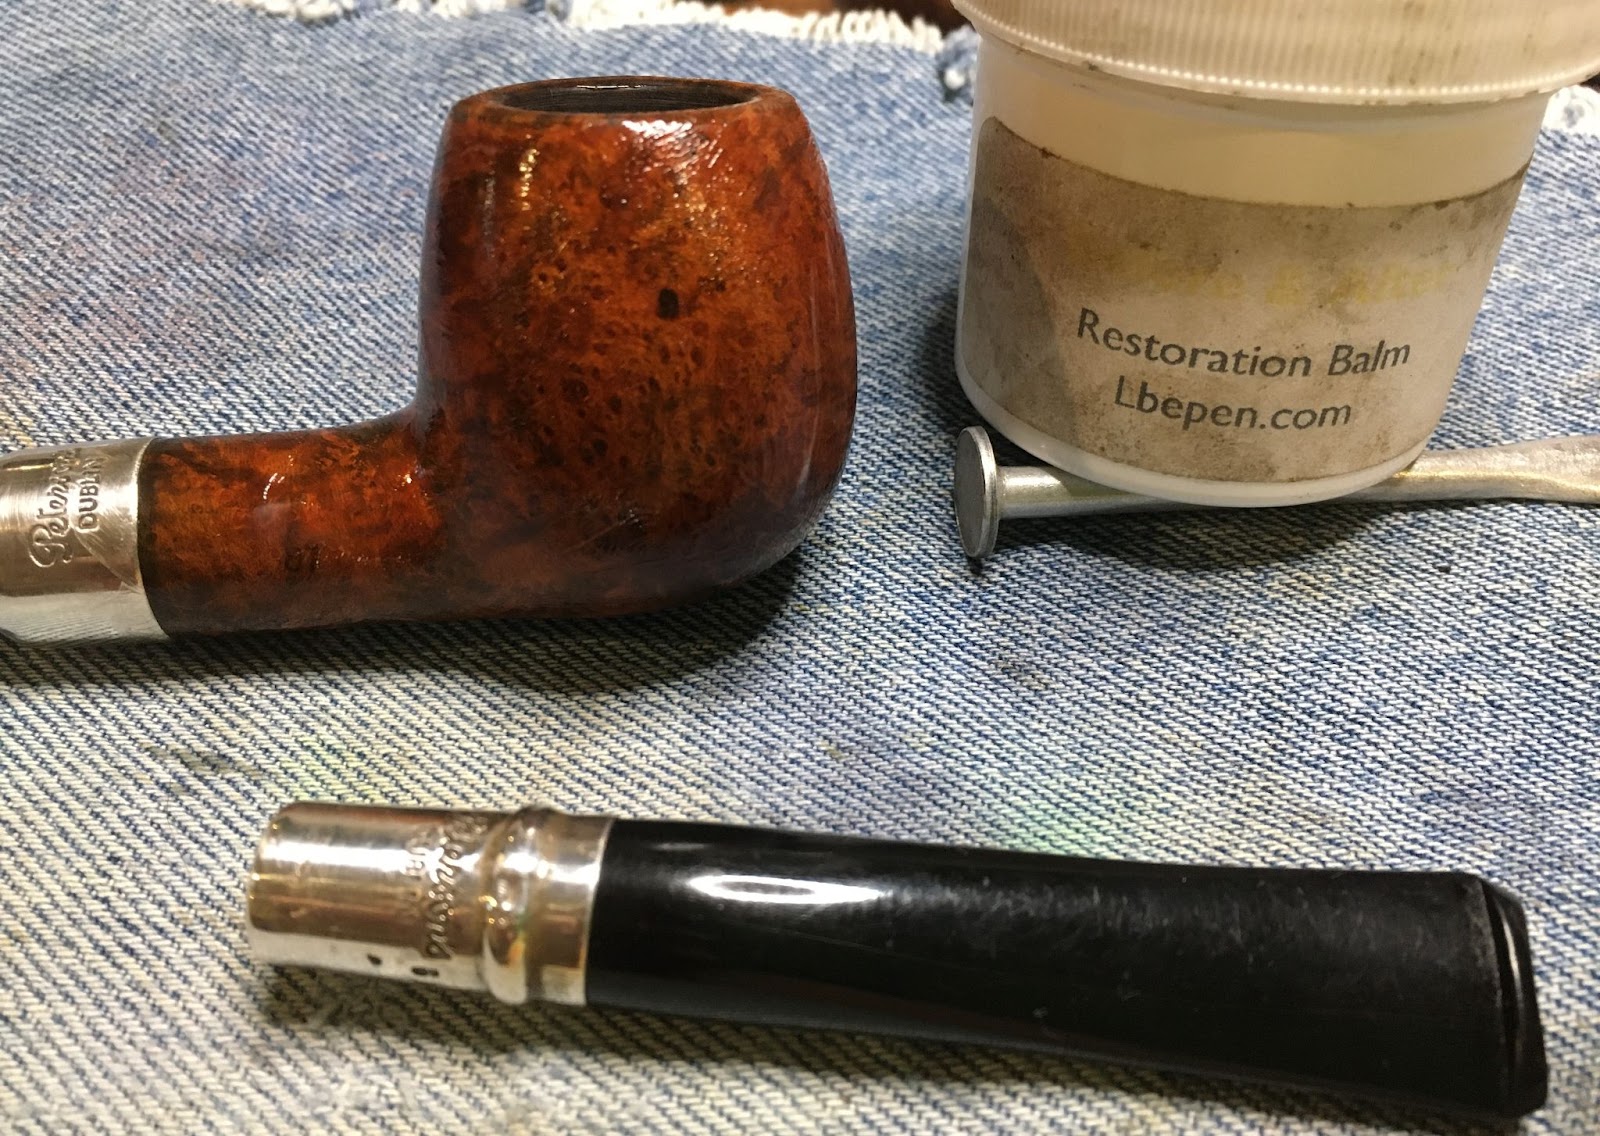
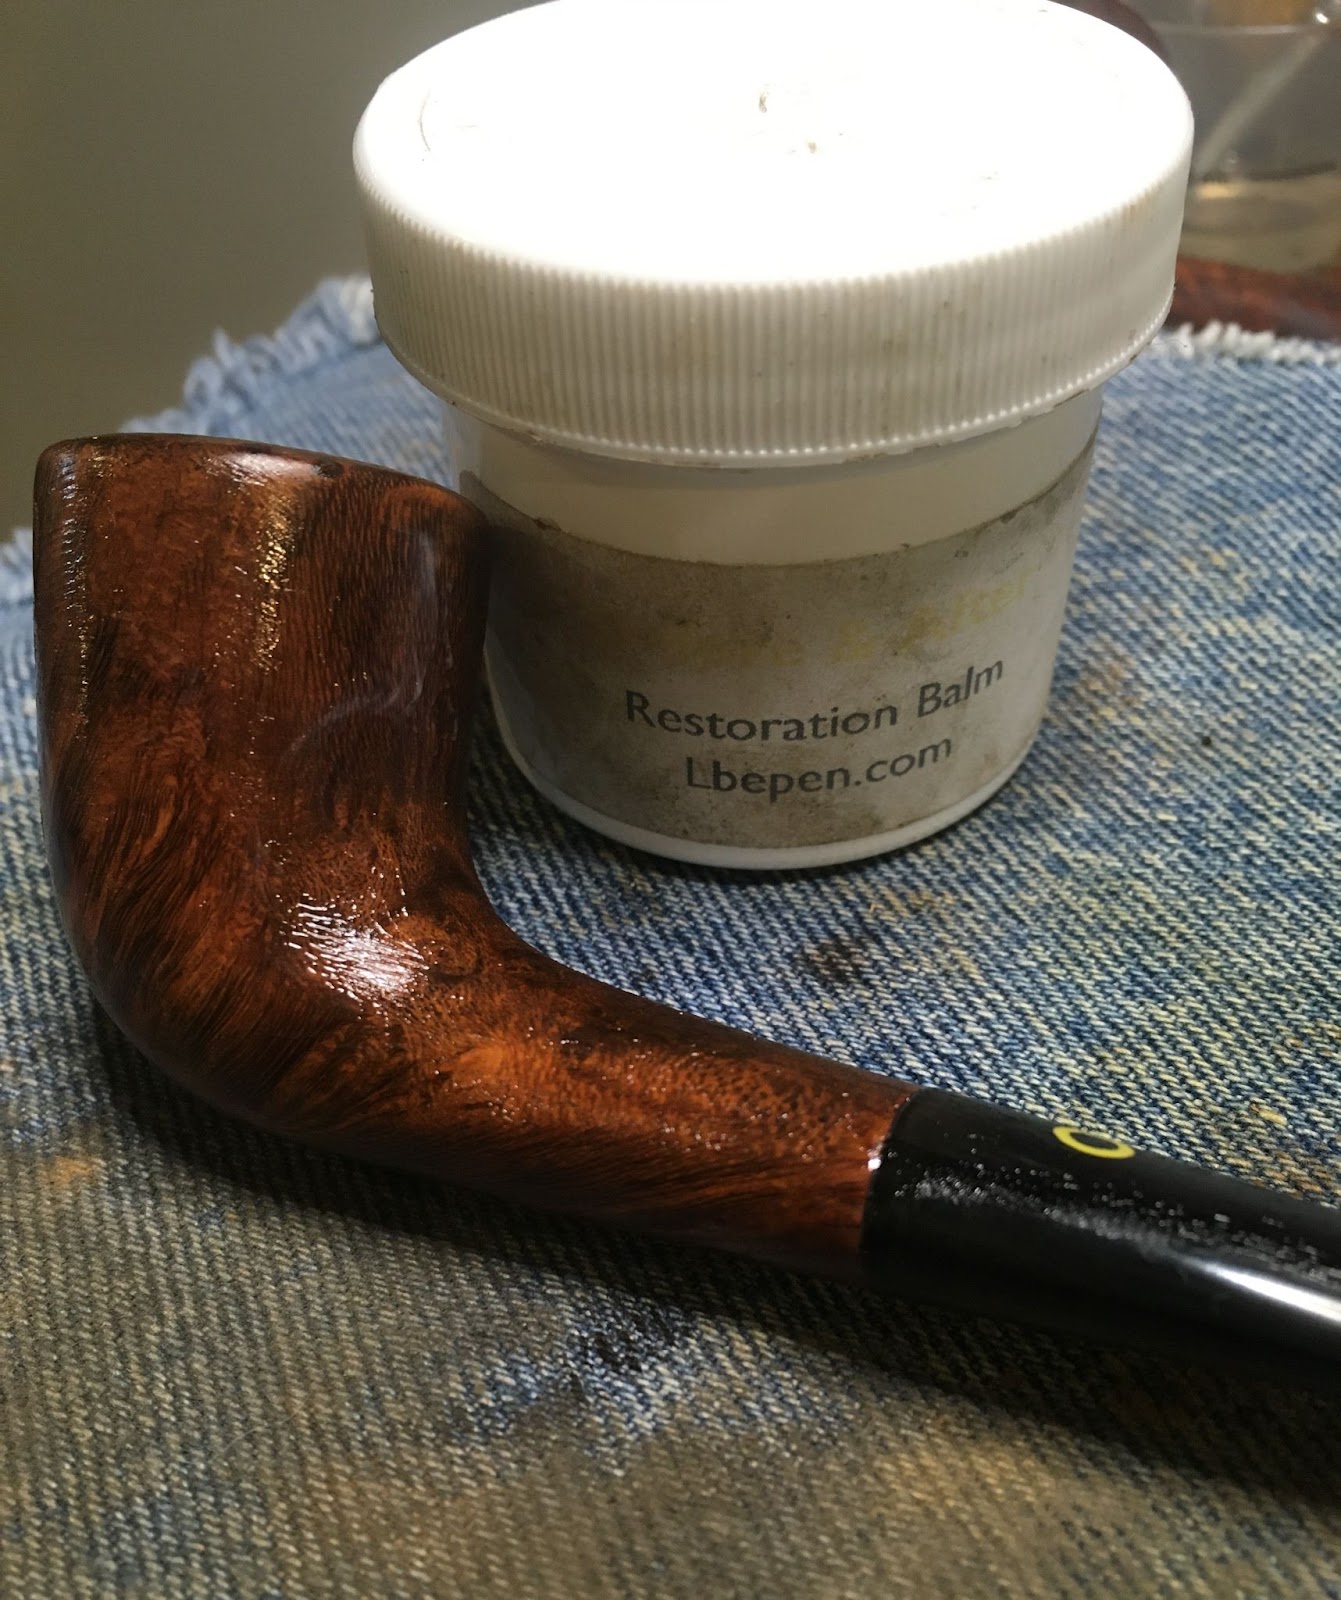
The stummel was coated with a thin layer of Before and After Restoration Balm and allowed to sit while I continued working on the stem.

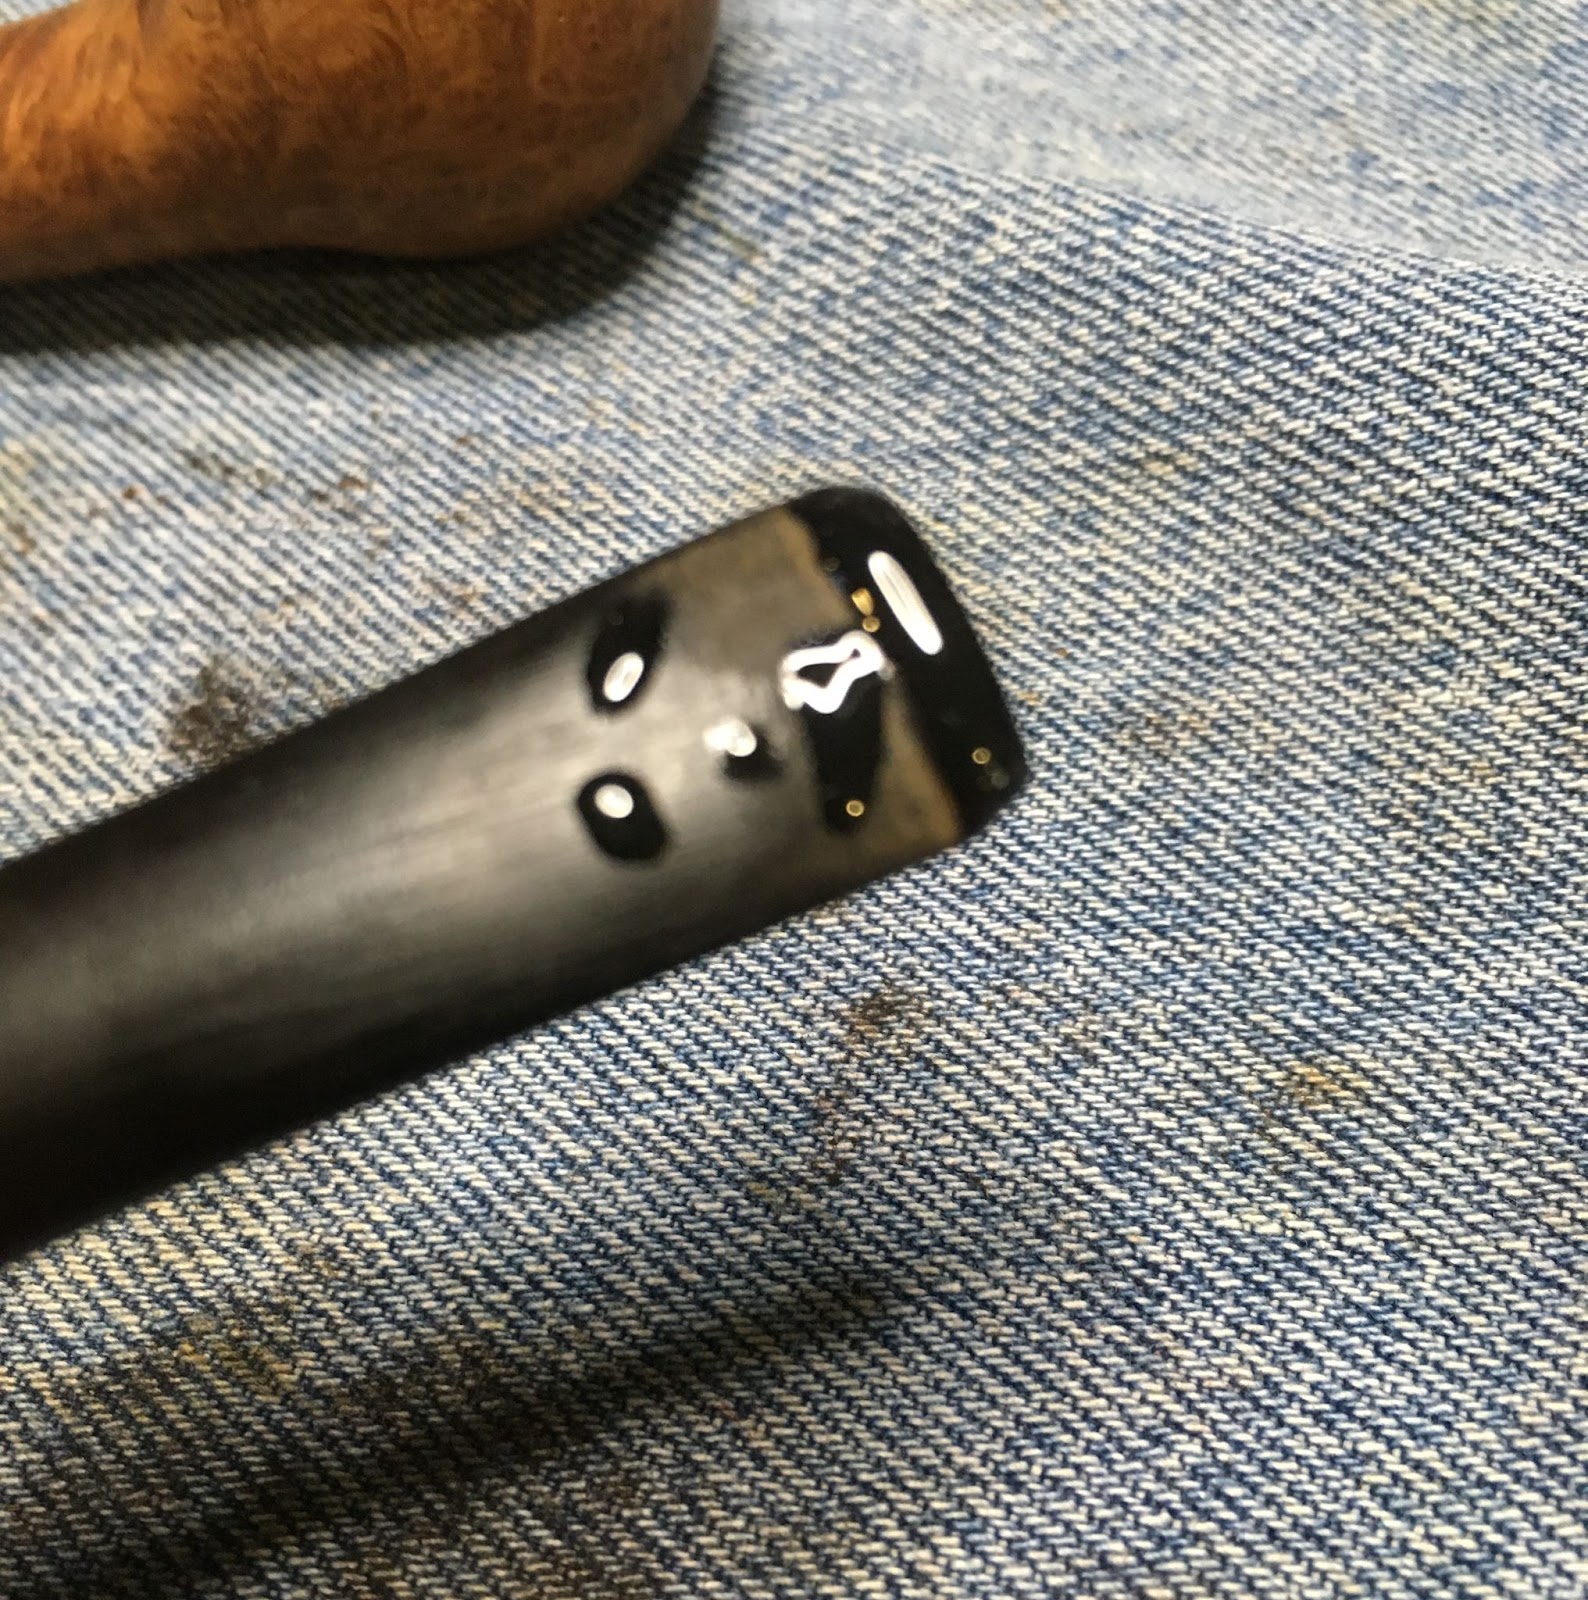
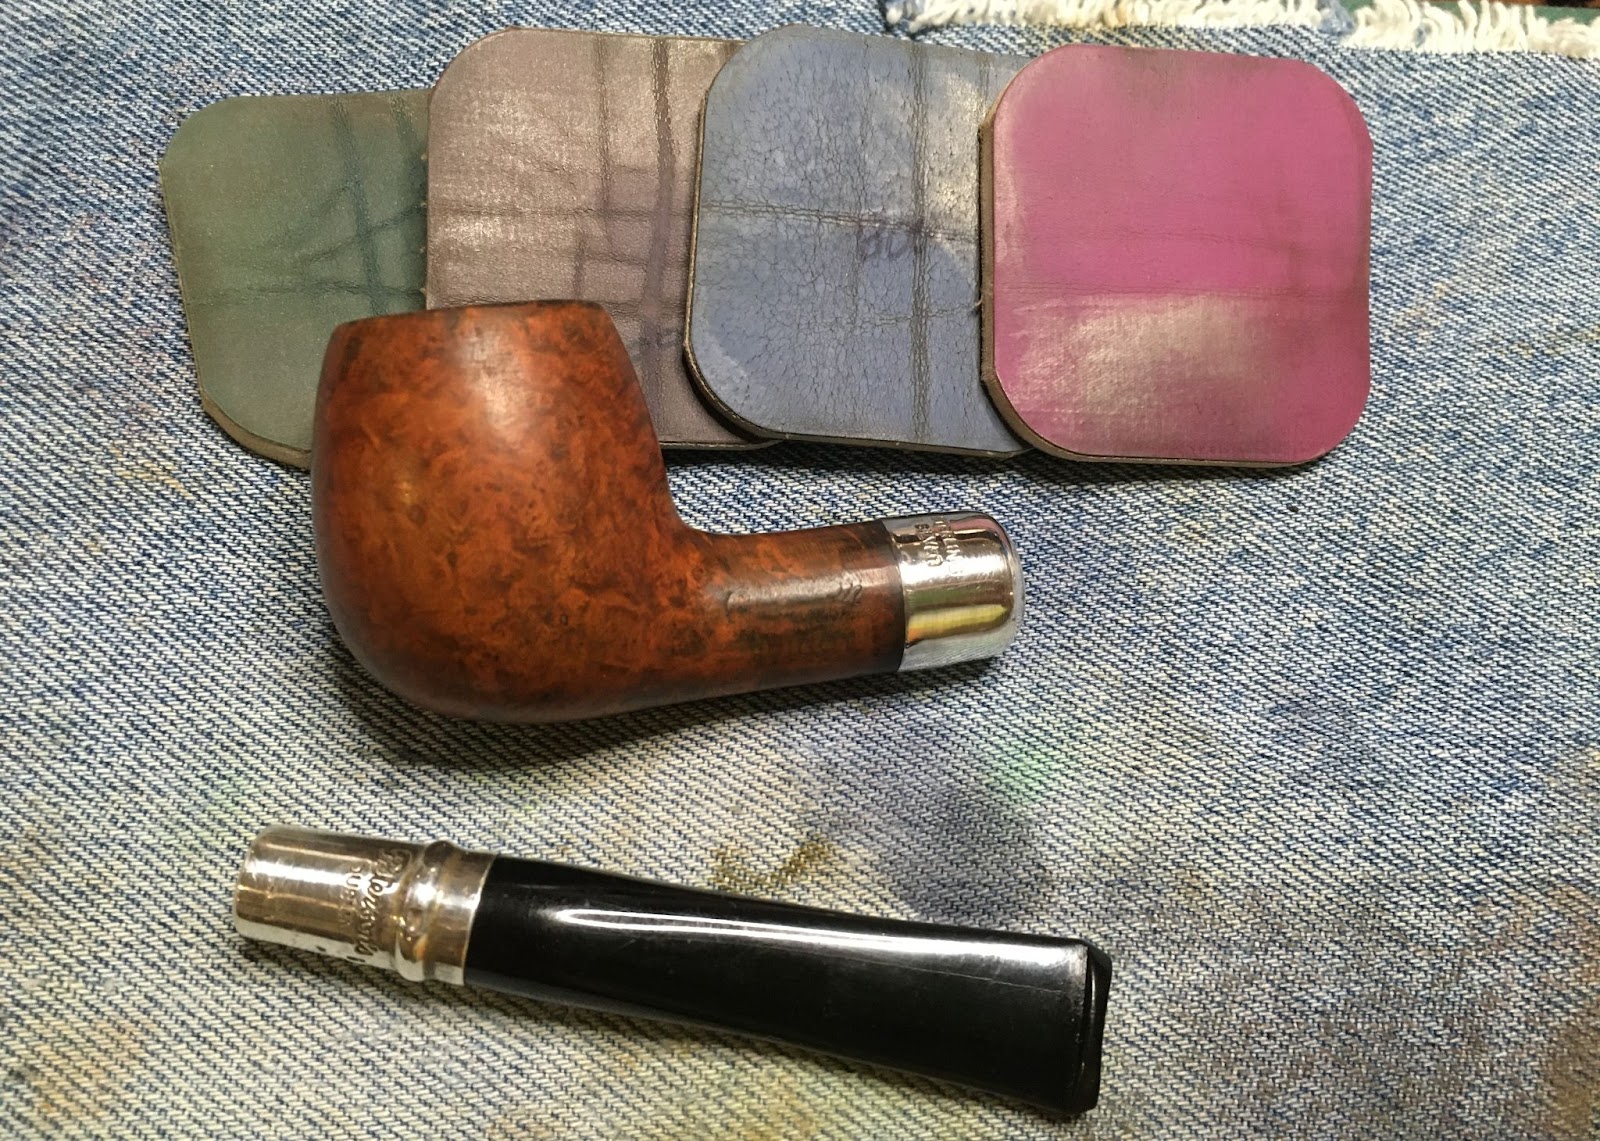
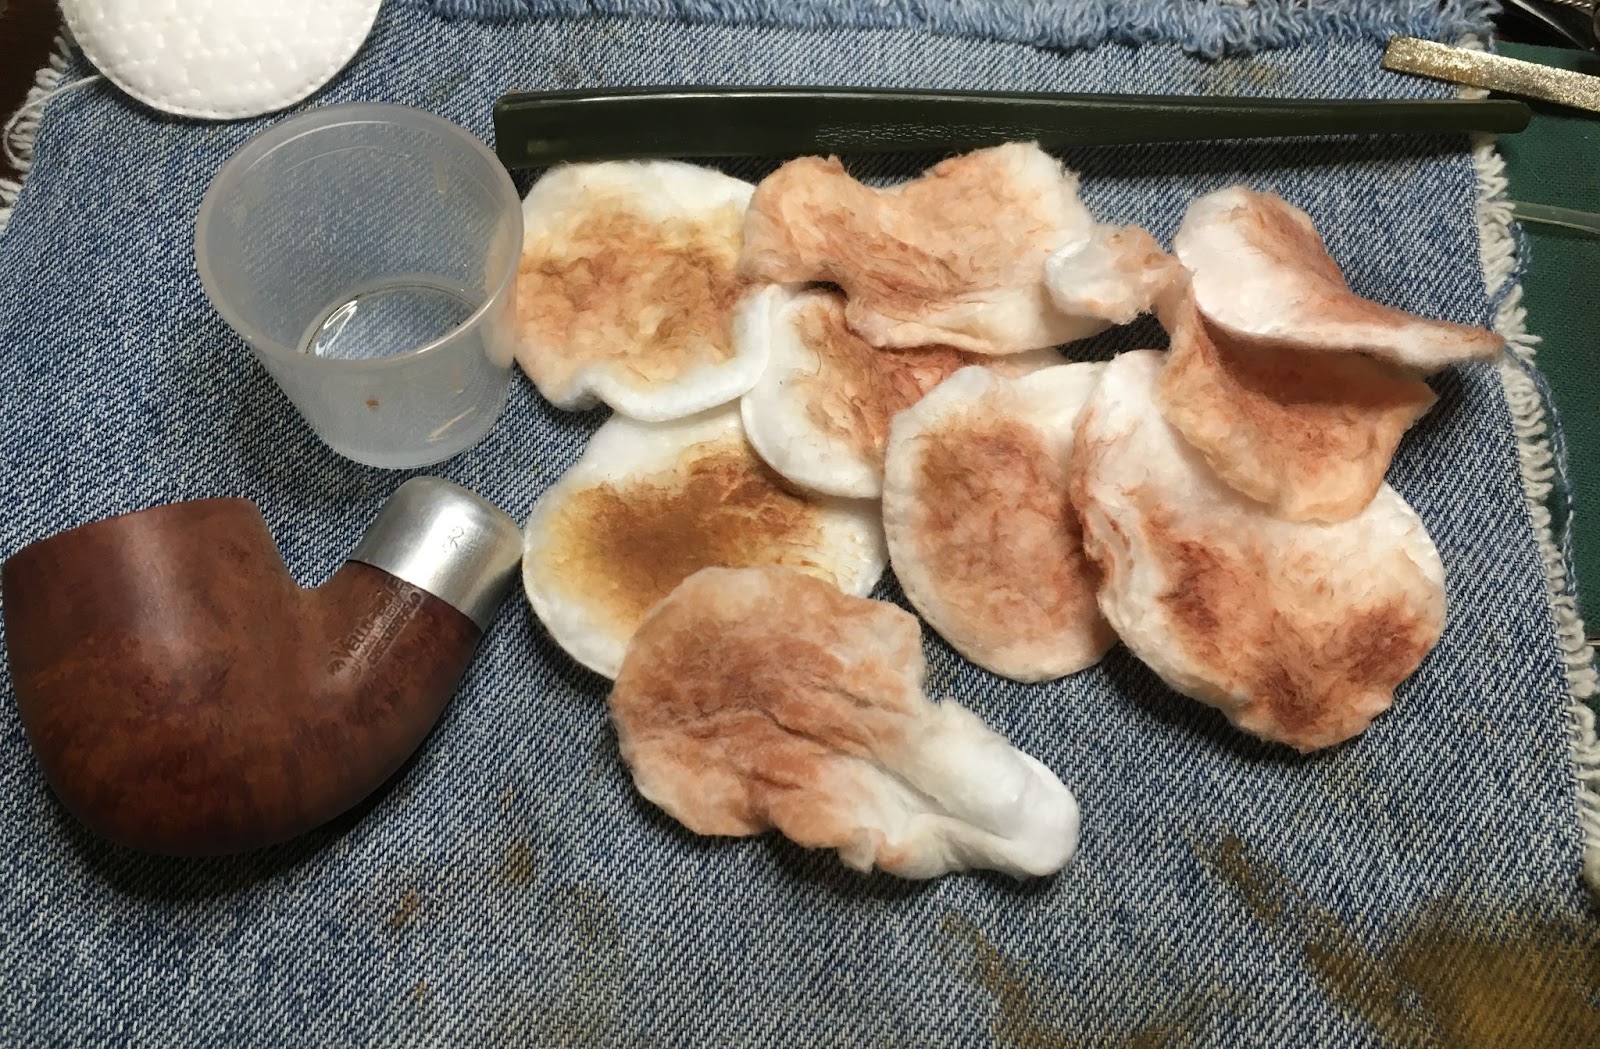
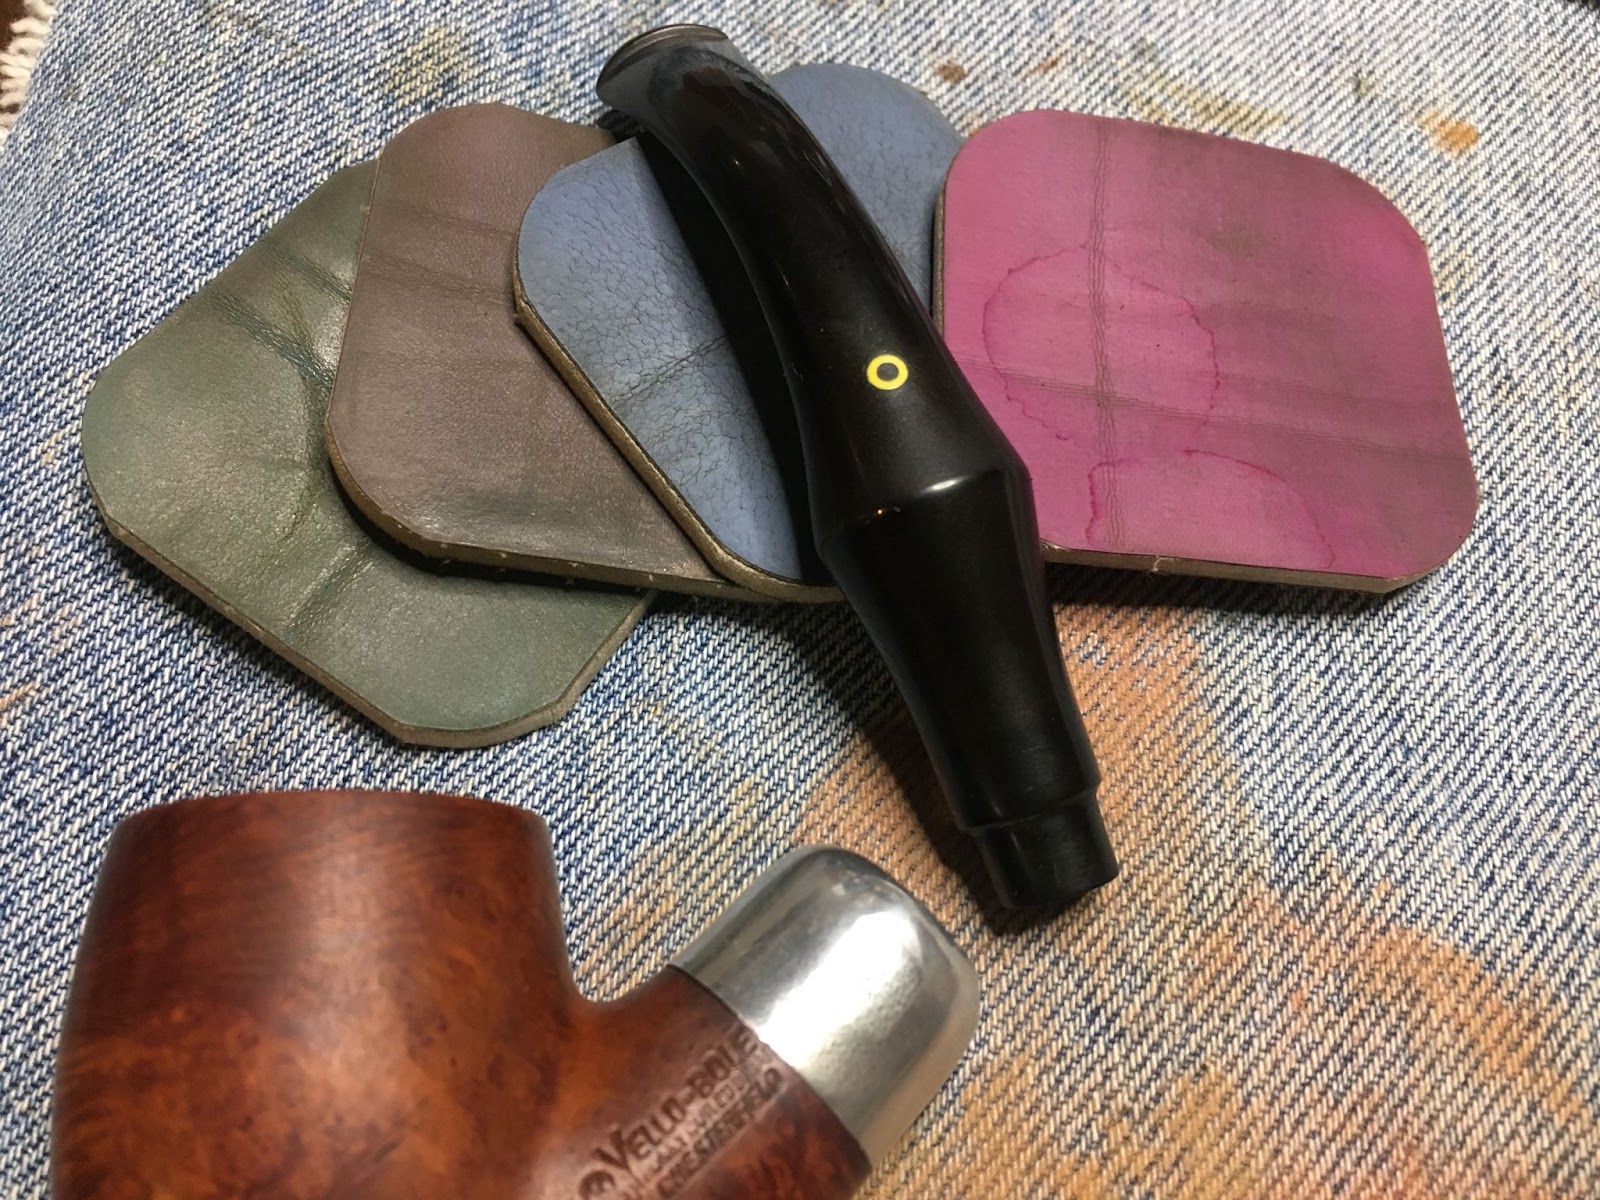
The stem emerged from the OxyClean and was scrubbed with SoftScrub on make-up pads. Below you can see how the pads show a lightening with less oxidation removed from left to right

The interior of the stem was cleaned using bristle pipe cleaners and 95% ethyl alcohol. The stem was then coated with mineral oil and allowed to sit for several minutes.

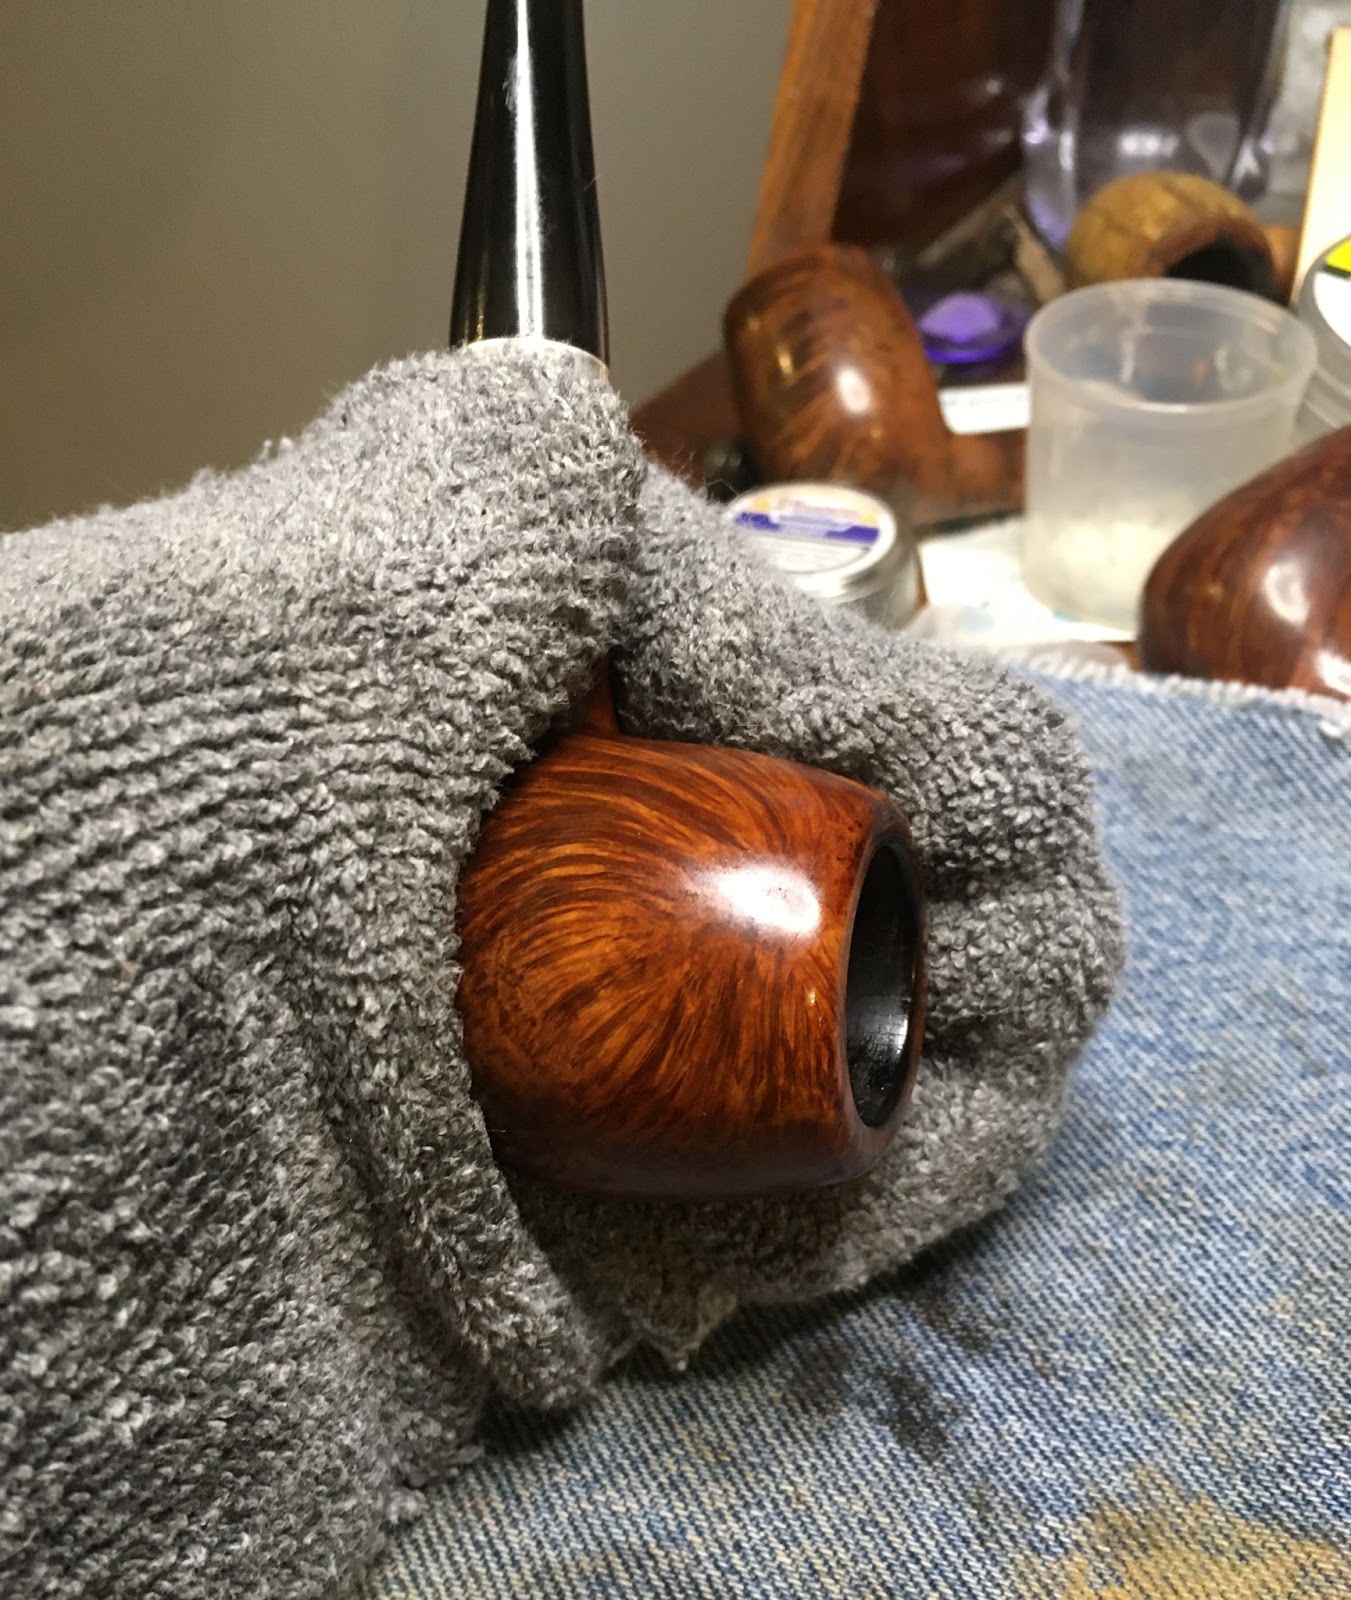
Returning to the stummel – it was wiped of the Restoration Balm using an inside out athletic sock. The briar looked very nice and rejuvenated.

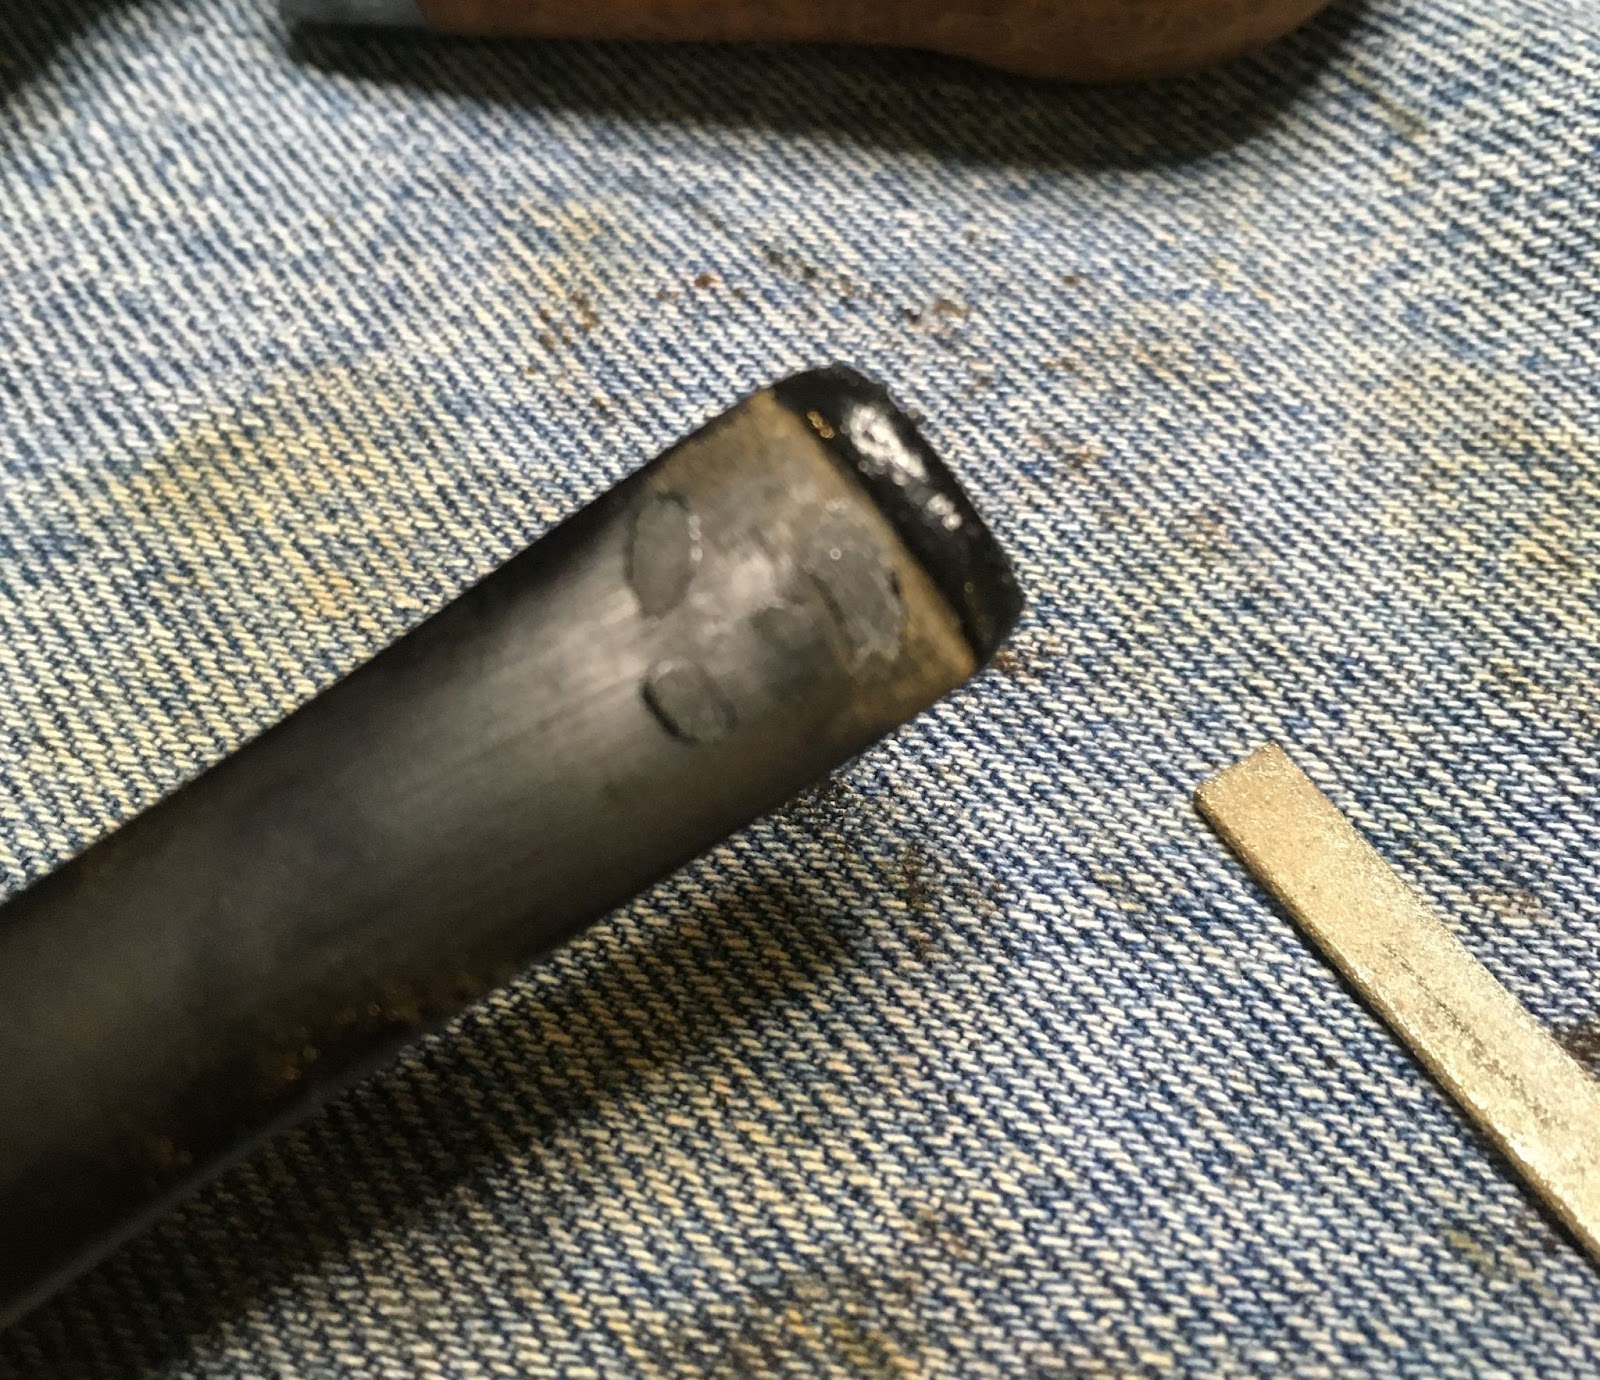
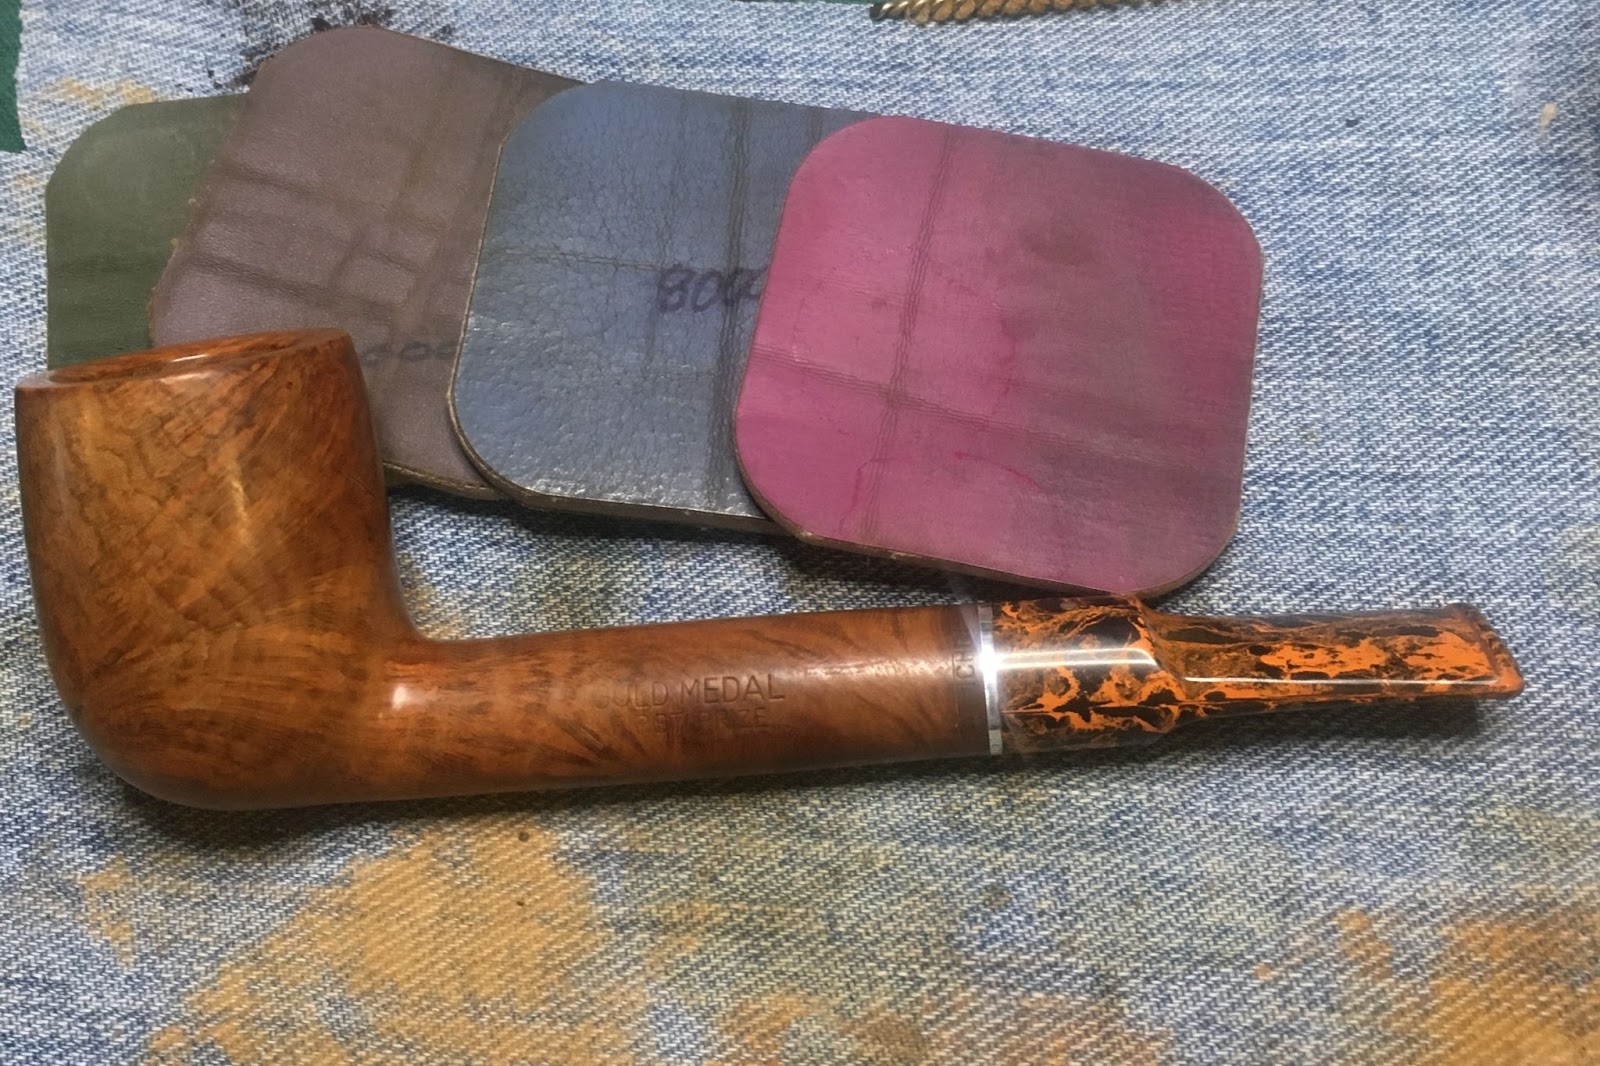
The stem was then worked with the sequence of sanding sponges from 600-3500. Between each sponge I would wipe a light layer of mineral oil onto the stem and wipe it with a paper towel.

The stem was then micro-meshed with the 4000-12000 pads. In between pads I rubbed in Obsidian Oil with my finger and wiped with a paper towel.

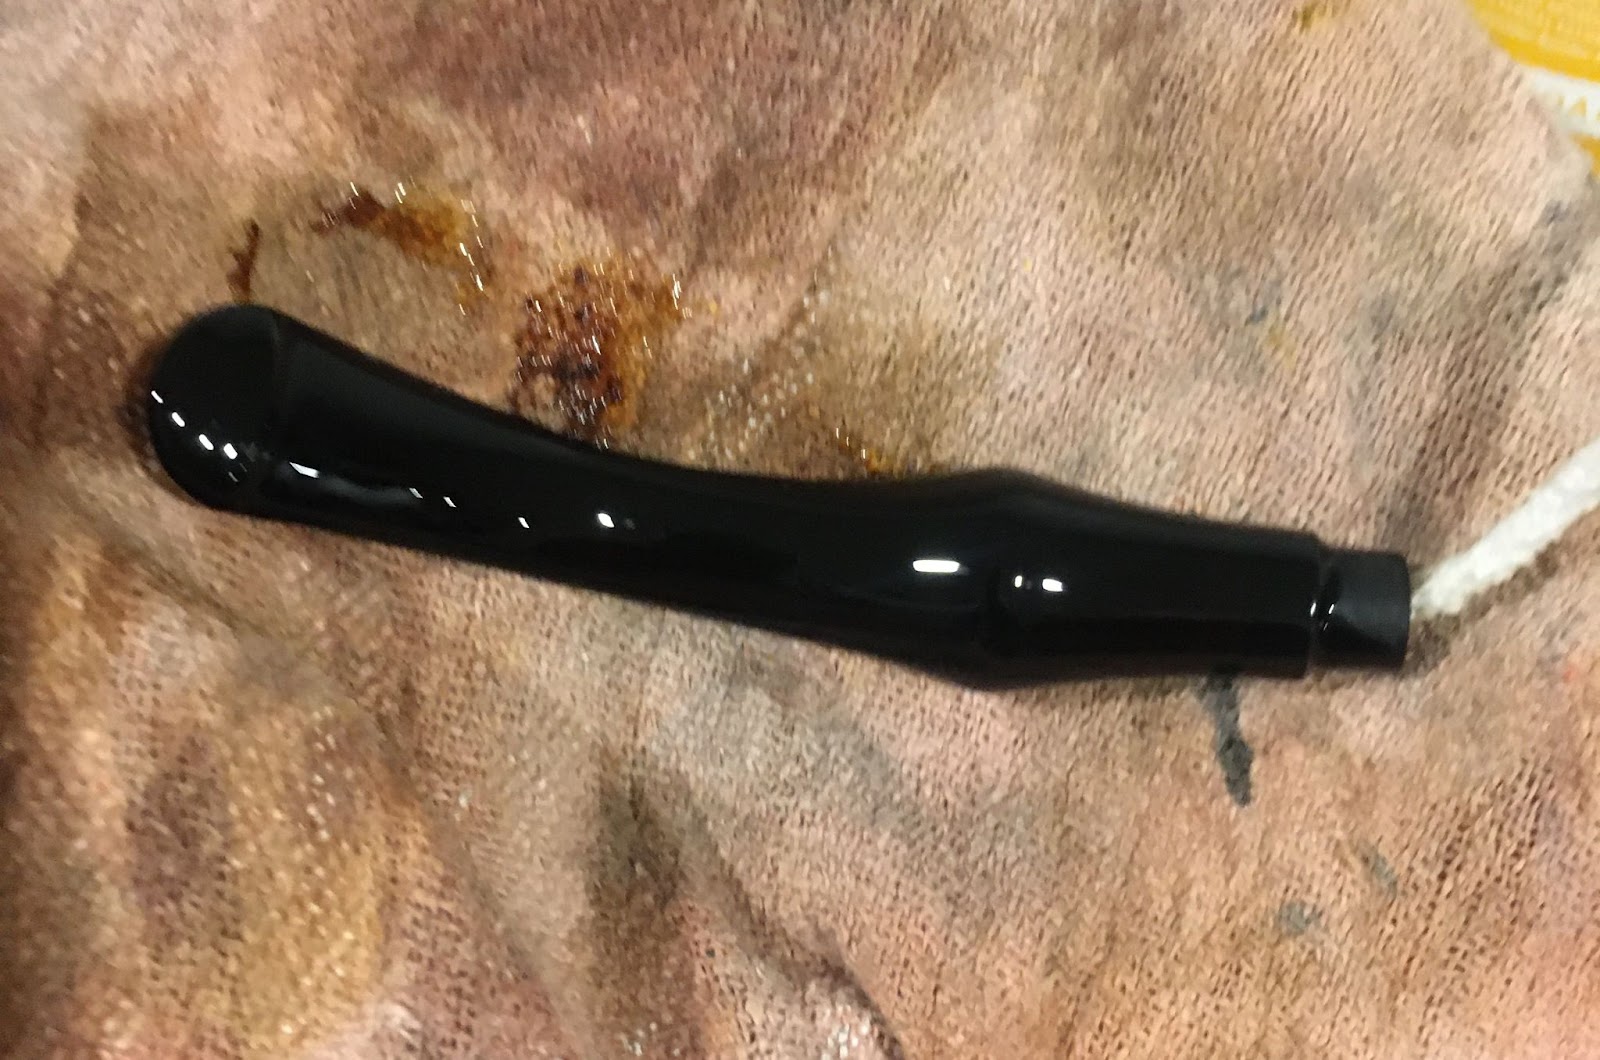
I failed to photograph it but the final polishing of the stem was done with Before and After Fine and Extra Fine Polishes. Each was hand buffed using a soft cotton cloth. Yeah, product placement, bring on the sponsors.

The final steps were to apply several coats of carnauba wax to the shank and stem with the buffer. I very lightly applied carnauba wax to the ridges with the buffer as well.
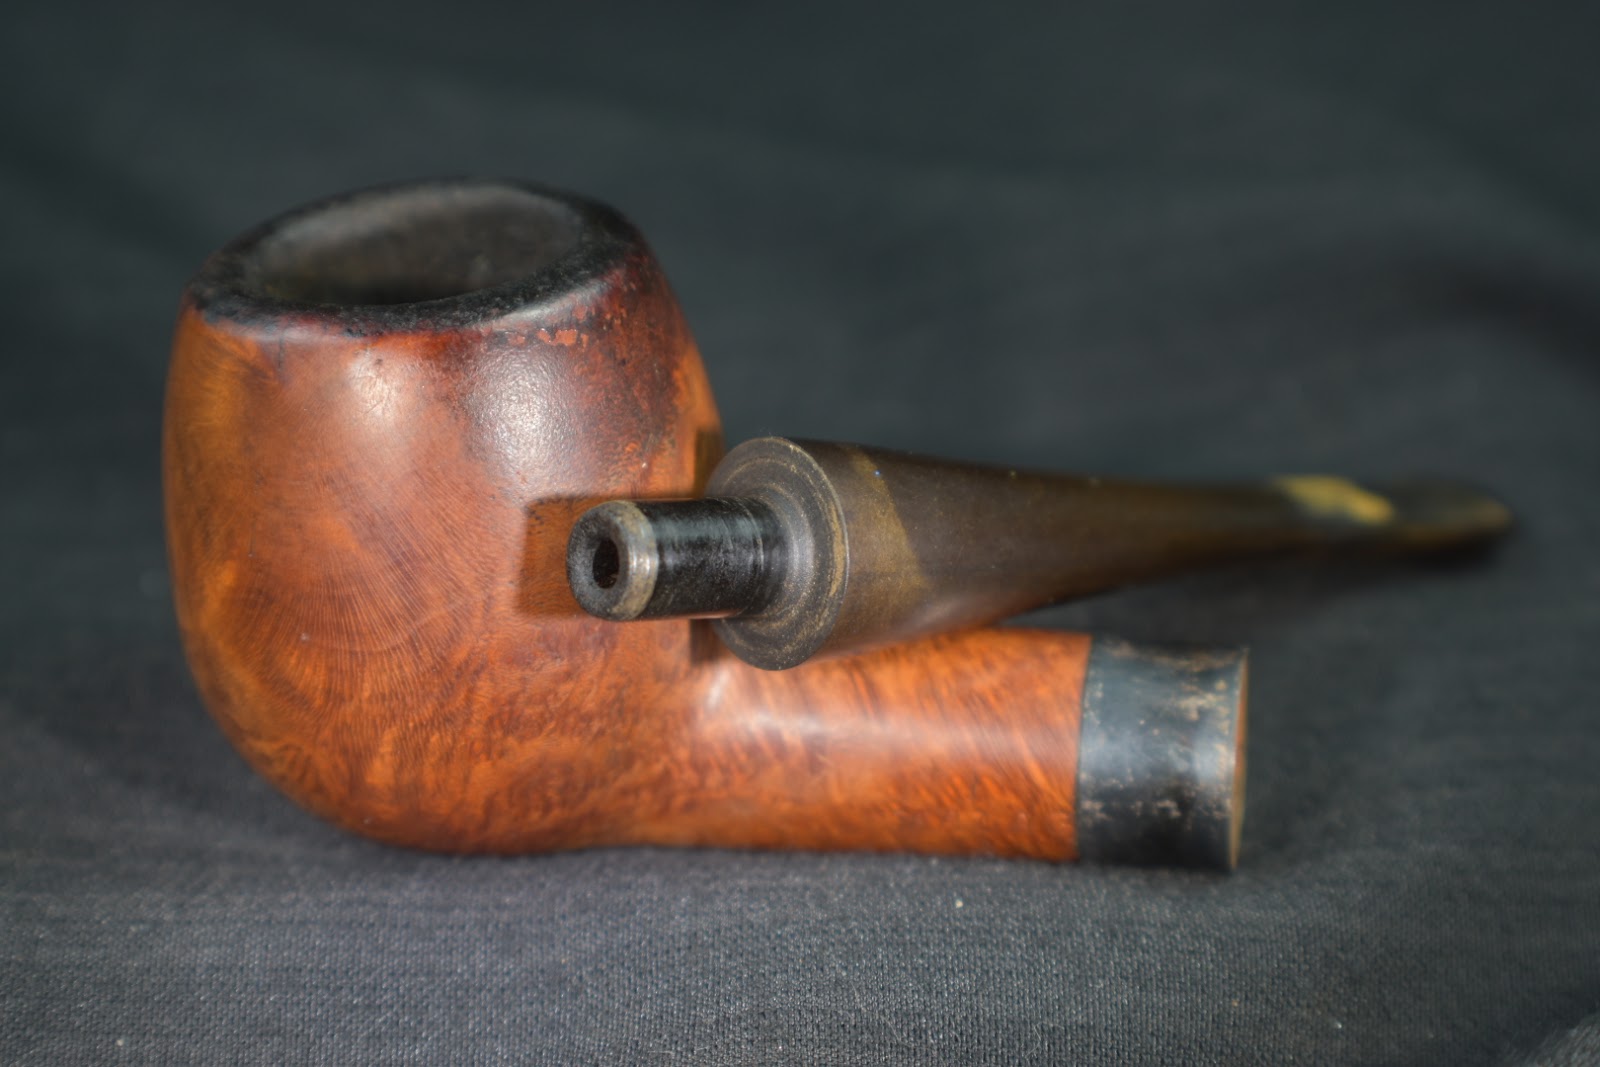
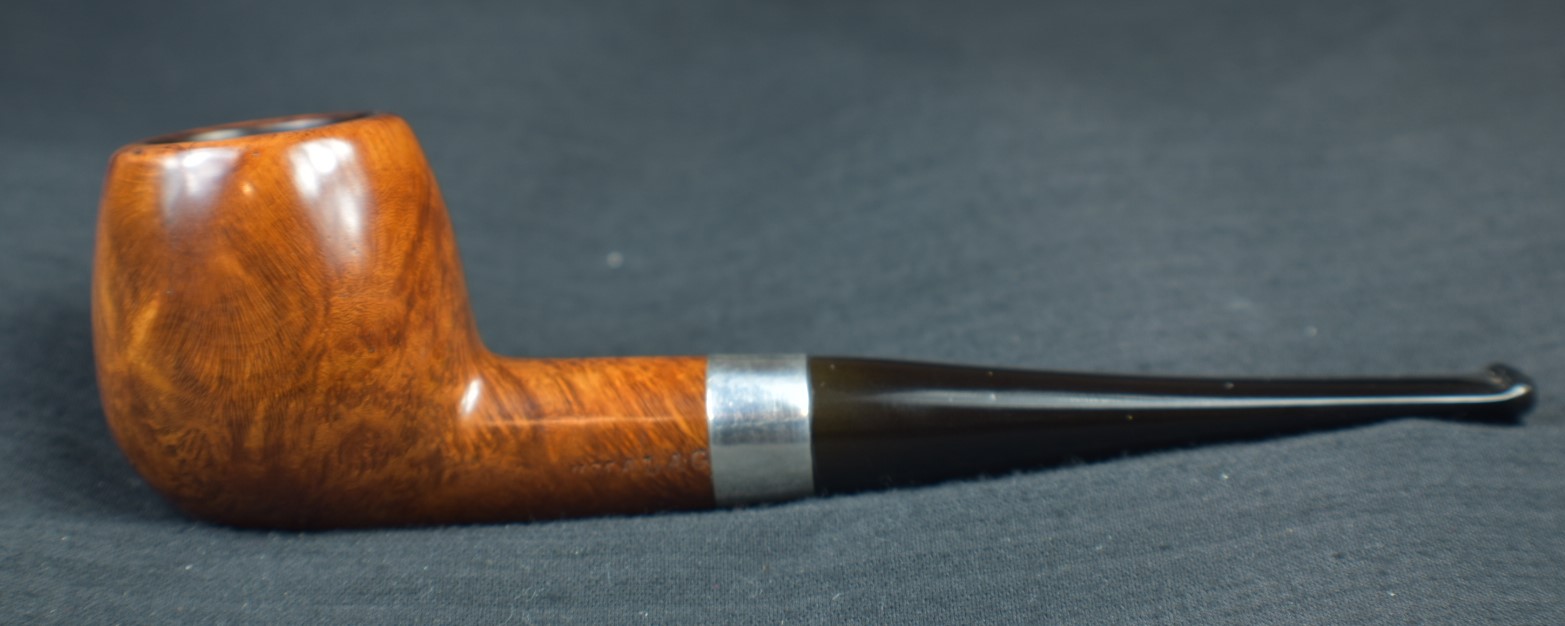
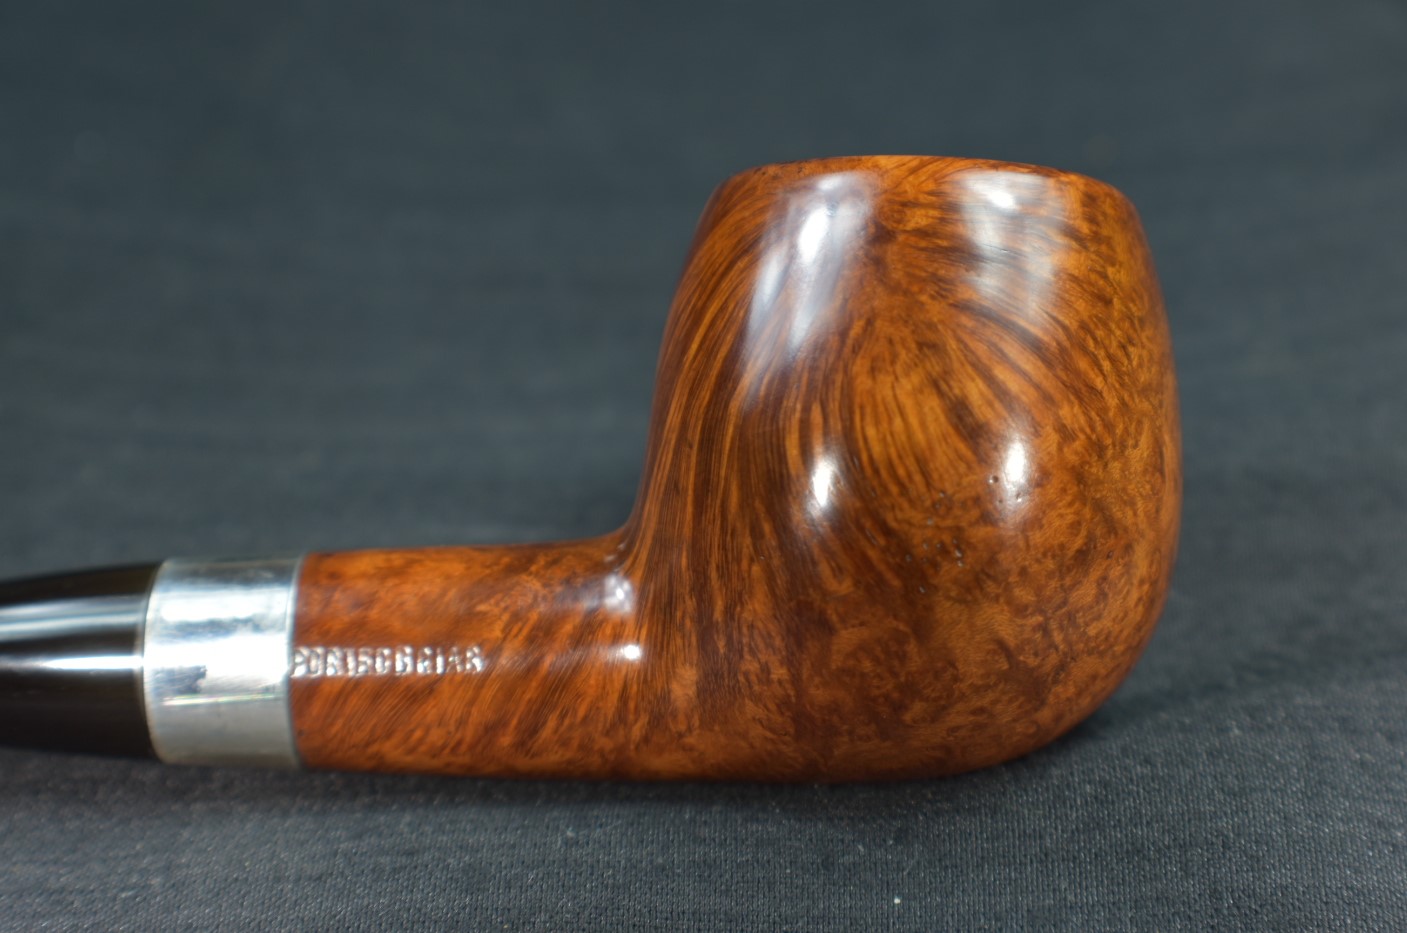
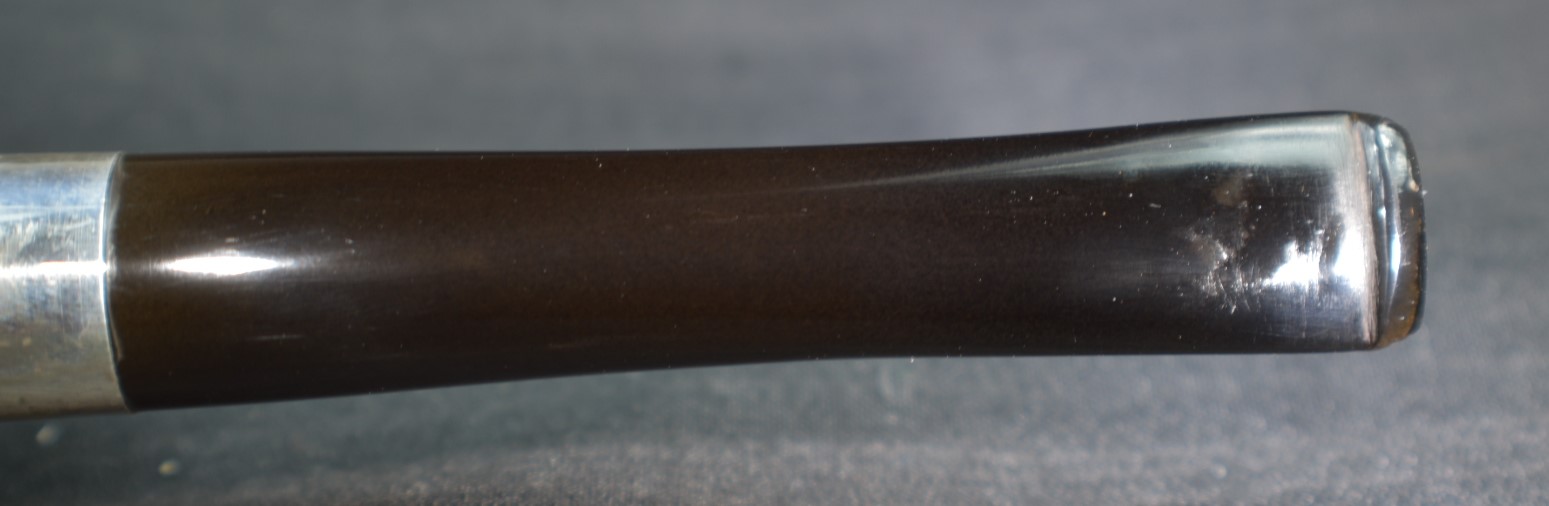
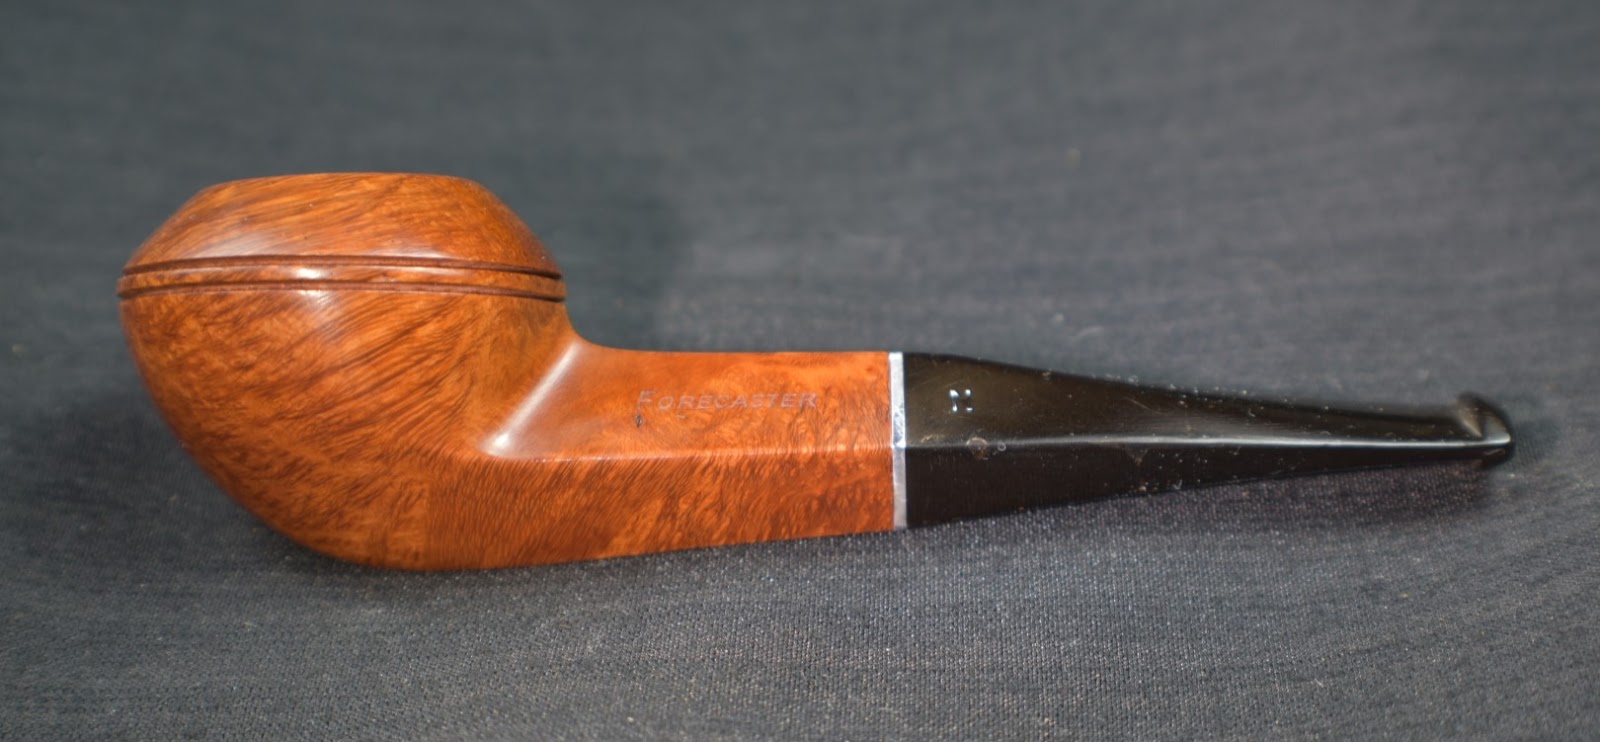
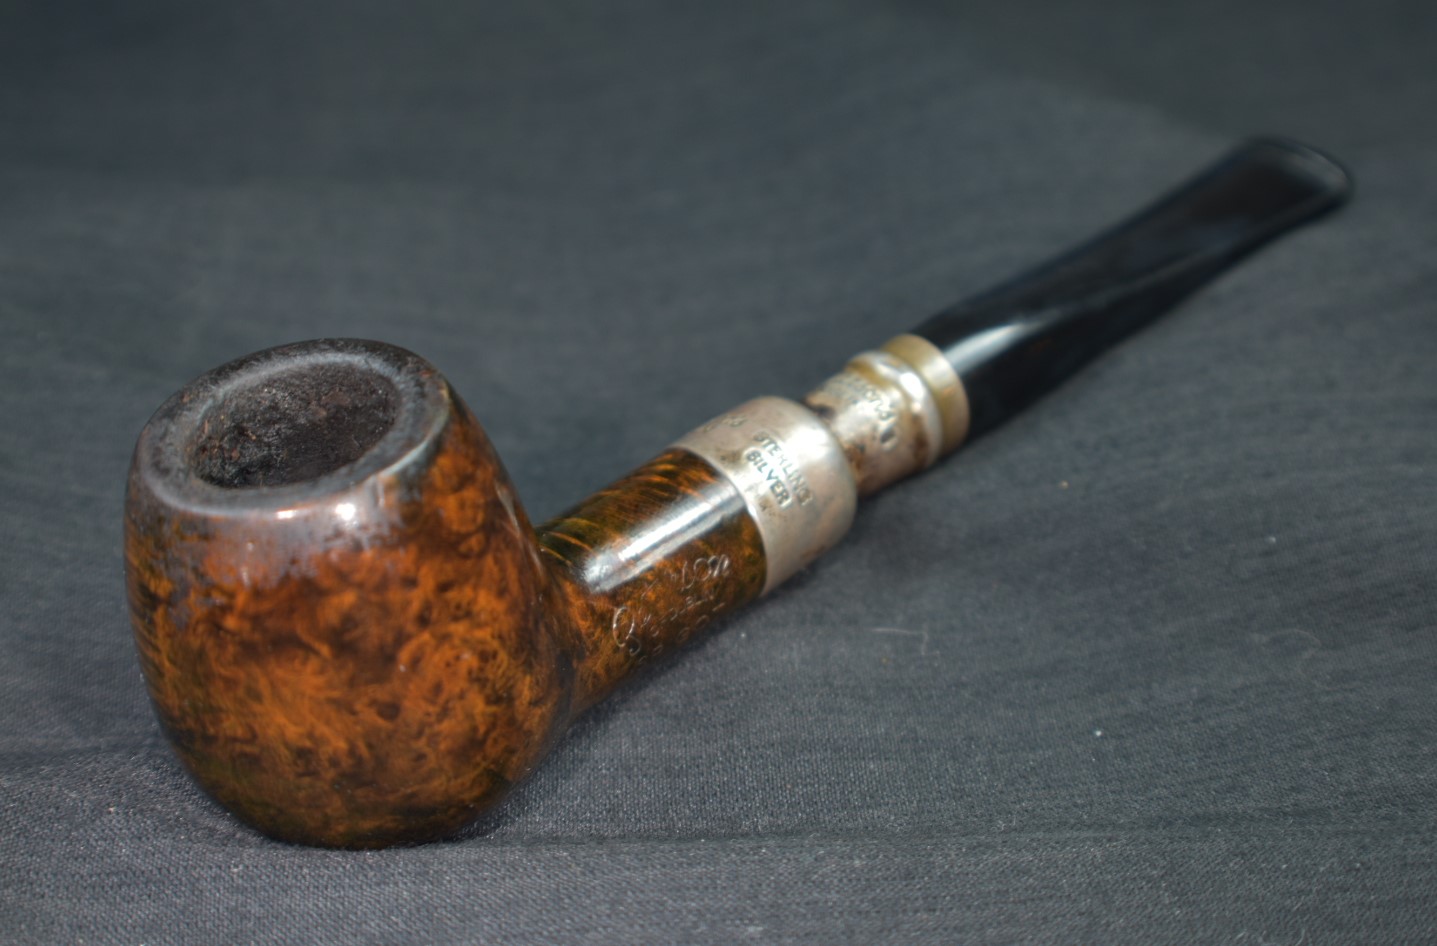
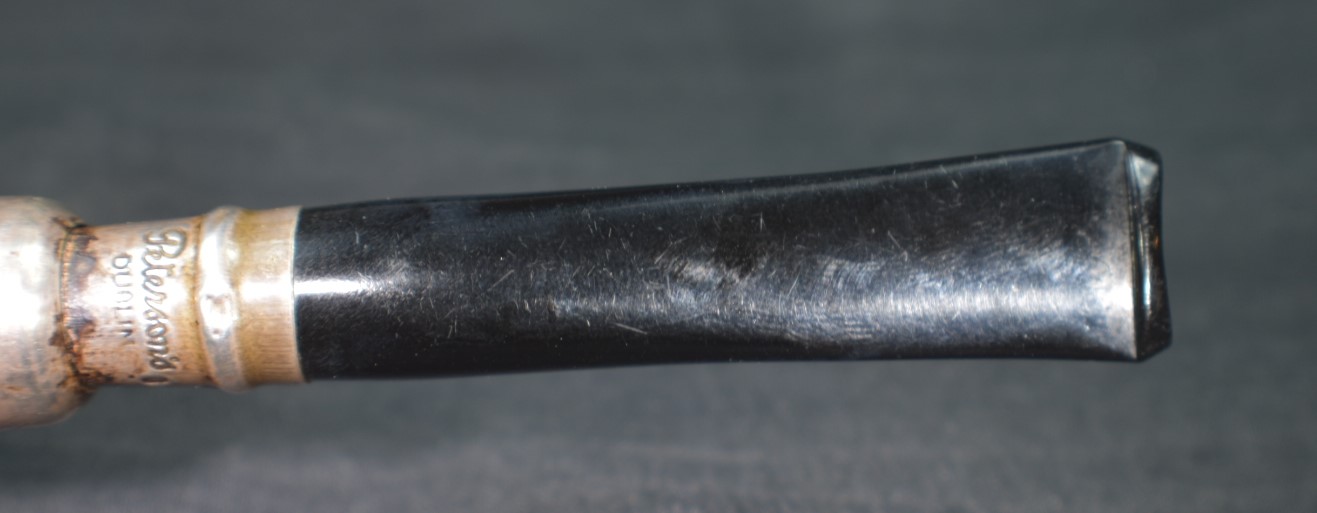
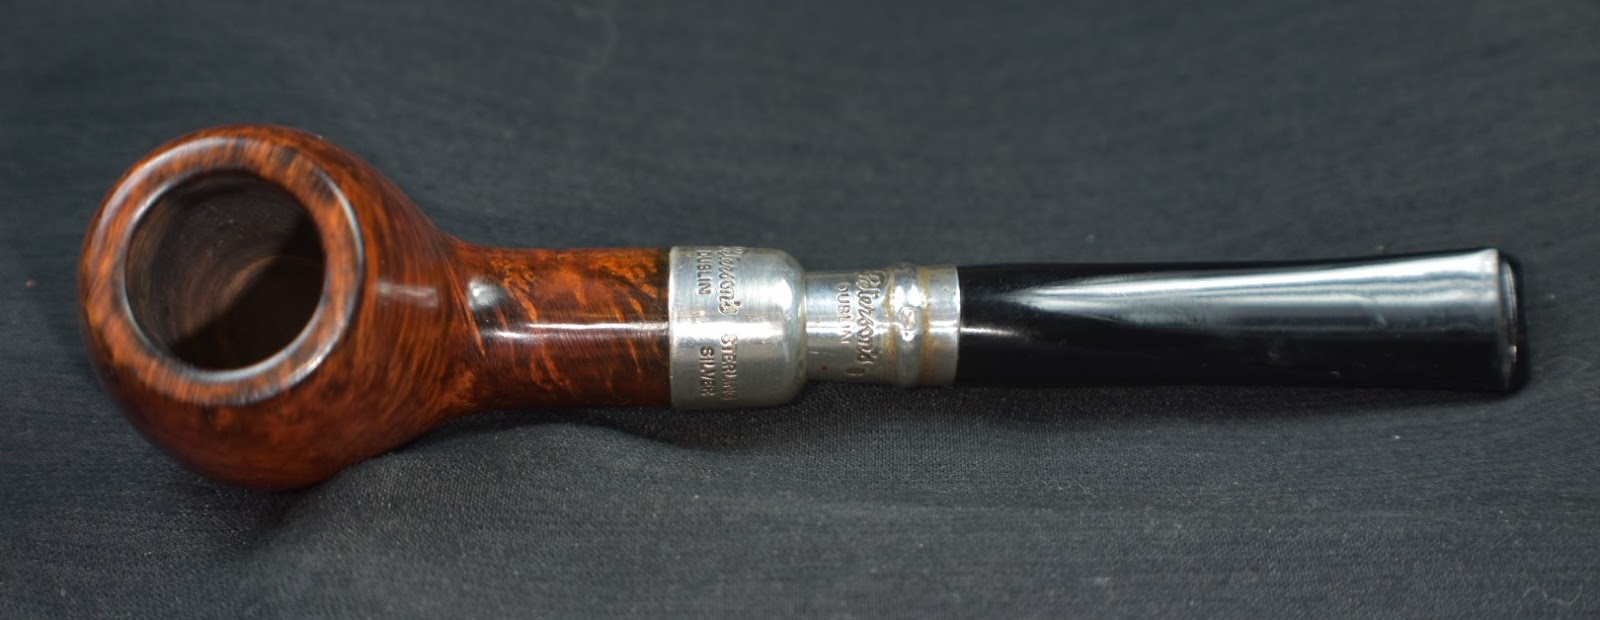
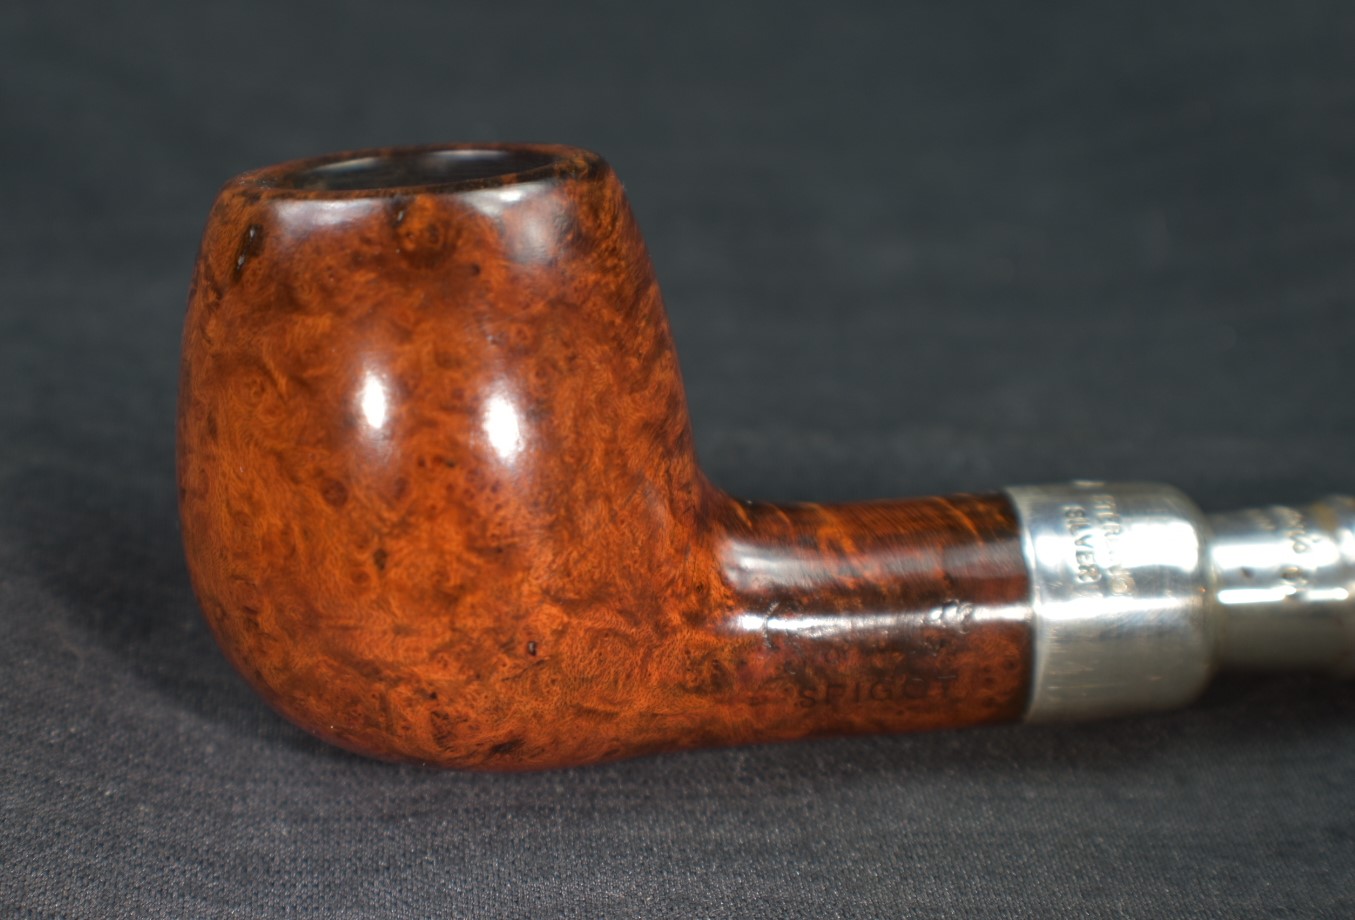
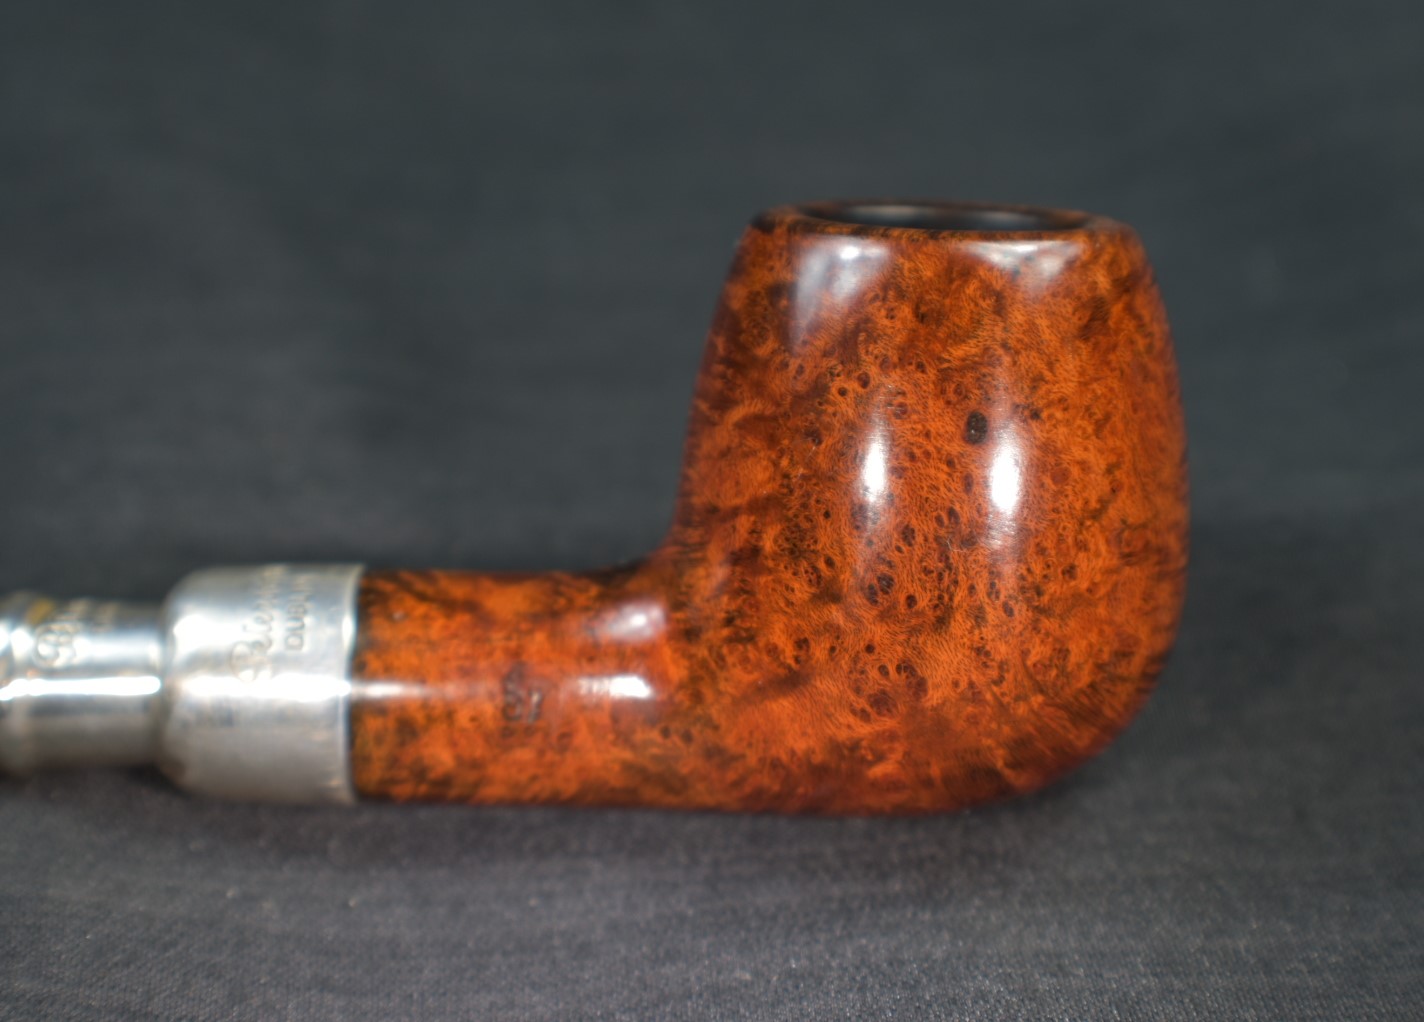
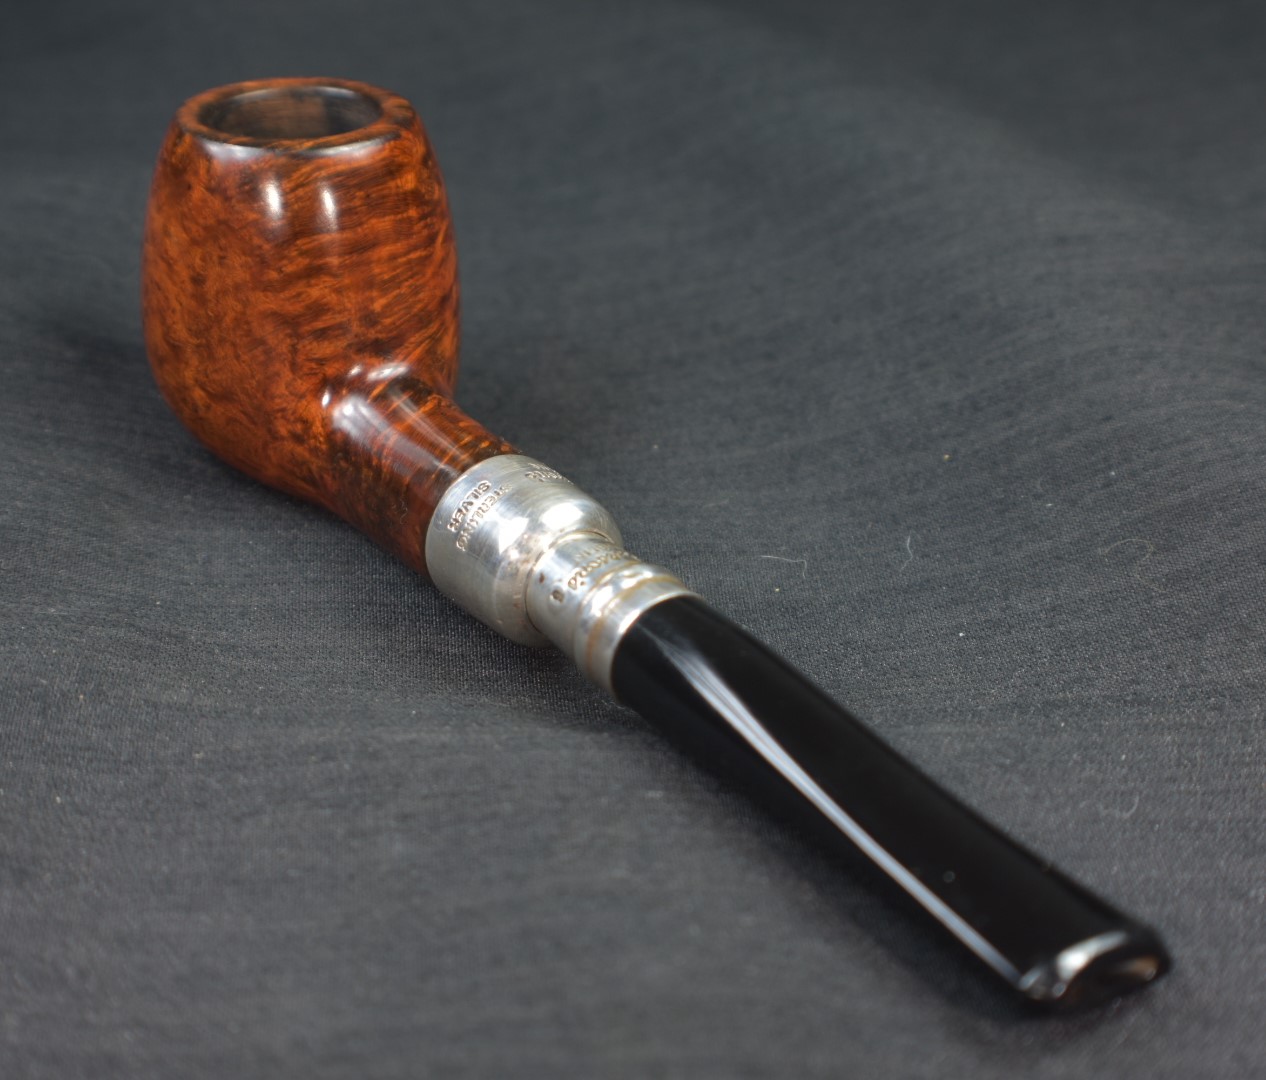
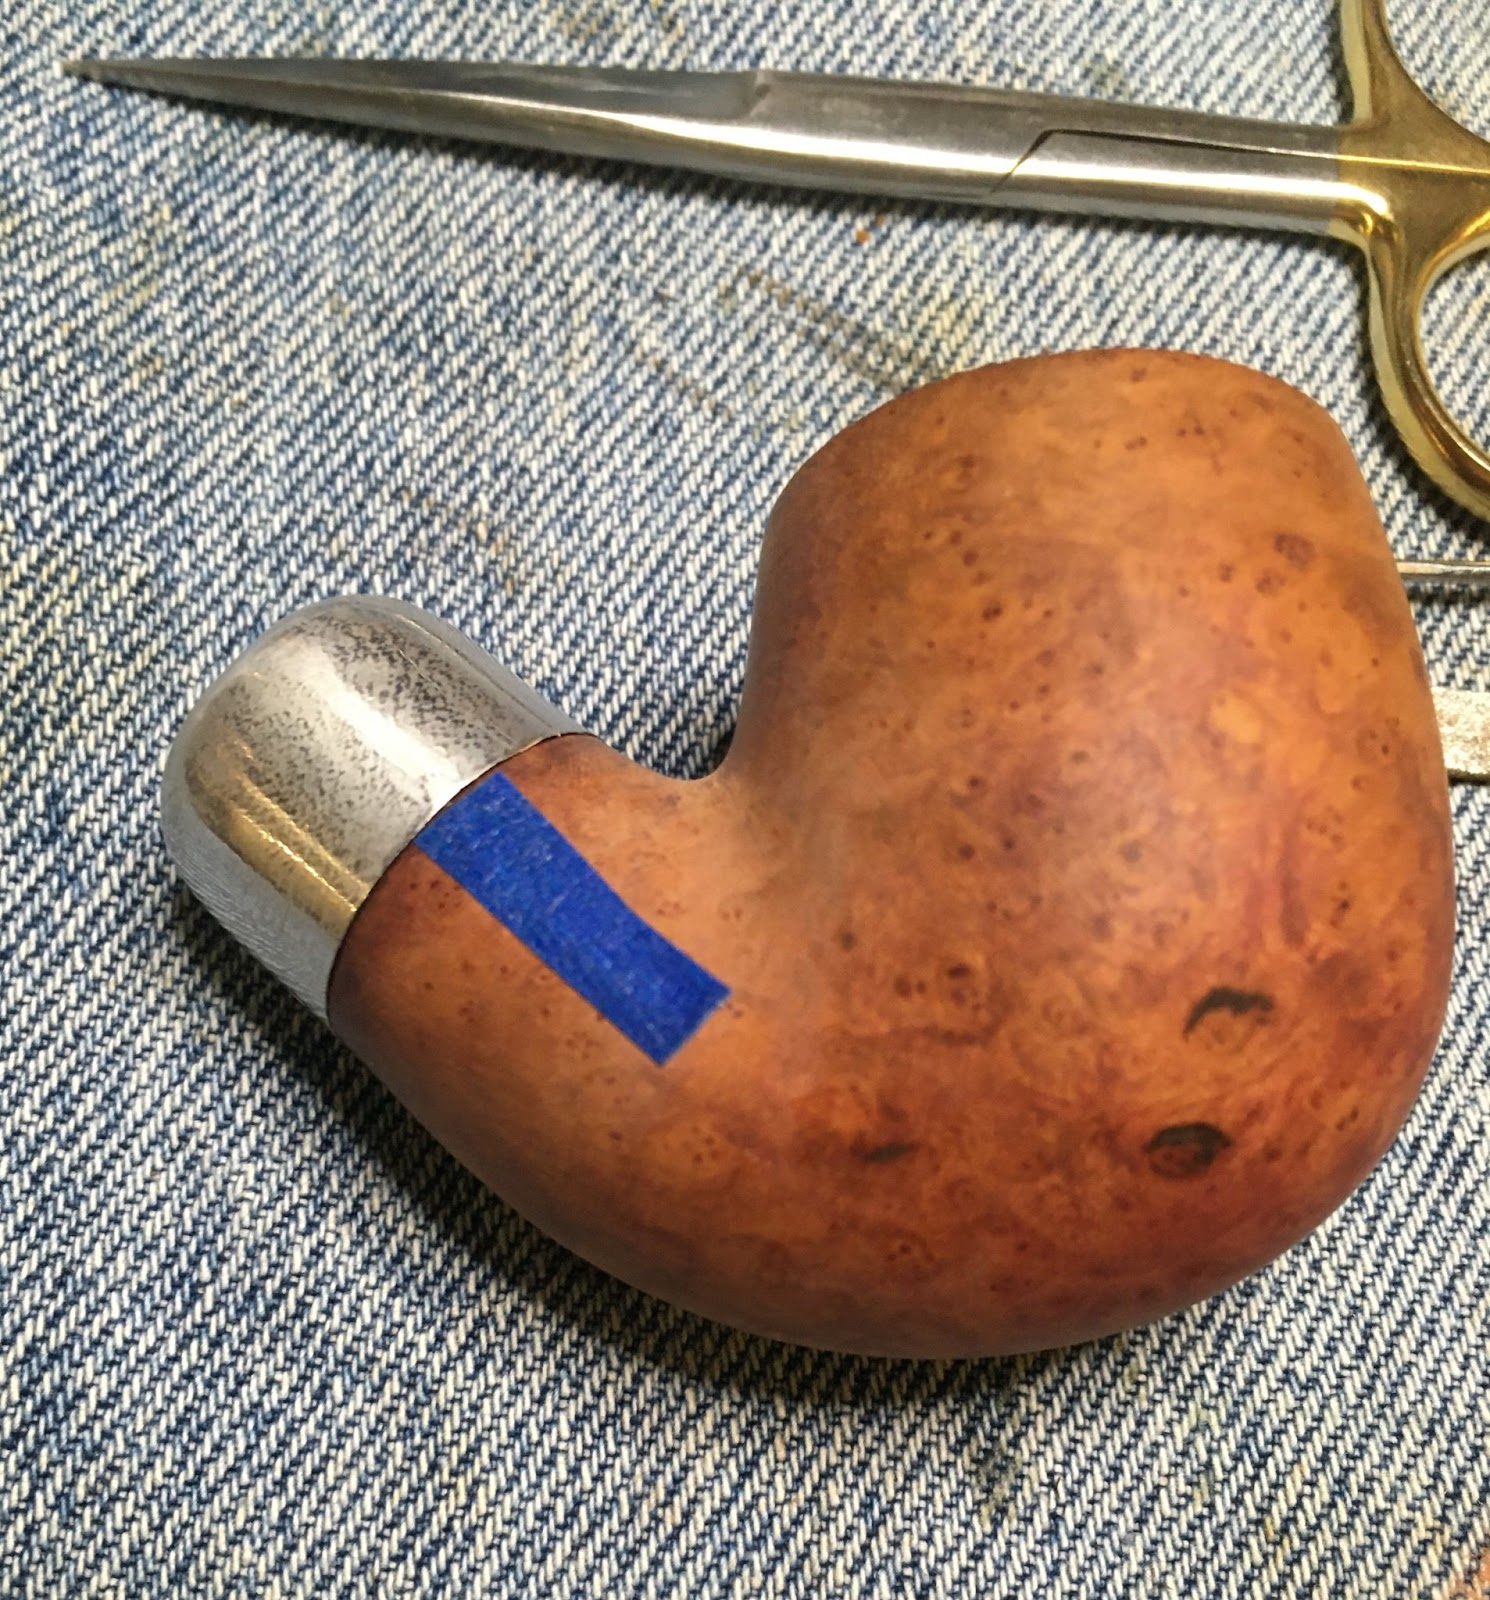
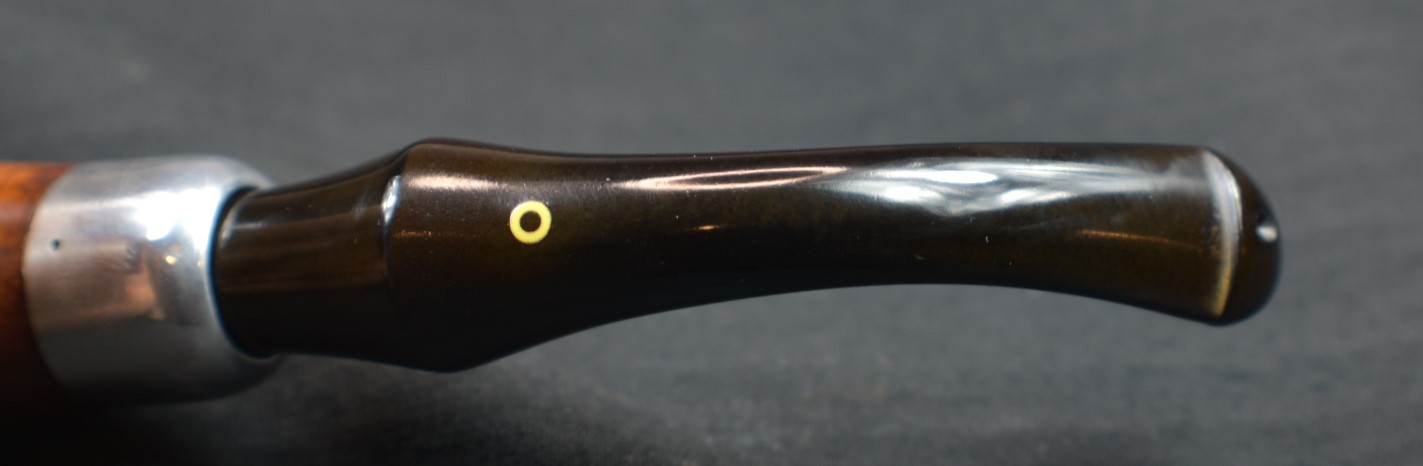
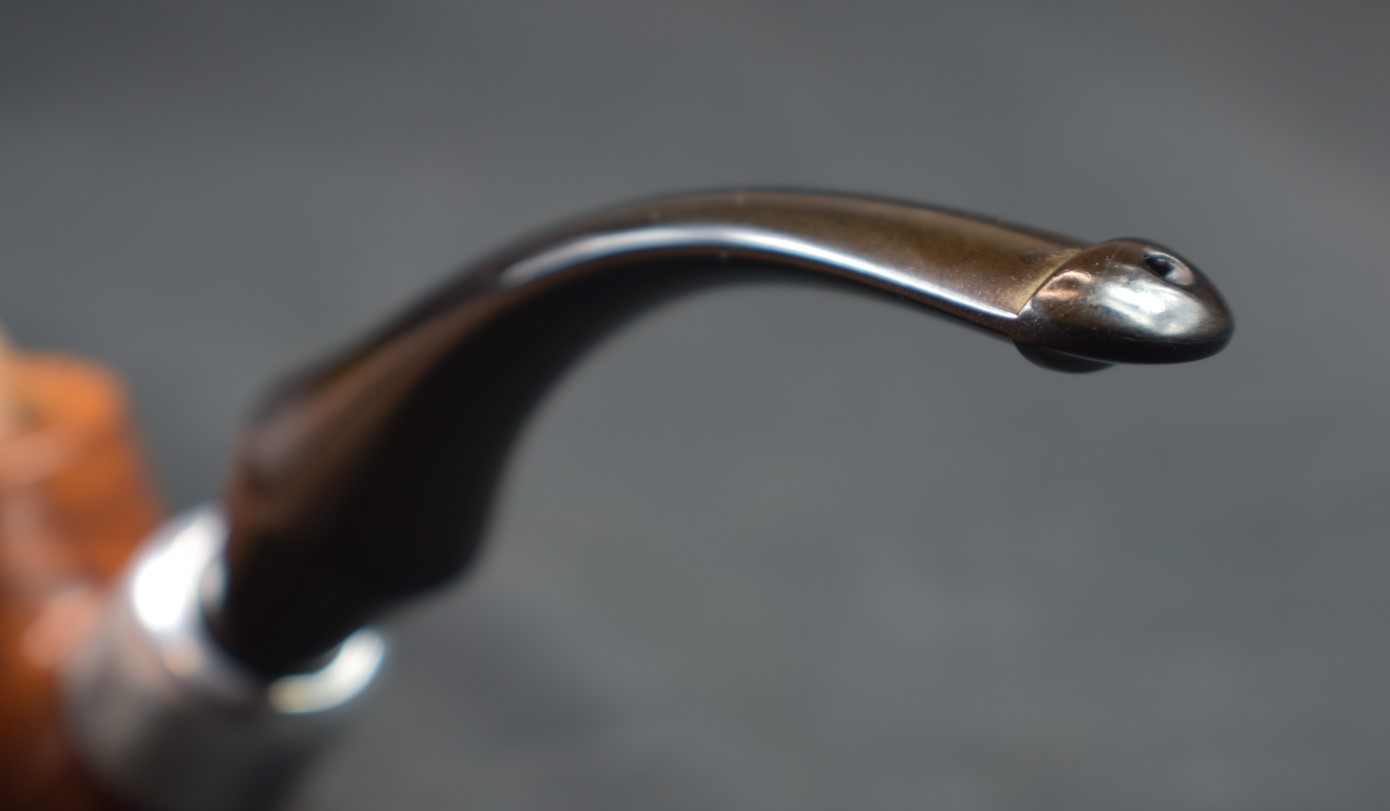
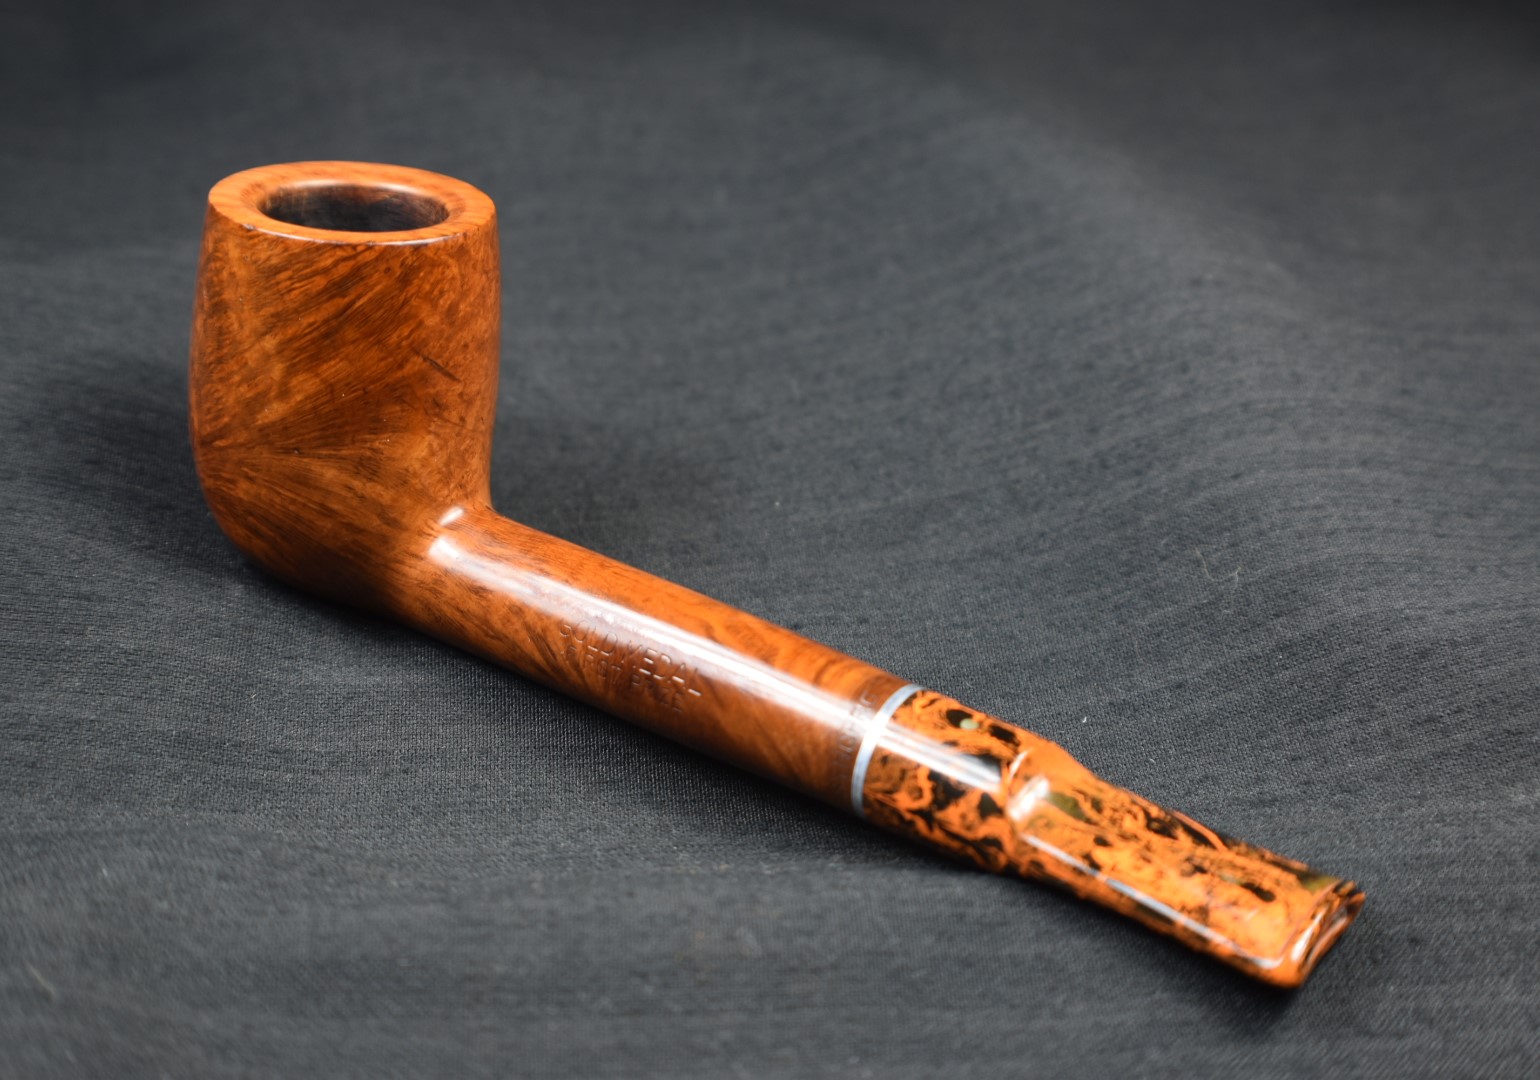
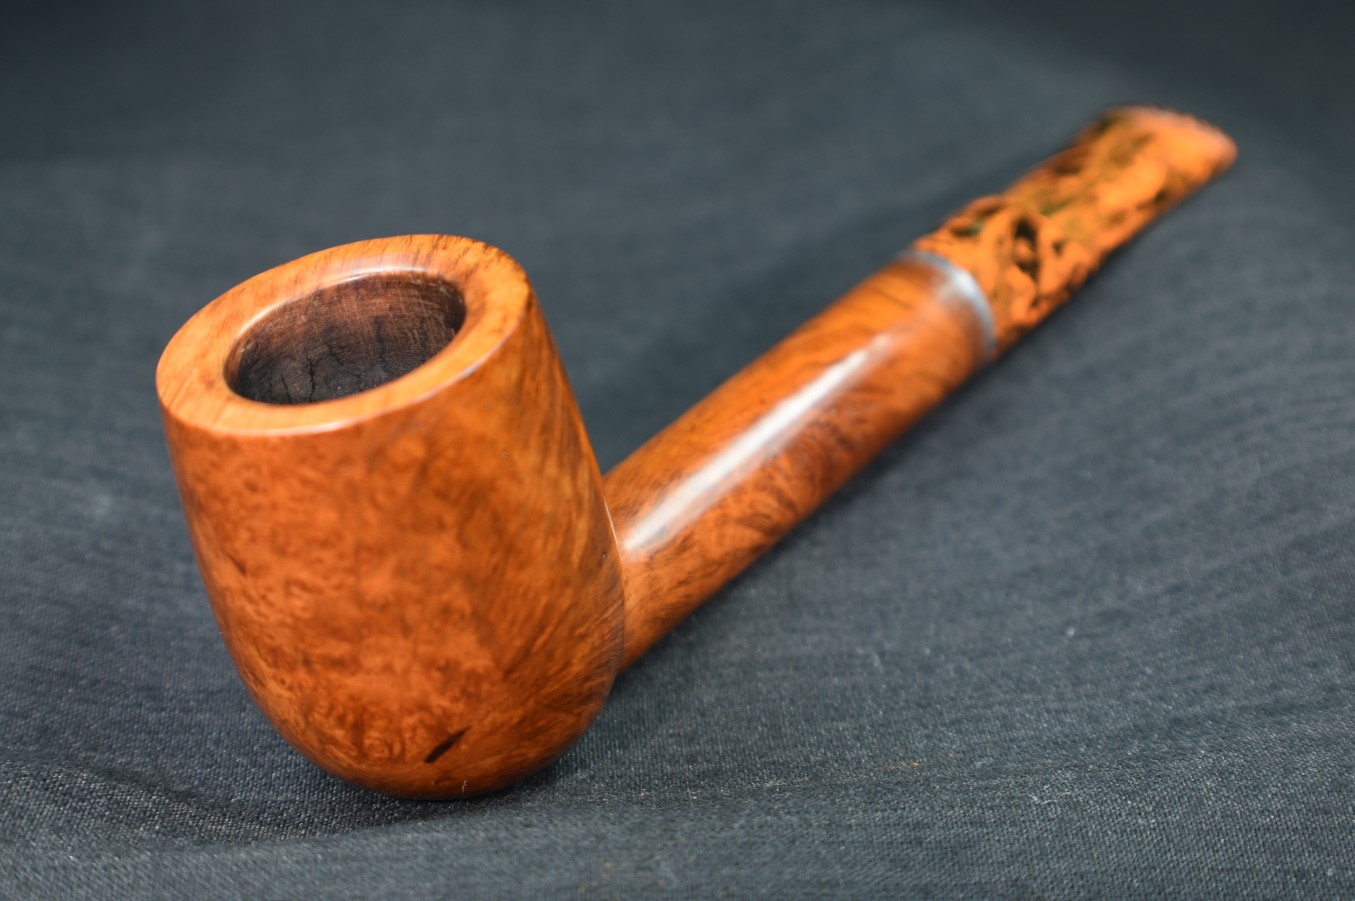
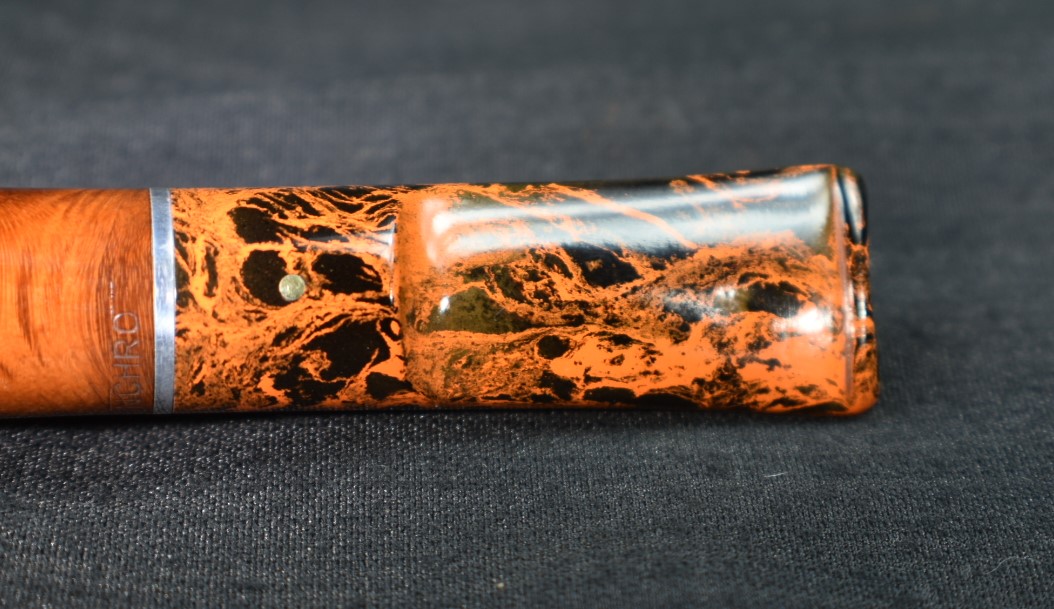
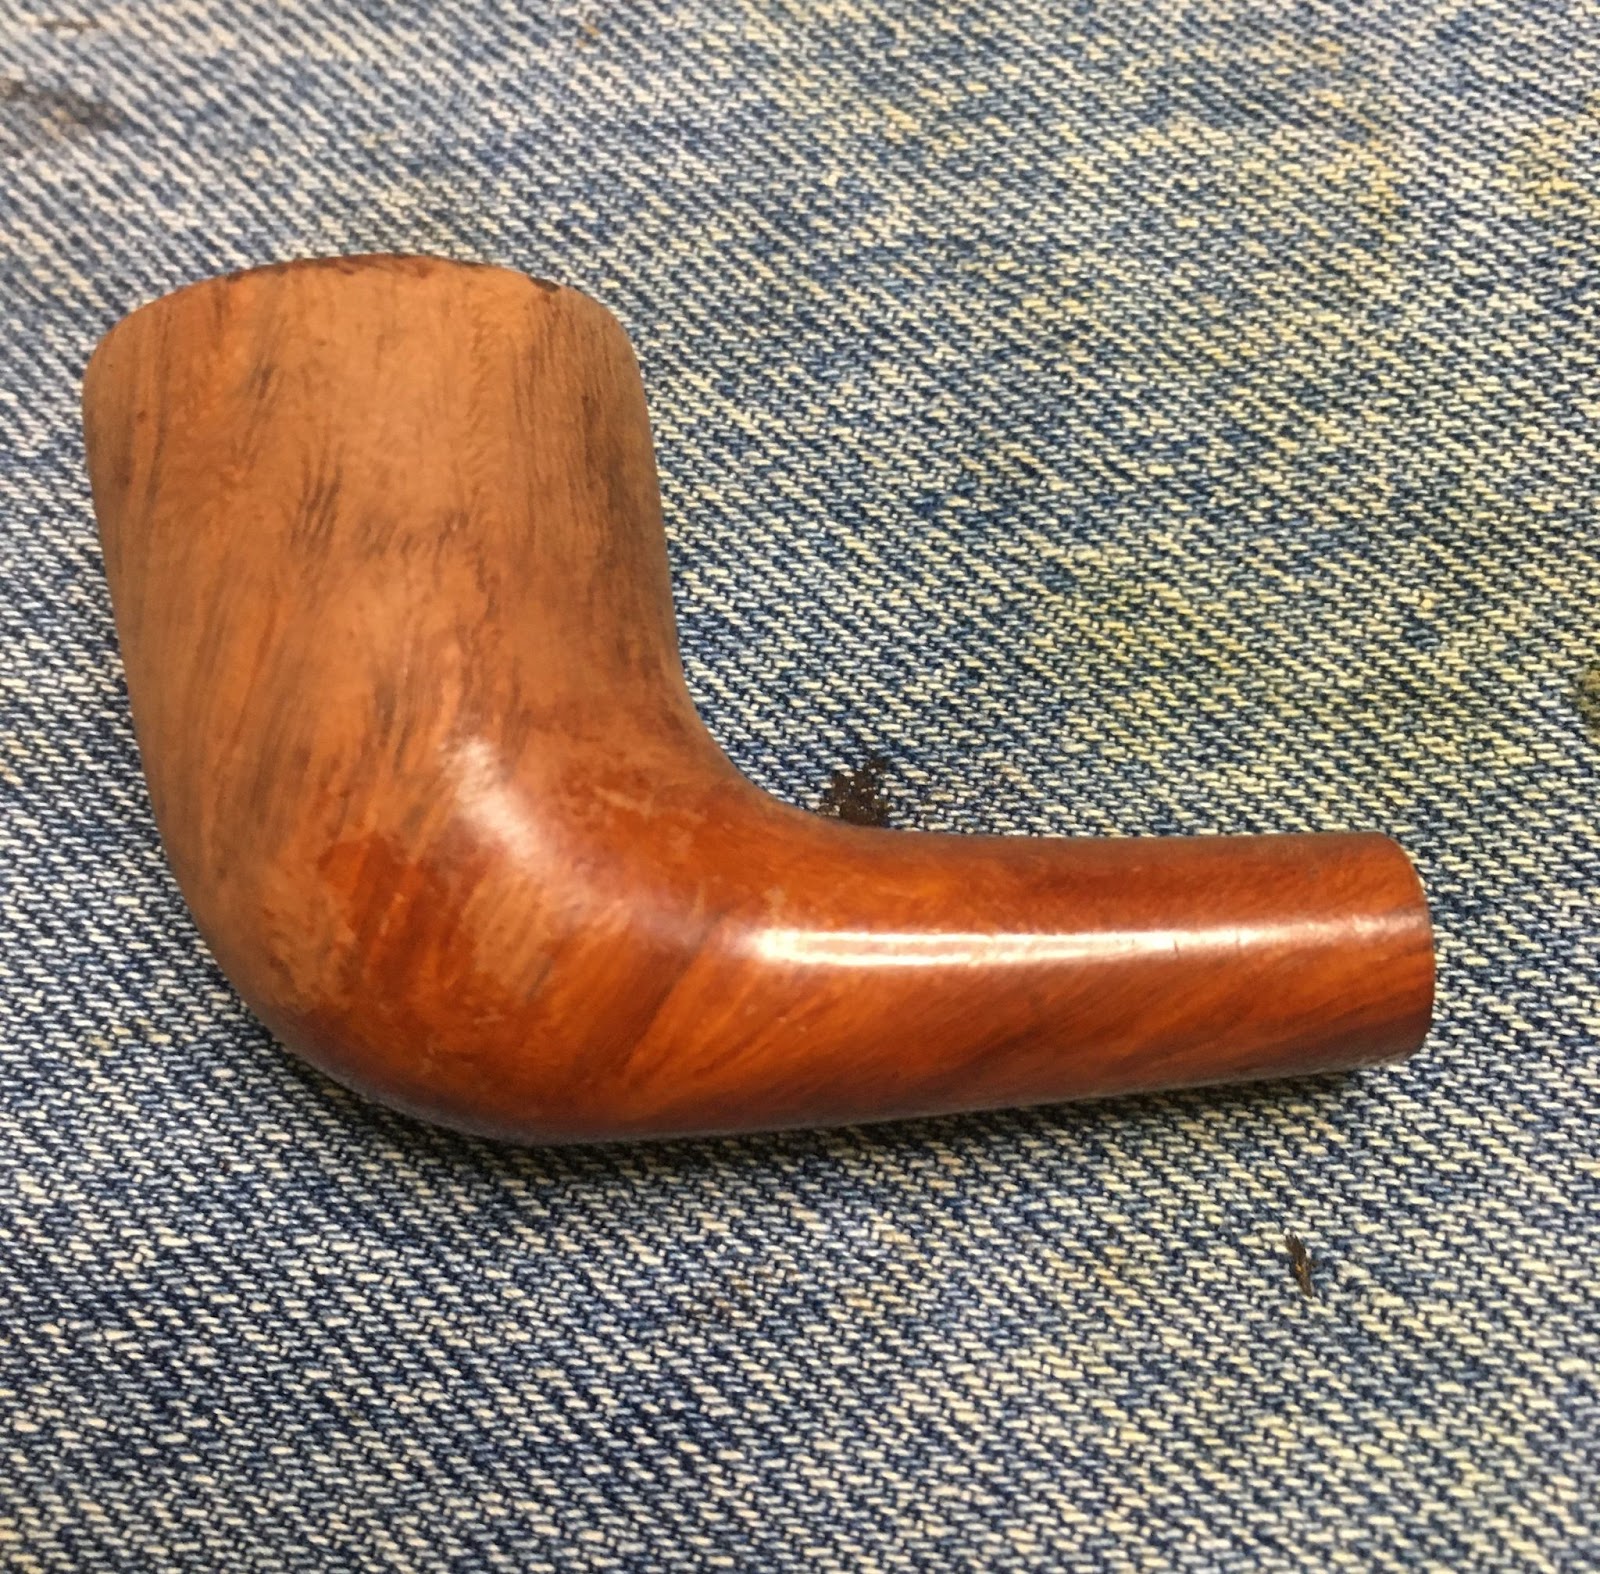
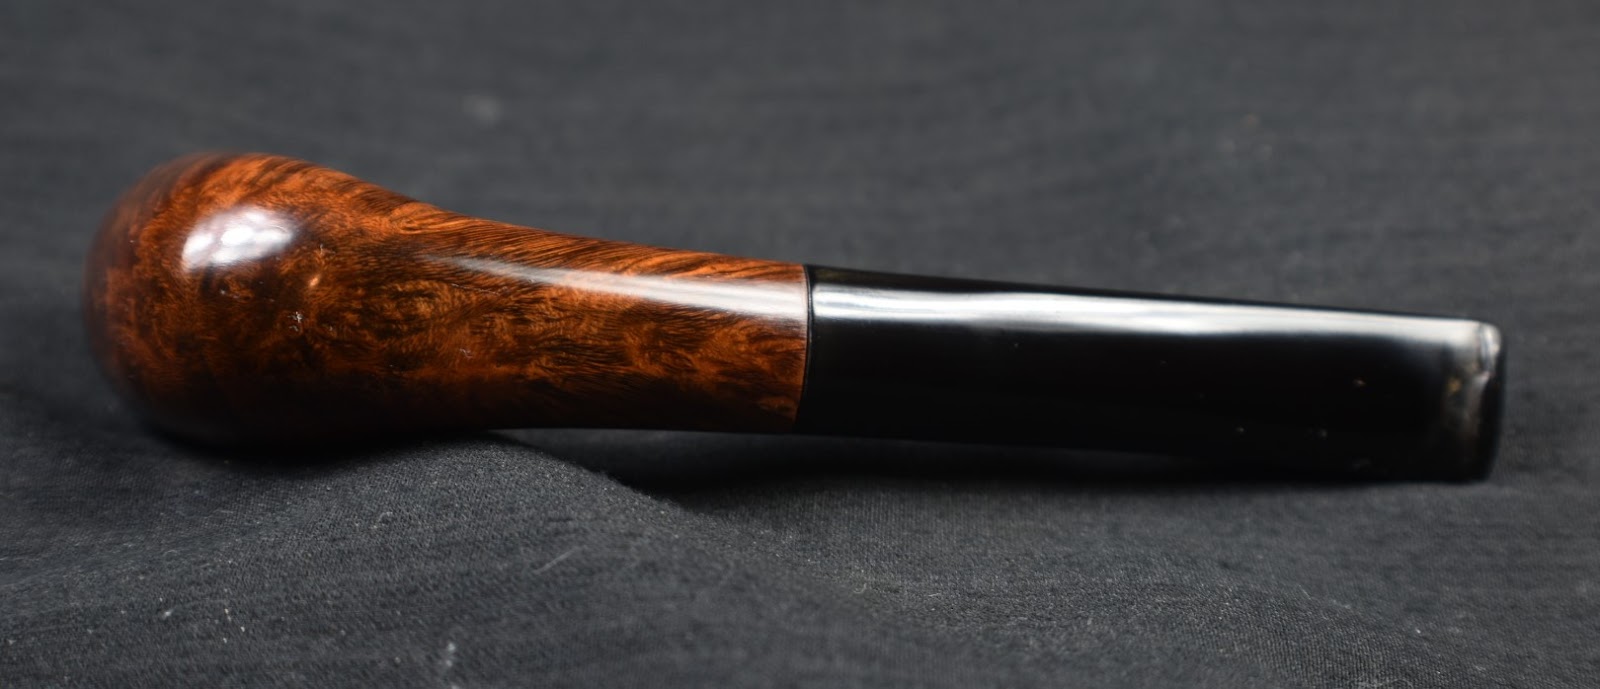
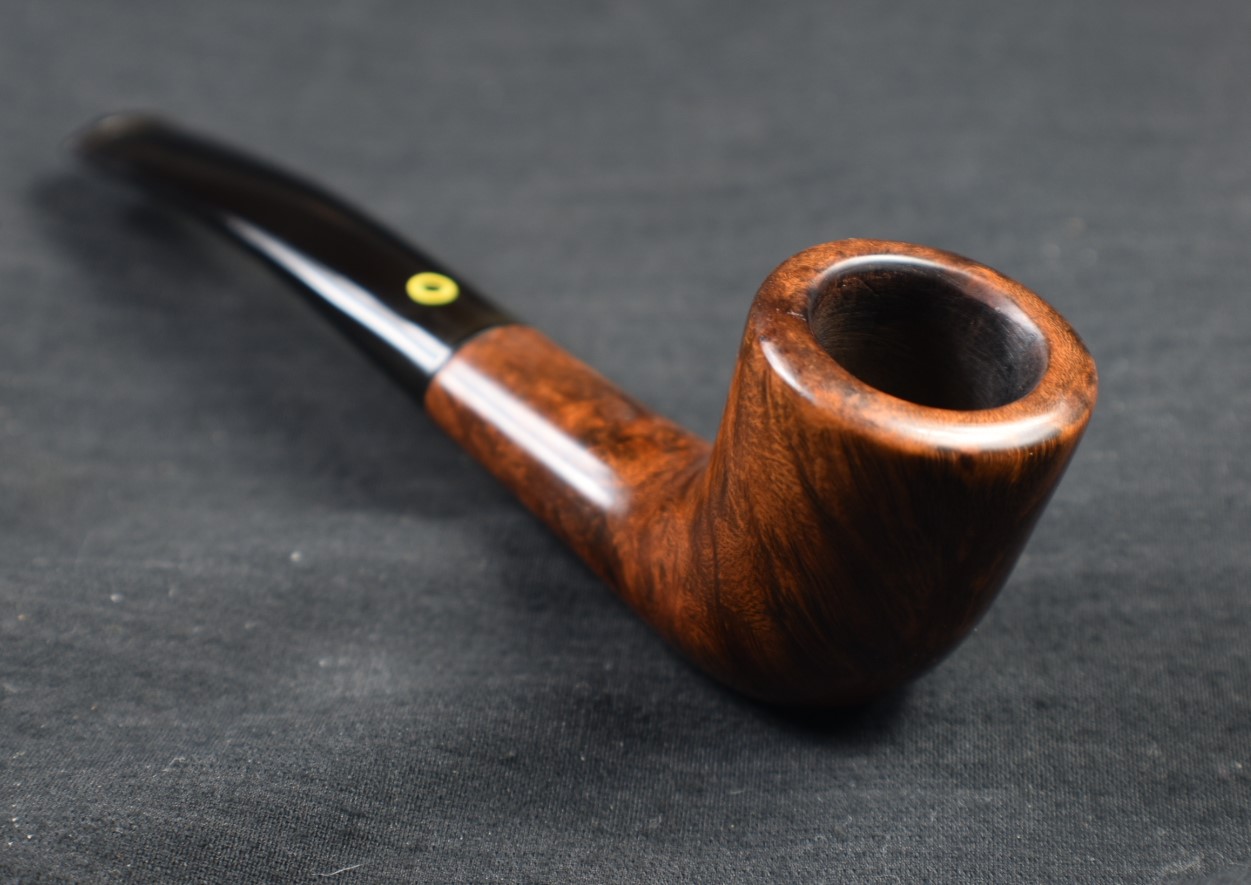
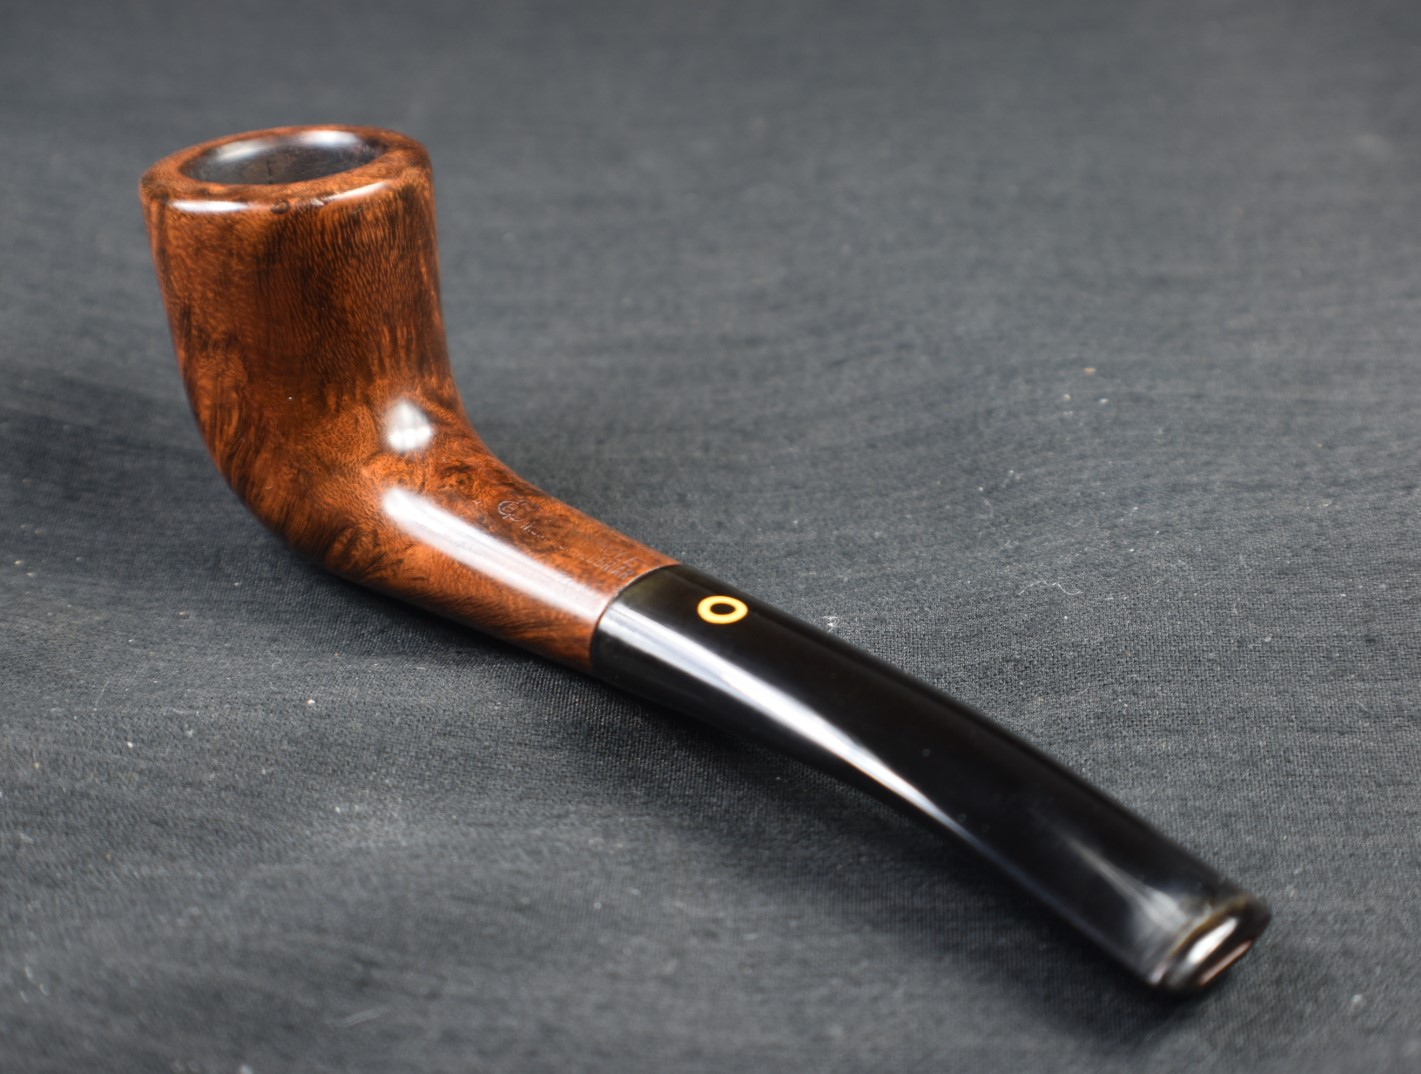
I think this old Wally Frank Rusticated Billiard turned out very well. I love the color of the original stain and think the rustication is perfect without me doing anything to it. I appreciate the rugged yet classic lines of this shape. The aluminum ring, though far from high class, does add a nice contrast to the glossy black vulcanite and the mahogany stummel. The draw of the pipe is a bit constricted by the stinger for my preference but they are removable and when removed it is quite nice. The dimensions of the Wally Frank Rusticated Billiard are:
Length: 6.09 in./ 154.69 mm.
Weight: 1.24 oz./ 35.3 g.
Bowl Height: 1.77 in./ 44.96 mm.
Chamber Depth: 1.30 in./ 33.02 mm.
Chamber Diameter: 0.77 in./ 19.56 mm.
Outside Diameter: 1.41 in./ 35.81 mm.
I do hope that you have found something here useful to your own pipe care, maintenance or restorations. If you like this sort of thing, please click the like and subscribe buttons. Thank you for reading the ramblings of an old pipe lover.
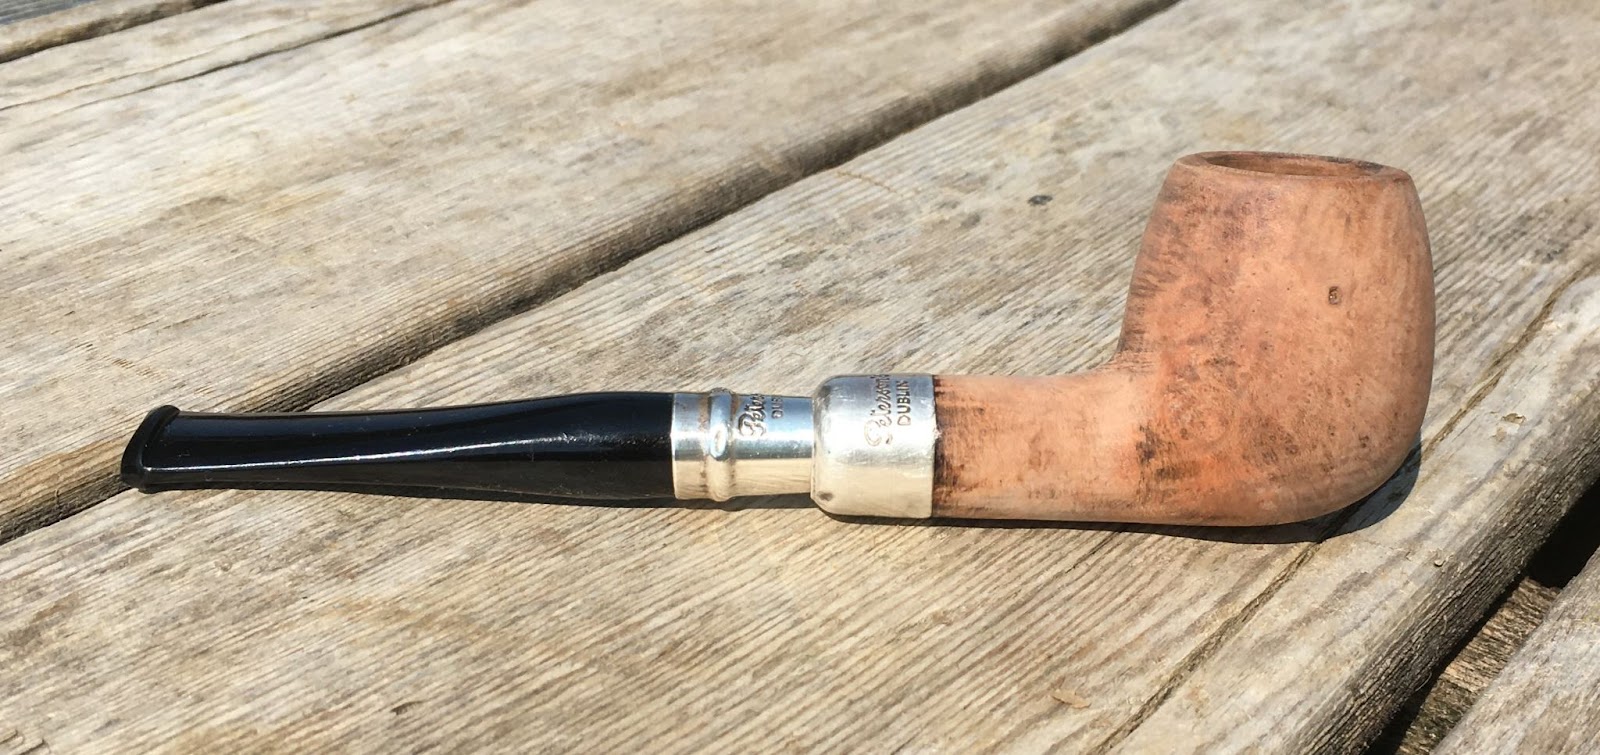
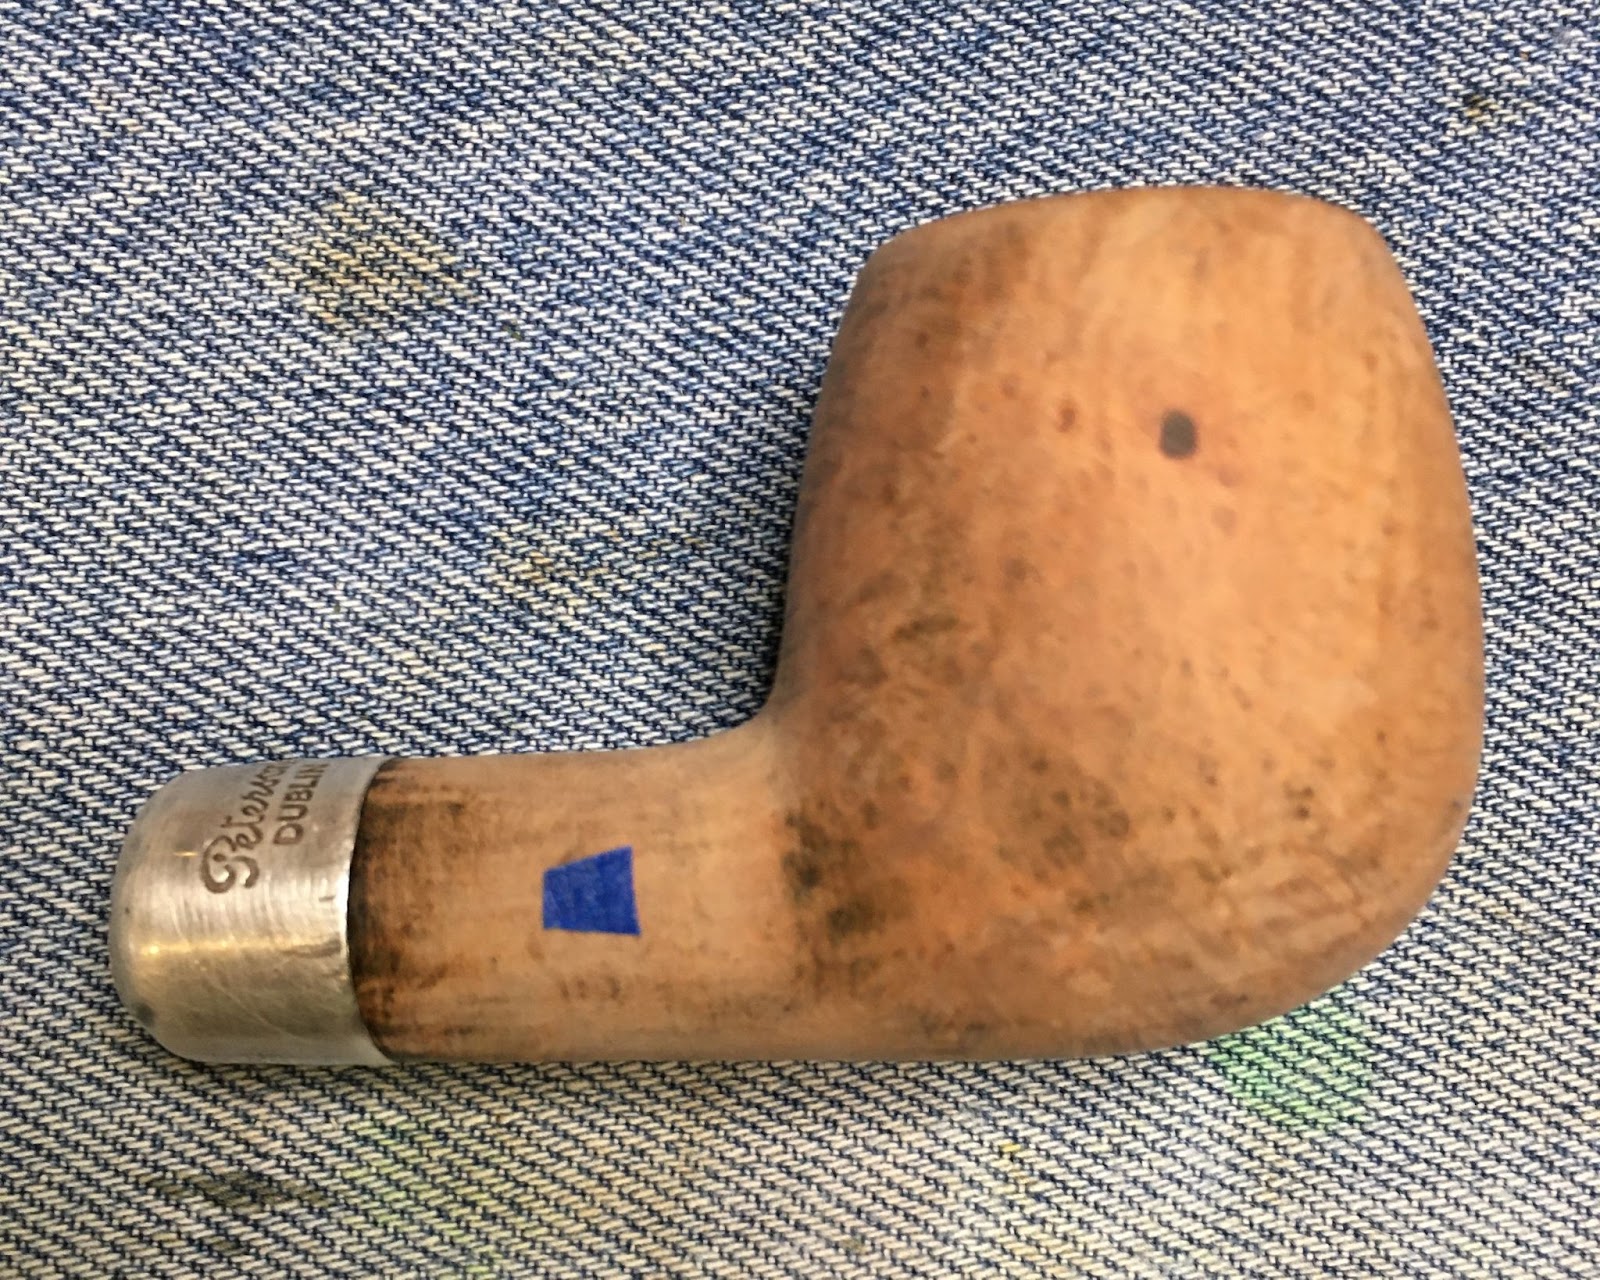
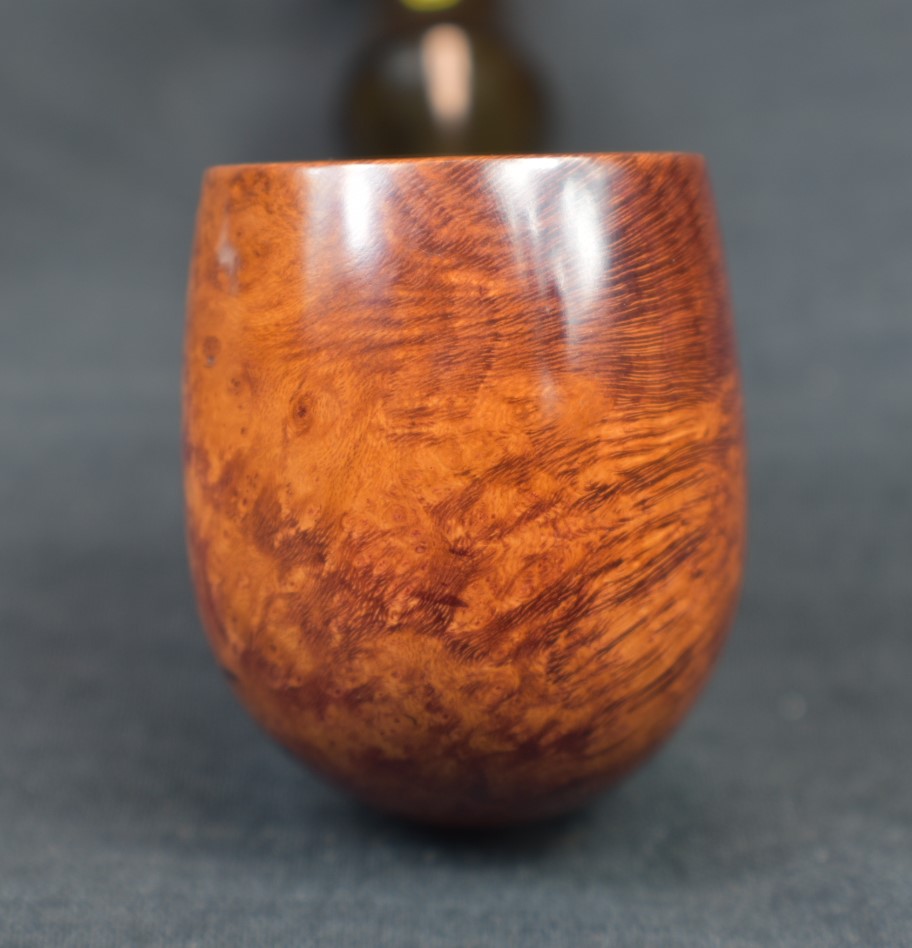
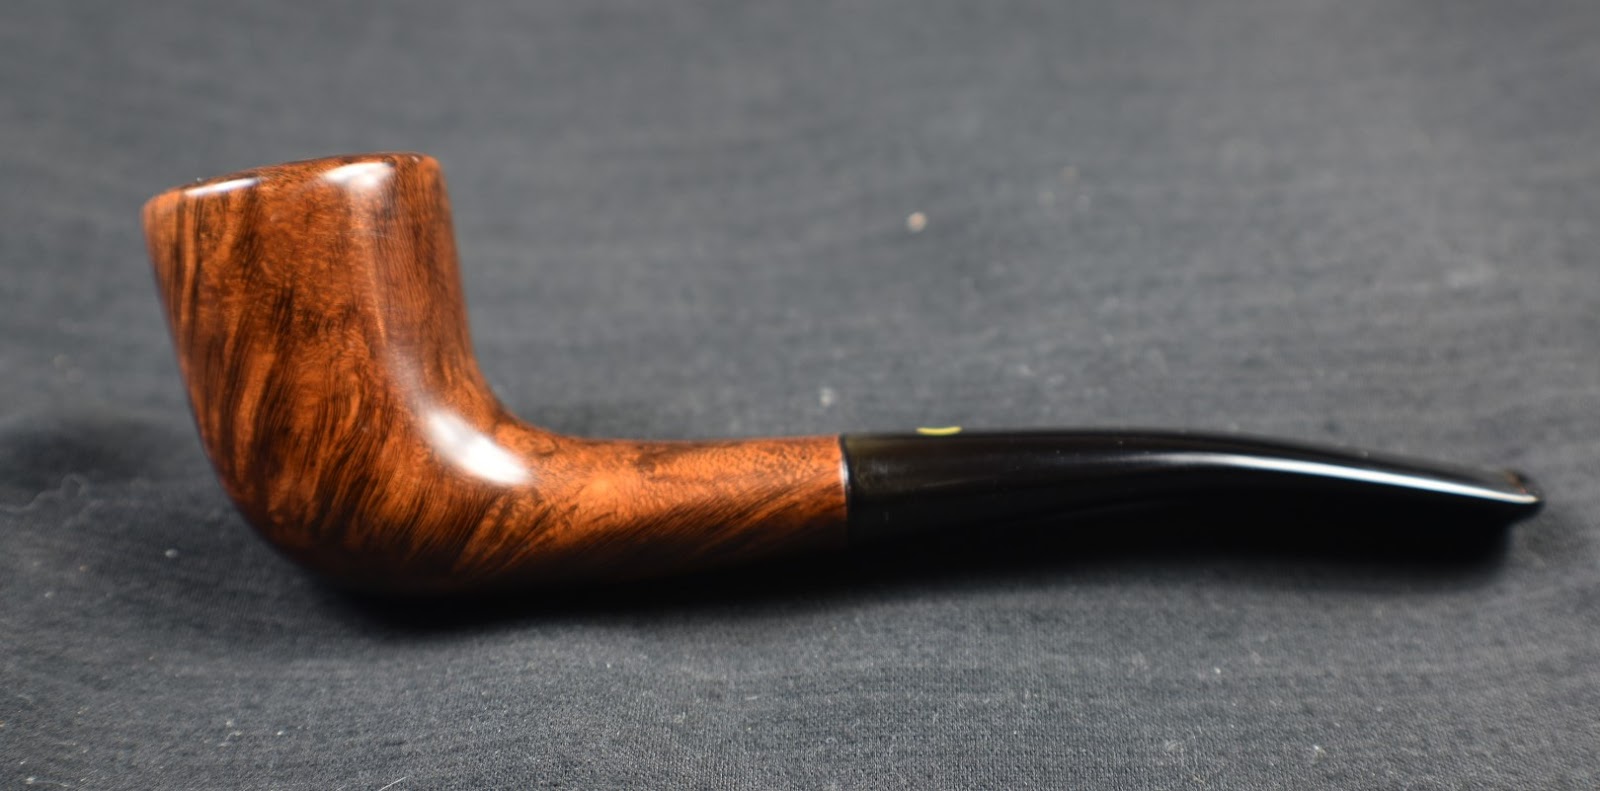
Below are some photos of the finished Wally Frank Rusticated Billiard.


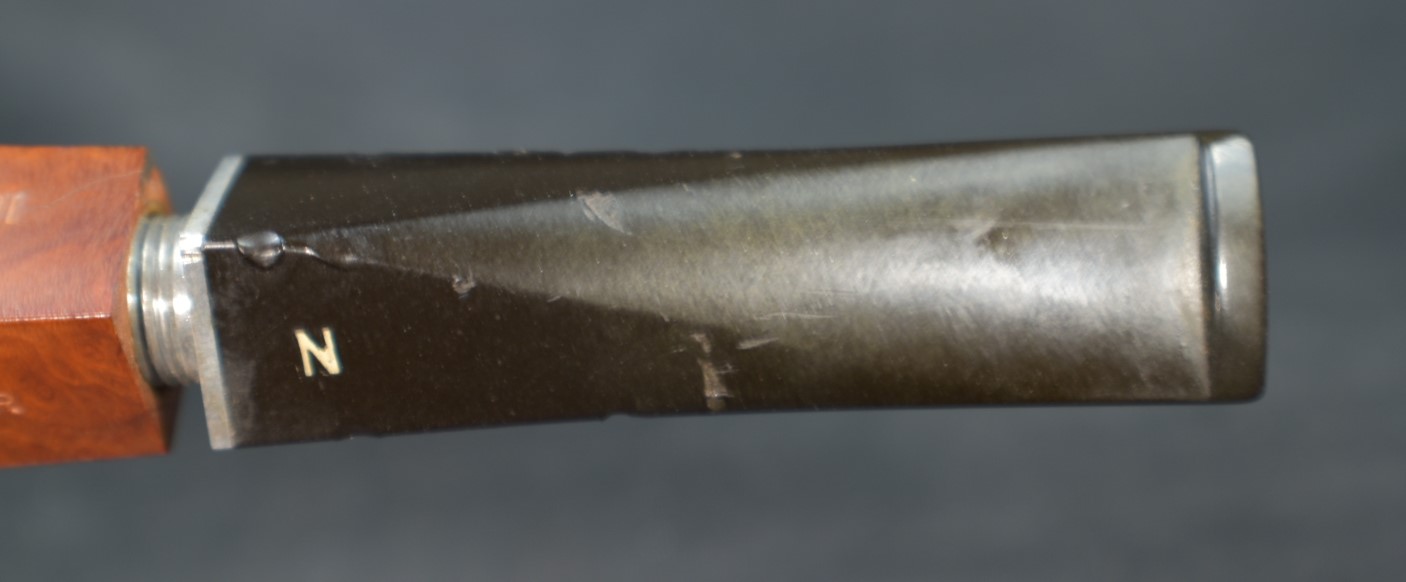


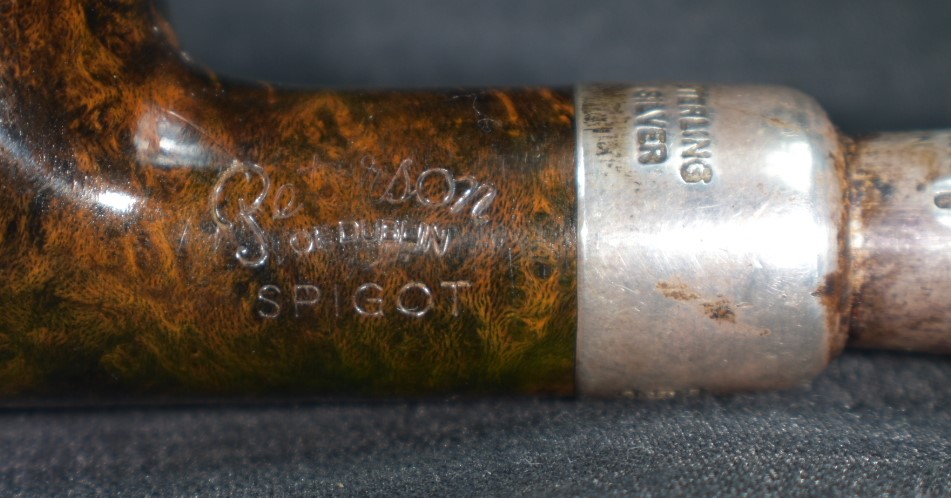
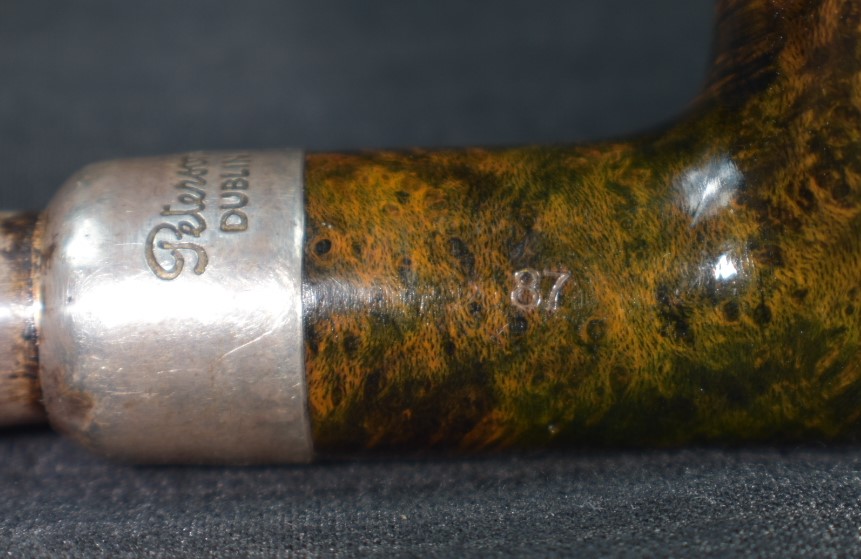
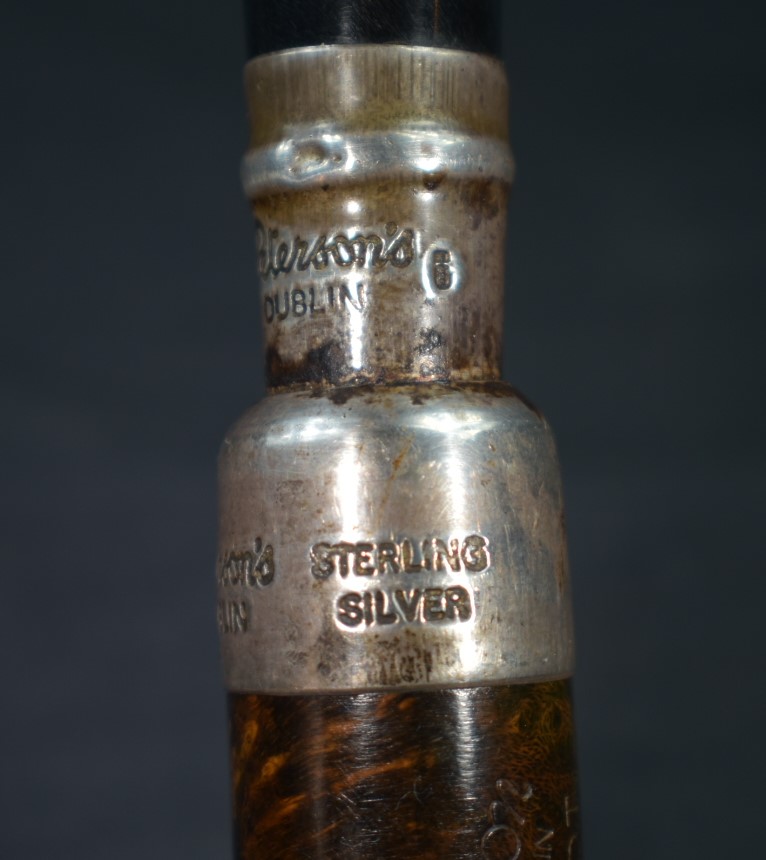


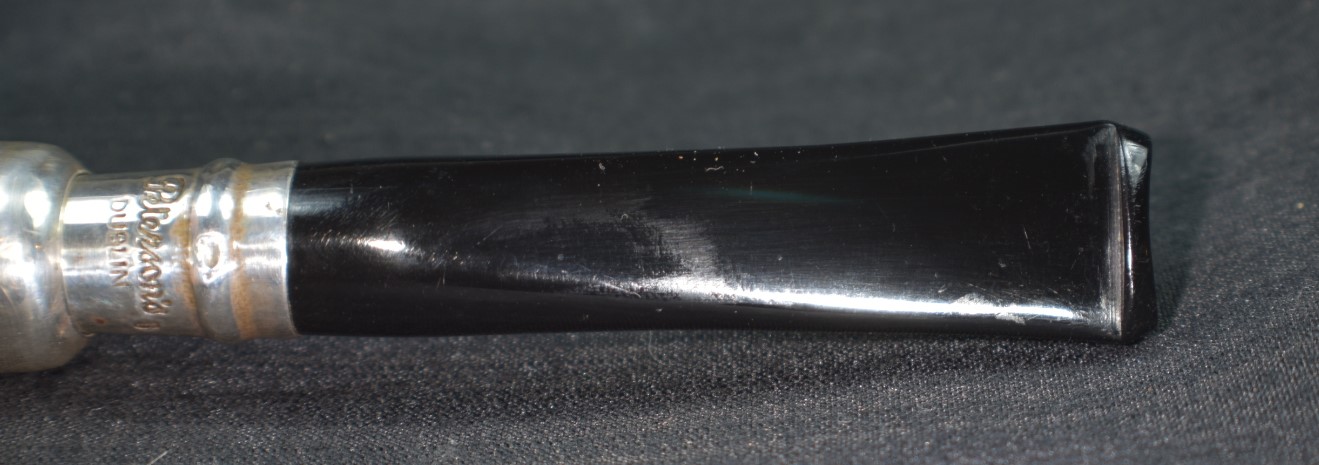
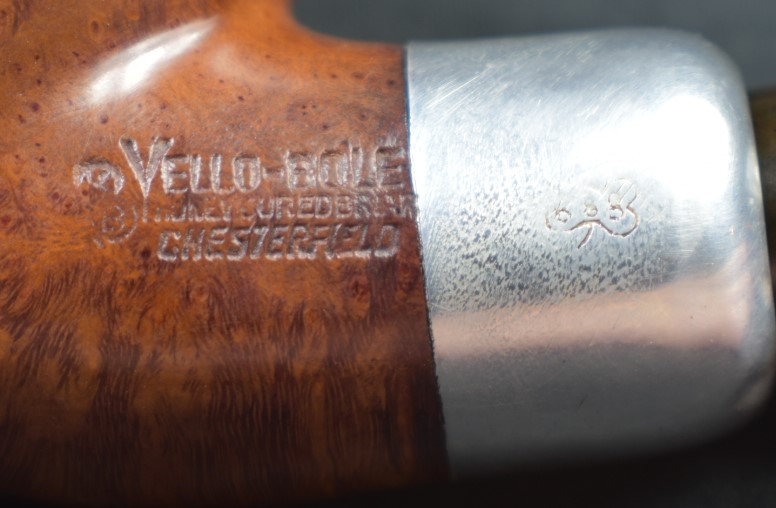
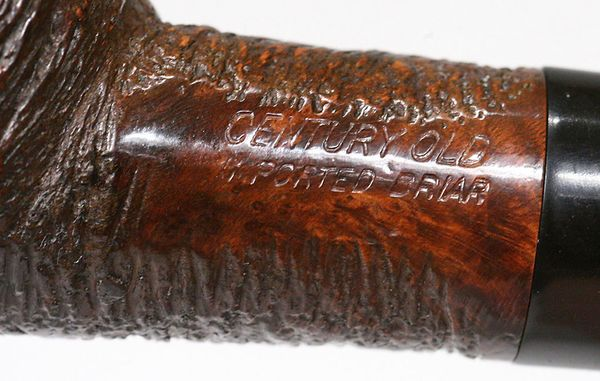
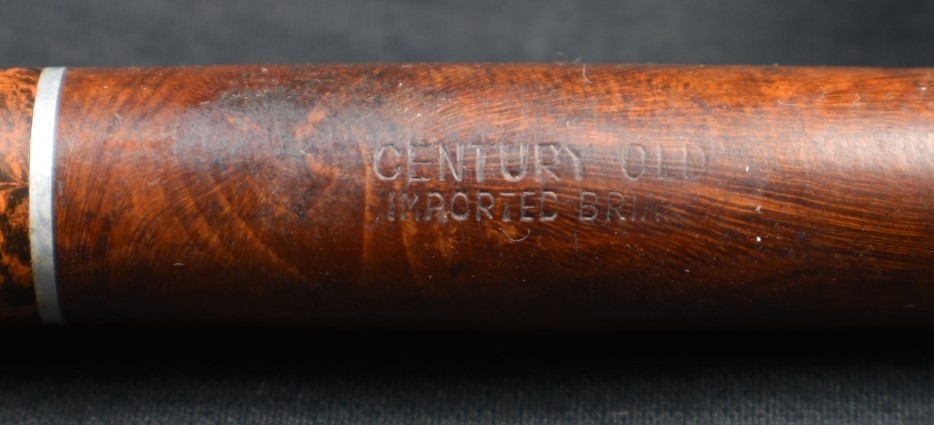
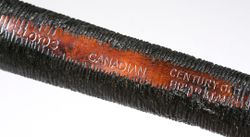
 The image to the left is a screen clip of the PPN-Hallmark-Chart. While the photo below is the hallmark of this pipe.


 (
(


 ”
”


 .
.