Photographed and written by
John M. Young
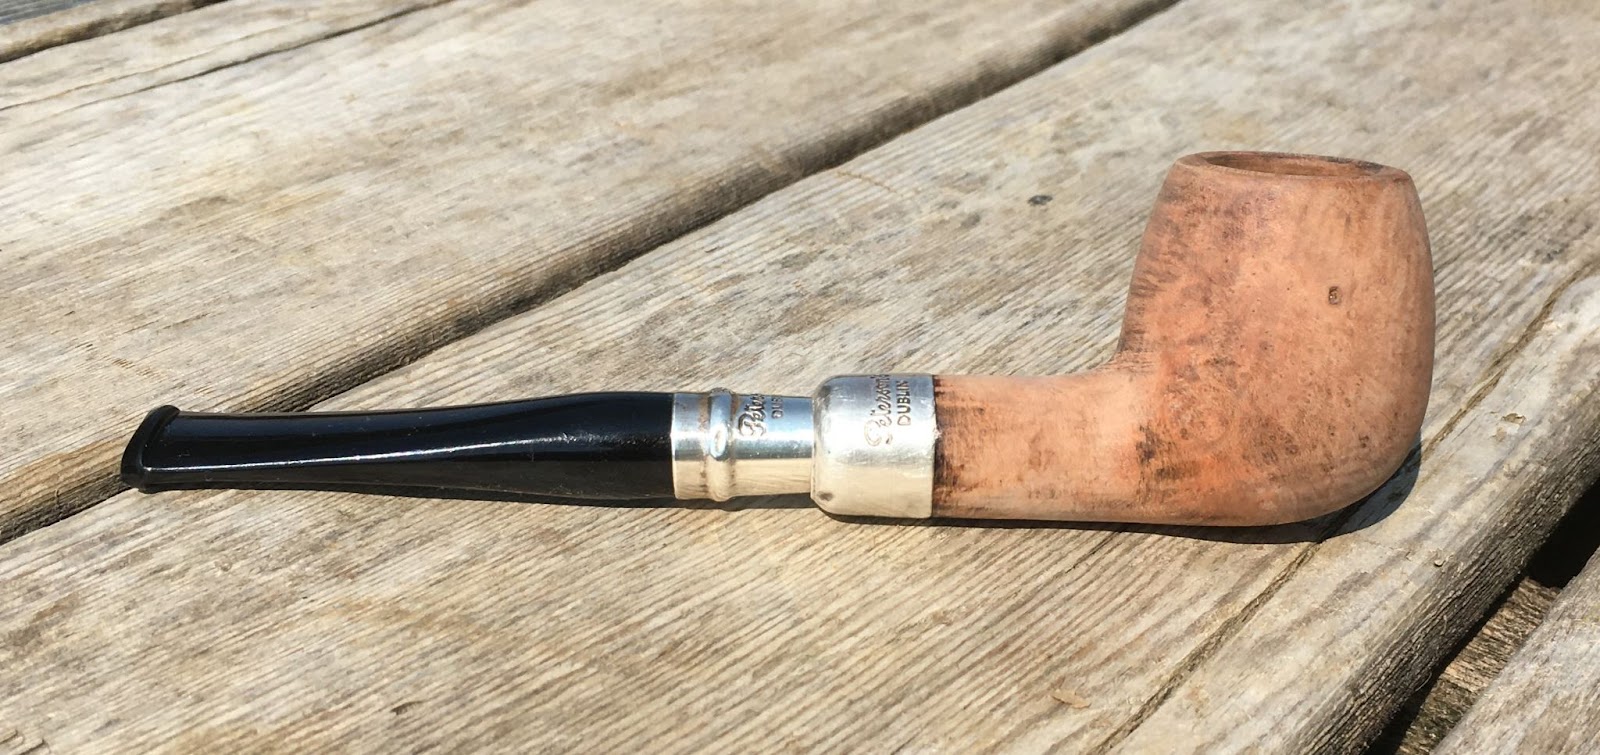
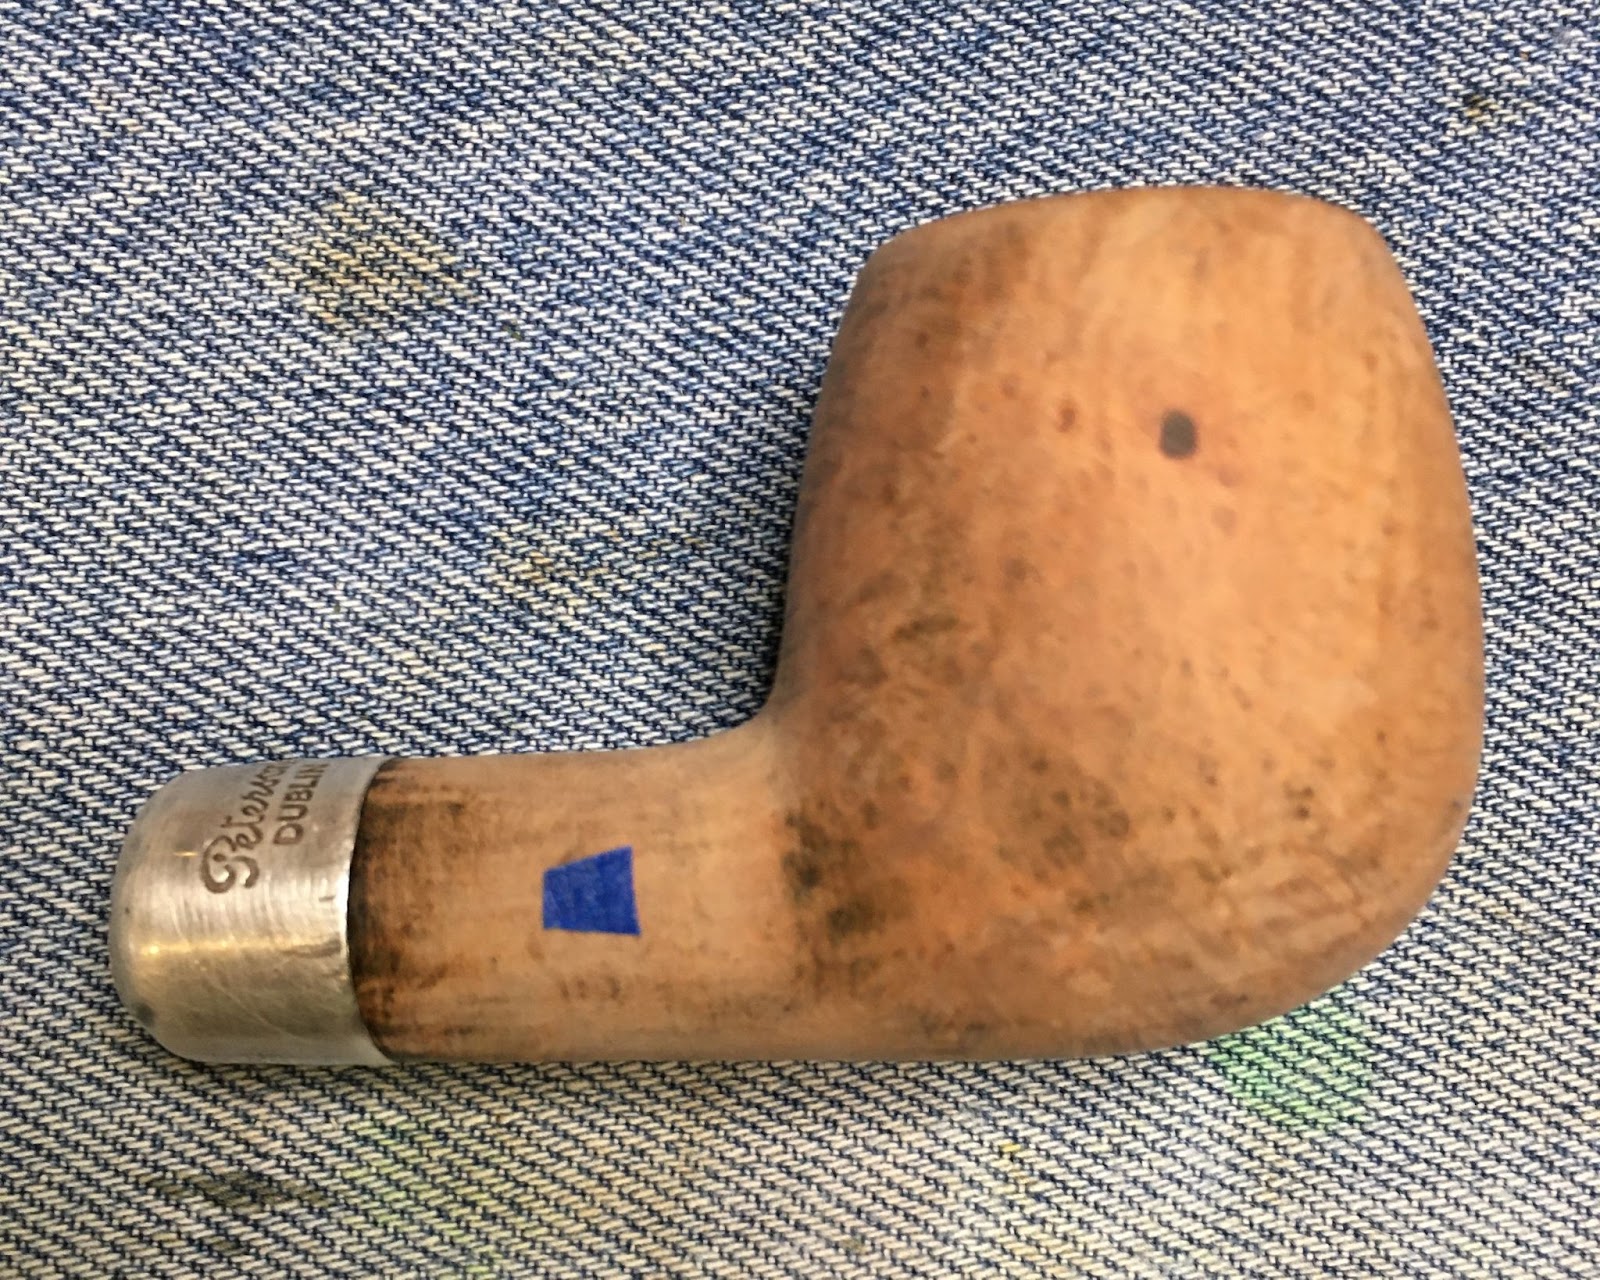
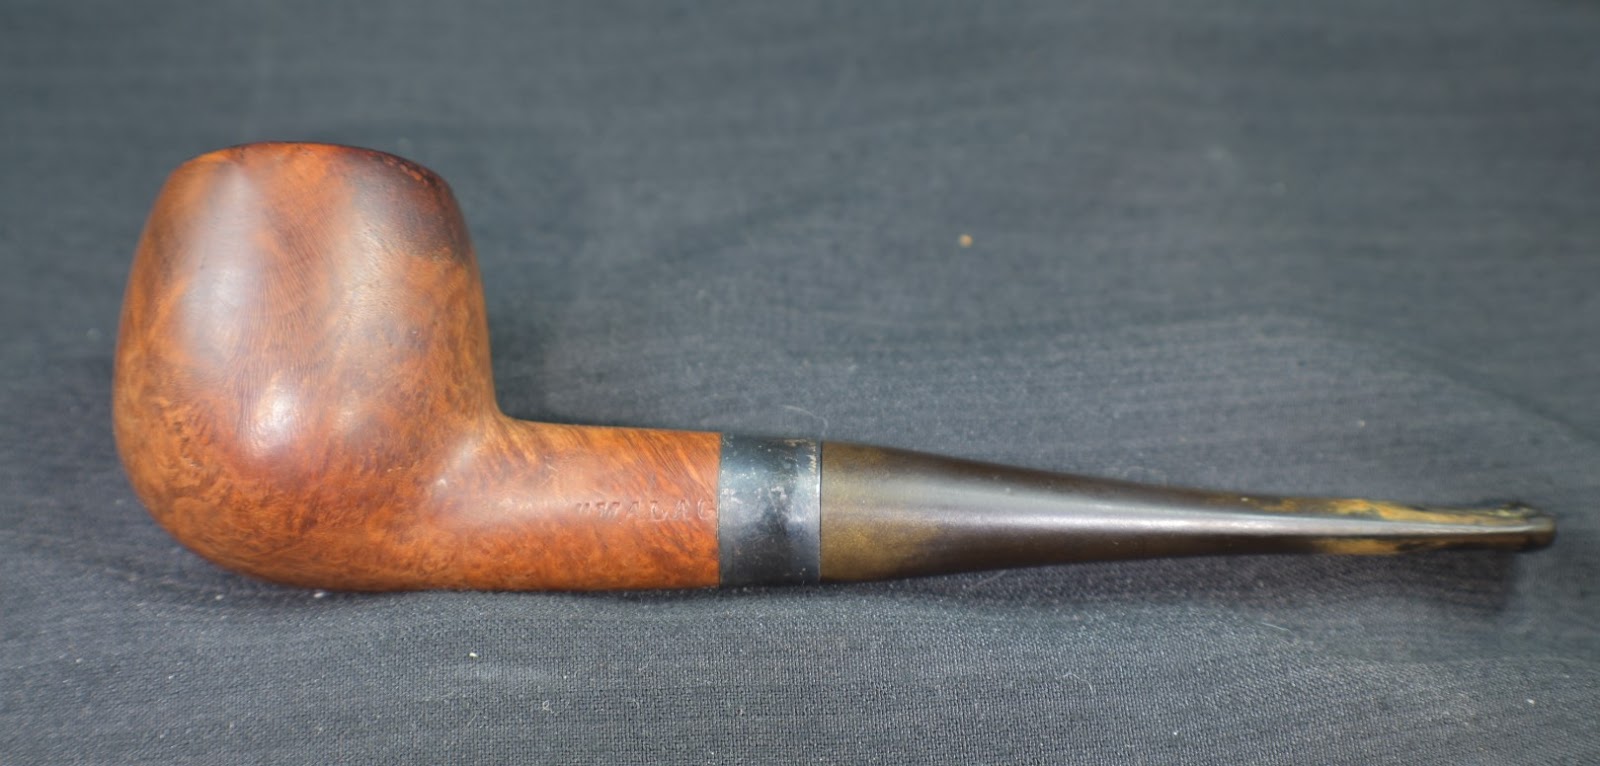
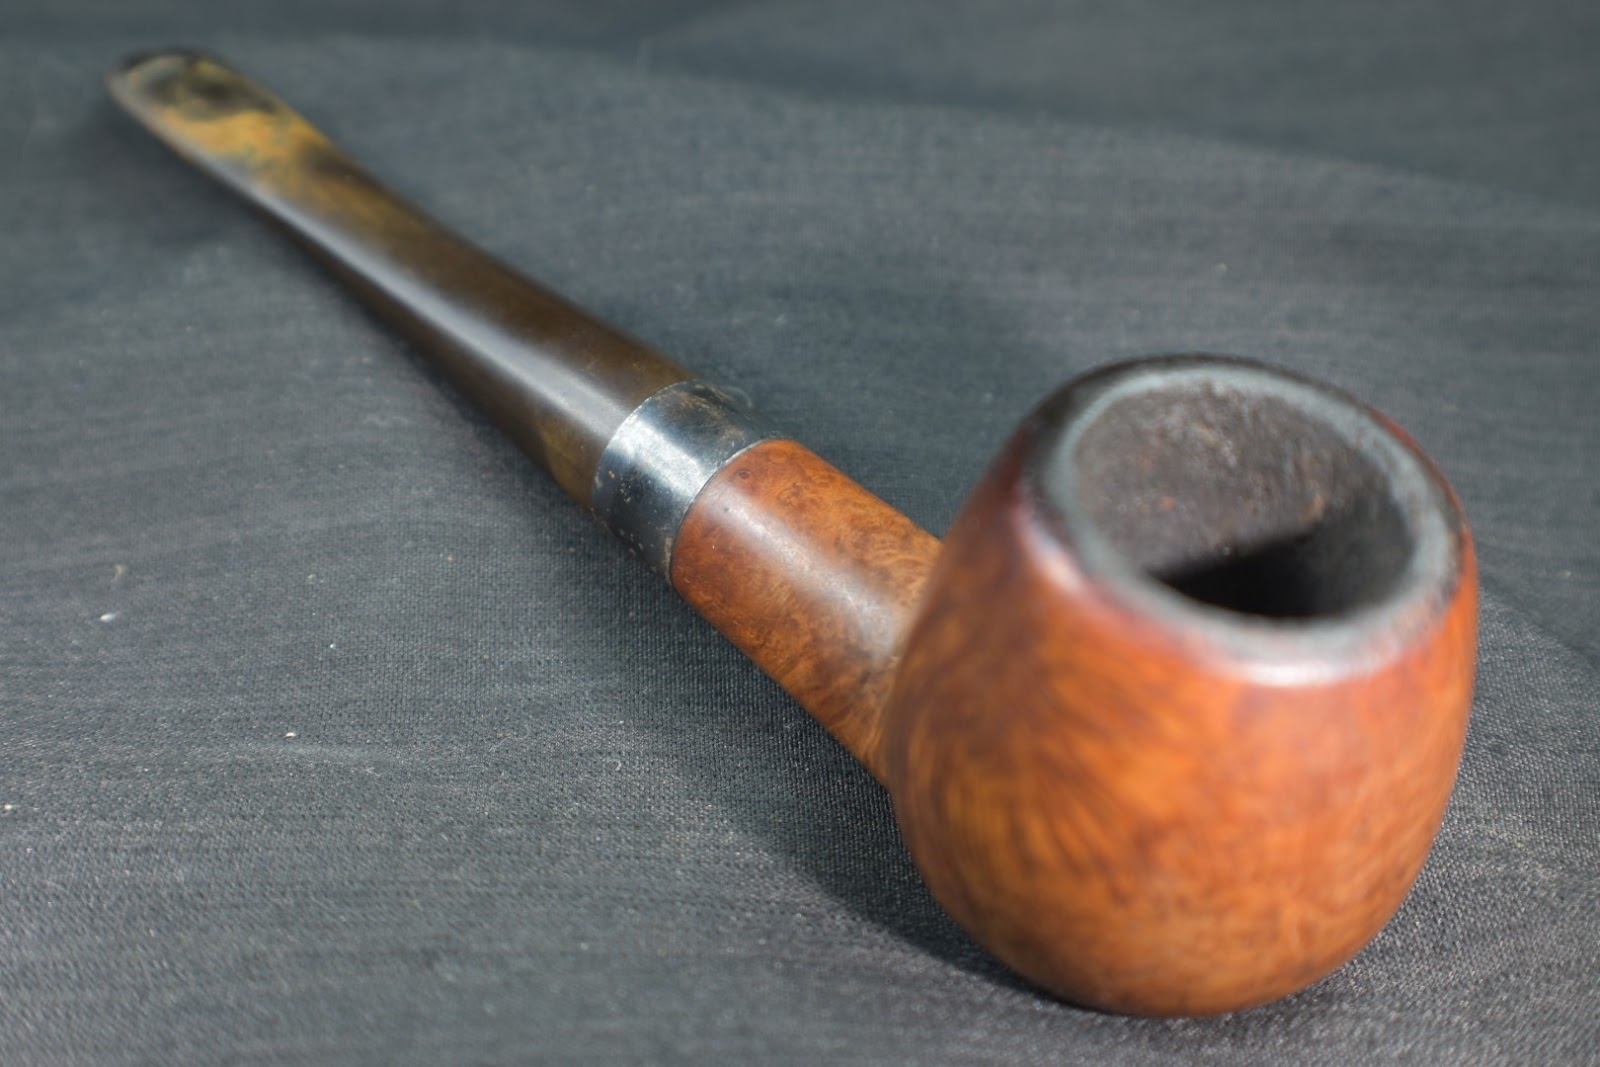
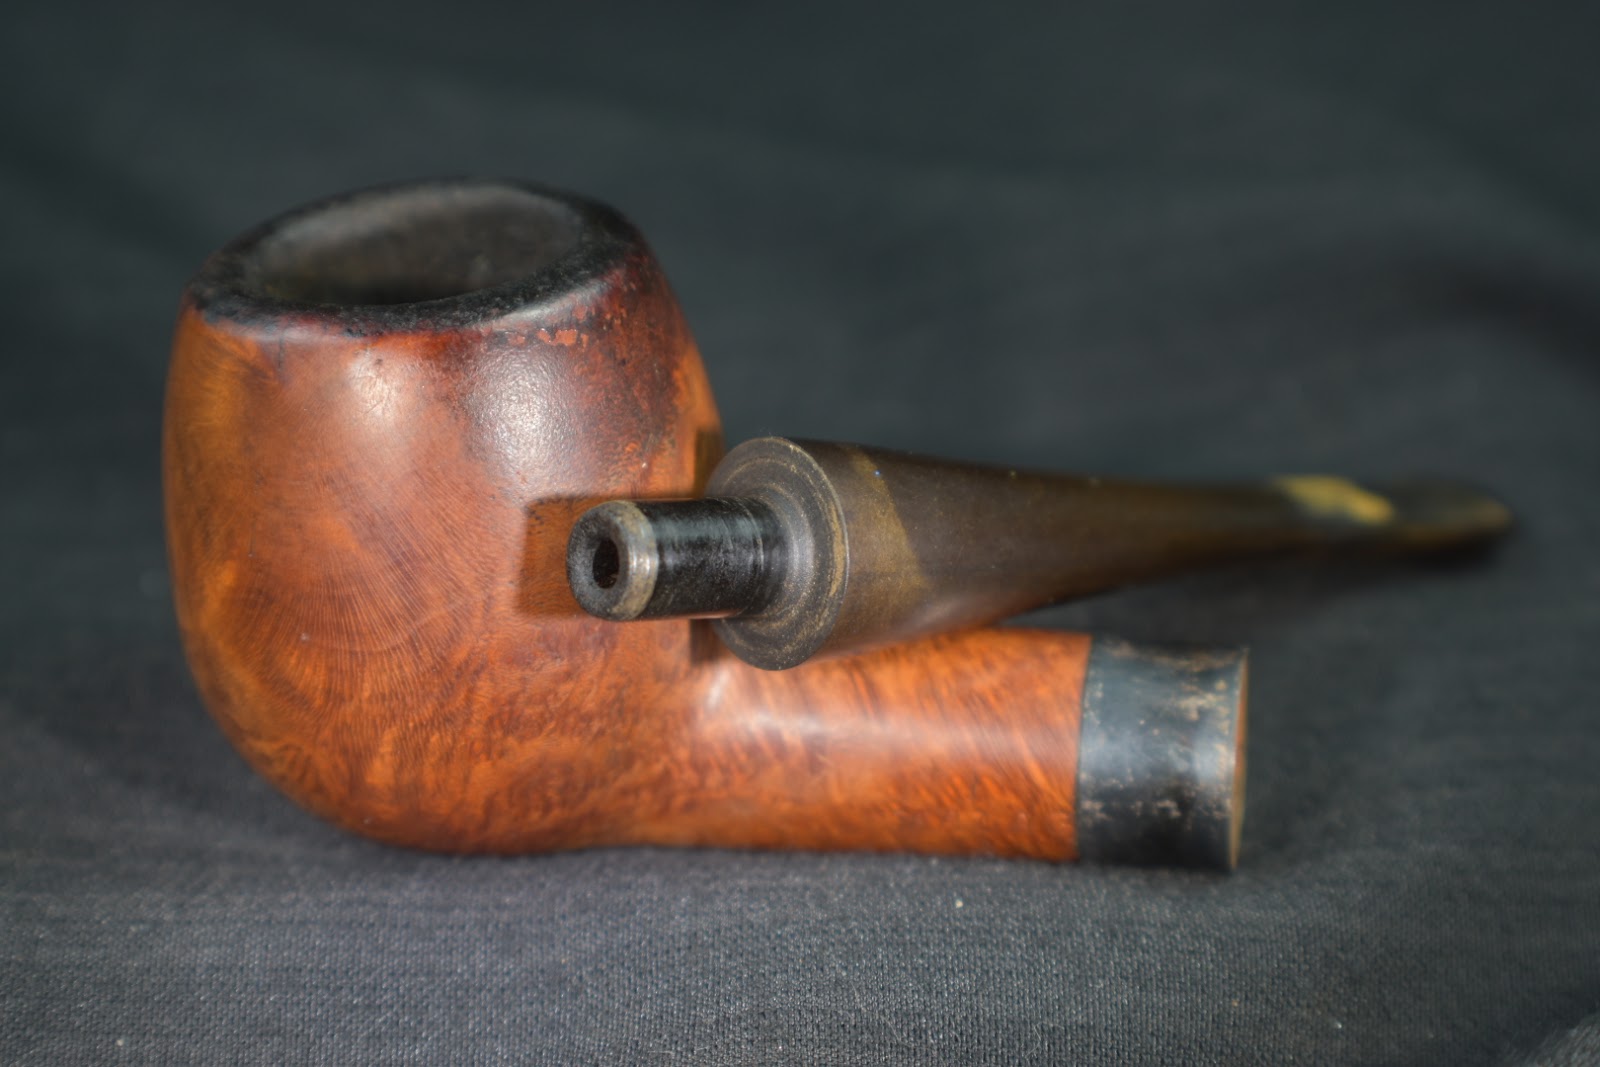
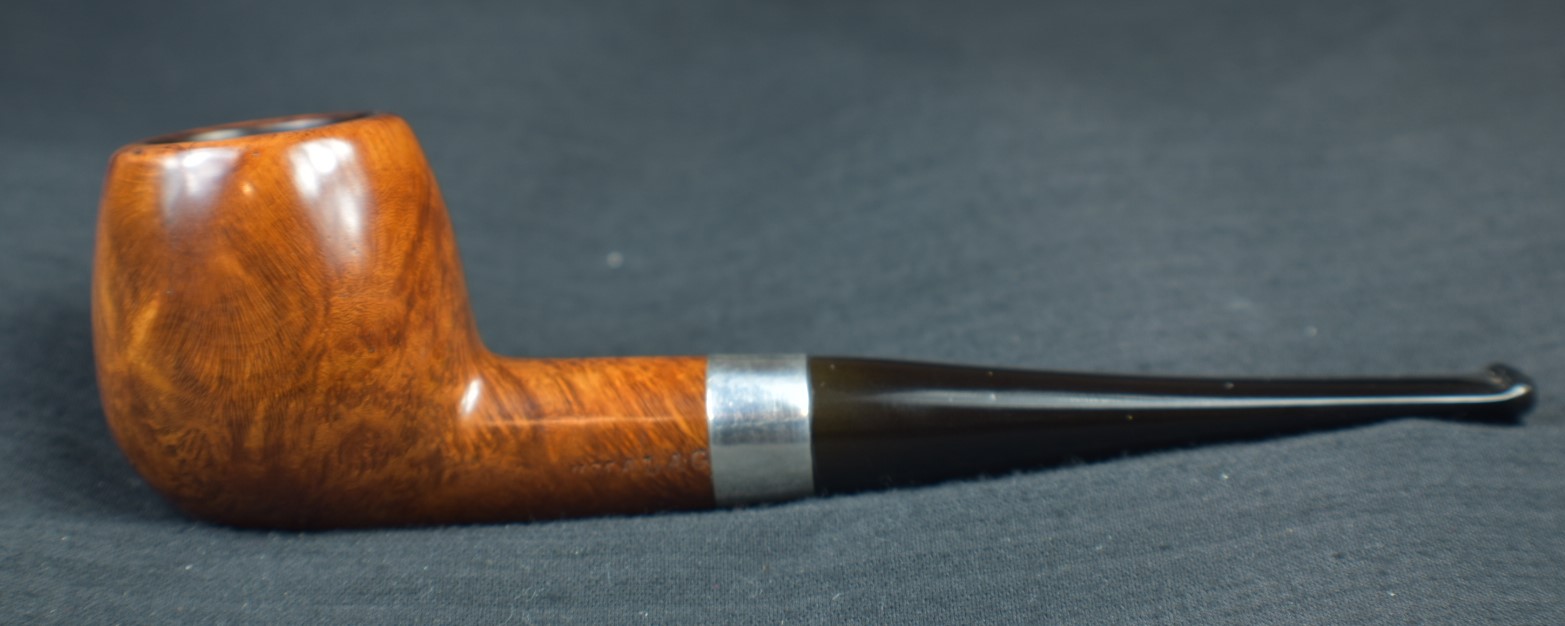
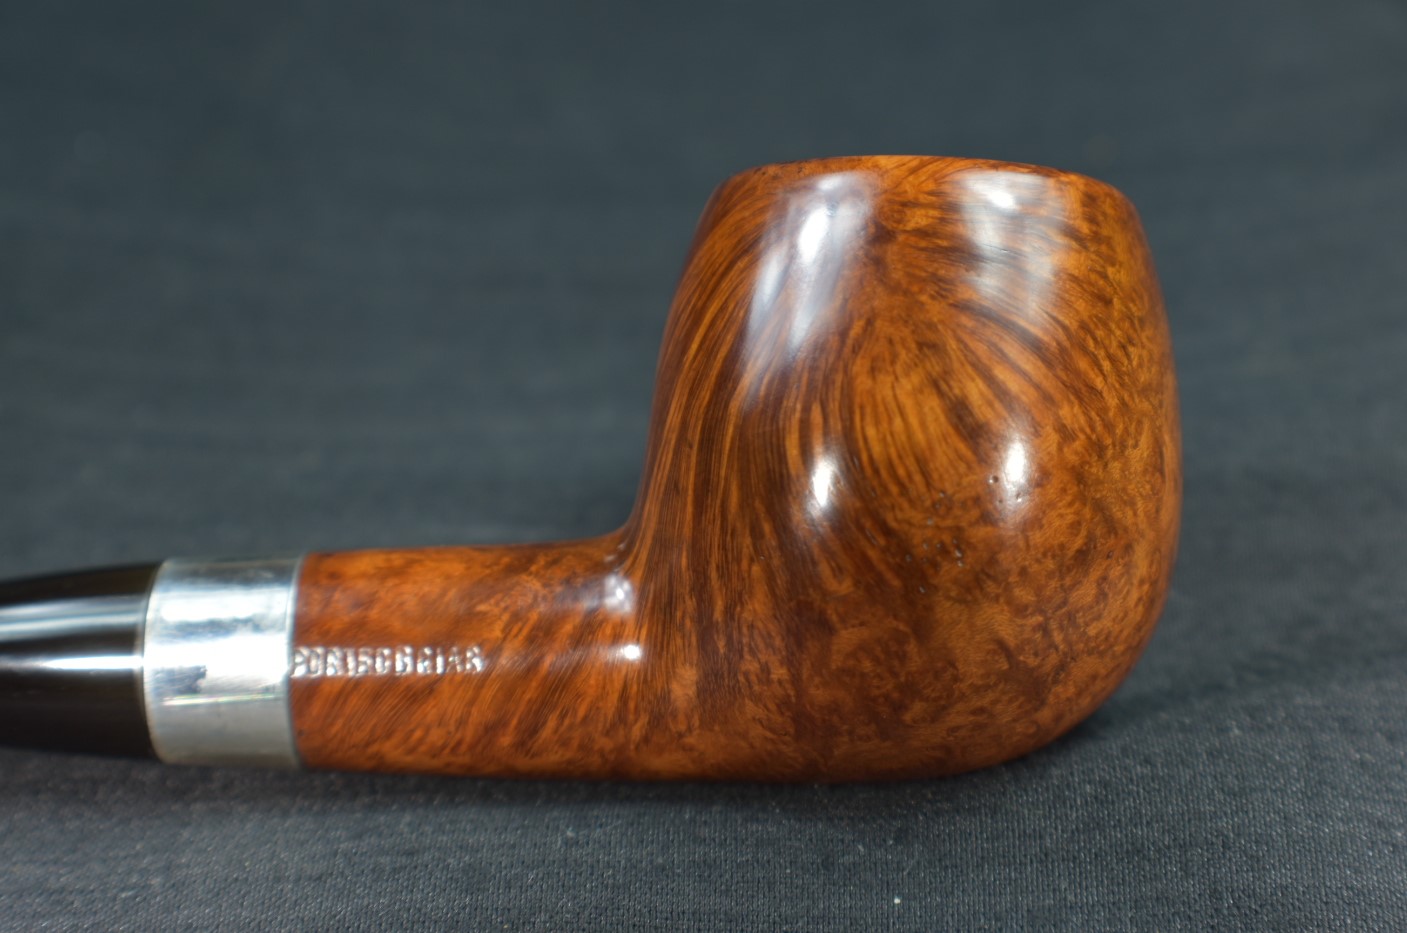
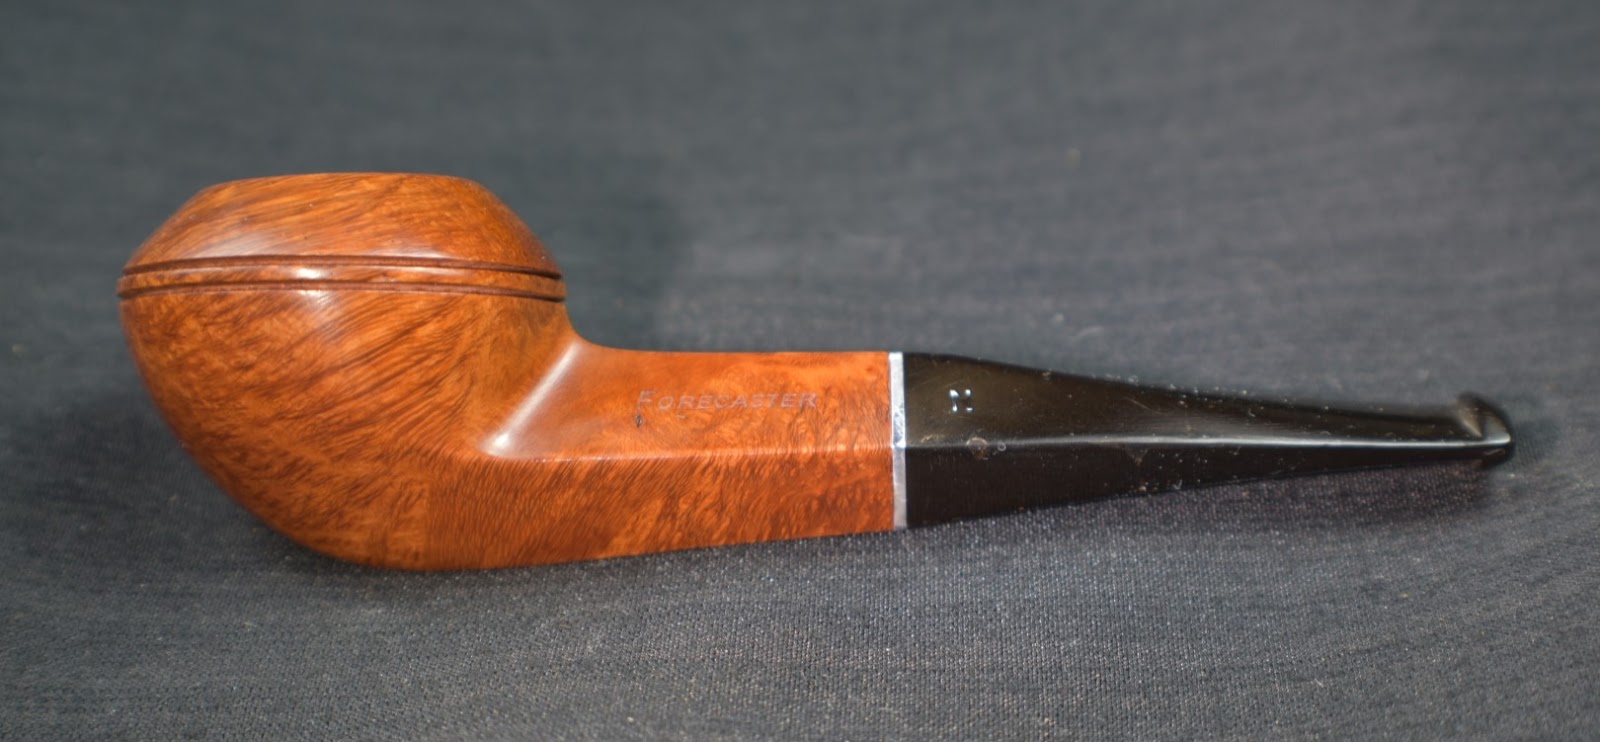
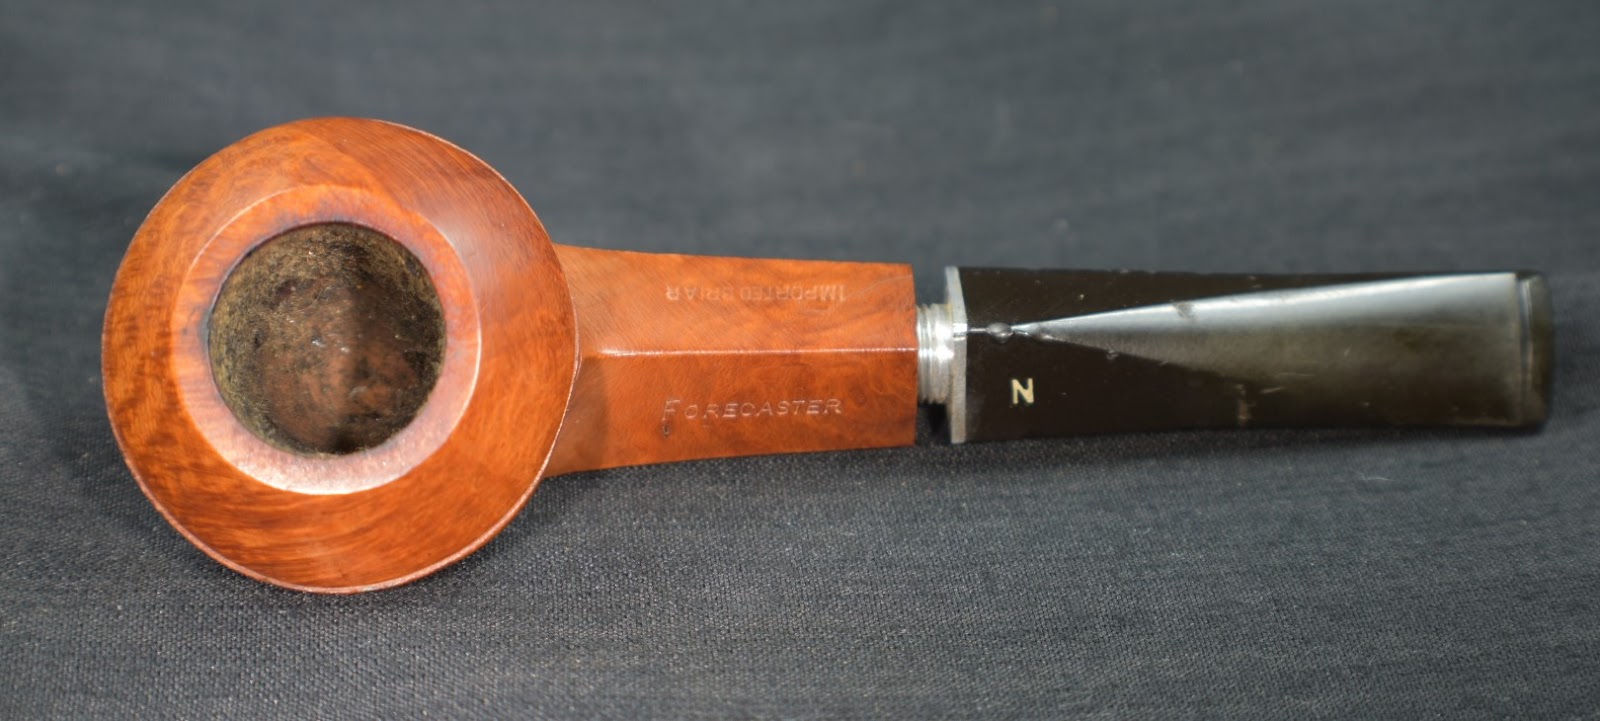
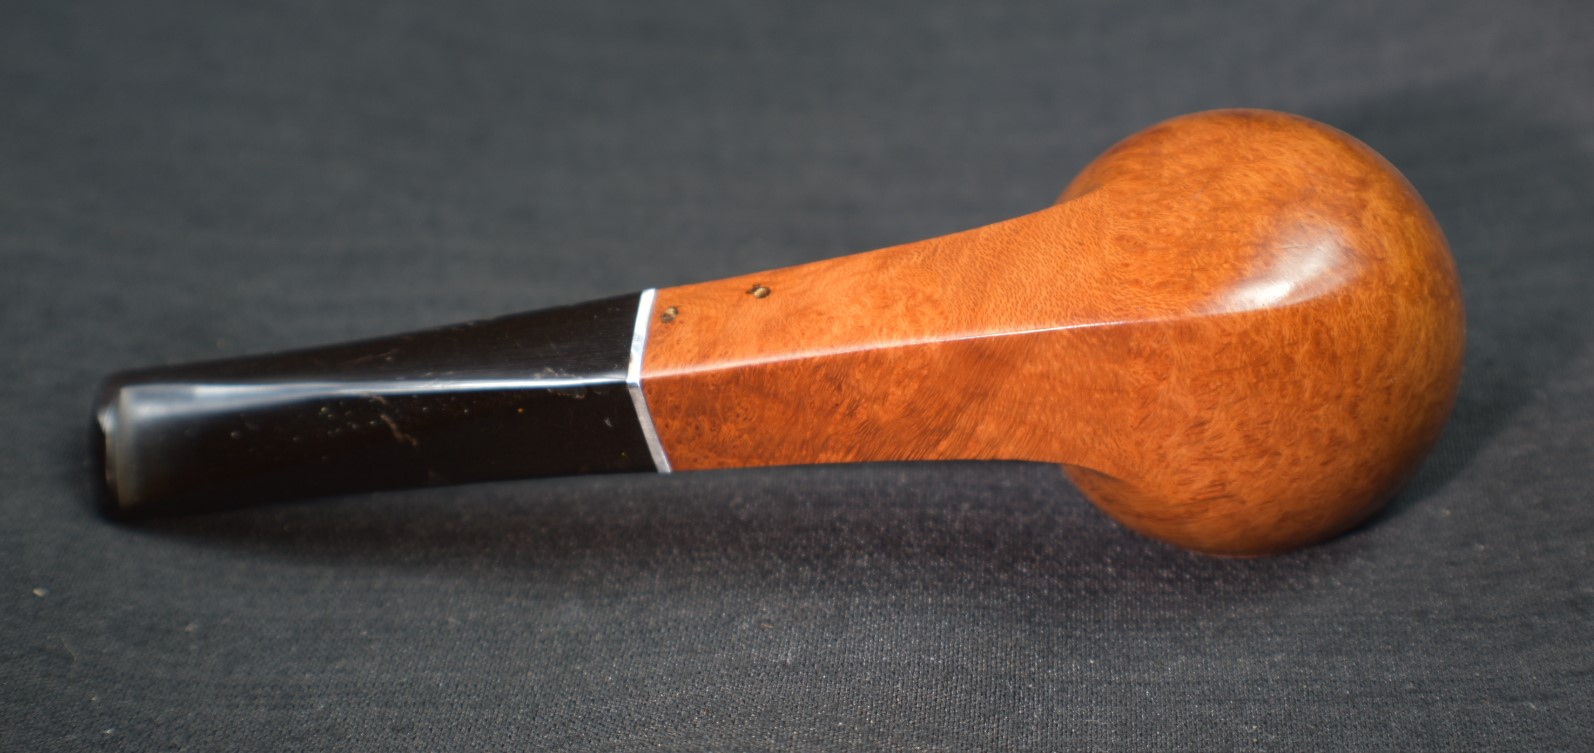
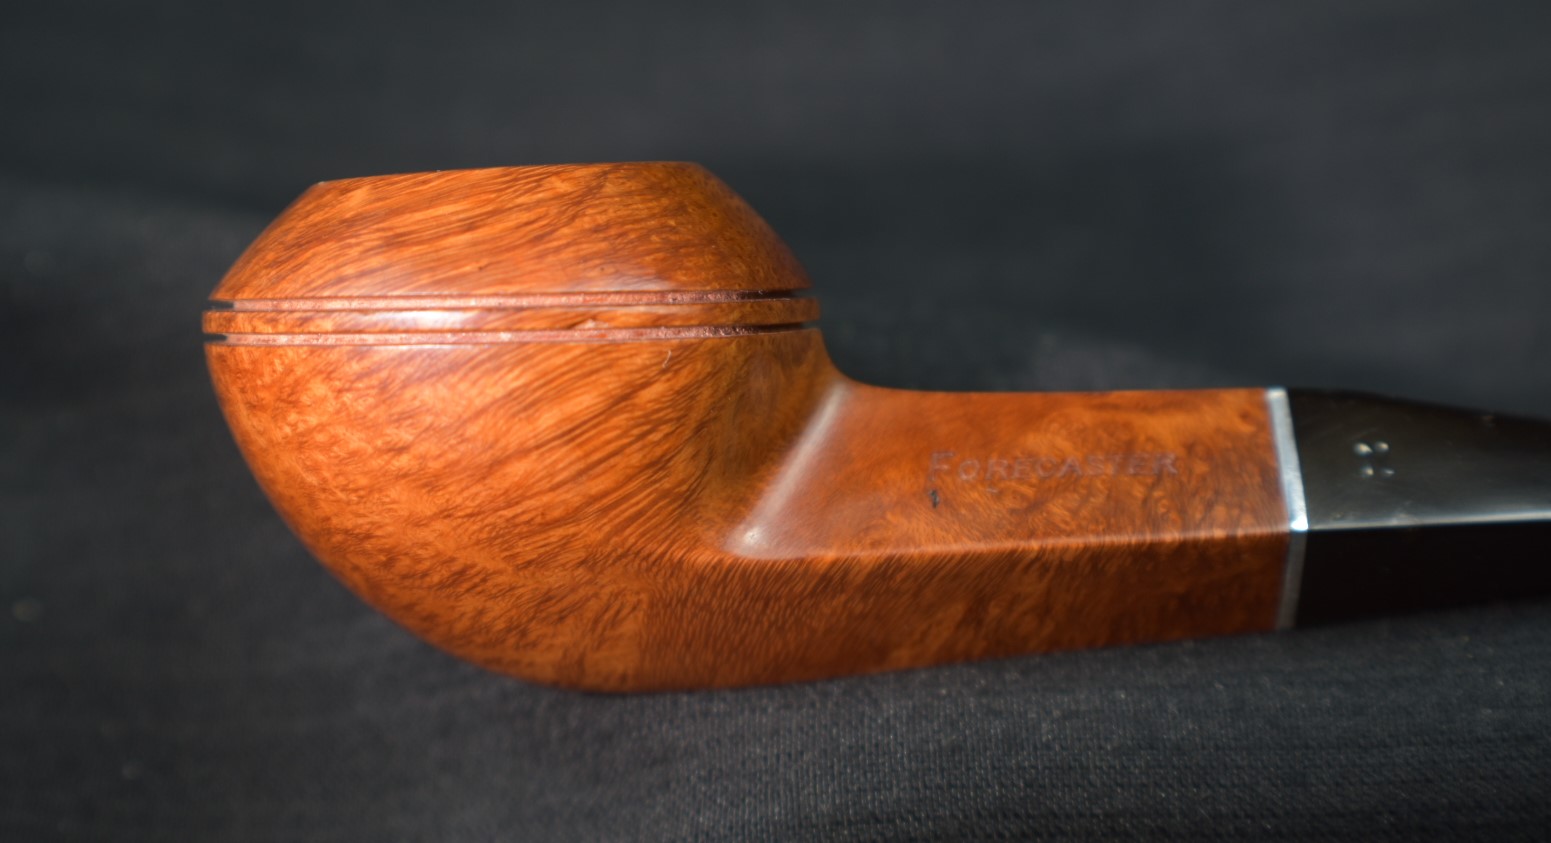
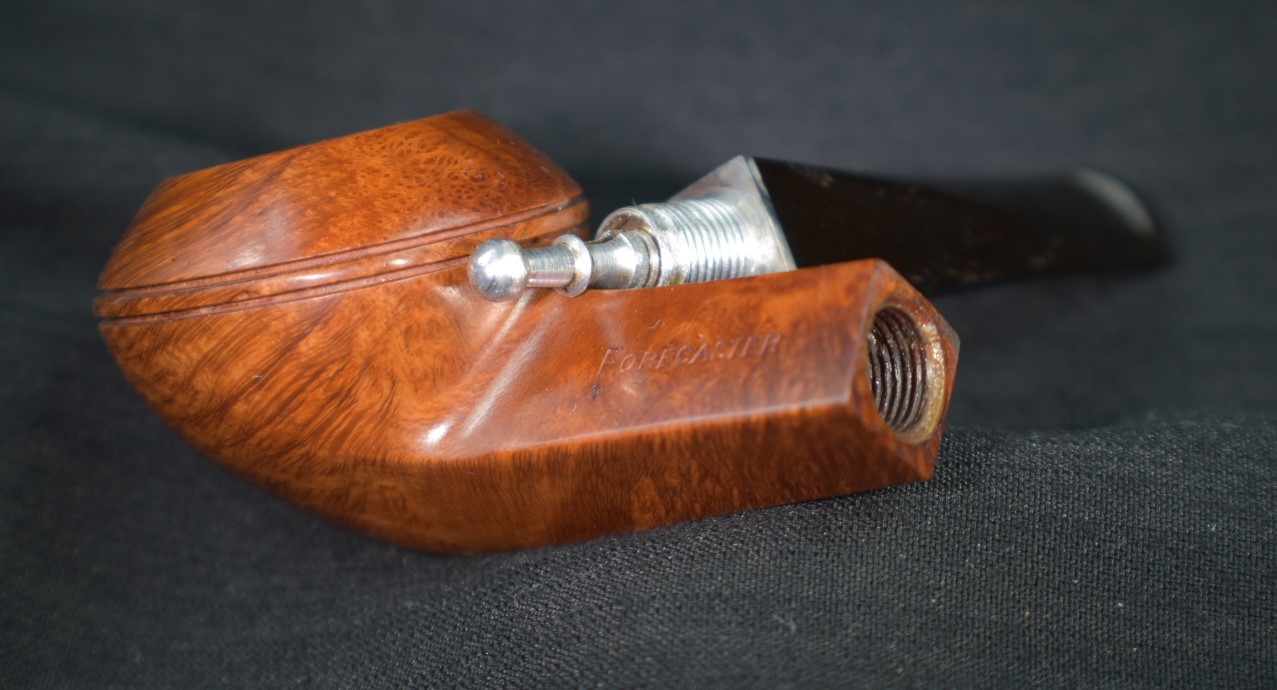
Capturing the essence of an old pipe is part of the fun of restoration for me. I had never held a Jarl pipe before this battered darling arrived. It was part of the estate lot with the Stanwell from a previous blog. (I linked it if you would like to see that one also.) I searched through photographs online to see as many Jarl pipes as possible. They looked similar to Stanwell pipes, with their Danish characteristics of more delicate shanks and sweeping curves. More whimsical and fluid than the traditional shapes of France and England. The drillings on this pipe were exceptional. It looked like a quality piece of briar even before the restoration had begun. The stamps of the Jarl were mostly clear and read JARL over MADE IN DENMARK. There was also a 1502 as what I assume was a shape number stamped around the bottom of the shank. Let me show you the pipe as it appeared before making it to the workbench.


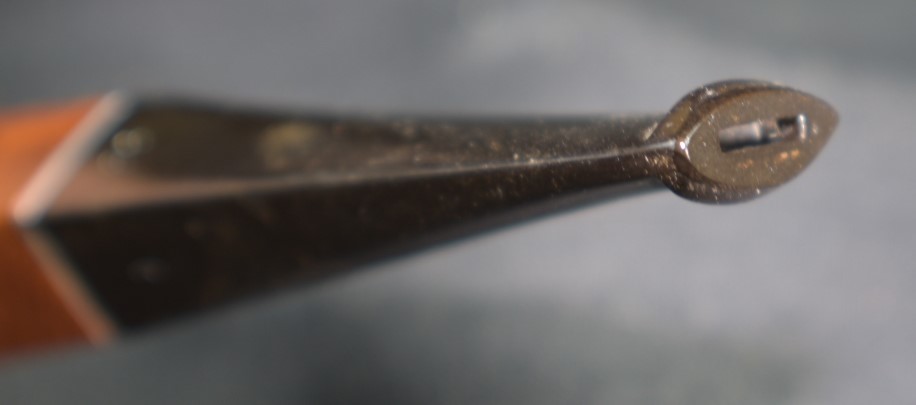
It may be difficult to see the qualities that I saw from the above photos. The finish was long gone and the fit of the stem to the shank seemed out of alignment. The oxidation of the stem was pretty bad as well. Maybe it was just me looking through my rose tinted lenses or seeing the glass as half full rather than half empty. Whatever the reasoning, I thought this old Dane would certainly make someone a grand smoker.
Background
There was not a great deal of information to be found on Jarl pipes. I perused the “go to” sites of pipephil.eu for information on logos first. The below screen capture shows everything that pipephil.eu had on Jarl.

(J-Jd — Pipes : Logos & Markings (pipephil.eu))
It was the middle section of the three that was most similar to the pipe in hand. The stamps matched nearly perfectly save for the different shape number. The photograph showed non rusticated patches on the sides and bottom very similarly to the Jarl I had.

(J-Jd — Pipes : Logos & Markings (pipephil.eu))
The next search was on pipedia.org. Jarl there led to a page with little information but a great number of photographs of Jarl pipes. Here is the text in its entirety: “In December of 2010 Ellen Jarl wrote that Jarl pipes were made by her grandfather, Niels Mogens Jørgensen in a little factory in the town of Bramdrupdam, just outside Kolding, Denmark. We have no reason to doubt that Niels Mogens Jørgensen is the maker of these pipes:
- Examples and details, courtesy Doug Valitchka” (Jarl – Pipedia)
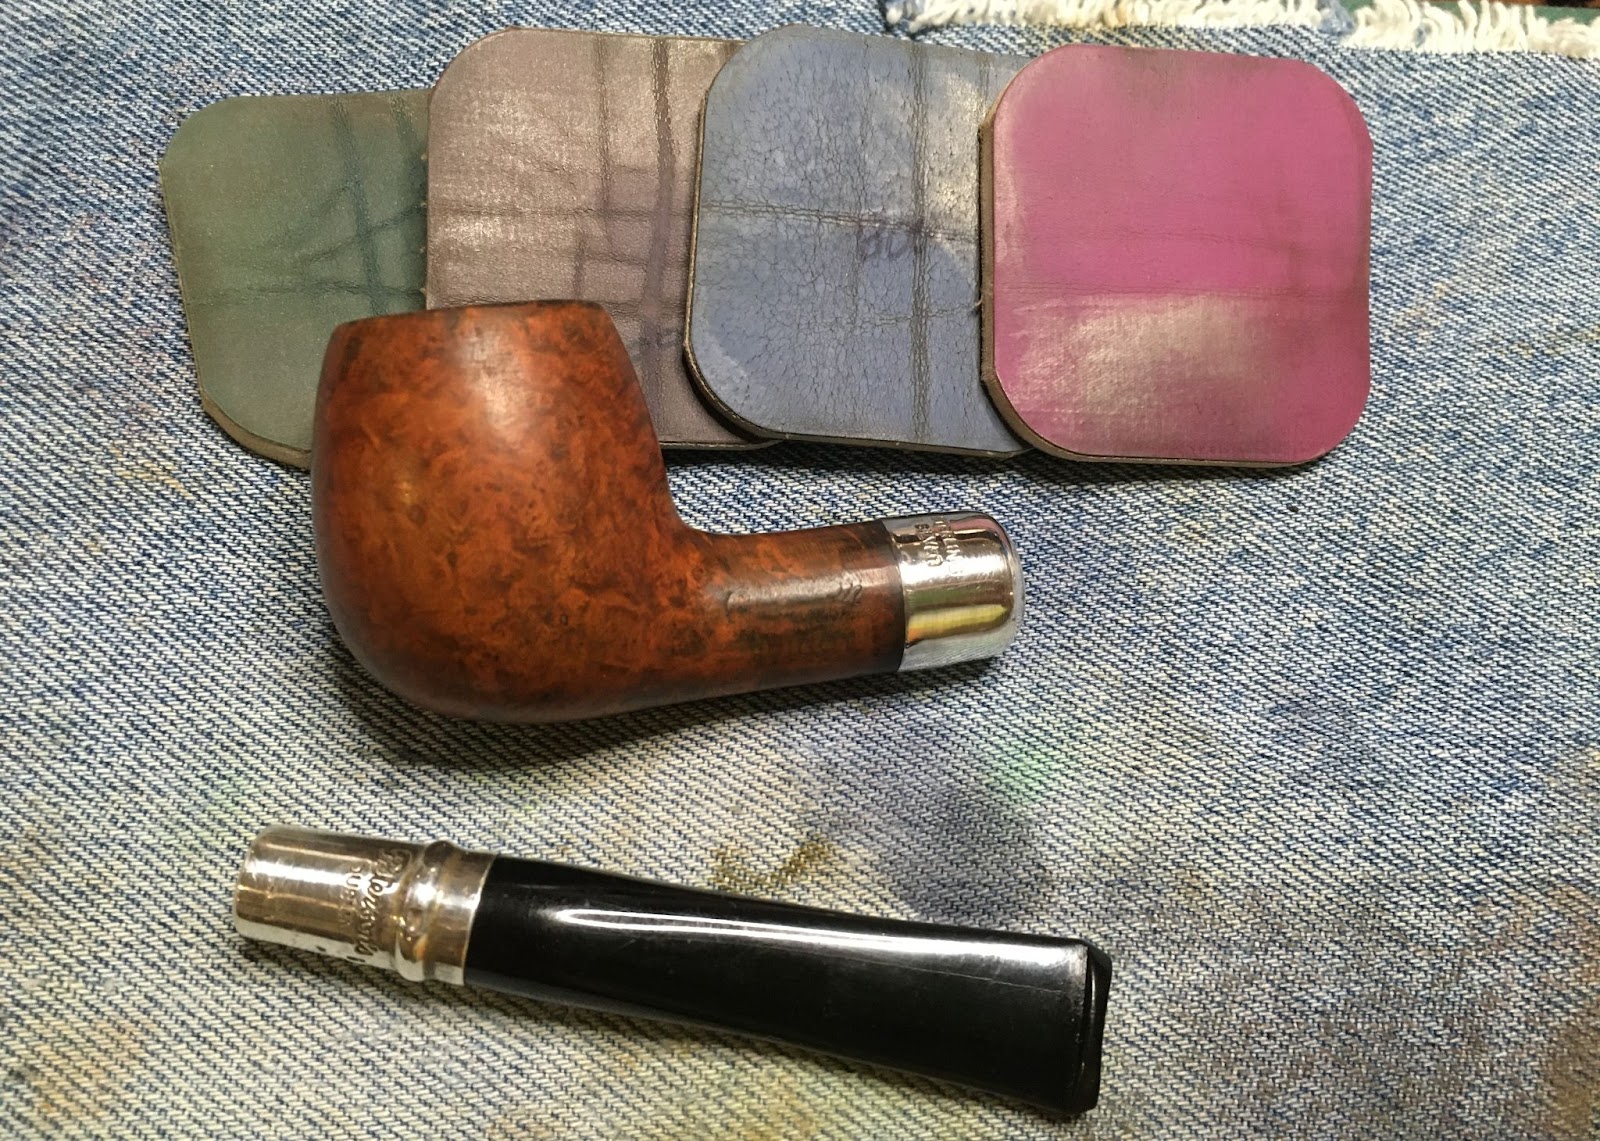
Like I said, not much information and darn near every article online includes this quote from Ellen Jarl. Of the many photographs present there were several examples of rusticated Jarl pipes. I will show a few to exemplify why I chose to refinish the Jarl 1502 the way that I did.


The two photos above show the rusticated areas as unstained left and nearly black right.


The above two show the rusticated area stained darker but not black.
The final photo below shows what I am calling a worn black stain to the rusticated area. This stain looks like it was originally black with some of the black buffed or wiped off.

That was the finish that I would try to emulate. All of the above photos are from
The Restoration
On to the workbench with a clean denim piece and another beautiful old pipe hiding under the years of neglect.

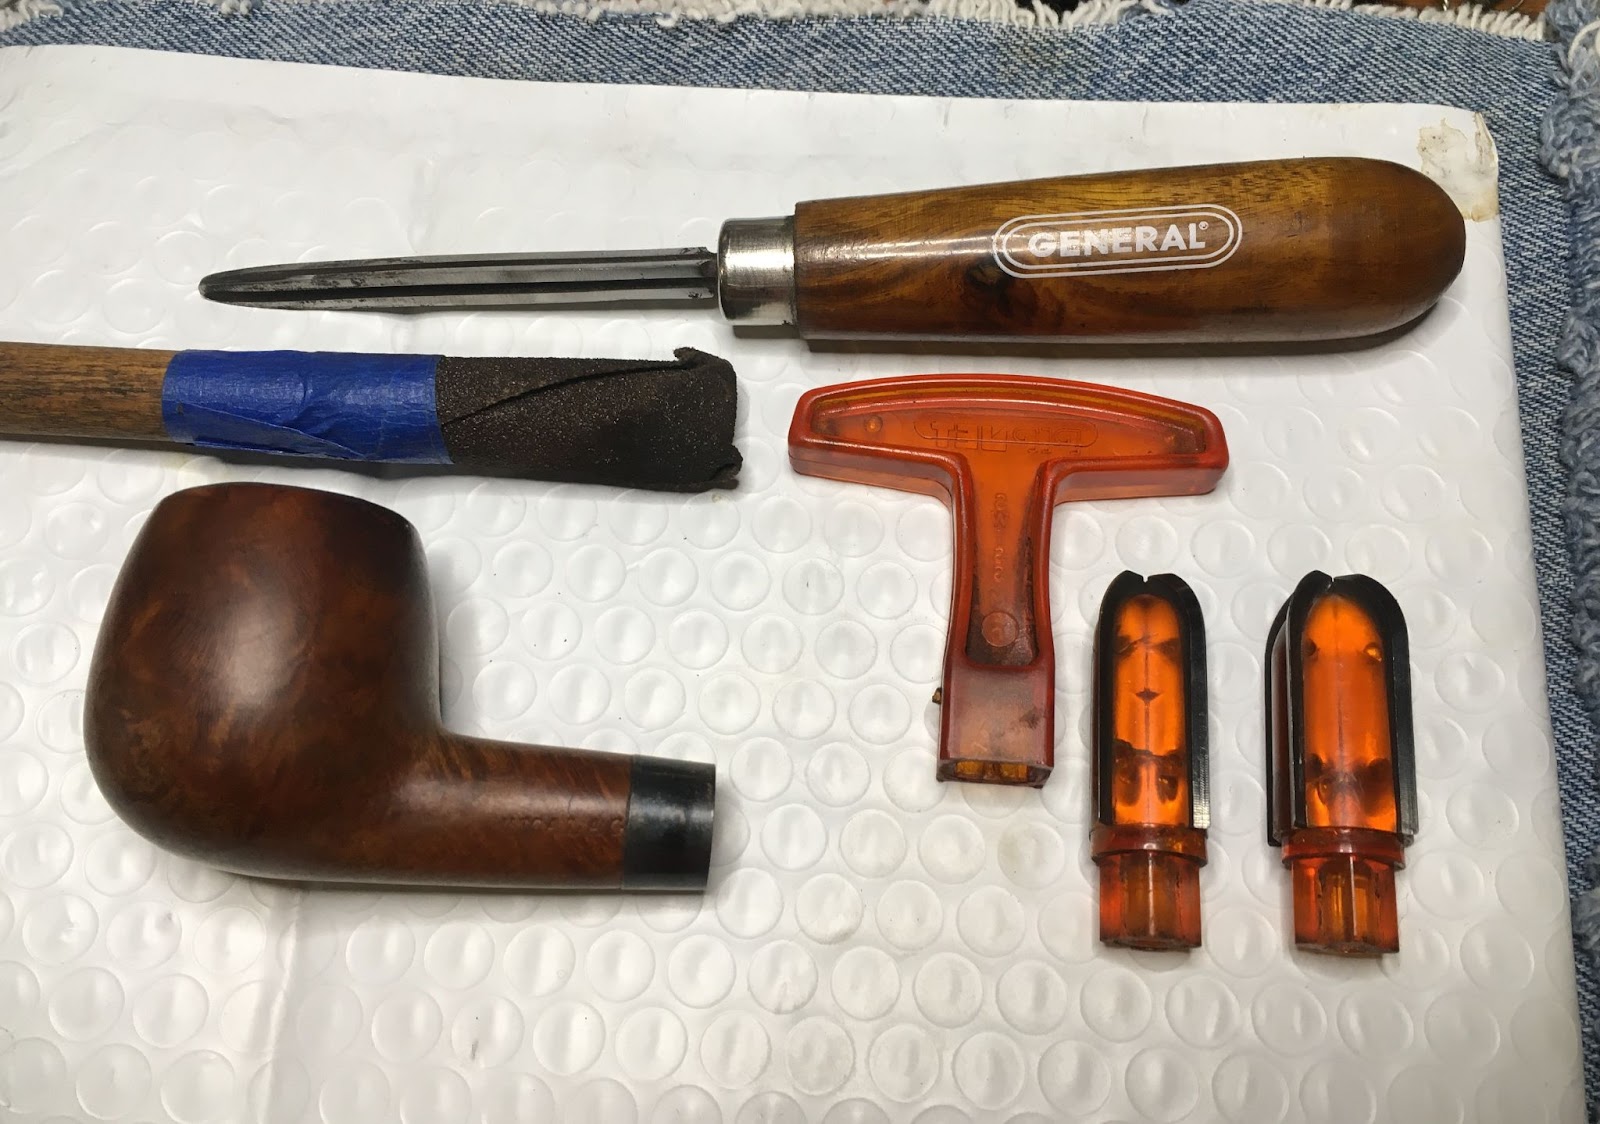
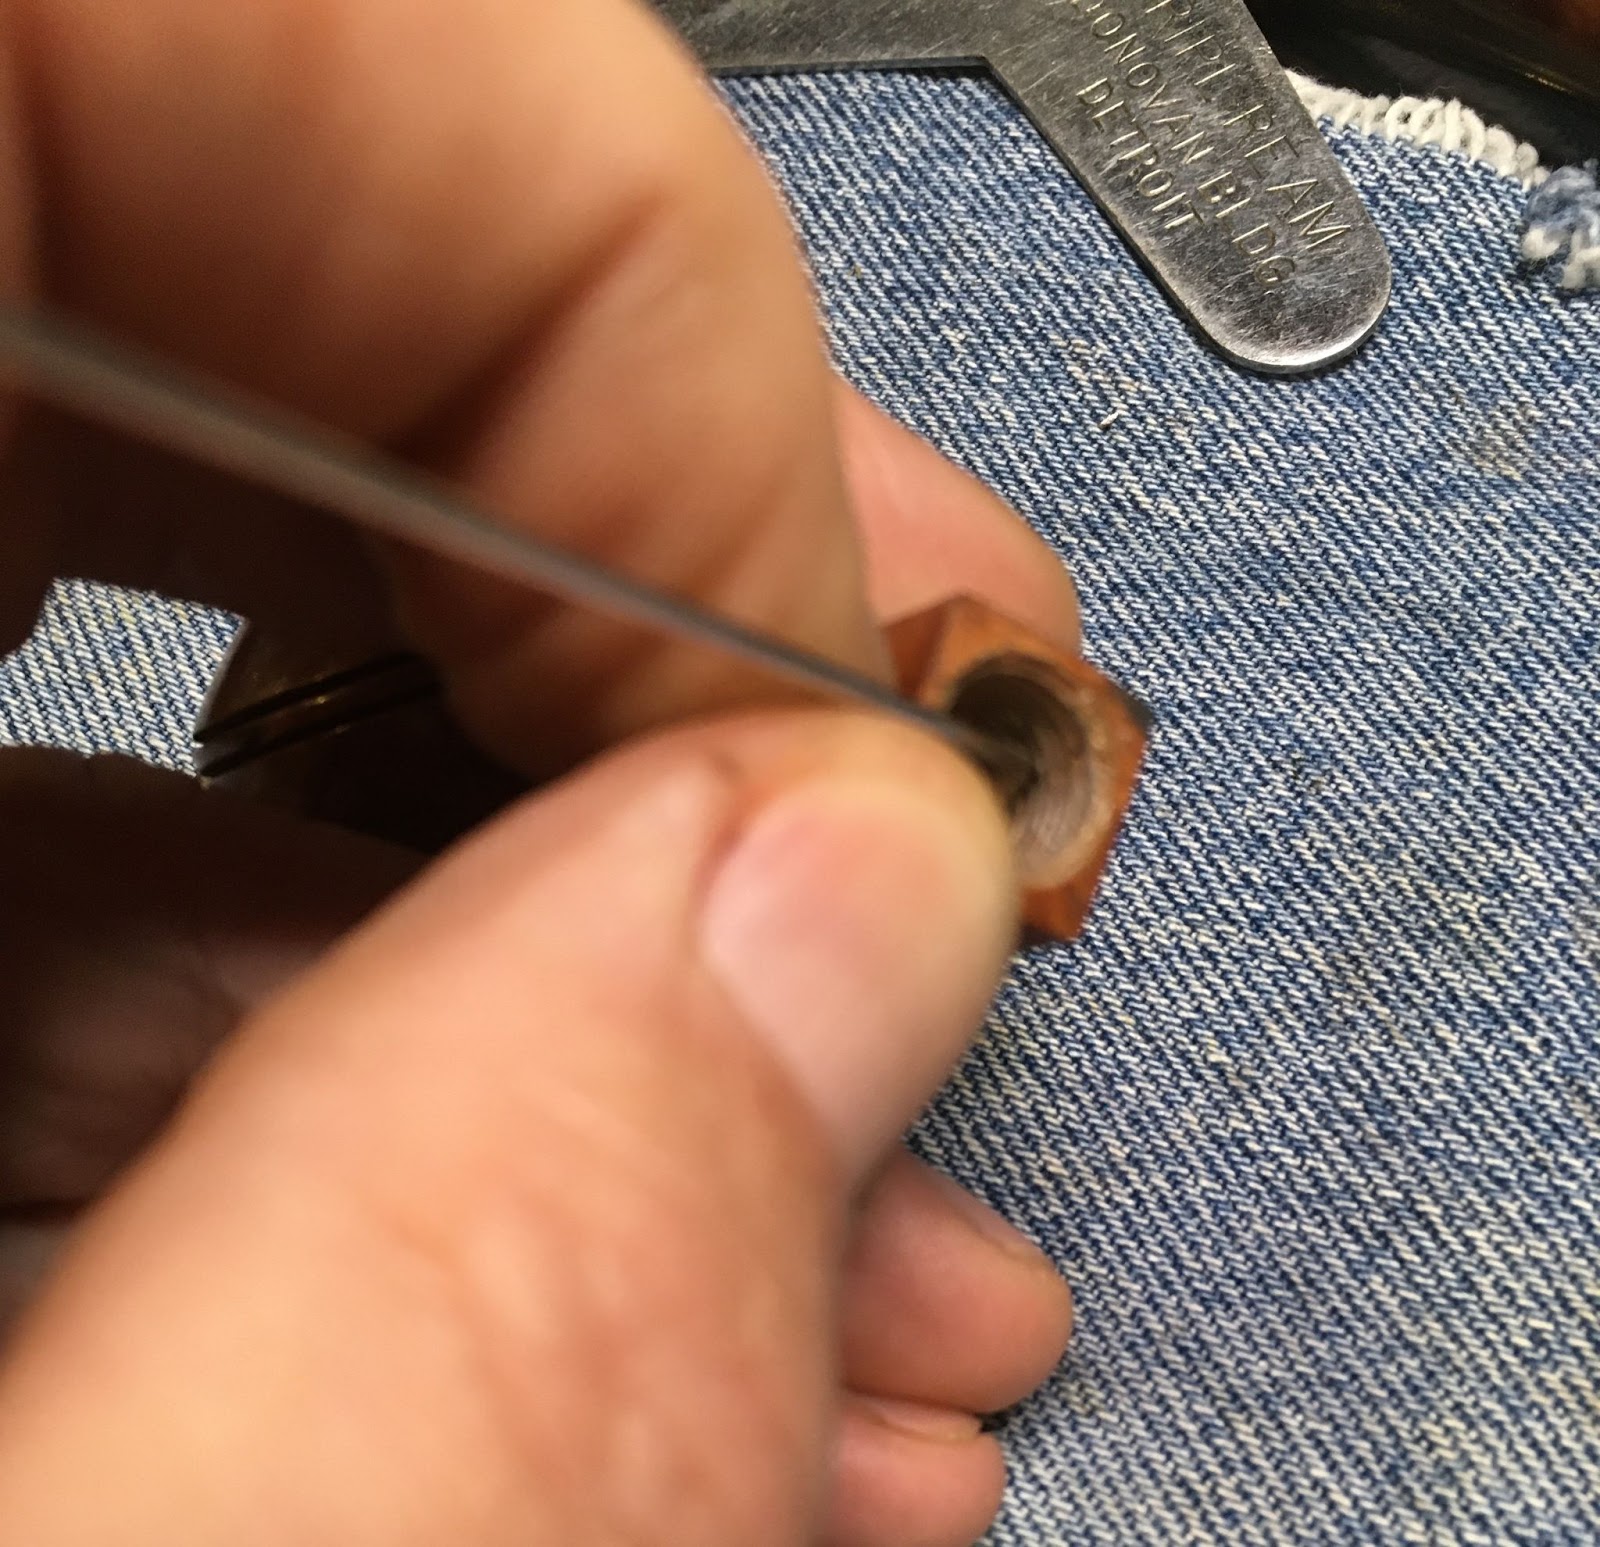
The reaming tools were gathered.

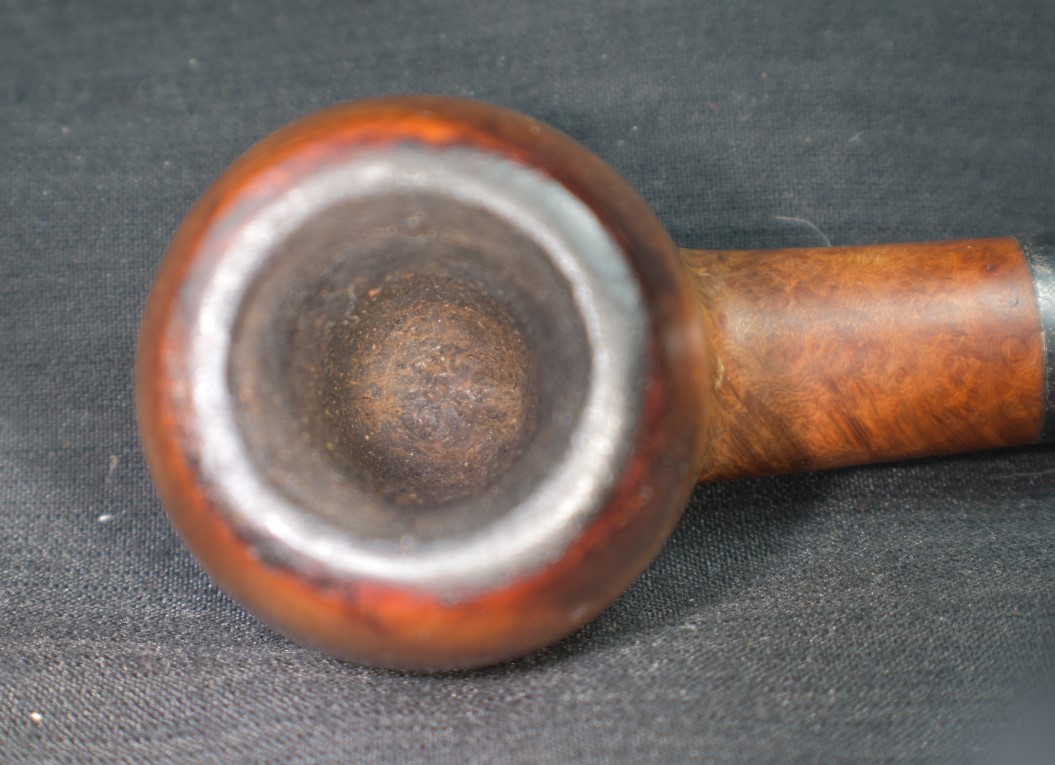
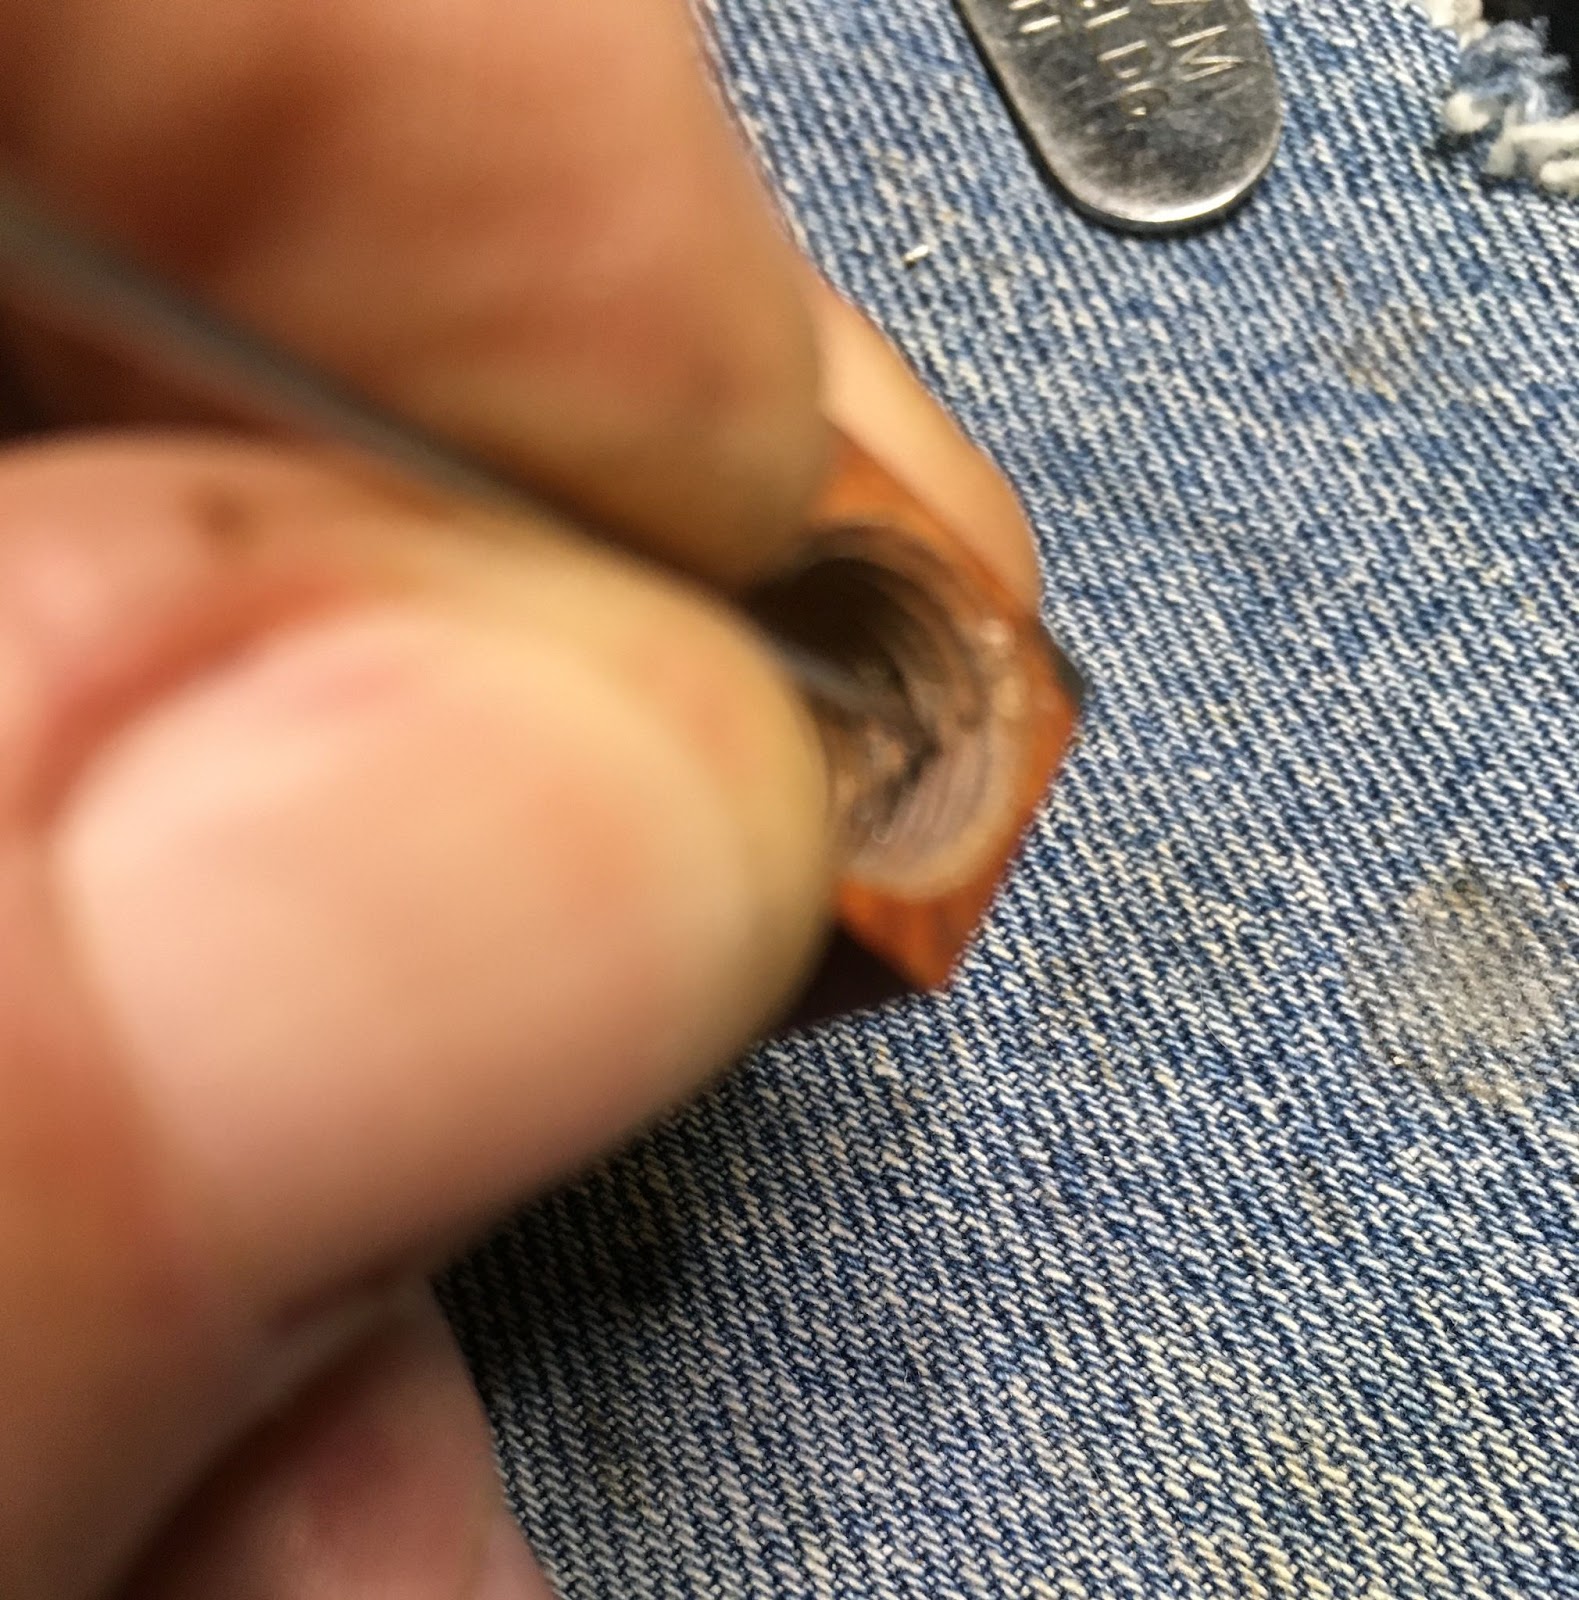
And, put to work. This tobacco chamber was deep with a conical taper at the bottom. The PipNet couldn’t ream out that shape but the scrapers could.

The chamber was then sanded with 220 sandpaper wrapped around a wood dowel. No damage to the interior was observed.

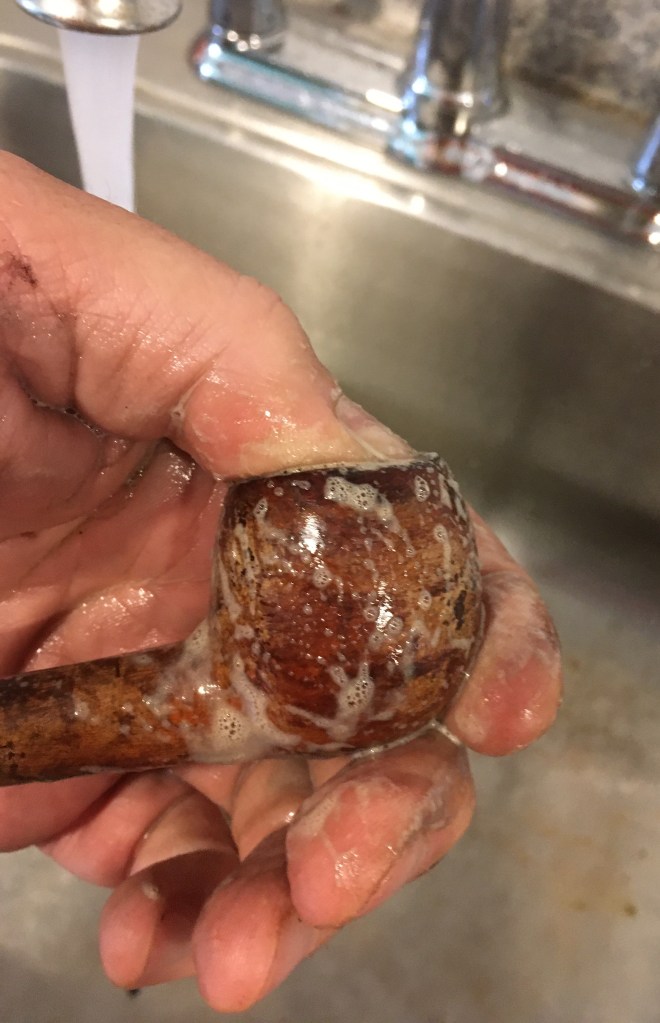
The stummel made its way to the sink for a scrubbing with undiluted Murphy Oil Soap and a toothbrush. The rustications were actually scrubbed twice, once with the toothbrush and a second time with a stiff nylon brush. The soap was rinsed with warm water.

I hoped to soften and loosen the residue in the shank with warm water and a scrub with a shank brush and a bit of Dawn dish soap. The soap lathered up brown and was thoroughly rinsed with water.

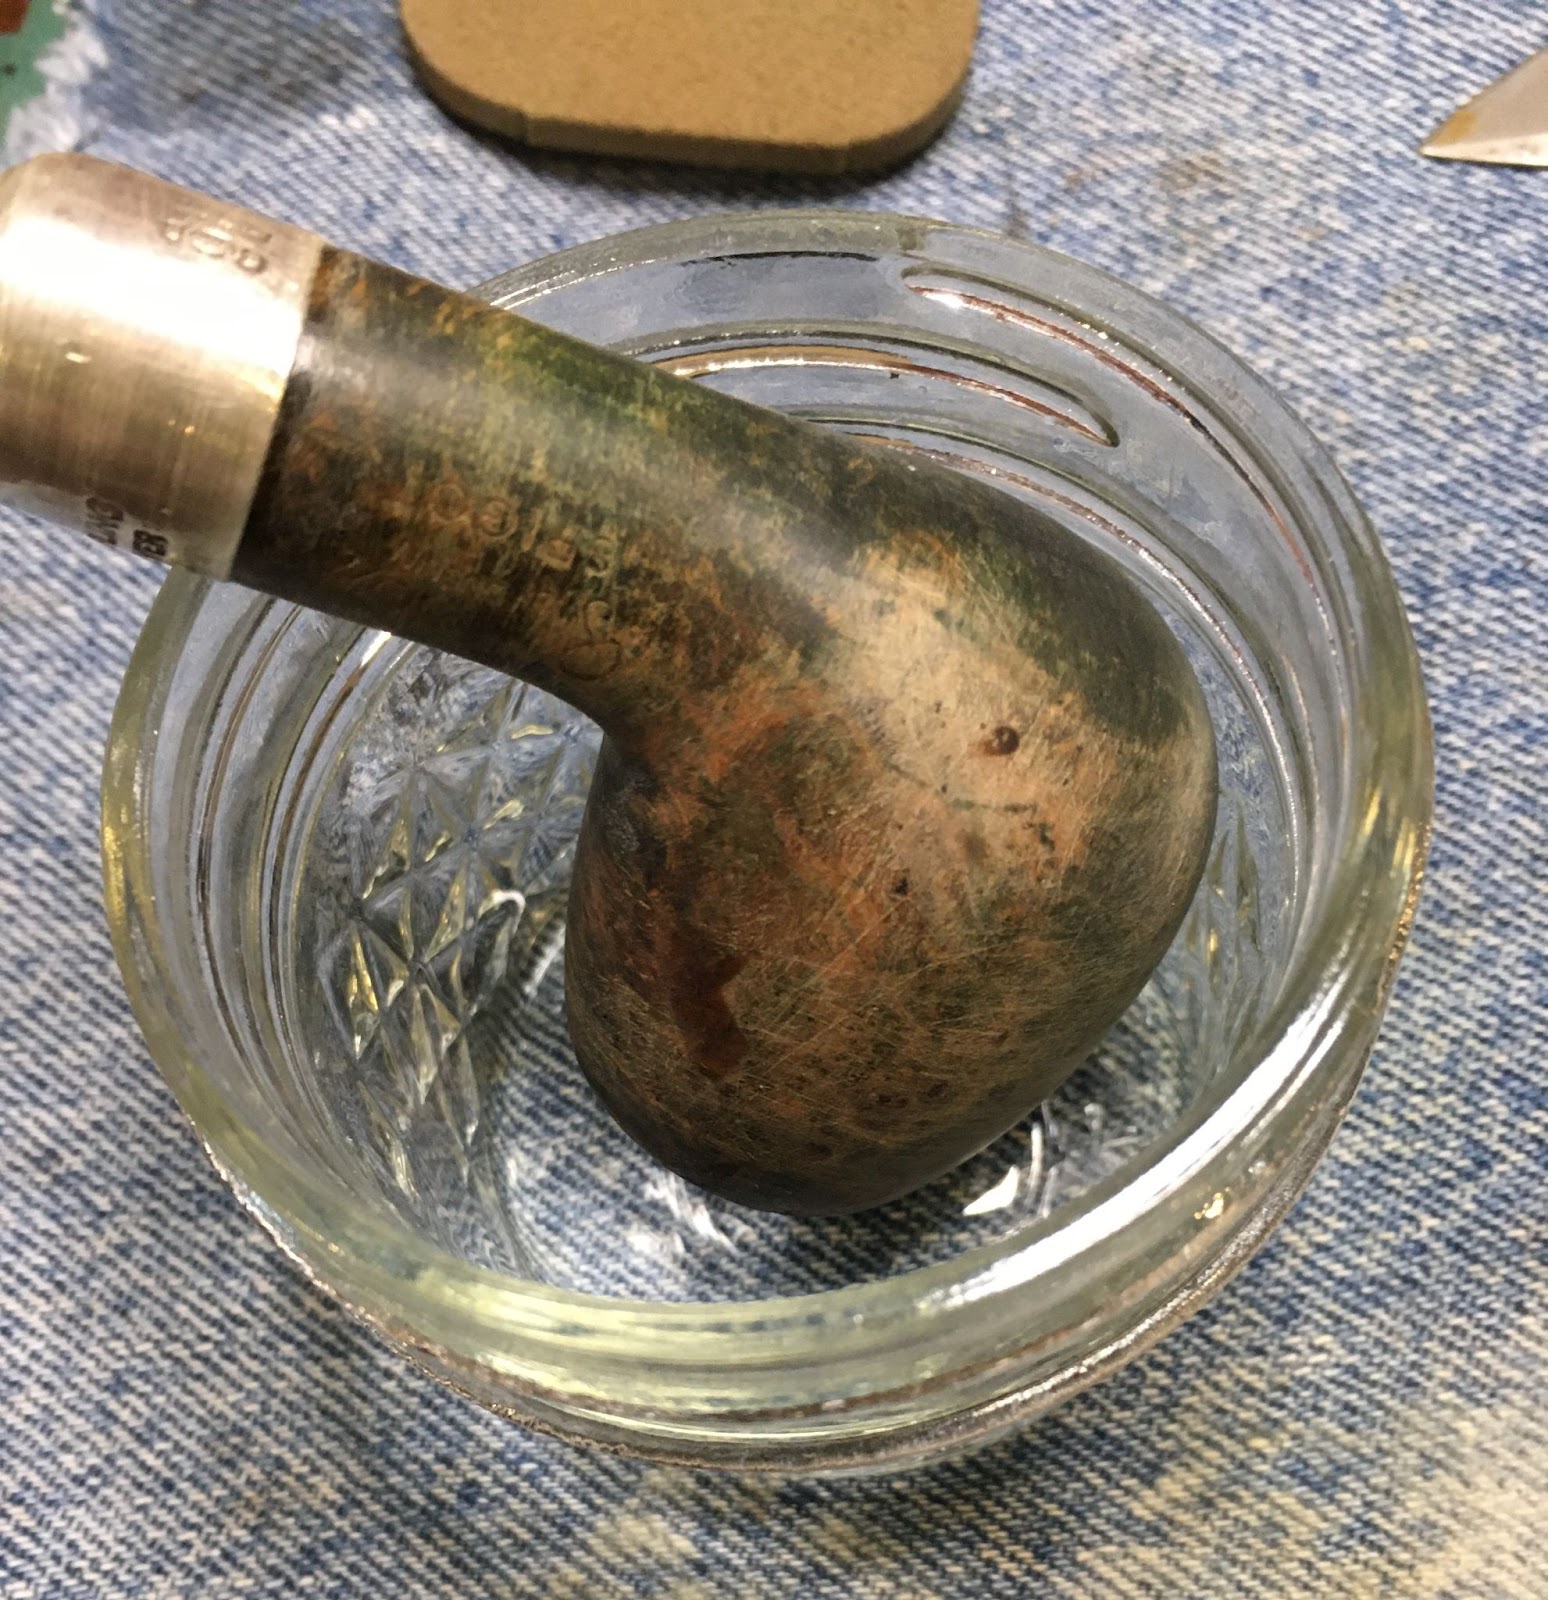
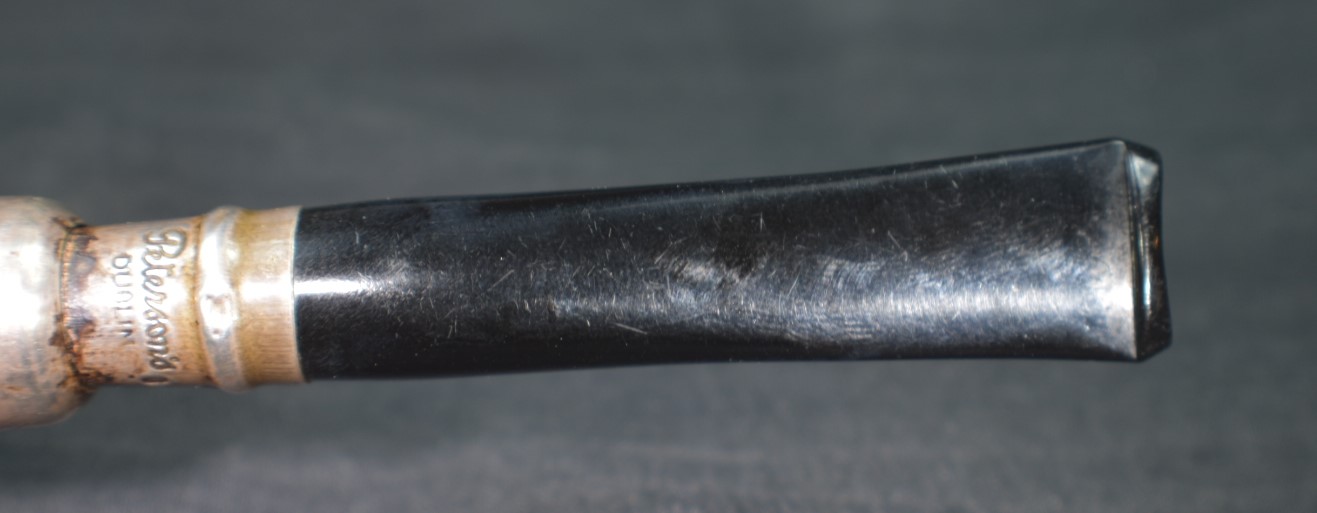
Back at the workbench the stummel showed signs of a finish of some kind. Note the darker shiny area along the shank.

I used a make-up pad wetted with 95% ethyl alcohol to remove the finish. This colored the pad indicating that the finish was being removed. It also darkened the briar significantly, weird…

I used a toothbrush dipped in ethyl alcohol and scrubbed the stummel and rewiped the stummel. More finish was removed.

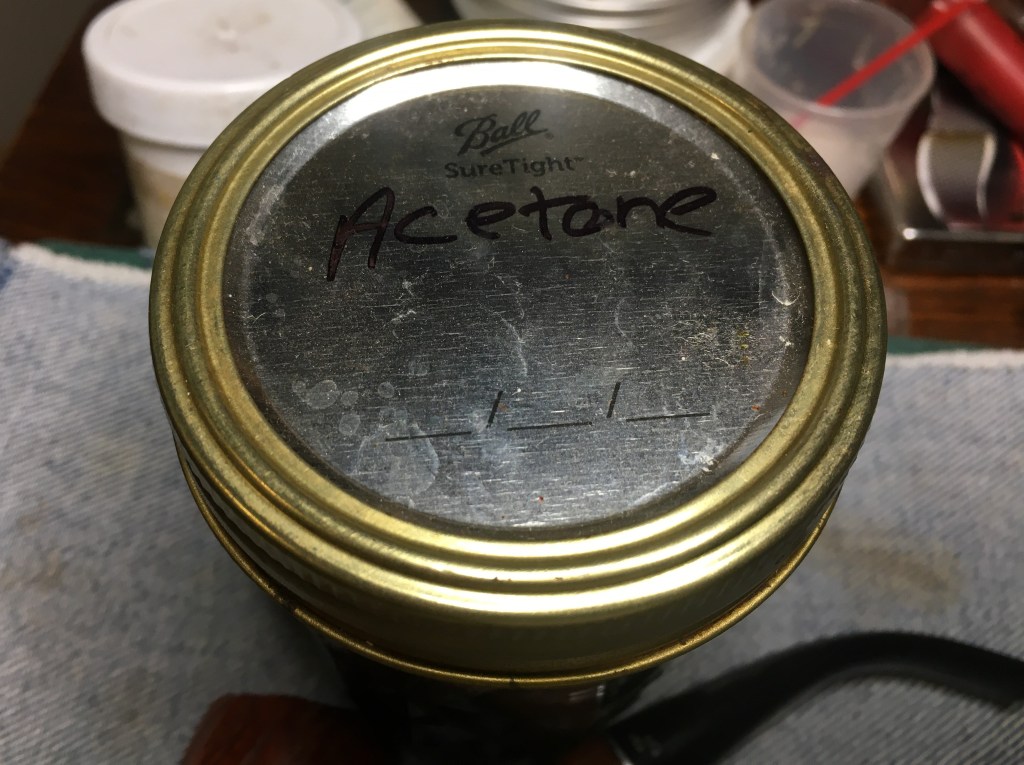
Finally I wiped the stummel with acetone on a make-up pad. This yielded some finish removed and allowed me to see a large red fill. I picked the old fill material from the pit. The stummel’s color remained darkened.

I started scraping the airway of the shank using a dental scraper. I am not sure why but, the darkened briar bothered me. I stopped working on the airway.

I wanted to address this darkened briar. I have had mixed results using a saturated oxalic solution on briar to bleach the wood. I thought this might work well here.

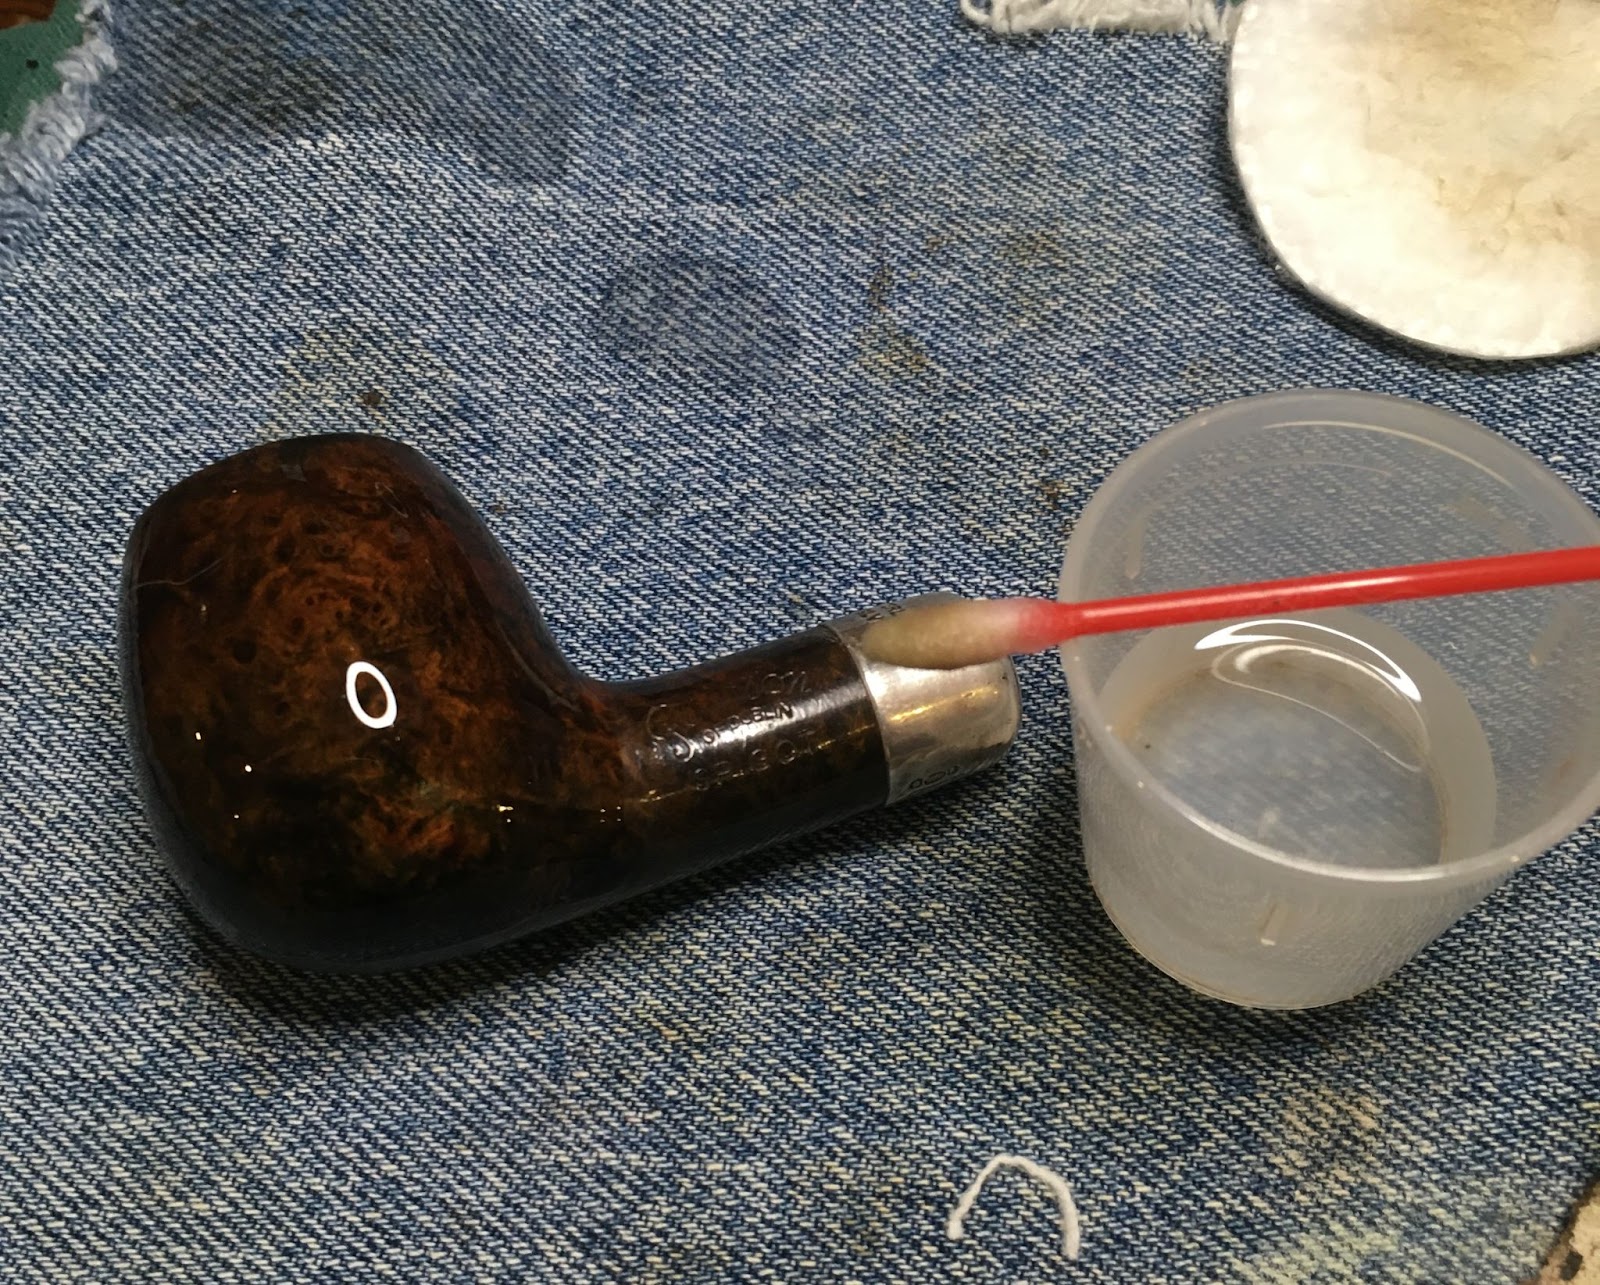
The solution was applied with a cotton swab and allowed to sit for 30 minutes. The stummel was rinsed with copious amounts of warm tap water and scrubbed with a nylon brush during the rinsing.

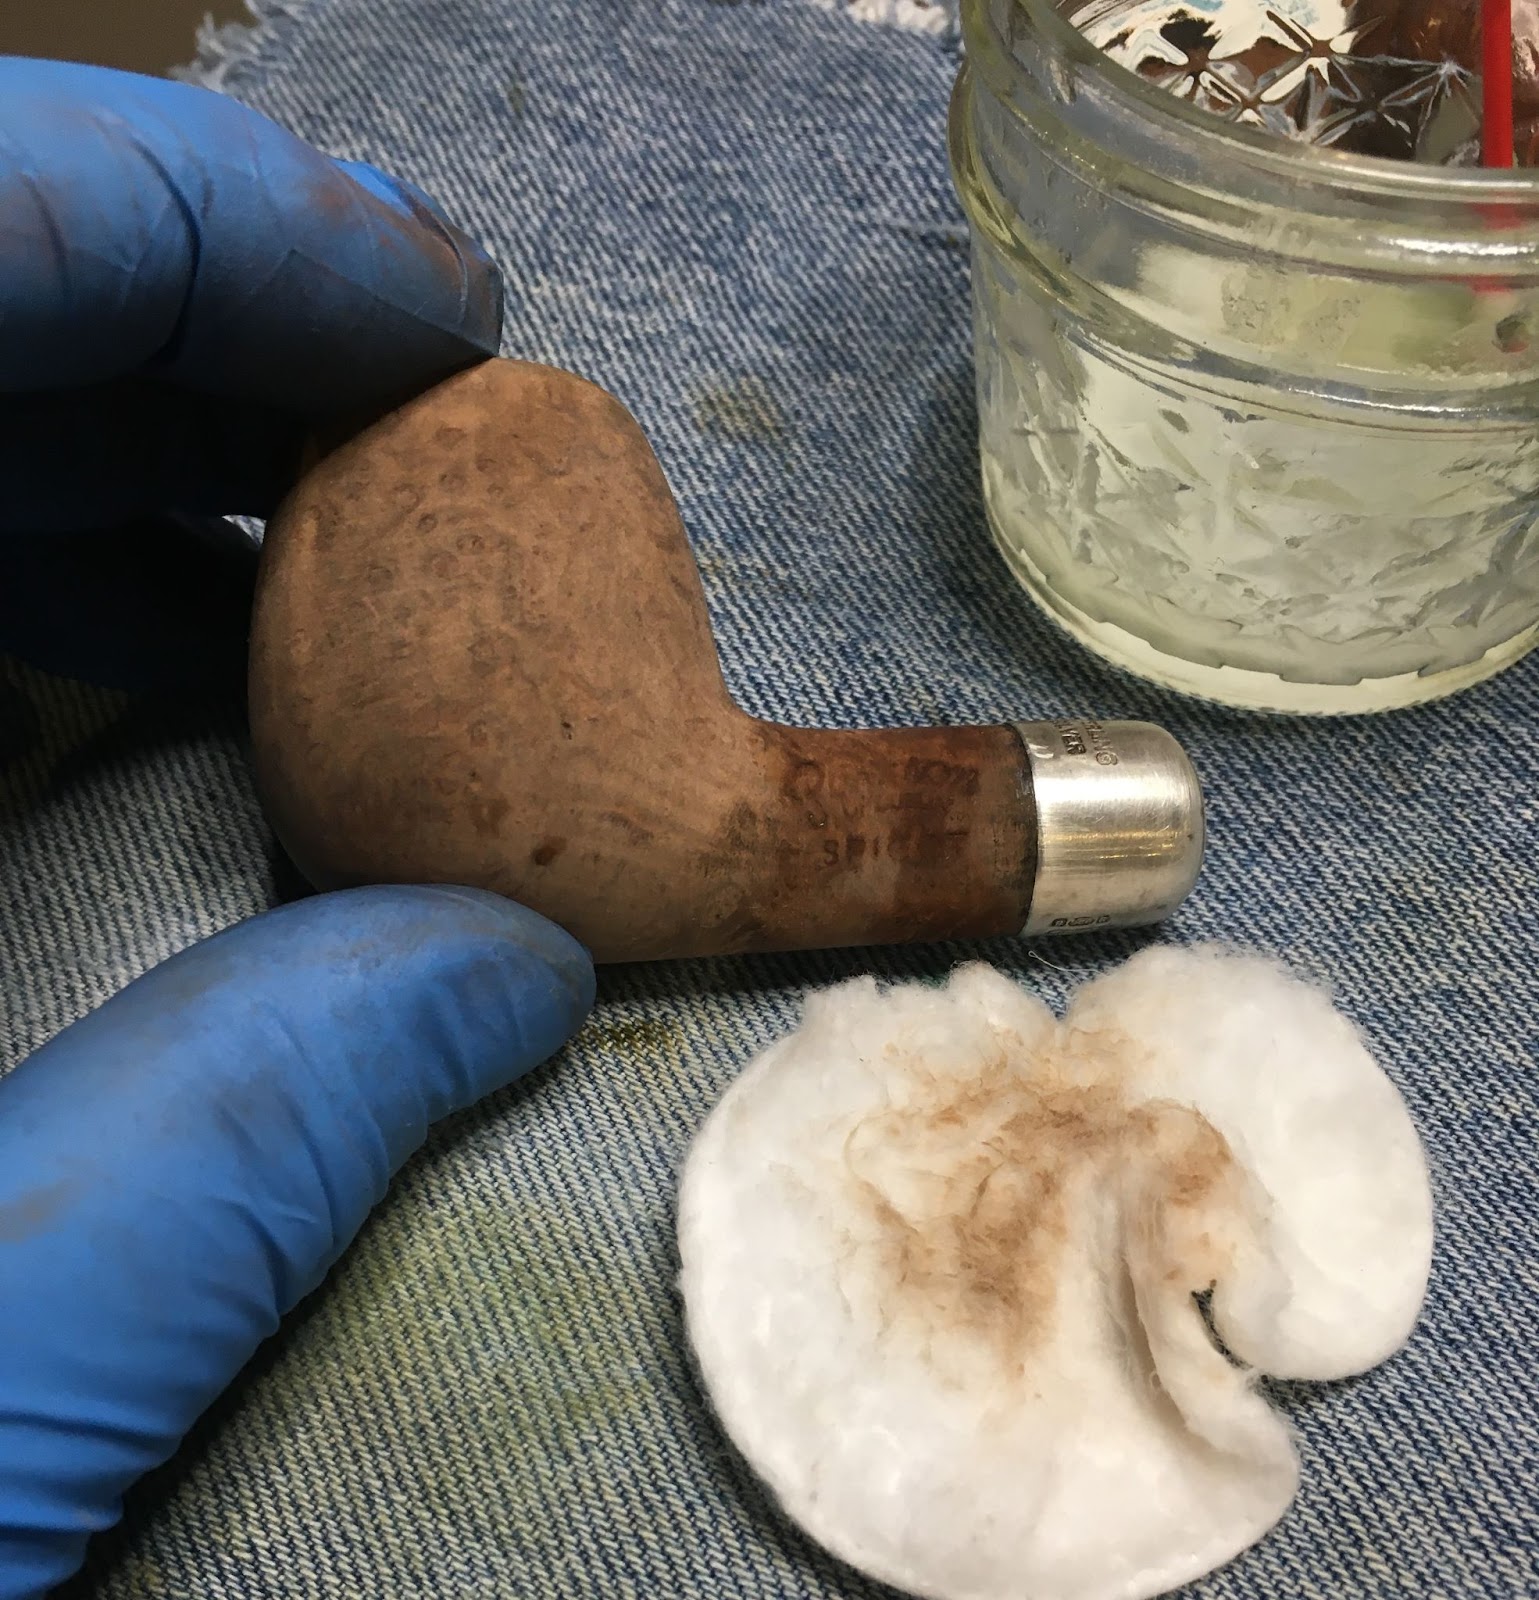
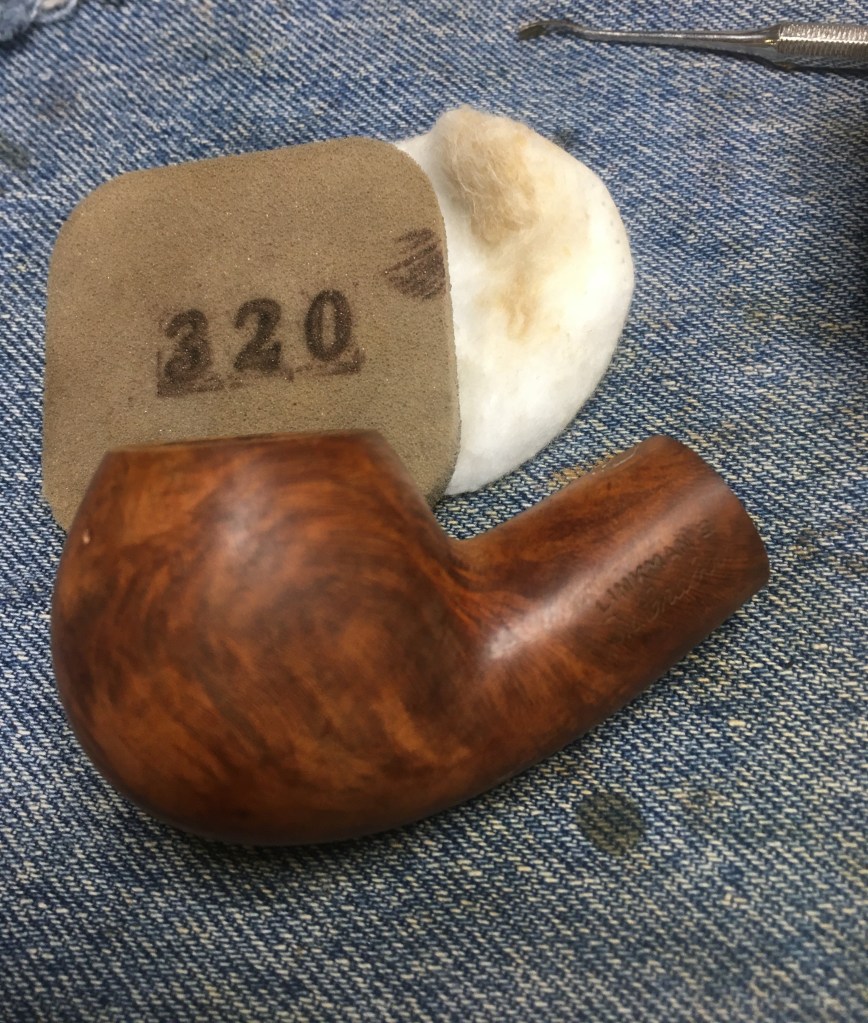
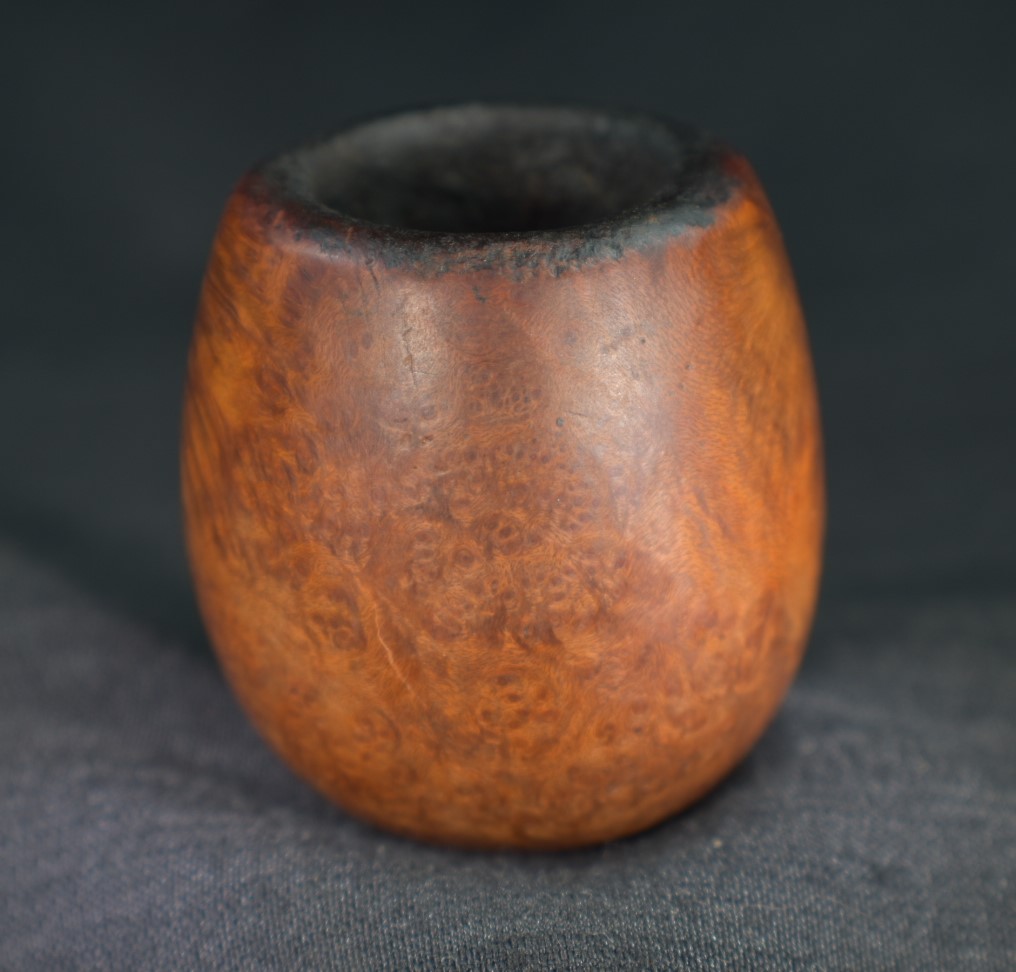
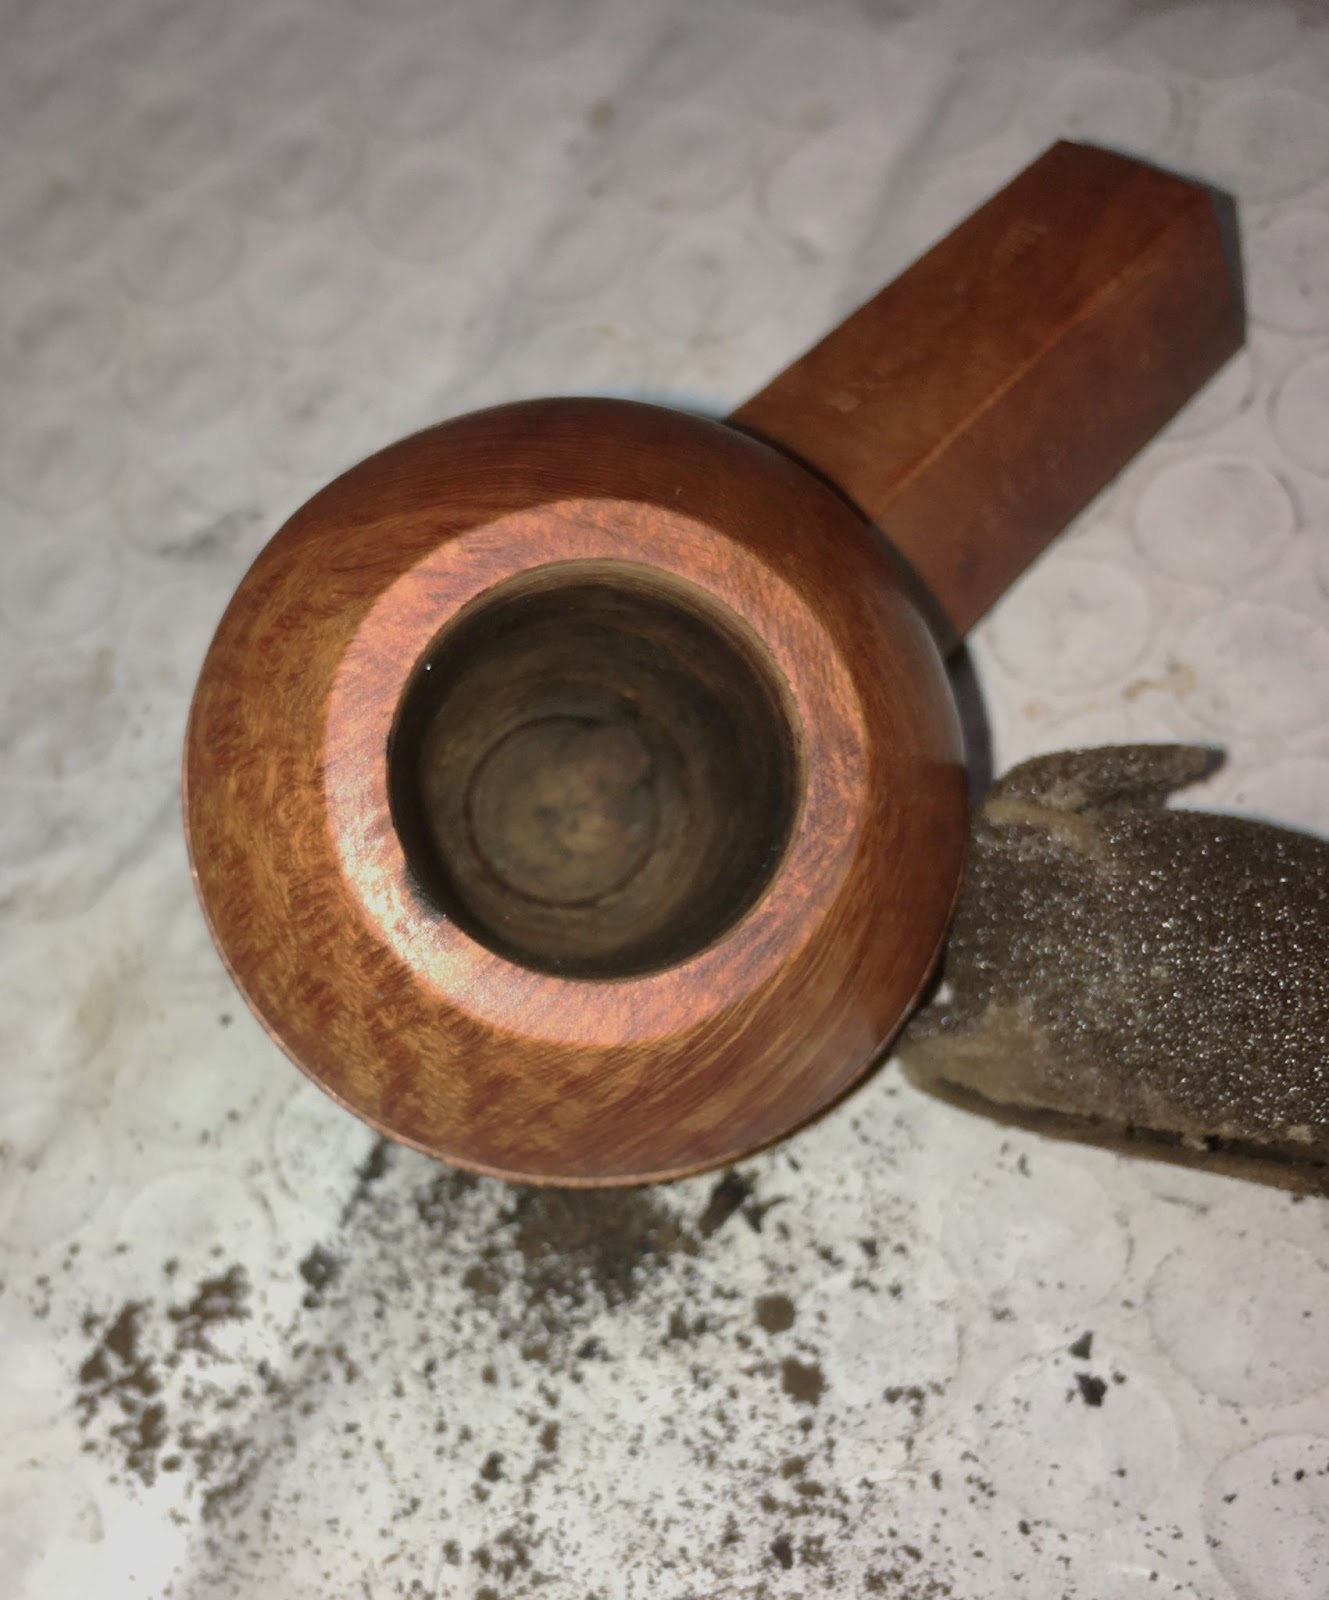
After the stummel dried I could see that the oxalic acid did a wonderful job at lightening the briar and returning it to a natural color.


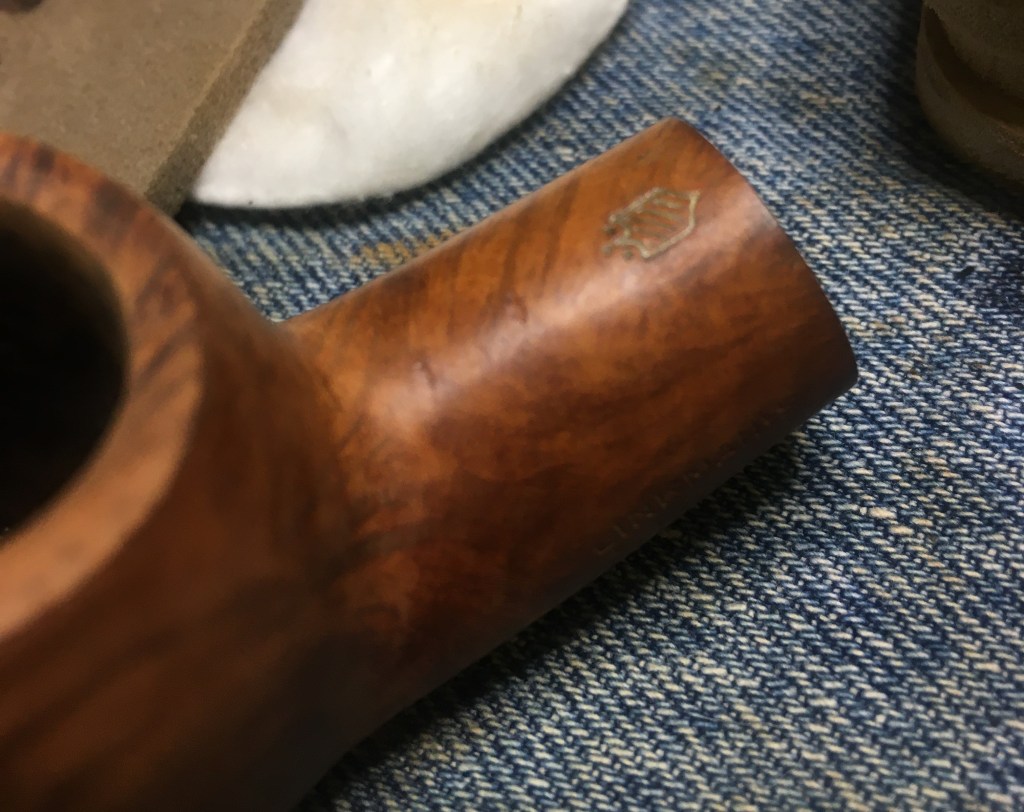
The stamping remained in great condition.

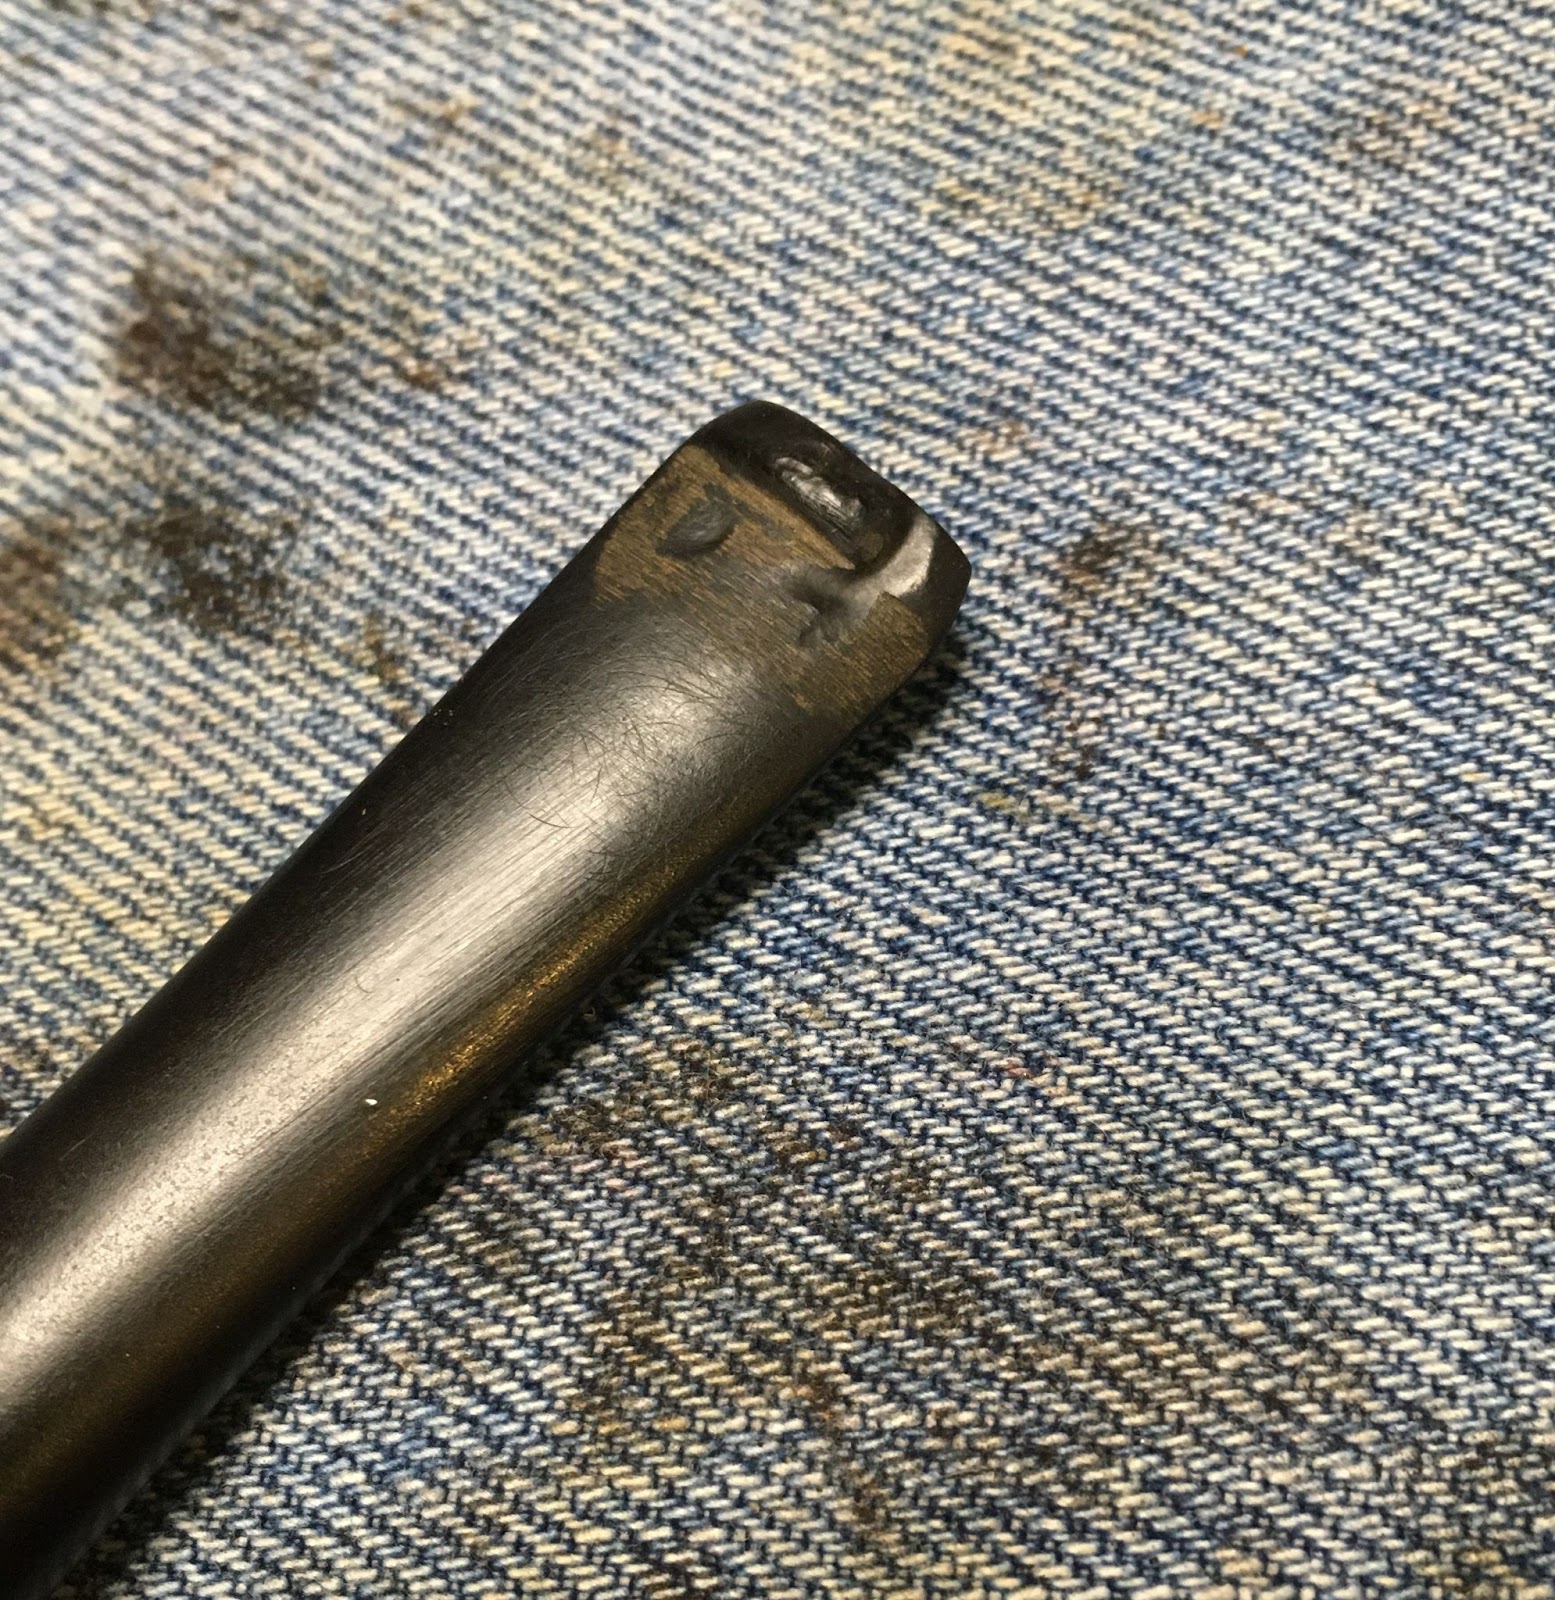
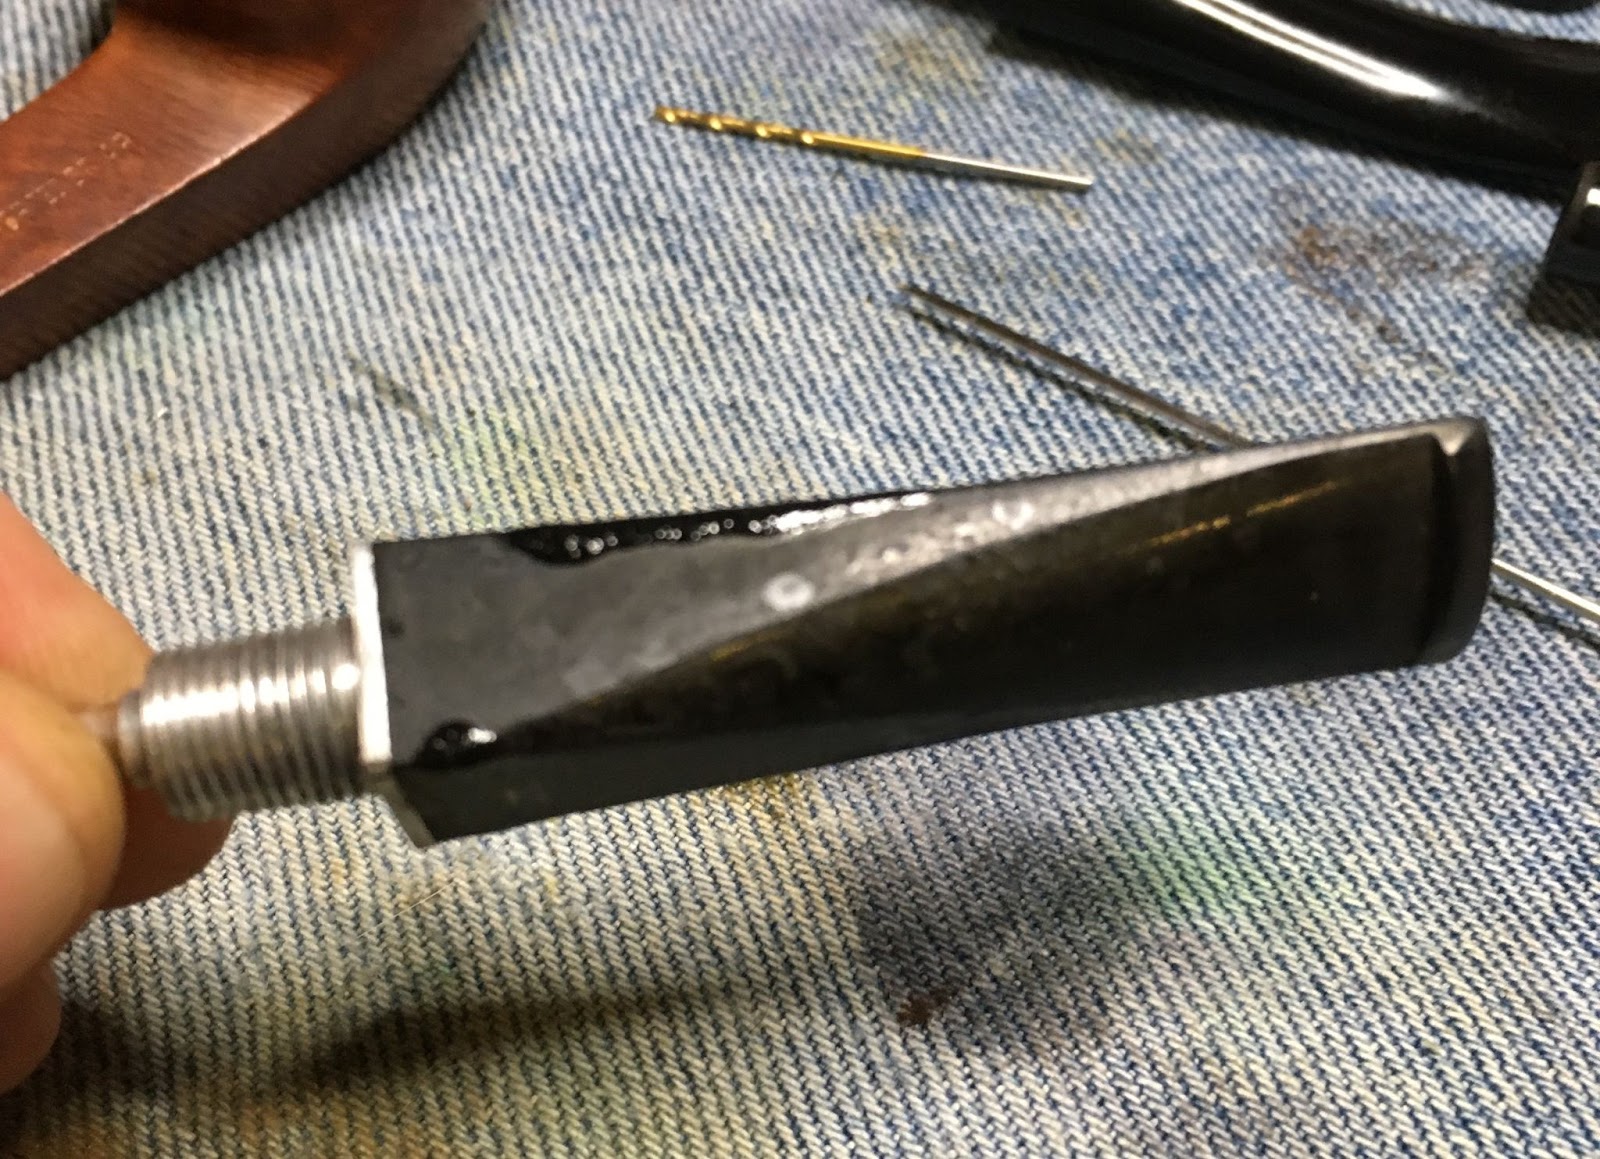
Next, I needed to soften up the oxidized surface of the vulcanite. I used a solution of water and OxyClean. The stem was allowed to soak for an hour.

I returned to cleaning the airway. More scraping with the dental scraper, scrubbing with a shank brush and alcohol and cotton swabs dipped in 95% ethyl alcohol. I forgot to photograph the shank cleaning other than the photo below. Apologies if you love seeing many tar stained cotton swabs.

As previously alluded to I wanted to darken the rusticated area while keeping the smooth panels natural. I had purchased a product which I read about for painting miniatures for gaming. This product was a water based latex that could seal off an area where no paint was wanted. The latex could then be peeled off. I thought that the stuff sounded interesting and had ordered a bottle of it a year or so ago. I now had what I thought would be the perfect job for it. Using a detailing paint brush I painted the Vallejo Liquid Mask onto the smooth surfaces. As the mask dries it turns more clear. I set the stummel aside to allow the mask to dry.

I turned my attention back to the stem.

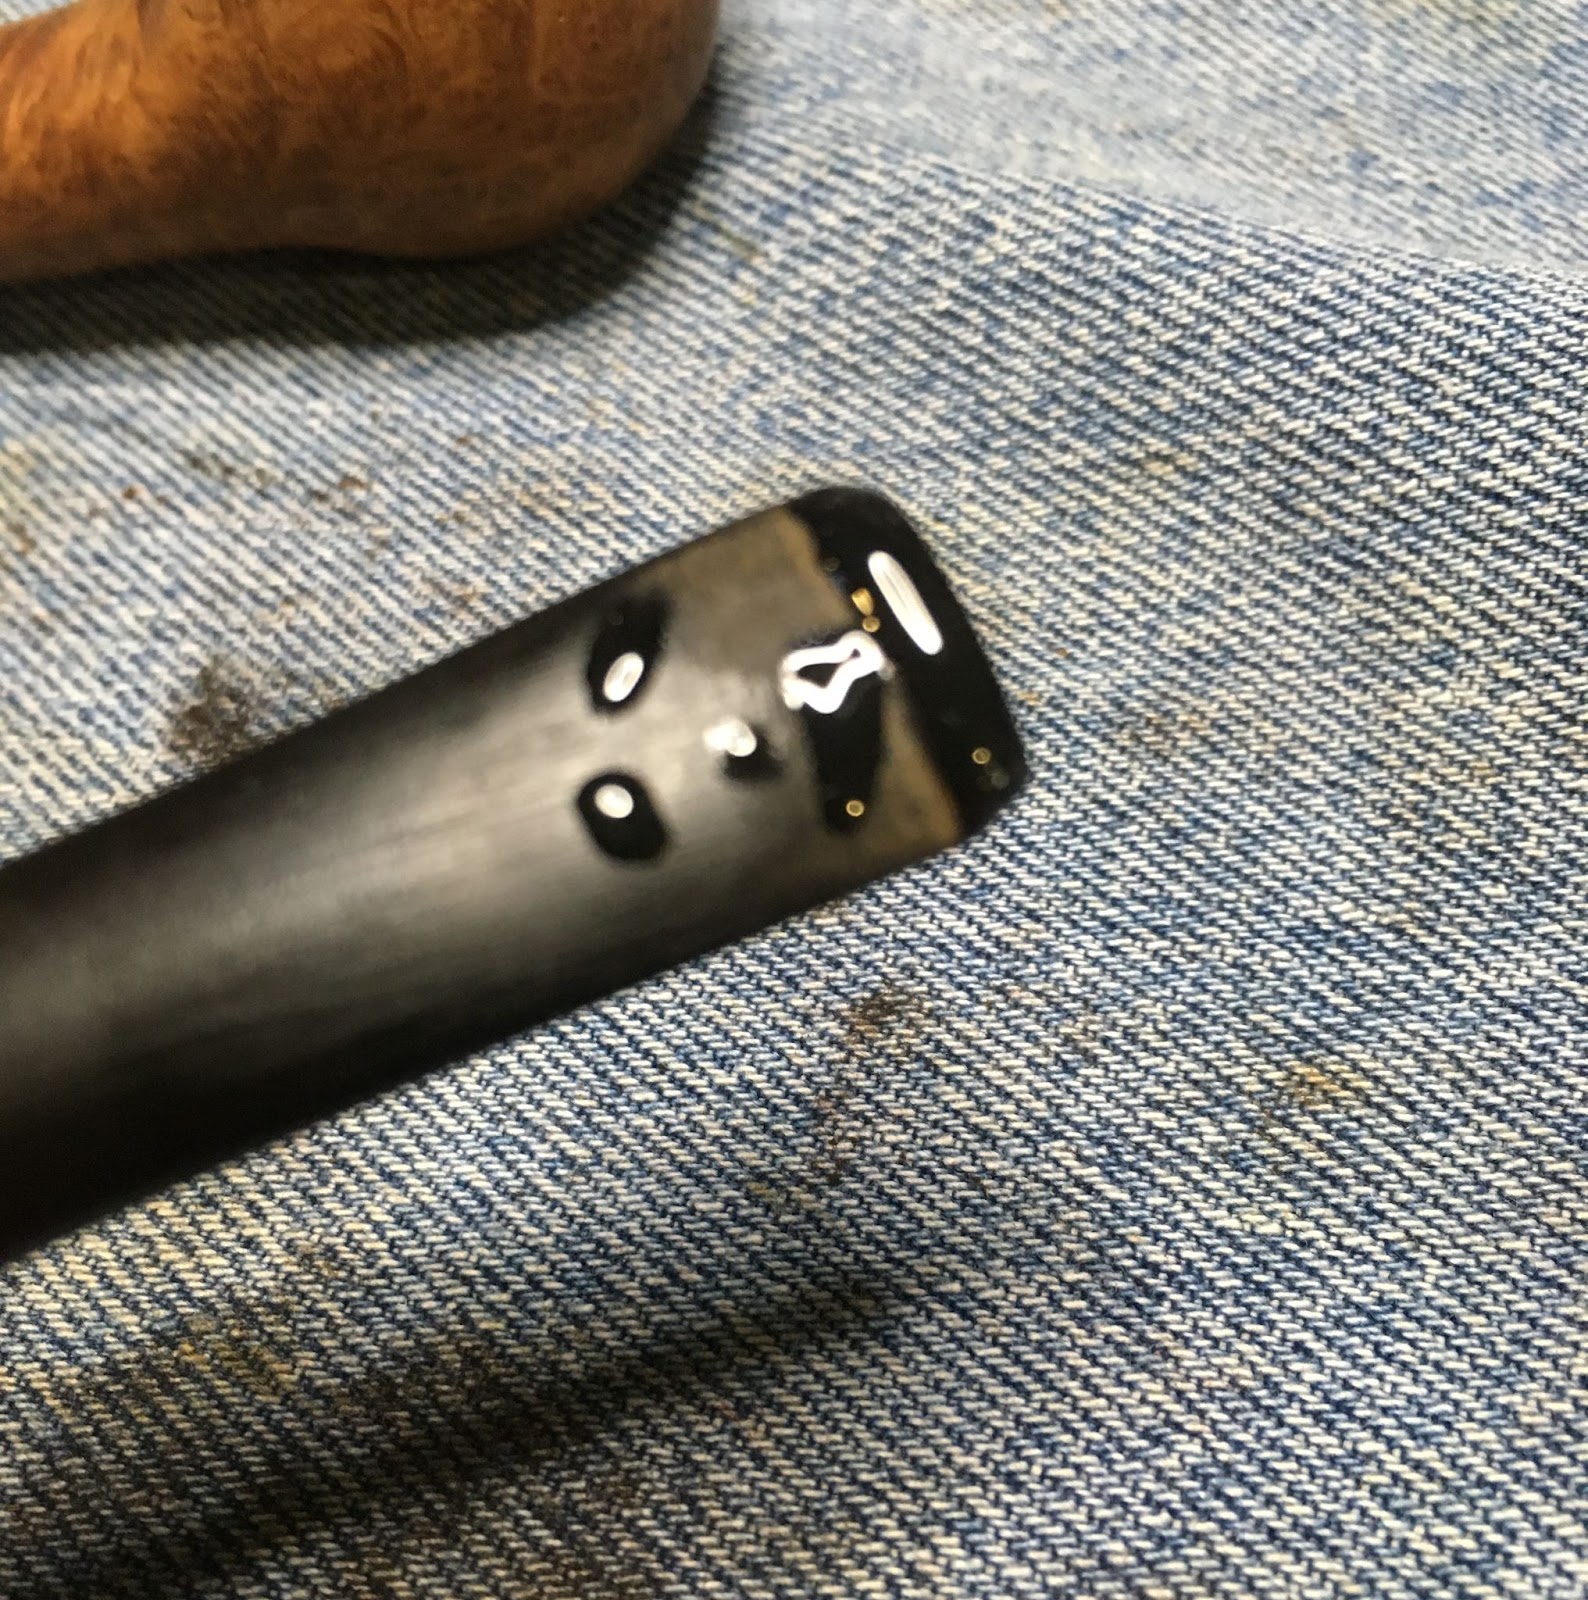
Once removed from the Oxy bath I used a clean make-up pad to vigorously wipe the Oxy solution from the vulcanite. This removed some of the surface oxidation.

I proceeded to use make-up pads and SoftScrub to scrub the surface of the stem. Eventually the pads were no longer removing oxidized rubber.

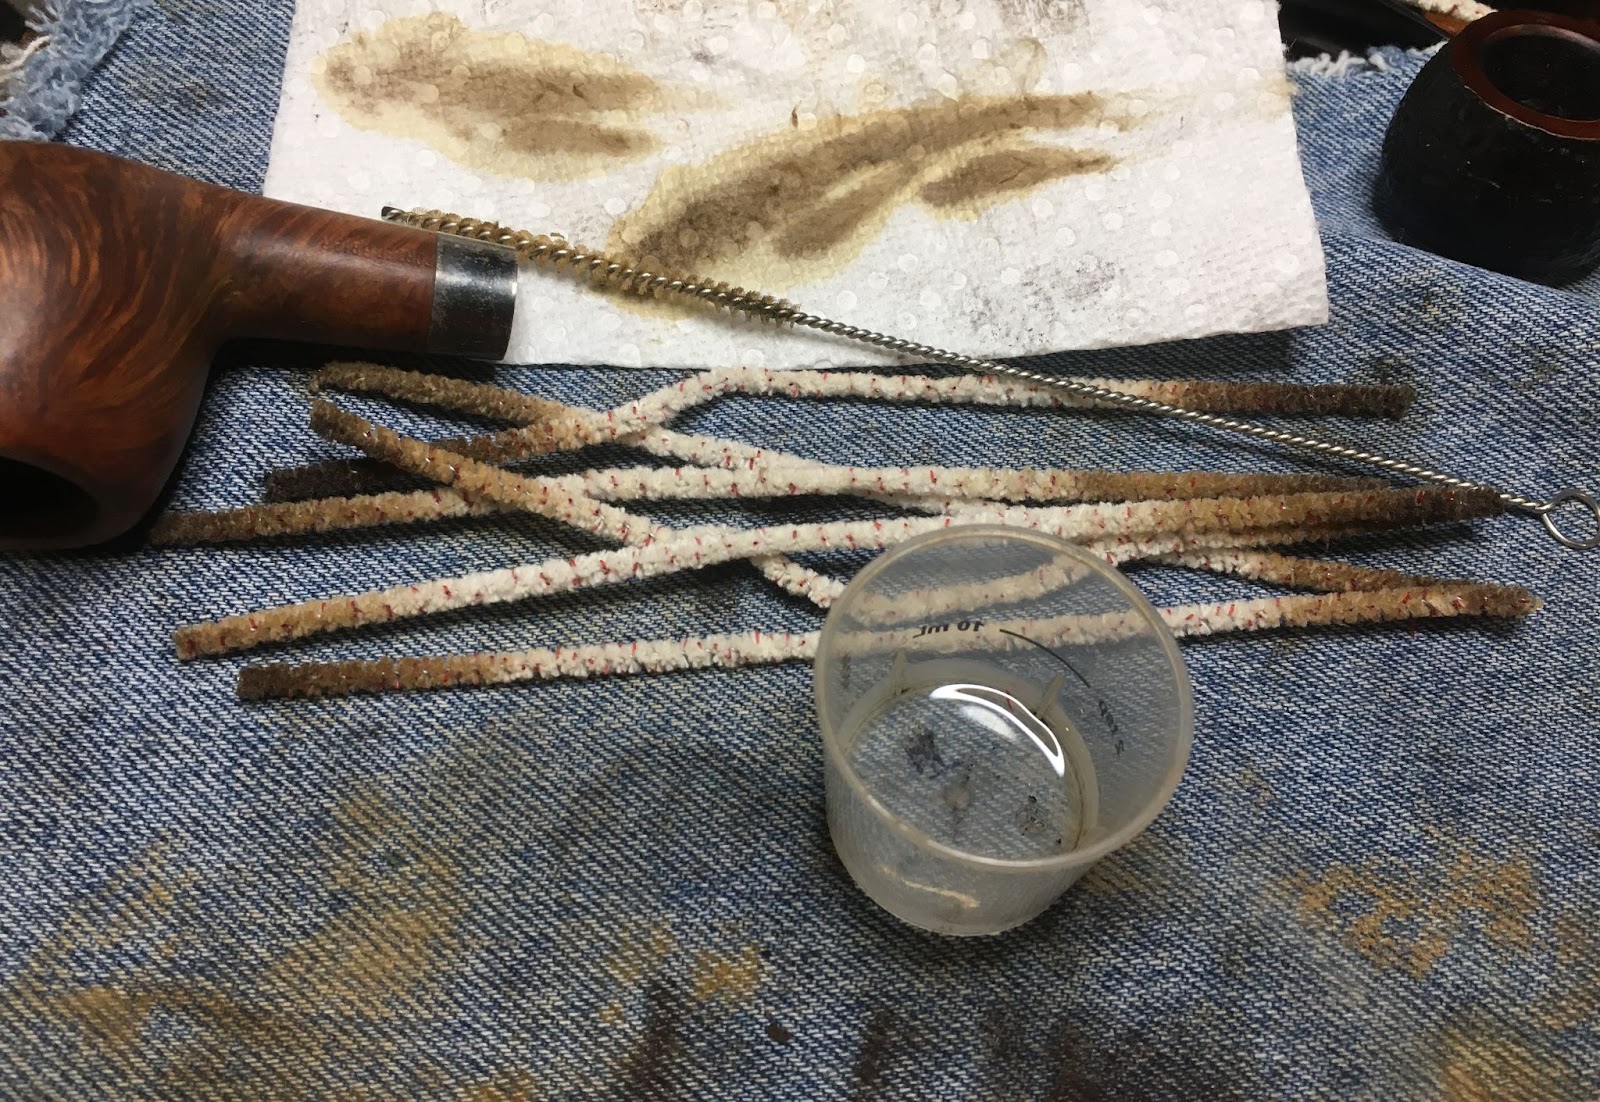
The mask appeared to be dry. I continued with the stem cleaning to allow more mask drying time. Bristle pipe cleaners dipped in 95% ethyl alcohol were used to clean the stem’s airway. Hey, there are some of the cotton swabs from the shank cleaning. The stem was then coated in a layer of mineral oil.

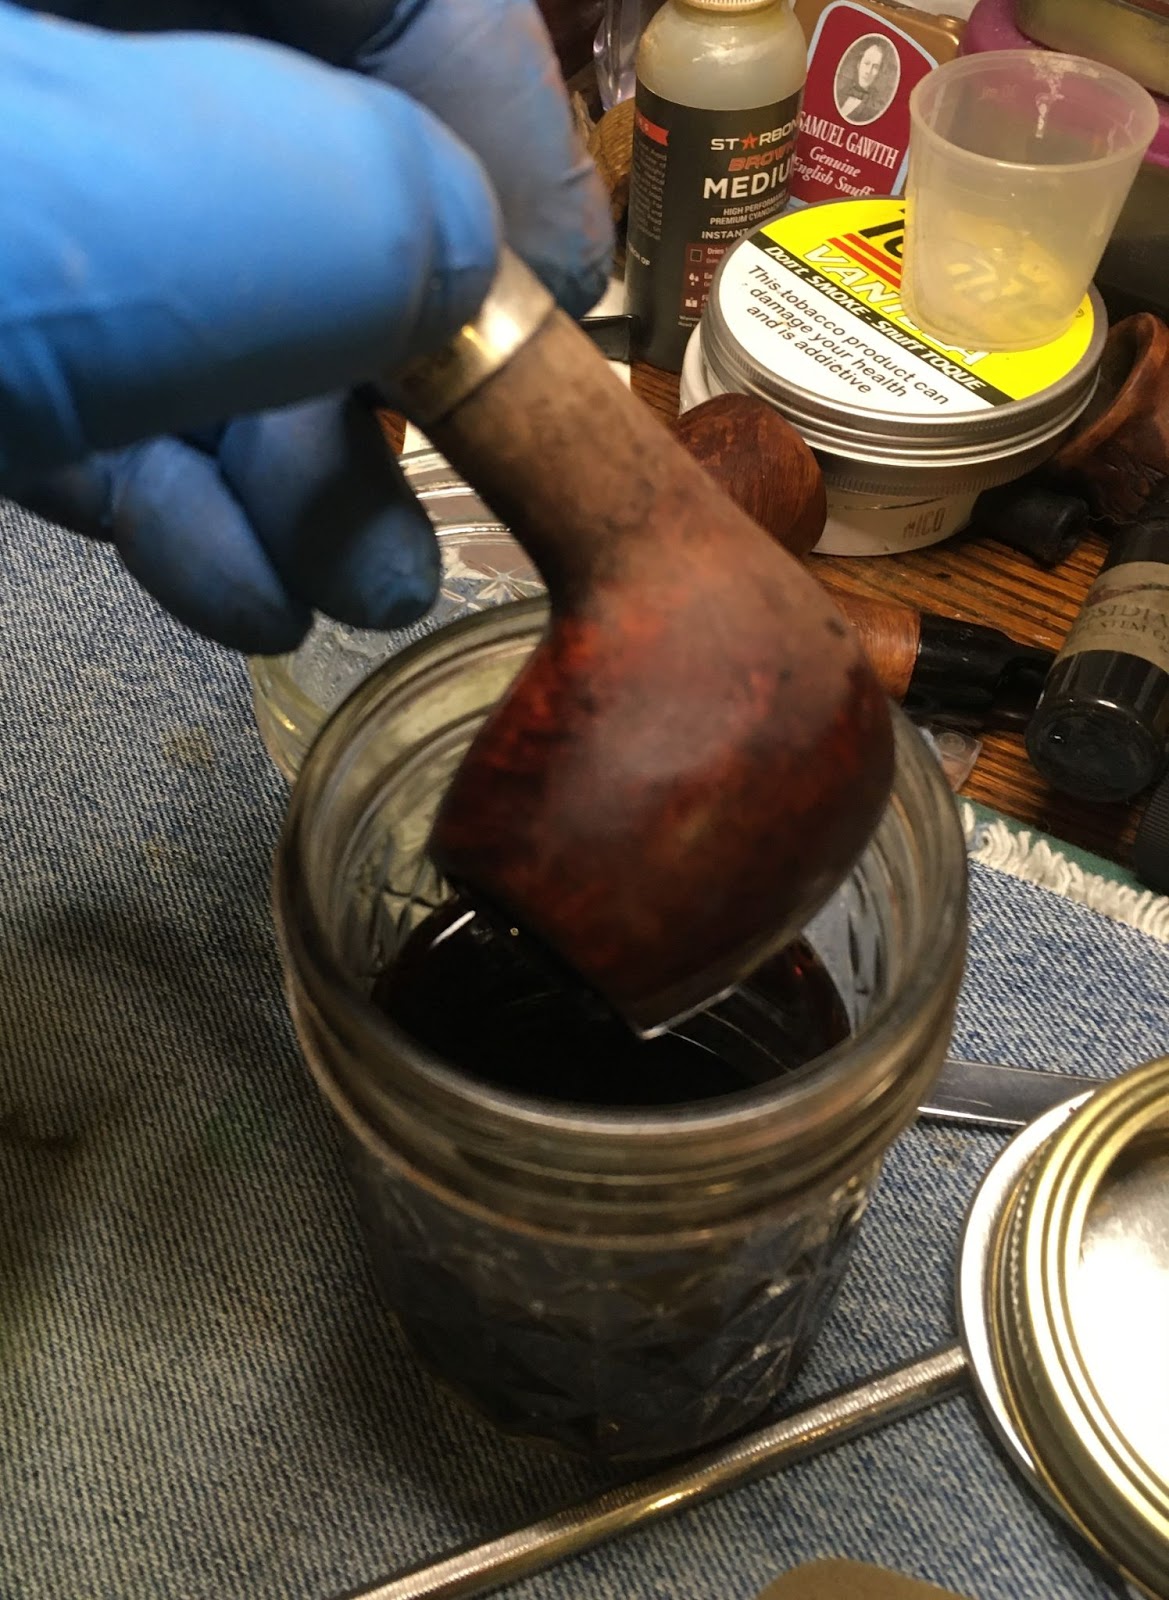
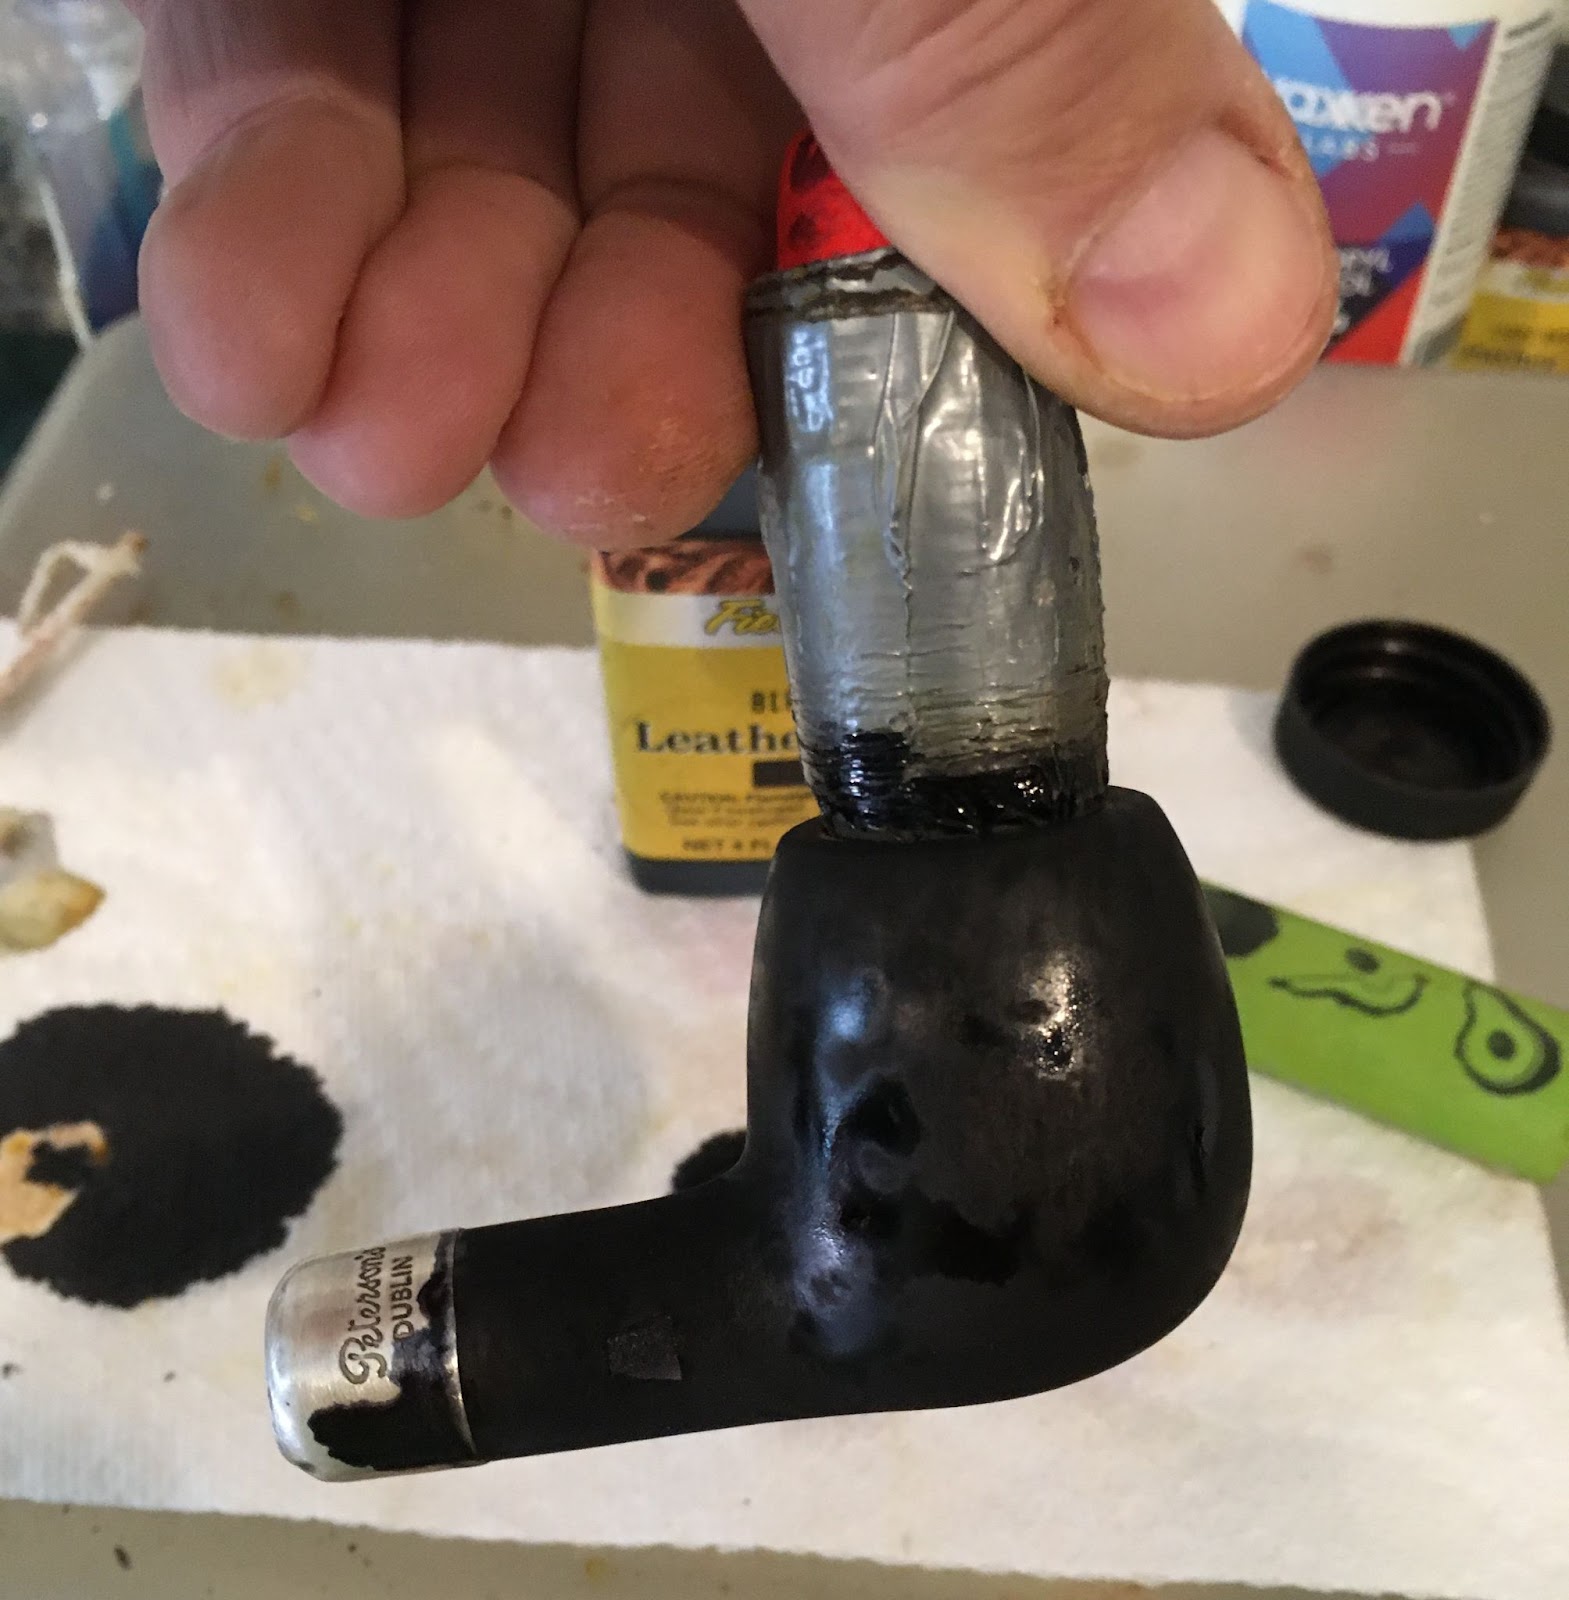
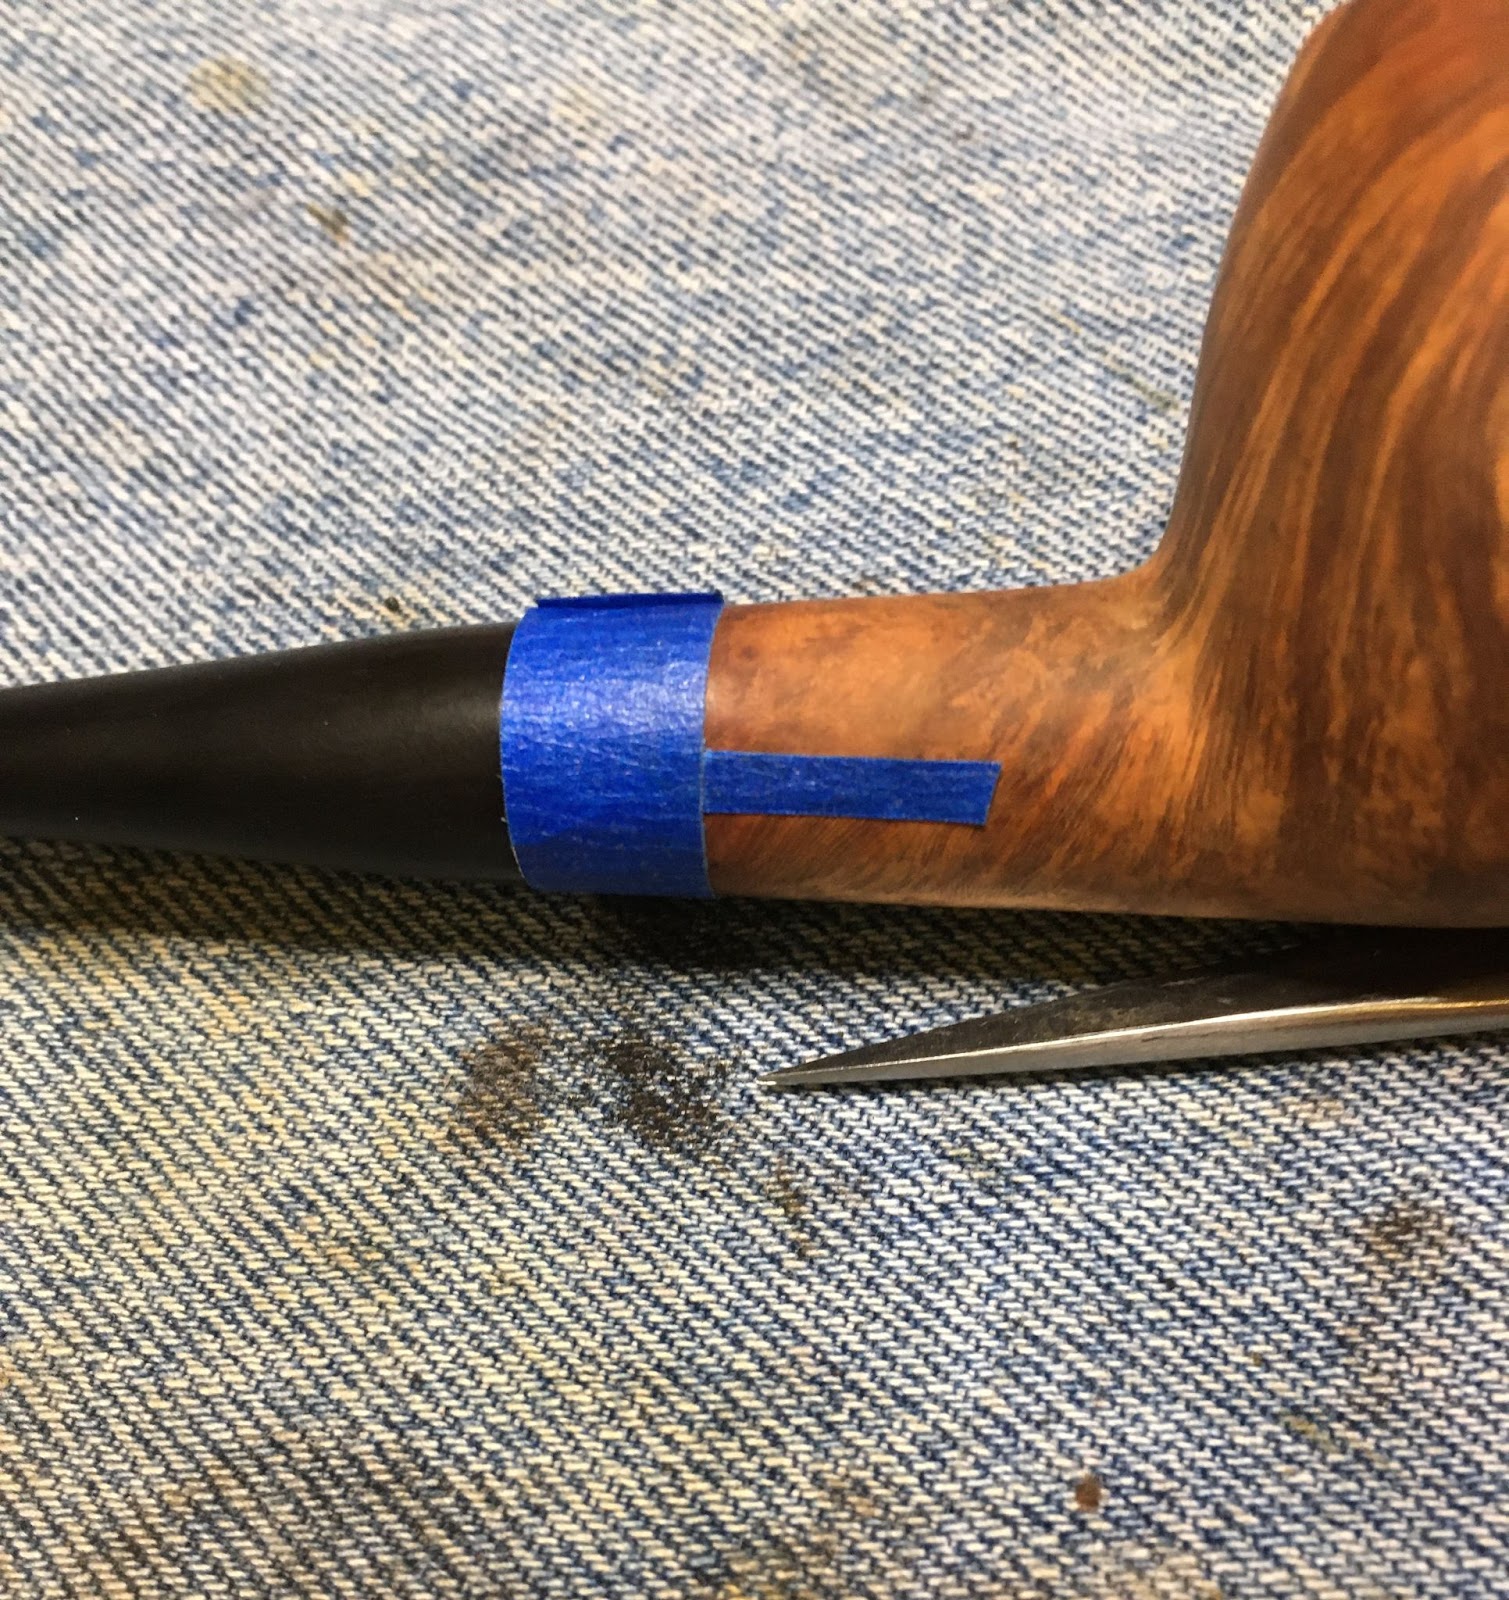
Time to test the mask and dye the rusticated areas. I prepped the area for dying and assembled the Fiebing’s Black Leather Dye, a folded pipe cleaner (applicator) and a lighter.

The black dye was applied and flamed with the lighter burning away the alcohol of the dye.


I rinsed the stummel with a stream of 70% ethyl alcohol to rinse excess dye and wiped the surface with a paper towel. I took the stummel to the buffer and buffed the stummel with rouge compound on a flannel wheel. The buffer removed the outermost dye and the mask. The masked areas were completely unaffected by the dye. Success! A little bit of scrapping with a sharp blade and sanding to clean up the edges would be needed to make the edges beautiful. Looking at many of the Jarl pipe photos his pipes often have a reddish tint to the briar. I liked the more golden, natural shade that I had and decided against a red or orange dye wash.

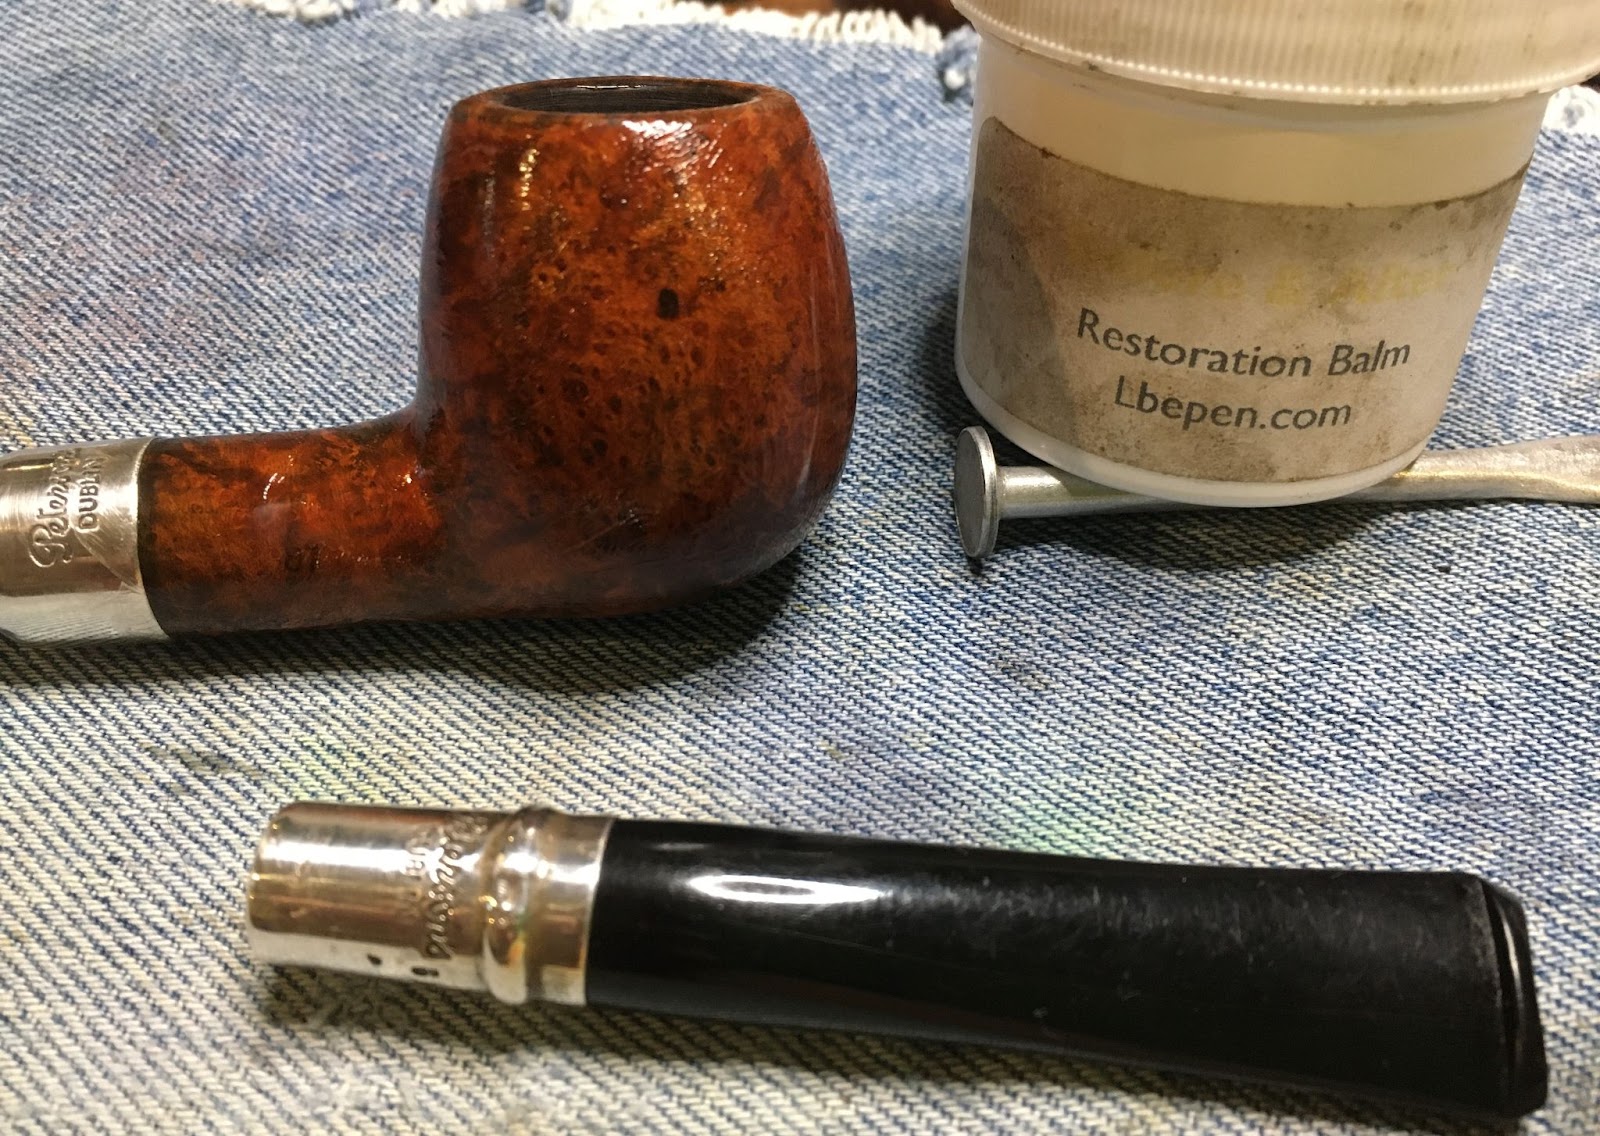
After the scraping and sanding I applied a layer of Before and After Restoration Balm to the stummel and allowed it to sit for 20 minutes.

20 minutes later the balm was wiped away using an inside out athletic sock to reveal a lovely two tone rustication.

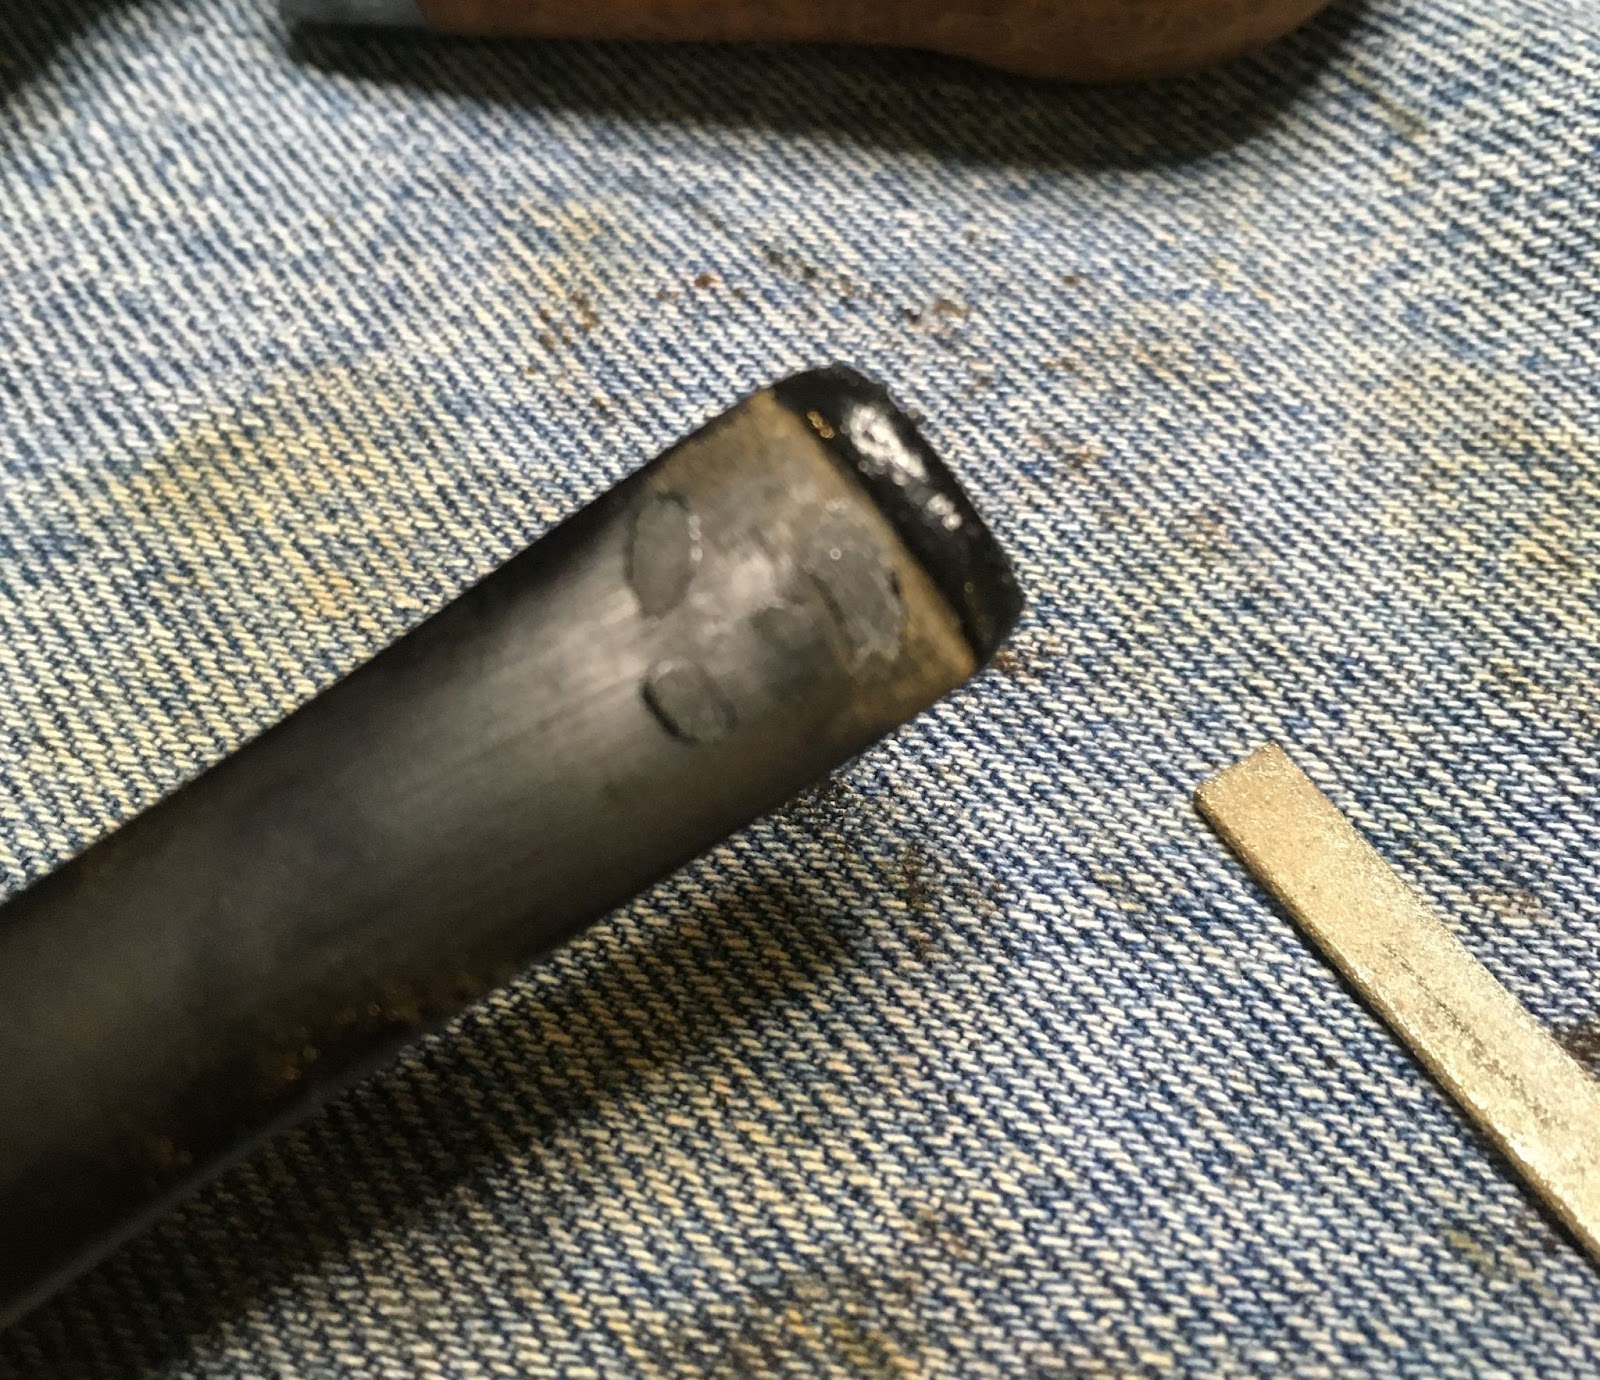
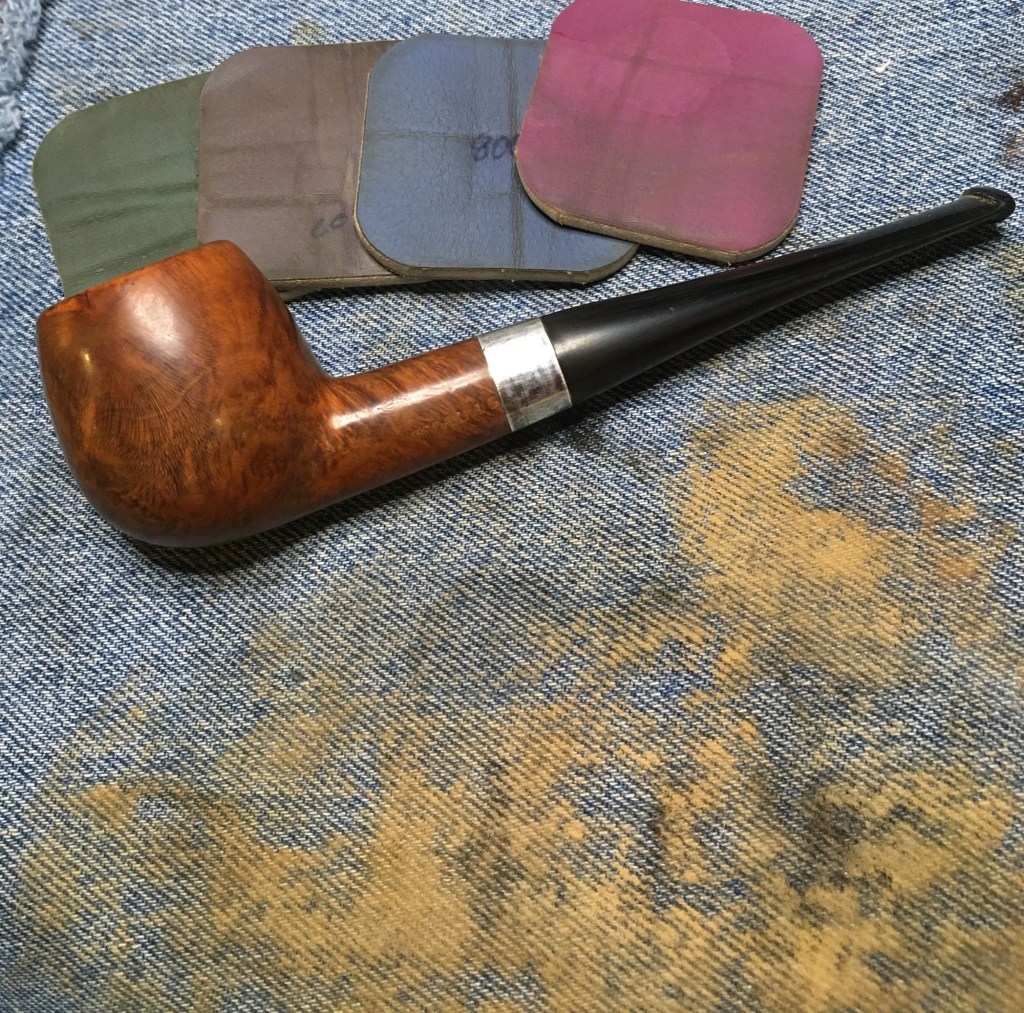
The stem was sanded using a series of sanding sponges from 400-3500 grit. Between each sponge I rubbed in a dab of mineral oil and wiped it with a paper towel.

I worked the stem with 4000-12000 micro-mesh pads. Between each pad I rubbed in a small drop of Obsidian Oil and wiped it with a paper towel.

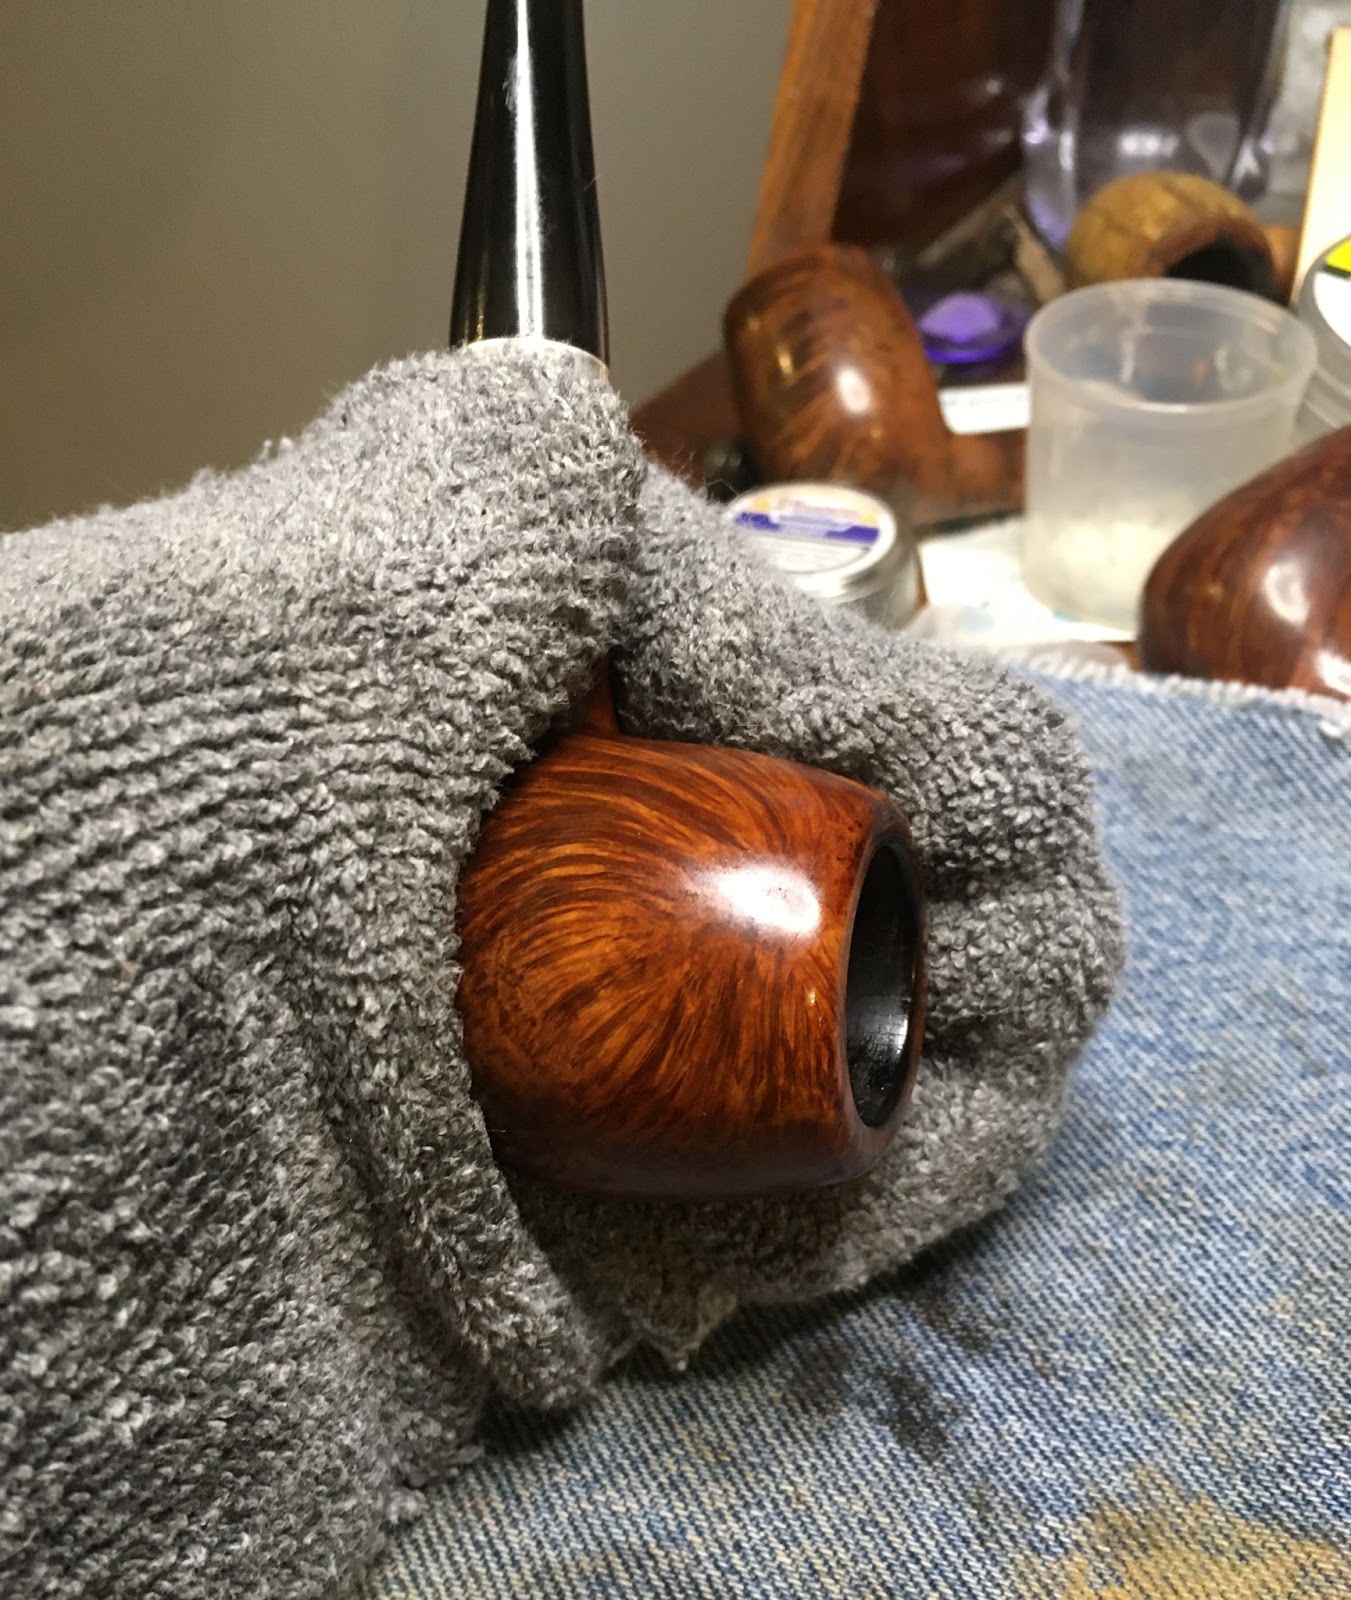
The stem was polished with Before and After Fine Polish applied with my fingertip and hand buffed with a soft cotton cloth.

Before and After Extra Fine Polish was then used to hand buff the stem again with a soft cotton cloth.

The stem logo was repainted using white acrylic modeling paint.

This was a fun restoration. I got to work on a new brand and try a new product. I think the pipe turned out very nicely. Of course I have never seen another Jarl pipe and only had internet photos to base my judgment on. I’ve heard the saying, “ignorance is bliss”. I am therefore a blissful ignoramus regarding Jarl pipes. Nevertheless, I think this pipe looks great. The Vallejo Liquid Mask did exactly what it is supposed to preserve the natural grained briar from the black dye. The “worn black” dye that I was trying to achieve turned out how I imagined it would. The stem polished up pretty well, I didn’t want to be too aggressive with the restoration and obliterate the J logo. I think that I captured the essence of the pipe.
The dimensions of the Jarl 1502 Bent Billiard are:
Length: 5.66 in./ 143.76 mm.
Weight: 1.25 oz./ 35.70 g.
Bowl Height: 1.96 in./ 49.78 mm.
Chamber Depth: 1.72 in./ 43.69 mm.
Chamber Diameter: 0.75 in./ 19.05 mm.
Outside Diameter: 1.49 in./ 37.85 mm.
I do hope that you have found something here useful to your own pipe care, maintenance or restorations. If you like this sort of thing, please click the like and subscribe buttons. Thank you for reading the ramblings of an old pipe lover.
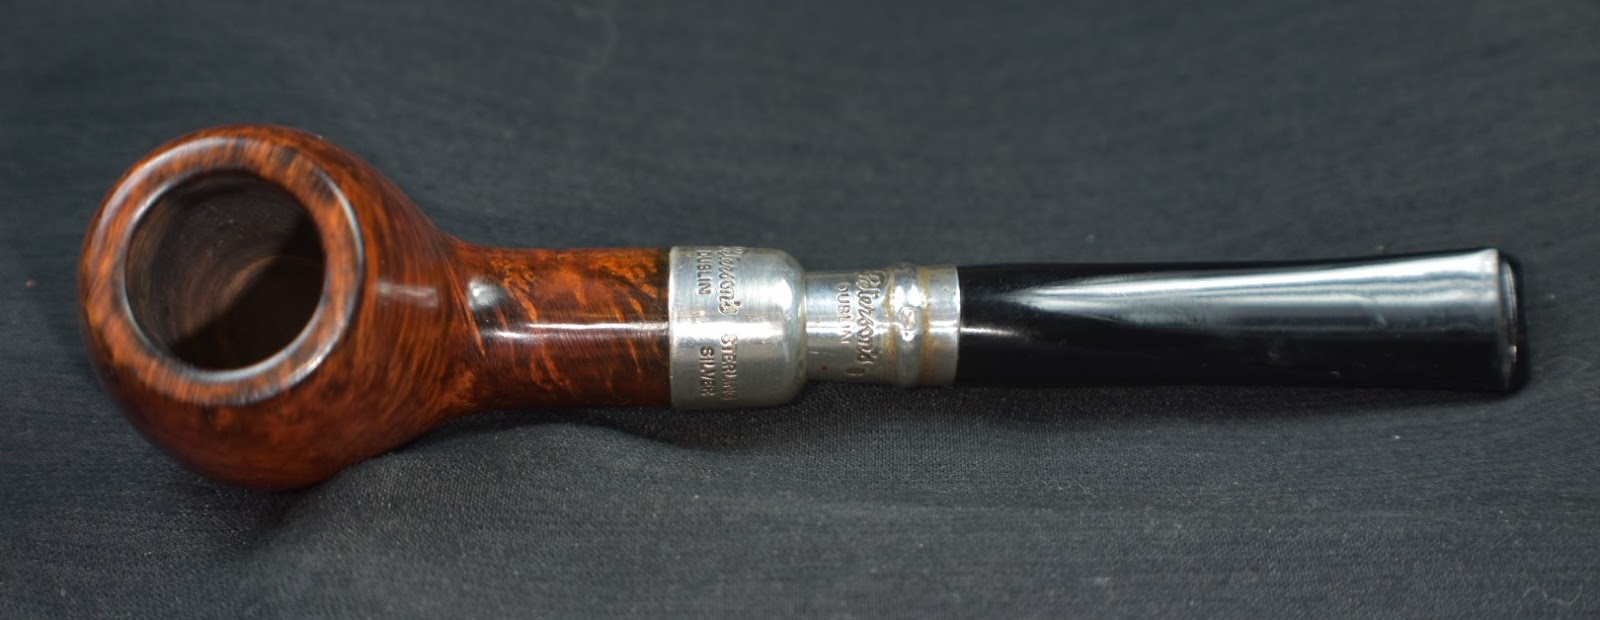
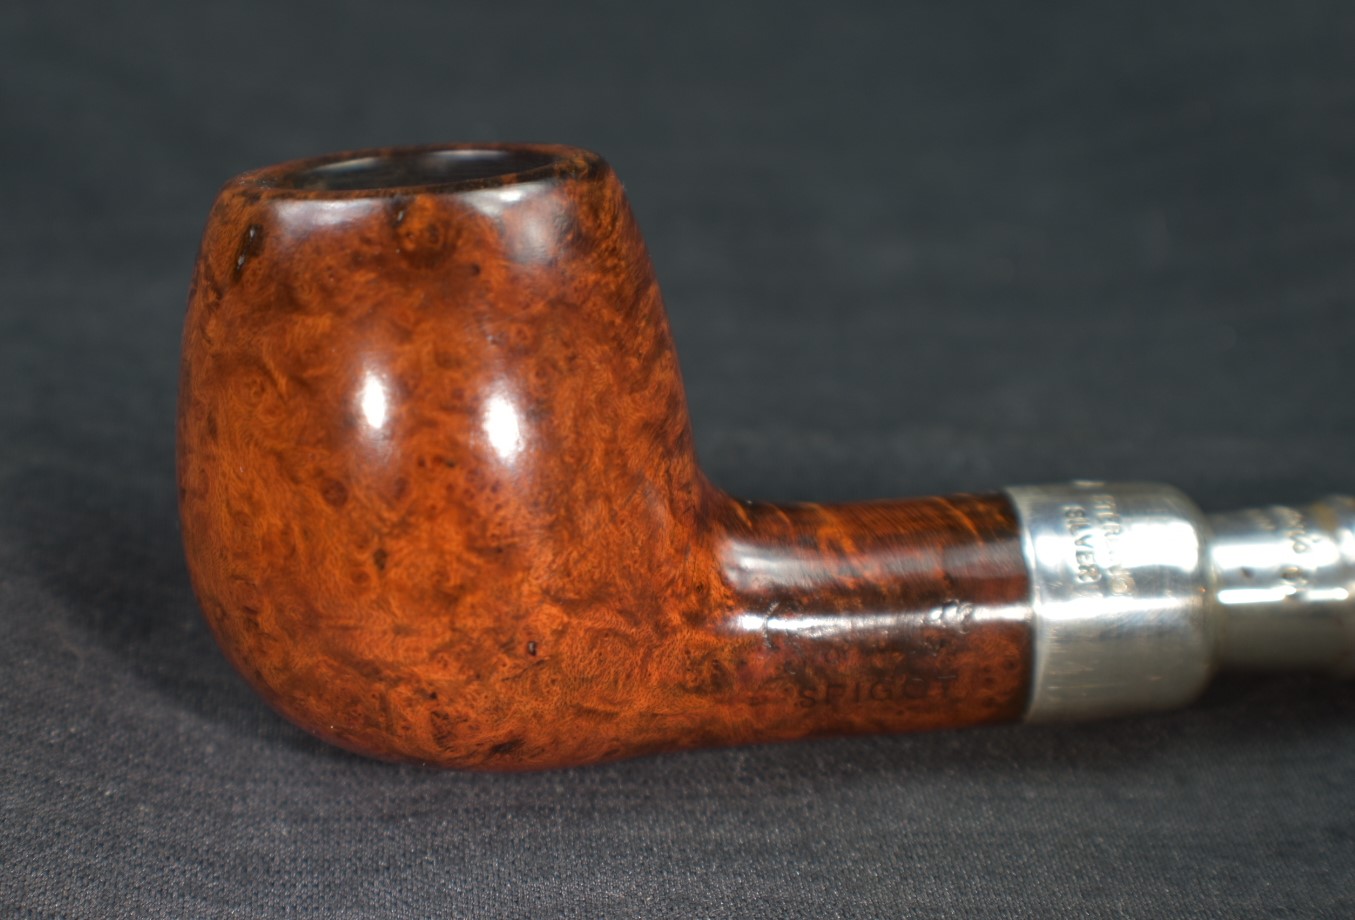
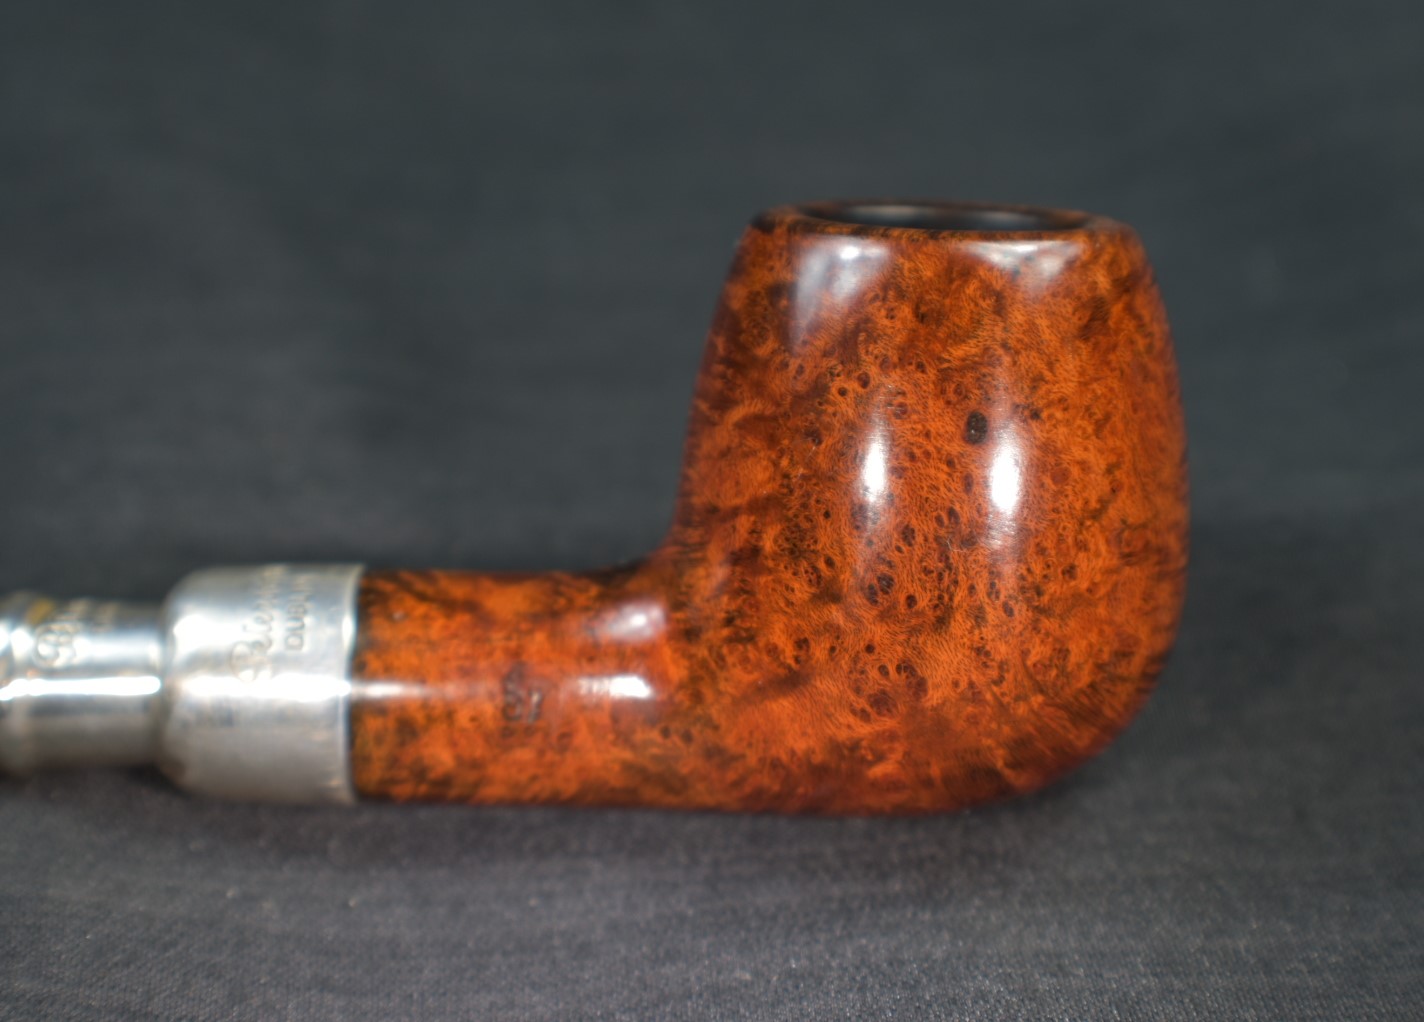
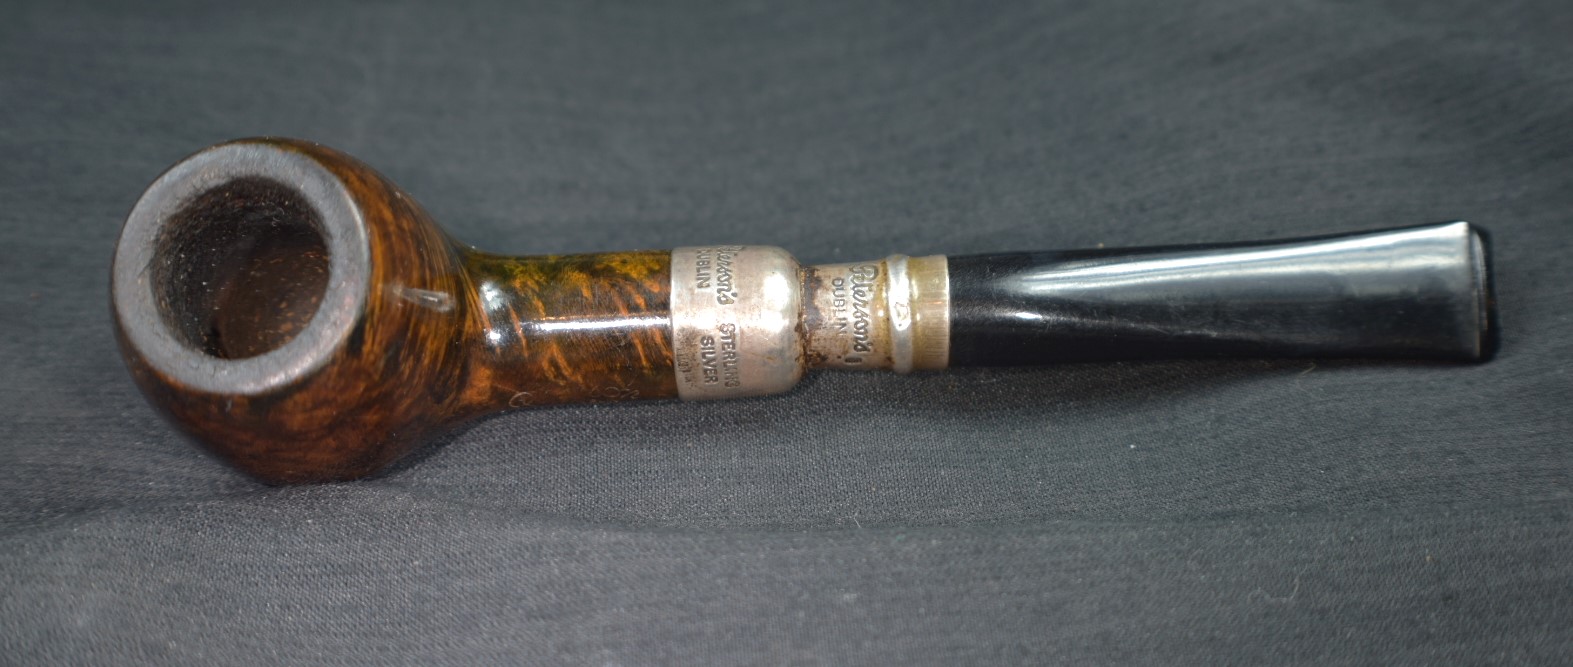
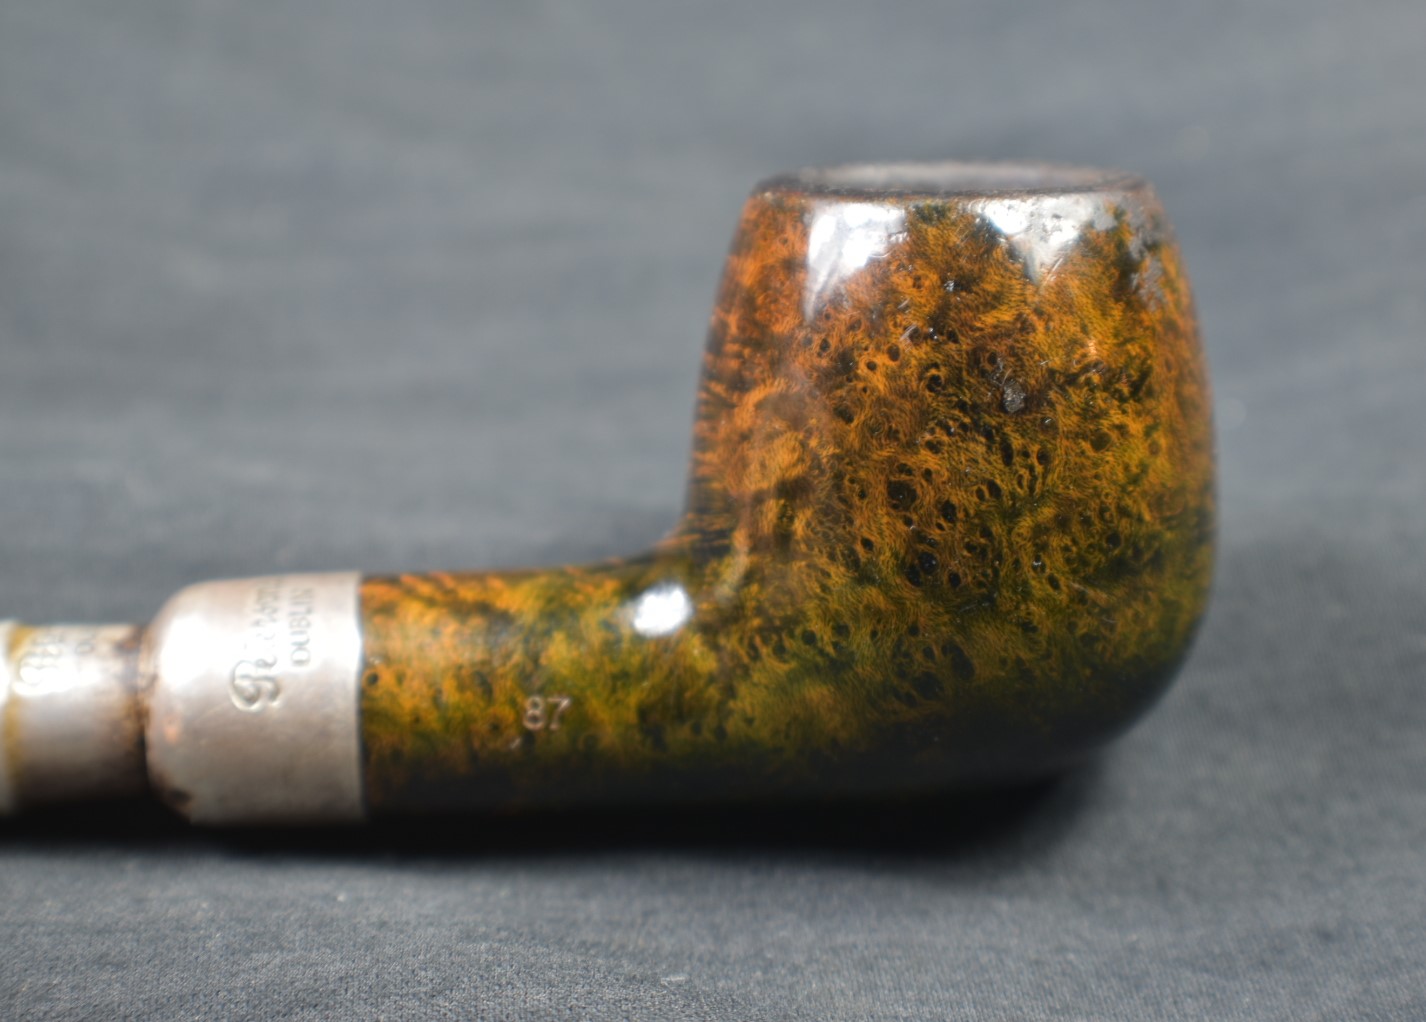
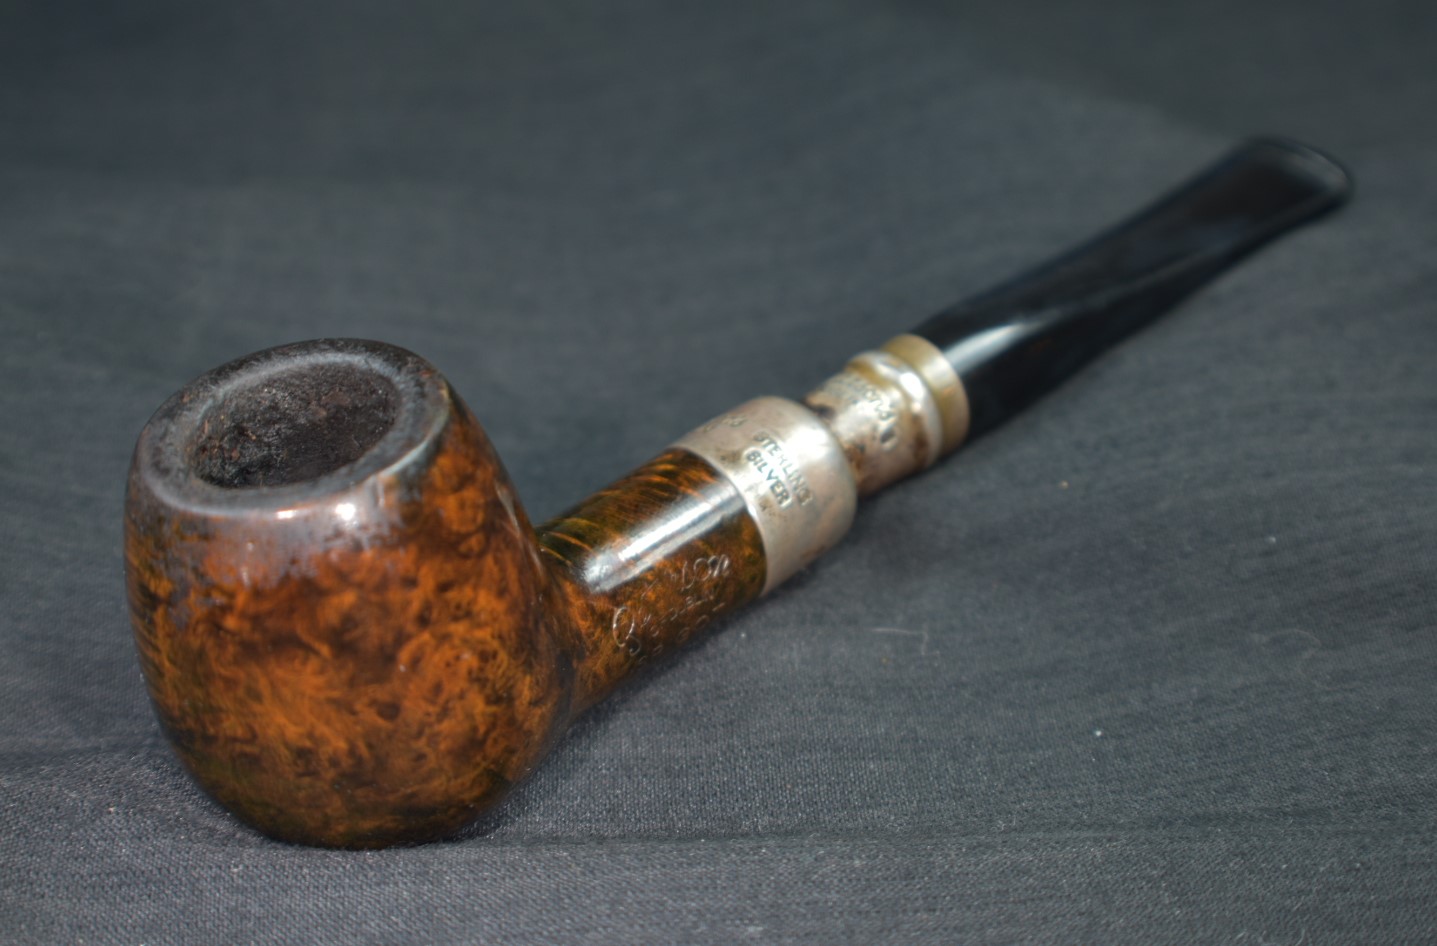
Below are some photos of the finished Jarl 1502 Bent Billiard.


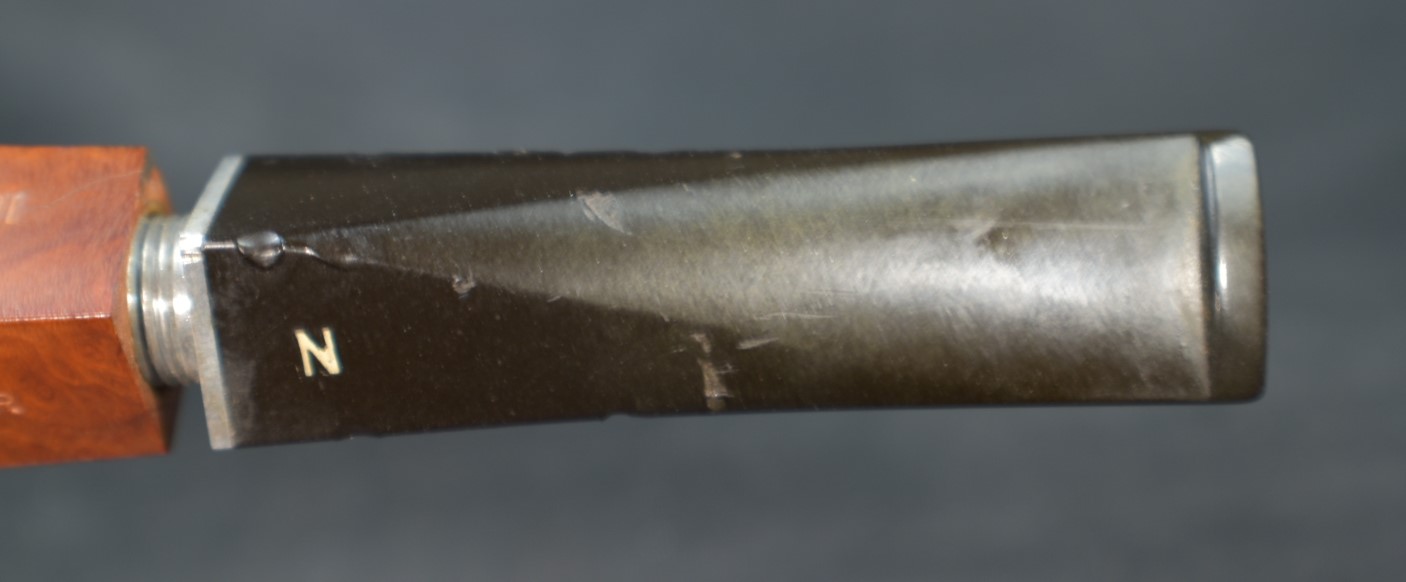


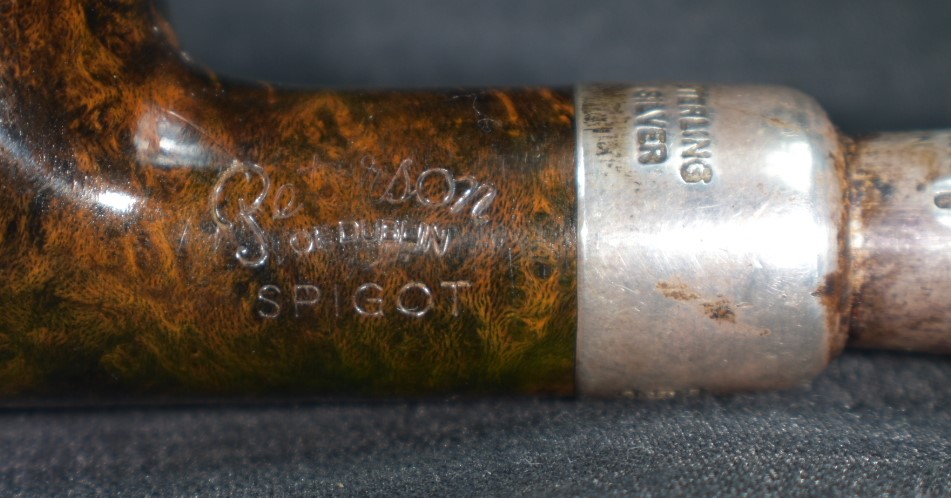
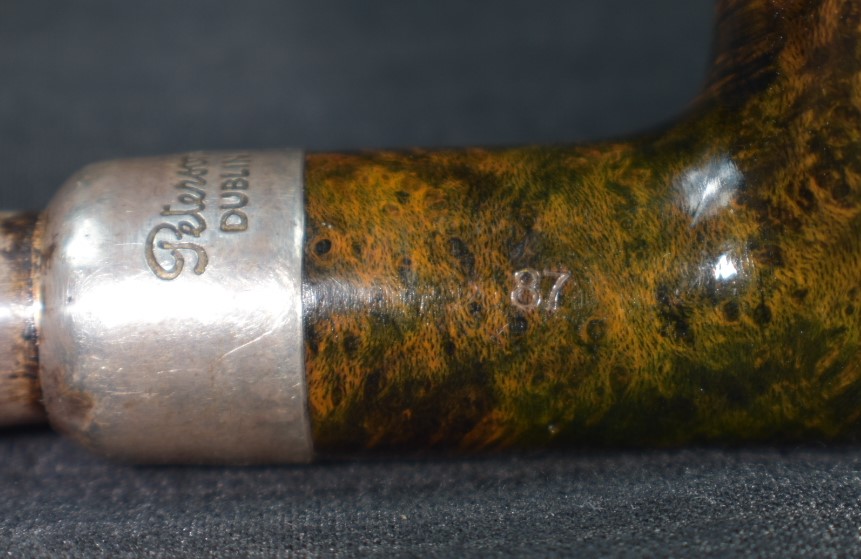
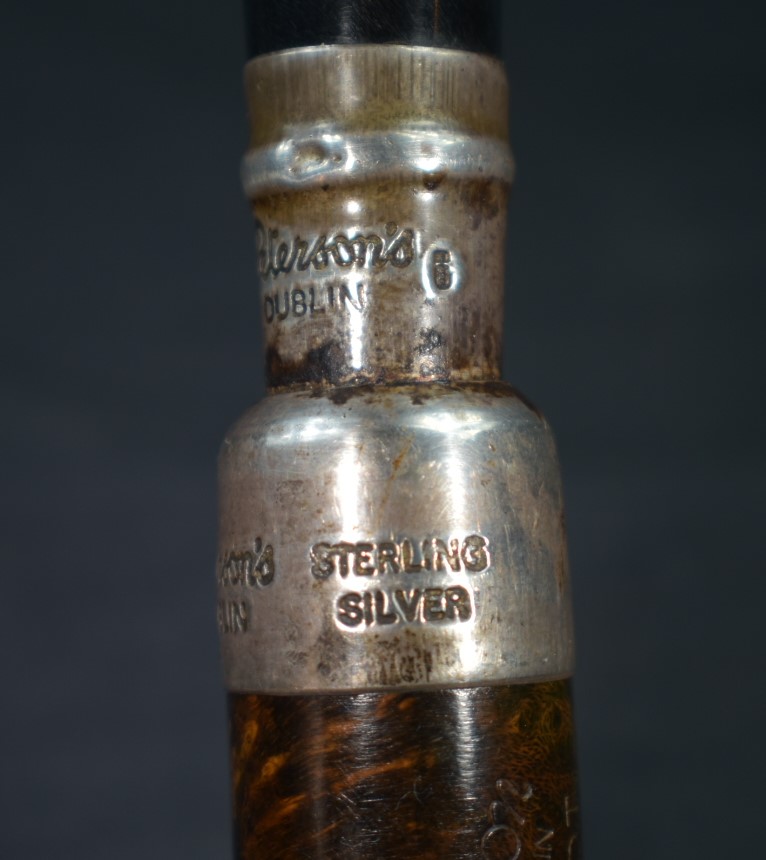


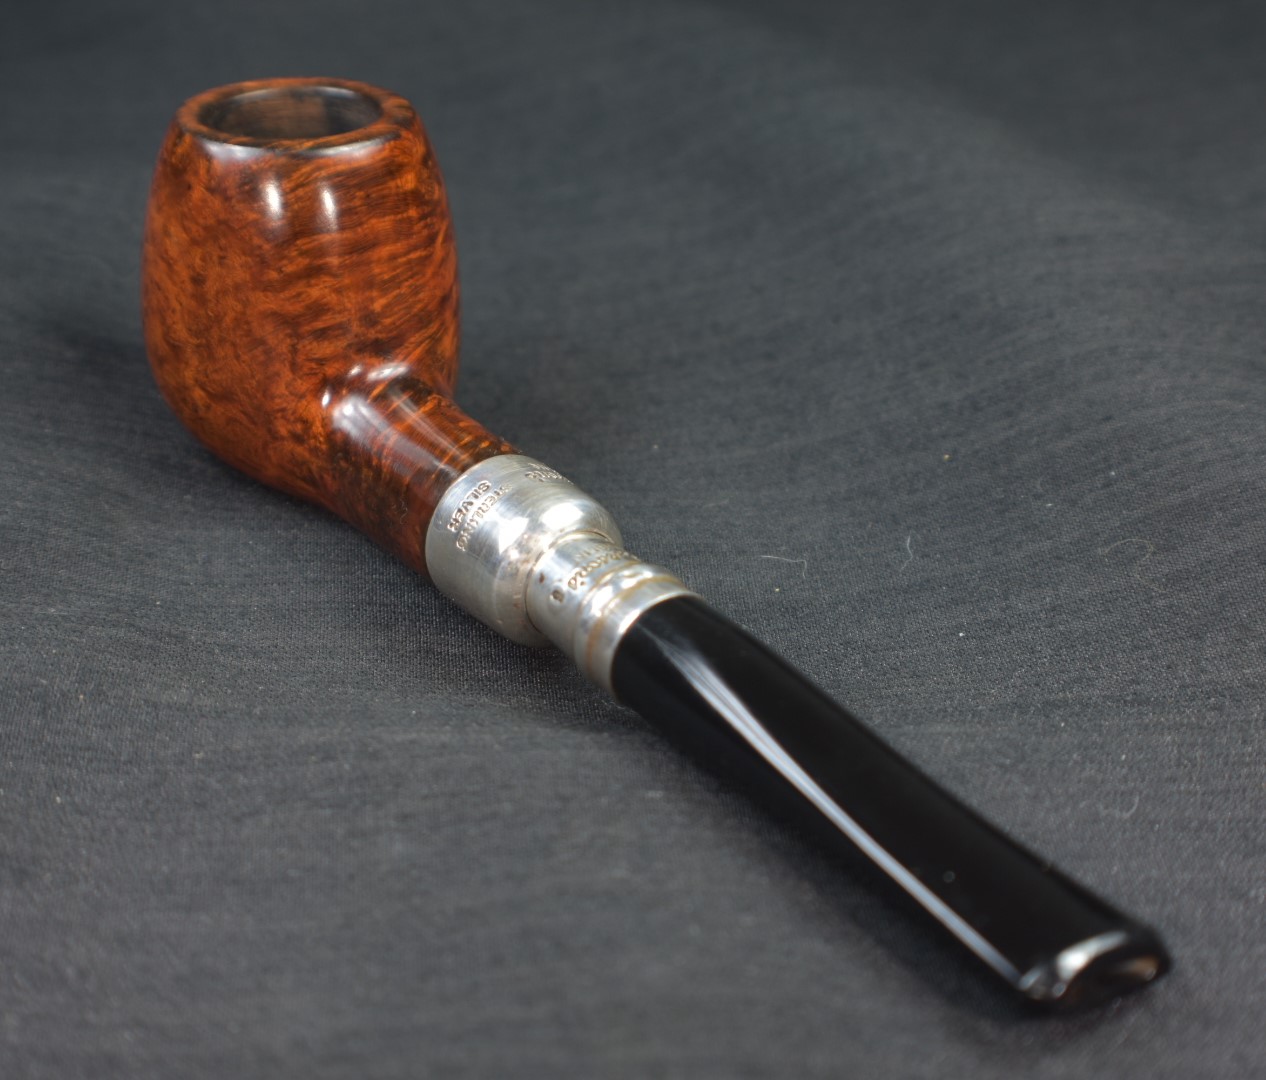
 The image to the left is a screen clip of the PPN-Hallmark-Chart. While the photo below is the hallmark of this pipe.


 (
(