
Photographed and written by
John M. Young
Yep, it’s another Peterson. What do you expect from a guy that is also known as NebraksaPeteGeek? This pipe only had to cross the Missouri River to get here. The seller was from just east of Council Bluffs Iowa. I didn’t notice until the tracking said I could expect the pipe to arrive in two days. That’s when I looked at the seller’s location. I felt kind of dumb. Well maybe, dumber. I could have picked the pipe up on the way to visit my sister, east of Council Bluffs and finagle a free dinner out of the trip. Oh well, postal workers need posts just like dogs need head pats and I need more pipes to restore. Everybody is a winner.
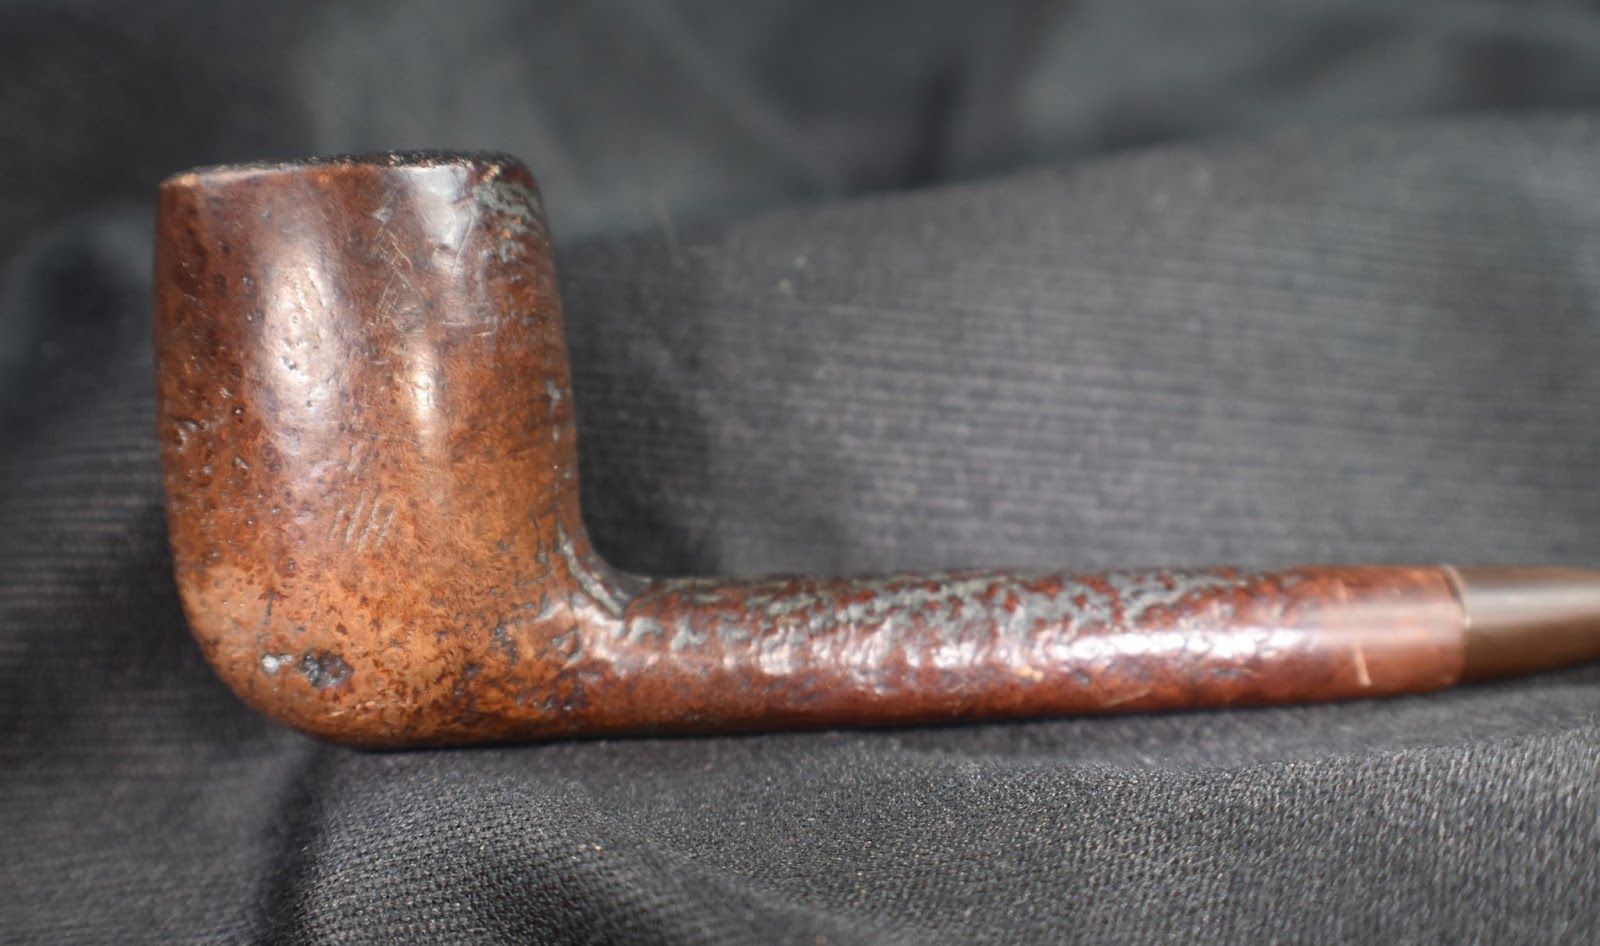
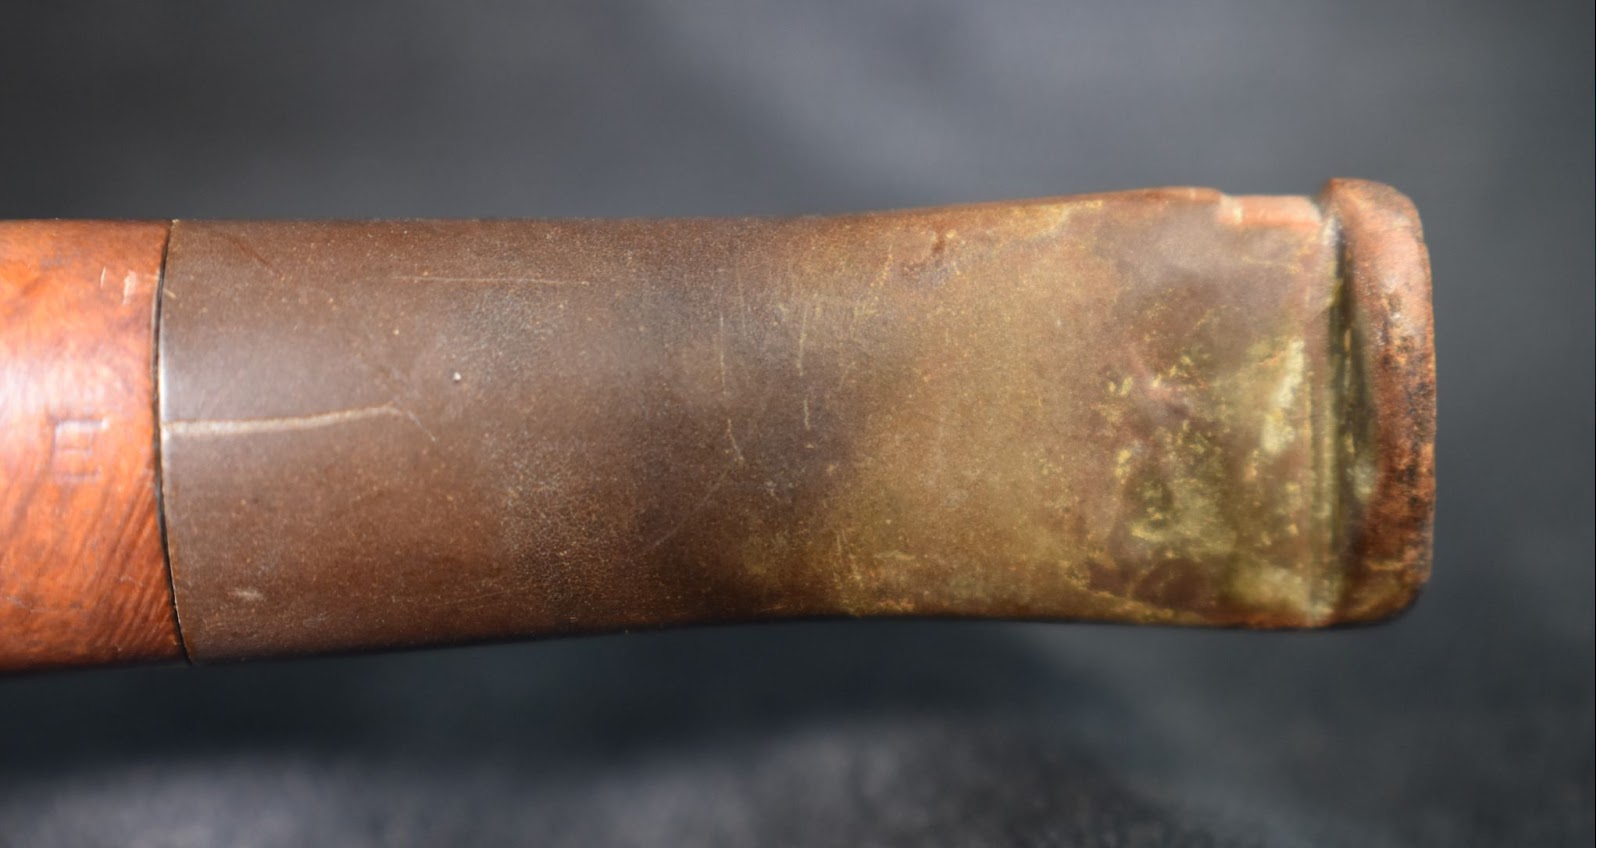
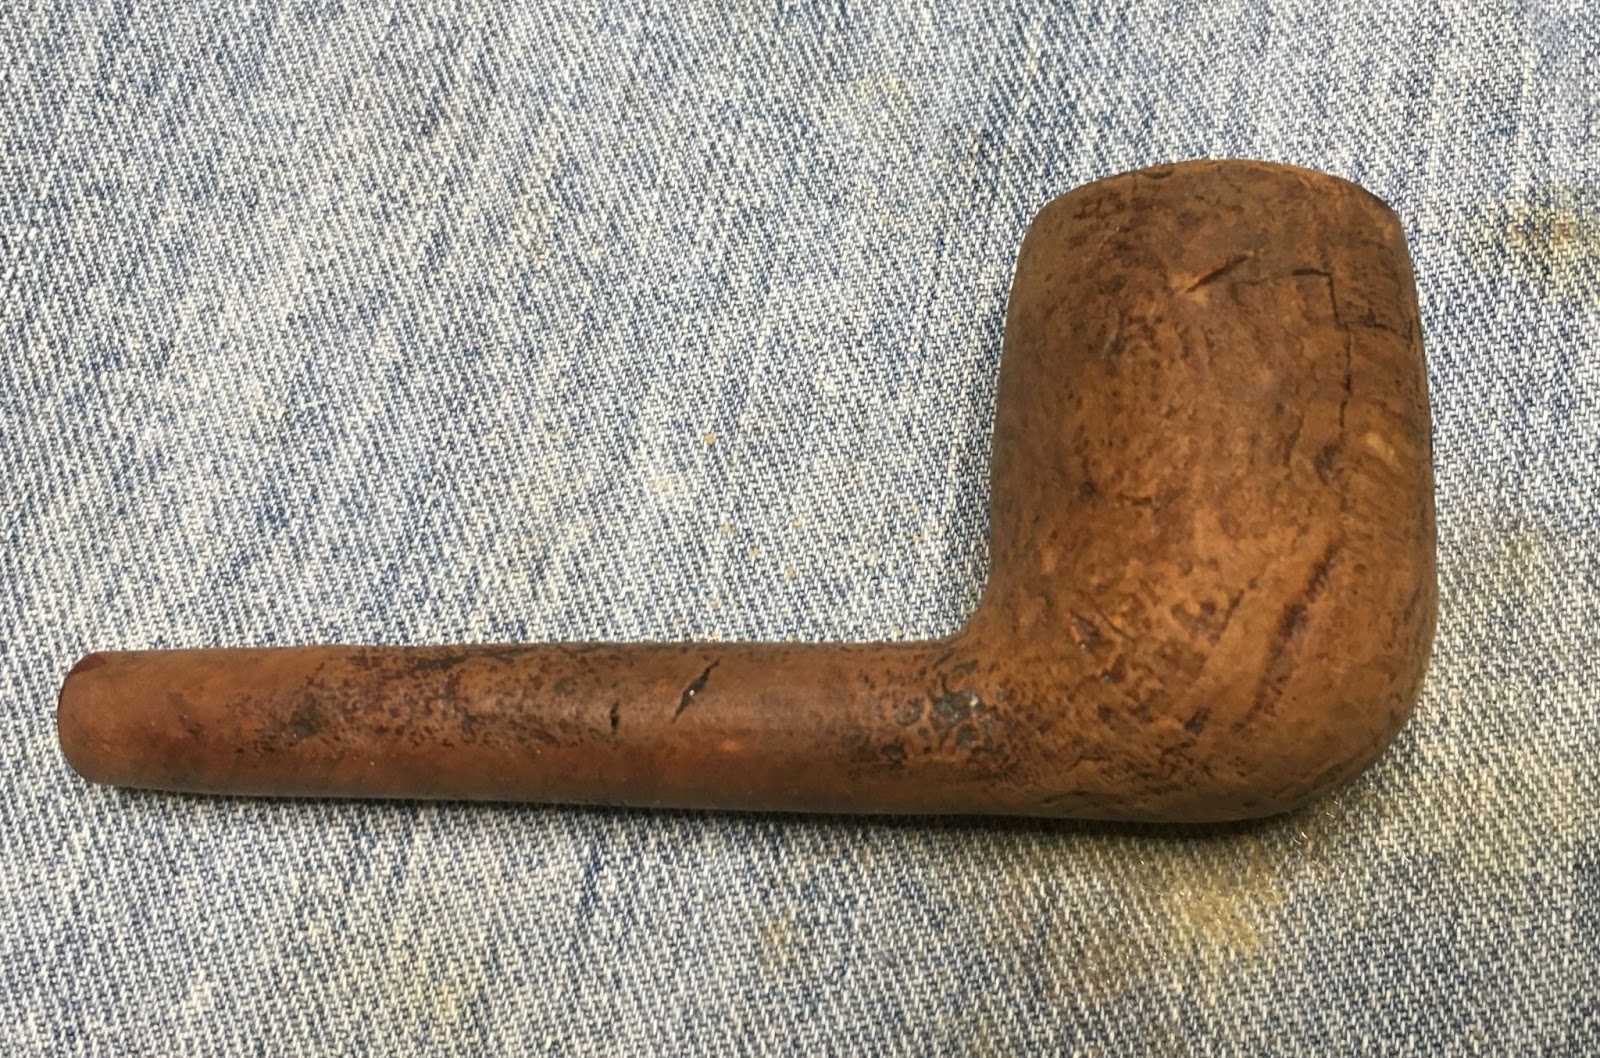
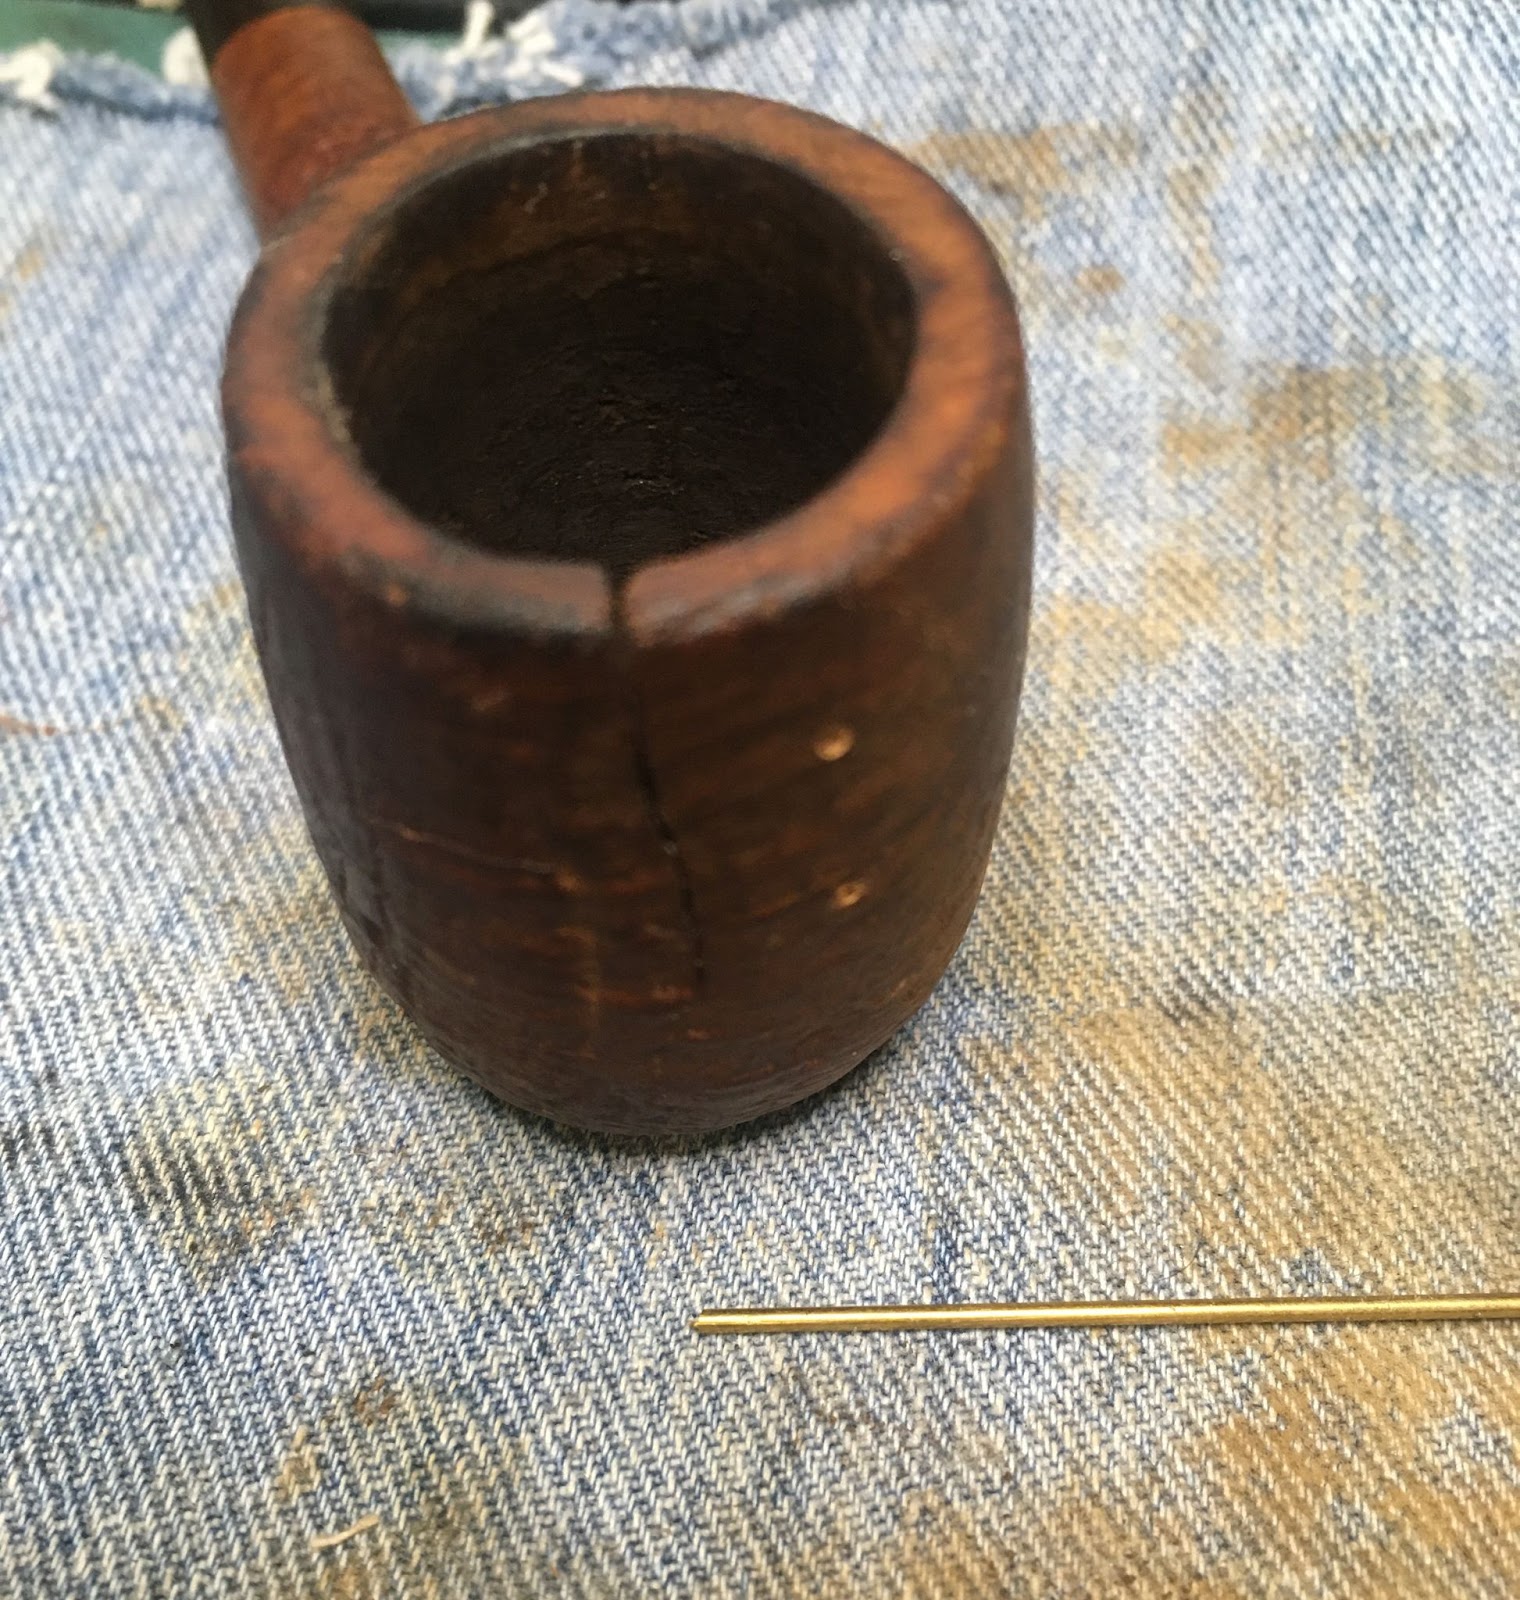
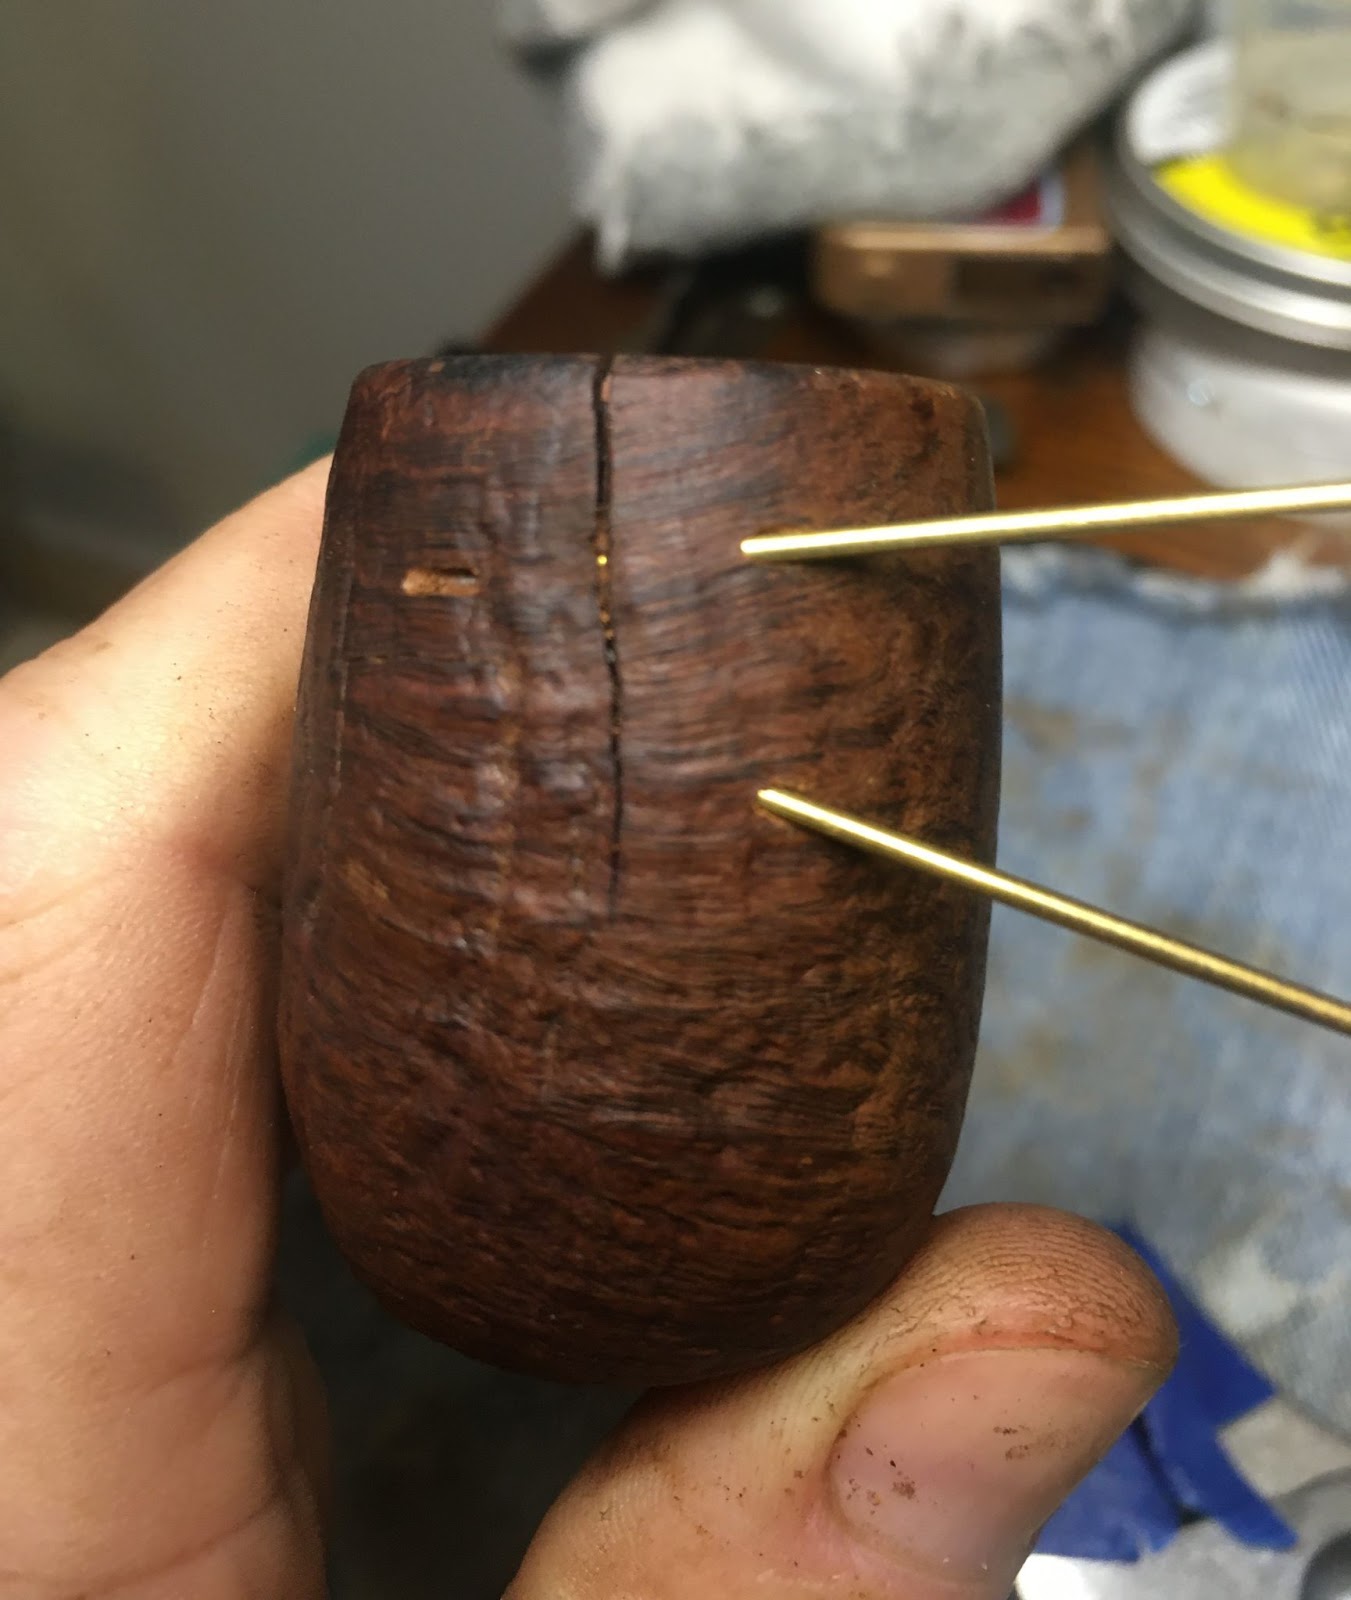
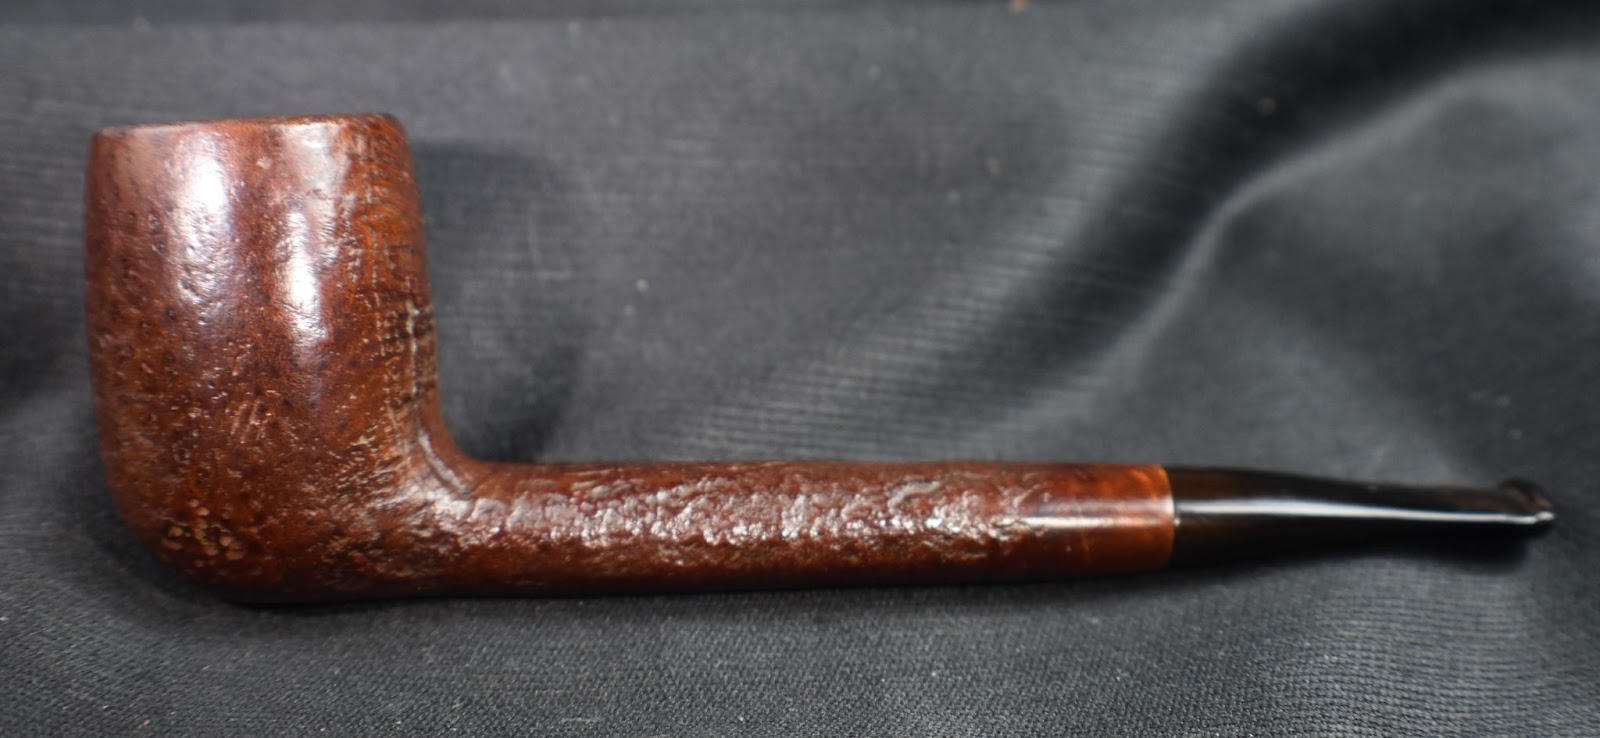
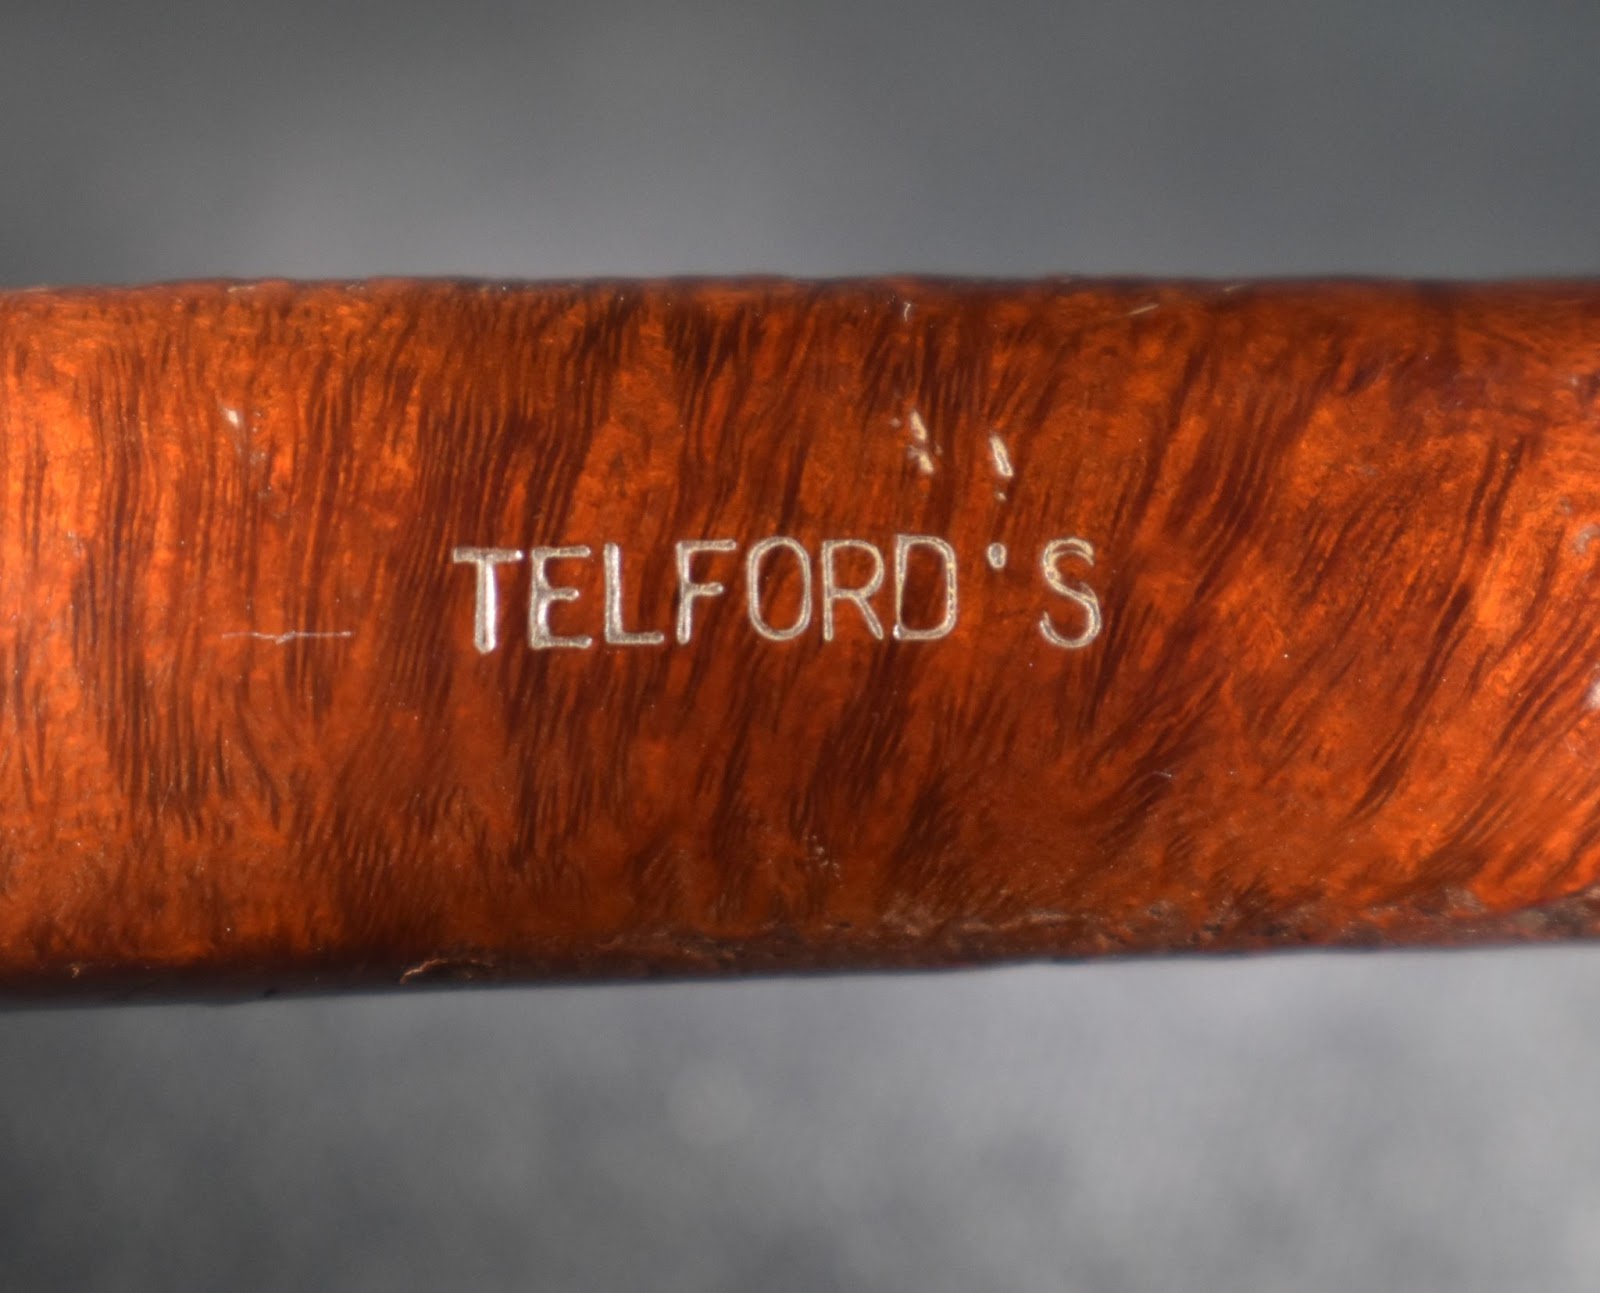
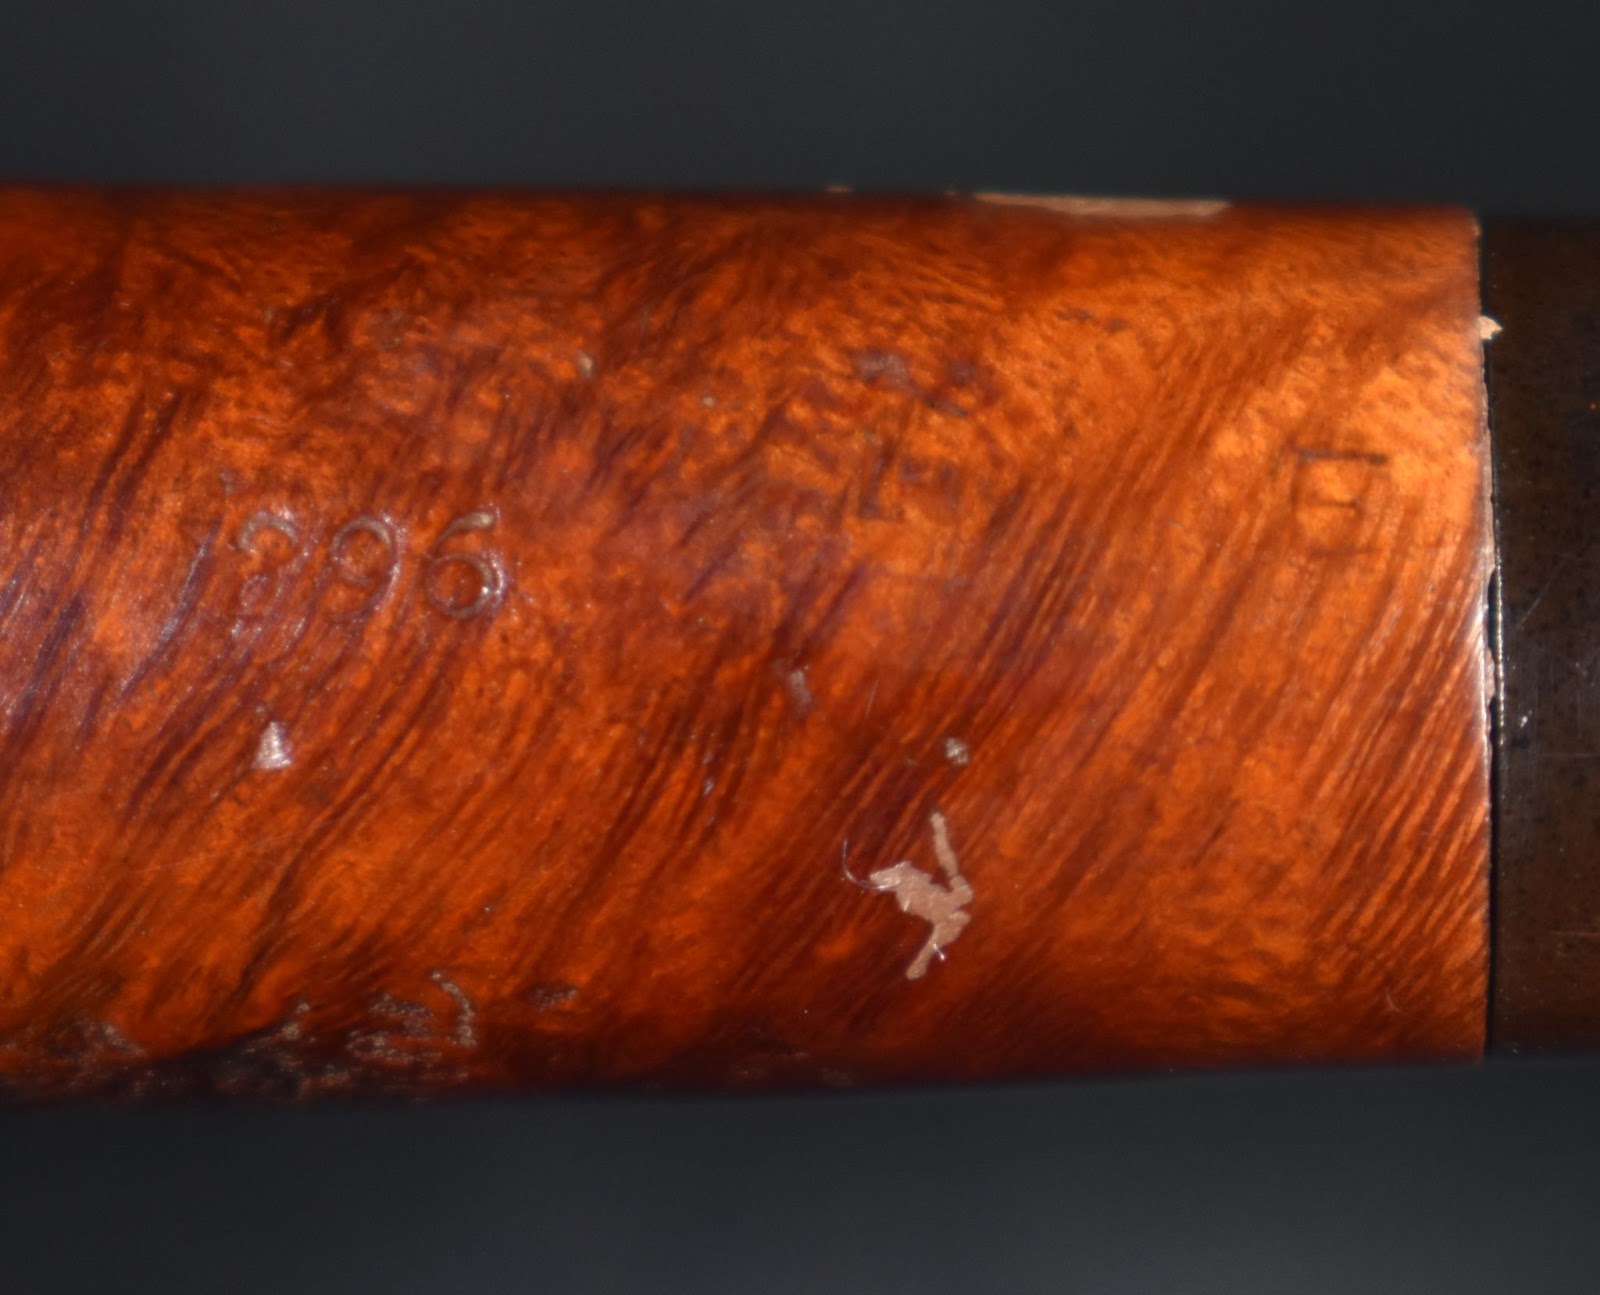
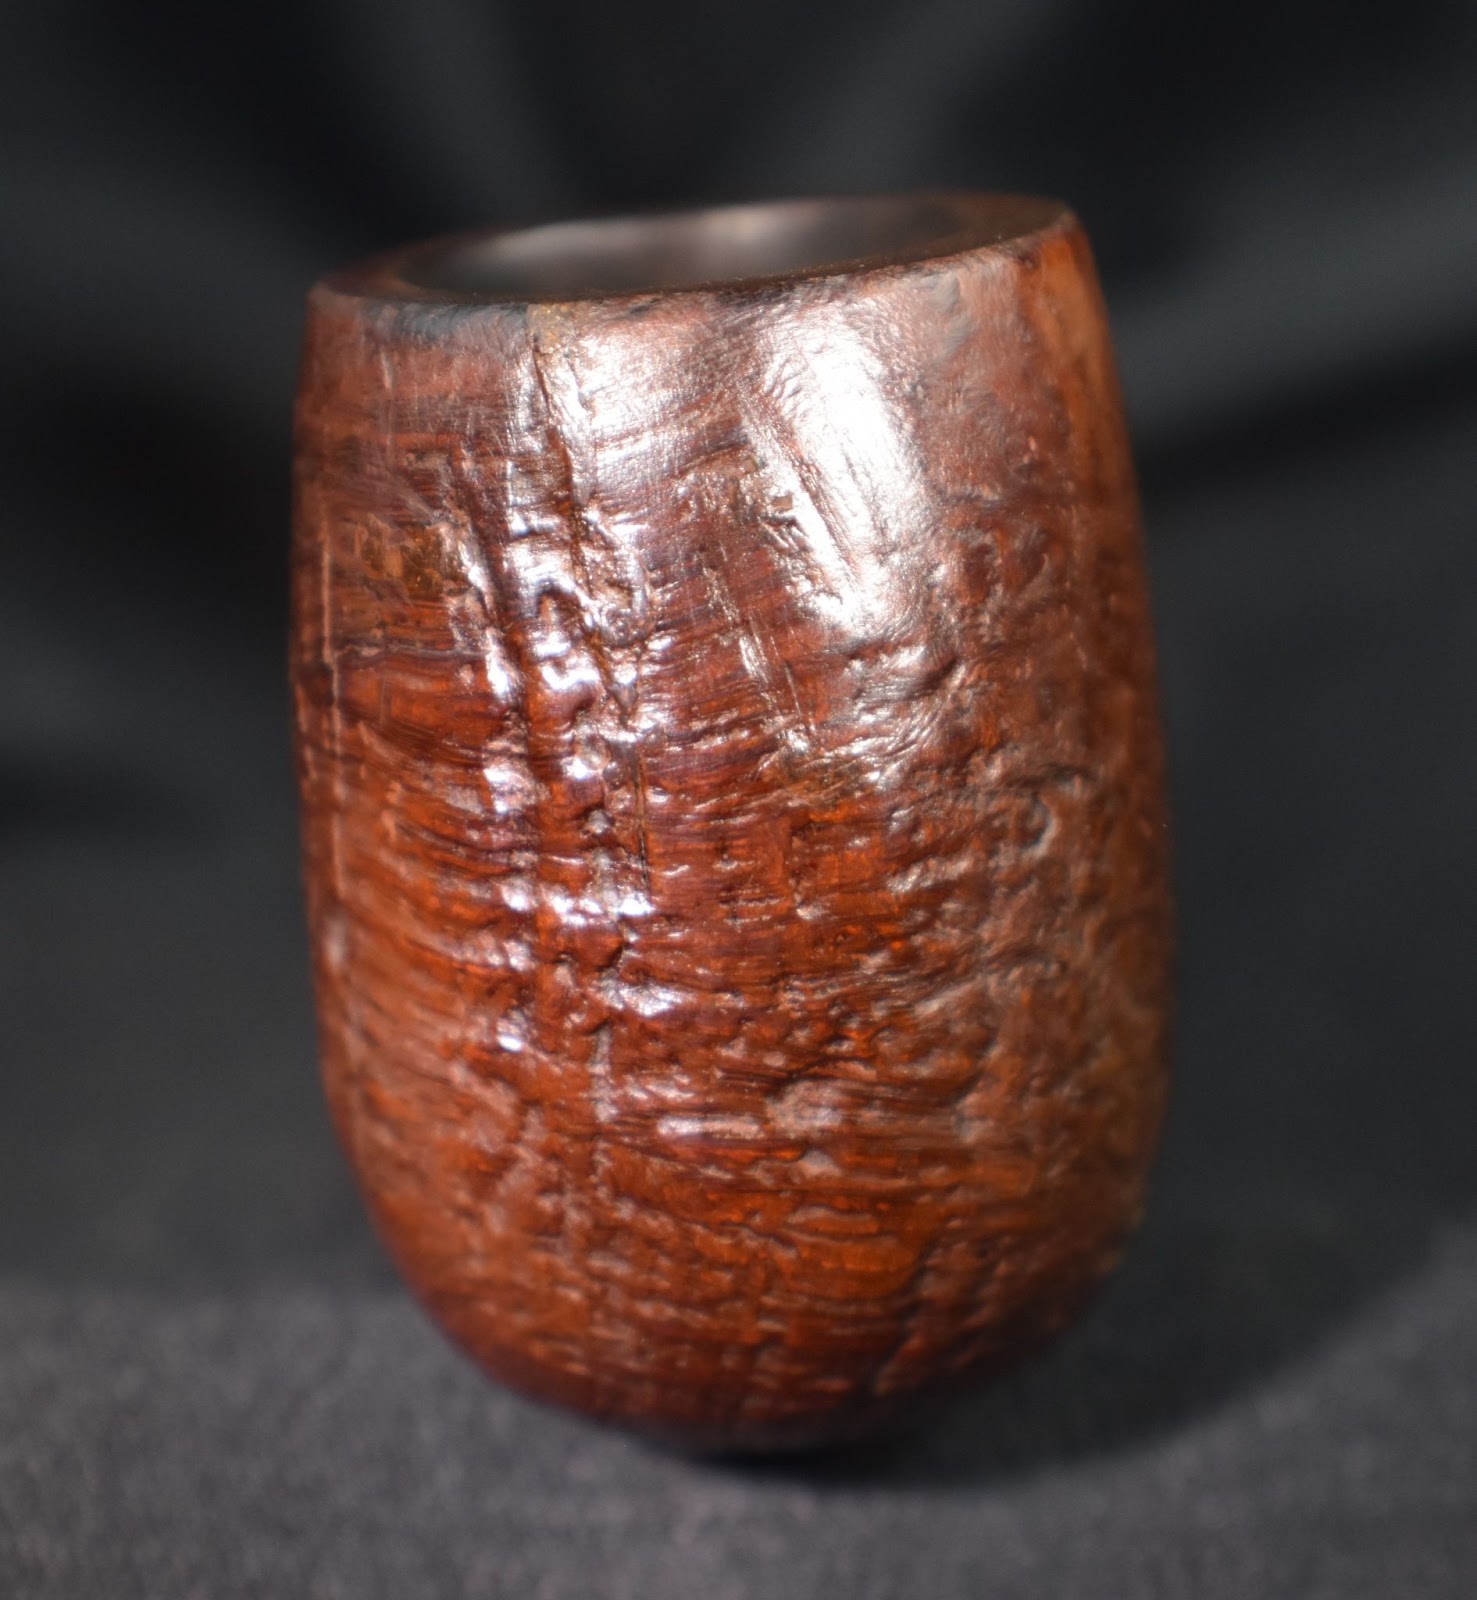
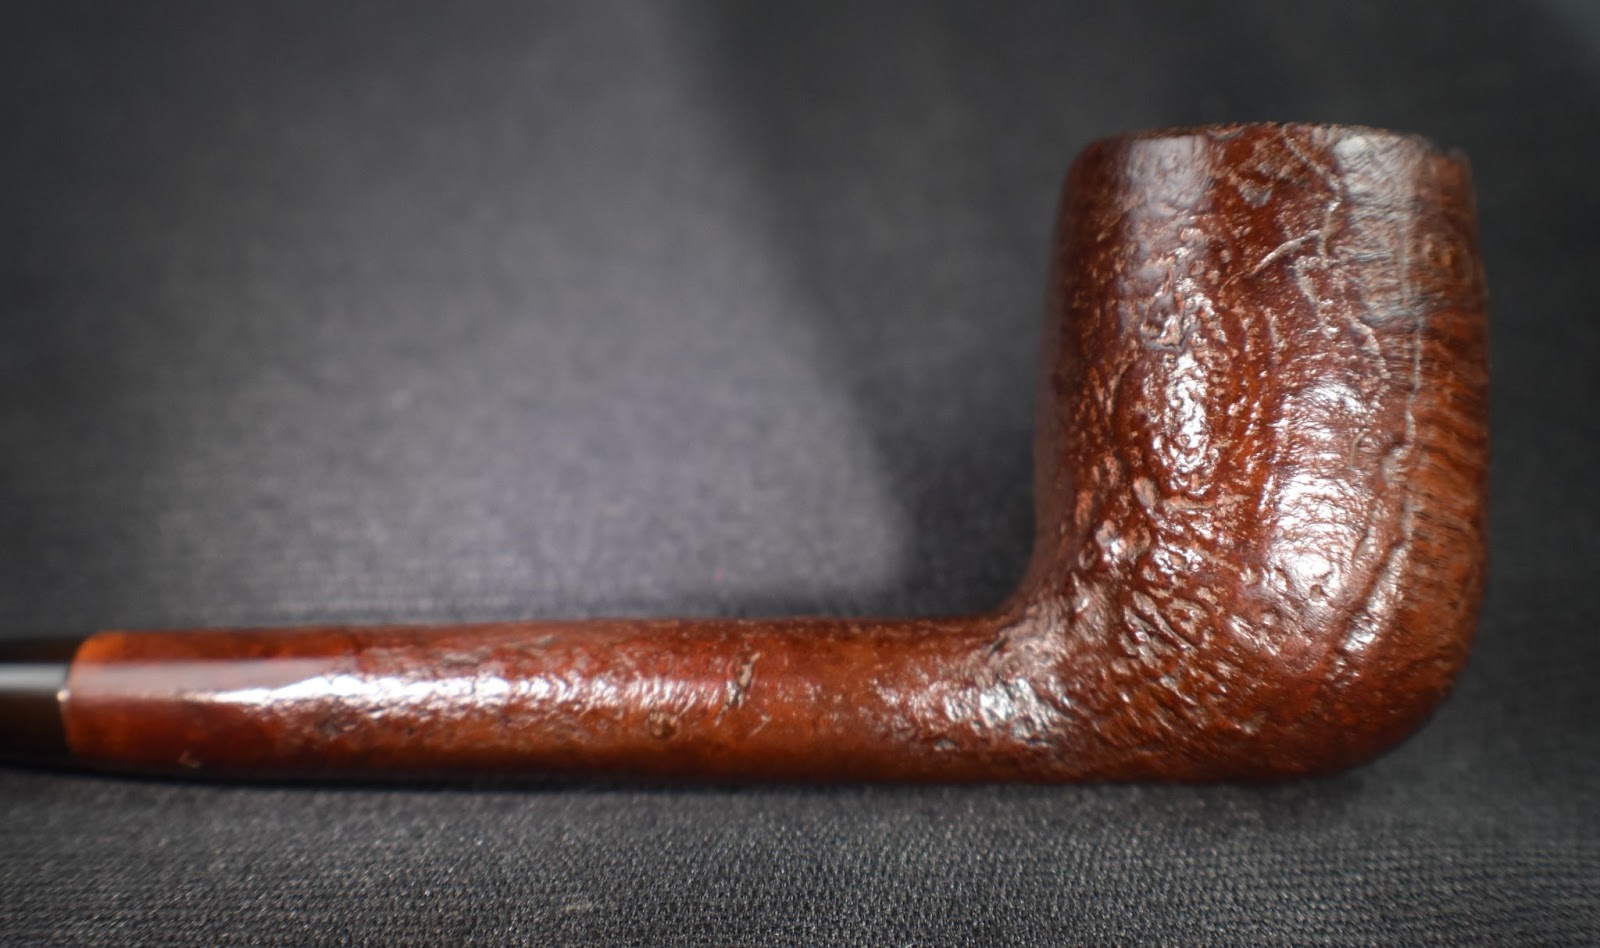
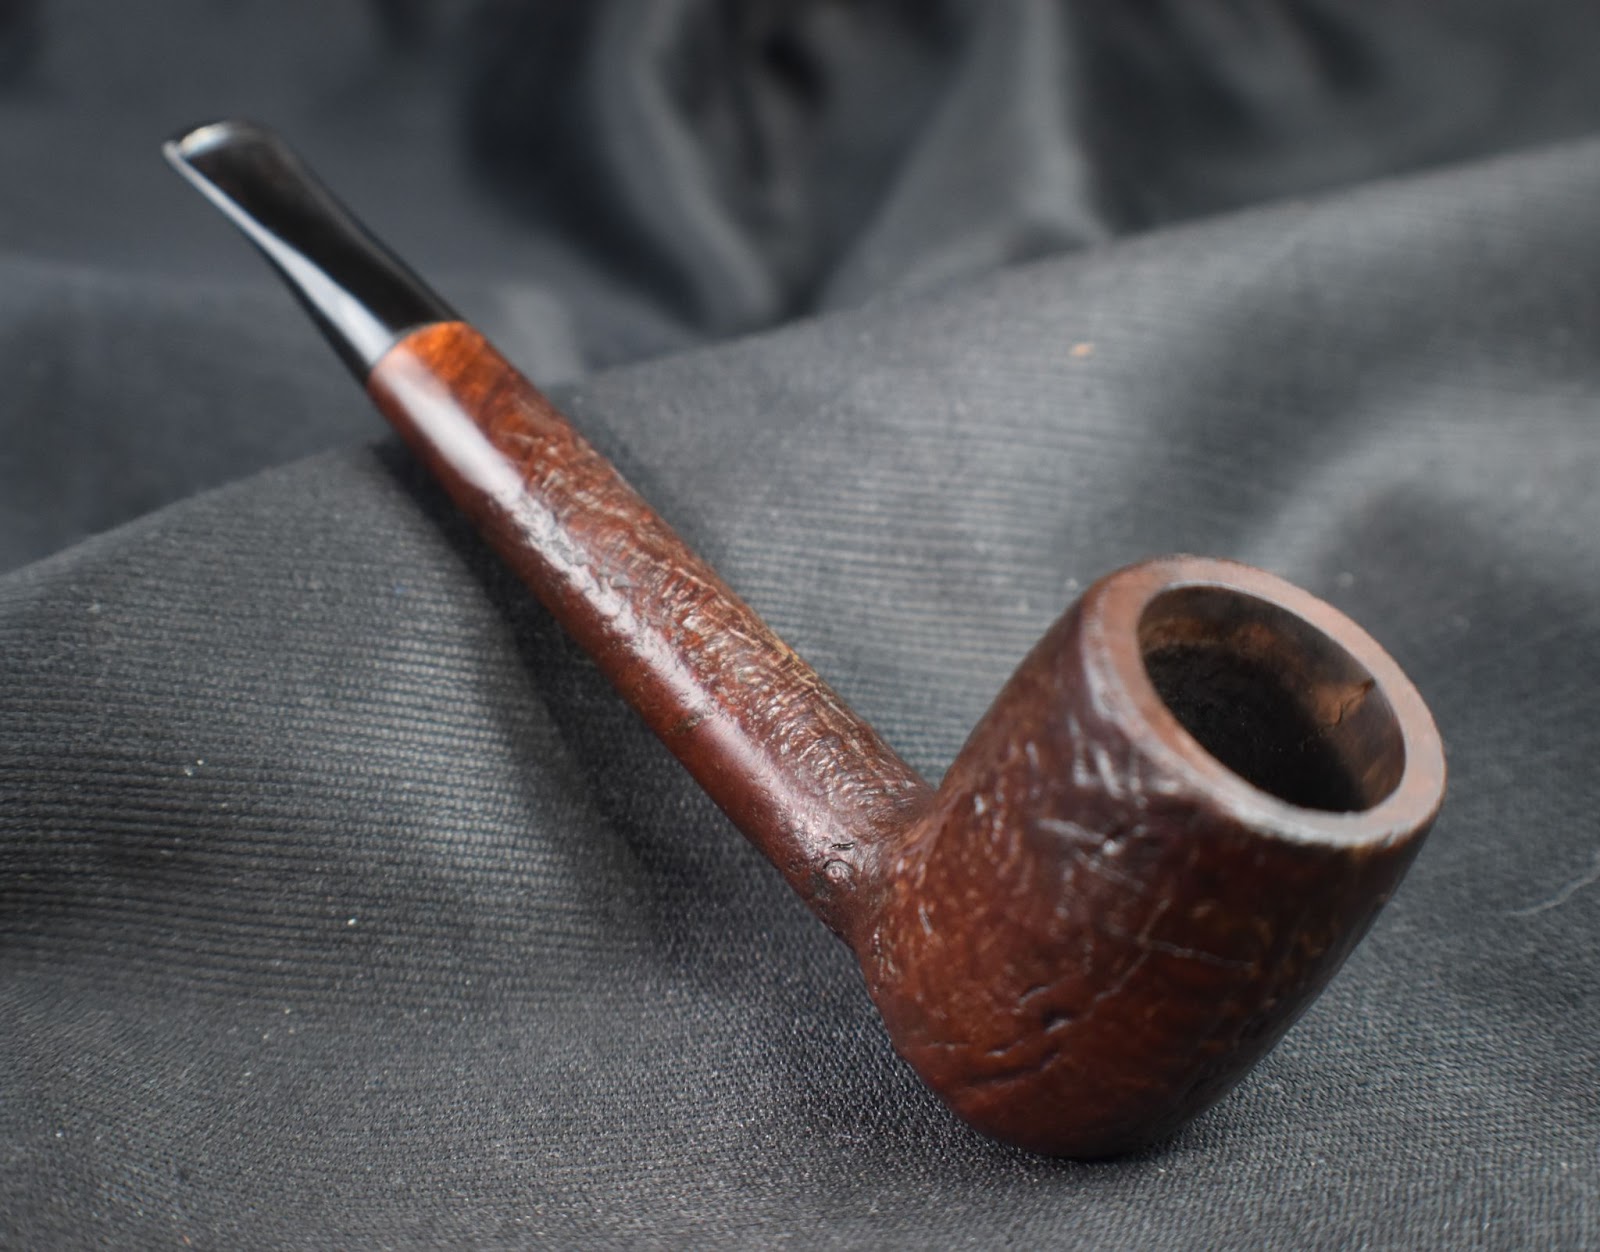
The 306 was actually a shape which I did not own. The final 300 shape of the series void is no longer a void. The best part is that the pipe is a sitter and doesn’t really require a slot in a pipe rack. It can just sit in the cabinet next to the rack and look majestic and self-sufficient. This 306 bore the following stamps all immediately below the nickel collar on the left shank: Peterson (arched in the traditional script) over OF DUBLIN (also arched) over SYSTEM over STANDARD 306. The nickel ferrule dome was stamped with the expected K&P over PETERSON. Since this is a standard there were no hallmarks. Below are some photos of the 306 prior to it being worked on.


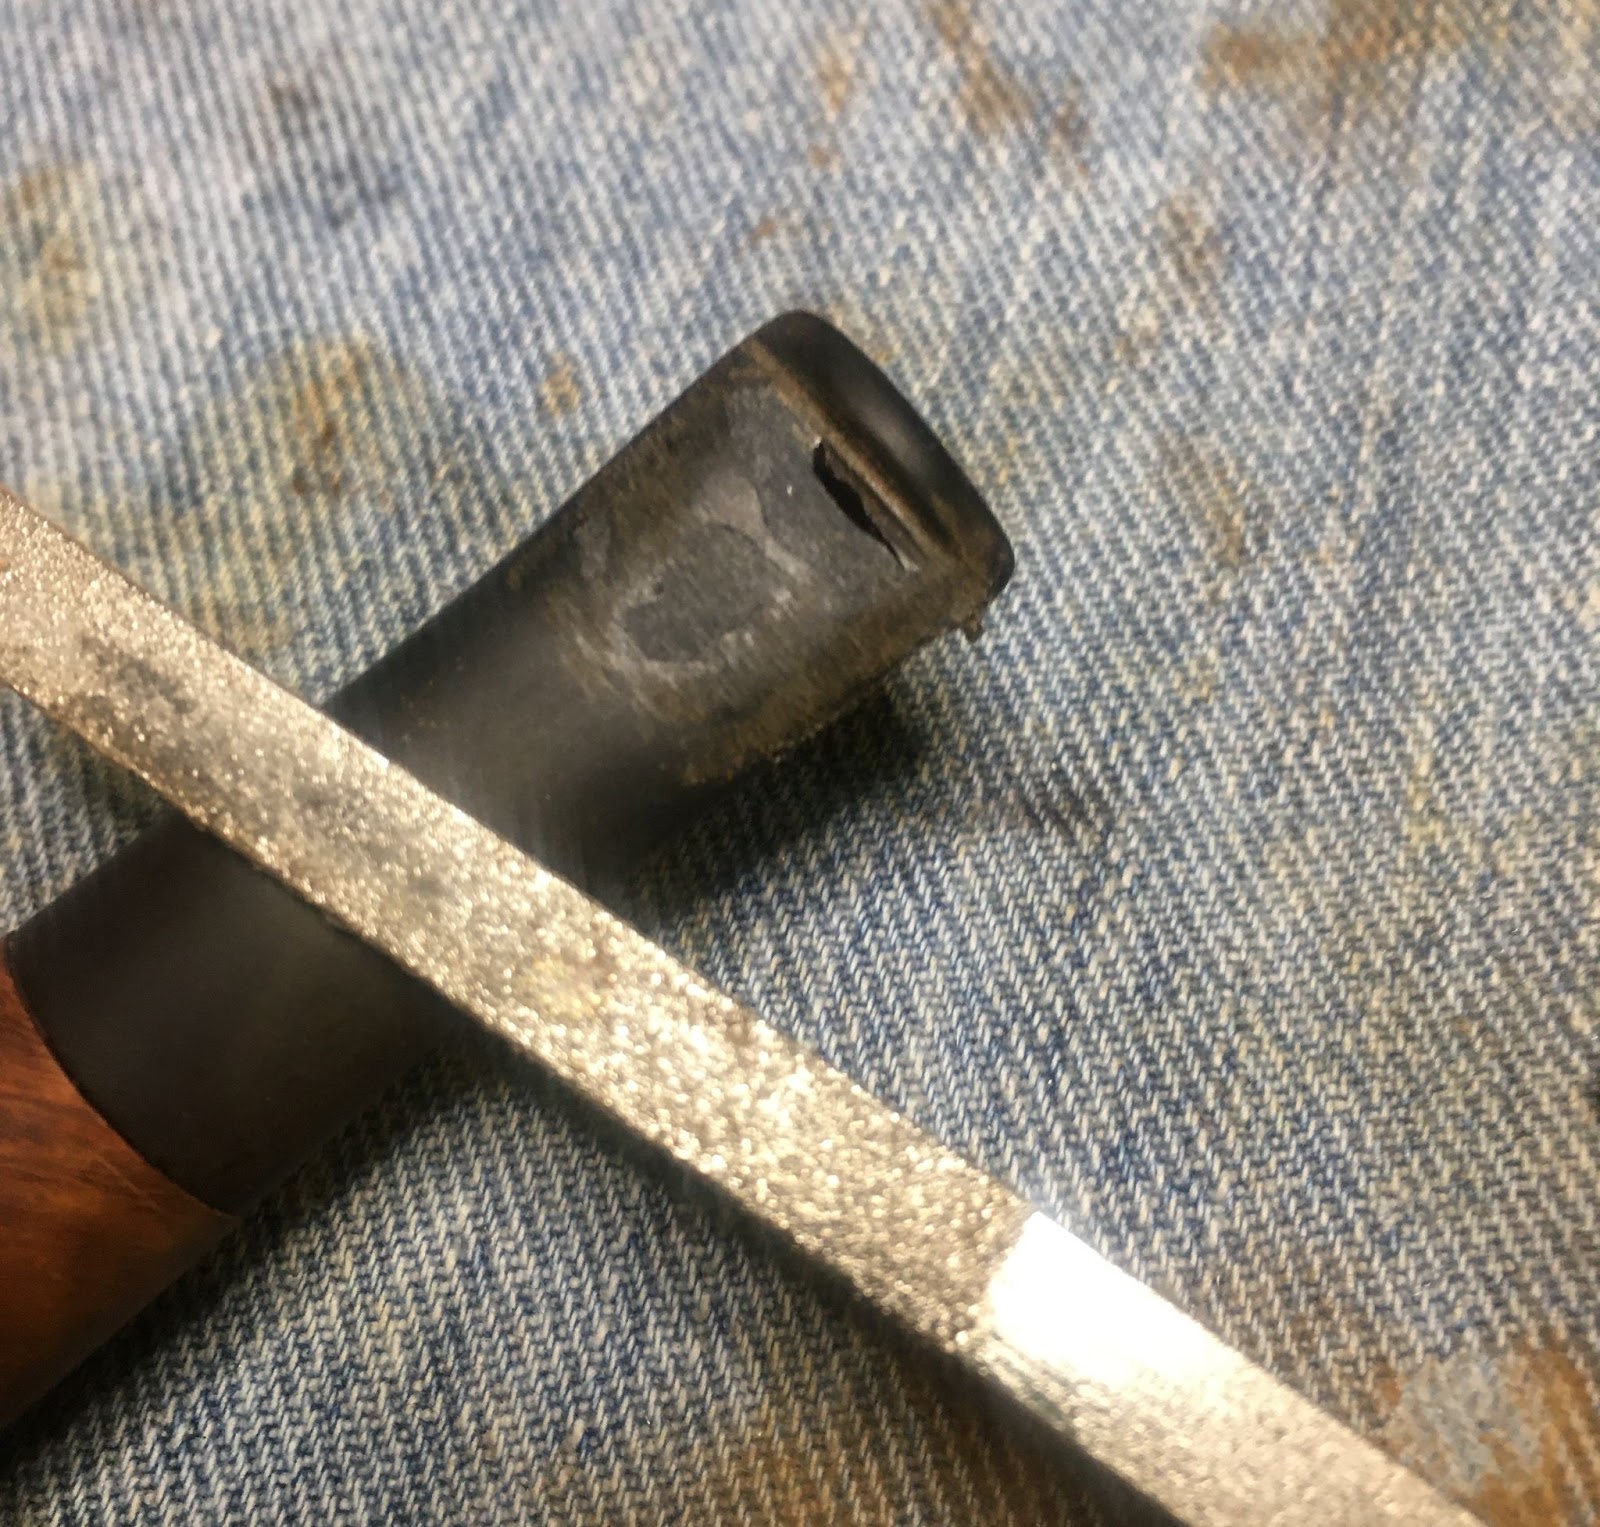
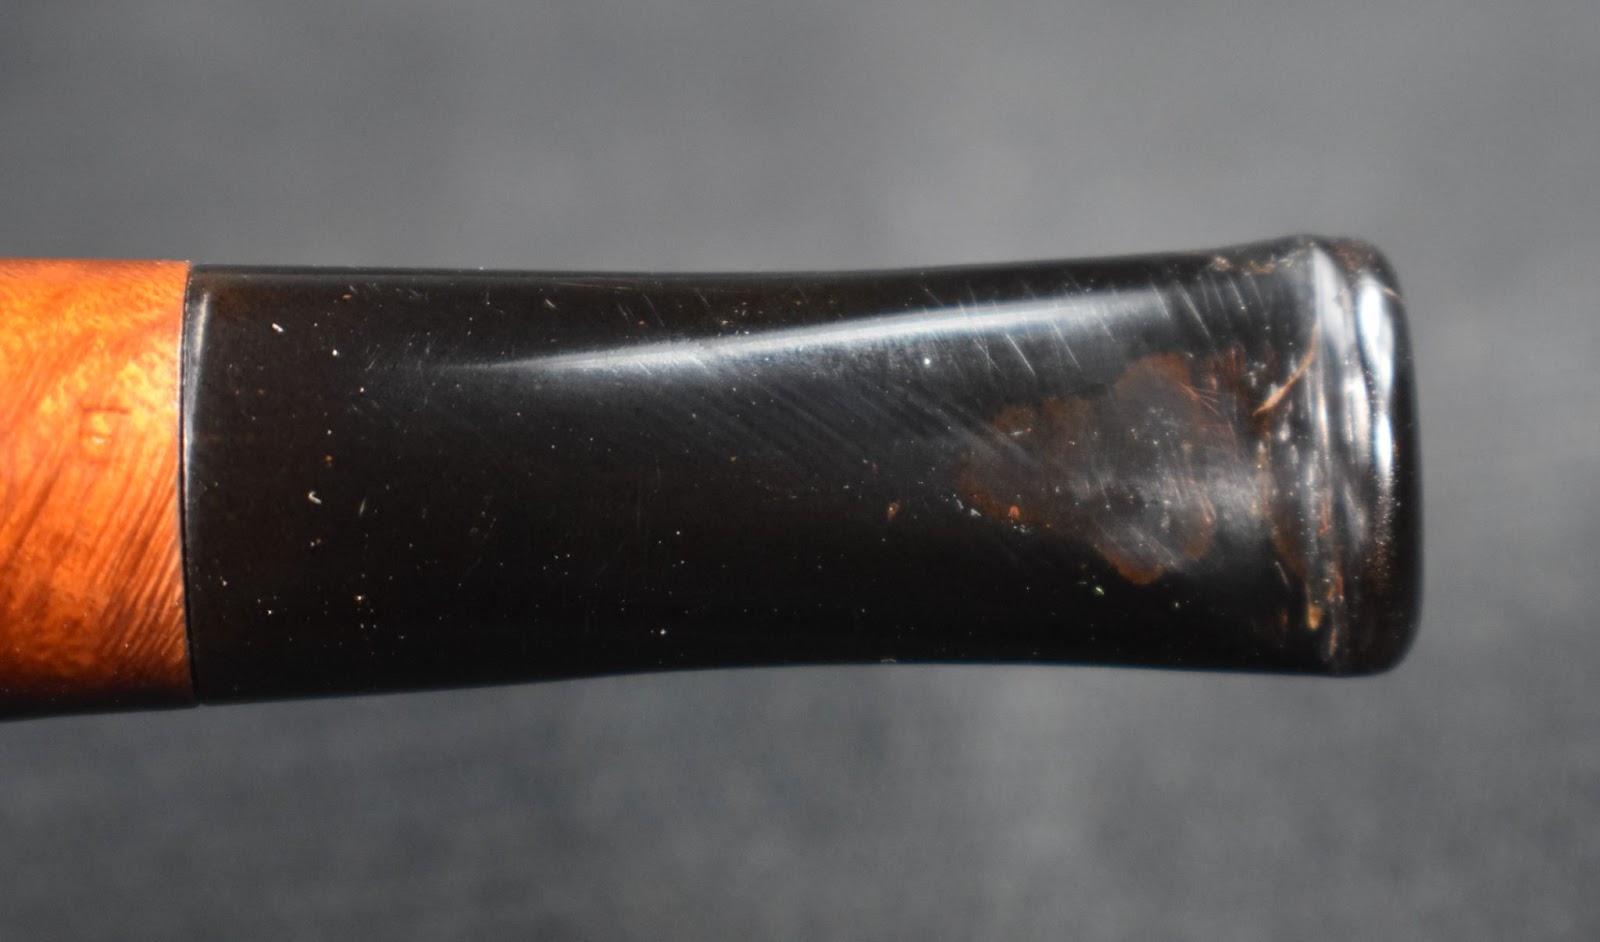
The briar was in great shape. A little bit of cake in the bowl and a smidge of lava overflowed onto the rim. The stem had seen some chomping and wore the scars. Looking at the indentations it appeared the chomper clenched on his right. Either way, those would need repairs. The whole restoration looked like it would be a relaxing endeavor.
Background
If you have been following this blog for a length of time you know I have done a few Peterson restorations in the past. If you are new here, welcome and I’ve done a few Peterson restorations in the past. I’m not going to go on and on about the history of the oldest continually operating pipe manufacturer in the world and arguably the best. I will however lead you to The Peterson Pipe book. Mark Irwin and Gary Marlburg’s book is a must read for a Pete Geek.

(Available at https://www.smokingpipes.com/accessories/books/moreinfo.cfm?product_id=471478) I am also including a couple of free sites as the book is a bit pricey,
The first site is pipedia.org’s History of Peterson by Jim Lilley (Peterson – Pipedia)
The second is the pipephil.eu site for all things logo: Peterson: historical pipes — Pipes: Logos & Markings (pipephil.eu) They also have a few other links to things like the Peterson timeline and P-lip information.
As a summary of the 306,, I am quoting the Peterson.ie site below. I figured that since this pipe is currently in production why not let the makers speak for themselves.
“About the Shape
Combining the sturdy stability of a Poker with convenient jaw-hanging balance, our flat-bottomed Oom Paul is a versatile design, able to sit stably on a desk or be easily clenched in the teeth. Its bold, muscular proportions resonate with our iconic House Style.”
“About the Series
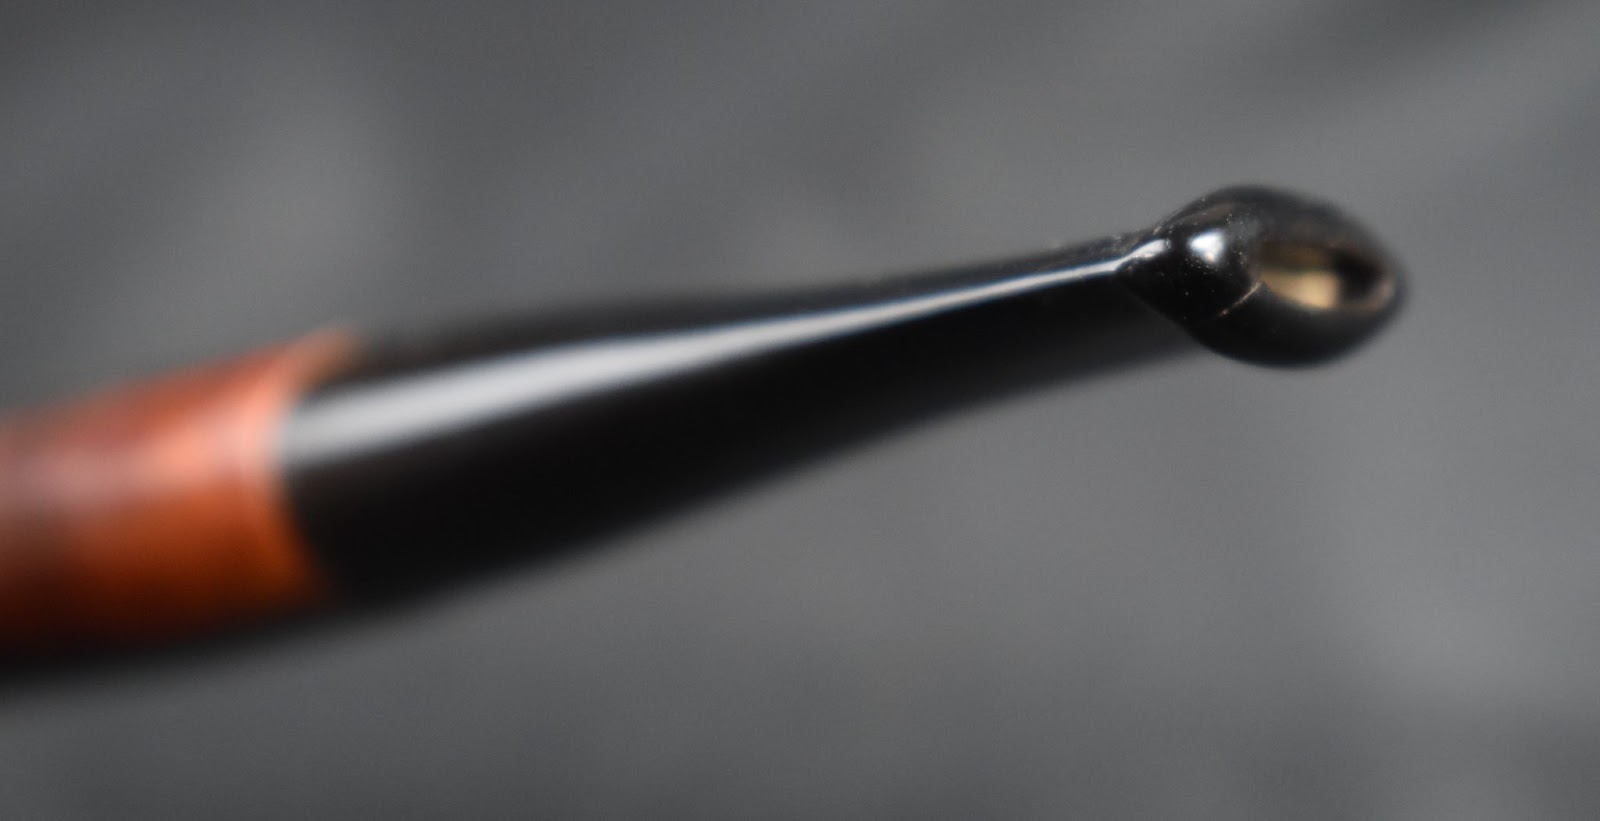
Our flagship line, the System Standard stamp first appeared in 1945, but the entry-level design has been a staple in our catalogues since Charles Peterson secured his final patent in 1898. Designed to provide a cooler, drier smoke, each pipe features a deep reservoir within the shank to collect excess moisture; a graduated bore mouthpiece that funnels the smoke and allows moisture to collect within the reservoir; a sturdy nickel military mount, which allows the pipe to be broken down and cleaned without damage or warping; and our patented P-Lip bit, which draws the smoke upward, thus reducing tongue bite. While the P-Lip bit is the traditional choice, we also offer System Standard pipes with fishtail stems. Available here in the traditional walnut stain of the Smooth finish.”
“About the Range
In 1890, after 15 years of handling and repairing pipes while working for the Kapps, Charles Peterson secured a patent in his own name, titled “A certain new and useful improvement in Tobacco-Pipes,” which introduced a unique system comprised of a higher draft hole and a moisture reservoir bored into the shank and transition of a briar pipe. Over the next eight years, Charles continued to refine his System, applying for and securing patents for a graduated bore mouthpiece (1891), and a unique button design known today as the P-Lip (1894-1898). Designed to wick moisture away from the smoke, reduce tongue bite, and increase the longevity of the pipe, Peterson’s complete System patent sparked a tradition of innovation, one we continue to uphold to this day. The System Pipe is the invisible source behind our unique House Style: our pipes’ muscular shanks and transitions, tubular profile, and generous bends. Our overall shaping style has a distinctly antique form because it has remained largely unchanged for over 120 years.
In our System range, you’ll find a variety of shapes in myriad finishes, each featuring Charles Peterson’s groundbreaking improvements in the realm of tobacco pipes. Whether you’re looking for your first pipe or to enhance a robust collection, here you’ll find numerous options to suit any taste, all backed by our legacy of craftsmanship.”
Now, I would never think to tell Peterson how to do their business nor how to engage in marketing but the above blurb “About The Shape” is lacking a certain bit which I find necessary. According to Irwin and Marlberg, “System shapes 304/20FB De Luxe and 306/11FB created by Paddy Larrigan and introduced in 1992” (Irwin, Mark and Malmberg, Gary (2018). The Peterson Pipe The Story of Kapp & Peterson, First edition, second printing 2021. Briar Books Press, Canada. p215). Paddy Larrigan was a third generation Peterson factory worker who was also responsible for the Dunmore line of pipes. His footprint in the history of Peterson should be glossed over. For more information on the Peterson Dunmore line check out my last Dunmore blog: https://wordpress.com/post/scimansays1787.com/6410. That means that this pipe’s origin story could have begun as early as 1992. The Standard line of pipes are difficult to date as they do not have any defining characteristics like hallmarks of silver mounted pipes. I did check the current stampings to see if they offered any notable changes and they appear the same today as this pipe’s stamps.

The Restoration
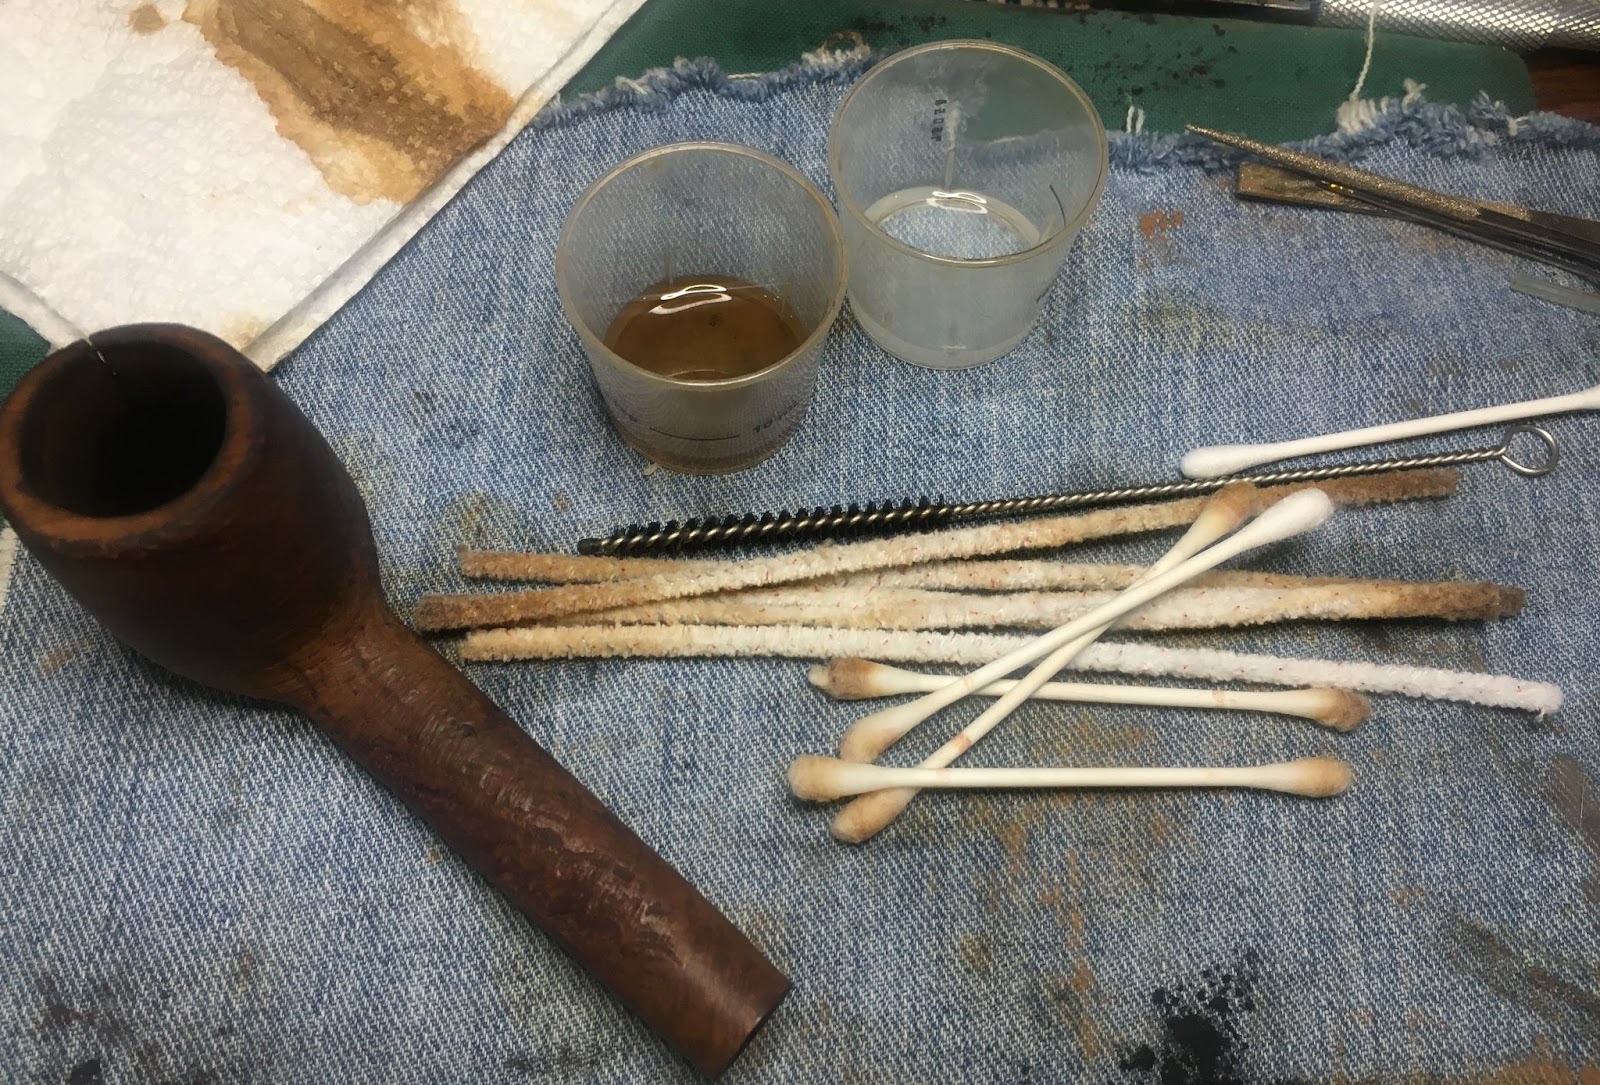
In typical “me” fashion I began with a laundered denim piece. I cannot use the term clean as the stains from previous restorations are taking a toll on that term.

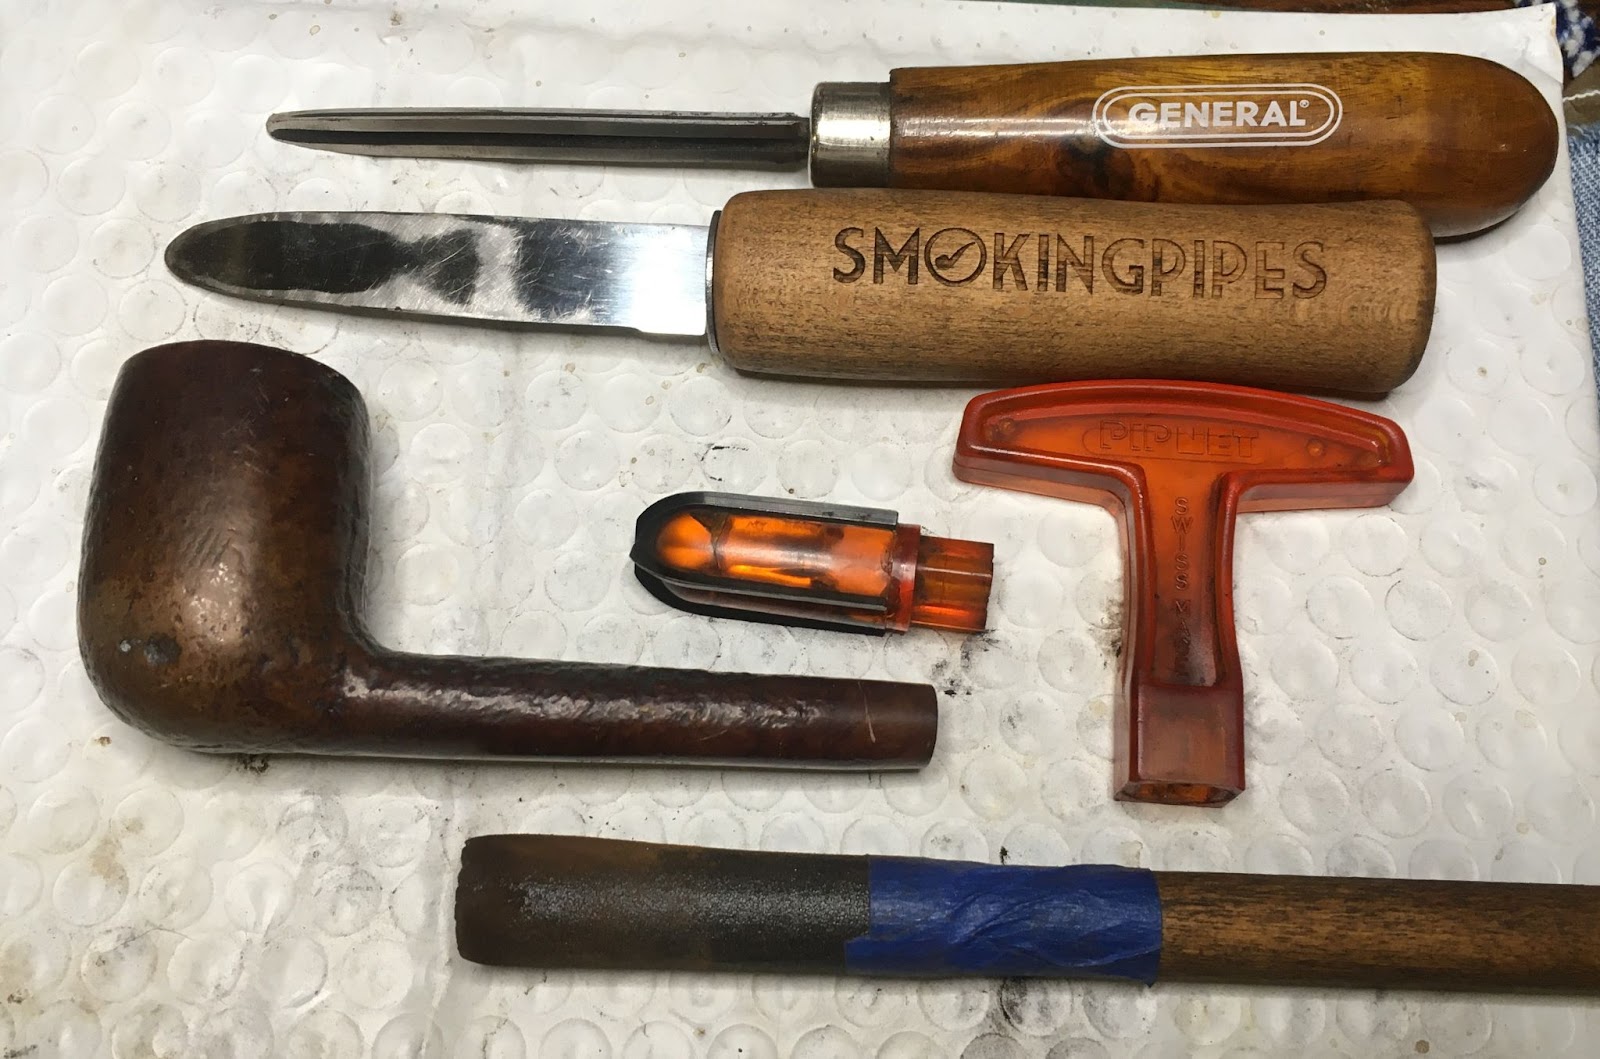
The reaming crew was called forth.

The PipNet with the #2 blades did most of the work clearing the cake from the tobacco chamber. Further scraping was done with both the Smokingpipes Low Country reaming knife and the General triangular scraper. The interior of the chamber was then sanded with 220 sandpaper wrapped around a wood dowel.

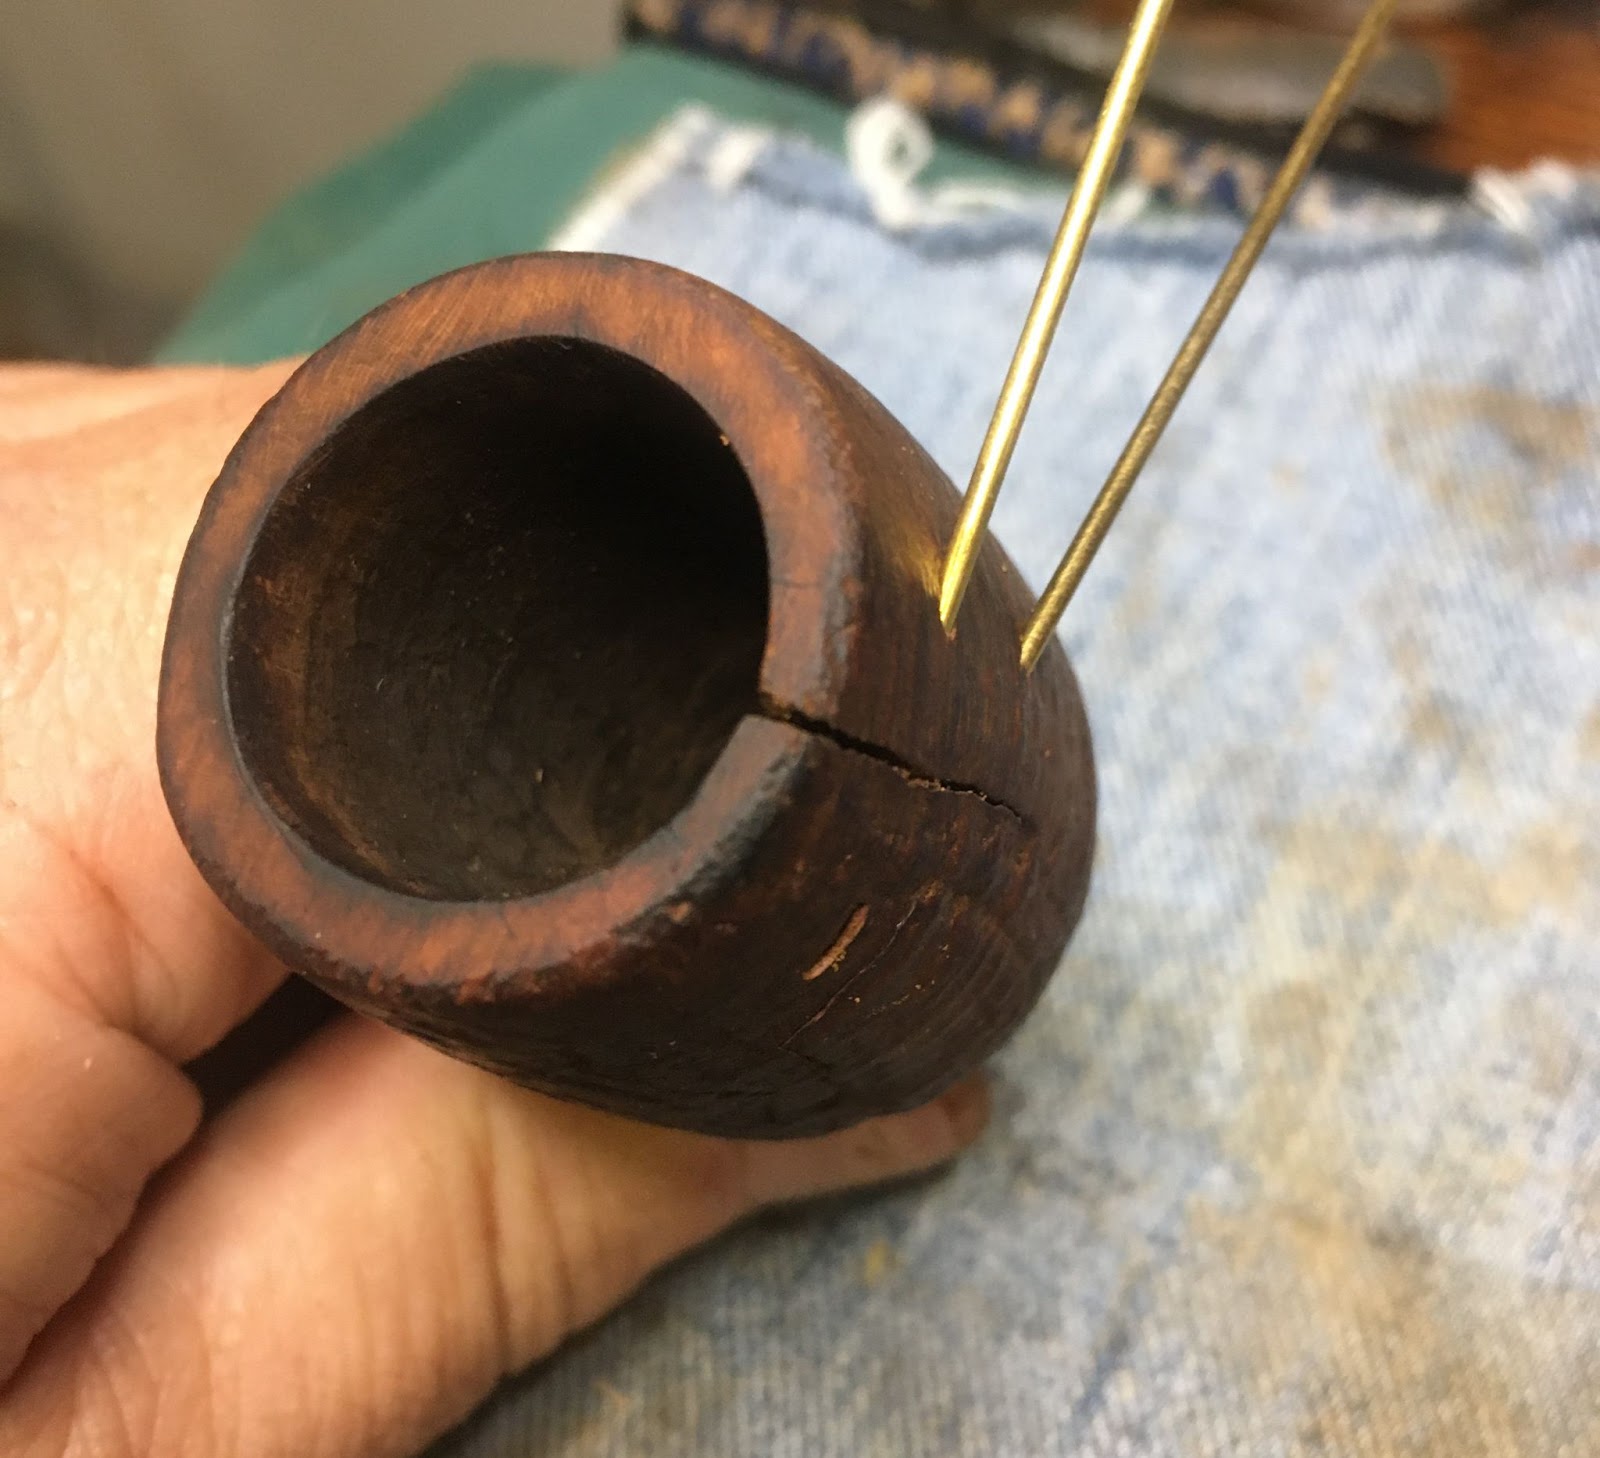
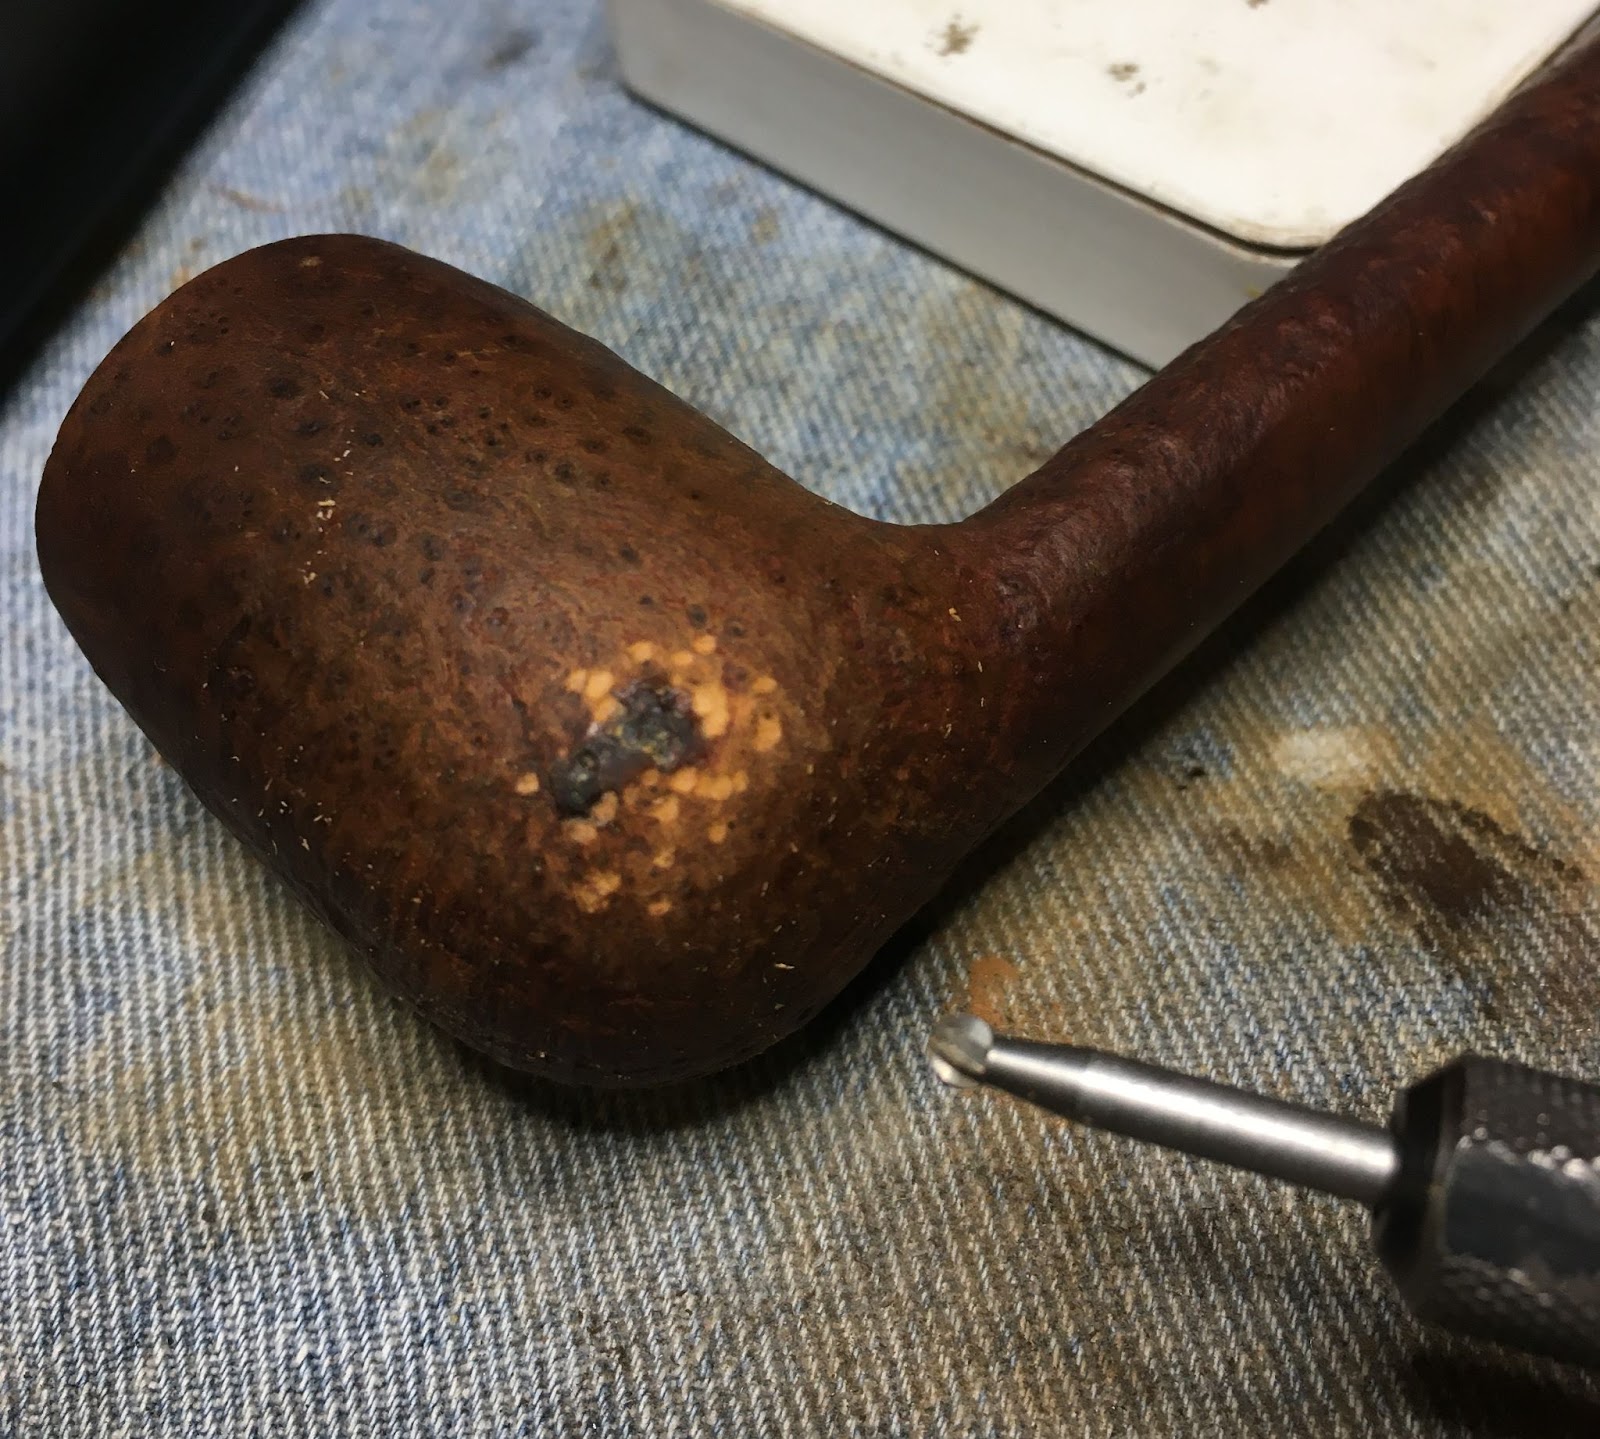
The interior of the tobacco chamber had some charring and heat damage. This was scraped and sanded as smooth as possible without drastically changing the interior shape. The damage was not severe nor very deep. I thought the best remediation would be a bowl coating and the end of the restoration.

The stem was next on the schedule. I place it into a fresh solution of Oxiclean and water. And allowed it to soak for 2 hours.

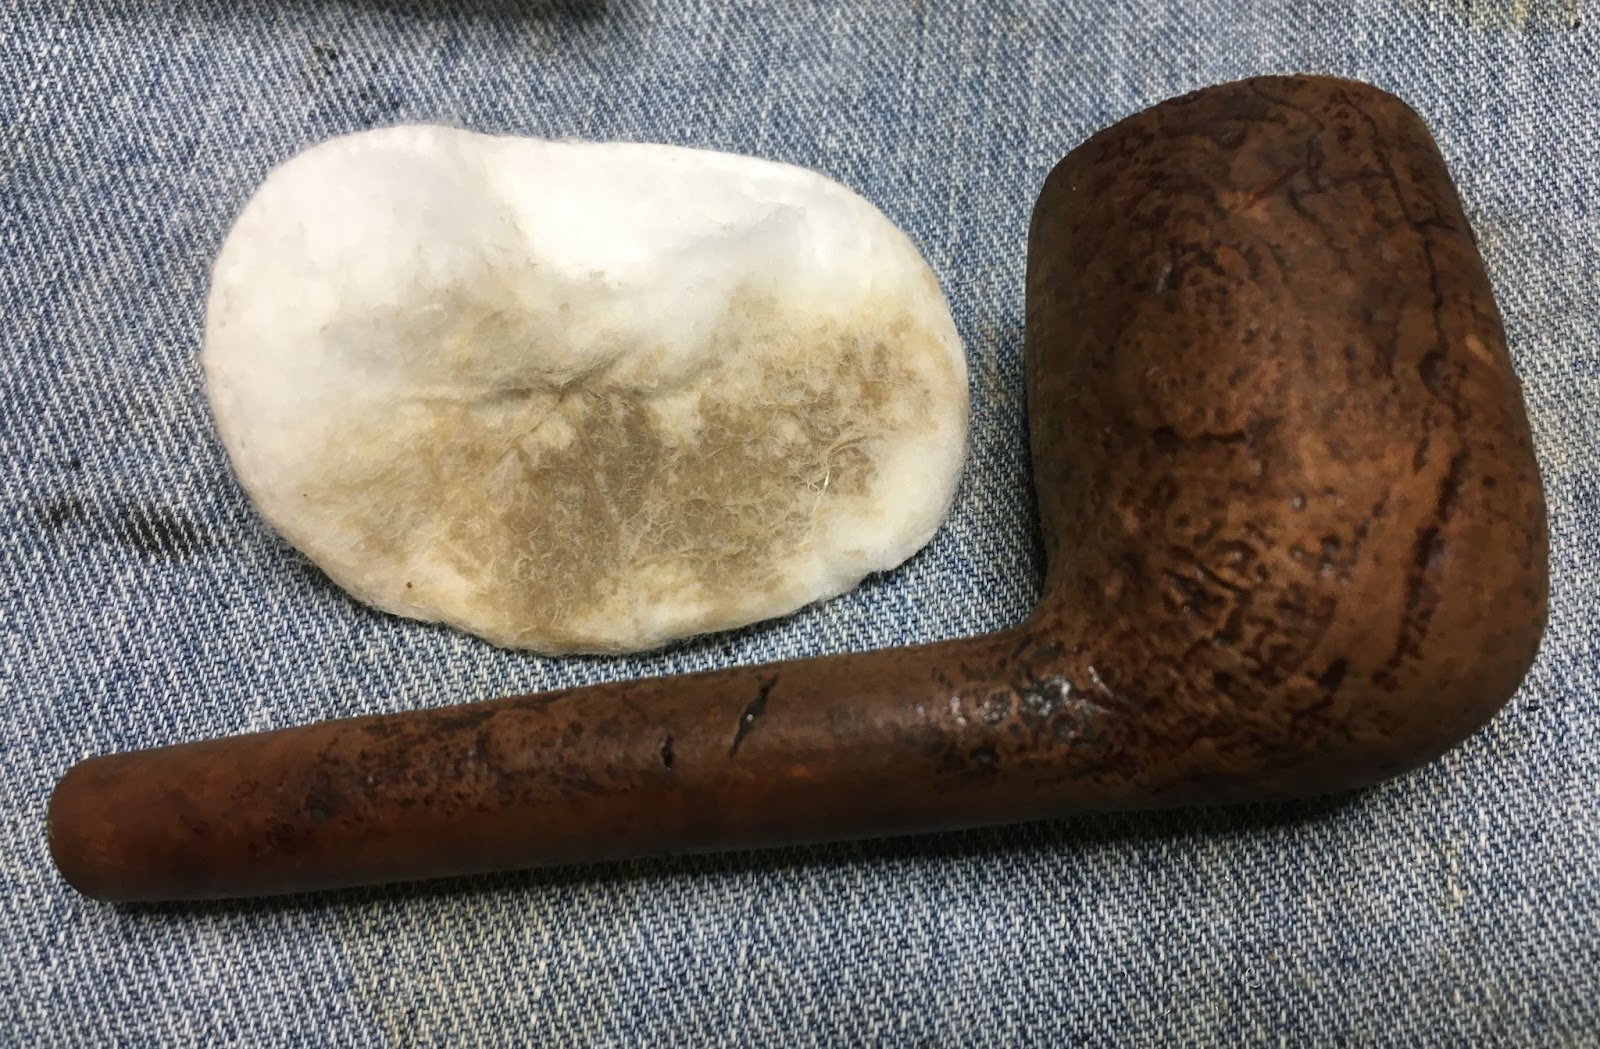
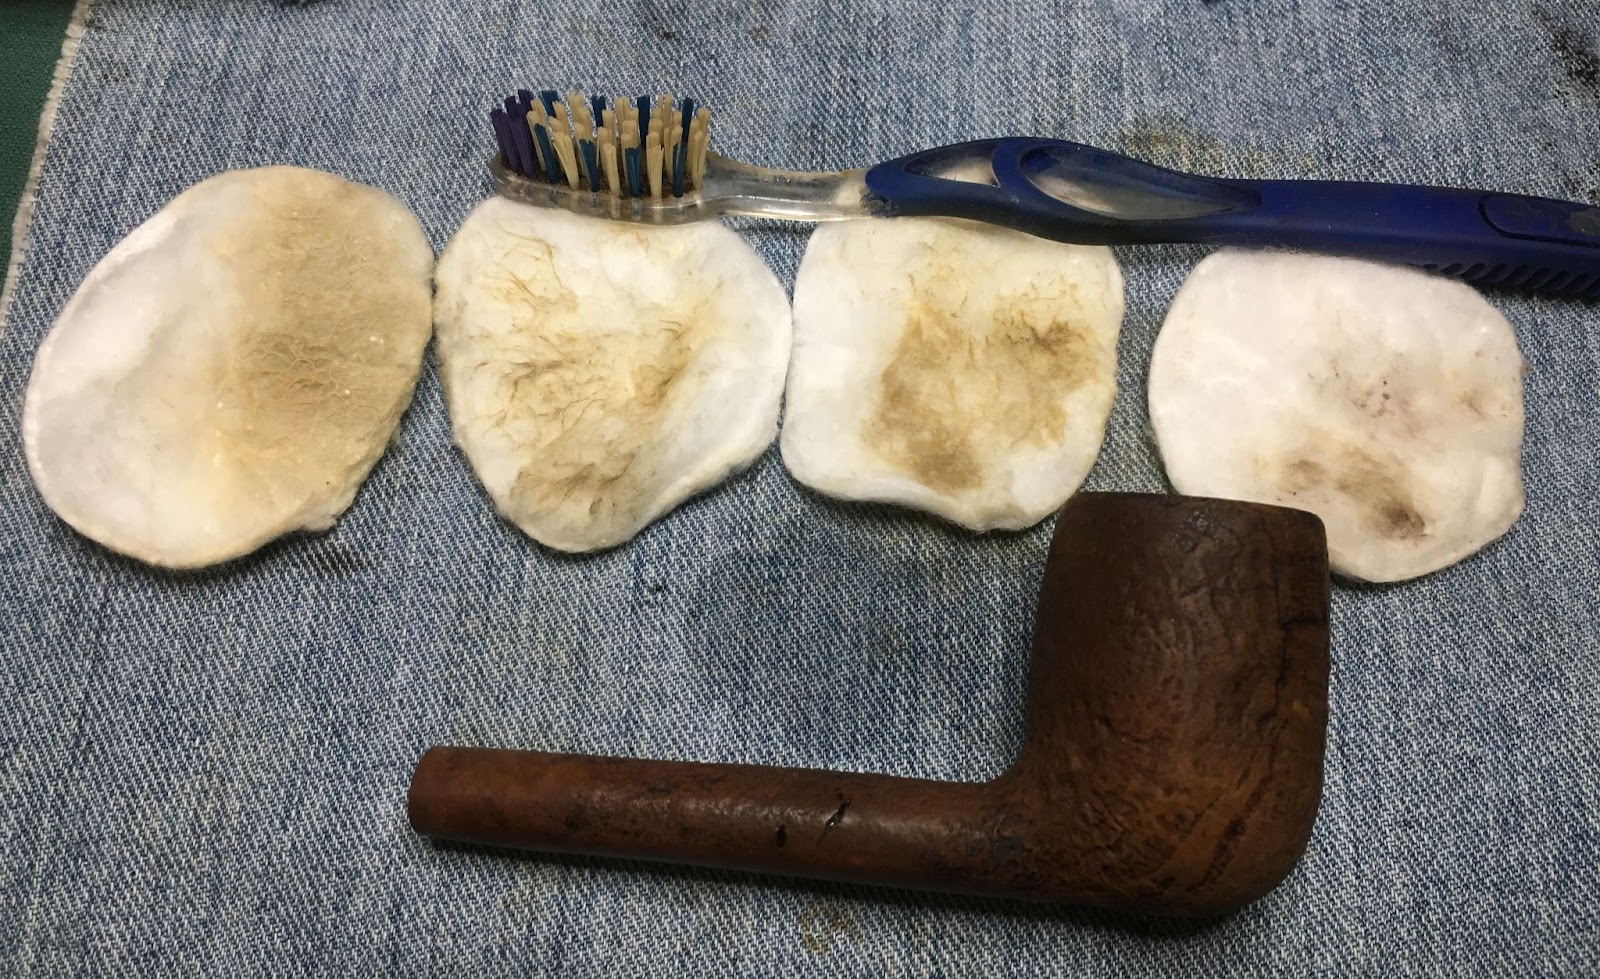
I returned attention to the stummel and took it to the sink for a scrubbing with undiluted Murphy Oil Soap and a nylon scrub brush. The soap was rinsed with warm water and the stummel was dried with a cotton hand towel.

Back at the workbench the stummel looked more clean but there remained some areas with more “shine” than others. I wiped the stummel with a make-up pad dipped in 95% ethyl alcohol. This worked at removing the shine and left the stummel looking more like flat unfinished briar.

The stamps were covered with painters tape to protect them from the upcoming sanding.

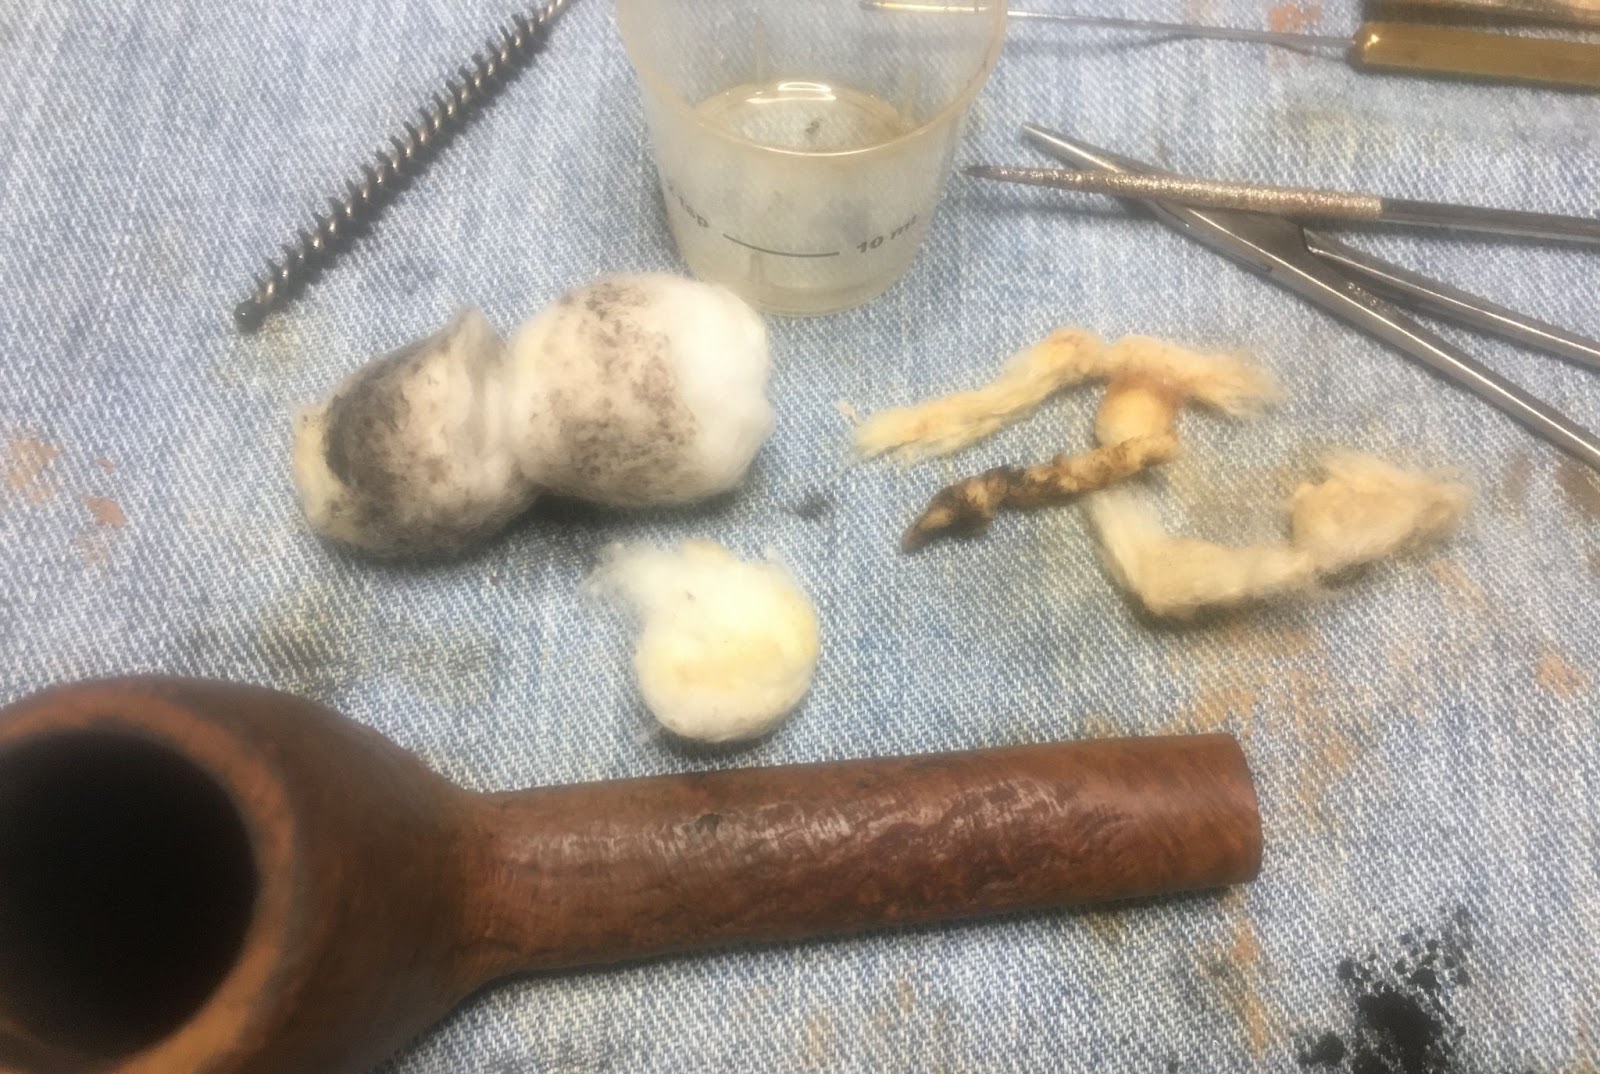
The shank and reservoir were then cleaned out with many cotton swabs, folded bristle pipe cleaners, a shank british and scrapings with a dental scraper. The Peterson System does work very well but when neglected it is far from an easy thing to clean.

The stummel was then sanded with a series of sanding sponges with grits of 320-3500. Between each sponge the stummel was wiped with a make-up pad wetted with 95% ethyl alcohol.

The stem was removed from the Oxiclean solution and scrubbed with a couple of Soft Scrub cleanser treated make-up pads. A good deal of oxidized material came off but not as much as I was expecting.

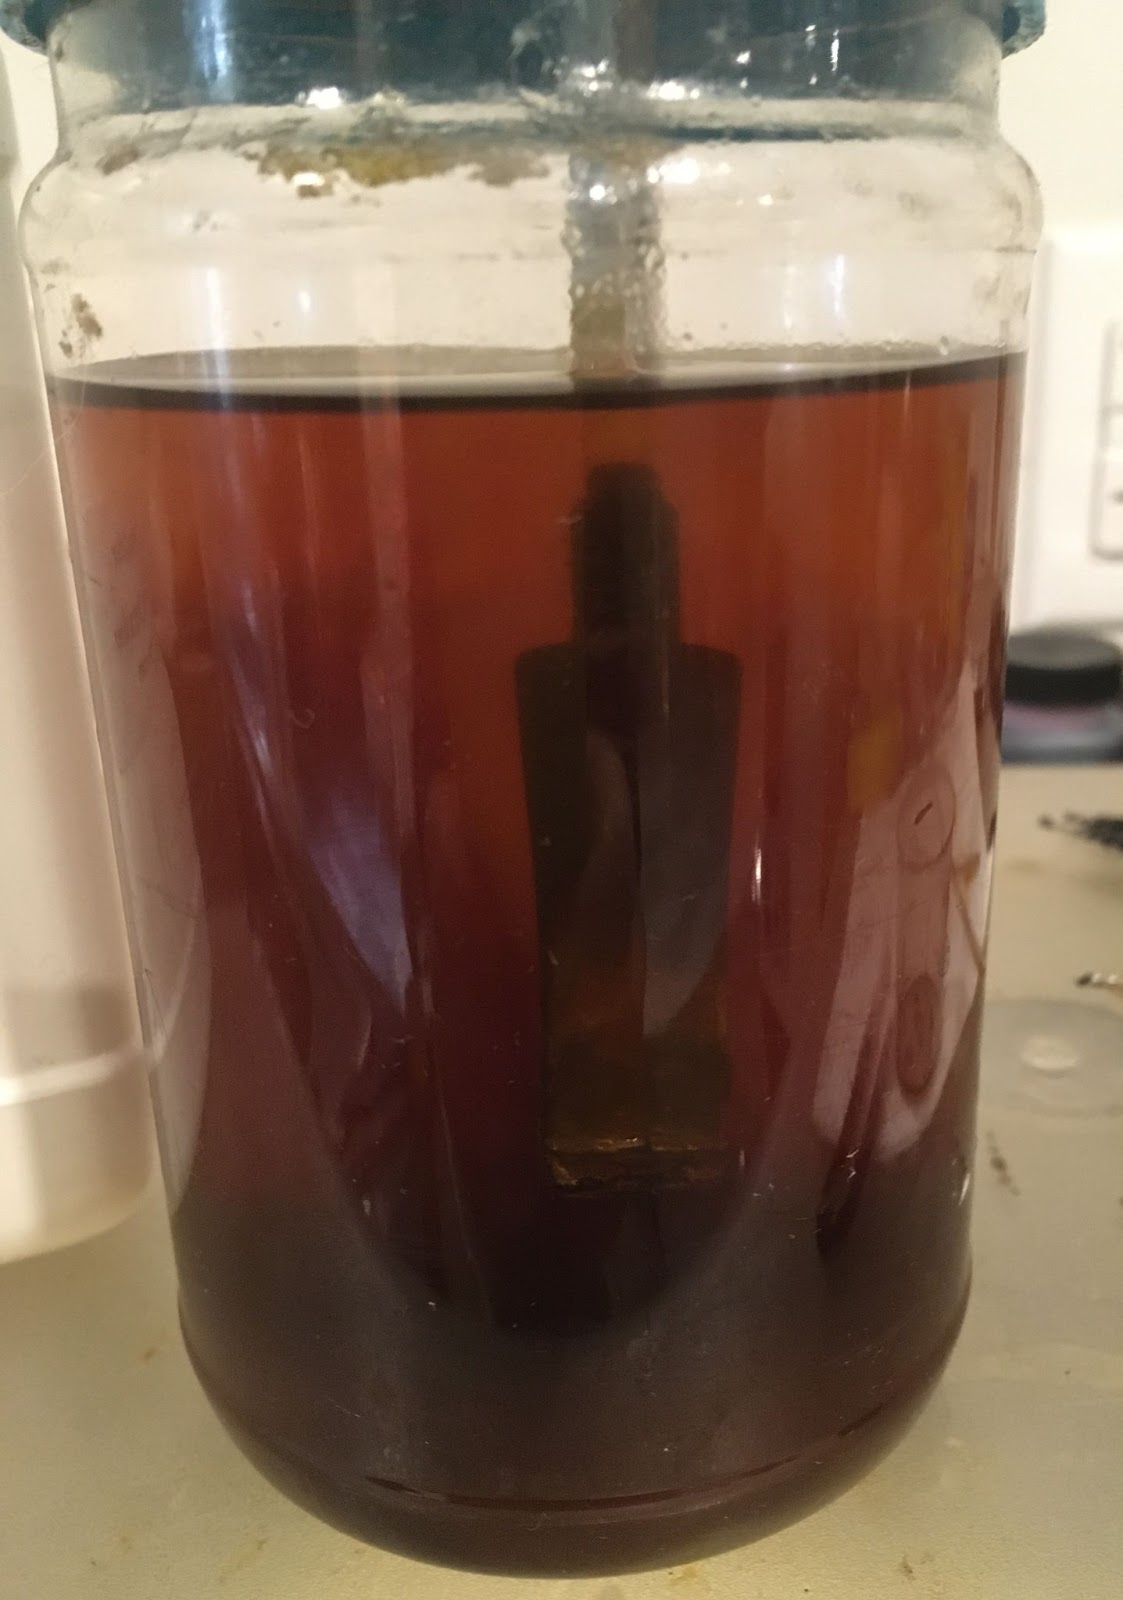
The airway was cleaned with cotton swabs and bristle pipe cleaners dipped in ethyl alcohol. I could still see brown oxidized vulcanite on the stem and decided to give it a dip in the Before and After Extra Strength Deoxidizer. I inserted a pipe cleaner into the P-lip to act as a hanger in the Deoxidizer.

Below, the stem entered the Deoxidizer and was left overnight.

The following morning I removed the stem and allowed it to drip excess solution back into the jar.

The stummel had been sanded. Now it was time for the micro-mesh pads. I micro-meshed the stummel with the 4000-12000 pads. Again between each pad I wiped the stummel with a make-up moistened with ethyl alcohol.

The stummel then received a coating of Before and After Restoration Balm and was allowed to sit for as long as it took for the stem repair, sanding and micro-meshing.

Back to the drip dried stem. I used a coarse shop rag to wipe/scrub the remaining Deoxidizer from the stem. The air way had 2 pipe cleaners run through it to remove the solution.

At last the stem was looking brilliantly black. A bit pitted but the pits were black too.

I again used Soft Scrub cleanser on make-up pads on the stem. Much less oxidized rubber came off. The inside of the tenon and airway were again cleaned making sure that any remaining Deoxidizer was removed.

I sanded the Chomped areas with a 600 grit sanding sponge to ensure fresh vulcanite to work with. By “work with”, I mean to fill with black cyanoacrylate (CA, super glue). Below you can see the button top and bottom areas to repair.


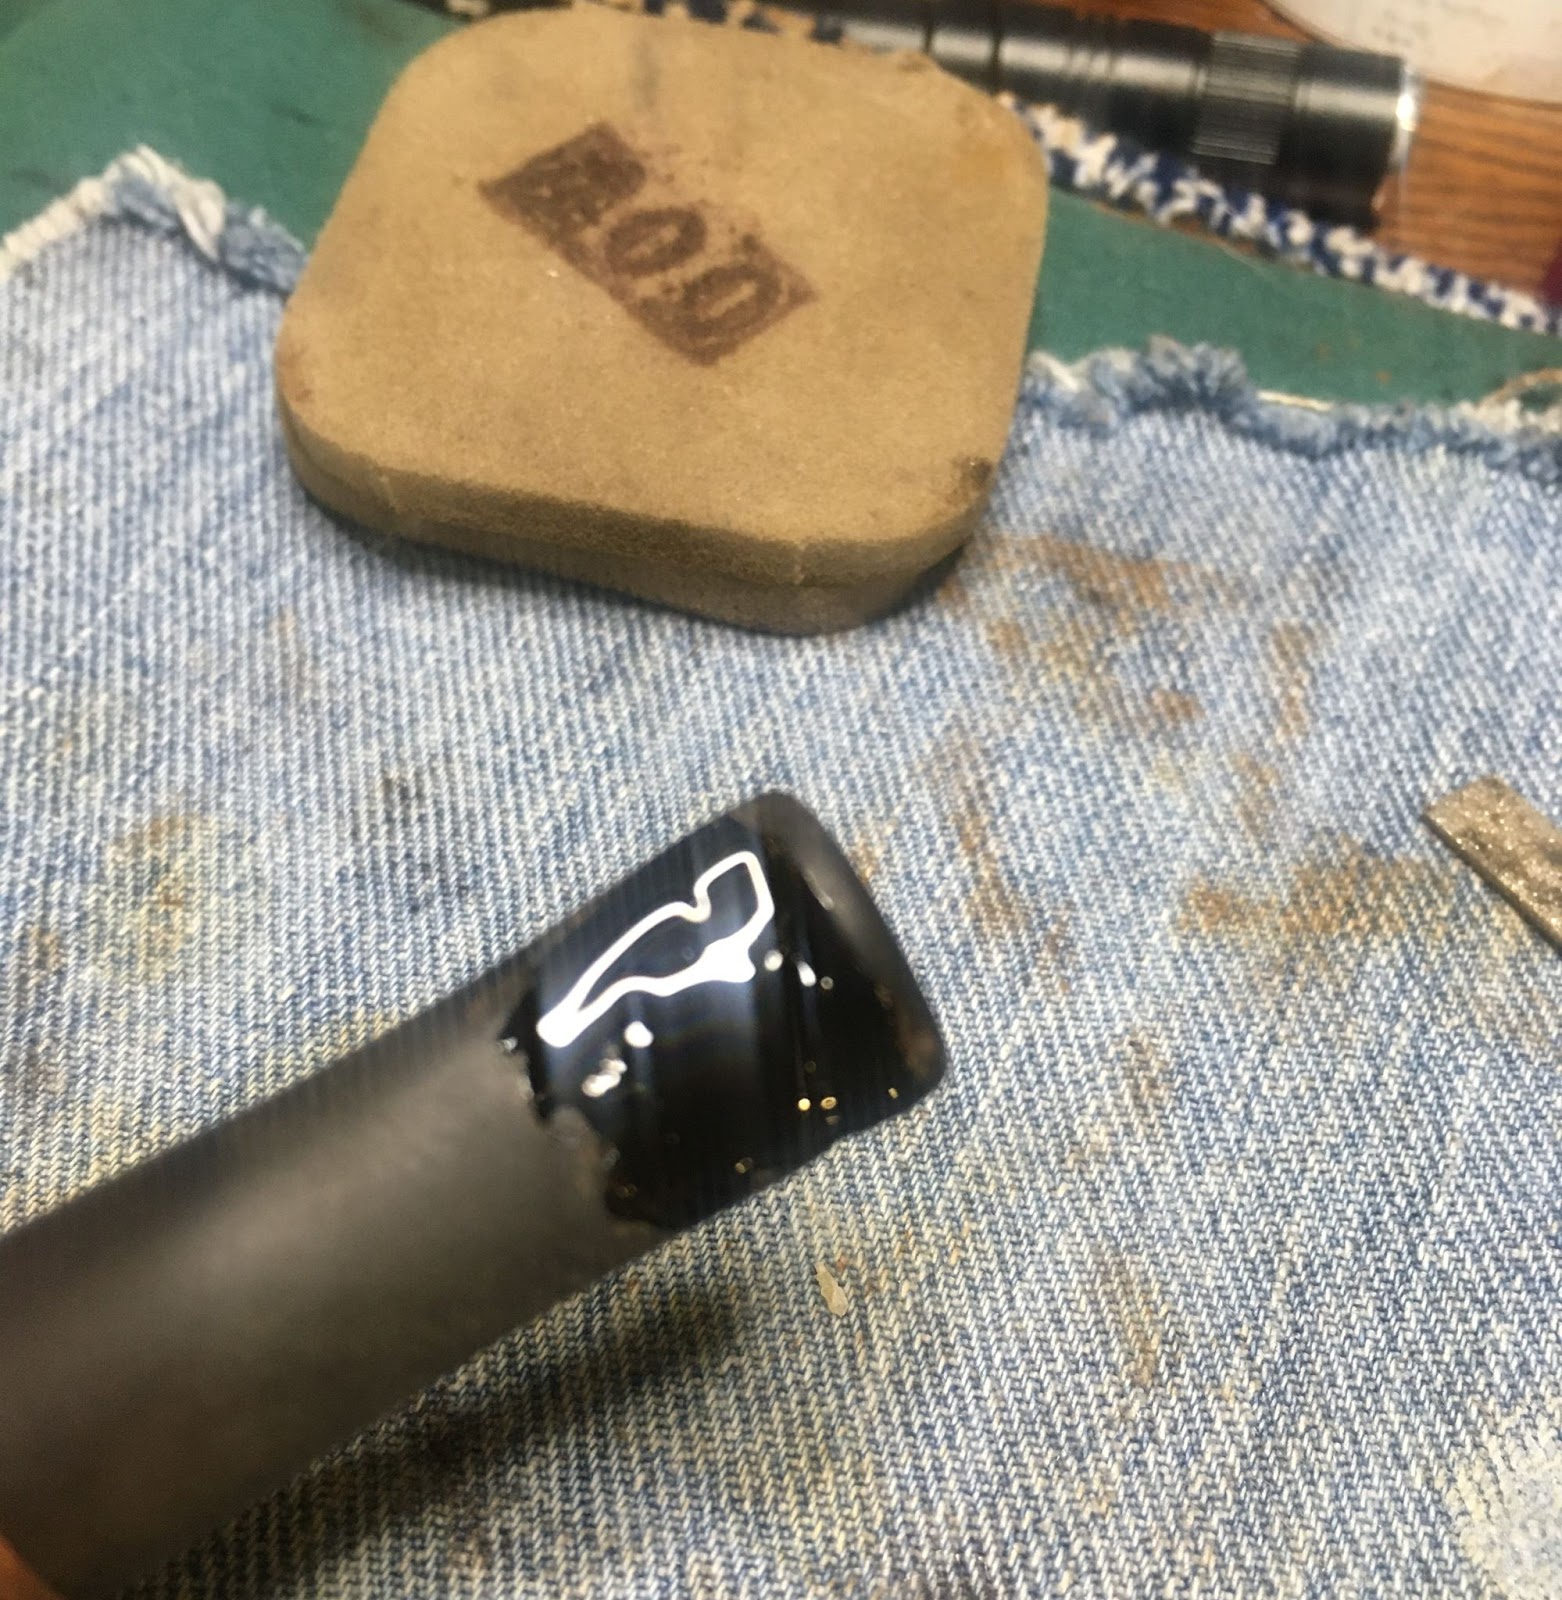
The CA I was using has carbon and rubber in the formula making the fills more vulcanite-like. In other words, rubberizing the CA rather than the more hard and brittle black CA I used last winter. Small dabs of CA were placed onto the indentations.


The wet CA was then spritzed with a CA drying accelerator. This cures the CA in seconds as the accelerator evaporates.


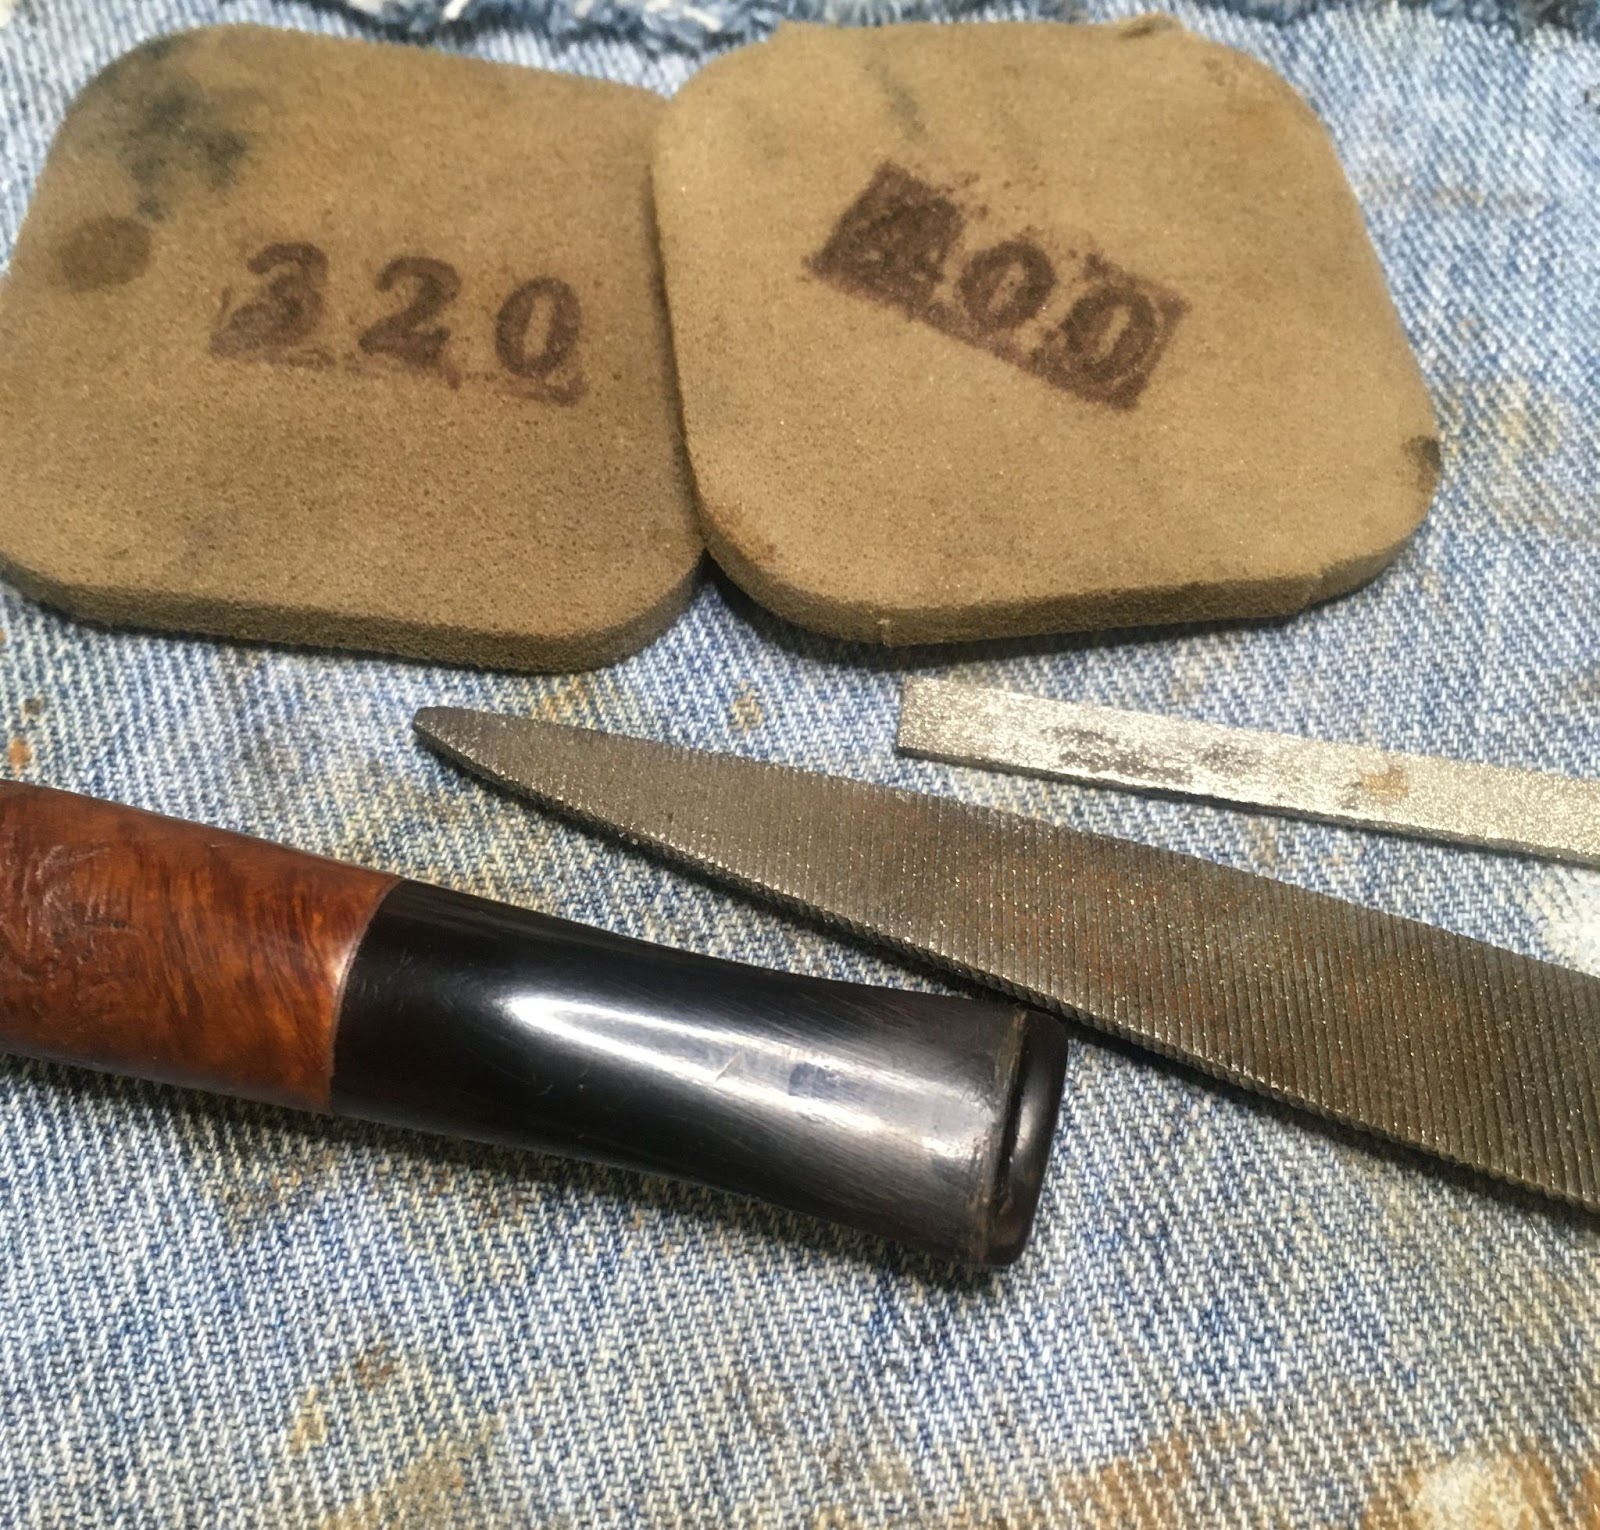
The cured CA was then filed level with the surrounding vulcanite. The dark spots in the photo below indicate areas where additional CA needs to accumulate. I use several small applications rather than one large one.

The same for the bottom side of the stem.

Eventually with additional applications and filings the stem was sanded smooth.


With the fills completed the whole stem was sanded with the series of sanding sponges 400-3500. Between each sponge I applied a fingertip of mineral oil to the stem, rubbed it in and wiped the stem with a dry paper towel.

After the sanding the stem was micro-meshed with the 4000-12000 pads. Between each pad I applied a small drop of Obsidian Oil to the stem, rubbed it in and wiped with a paper towel.

The stem was polished using Before and After Fine Polish rubbed with a soft cotton cloth.

The Fine Polish was followed by the Before and After Extra Fine Polish with the same cloth.

The stummel was wiped of the Restoration Balm with an inside out athletic sock.

The pipe was then taken to the buffer for several coats of carnauba wax. This is where my forgetfulness comes to light. I photographed the “finished” pipe at this time. Upon completing the photo shoot, I realized that I still needed to coat the bowl. Darn old people… I was out of pure maple syrup but I did have a jar of German organic honey, a gift from a Europe traveling niece. I lightly coated the inside of the bowl with honey. I then plugged the draft hole with a pipe cleaner. I used half a capsule of carbon powder poured into the bowl, covered the rim with my hand and shook the stummel for several seconds. I ended up with a very nice circle of carbon powder on the thick part of my thumb and a well coated tobacco chamber. That is the last photo in the “finished” section below.
That is it, the relaxing restoration of a Peterson System Standard 306. I am very pleased with how well this Pete looks. At least on the outside. As with any damaged interior I will have to smoke it and monitor it closely. I can say that the inaugural smoke was with a lightly packed Five Brothers shag cut Burley. I didn’t want to scrape any of the coating off so a very soft cut tobacco was used. Everything went as planned, the honey baked in nicely with the carbon powder and it appears to be on its way to a solid carbon coating. Back to the restoration. The vulcanite was rid of the oxidation and it looks great. The briar with its bird’s eyes on the left and flame grain on the right are beautiful. I am sure this pipe will continue to be used many times while contemplating my next restoration. The dimensions of this Peterson System Standard 306 are:
- Length: 6.63 in./ 168.28 mm.
- Weight: 2.08 oz./ 59.20 g.
- Bowl Height: 1.91 in./ 48.51 mm.
- Chamber Depth: 1.61 in./ 40.89 mm.
- Chamber Diameter: 0.77 in./ 19.56 mm.
- Outside Diameter: 1.46 in./ 37.08 mm.
I do hope that you have found something here useful to your own pipe care, maintenance or restorations. If you like this sort of thing, please click the like and subscribe buttons. Thank you for reading the ramblings of an old pipe lover.
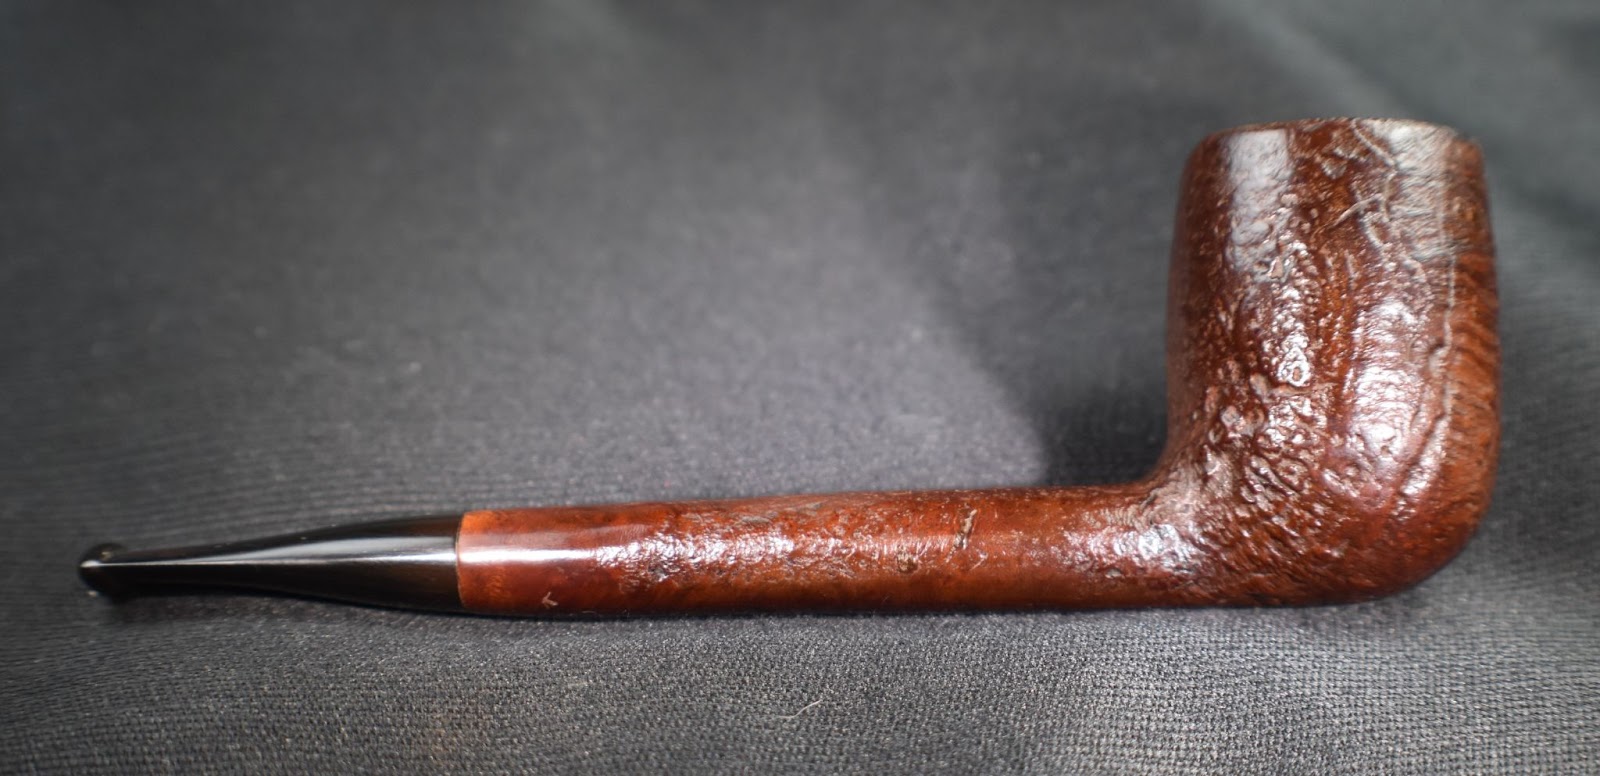
Below are some photos of the finished Peterson System Standard 306.


 Bah, fortunately, dear reader I am not easily dissuaded by failure. I did come across a few interesting reads regarding the original Needham patent and the flush of smoking pipe innovations from the late 1800s-mid1900s. First lets take a look at the original Needham patent submitted September 30, 1942.


 (
(


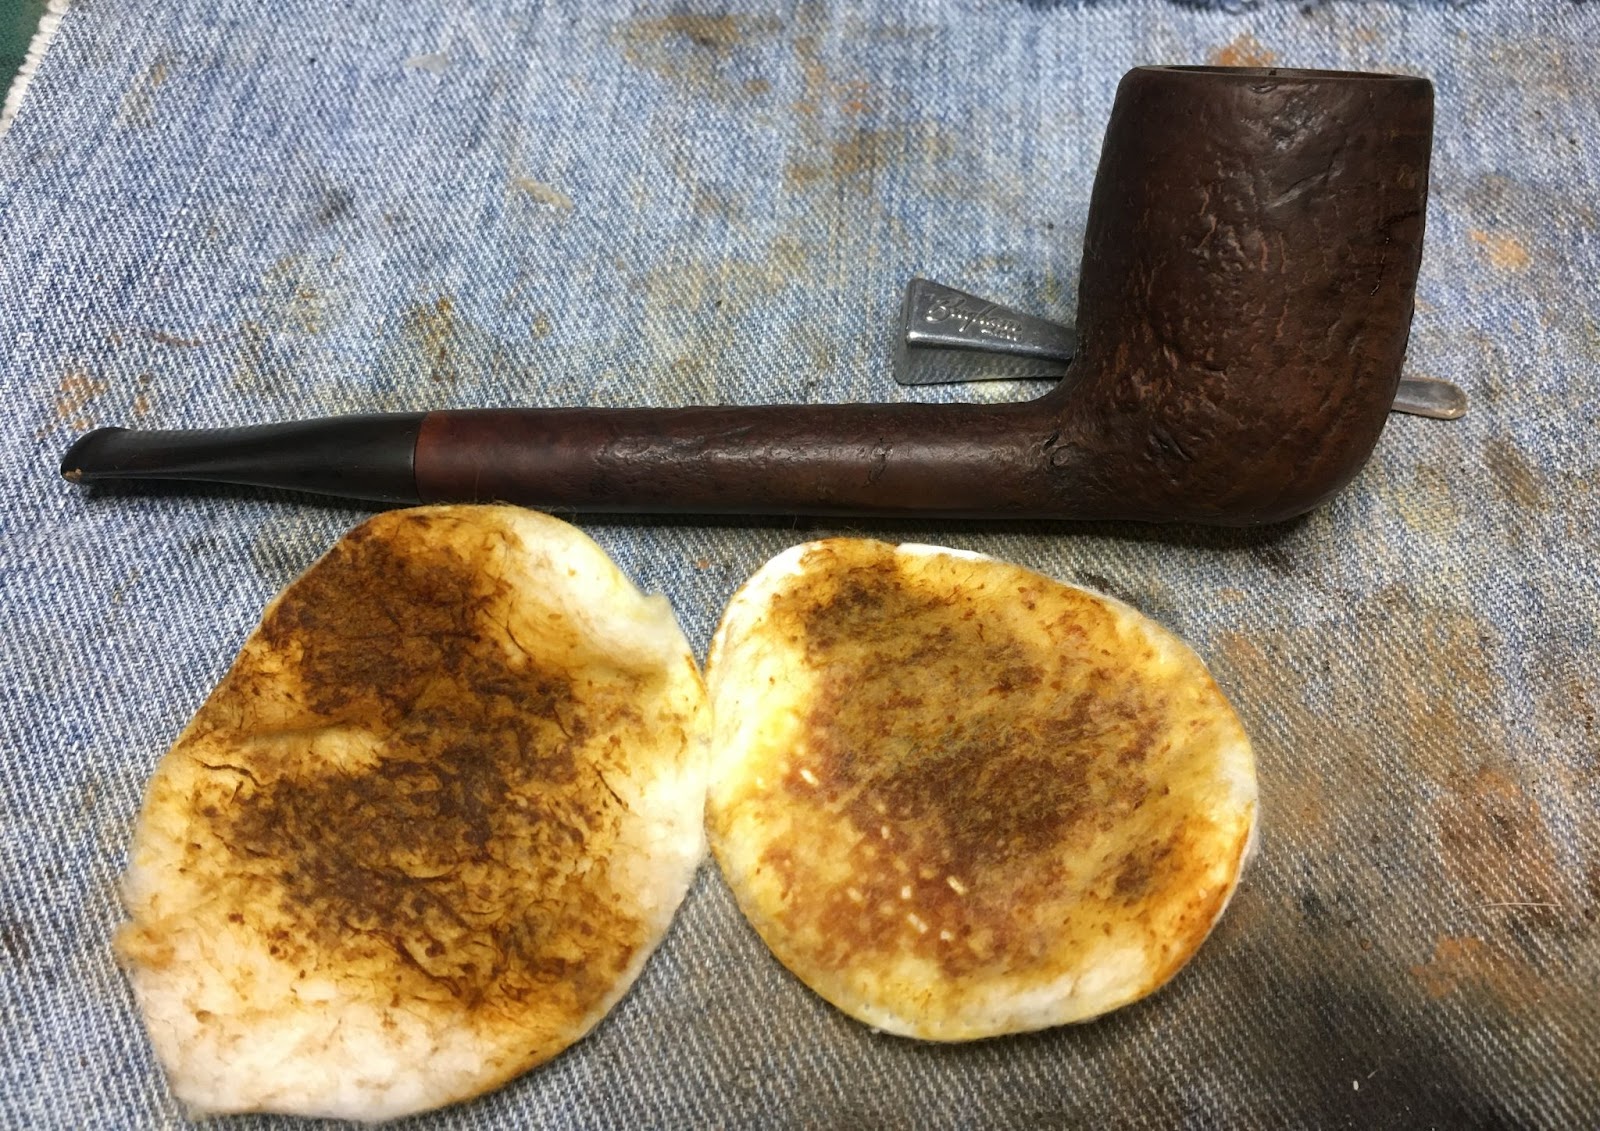


 The stem was given a light sanding with a 4000 grit sanding sponge. That was the source of the brown sanding dust in the above photo on the denim patch. The stem then had a pipe cleaner inserted into the stem to act as a hanger for suspending it into a solution of Before and After Extra Strength Deoxidizer.


 ” (
” (


