Photographed and written by
John M. Young
Well, I have good news and bad news. Or maybe, it’s good news and good news. I have an Italian oval shank billiard, here. The bad news is that I can’t do much about the history of a pipe when the only stamp on it is “ITALY”. Now, if you find my histories or background sections annoying this is good news. The other good news is how well this pipe turned out. She is a very attractive no name.
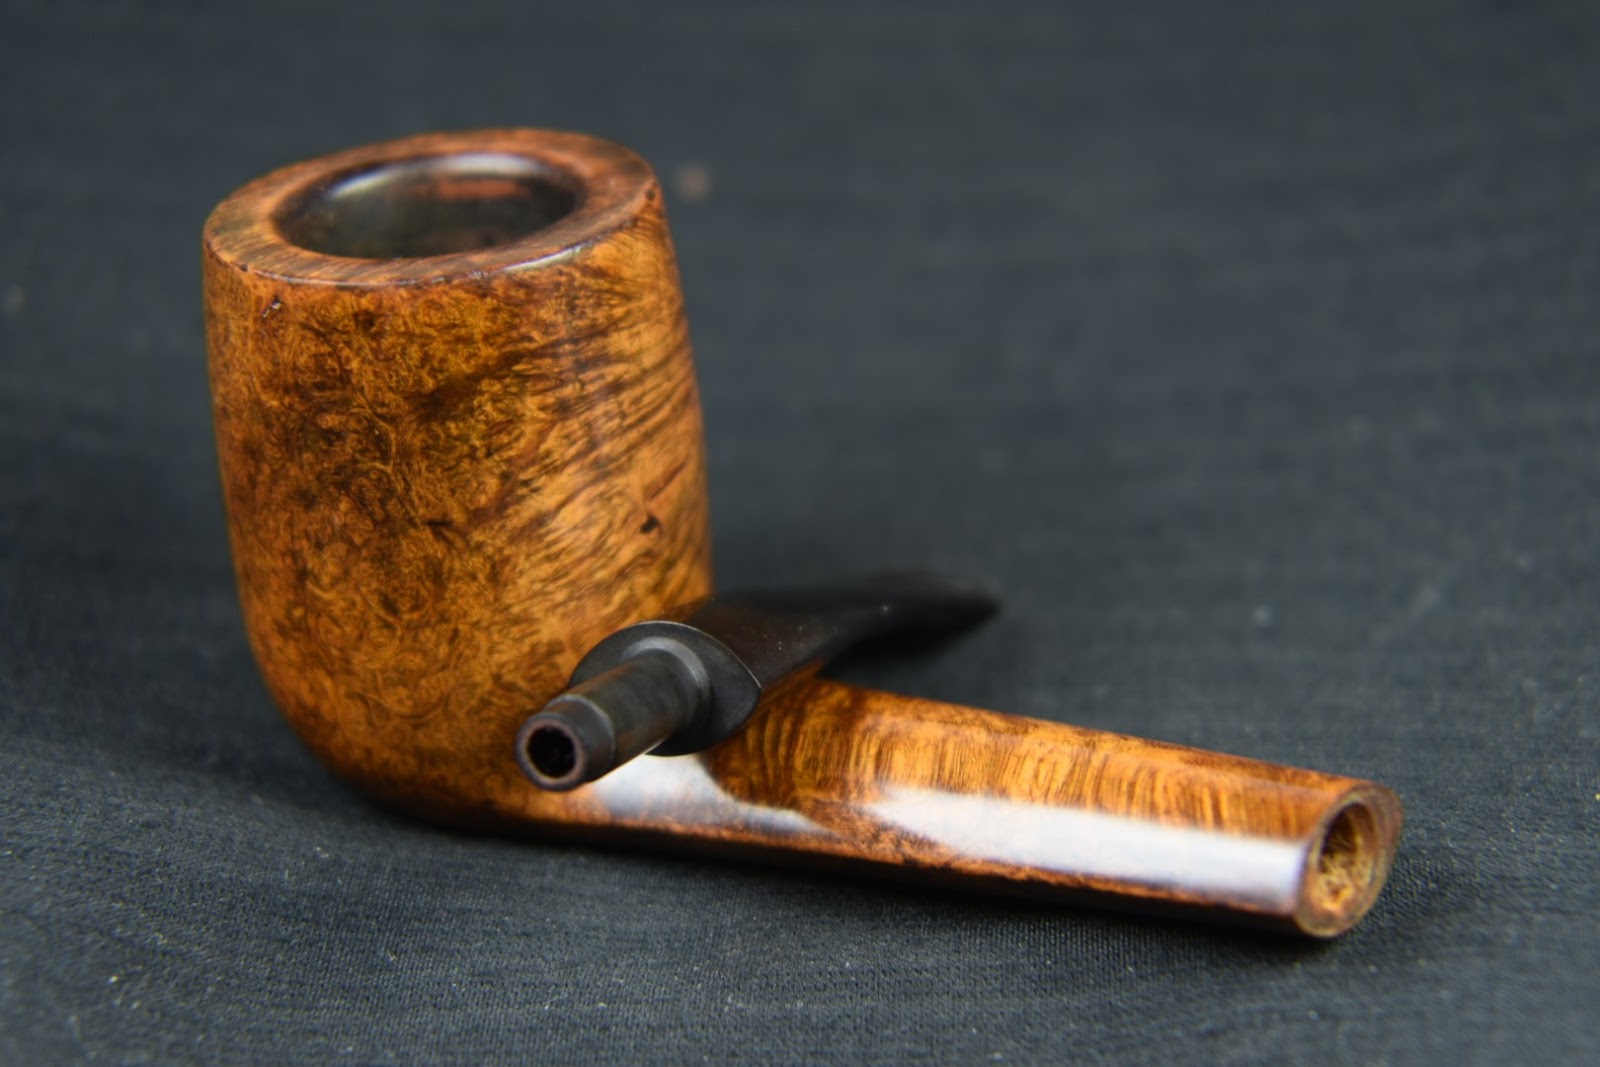
The pipe came to me as part of an estate lot purchased in March of 2024. It was not the target of the lot. After looking over the pipes I found the shank shape very interesting. It was kind of an oval but with points on the ends and it was tapered from wide at the bowl to narrower at the stem. I thought that it was more like a Canadian shape but Canadian shanks are not tapered. The grain of the briar looked pretty uninteresting, at first glance, and there were no identifying markings so, it went back into the box of future projects. Several weeks later I was looking through the box again and the stem drew me back to the pipe. Here is what I was seeing:

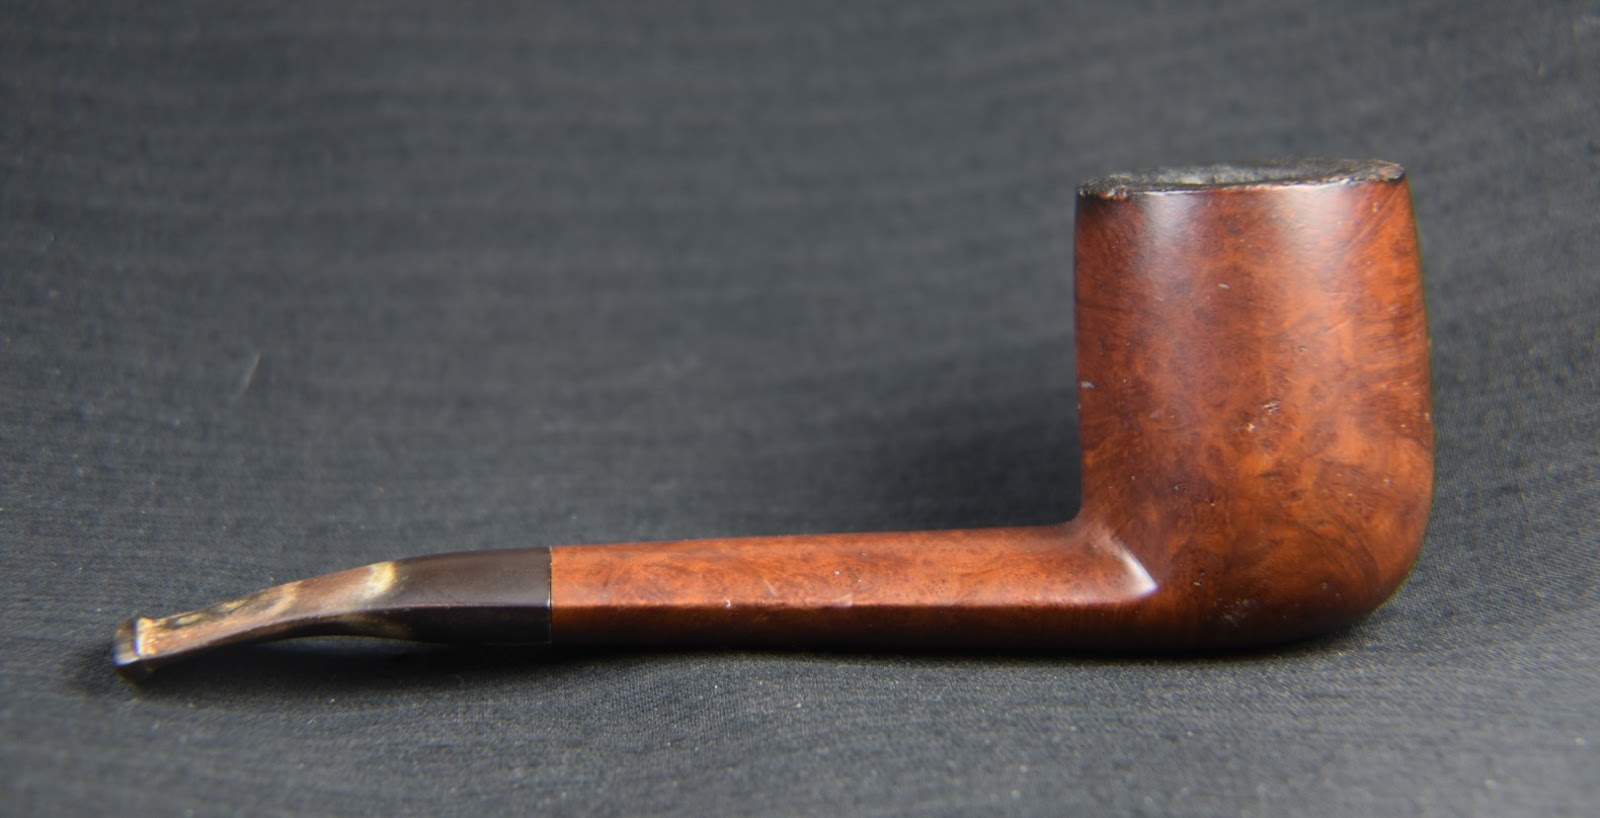

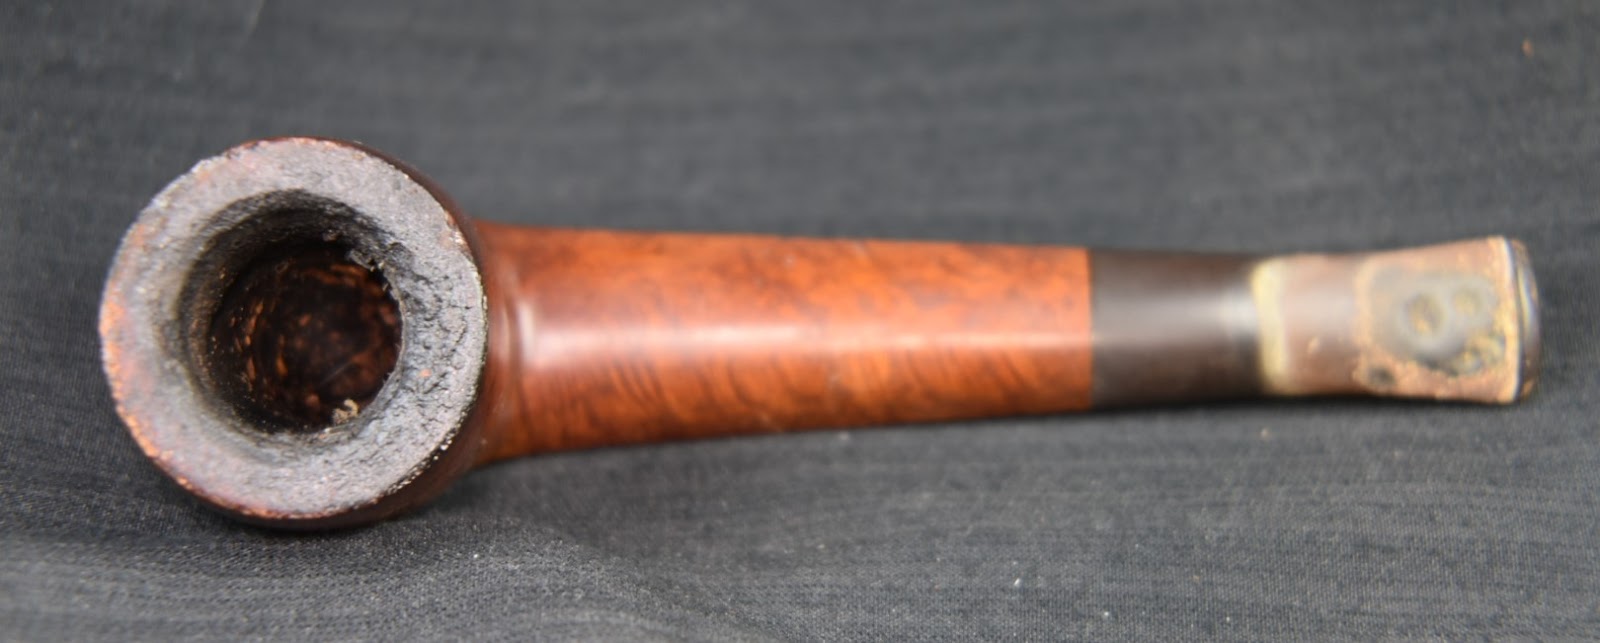


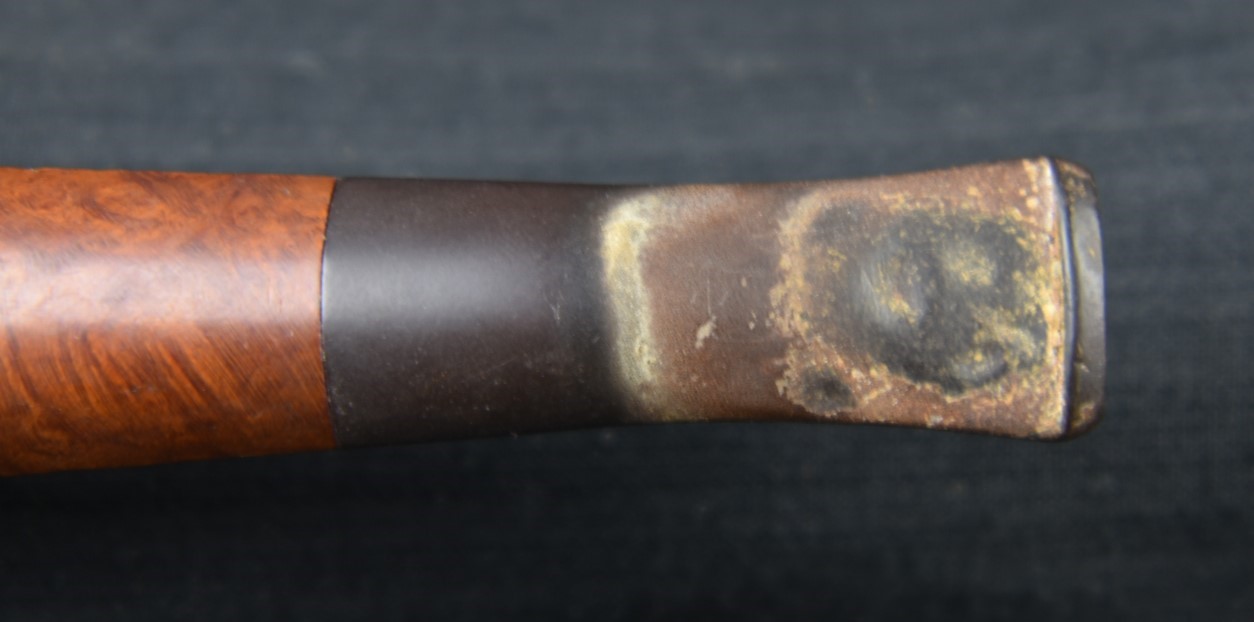

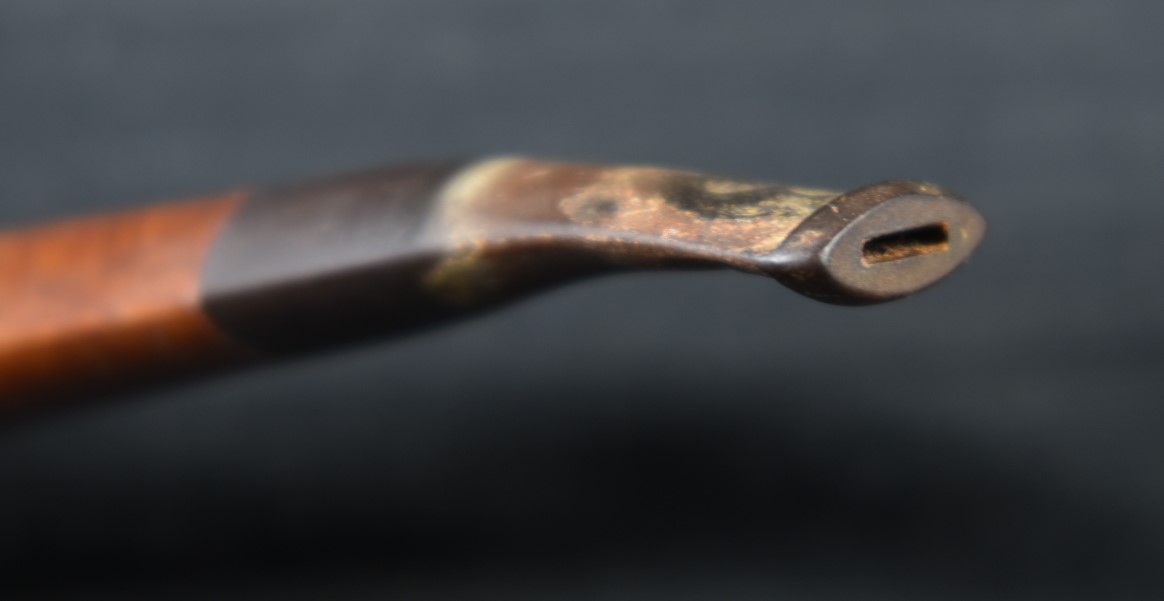


Just another old pipe, right? But that shank was cool. I thought, “wait, there is some interesting grain under the grime and crappy stain. This old girl will clean up nice.” Well, spoiler alert – A contrast stain would really show off the grain. Yeah, the stem was a mess, she was dirty, there were pits to fill, and who knows what lies under that lava covered rim?
The Restoration
As usual a clean denim piece was added to the workbench. I knew this piece of denim was not going to look clean for very long.

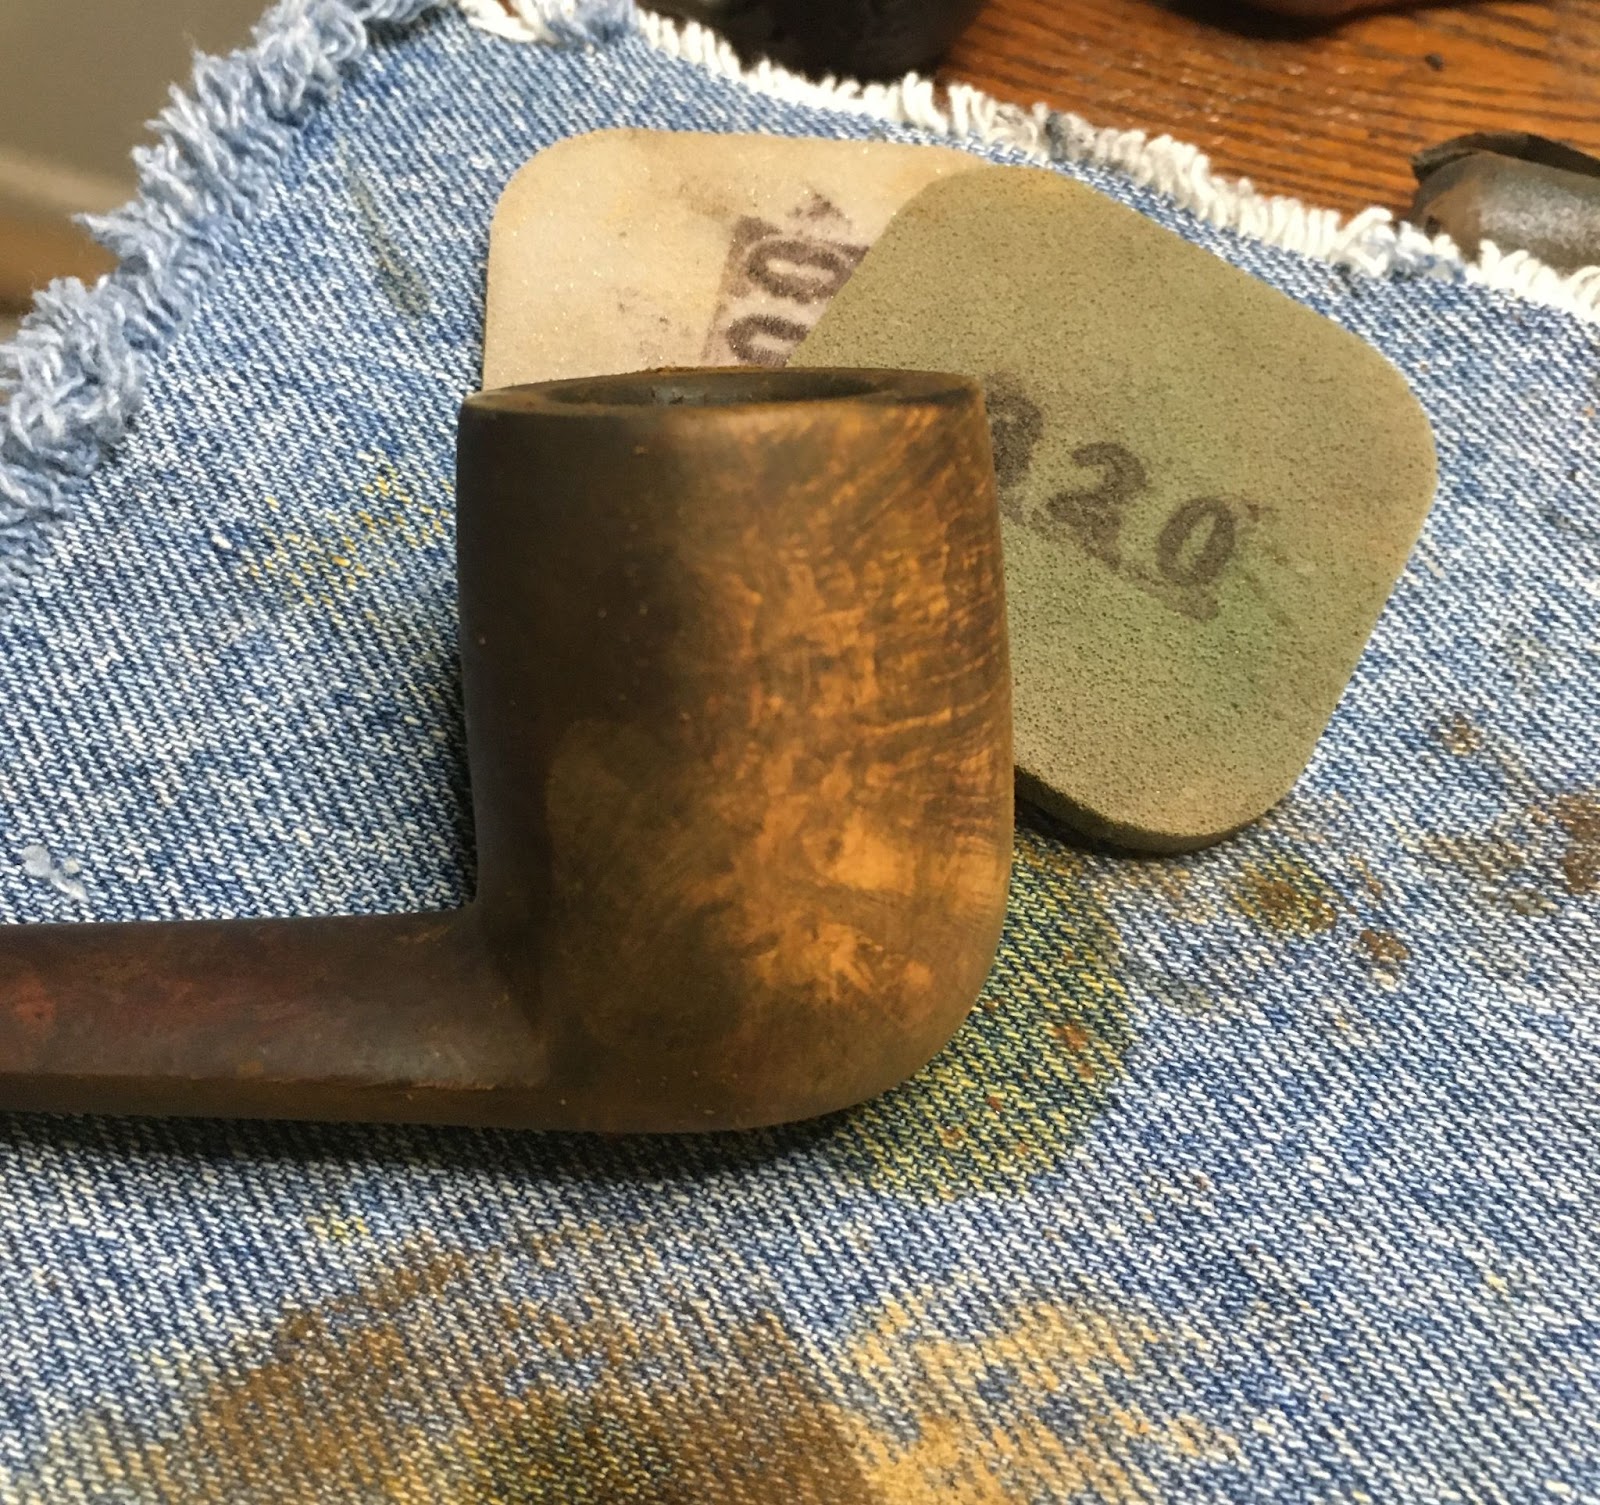
I began with the stem. I figured that it was going to be in the Before and After Deoxidizing solution for several hours so, best to get it in there first. I sanded the worst of the oxidation and calcium from the stem with a 320 grit sanding sponge.

Yep, so much for the clean denim.

Next I cleaned out the inside of the stem with bristle pipe cleaners dipped in 95% ethyl alcohol. Ignore the aluminum stinger soaking in the alcohol, that’s part of another project. After the cleaning the stem went into deox (my term for the Before and After Deoxidizing solution).

With the stem in deox, I turned to reaming the stummel. The pipe had a large diameter bowl and was drilled with a tapered tobacco chamber. This required using the PipNet with the #2, #3 and the Scotte reaming tools.

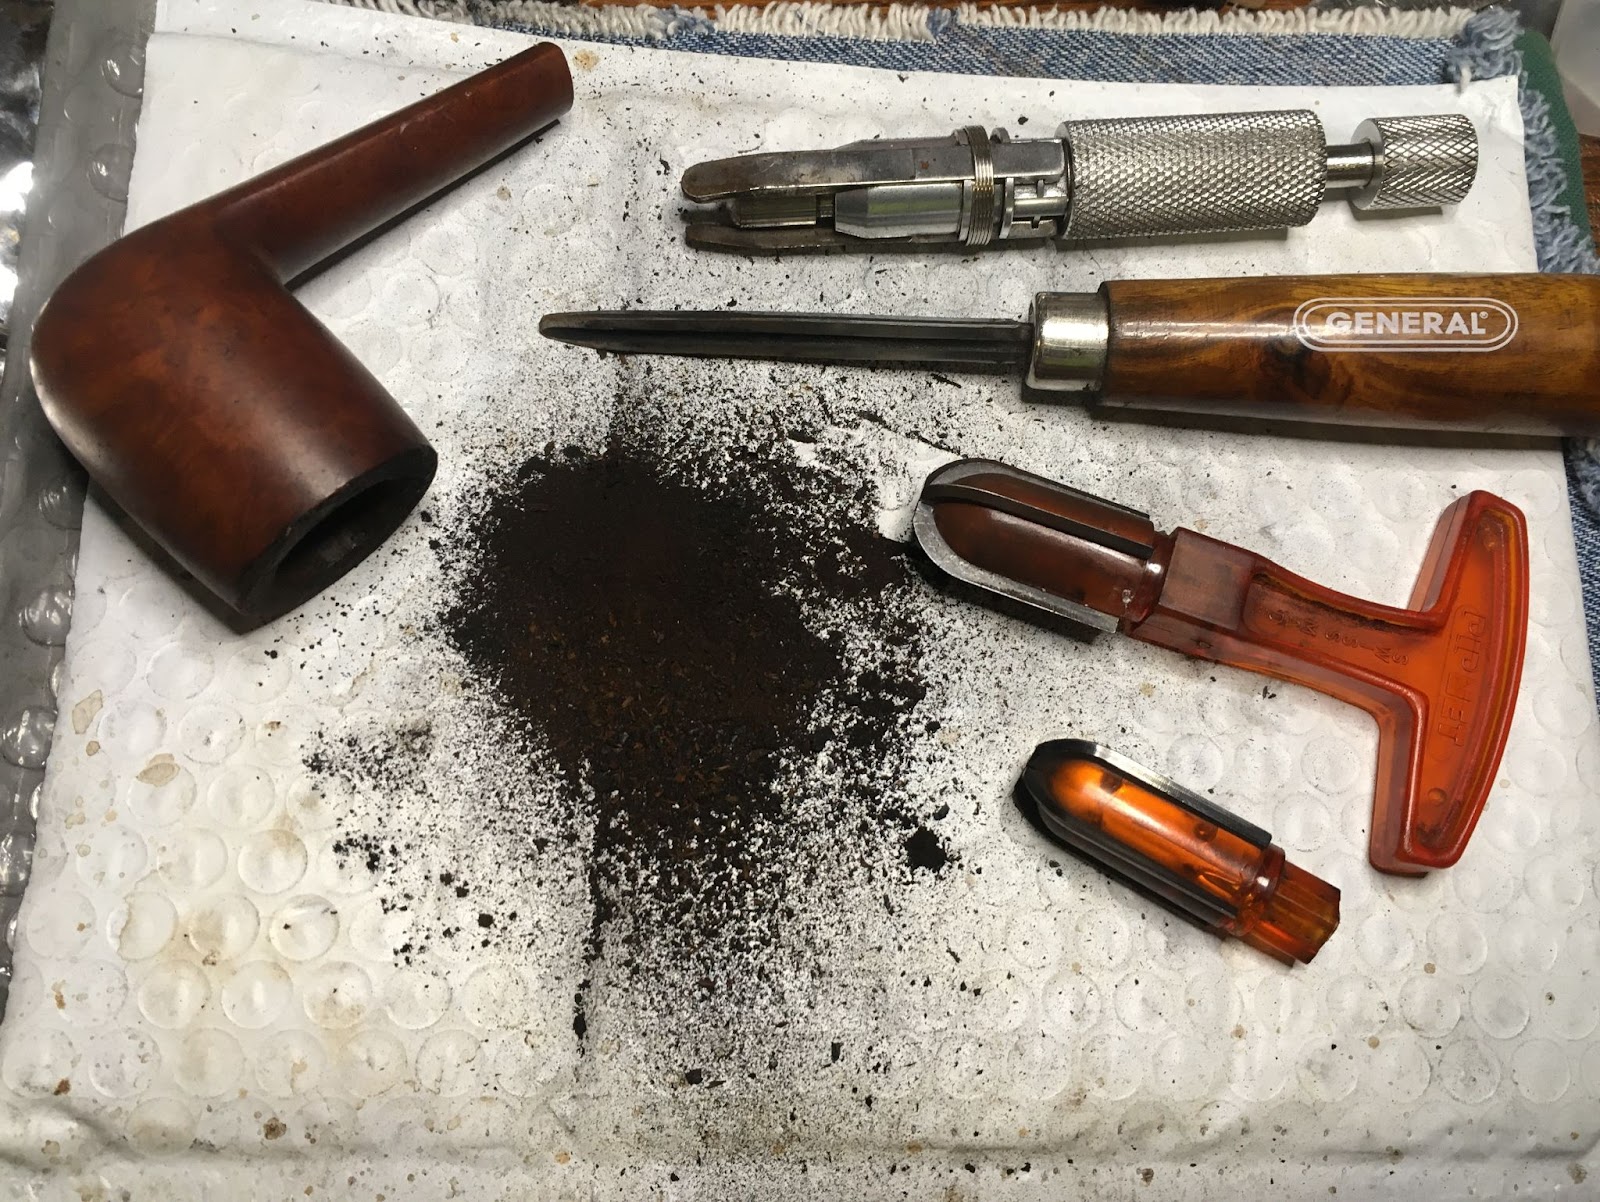
The reaming was finished with the General triangular scraper and sanded with 220 sandpaper wrapped around a wood dowel. The tobacco chamber showed no signs of any heat damage. The rim on the other hand was still doing it’s impression of a Hawian island with it’s lava flows.
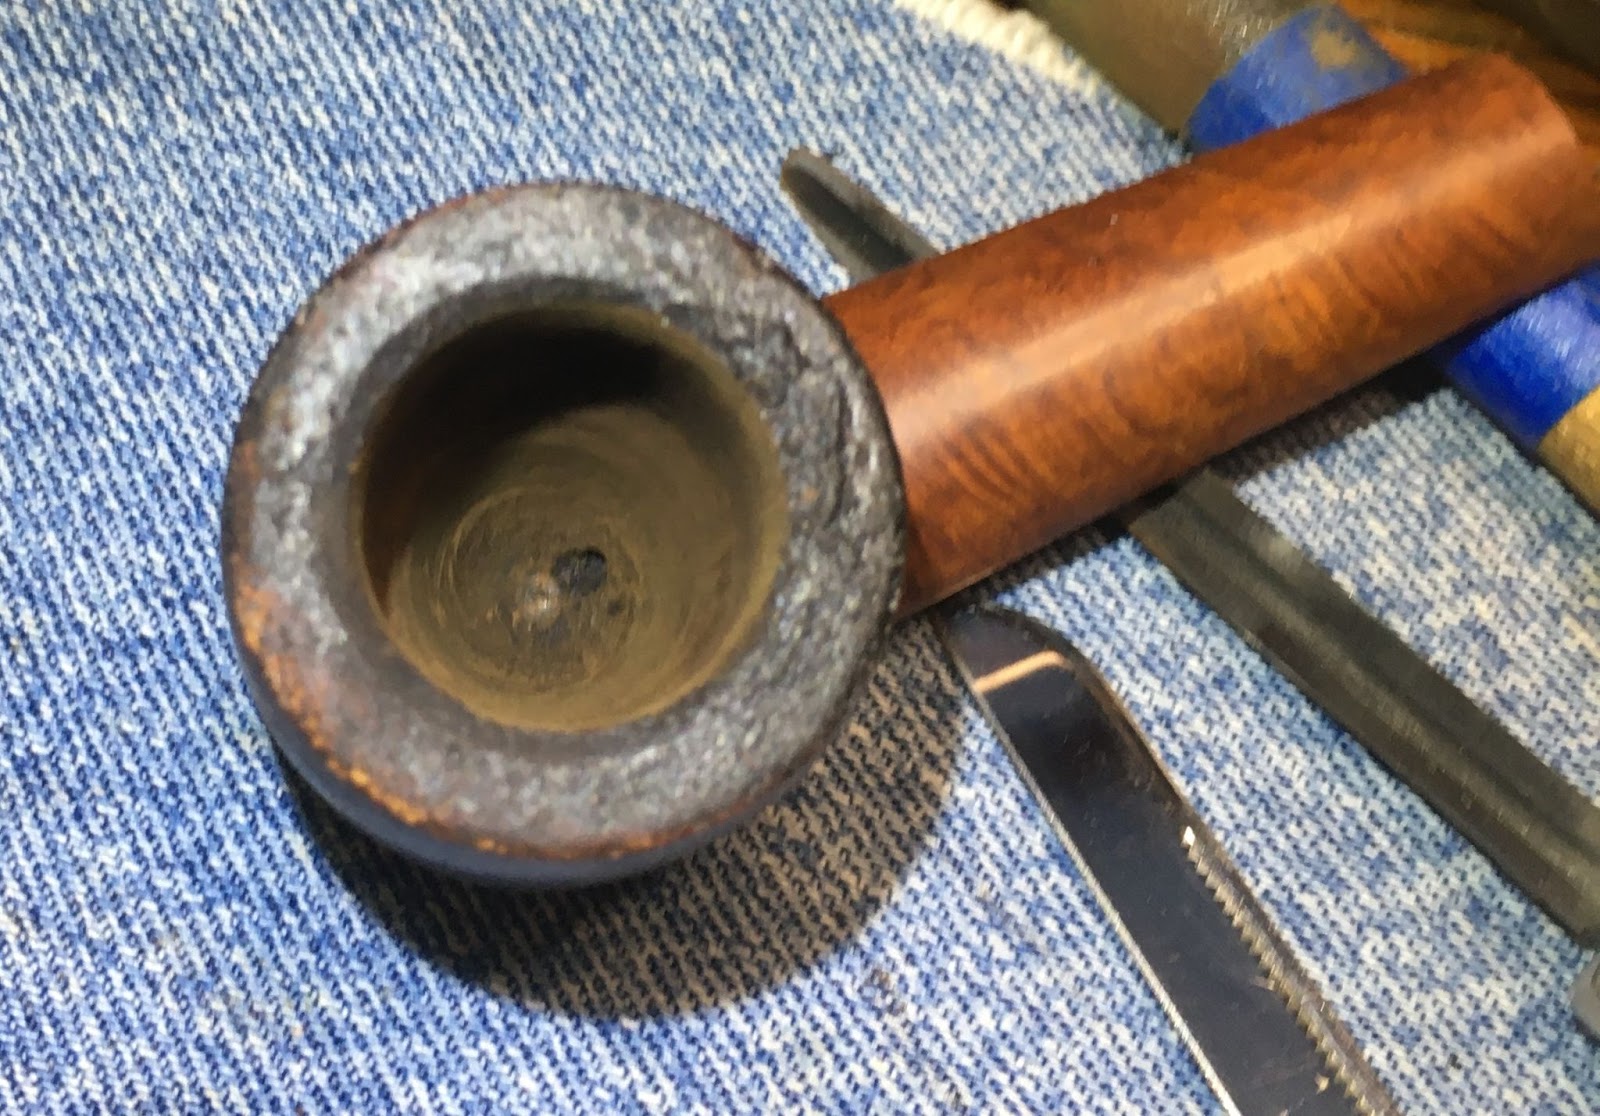
The lava was softened with saliva and scraped from the rim using a sharp pocket knife.

After the reaming and rim scraping the stummel was taken to the sink. Here it was scrubbed with undiluted Murphy’s Oil Soap and a medium stiff toothbrush. The soap was rinsed with warm water and the stummel dried with a cotton dish towel.
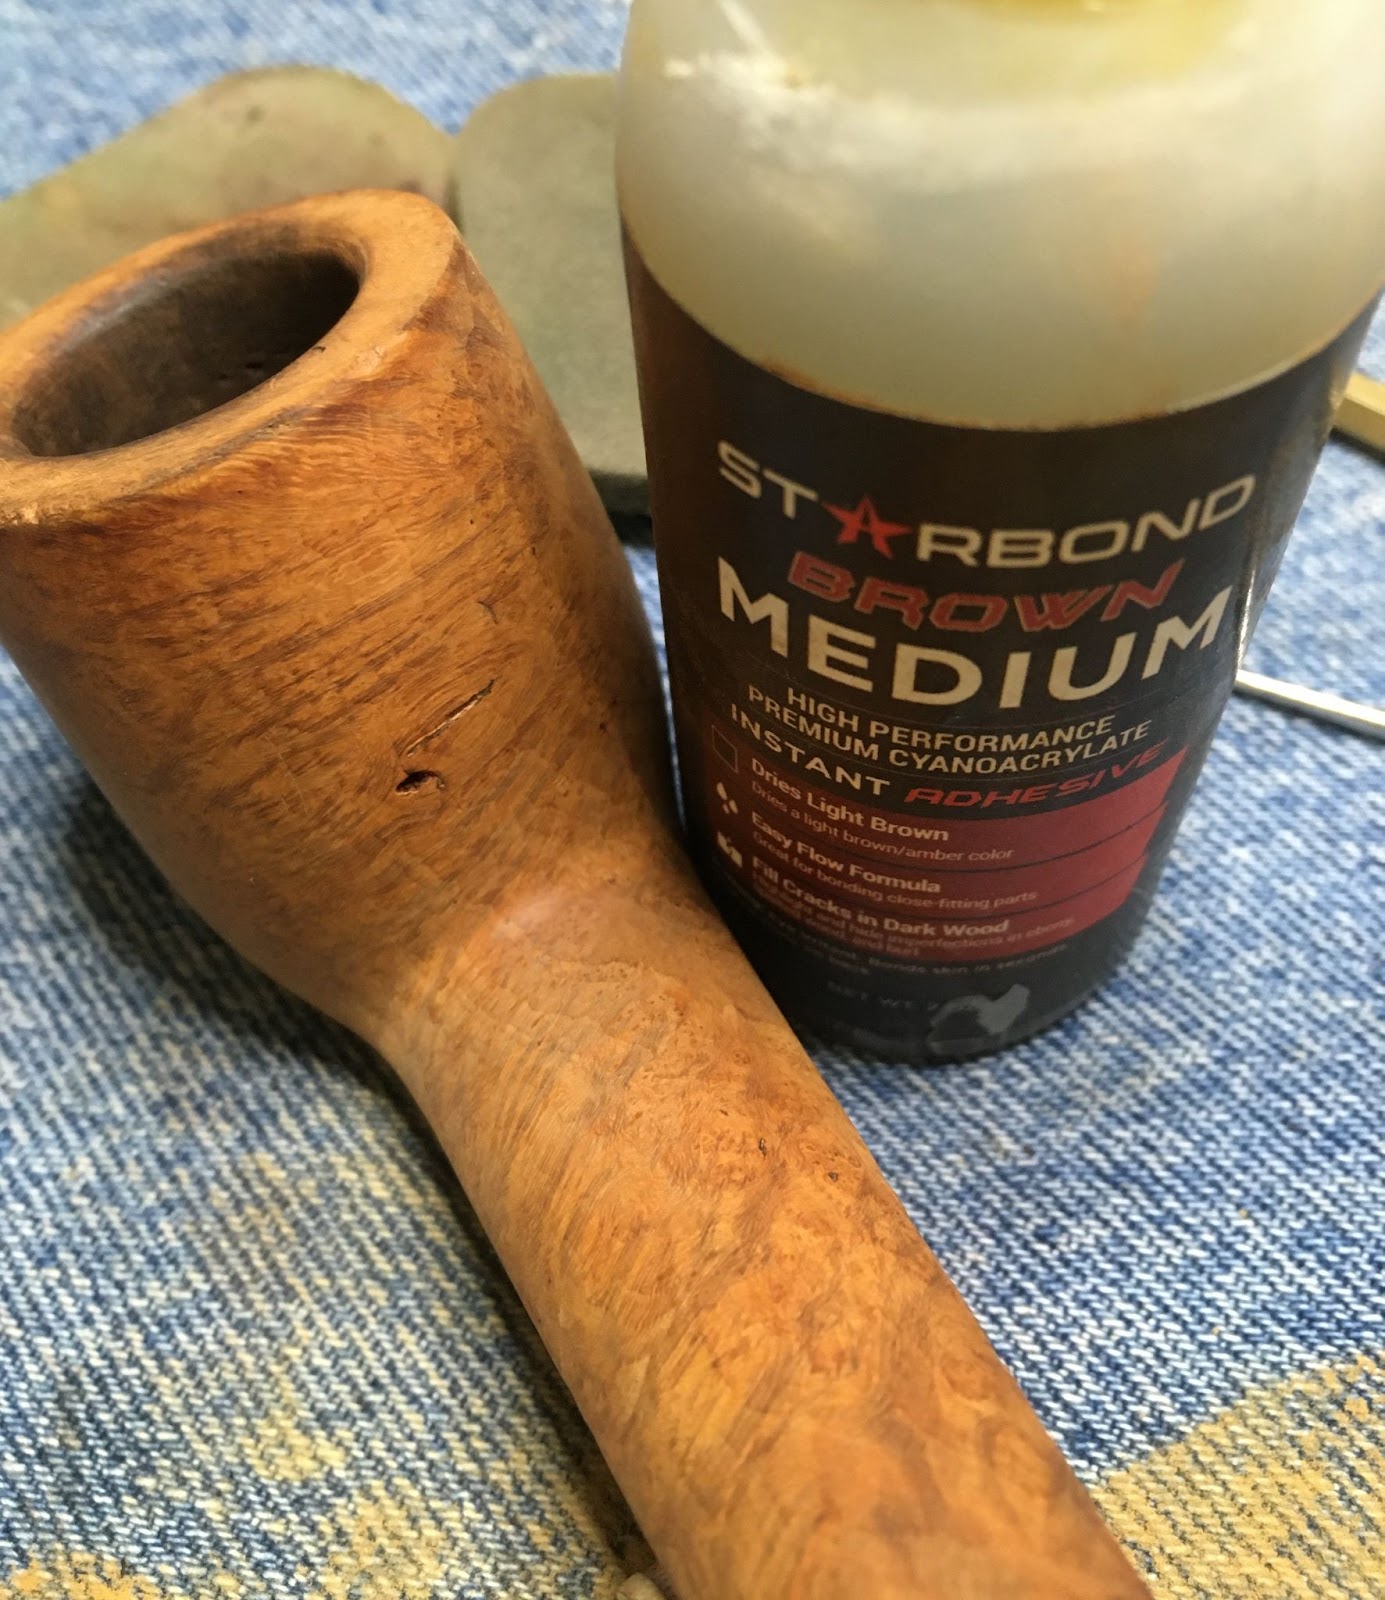
After the scrub, I sanded the stummelwith 320 and 400 grit sanding sponges searching for pits, dents and dings to fill.
Several were found a couple had to have the old fill or dirt picked from them. ALl were filled using brown cyanoacrylate (CA, super glue) and briar dust.
The next day, I returned to the deox tank. The stem had been soaking for 12-14 hours. I removed the stem and let the excess solution drip back into the jar.

The stem was then hand buffed with a coarse shop rag.

Returning to the workbench I started scrubbing the stem with Soft Scrub on make-up pads.

I progressed to using the Soft Scrub with the remnants of my Magic Eraser.

Once the pads started to provide a significantly less color change the step was coated with mineral oil and allowed to sit.

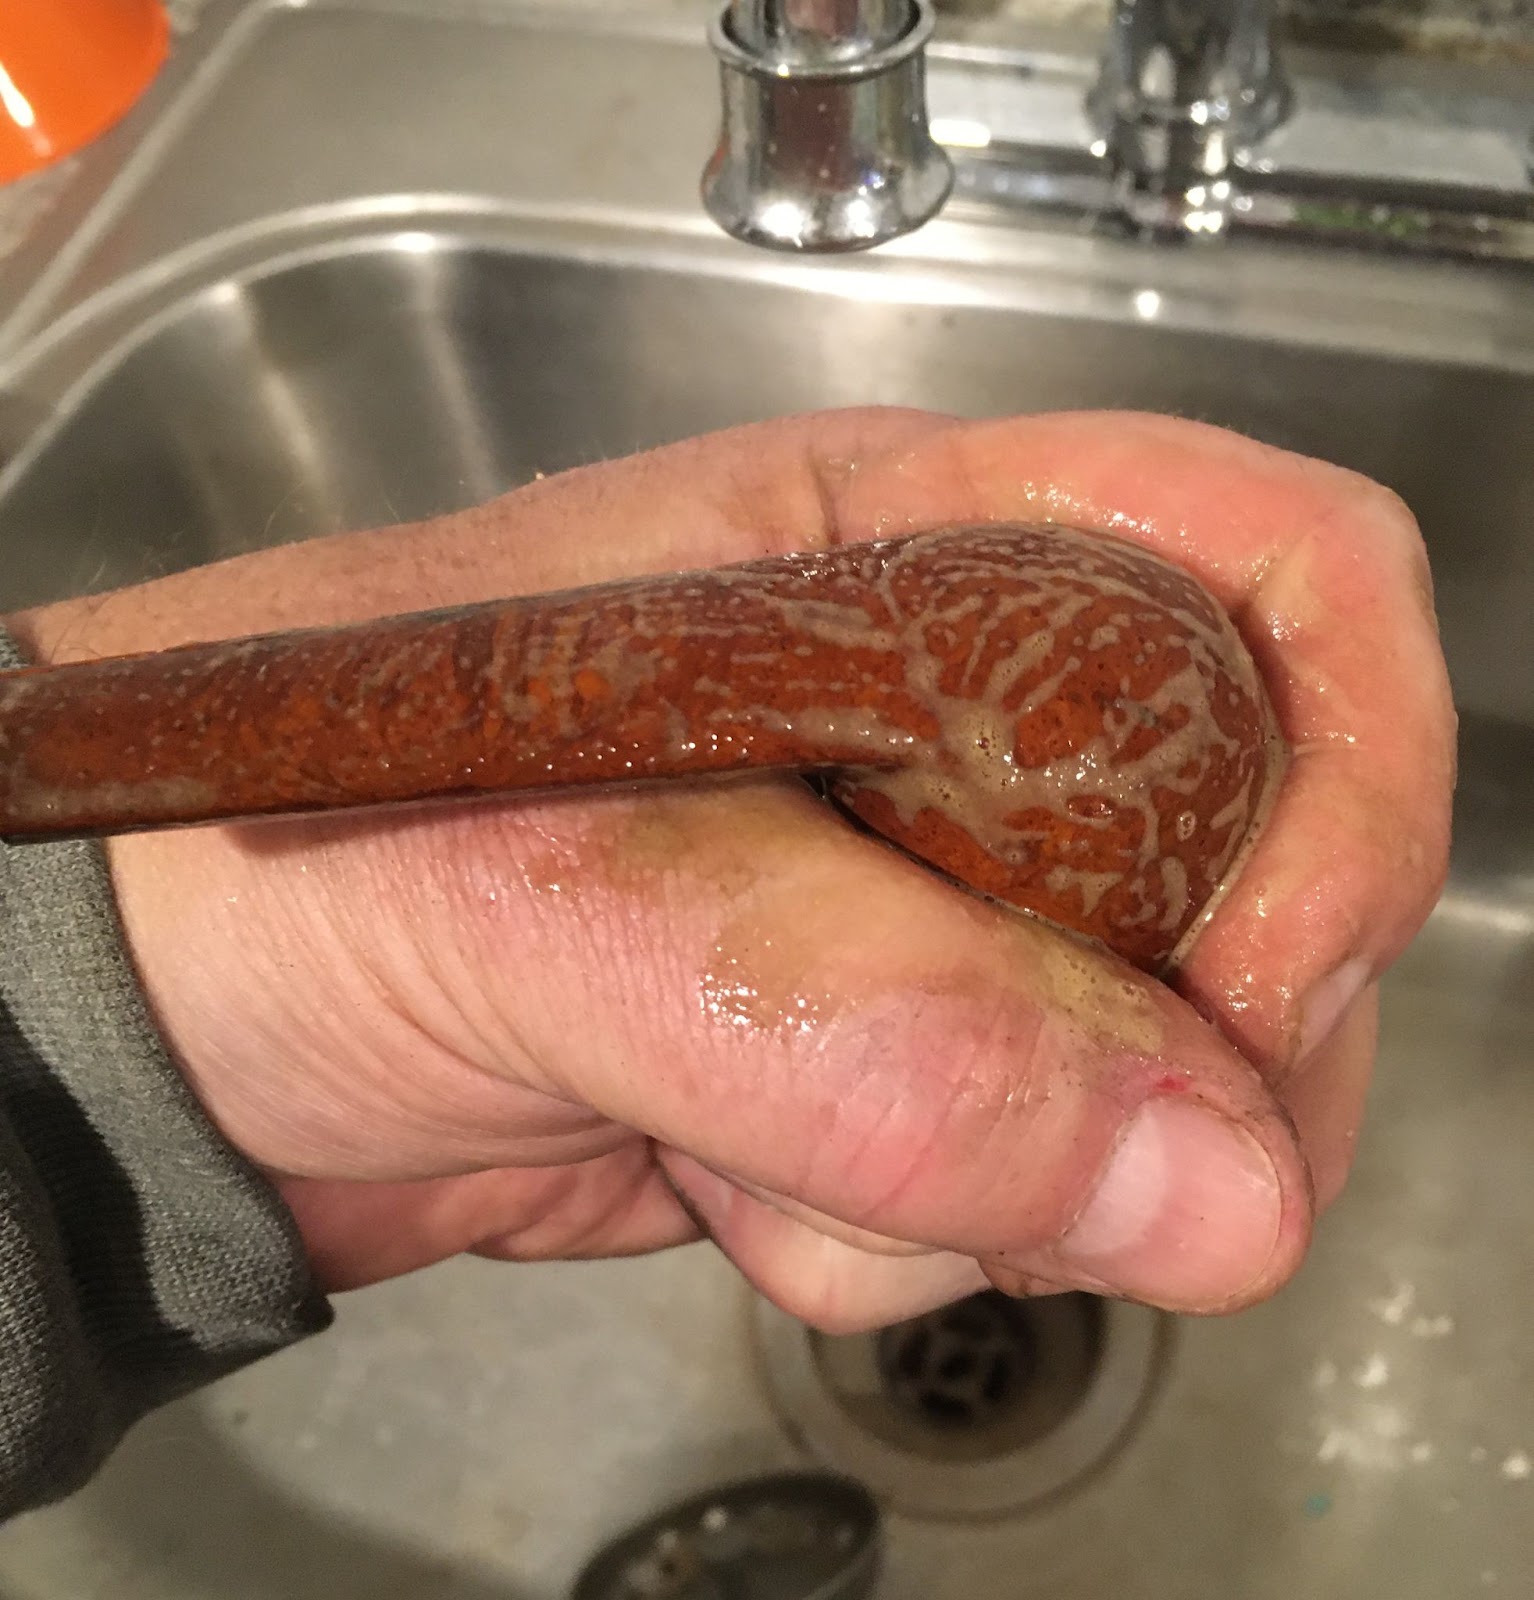
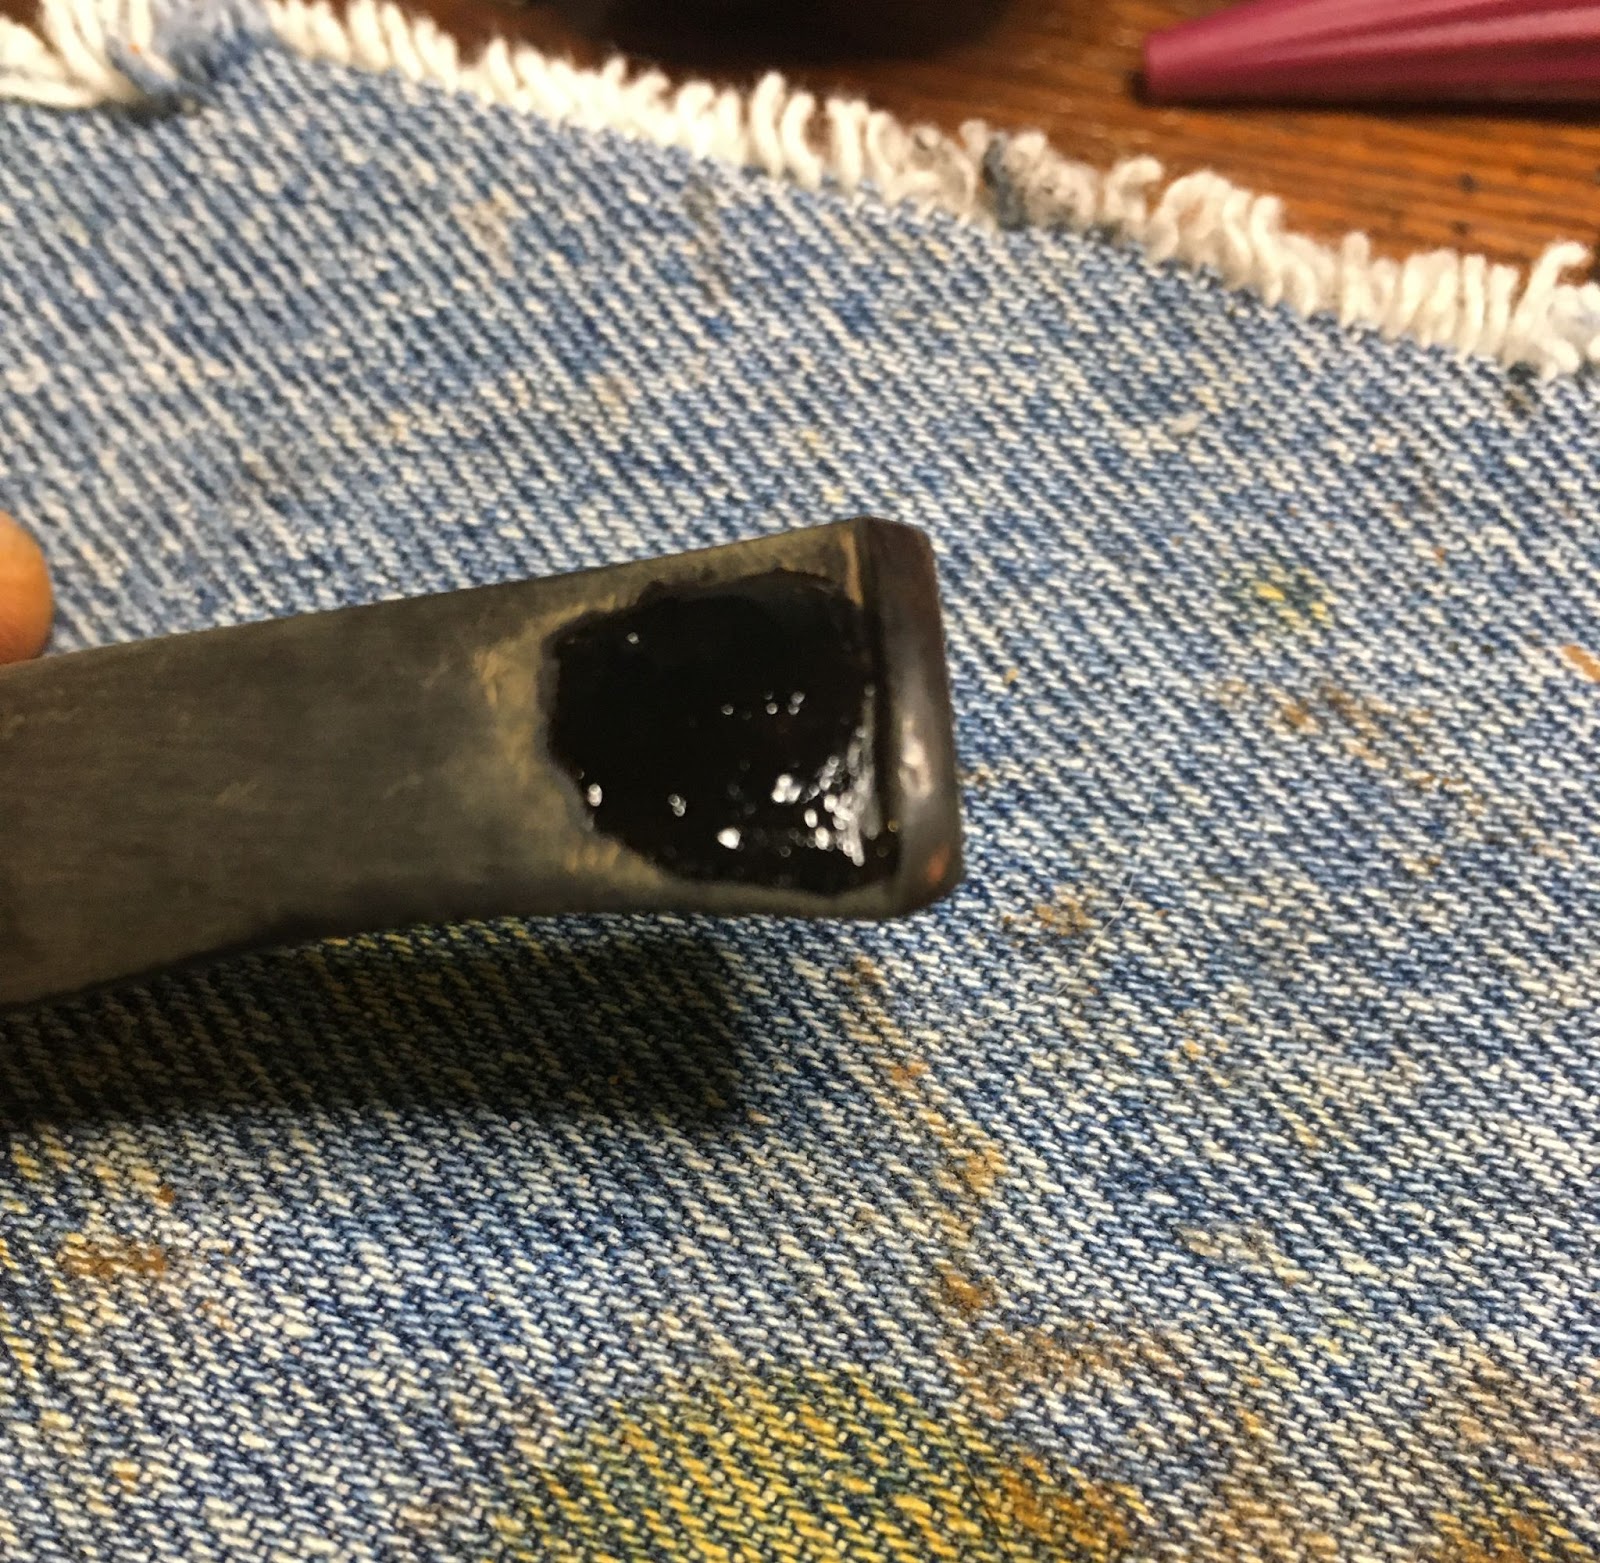
I thought that a contrast stain would allow the grain of the briar to be more apparent. I chose Dark Brown mixed with Black Fiebing’s Leather Dye. I mixed the brown to black at a 2:1 ratio. Prior to applying the dye I heated the stummel with the heat gun, shown below. The dye was applied with a folded pipe cleaner and flamed with the lighter. Two coats were applied and flamed.


Returning to the workbench, I dipped make-up pads into 95% ethyl alcohol and wiped the stummel. I wanted to get as much of the dye off of the stummel as possible.

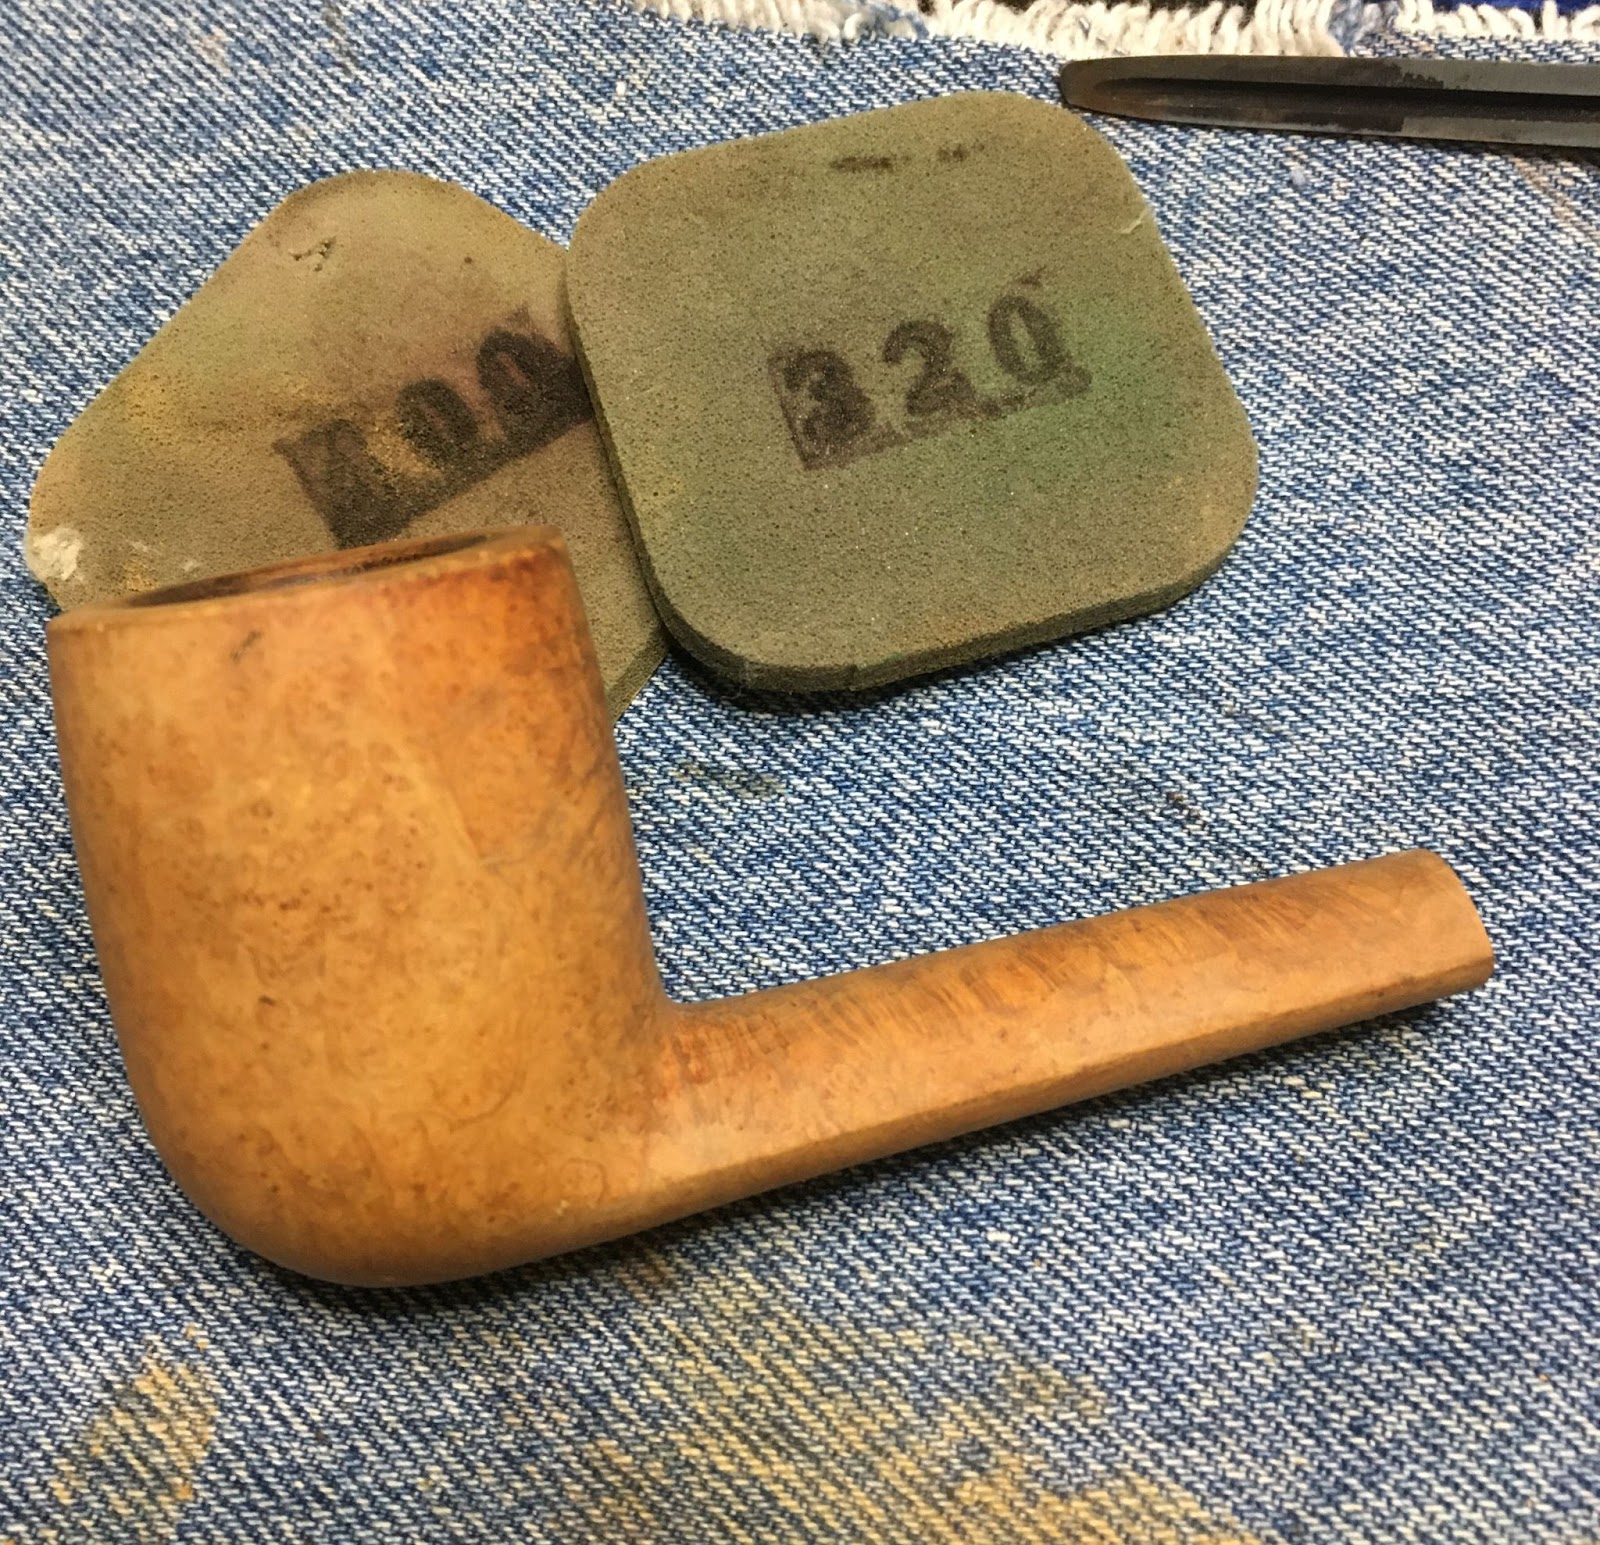
Once the dye had been wiped from the stummel I started sanding the surface with a 320 sanding sponge. The sponge needed to be wiped off on the denim frequently to free it from the accumulated briar dust. Below shows the stummel ½ sanded illustrating the accentuation of the grain.
When finished with the 320 sanding sponge I sanded with a 400 sponge. Between the sandings I wiped the stummel with a make-up pad dipped in alcohol.

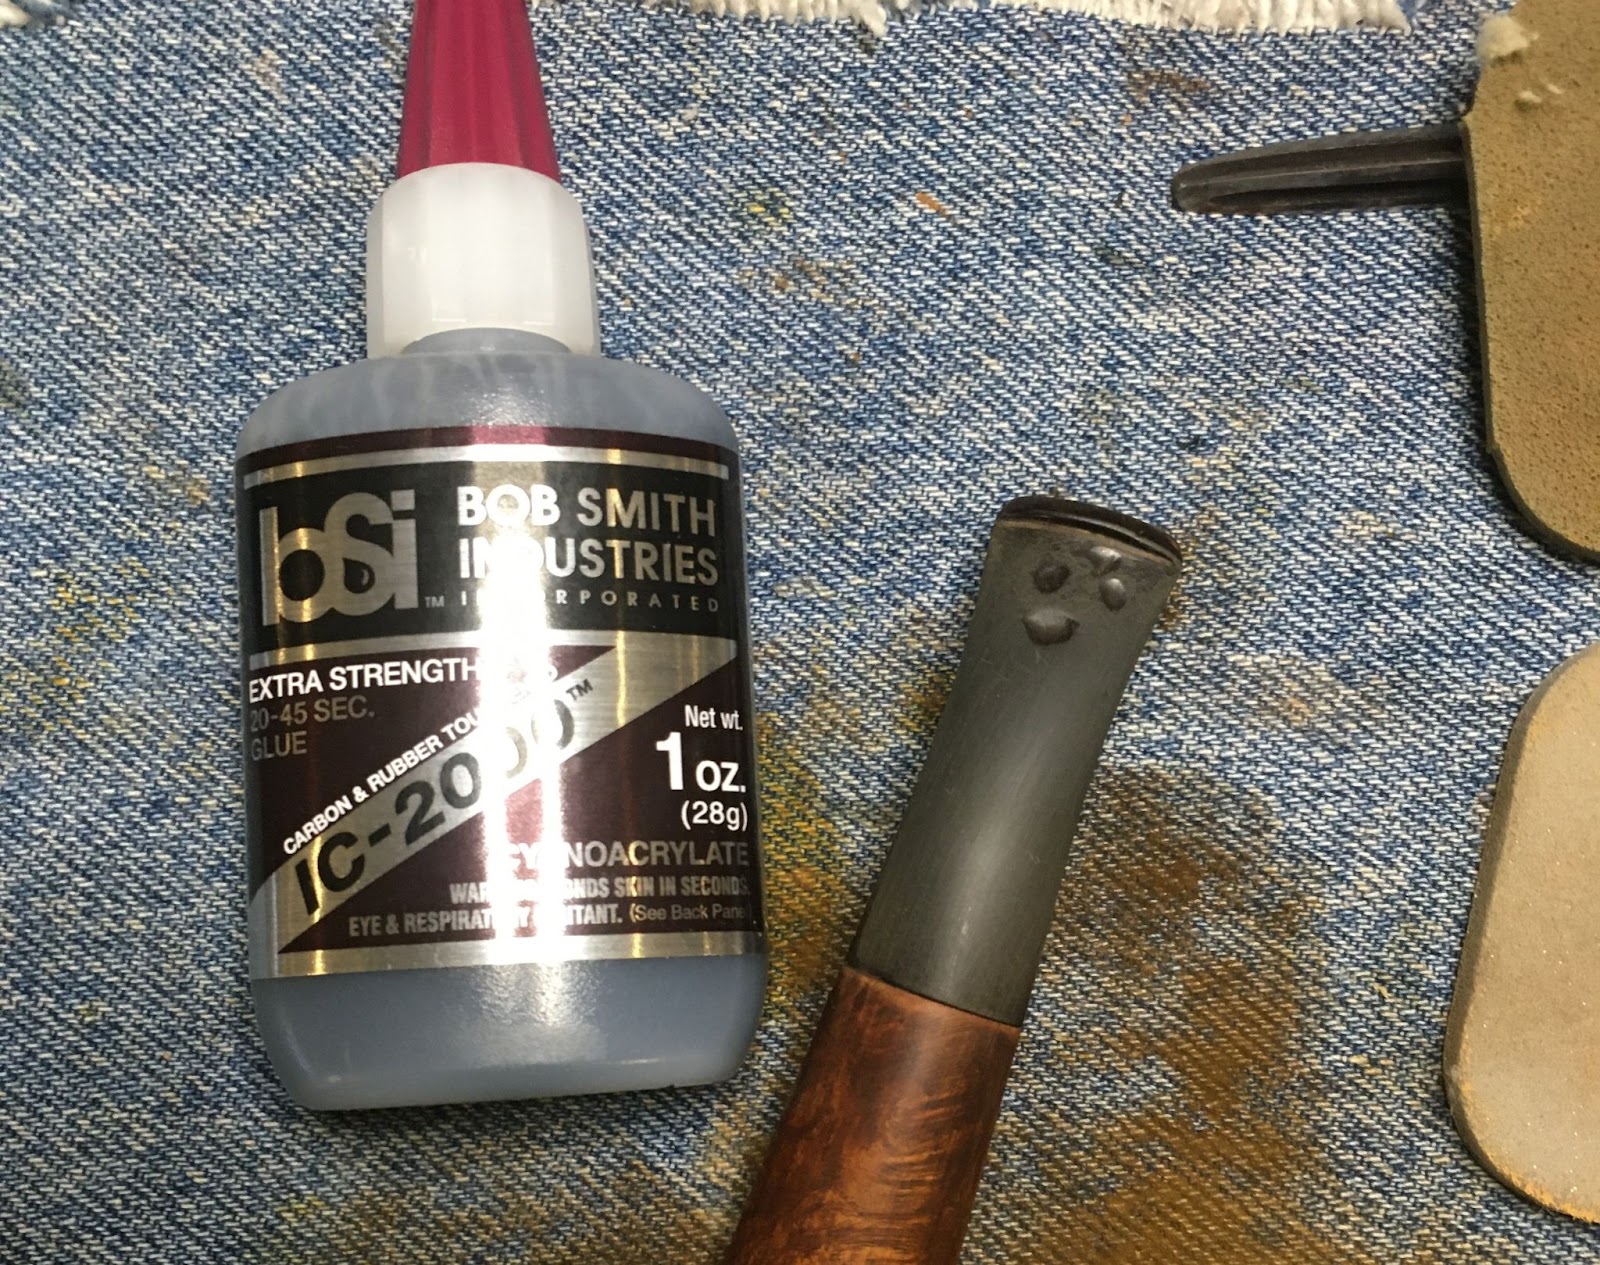
I wanted to sand the stem and the stummel together to avoid rounding the edges of each piece. This meant that I needed to finish the stem. I wiped the mineral oil from the stem and used a cotton swab dipped in alcohol to clean the oil from the area I would be working on. I used black CA to fill the tooth dents.
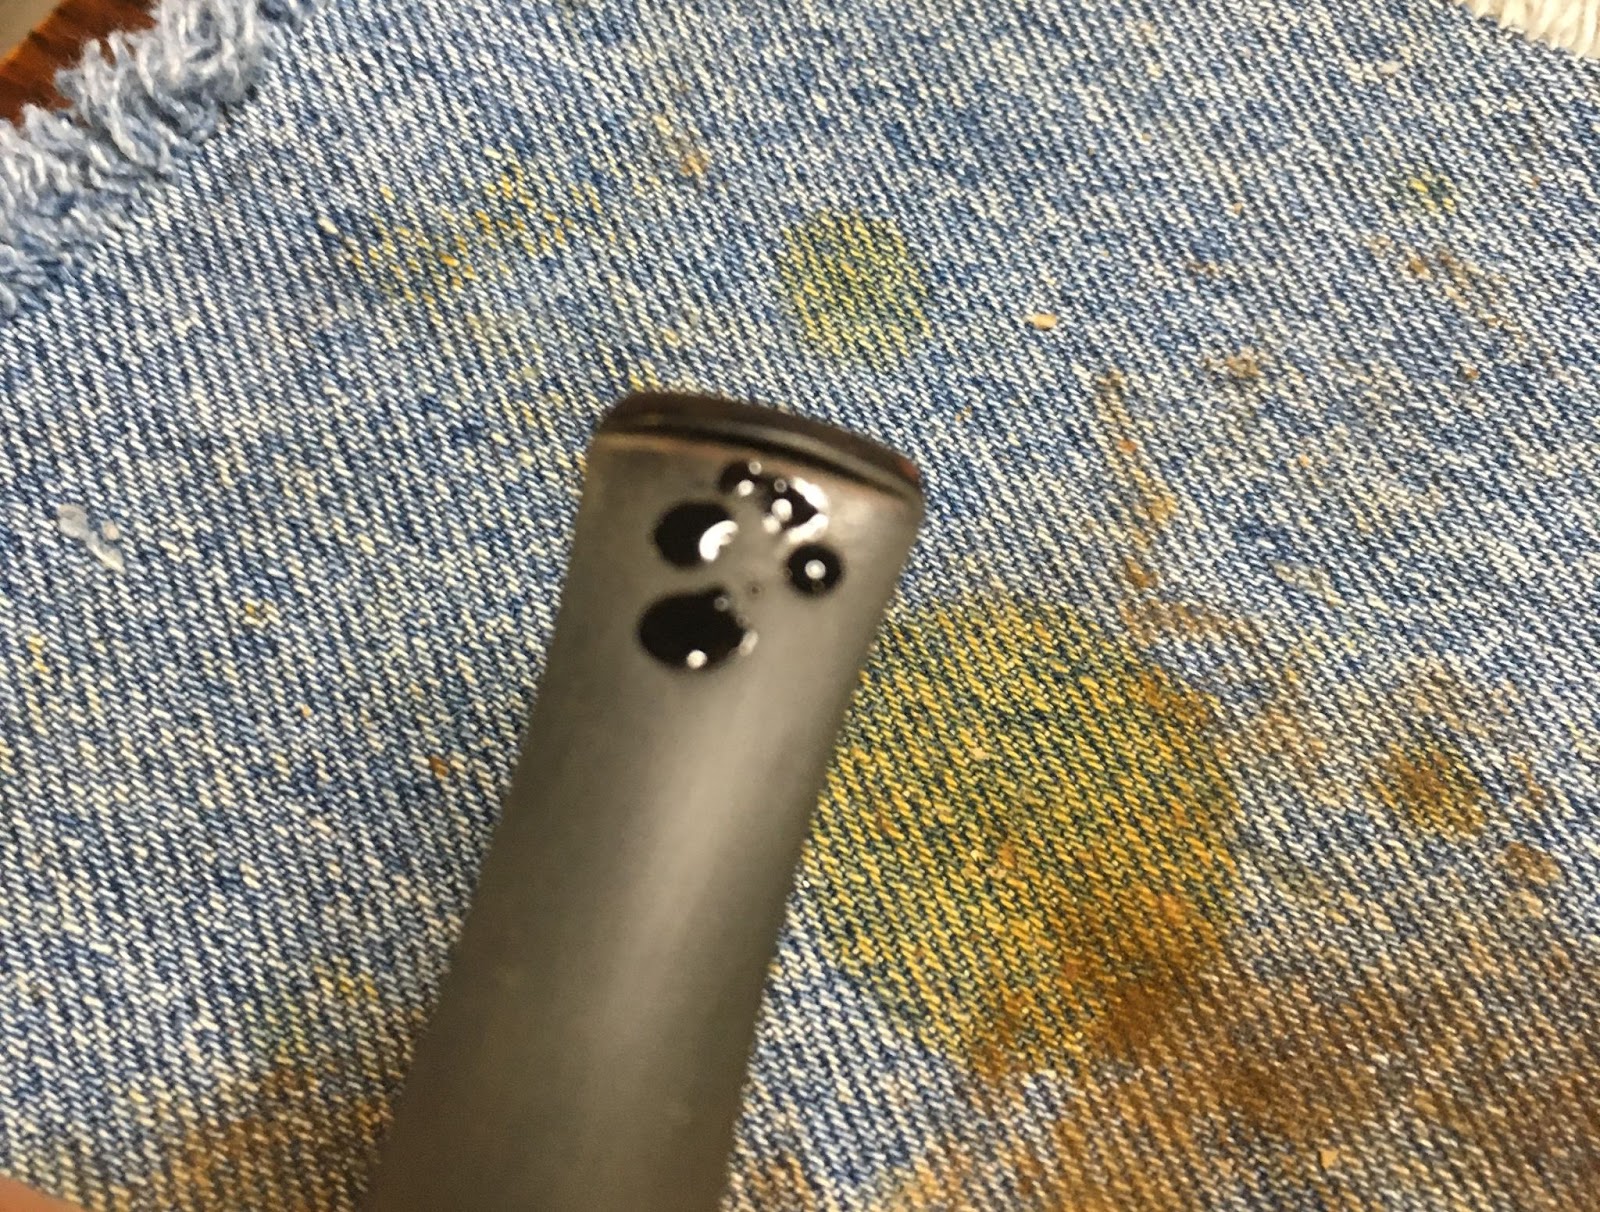
I applied the black CA into the dents and spritzed the stem with a CA drying accelerator.
The cured CA was then filed smooth with a flat needle file.

Additional coats of CA were added to further smooth and blend the repaired areas.
I prefer to work with several light coats rather than a single heavy coat of CA. Below the dark spots are areas where another application is needed to fill a depression.

Below is after filing and sanding to 400 grit.

The same process was done for the bottom side of the stem.

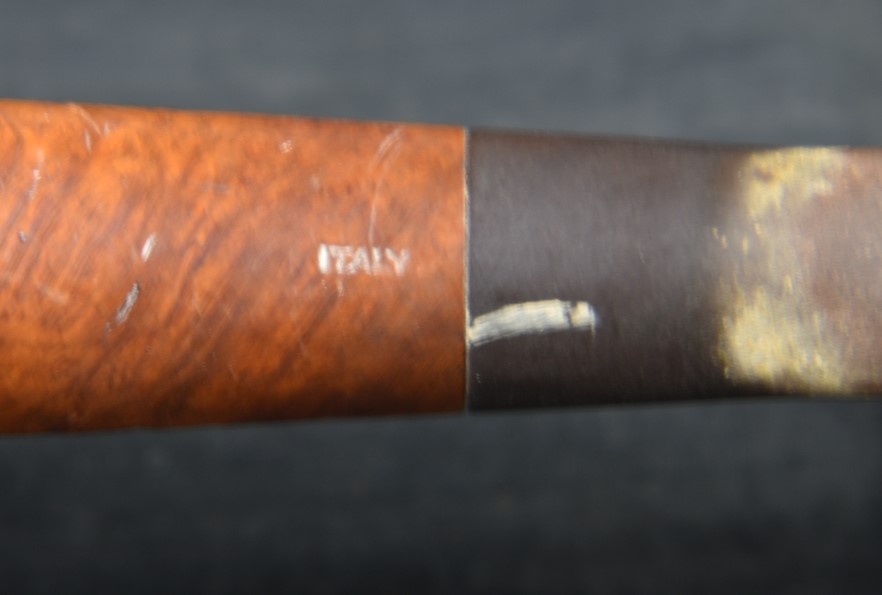
Once the stem had been sanded with the 600 grit sanding sponge the two pieces were reattached and the pipe was sanded together. The 1000-3500 sanding sponges were used in series with care not to sand the ITALY stamp. Between each sponge the stummel was wiped off with an alcohol moistened make-up pad. The stem had a bit of mineral oil rubbed inby fingertip and then wiped with a paper towel.

The pipe was then polished with a series of micro-mesh pads from 4000-12000. Between each pad the stummel was wiped off with an alcohol moistened make-up pad. The stem had a small drop of Obsidian Oil rubbed in by fingertip and then wiped with a paper towel.

The stummel received a coating of Before and After Restoration Balm and was allowed to sit for 20 minutes.

20 minutes later the Restoration Balm was wiped from the stummel using an inside-out athletic sock.

The final step of the restoration was to apply several coats of carnauba wax to the pipe using a buffer.
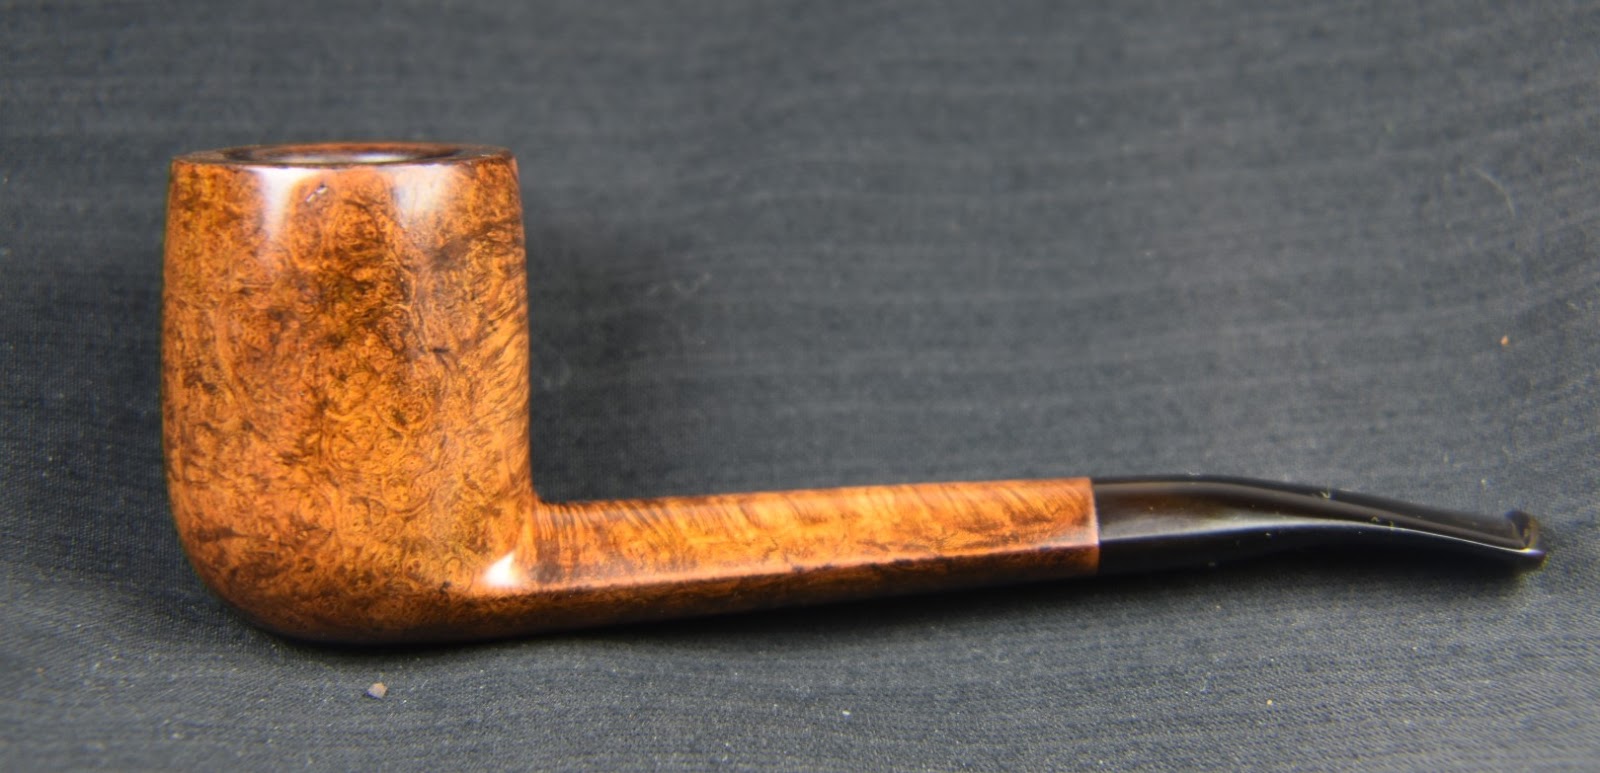
This lovely Italian oval shank billiard may not have a stamp indicating a maker and will thus be considered a “less than” pipe but looking at the before and after photo below, I dare you to call her “less than”. She is more than average in quality of briar, workmanship and quality of finish. I am quite pleased at how well this billiard turned out. The stem had me a bit
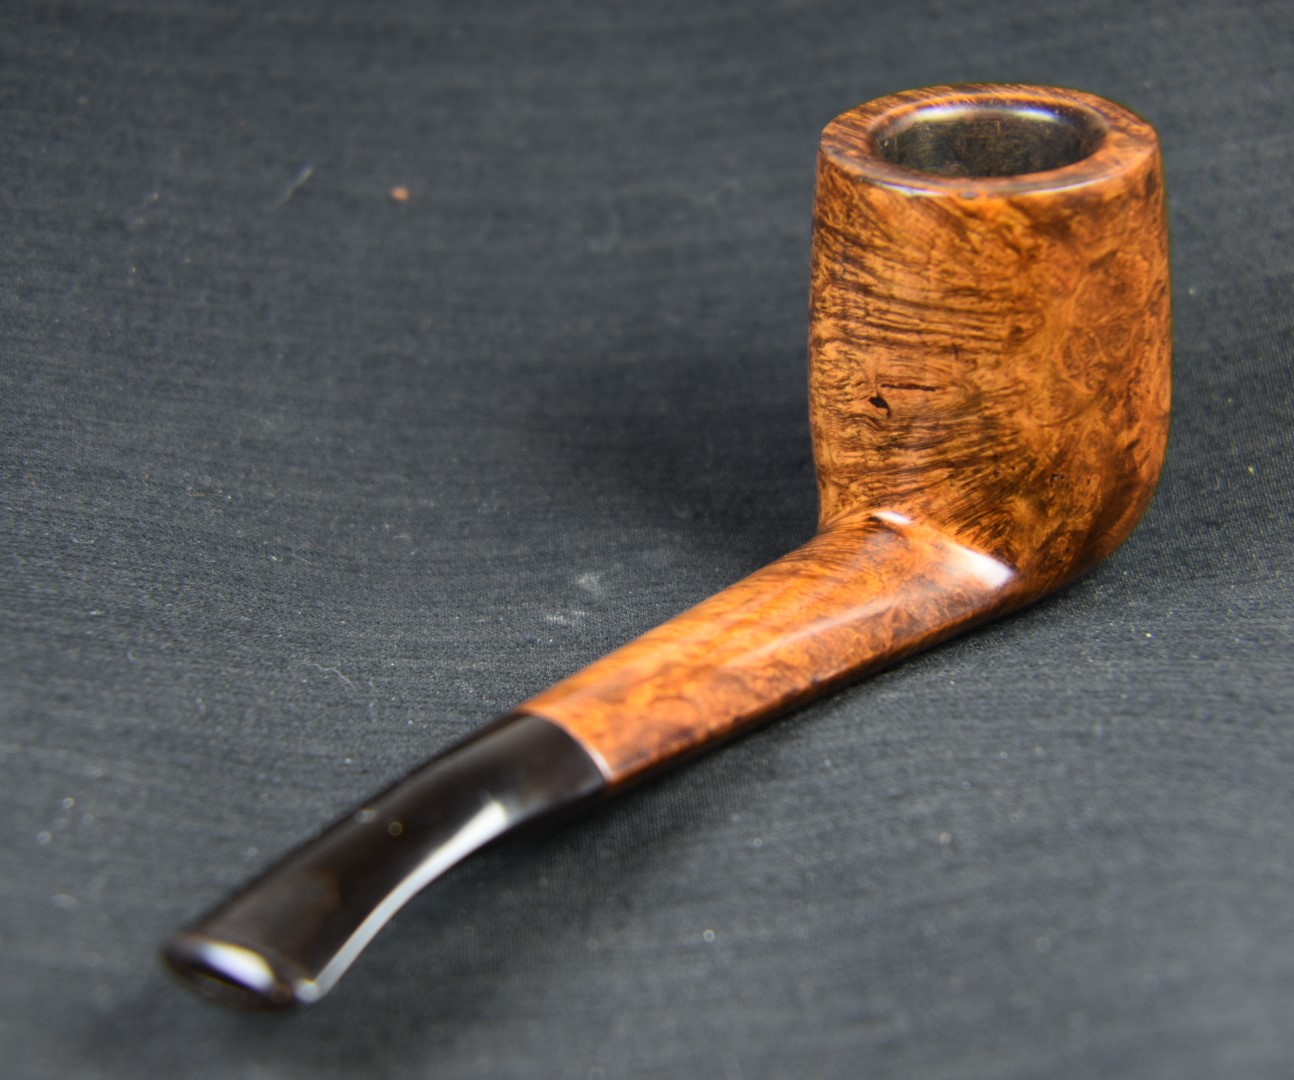

worried but after the repair it polished up nicely. The Contrast stain did indeed make the briar grain shine. This old girl will be a grand smoker and will hopefully bring someone many years of enjoyment.
The dimensions of this little beauty are:
- Length: 5.50 in./ 139.7 mm.
- Weight: 1.34 oz./ 37.80 g.
- Bowl Height: 1.97 in./ 50.04 mm.
- Chamber Depth: 1.72 in./ 43.69 mm.
- Chamber Diameter: .82 in./ 20.83 mm.
- Outside Diameter: 1.47 in./ 37.39 mm.
I do hope that you have found something here useful to your own pipe care, maintenance or restorations. If you like this sort of thing, please click the like and subscribe buttons. Thank you for reading the ramblings of an old pipe lover.
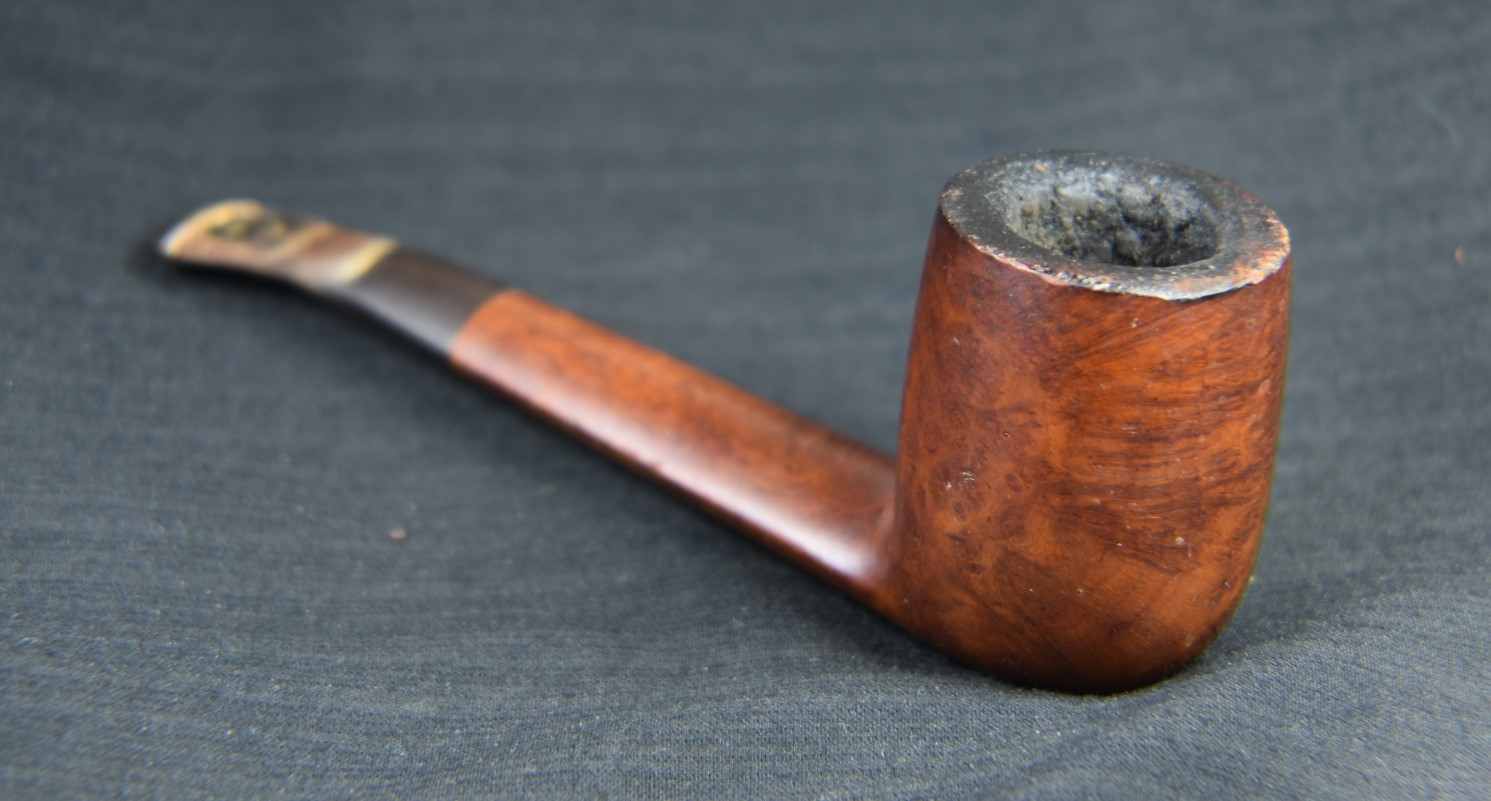
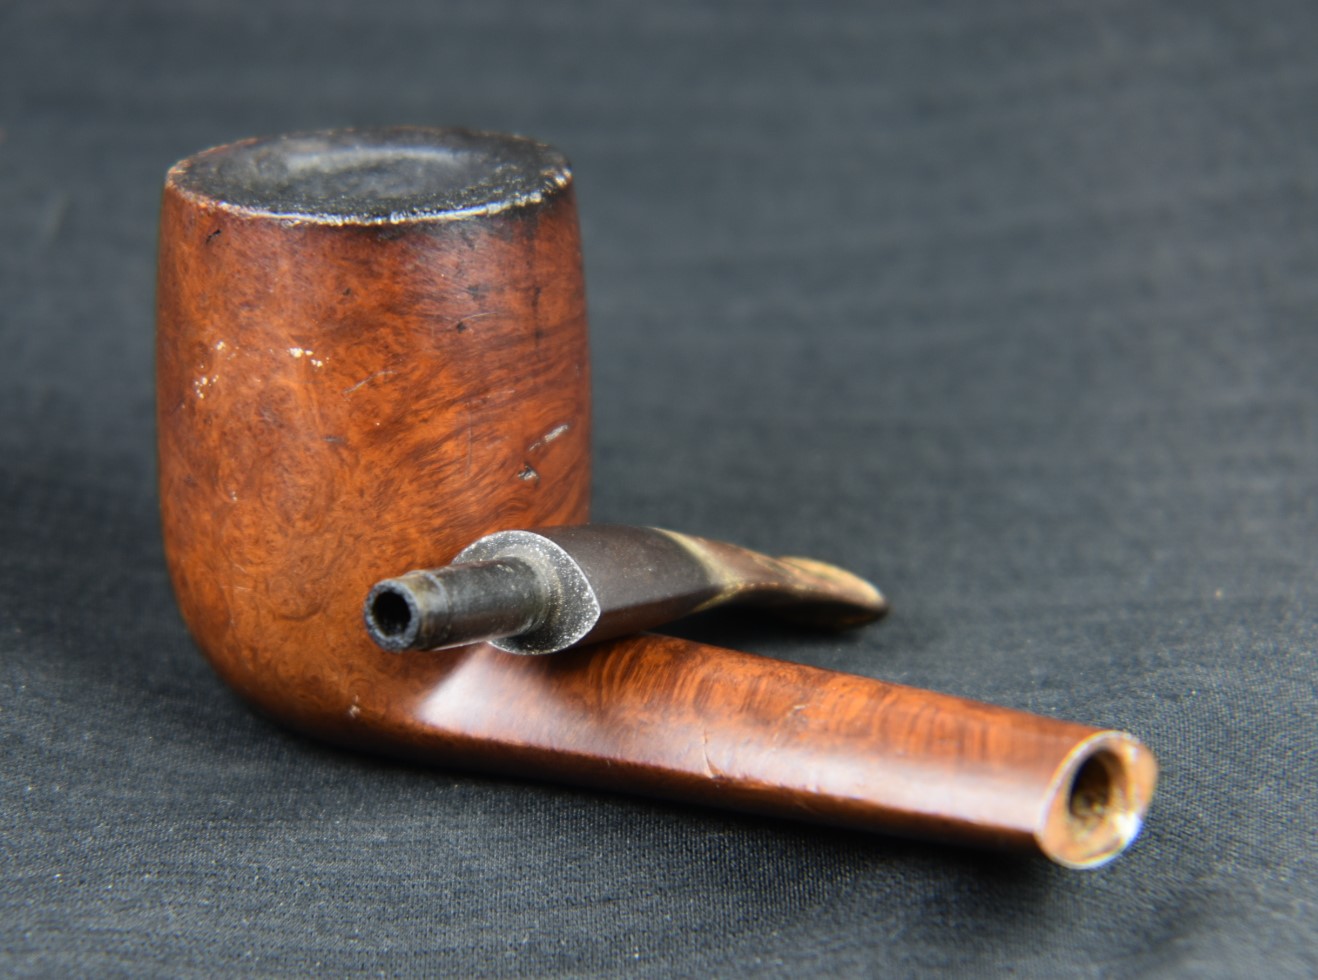
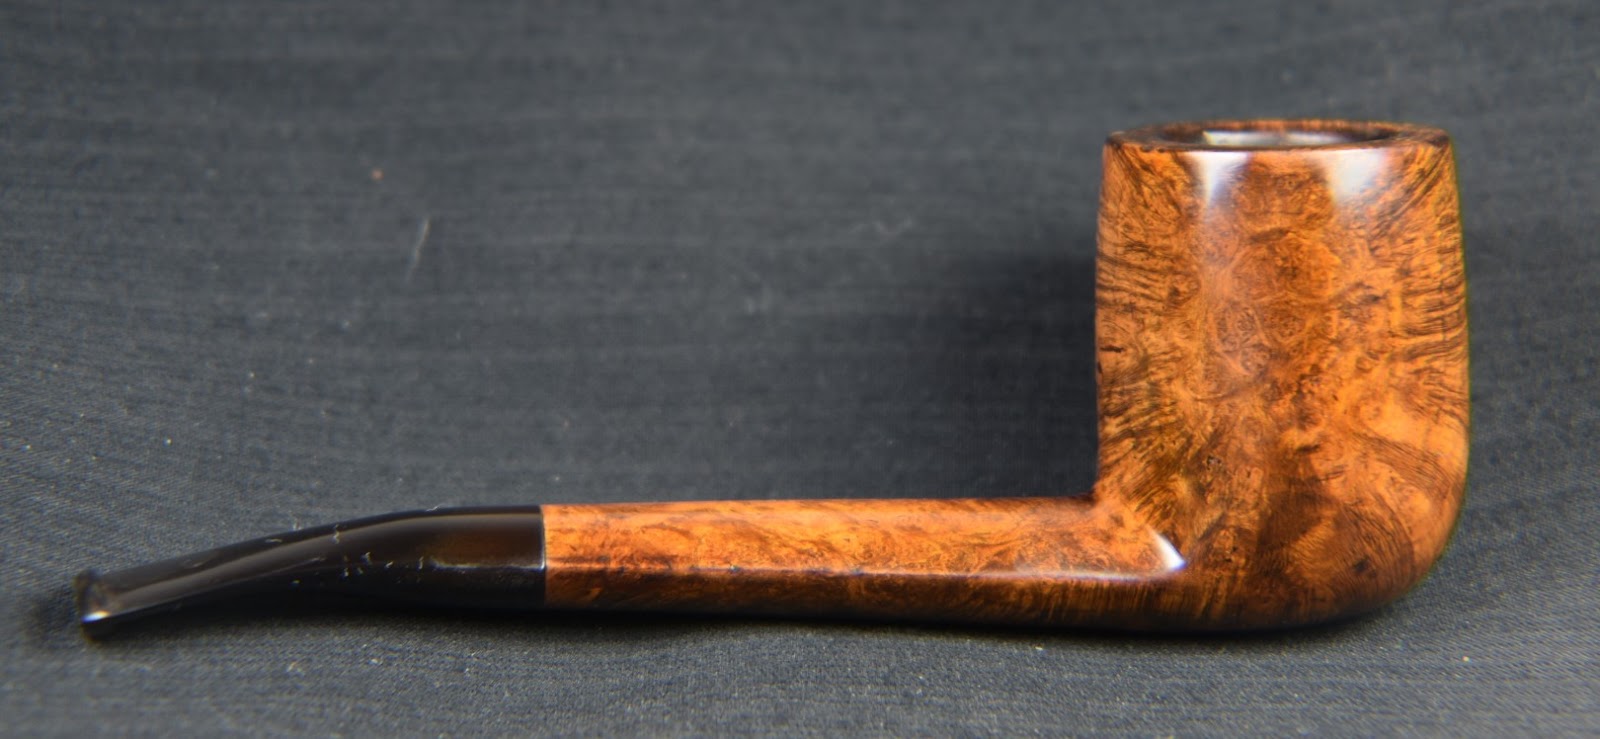
Below are some photos of the finished Italian No Name Oval Shank Billiard.


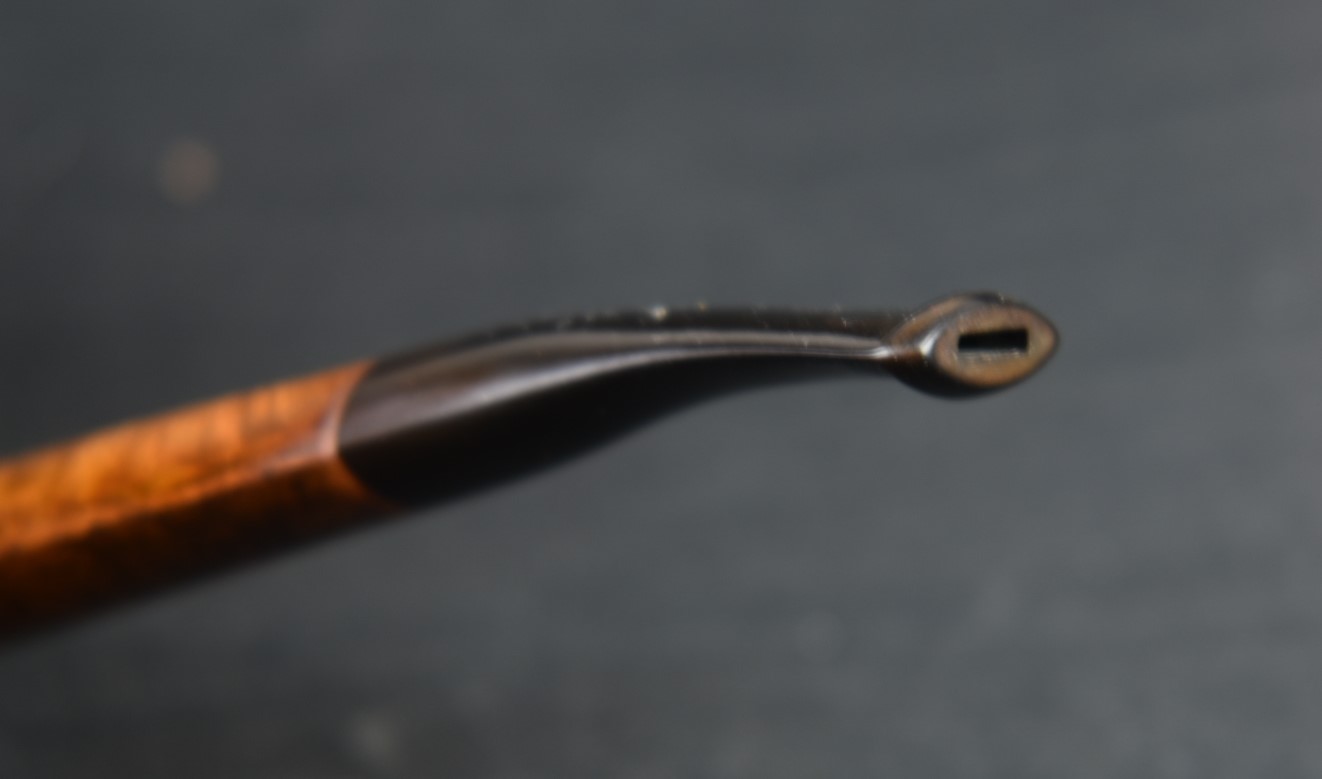
Wow, I have to work on that button. The bright light makes it look oxidized.
By the way, here is the finished piece of denim.

