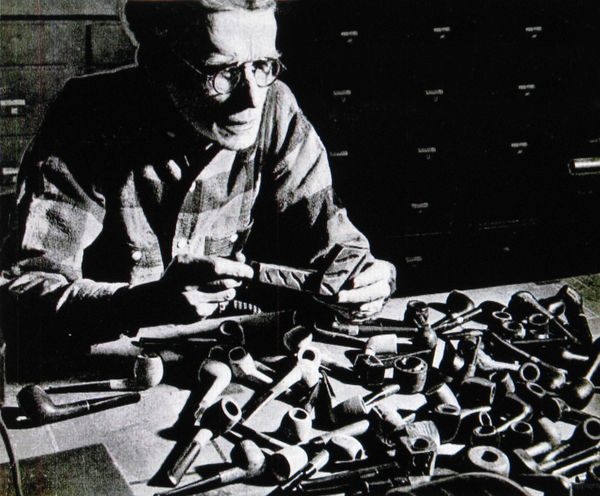
Photographed and written by
John M. Young
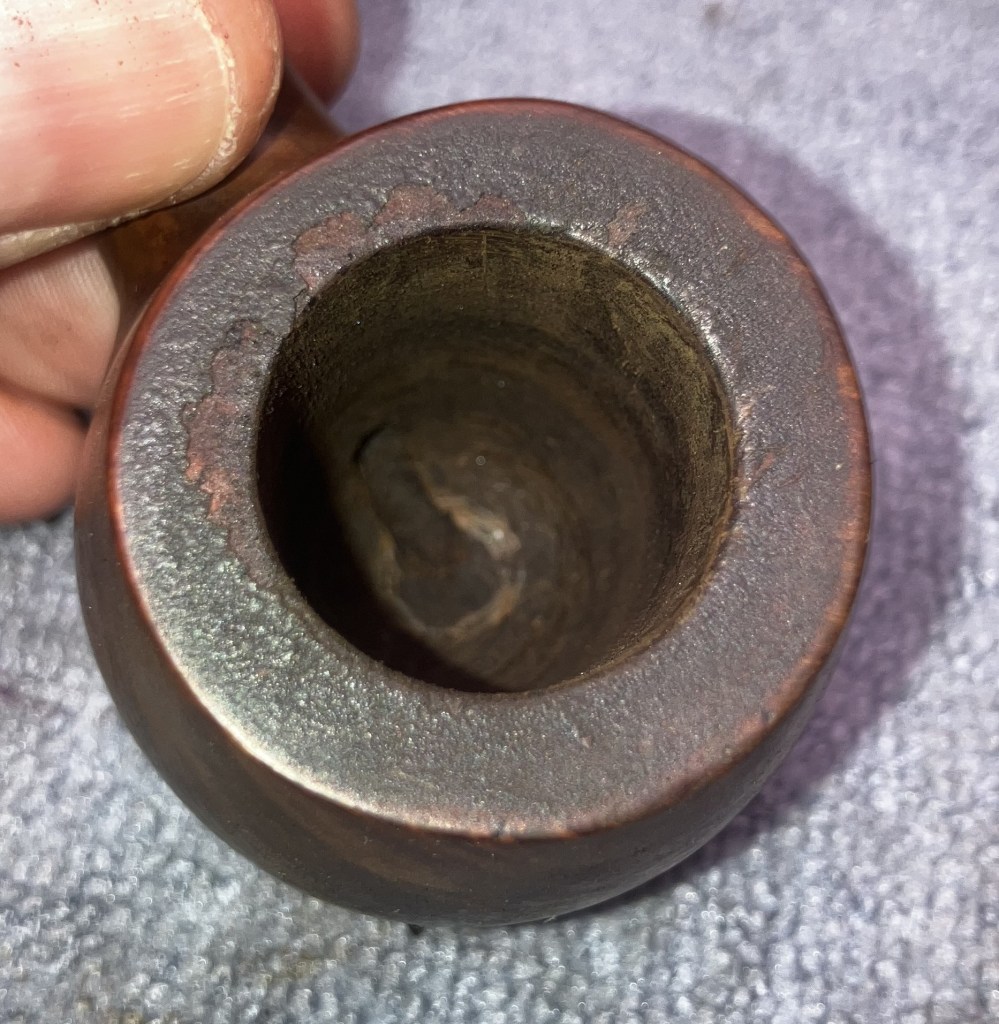
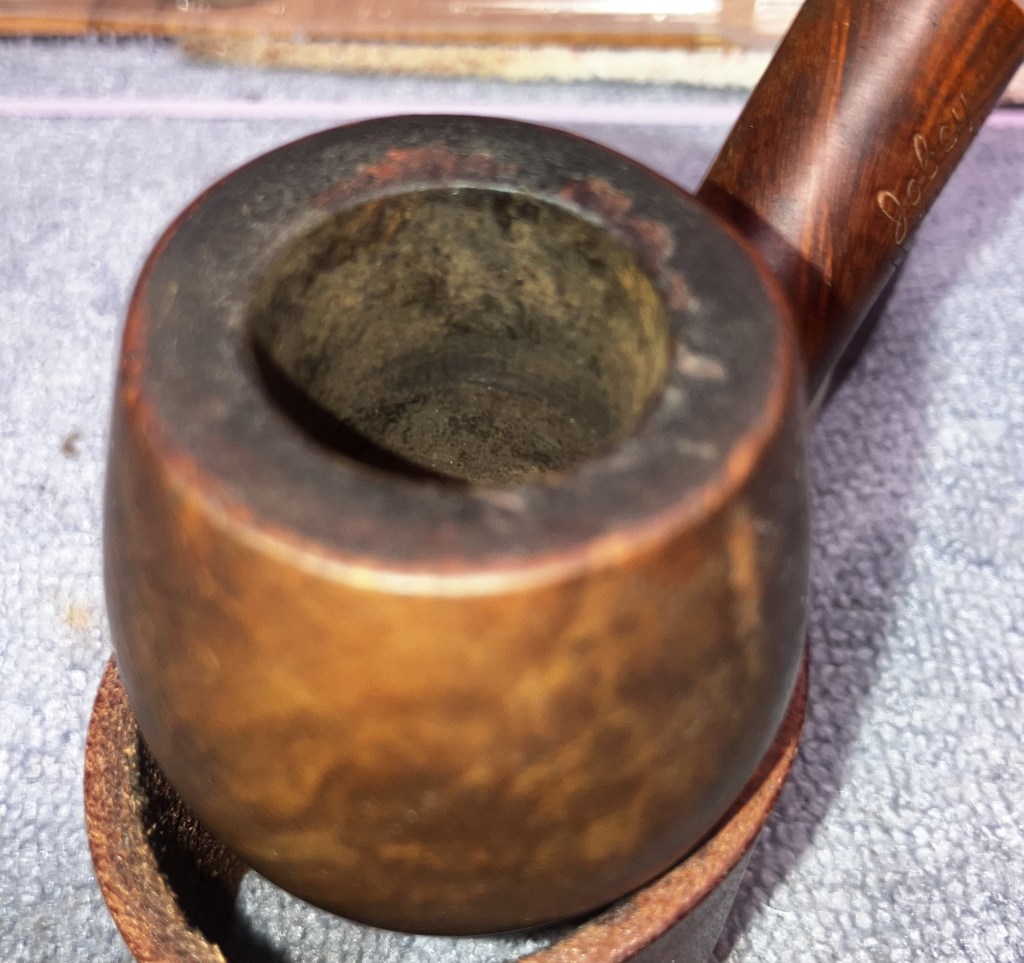
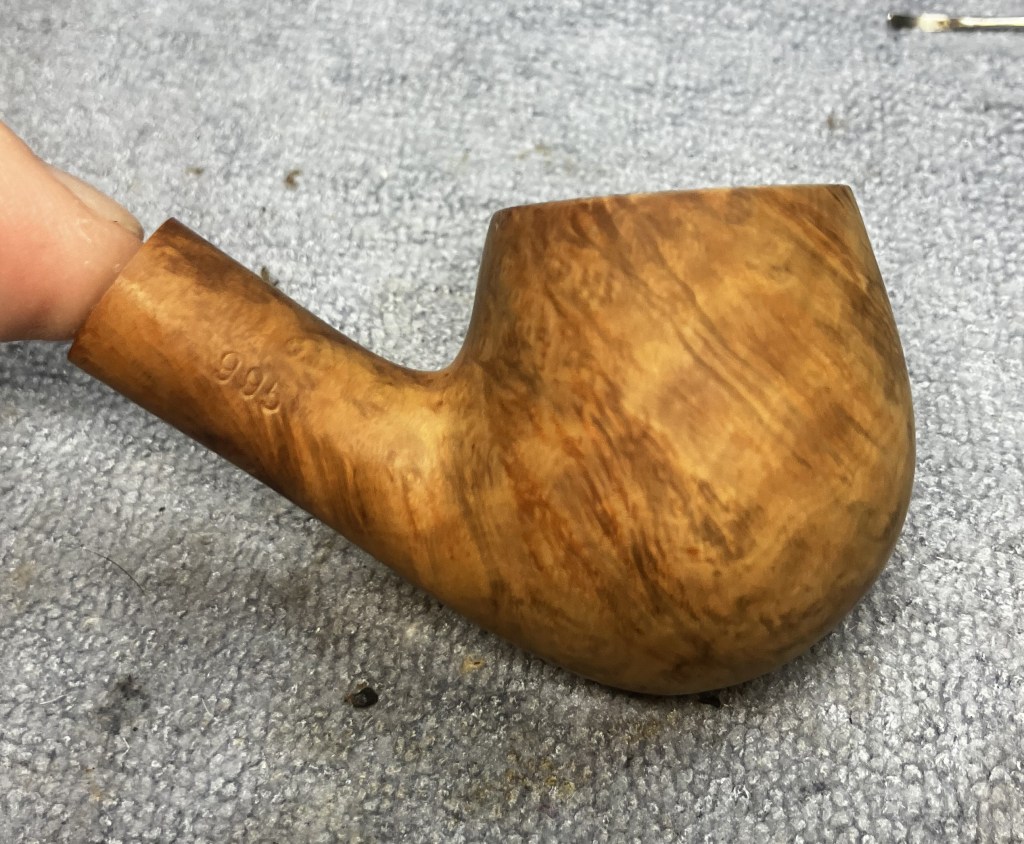
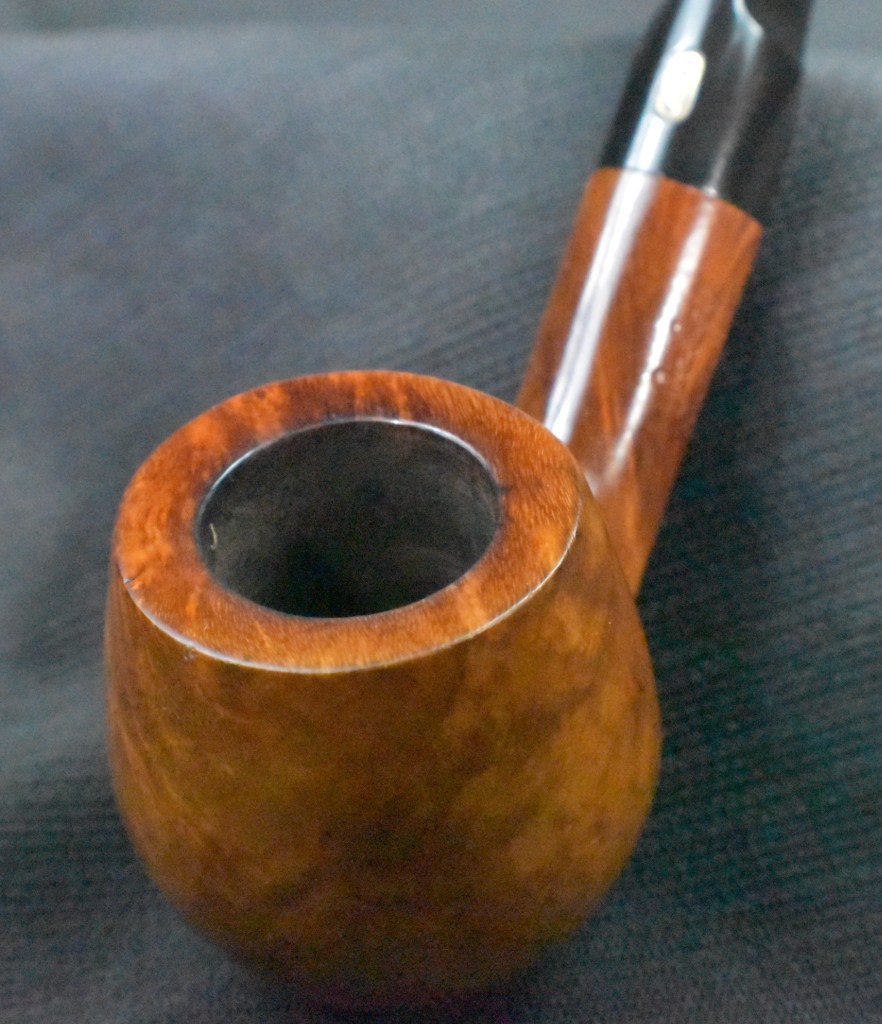
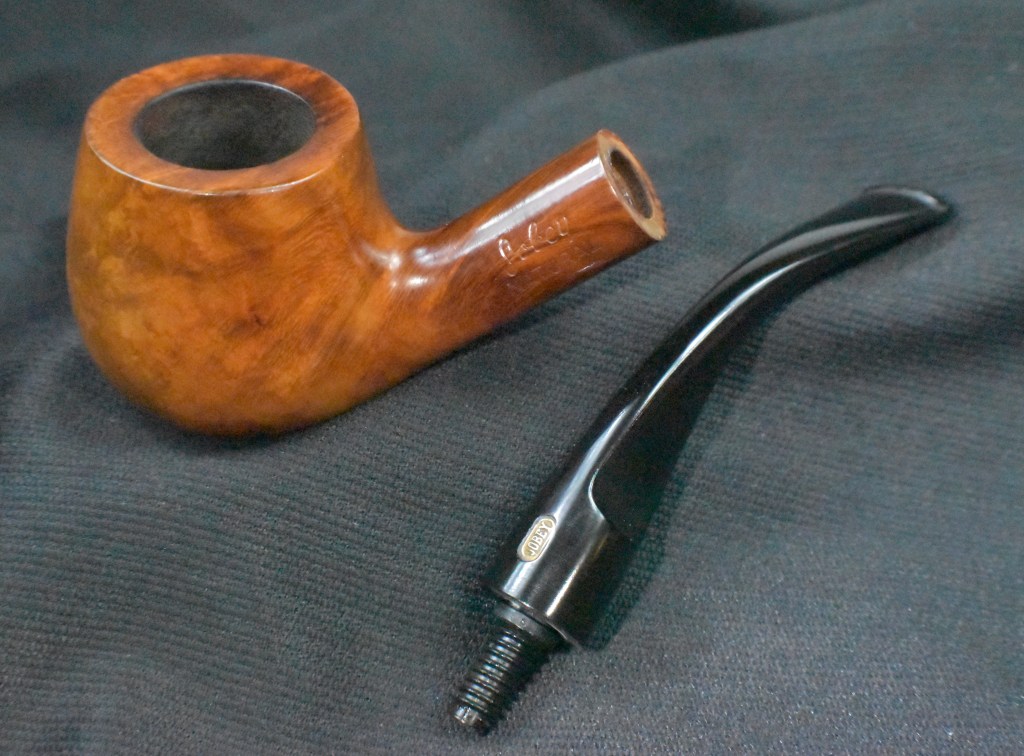
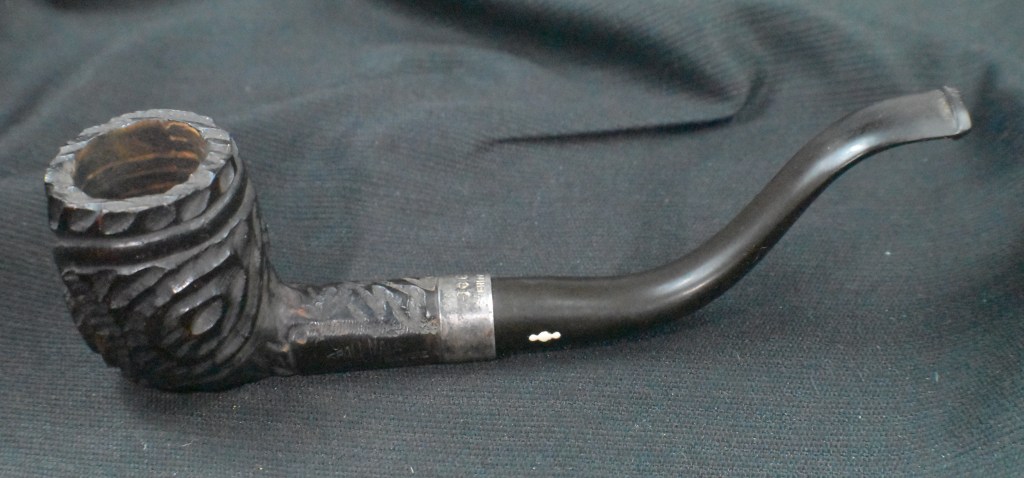
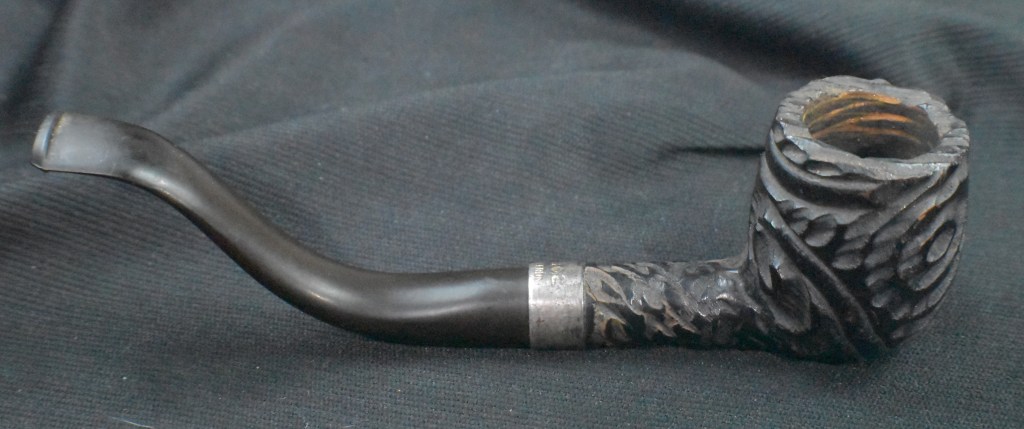
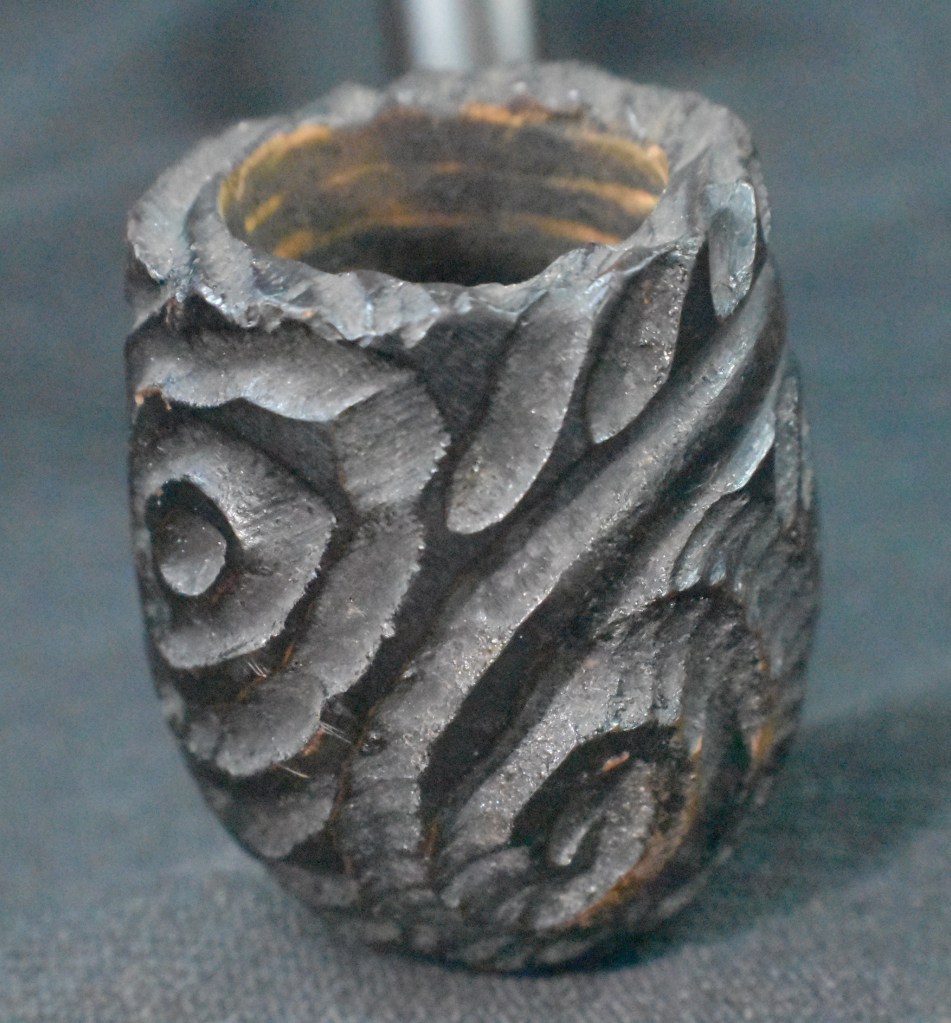
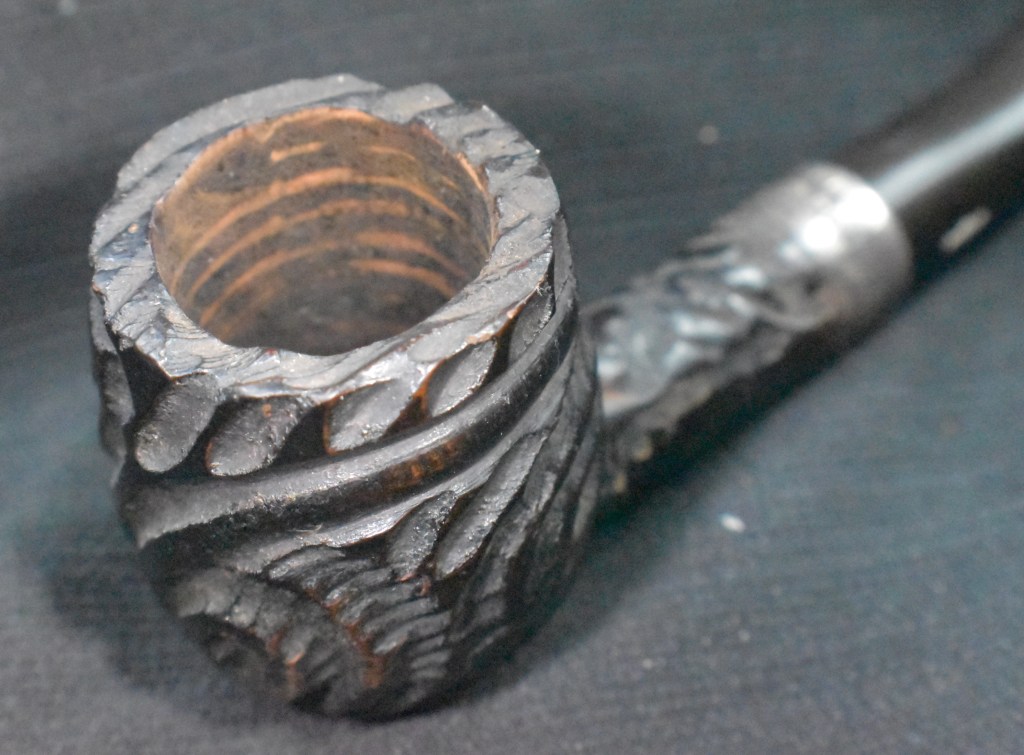
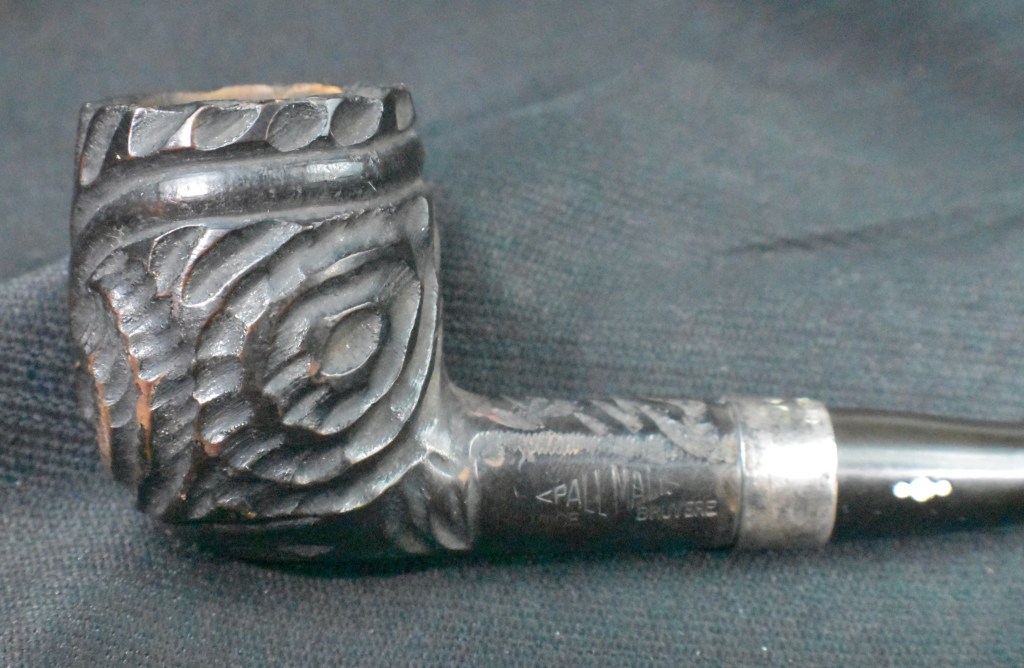
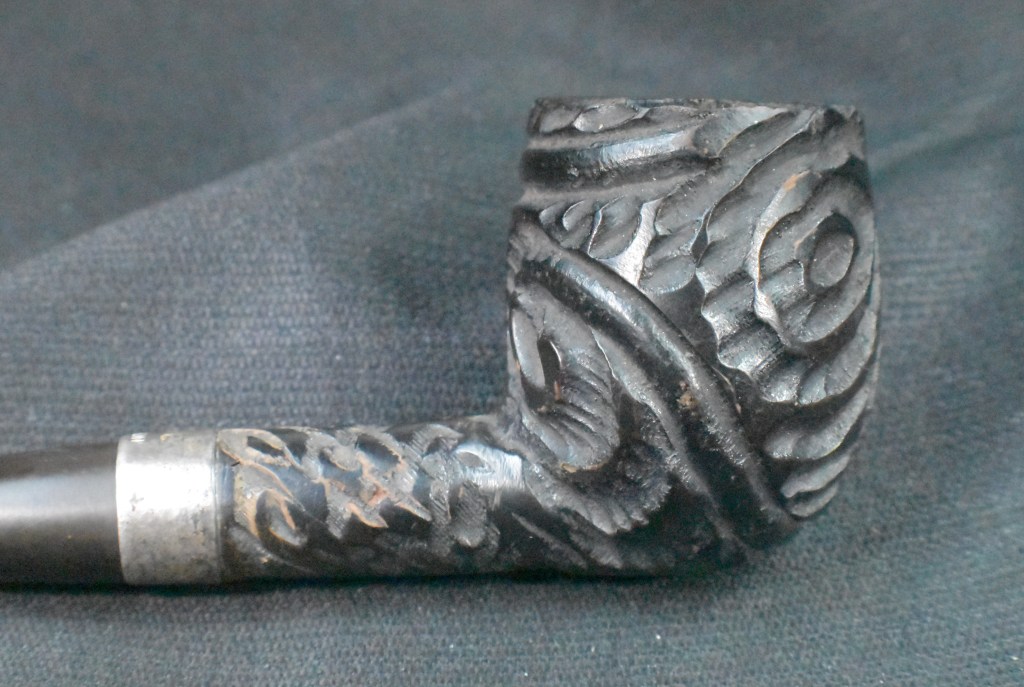
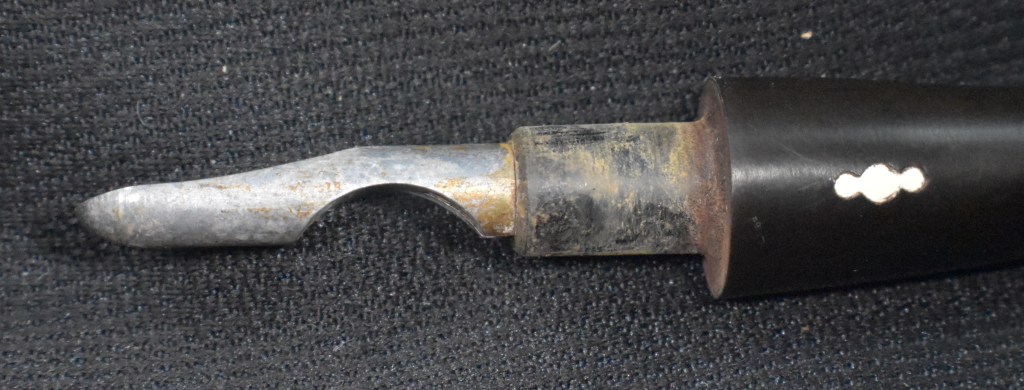
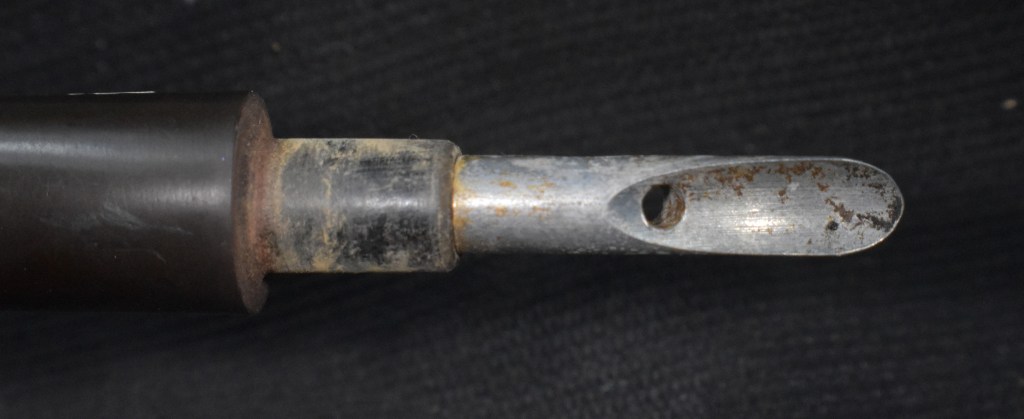
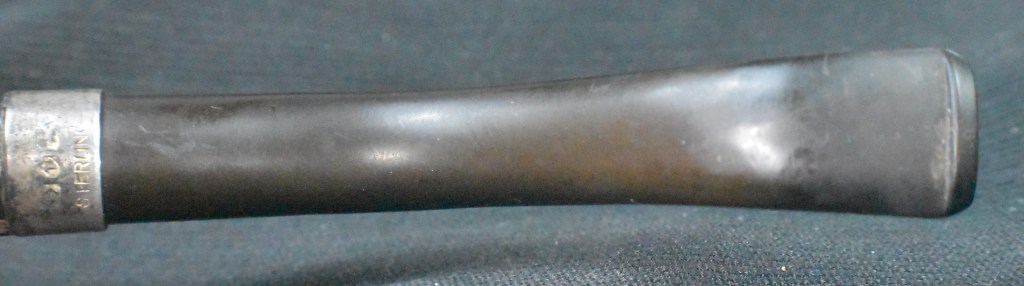
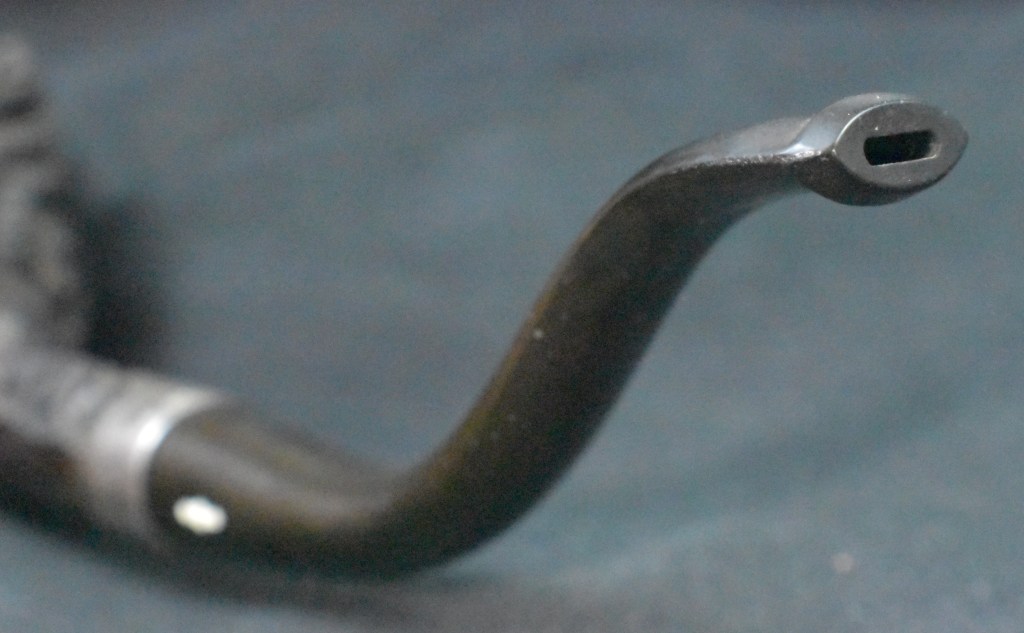
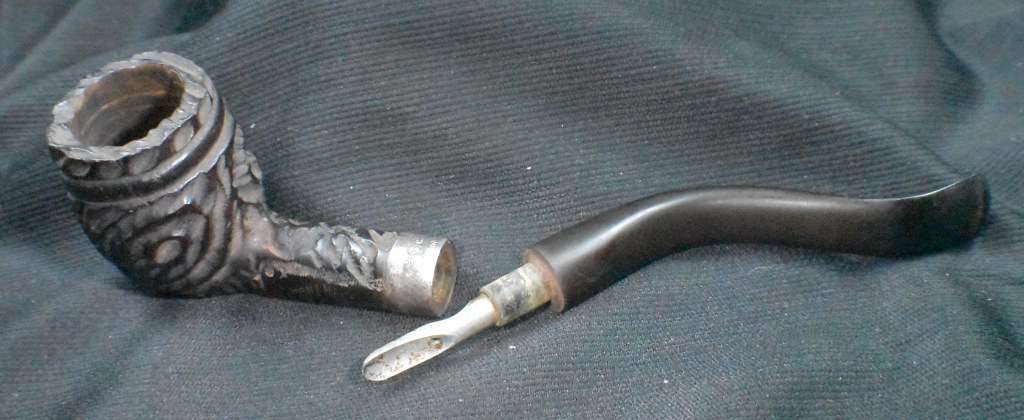
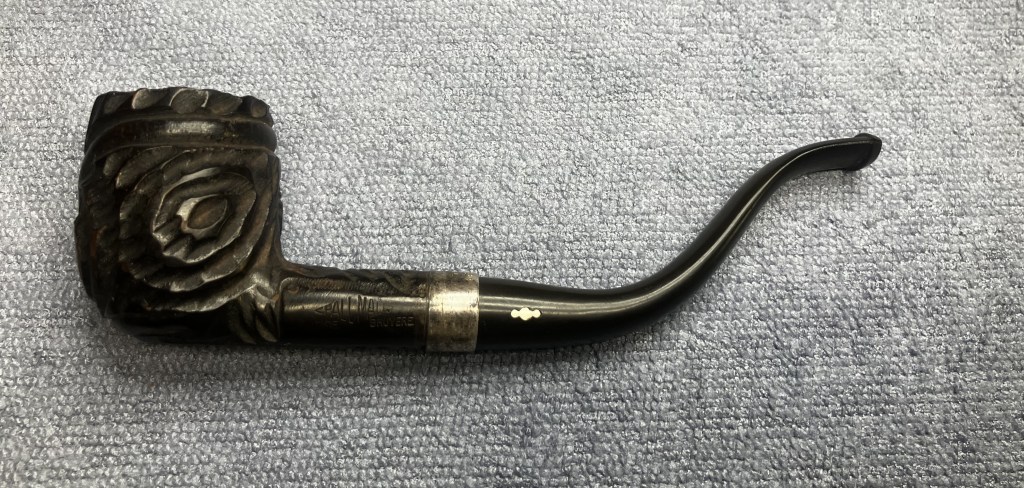
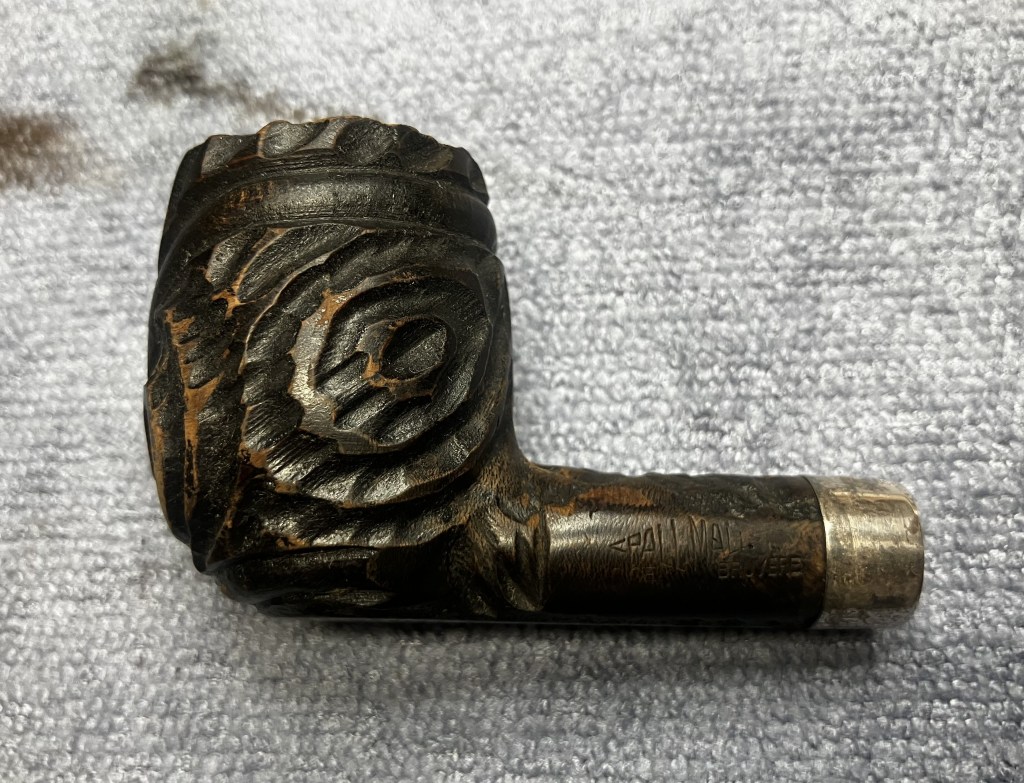
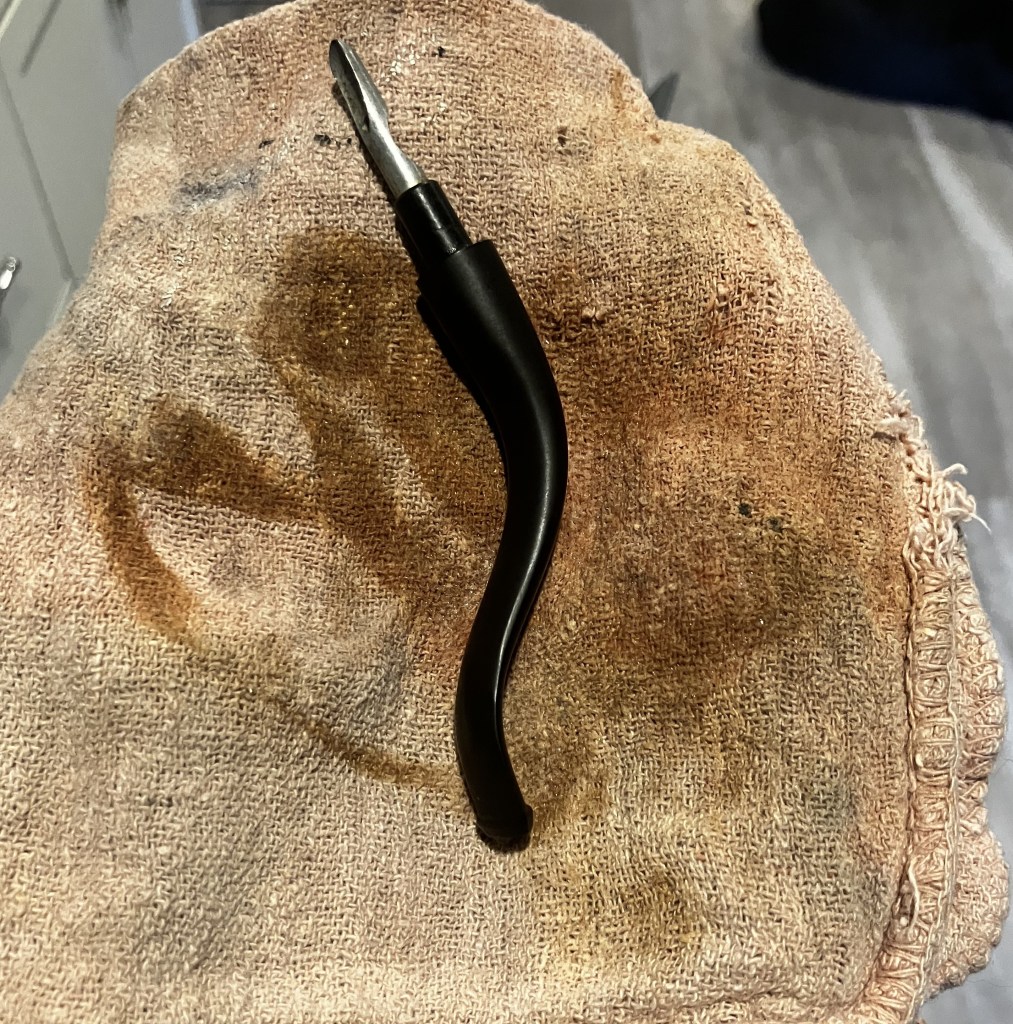
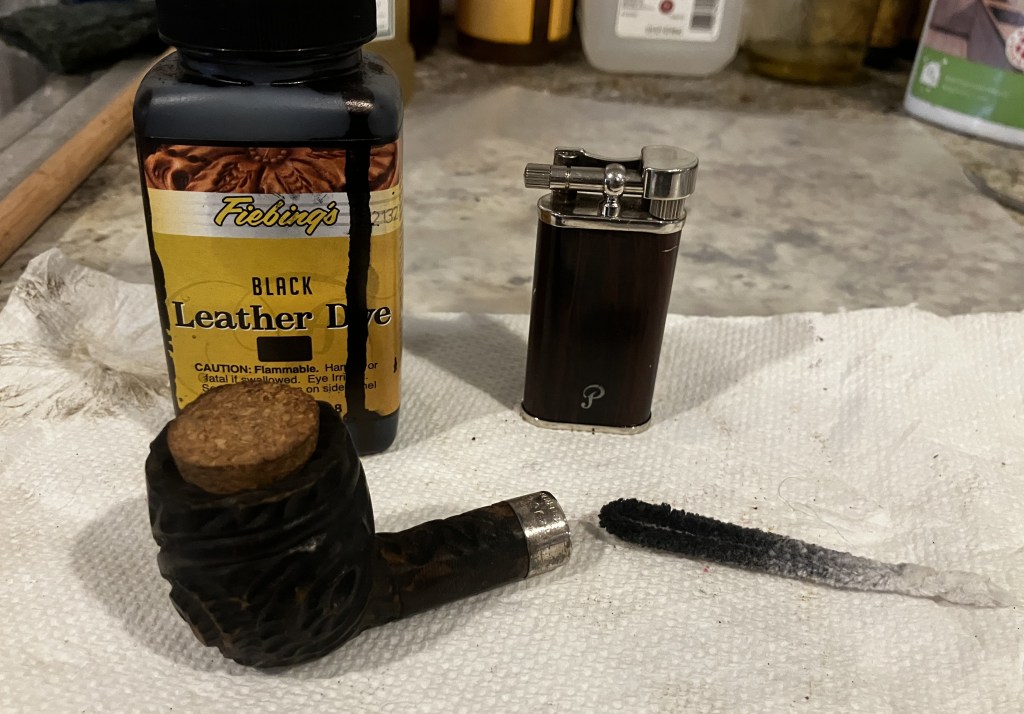
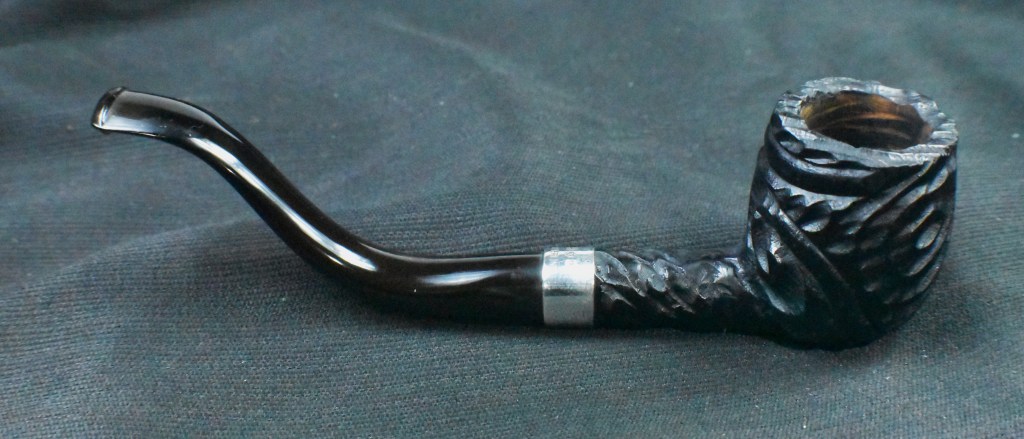
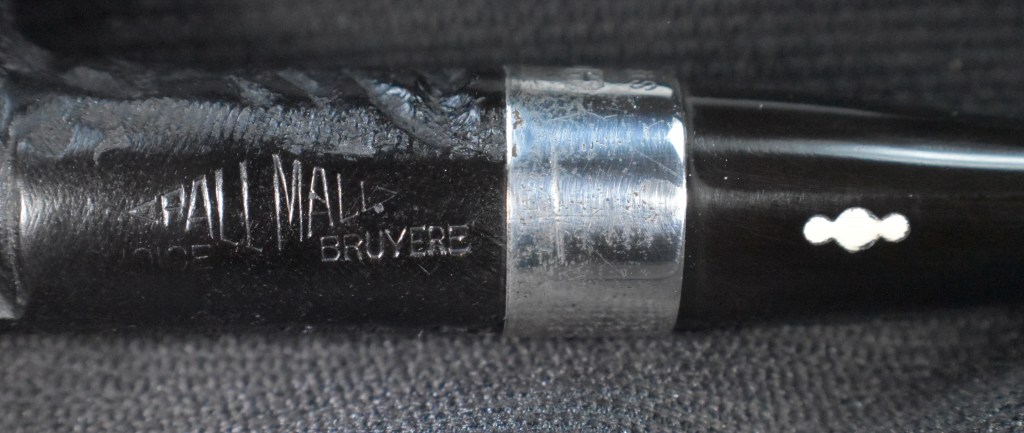
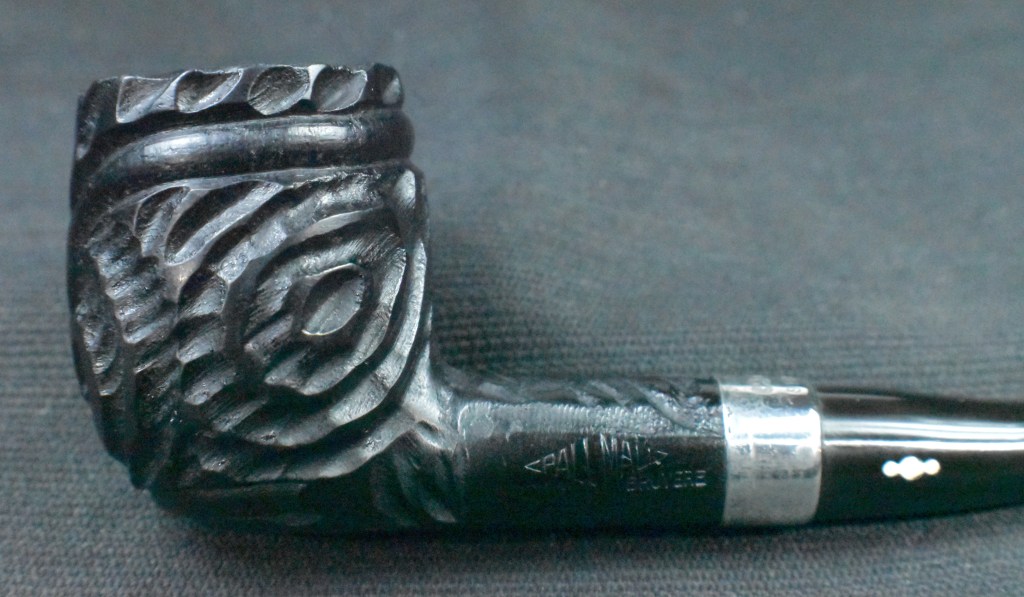
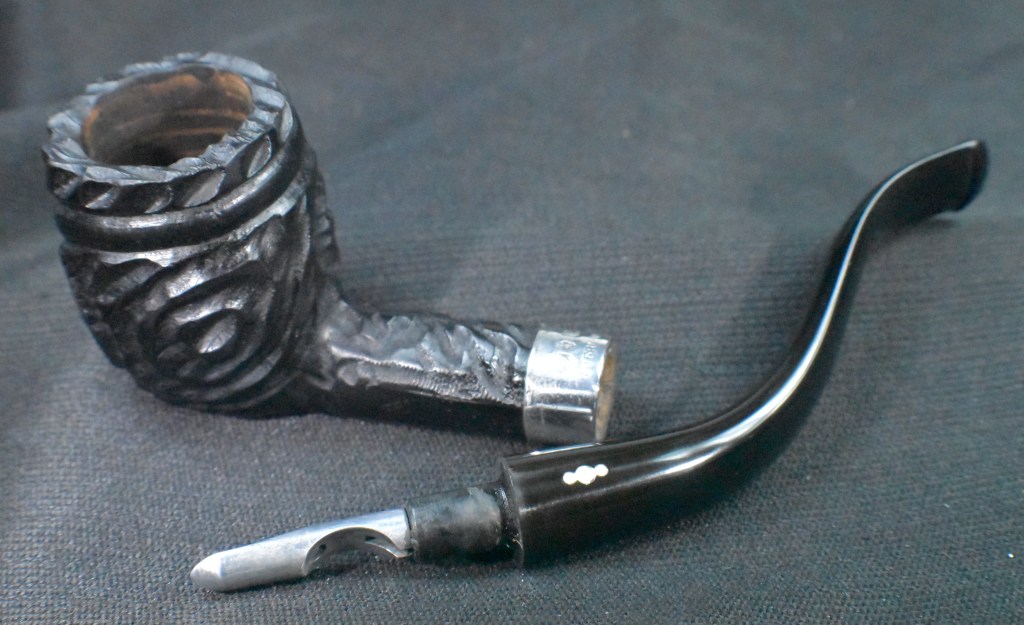
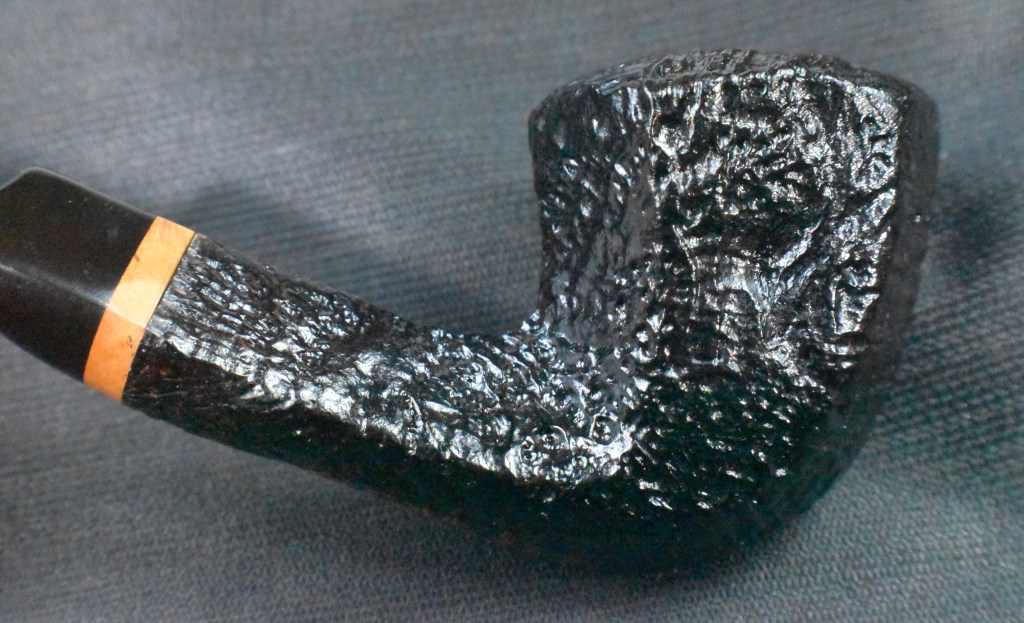
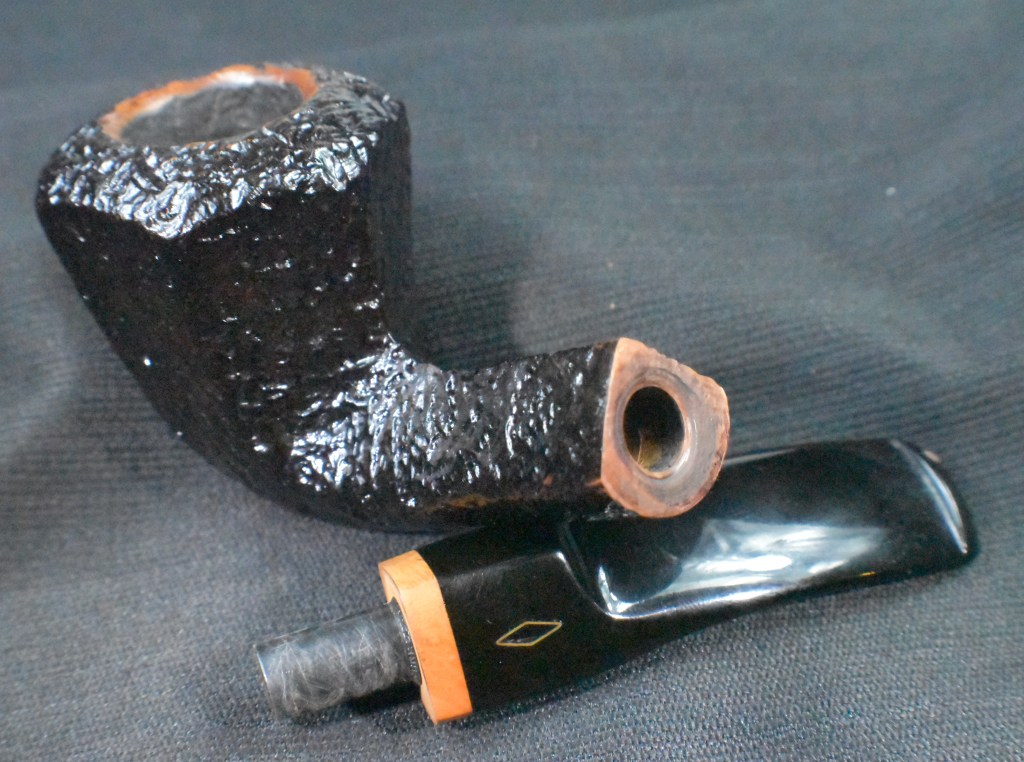
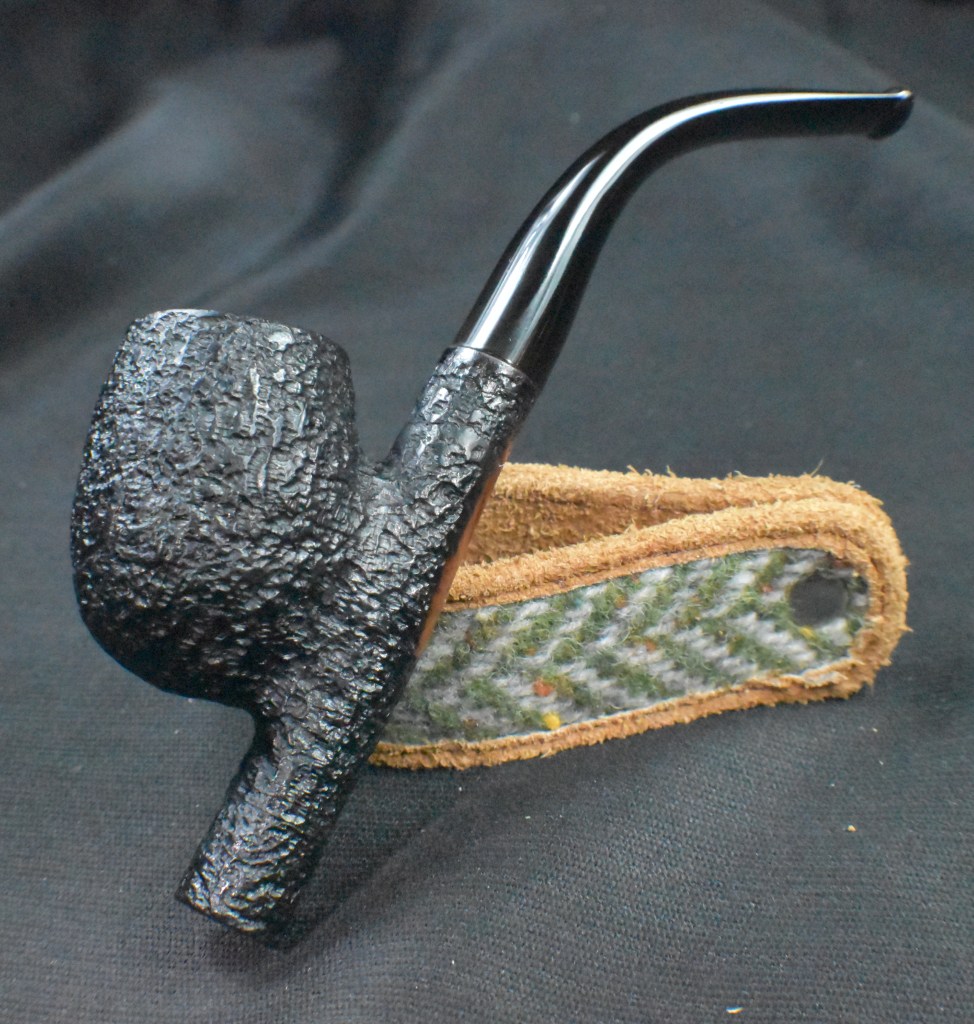
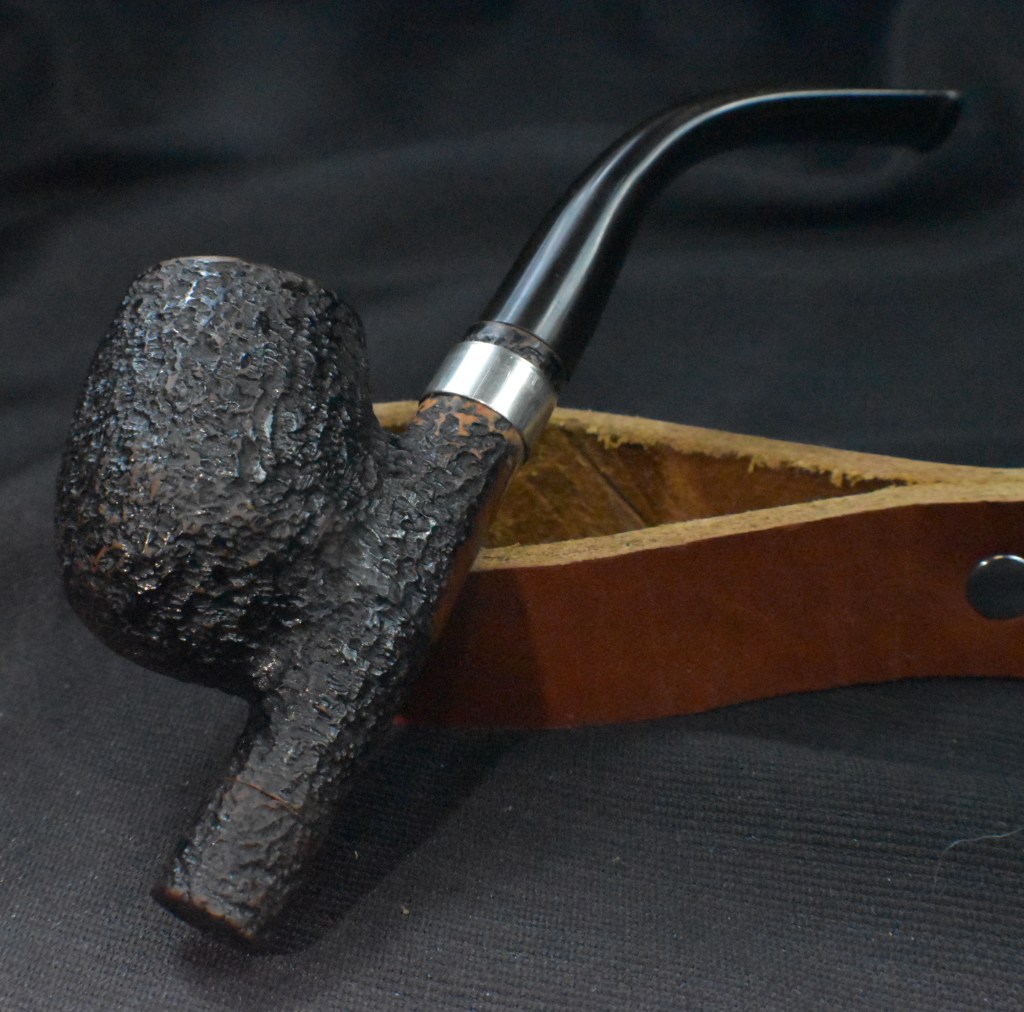
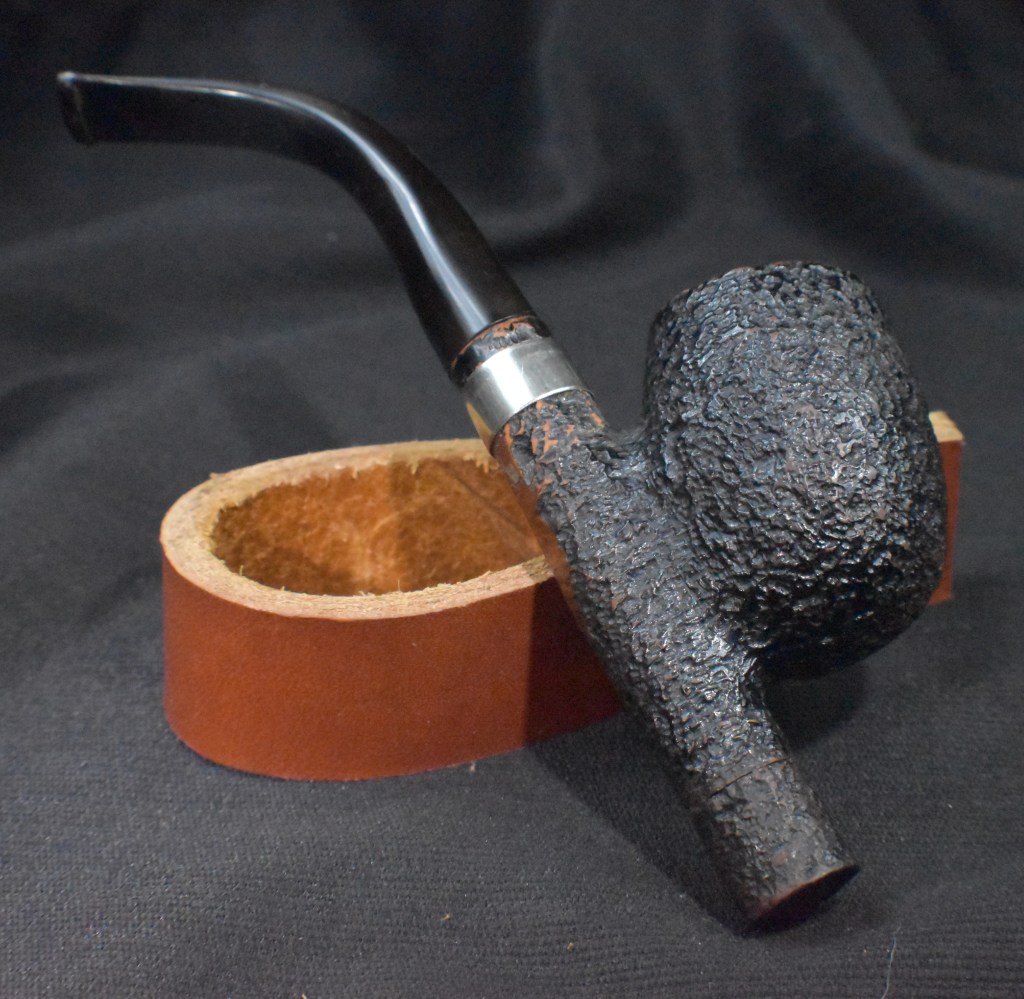
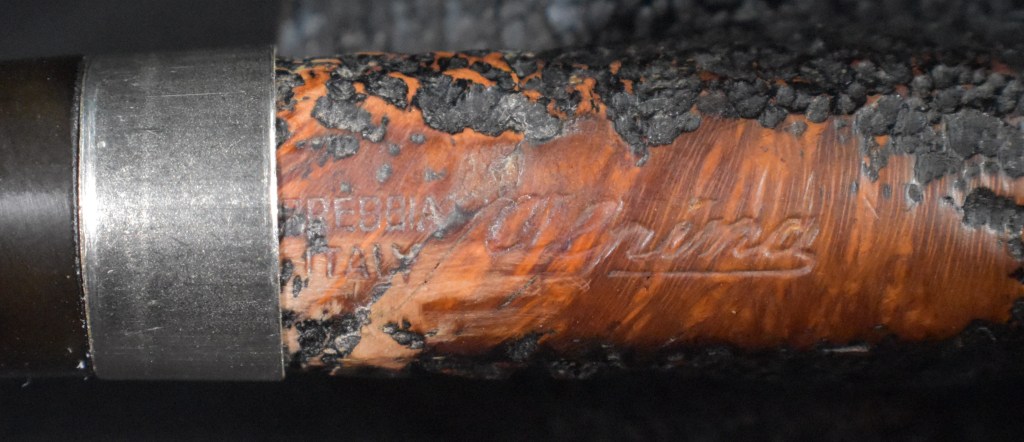
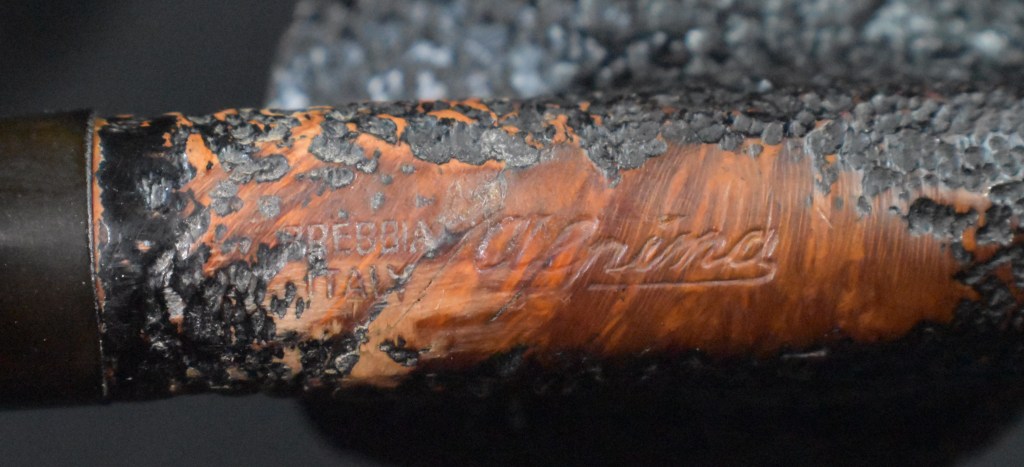
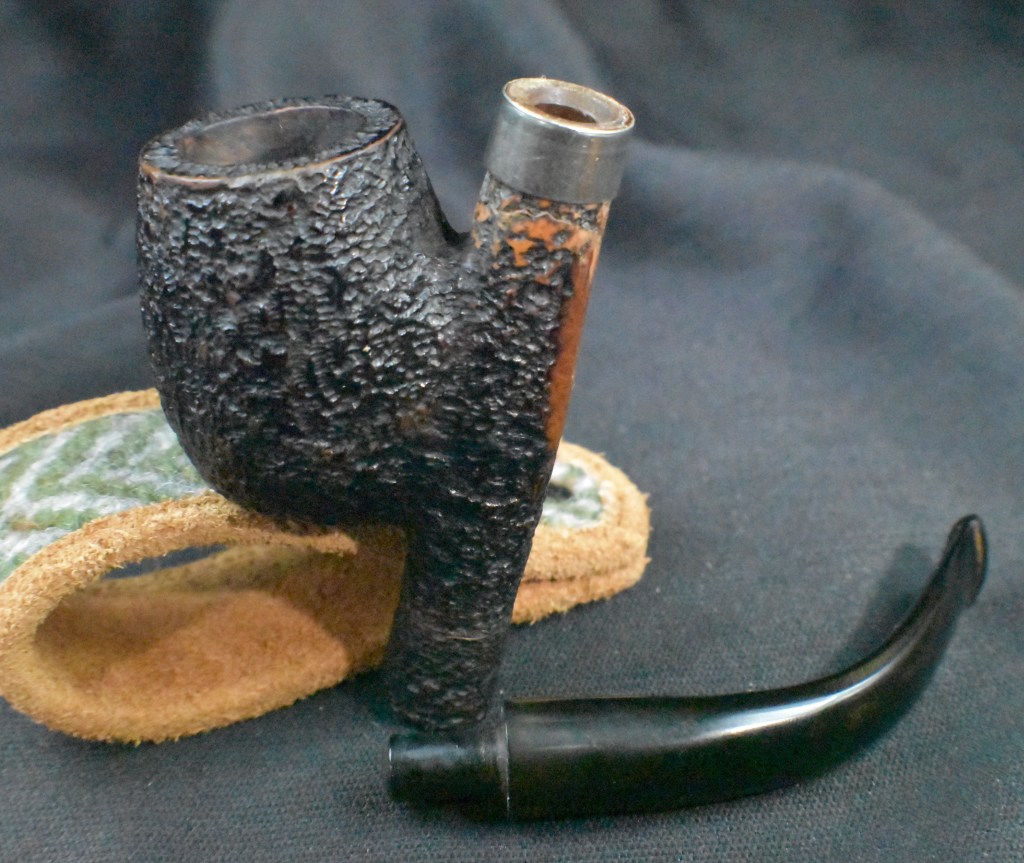
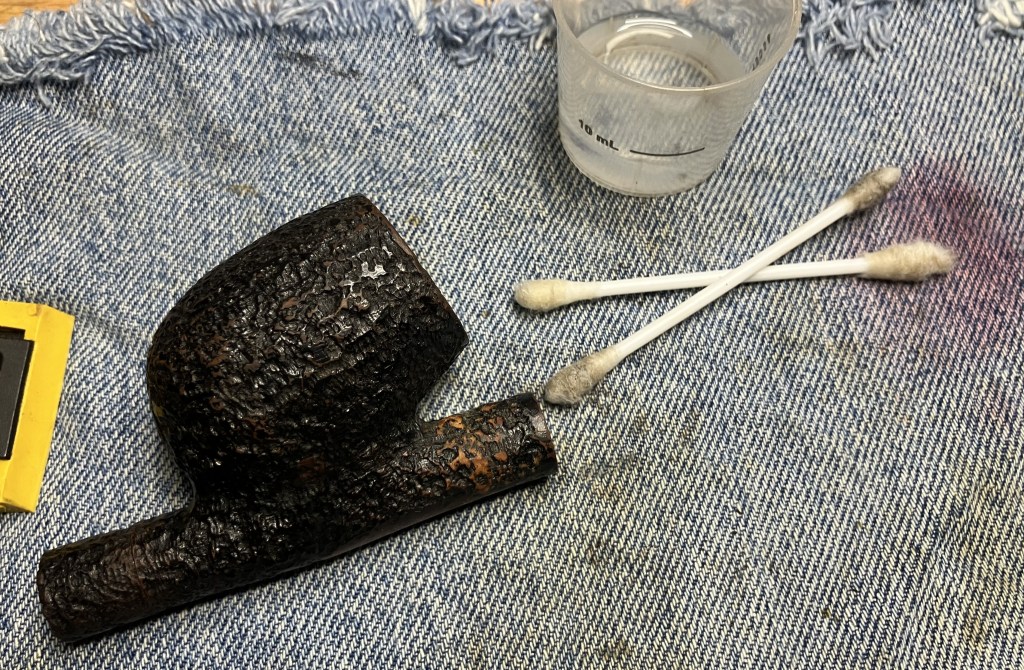
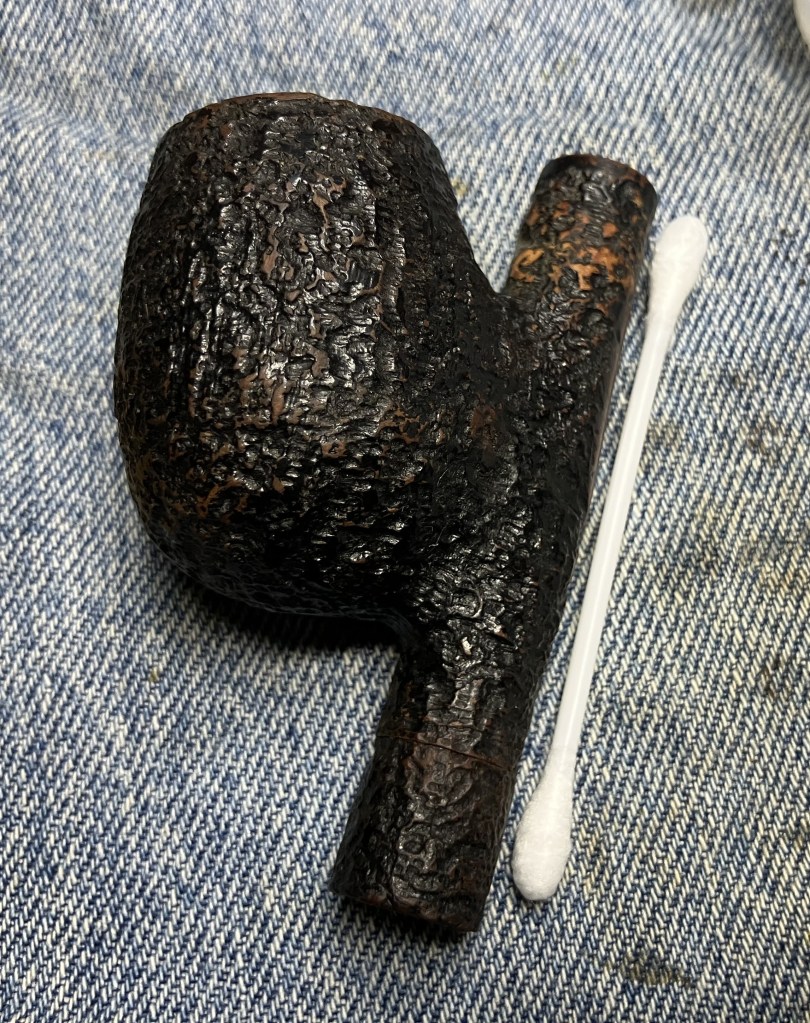
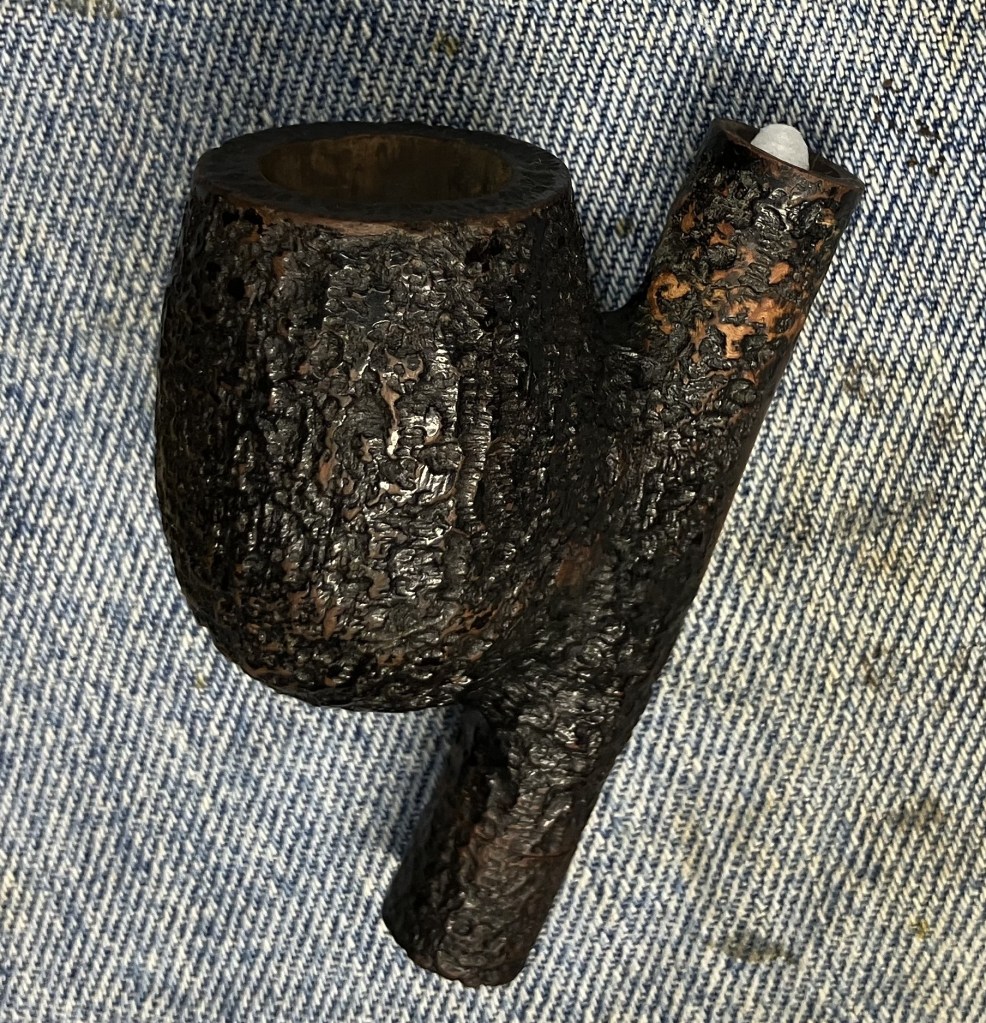
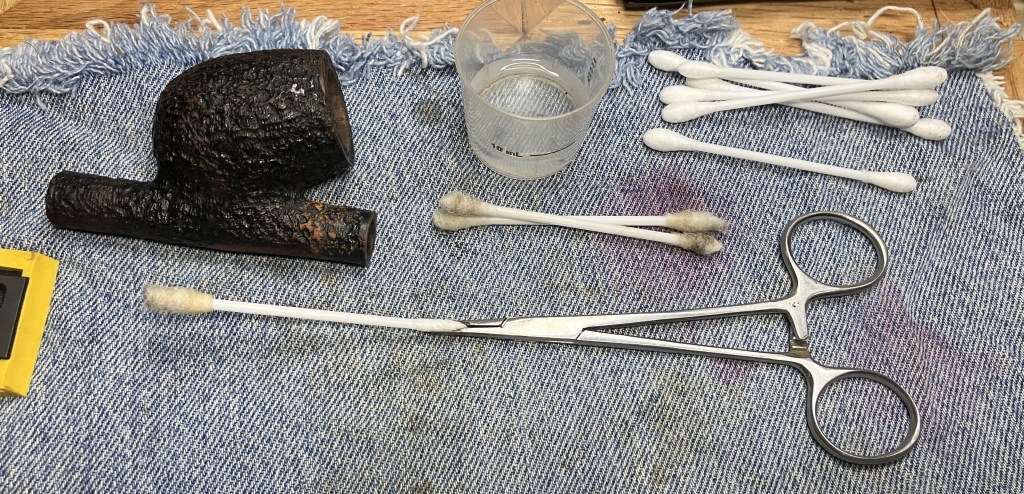
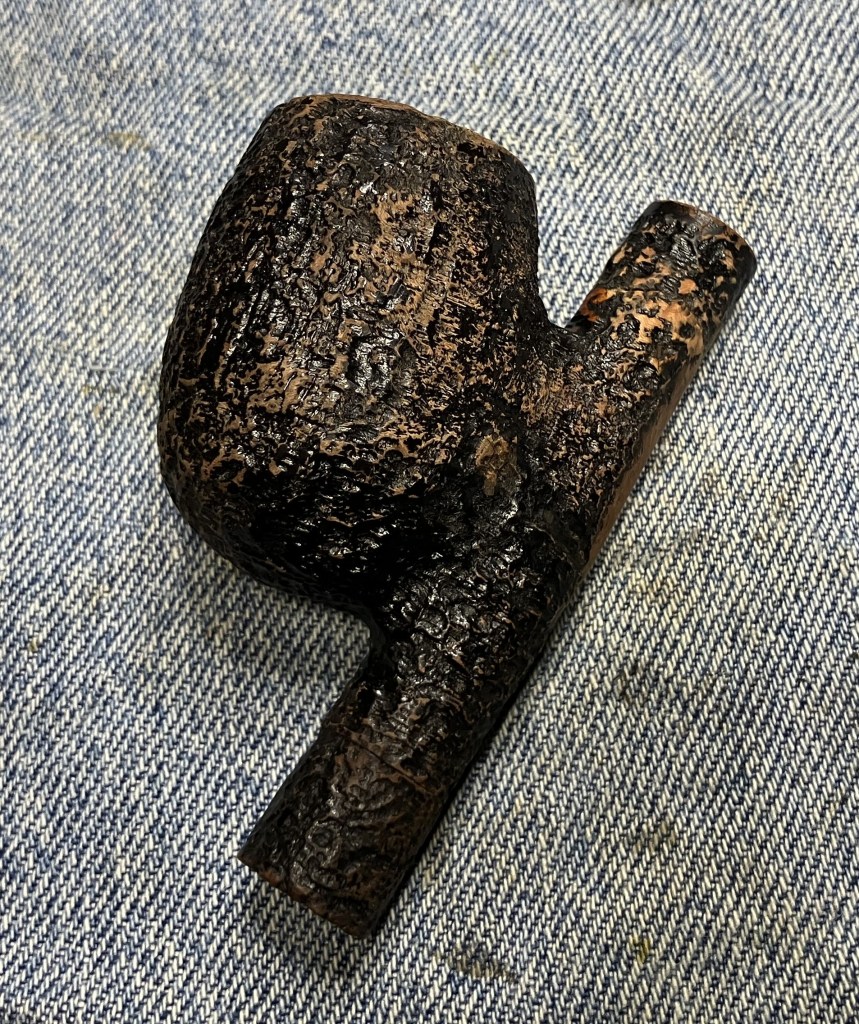
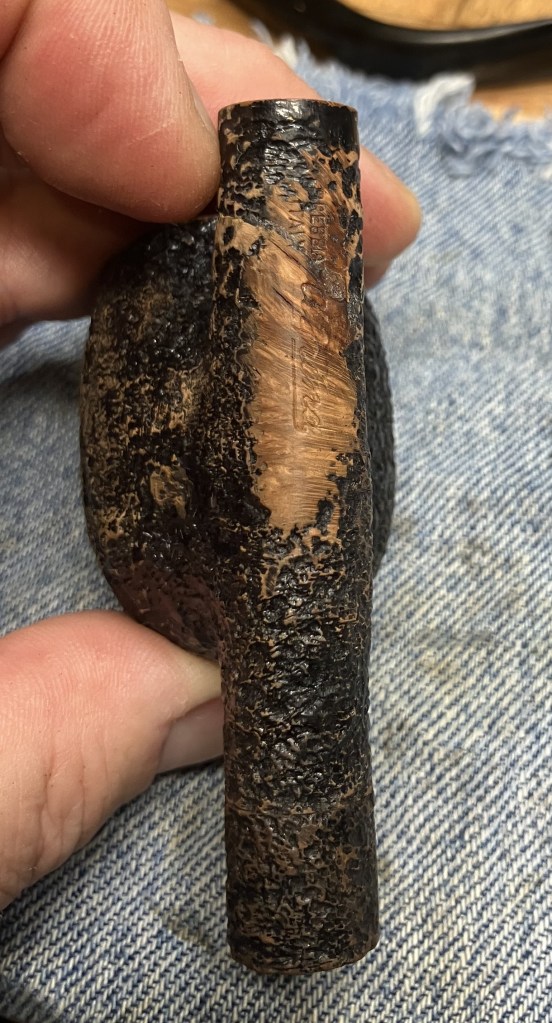
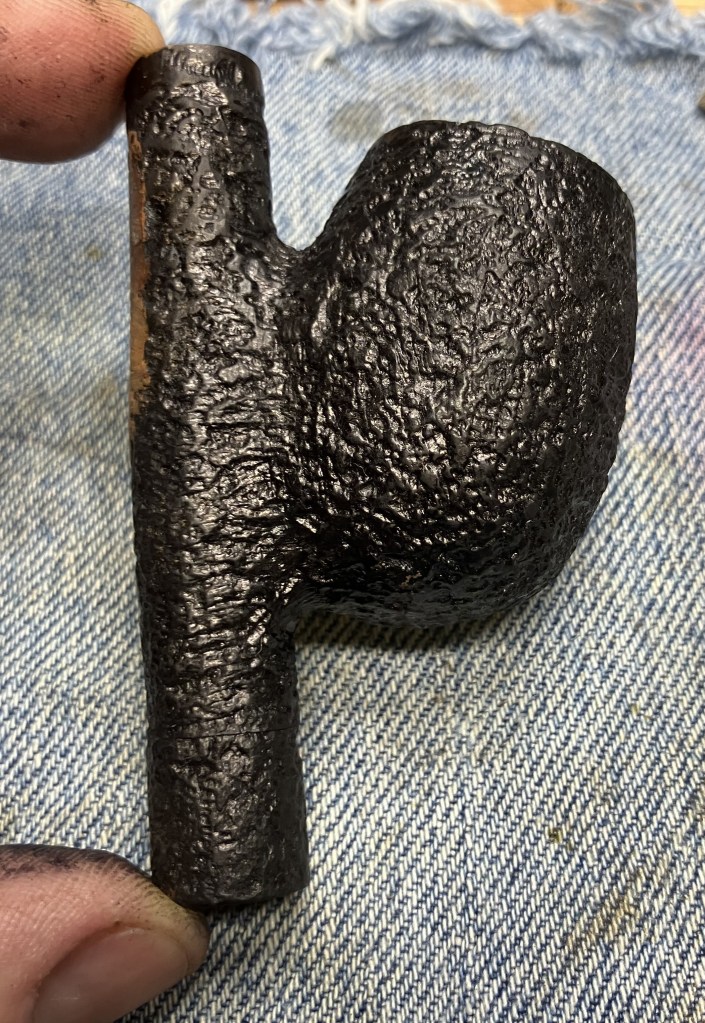
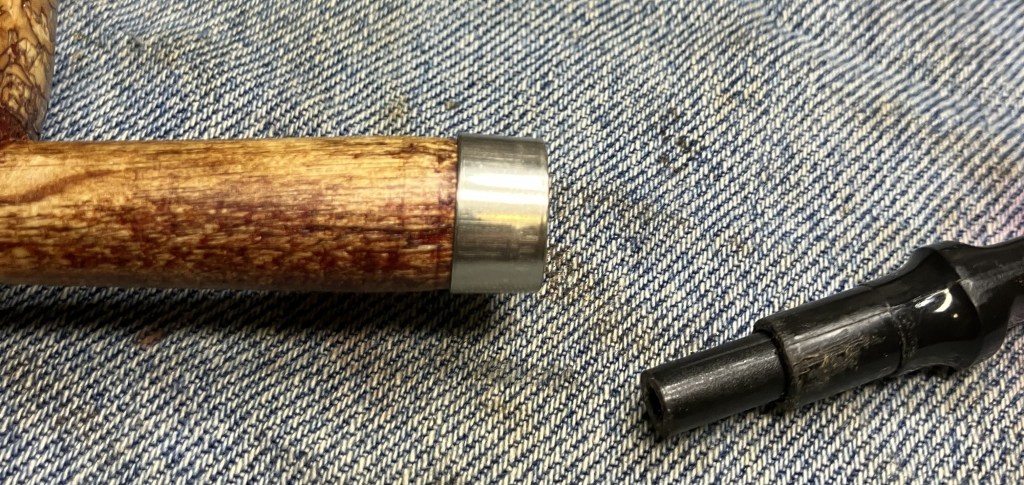
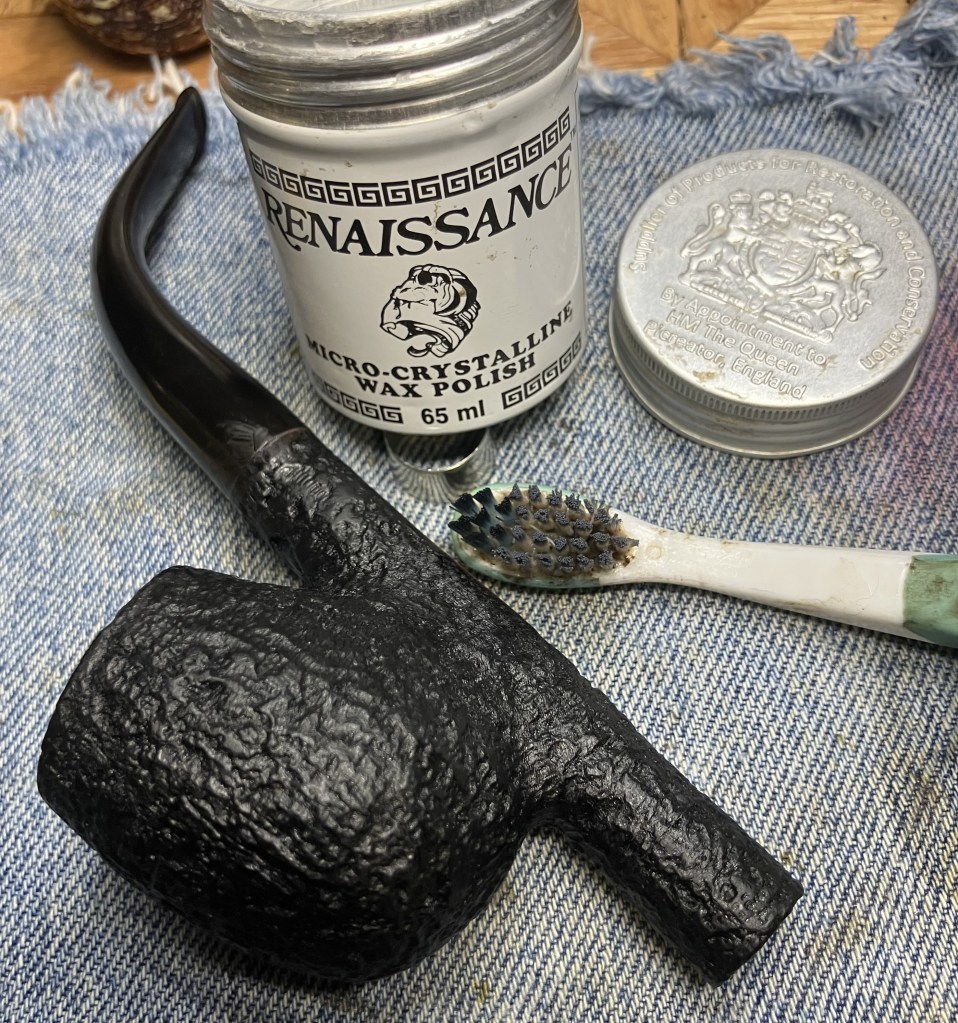
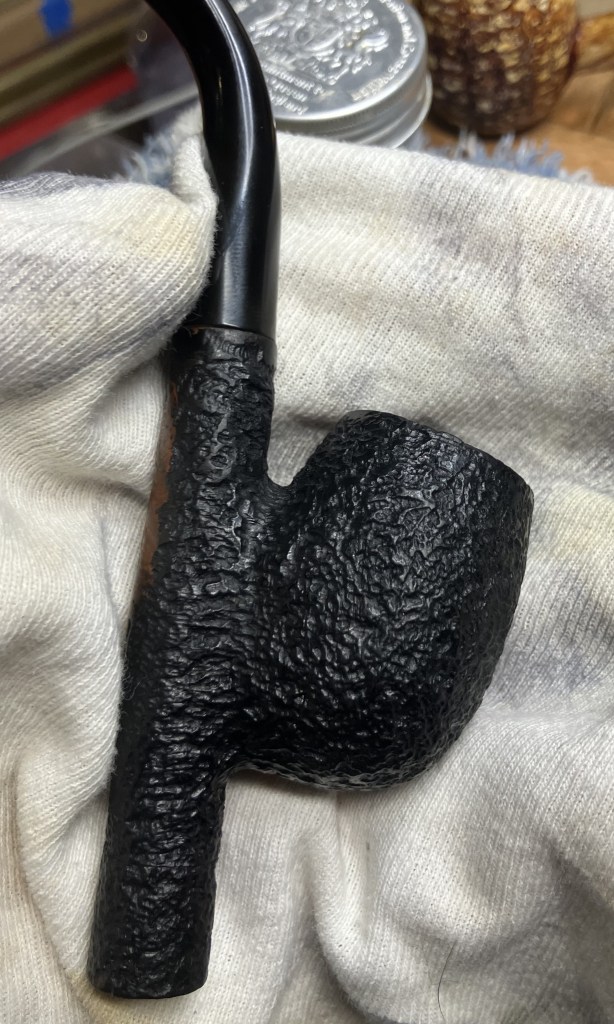
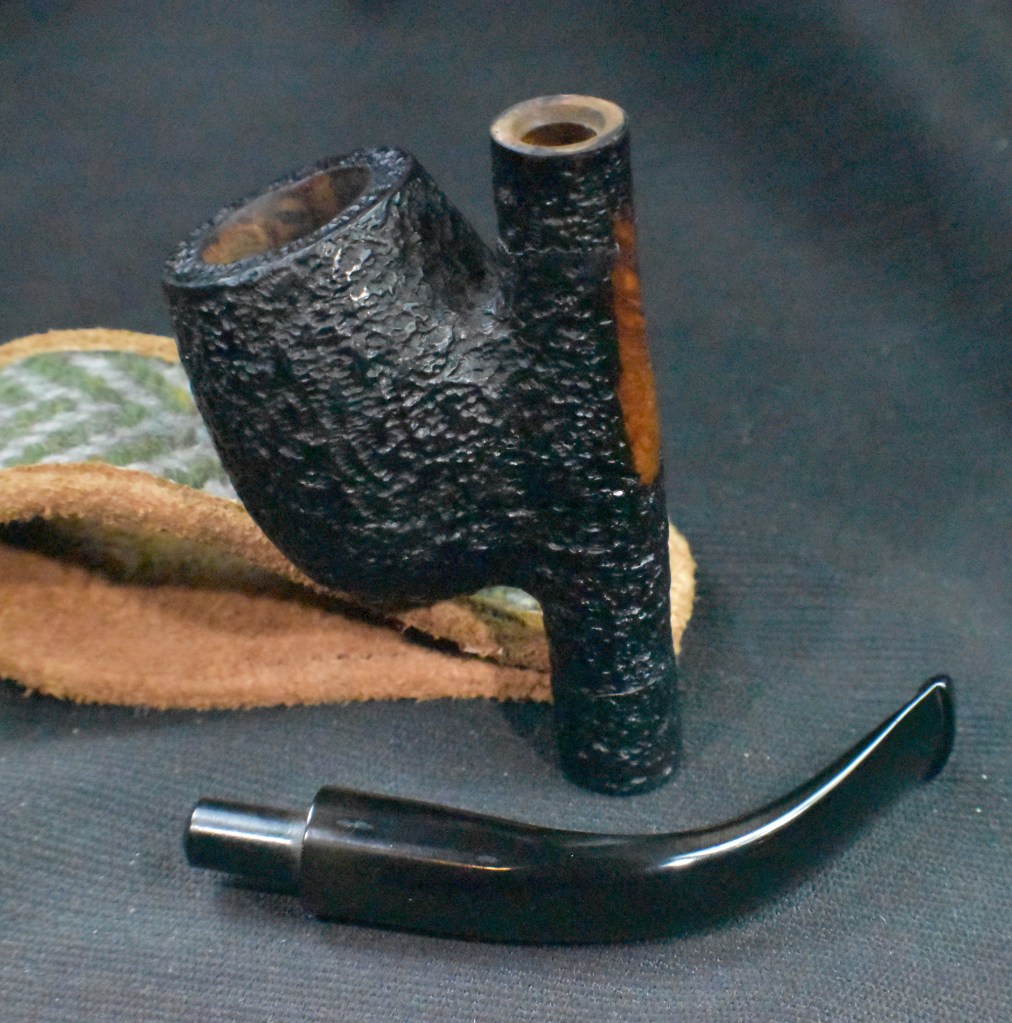
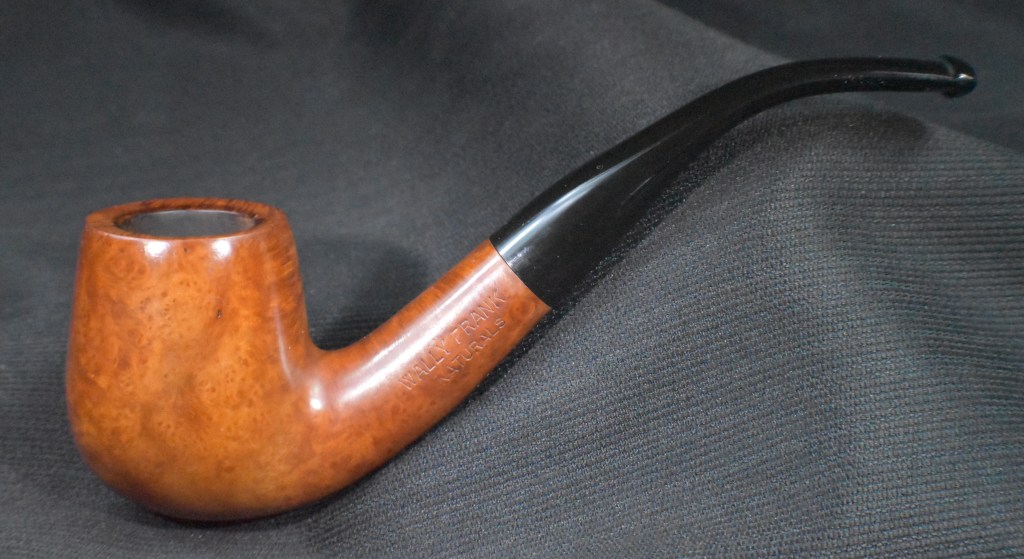
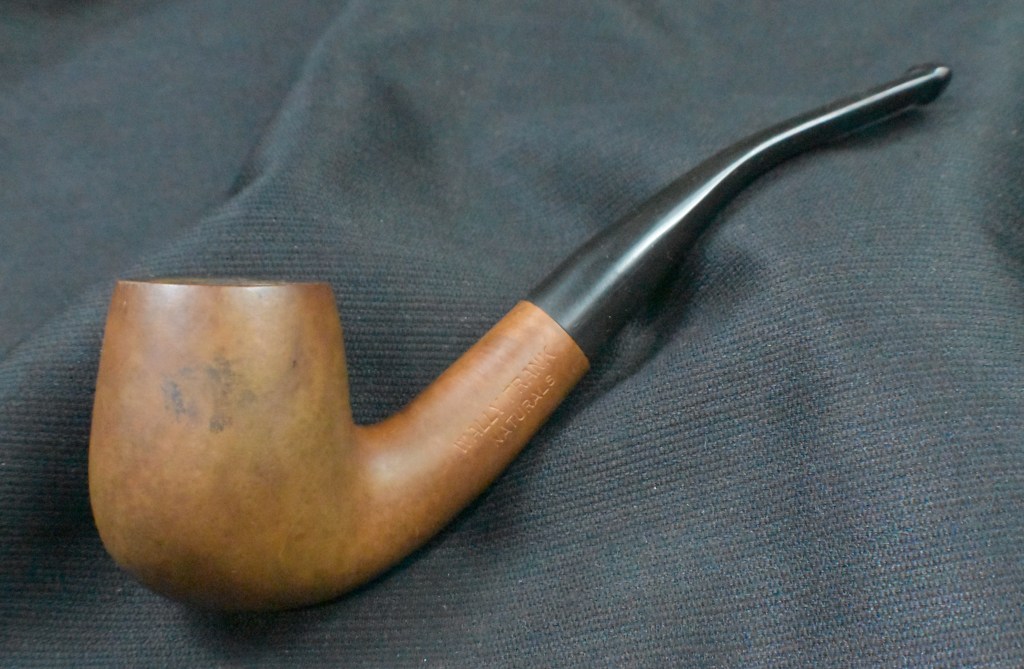
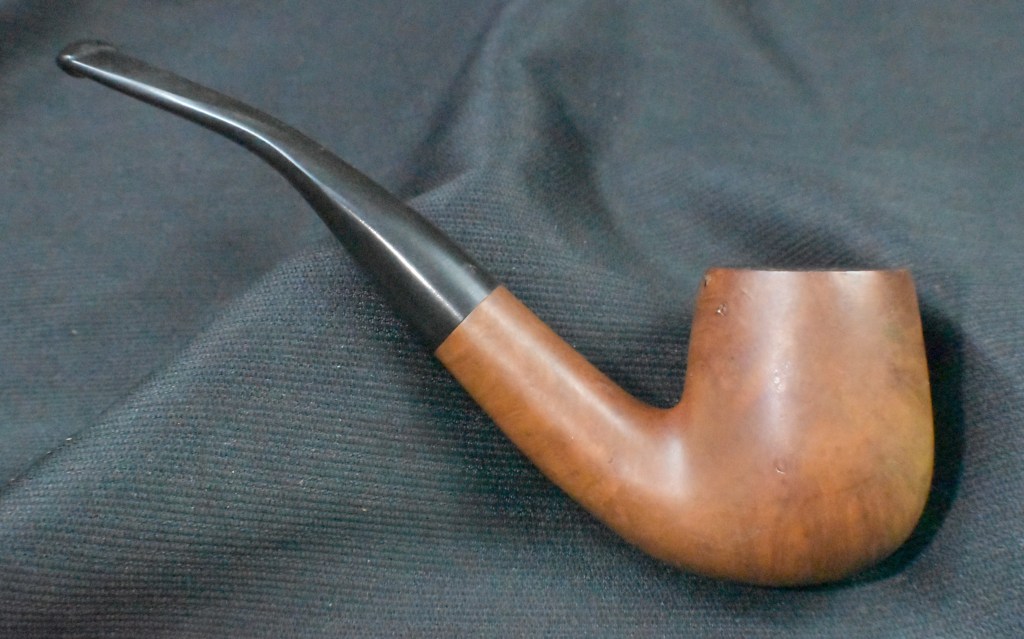
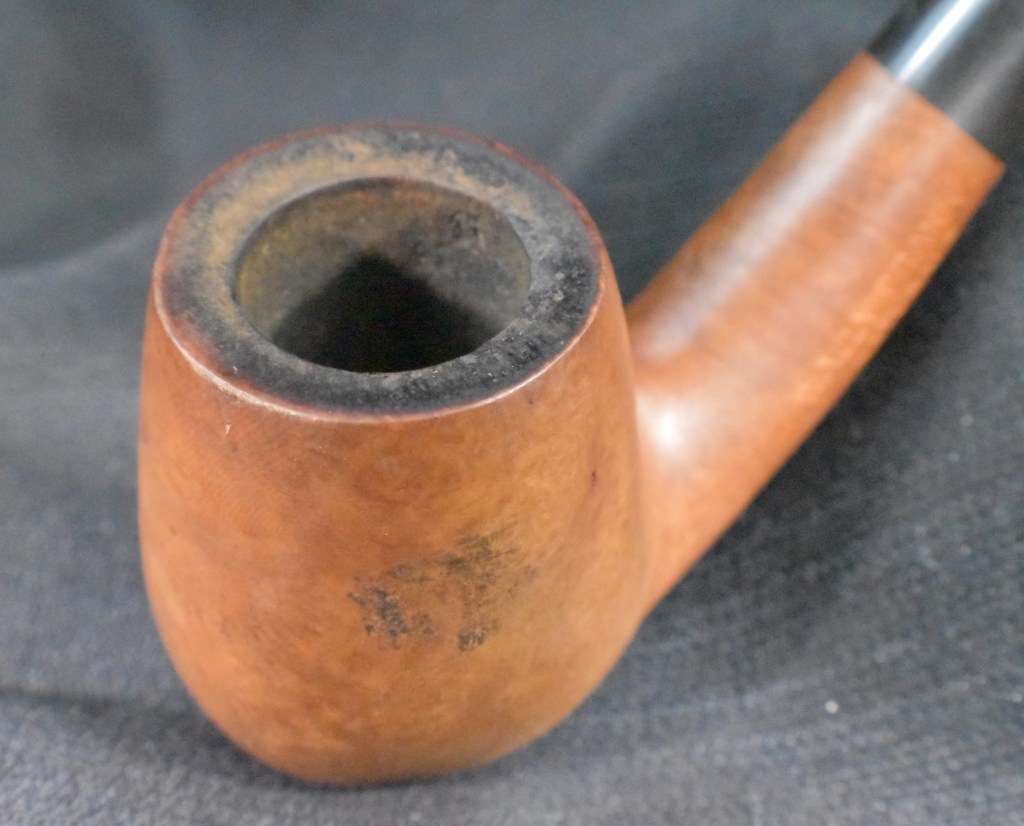
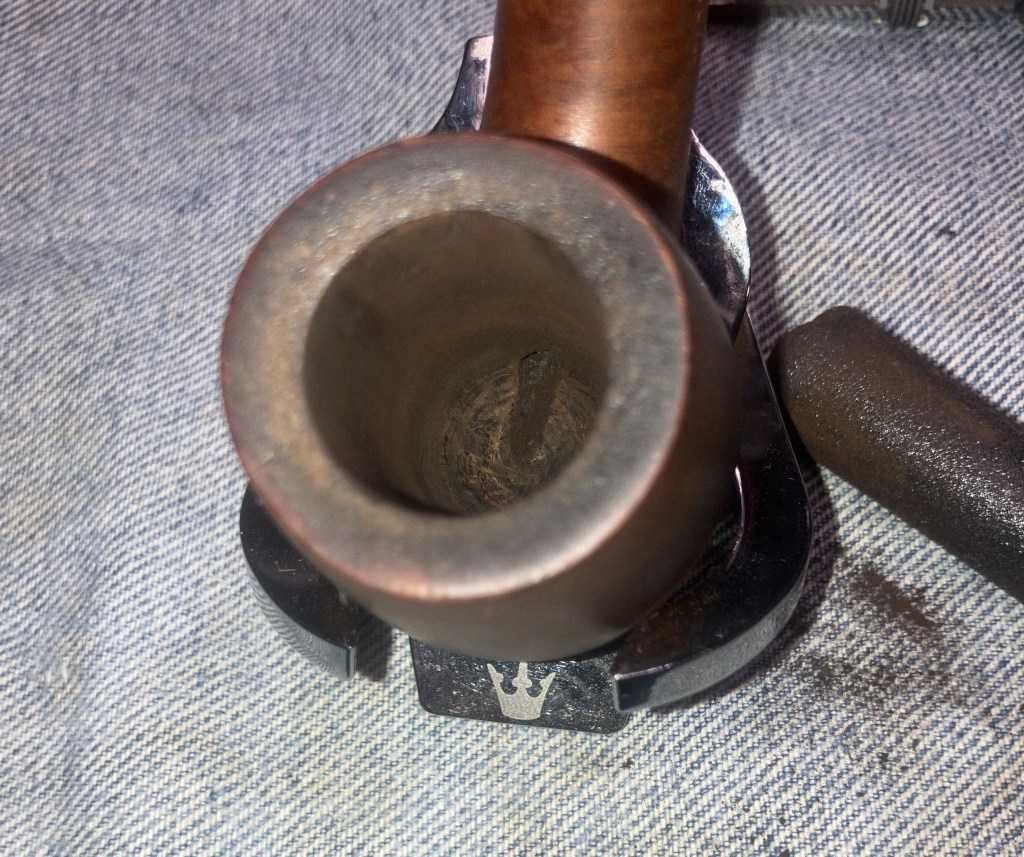
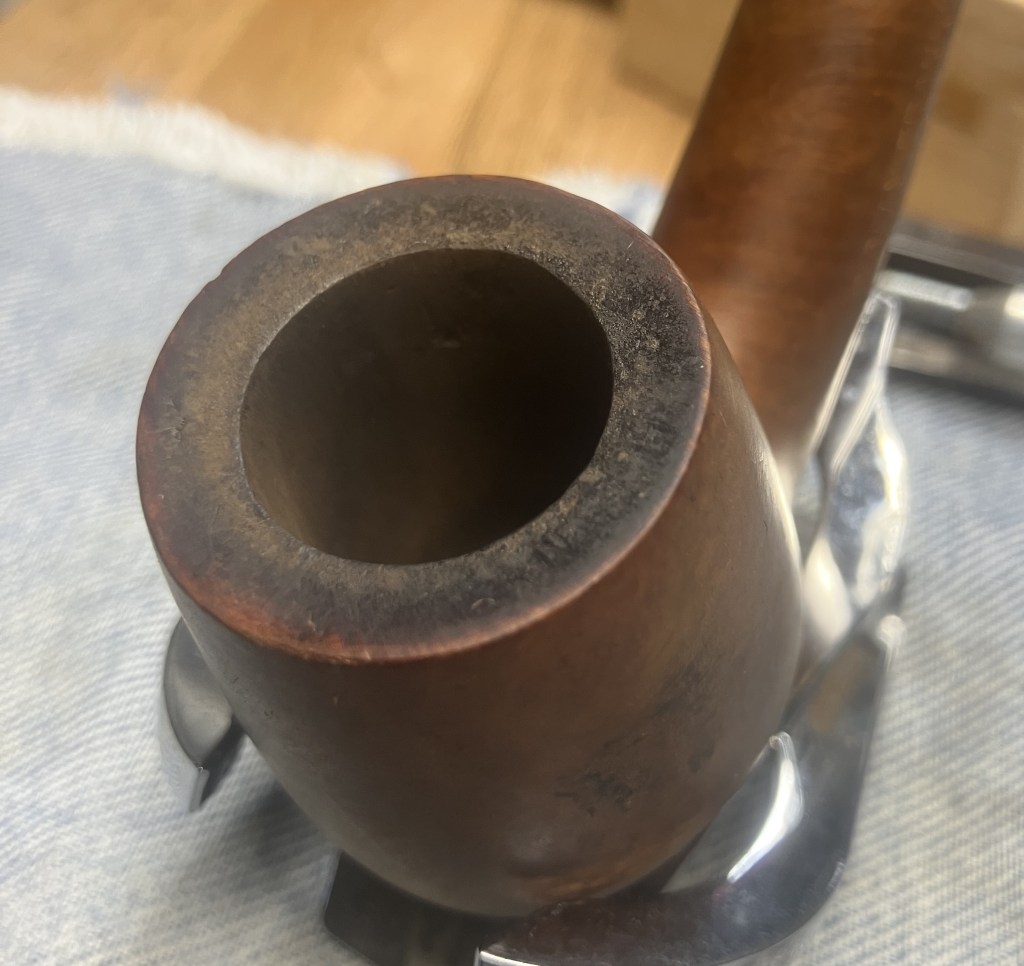
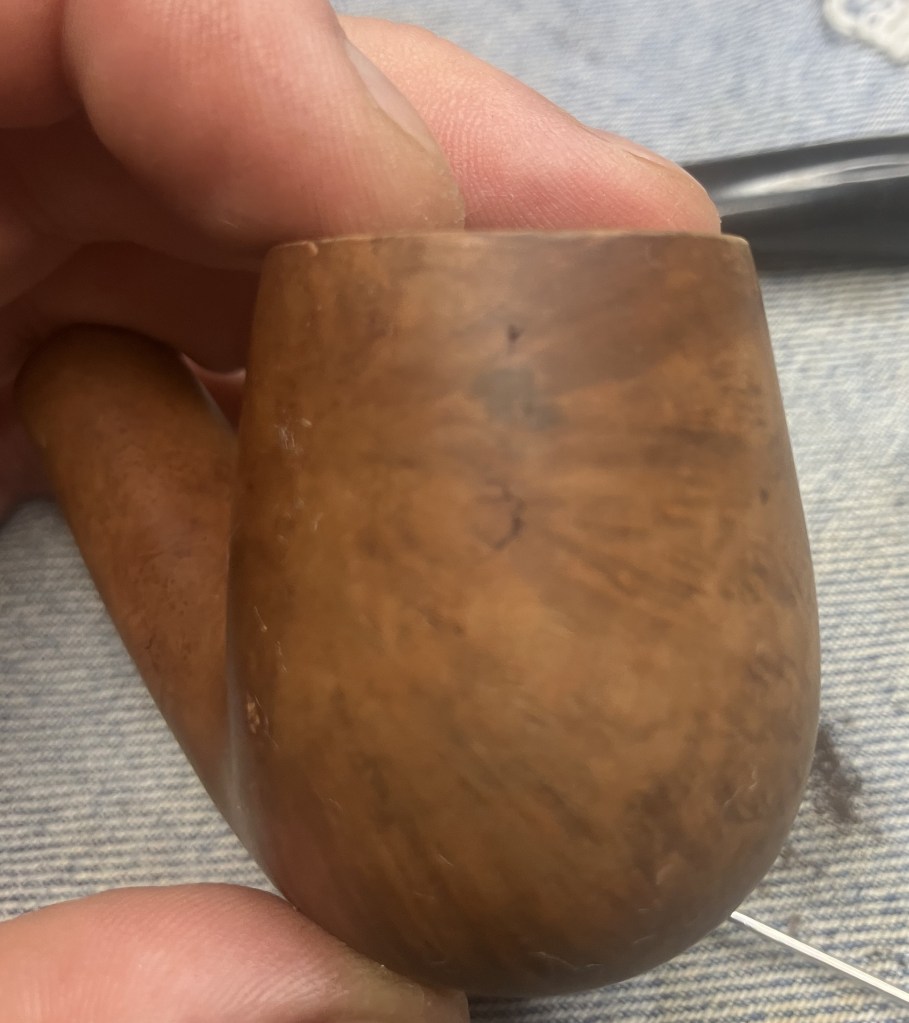
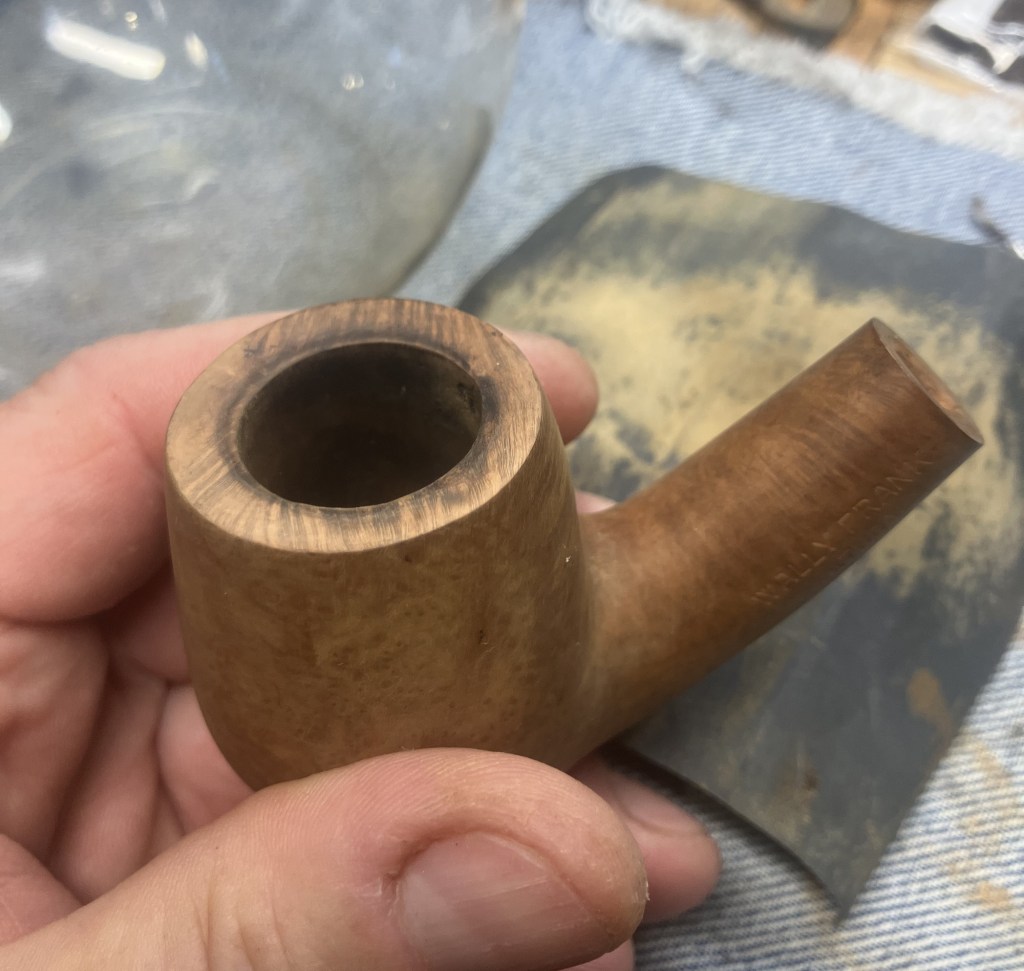
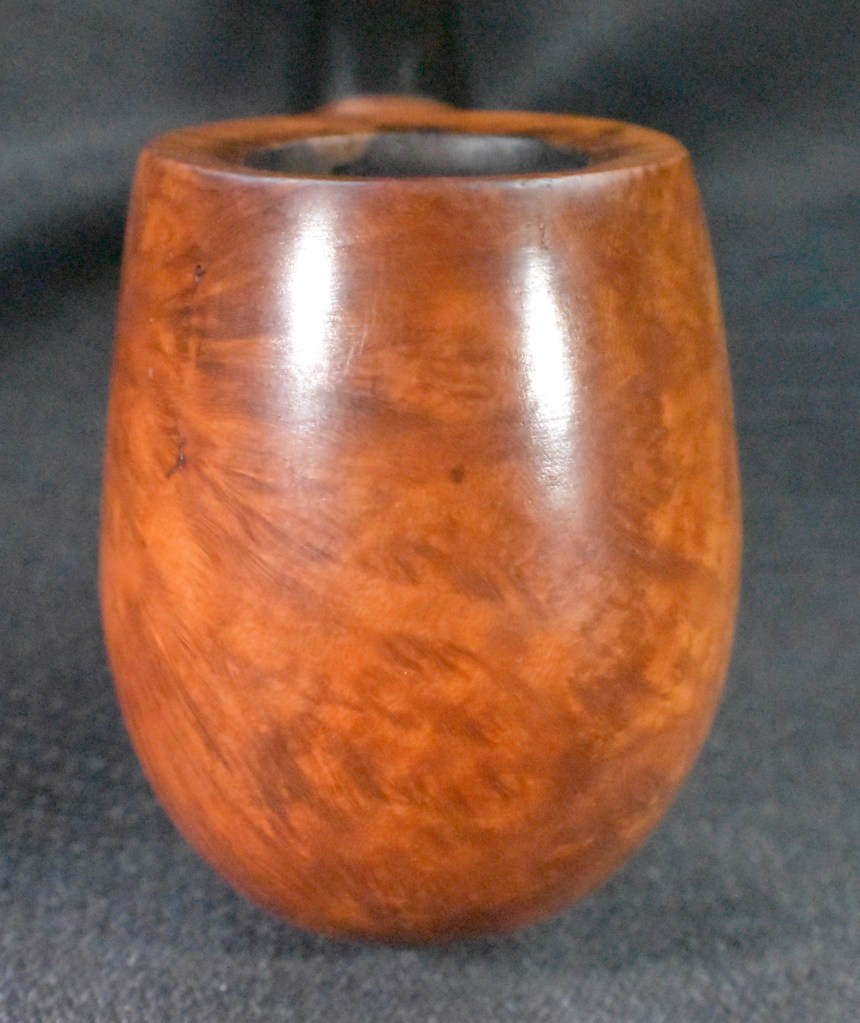
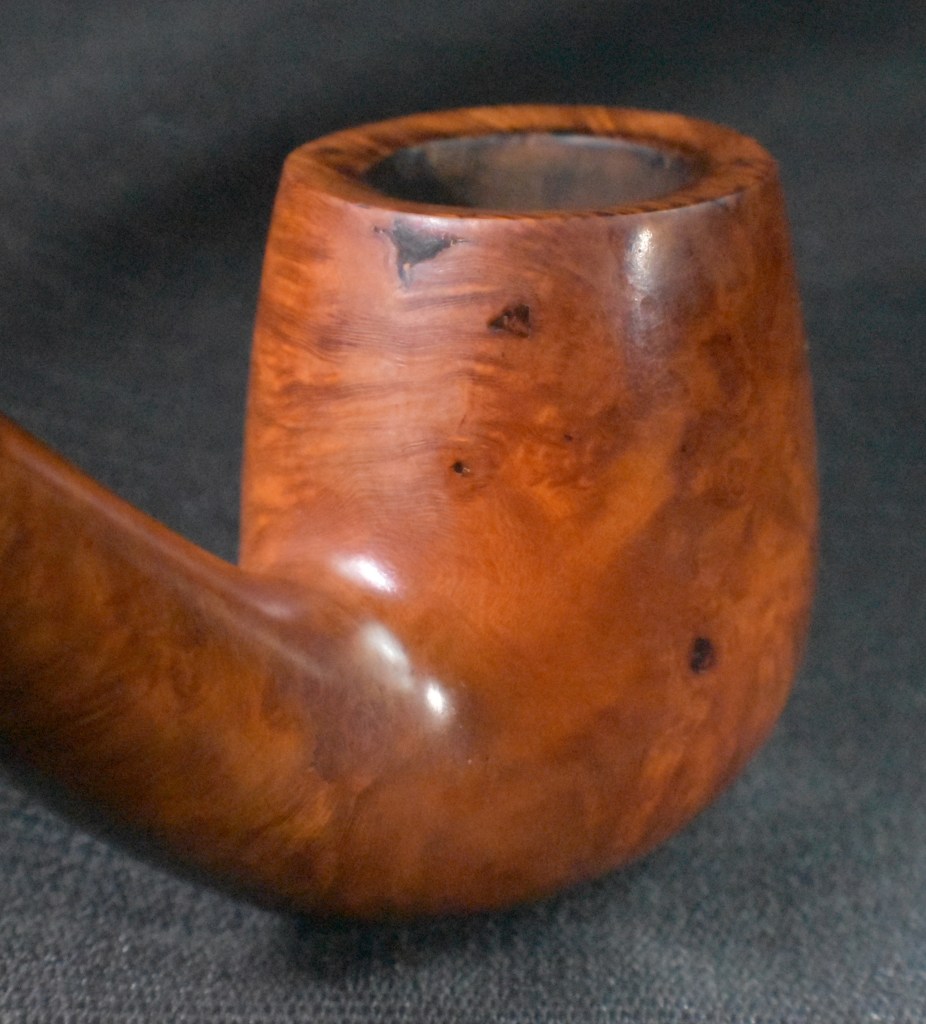
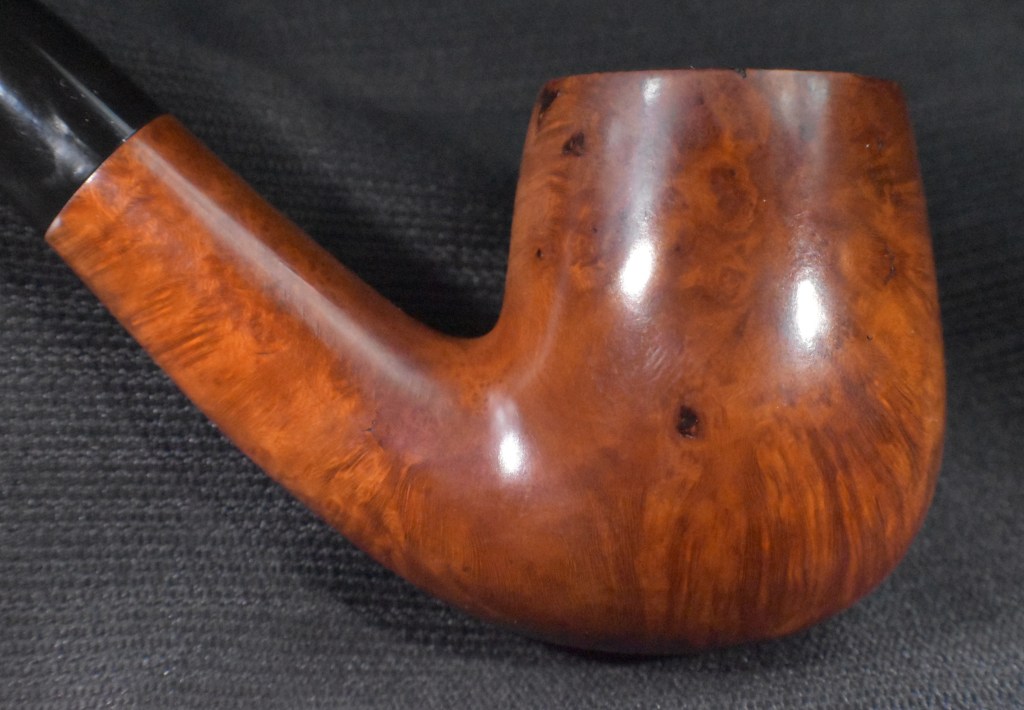
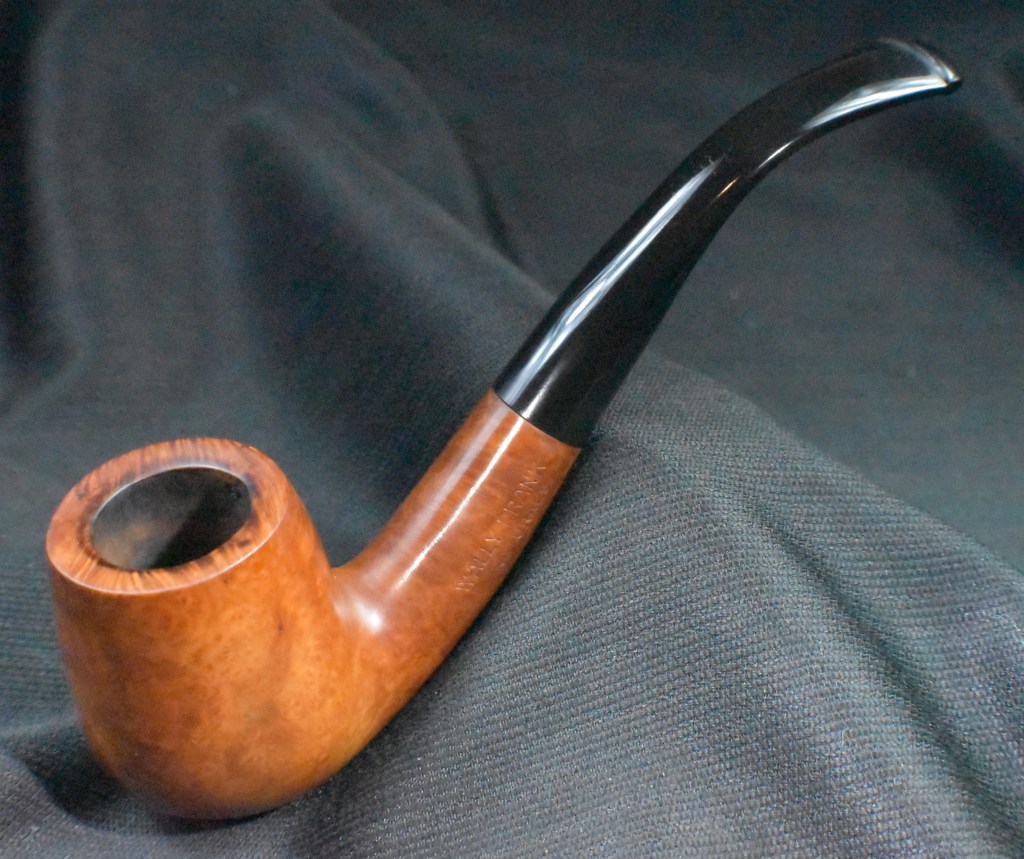
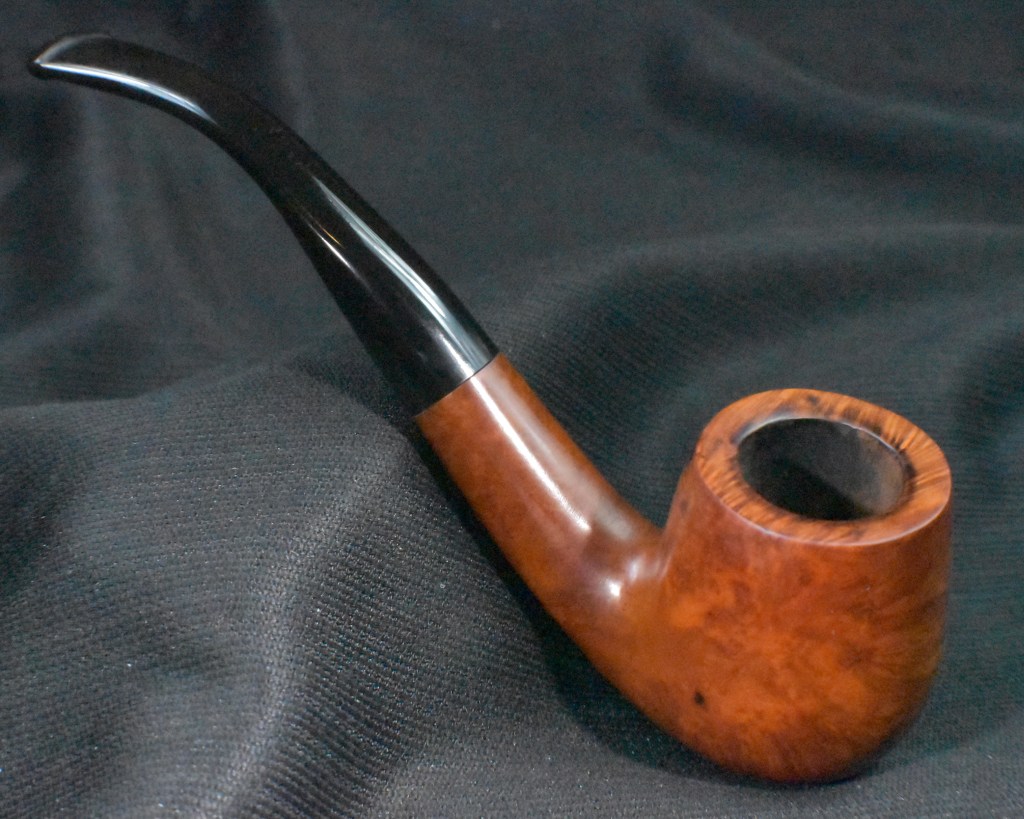
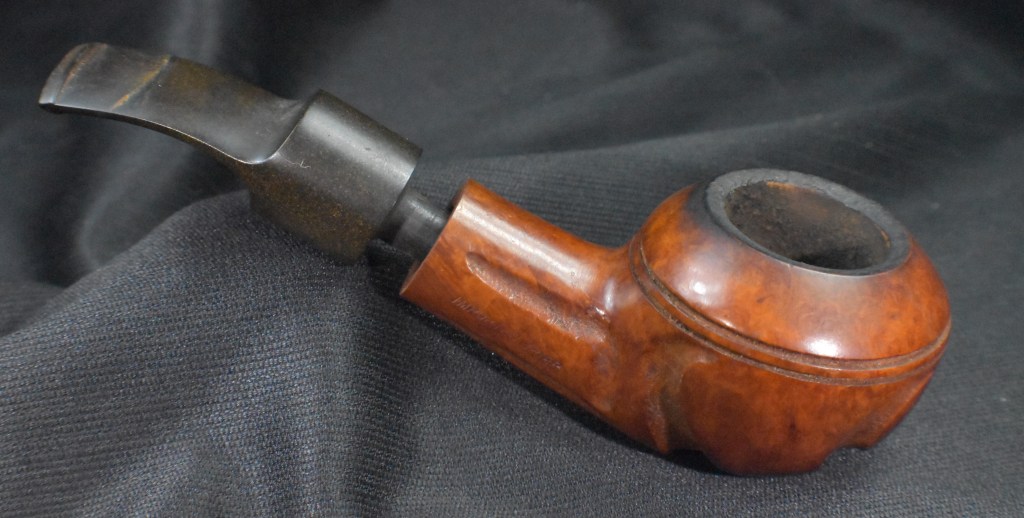
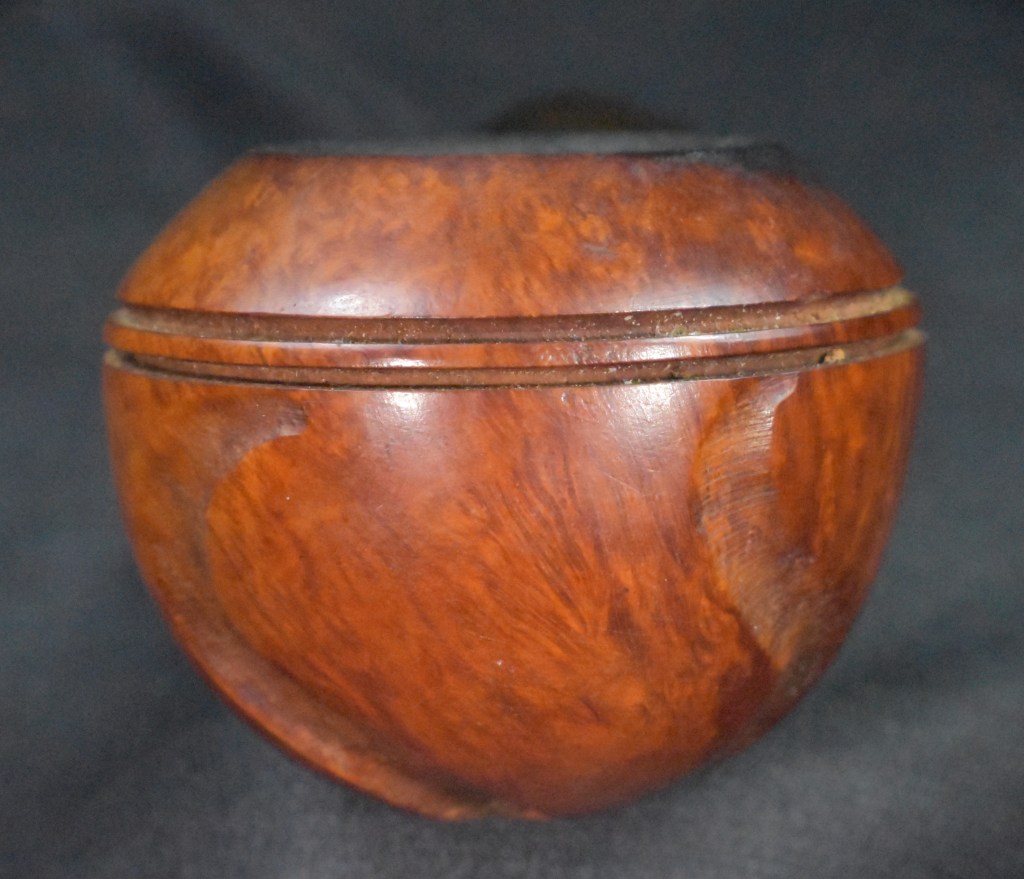
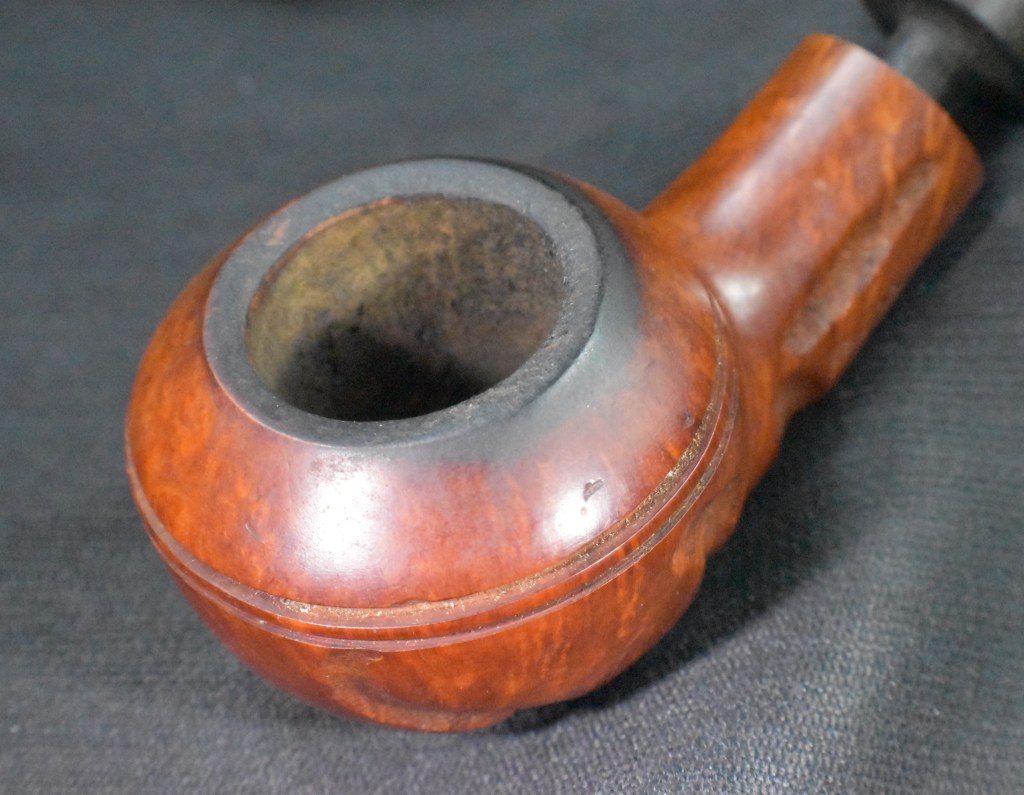
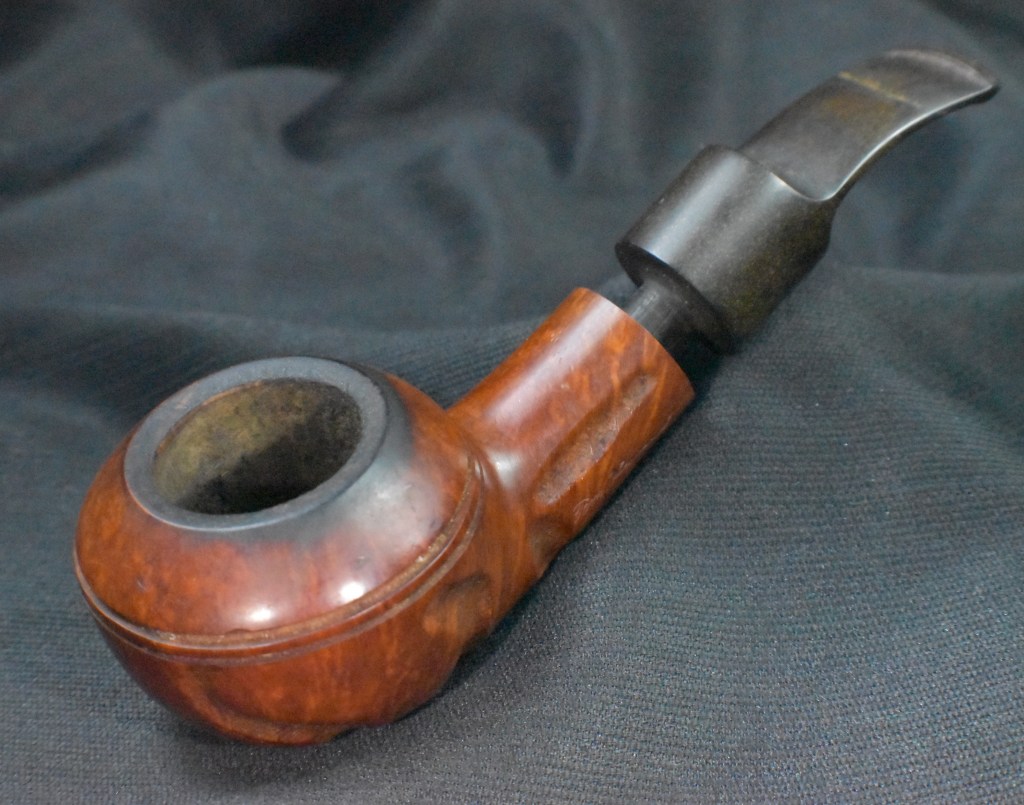
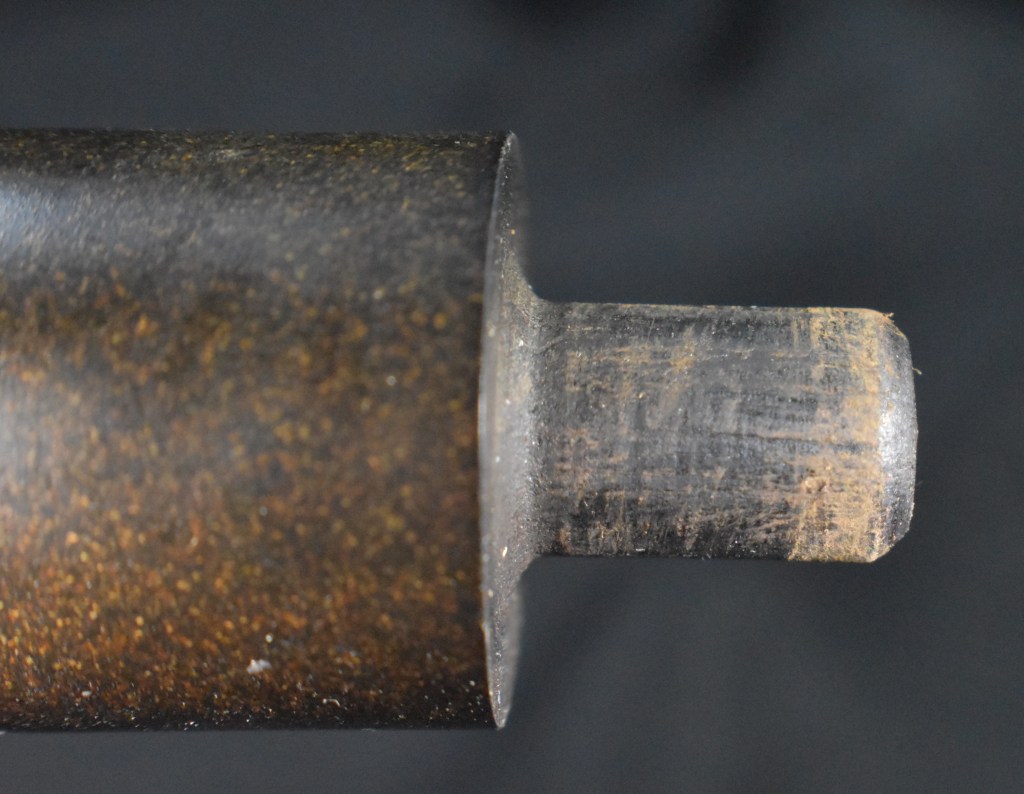
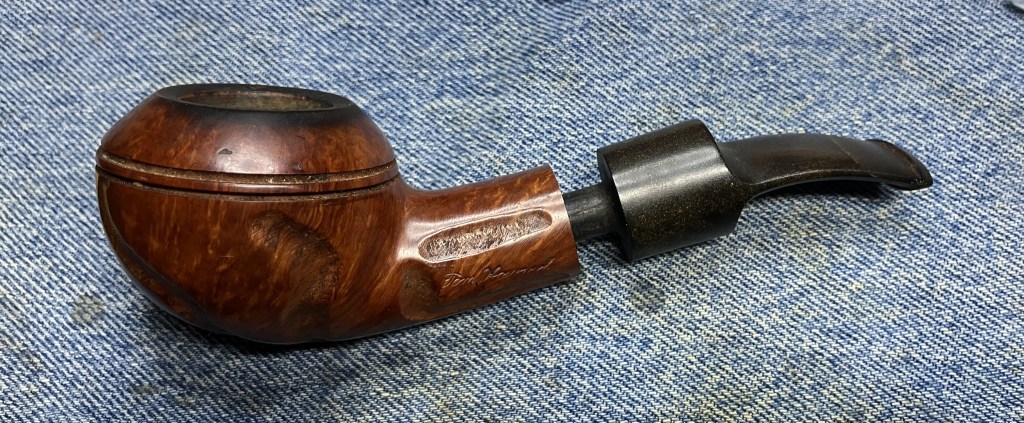
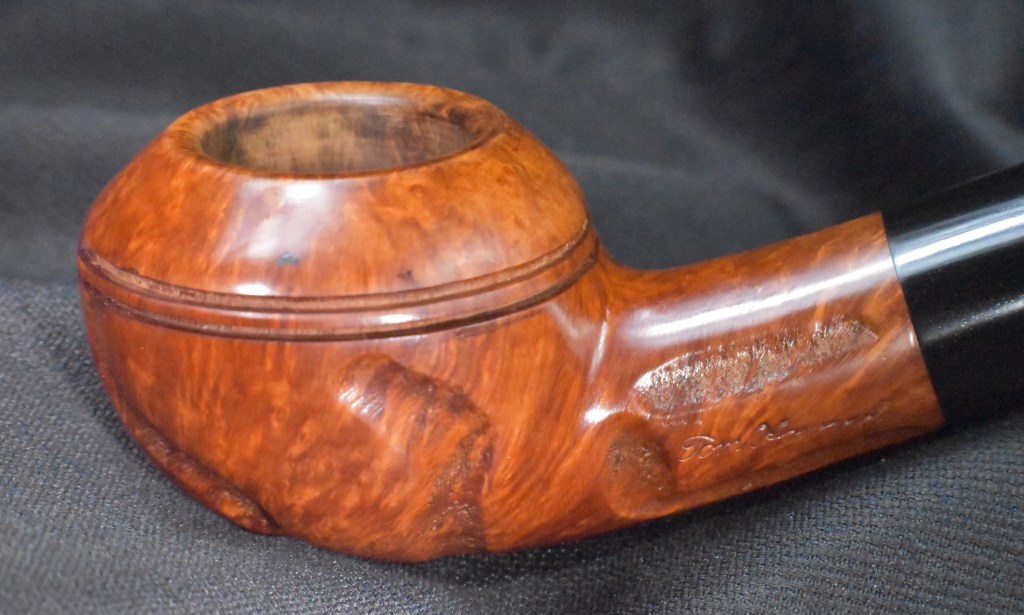
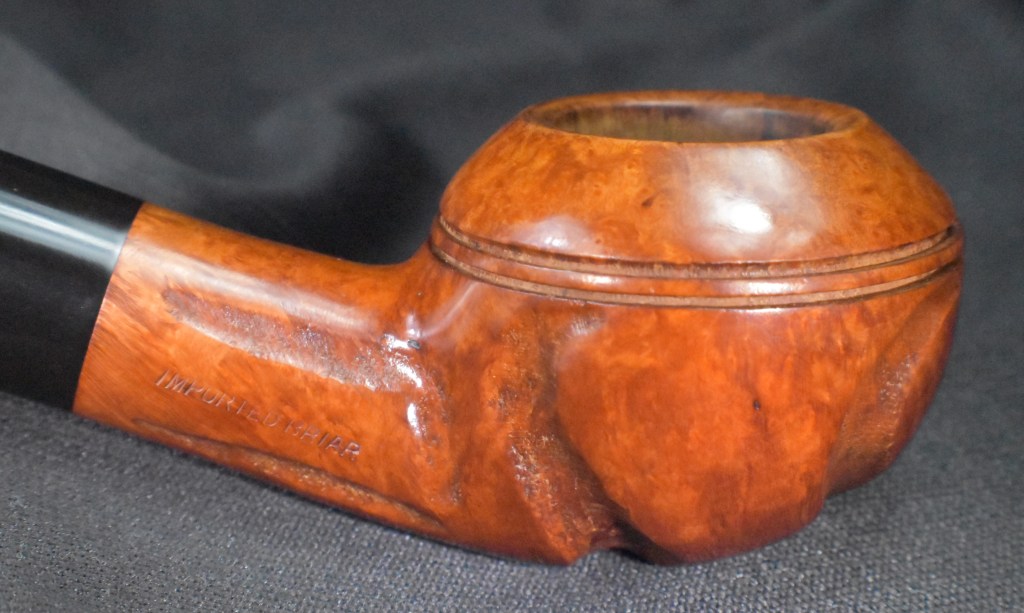
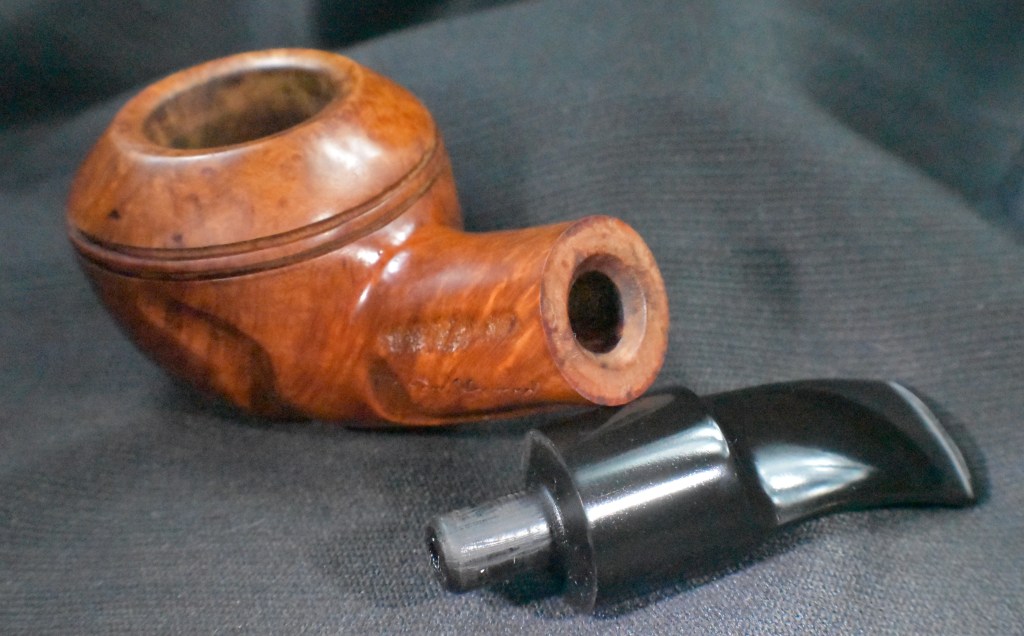
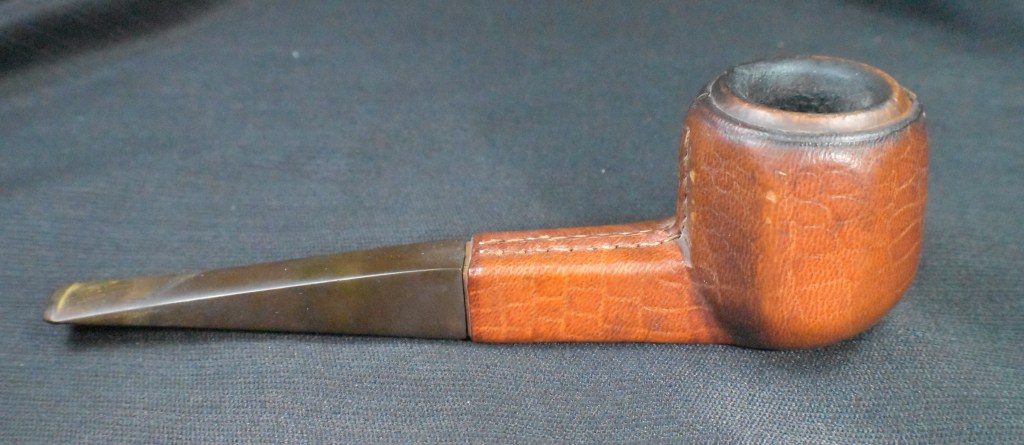
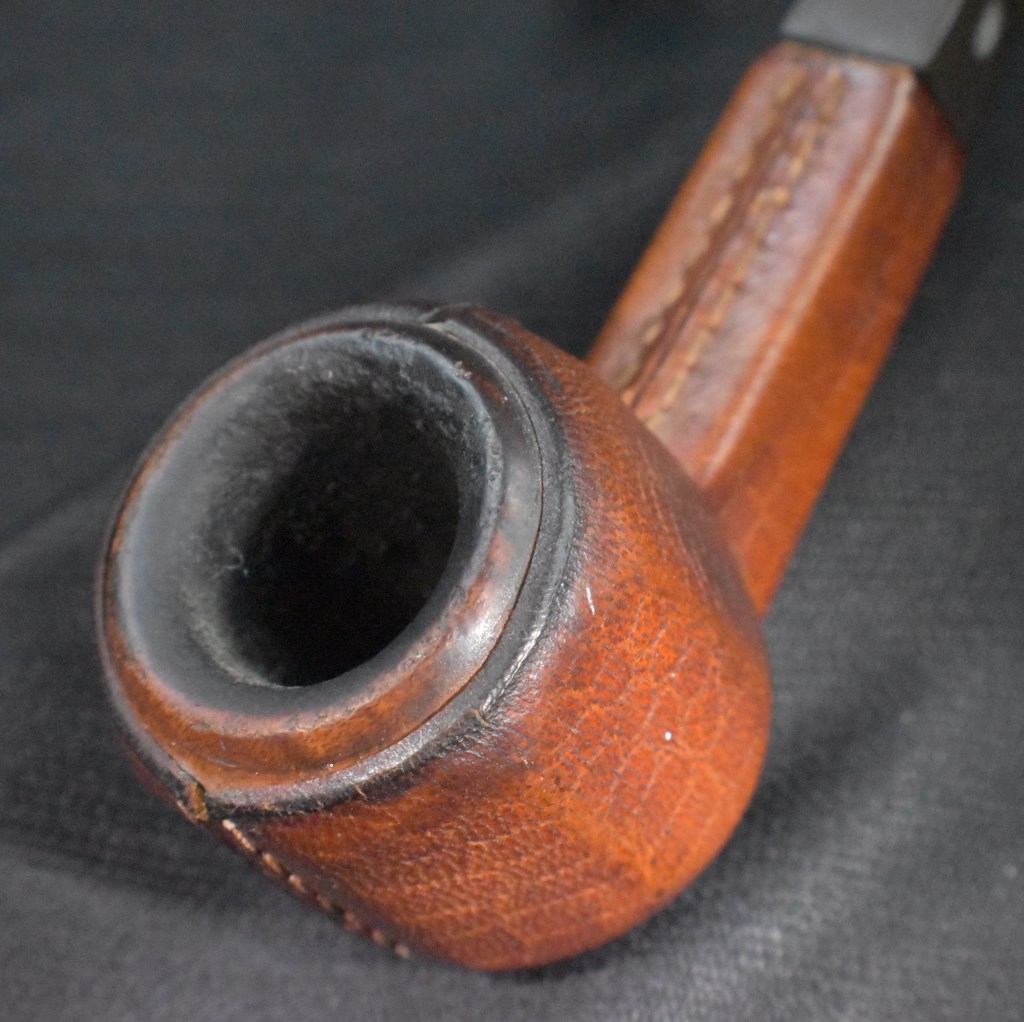
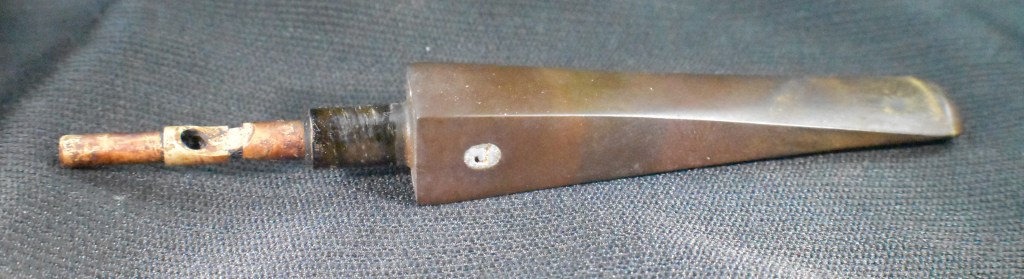
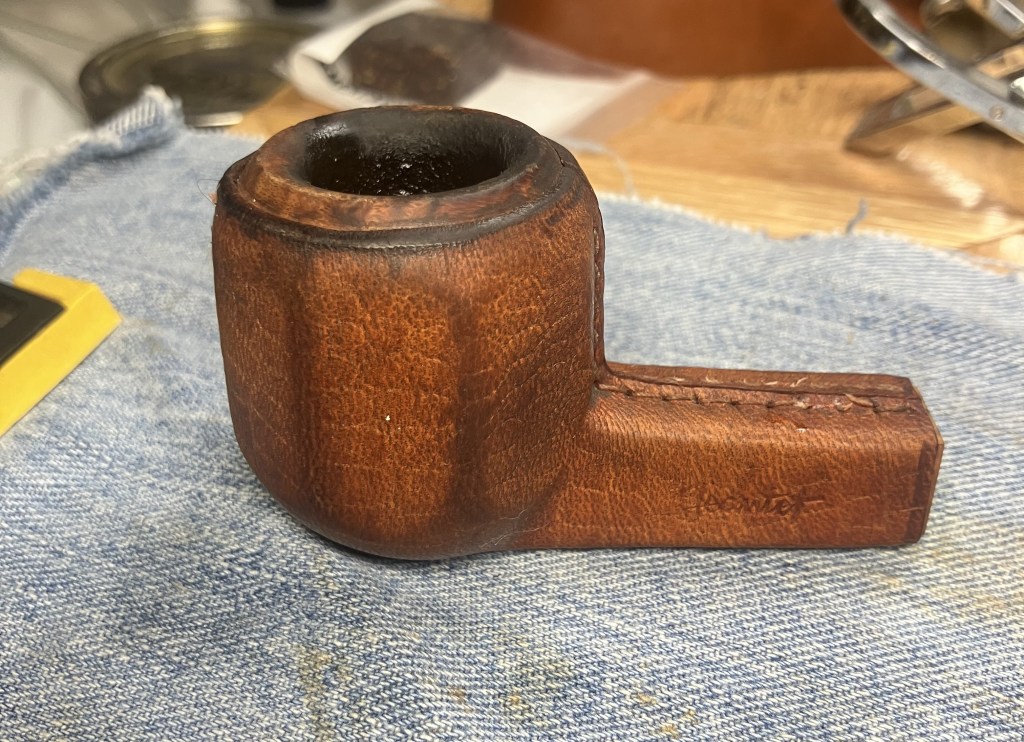
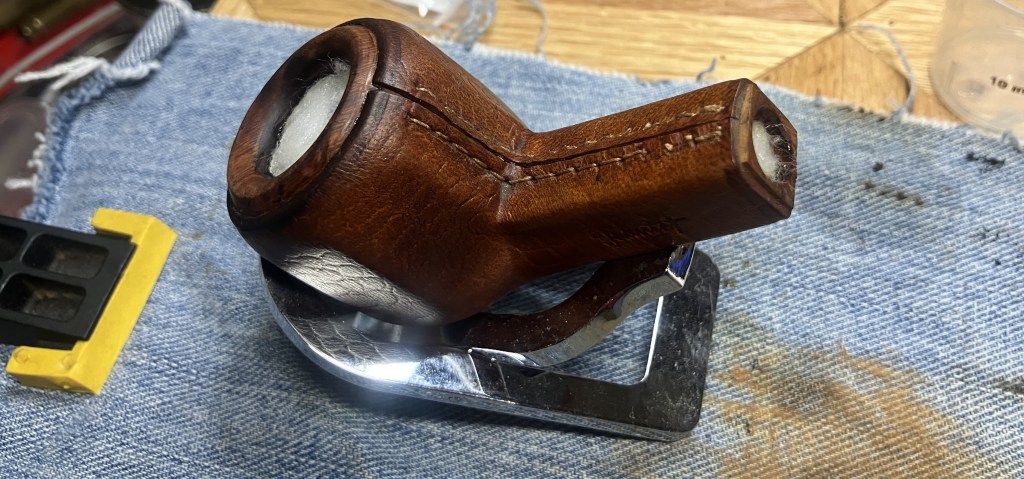
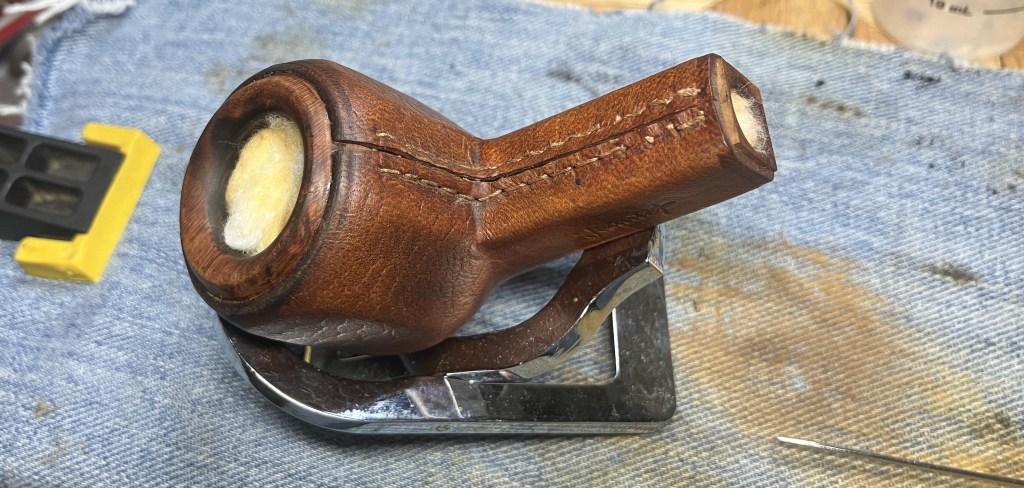
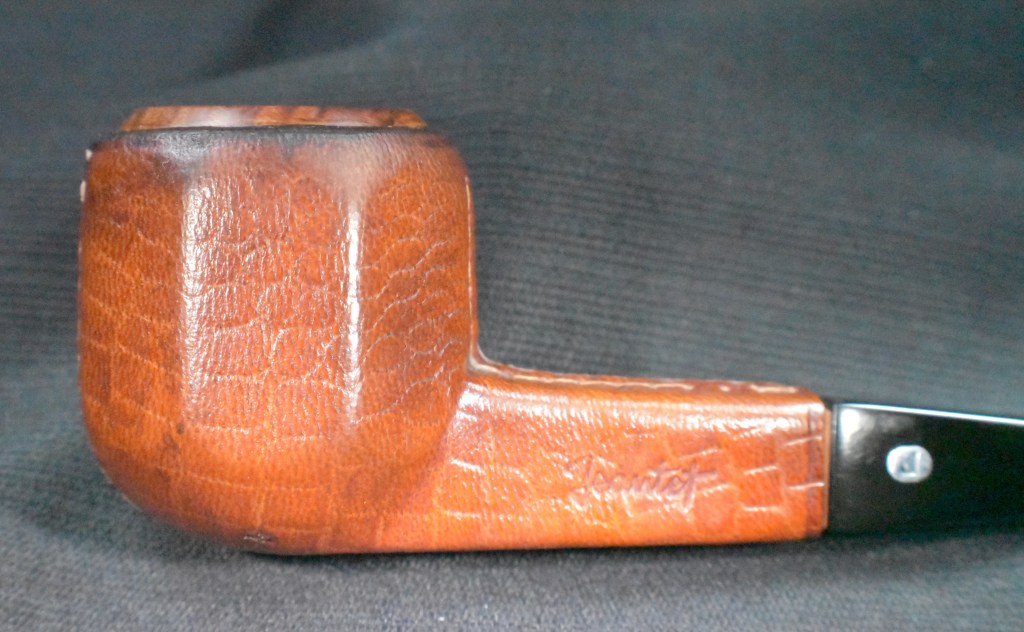
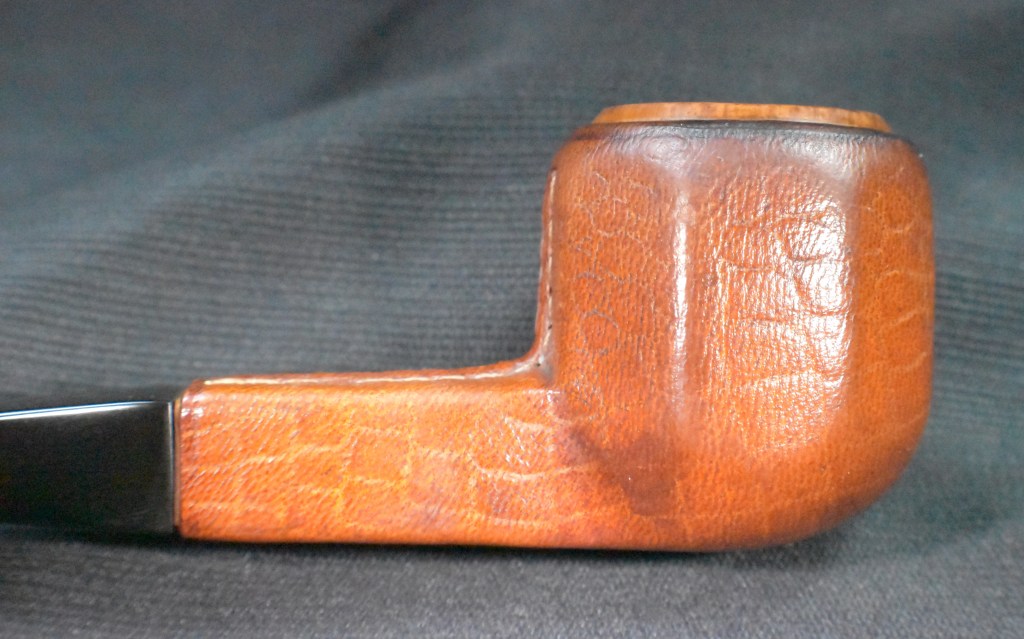
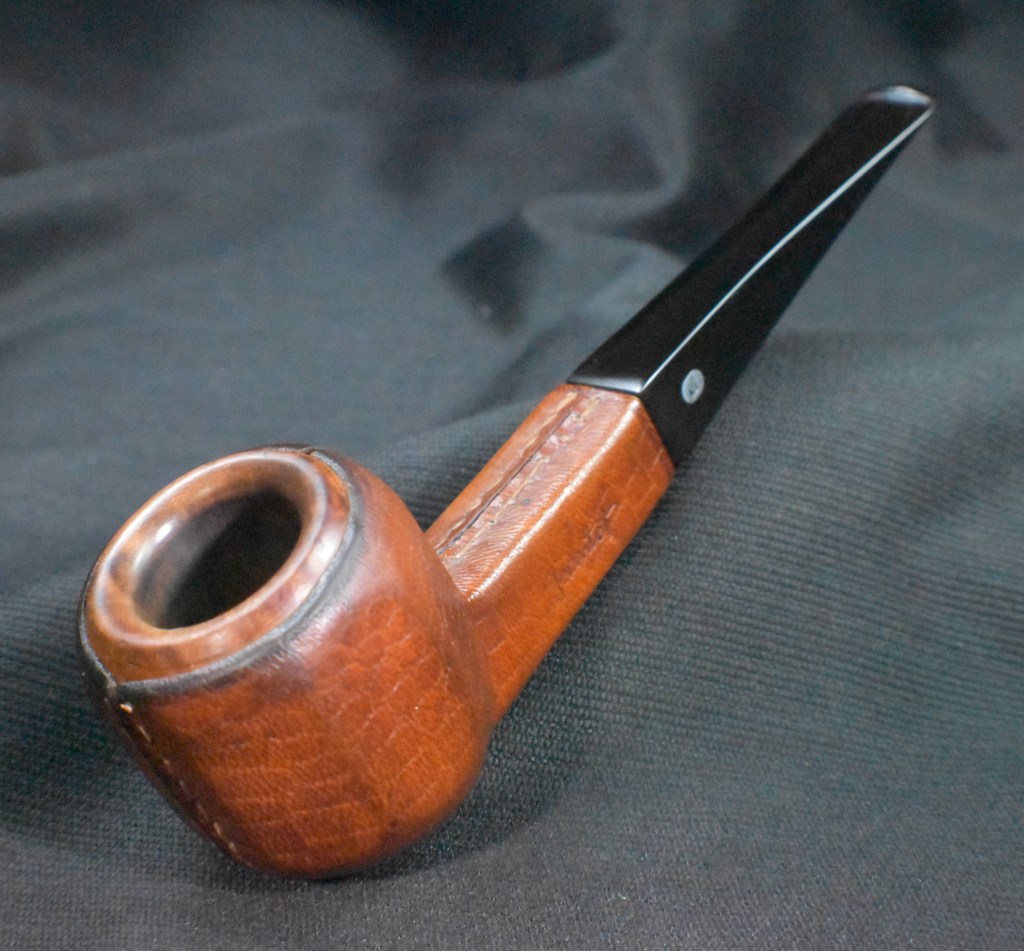
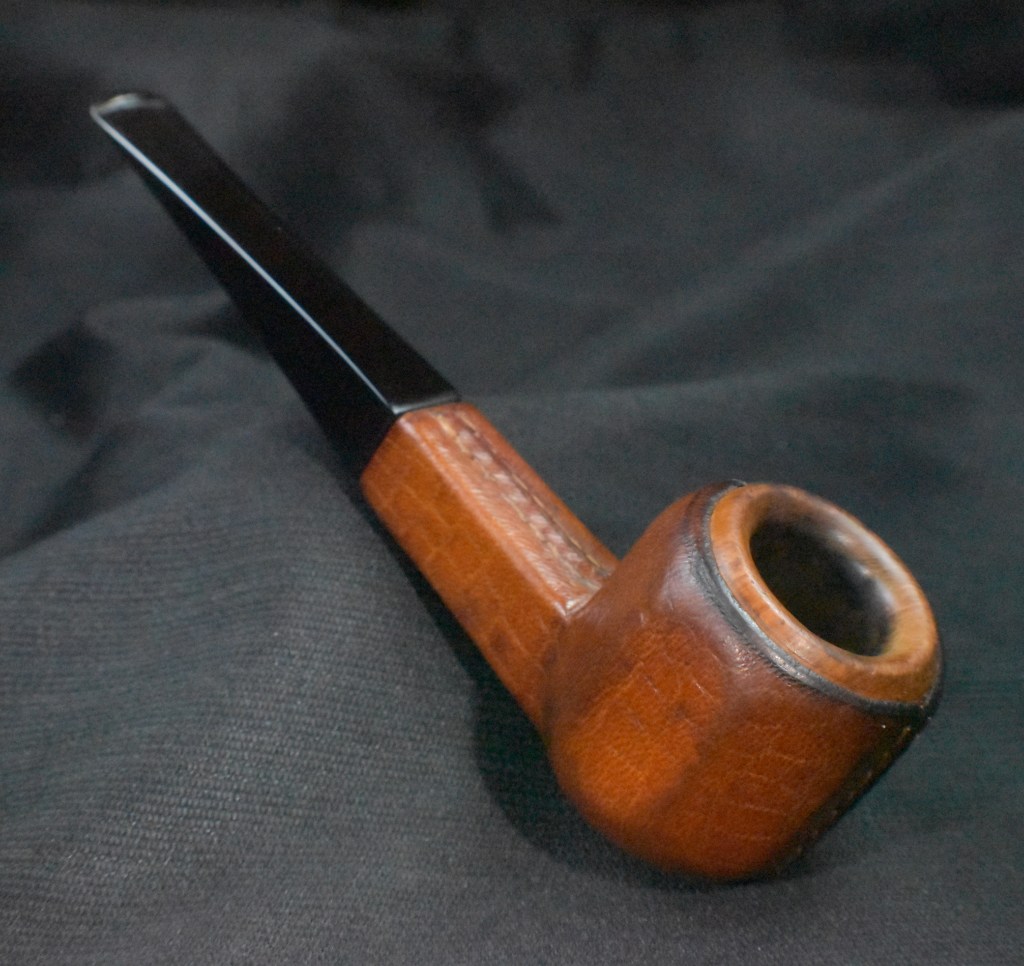
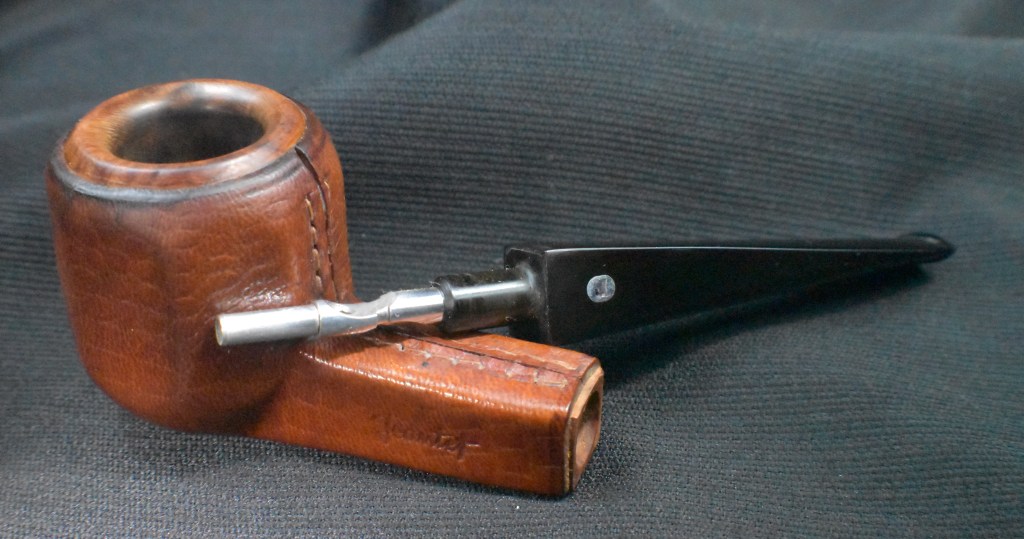
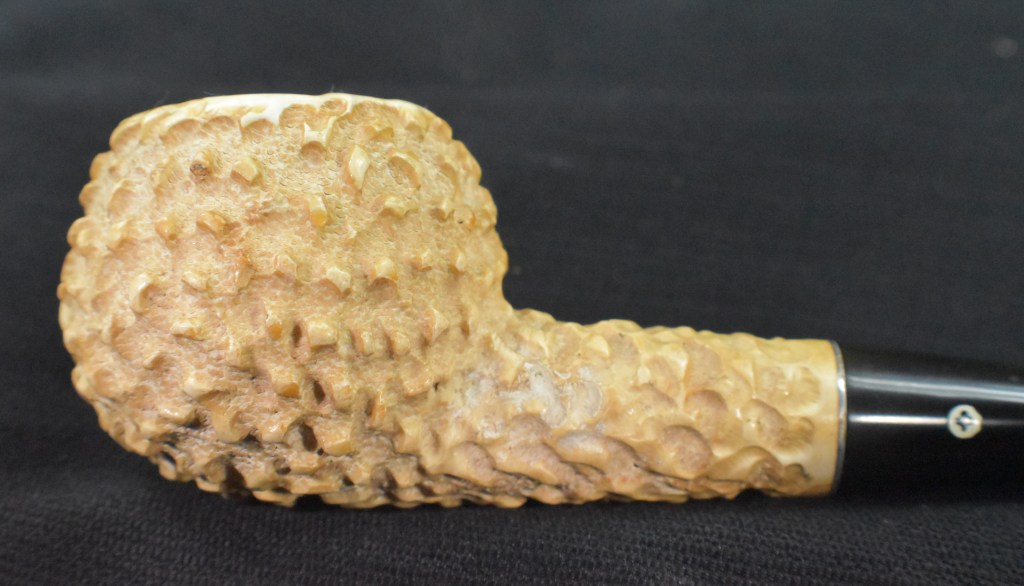
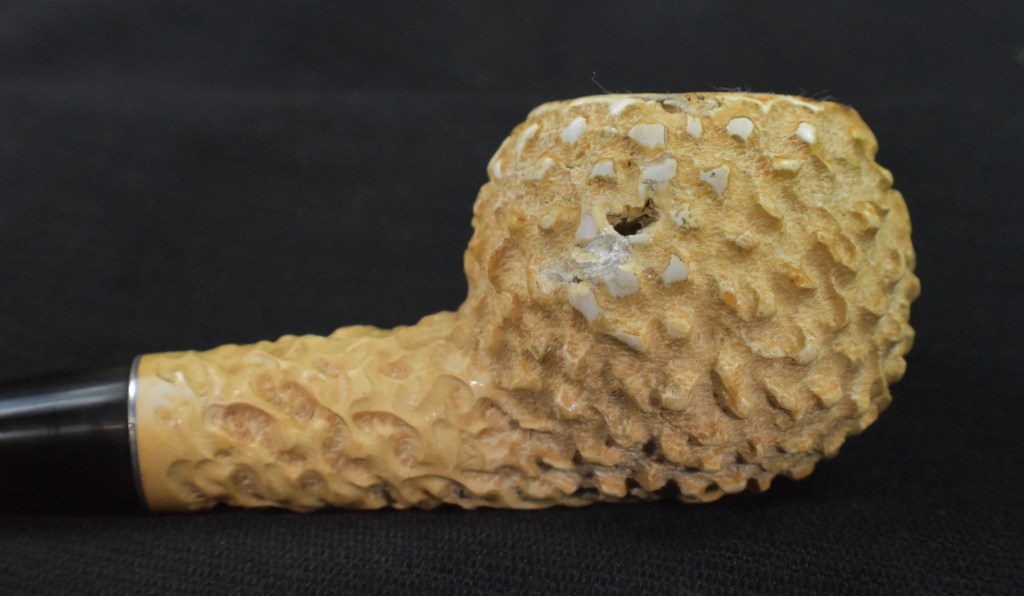
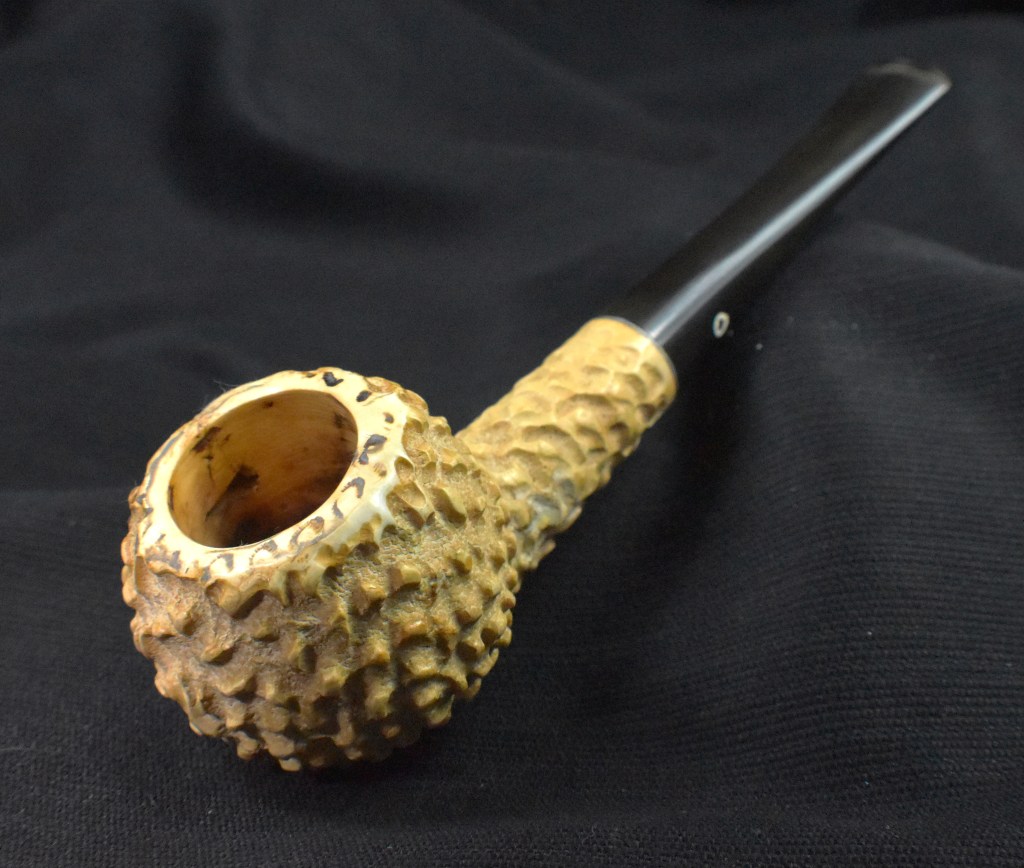
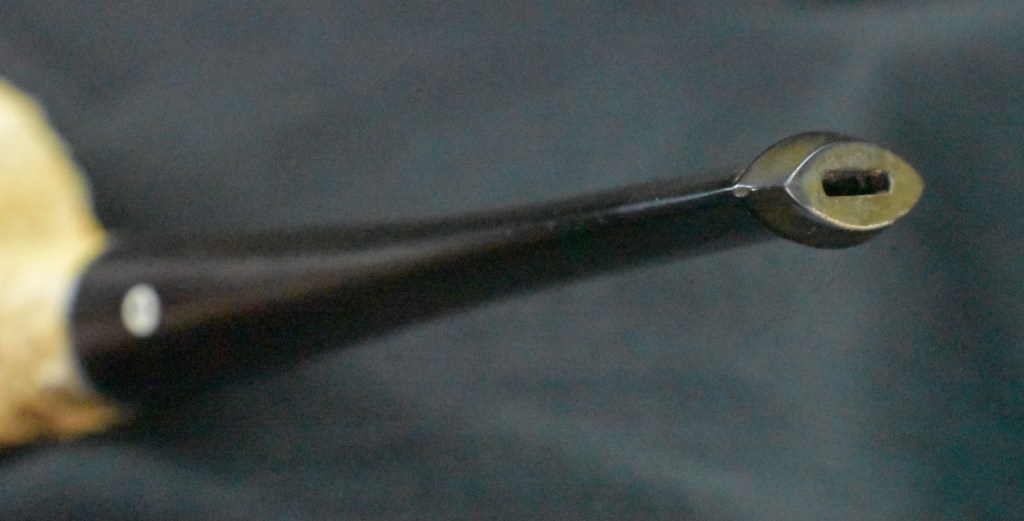
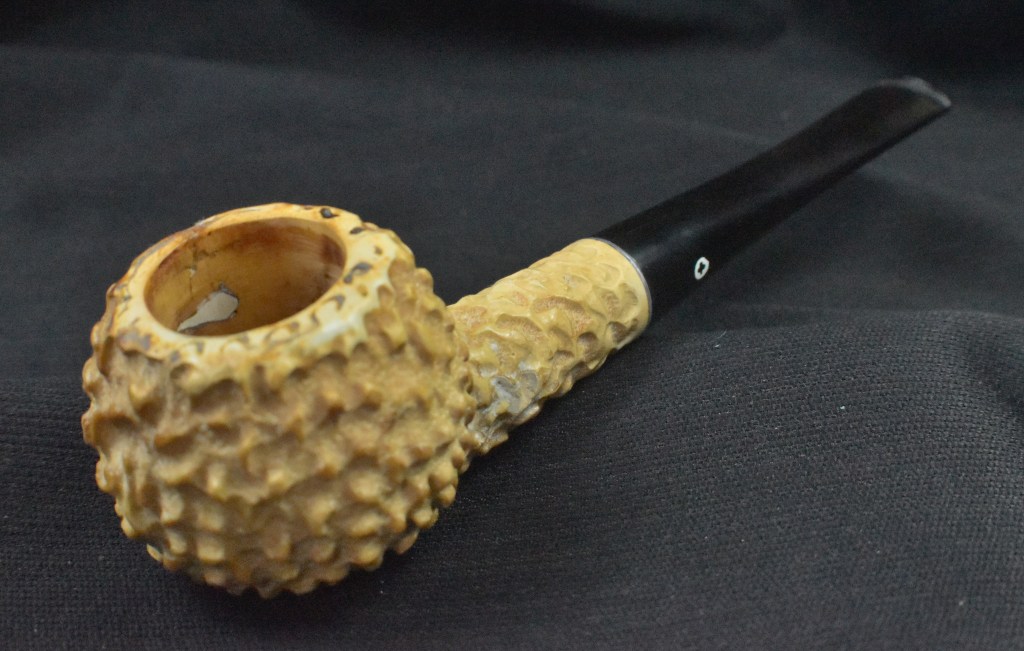
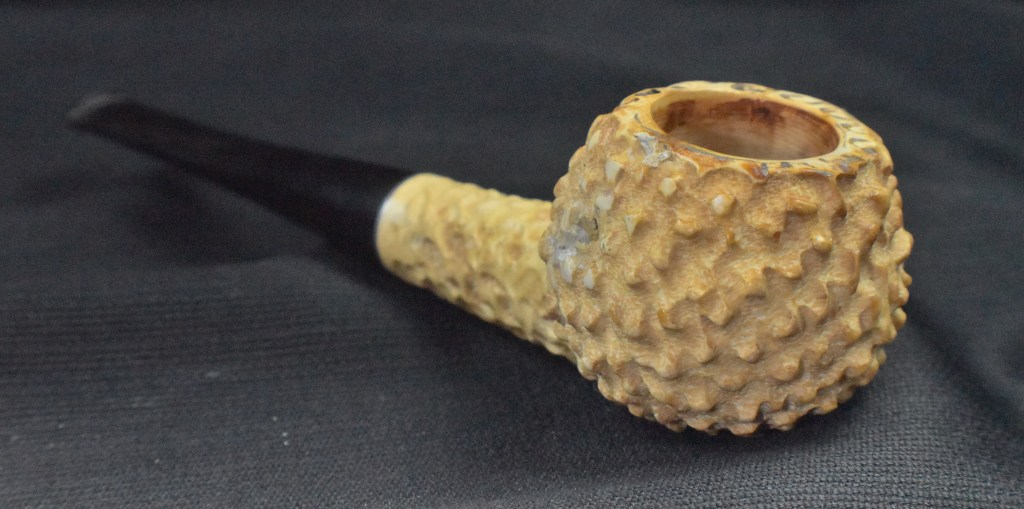
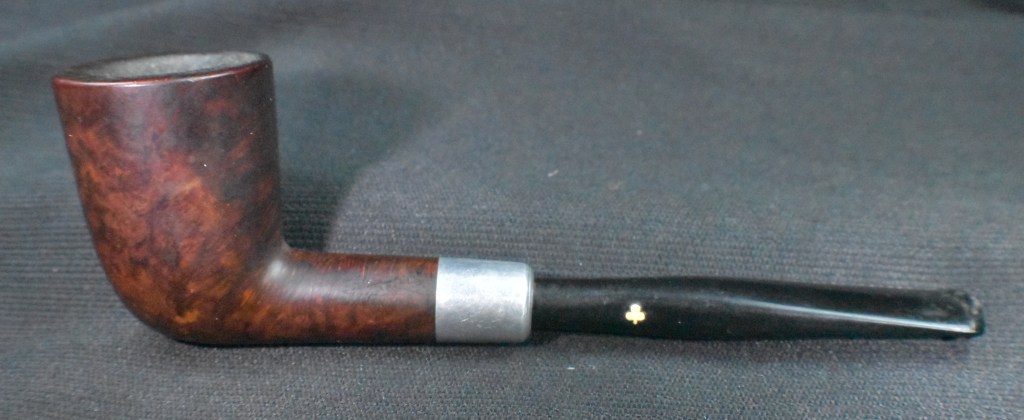
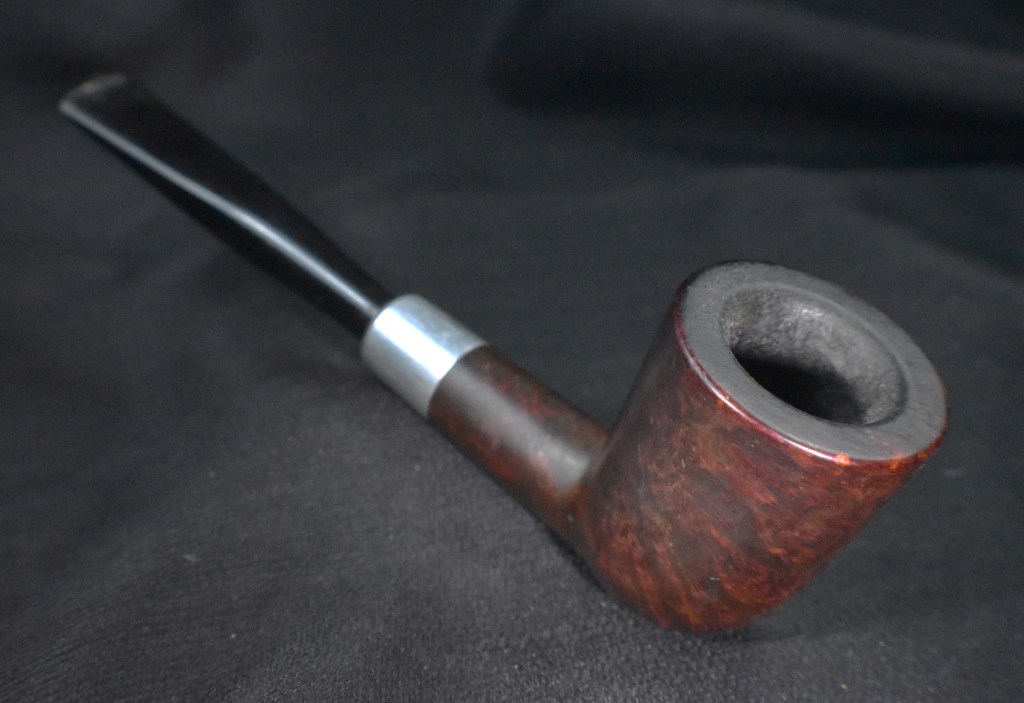
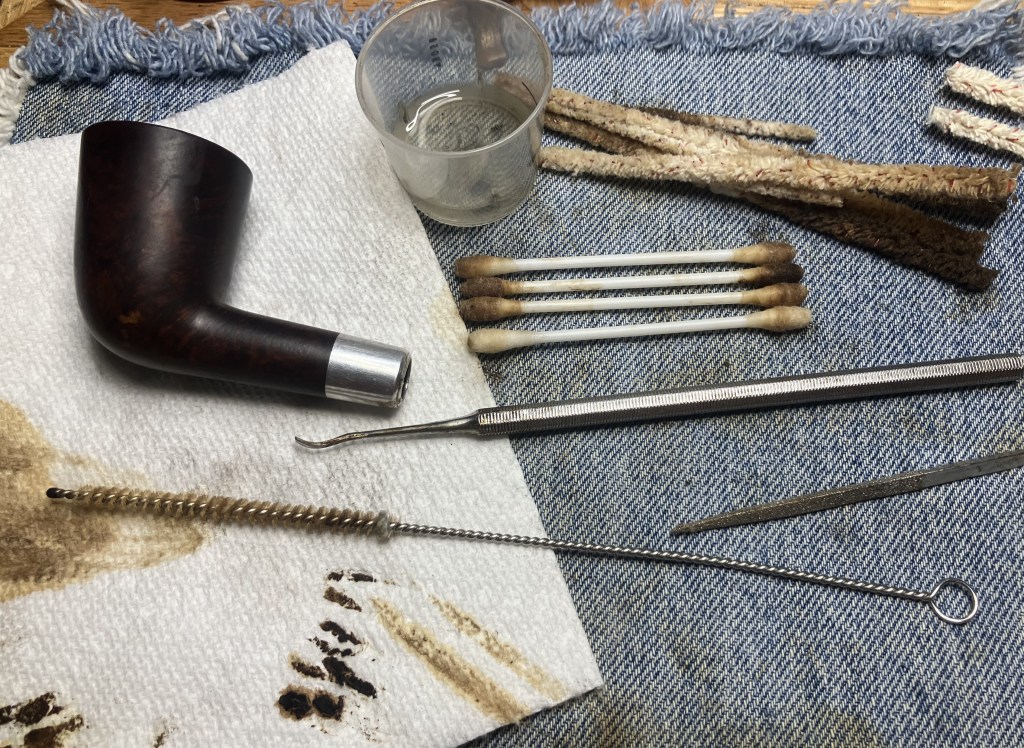
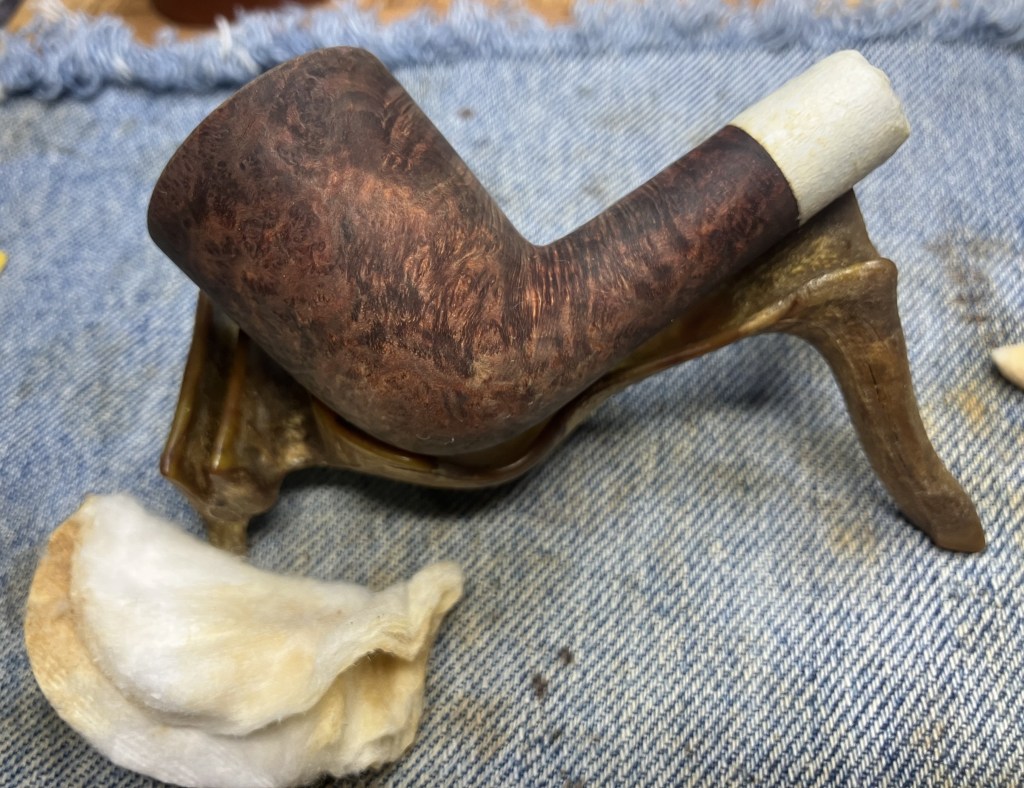
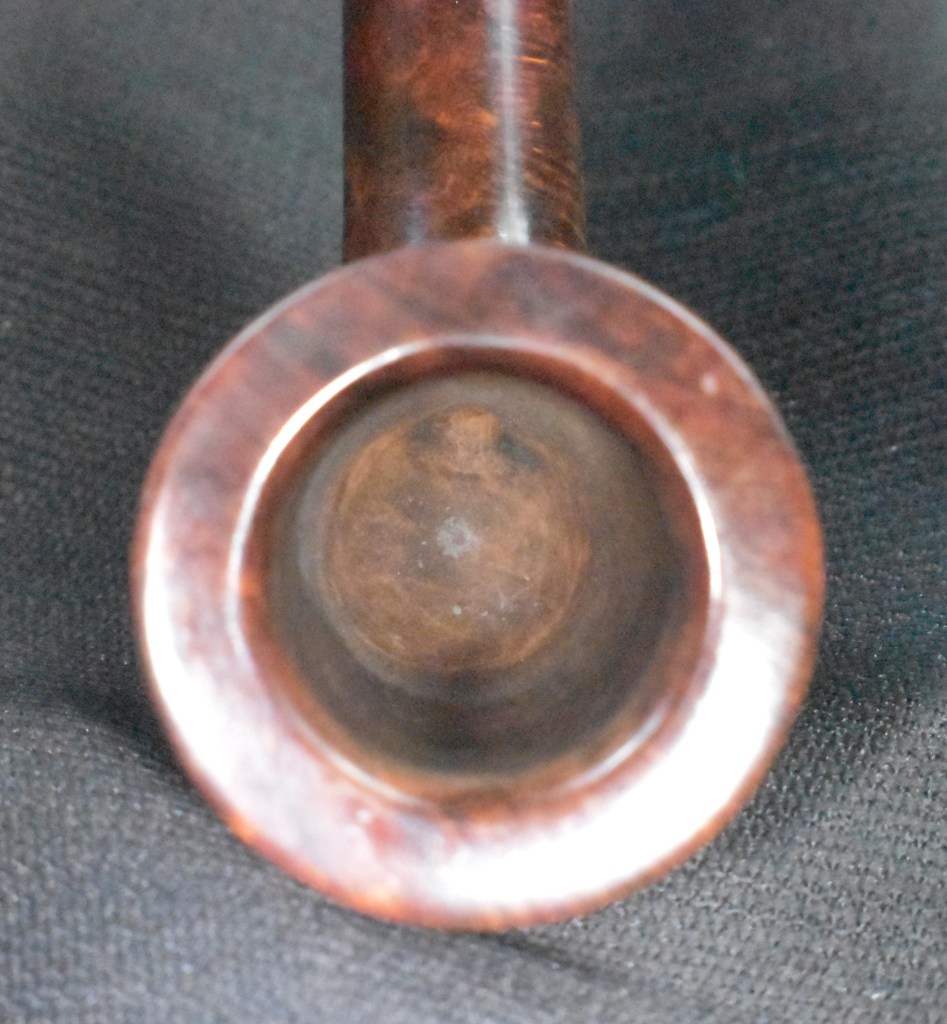
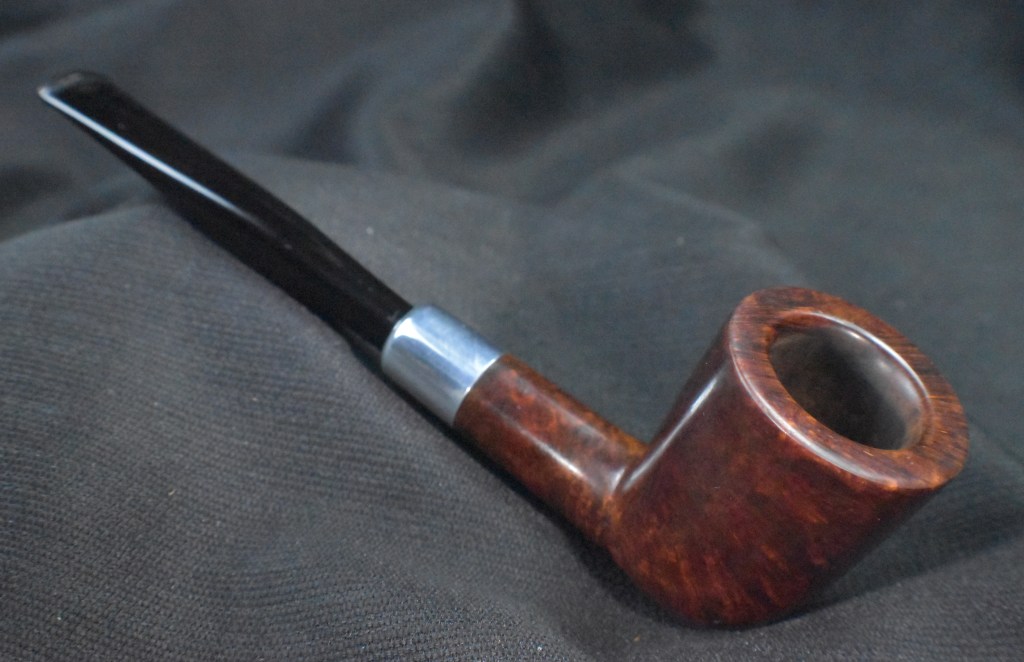
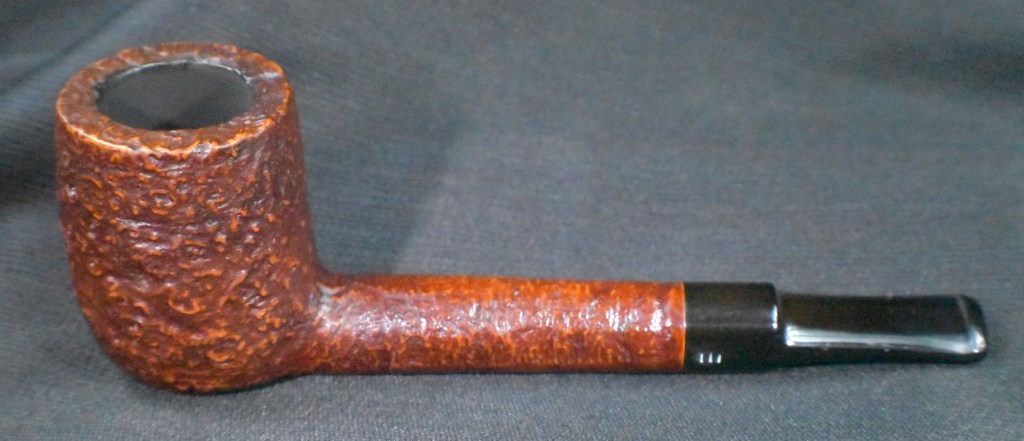
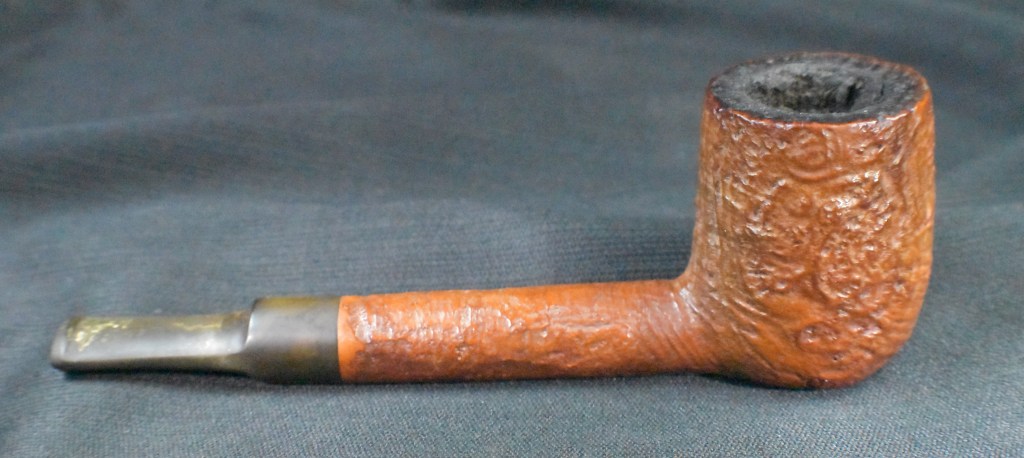
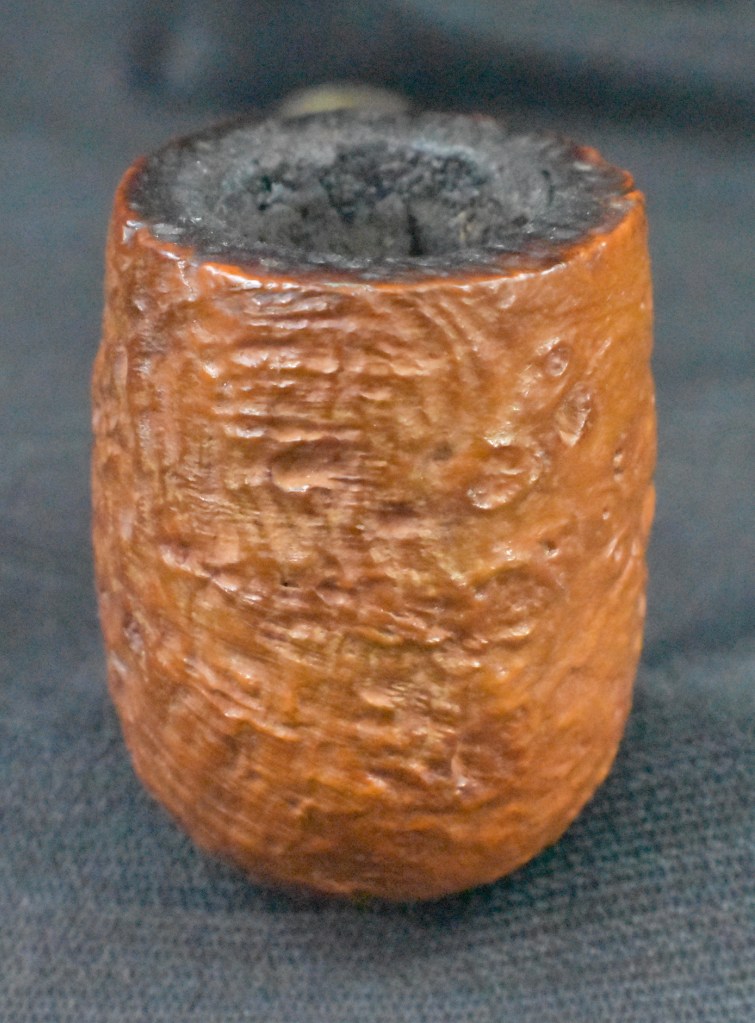
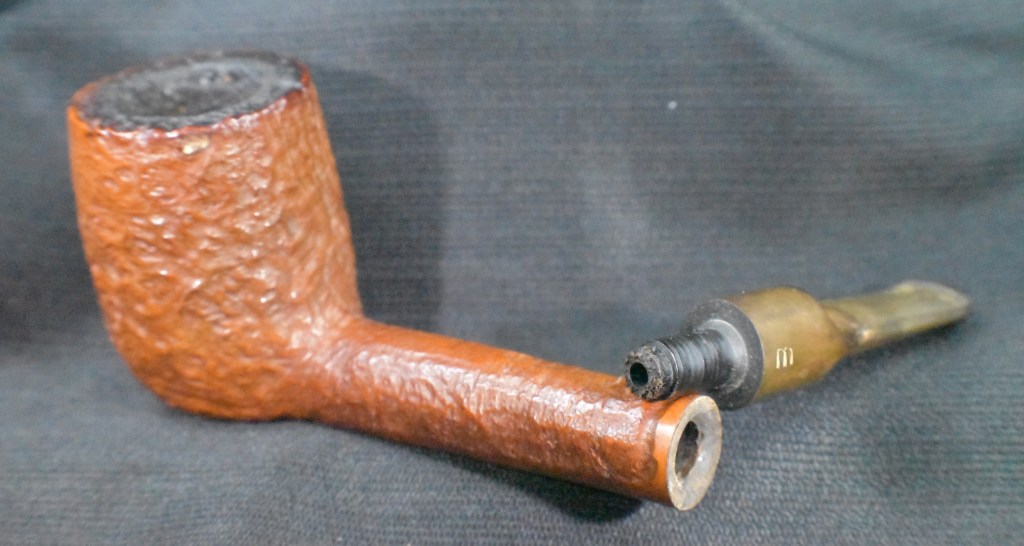
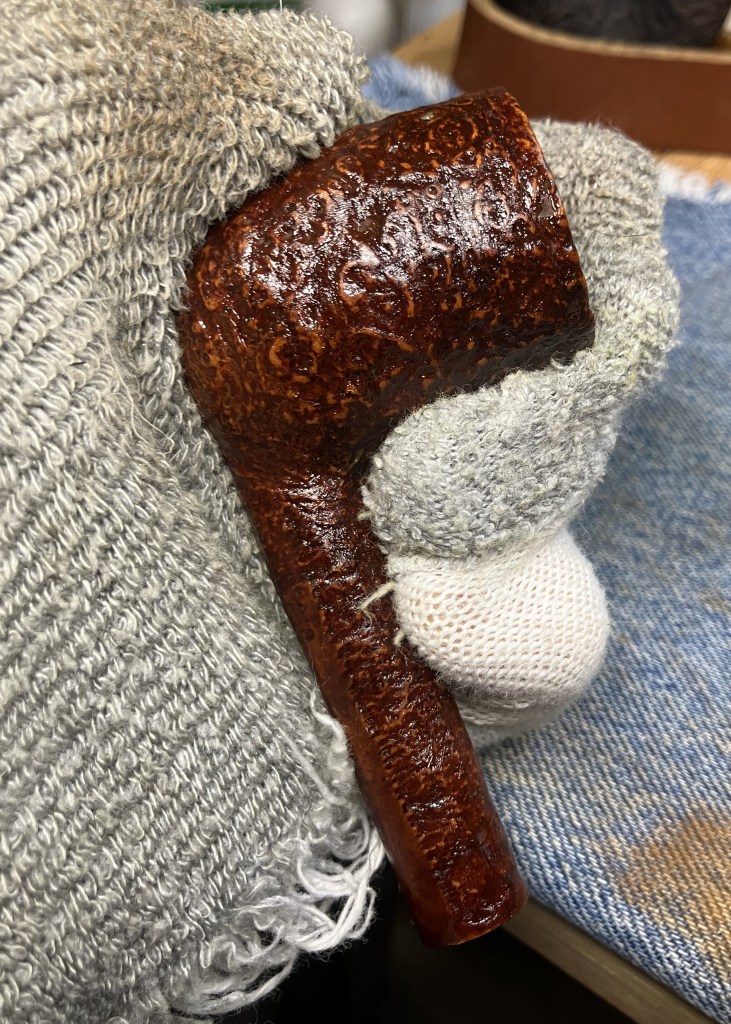
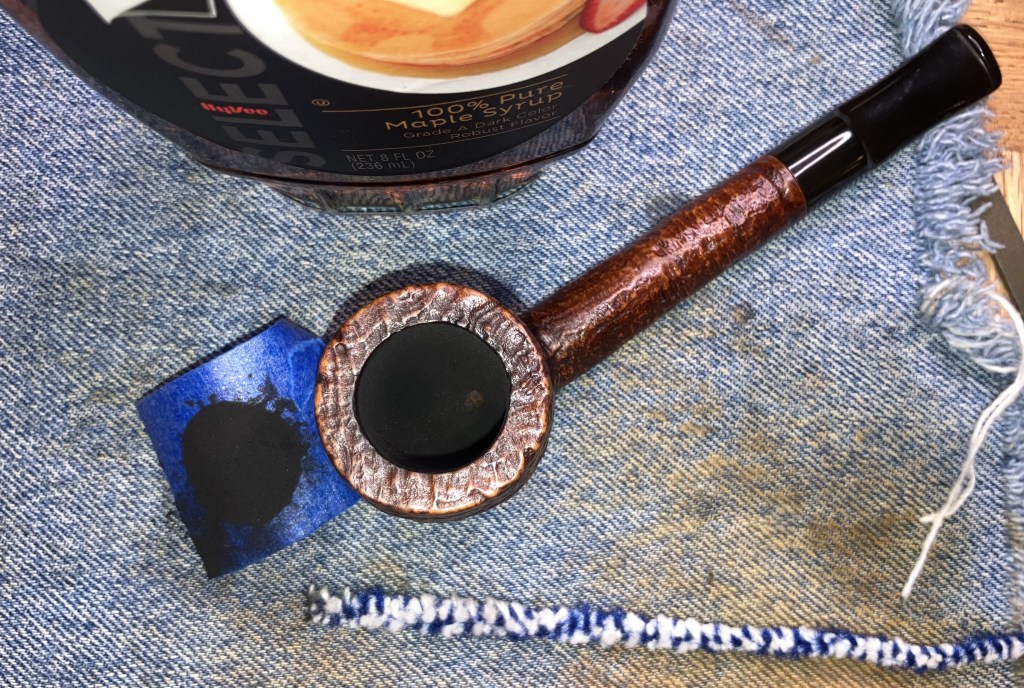
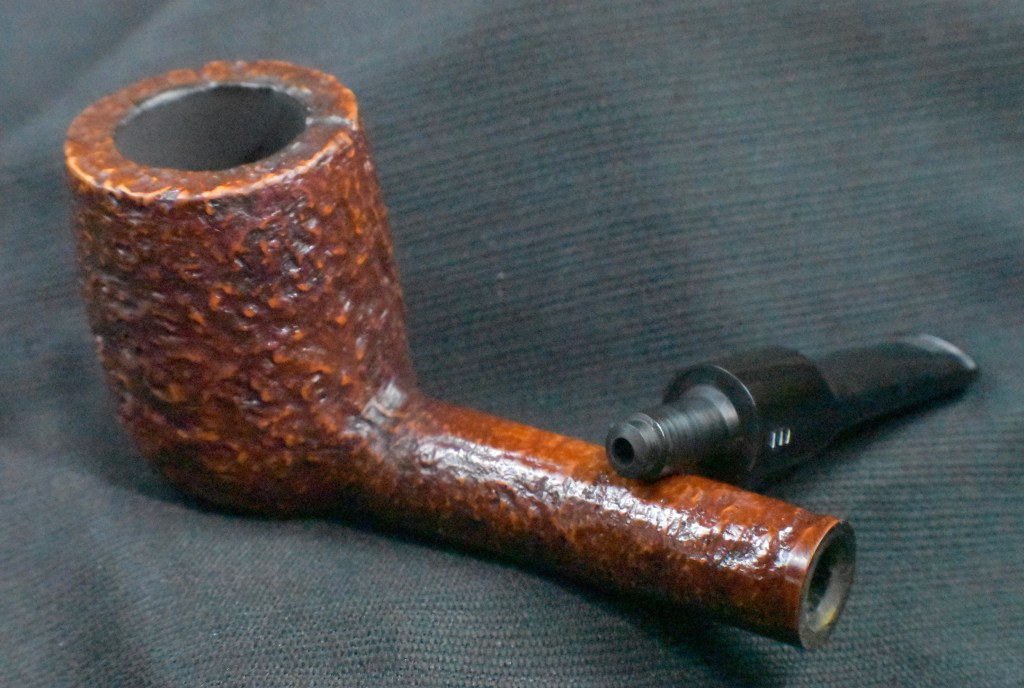
I’m sure that some of you can relate to the attraction that some pipes have, which captivate us. This was one of those for me. I saw this lovely bent Jobey while perusing eBay auctions and couldn’t help placing a bid. I’m not sure if it was the novelty of the pinched stem of the shape in general. I don’t dwell on the why’s of attraction but just take it as it comes. Apparently no one else was bewitched by the allure of this darling and it soon made the journey from Suffern, New York to the wilds of southeast Nebraska. Below are some photos of the pipe before work began.
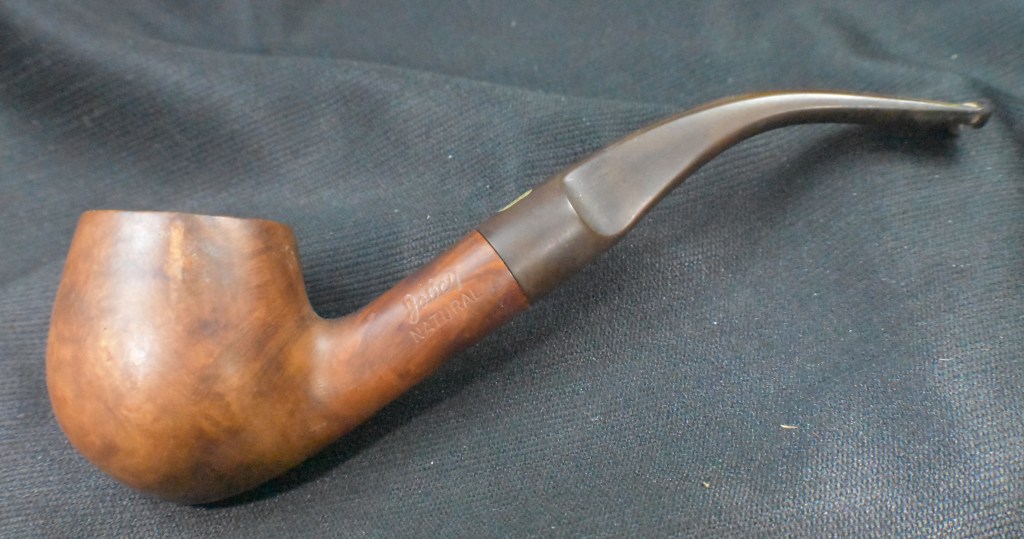
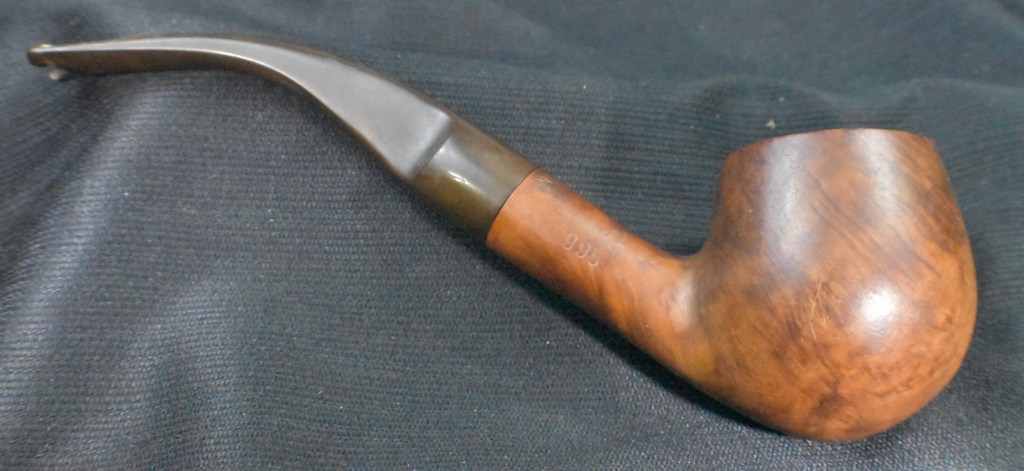
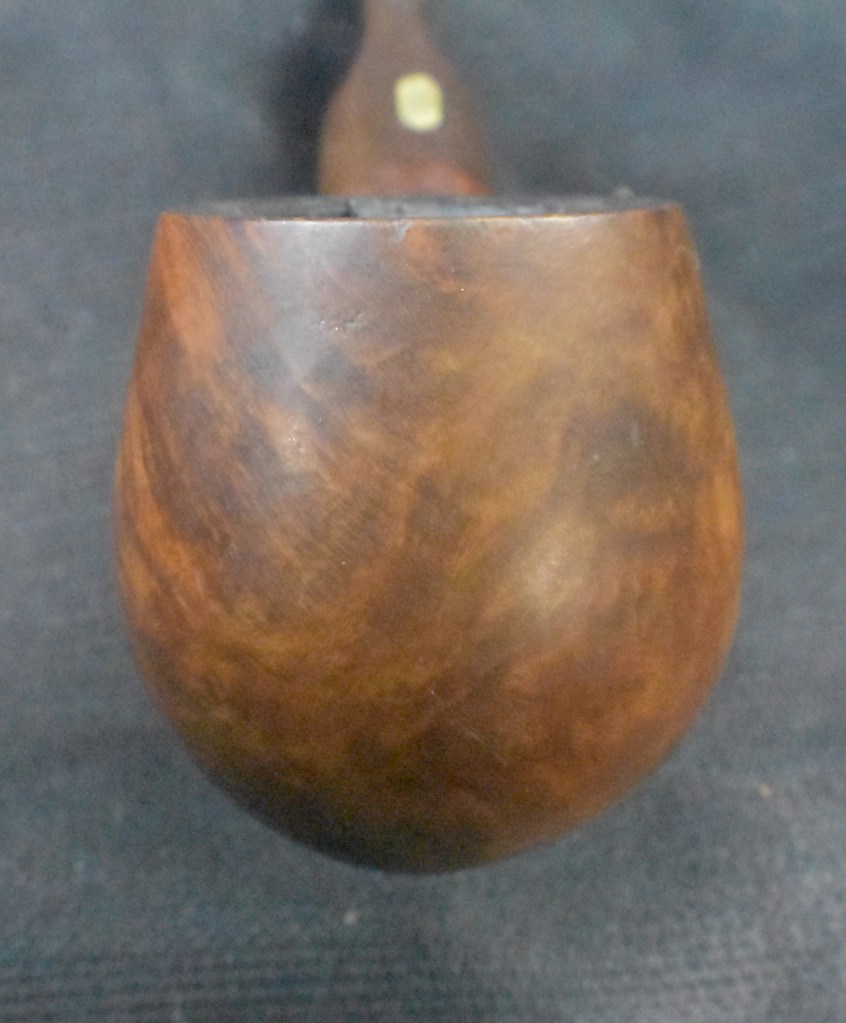
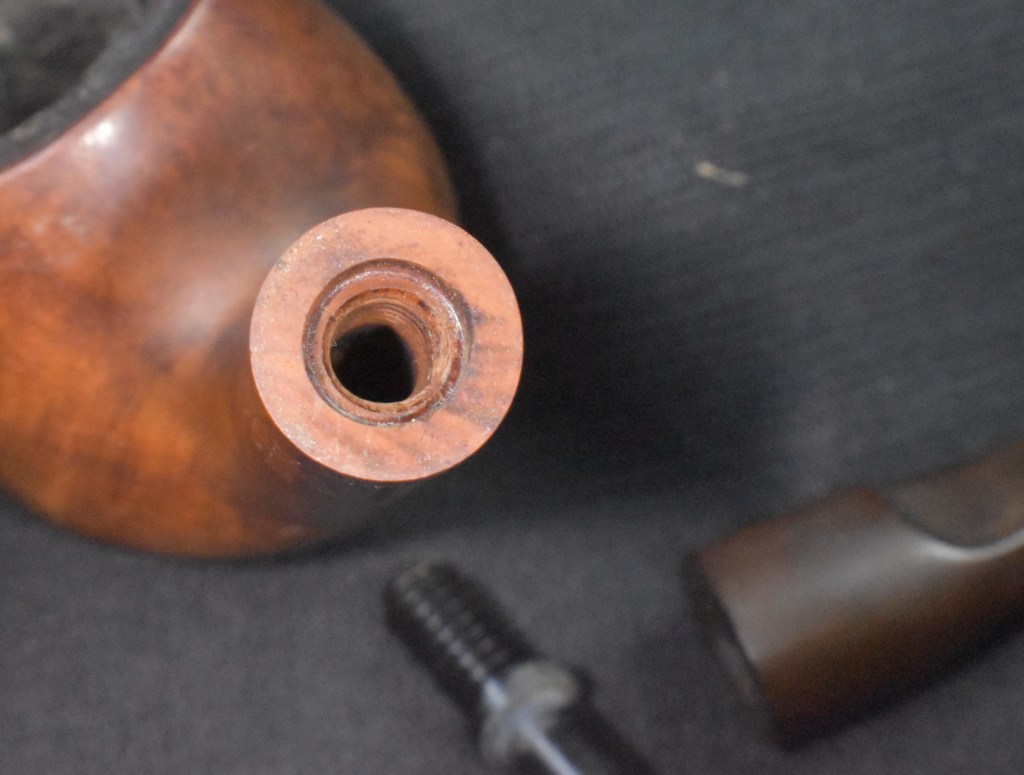
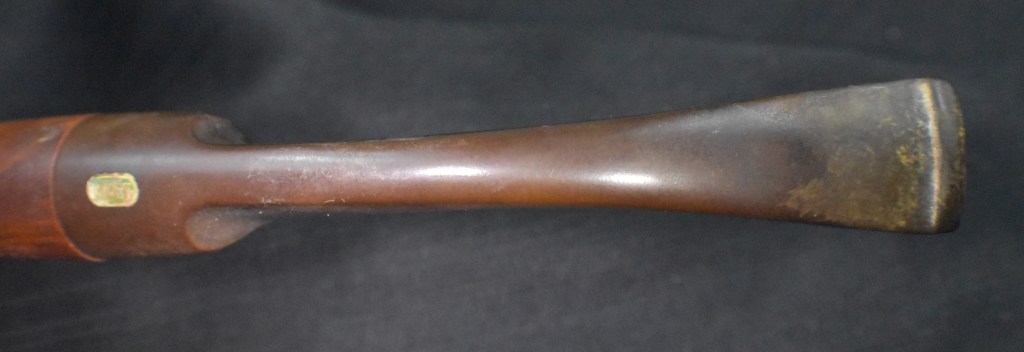
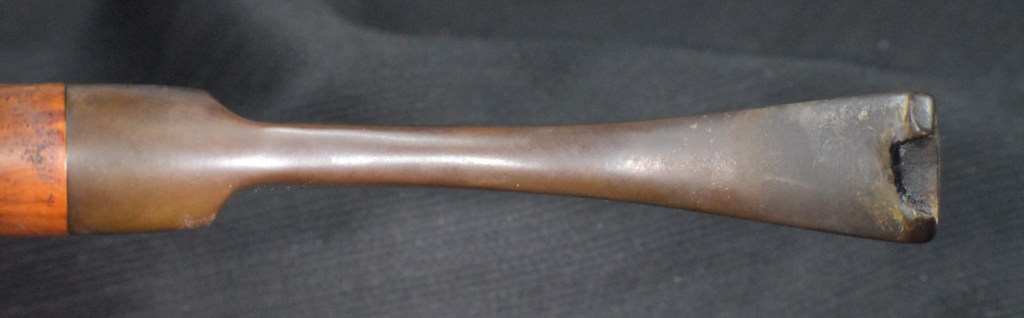
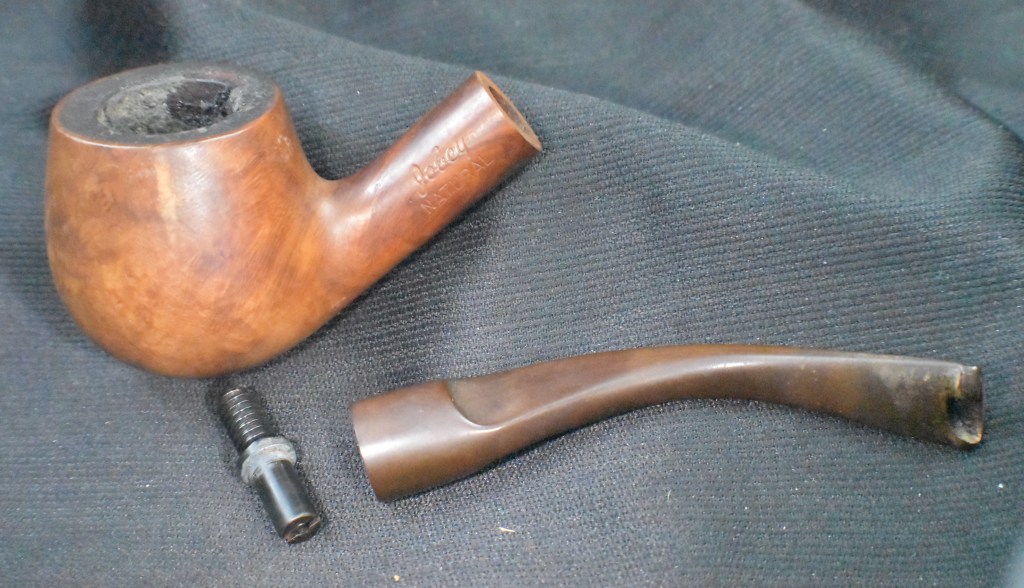
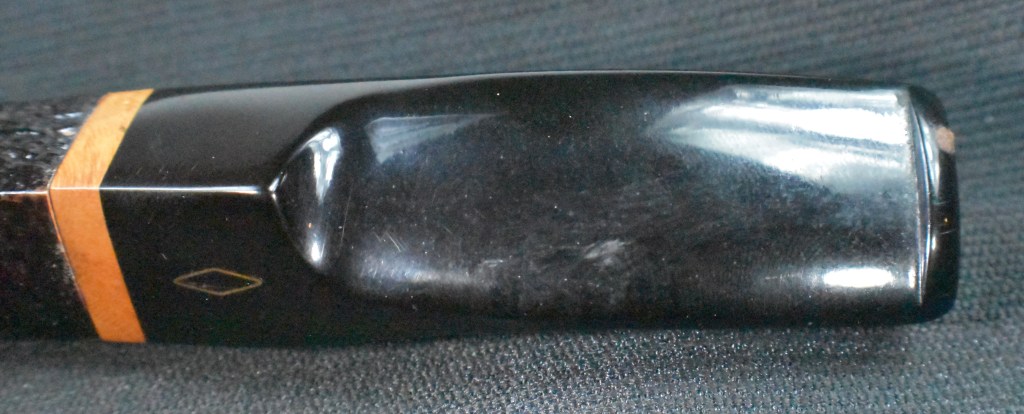
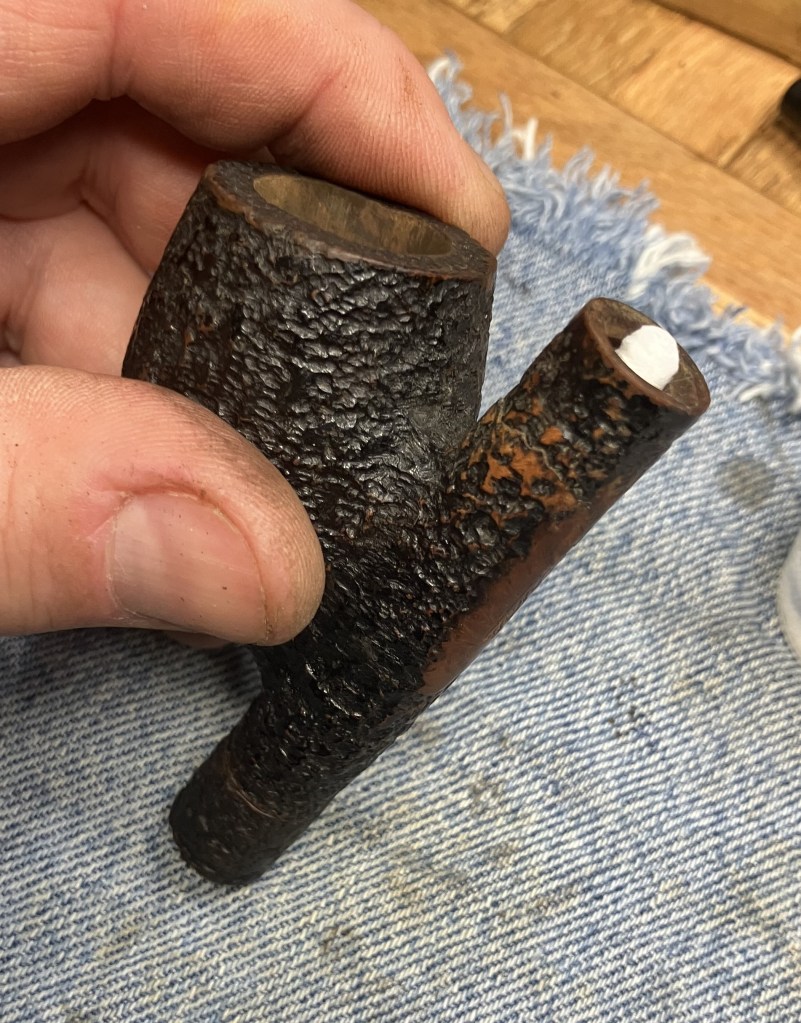
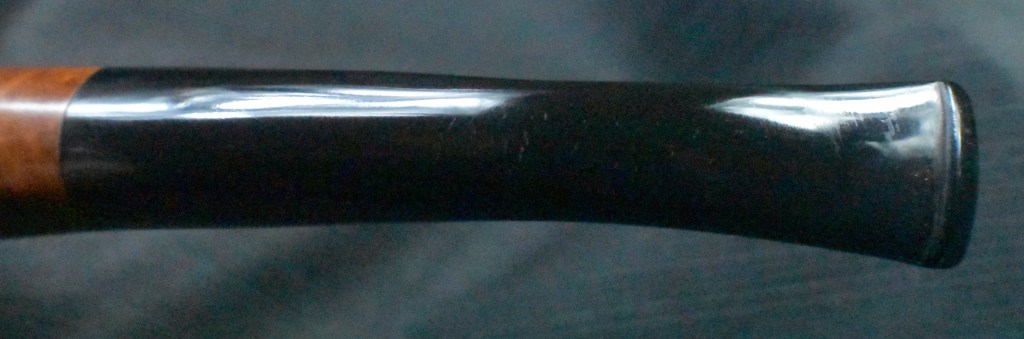
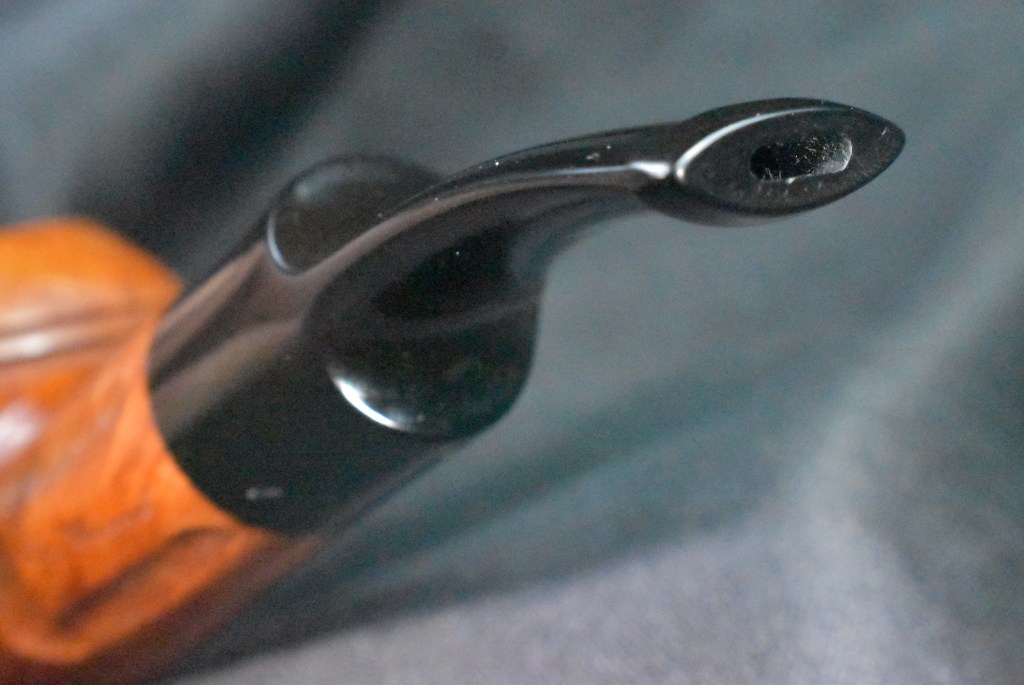
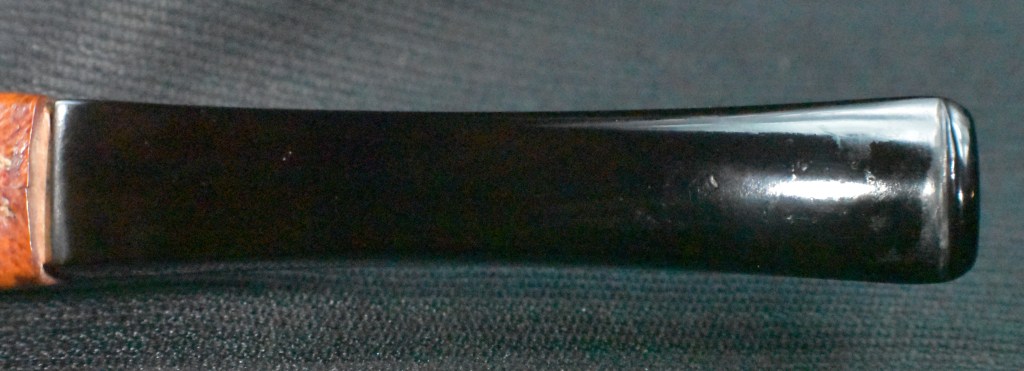
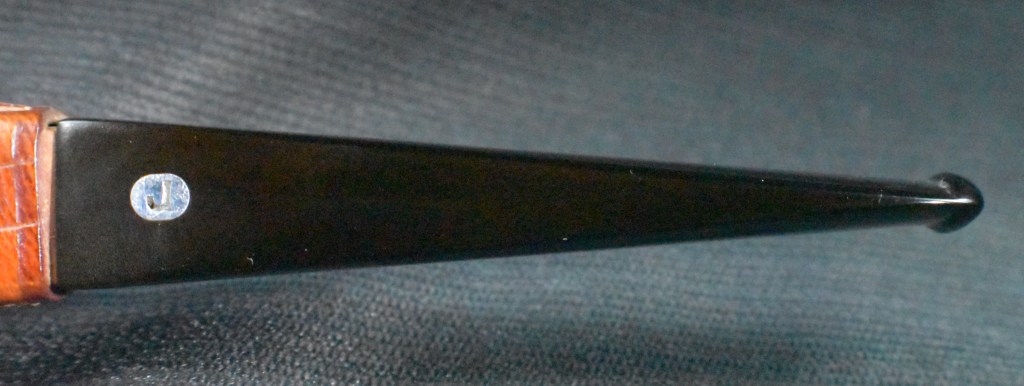
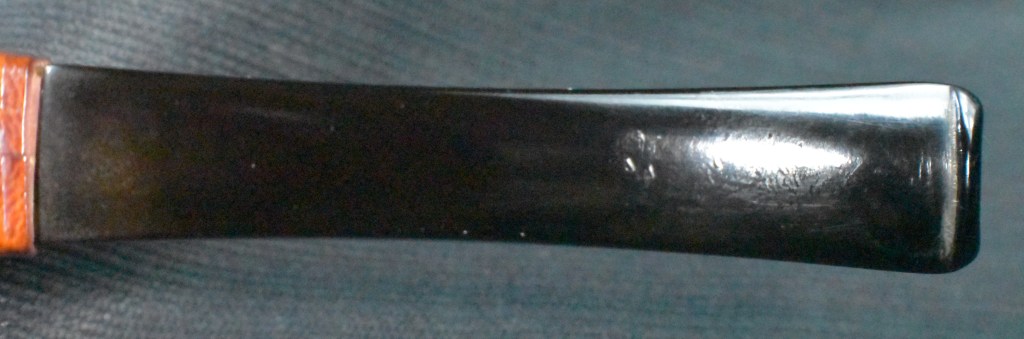
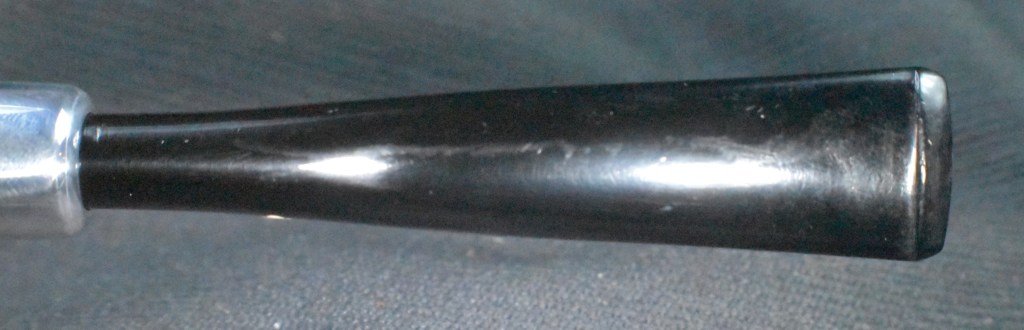
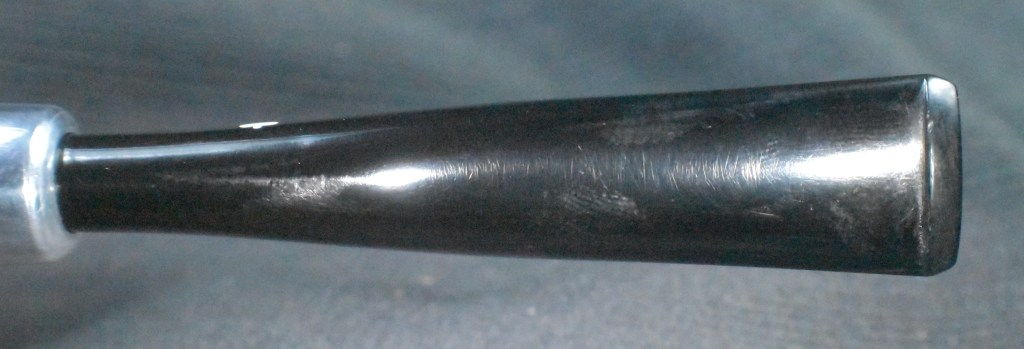
Okay, maybe it was the broken stem that dismayed other shoppers from this dainty darling. I couldn’t bring myself to replace the stem as it was one of the features that drew me to her. The stem would have to be restored. I recalled reading a blog post by Kenneth Lieblich on Steve Laug’s rebornpipes.com where Kenneth used stainless steel mesh to repair a similarly broken stem (Rethinking the Repair of Damaged Stems | rebornpipes). I had talked with Kenneth about the repair and had even purchased some stainless steel mesh but had not tried the technique. This looked like a perfect stem to try it with. The rest of the pipe was in good shape. Used and dirty, sure, but good nonetheless.
Background
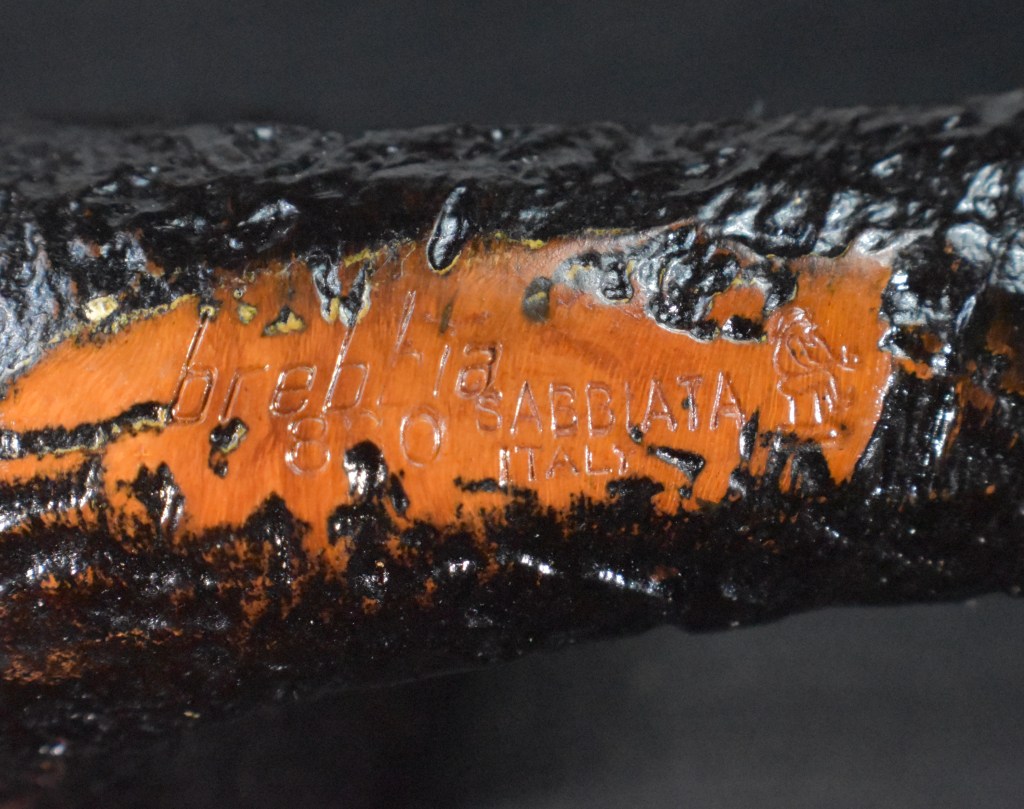
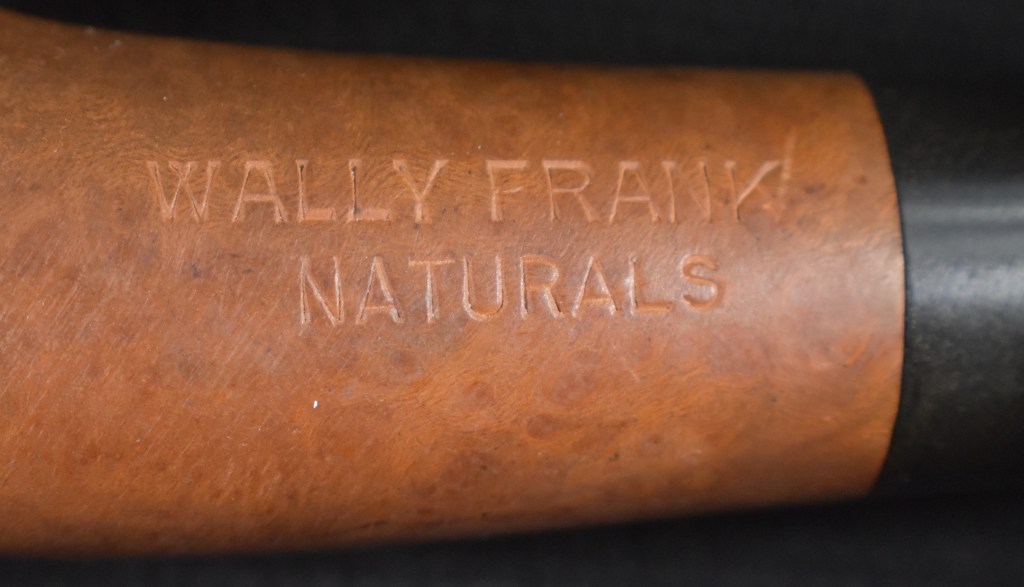
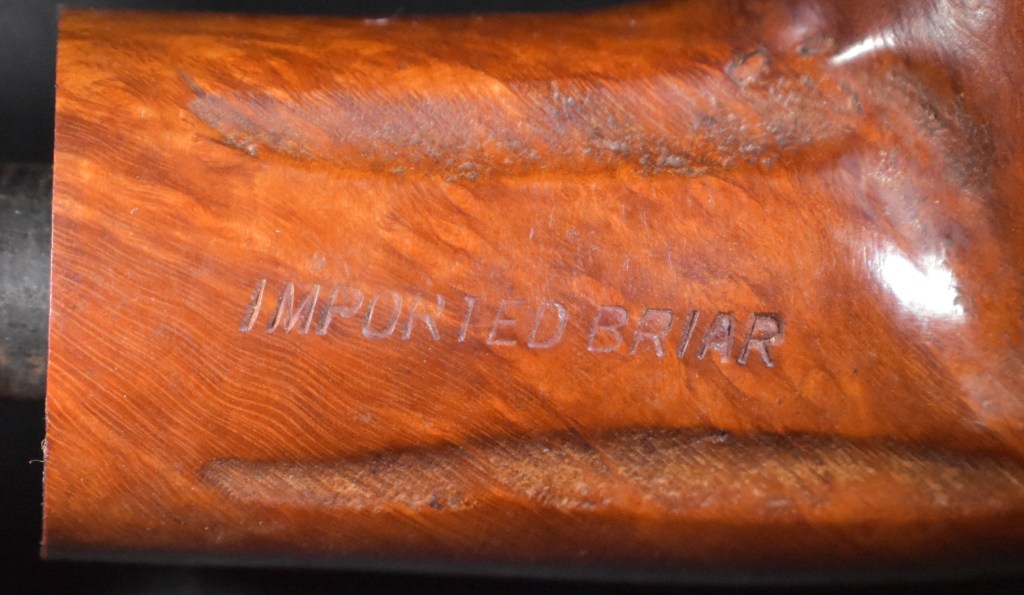
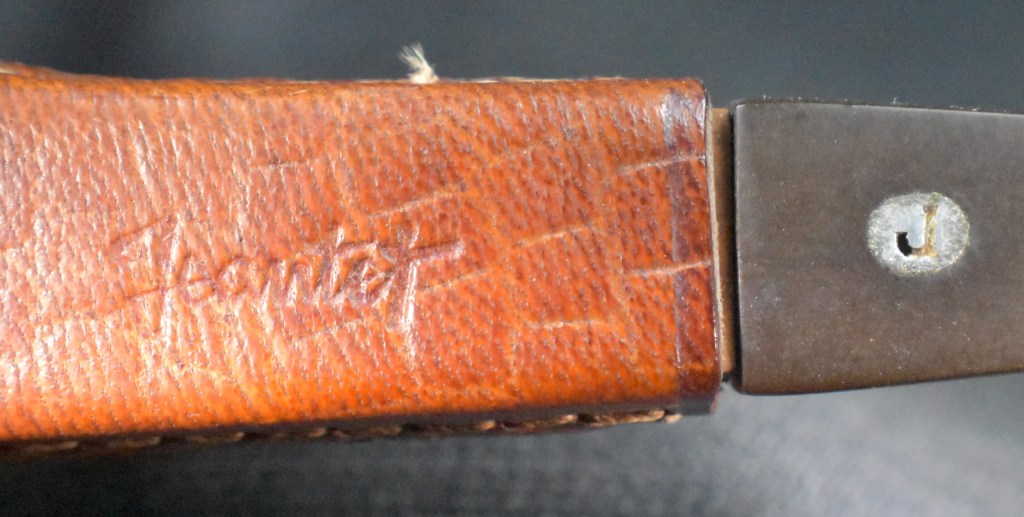
In researching Jobey I began with pipephil.eu. This pipe did not have a country of manufacture (COM) stamp which led me to believe it was an American product. The Jobey entry at the site both confirmed and confused my thoughts. The US flag at the top right corner indicates an American origin but the text declares that the pipes are made in France. Hmm, apparently the plot thickens.
(Jo-Jok — Pipes : Logos & Markings)
Next stop on the research express was to pipedia.org. The first sentence there contained two words which I was not hoping to find, “information” (yes) and “scant” (not so much). Below are two parts of the pipedia entry for Jobey, the first provides more confusion and expands the US/France origin to include England, as well.
“English – American – Danish – French… Sadly, solid information about Jobey is scant
Probably established in England around 1920(?) the brand hiked into the USA later. In the course of time owner, distributor and manufacturer changed repeatedly. As far as is known the following companies have been involved with the brand:
- George Yale Pipes & Tobacco, New York (1942)
- Norwalk Pipe Co., New York (1949)
- Arlington Briar Pipes Corp., Brooklyn (when?)
- Hollco International, New York (1969).
- Weber Pipe Co., Jersey City, NJ (1970’s)
- Tinder Box, (1970’s – 80’s).
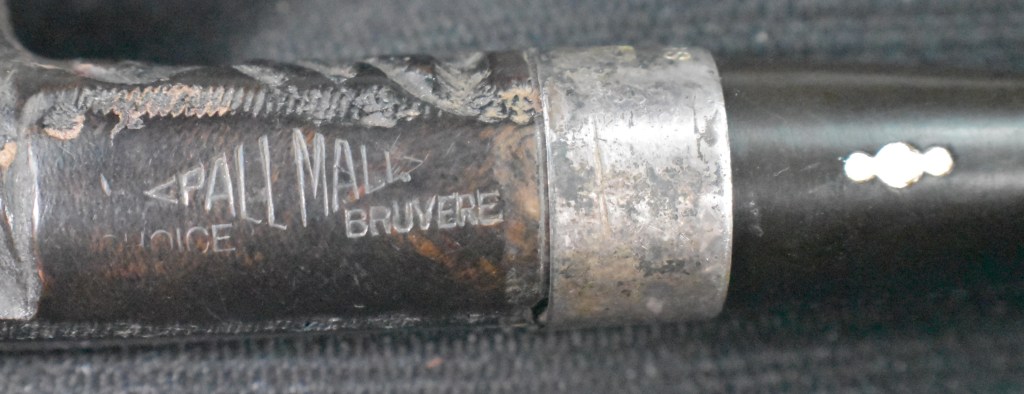
Throughout decades Jobey pipes were mainly sold in the USA, Canada and England but remained almost unknown in continental Europe. The bulk of Jobeys were predominantly made according to classical patterns and mainly in the lower to middle price range. The predominant judgment of the pipe smokers reads: “A well made pipe for the price.” So there is hardly anything very special or exciting about Jobey pipes although a flyer from ca. 1970 assures: “The briar root Jobey insists upon for its peer of pipes is left untouched to grow, harden and sweeten for 100 years. […] Jobey uses only the heart of this century old briar and only one out of 500 bowls turned measures up to the rigid Jobey specifications.” 99.80% of cull… that makes the layman marveling!” (Jobey – Pipedia).
The second portion of the entry is far more intriguing, especially as it alludes to conspiracy. I do love a good conspiracy.
“Possible Jobey Origin
As is noted above, the origins of this company seem to be shrouded in mystery, and most people claim that the origins were in England, followed by American production, and then a later move to Saint-Claude. There is another possible origin for the company, however, and it would suggest that Jobey was in Brooklyn, New York long before the 1969 patent of the Jobey “link”.
There’s not a lot of chatter about it, but if you can lay your hands on a copy of “The Tobacco World”, Volume 61, from 1941, there is a brief mention that reads “Norwalk Pipe Expands” and in the body states that Norwalk Pipe Corporation, “manufacturers of Jobey and Shellmoor pipes”, is moving to larger offices at 218 East Twenty-Sixth Street, NYC, as announced by Louis Jobey, president of that company. Norwalk is listed as one of the alternate distributors for Jobey on this page but apparently Louis Jobey was also actually working there at the time.
Before that, the first mention of Jobey seems to be back in 1915, when two brothers named Ulysses and Louis Jobey of Brooklyn, New York obtained a patent for an odd sort of cavalierish pipe in 1915, here’s the link: http://www.google.com/patents/USD46998
But less than four years later, in 1918, there’s a notice in the Brooklyn Daily Eagle on November 6th to the effect that Louis Jobey declared bankruptcy in the District Court, with final hearing scheduled for December 1918. And in an even sadder turn, that same month sees a funeral notice for Lorraine Jobey, the daughter of Mr. and Mrs. Louis Jobey, formerly of Brooklyn but now living in Moline Illinois at the home of Mr. and Mrs. George E. Hutchinson. The little girl evidently died in a fall.
There’s little else on Ulysses Jobey except that he evidently had a “junior” after his name or a son by the same name. Because Ulysses Jobey, Jr. was listed as the vice president in New Jersey of Lakewood Pipe Company Inc., a maker of smoker’s articles, in the 1922 New York Co-partnership and Corporation Directory for Brooklyn. Given the timing it’s likely this was the brother.
So while it it speculative, one possible origin story for Jobey is that the company was started by two brothers in Brooklyn in the teens with a new idea for a pipe, and failed amidst terrible tragedy. One brother went to one company and another to the other, but it was Louis who continued making Jobey pipes through the 40s under that name, despite evidently no longer owning the company. It would appear to be the Norwalk Company that was bought out by Wally Frank in the pre-link days. This would suggest that Jobey was always American.
Visit F&K Cigar Co. for an overview of the current offer!
Visit Chris’ pipe pages for a fine selection of Jobey related documents!” (Jobey – Pipedia)
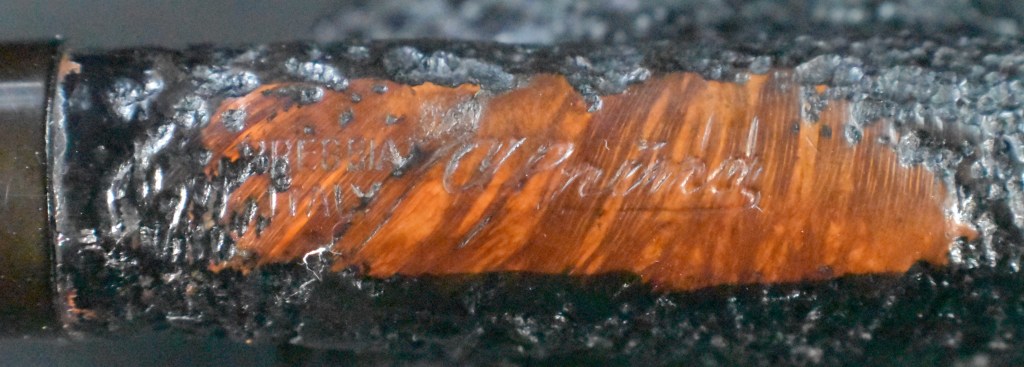
In all honesty, I cannot pinpoint the locale of production, the year of production or who actually owned the company or name of Jobey and I am OK with that. A little mystery is tonic for the imagination. If I had to guess, I would place the production in the 1970s or 1980s somewhere in the US. On to the restoration.
The Restoration
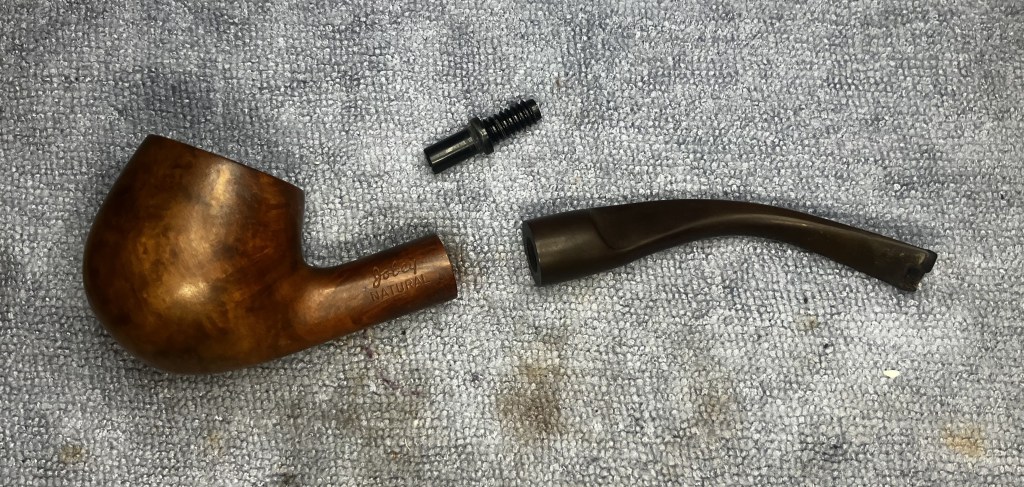
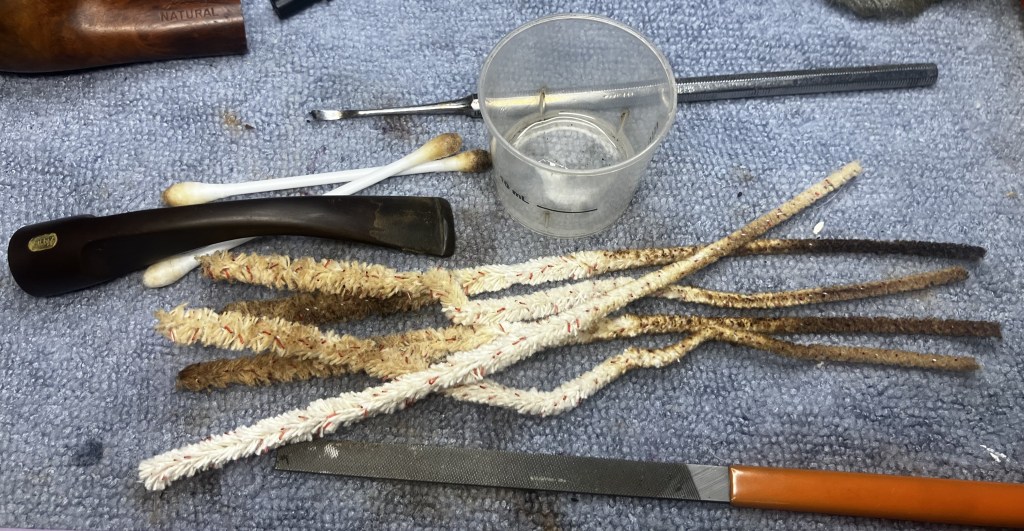
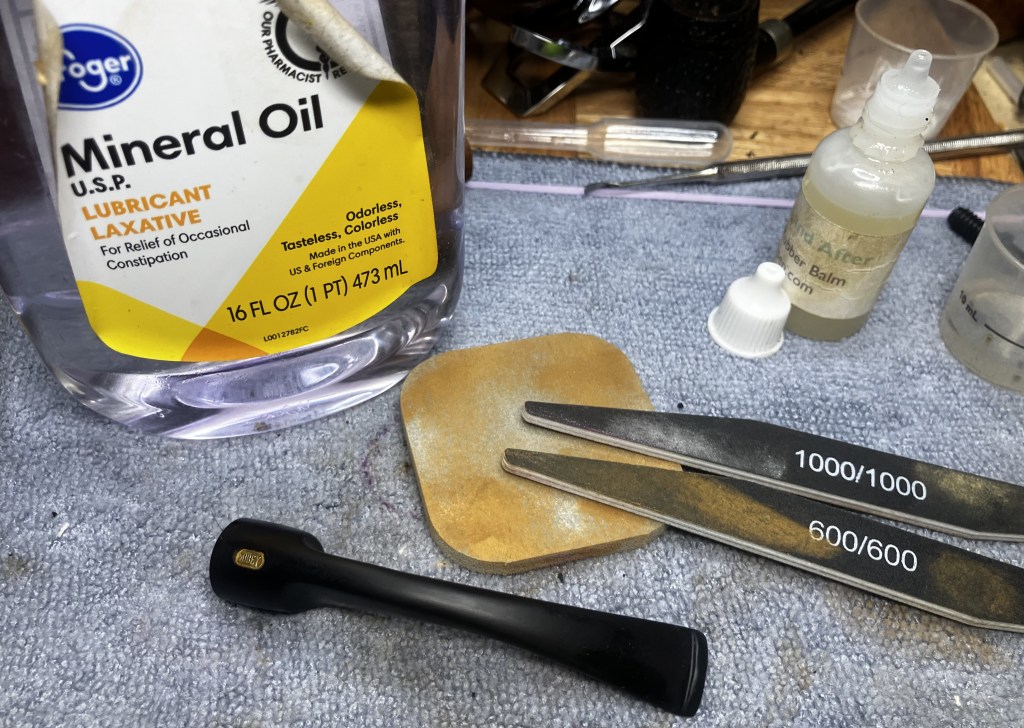
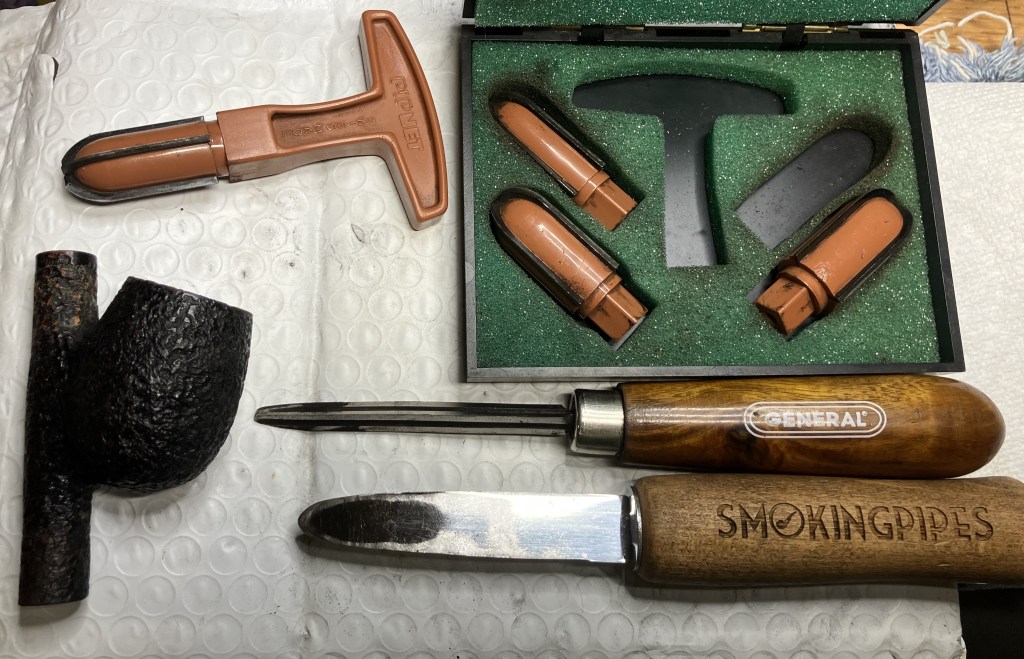
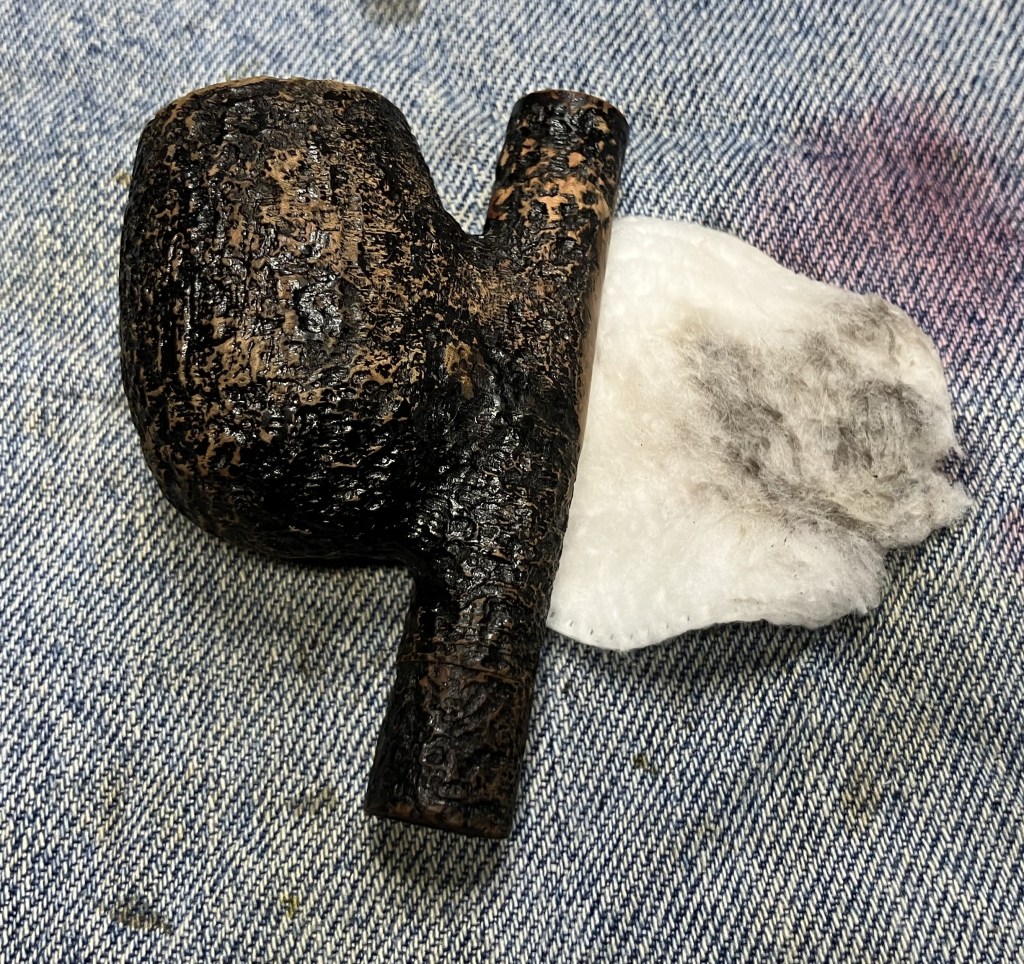
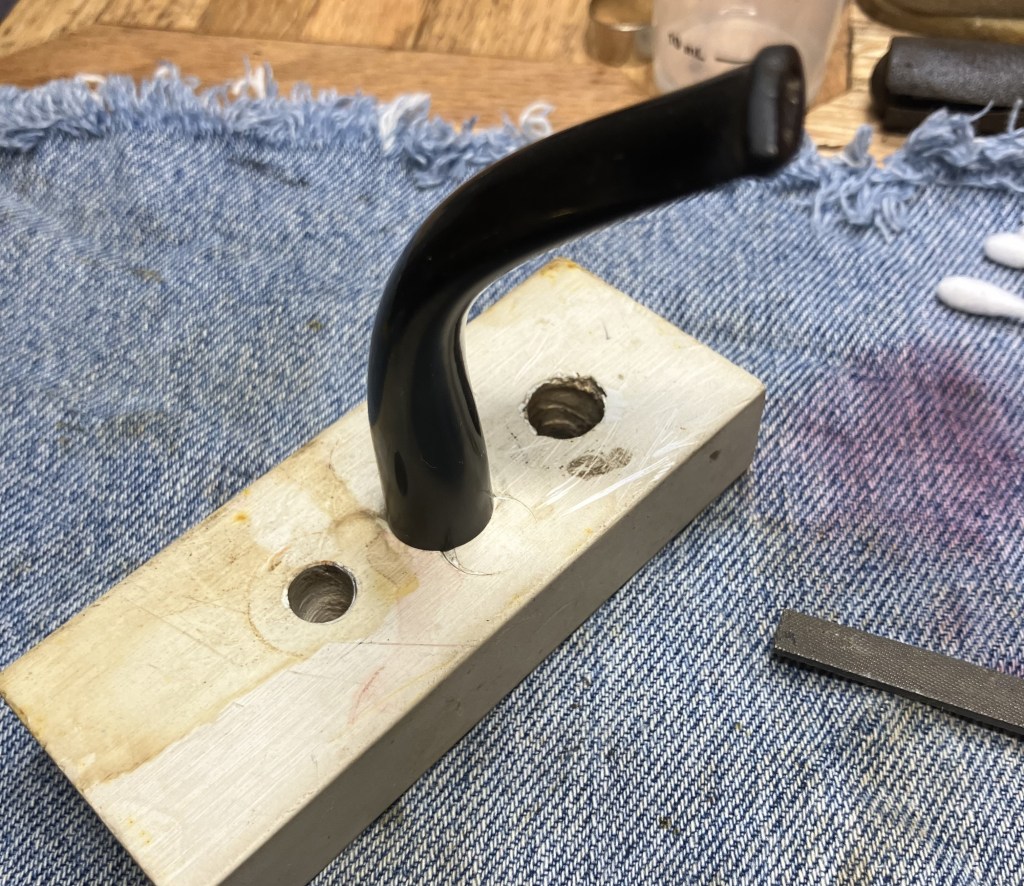
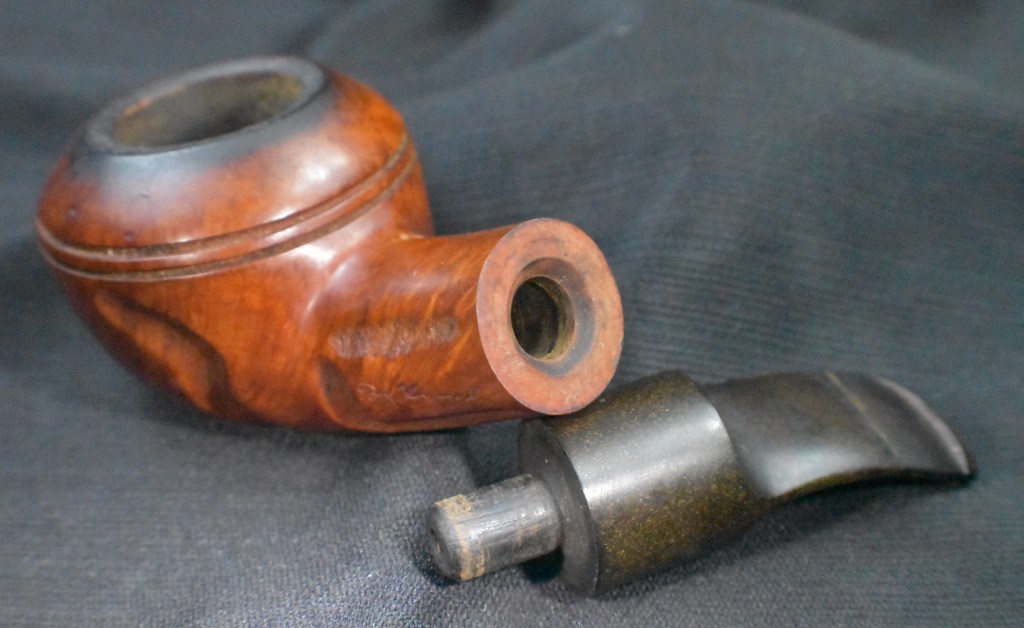
The pipe made its way to the workbench.
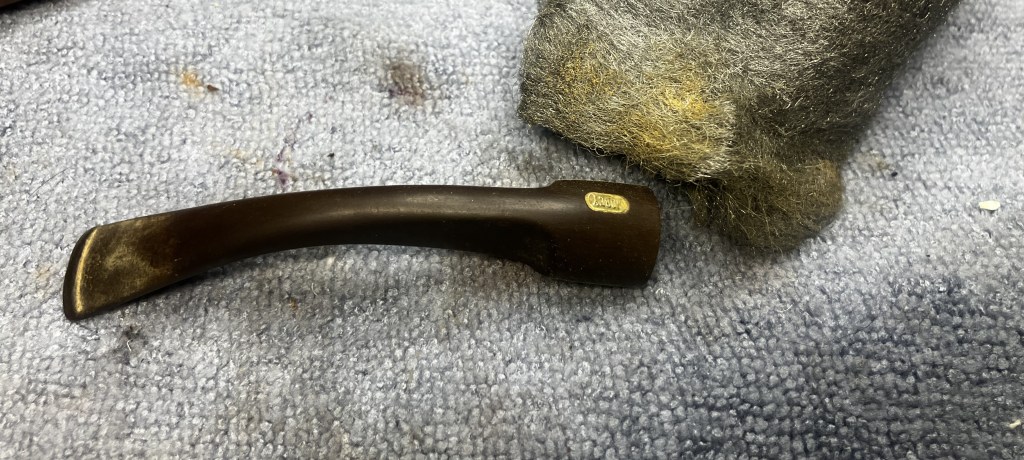
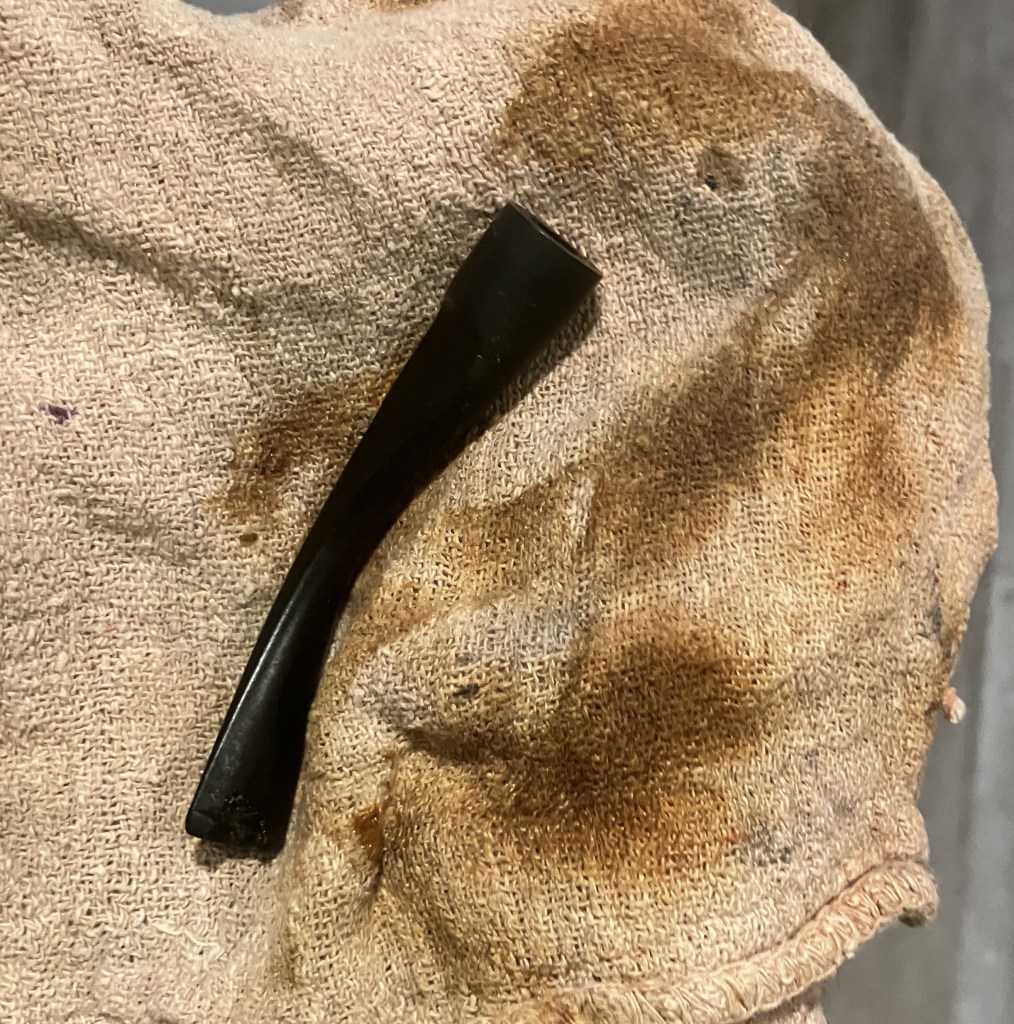
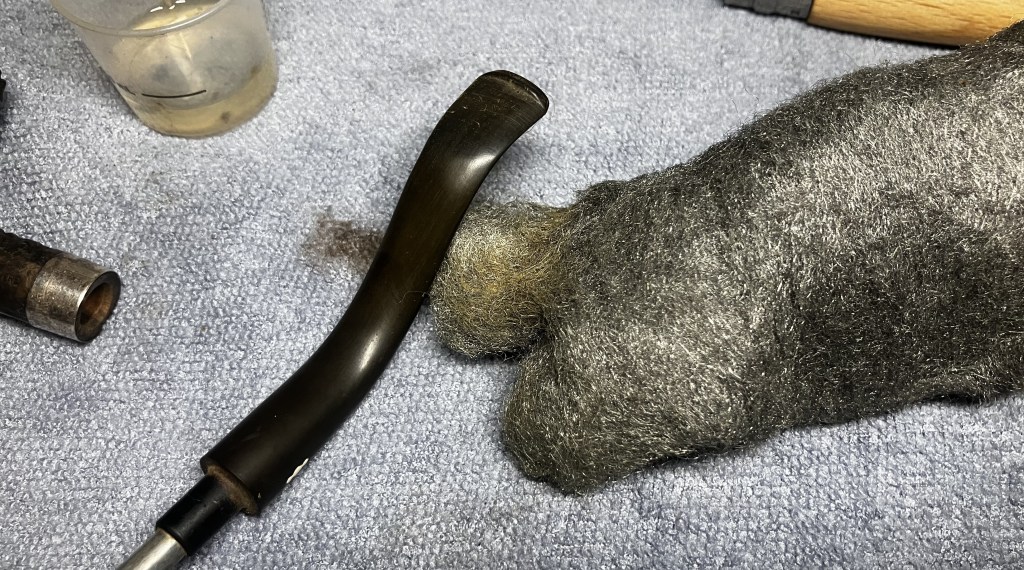
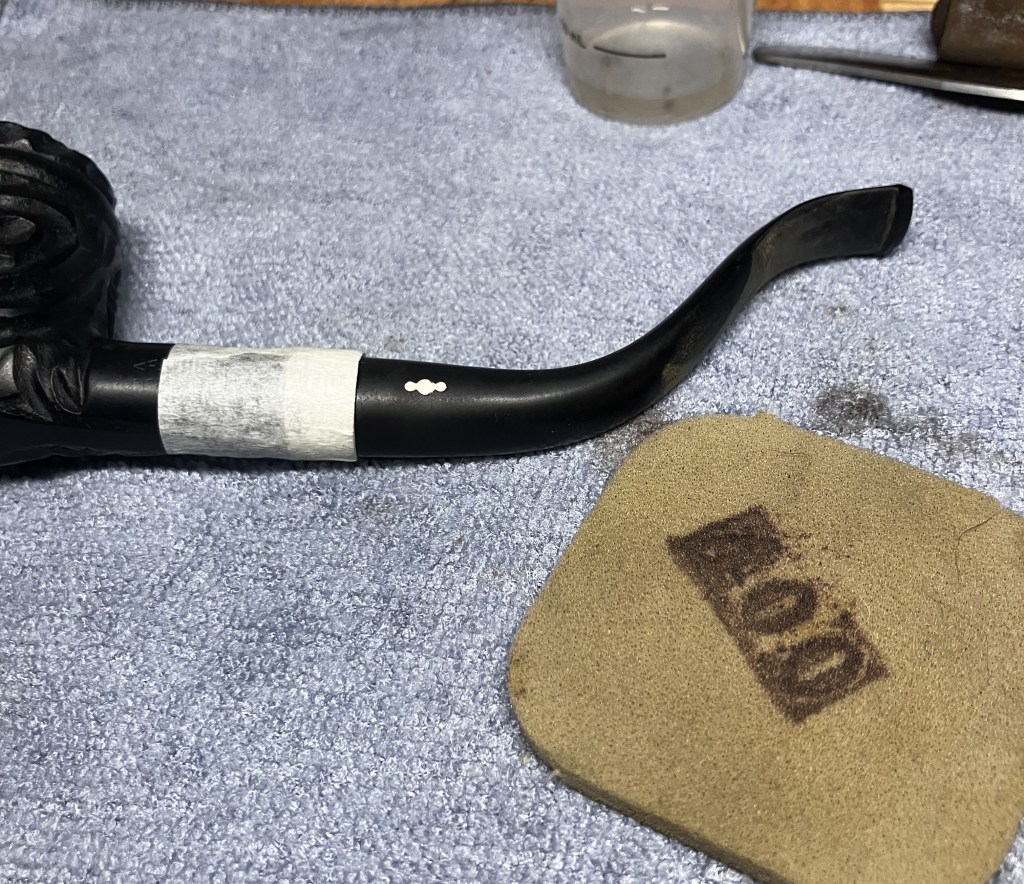
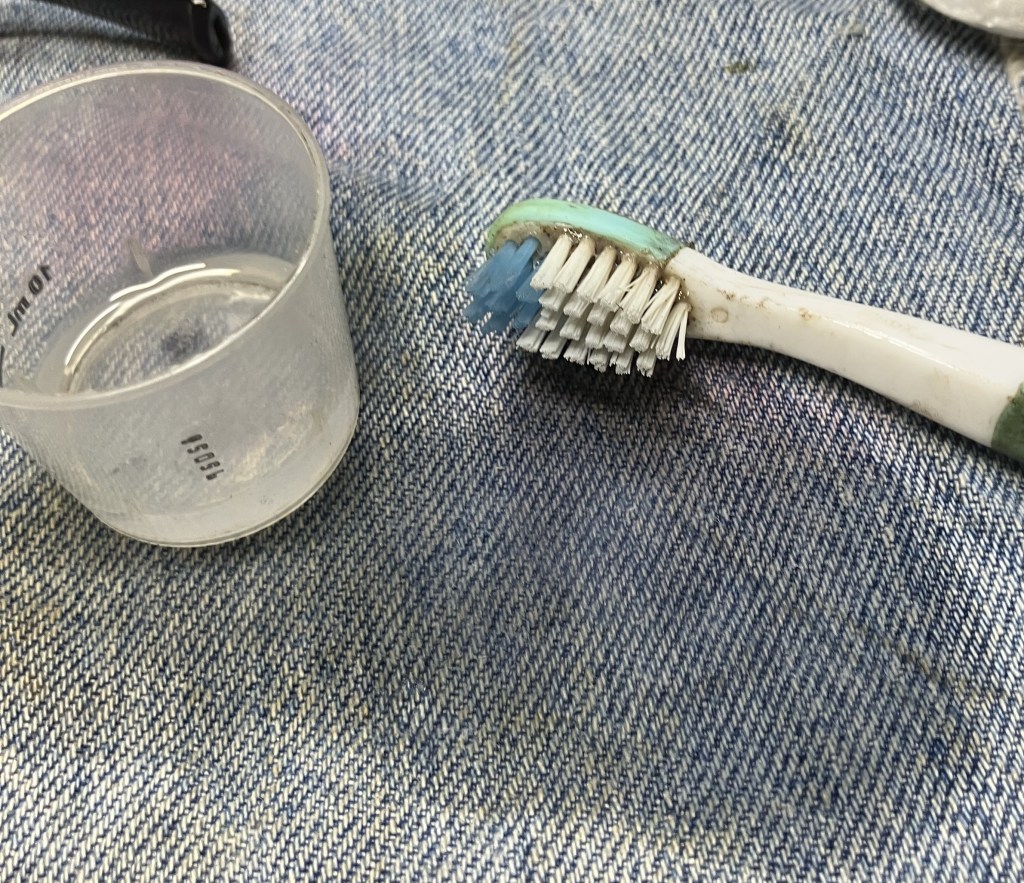
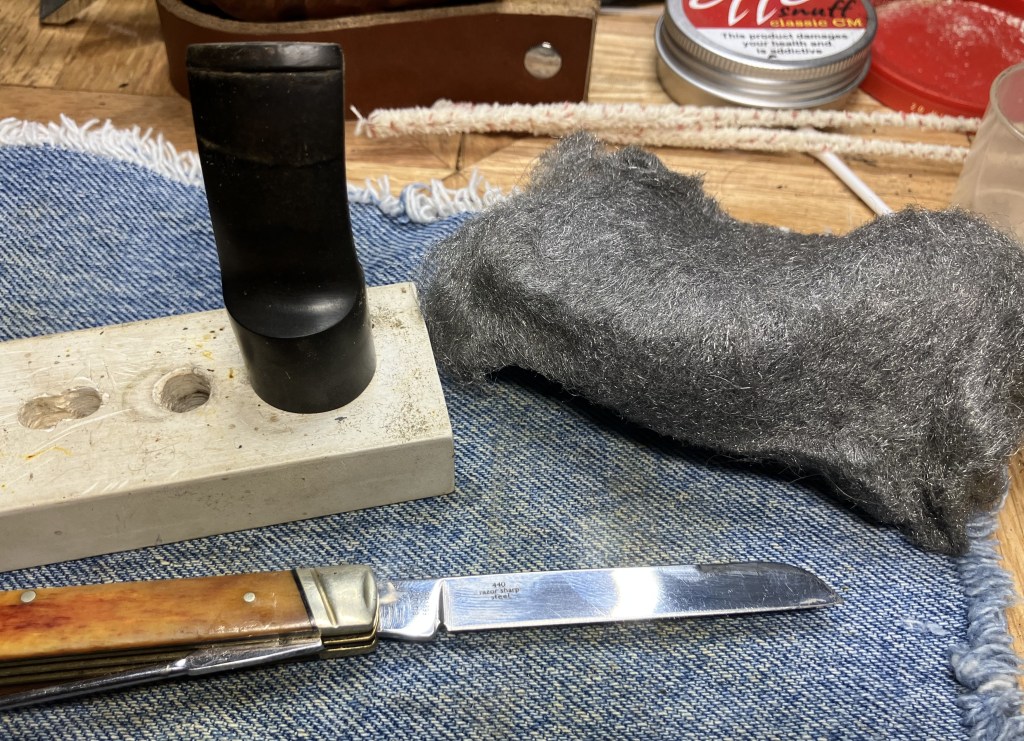
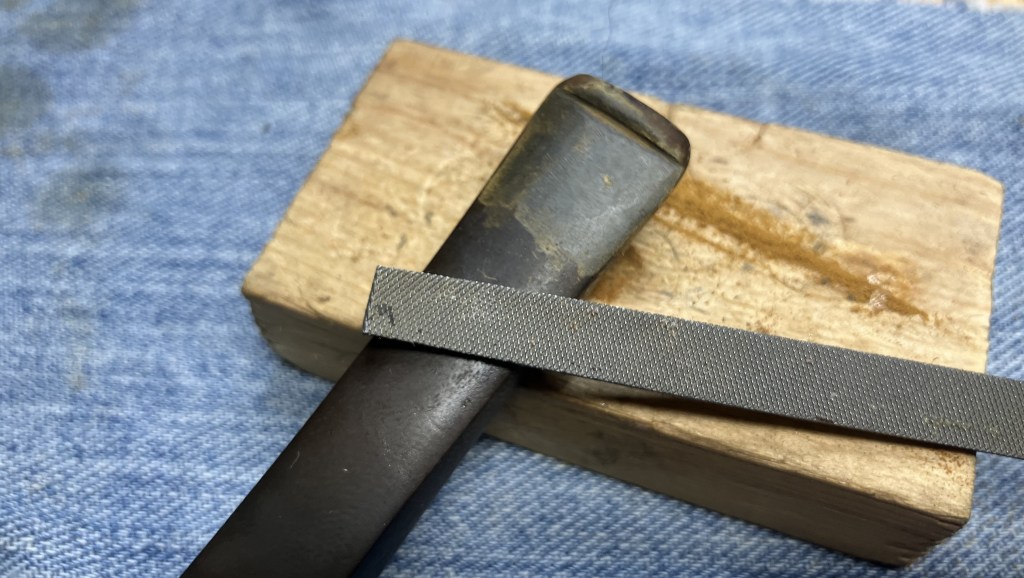
I started working the stem with 0000 steel wool.
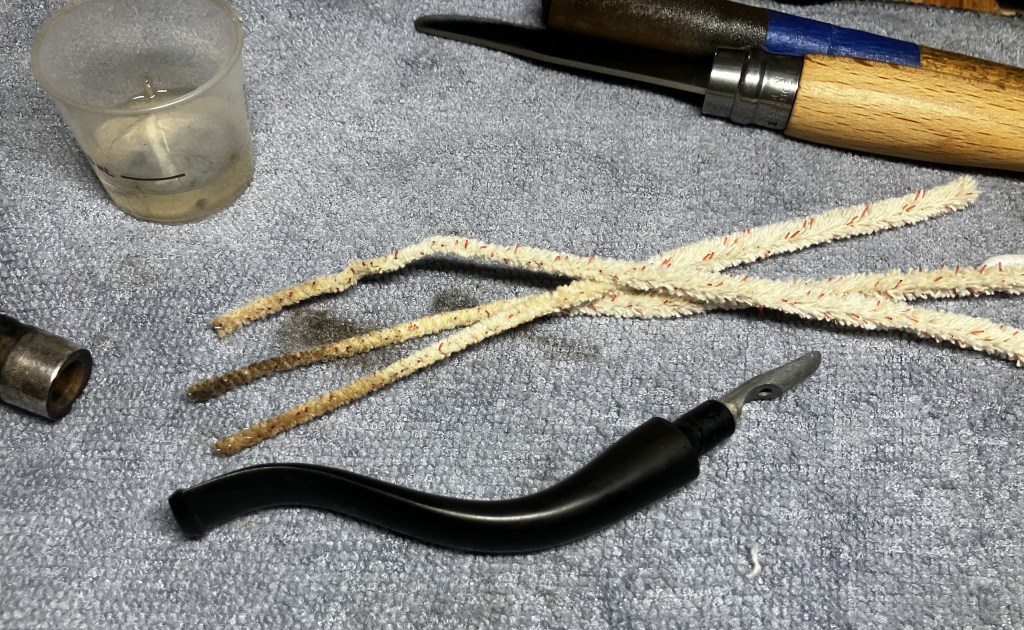
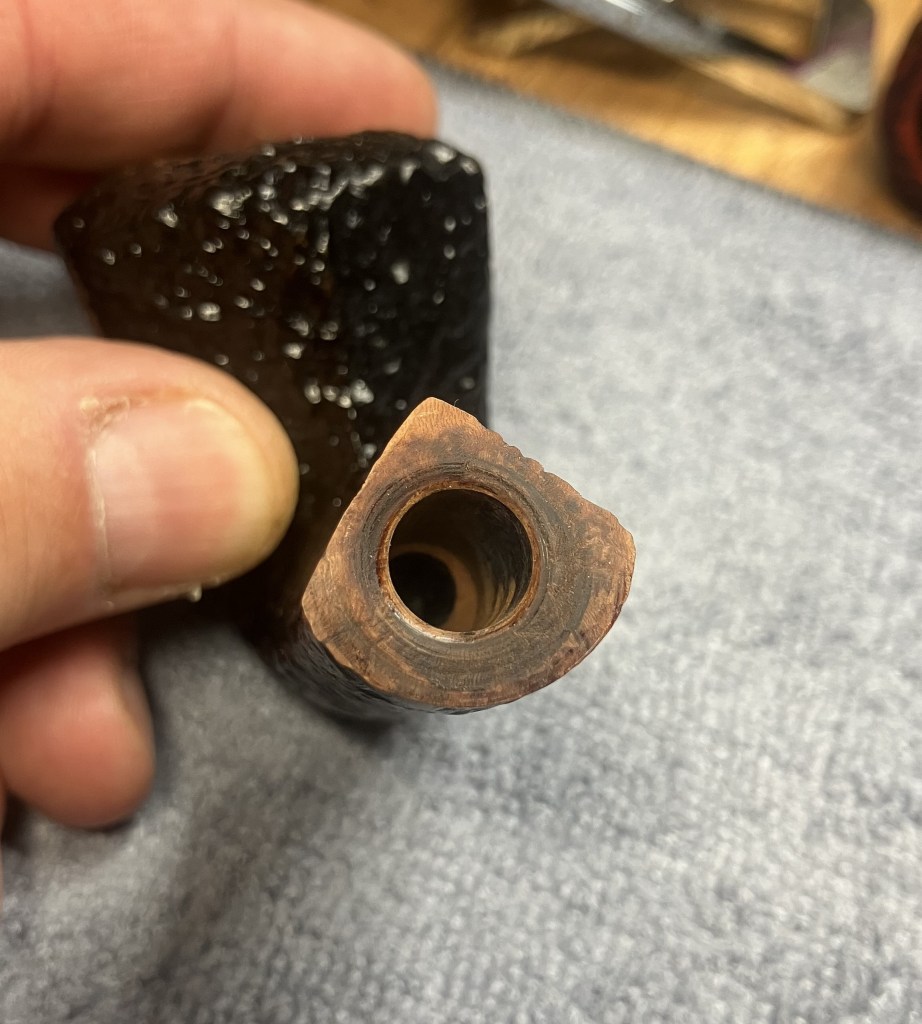
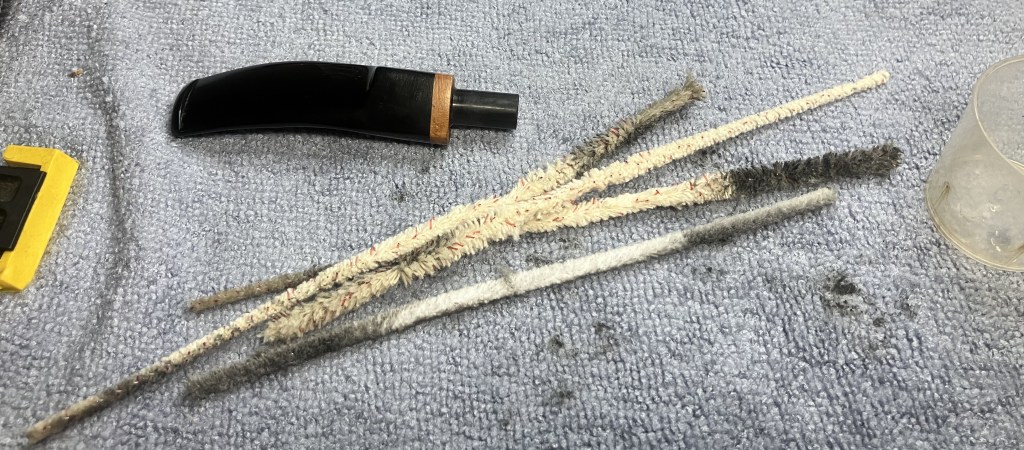
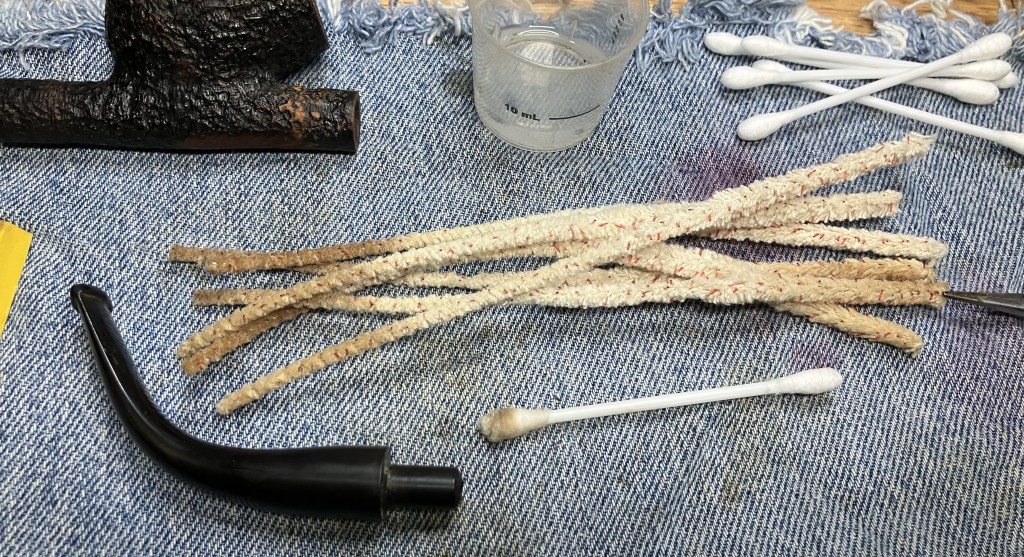
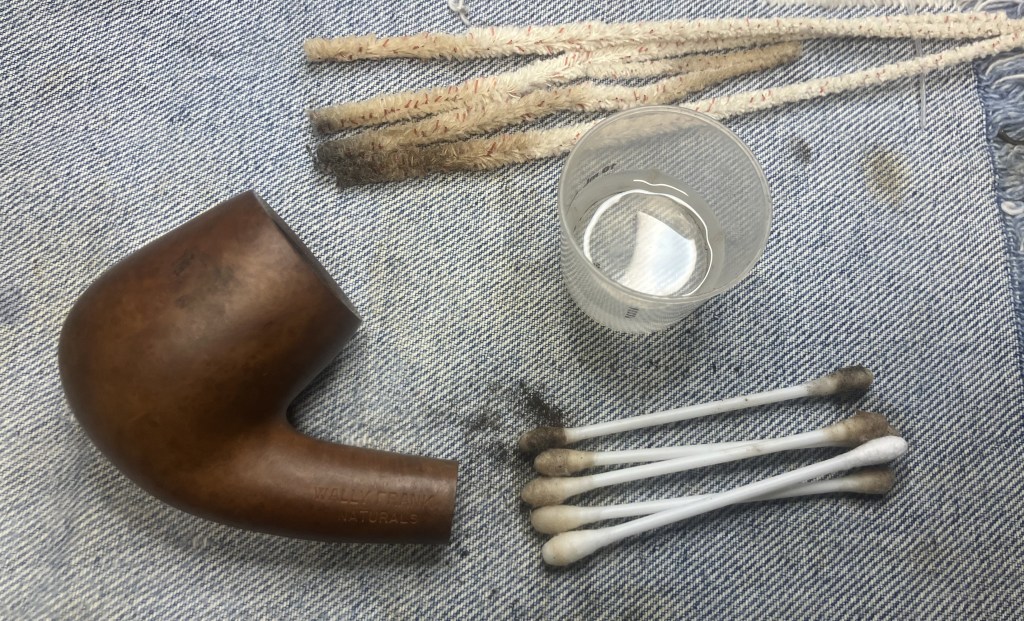
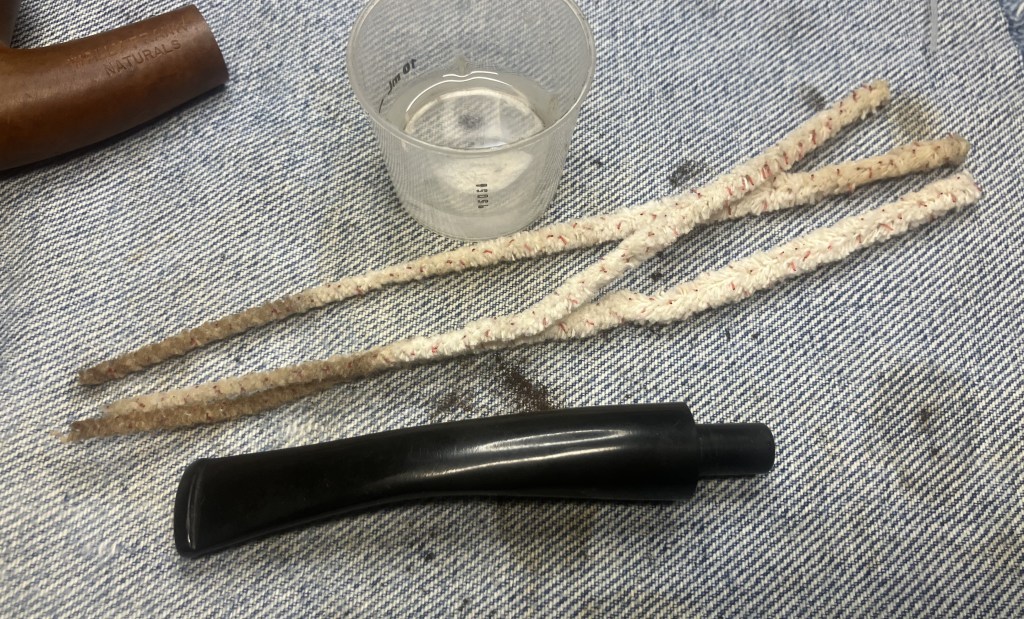
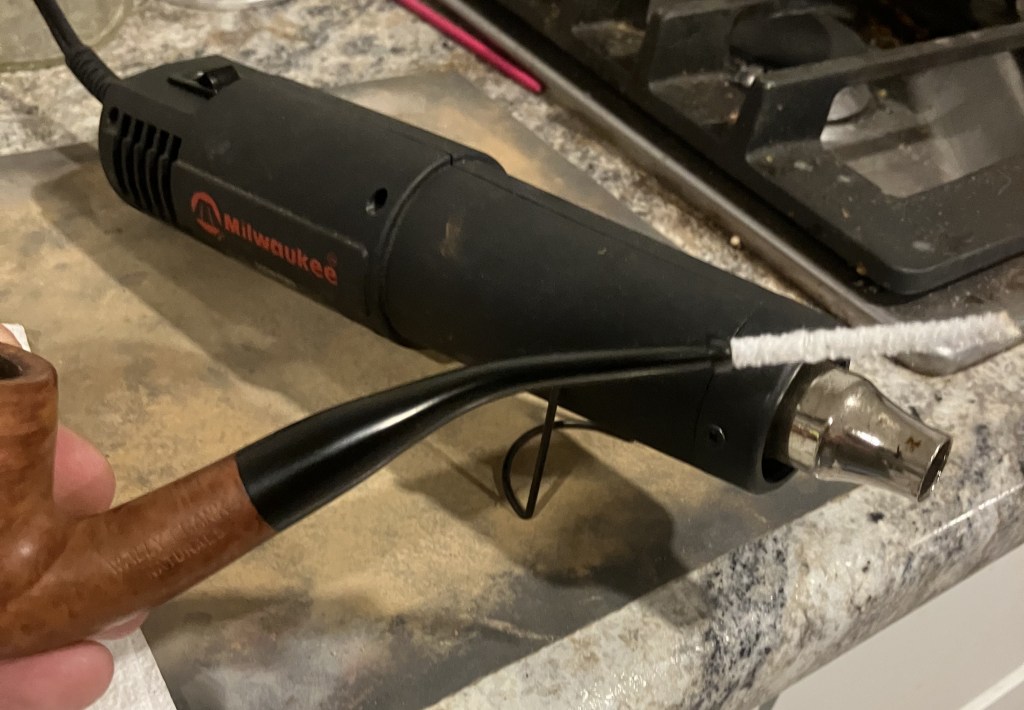
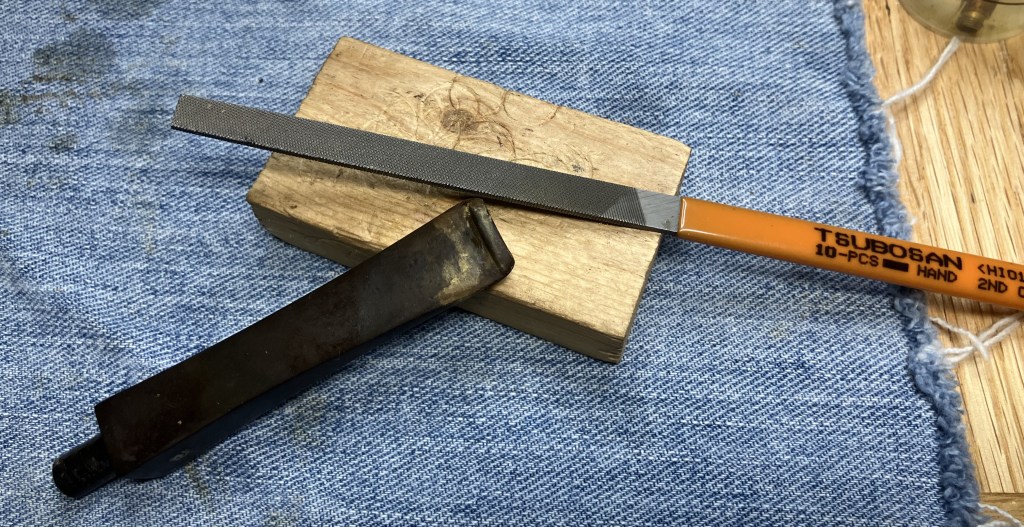
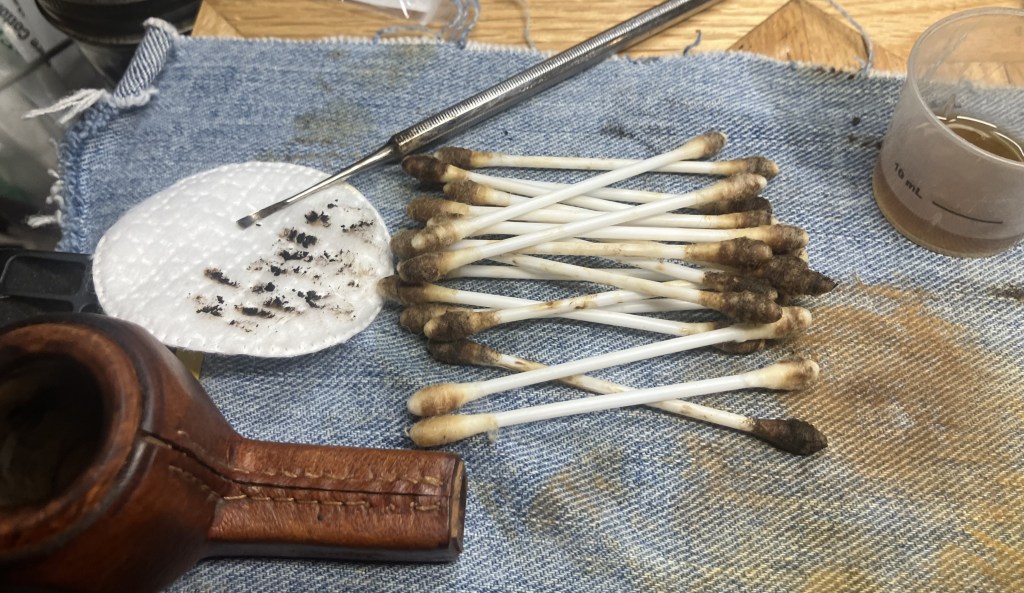
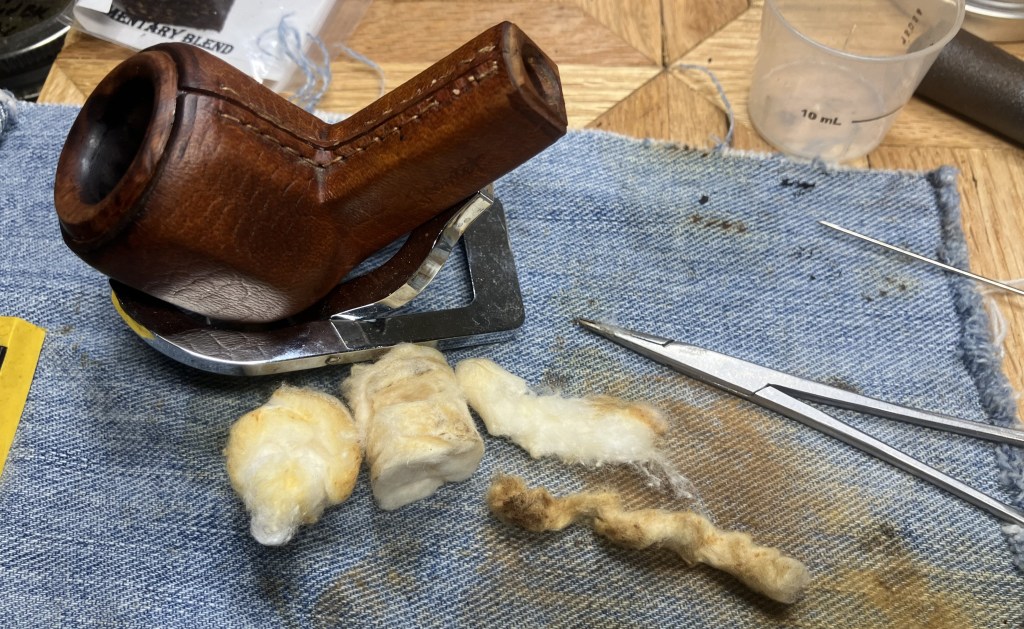
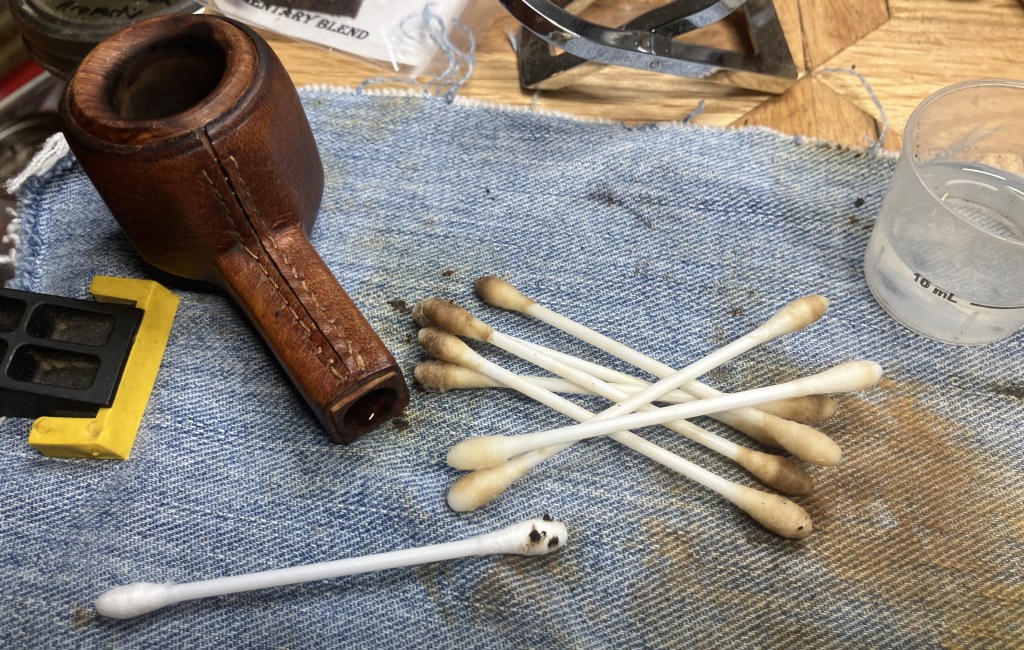
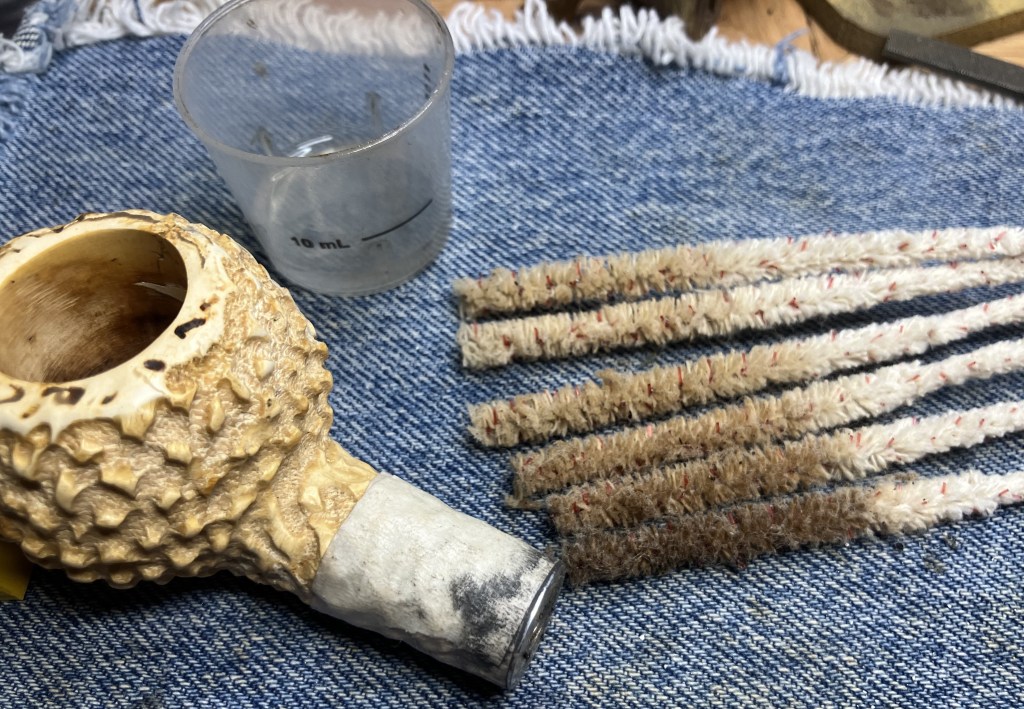
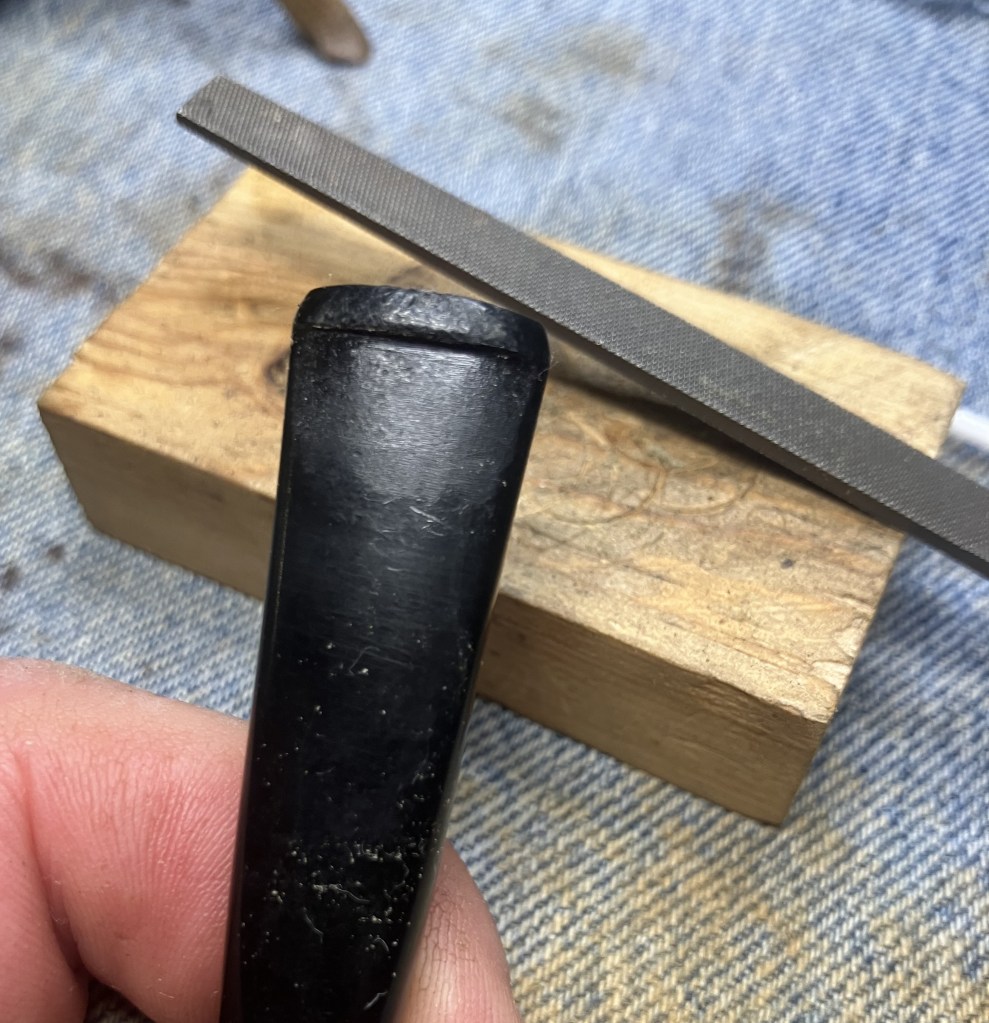
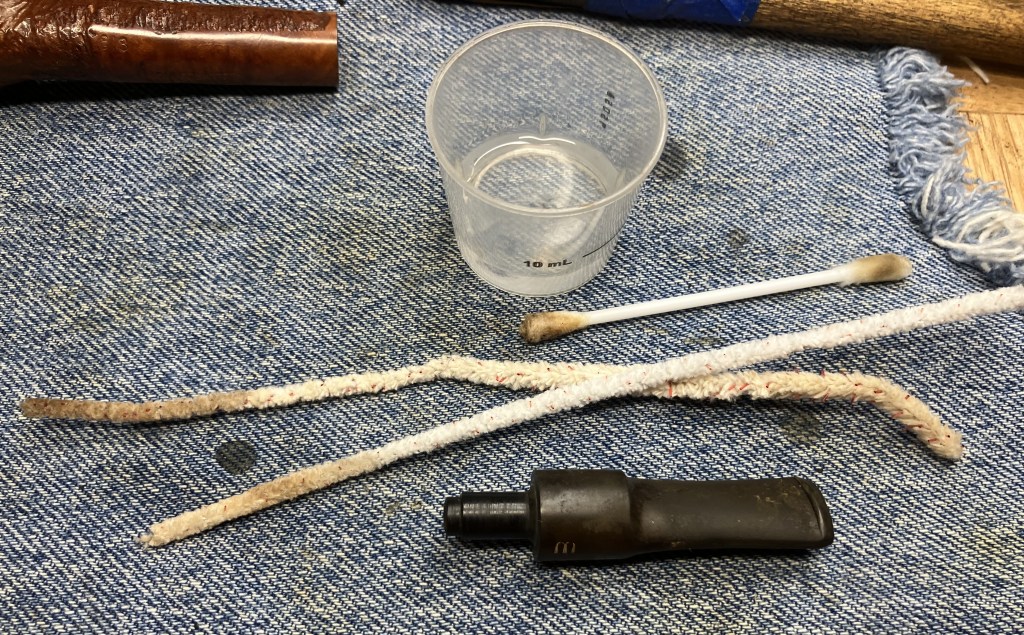
The inside was cleaned with bristle pipe cleaners and 99% ethyl alcohol. There was also a bit of filing done on the button area and some cotton swab work on the opposite end.
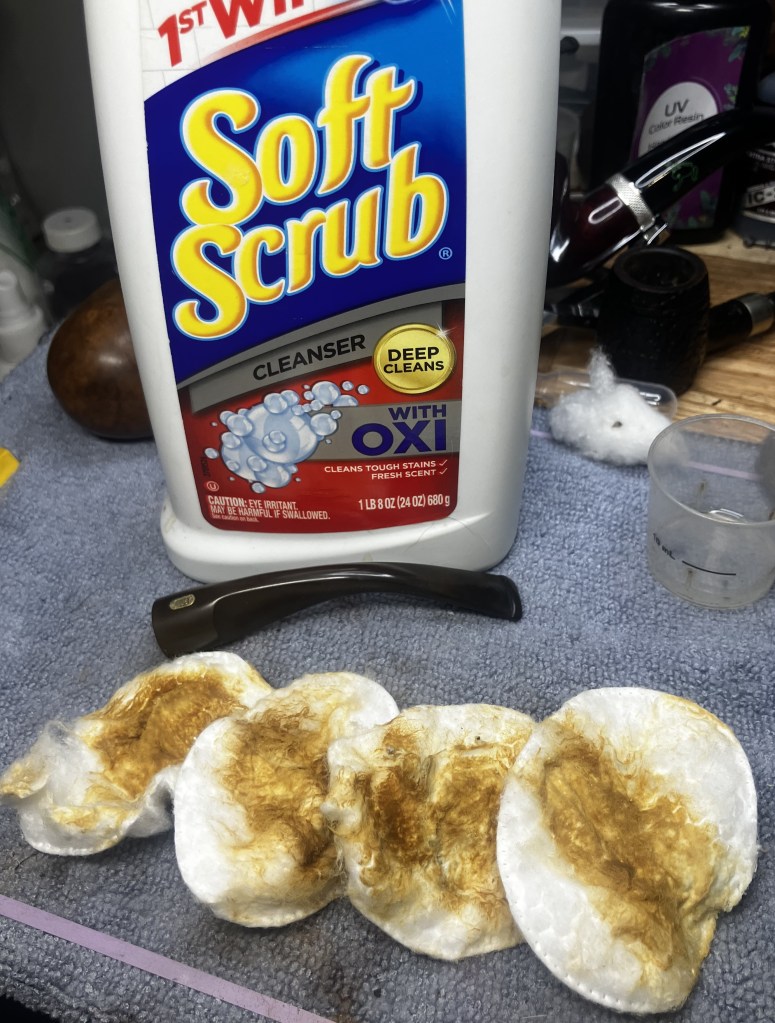
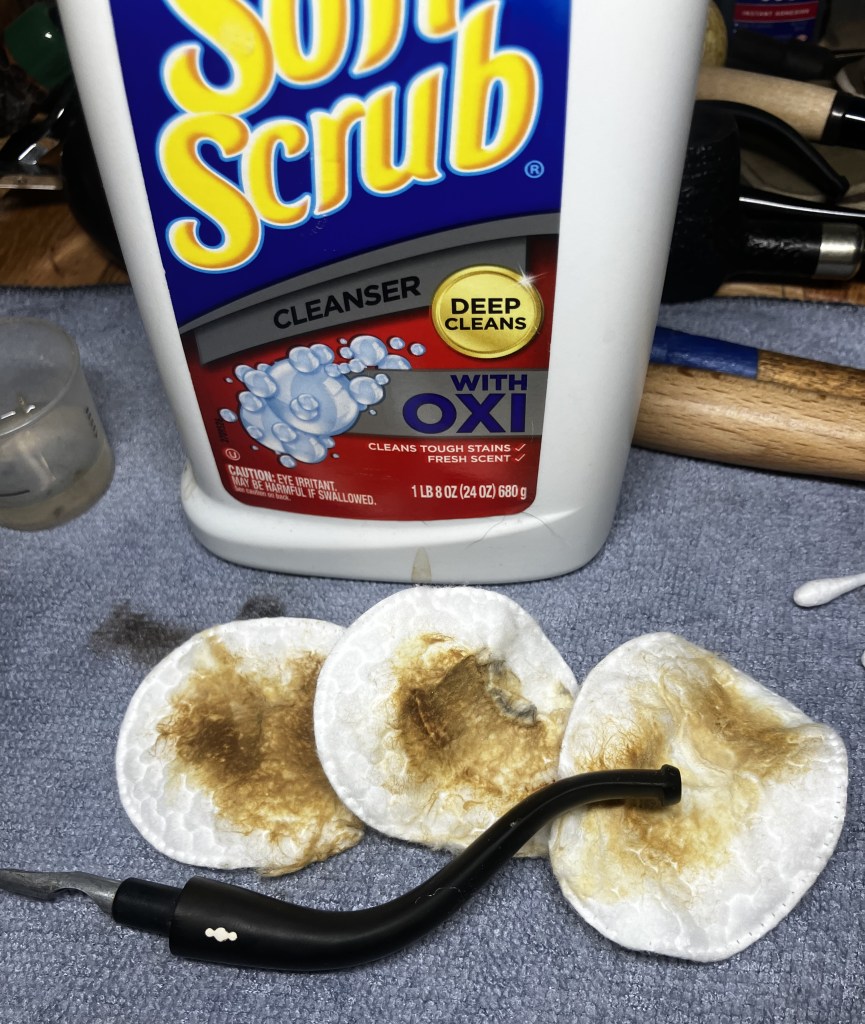
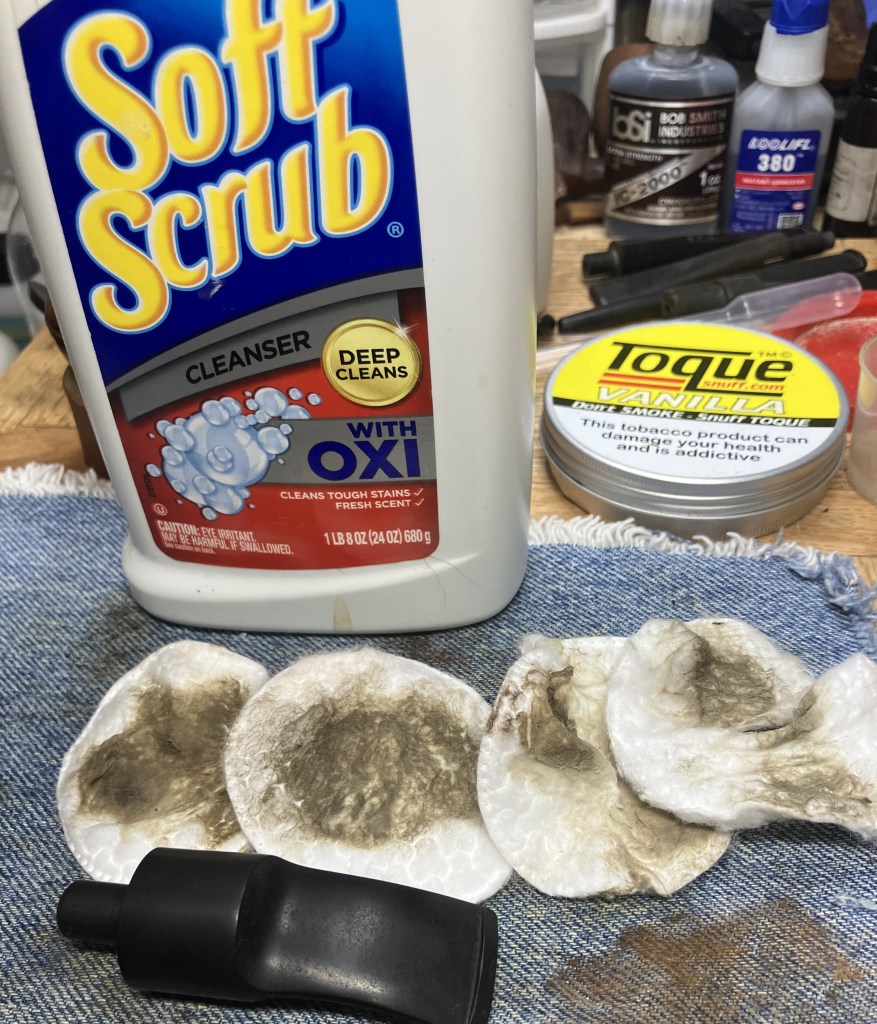
Next the stem was scrubbed with Soft Scrub cleanser on make-up pads. To further remove some of the oxidized vulcanite.
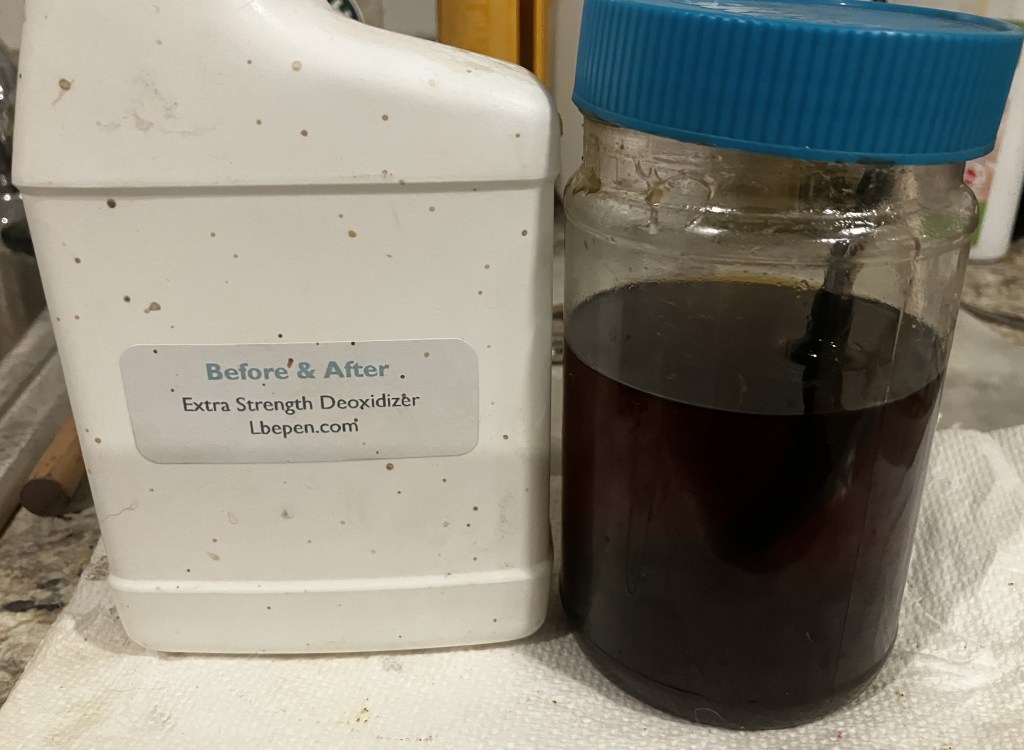
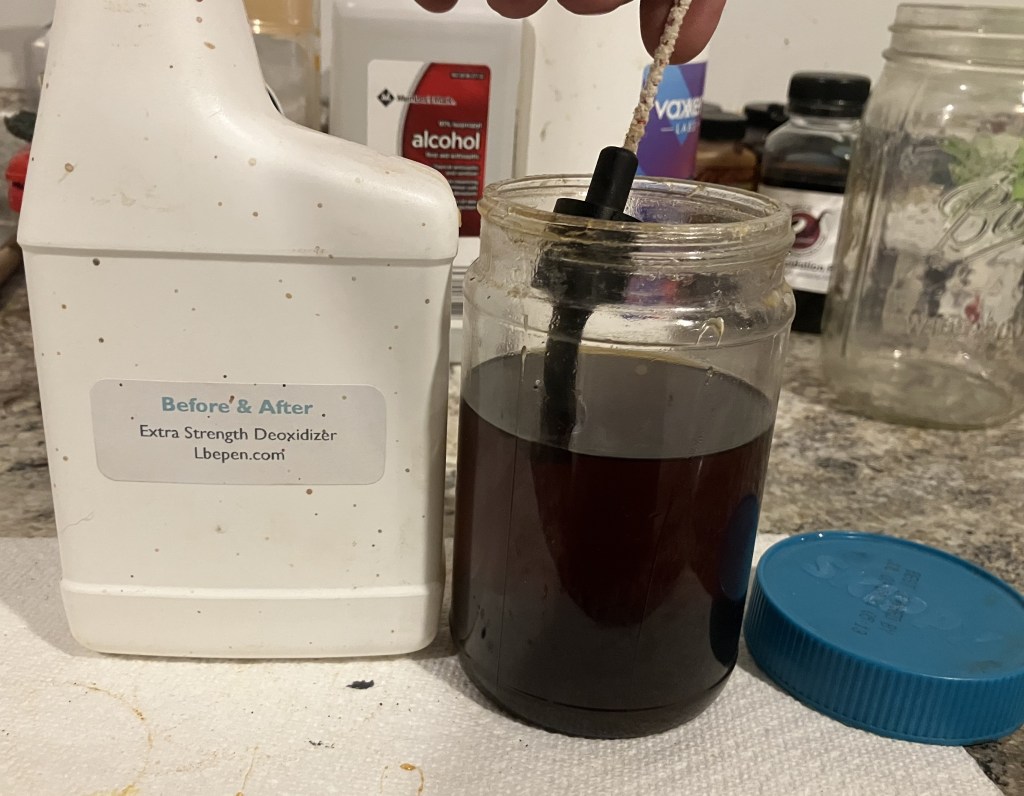
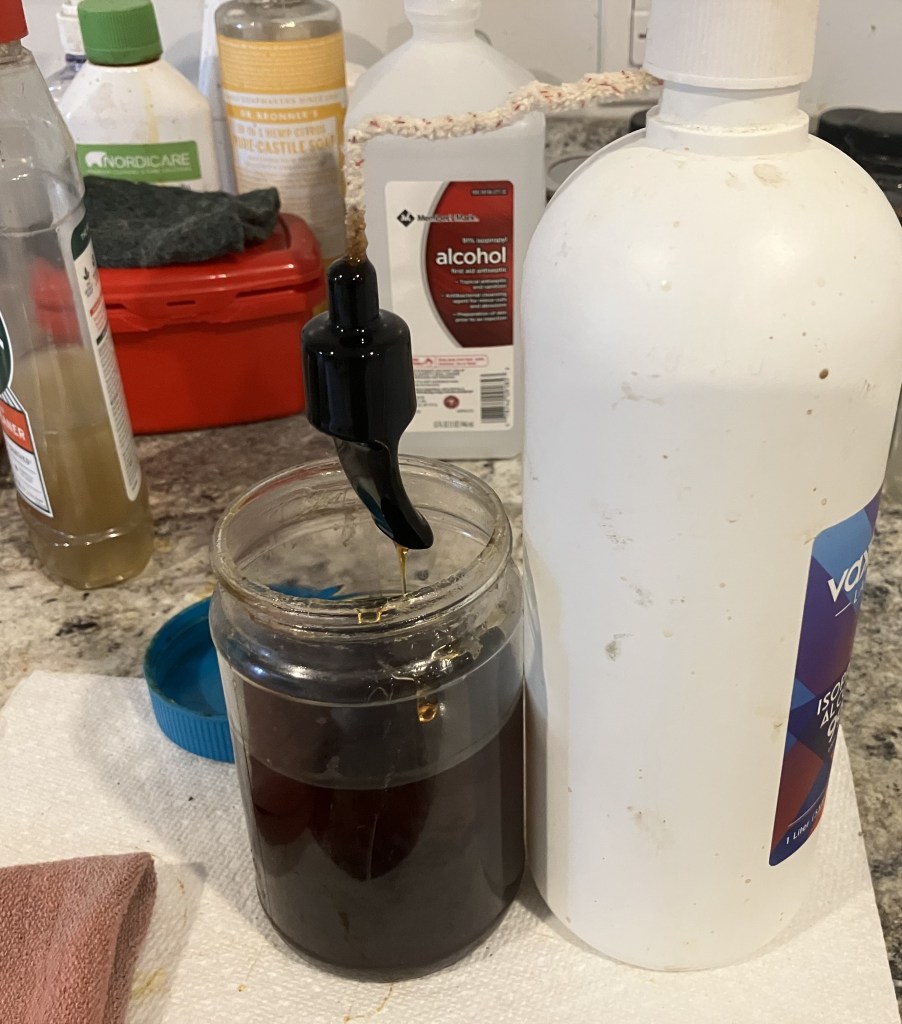
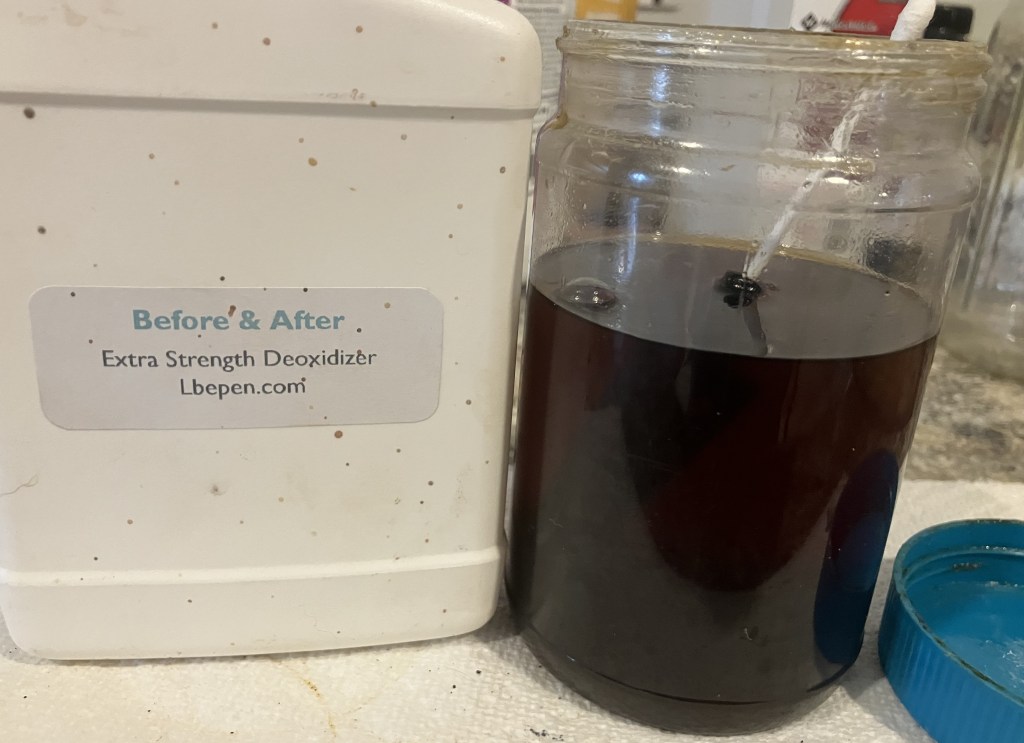
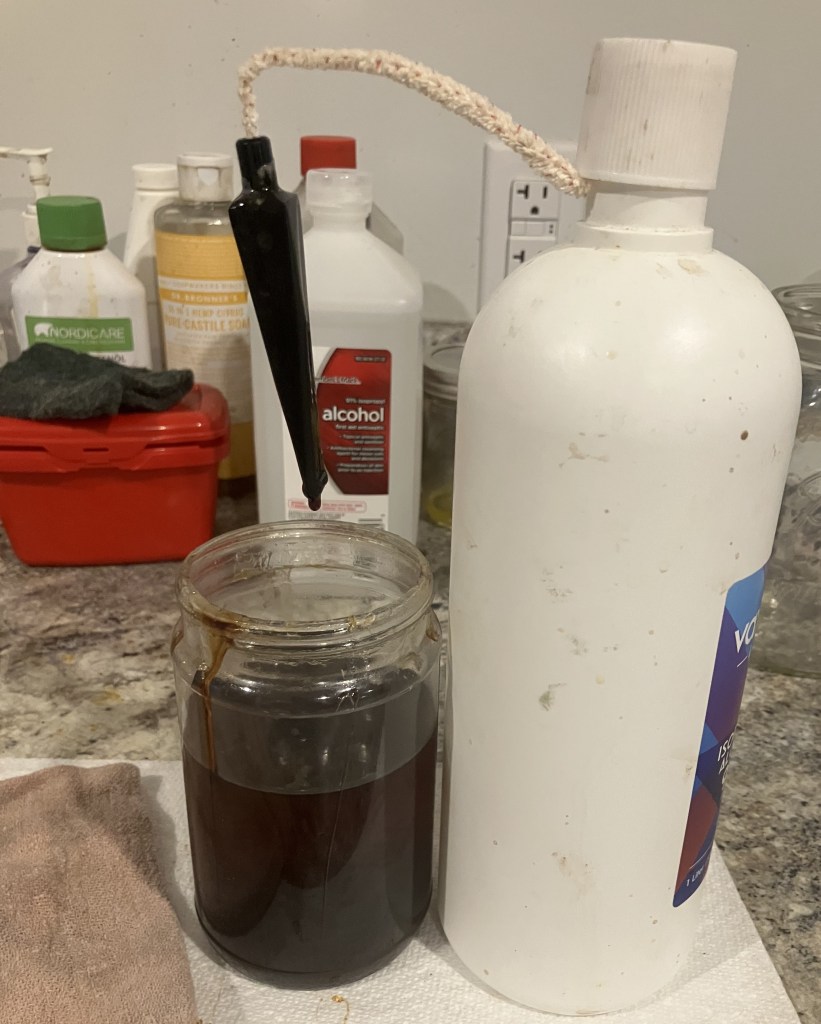
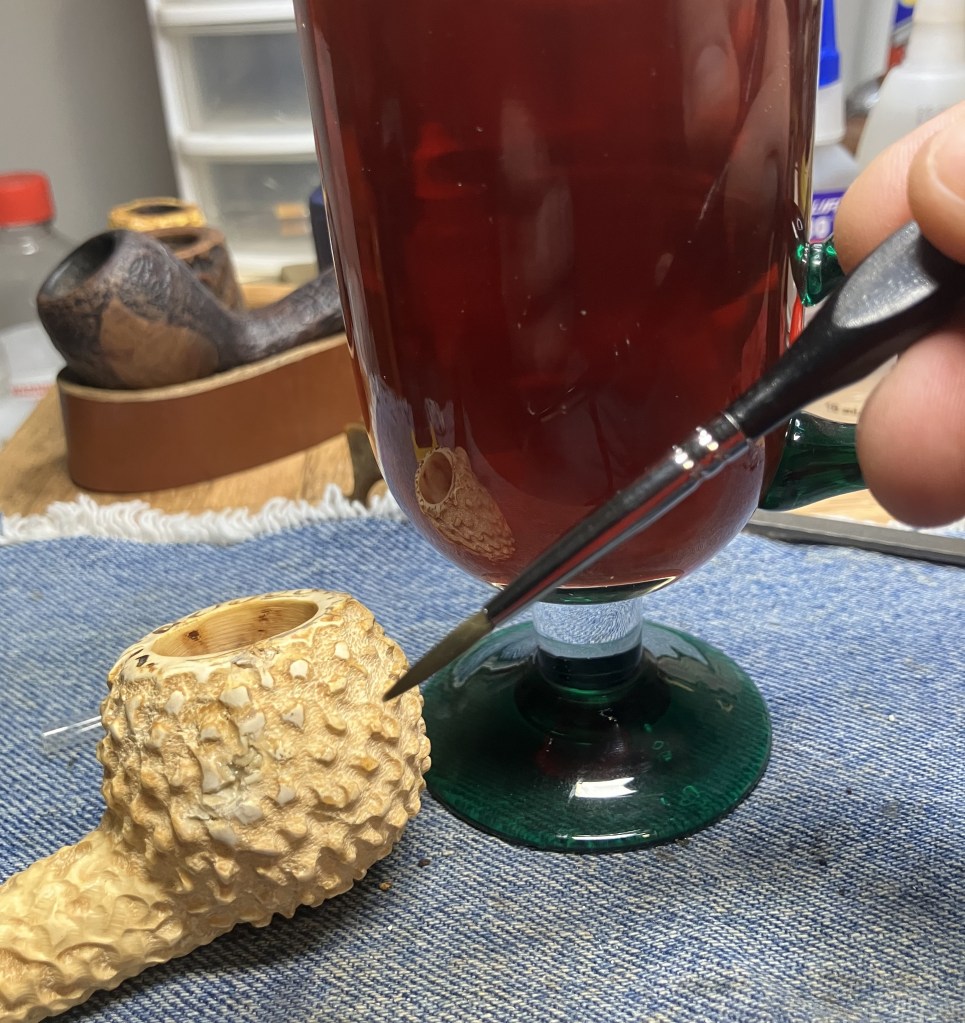
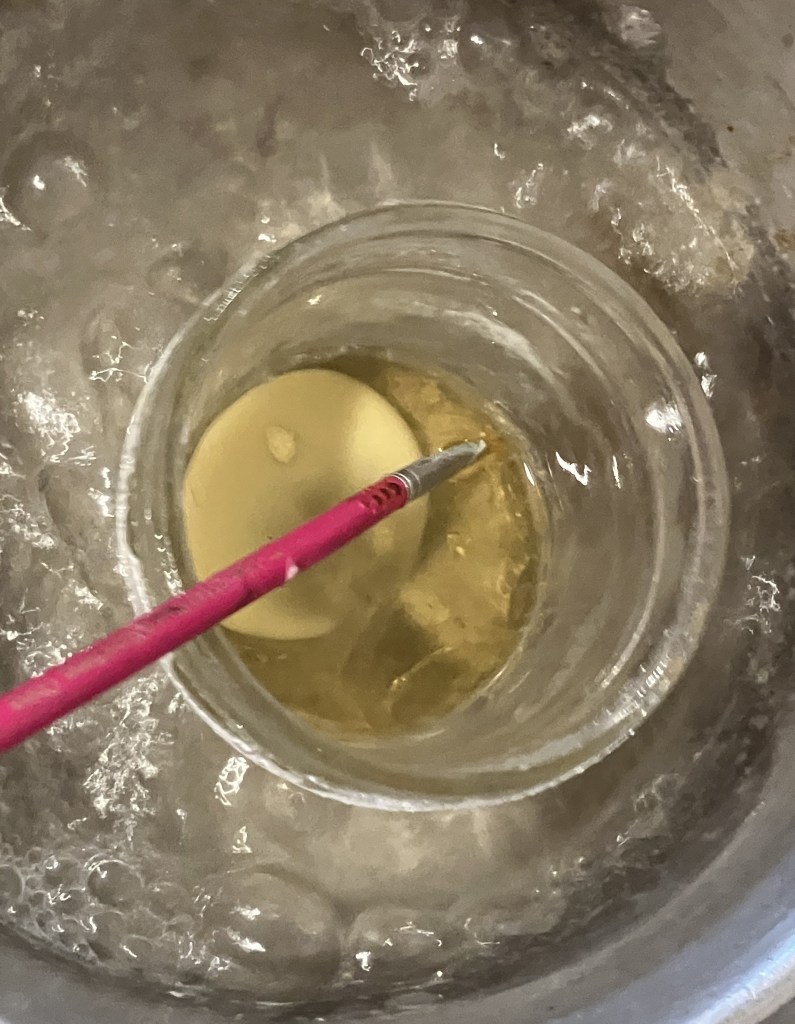
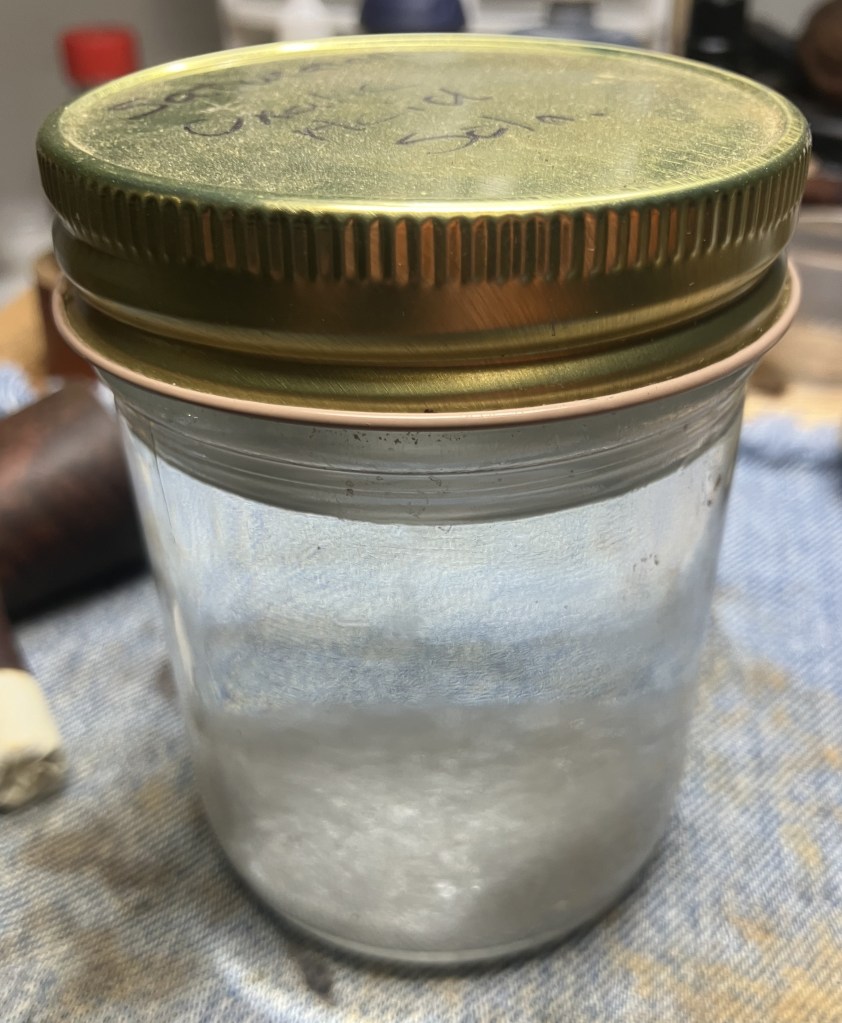
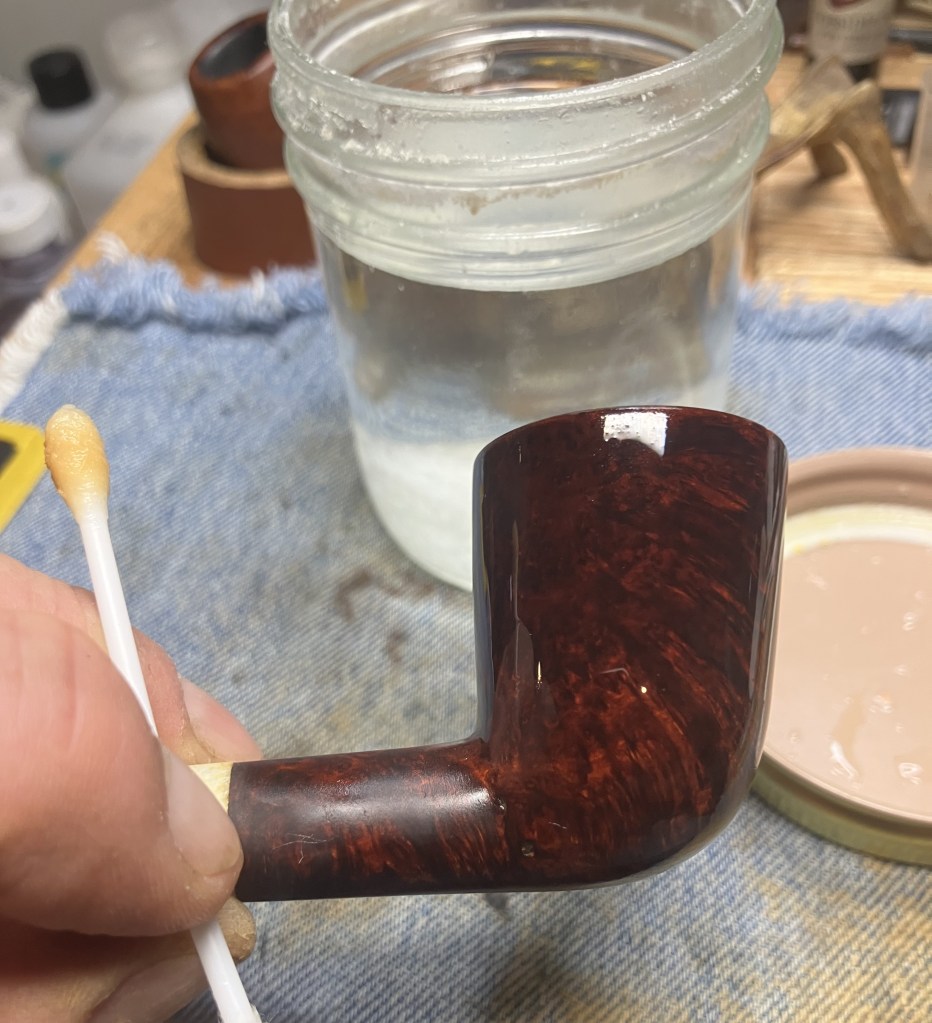
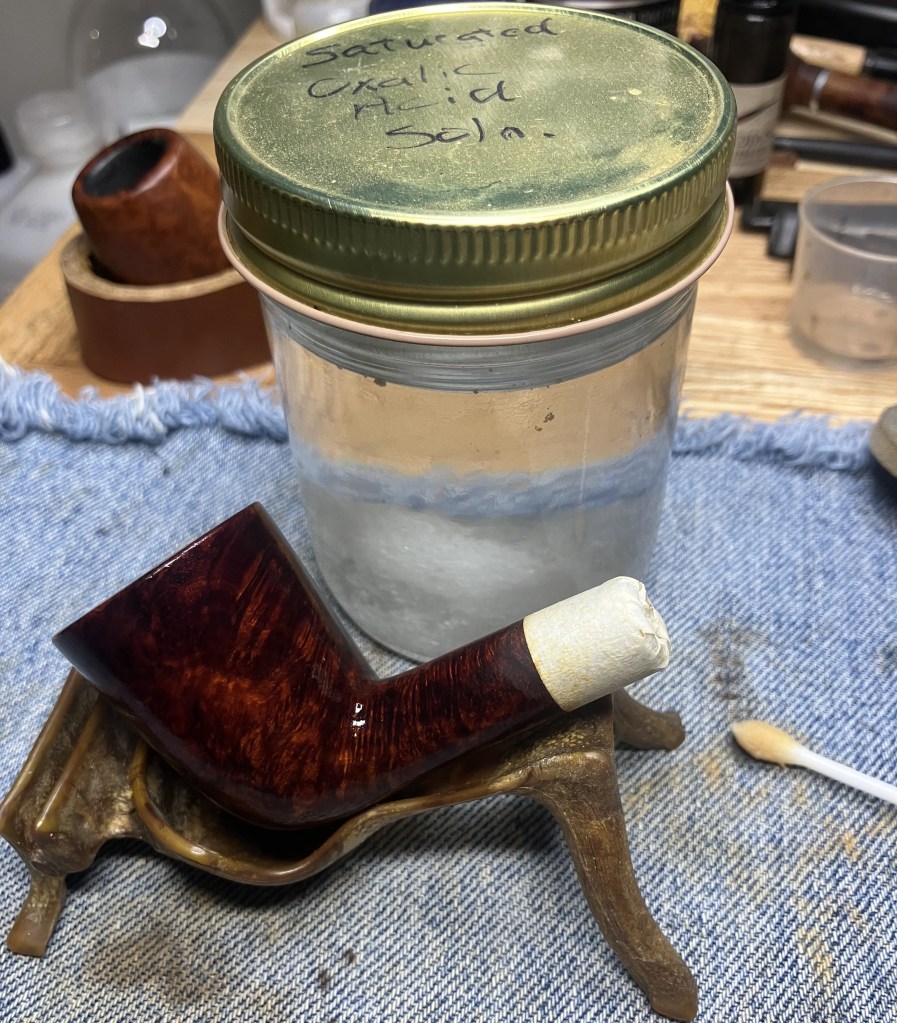
The stem was then submerged in Before and After Extra Strength Deoxidizer (deox). Normally I let stems soak in this solution for 2-6 hours but it was bed time so this stem was in overnight.
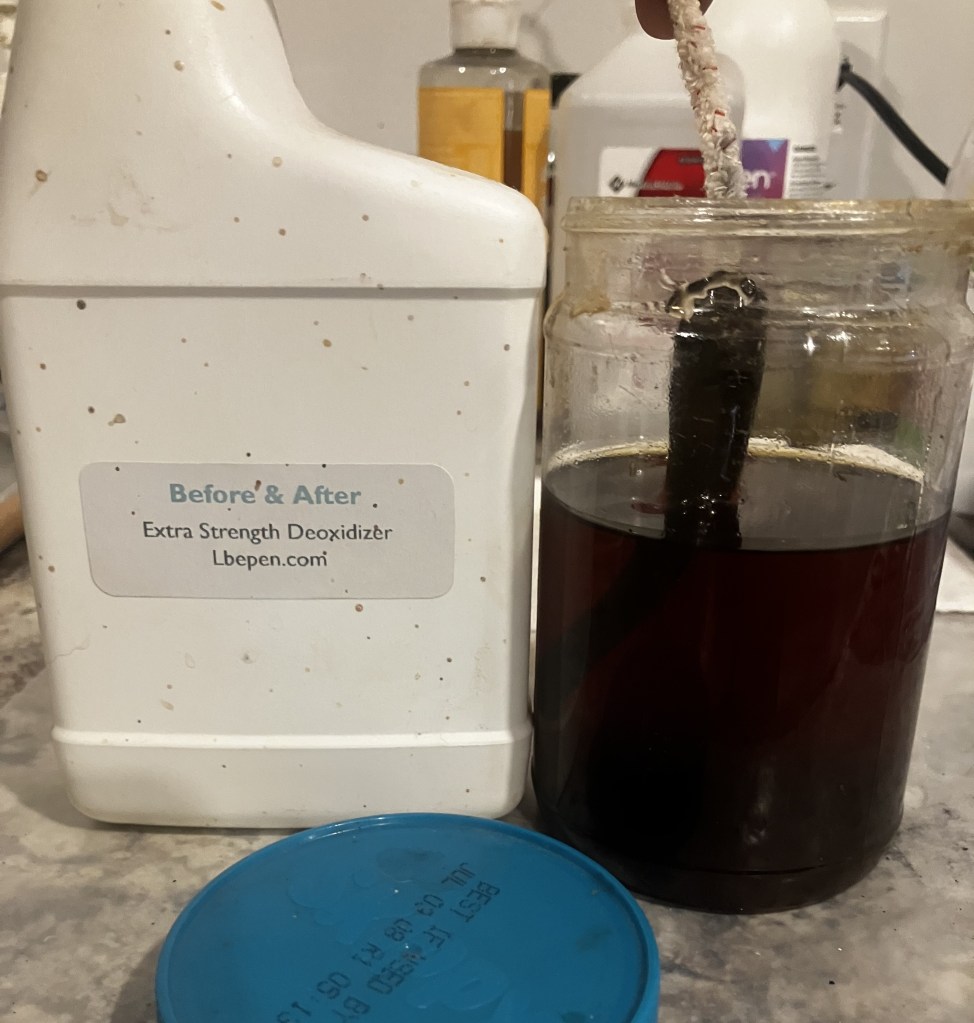
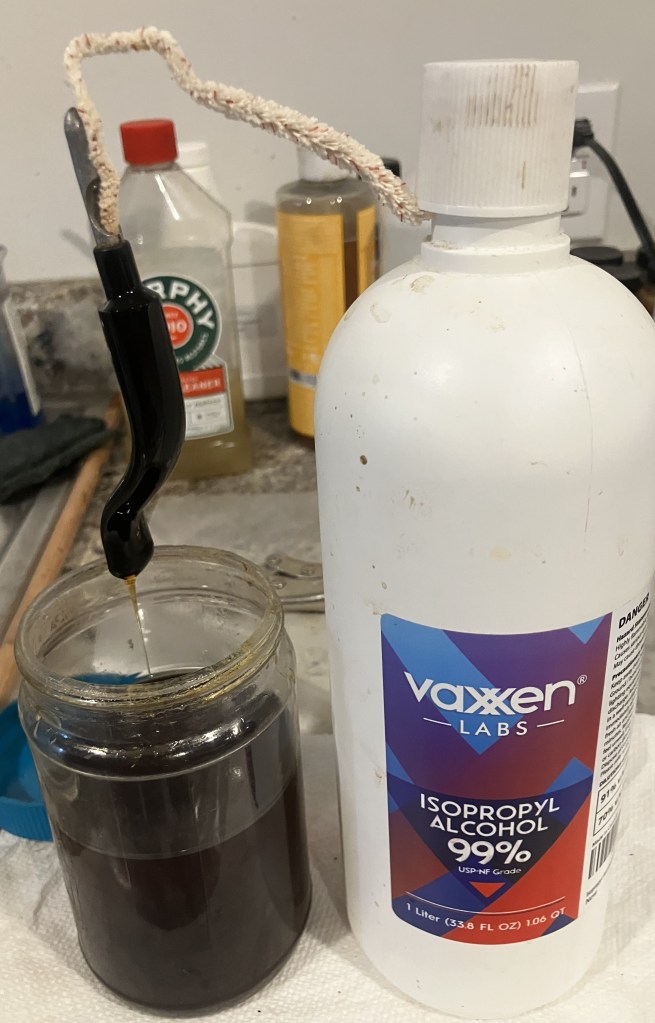
The next morning I removed the stem from the solution and utilized the Drip-O-Matic 3000 (AKA a pipe cleaner and an empty bottle of alcohol) to allow the excess deox to drip back into its jar.
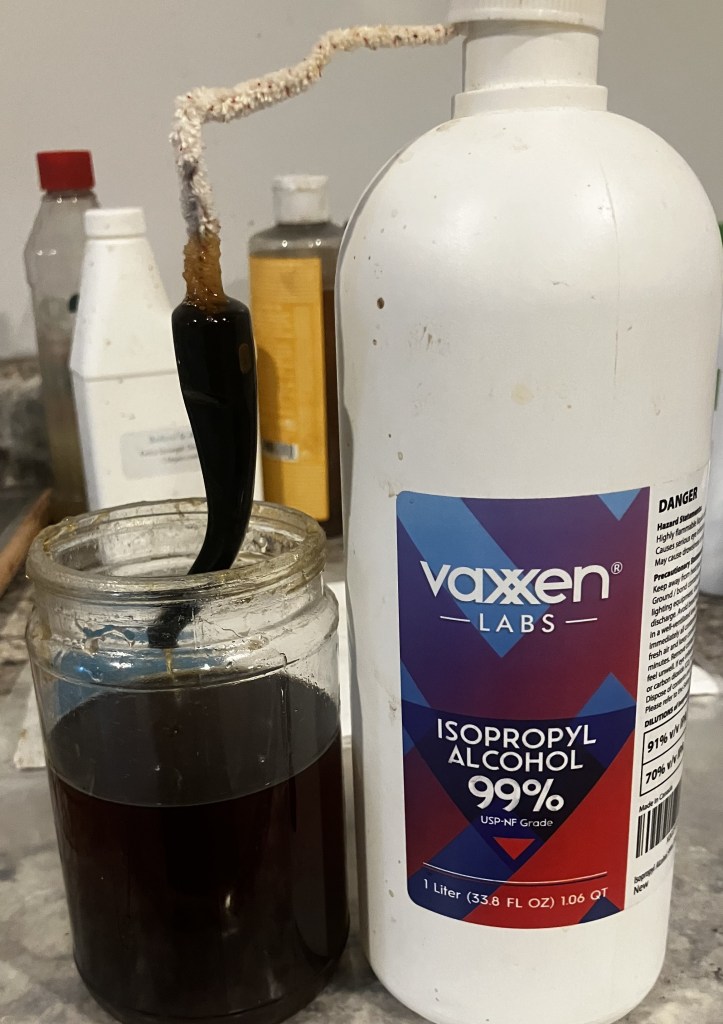
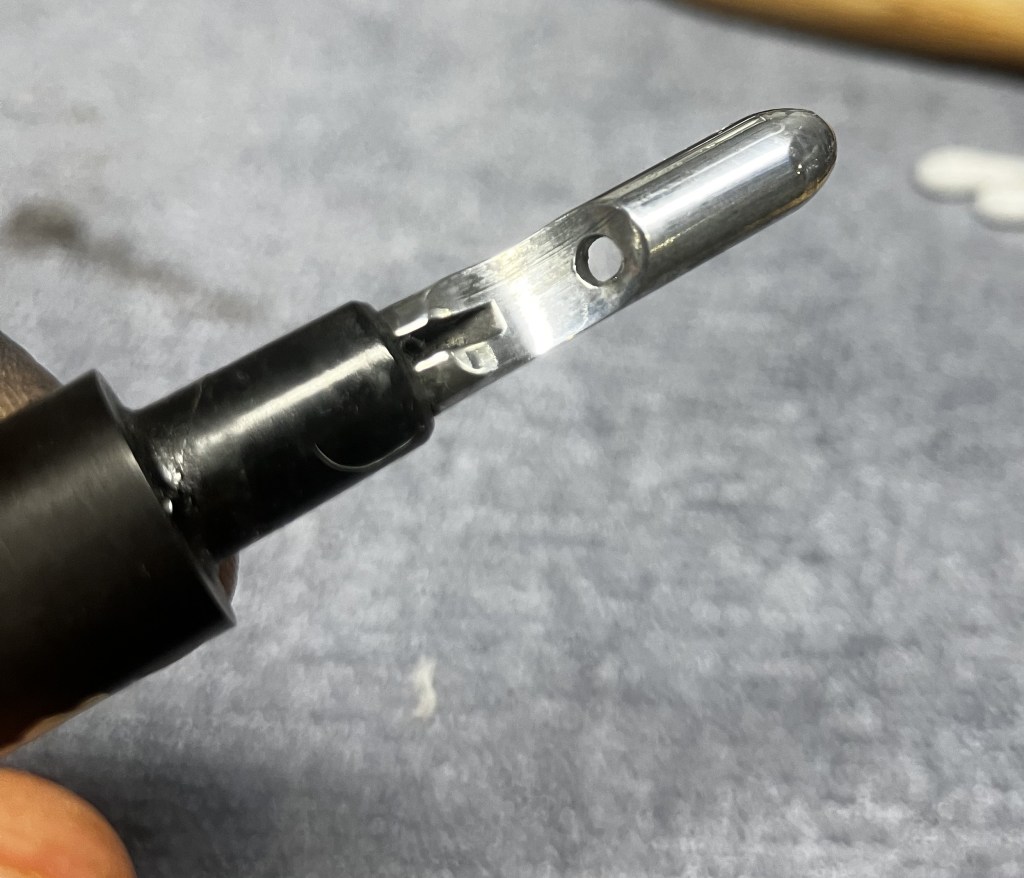
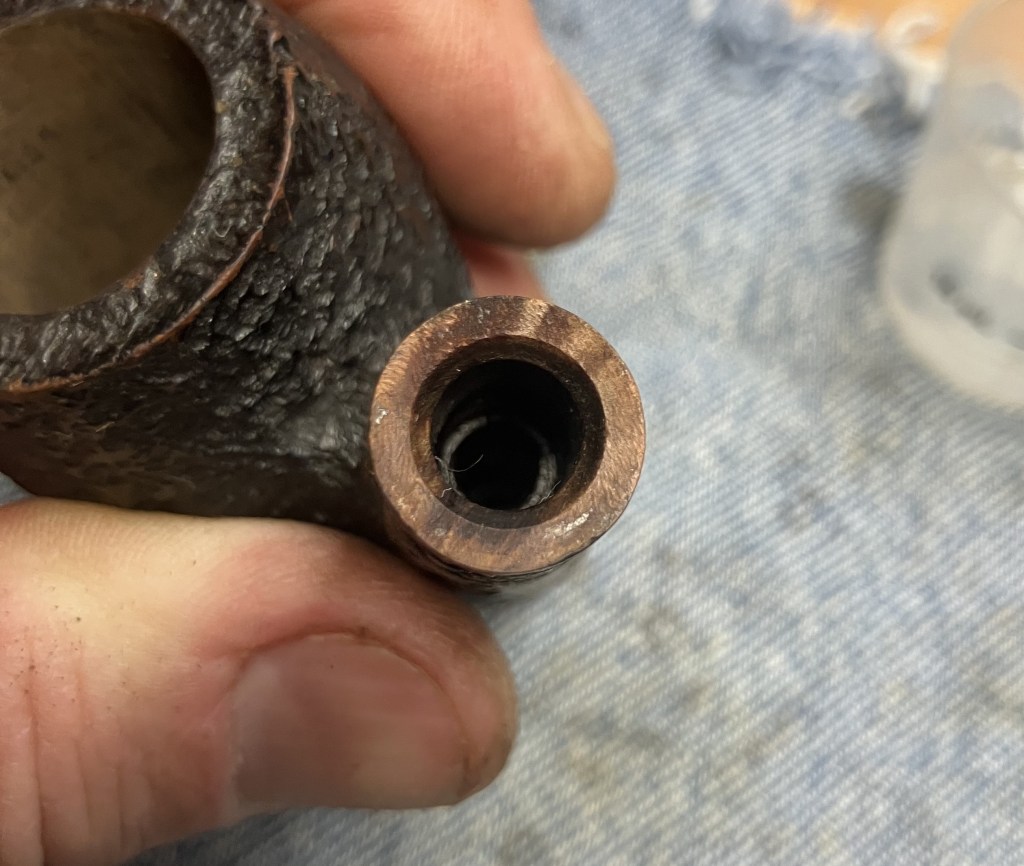
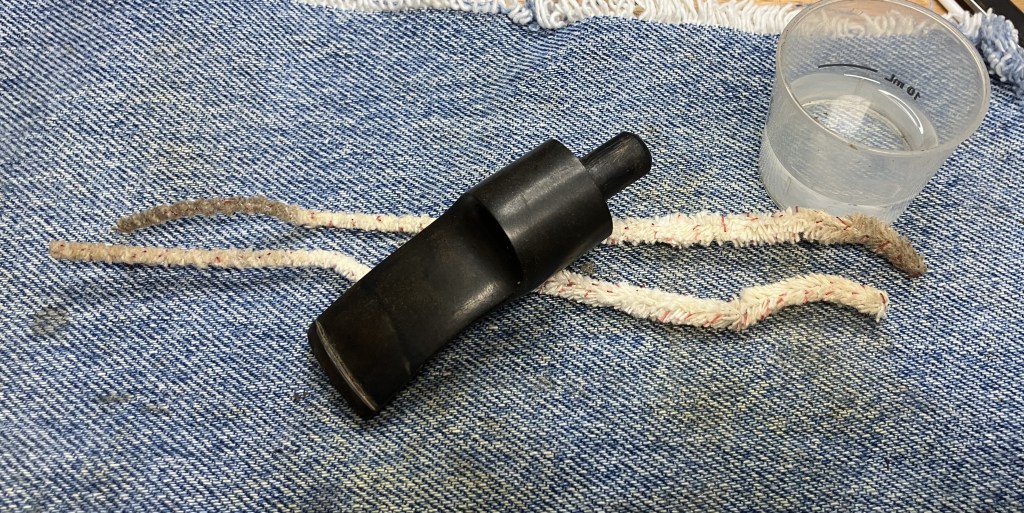
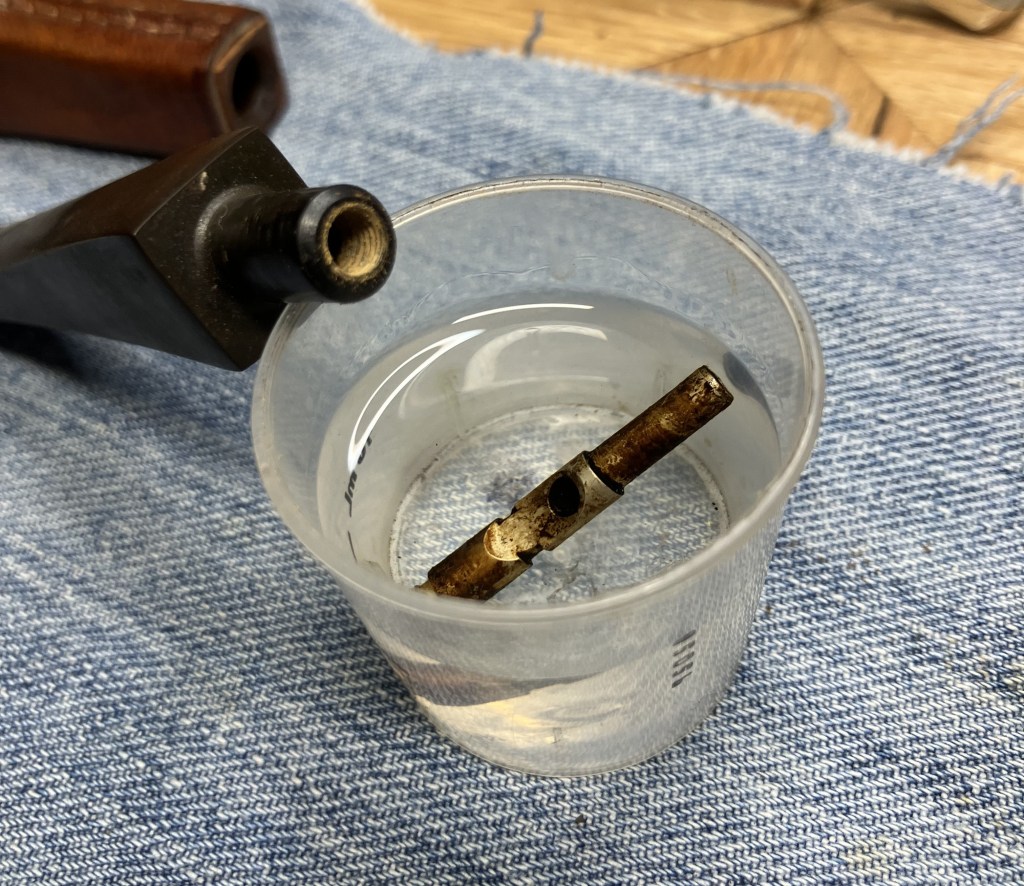
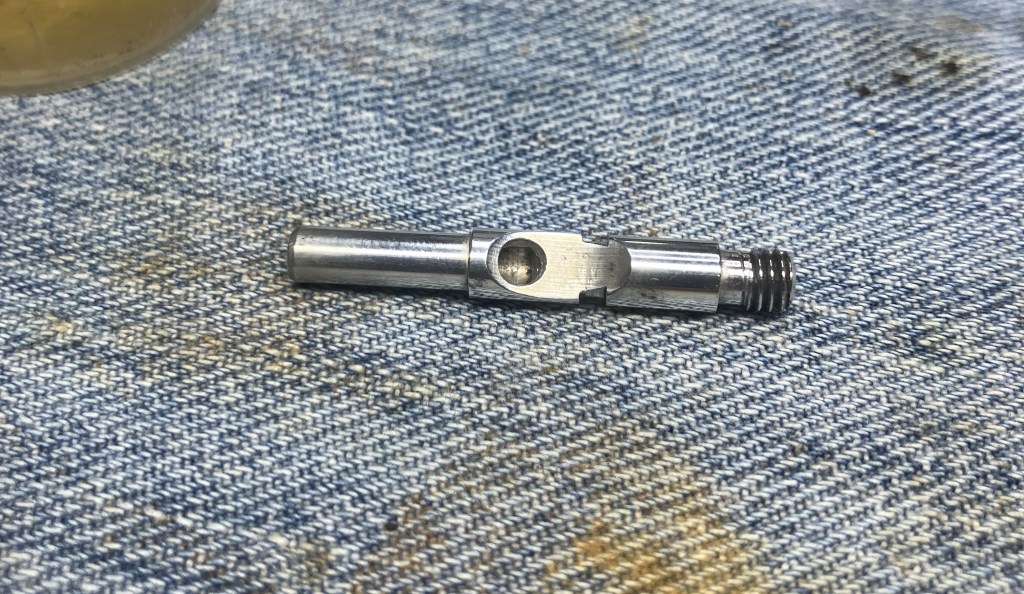
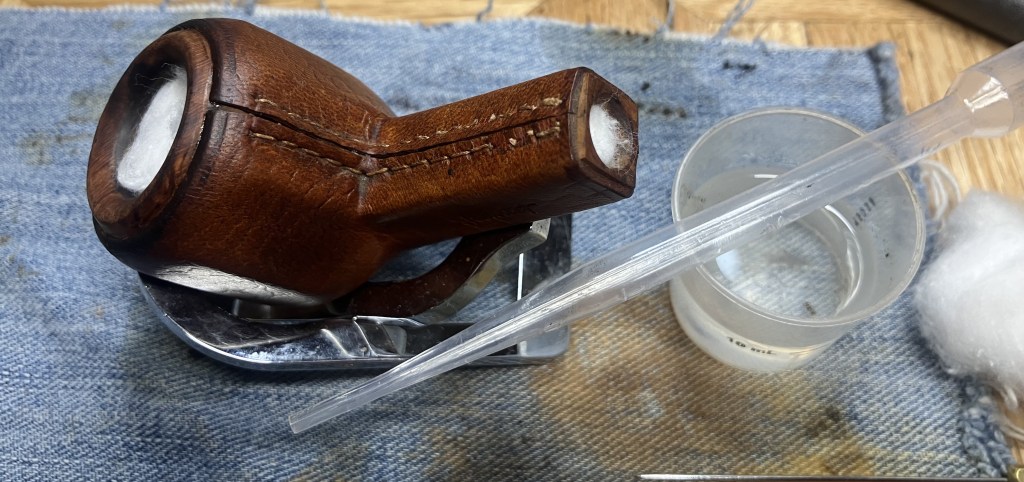
I cleaned the threaded tenon with a pipe cleaner and alcohol.
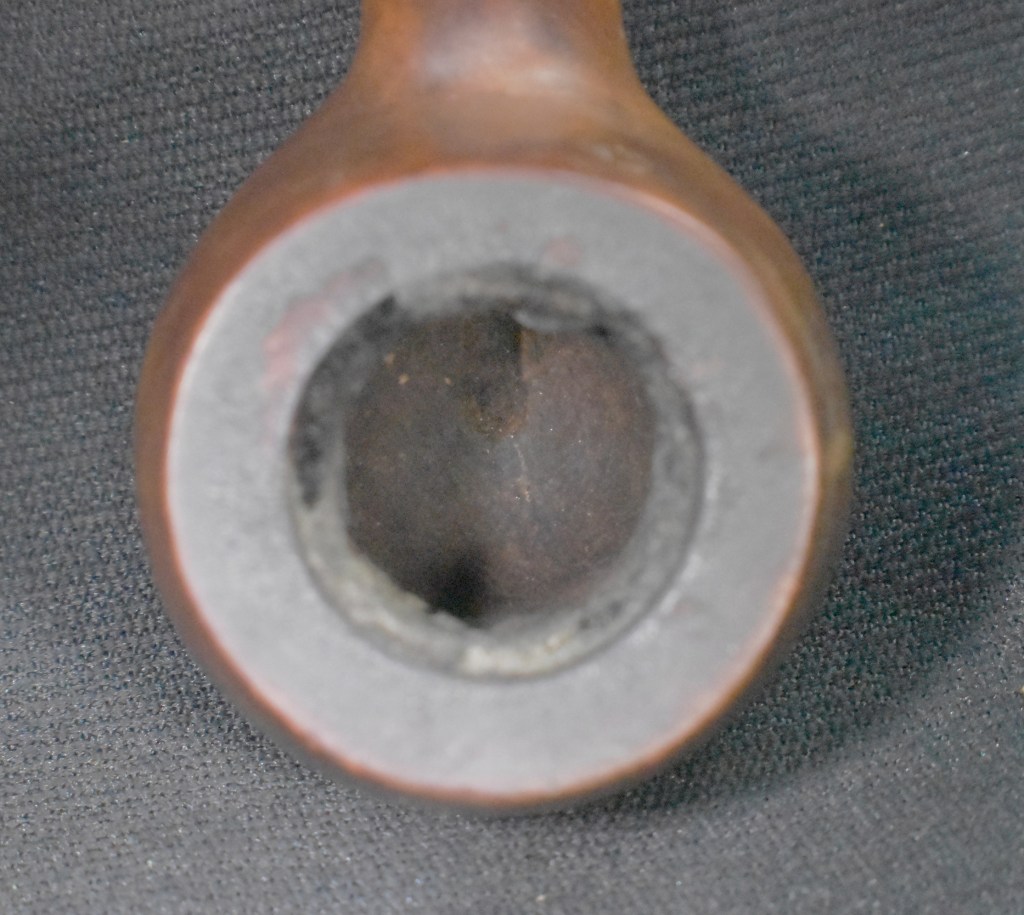
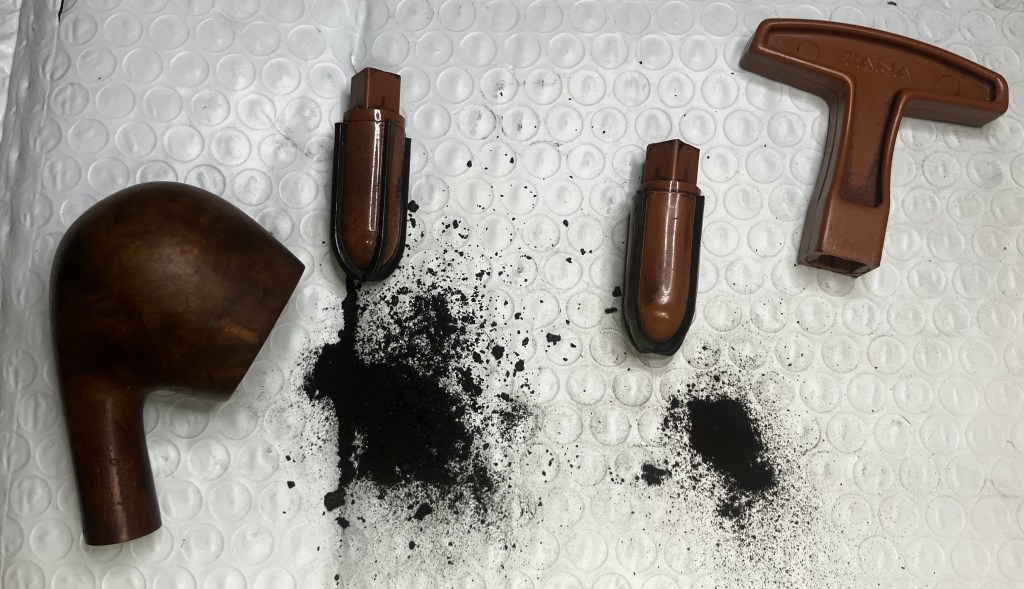
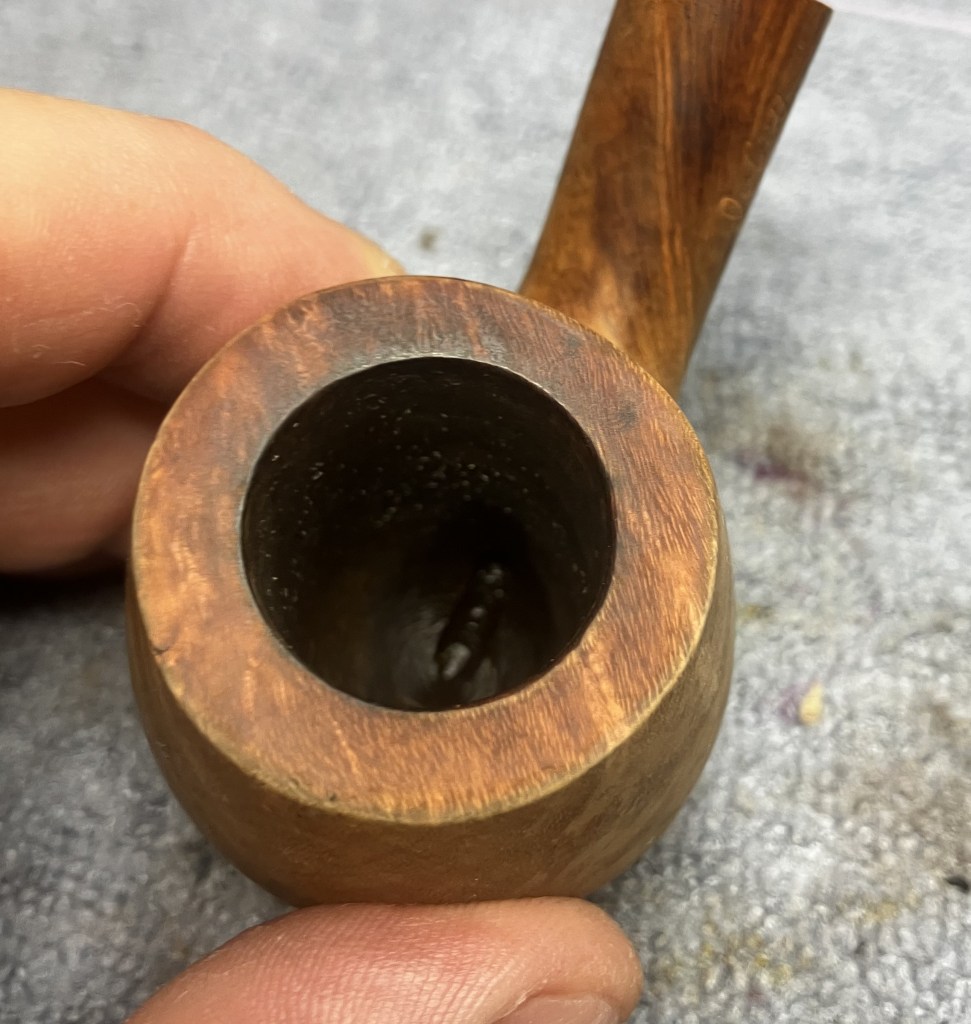
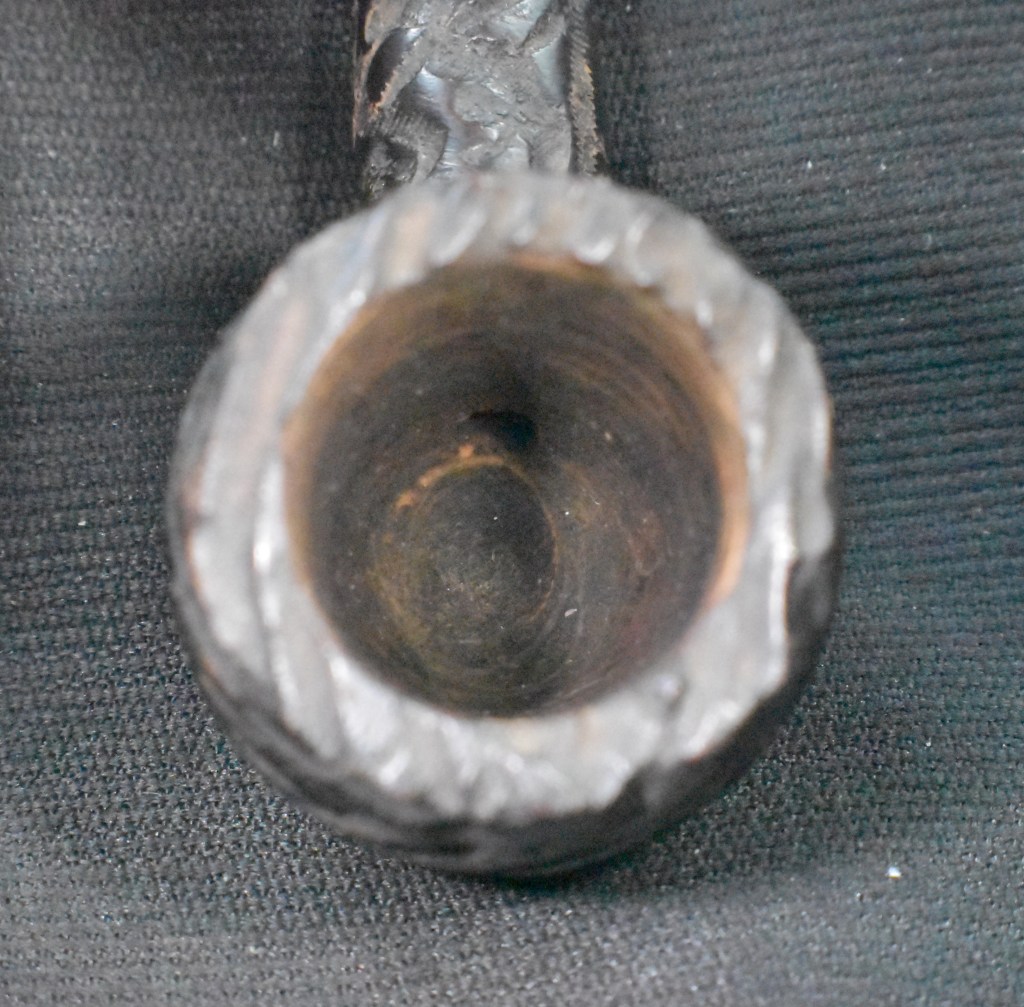
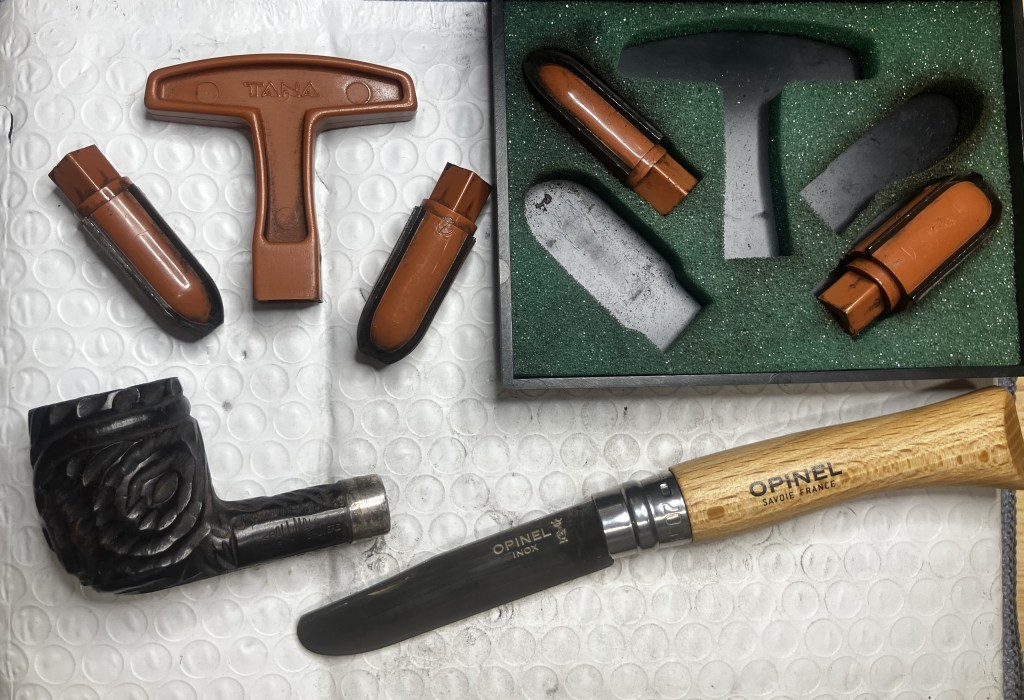
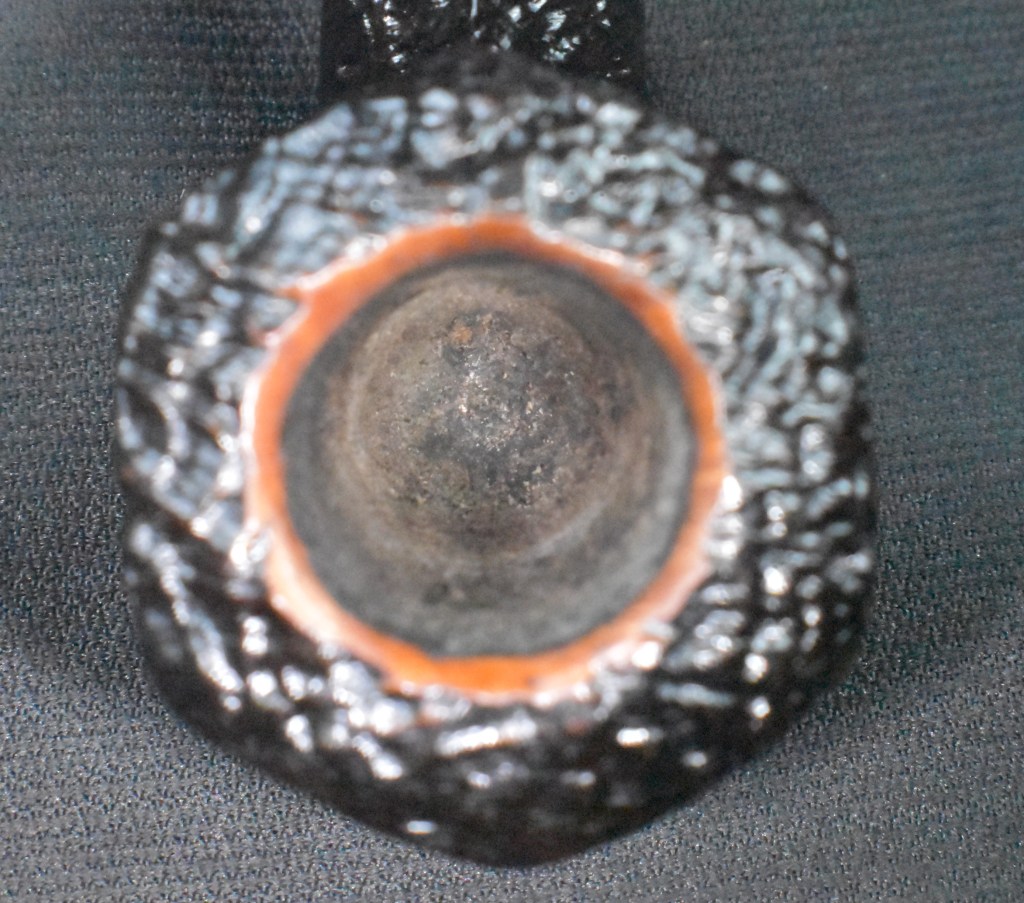
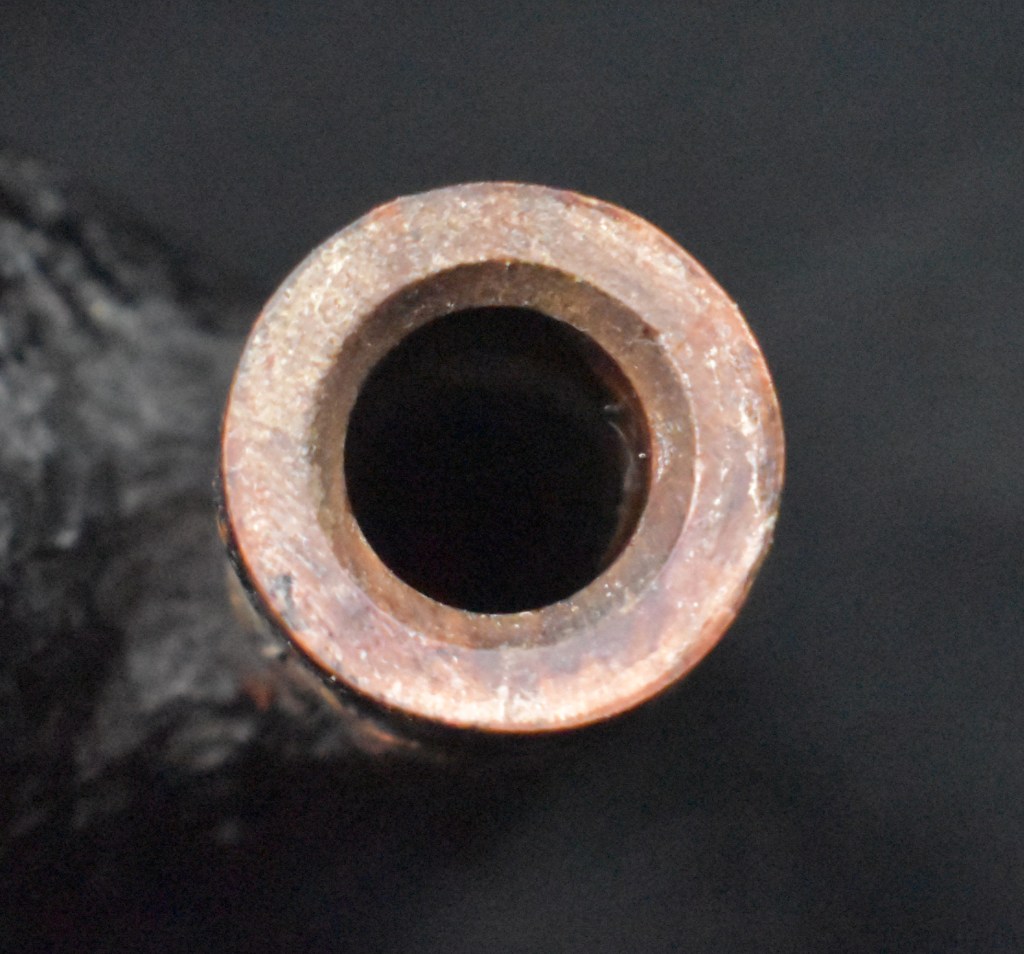
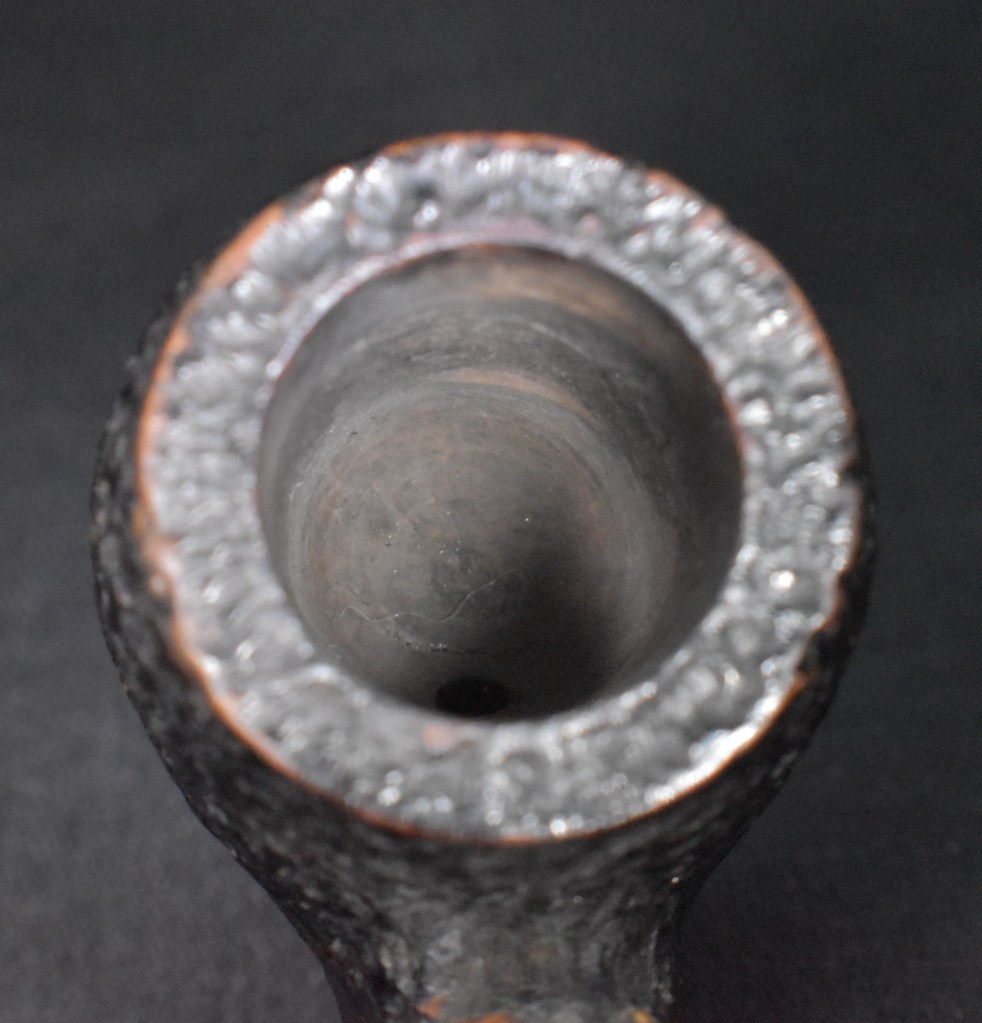
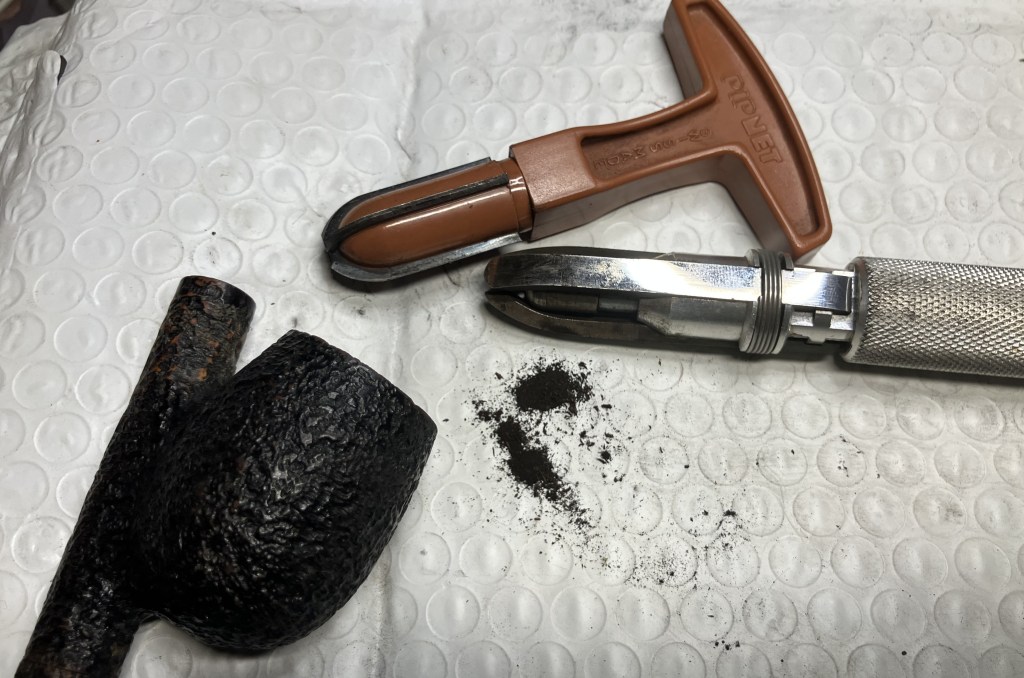
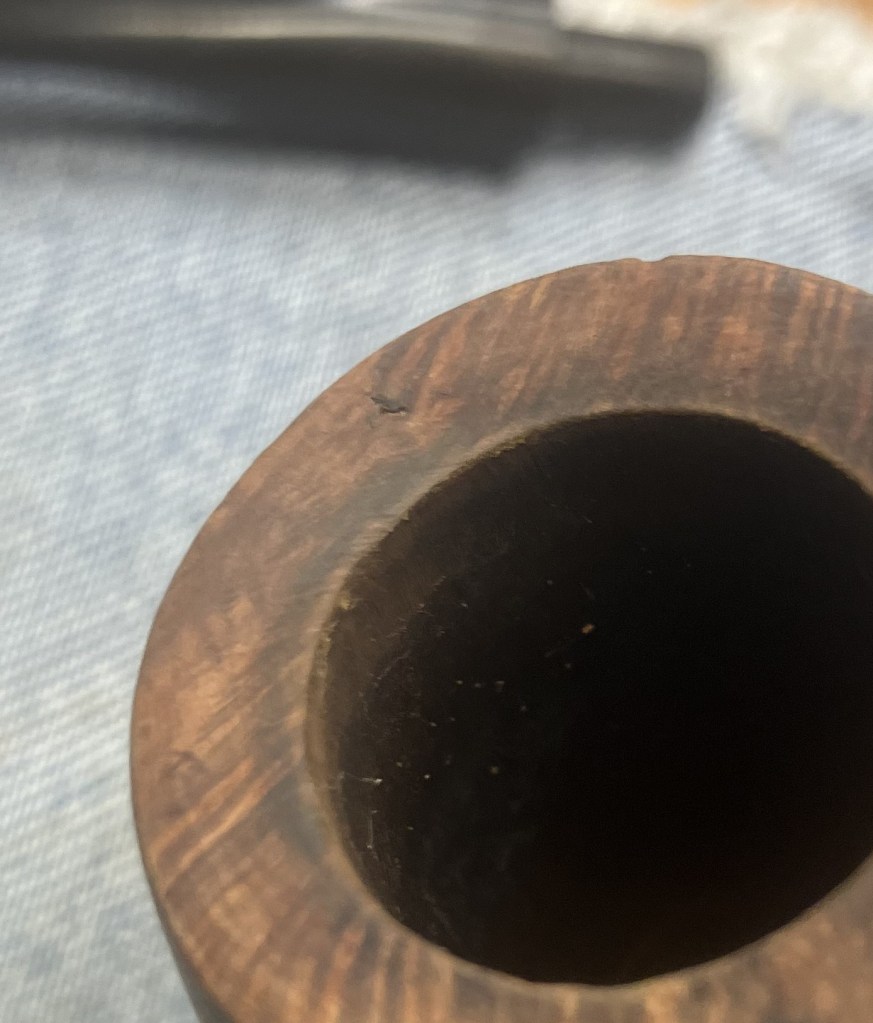
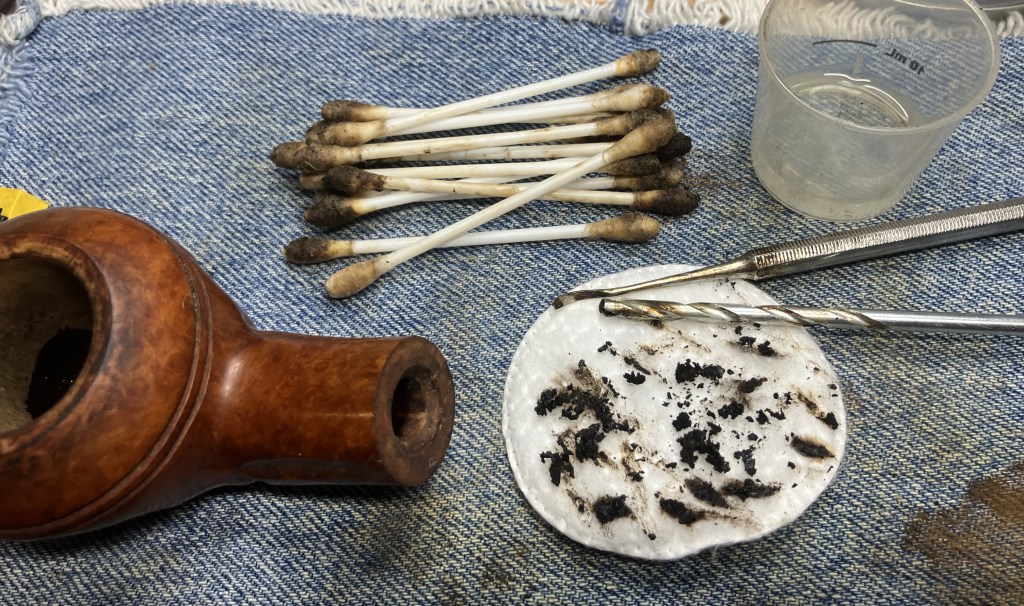
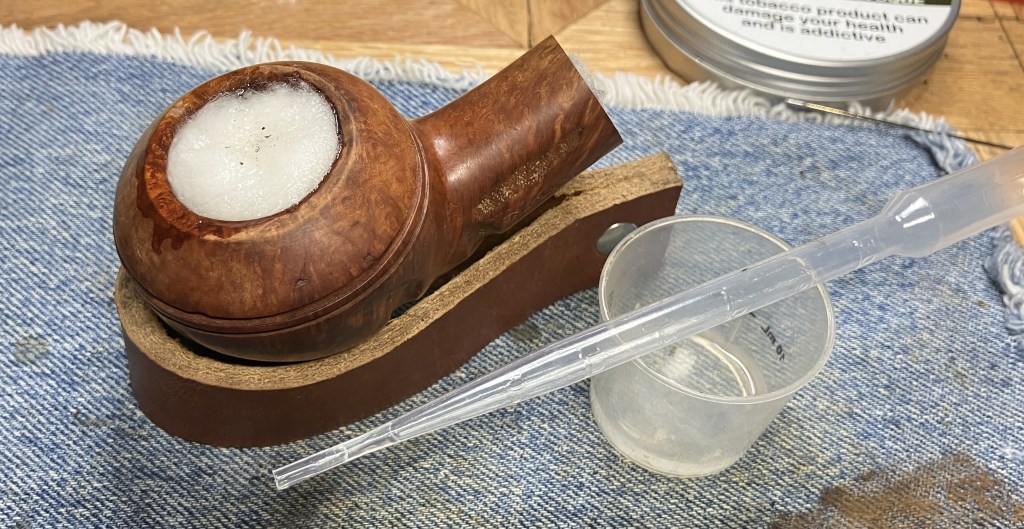
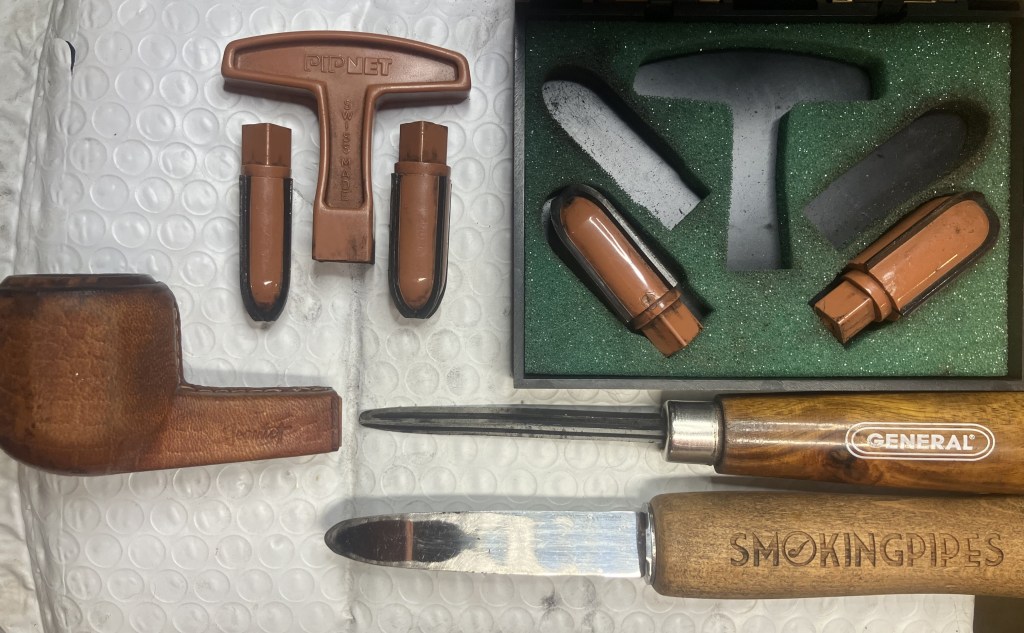
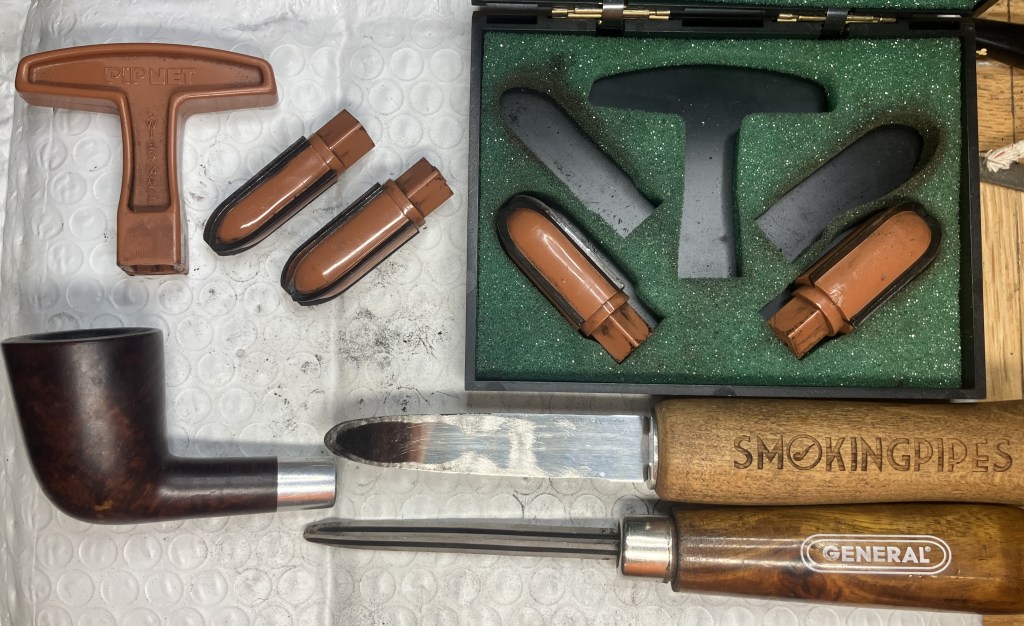
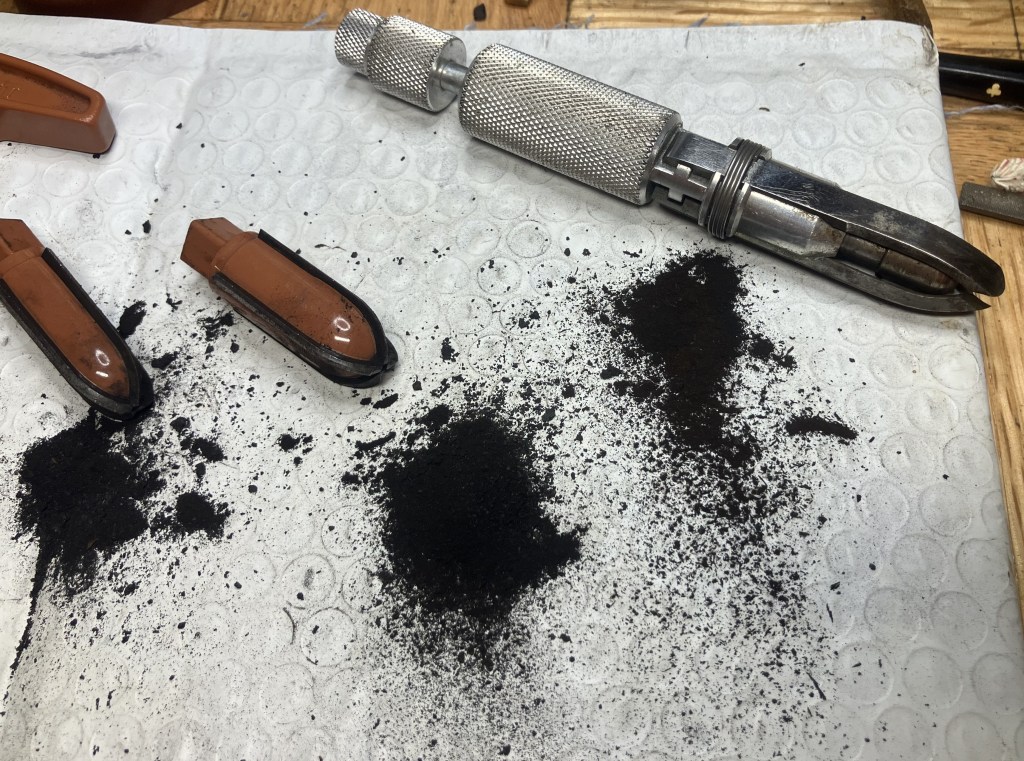
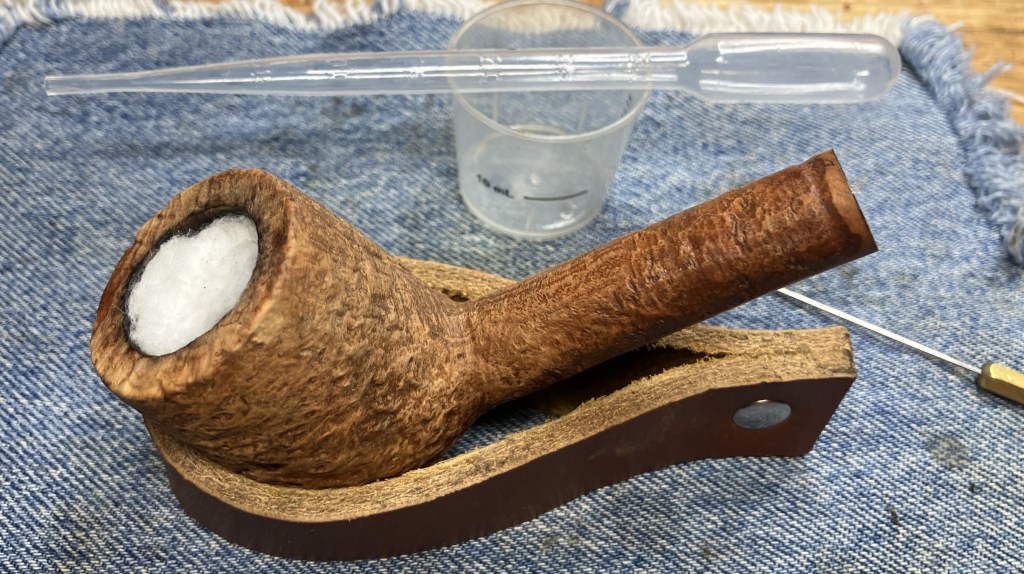
While the stem was dripping I reamed the tobacco chamber using the PipNet with the #2 and #3 blades.
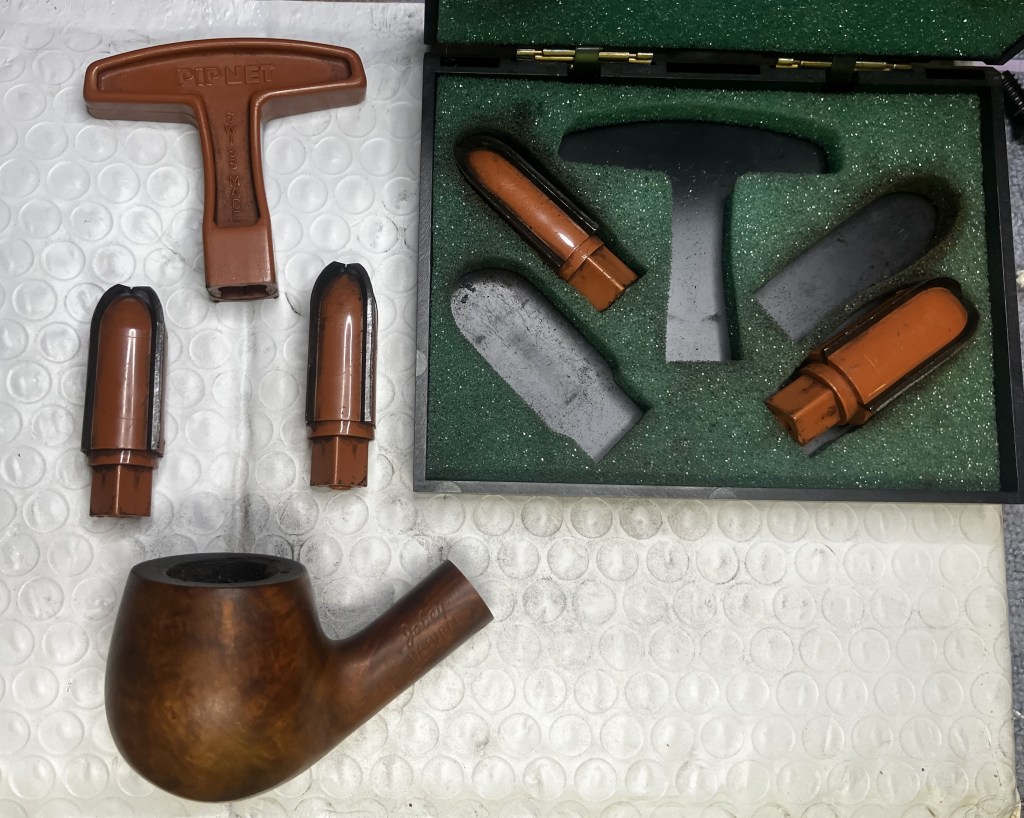
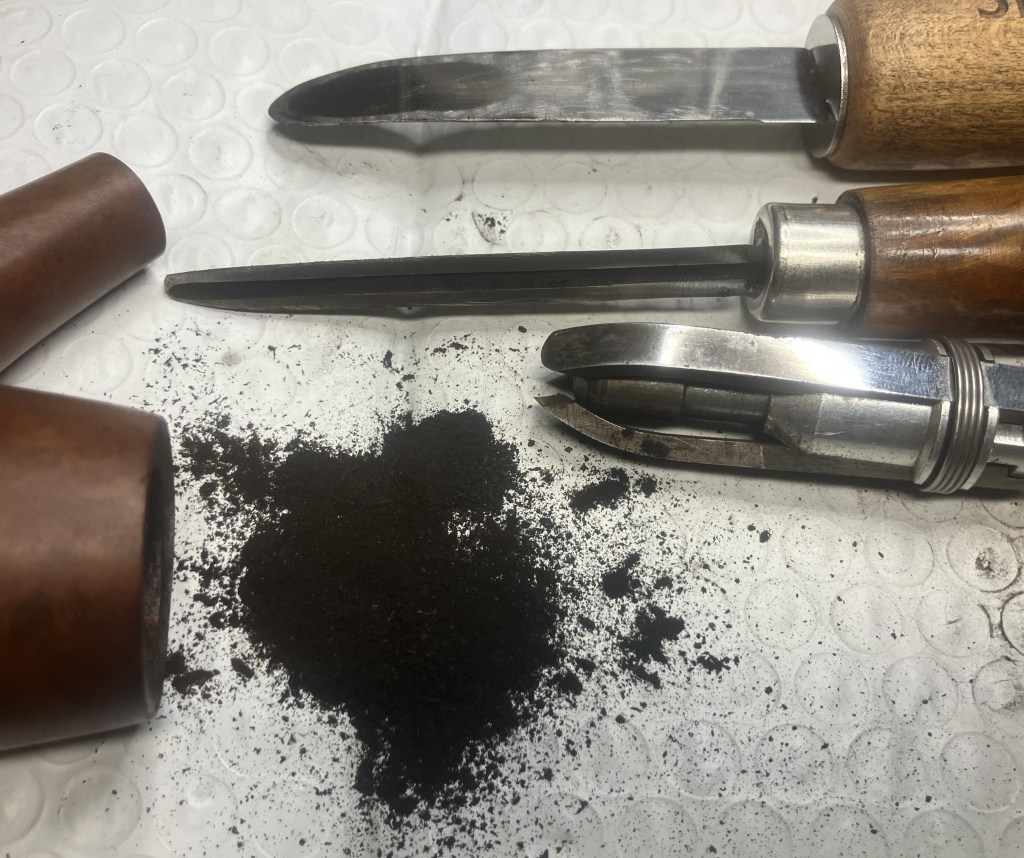
The cake was easily removed.
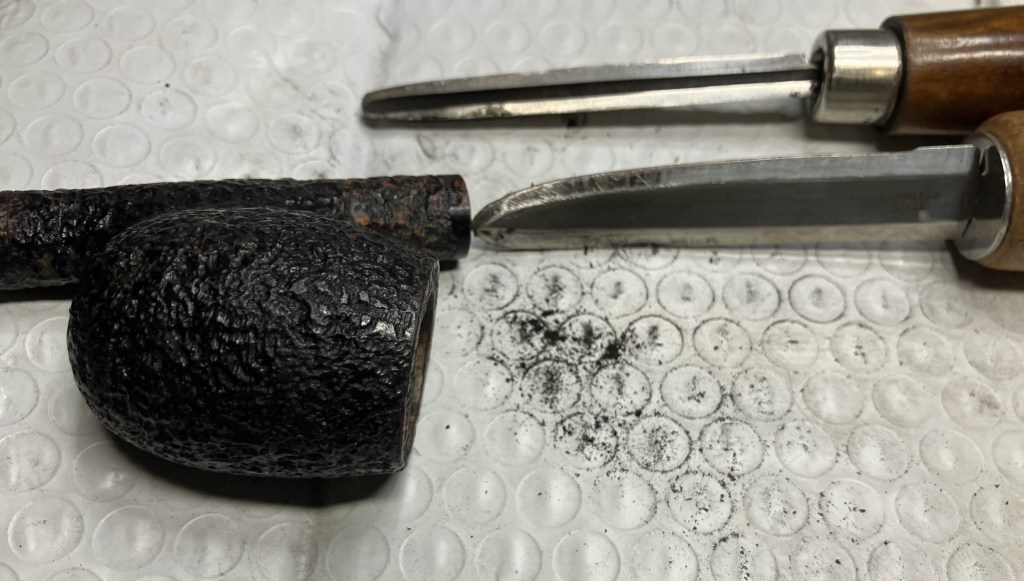
I used the General triangular scraper, with the tip ground to a round point, to do a little bit of fine scraping of the chamber.
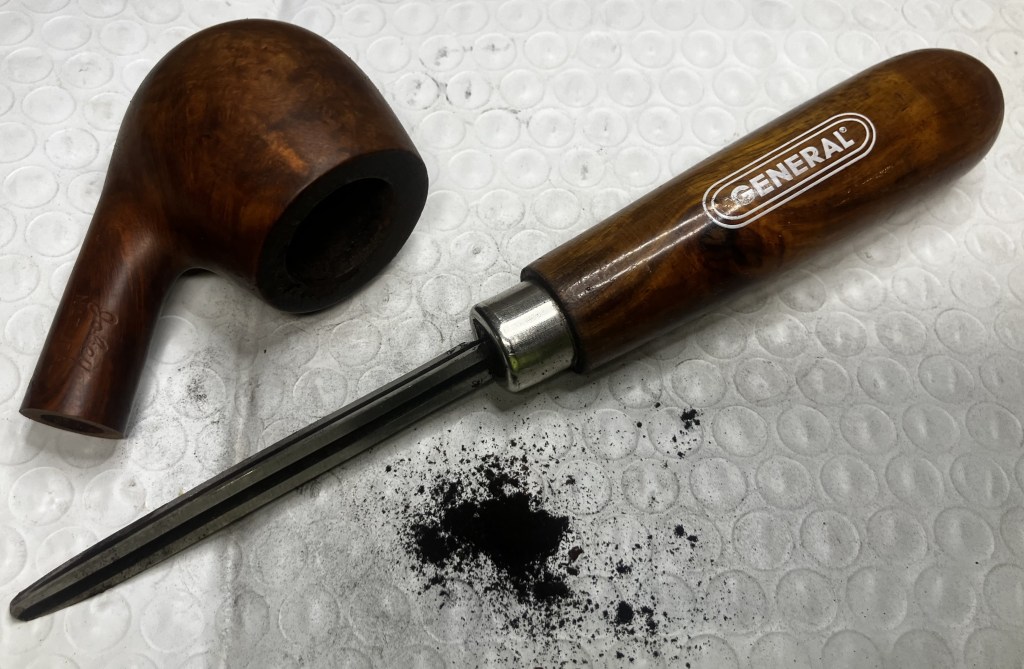
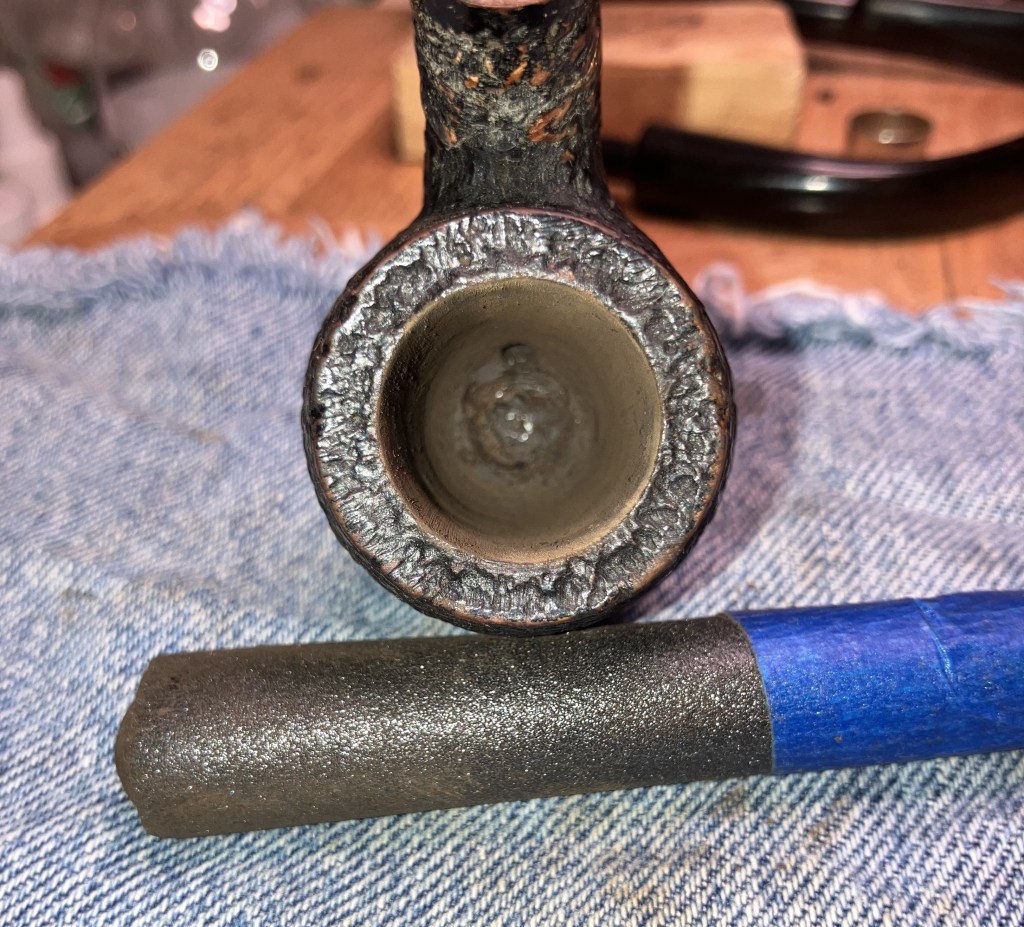
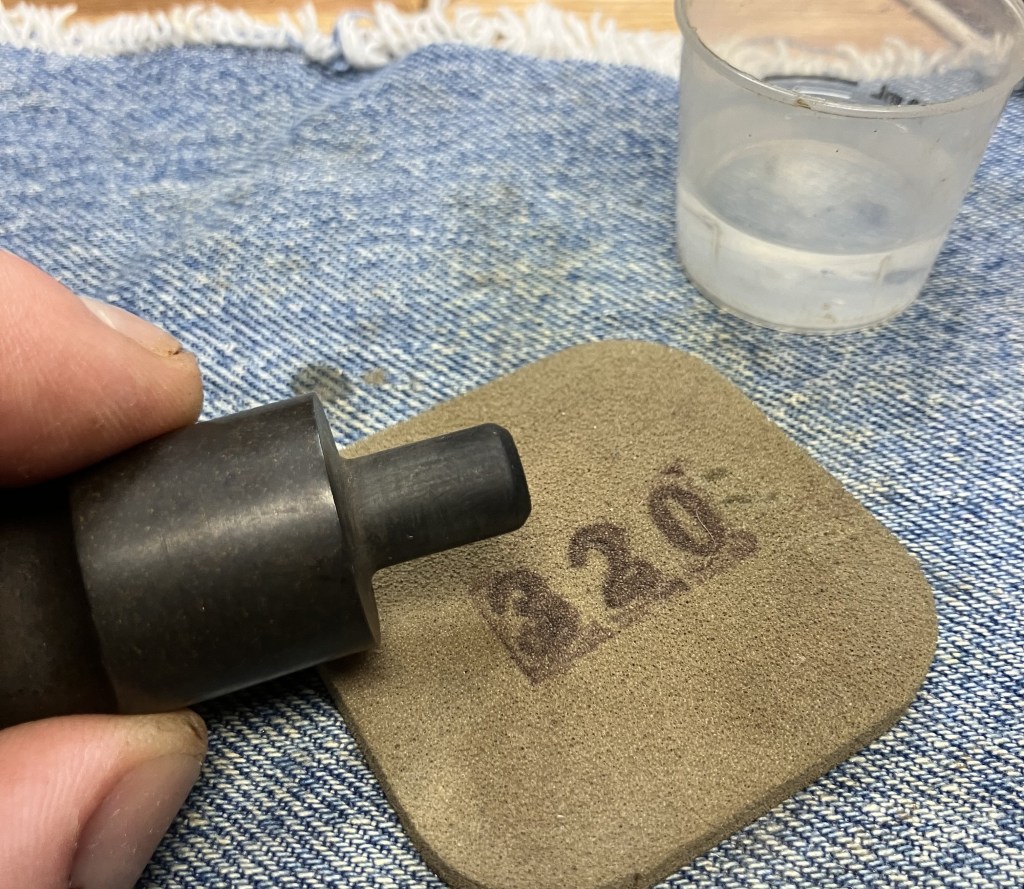
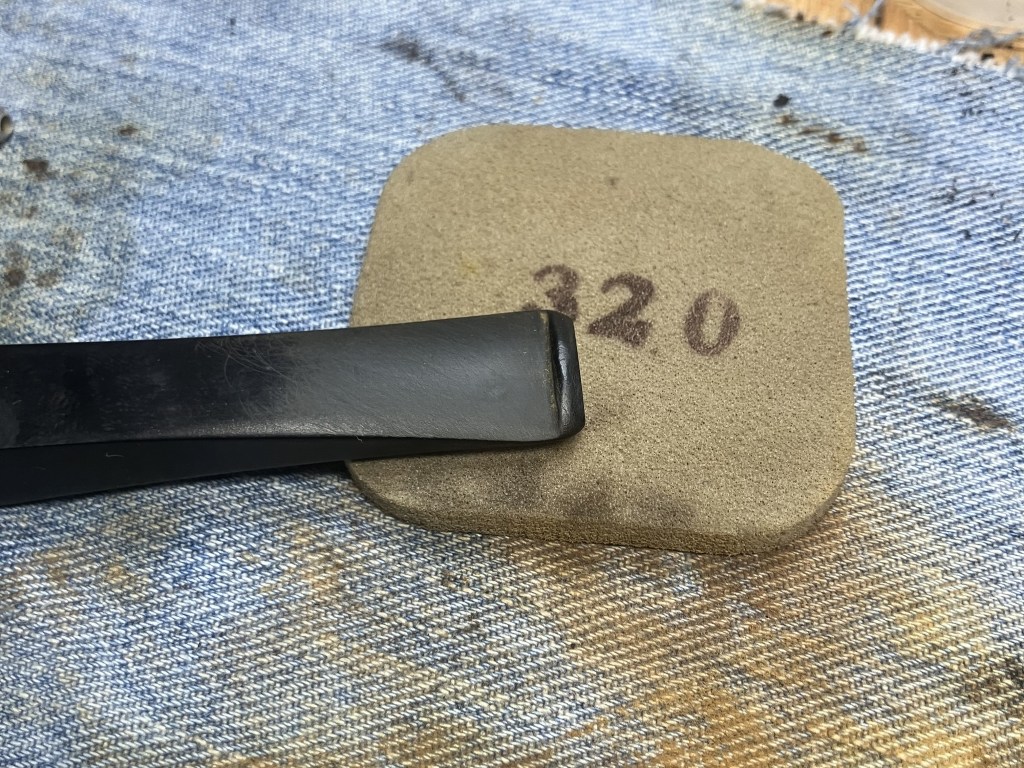
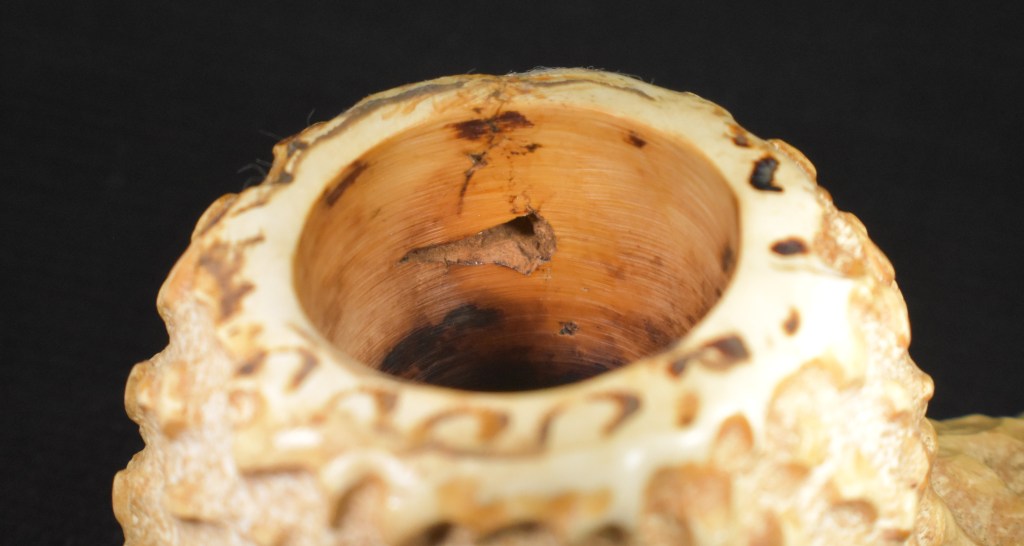
The chamber looked good and showed no evidence of heat damage. The interior was then sanded with 320 sandpaper wrapped around a wood dowel. I forgot to photograph the results of this, apologies.
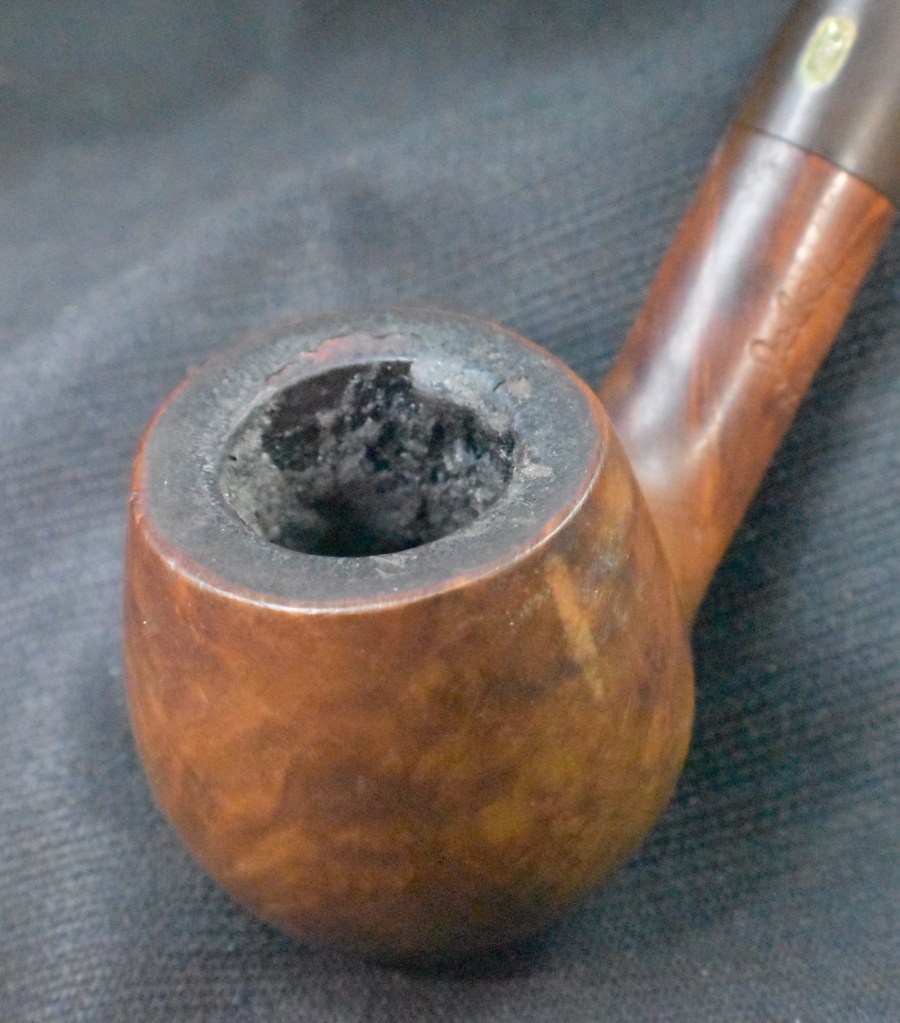
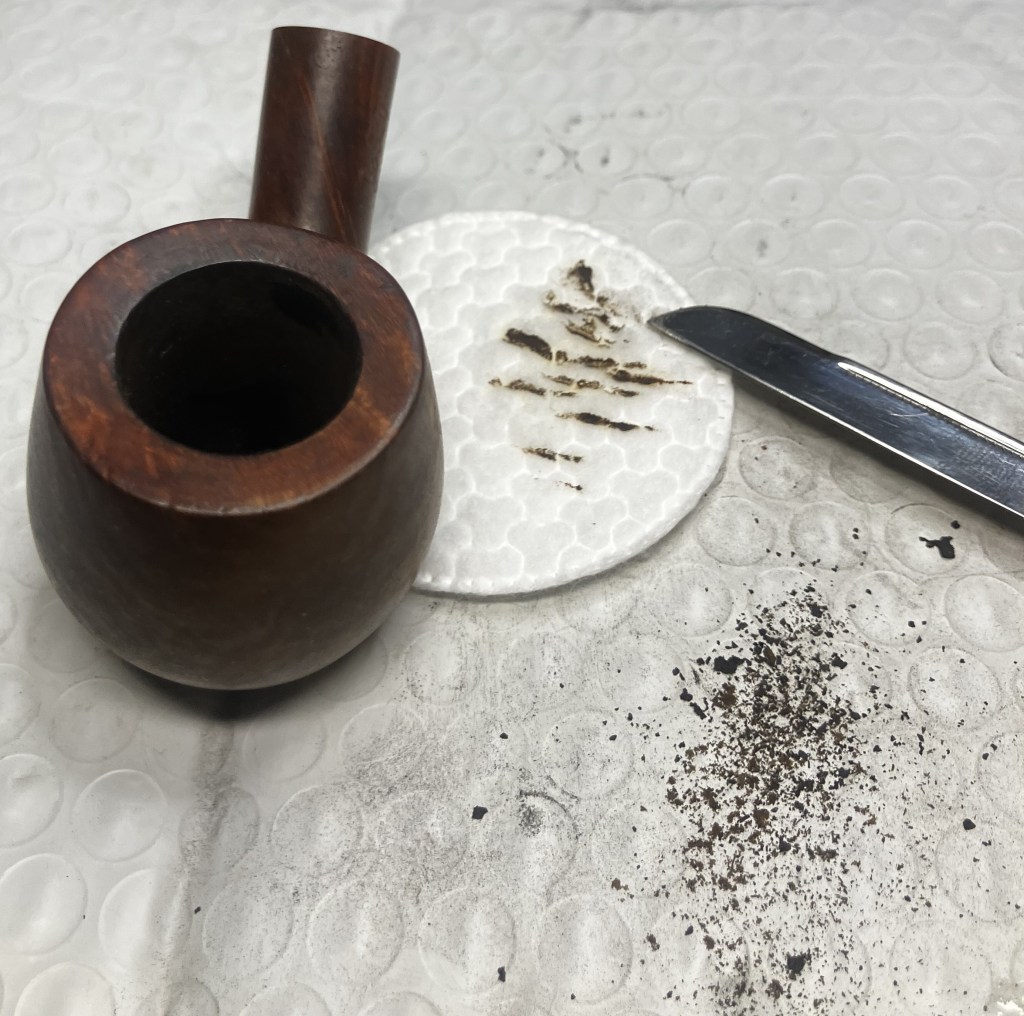
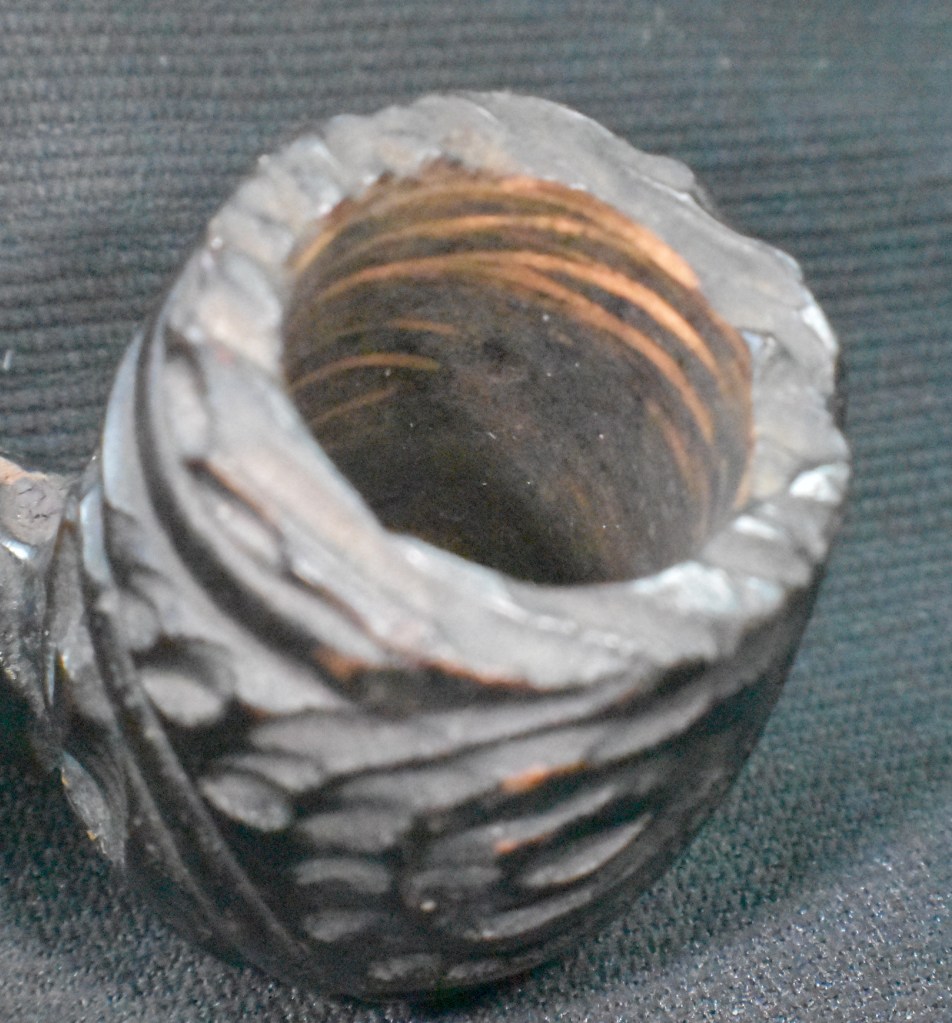
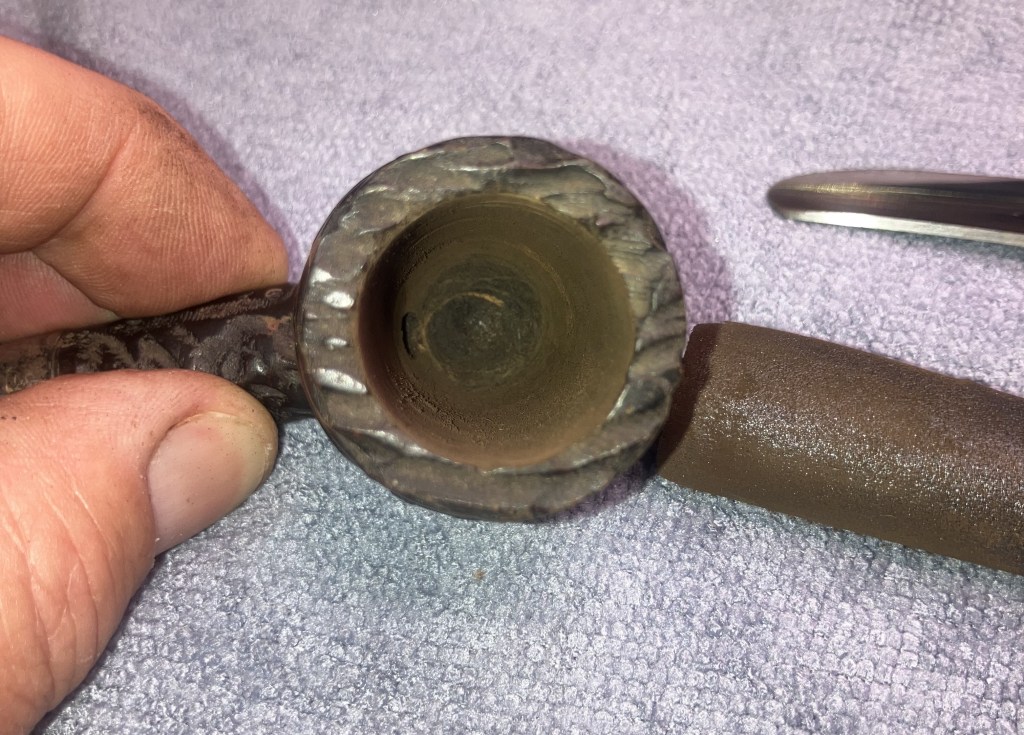
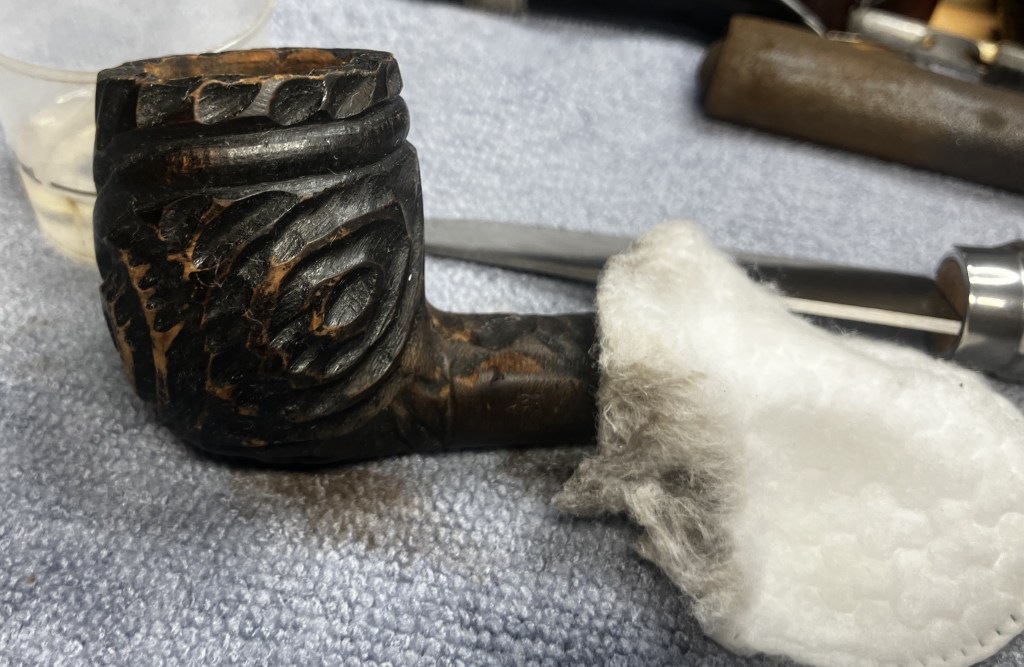
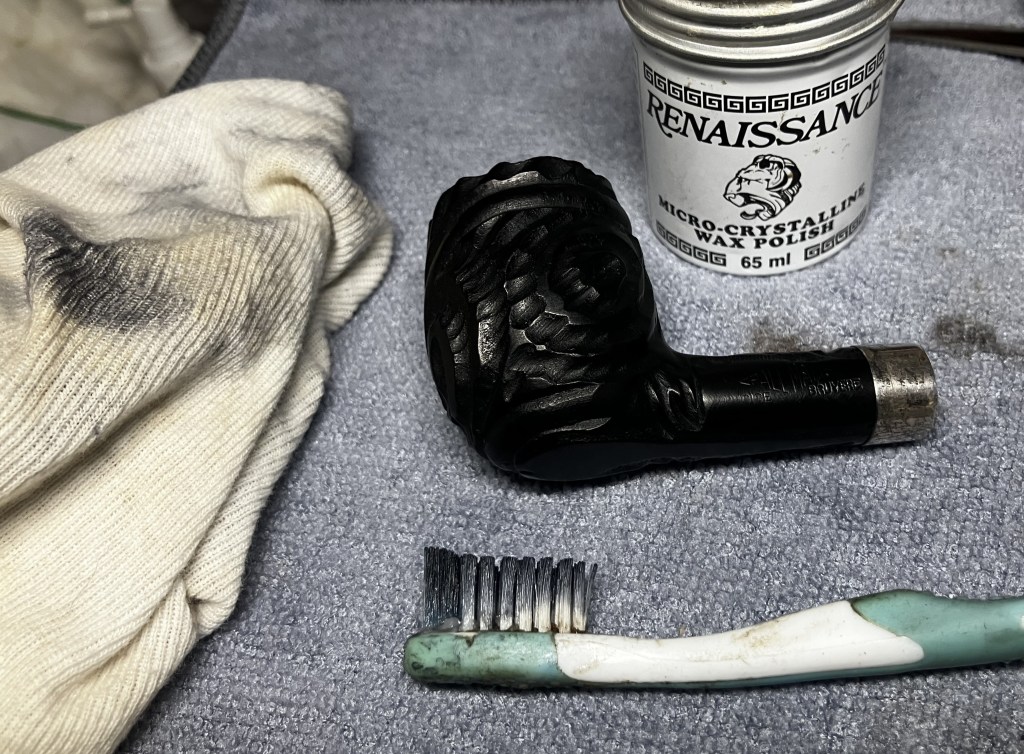
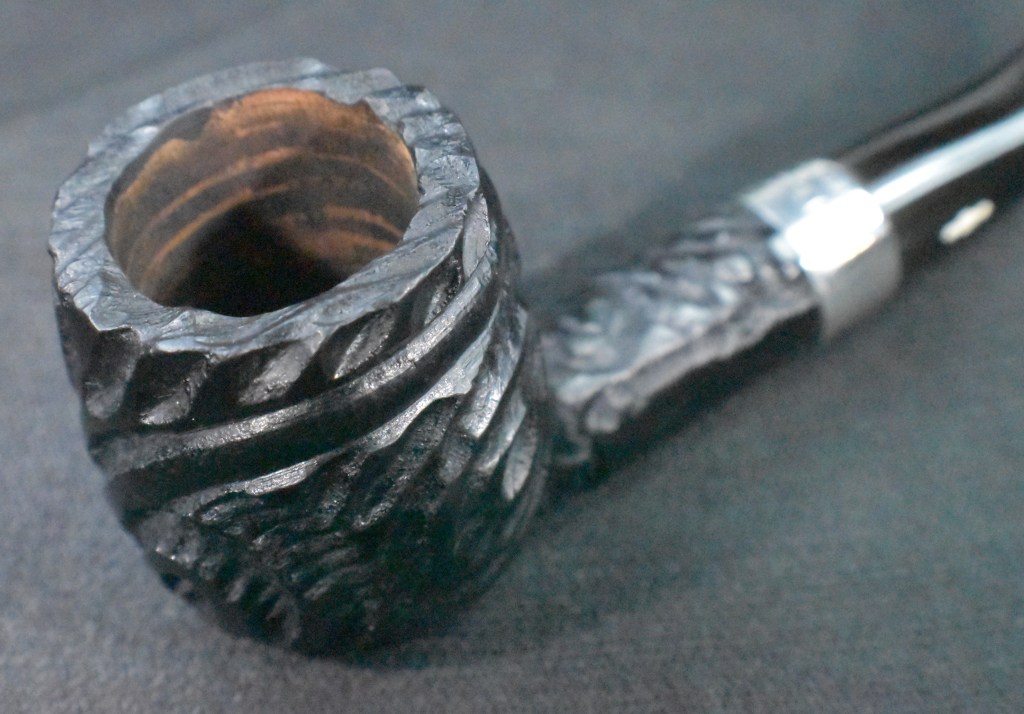
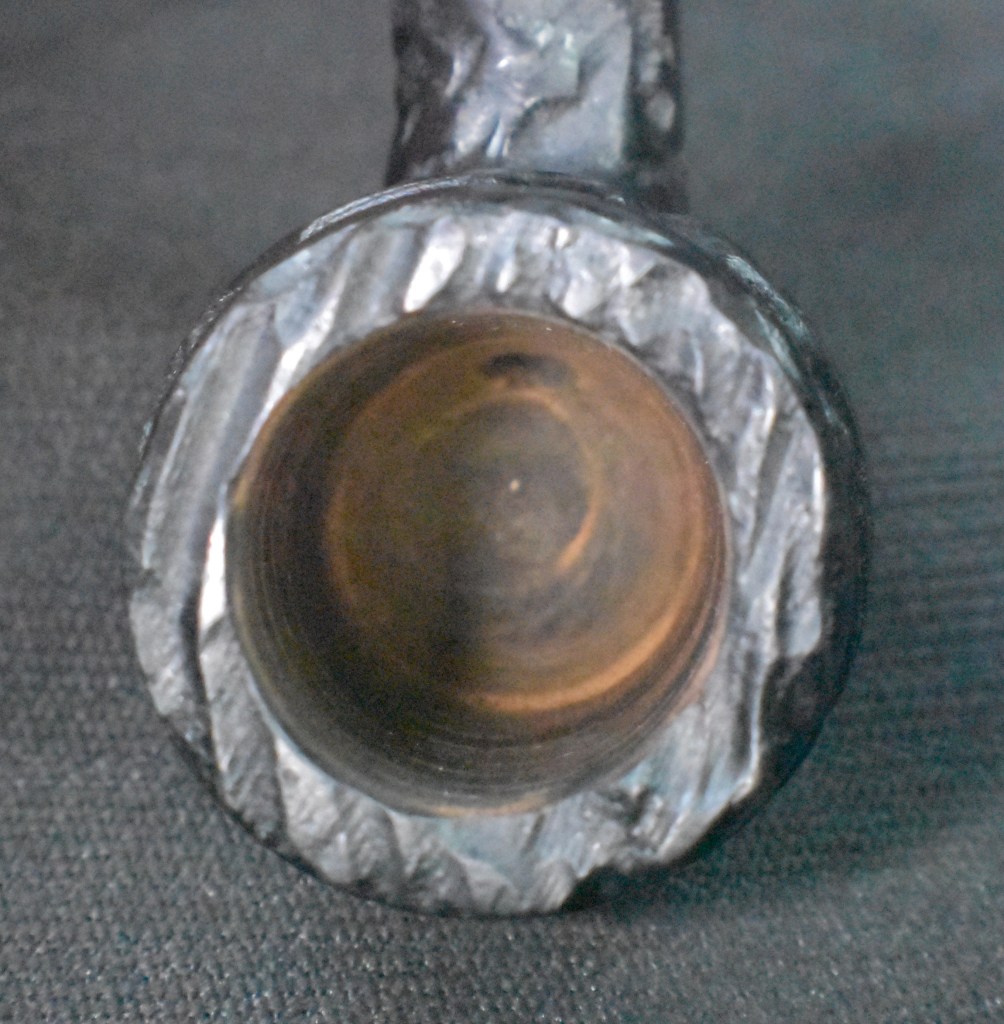
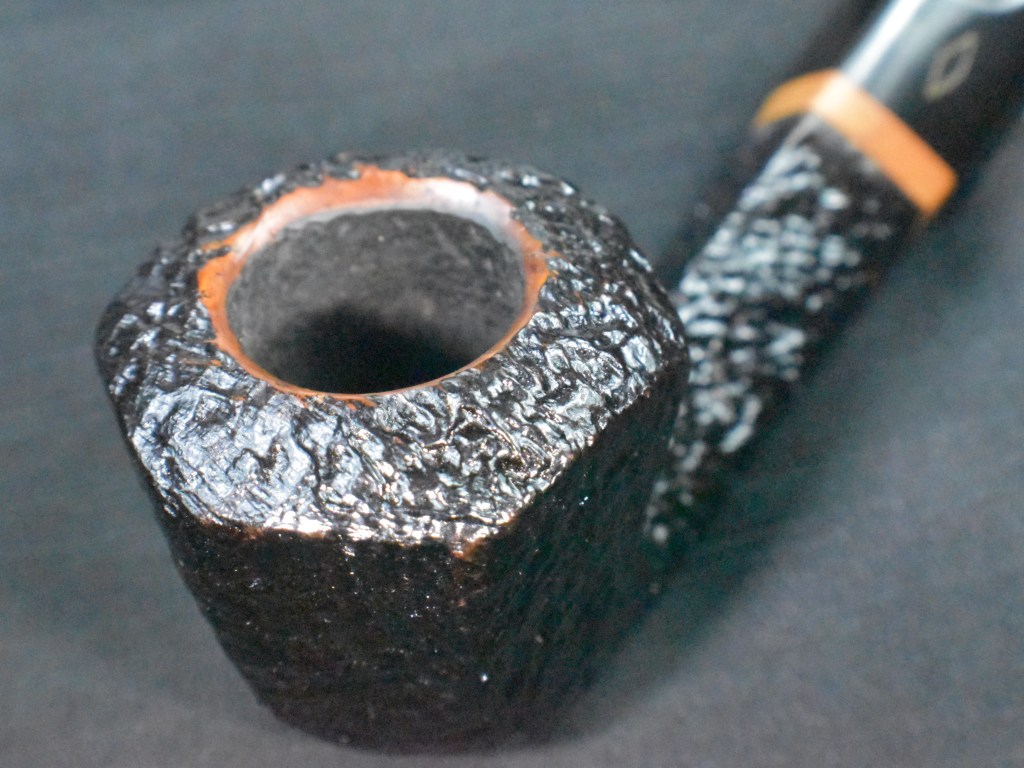
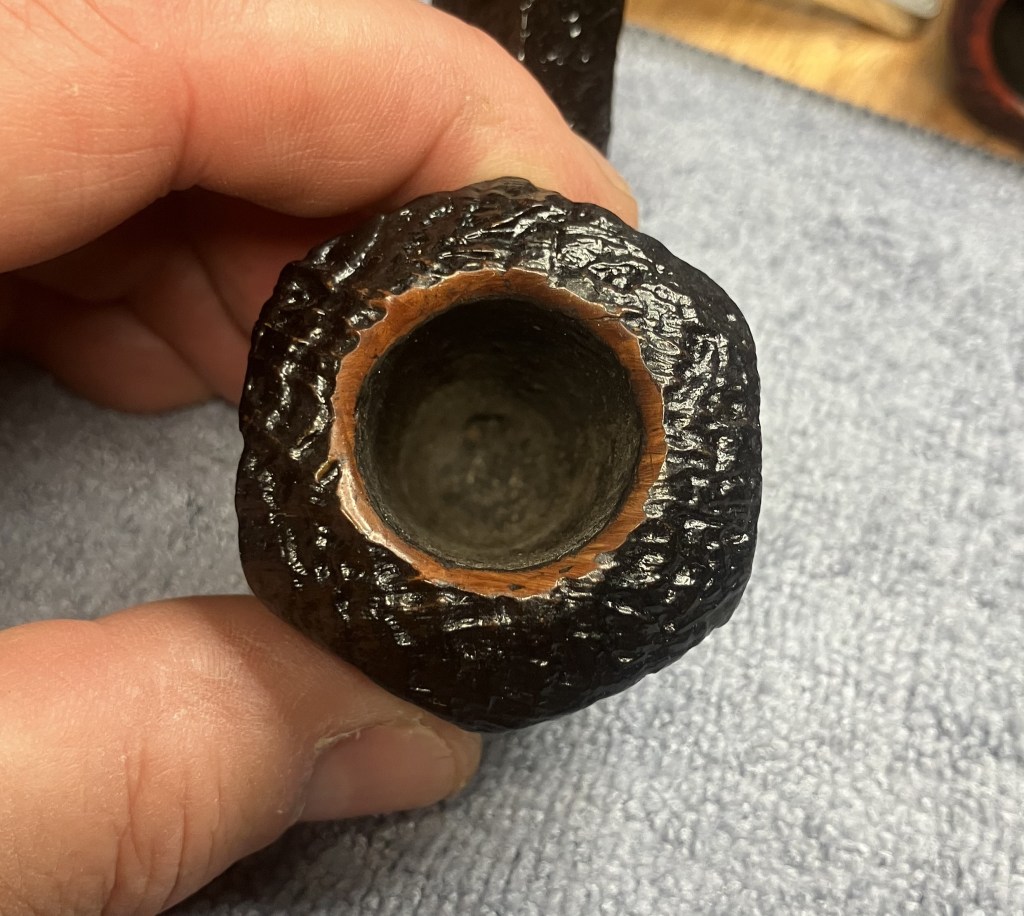
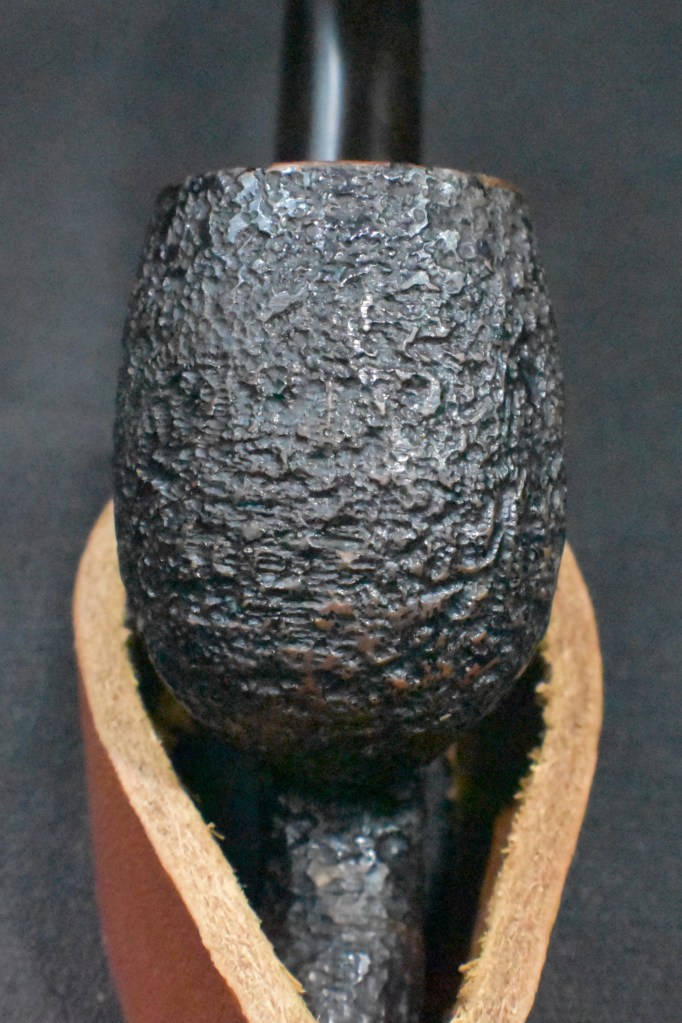
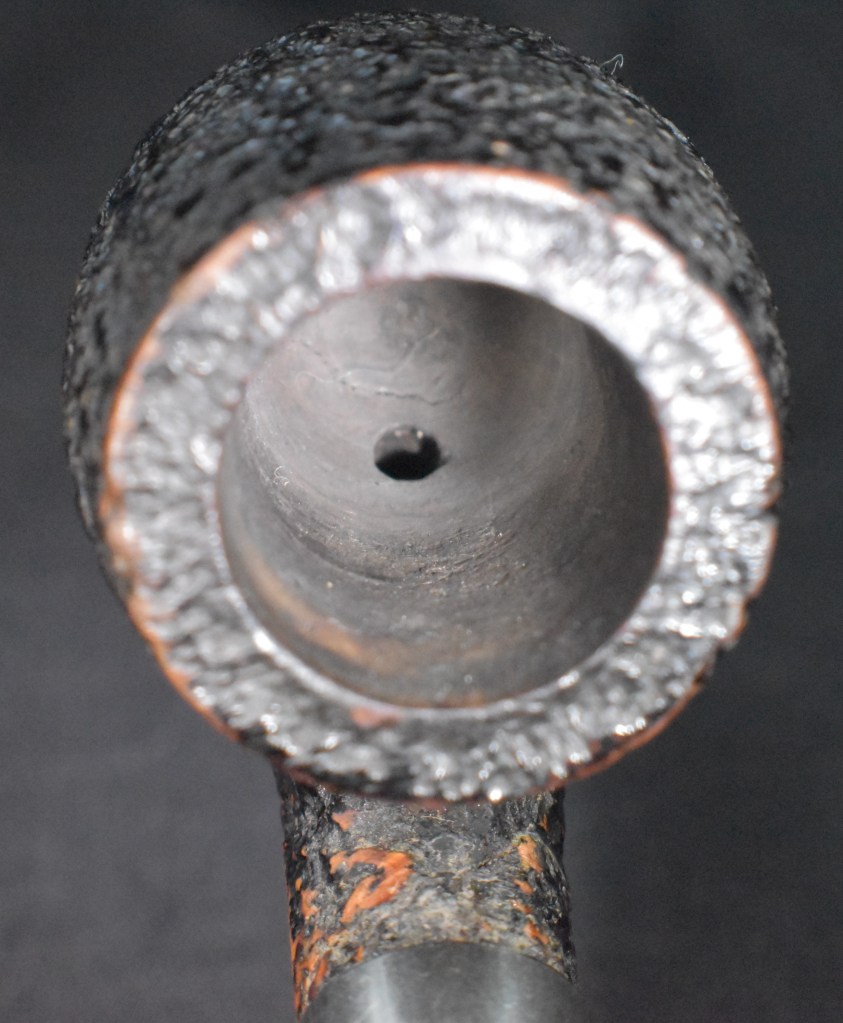
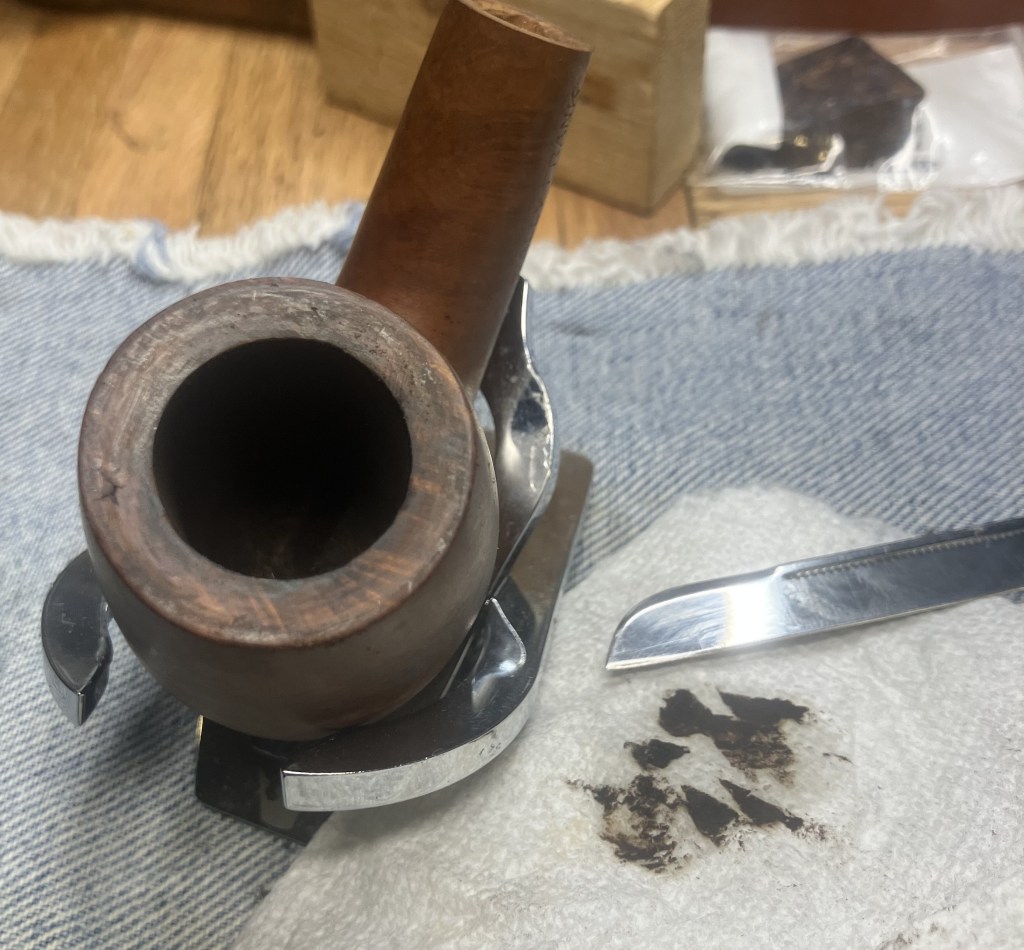
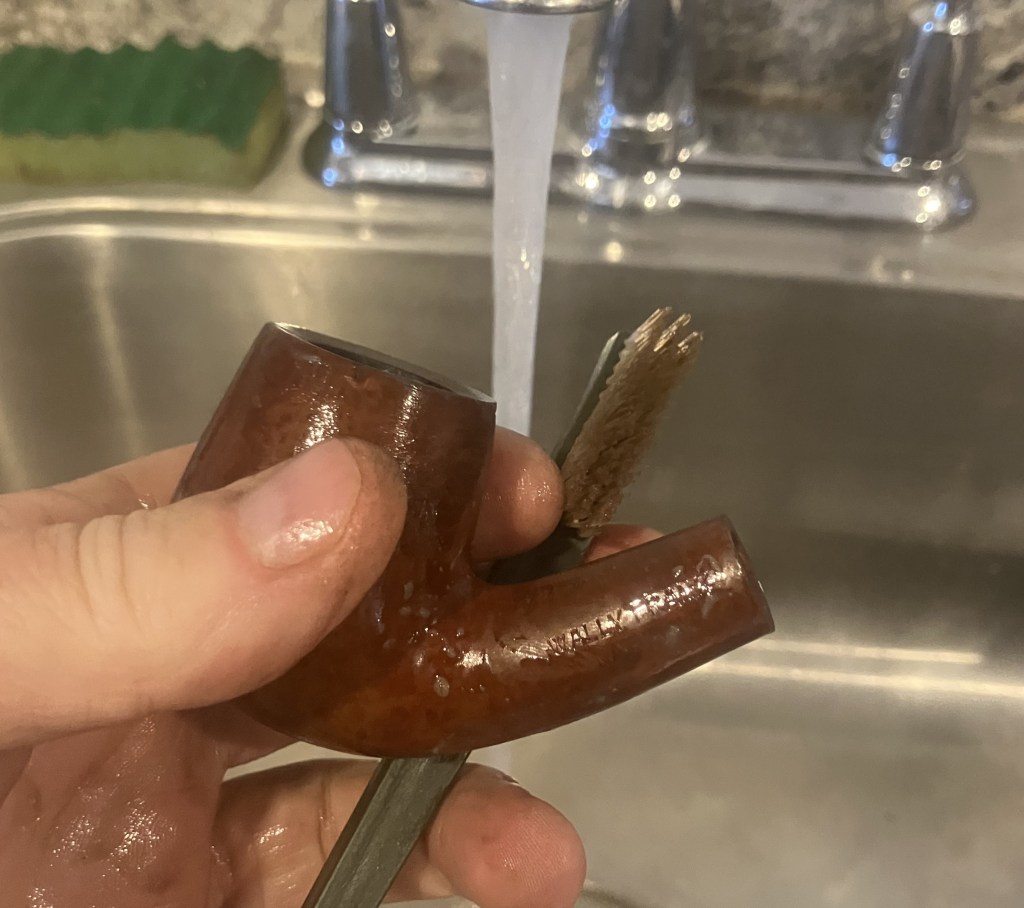
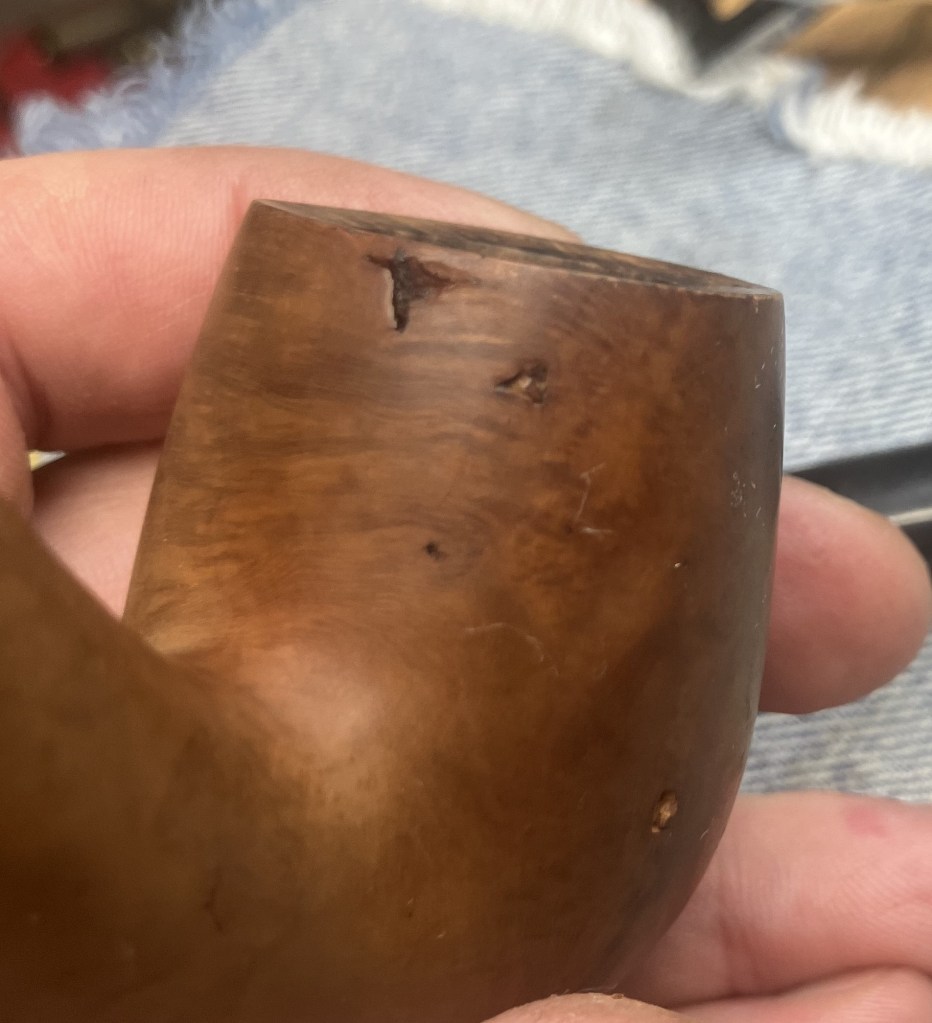
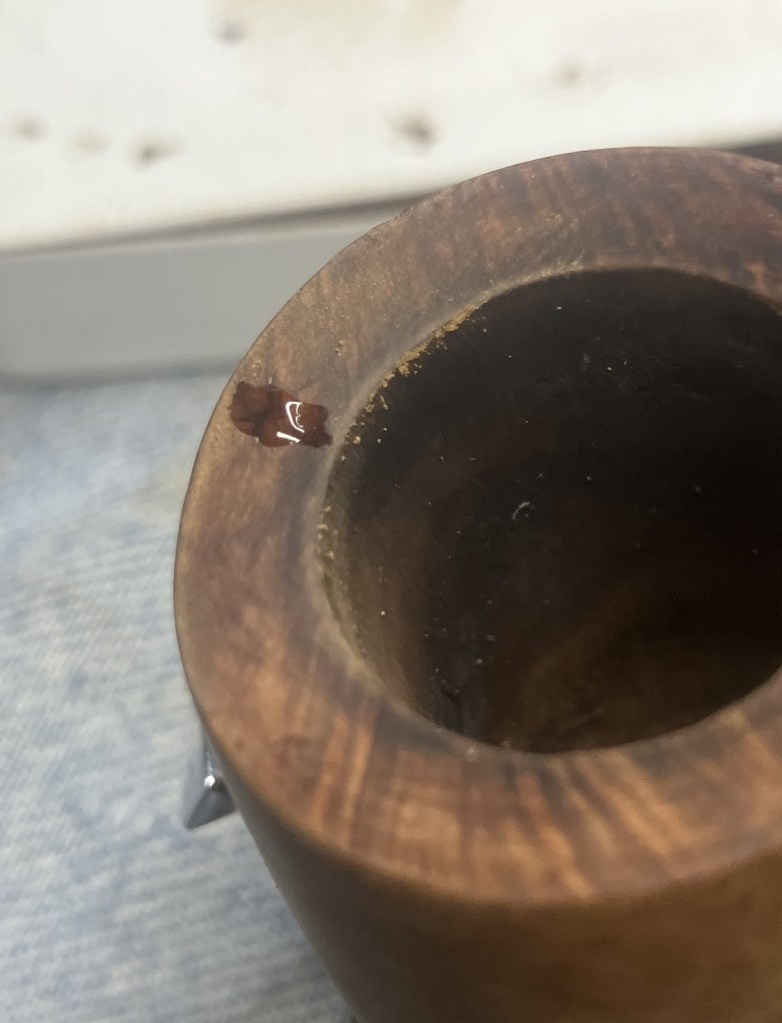
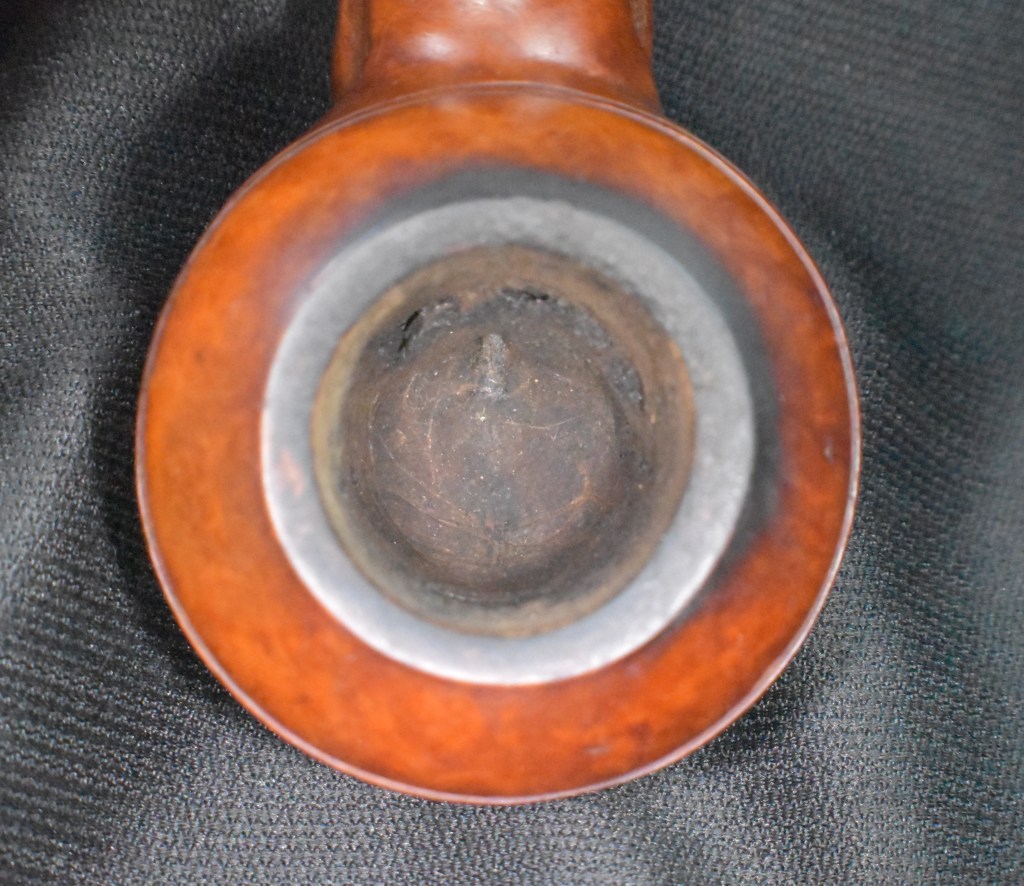
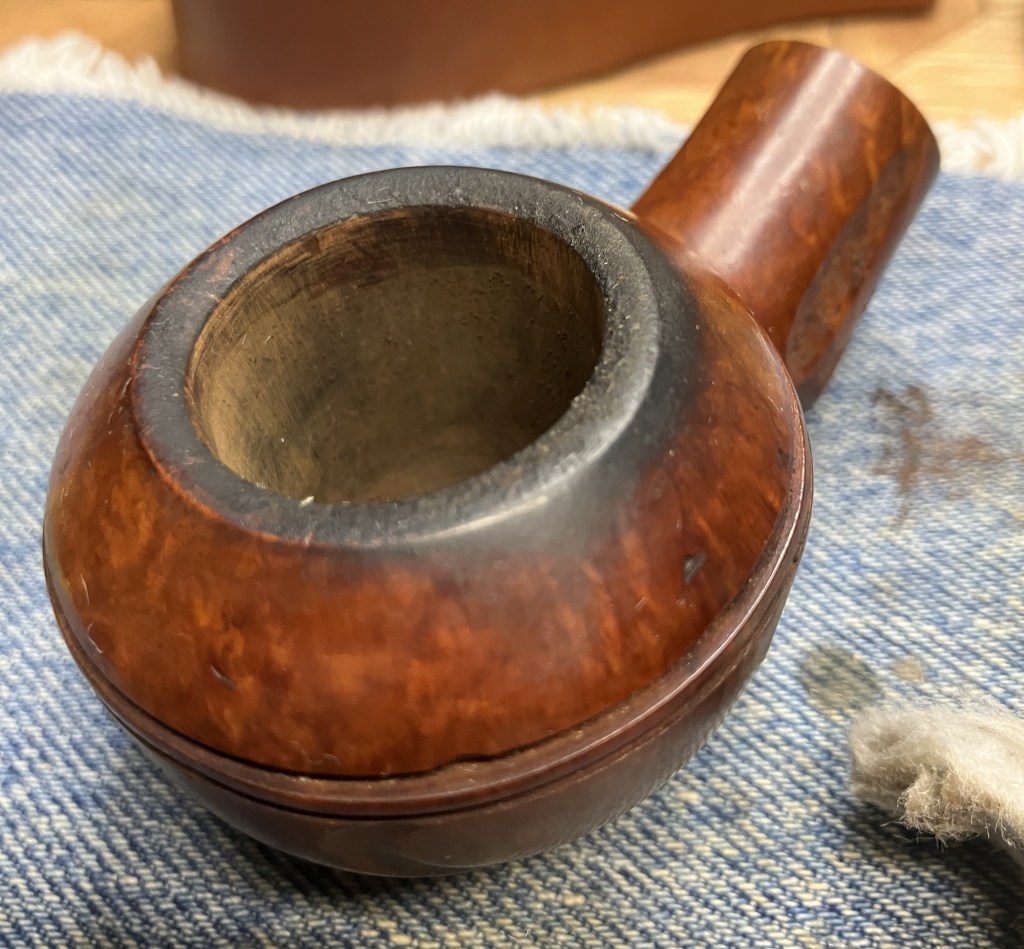
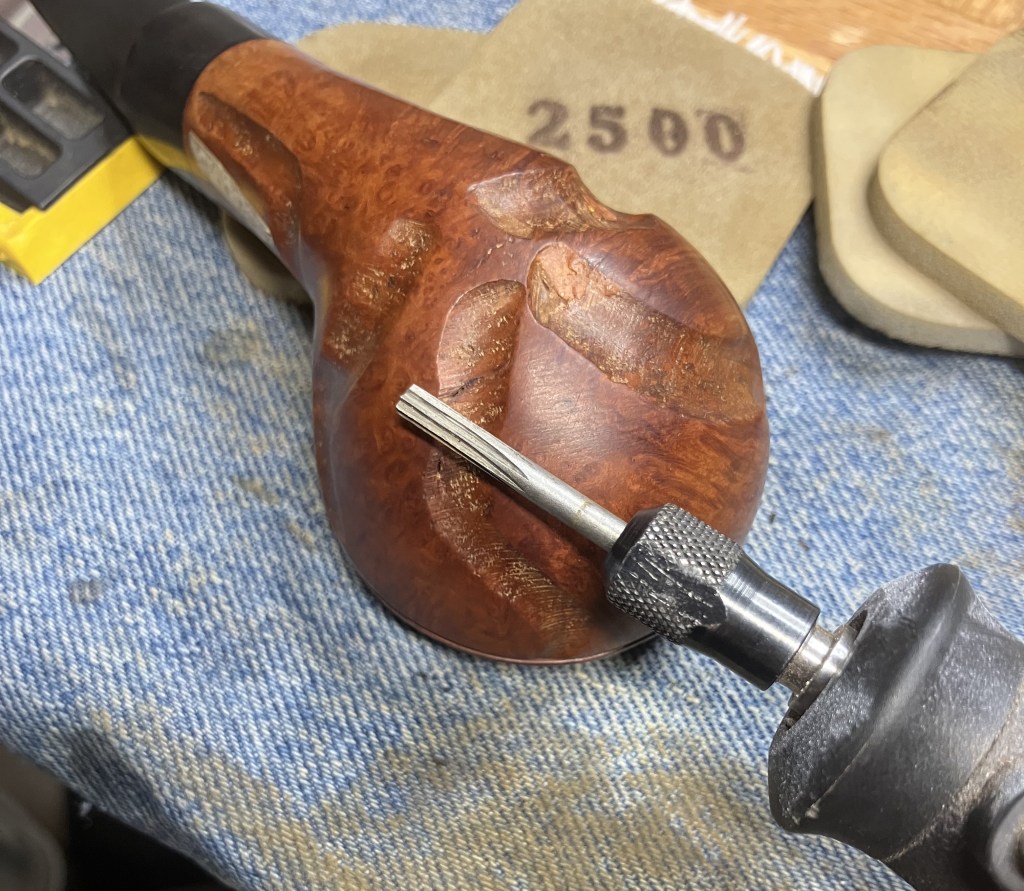
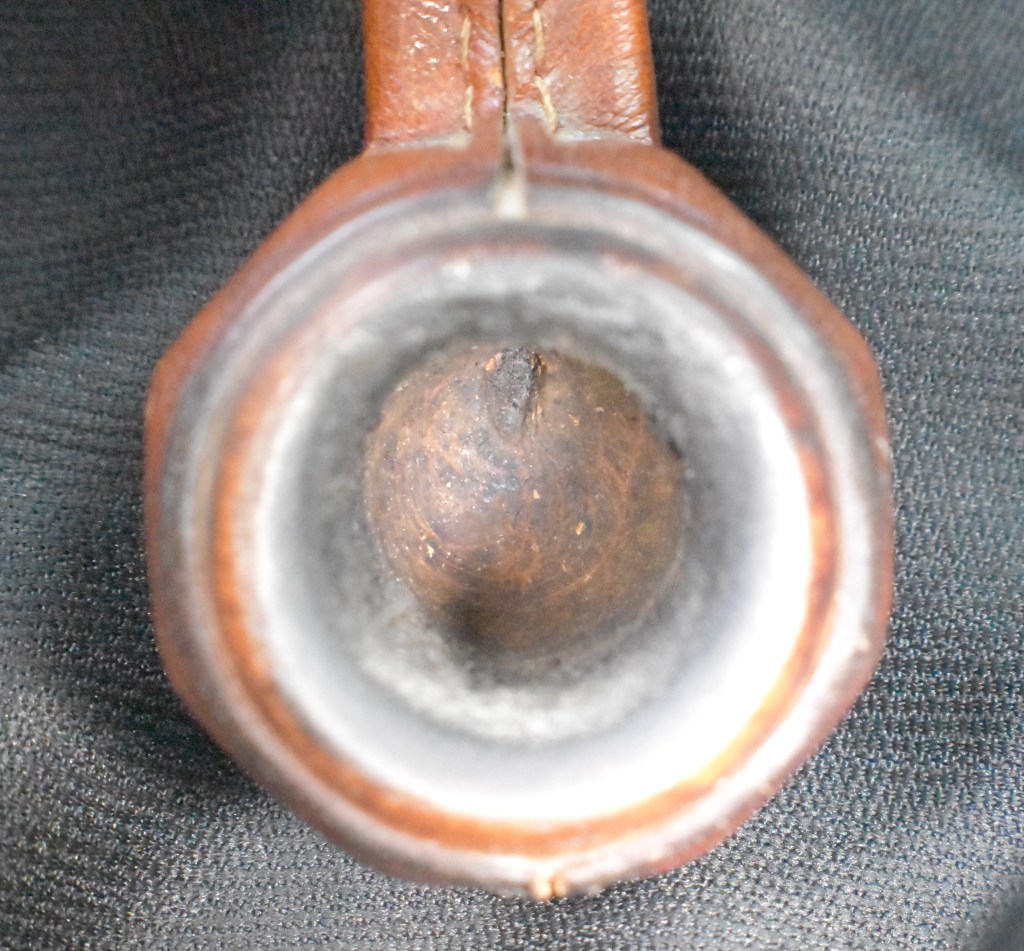
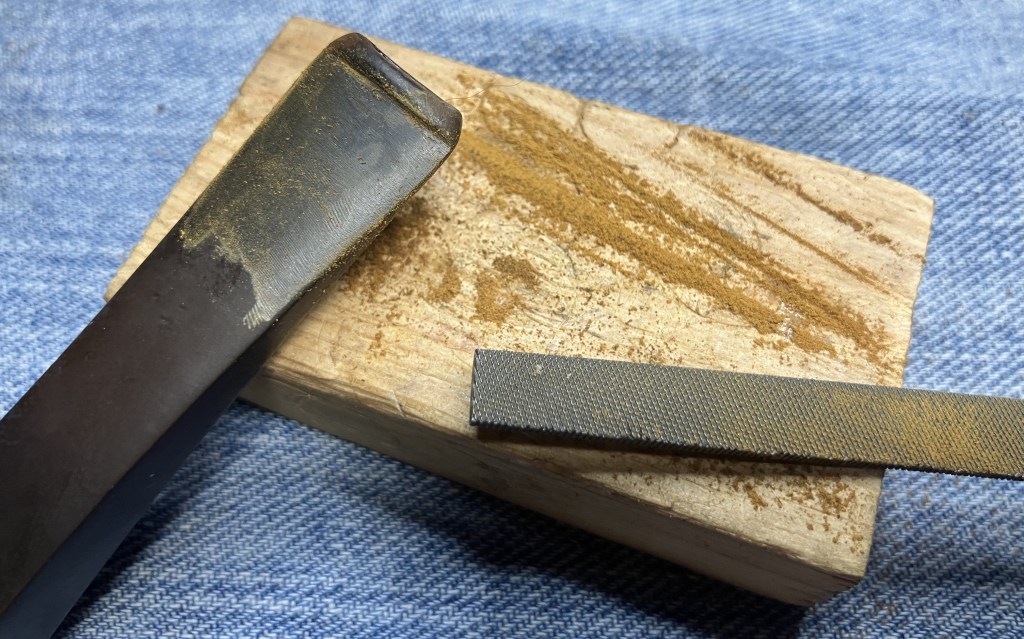
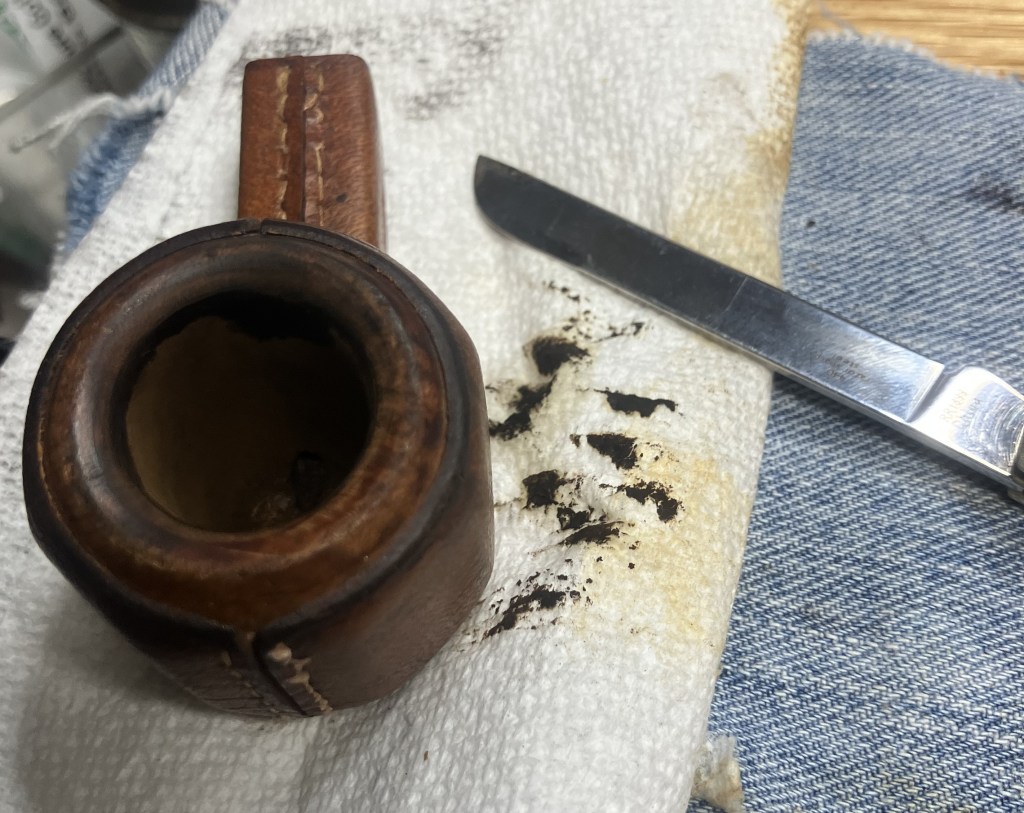
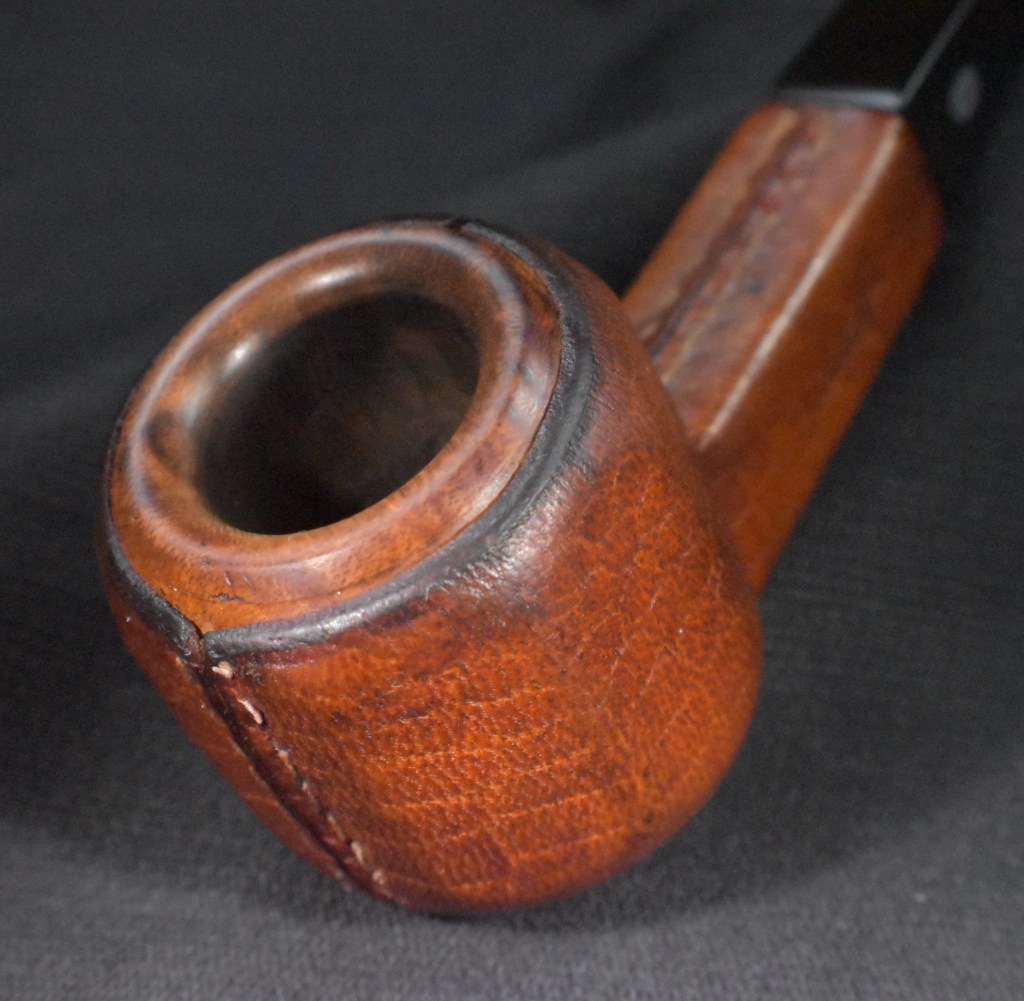
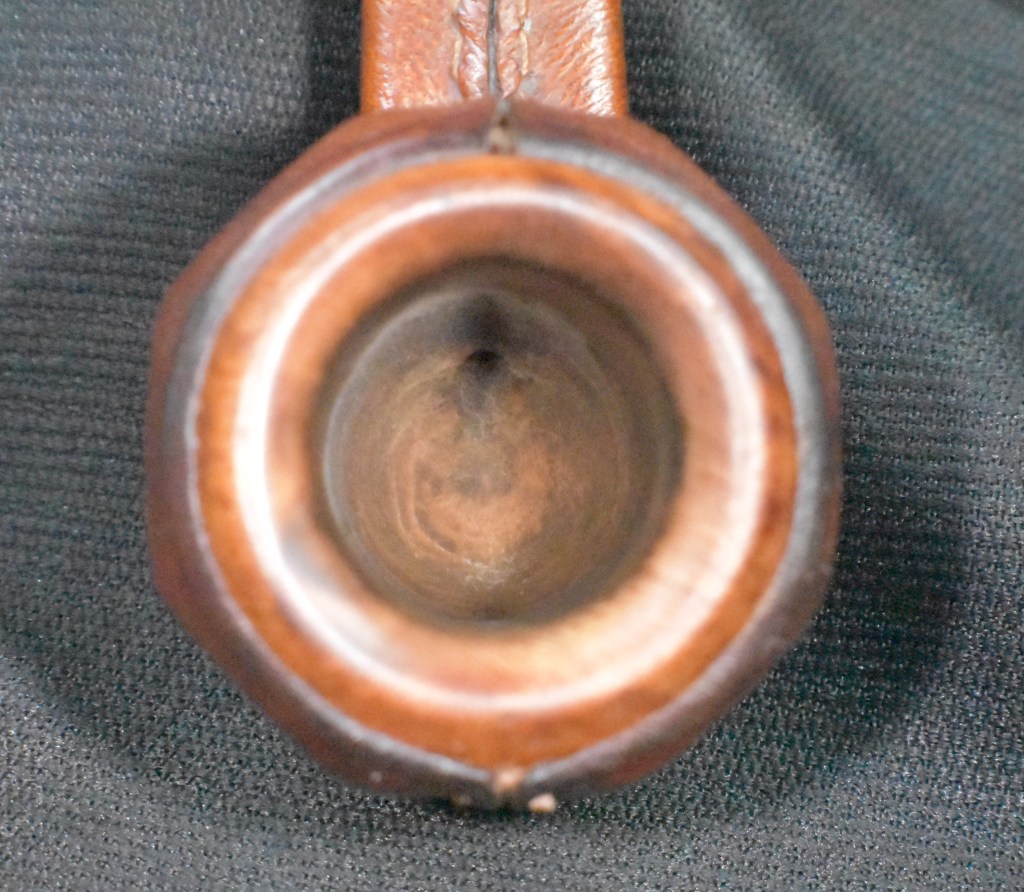
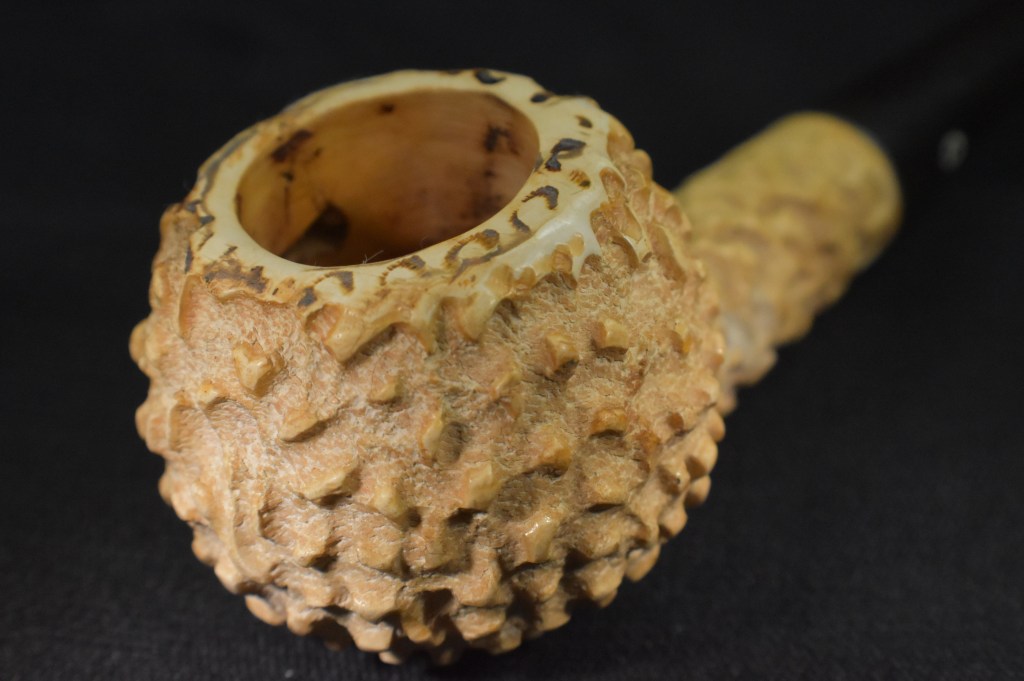
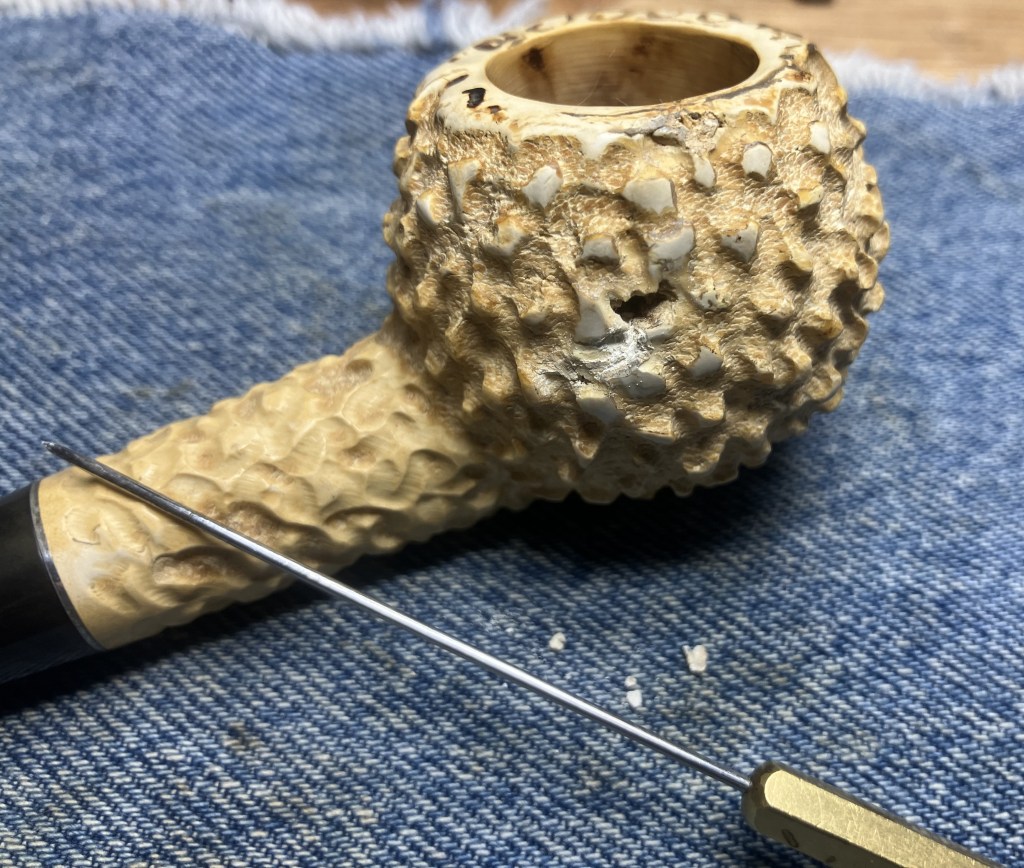
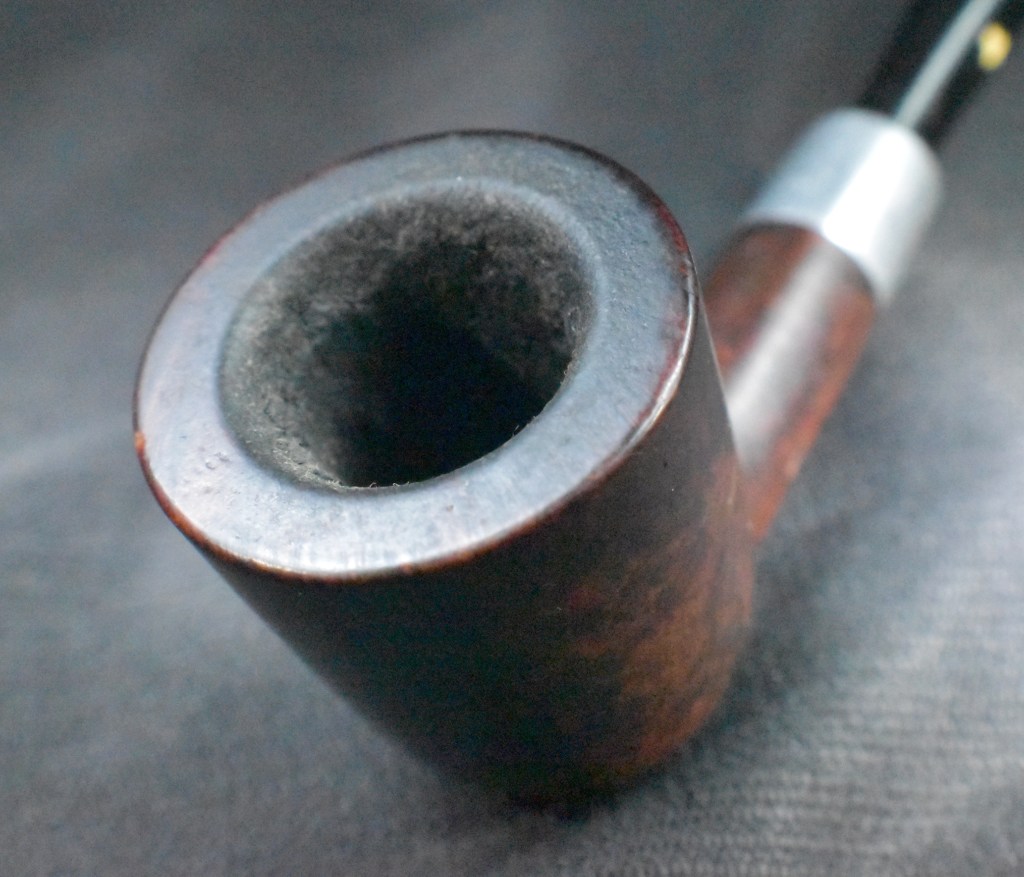
The rim was well encrusted with smoking residue also known as lava.
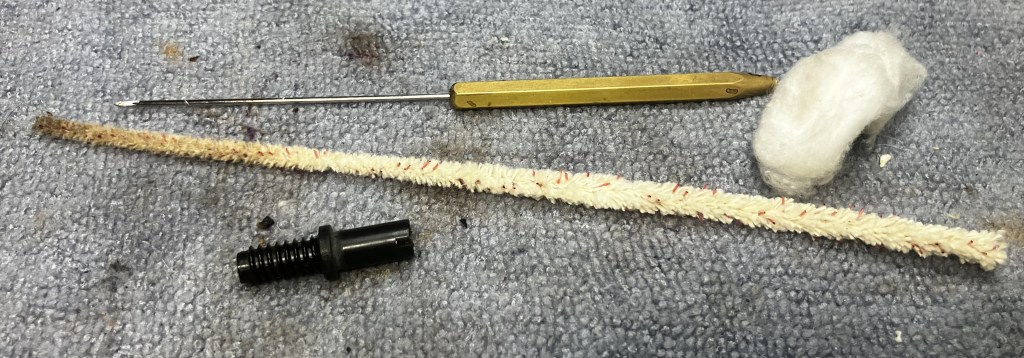
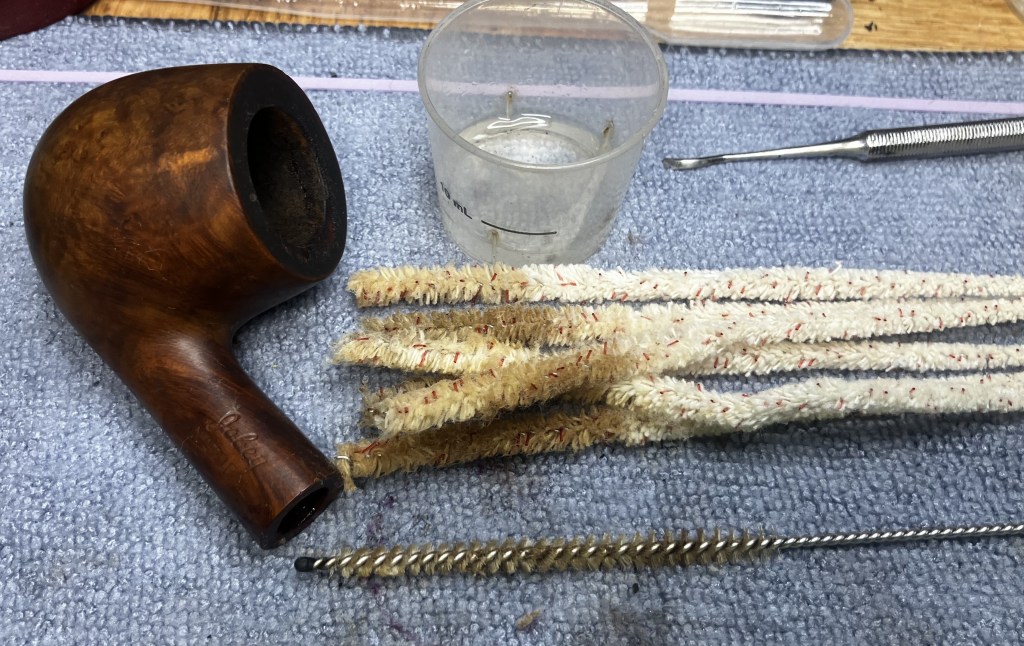
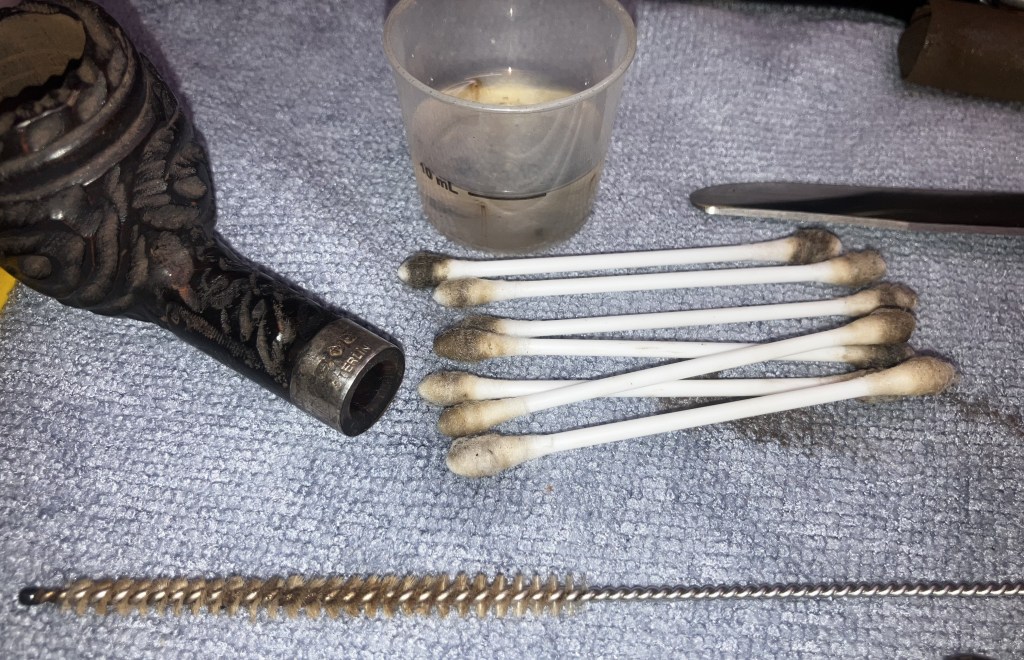
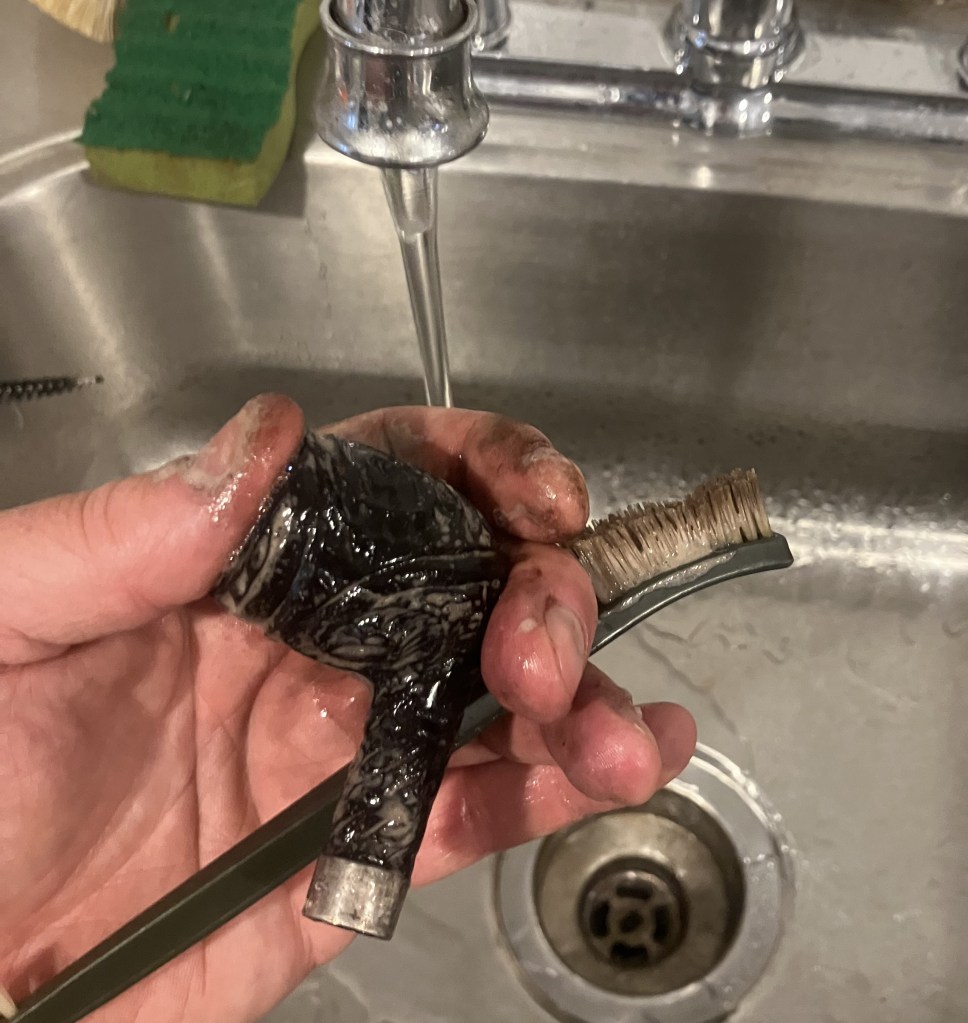
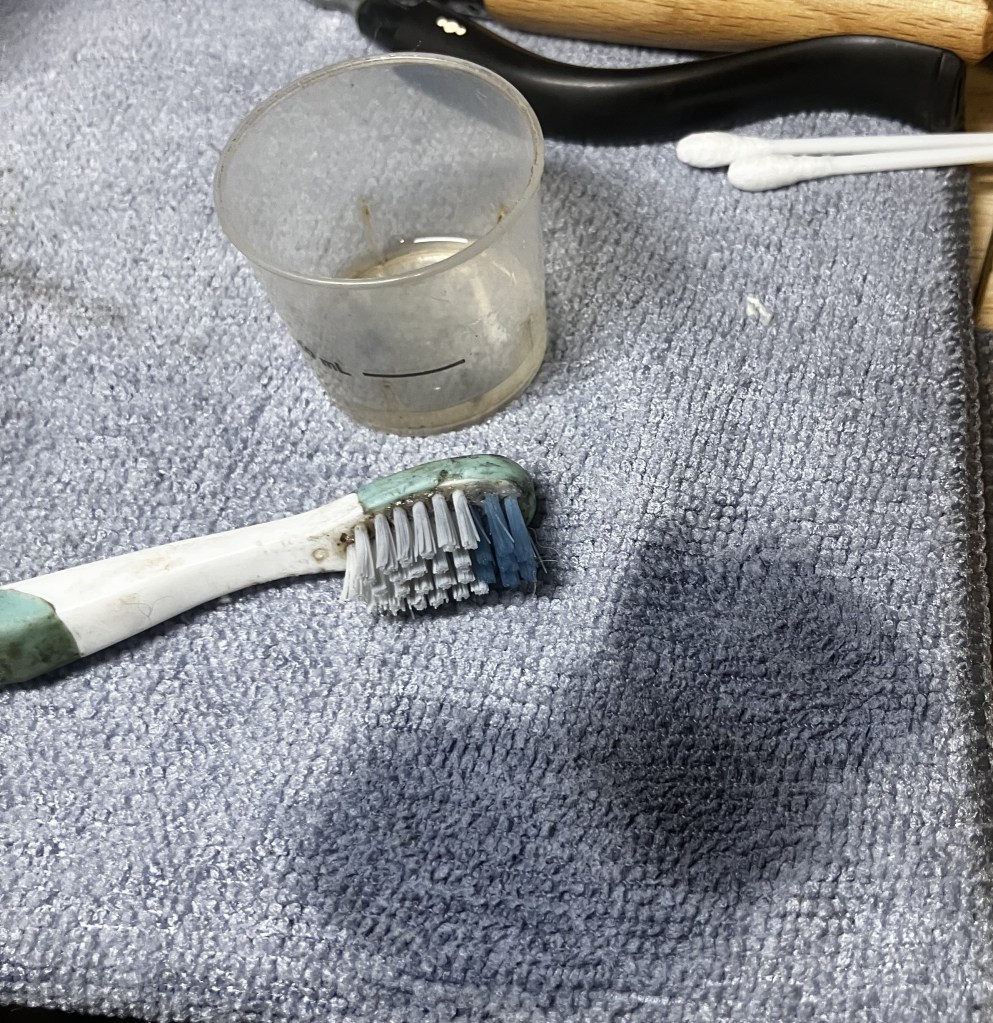
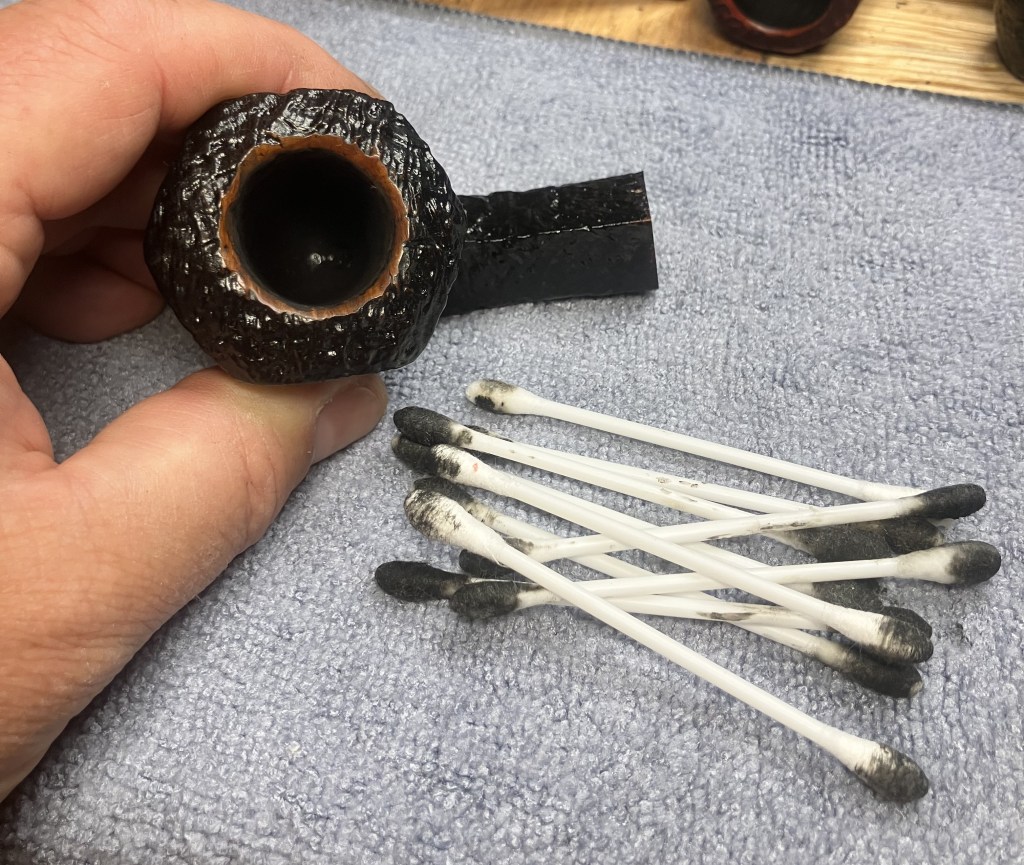
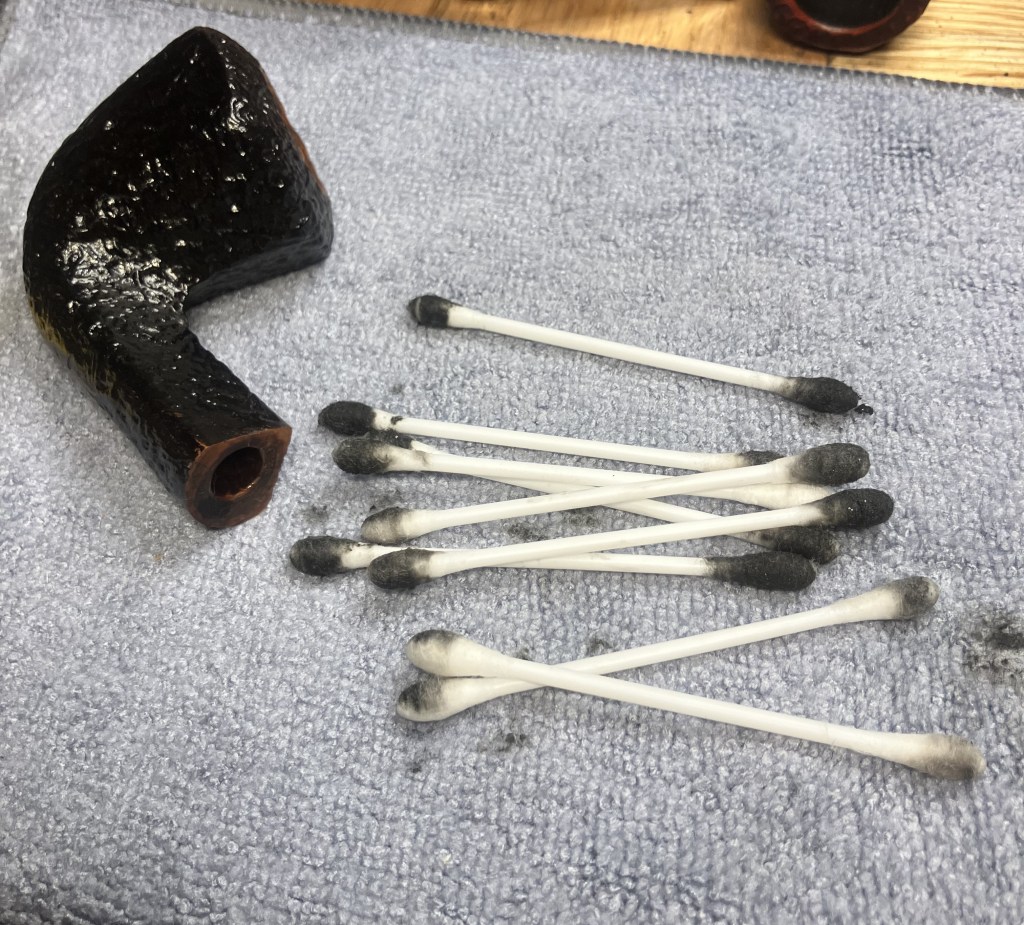
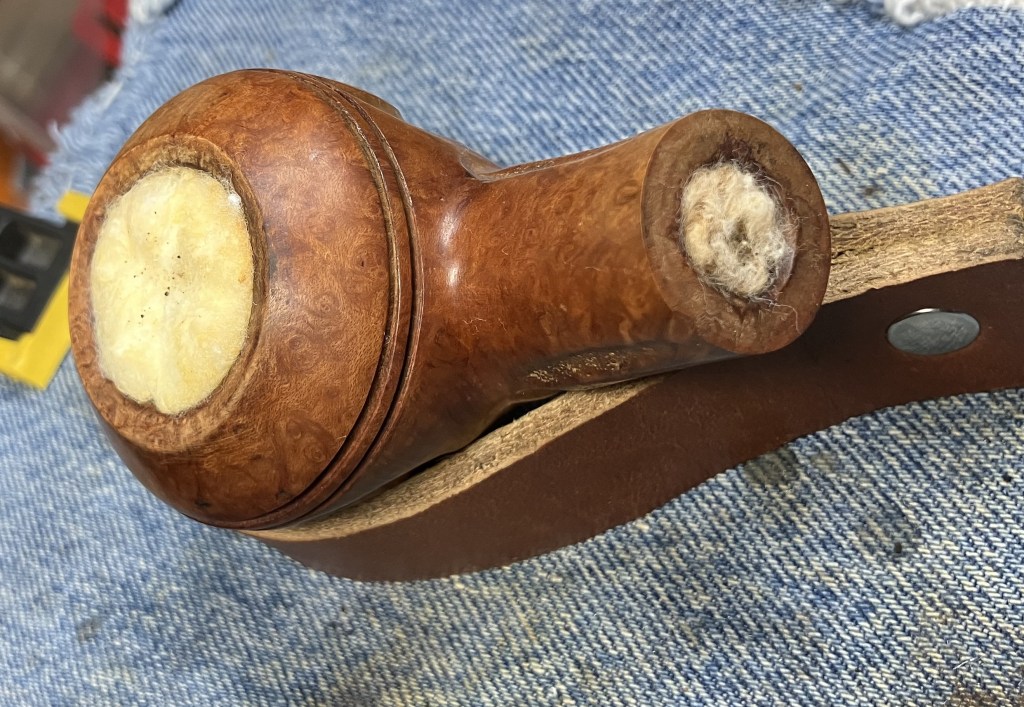
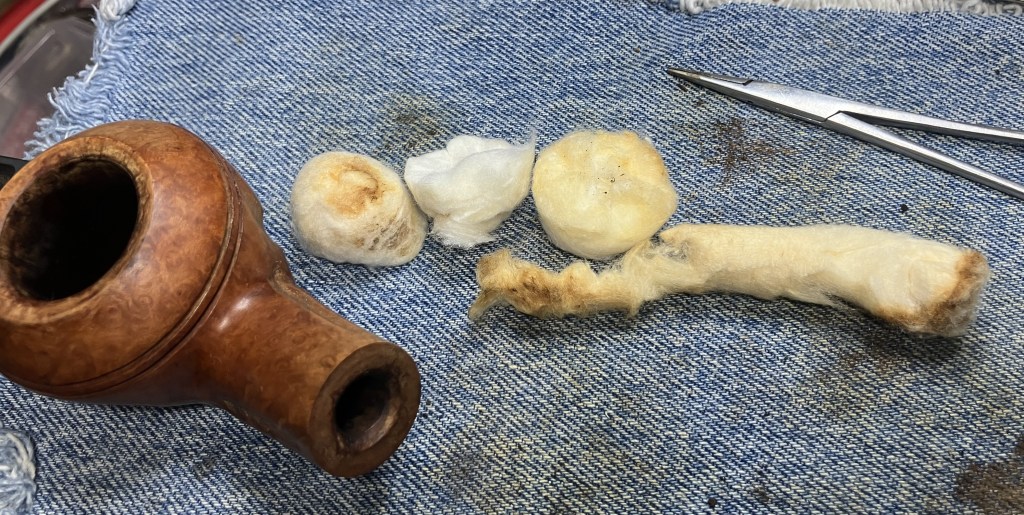
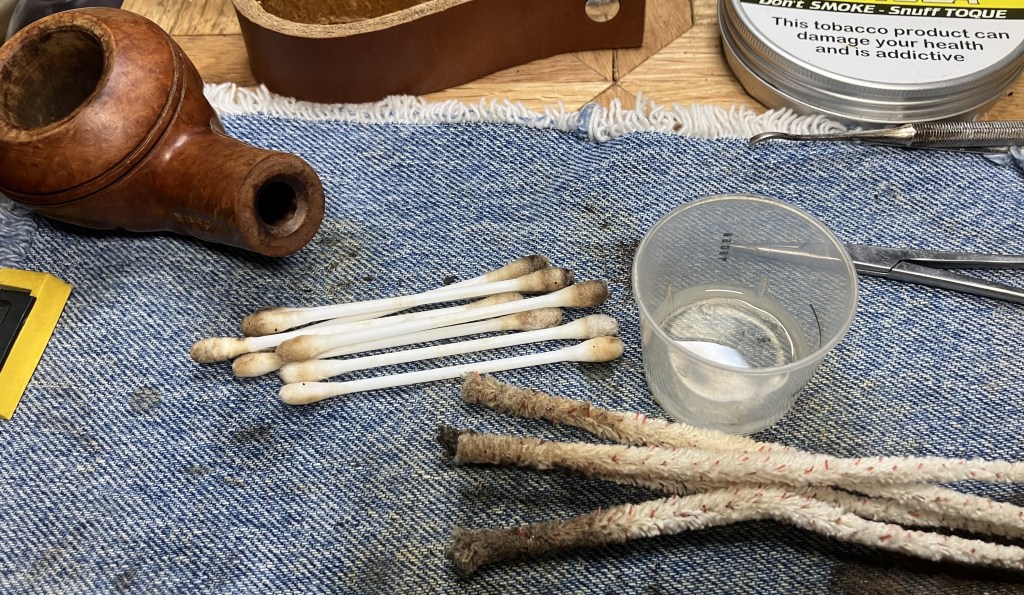
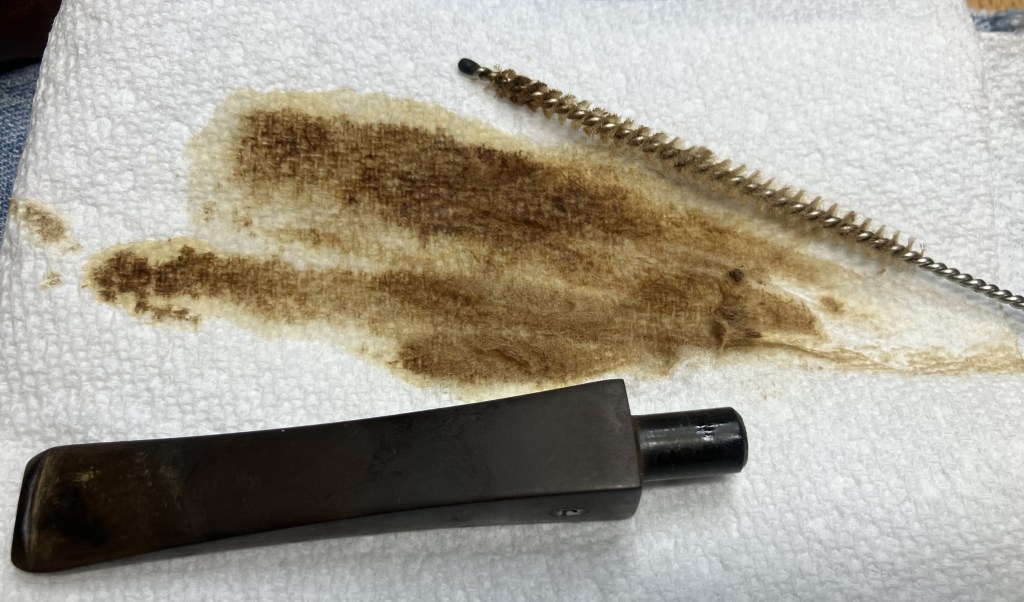
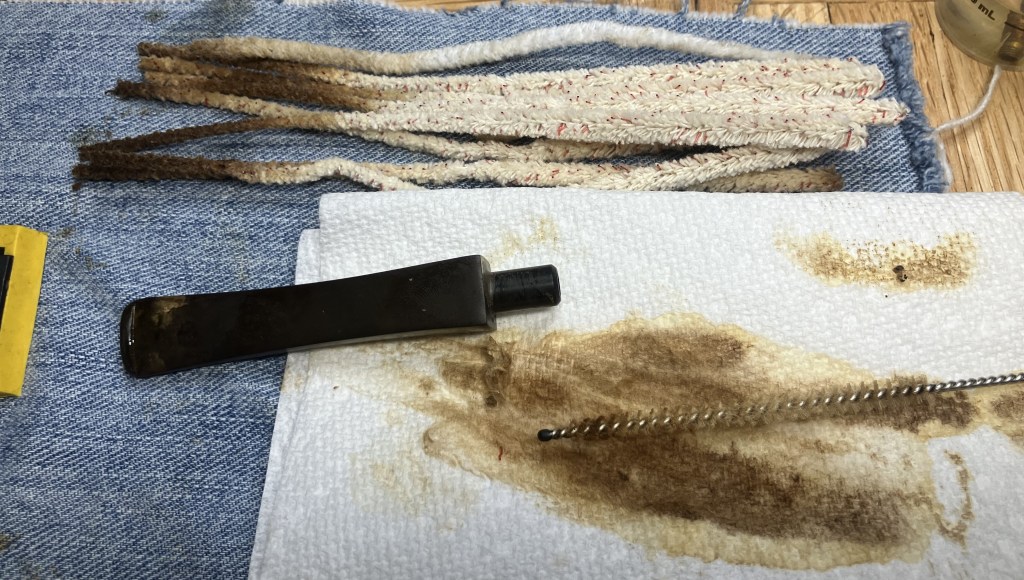
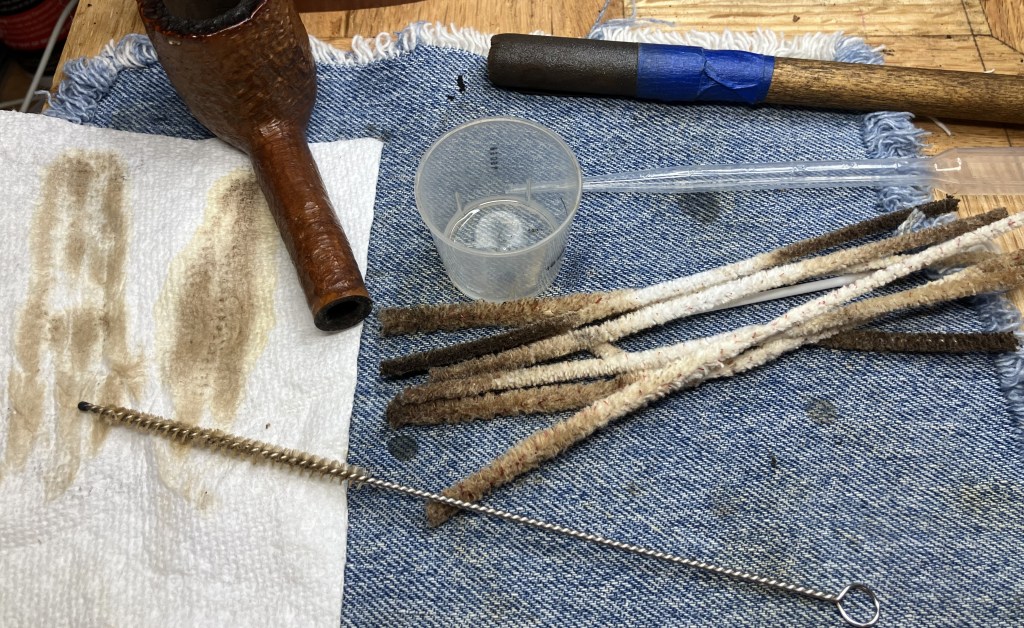
The shank was cleaned out with more alcohol and several bristle pipe cleaners along with a dental scraper.
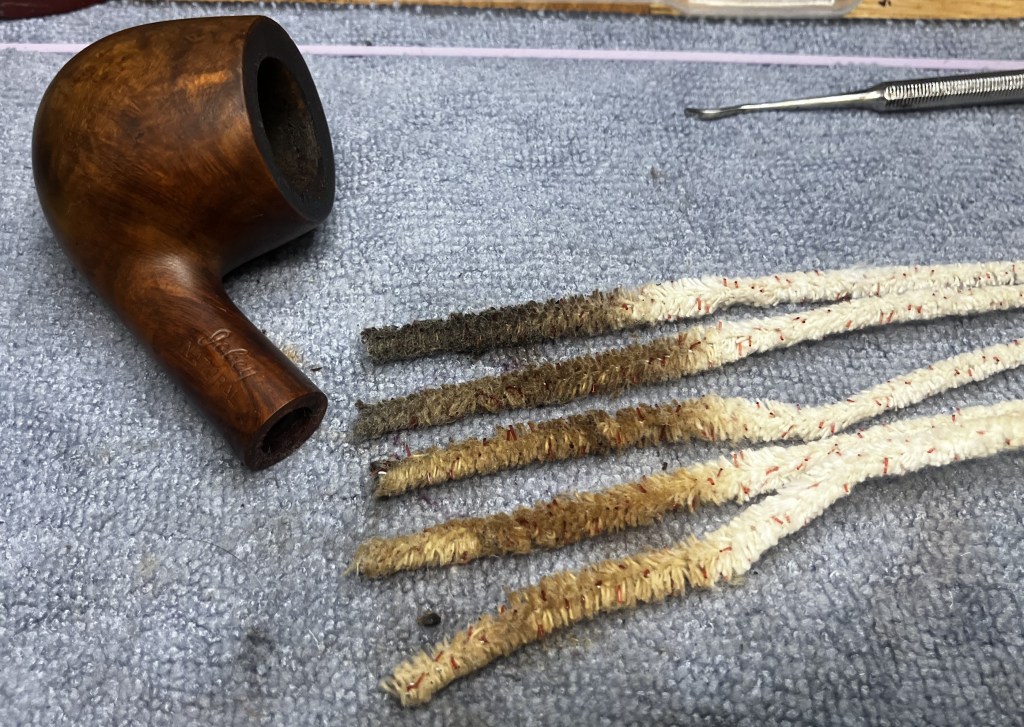
Then some more pipe cleaners and a nylon shank brush.
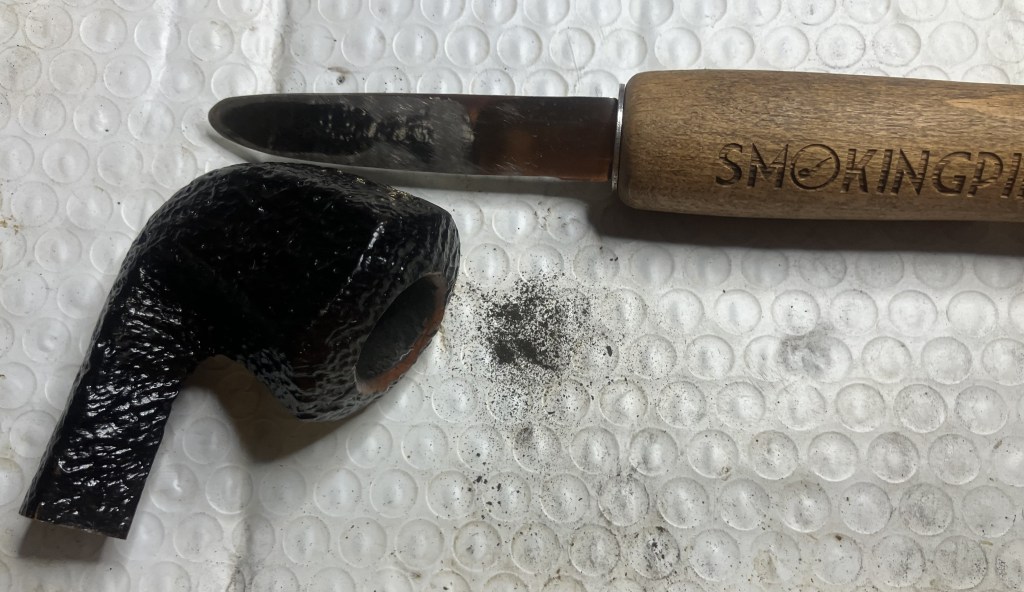
Removing the lava was done with careful scraping with a very sharp pocketknife. After the initial scraping the rim was moistened with saliva and additional scraping was done with the blade.
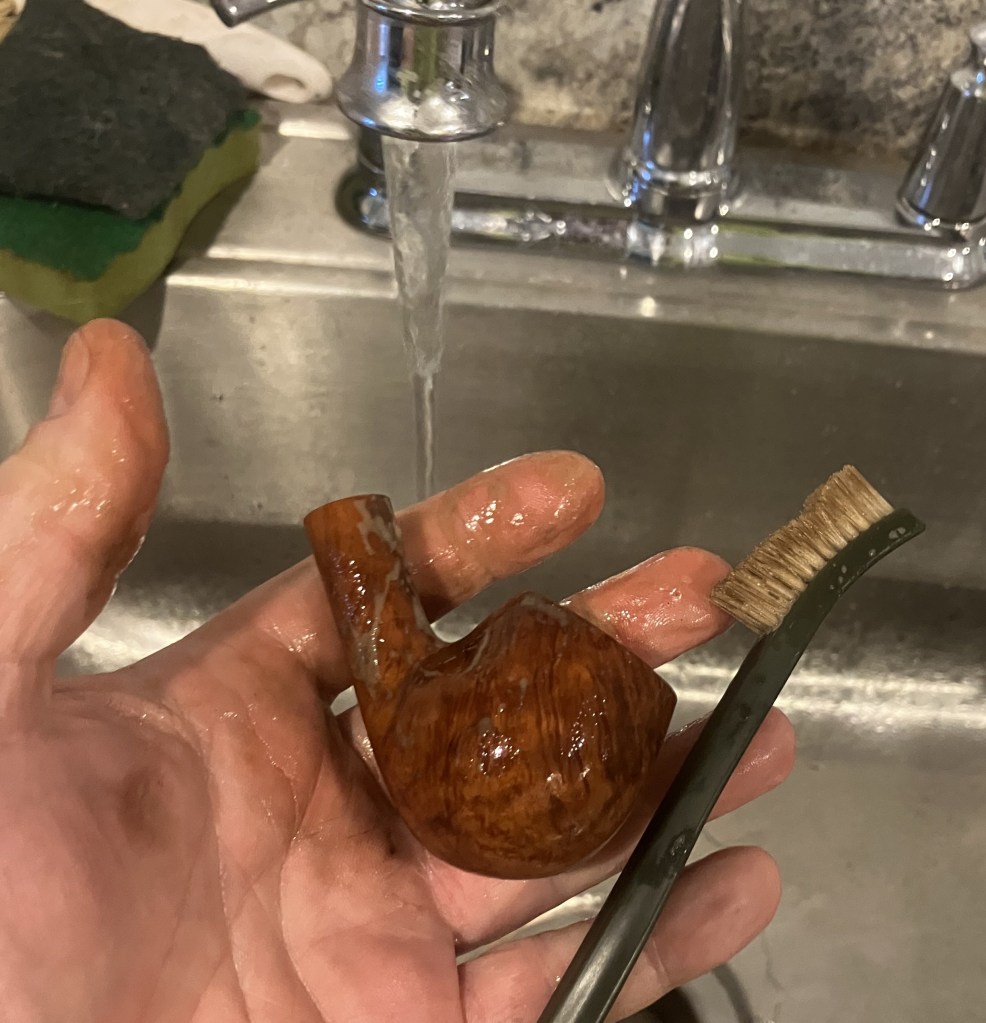
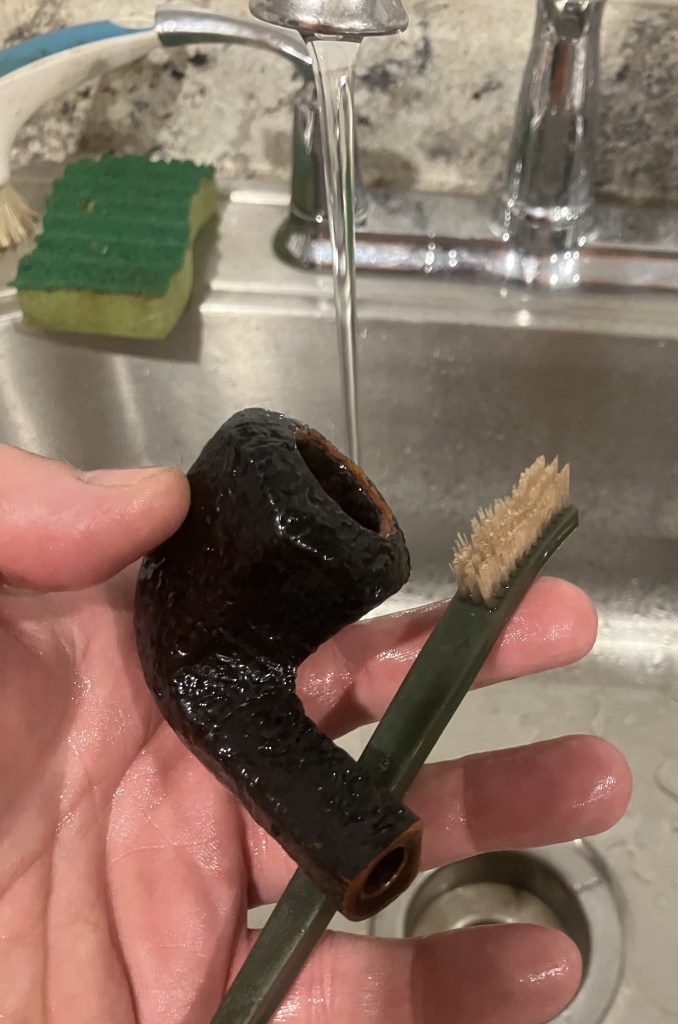
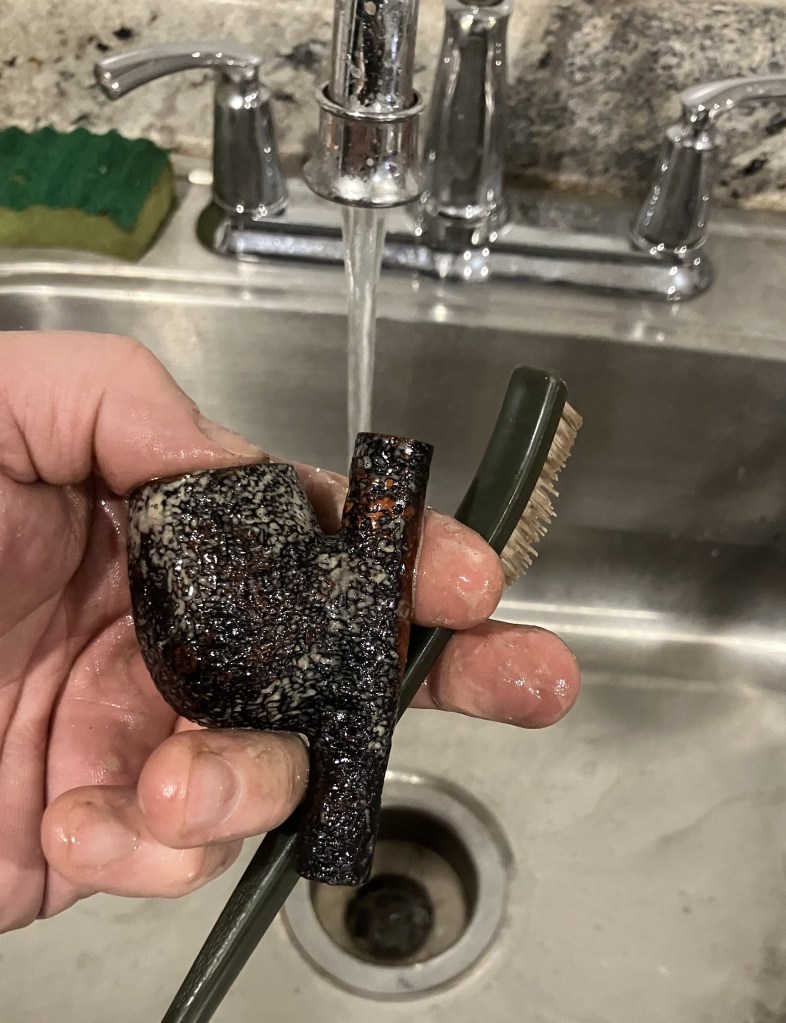
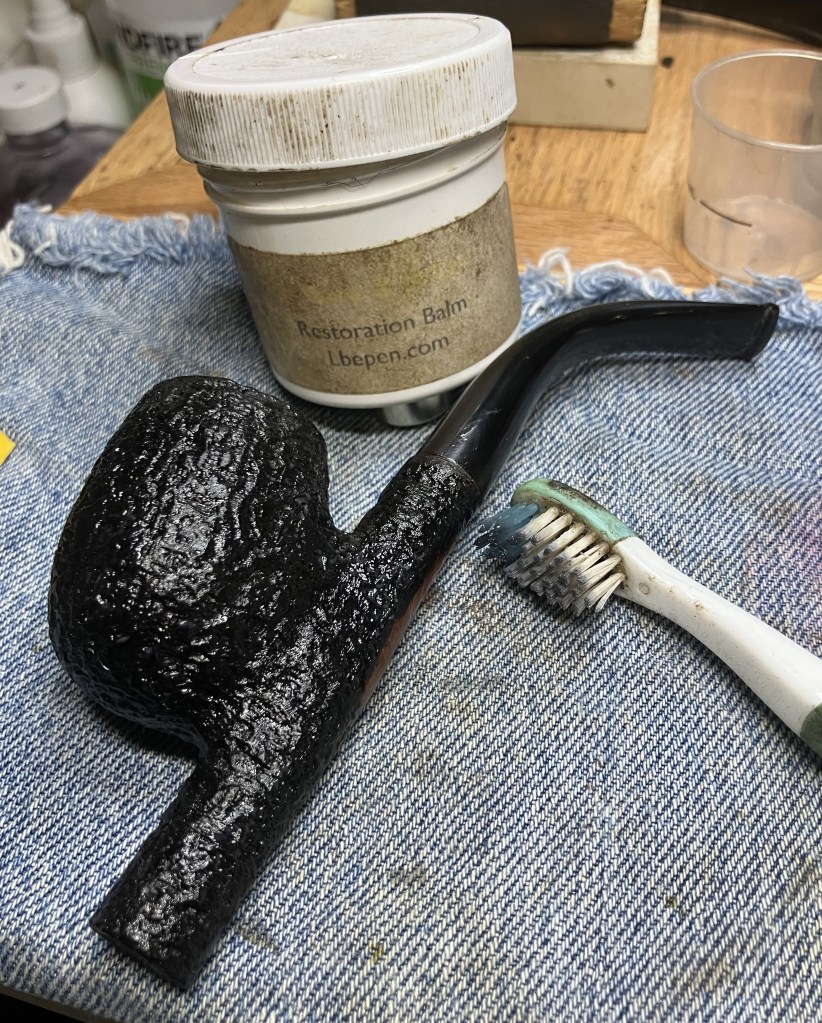
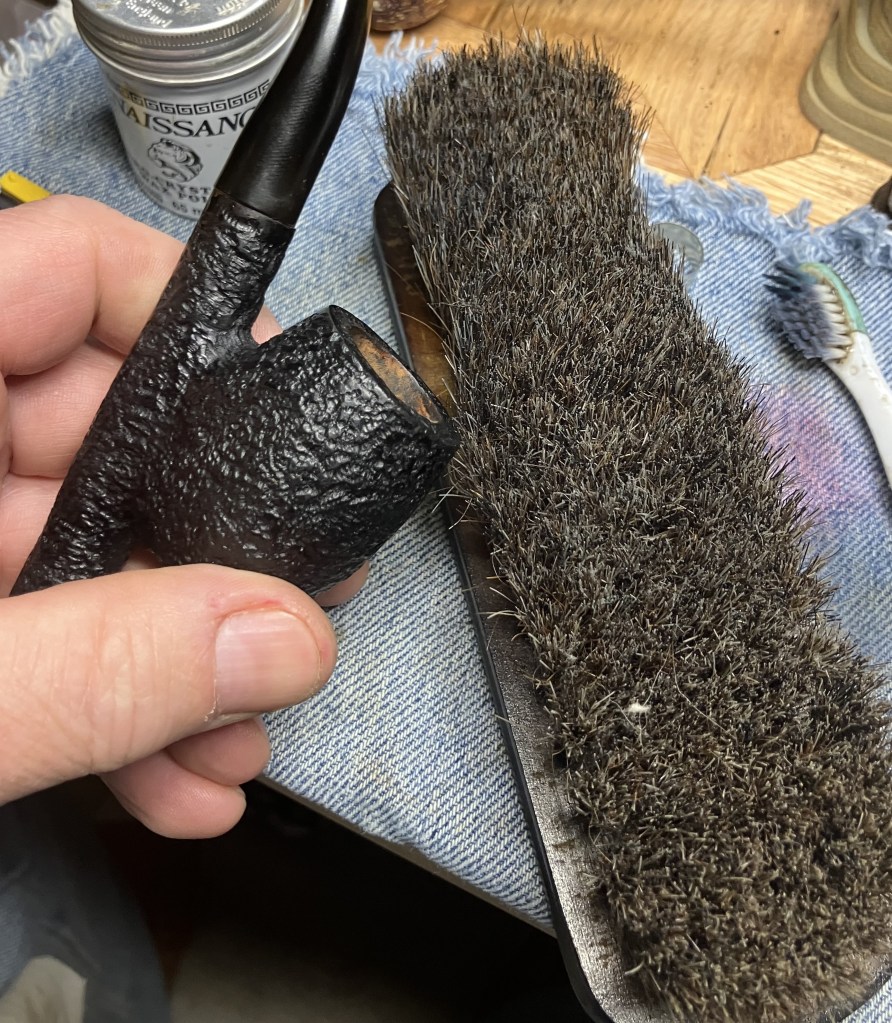
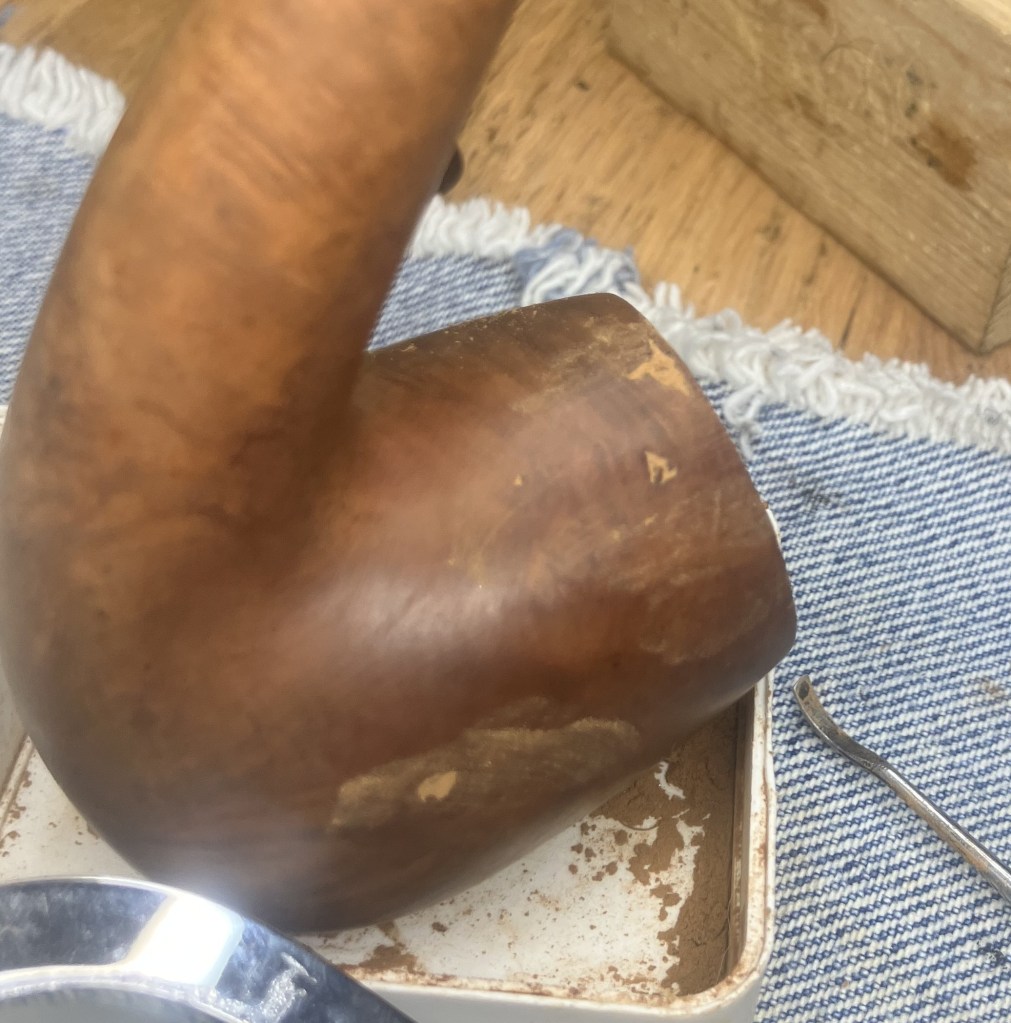
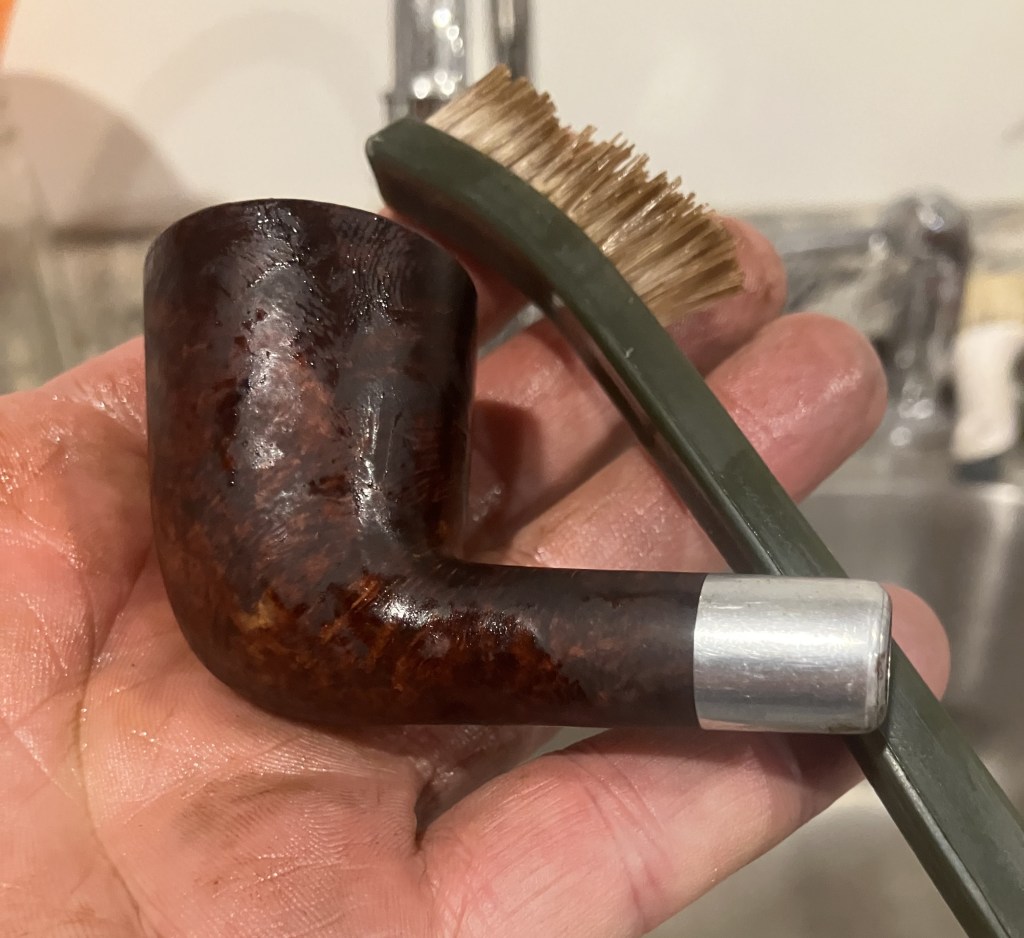
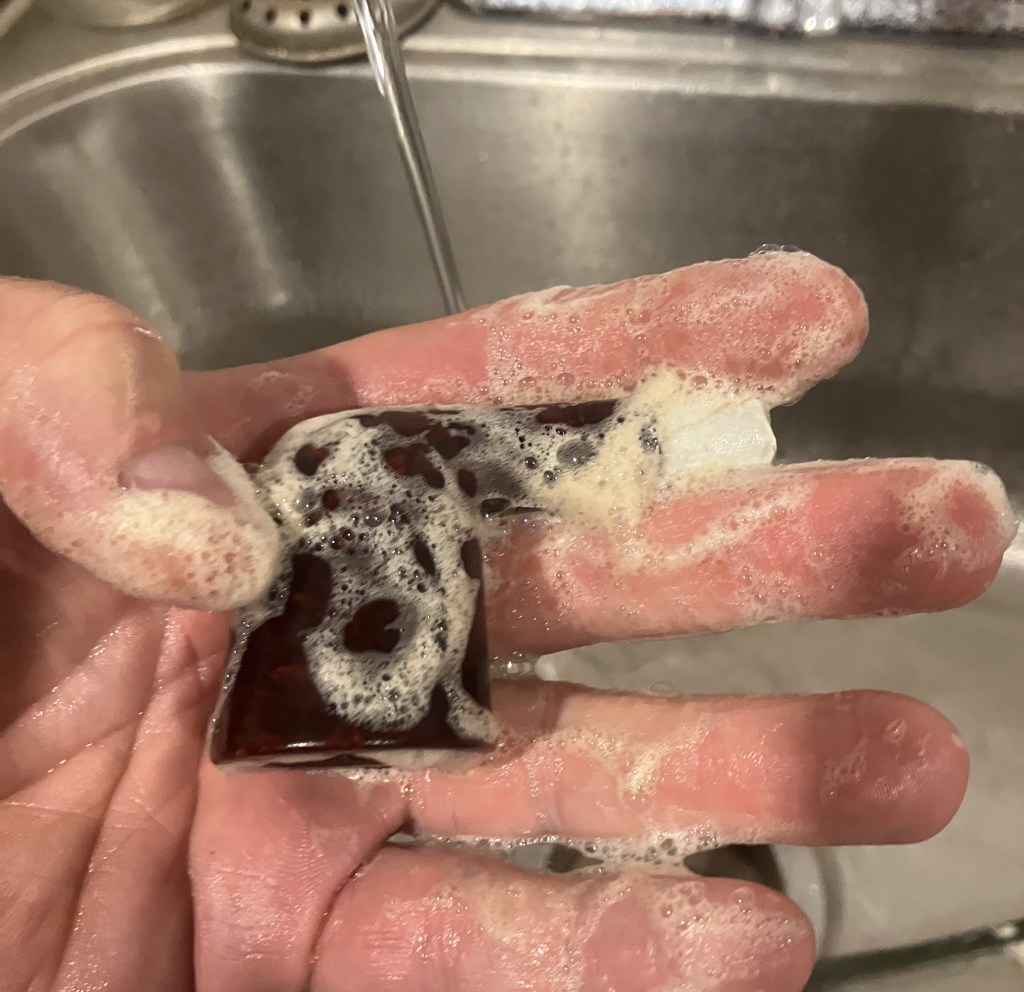
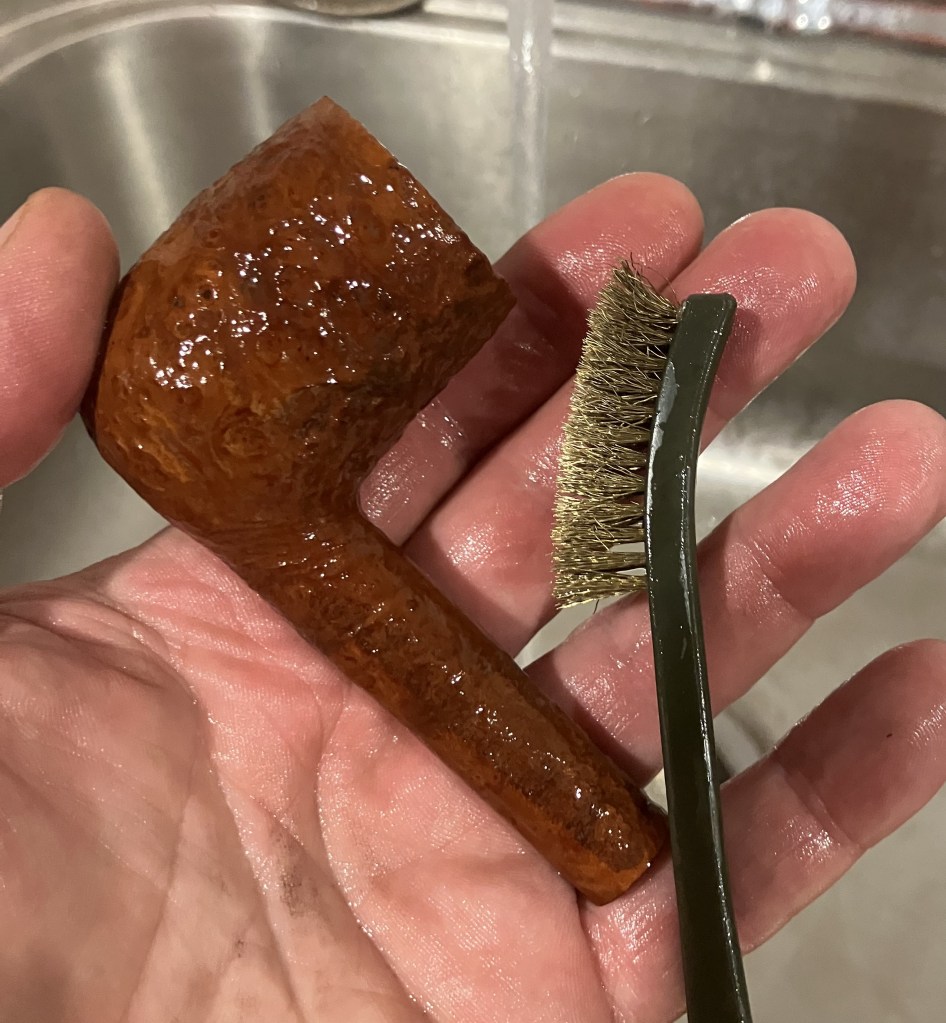
To the sink! Here the stummel was scrubbed with a nylon brush and undiluted Murphy Oil Soap. The soap was rinsed with warm water.
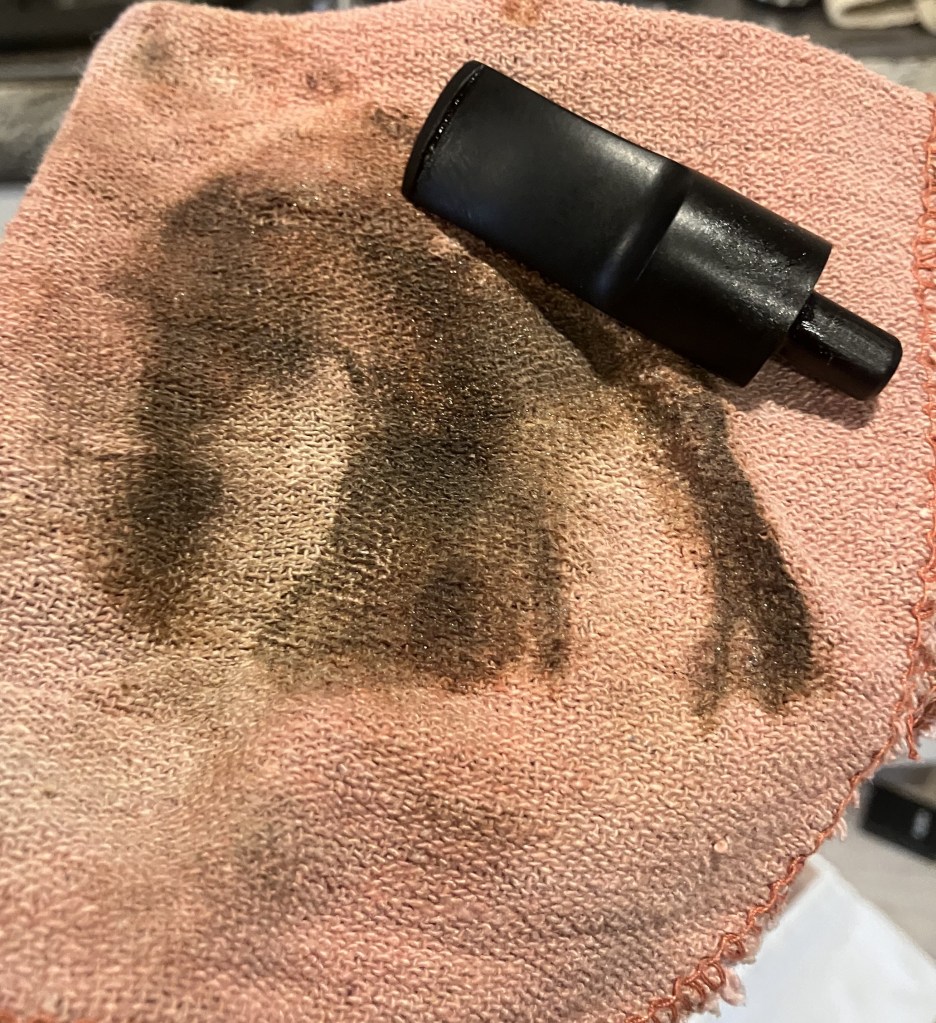
The stem had dripped as much of the deox as it appeared like it could. A coarse shop rag was used to vigorously rub the remaining solution from the stem. This rubbing removed additional oxidized vulcanite which the deox had softened.
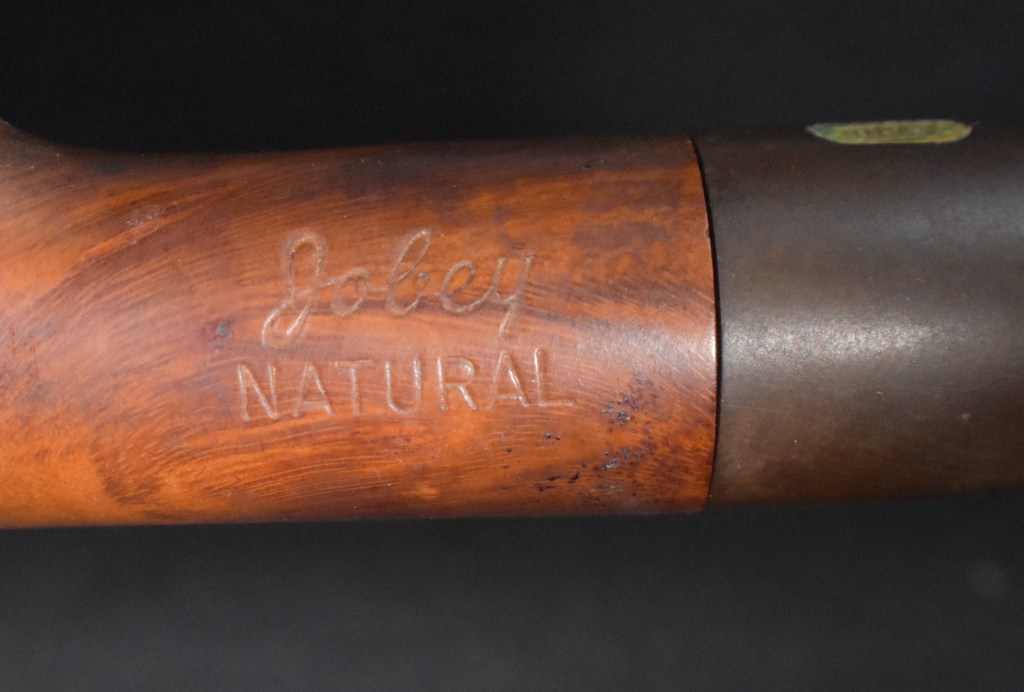
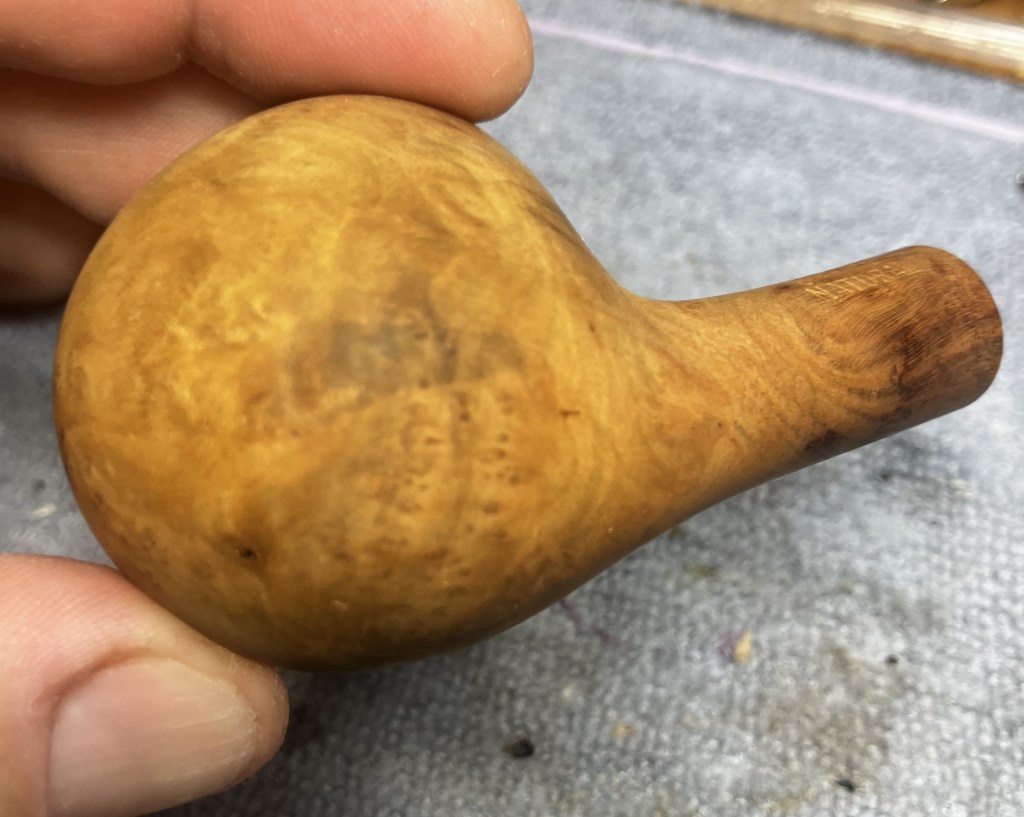
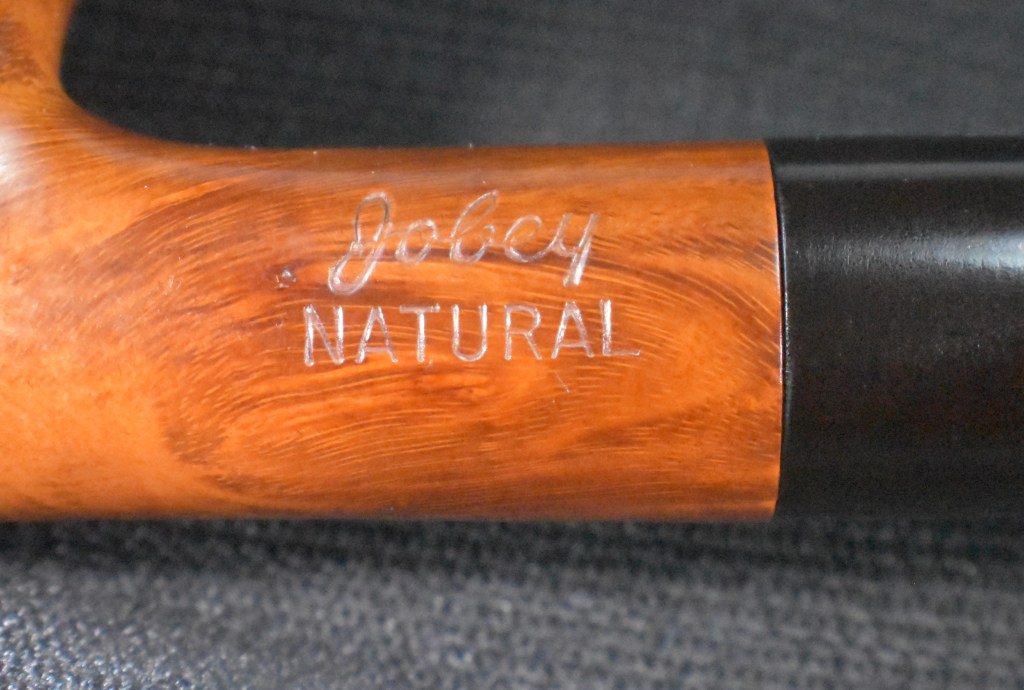
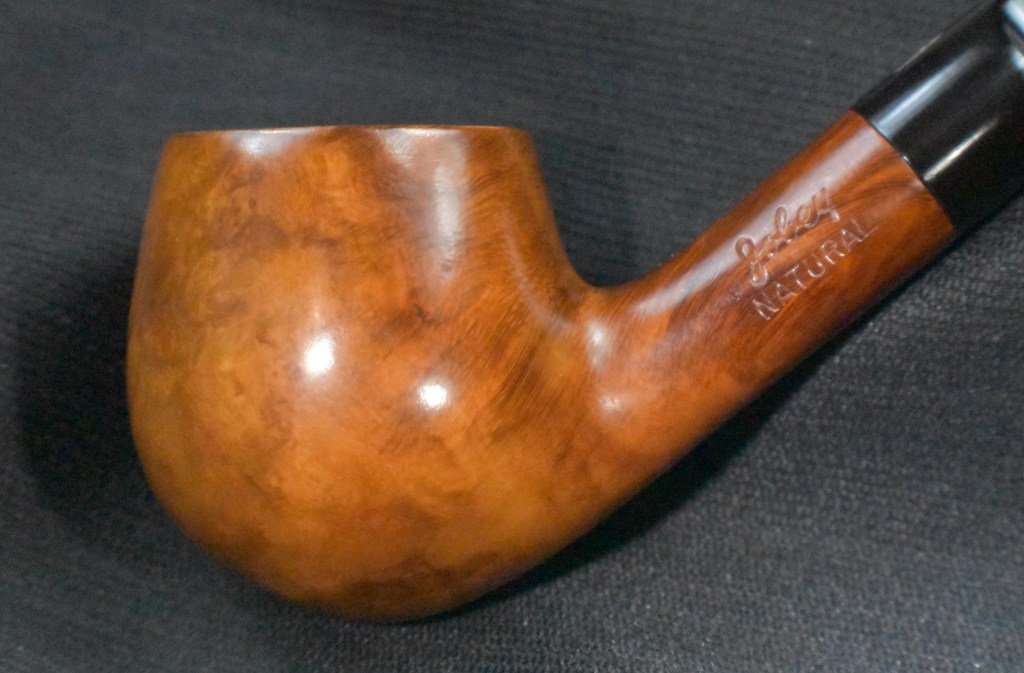
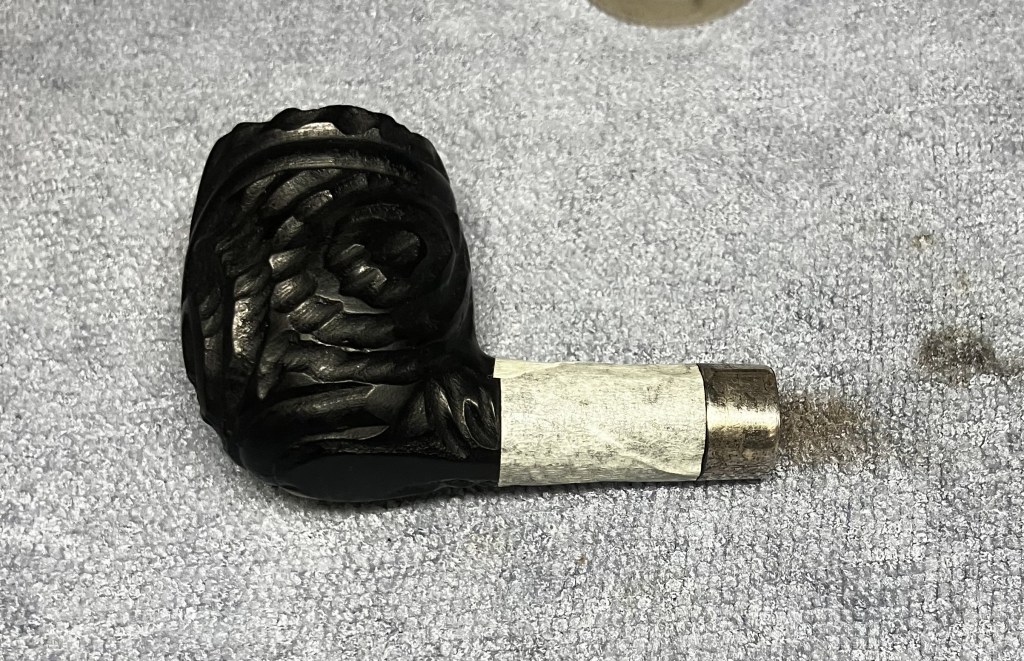
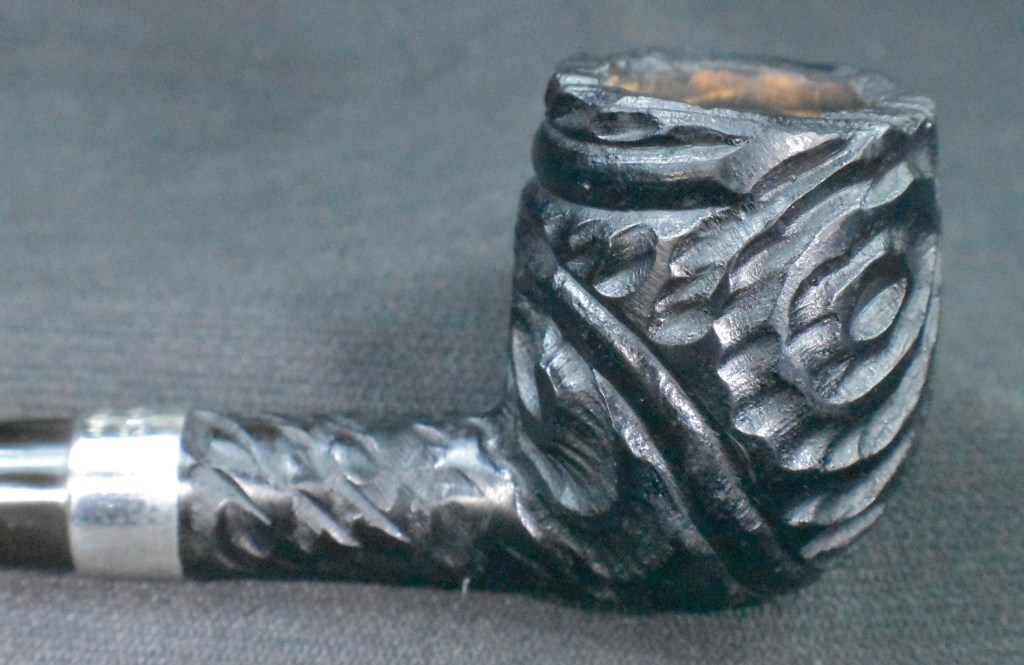
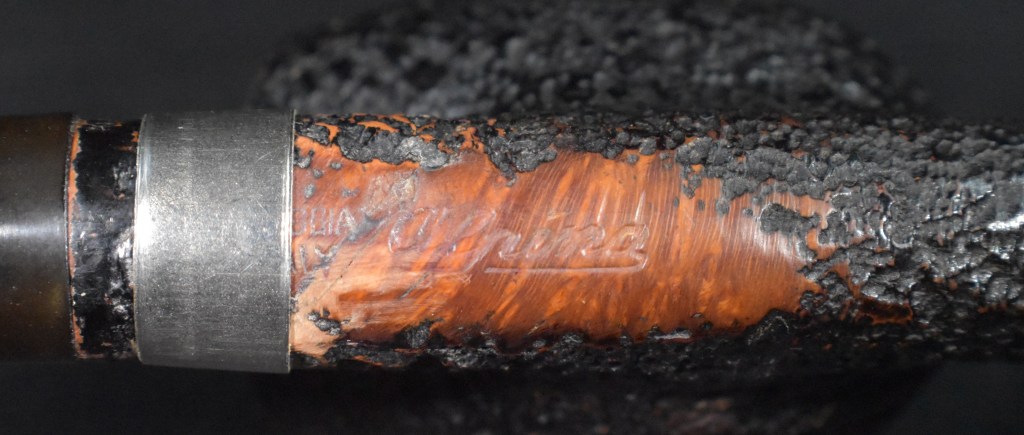
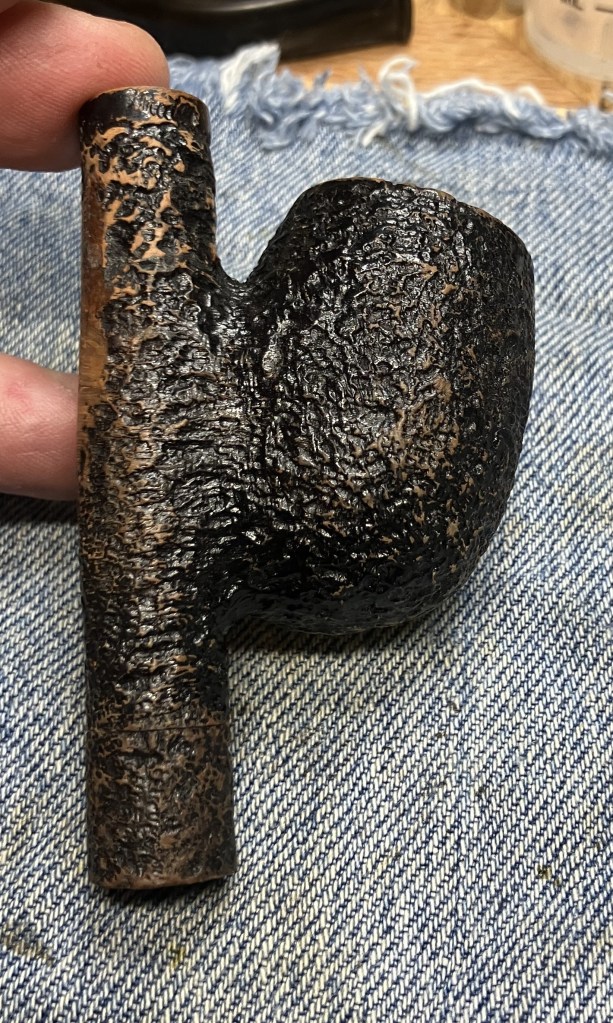
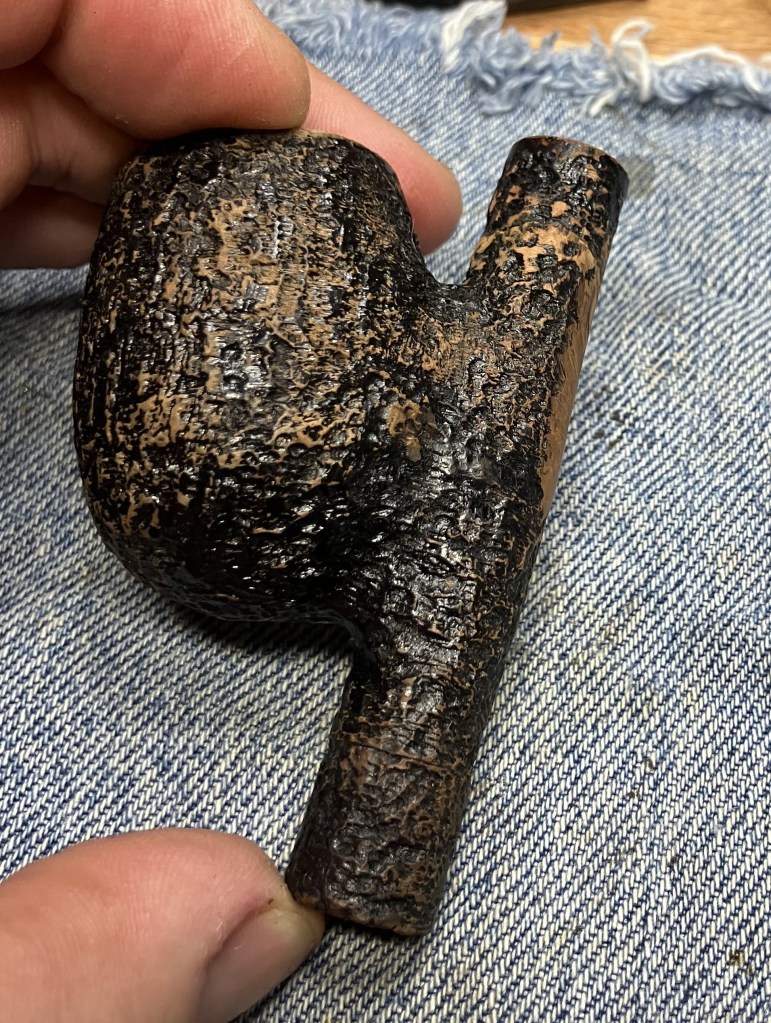
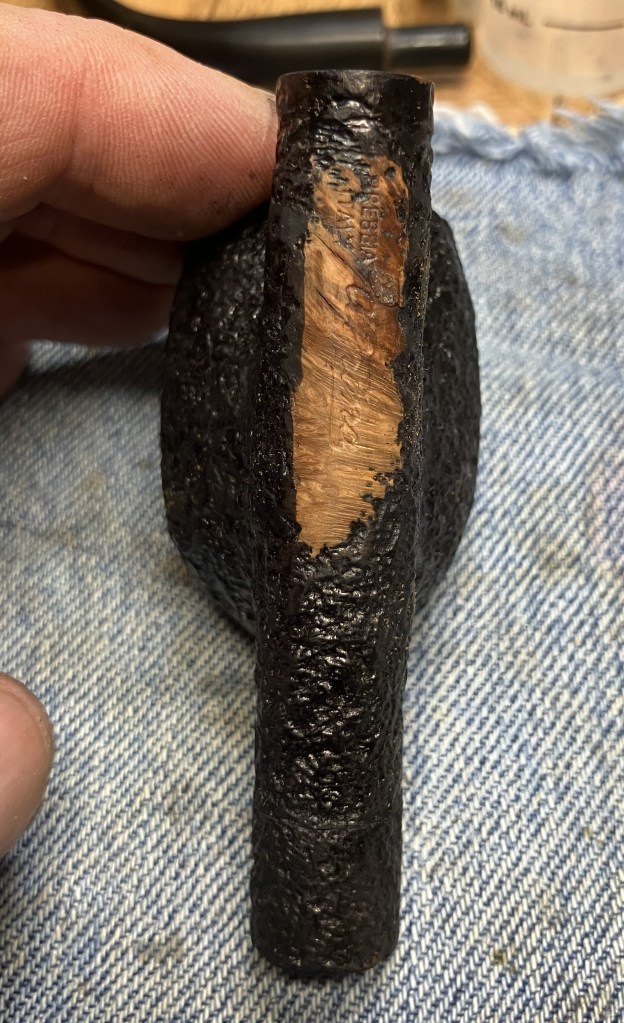
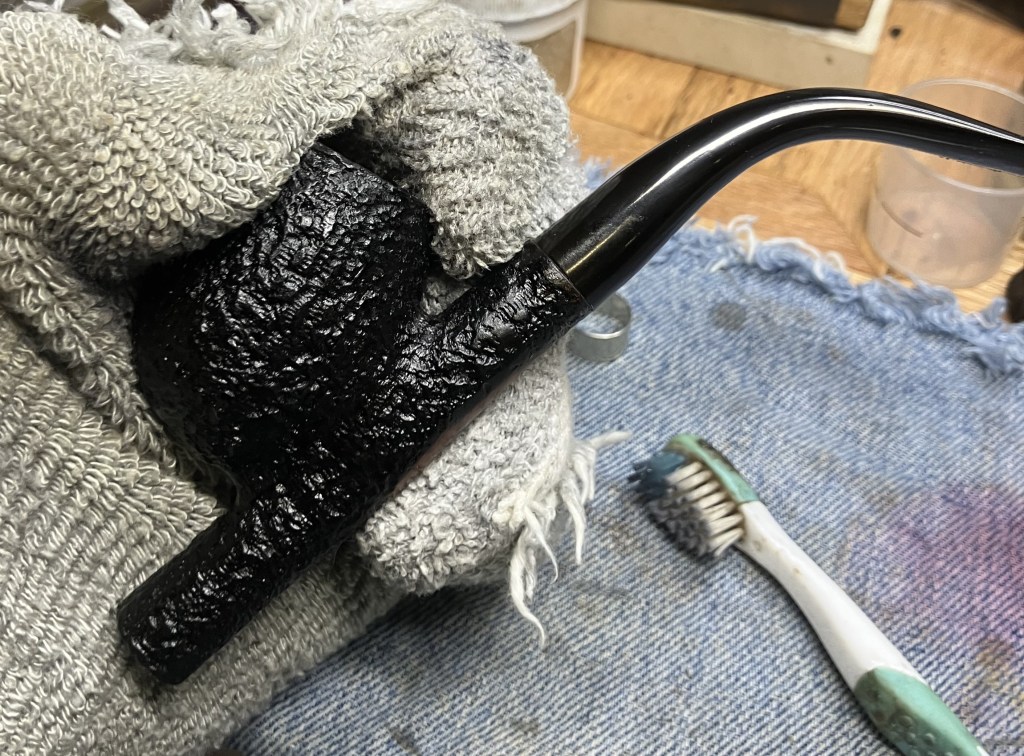
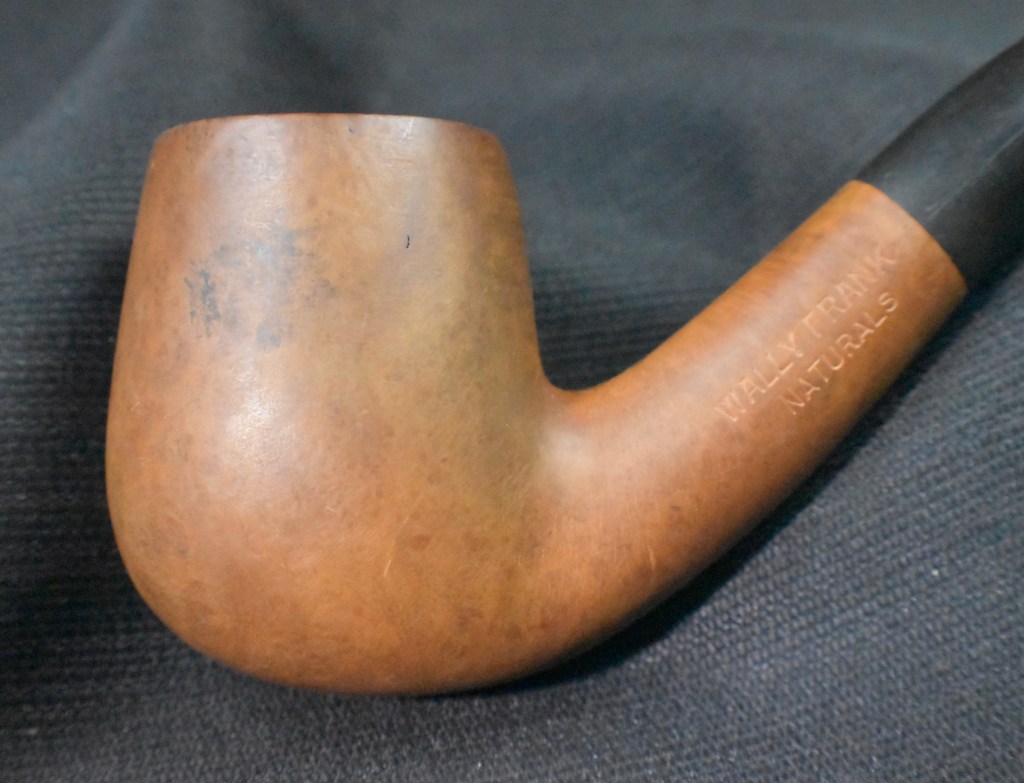
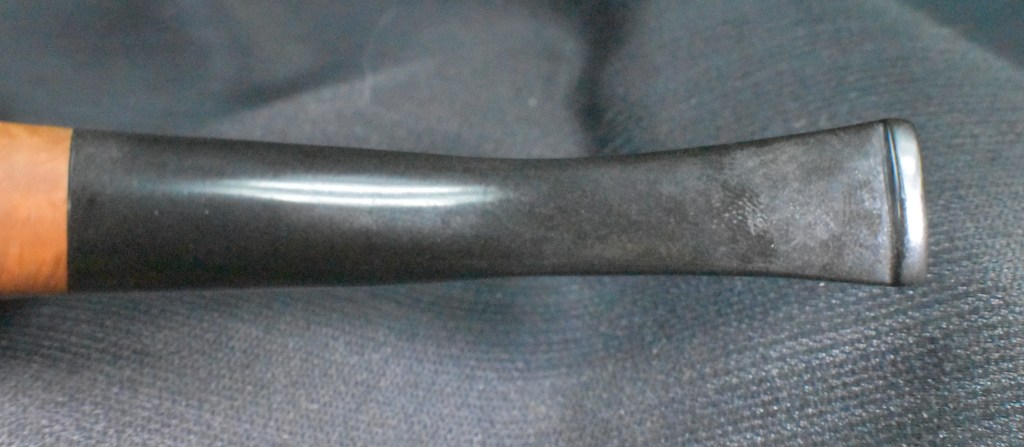
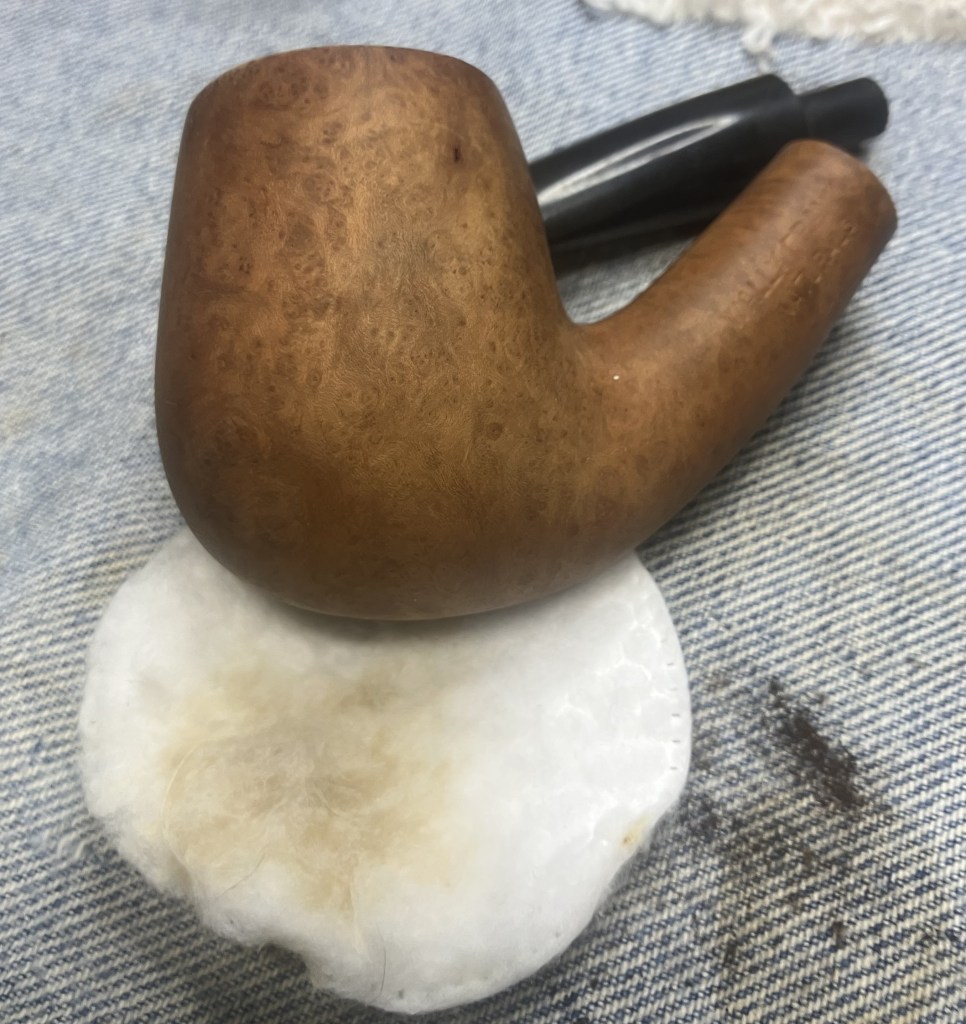
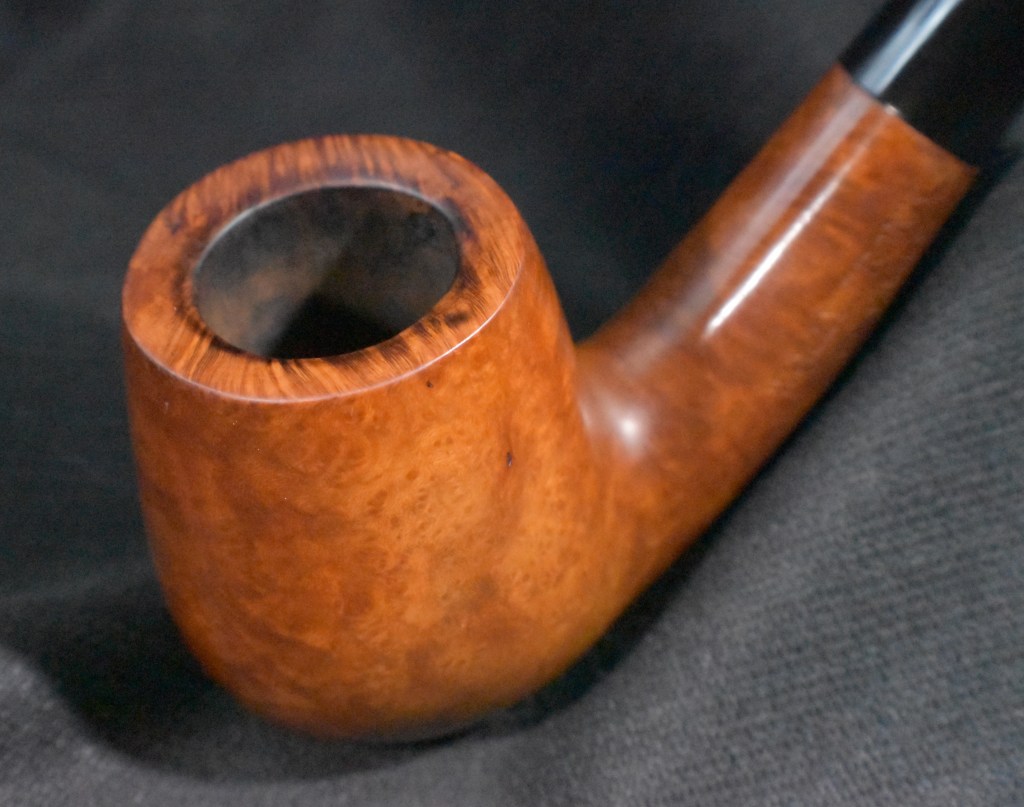
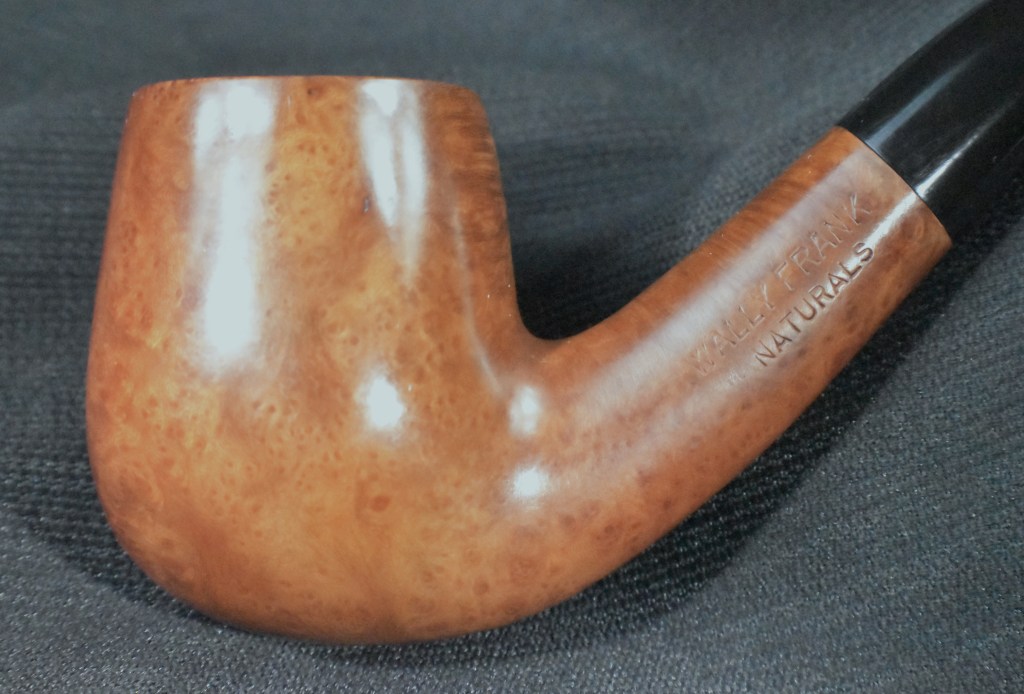
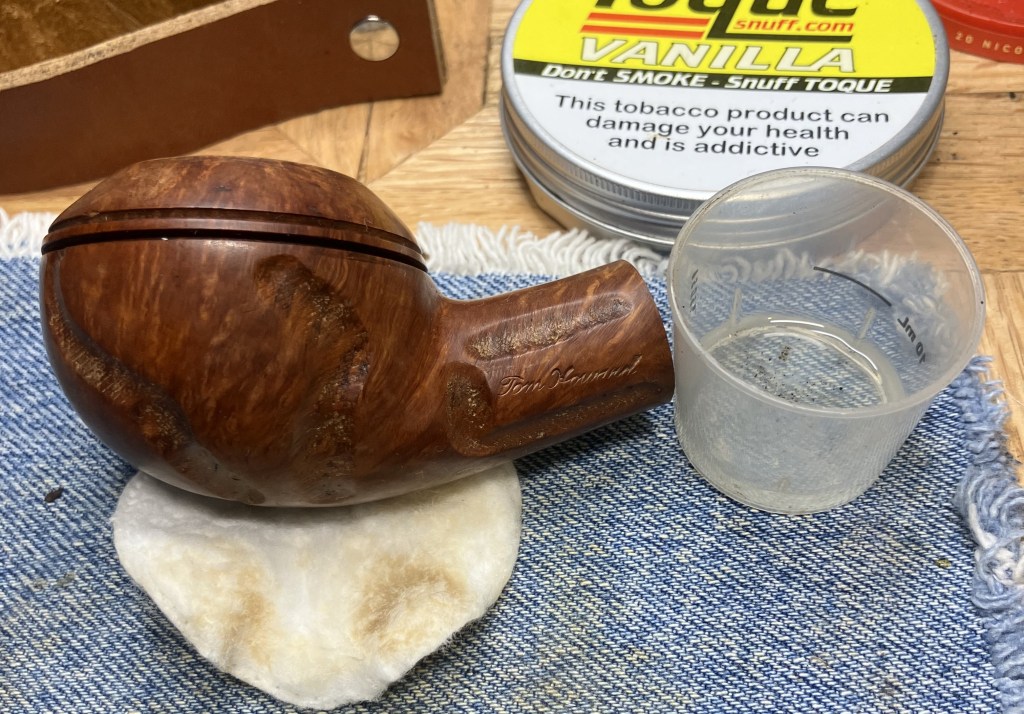
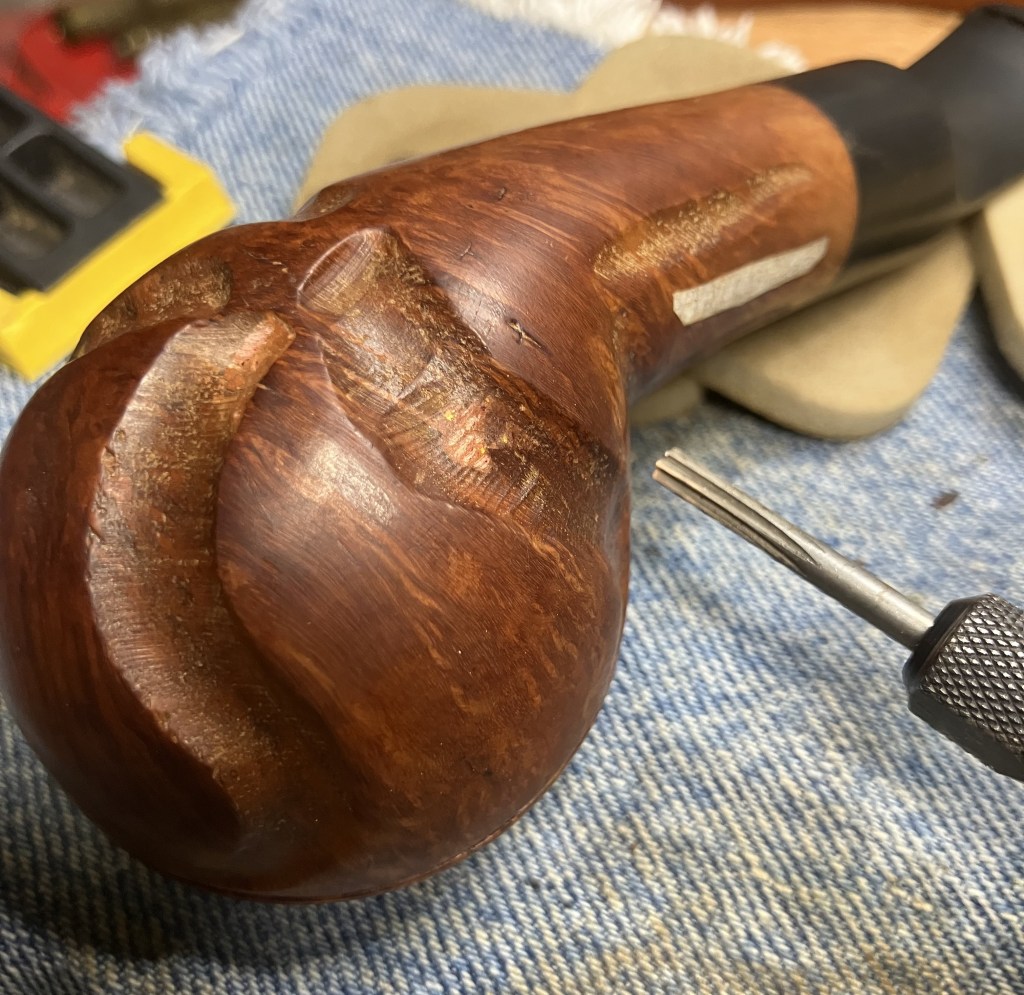
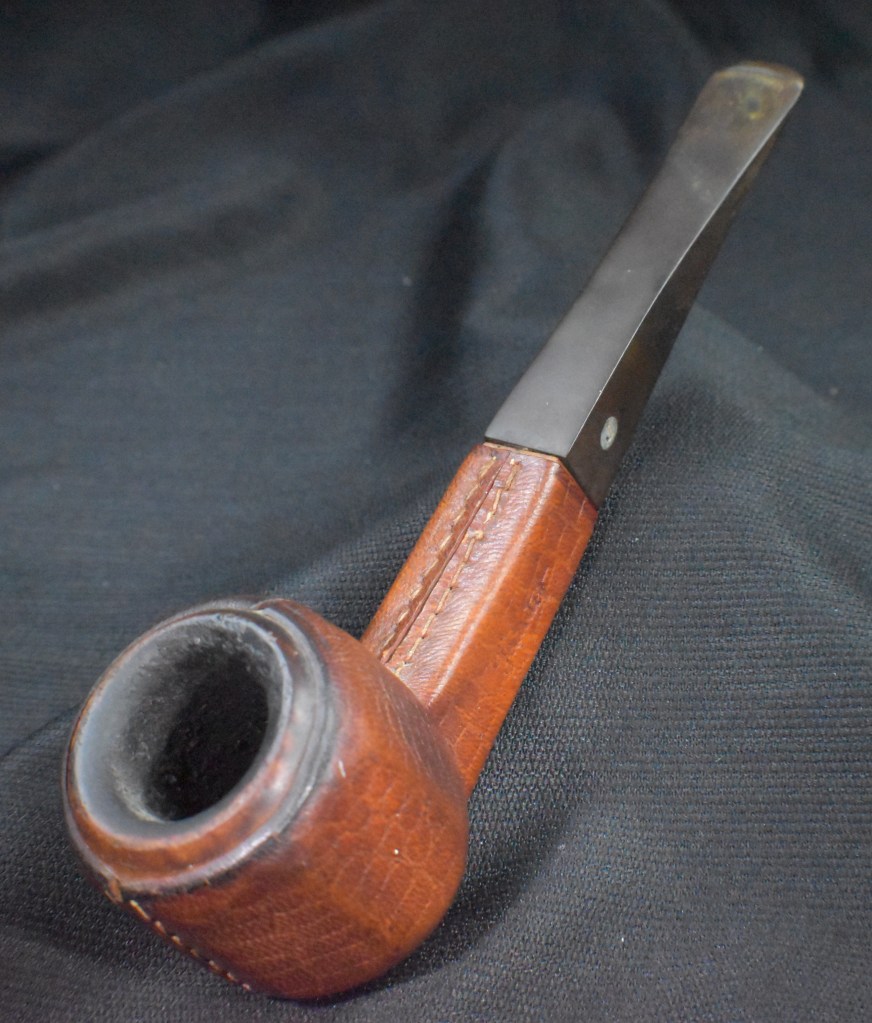
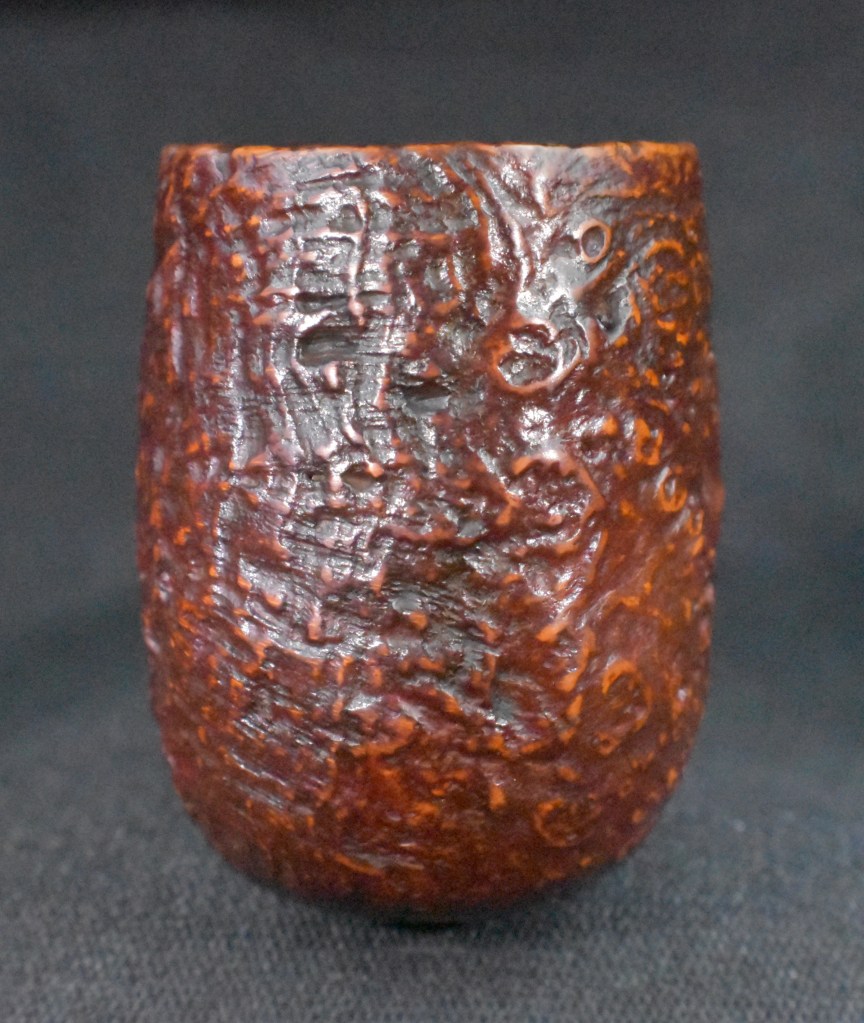
Back at the workbench the scrubbed stummel looked much cleaner and lived up to its name, “Natural”.
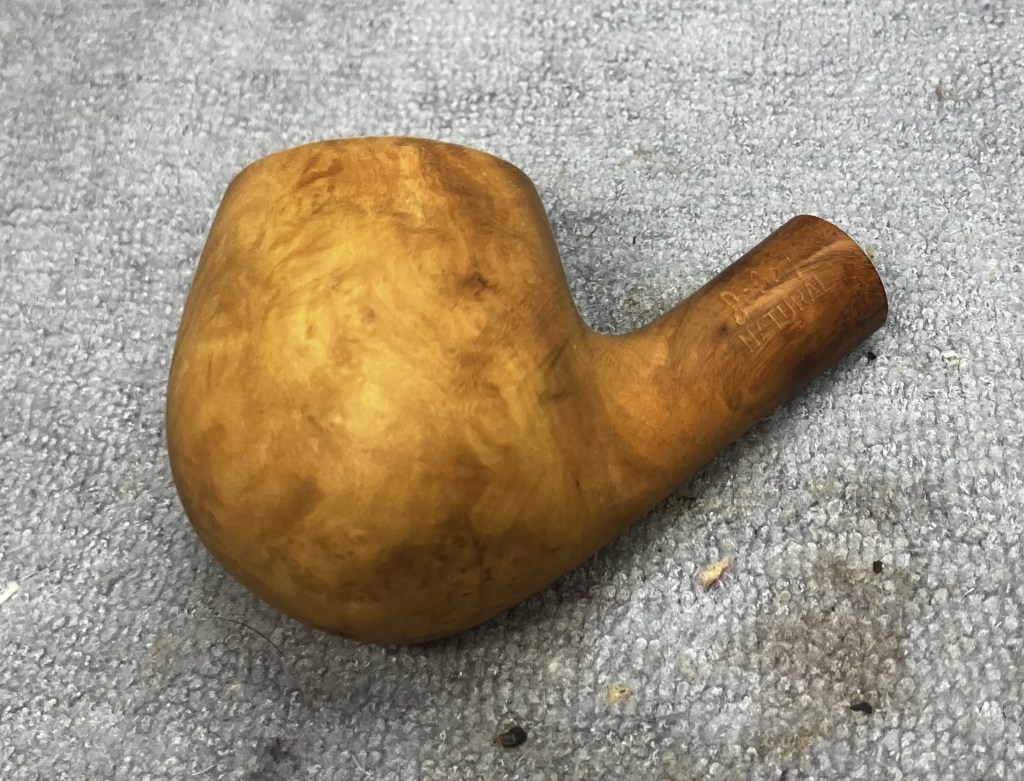
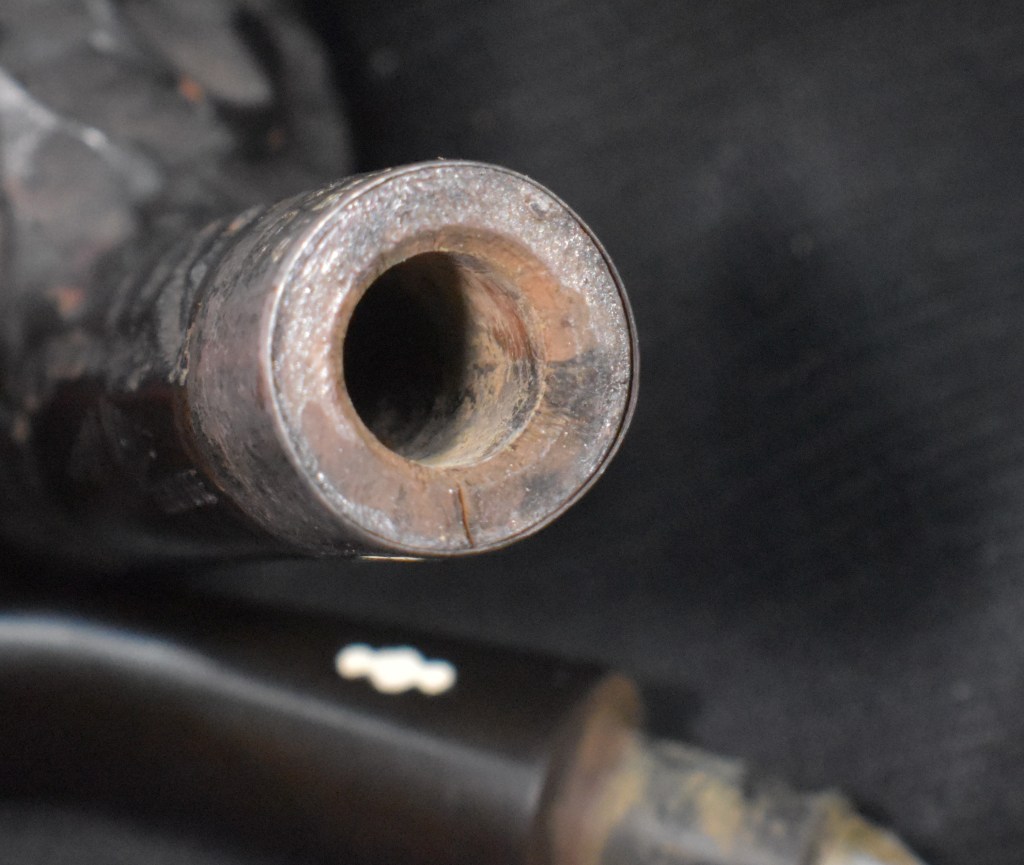
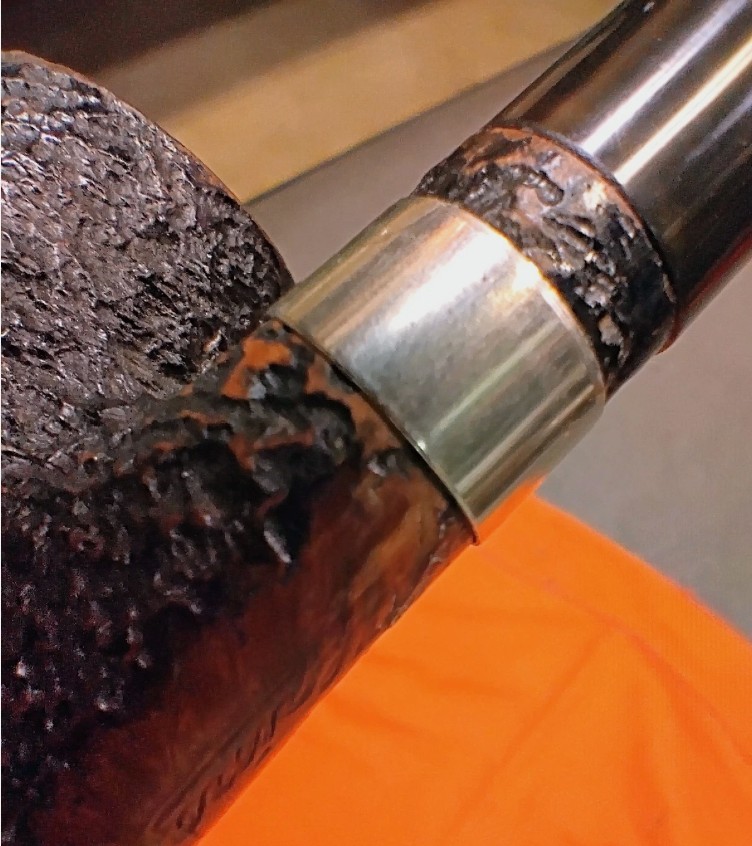
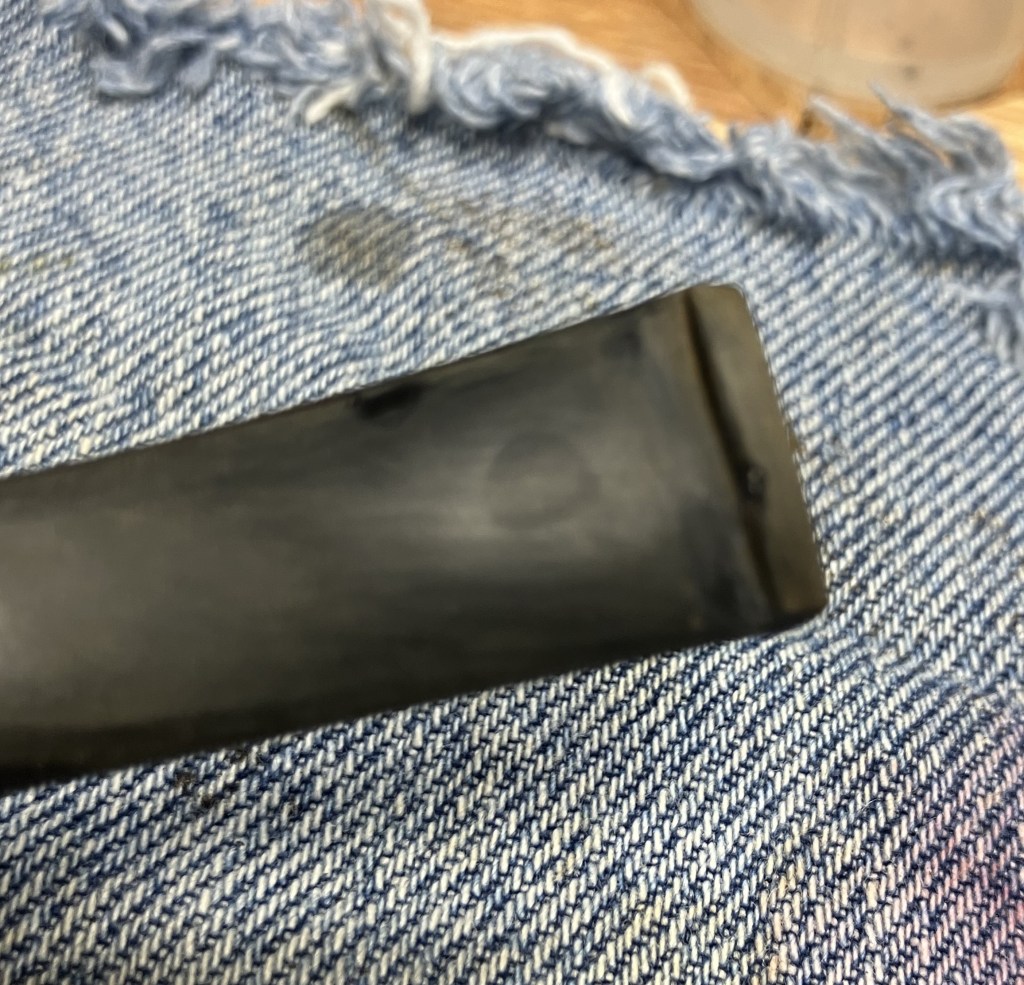
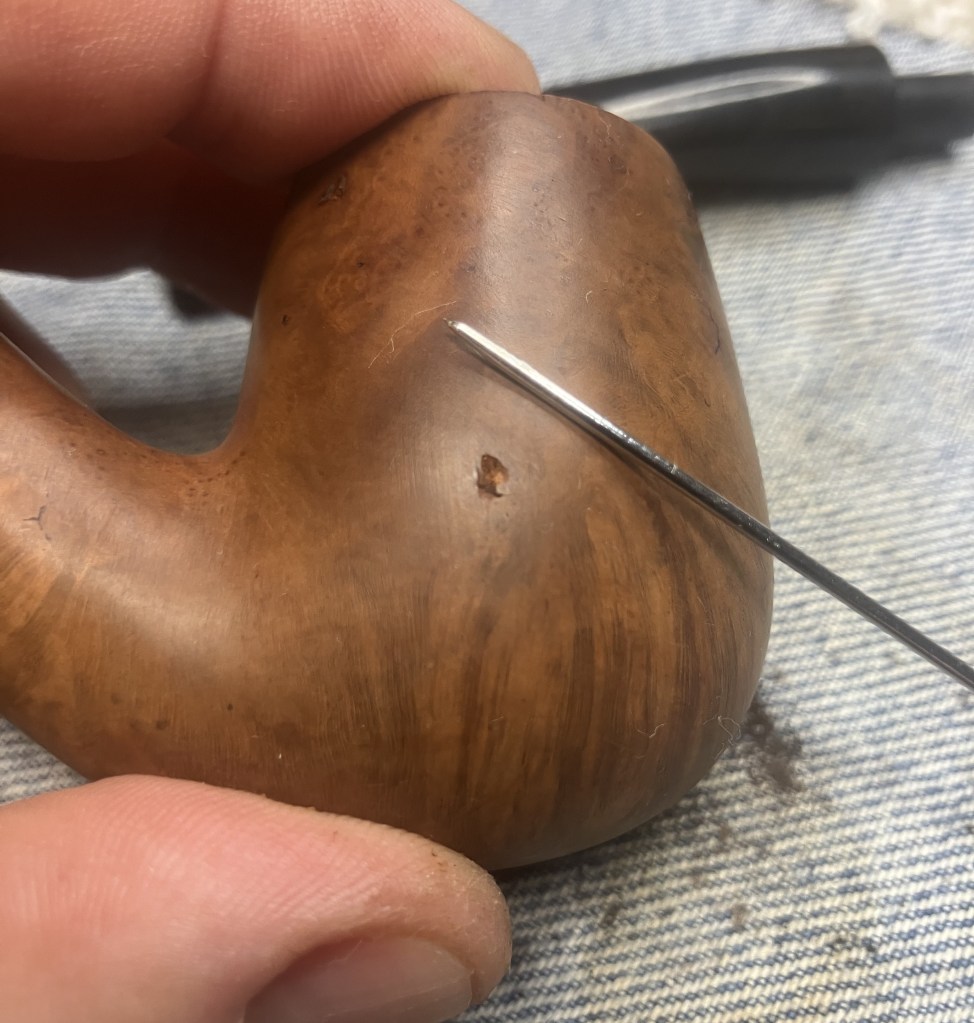
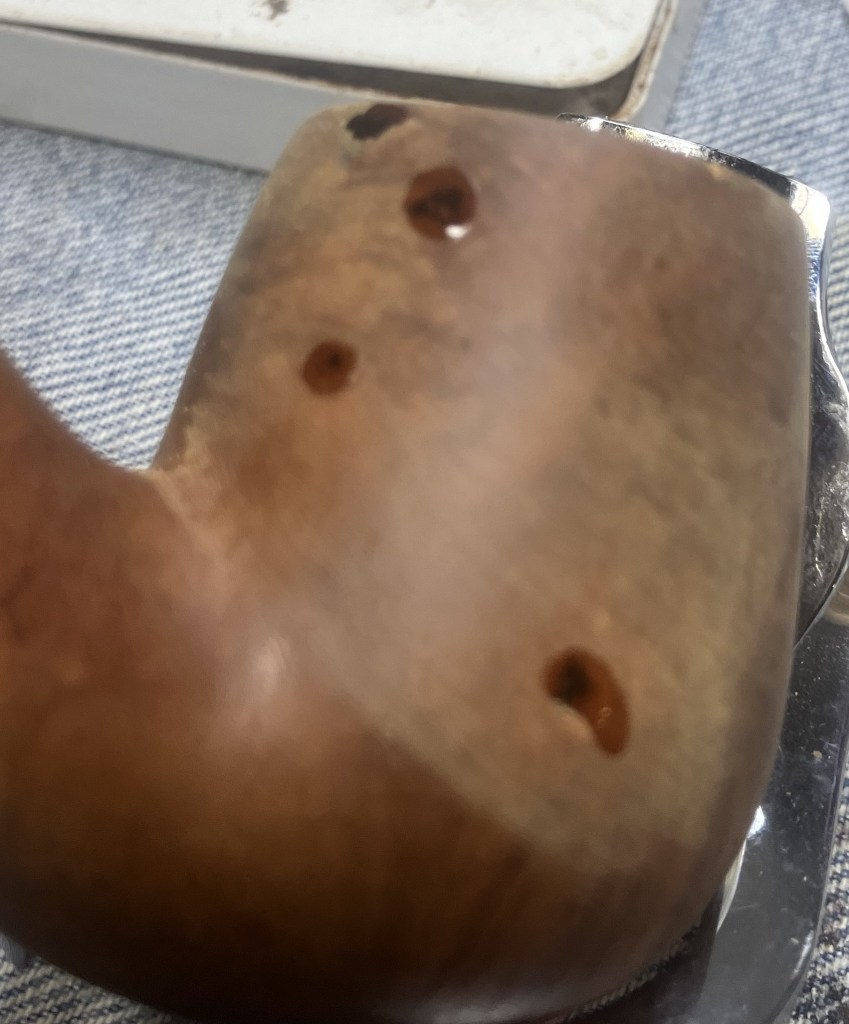
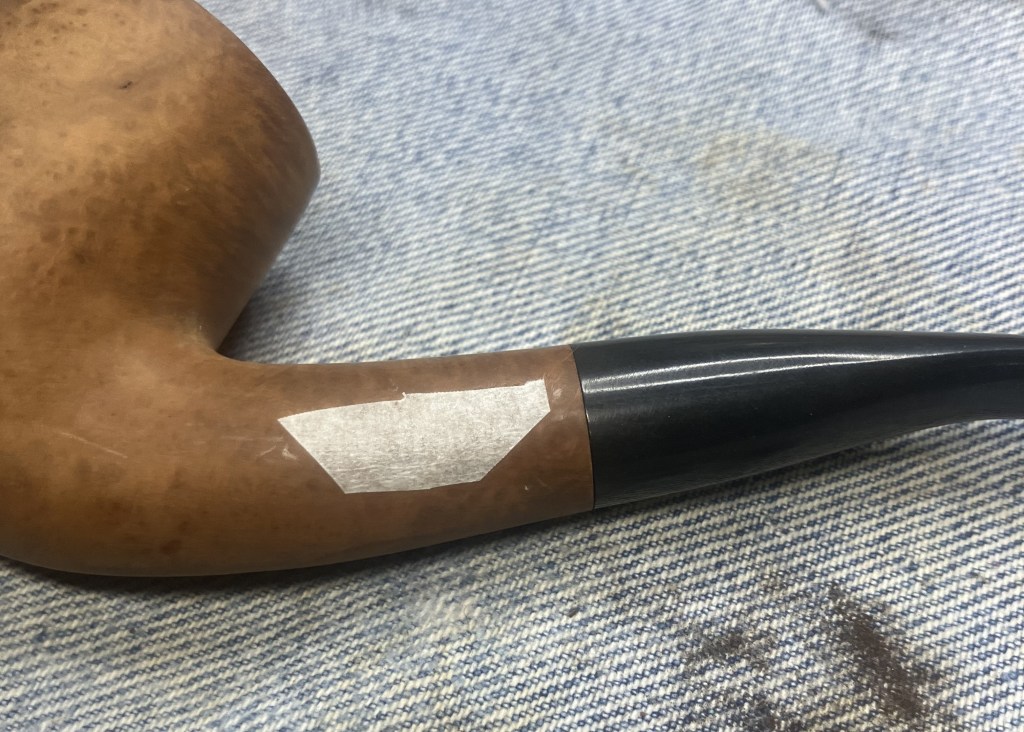
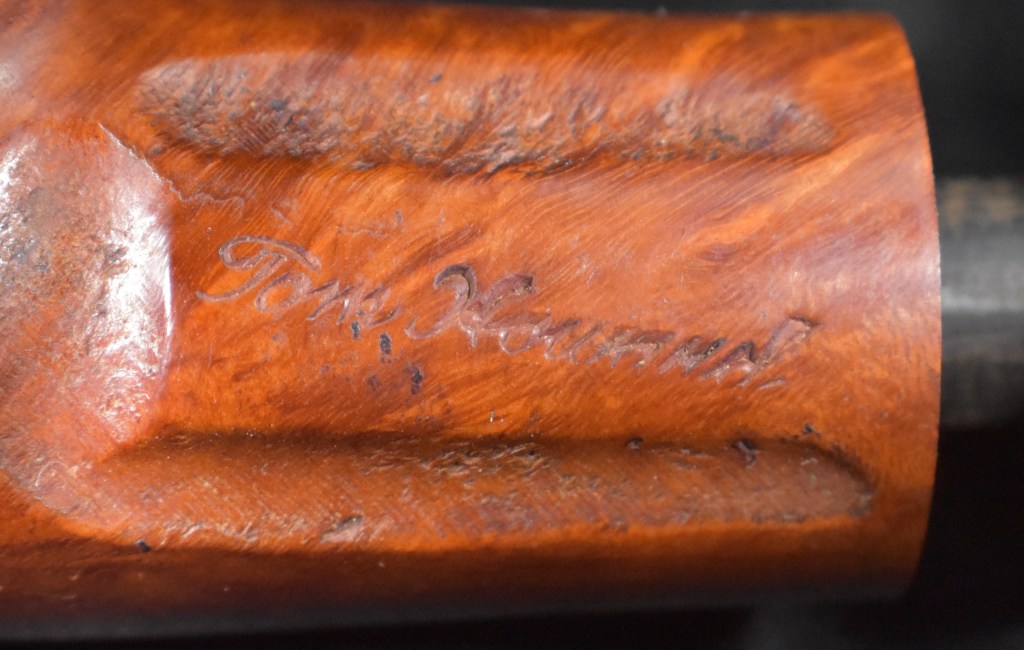
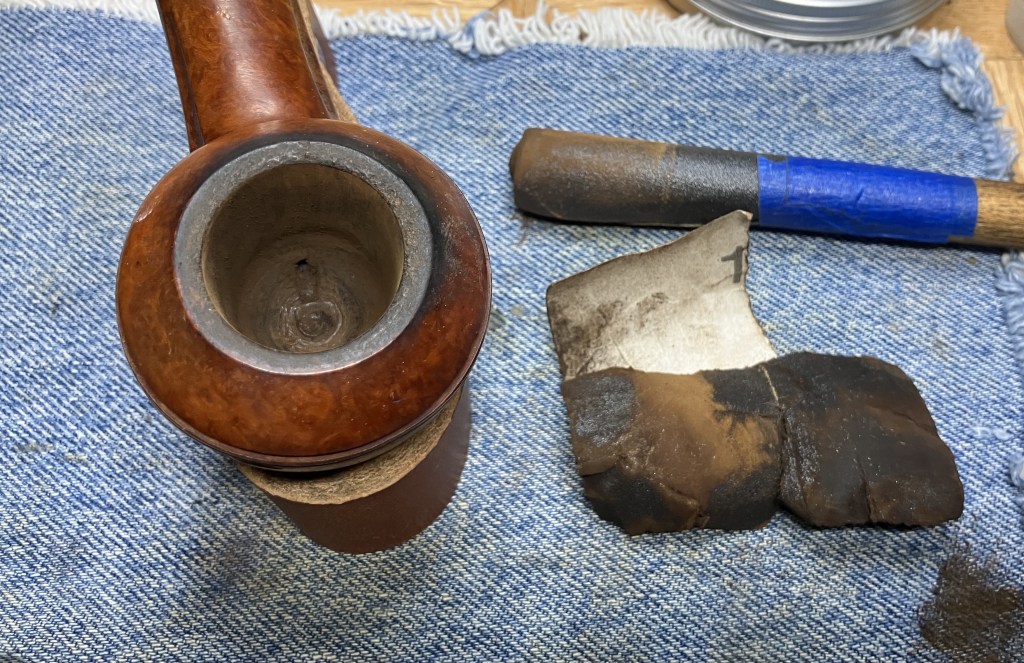
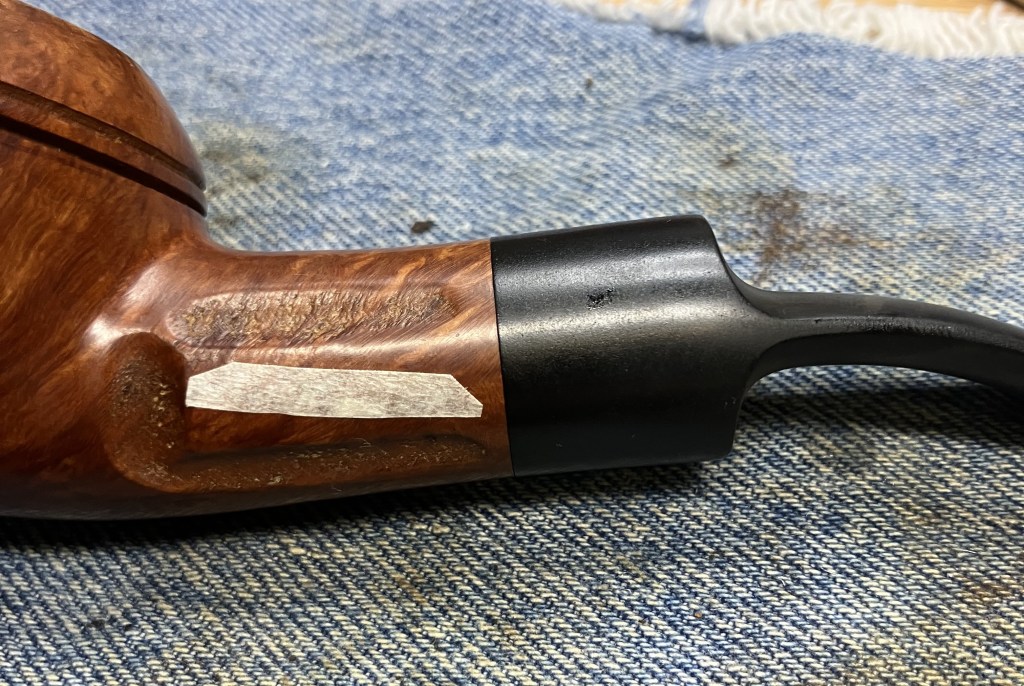
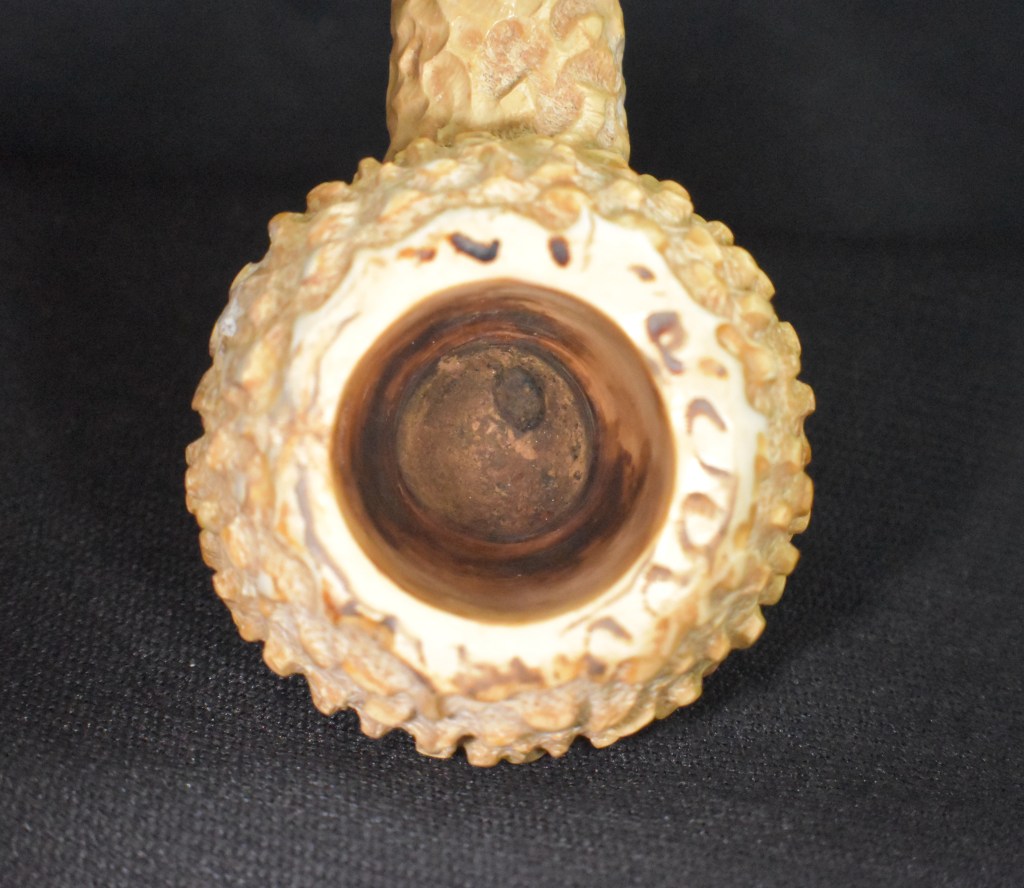
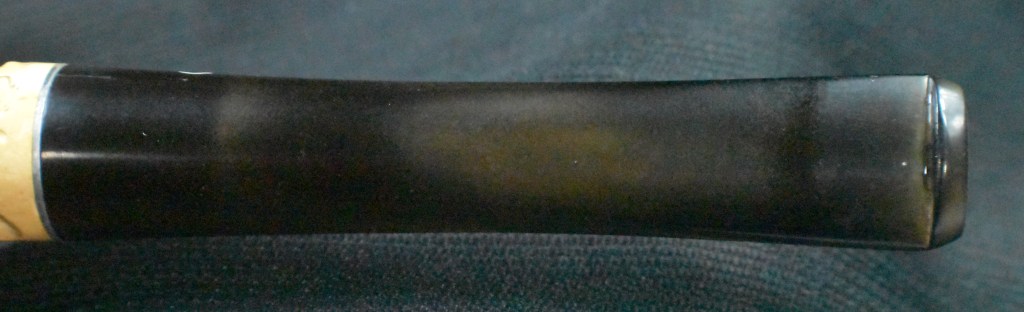
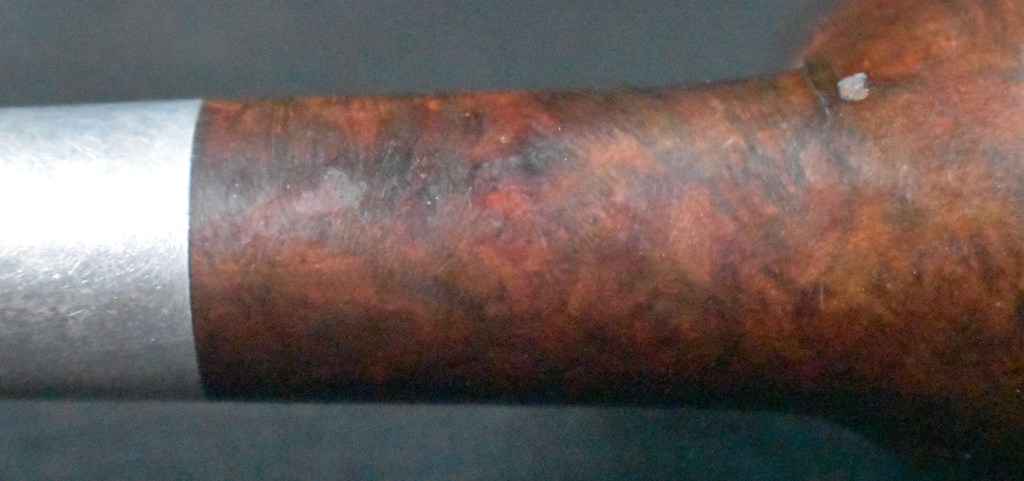
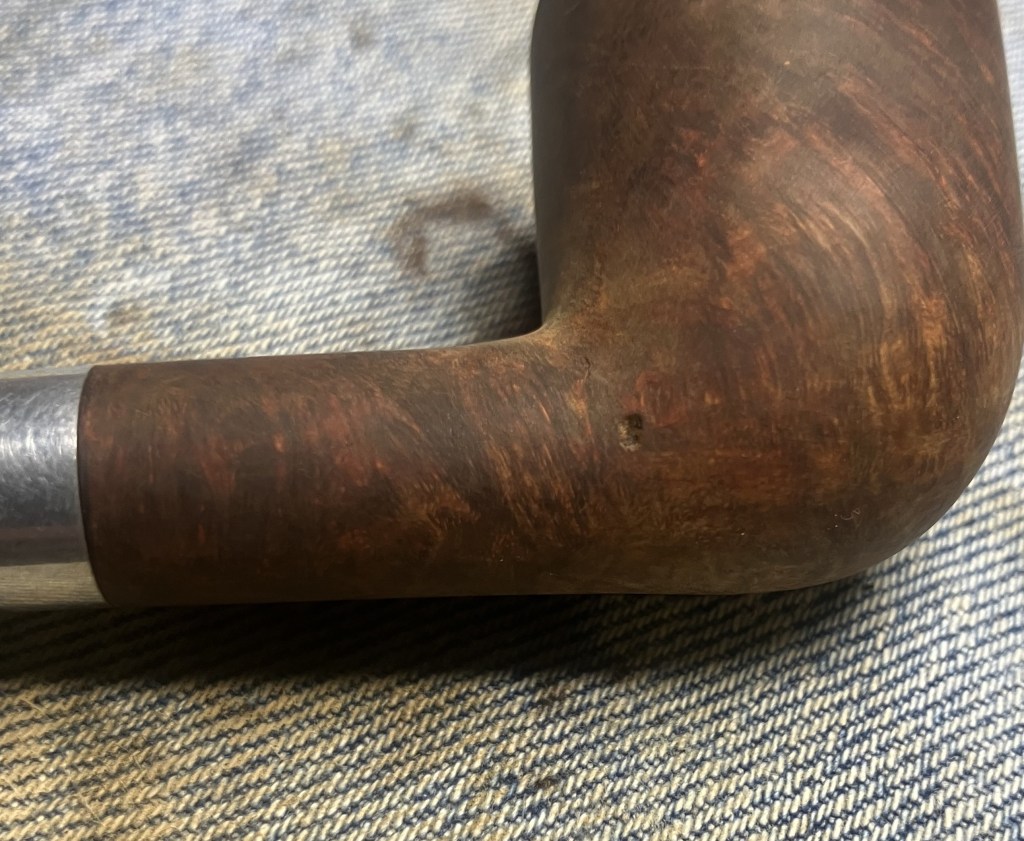
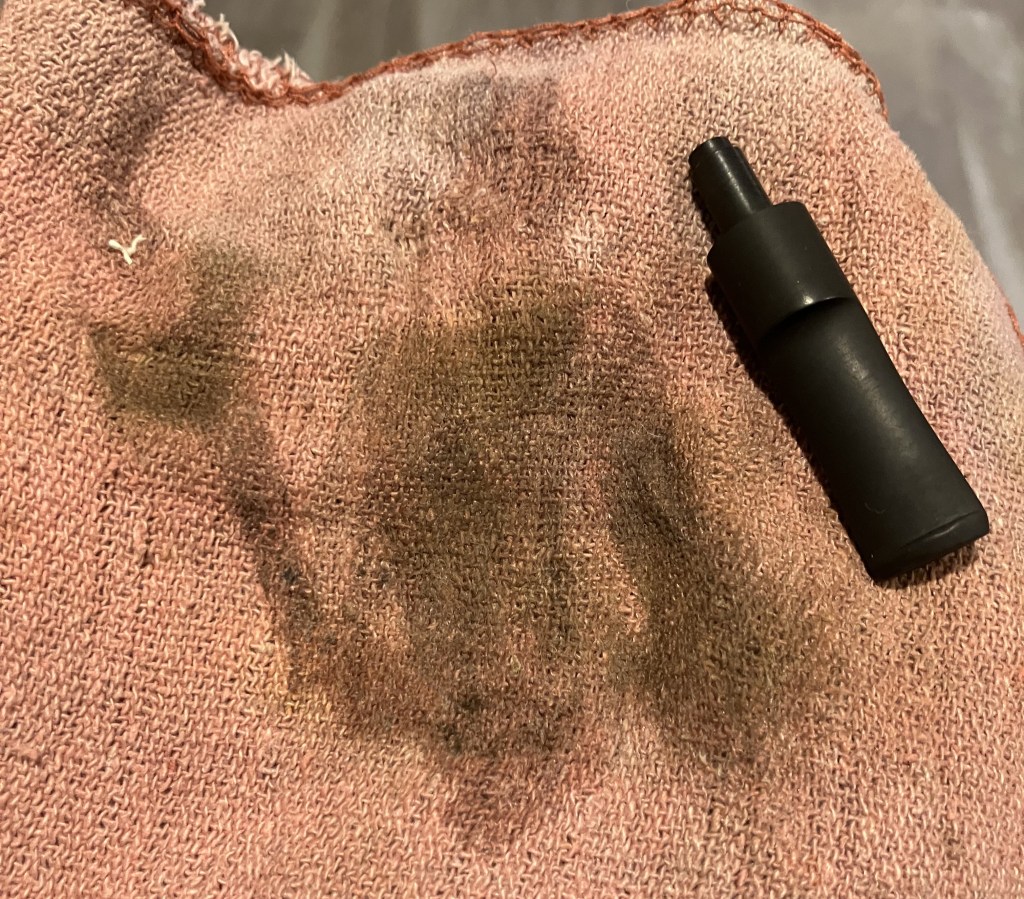
There was a strange discolored rectangular spot on the underside of the stummel which I thought looked odd.
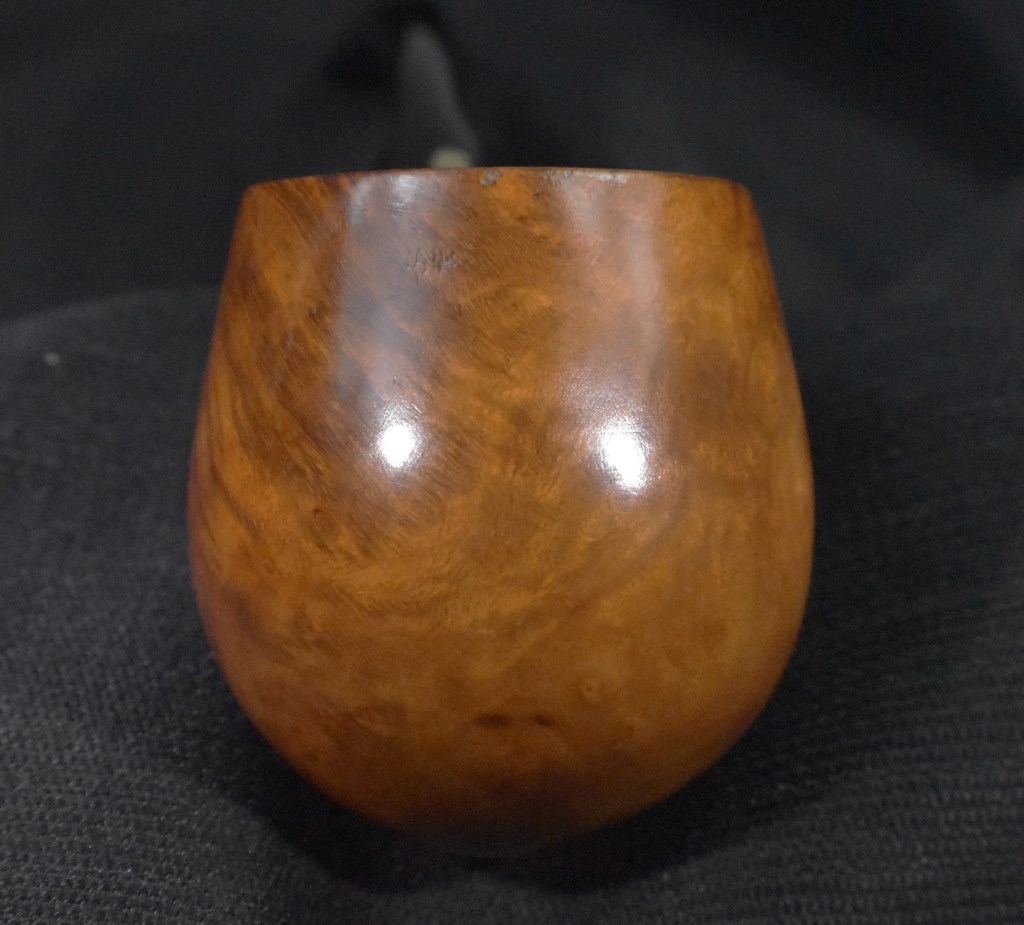
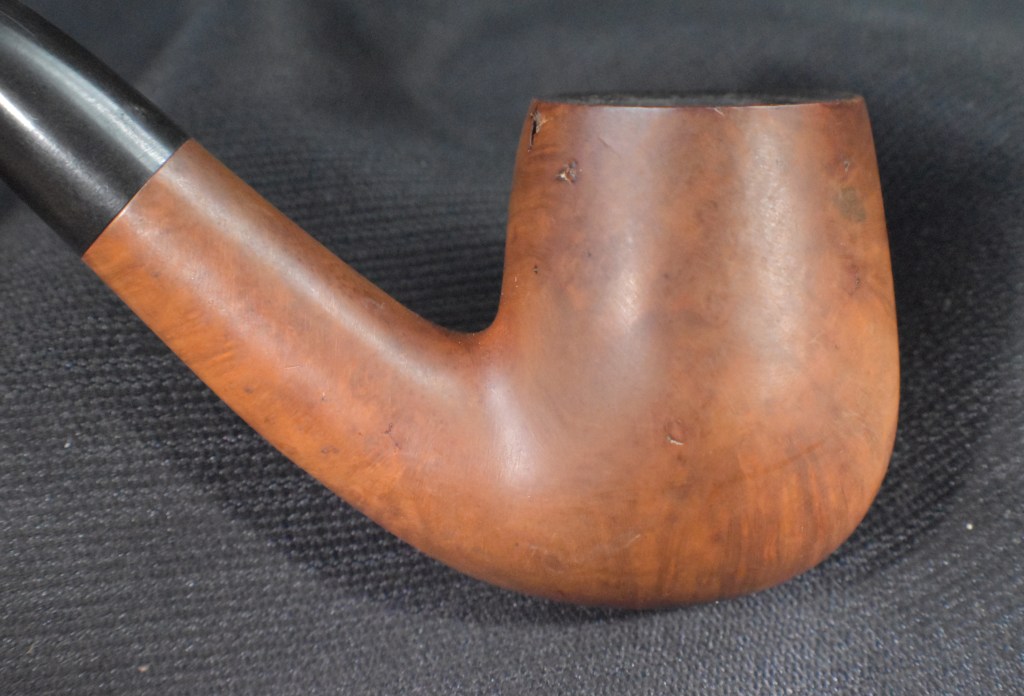
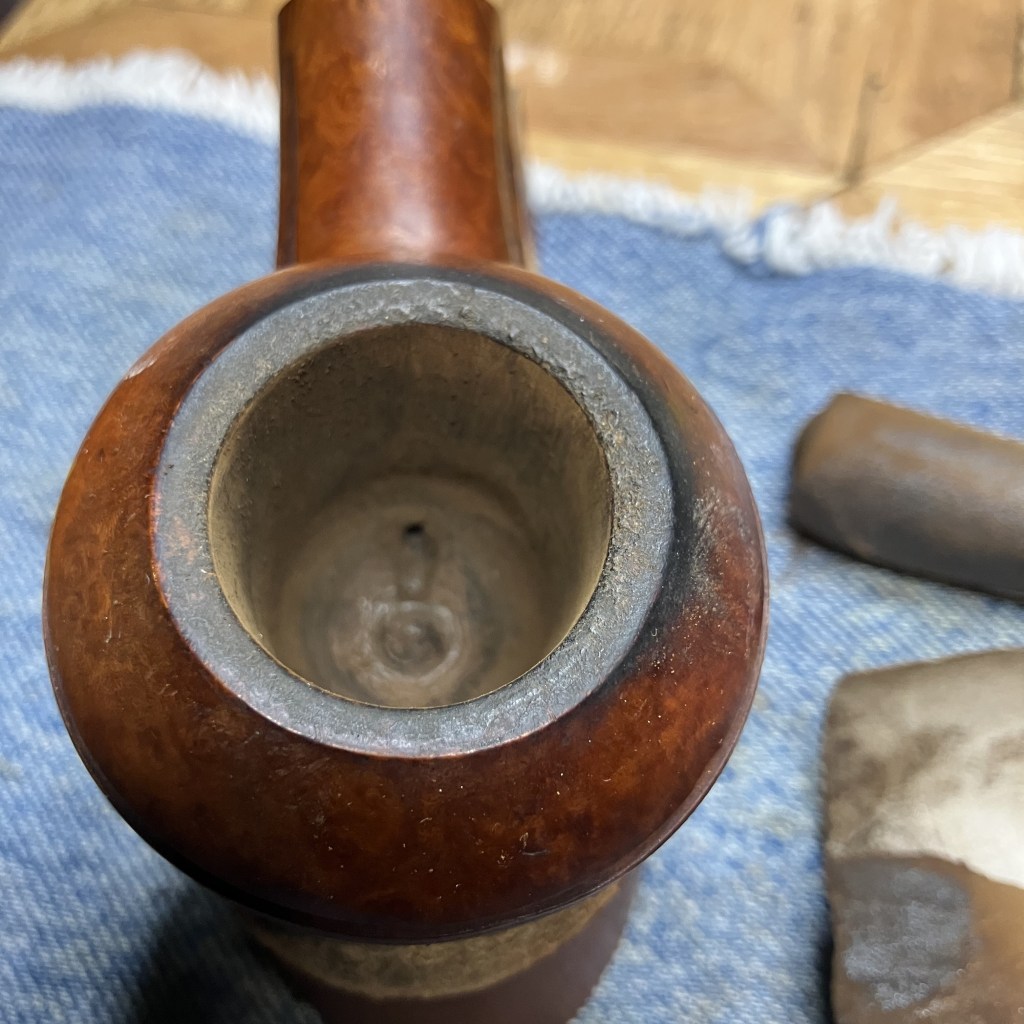
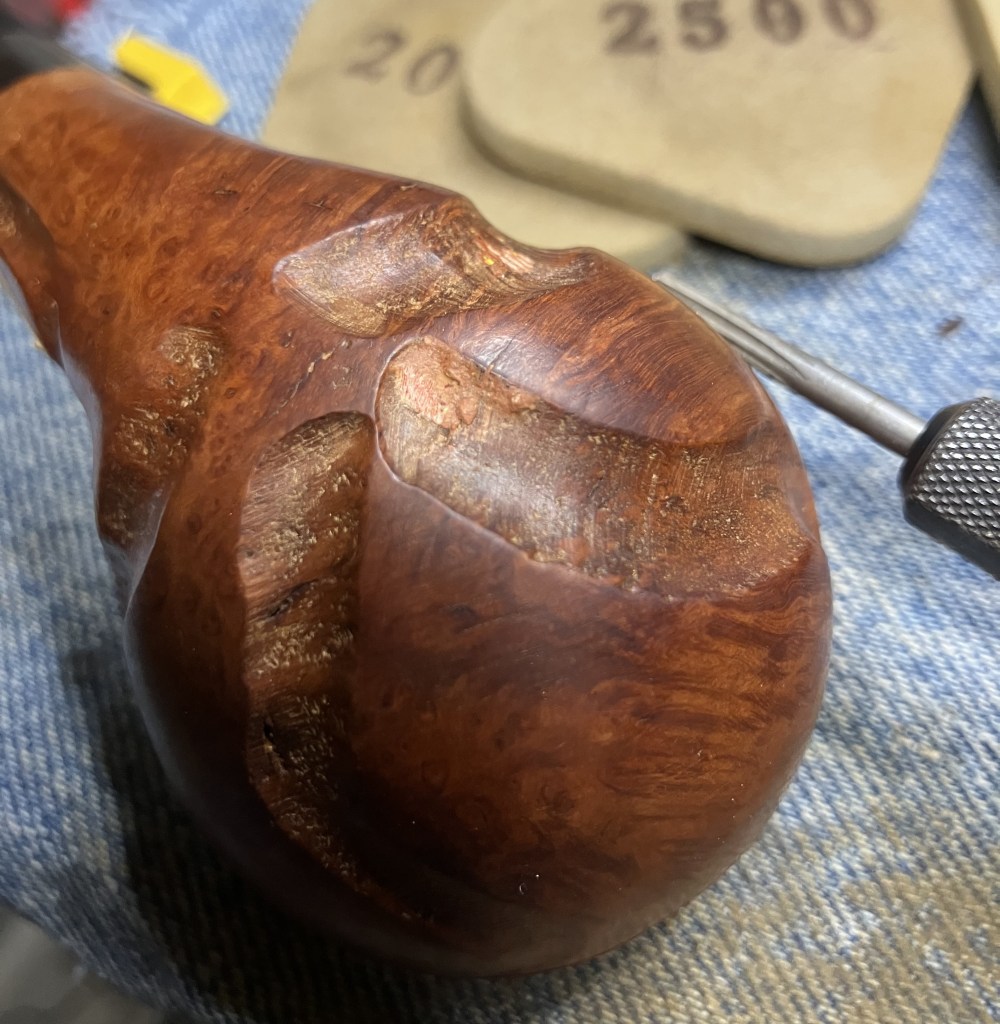
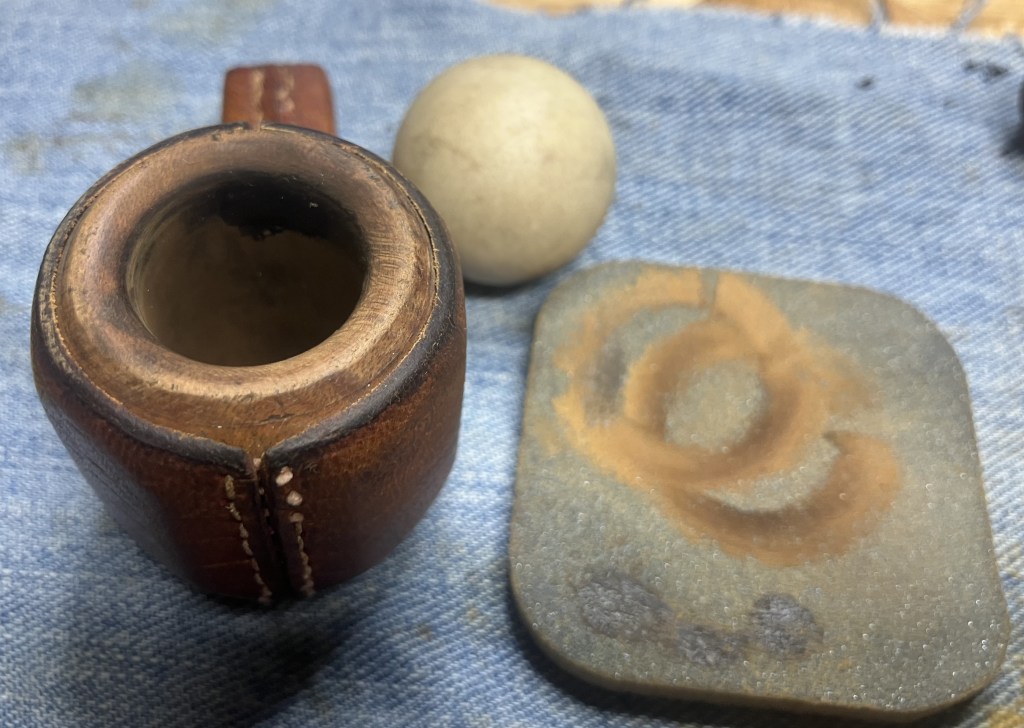
The rim turned out very nicely and showed no signs of charring from exuberant lighter use.
A quick recleaning of the stem airway was done with a couple more alcohol dipped pipe cleaners.
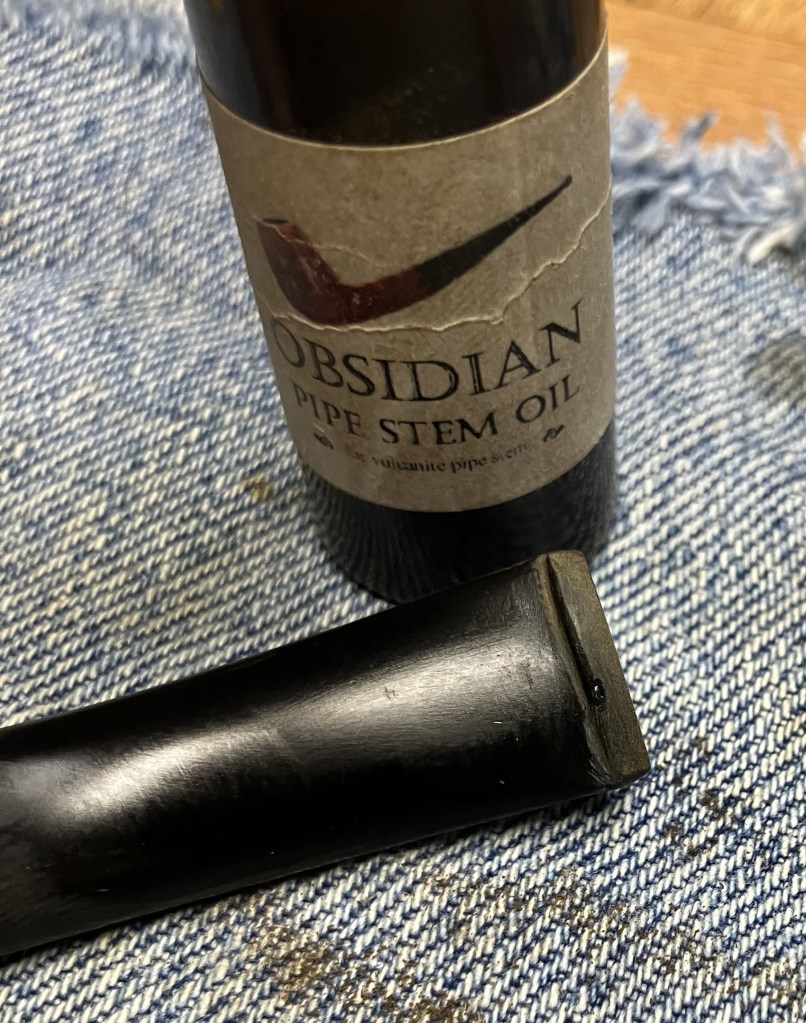
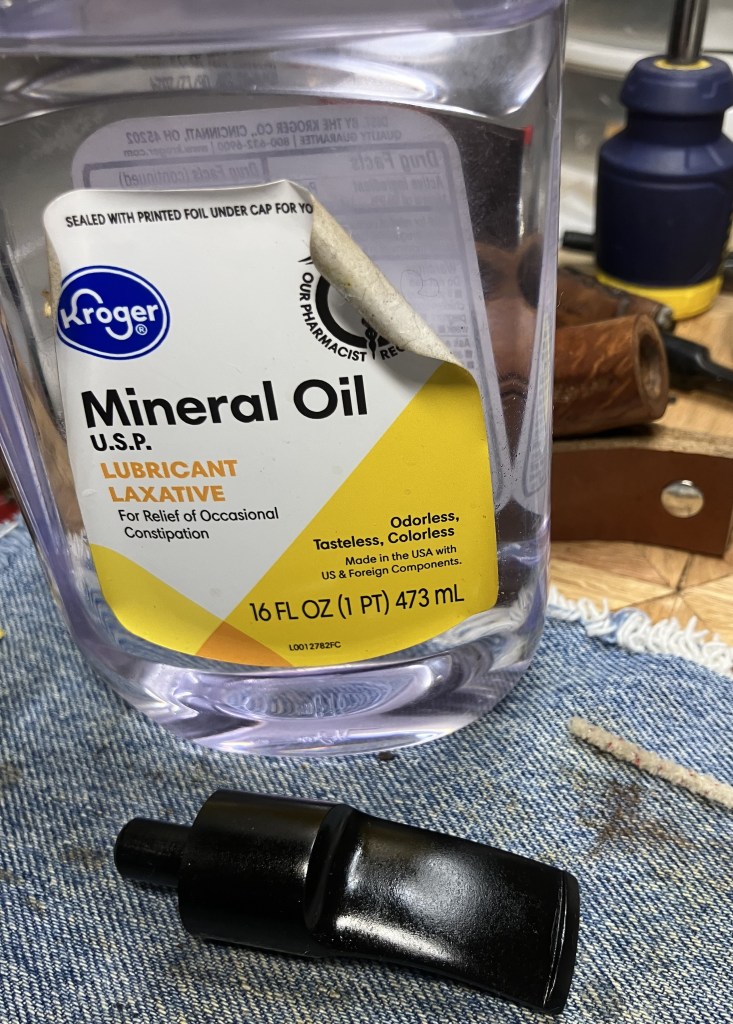
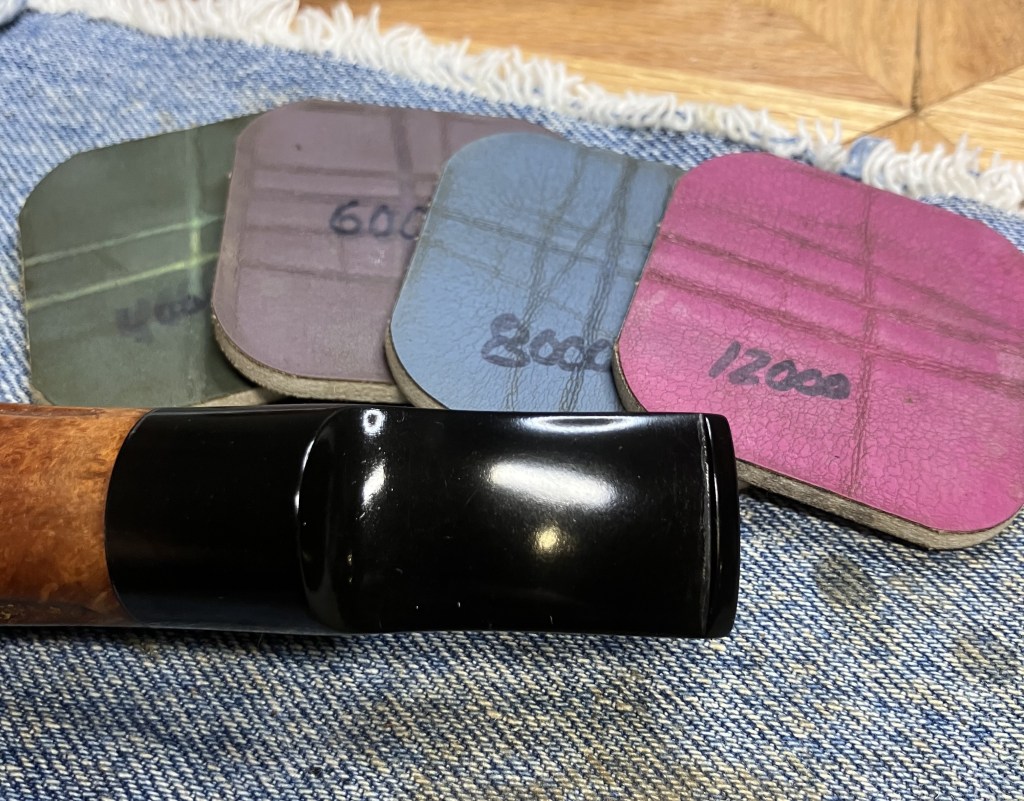
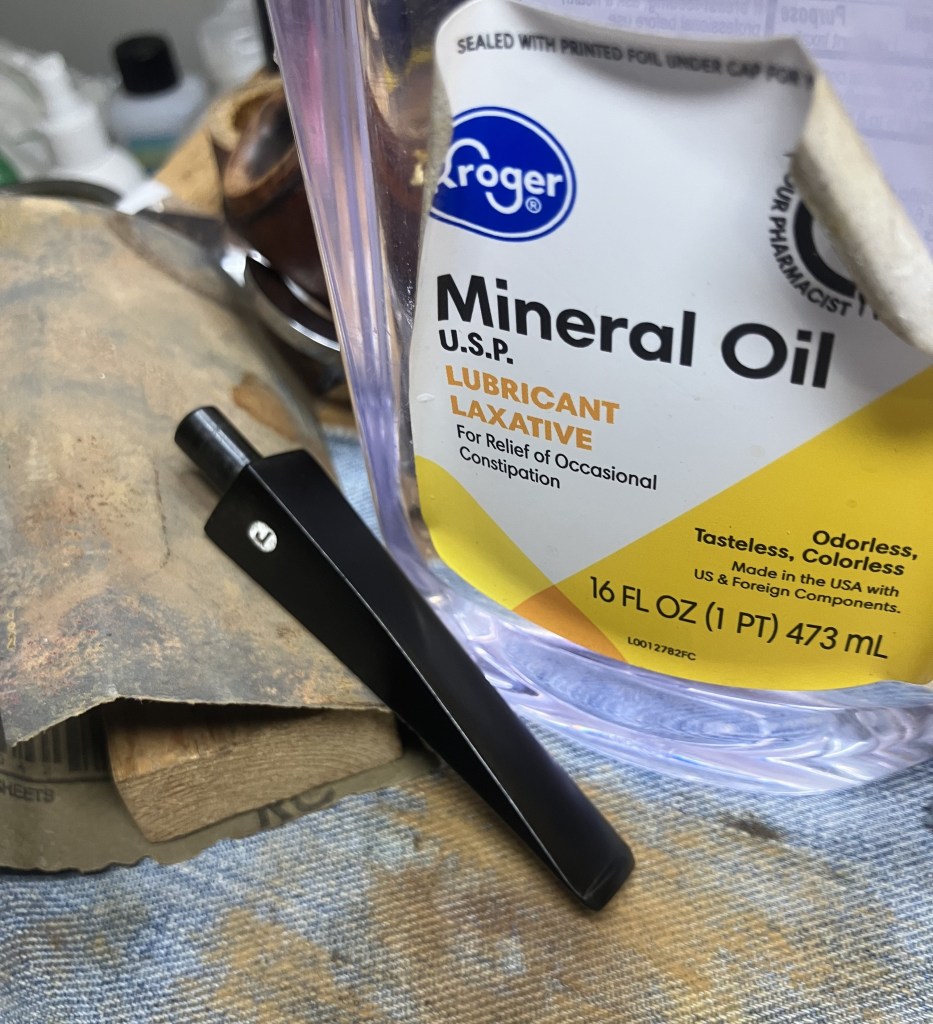
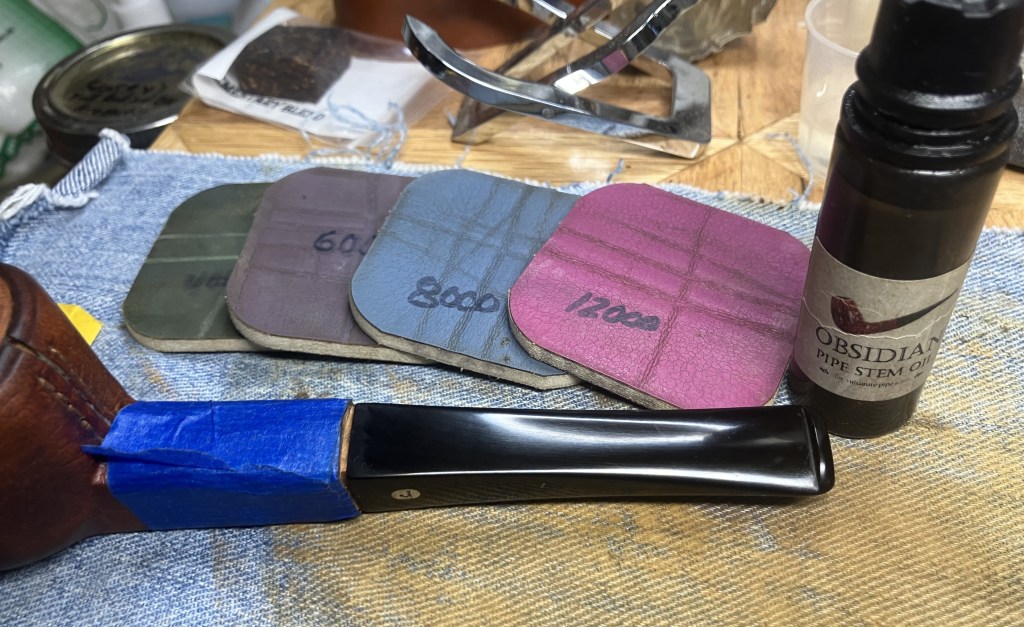
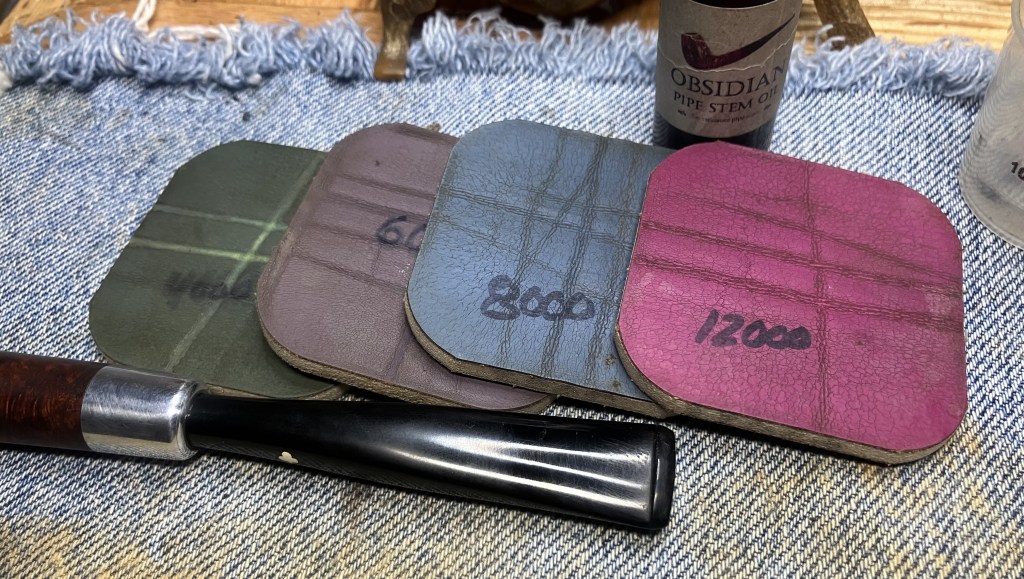
I then worked the button area with a 600 grunt sanding sponge and a couple of sanding boards. I slathered the stem with Before and After Hard Rubber Balm and let it soak in the balm for 30 minutes while the airway received a mineral oiled pipe cleaner.
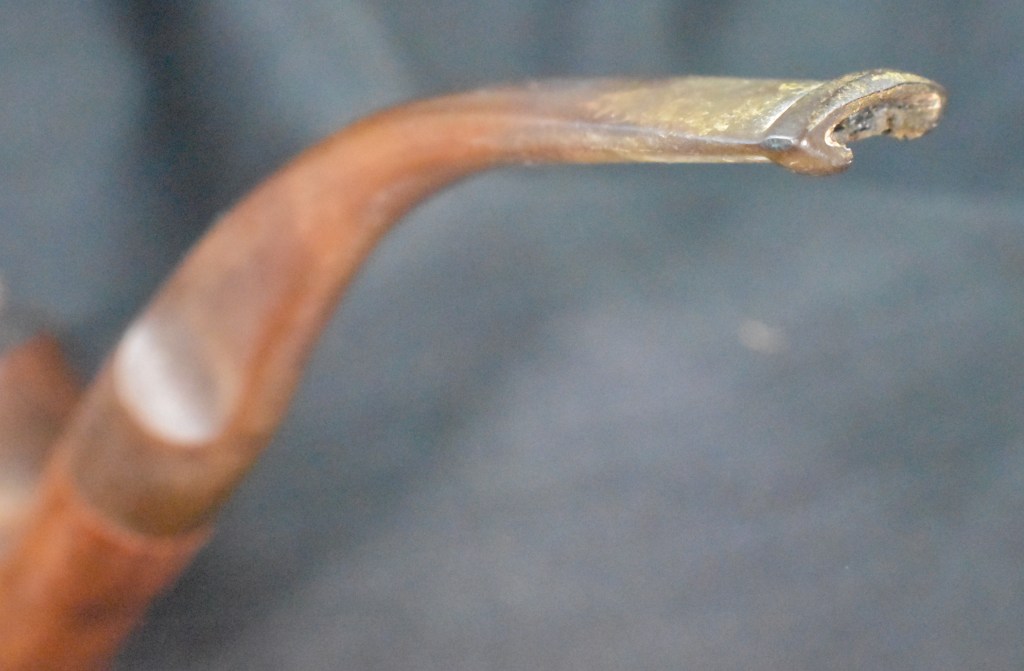
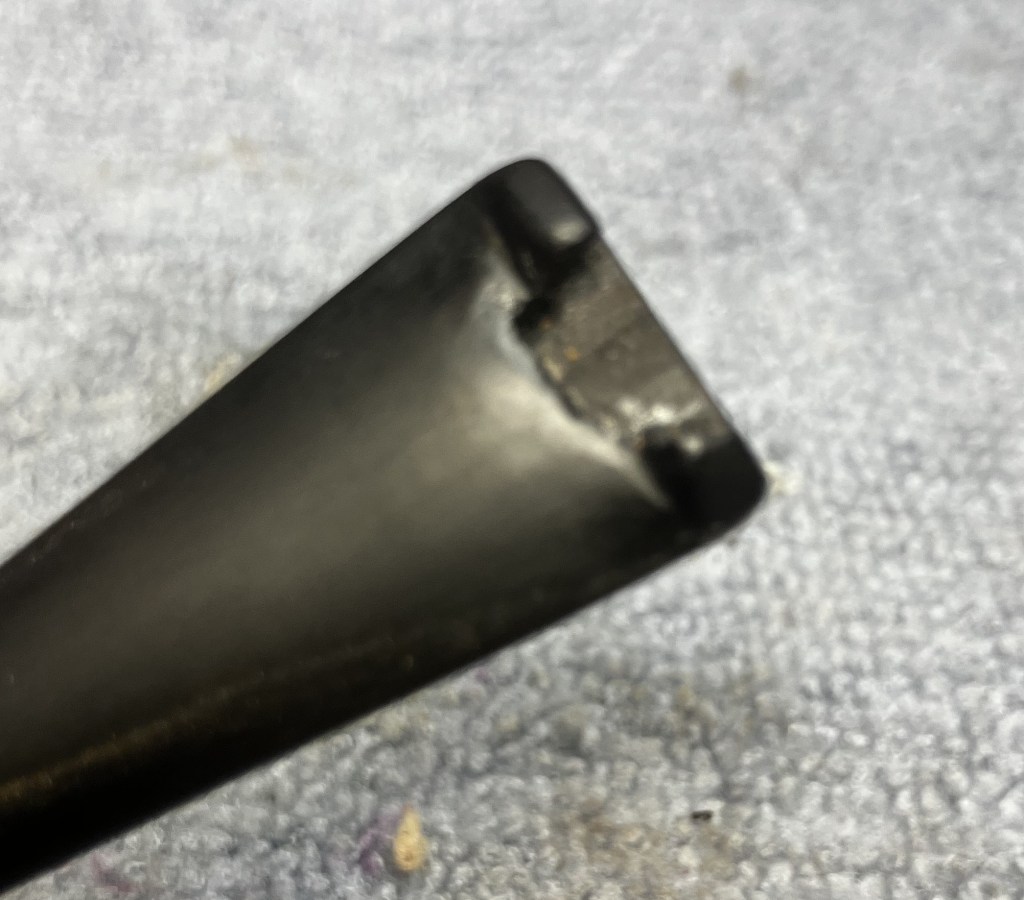
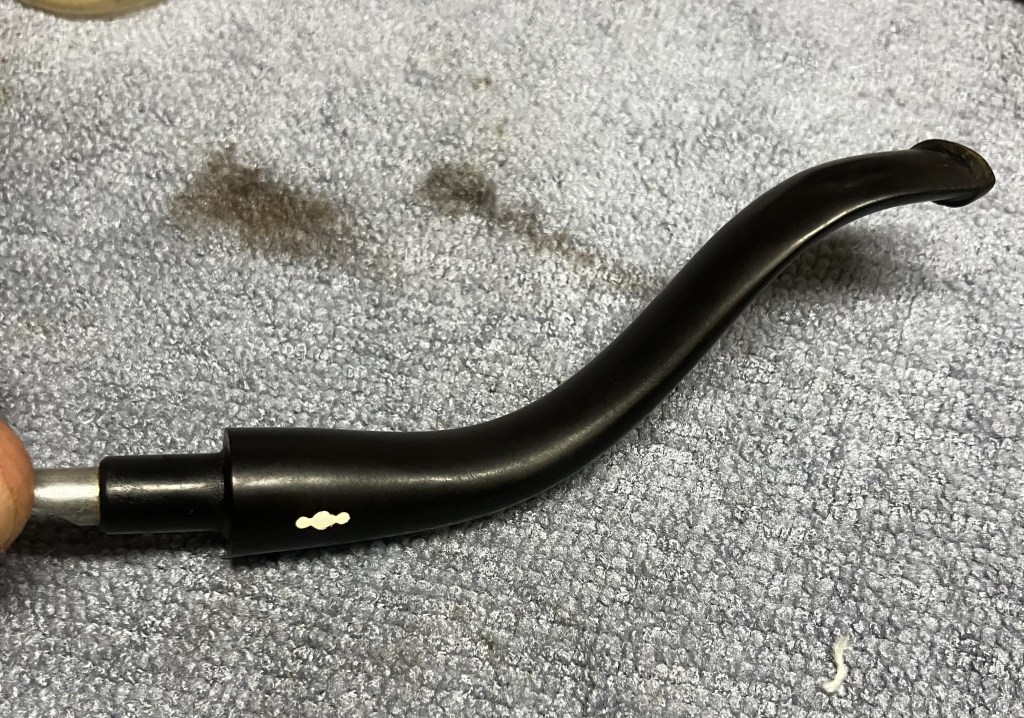
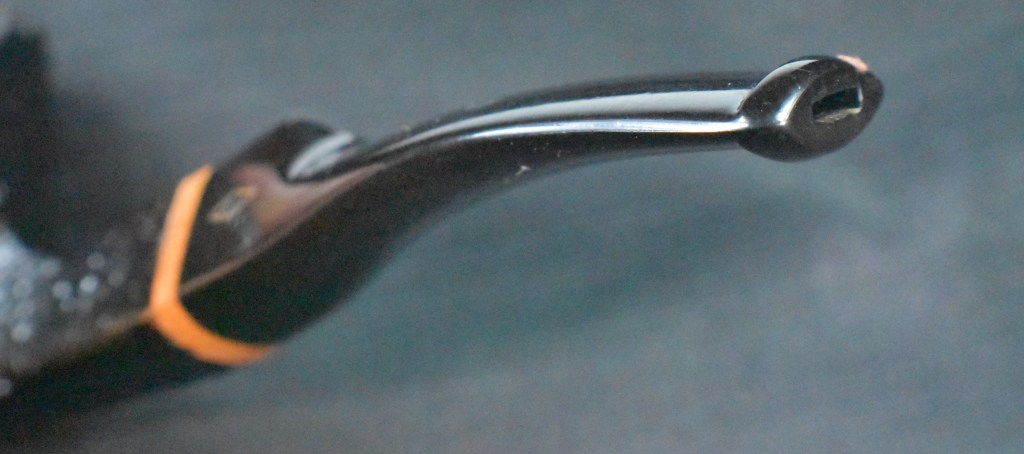
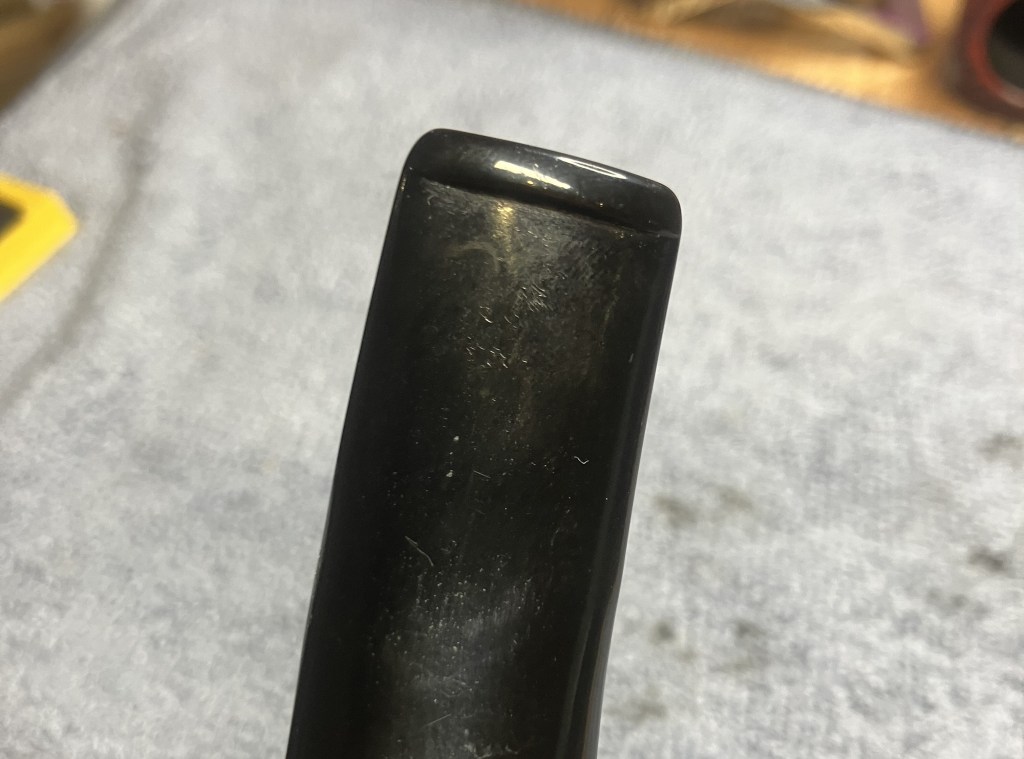
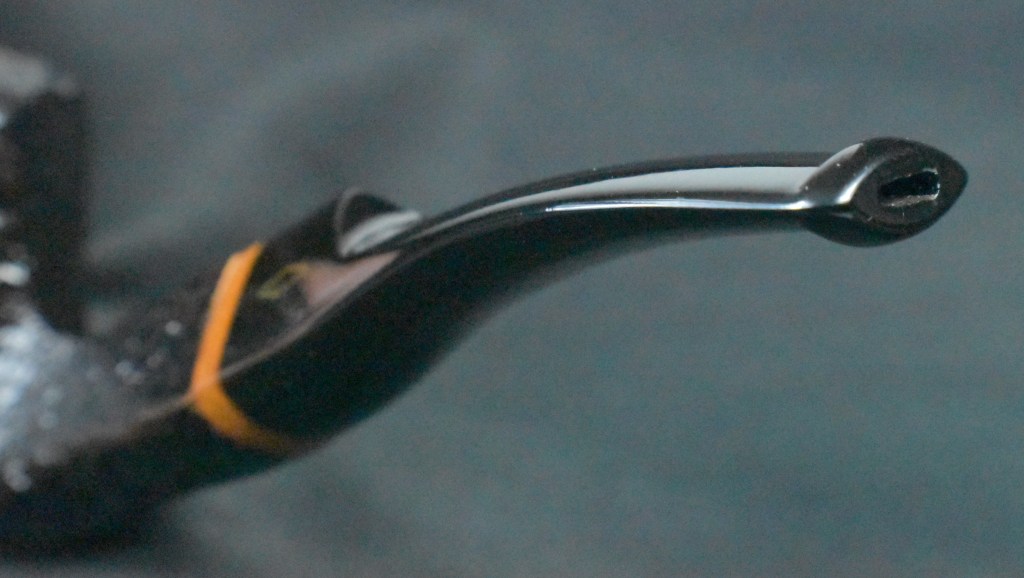
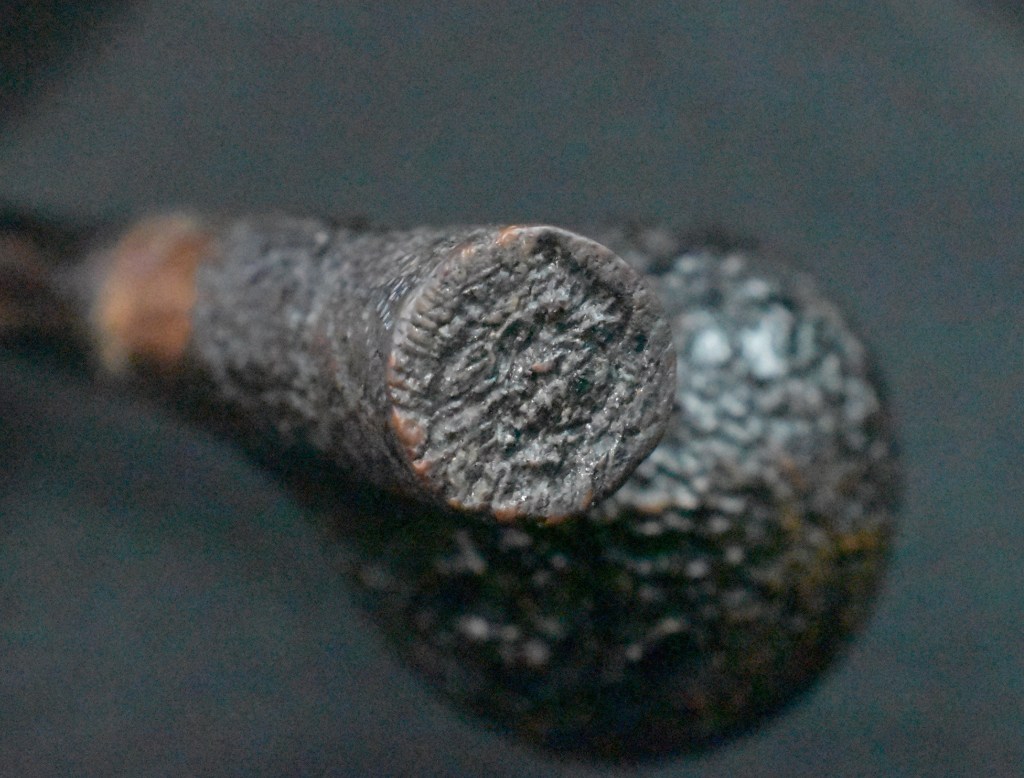
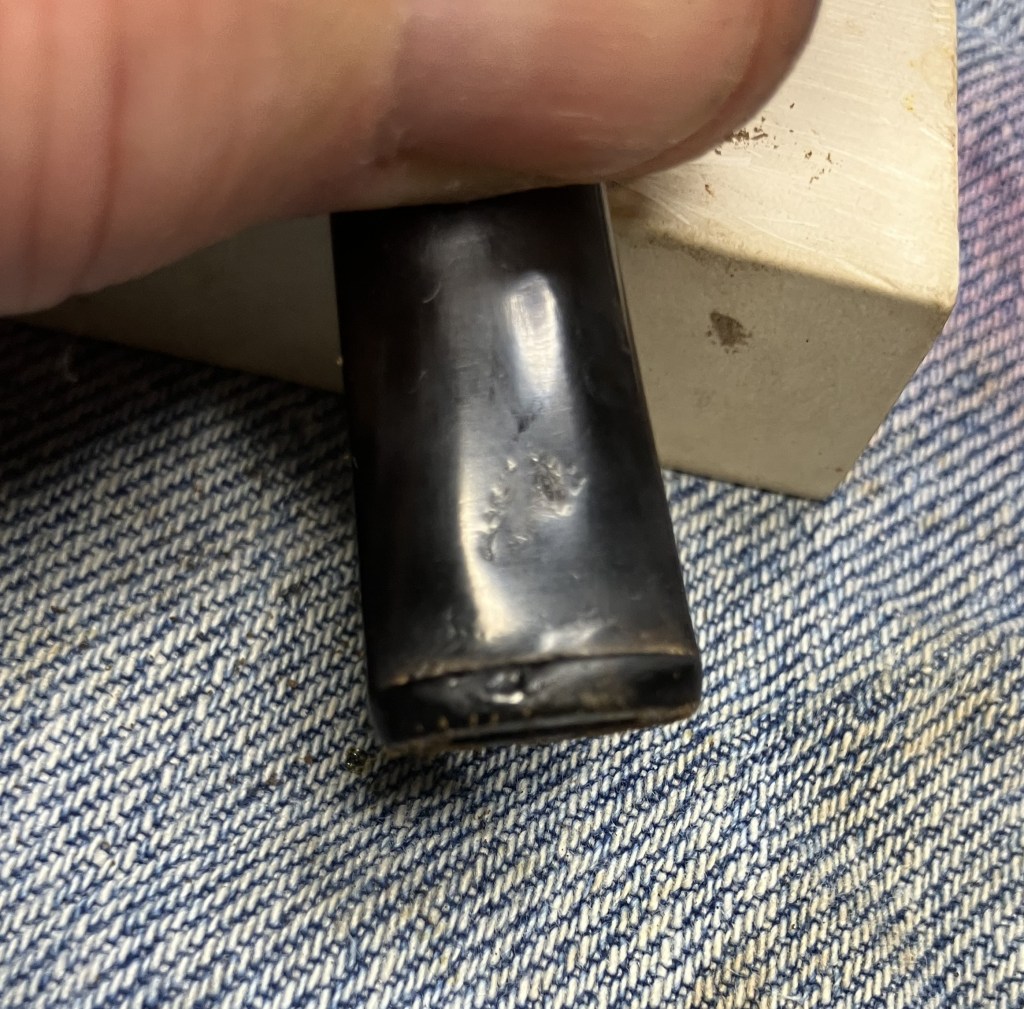
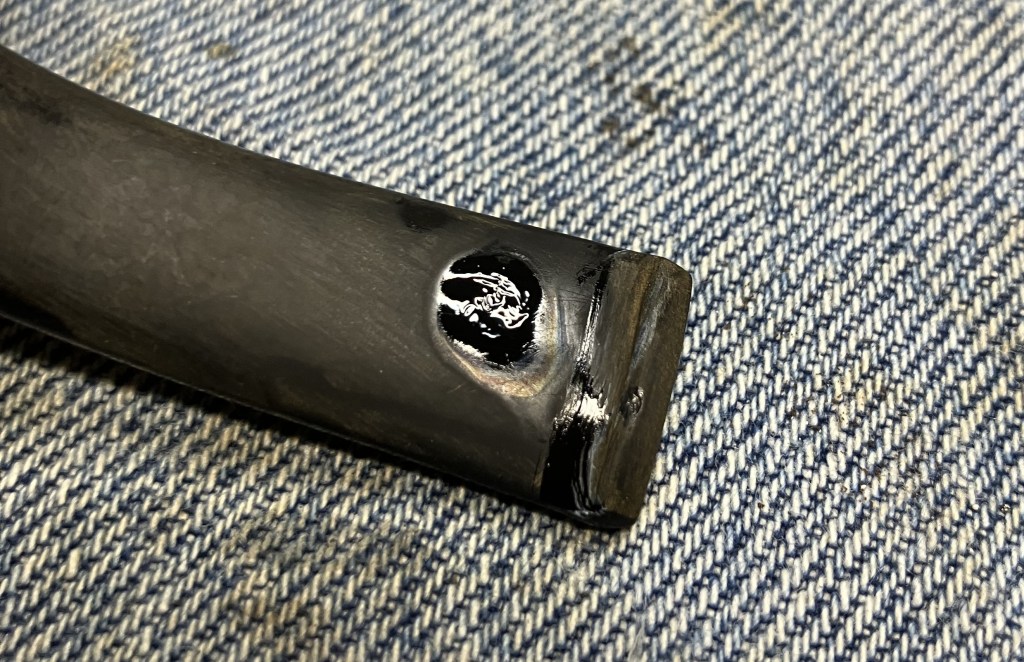
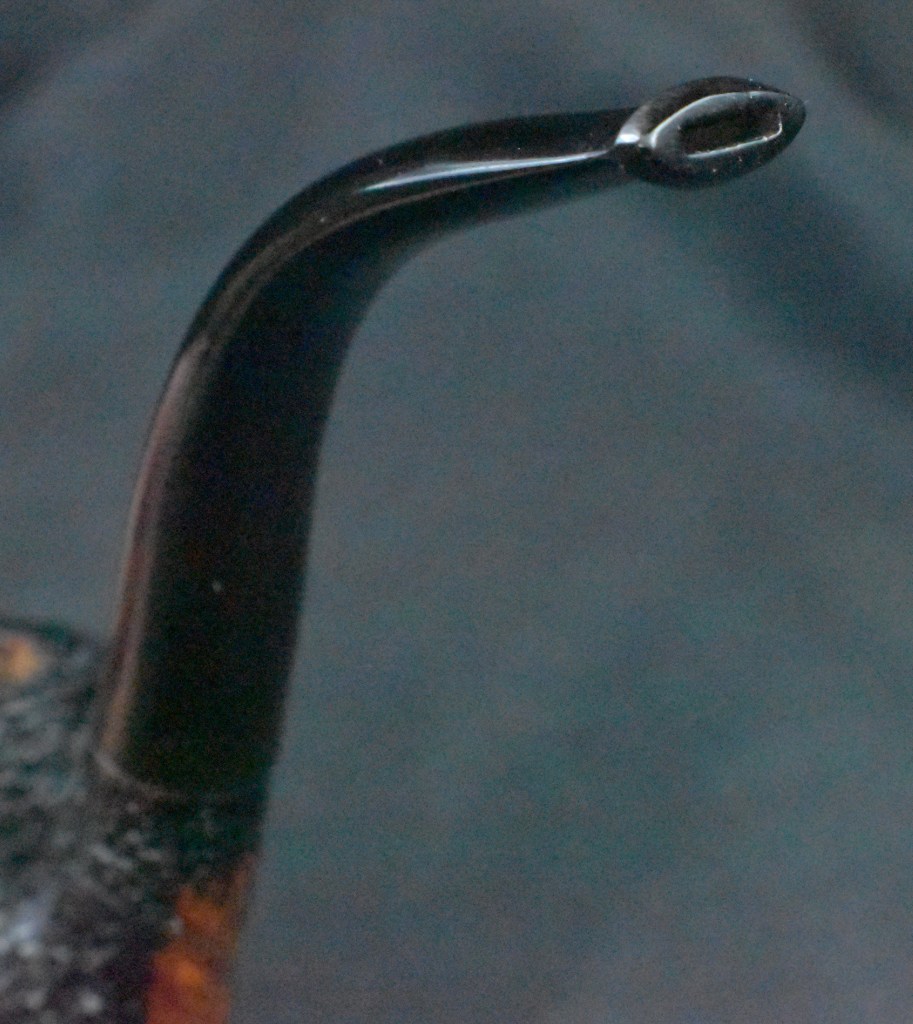
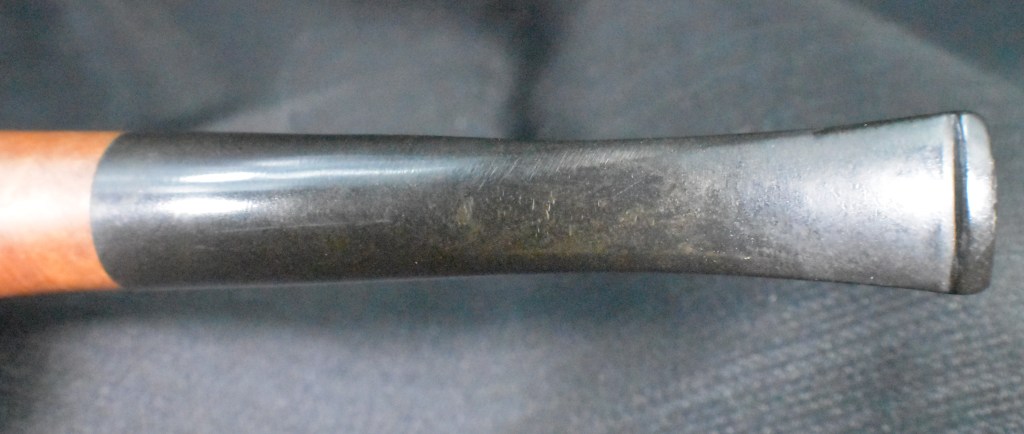
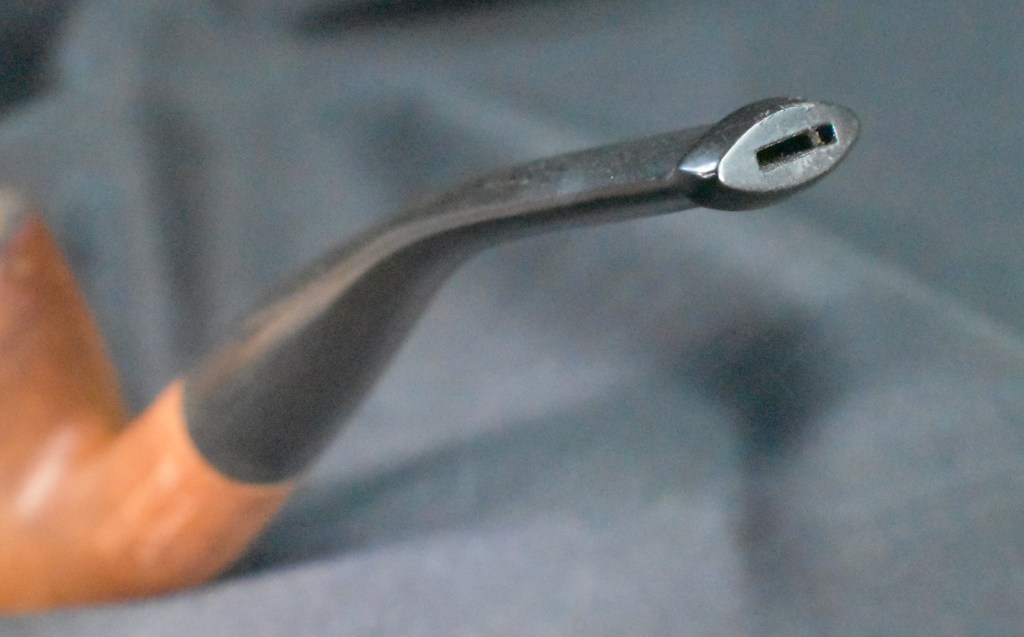
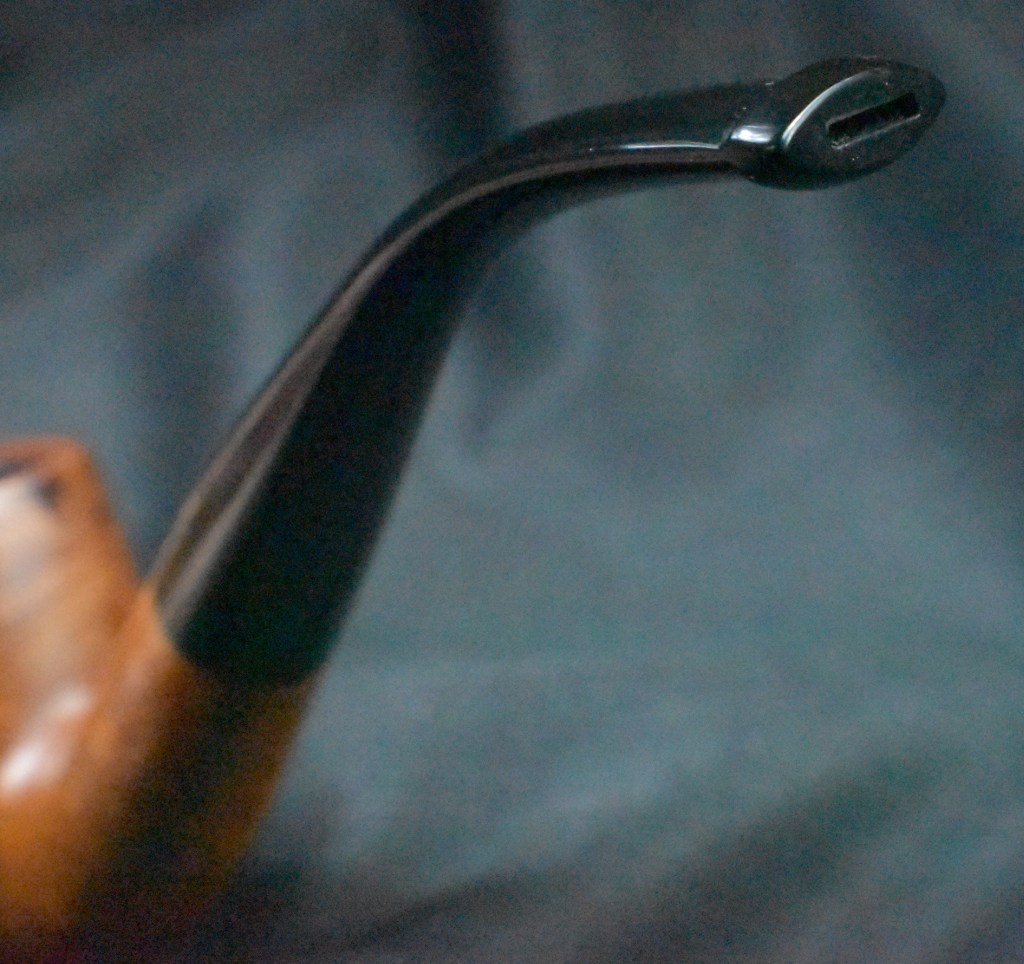
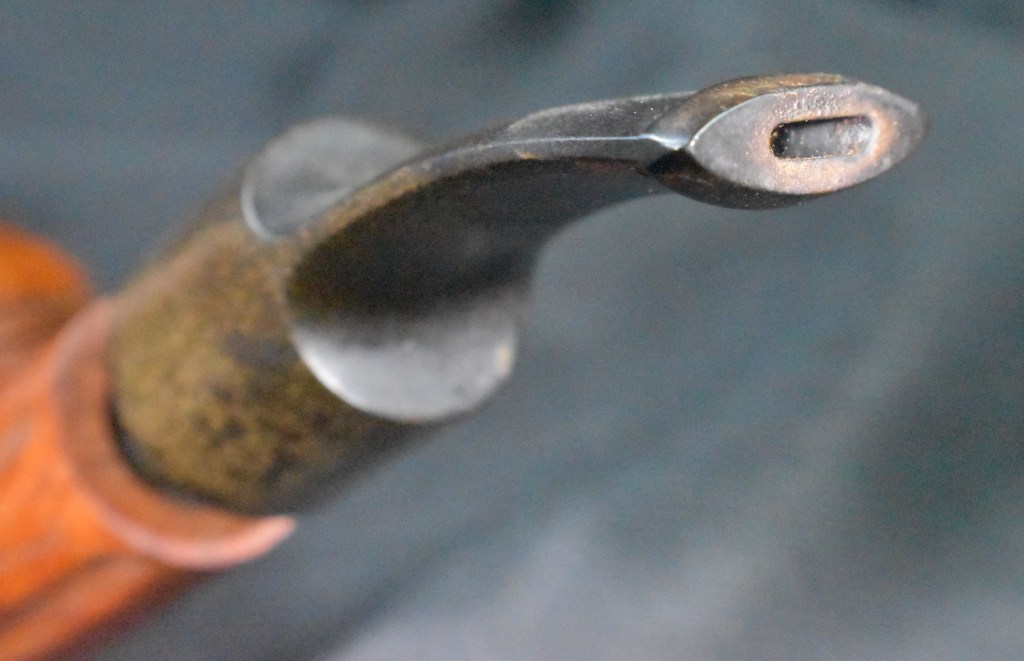
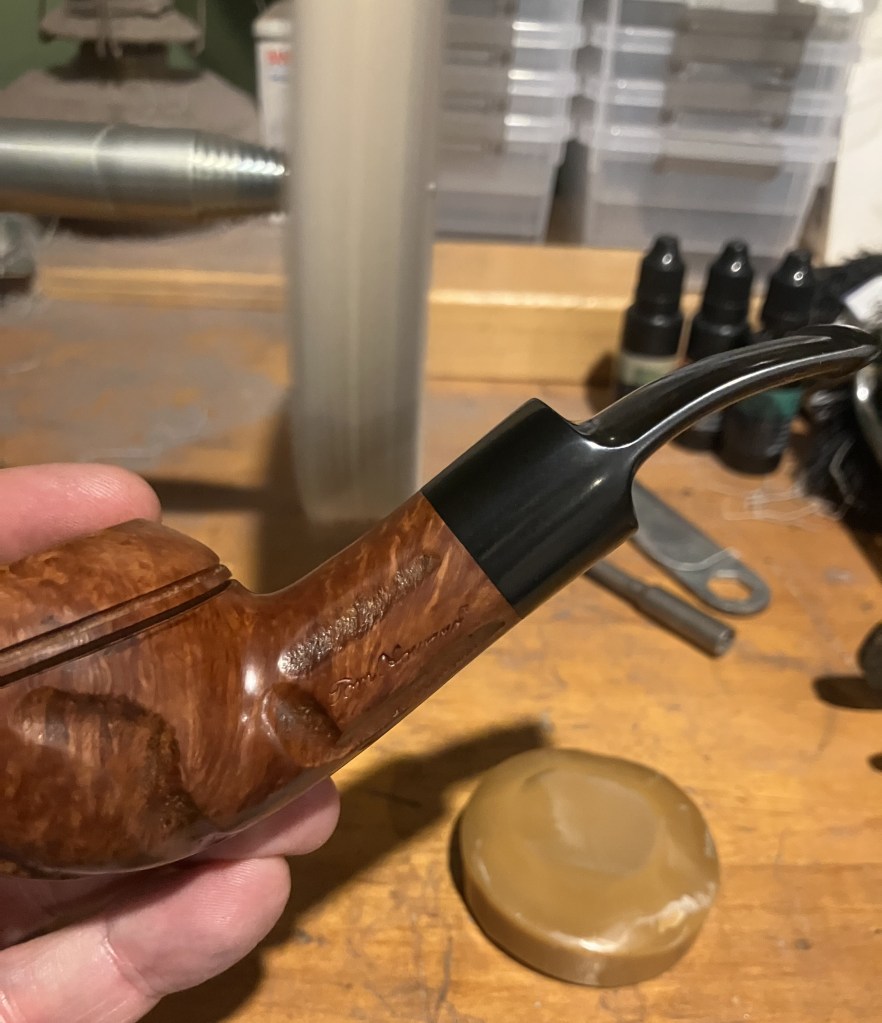
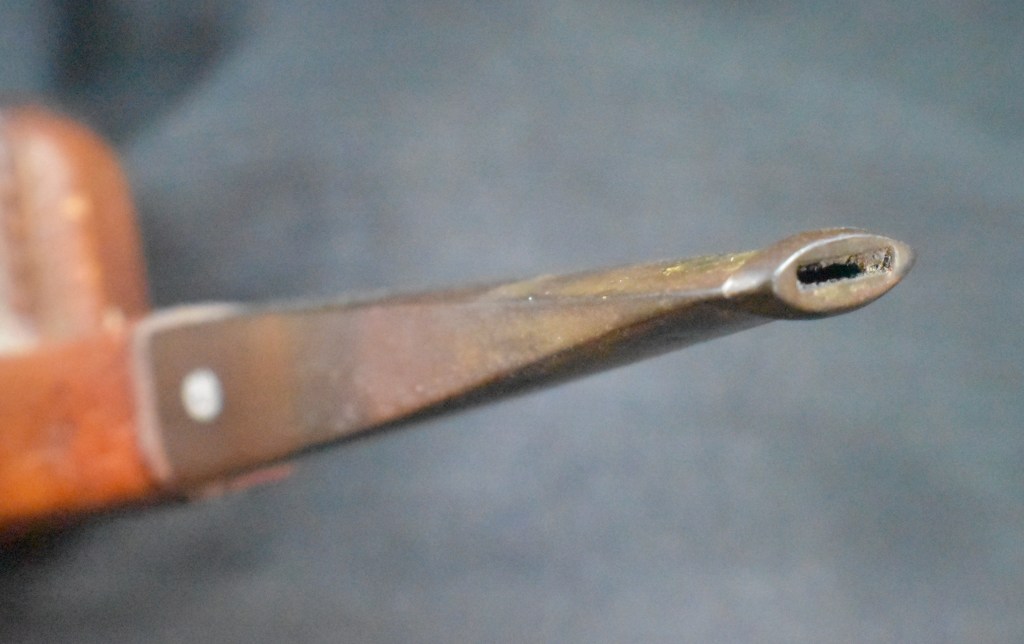
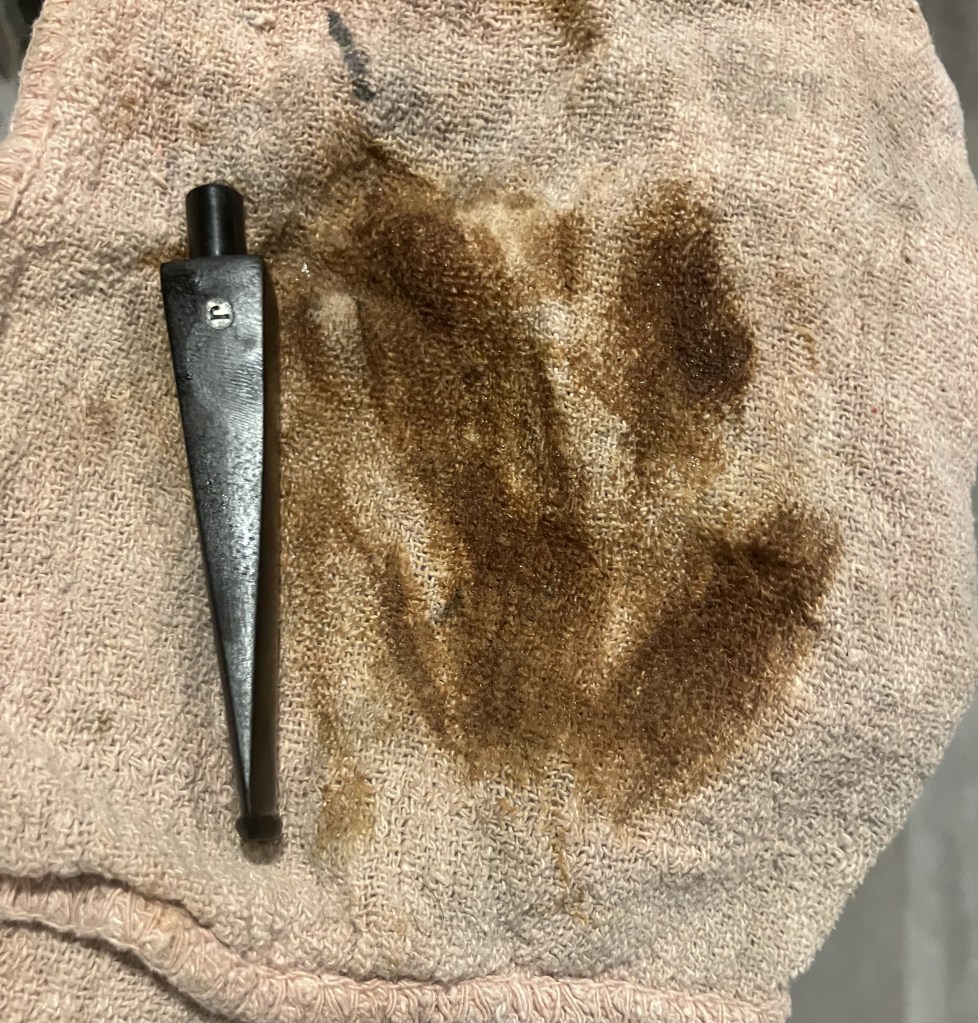
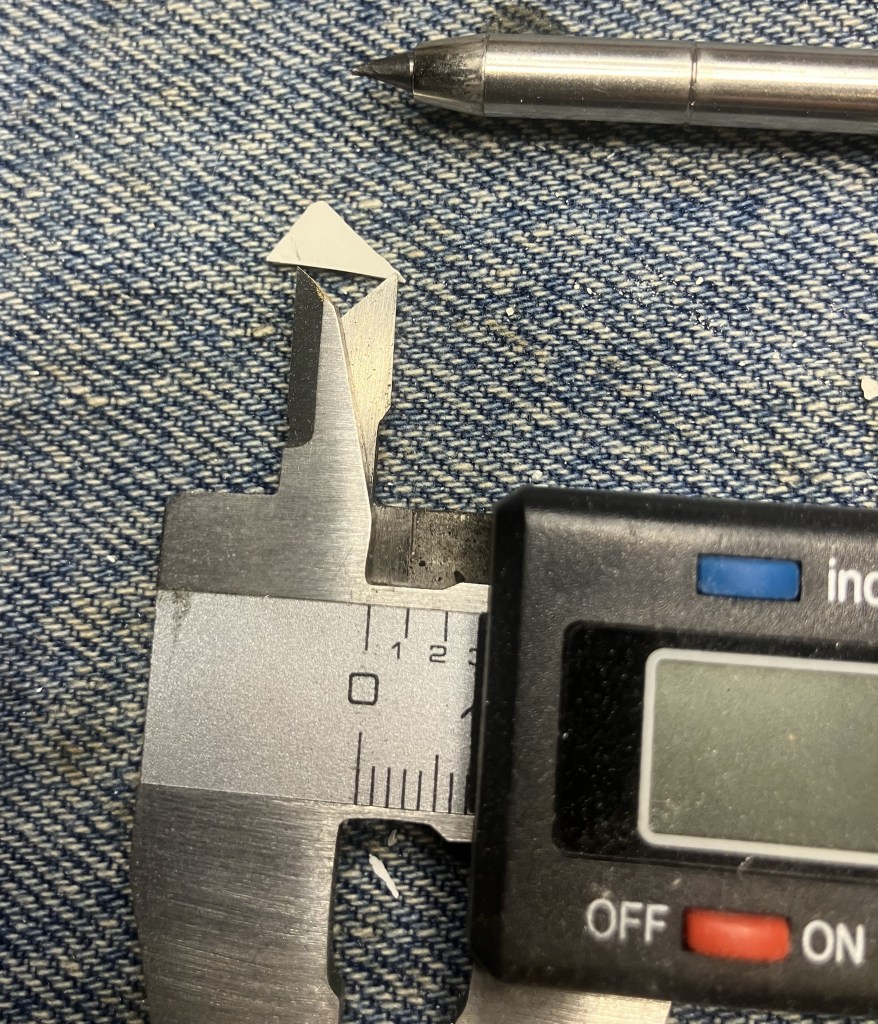
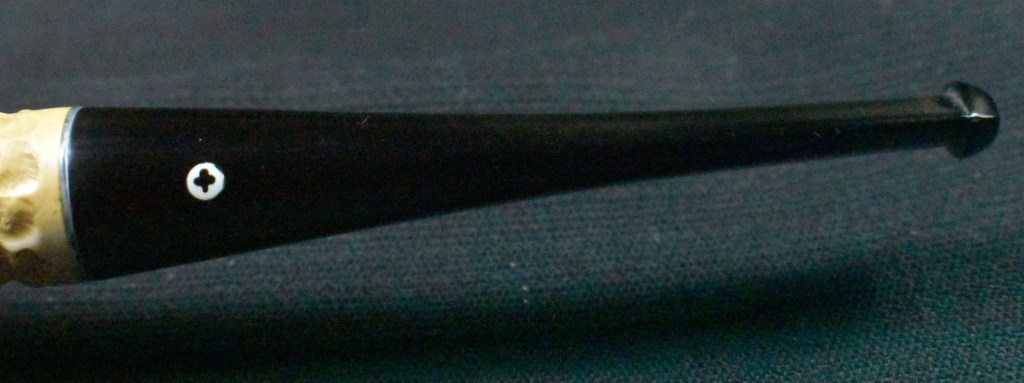
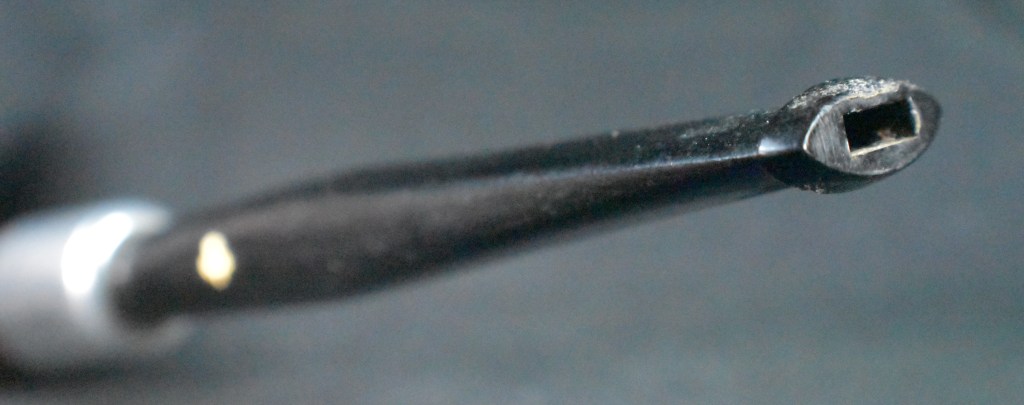
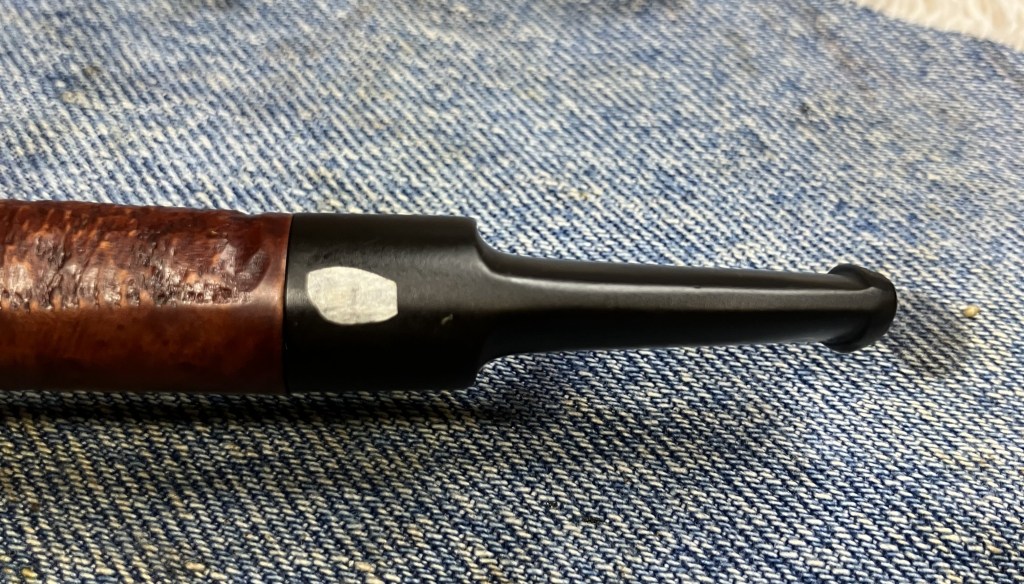
I wiped the remaining balm from the stem with paper towels and examined the chipped button. Fortunately my eyes are not as blurry as the photo.
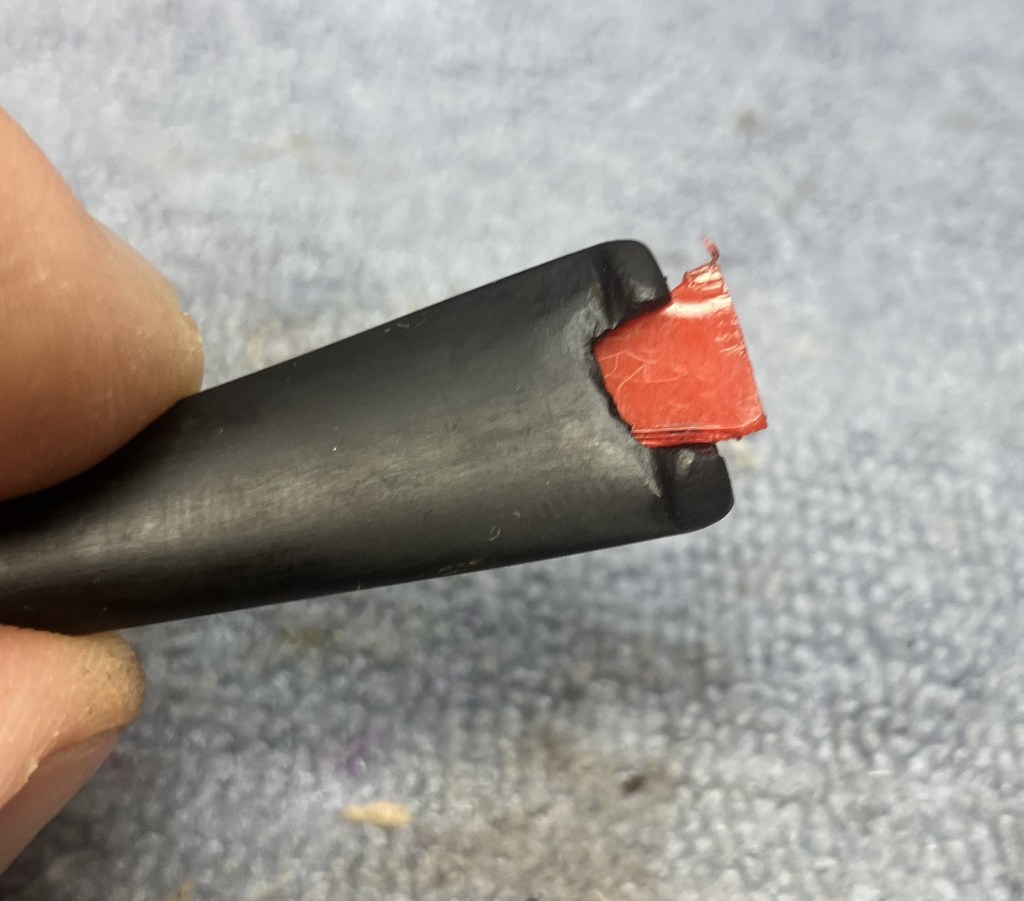
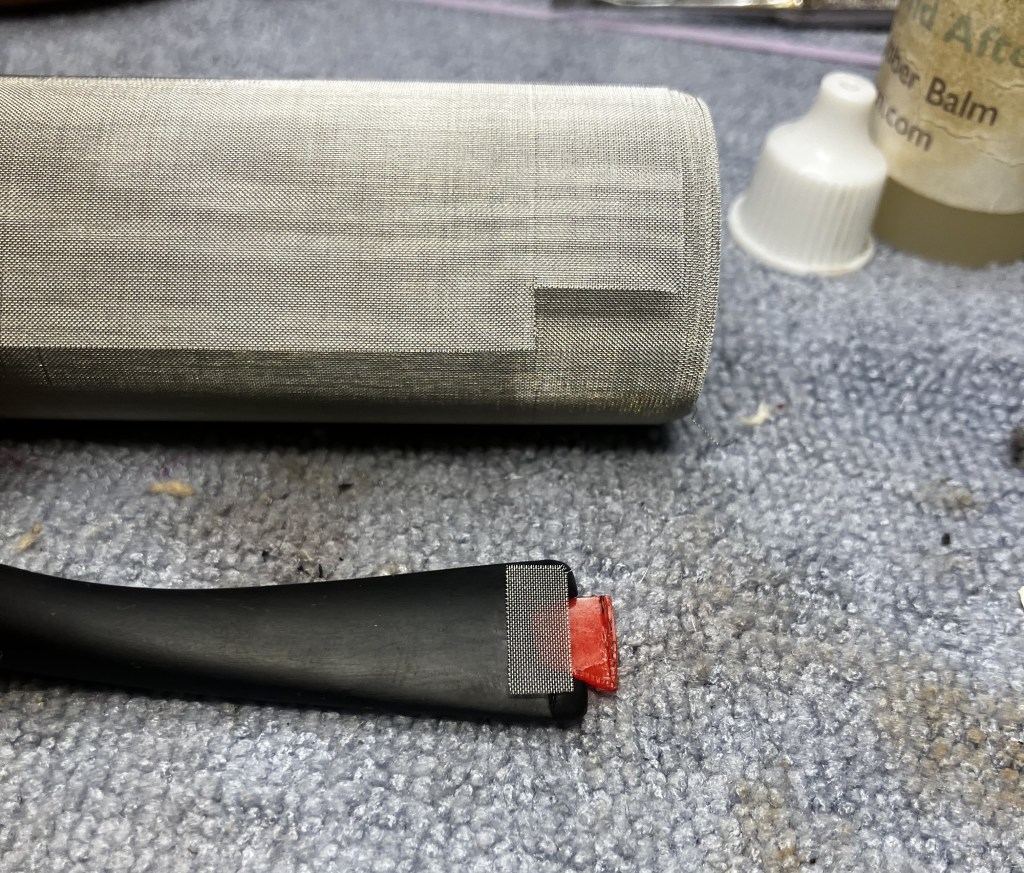
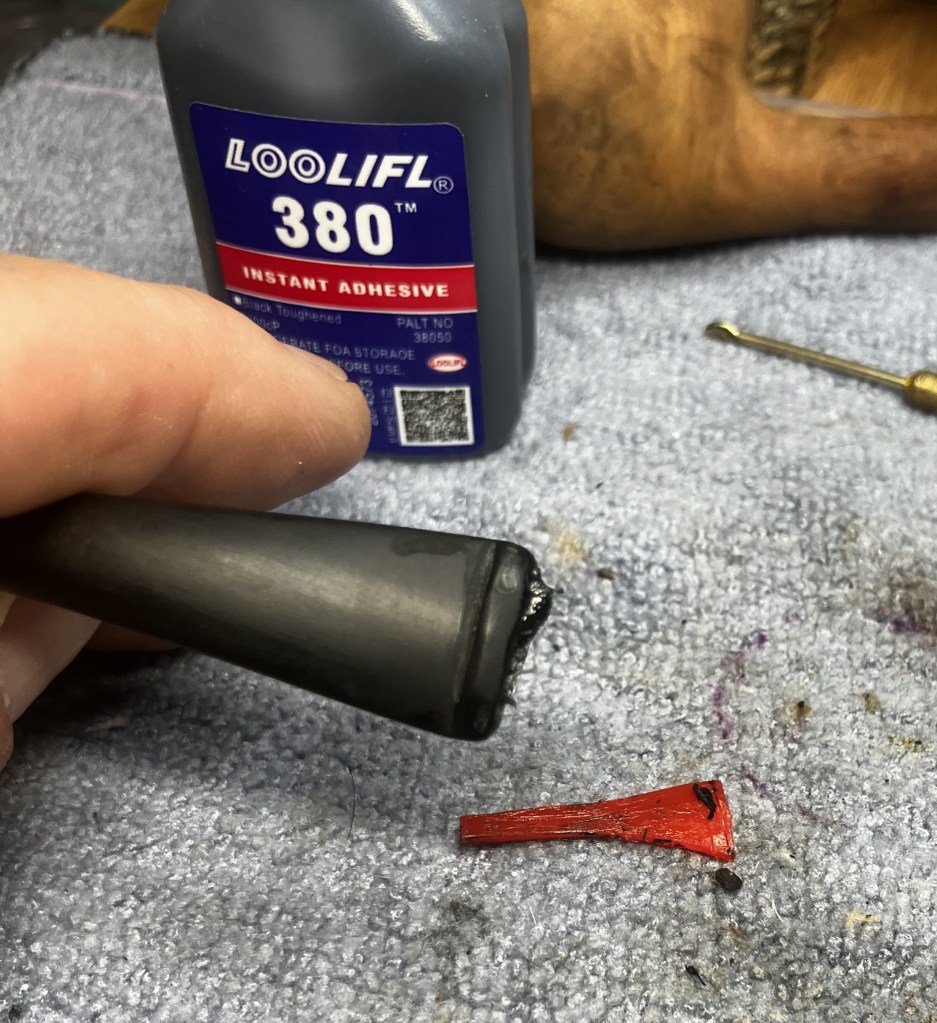
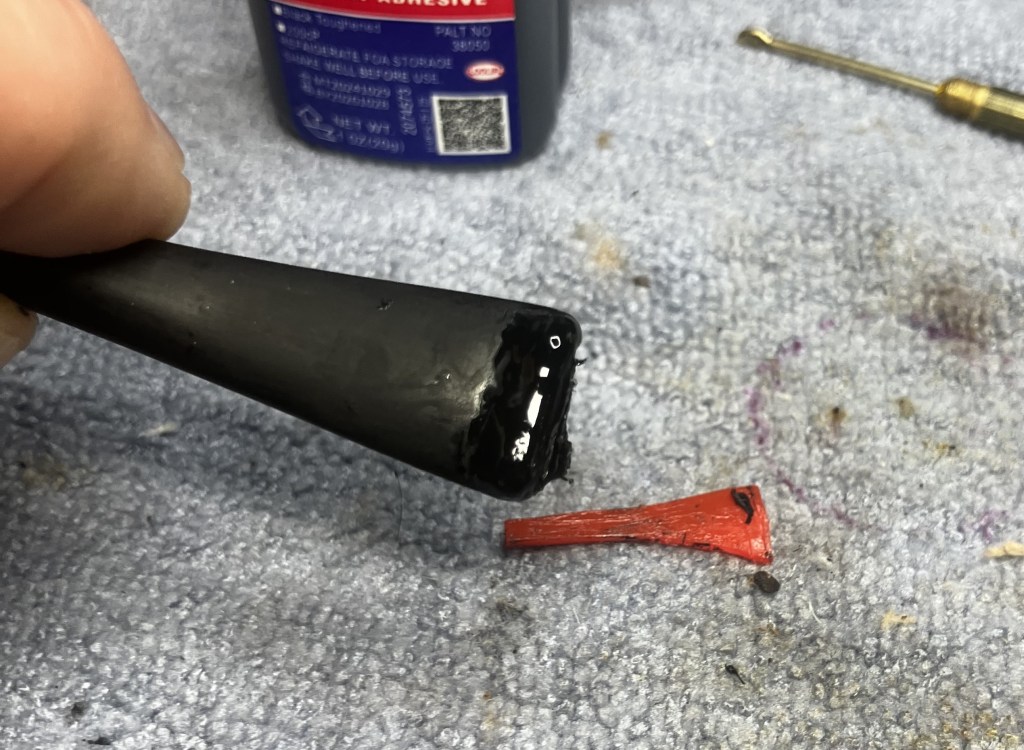
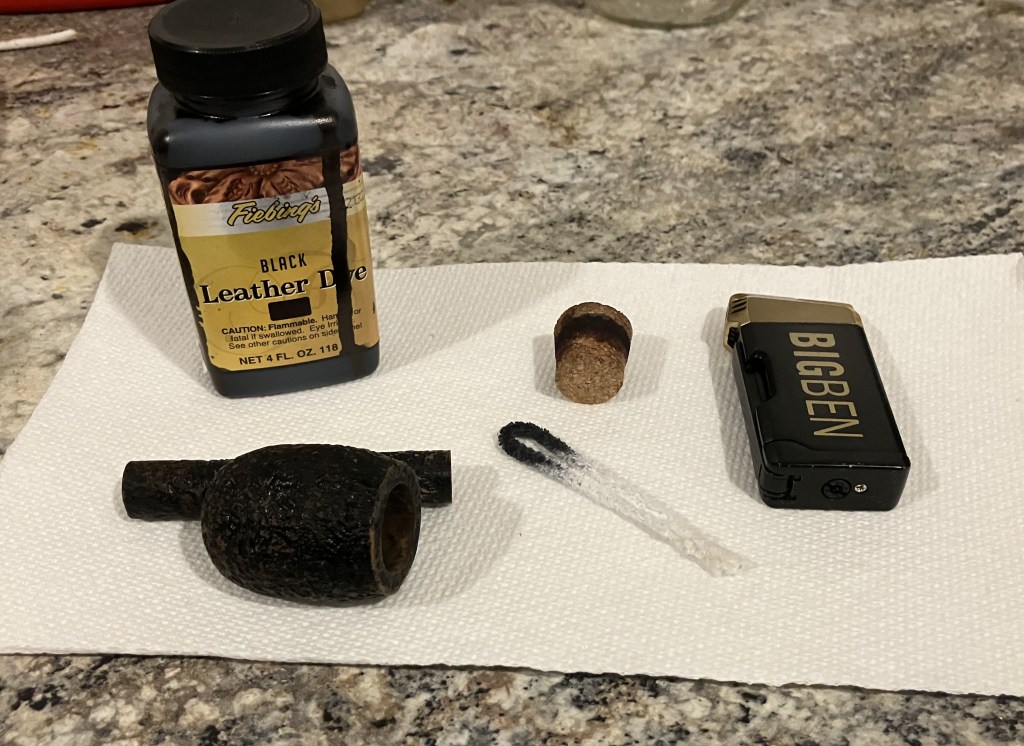
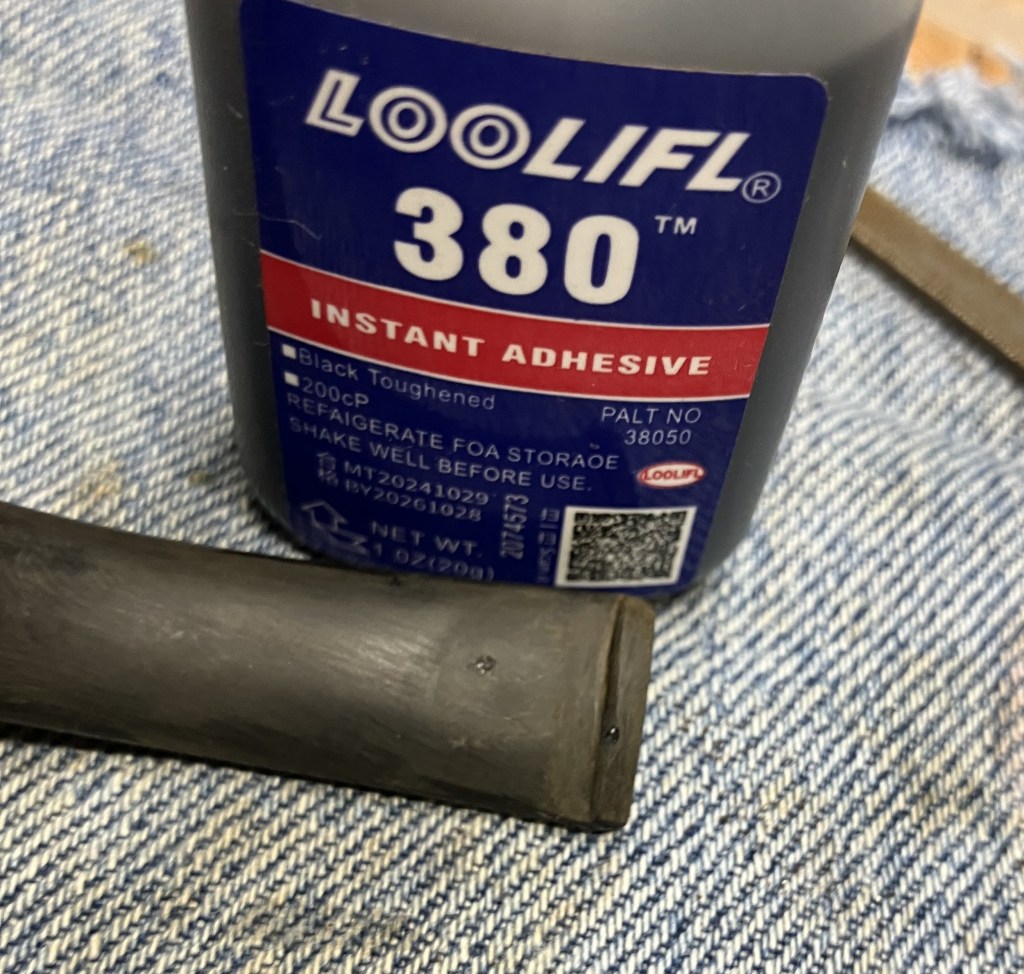
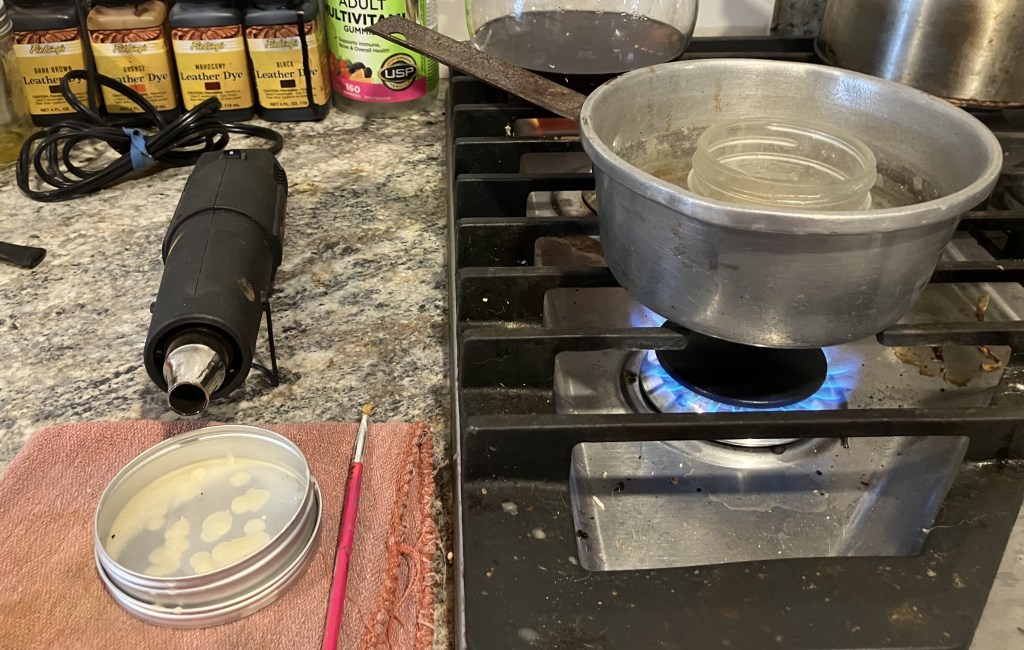
I figured that I would use a dam made from a piece of plastic lid to keep the black cyanoacrylate (CA, super glue).
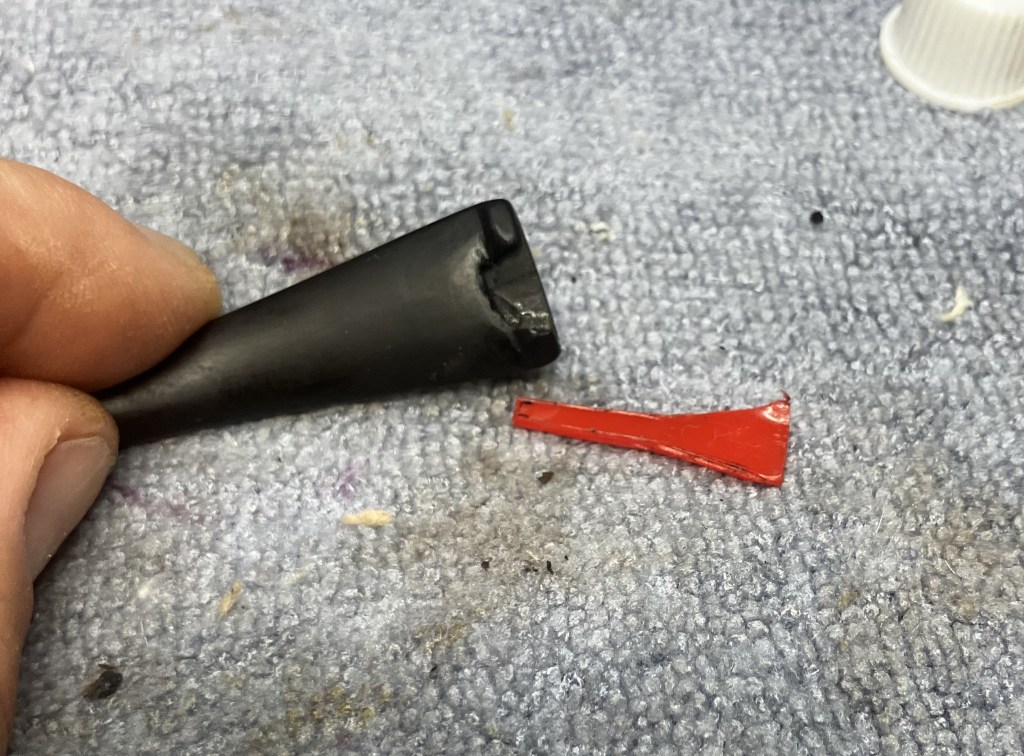
This one was cut for a previous stem repair and fit nicely.
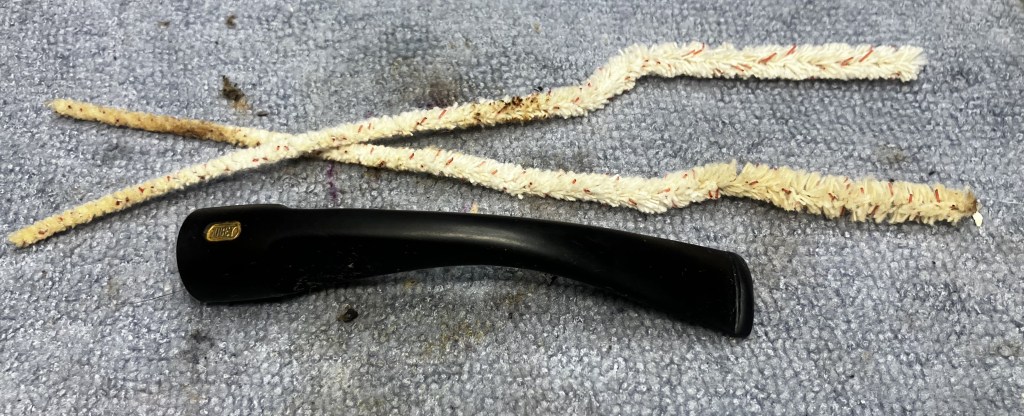
Below is a photo of the stainless steel mesh that I had purchased and the piece I cut from the roll. I planned on using Kenneth Lielich’s technique but rather than inlaying the mesh into the void, I wanted to shape the mesh and overlay it to add additional contact surface for the CA and the mesh. In hindsight I think cutting down into the vulcanite with a Dremel bit, about 0.5 mm would have been a better idea. Live and learn, eh?
The mesh folded easily and conformed to the surface of the button.
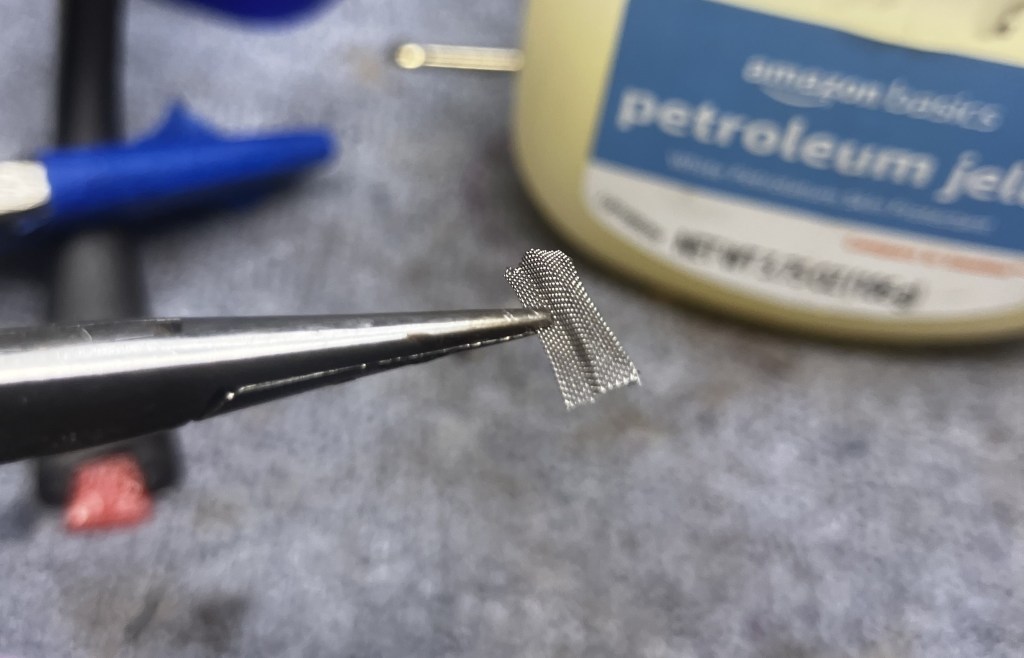
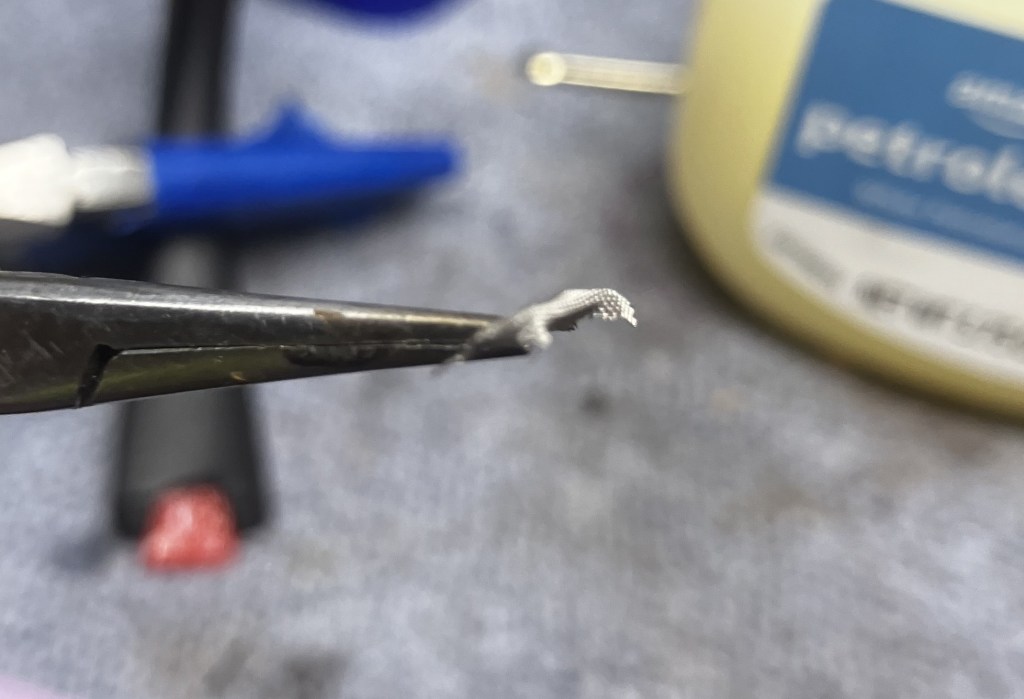
I used one of my good fly tying scissors to remove any stainless steel strands which might stick up through the CA.
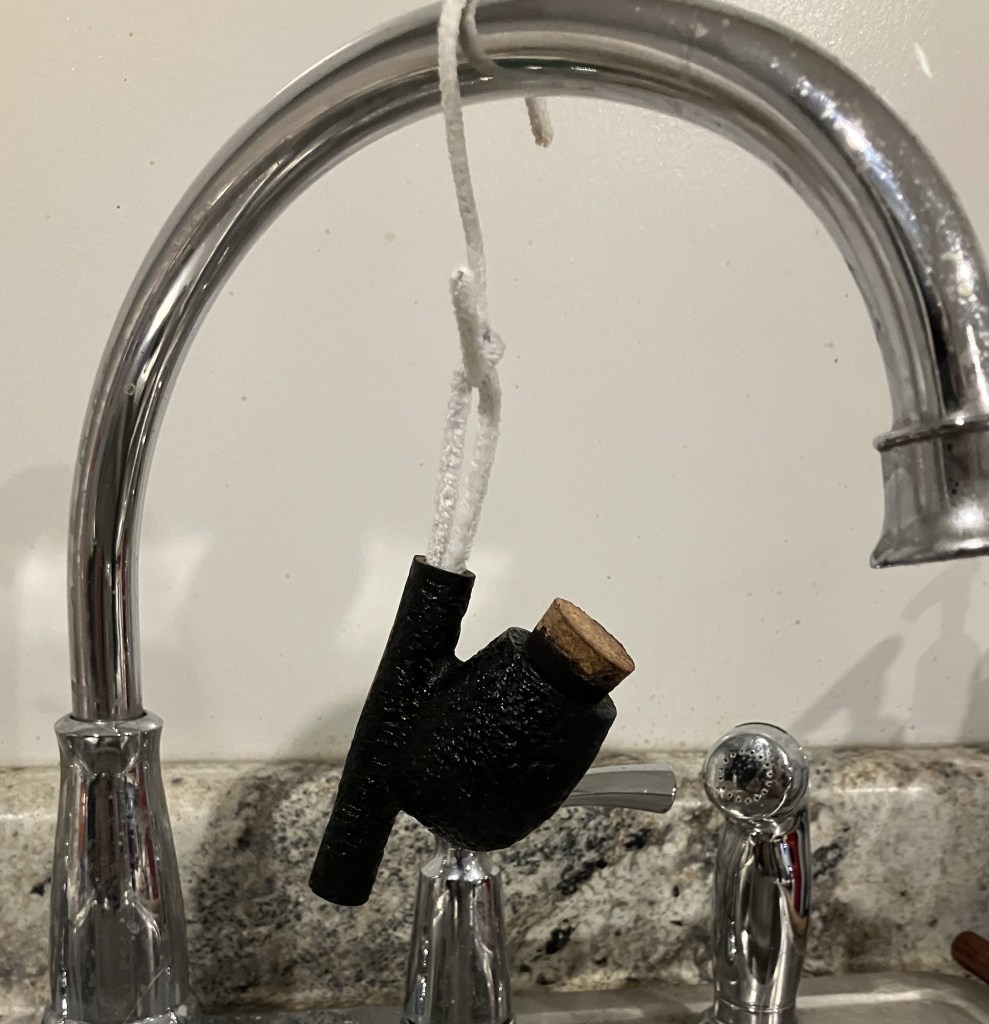
With the dam covered with petroleum jelly and in place, the mesh was placed.
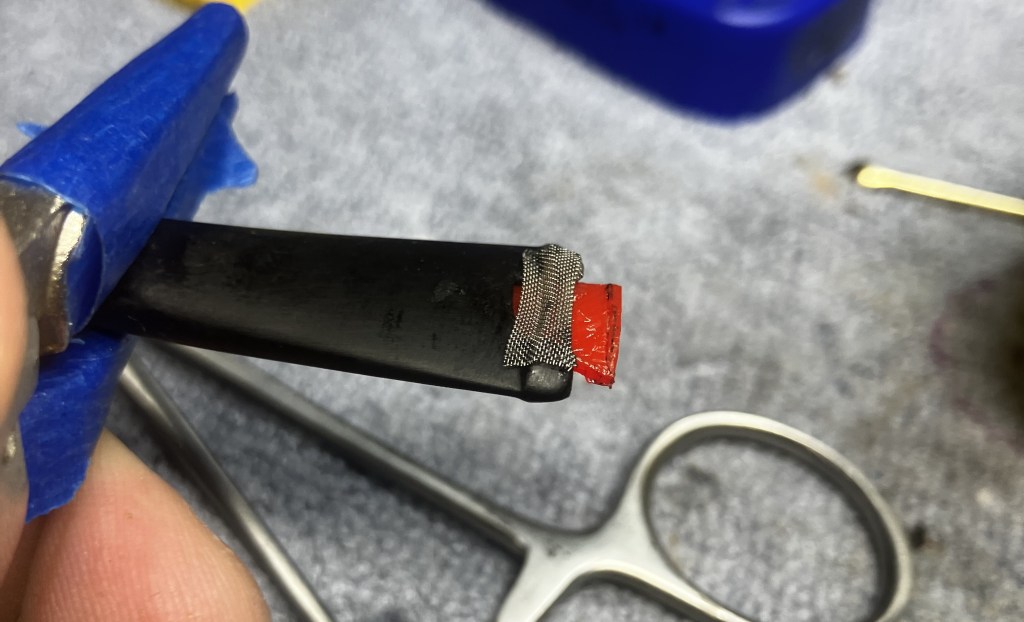
Black CA was then carefully placed onto the mesh.
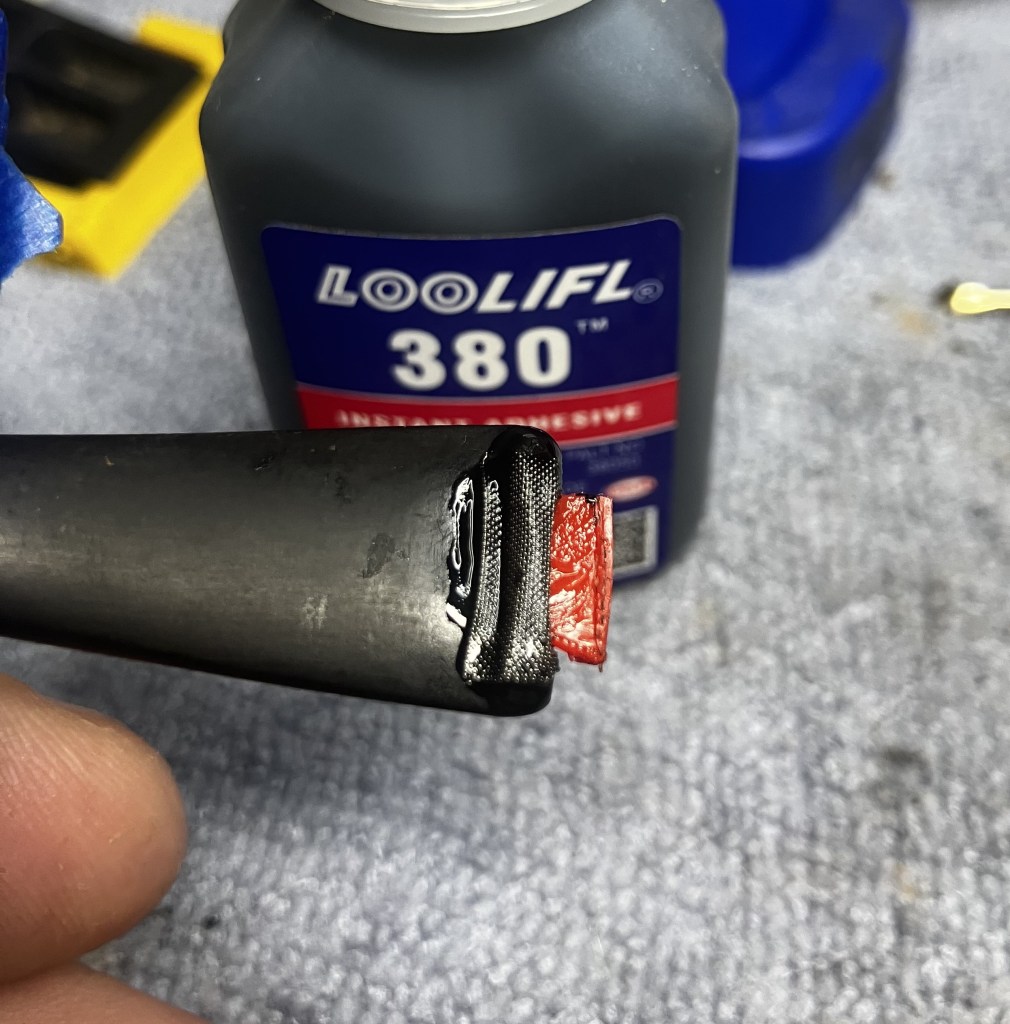
A CA drying accelerator was used to cure the CA more quickly.
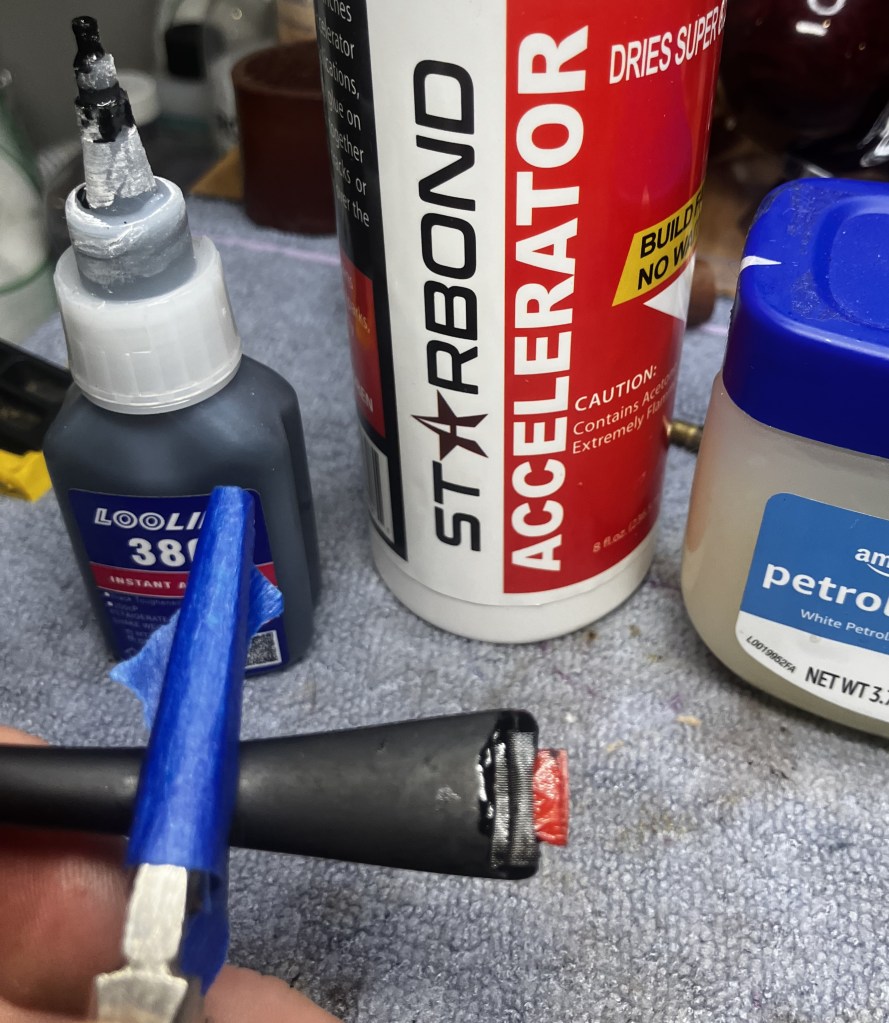
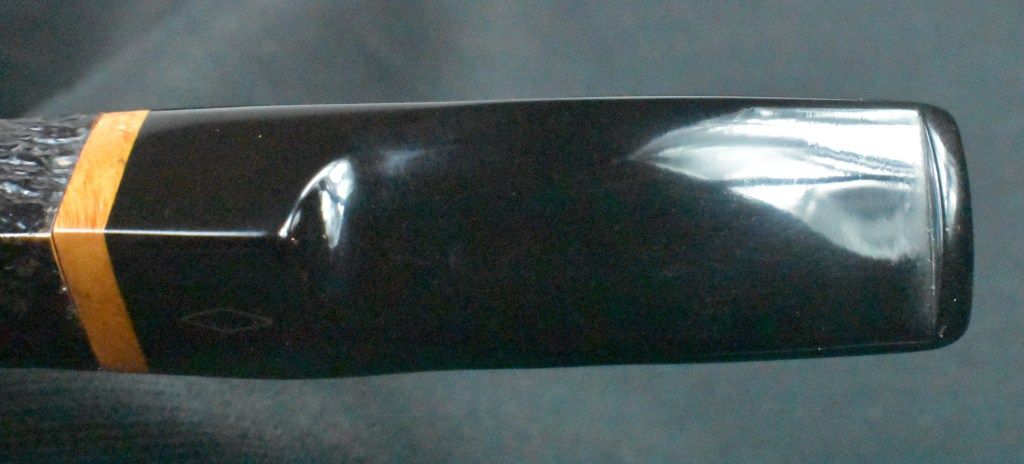
It required several coats of CA to cover and conceal the mesh. This would require blending the patch with additional CA and a good deal of filing and sanding.
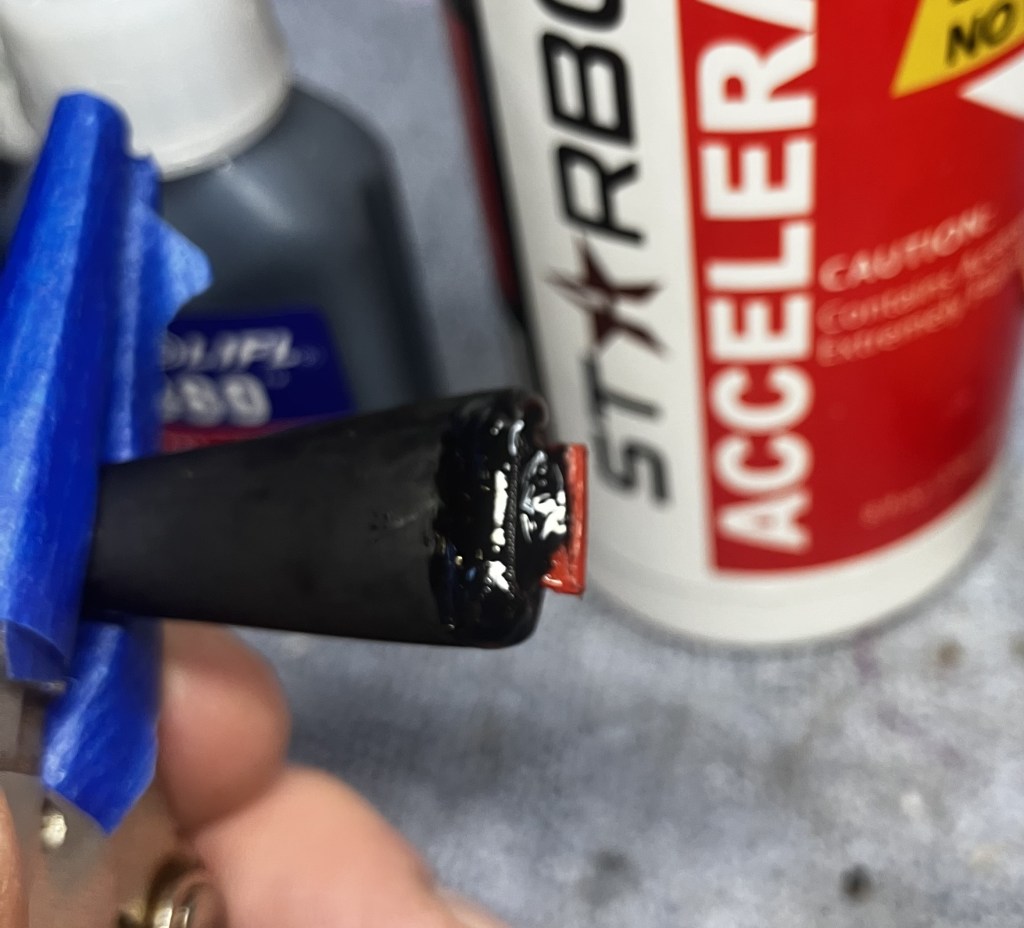
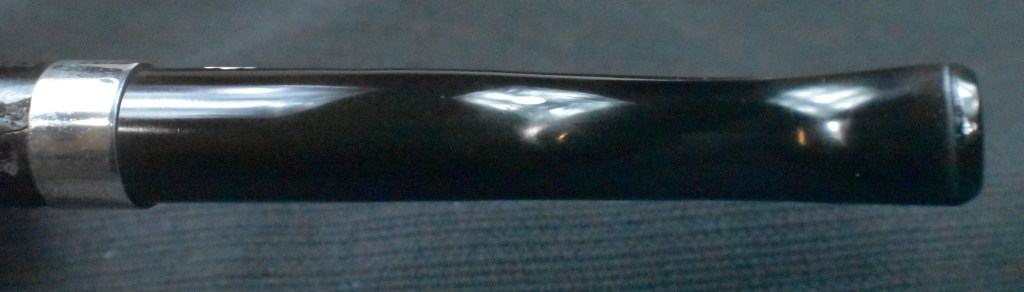
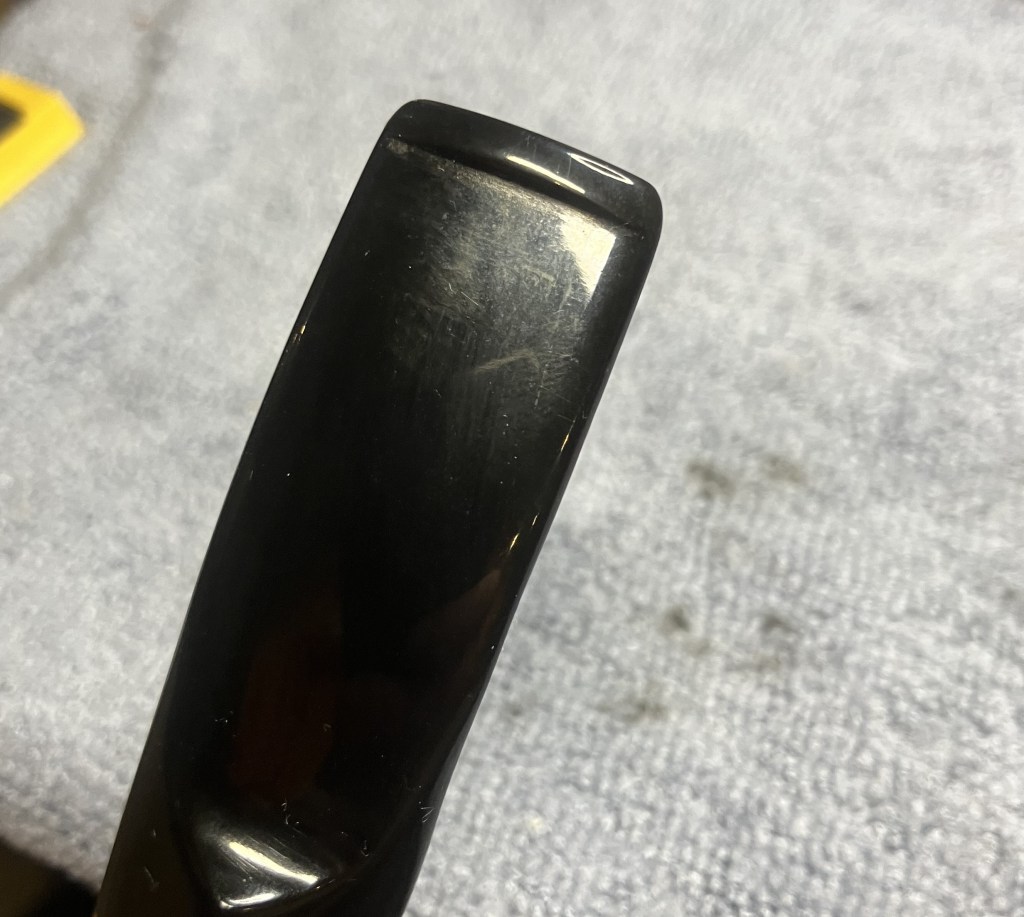
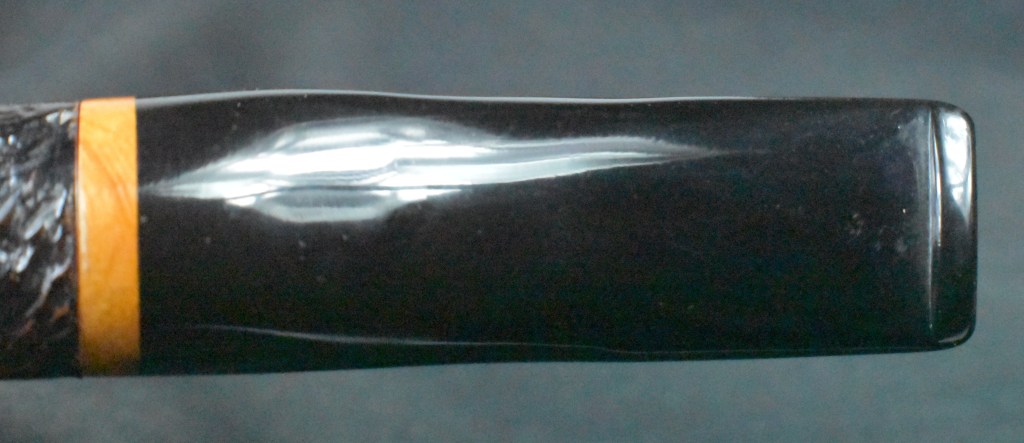
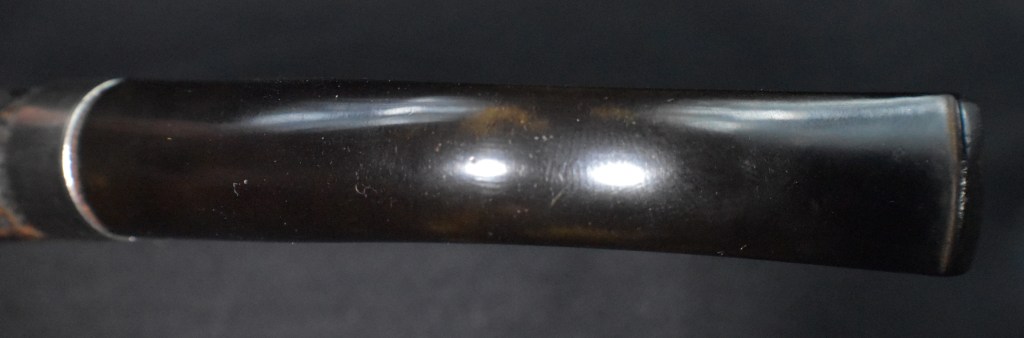
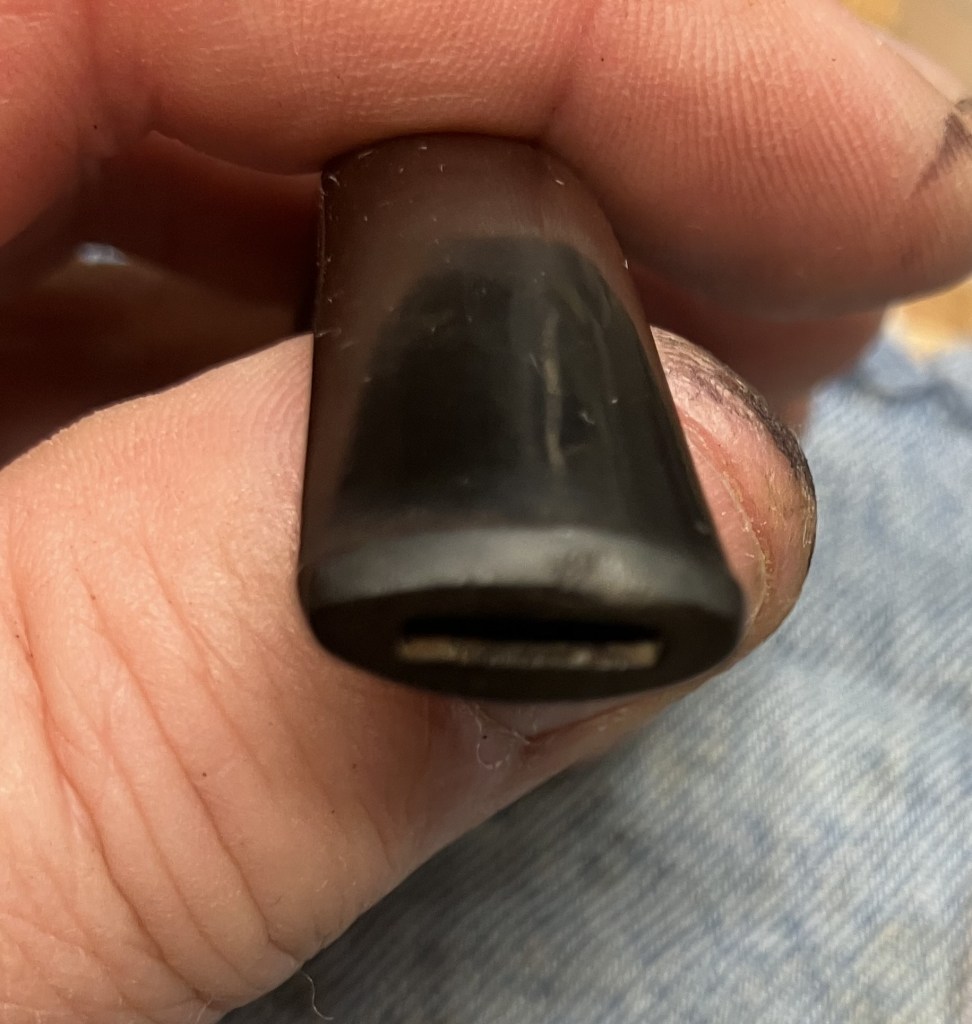
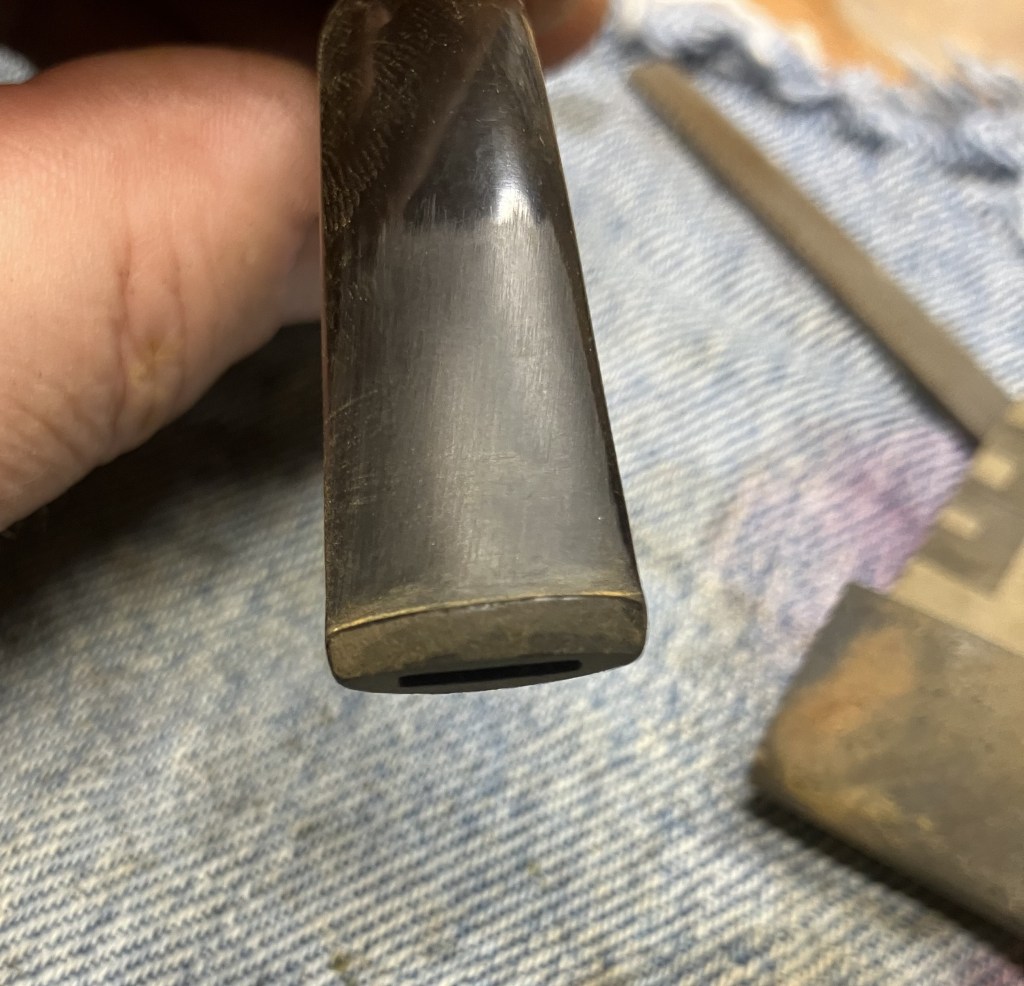
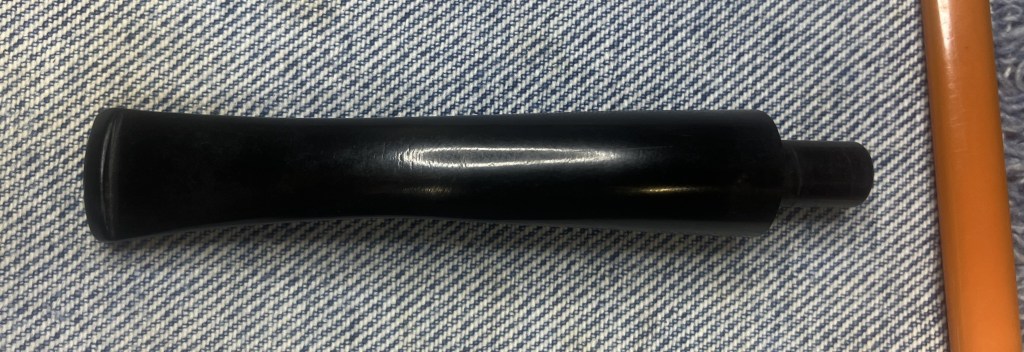
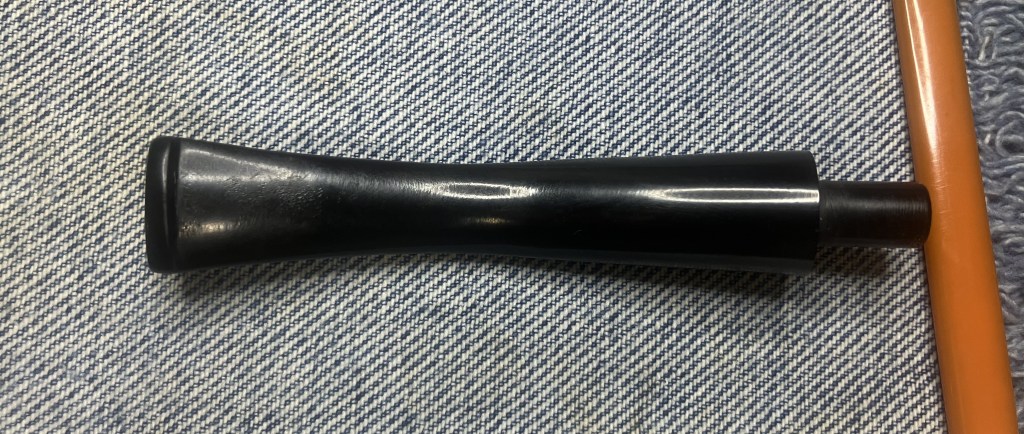
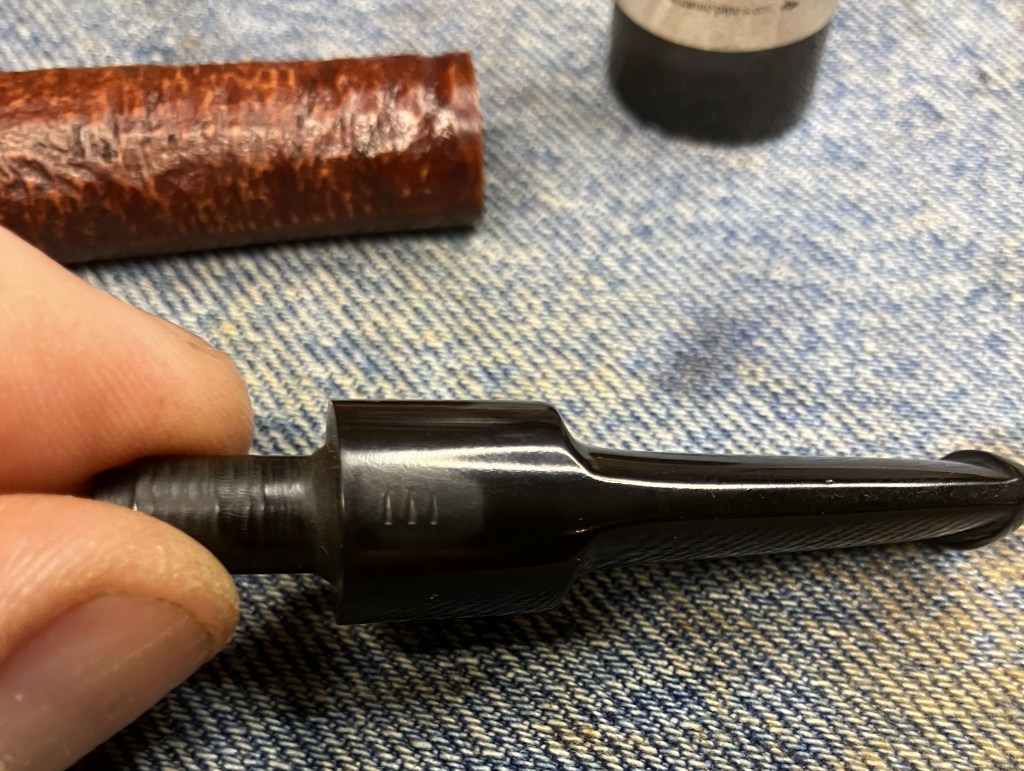
I would love to say the below photo was the result, but it is the top, non-chipped side of the button.
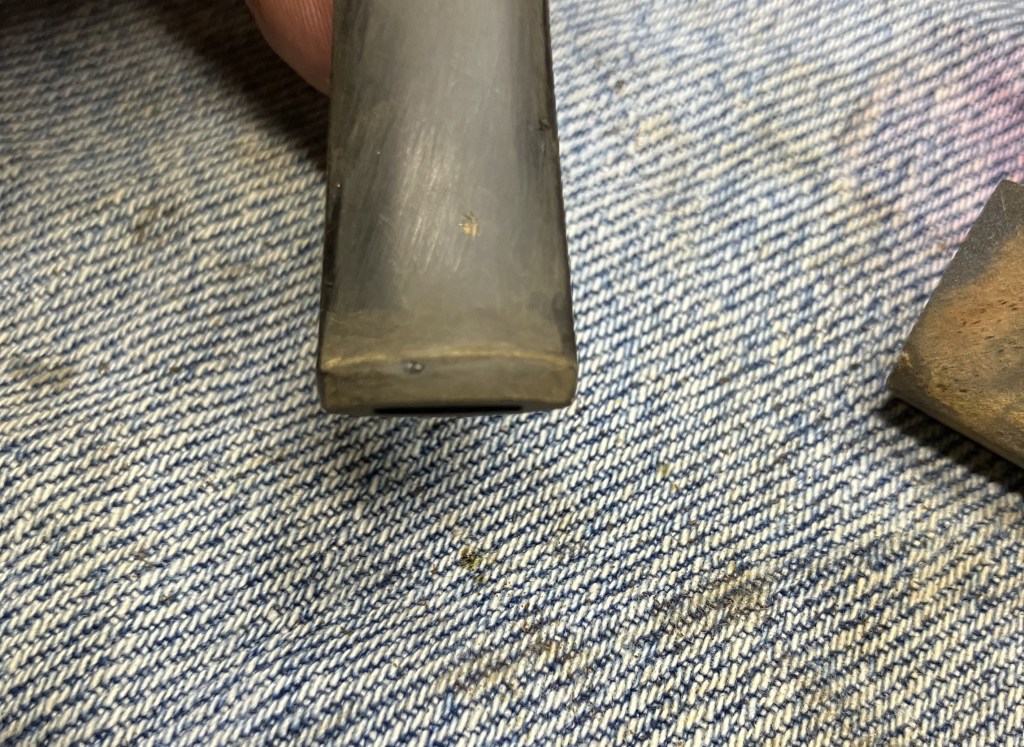
This photo is of the repair, before reshaping via filing and sanding.
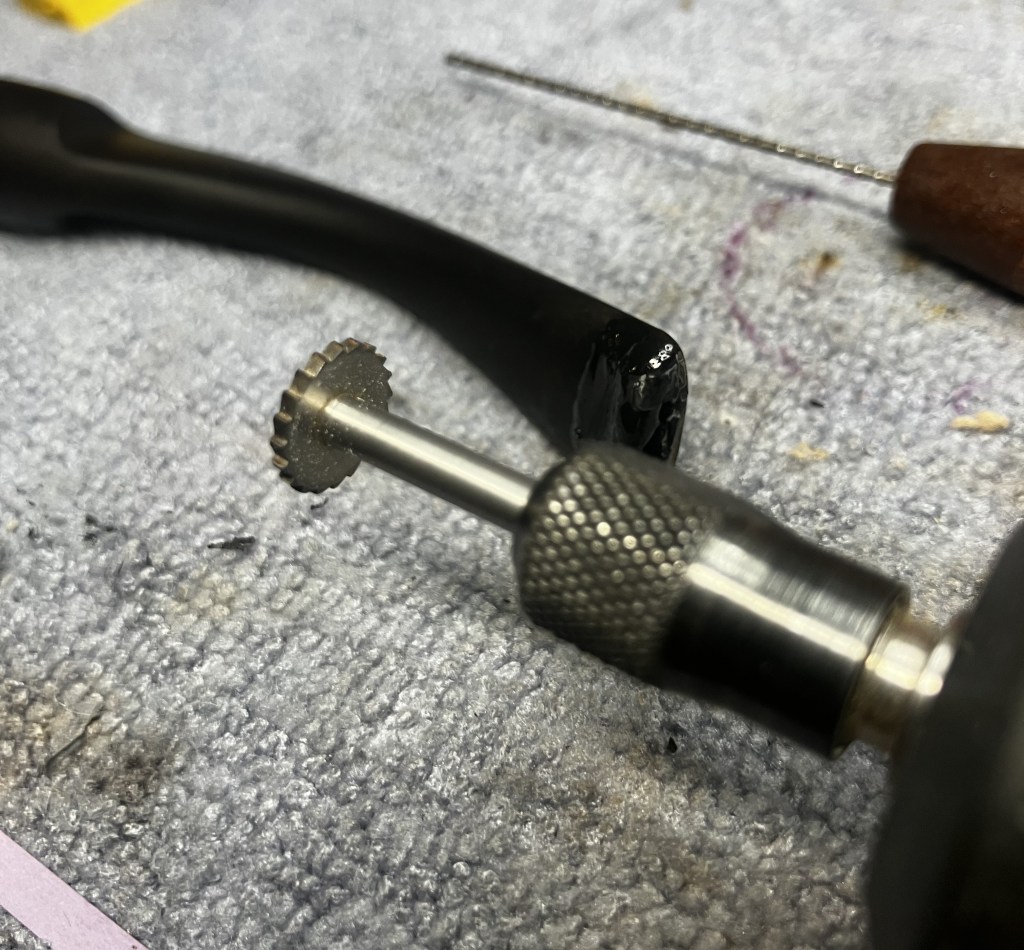
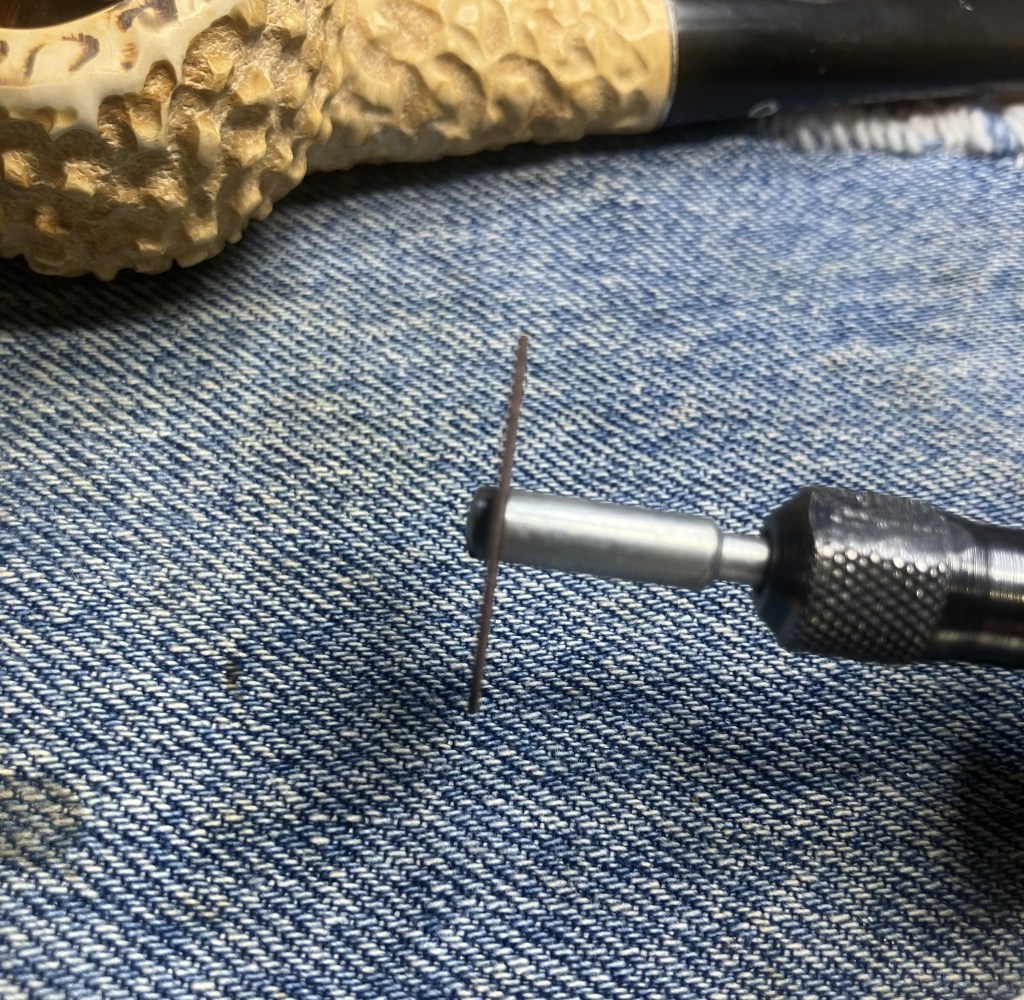
To reestablish the slot, a Dremel rotary tool and the bit shown below was used.
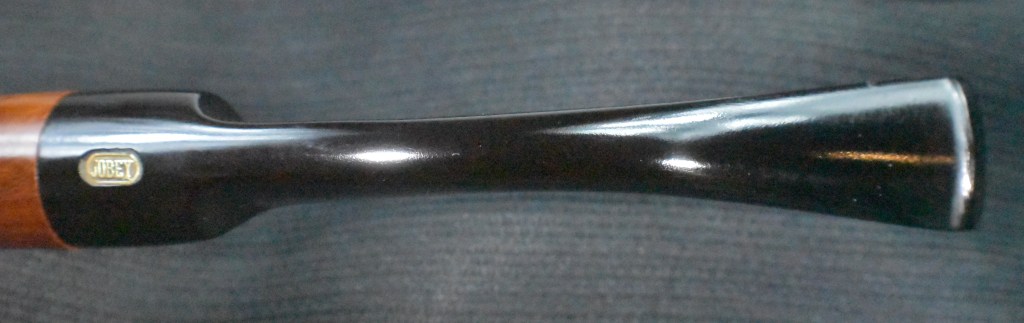
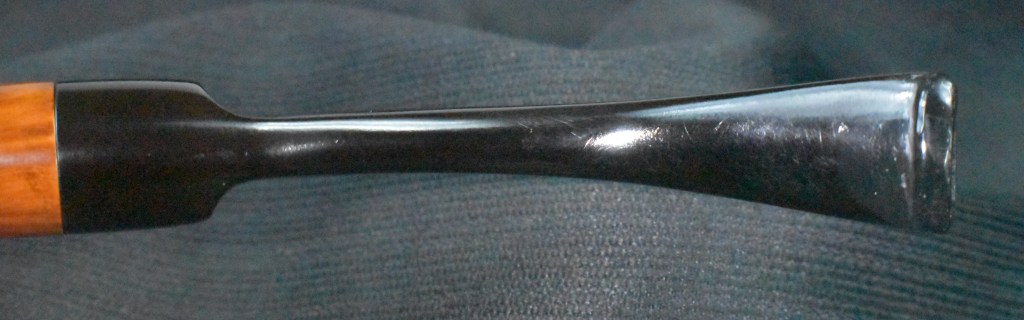
There was a lot of blending, filing, sanding followed by another coat of CA followed by more filing and sanding. The photos of this were neglected as I was in a “stem beautification” mode. I did start photographing when finished though. I guess you will just have to wait to see the finished stem.
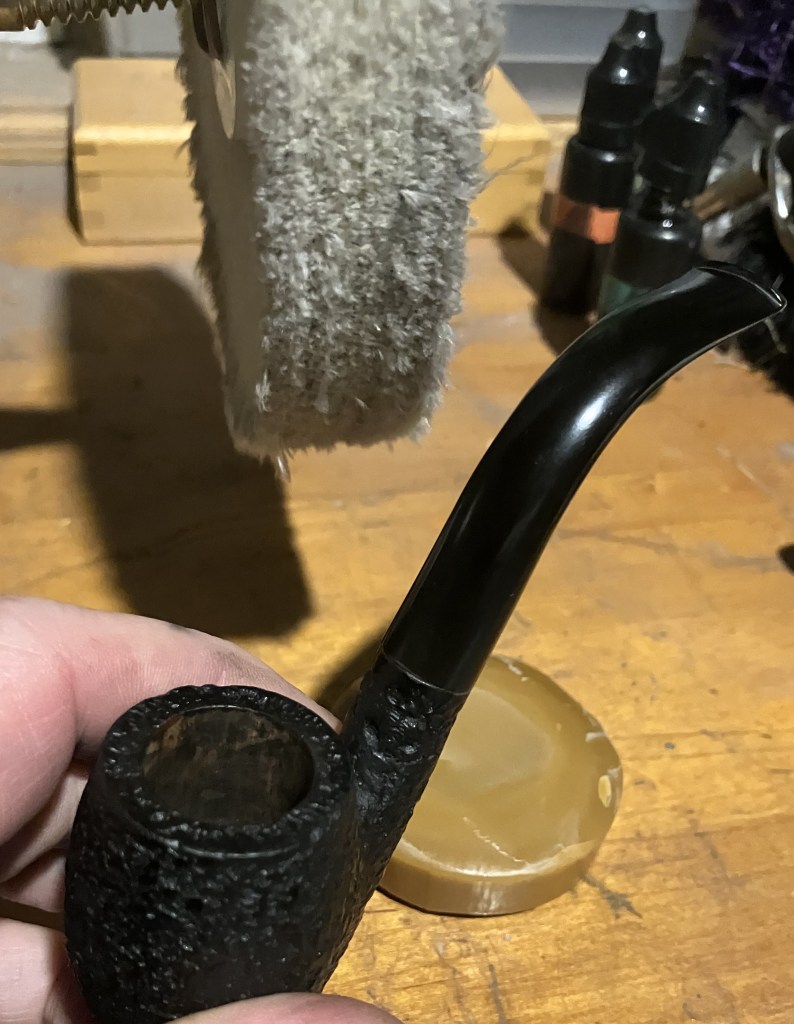
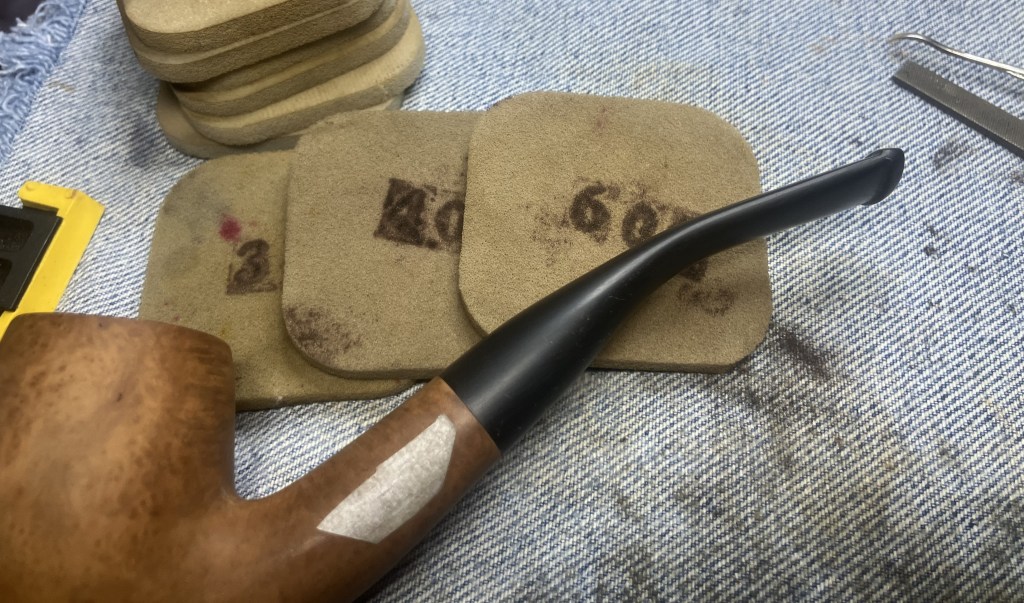
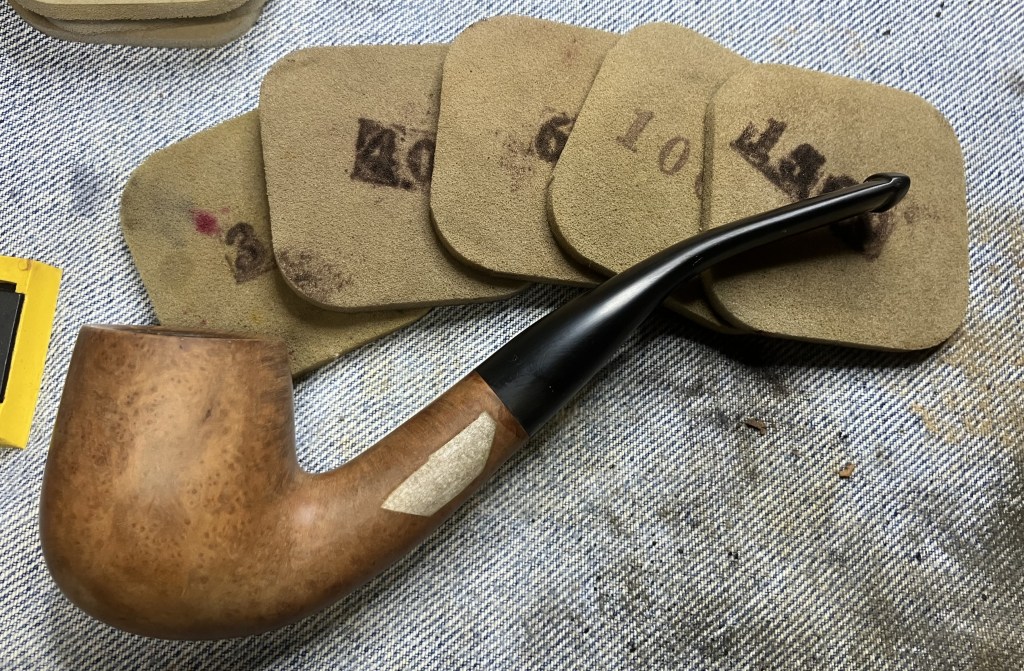
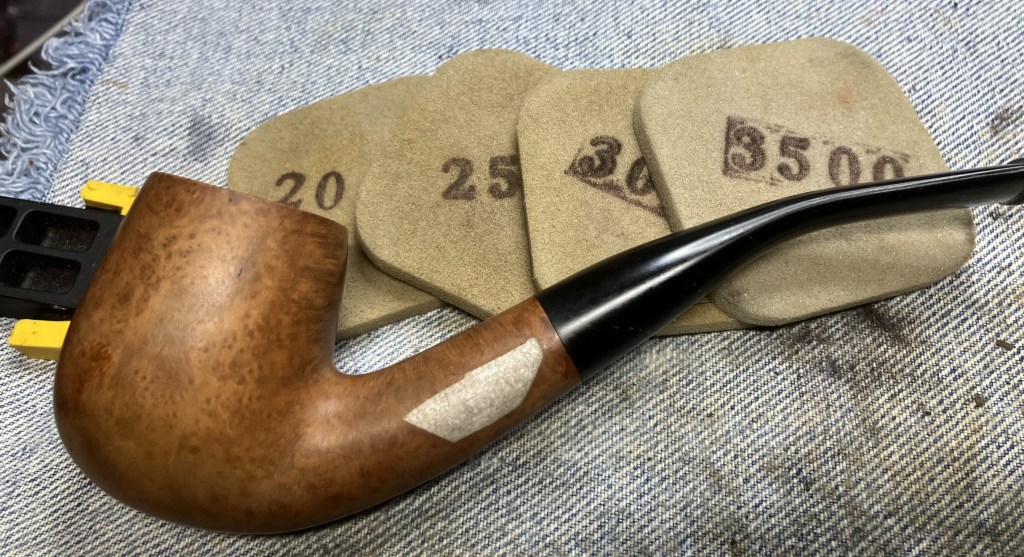
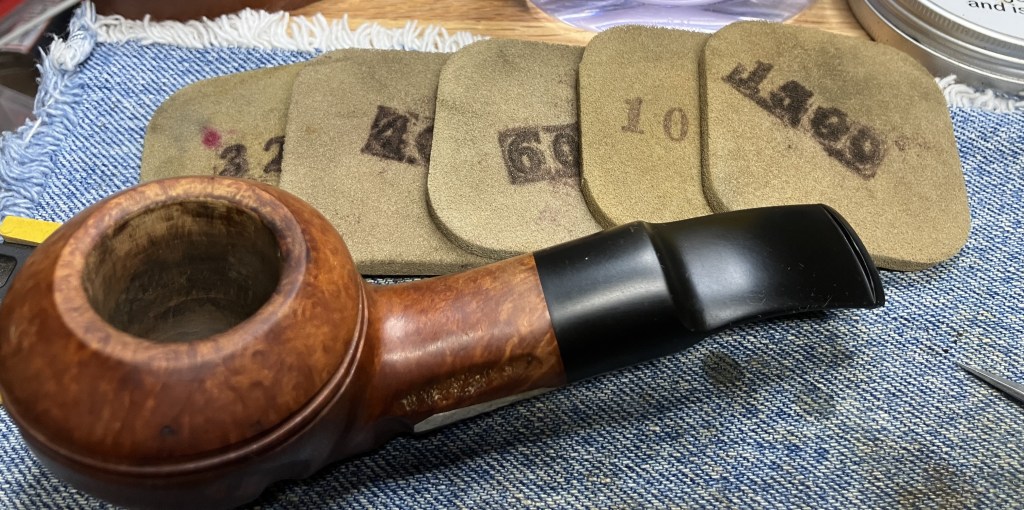
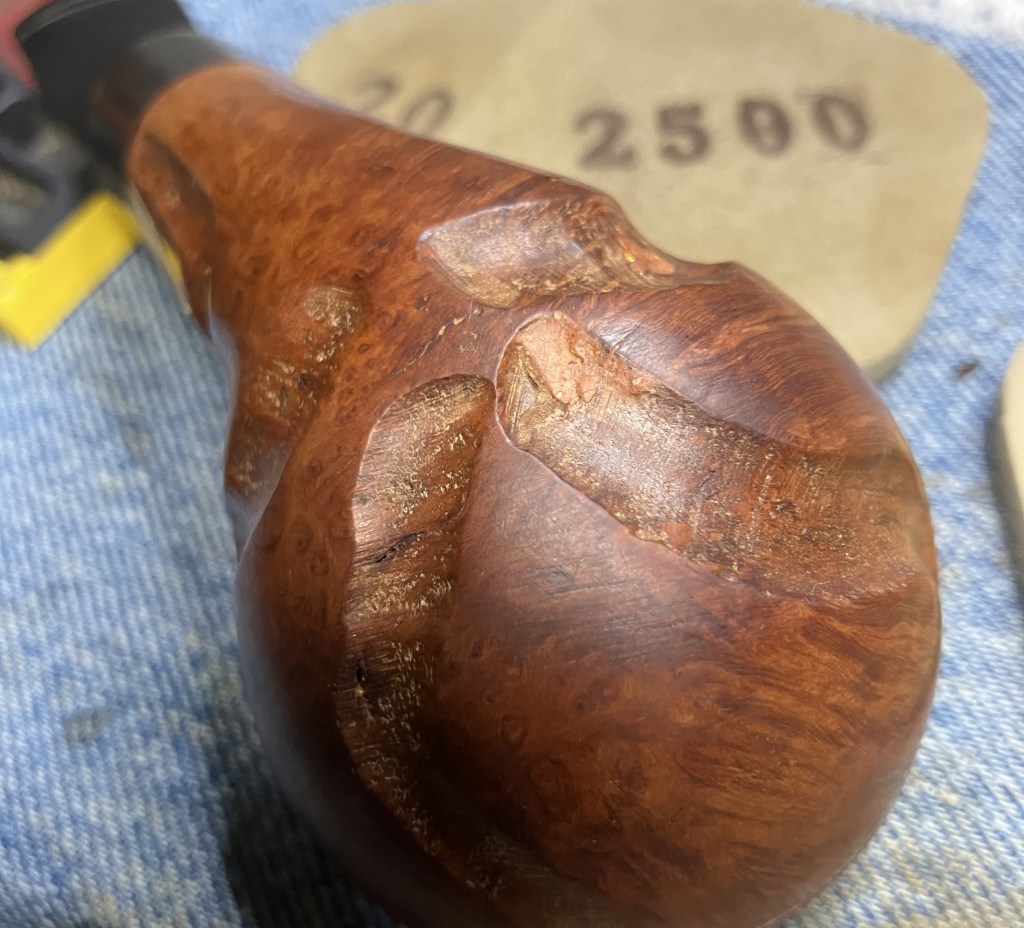
The stem and stampings were taped off during the stummel sanding with a series of sanding sponges.
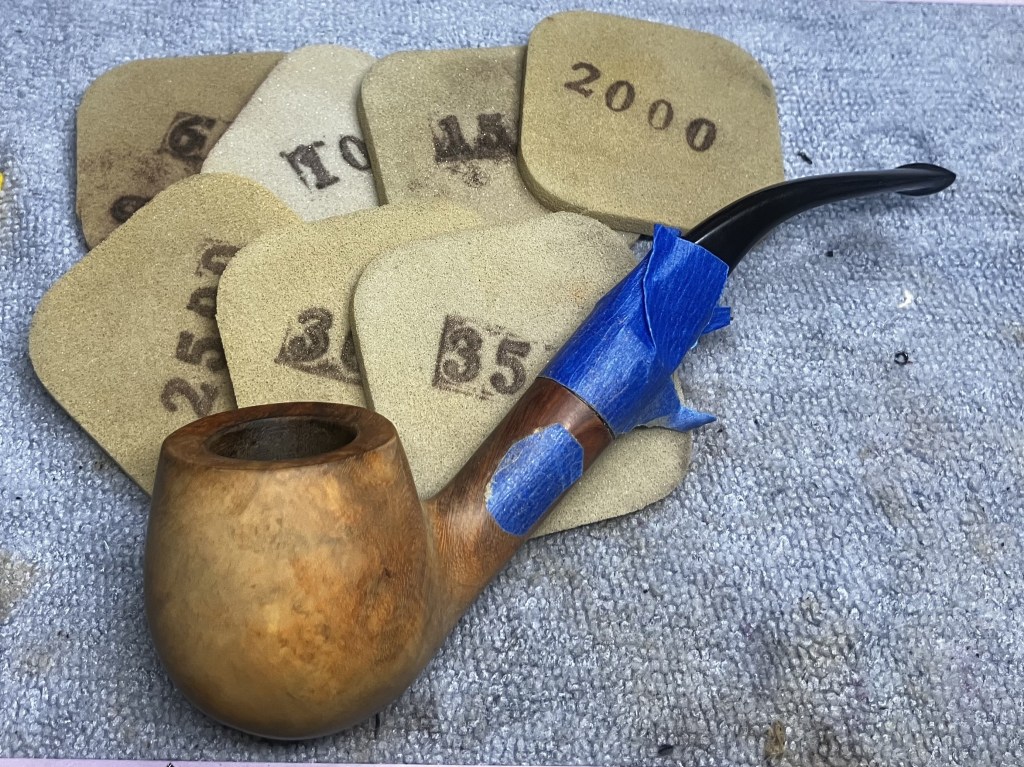
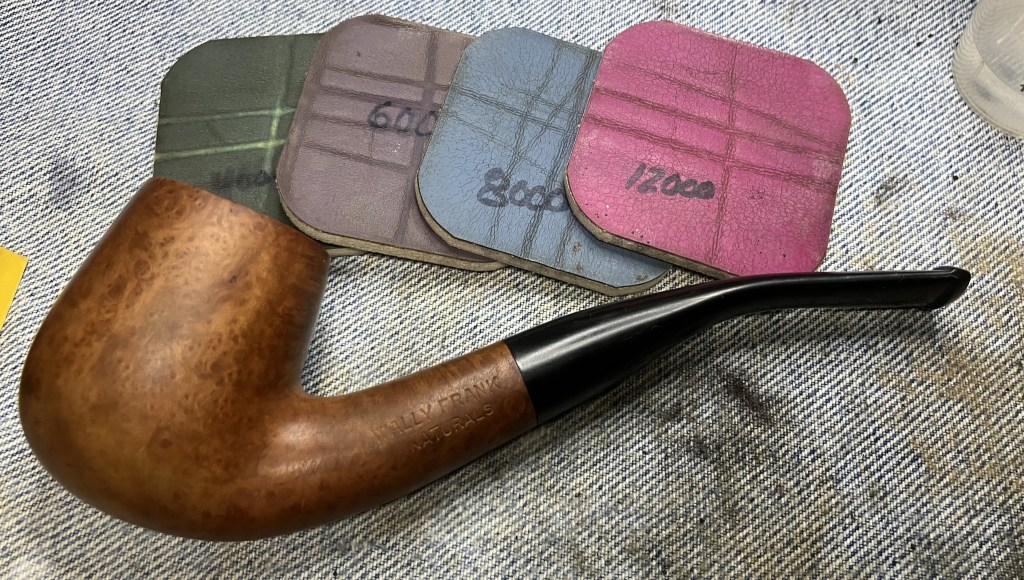
Then the shank was taped off during the stem sanding with the same sanding sponges.
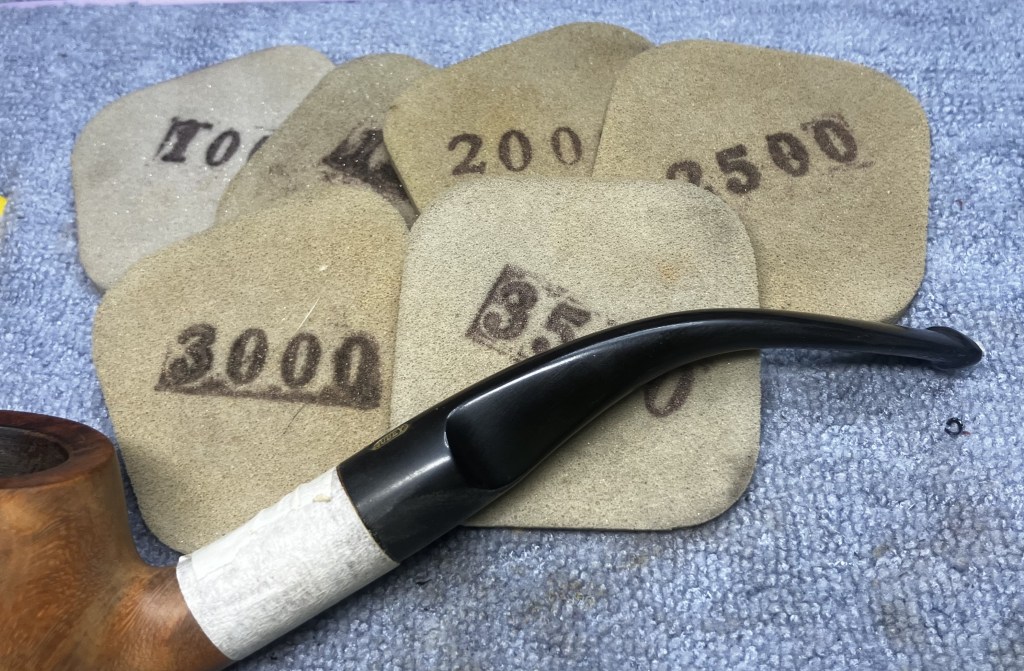
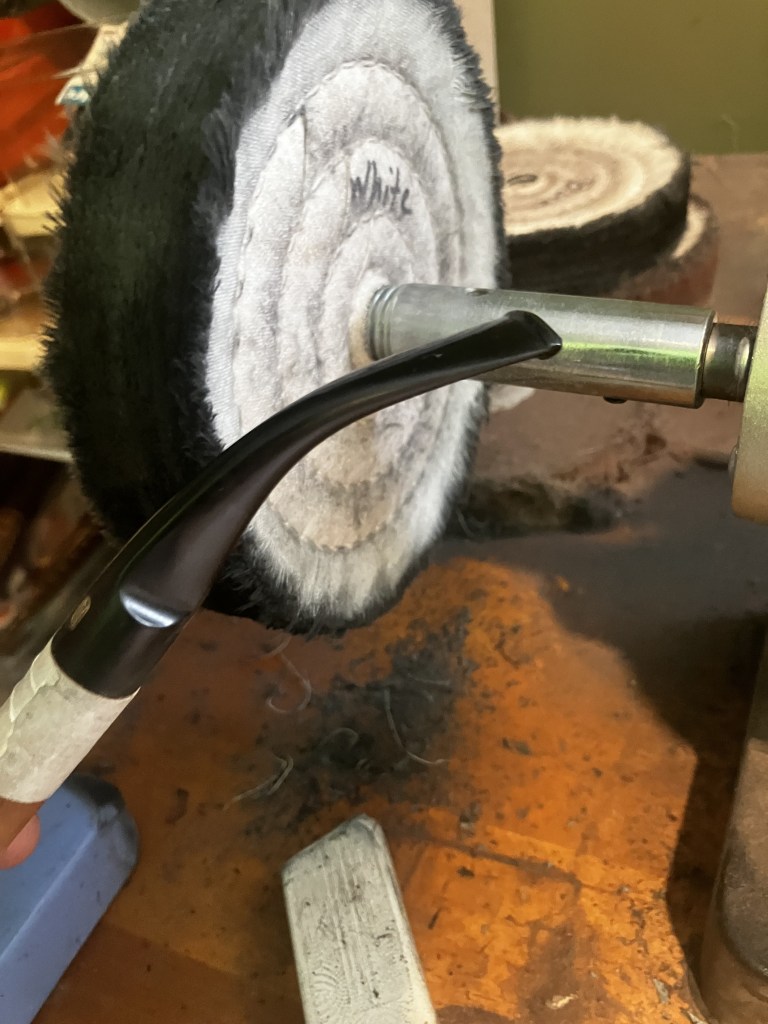
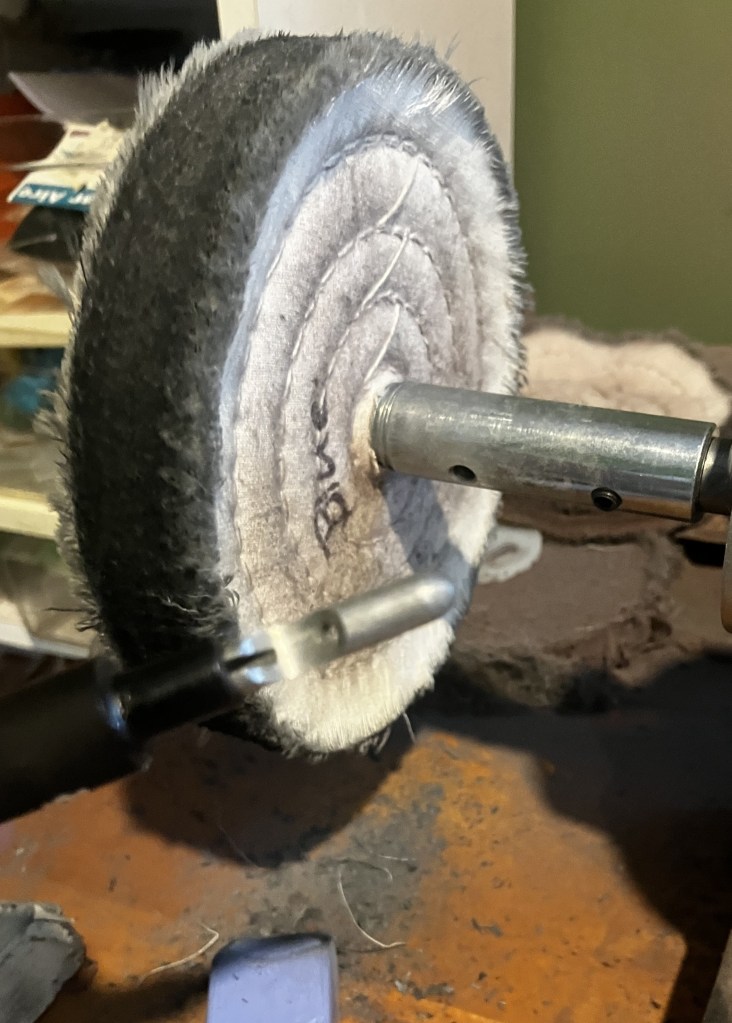
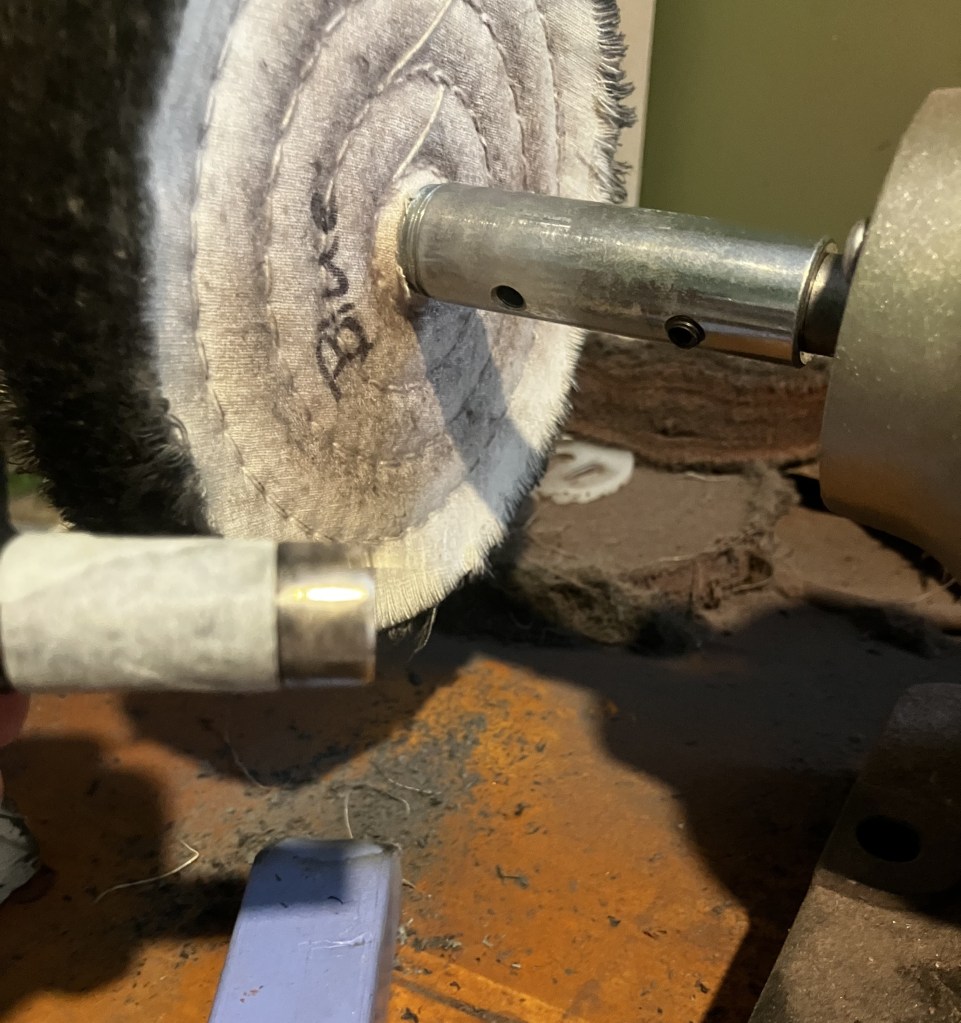
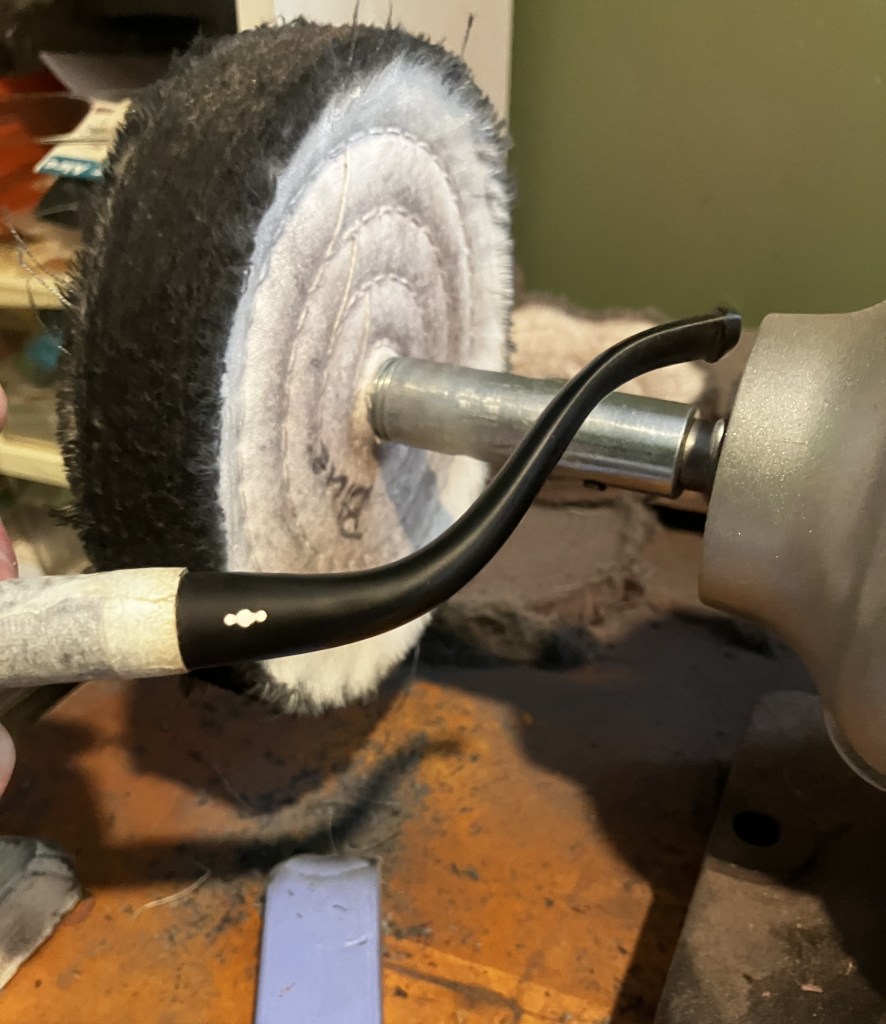
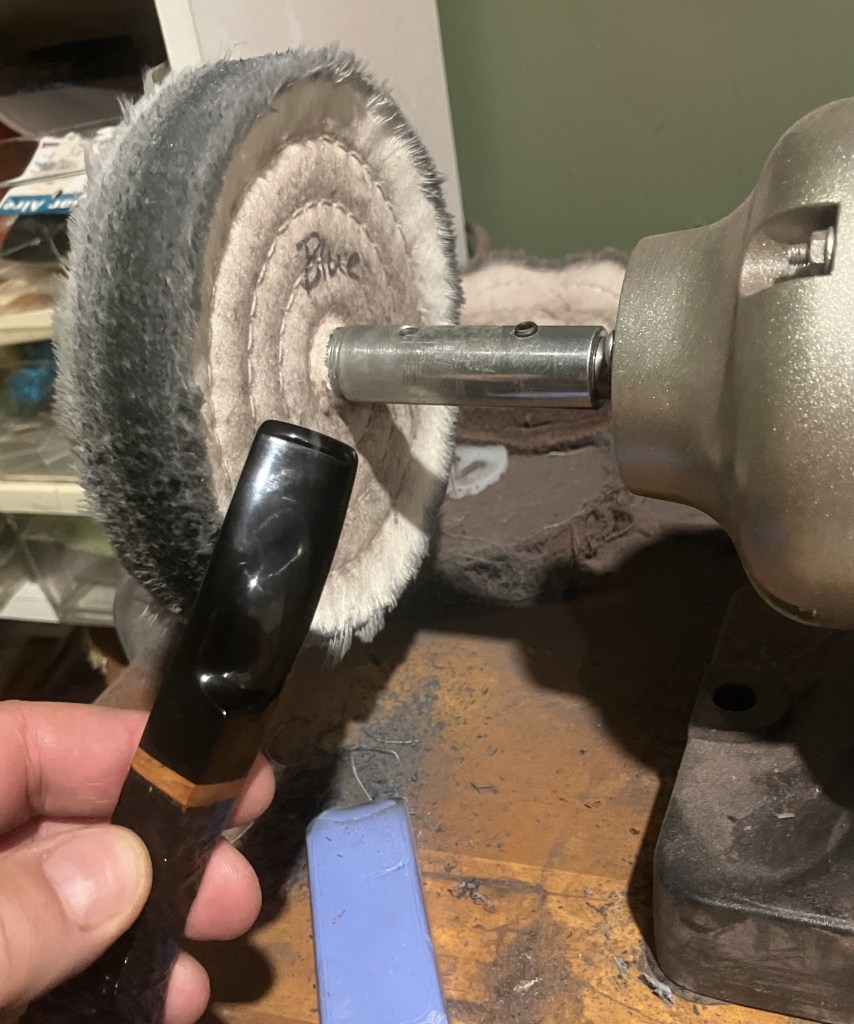
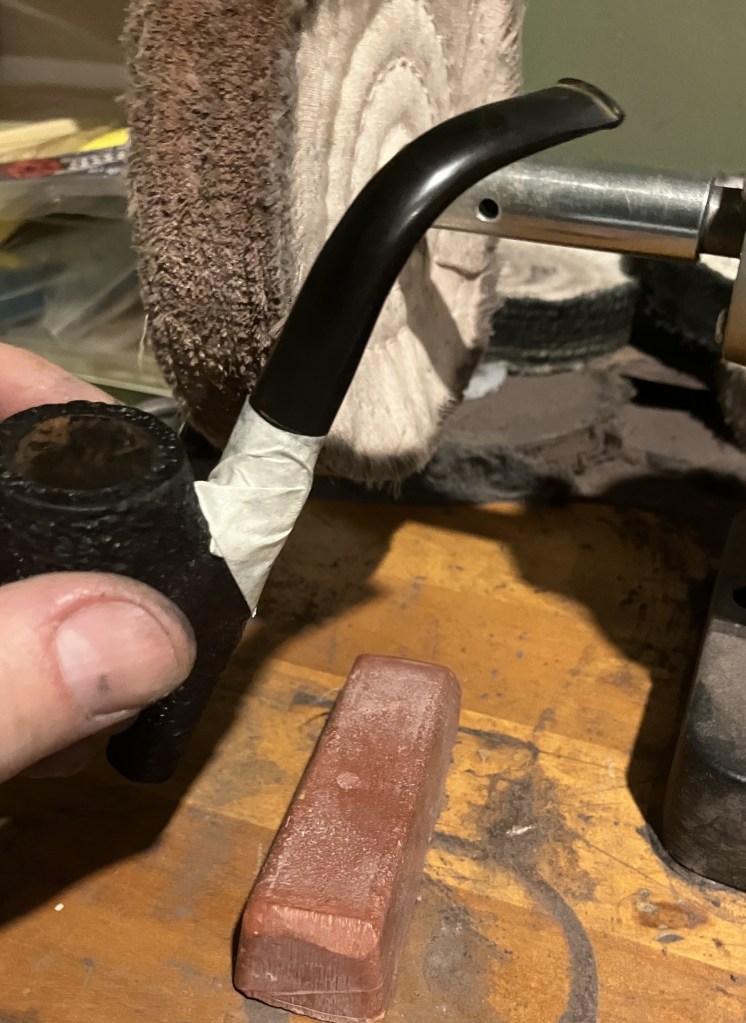
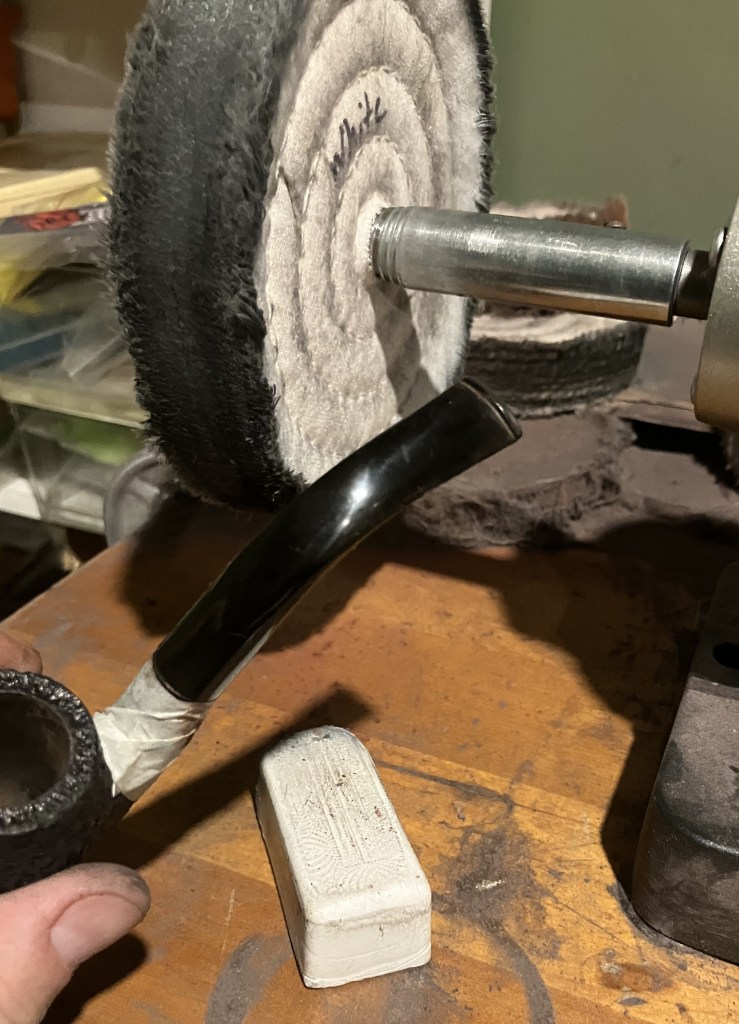
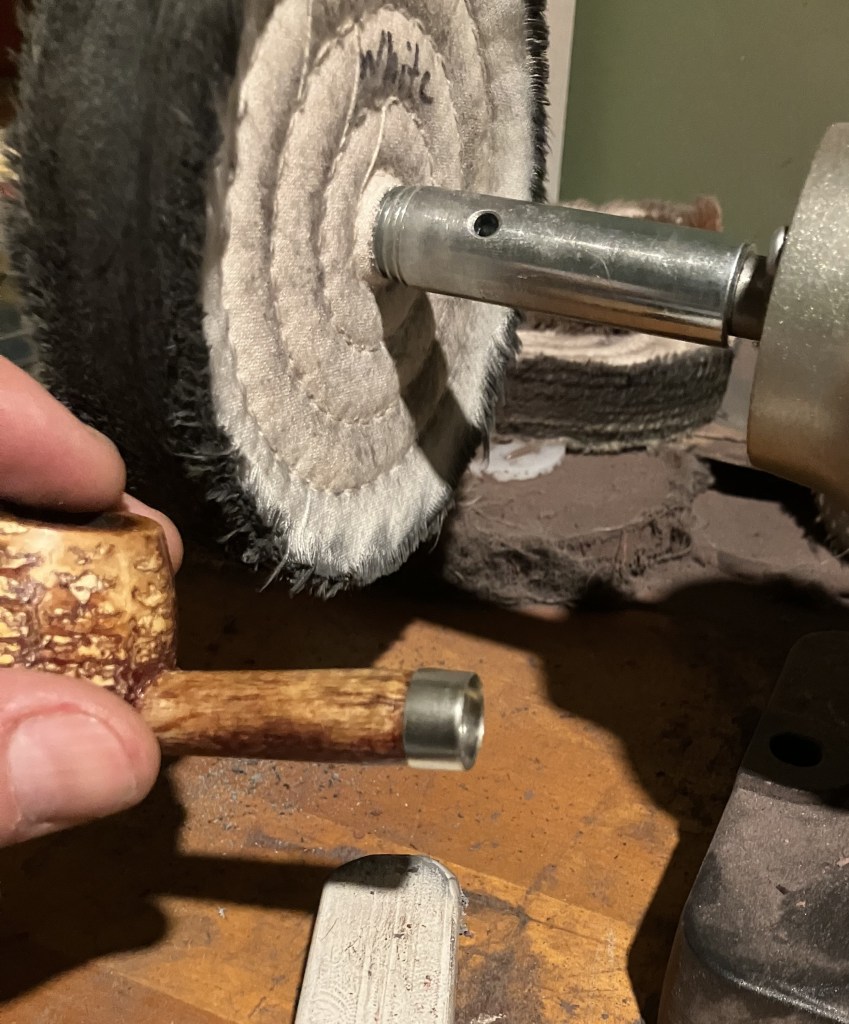
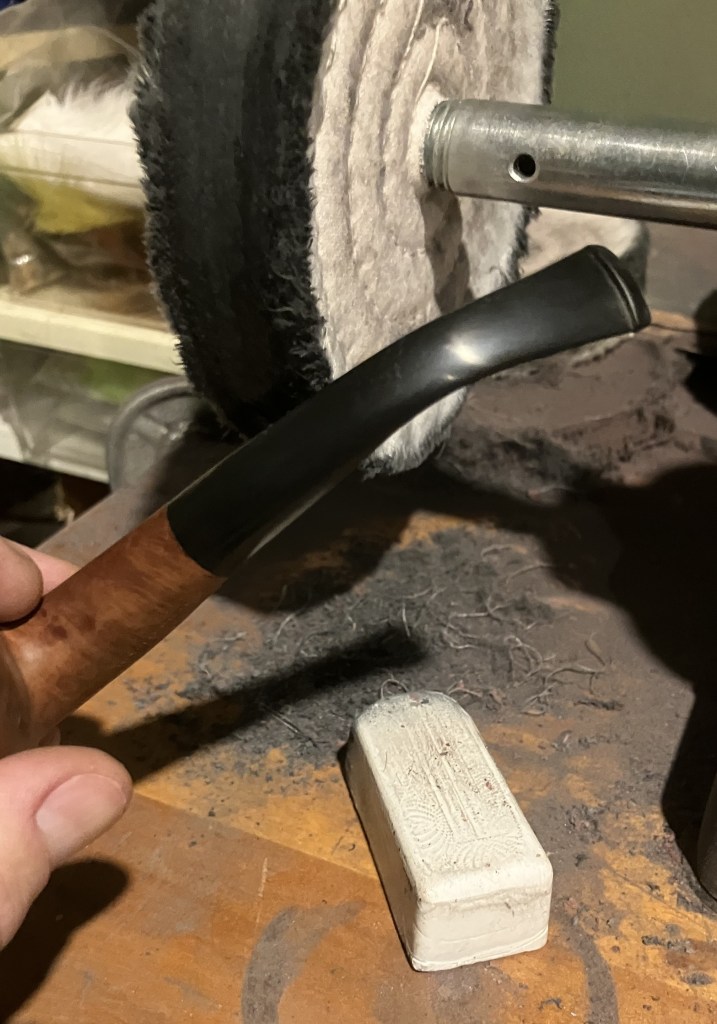
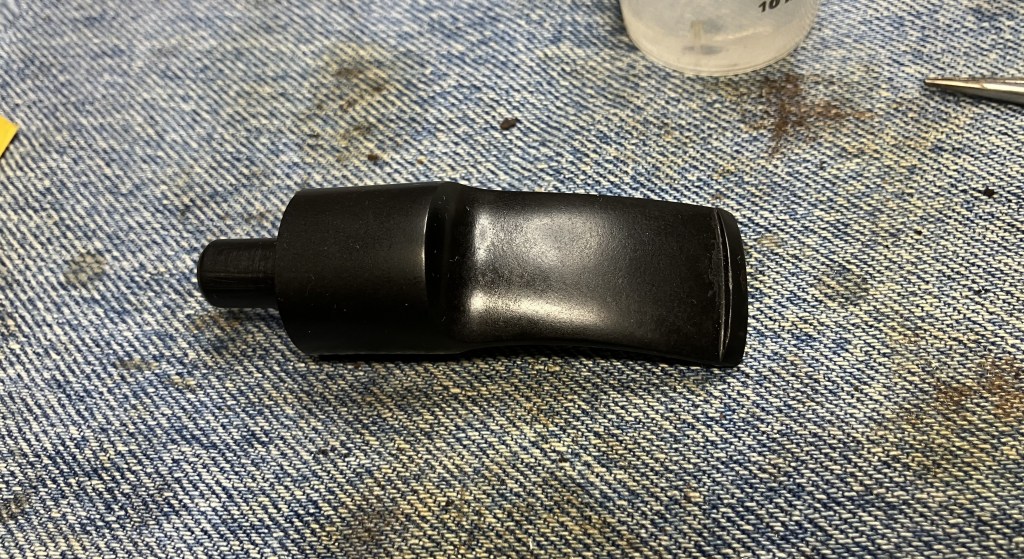
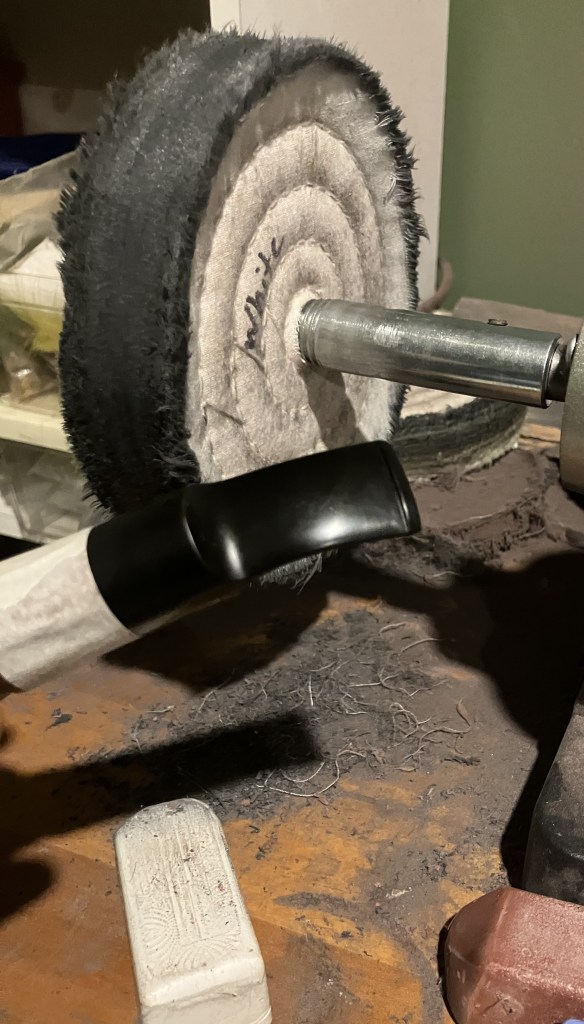
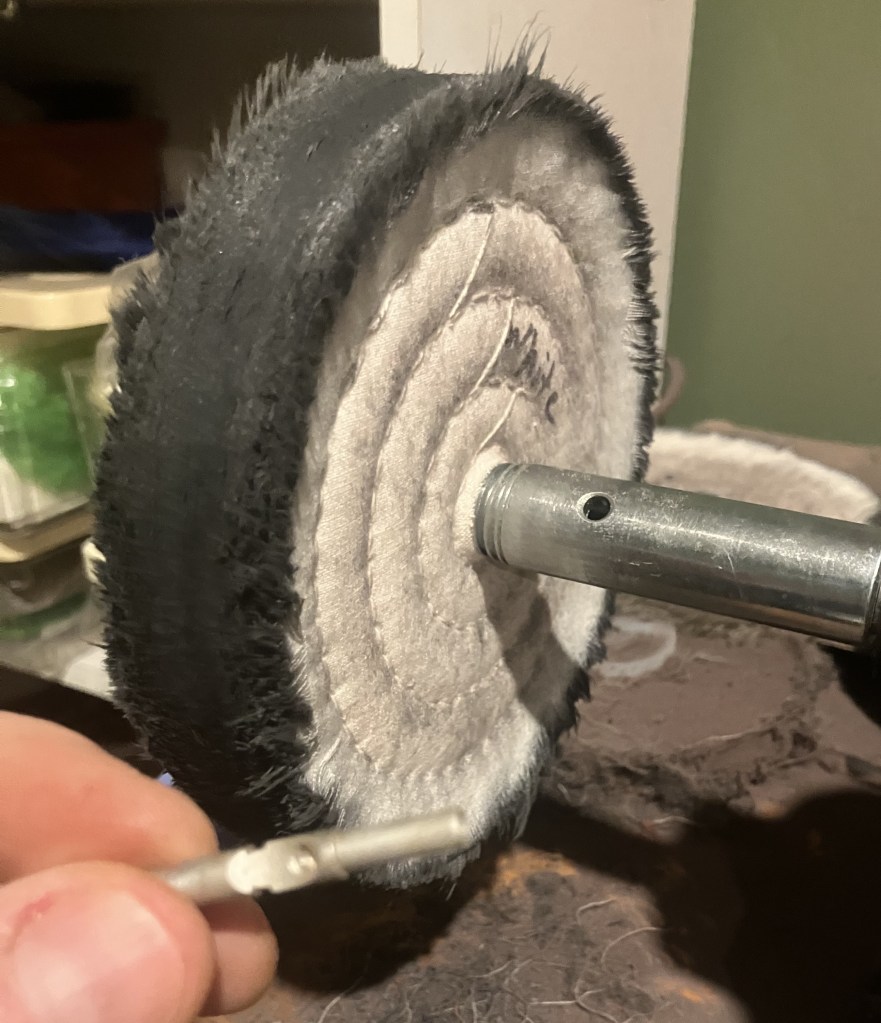
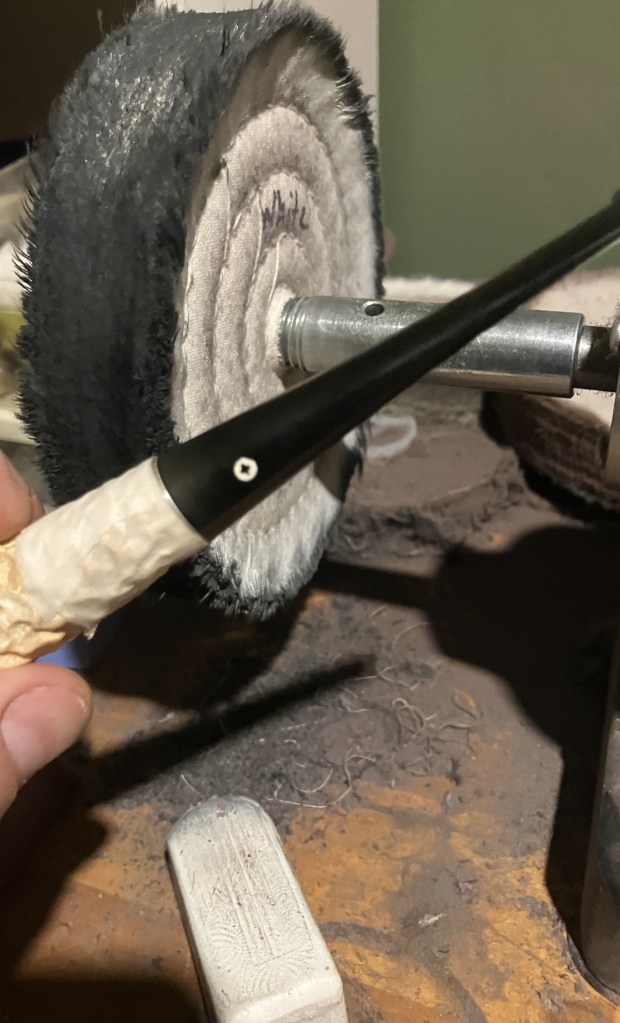
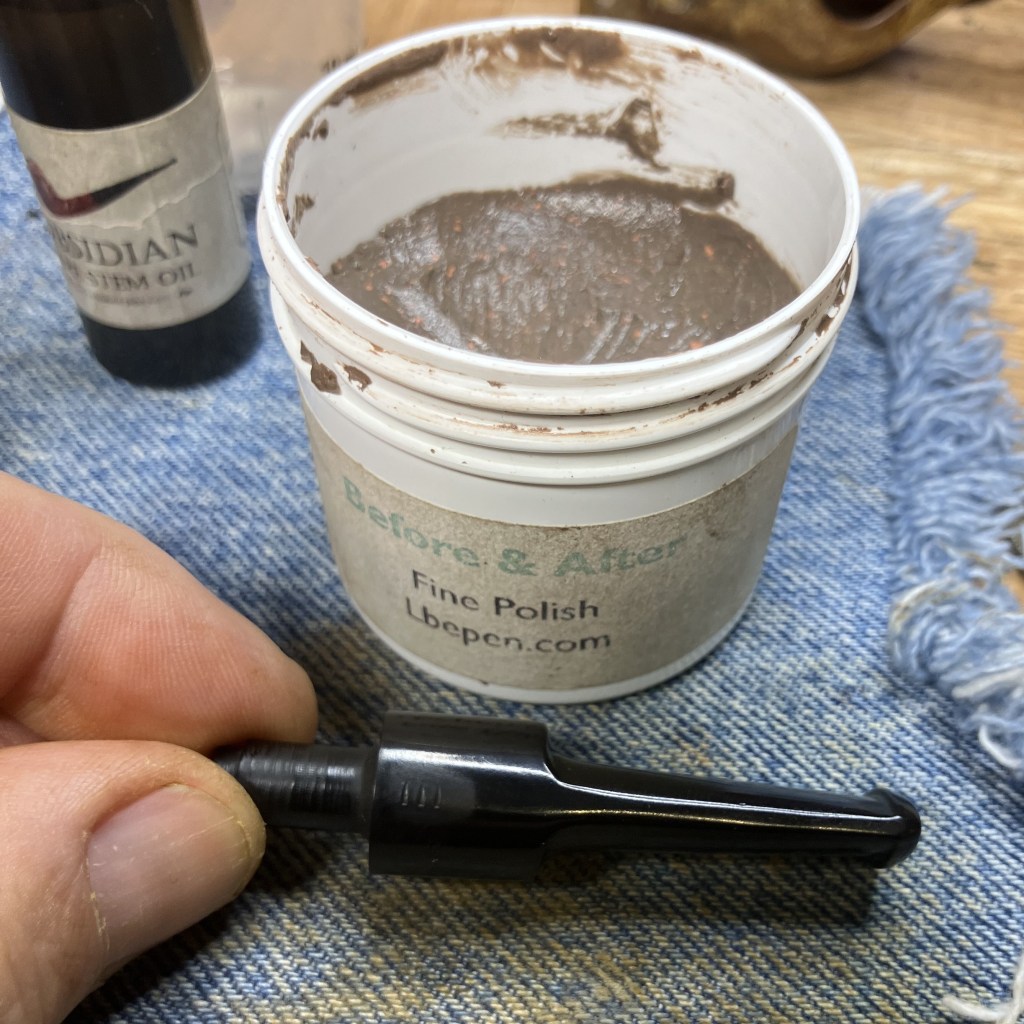
Eventually the stem was buffed with white buffing compound at the buffer.
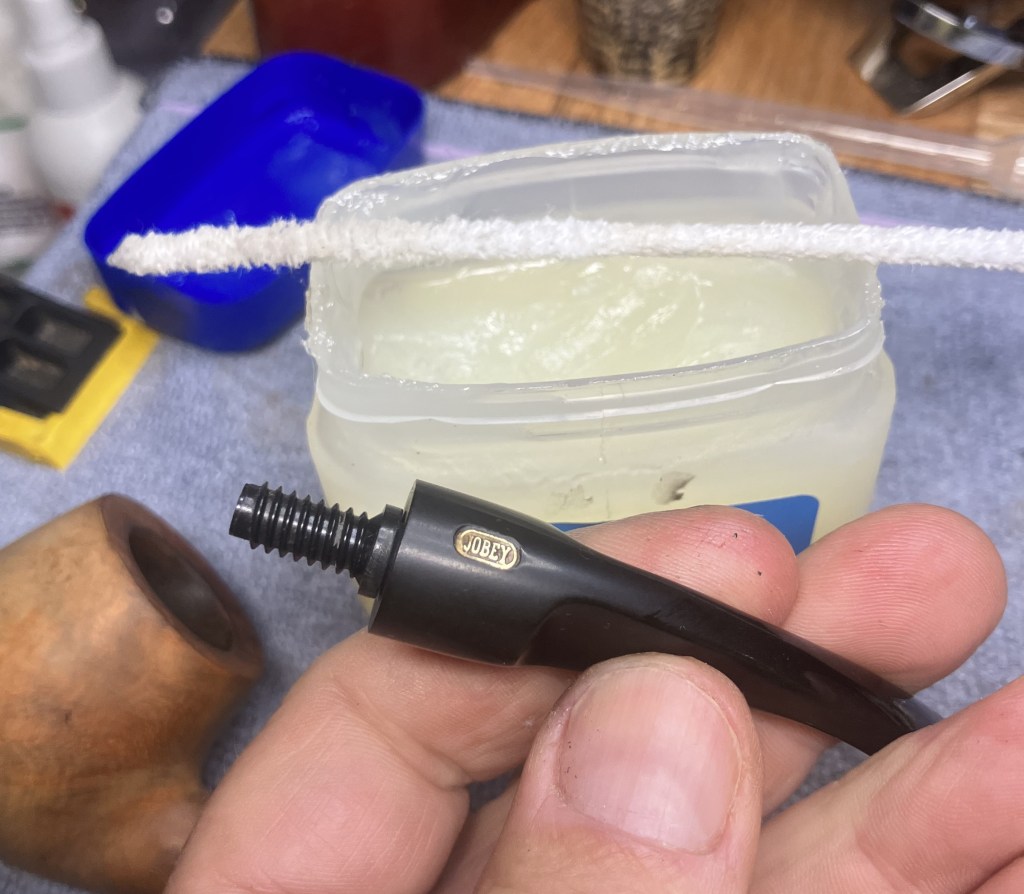
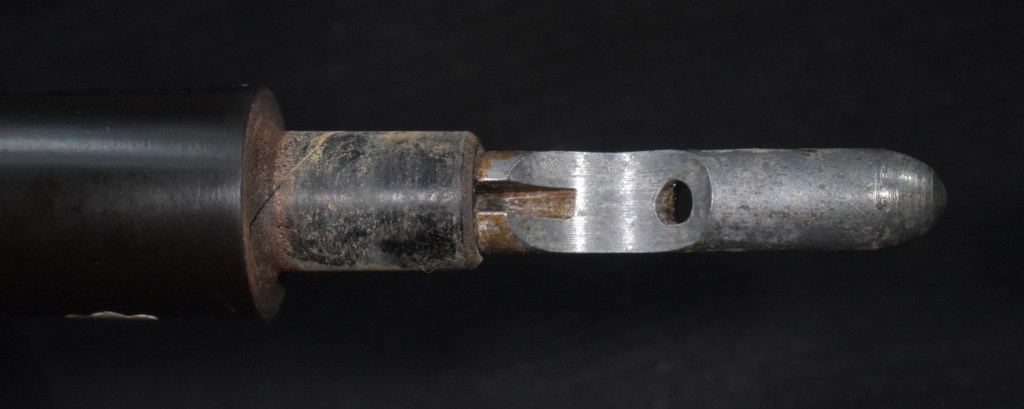
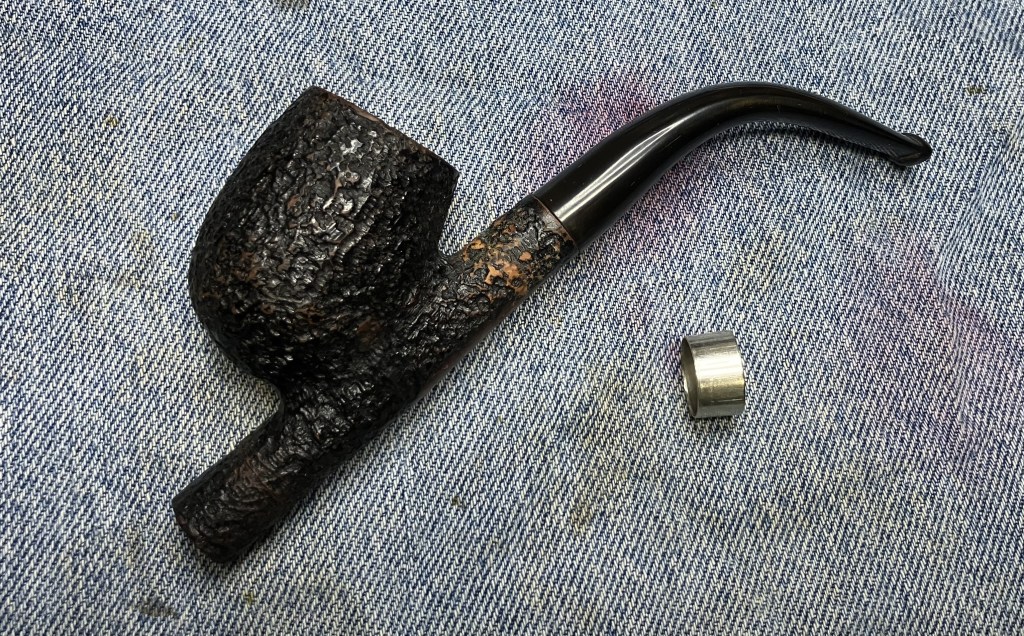
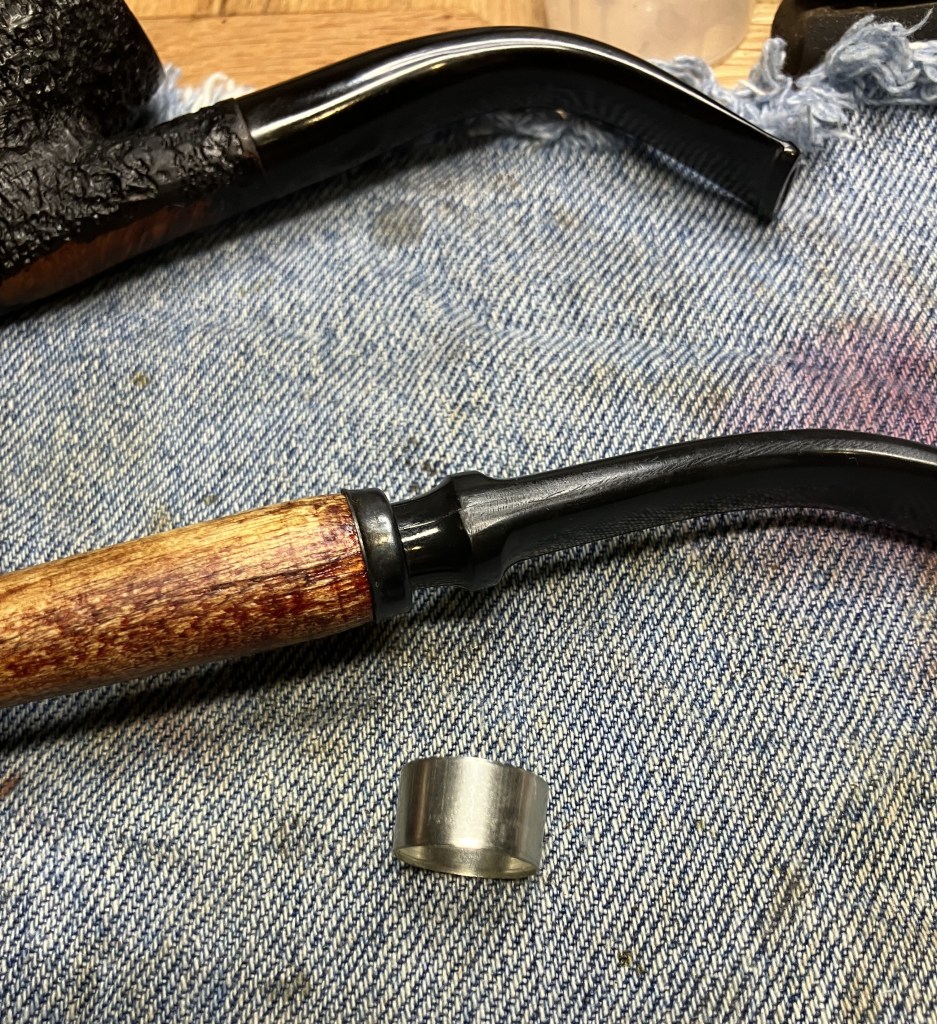
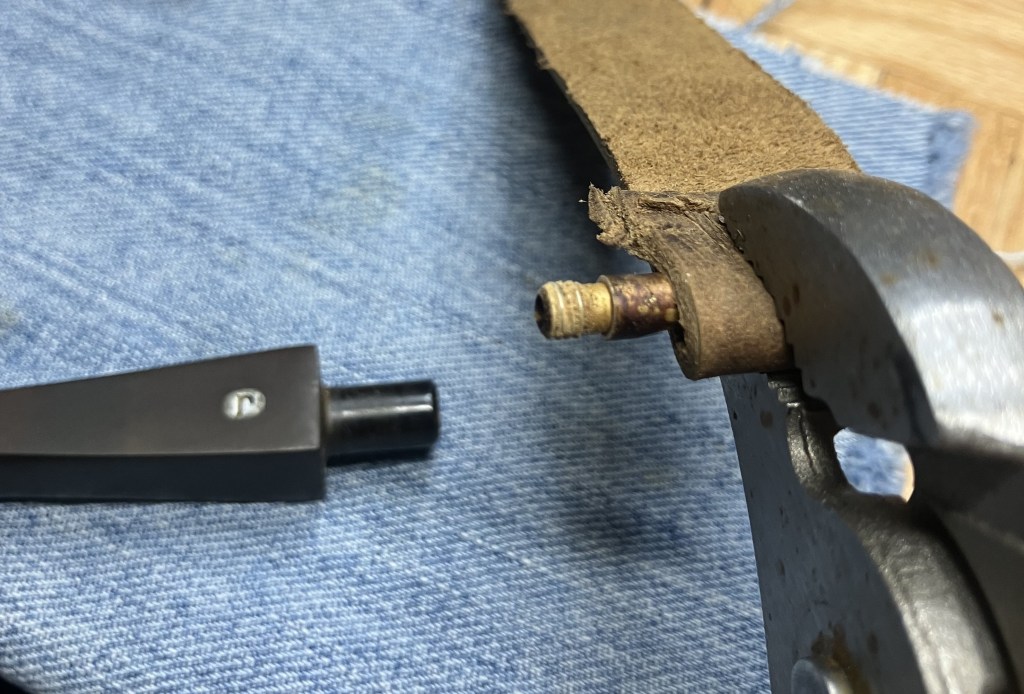
The threaded tenon insert was glued in place using black CA. The well greased pipe cleaner was used to make sure no CA seeped into the airway. This glue was allied to cure for an hour.
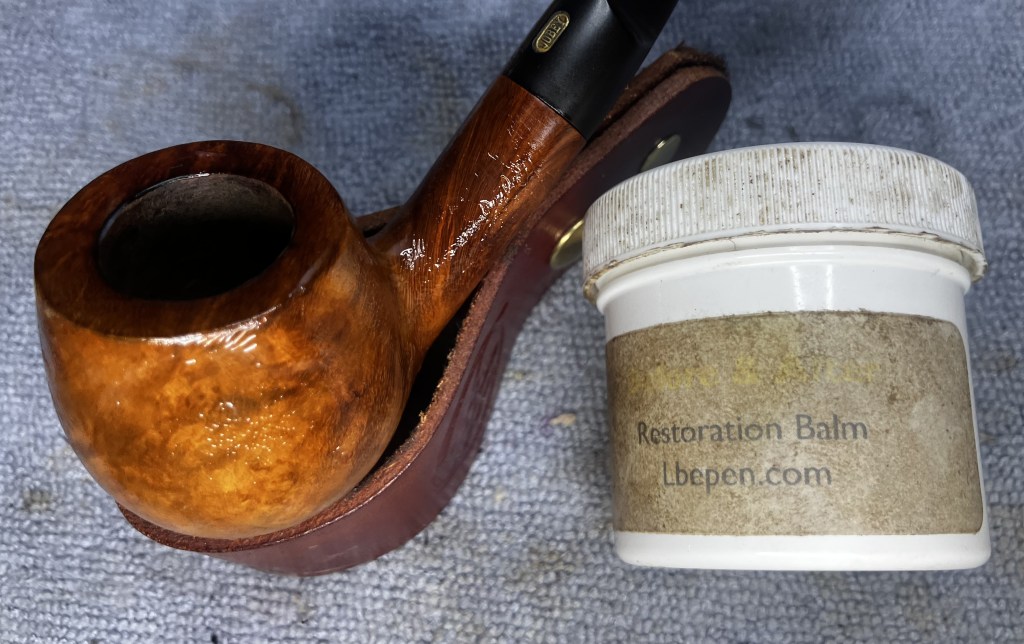
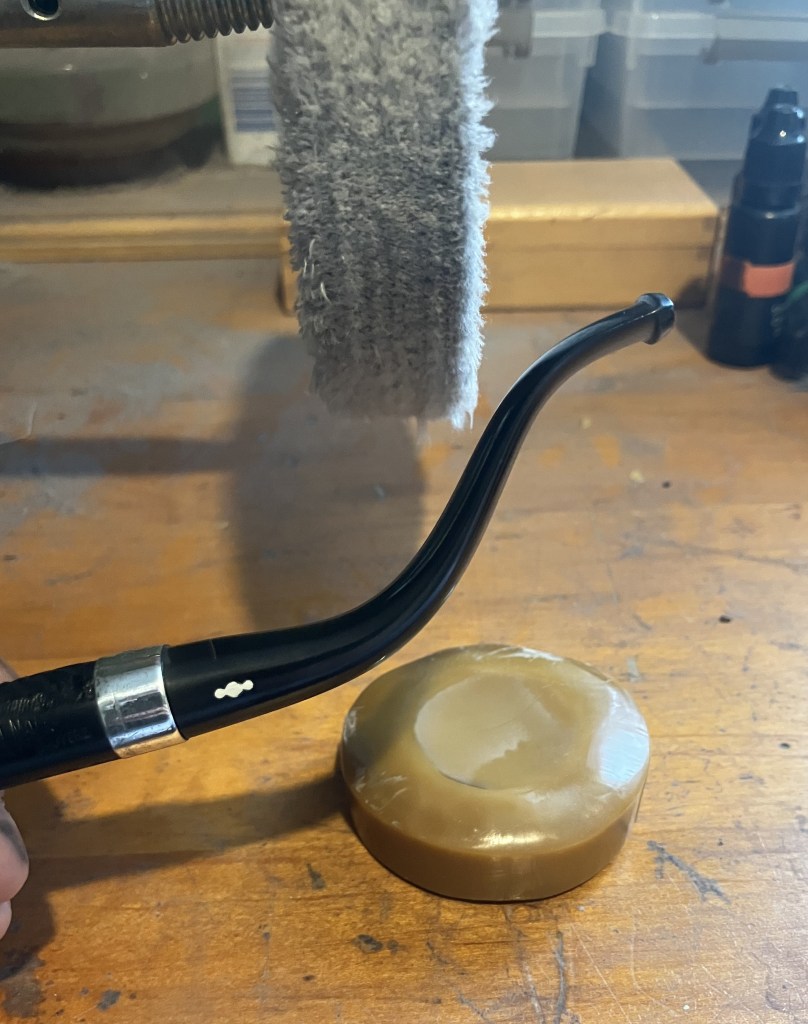
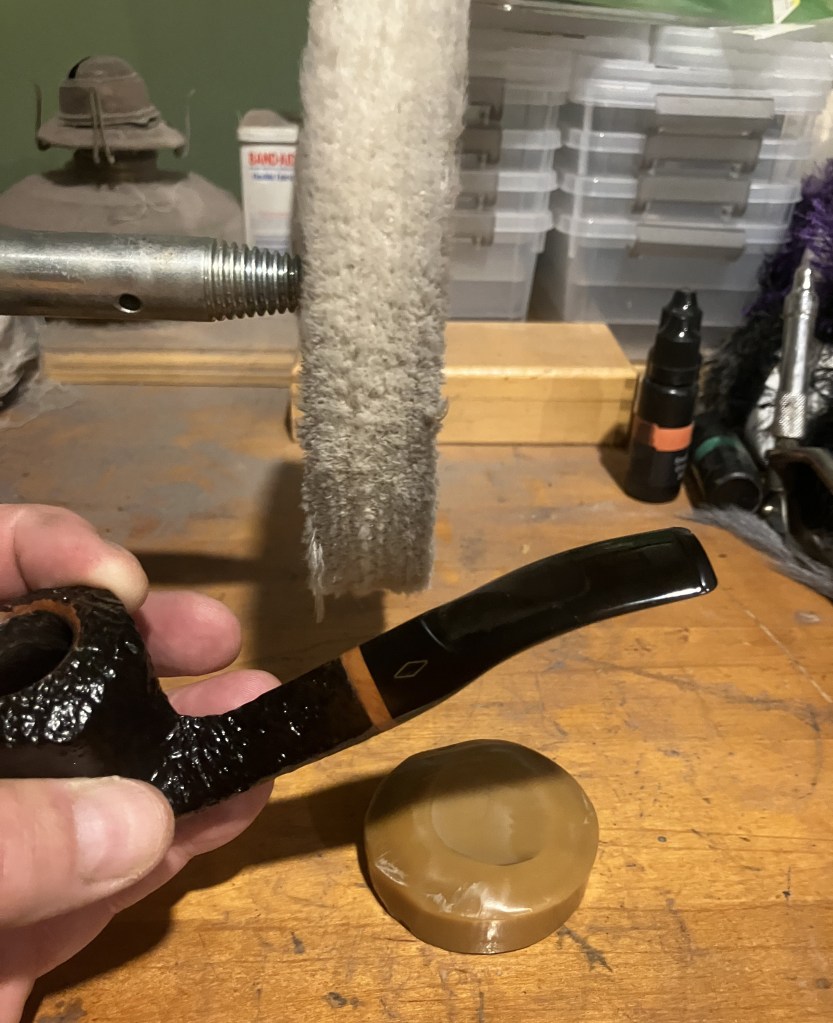
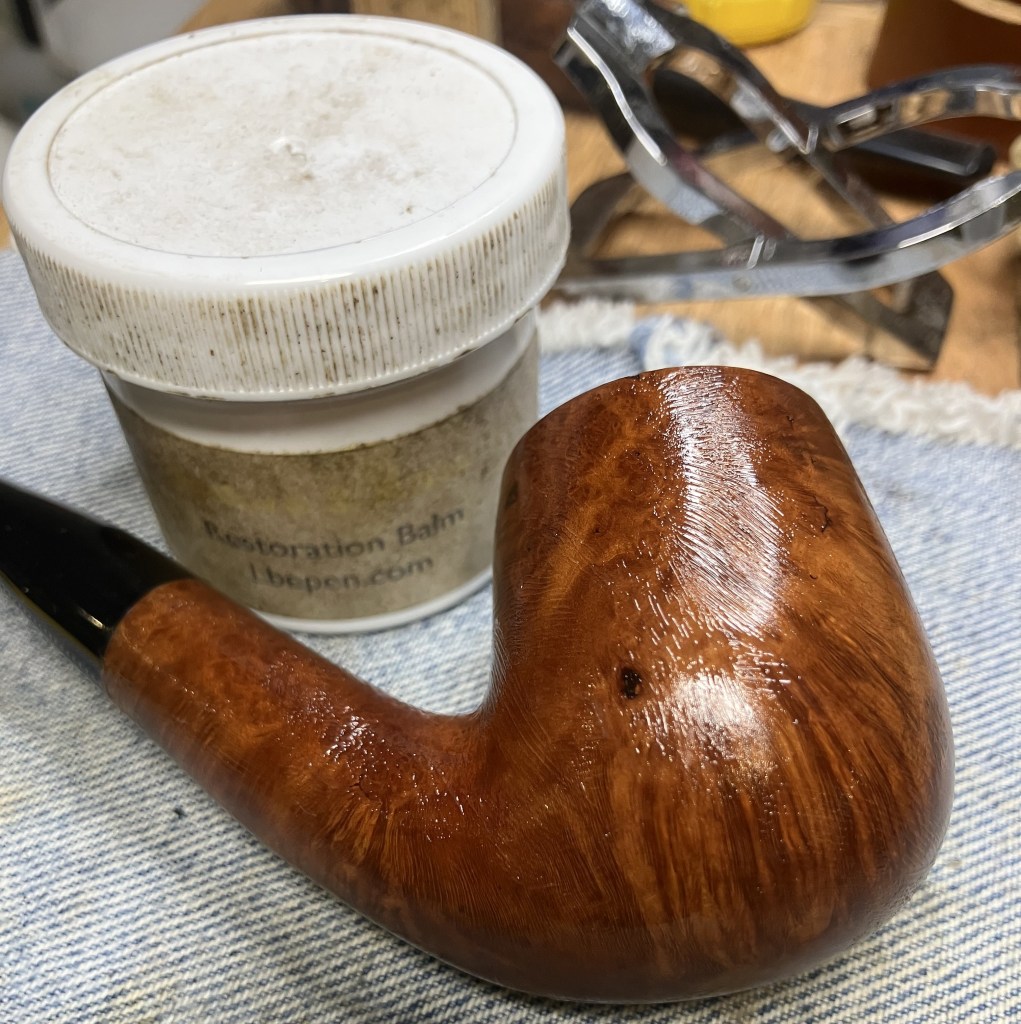
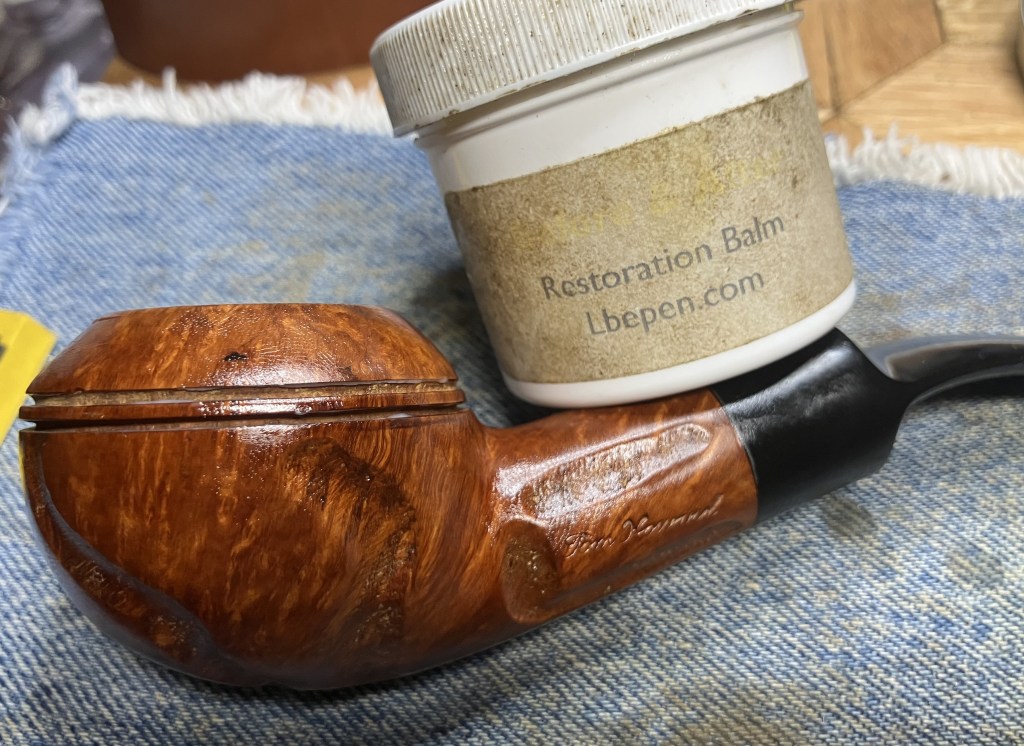
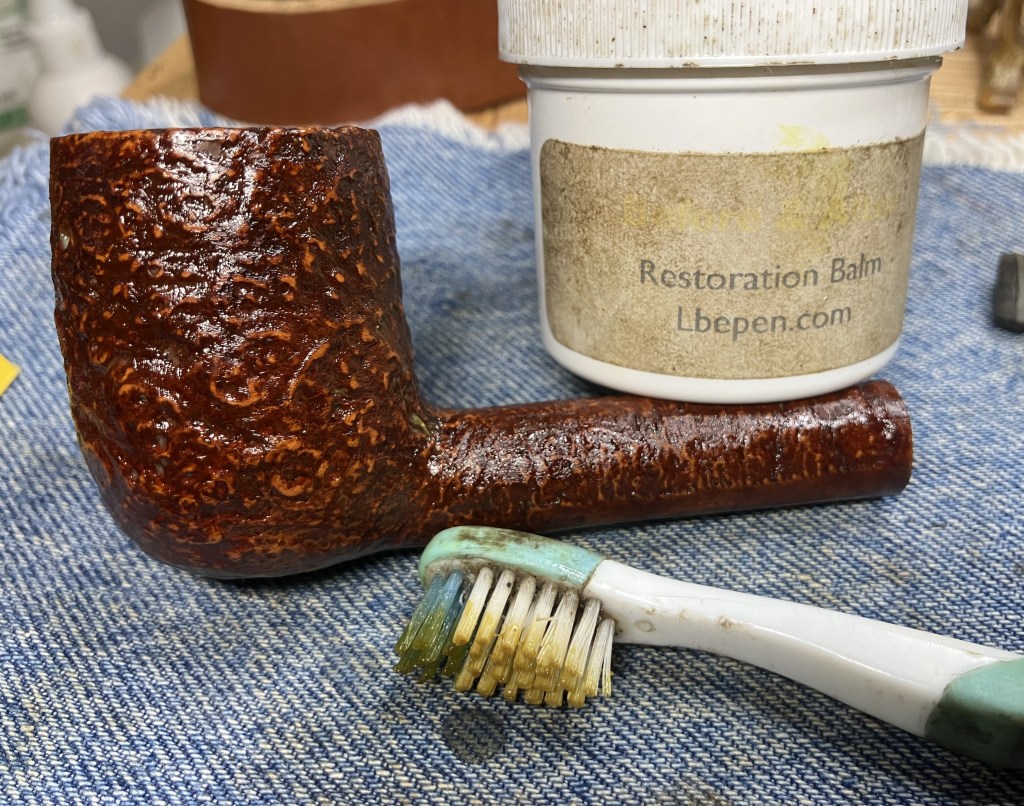
The stummel was coated with Before and After Restoration Balm and allowed to sit for another hour.
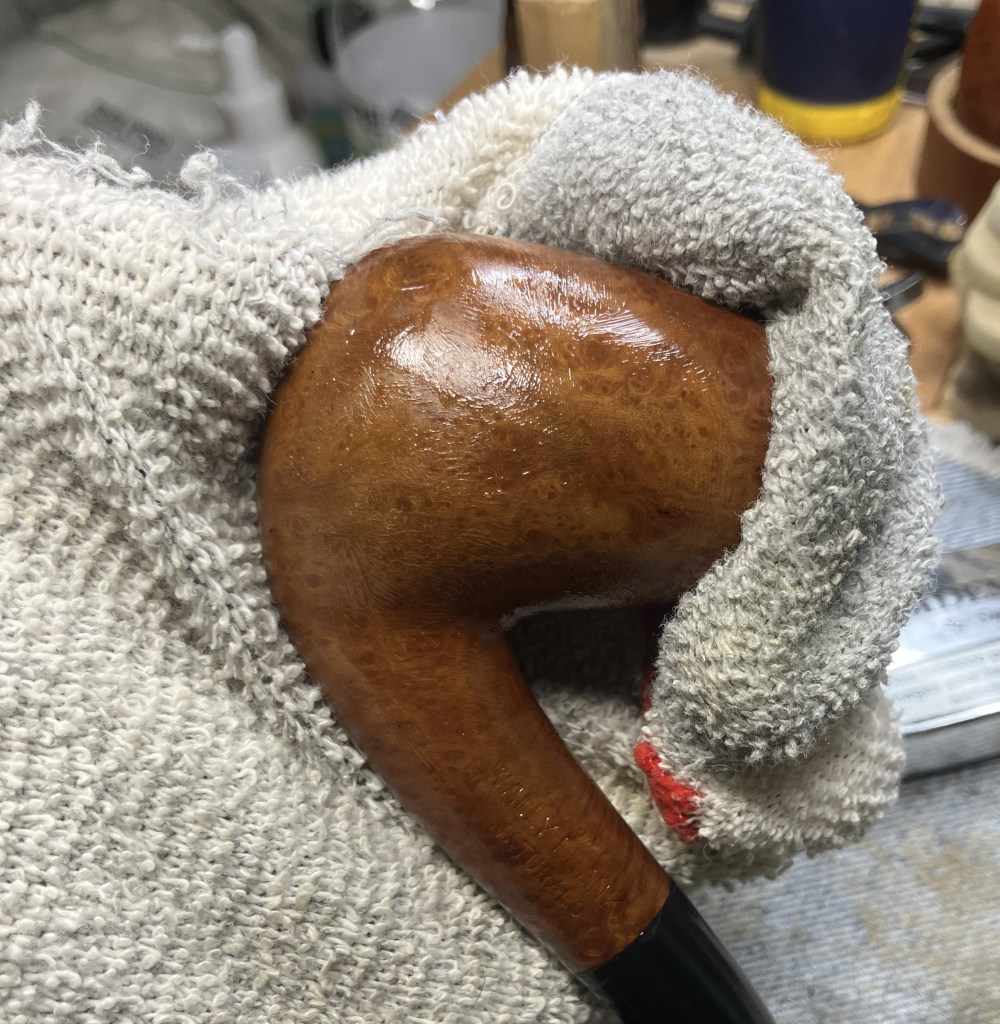
After the hour an inside out athletic sock was used to hand buff away the remaining Restoration Balm.
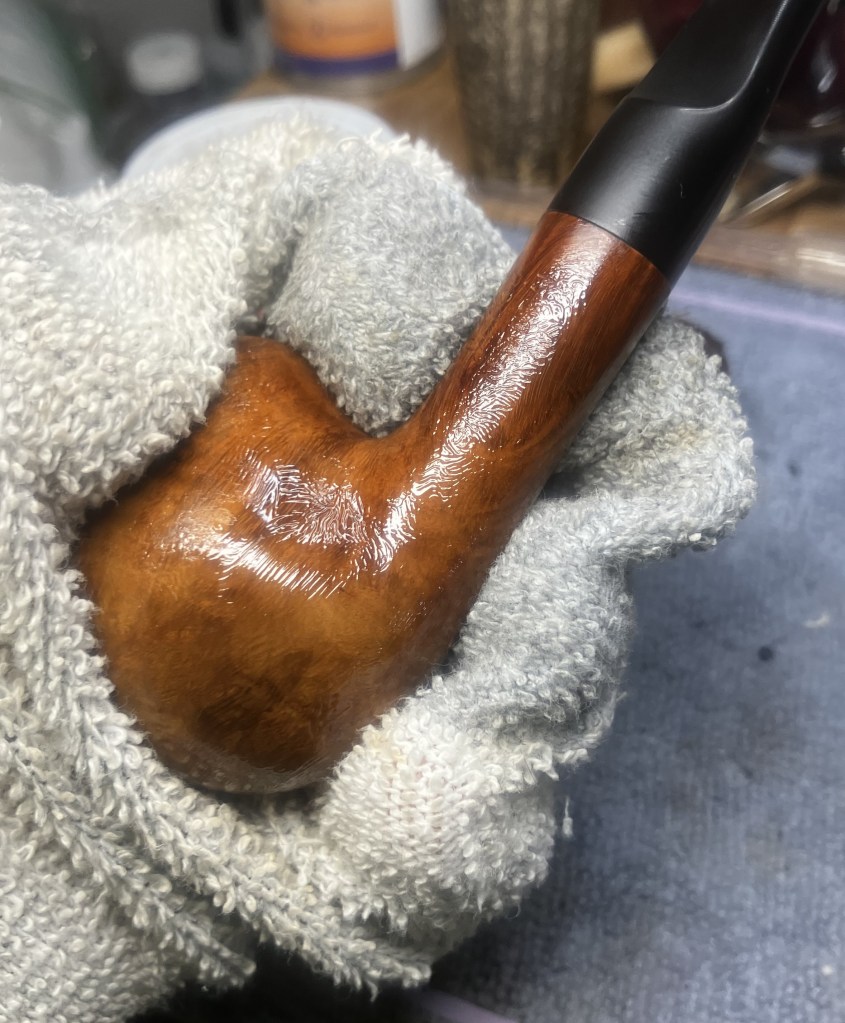
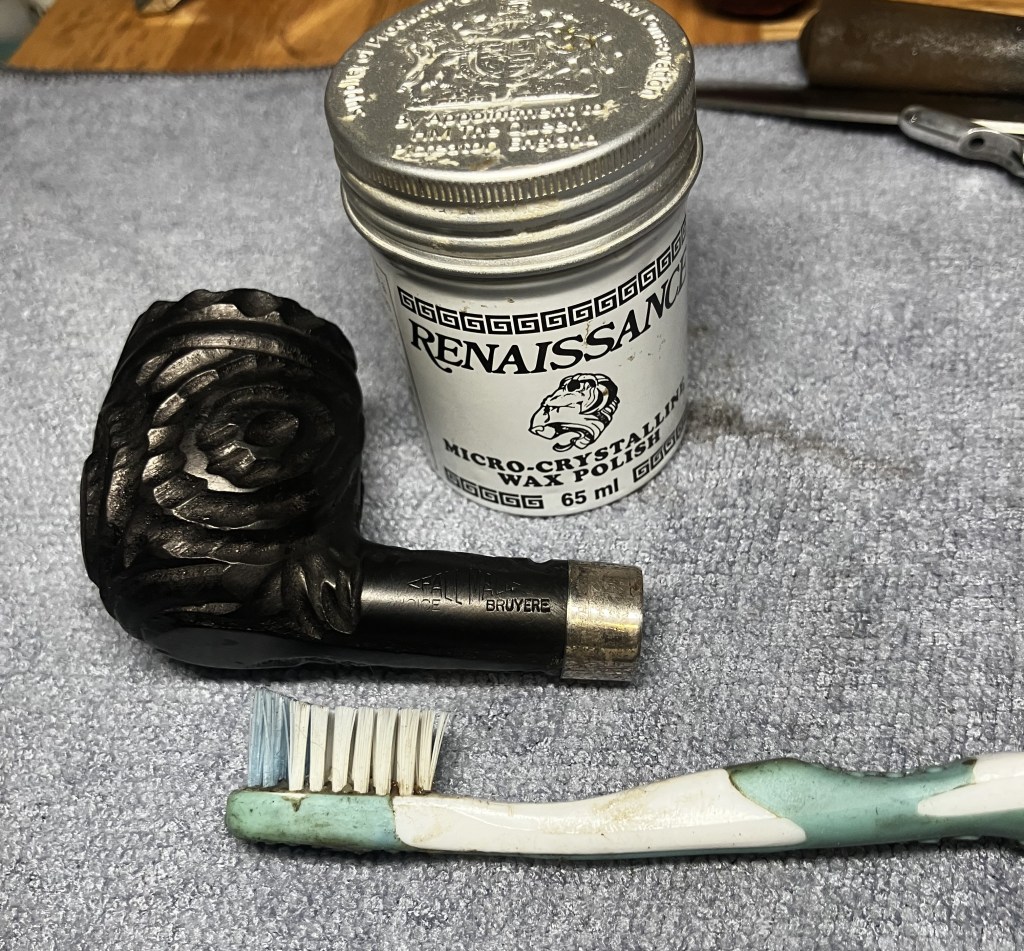
The pipe was ready for several coats of carnauba wax applied with the buffer.
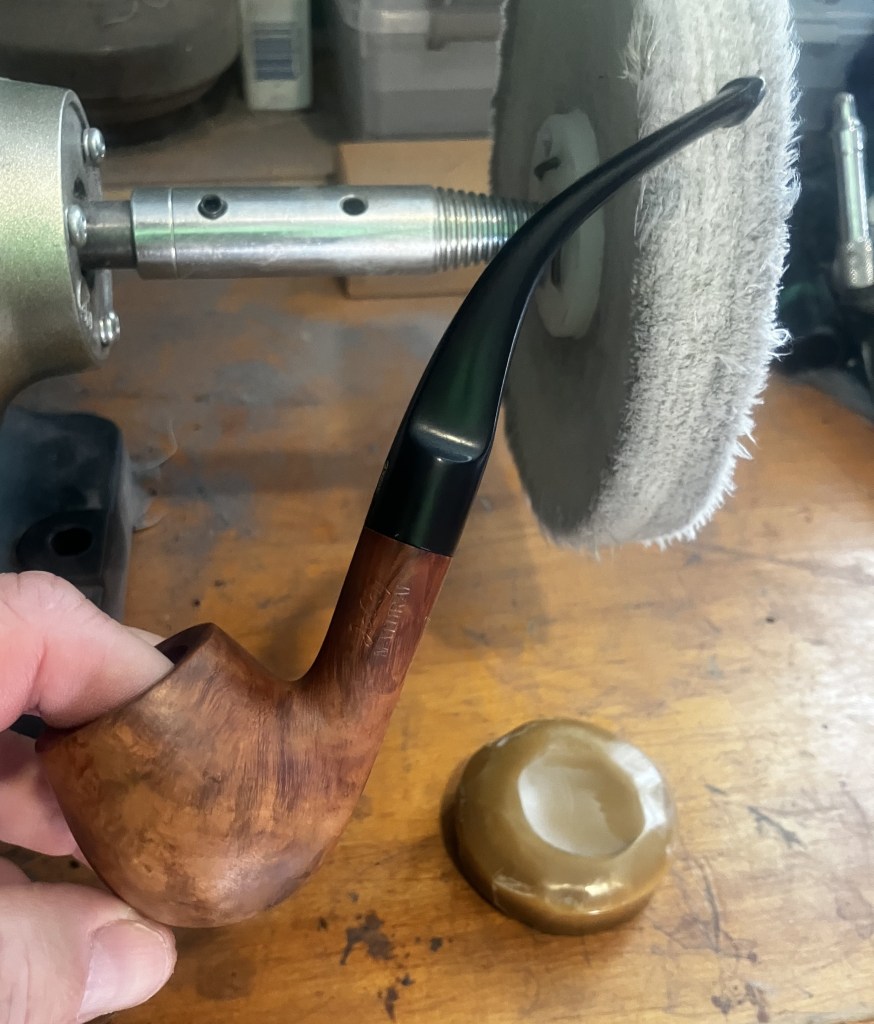
The final step was a hand buffing of the pipe with a microfiber polishing cloth.
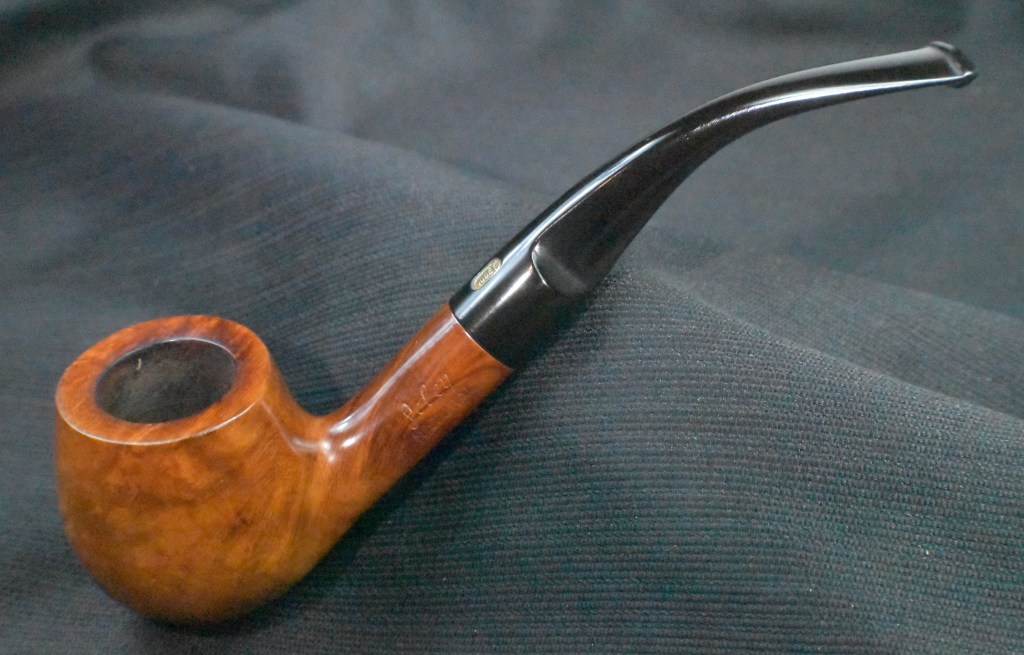
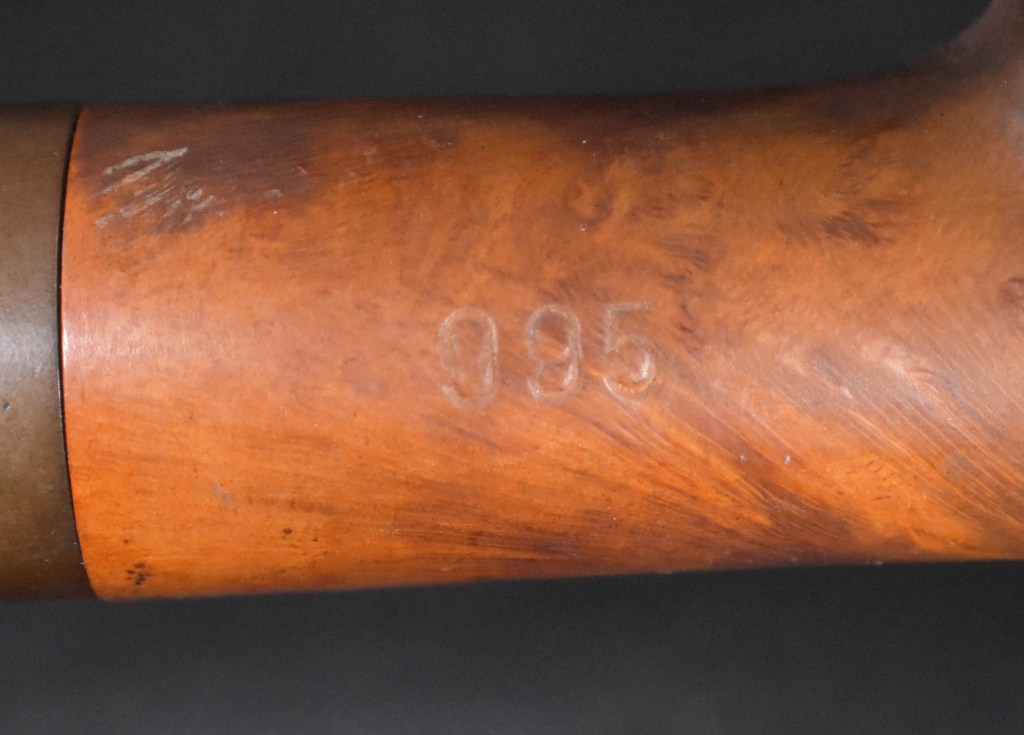
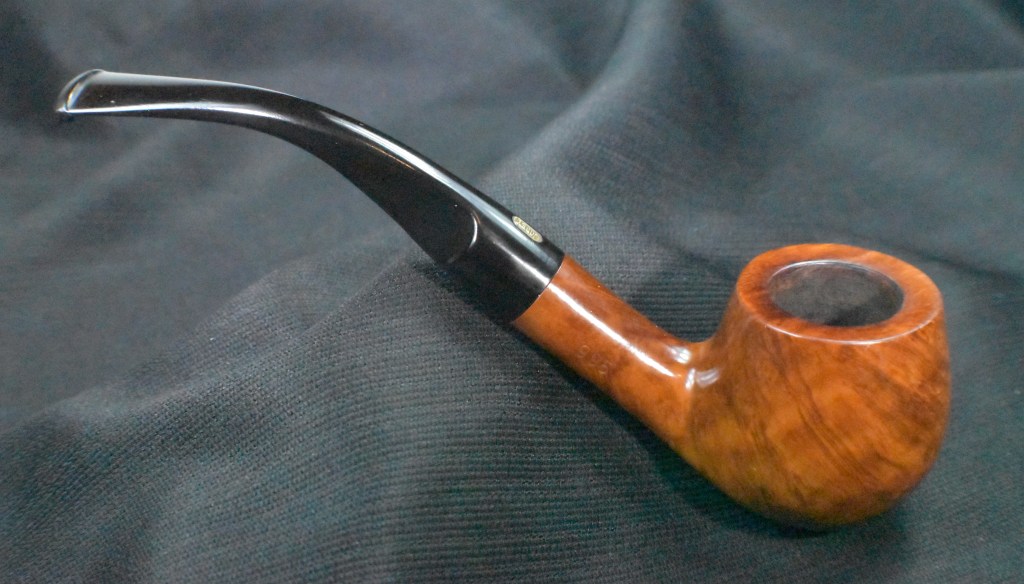
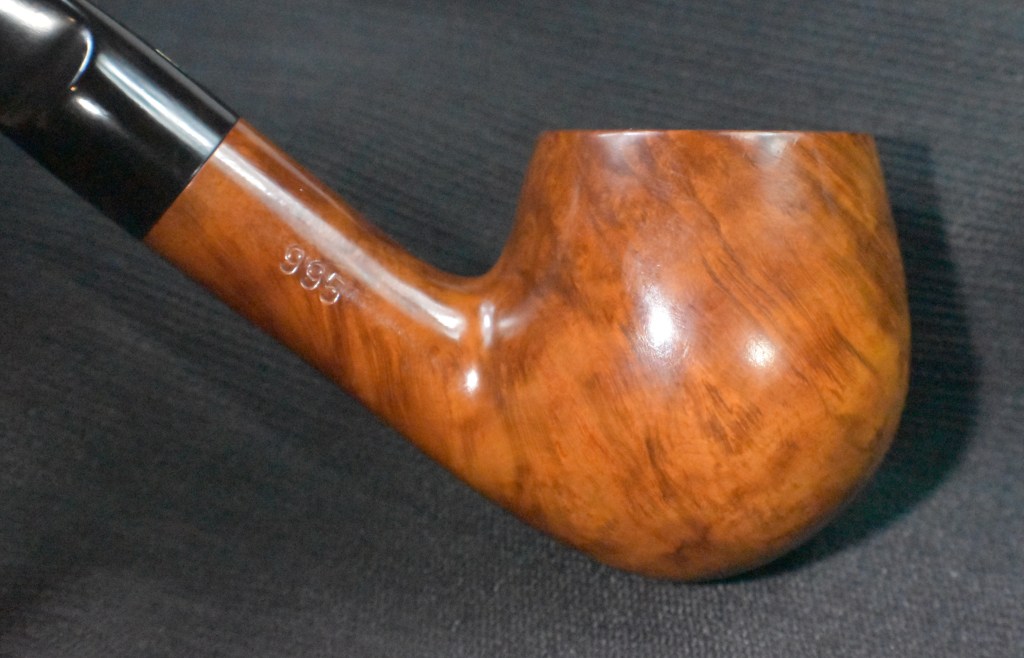
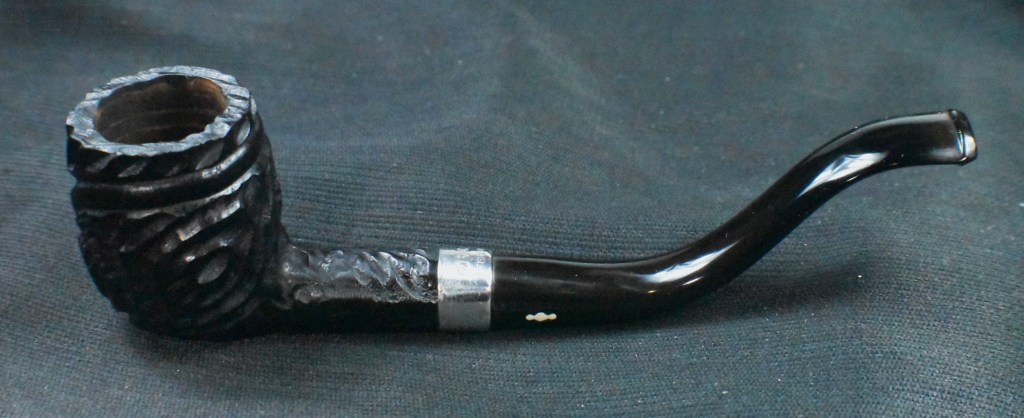
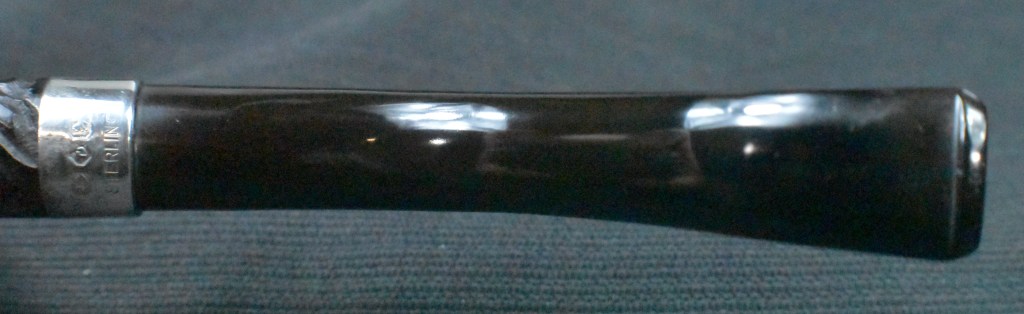
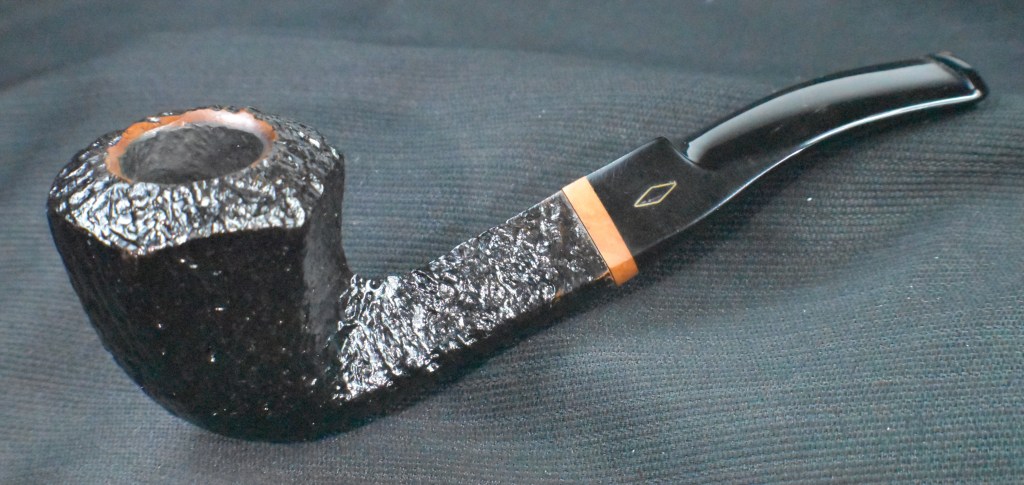
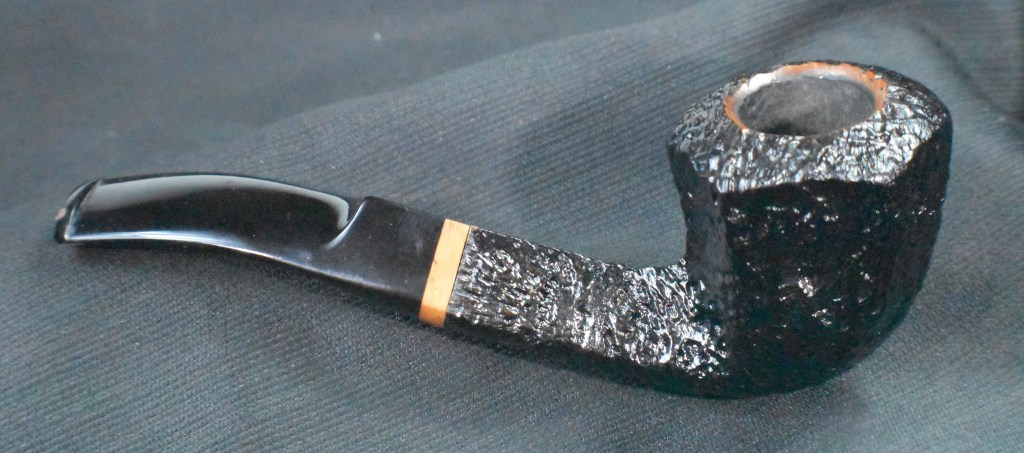
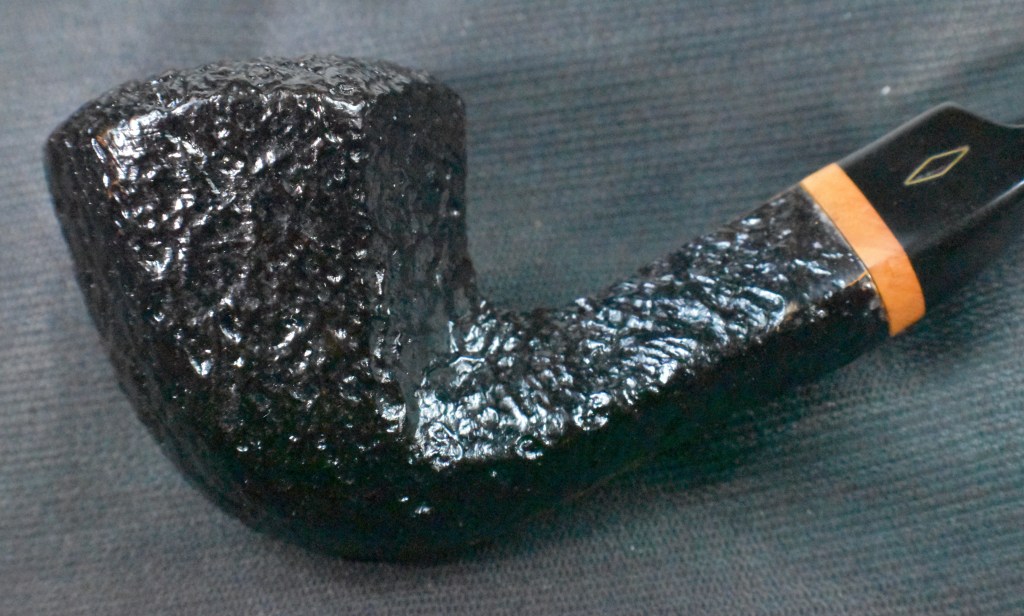
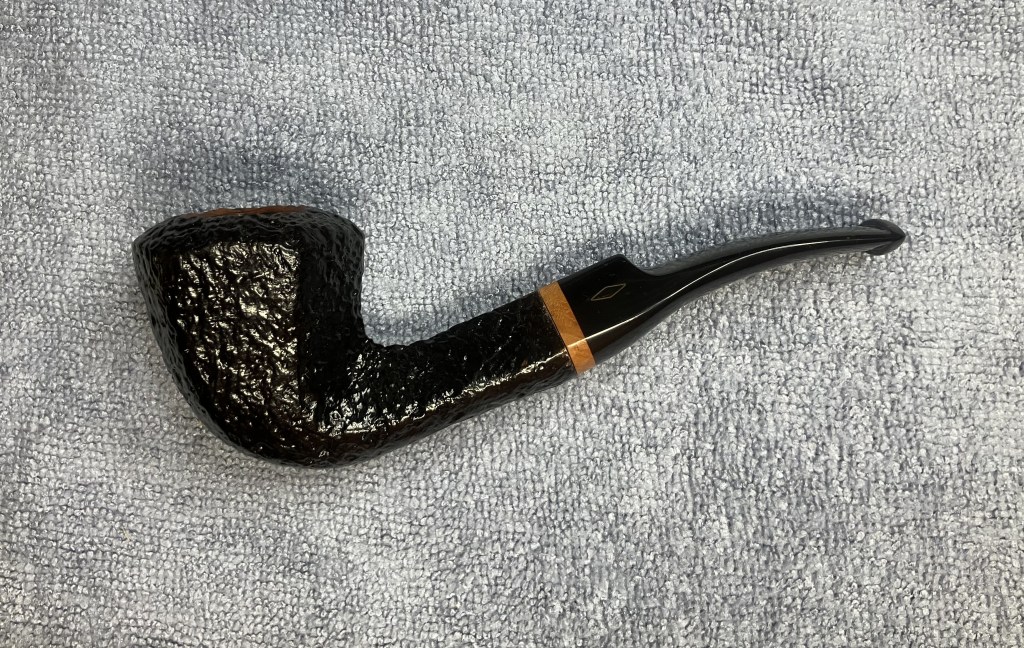
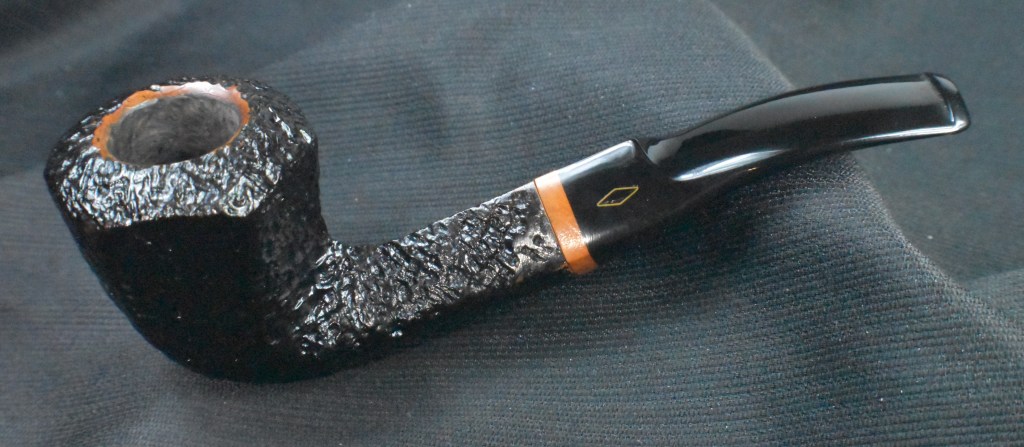
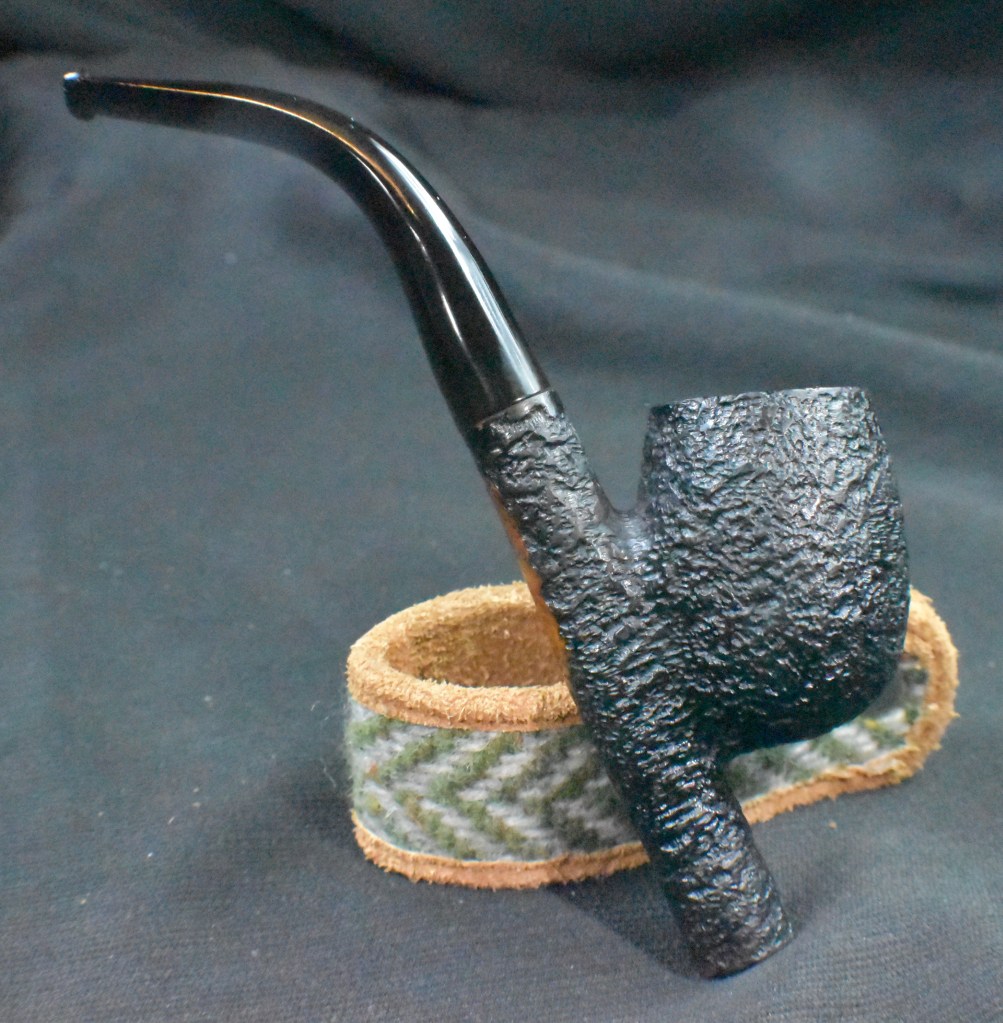
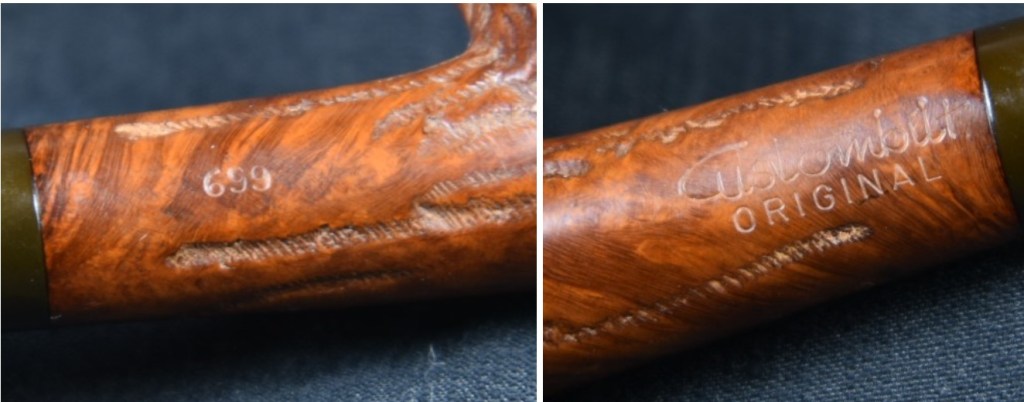
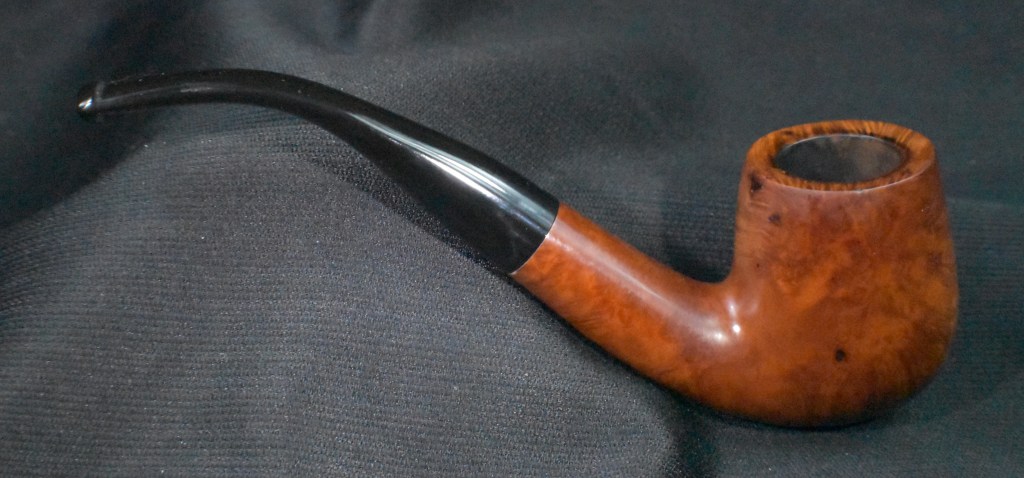
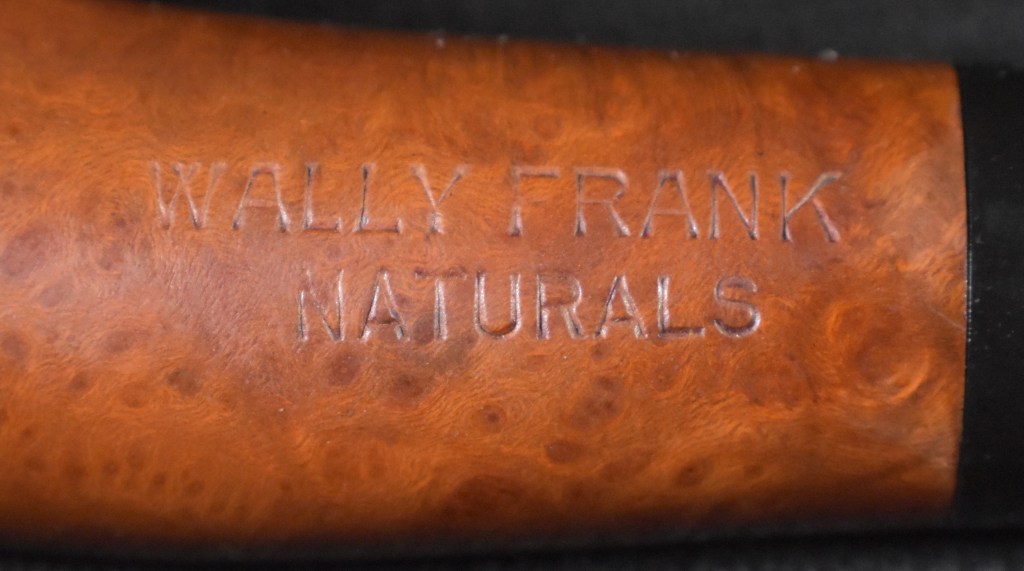
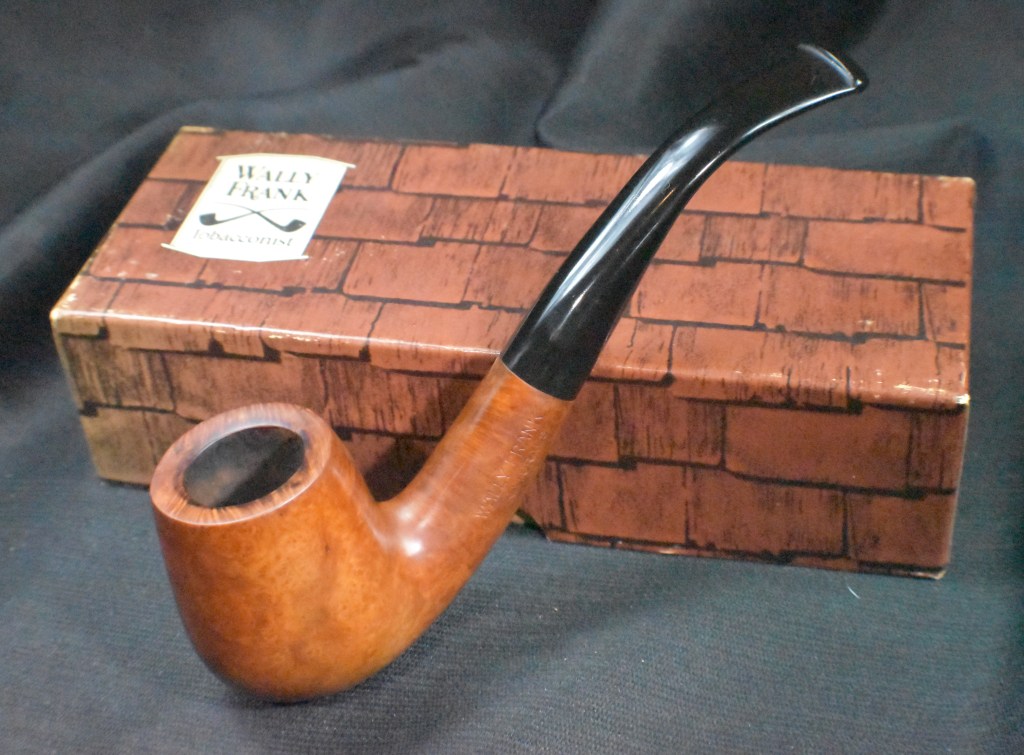
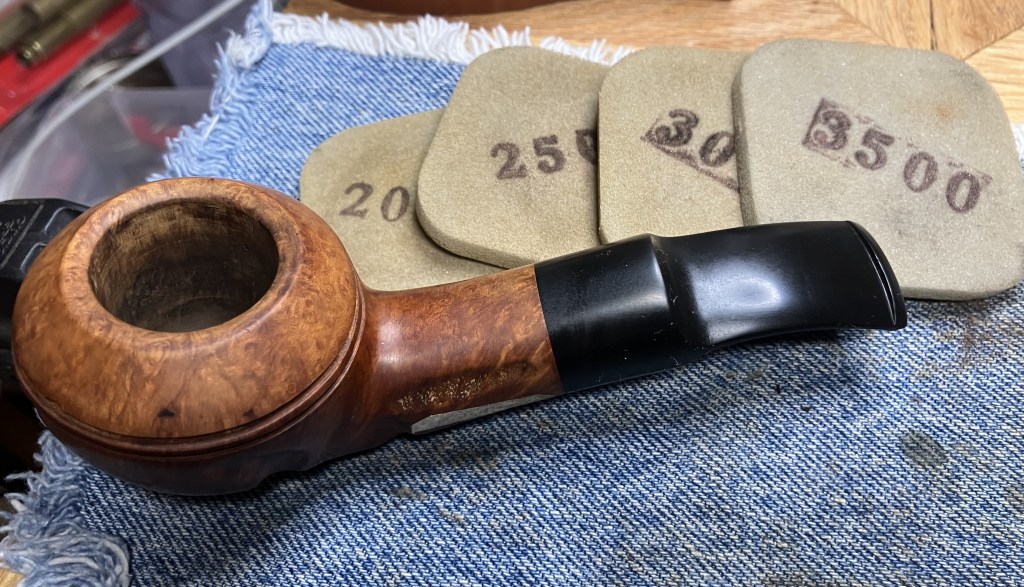
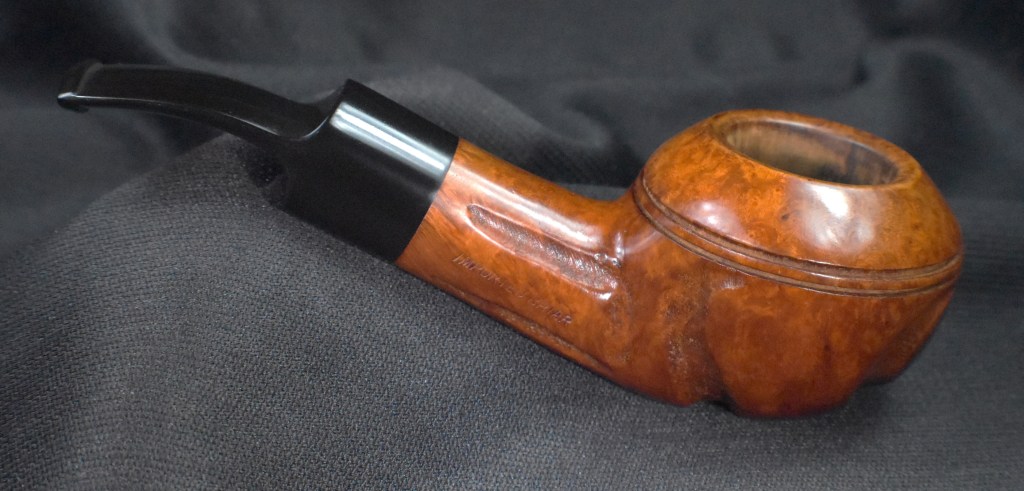
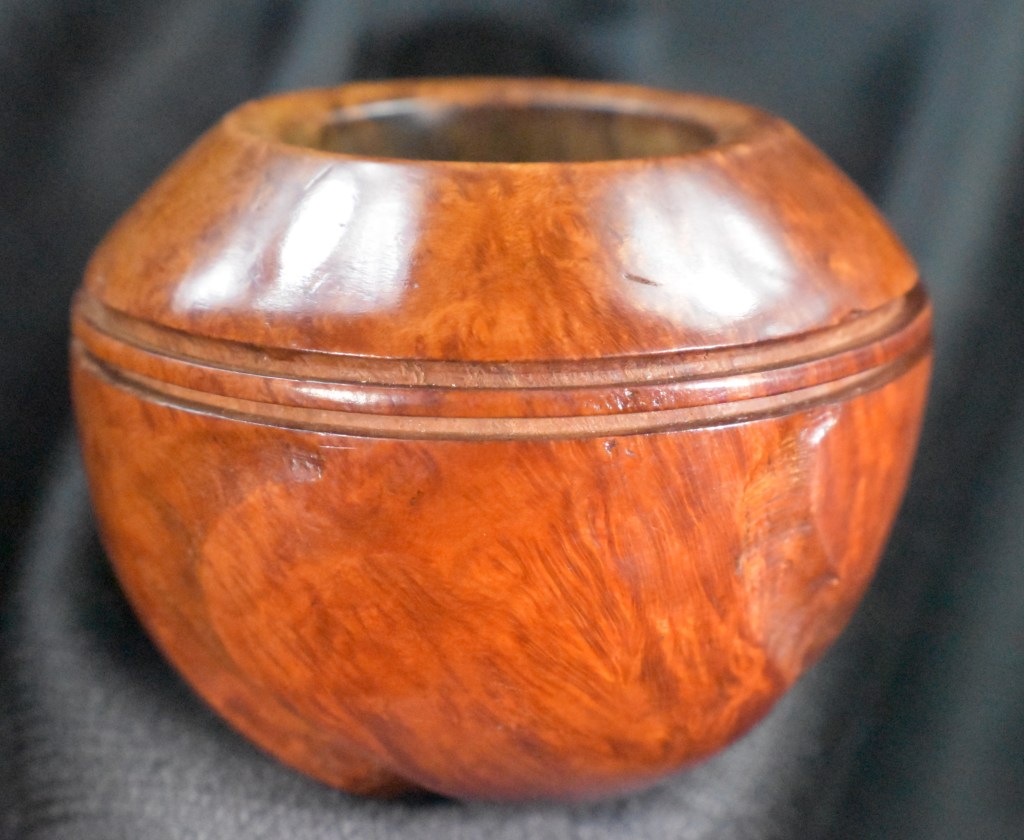
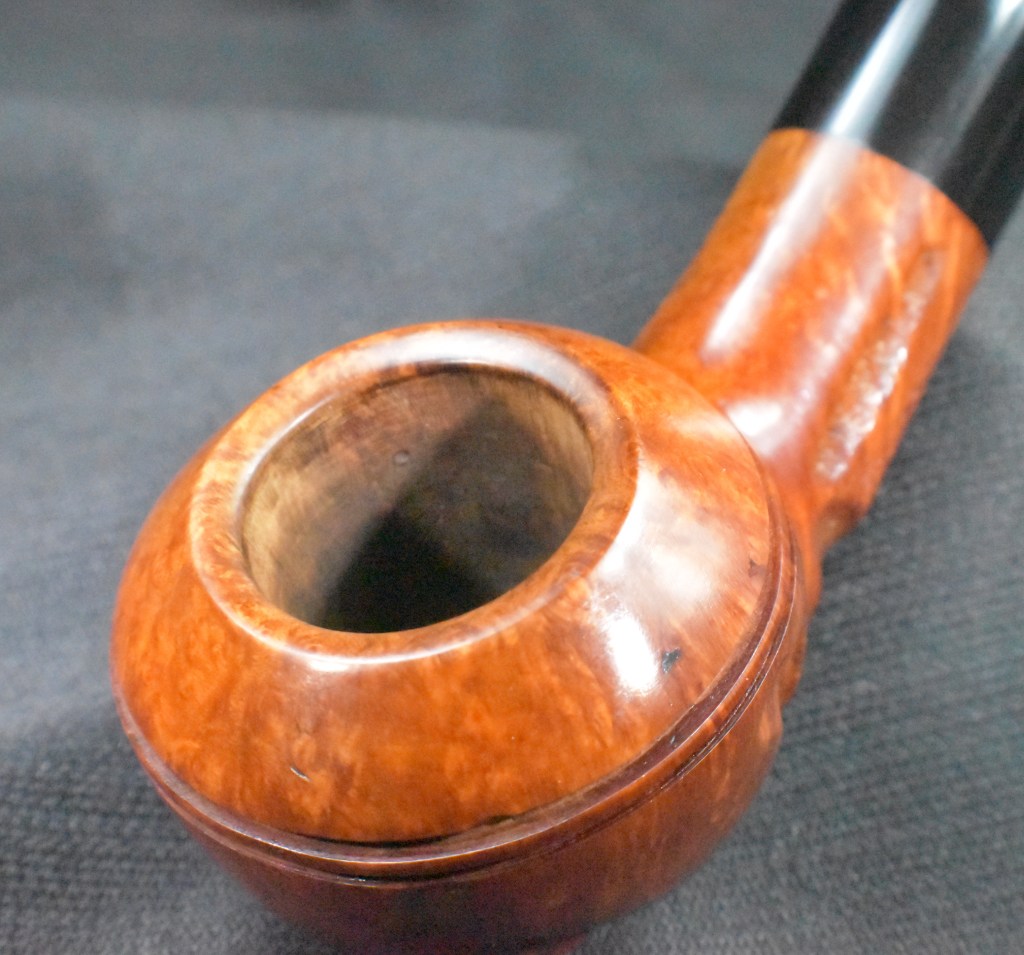
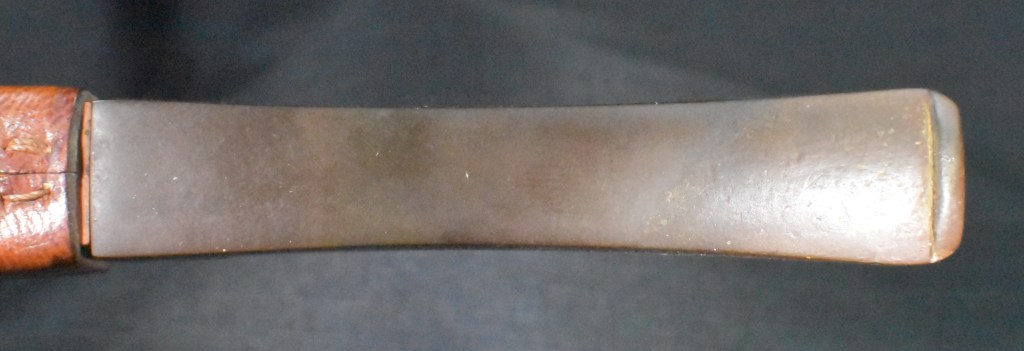
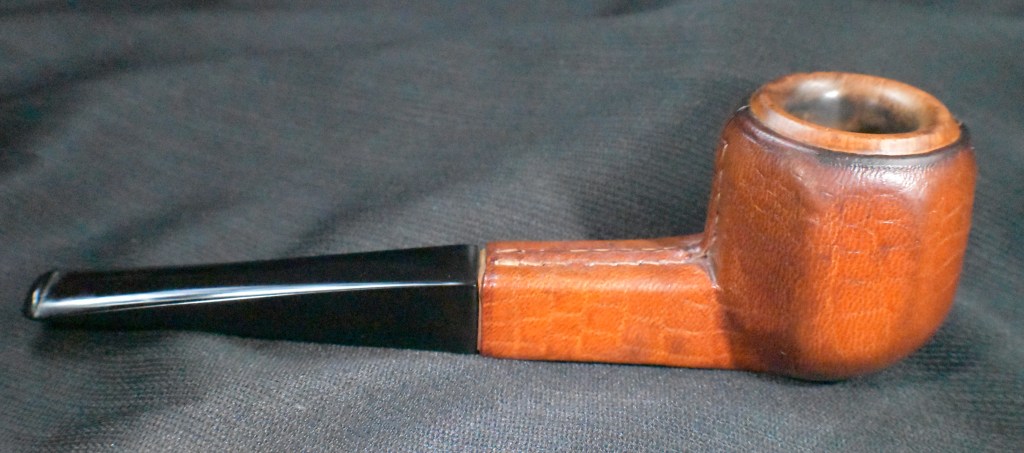
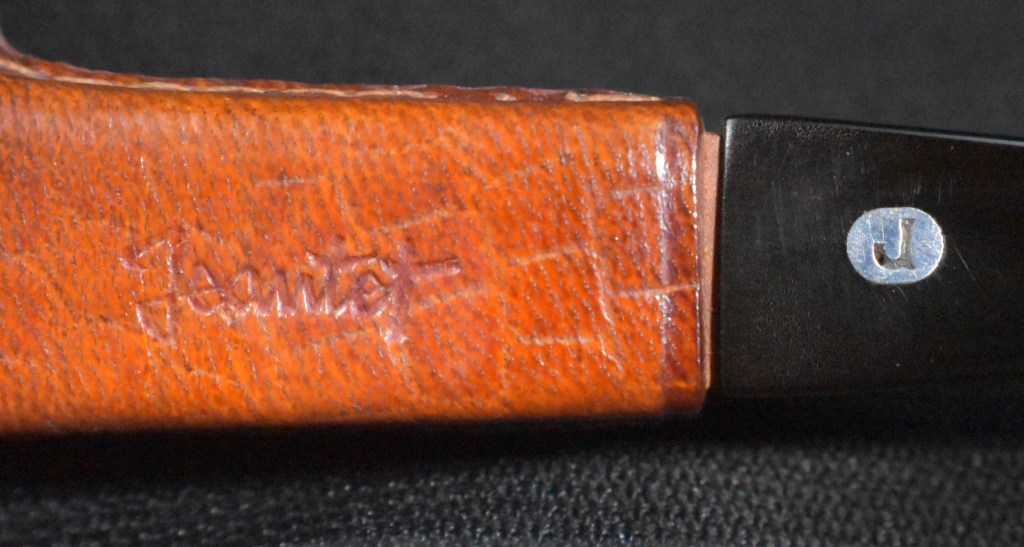
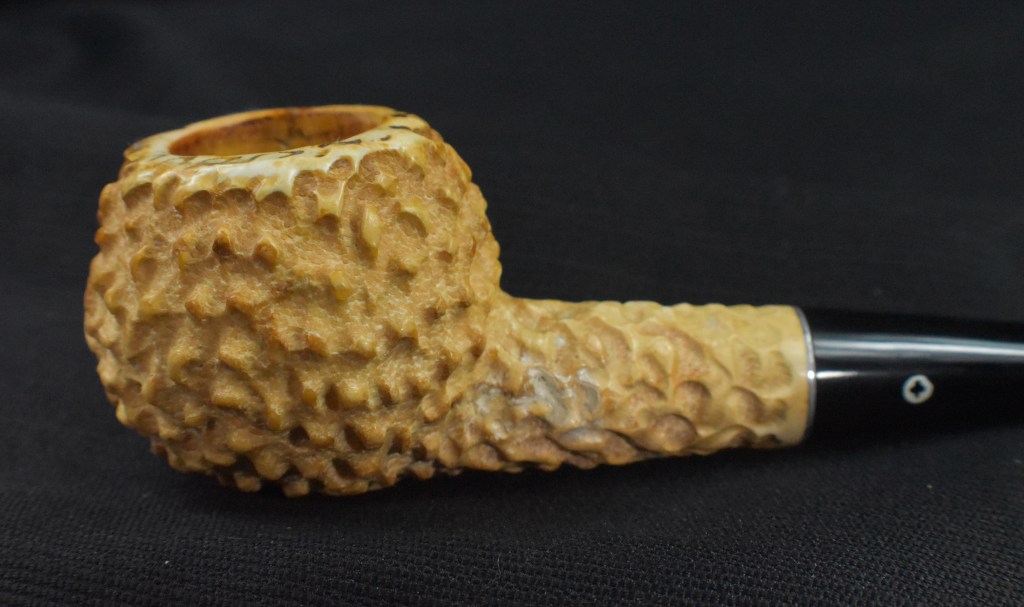
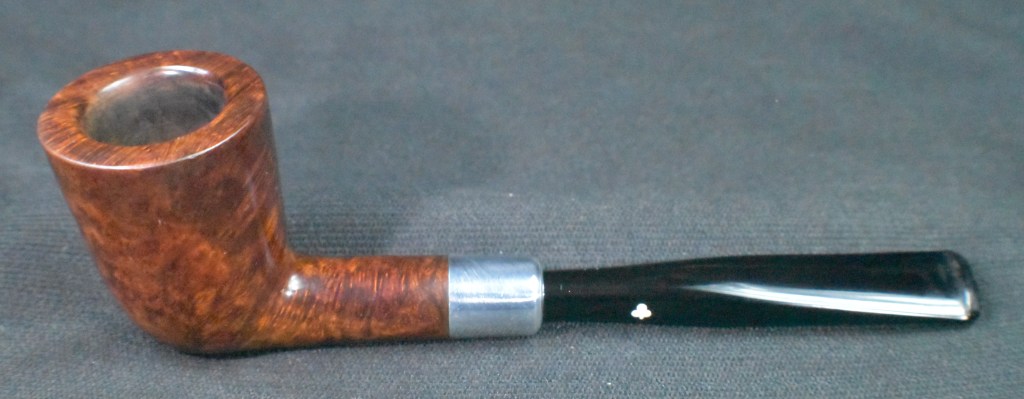
The Jobey Natural 995 turned out exceptionally well. Though not the most beautifully grained piece of briar, it is a solid piece with excellent drillings. The stem repair worked. I can say that I learned a great deal and look forward to using this Kenneth Lieblich repair method again. The strength of the patch feels great and I am sure that it will provide a far superior repair than CA alone. The biggest problem with this type of repair is my own lack of skill in finishing a reshaped button. I know, I know, practice makes perfect and it will take much practice to perfect this technique. I am sure that this Jobey Natural 995 is ready for another 50 years of faithful service with grace and style.
The dimensions of the Jobey Natural 995 are:
Length: 5.98 in./ 151.89 mm.
Weight: 1.52 oz./ 43.09 g. (with band)
Bowl Height: 1.74 in./ 44.20 mm.
Chamber Depth: 1.45 in./ 36.83 mm.
Chamber Diameter: 0.78 in./ 19.81 mm.
Outside Diameter: 1.63 in./ 41.40 mm.
I do hope that you have found something here useful to your own pipe care, maintenance or restorations. If you like this sort of thing, please click the like and subscribe buttons. Thank you for reading the ramblings of an old pipe lover.
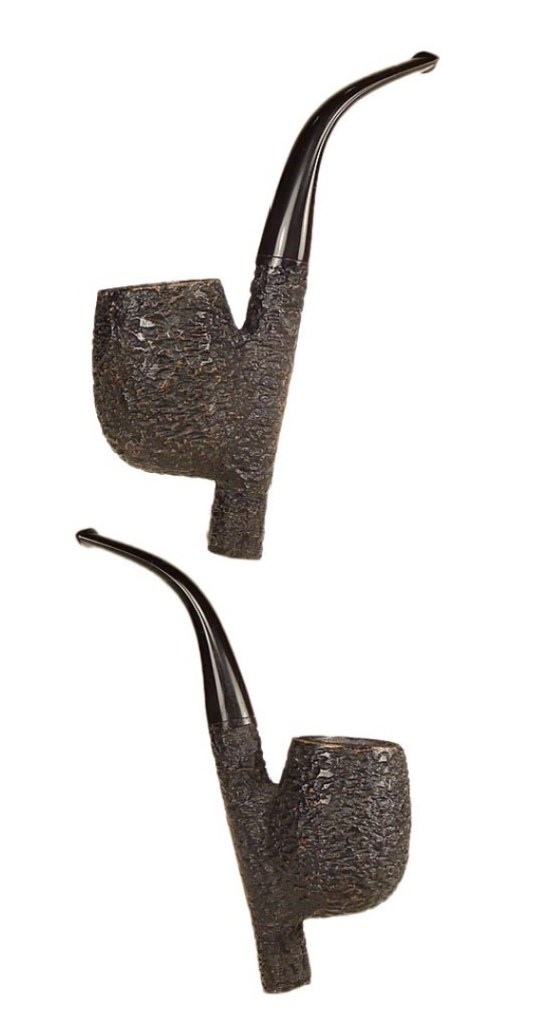
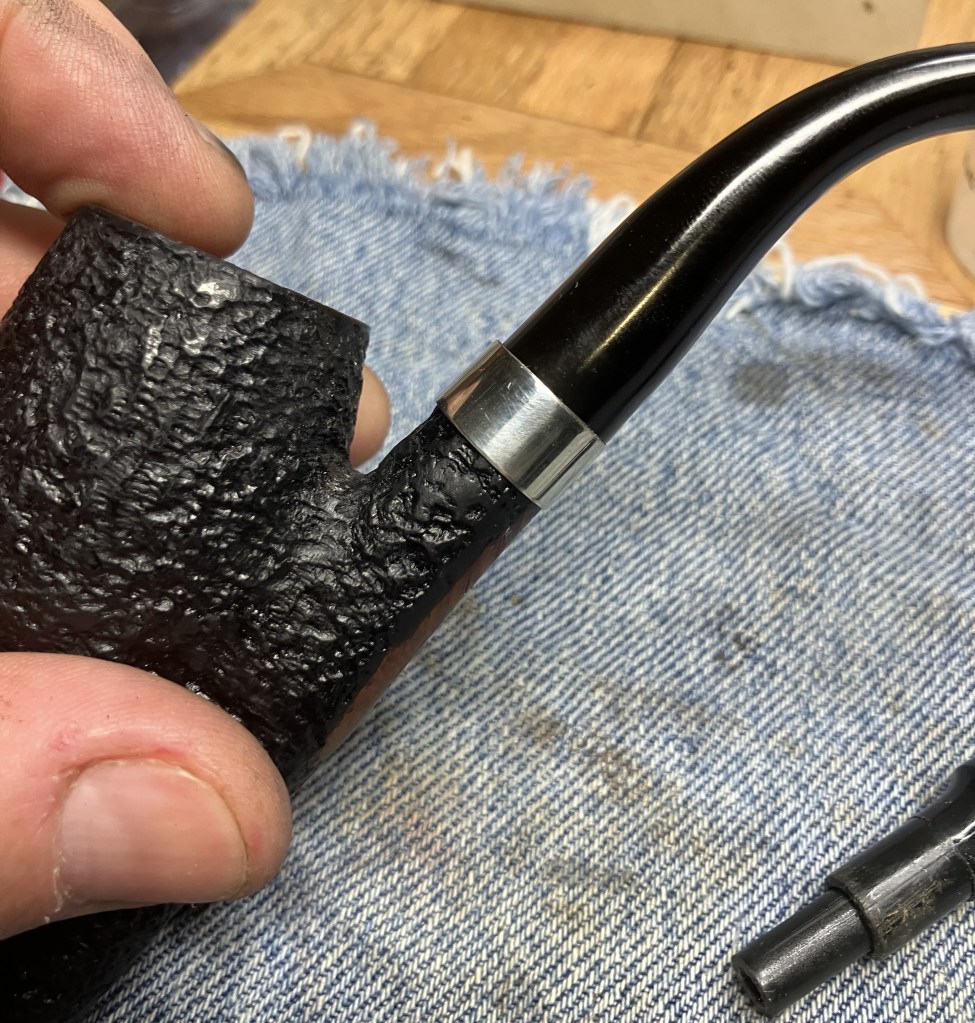
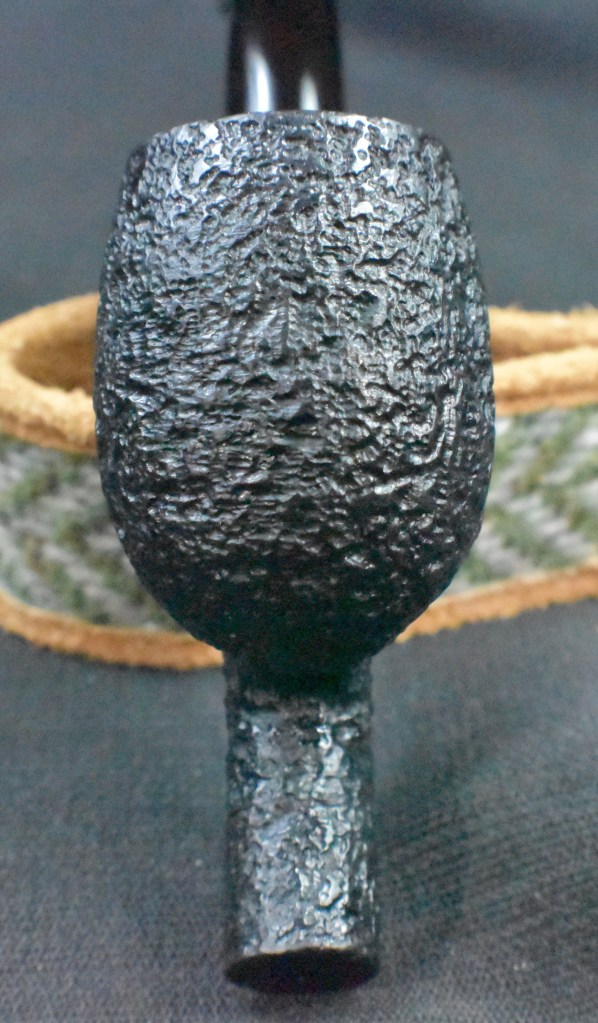
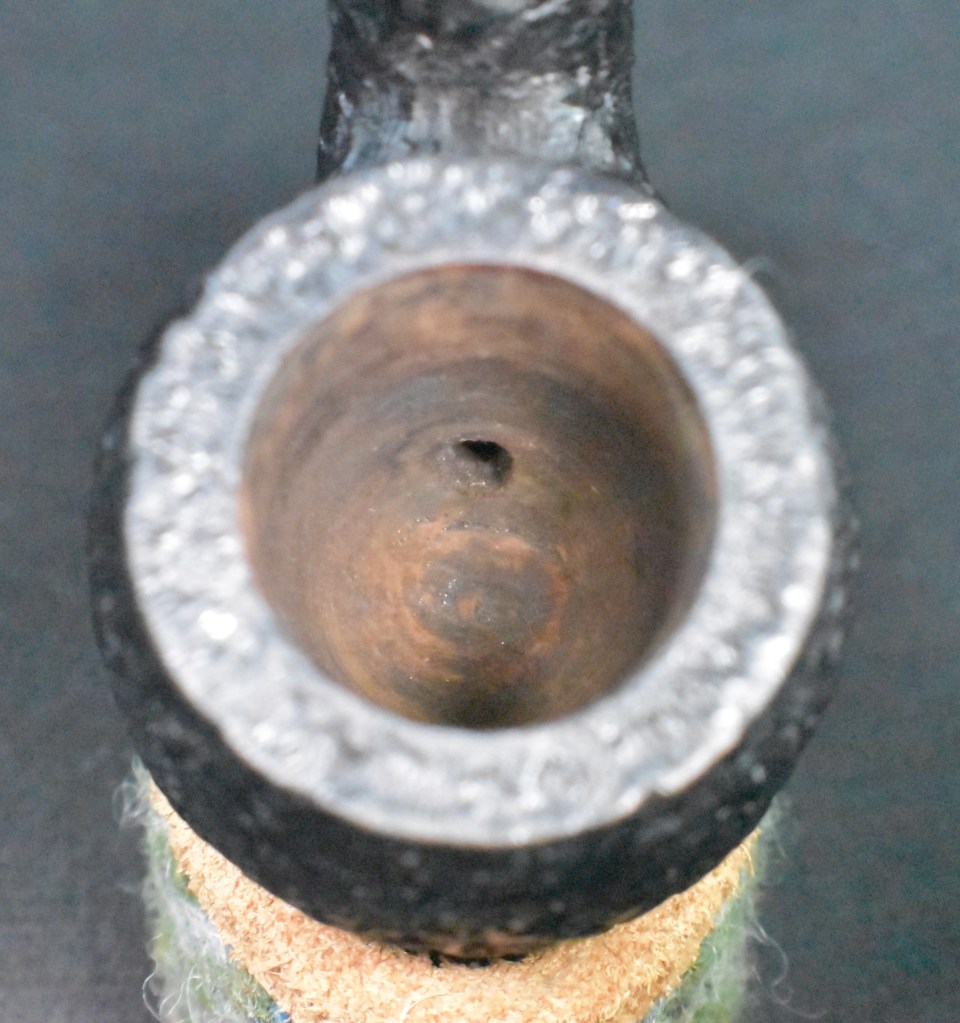
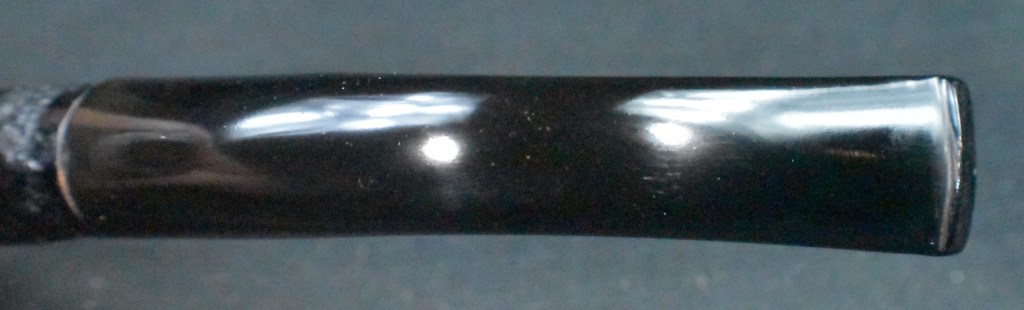
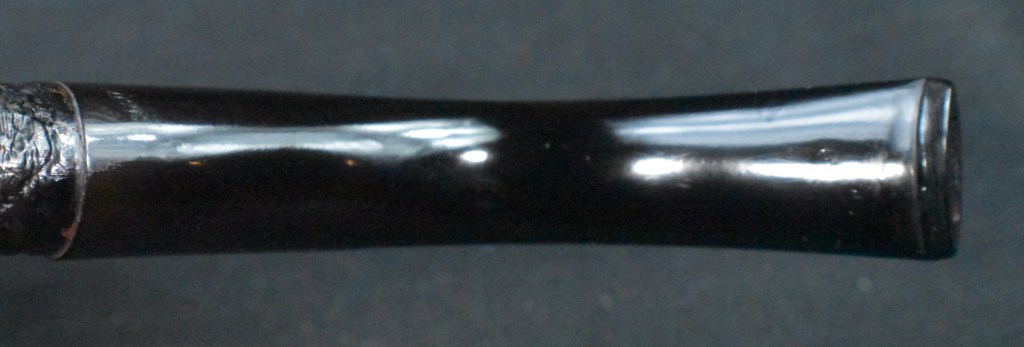
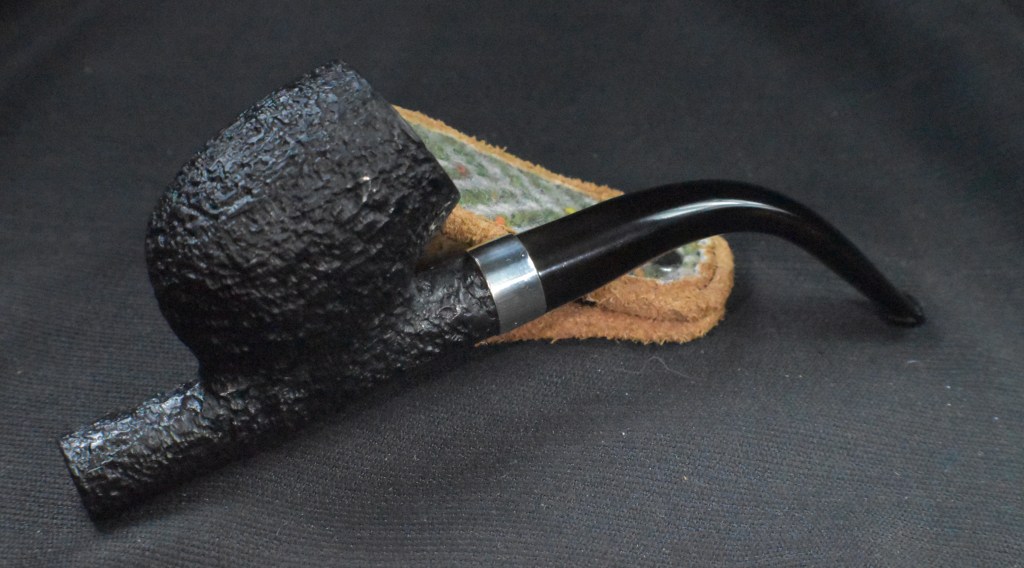
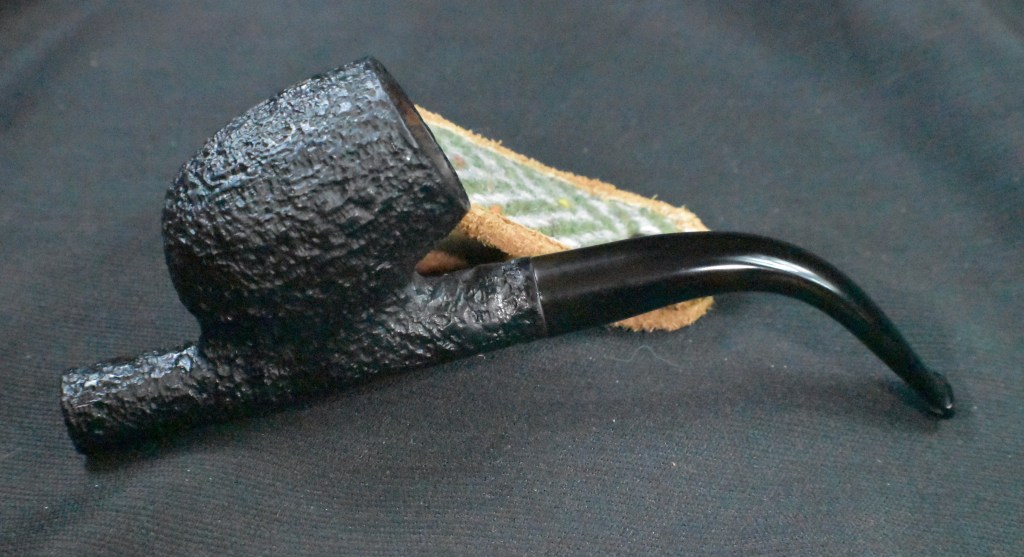
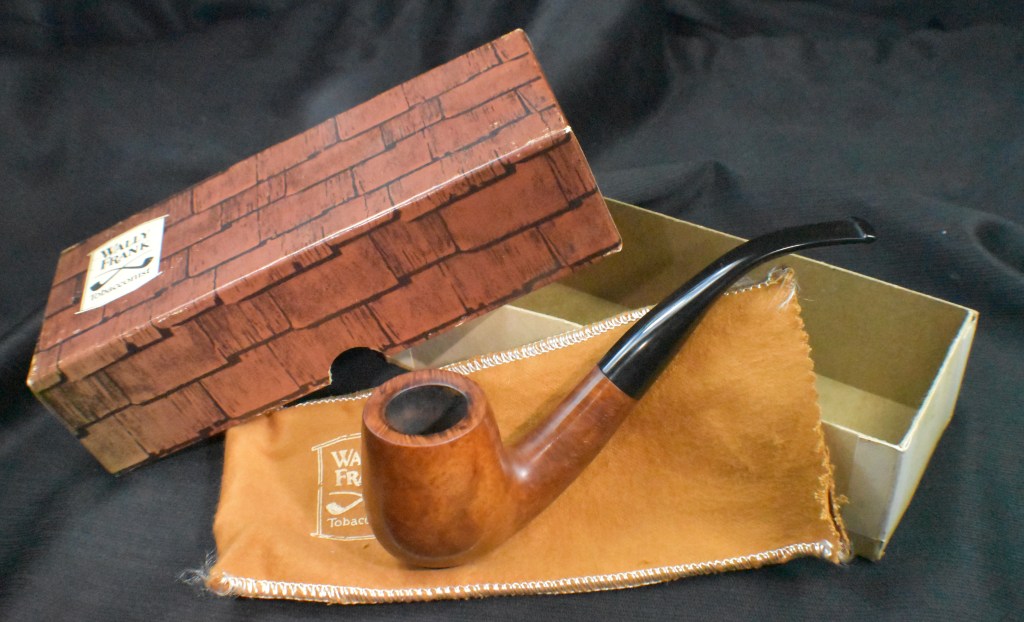
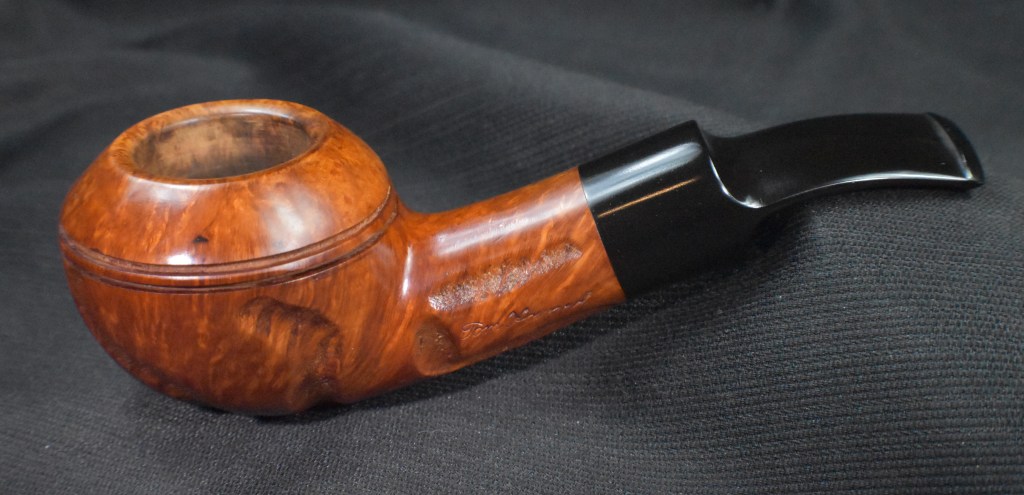
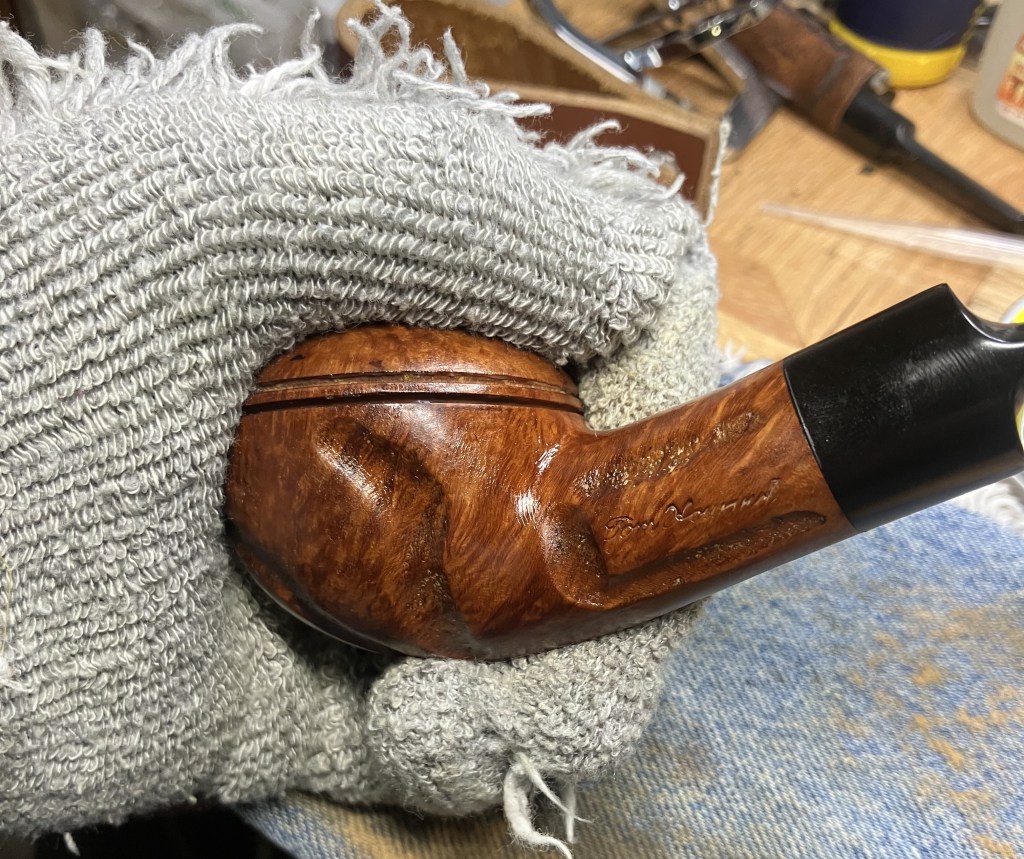
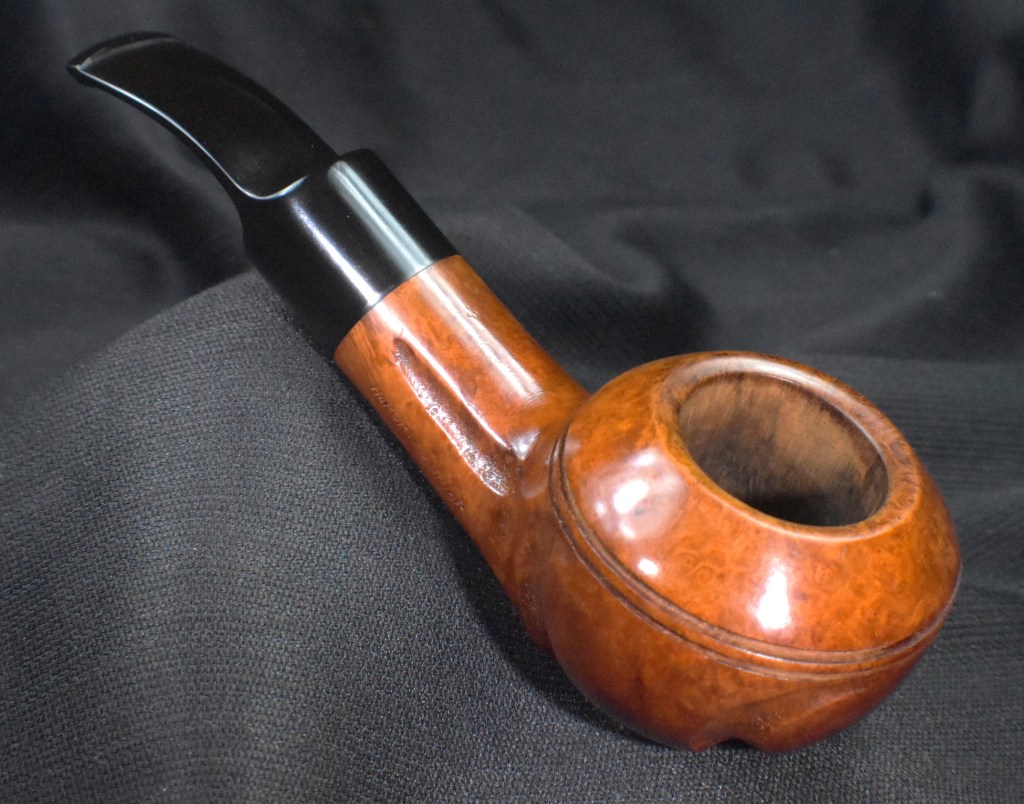
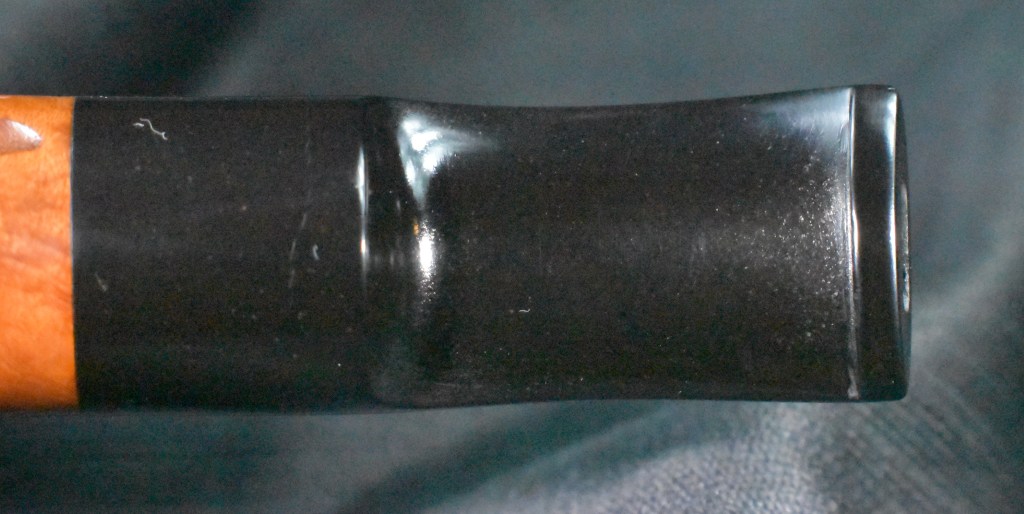
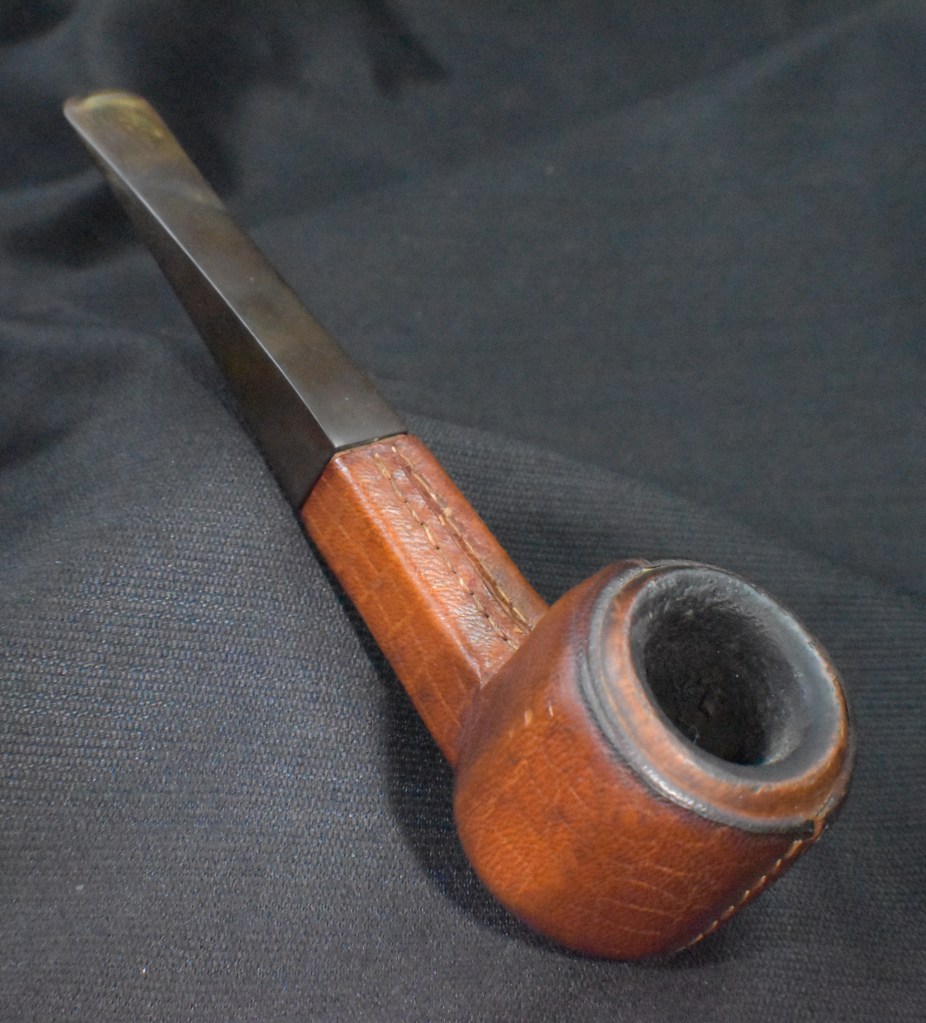
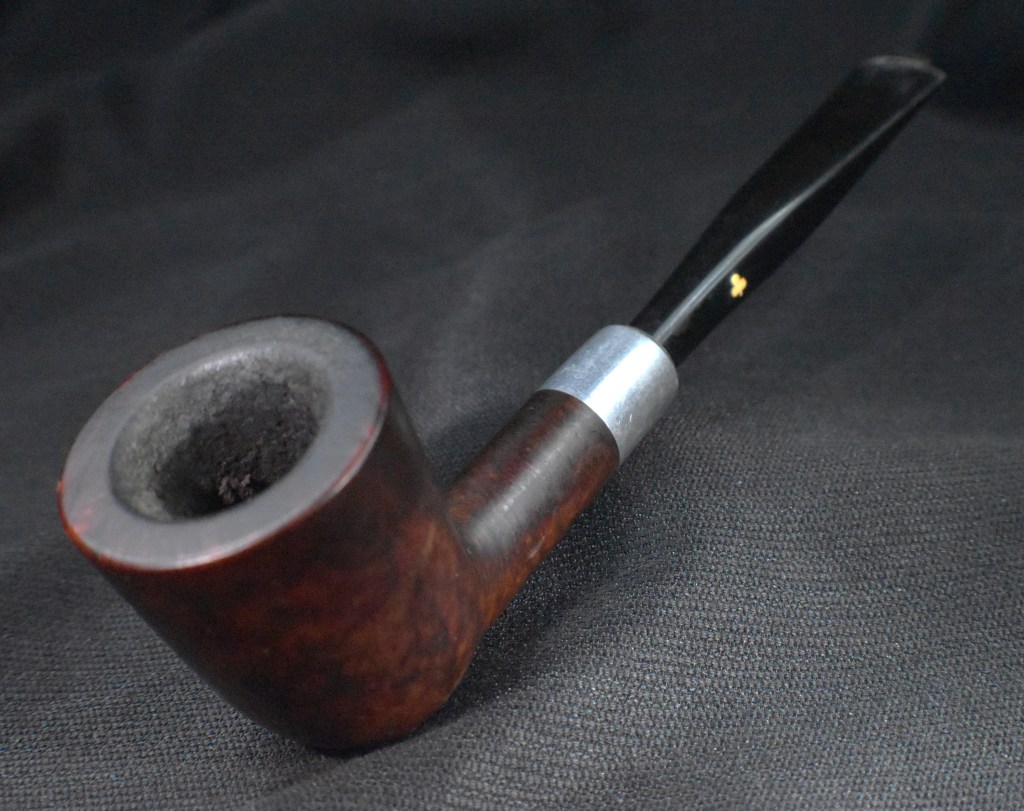
Below are some photos of the finished Jobey Natural 995:


