Photographed and written by
John M. Young
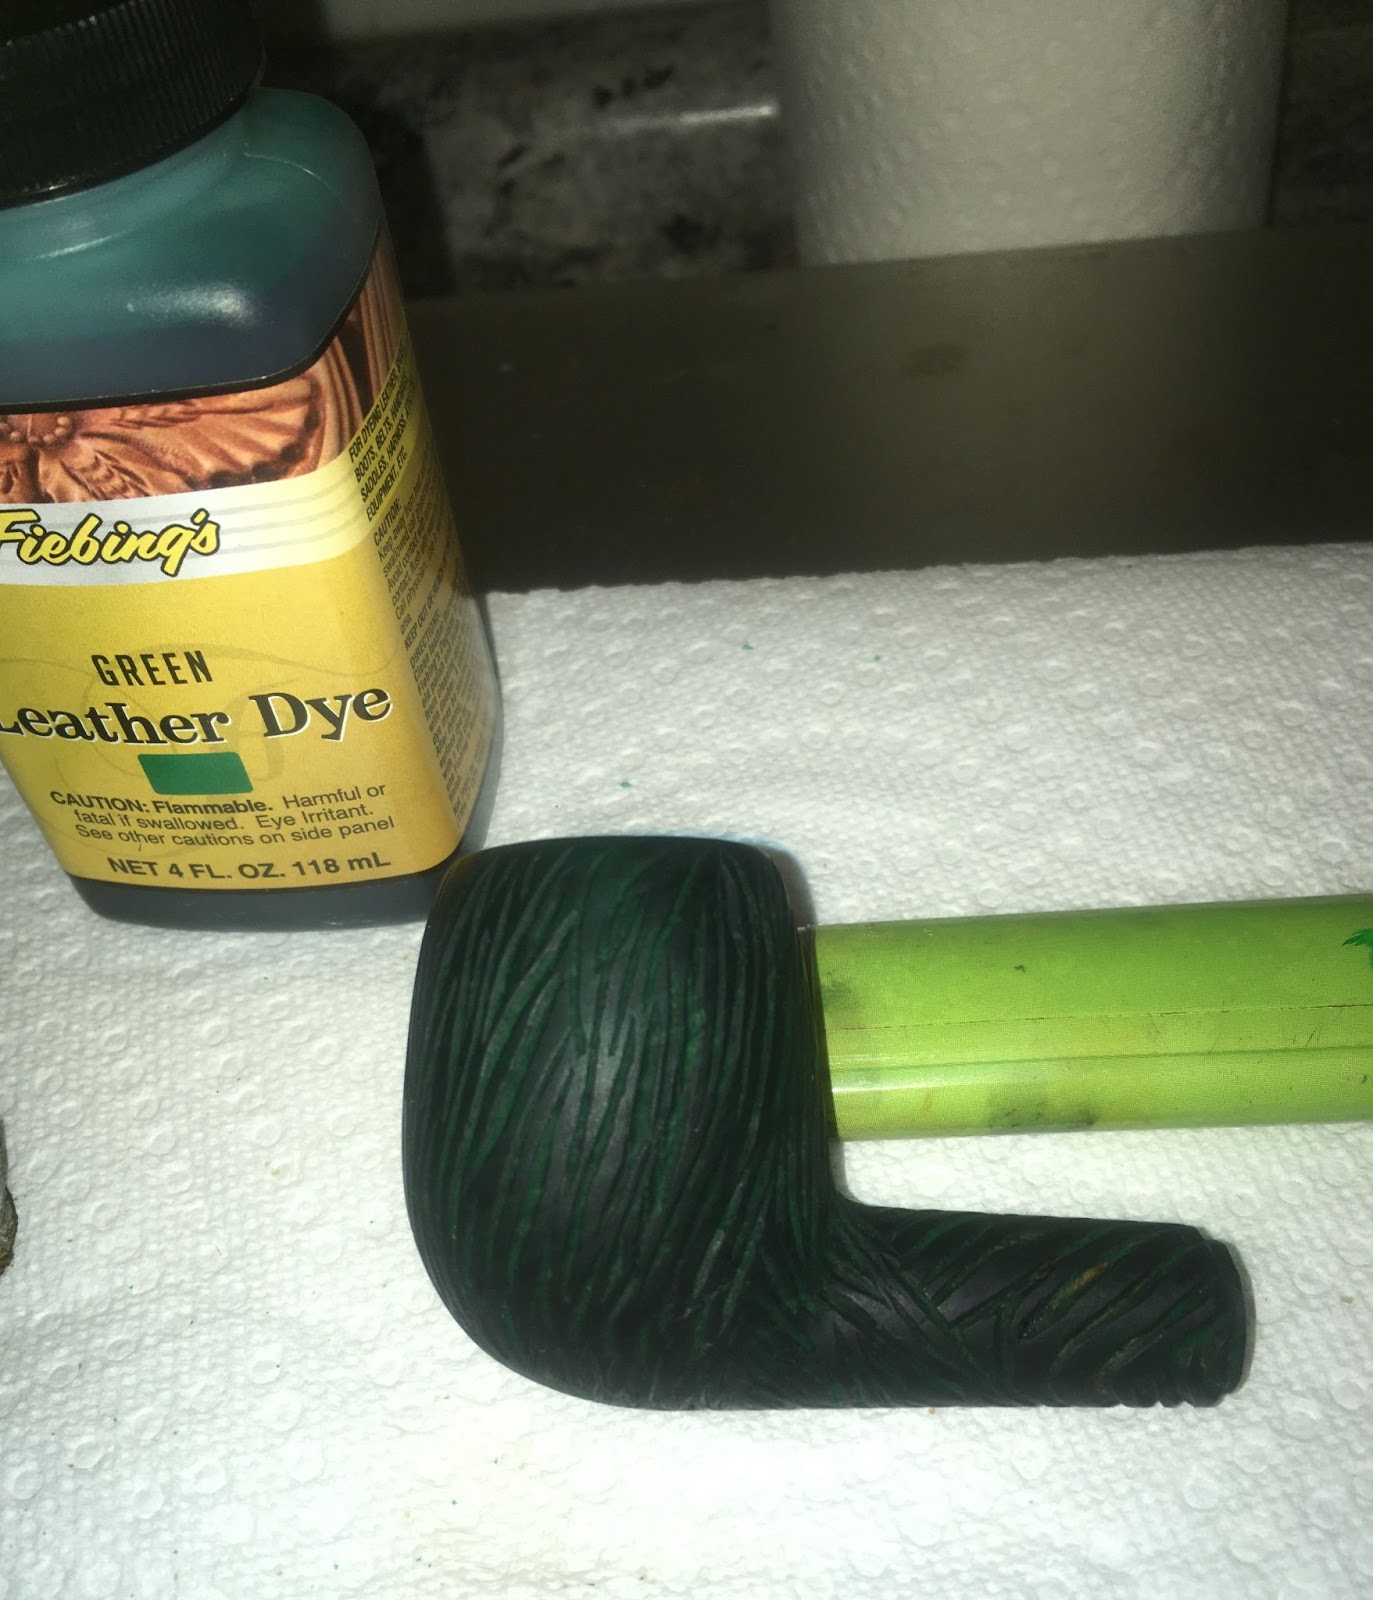
I received this pipe as part of an estate lot. I liked the shape, a healthy sized billiard, and the unfinished briar with grass-like carvings. I thought about what to do with it for several weeks as it was patiently waiting for its turn upon the workbench. Finally it hit me – Realtree-style camouflage. I didn’t have any green Fiebing’s Leather Dye so that ordering of that piece bumped the project back down the list a couple of spots. Finally the green dye arrived and it was time to see if I could make my vision a reality, a Realtree-like (I’m pretty sure that if I add “-like” I can’t be sued by the Realtree folks) reality.
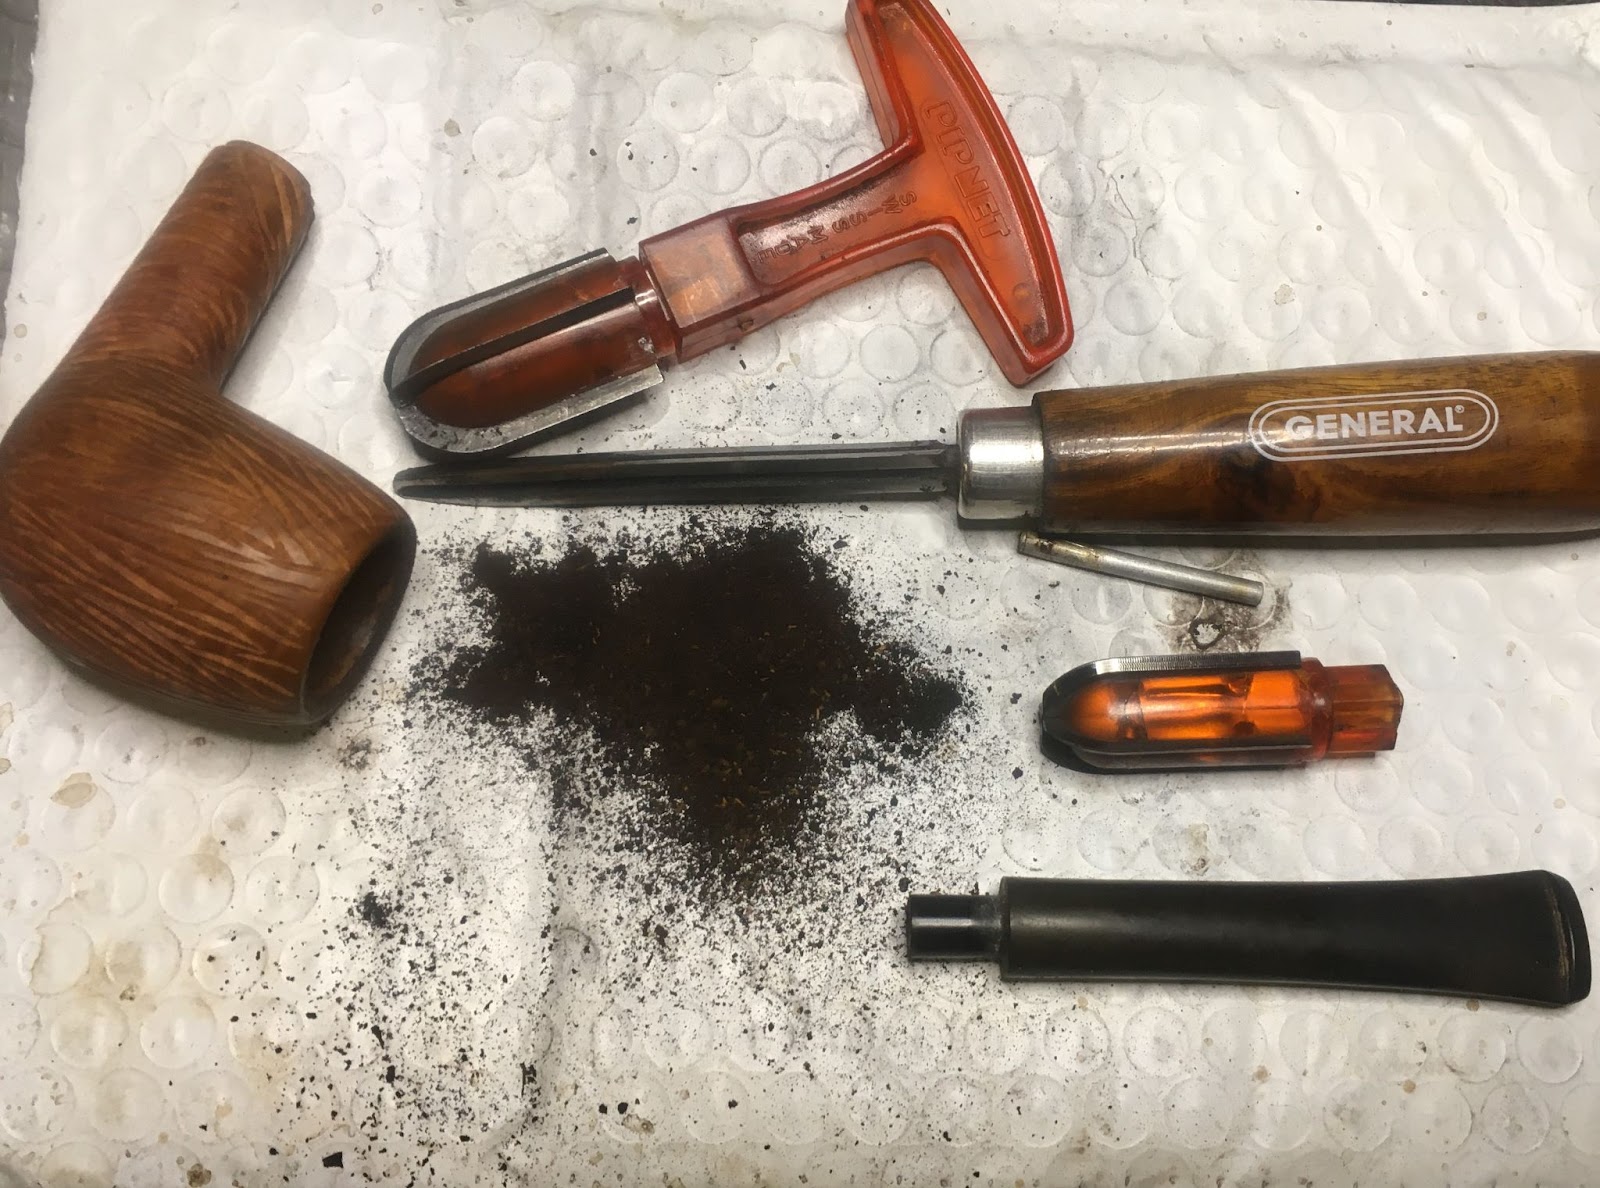
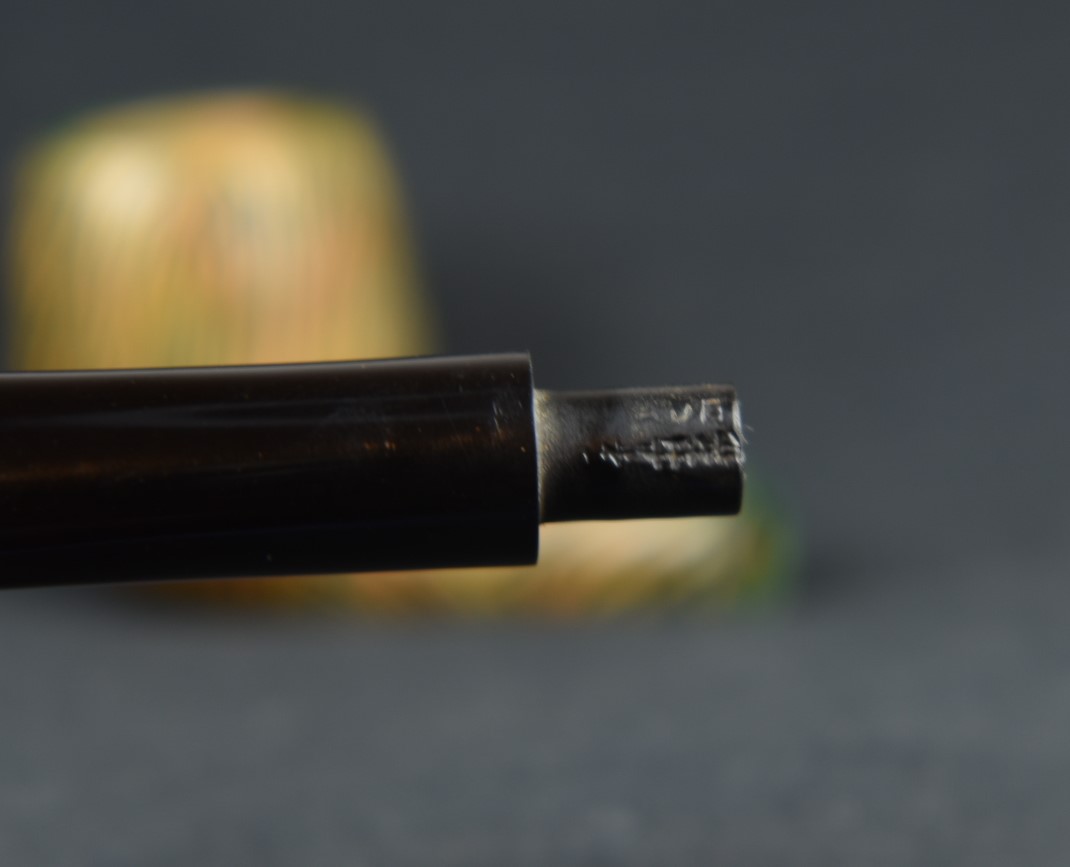
The pipe was free of any markings or stamps on the stummel. There were a couple of marks on the tenon of the stem. I am getting ahead of myself. Let me show you what the pipe looked like prior to working on it.


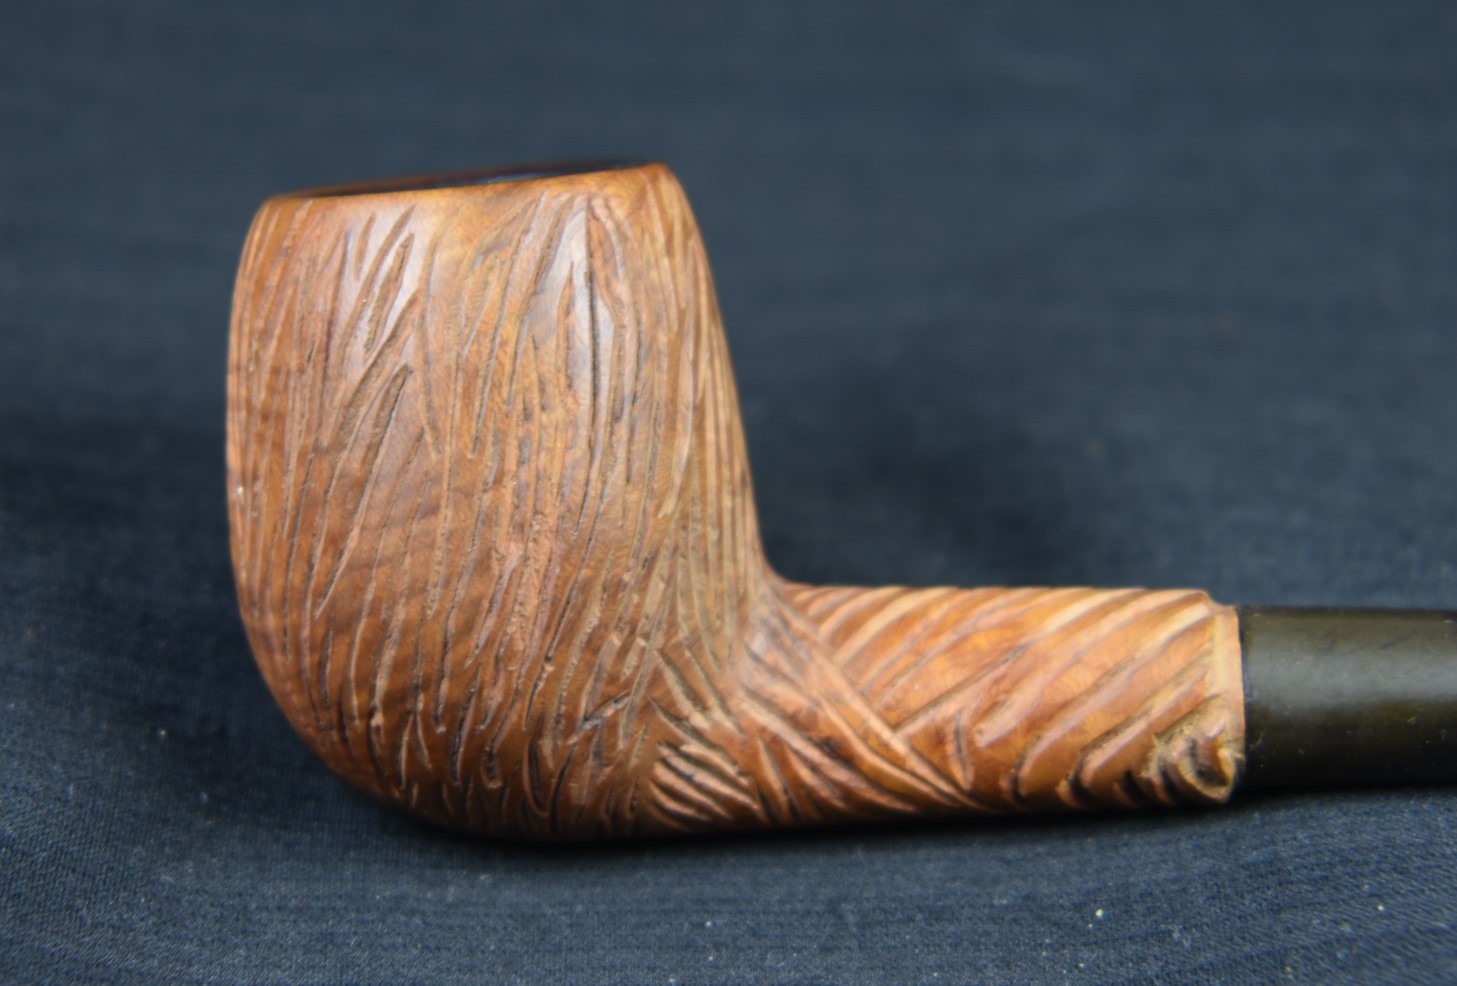


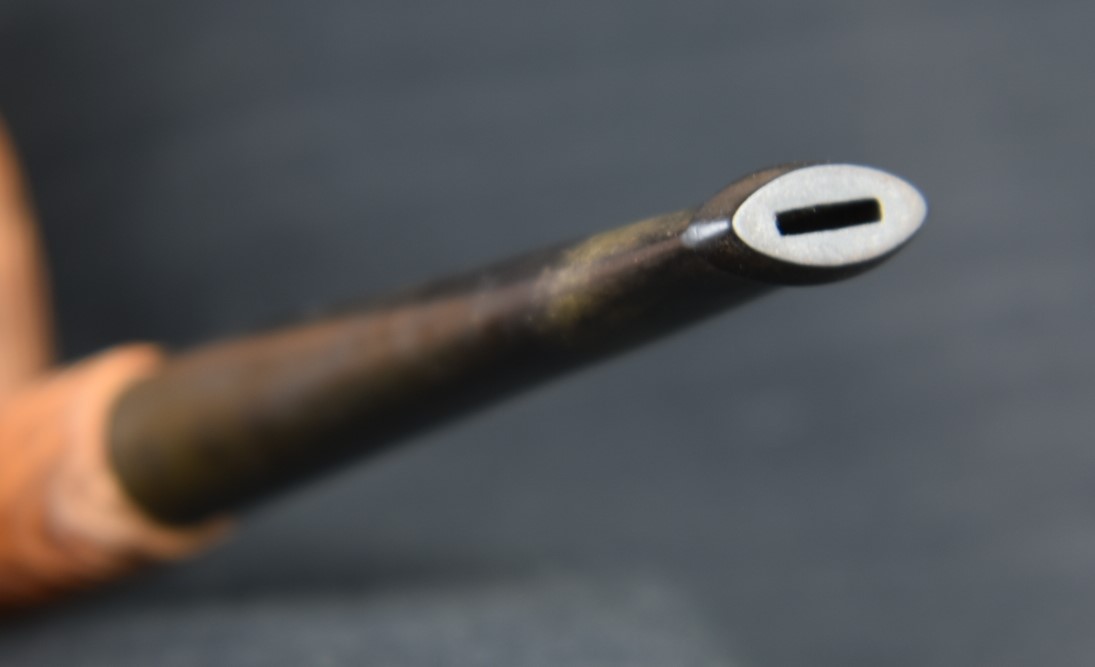
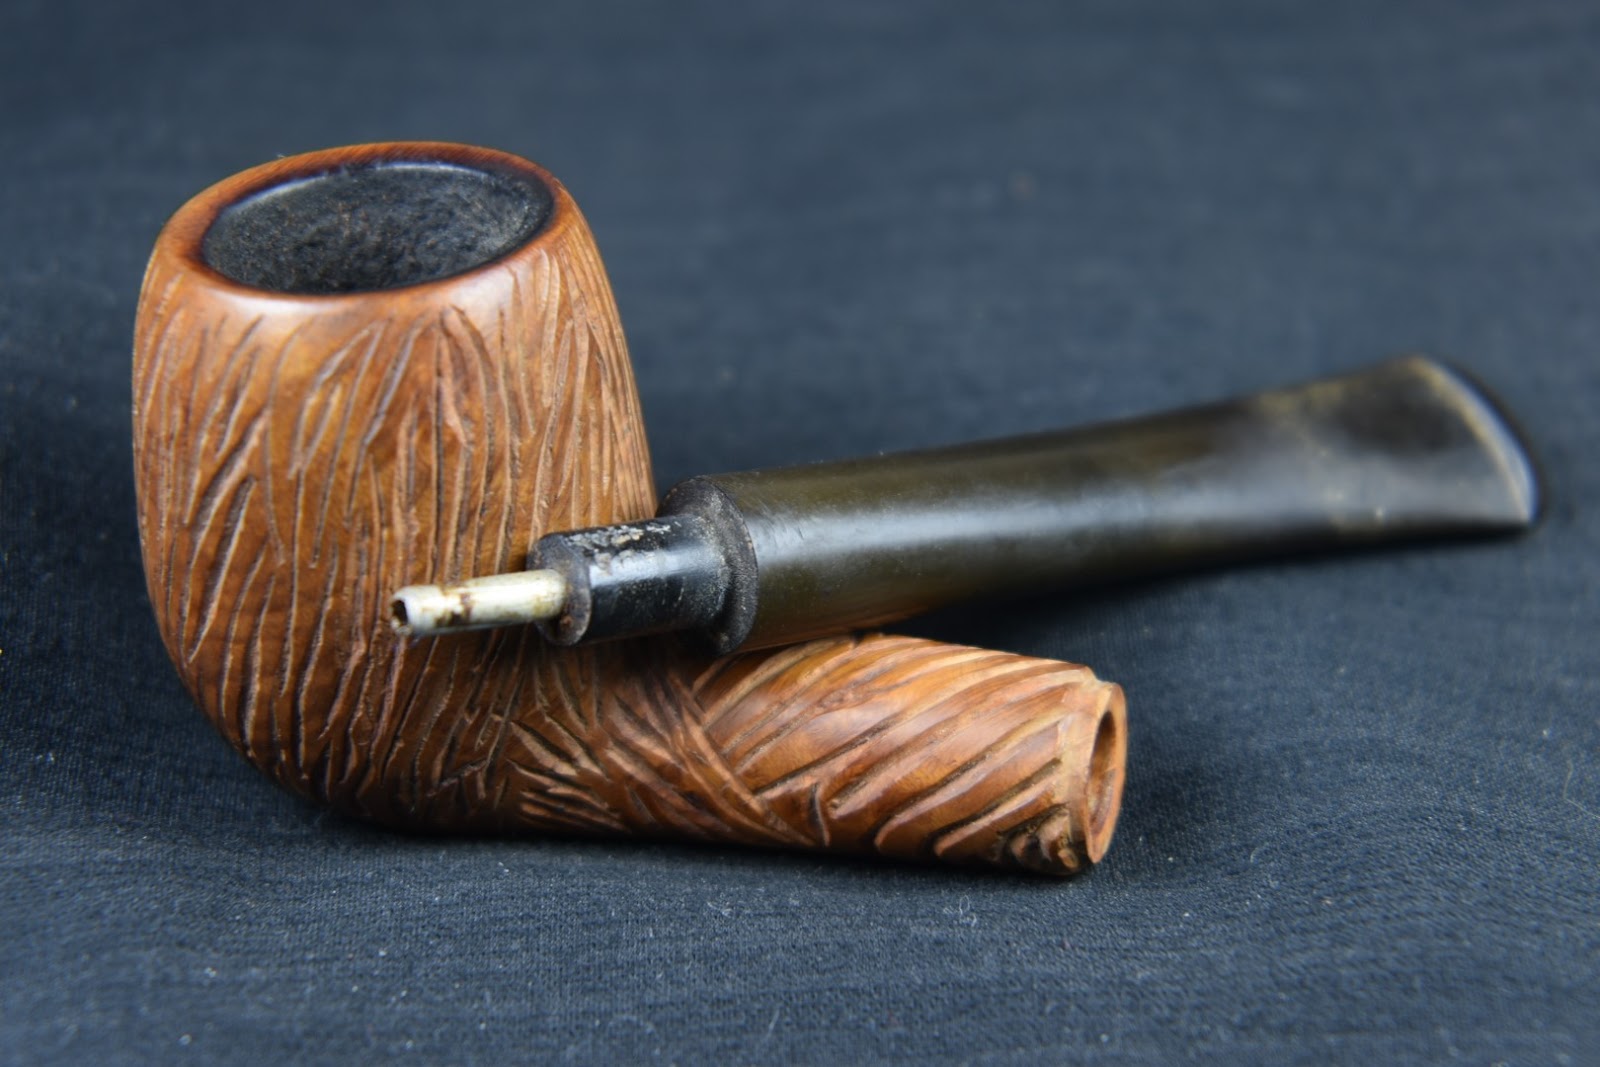


The pipe had been smoked but very heavily. There was some minimal cake in the tobacco chamber and lava on the rim. The singer appeared as if it had been cut off and it remained firmly attached initially. A pliers was used to loosen and remove it. The stem had some tooth chatter and was oxidized. The stamps on the stem appeared to read ADE over IN ITALY. I assumed the top line should have read MADE. Overall a straight forward restoration of a good quality piece of briar.
Background of the pipe
Due to the lack of any stampings on the stummel and only the MADE over IN ITALY, I was not able to deduce much about the provenance of the pipe. A search of logos on pipephil.eu did not turn up any similar stamings on stems. I like to imagine the history of the pipe as a training piece used by an apprentice pipe carver. The young carver had mastered the traditional English billiard shape and had impressed his Master Carver with the stummel. The Master then asked him to practice stamping a stem. Upon doing so revealed that he needed more practice. Then the Master carver assigned him the task of carving the briar which he did with some success. The master congratulated him on his efforts but was unwilling to allow the shop name to be stamped on the pipe as the young apprentice failed to leave a flat surface for such a stamp. The young apprentice then received a quick smack to the back of his head and heard a few choice remarks about his inexperience and lack of functional brain cells in his native Italian. It’s my imagination and I’m sticking with it!
The restoration
As usual I started with a clean piece of denim on the workbench.

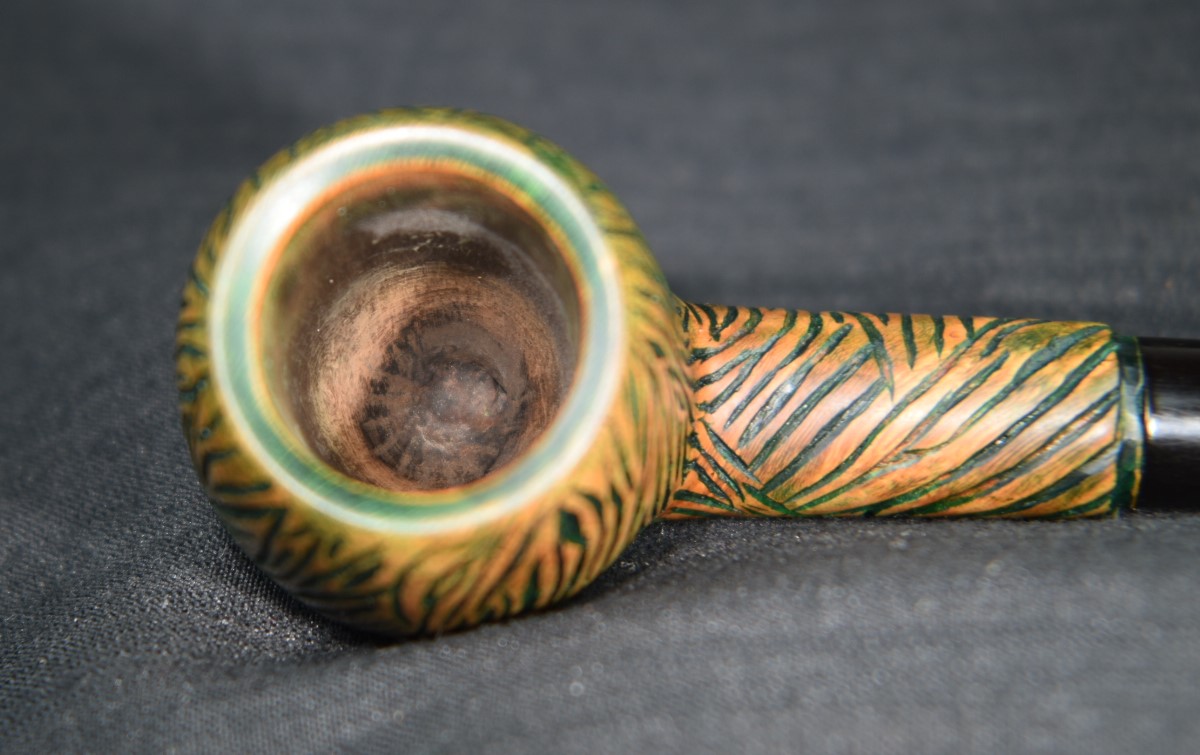
Thi show was substantial and required both the PipNet #2 and #3 blades. Given, there wasn’t much for them to scrape out but, they nevertheless gave it their all. The chamber was sanded with 220 sandpaper wrapped around a wood dowel. There was no damage in the tobacco chamber and I could actually see the lathe marks from the original turning of the stummel.
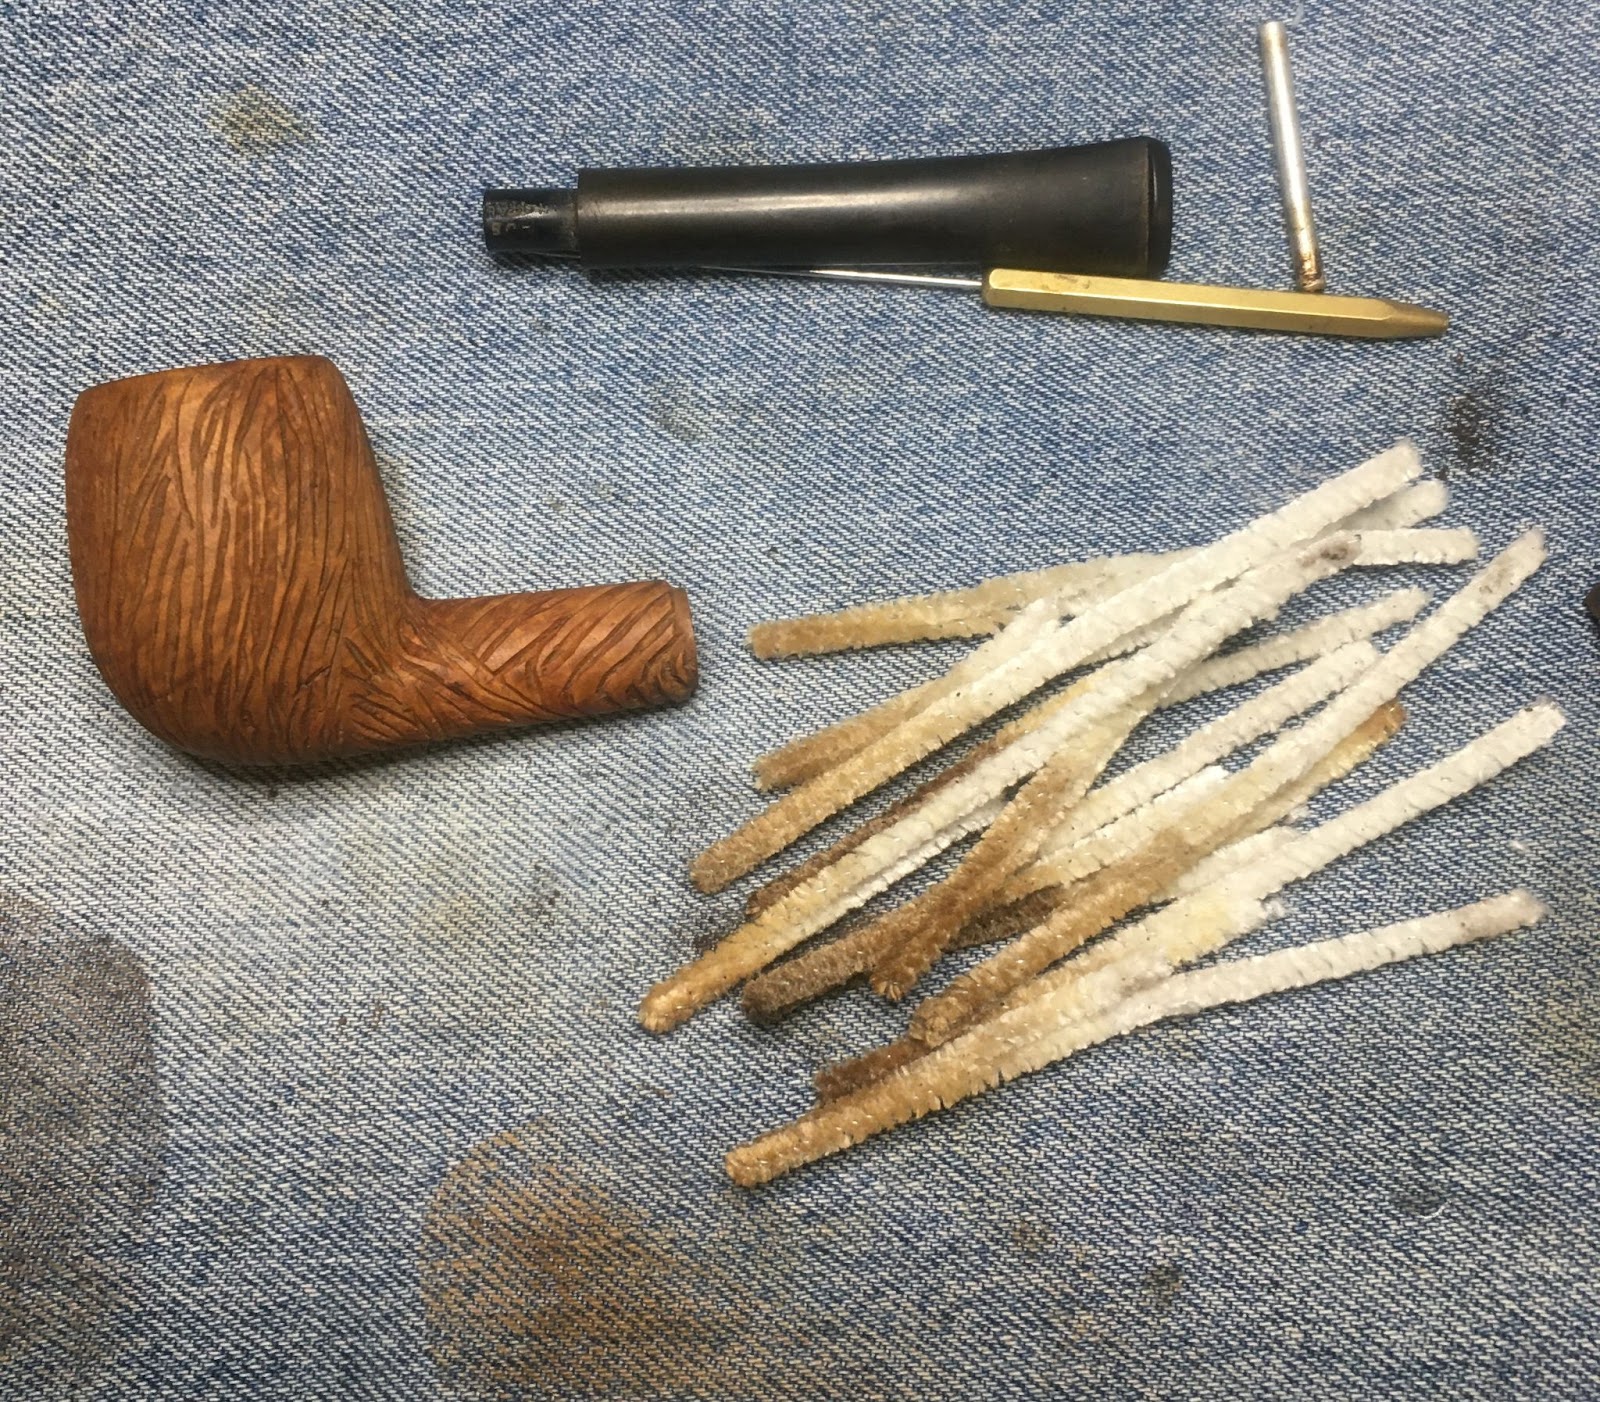
Next came the airway cleaning of the shank. This was accomplished using folded over bristle pipe cleaners dipped in 99% isopropyl alcohol/
After the shank was cleaned the stummel was scrubbed with Murphy’s Oil Soap and a medium stiff toothbrush. The soap was rinsed with warm after and the stummel dried with a cotton dish towel. I returned to the workbench and wiped the stummel with a cotton ball dipped in 95% ethyl alcohol to remove anything that the scrubbing failed to.

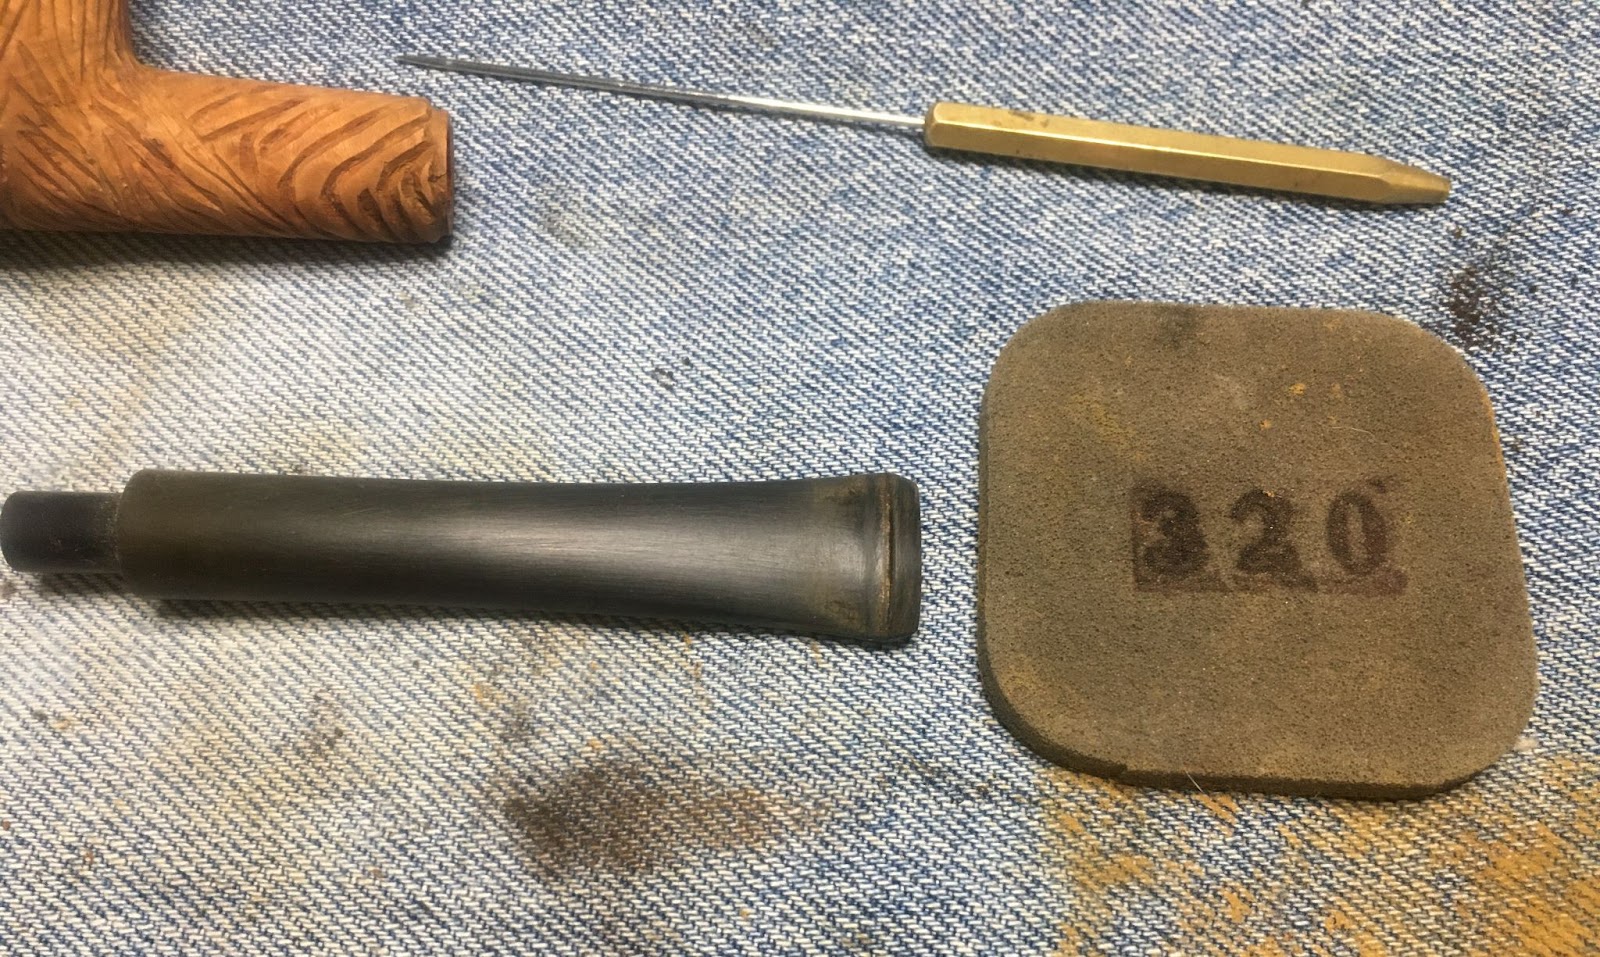
Next came the cleaning and deoxidation of the stem. I initially sanded it with a 320 sanding sponge to remove the outer layer of hard oxidation and some of the tooth chatter.
The stem was then placed in a tub of water and Oxiclean. I have no idea what the concentration of the solution was as it was one that I had mixed months ago and failed to write the amounts upon the lid.

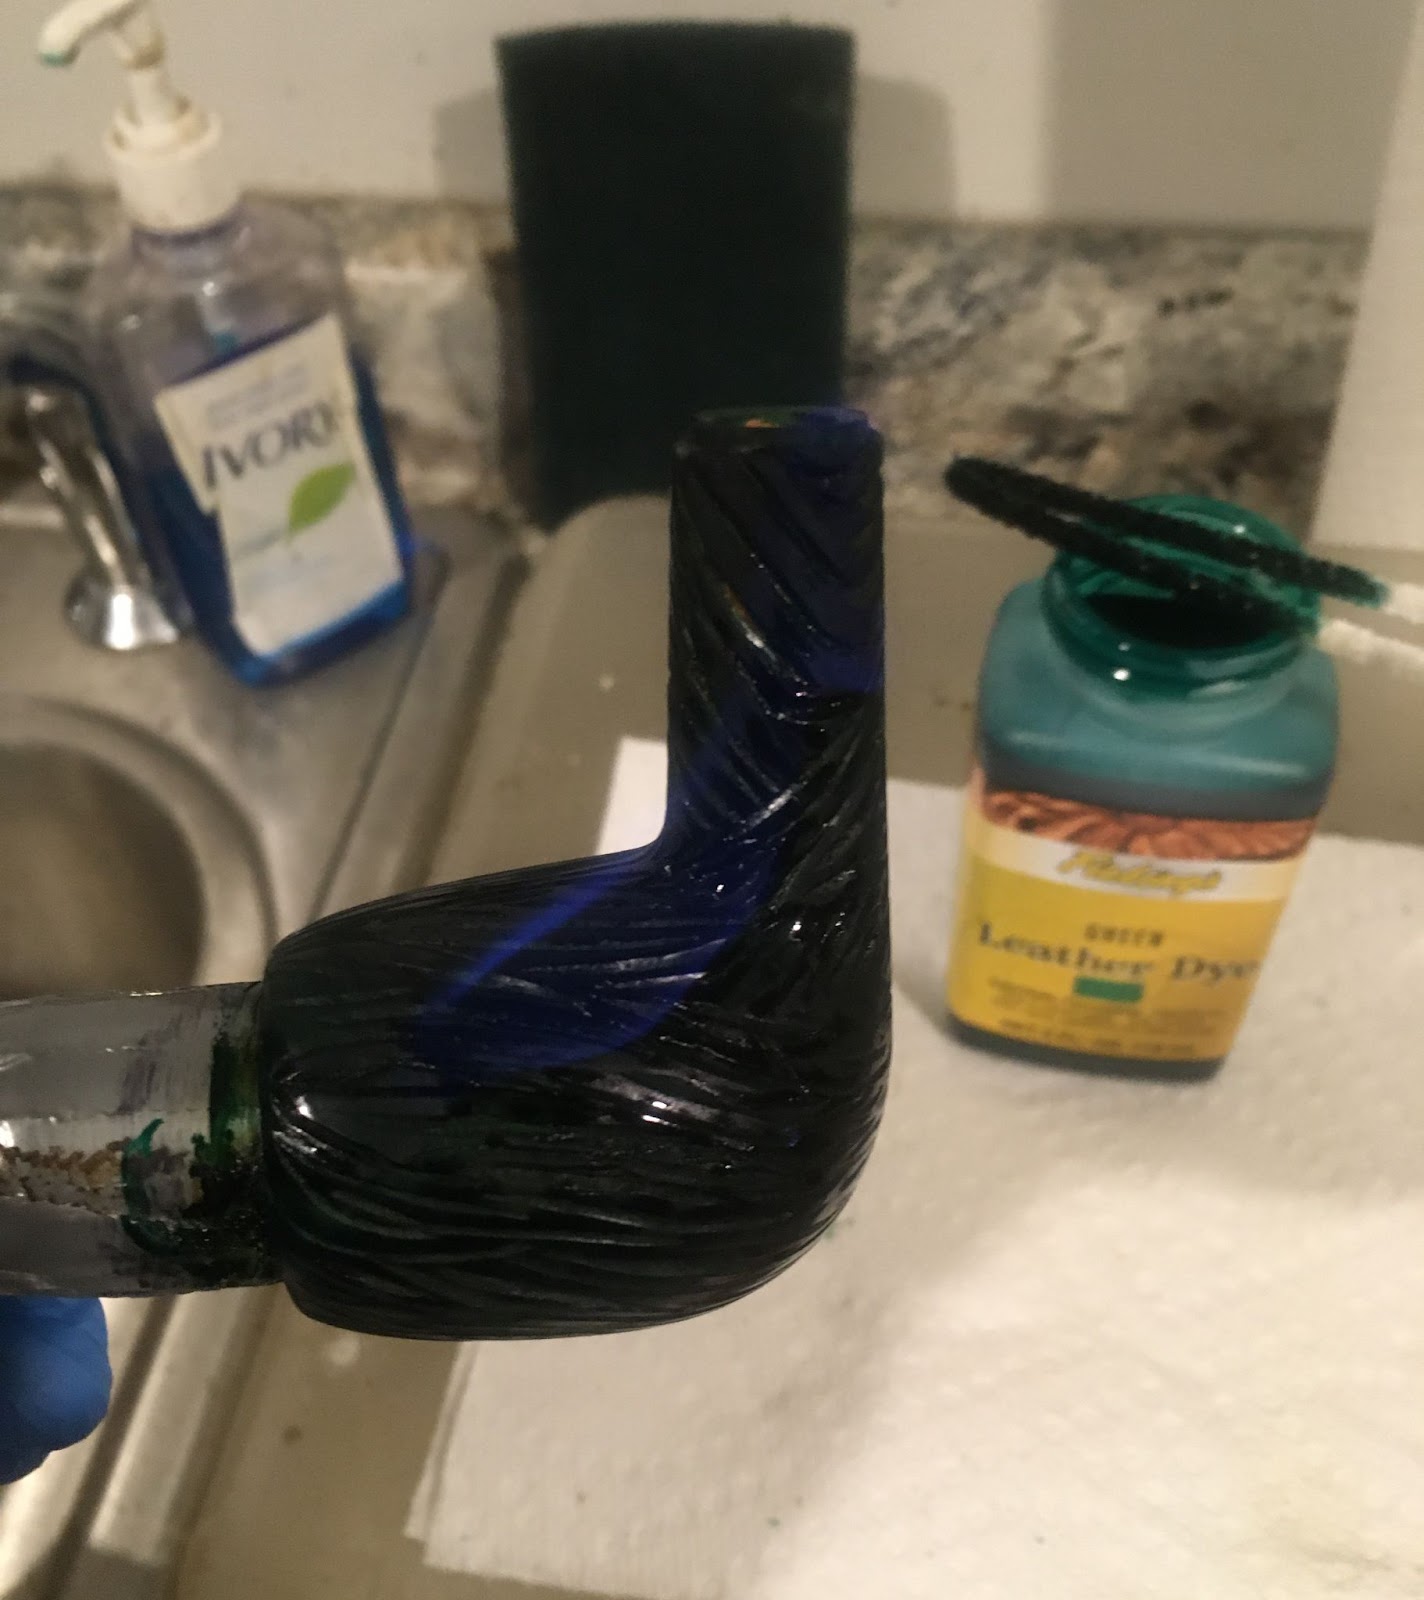
With the stem soaking in Oxiclean, I turned my attention to the stummel. I had recently received the green Fiebing’s Leather Dye and was looking forward to trying it out. The dying gear was gathered and the work area prepped with a couple layers of paper towels.

I was as surprised as you are about remembering to wear nitrile gloves.

I was actually quick enough to catch a bit of blue flame with this shot. I applied two coats of green and flamed each.

The second coat flamed a bit longer than the first and allowed a better flame photo.
Below is how the green dyed stummel looked after being wiped off with a paper towel.
I returned the stummel to the workbench and wiped it off with a couple of alcohol soaked cotton balls/make-up pads.

And a couple more. In hindsight, I wish I would have kept wiping until I couldn’t remove any green dye. I then started sanding the high area with 320 and 400 grit sanding sponges.
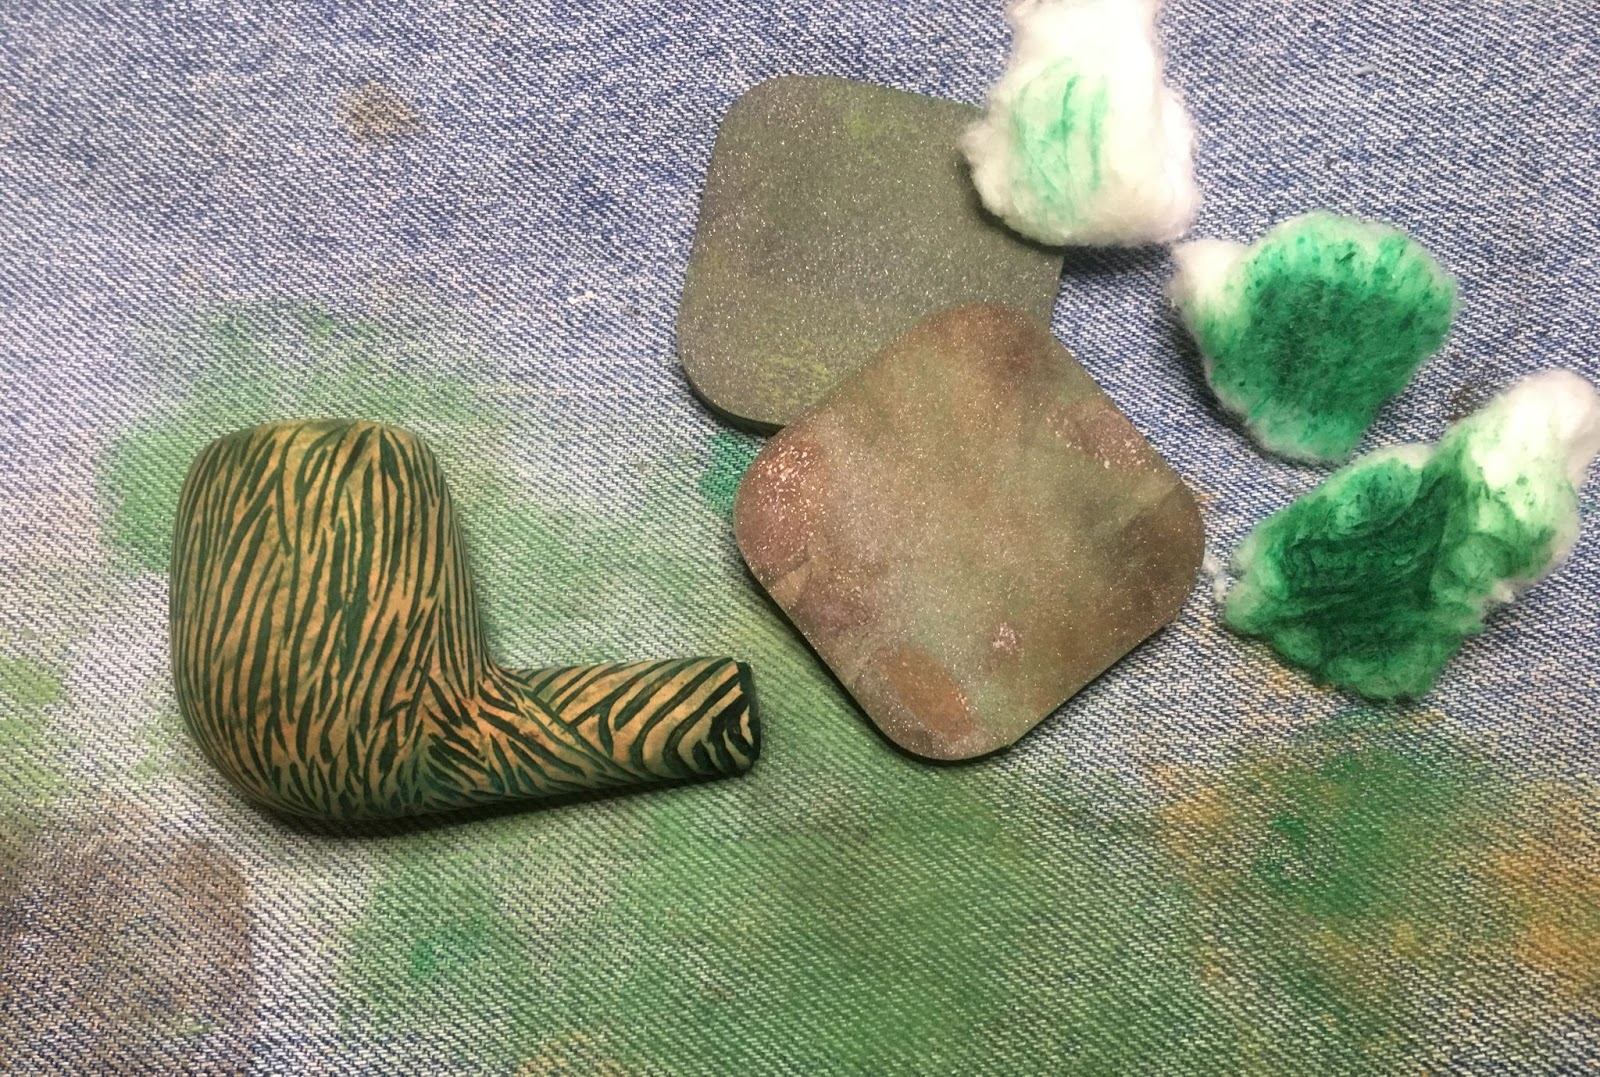
The sanding revealed the underlying undyed briar while allowing the low spots to remain green.

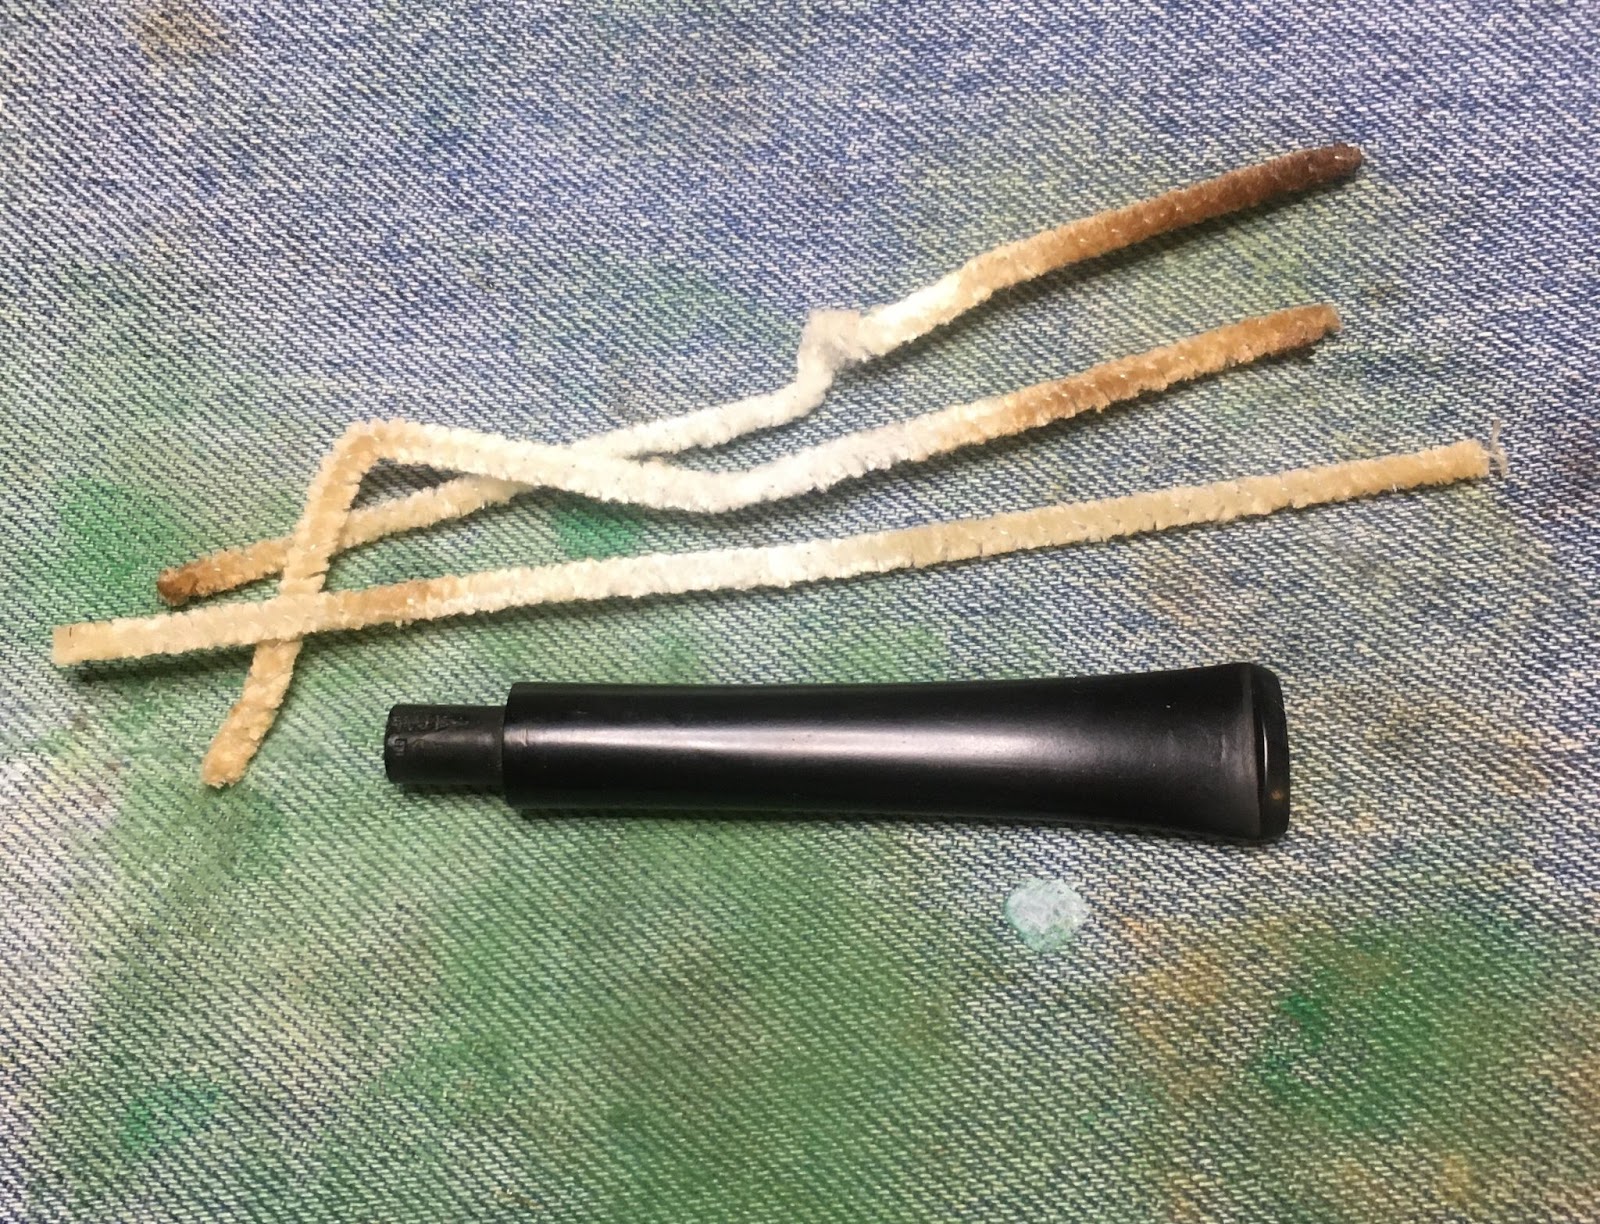
The stem, having spent a couple of hours in the Oxiclean solution, was removed and rinsed with water. I used Soft Scrub on cotton balls to remove the oxidized vulcanite from the stem. Once finished scrubbing I oiled the stem with mineral oil.

The interior of the stem cleaned up quickly with bristle pipe cleaners dipped in 99% isopropyl alcohol. I did not bother cleaning the stinger as I did not figure I would include it as part of the finished pipe.
The stem was sanded using a series of sanding sponges from 600-3500. Between each sponge I would dip the tip of my finger into the mineral oil and rub this over the stem. The excess oil was then wiped away with a dry paper towel.

The process was repeated with micro-mesh pads 4000-12000. The only difference being that I used Obsidian Oil rather than mineral oil between pads.
I lightly sanded the stummel with 1000-3500 sanding sponges. I wiped the stummel with a make-up pad dipped in alcohol between sponges. I micro-meshed the stummel with the 4000-12000 micromech pads wiping with the alcohol dipped make-up pad between micro-mesh pads. When finished I applied a coating of Before and After Restoration balm to the exterior of the stummel and brushed it into the carvings with a baby toothbrush.
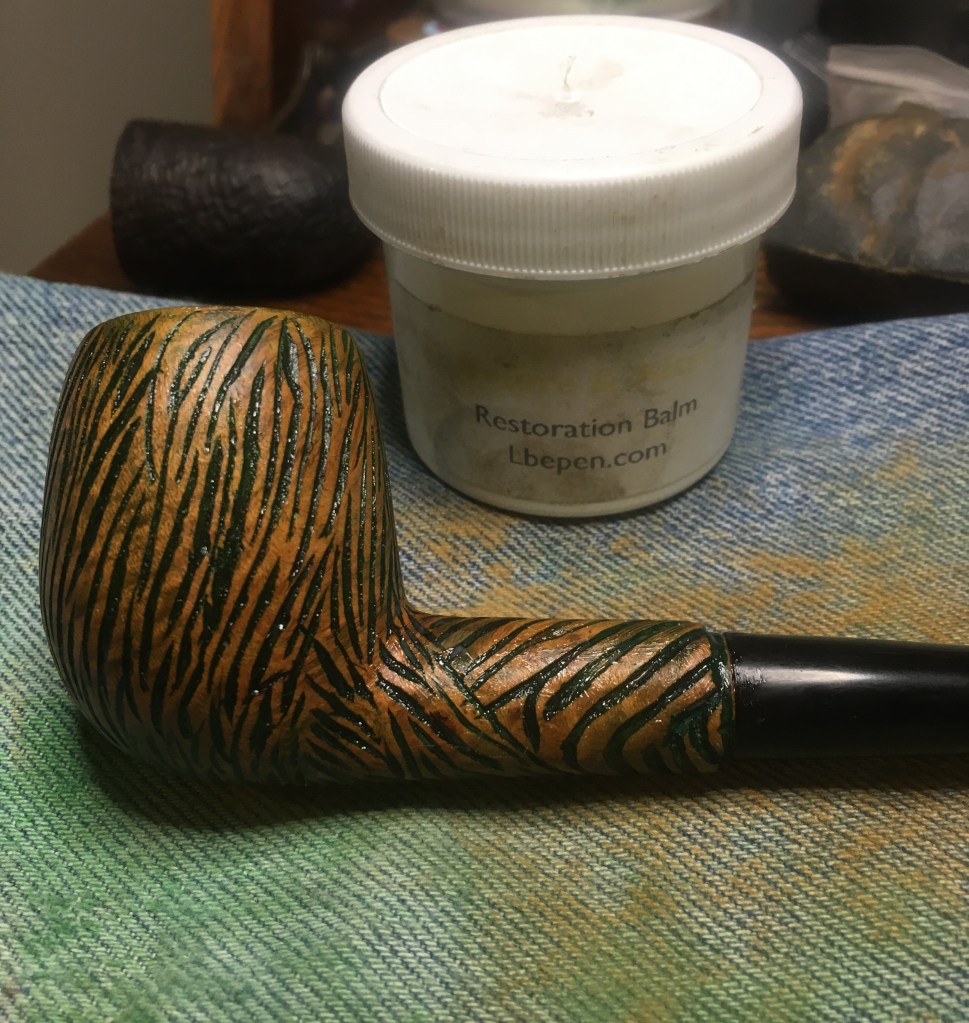
20 minutes later I wiped the excess balm from the stummel with the inside of an athletic sock. Twe terry cloth of the sock enabled me to clean the balm from the grooves and polish them quite nicely. The pipe was then taken to the buffer and given several coats of carnauba wax.
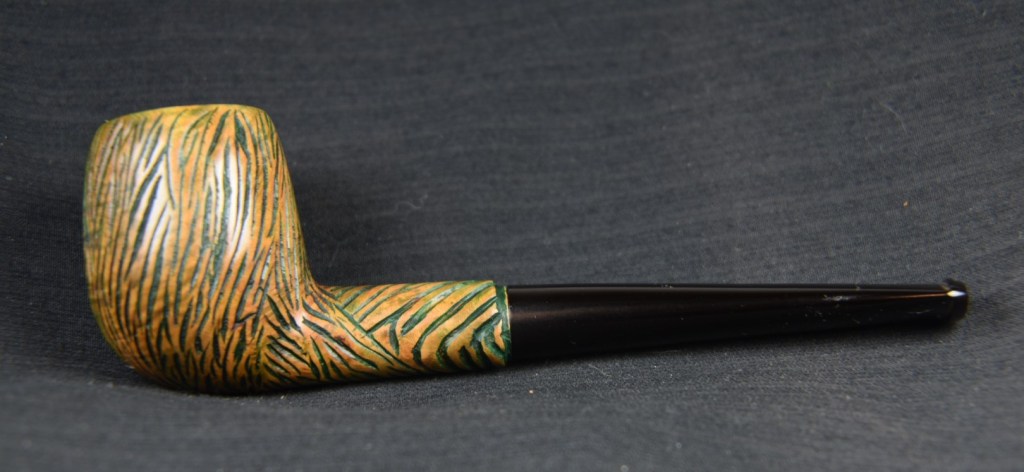
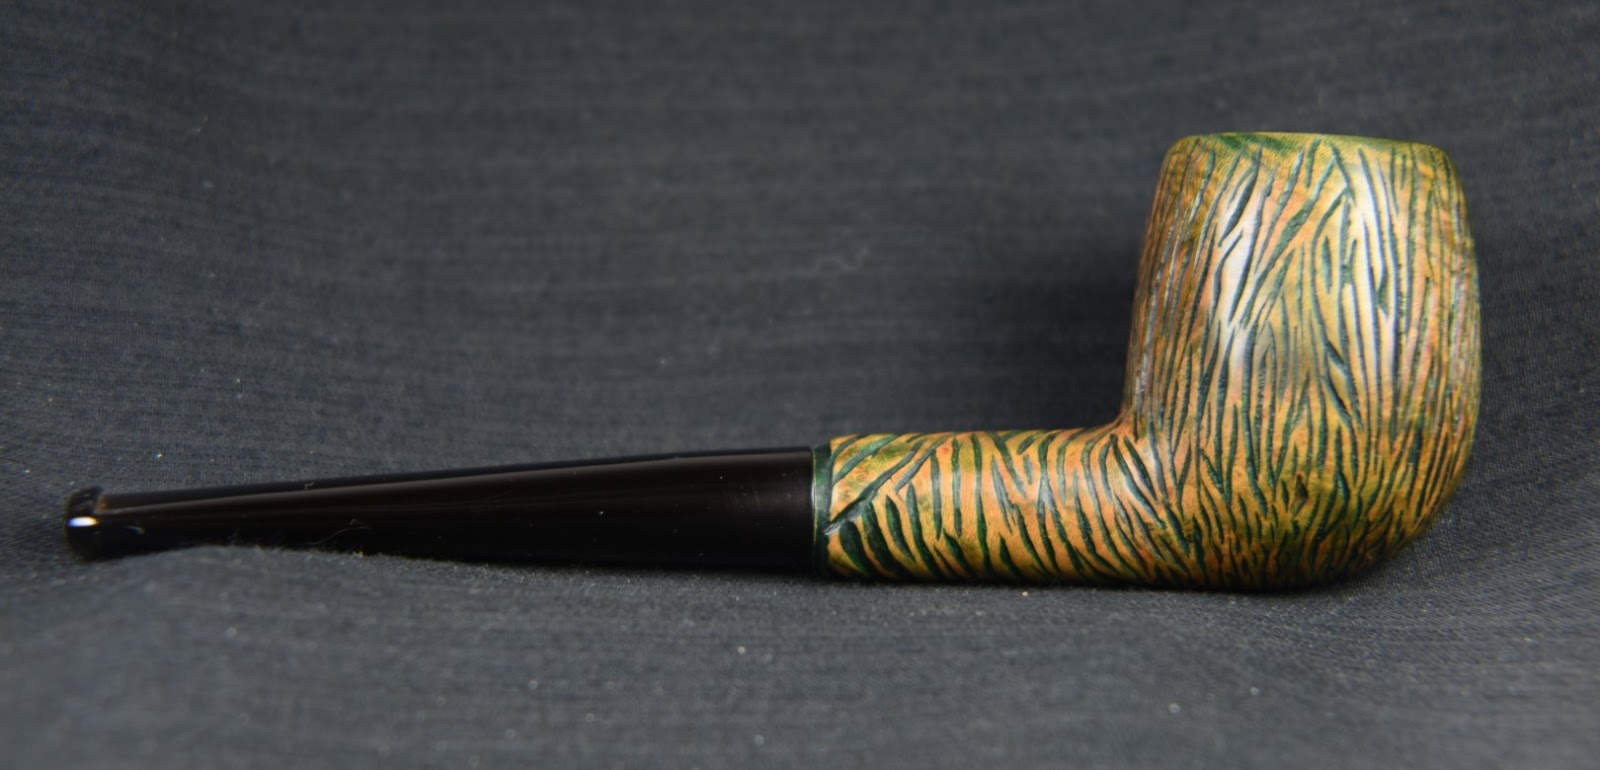
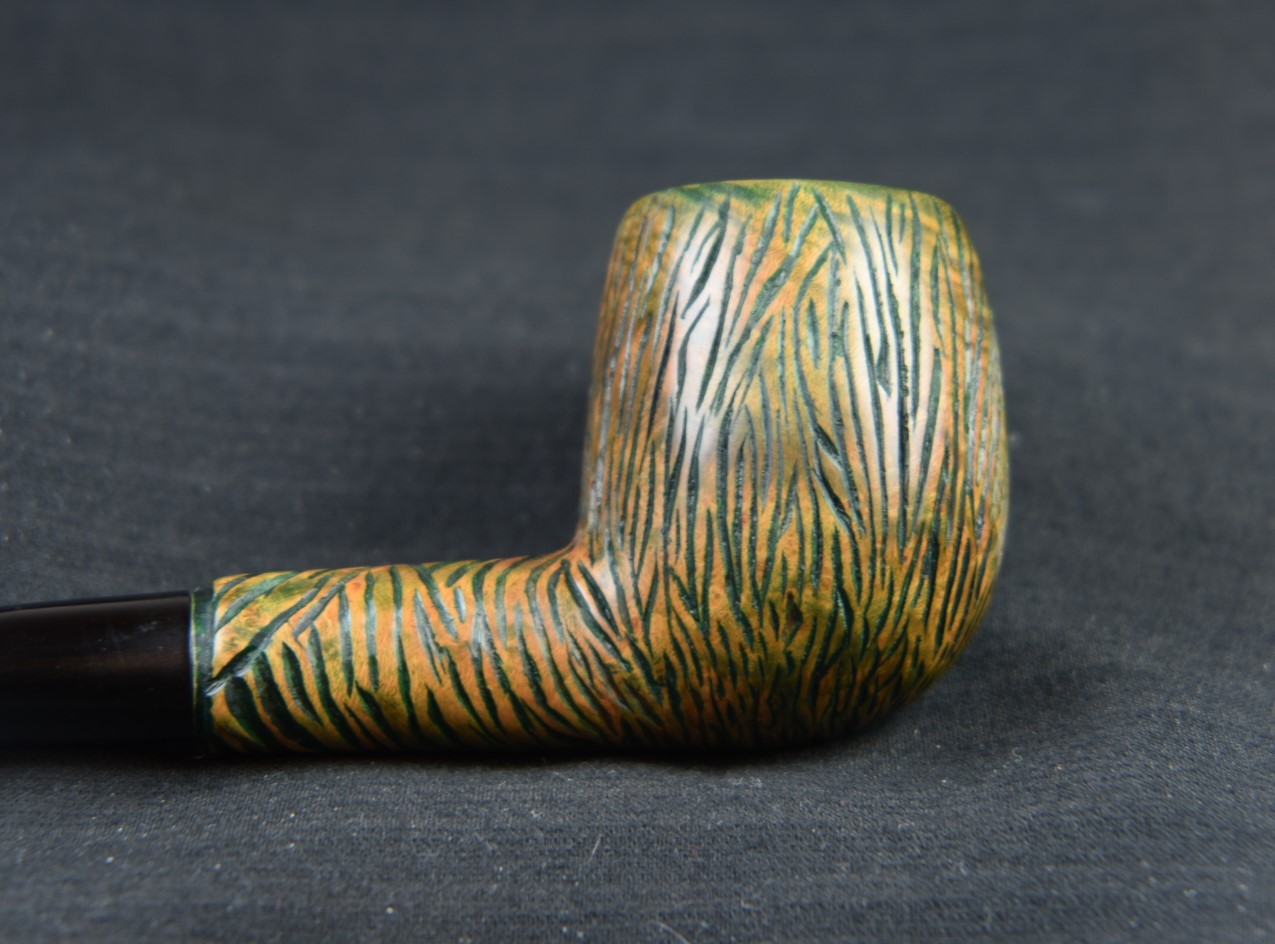
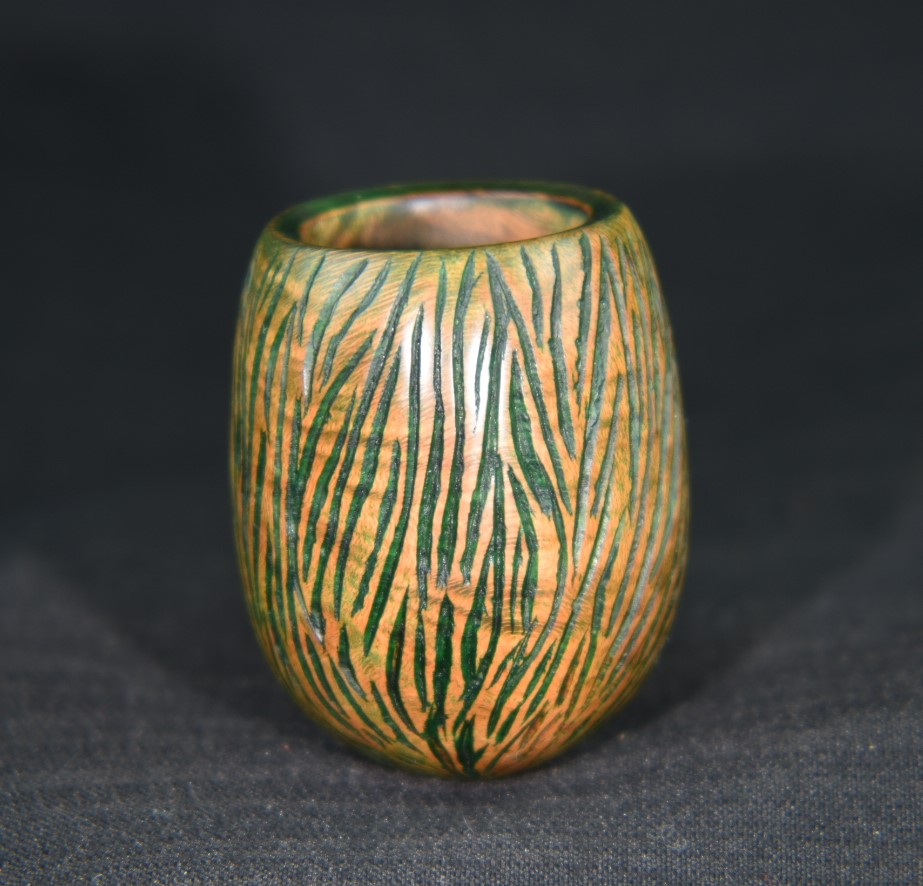
The pipe turned out quite well. The green dye is a definite green color. I did not achieve the exact effect that I wanted but that is more due to the nature of the carvings. As I was finishing the pipe I couldn’t help but think this was a great Easter themed pipe. With Easter right around the corner I thought it would make a great gift for my son-in-law who loves straight pipes and I was sure that he would appreciate this billiard. I gave it to him on Easter and he was quite pleased. I have yet to hear how it smoked, though I have little doubt that it was a winner. I do hope that you have found something here useful to your own pipe care, maintenance or restorations. If you like this sort of thing, please click the like and subscribe buttons. Thank you for reading the ramblings of an old pipe lover.
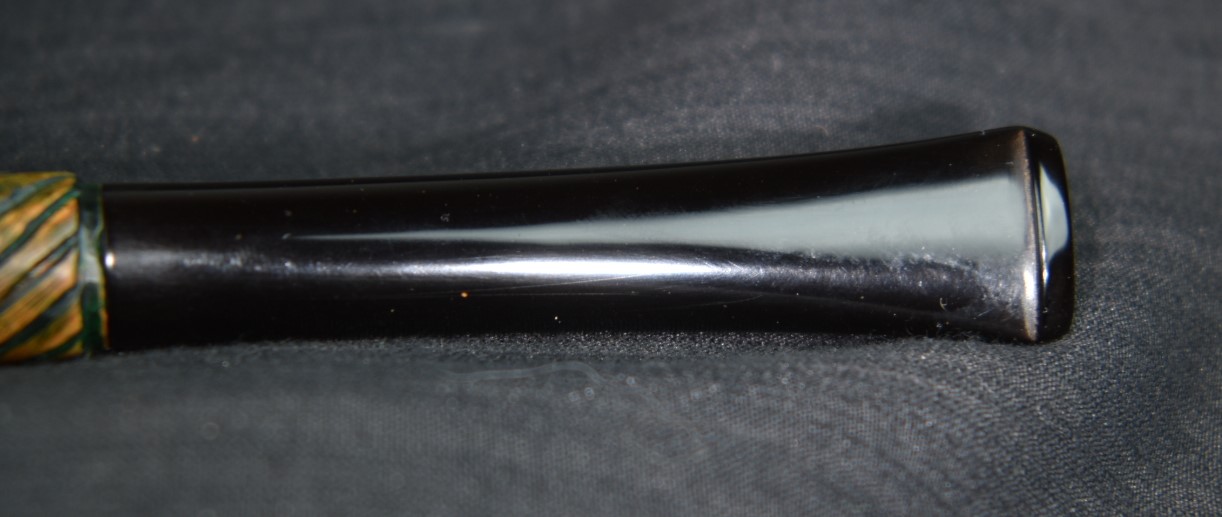
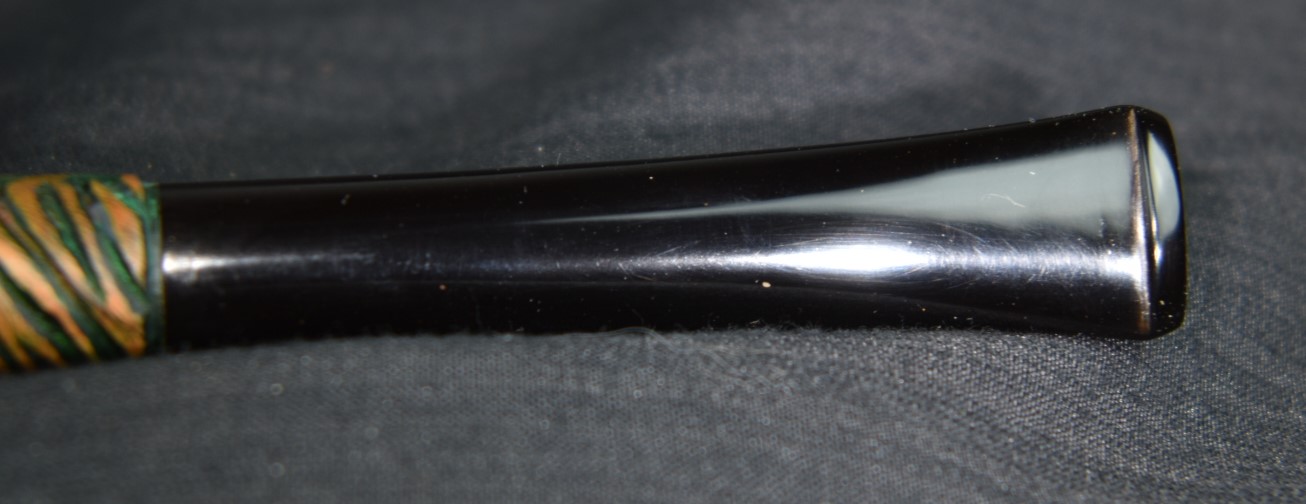
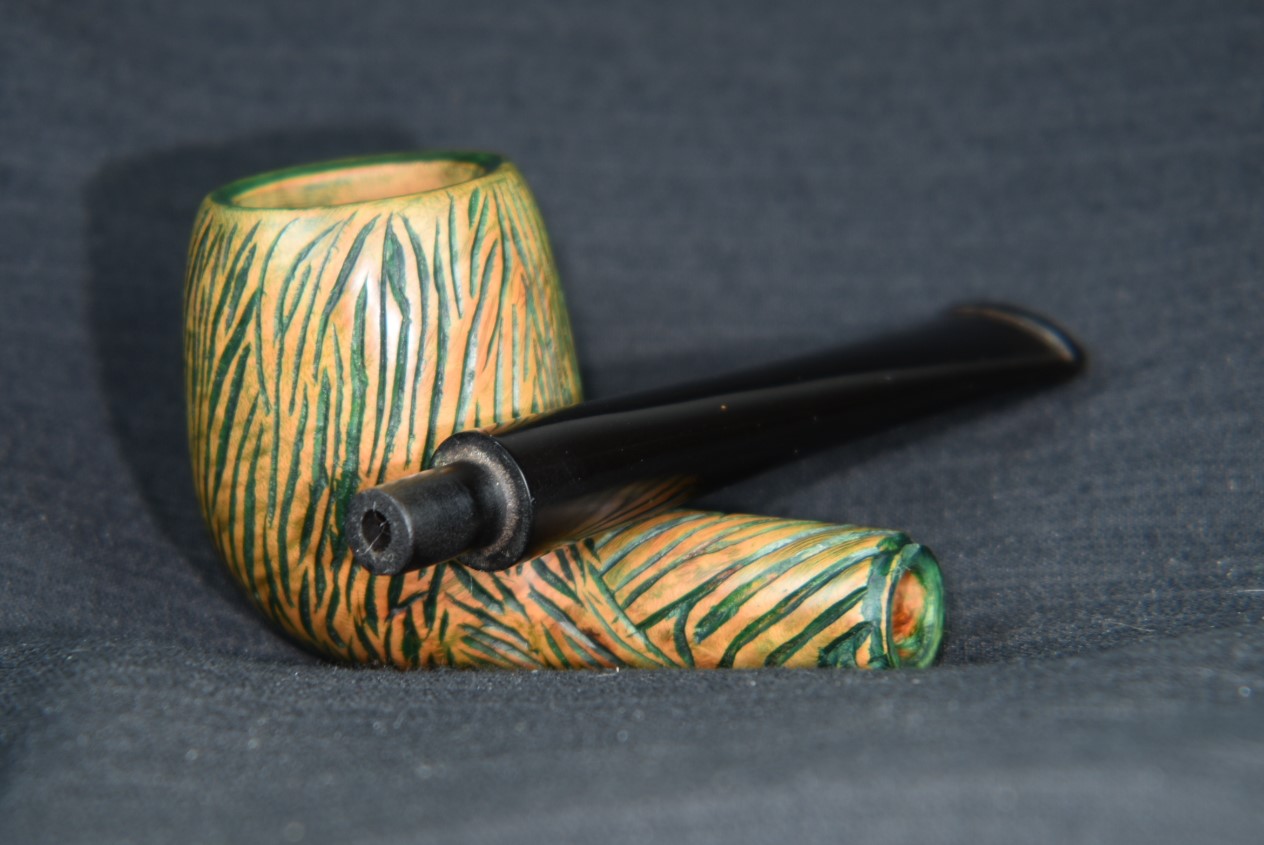
Below are some photos of the finished Realtree-like Italian Billiard.


Happy Easter, Sebastian. Enjoy the new pipe. Love, Dad.

2 responses to “A Carved Italian No–Name Billiard or a Realtree-like Restoration”
Looks good John. Almost looks like it might had a band at one time
LikeLike
I thought that too. It would have had to have been a very narrow one though and of a rather thick metal. If only they could tell us their stories.
LikeLike