Written and photographed by
John M. Young
In the past I have written about how I think Yello-Bole pipes are considered the Cinderella of the KB&B line. Kind of like the homely, overworked but trustworthy step-sister from the Disney adaptations. When that ugly clearcoat is removed there is frequently beautiful grain underneath also like the Cinderella story, when the heroine gets all gussied-up she is a beautiful young woman. I guess that makes me the Fairy Godmother or Godfather in this restoration. Now if I could just get some magical forest critters to do the work for me…
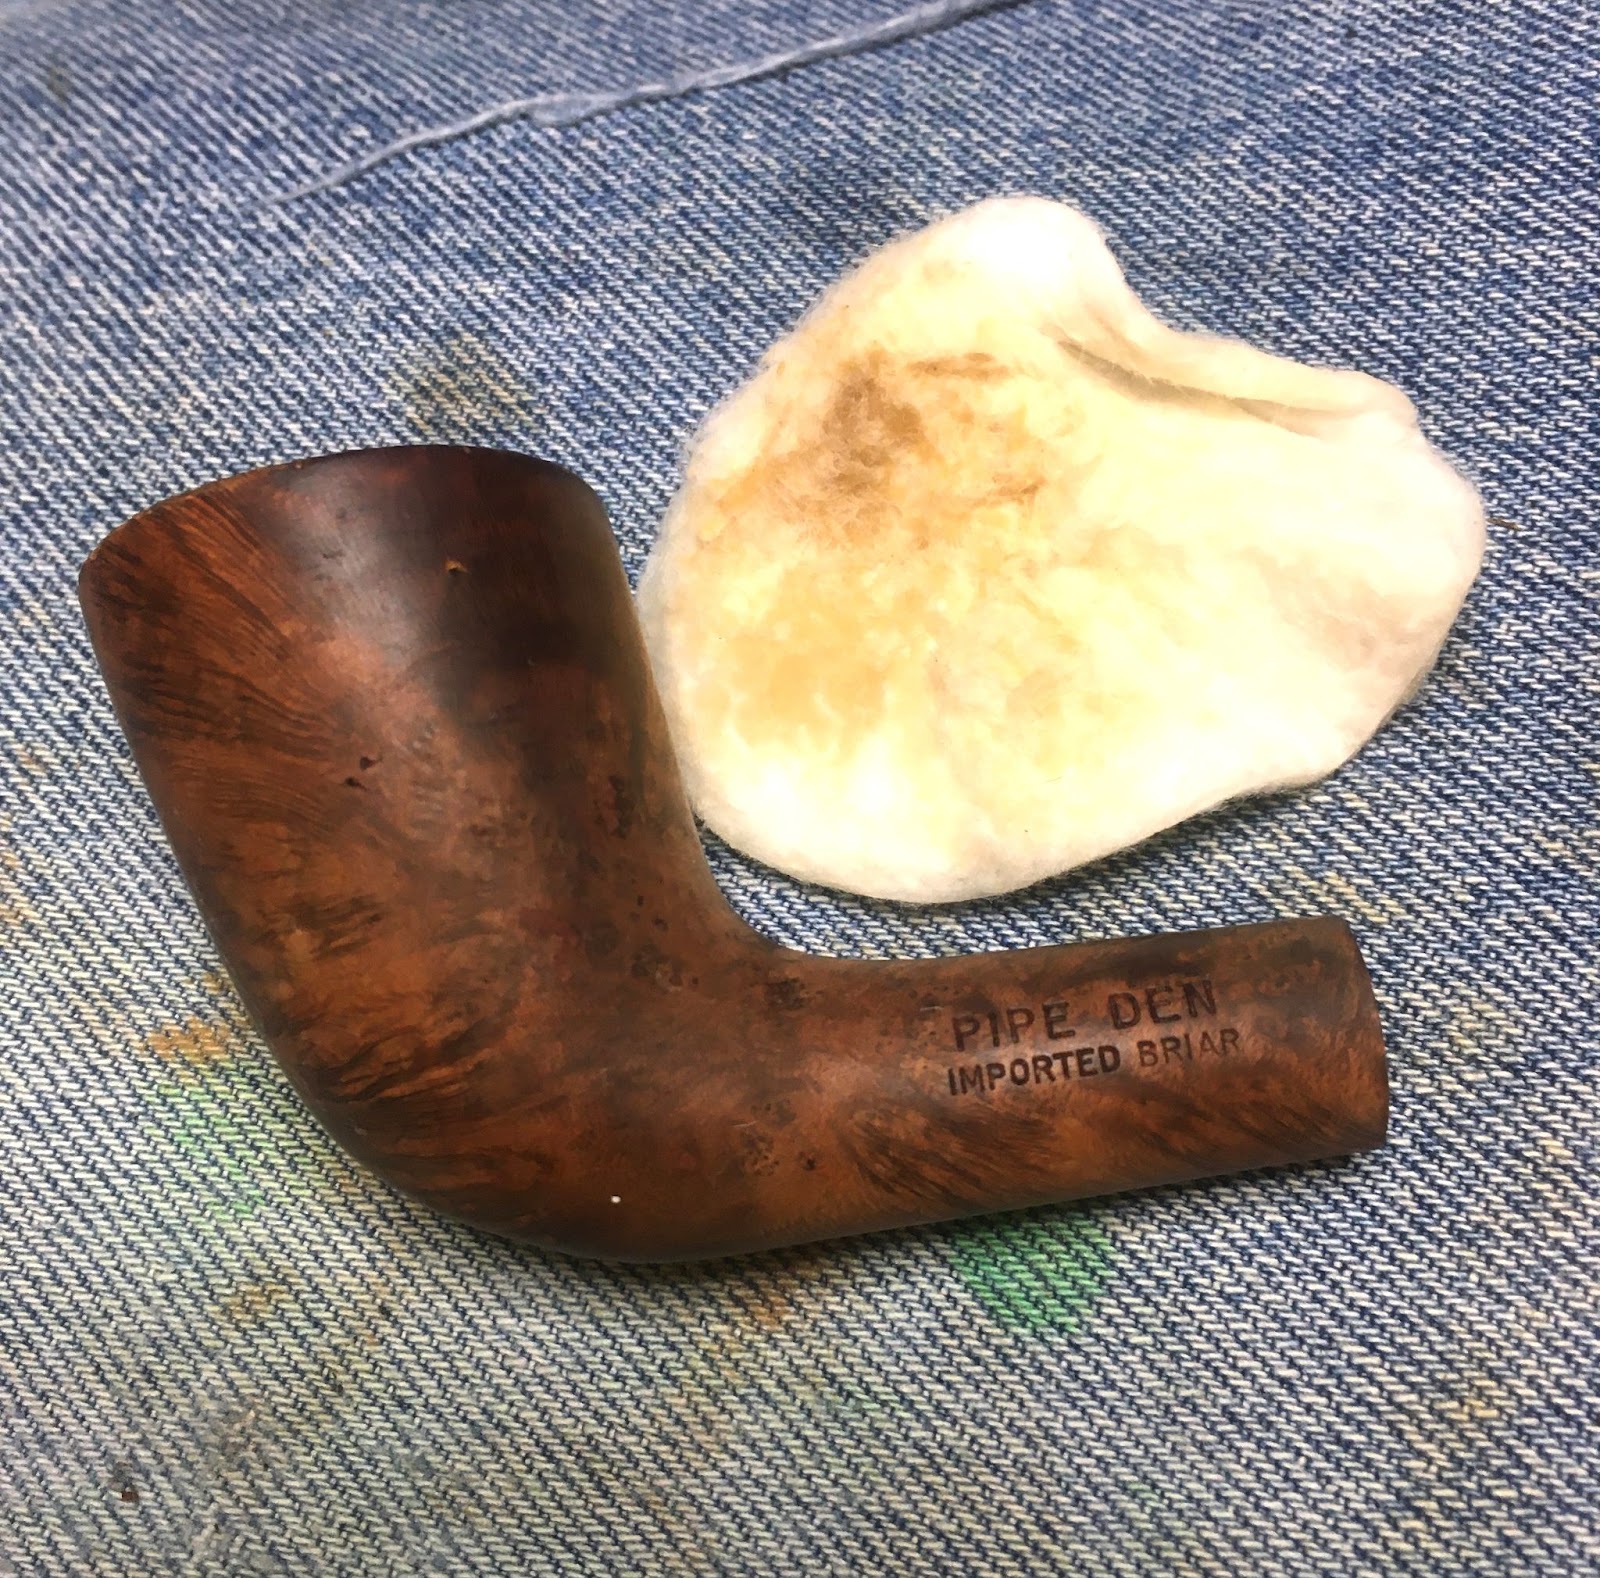
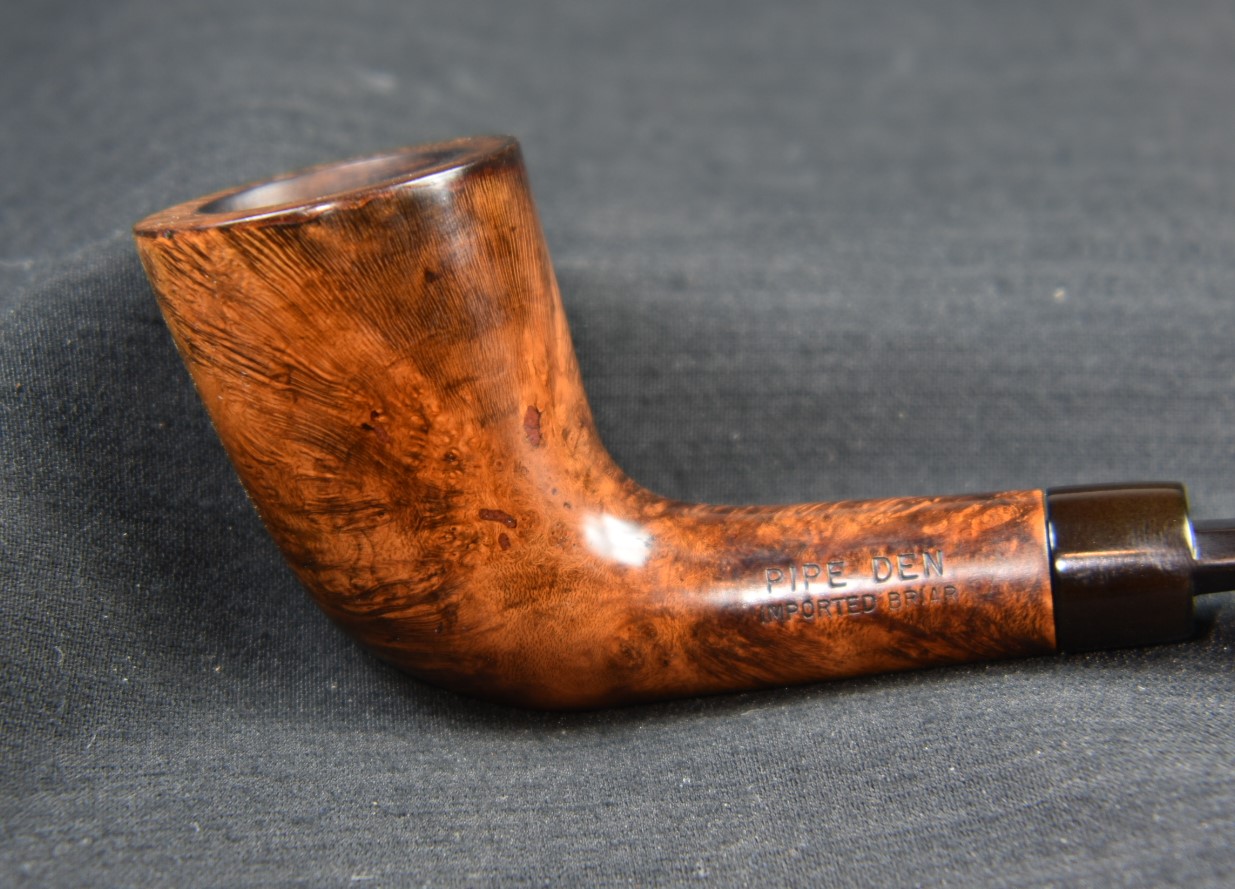
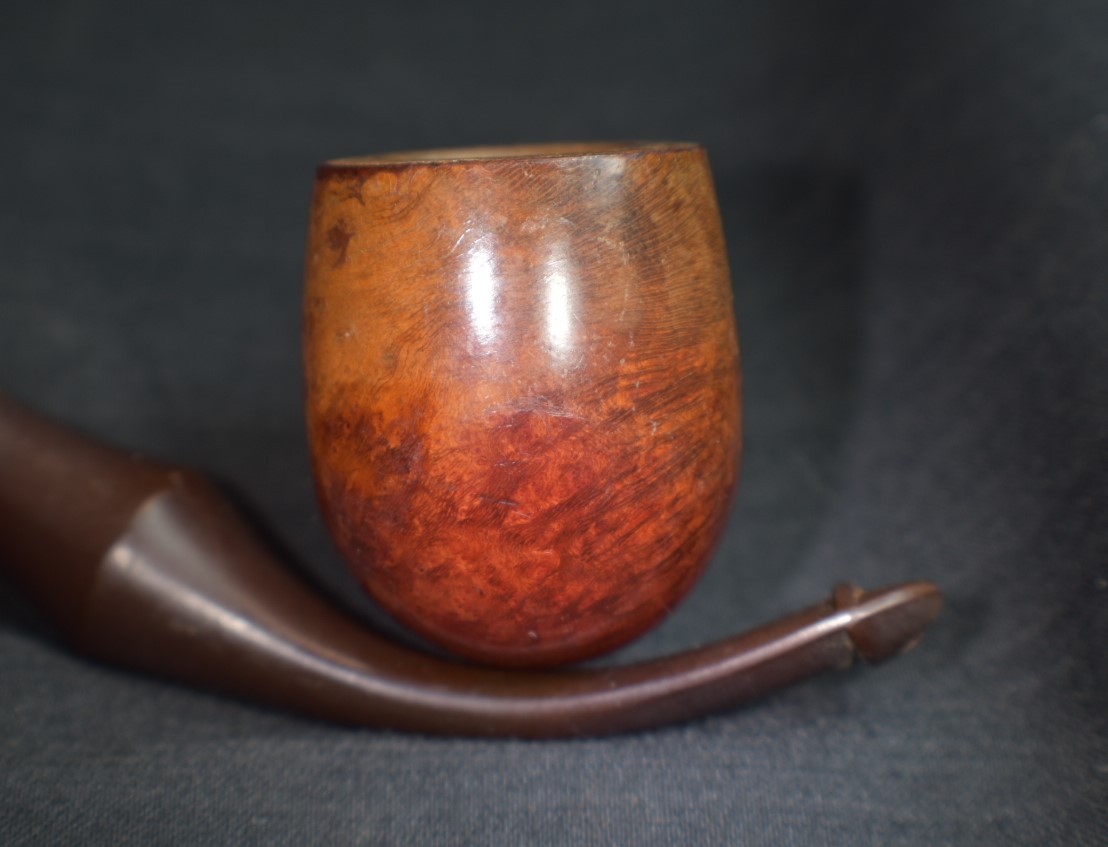
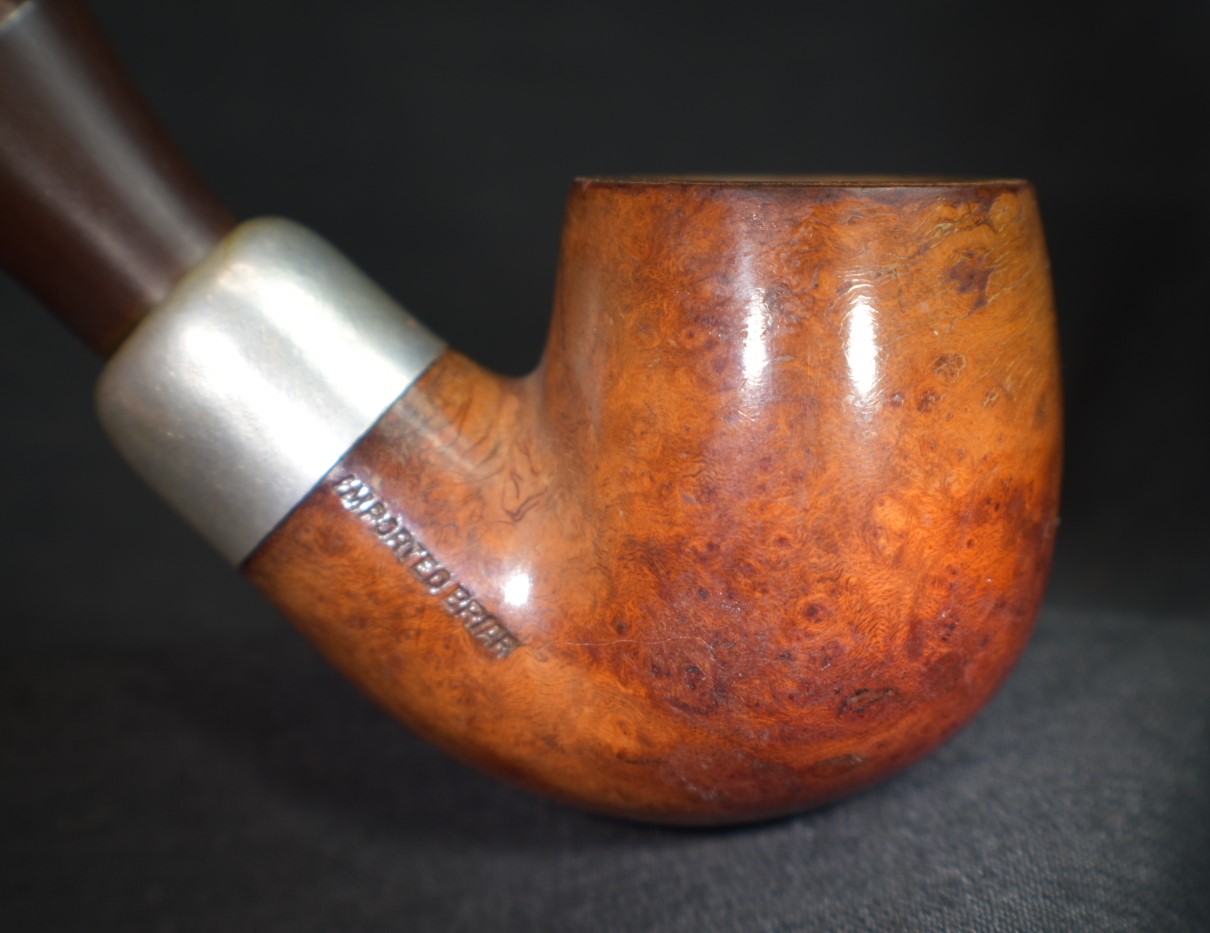
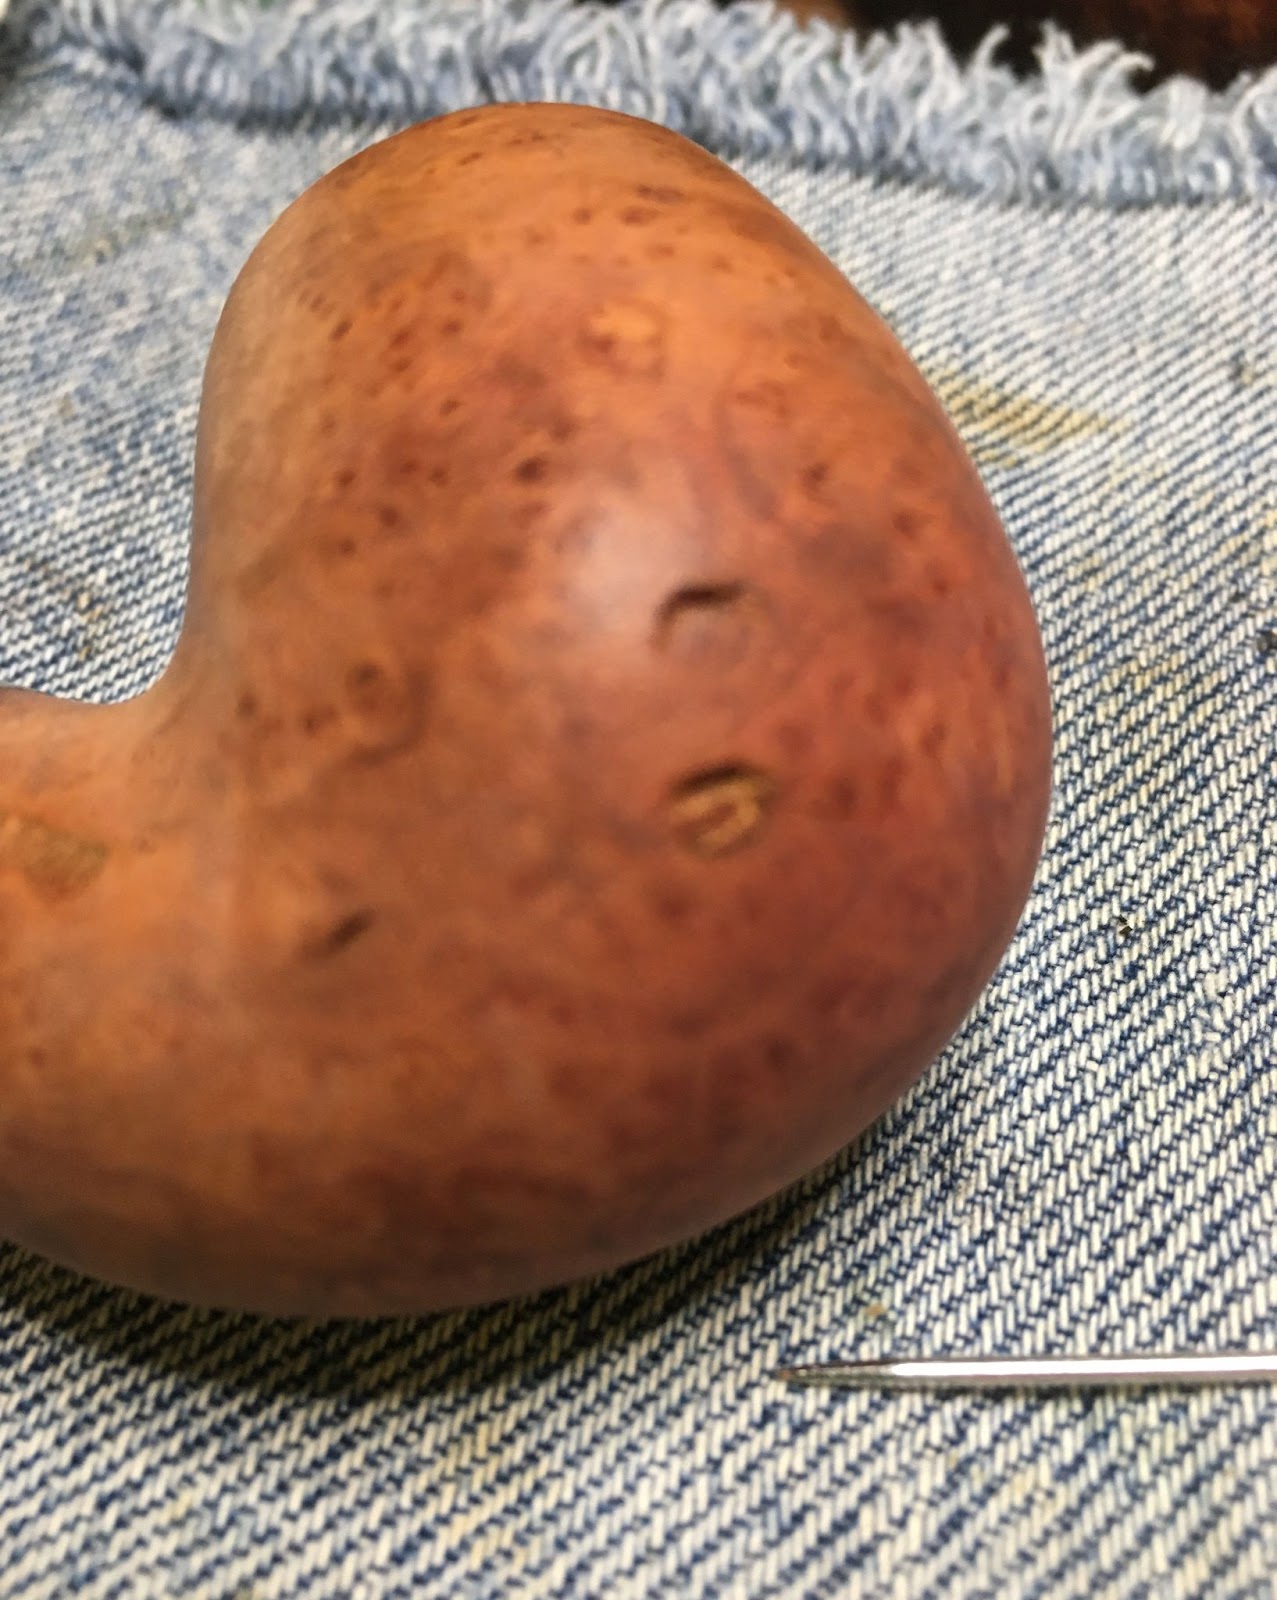
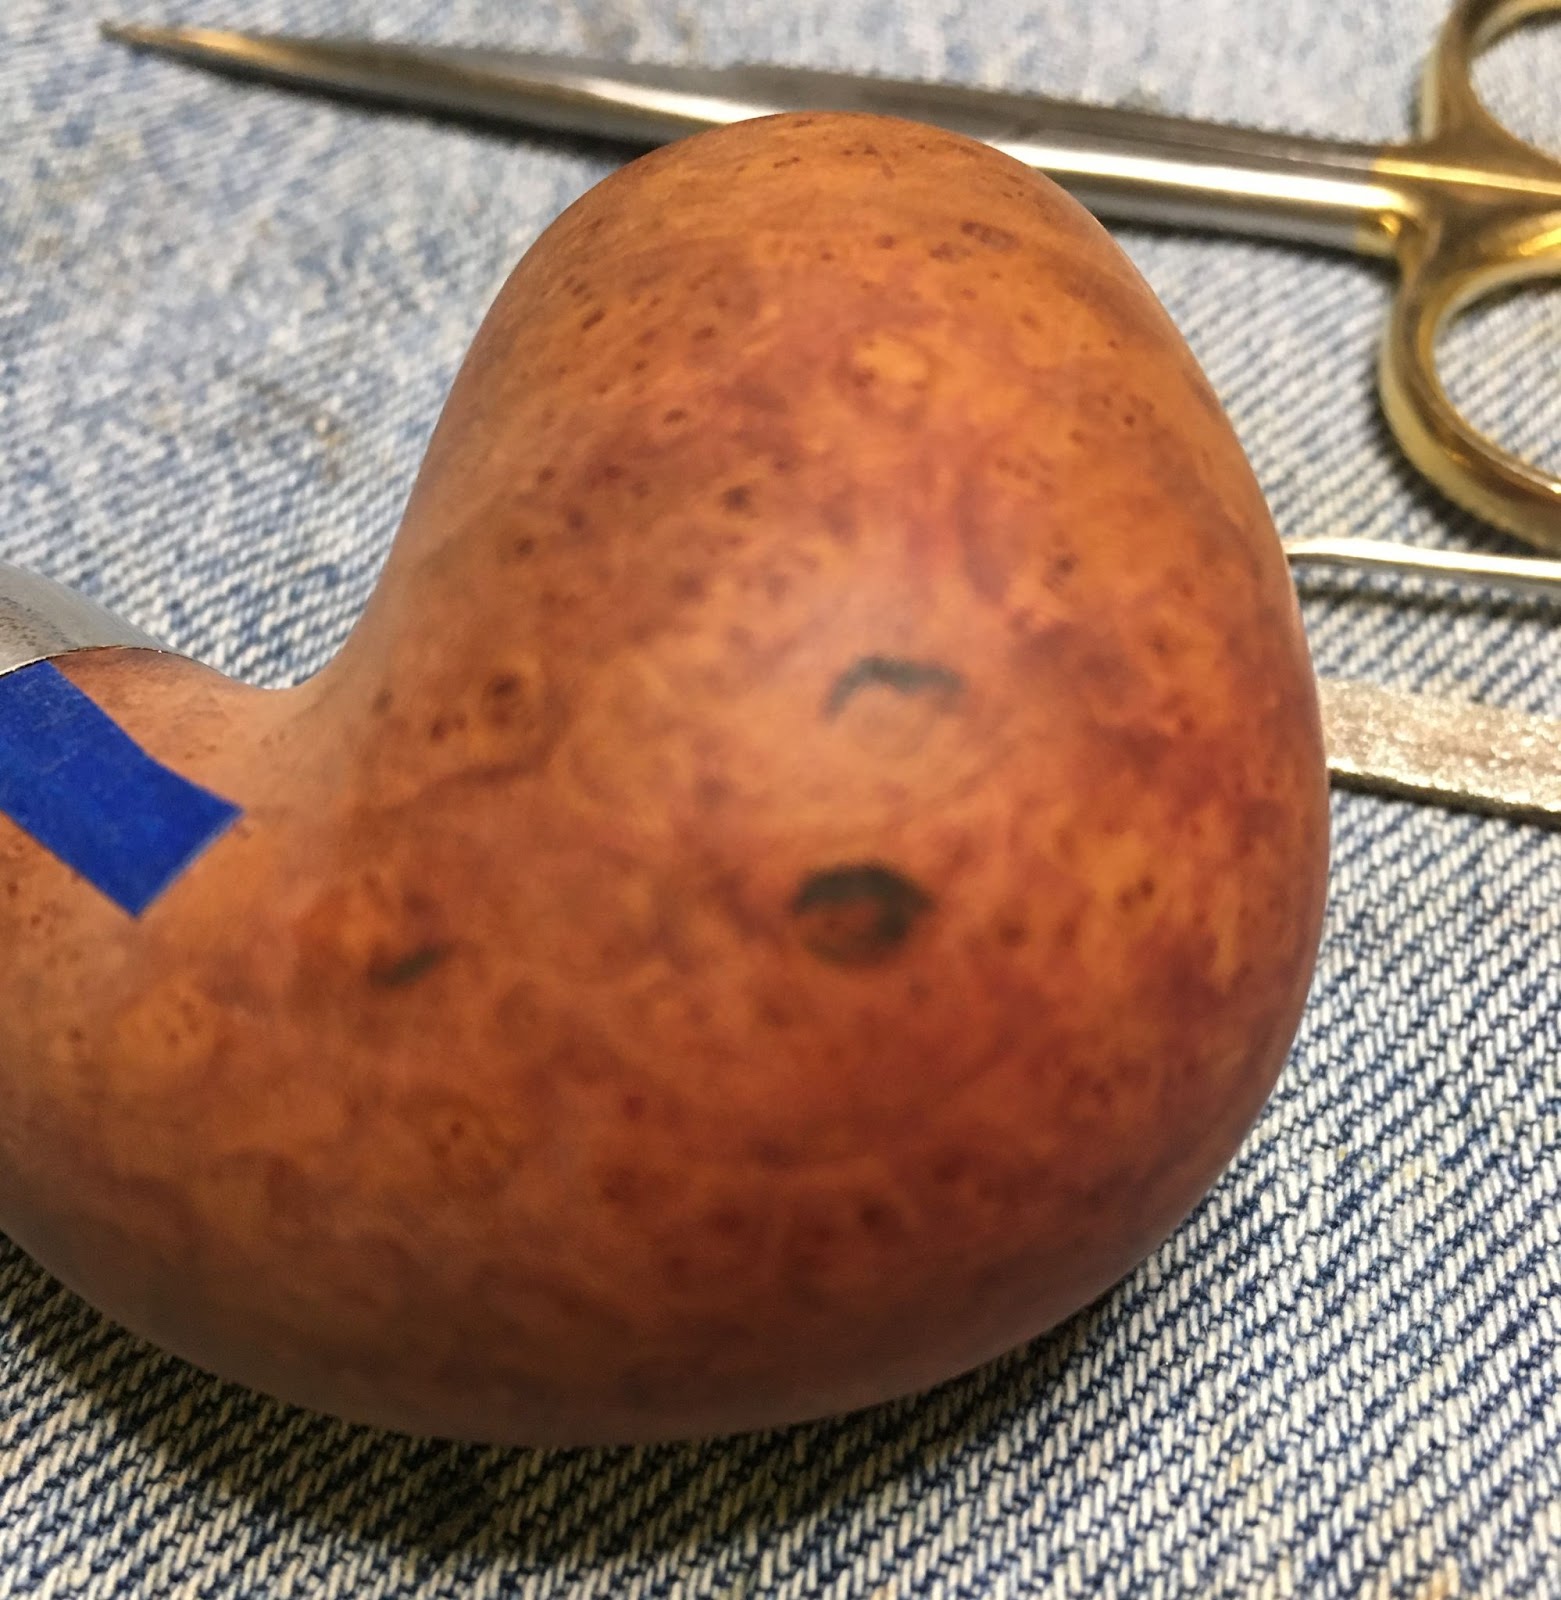
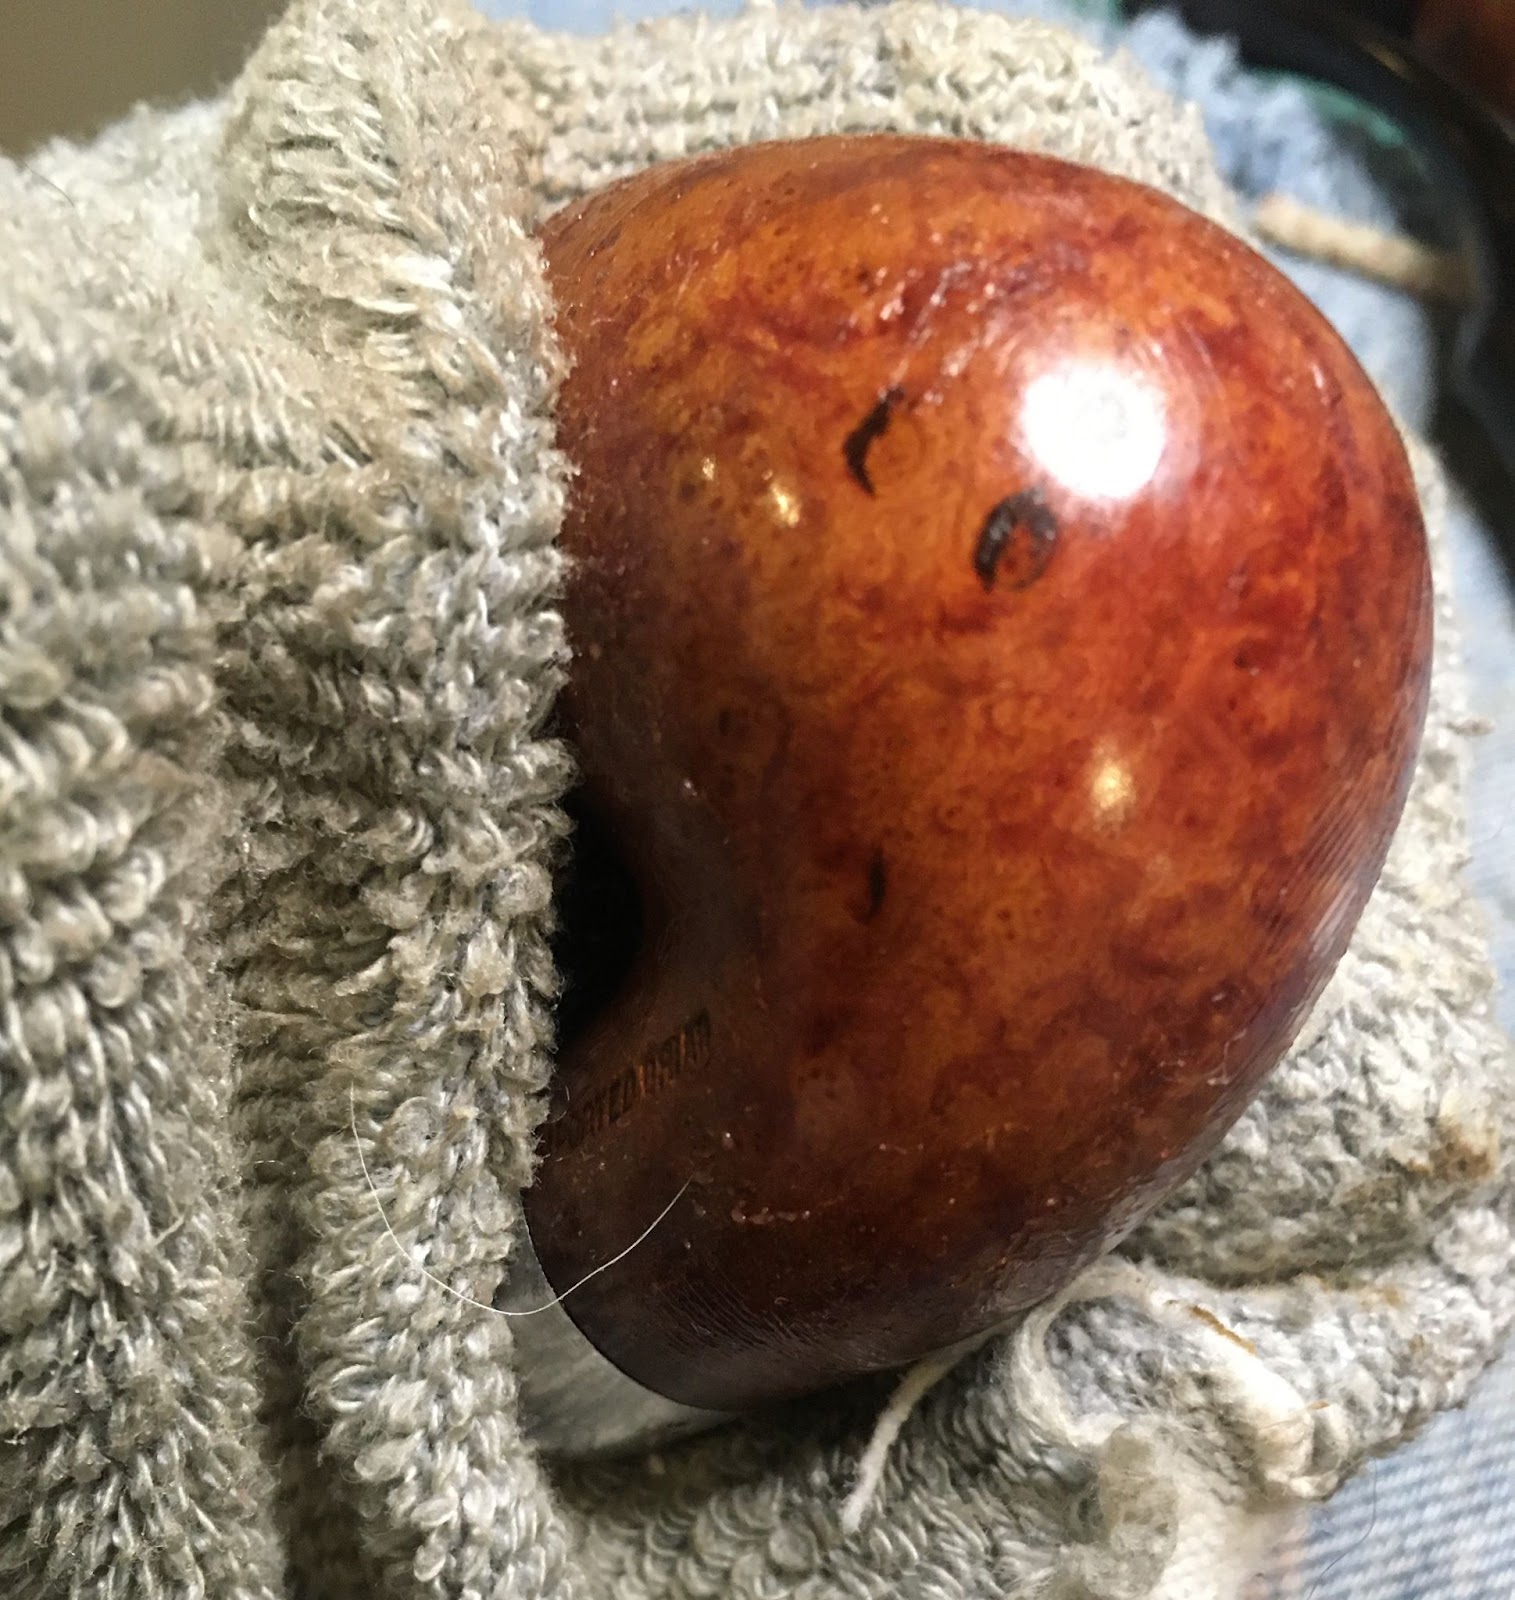
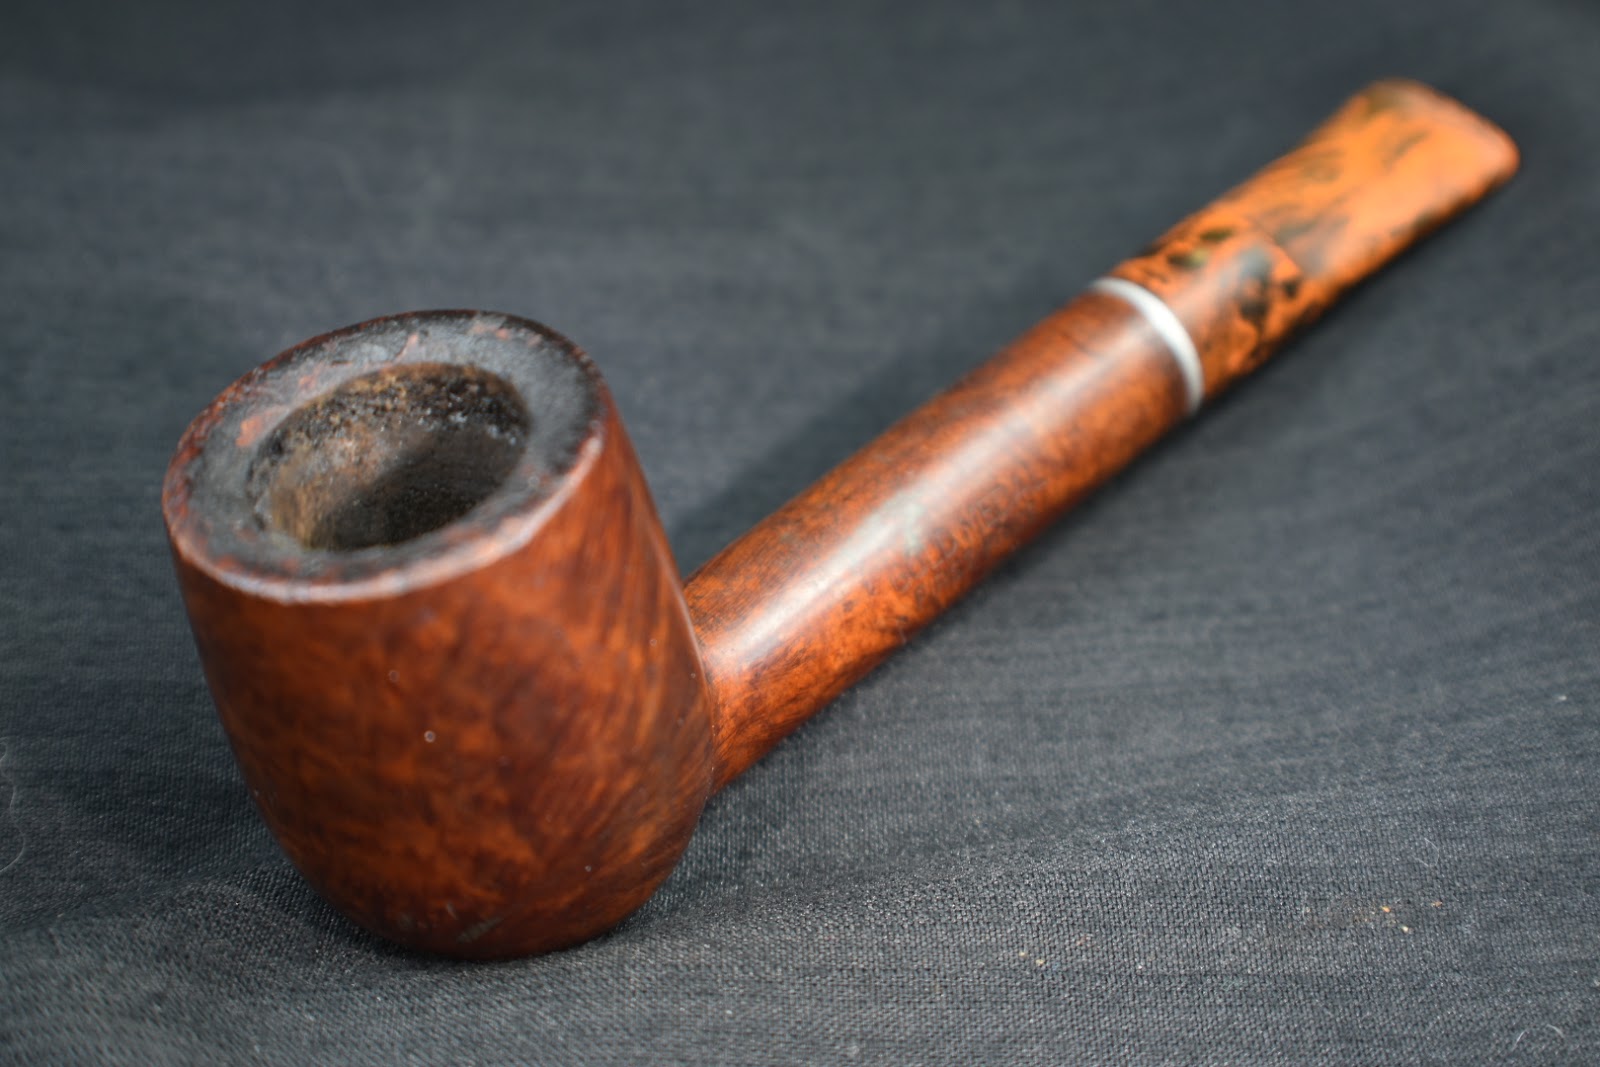
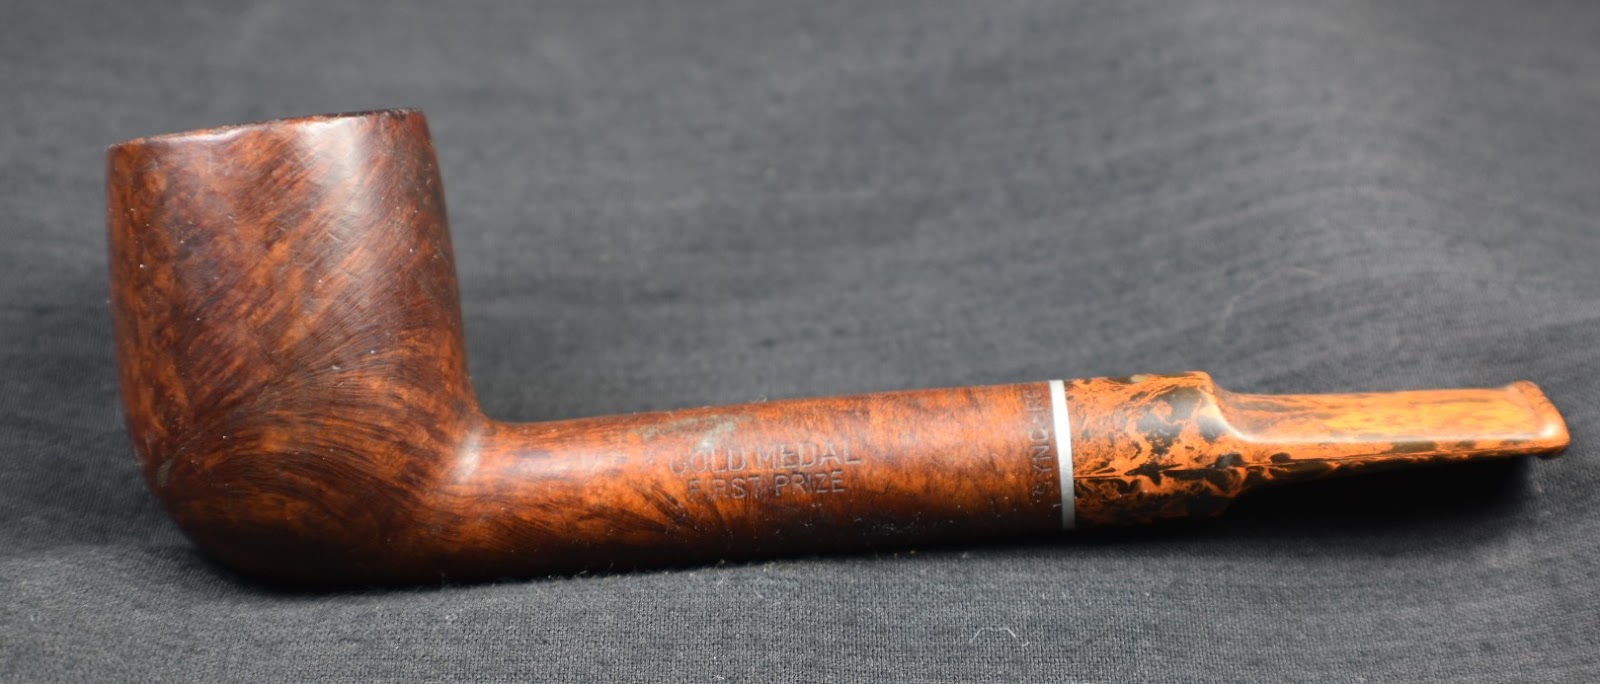
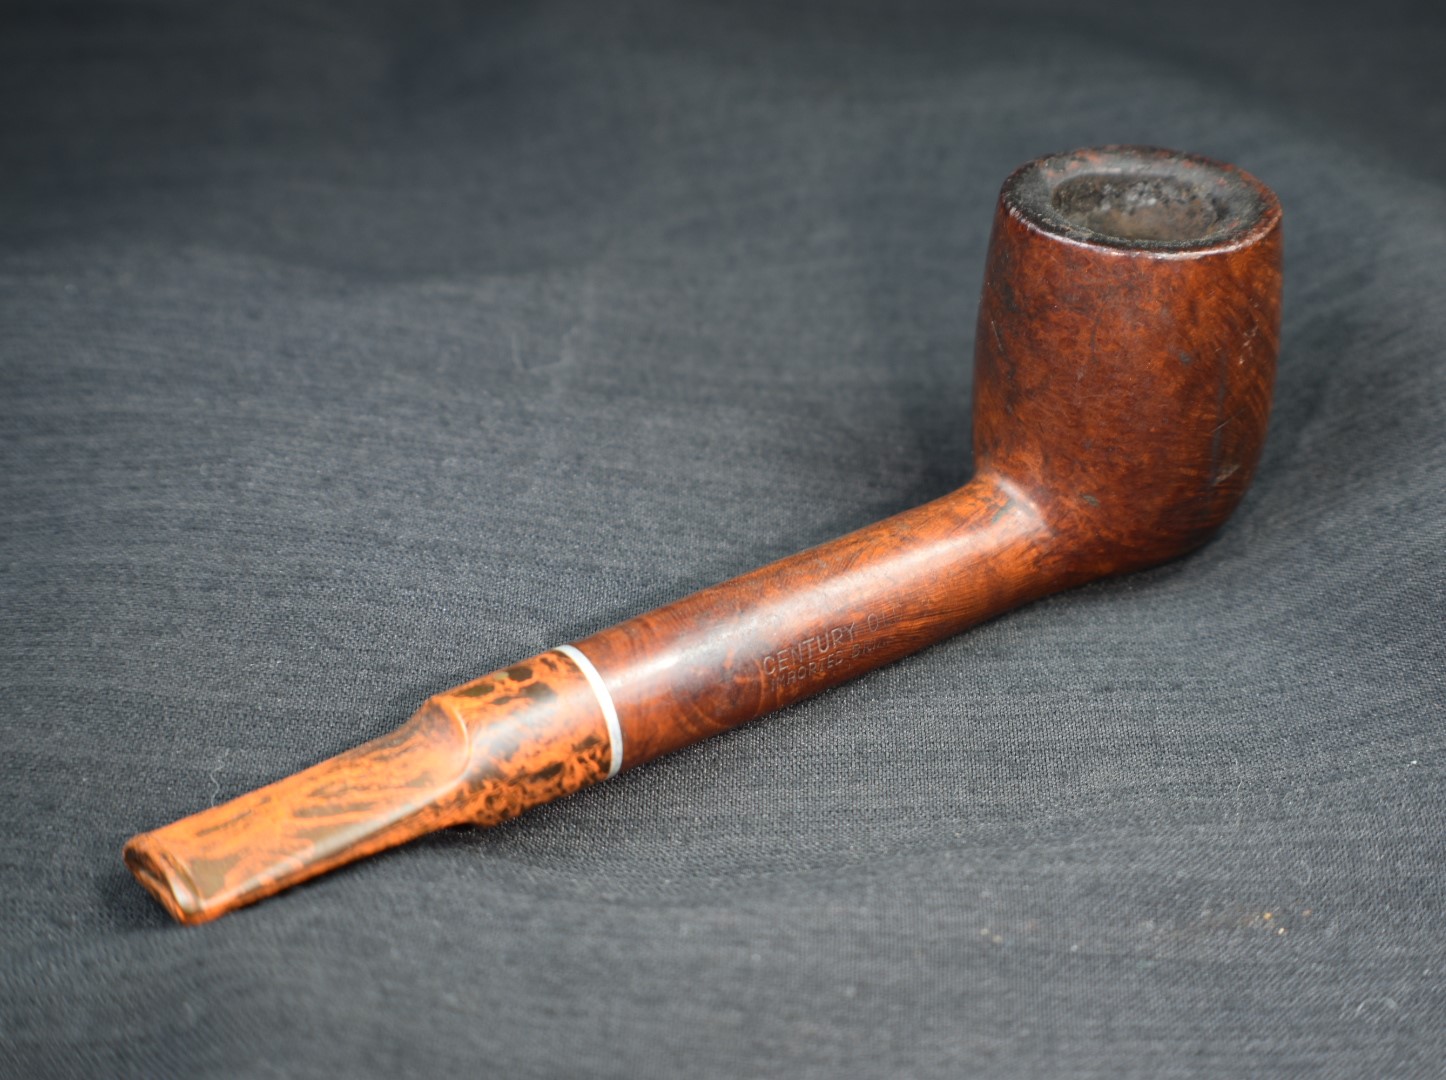
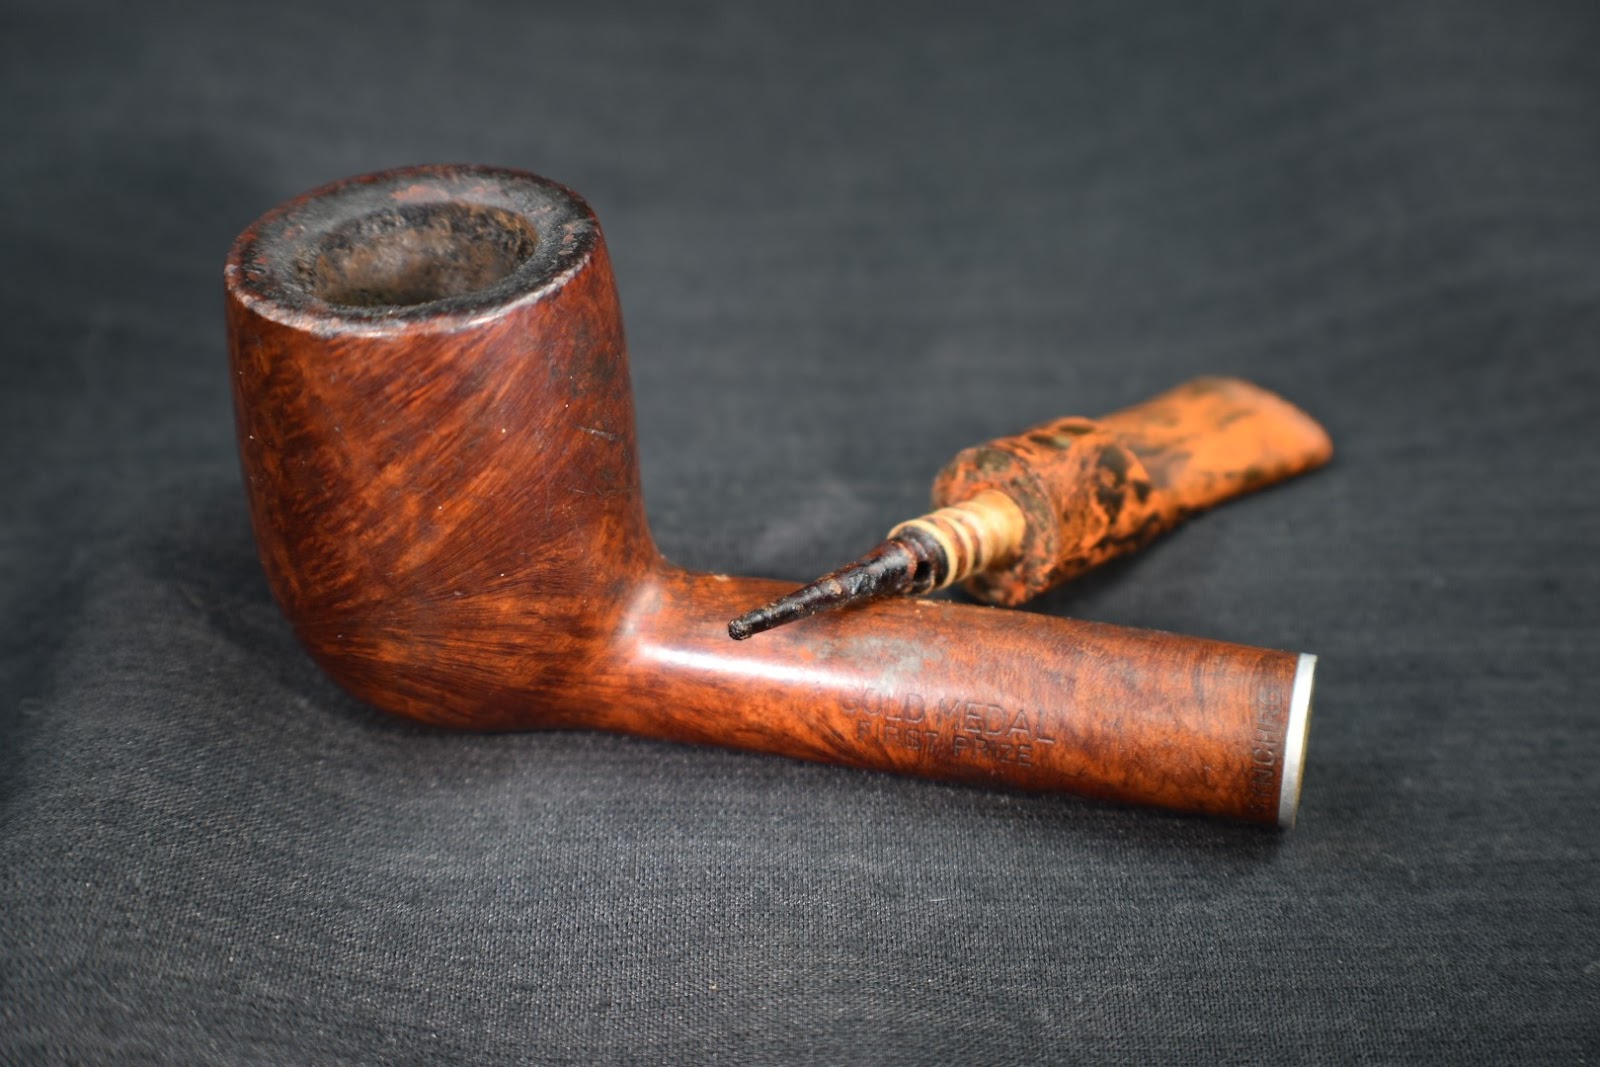
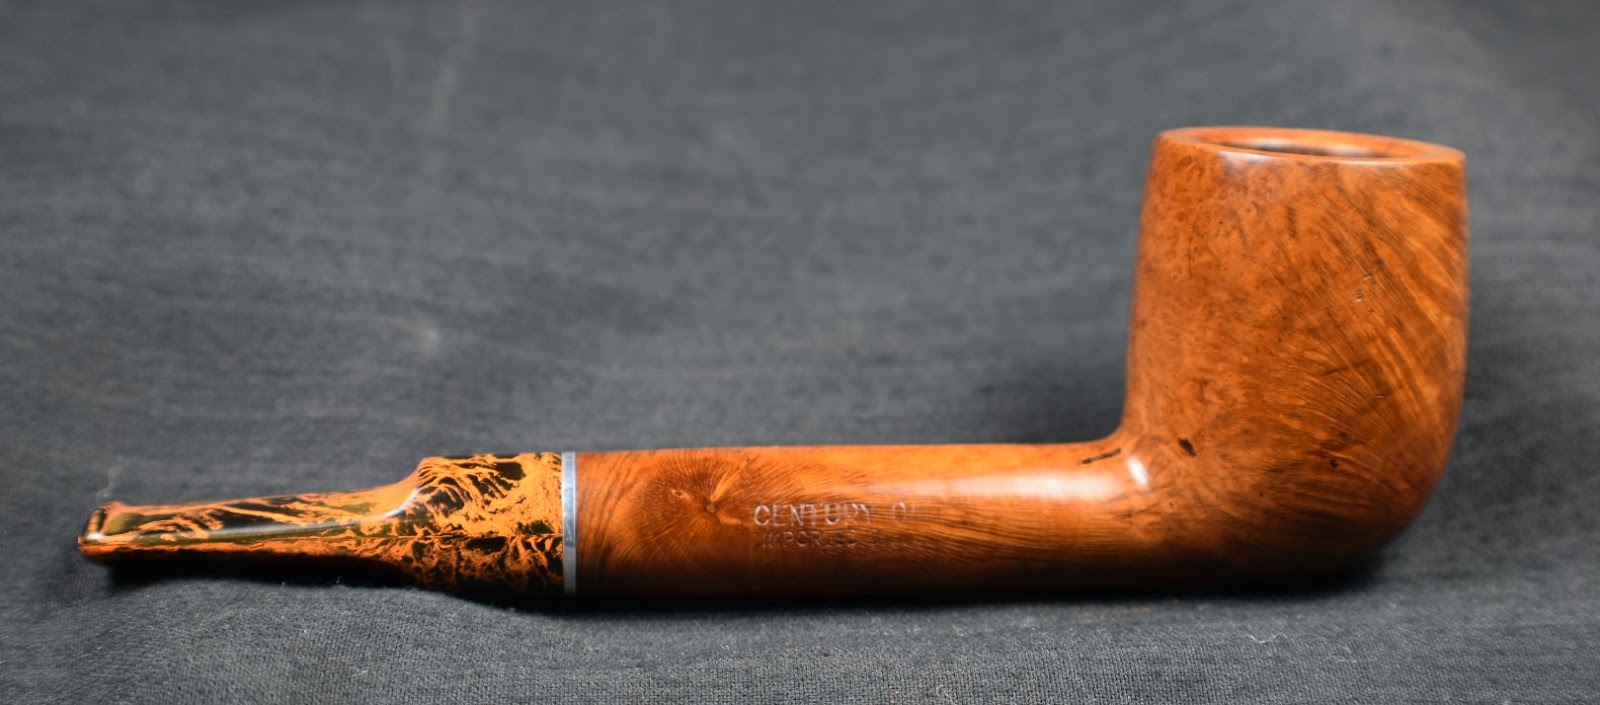
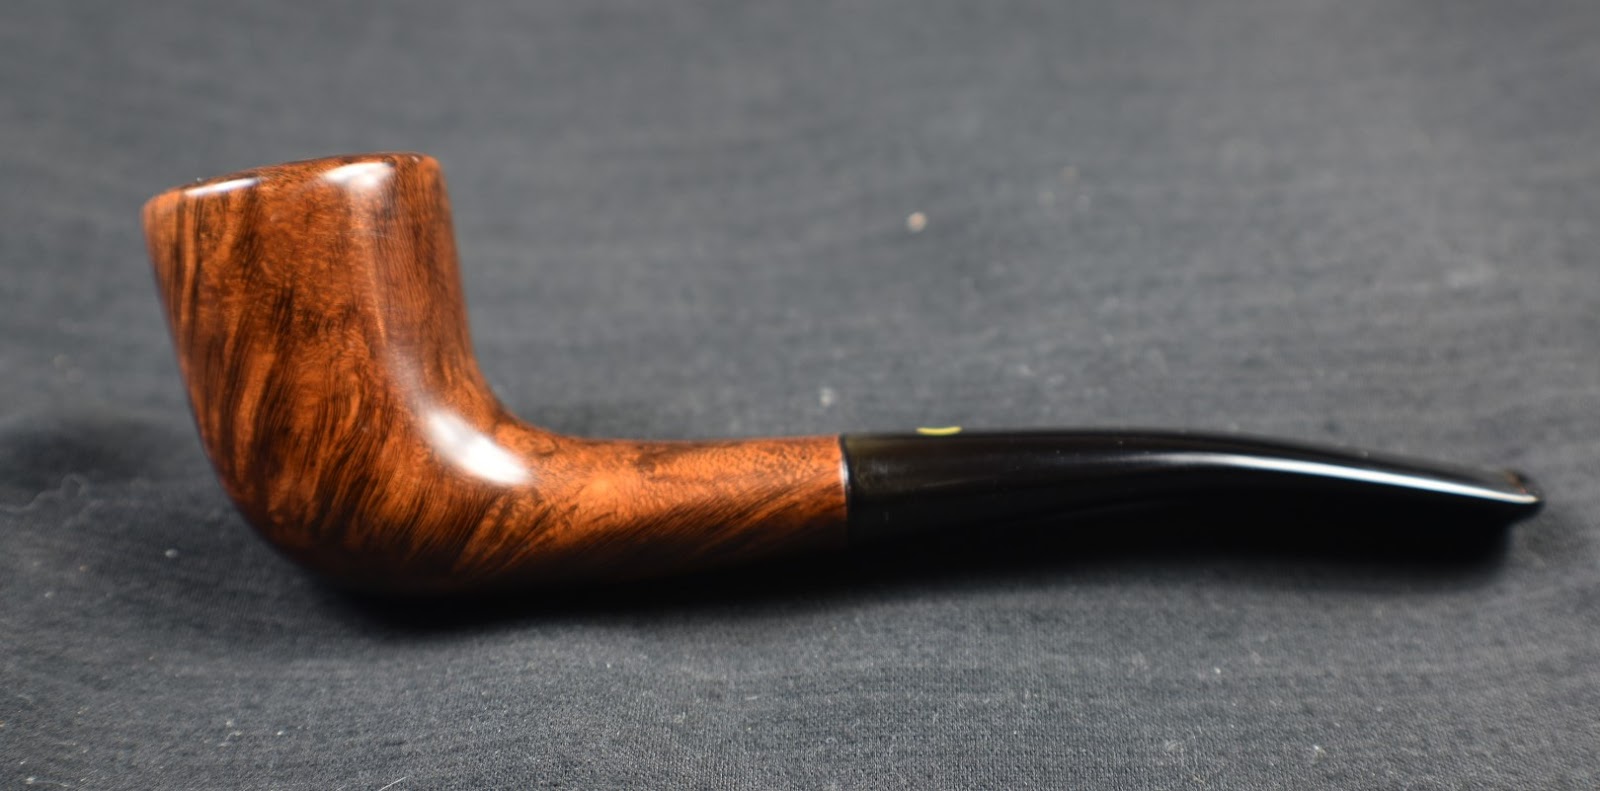
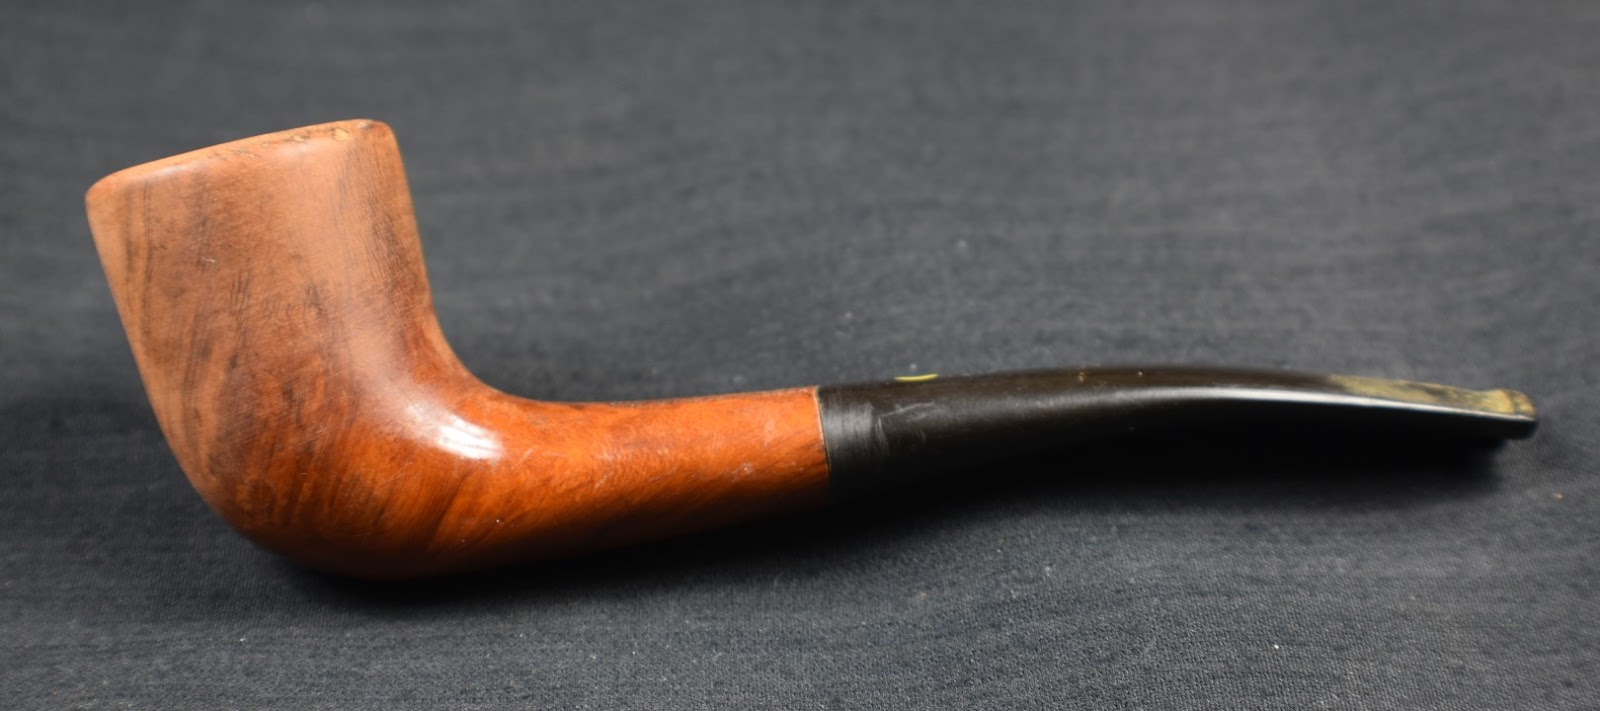
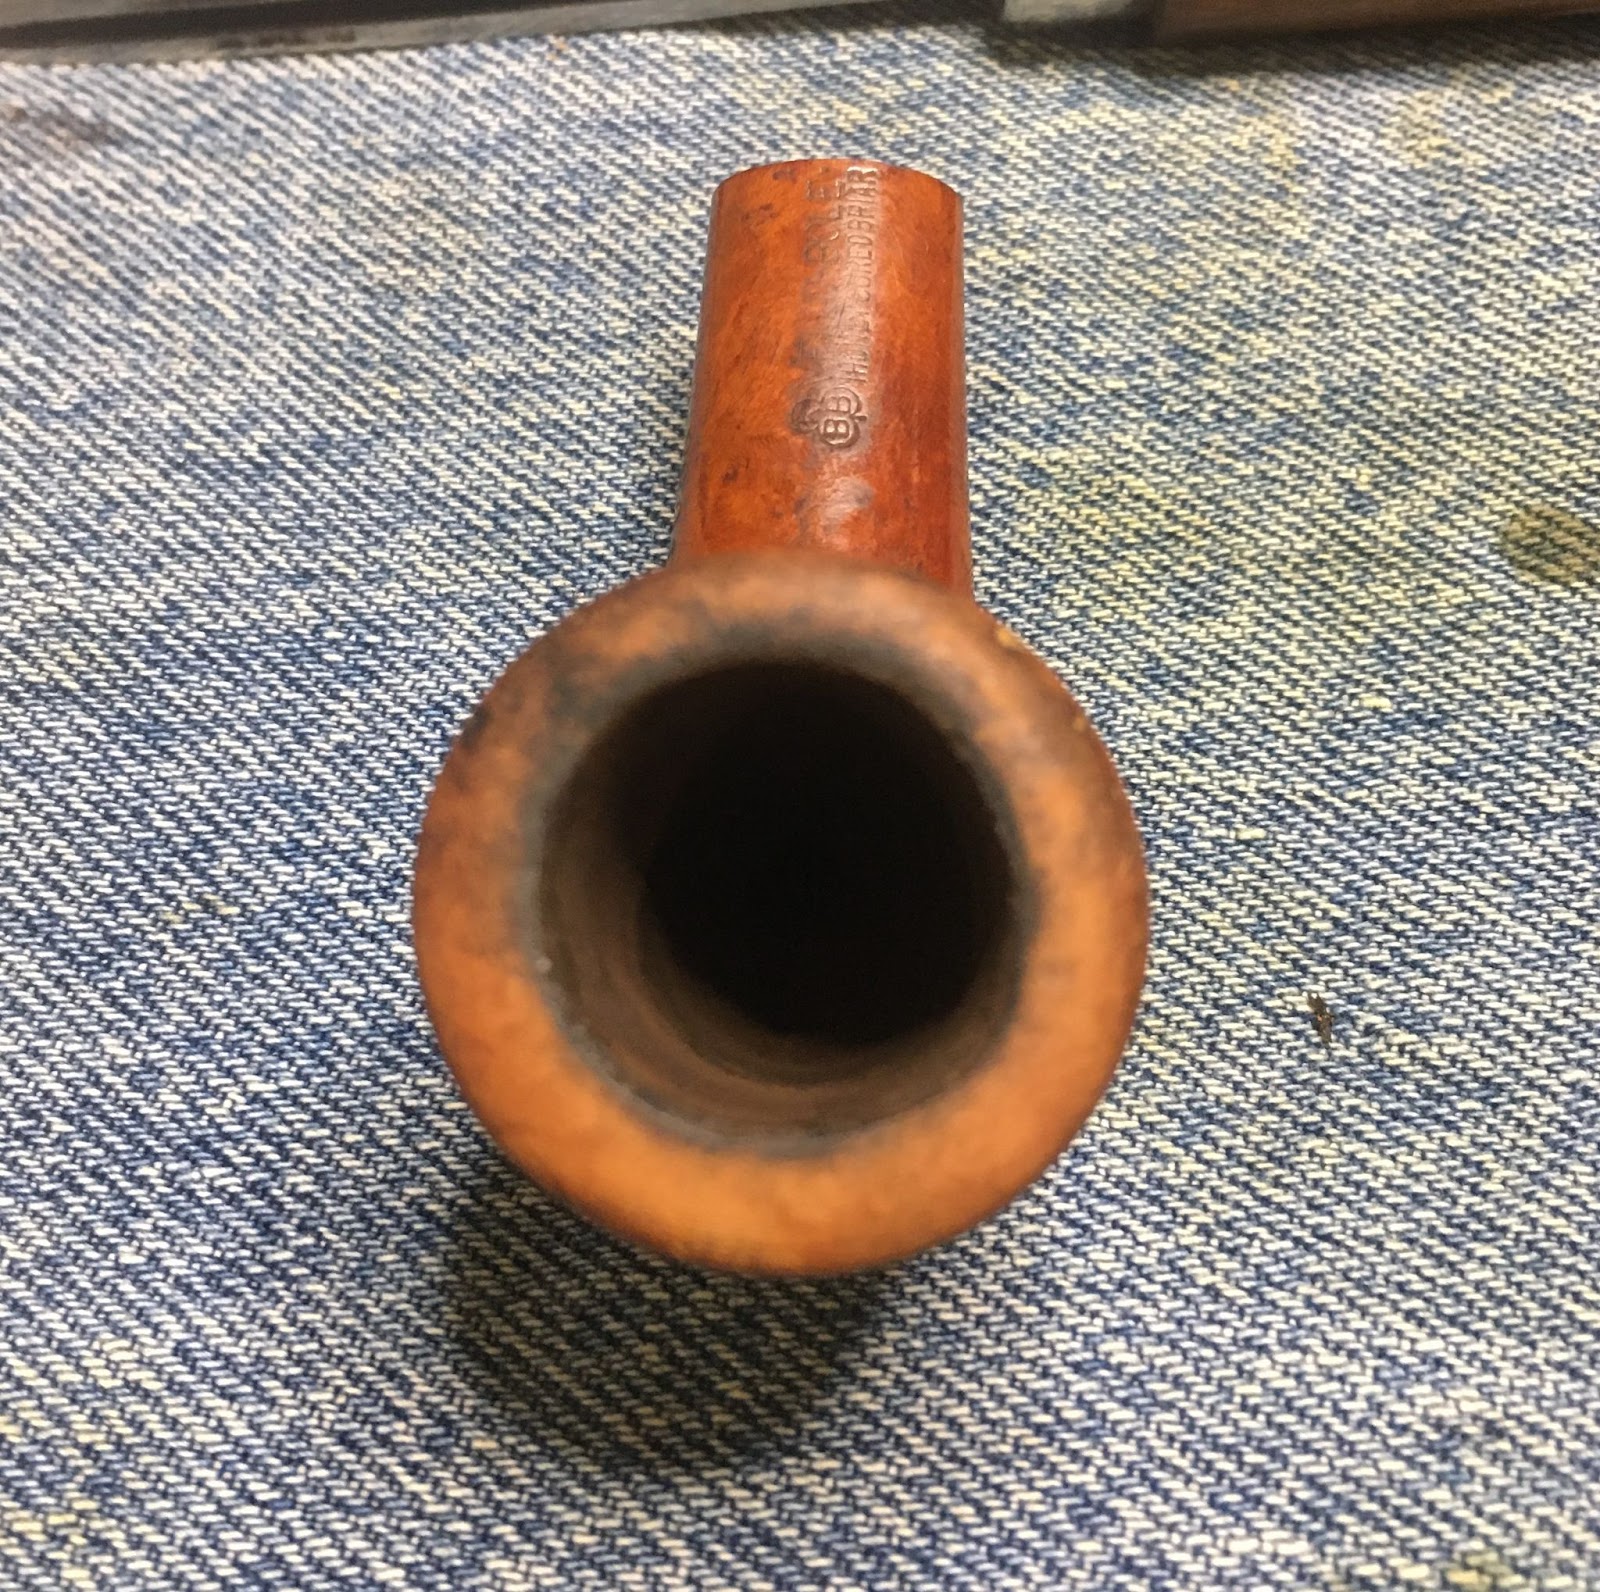
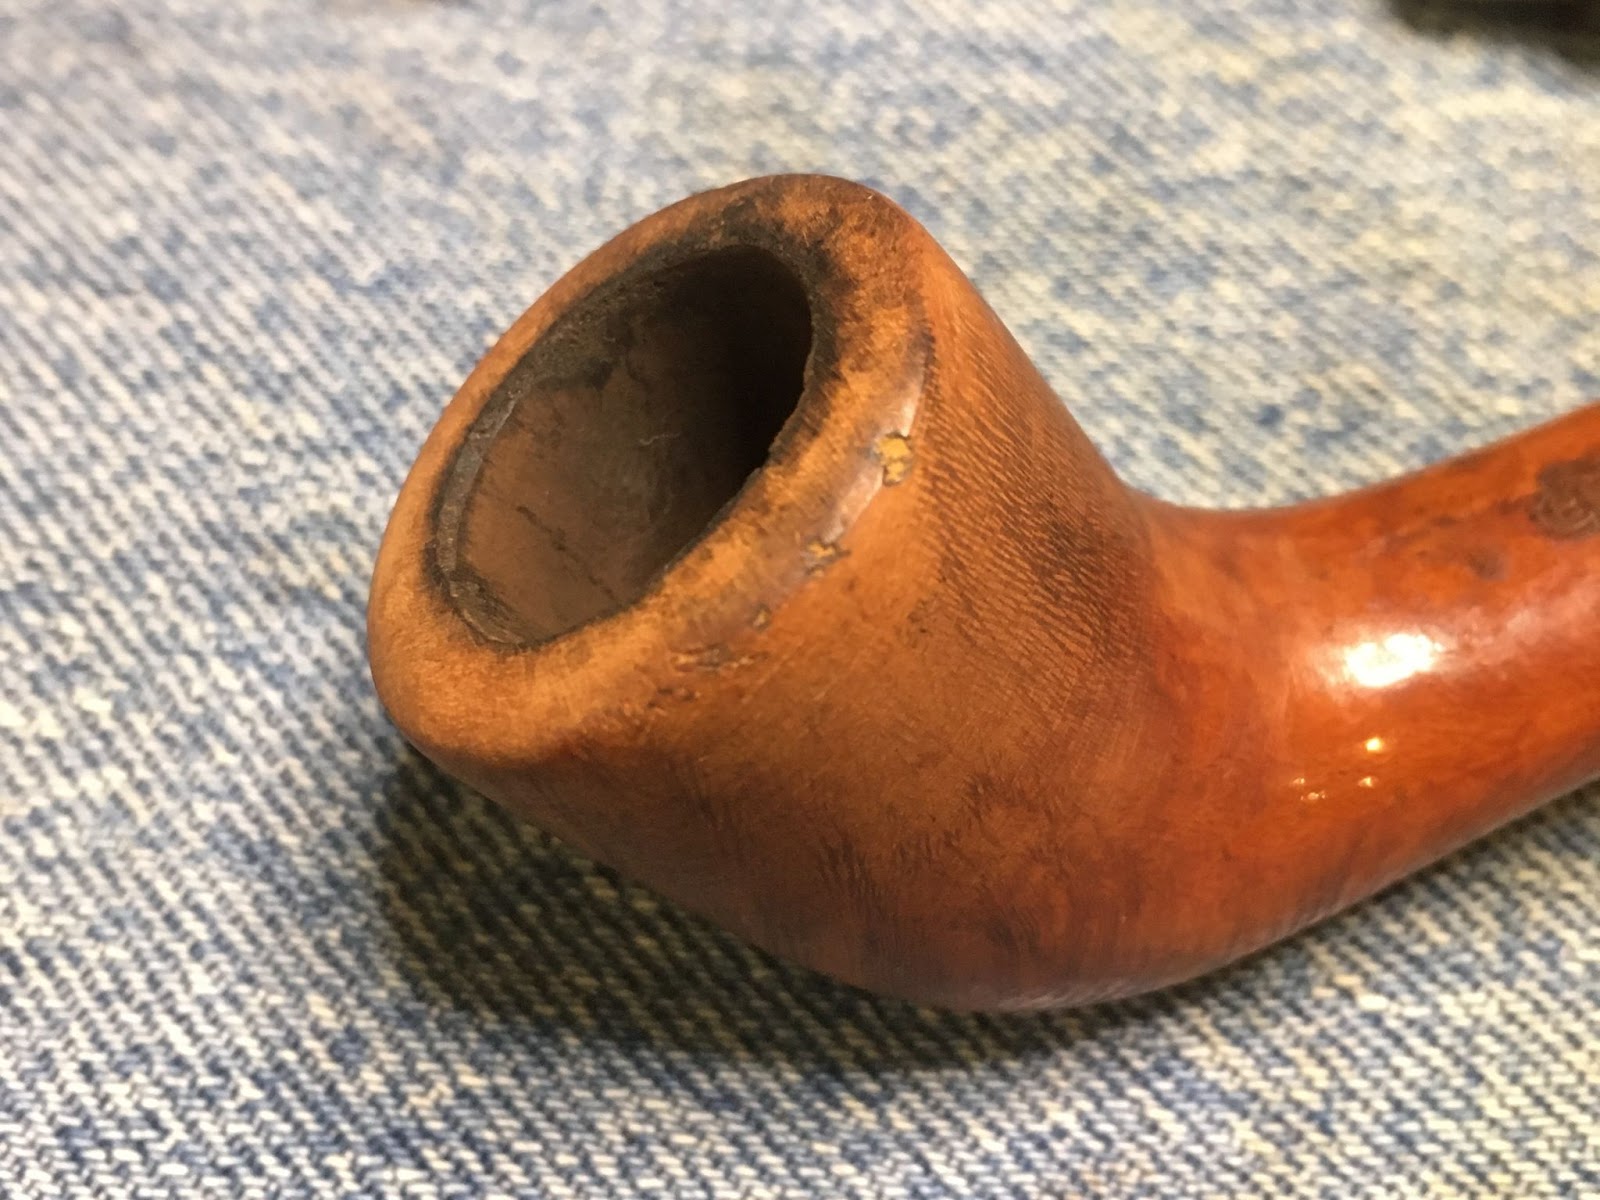
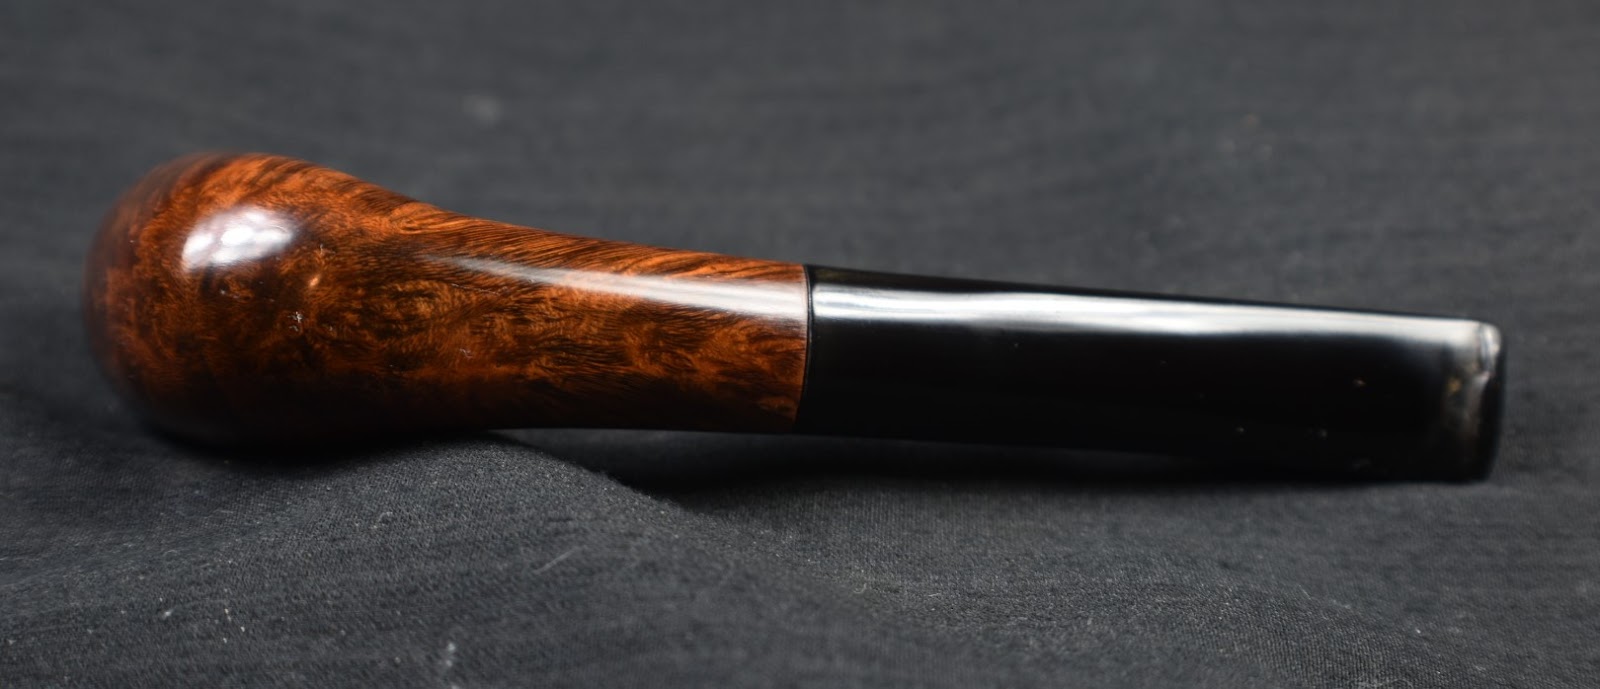
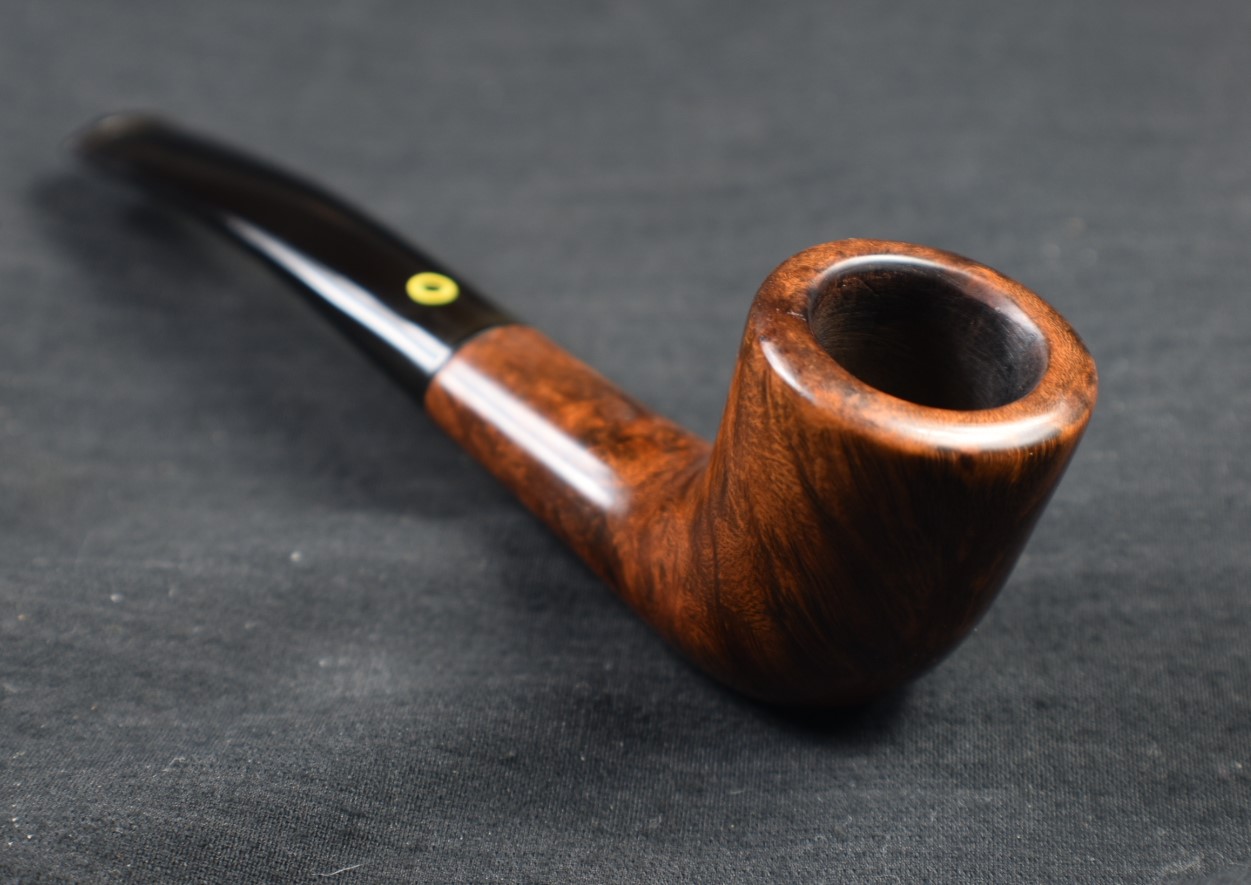
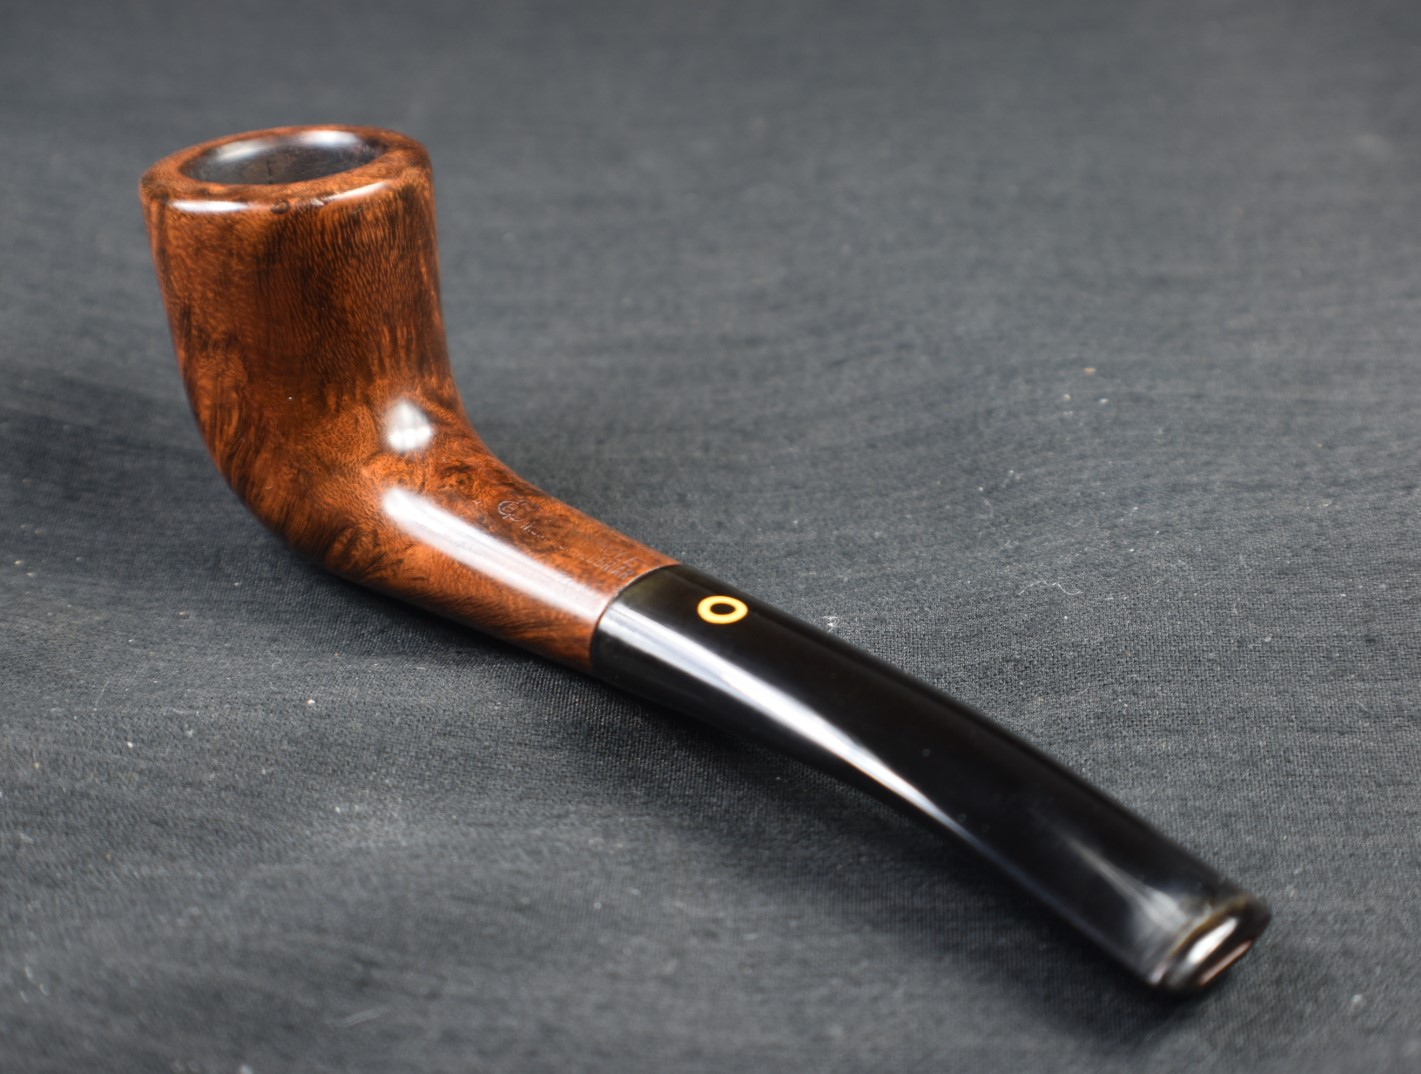
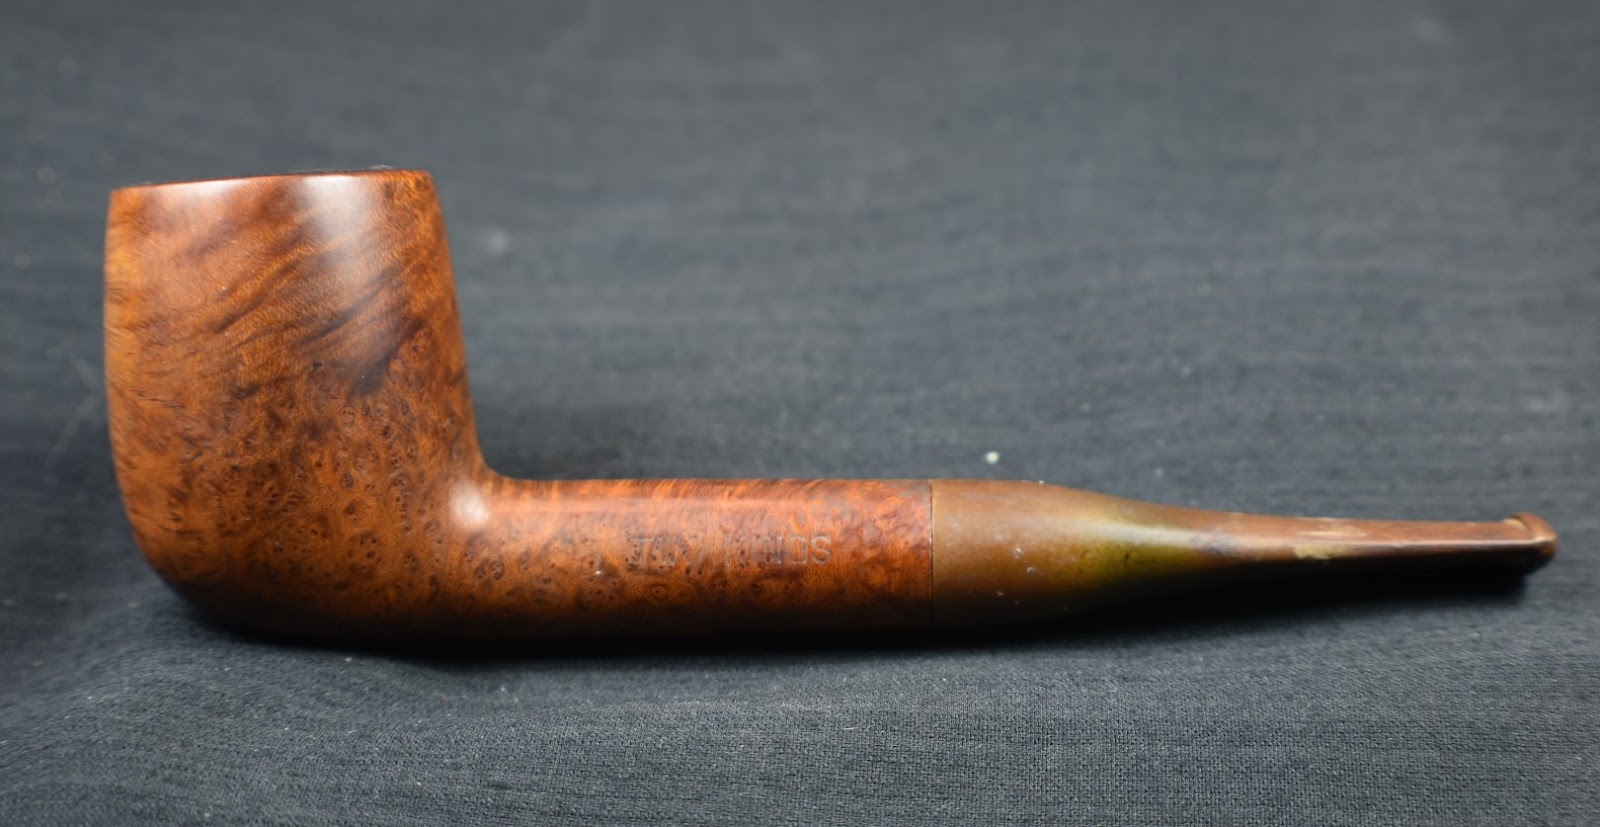
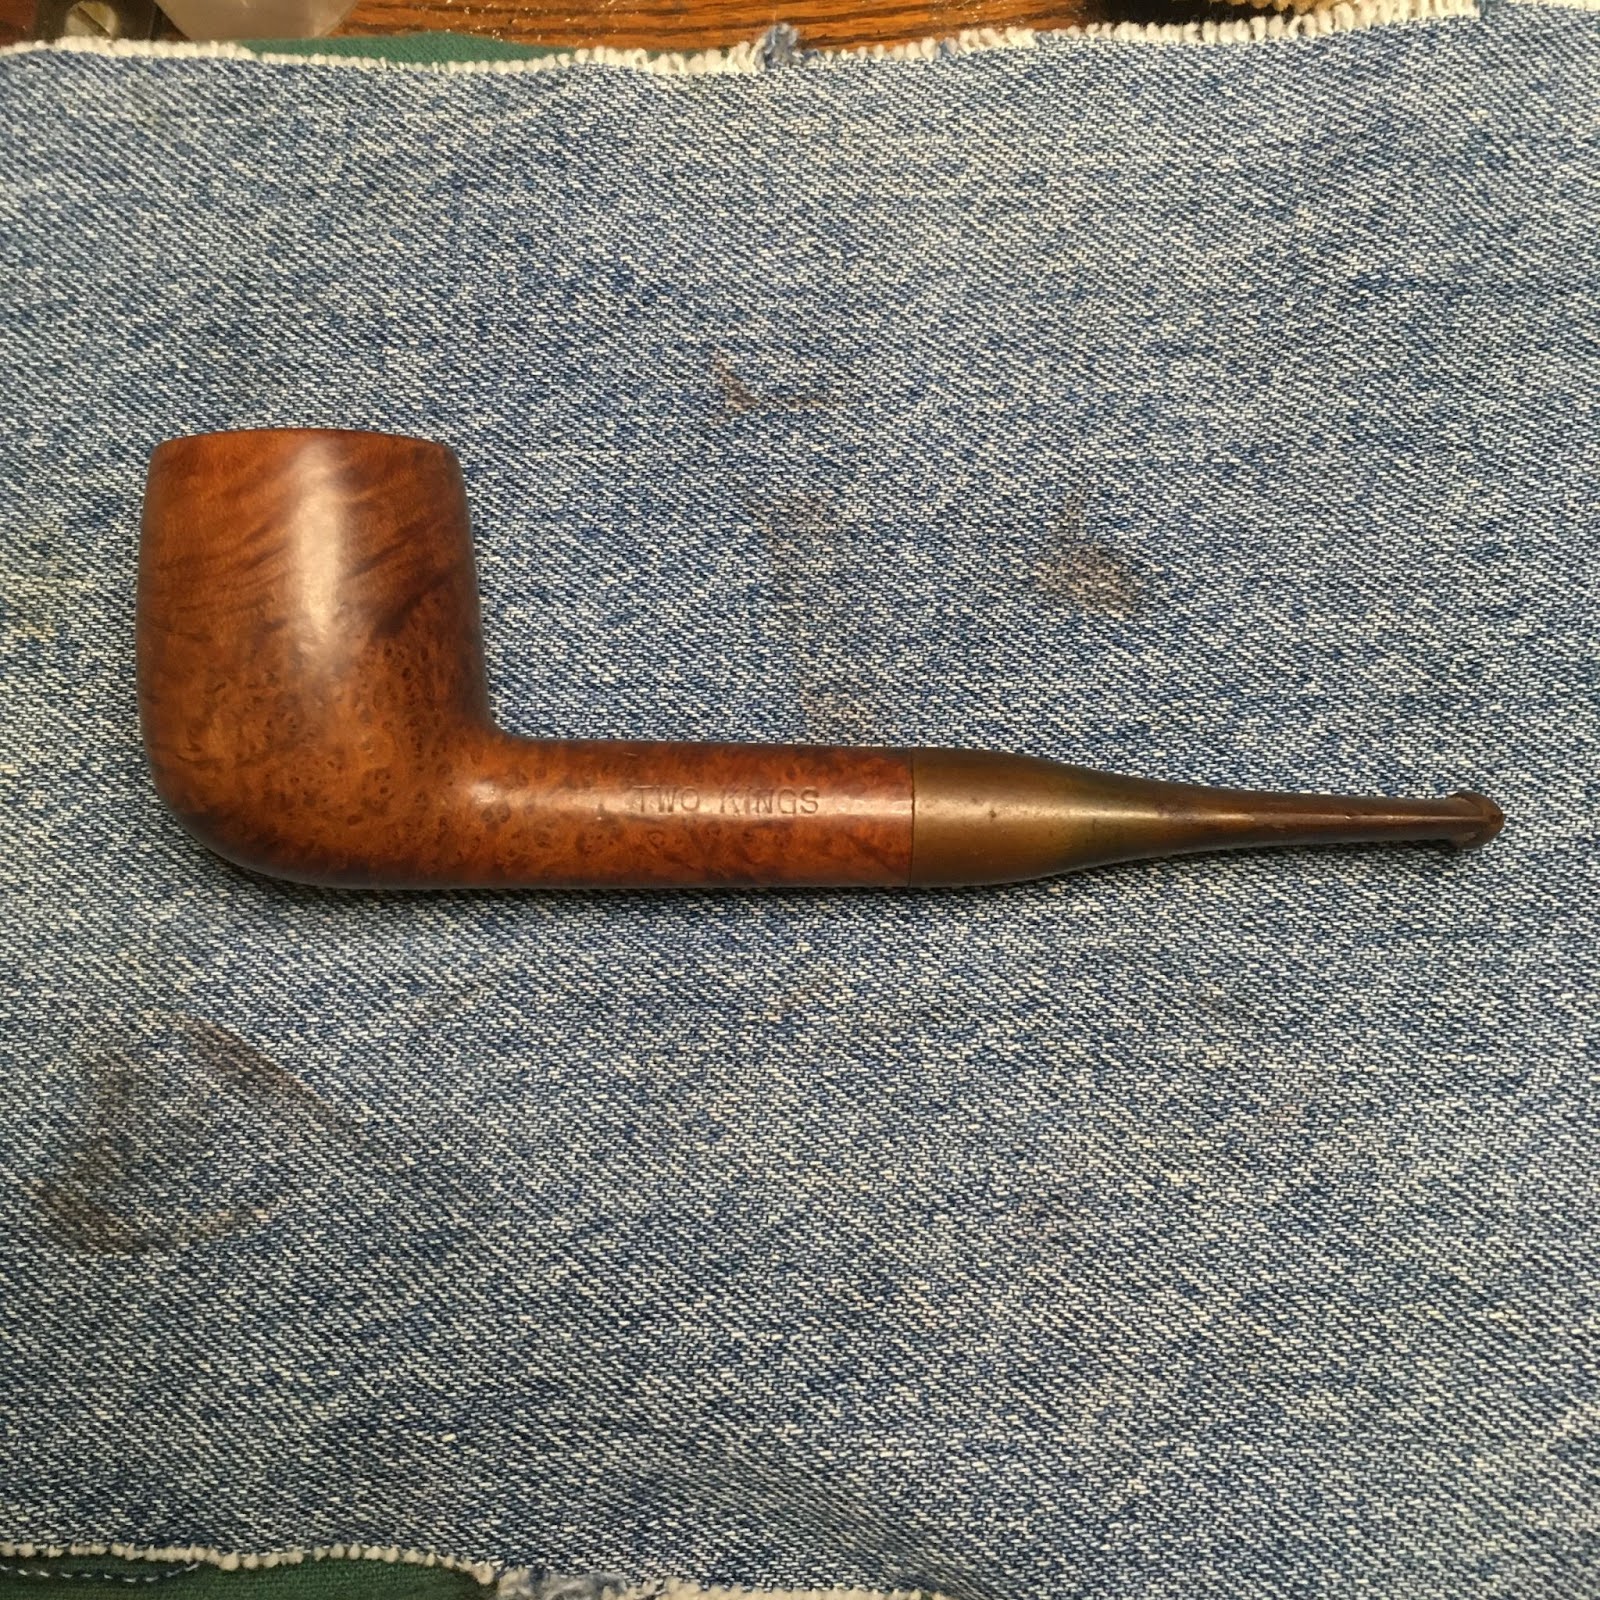
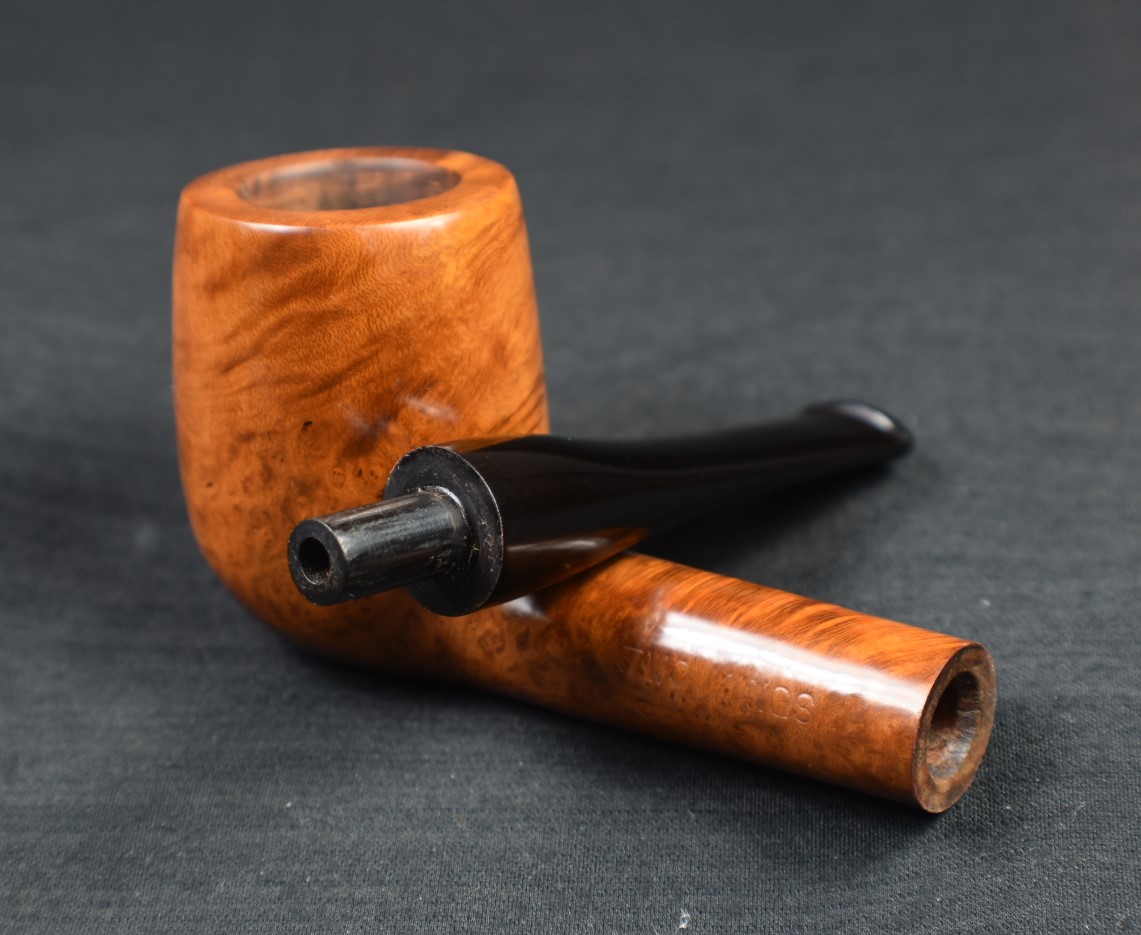
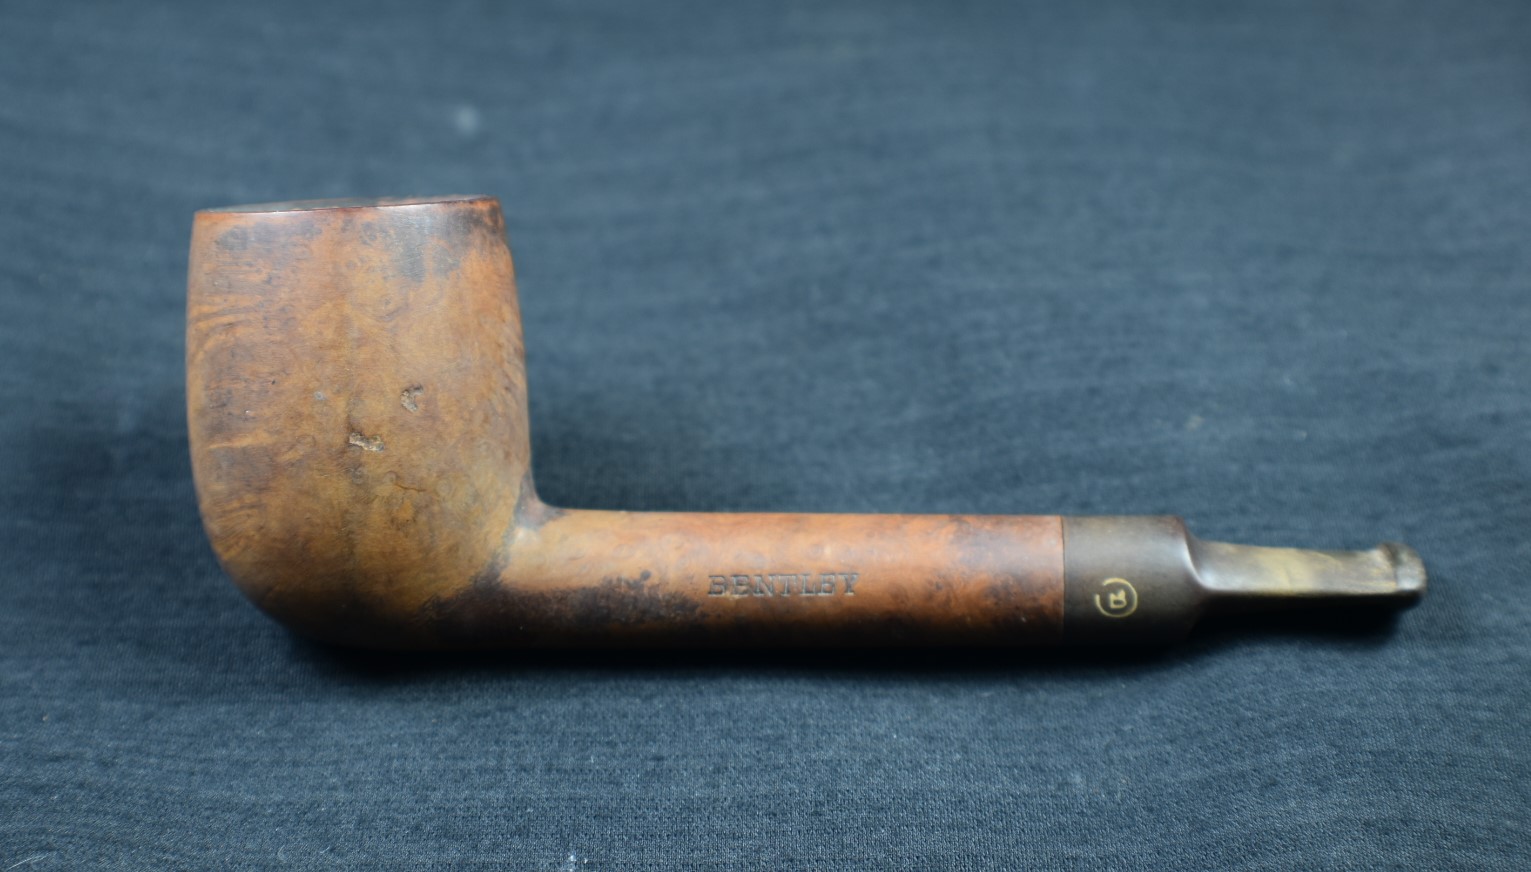
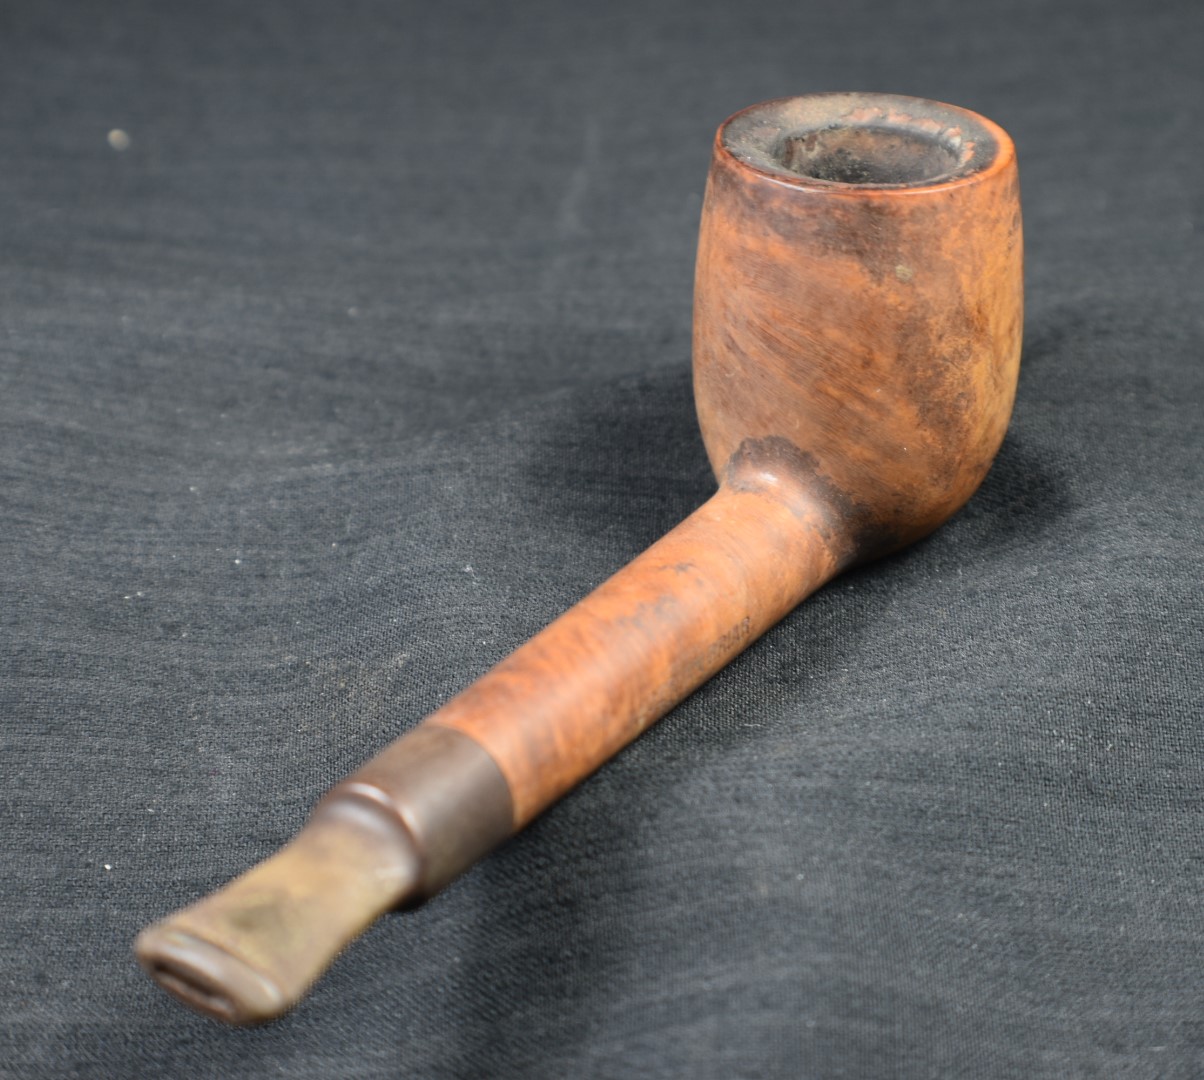
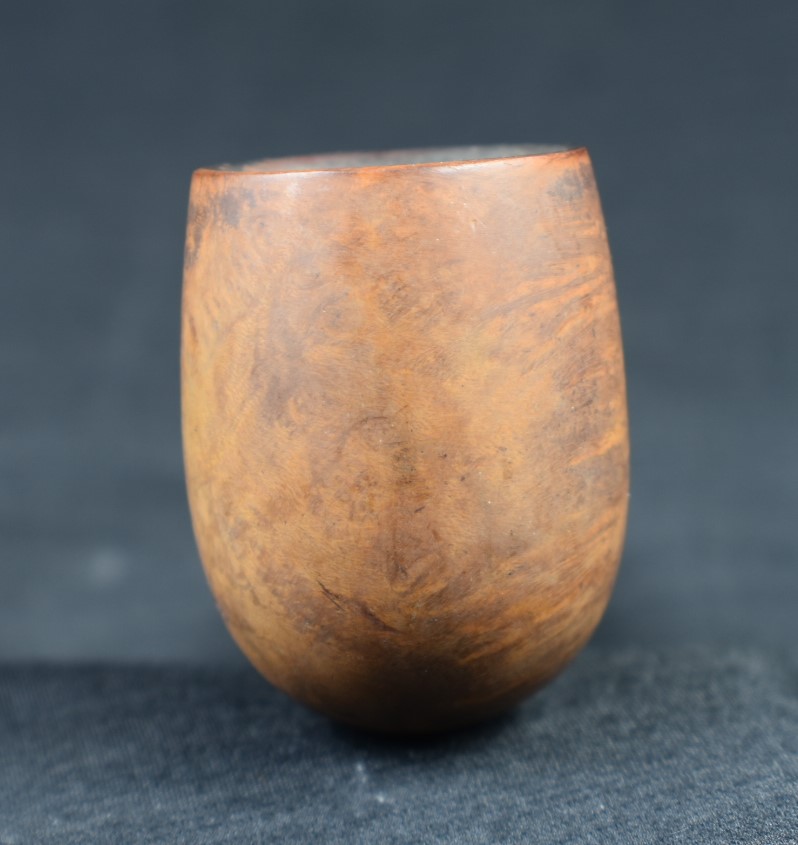
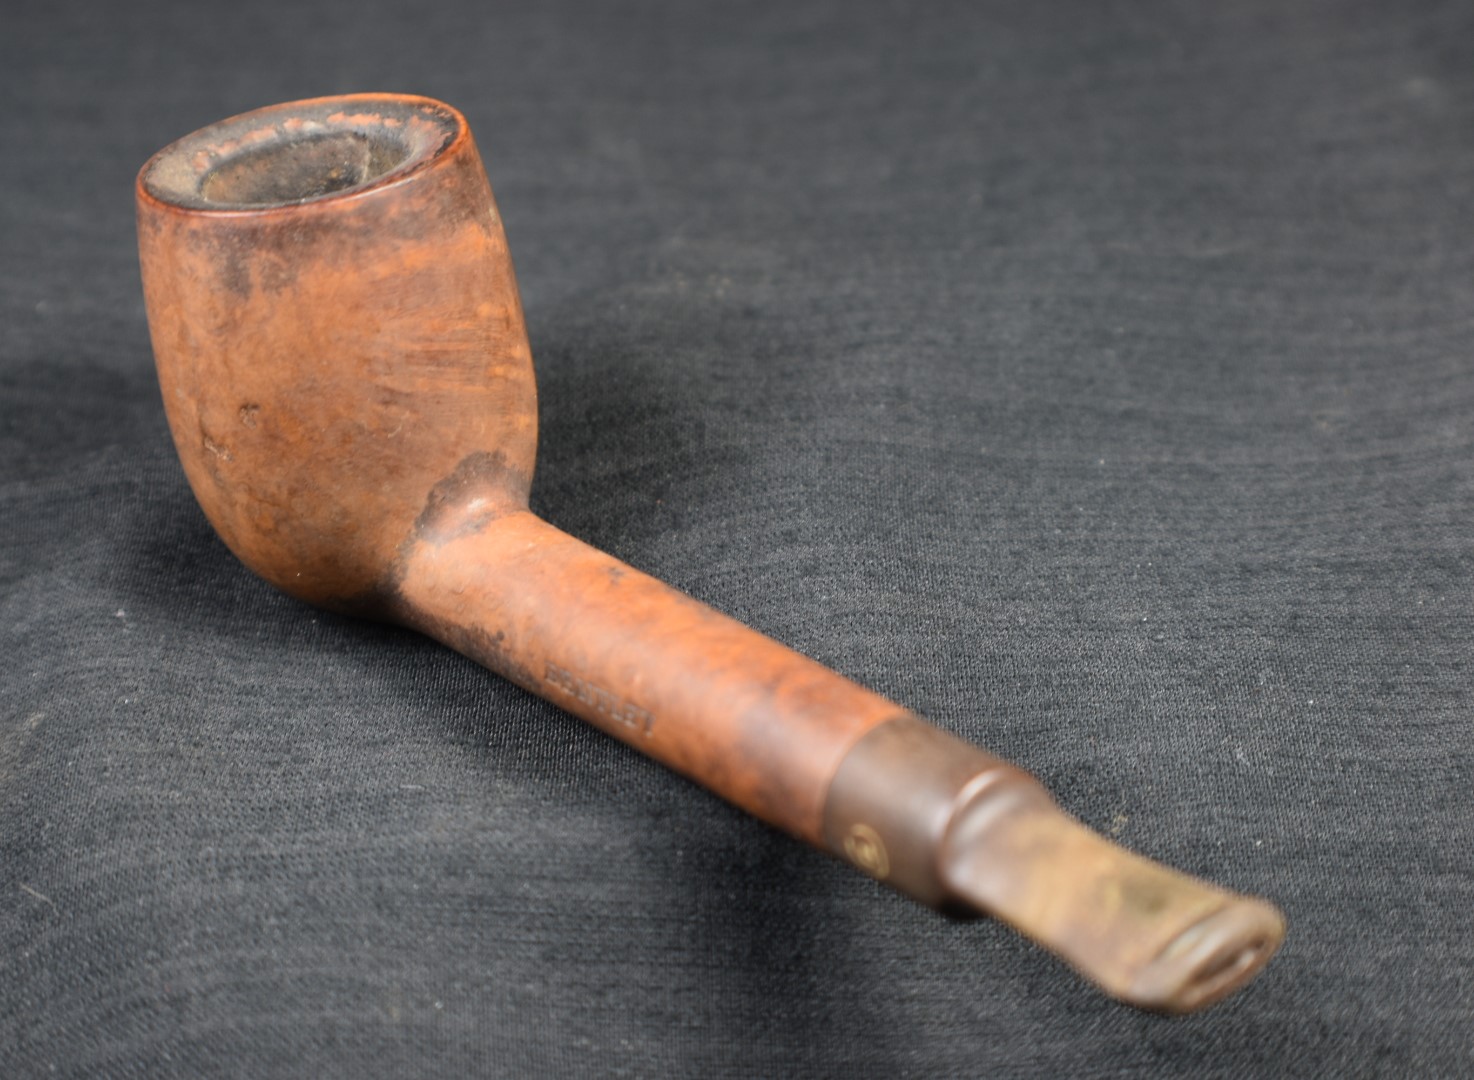
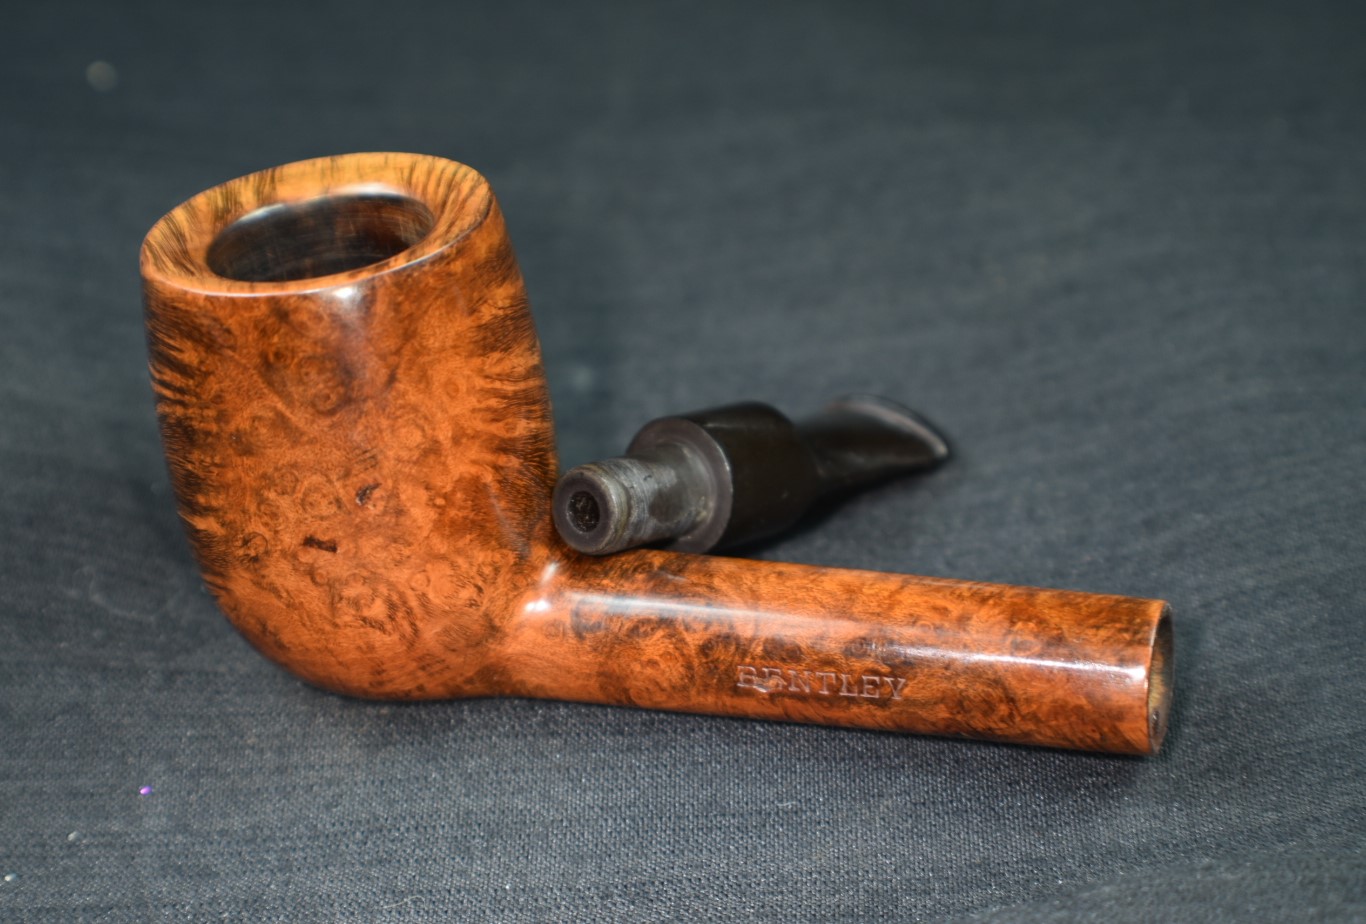
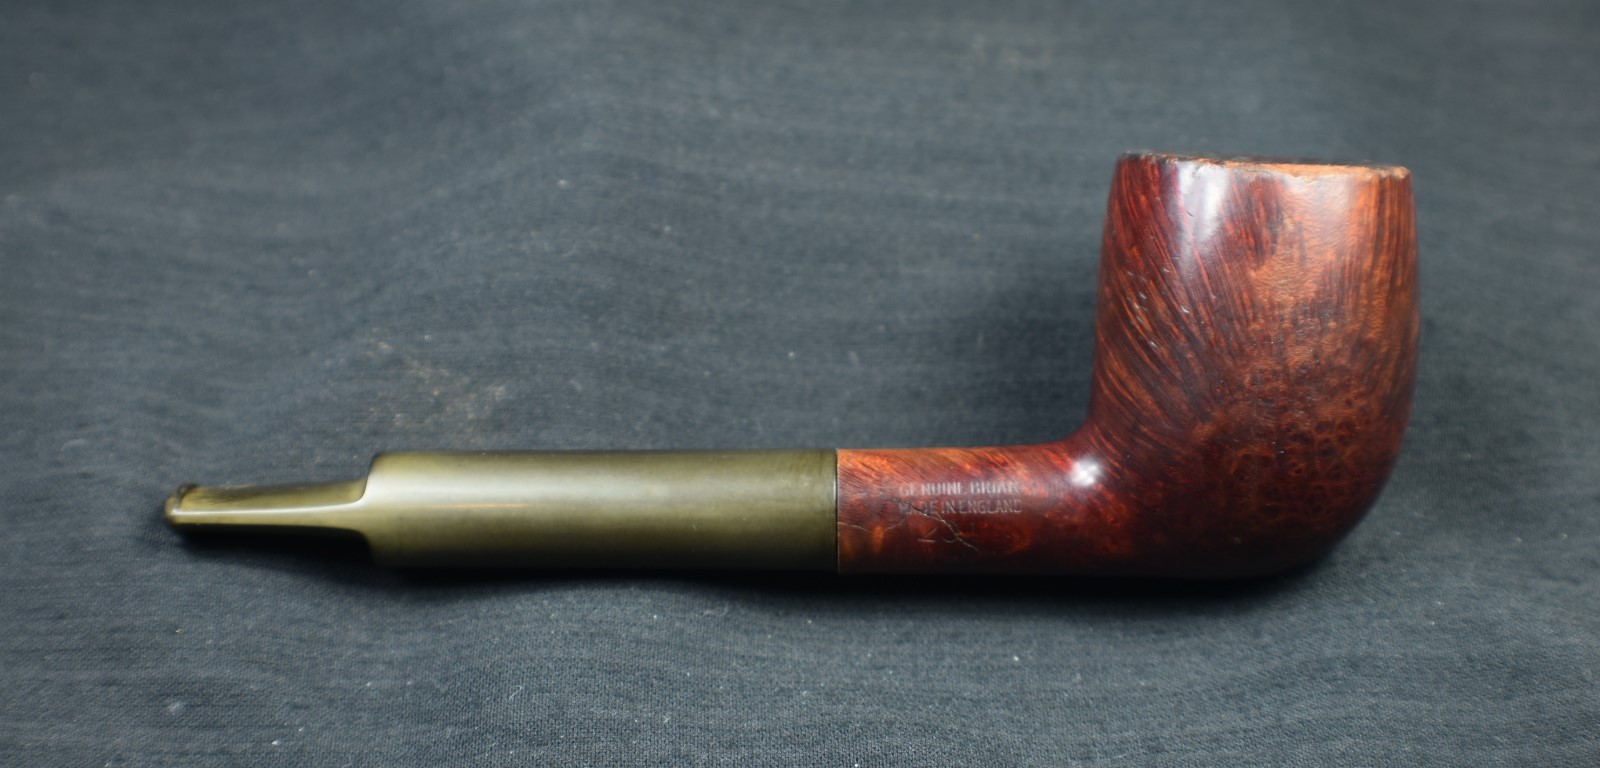
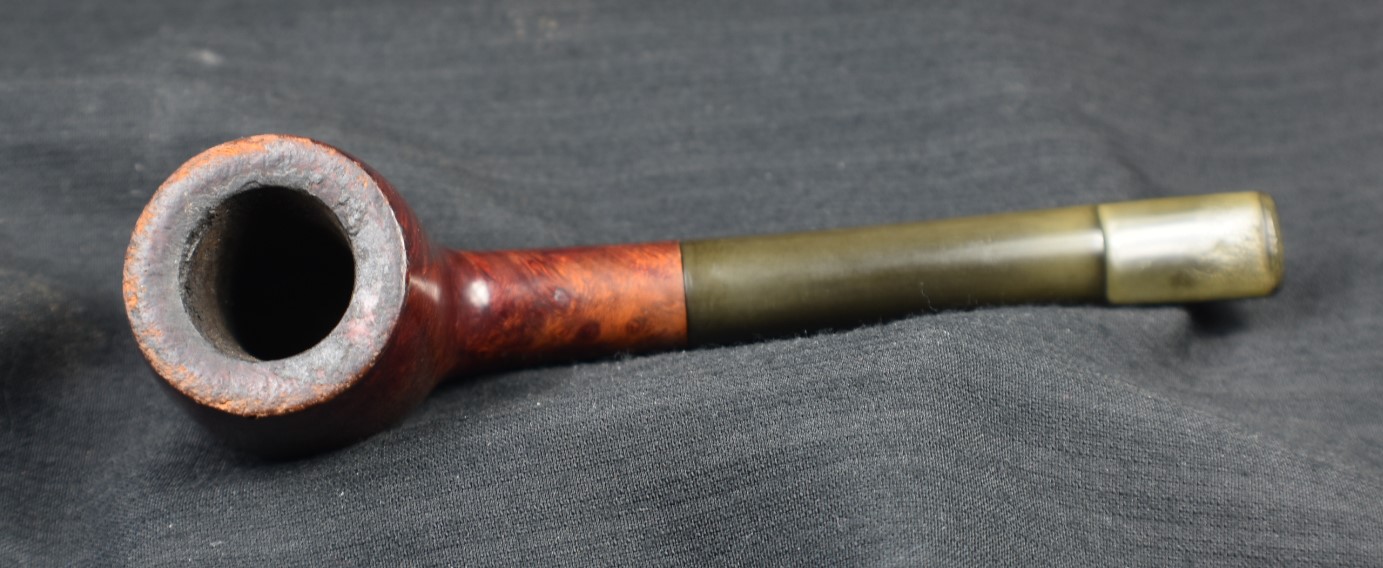
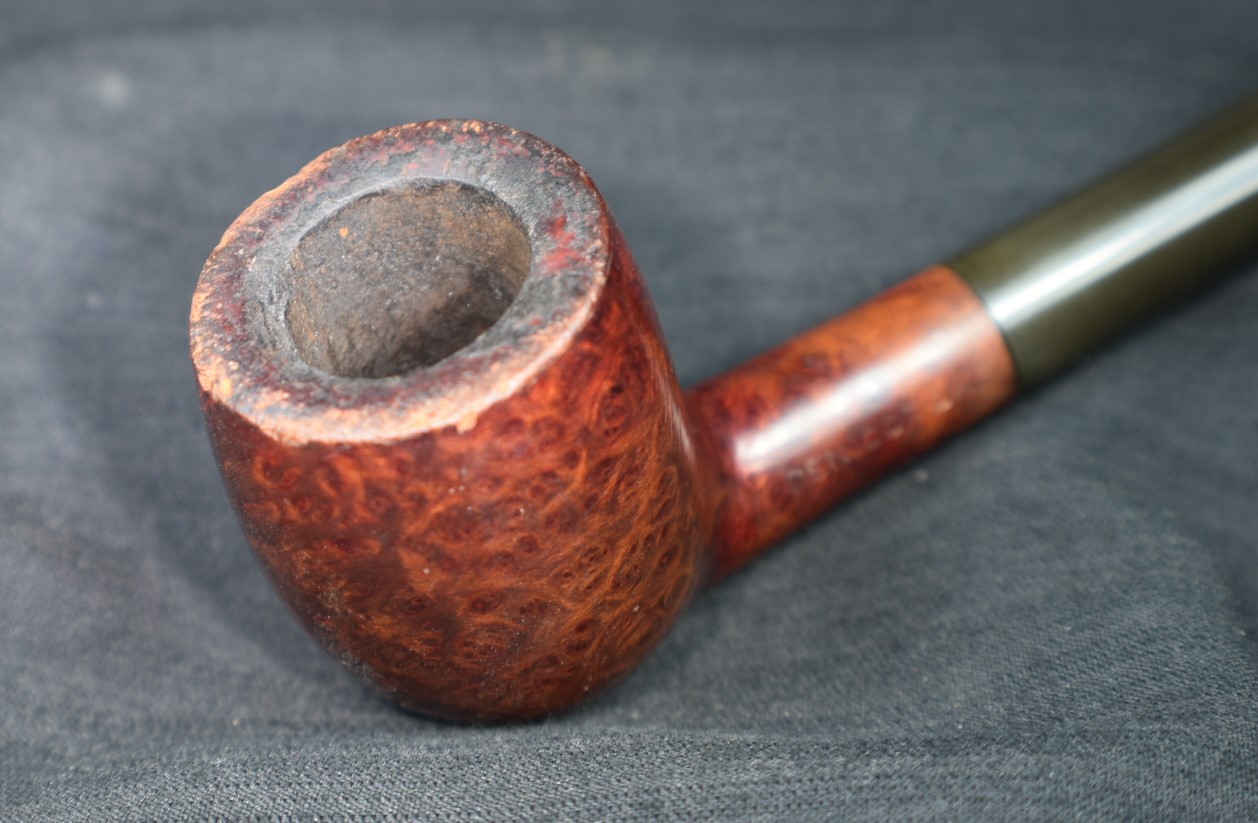
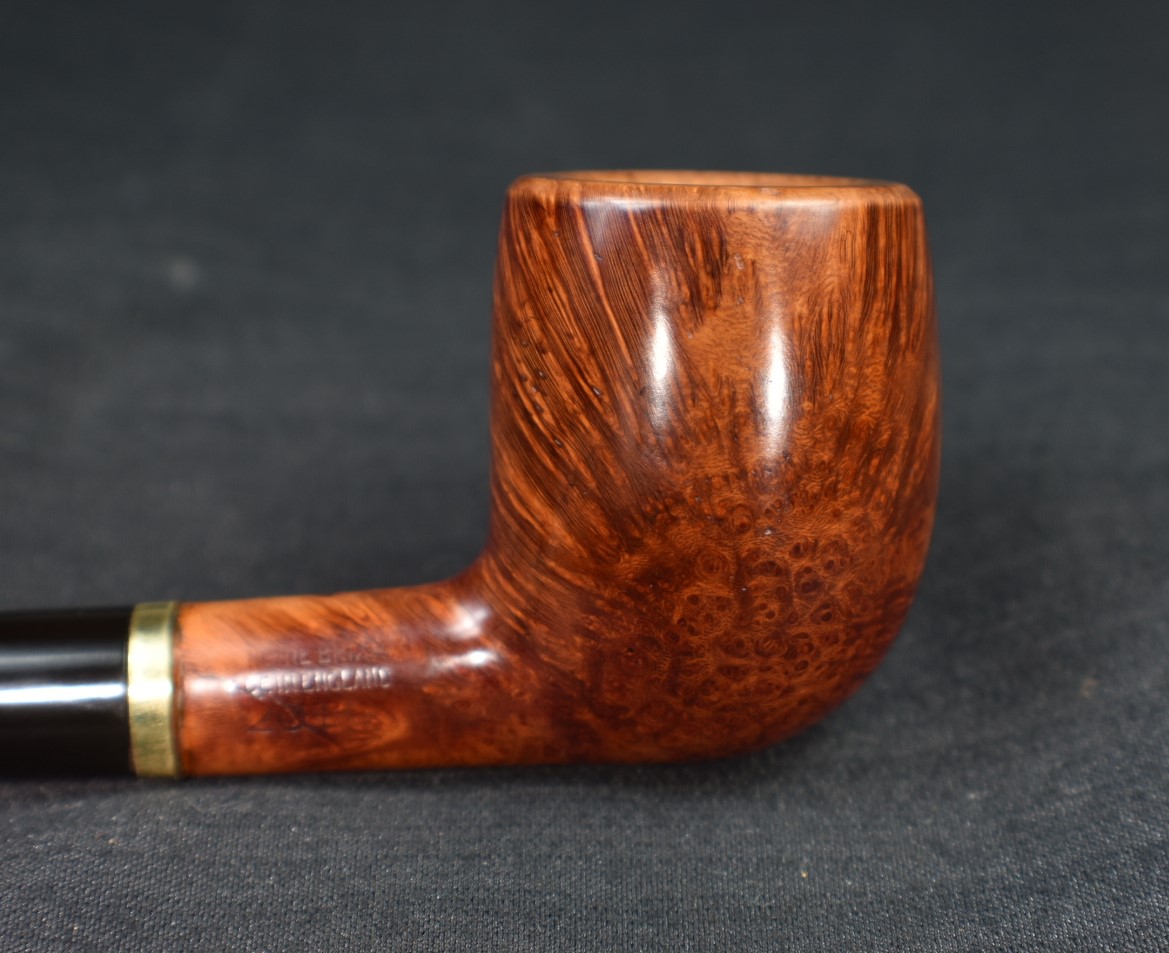
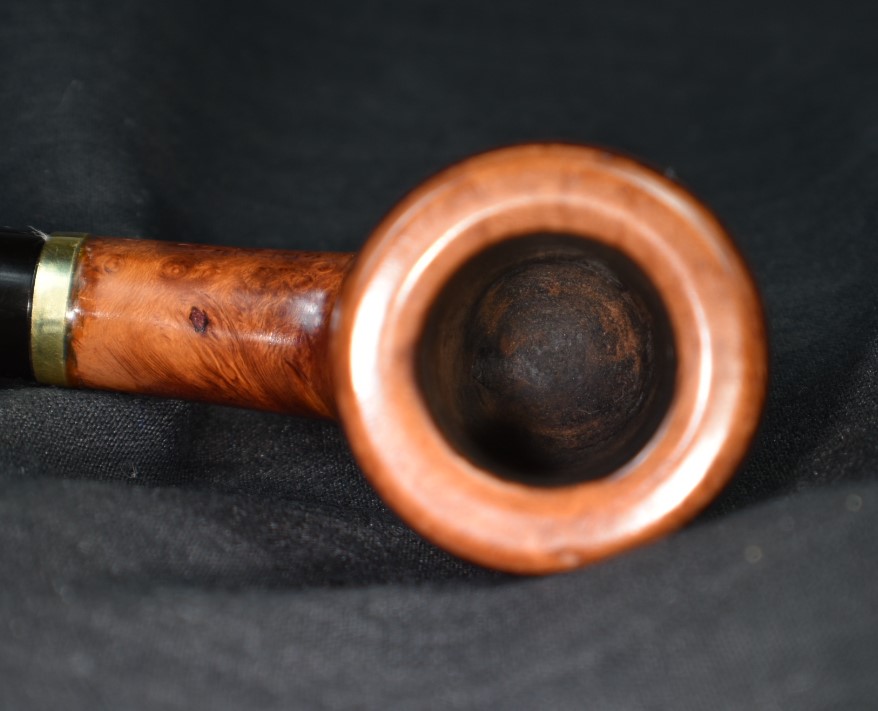
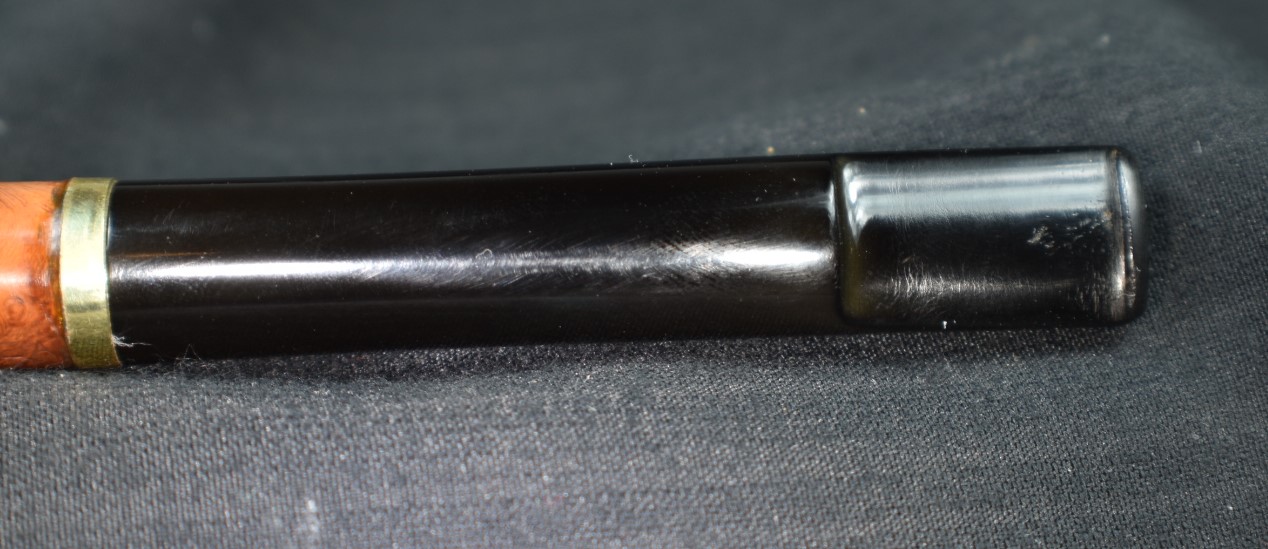
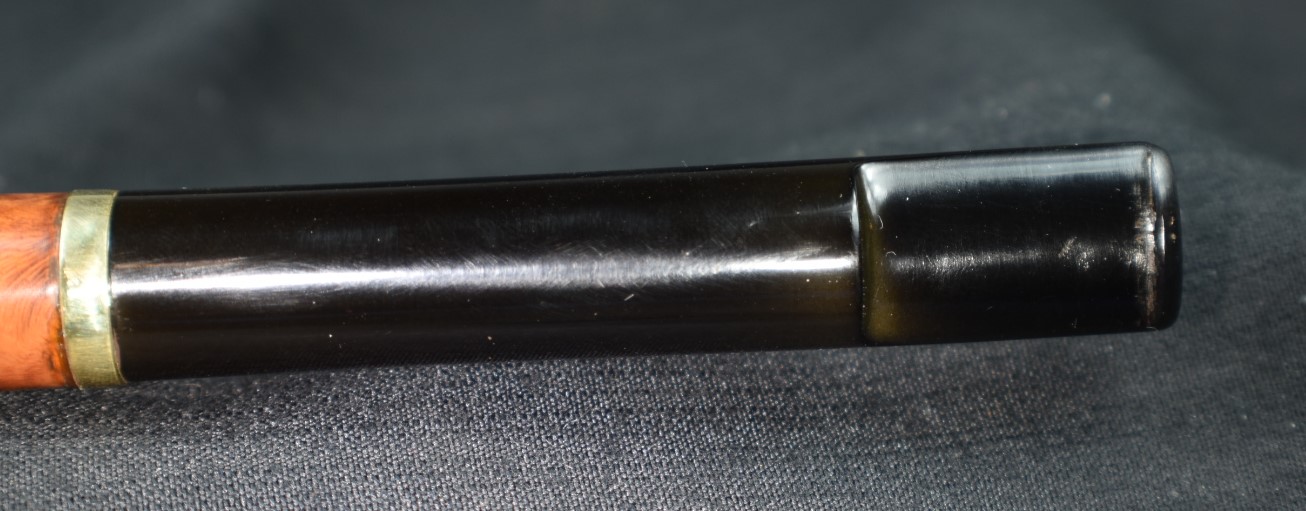
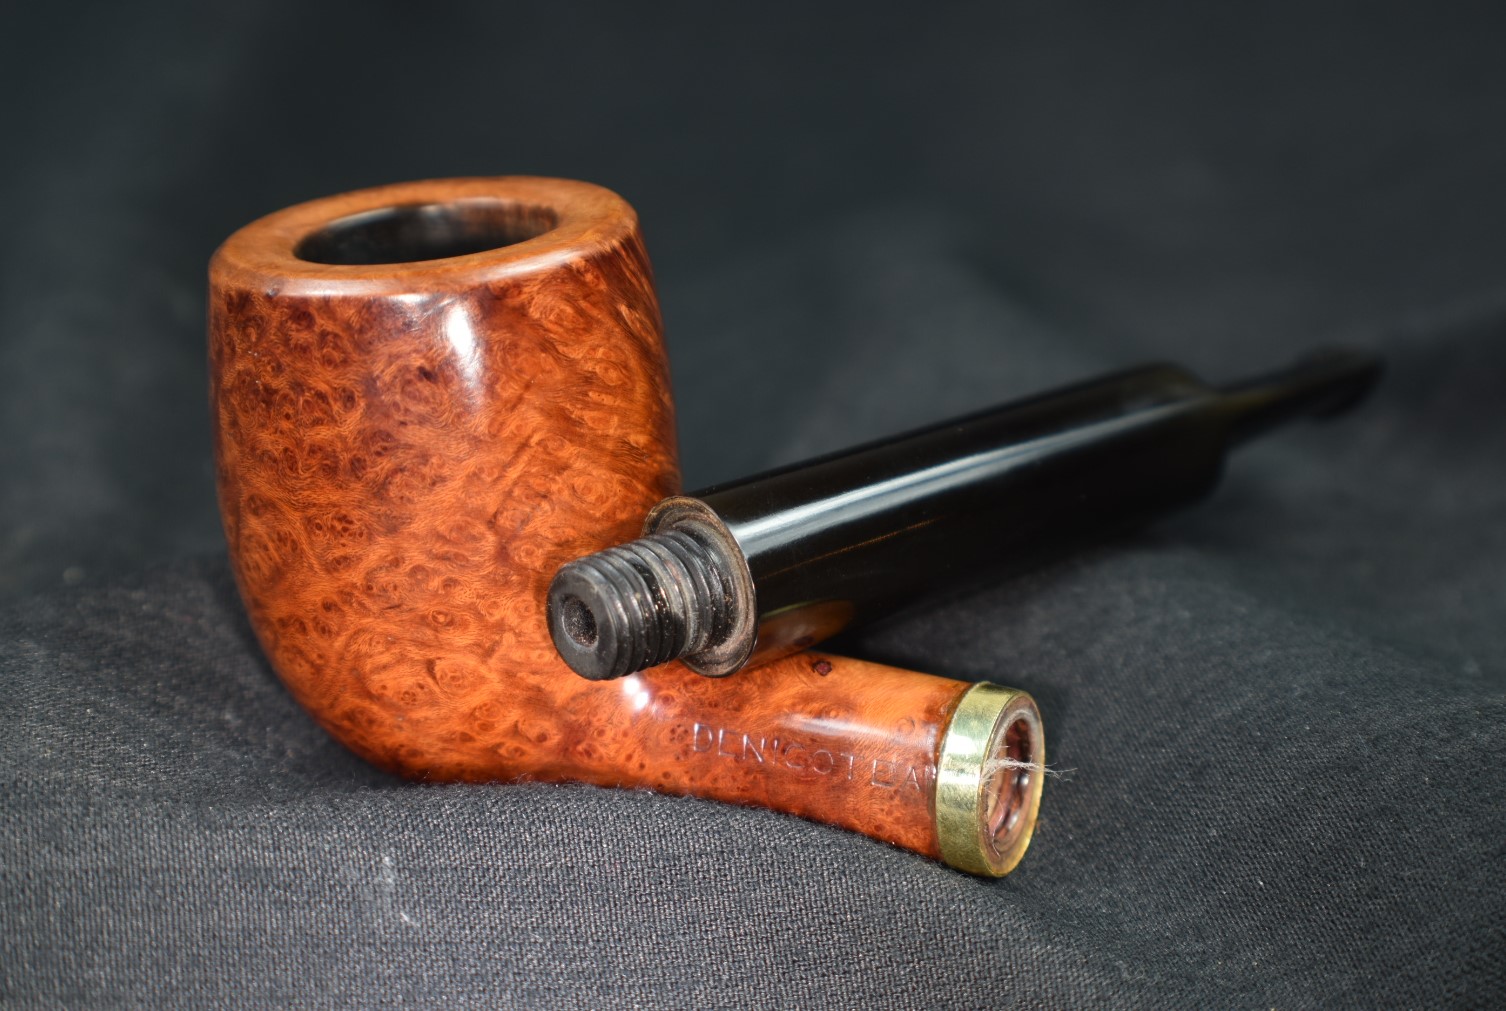
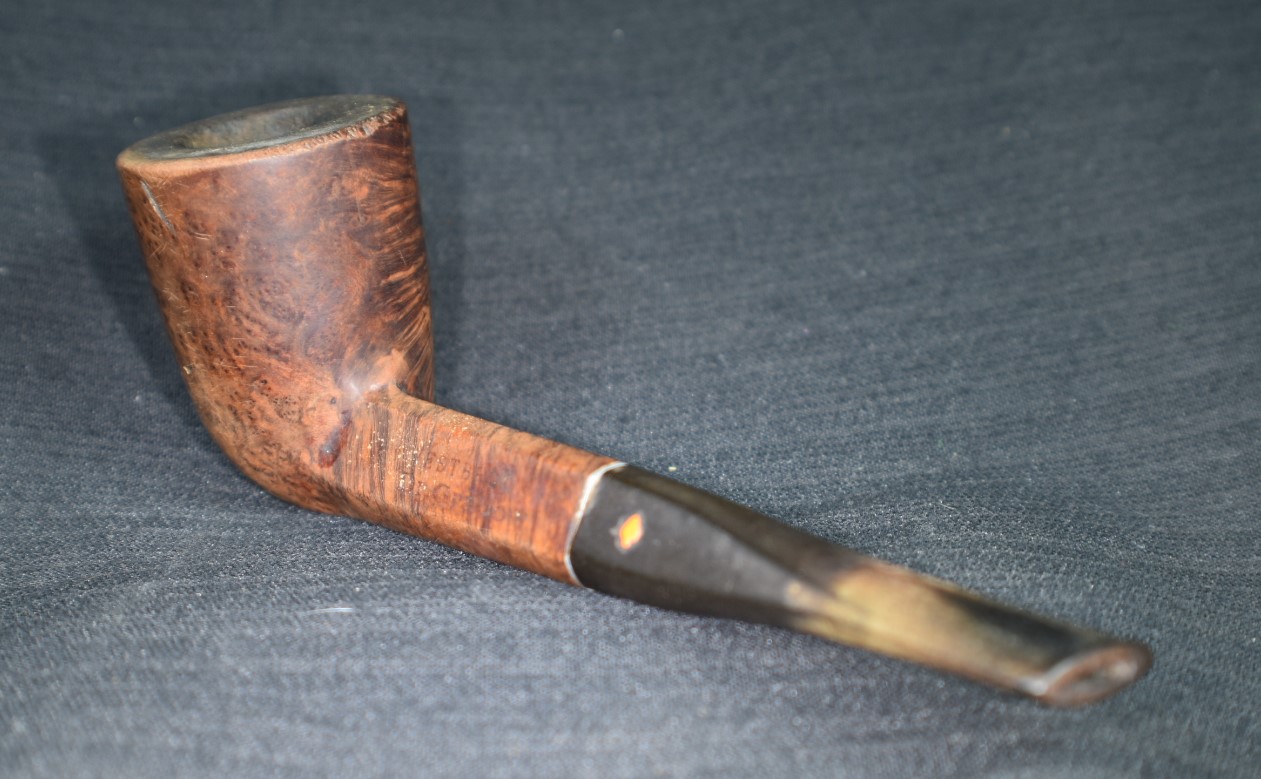
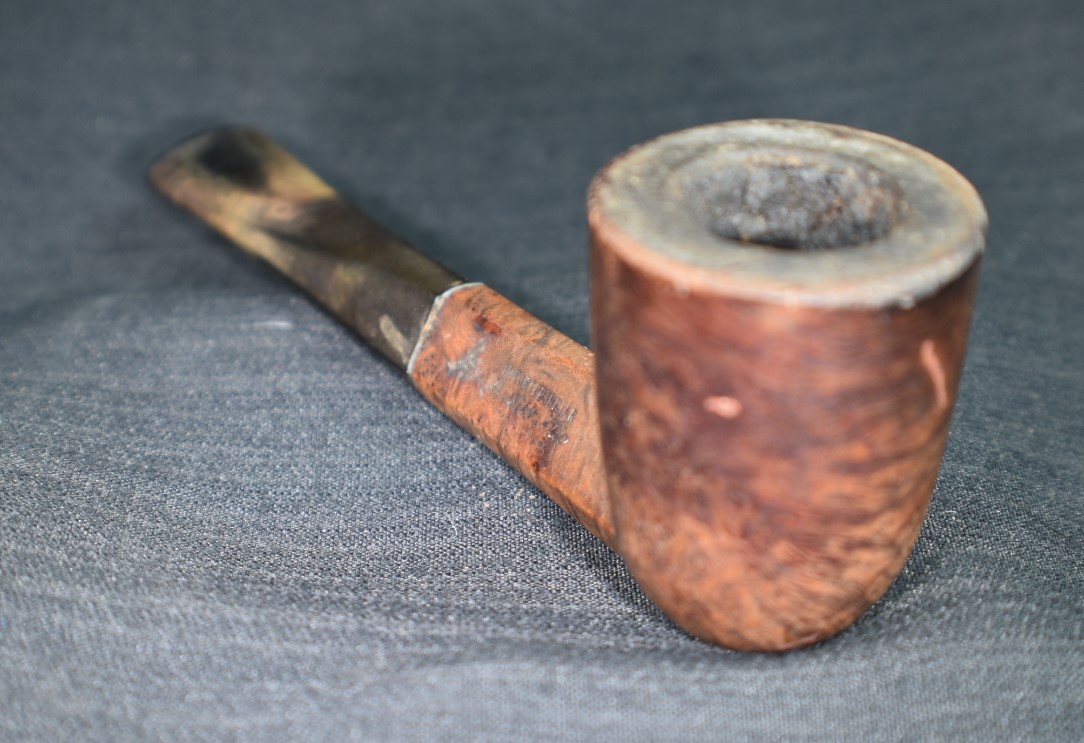
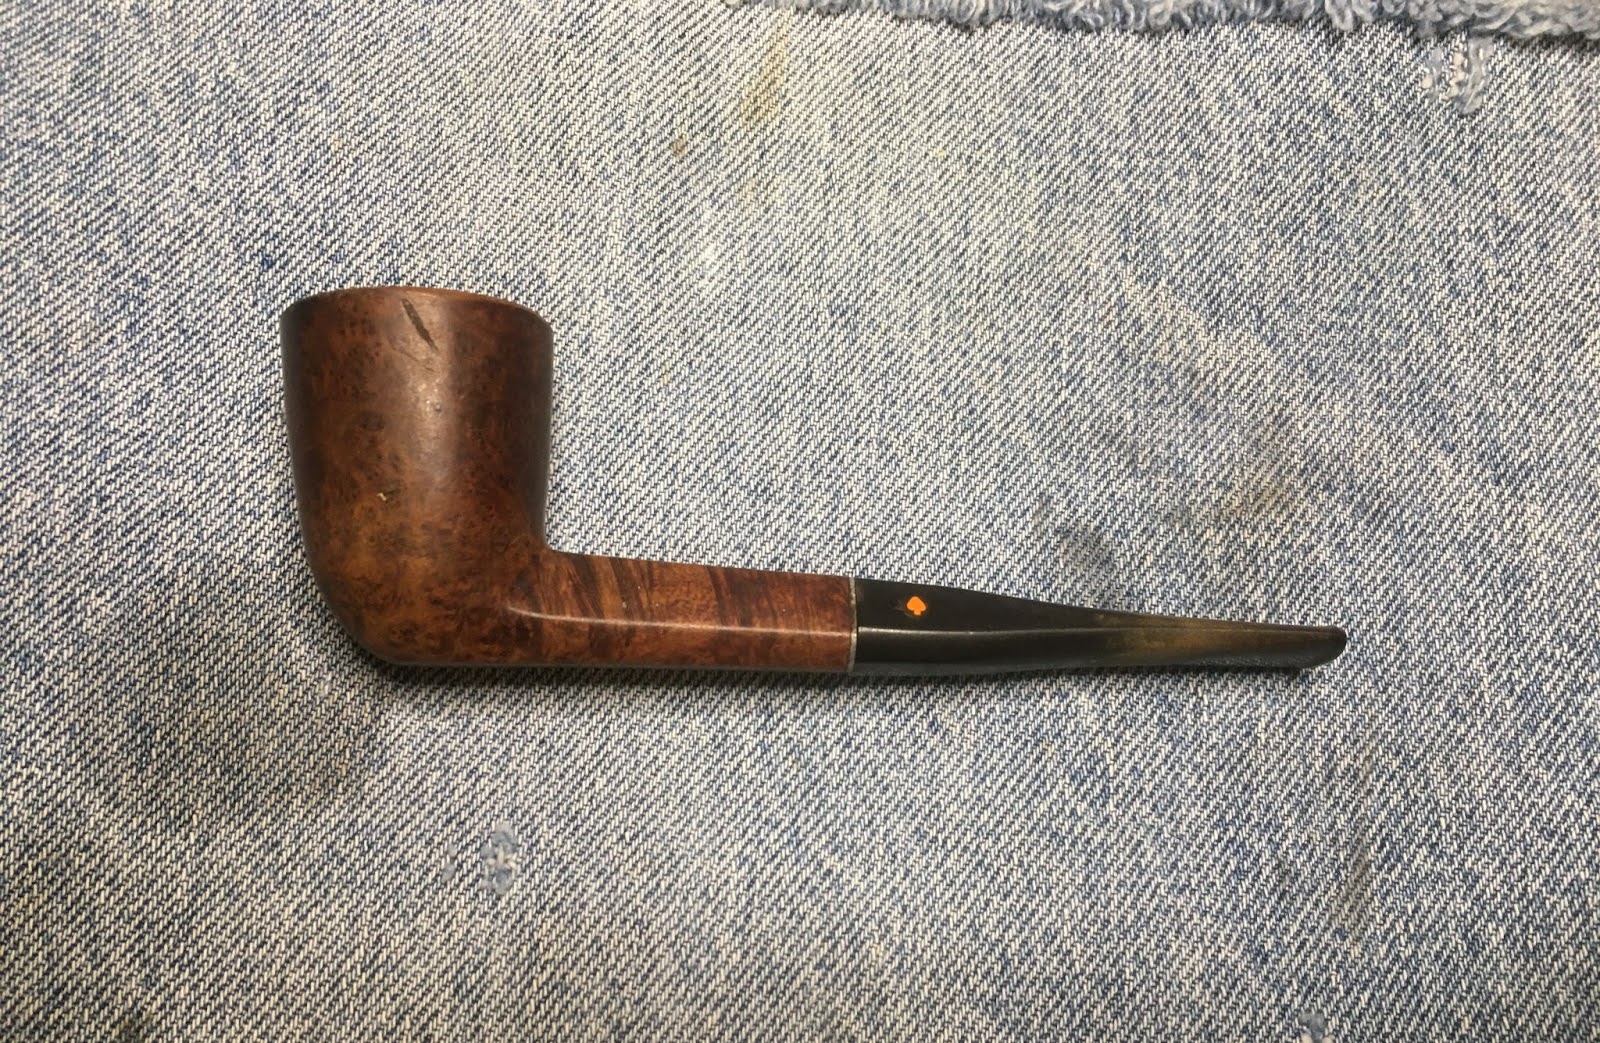
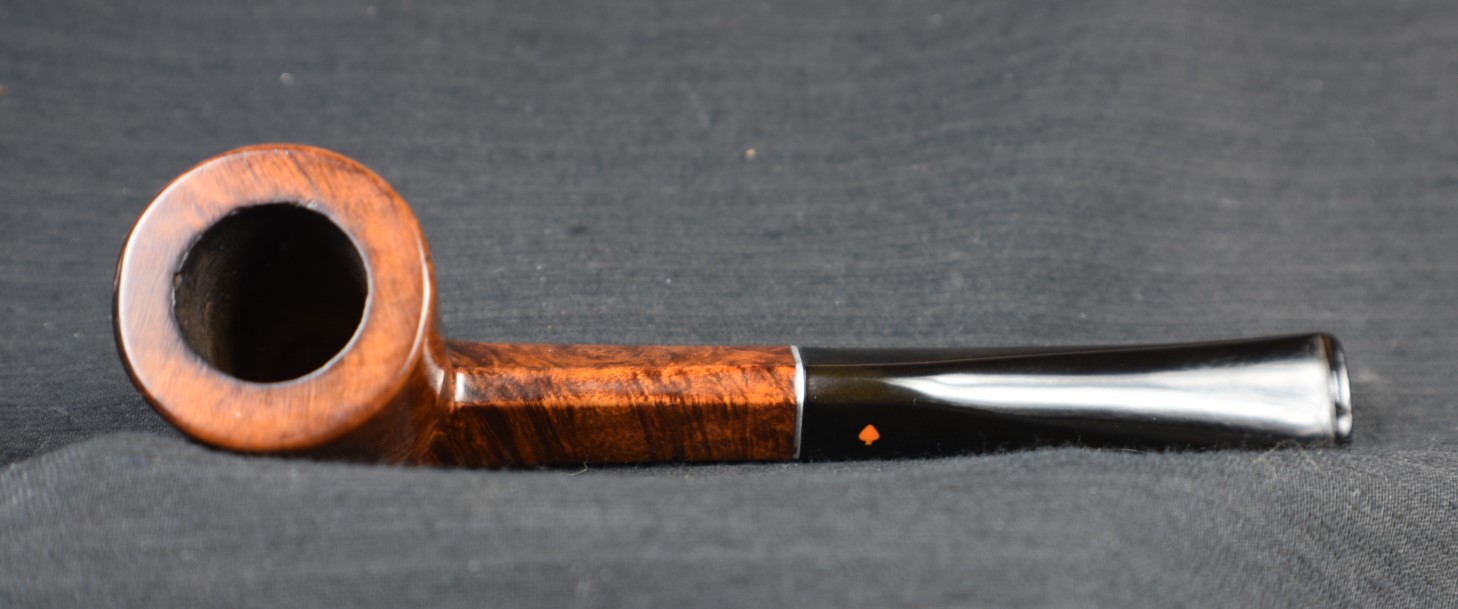
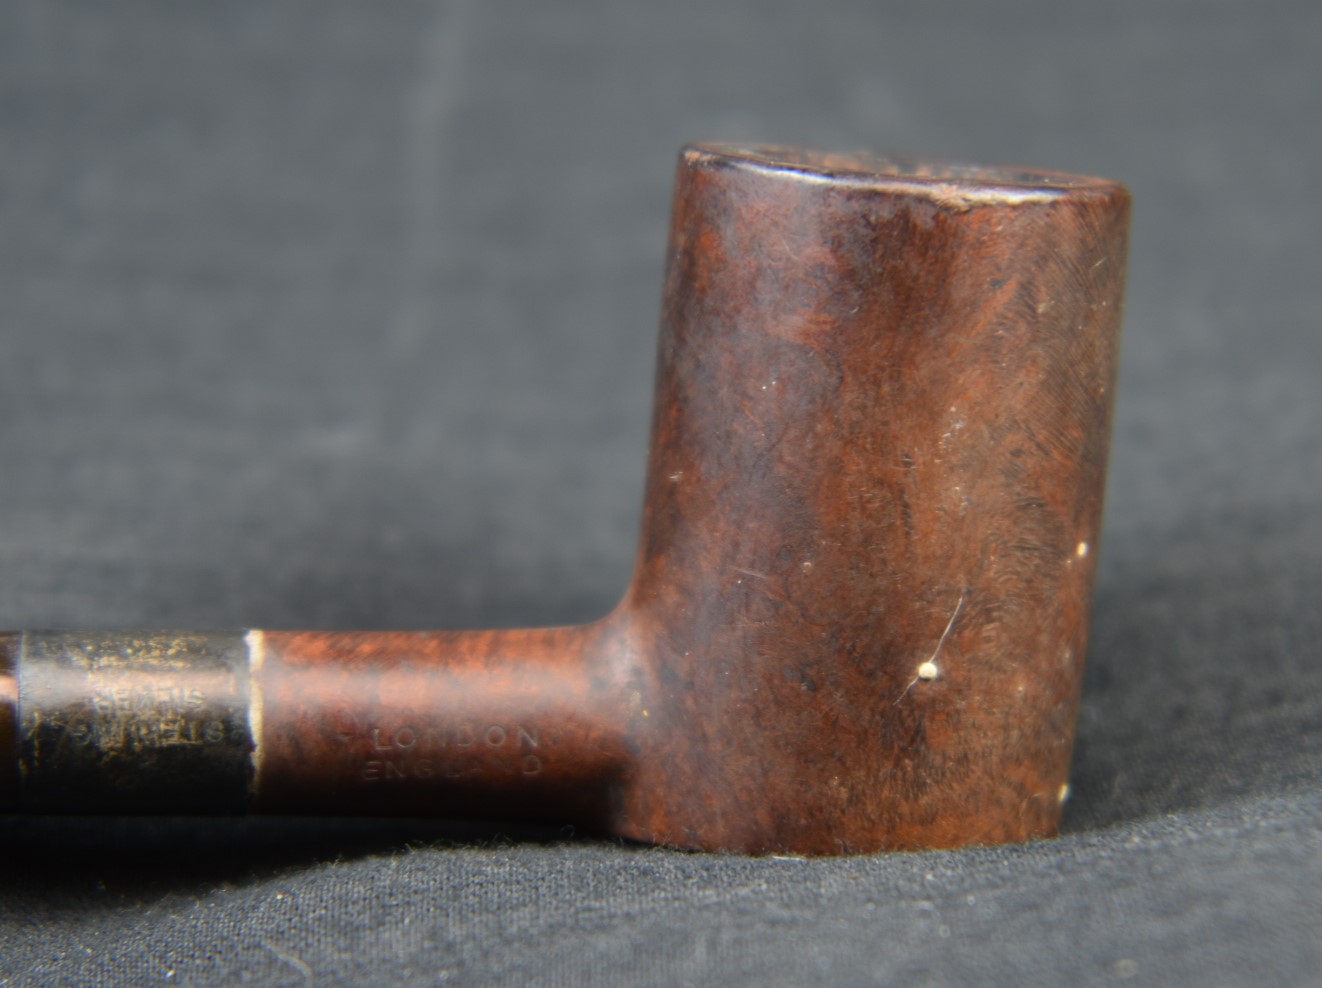
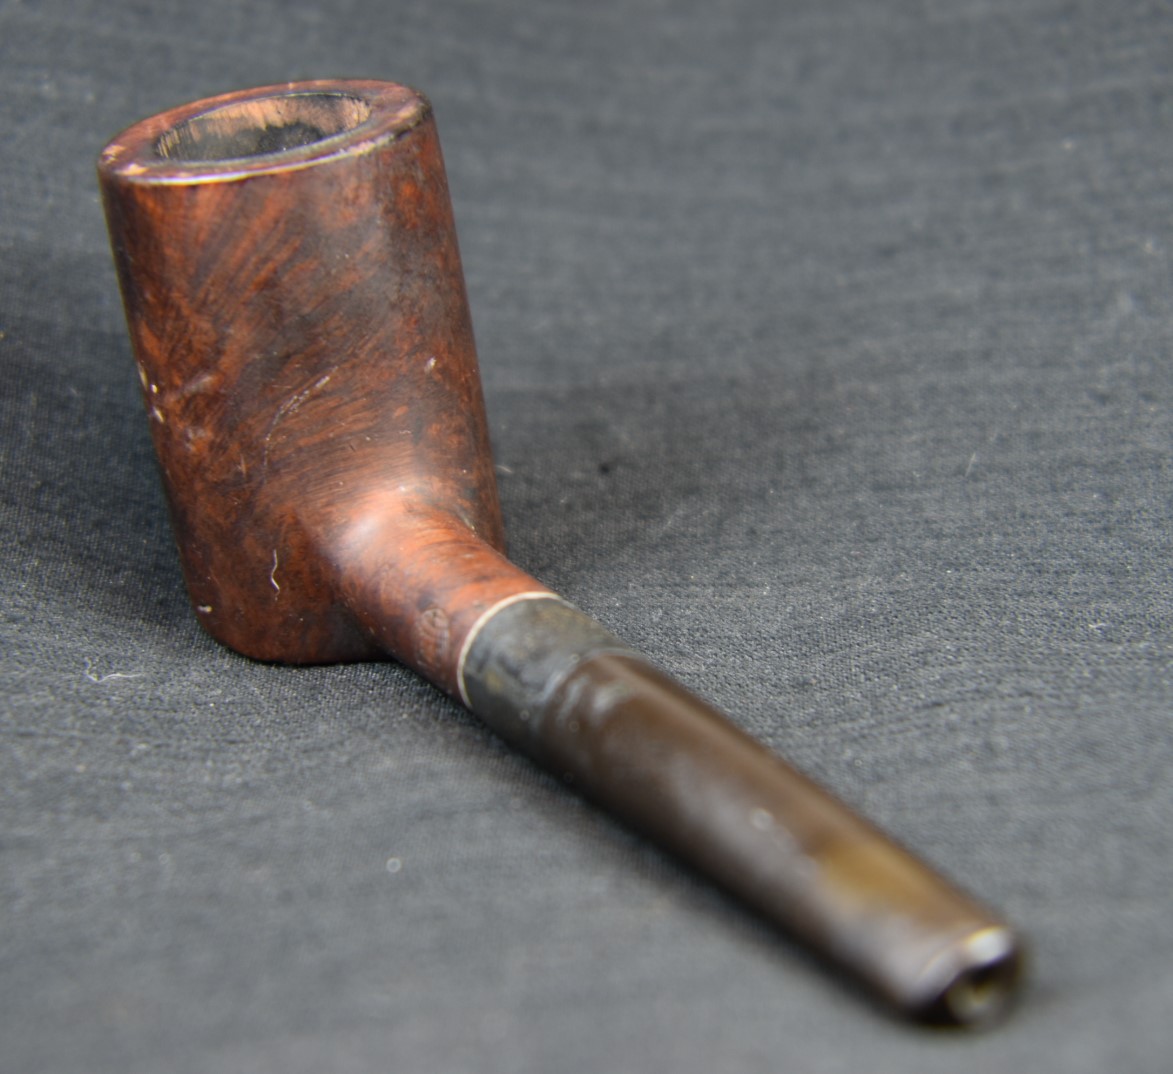
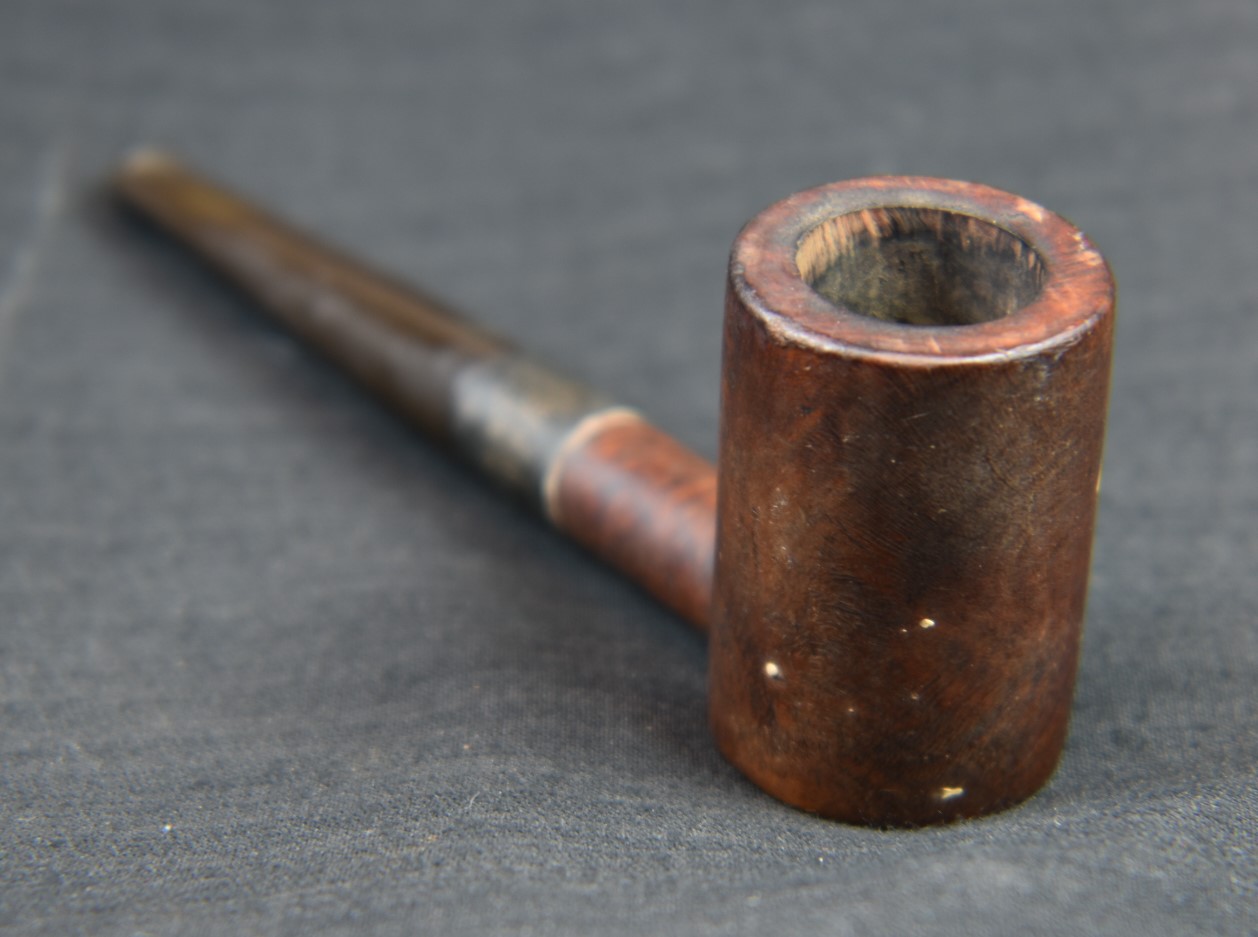
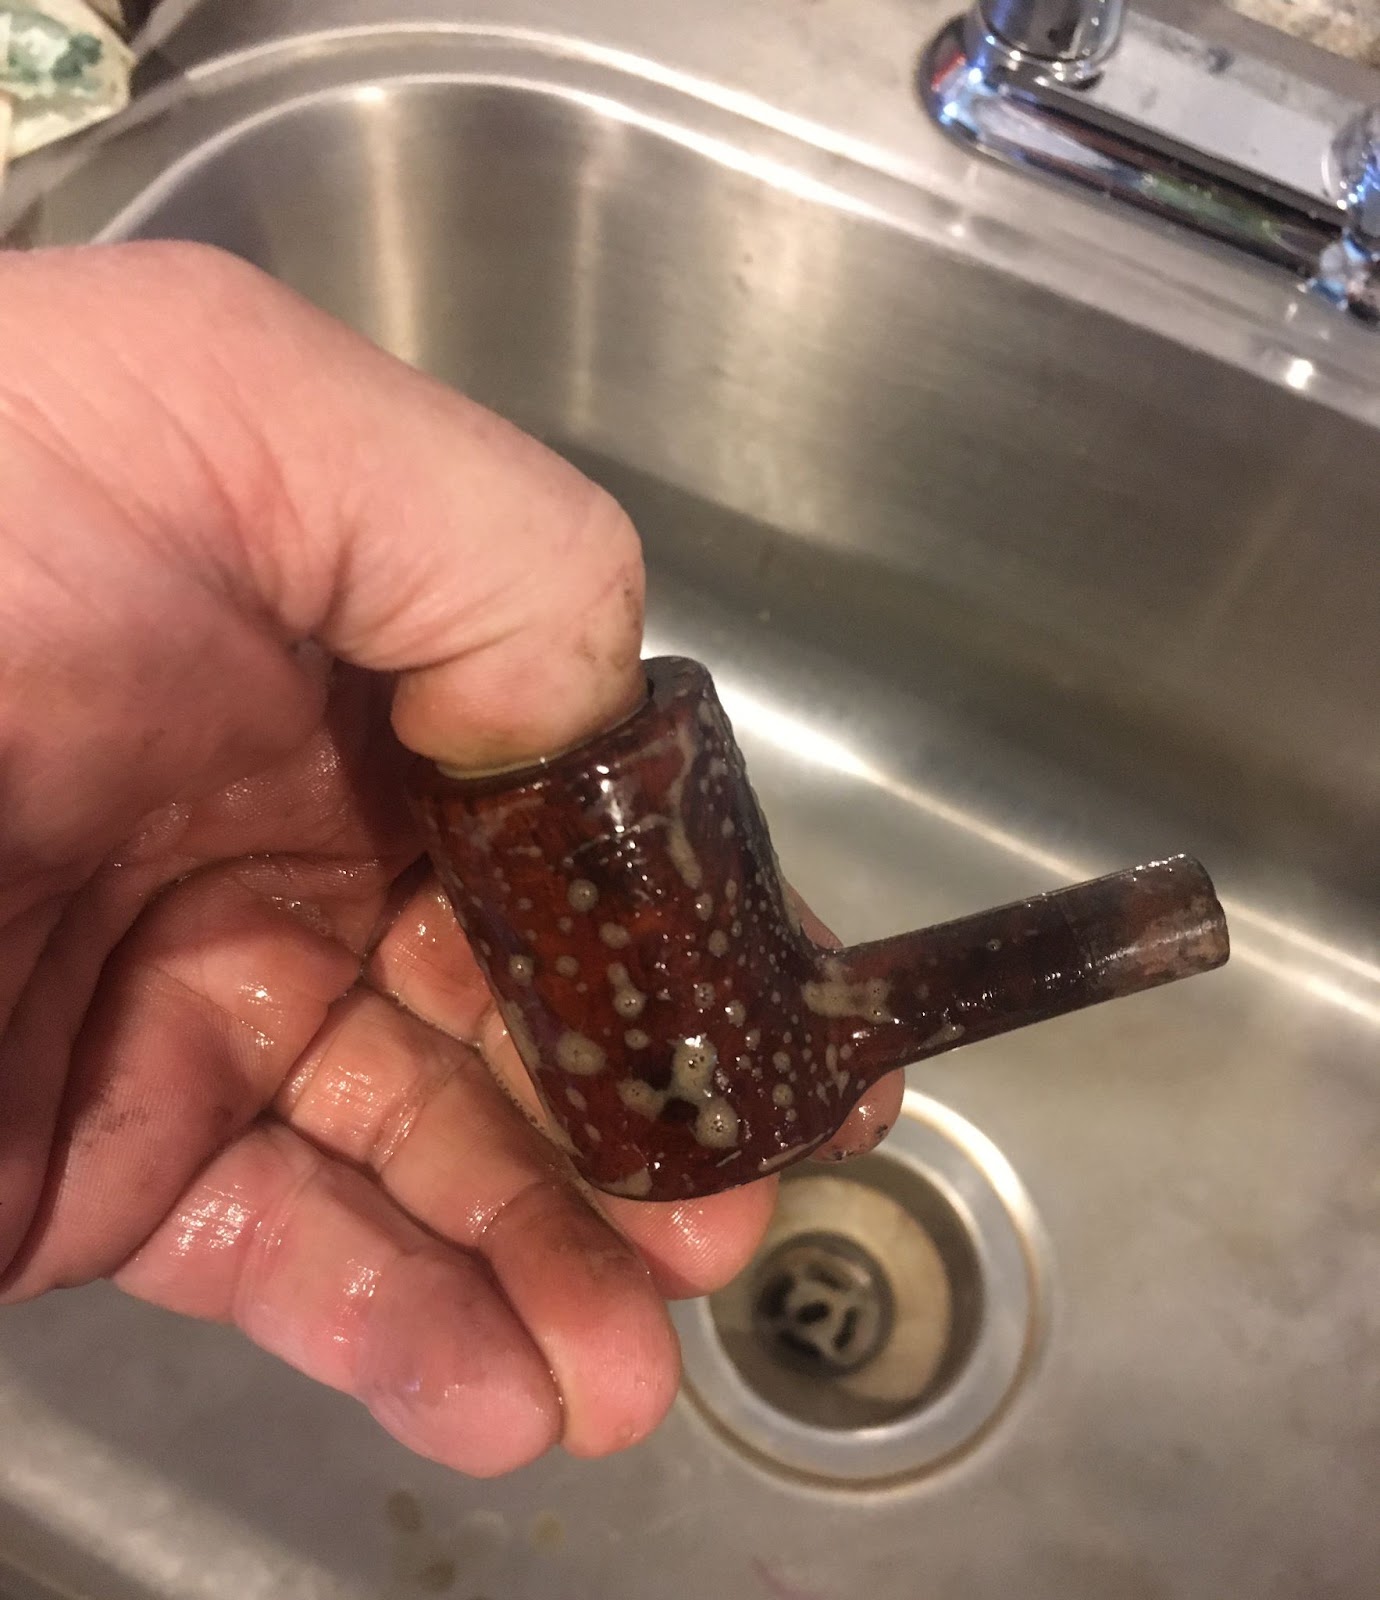
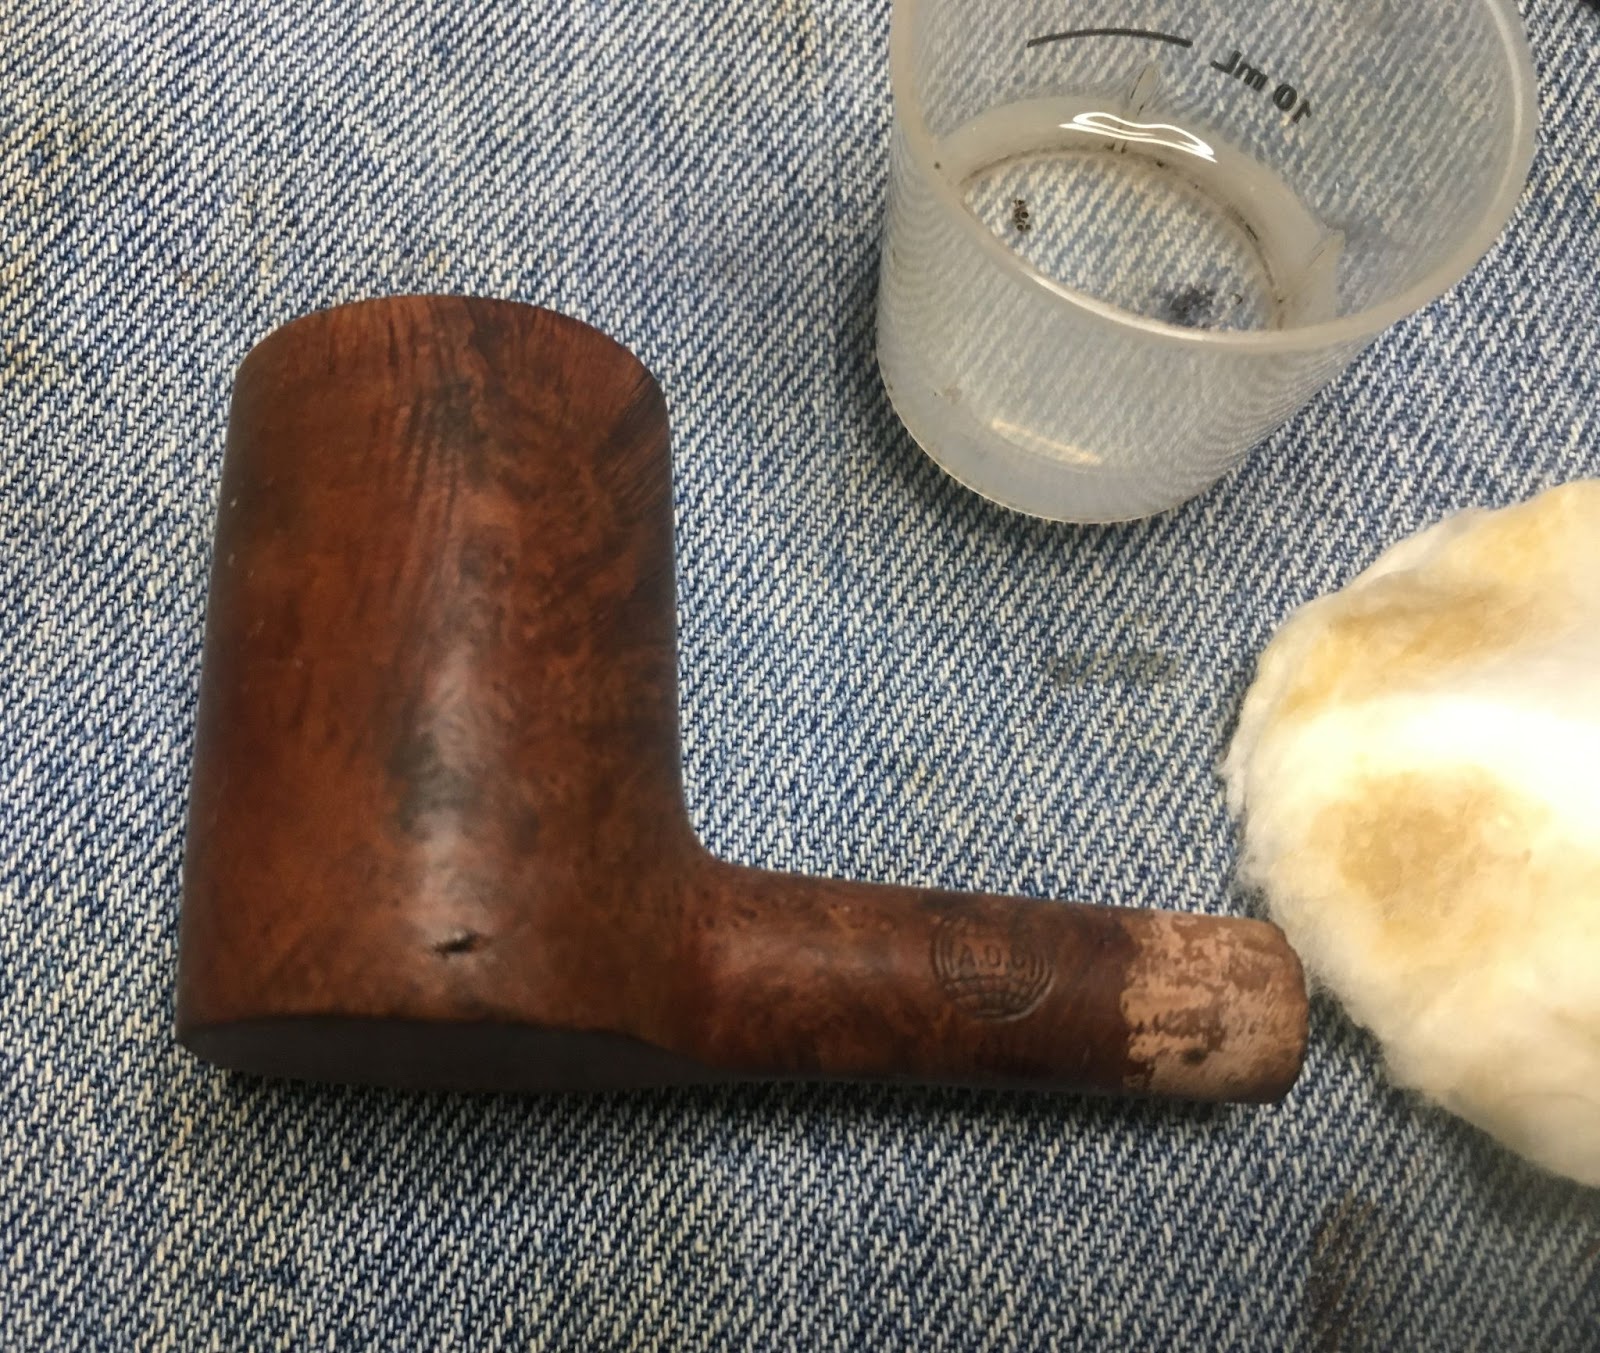
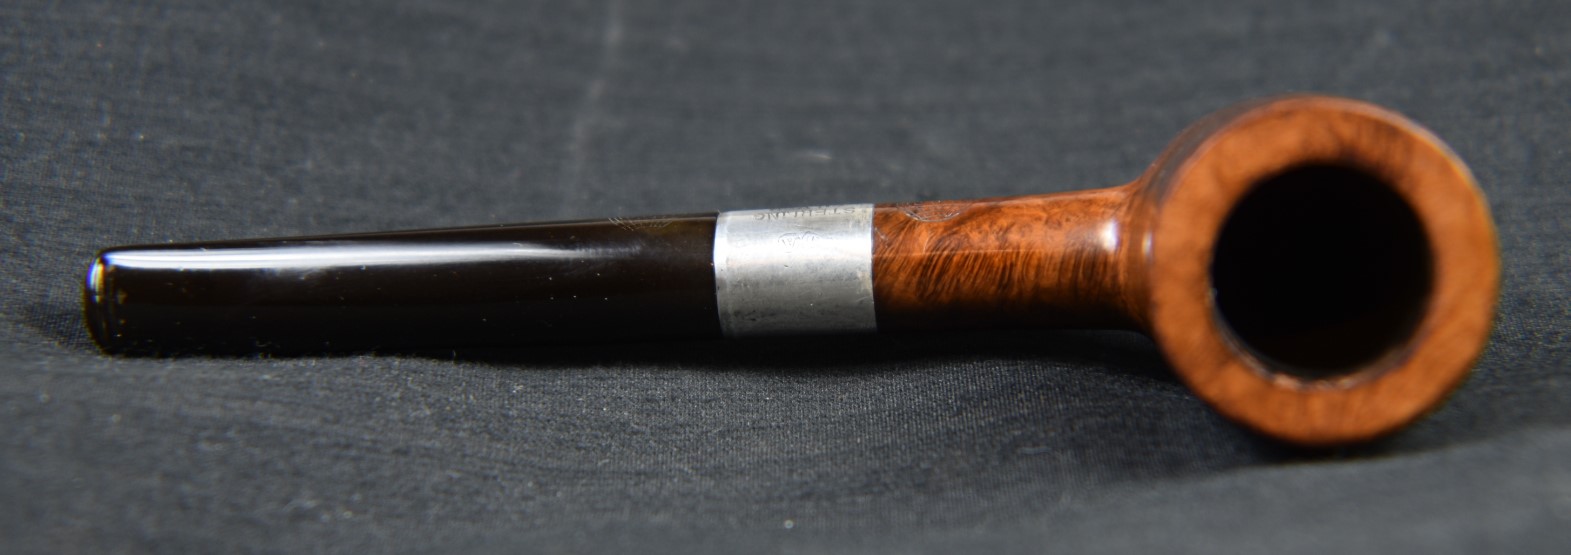
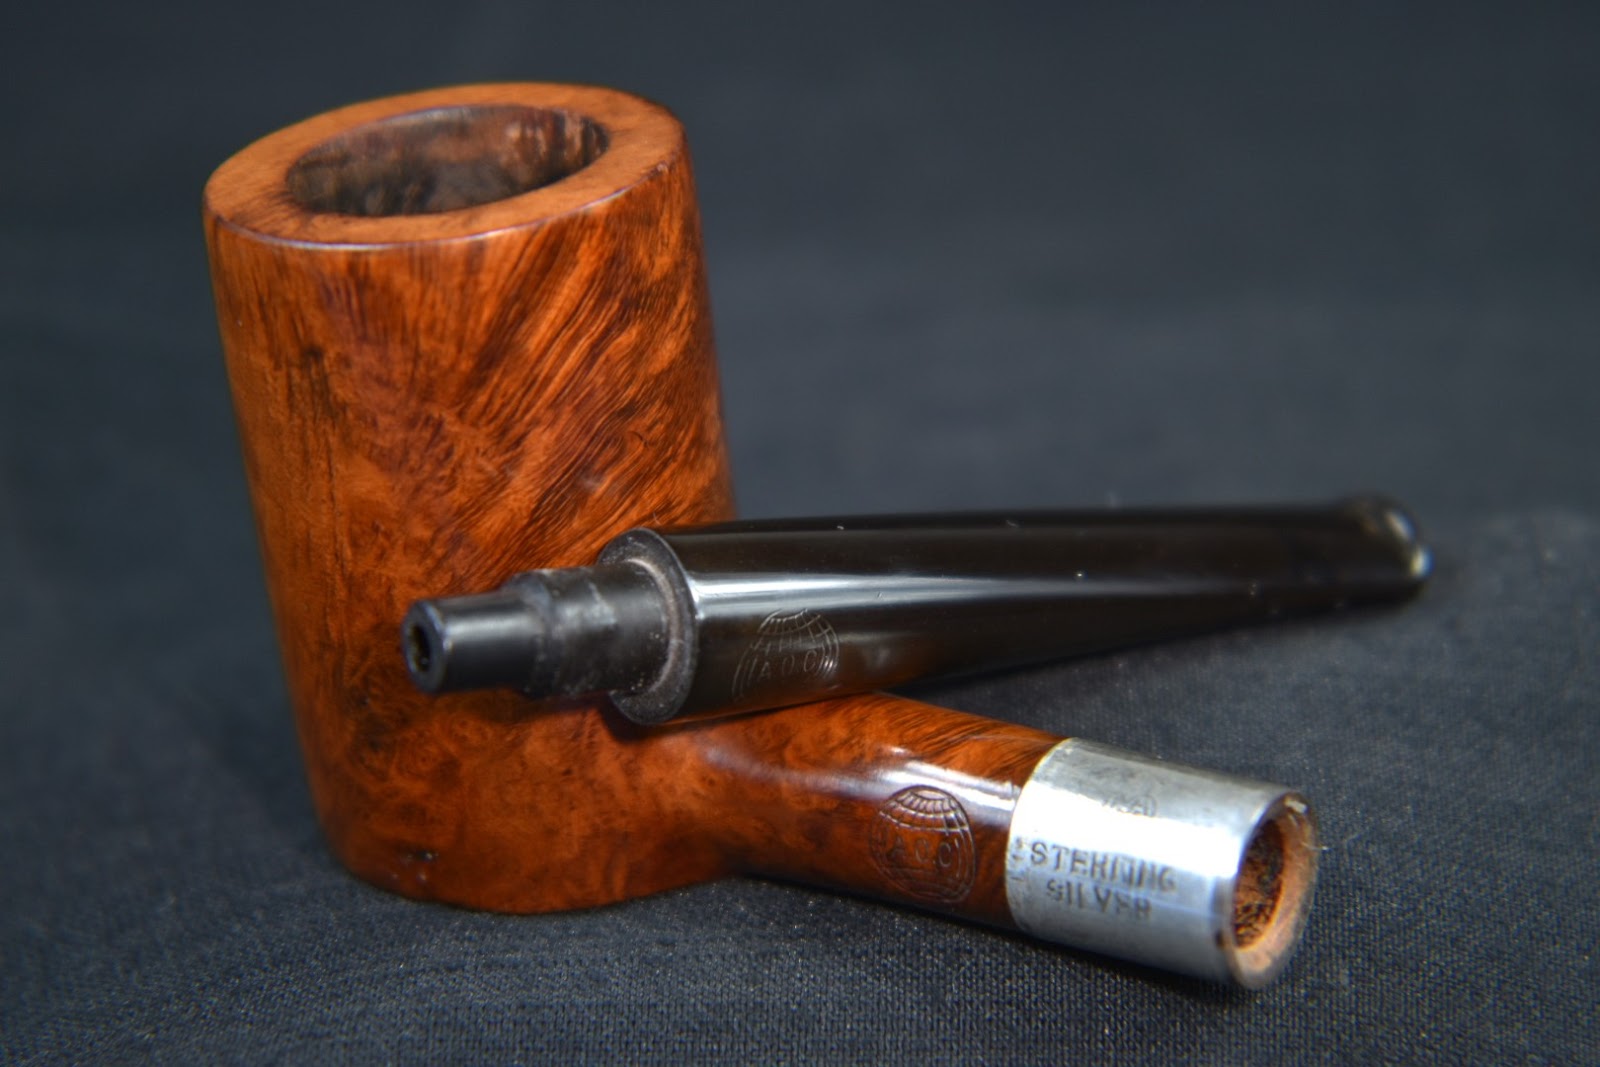
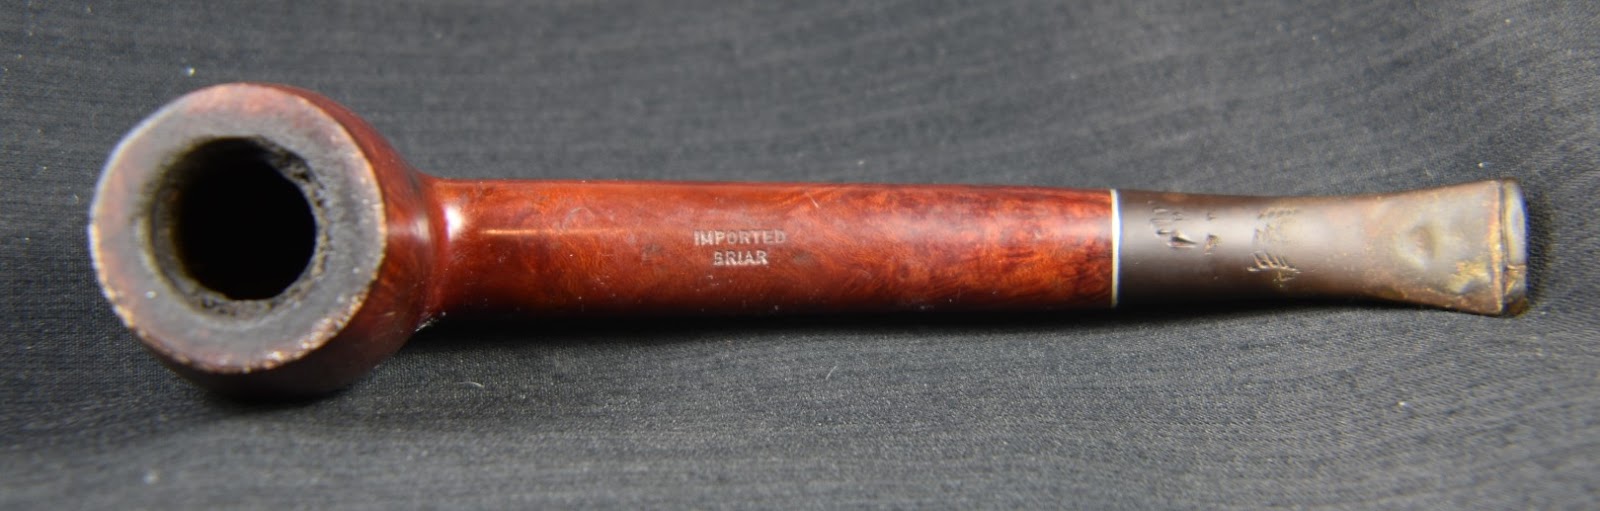
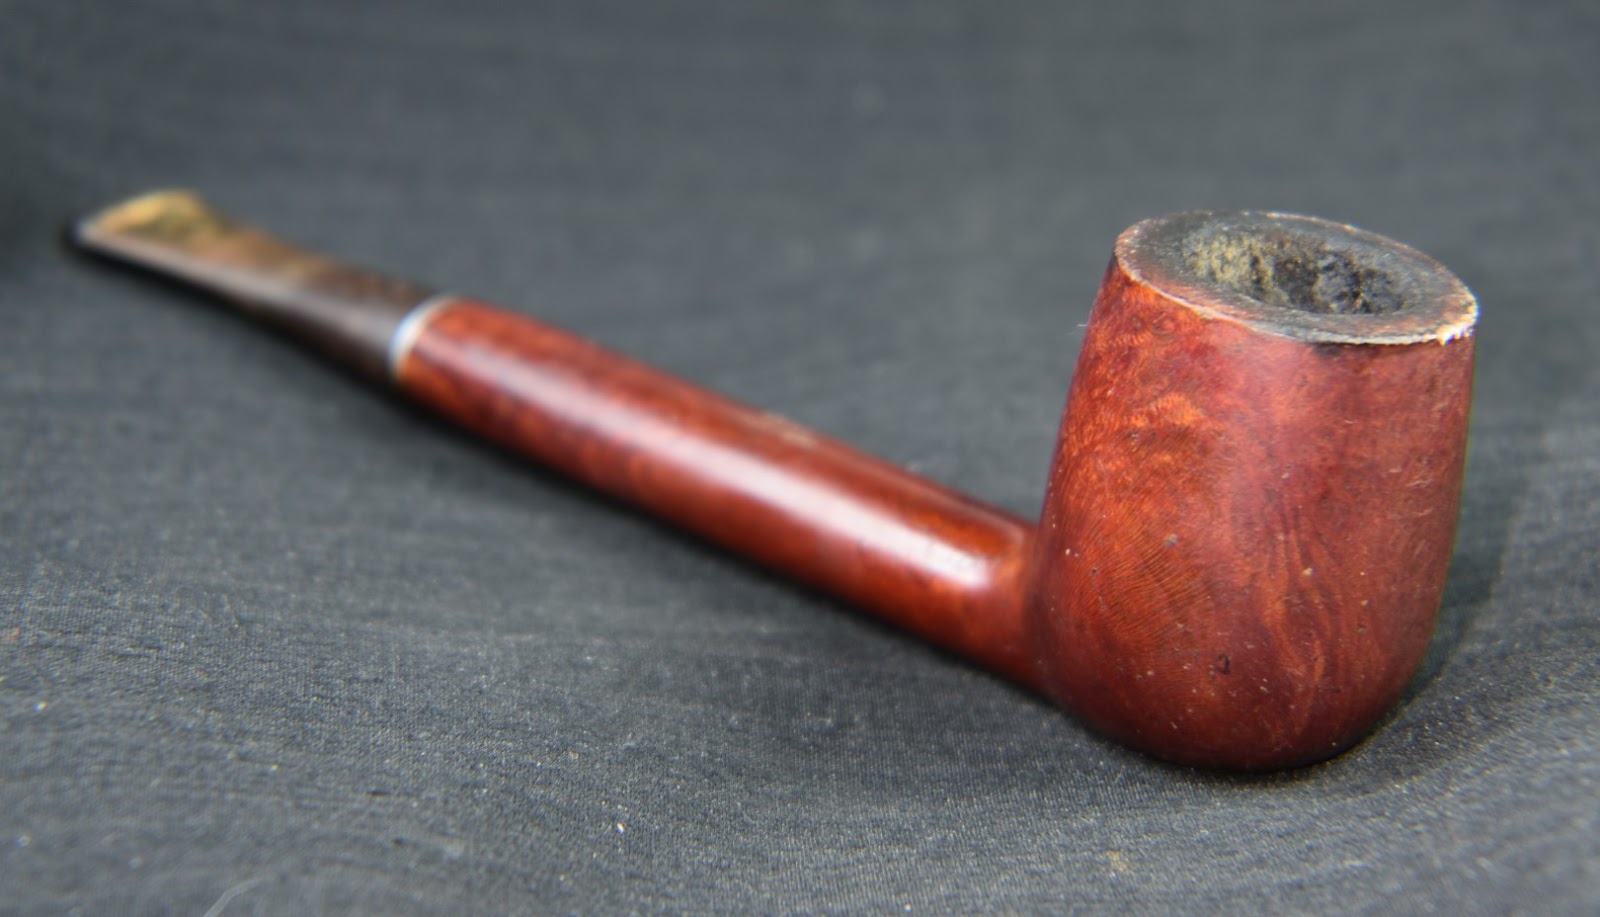
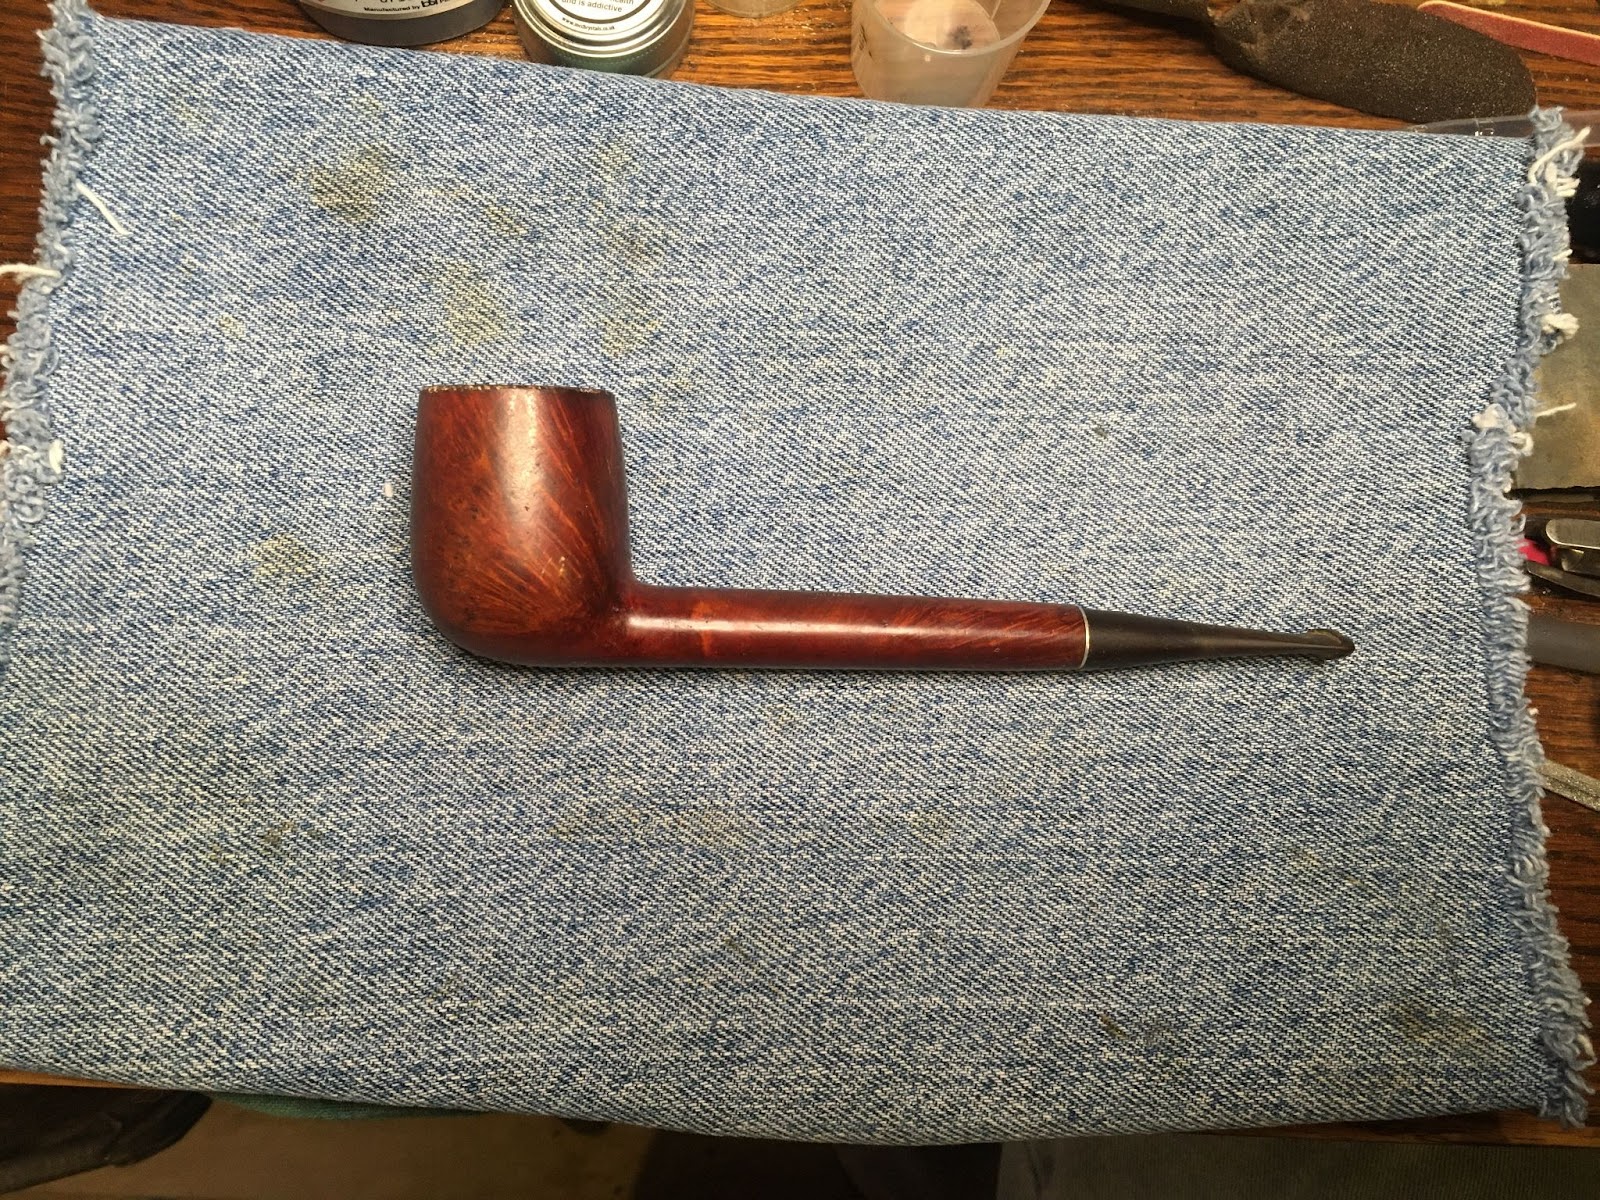
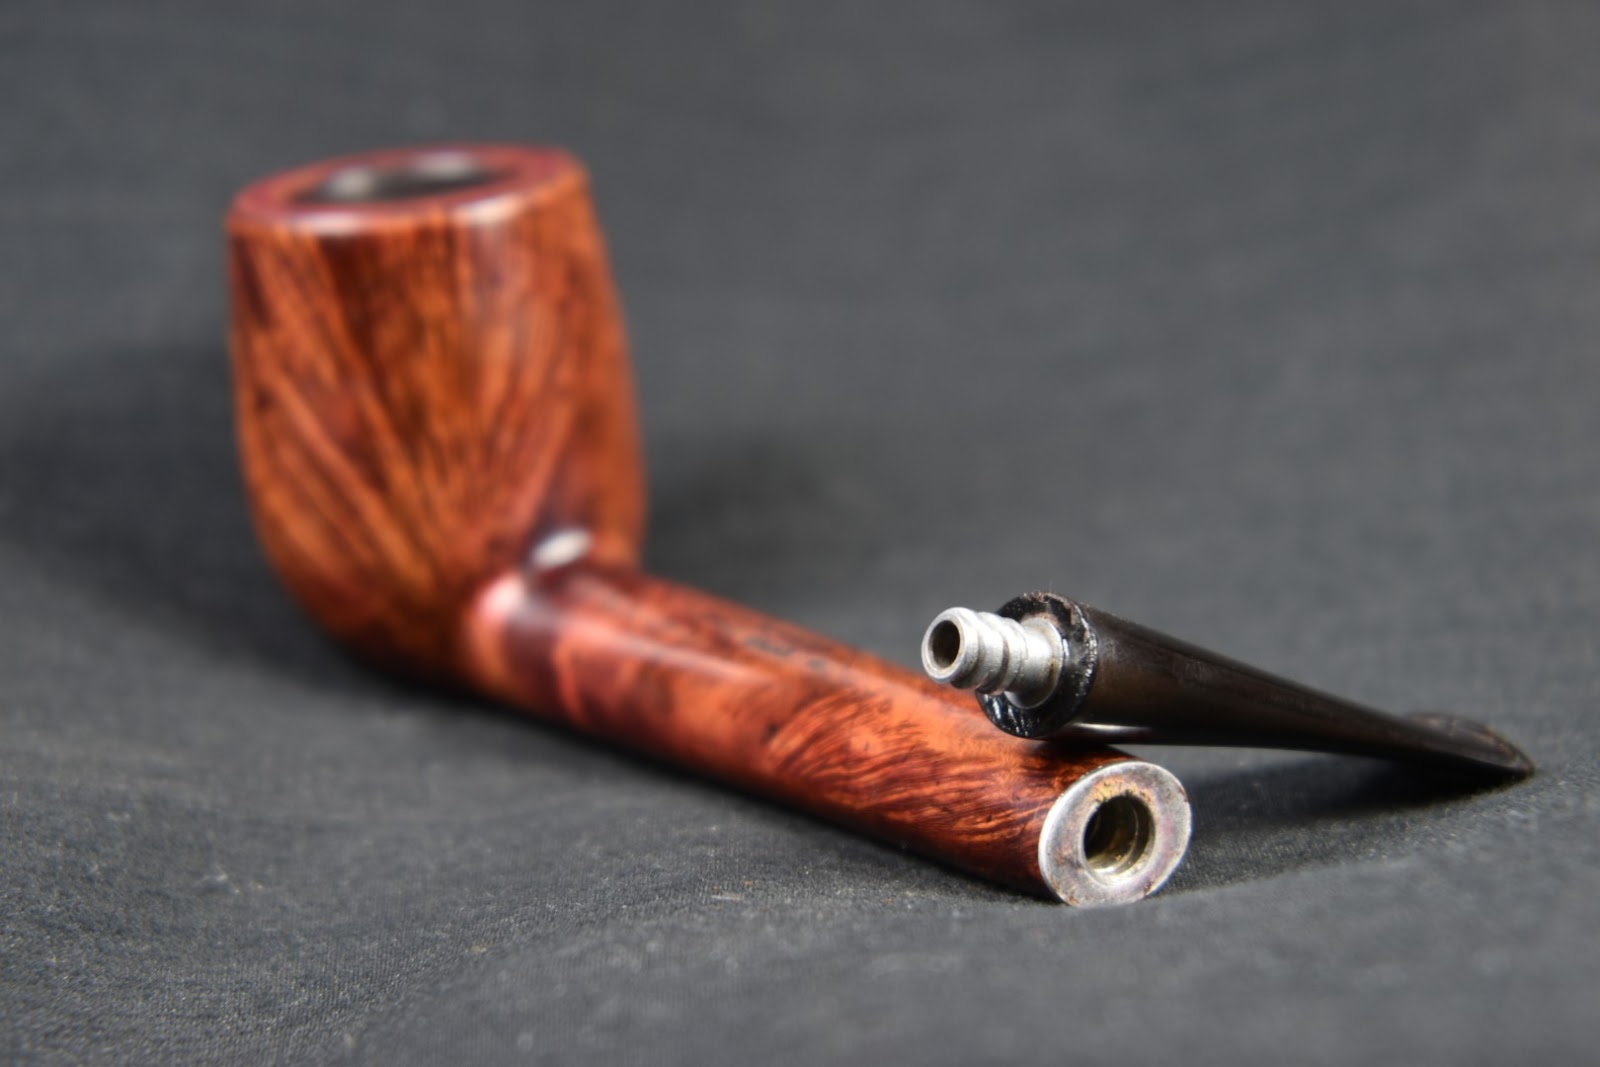
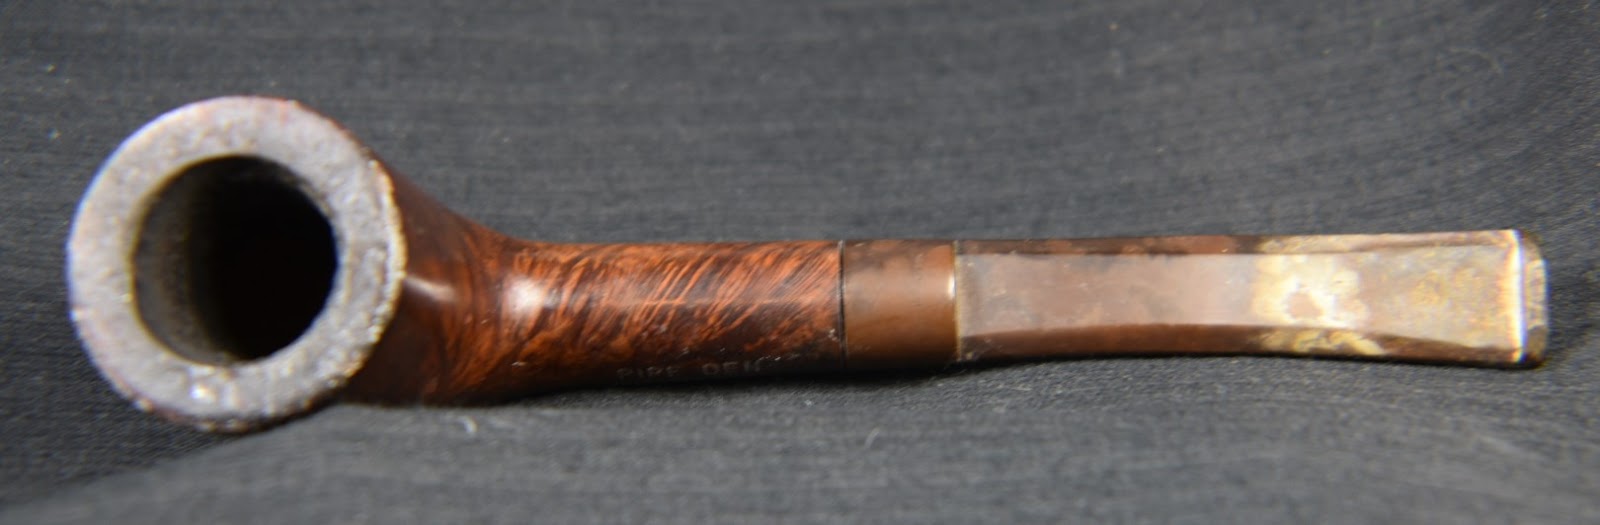
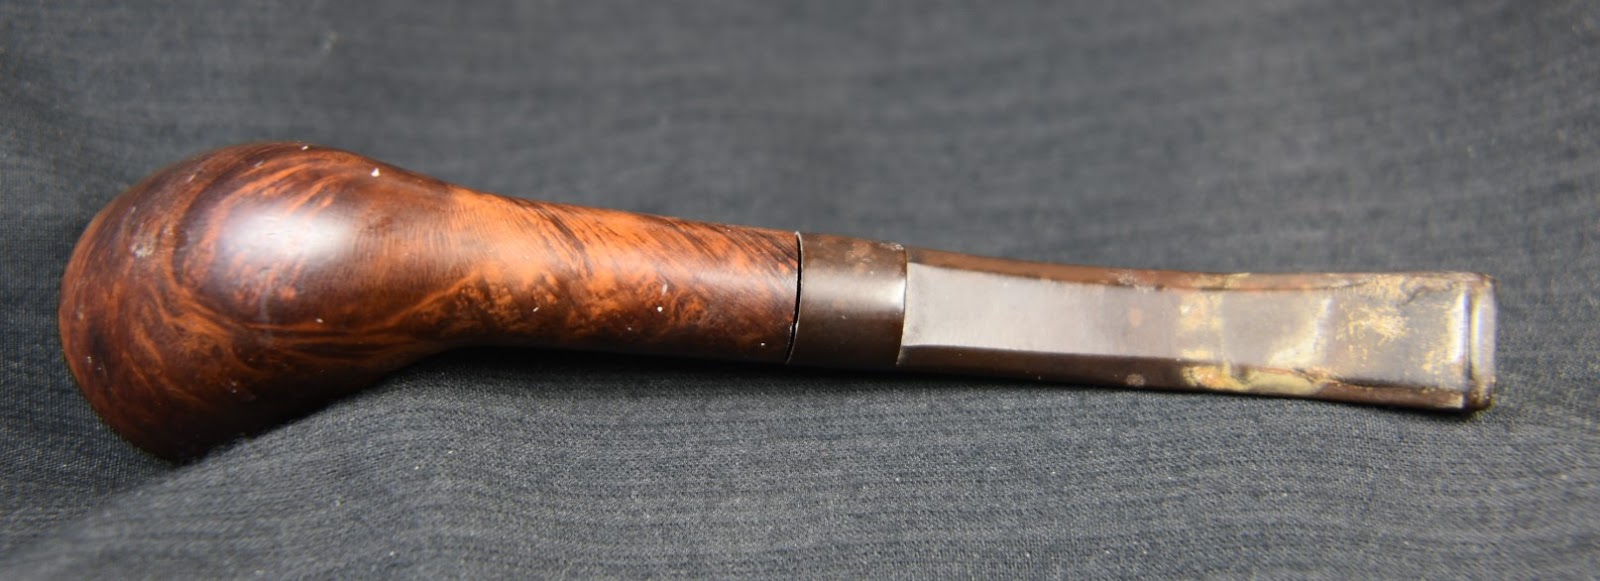
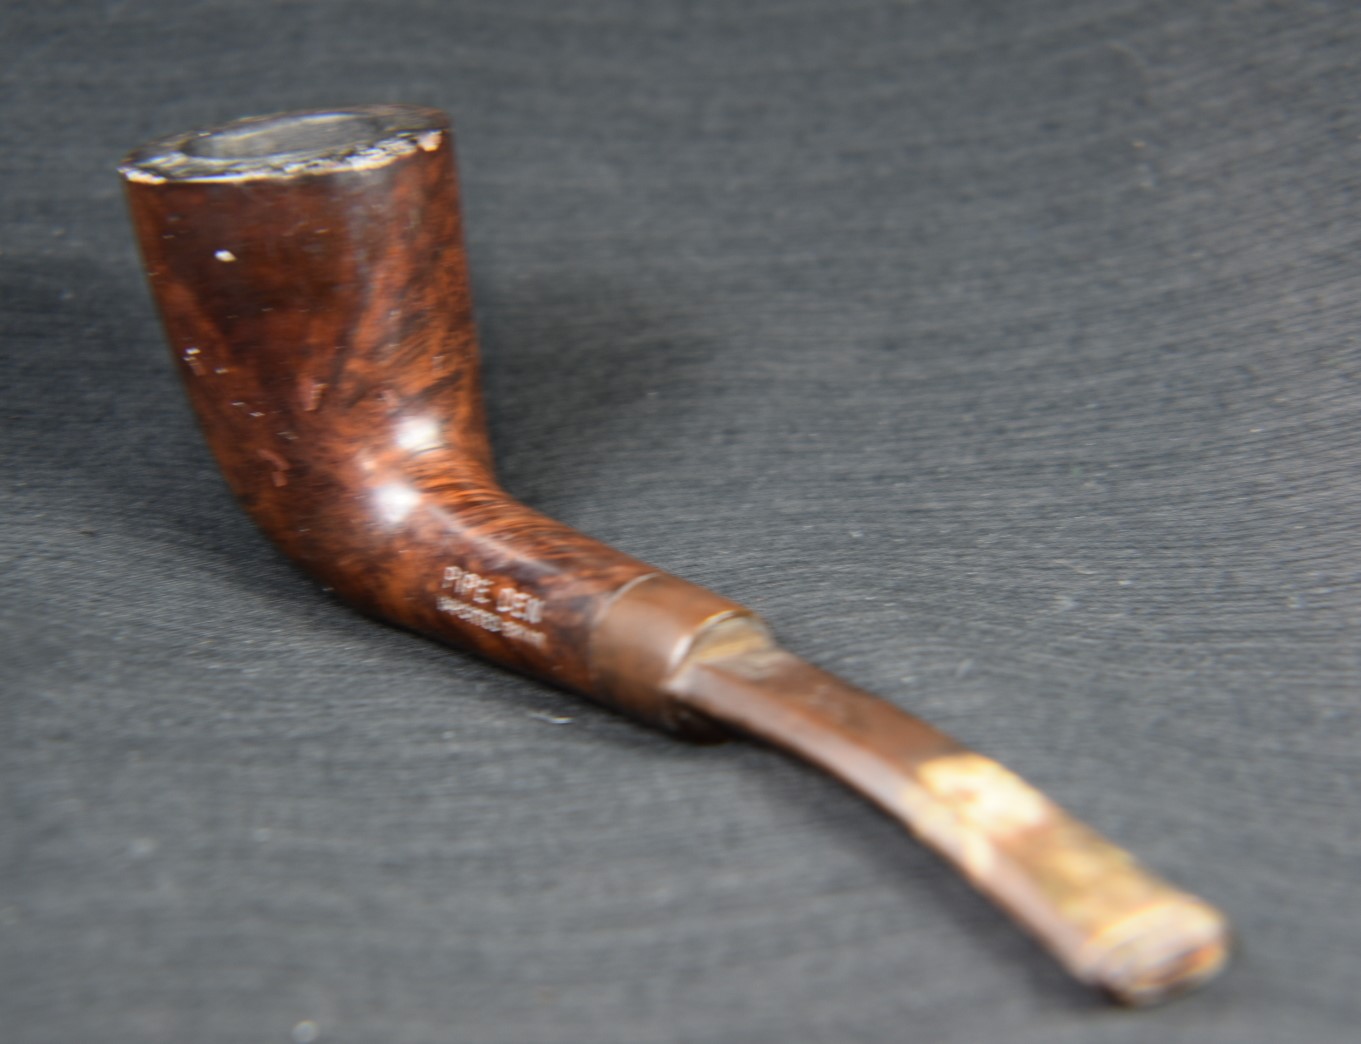
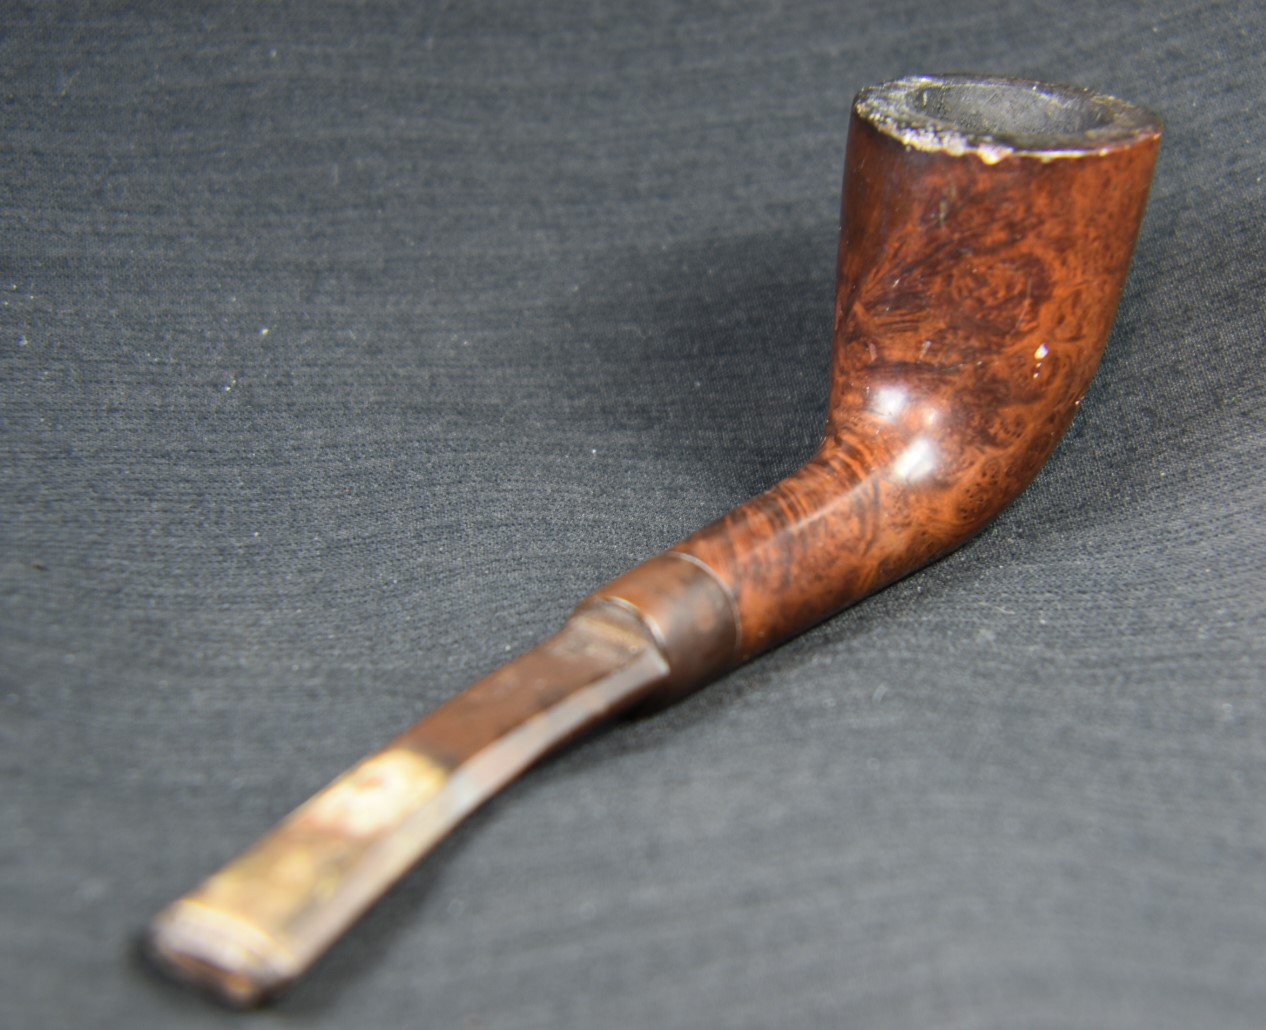
I go through phases. For a while I was hunting for estate pipe lots, then I started targeting individual specimens of interest then back to lots. Currently I am in specific targeting mode again. This one was a targeted acquisition from eBay. It made the journey from Fleming Island Florida to the wilds of southeast Nebraska and looked to be in very good condition after the travels. Here are some photos of the Chesterfield before any work had been done.


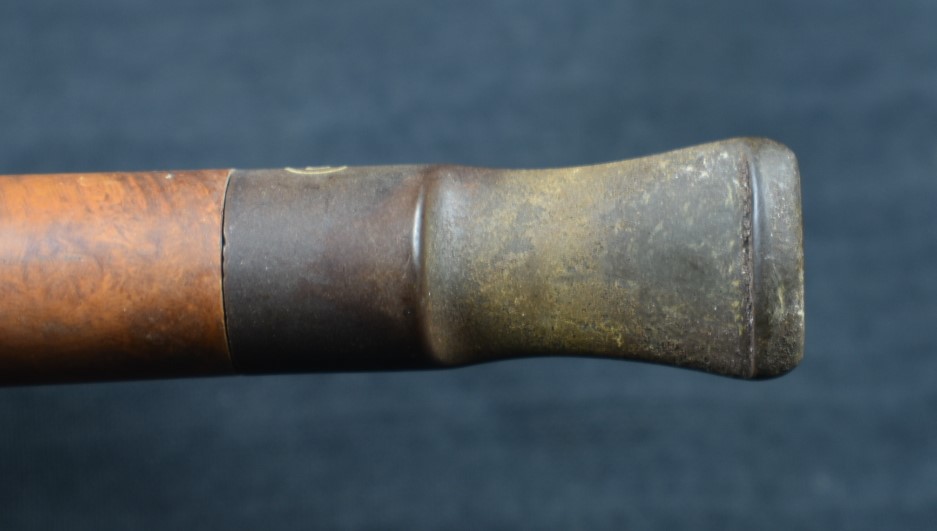
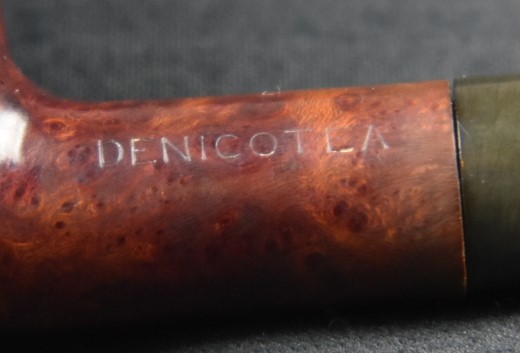
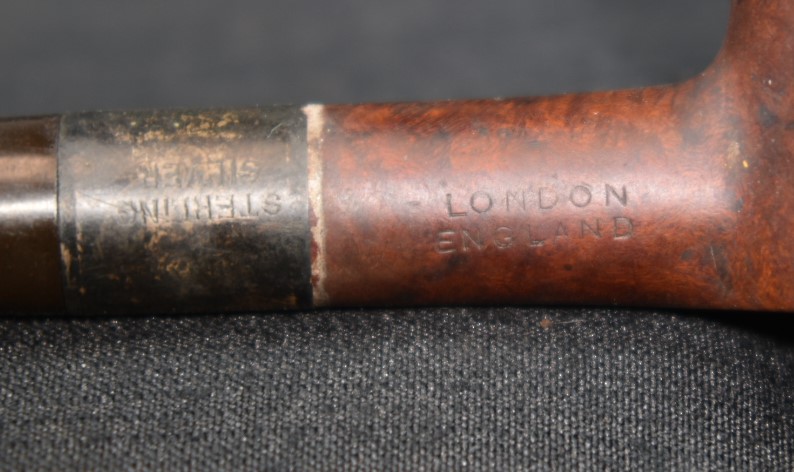
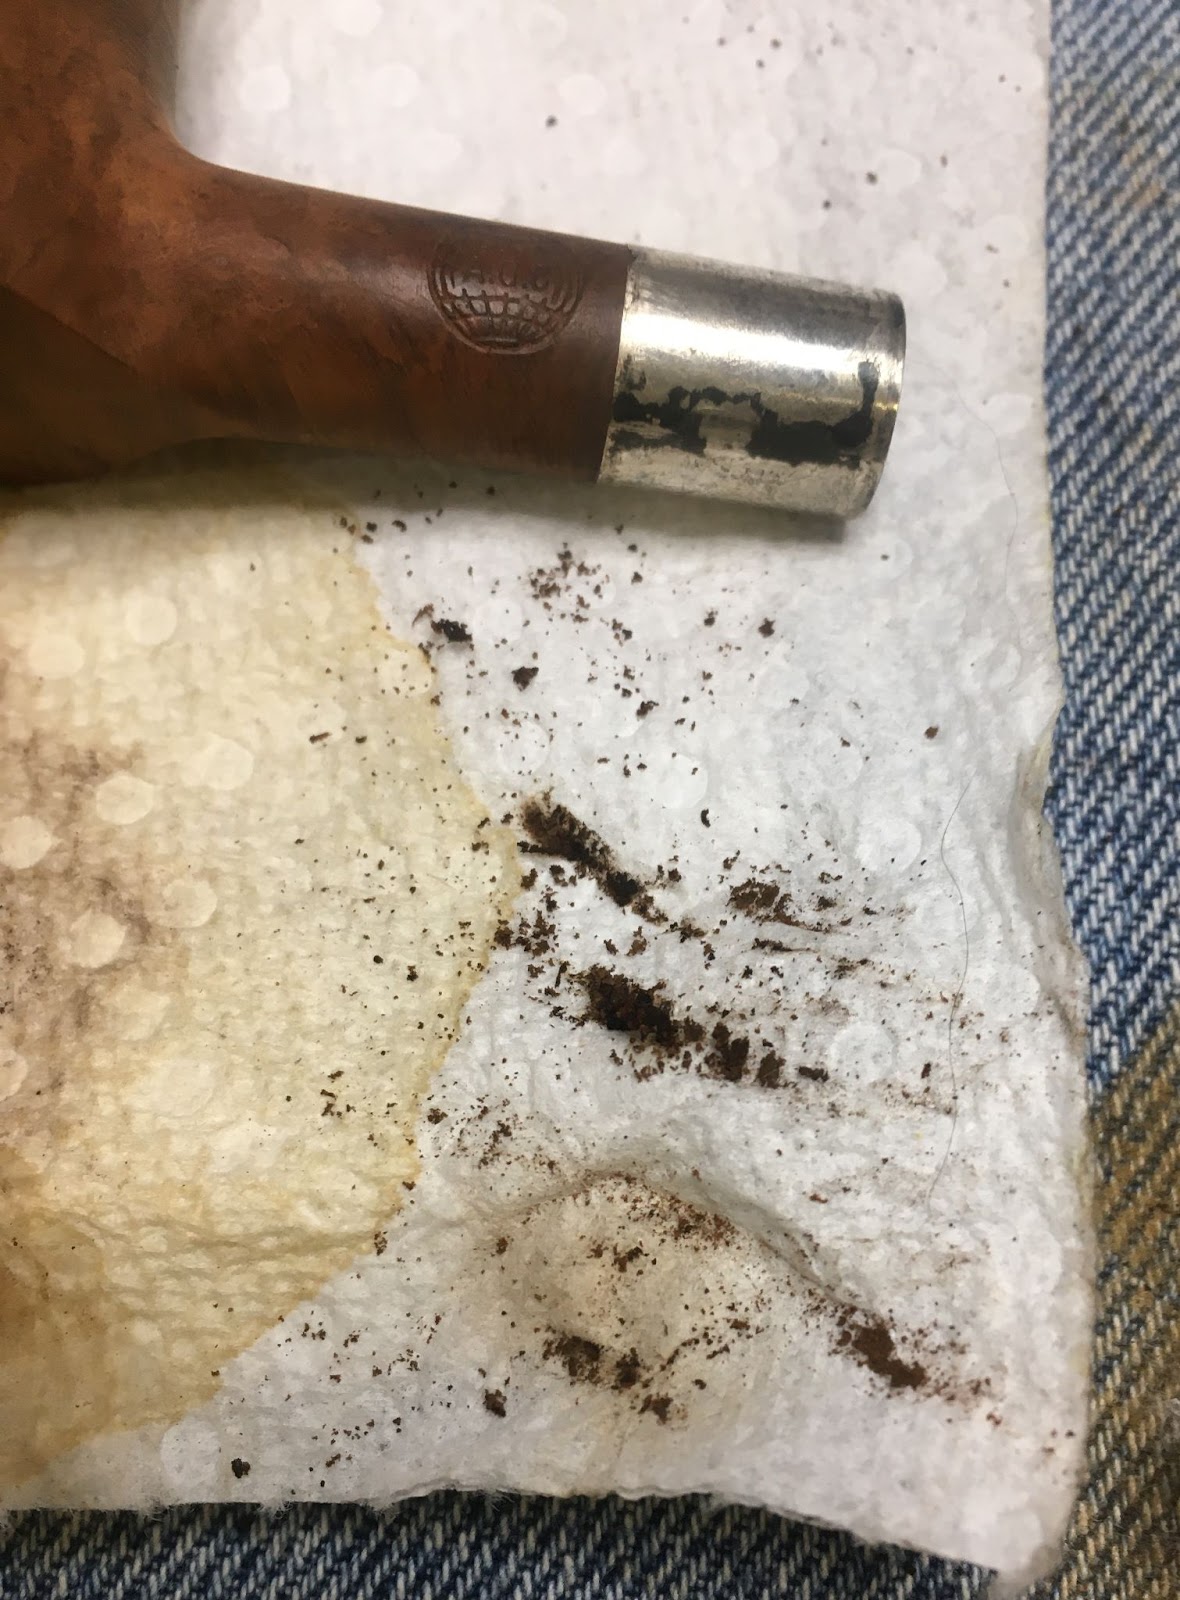
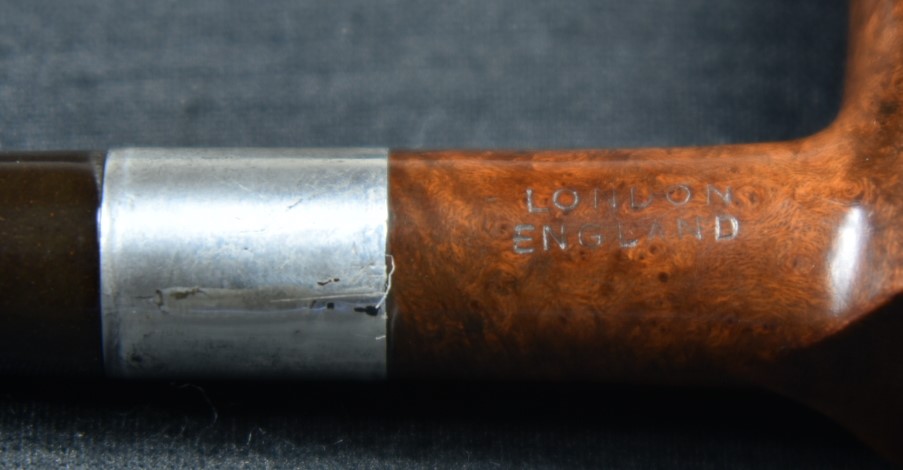
Bah, they even lacquered the aluminum collar. Stupid clear coat.

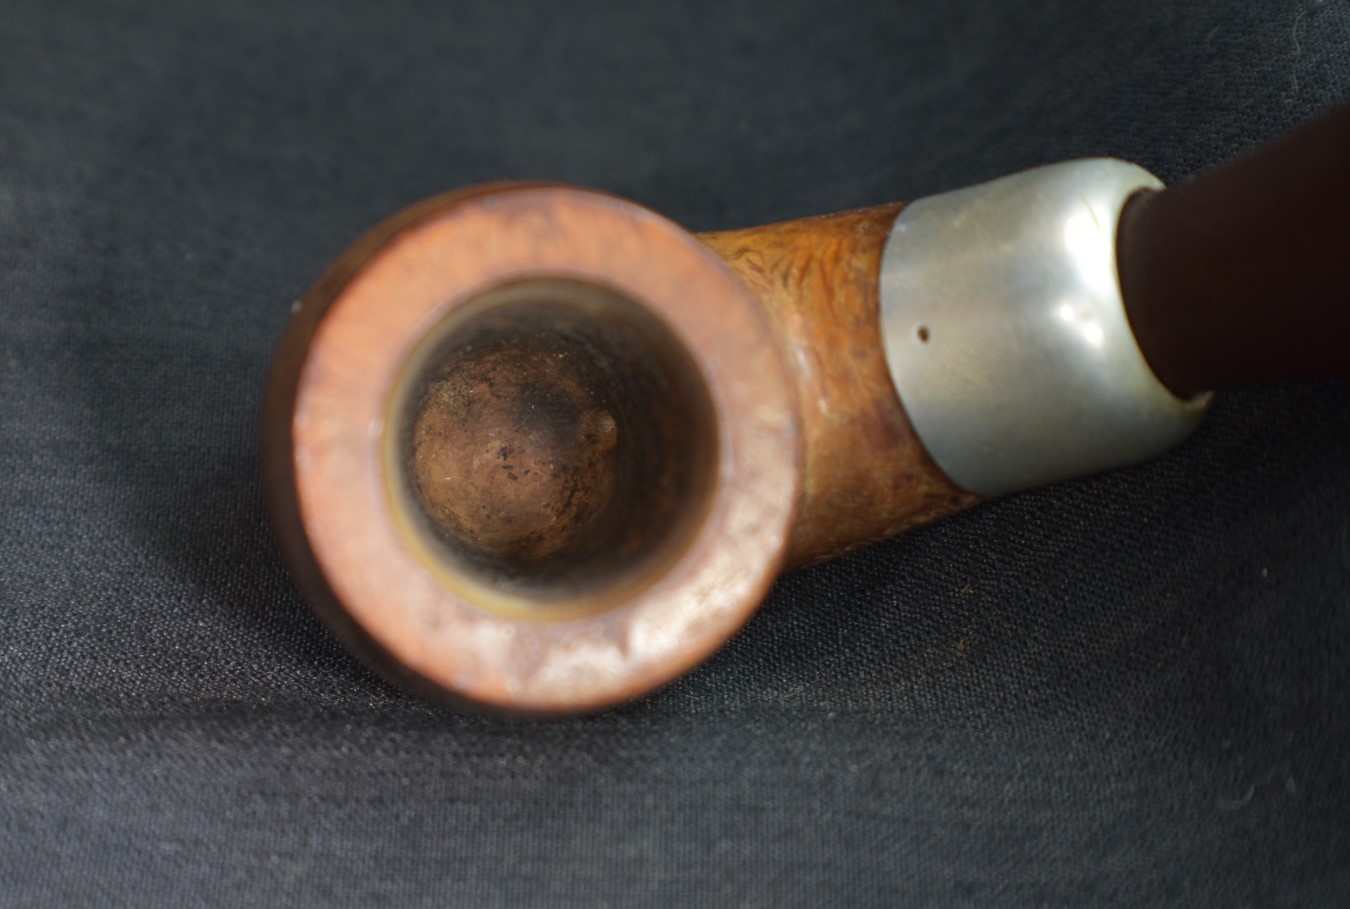


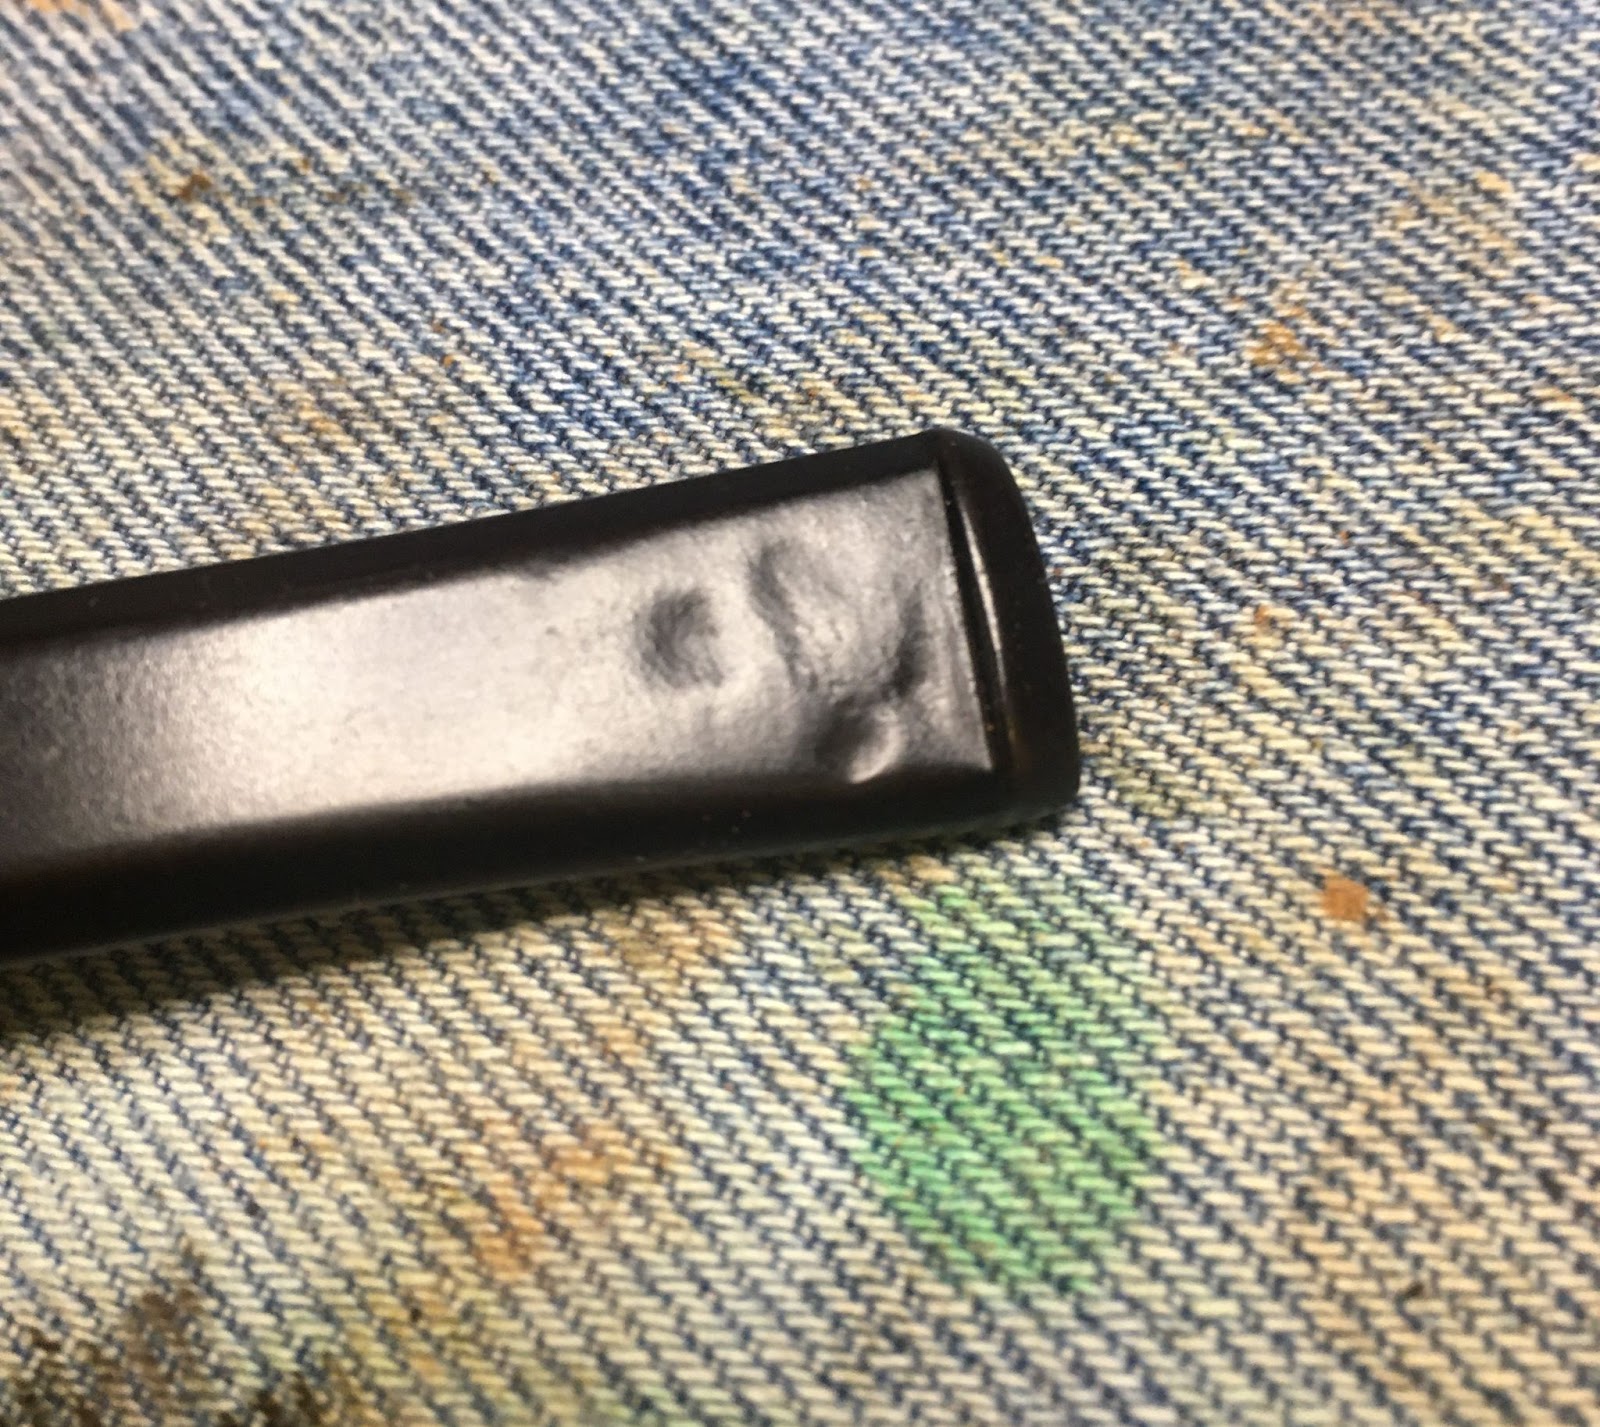
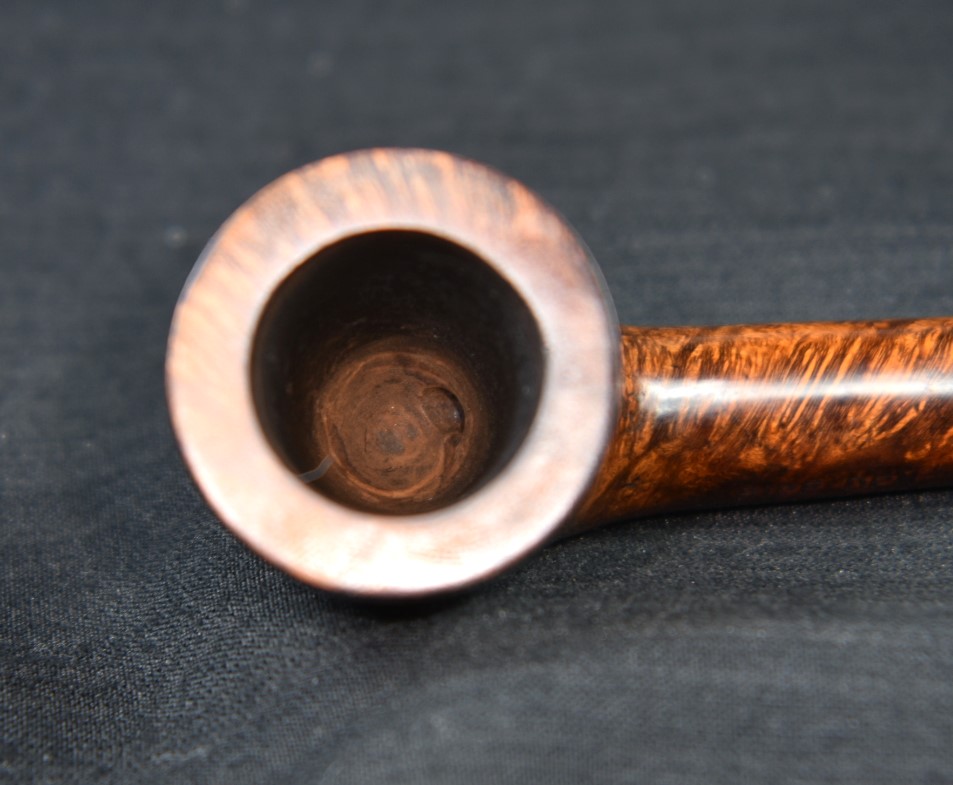
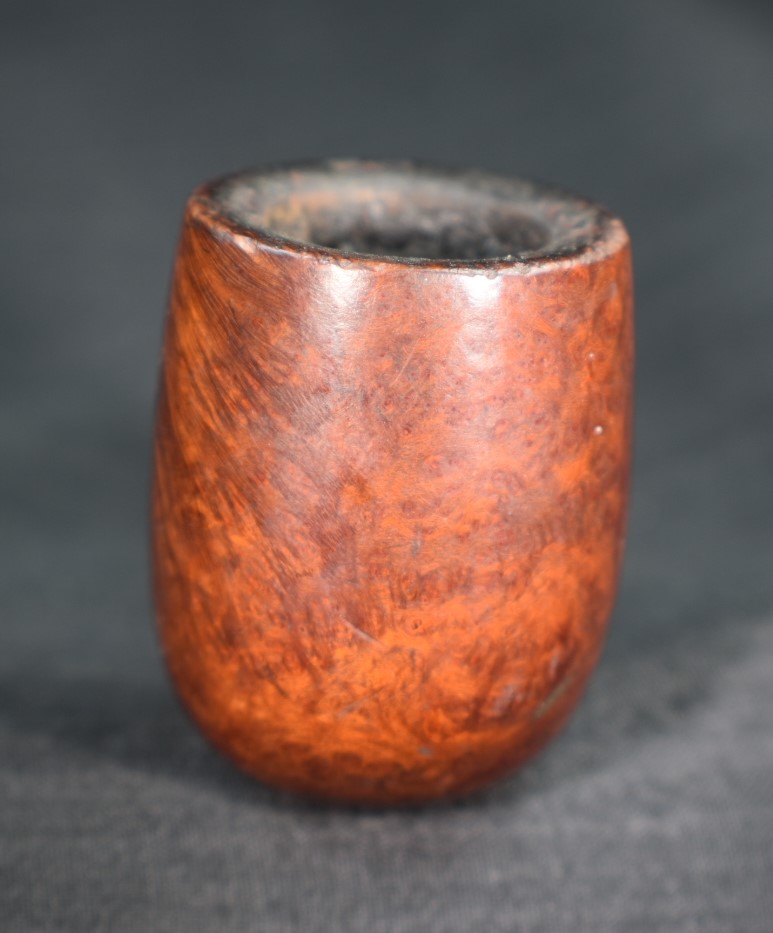
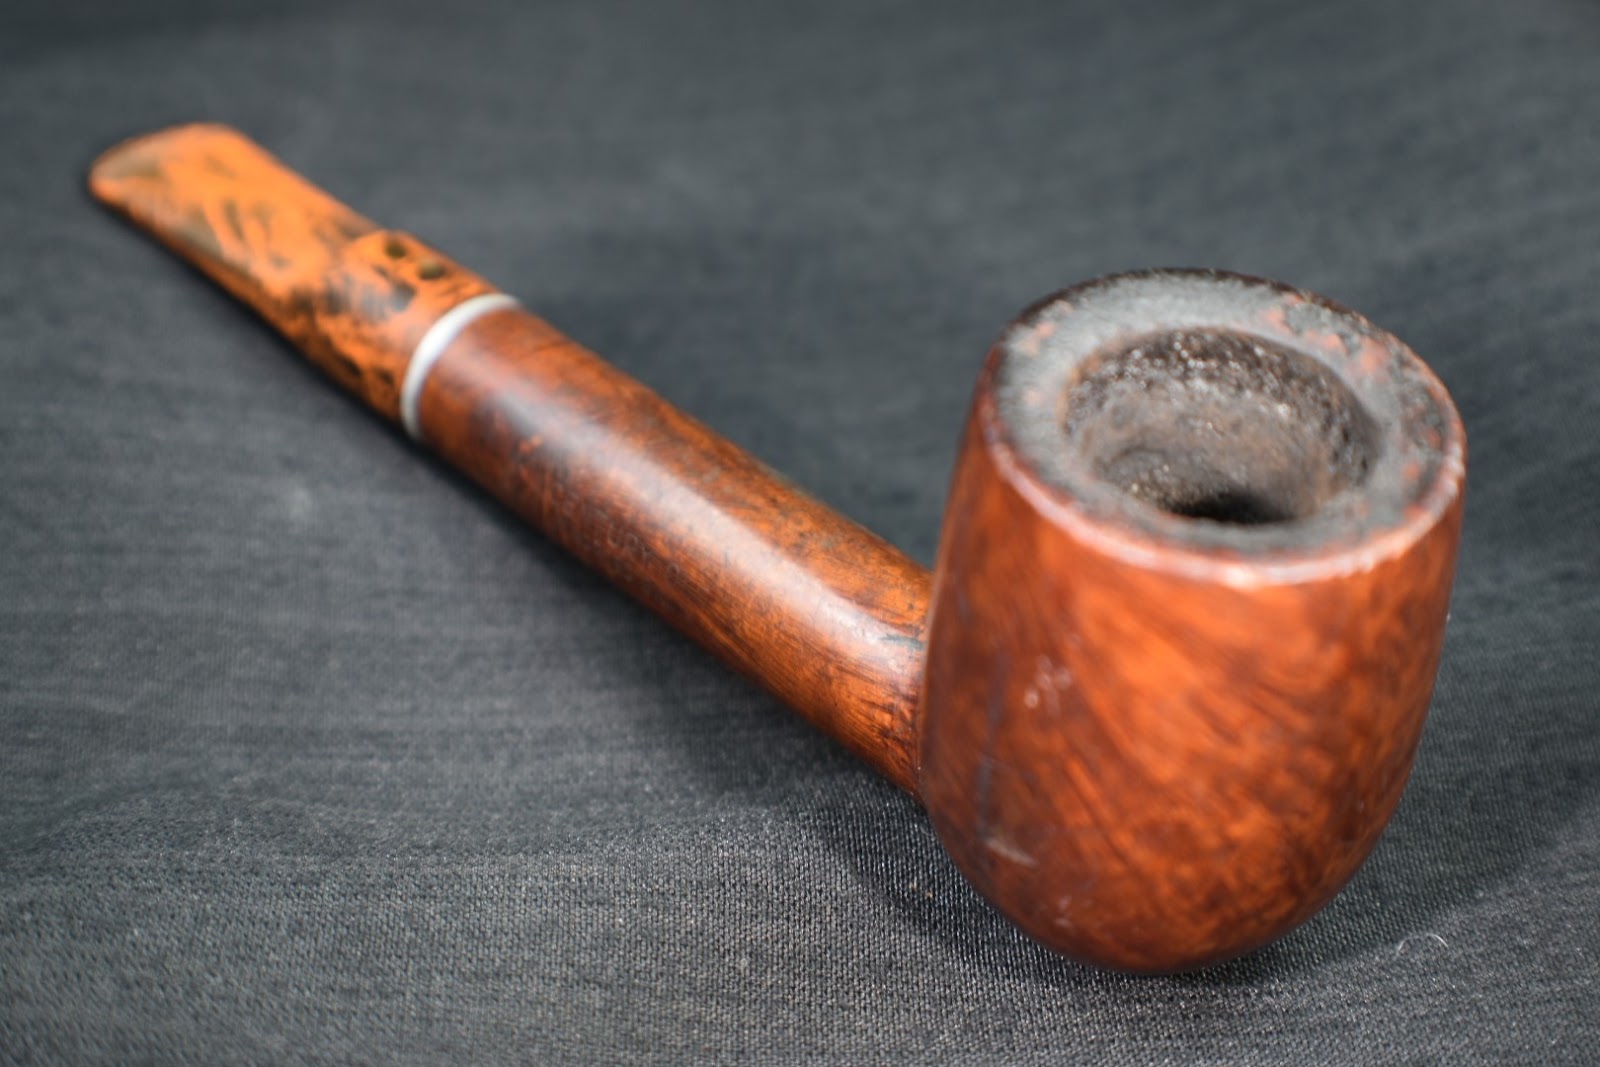
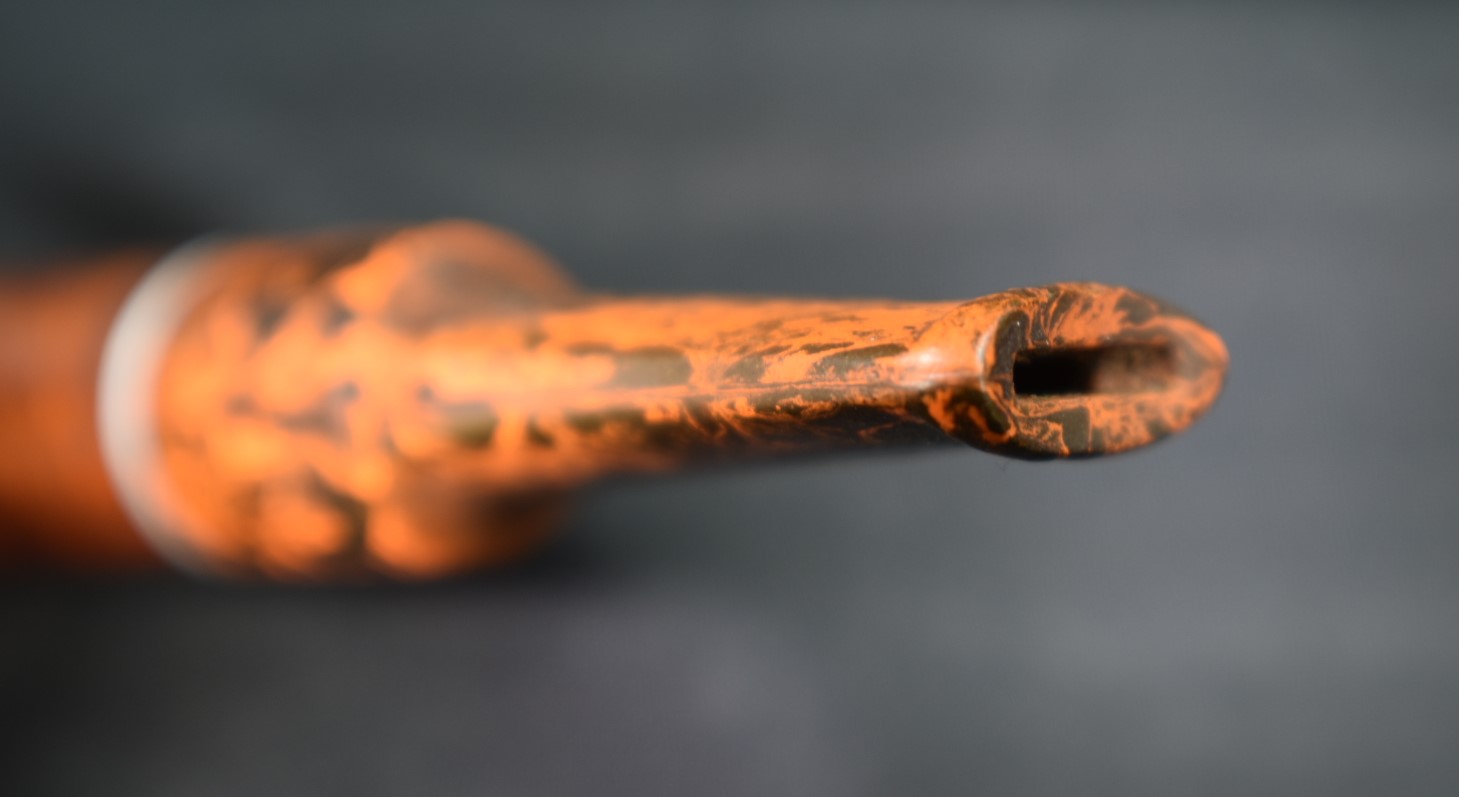
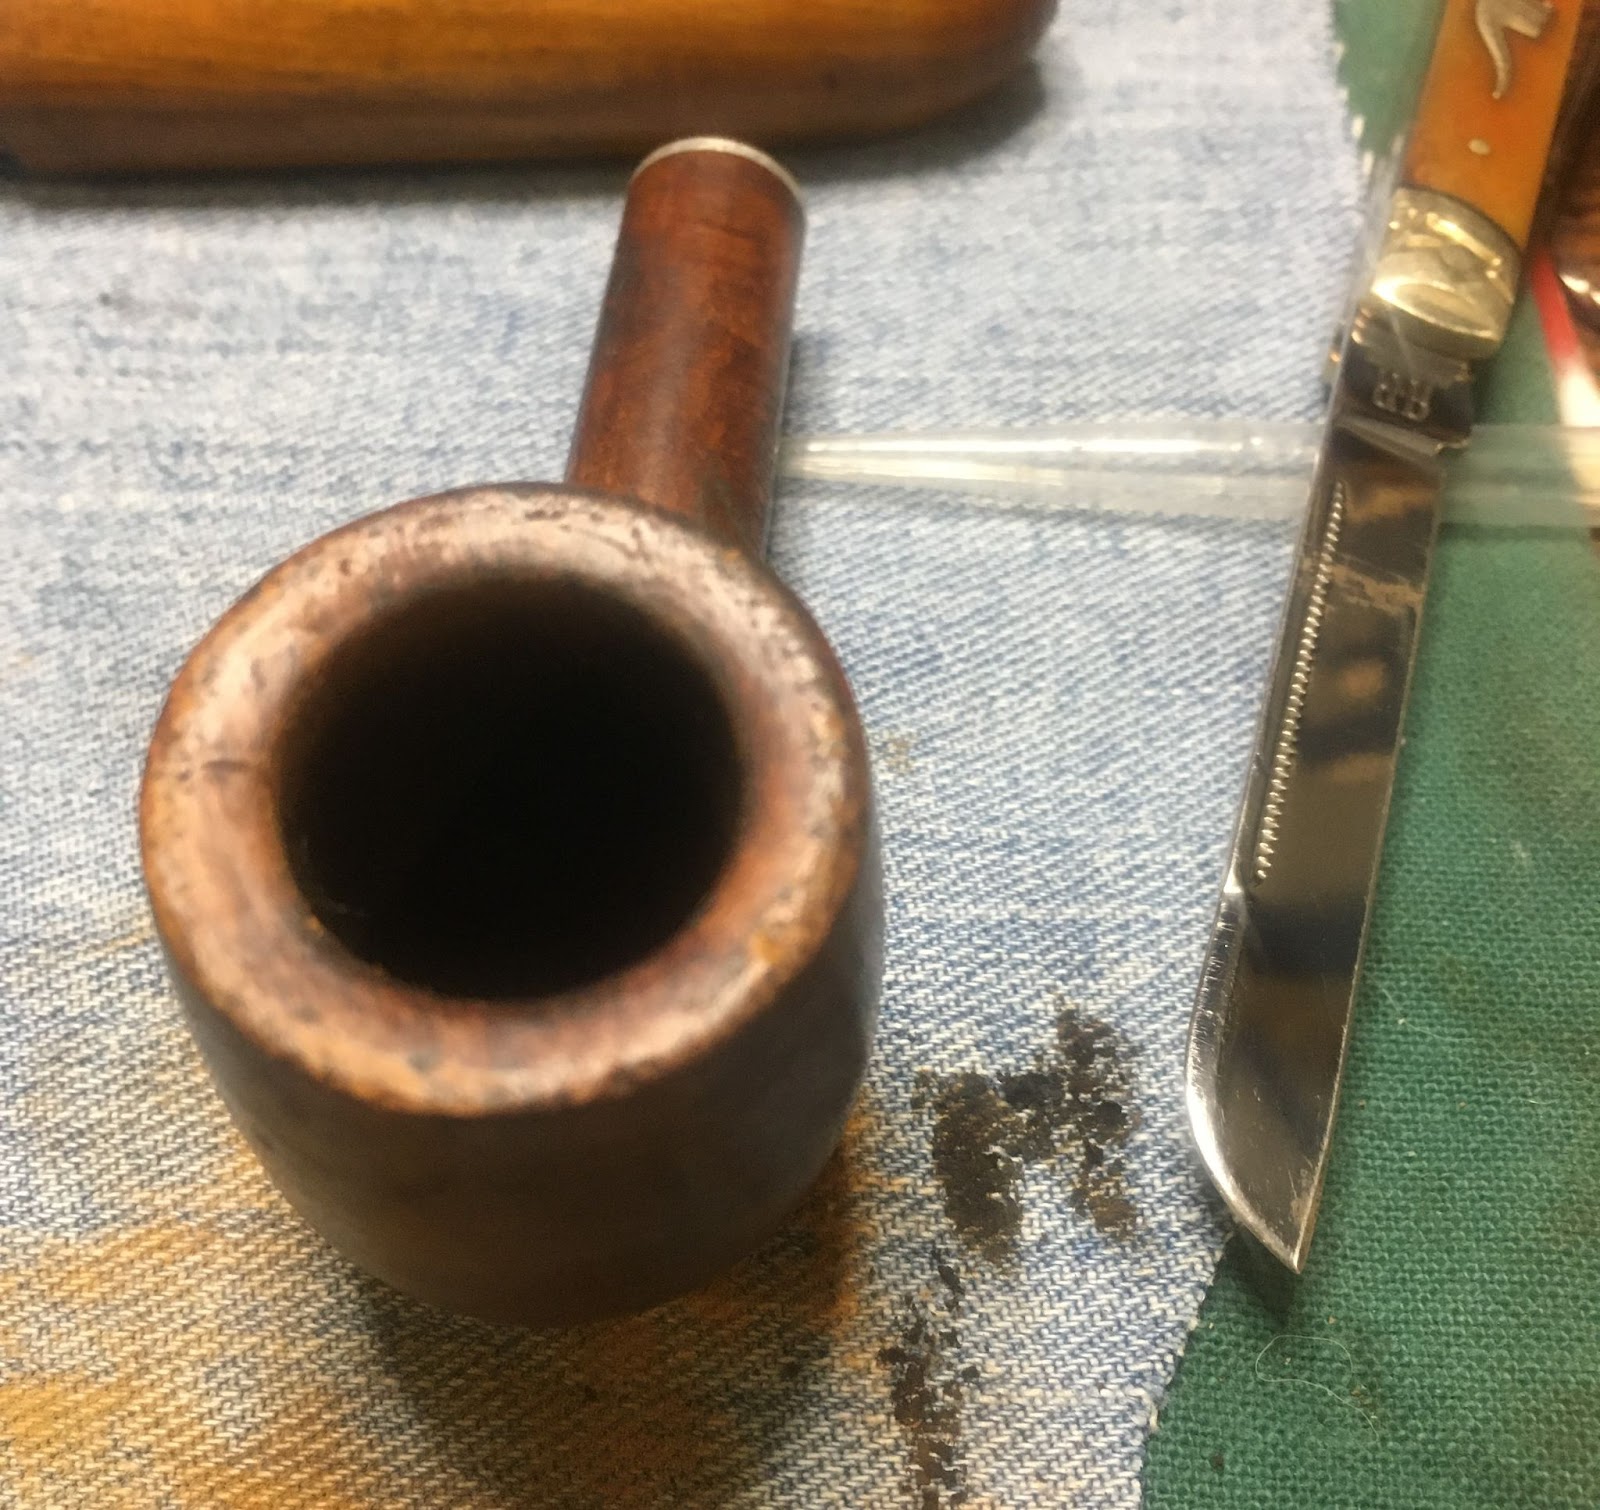
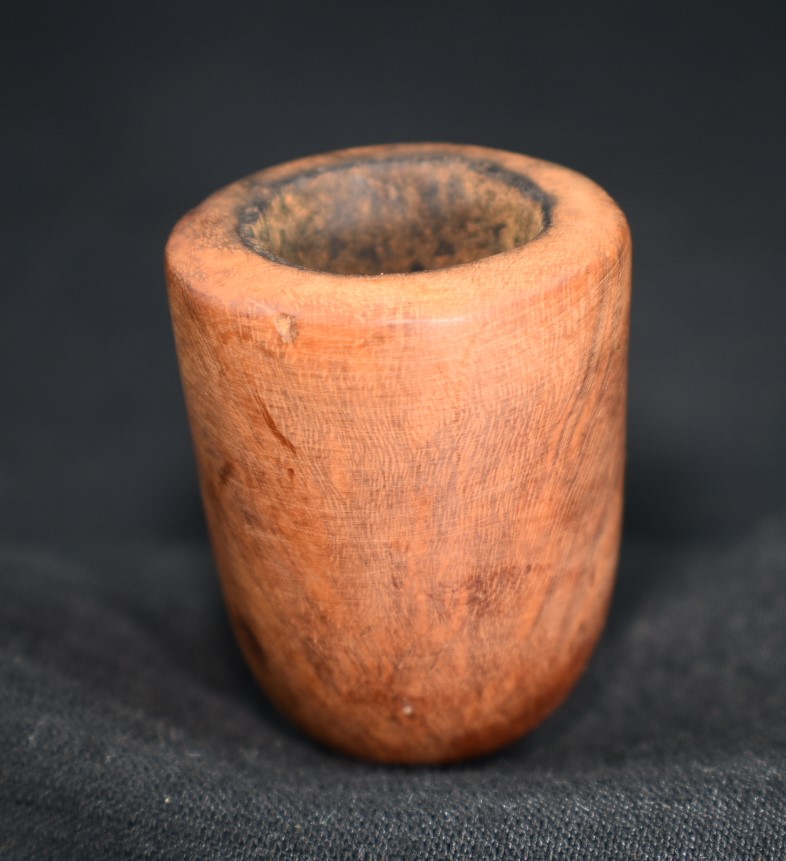
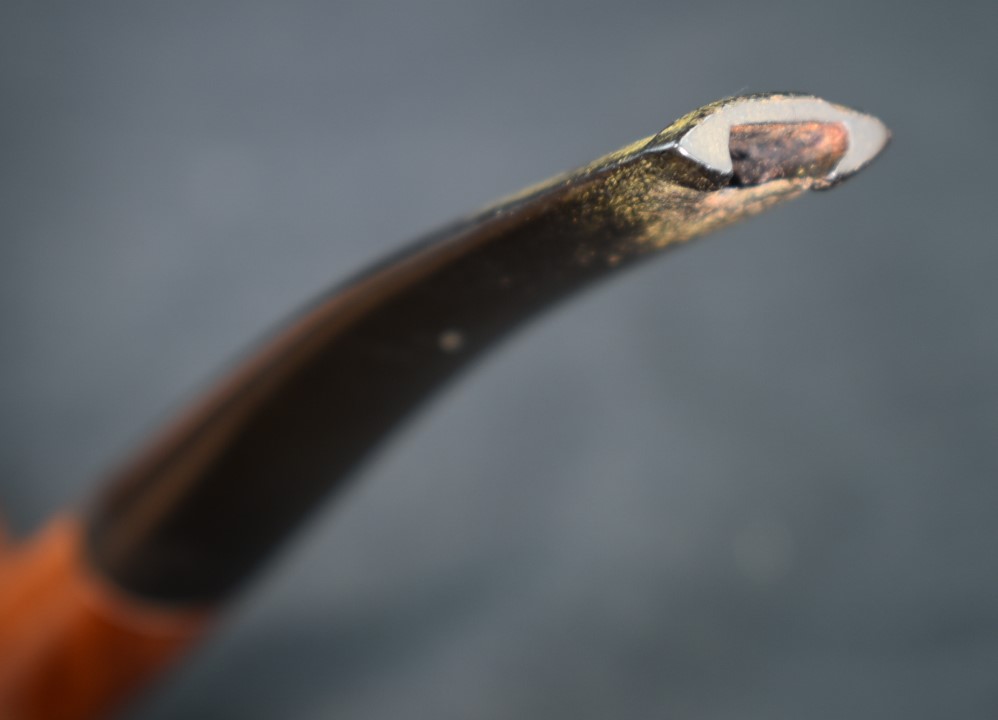
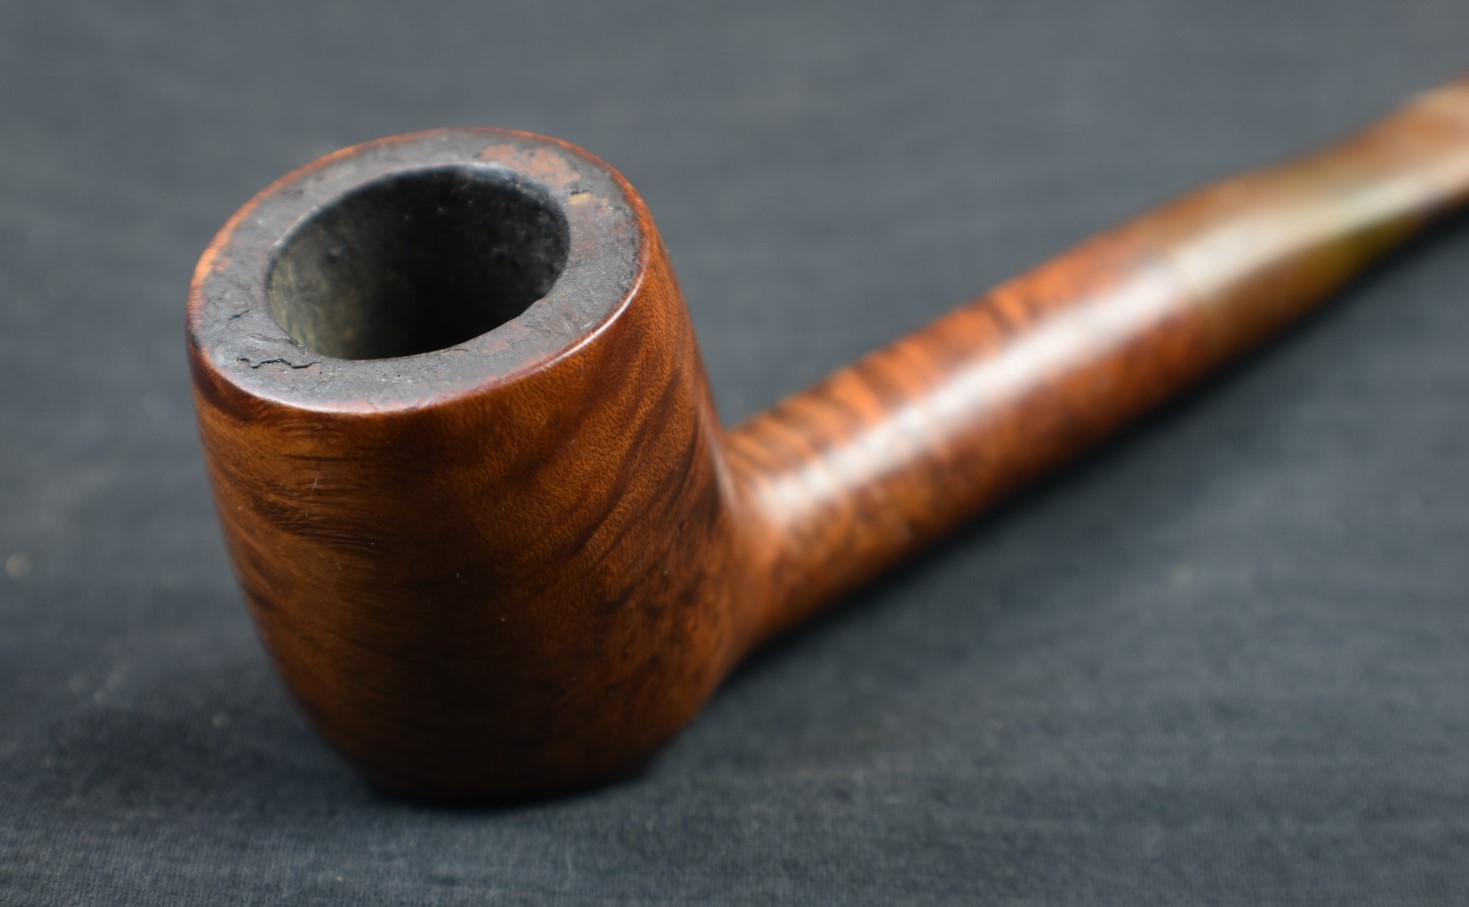
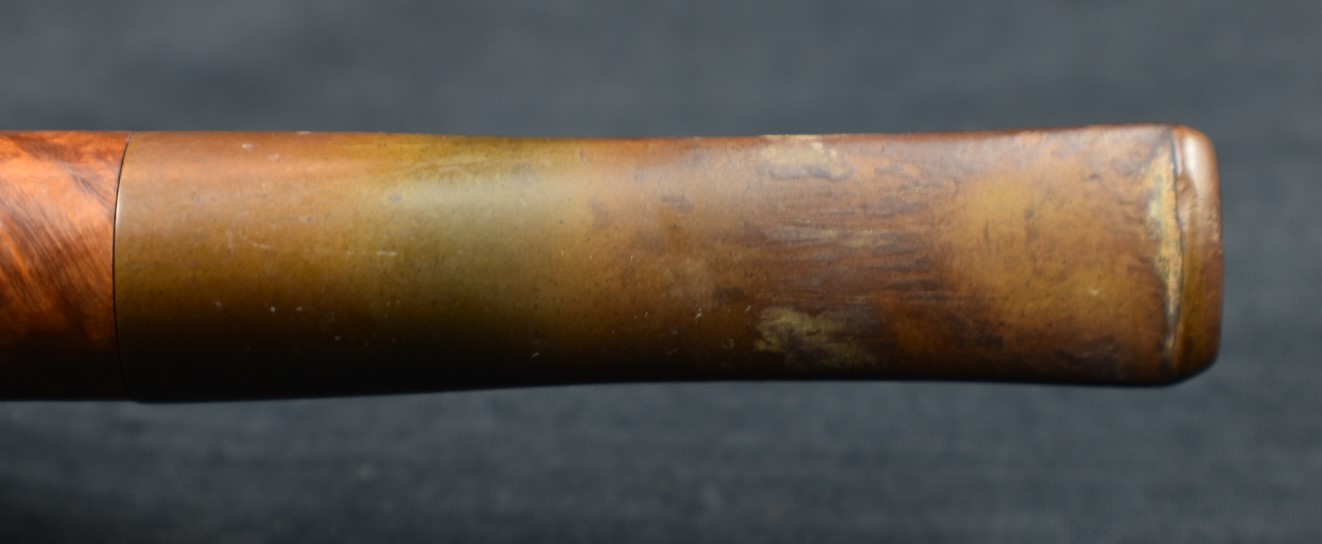
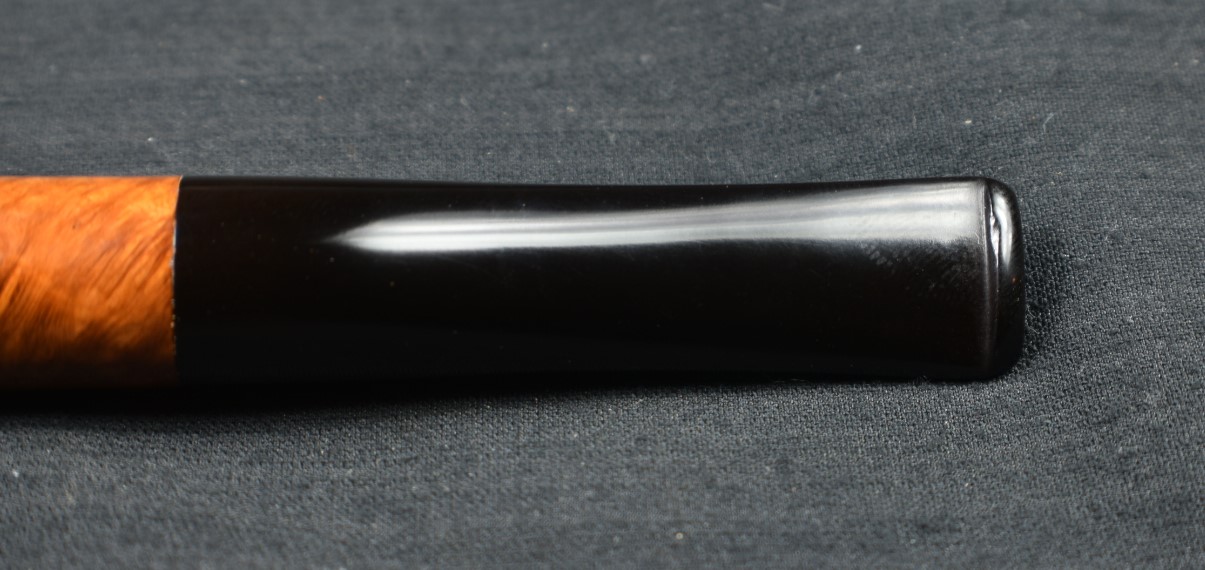
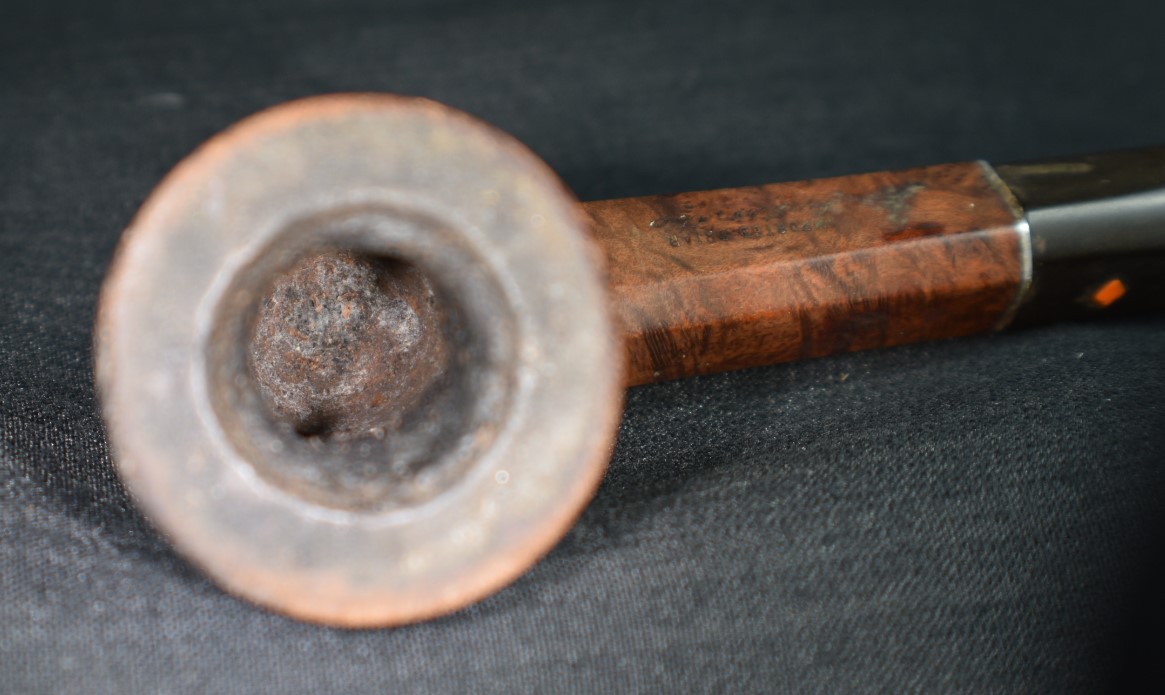
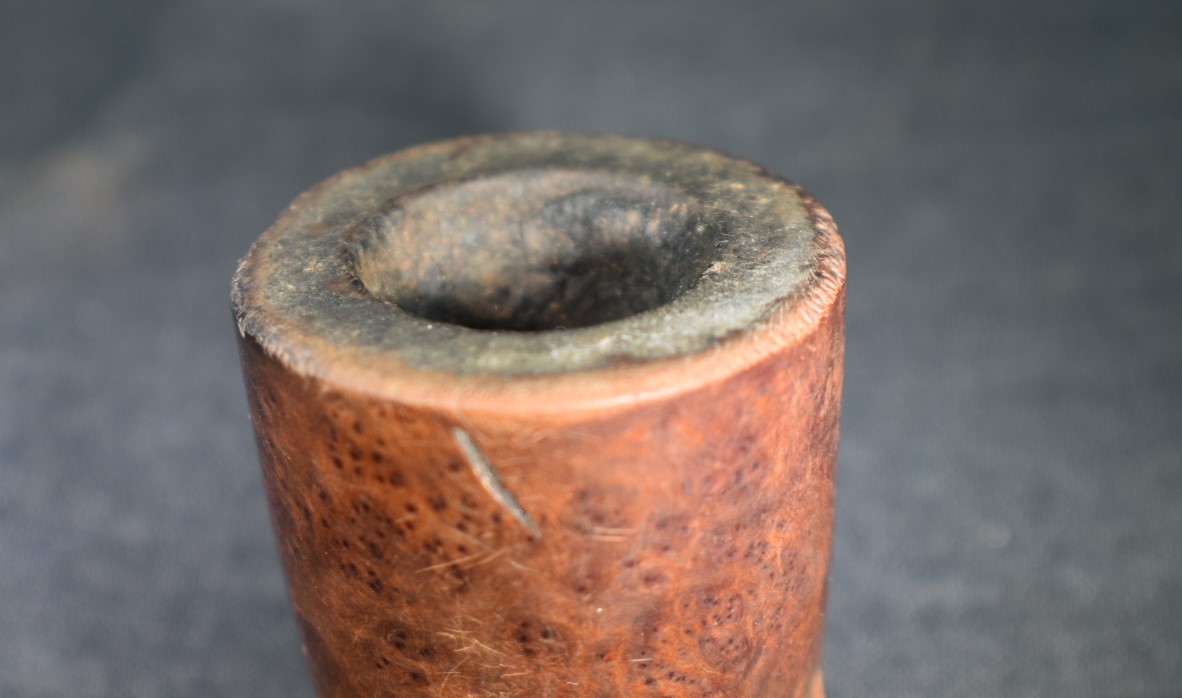
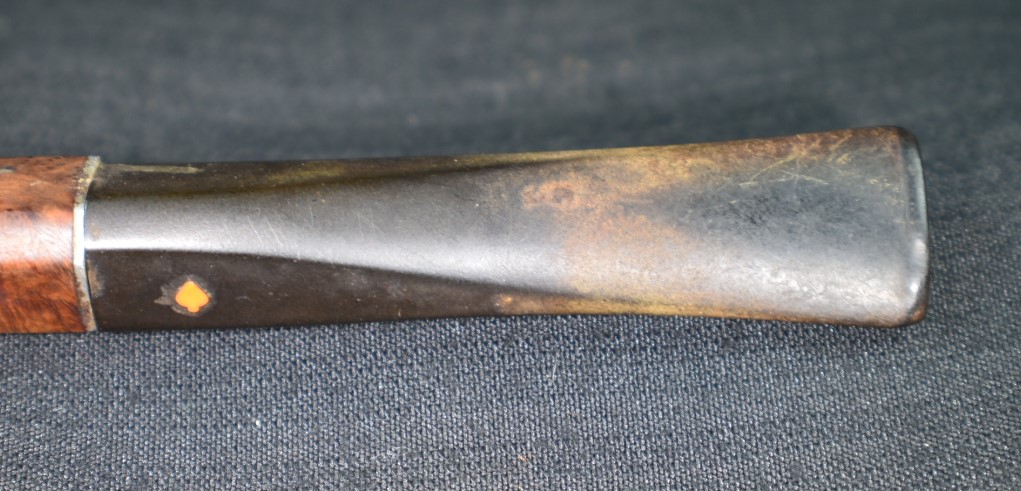
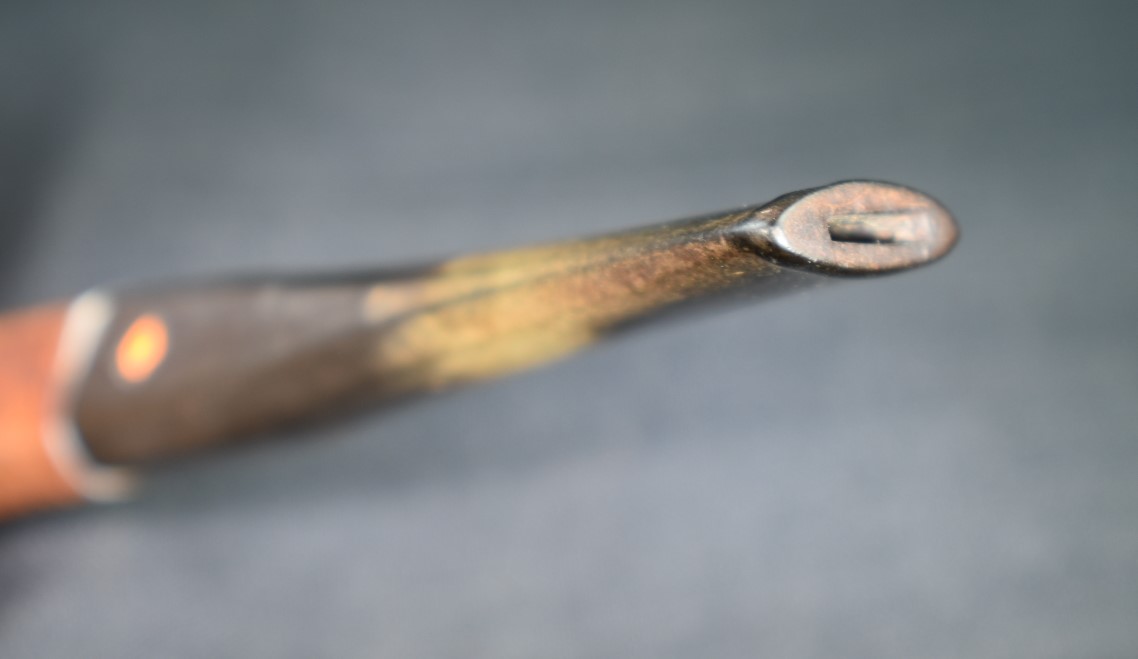
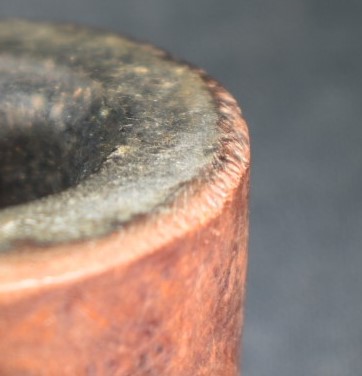
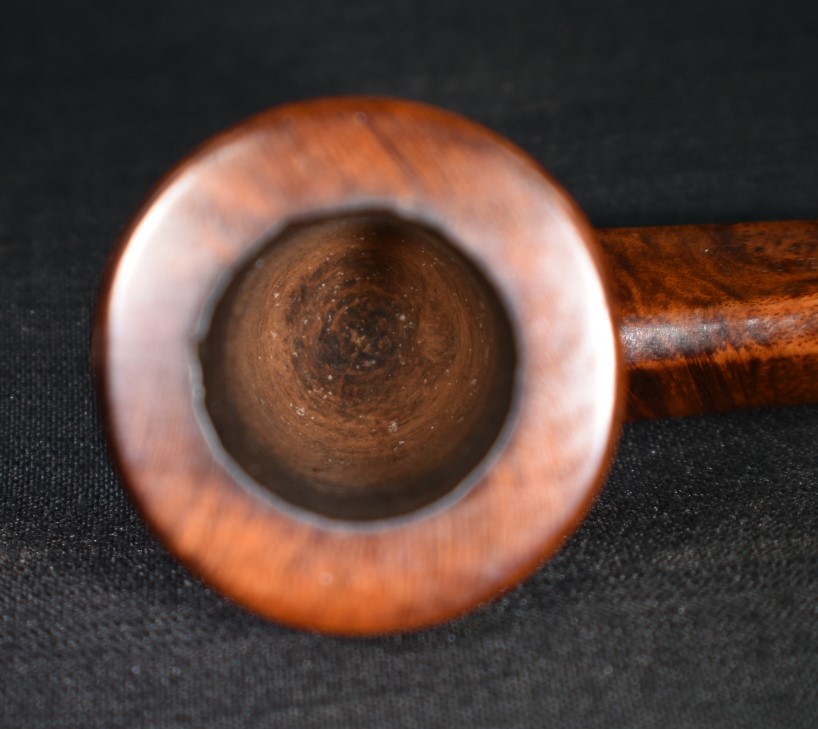
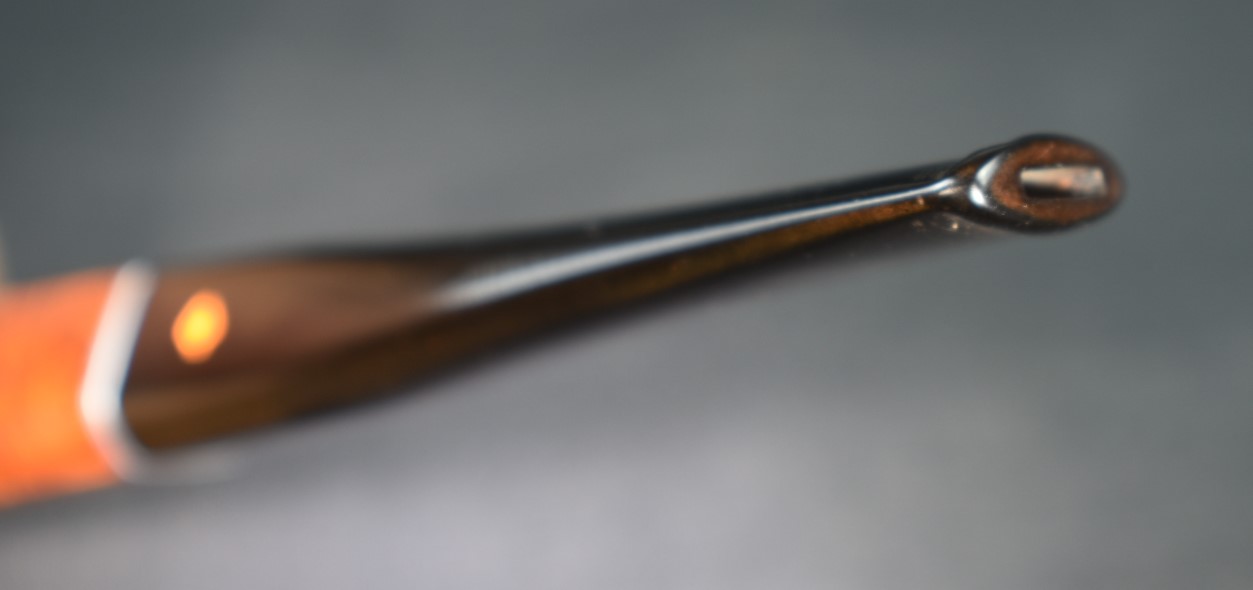
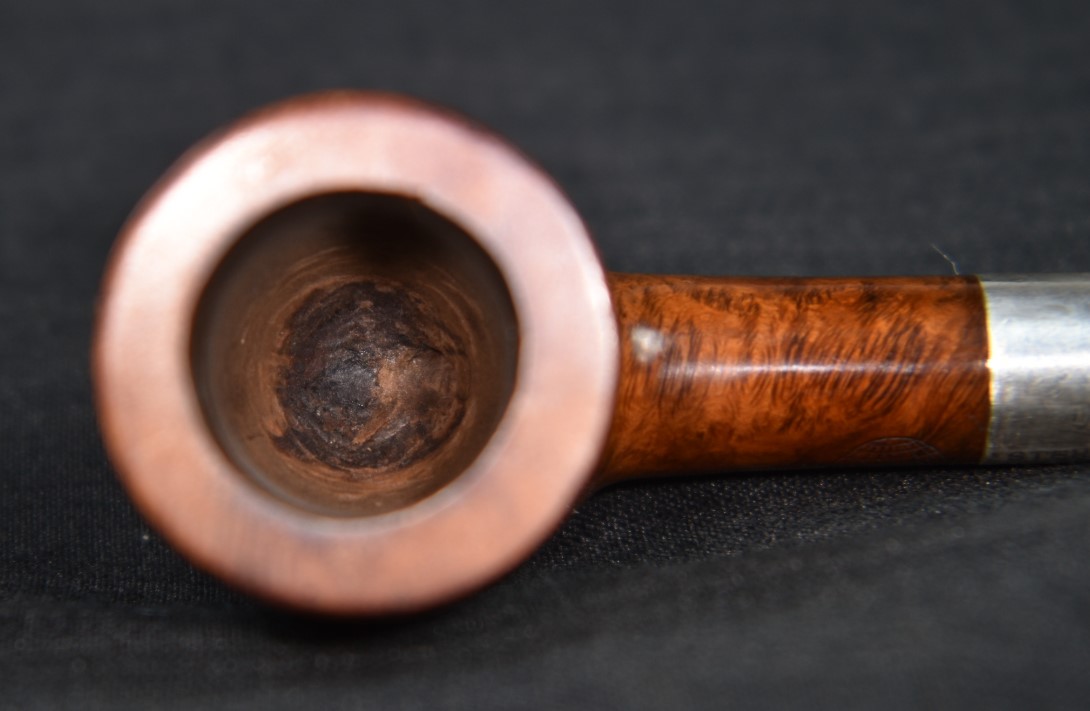
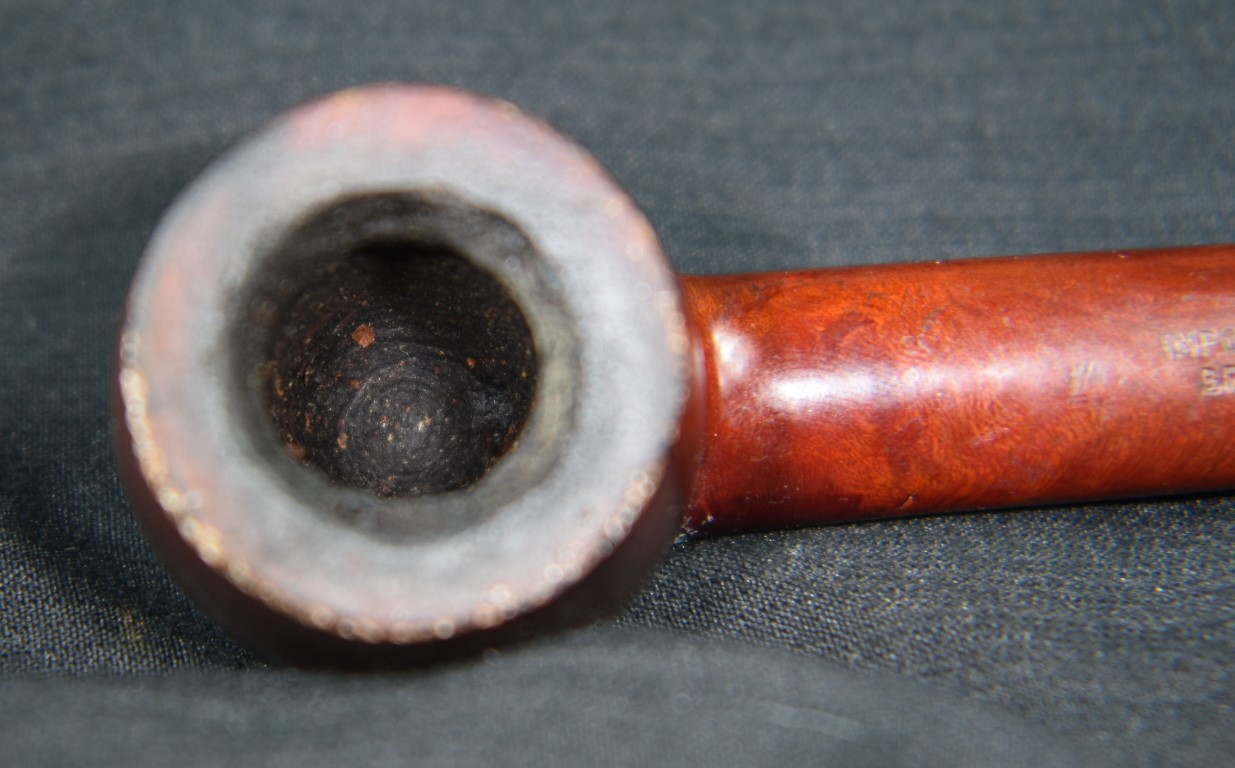
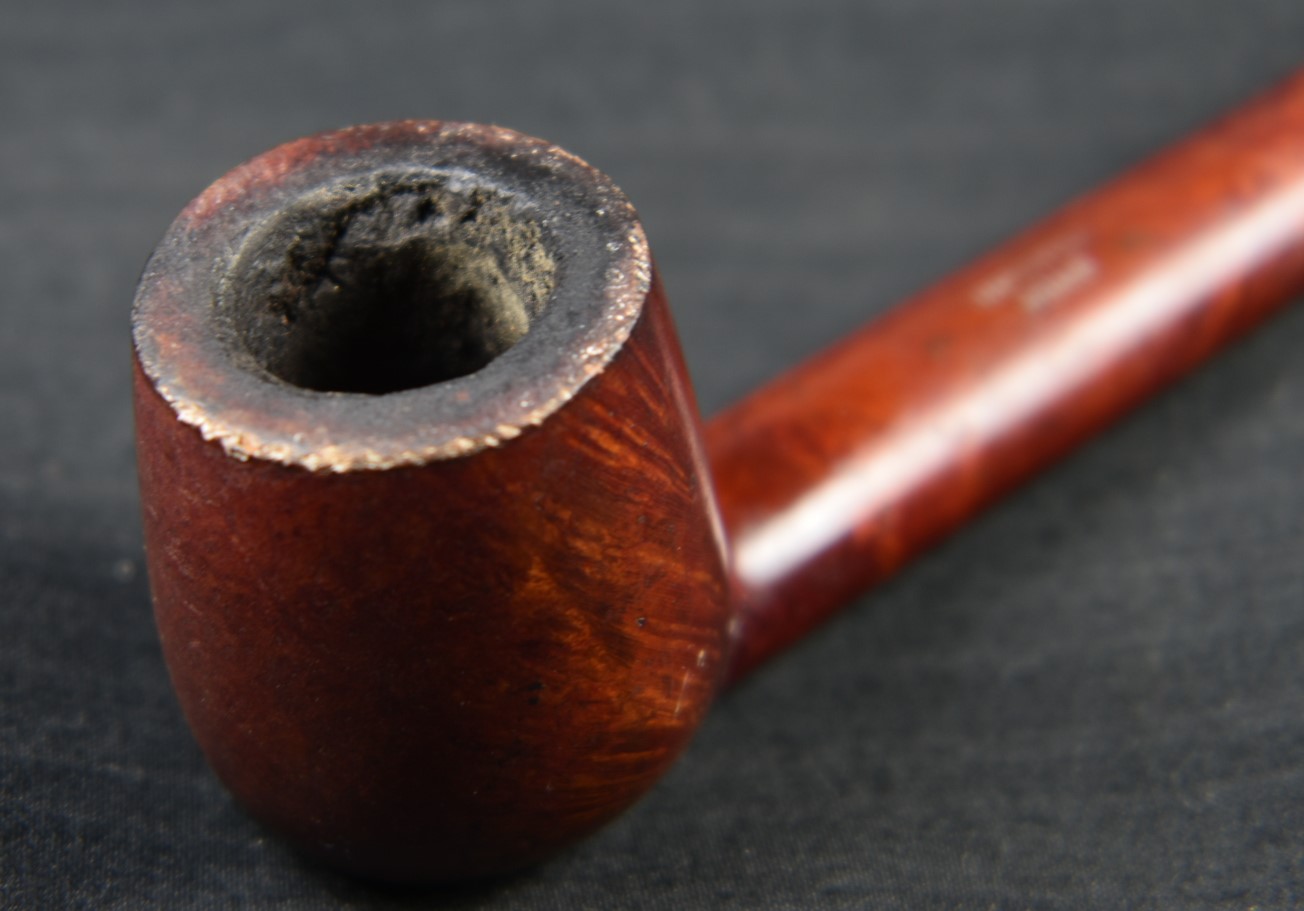
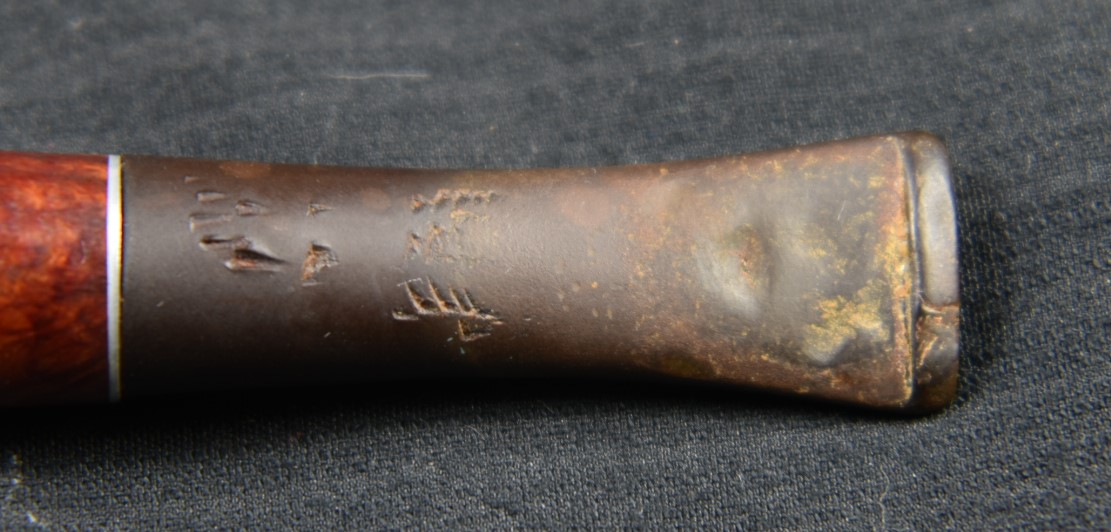
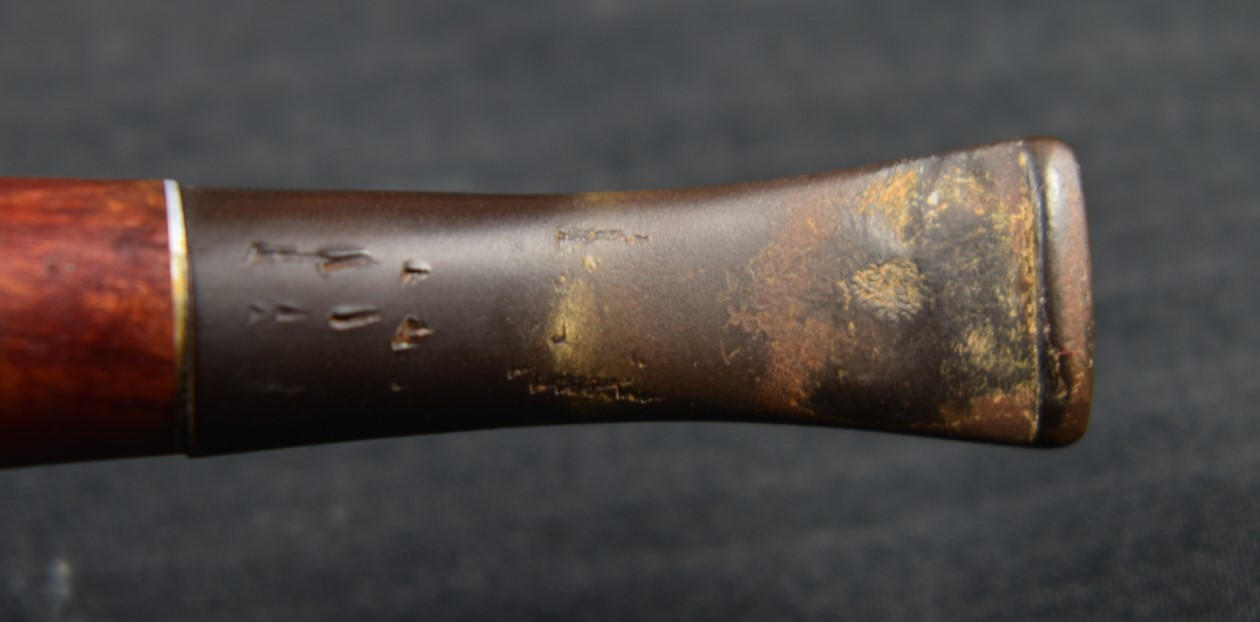
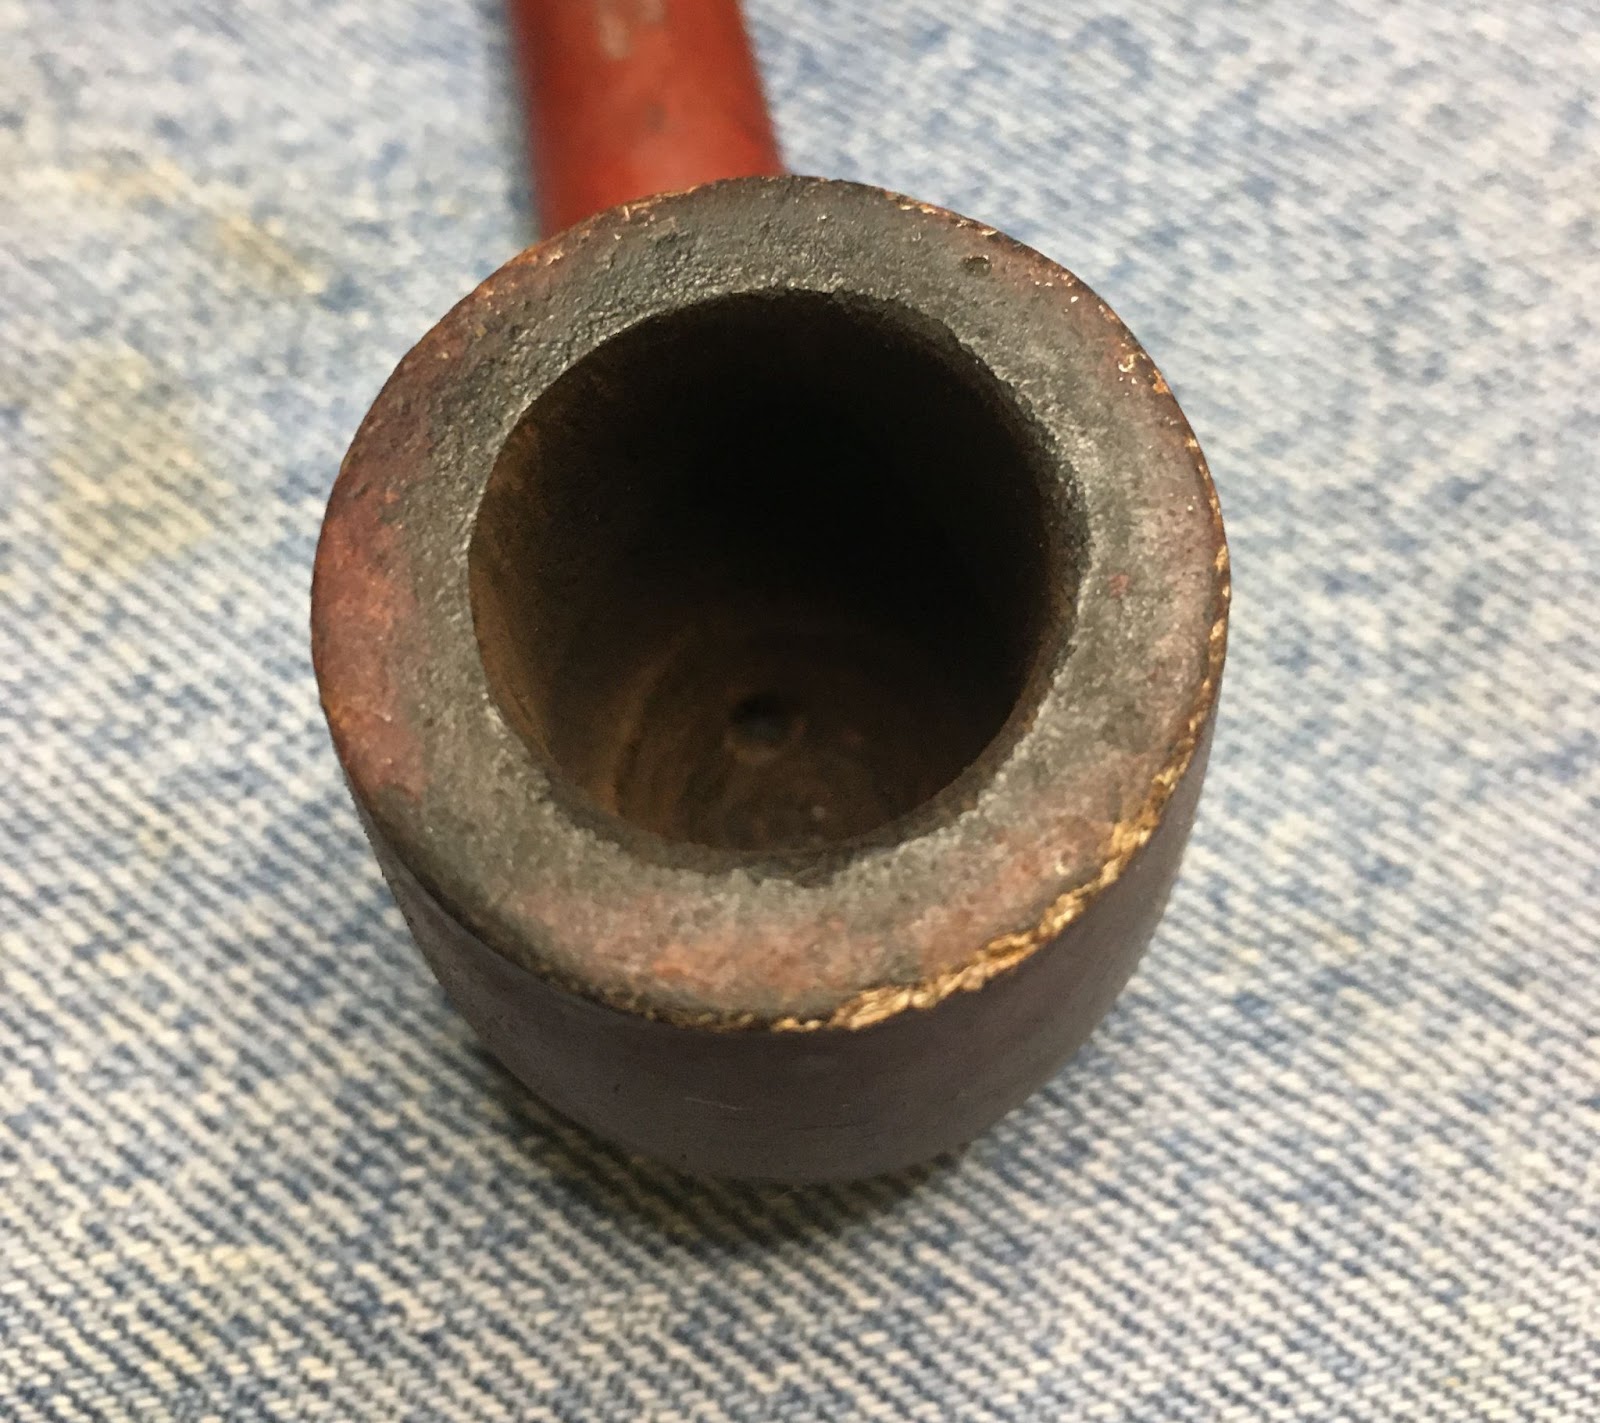
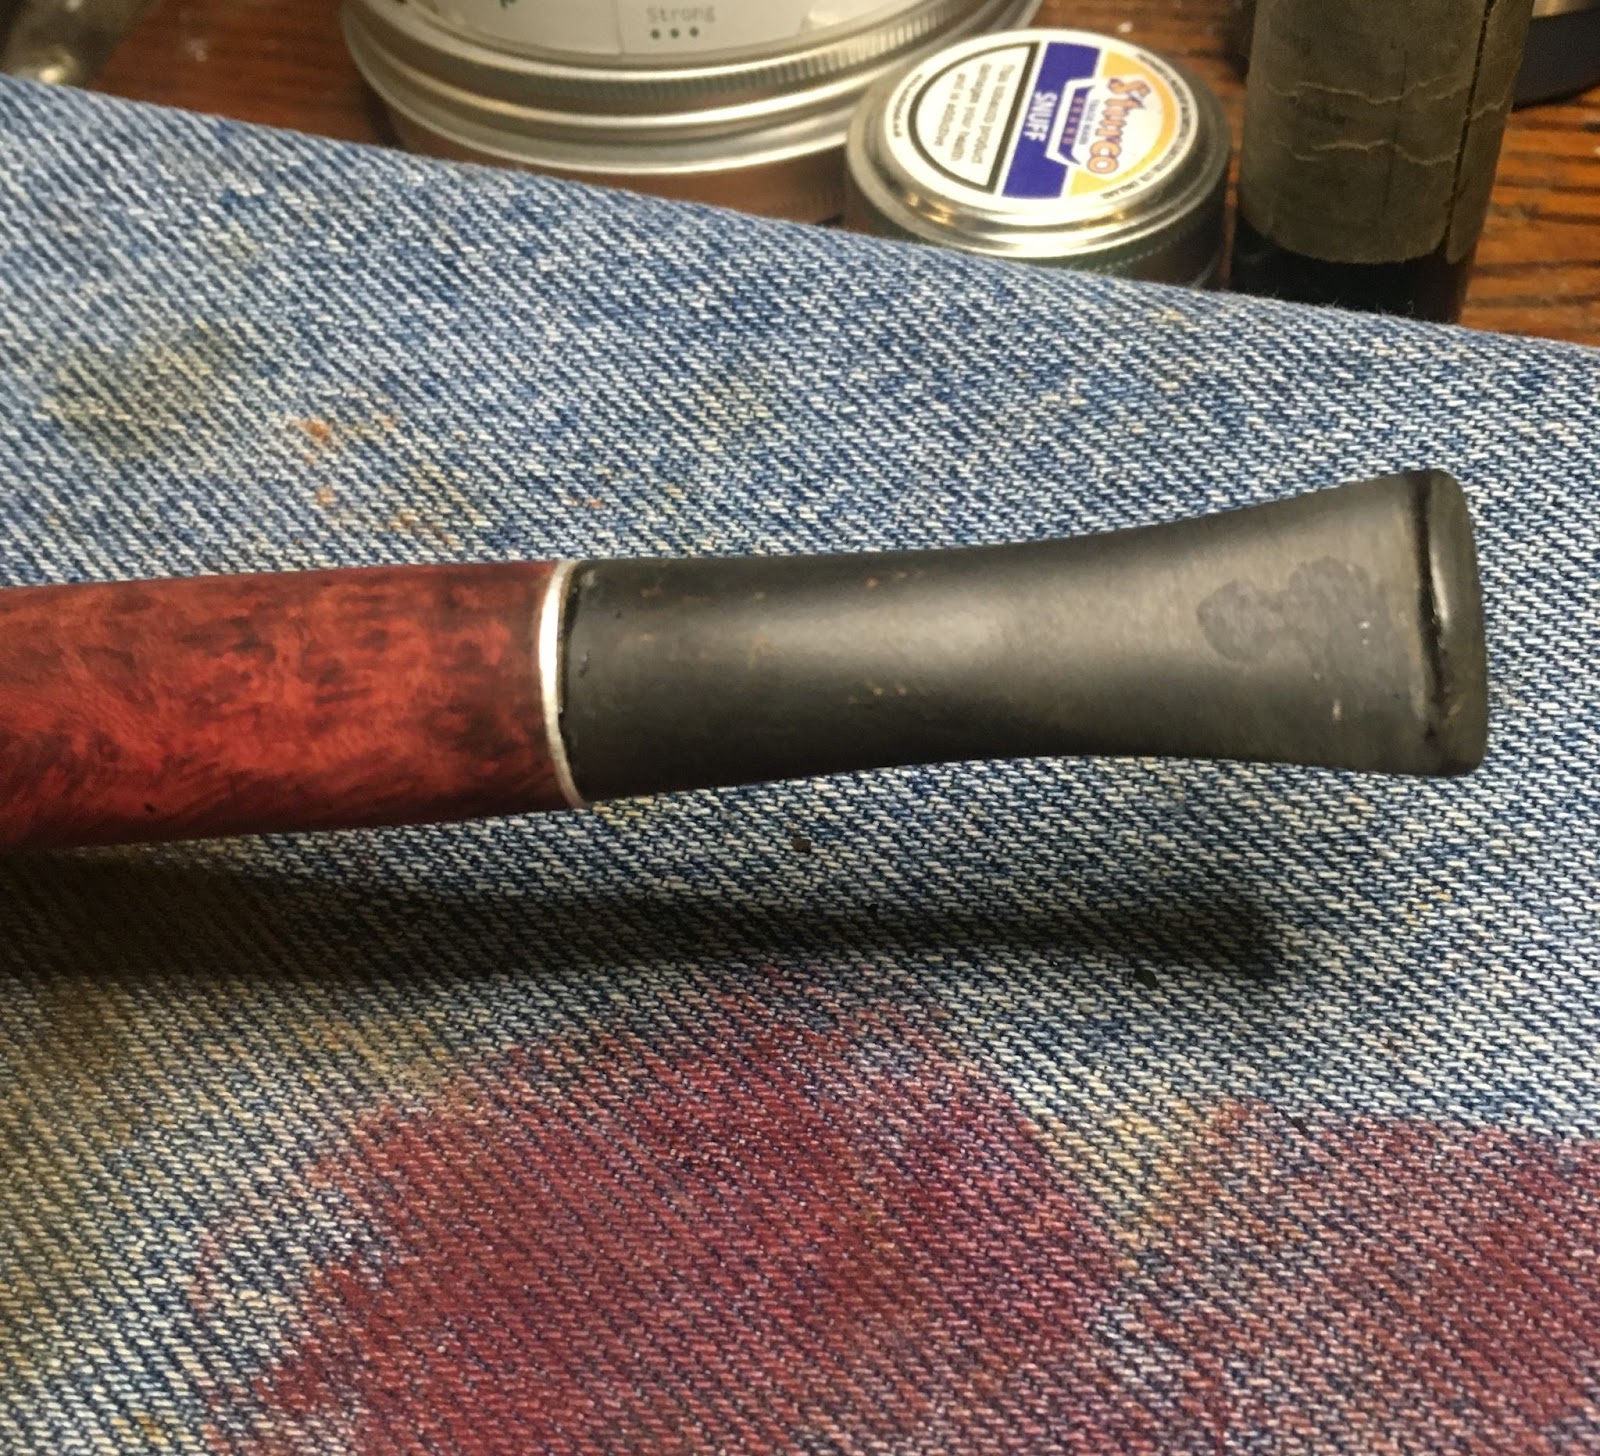
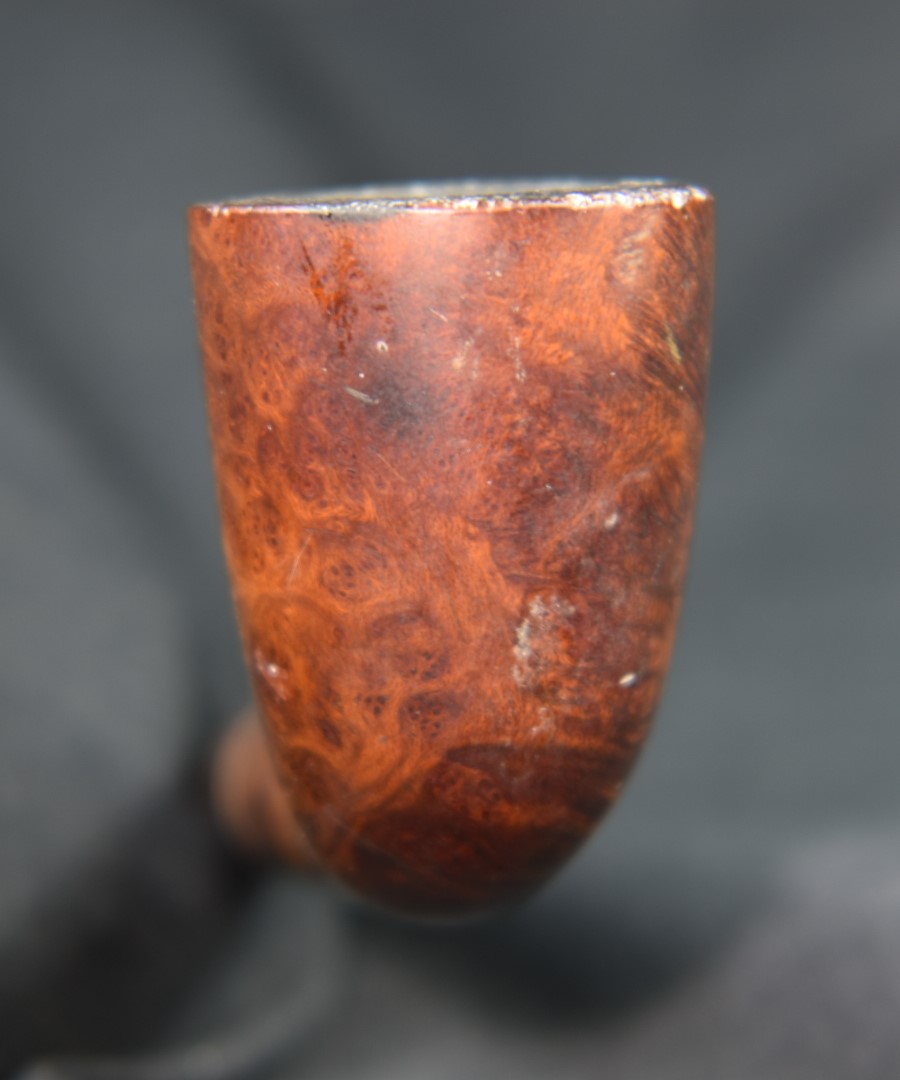
Judging by the faded stummel and the heavily oxidized stem this pipe had been stored or displayed out in the light. It had not been used heavily as evidenced by the lack of smoking residue in the reservoir and the still visible yellow bowl coating. The stem also showed minimal tooth chatter. There was still plenty to do to make this old girl into the Belle of the Ball.
Yello-Bole Background
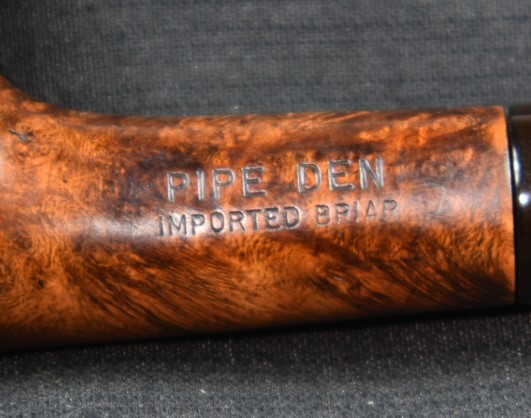
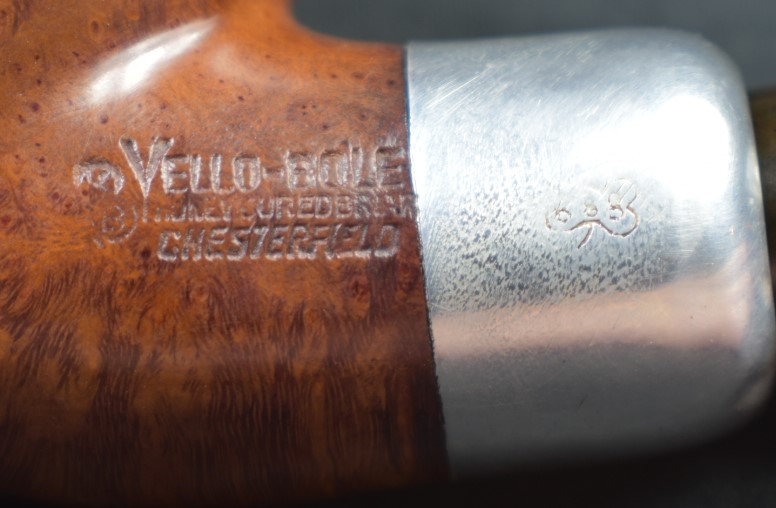
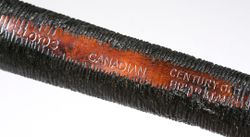
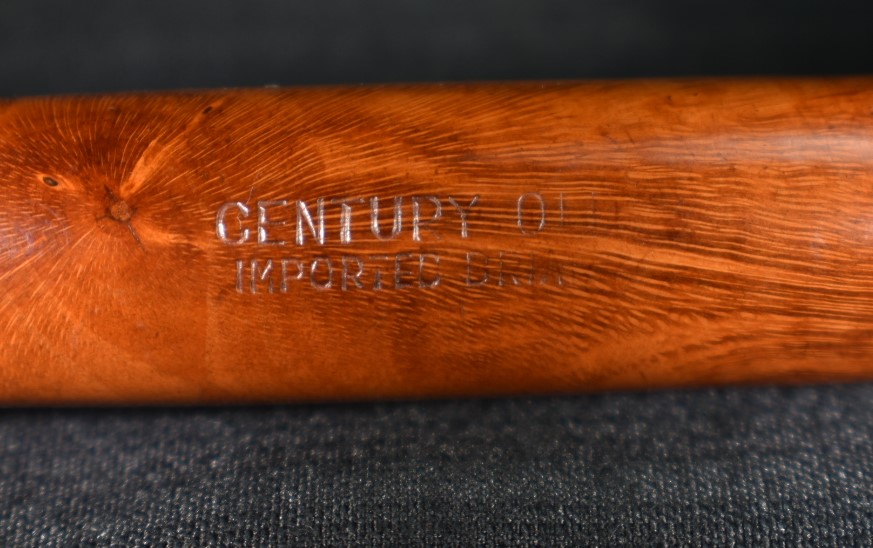
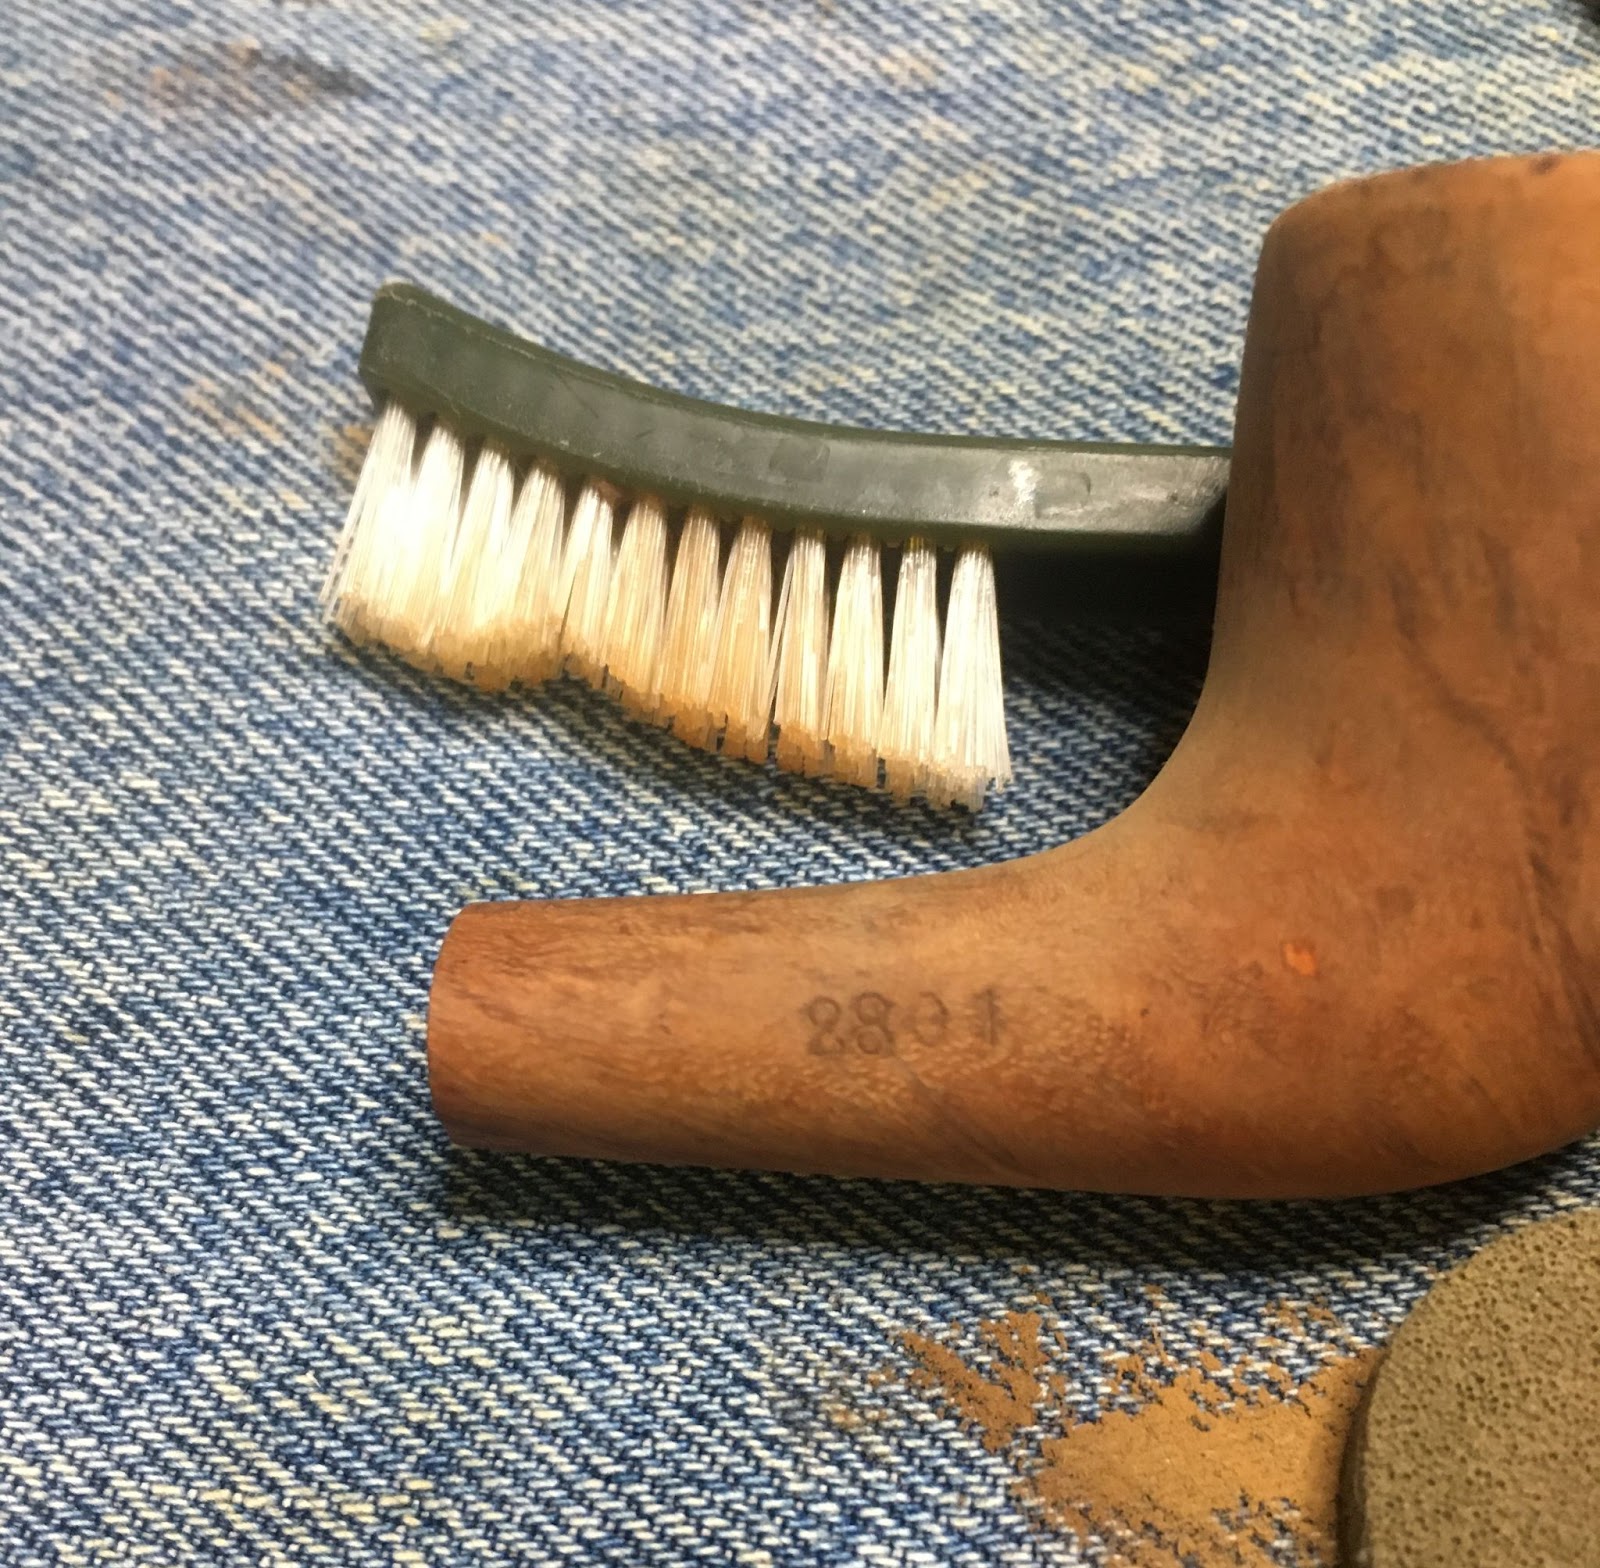
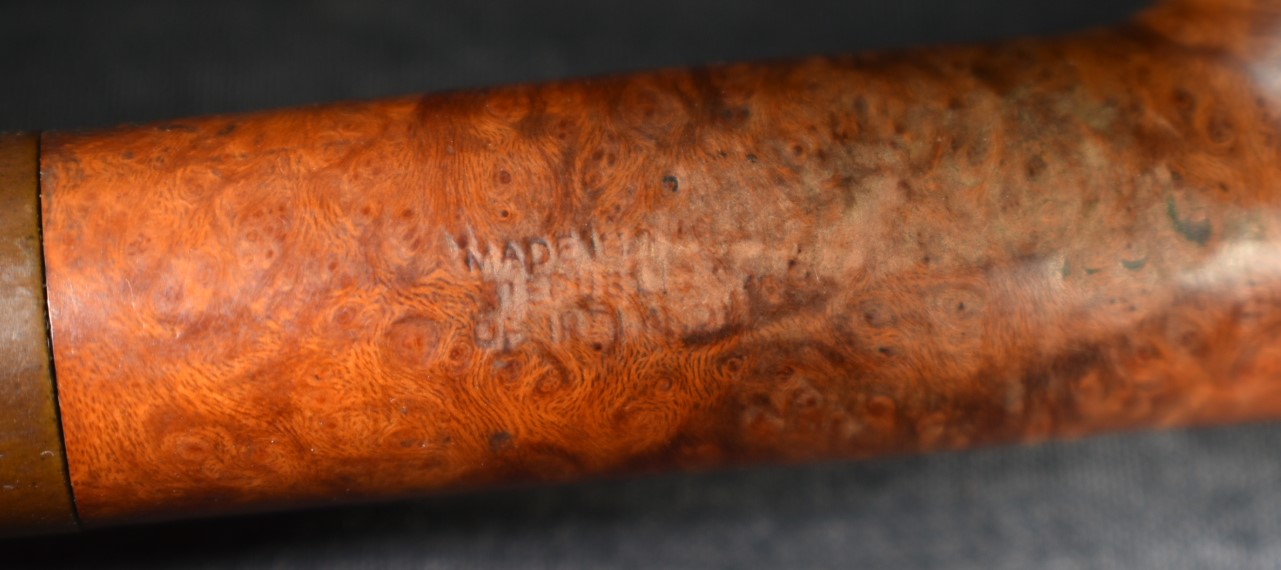
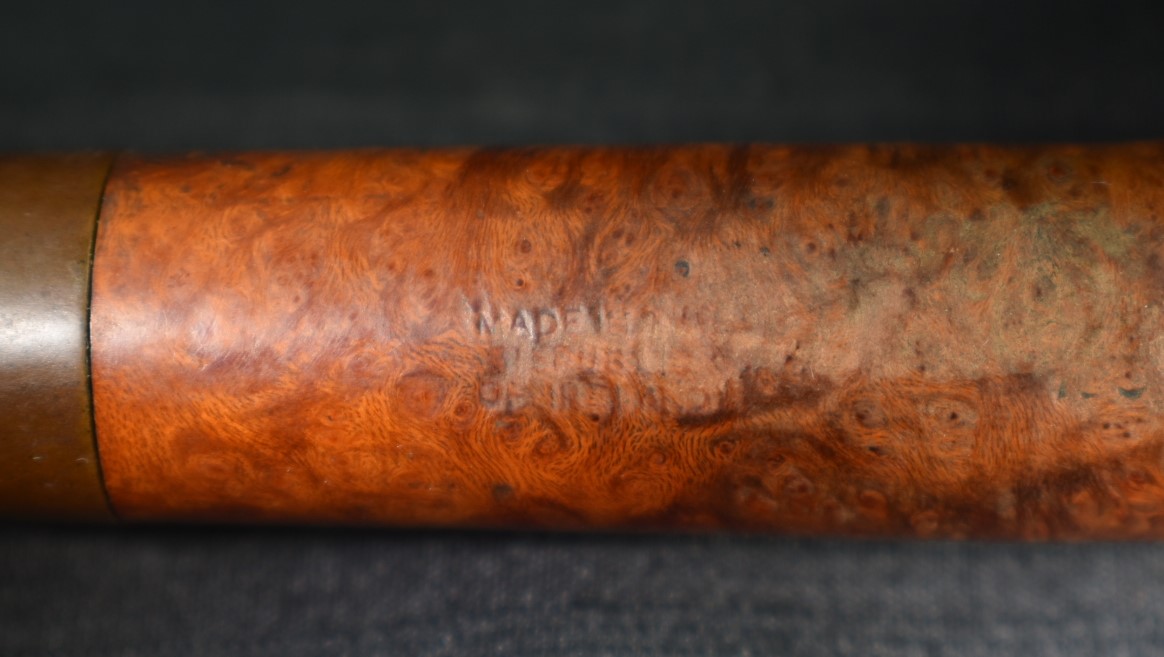
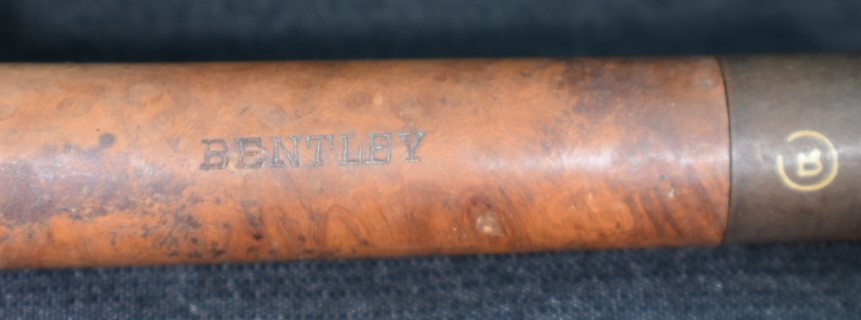
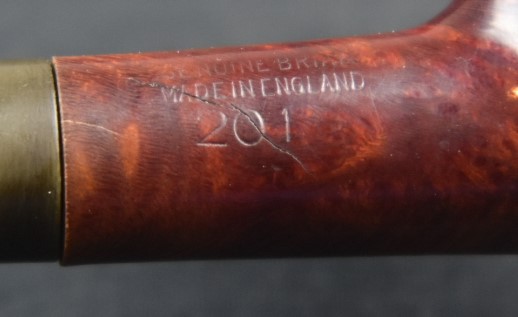
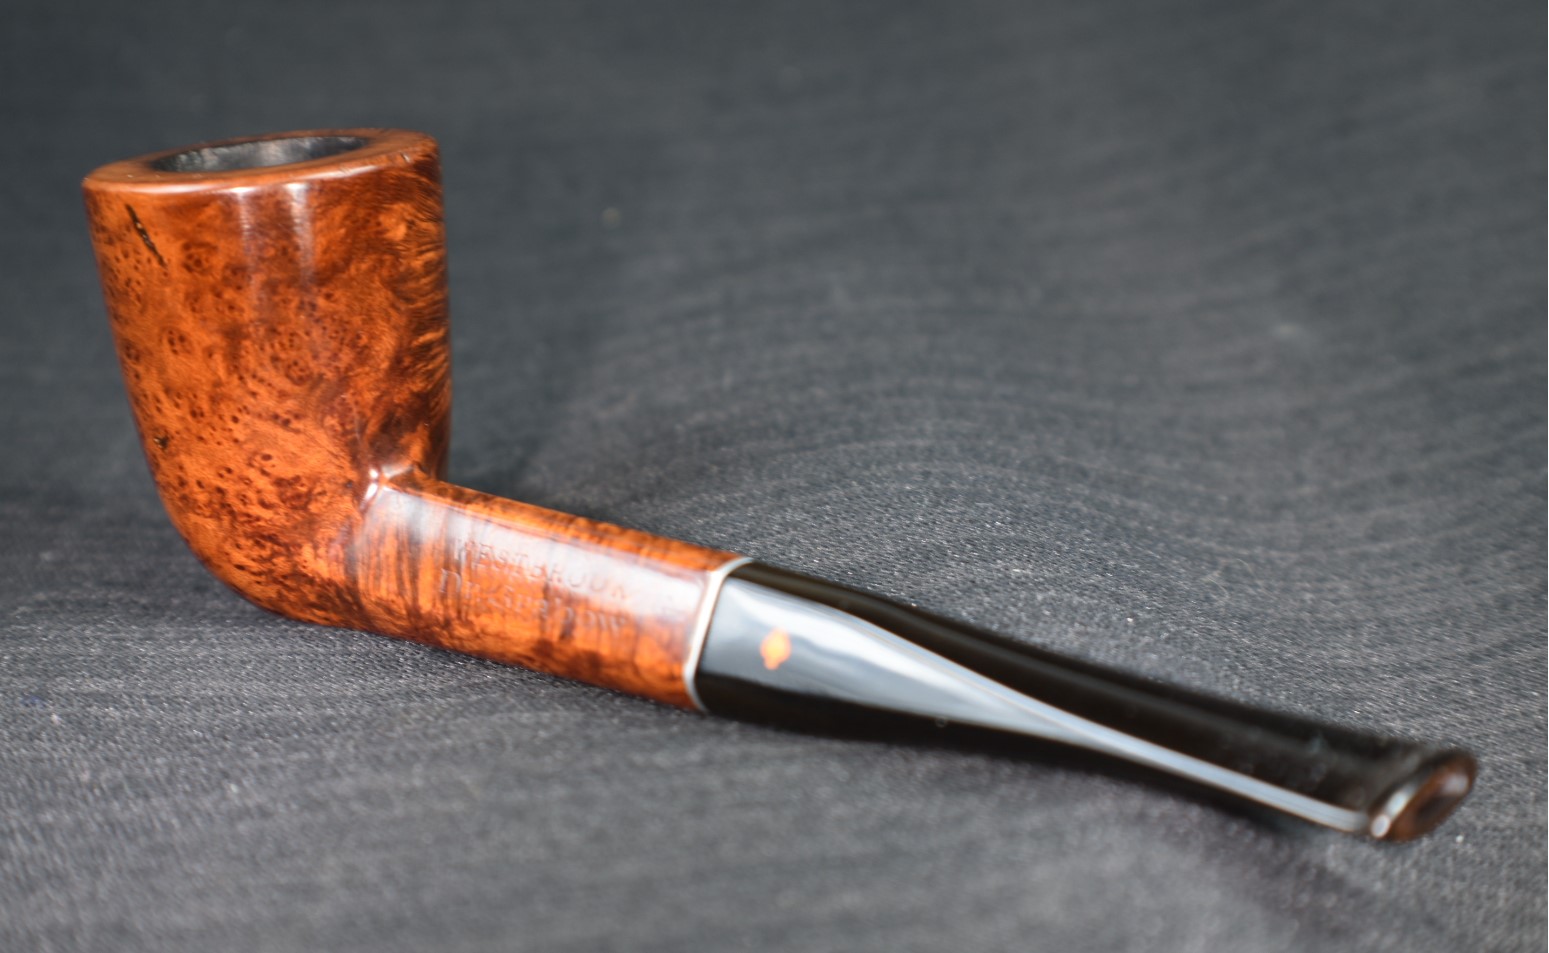
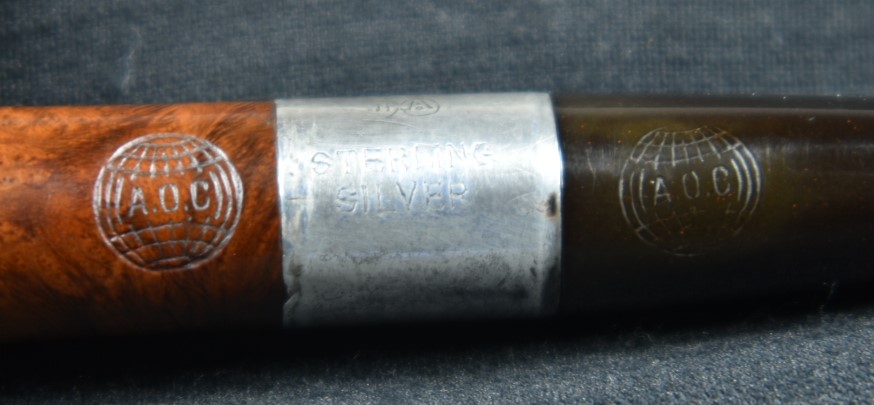
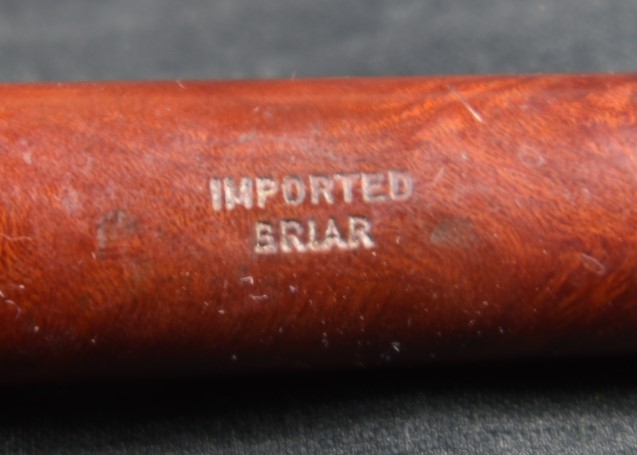
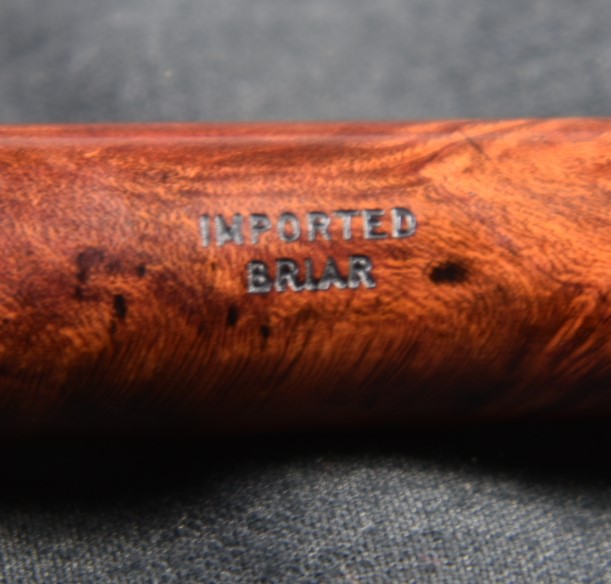
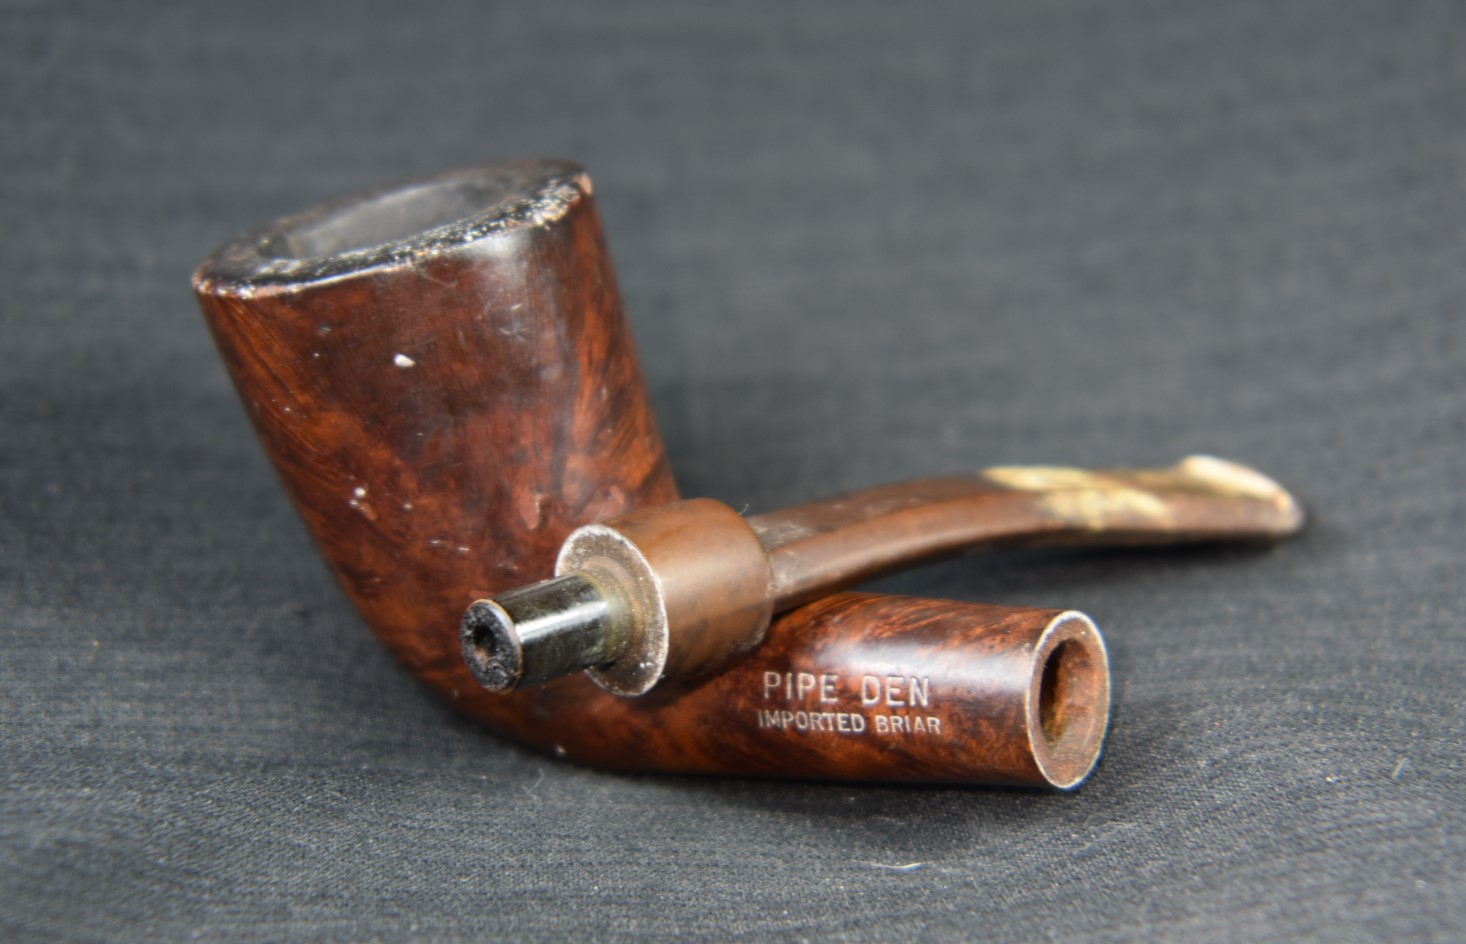
A couple of reasons I was bidding on this pipe were that I had never resotored a Chesterfield and the “Honey Cured Briar” stamp. This is a bit more of a rarity than the usual “Cured with Real Honey”. According to pipedia.org, “Pipes from 1933-1936 they were stamped “Honey Cured Briar” (https://pipedia.org/wiki/Yello-Bole). That provides pretty finite dates for this old pipe.
Back in March I blogged about a Yello-Bole billiard. In this blog I wrote about the history of the company and will include that here. Yello-Bole was started as a processor of briar that did not meet the quality standards for Kaywoodie pipes. I’ll allow pipedia.org to tell the story as a more reputable source than my failing memory.
“In 1932 Kaufmann Bros. & Bondy (KB&B), est. 1851, expanded their programm consisting of KB&B pipes, Reiss-Premier and Kaywoodie as the mainstay brand by introducing the Yello-Bole line. Yello- Bole was designed as an outlet for lower grade briar not used in Kaywoodie production.
At that time KB&B produced their brands in Union City and in West New York, both New Jersey. Deviating from that, Yello-Boles were manufactured by The New England Briar Pipe Company in Penacook, New Hampshire to use this KB&B subsidiary to capacity.1966 Add
As briar was hardly had during World War II, the KB&B Company embarked on a project of domestically grown briar wood, called Mission Briar or manzanita early in 1941. The Pacific Briarwood Company, a subsidiary founded for this purpose, began harvesting the burls growing on the slopes of the Santa Cruz Mountains of California. Though this wood is botanically the same as briar form the Mediterranean countries, the smoking characteristics were not quite as good and the project was abandoned after the war.
Was it for that reason? Advertising from the 1940’s pictures the Yello-Bole “Honey Girl”, who gently urges the pipe smoker to smoke the pipe with “a little honey in every bowl.” In fact, honey was an ingredient of the material used to coat the inside of the bowl. It was said to provide a faster, sweeter break-in of the pipe.
In 1952, 101 years after the Kaufmann brothers had opened a small pipe shop in the Bowery section of New York City, Kaufmann Bros. & Bondy Company with all subsidiaries was purchased by an unknown company strange to pipe industry. (At least, the new owner was economical because the KB&B managers had to leave their luxurious bureaus on 630 Fifth Avenue, New York – the Rockefeller Center – for new rooms in the factory on 6400 Broadway, West New York.) This interlude ended after only 3 years in March of 1955, when S. M. Frank & Co. bought Kaufmann Bros. & Bondy, The Kaywoodie Company, Reiss-Premier Corp., The New England Briar Pipe Co. and – of course – Yello-Bole.
From the time of S.M. Frank’s purchase in 1955 until 1972 Yello-Bole was run as a separate company, as division of the parent. Through this period, Yello-Bole, same as Kaywoodie, had it’s own officers, sales force and maintained the production facilities in West New York. These 17 years were probably the most glorious years in Yello-Bole’s history.” (https://pipedia.org/wiki/Yello-Bole).
“Tips for Dating Yello-Bole Pipes
- KBB stamped in the clover leaf indicates it was made in 1955 or earlier as they stopped this stamping after being acquired by S.M. Frank.
- Pipes from 1933-1936 they were stamped “Honey Cured Briar”
- Post 1936 pipes were stamped “Cured with Real Honey”
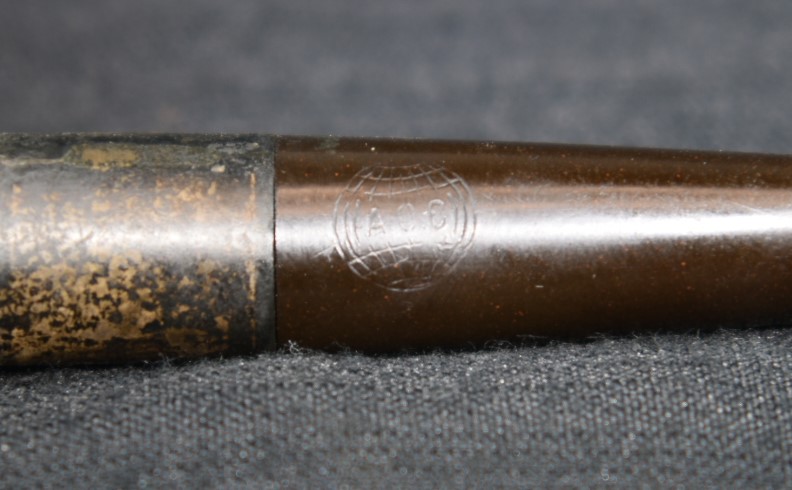
- Pipe stems stamped with the propeller logo were made in the 1930’s or 1940’s – no propellers were used after the 1940’s.
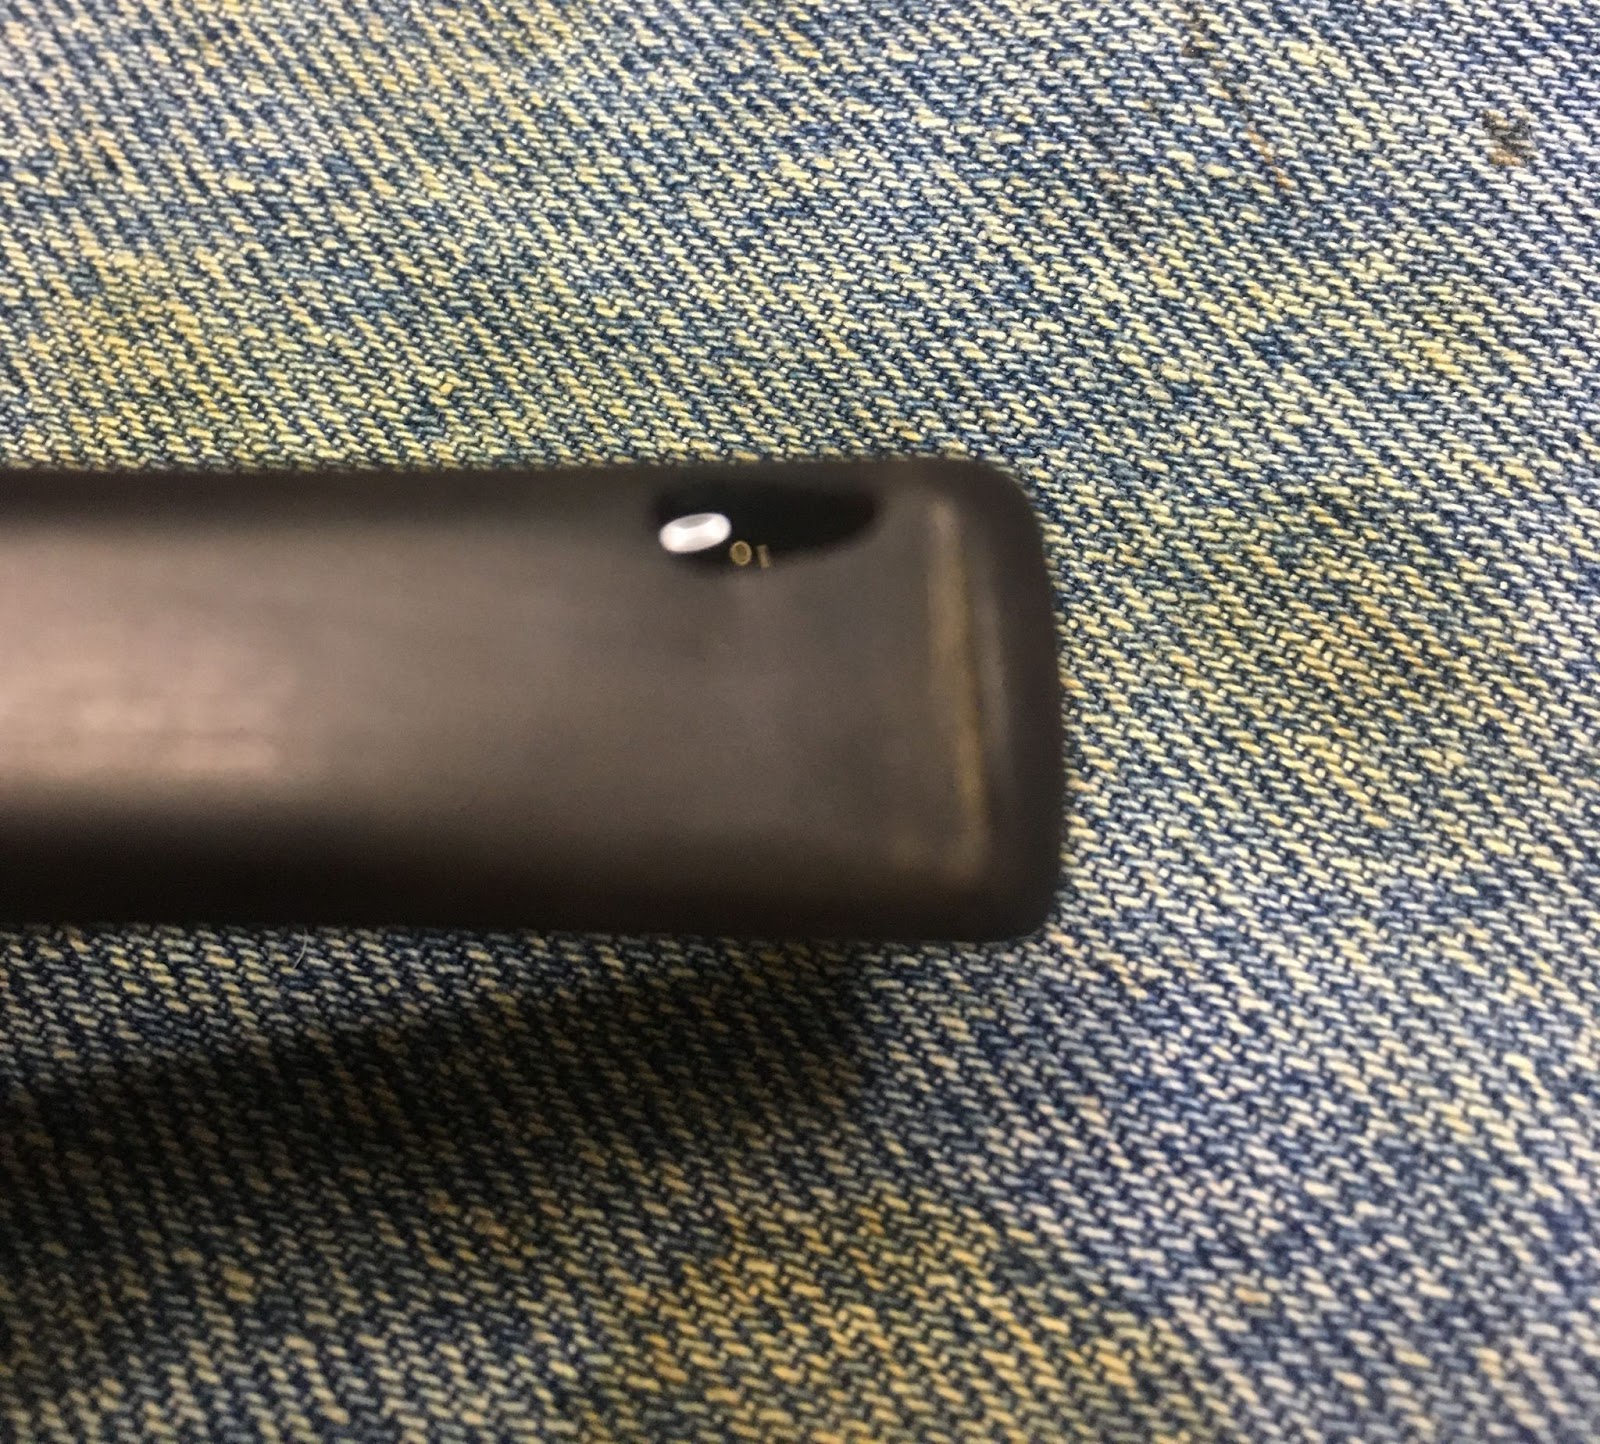
- Yello Bole used a 4 digit code stamped on the pipe in the 1930’s.
- Pipes with the Yello-Bole circle stamped on the shank it were made in the 1930’s, this stopped after 1939.
- Pipes stamped BRUYERE rather than BRIAR it was made in the 1930’s.”
(https://pipedia.org/wiki/Yello-Bole).
Using the above guidelines this pipe represents the 1st and 2nd bullet points:
- KBB stamped in the clover leaf
- “Honey Cured Briar”
The Restoration
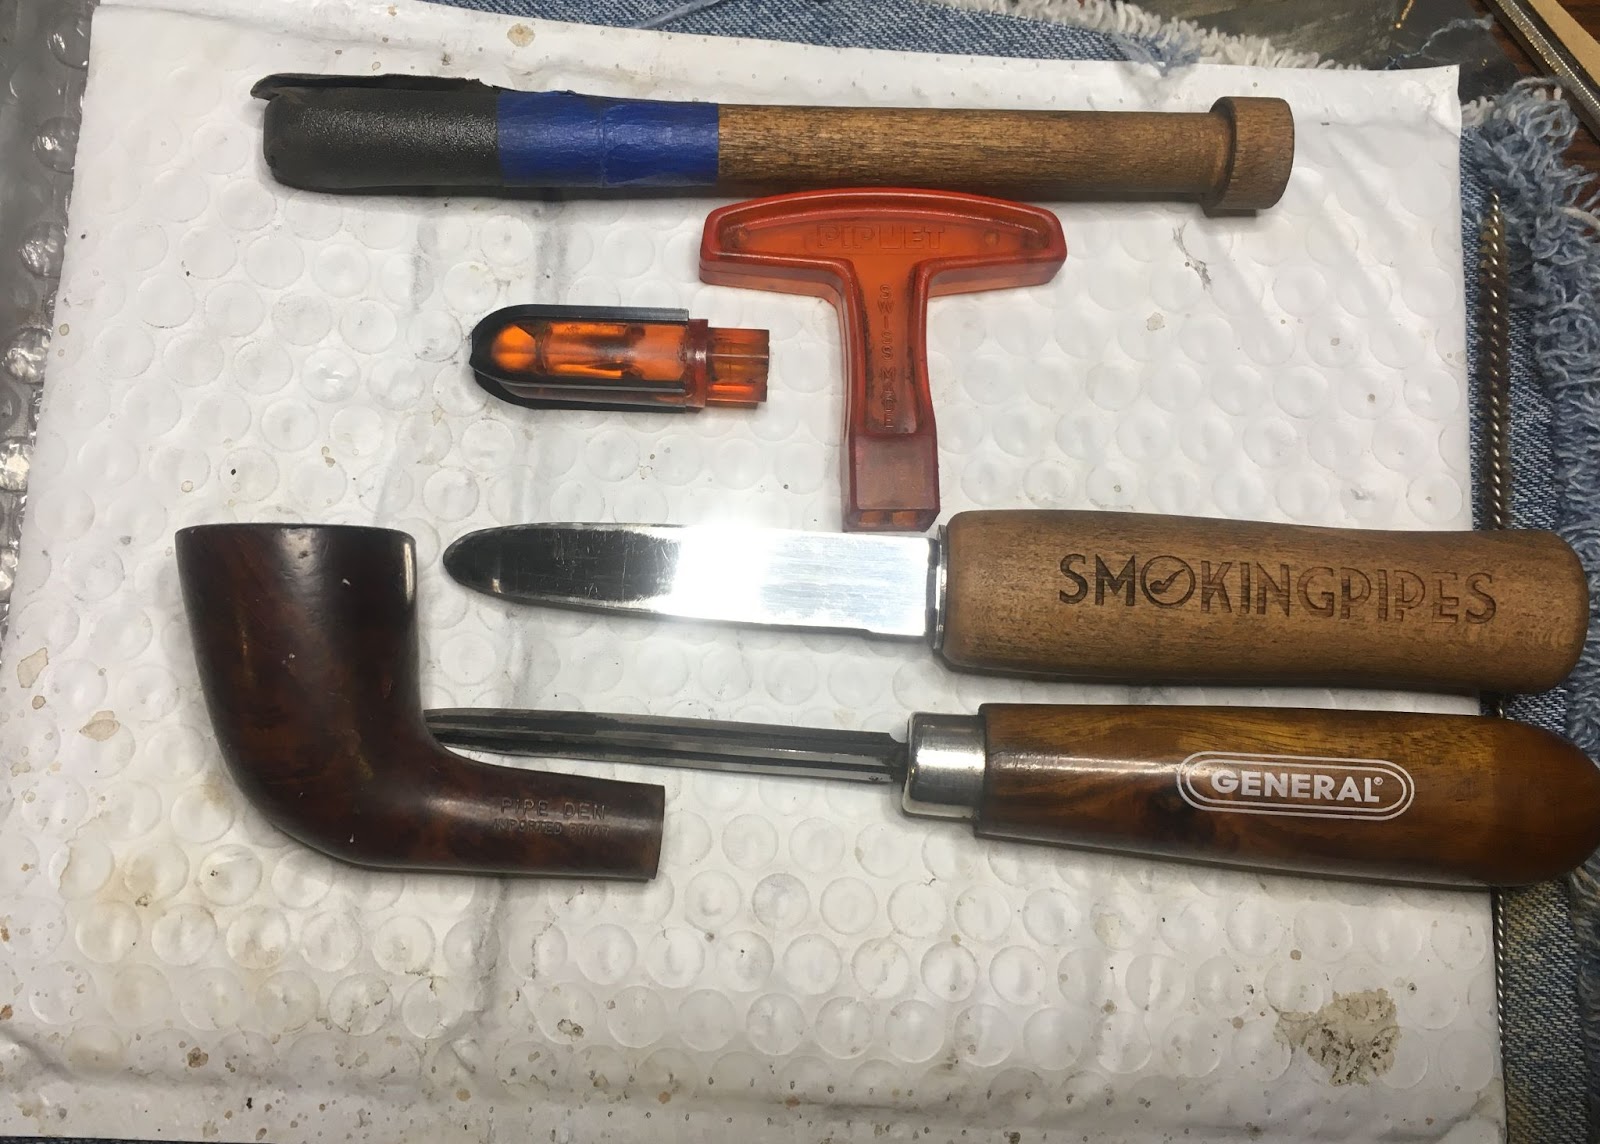
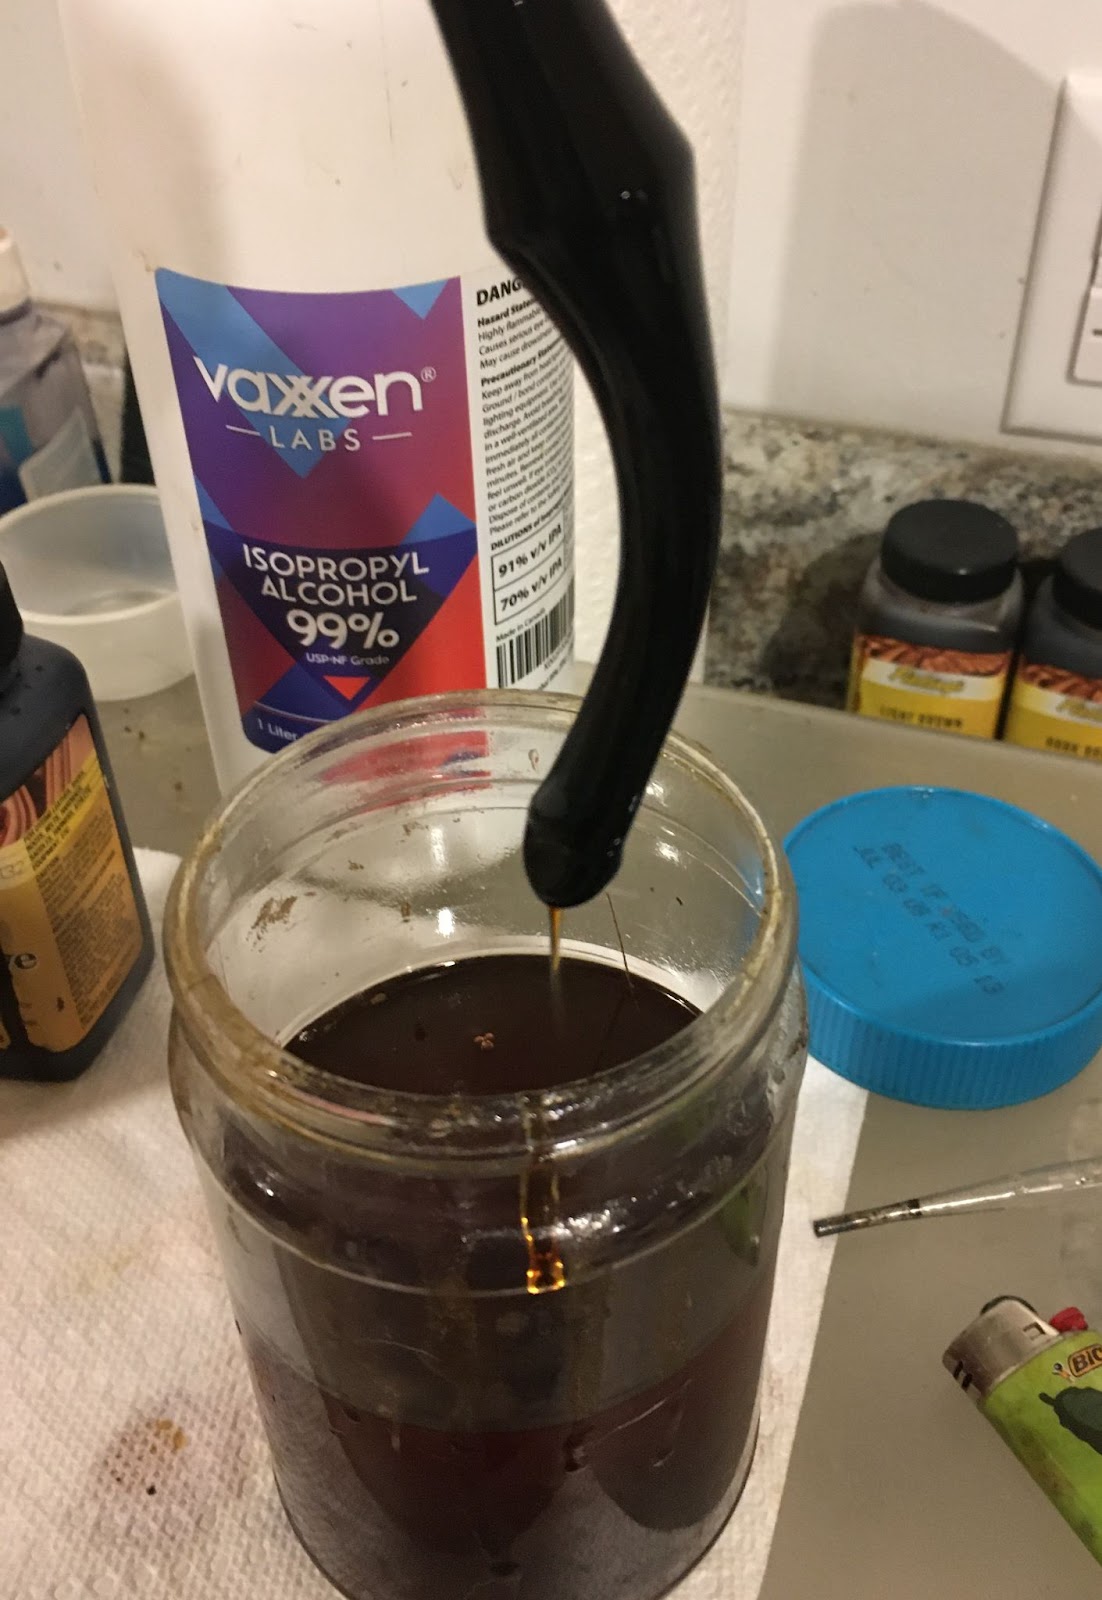
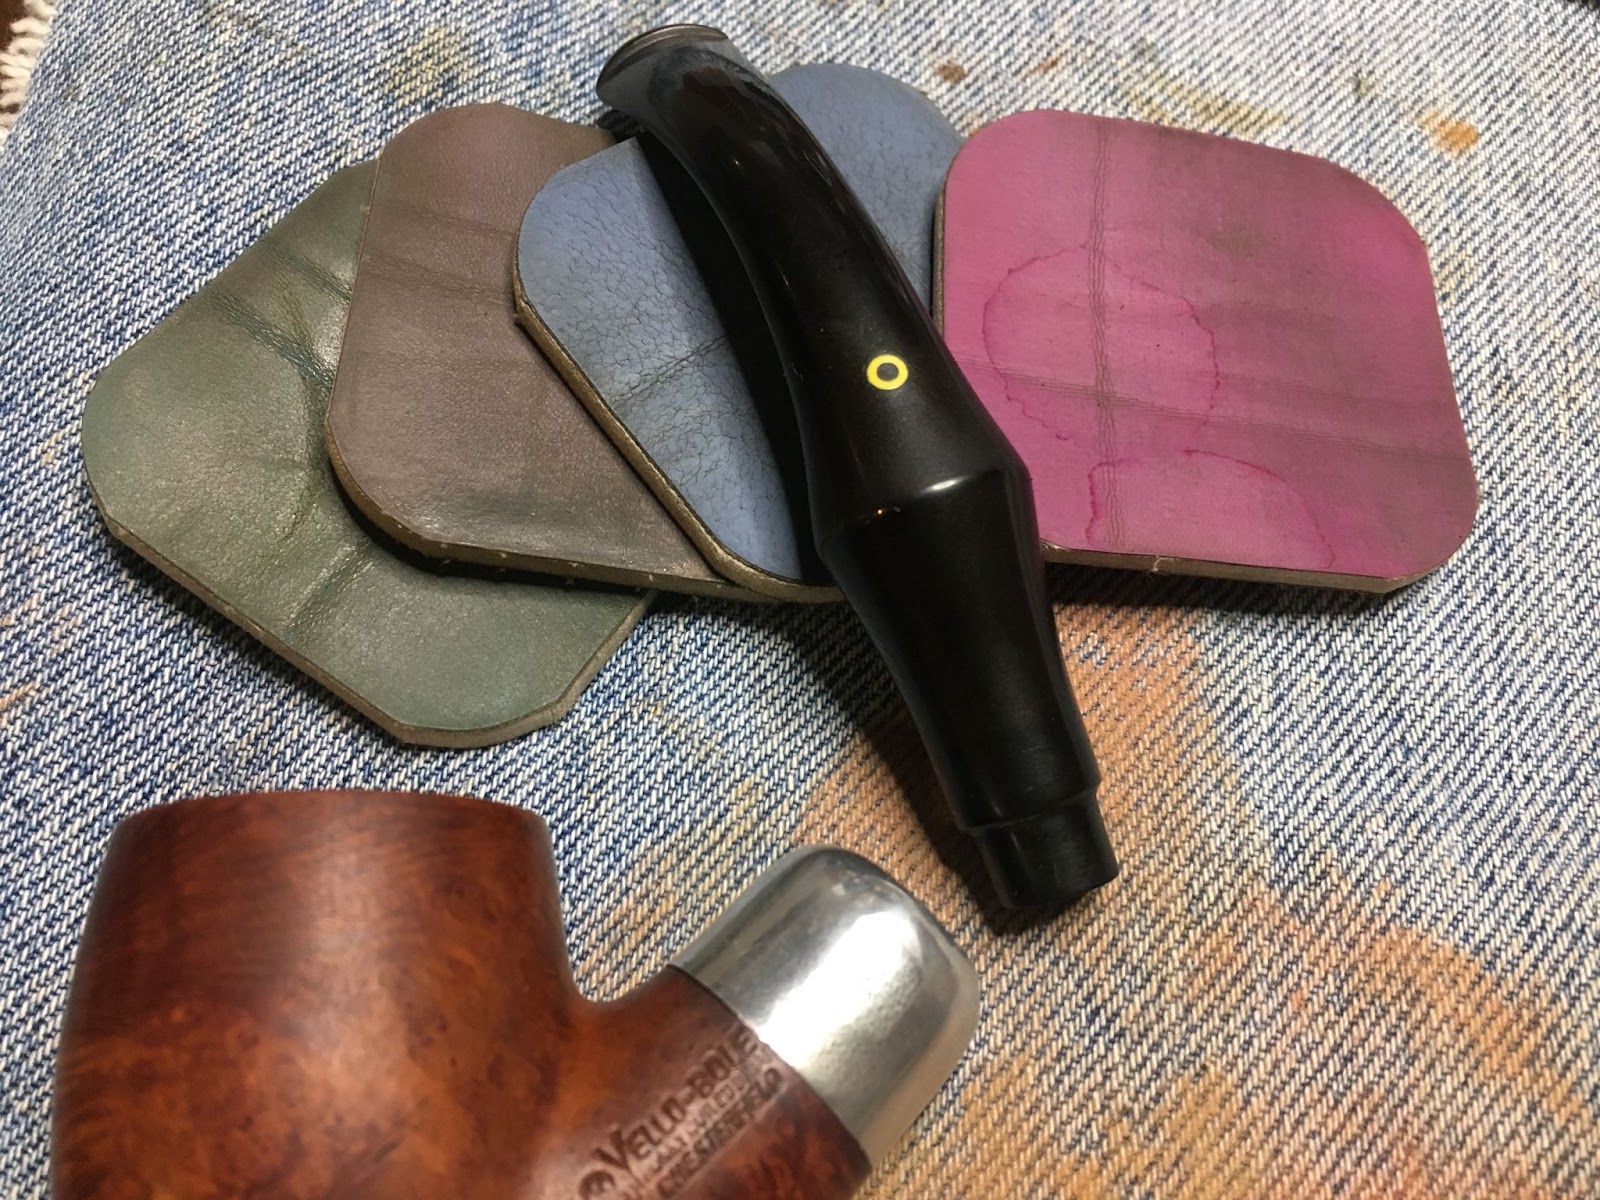
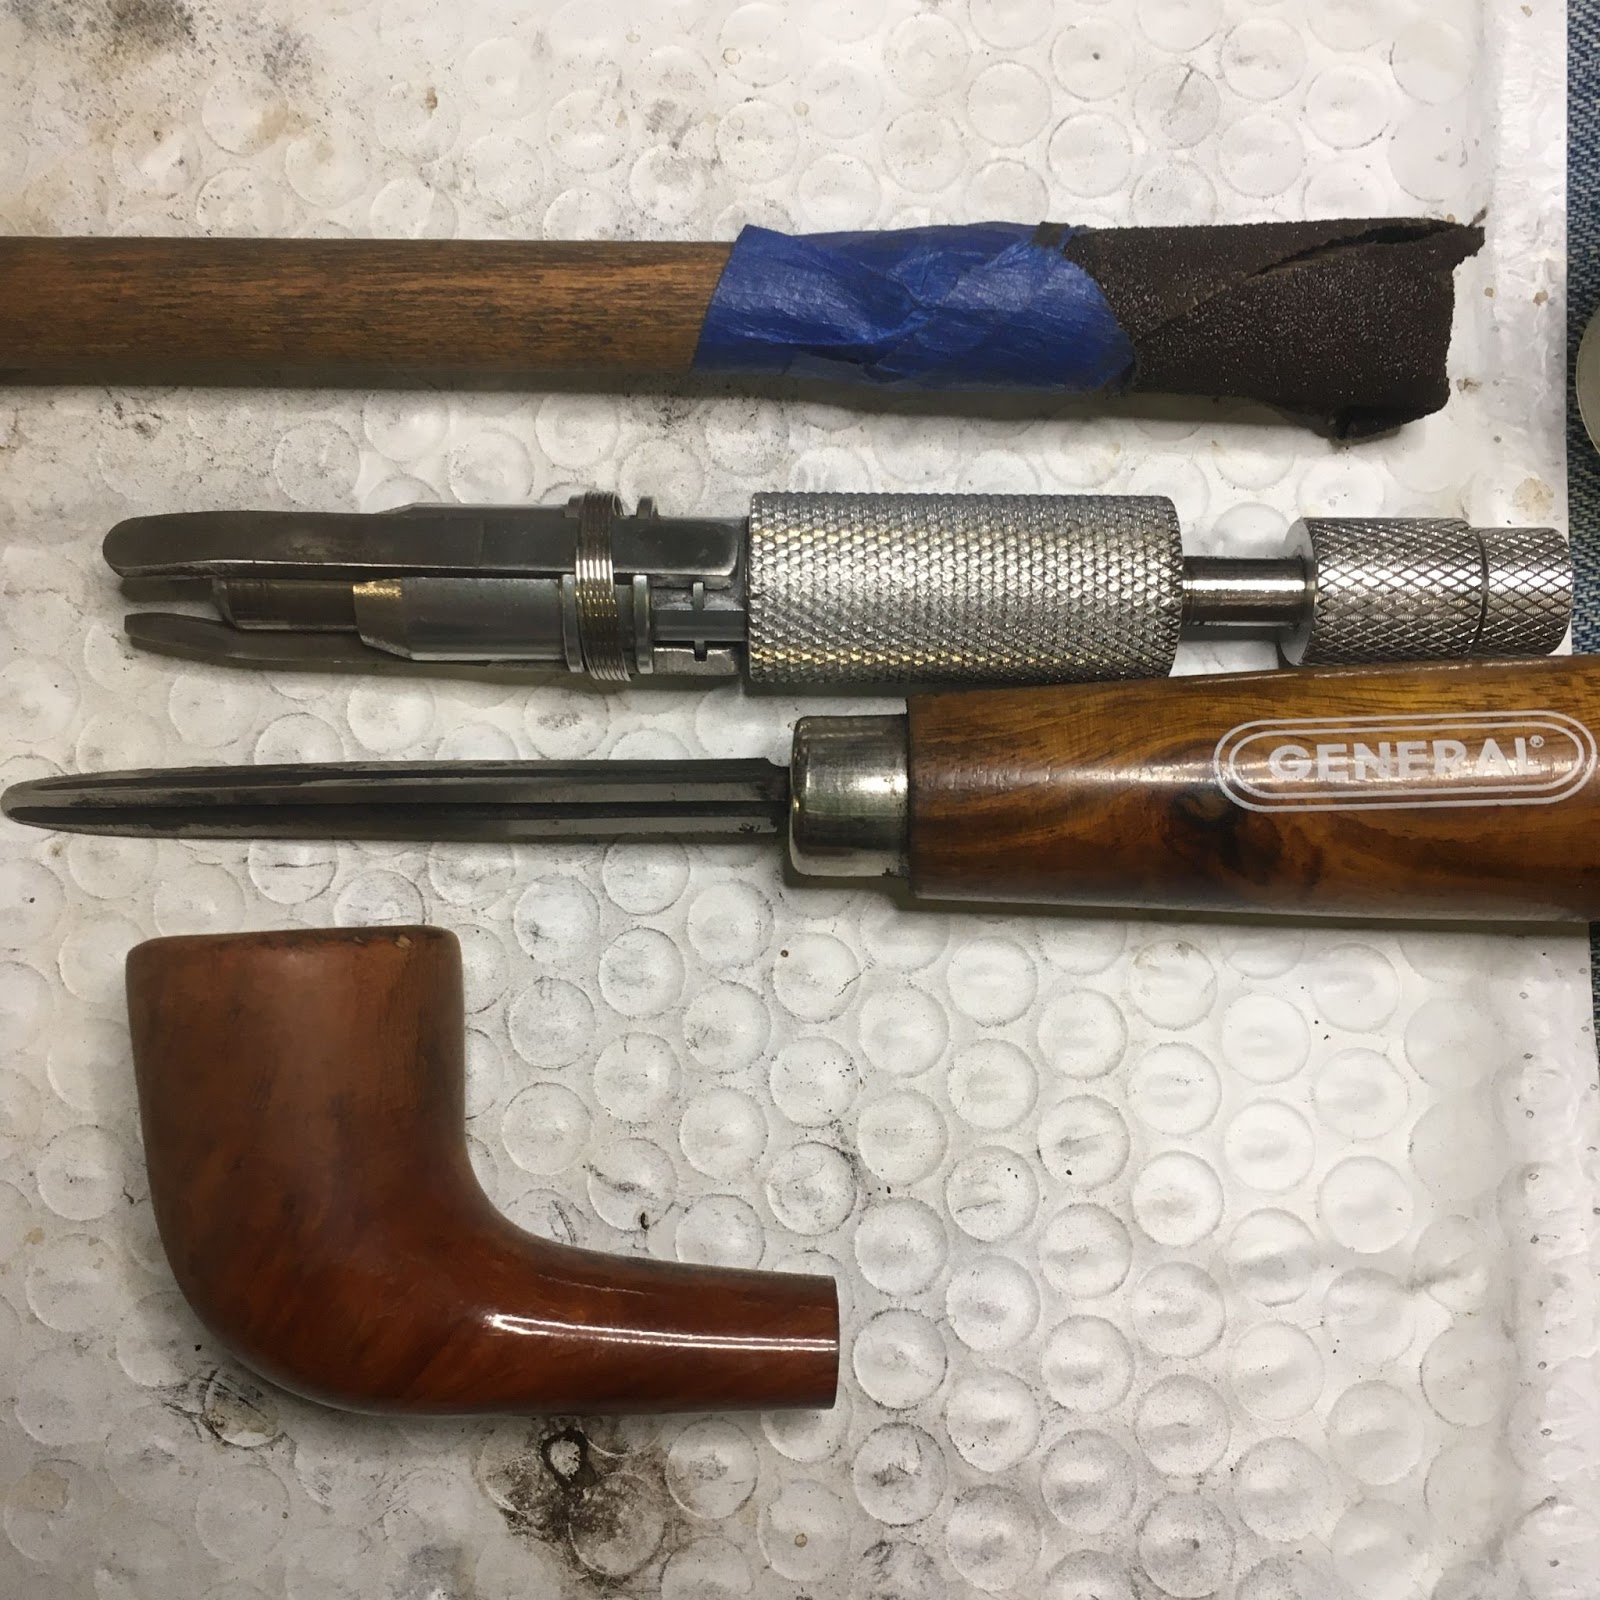
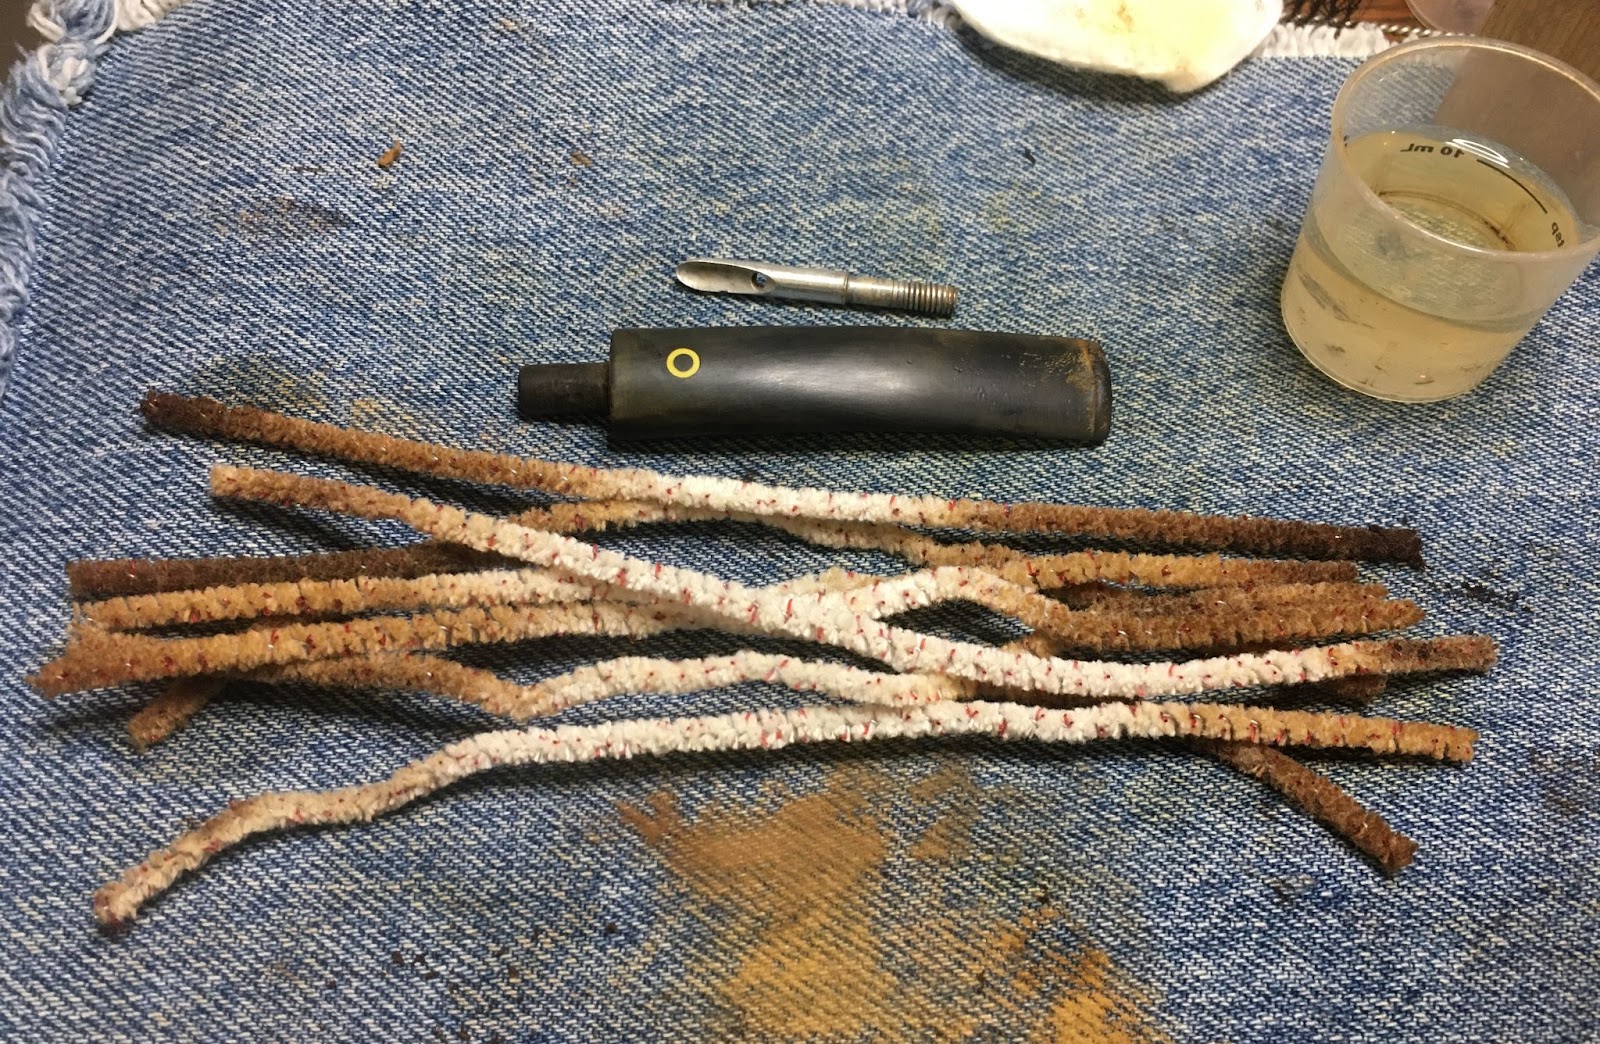
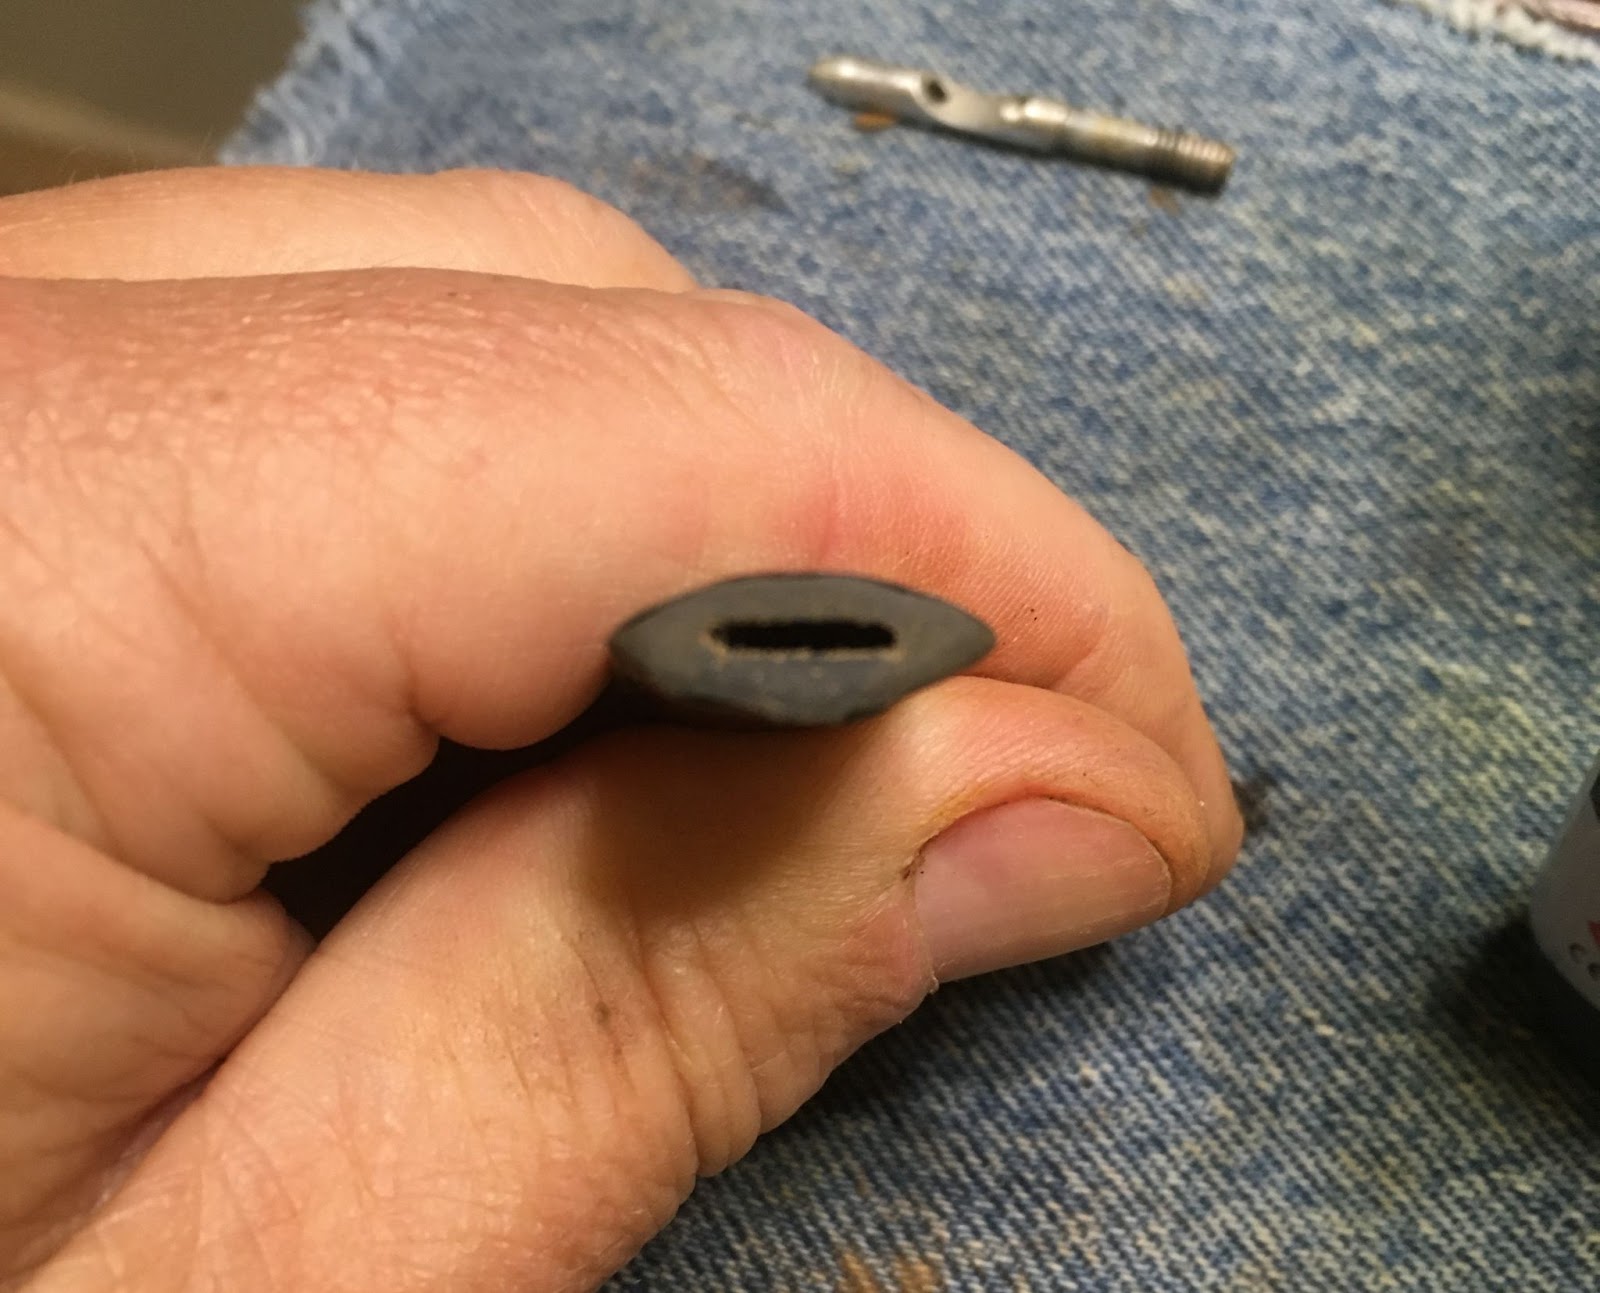
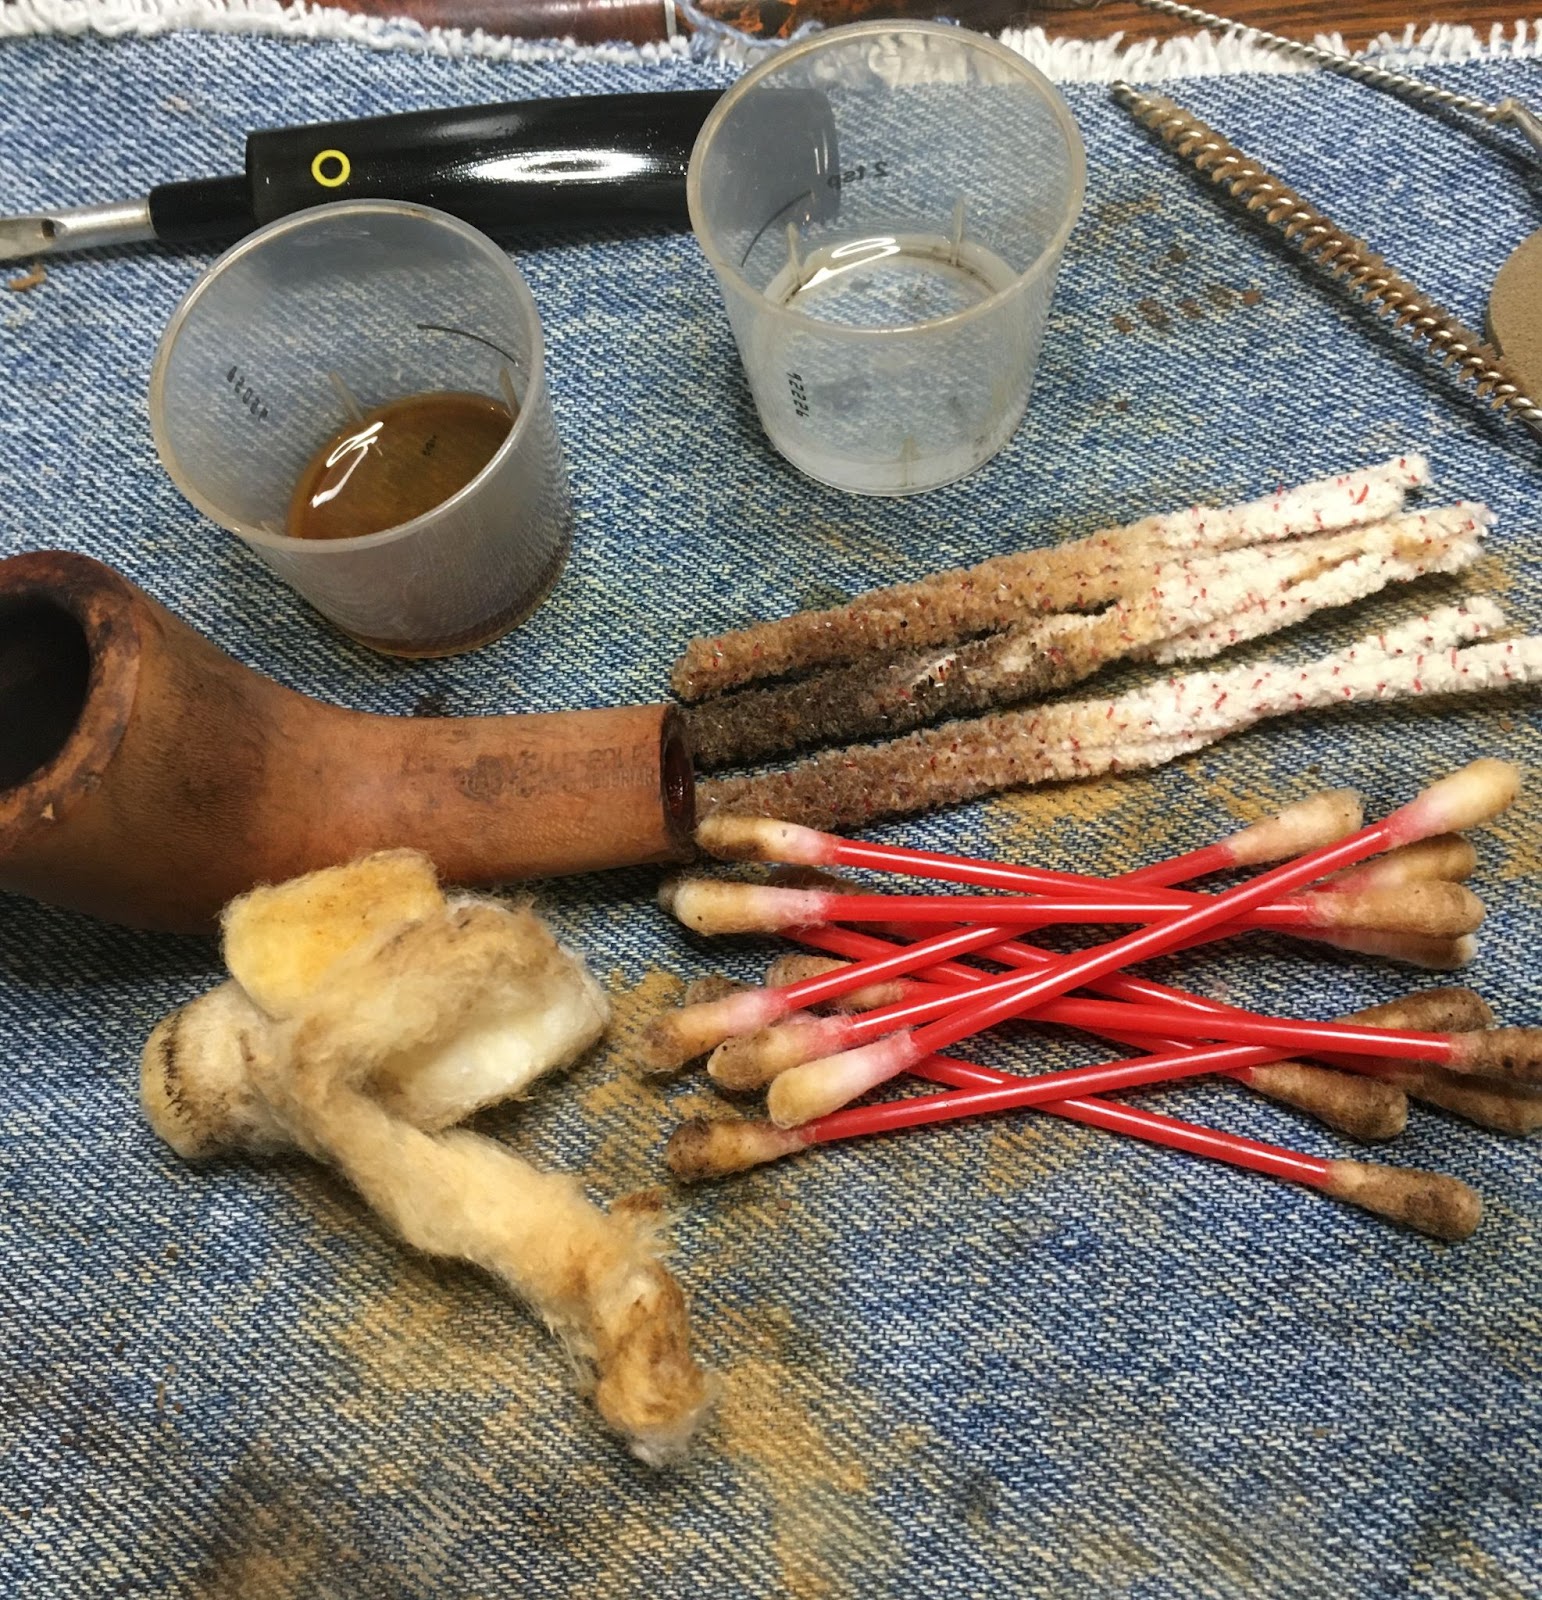
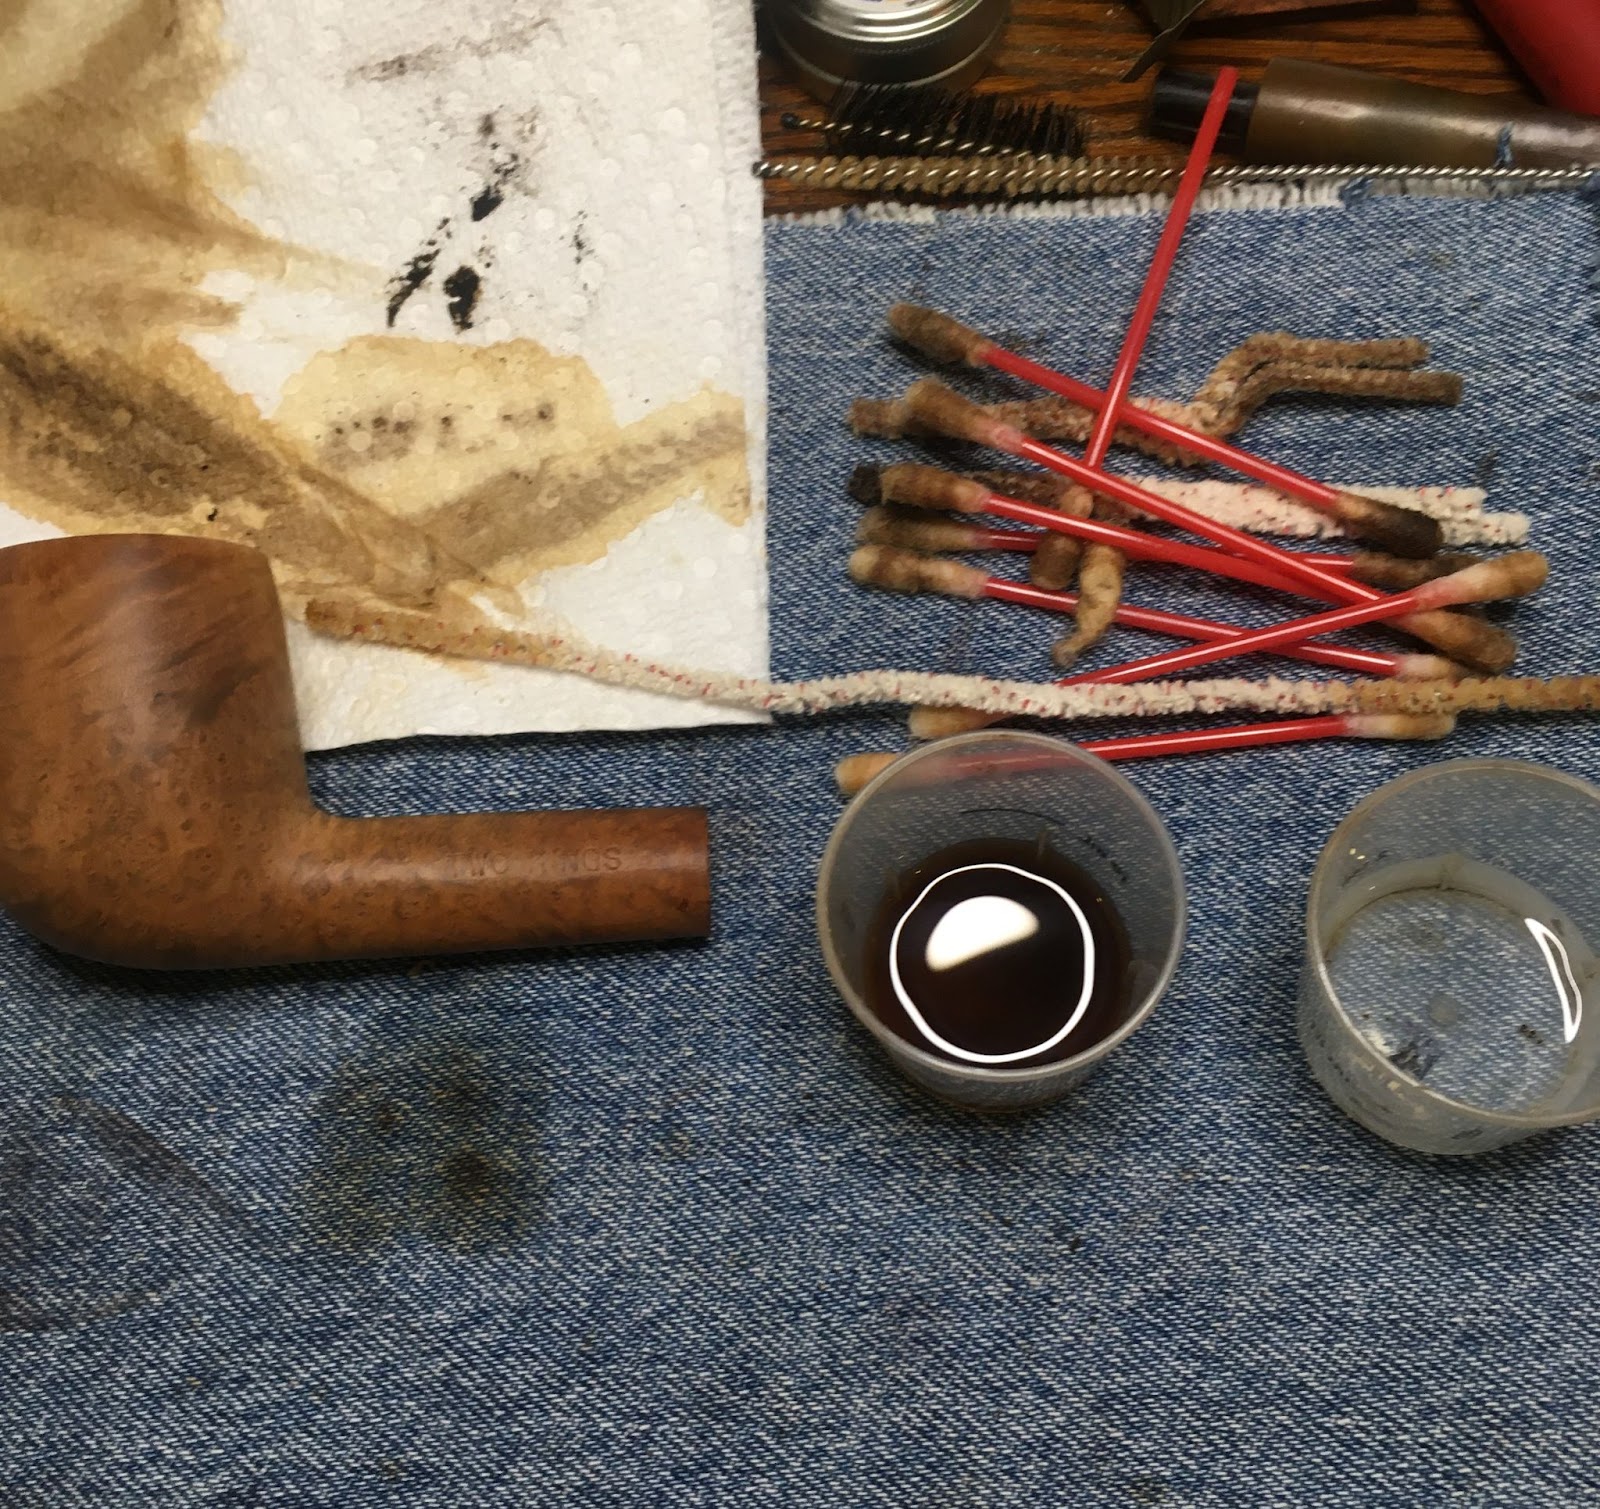
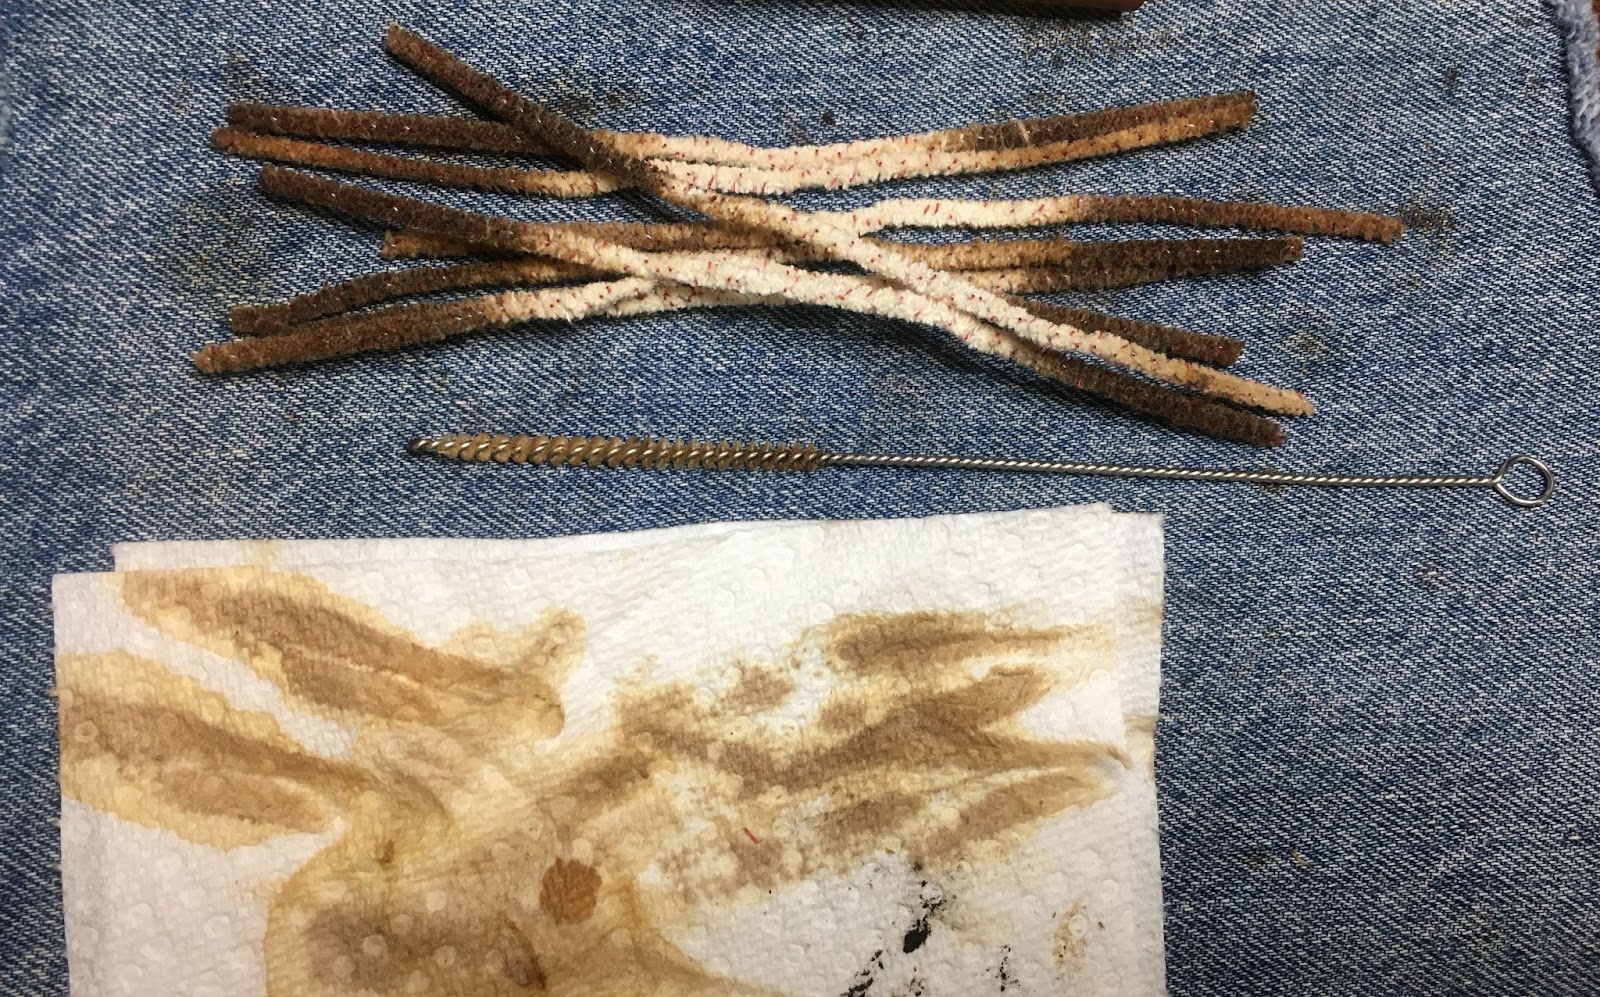
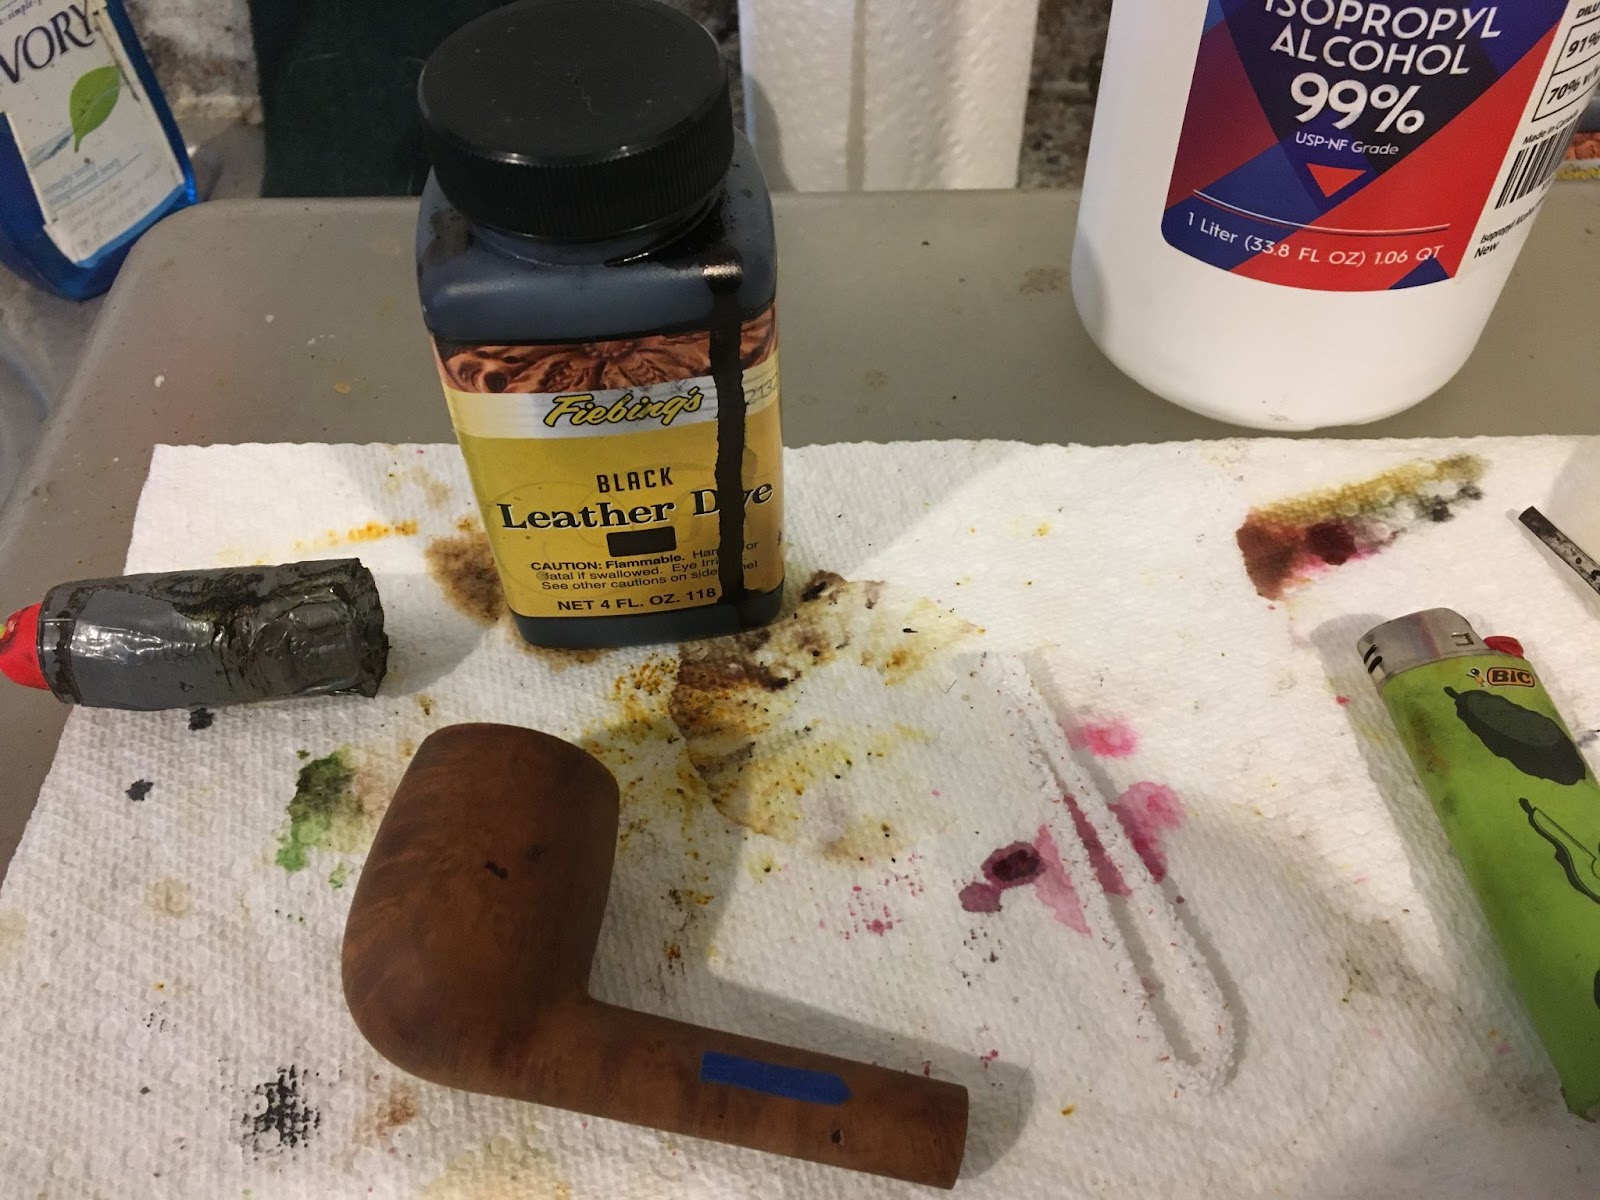
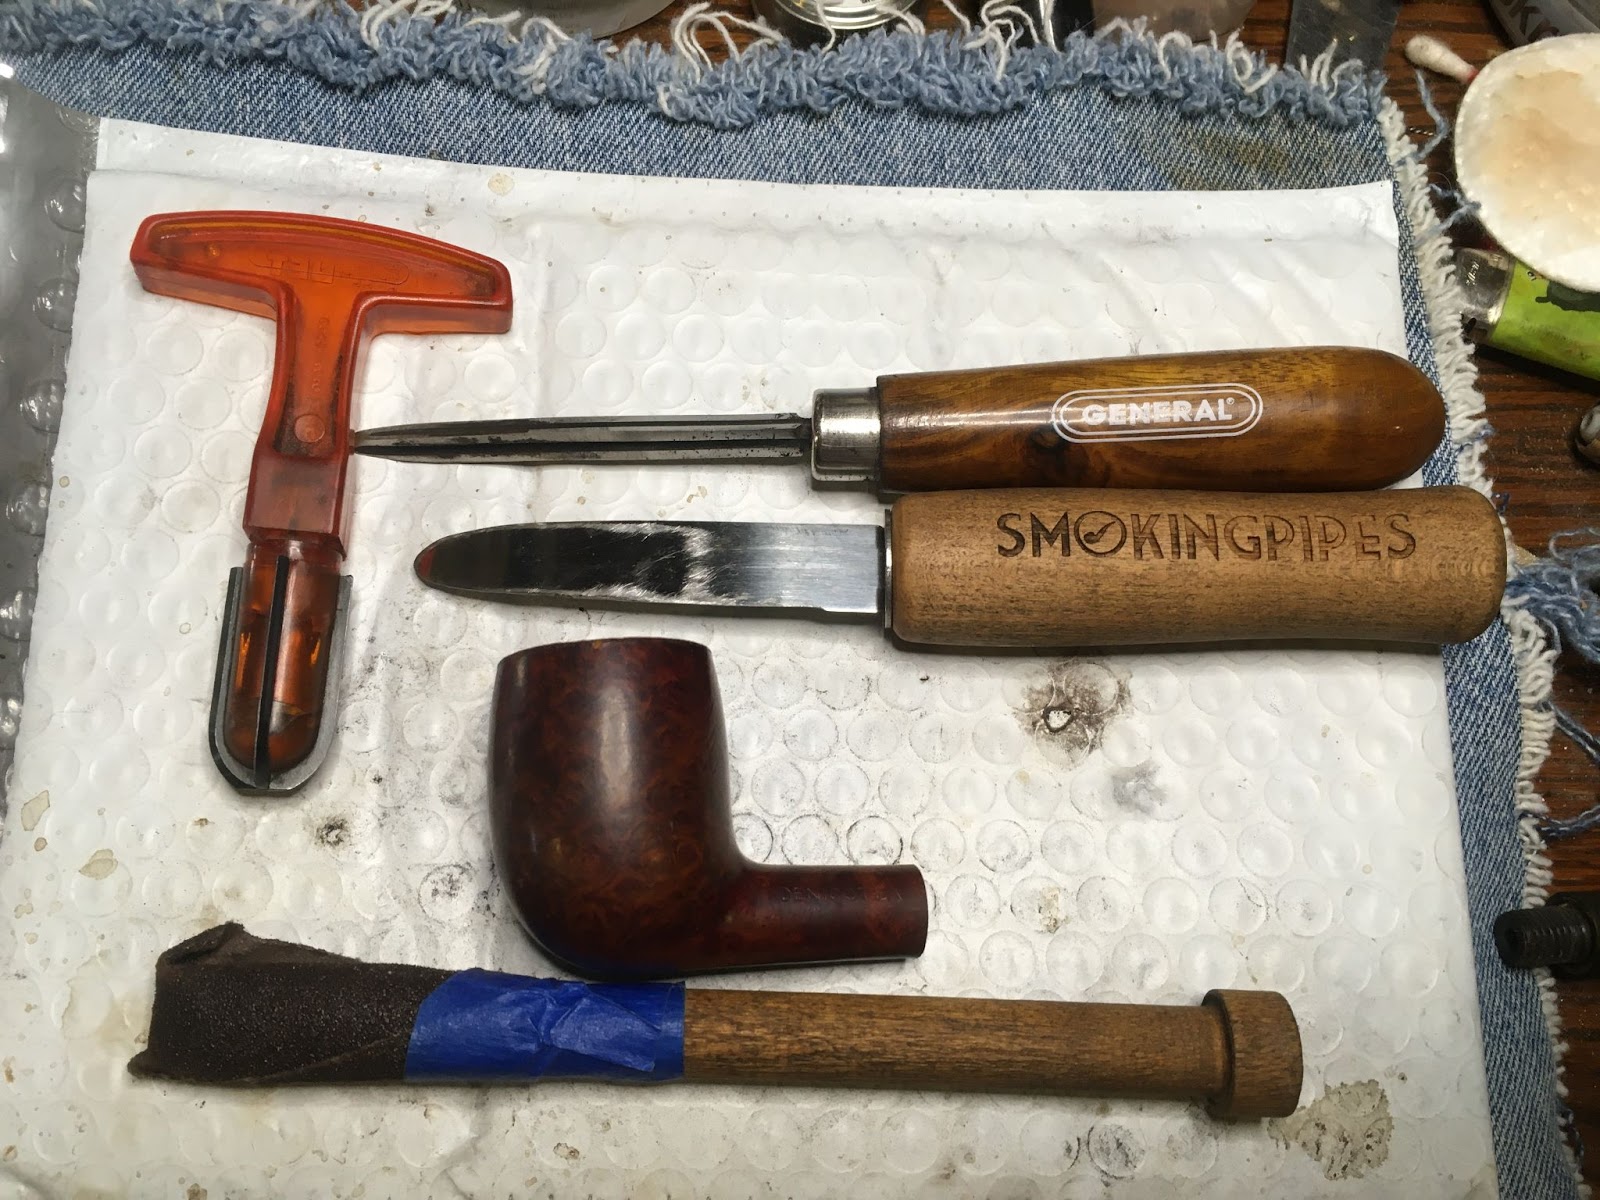
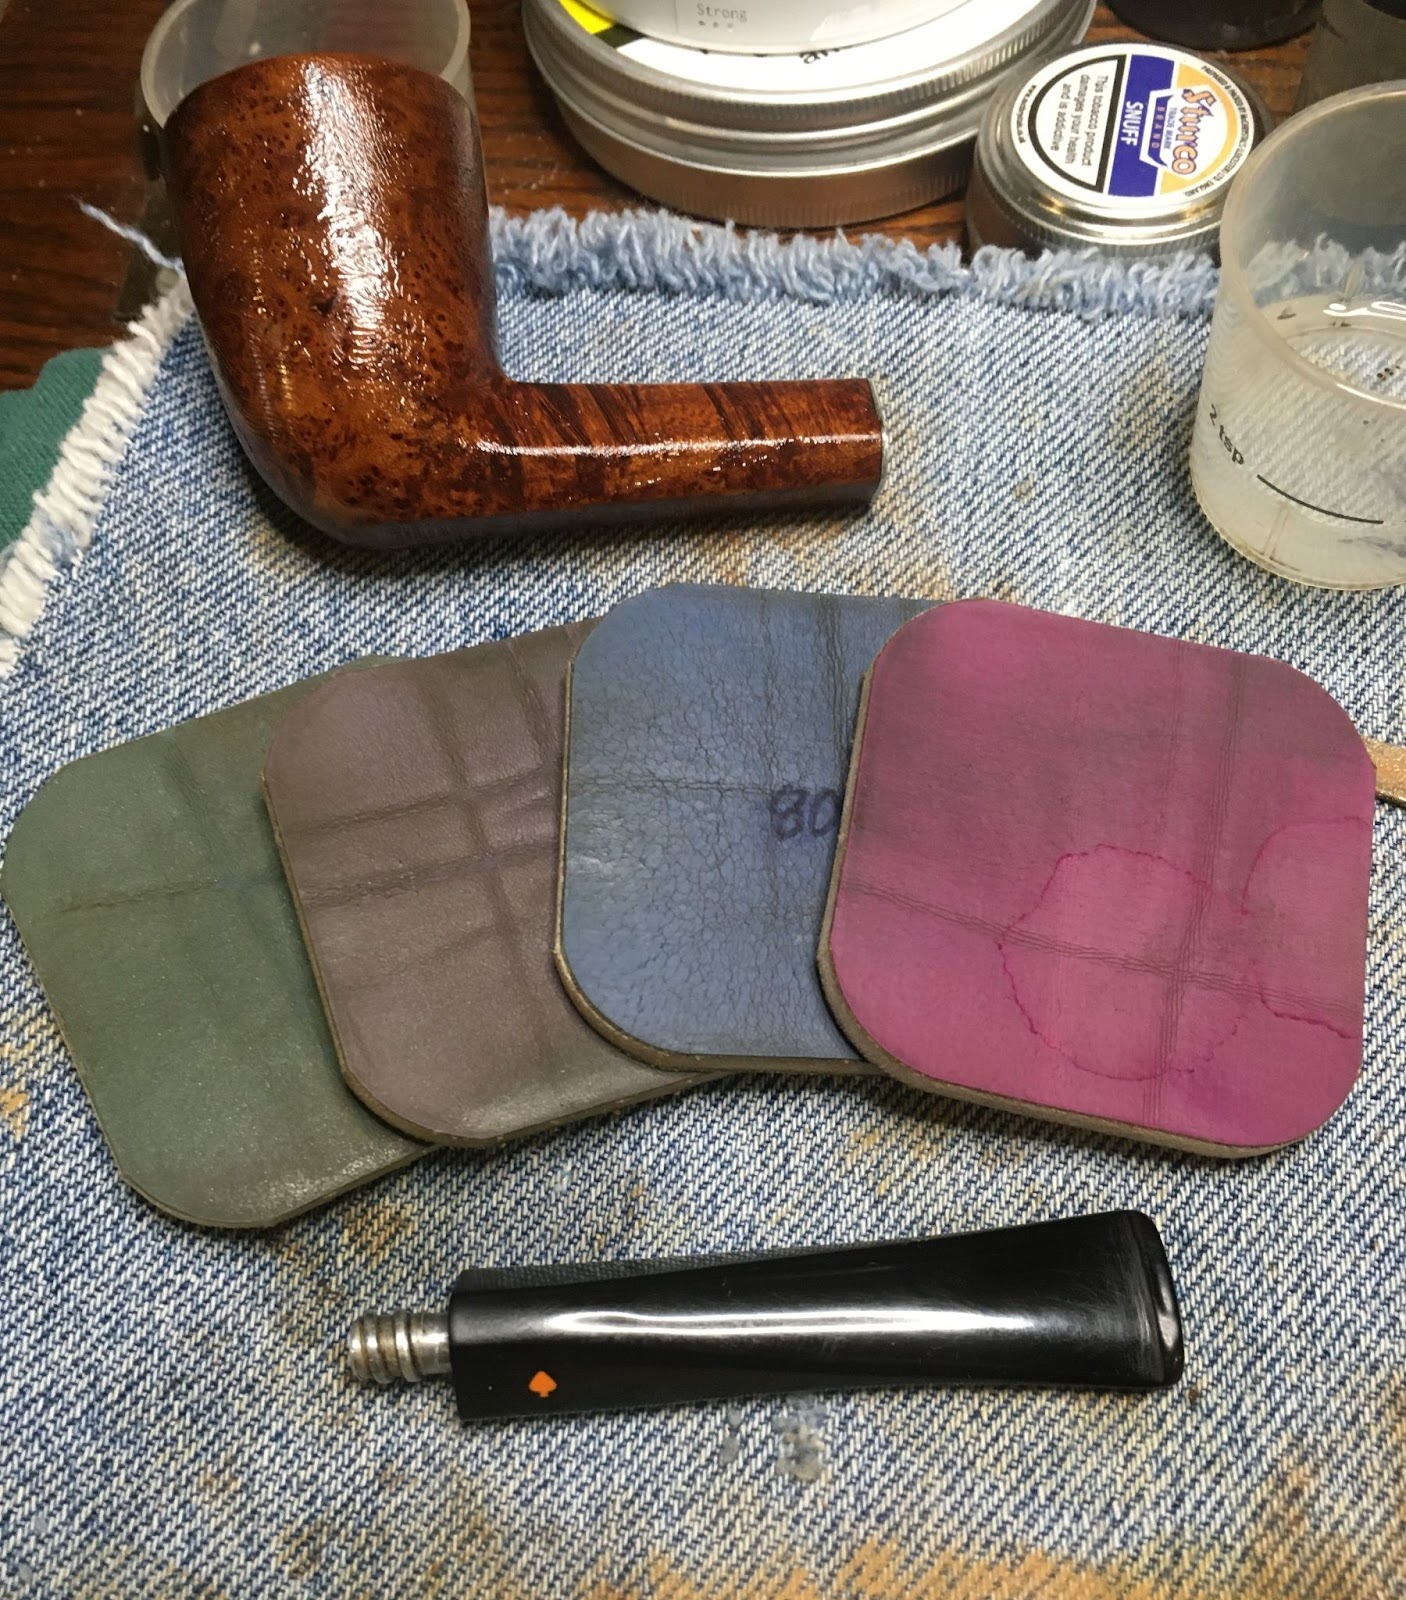
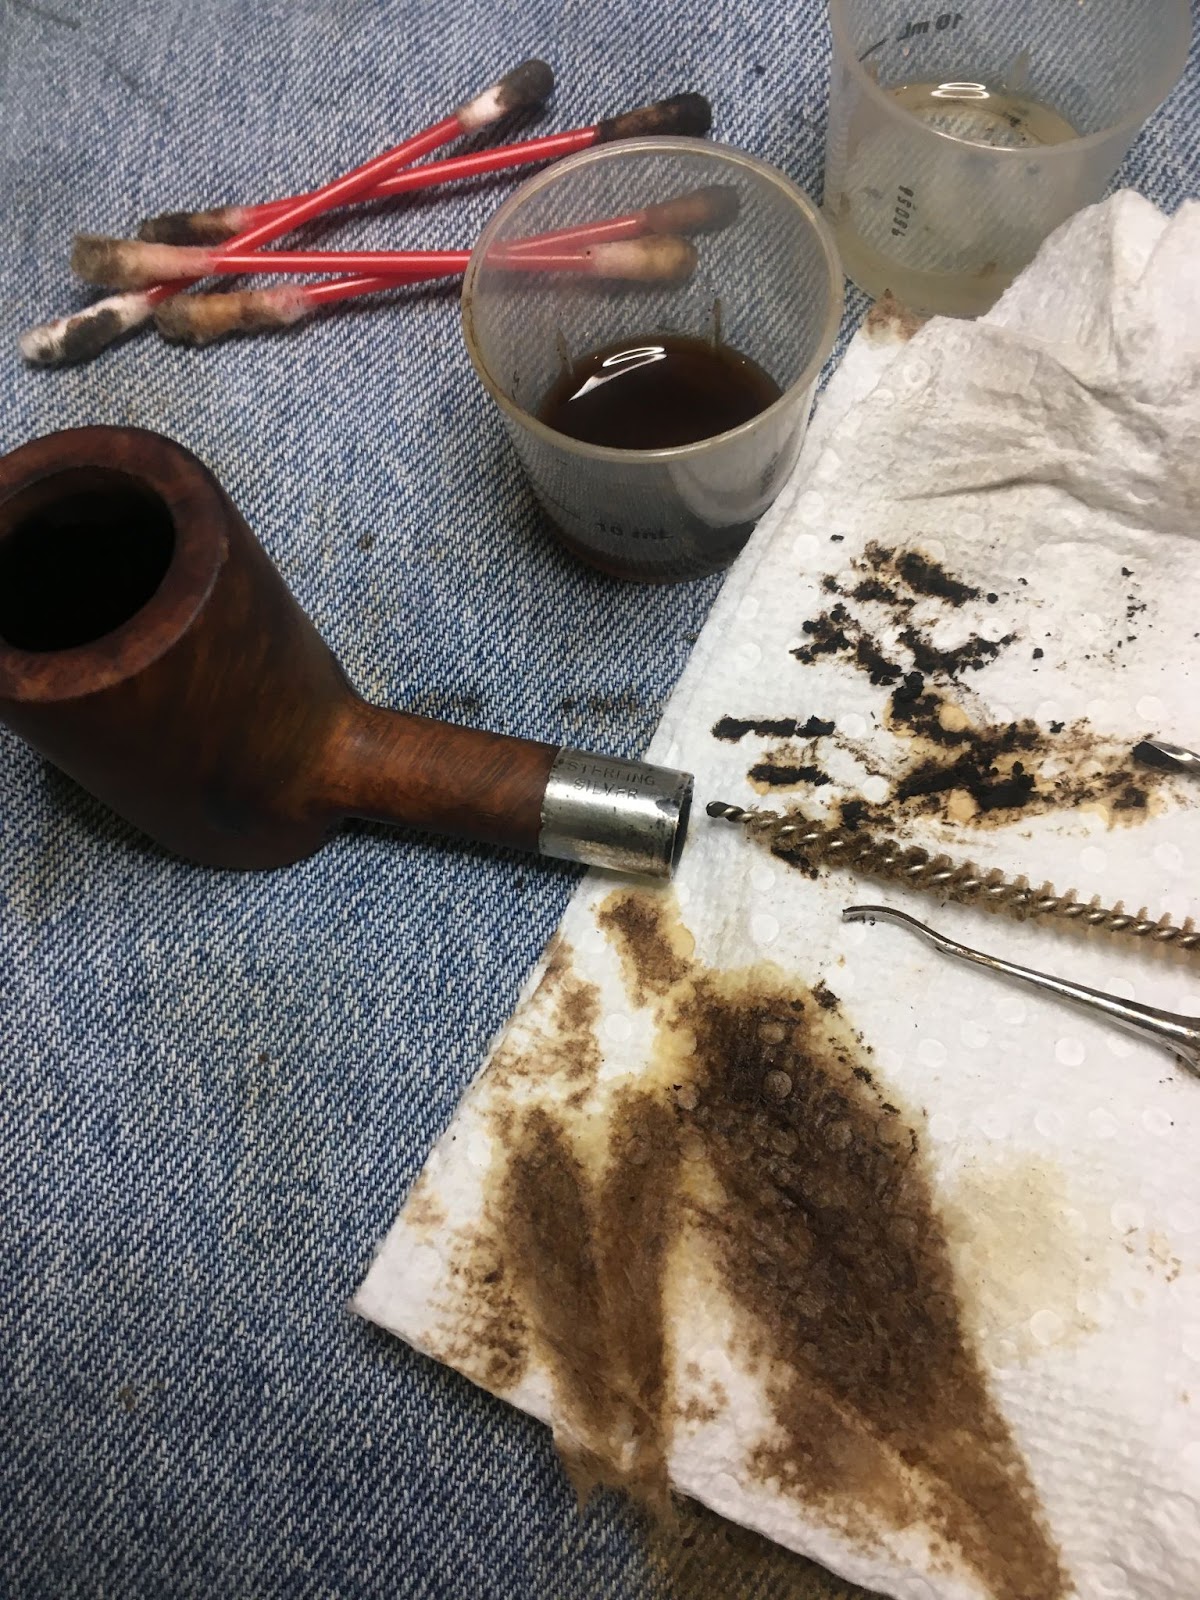
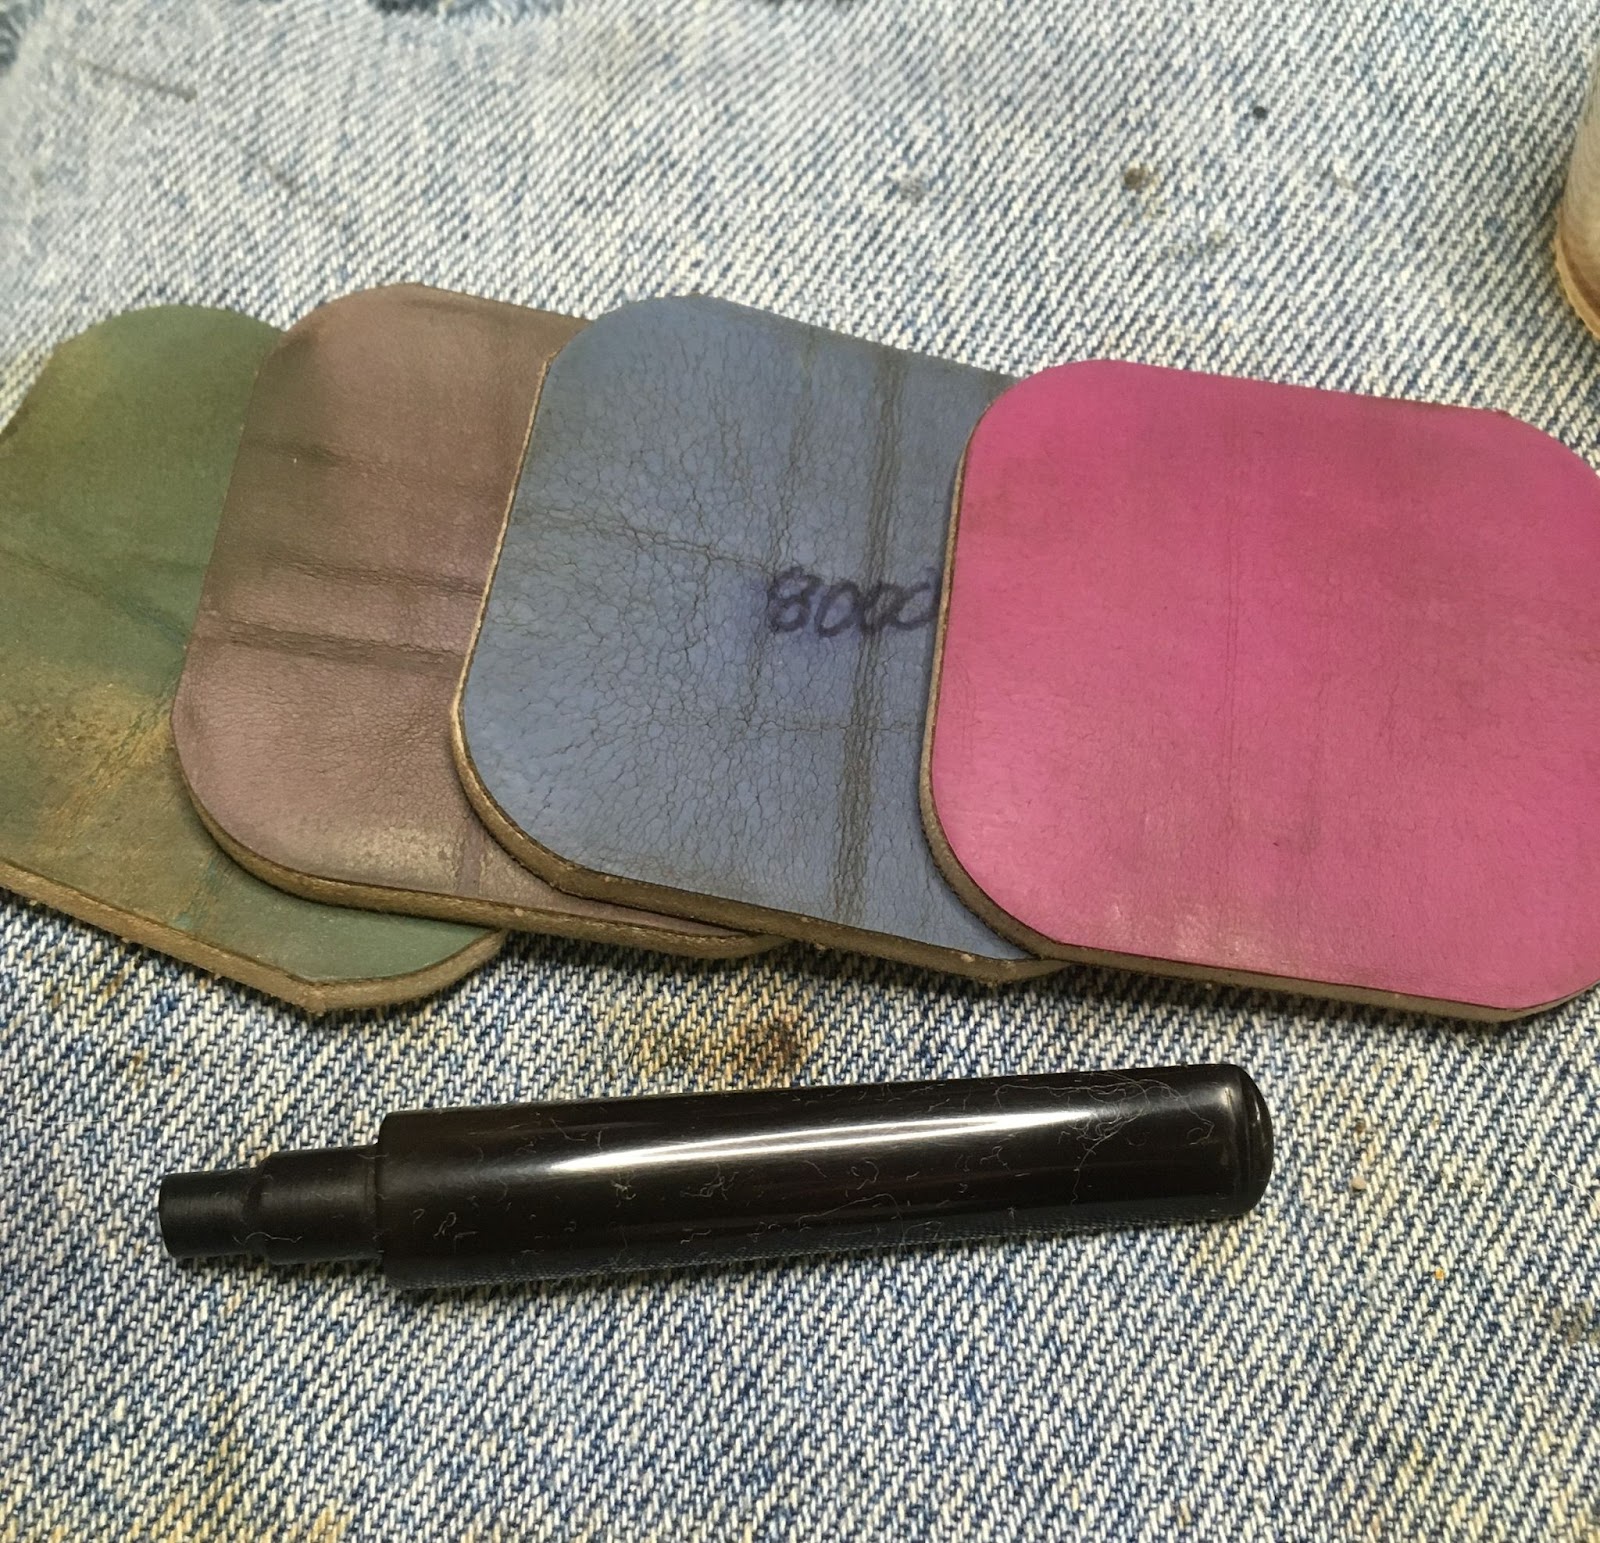
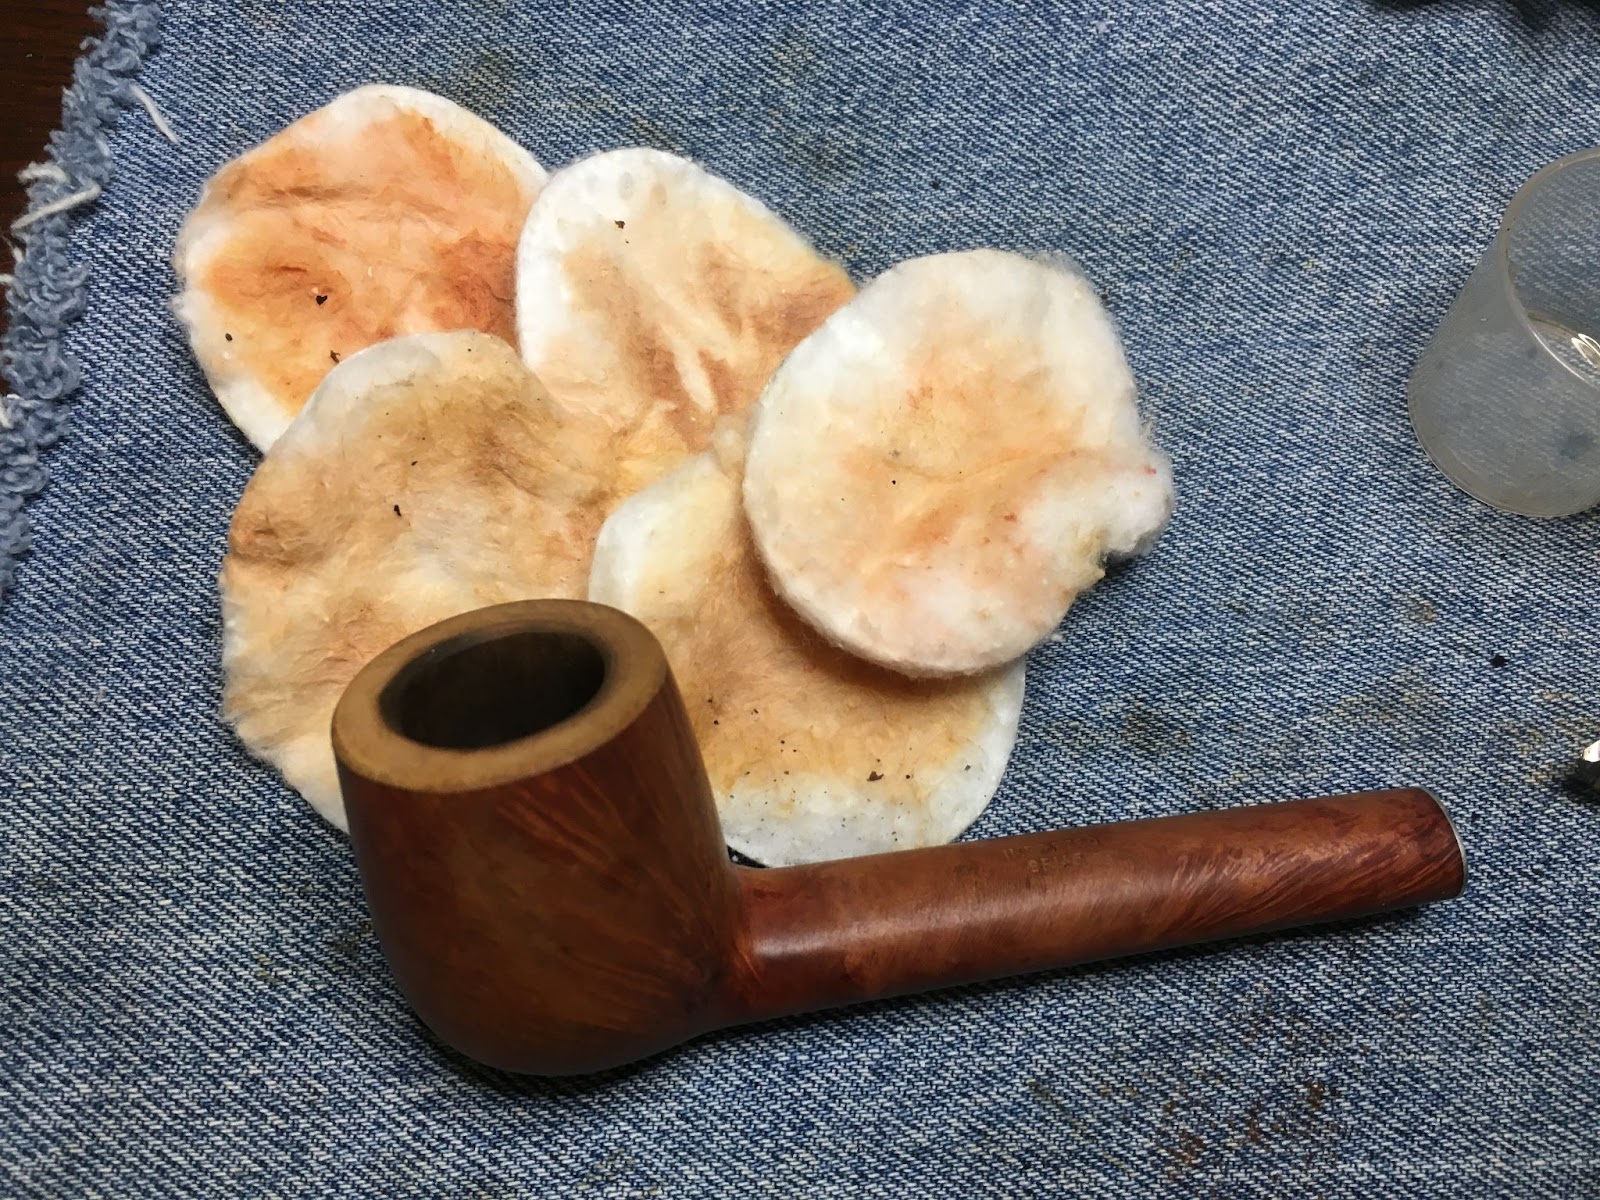
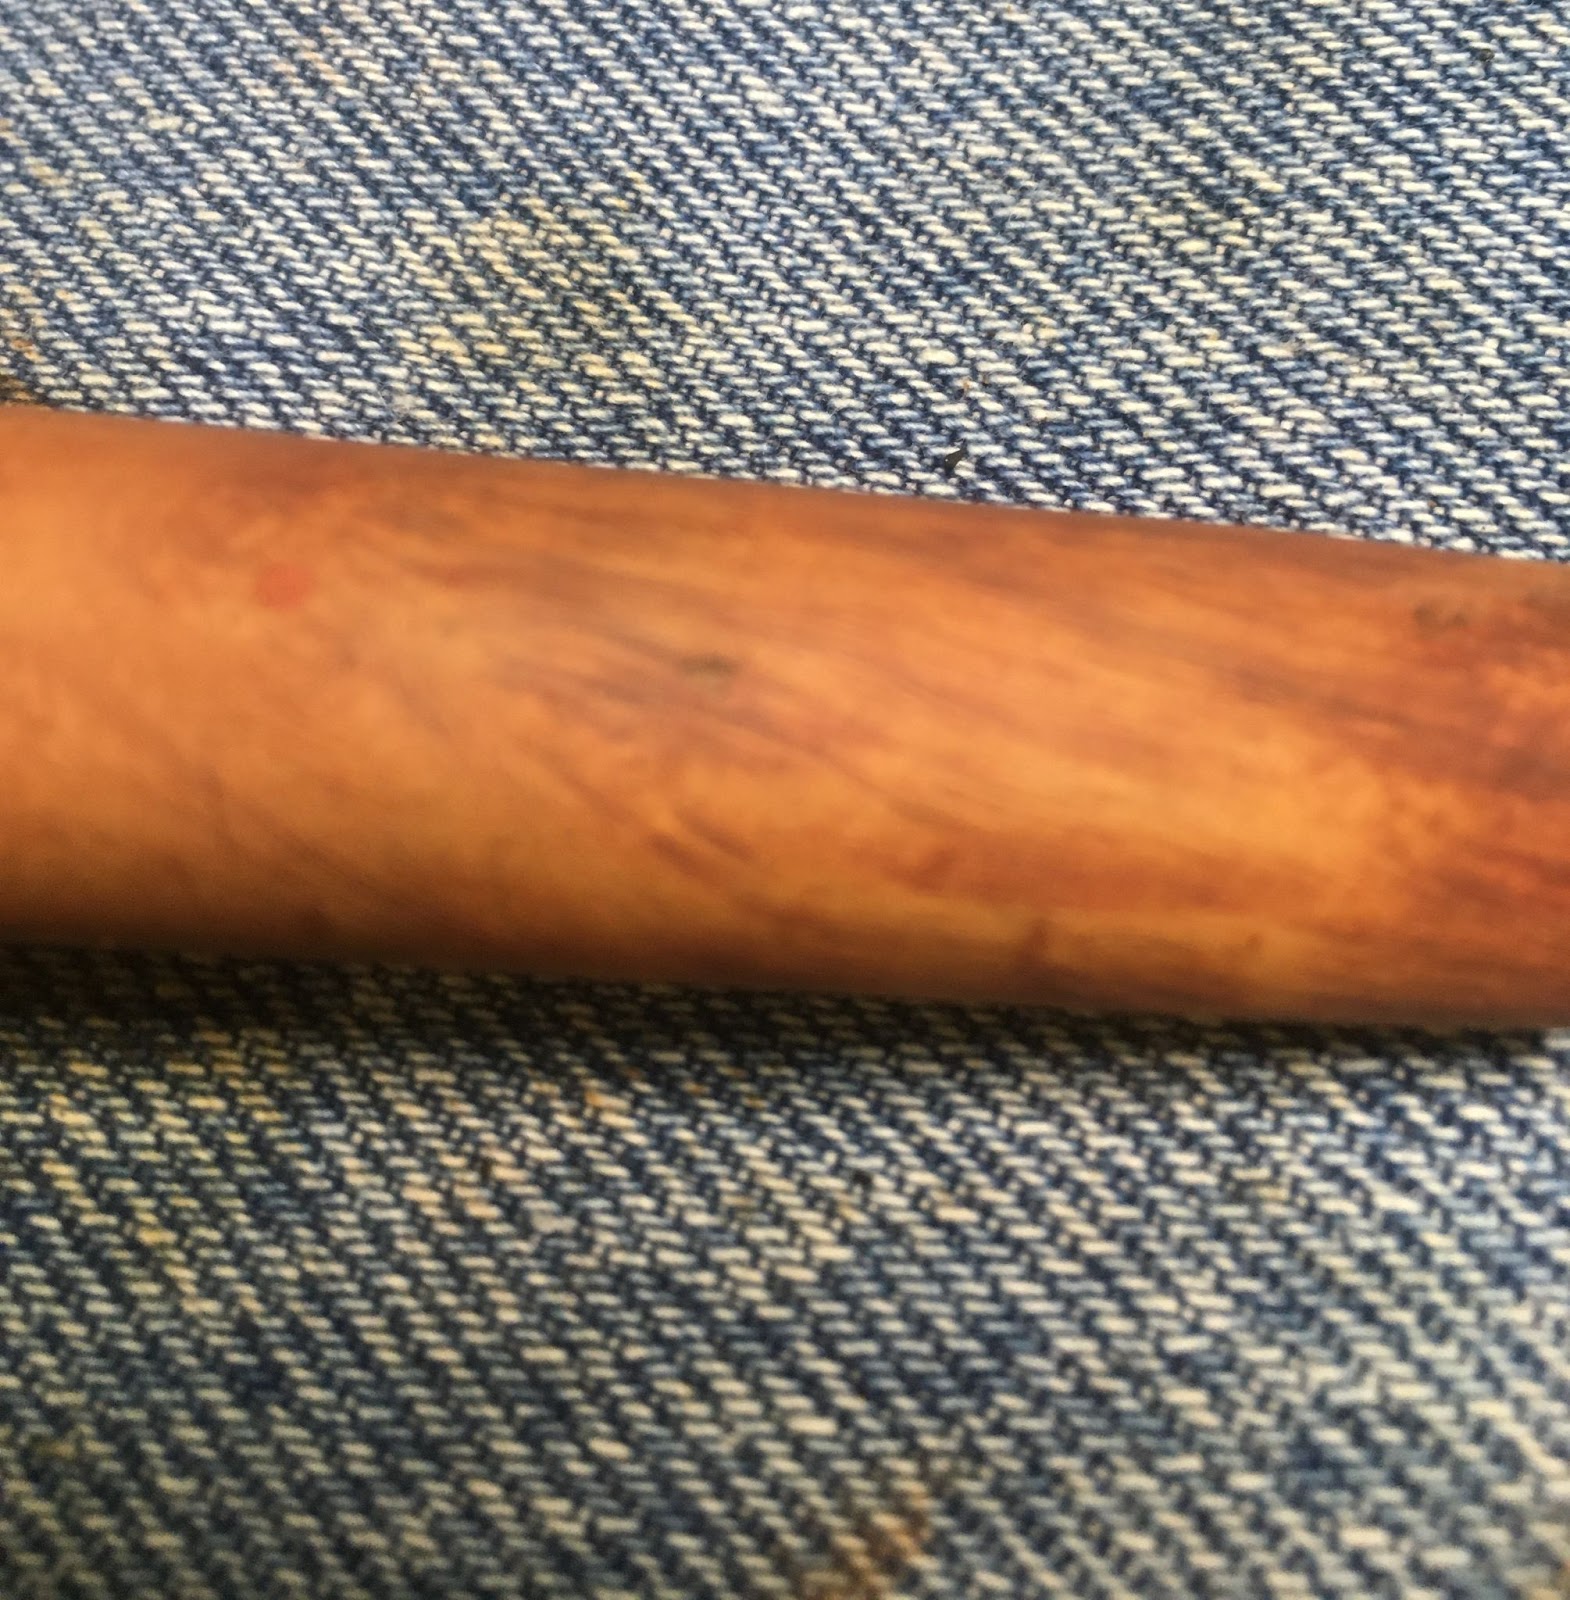
With the usual clean denim piece placed, I began with the stem on this restoration. I knew it was going to require a bit of time in the Before and After Deoxidizing solution or, deox, as I like to call it. I cleaned the airway with bristle pipe cleaners dipped in 95% ethyl alcohol. The exterior was rubbed with 0000 steel wool in an attempt to remove the oldest of the oxidation.

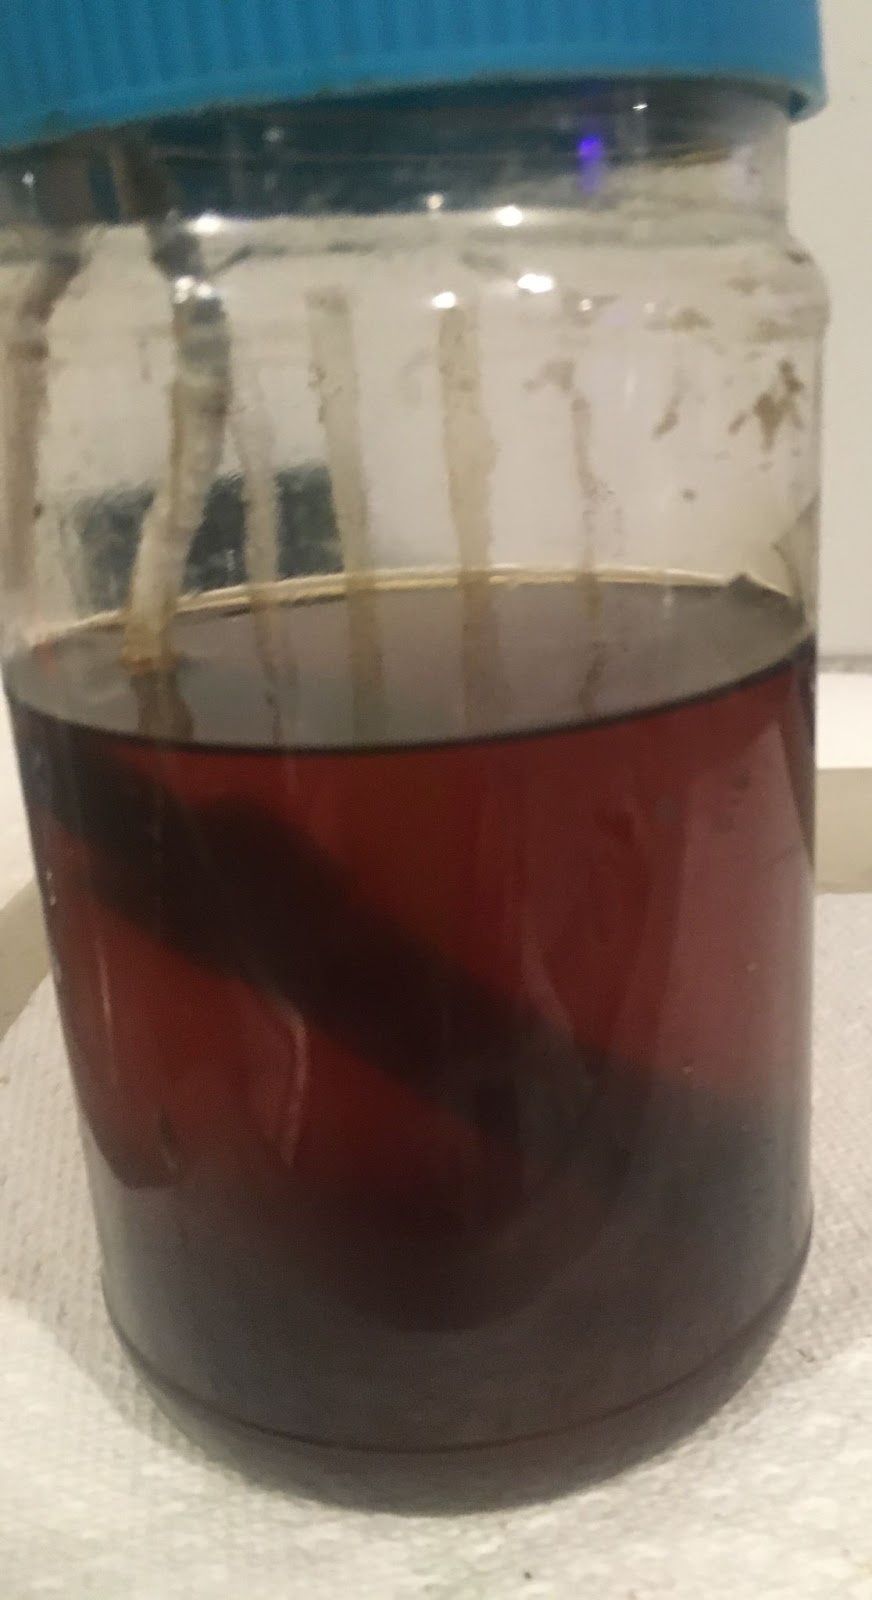
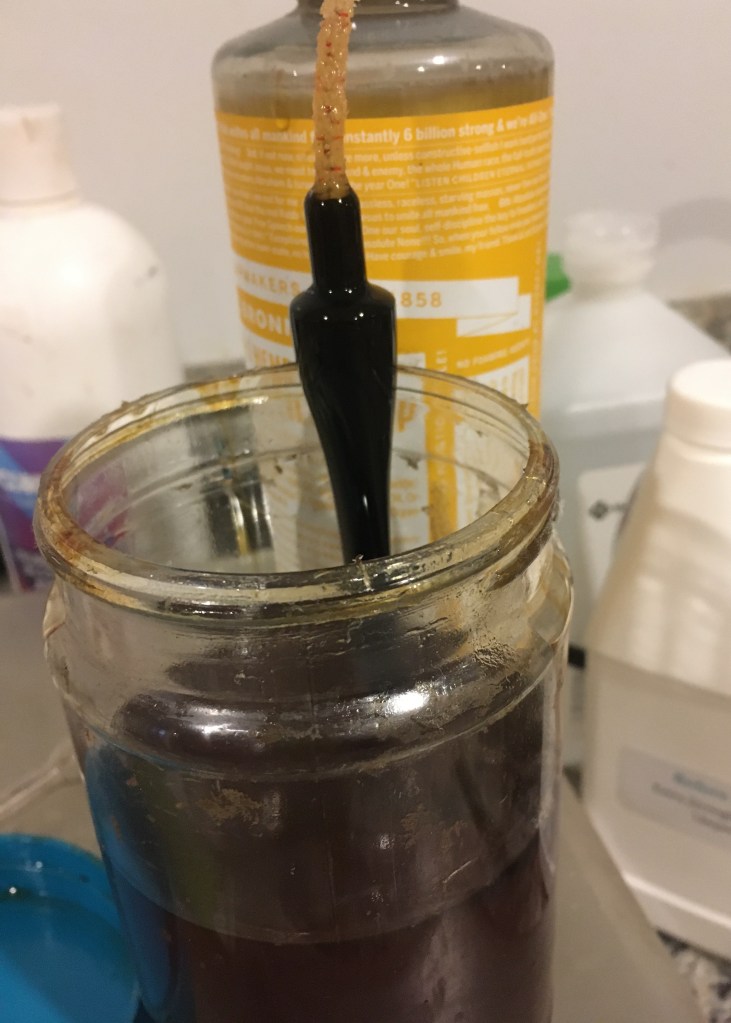
The stem then received a pipe cleaner to act as a hanger and handle for lowering it into the deox. I left the stem soaking for 2-2.5 hours.

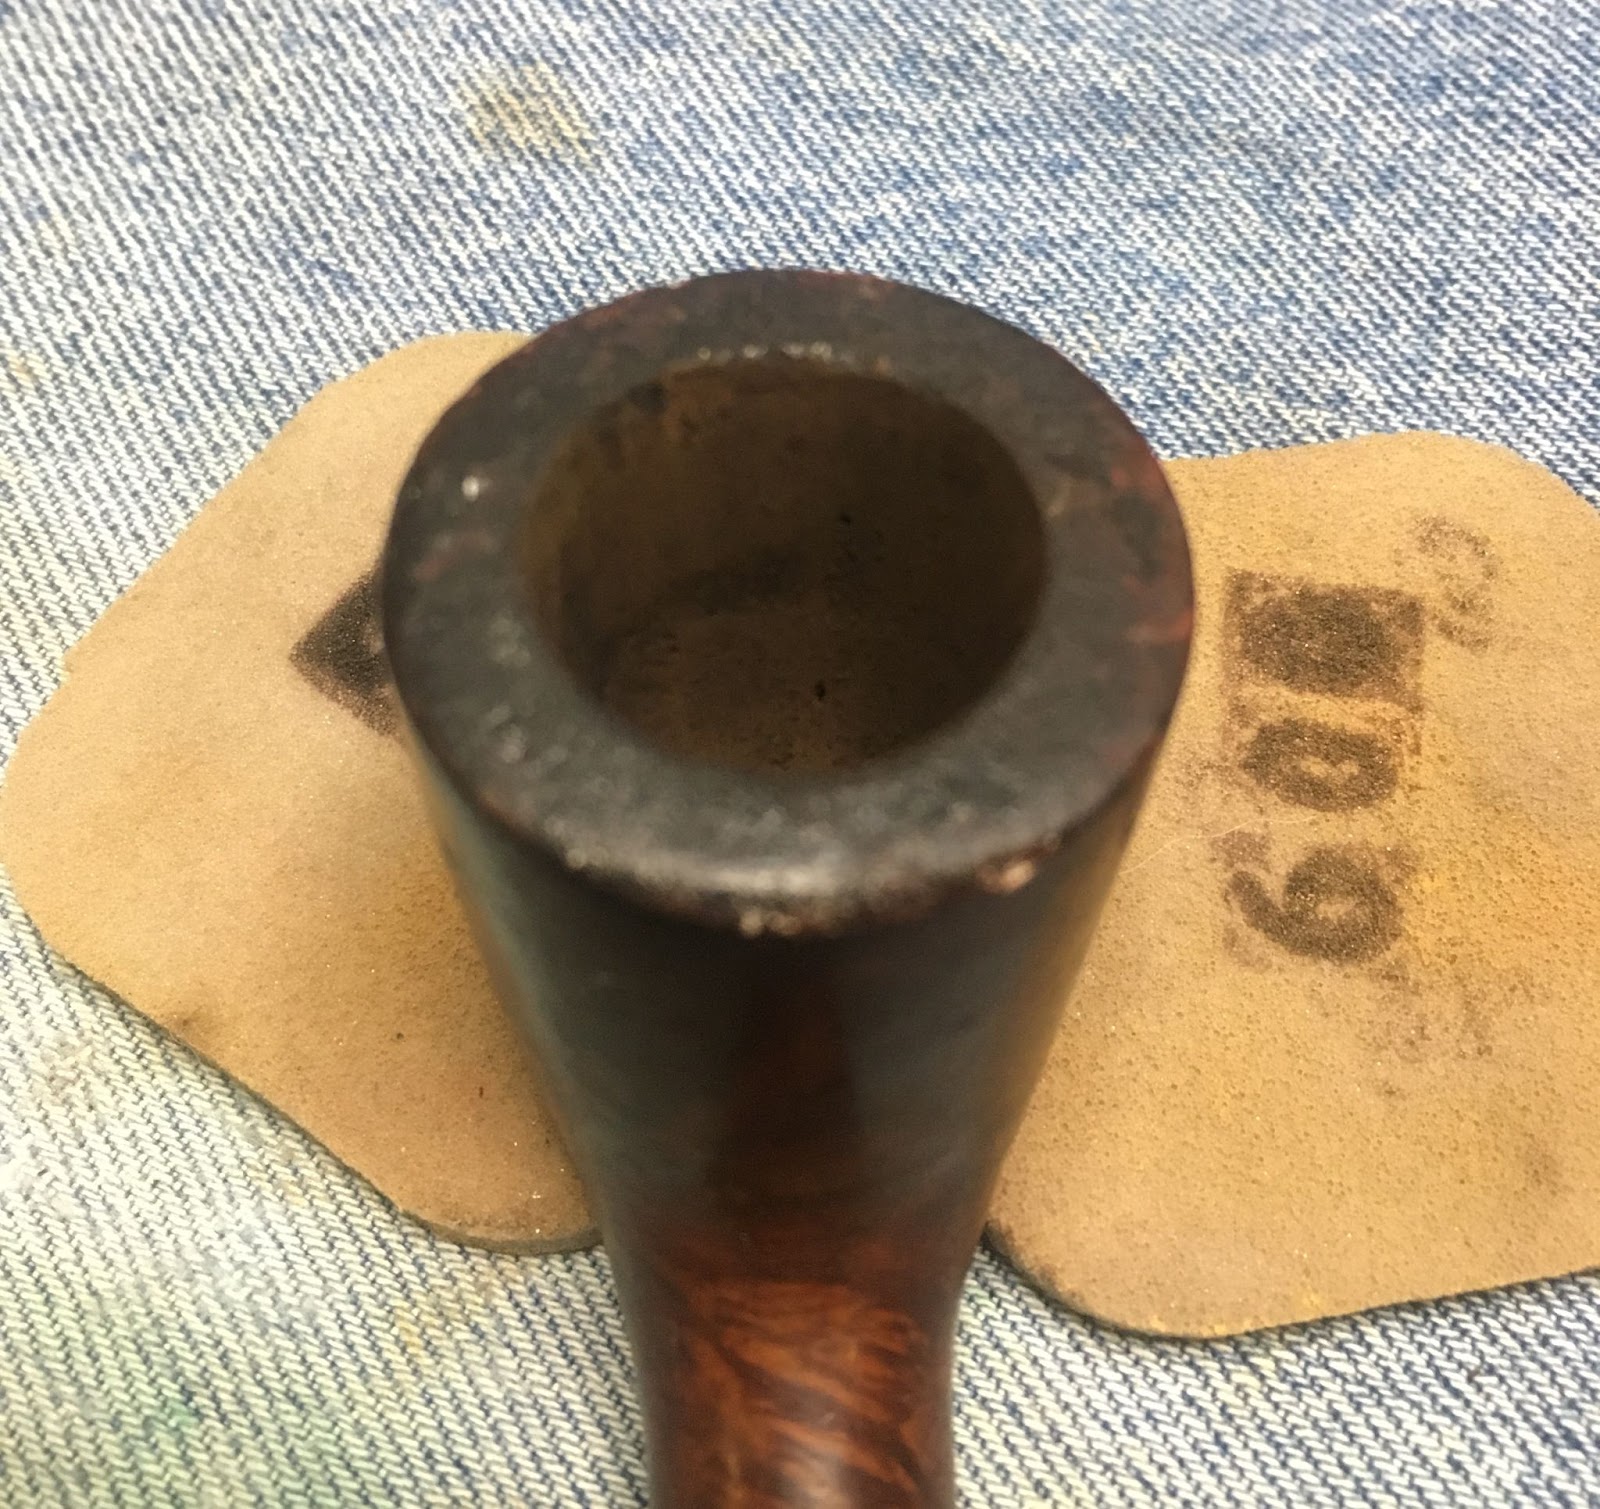
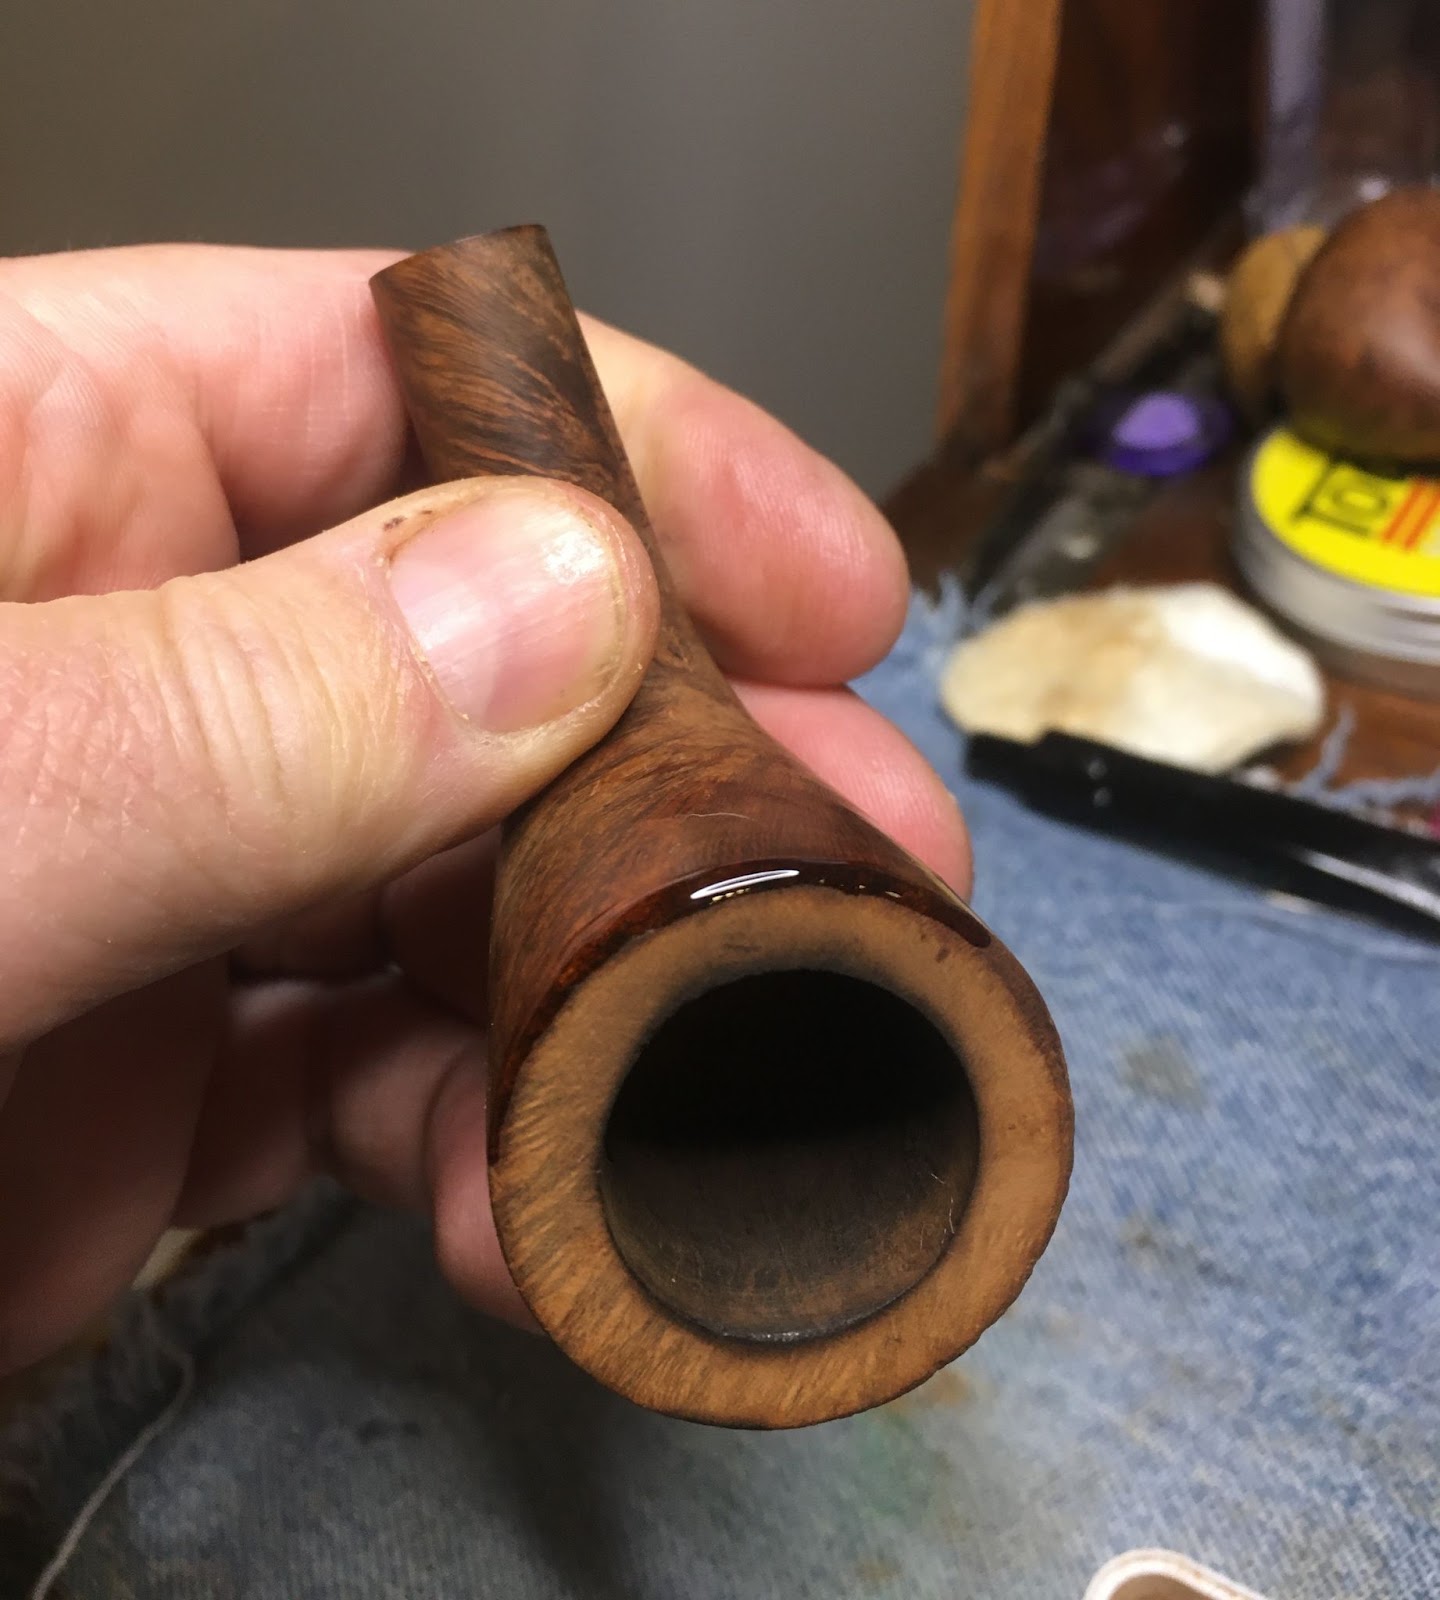
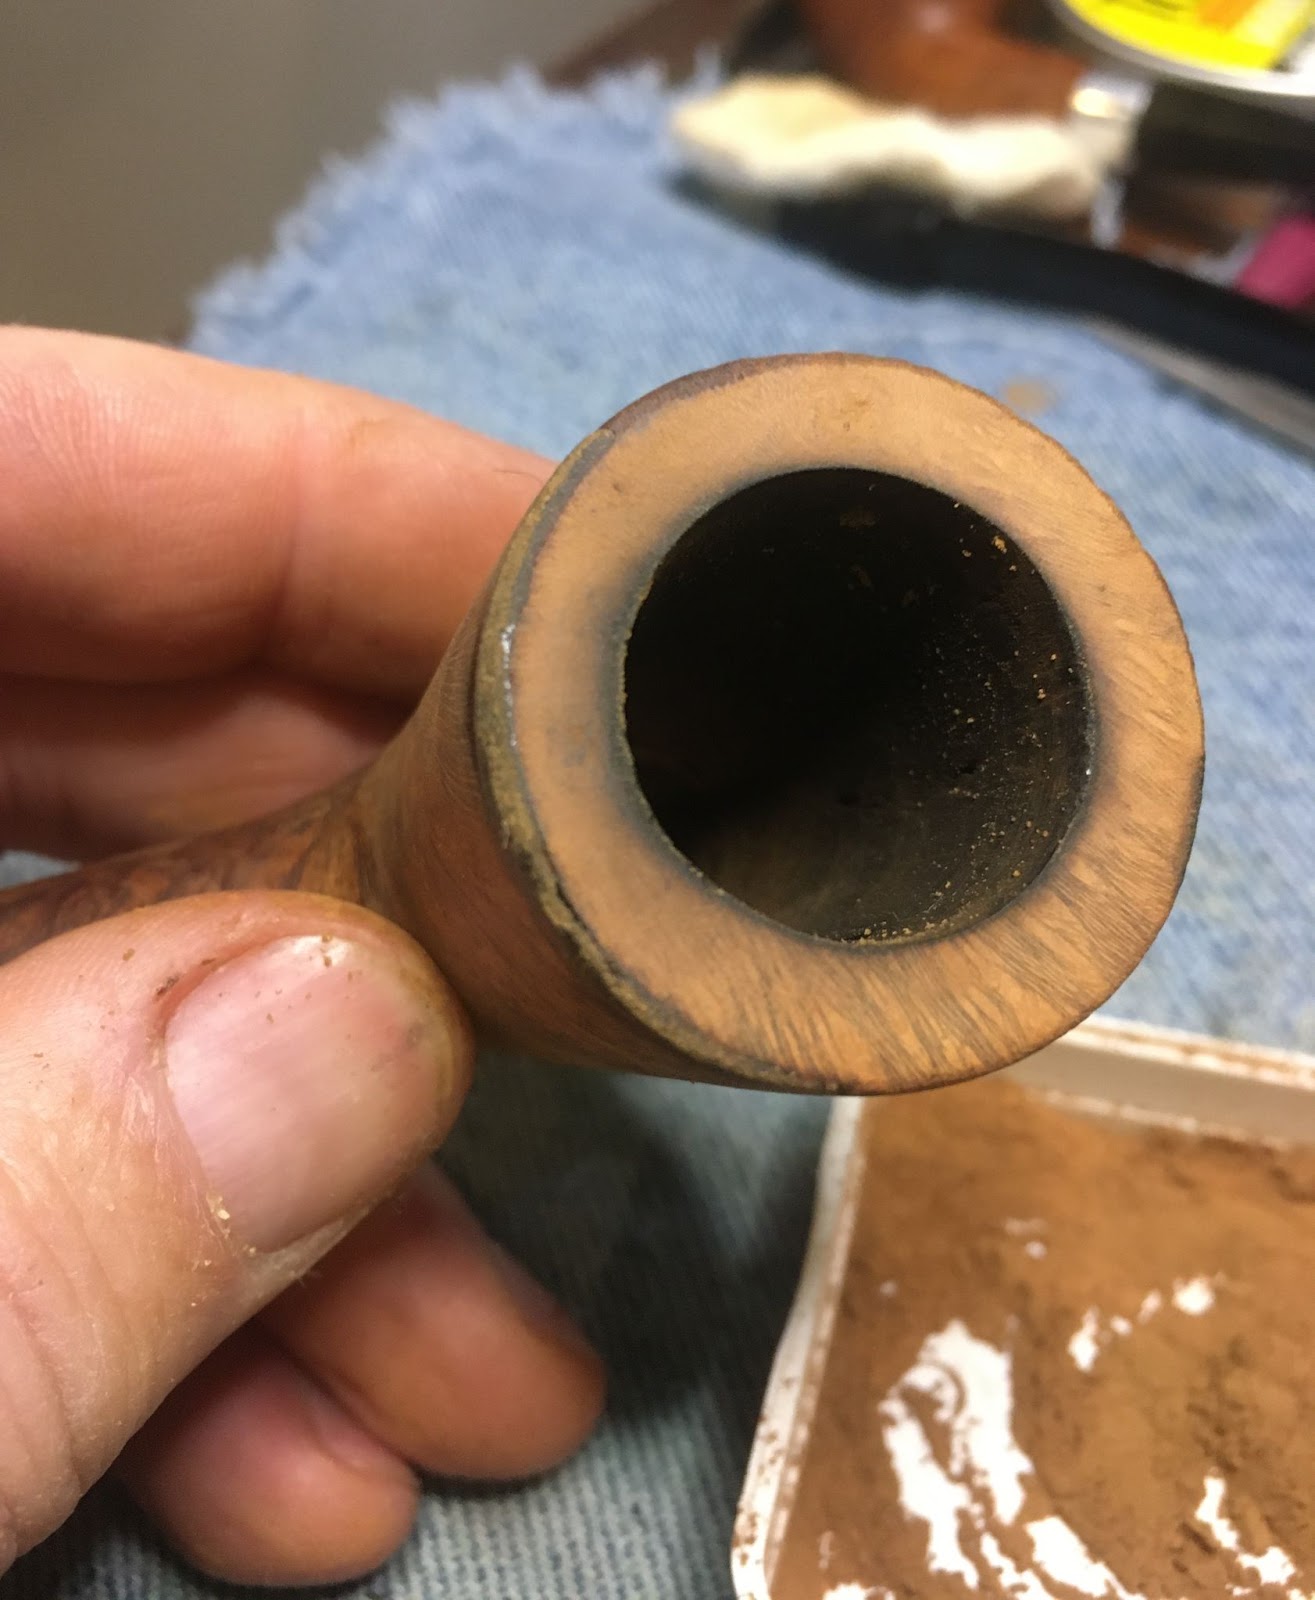
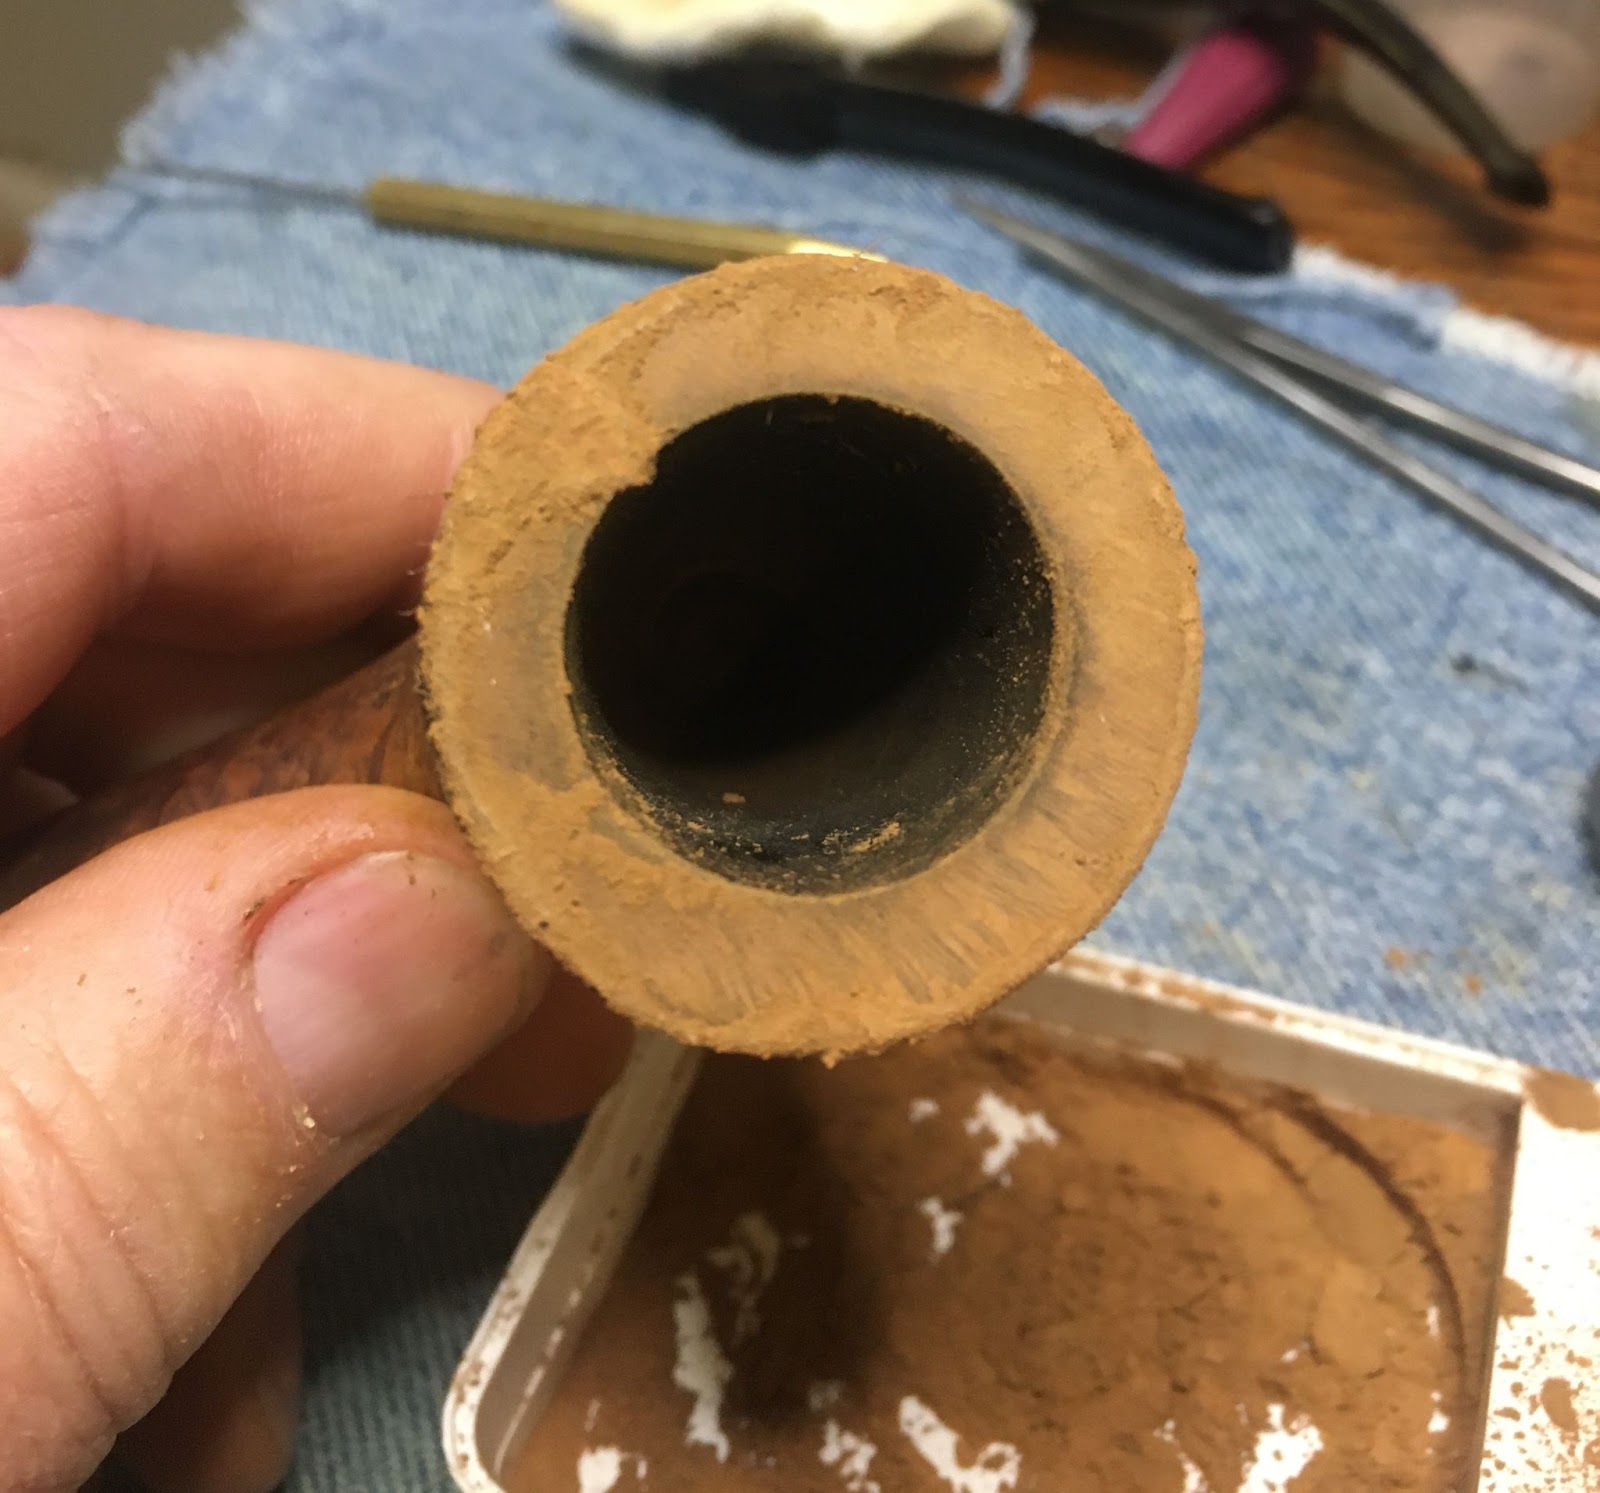
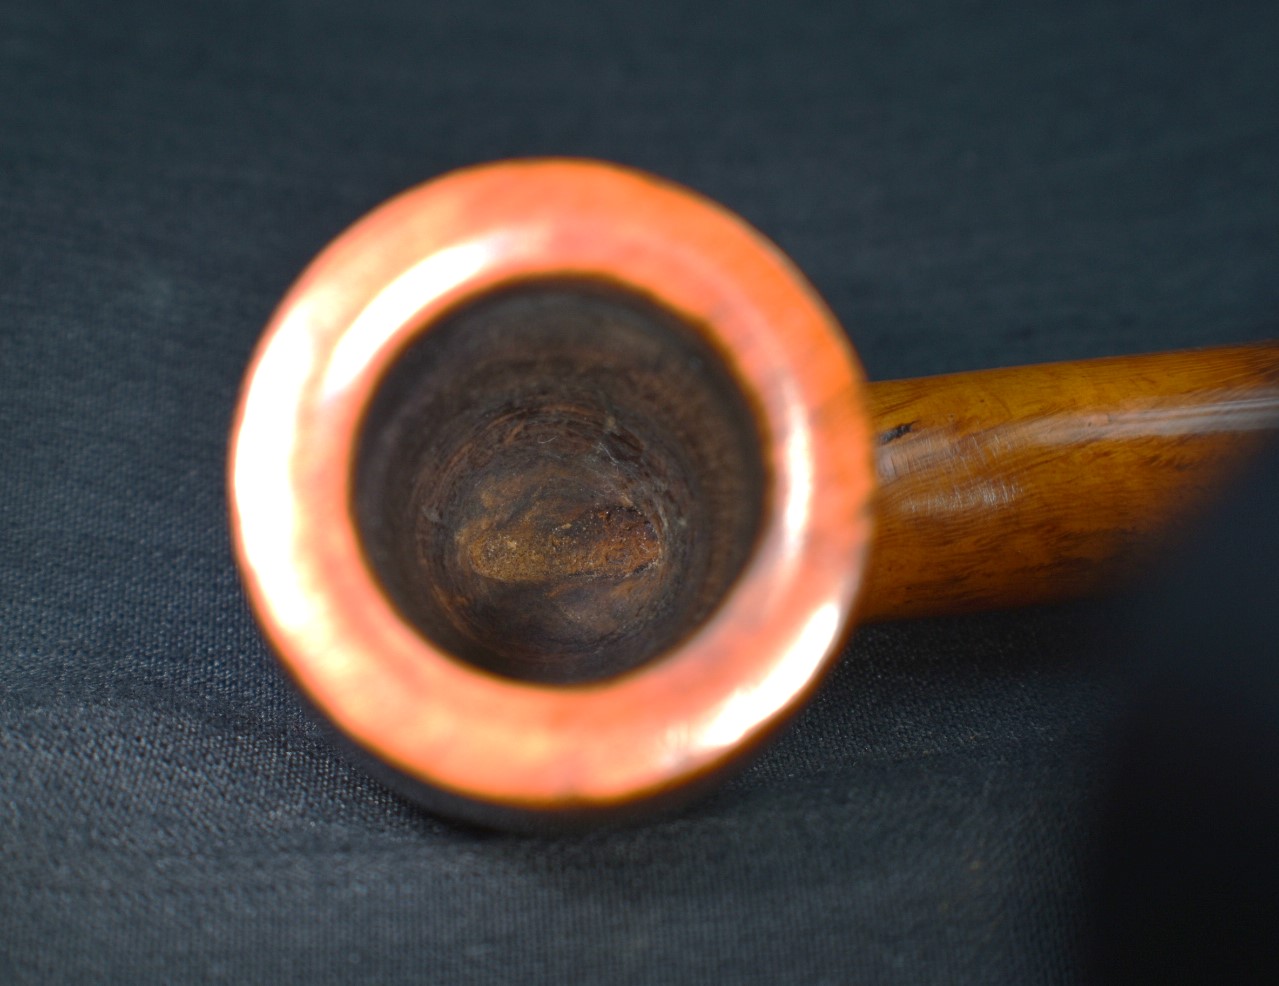
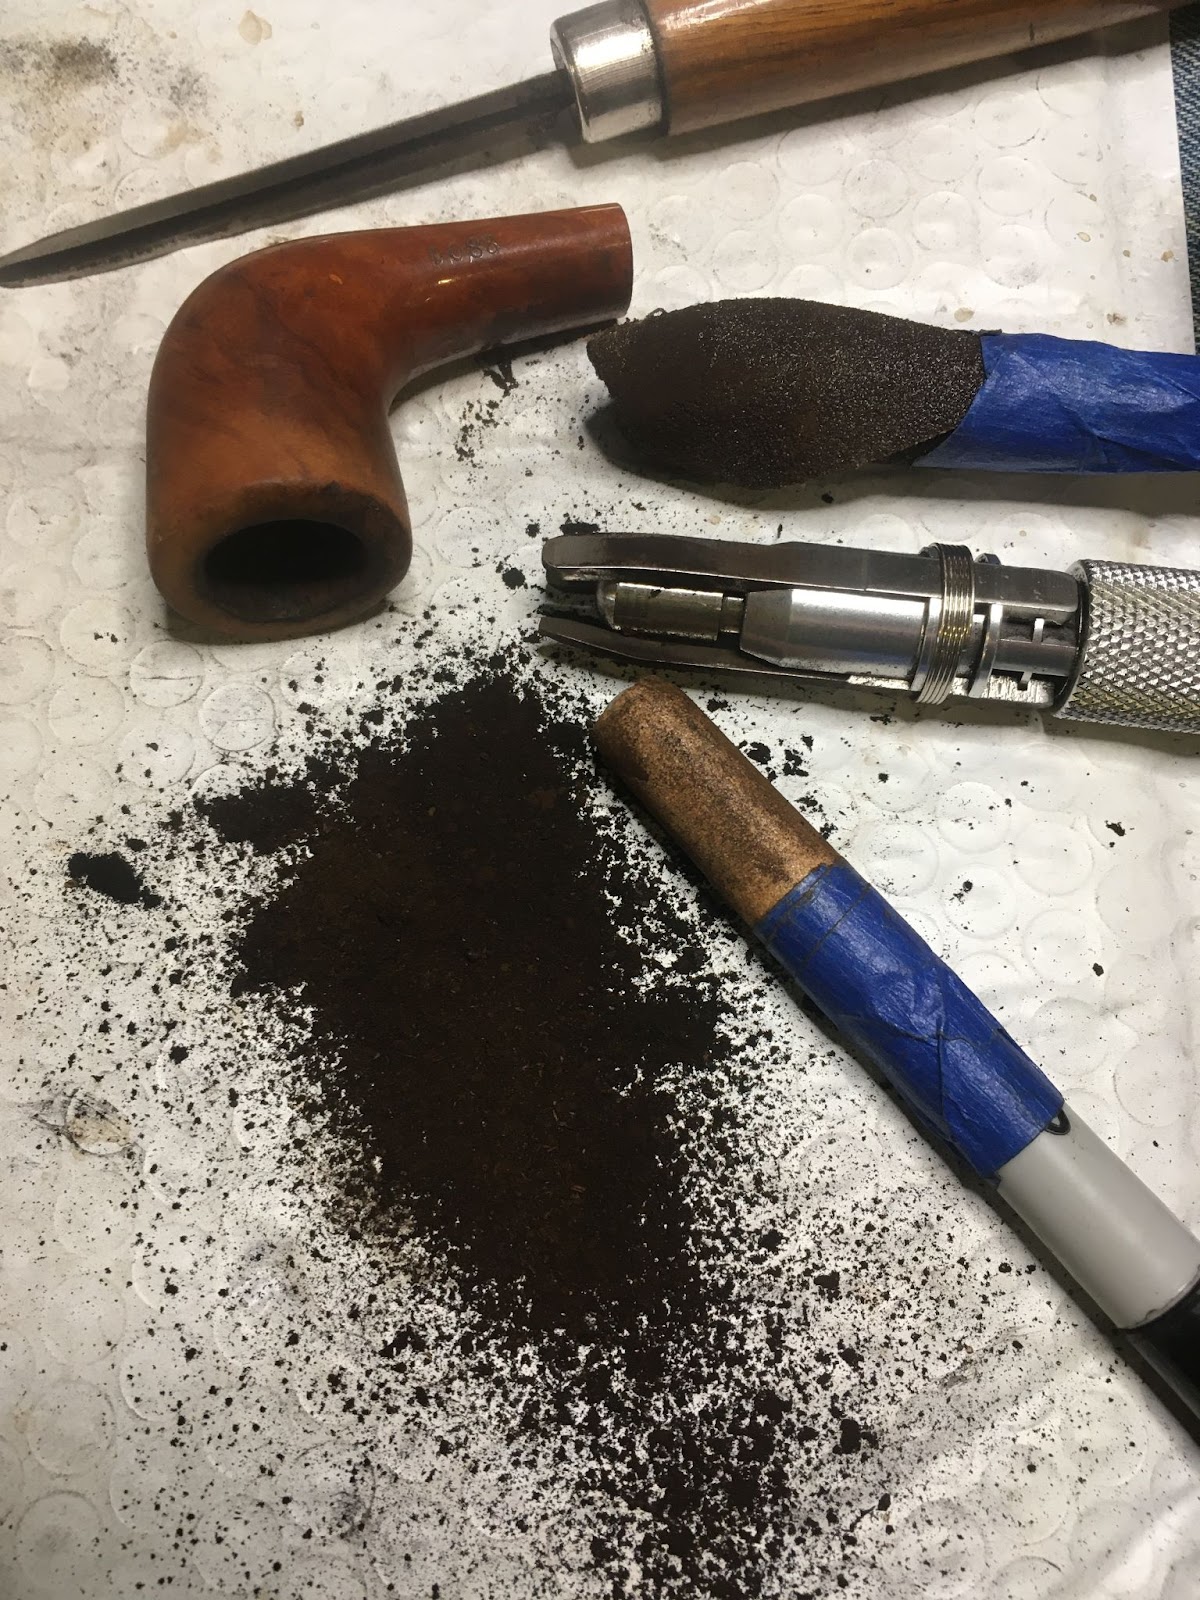
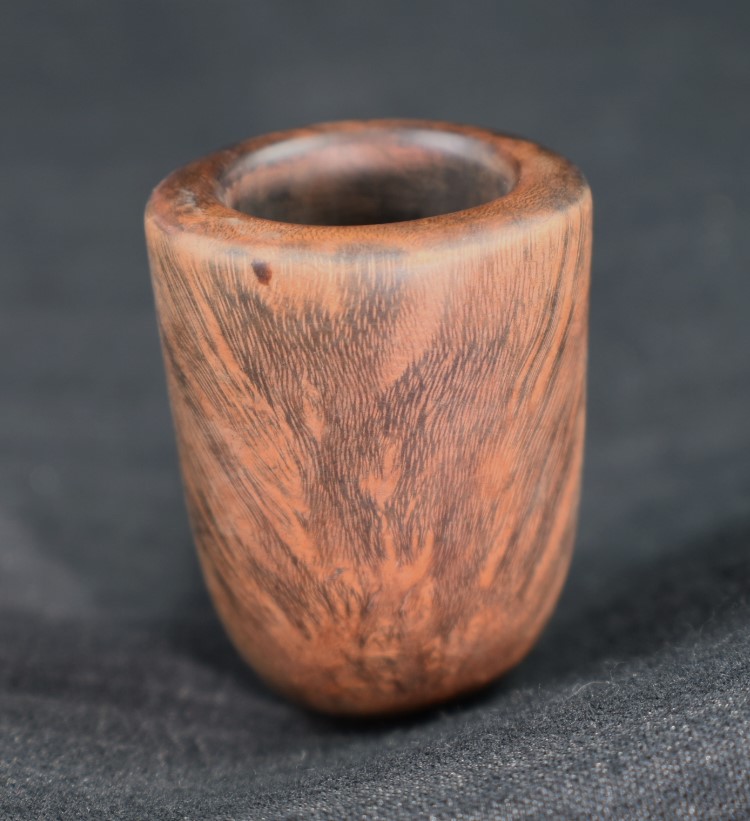
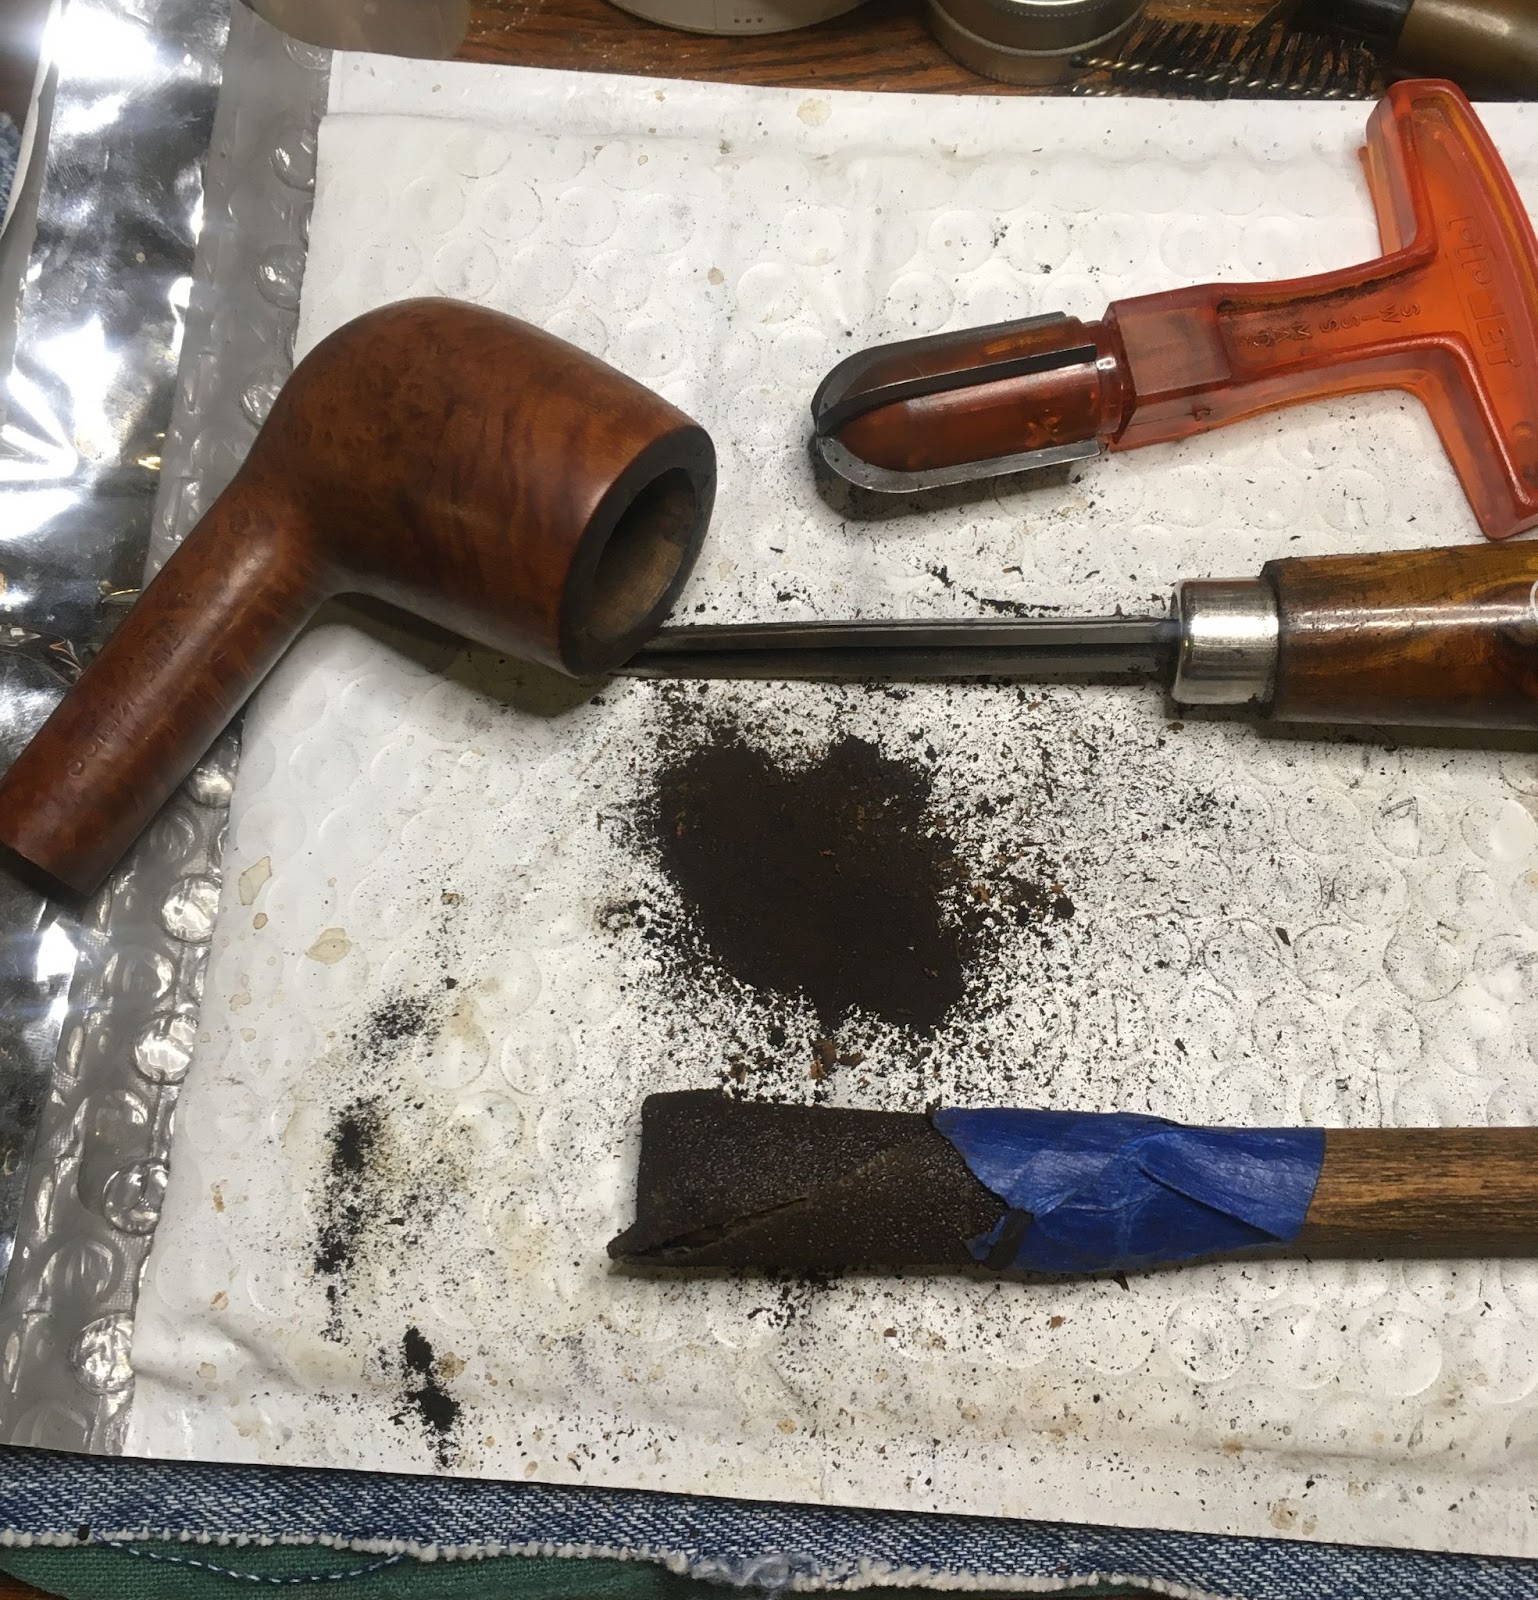
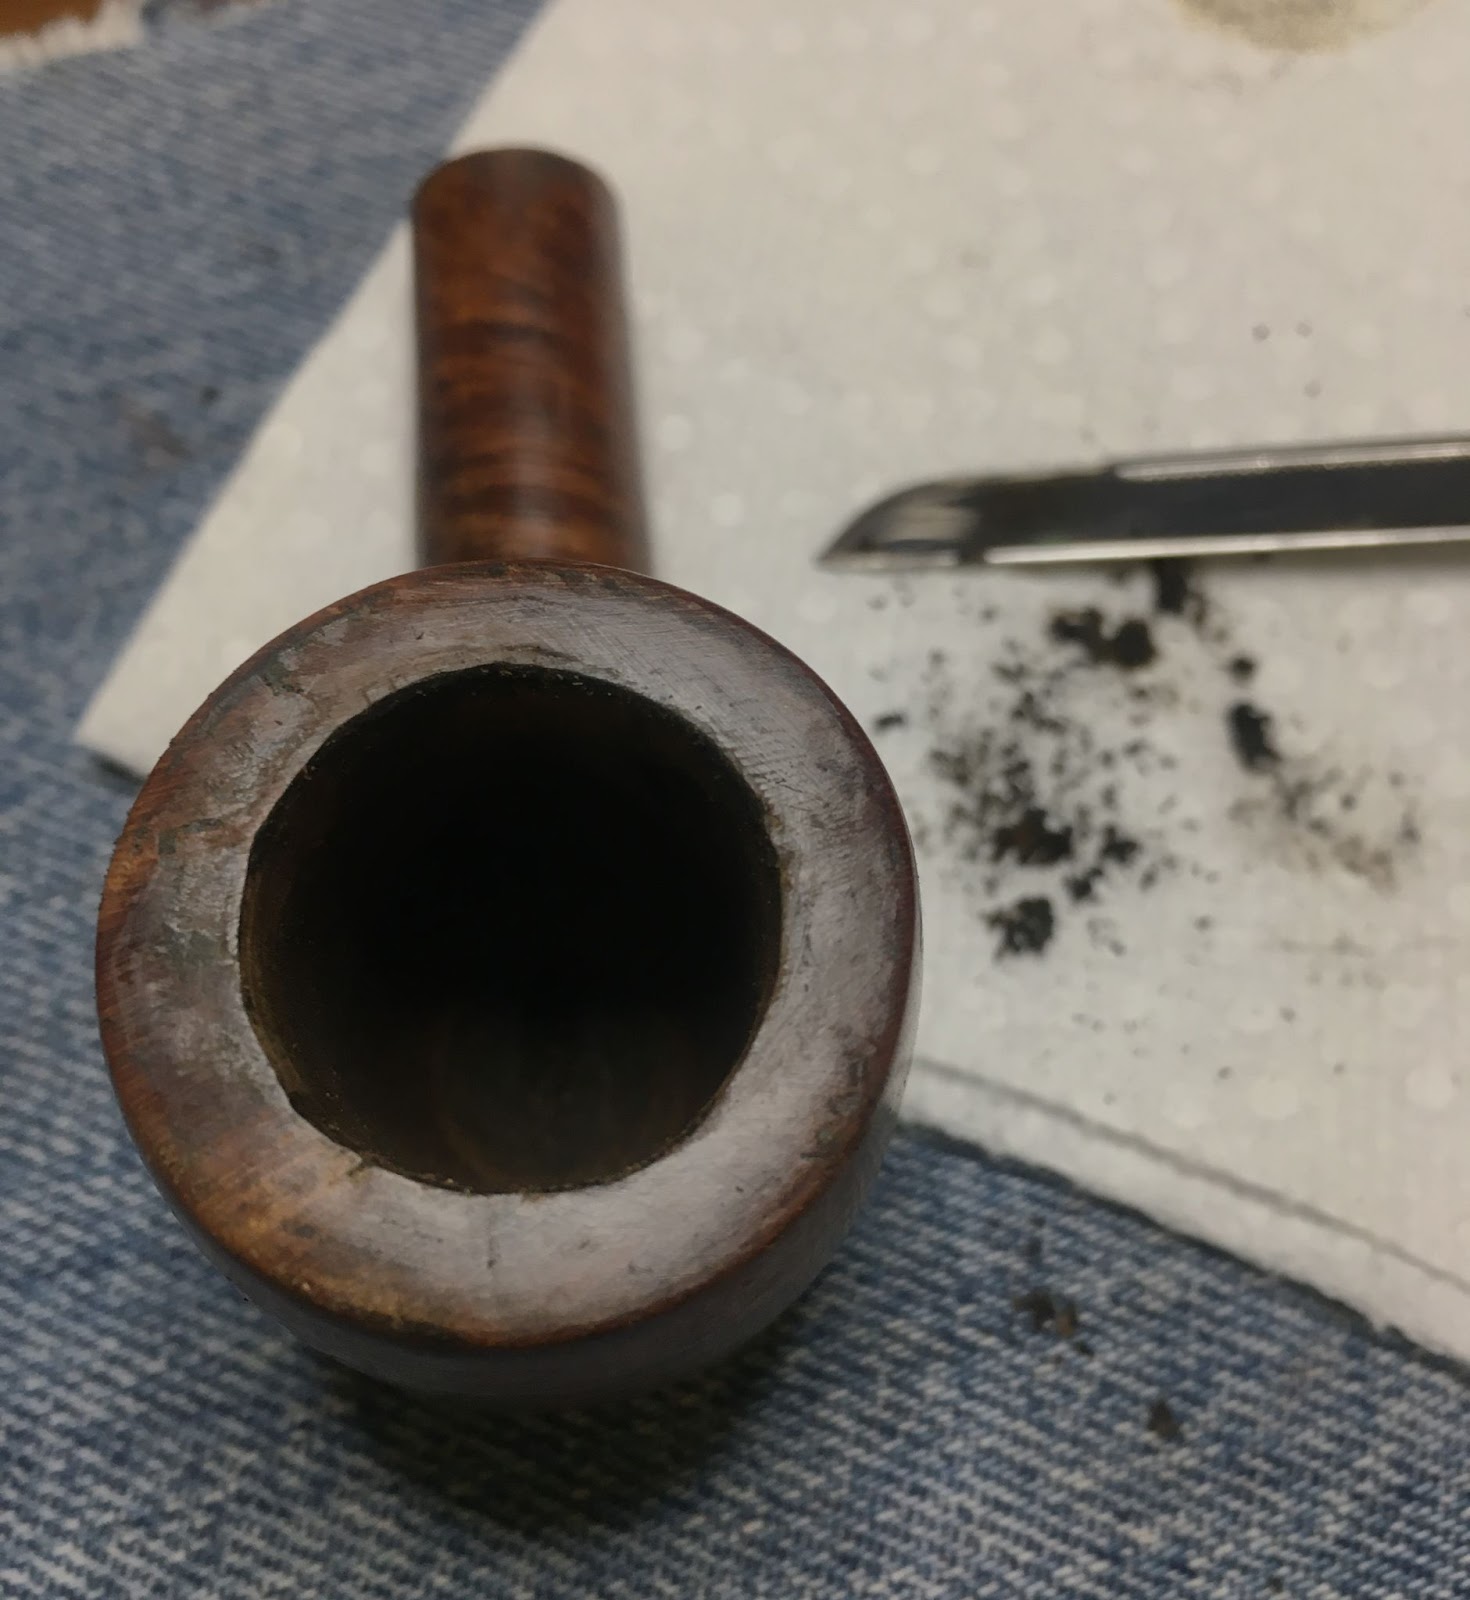
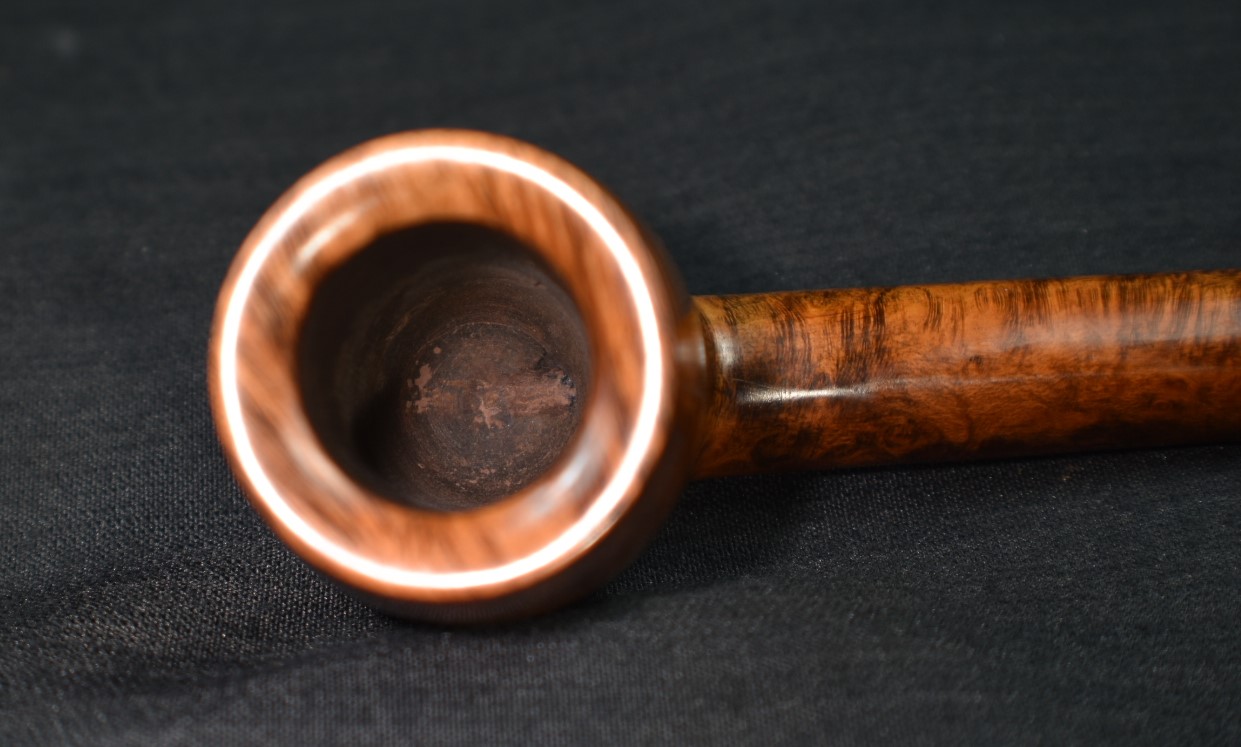
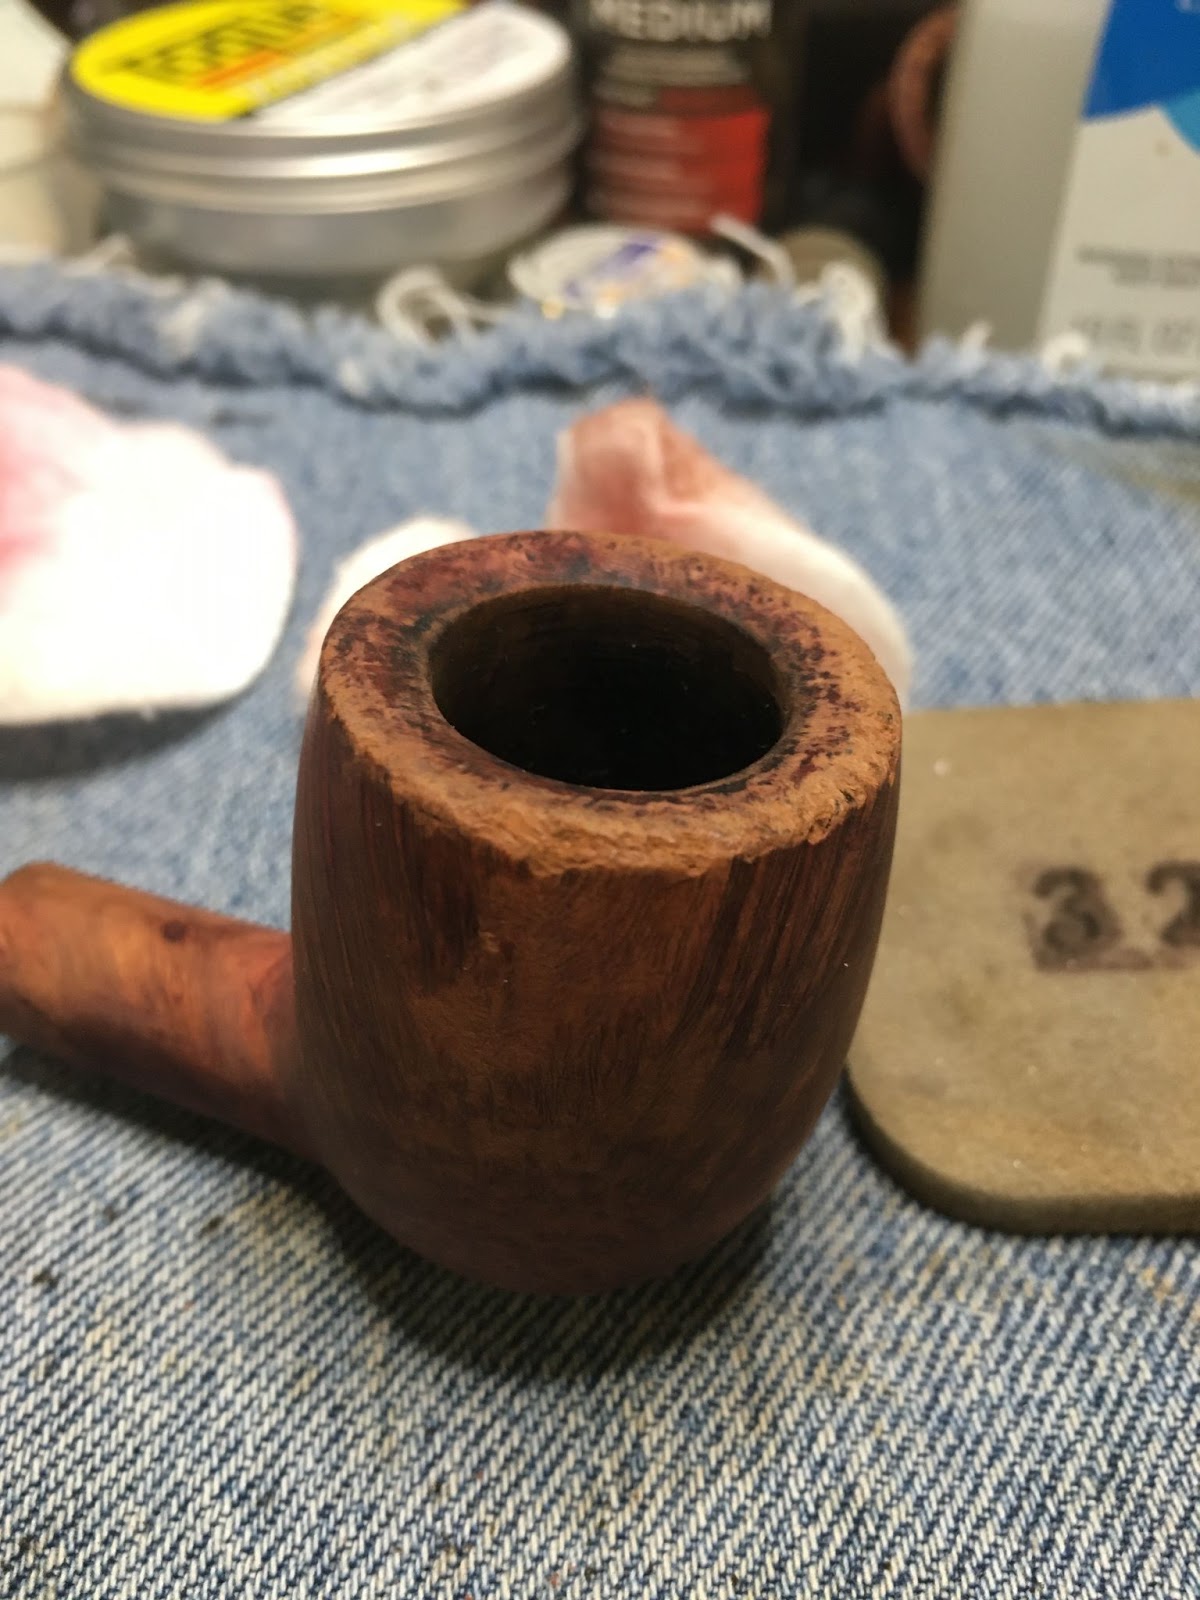
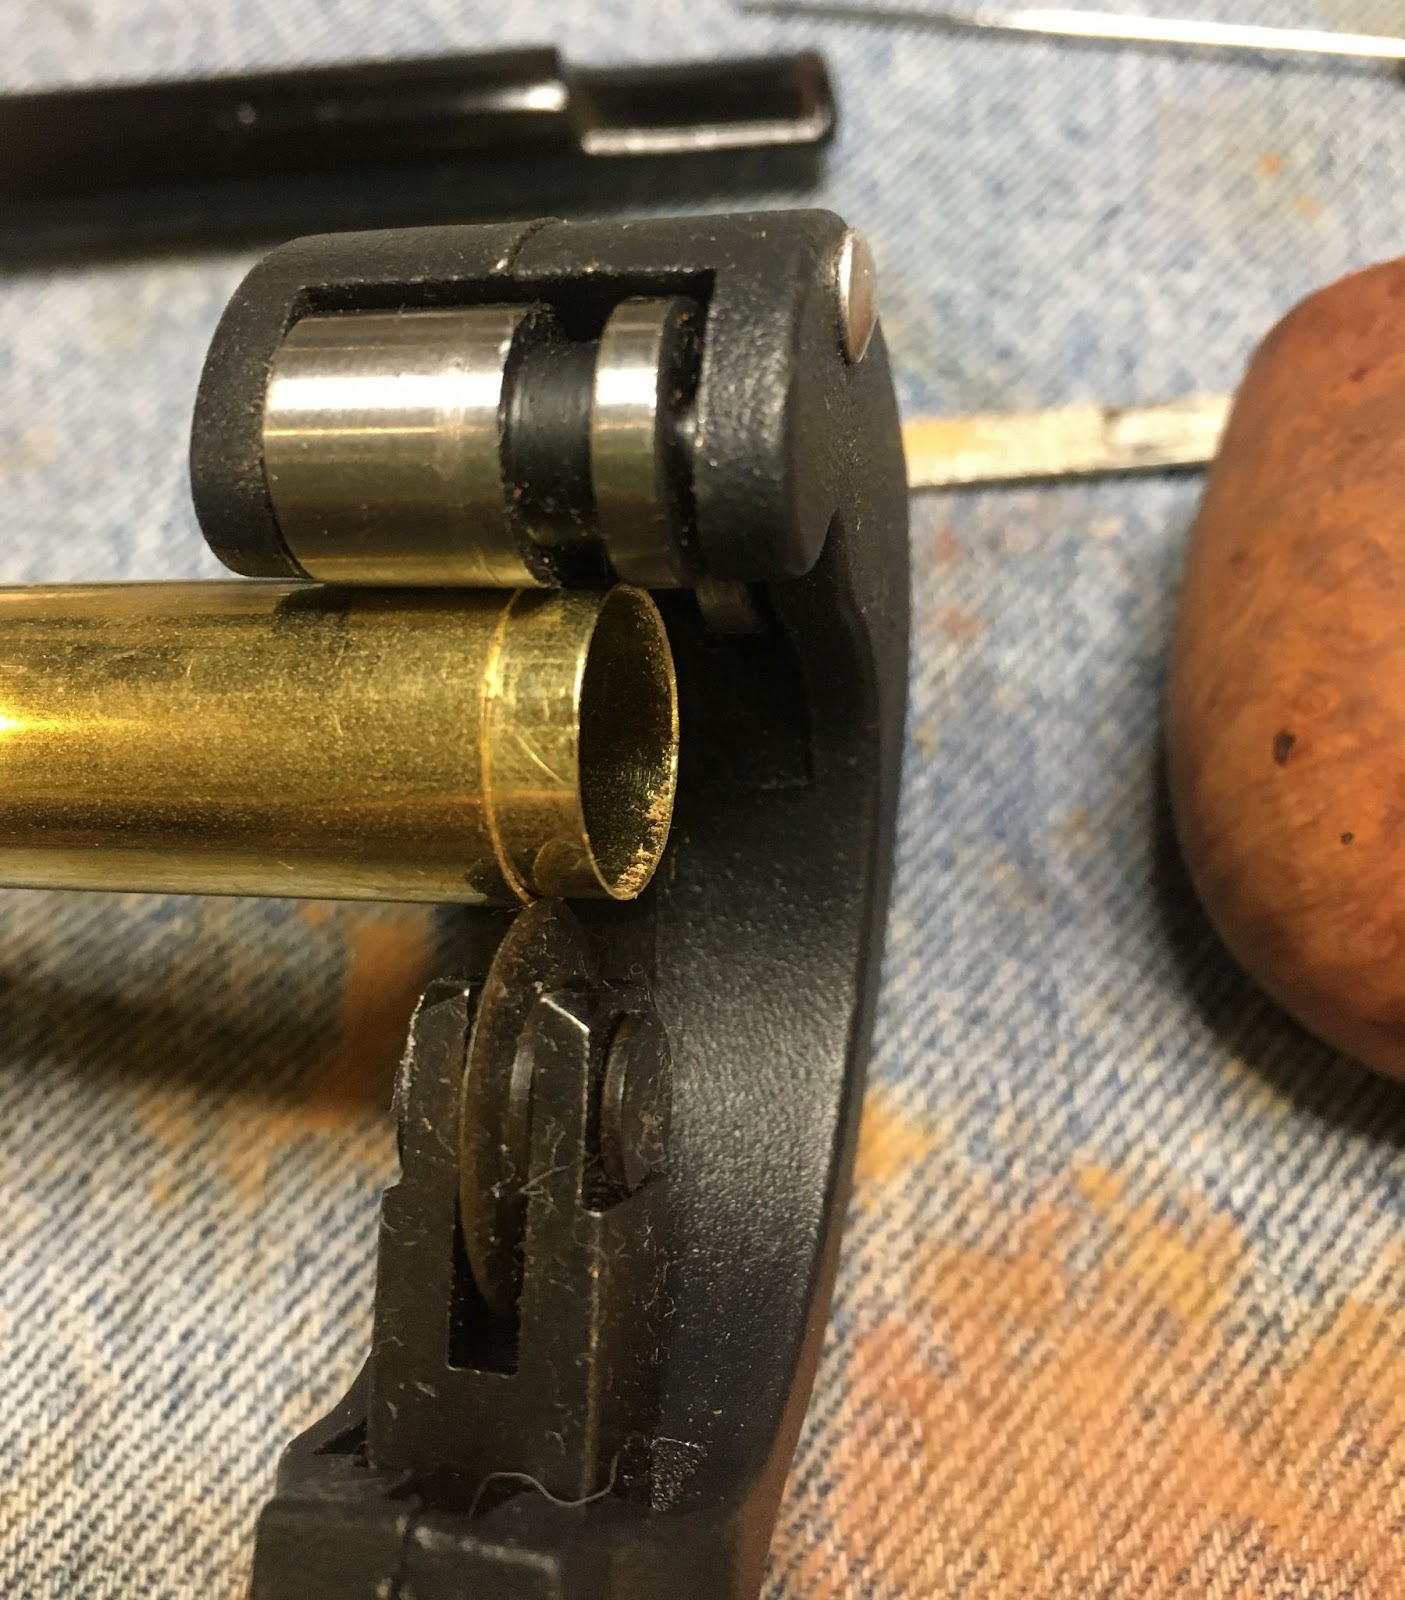
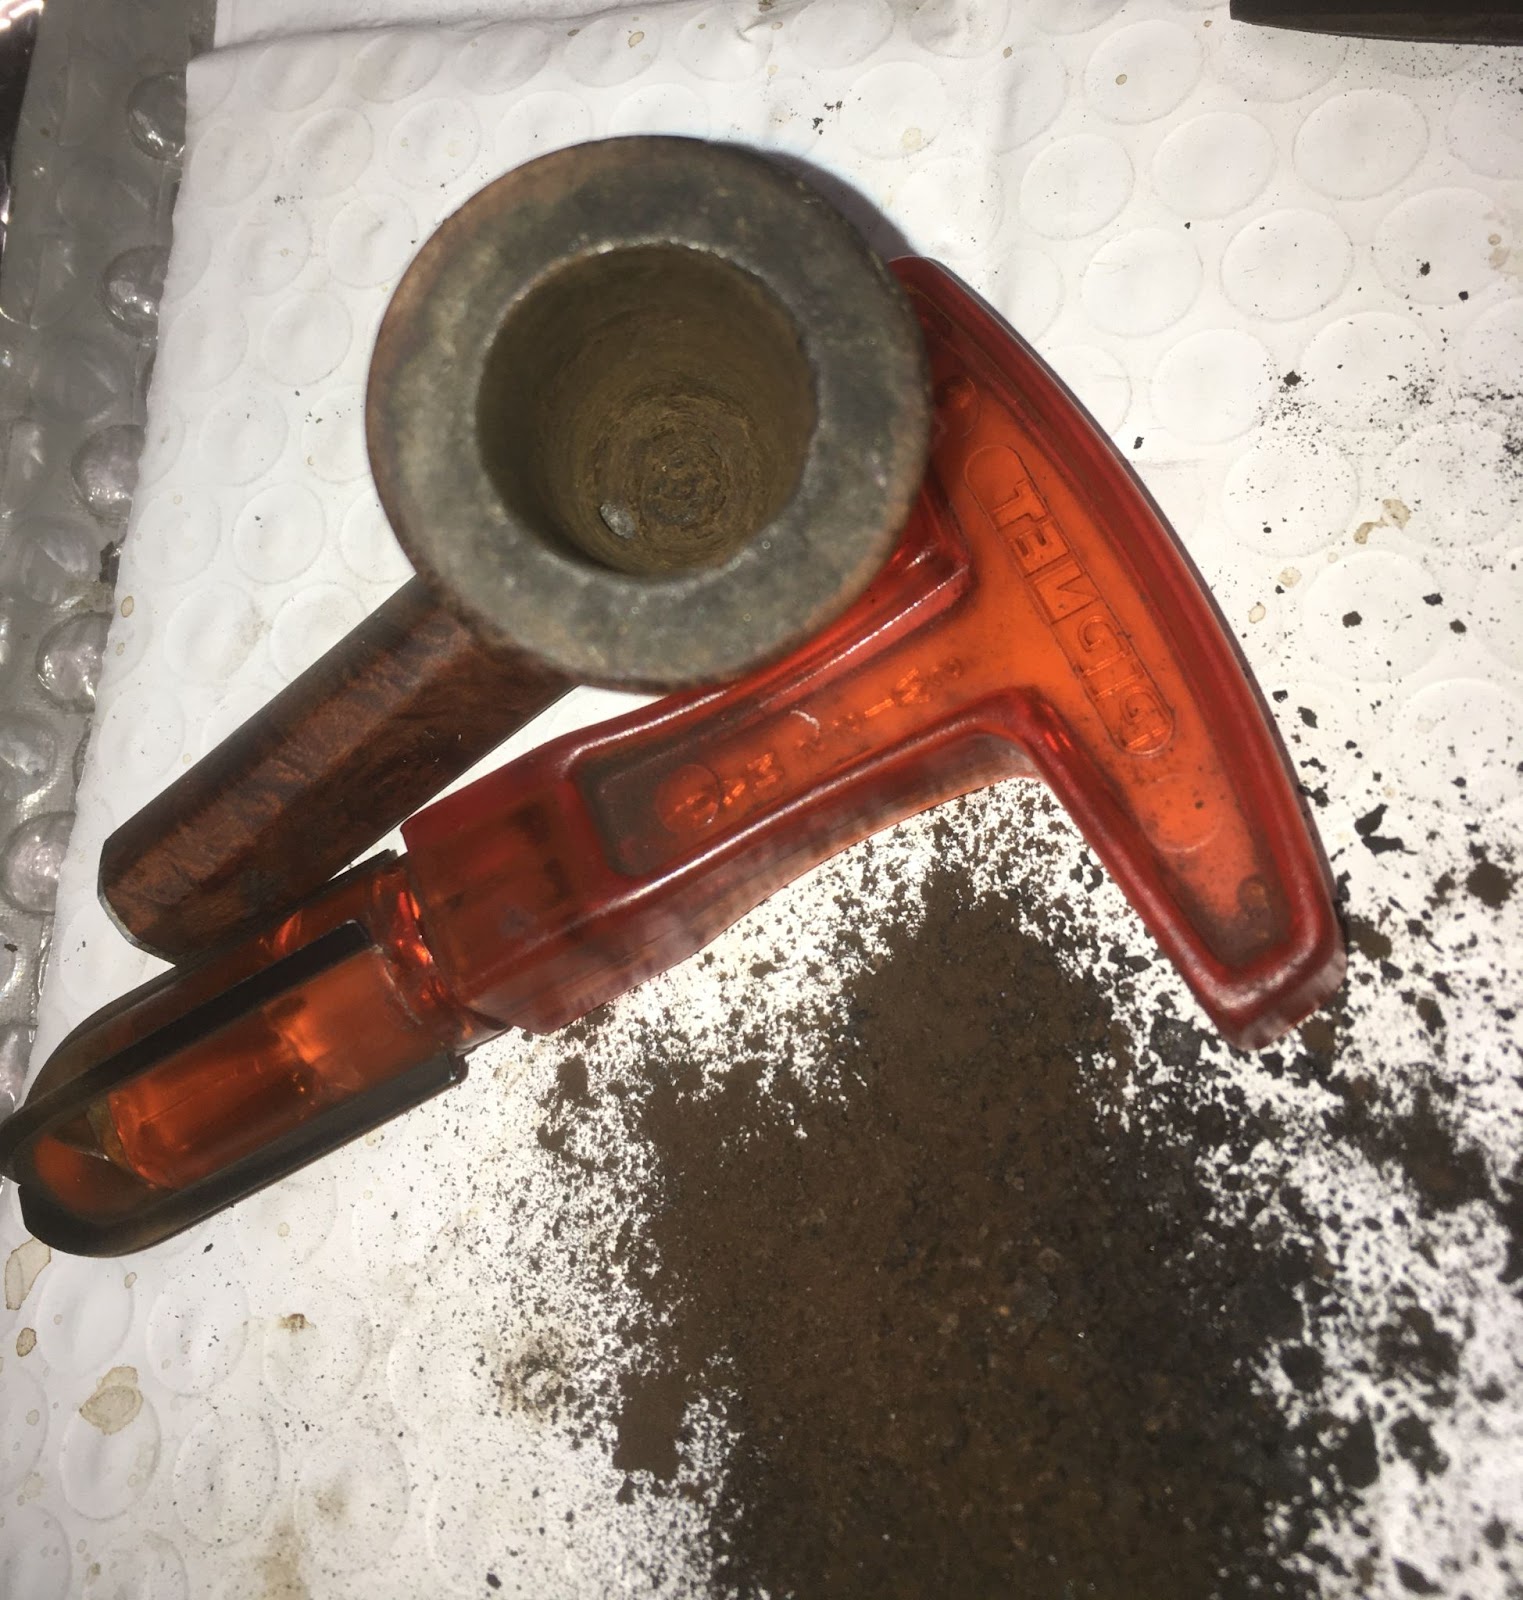
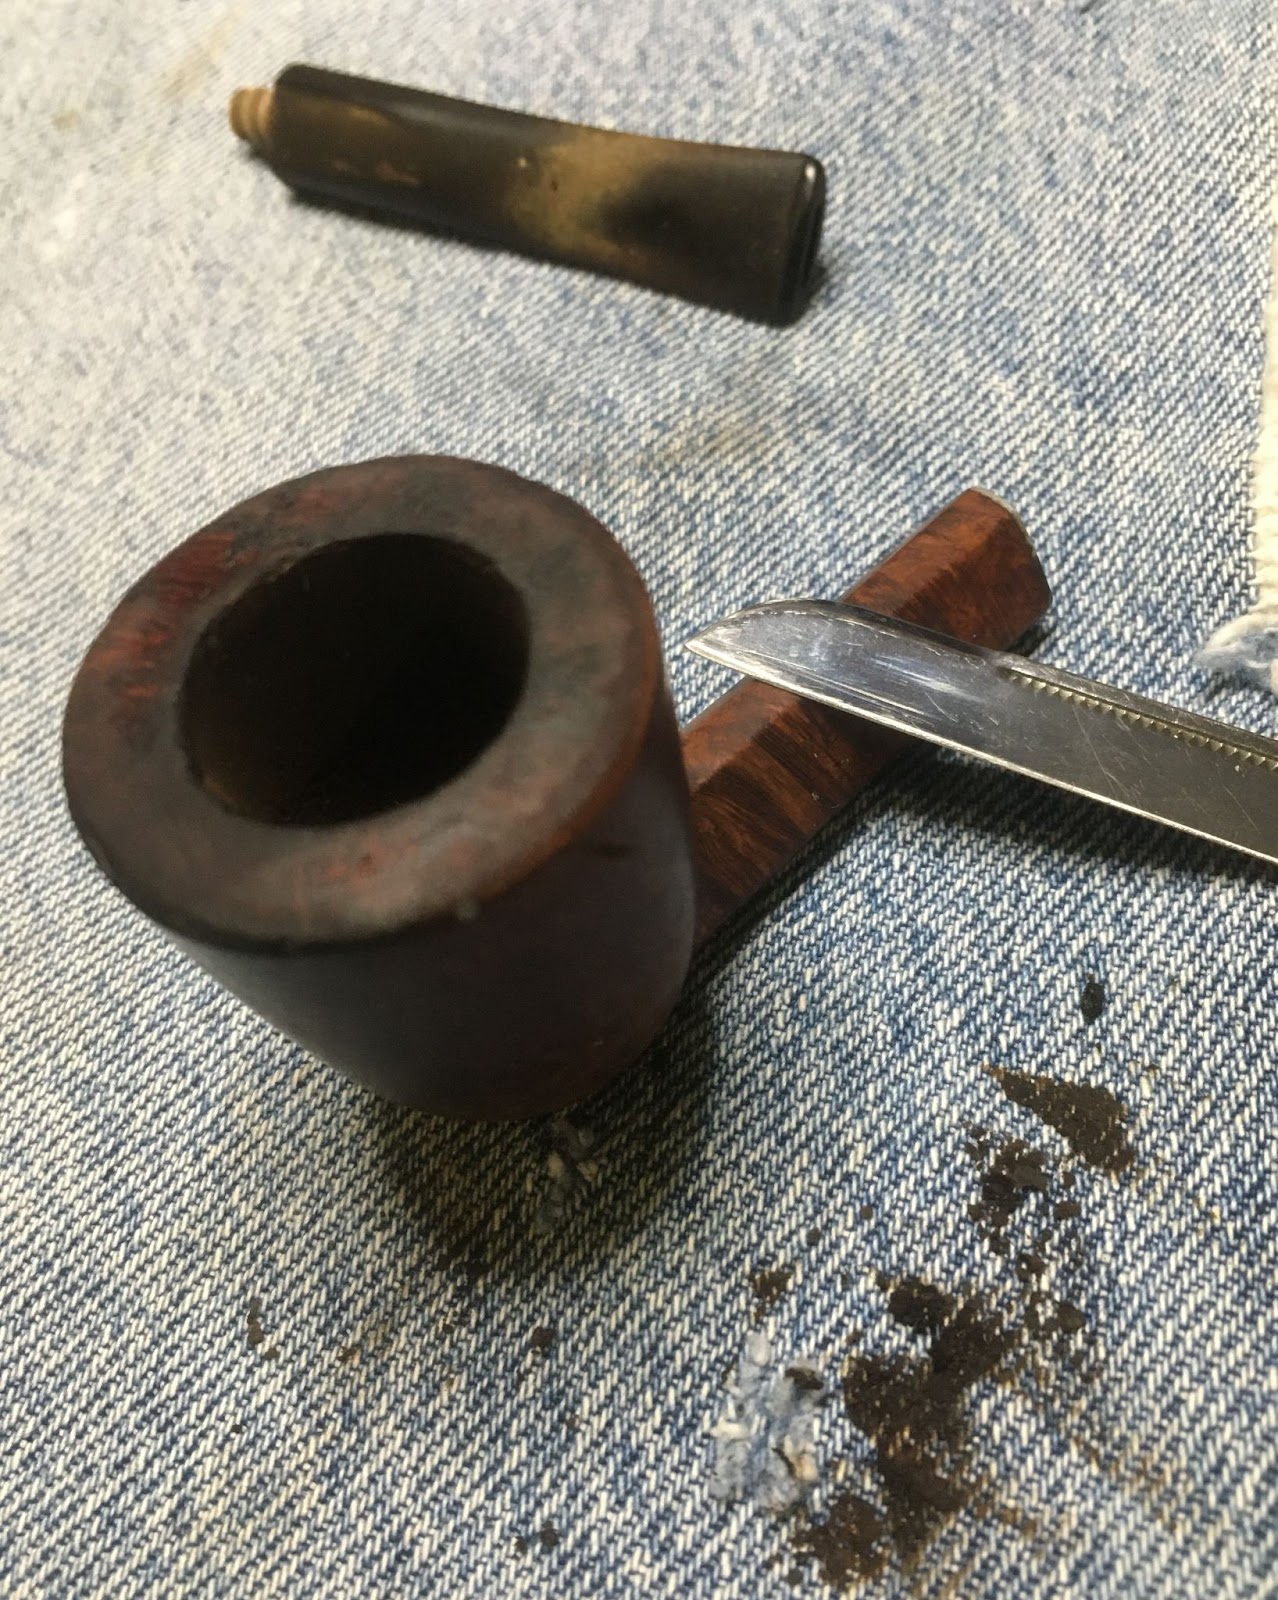
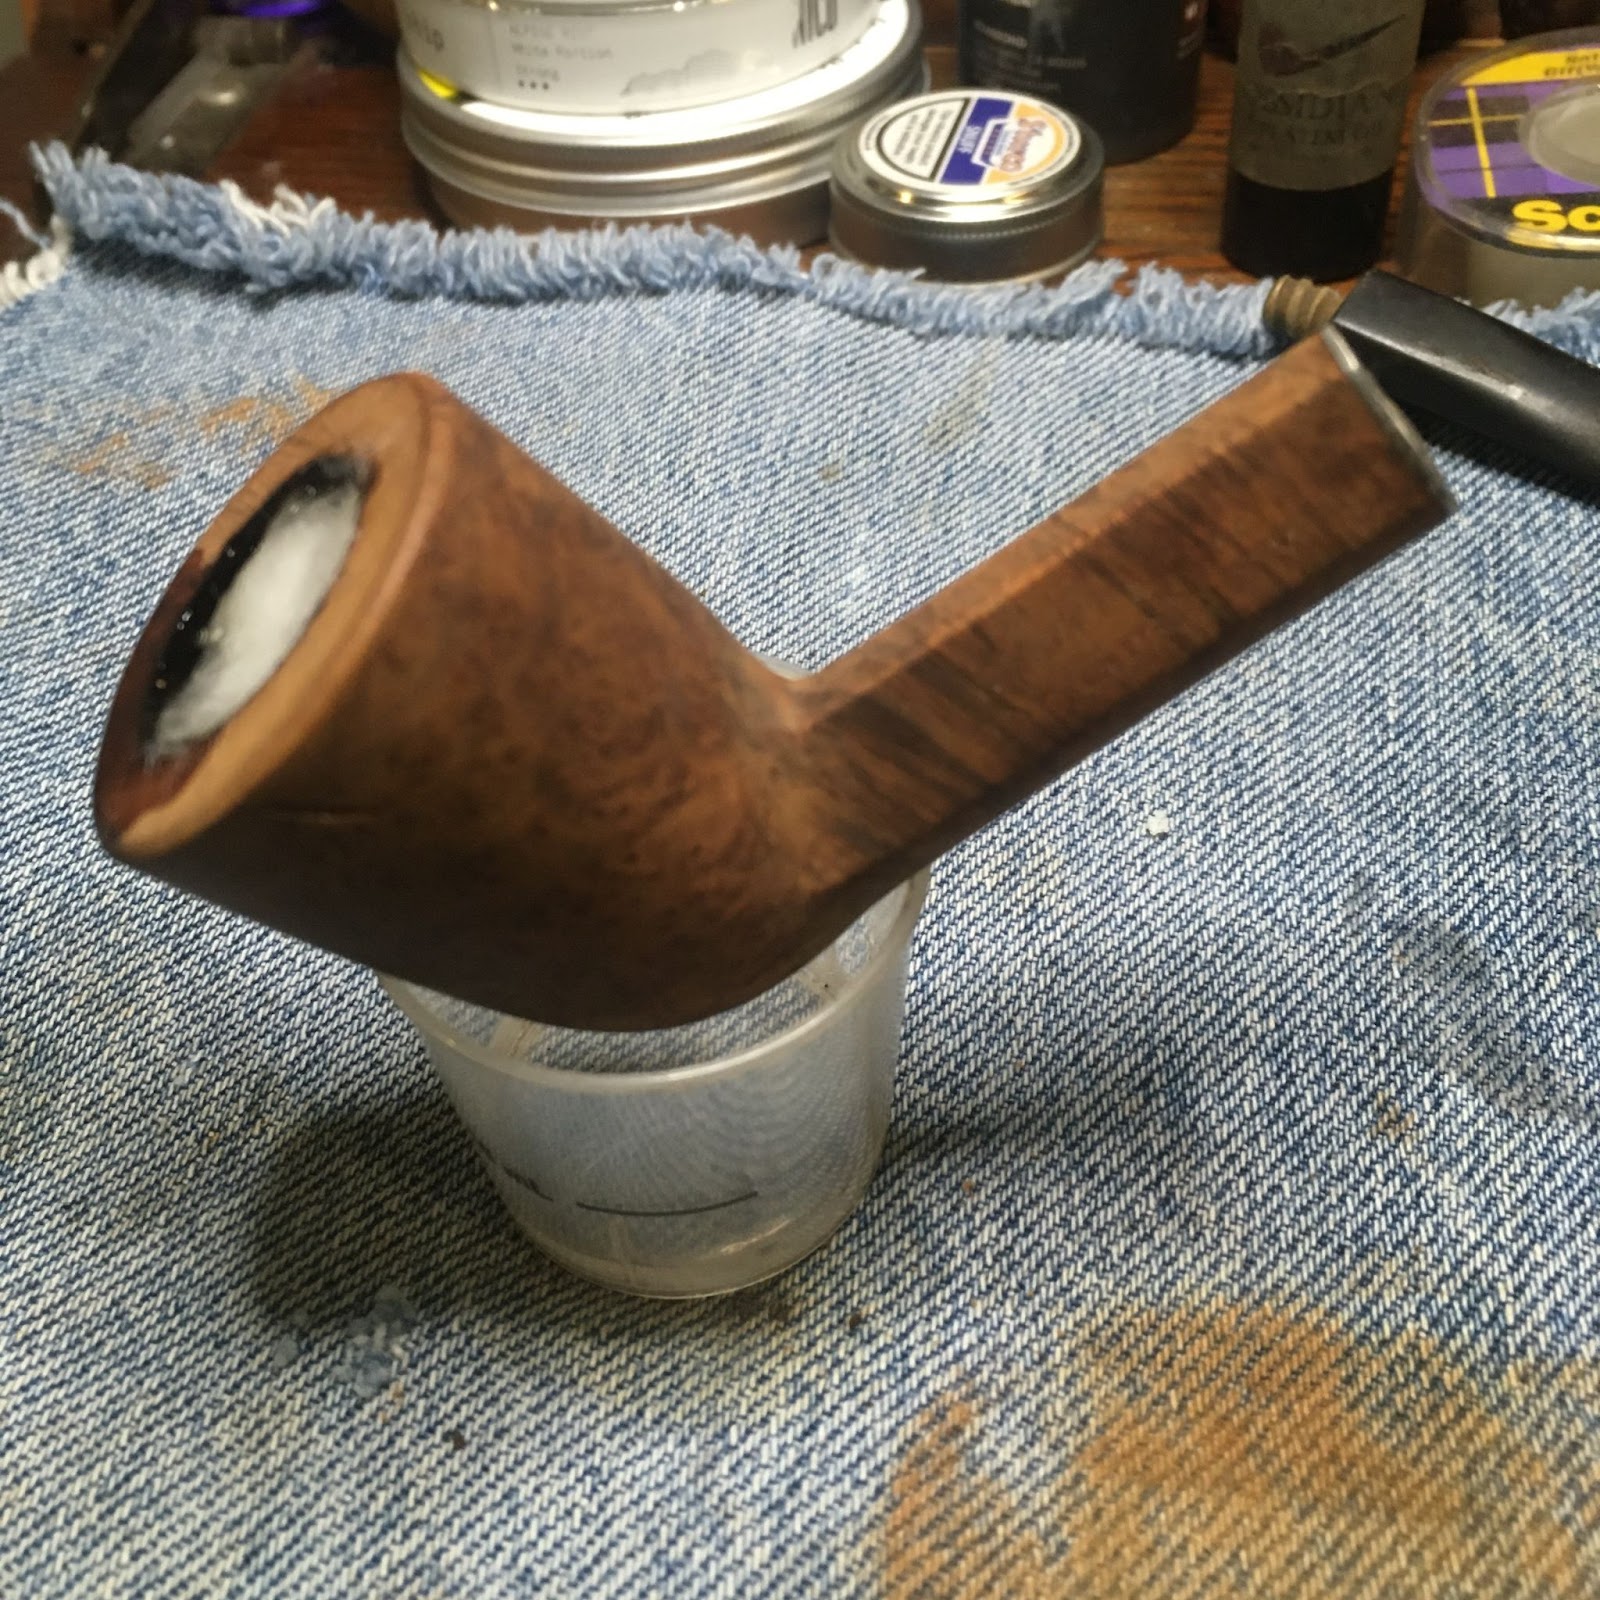
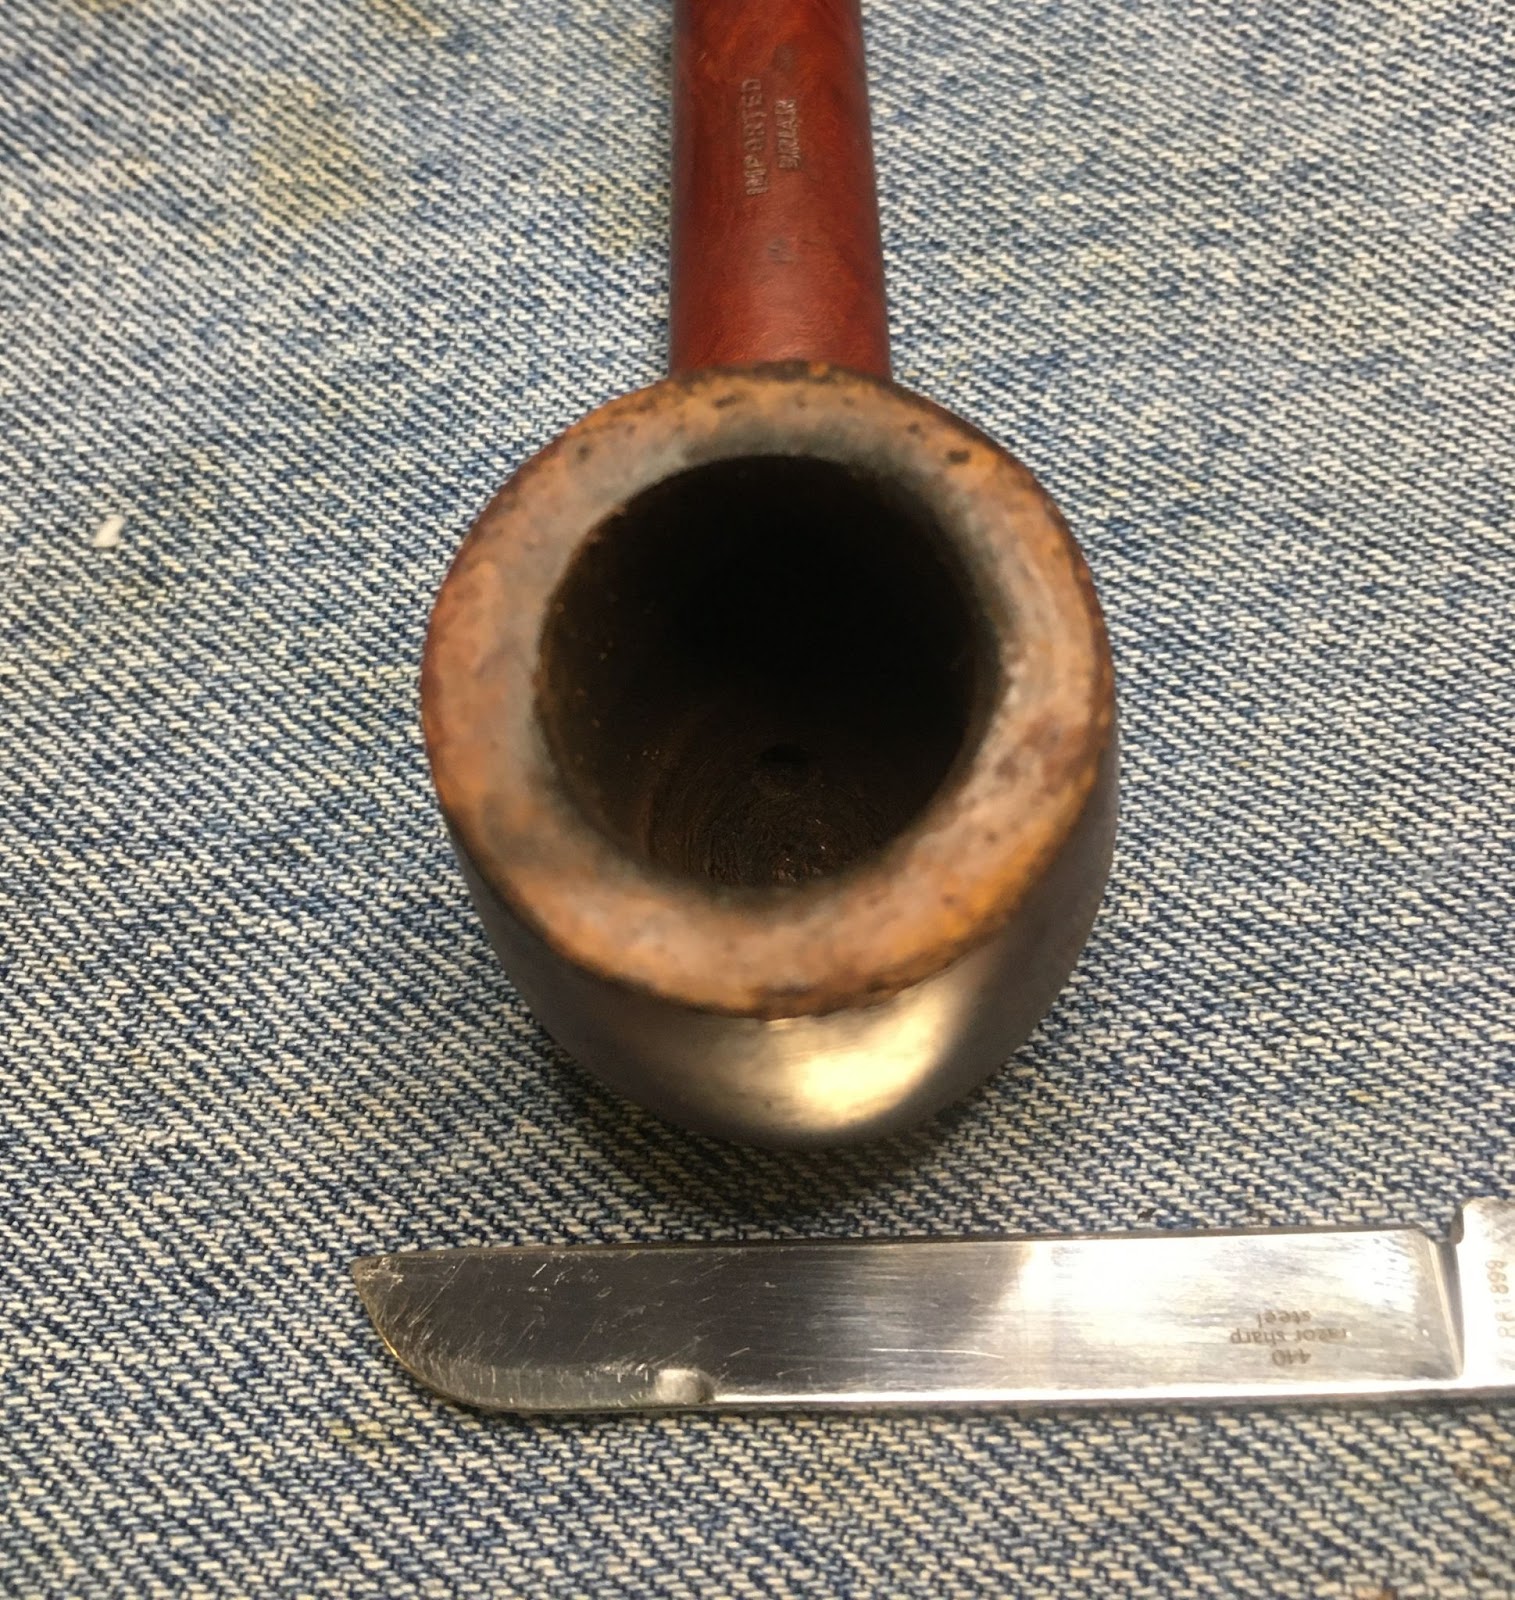
During the deox time I turned my attention to the stummel. I began with reaming the tobacco chamber with the PiNet and #2 blades. The original yellow bowl coating was still slightly pliable and made reaming difficult. That and the more conical drilling is why the Scotte Stainless Steel Reaming tool was also used to ream the bottom of the chamber. The Generar triangular scraper had no difficulty scraping it away. The chamber was then sanded using 220 sandpaper wrapped around a wood dowel followed by 320 sandpaper wrapped around a Sharpie marker.

No damage from heat was expected nor discovered.

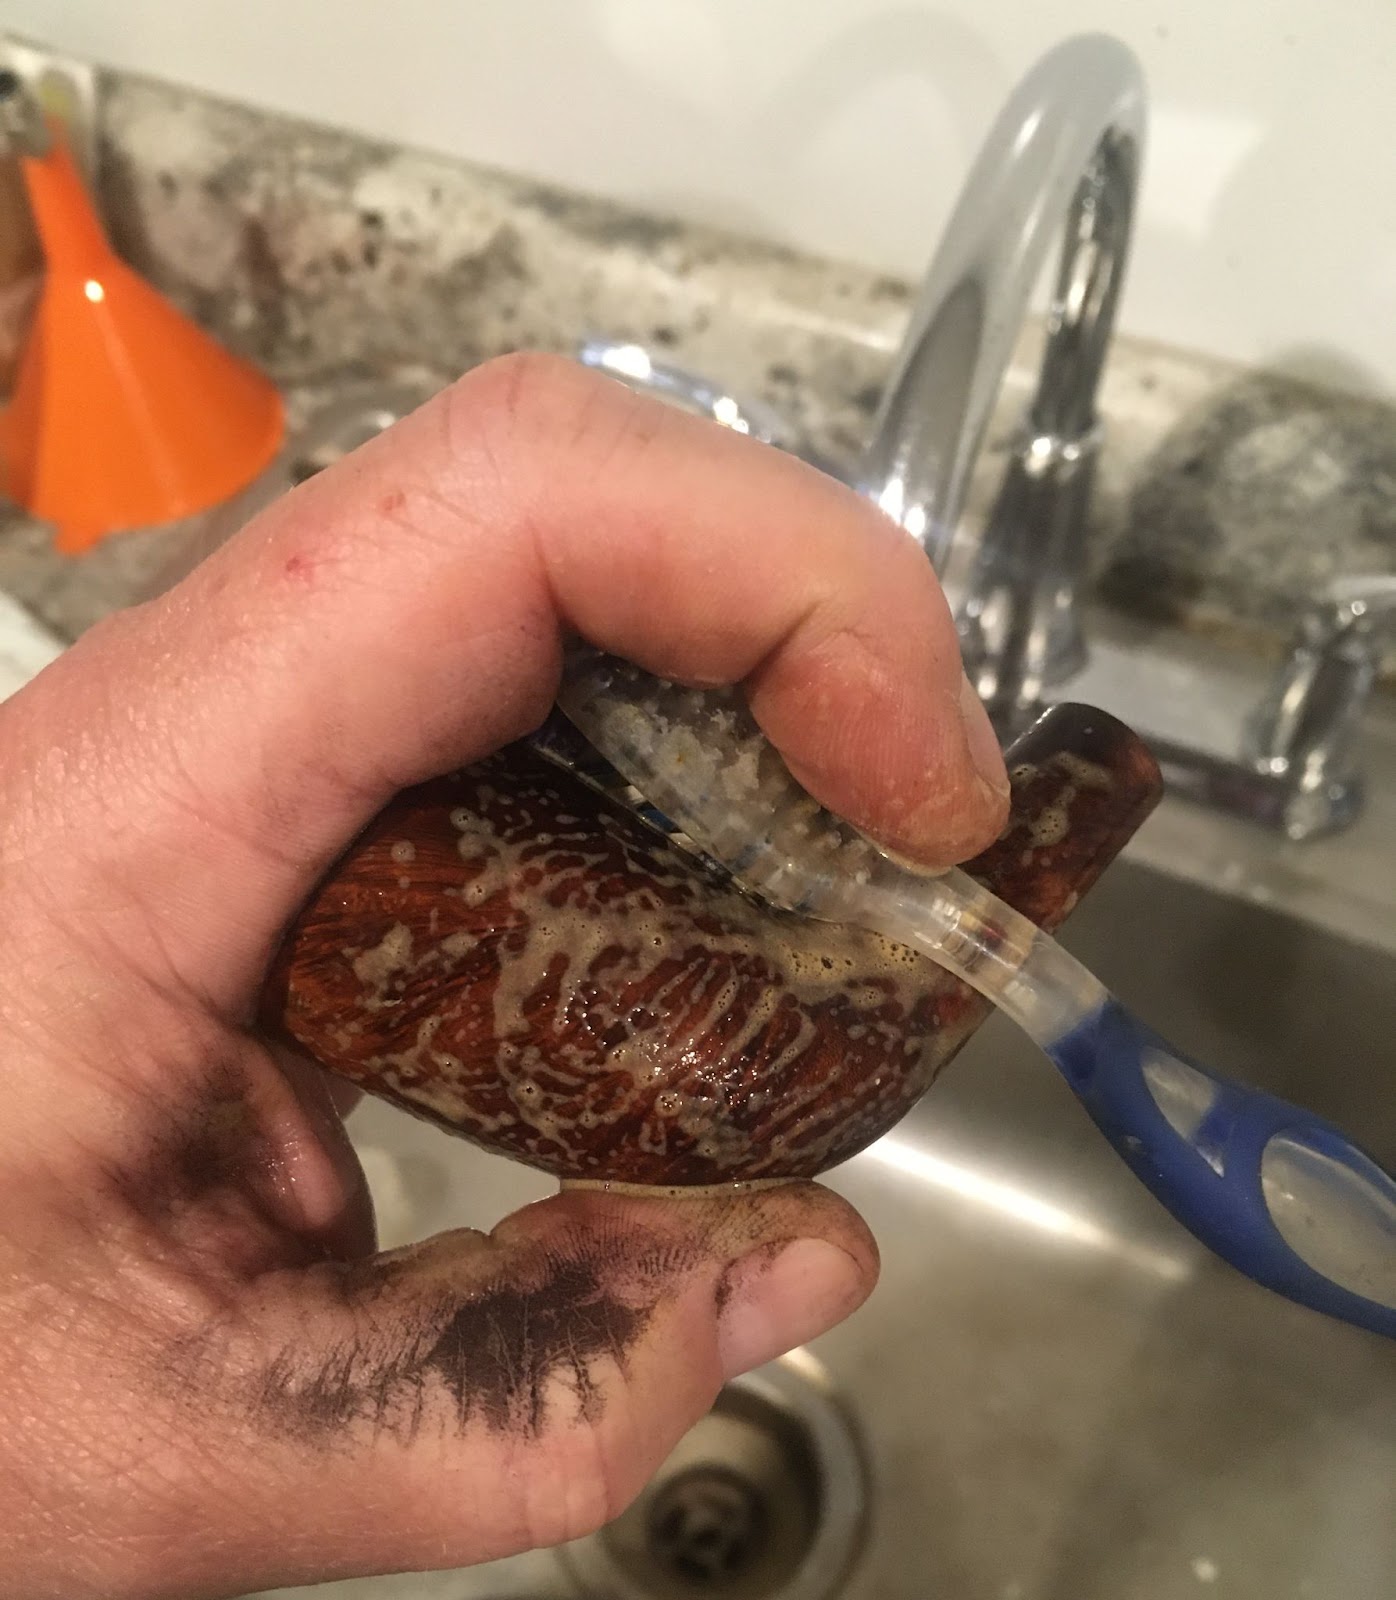
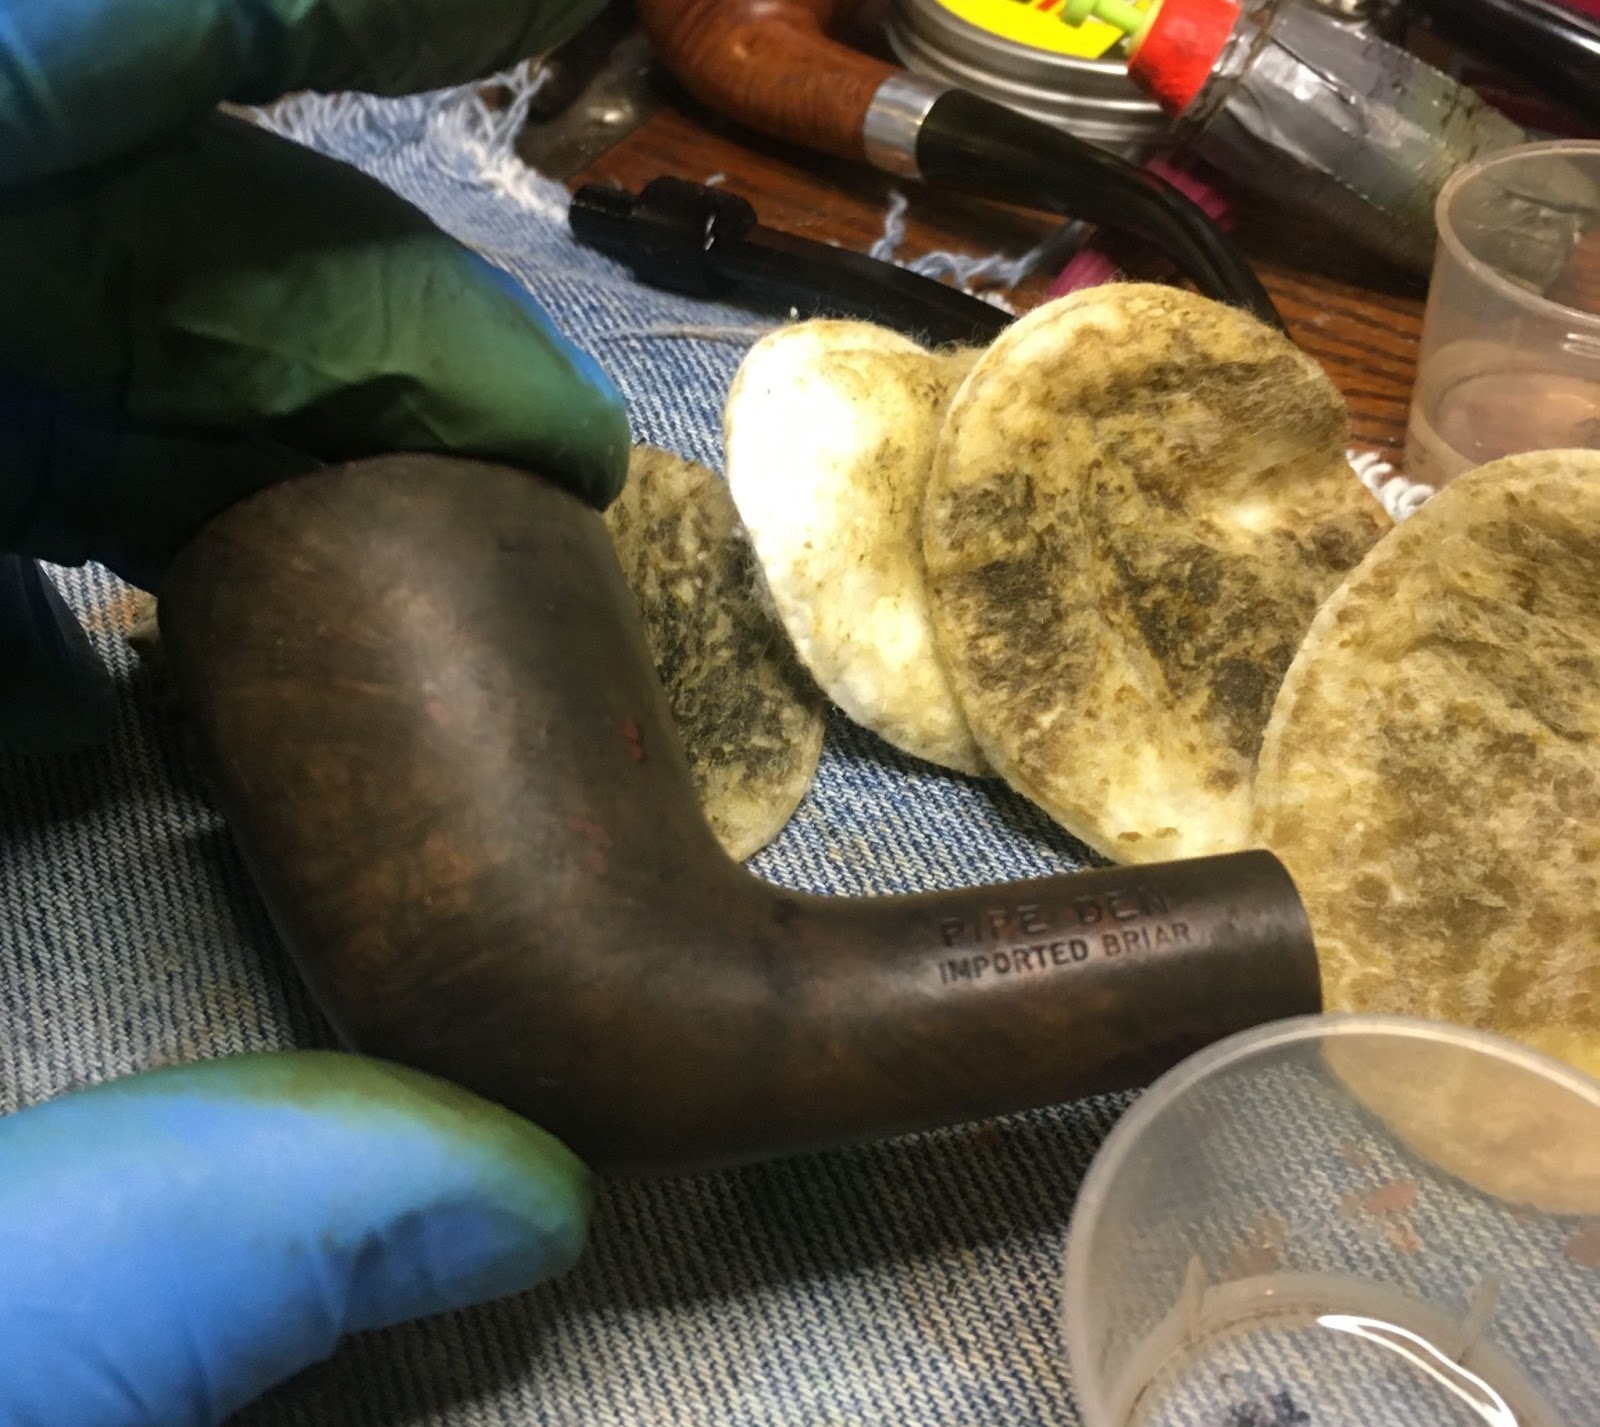
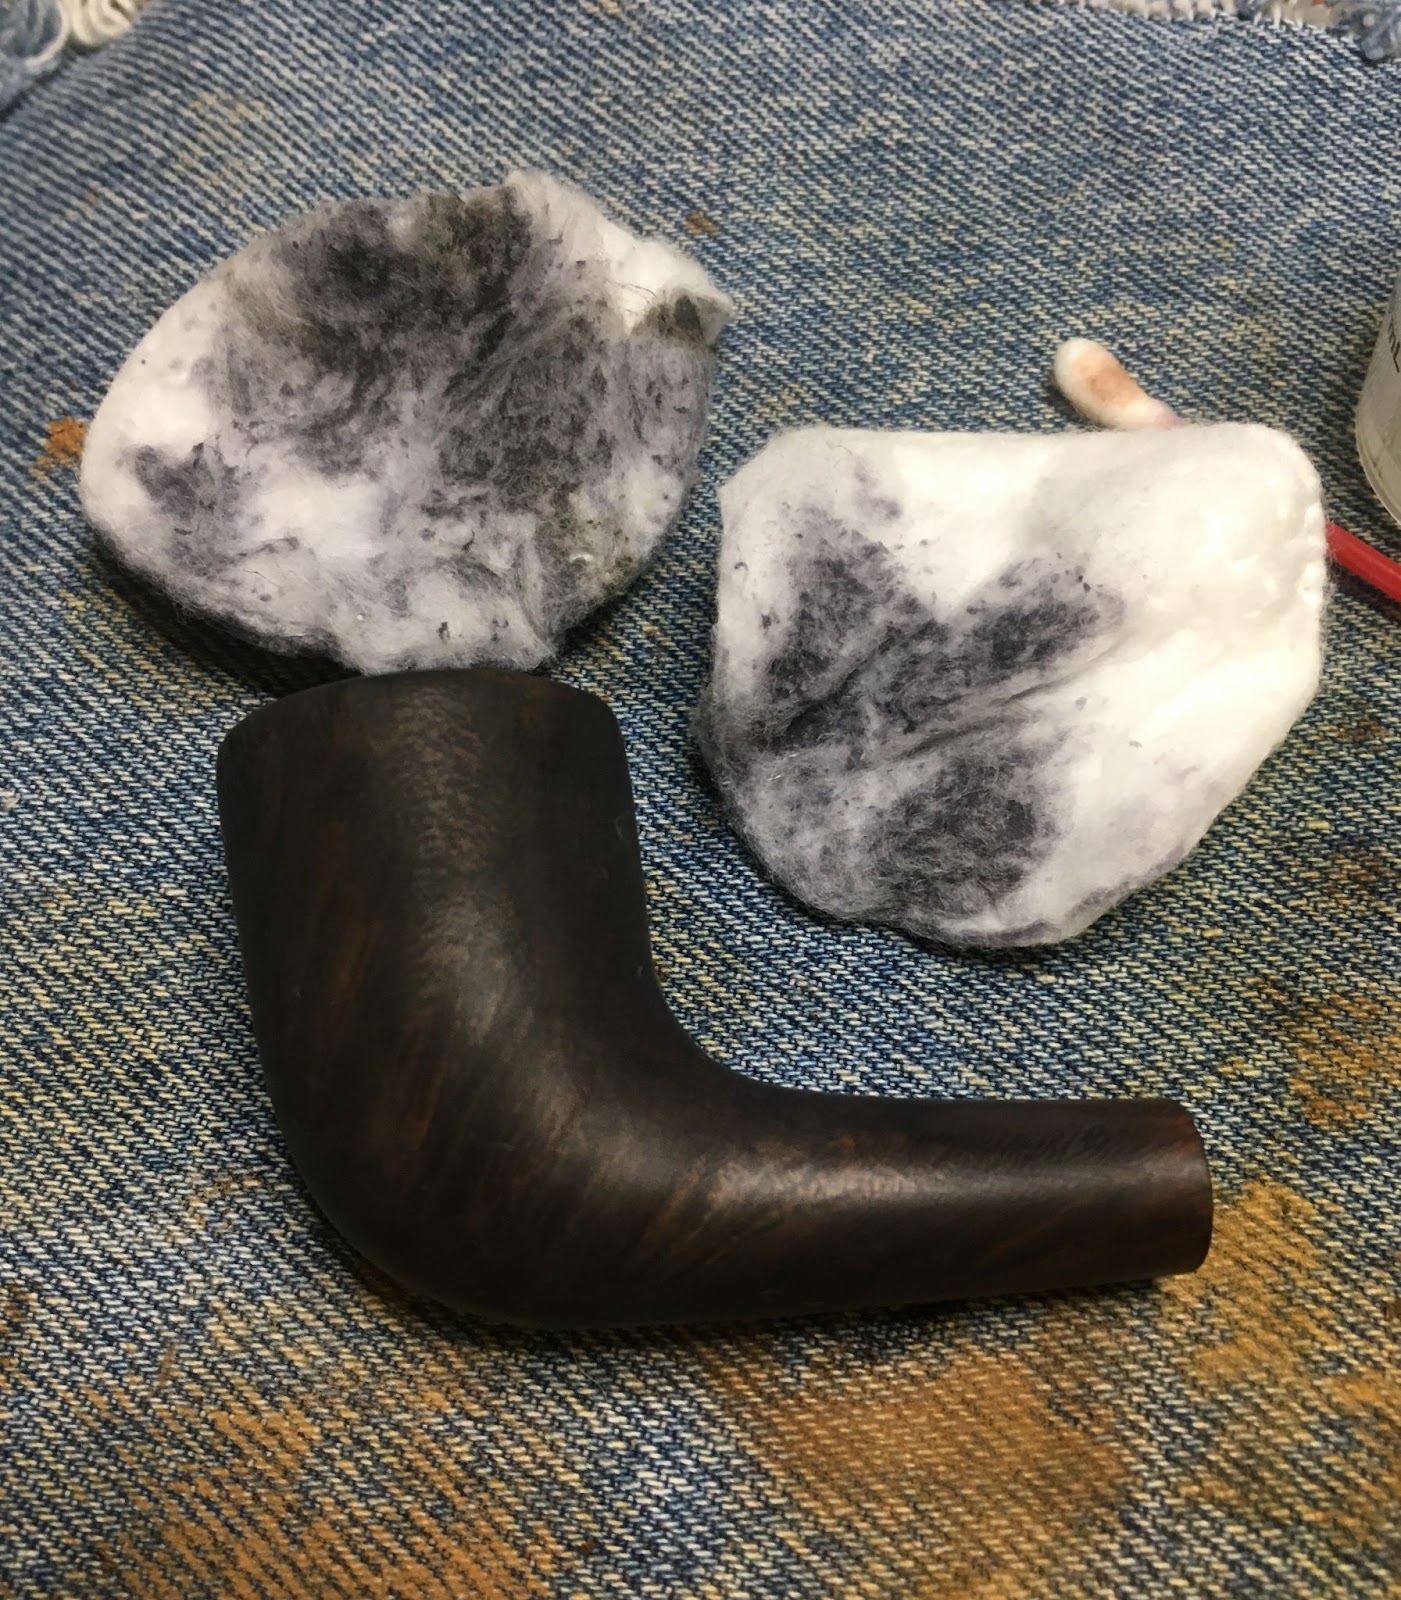
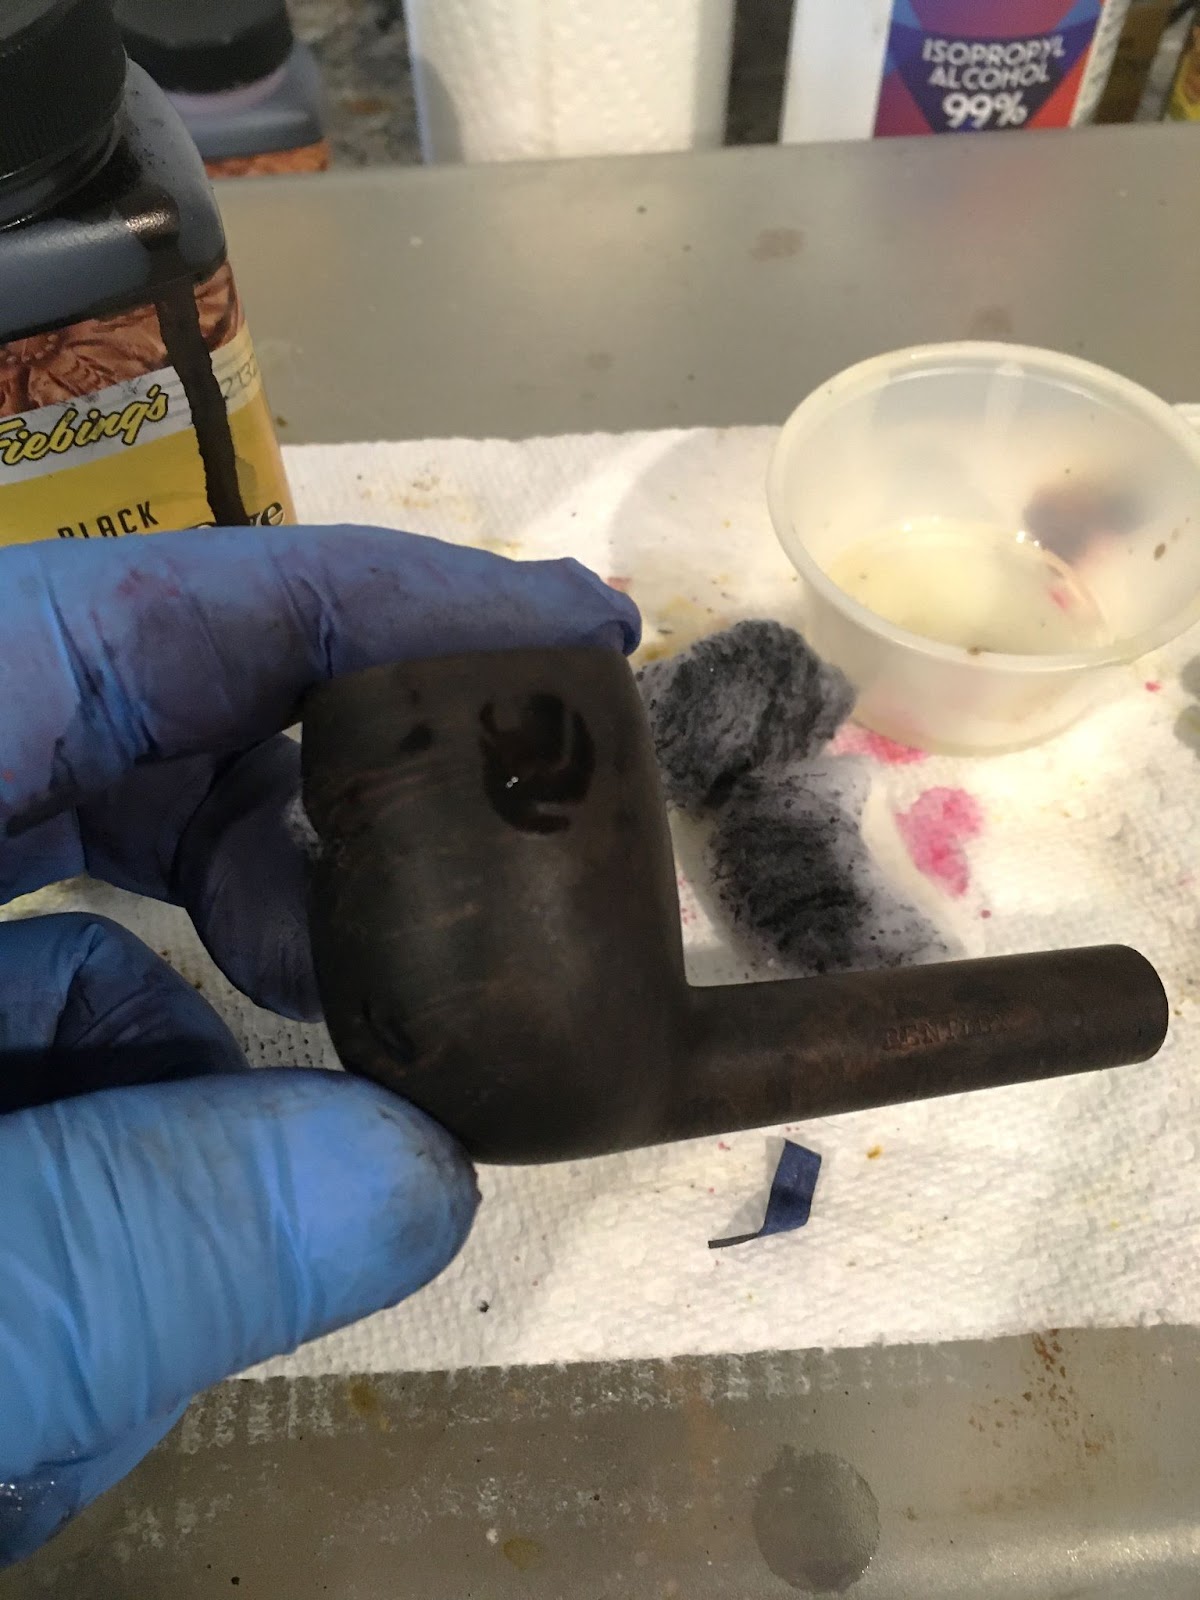
The stummel was then taken to the sink for a scrub. The scrub was done with a medium stiff toothbrush and undiluted Murphy Oil Soap. The soap was rinsed with warm water and the stummel dried with a cotton hand towel.

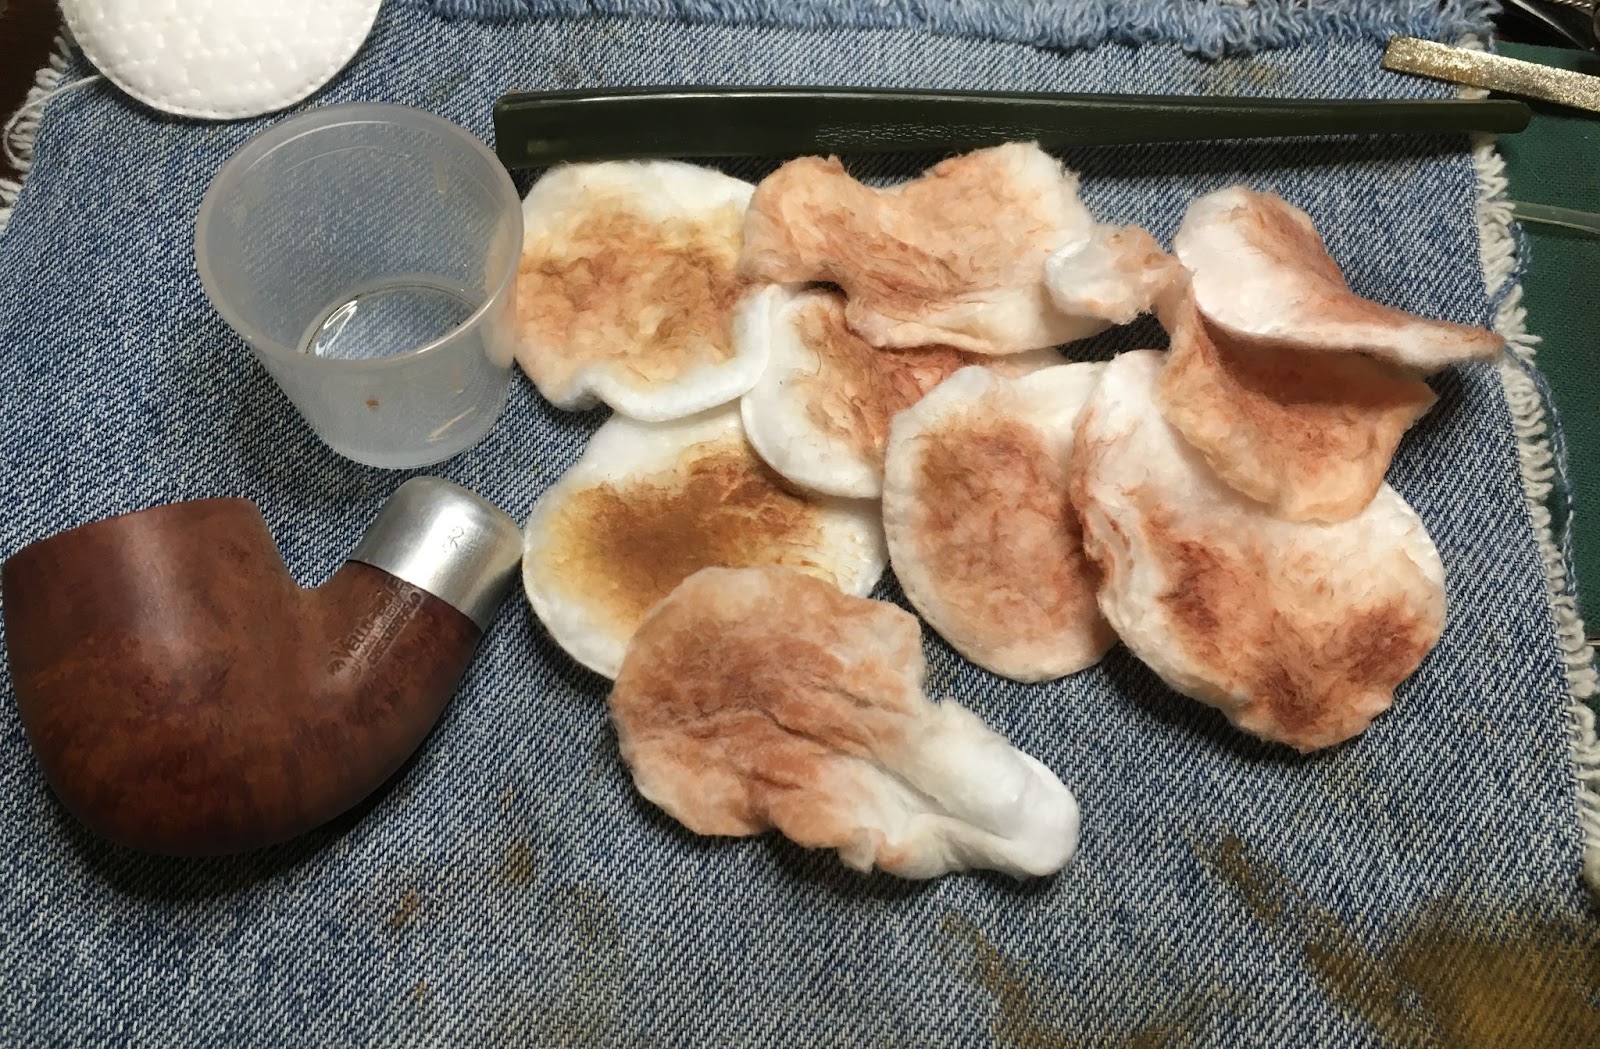
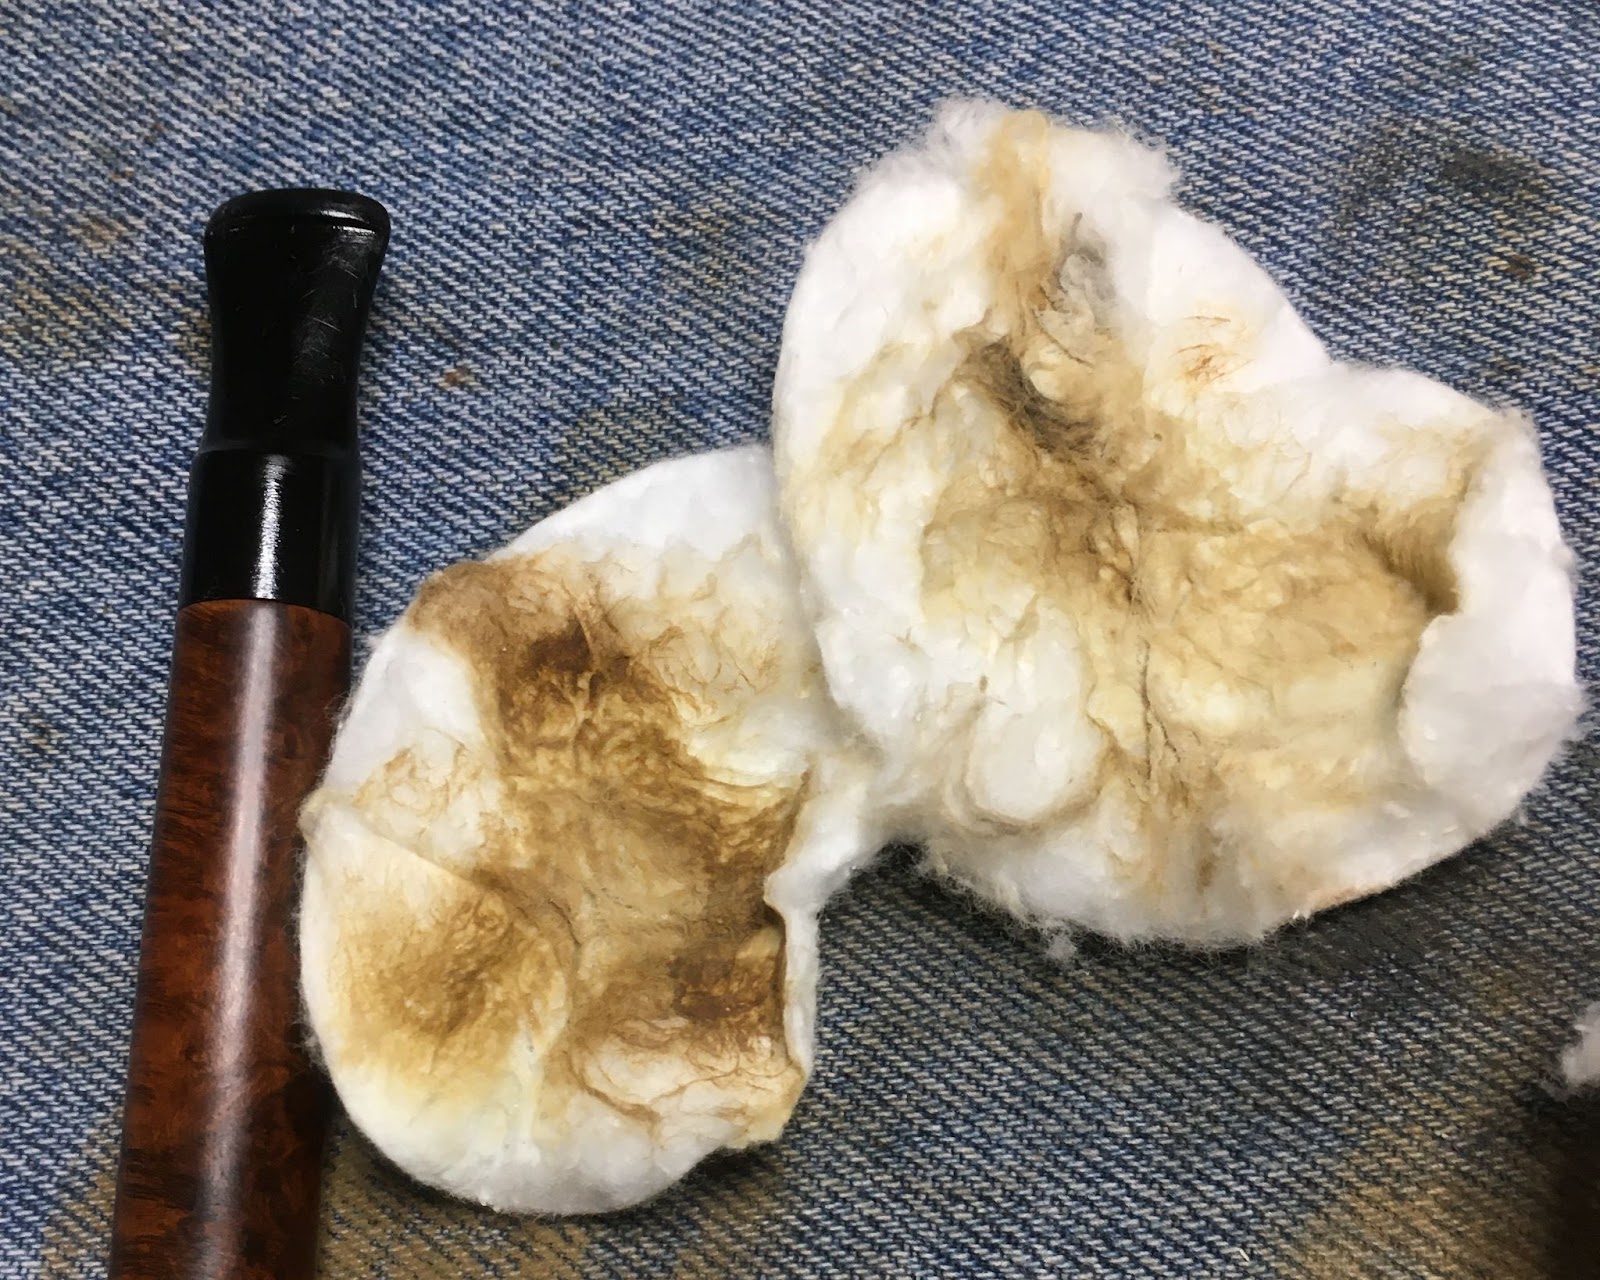
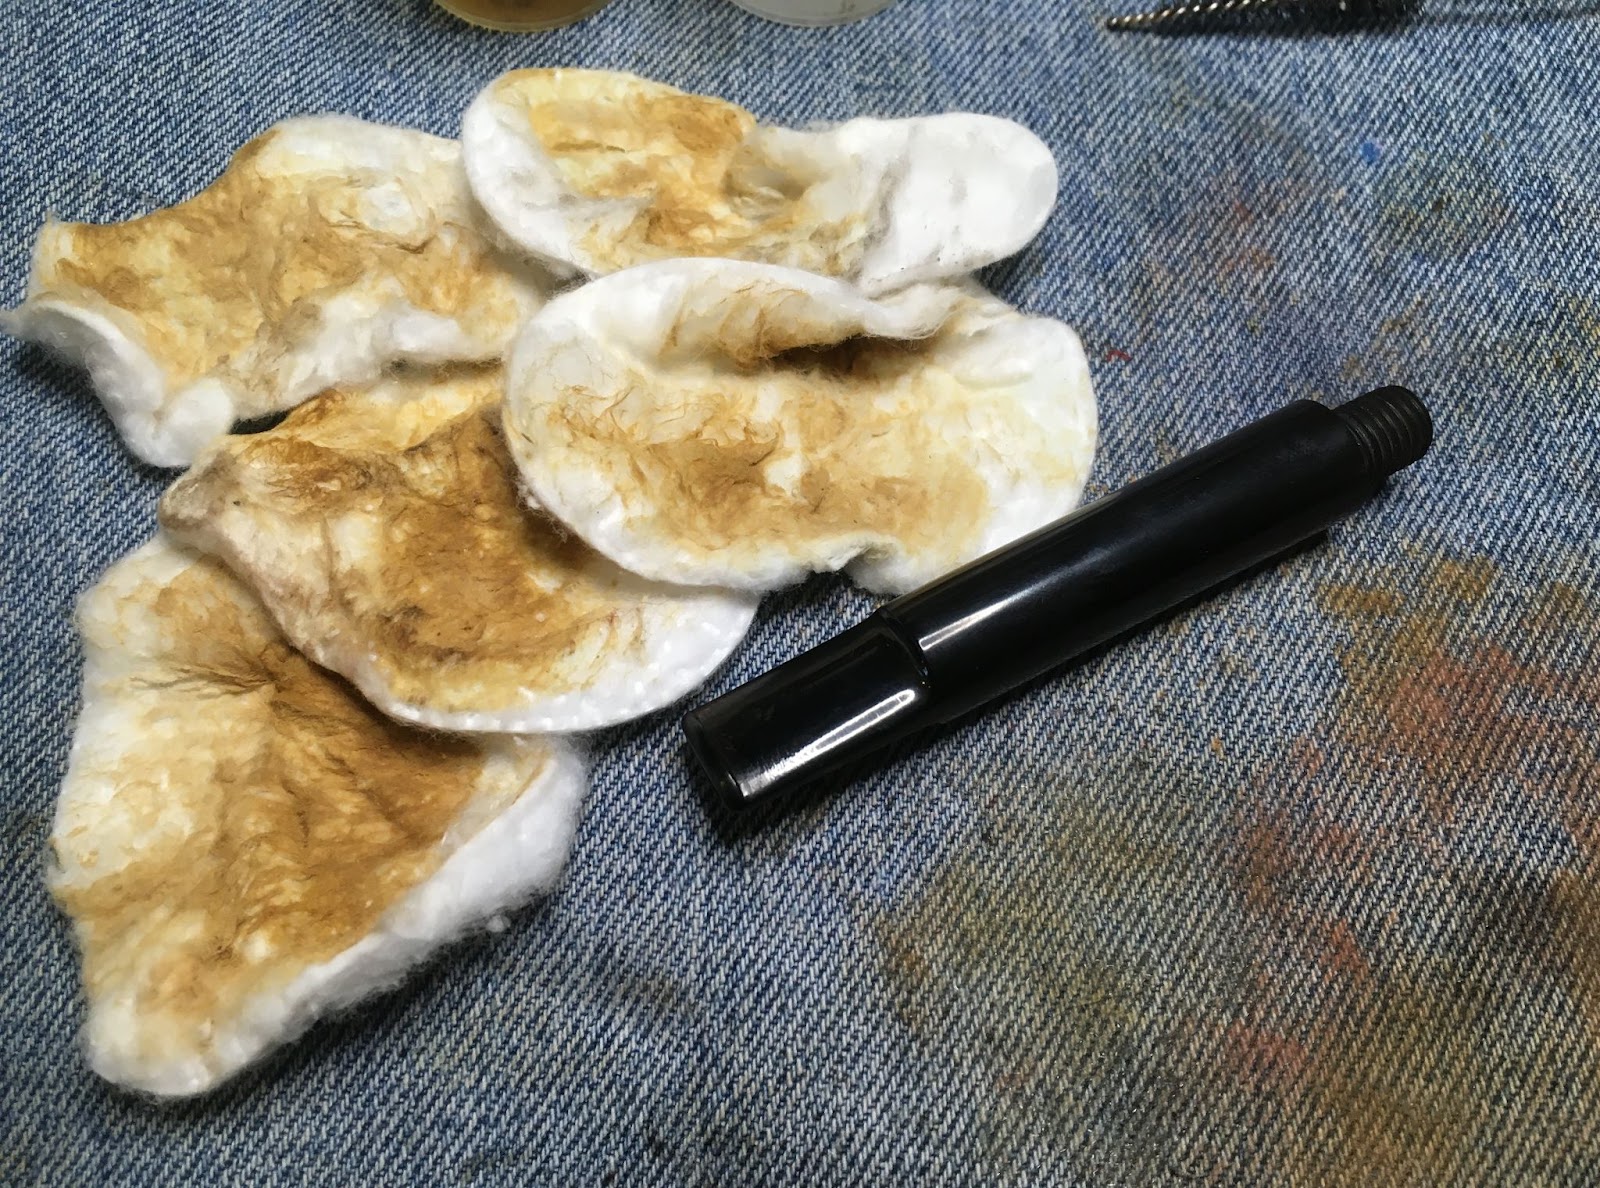
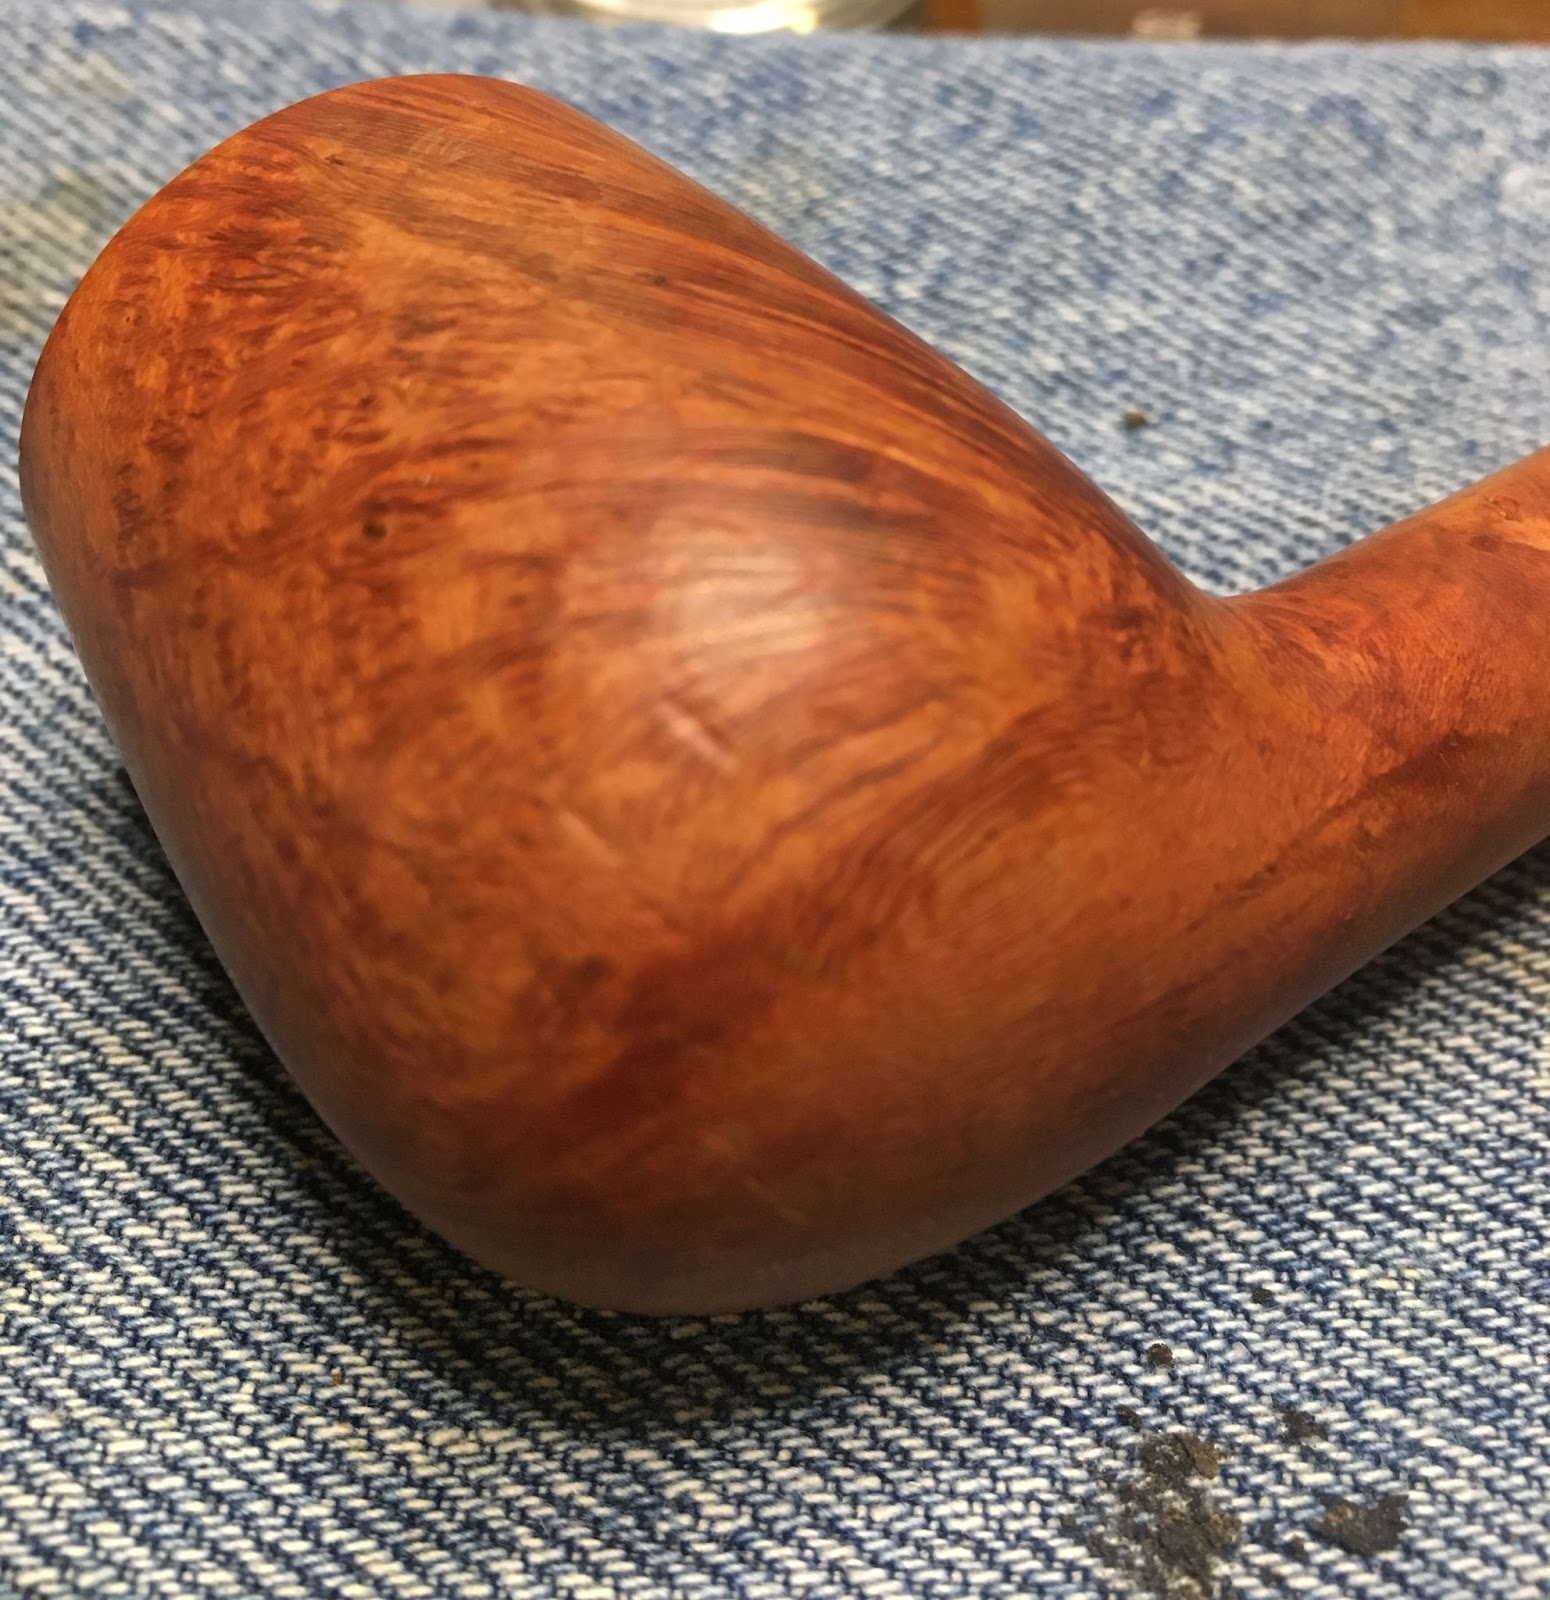
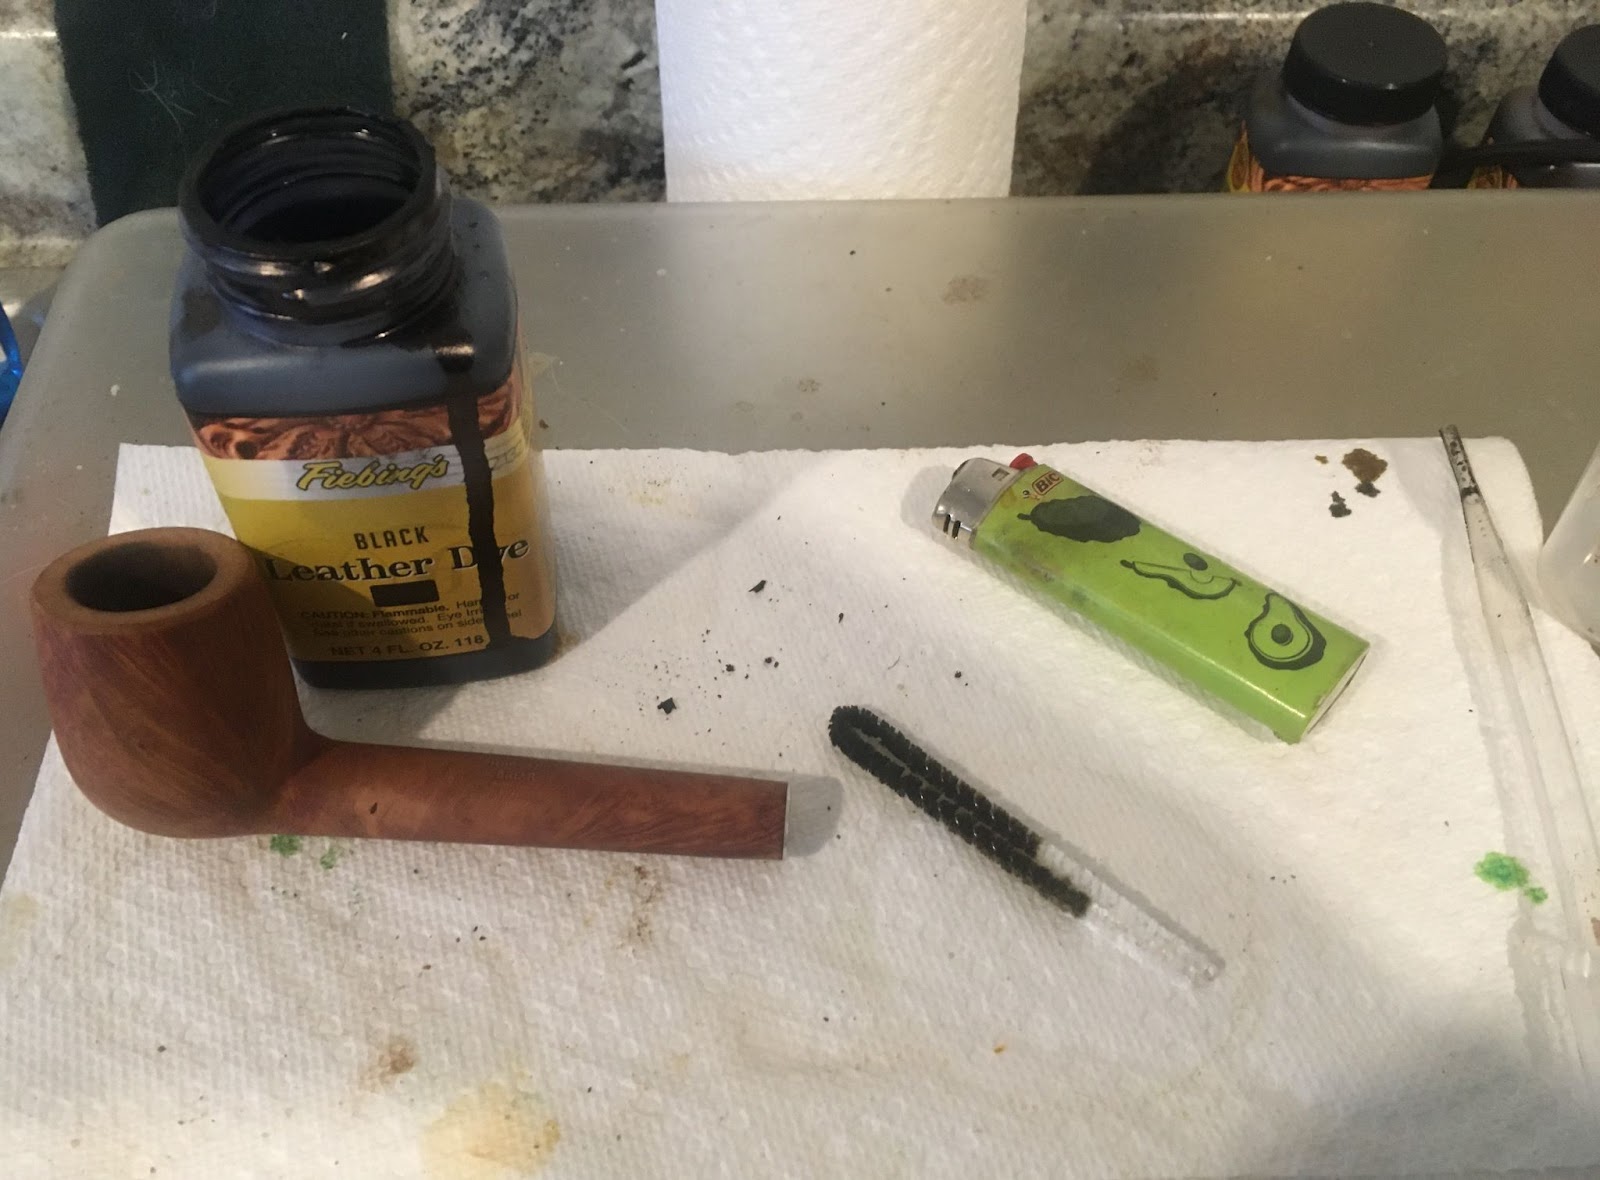
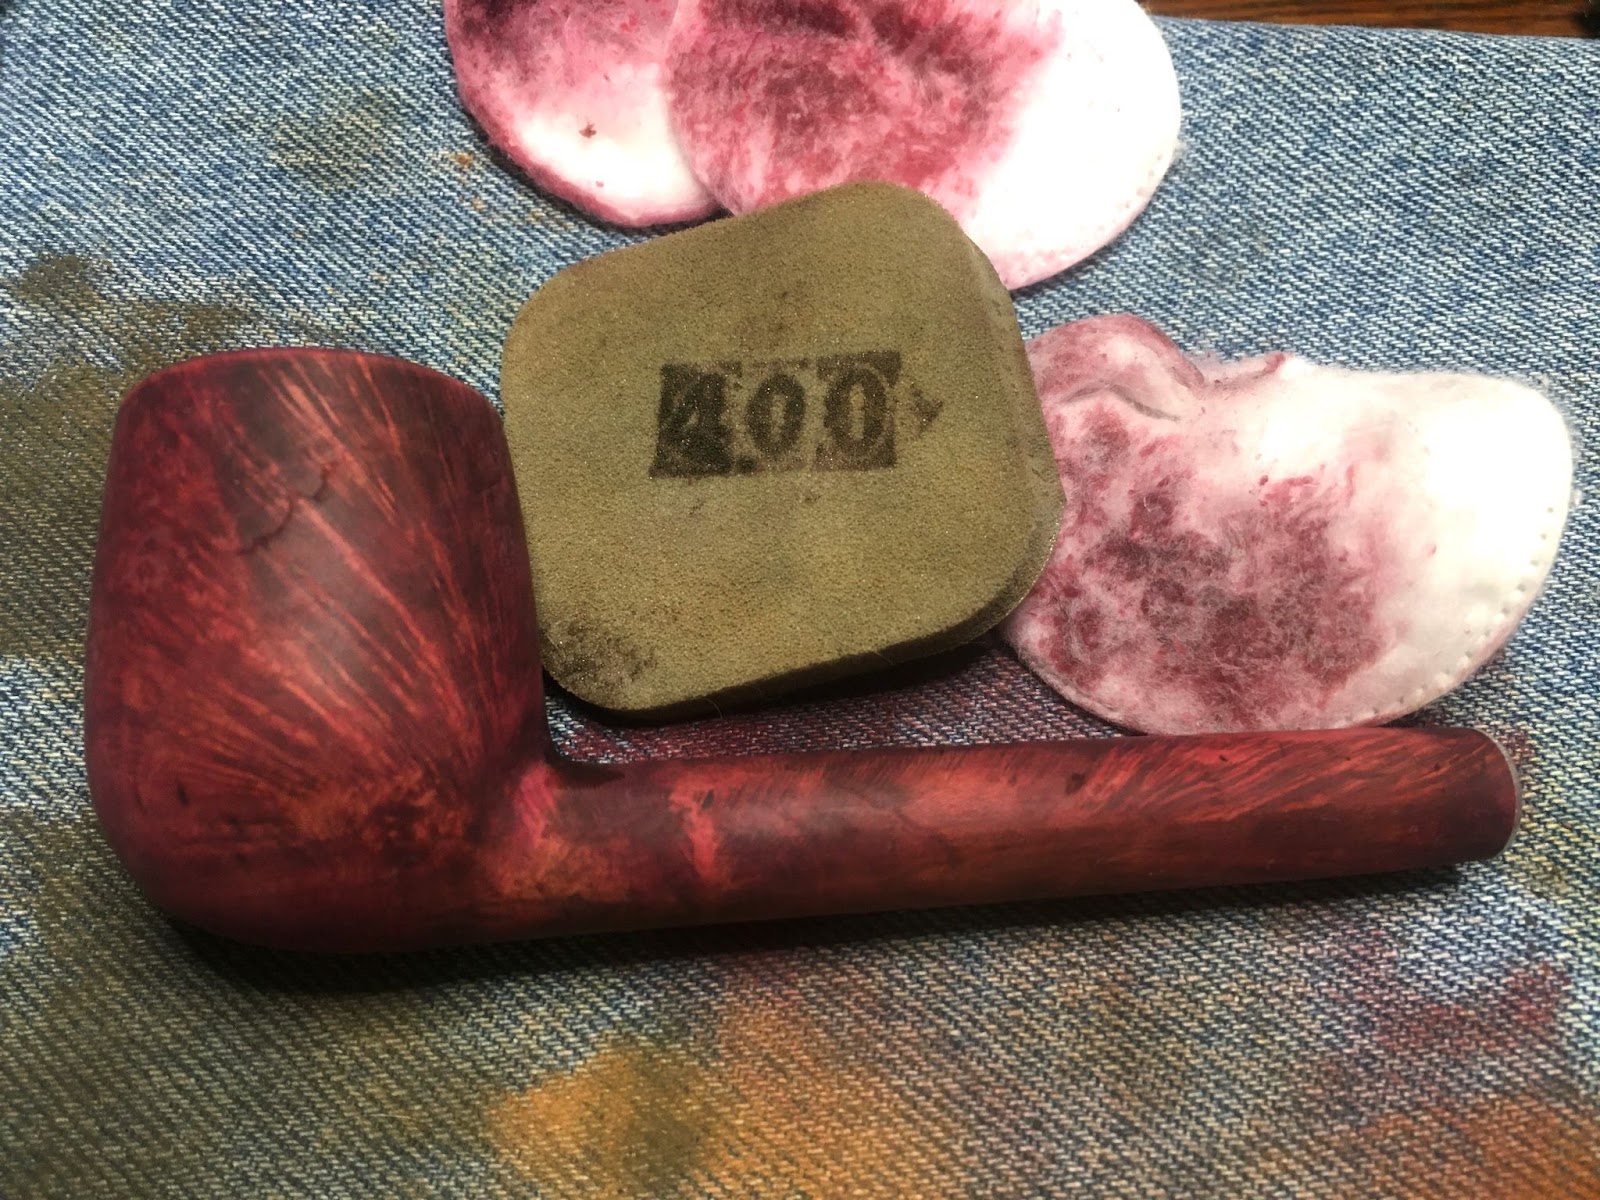
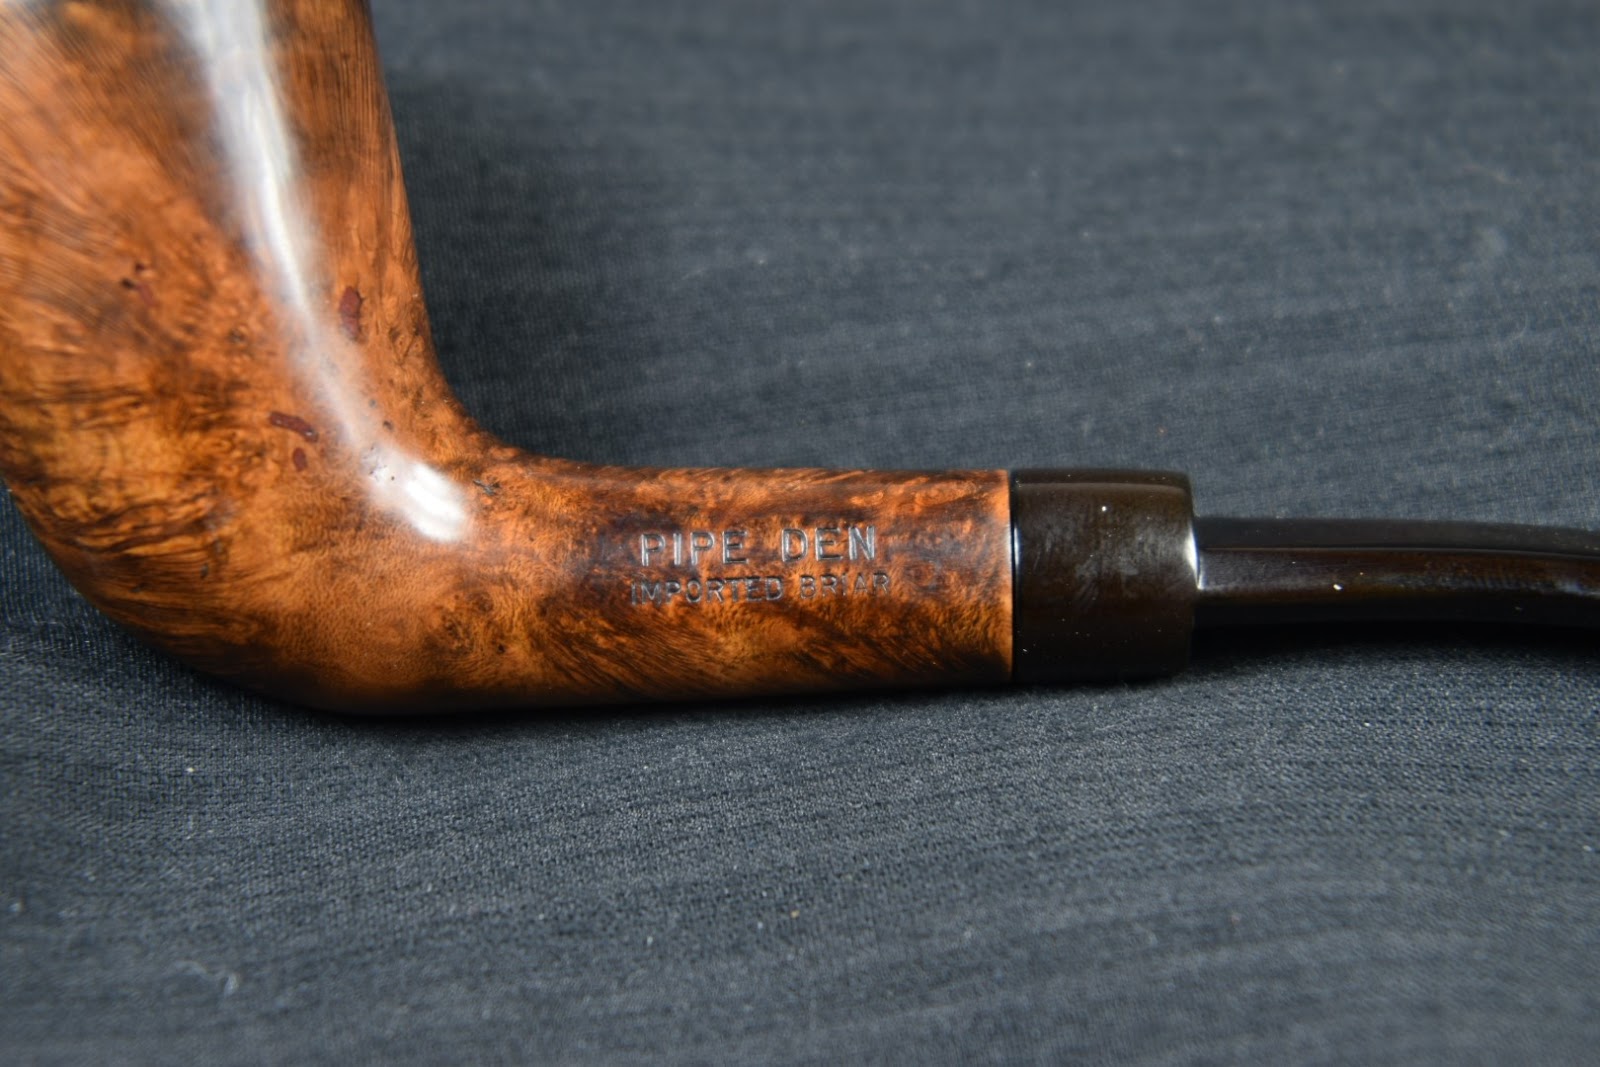
Back at the workbench the stummel was wiped with numerous make-up pads soaked in acetone. This removed the clear coat and a good deal of the excess red stain from the briar. I used a nylon scrub brush dipped in acetone to free the stampings of the clear coat covering them.
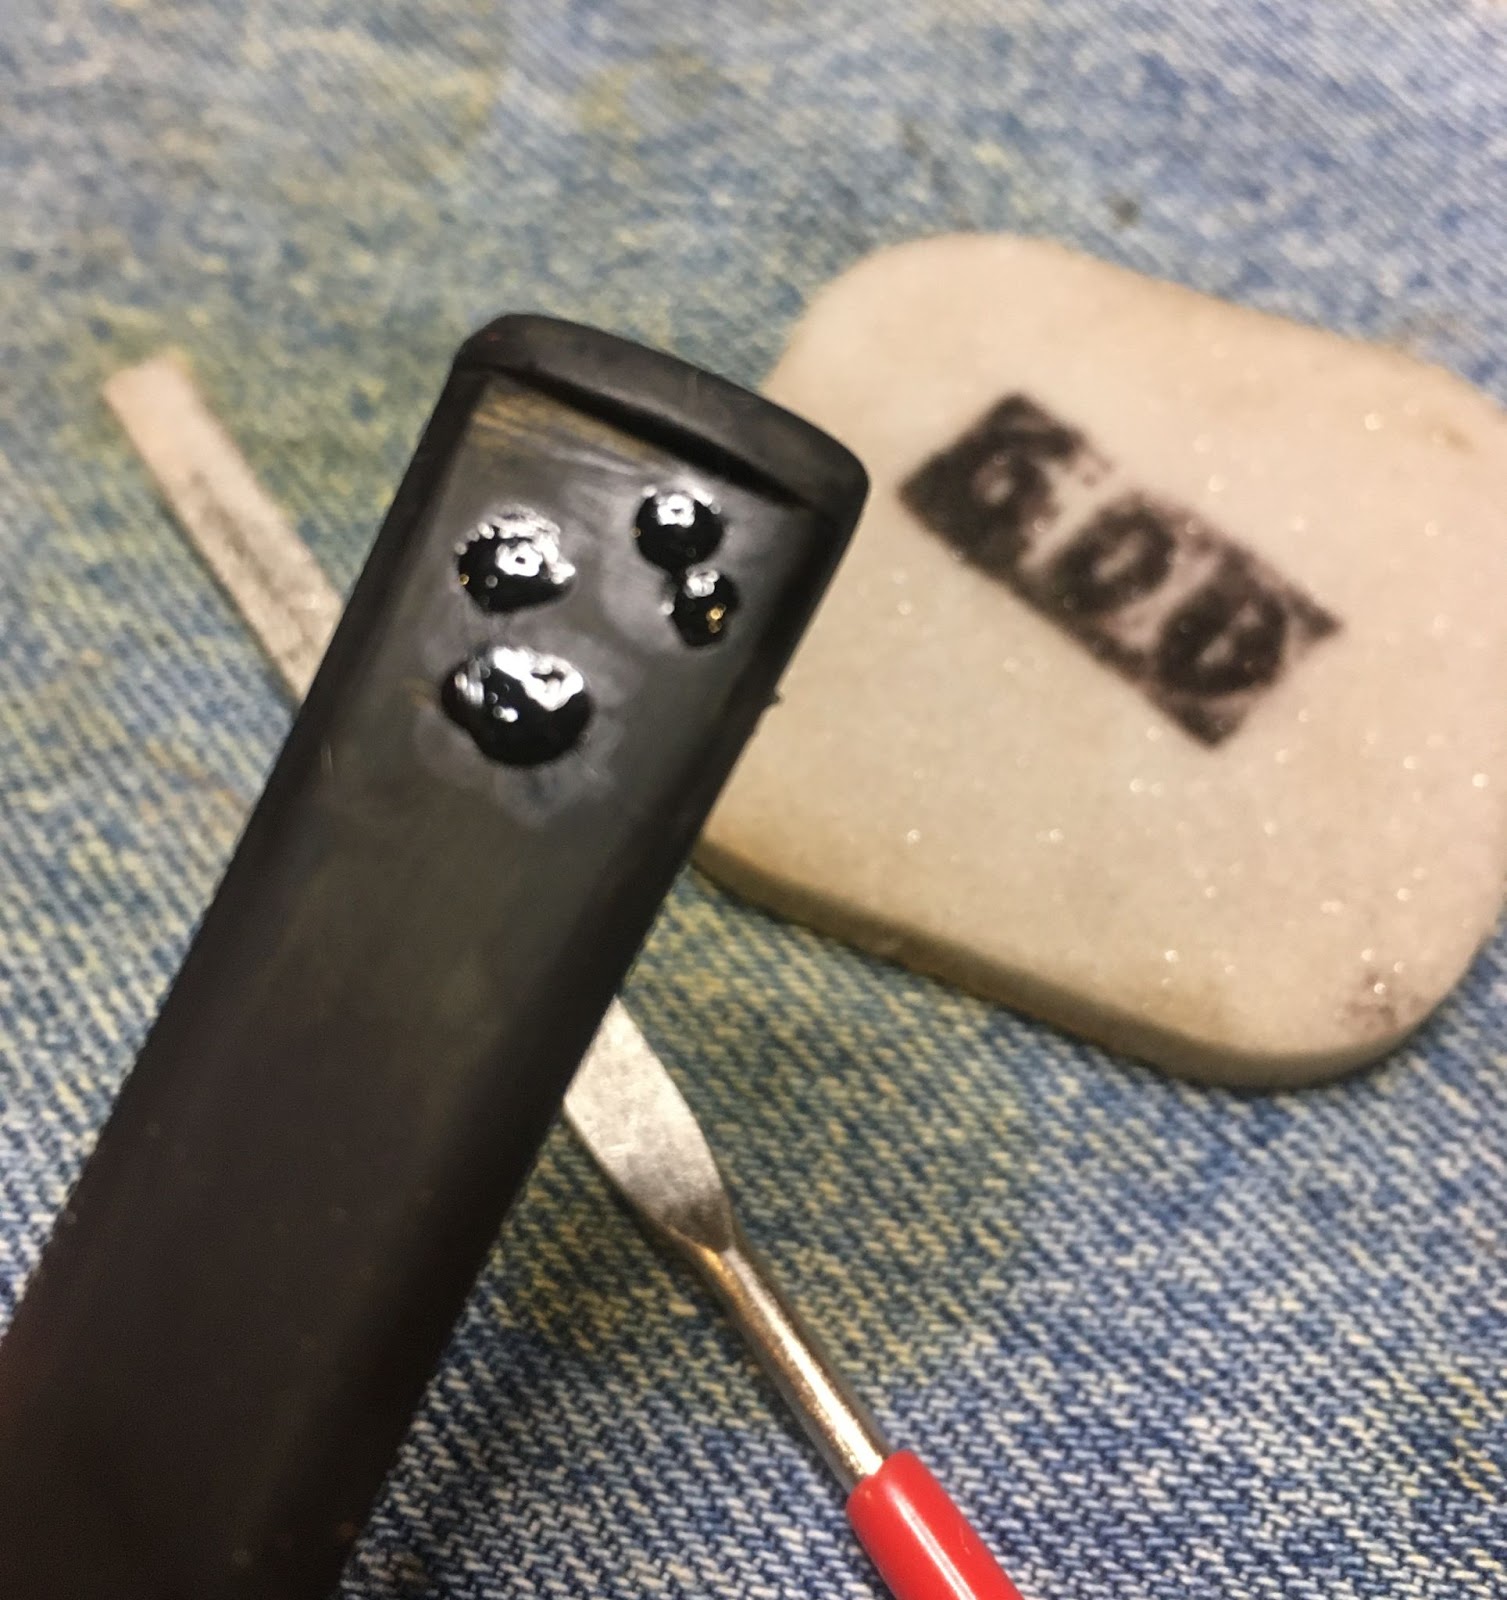
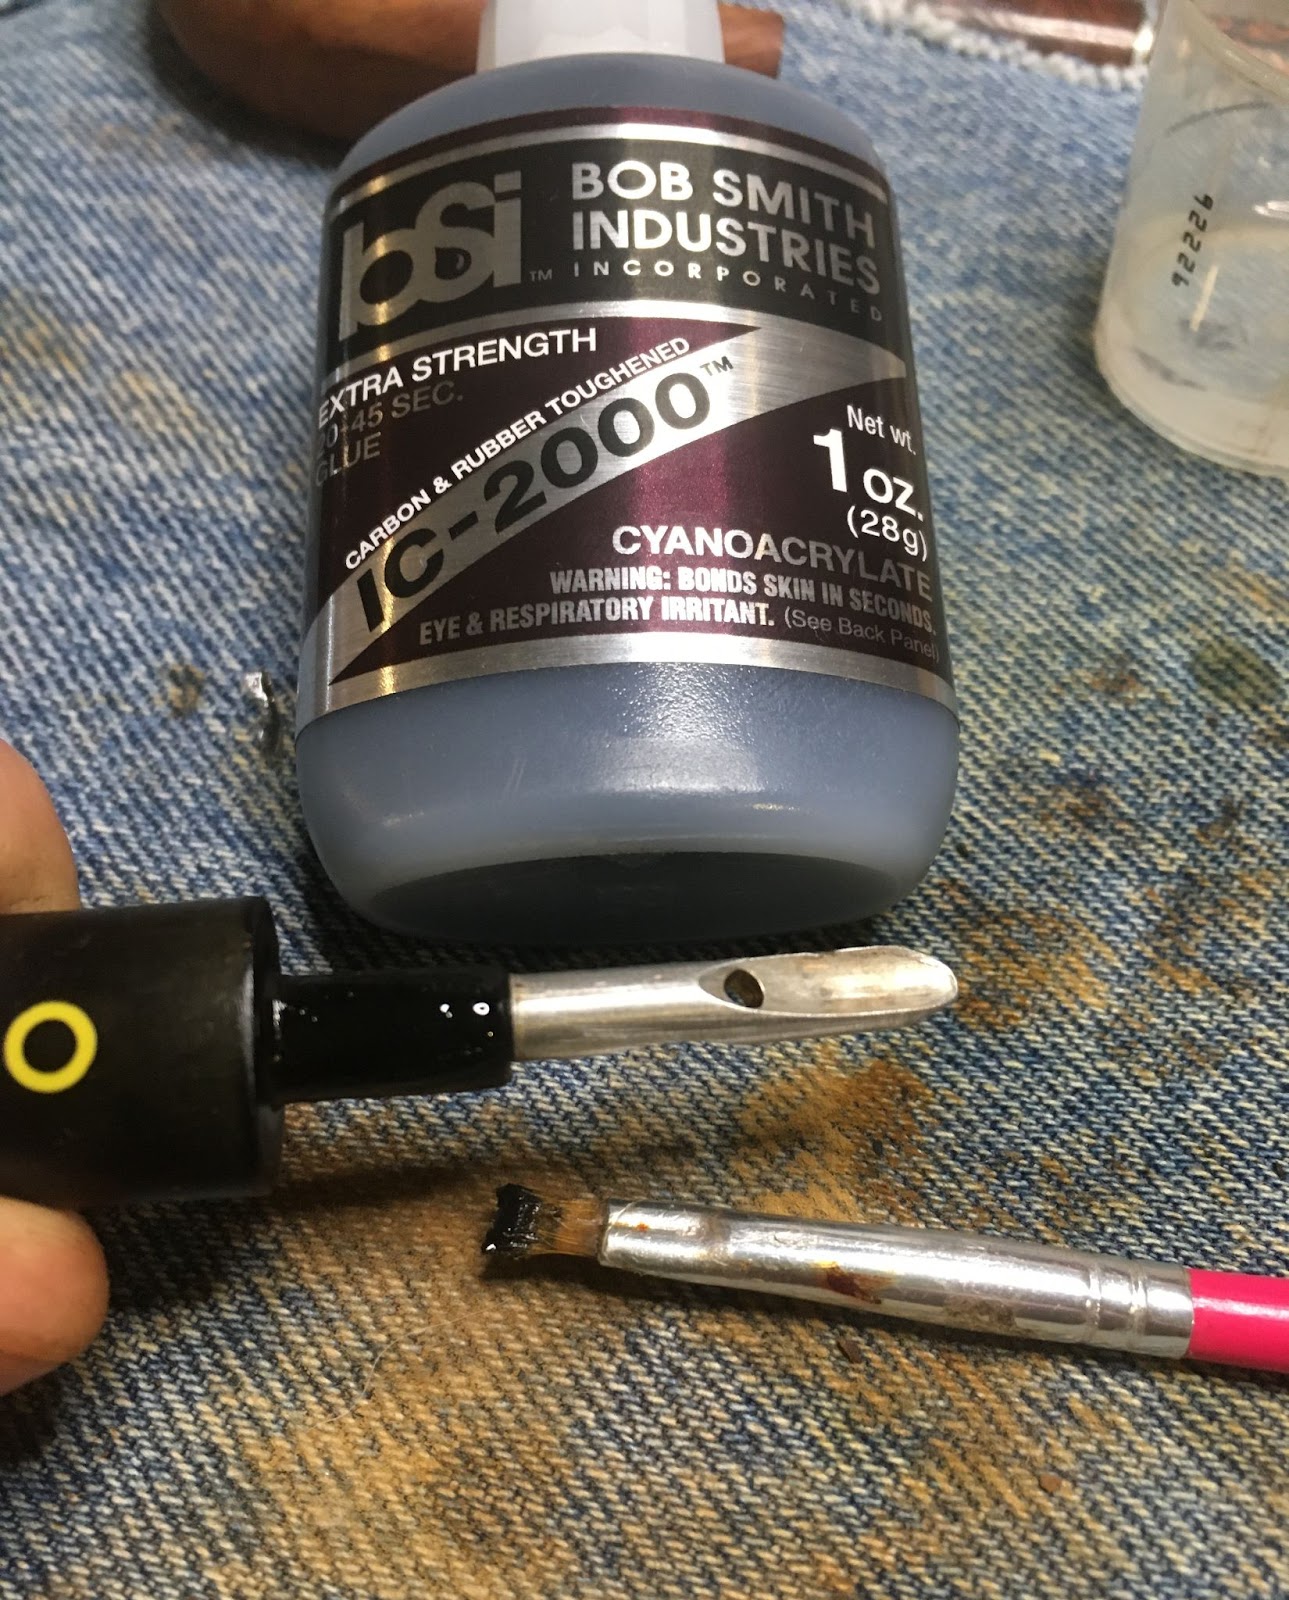
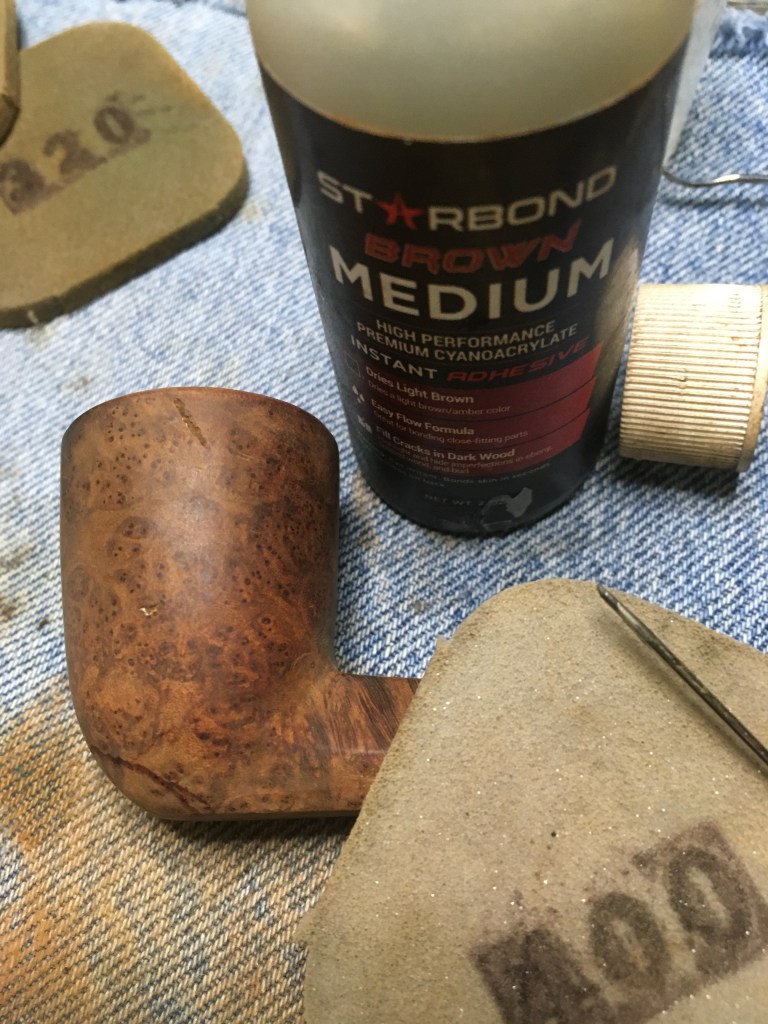
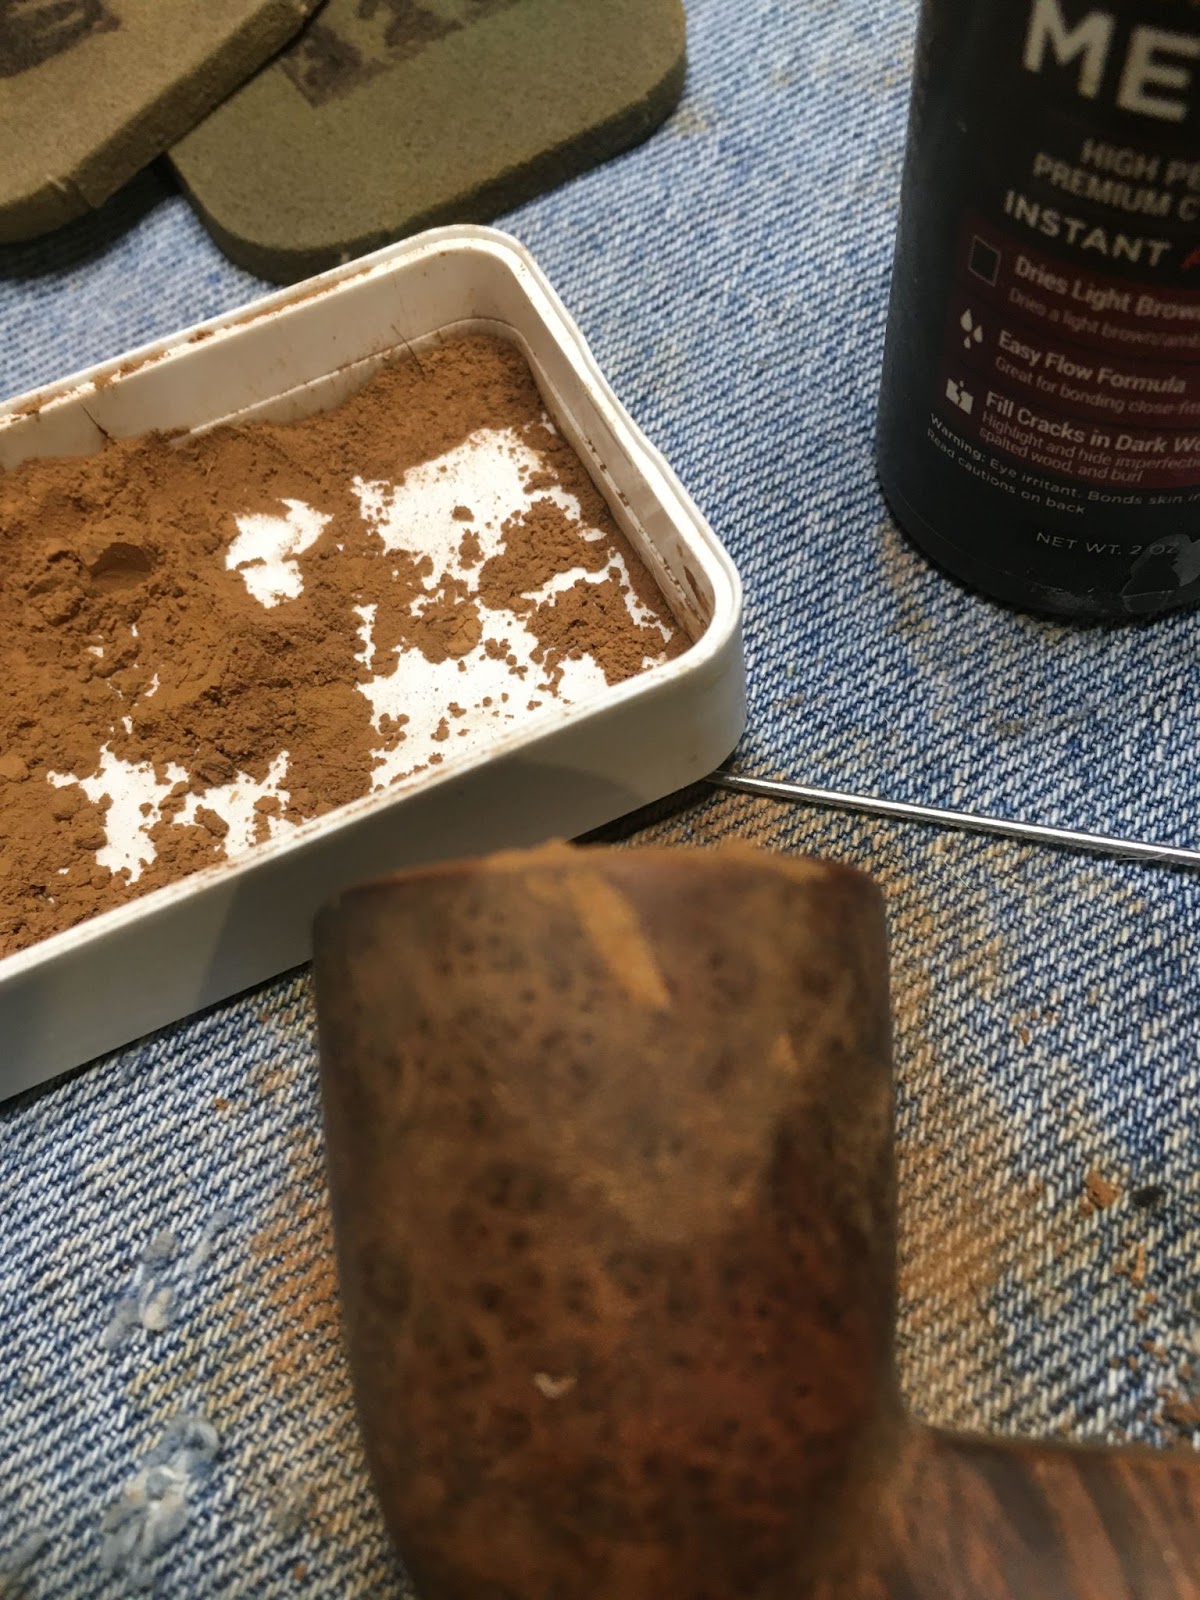
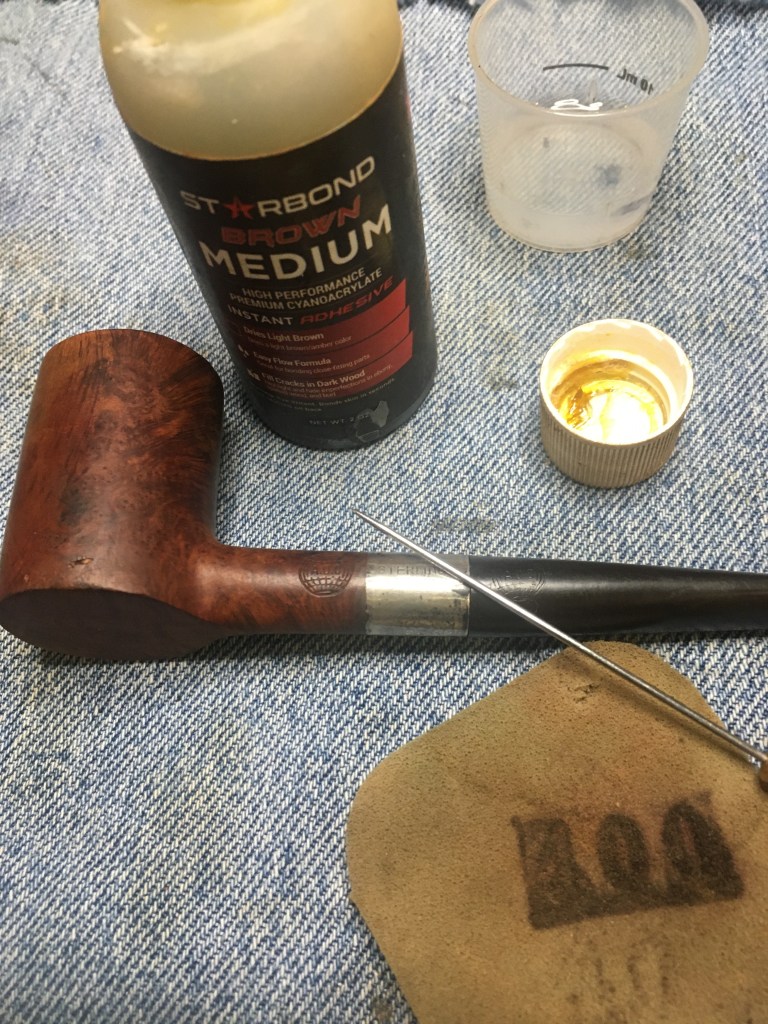
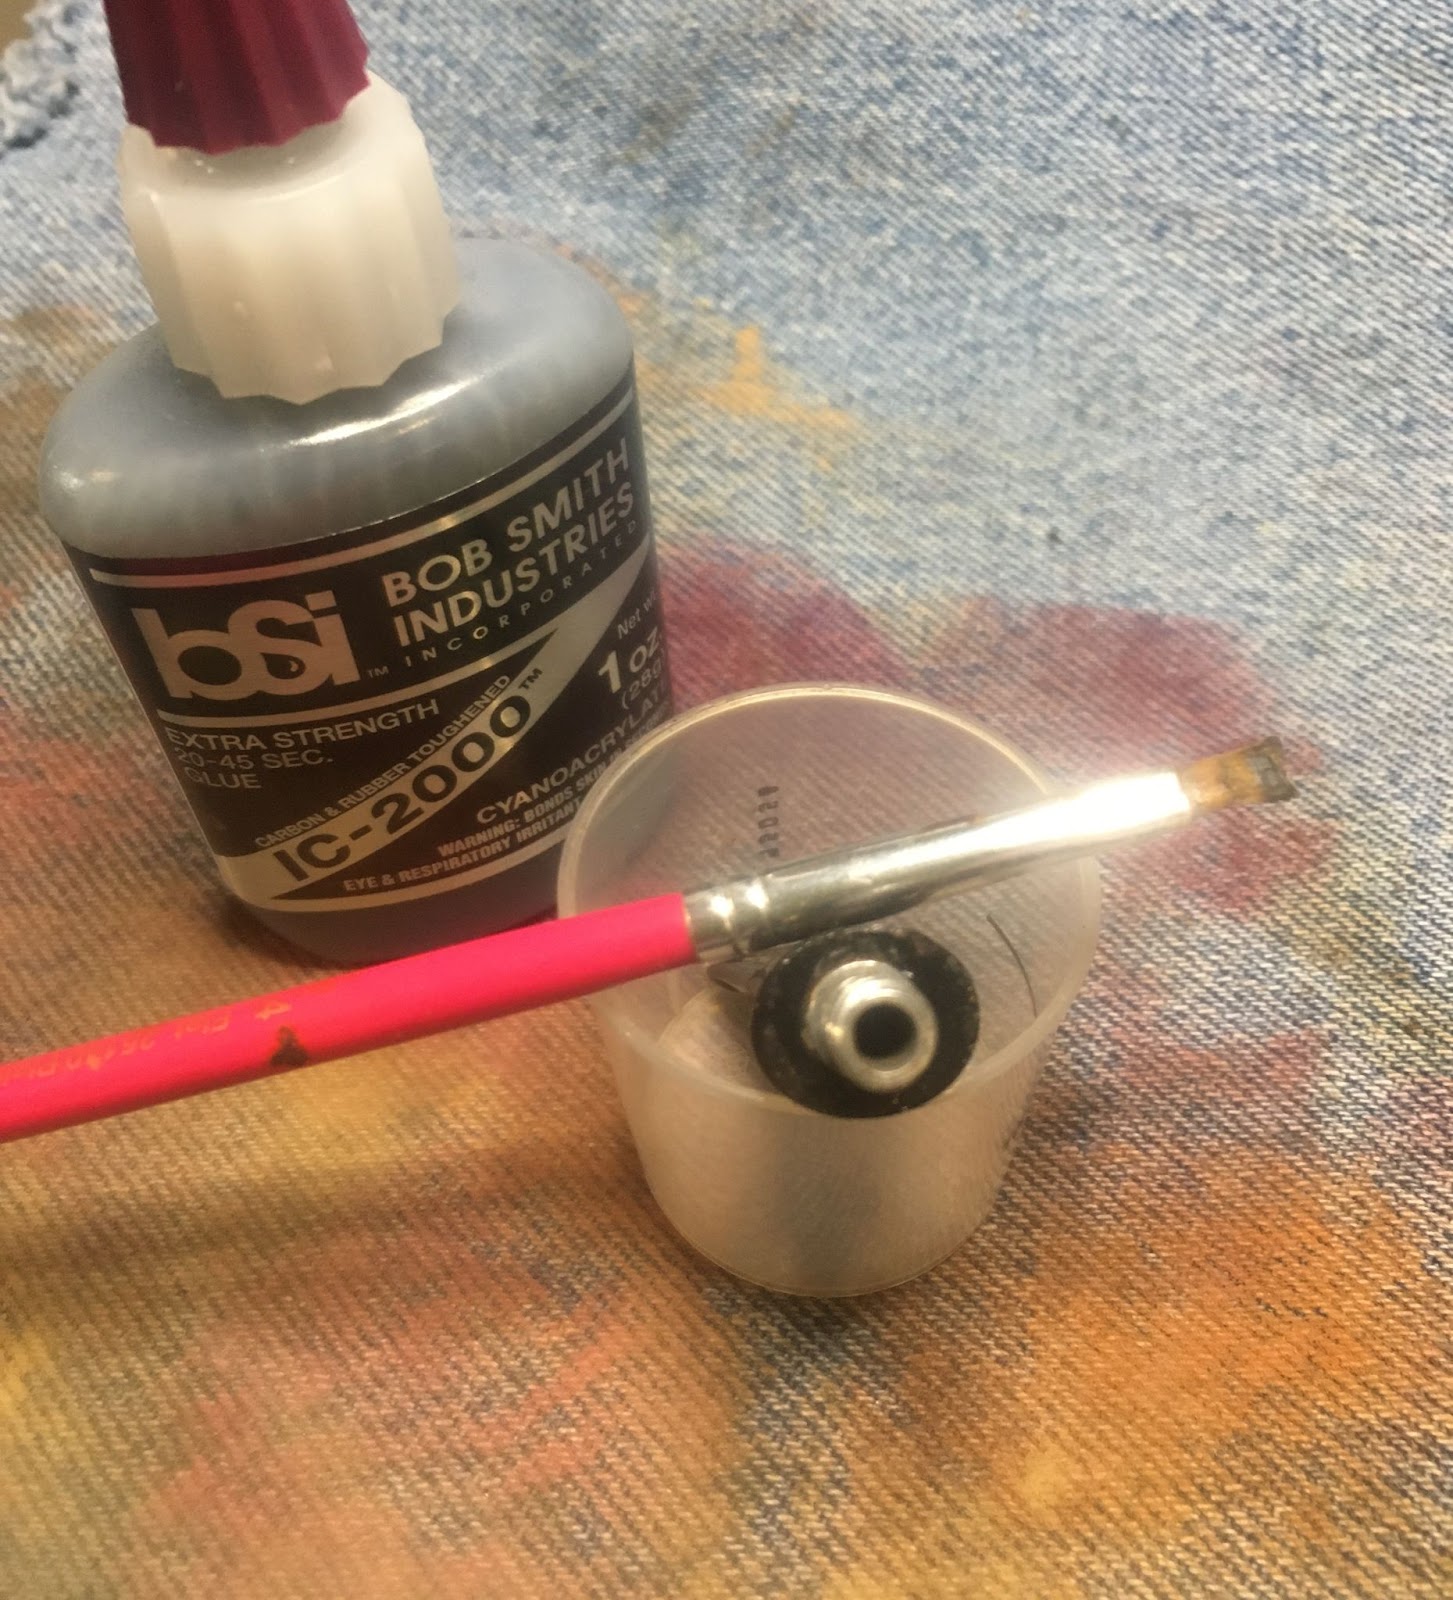
The removal of the clear coat revealed 3 old fills which had softened from the acetone. The old material was picked from the pits and they were refilled using brown cyanoacrylate (CA, super glue) and briar dust.
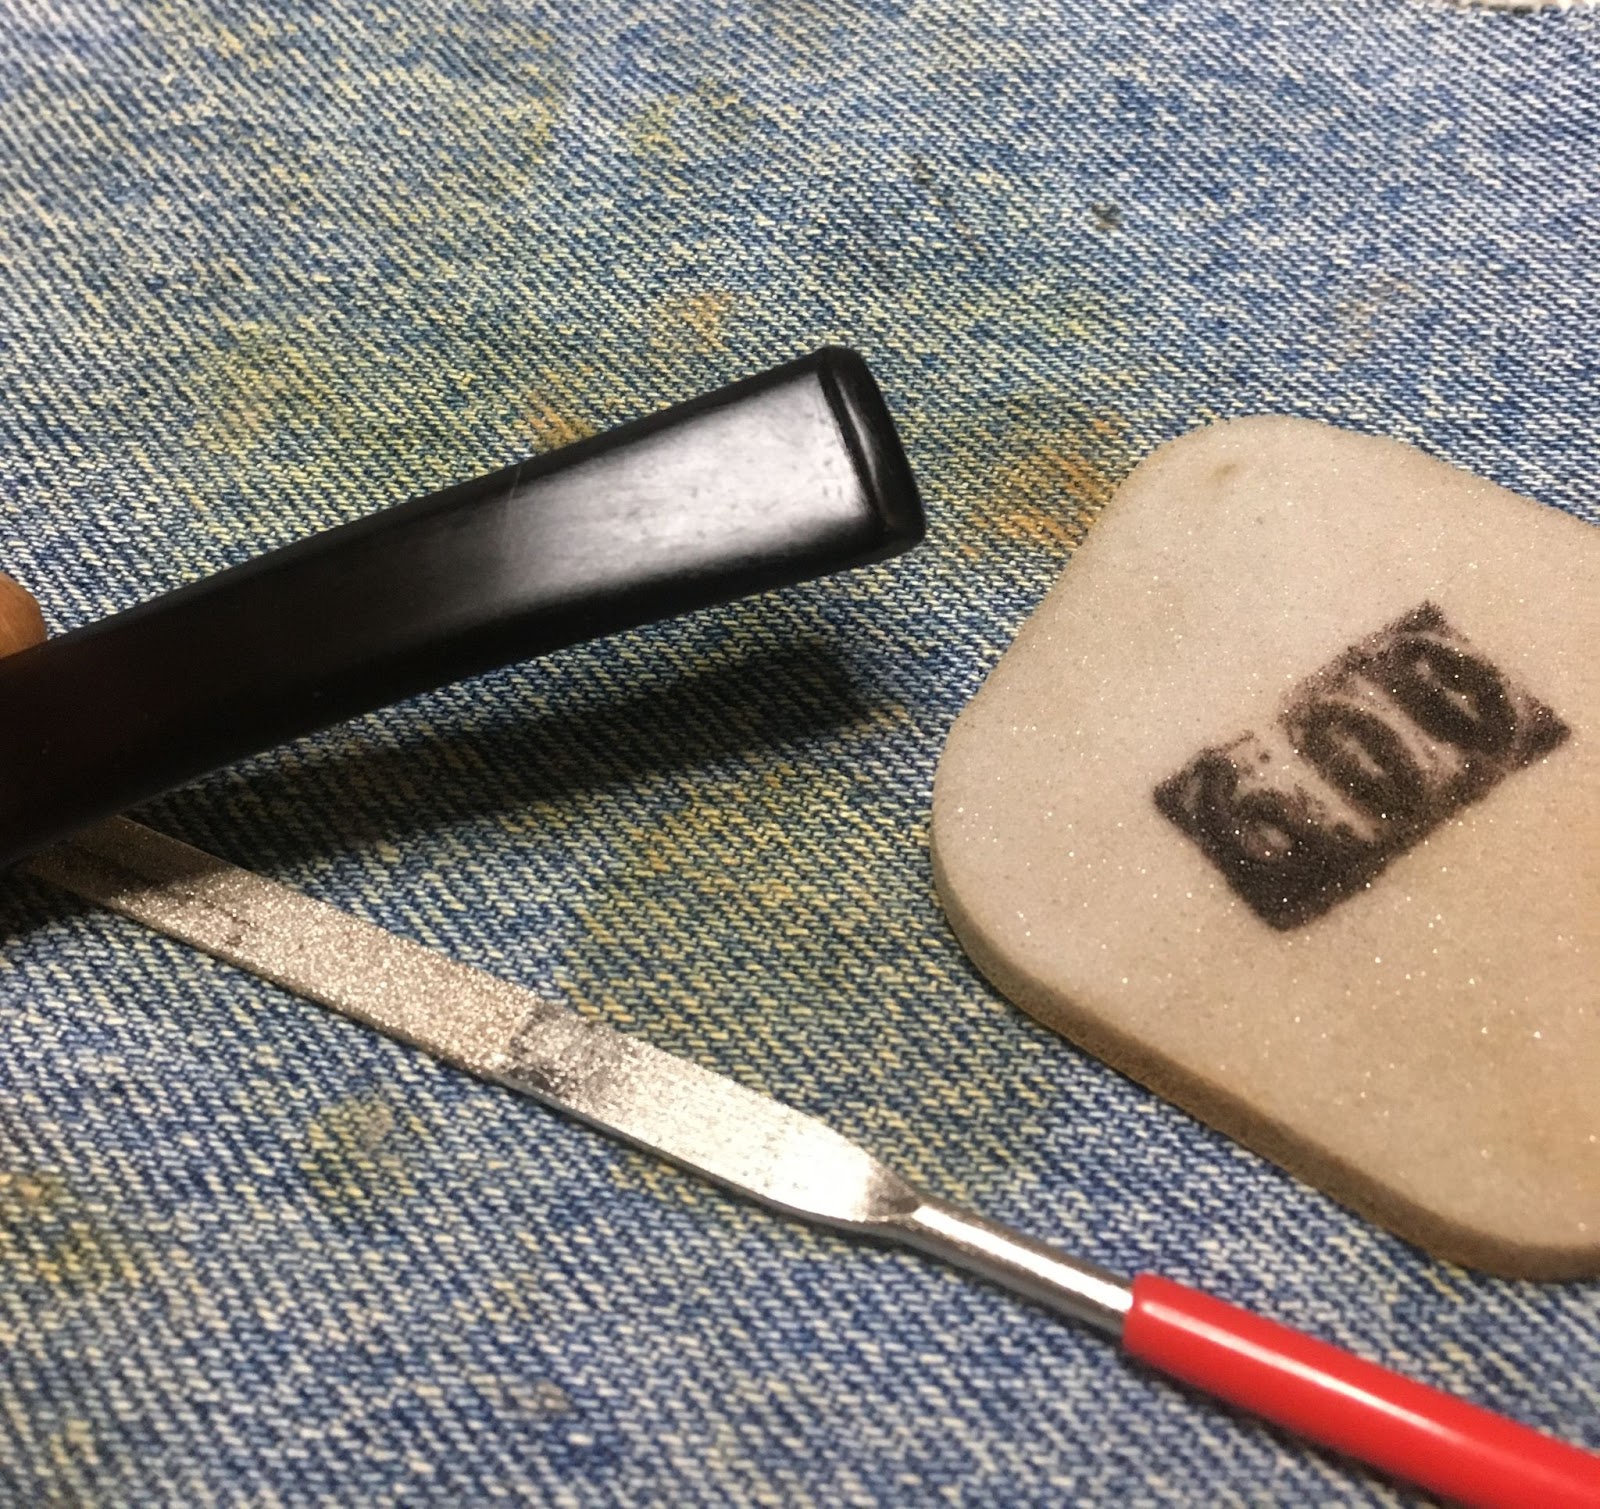
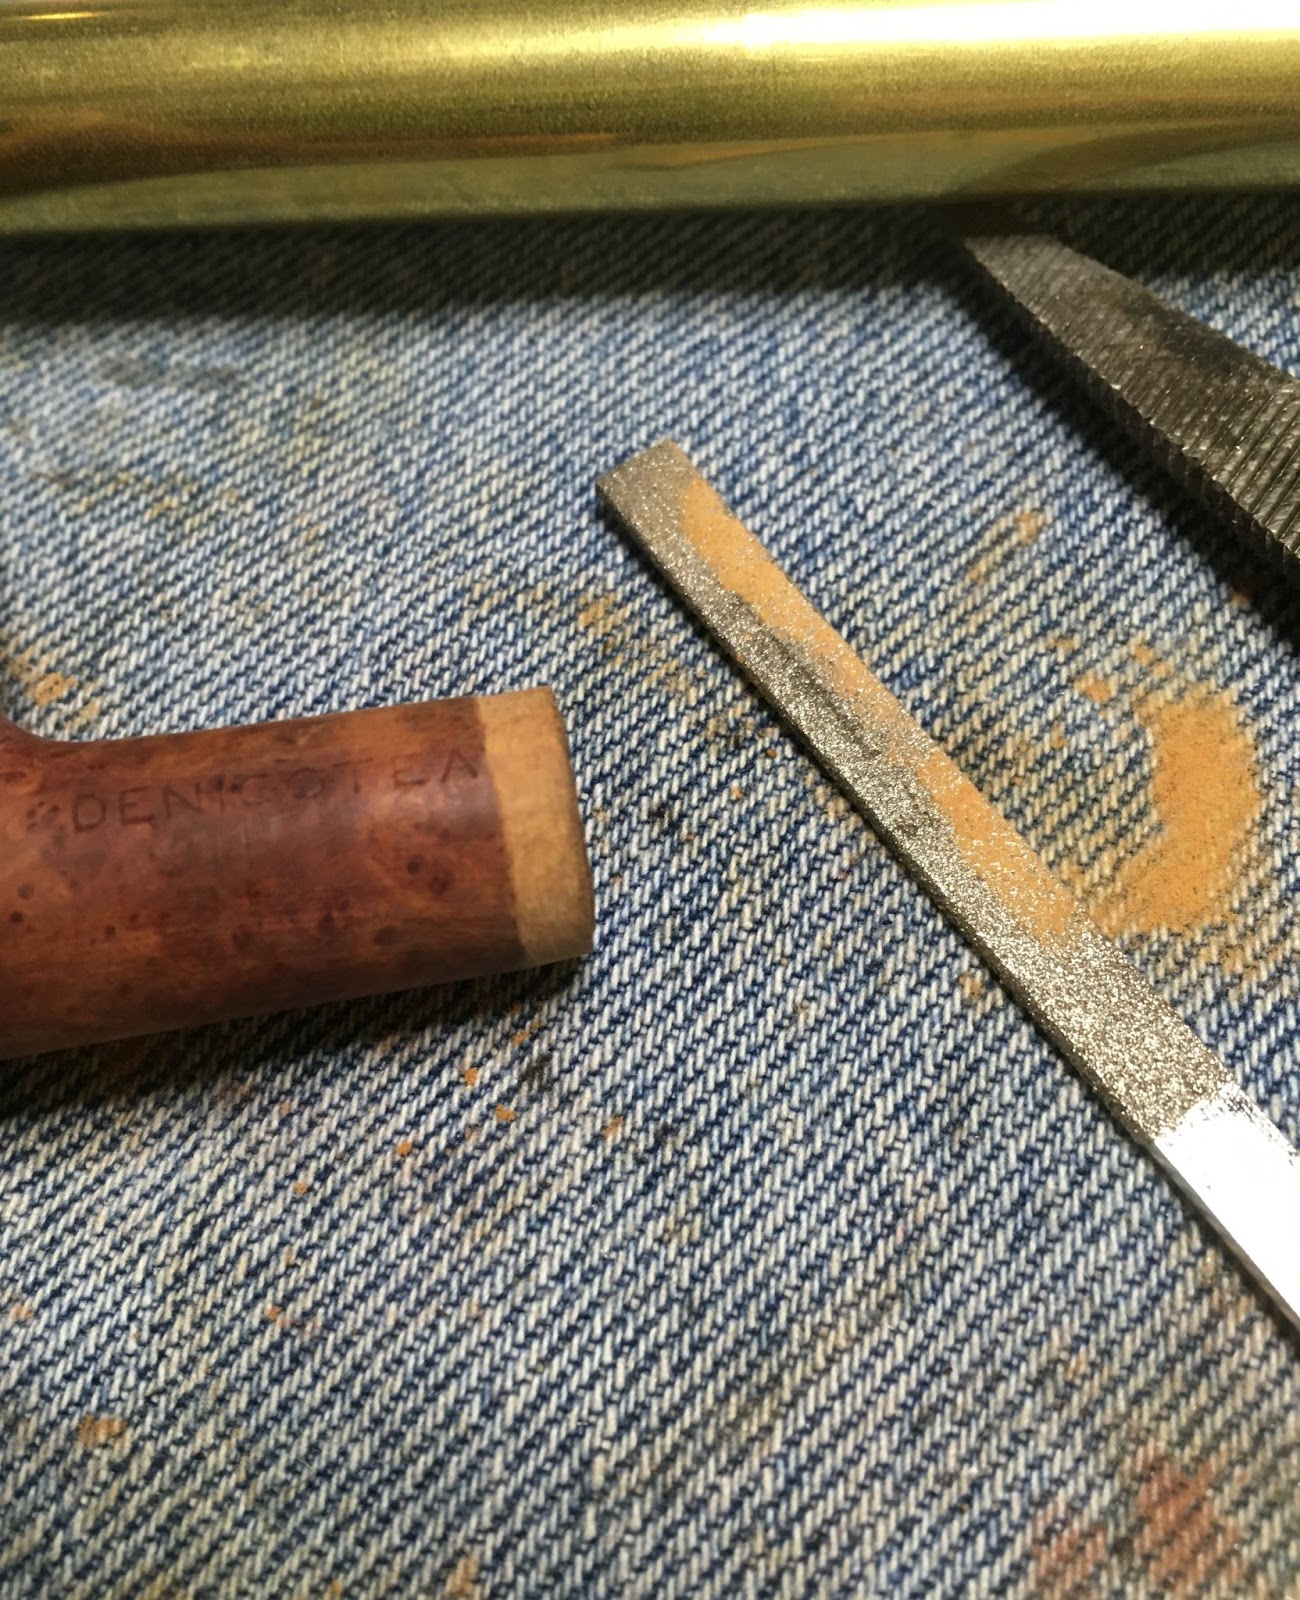
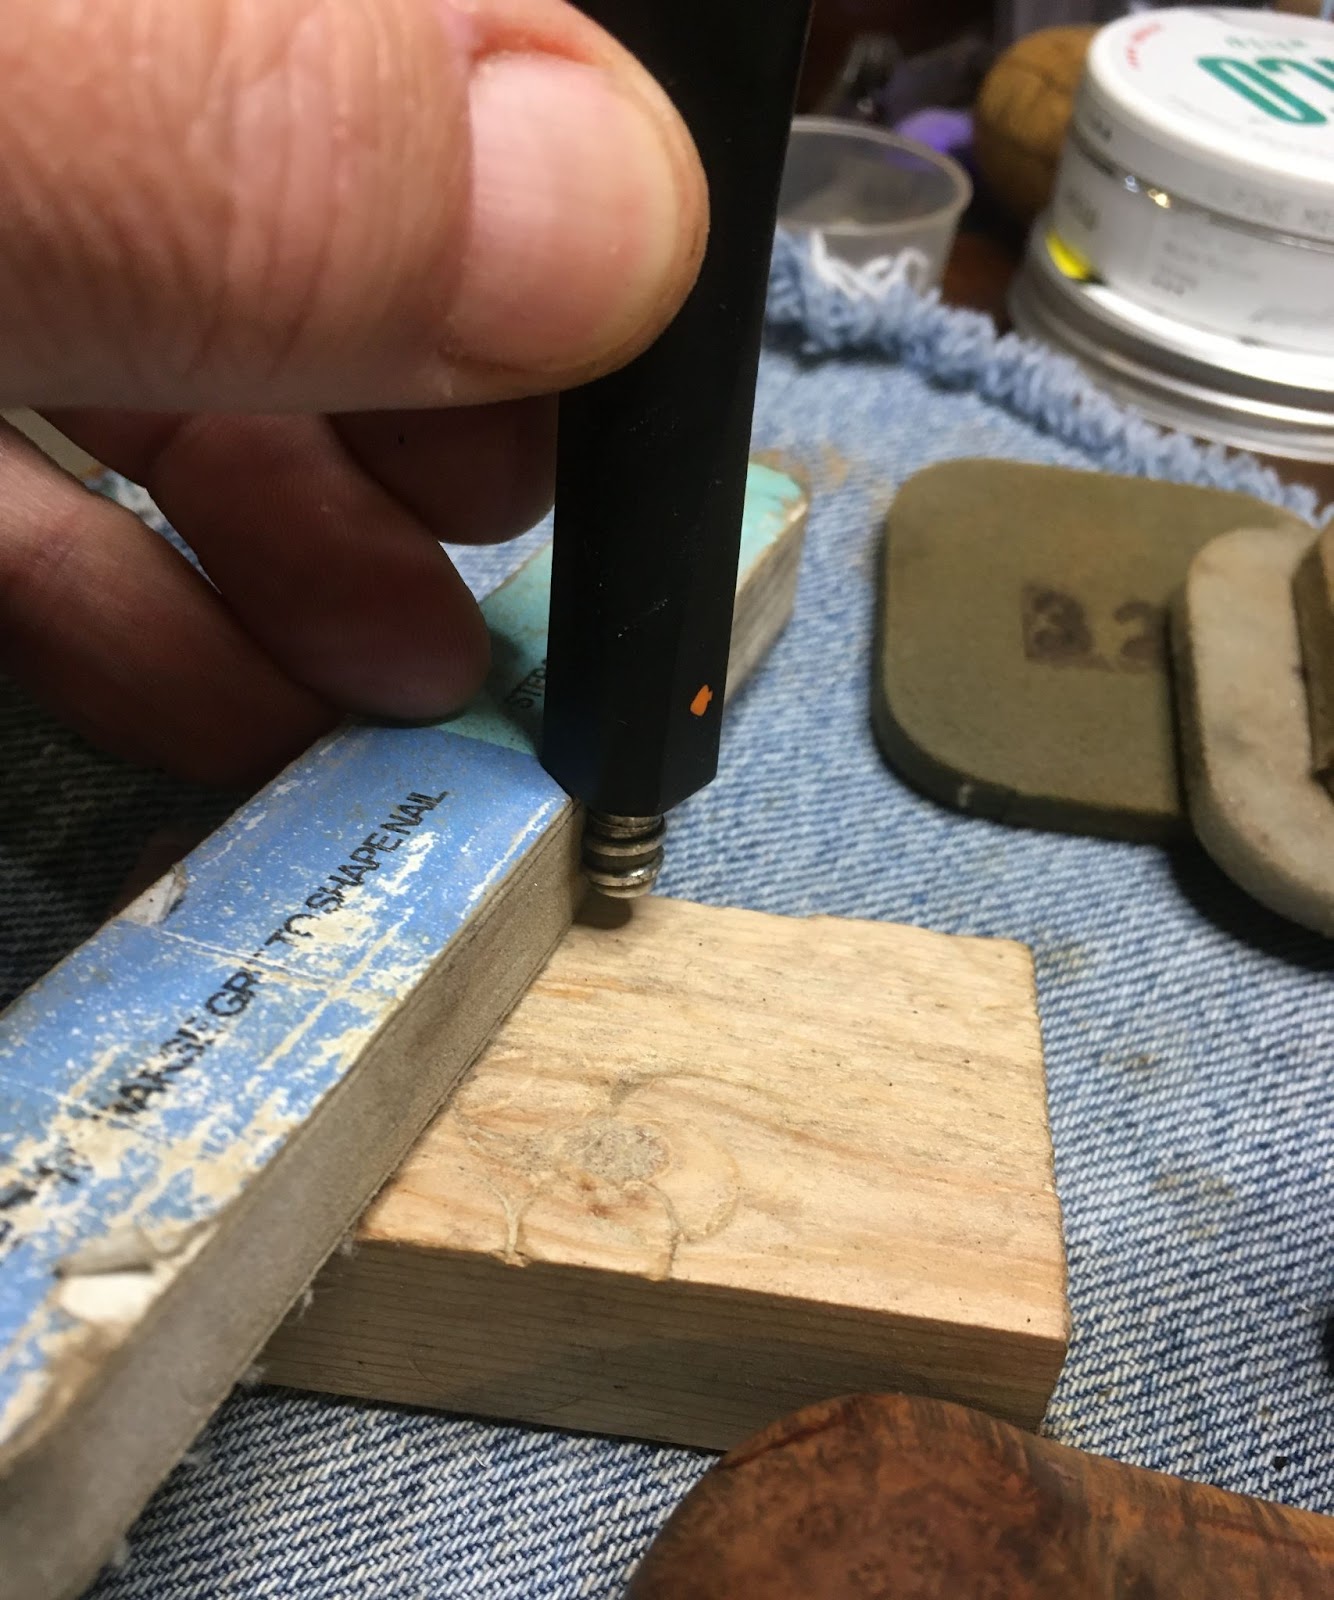
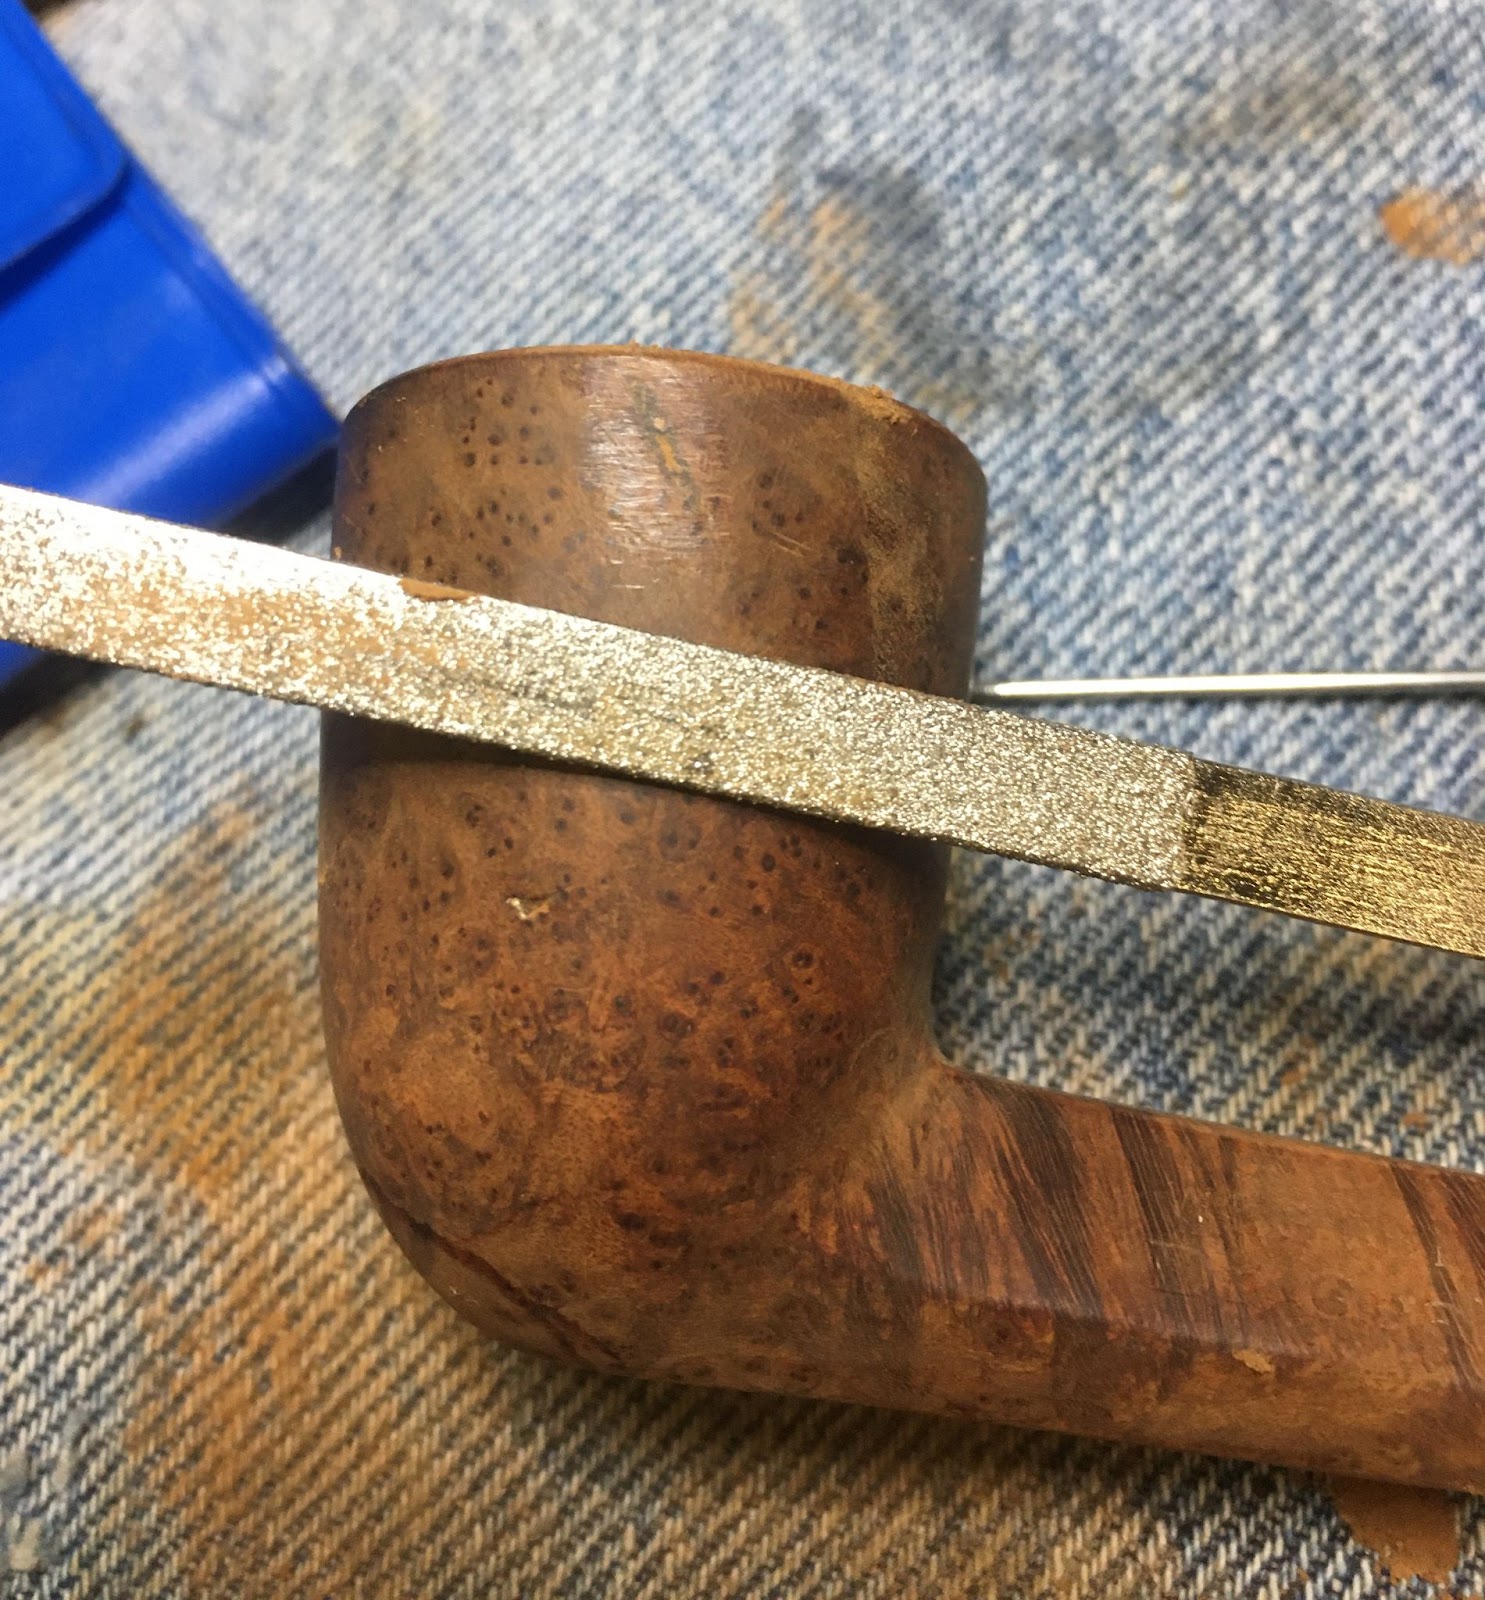
The new fills were smoothed with a flat needle file, topped with a small drop of brown CA then sanded with a 400 grit sanding sponge.
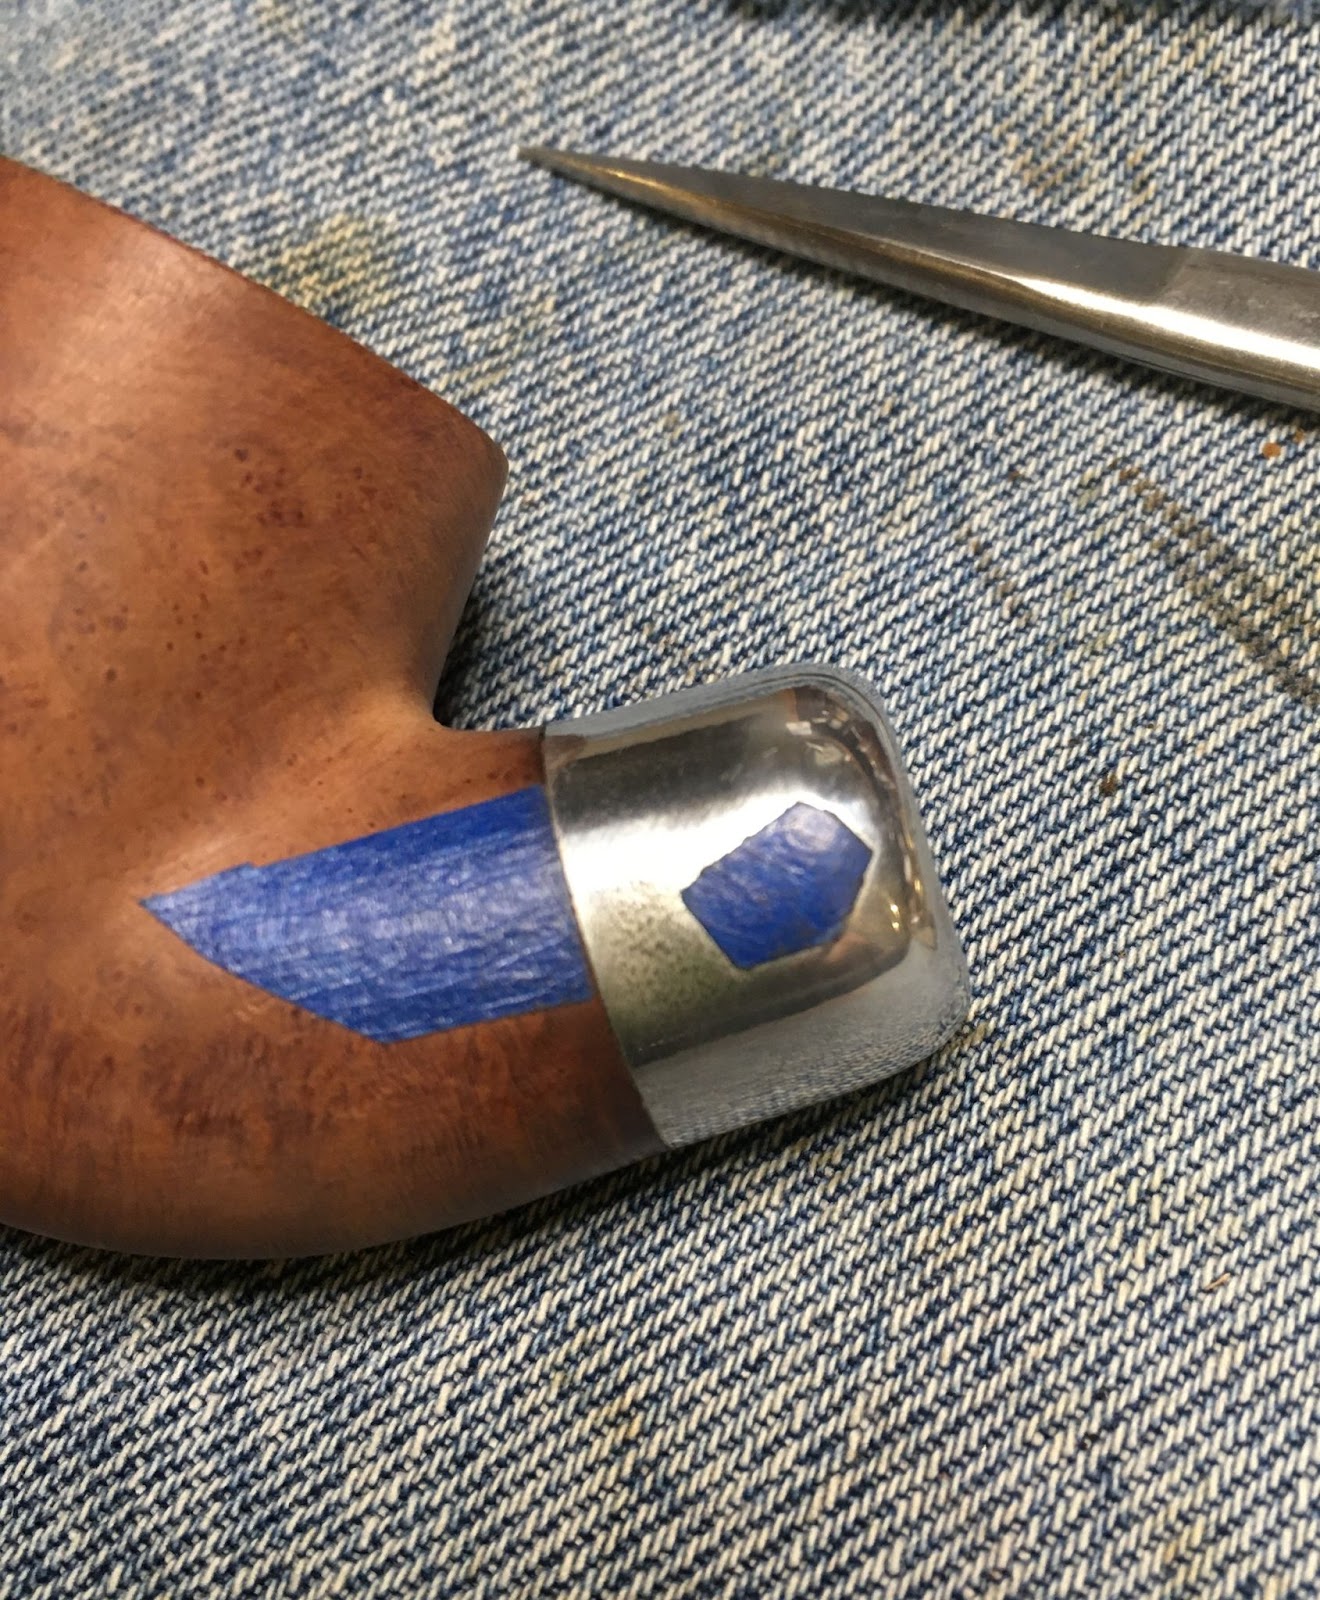
The stummel received painters tape over the stamps to protect them from sanding or polishing in the case of the aluminum collar.

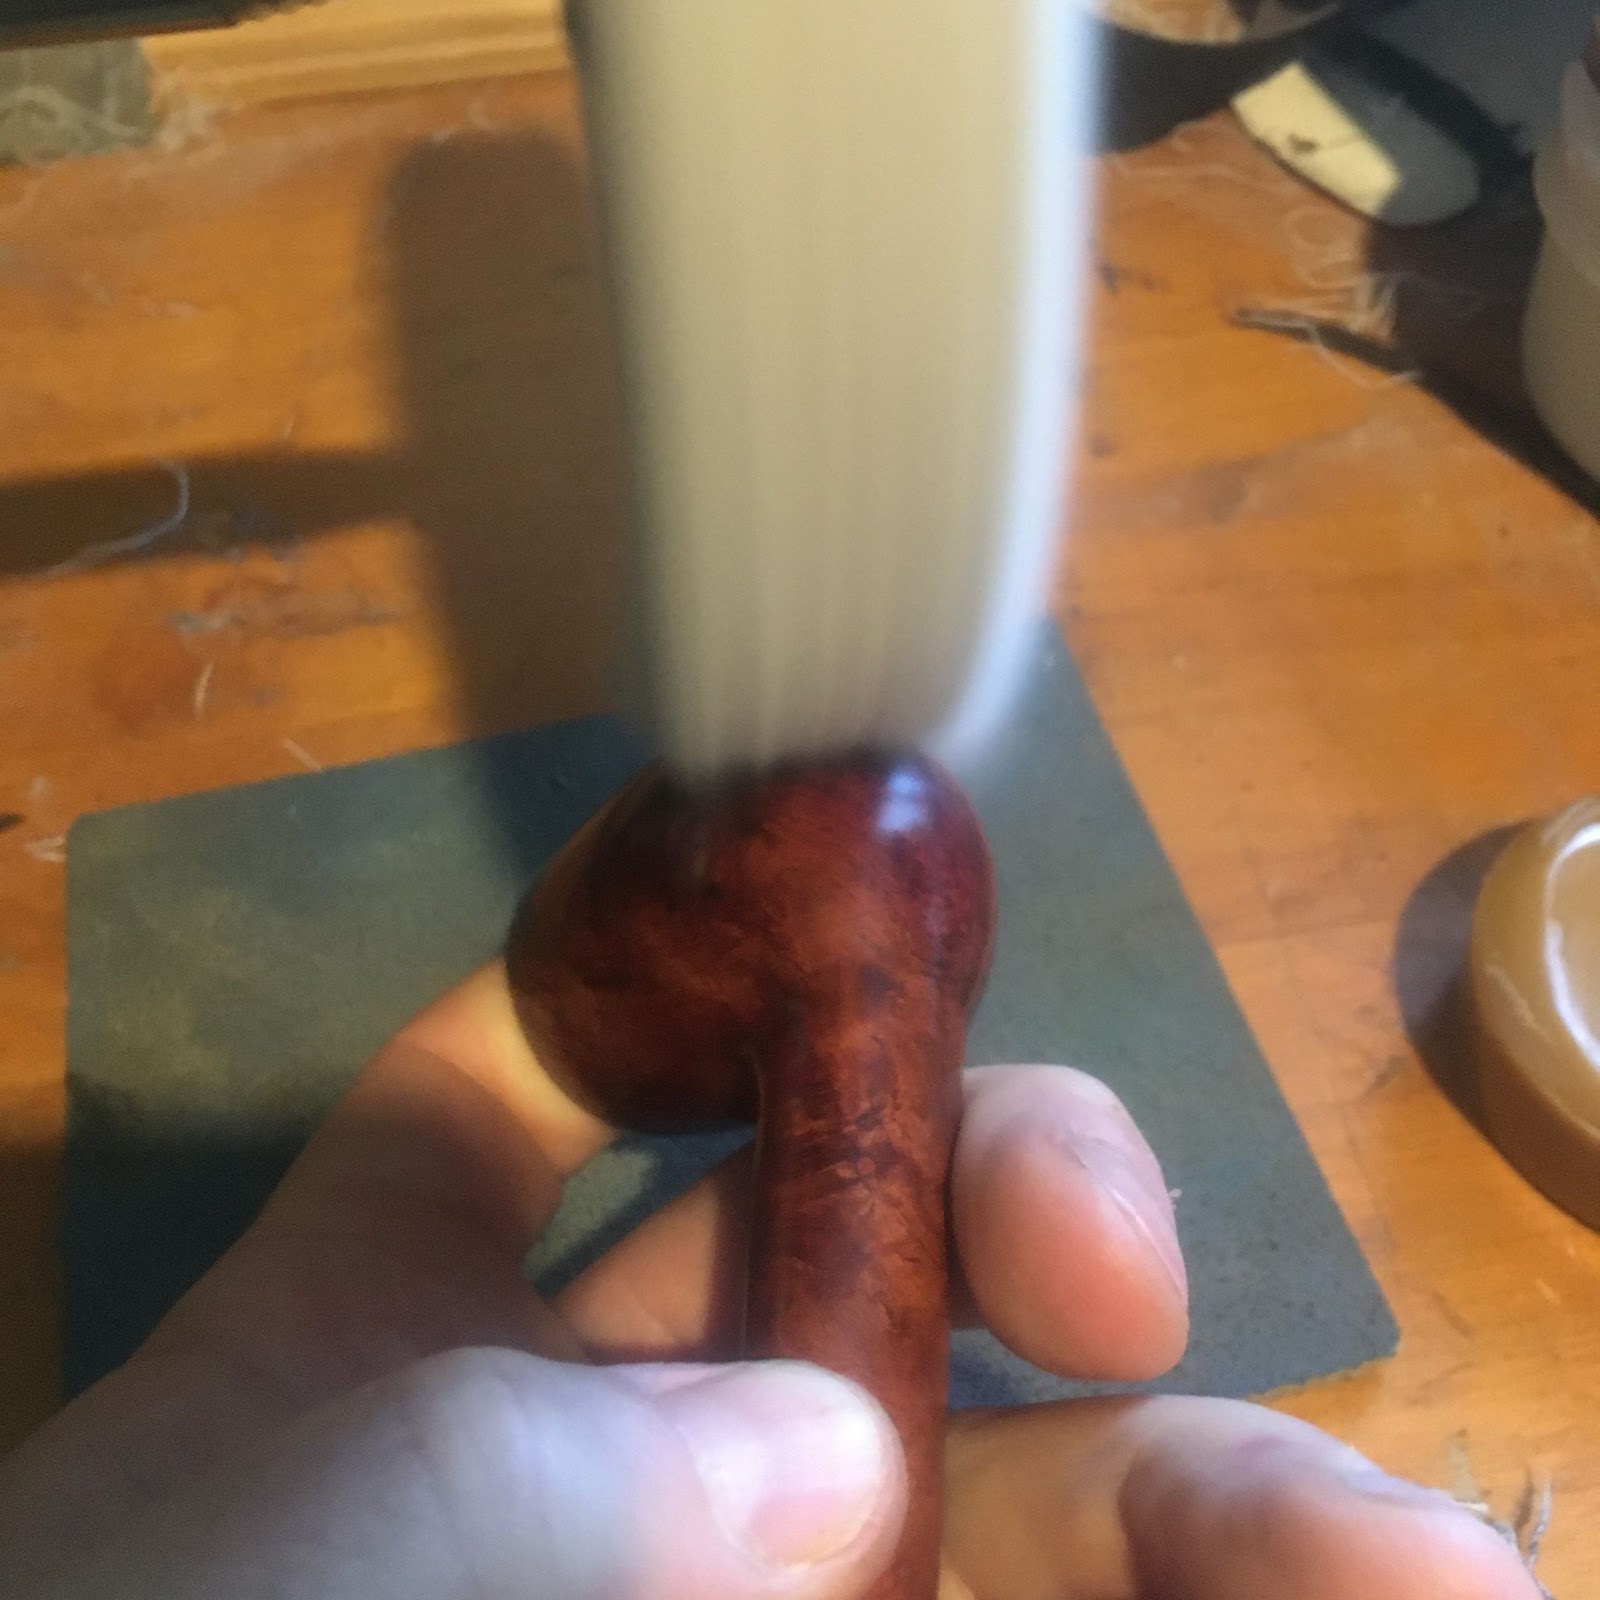
The collar was taken to the buffer where it was polished with red buffing compound followed by buffing with white compound.
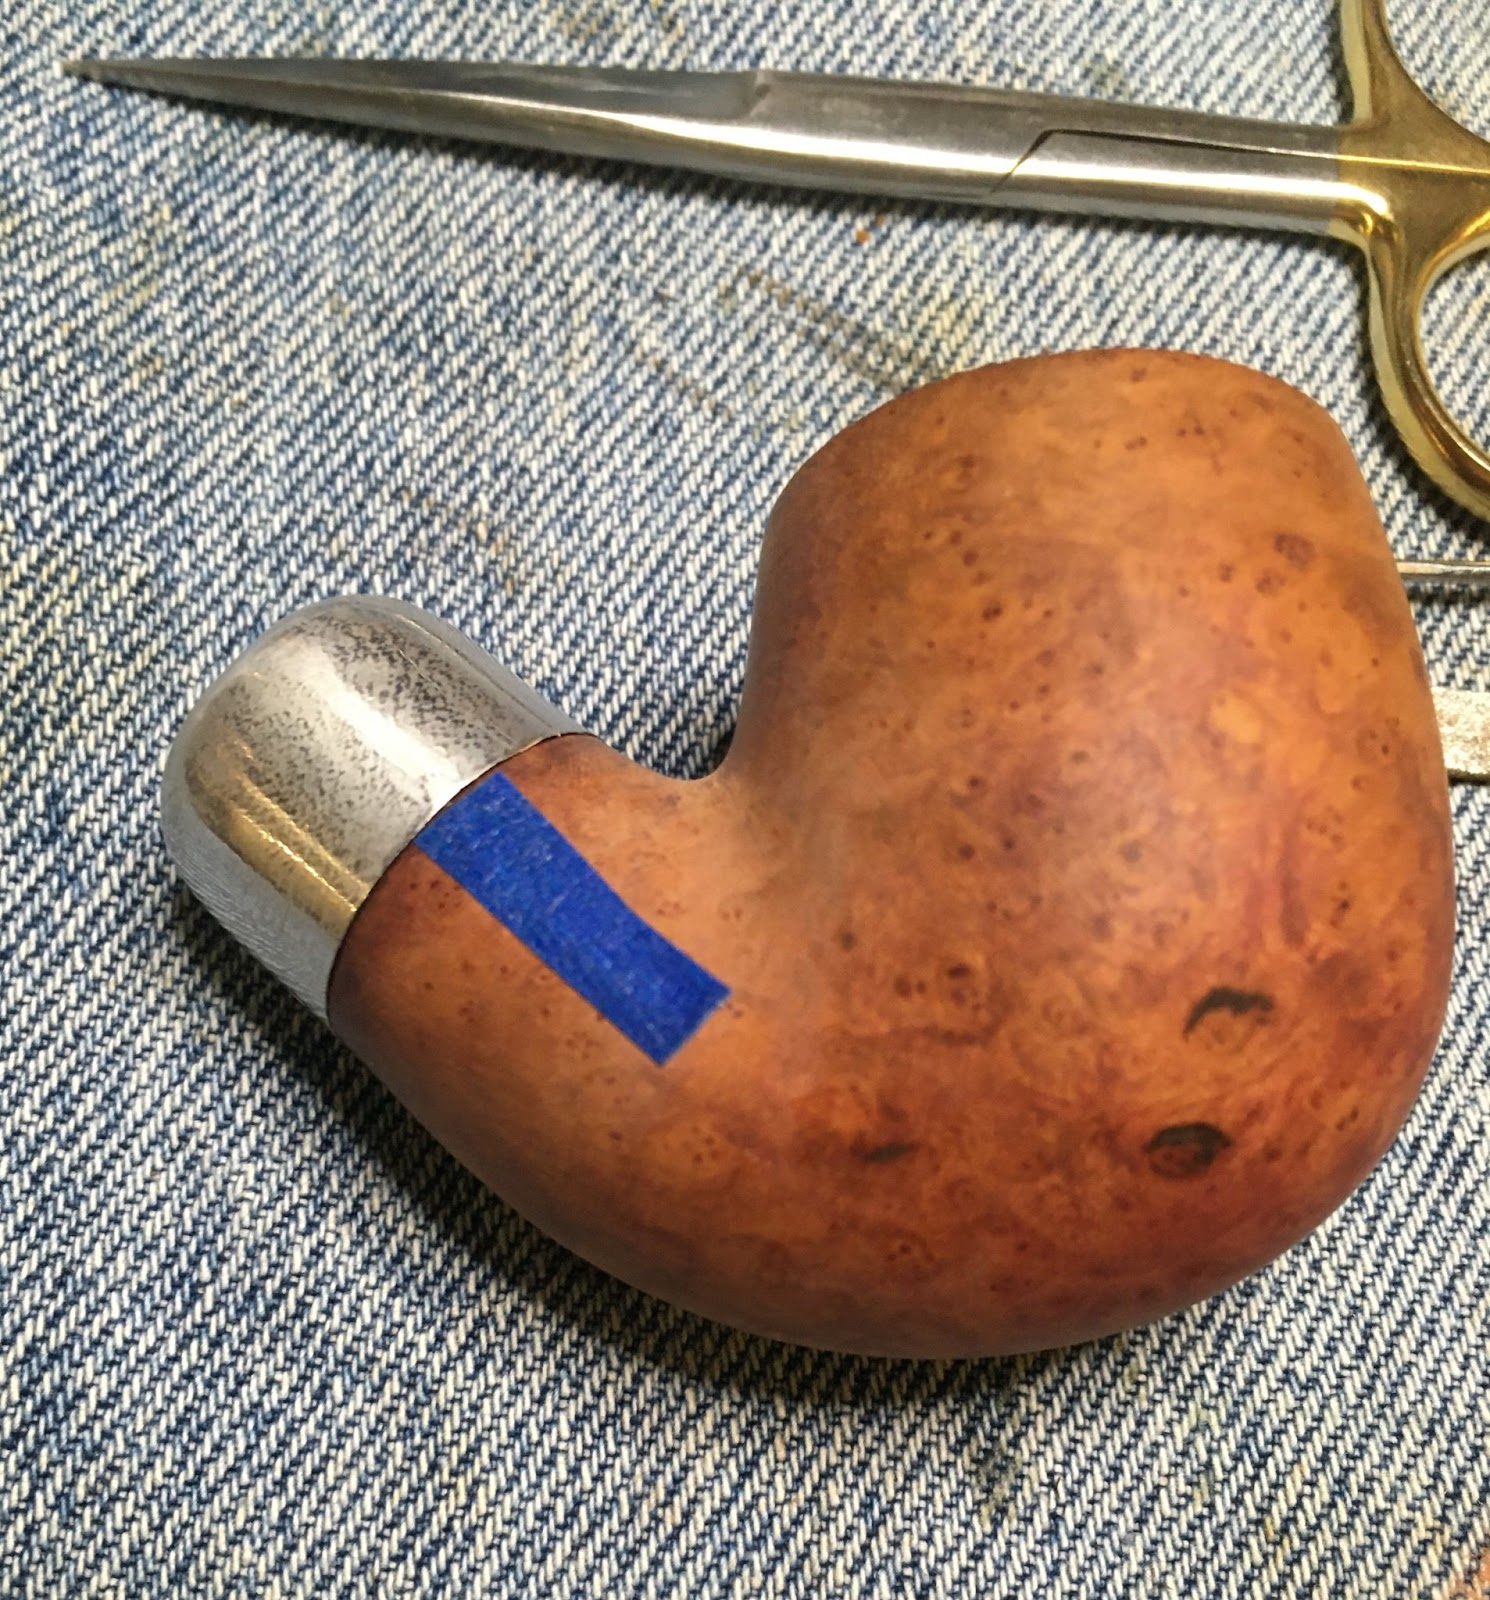
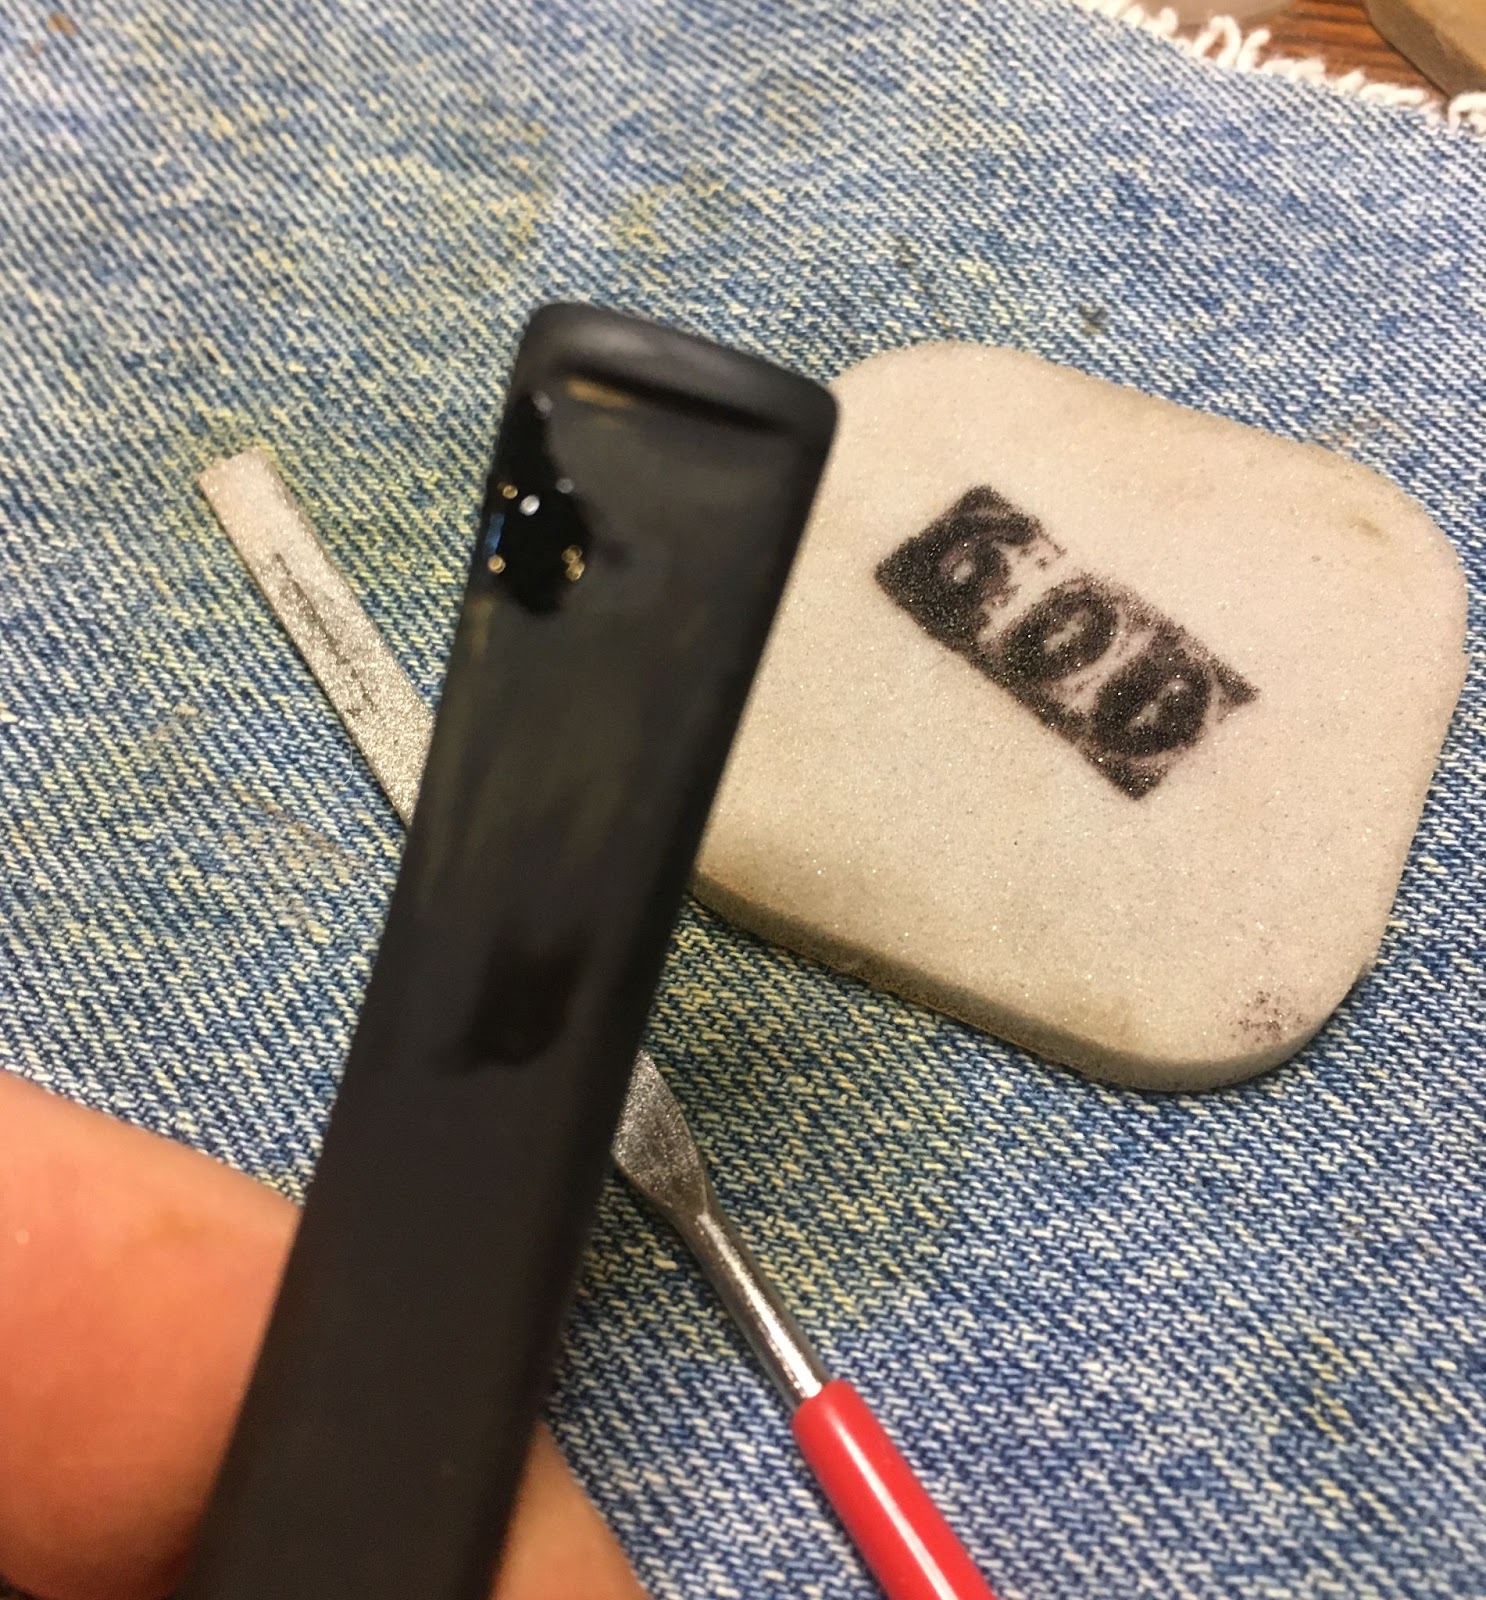
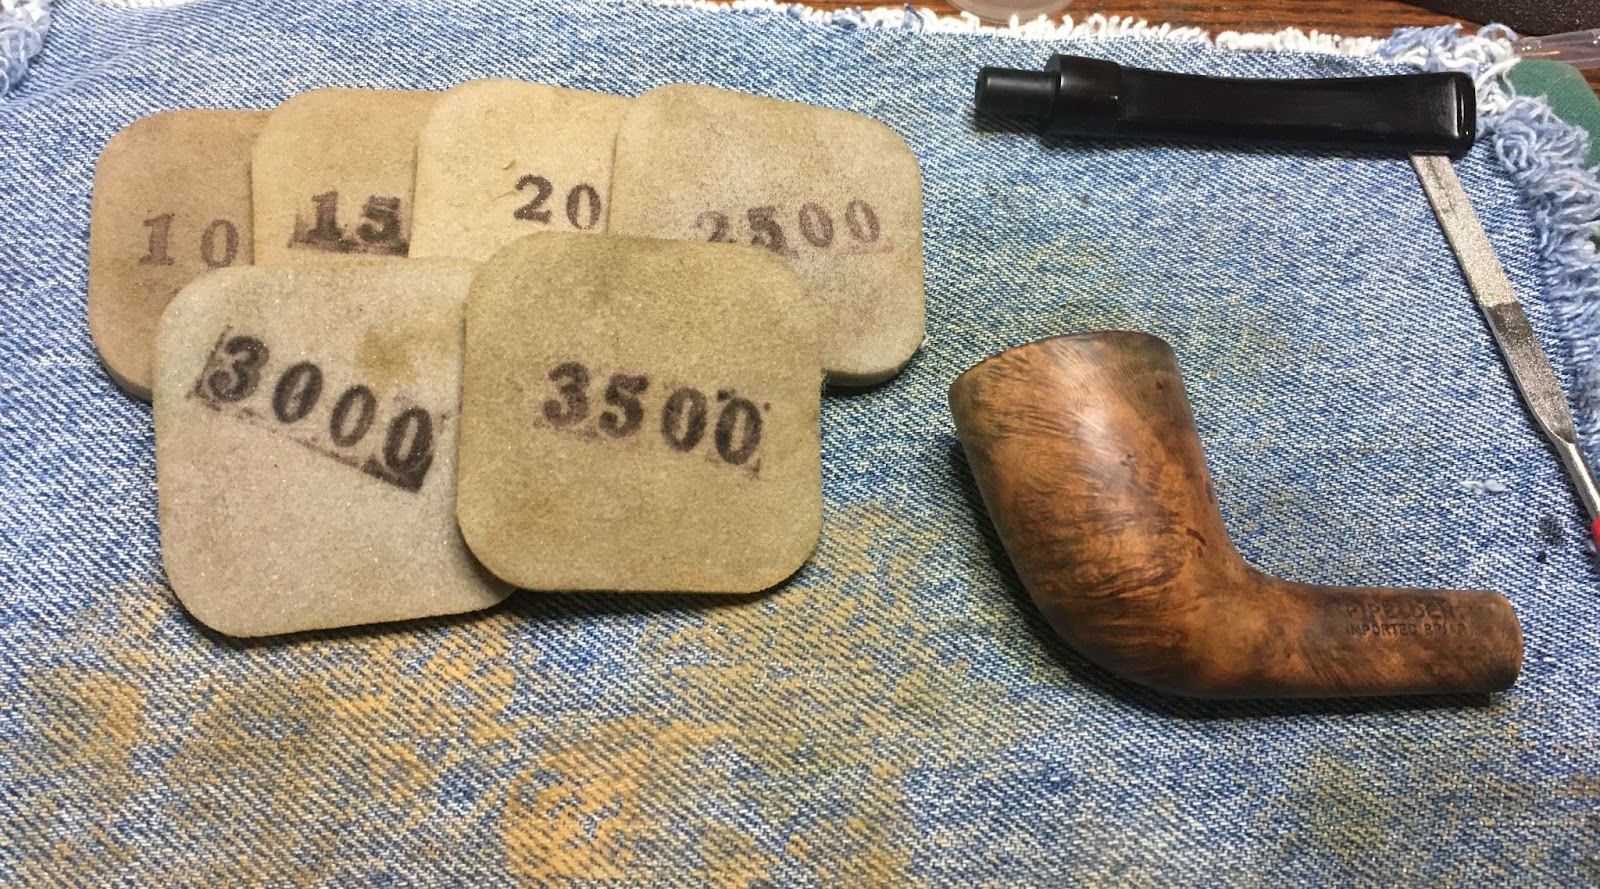
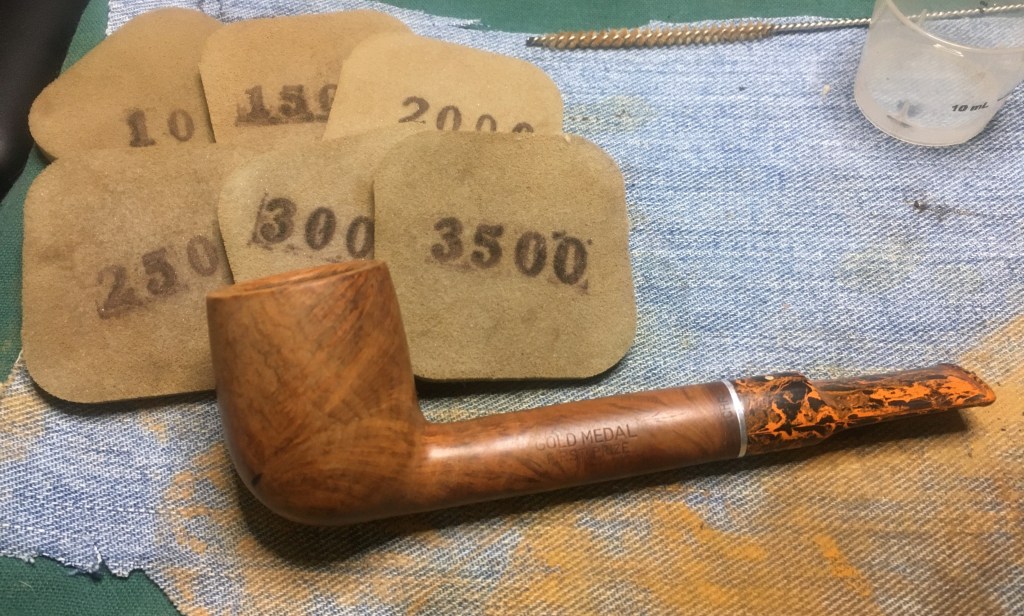
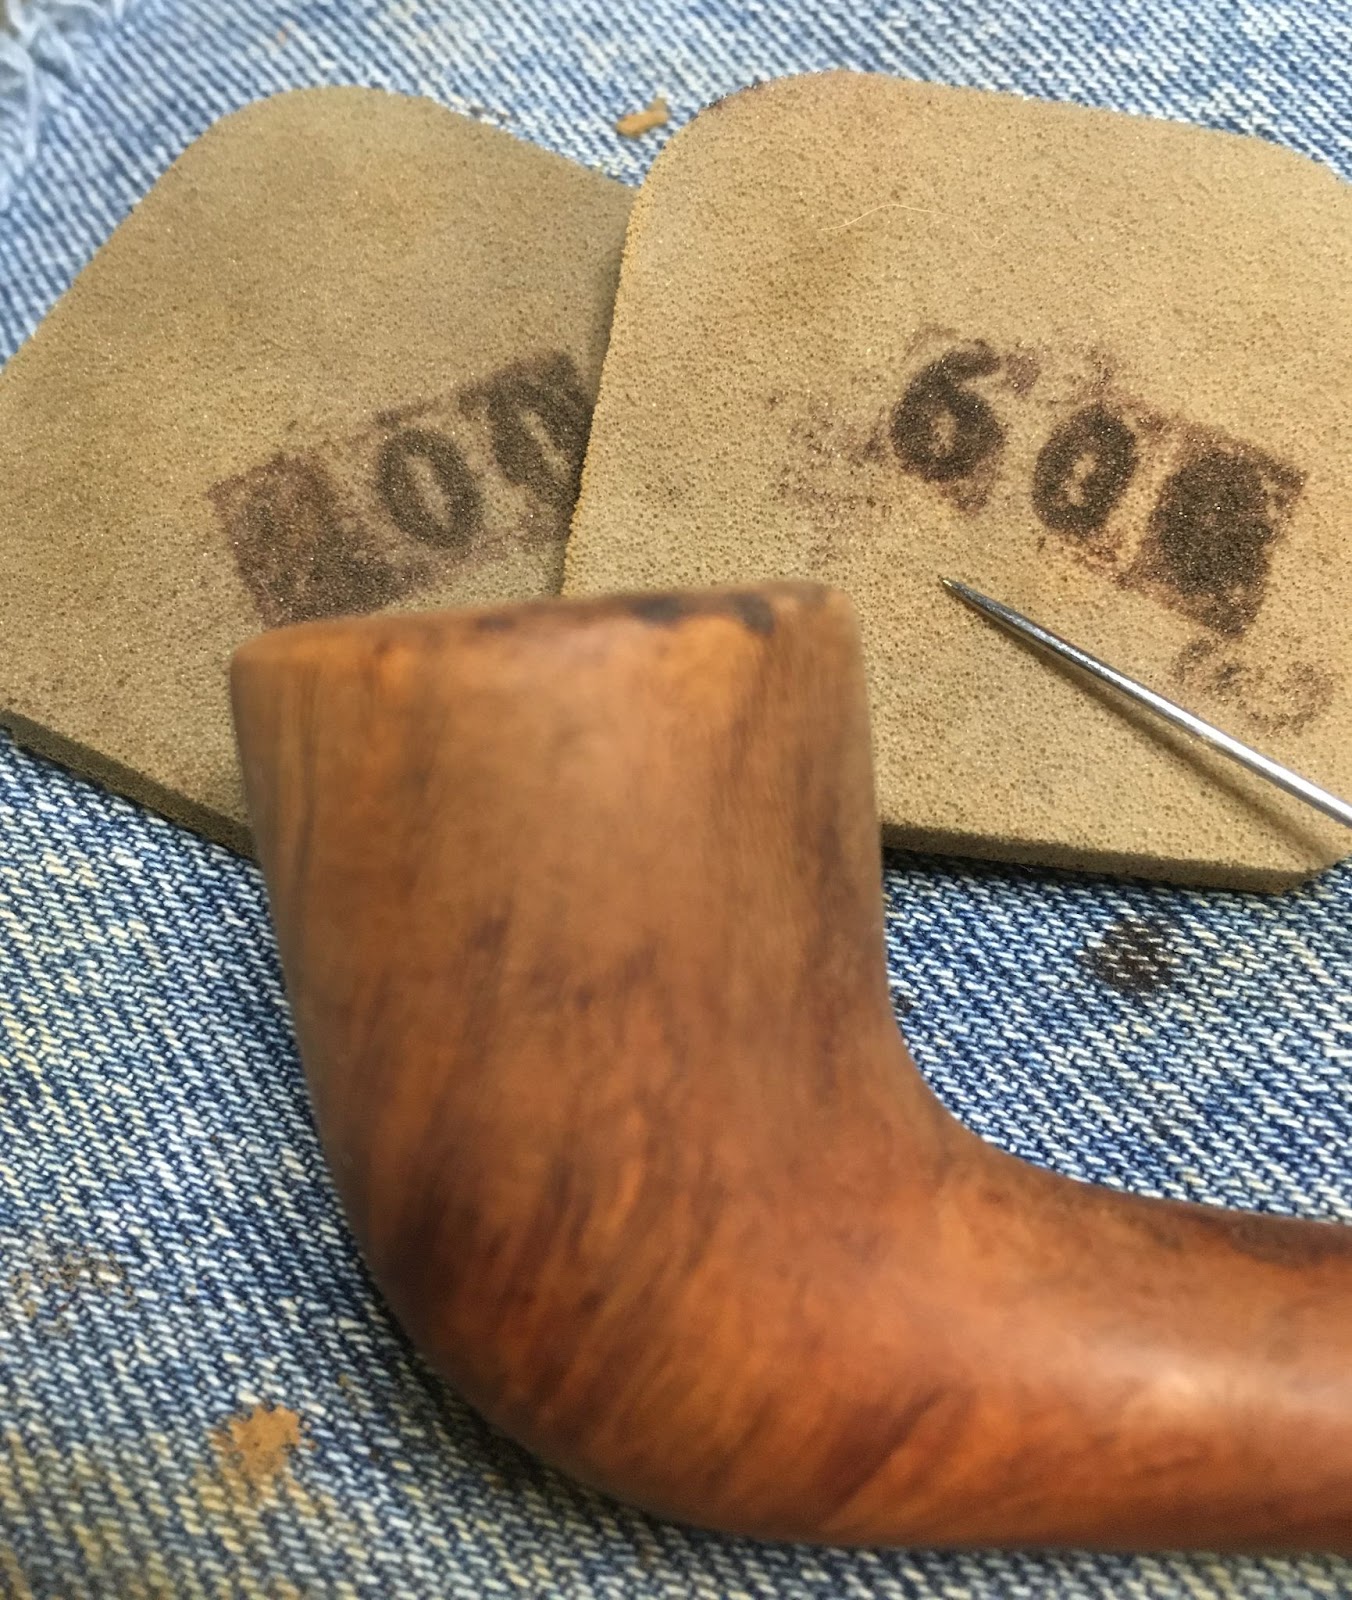
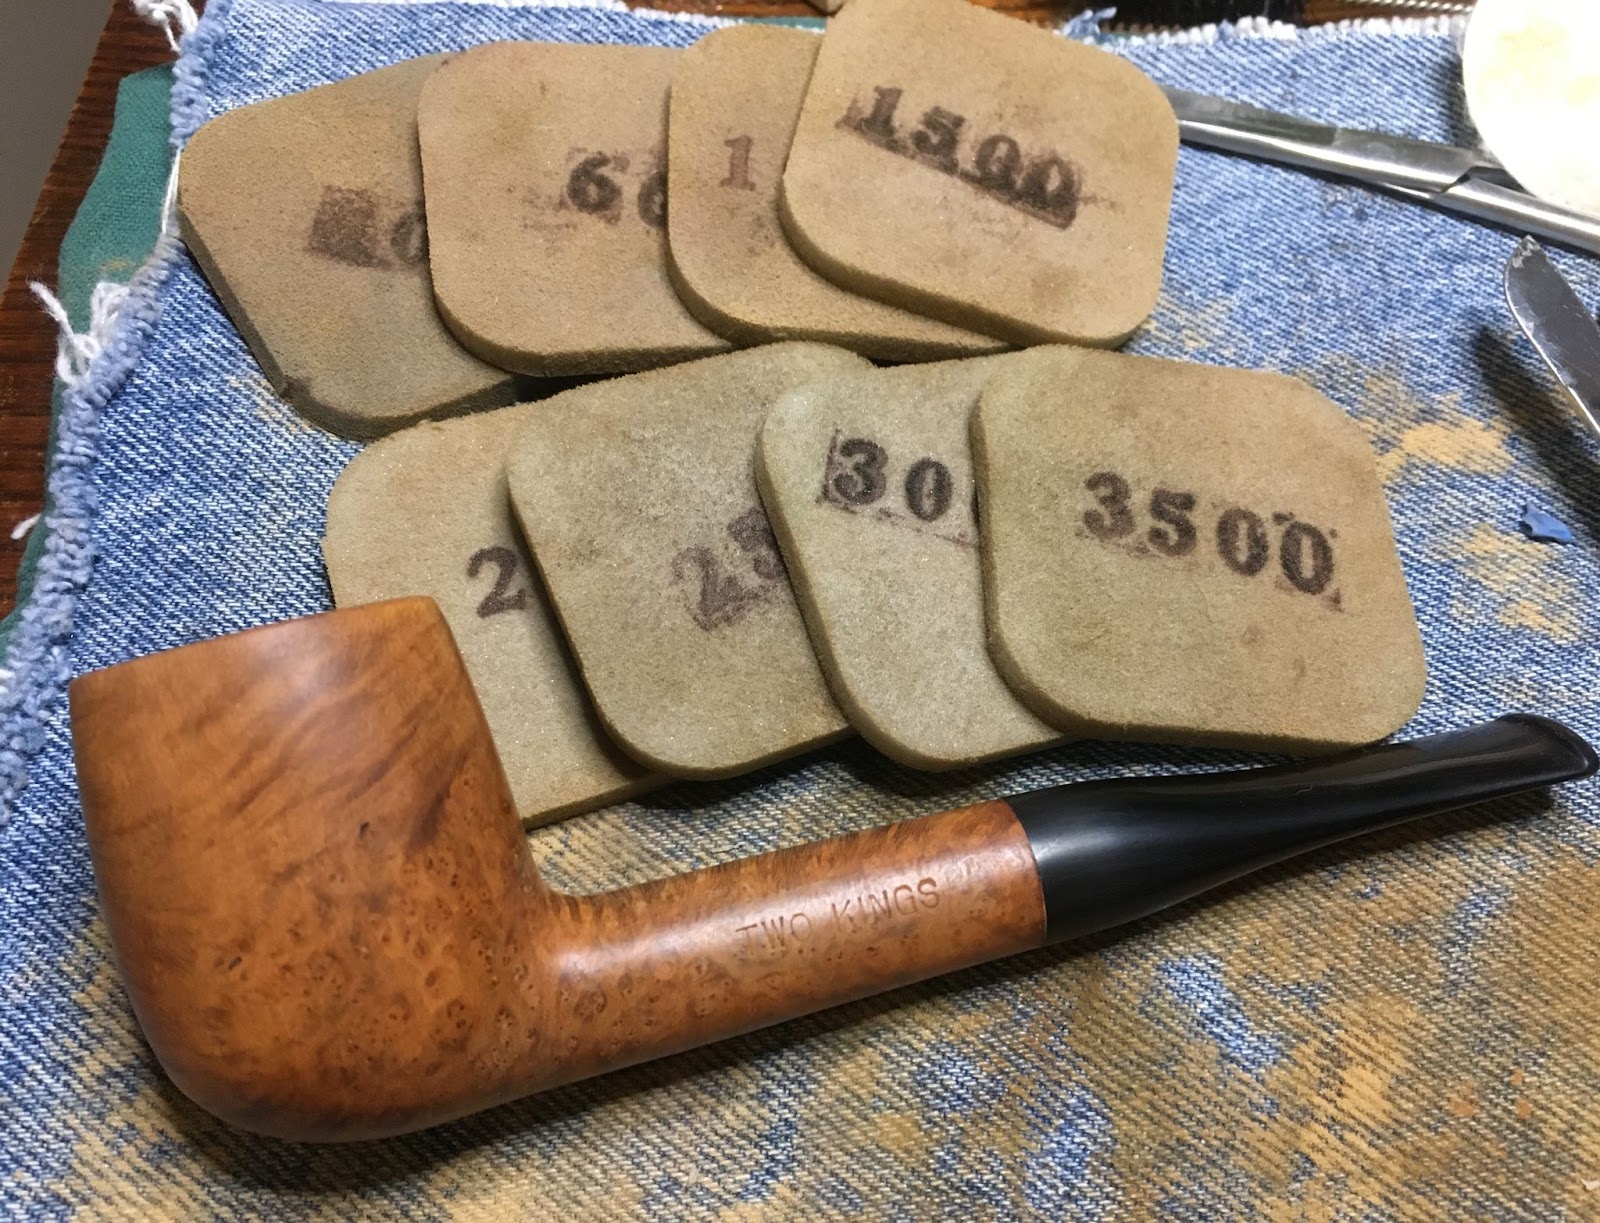
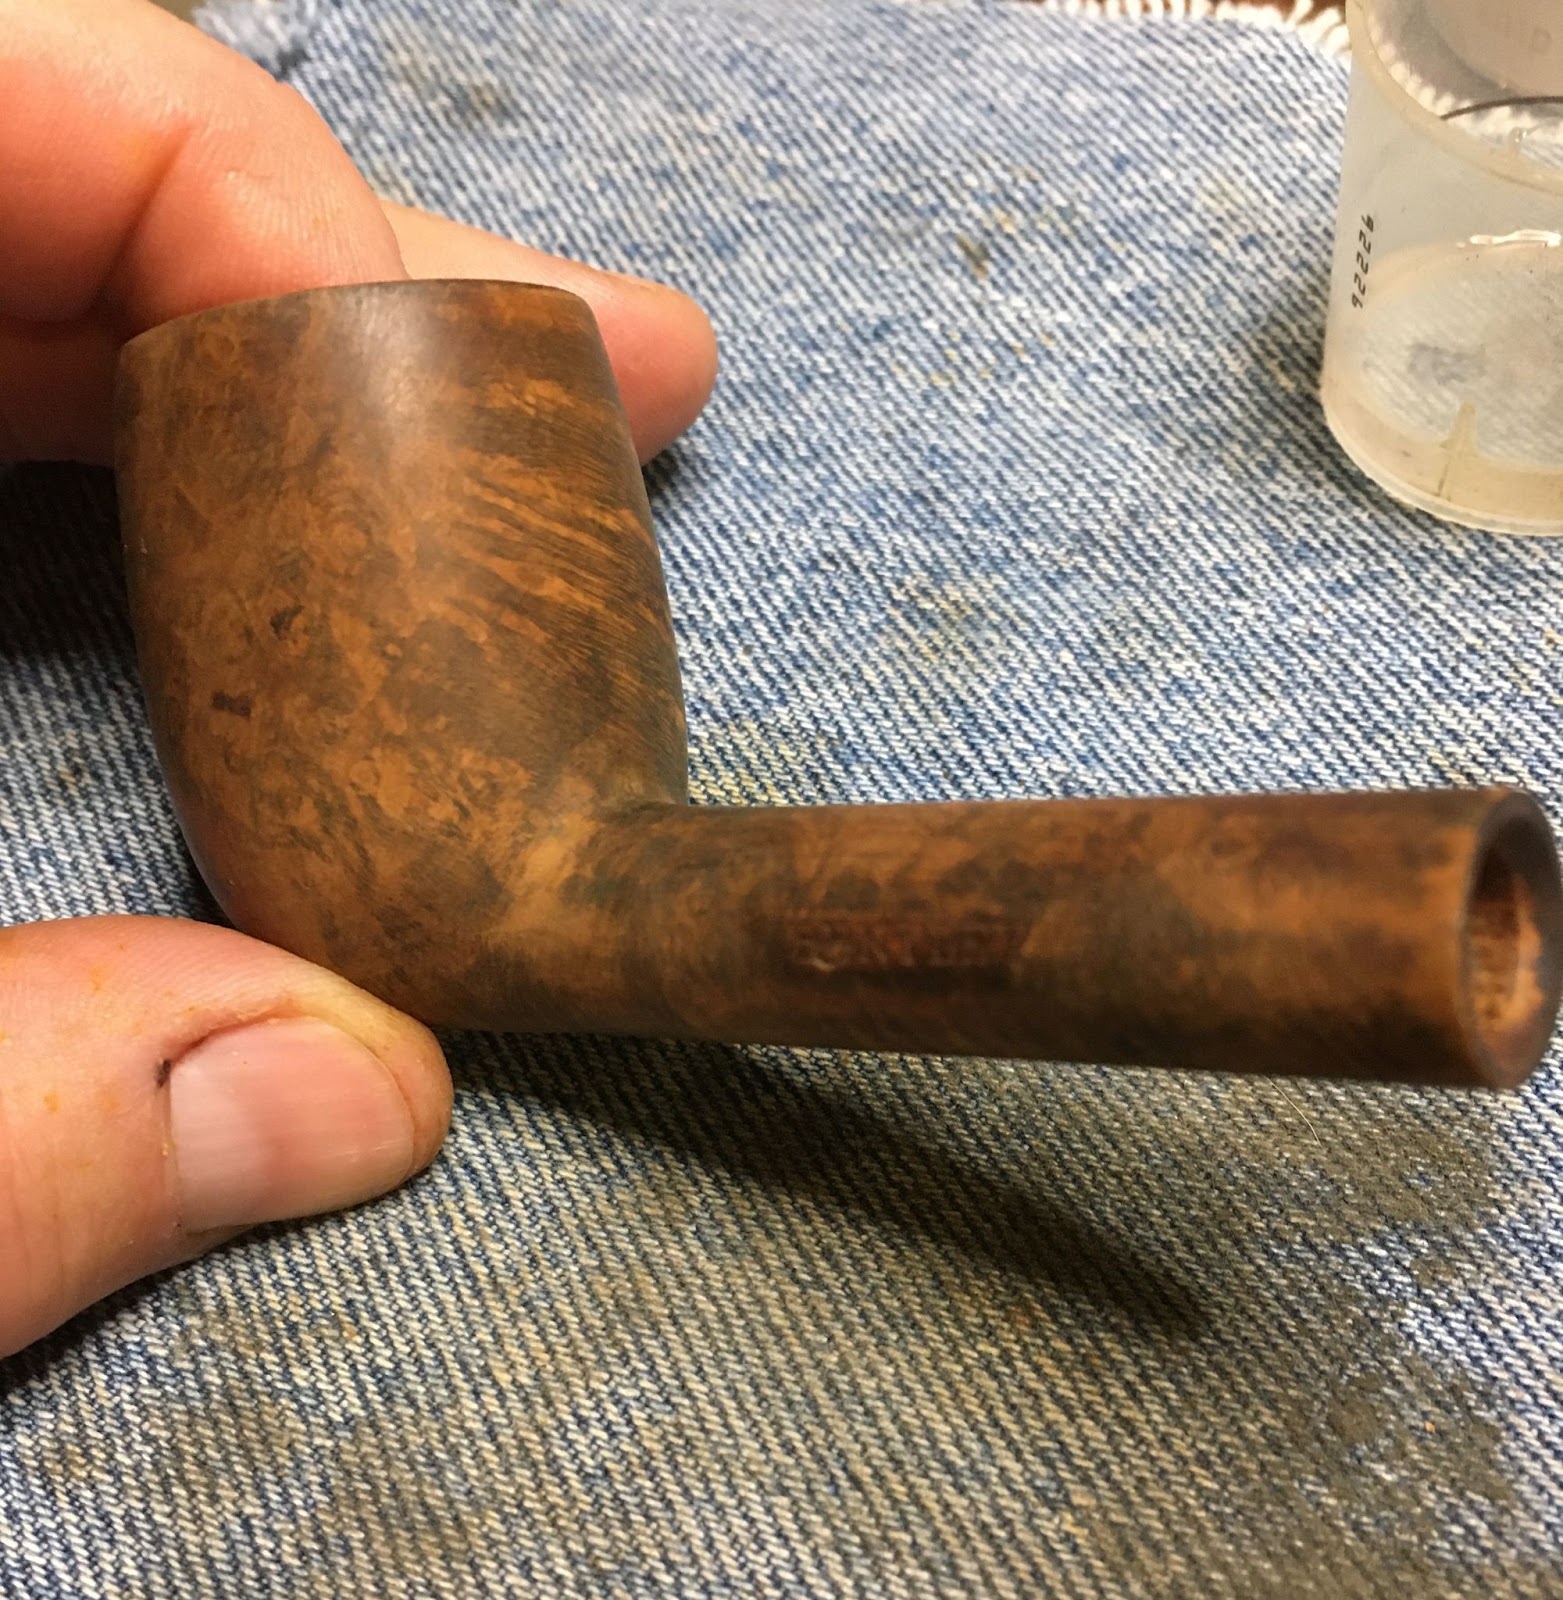
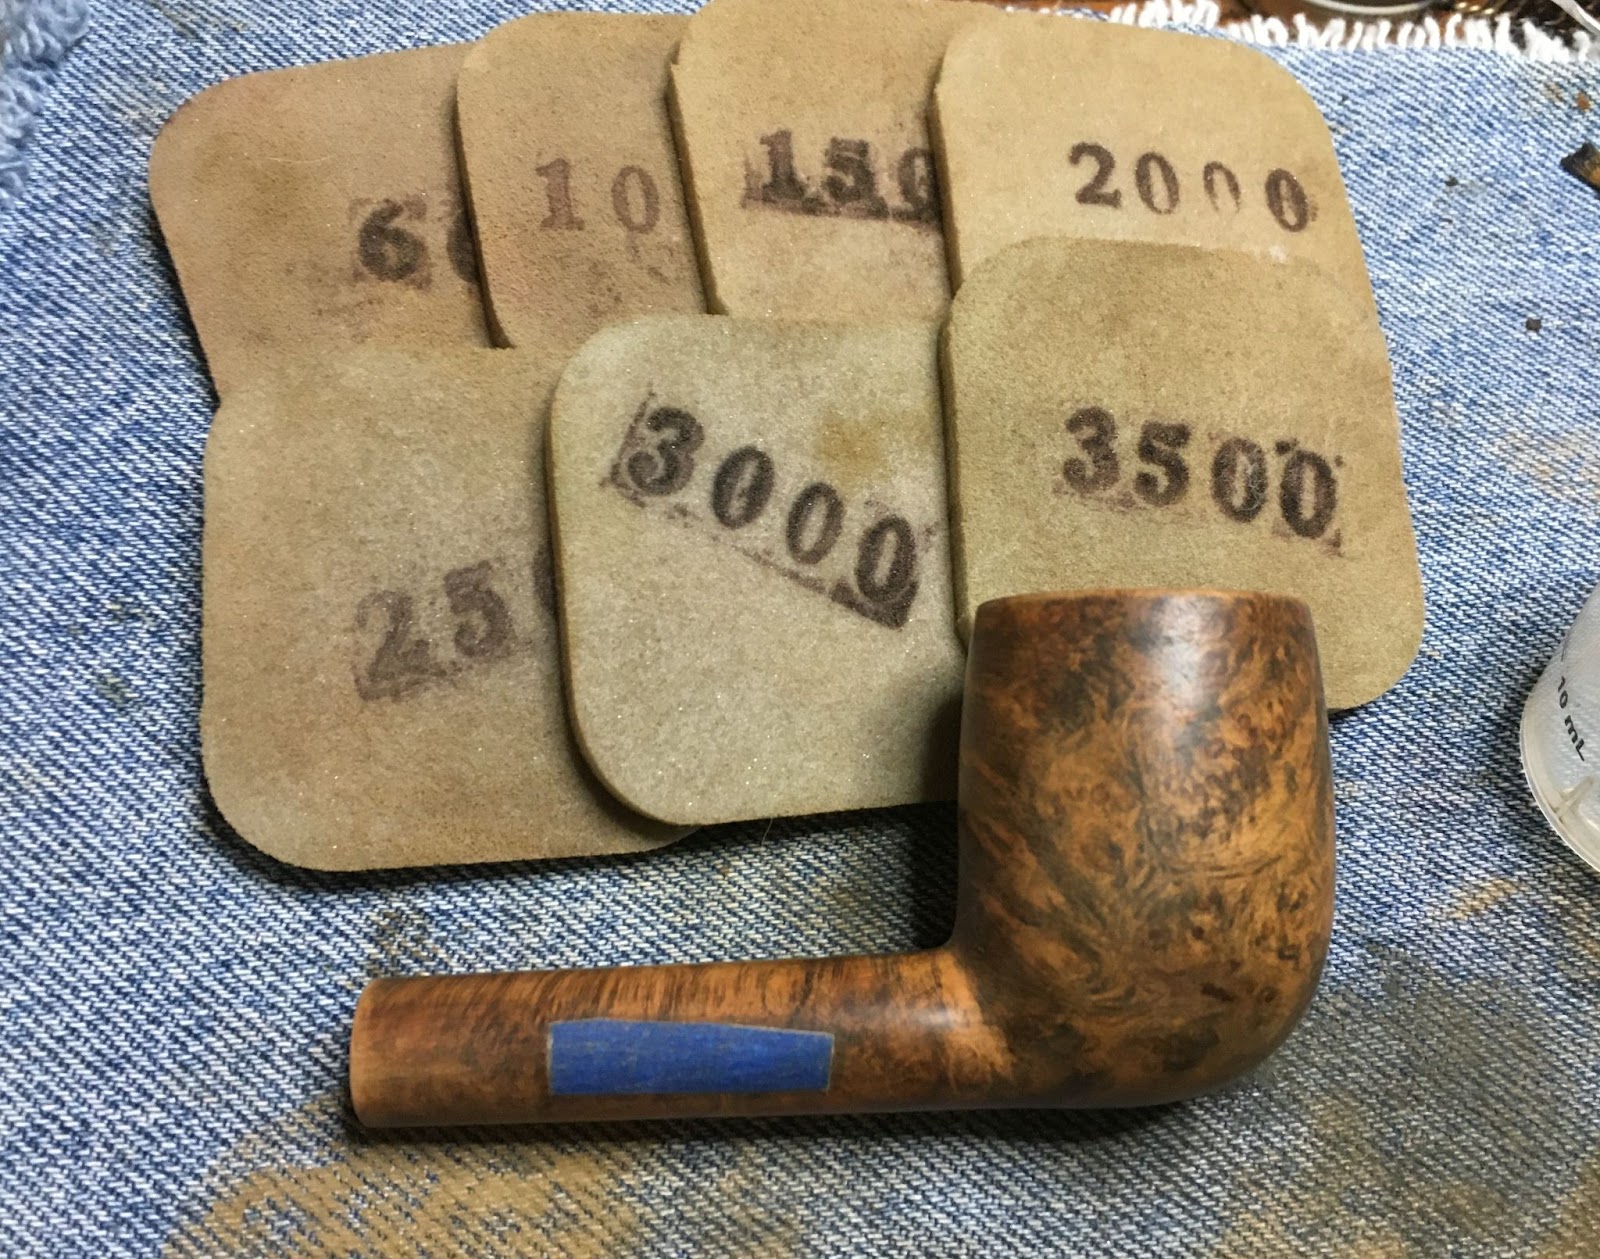
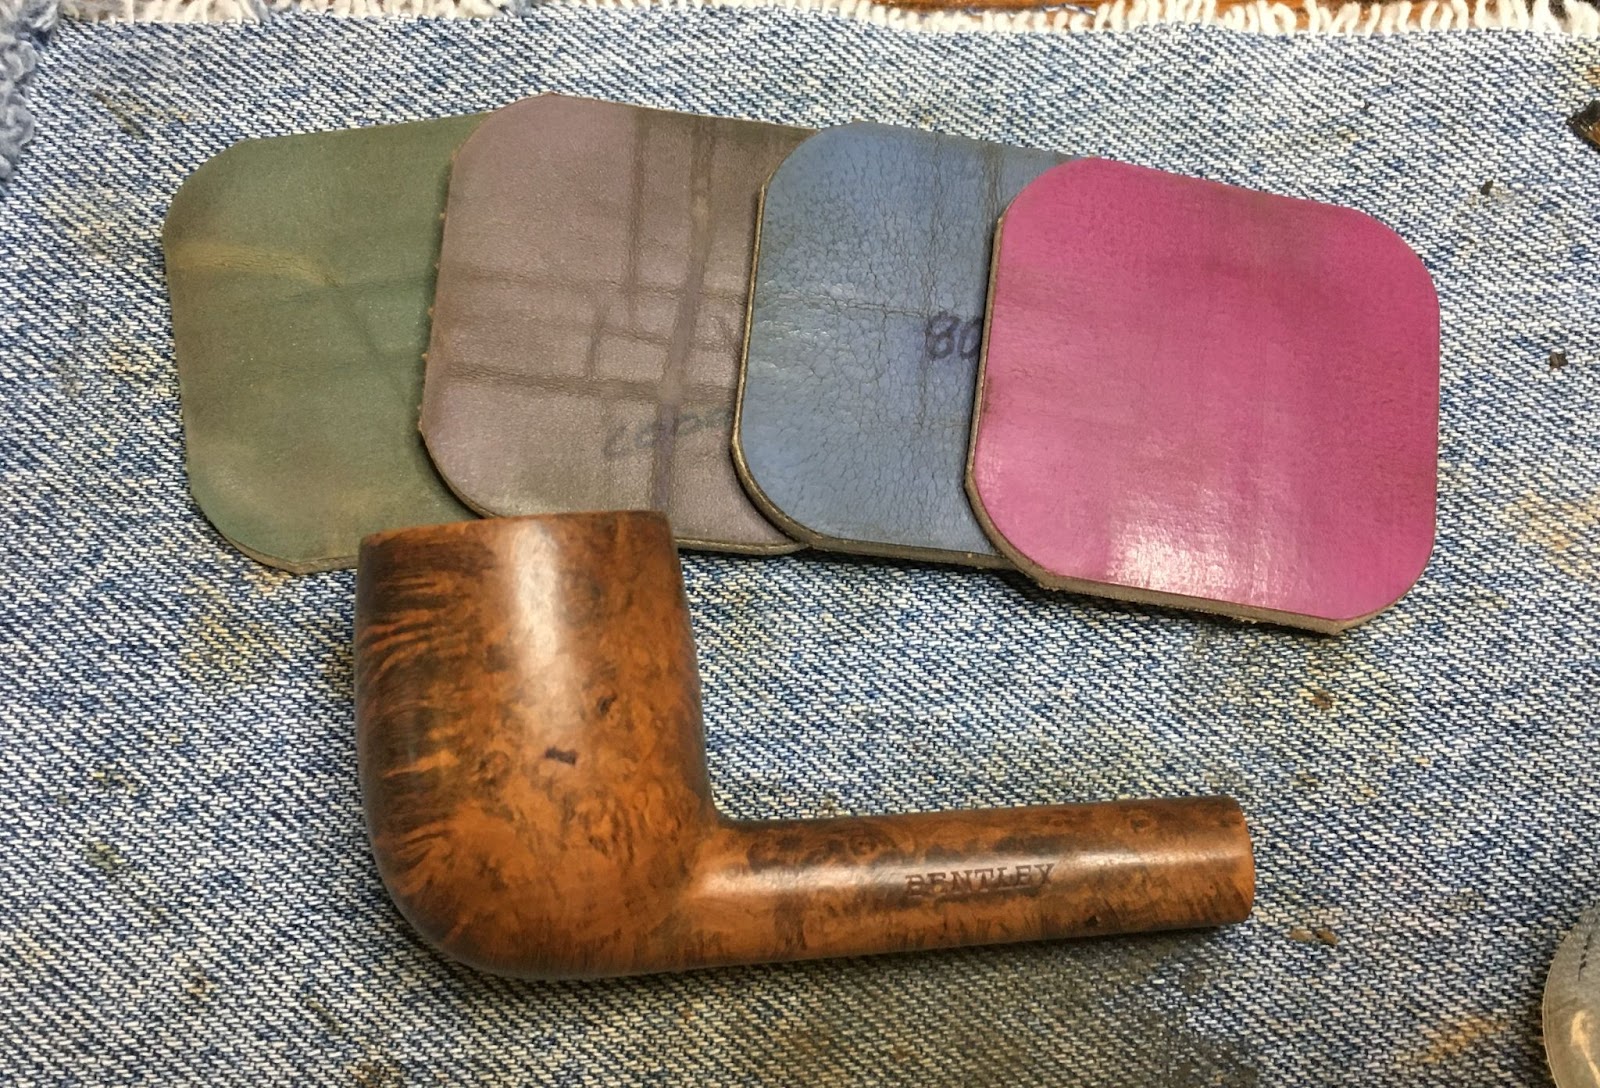
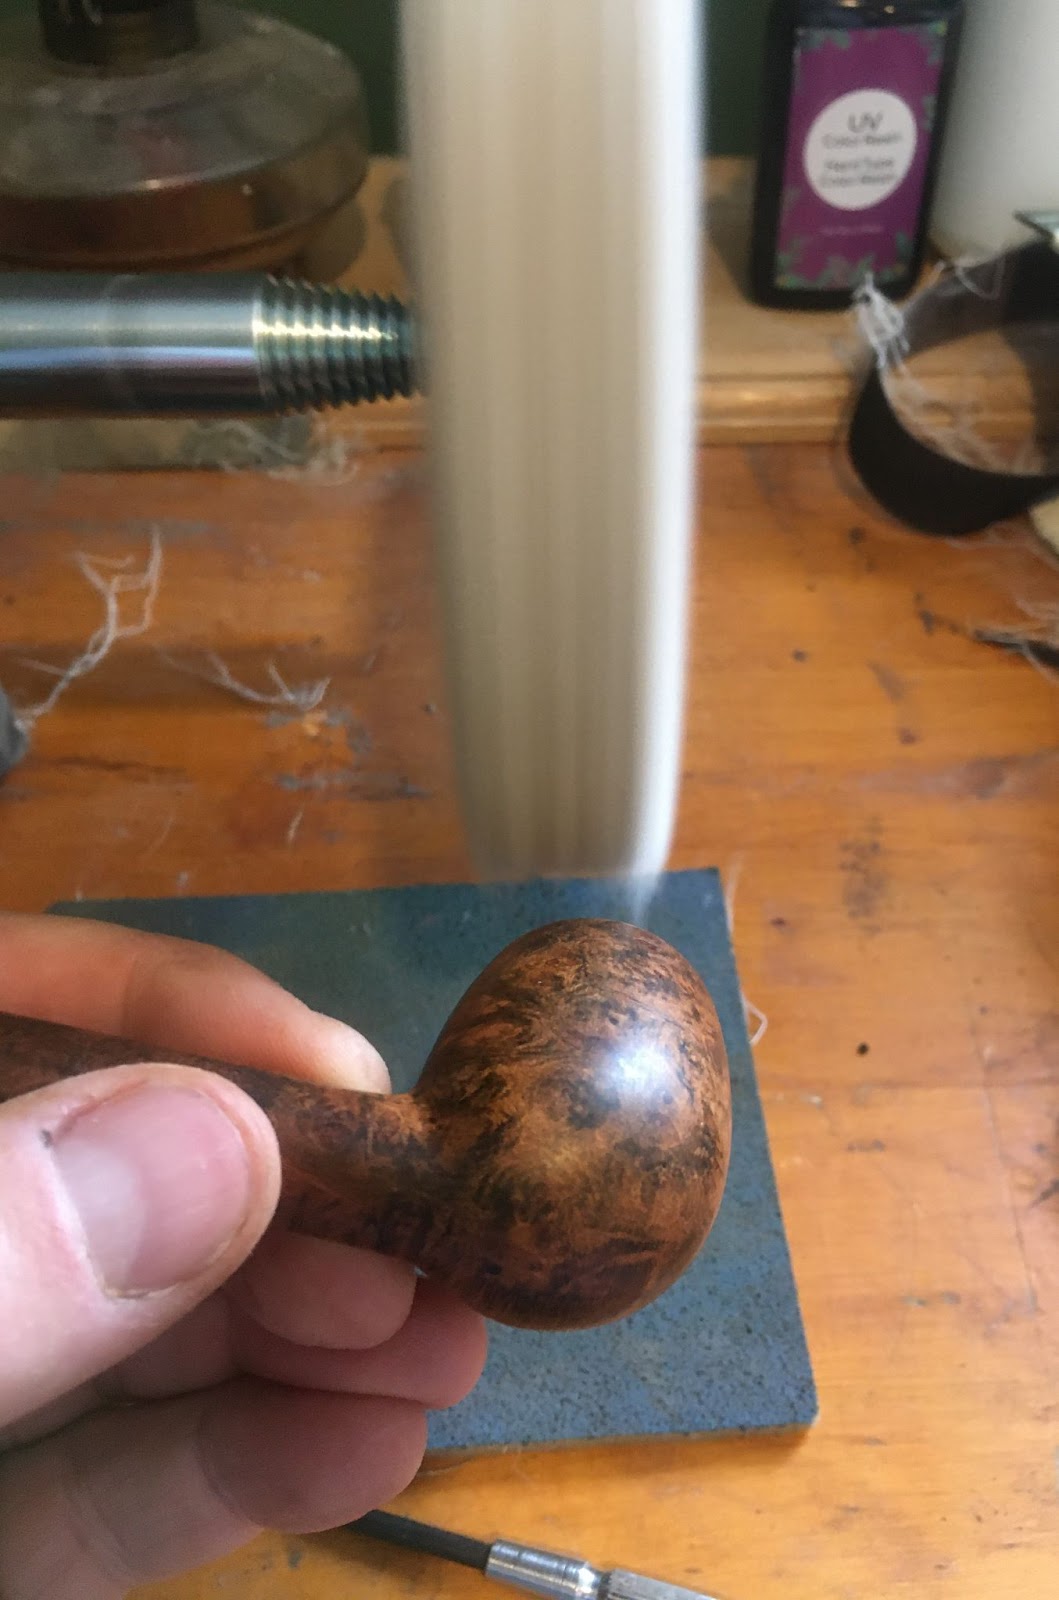
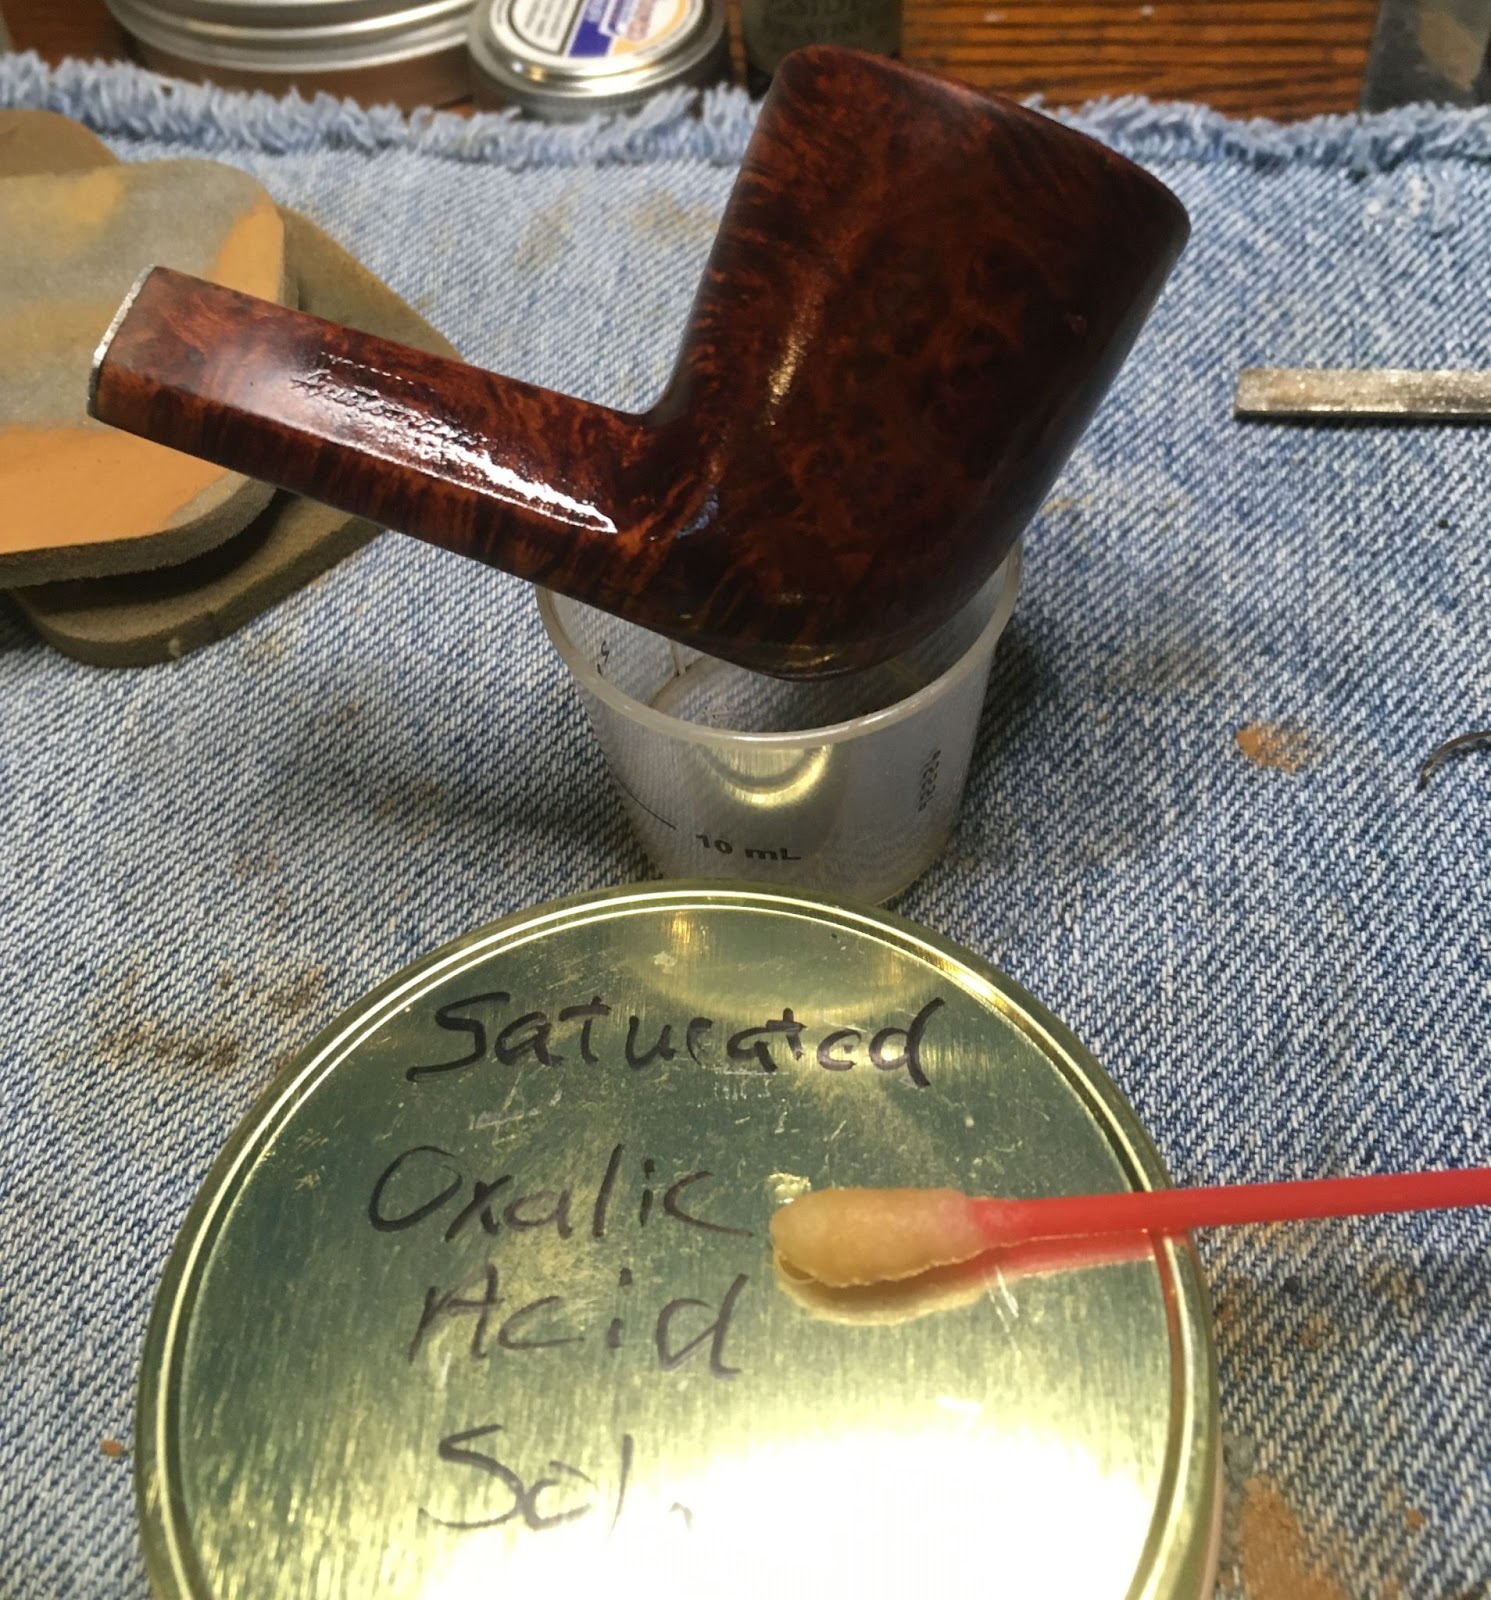
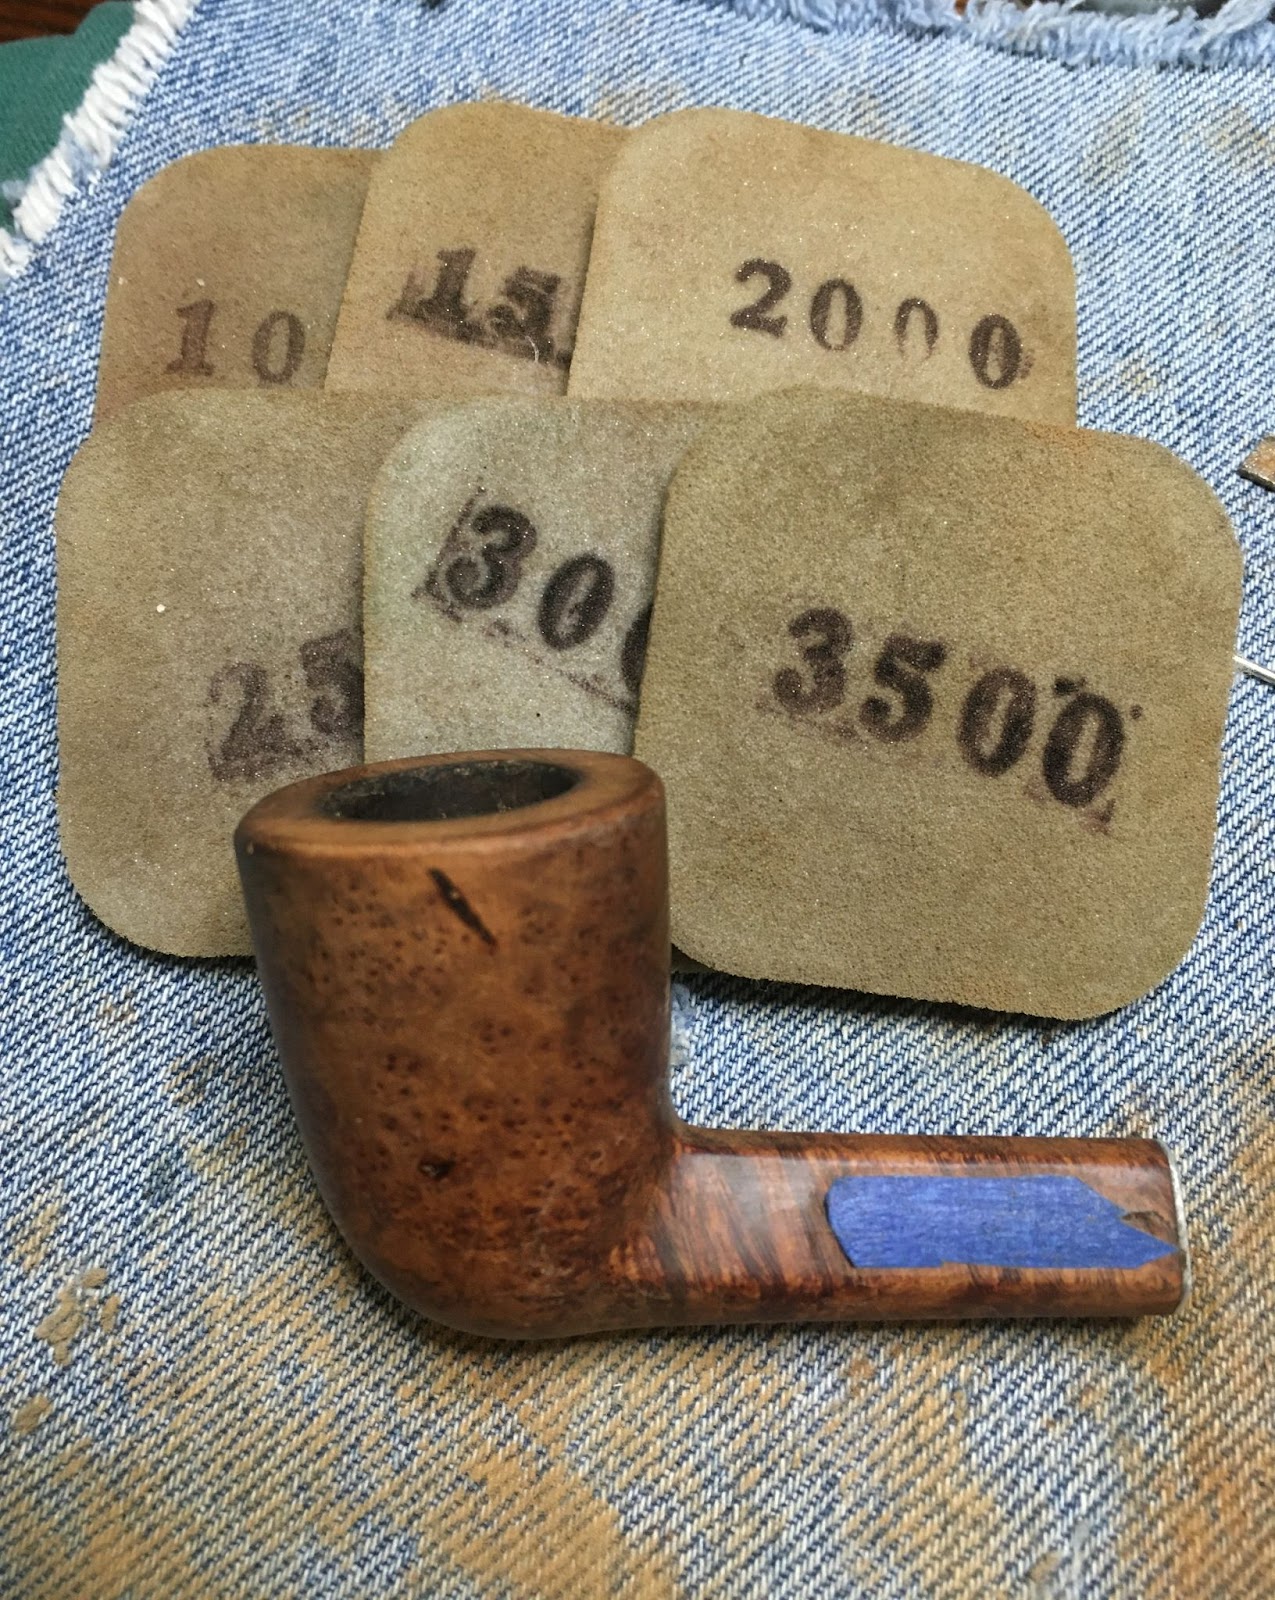
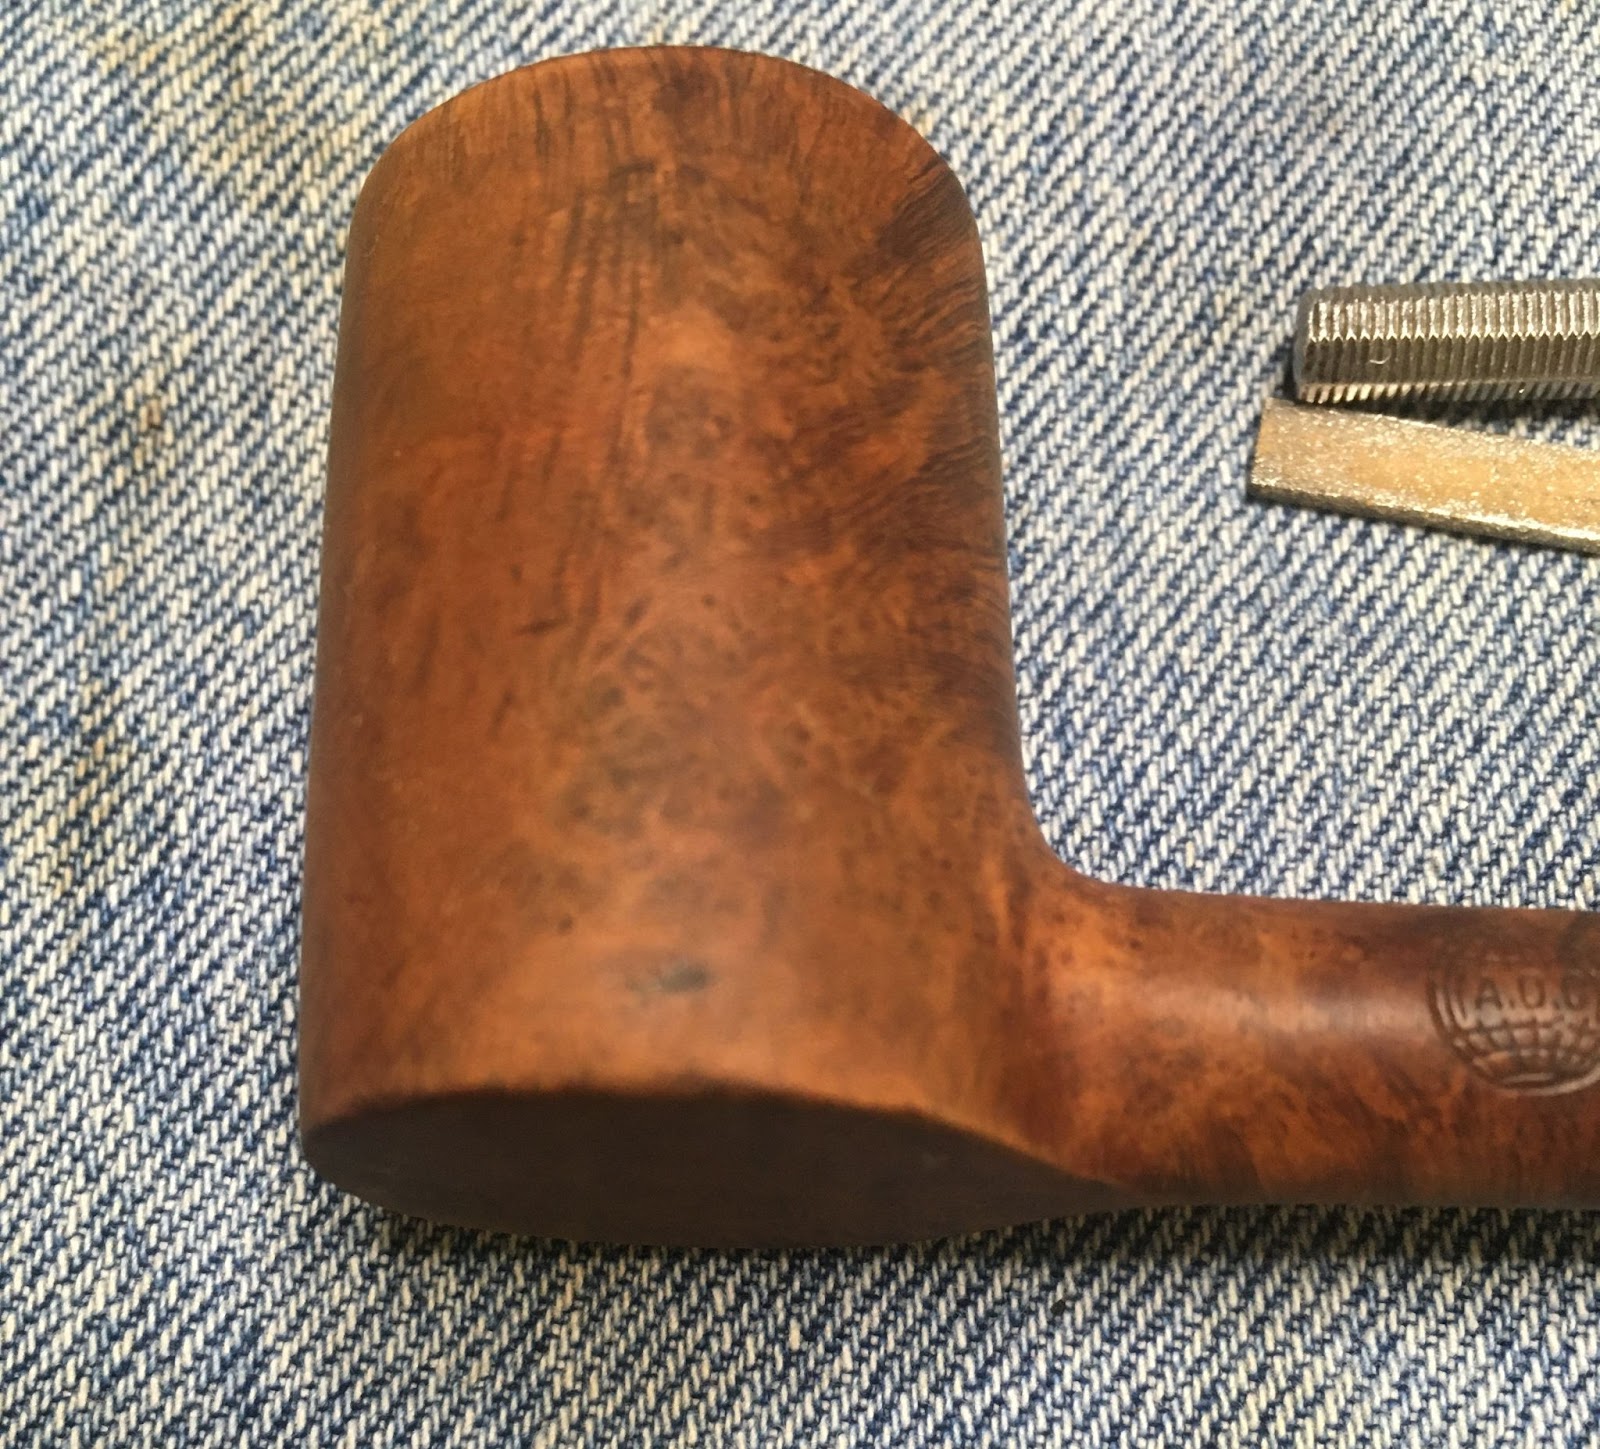
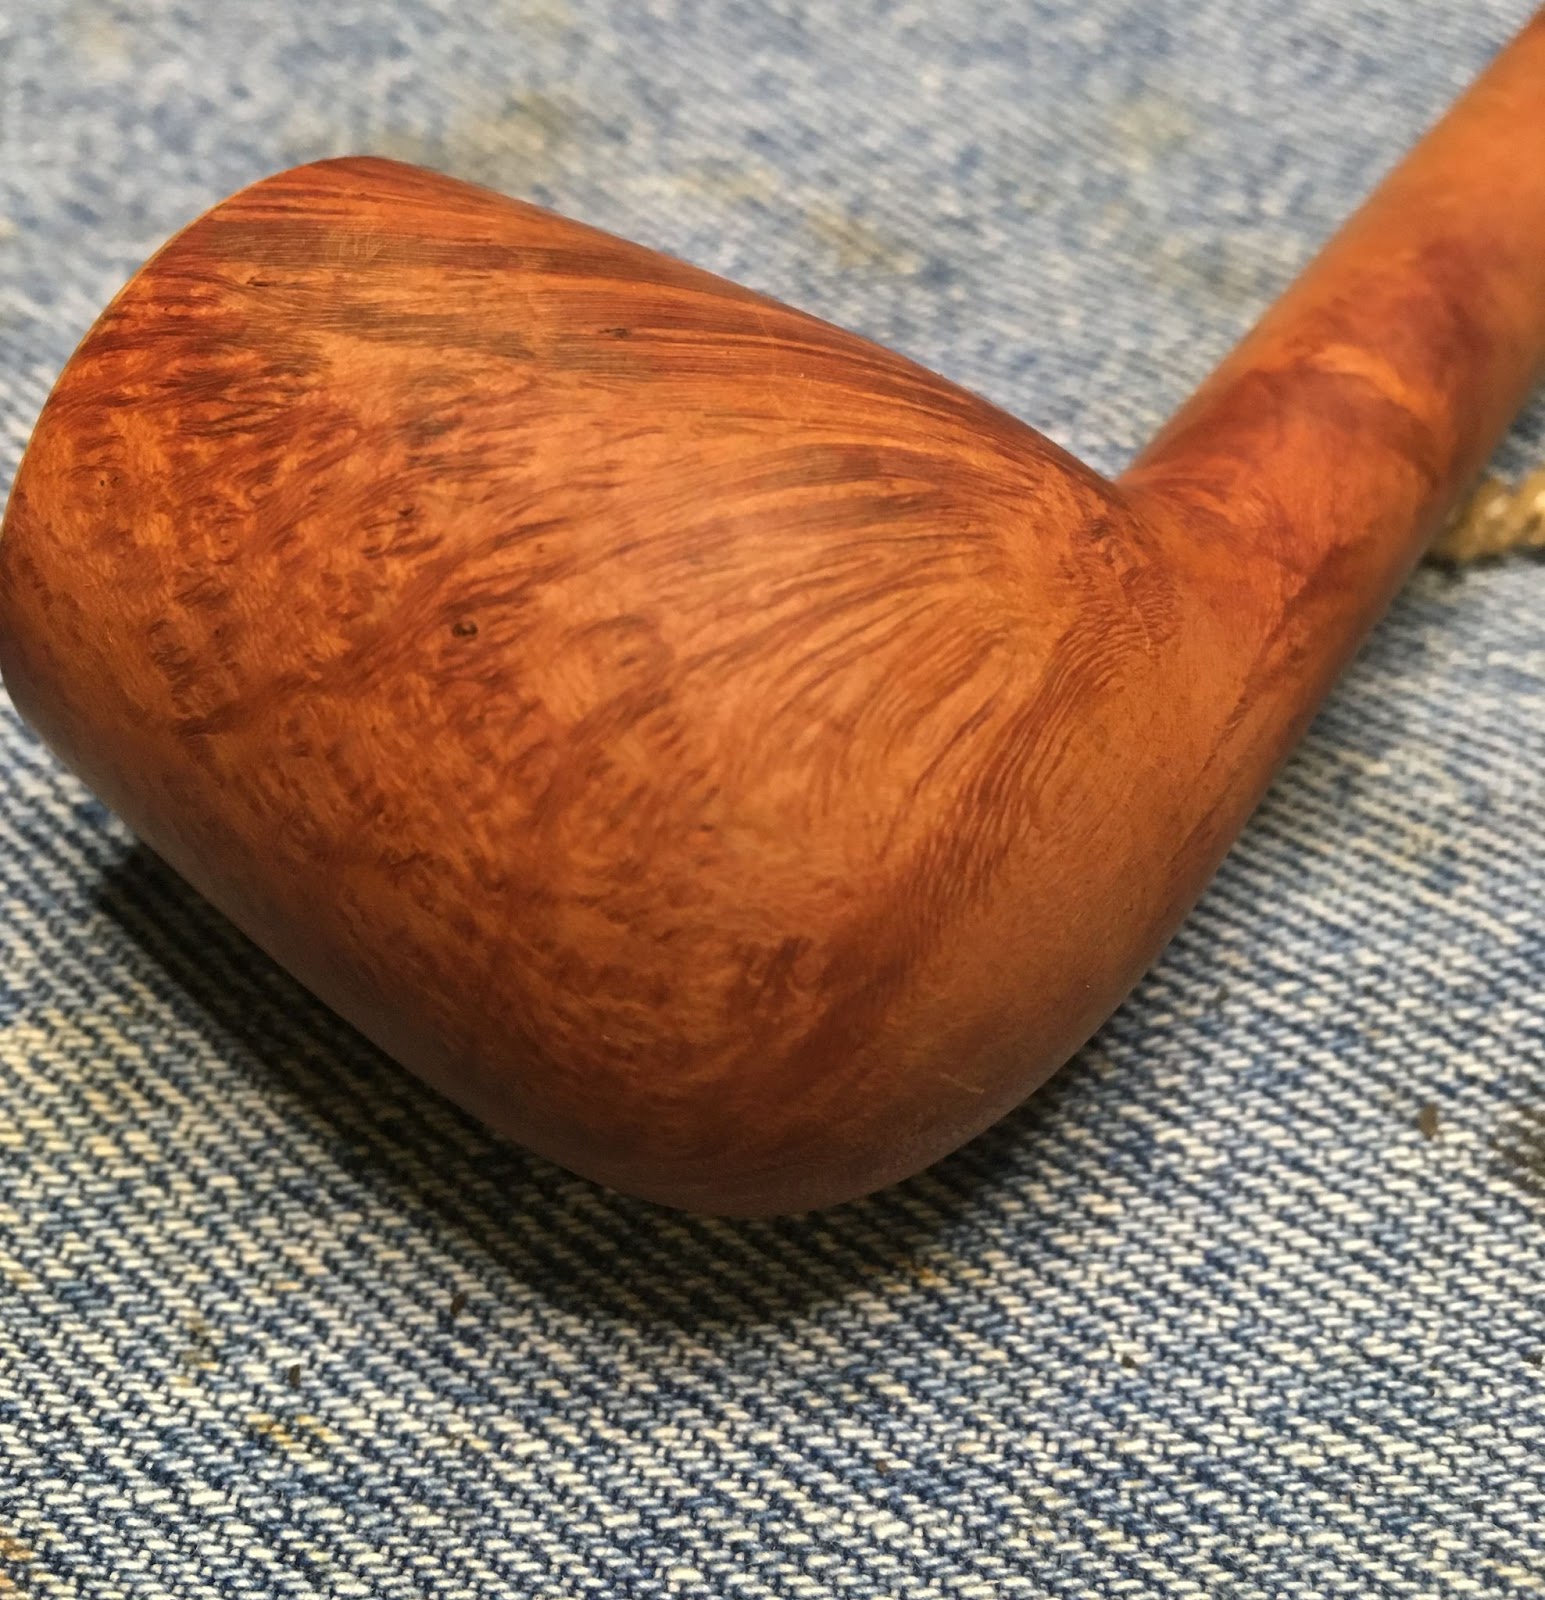
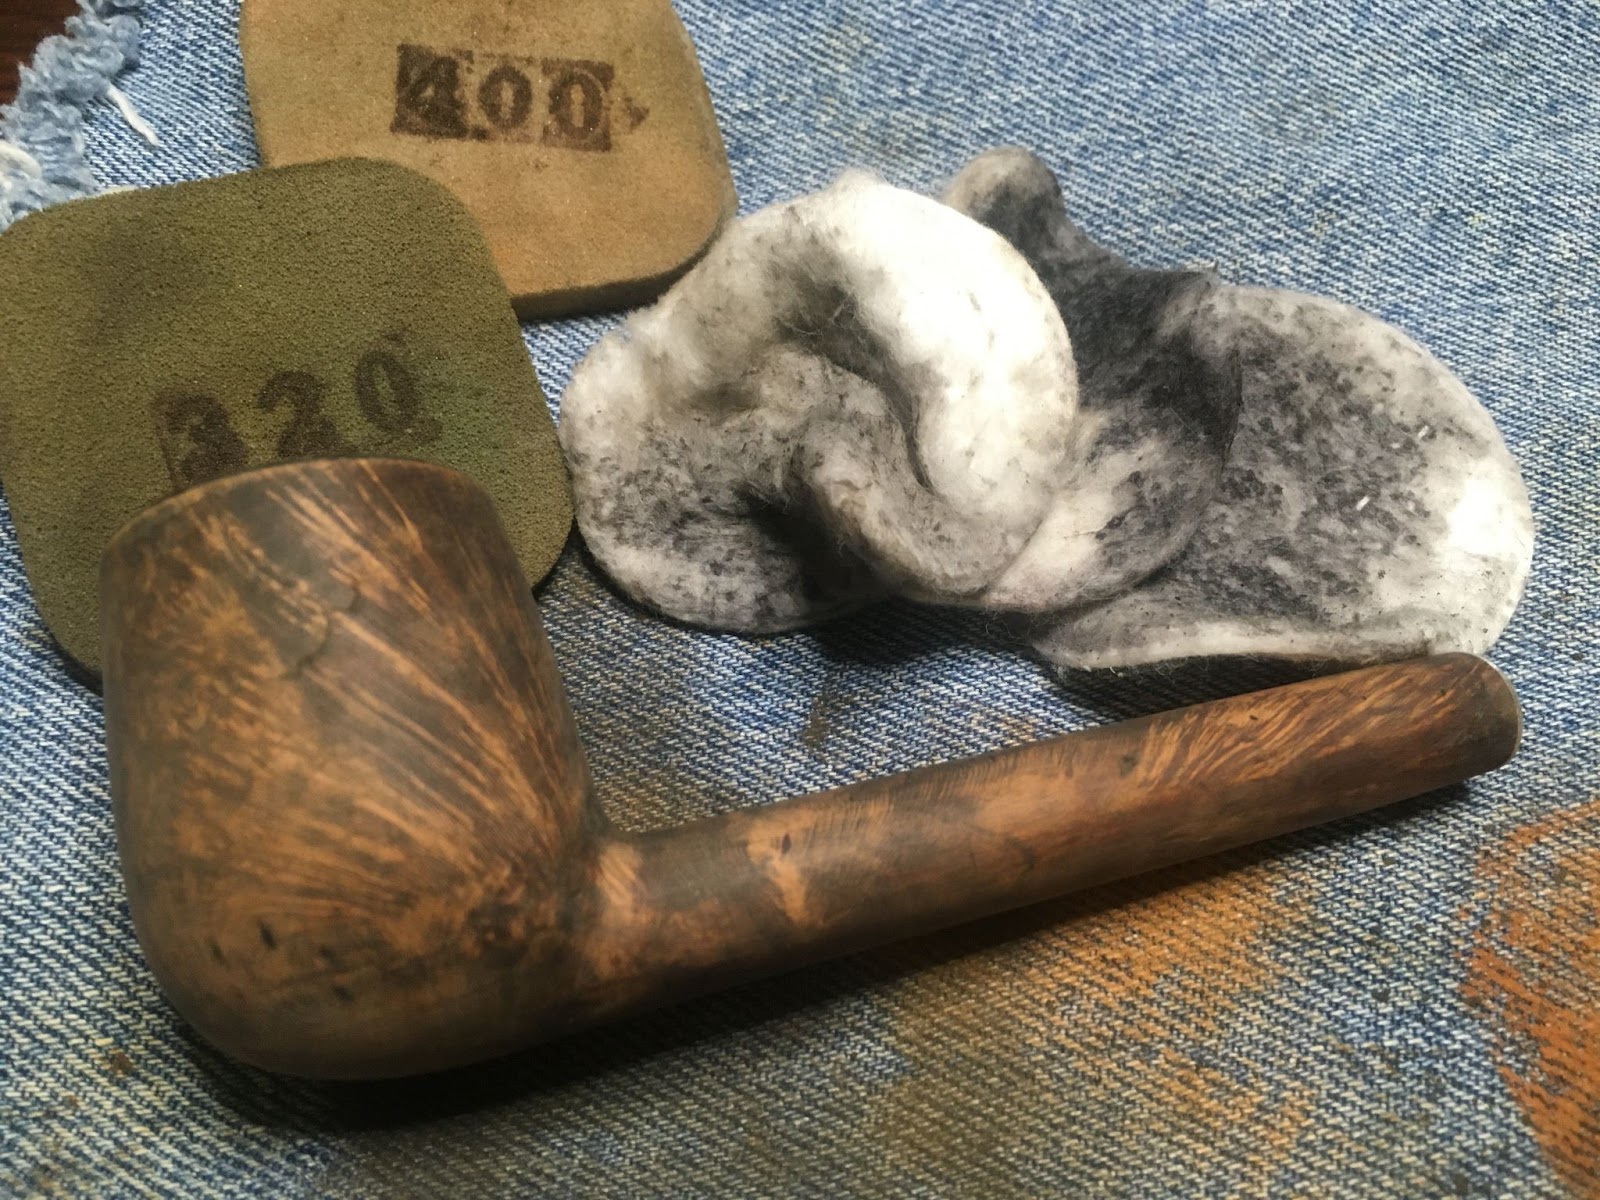
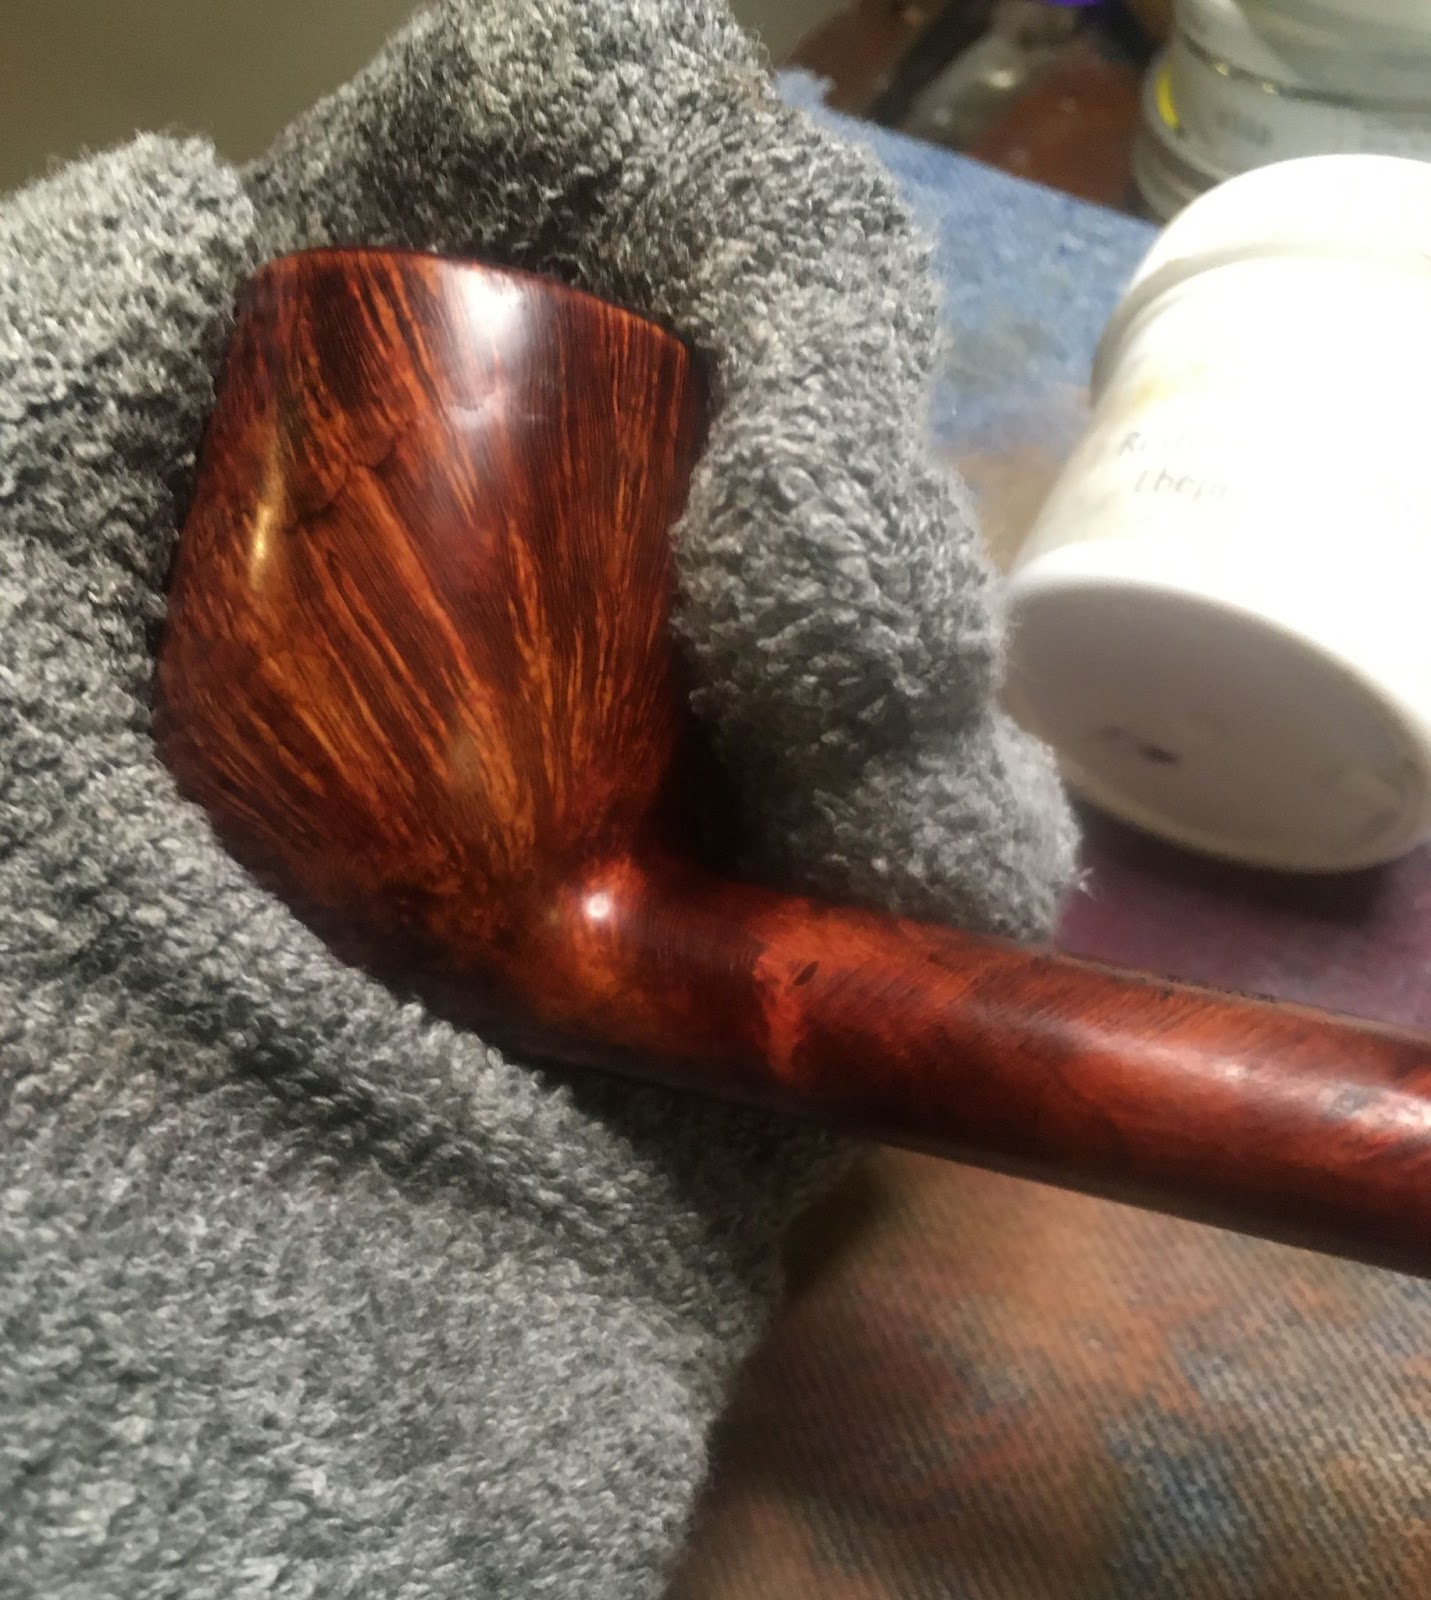
The stummel was sanded with a sequence of sanding sponges from 600-3500 grits. Between each sponge the stummel was wiped with an alcohol wetted make-up pad.
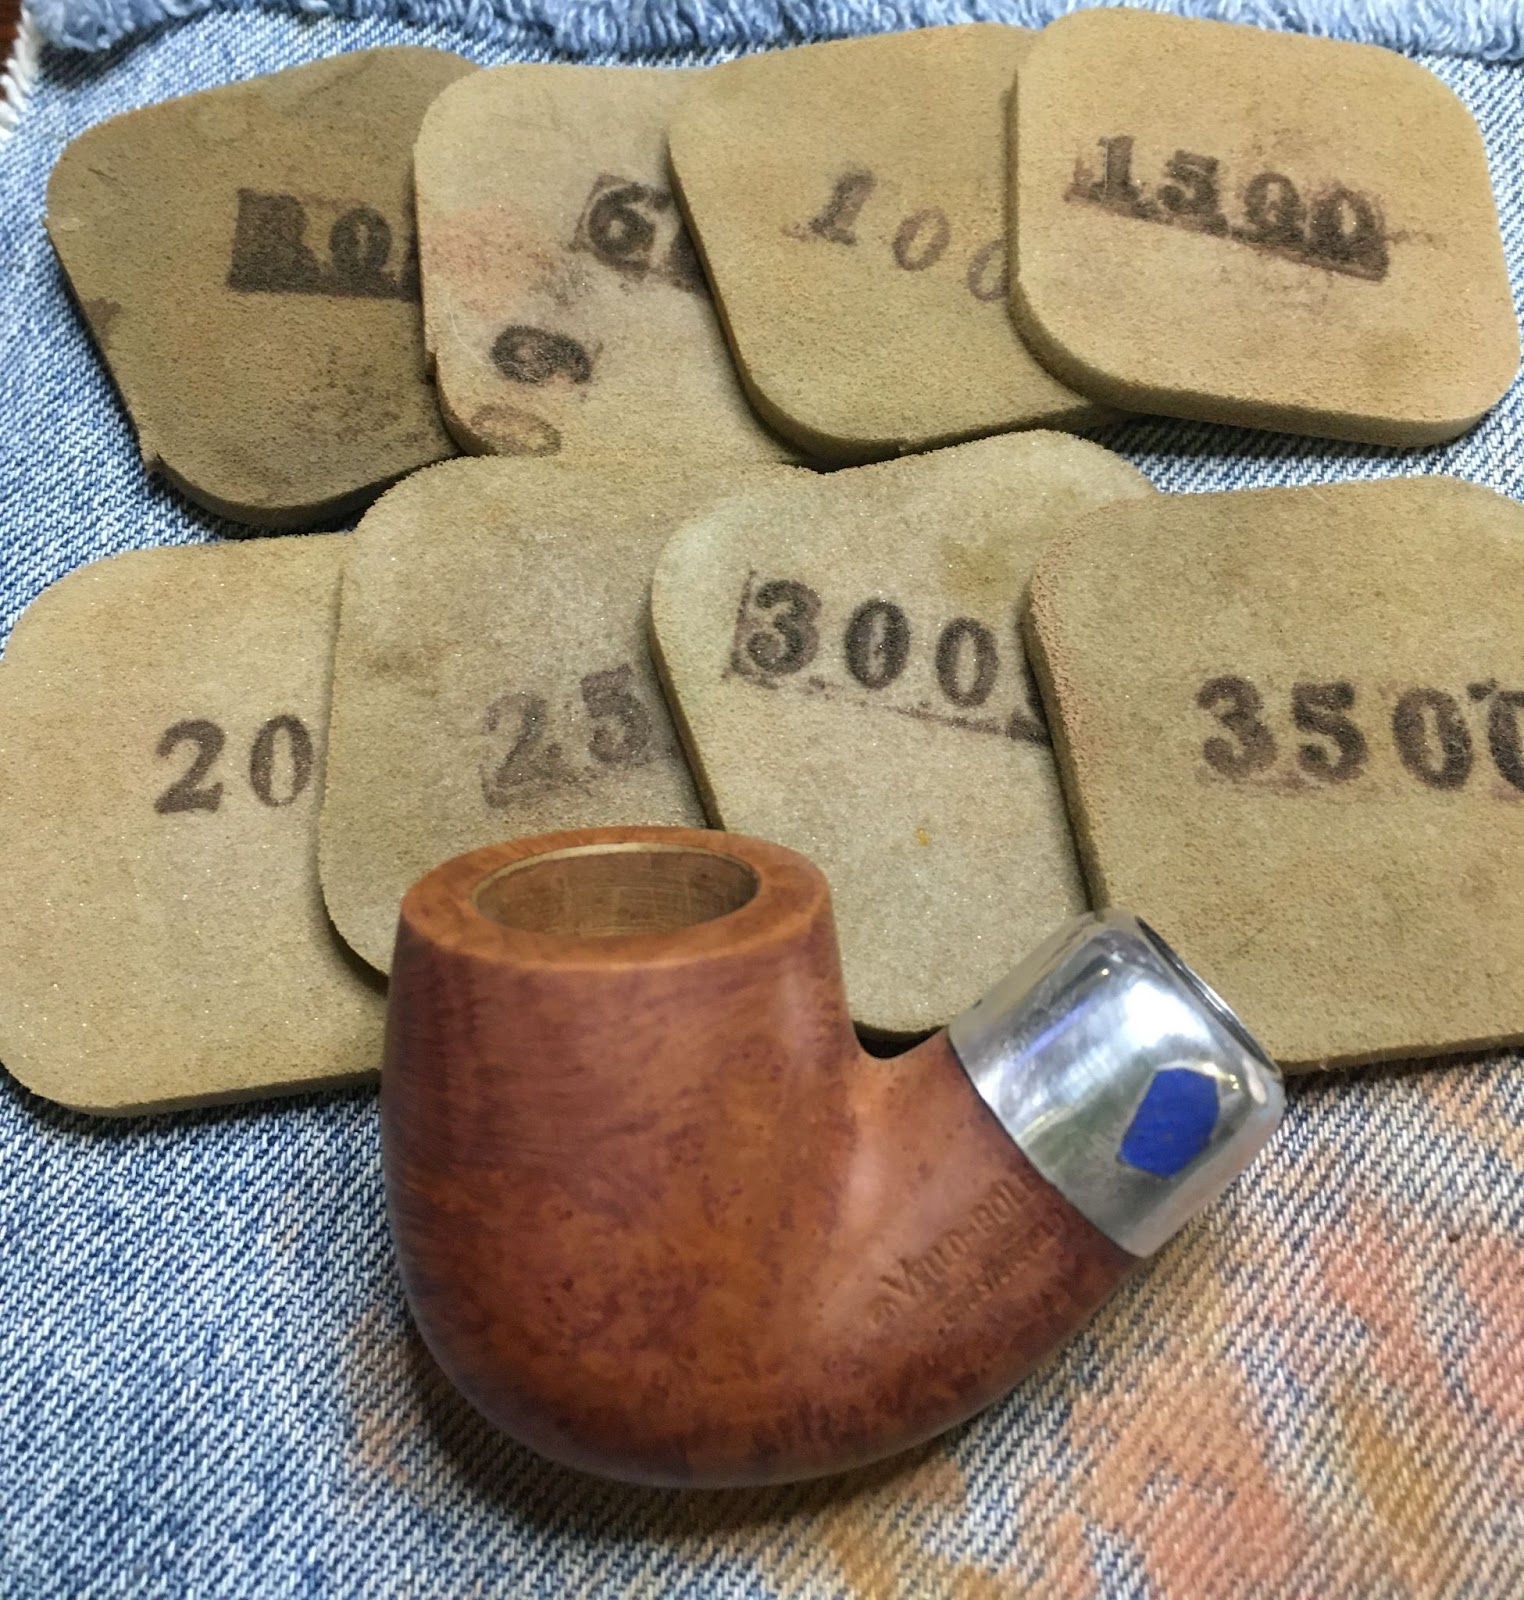
After sanding the stummel, I worked with the 4000-12000 micro-mesh pads. Between each pad the stummel was wiped with an alcohol moistened make-up pad.

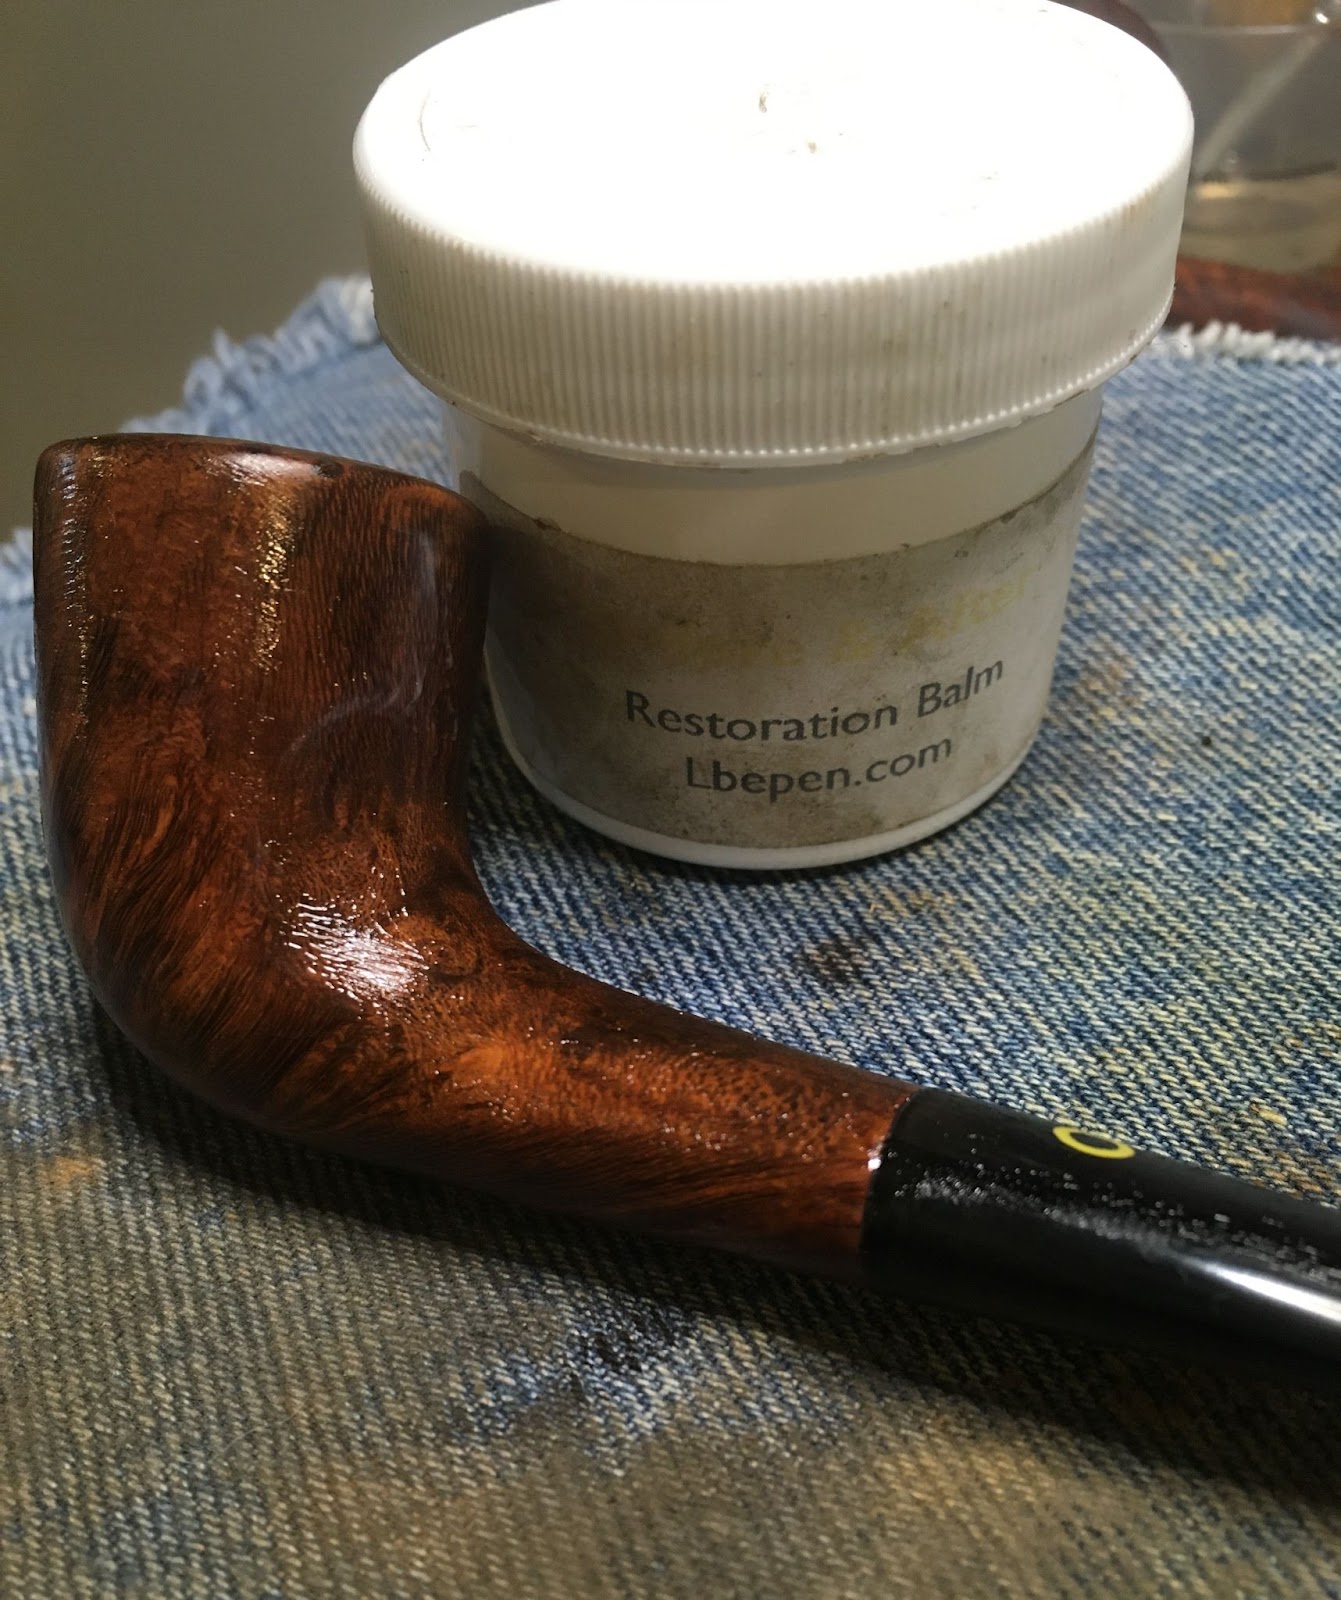
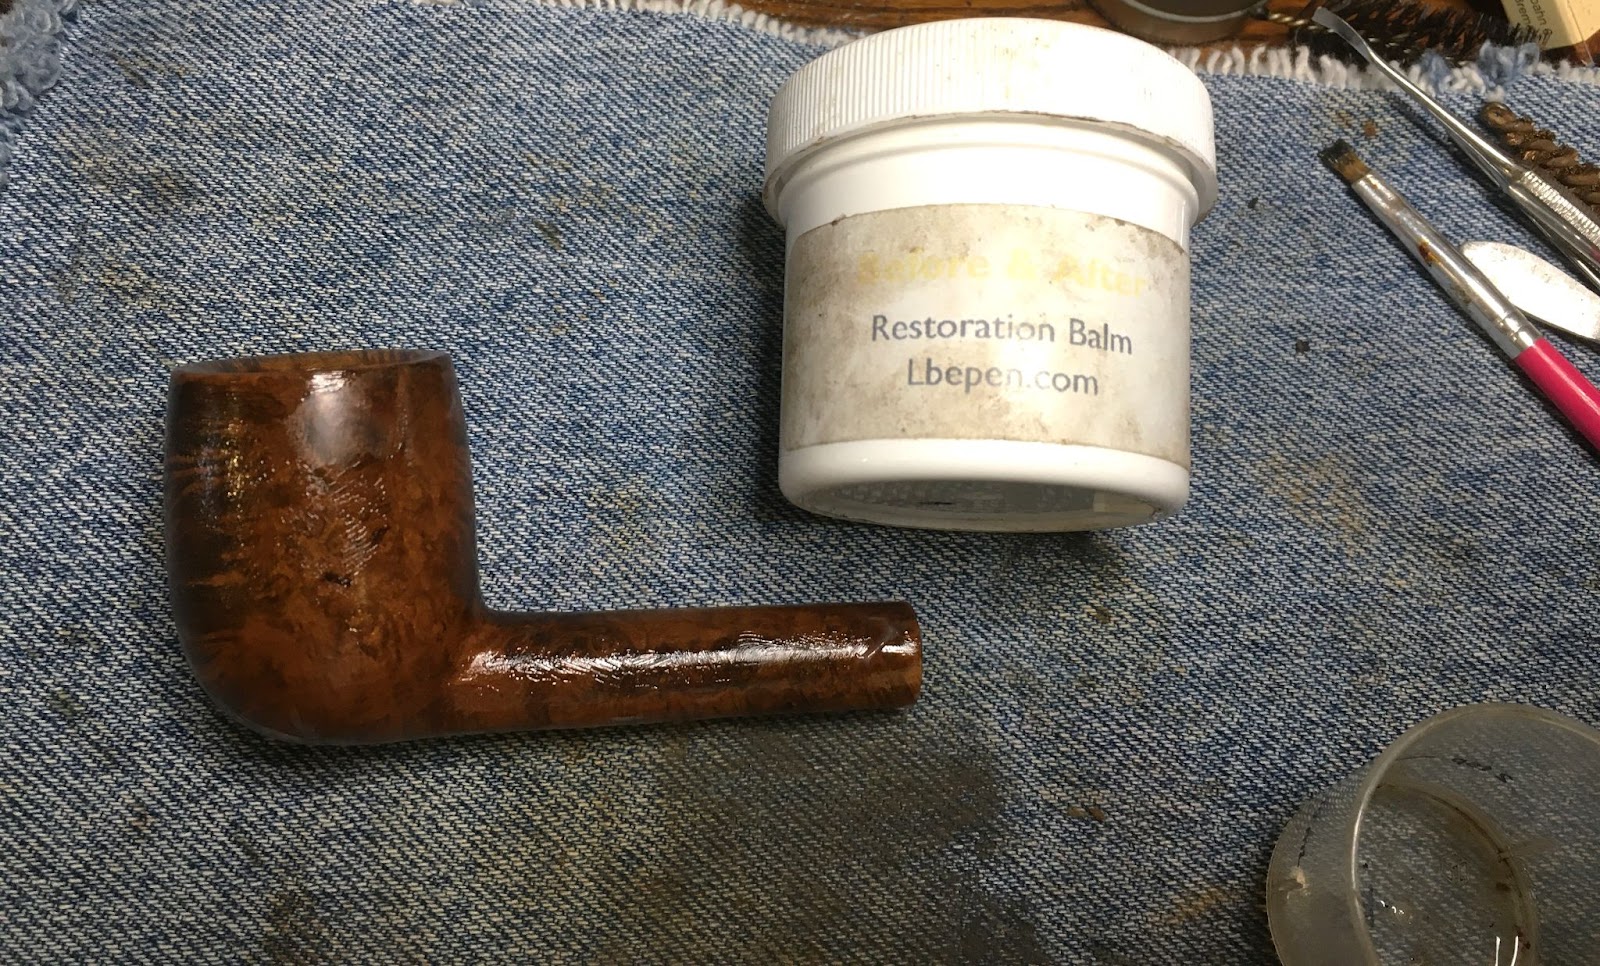
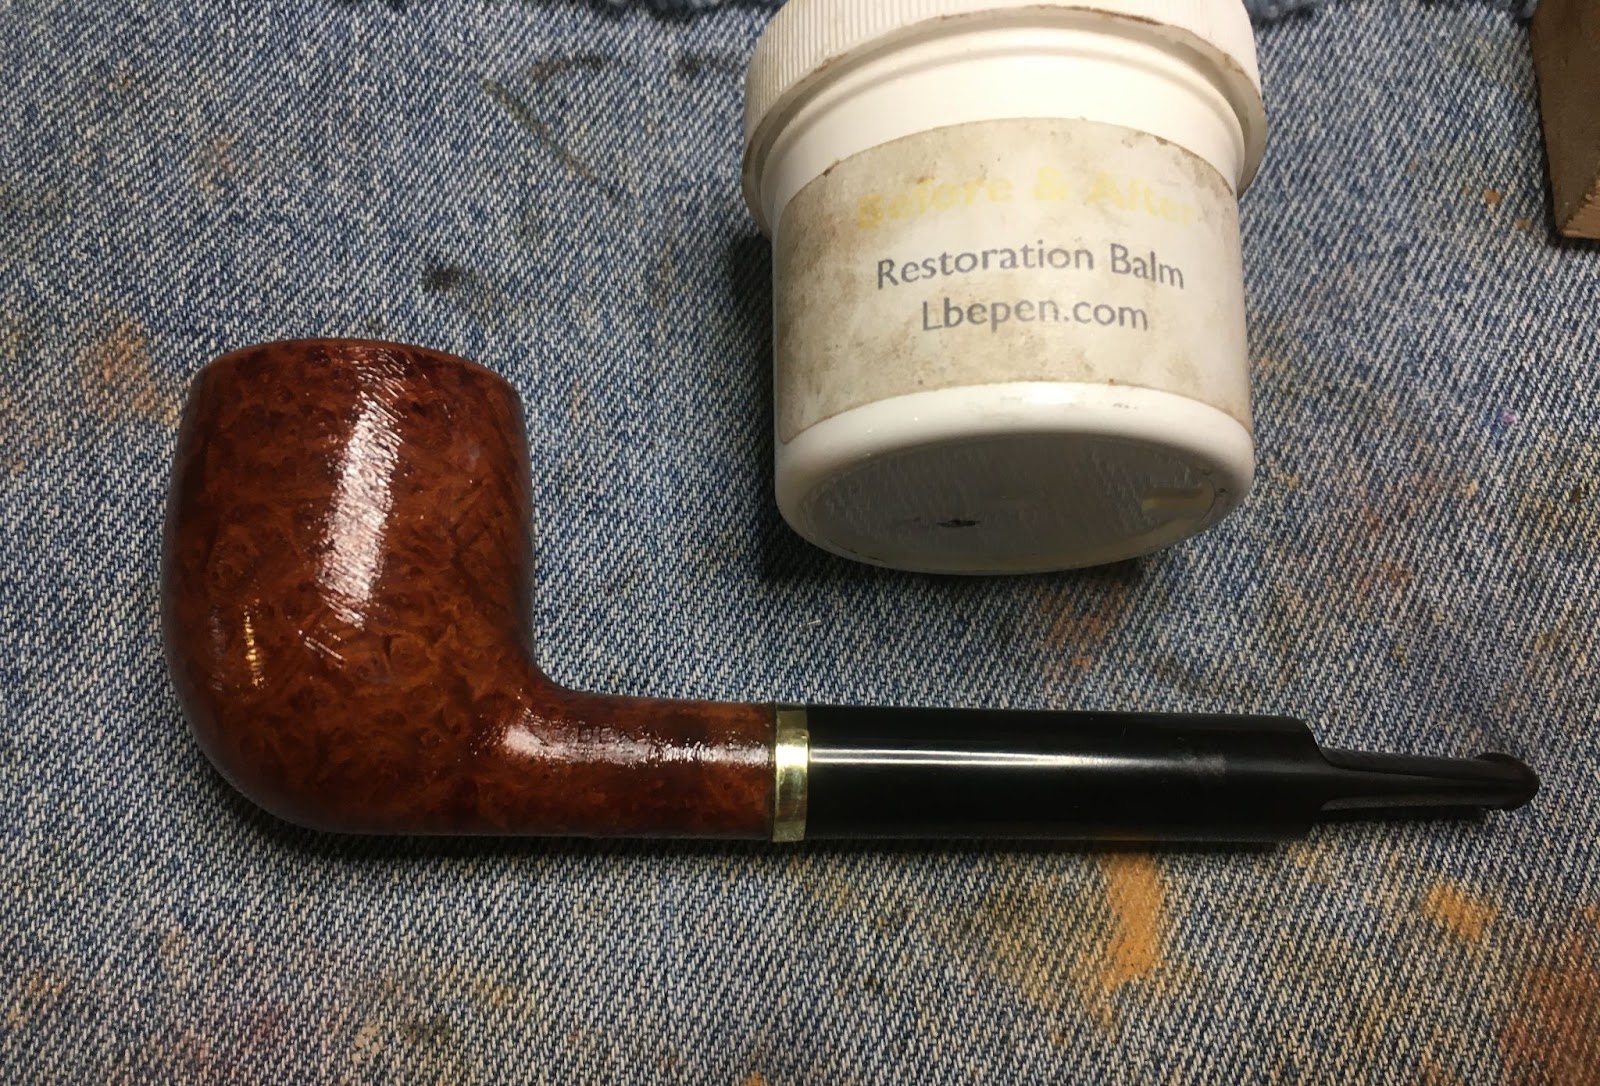
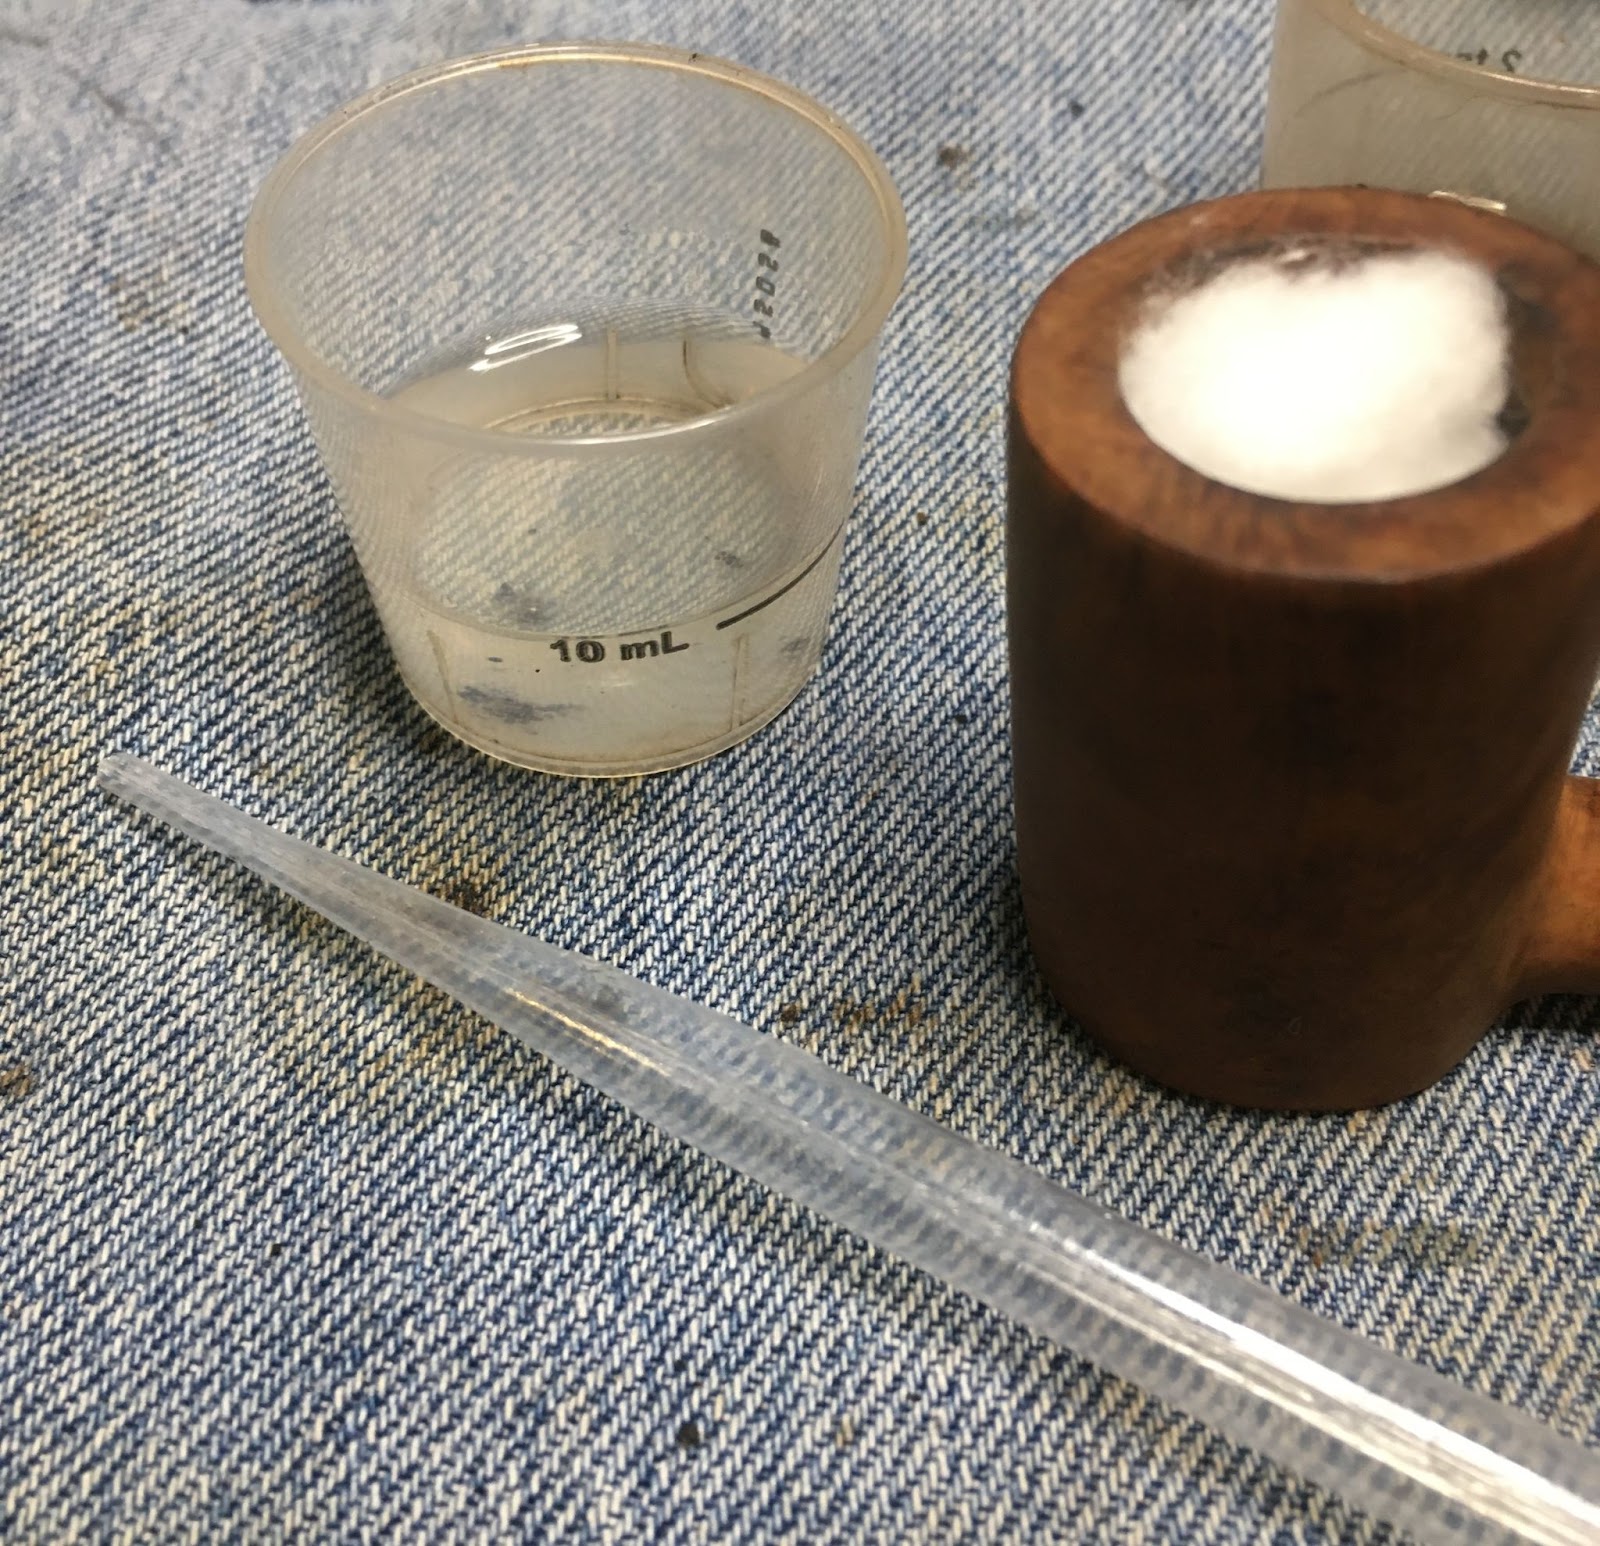
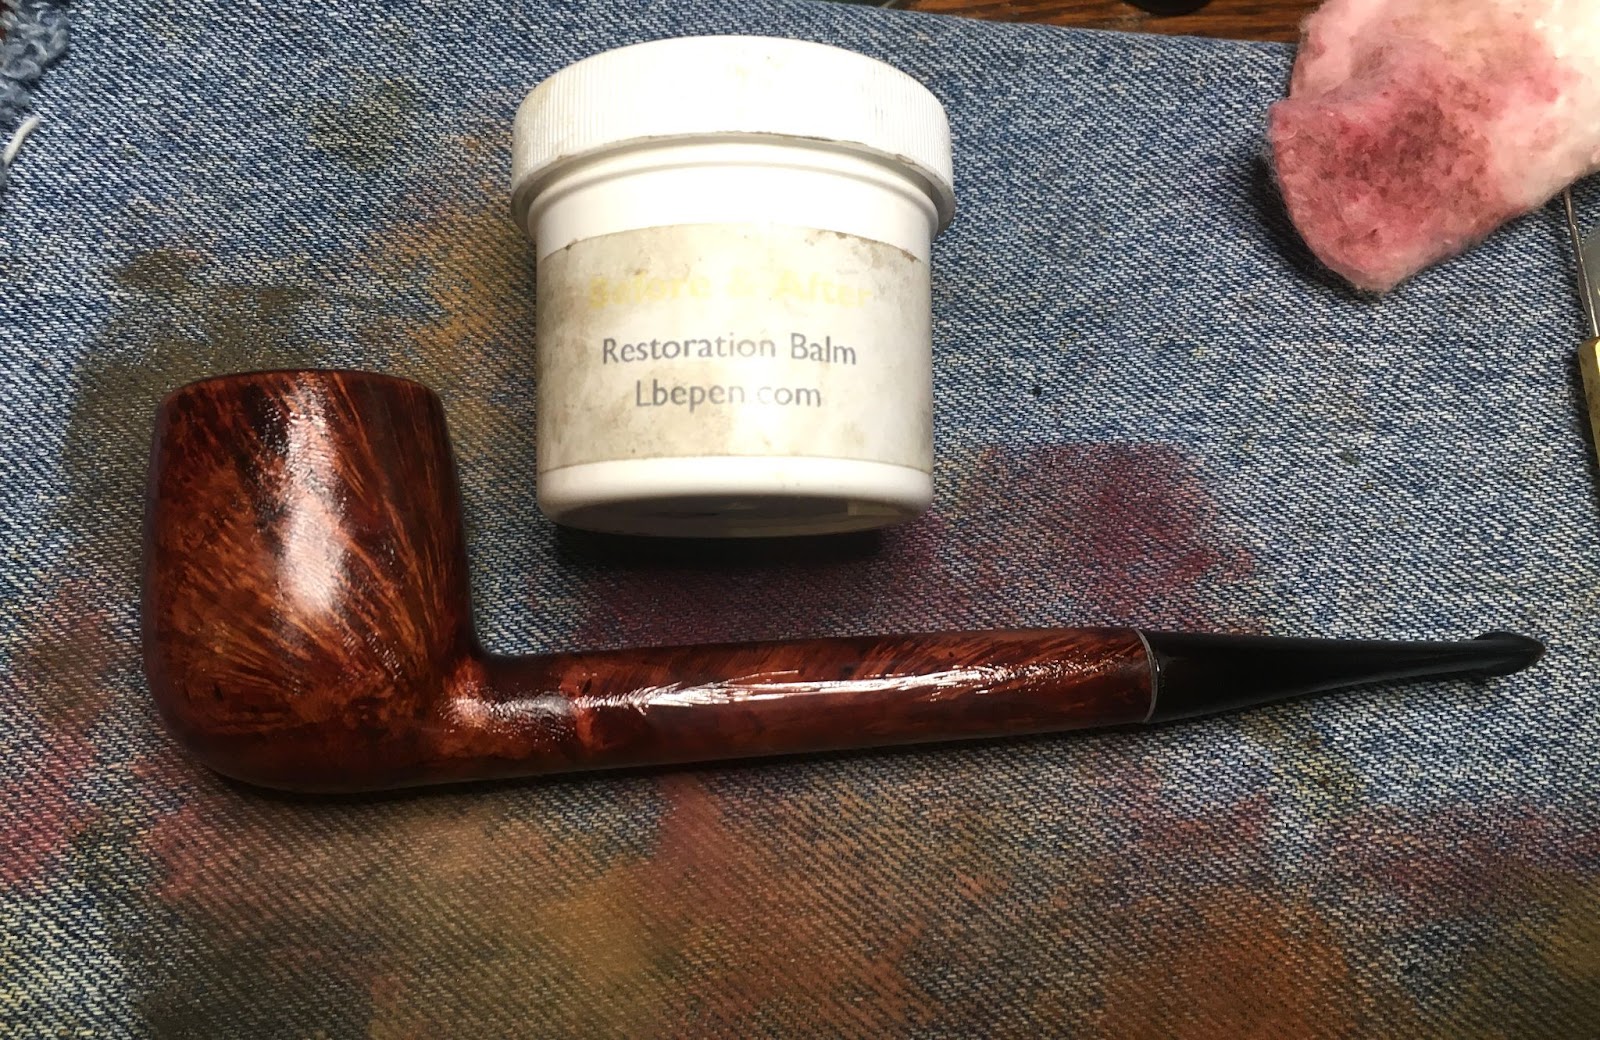
The stummel then had a coat of Before and After Restoration Balm applied and was allowed to sit for about 30 minutes.

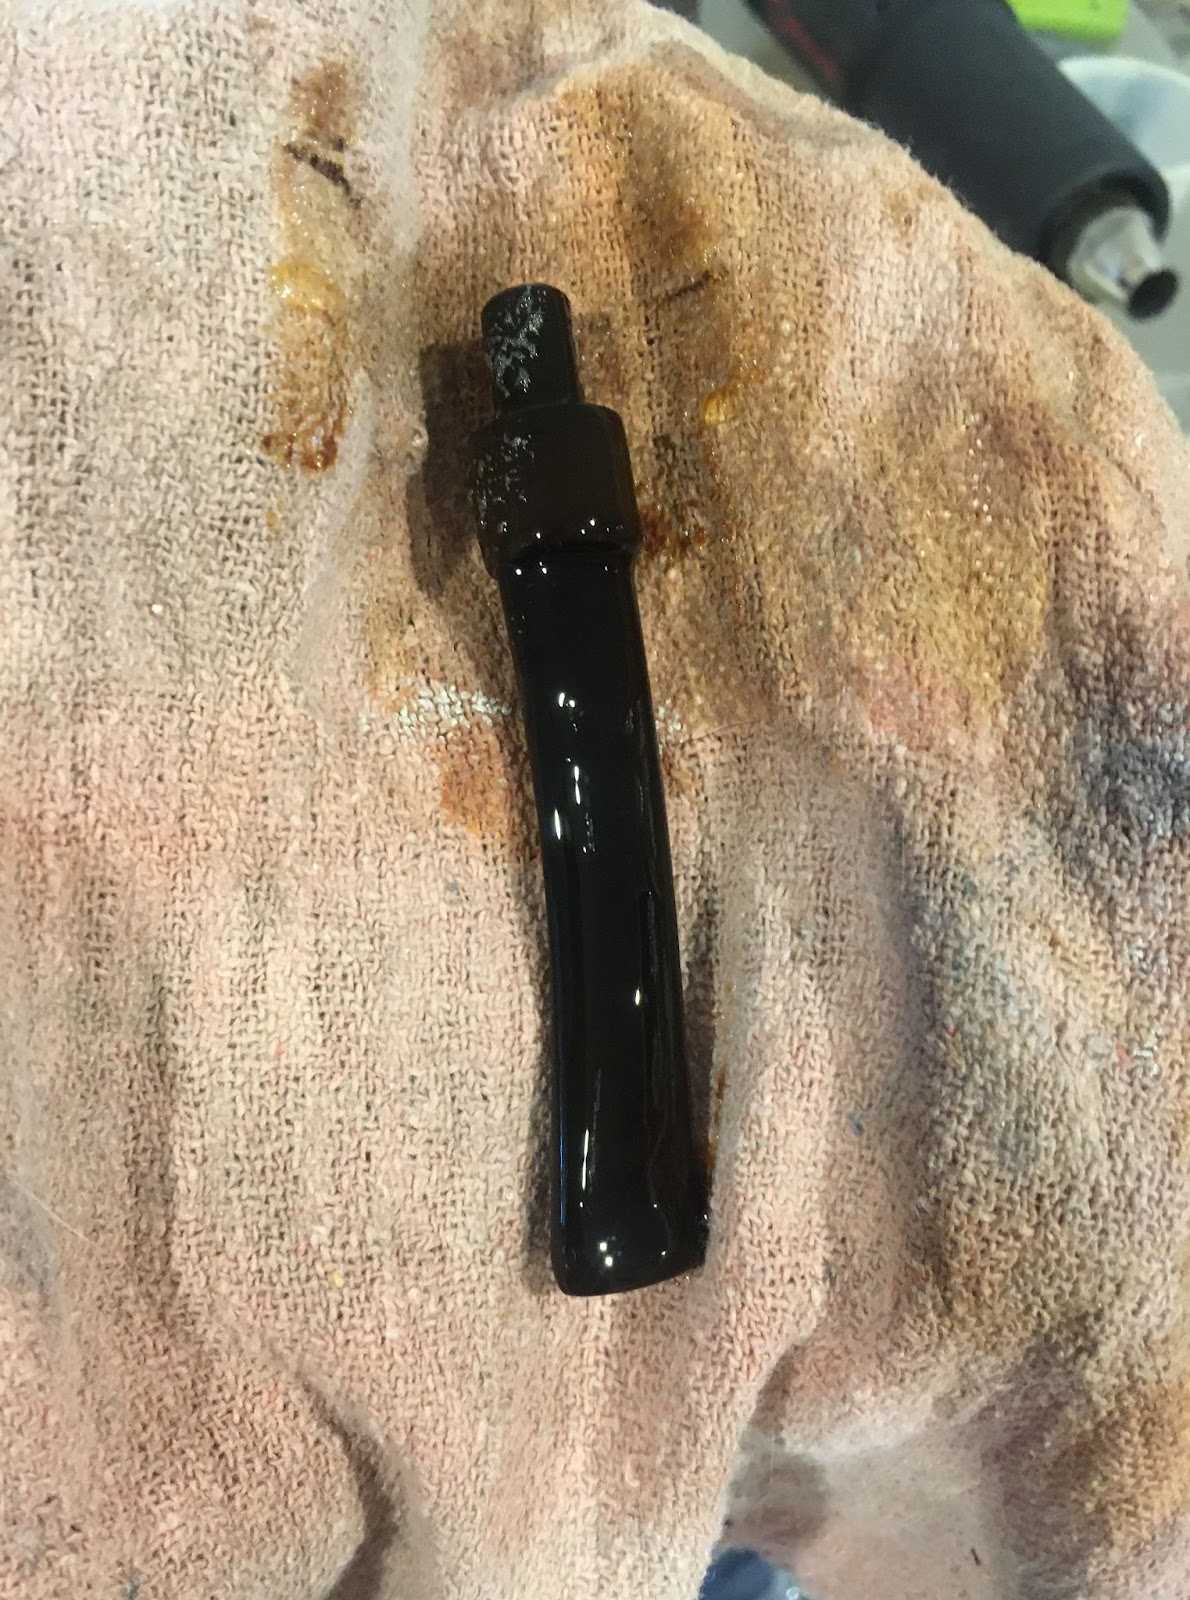
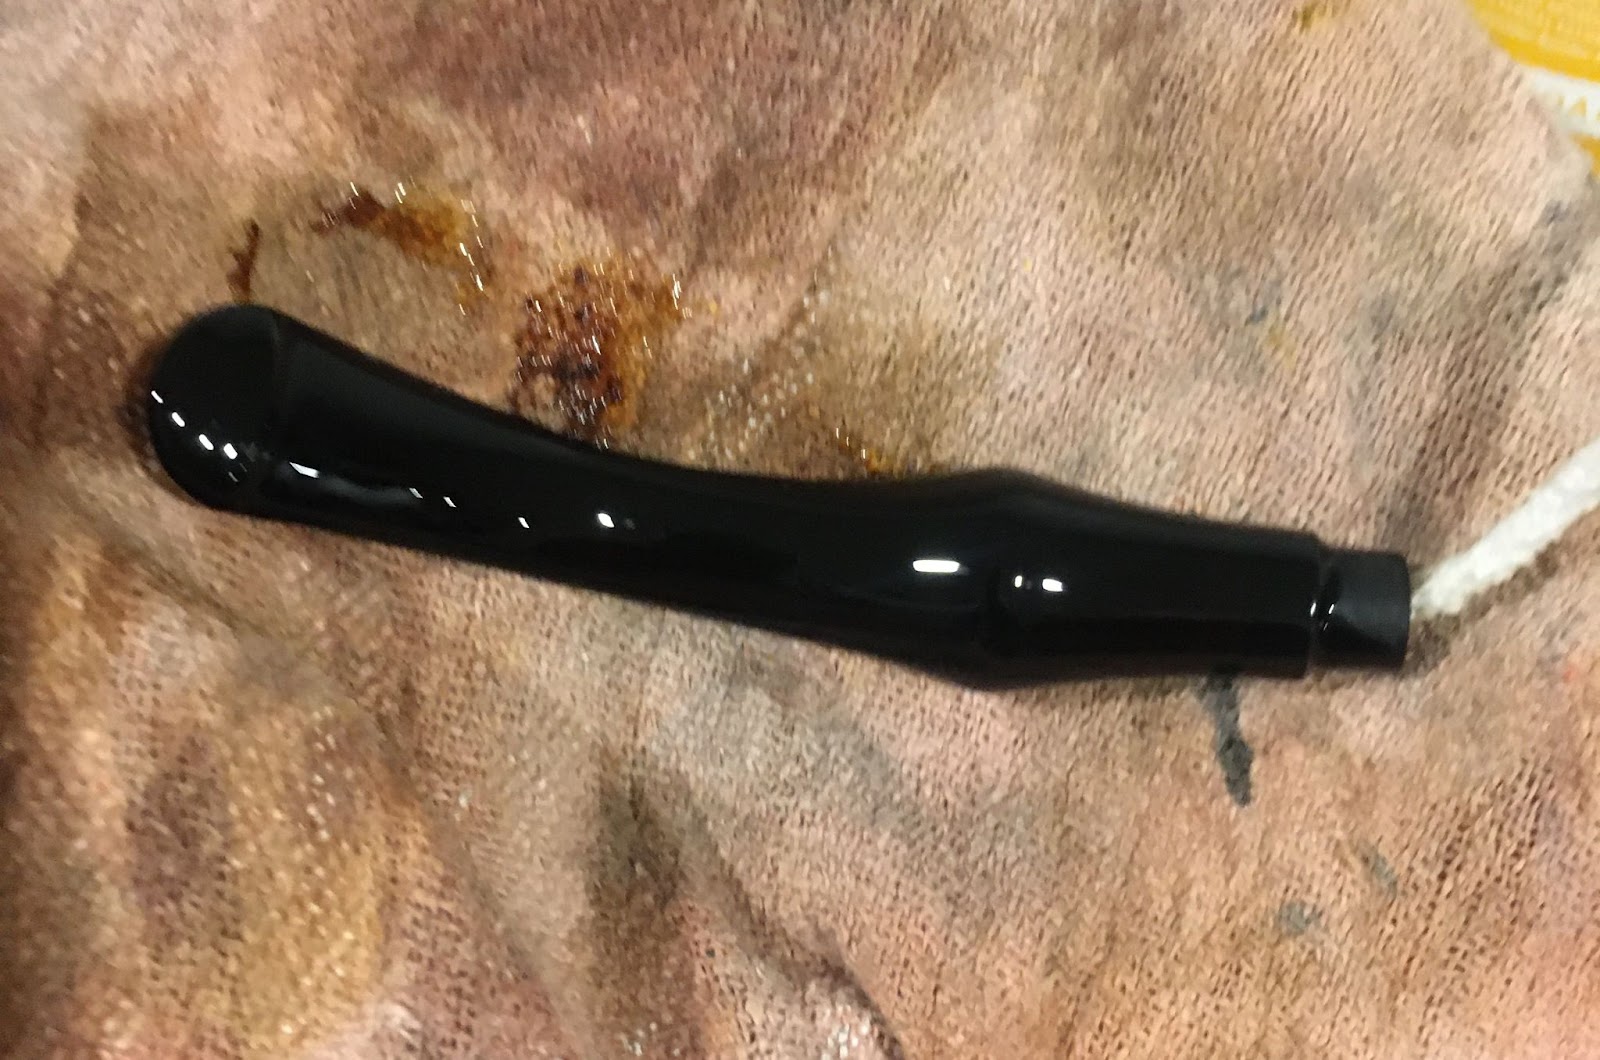
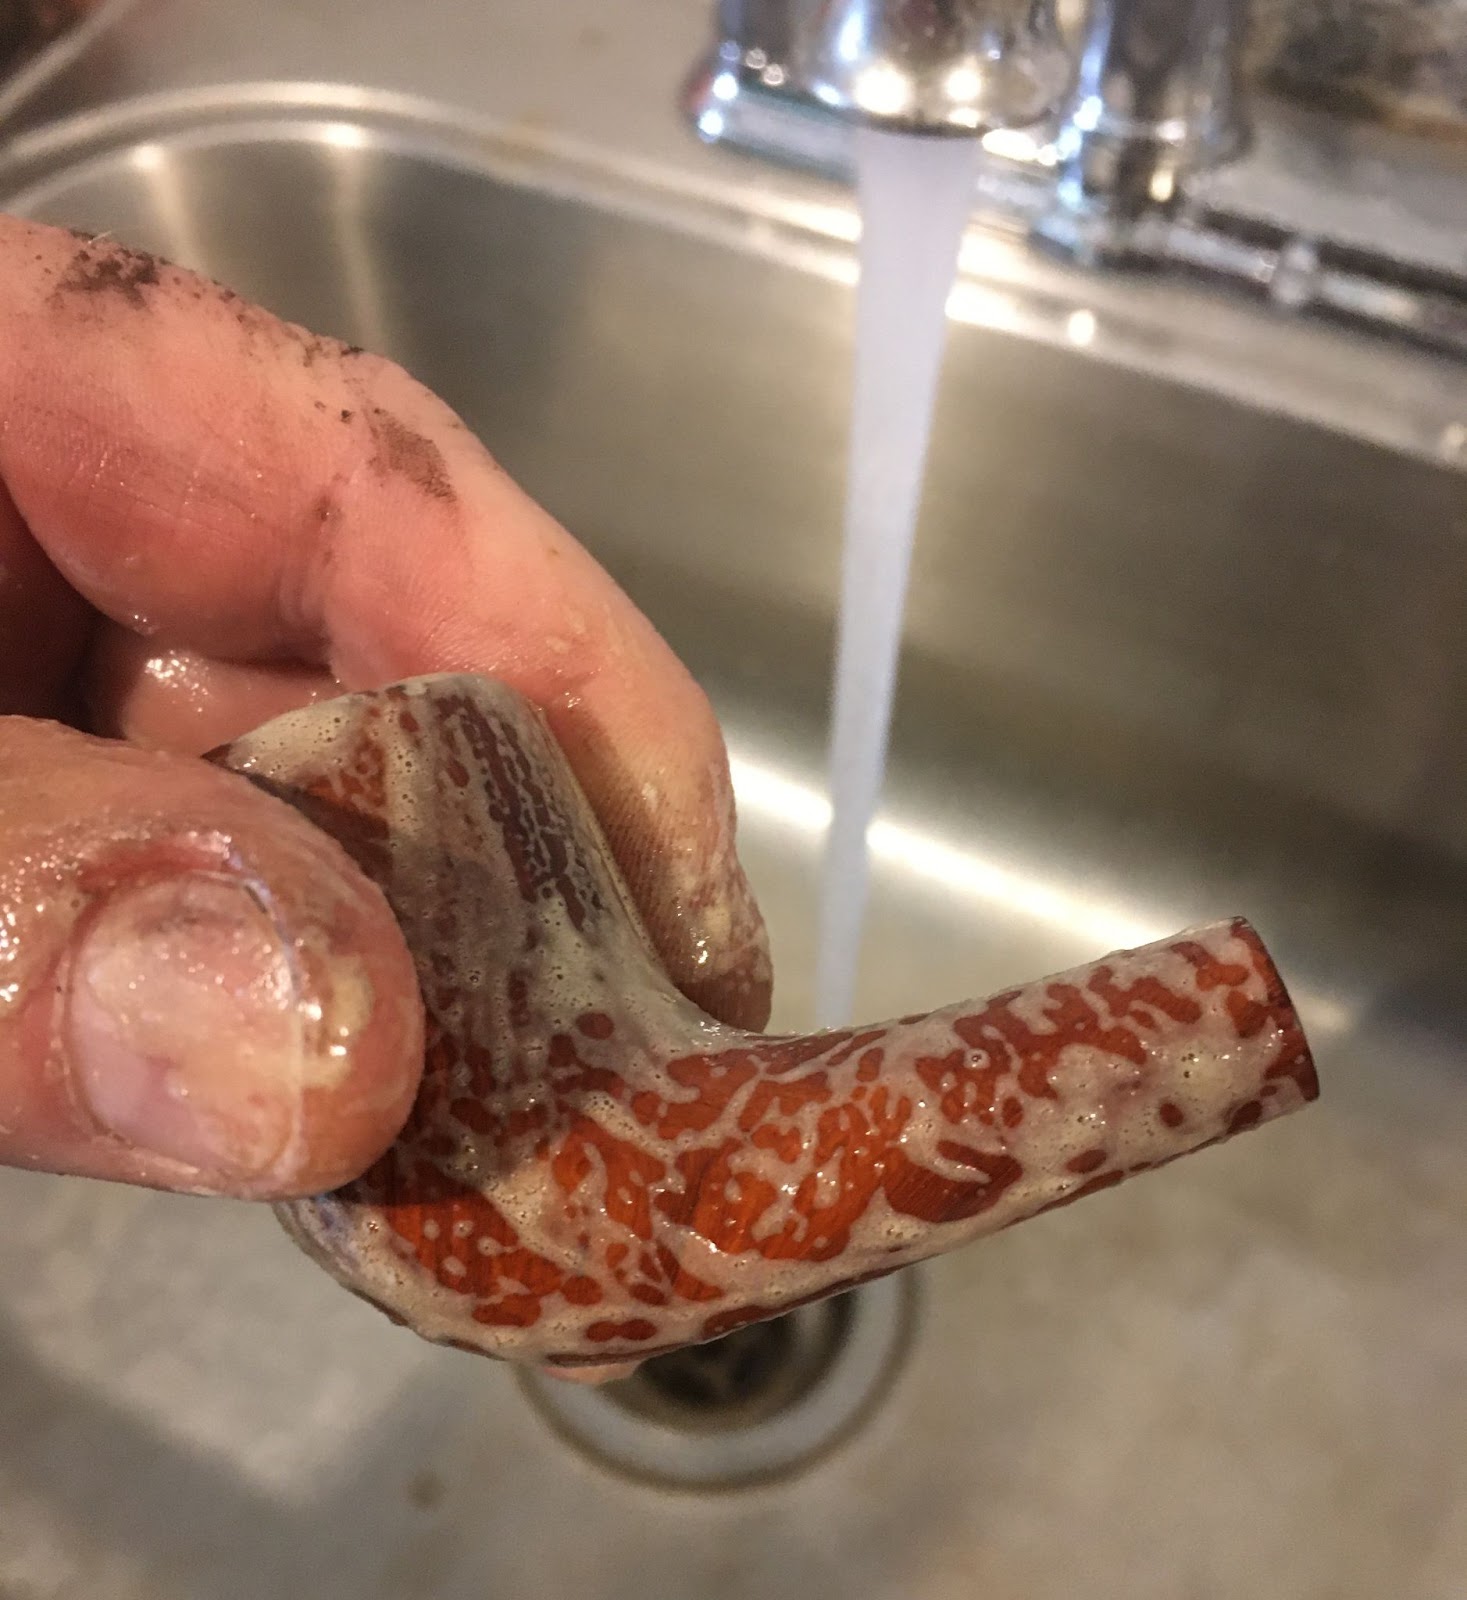
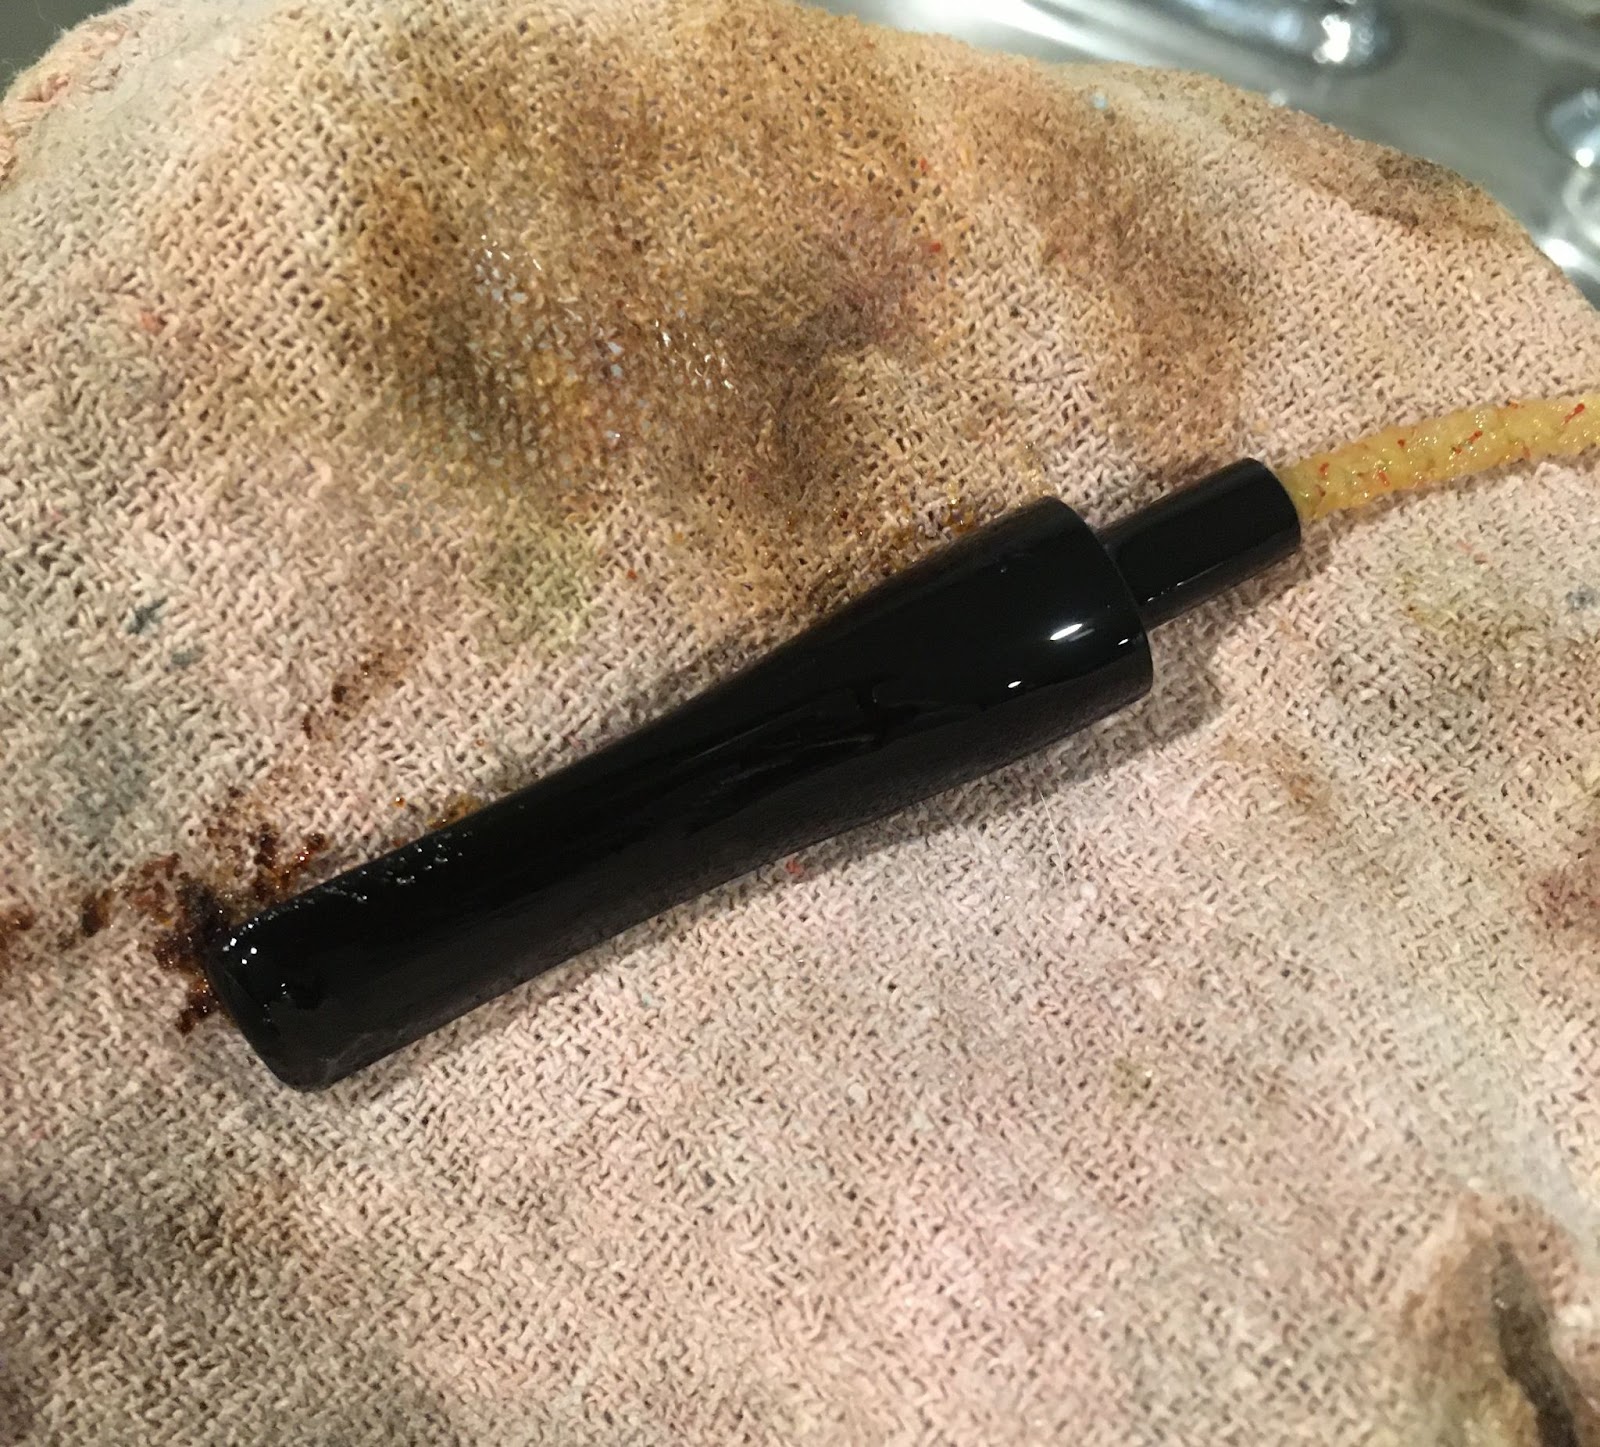
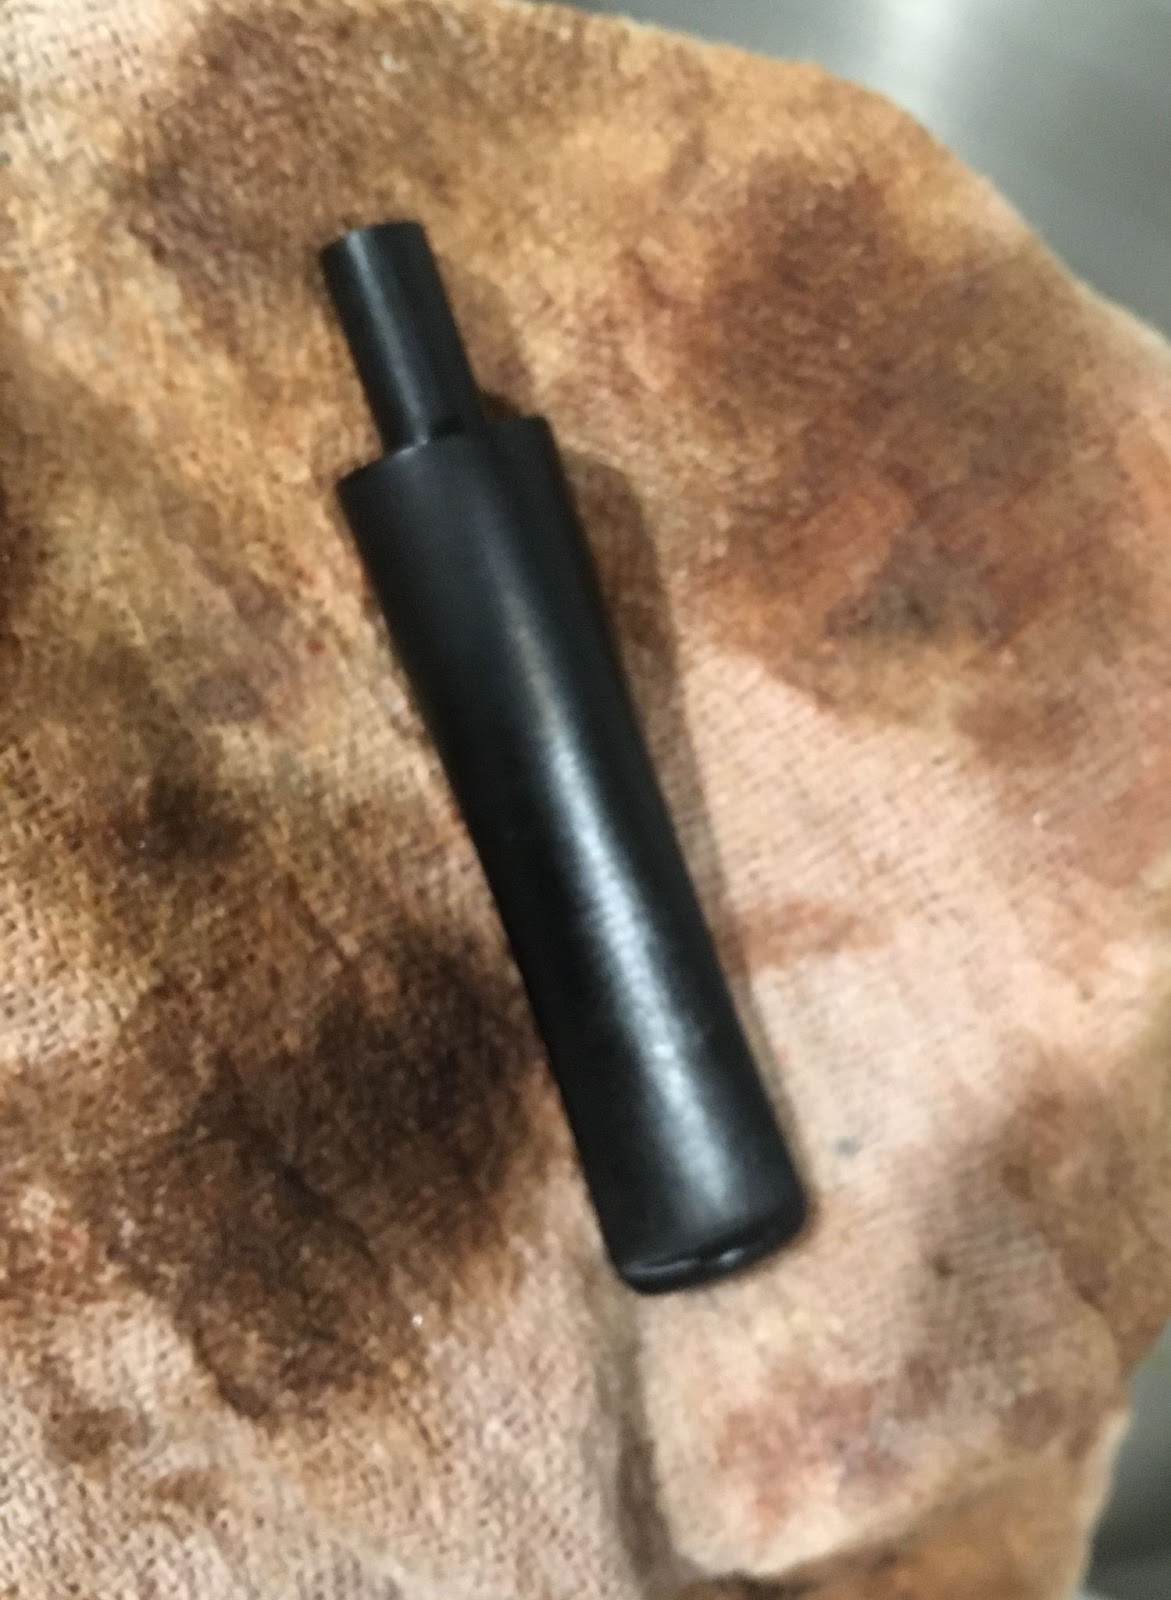
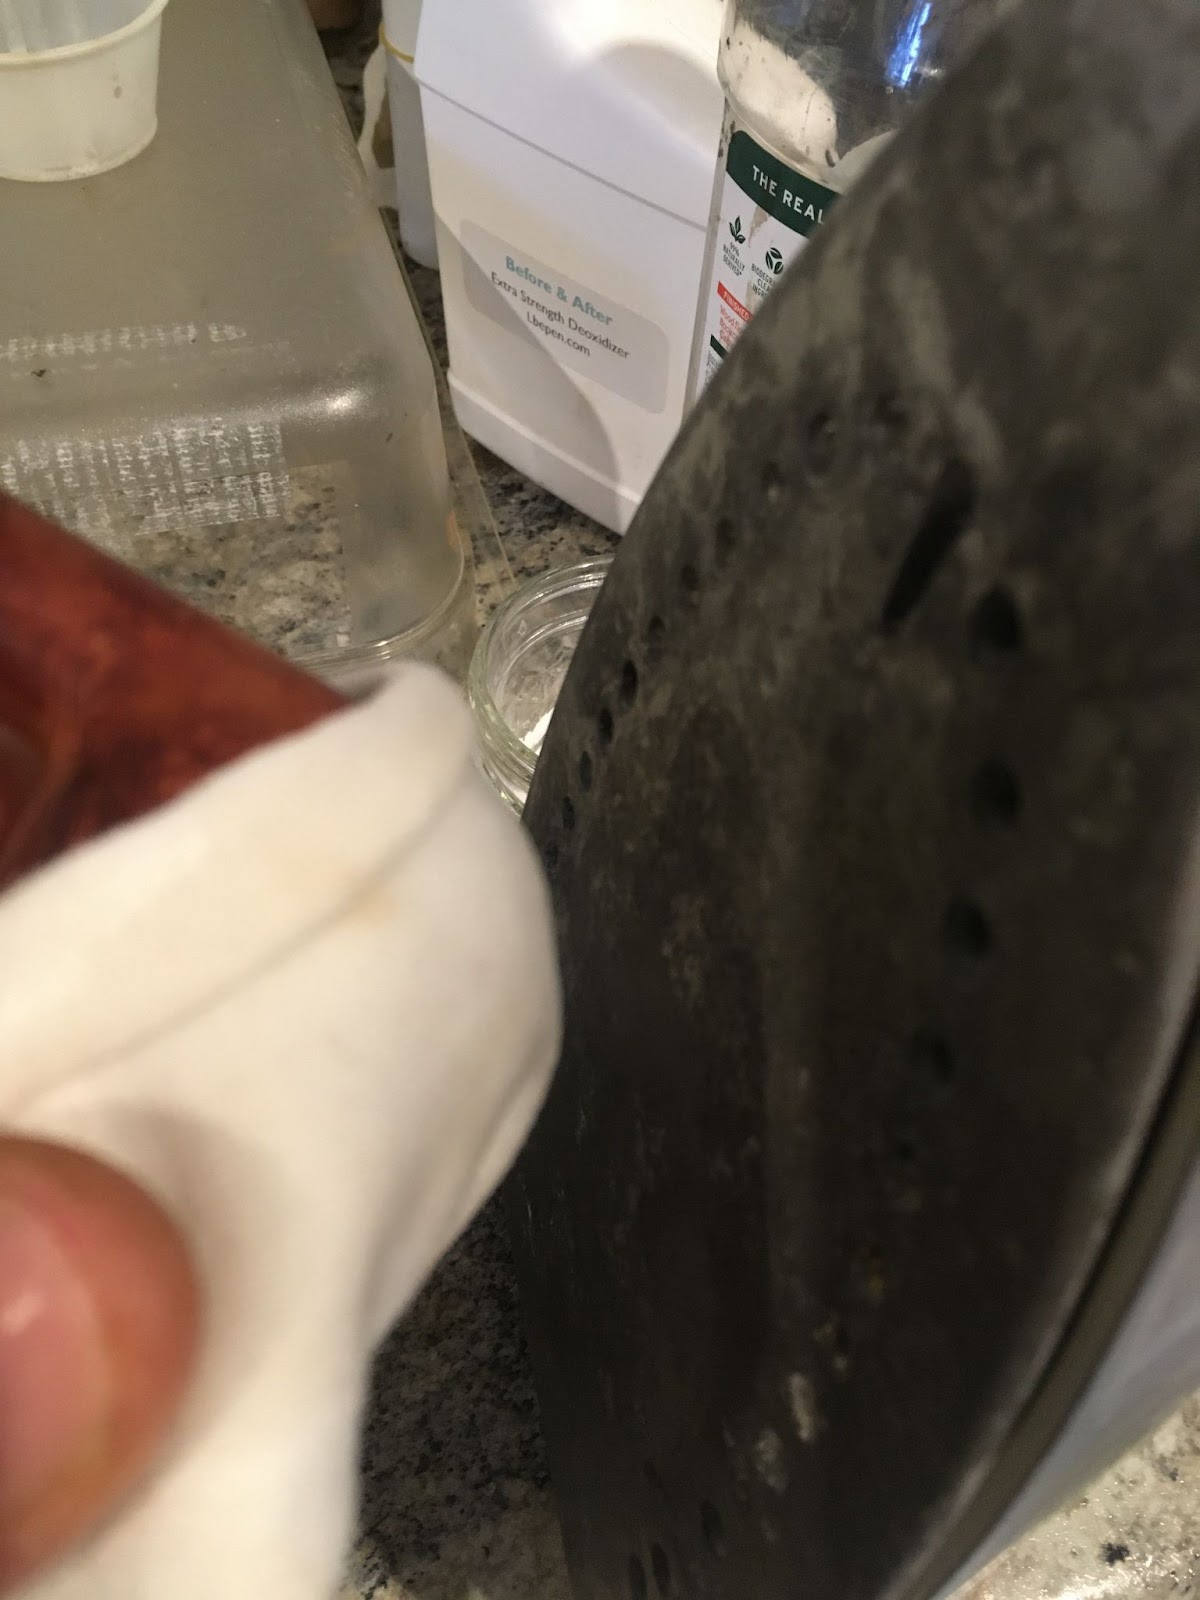
It was time to work on the stem. I retrieved it from deox and allowed the solution to drip from the stem.

And drip.
And drip.

Finally I used a coarse shop rag to wipe away the remaining excess deox solution. I like the shop rag as it is rough textured and it makes me think it is helping abrade away oxidized rubber while wiping.
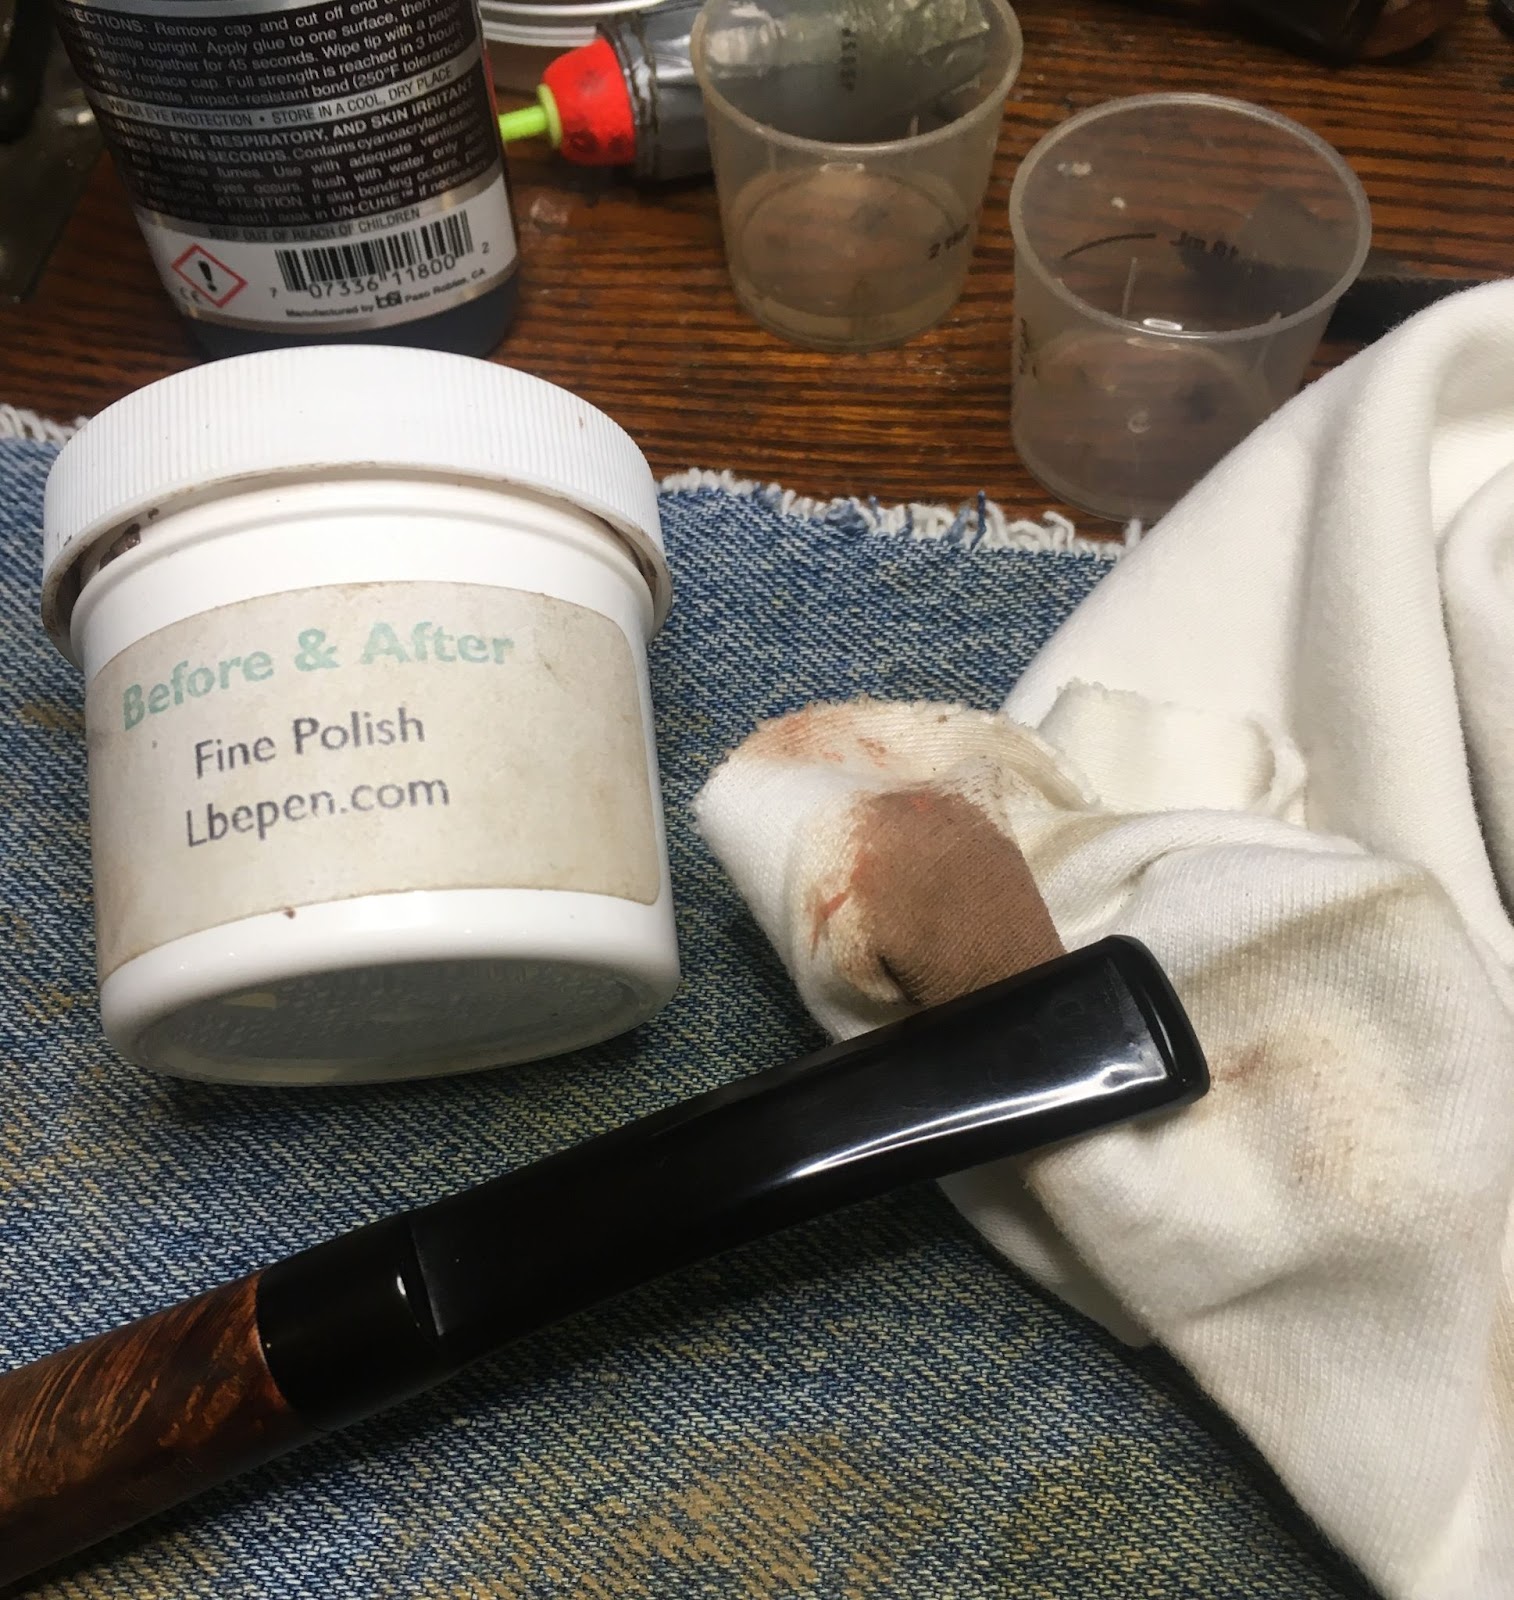
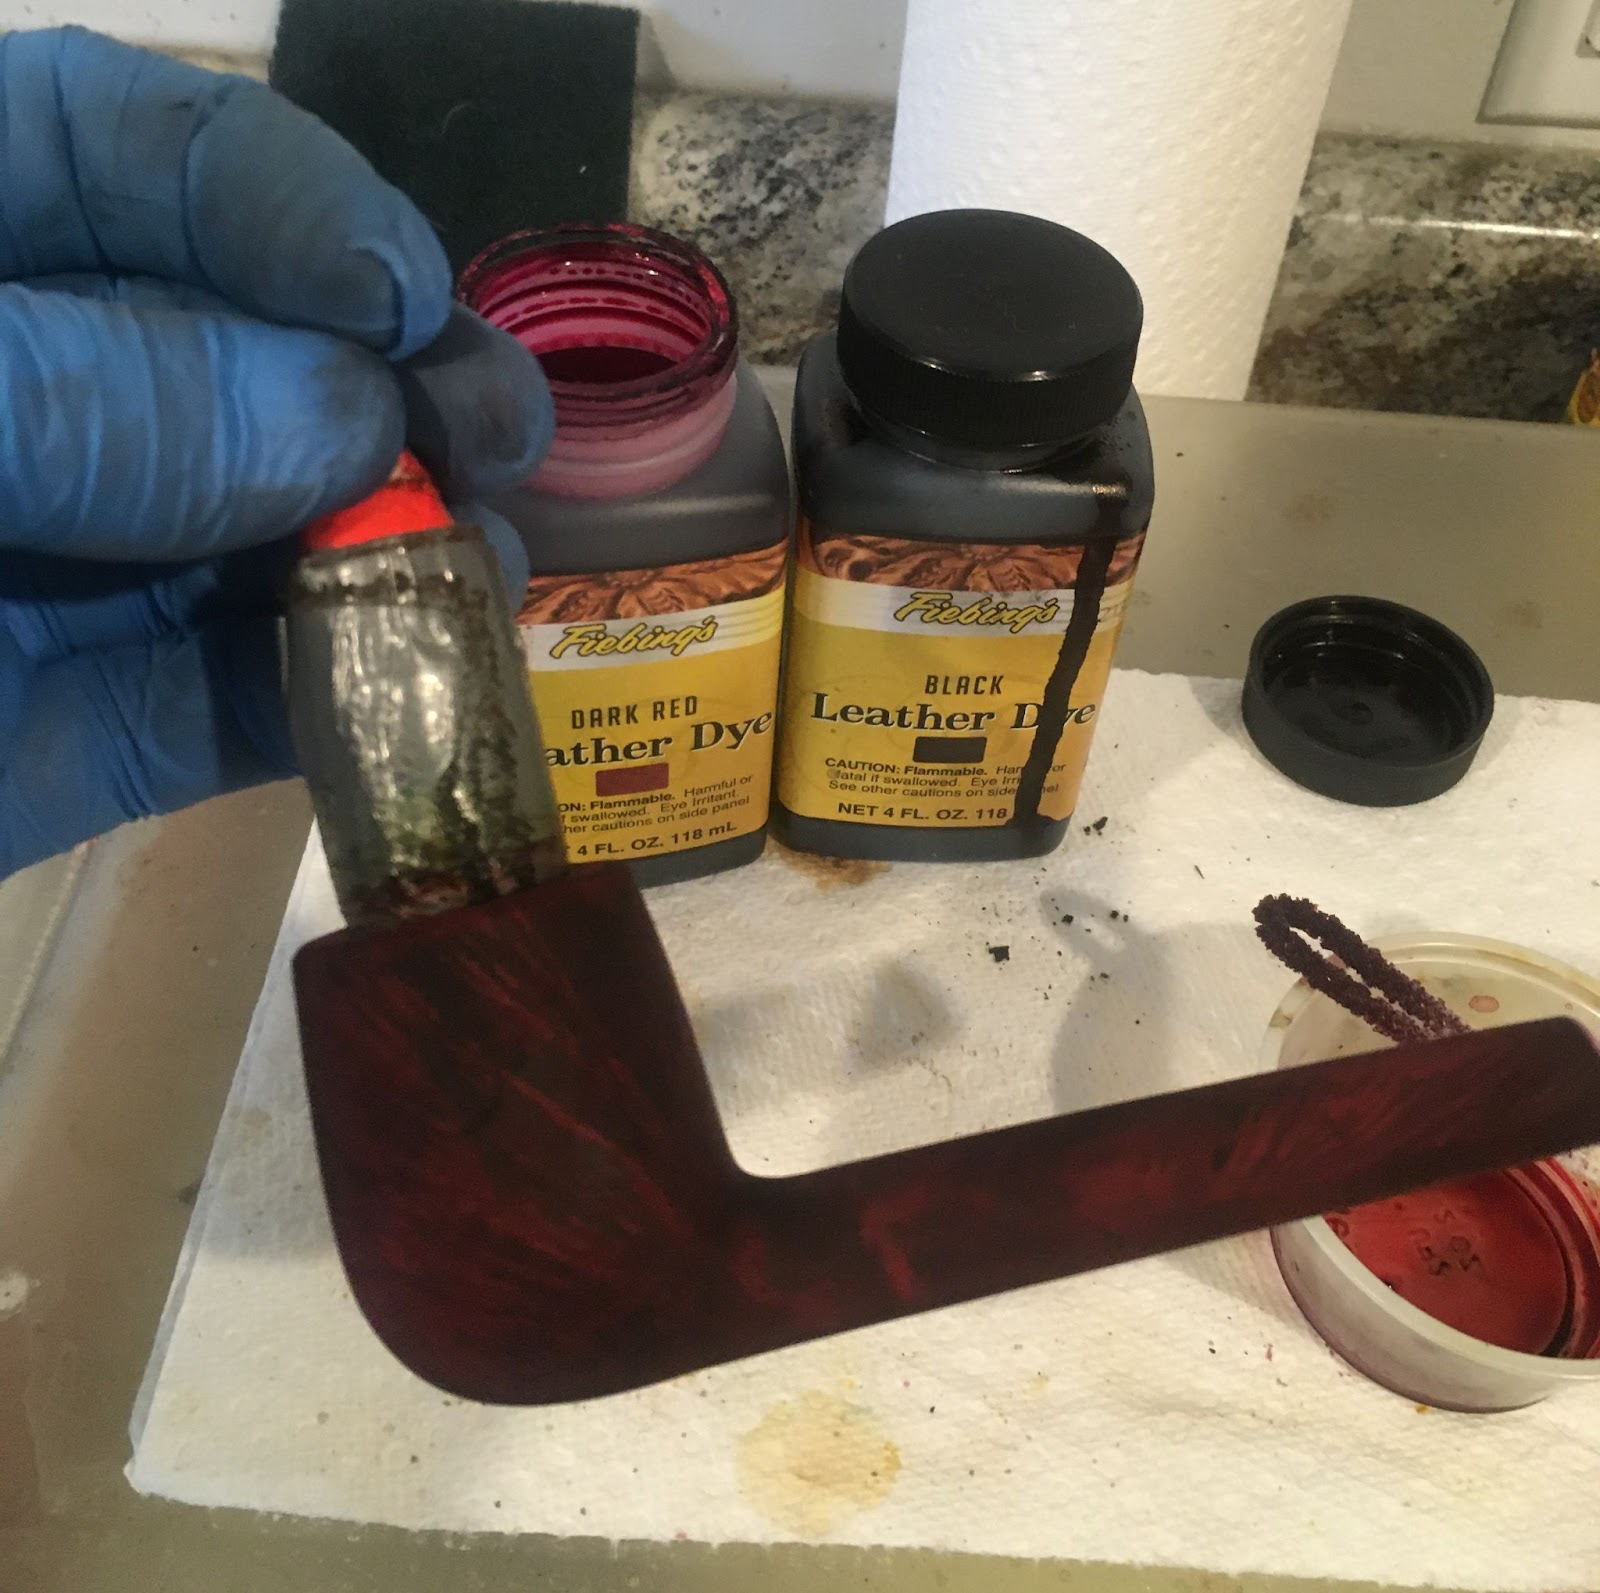
Stimm quite a bit of brown.
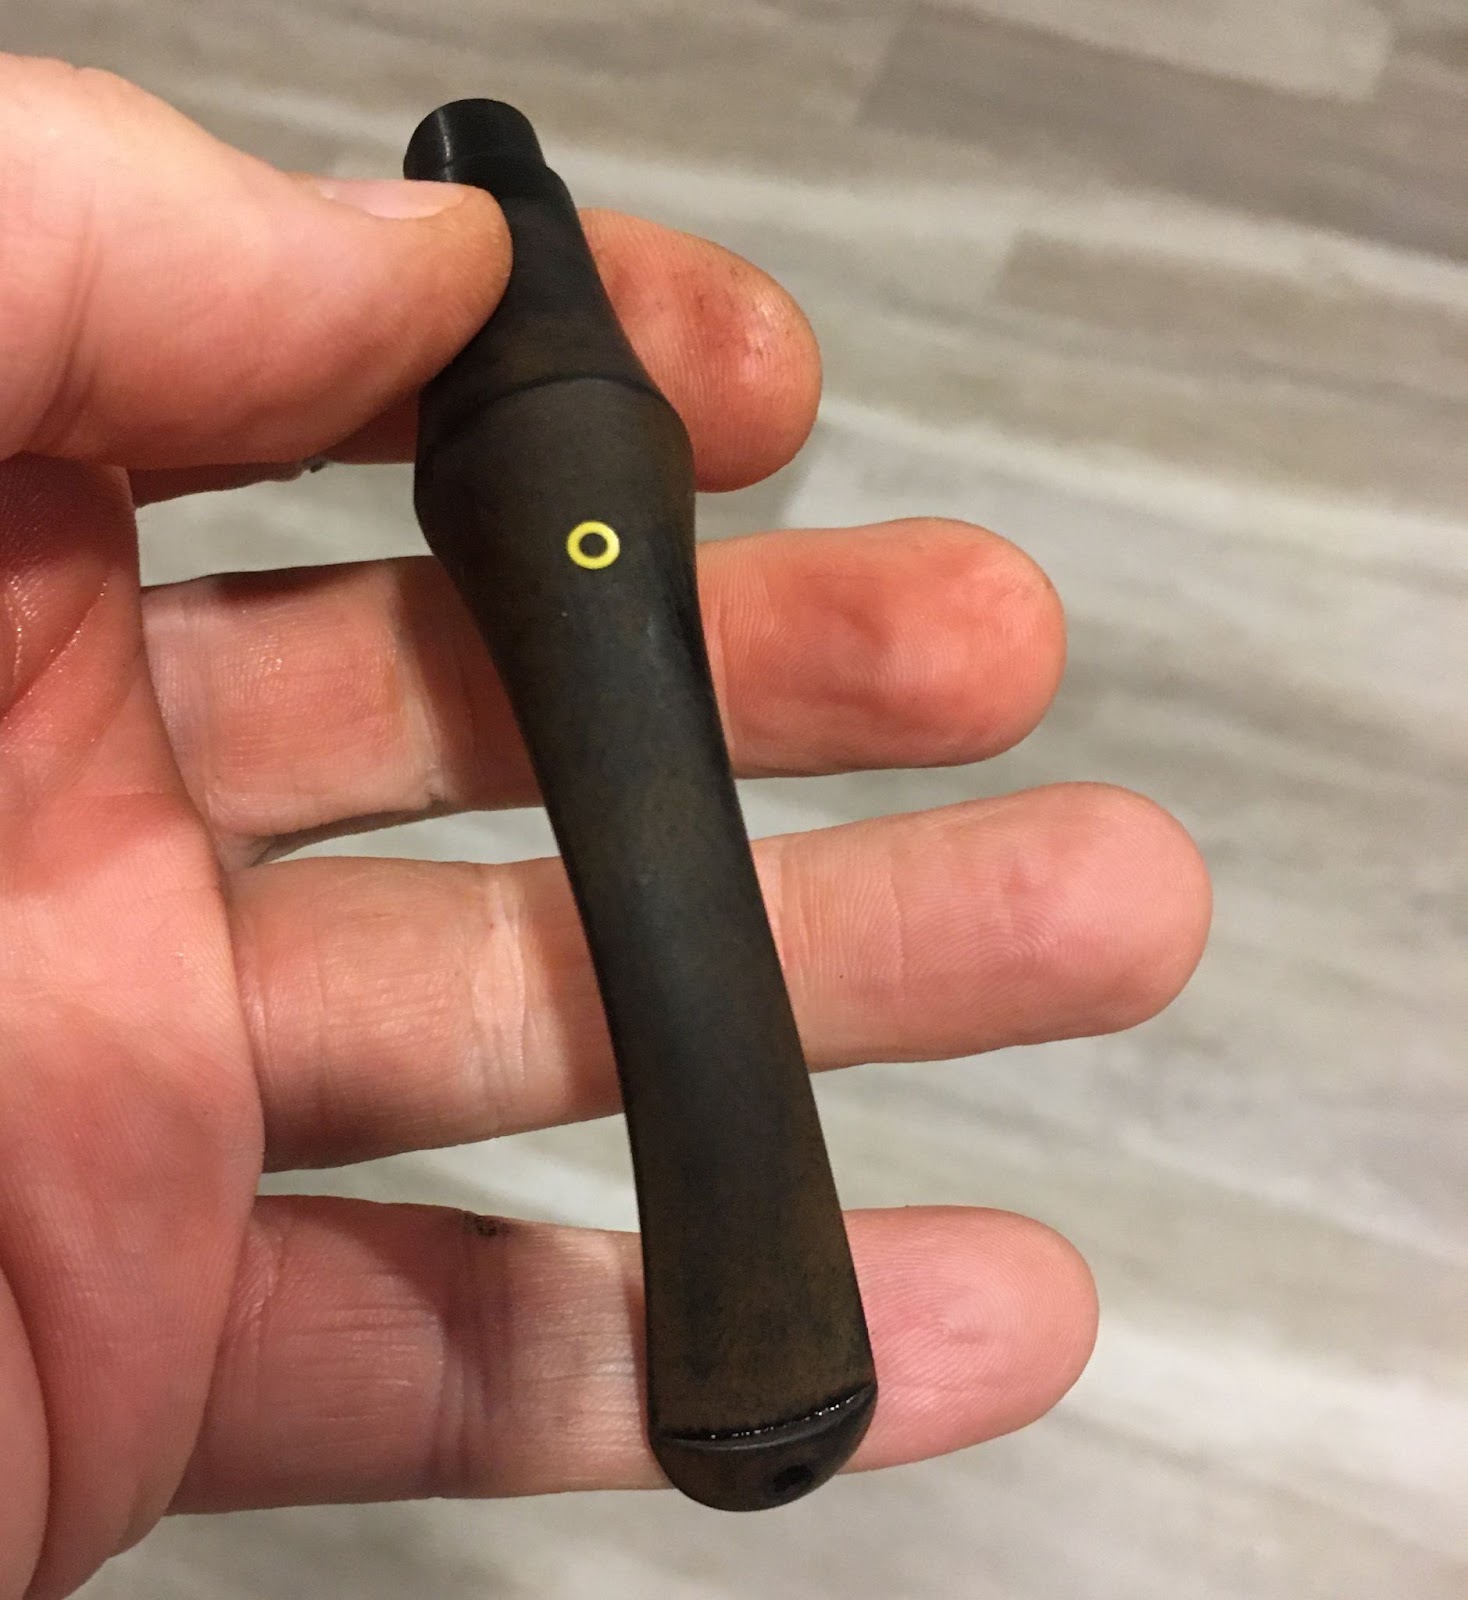
Many make-up pads with Soft Scrub later the stem was looking better. I took it to the buffer and buffed it with red followed by white buffing compounds to remove more of the stubborn oxidation.

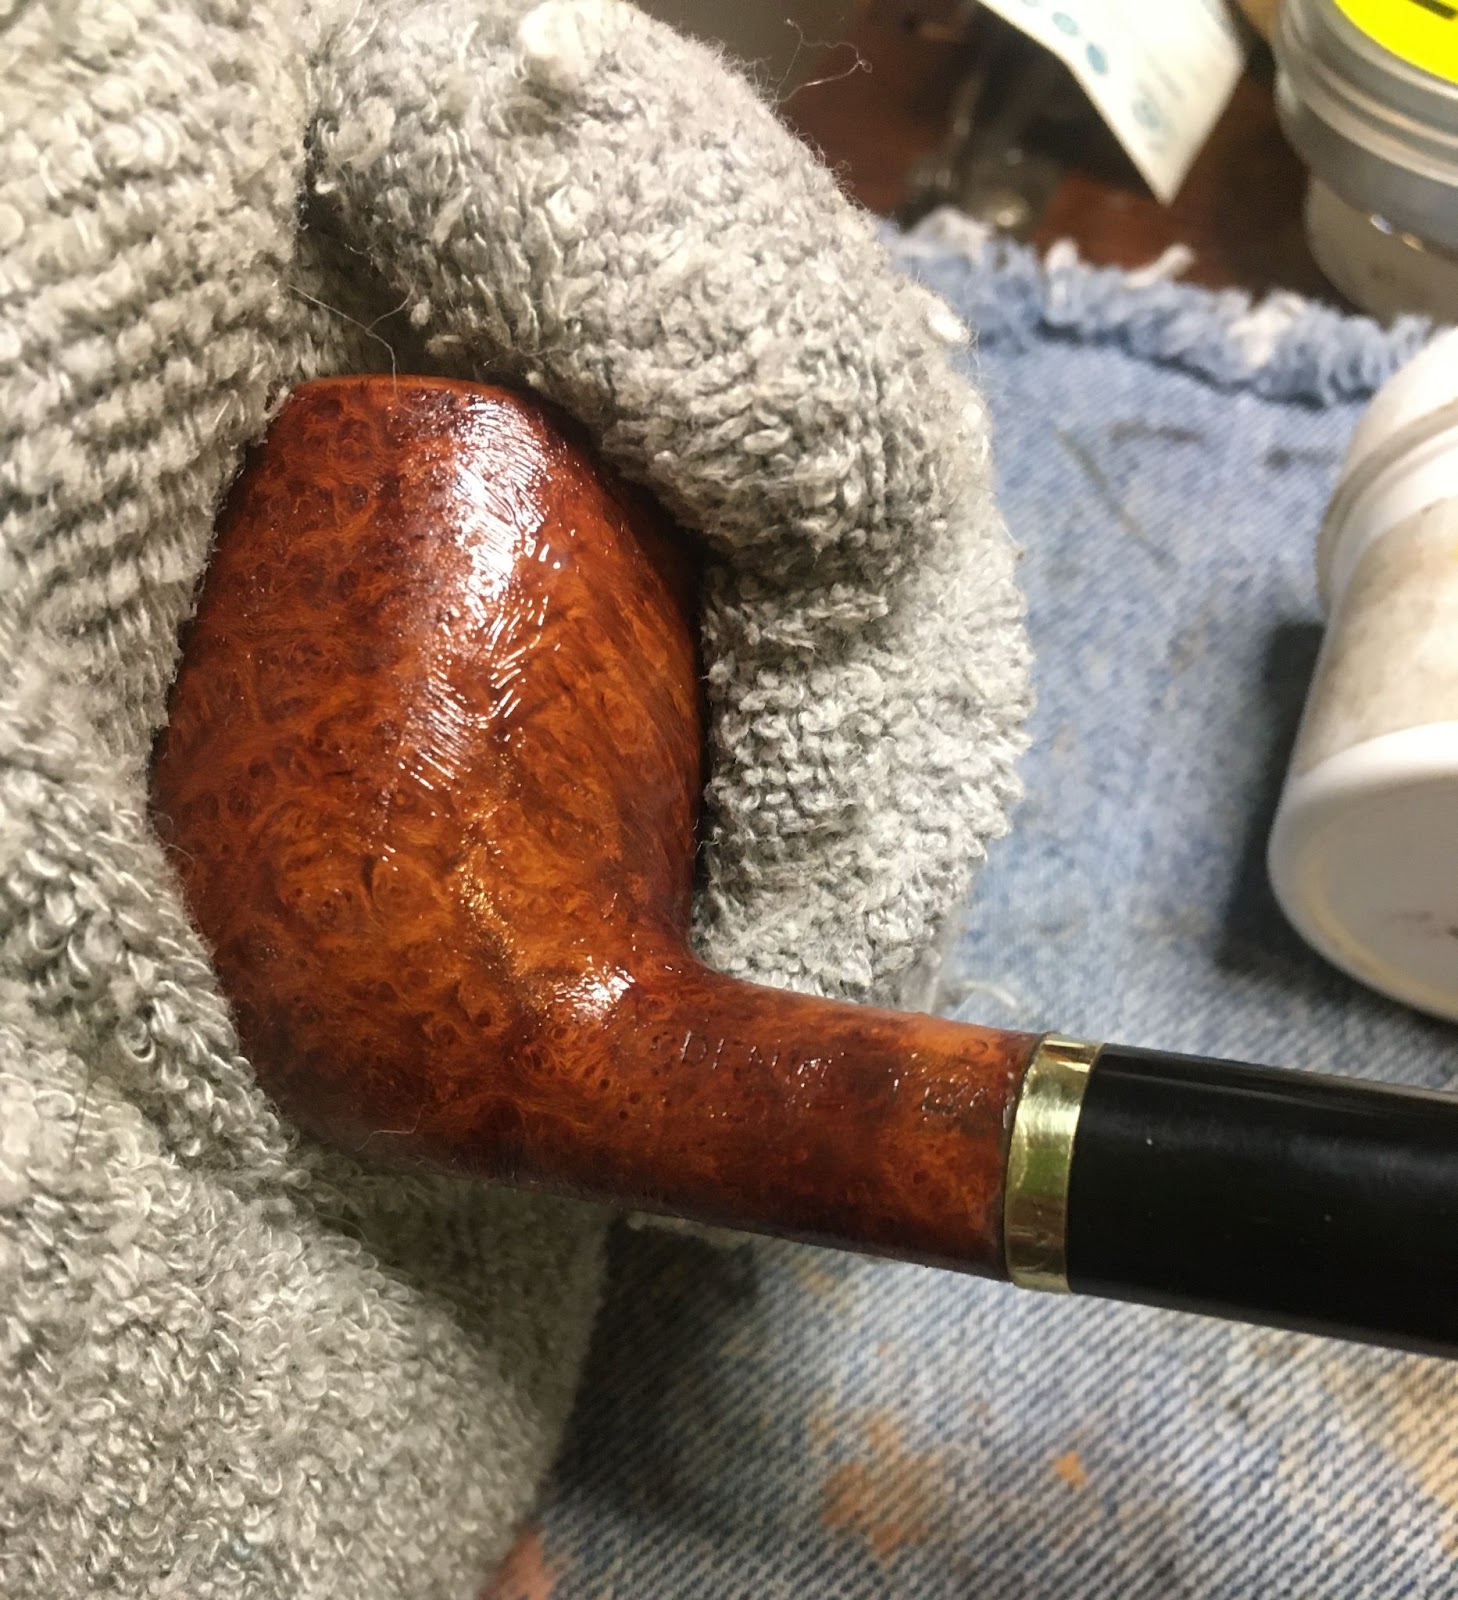
The stummel was wiped clean of the Restoration Balm with an inside out athletic sock. The sock had many white hairs from the local White German Shepherd. I am not sure if this is a necessary part of the restoration but it seems inevitable in this house.
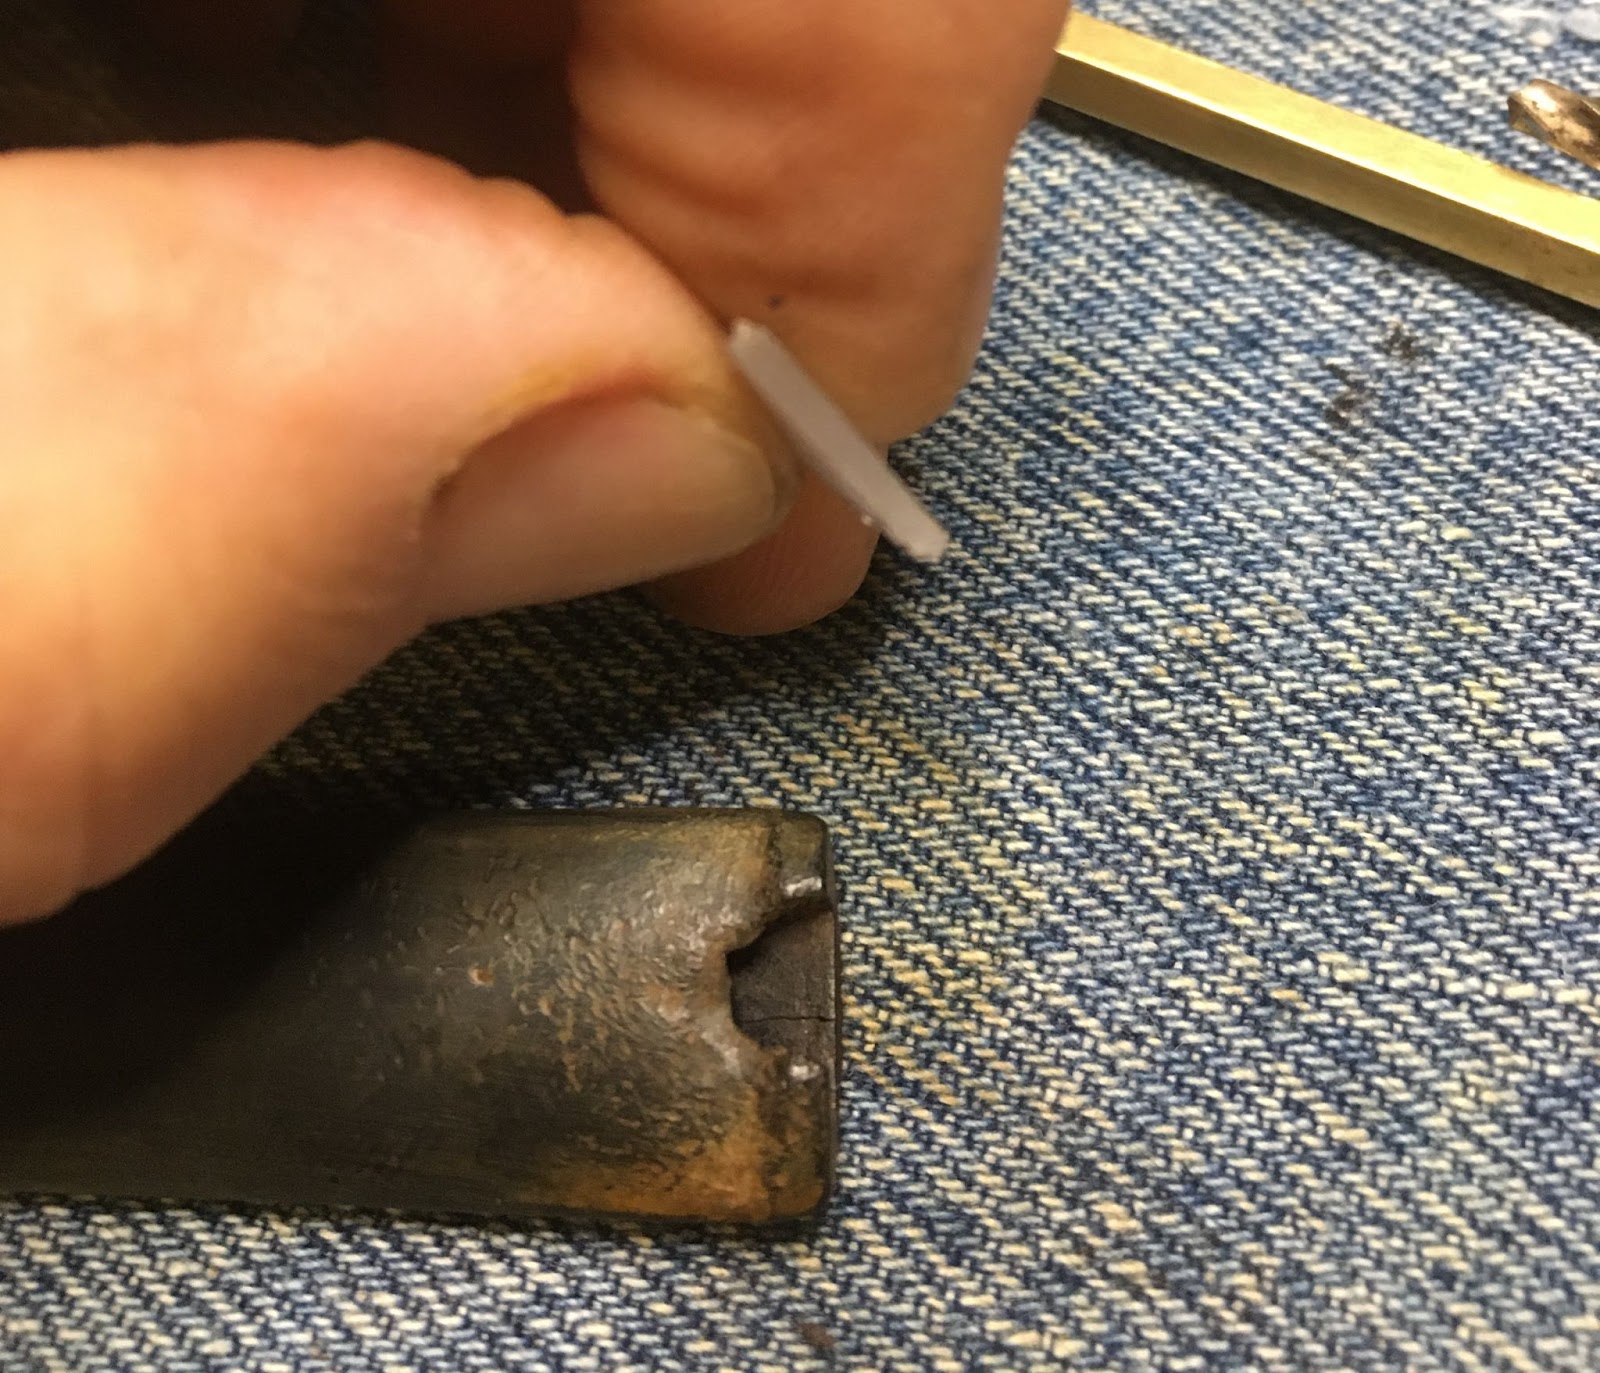
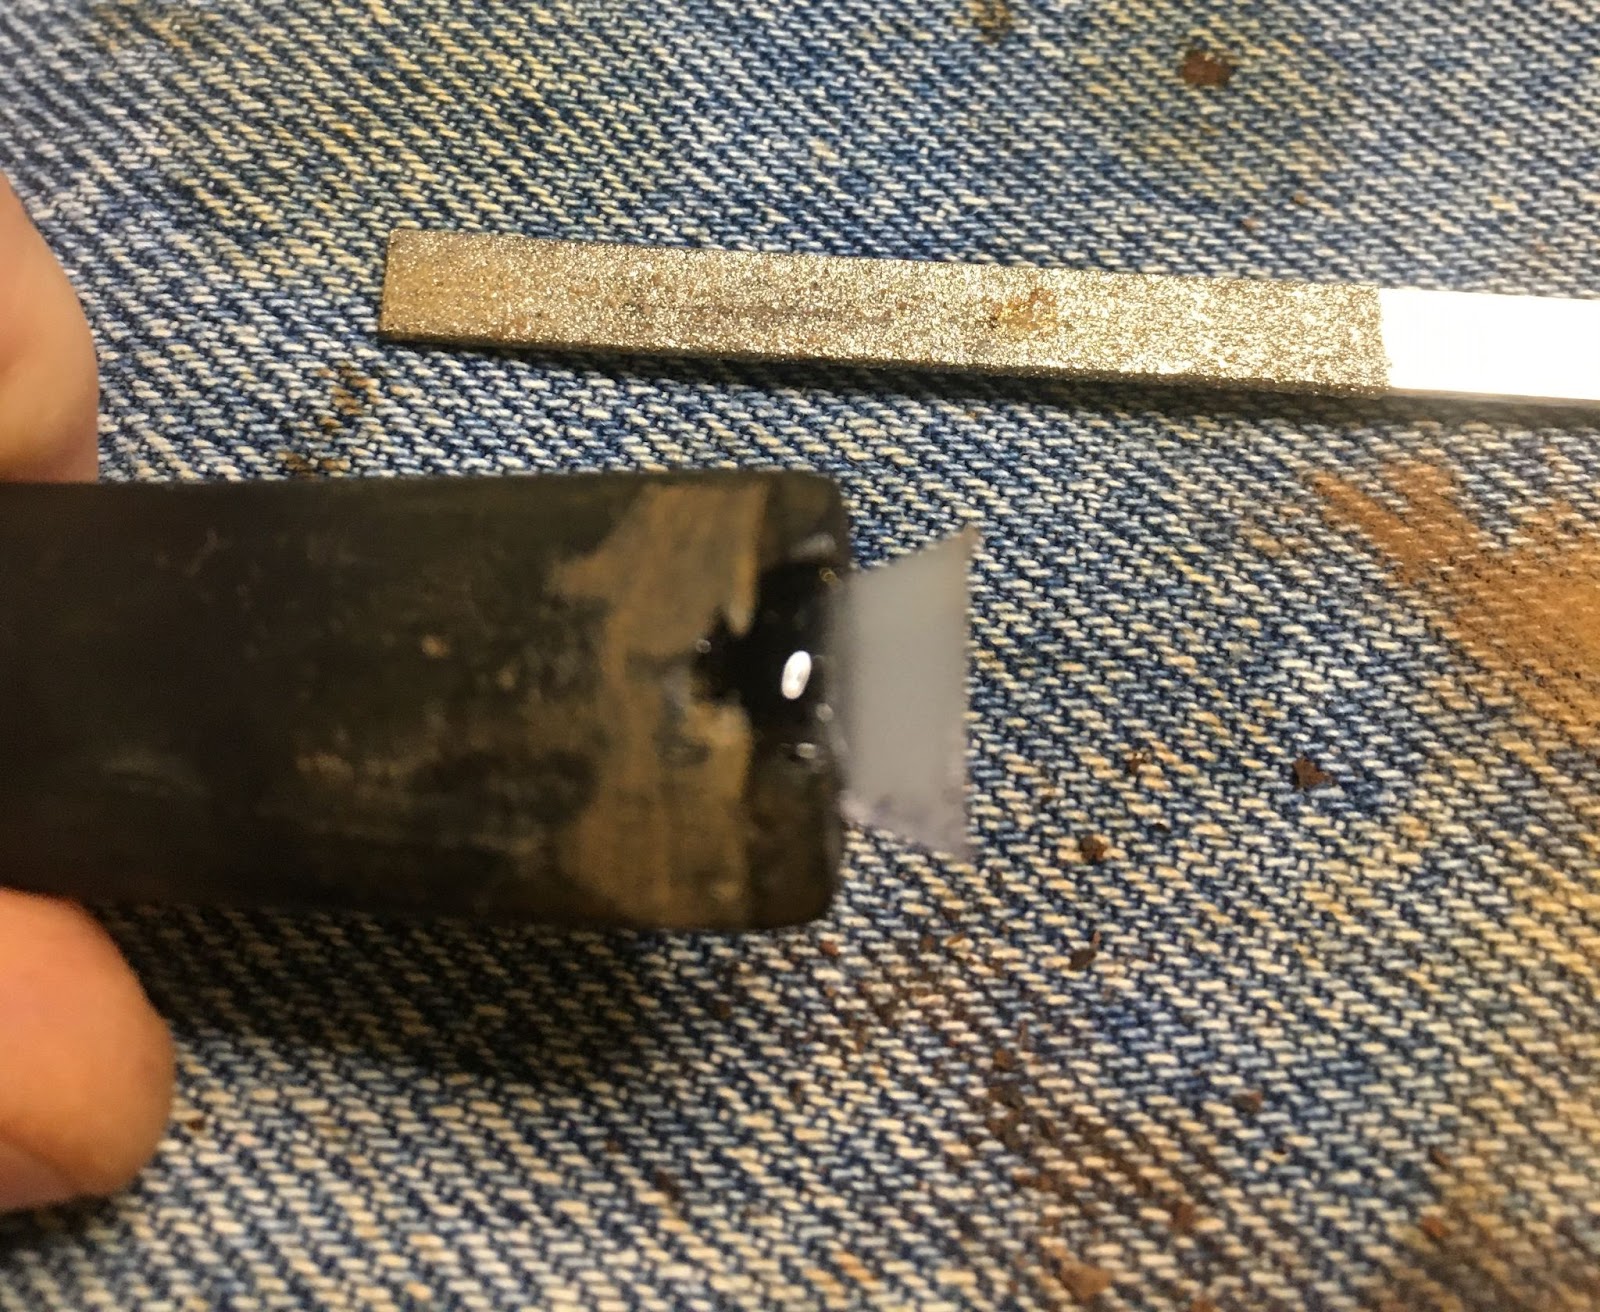
Tha stem was looking far better after the buffing however I worked it over with the 4000-12000 micro-mesh pads anyway. Between each pad I wiped the stem with a drop of Obsidian Oil.
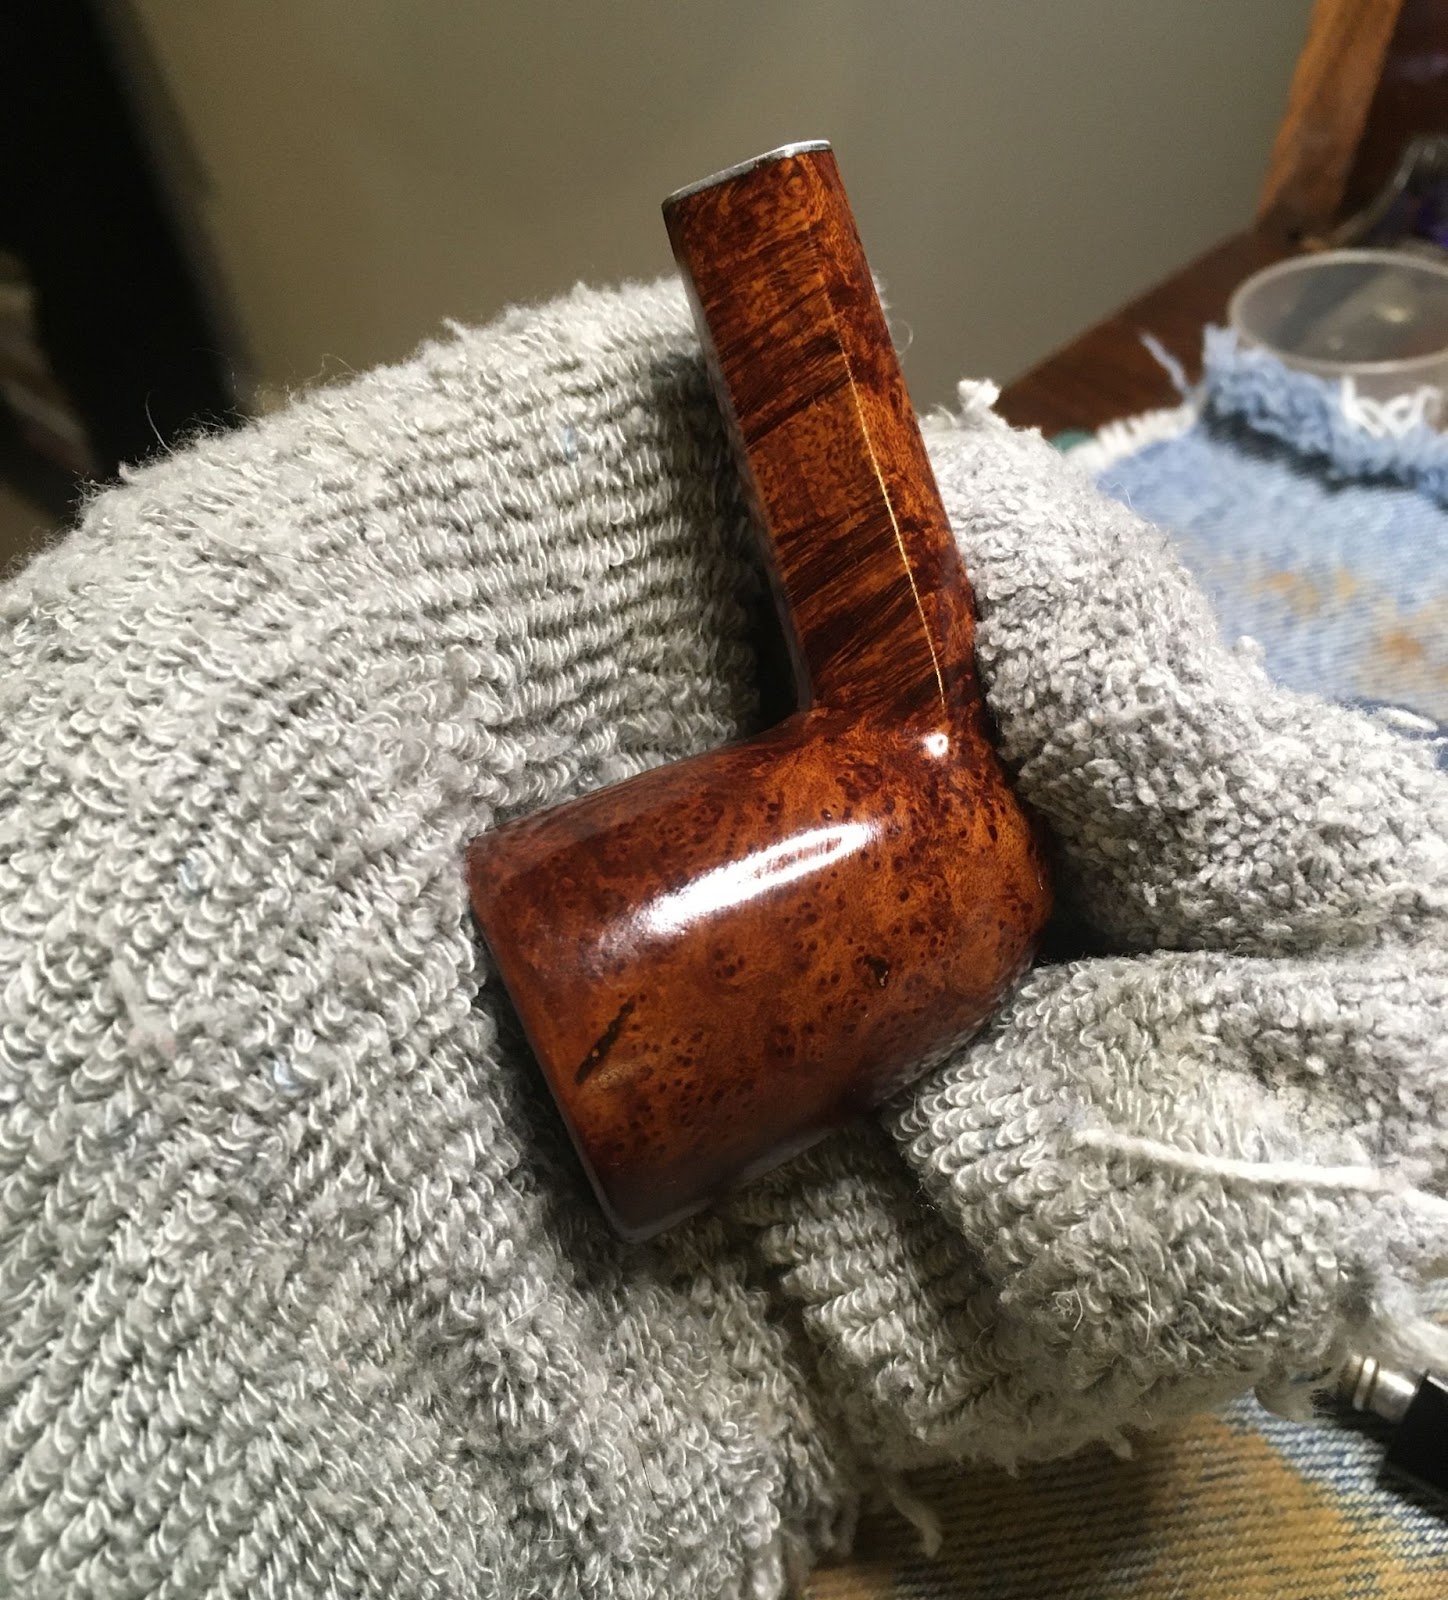
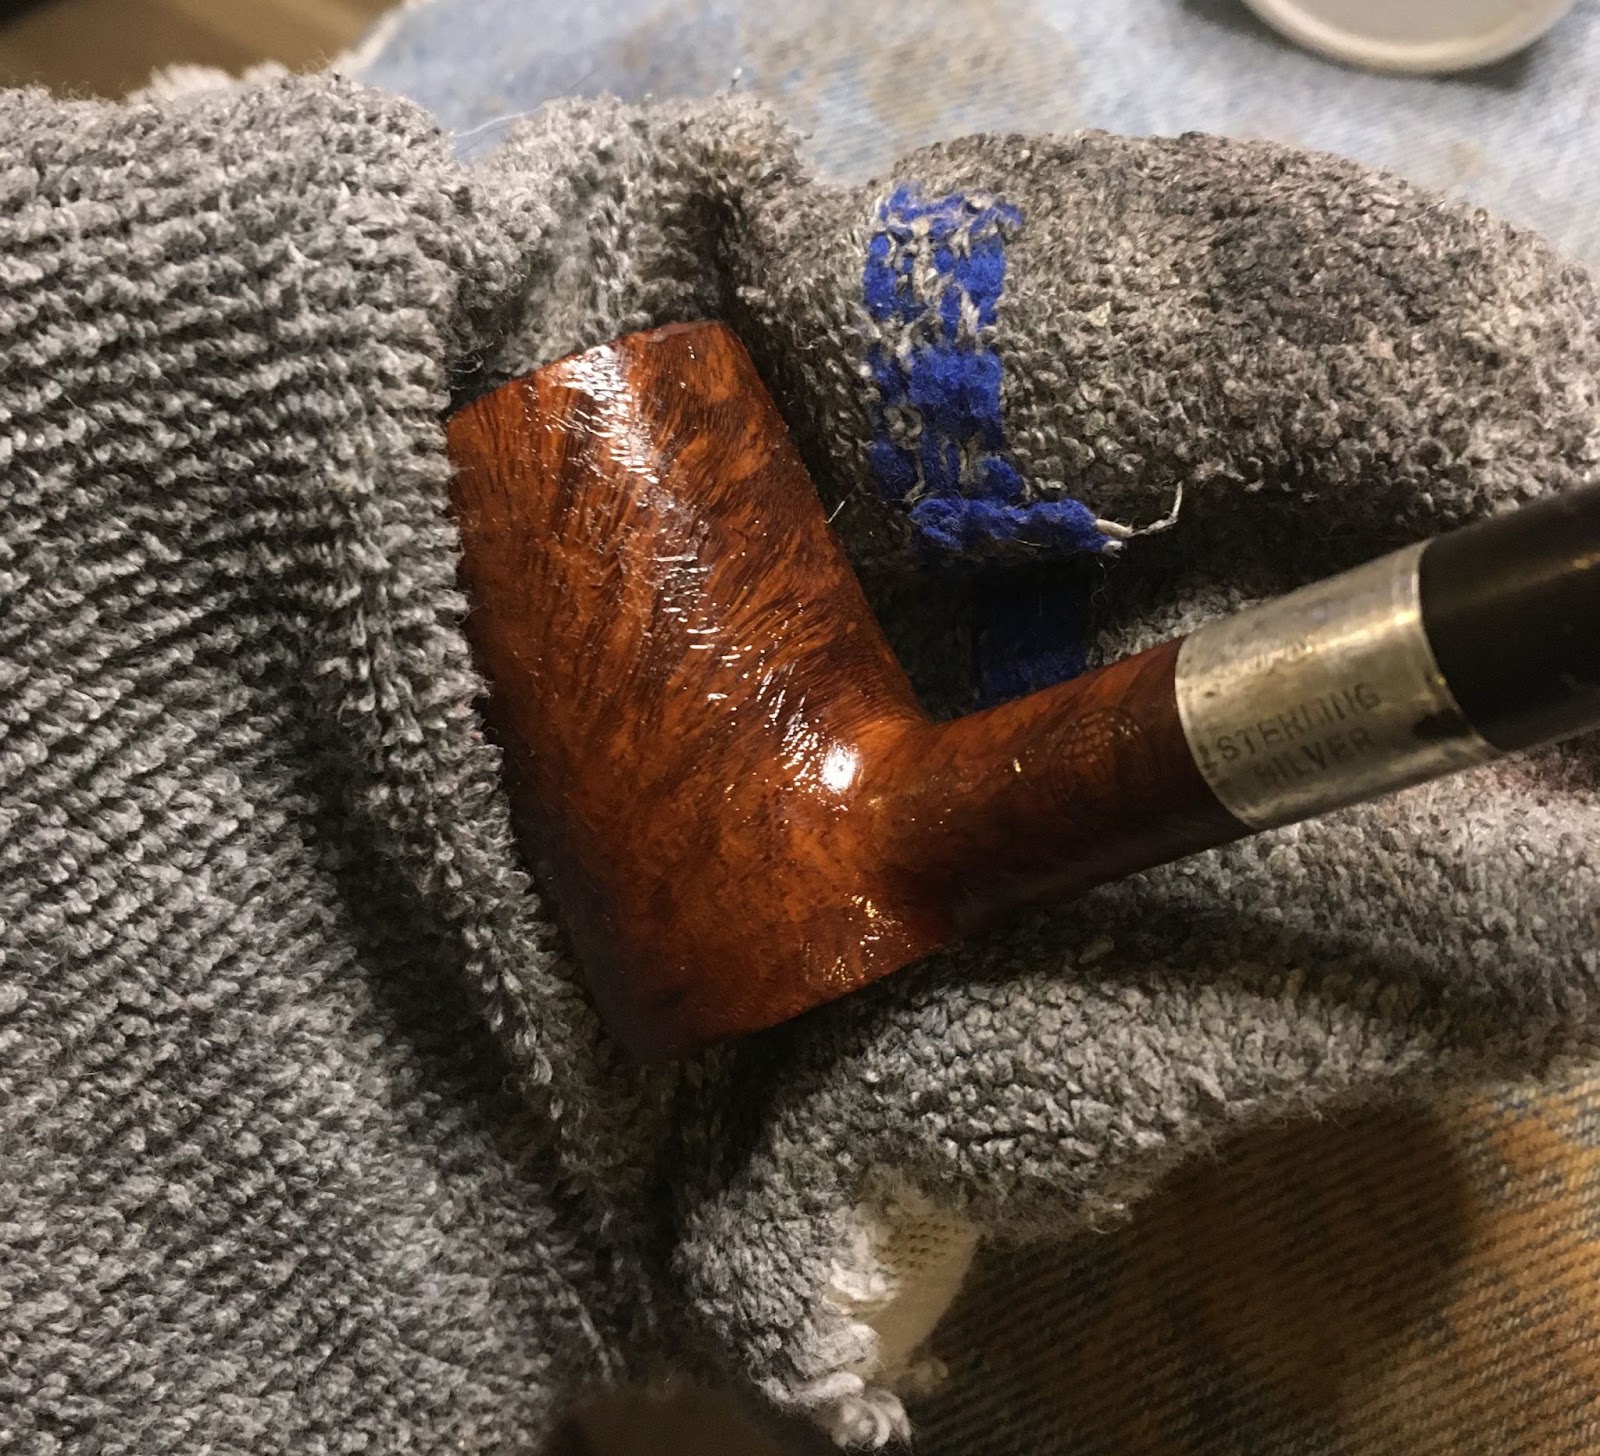
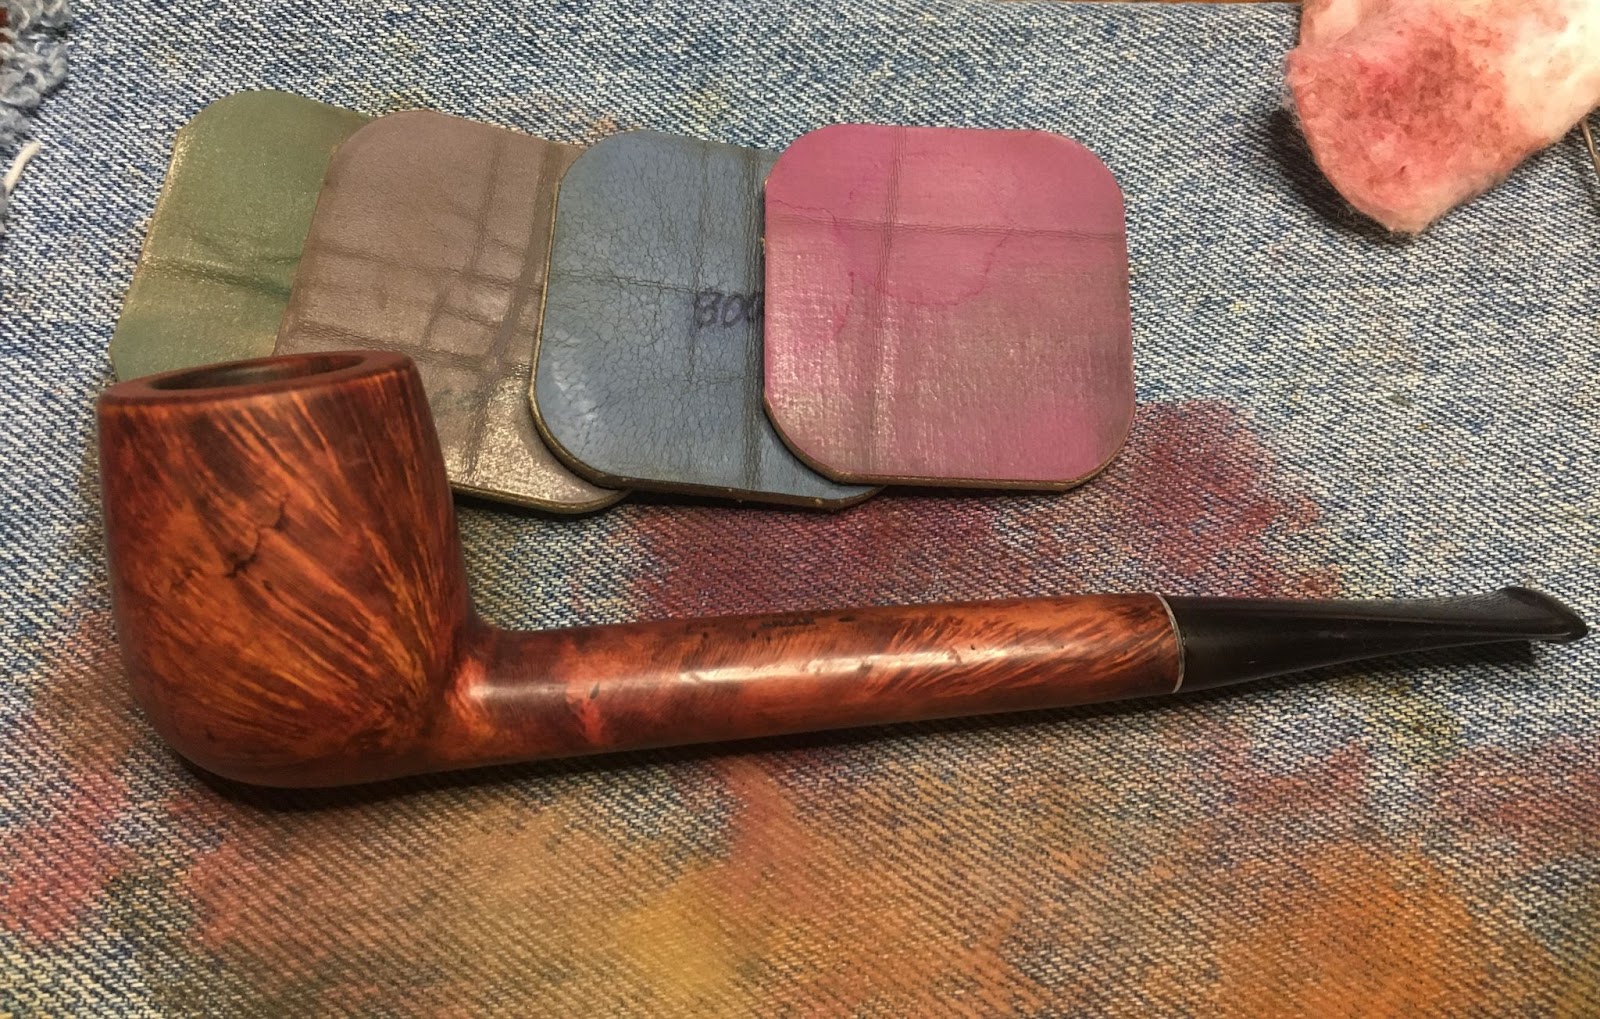
The last step was to apply several coats of carnauba wax with the buffer.
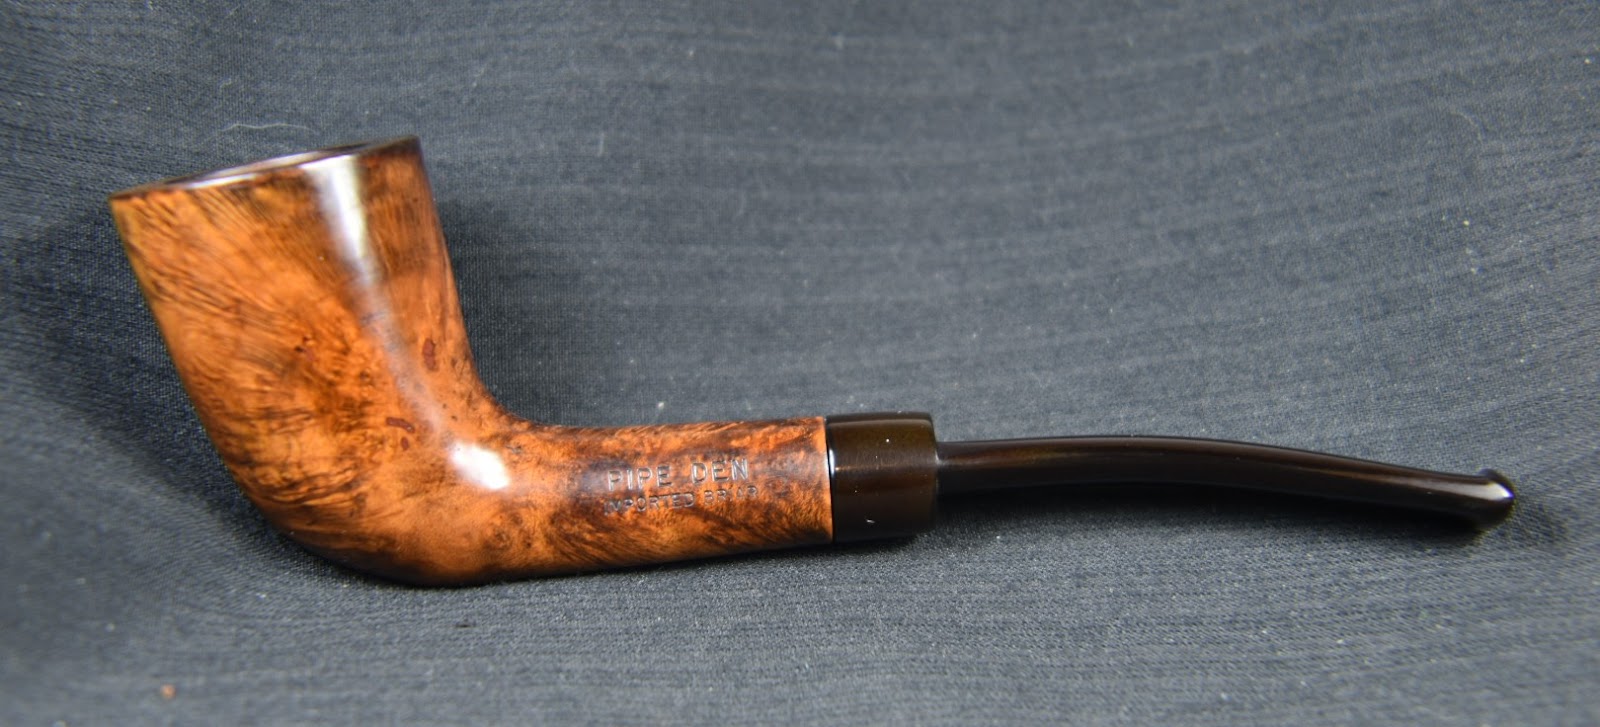
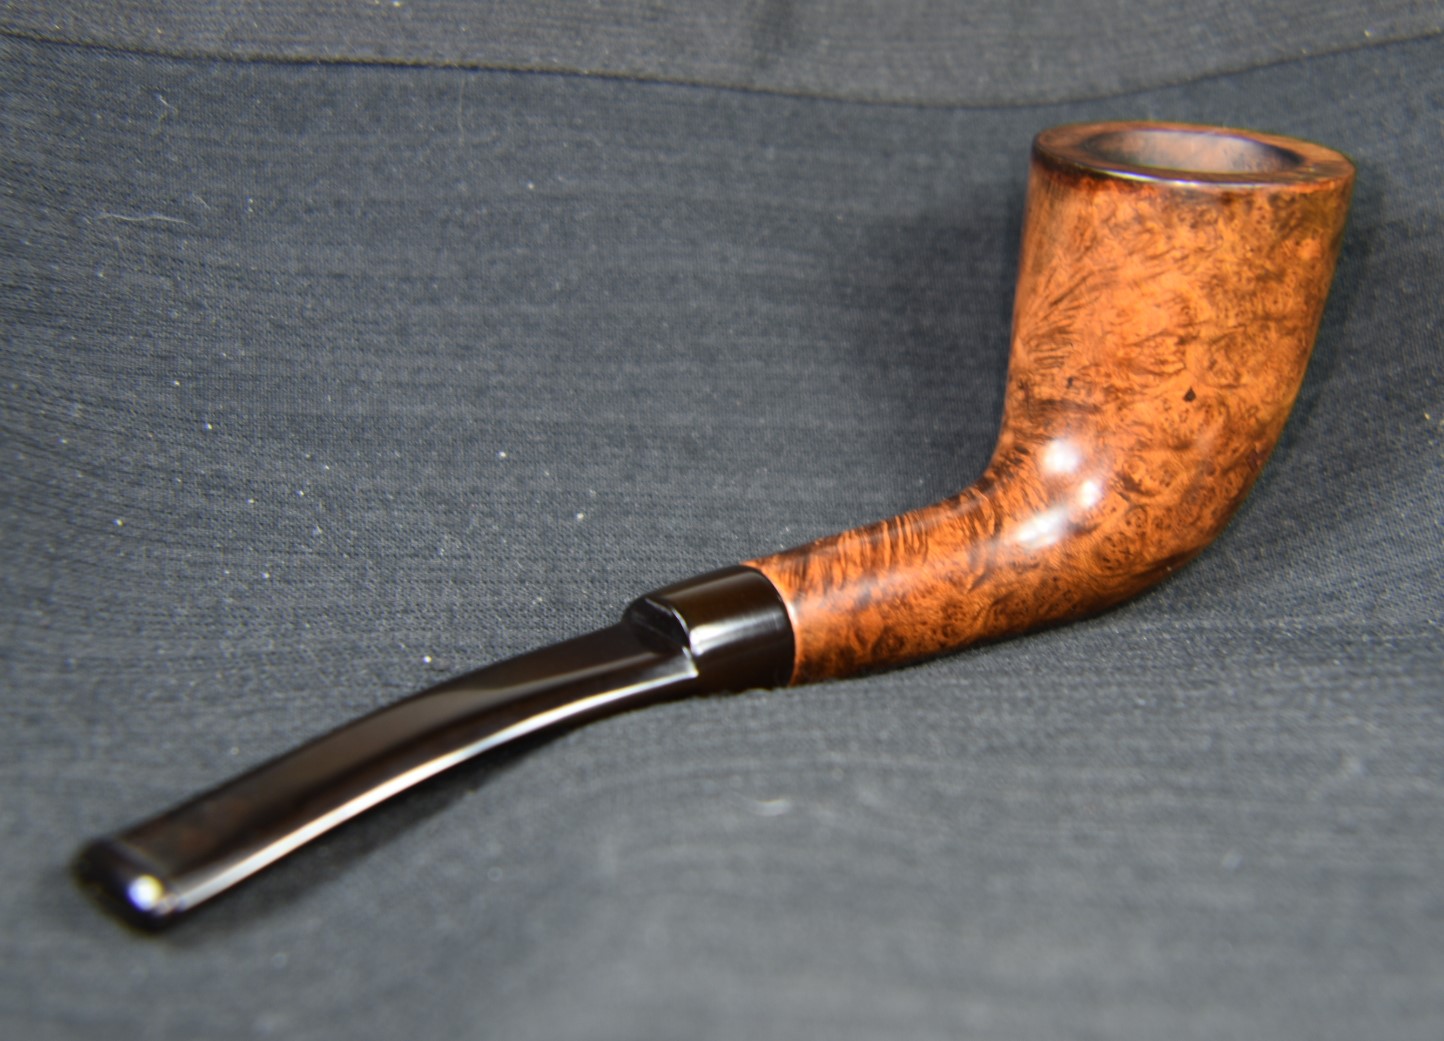
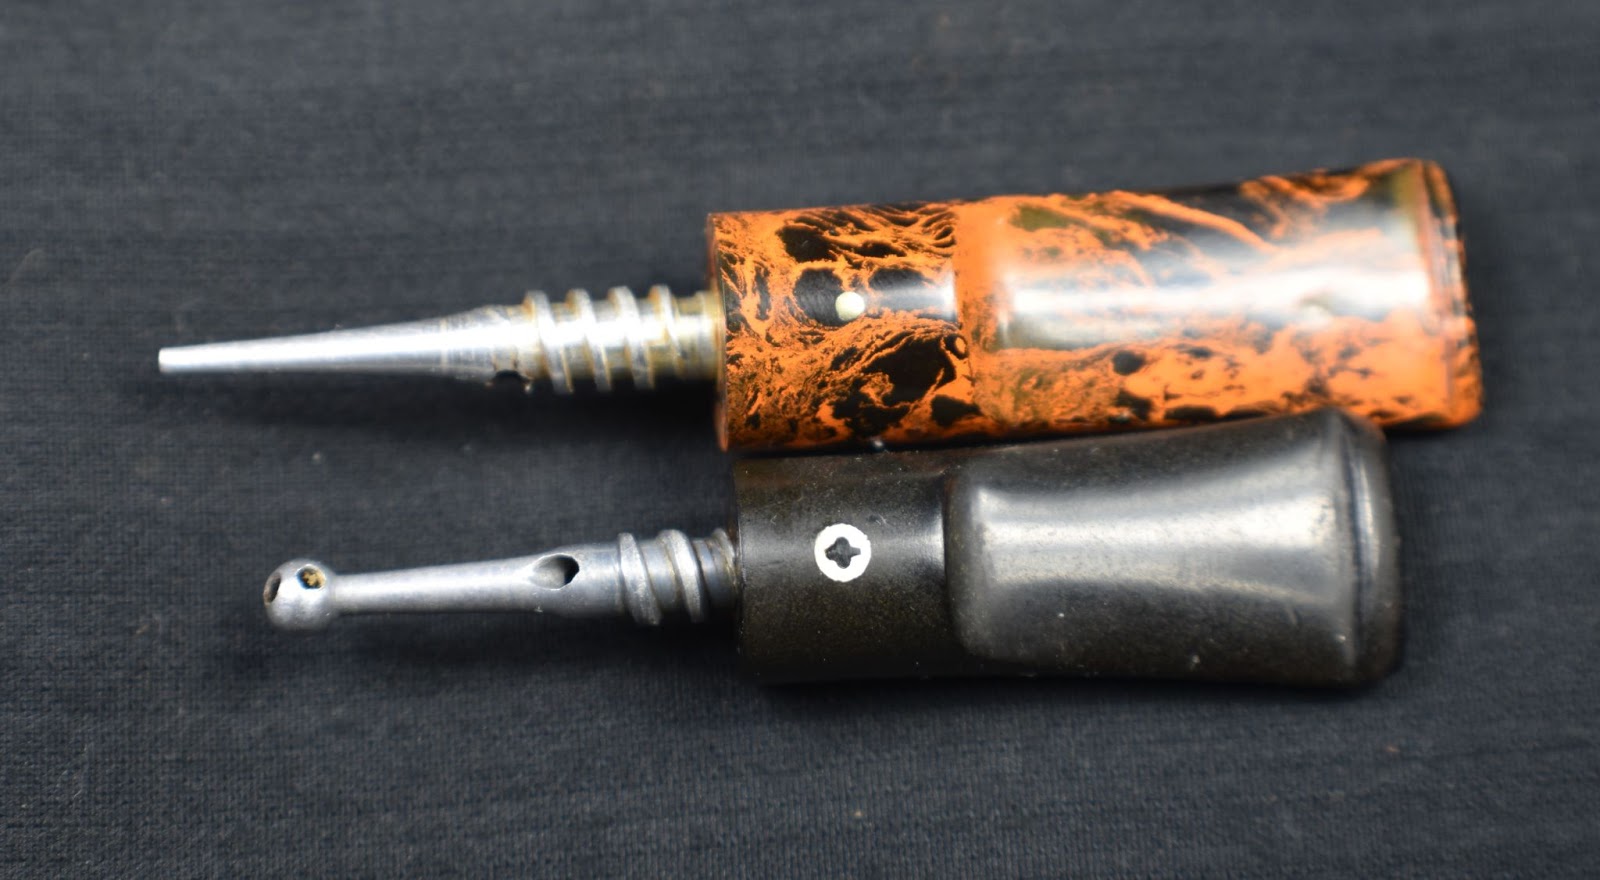
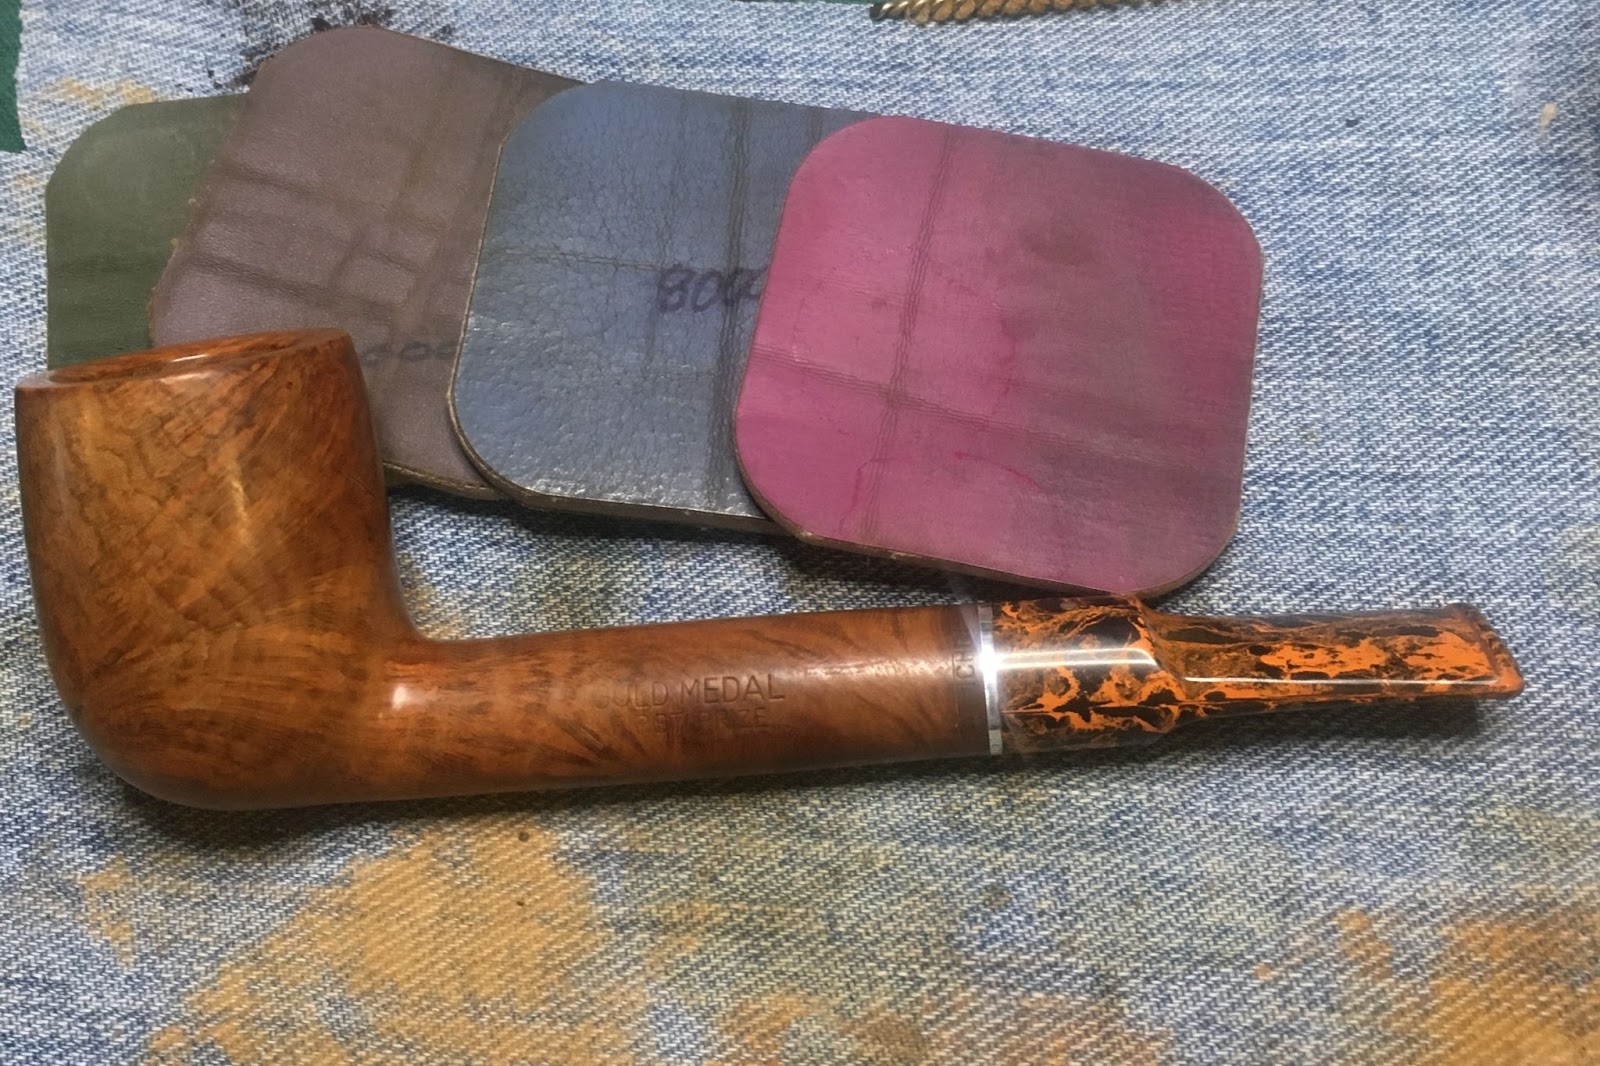
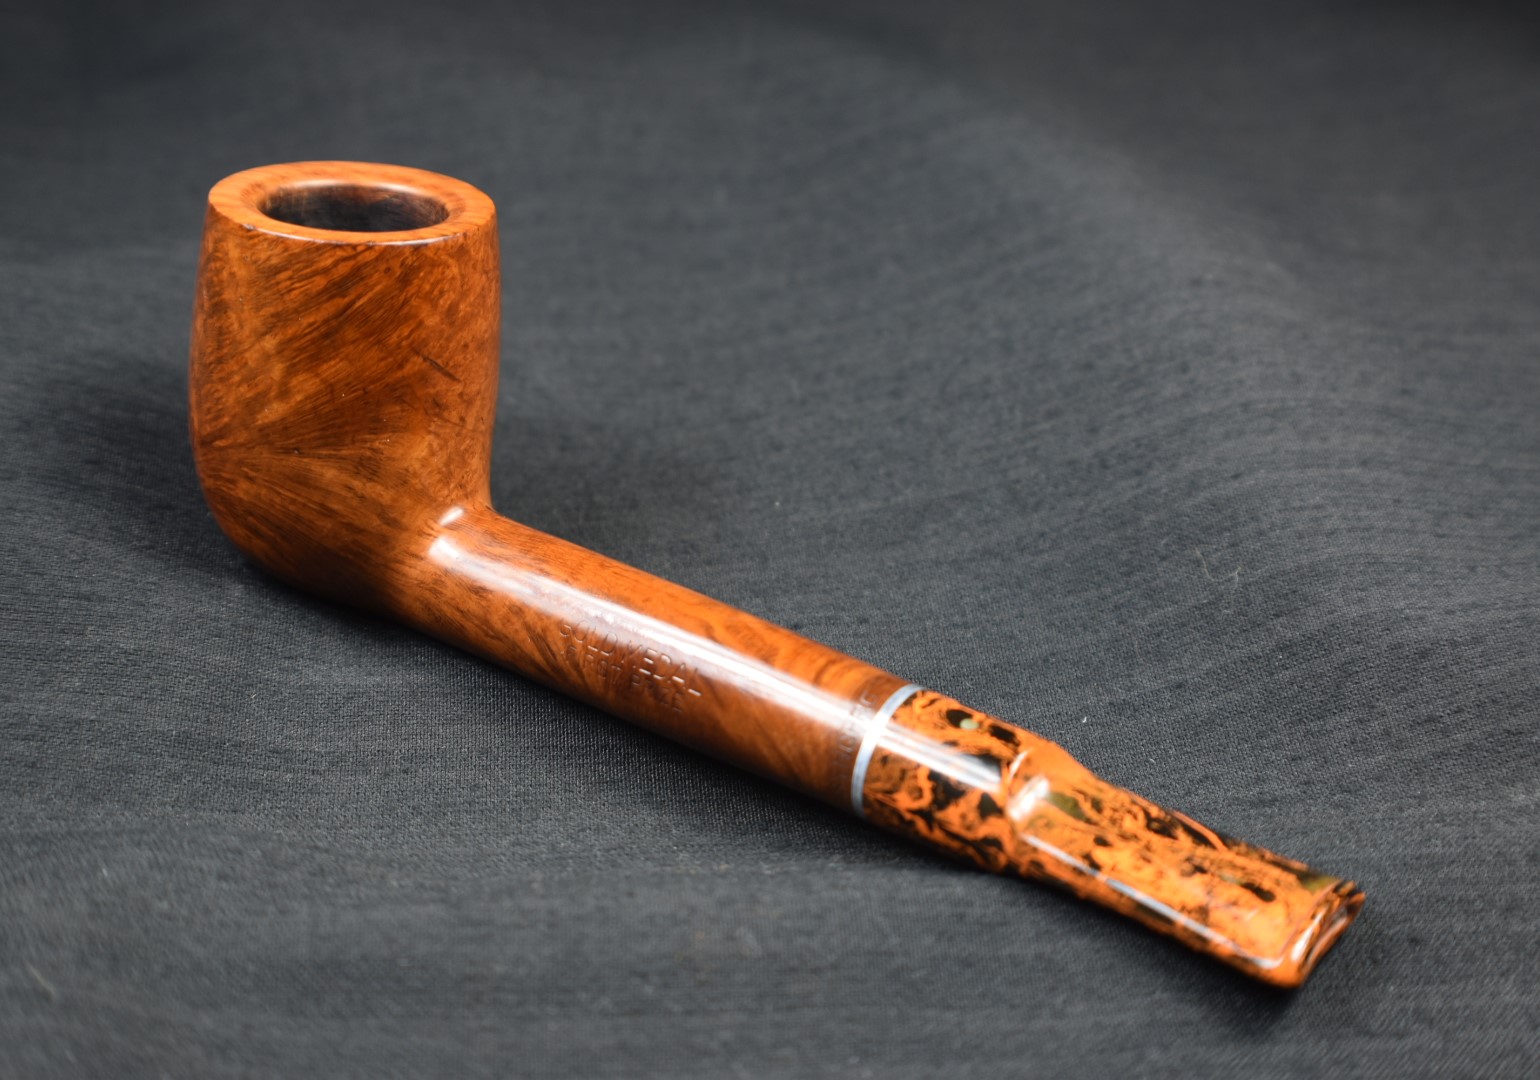
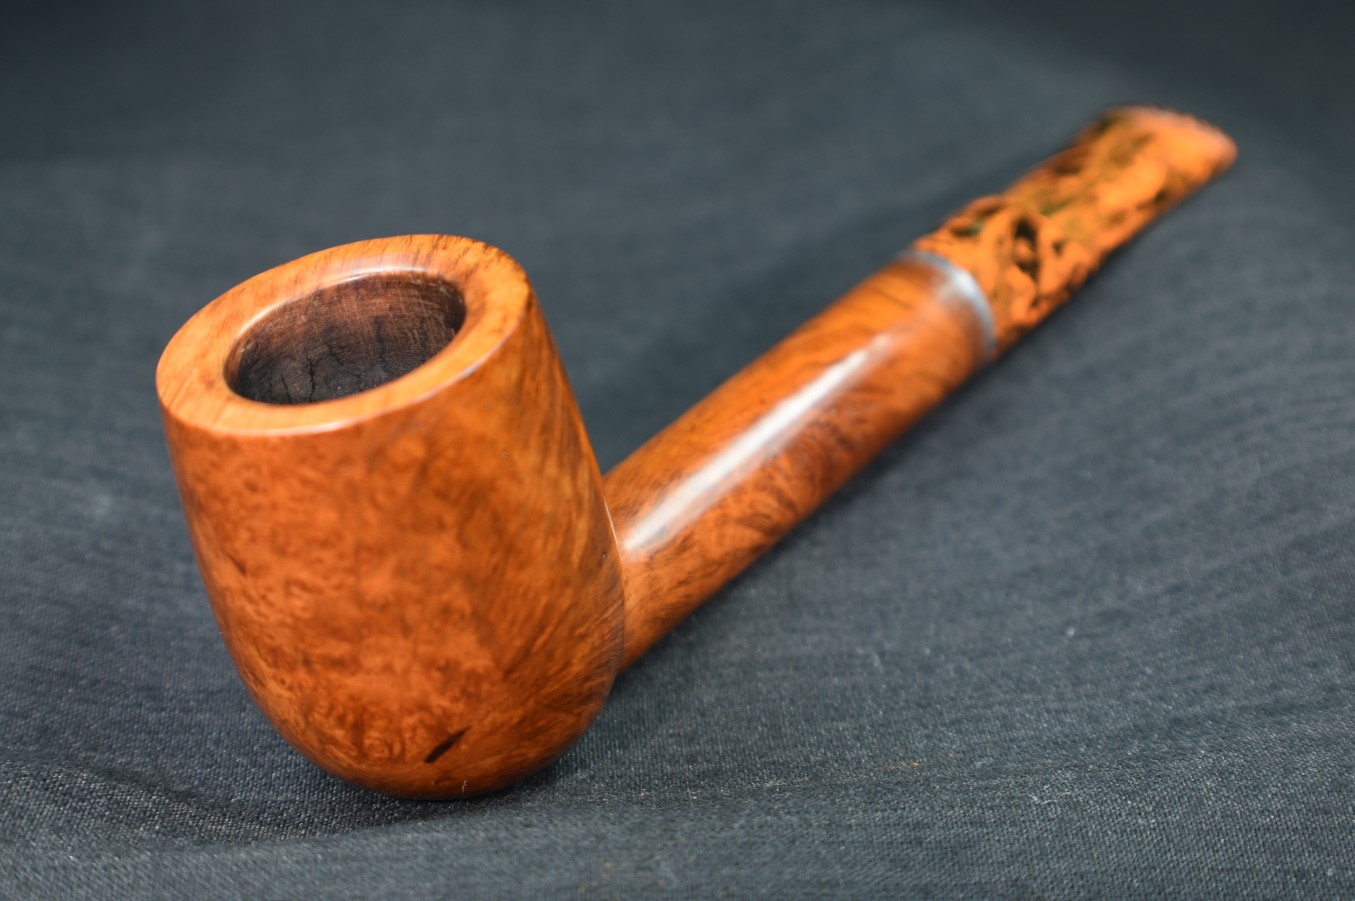
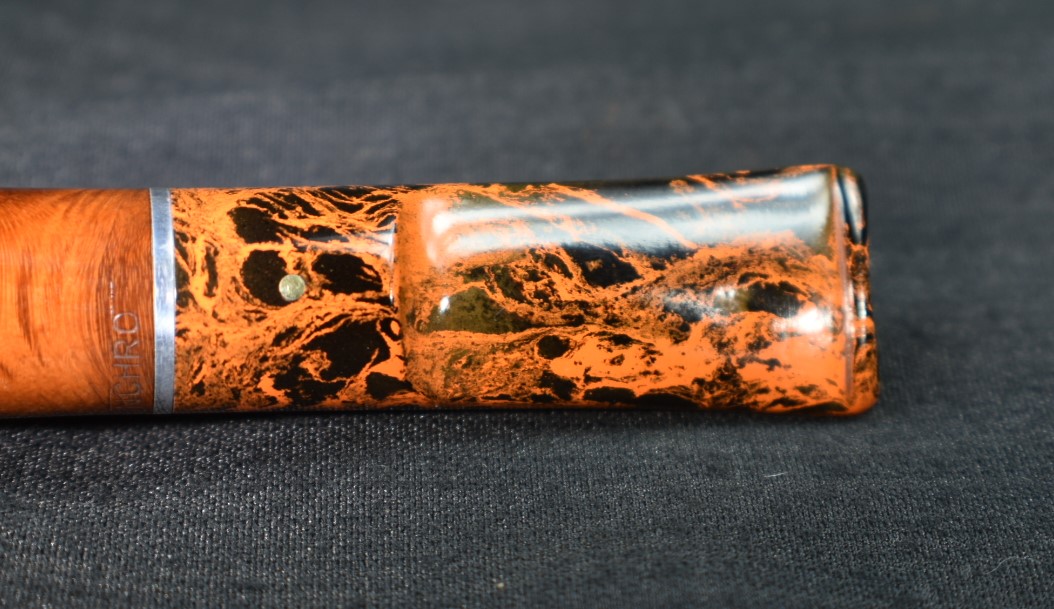
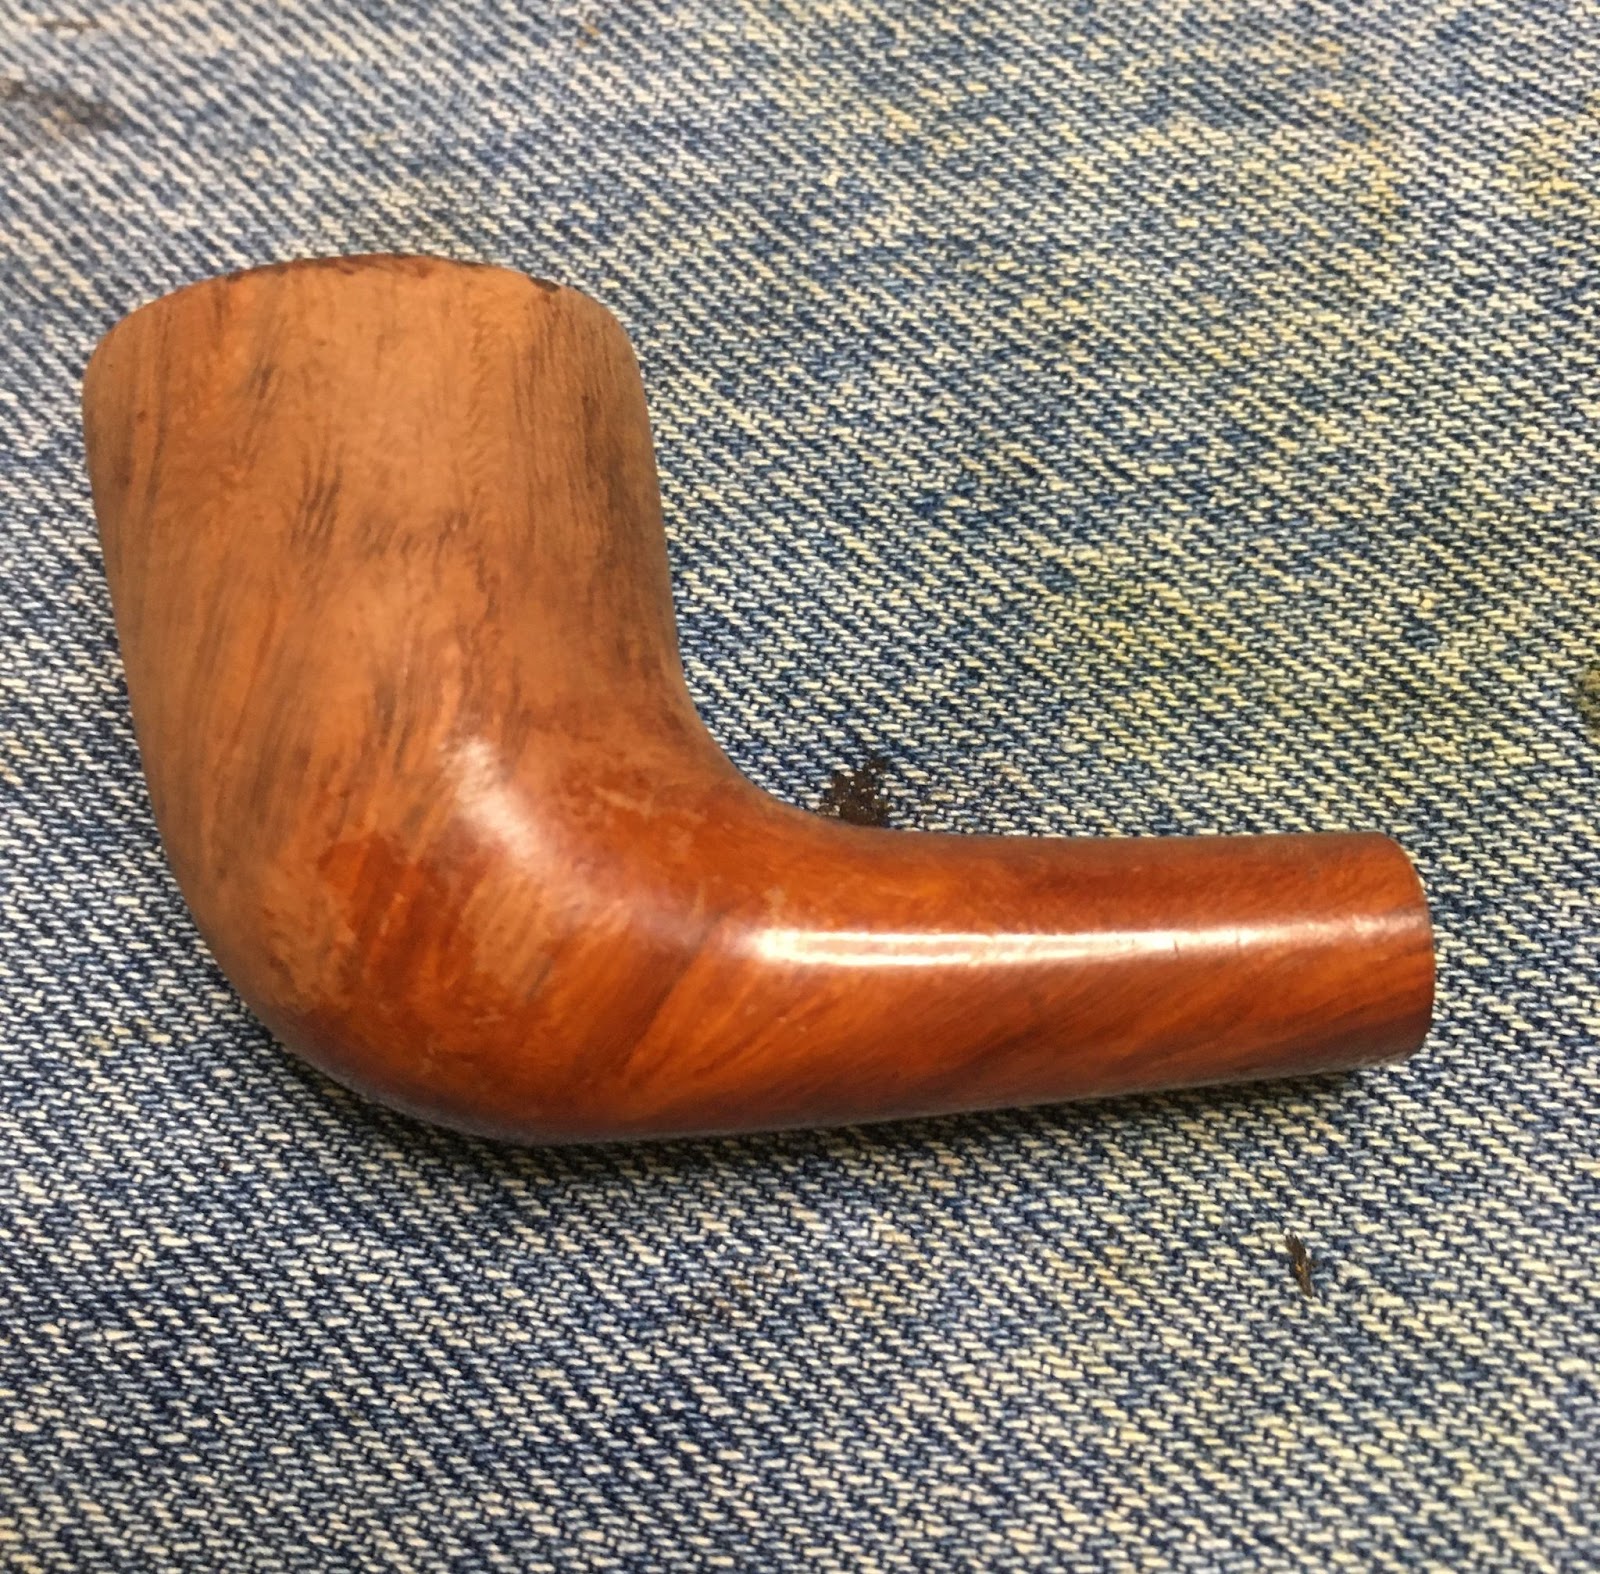
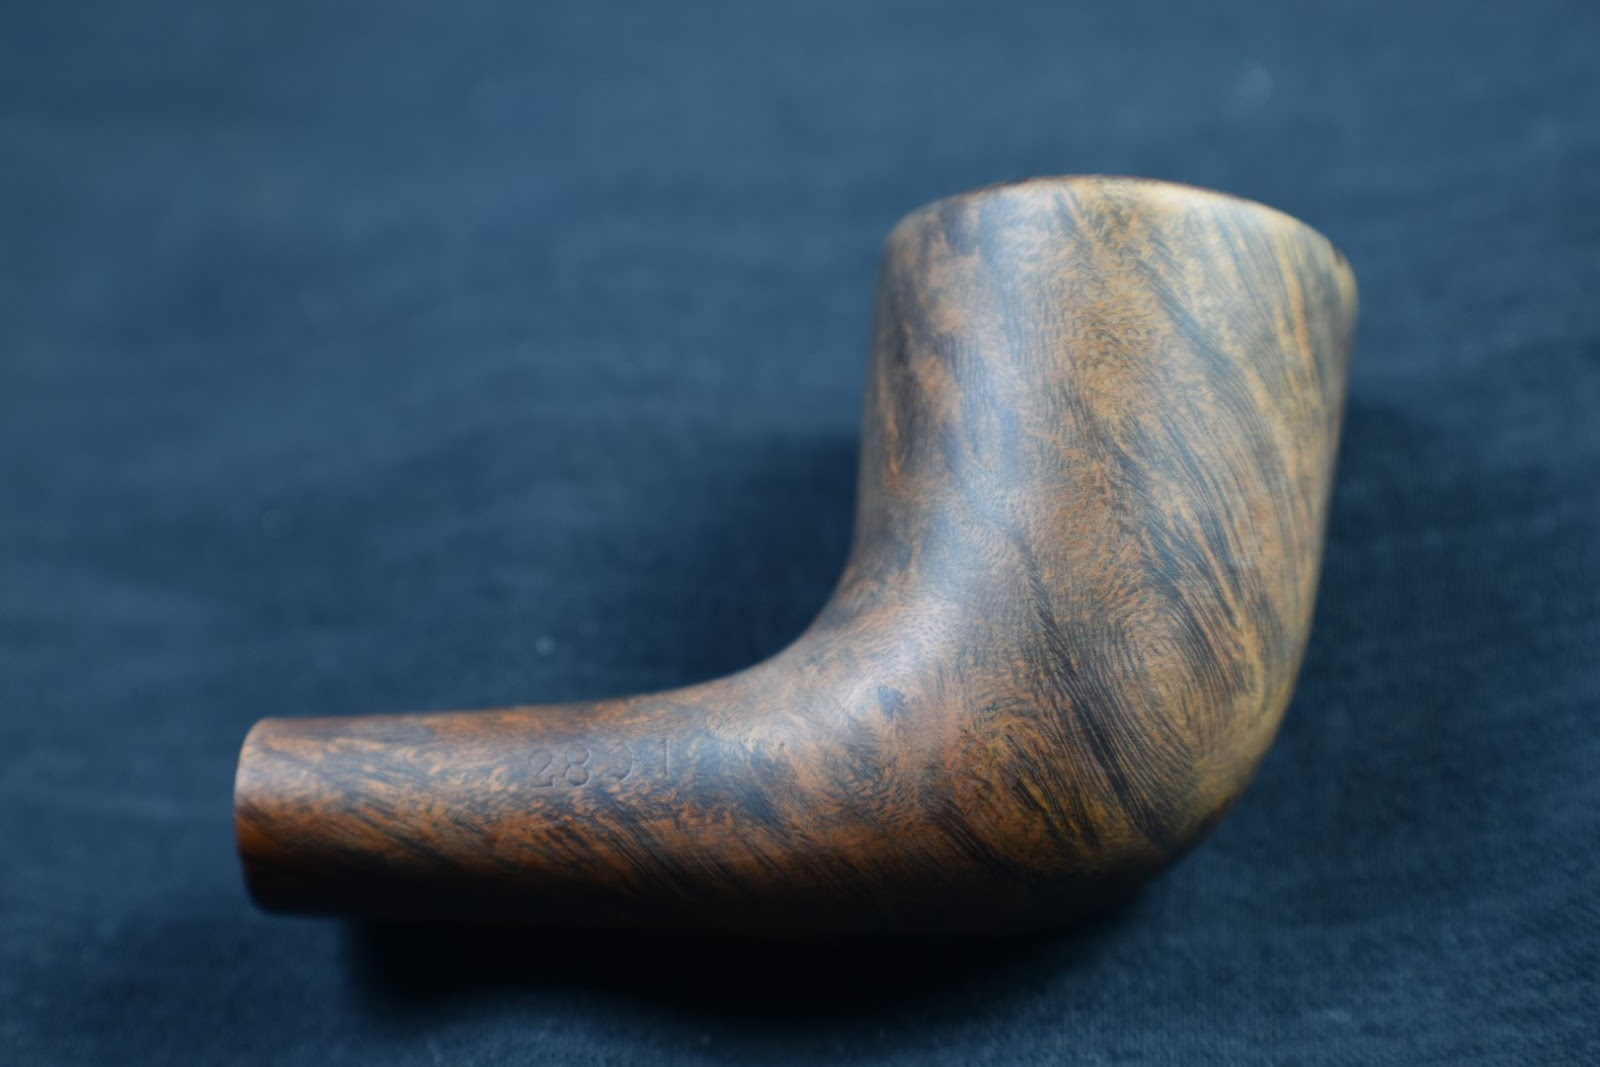
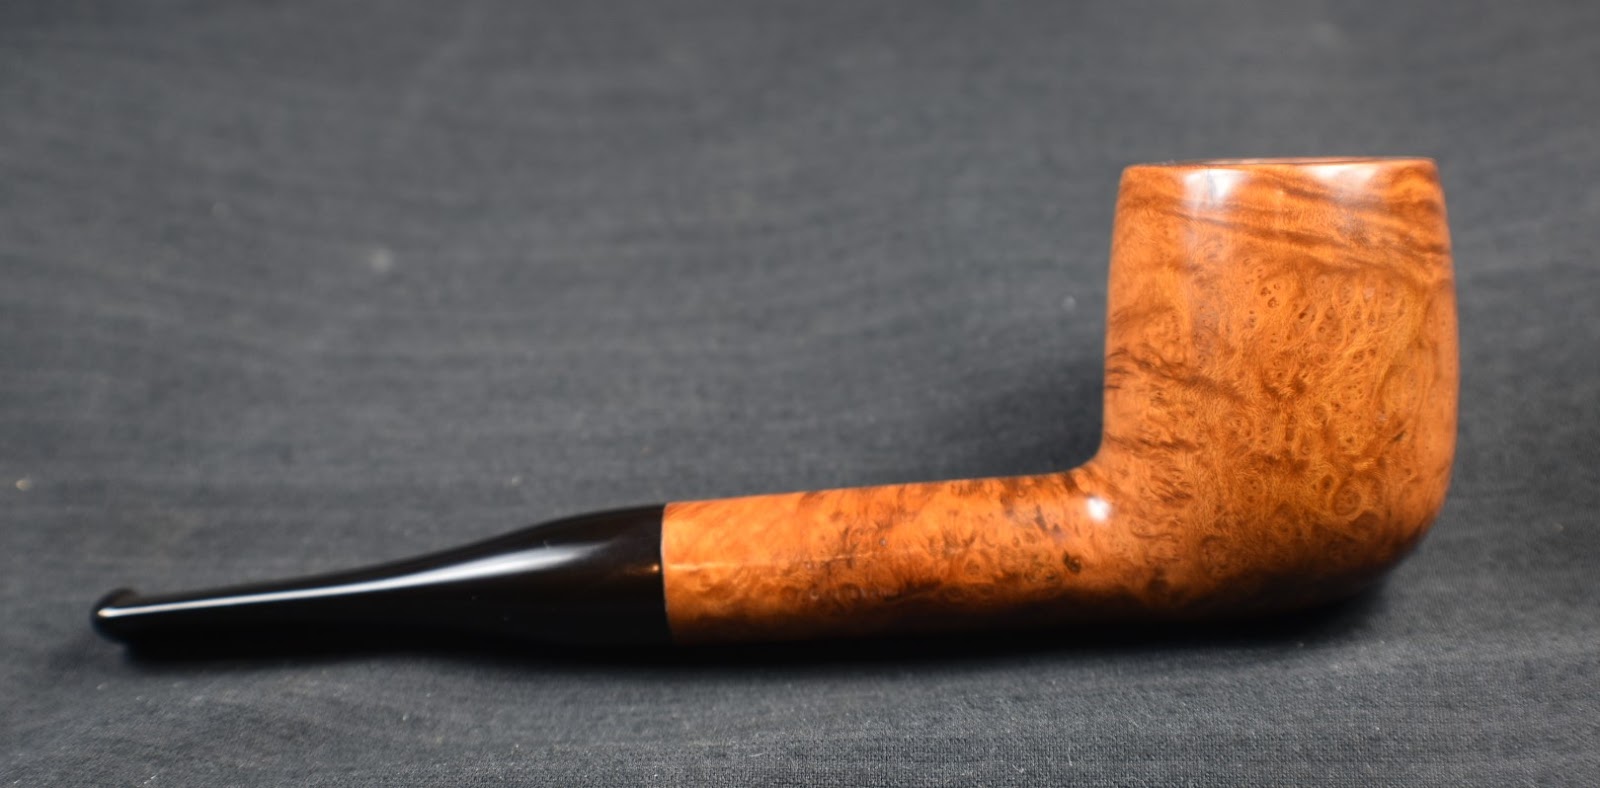
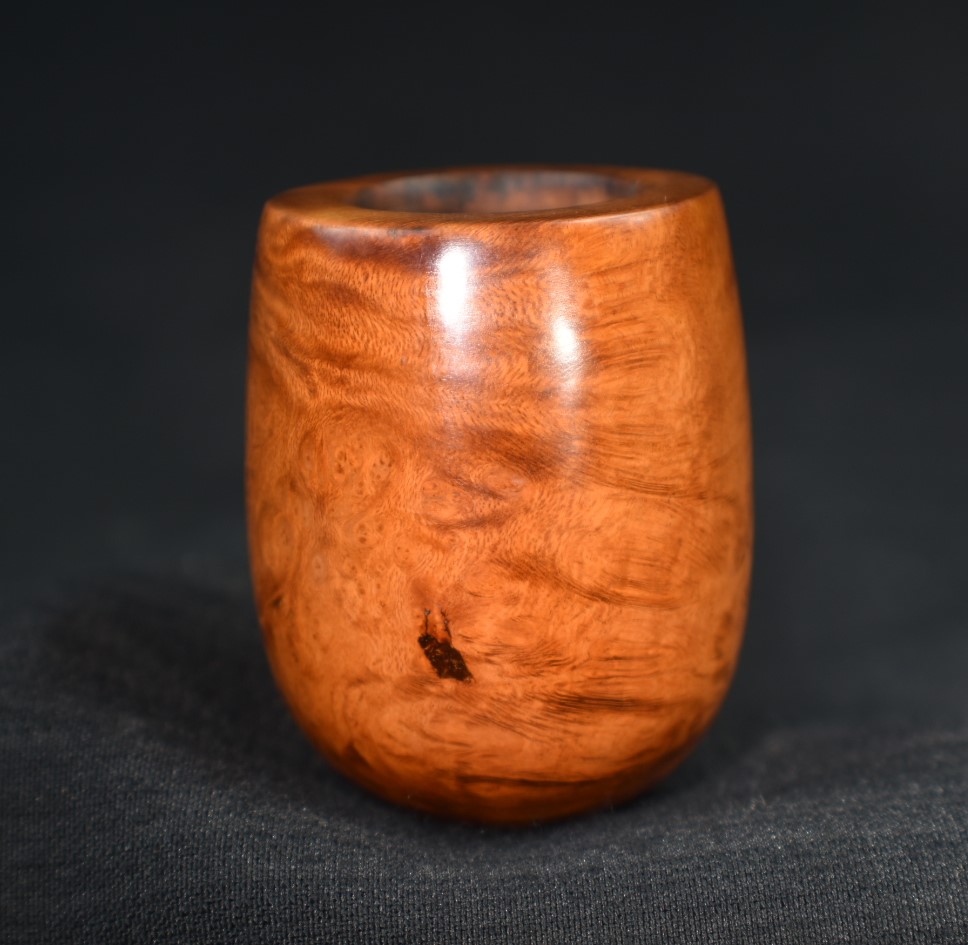
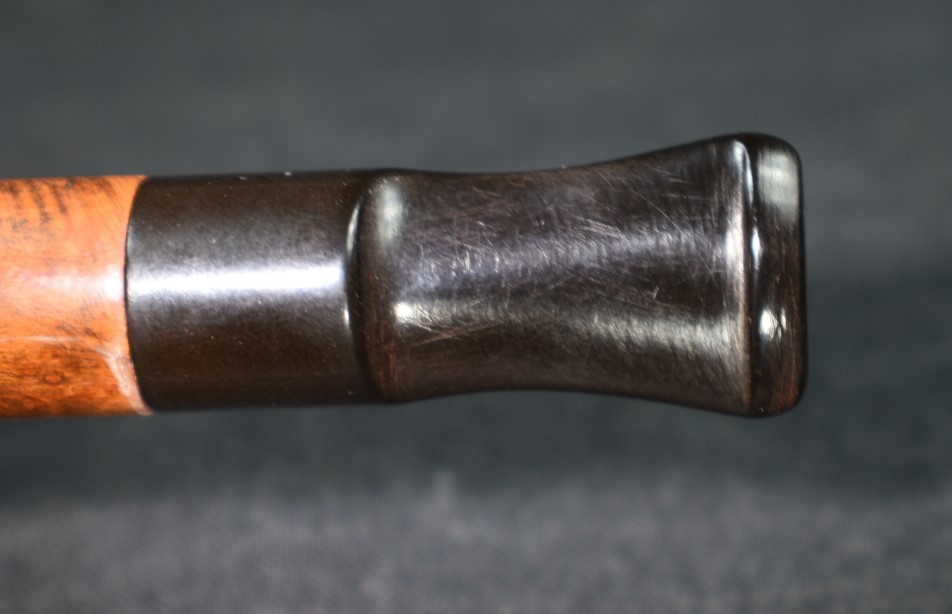
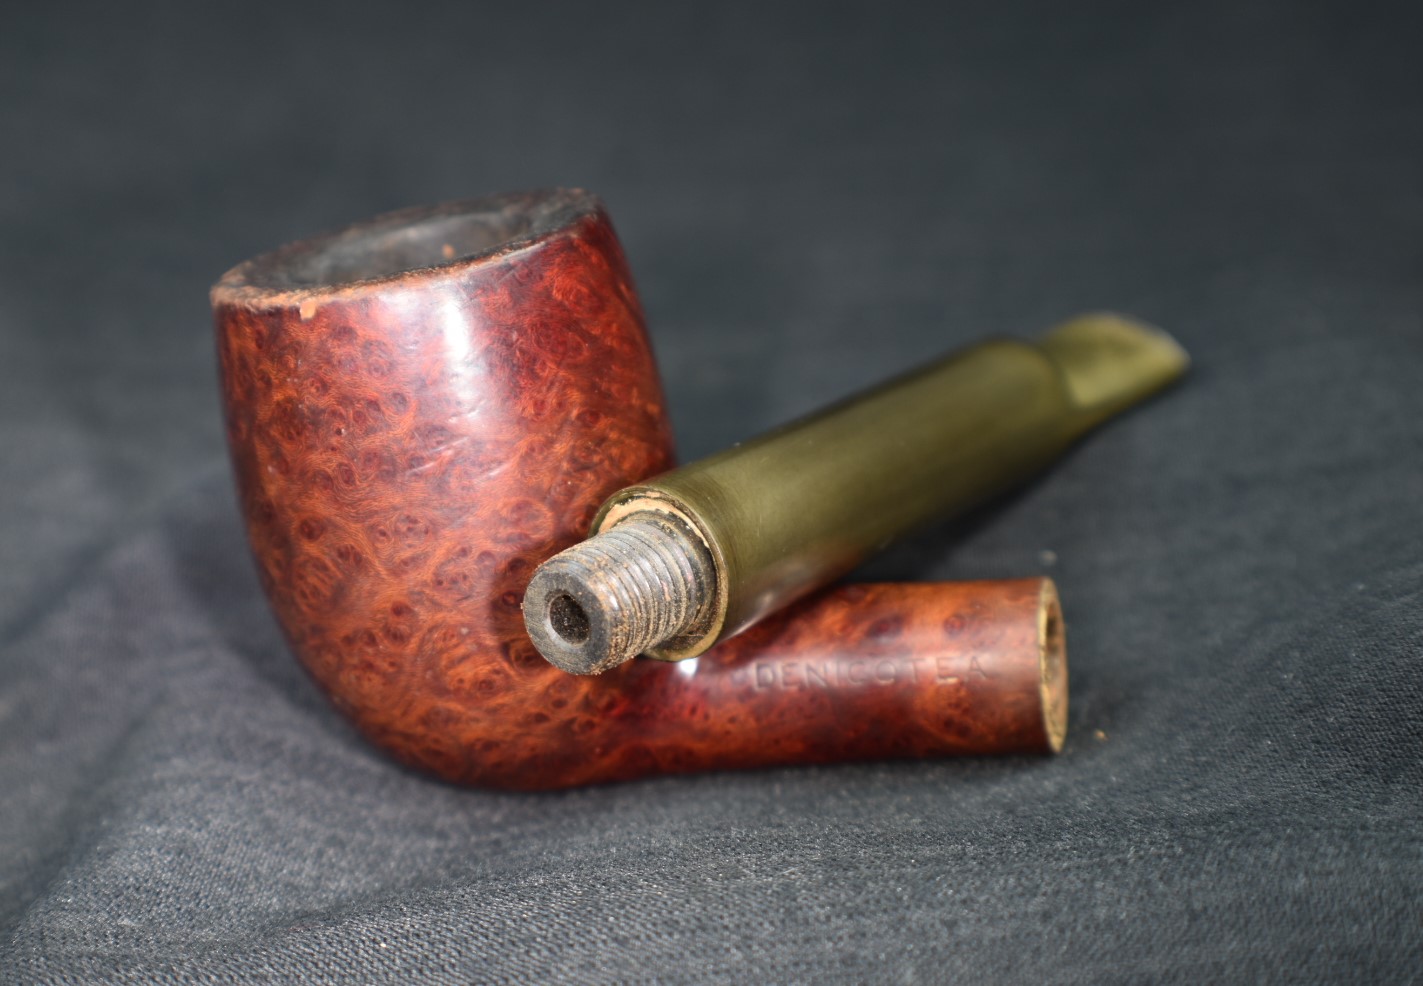
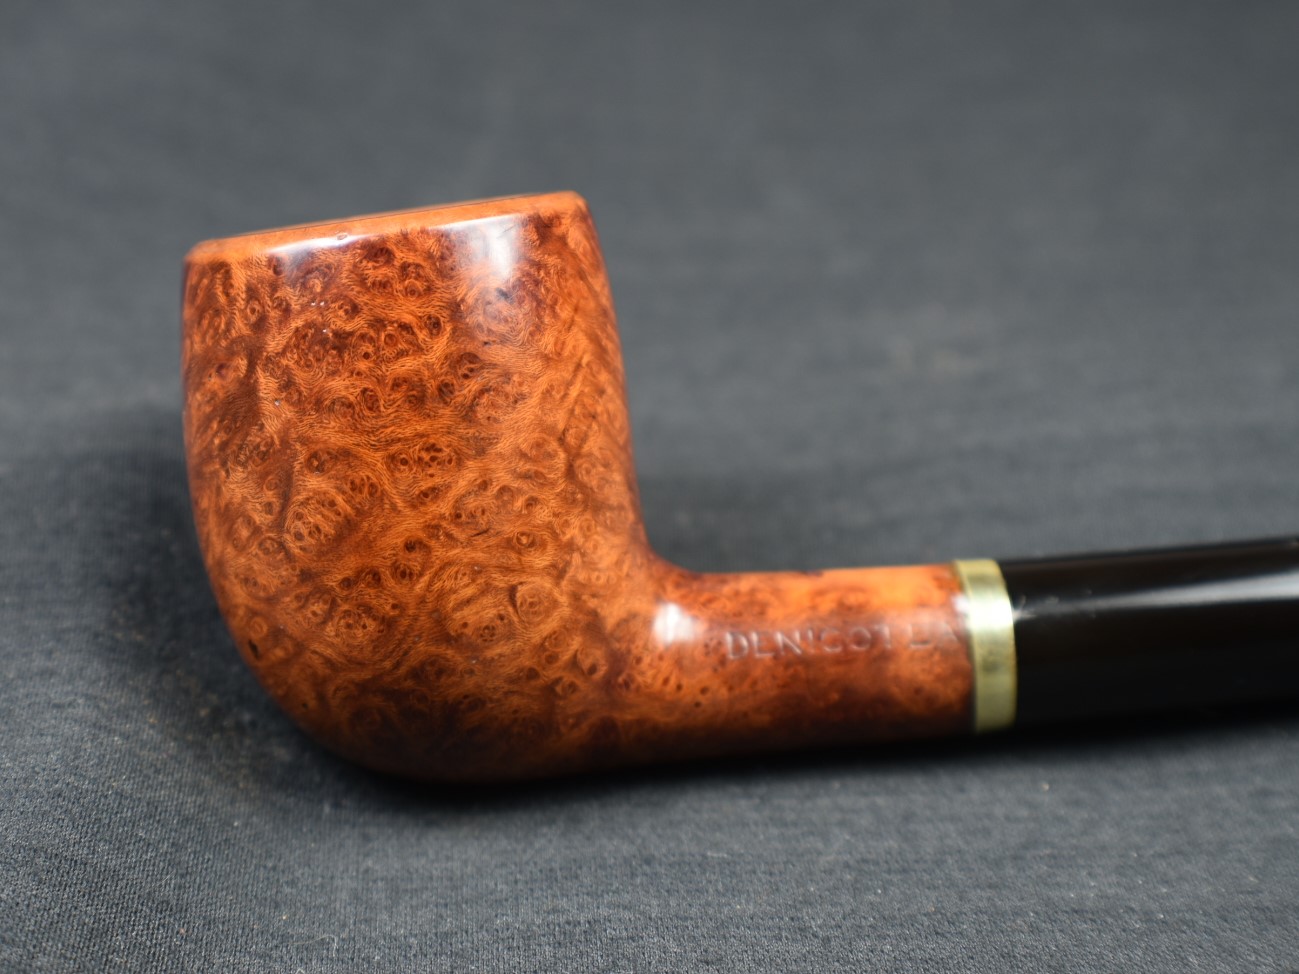
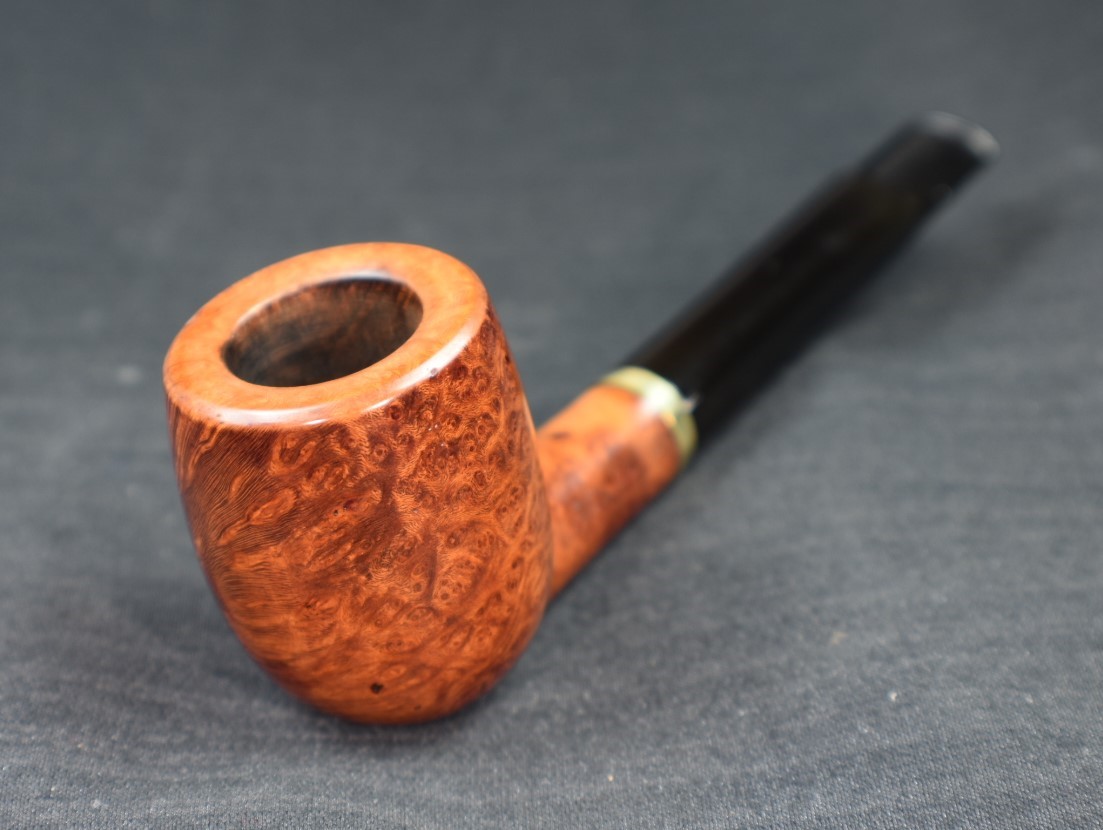
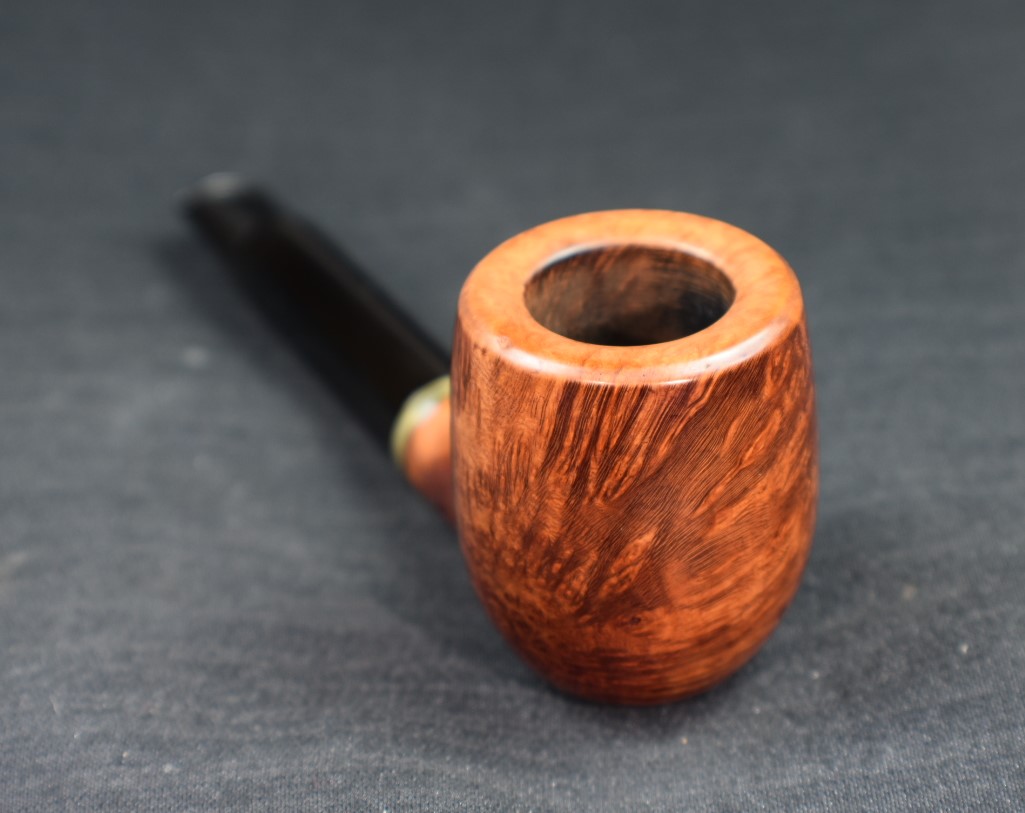
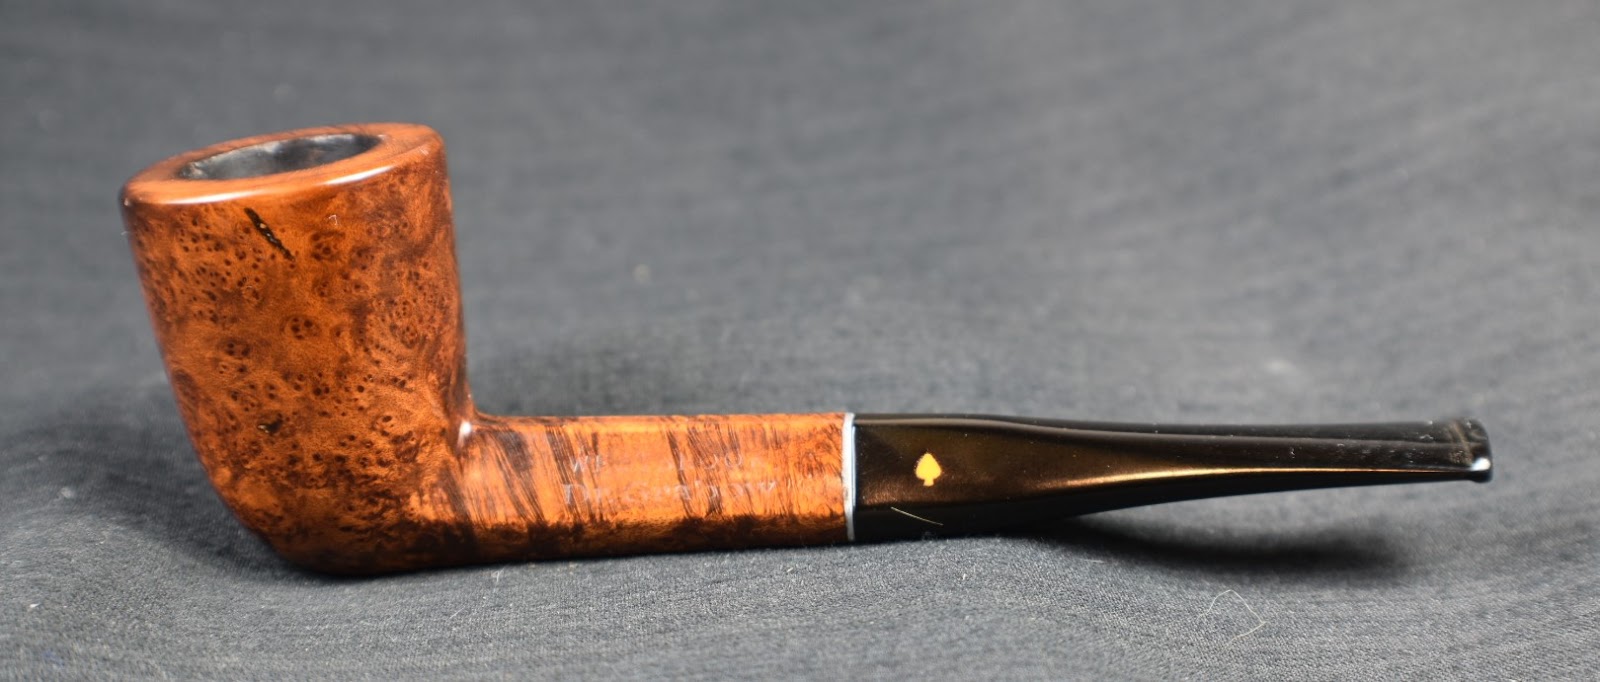
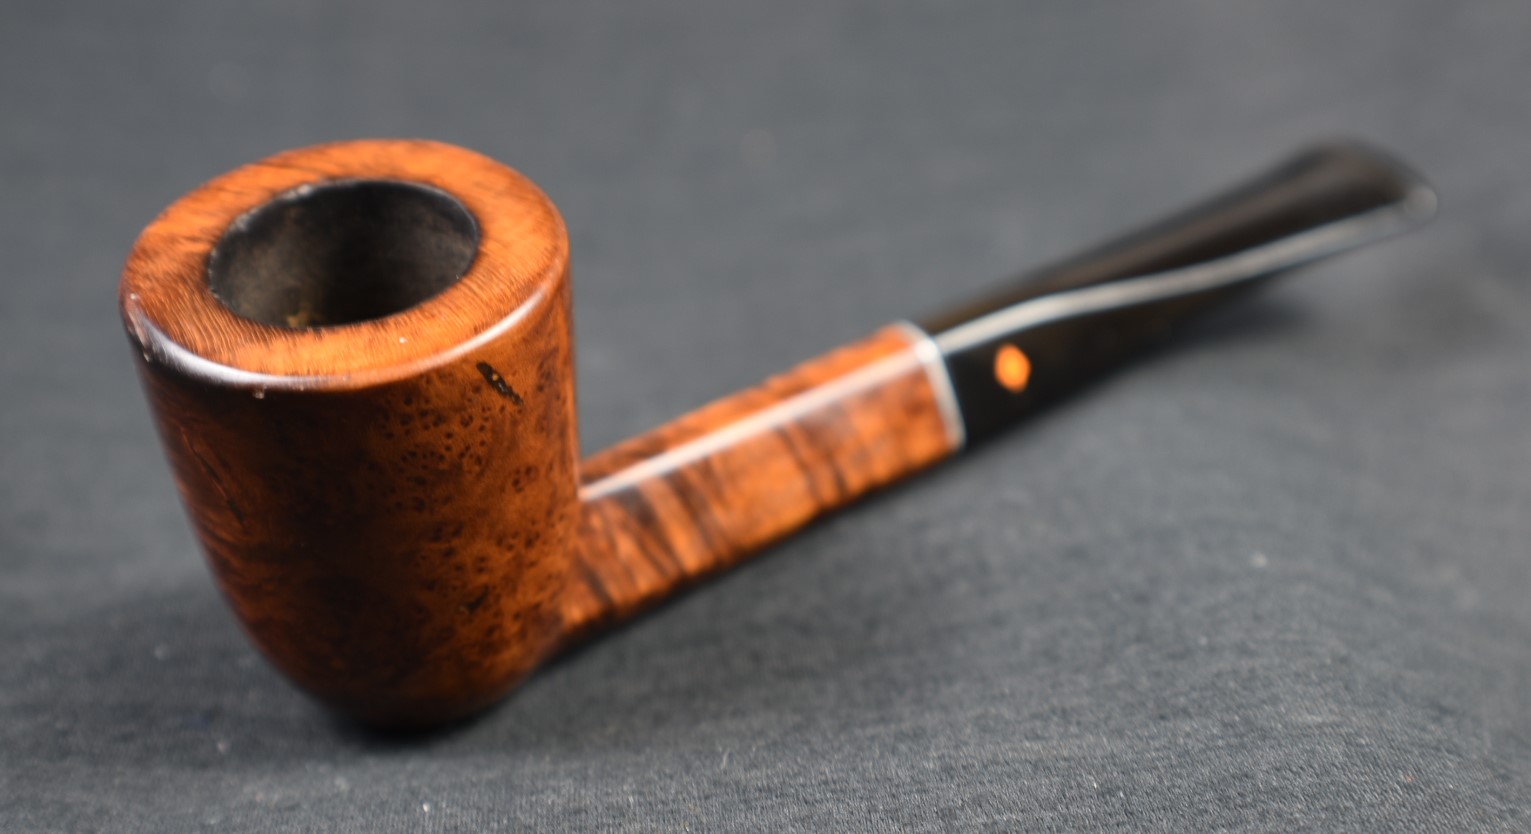
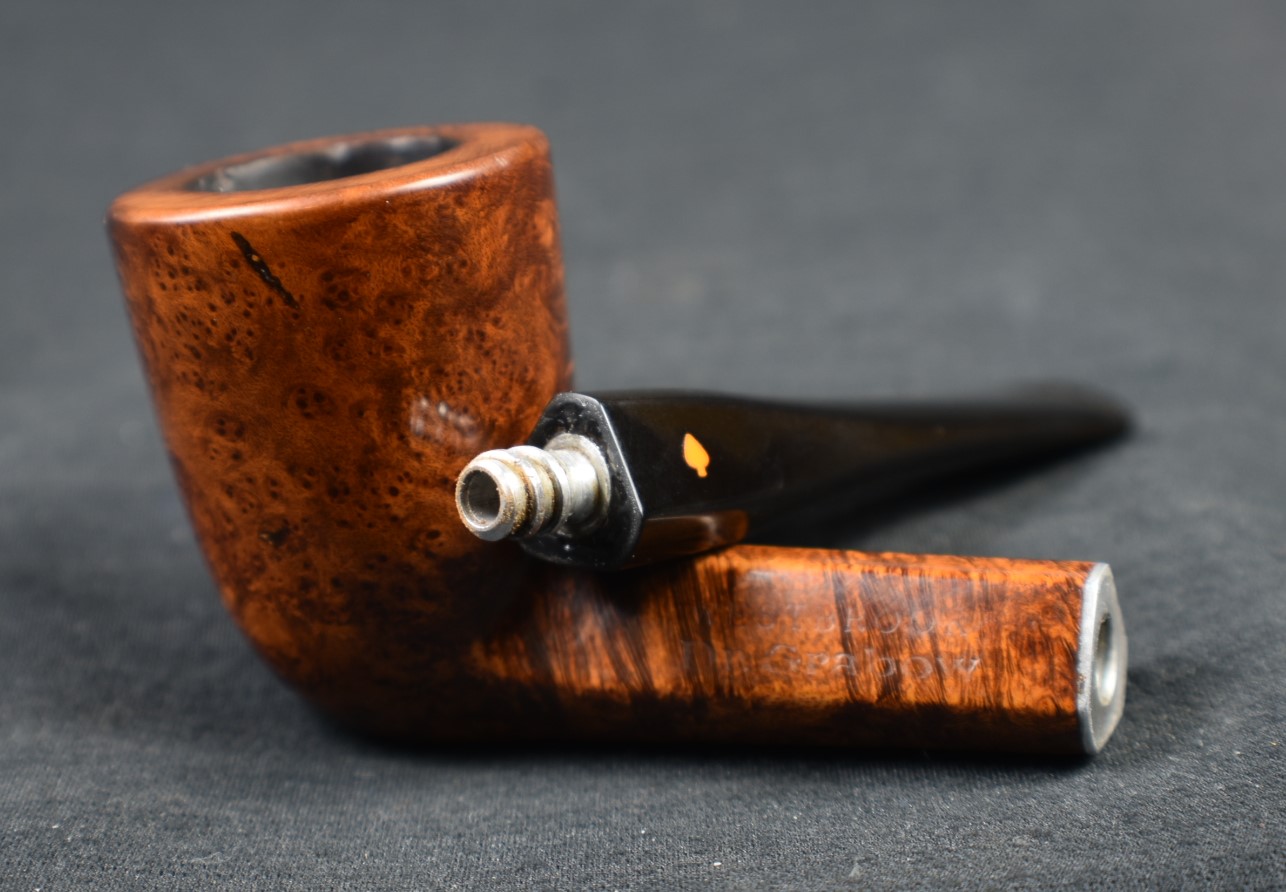
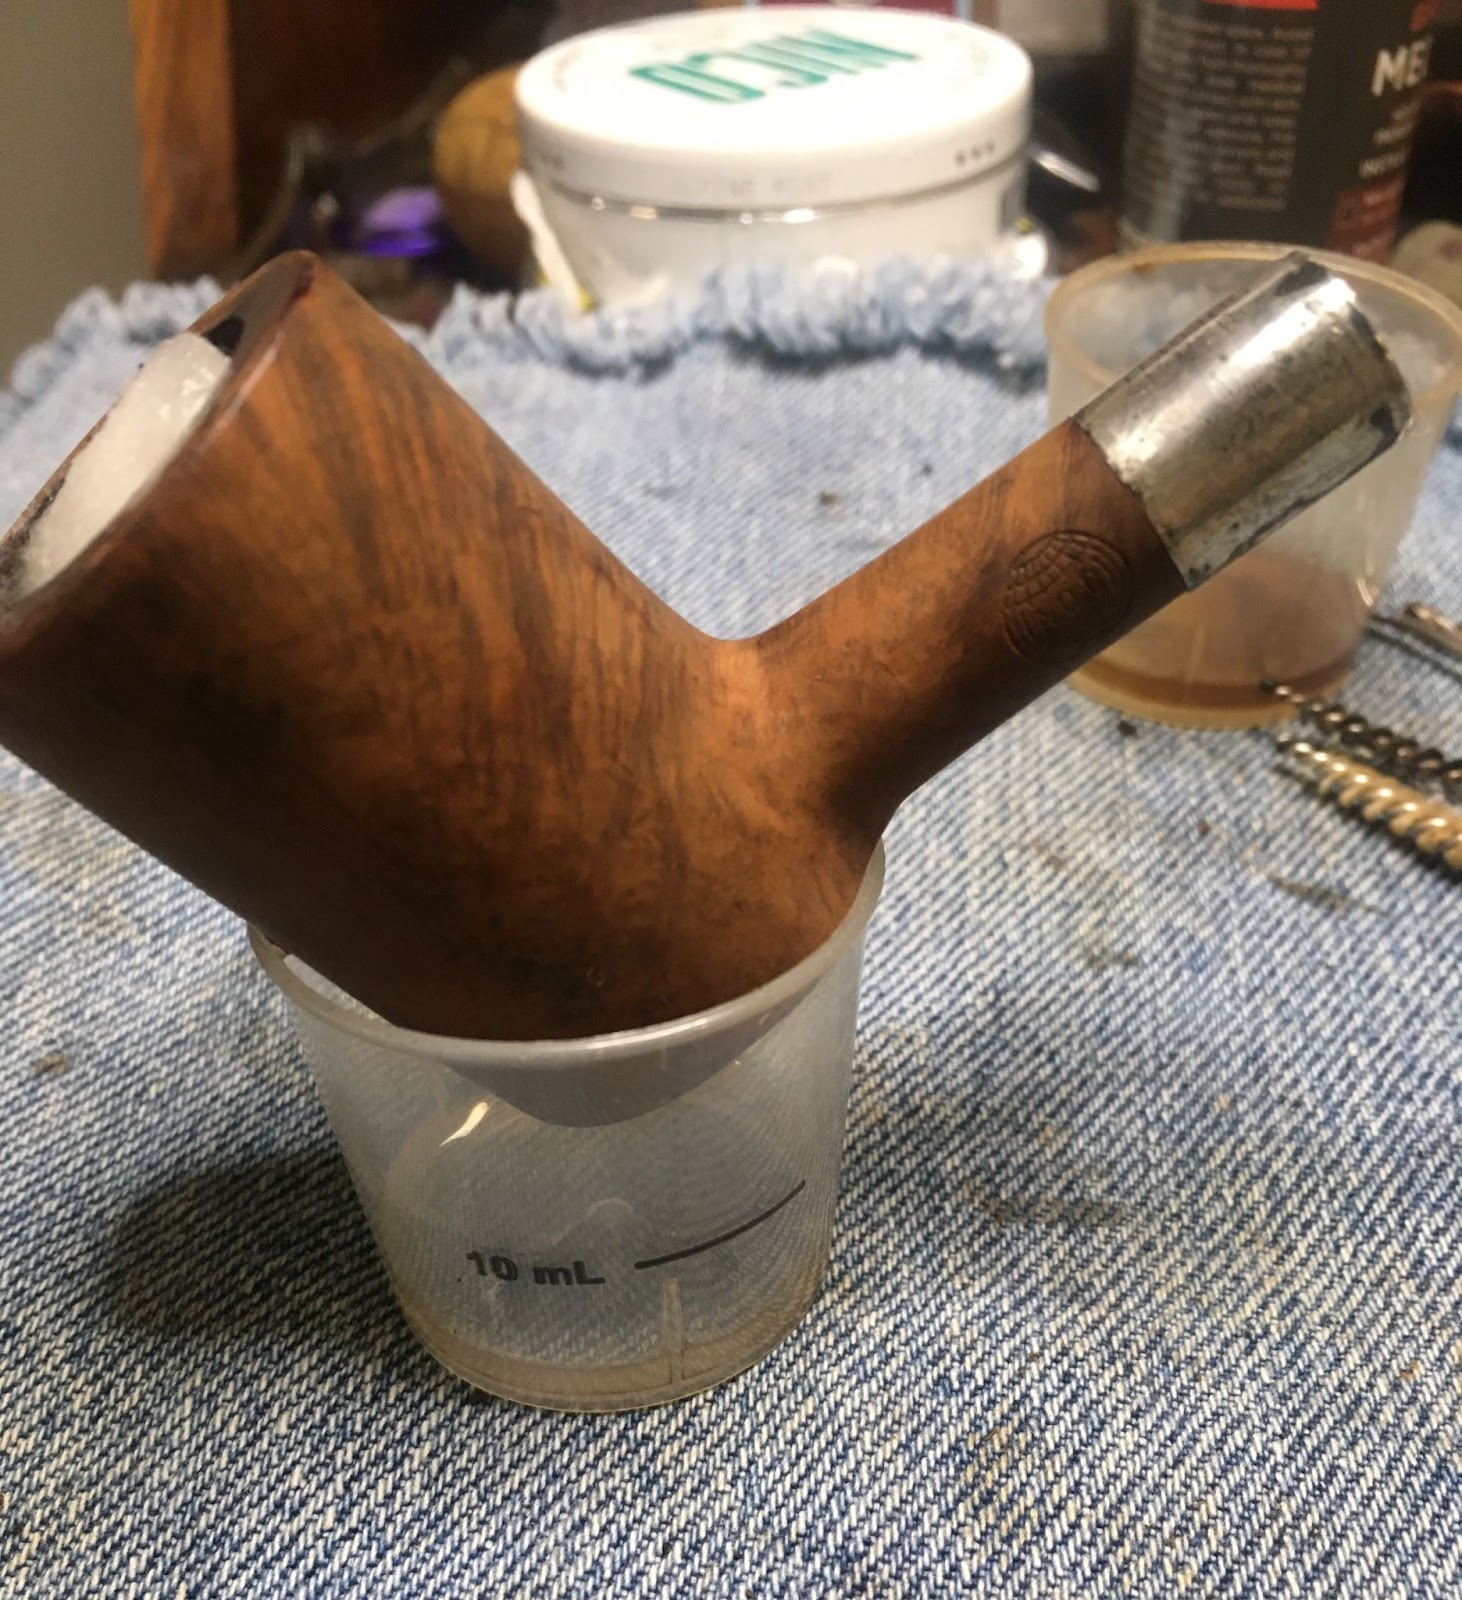
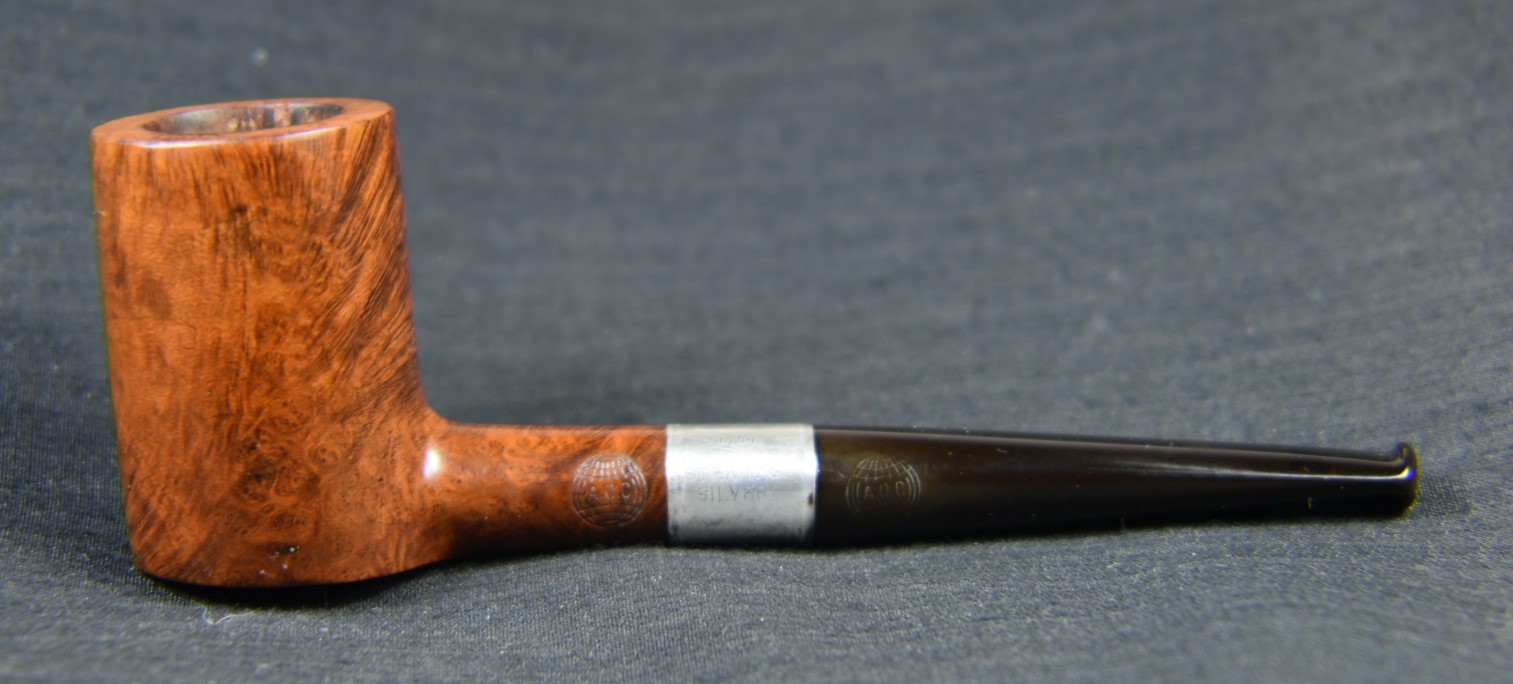
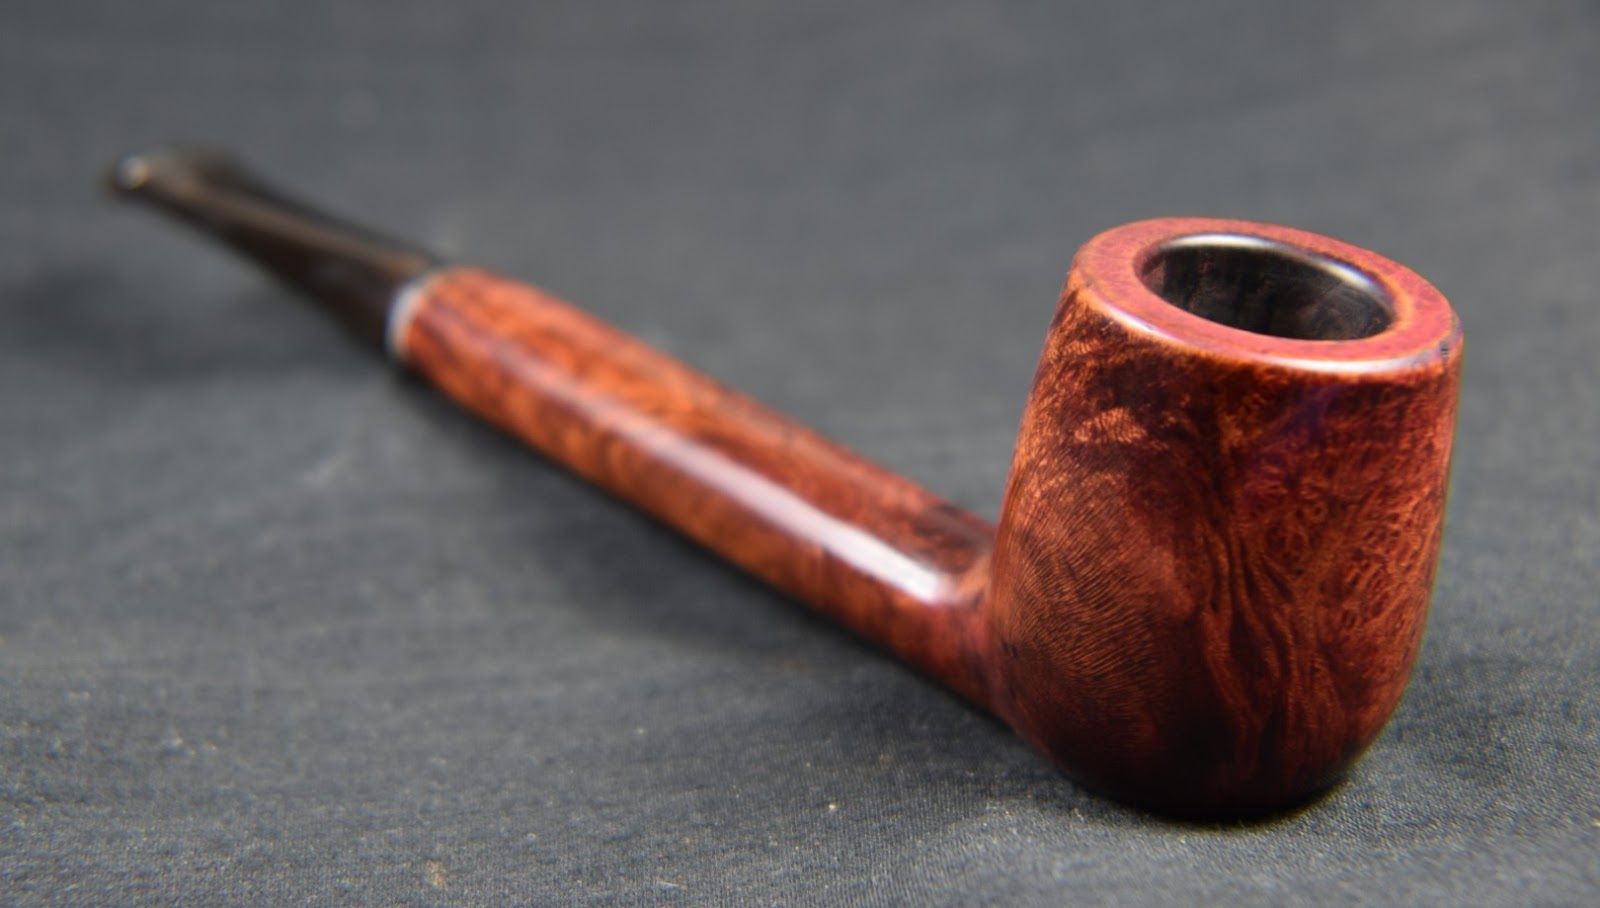
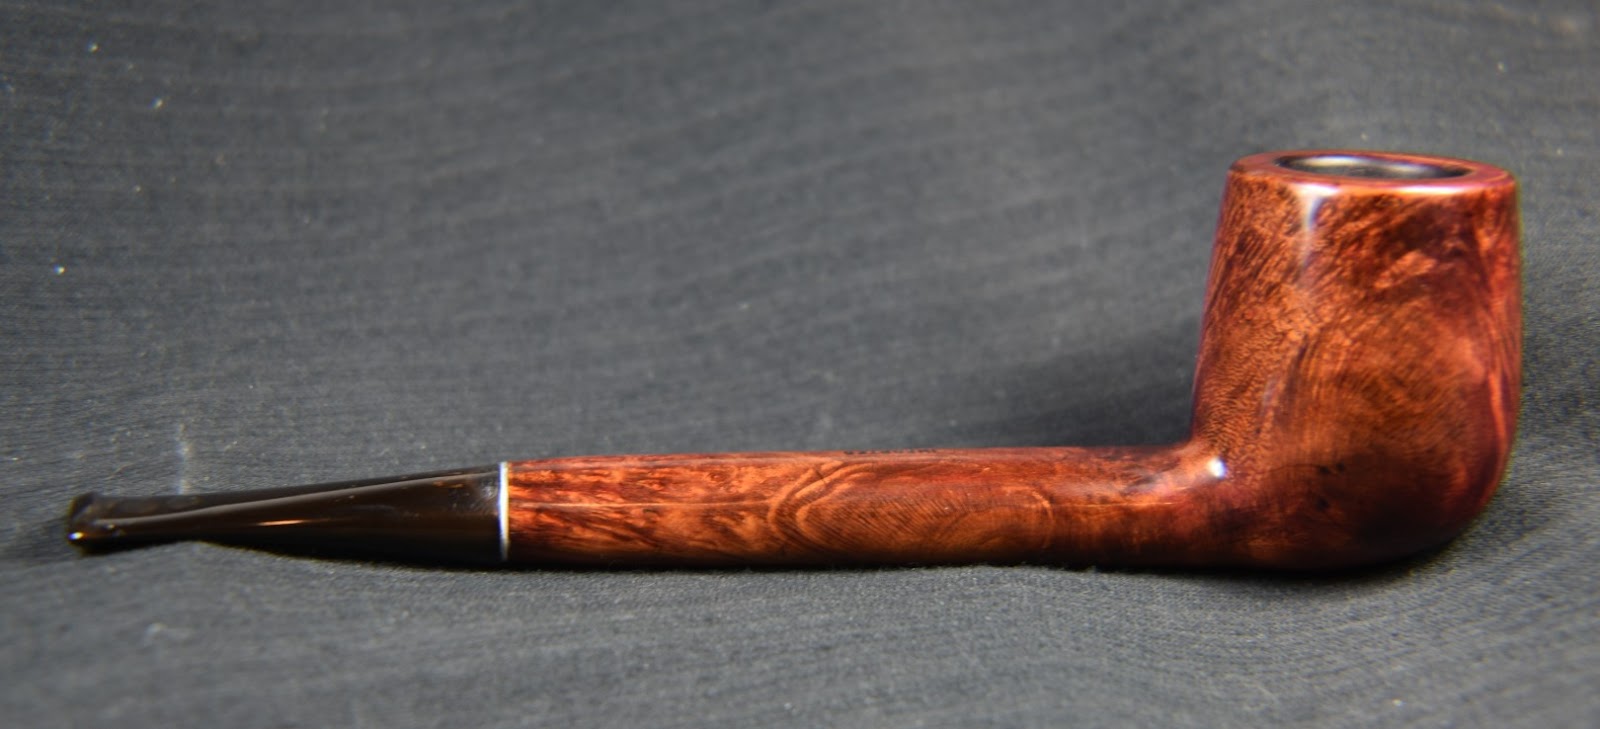
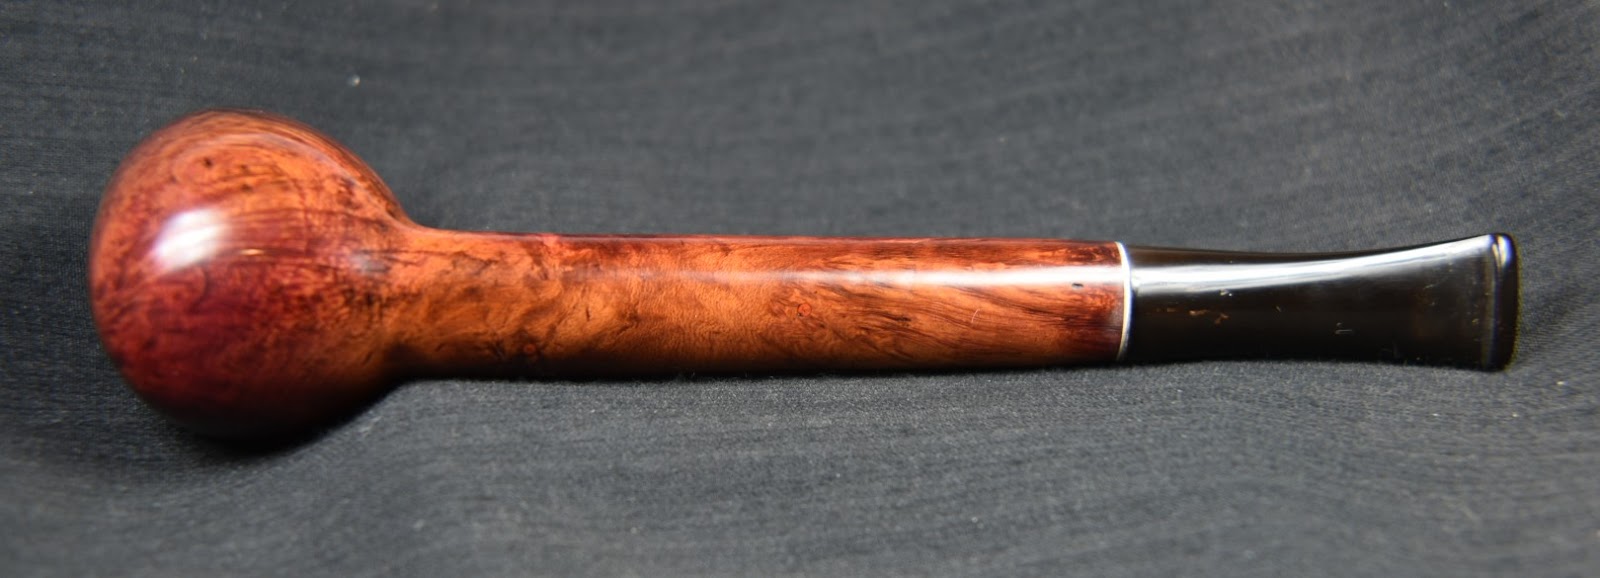
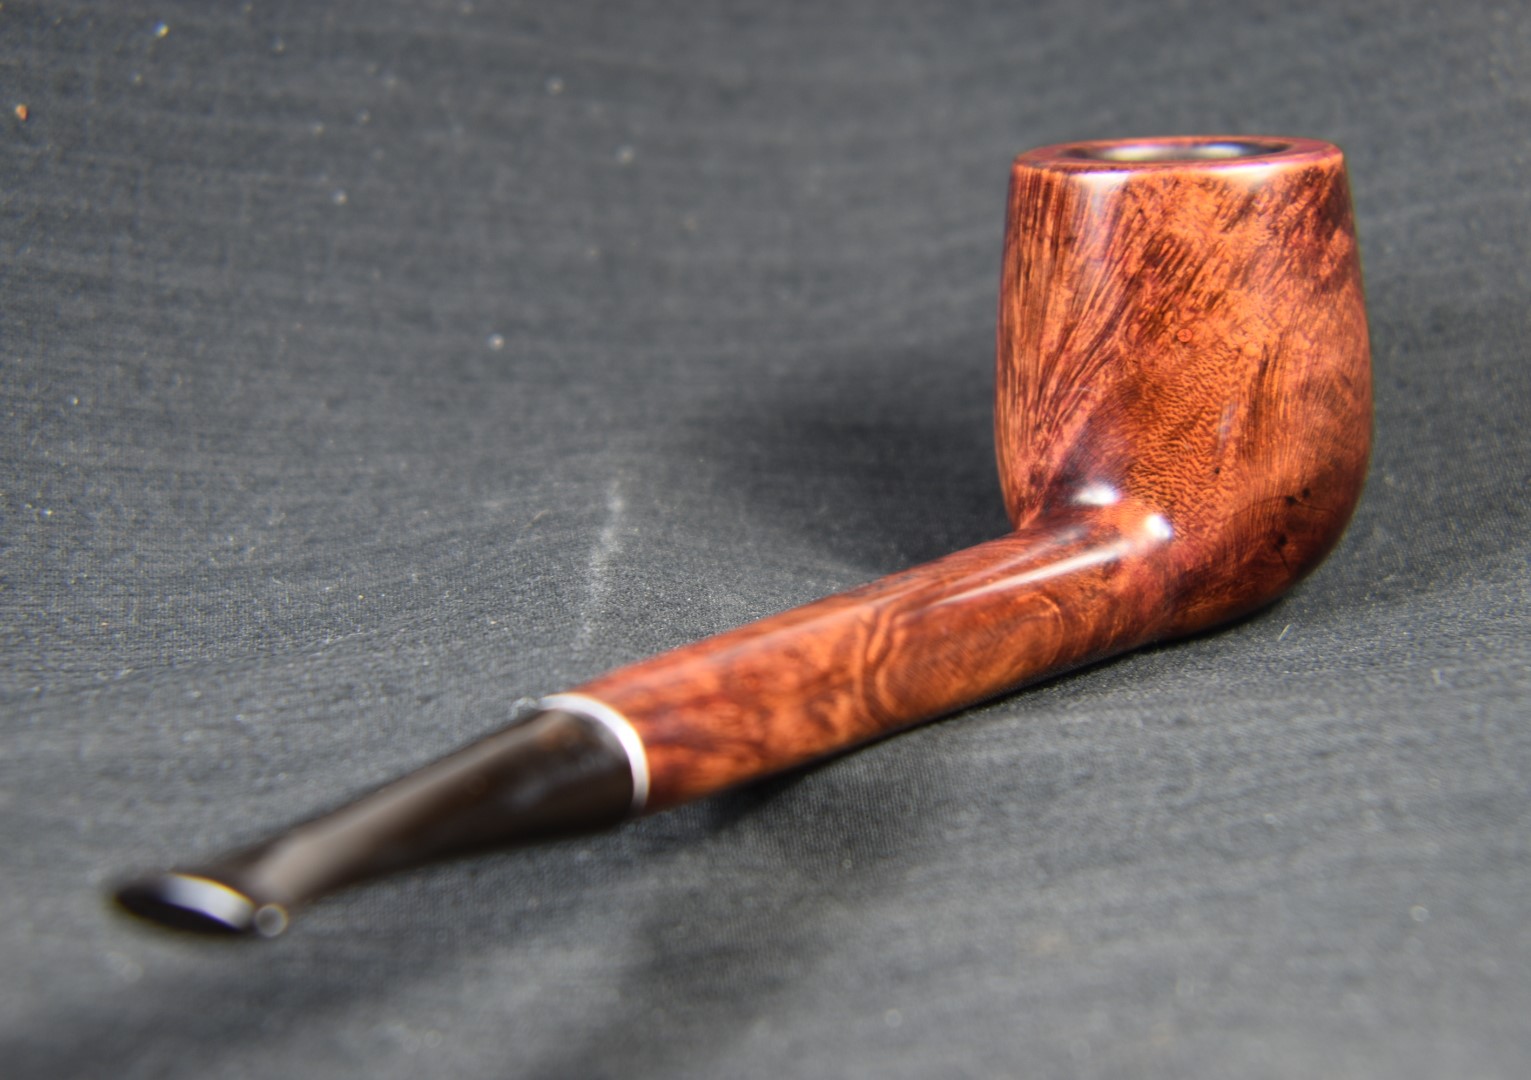
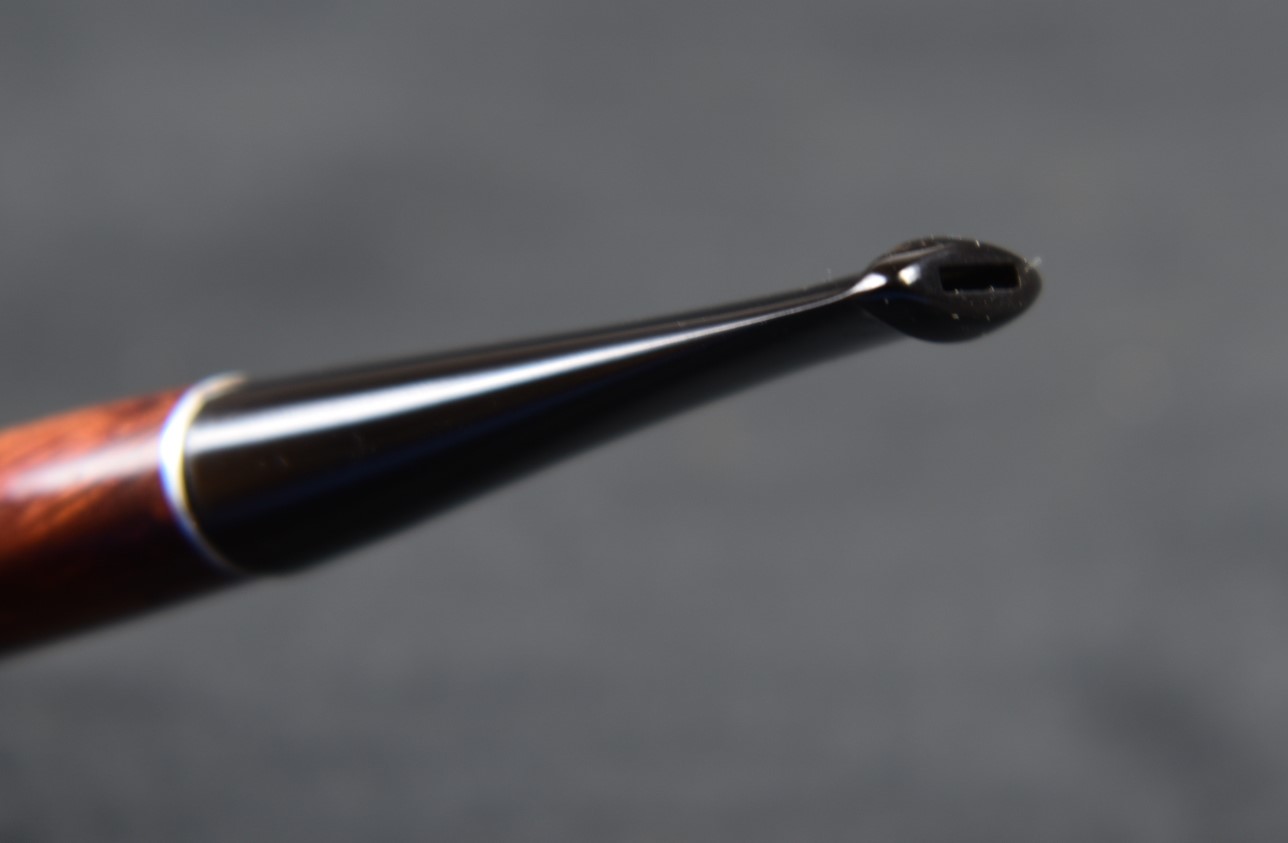
I am very pleased with the restoration of this Yello-Bole Chesterfield and can attest to it being a very good smoking pipe. The time honored and proven Peterson system works well with or without the name “Peterson” stamped on the pipe. The removal of the clear coat allowed the briars grain to be seen and appreciated. The stem still shows some signs of the heavy oxidation but cleaned-up quite well. The drilling of the stem is excellent and would make Charles Peterson proud to be imitated so well. I know Peterson litigated patent infringers early on but am unaware of any litigation against KB&B. Although patent law in the US allows 20 years of protection from the time the original patent is filed. That would have made KB&B free to imitate after 1911.
The dimensions of this Chesterfield are:
Length: 5.31 in./ 134.87 mm.
Weight: 0.96 oz./ 27.4 g.
Bowl Height: 1.71 in./ 43.43 mm.
Chamber Depth: 1.47 in./ 37.37 mm.
Chamber Diameter: 0.66 in./ 16.76 mm.
Outside Diameter: 1.19 in./ 30.23 mm.
I do hope that you have found something here useful to your own pipe care, maintenance or restorations. If you like this sort of thing, please click the like and subscribe buttons. Thank you for reading the ramblings of an old pipe lover.
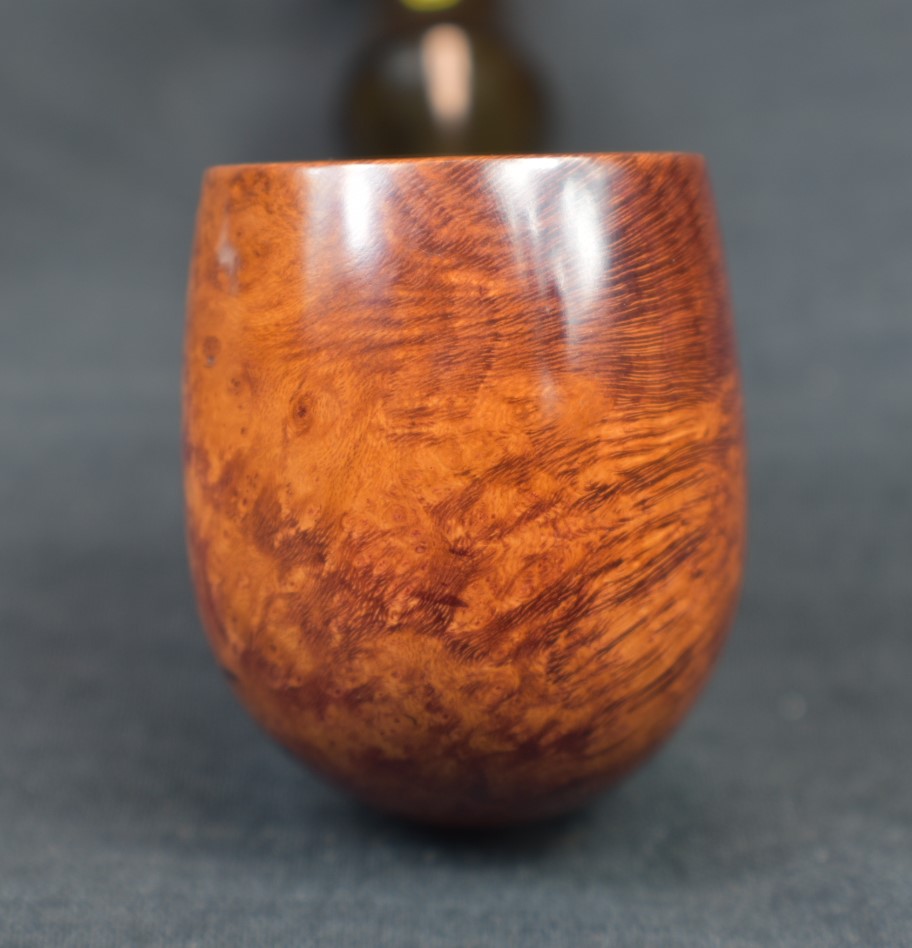
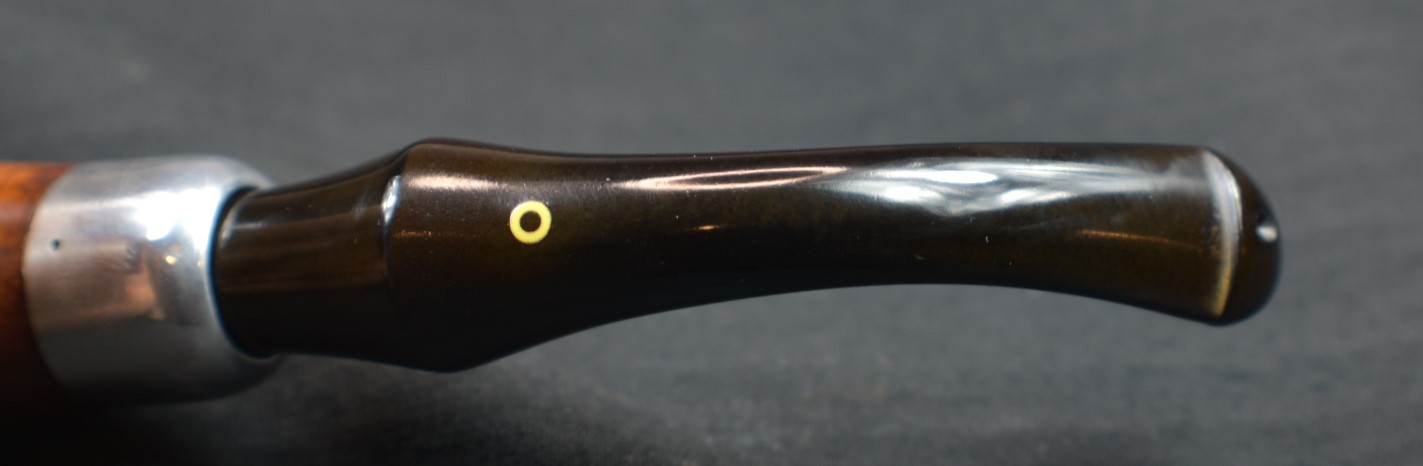
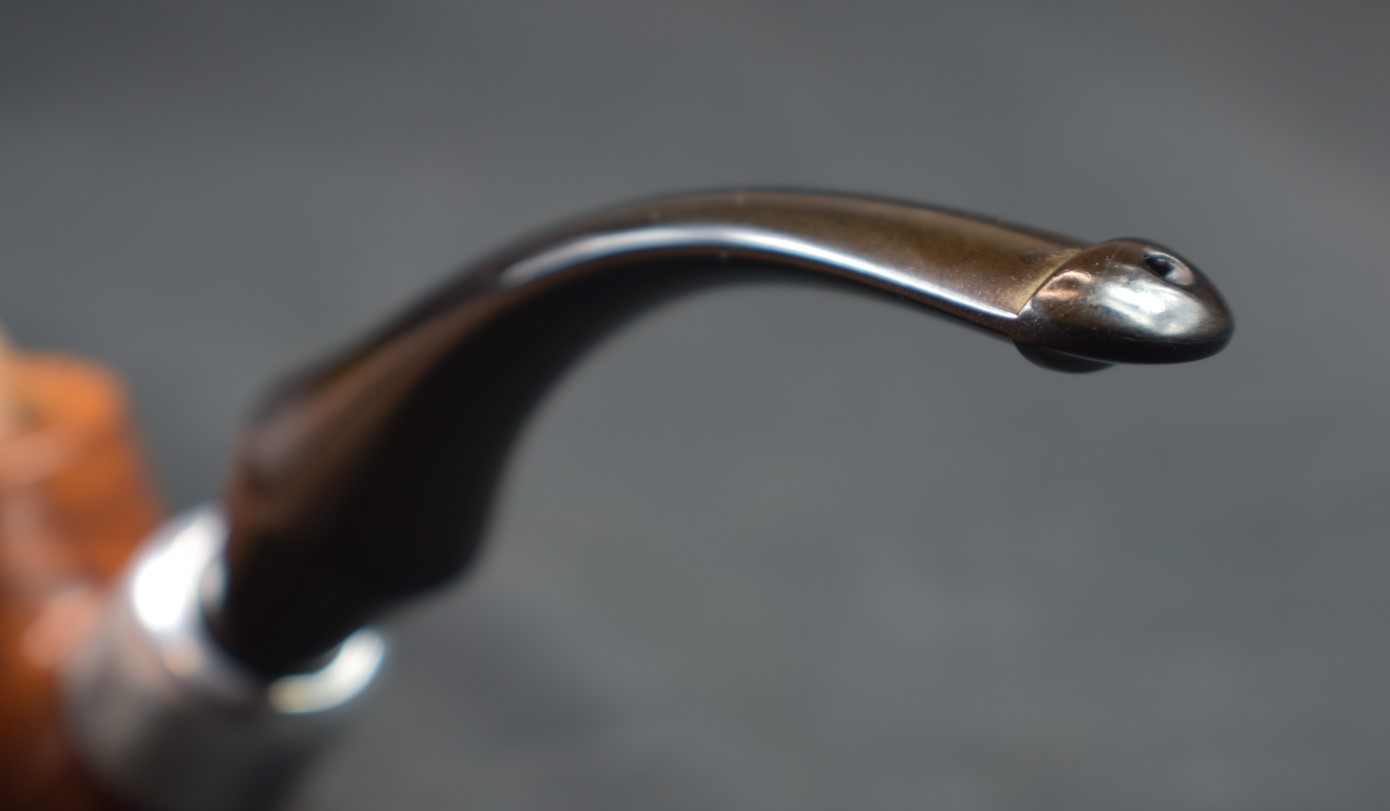
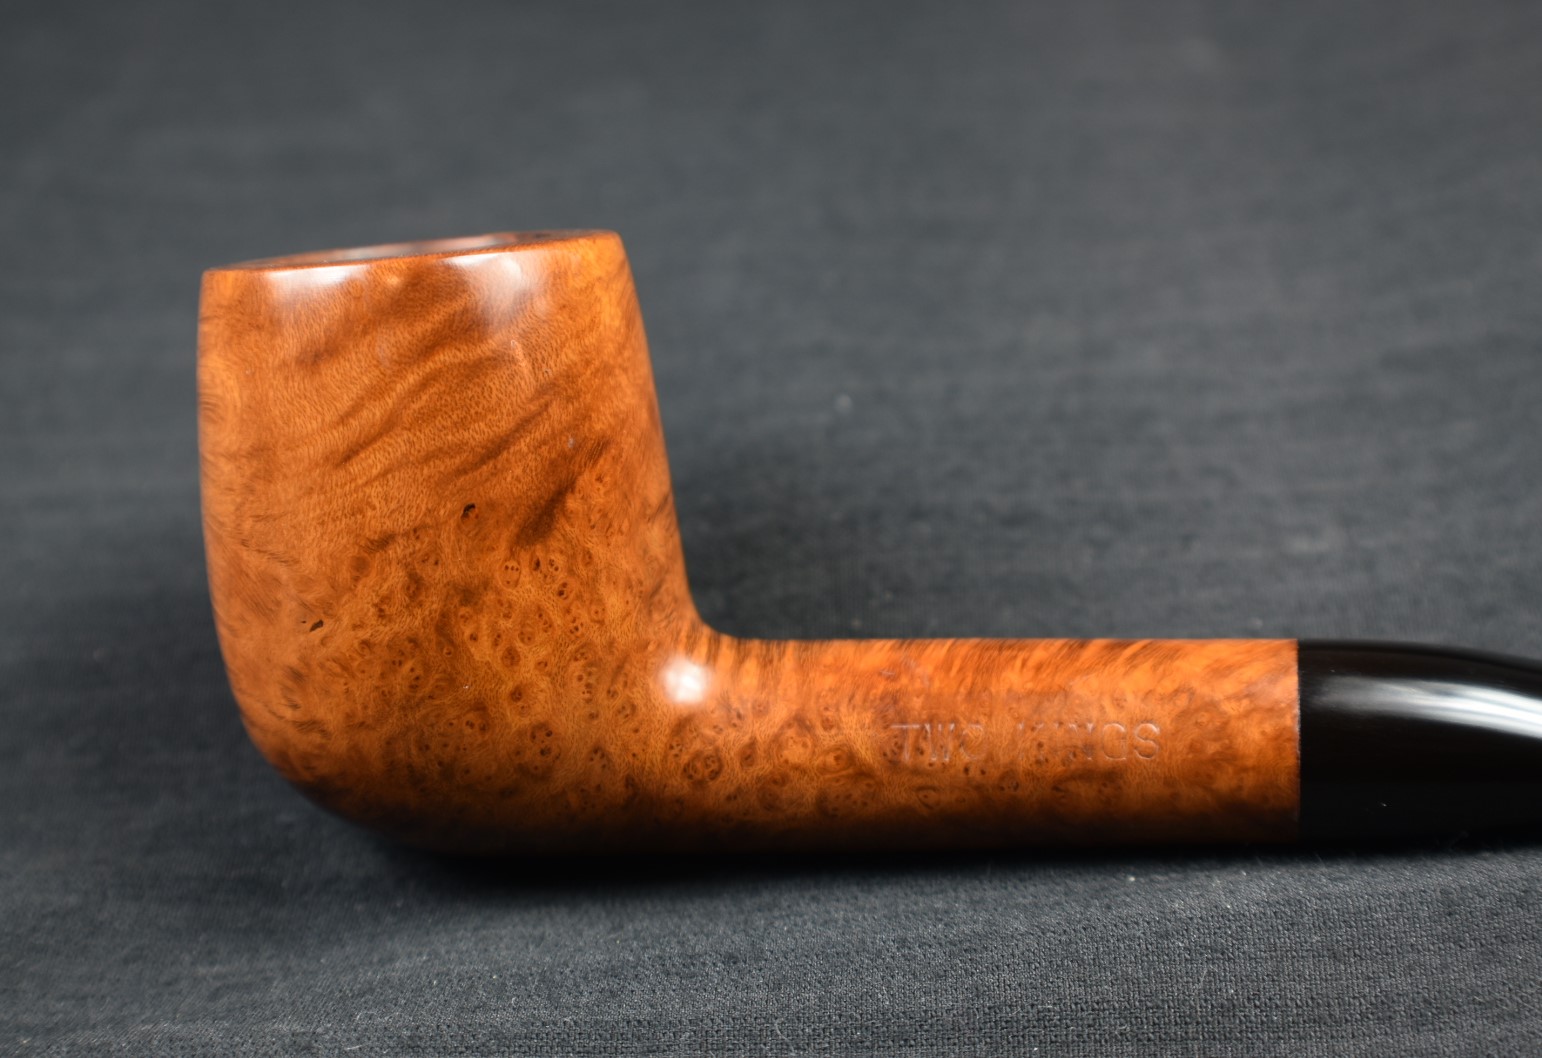
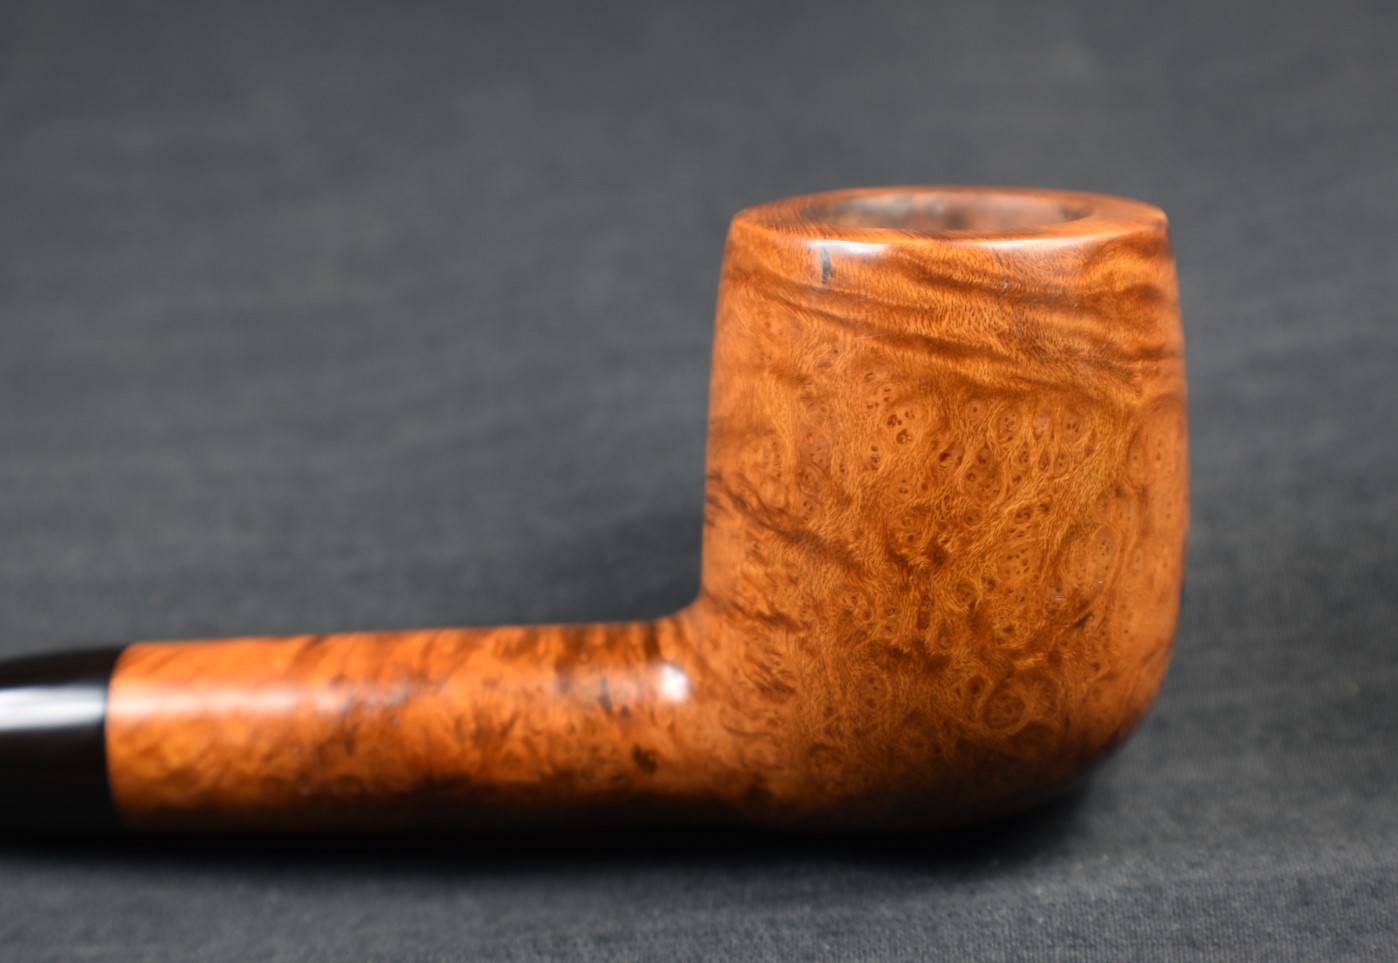
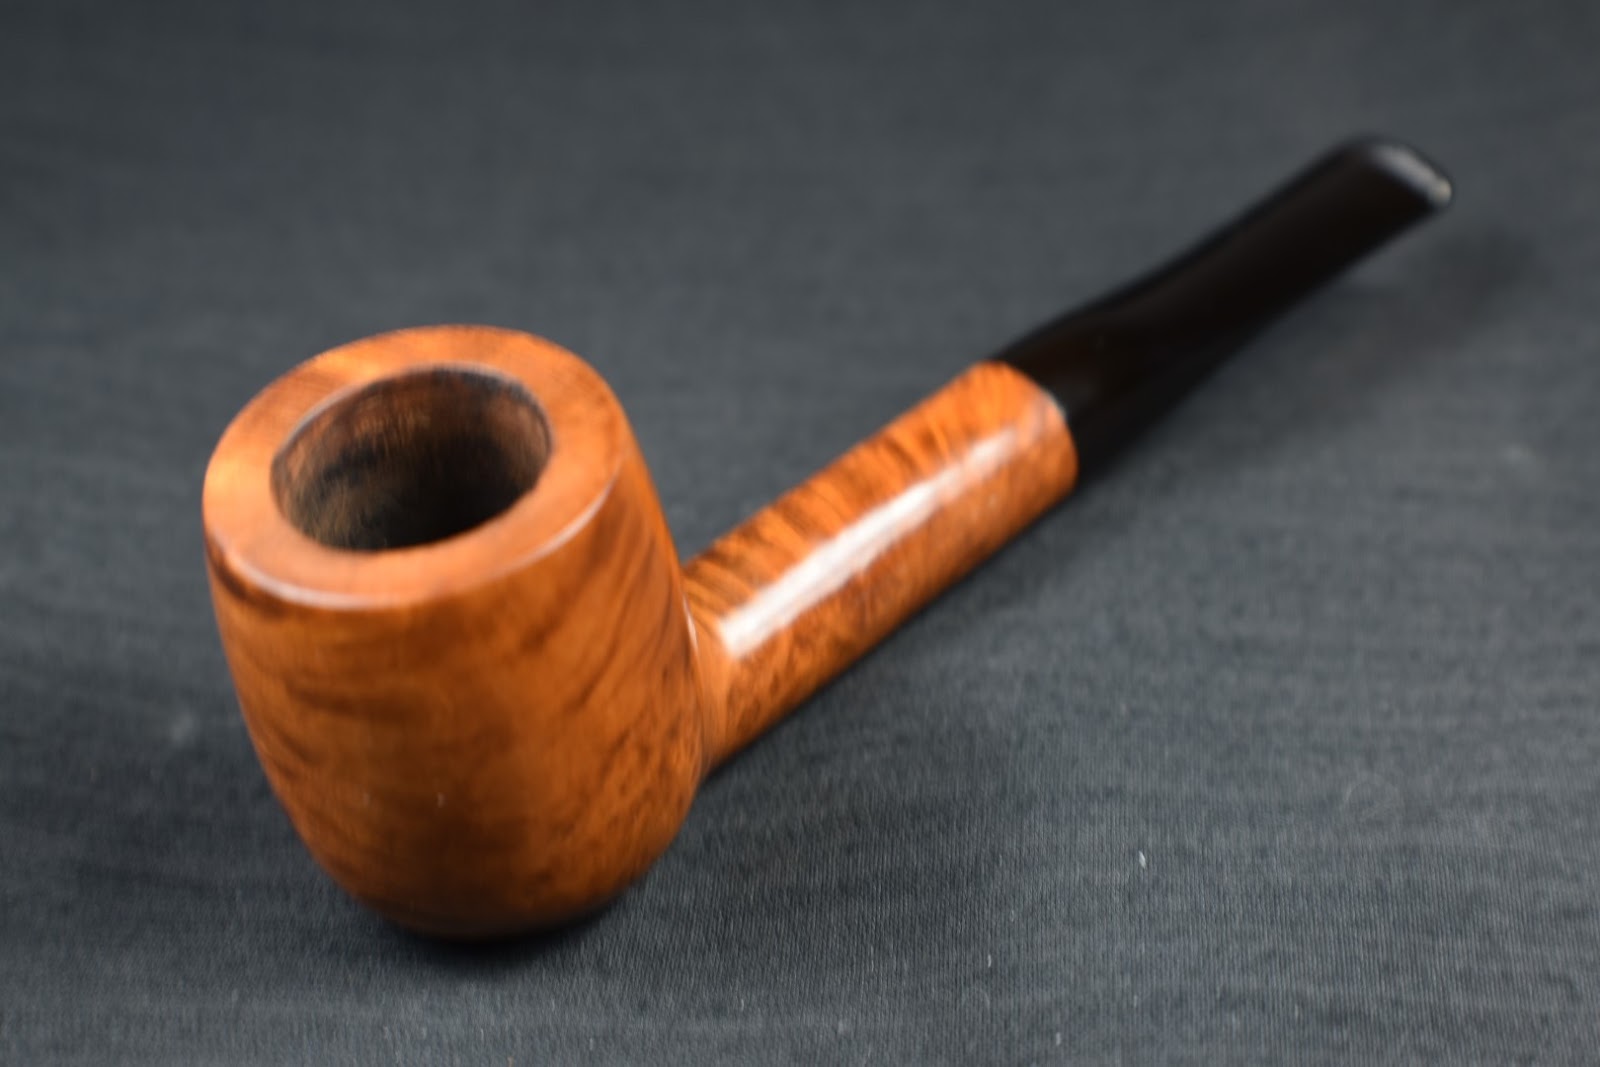
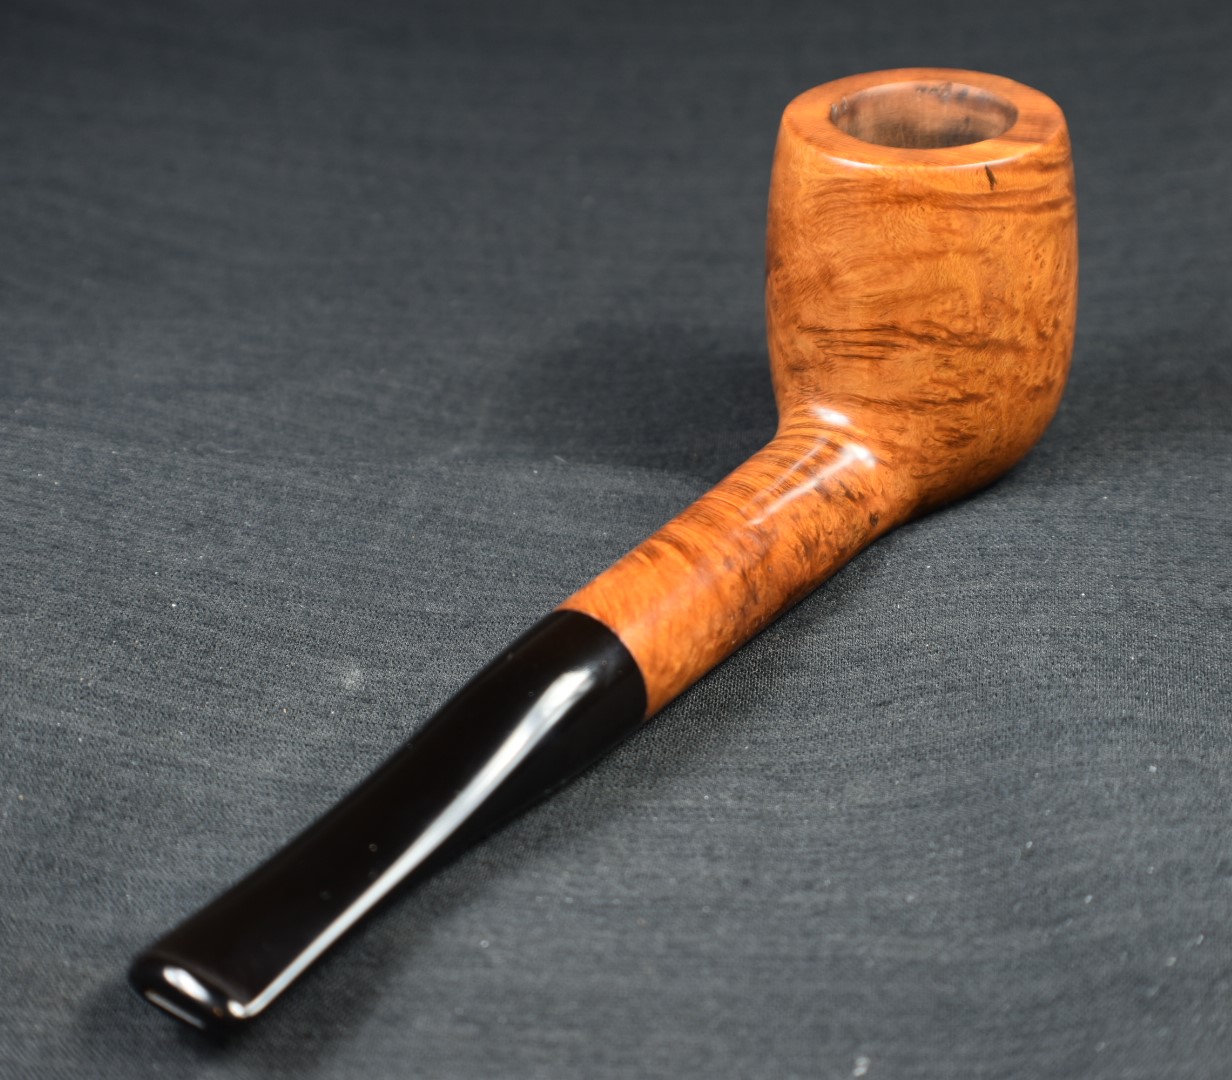
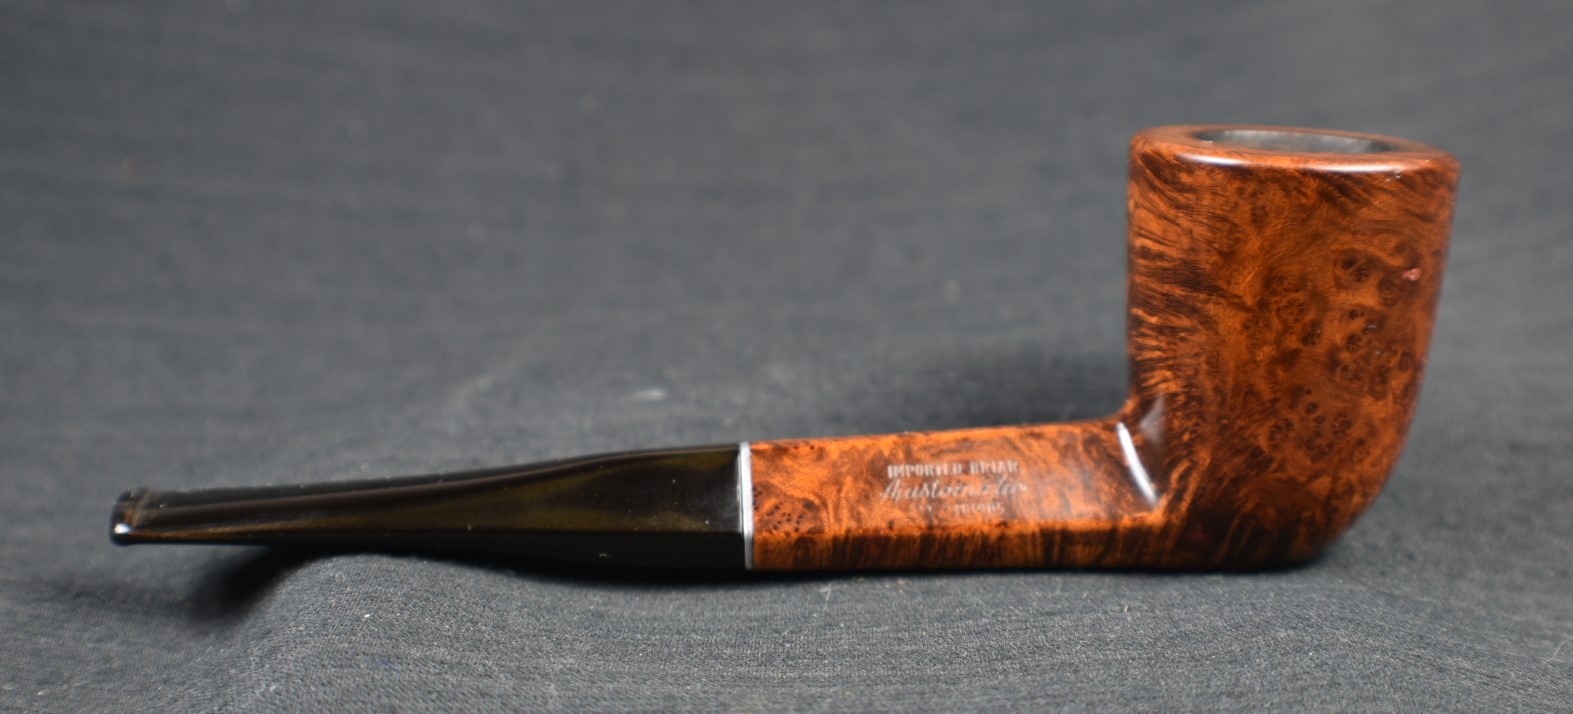
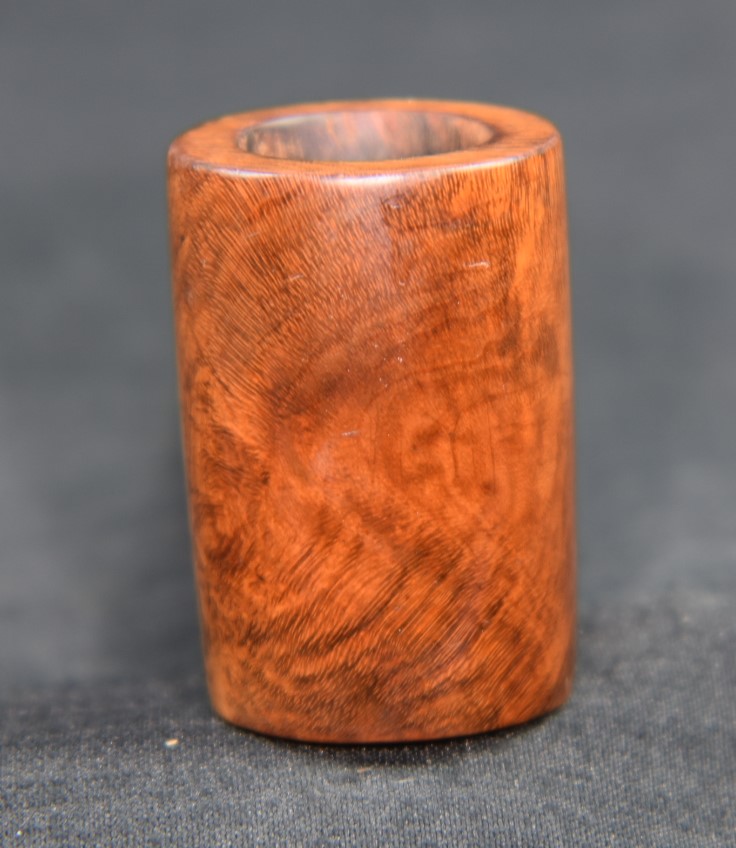
Below are some photos of the finished Yello-Bole Chesterfield.


 ”
”


 .
.


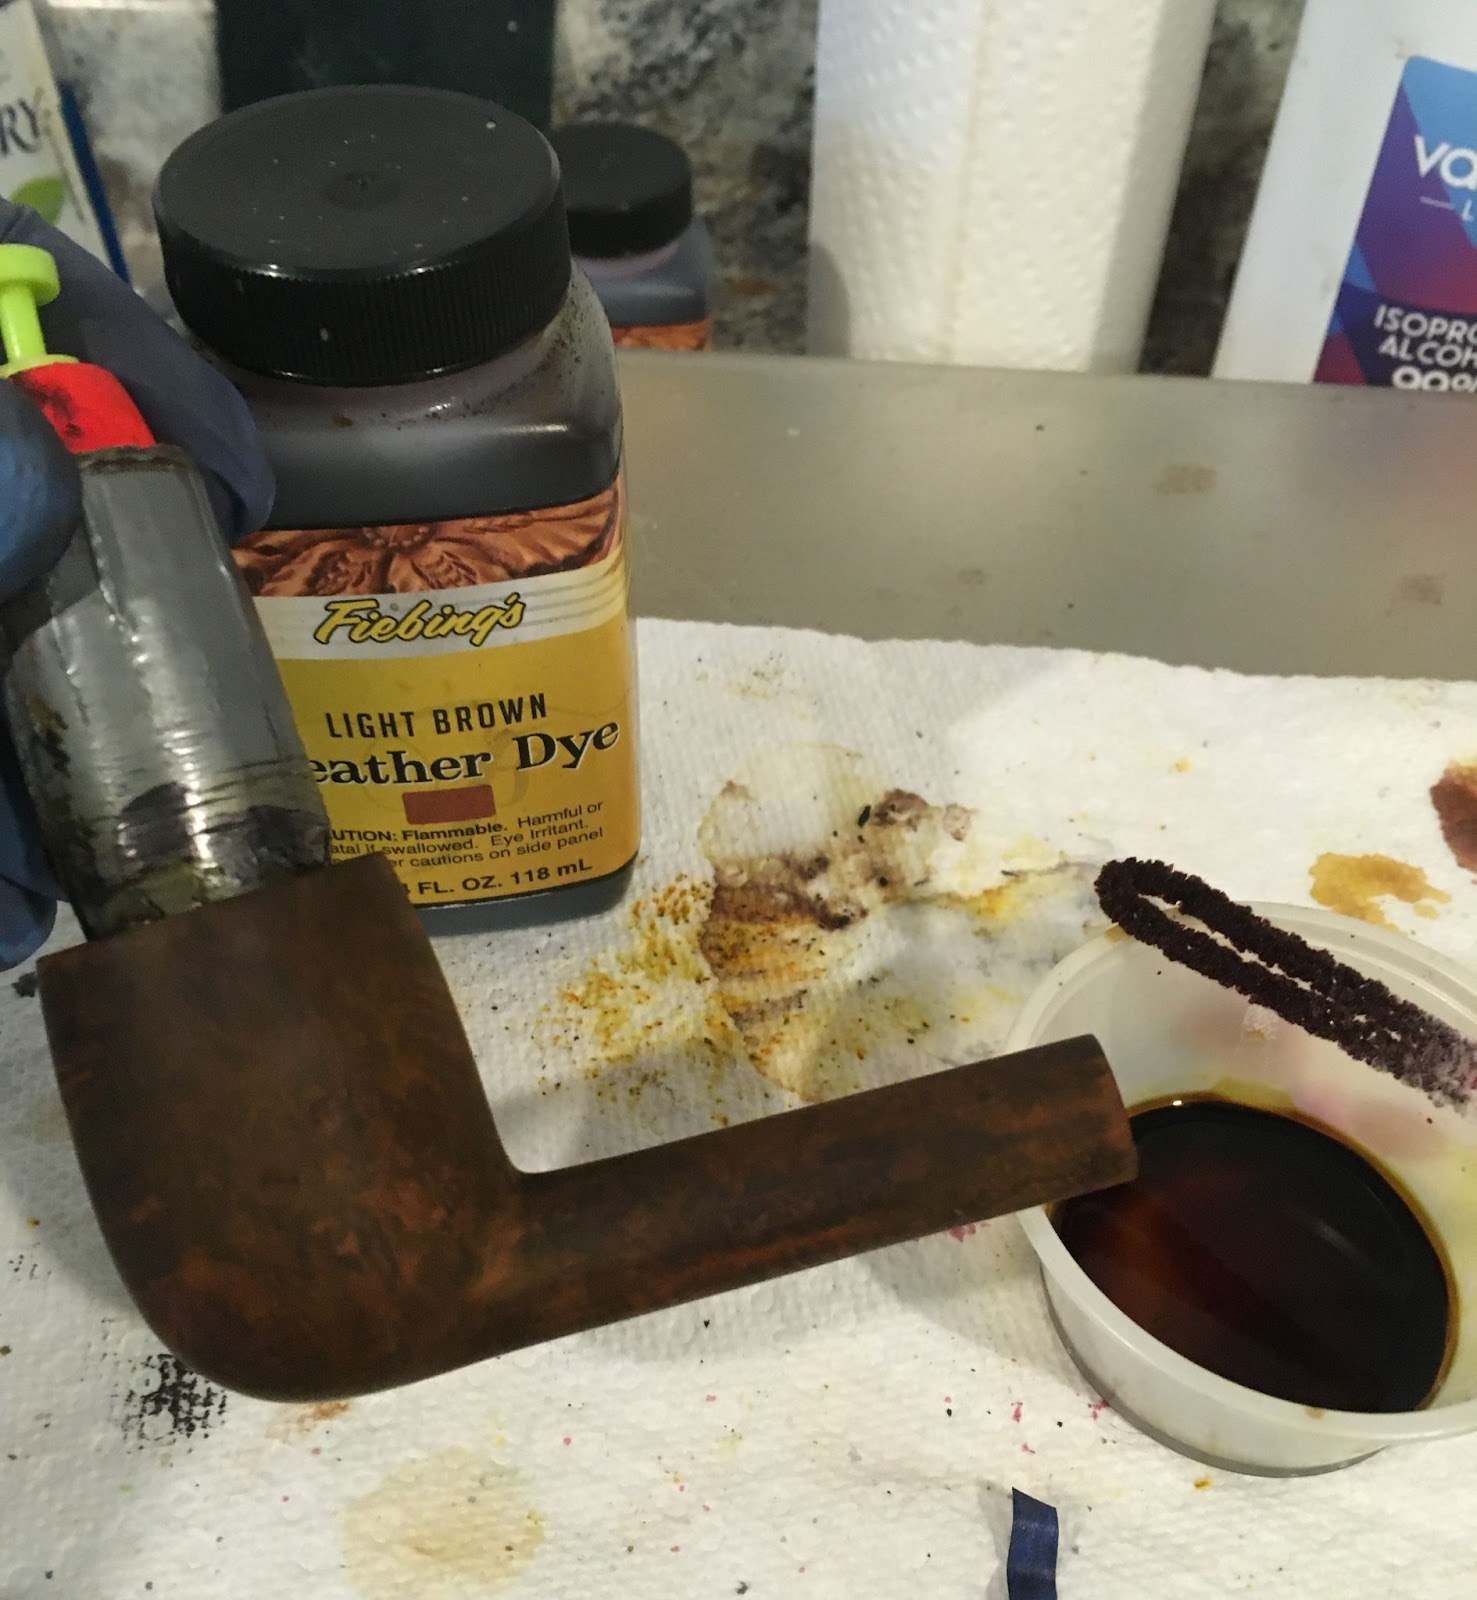


 A second make-up pad yielded similar results. I sanded the stummel with a 320 sanding sponge and wiped the stummel with a make-up pad wetted with acetone. The acetone also was removing red stain. Additional wipes finally freed the red from the briar and I was able to proceed.


 The quality of briar and the original stain color also match quite well. Given those last two qualities are hardly good indicators of a shared heritage but they do look similar. When looking up Jobey on pipedi.org, the first sentence of the entry says, “English – American – Danish – French… Sadly, solid information about Jobey is scamt…”(