I’m back into Marxman mode. This one has sat neglected in the queue for several months. Everytime I looked over at the pipes waiting to be restored I thought about doing this one, then I got distracted like a dog whose owner yells, “squirrel!” Speaking of dogs, I frequently call my 85 pound four-legged tongue a “big headed freak”. This bulldog is kind of like that except it’s a big bowled freak with a lovely forward cant. I ordered this pipe from Judds Pen and Pipes, a well known seller of eBay, back in May of 2024. I told you it had been waiting in the queue for a while… Below are some photos I took before starting work on this pipe.
This pipe was in very good condition with grain that looked very promising under the accumulated wax/finish and did not look like it would require a tremendous amount of work. I did not like the overly glossy appearance of the pipe in general. Either it had a very thick layer of carnauba or there was an evil clearcoat finish lurking. The stem fit was not very tight, that would have to be addressed. The tobacco chamber had some cake and hopefully no damage beneath it. The stem showed almost no browning from oxidation. This was strange for a pipe over 75 years old but I wasn’t complaining. There was some tooth chatter and dents in the stem to be restored.
Background
Believe it or not this would be the 20th Marxman pipe which I have restored and blogged about. There are also a few that I didn’t write up as well. I would like to think Robert Marx would approve. In each of the Marxman restorations I have done, I have included a background section. I think the most complete history is from “A Marxman Jumbo C Restoration” ‹ NebraskaPeteGeek — WordPress. Rather than copy-paste it here, I will let those interested pursue that link.
There is a shorter history of Robert Marx and the Marxman company here, at pipedia.org.
The Dunsboro name can be found in a catalog image on pipedia.org. The site lists the catalog as “circa 1950s” but Robert Marx sold the company to MasterCraft in 1953, making the catalog likely from the early 1950s.
Once on the workbench and underlain with the required denim, I again wondered about the finish.
I began with rubbing the pipe with a make-up pad wetted with 99% ethyl alcohol.
This came back with dark stains of dirt and old wax. Well, I assumed it to be old wax. The stamping immediately became more clear and easier to read.
The stem fit was an issue.
With a closer examination of the tenon, I saw why this tenon was either abused to this was a poor attempt at restemming using a chainsaw as a tool for fine-tuning the fit of the tenon.
I started by attempting to re-face the edge of the stem with the tenon.
The refacing was done using a wooden block with holes cut to fit various diameter tenons and some 400 sandpaper.
The end of the mortise was far from straight.
I filed it flat with a small flat file.
I then used a ½ inch counterboring bit to give the airway a slight bevel.
The tenon was restored to cylindrical shape by applying several light coats of Thin cyanoacrylate (CA, super glue). These were lightly filed and sanded between coats of CA.
I had to test to make sure gravity was still affecting liquids, it was. No really, I didn’t spill the alcohol while cleaning the stem with bristle pip cleaners.
I filed the top and bottom surface of the bite zone with a small flat file to remove most of the tooth chatter.
The reaming tools were gathered.
To ream the tobacco chamber the #2 and #3 PipNet blades were used. A small amount of clean-up was done with the General triangular scraper.
After sanding the chamber with 320 sandpaper wrapped around a wood dowel the chamber looked good with no signs of heat damage, though there was some scratching of the wall by a previous owner.
The shank went well using cotton swabs and bristle pipe cleaners dipped in ethyl alcohol. There was also a bit of scraping done with a dental scraper and boring of the airway with the Scotte stainless steel pipe reaming tool – shank drill.
Next, the stummel was scrubbed with a nylon brush and undiluted Murphy Oil Soap. The soap was rinsed with warm water and then dried with a cotton hand towel.
I packed the tobacco chamber, airway and shank with cotton.
I then applied 99% ethyl alcohol with a disposable pipette to the cotton until it was saturated. The alcohol would be allowed to evaporate overnight. This softened and dissolved some of the accumulated tars in the airway, moved them from the briar into the cotton as the alcohol evaporated.
The next day the cotton showed signs of the successful removal of tars from the briar.
The cotton was removed using a forceps.
Recleaning of the airway indicated that the initial cleaning and the cotton/alcohol treatment were successful.
The shank stamps were masked with masking tape for their protection during the upcoming sanding.
I nearly forgot to fill the tooth chatter on the stem beforeI started sanding. Black rubberized CA was used for the fills. This was allowed to cure for about an hour before filing and sanding it.
A small flat file and 400 sandpaper were used to smooth the new fills.
I wanted to keep the pipe intact during the sanding avoids the rounding of the edges of both the shank and the stem, though some rounding of these edges had occurred by previous Keeping owners. The sanding was done with a series of sanding sponges from 320-1500 grits. Between each sponge the stummel was wiped with an alcohol dampened make-up pad and the stem rubbed with mineral oil then wiped with a paper towel. The wiping was done to remove sanding debris.
The sanding progressed with the 2000-3500 sanding sponges with the above wiping after each sponge.
Eventually the pipe was worked with micro-mesh pads 4000-12000. Here the wiping was done similarly to the sanding stems except instead of mineral oil I used Obsidian Oil on the stem.
The pipe was then taken to the buffer and buffed with white buffing compound on both the stem and stummel. The excess buffing compound was wiped off with a cotton hand towel then the pipe was cleaned with a make-up pad dipped in 99% ethyl alcohol to remove any remaining buffing compound.
I returned the pipe to the buffer for several coats of carnauba wax.
The final step was a hand buffing of the carnauba wax with a microfiber polishing cloth.
This Marxman Dunsboro turned out quite nicely. The briar grain is exceptional, for a Marxman. I added that disclaimer since Marxman pipes are kind of known for their rougher textures. The stem material is not of the highest quality vulcanite and even when polished it retains a less glossy finish. The repair of the tenon went better than expected producing a nice cylindrical tenon. Unfortunately, the mortise had become worn by the old uneven tenon and a rigid tight fit was near impossible to achieve. It is far better than it was though. Overall, this pipe will make a great smoking pipe and shows some of the characteristics of the better-quality WWII era Marxman pipes. The dimensions of the Marxman Dunsboro Saddle Bulldog are:
Length: 5.47 in./ 138.94 mm.
Weight: 1.45 oz./ 41.11 g.
Bowl Height: 1.82 in./ 49.78 mm.
Chamber Depth: 1.56 in./ 39.62 mm.
Chamber Diameter: 0.76 in./ 19.30 mm.
Outside Diameter: 1.62 in./ 41.15 mm.
I do hope that you have found something here useful to your own pipe care, maintenance or restorations. If you like this sort of thing, please click the like and subscribe buttons. Thank you for reading the ramblings of an old pipe lover.
Loading…
Below are some photos of the finished Marxman Dunsboro Saddle Bulldog.
I first laid eyes and hands on a Rettke pipe in July of 2025. You can see that entire restoration here. I was taken by the rather nontraditional, double drilled shank, of the pipe. These pipes are what I call “gimmick pipes”. Now, not all gimmicks are equal. I am sure that Charles Peterson was considered a gimmick pipe maker with his three patents for the Peterson system back in the late 1890s. That gimmick has been used to great result and success for well over 125 years.I made an offer to the seller and was turned down. The pipe sat through several auction cycles and remained unsold. I made a lesser offer and it was accepted. The virtue of patience strikes again. The pipe did not have far to travel after the purchase, merely from Washington, Missouri to the wilds of southeast Nebraska. Yes, the same Washington, Missouri as both the home of J. Rettke and Missouri Meerschaum pipes. Below are some photos taken before I began working on the pipe.
Overall a pretty clean specimen with no glaring issues. The stem had oxidation expected of a 60+ year old pipe. The internals looked clean. There were no obvious fills, indicating a good quality briar. The grain of this pipe was not as distinctive as the first Rettke I restored and I thought that maybe a contrast dye would bring out the existing grain. The rubber seal/end of the “whirler” ( J. Rettke’s term for the spiral aluminum condenser) showed signs of drying and oxidation and may need to be addressed or replaced. Otherwise a thorough cleaning was in order.
Background
I will use the same Background information that I used for the first Rettke restoration and include it here in its entirety:
“I started my research on Rettke pipes with a pipedia.org search on “rettke”. Below is the short entry from that site.
“J. Rettke, Washington MO, PAT. June 12 1962. The silver colored thumbscrew below the stem unscrews and is a 2⅜” corkscrew like device. The company is now gone having been purchased by Missouri Meerschaum. This odd looking pipe is made of briar and has a lower chamber with a metal condenser and an upper chamber that contains a filter. The smoke leaves the bowl thru the lower chamber then into the upper and out the stem. It smokes dry and cool. It has a large bowl.”
(Rettke – Pipedia) I could not read the above newspaper article even by zooming in.
The next search was using Google patent and searching for “Rettke 1962”. This search turned up the original patent diagrams:
My next search was for Steve Laug’s Rebornpipes.com. Steve Laug did a Rettke restoration back in 2017 and contained links to the State Historical Society of Missouri. I could not get this site to produce the same document or to even display the link Mr. Laug has in his blog post. I will link Steve Laug’s blog here: Restoring a J. Rettke Patent Pipe from Washington, Missouri | rebornpipes. It is a very well written and researched piece that does contain a transcript of the newspaper article as well as several photographs of Julius Rettke and the pipe making process.
My favorite quotes from the newspaper article are,
“The work is done in Mr. Rettke’s basement of his home at Third and Market streets. He doesn’t work at it every day only when he feels like it. He likes to fish and that comes before his pipes in the summer.”
I can completely understand the lack of enthusiasm for pipe work when fishing is taking a priority.
And this quote:
“Mr. Rettke received his patent on his pipe in 1962. What makes his pipe different from others on the market is the path the smoke takes from the bowl, and the passage of smoke through a twisted piece of aluminum, or a “whirler.” The smoke also travels through a standard filter in a standard hard-rubber stem. The “whirler” has a rubber tip that shows on the outside of the pipe under the stem. The “whirler” also can be used as a pipe cleaning tool. It pulls out easily for cleaning purposes.” Here the newspaper article talks about a rubber tipped “whirler”. That is how the whirler of my pipe is made. The other Rettke pipes I saw in photos all had a knurled aluminum tip. This little fact is mostly non-important, I just found it interesting.
Now for the fun part: How does this pipe work? In the news article transcript it said, “four holes are bored.” under the photo of J. Rettke at the drill press. I read that after I had done my exploration of the stummel and it was in near complete agreement of what I observed.
Using the above photo, I overlaid some image features to indicate the “four” drillings.
This pipe landed on the workbench and a cleaned denim piece.
I decided to work on the whirler first.
The rubber was dried and cracked. I hoped this was only on the surface.
The rubber was coated with Mark Hoover’s Before and After Hard Rubber Balm. Mark was kind enough to send me a bottle of this product to test. I doubt that he ever imagined it to be used on a Rettke whirler but hey, it is rubber. The whirler was set aside to allow the balm to work it’s magic.
The stem was cleaned with several cotton swabs and pipe cleaners dipped in 99% ethyl alcohol. The stem appeared to have been used without a Medico filter.
After numerous cotton swabs, I took the stem to the sink for a scrubbing with Castile soap and a nylon brush. The soap was used undiluted and as the photo below shows the brush came back with a good deal of smoking residue.
After the stem was rinsed with warm water, I returned to the workbench and found the cotton swab dipped in alcohol started coming back with far less color. Victory!
Once clean, the stem was suspended into a solution of Before and After Extra Strength Deoxidizer. I ended up leaving the stem in the solution for a bit over 24 hours. The following day was Christmas Eve and I was away from home for the day.
The reaming gear was gathered.
The PipNet with the #2 and #3 blades did most of the reaming.
Some light clean-up scraping was done with the General triangular scraper.
The below photo is of the reamed tobacco chamber.
The chamber was sanded with 320 sandpaper wrapped around a wood dowel. The bare briar showed no signs of any damage from heat.
The shank cleaning was twice as much work as a normal pipe due to it having twice as many shank draft holes. Weird, eh? Again alcohol dipped cotton swabs and bristle pipe cleaners were used along with a bit of scraping with a dental scraper. The upper chamber returned swabs with less charred residue than the lower chamber.
I thought that an alcohol cotton treatment would be a good idea to fully clean and de-ghost the draft of this pipe. Not that the previous user had used a foul smelling tobacco, it actually was a pleasant burley based aromatic from what my nose could tell. The chambers and passageway was packed with cotton.
Usually a pipe holds around 10 ml of 99% ethyl alcohol. I figured this one might hold a bit more. The alcohol would be applied with a disposable pipette.
The saturated alcohol would be allowed to evaporate overnight. This would dissolve the remaining smoking residues and tar and move them into the cotton as the alcohol evaporated.
With the stem and stummel now occupied with long term waiting procedures, I cleaned up the aluminum of the whirler with 99% ethyl alcohol and cotton swabs.
The next morning I returned to the workbench for a few minutes before heading to the Christmas Eve celebrations. The cotton had picked up the color of deposited tars.
The cotton was removed with tweezers. I again used alcohol dipped cotton swabs and bristle pipe cleaners to repeat the airway cleaning to remove any remaining, now softened, residues.
The next evening, I removed the stem from the deoxidizing solution and used the patented Drip-Dry-O-Matic, okay, it’s not patented. Yet!
The stem was vigorously rubbed with a coarse shop rag to remove remaining solution and some of the softened oxidized rubber.
Back at the workbench the stem looked kind of rough but black.
I used some Soft Scrub cleanser of make-up pads to clean off additional oxidized vulcanite.
The stem was then sanded, with more attention on the tooth chatter above the button, with 320-600 grit sanding sponges. Between each sponge the stem was rubbed with mineral oil and wiped with a dry paper towel to remove sanding debris.
It was time to see how a contrast dye would enhance the briar grain. I thought that a base of black with a top coat of Mahogany would look very nice. Both dyes were Fiebing’s Leather Dye applied with a pipe cleaner, flamed with a flighter.
Below you can see the stummel after a coating of the black Fiebing’s. The cork was placed in the tobacco chamber to keep the dye out.
I only wanted the black dye to be absorbed more deeply by the softer grain. I then rinsed the dye from the stummel using 91% isopropyl alcohol over the sink then wiped the stummel with a paper towel.
When sanded with a 400 grit sanding sponge, both harder and softer grain was removed. The dye had penetrated the softer grain deeper than the harder grain.
Next came the mahogany applied with a pipe cleaner.
I again rinsed the dye from the stummel with 91% isopropyl and wiped with a paper towel. Returning to the workbench I sanded the stummel with 400 then 600 grit sanding sponges. Below you can see how the black accentuated the grain and how the mahogany added warmth to the non-blackened areas.
After a drying time of about 30 minutes I applied a coating of Before and After Restoration Balm to the briar and a coating of Before and After Hard rubber Balm to the stem and rubber of the whirler. This was allowed to sit for about an hour.
The balms were hand buffed from the pipe with an inside out athletic sock.
The pipe, both stem and stummel were then buffed with rogue buffing compound at the buffer. The pipe was wiped with an alcohol wetted make-up pad to remove any remaining buffing compound then returned to the buffer for several coats of carnauba wax.
The final step was to hand buff the pipe with a microfiber polish cloth.
After restoring the first J. Rettke pipe, I wrote this sentence in the conclusion. “Of the many gimmick pipes I’ve had the pleasure of working on, I think this one would actually be an effective system for condensing steam. It just makes sense.” I could not have said it better, myself. Wait, I did say it. Anyway, this pipe turned out very well. The contrast dye is what I hope it would look like – greater definition of the briar grain. The stem polished up nicely. I tried the draw both with and without Medico filters and the draw was very good either way. With the first J. Rettke, I ended the conclusion by typing, “I would consider this an artisanal pipe from a time before artisanal was cool.” I couldn’t have said that better, myself. Now for the part I had been looking forward to since I saw the first Rettke, smoking it and seeing firsthand if J. Rettke’s patent was effective or another gimmick. The dimensions of the J. Rettke are:
Length: 5.88 in./ 149.35 mm.
Weight: 1.46 oz./ 41.39 g.
Bowl Height: 1.92 in./ 48.77 mm.
Chamber Depth: 1.42 in./ 36.07 mm.
Chamber Diameter: 0.71 in./ 18.03 mm.
Outside Diameter: 1.41 in./ 35.81 mm.
I do hope that you have found something here useful to your own pipe care, maintenance or restorations. If you like this sort of thing, please click the like and subscribe buttons. Thank you for reading the ramblings of an old pipe lover.
Loading…
Below are some photos of the finished J. Rettke pipe.
I remember studying the Ancient Greeks in 9th grade. The whole philosophy of Stoicism struck me as great. Relying on rational thought over emotion was somehow appealing, which is funny because having worked with adolescents for a 33 year career as a secondary teacher, I quickly learned that nearly all of their decisions have nothing to do with reason. Come to think of it neither do mine. This pipe for example, a Kaywoodie meerschaum apple which by the seller’s description:
What rational thinker would want to deal with a meerschaum pipe that has a hole that ”goes all the way through”? That is the fun part of rationality, one can rationalize just about anything. The pipe called out to me partially because of the uncommonality of Kaywoodie meers but also because of the shape. Yeah I know, two more irrational thoughts. Then there was the whole challenge of, “can I restore it?” That one I could more easily rationalize with, “it would be a good way to practice repairing meerschaum pipes.” Besides, it is cold outside, there is snow on the ground and the lake is becoming covered with hard water, limiting my fishing.
The pipe had no markings or stamps indicating the maker other than the Kaywoodie cloverleaf on the stem and the Kaywoodie 4 hole stinger. My immediate thought was that it was actually a Laxey product. More on that in the background. Normally I would write something like. “Below are some photos of the pipe before work began.” but I actually had picked at the apparent fill on the outside of the pipe a little bit before I took the following photos.
For the most part this looked like a pipe in great condition. The stem was not oxidized, there was no tooth chatter and it aligned correctly when screwed in. The interior of the tobacco chamber had been scraped and sanded and looked good, except for the gaping hole. This hole continued through the side of the stummel. I developed a plan in my mind of how to address this hole:
Cut a piece of meerschaum, from a piece of scrap meerschaum, that would be fit to the hole on the inside of the tobacco chamber. This would be like an inlay.
Fill the hole in the side of the pipe with a mixture of epoxy and meerschaum powder from both the tobacco chamber and from the outer-side of the stummel.
Place the meerschaum inlay onto the epoxy fill and into the hole.
Allow the epoxy to cure.
Top the outside fill with meerschaum powder mixed with eggwhite and sand the meerschaum inlay smooth with the tobacco chamber.
Dye the fill on the outside of the pipe with a strongly brewed tea to match the color of the meerschaum.
Apply a molten beeswax to the surface of the stummel.
Hmm, it sounded like a reasonable plan but like all of my plans, they tend to have trouble when exposed to reality. You may be wondering, “What the heck is egg white used for?” There is a technique for repairing meerschaum pipes using powdered chalk mixed with eggwhite. I have used this technique previously in the restoration of a Kiko Caveman (Kiko Caveman Restoration – NebraskaPeteGeek). In that blog post there is the original recipe and instructions as well as an exchange between me Dal Stanton and Paresh Deshpande regarding the durability of the repair. I now have a small supply of meerschaum pieces so I planned on replacing the chalk with meerschaum powder.
Background
Having restored a few meerschaum pipes, I had a feeling (yeah, not very Stoic) that this was a Laxey. The following reasons were indicators: The color was not the bright white associated with Turkish meerschaum, the lack of any maker marks, the proprietary Kaywoodie stinger and the general lower quality of the meerschaum as seen by the flaws.
Like I mentioned earlier, I thought the pipe was likely a Laxey product. Below is the entry on Laxey Pipes from pipedia.org:
“Laxey Pipes Ltd. resided in a historical 19th century four-storey Man stone building at The Quay, Old Laxey, Isle of Man, which thankfully has been preserved.
The company specialised in the production of meerschaum pipes using the Meerschaum mined by the Tanganyika Meerschaum Corporation in the Amboseli basin in Tanganyika (since 1964 part of the United Republic of Tanzania).
Please note: you may often find names like “Manx Pipes Ltd.”, “Man Pipe Co.” and others more, but there is no indication of another Isle of Man pipe producer other than Laxey Pipe Ltd. at any time!
Laxey Pipes Ltd. marketed own brands like “Manxpipe”, “Manxman”, “Manxland” e.c. Names like “John Bull”, “White Knight” (unwaxed), “Domino” (black, or lined) indicated some shapes / colours of Laxey’s own series. The stems either showed the astronomical sign for “male” or “man” (circle + arrow), or the crest of the Isle of Man, the 3-legged X in a circle. Manxpipes and Laxey’s other brands were available through pipe retailers in general, but also were sold (mainly) to tourists through their own shop in Laxey.
Furthermore Laxey Pipes Ltd. manufactured the meer bowls for Peterson, Barling, Nørding and others from the later 1960’s until 2001. Man Pipe e.g. was a brand distibuted by Comoy’s. The bowls usually showed no nomenclature indicating the orderer. “Genuine Block Meerschaum” was engraved frequently. Often, just the stems were different, while bowls were the same.
Supply of meerschaum from East Africa run out (Kenya / Tanzania exhausted, Somalia inaccessible), and thus the last Laxey meers were supplied to trade in May, 2001. Laxey Pipes Ltd. tried to survive continuing with briar pipes – mainly in the Danish style -, but to no success. It closed down business in July, 2002.” (Laxey Pipes Ltd. – Pipedia)
Side Note
If you are interested, I wrote more extensively about the meerschaum deposits in Tanzania when doing research on a Kiko Caveman pipe. That can be found here: Kiko Caveman Restoration – NebraskaPeteGeek.
Back to this Kaywoodie. In trying to date this pipe we can use the stinger as a kind of reference. According to pipephil.eu the 4 hole stinger began in 1924. These early stingers were part of a push fit mortis-tenon. In “1931 when the SynchroStem patent was granted” (Document: Kaywoodie’s Drinkless patent — Pipes : Logos & Markings –) Kaywoodie’s screw-in stinger was adopted.
Another clue to the date of this Kaywoodie can be found with the stem logo. According to the Kaywoodie Collector’s Guide from the pipedia.org site, “Early (pre-1936) Kaywoodies had an “elongated” white cloverleaf on the bit, a large fitment, and four-digit shape numbers. The 1936 catalog shows a larger, “fuller” leaf, but lists two-digit shape numbers. Sometime between 1936 and 1947, the better pipes were marked on the bits with a black cloverleaf in a white circle. The white cloverleaf continued on the lesser pipes. However, this was not a consistent convention, as pipes of the same grade could have either type of leaf.” (Collector’s Guide to Kaywoodie Pipes – Pipedia). Again the dates here intricate the 1936-1947 period but show no definitive years.
Using the Synchrostem information from pipephil.eu and the logo information from pipedia.org the dates 1936-1947 overlap from both sources. The issue here is that Laxey produced pipes from the “latter 1960’s until 2001” (Laxey Pipes Ltd. – Pipedia). Okay, I have no actual proof that this was a Laxey carved piece of meerschaum and the latter 1960s are 20 years from the stated time of Kaywoodie’s black cloverleaf in a white circle. This leads to some conjecture on my part. I still believe this pipe to be a piece of African meerschaum, likely manufactured by Laxey perhaps fitted with a stash of older bits provided by Kaywoodie in the late 1960s.
The Restoration
The Kaywoodie made its way to the workbench. Actually, back to the workbench after my earlier exterior picking of the older fill.
I picked at the pit on the outside edge of the stummel to remove the loose material. I assumed this to be an attempt at filling the pit from the factory. The material was white and much softer than the surrounding meerschaum.
As I was examining the pipe more closely I noticed that the drillings were not very precise. The draft hole was slightly off-center. I did not think this would affect the performance of the pipe significantly.
Next I looked at the meerschaum pieces I had on hand. I bought an old “carve your own meerschaum pipe” kit over a year ago as a source of scrap meerschaum to use for projects like this. It had several pieces of the mineral.
These pieces showed many surface flaws. I assumed that these flaws would also likely be found inside the pieces and would only be exposed by drilling or cutting the meerschaum This is what I thought were the source of the “hole” in the Kaywoodie.
Below is another photo of the flaws in a piece of meer.
The piece of meerschaum that I selected to be a donor.
My father, the high school drop-out with a PhD., earned his original teaching degree in wood shop and geography. His accomplishments likely influenced my own interests in life. I remember him saying, “measure twice, cut once” on many occasions when we were doing various projects. I continue using his advice except, I typically measure more than twice.
This piece of meerschaum was selected because it seemed to have far fewer flaws than some of the other pieces.
Due to the very brittle nature of meerschaum I opted to do the cutting with a Dremel and a narrow cutoff wheel.
Below is a photo of the cutoff bit.
I tried a sample cut to get a feel for cutting meerschaum with the dremel before cutting the real piece. It worked! I was amazed at how the meerschaum smelled like talcum powder.
The Dremel was used to cut the rough inlay piece. Below you can see the inlay piece laid on top of the pit.
More measuring and marking to get the inlay to fit the pit was done.
Trimming and fitting to the pit took more time than I would like to discuss. Lets just say it was a long tedious process.
Loooong and teeedious. Eventually I was happy with the shape and fit of the inlay piece of meerschaum.
Next, I need meeschaum powder. I used the same piece of meerschaum and an emery board to generate some powder.
Clear J-B Weld was the epoxy of choice due to its ability to withstand high temperature. The epoxy was mixed as per label instructions then mixed with some meerschaum powder.
This meer-epoxy mix was applied to the pit and worked into the hole.
The inlay piece was then gently pressed onto the meer-epoxy.
From the outside hole, I applied more of the meer-epoxy filling the hole from the outside. I allowed a slight depression here thinking that I would fill this depression with the meer-eggwhite mixture once the epoxy had completely cured.
I did top the still “wet” epoxy with some meerschaum powder, in hopes of giving the meerschaum-eggwhite mixture greater surface area to adhere to.
Below is a photo of the outside fill after the epoxy had cured for 8 hours.
The inlay was sanded smooth to the surface of the tobacco chamber using 320 sandpaper wrapped around a wood dowel then by hand with 400 grit sandpaper.
The next day the epoxy had partially cured and the fill had a slightly transparent look. The topping with the meerschaum powder did not seem to have formed the rough texture I had hoped for.
Dinner that night now had to include some egg mixed with the fried potatoes and Thanksgiving turkey leftovers burritos that was planned. No sense wasting an entire egg for a few ml of eggwhite, eh? The eggwhite was mixed with meerschaum powder.
This mixture was applied to the area I wanted filled. As the eggwhite-meer mixture dried, it contracted, leaving a crack and pulling away from the sides of the fill. While it was still soft I was able to add a tiny bit more of the mixture and work it to repair the cracks. I also tried to give the slightly pliable mixture a bit more texture so it blended with the texture of the surrounding meerschaum.
The stummel needed an overnight to fully cure. I turned my attention to the stem. I cleaned it with bristle pipe cleaners and 99% ethyl alcohol.
I touched-up the edge of the button with a small flat file and sanded the stem with a 400 grit sanding sponge.
Then I scrubbed the stem with Soft Scrub cleanser to remove the light oxidation.
The shank of the pipe was wrapped in masking tape to protect it from the buffing which I wanted to do next.
At the buffer I worked the stem with white buffing compound hoping to remove the surface oxidation and restore the shine.
The buffing helped but I thought that my buffing skills could use a bit more work. I used Before and After Fine and Extra Fine Polish on a soft cloth to hand polish the stem.
The next day, now 36 hours of cure time for the epoxy and 14 hours of eggwhite-meer drying, this is how the fill looked. Still an ugly scar. Maybe it will look better after the new beeswax?
I proceeded with cleaning out the shank with bristle pipe cleaners and 99% ethyl alcohol.
Next, the pipe was taken to the sink for a scrub with warm water and a nylon brush.
The stummel looked clean but I still didn’t like that scar.
Hmm, tea time for me and the too white meerschaum scar. I brewed a nice strong Irish breakfast tea for me and to stain the meerschaum.
The tea was applied with a paintbrush and it softened the white, slightly.
It remained a rather ugly scar.
I use a hot water bath to melt the beeswax. A small jelly jar with the beeswax is set in boiling water. The water, once hot, melts the wax and will keep the beeswax liquid for longer amounts of time. The tin is used to catch dripping wax as I brush it onto the meerschaum while the heatgun provides heat to the stummel and to the wax as it is applied.
I pre-heated the stummel with the heat gun. A wine bottle cork was used to plug the tobacco chamber and as a handle.
Below you can see the boiling water melting the beeswax.
Once melted I turned off the burner and had plenty of time to work with the liquid wax.
The pipe was returned to the workbench to cool.
The new beeswax application did little to improve the scar. I added additional wax to the repair fill to cover the slight cracks present. This new wax was melted with a lighter to fill the cracks.
The final step was to hand polish the pipe with a microfiber polishing cloth.
I would like to say that this Kaywoodie Meerschaum Apple turned out beautifully, but that darn scar still bothers me. I was pleased with the hole filling and meerschaum inlay of the tobacco chamber. That part of the plan worked better than I imagined. The stem also turned out very nicely. The glossy black provides a great contrast to the creamy meerschaum. Overall the color of the meerschaum is a warm light yellow and should age and color nicely with use. If nothing else, this pipe allowed me to work with another meerschaum pipe and try a repair which went from a problem to a potential solution to an actual repair. It will be interesting to see how well the repair lasts and how the coloring of the meerschaum develops. The dimensions of this Kaywoodie Meerschaum Apple are:
Length: 6.10 in./ 154.94 mm.
Weight: 1.17 oz./ 33.17 g.
Bowl Height: 1.55 in./ 39.37 mm.
Chamber Depth: 1.21 in./ 30.73 mm.
Chamber Diameter: 0.80 in./ 20.32 mm.
Outside Diameter: 1.74 in./ 44.20 mm.
I do hope that you have found something here useful to your own pipe care, maintenance or restorations. If you like this sort of thing, please click the like and subscribe buttons. Thank you for reading the ramblings of an old pipe lover.
Loading…
Below are some photos of the finished Kaywoodie Meerschaum Apple.
This is the third Kaywoodie Tuckaway that I have come across. The previous two were purchased and restored before I started blogging restorations, prior to October 31, 2023. They are two of my favorite pipes and have places in a three-pipe rack on my mantleplace. Below is a photo of the three amigos.
The stamping of my original two, the first has KAYWOODIE over Super Grain (in script) over IMPORTED BRIAR (on the shank bottom), a 042 on the right side shank and a logo-less stem. The second pipe has KAYWOODIE over Standard (in script) over IMPORTED BRIAR on the left shank with 022 on the right and a Kaywoodie clover logo stem. I identified the newest pipe from what appeared to be an assortment of pipe parts on eBay. Apparently no one else thought this mess was worth the $9.99 opening bid.
The newest pipe has no discernable stampings but it does have a Kaywoodie clover logo stem. The stems of all three pipes are interchangeable. Below are some photos of the pipe prior to starting work on it.
No stamping bottom, left nor right.
The only distinguishing feature is the stem logo.
The pipe was in relatively good shape. It had a moderate cake in the tobacco chamber and some lava on the rim. The stem showed signs of tooth chatter but without any deep dents or wear. The fit of the stem in the mortise was snug and proper. The grime on the stummel made it a bit difficult to see the grain of the briar but there were hints of beauty under the accumulated dirtiness. As for the slightly off colored clover logo, I thought it would brighten to the original white once sanded. Overall, this looked like a nice and easy restoration.
Background
Kaywoodie has a long and colorful history dating back to their origins, “Kaywoodie name first appearing in February of 1919.” (Kaywoodie History – Greywoodie LLC) The history of Kaywoodie pipes is fortunately well documented thus, allowing rather precise dates for a Kaywoodie collector to declare the provenance of their charges. Rather than deposit it here, I will link the two outstanding histories of KB&B/Kaywoodie – Greywoodie’s site has a well written history of the company (Kaywoodie History – Greywoodie LLC) and pipedia.org has pretty much the same written history with a rich library of Kaywoodie catalogs, photos and images of old print advertisements, (https://pipedia.org/wiki/Kaywoodie). I can’t recommend them enough for those interested in reading more about the company and the products. There is a third document which provides information more specific for tracing the providence of a specific pipe or model of pipes and that is he Collector’s Guide to Kaywoodie Pipes (https://pipedia.org/wiki/Collector%27s_Guide_to_Kaywoodie_Pipes).
Tuckaway. The 1955 catalog shows a Drinkless Tuckaway that was simply a smaller version of other Kaywoodie styles. The Tuckaways of the 1955-1968 period had military mountings, filter-free see-thru bits, and were packaged in a leatherette case. Available in Standard, Relief Grain, and Super Grain grades ($6-$8, depending on grade). Miniatures. Two-inch miniature replicas of “their big brother”, complete with the Drinkless fitment and Synchro Stem. The catalogs show these as individually-cased pipes but multiple pipe sets were apparently available. Price: $5.00 (Collector’s Guide to Kaywoodie Pipes – Pipedia)
Back in October, 2025 Dal Stanton published a restoration blog about a Kaywoodie Tuck away that he did New Life for a Rare, Early 1960s Kaywoodie ‘Tuckaway’ Standard 050B – The Pipe Steward. This well researched and written post does a fine job at documenting the Kaywoodie Tuckaway far better than I have done. Dal’s pipe also has the “filter-free see-through bits” alluded to in the Collector’s Guide quoted above. This forces the question of when did Kaywoodie produce the three examples which I have come across? Well the only thing which I state is the above quote, “The Tuckaways of the 1955-1968 period had military mountings” (Collector’s Guide to Kaywoodie Pipes – Pipedia). The bits associated with these three pipes are not exactly vulcanite, nor are they nylon. They are apparently some different plastics. They do not oxidize like vulcanite but they are softer than acrylic. They dent from tooth chatter more like nylon but they are easier to sand file and sand than the nylon bits of Medico or Falcon pipes. The white clover logo does show a yellowing with age which was refreshed to the white with sanding.
The Restoration
After the “Before” photos the pipe made its way to the workbench.
Reaming was the first task. The PipNet with #1 and #2 blades, the Smokingipes Low Country reamer and the General triangular scraper were recruited for the task.
The PipNet blades did most of the work.
This Tobacco chamber was drilled with a more conical bit, as is traditional for a Dublin shape pipe. The Kleen-Reem fit this chamber better that the PipNet and was used as well.
There was little for the General to do, but for a bit of clean-up.
Below is a down chamber photo of the reaming results.
The chamber was sanded with 320 sandpaper wrapped around a wood dowel. The exposed bare briar showed no signs of any heat damage.
The rim had a layer of lava on the back half. I hoped there wouldn’t be any charring underneath.
The rim was moistened with saliva. I then took the knife upstairs for a resharpening on the sharpening stone. A few minutes later the rim was scraped with a very sharp blade.
I was surprised at how clean, relatively, the airway of the shank was.Some scraping with a dental scraper was done followed by an alcohol soaked shank brush and several bristle pipe cleaners and cotton swabs also dipped in the 99% ethyl alcohol.
Below are two close-ups of the tooth chatter on the top and bottom sides of the bit. Notice how it looks more like the nylon of a Medico pipe.
I was able to file the bite zone to eliminate most of the chatter on both the top and bottom surfaces.
After the file, I moved to an emery board, like for filing fingernails.
The emery board was also used to reestablish and redefine the button.
There were still some minimal dents which were being difficult. I thought, “maybe a flame painting”. This is where the flame from a lighter is moved along the dented surface. In my experience this is usually to minimal effect but it did seem to work.
The stummel was then taken to the sink for a scrub with undiluted Murphy Oil Soap and a nylon brush. The soap was rinsed with warm water and the stummel hand dried with a cotton hand towel.
Back at the workbench I rubbed the stummel with a make-up pad wetted with 99% ethyl alcohol. This produced some color on the pad as dye or stain was removed from the briar.
I wanted this pipe to be lighter in color to show off the briar grain. I first started a light sanding with a 320 grit sanding sponge.
The sanding helped but not as much as I had hoped. Hmm, plan-B: An application of oxalic acid was the remedy that came to mind.
The crystals present at the bottom of the jar indicate the solution is fully saturated. Oxalic acid is known to bleach stains in woods. My hope was to lighten the color of the briar. Previous attempts at this have met with varying degrees of success.
I applied the first coating of oxalic acid to the stummel with a cotton swab.
This was allowed to sit for 30 minutes while I finished watching an episode of Homeland (glad that it finally made it’s way to NetFlix).
After 30 minutes I recoated the stummel with a second application of the oxalic acid solution.
This one sat for another 20 minutes. The photo below shows what it looked like dried.
The stummel was returned to the sink for rinsing with copious amounts of water. To make sure the oxalic acid was completely rinsed and neutralized I scrubbed the stummel with Castile soap and a nylon brush. I figured that the basic nature of the soap would neutralize the remaining acid.
More rinsing and then some more rinsing, oxalic acid can continue the bleaching if not completely removed.
Once dried I wiped the stummel with 99% ethyl alcohol on a make-up pad again. Far less color came off on the pad and the stummel did appear lighter, though not to the extent I was hoping for.
The only fills that I thought necessary were two on the lower left of the stummel.
The pits were filled with briar dust which was pressed into the pit. The dust then received a small drop of thin cyanoacrylate (CA, super glue). The CA was absorbed into the briar dust and bonded the dust to the stummel nearly instantly.
The fill was then sanded smooth with a 400 grit sanding sponge.
The aluminum collar was covered with masking tape, then the stummel was sanded with a series of sanding sponges from 400-3500 grit. Between sponges the stummel was wiped with an alcohol moistened make-up pad to remove sanding debris.
The stem was sanded with a series of sanding sponges from 400-3500 grit. The masking tape remained on the collar for this sanding. Between sponges the stem was rubbed with mineral oil and wiped with a paper towel. This wiping was to remove any sanding debris. Once the sanding was finished the masking tape was removed and the stem oiled with Before and After Hard Rubber Balm.
I thought that the entire pipe would look better with a buffing with white buffing compound.
After cleaning the buffing compound residue from the pipe I was happy with the briar and the collar but not with the stem. I worked the stem with a series of micro-mesh pads from 4000-12000 grit. Between each pad I rubbed the stem with Obsidian oil and wiped it with a paper towel. The stem looked better but not as well as I thought it could look.
I got out the Before and After Fine and Extra Fine polish and worked the stem, especially the bite zone with these and a soft cloth.
That did the trick, the stem looked good. Next I returned to the buffer and applied several coats of carnauba wax with the buffer.
The final step was to hand polish the pipe with a microfiber polishing cloth.
This Kaywoodie Tuckaway turned out beautifully. I was pleased with the way that the briar lightened with the oxalic acid and subsequent sanding. The briar needed no additional stain or dye and has a lovely warm brown appearance. The stem did turn-out nicely. I cannot say that I like working with whatever plastic it is made of but the end result is attractive. I do wish that this pipe had some official Kaywoodie stampings though. I know they would not affect the pipe’s performance and I am certain of this pipe’s provenance, still I do miss the stampings. The dimensions of this Kaywoodie are:
The dimensions of this Kaywoodie are:
Length: 5.54 in./ 140.72mm.
Weight: 1.03 oz./ 29.20 g.
Bowl Height: 1.74 in./ 44.20 mm.
Chamber Depth: 1.51 in./ 38.35 mm.
Chamber Diameter: 0.72 in./ 18.29 mm.
Outside Diameter: 1.32 in./ 33.53 mm.
I do hope that you have found something here useful to your own pipe care, maintenance or restorations. If you like this sort of thing, please click the like and subscribe buttons. Thank you for reading the ramblings of an old pipe lover.
Loading…
Below are some photos of the finished Kaywoodie Tuckaway.
The sheer number of pipe shapes and brands of tobacco pipes can be overwhelming. This does allow users and collectors to specialize and find something that suits their own personal fancy. All of these options can be daunting. As an example I put together a list of my top 3 favorite pipe shapes. This list had no fewer than 6 shapes. Yeah, math and choosing were never my strong suit. Then there are the pipe companies. Many pipe aficionados dedicate their collection to a single maker. I find that I can’t even do that. While organizing a pipe rack, my official Peterson shelf has several Marxman and one commissioned pipe in it. Proving once again that I like what I like and care little for convention. That brings us to the subject of today’s blog. I am fascinated by the pipe oddities. Whether they be the crazy innovations of inventors, promotional pipes or the Brick and Mortar (B&M) pipe shop stamped pipes made by renowned pipe manufacturers. I have restored pipes Stamped with; TROPICAL PAINTS (A Tropical Paints Cleveland Pot Restoration – NebraskaPeteGeek), DUPONT EXPOSIVES (A du Pont Explosives Promotional Pipe Restoration – NebraskaPeteGeek), BRIARS ‘N’ Blends (A Briars ‘N’ Blends (Comoy’s 409) ¼ Bent Bulldog Restoration – NebraskaPeteGeek) and TELFORD’S (A Telford’s Canadian Restoration – NebraskaPeteGeek). Researching these pipes is a journey into our hobby’s past and to a time when pipe smoking was far more popular than today.
This Gus’ Own Lumberman is a perfect example of that history. It was part of an estate lot which arrived here in August of 2024 from Hardin , Kentucky. I’d heard of Gus’ Smoke Shop in Los Angeles but had personal ties to the locale. The only stamping on the pipe was GUS’ OWN. No county of Manufacture (COM), which can indicate that the pipe was made in the US, but this is not always the case. Below are some photos I took of the pipe prior to working on it.
Judging by the tooth chatter on the stem and the thick cake in the tobacco chamber, this was a well loved and frequently used pipe. It also meant that it would require more time to clean it up. The stem showed signs of oxidation but the mortise to tenon joint was secure. The finish was worn, a further proof of a well used pipe. Overall it looked to be a fairly straightforward restoration. Another thing I have noticed is that heavily used pipes are frequently excellent smokers. Once they are cleaned up, I should add.
Background
I had heard mention of Gus’ Smoke Shop as one of the large pipe and tobacconist brick and mortar shops in Los Angeles, California. The search for Gus’ turned up a hit on the forum, PipesMagazine.com. The forum thread started with a member asking if anyone remembered the shop. Below is a very interesting entry from a member named huntertrw dated July 16, 2023:
“I correspond occasionally with Richard Carleton Hacker, and this is what he was kind enough to share today concerning Gus’:
“Gus’s started out as Boyd’s Pipe Shop in 1927, back when Ventura Blvd. was still largely a dirt road and horses vied with automobiles. In addition to pipes and cigars, Boyd raised and sold chickens and candy and a few other sundry unrelated items.
“Boyd sold the shop to Gus Pfender in 1937, who renamed it Gus’. Note the unusual apostrophe placement.
“Sometime before 1975 Pfender sold the pipe shop to an Englishman named Norman Fudge. Fudge wisely kept the Gus’ name – otherwise folks might have mistaken it for a candy store!
“I first began going to Gus’ in the late 70’s and remember seeing the original gas stove in the back room and the brass cash register that was sill in use. I also remember seeing the occasional chicken feather poking out from the floorboards, and Norm telling me how they got there. Although he had a reputation for being cantankerous, I got along with Norm, especially when he learned I wrote about pipes and had a collection of Sherlock Holmes memorabilia (which may have appealed to his British heritage).
“I met Jimmy and Paula Hurwitz when they came to the store and Jimmy was deciding on whether or not to buy it, as Norm was getting on in years and frankly, was tired of dealing with the public.
“Jimmy asked my opinion and I thought it was a good deal, especially since store ownership included the property on what now was now a main San Fernando Valley thoroughfare.
“Jimmy bought the store in 1985 and I continued to be a regular customer and even put the photo I took of the store in at least one of my books.
“I lived in the same area, as did a number of pipe smoking movie celebrities. with whom I became friends. William Conrad gave me one of his beloved Charatans (which I still have) and David Rose, the musician and I shared both pipe and train hobbies.
“An interesting side-note: David had an unusual triangular pipe rack he had purchased in London. I tried to buy it but he wouldn’t sell. When he died in 1990 Jimmy bought it and resold it to me – at I’m sure more than David would have wanted for it. It still have it.
“To his credit, Jimmy kept the old stove in the back room, remodeled the store to include a walk-in cigar humidor, and still occasionally cranked up the old brass cash register, although a newer electronic gadget saw much more use.
“Gus’ was the quintessential neighborhood pipe shop and might have still been there today if Jimmy hadn’t run afoul of some sort of California law and subsequently was imprisoned for a short while and, of course, lost the store.
“When he got out of stir he tried selling pipes out of the back of the corner liquor store, but of course, it wasn’t the same. That venture only lasted a short while and he sold socks at Nordstrom’s but eventually died of cancer some time back.
“Gus’ was next door to the Mistral’s restaurant and sat vacant for many years (it was always sad to walk by its shuttered facade) until Mistral’s purchase it, used it for the occasional private party, and now plans to open it as an extension of the main restaurant. But those plans were put on hold due to the pandemic.
SHERMAN OAKS — Here at Jim Hurwitz’s shop, as at hundreds of others like it, the redemption of the American male quite possibly is underway.
Before joining in the praising, however, you’ll have to put health considerations aside for a time, for Hurwitz’s place is a tobacco shop.
In the last year or two, sales of pipes and pipe tobaccos at his Gus’ Smoke Shop on Ventura Boulevard have begun ticking upward. Tobacconists in other parts of the country also report the trend, for the first time this generation.
This can mean only good things for the XY-chromosome contingent, not to mention those of the XX variety who must truck with them.
Unlike the case with cigarettes and cigars, no one keeps national aggregate figures on pipe sales, but “pipe sales have been increasing,” affirms Bill Fader, the Baltimore-based executive director of the Retail Tobacco Dealers of America, “especially in the case of the better, more expensive pipes, the ones that go for $100, $150, $300 and up, because they’re almost works of art.”
Along with the years-old cigar mania, this is more good news for Gus’ Smoke Shop, which has weathered many another trend, both up and down, in its seven decades.
Gus’, Hurwitz claims, was the first business to open on Ventura Boulevard and is the oldest tobacconist in Los Angeles. Founded in 1927 as Boyd’s, a store that sold candy and live chickens as well as tobacco, the business occupies its original premises.
The eponymous Gus Fender bought the store in the 1940s and sold it a couple of decades later to Norm Fudge. Hurwitz, a dedicated customer, bought it from Fudge in 1985. “I always thought Norm Fudge was Gus,” says Hurwitz, a heavyset man of 46 given to baggy jeans and untucked jerseys. “I guess whoever is behind the counter is Gus–and now I am Gus.”
Gus’ contains two walk-in humidors for cigars and specialty cigarettes, but the dense, moist aromas of more than 30 hand-blended pipe tobaccos in large, glass jars dominate the wood-paneled store. Sweet Virginia, spicy perique, sultry Latakia–these and other leaves vie for a visitor’s olfactories. Many of the mixtures are assembled according to recipes handed down from Gus to Gus to Gus.
More than 600 pipes are arrayed on various shelves and in a glass display case. These range in price from $30 to $3,500, the latter for a massive 1960s-vintage, gold-trimmed example from famed manufacturer GBD. Many of the great names in pipes are represented–Peterson of Ireland, Stokkebye of Denmark, GBD and Ashton of England, Savinelli and Ser Jacopo of Italy.
Although some meerschaums–cool-smoking, delicate pipes of white clay–are displayed, the majority are of briar, which comes from the roots of heath trees that grow in Mediterranean locales. Mediterranean briar, properly cured and dried, is prized for its hardness and the eye appeal of its grain.
Increasingly, people buy pipes simply as objects of beauty, Hurwitz says. Some buyers don’t even smoke. The thriving business Gus’ does repairing and reconditioning vintage pipes further indicates the new collectible cachet of pipes.
The increase in pipe sales, however, is not just another manifestation of affluent American thing-gathering. A small but significant percentage of those caught up in the cigar mania, which brought on inflated prices and supply shortages, have begun to smoke pipes, Hurwitz reports. Virtually all pipe smokers are male.
Wherein lies the potential for redemption.
“Cigarette smoking is an addictive, nervous smoking, and cigar smoking has the connotation of aggressive display and success,” Hurwitz offers. “Pipe smoking is more philosophical, i.e., associated with the professor type, much more laid-back. With even a very good, expensive cigar, you light it, burn it and it’s gone. But a pipe you can use for years. Pipe smoking is about the art of smoking. Everything else is about consumption.”
Hurwitz and his salesmen give new pipe smokers a short course in the fine points of the art: How to choose a style of pipe. How to load and light it. How to keep it from going out. How to break in a pipe and how to care for it.
Clearly, when a man commits to a pipe, he is committing to an altered form of being that values deliberateness, skill, patience and sitting more or less still for a while (it being hard to do much of anything else, especially anything exertive, when smoking a pipe).
Pipe smoking also is a turning away from massed-produced sameness. It feeds a man’s appetite for his own individuality, since the types and characteristics of pipes and of the tobaccos that can be stuffed in them are practically innumerable.
“If you take the band off a cigar, you many times don’t know what brand you’re smoking,” says Fader of the tobacco retailers. “A corona cigar is a corona cigar. A robusto is a robusto. Not so with pipes. They’re dramatically varied in appearance and style.”
In short, these new pipe smokers, like pond frogs who sense change in the environment before other species, may be the first to tune into an emerging male zeitgeist.
Maybe the American male who’s held psychological sway over society the last decade and a half–the compulsive, hard-driving, fire-breathing guy on the make–is about to retire from sheer exhaustion.
His successor looks like he might turn out to be a more reflective chap. A guy who won’t be quite so hard on the tire treads. One who doesn’t even have to inhale to appreciate existence.” (Pipe Dreams – Los Angeles Times)
Well that was all good information but who made this pipe for Gus’? Fine question, that. Unfortunately I had very little to go on. I initially thought it looked like a Stanwell pipe. You know, that whole, “looks like a duck” train of thought. I asked my best source for Stanwell questions, Sascha Mertens, if he thought it might be a Stanwell. His reply was, “I don’t think it’s a Stanwell because of the stem. This is quite an unusual bite.” (personal communication). Strike one.
I knew I had seen a stem very similar to that recently. I looked back through this year’s restorations and there it was – the Marseille Volcano (A Marseille Oval Shank Volcano Restoration – NebraskaPeteGeek). Below is a photo I took while working on the stem.
Very similar, eh?
Well the Marseille Volcano was another near bust for background information. All I can speculate about this pipe is that the stem looks similar to French-made pipes. As for the year of production, that too is all speculation. Based on the styling, I would say 1970s.
The Restoration
After the “before” photos our patient made its way to the workbench and a somewhat clean denim piece.
I started with the reaming. PipNet with #2 and #3 blades, the General triangular scraper and the Smokingpipes Low Country reamer.
Yeah there was quite a thick cake with this pipe.
Even the clean-up produced a pile.
The tobacco chamber was sanded with 220 sandpaper with a finger and 320 wrapped around a wood dowel.
The bare briar sanded chamber showed no signs of any heat damage. Apparently that layer of cake did its job protecting the briar.
I was dreading this next part and was very surprised when the shank was pretty clean. Normally a pipe with that much cake would have a filthy airway, this one was not too bad. I used the Cleen-Reem shank drill and it passed easily. A shank brush dipped in 99% ethyl alcohol also returned only slight stains on the paper towels.
Further cleaning with bristle pip cleaners also did not indicate a terrible airway. I was very glad to know the previous owner kept a relatively clean pipe.
I couldn’t accept the cleanliness of the shank and thought it certainly must have been a fluke. I therefore decided to give the pipe a cotton-alcohol soak. The tobacco chamber and shank were stuffed with cotton and I prepared 10 ml of 99% ethyl.
The alcohol was pipetted into the shank and bowl with a disposable pipette until the cotton was saturated. This would sit for several hours as the alcohol evaporated.
I turned my attention to the stem. More dirty than the shank but not terrible. Bristle pipe cleaners with more alcohol did the trick. Some of the tooth chatter was removed by filing the area with a small flat file.
There was one large toothmark that defiled removal with a file.
The stem went onto the Briarville Pipe Stem Oxidation Remover (deox).
The next day I removed the cotton from the bowl and shank. The shank cotton was far more discolored than that of the bowl.
The shank was cleaned again with bristle pipe cleaners and alcohol to remove any tar that remained.
The rim showed some lava or accumulated smoking residue in the rustication.
I took the stummel to the sink for a scrub with undiluted Murphy Oil Soap and a nylon brush.
I then worked the rim with a brass brush to get rid of the stubborn lava on the rim. The soap was rinsed with warm water and the stummel dried with a cotton hand towel.
Back at the workbench the stummel was wiped with a make-up pad dipped in 99% ethyl alcohol. Some of the black dye came off. This was expected.
The newly cleaned rim showed no signs of charring. Yay!
The side panels had beautiful grain but the rusticated area was rather worn. I thought about leaving the pipe in this condition then though, “no, you should restore it to how it looked, factory fresh”.
I sanded the side panels with 400-1000 grit sanding pads.
Using black Fiebing’s Leather Dye and a paintbrush, I carefully reapplied the black dye to the black portions of the stummel.
This was a slow and careful process.
The remaining areas were re-dyed with a folded pipe cleaner and the black dye.
As the dye was drying I went to retrieve the stem for deox. The last two stems I have used the Briarville deox on have emerged with a tan crust. I am now wondering if I need to replace this solution. It has been used on many stems since last April, when the kind folks at Briarville sent it to me to try. I vigorously rubbed the stem with a coarse shop rag to remove the crust and any softened vulcanite.
I took the stem to the workbench and started scrubbing it with Soft Scrub cleanser on make-up pads. This produced pads well covered with oxidized vulcanite and the stem started to look better.
The stem was sanded with 400-1000 grit sanding sponges. You can see the two dents on the top side of the stem in the photo below.
And the one large dent on the button side of the stem.
All of these dents had very smooth edges. These smooth edges led me to fear that normal fills with cyanoacrylate (CA, super glue) would risk the fills chipping and coming loose. To remedy this, I thought that deepening the dent with a 2 mm drill bit would provide far better surface area for the CA to adhere to.
I drilled a series of holes into the dented surface of the stem.
I used a “Rubber Toughened” black CA for the fill. The CA was applied using the tip of a fly tying bodkin. I also applied a line of the CA to the edge of the button.
The same was done for the top side of the stem.
The CA was allowed to dry or set on its own for an hour. The below two photos who the resulting cured CA.
The CA was then filed smooth with a small flat file the the stem was worked with a series of sanding sponged from 400-3500 grit. Between each sponge I rubbed the stem with mineral oil and wiped it with a paper towel. After the final sponge I applied a coat of Obsidian Oil to the stem.
The stem was then taken to the buffer where I buffed it with white compound on a dedicated white compound wheel.
The masking tape was removed and I cleaned the pipe of any buffing compound. I returned to the buffer to apply several coats of carnauba wax to the pipe.
The final step was a hand buffing of the pipe with a microfiber polishing cloth.
I would love for this pipe to go to someone who has fond memories of Gus’ Smoke Shop. It is a lovely old pipe and it should provide years of service. The black dye turned out very nicely and is a lovely contrast to the smooth side panels. The grain present on the sides is also very pretty. The stem turned out well but I do admit that some browning of oxidation can still be seen in very bright light. In normal room light it remains undetectable. The stem fills are nearly unnoticeable without a very close examination.
The dimensions of this Gus’ Own Lumberman are:
Length: 5.74 in./ 145.80 mm.
Weight: 1.54 oz./ 43.66 g.
Bowl Height: 1.79 in./ 45.47 mm.
Chamber Depth: 1.61 in./ 40.89 mm.
Chamber Diameter: 0.80 in./ 20.32 mm.
Outside Diameter: 1.54 in./ 39.12 mm.
I do hope that you have found something here useful to your own pipe care, maintenance or restorations. If you like this sort of thing, please click the like and subscribe buttons. Thank you for reading the ramblings of an old pipe lover.
Loading…
Below are some photos of the finished Gus’ Own Lumberman.
I don’t know if freehand is the correct term for this pipe. I’m not even sure if burl is, either. All I know is that I came across one several years ago just as a stummel and decided that the weird little thing needed me as an owner. I restemmed it and we have been getting along quite well.
I have seen one other pipe similar to this and it was stamped “Wally Frank”. Of course, I didn’t collect a photo of that example. The subject of this blog was seen on eBay back in August of 2025 and was quickly purchased. The fact that it was from Sioux City, Iowa, a mere 125 miles from my home was interesting, support local businesses, eh? The similarities between the two pipes was stunning. Both were formed from what appeared to be small briar burls. Having seen photos of briar burls which are large enough to be cut into numerous blocks for pipe making is the norm. I wondered if these small burls were not small individual plants which were dug up while the digger was excavating a larger “target” burl. Both of the burl pipes had the same general shape with the shank forming the trunk of the shrub and a “V” shaped cut to remove, what I thought was, the more spindly root. The only stamping on the newly acquired pipe was HOUSE OF WESTMINSTER in a single line on a panel of the shank. Below are some photos of the burl pipe prior to work.
The first thing I noticed was the thick clear coating applied to the pipe. It looked as though it had been sprayed or dipped several times into a finish. The briar was also heavily stained masking any of the wood’s natural color. There was a crack on the cut V at the front of the pipe. The stampings were crisp and well defined leading me to think the stamp was pressed prior to the application of the finish. The stem was oxidized with some slight tooth chatter near the button. Overall it looked to be a simple restoration.
Background
As I discussed earlier this appeared to be an entire, very small briar root. Perhaps something dug-up with a larger burl. Not wanting to waste a little bit of briar, I could imagine the diggers throwing it in with the larger burl and sending it off to the cutters for sale. Of course this is all just conjecture but it was a fun pursuit. Speaking of “fun”, not knowing what to call this pipe allowed me to reach out to Steve Laug (rebornpipes.com) and ask what he thought the shape might be called. His reply was amazing, “never seen anything like it…that is wild.” (Laug, Steve. Personal message). I have never stumped Steve before. With that in mind, I said that I’d call it a “Burl”. He replied, “I think that is good”, and so it was.
Normally a briar burl is a large mass below ground, photo below.
(Sybarite pipe). That makes four that I recall seeing either in the flesh or online. I am sure there are more but being lazy has its limitations.
I next did a search of the “House of Westminster” for pipe related sites/information. Nothing was found on the traditionally useful sites pipedia.org and pipephil.eu. I did get a hit from WorthPoint.com of an old auction listing:
“Gorgeous 1940s House of Westminster Ltd Real Briar Paneled Prince Tobacco pipe Made in France House of Westminster Ltd. Was a Tobacco company that sold Tobacco and tobacco Pipes from their Store in New York NY.The Use of “Real Briar” was a commonly used Nomenclature during WWII when Briar was Hard to come by and nearly impossible to import, and less desirable alternatives were often used, so to reassure the buyer that thier pipe was indeed The real deal, makers would often stamp “Real Briar”” (1940s House of Westminster Ltd. Paneled Prince Real Briar tobacco Pipe France | #4810546746). This pipe looked nothing like the burl in hand, though. The information included was quite vague and contained little detail.
I then came across a discussion of the House of Westminster on the Brothers of Briar forum. Below is the original post requesting any information on the House of Westminster and a forum member reply.
“Ludwig Stern, a successful pipe manufacturer since 1893 and closing around 1960, reorganized his company along with his brother Hugo Stern, opening a factory in 1911. They named the company L&H Stern Smoking Pipes & Holders. The newly formed company was moved into a six story building on the corner of Pearl and Waters street Brooklyn, NY.” (LHS – Pipedia)
Continuing with that lead, I searched through all of the photos on the pipedia.org LHS page. I did not find any mentions of House of Westminster nor any photos of a burl pipe, but I did find an exact match of the stinger. This was not some ordinary aluminum tube, it was very unique. Below is the photo from pipedia.org:
And here is a photo of the stinger from the House of Westminster burl pipe, I tried to match the color and positioning of the burl stem to the previous photo:
For me, that settled who the maker was. House of Westminster was a L&H Stern product likely produced after the second world war and before the company closed down in 1960.
The Restoration
After the before photo shoot I took the Burl to the workbench where I placed it on a cleaned denim piece.
I was able to pull the stinger from the stem without much difficulty. I placed it in a medicine cup with 10 ml of 99% ethyl alcohol.
The stem was cleaned with ethyl alcohol and bristle pipe cleaners. The airway on the button end seemed rough and a bit constricted. I opened the airway with a Vermont Freehand Slot Tool (Slot Tool (with handle) – Vermont Freehand) and emery boards cut at an angle.
The bite zone above the button was filed with a small flat file to remove the tooth dents and chatter.
Sanding the stem lightly with a 400 grit sanding sponge was then done to prepare the stem for a bath in Briarviles’ Pip Stem Oxidation Remover (deox, as I like to call it).
A pipe cleaner was inserted into the stem to act as a handle for easy removal after the 2 hour deox bath.
With the stem soaking, I turned my attention to the reaming of the stummel. The ream team was gathered; PipNet with the #2 and #3 blades, General triangular scraper and the Smokingpipes Low Country reamer.
The PipNet and #3 blades did the majority of the cake removal.
The reamed tobacco chamber looked much better.
The chamber was then sanded with 320 sandpaper wrapped around a wood dowel. The sanded chamber showed no signs of heat damage.
I then cleaned the airway of the shank. This was done by softening the accumulated smoking residue with ethyl alcohol on cotton swabs as I cleaned the mortise. The softened yuck was then scraped using a dental scraper. Alcohol dipped bristle pipe cleaners and alcohol dipped cotton swabs were also used.
The stummel was then taken to the sink for a scrub with undiluted Murphy Oil Soap and a nylon brush. The soap was rinsed with warm water and the stummel dried with a cotton hand towel.
Back at the workbench, I wiped the stummel’s stamp panel with 99% ethyl alcohol on a make-up pad. This removed a lot of the shellac and some of the stain/dye. You can see in the photo below that the shellac had filled in the scratched on the panel. This layer of finish was quite thick.
I wanted to get rid of the old finish to see the briar detail more clearly and maybe some of the color of the wood. Shellac is soluble in ethyl alcohol (EtOH, an old organic chemistry abbreviation), so I gave the stummel an hour long bath in a jar of EtOH.
This allowed me some time to clean and polish the stinger. It was removed from the 10 ml of EtOH and scrubbed with a bristle pipe cleaner. I used another pipe stem to hold the stinger while I work.
The stinger was then buffed with white buffing compound on the white compound wheel.
After cleaning off any remaining buffing compound the stinger looked great.
After the hour-long soak in EtOH I scrubbed the stummel again but this time using the EtOH rather than Murphy’s. You can see from the photo below that there was a great deal of dye and shellac liberated from the stummel.
Again, back at the workbench the burl was looking less finish coated but it still had spots of shiny shellac in the low spots and a whole lot of purple.
With the airway residues further softened, I cleaned this out again with cotton swabs and EtOH.
I tried wiping the stamp panel again, as a test, with acetone on a make-up pad. I was amazed at how much color came off.
I decided to give the stummel a 30 minute bath in acetone.
After 30 minutes I removed the stummel.
The stummel was then taken to the sink where I scrubbed it with a nylon brush and additional acetone.
I used Castile soap and the nylon brush to scrub away acetone from the surface of the pipe. This was rinsed with water. I then placed the stummel outside in the sun to allow the acetone to evaporate from the briar. The stummel was left in the sun for over an hour.
I retrieved the stem from deox and vigorously rubbed it with a coarse shop rag. This removes some of the oxidized vulcanite softened by the deox solution.
The stem looked much better with minimal pitting.
Soft Scrub cleanser was used on make-up pads to scrub the stem.
The first pad removed a good deal of oxidized vulcanite.
The second make-up pad removed significantly less material.
Since the stummel was drying in the sun, I used a wood block with holes drilled for different diameters to hold the stem while I sanded it. I like to either have the stem connected to the stummel of a block like this to keep from rounding off the joint where the stem meets the shank.
After sanding with a 320 and a 400 grit sponge the stem was rubbed with mineral oil.
I checked back with the stummel after an hour. It still had a slight acetone smell so I knew it was not thoroughly dry. I did take a few photos of the stummel in the sun to show how much finish had been removed. Sorry, these shots were taken on the side-wall of my truck, not the best backdrop.
I was glad to see that I could tell this was wood and not some weird plastic or space-age-epoxy-resin. Still I wanted to lighten the briar further. I thought about my successful (and some unsuccessful) uses of oxalic acid to bleach stained wood. I thought that it might work here.
The saturated oxalic acid solution was applied with a cotton swab. This was allowed to sit for 30 minutes. After the 30 minutes I again scrubbed the stummel with warm water then an additional scrub with Castile Soap and a final rinse with warm water.
I returned to the workbench and wiped the stummel with 99% EtOH on a make-up pad. The pad in the photo below is after the entire stummel was wiped. There was still a lot of dye coming off. I declared defeat, the remaining dye would remain. The oxalic acid treatment seemed to do little. I had been defeated by the purple plague.
All of these baths had made the slight crack in the front of the pipe to expand. I used a fly tying bodkin to pick the old fill from the crack.
The crack could not be compressed and it appeared to be superficial and not structural. I decided to just refill it using briar dust and cyanoacrylate (CA, super glue). I pressed briar dust into the crack and tamped it with the bodkin.
Thin Ca was applied with a very narrow plastic tip.
The Thin CA soaked into the briar dust and bonded it to the existing briar. I repeated the filling of the crack with a second coating of briar dust and another drop of Thin CA. The excess new-fill was filed with a small flat file and sanded with a 400 grit sanding sponge.
Below is the fill as seen from head-on.
And from the side with poor focus.
It was time to sand the stem and the shank-end. The area that I did not want sanded was taped with masking tape.
A series of sanding sponges were used in grits 320-3500. Between each sponge the stem was rubbed with mineral oil and wiped with a paper towel.
After the 3500 sponge the stem was taken to the buffer and the shank-end and stem were buffed with rouge buffing compound followed by a buffing with white buffing compound. I returned to the workbench and wiped the remaining buffing compound from the pipe. The stummel was then coated with Before and After Restoration Balm applied with a baby toothbrush. This was allowed to sit for 30 minutes.
The stummel was hand buffed with an inside out athletic sock to remove the remaining balm.
The pipe was then returned to the buffer where several coats of carnauba wax were applied. Care was taken to work the carnauba into and out of the rough texture of the briar. The final step was a hand buffing with a microfiber polishing cloth then off to the photo table.
This House of Westminster burl turned out well. I do wish it had a more natural color rather than purplish brown, but at least the clear coat is gone.The texture of the pipe is amazing to hold. It is like a natural rustication and has a wonderful hand feel. The smooth organic texture gives way to the polished stem, which turned out very nicely. Overall this pipe is a unique piece which will undoubtedly provide years of enjoyment to the next owner. The dimensions of the House of Westminster Burl are:
Length: 6.72 in./ 170.69 mm.
Weight: 2.40 oz./ 68.04 g.
Bowl Height: 1.51 in./ 38.35 mm.
Chamber Depth: 1.28 in./ 32.51 mm.
Chamber Diameter: 0.80 in./ 20.32 mm.
Outside Diameter: 1.90 in./ 48.26 mm.
I do hope that you have found something here useful to your own pipe care, maintenance or restorations. If you like this sort of thing, please click the like and subscribe buttons. Thank you for reading the ramblings of an old pipe lover. If you are interested in purchasing this pipe or any other from previous blogs please feel free to contact me at scimansays1787@gmail.com.
Loading…
Below are some photos of the finished House of Westminster Burl.
The other day a friend was showing me the wonders of ChatGPT and how I could use it to write these blogs. NEVER! I do not think that any artificial intelligence will ever understand the feeling of satisfaction of restoring something as simple and inconsequential yet personally important as a tobacco pipe. I fully intended this restoration to be a short and simple project. I’ve restored many Marxman pipes so the research could be recycled and referred to and the pipe was in great shape. Until it became like the “stinky car” episode from Seinfeld. I’ll let you read about that later.
And you’re a good dog. Oh sorry, I forgot who my audience was. The Marxman was in pretty good shape and had not appeared to be heavily used. Judging by the lack of tooth chatter on the stem and the relatively clean stinger and bowl it looked as though it had not been smoked more than a dozen times. There was some oxidation on the stem and a fill in the dog’s right ear that I did not like the look of but overall this looked like a straight forward restoration. This pipe was very large, I feel like I should mention that.
Background
Due to a level of laziness that impresses even myself, I will use the following from the restoration on a Marxman Rattlesnake figural pipe that I finished recently:
“I have done a lot of Marxman restorations. Next to Peterson pipes I am sure Marxman pipes come close as to numbers. I have also written about the history of Robert Marx and how he formed and built up the company during World War Two, not an easy task considering the main material of his production was nearly inaccessible during the war years. If you would like more information I think I did an acceptable job on Marxman history in the following blog: A Marxman Dublin Gold Band Restoration – NebraskaPeteGeek. Yeah it’s still written by me, but it’s pretty good for a change.
This pipe shows a carving skill that I think surpasses the carvings of the previous Marxman figural pipe that I have done. Though the camel pipe is also of high quality. The briar used must have been a very substantial piece of wood for the time. I would place this pipe also within the late 1940s-1953 time frame. All of the Marxman pipes from this period were carved in New York City.
The Restoration
After the “before” photos the pipe was taken to the workbench where it got to sit on the Barely used denim piece. I say barely used since the last restoration (I linked it if you are curious) was so darn clean I had little chance to dirty the denim.
I was able to pull the stinger from the stem with little effort.
I place the stinger into a medicine cup with 10ml of 99% ethyl alcohol to start it’s cleaning.
While the stinger soaked I cleaned the airway of the stem with alcohol and bristle pipe cleaners.
A look down the mortise showed little smoking residue.
The ream team was gathered and included the PipNet and the General triangular scraper.
There was a surprising amount of cake removed with the PipNet and the #2 blades.
The reamed tobacco chamber looked better but would need sanding to check for any damage to the chamber walls.
Sure enough, sanding did show some light heat fissures. These would be addressed with a bowl coating.
The shank cleaning was done with cotton swabs and bristle pipe cleaners dipped in 95% ethyl alcohol.
The stem was lightly sanded in preparation for a soaking in Briarville Pipe Stem Oxidation Remover, also known as deox.
A pipe cleaner was inserted into the tenon to act as a handle for retrieving the stem after a 6 hour soak.
The stummel was scrubbed with Murphy Oil Soap and a nylon brush. The soap was rinsed with warm water and the stummel dried with a cotton hand towel.
Back at the workbench the stummel was wiped with 95% ethyl alcohol on a make-up pad. The briar looked bare of any finish except for a few places in the depressions of the carvings.
In the photo below, you can see a pit and a small patch of a clear coat or lacquer.
The left ear of the bulldog must have also had a pit which was filled with the dreaded pink goo used as a filler. I was thinking of methods to smooth out that lump of goo.
This pipe had an aroma which I refer to as “granny purse”. It is that smell that my grandmother’s purse had, kind of like something which had been repeatedly exposed to perfume where the perfume smell lingers long after it should. I thought that it was due to the previous owner smoking a Lakeland blend containing geranium oil. I figured that an alcohol and cotton treatment would rid the pipe of the floral ghost and allow me some time to think of ways to fix that ear. The tobacco chamber and shank were packed with cotton.
95% ethyl alcohol was added to the cotton with a disposable pipette until the cotton was saturated.
The alcohol cotton treatment would take an overnight wait so I turned to cleaning the stinger.
Since the pipe’s stem was still soaking in deox, I found an extra stem which fit the stinger. This stem would provide me with a handle for buffing/polishing the stinger on the buffer.
The stinger was buffed using a blue compound and looked much better.
After the buffing and the removal of any remaining blue compound the stinger looked great.
Below is a photo of the saturated cotton as I headed to bed.
The next day the majority of the alcohol had evaporated. This evaporation allows the alcohol to dissolve smoking residues and draw them into the cotton where they are deposited.
I removed the cotton. The cotton in the shank had a strange pick color. The briar did not stain the make-up pad with alcohol pink as it would if a red dye had been used to stain the briar. What is this? I wondered.
I used a couple of cotton swabs to re-clean the shank.
To address the pit, I used briar dust and thin cyanoacrylate (CA, super glue). The pit received a tiny drop of CA which then had briar dust pressed into it. The briar dust then received another drop of CA.
The fill was then filed with a small flat file and smoothed with a 400 grit sanding sponge.
My thinking of ways to fix the pink-goo-ear-fill was to re-carve it using a Dremel rotary tool. The first bit I used was the pointy bit, below.
The second bit used was more rounded to allow for a smoother finish.
Below is a photo of the re-carved ear. I could only see a tiny pit which I did not think required all that pink-goo.
The stummel was sanded with 400 then 600 grit sanding sponges. I did not want to over-sand and remove any detail of the carving.
The stummel was then coated in Before and After Restoration Balm, applied with a baby toothbrush, and allowed to sit for 30 minutes.
The stem was removed from deox. What was supposed to be a six hour soak turned into an 18 hour soak. The stem was vigorously rubbed with a coarse shop rag. This allows for the absorption of excess solution and removes some oxidized rubber.
The stem appeared to be pitted from the deox removing oxidized rubber.
I applied a coating of Mark Hoover’s Before and After Hard Rubber Balm. I thought that this might help condition the vulcanite, this was allowed to rest for 6 hours.
The Restoration Balm was wiped from the stummel using an inside out athletic sock.
When I returned to the stem, I wiped the remaining Hard Rubber Balm off with a dry paper towel. The shank of the pipe was wrapped in masking tape to protect the shank from the sanding. I then started sanding the stem with a series of sanding sponges from 320-1000 grit. Between each sponge I rubbed the stem with mineral oil and wiped it with a dry paper towel.
There was still a lingering granny purse smell to this pipe. I thought another alcohol cotton treatment might remedy that.
The cotton was removed the next day and it was still pulling some of that pink color from the airway of the shank. Was this the source of the granny purse aroma?
The tape was removed and cleaned with alcohol to rid the shank of any residual adhesive. I then worked a bit of the Before and After Restoration Balm into the briar there and around the rim. After that sat for 10 minutes I again wiped it with the athletic sock and took the pipe to the buffer for a few coats of carnauba wax.
The final step was a hand buffing with a microfiber polishing cloth.
This Marxman Figural Bulldog is a true beauty. It is a handful of a pipe and weighs in at over 3 ounces (88.45 g). The amazing thing is that it clenches very well and does not feel nearly that heavy. The expressive eyes of the carving are an indication of the skill of the carver and the quality of the carving. The fill and the recarving of the ear that I did, were small touches which I think added to the pipe. The briar itself must have been huge for this time period, just based on the size of the block, I am thinking this pipe was made after World War Two. The dimensions of the Marman Figural Bulldog pipe are:
Length: 7 in./178 mm.
Weight: 3.12 oz./ 88.45 g.
Bowl Height: 2.00 in./ 50.80 mm.
Chamber Depth: 1.44 in./ 36.58 mm.
Chamber Diameter: 0.72 in./ 18.29 mm.
Outside Diameter: 1.77 in./ 44.96 mm. (from cheek to cheek)
Oh, I almost forgot. Did the second alcohol cotton treatment exorcise the “granny purse” ghost? Mostly. There still remains a very slight hint of the geranium oil. I think that it should disappear with a couple of bowls of pipe tobacco.
I do hope that you have found something here useful to your own pipe care, maintenance or restorations. If you like this sort of thing, please click the like and subscribe buttons. Thank you for reading the ramblings of an old pipe lover.
Loading…
Below are some photos of the finished Marman Figural Bulldog.
Have you ever had what you think is a great idea, one that you are sure will work, but that no one else thinks is plausible? Well, that is how this project started. If you’ve read my ramblings for a while, you have probably read about discussions with Sascha Mertens. He is a fellow piper and restorer from Germany. Although we have never met face-to-face we have been chatting online for well over a year. I value Sascha’s ideas, techniques and criticisms. We have sent various gifts to one another across the Atlantic like pipes and tobaccos which neither of us has easy access to. Sascha appreciates a good corn cob pipe and has mentioned that he likes how my Missouri Meerschaum (MM) Freehand
looks. Sascha also, like many Germans, prefers to smoke pipes with filters. That sparked my interest in converting a MM Freehand into a 9mm filtered pipe.
I started with an imagined solution: Drilling out the shank to a diameter which would fit a 9mm filter. Next came a bunch of measurements with my MM Freehand and the idea started taking root.
For this scheme to work I would need to drill out the shank and shorten the tenon on the existing bit. I didn’t like that idea, but it should work.
I sent the photos and ideas off to Sascha and he reaffirmed that it wouldn’t work. O ye of little faith. I think the doubt came from my placing of the filter in the shank rather than in the stem. Stem placement is more typical and standard. Not being standard, nor typical, I proceeded on with my grand plan.
I sent Sascha several options of available MM Freehands from various sellers:
His response was simple and language-free:
The order was placed and the idea went to the back burner for a couple of weeks.
Last night, the patient made her way to the operating table. Apologies, I am getting ahead of myself, again.
The patient first had a date with the camera for some “before” photos.
The Freehand looked typical for a new MM pipe. I was not impressed with the fit of the nickel collar. That would have to be redone and straightened. The stem was a beautiful dark grey metallic swirl stem, though it did fit rather tightly. The draft hole of the shank was slightly obstructed with drilling debris, an easy fix. I also debated myself about chiseling out the shank-end at the bottom of the tobacco chamber. Hmm, we’ll have to see if I want Sascha to experience the not so wonderful flavor of hardwood smoke when his first couple of bowls of tobacco burn the shank end. Muwahaha.
After the photo session the MM Freehand made its way to the workbench and its denim piece.
The collar came free with a little effort and strong finger nails.
Come one MM, I think your quality control could be a little better for your high-end cobs. Maybe I am too demanding or “high-end cob” is an oxymoron. The dented shank shows the ill fit of the collar better than my earlier photos.
I only have 3 varieties of 9 mm filters and one, a Denicotea, I can’t find, so I used the Peterson and Stanwell filters as my guides.
The filters have a diameter of 8.03 mm. I am not sure why they call these 9 mm filters.
The Peterson has ceramic end caps with 5 holes.
While the Stamwell has a 6 axial snowflake pattern. Both filters fit well in the shank mortise.
Both filters were also 1.409 mm in length.
Or, 35.80 mm, for those of the European persuasion. Okay, I know that the US is nearly alone in retaining standard units and I fought students, for 33 years as a science teacher, to use metric units. Still, I am American and stubborn as a Scotts Irish Polack, because that is what I am. We kind of ignore the German heritage of my mother’s side because they were the boring relatives.
The mortise was drilled to a depth of 1.482 inches.
Yeah, that’s 37.64 mm.
The filter diameter of 8.03 was paired with my 8 mm drill bit. I wanted to extend the mortise drilling further into the shank to allow the filter and the tenon of the bit/stem. I marked this depth with a German made Staedtler pen. See, I am so multicultural…
The drill bit was then taped off with painters tape for depth management.
The drilling went smoothly with just a hand drill, due to that is all I have. There was a slight step where the two hold met within the shank. This step provided just enough friction to stop a filter from being dropped into place. Bah. I used a small rat-tail file and a small tapered half-round file to smooth off the step. It took what seemed to be hours but was probably ½ hour.
Finally the filter would drop in but not drop back out. Tapping the shank of the workbench freed the filter. Bad news: My worry was that during smoking the filter would swell with moisture and lodge itself in the shank. Good news: At least I know that the airflow is going through the filter and not around it. Okay, that is kind of a reach for the good news.
I thought that maybe more sanding of the new “filter chamber would improve the filter’s release and removal. I made a sanding tool from an Exacto knife handle (with the blade removed). I applied a contact adhesive to the 2 cm at the end of the handle. I then applied more contact adhesive to the back of a piece of sandpaper. Once they were both diy I rolled the sandpaper onto the Exacto handle. This gave me a sanding tool which would only sand the first 2 cm of the filter chamber and not make the mortise any more loose.
The sanding continued and the filters would slip in without any difficulty. When the stem was completely inserted it pushed the filter further into the shank. I would then remove the stem and the filter would be stuck in the shank of the pipe. I could wiggle it, showing that it was loose but the filter would not simply slide back out. I found the best way to remove it was to use very fine tipped forceps to reach into the shank and grab the filter. The fine tips would slip into the holes of the ceramic filter and the filter could then be twisted and pulled free. This was not an ideal situation but it appeared to be the best case scenario of converting this pipe to a 9mm filter pipe. I ordered a fine tipped “filter extractor” (AKA, forceps) to include in the package for Sascha.
I think the conversion of this Missouri Meerschaum Freehand to accept 9mm filters was a success. Sure, it was done in a non-traditional way. Fitting a filter into the shank of a pipe is not the normal way to fit a filter. However, I was able to maintain the original stem and shank of the pipe. By just looking at this pipe, you would never know that it has been altered. I remain uncertain about the need for a filter. Perhaps there are more people who inhale pipe smoke than I think. I will continue to not inhale pipe smoke and use filters infrequently, but certainly not judge anyone who prefers them. I enjoy Carey Magic Inch pipes with their papyrus filter and I will occasionally insert a 9 mm filter into my Peterson Pipe of the Year 2017. The short stem of this pipe is made a better smoking pipe with a filter.
I do hope that you have found something here useful to your own pipe care, maintenance or restorations. If you like this sort of thing, please click the like and subscribe buttons. Thank you for reading the ramblings of an old pipe lover.
I am not only a pipe restorer but also a Nebraska Master Naturalist. “What the heck is that?” you ask. The Nebraska Master Naturalist Program was started by a longtime friend, Dennis Ferraro (PhD) the official Nebraska Herpetologist as a way to certify non-academic citizens and get them involved in citizen science, volunteering, education and promoting the wild flora and fauna of Nebraska. “Herpetology. What the heck is that?” you ask. Herpetology is the study of reptiles and amphibians. Since the mid-1980s I have pursued reptiles and amphibians across Kansas, Nebraska and Wyoming. My interest has always been more biogeography. “Biogeography, what the heck is that? You ask. Goodness, you ask a lot of questions. I’m interested in the geographic ranges of reptile and amphibian species within Nebraska. Believe it or not, Nebraska has a very diverse set of physical features with numerous isolated pieces of specific habitat removed from where they would normally be found. This leads to species also found outside of their expected or documented ranges. That is what I enjoy doing, field biology searching for and documenting reptile and amphibian ranges. So, when I saw this rattlesnake Marxman, I knew I had to have it even though it bears little resemblance to a real rattlesnake. Yeah, I help Dr. Ferrao out every spring and fall with Prairie Rattlesnake (Crotalus viridis) research in western Nebraska.
Here is what a researcher cabin looks like, every red bucket has one or more C. viridis in it.
The subject of this post is a figural Marxman pipe that showed up on eBay last August. Won and delivered for under $50, I was quite pleased. The pipe came from Newark, Delaware. The only rattlesnake in Delaware was the Timber Rattlesnake (Crotalus horridus) which is probably extirpated from the state (Snakes to Watch Out For – DNREC).
The stampings on the bottom of the pipe were MARXMAN (with the arrow passing through) over IMPORTED BRIAR over HAND CARVED (curved) over U.S.A.. The MARXMAN and the HAND CARVED were faint. There was also a carving at the heel of the pipe which I think, is supposed to represent the end of a log. This was an interesting feature. Below are several photos taken prior to any work done.
The pipe was in good shape. It had been smoked as evidenced by the light cake in the tobacco chamber, the light lava deposits on the snake’s head and the smoking residue on the stinger. I wondered if the stinger should be renamed fang? Anyway, the oxidation of the stem was not too bad. The pipe did show signs of having extensive fills done. This was seen as the pinkish red spots that were carved through but remained as discolored patches. I knew that I did not want to pick the old fill material out and redo the fills. The recarving would likely look atrocious.
Background
I have done a lot of Marxman restorations. Next to Peterson pipes I am sure Marxman pipes come close as to numbers. I have also written about the history of Robert Marx and how he formed and built up the company during World War Two, not an easy task considering the main material of his production was nearly inaccessible during the war years. If you would like more information I think I did an acceptable job on Marxman history in the following blog: A Marxman Dublin Gold Band Restoration – NebraskaPeteGeek. Yeah it’s still written by me, but it’s pretty good for a change.
As for Marxman figurals I have done a camel and a monk/friar. This is the first snake pipeI have gotten to work on. I am guessing this pipe was made in New York City. The home of Marxman during the years of production before Robert Marx sold the company to MasterCraft in 1953. Again guessing, but with conviction, the pipe was made between 1938 and 1953. Based on the inclusion of what looked like metal flecks in the rubber, I think the pipe was likely made during or shortly after WWII due to the recycling of rubber from tires and the accidental inclusion of metal in the stem.
The Restoration
After the before photos the pipe was taken to the workbench and a clean denim piece.
I removed the stem then pulled the stinger. It looked like it was coated in a brown lacquer of smoking residue. I placed the stinger in a medicine cup with 99% ethyl alcohol.
The ream team was gathered and consisted of the PipNet with the #2 blades, Smokingpipes Low Country reamer and the General triangular scraper.
There was very little cake to actually remove.
Below you can see the reamed tobacco chamber with some lava deposits around the inner edge of the rim.
The chamber was sanded with 320 sandpaper wrapped around a wood dowel. No damage to the tobacco chamber was noticed.
The shank was surprisingly clean and took only a couple of cotton swabs dipped in alcohol to remove the accumulated residue.
The airway was a little more dirty but again quickly cleaned with a nylon shank brush and bristle pipe cleaners dipped in alcohol.
The stummel was taken to the sink for a scrubbing with Murphy Oil Soap, undiluted and a nylon brush. The soap was rinsed with warm water and the stummel dried with a cotton hand towel.
Back at the workbench the stummel was wiped and scrubbed with a make-up pad wetted with 99% ethyl alcohol. The discoloring of the make-up pad can be seen below. Very little stain came off the briar.
I removed the stinger from the alcohol and used the same make-up pad to clean the aluminum. The stinger left more yuck on the pad than the entire stummel did.
The stem was cleaned with bristle pipe cleaners and more alcohol. The button end of the airway drilling would not pass a pipe cleaner smoothly. I remedied this with a slot tool and a sliver of an emery board.
The outside of the stem was lightly sanded with a 320 grit sanding sponge in preparation for the Briarville Pipe Stem Oxidation Remover bath.
I placed a pipe cleaner in the tenon to aid in the retrieval of the stem. I figured that I would leave the stem in the solution until the next day.
In the photo below you can see the pink-stuff used as a filler. When I scrubbed the pipe I did not want to use a more aggressive brass brush for fear of removing too much of the filler.
Normally, I like to remove this unsightly pink-stuff but doing so with this pipe would mean that I would have to re-fill the material with cyanoacrylate and briar dust then carve the new fill to match the original carvings. I strongly doubted my ability to do that, so leaving it alone seemed my best option.
Well, there was another option: Use a furniture touch-up marker to dye the pink-stuff to mask its unsightly pinknocity. Wow, spellcheck thinks pinknocity is a word.
This is what the pink-stuff looked like with a walnut colored touch-up marker. Much better.
The side, too, looked dramatically better.
The following day, nearly 24 hours to the minute, I removed the stem from the Briarville solution. I like to call this deox, poking fun at the detox of drug or alcohol abuse. Yeah, been there, done that. I also like to use a coarse texture shop rag to vigorously rub the stem while it is still wet with the deox solution. This removes some of the oxidized vulcanite as can be seen in the photo below.
The stem had pits where the oxidized material was chemically softened and removed from the stem and fleck of metal.
I used several make-up pads doused with Soft Scrub cleanser to scrub away more of the oxidized vulcanite. The color was more of a dark greenish than the typical dark reddish brown of vulcanite.
I oiled the stem with mineral oil and allowed it to soak in the oil for about 30 minutes.
There was not much that I could do with the carvings of the stummel but give it a coating of Before and After Restoration Balm. I worked this wonder-product into the crevices of the briar with a baby toothbrush. The stummel then was set aside for 30 minutes.
The stummel was wiped and hand buffed with an inside out athletic sock to remove excess Restoration Balm.
I used masking tape to protect the shank from the sanding which the stem would undergo. The sanding was done with a series of sanding sponges in grits from 320-3500. Between each sponge I rubbed the stem with mineral oil and wiped it dry again with a paper towel. This removed any of the sanding debris. The stem looked better but the pitting was deep enough that the only way to remove it and retain the smooth feel from the shank to the stem would have been to also sand the shank briar. I did not want to do that and risk removing detail from the carving. Instead I took the pipe to the buffer and worked the stem with red buffing compound followed by blue buffing compound on their respective buffing wheels. The results looked better but not great.
The stummel was waxed with Renaissance Micro-Crystalline wax again applied with a baby toothbrush. I did have to clean the baby toothbrush using alcohol before and after the wax.
The final step was a hand buffing with a microfiber polishing cloth.
This Rattlesnake figural by Marxman, though anatomically incorrect, is still a fun pipe for me. Sure the stummel is full of the dreaded pink-stuff fills and the vulcanite of the stem is lower quality recycled tires, I still enjoy it. The dying of the pink-stuff did improve the look, some, and the stem did polish-up, some, they are still nothing to brag about. The carving of the snake is pretty impressive with the checkering over the entire curved body. That is impressive. The details like the rattle on the tail, the texture along the log and the end of the log are also quite impressive and well done. The snake is a caricature of the elegant serpent with the head being comically misshapen. I will say that the pipe feels very good and substantial in my hand and the weight is comfortable for short periods of clenching. The dimensions of the Marxman figural Rattlesnake pipe are:
Length: 5.58 in./ 141.73 mm.
Weight: 1.94 oz./ 55.00 g.
Bowl Height: 1.73 in./ 43.94 mm.
Chamber Depth: 1.56 in./ 39.62 mm.
Chamber Diameter: 0.73 in./ 18.54 mm.
Outside Diameter: 1.61 in./ 40.89 mm.
I do hope that you have found something here useful to your own pipe care, maintenance or restorations. If you like this sort of thing, please click the like and subscribe buttons. Thank you for reading the ramblings of an old pipe lover.
Loading…
Below are the finished photos of the Marxman Rattlesnake Figural Pipe.
As a little kid I used to sit with my father at his reloading bench while he reloaded rifle shells. It was my job to line up empty cases in straight little rows. Important work, to be sure. Later in life I too shared my father’s love of high power rifles, reloading and the study of reloading manuals. I remember shooting my first deer with a hand loaded 25-06 Remington. To this day, I can recall the load: 54 grains of 4831, Federal large rifle primer, 100 grain Nosler Boat Tail Ballisting Tip bullet. I cannot recall the muzzle velocity, like I used to but I still do have the Yugoslavian made Mauser rifle imported by Interarms. “What the heck does all that have to do with a du Pont Explosives promotional pipe?” you demand to know. Well, du Post explosives were not only the reason for the pipe but they also manufactured gun powder. A lot of it. Long before Dwight Eisenhower warned us against the influence of the military industrial complex du Pont was the largest US maker of black powder
Background
I have to admit that I was surprised that there was anything written about this pipe. The first place I looked was pipedia.org and low and behold, I got a hit. Below is the full text.
“du Pont Explosives pipes were given out as souvenir pipes by the Explosives Department of the du Pont Company between 1912 and 1933. (Source: Debra Hughes, Curator of Collections and Exhibits, Hagley Museum and Library, Wilmington, DE USA.) The original maker is unknown.
The shape is apparently intended to resemble an 18th or early 19th Century gunpowder barrel. Poker and bent shapes are represented. Some pipes may have ferrules. They are stamped with the duPont logo and “REG. US. PAT. OFF. EXPLOSIVES” on one side and “GENUINE FRENCH BRIAR” on the other side. Stems are vulcanite or similar material.”
Example du Pont Explosives pipe bowl
Example gunpowder keg with extra bands to prevent staving
An unsmoked example, courtesy Brian Robertson Collection
Well, that pretty much sums up everything I wanted to know. That dated the pipe to 1912-33 and put the production in the USA, probably. I can’t imagine a foreign carver being too concerned with US patent registration. The 1912-1933 dates would precede the briar shortages of World War 2. I have not read anything about briar shortages caused by World War 1 but I am certain that they would have existed. One other thing I found interesting was the painting of the indentations of the stamp, as seen in the photos above. There was no sign of any remnant paint in the stamp on the pipe in hand. I was not sure how to or if to replicate this on the restored du Pont pipe.
The Restoration
Much to my chagrin, I worked on two pipes simultaneously. I normally do not like to do this as I inevitably forget steps or the photographing of steps, but my schedule has included a couple of fishing tournaments as of late. Priorities, priorities… Both pipes shared a denim piece on the workbench.
The first task was to prepare the stem for a bath in Briarville Pipe Stem Oxidation Remover. To do this I wanted the stem clean. I first tried my standard treatment of 99% ethyl alcohol on pipe cleaners. The stem started to feel slick in my fingers. The ethyl alcohol was dissolving the surface material on the stem. “Okay”, I thought and remembered the quote from the pipedia.org, “Stems are vulcanite or similar material” (DuPont Explosives promotional pipes – Pipedia). Hmm, I switched over to a 91% isopropyl alcohol thinking that the larger molecule would be less likely to act on the rubber. It worked and after several bristled pipe cleaners dipped in the 91% isopropyl alcohol the stem was clean.
Both stems were dropped into the bottle of Briarville Pipe Stem Oxidation Remover. I will refer to this as deox from here out.
I thought back to April, 2025 after Briarville gave me a bottle of their product to try. Usage had discolored it severely but it was still working. Sorry, I digress. The stems were to be left in deox overnight.
The ream team was assembled. The PipNet #2 and #3 blades were the proper size.
The PipNet did its job of removing the cake, admirably. The General triangular scraper was just used to clean up at the bottom of the chamber.
The reamed chamber looked good but the rim definitely needed some work.
The lava on the rim was softened with saliva. After a couple of minutes the lava was scraped with a sharp pocket knife.
The cleaning of the shank airway was done with 99% ethyl alcohol on a nylon shank brush, bristle pipe cleaners and numerous cotton swabs. A dental scraper was also used.
After the shank cleaning, I sanded the tobacco chamber with 320 grit sandpaper wrapped around a wood dowel. The bare briar showed no sign of heat damage. Below are photos showing the left and right chamber walls.
Next, the stummel was taken to the sink where it was scrubbed with undiluted Murphy Oil Soap and a nylon brush. The soap was rinsed with warm water and the stummel dried with a cotton hand towel.
I wiped the surface of the stummel with a make-up pad dipped in 99% ethyl alcohol. The pad showed some sign of remaining grime. I wiped it a couple more times to remove whatever the scrubbing missed.
I was not convinced that the airway was completely rid of the smoking residues. The pipe also still had an aroma of old aromatic tobacco. Though not unpleasant, I wanted to remove them. TO do this I packed the tobacco chamber, airway and shank with cotton.
The cotton was saturated with about 10 ml 99% ethyl alcohol applied with a disposable pipette. This was allowed to evaporate overnight.
The next day revealed that the alcohol had worked at dissolving the yuck (technical term for smoking residue) from the walls of the airway and deposited said yuck into the cotton.
The yuckified (the technical term for cotton soiled with dissolved smoking residue) cotton was removed.
I ran an alcohol dipped bristle pipe cleaner through the airway and scrubbed with a cotton swab also alcohol fortified. Both devices returned with little yuck. Triumph!
The inner and out rims of the bowl showed signs of abuse. I lightly topped the rim but refused to top it severely enough to remove all trace of the damage. That would have shortened the height of the bowl by nearly an 1/8th inch or 3 mm. Instead, I slightly beveled the inner and outer edges with a file and sandpaper.
The stem was taken from deox and vigorously rubbed with a coarse shop rag. This removed a good deal of the oxidized material from the surface of the stem.
Below shows the pre-sanded but oiled stem and stummel.
I tried to paint the tooth dents on the stem with a soft flame lighter. This rarely makes a big difference but it’s fun to do.
The tooth chatter was filed with a small flat file and the edge of the button was slightly defined on both the top and bottom sides. These were also lightly sanded with a 320 sanding sponge.
Here is a great example of why I do not like to do two pipes simultaneously. I failed to document the application of the cyanoacrylate (CA, super glue) to fill in the deeper tooth dents. Rather, all you get to see is the filled and filed smooth result.
With the fills on the stem complete, I turned to the one big fill on the left rear of the stummel. The old fill material was picked out using a fly tying bodkin. This new fill would certainly leave a scar but it would be a smooth shiny scar.
I used a fine applicator tip on a bottle of Thin CA to apply a tiny bit of CA into the depressions. I then placed briar dust on top of the wet CA. The excess dust was brushed off. I topped the briar dust with additional Thin CA.
The new fill was sanded to see where additional CA and briar dust would be required. Oh yeah, the reason for the masking tape of the stamps was to protect them from my sanding.
The stem and stummel were sanded simultaneously with a series of sanding sponges in grits 400-3500. Between sponges the stummel was wiped with a make-up pad wetted with alcohol while the stem was rubbed with mineral oil and wiped with a paper towel.
After the sanding the pipe was worked with micro-mesh pads 4000-12000. The wiping between pads was done as with the sanding sponges except the stem was oiled with Obsidian Oil.
The stummel was then coated with Before and After Restoration Balm and allowed to soak in that balmy goodness for 20 minutes.
The remaining Restoration Balm was wiped from the stummel with an inside out athletic sock.
The pipe then received several coats of carnauba wax applied with the buffer.
The final step was a hand buffing with a microfiber polishing cloth.
This du Pont pipe was a fun restoration. Not only did it allow me to reminisce about my father and reloading but also gave me the chance to work on a pipe that was probably 100 years old. This old gal is still quite pretty and the bent poker, that’s what I am calling it, shape is intriguing and fun. The briar grain is mostly concealed by the ring carvings of the “gun powder barrel” but the shank sides show lovely bird’s eyes. The hard rubber of the stem did polish-up nicely and provides a fine accent to the natural color of the briar. This historical sitting pipe will make its next owner a fine and historical tobacco enjoyment tool. The dimensions of this du Pont Explosives promotional pipe are:
Length: 4.70 in./ 119.38 mm.
Weight: 1.53 oz./ 43.36 g.
Bowl Height: 1.79 in./ 4.47 mm.
Chamber Depth: 1.58 in./ 40.13 mm.
Chamber Diameter: 0.80 in./ 20.32 mm.
Outside Diameter: 1.30 in./ 33.02 mm.
I do hope that you have found something here useful to your own pipe care, maintenance or restorations. If you like this sort of thing, please click the like and subscribe buttons. Thank you for reading the ramblings of an old pipe lover.
Loading…
Below are some photos of the finished du Pont Explosives promotional pipe.

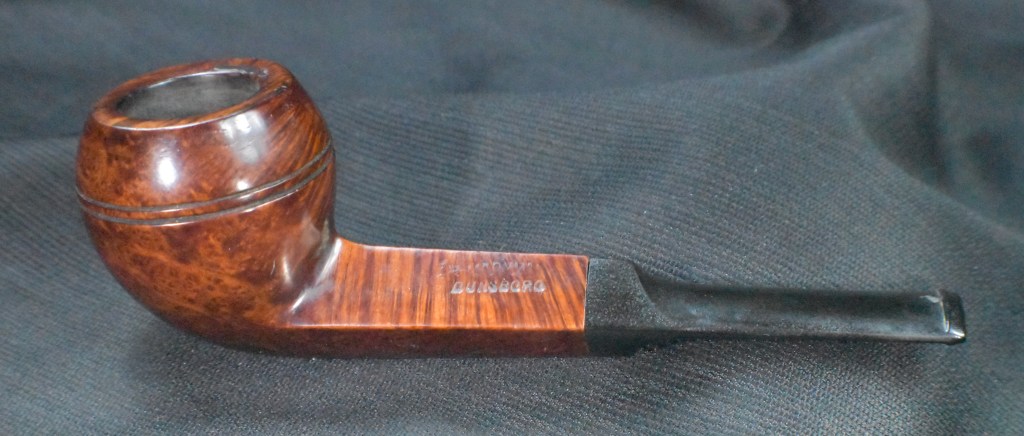
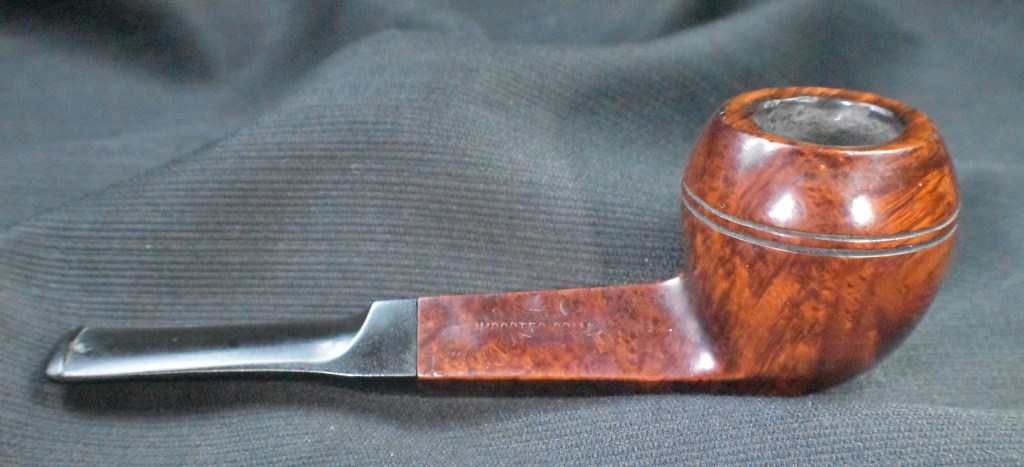
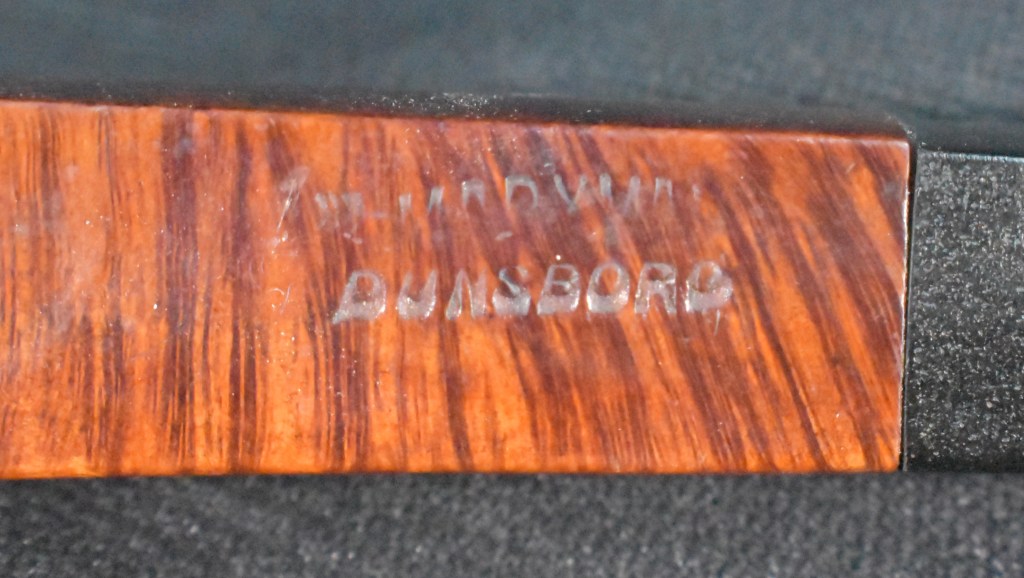


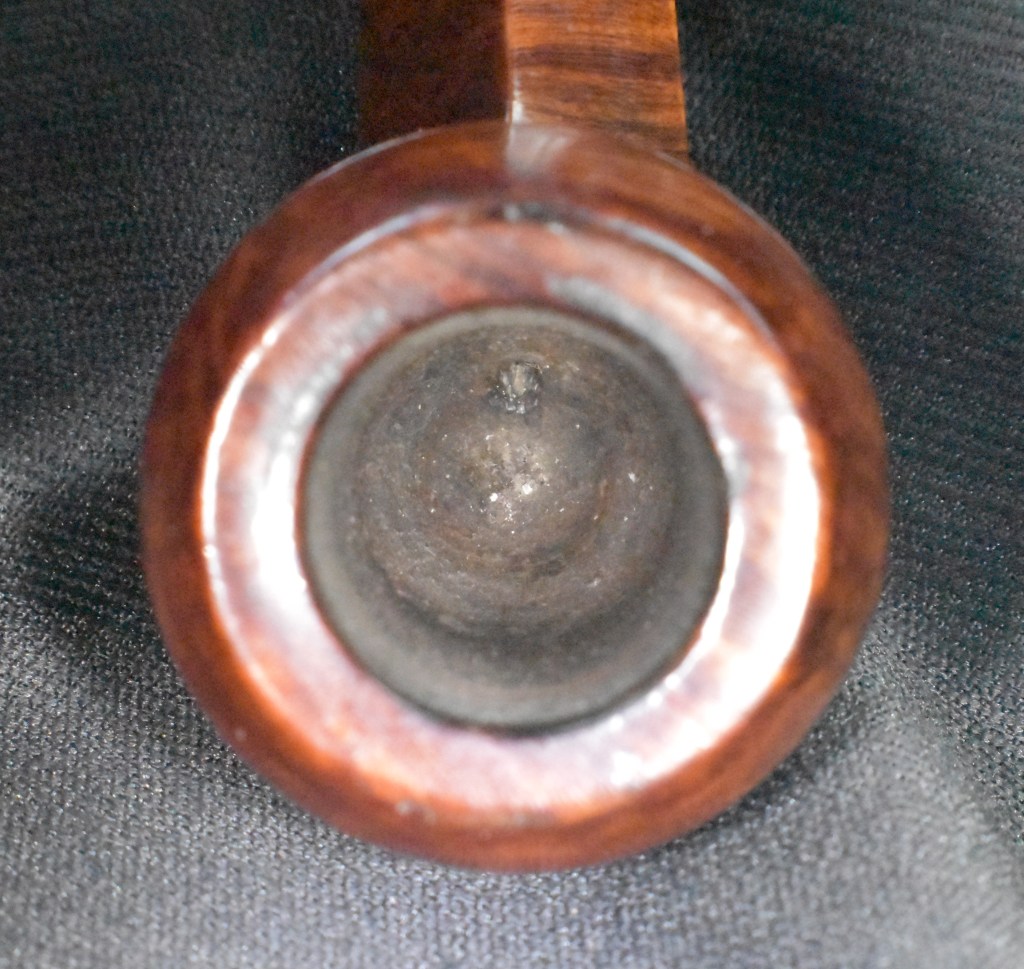
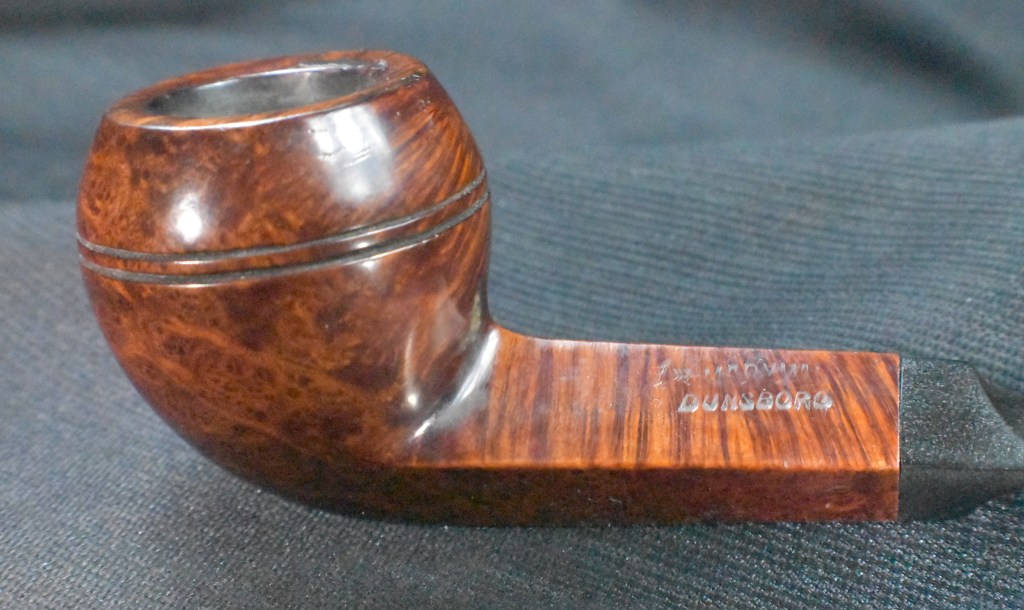

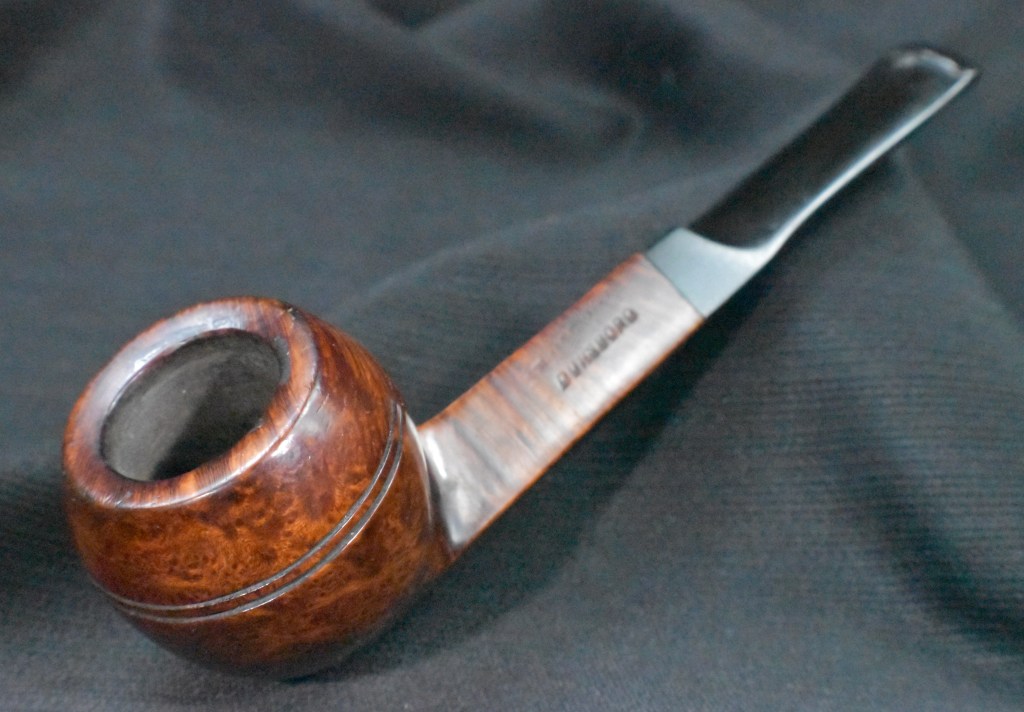
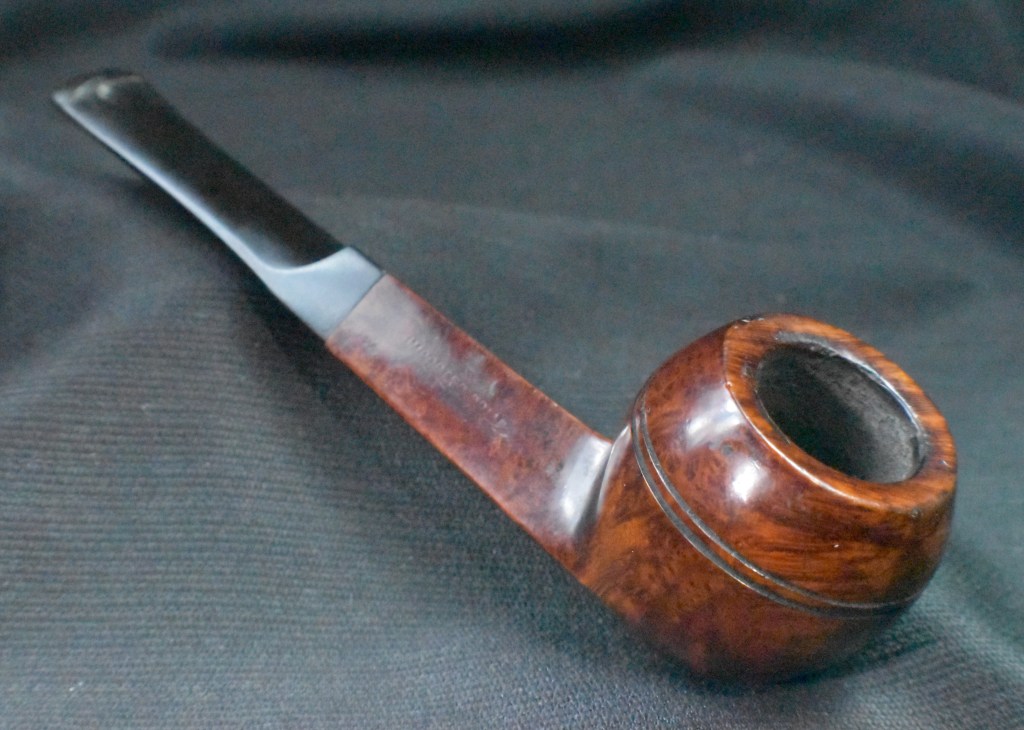
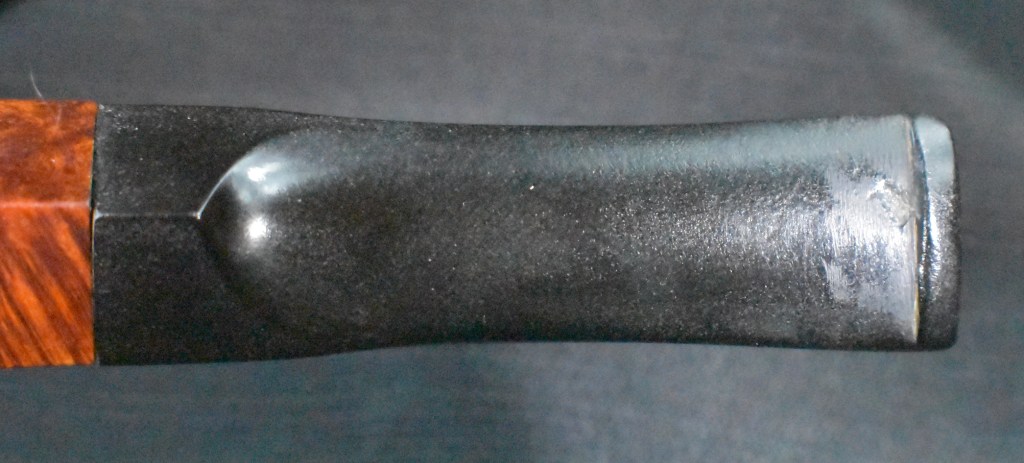
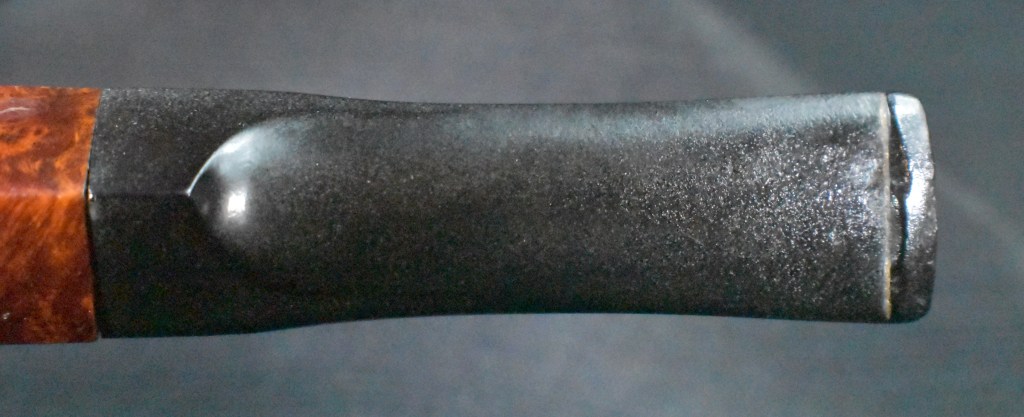
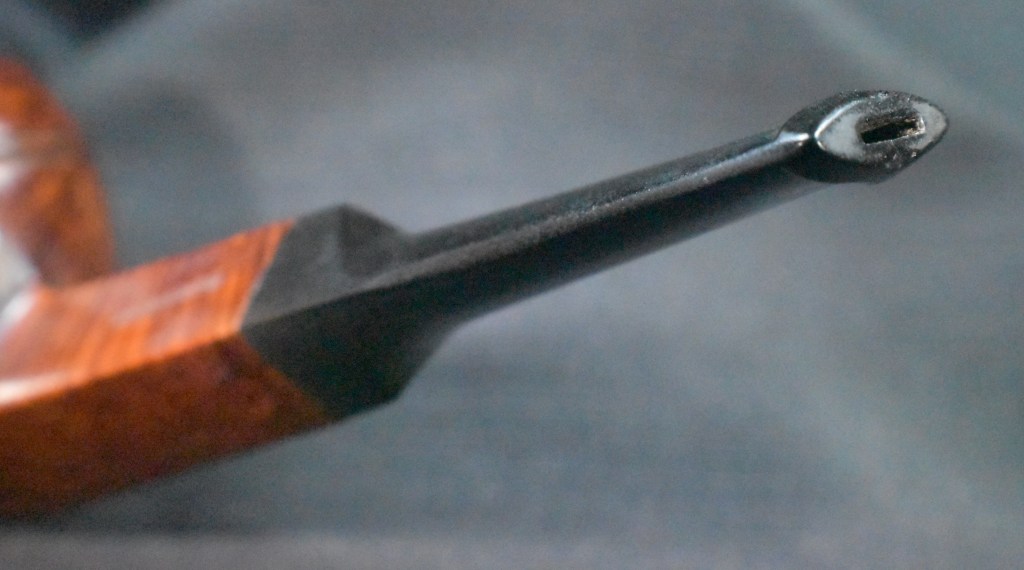
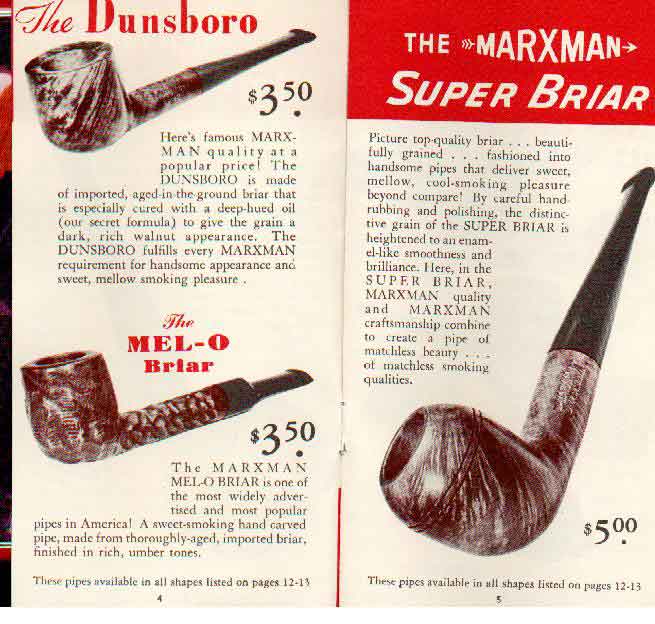
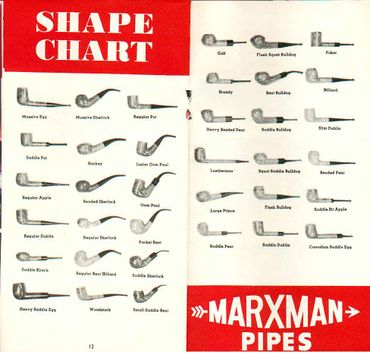
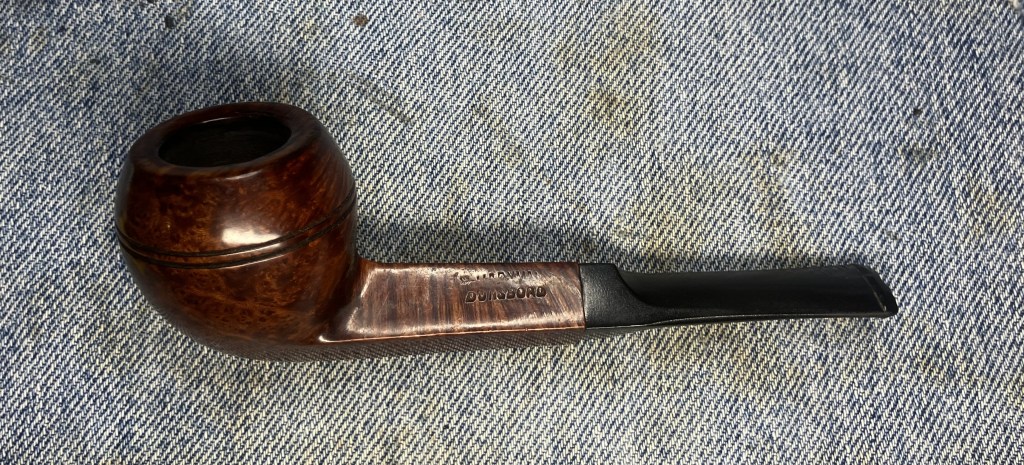
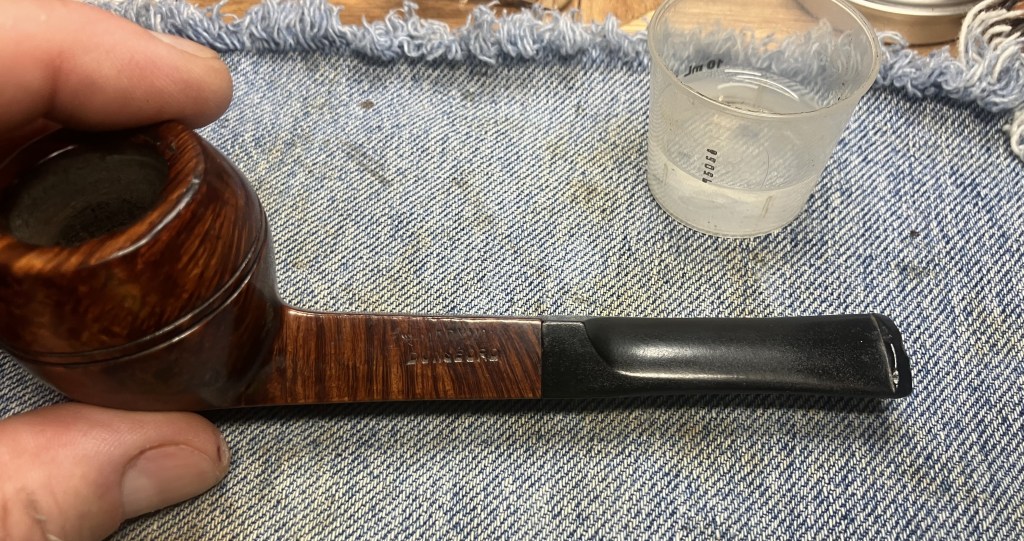
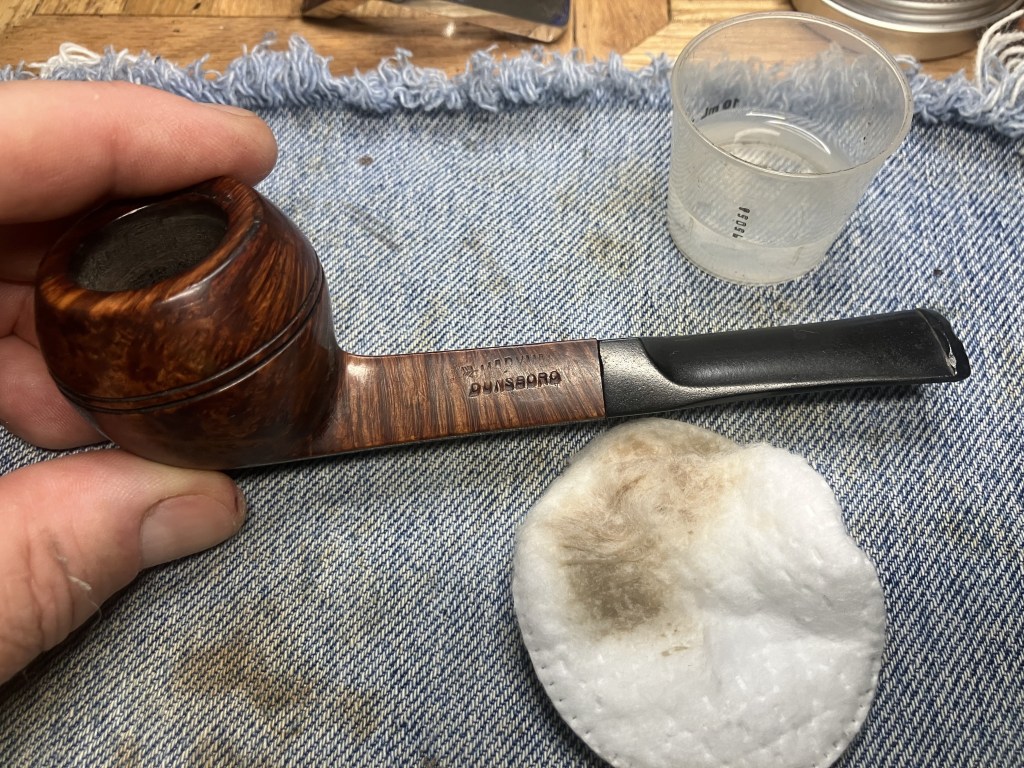

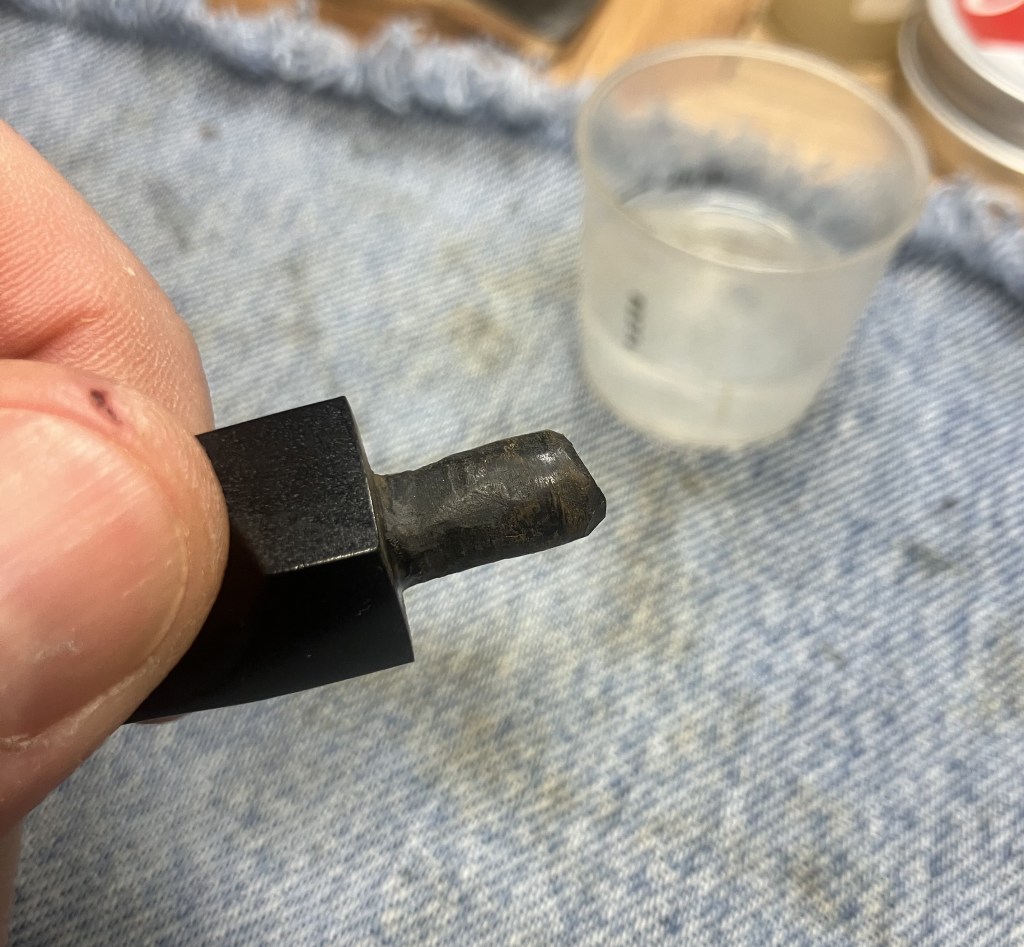
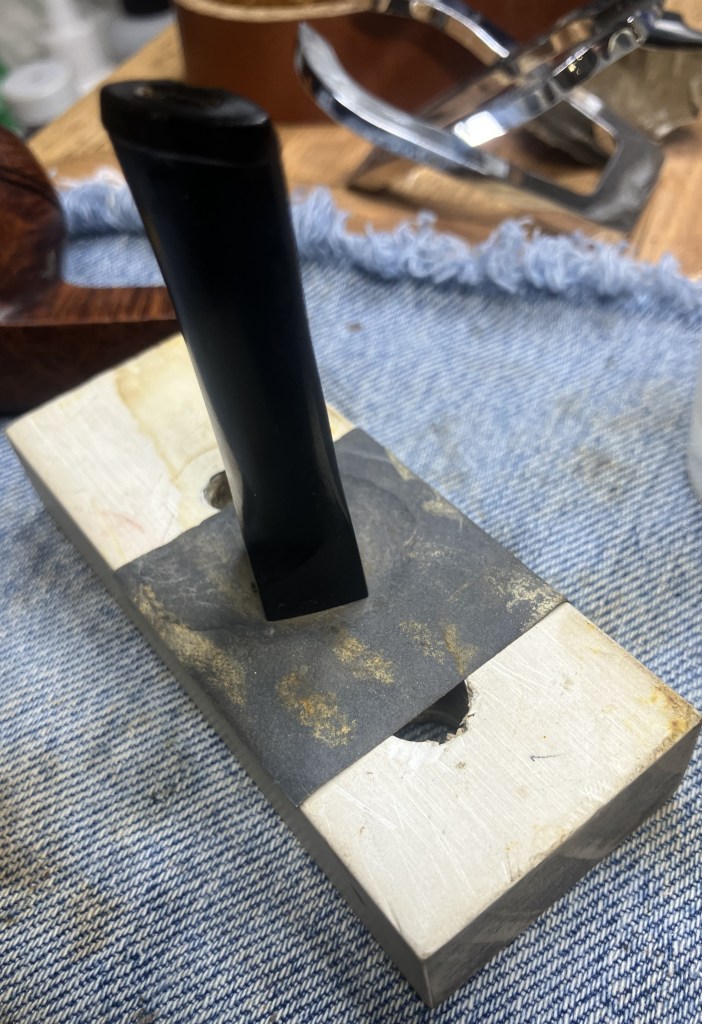
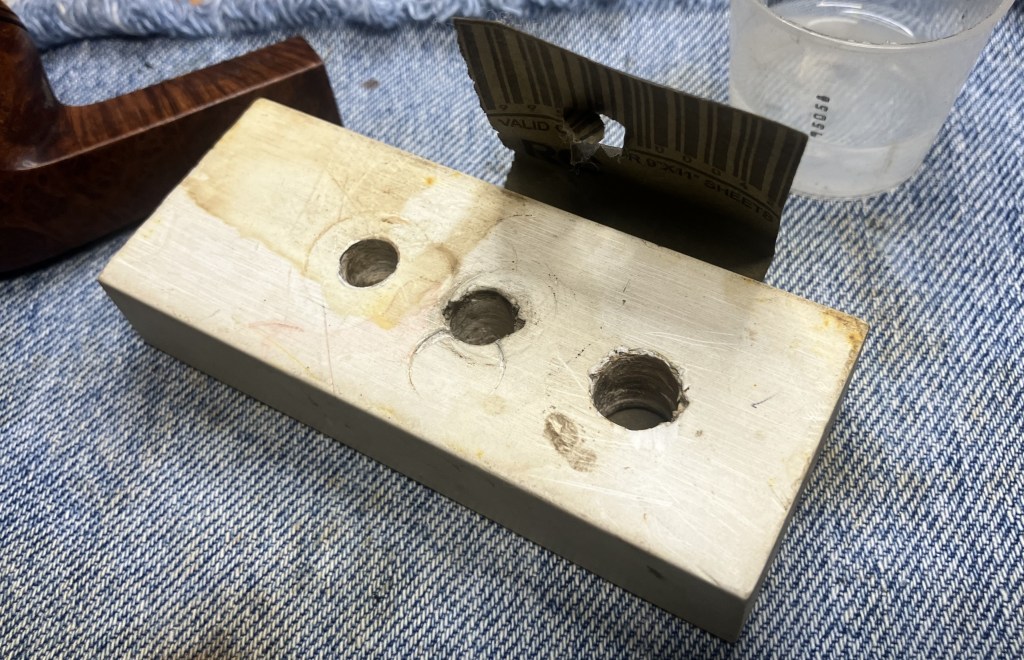


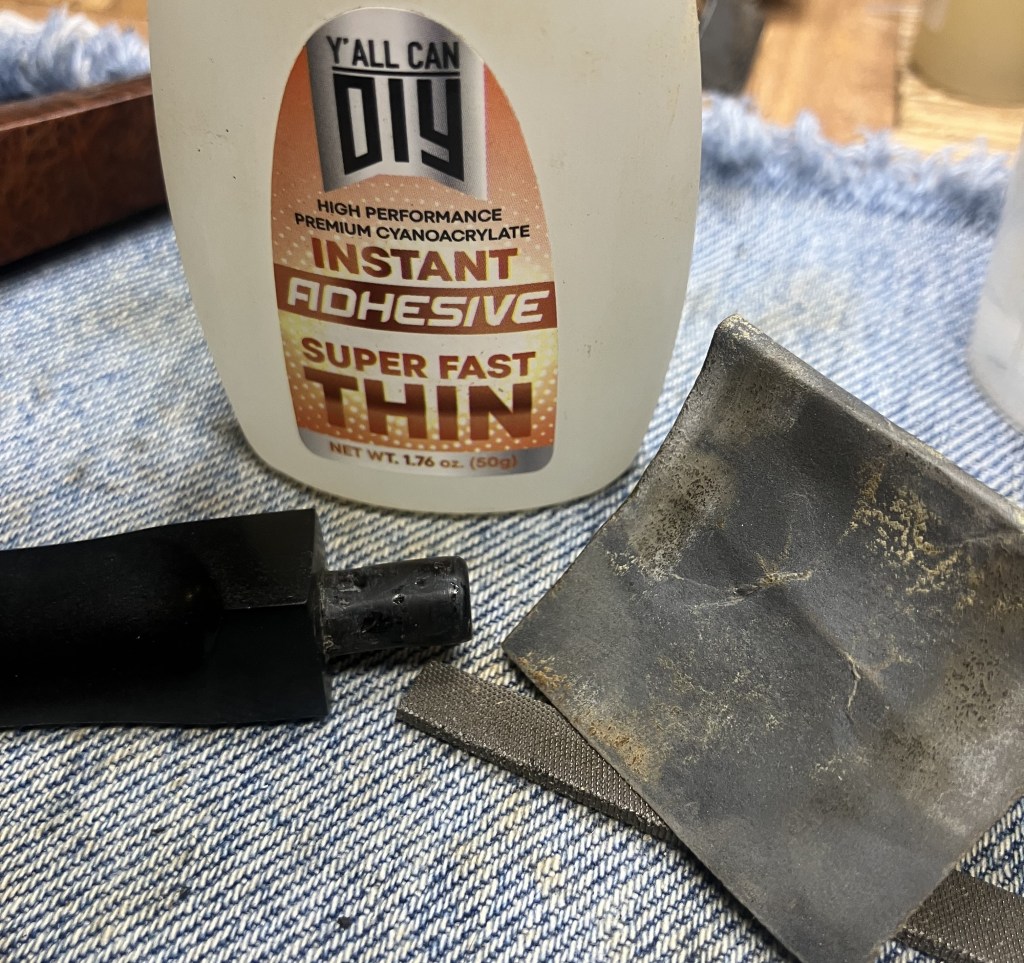

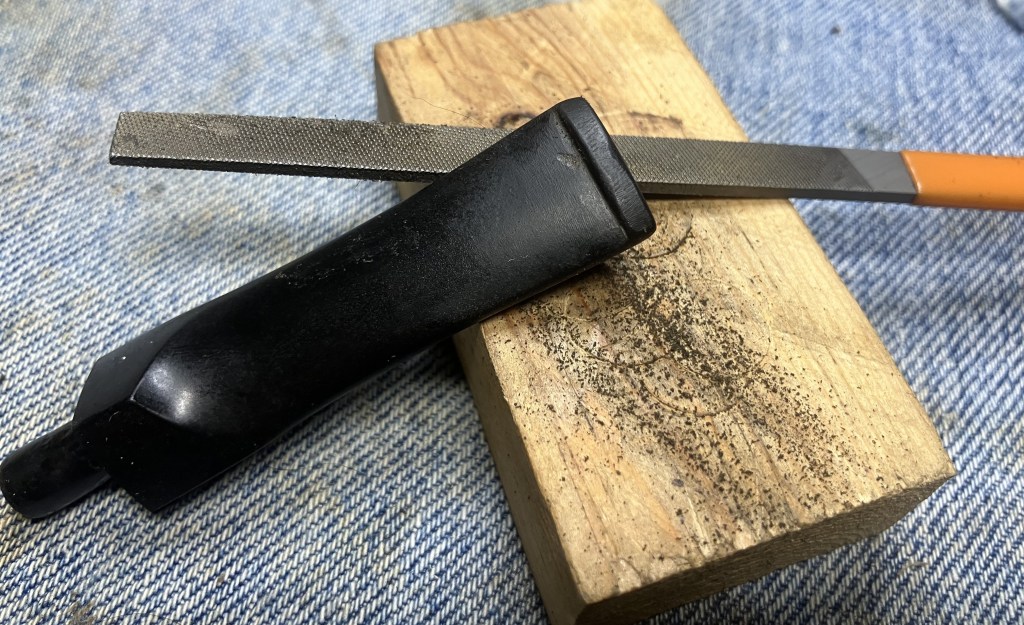


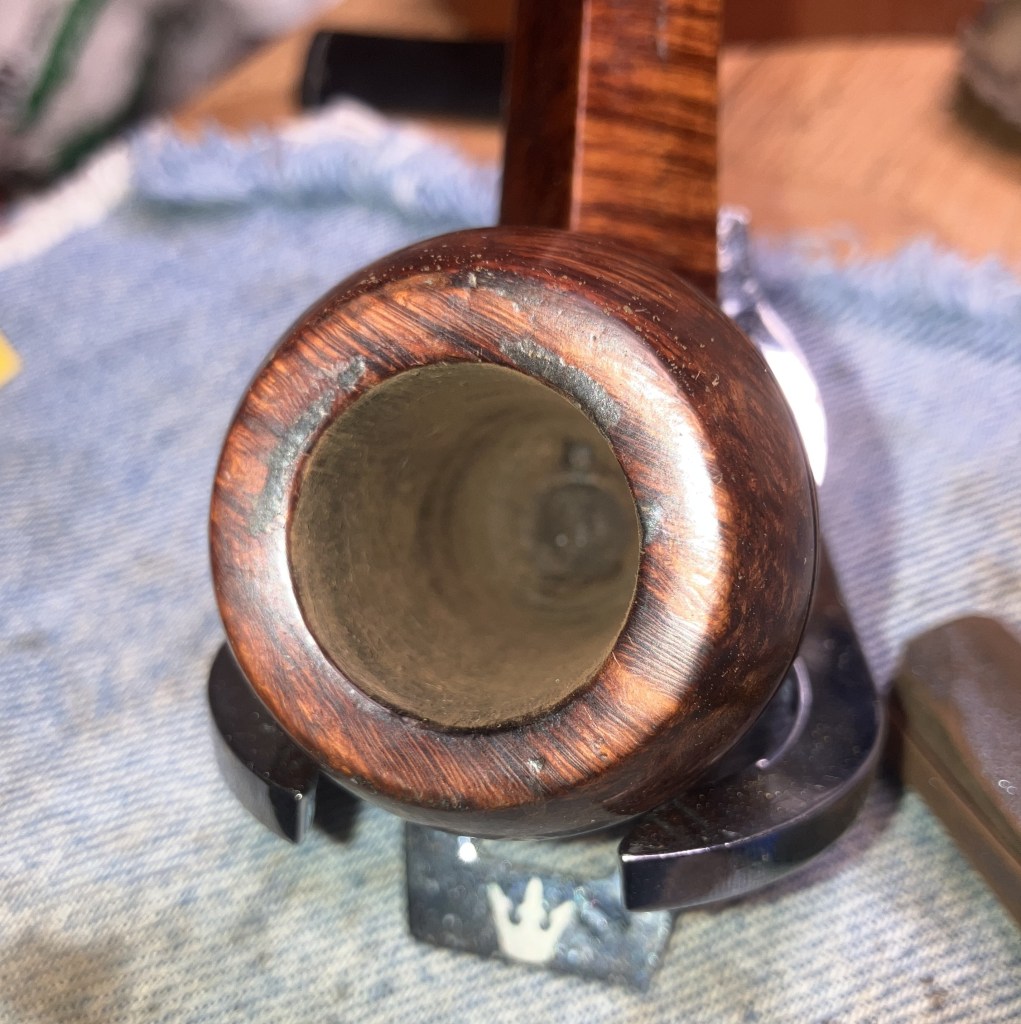
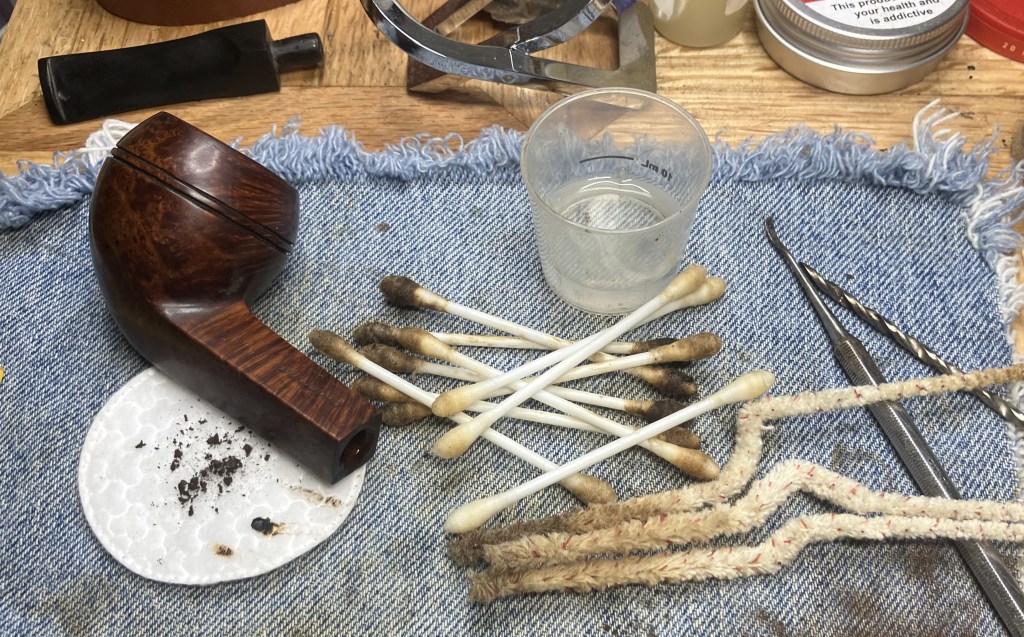
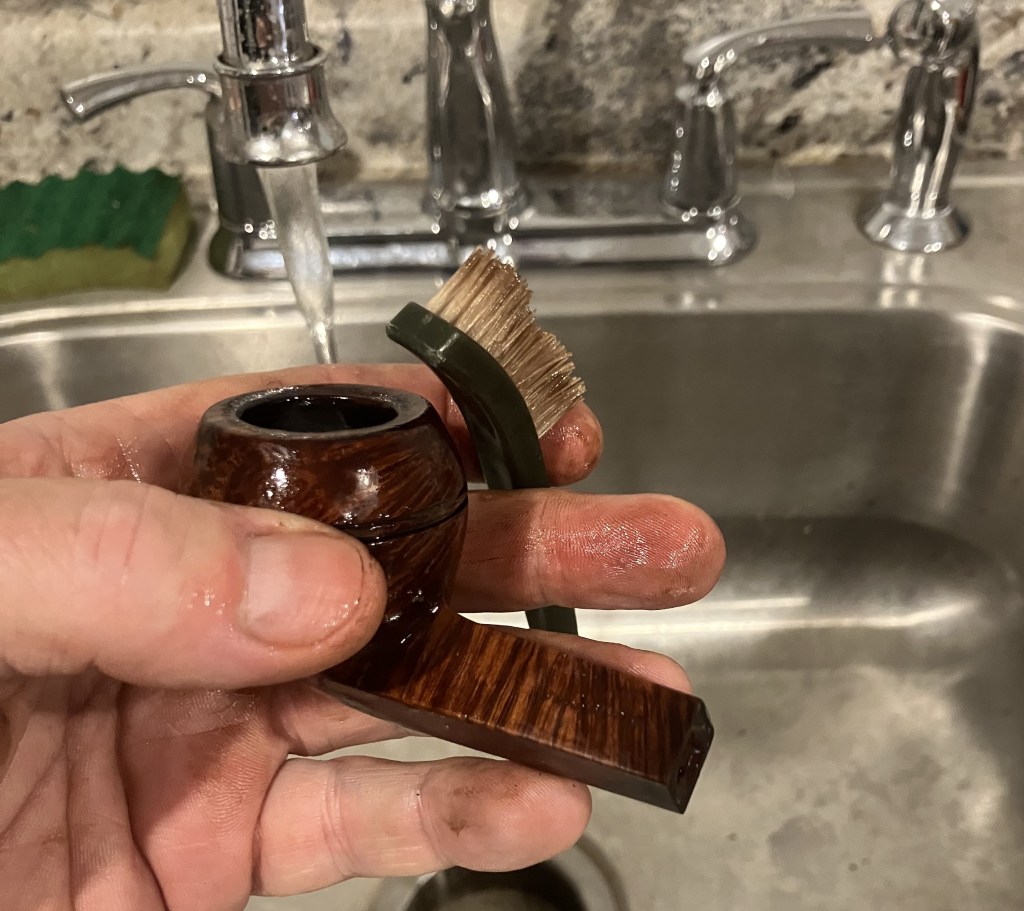
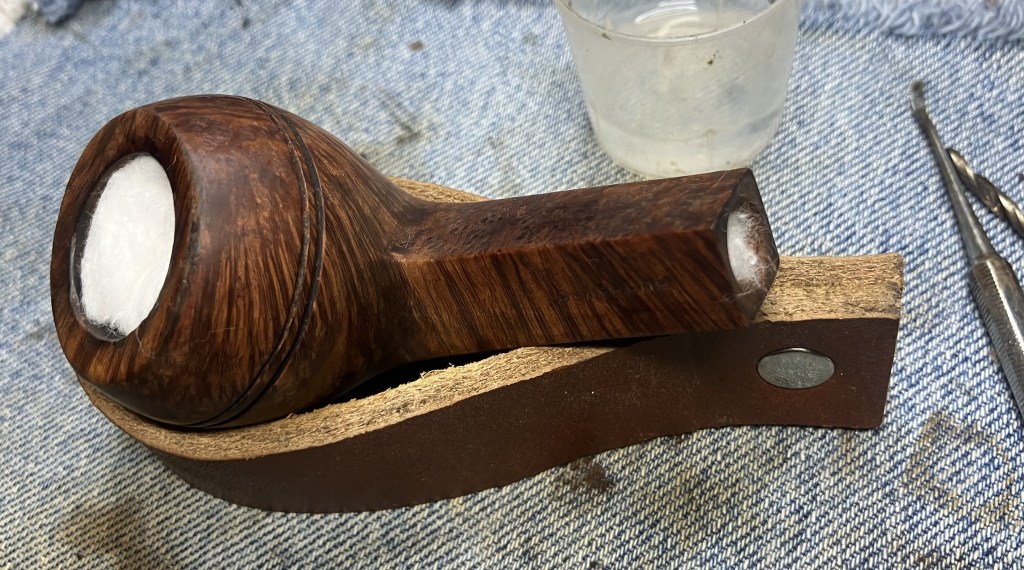

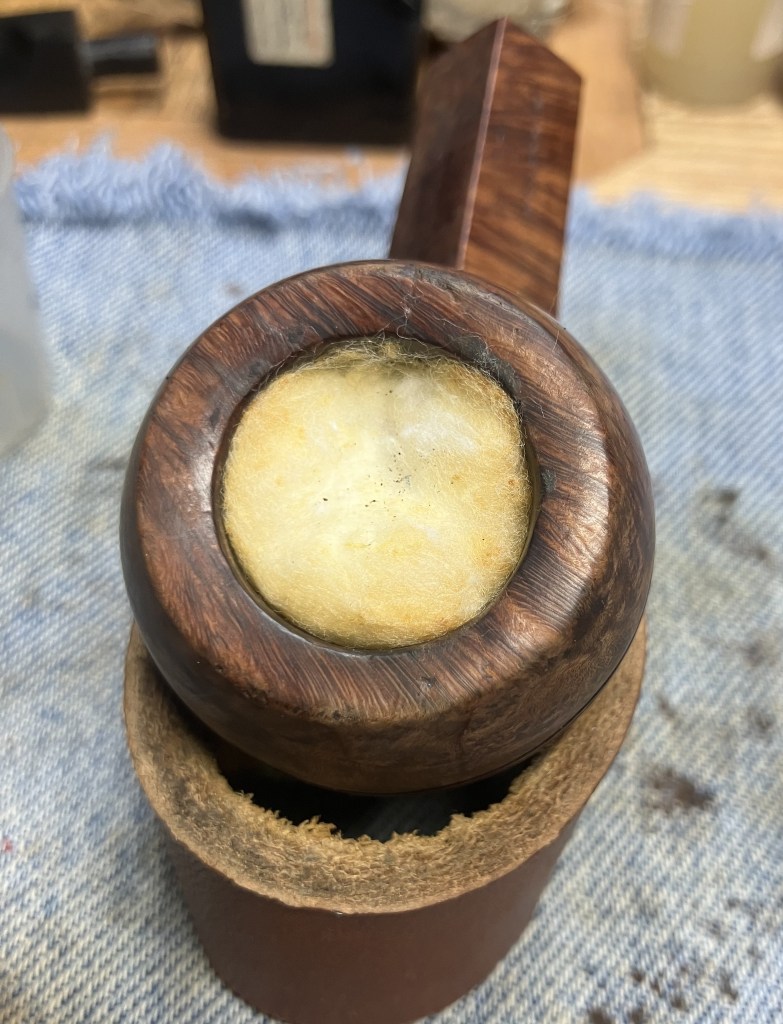


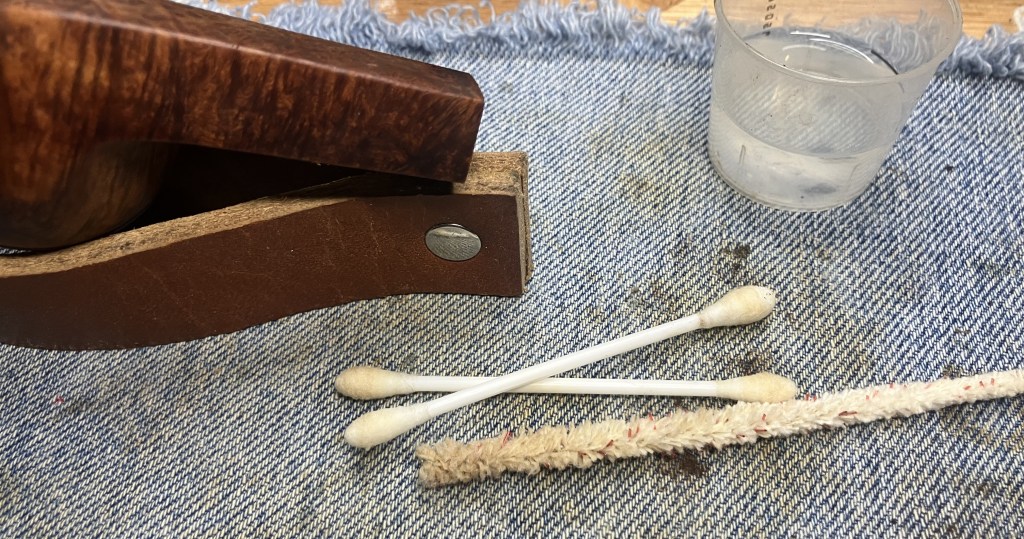
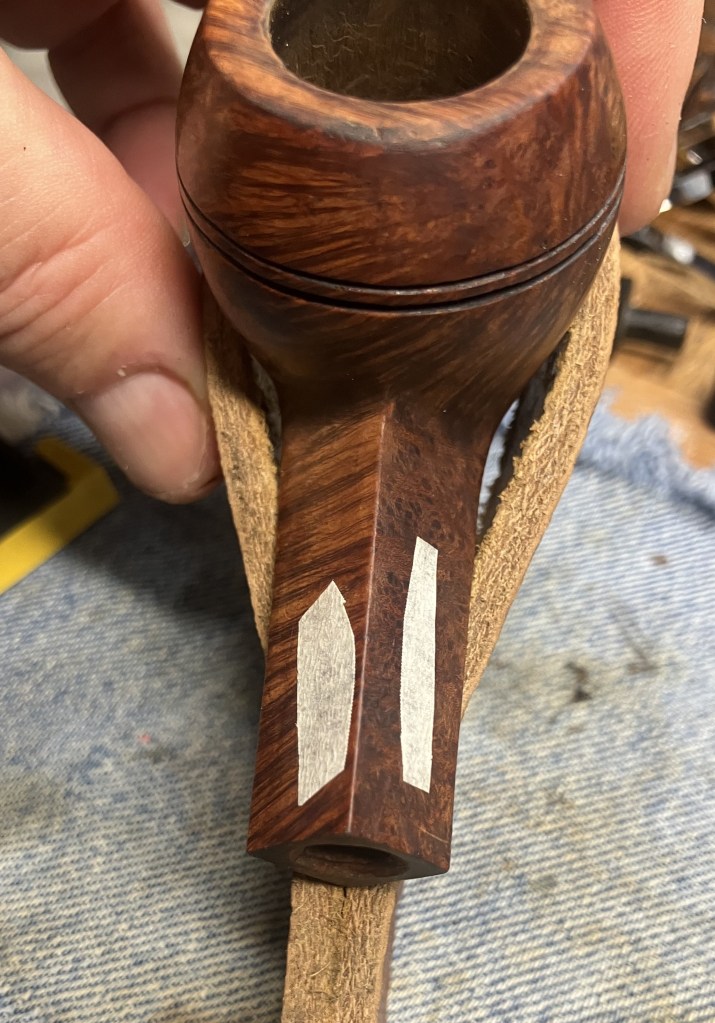


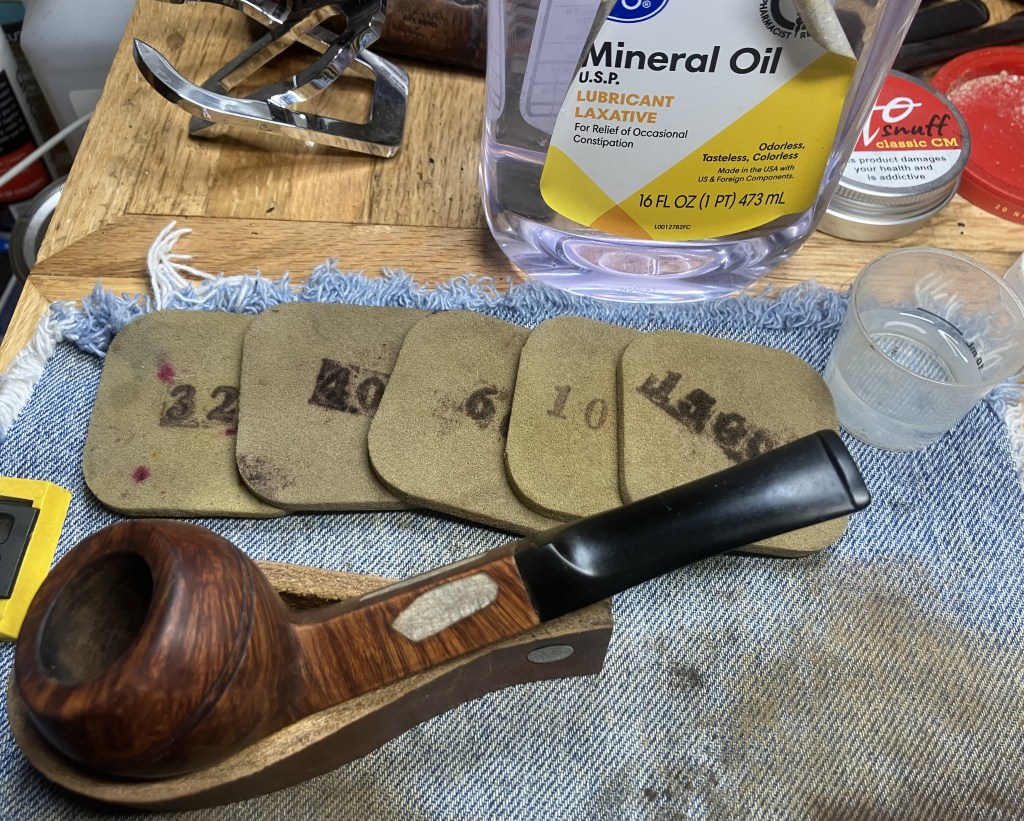
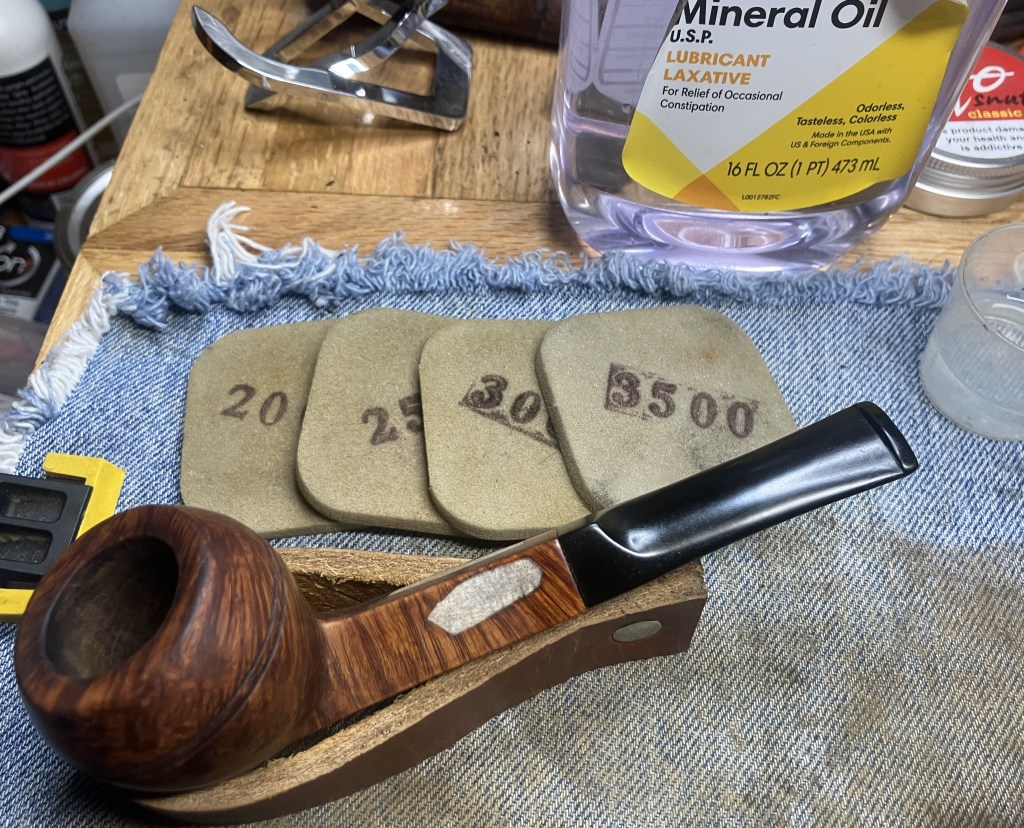
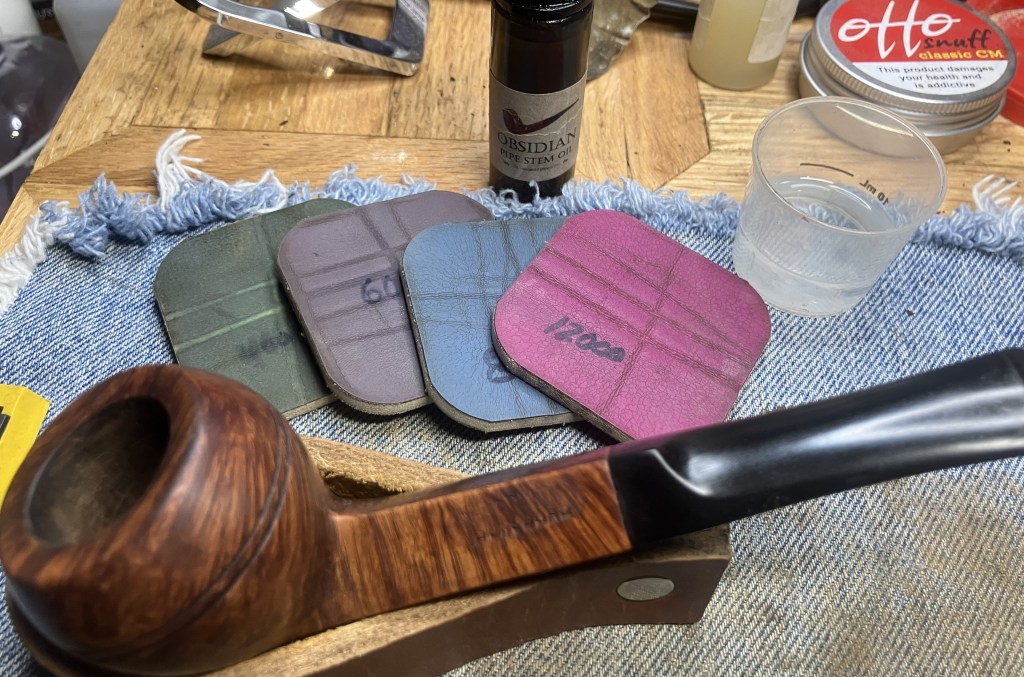
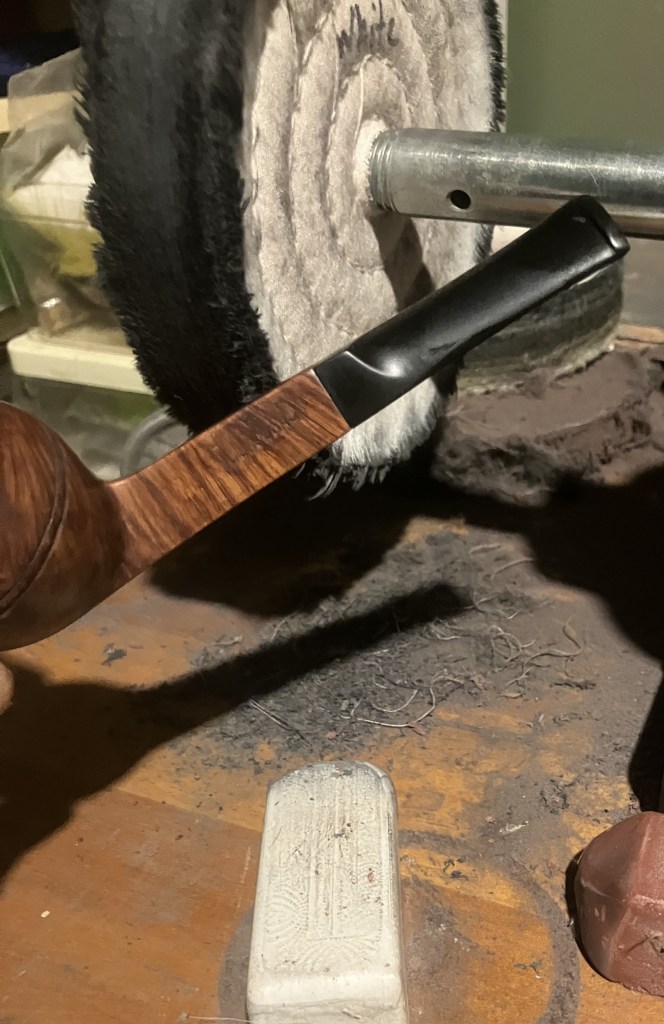

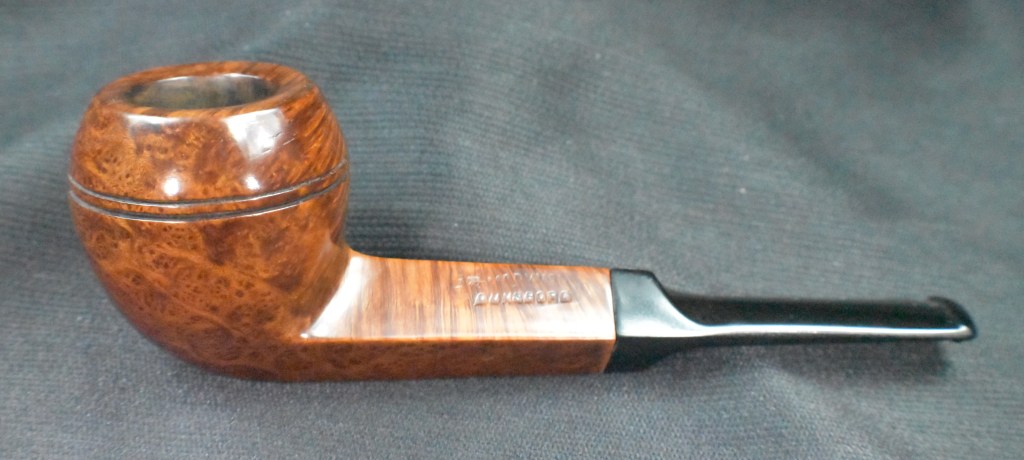

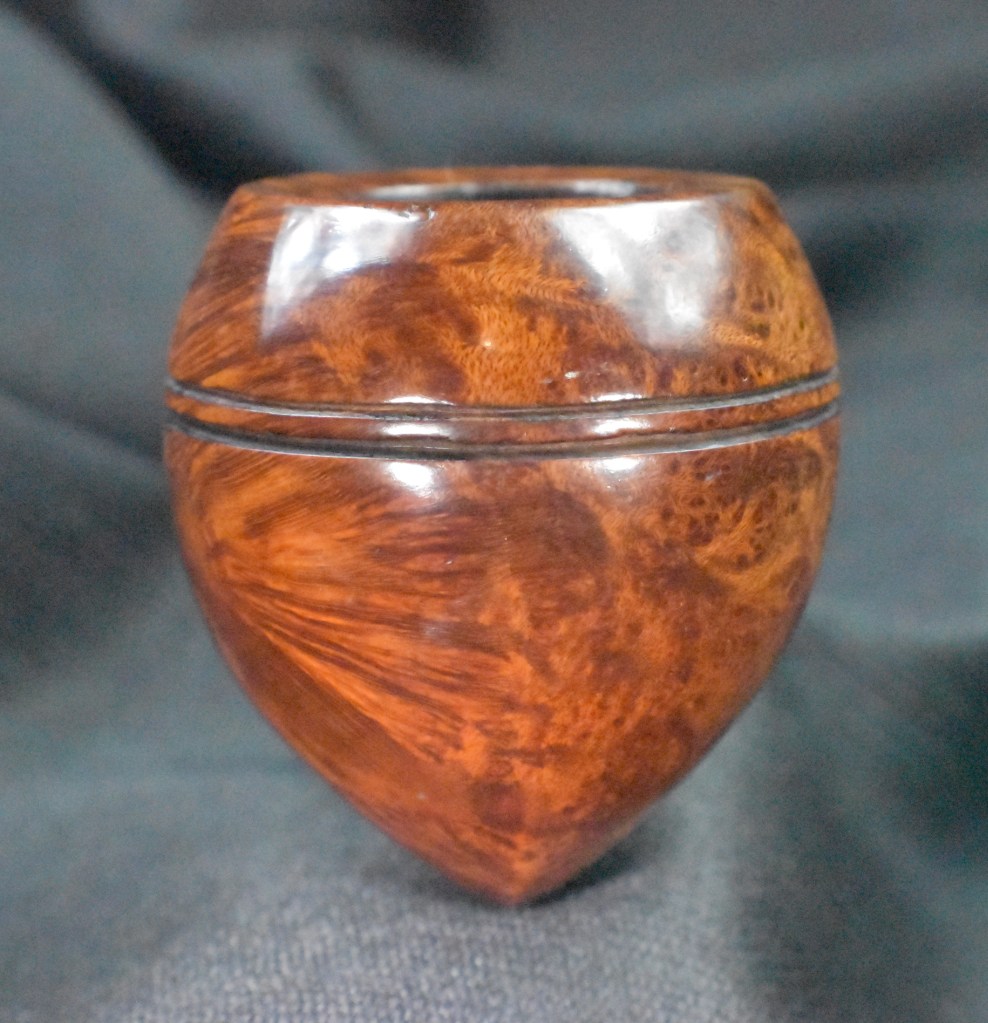


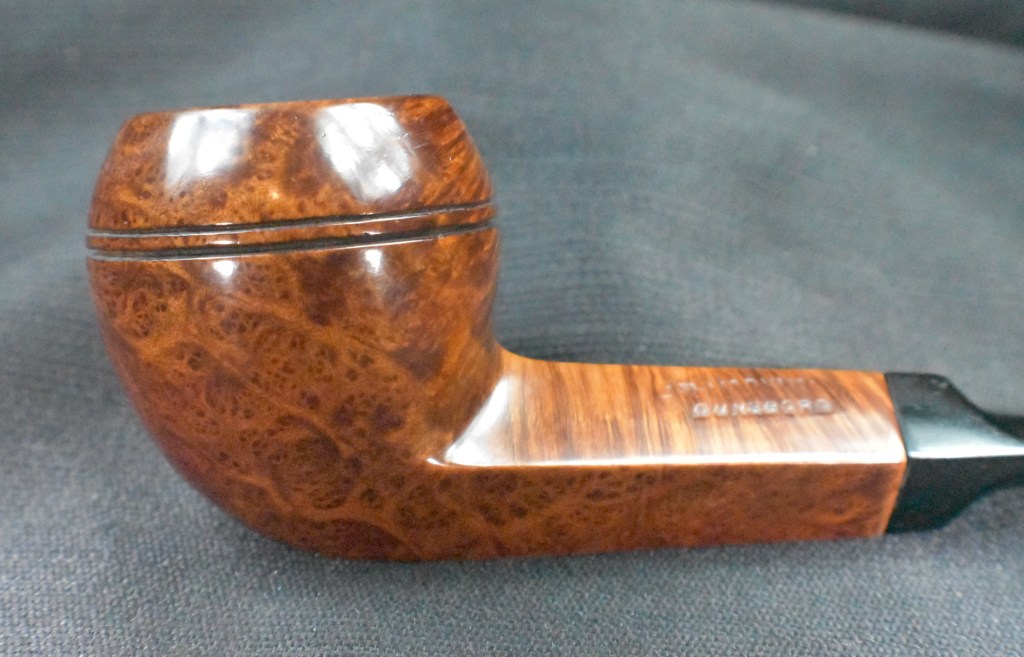

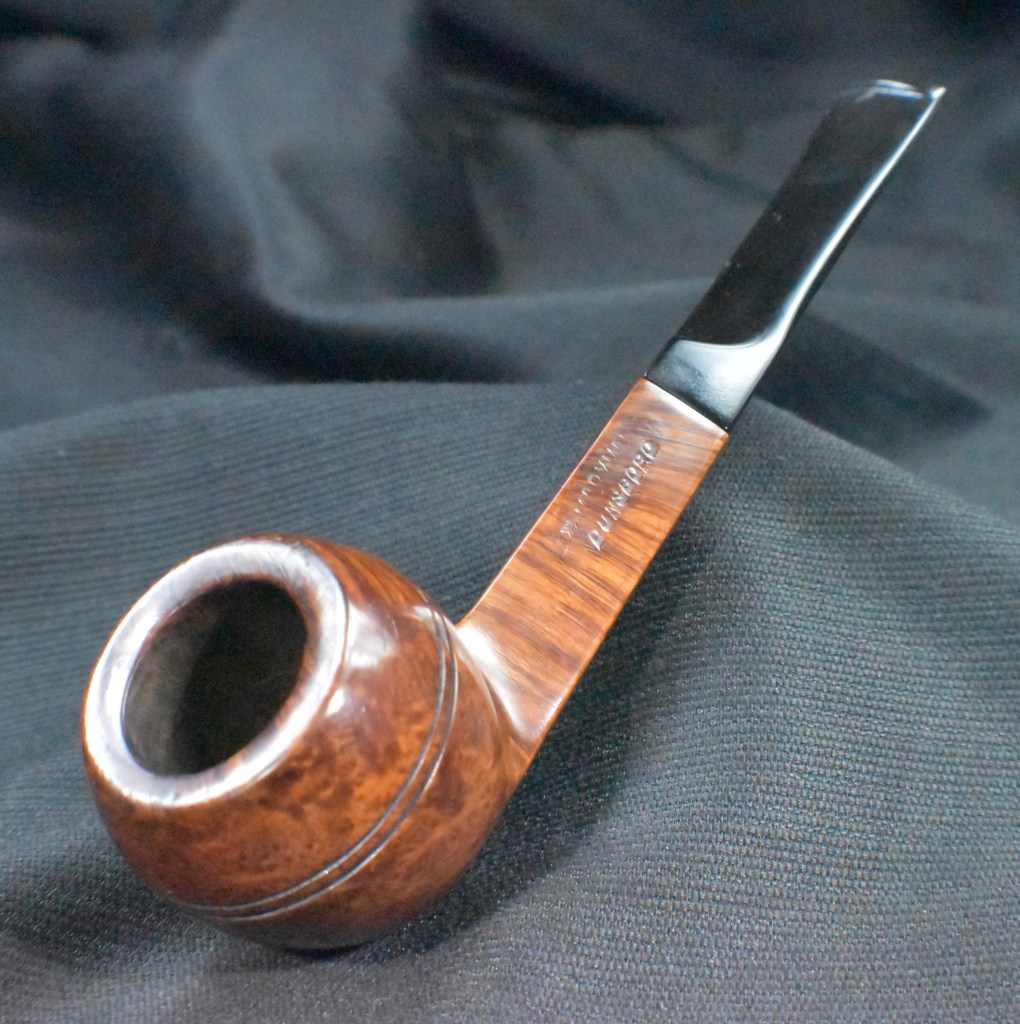

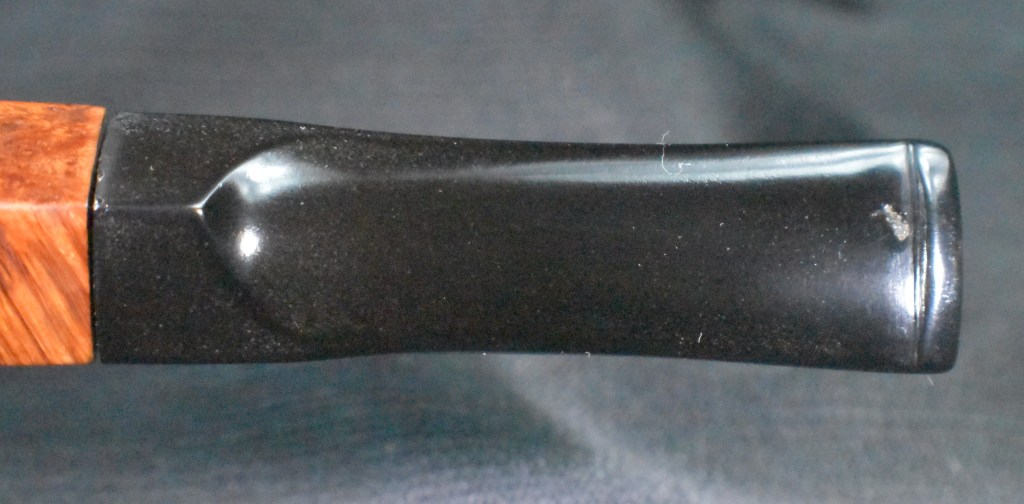
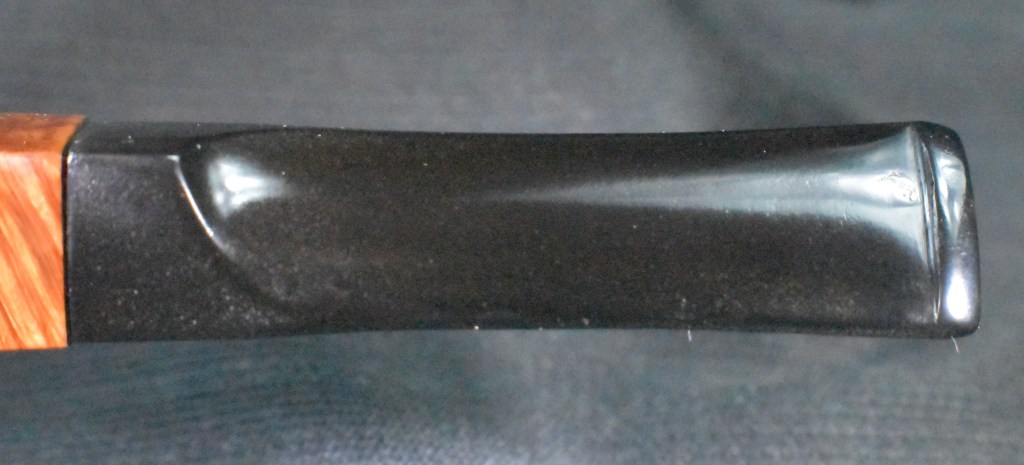

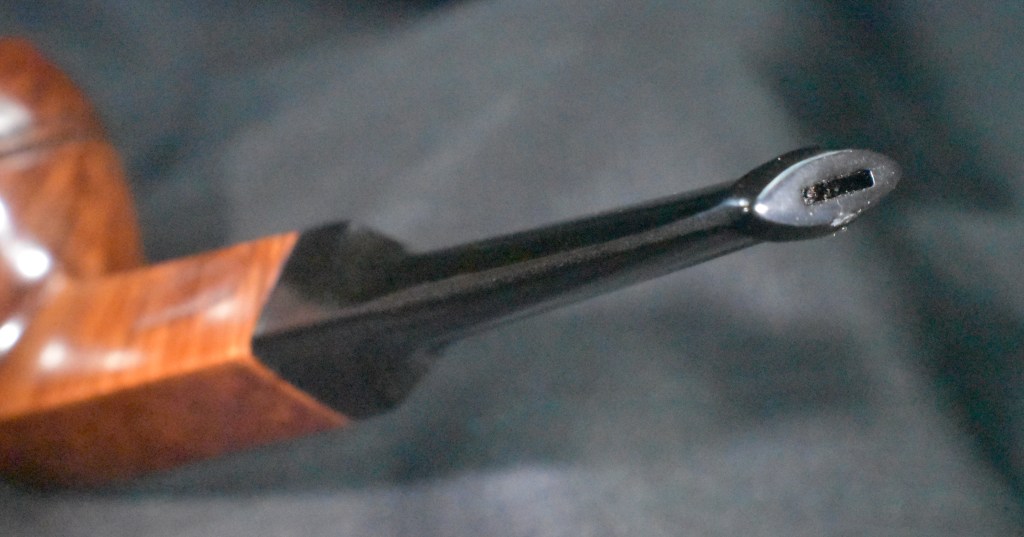
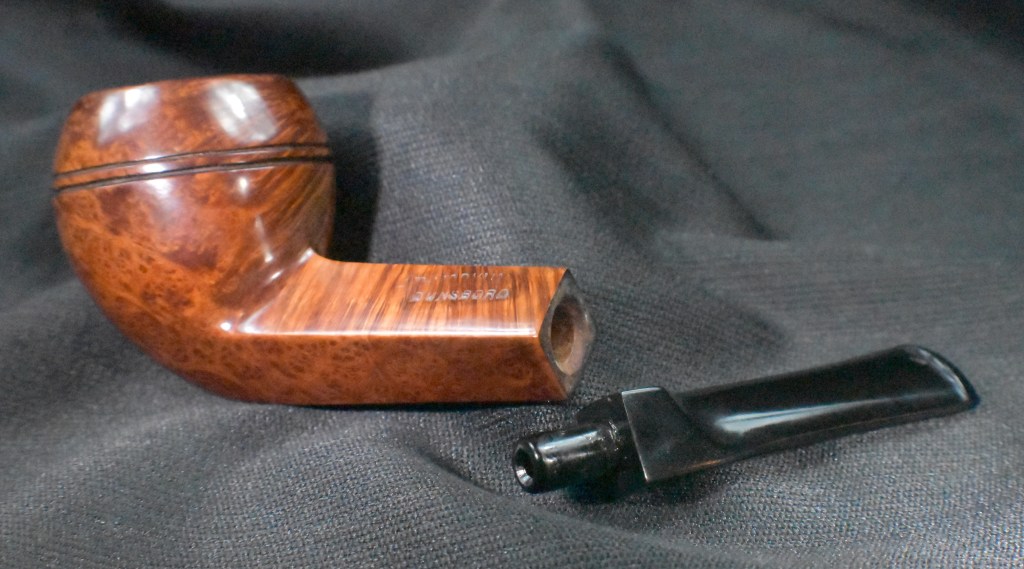
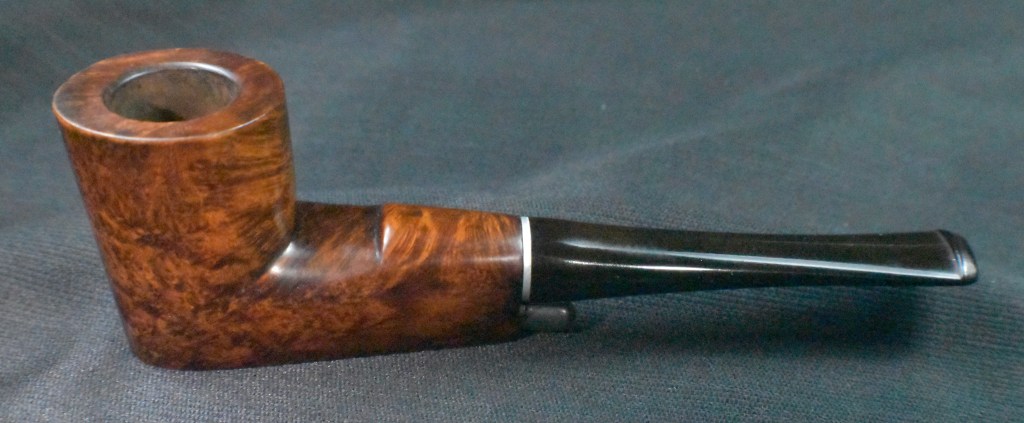
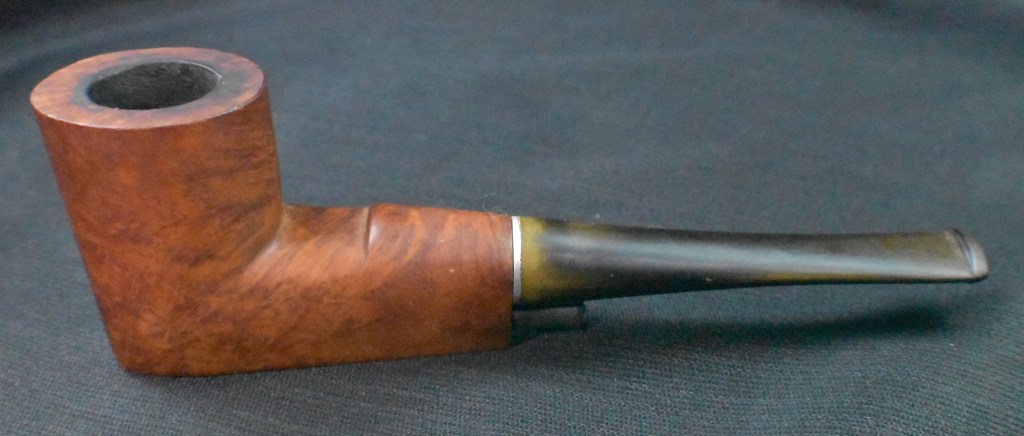

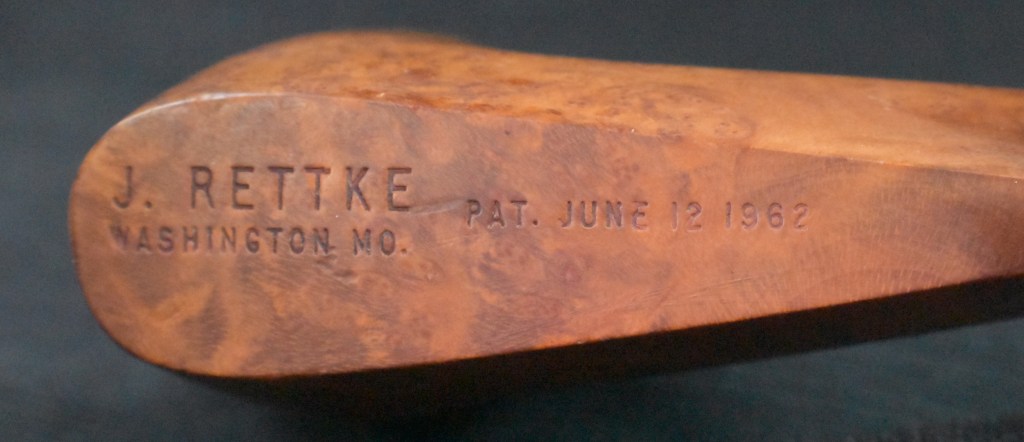

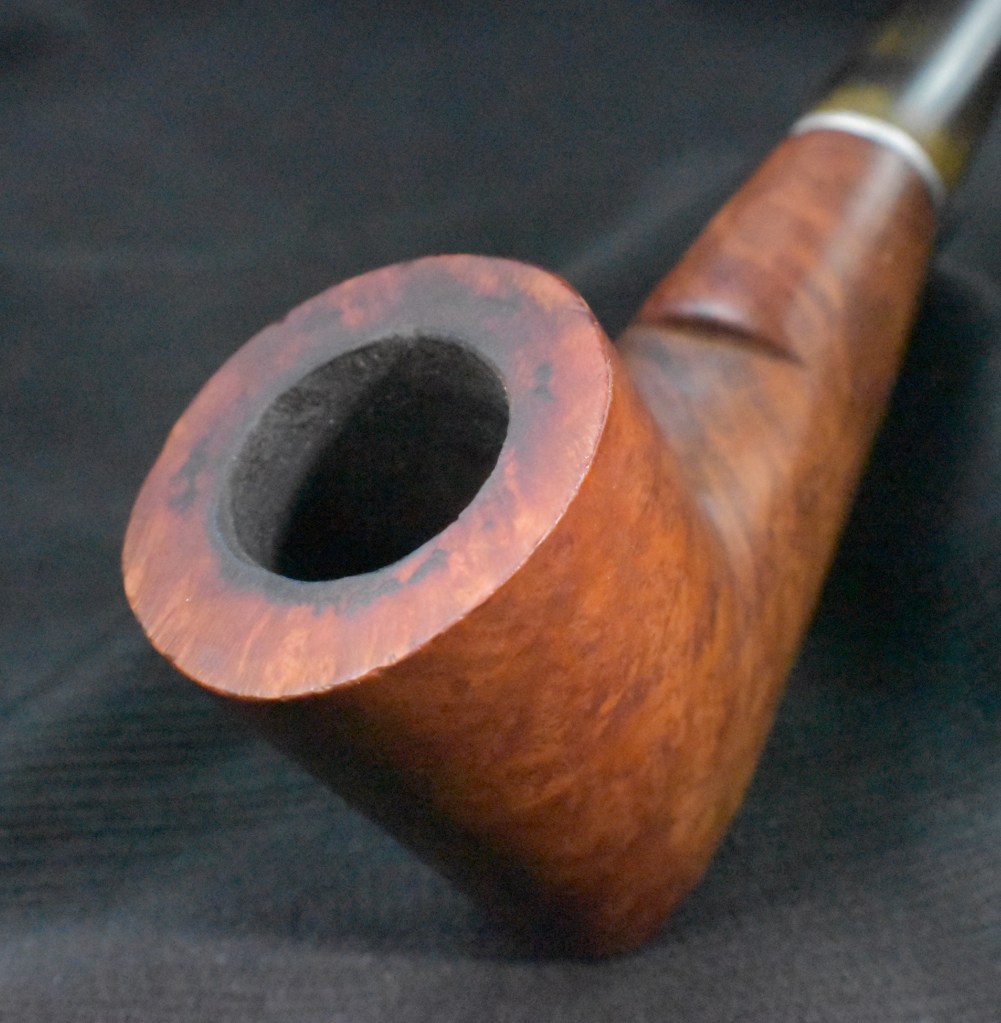
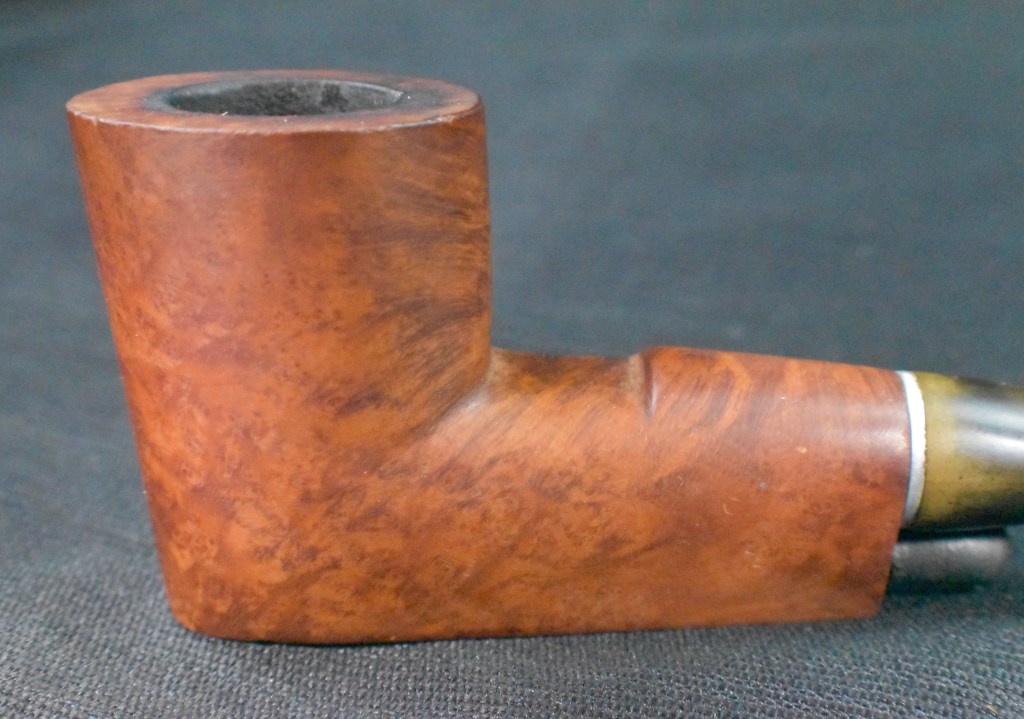
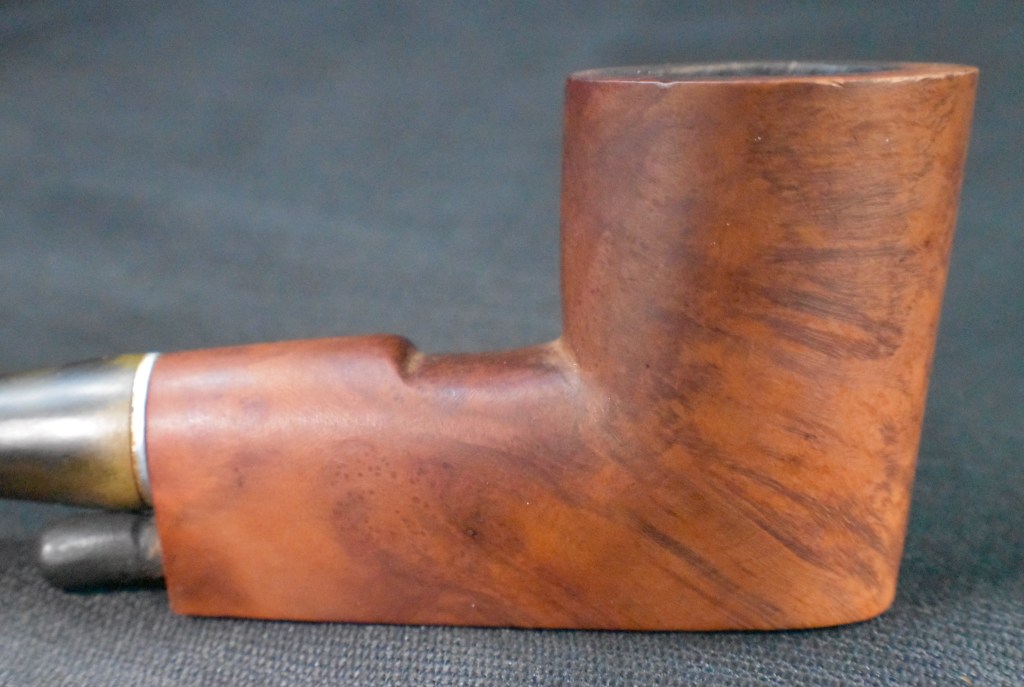
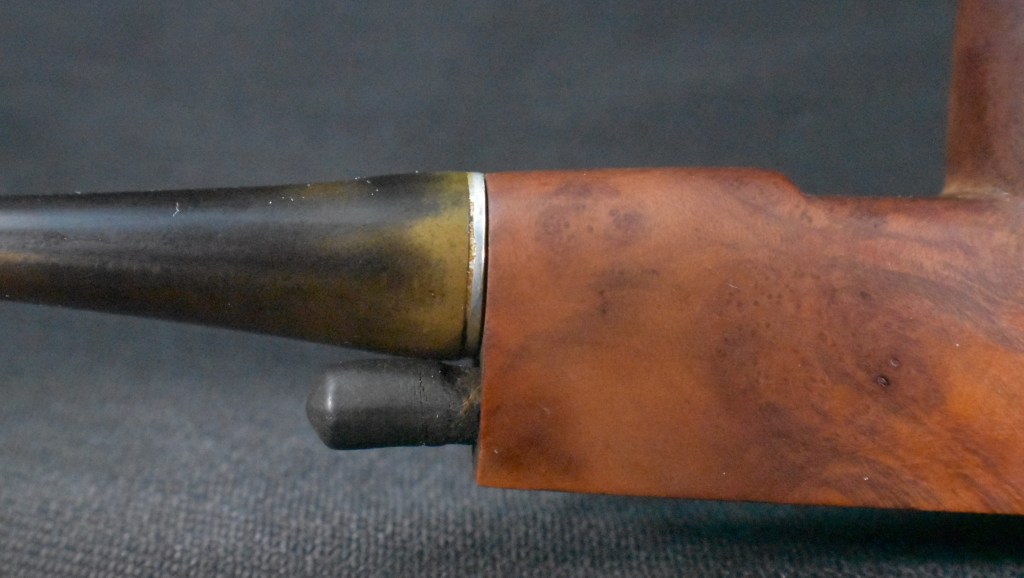
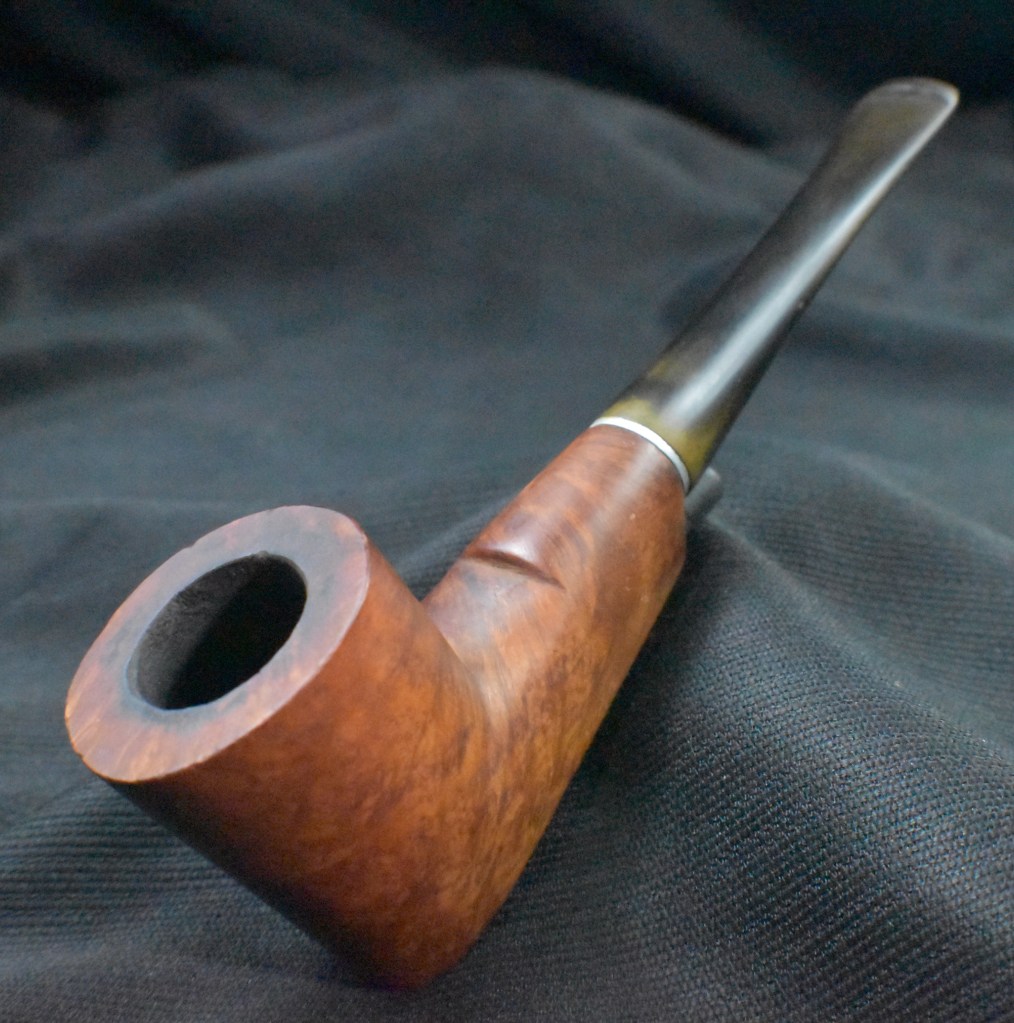


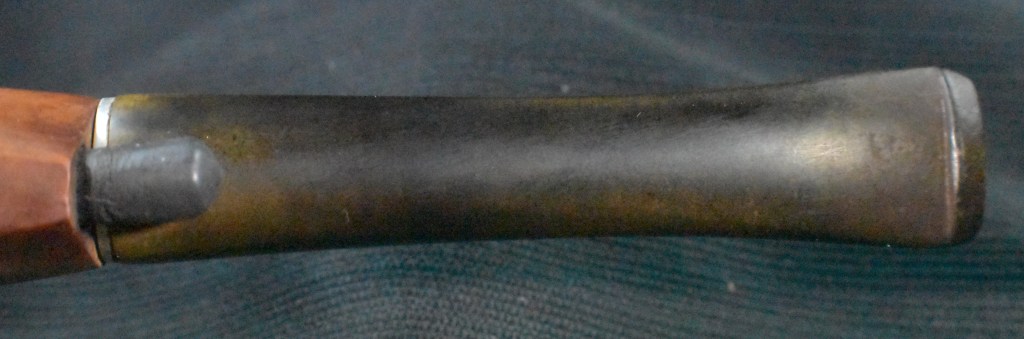
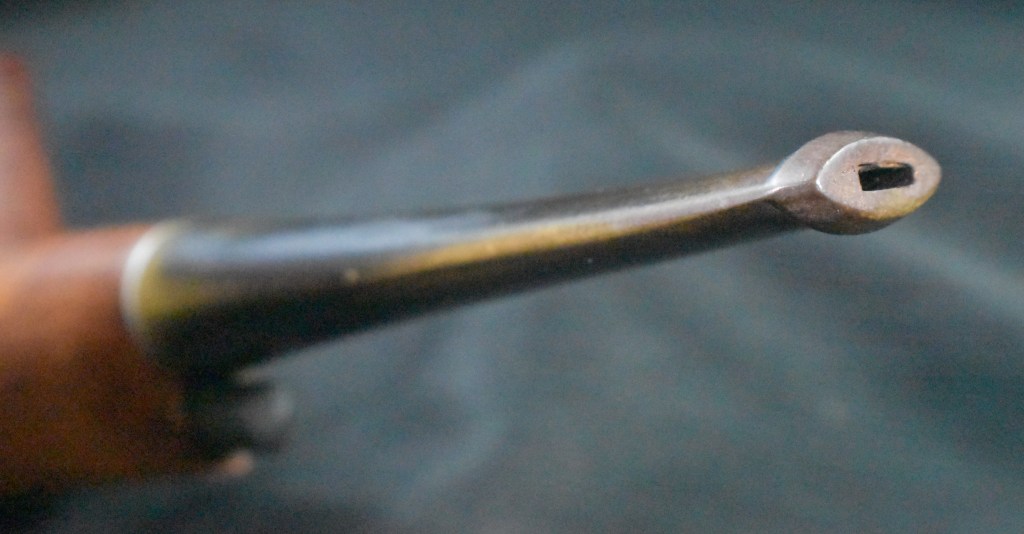
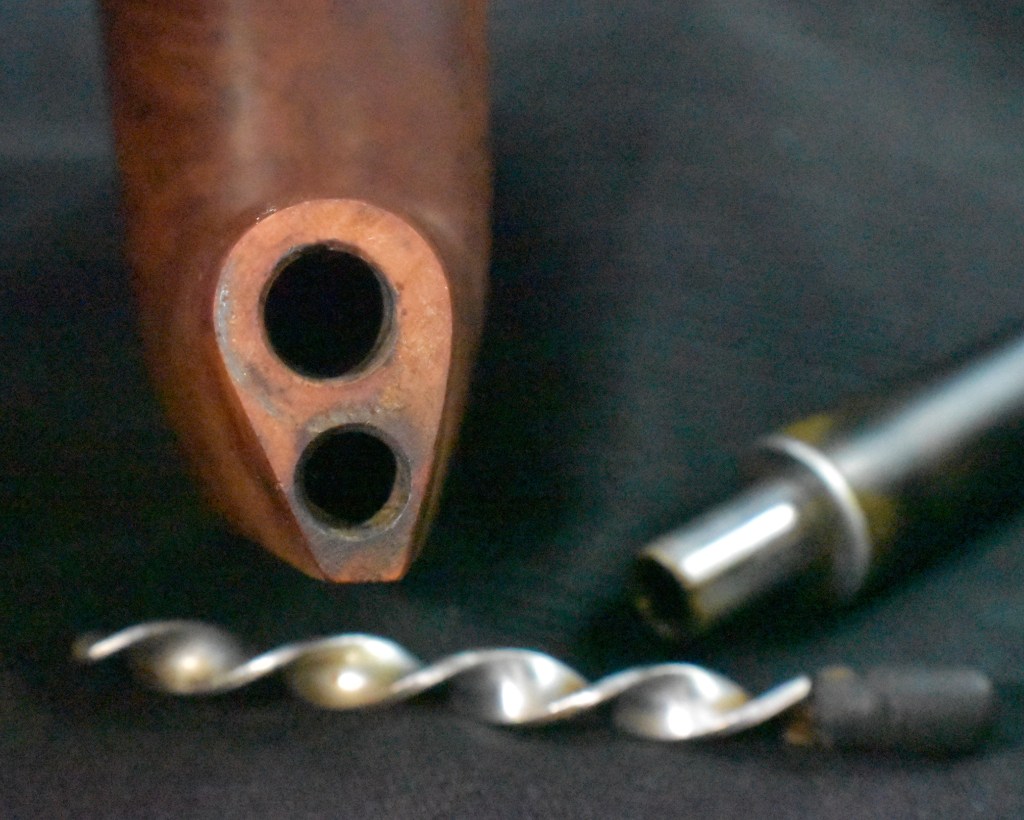
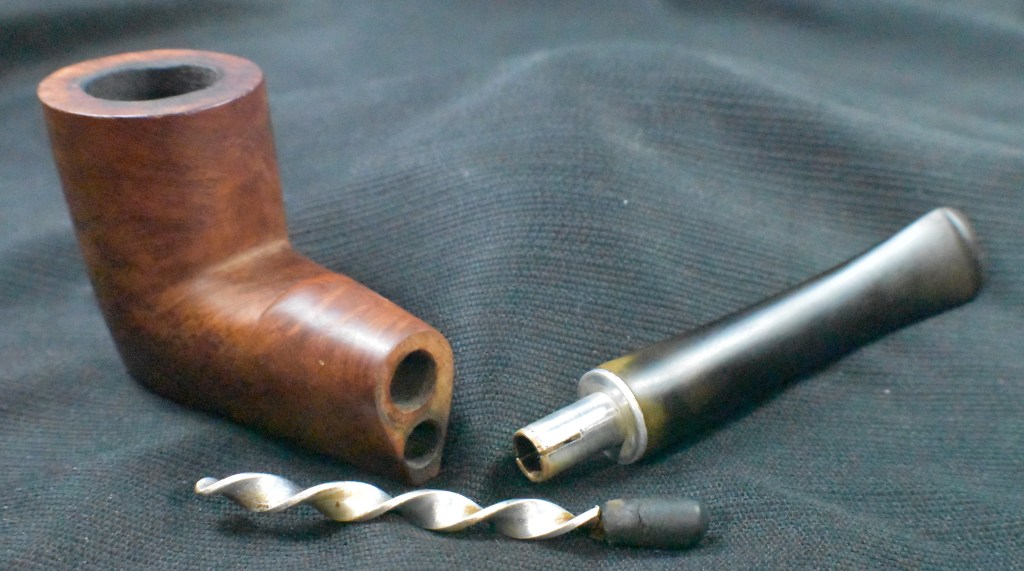
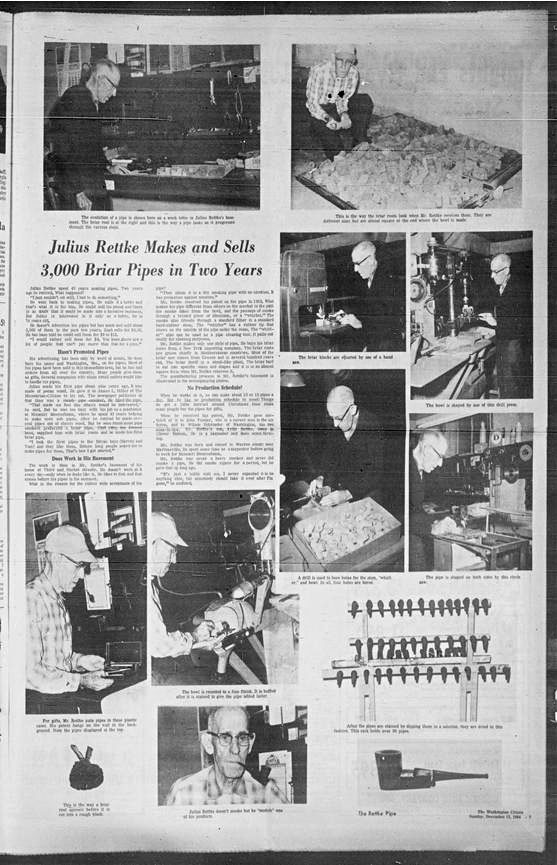
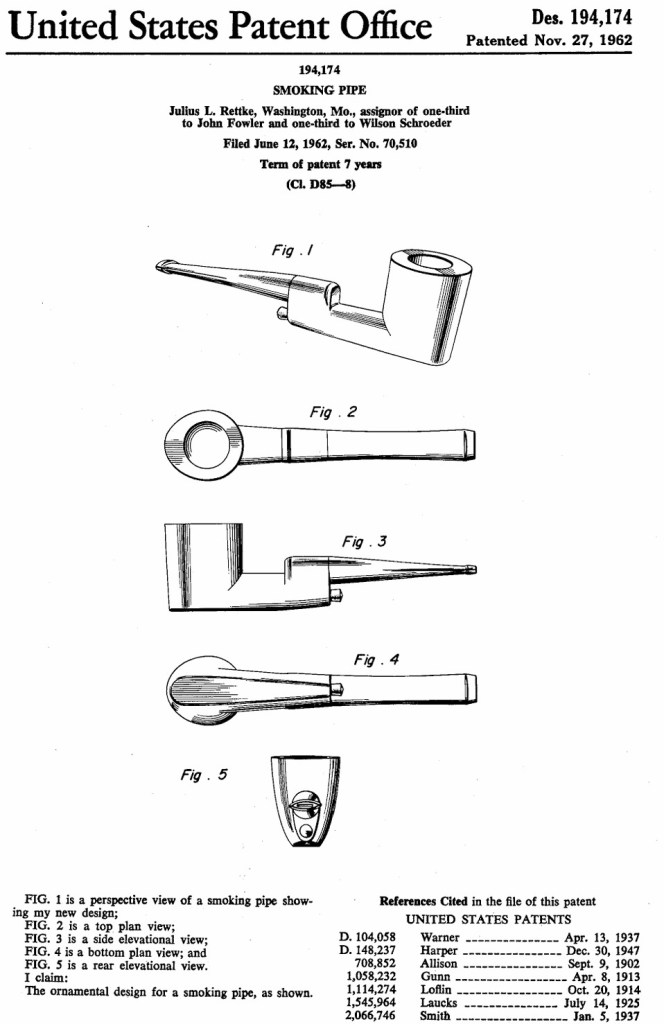
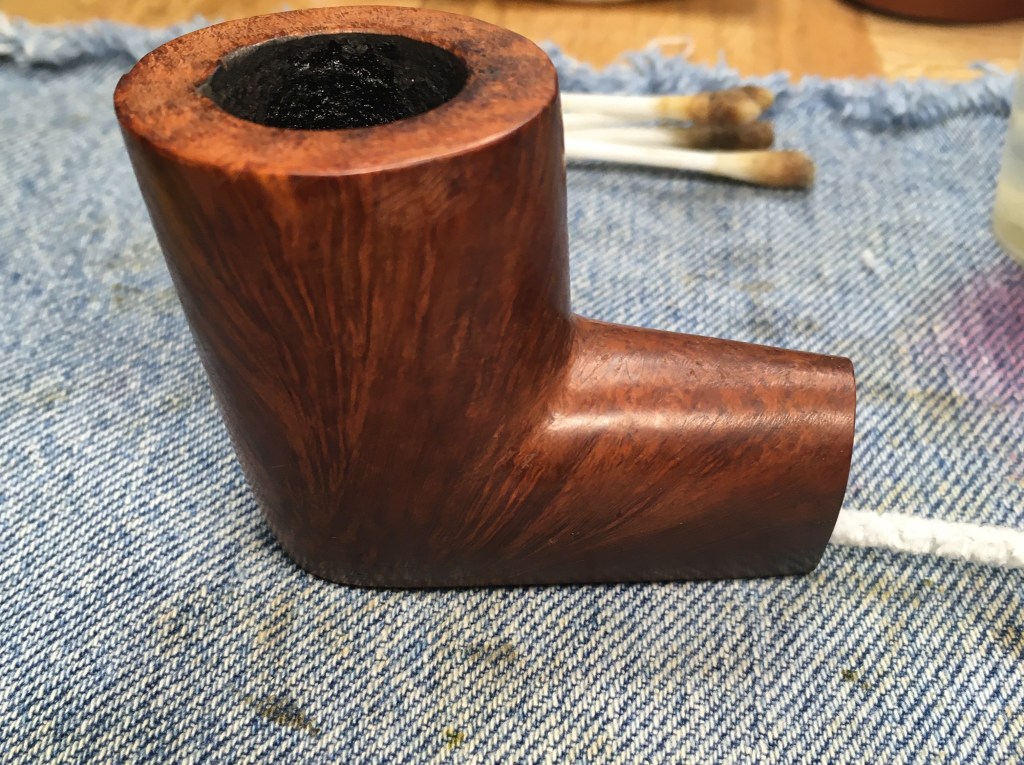
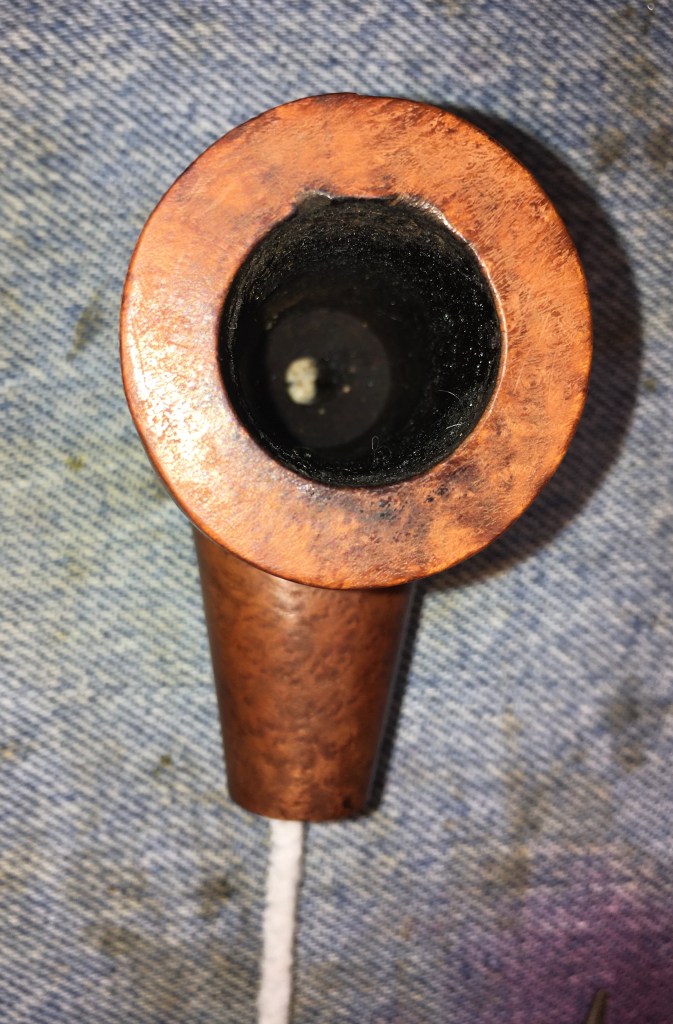
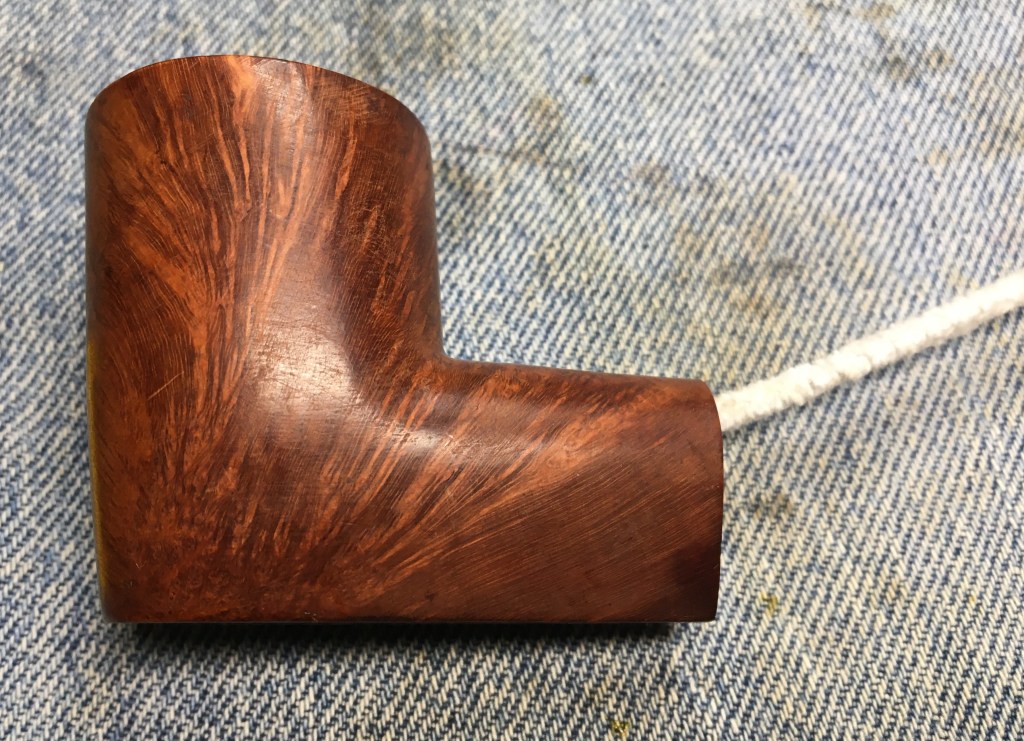
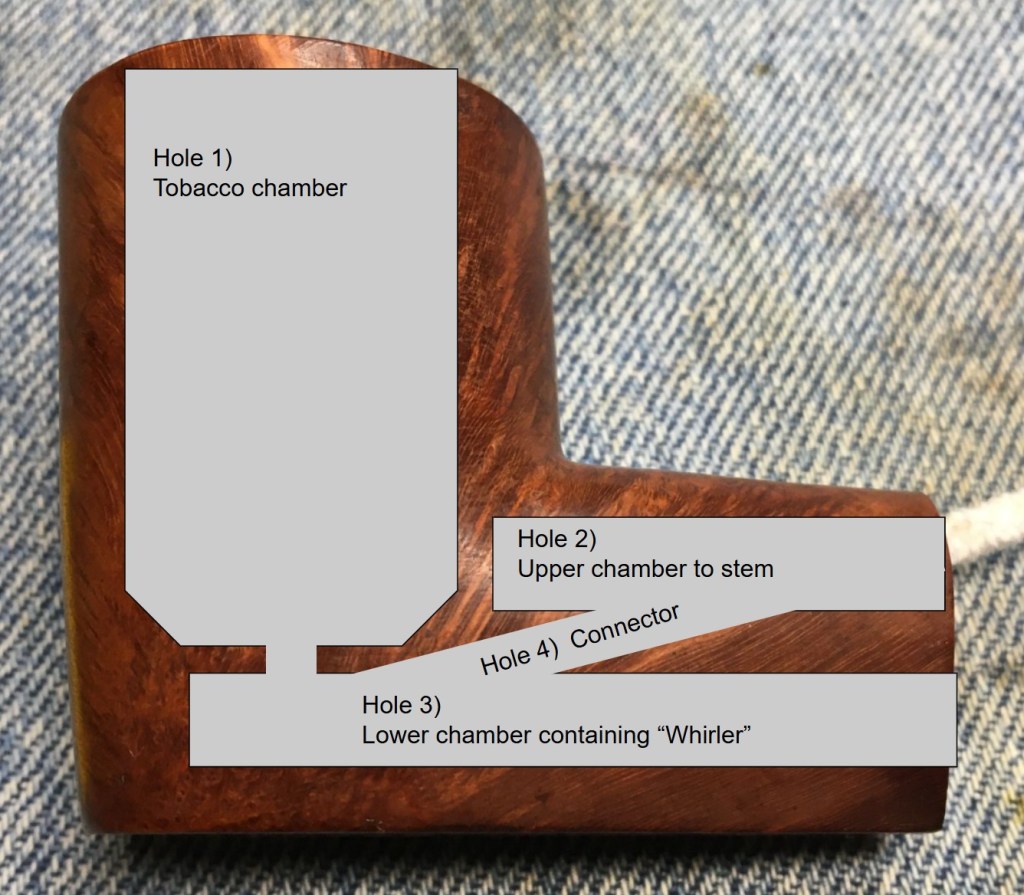
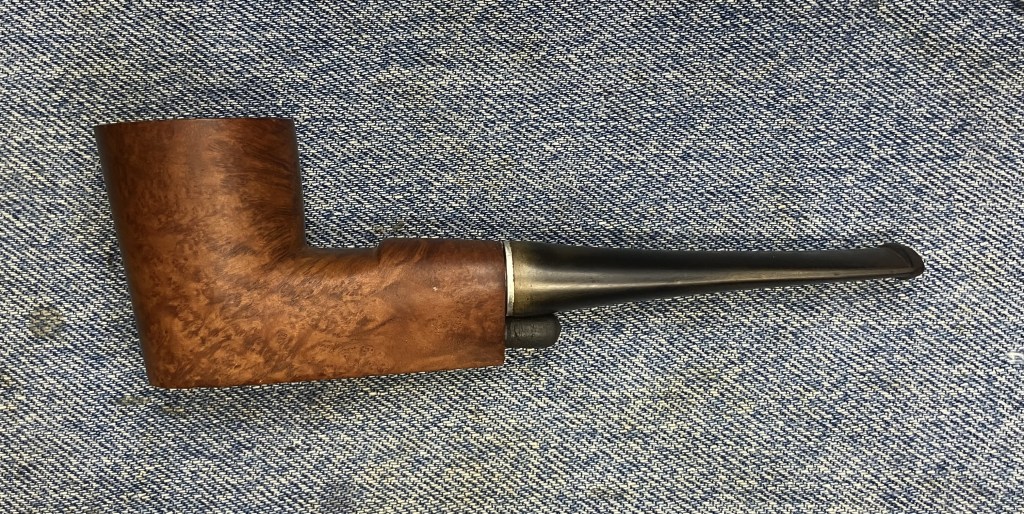
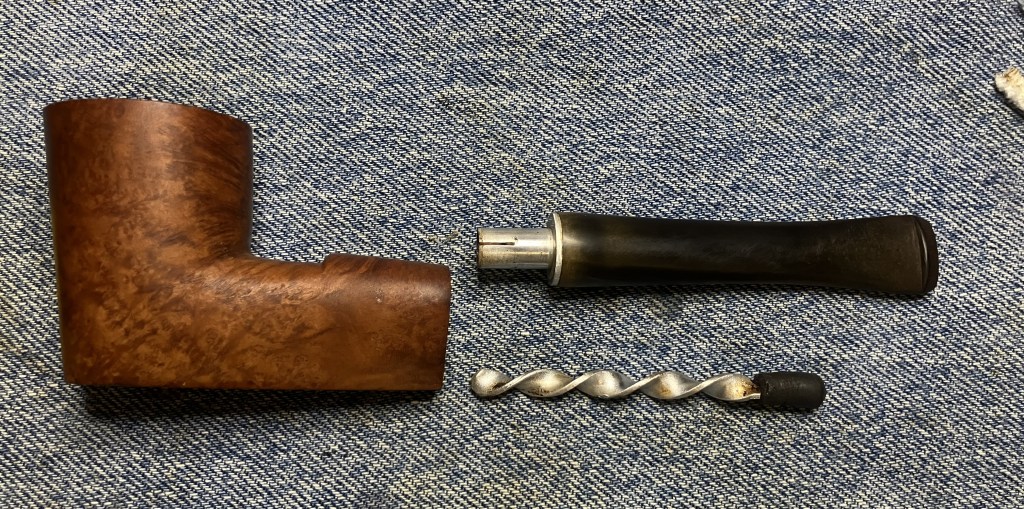
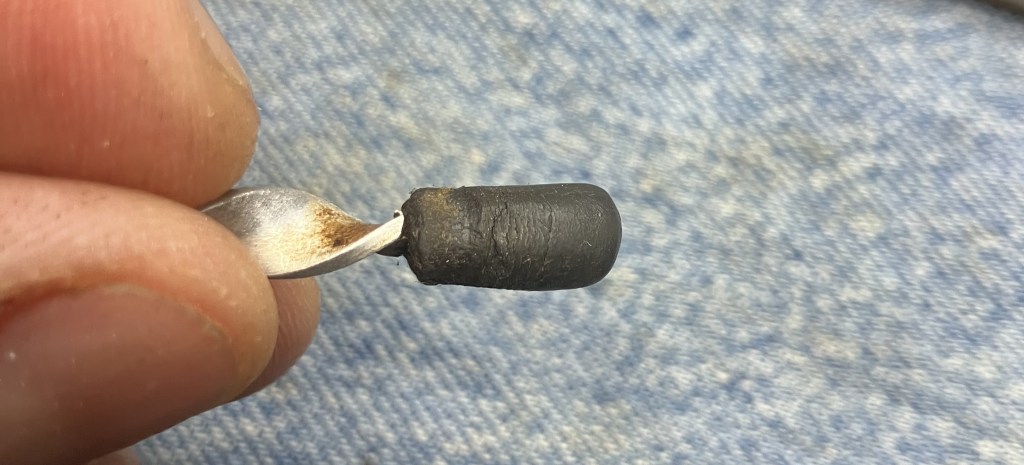

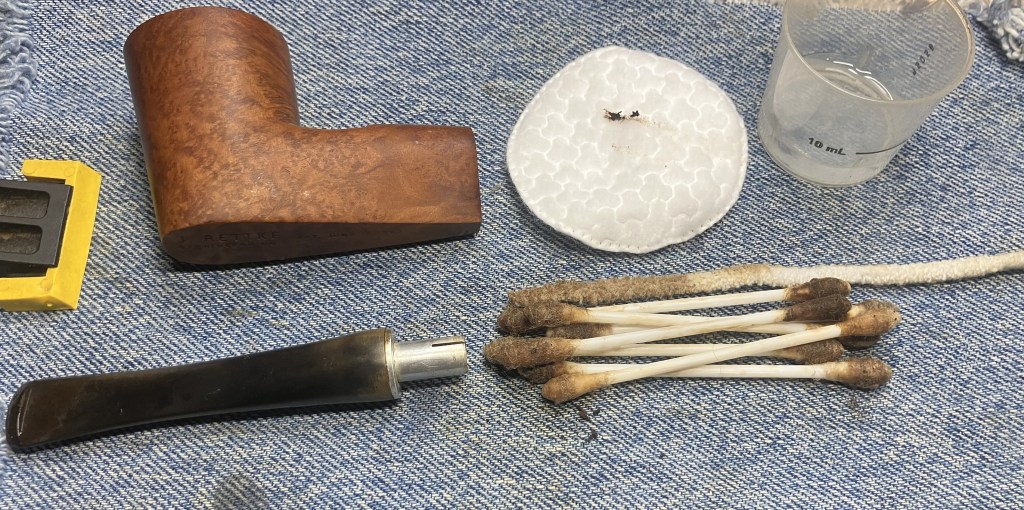
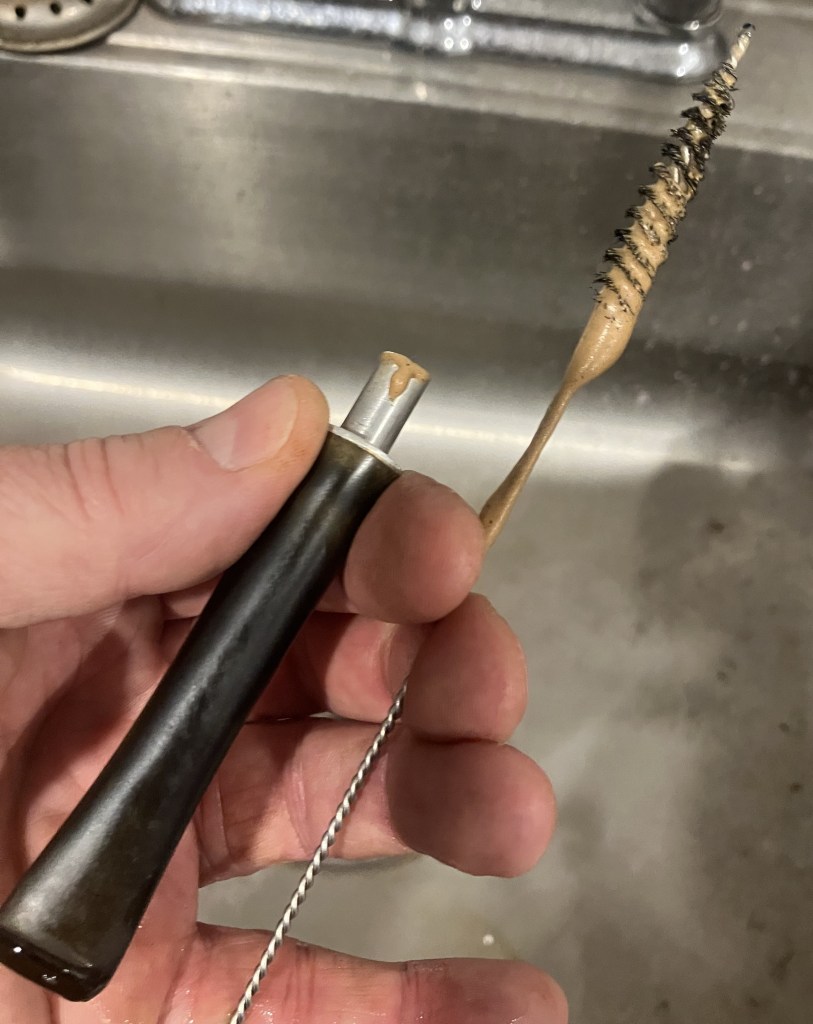
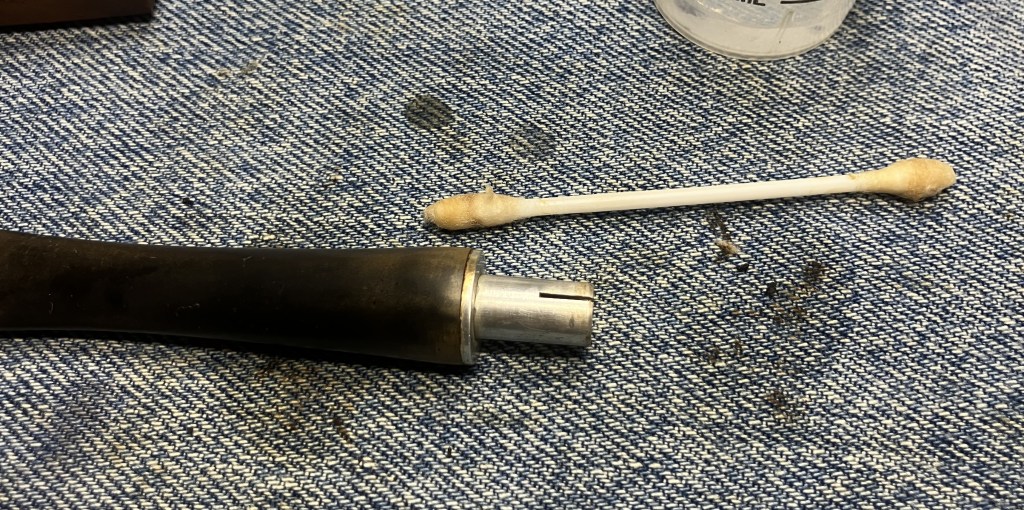
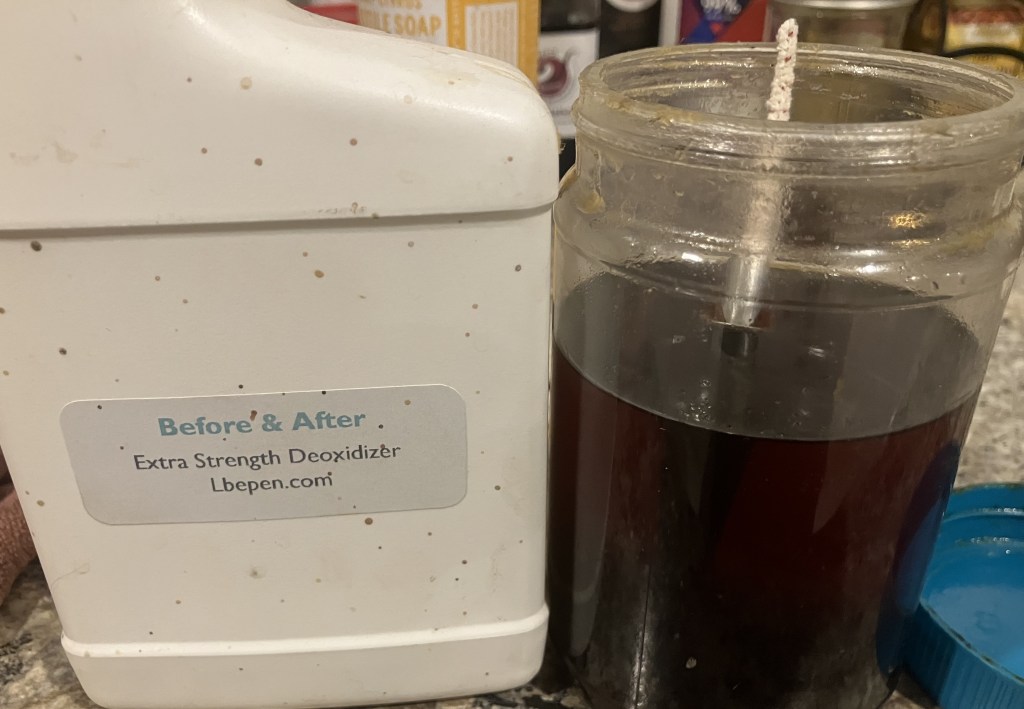
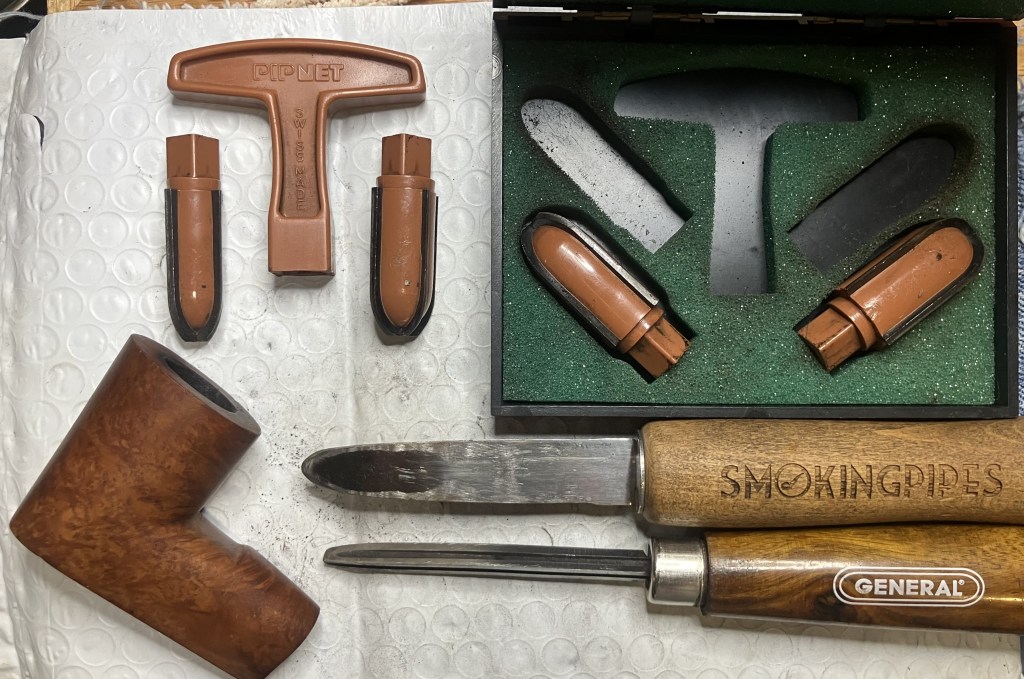
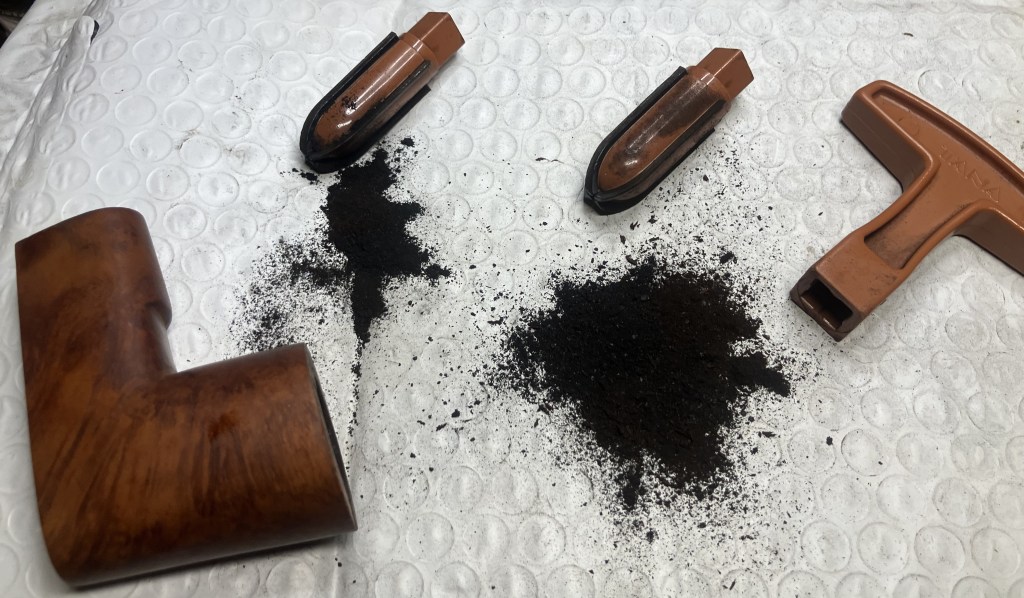
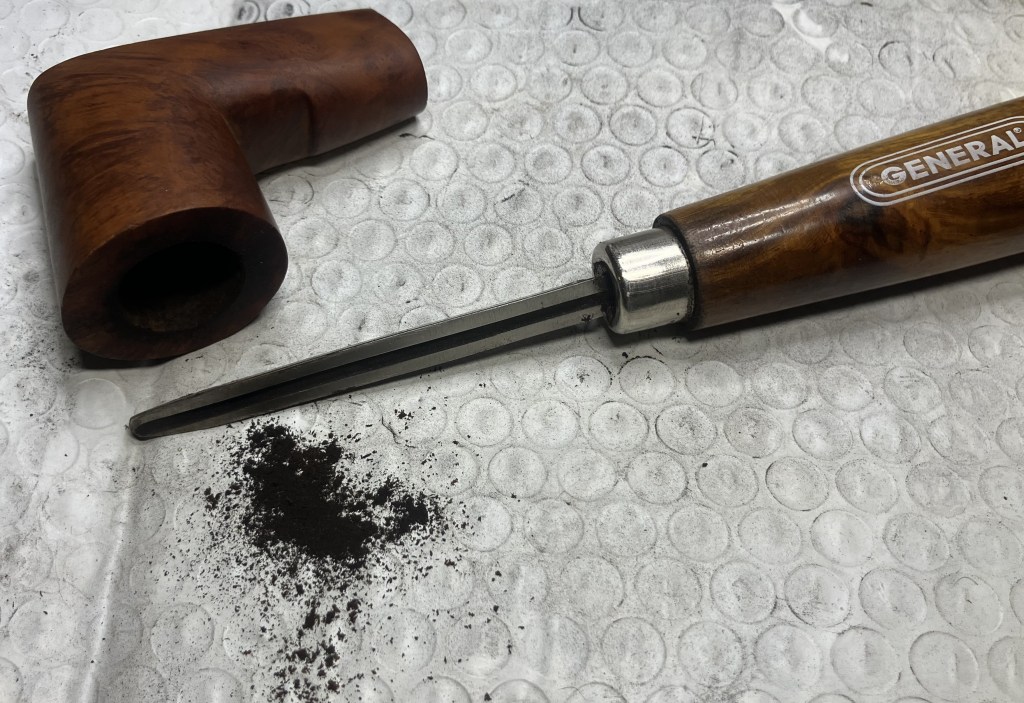
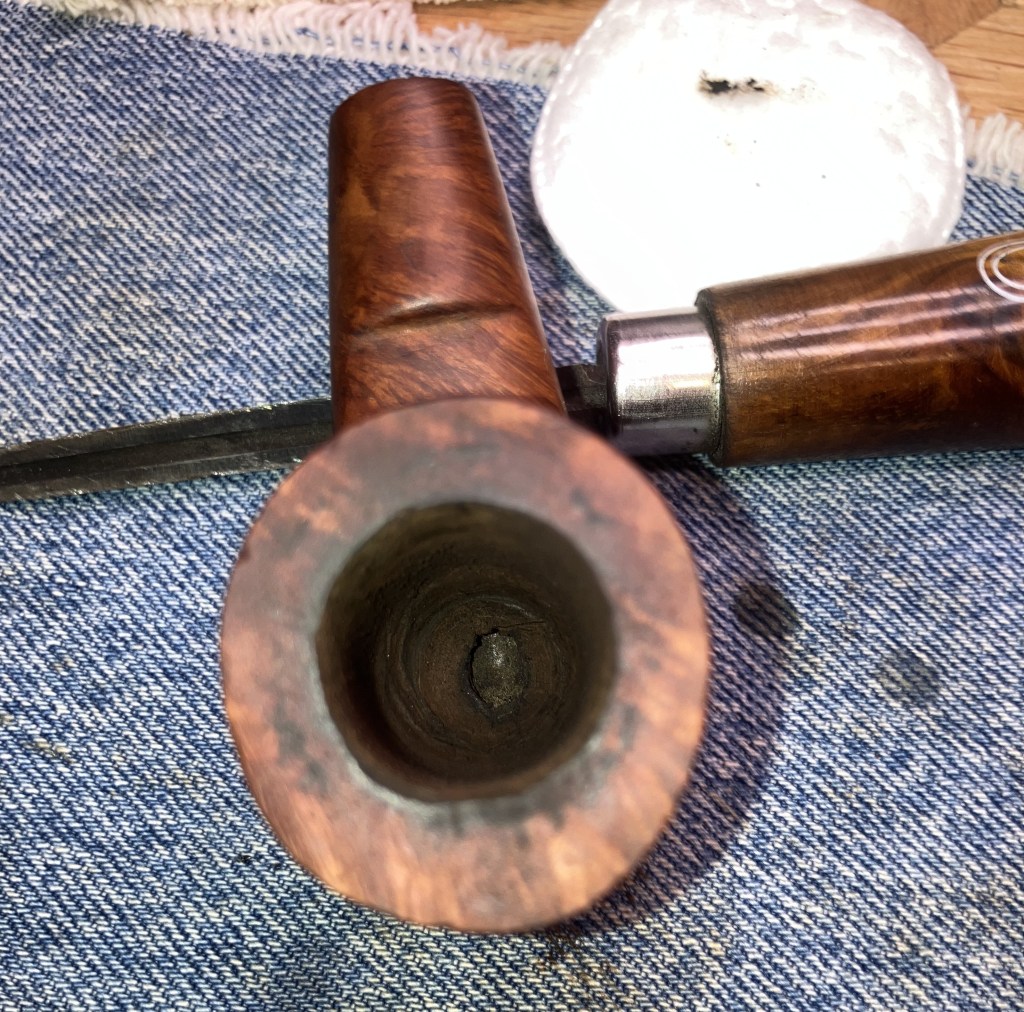
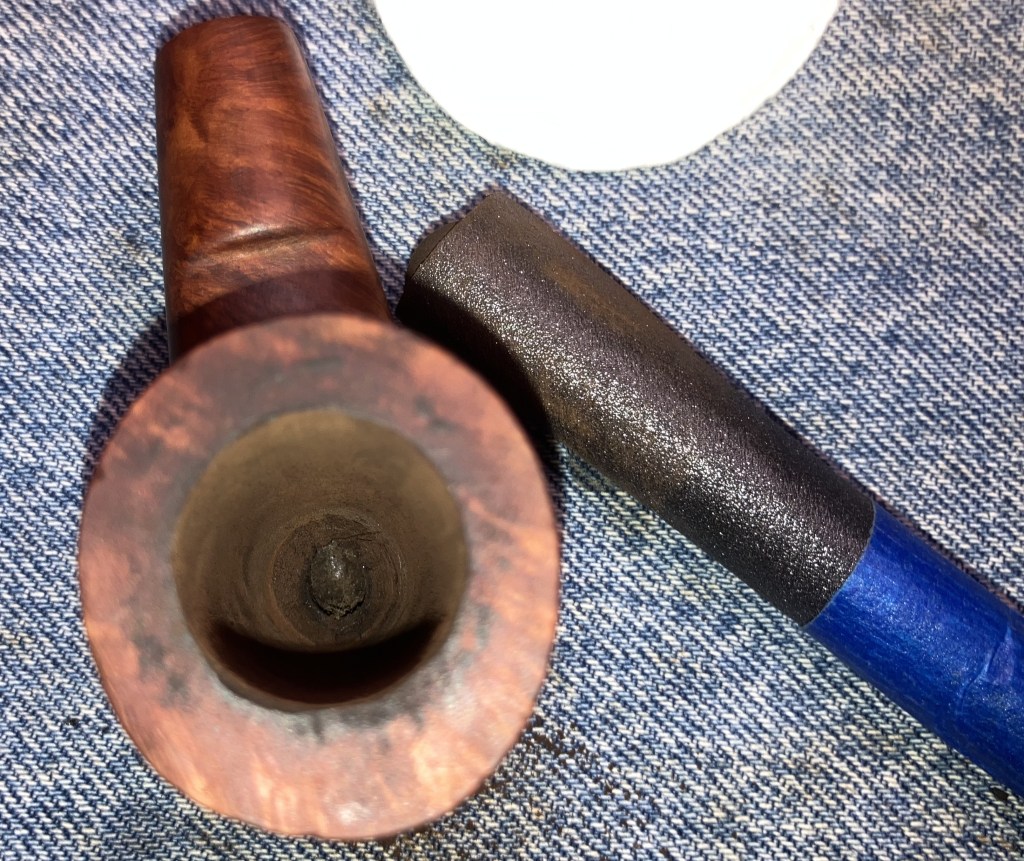
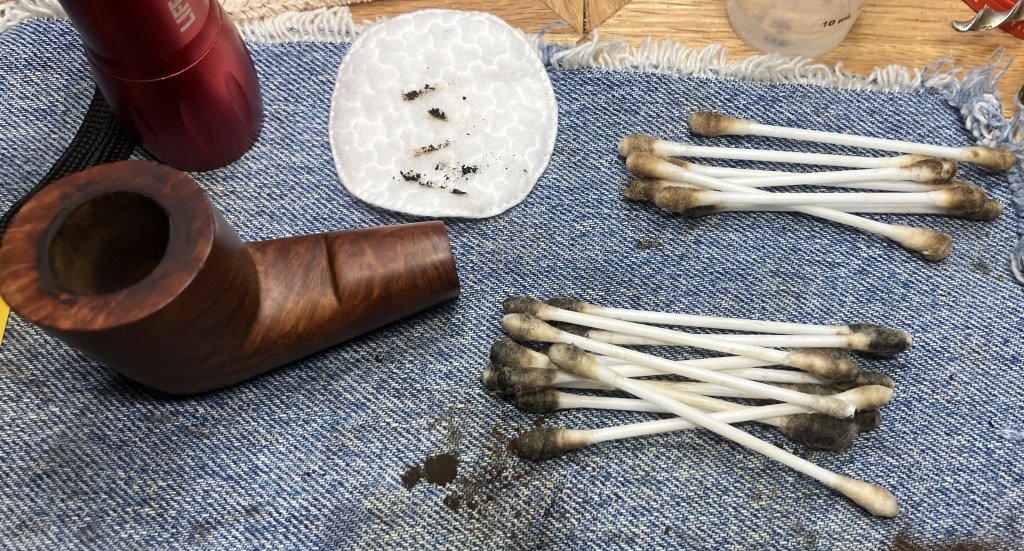

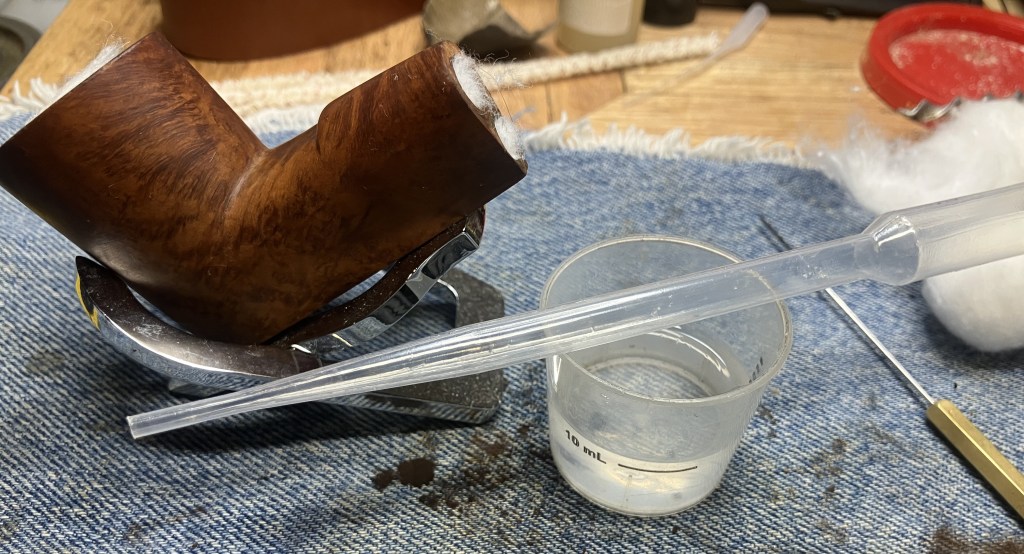

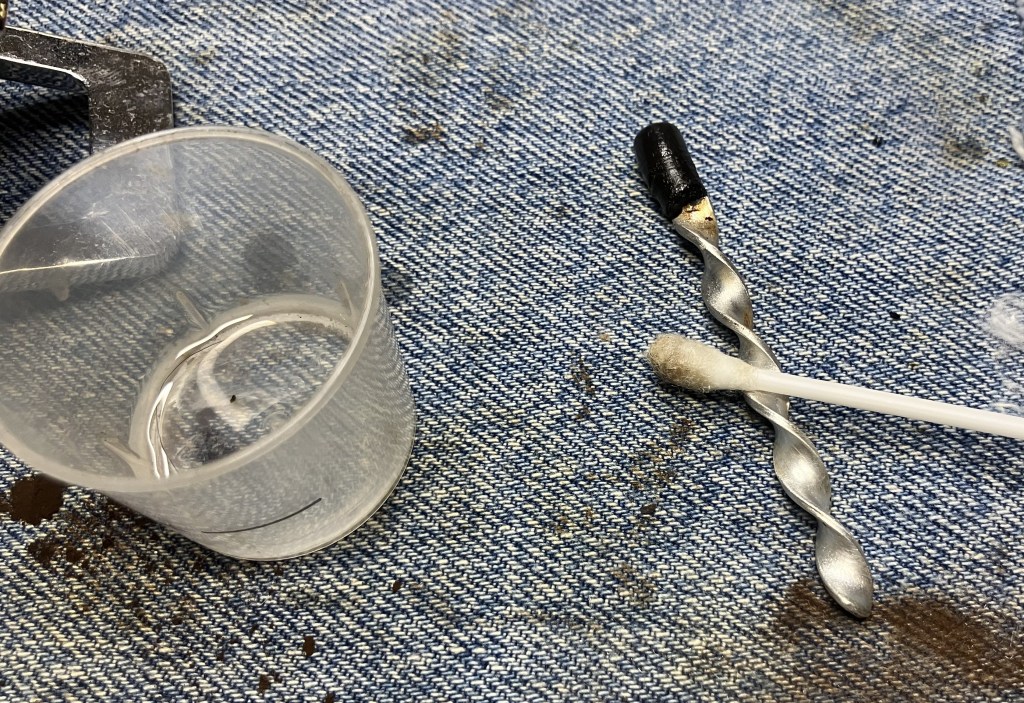


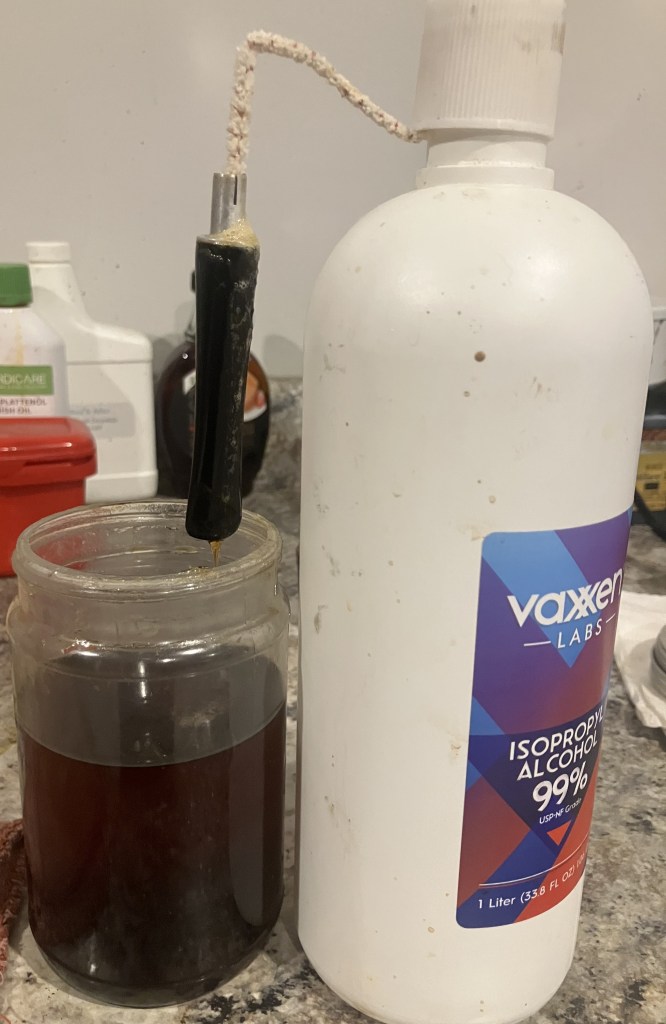
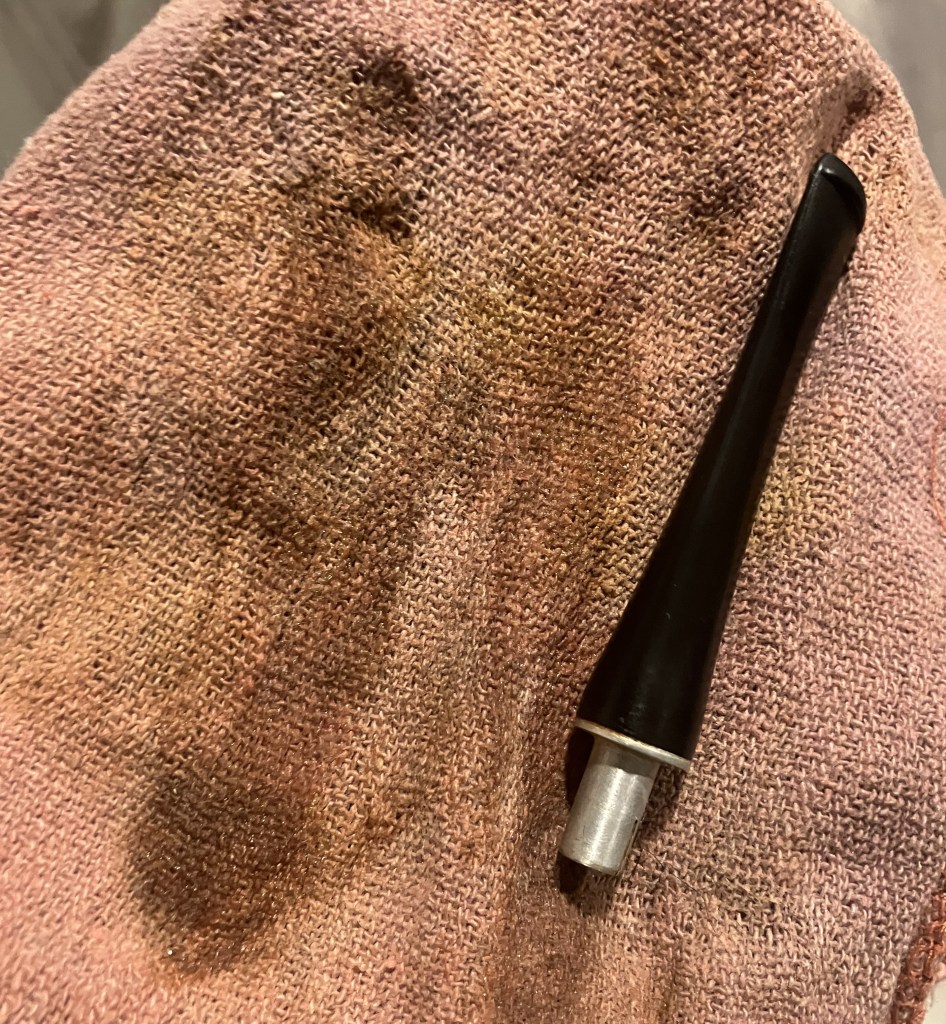
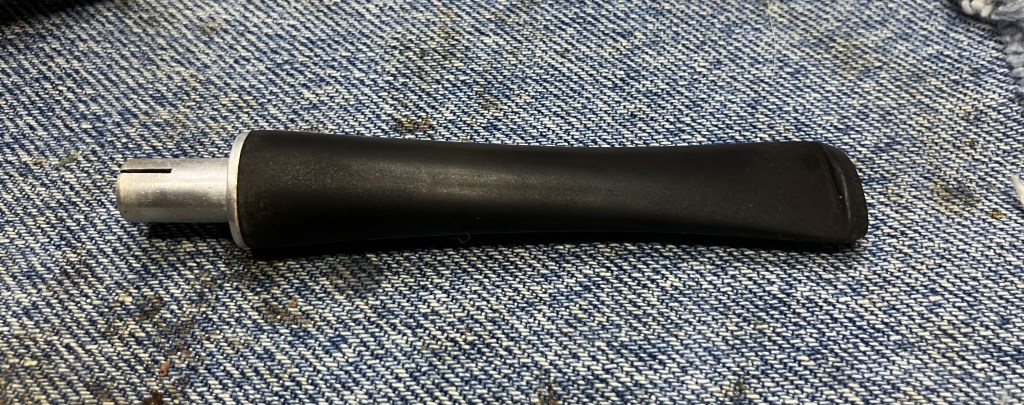
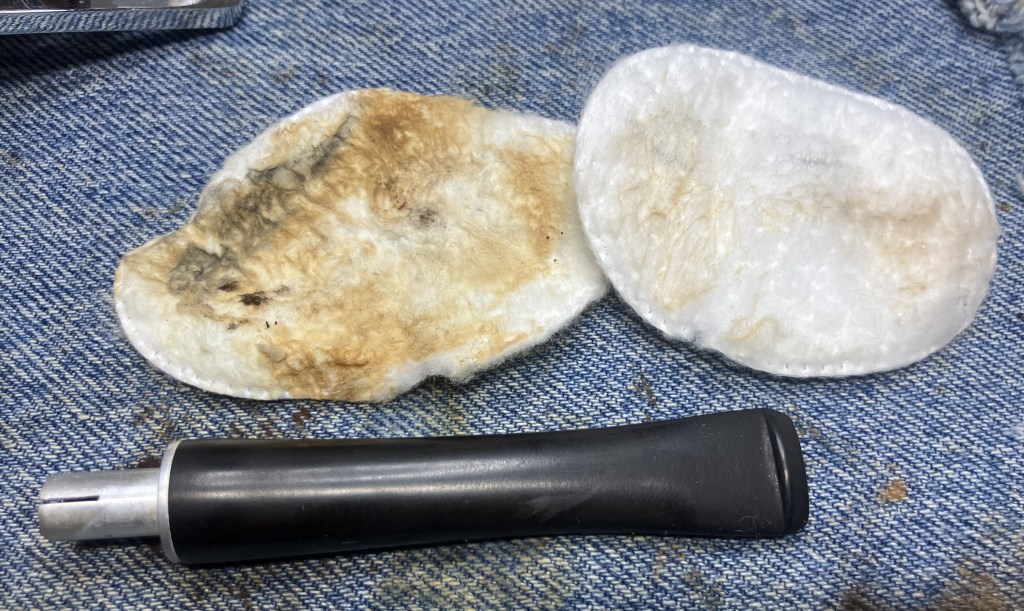

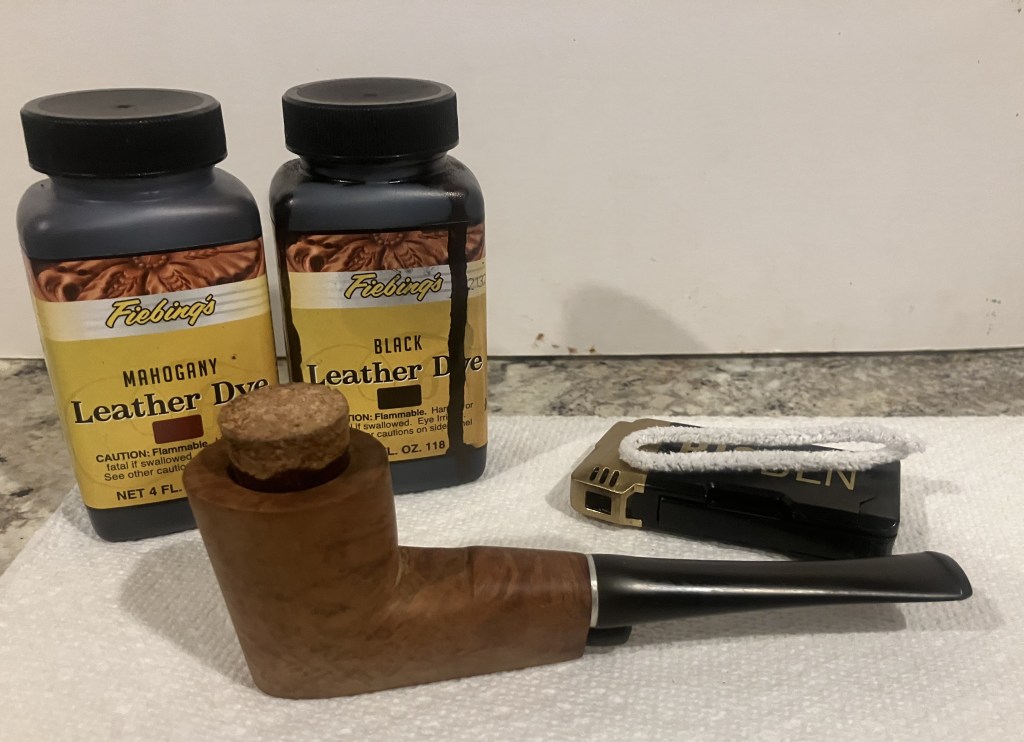

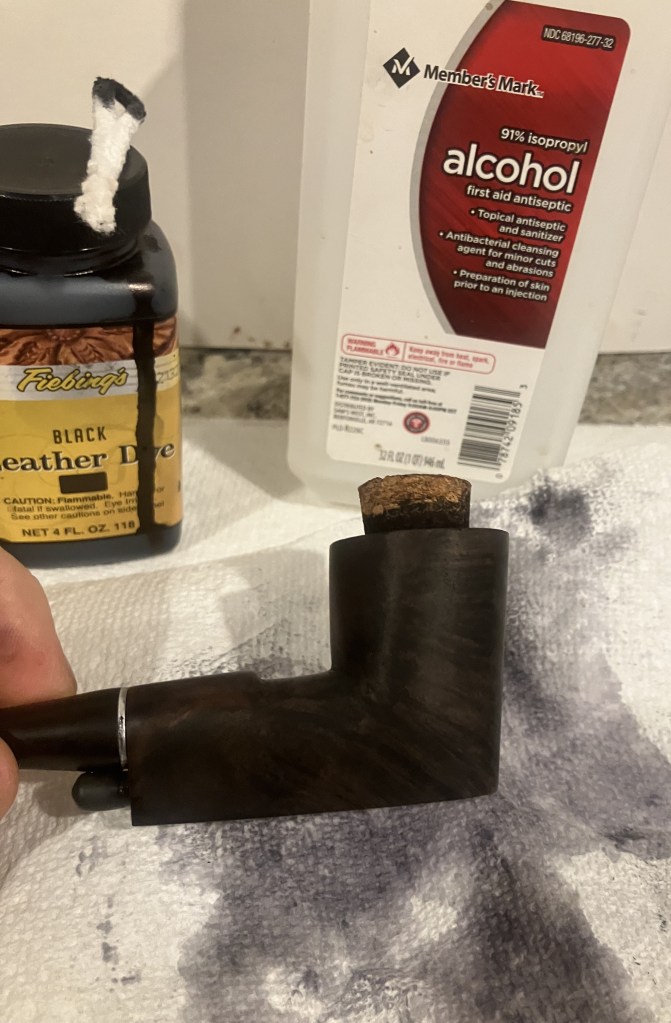

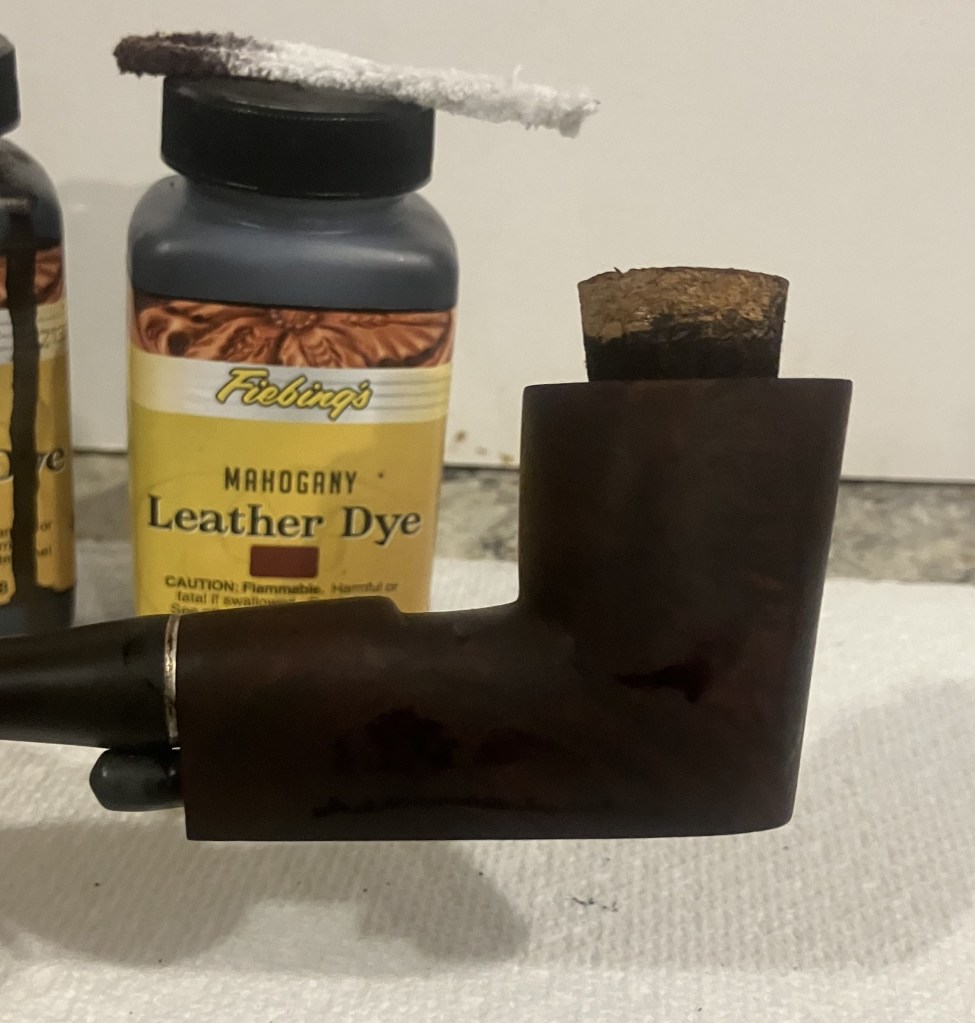
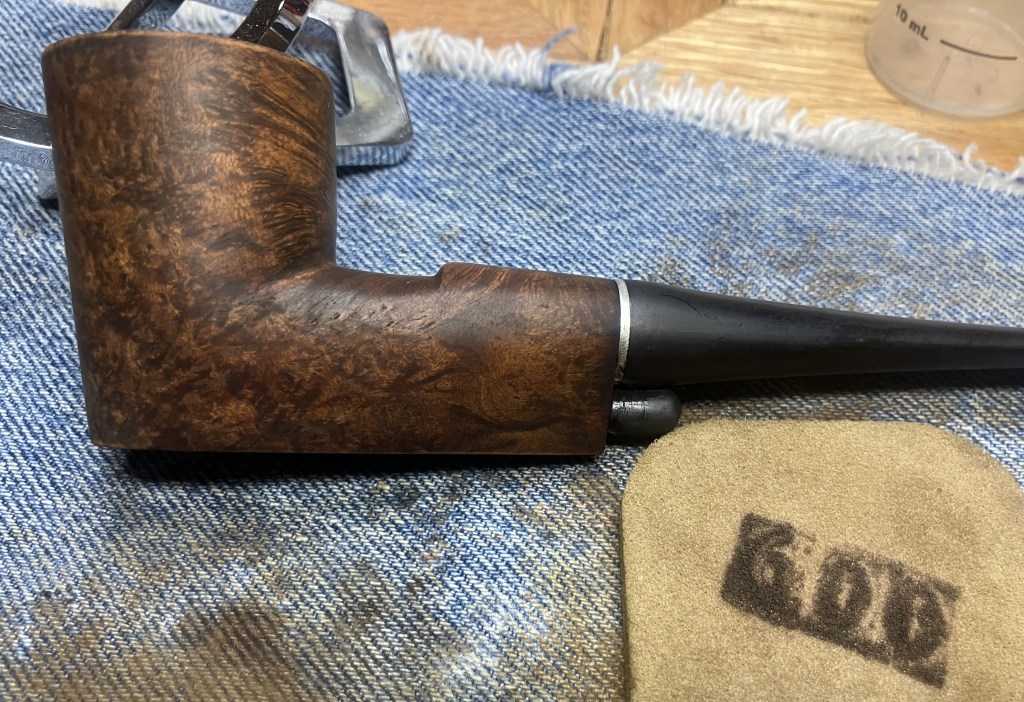
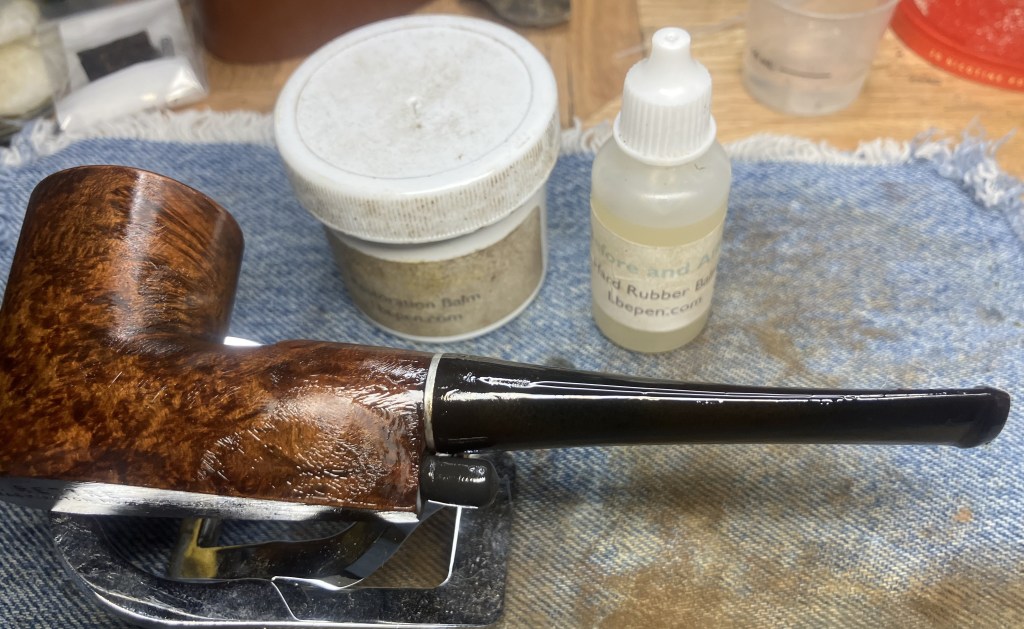

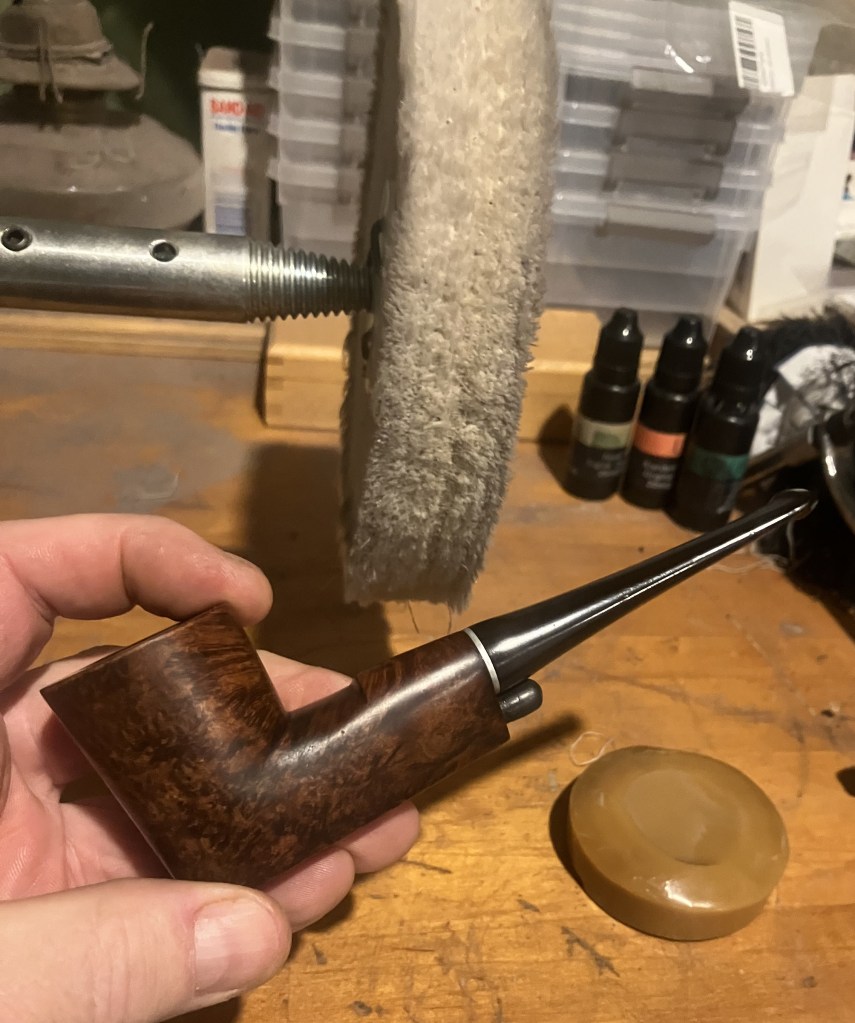
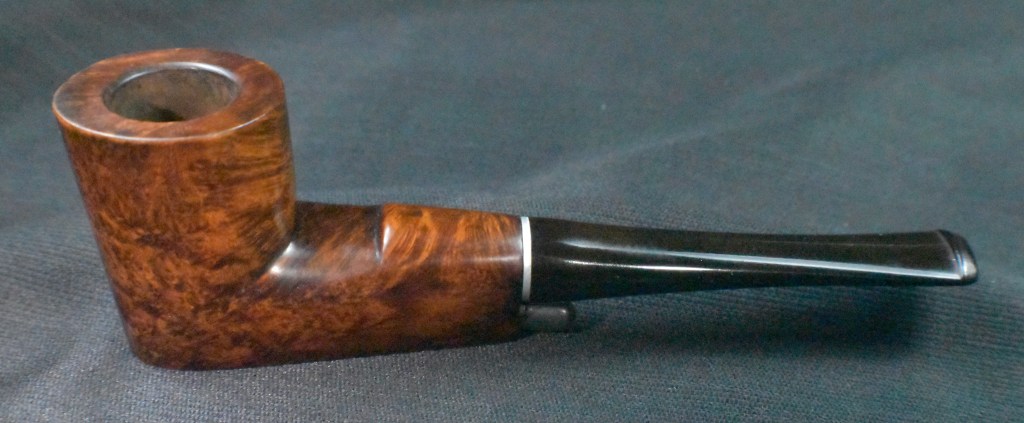
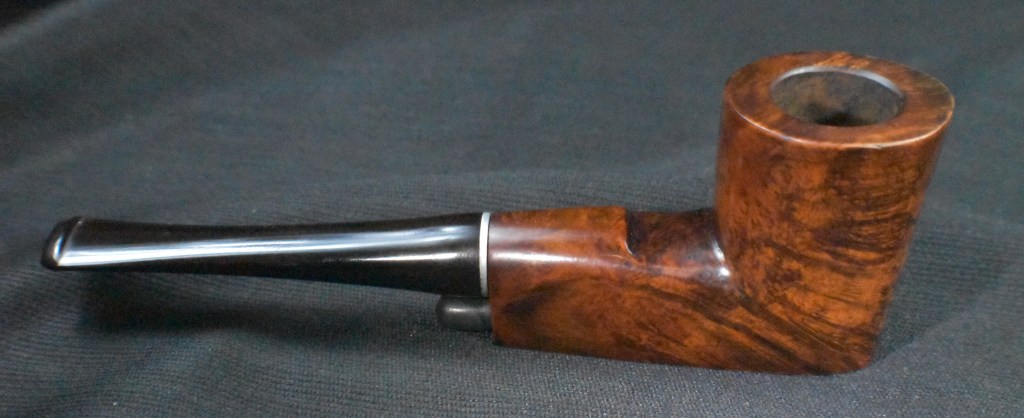
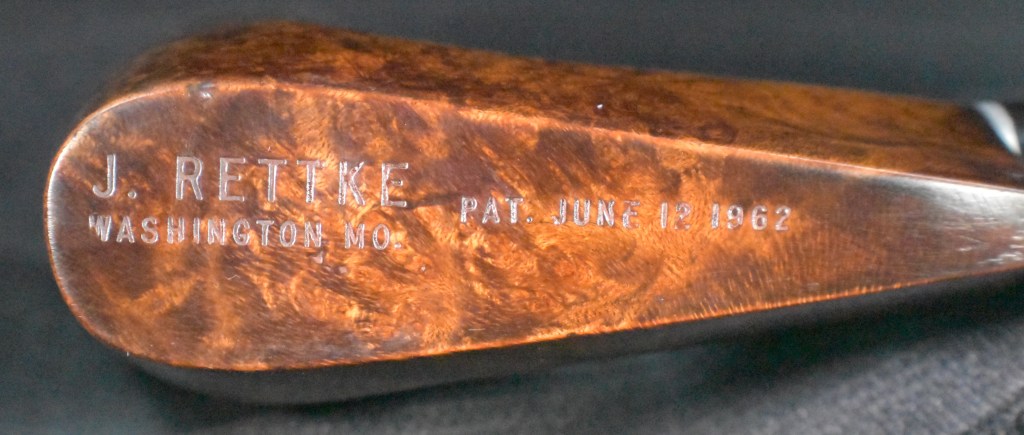
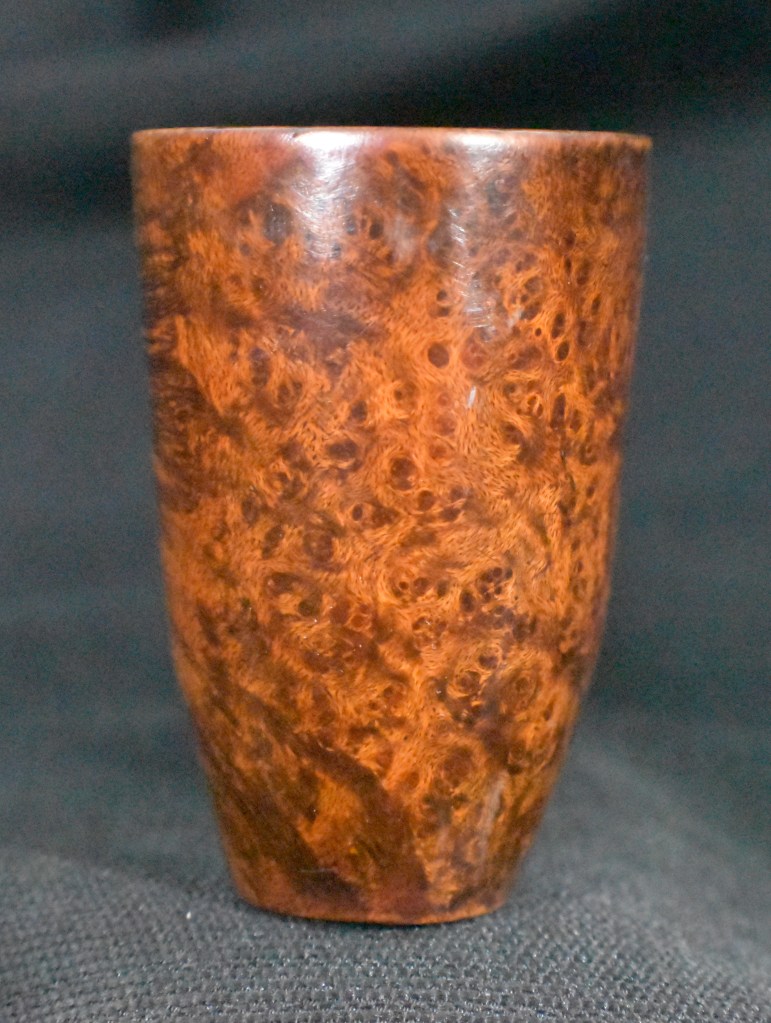

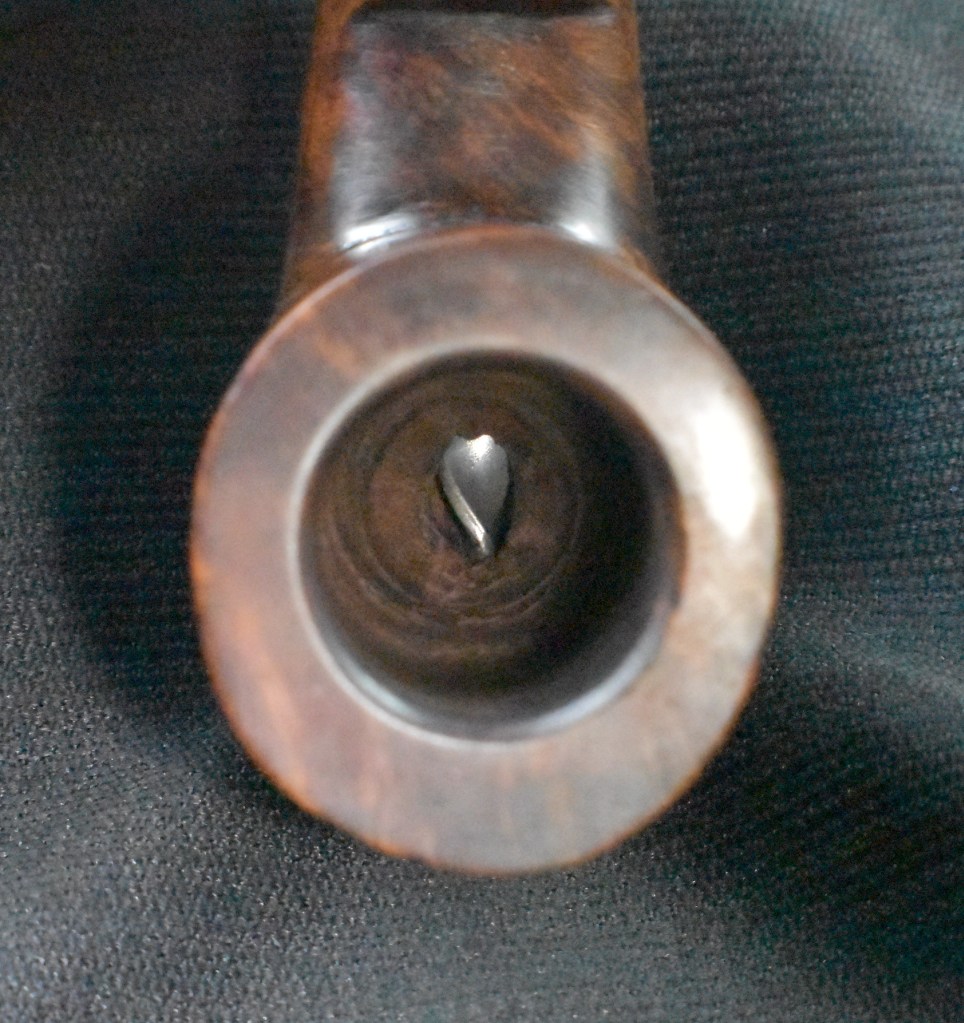
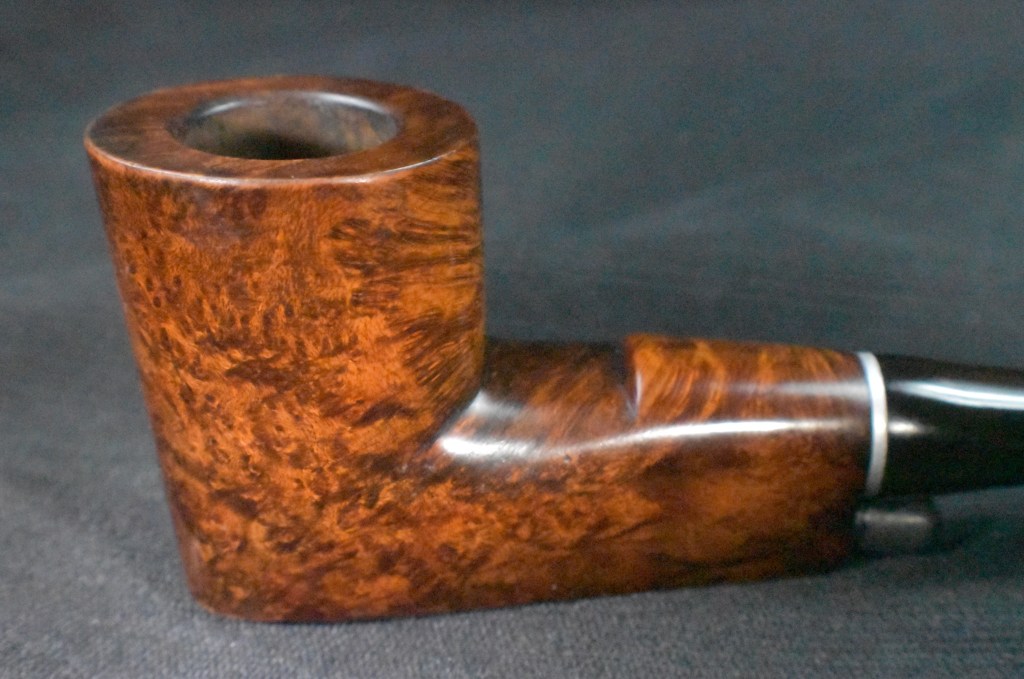
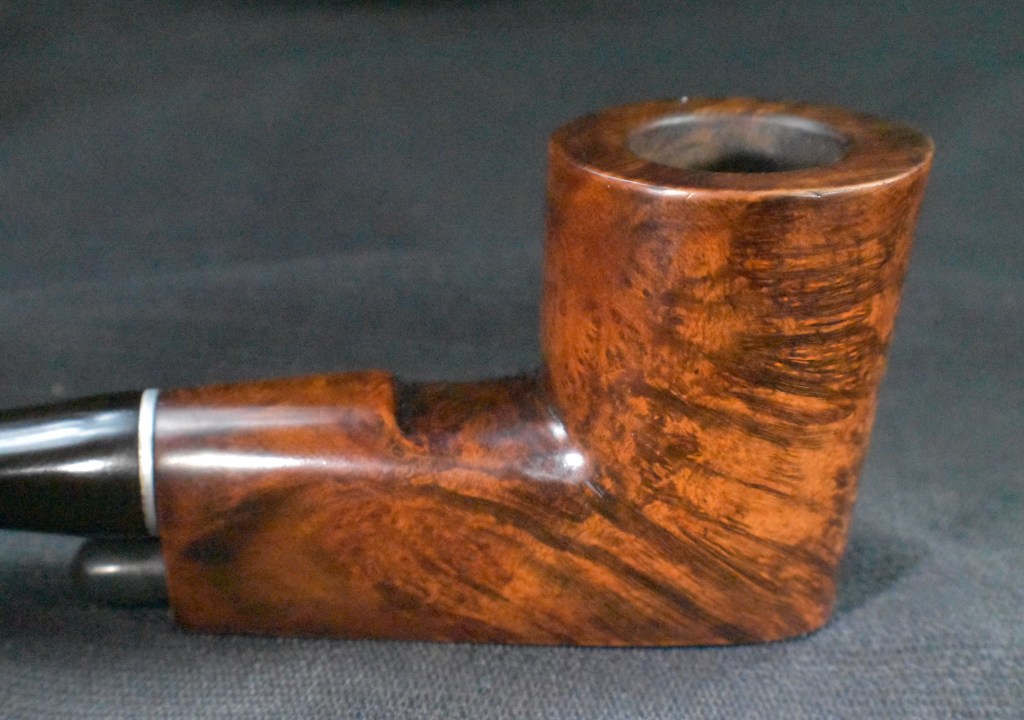
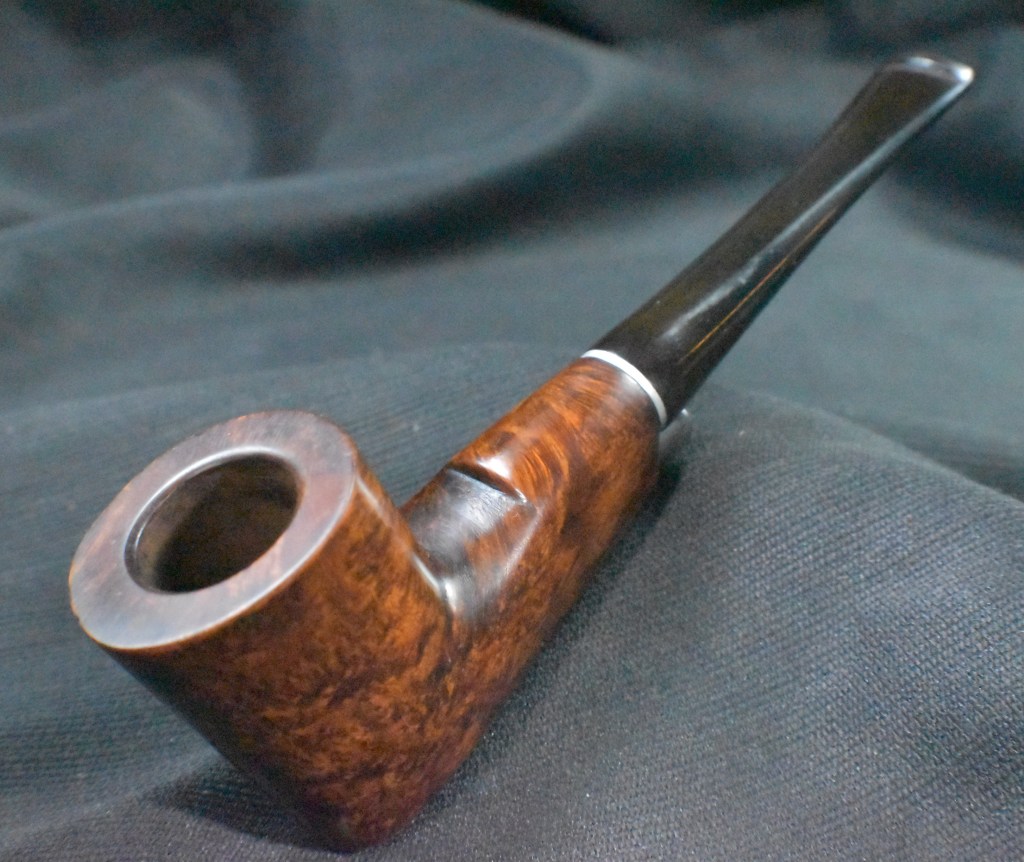
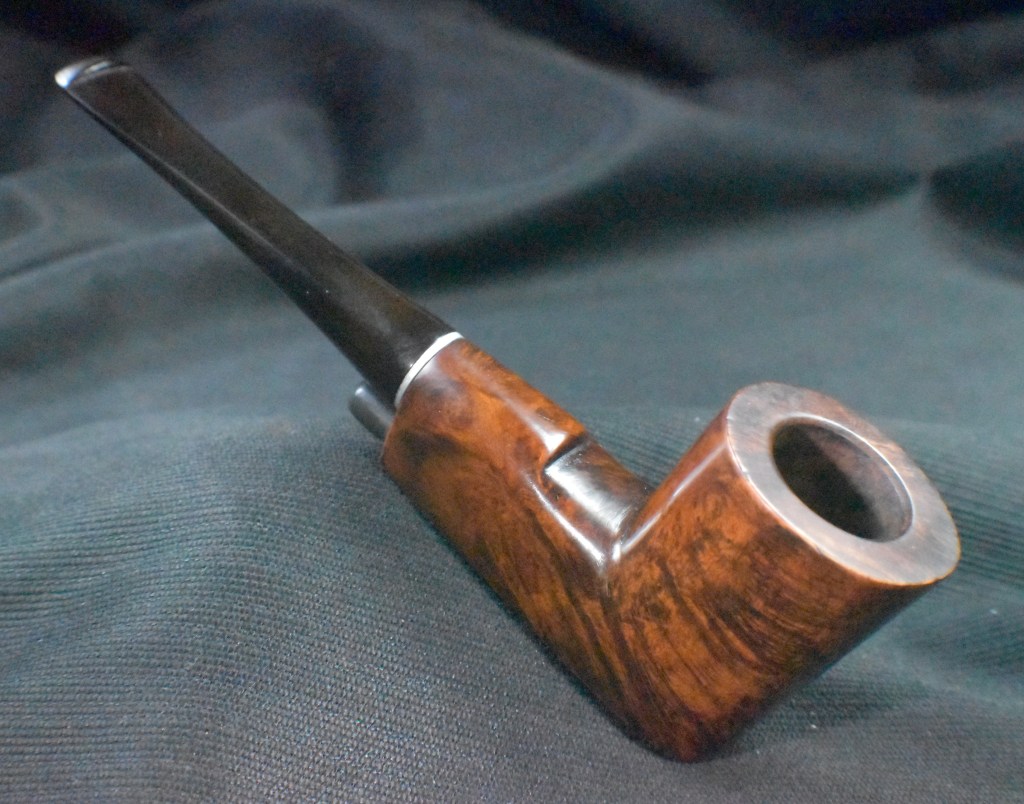


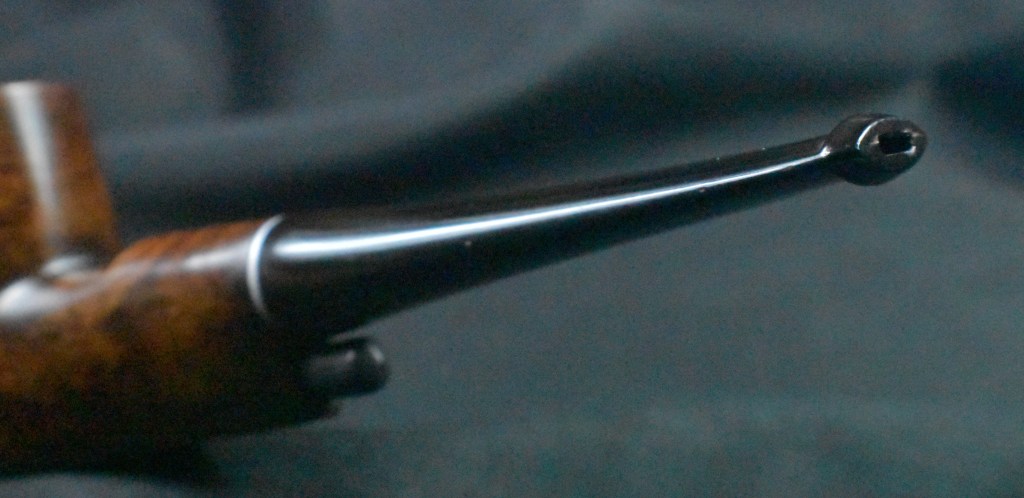
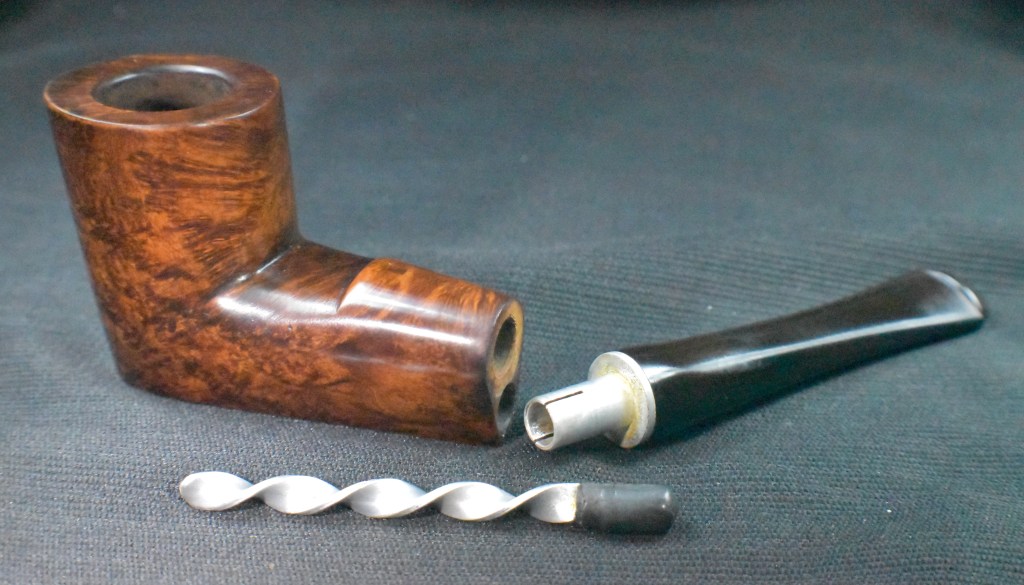




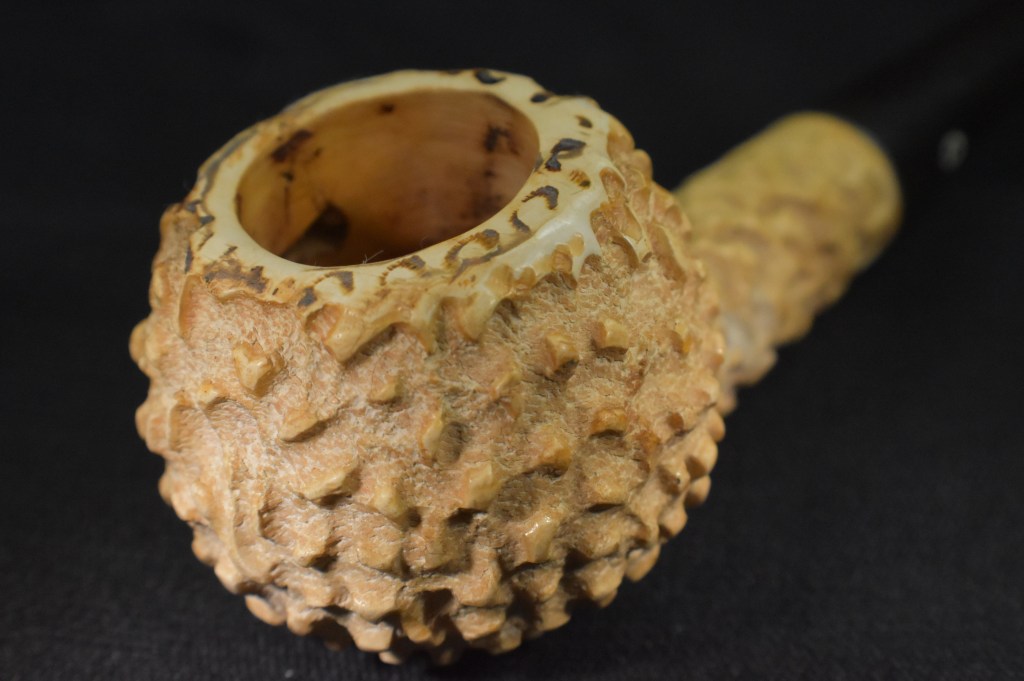
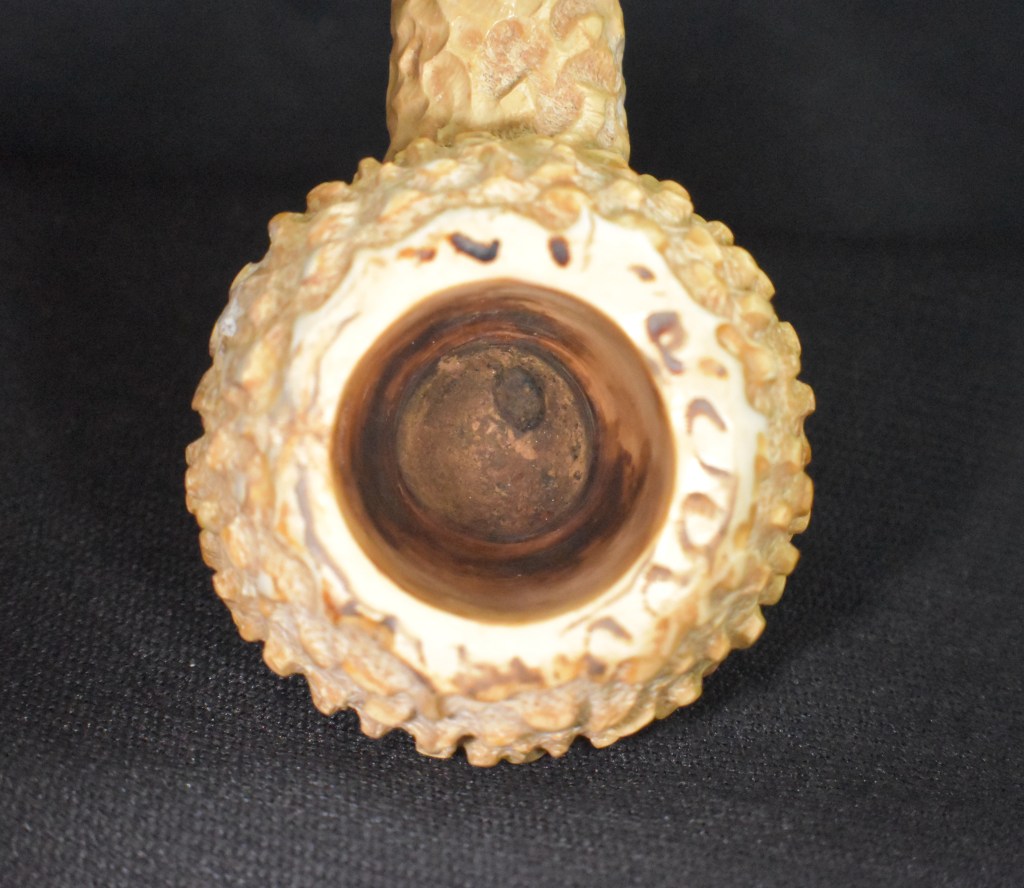
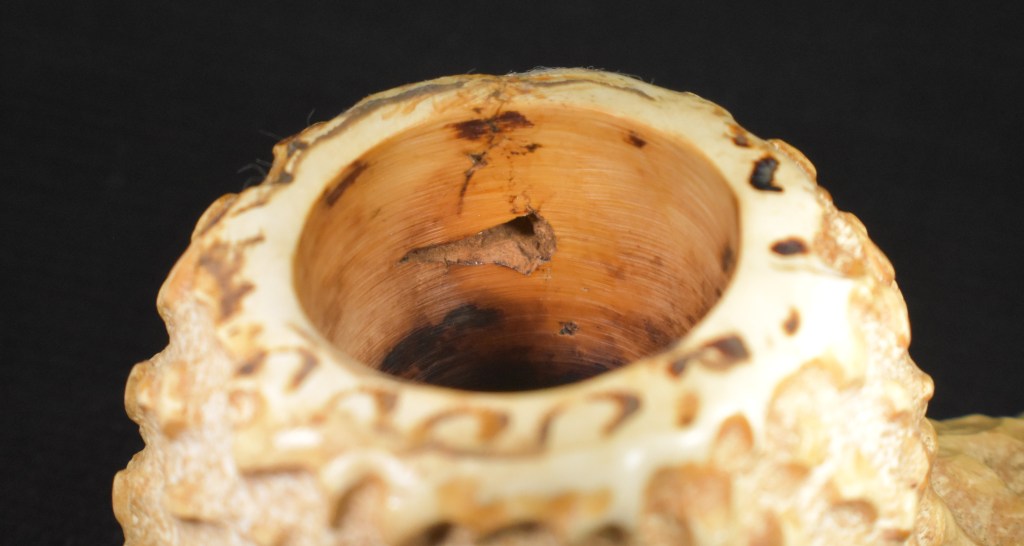
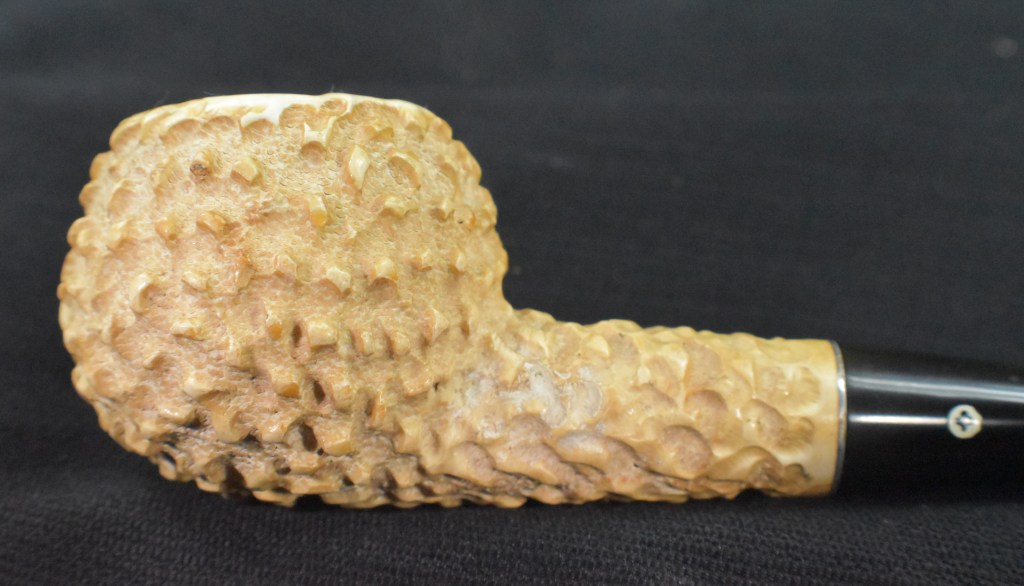
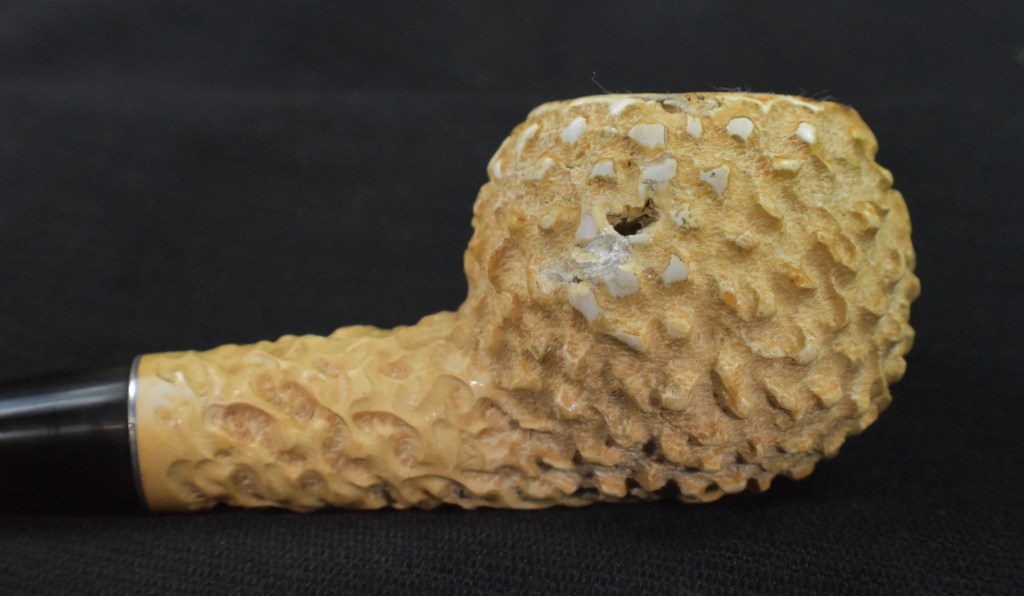
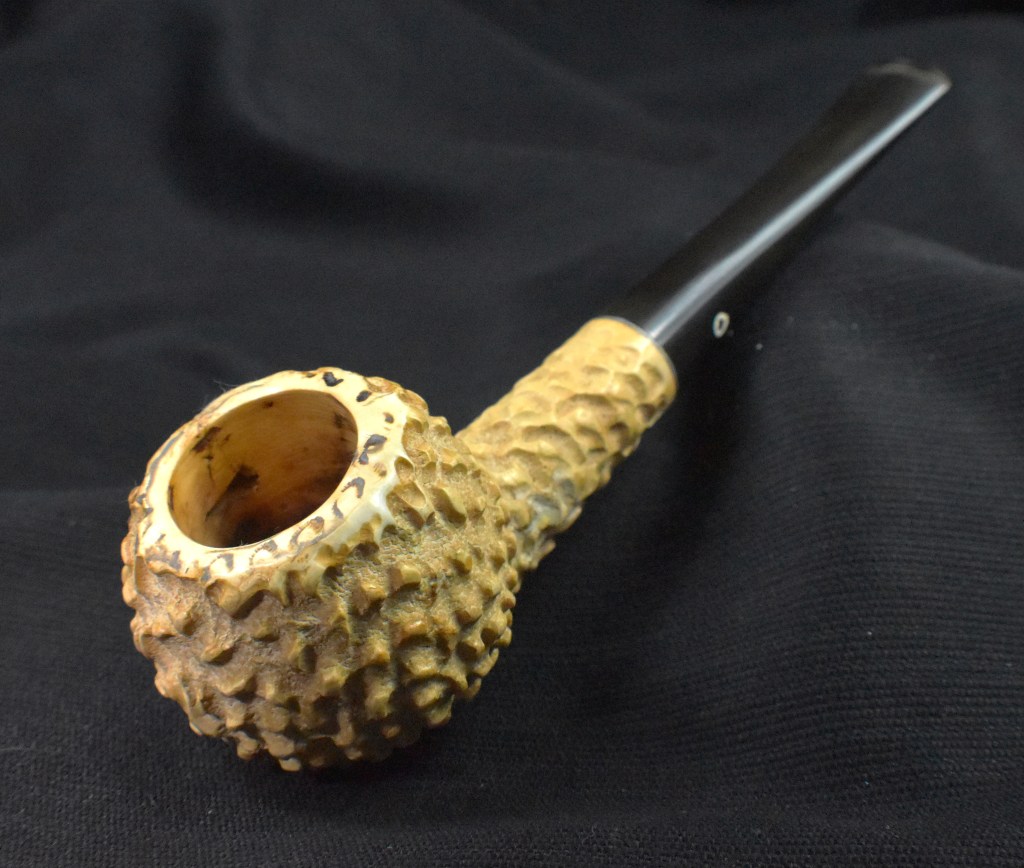


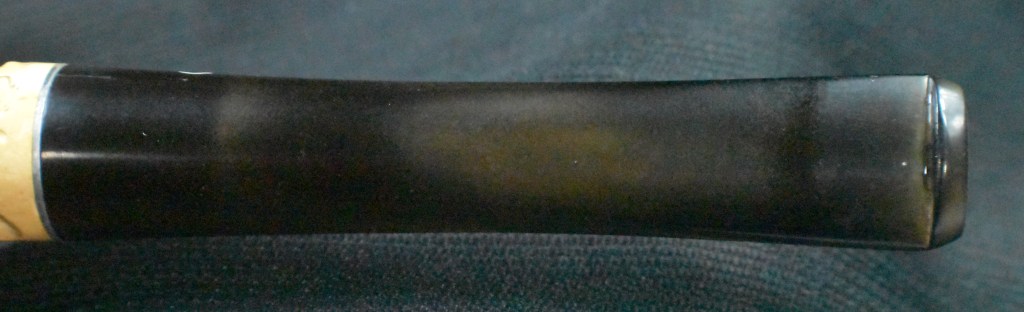
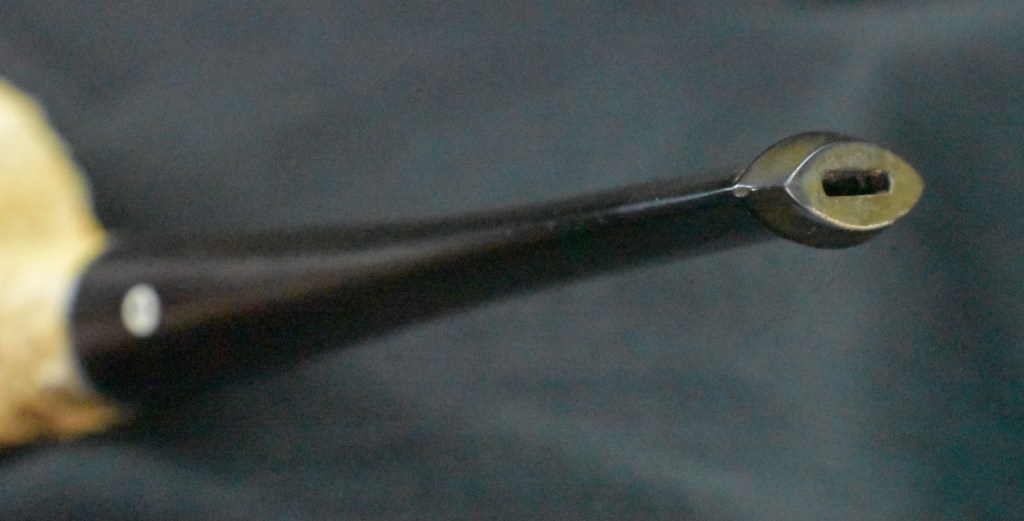


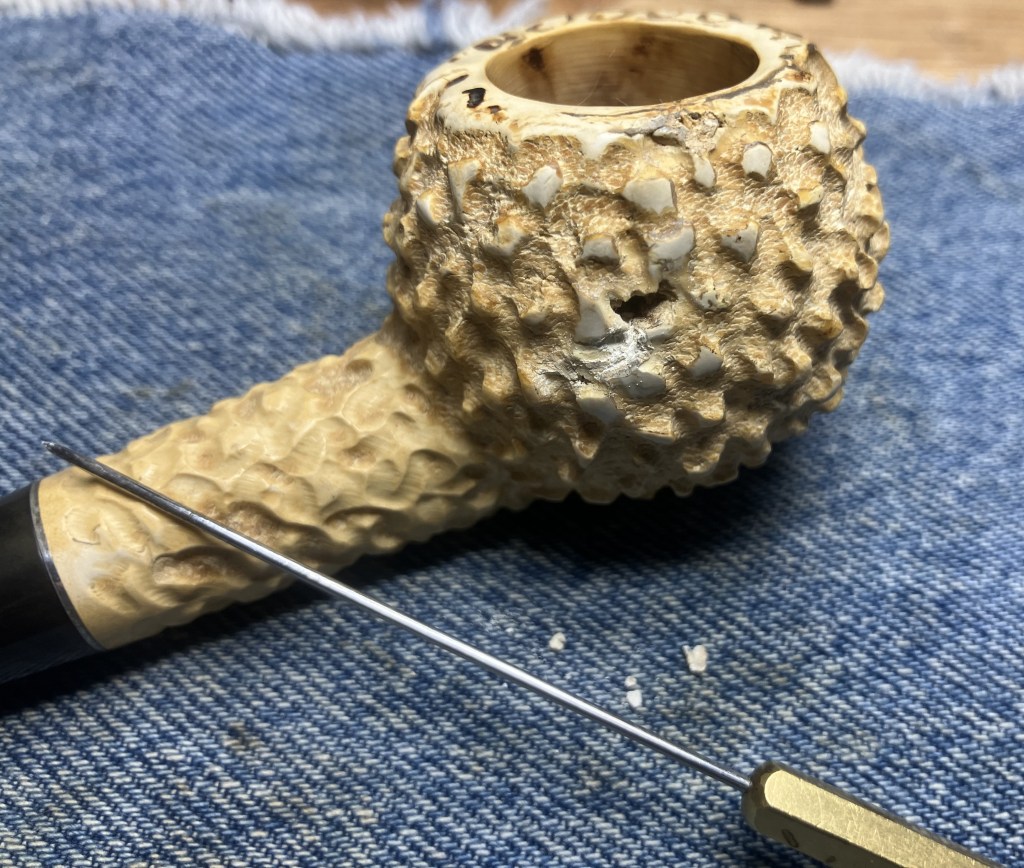


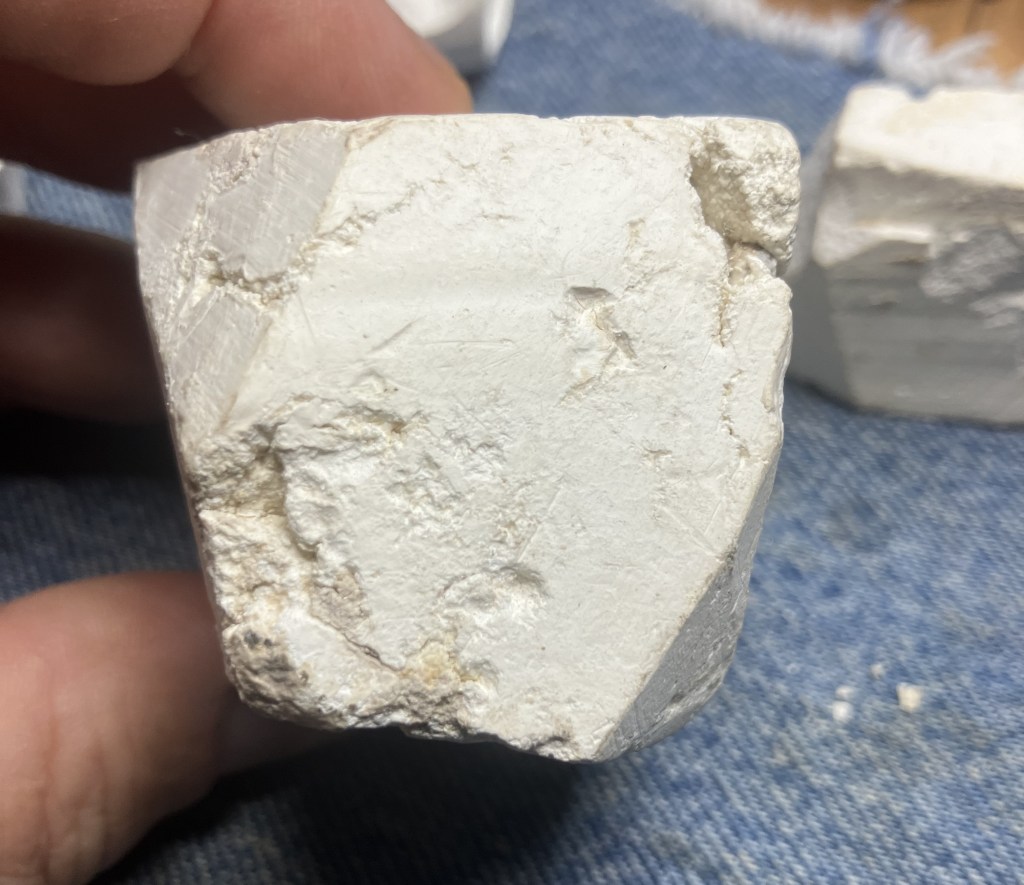


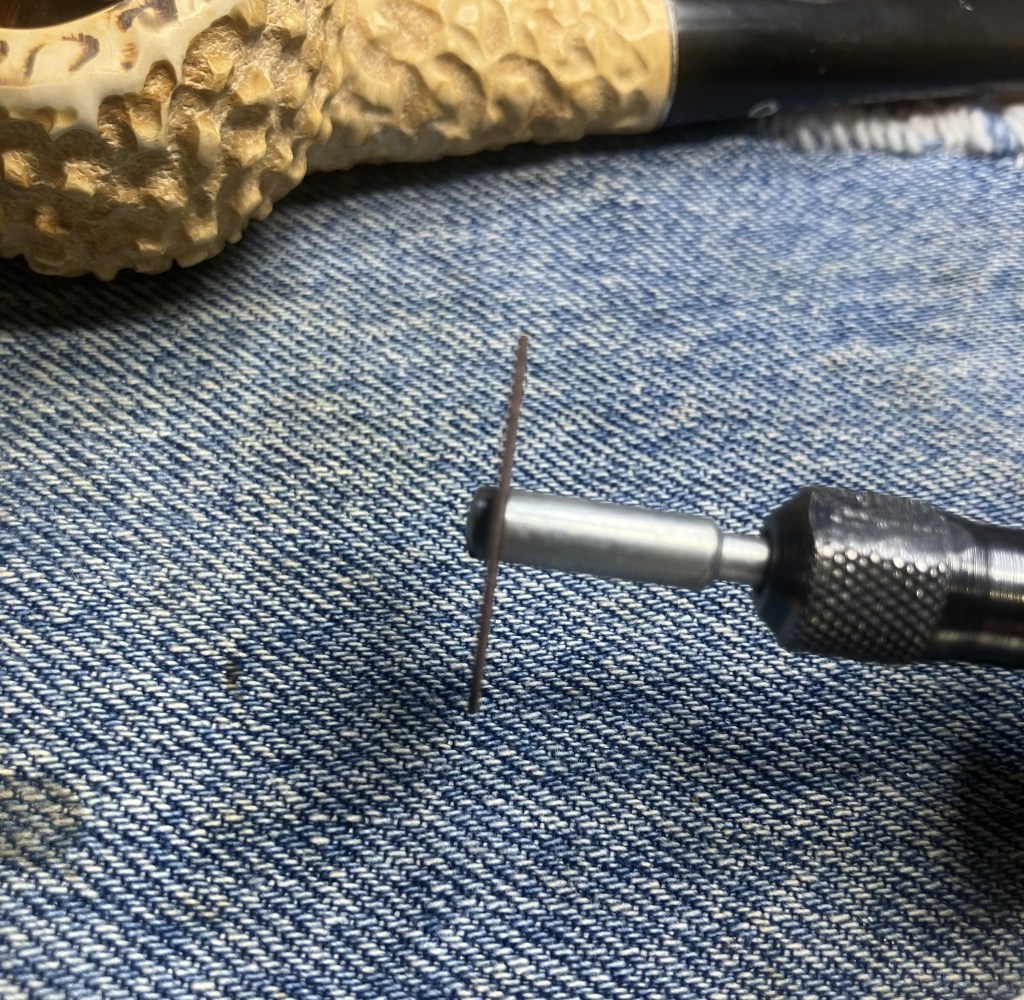
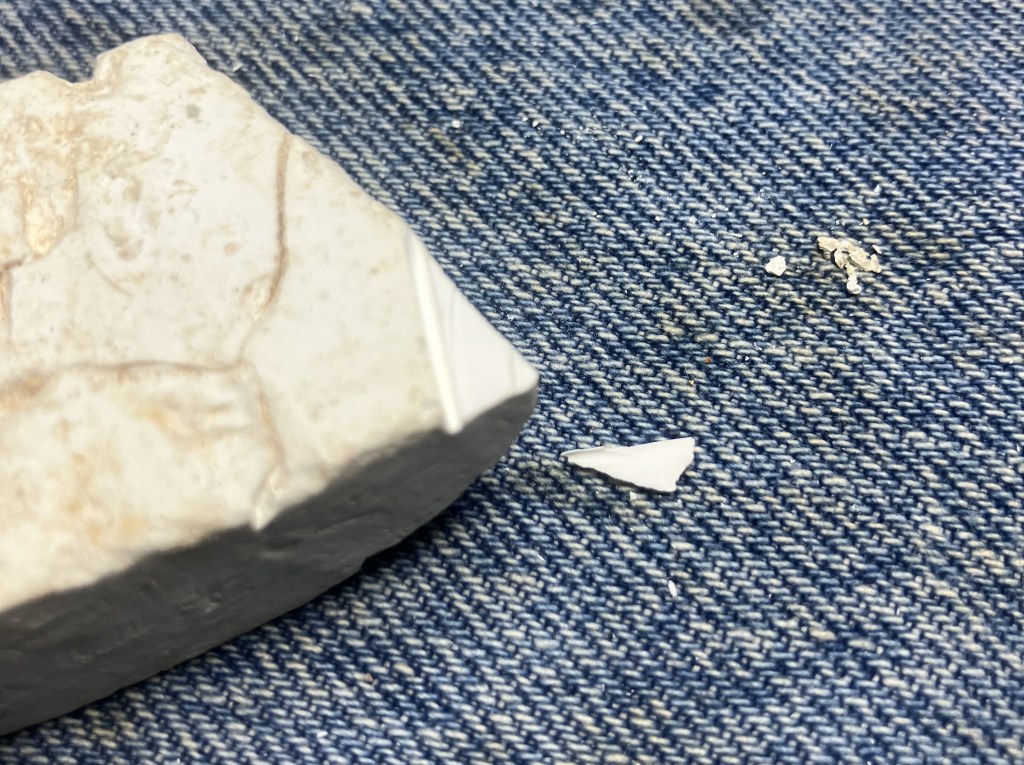

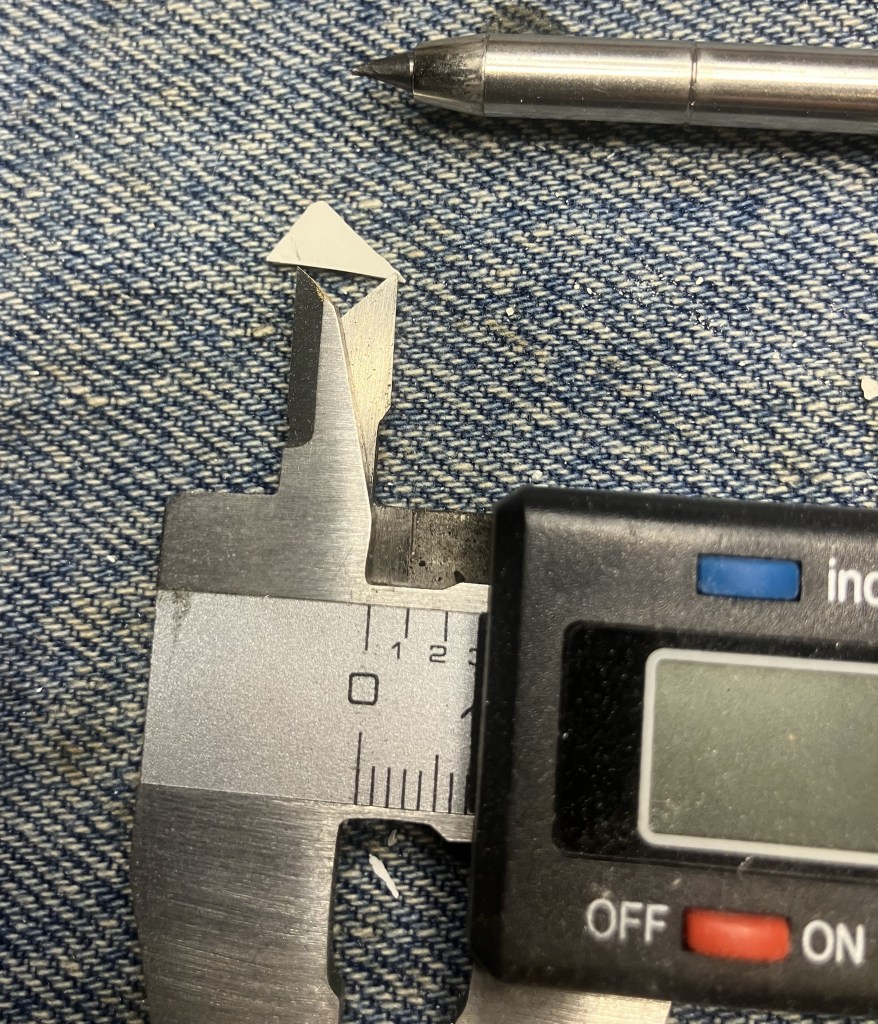
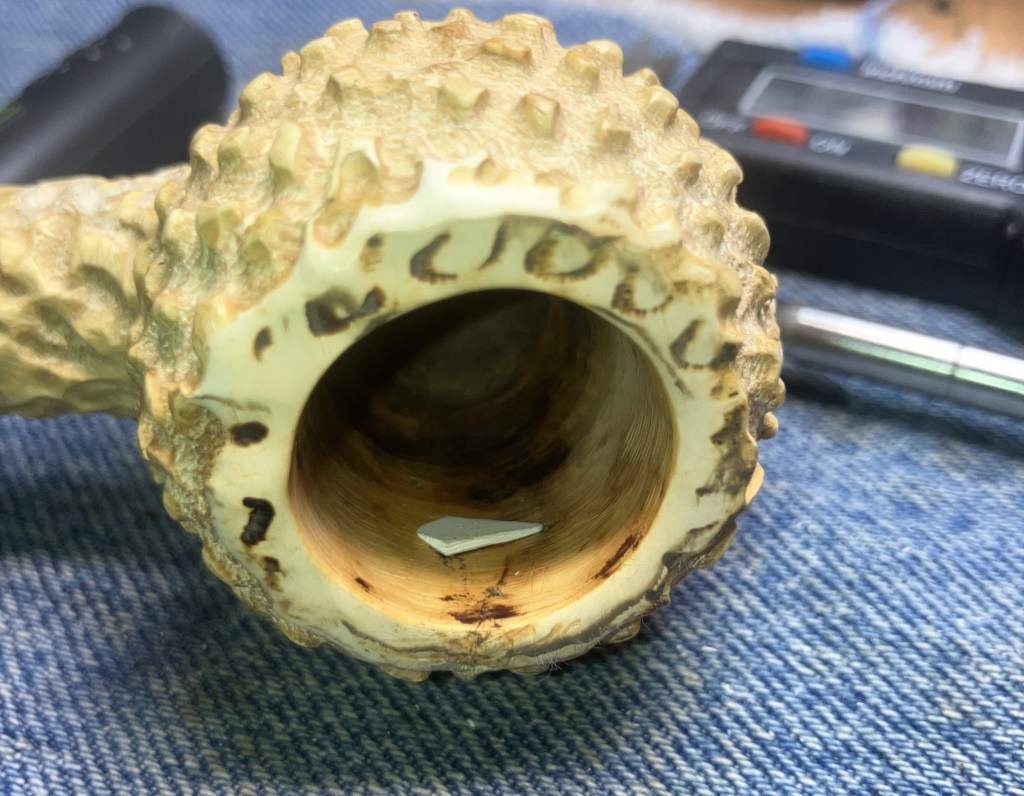
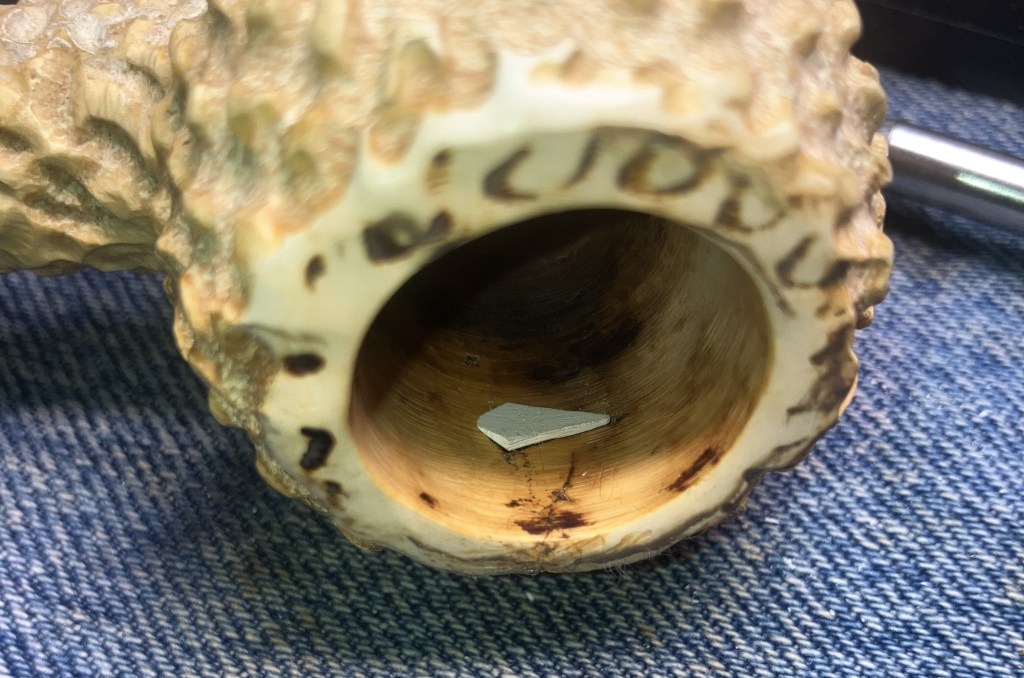


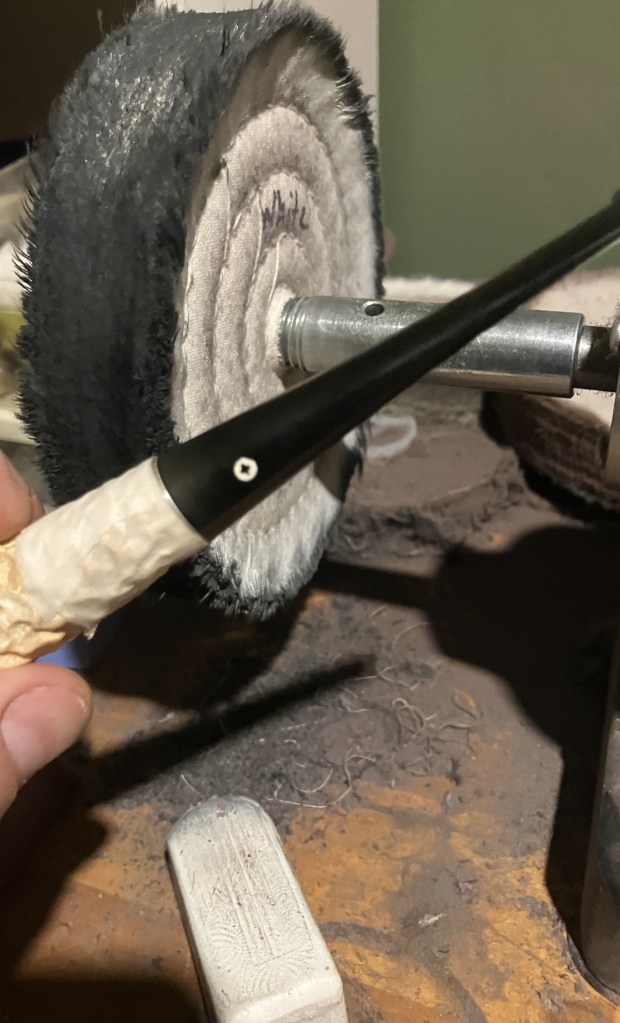


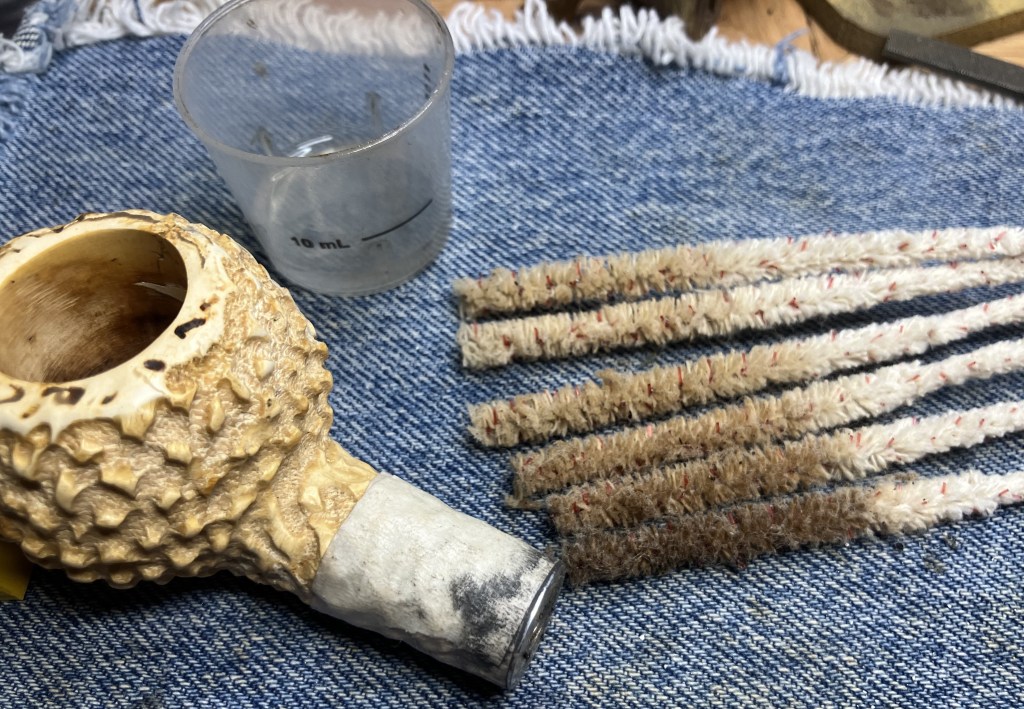


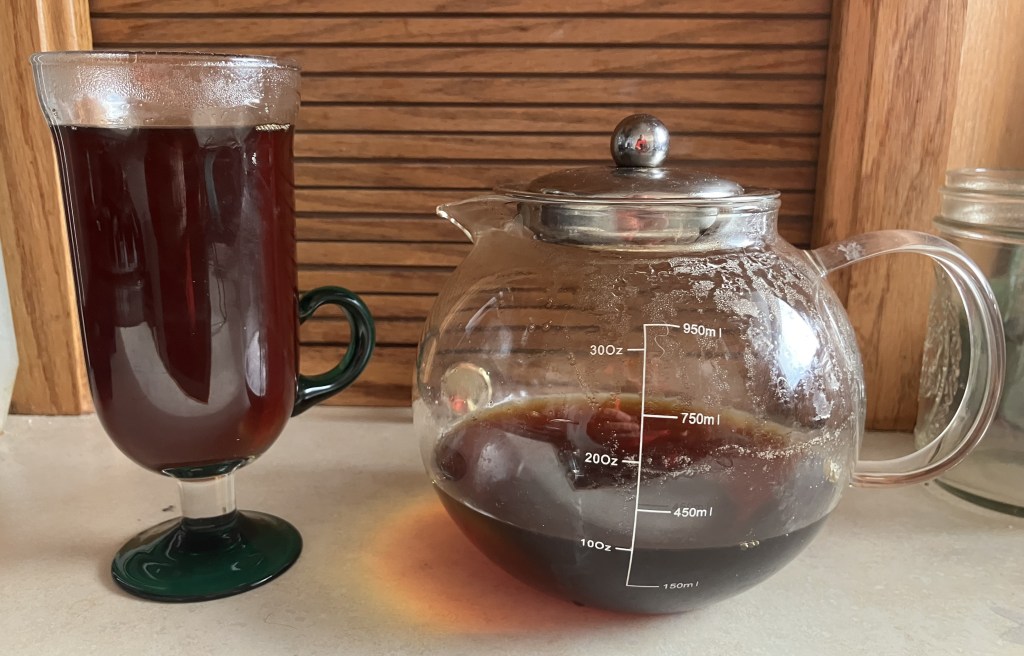
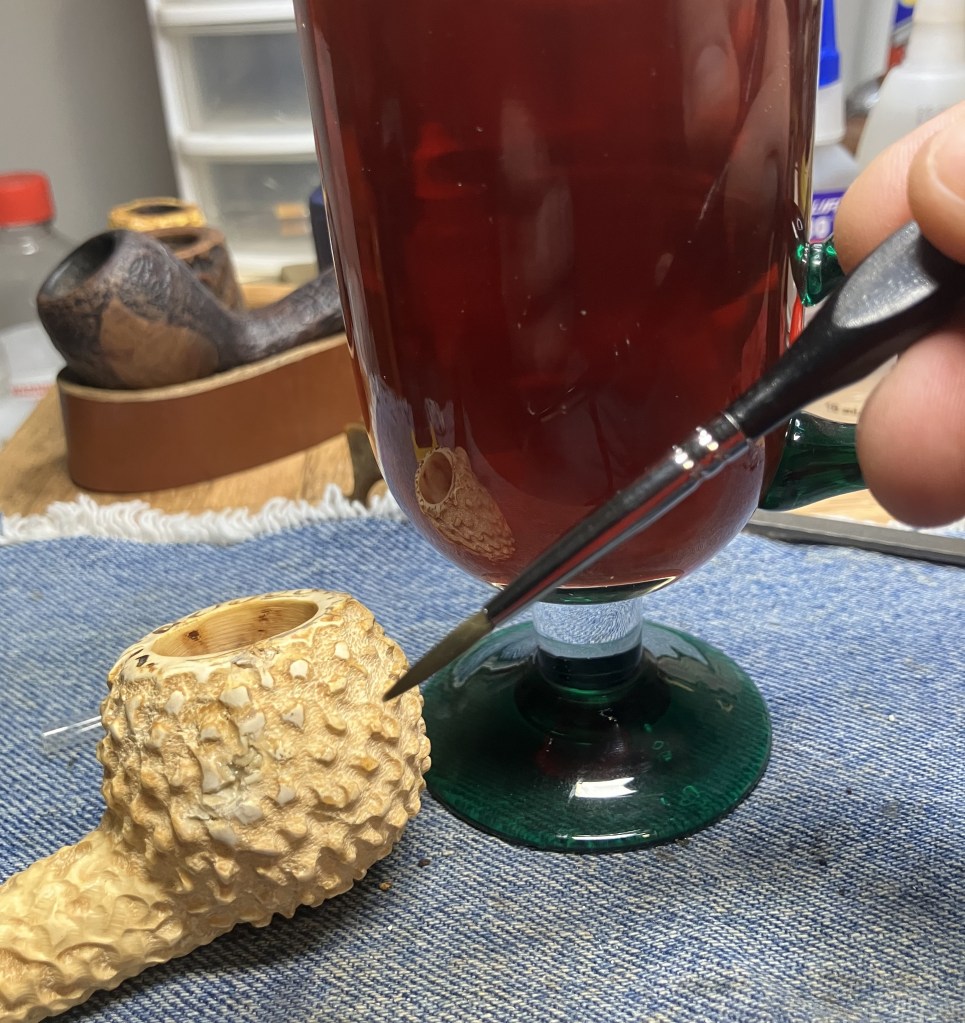

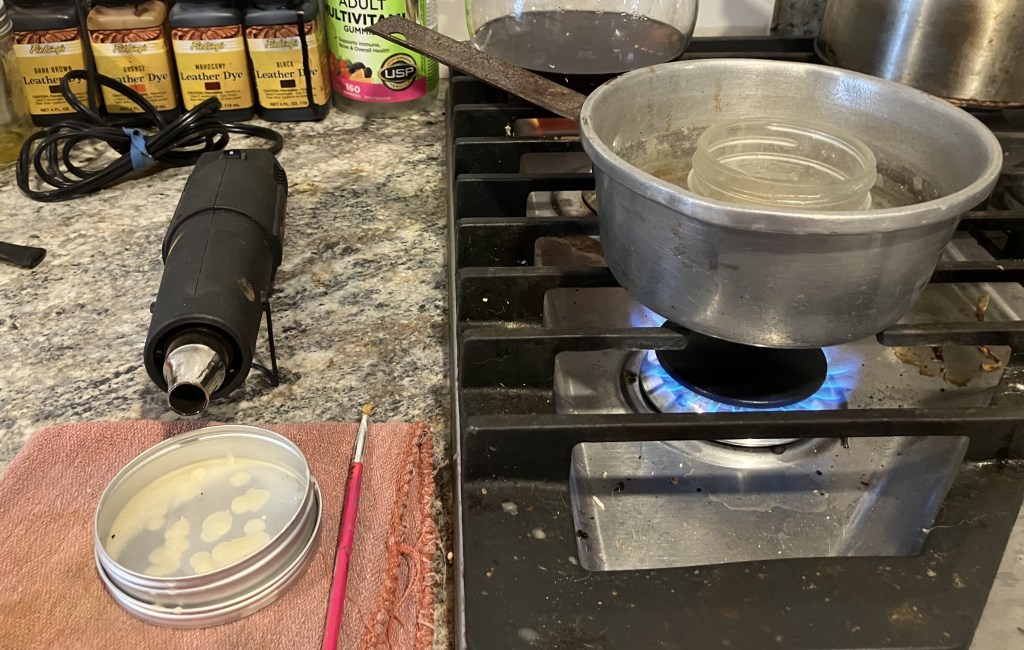

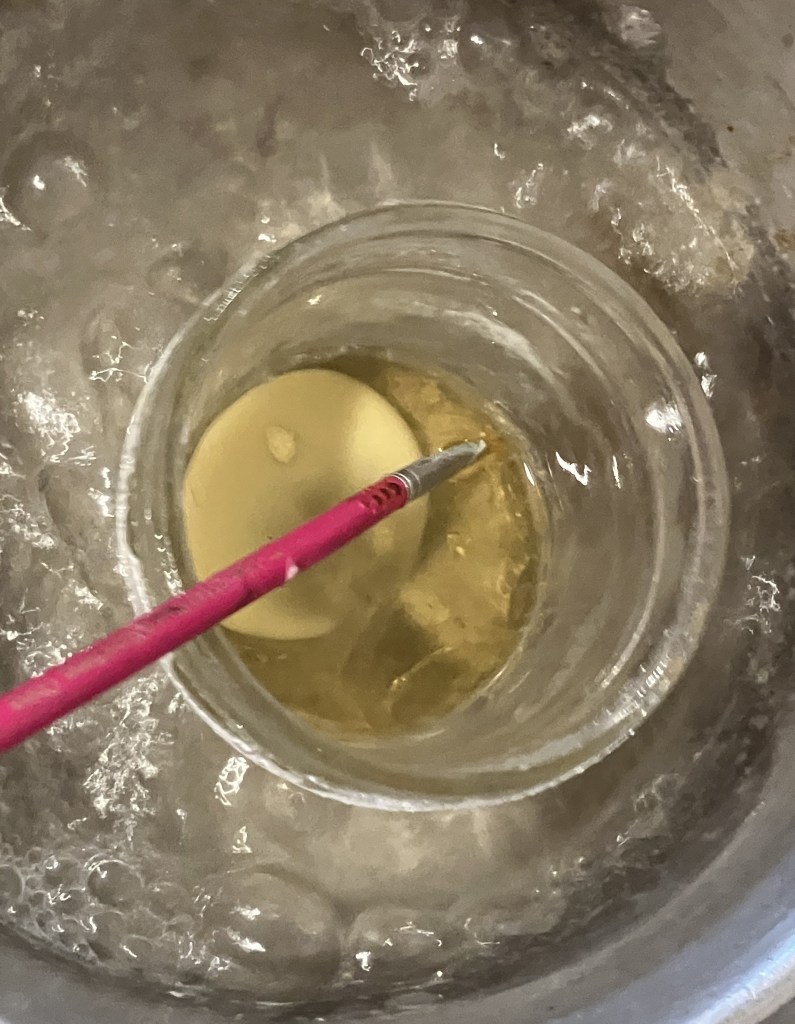


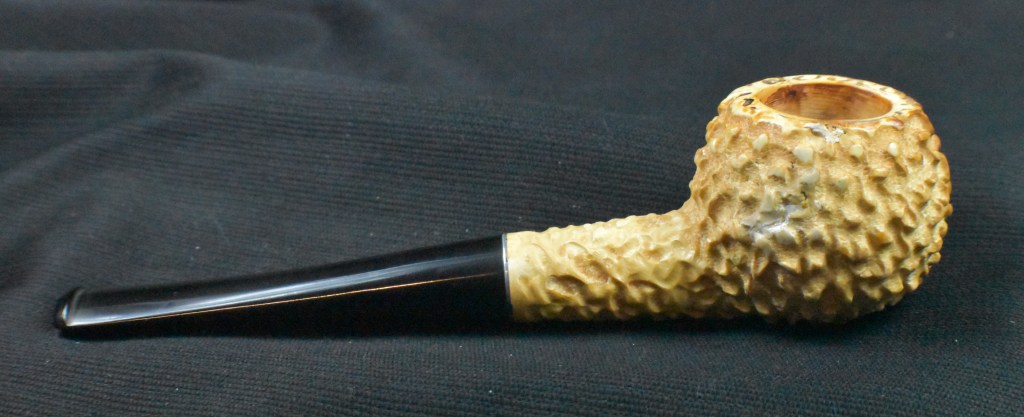
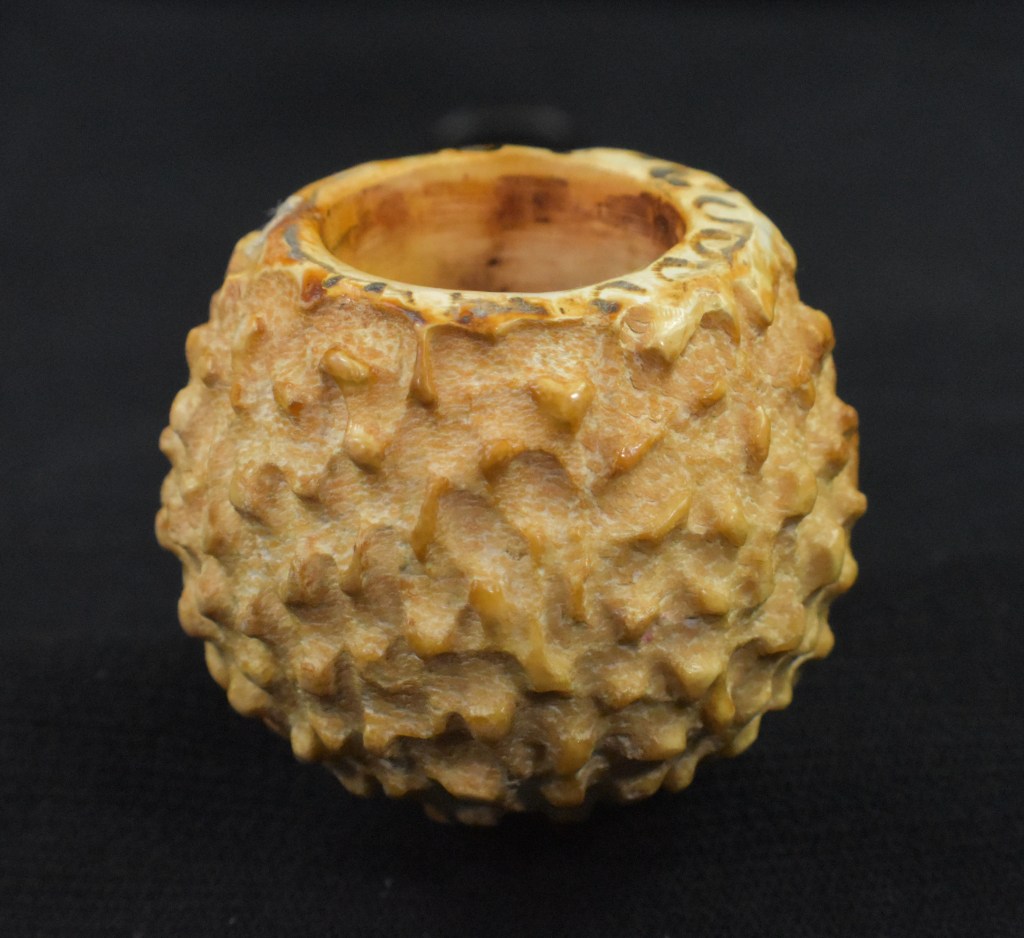


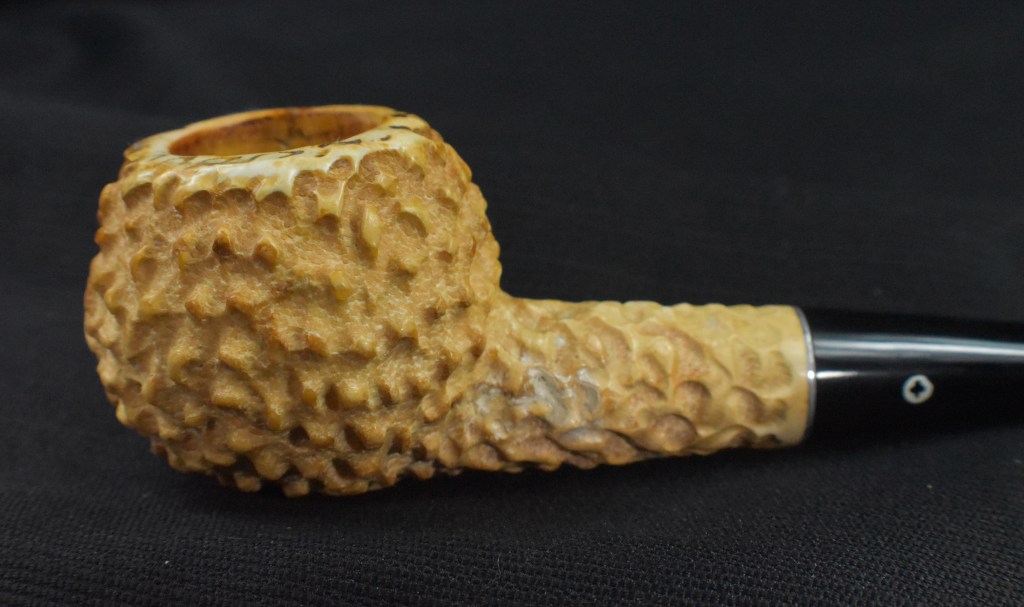

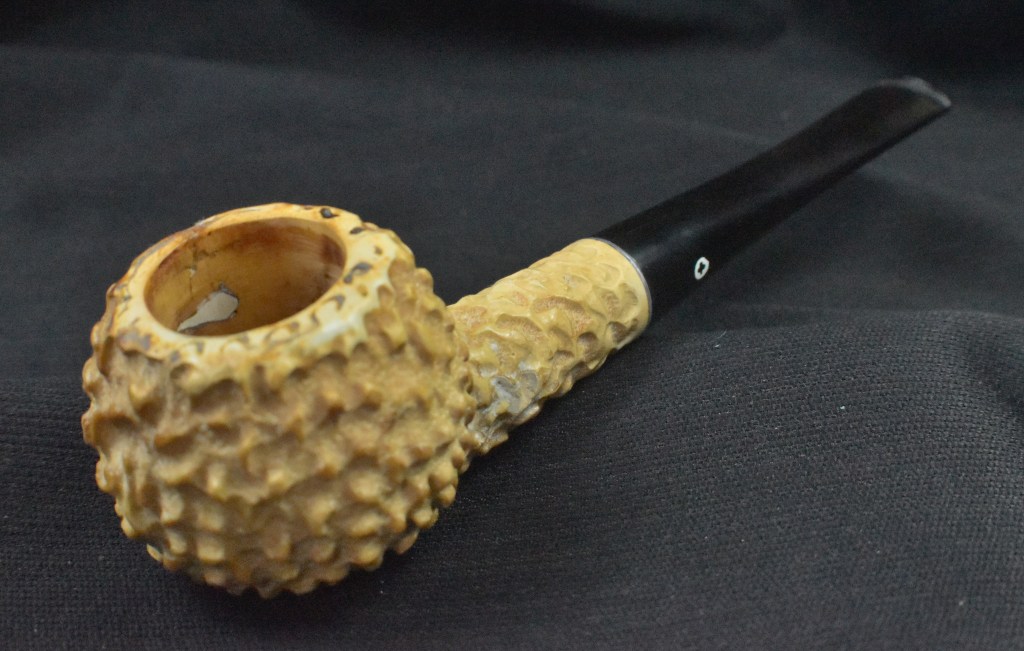
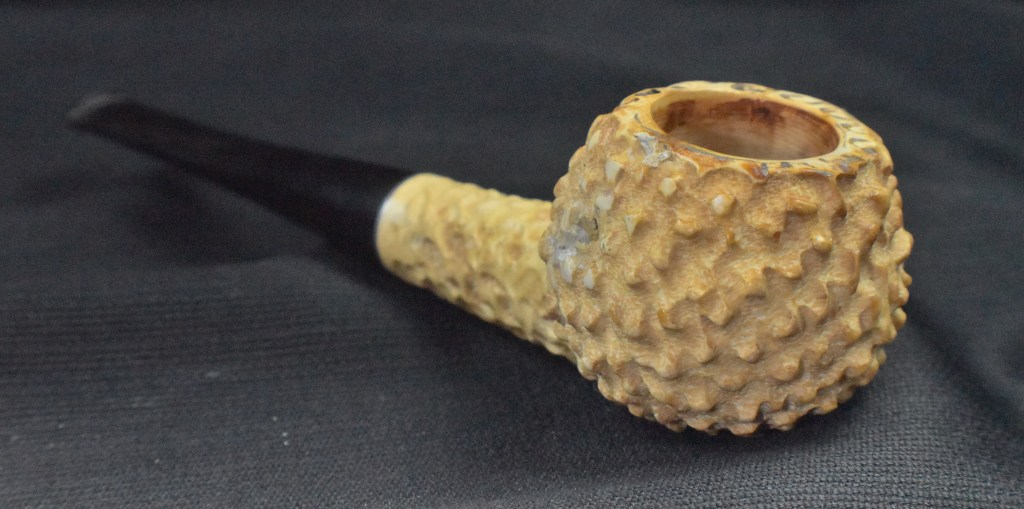

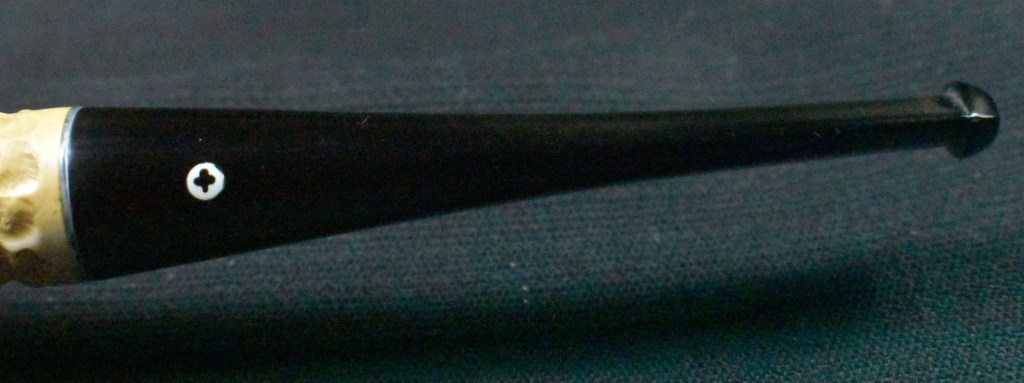


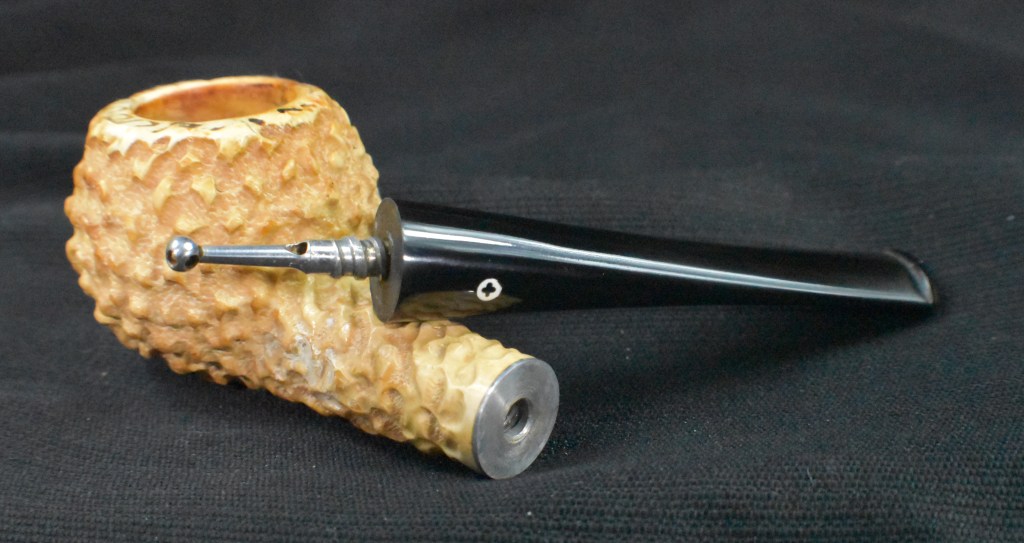
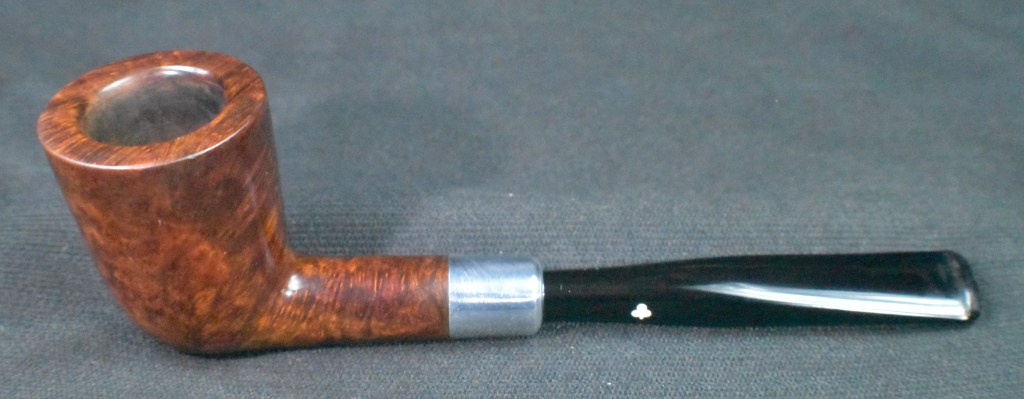

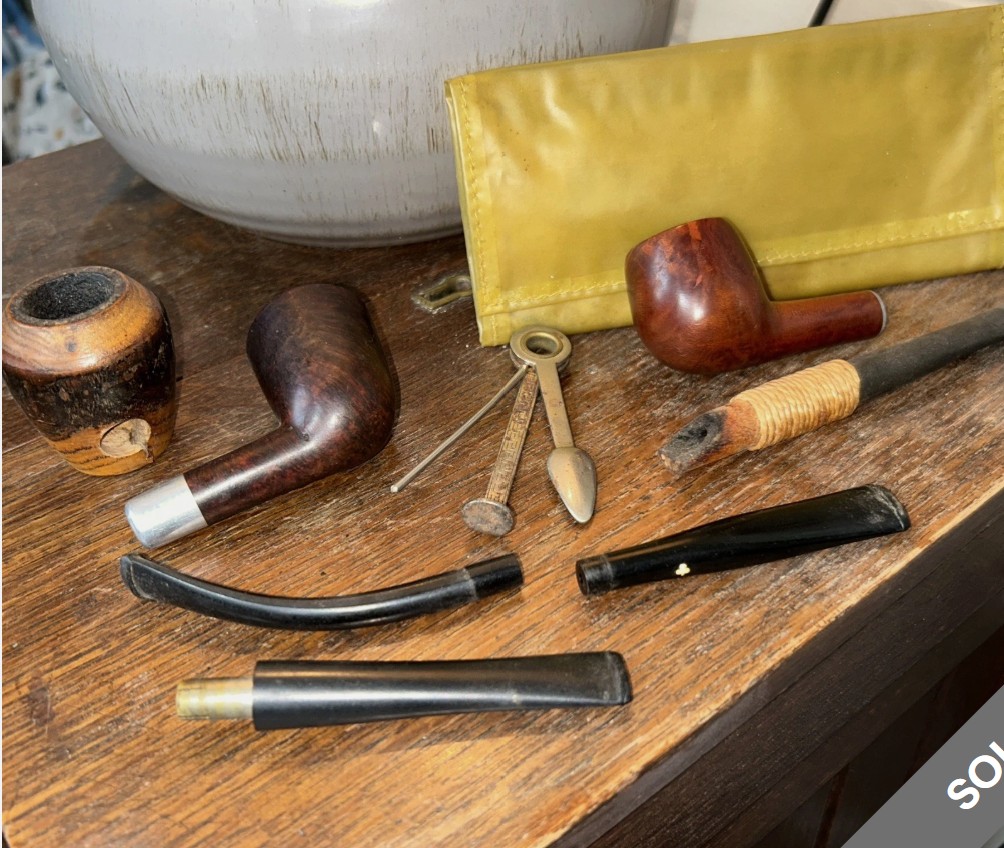
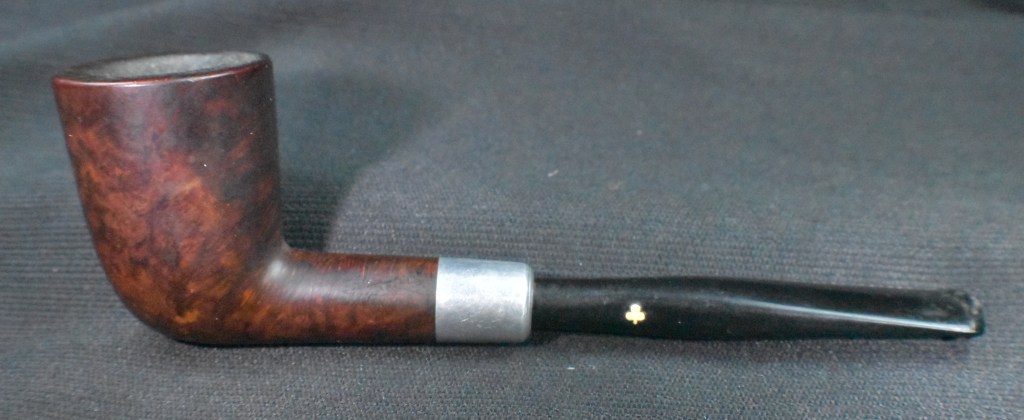

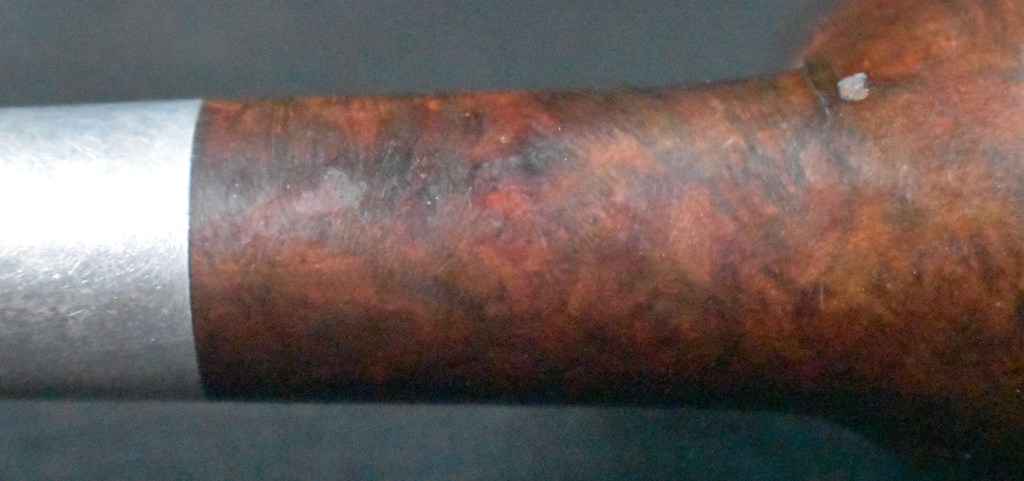


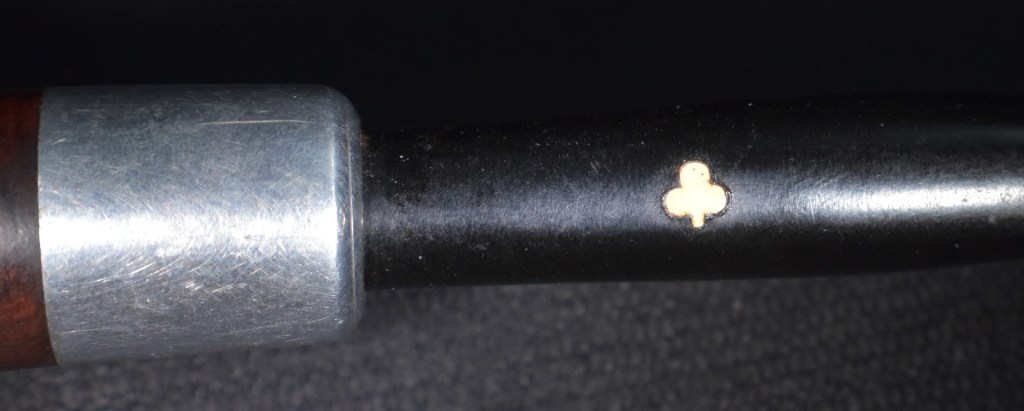

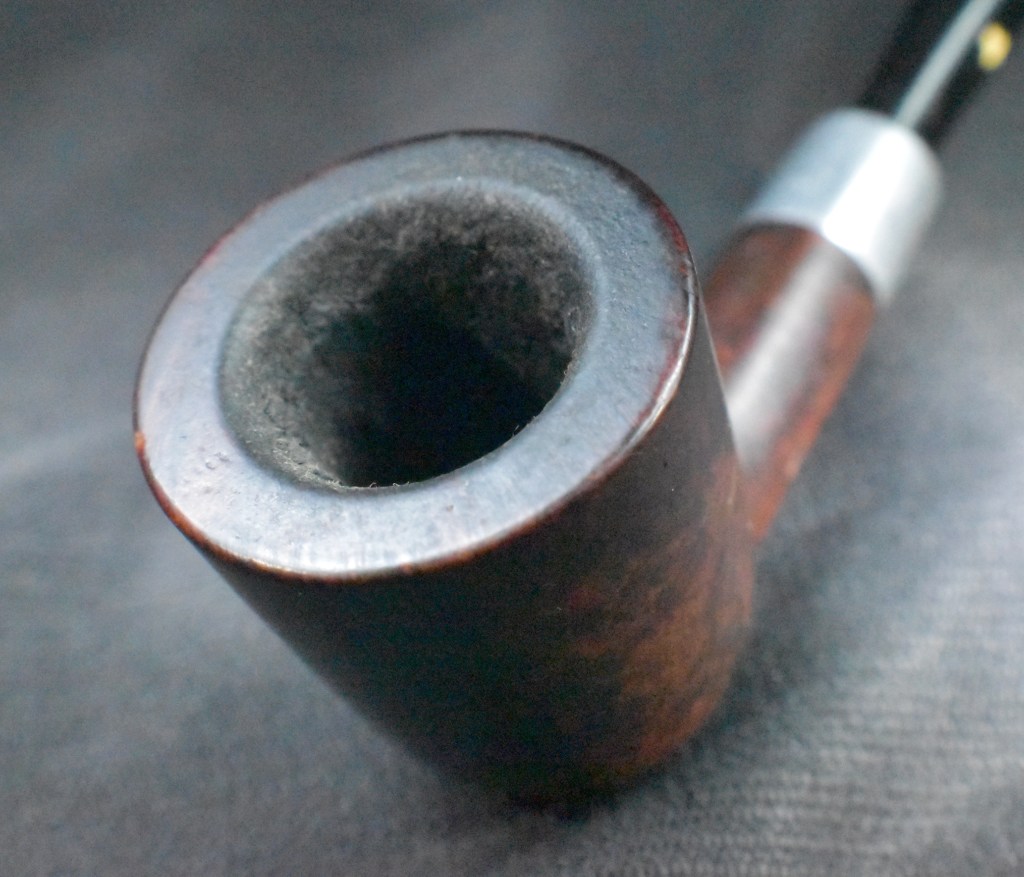


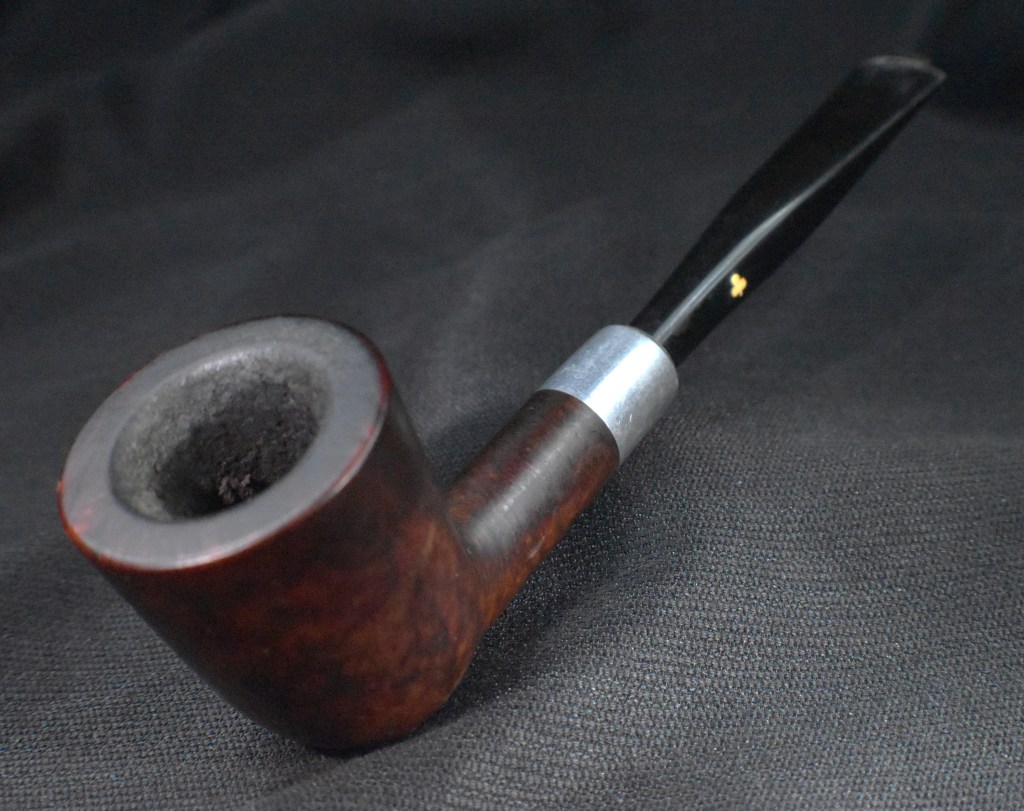
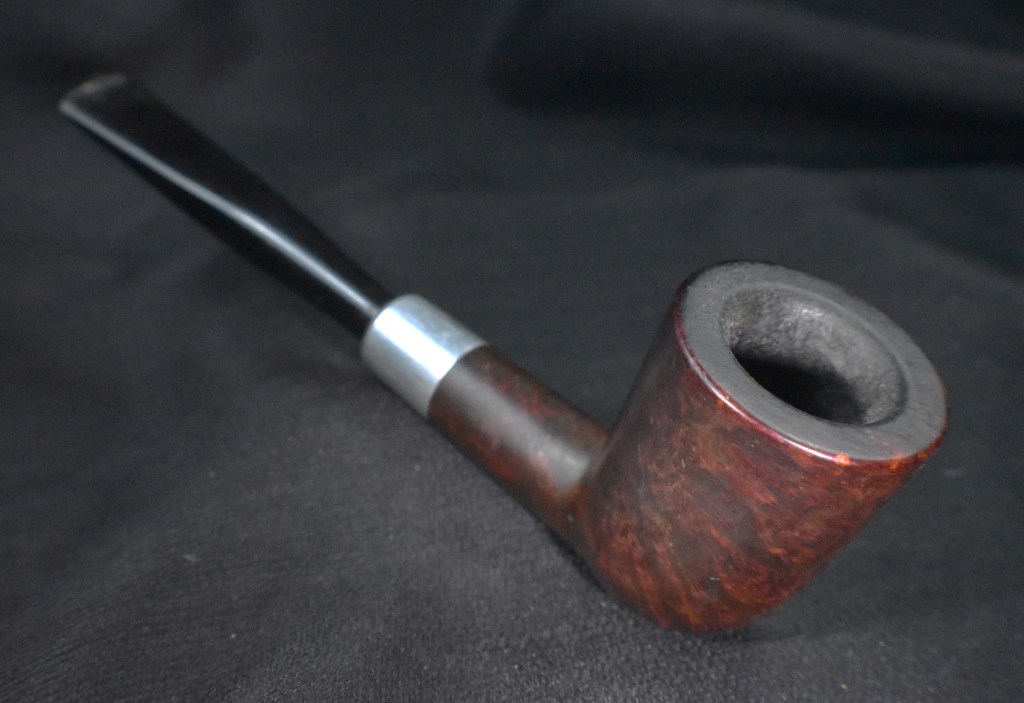


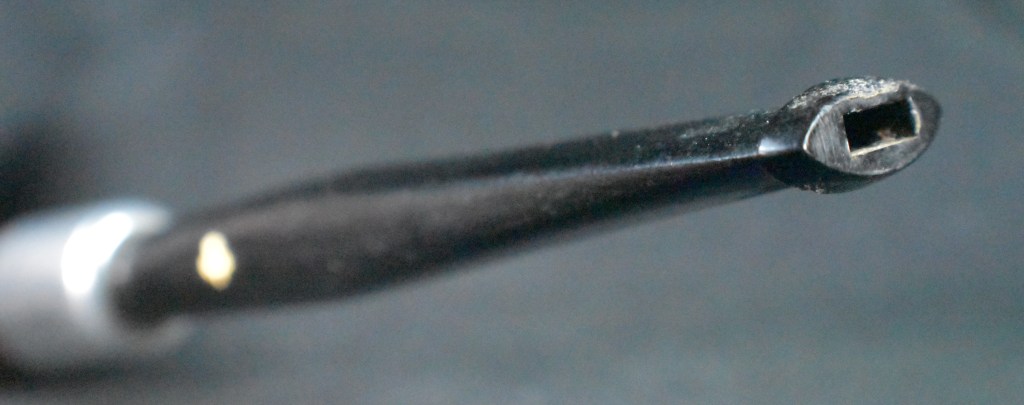


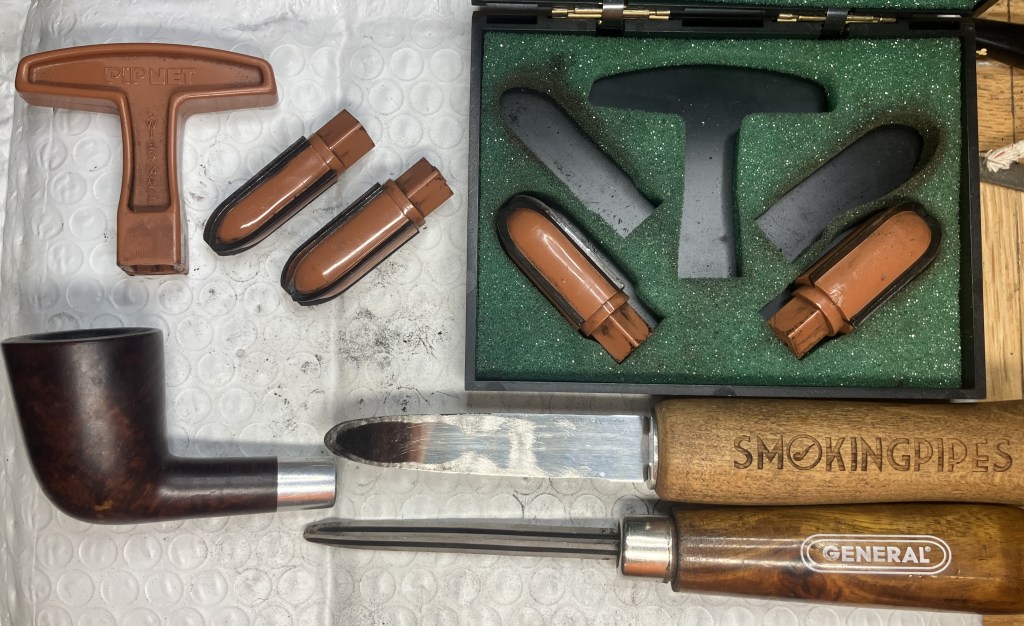

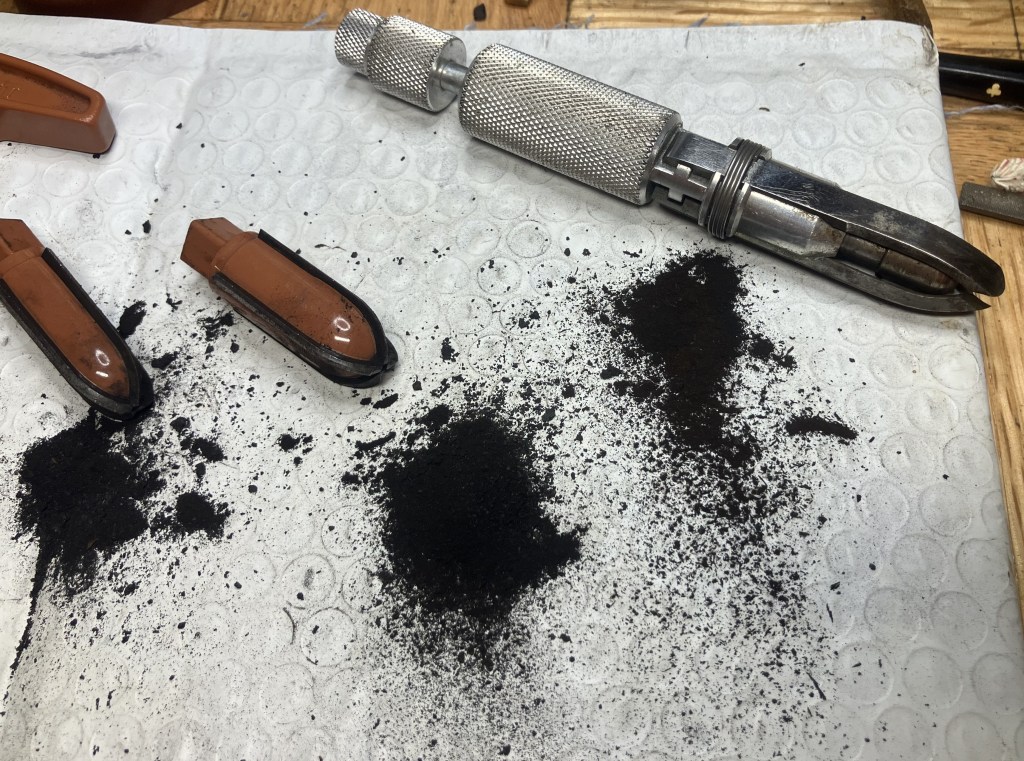


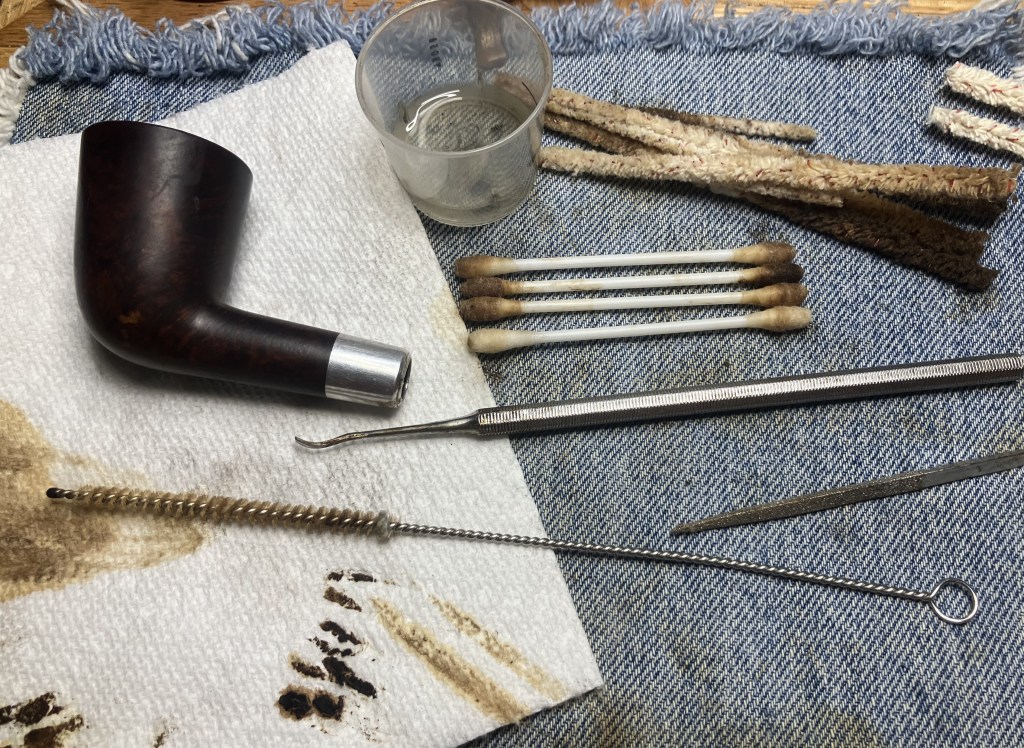


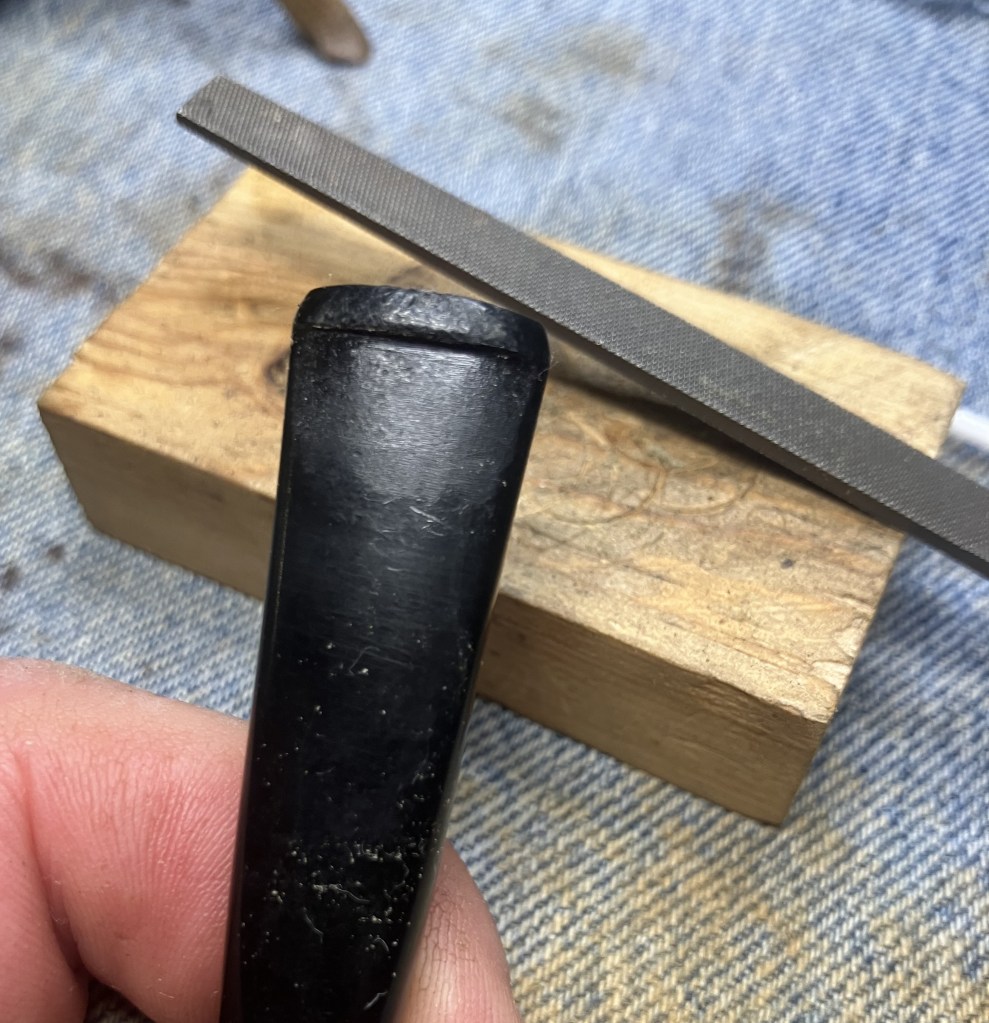


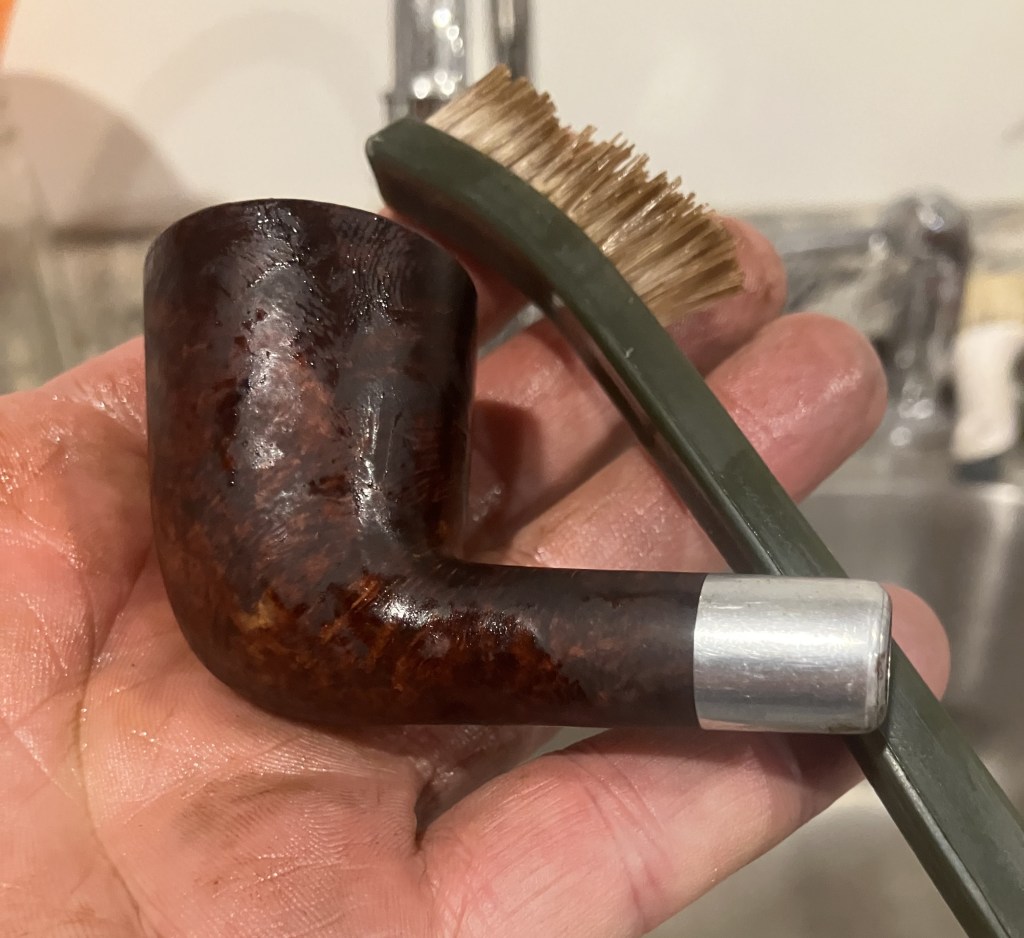


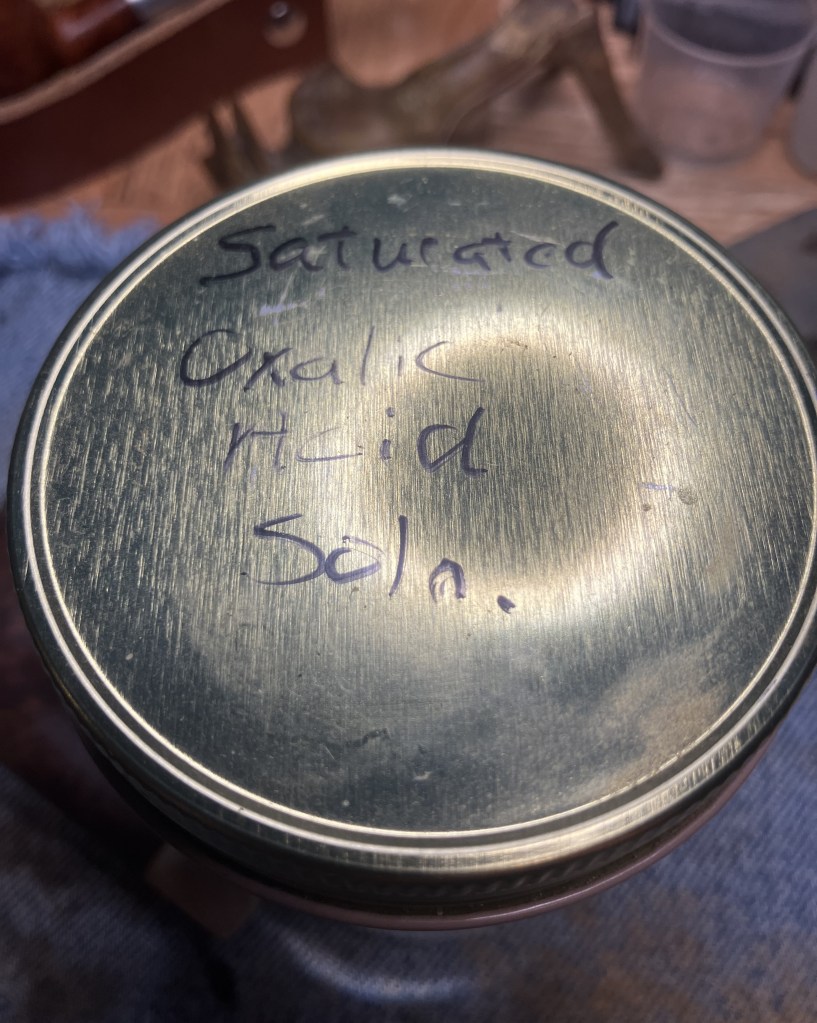
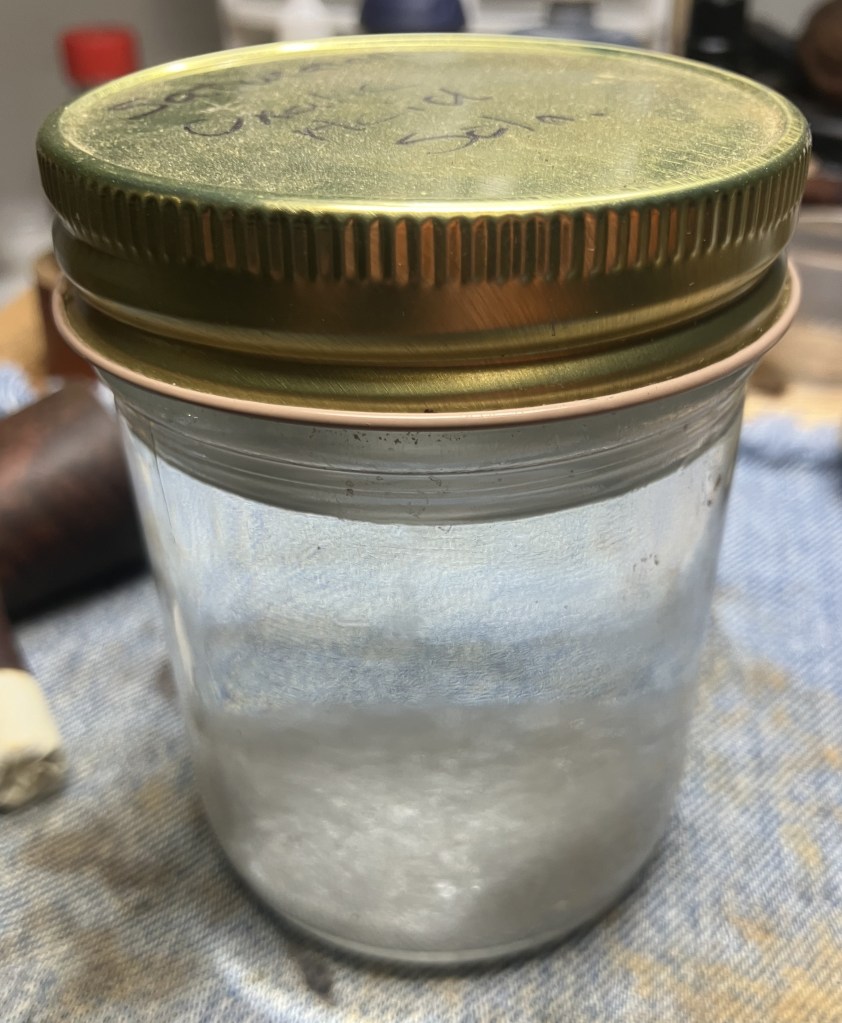
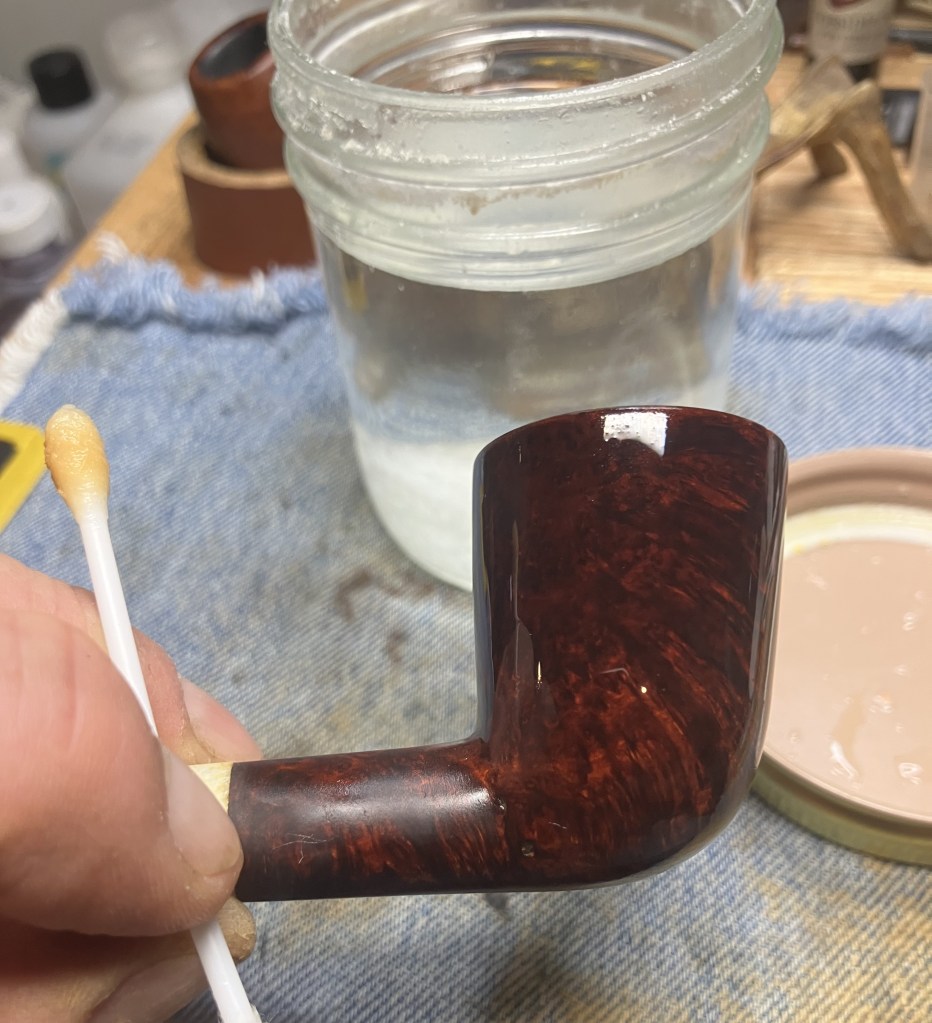

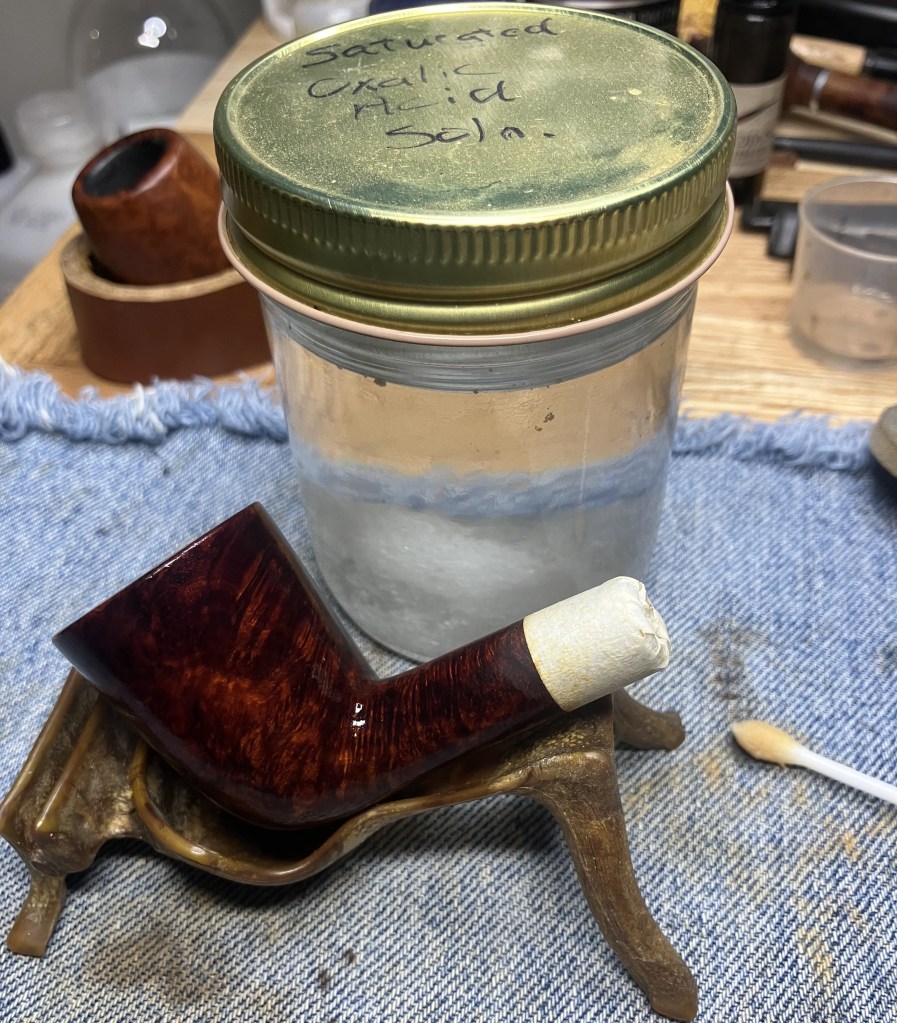


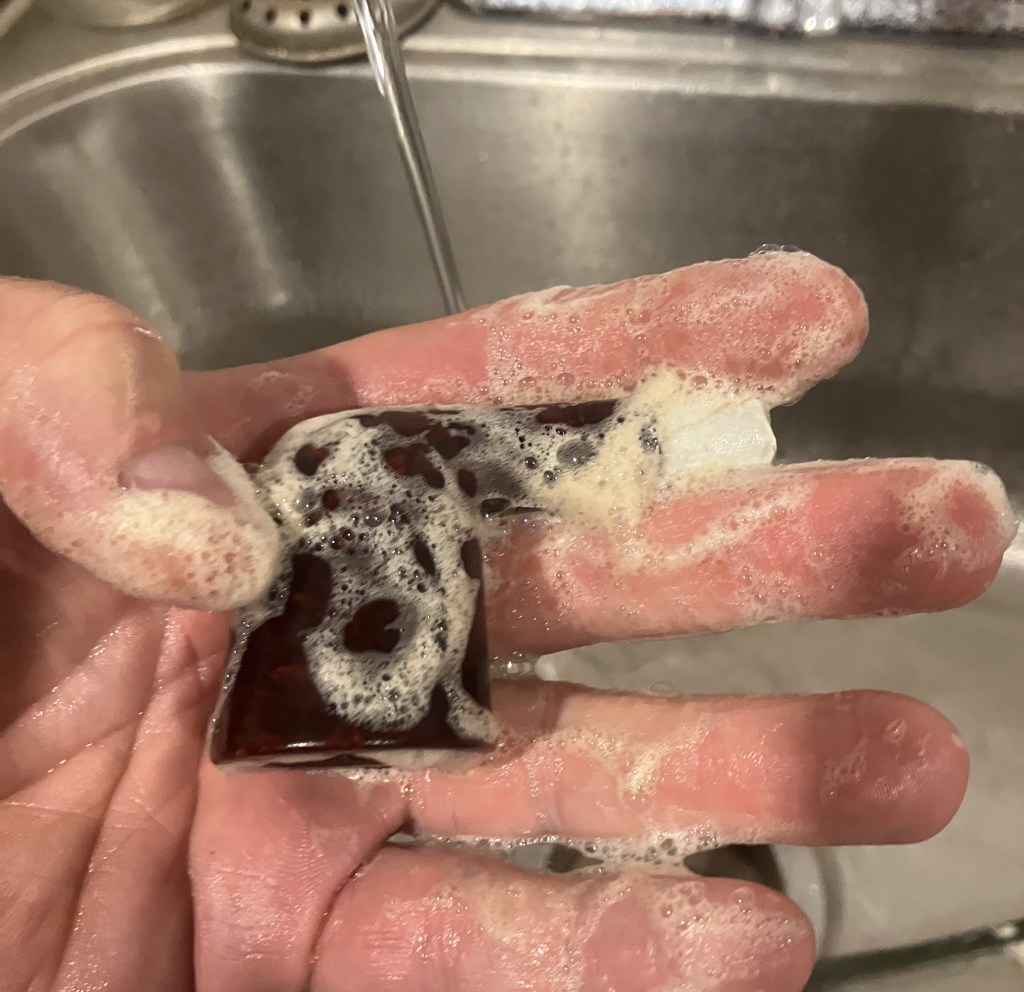
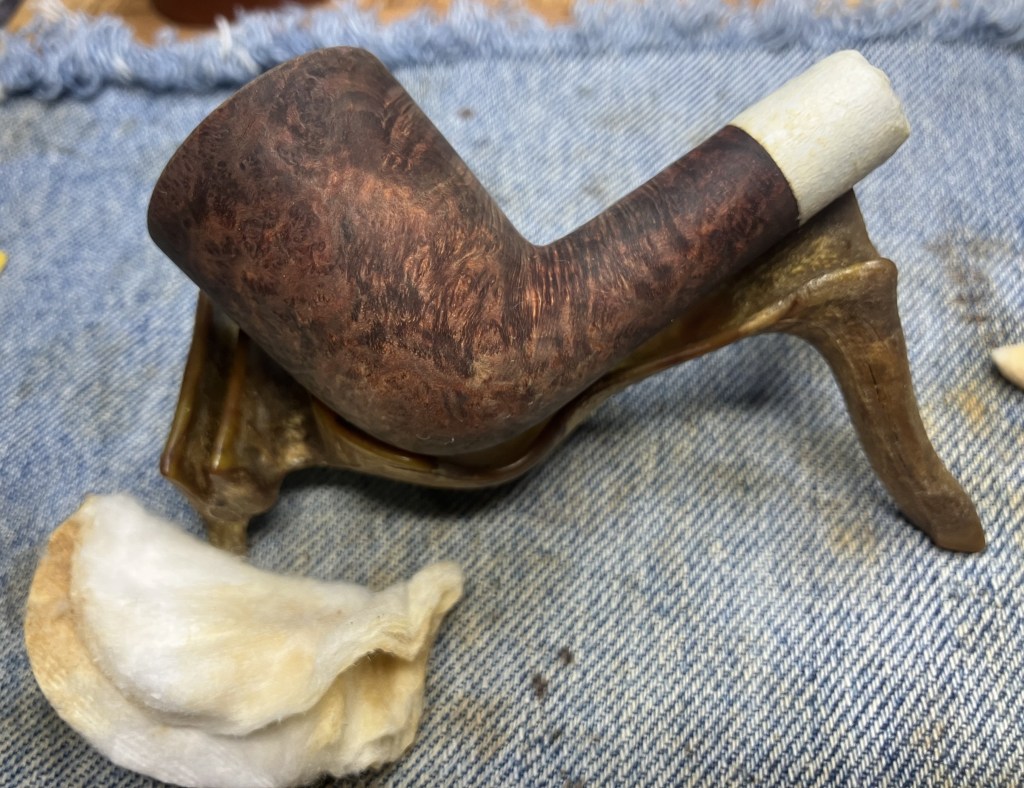
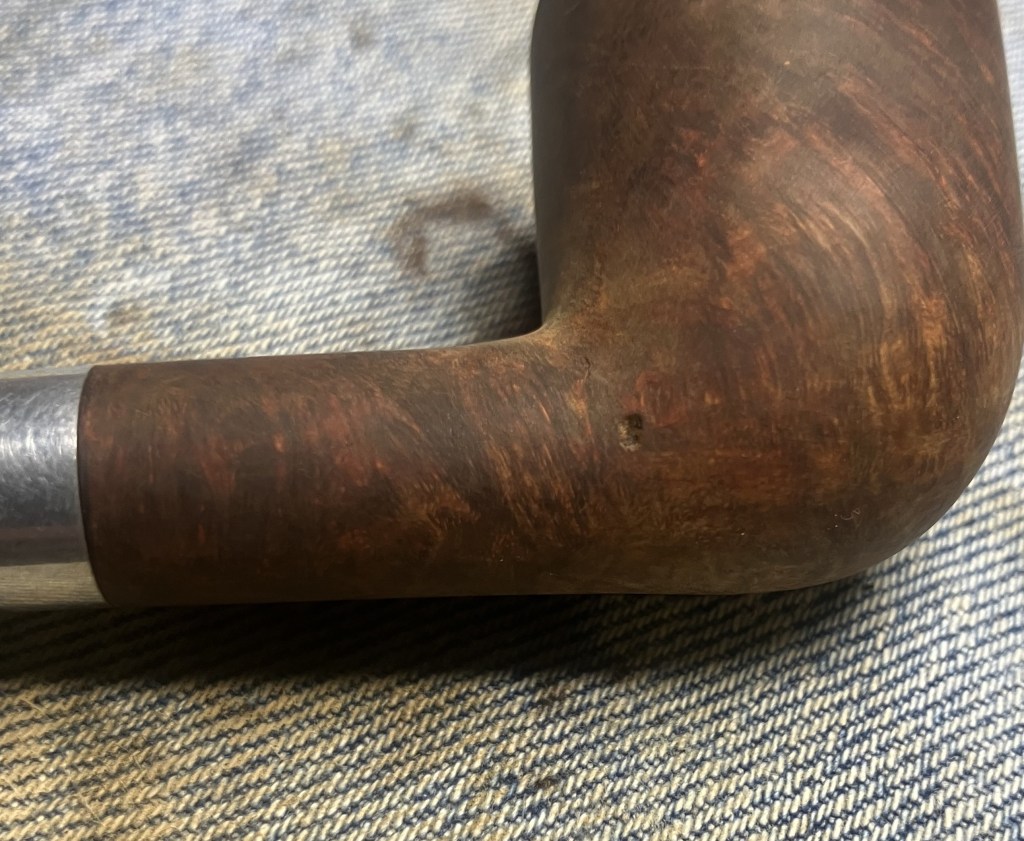


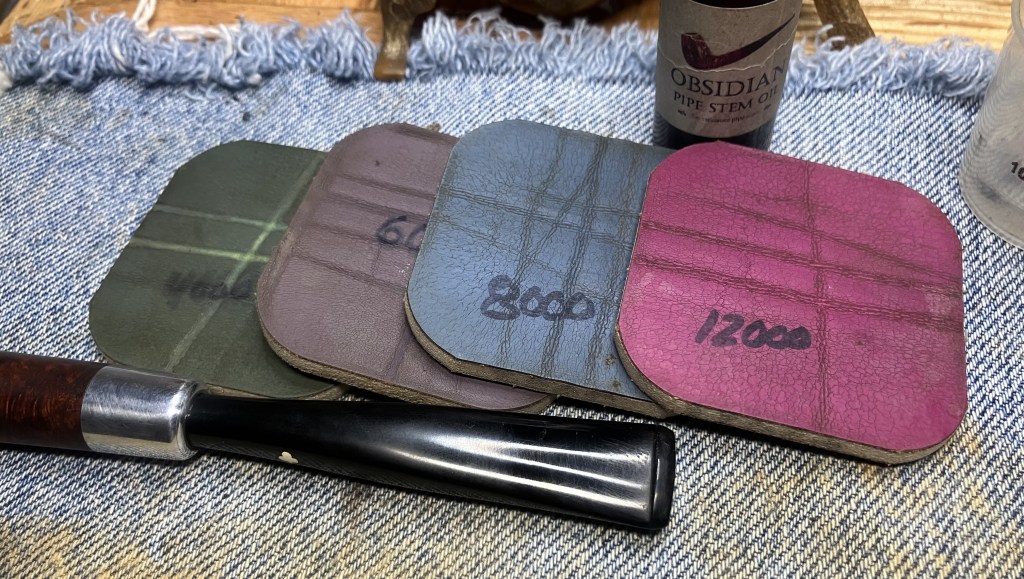


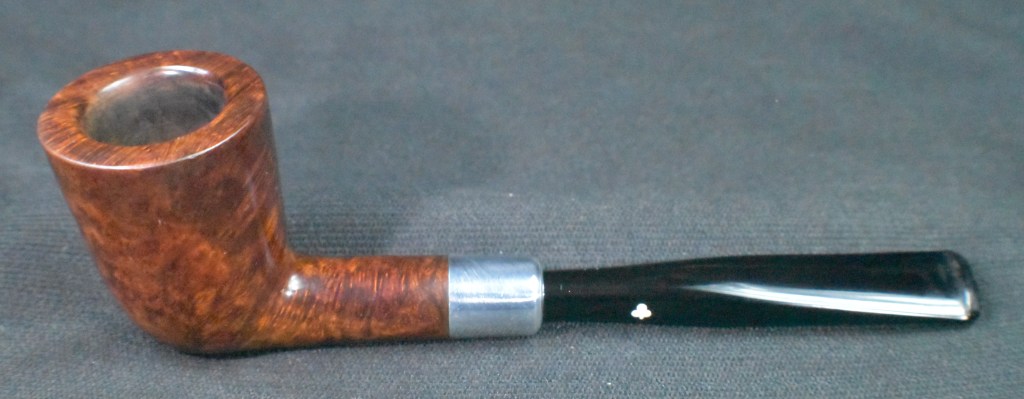


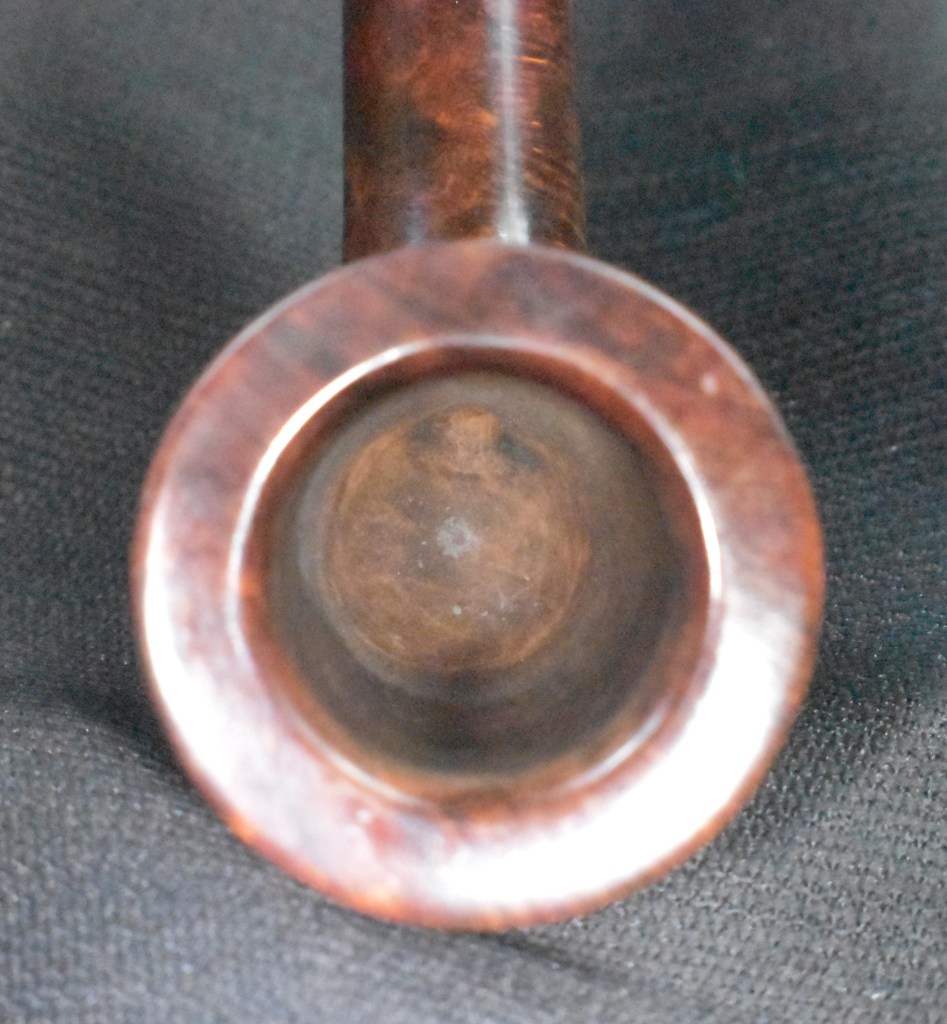


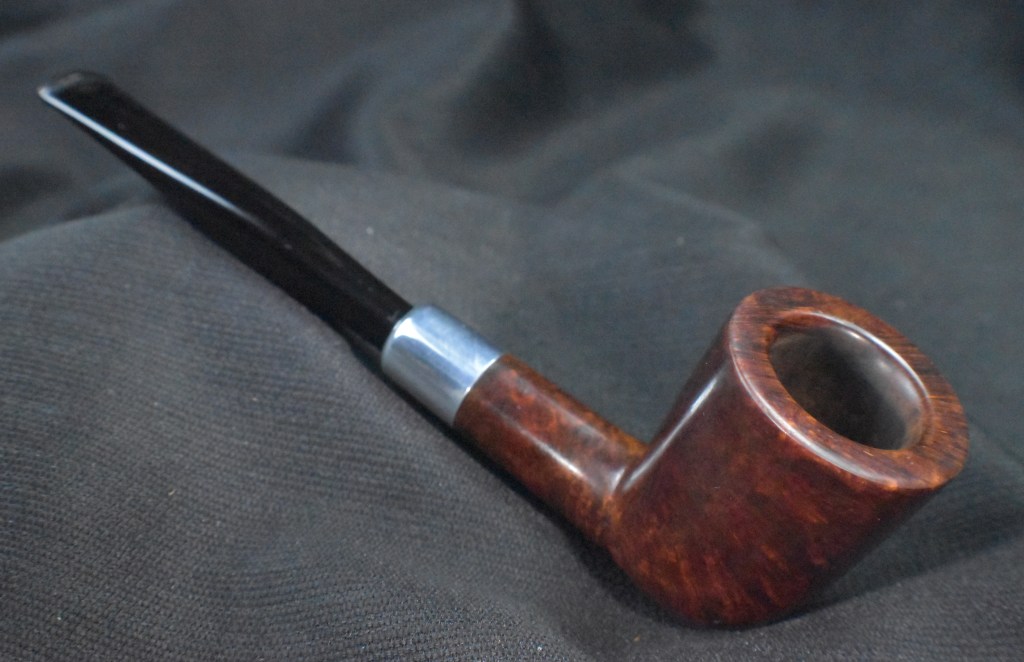
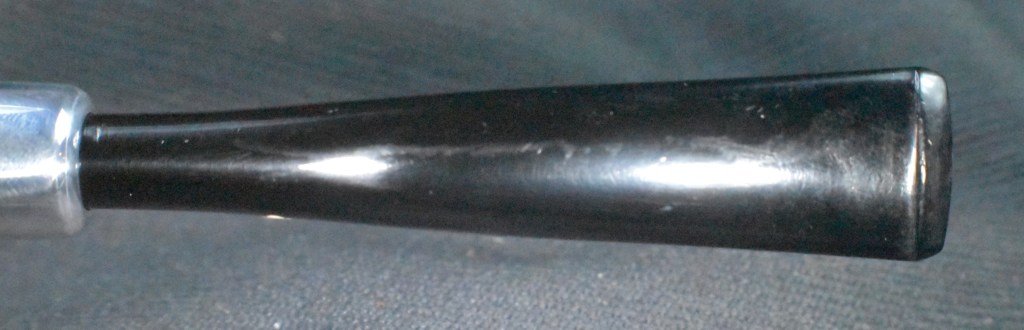

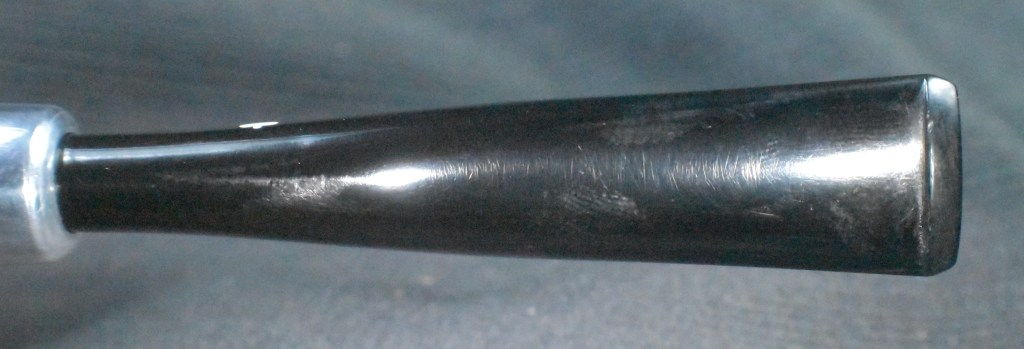
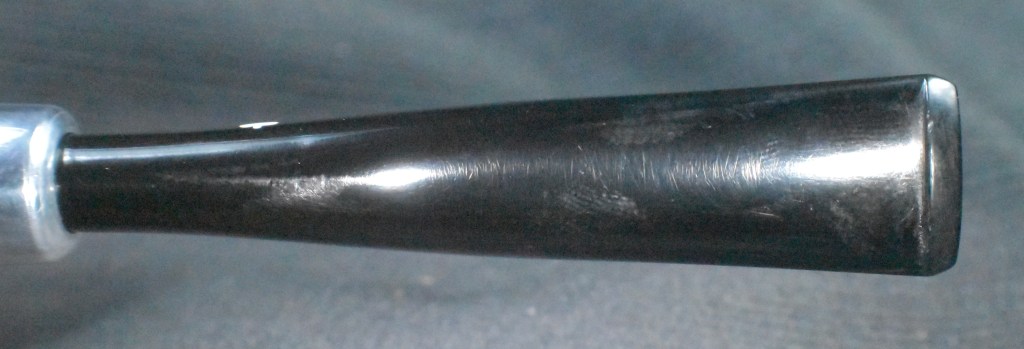


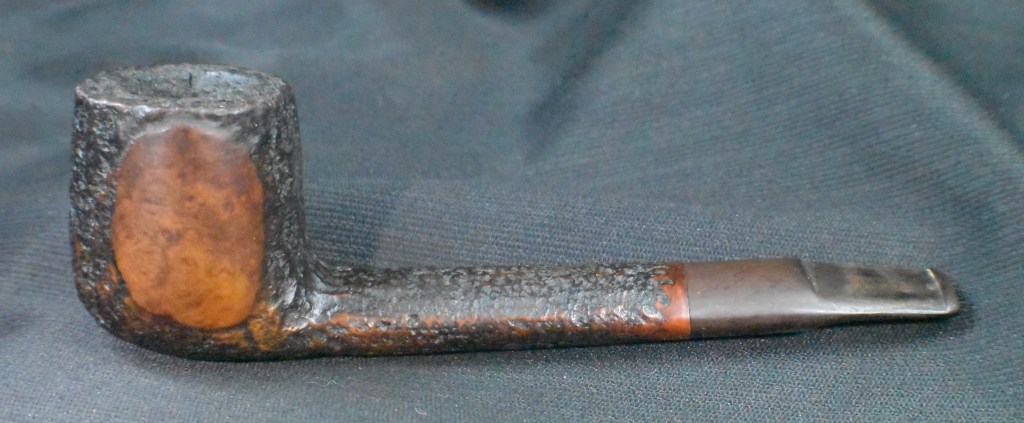


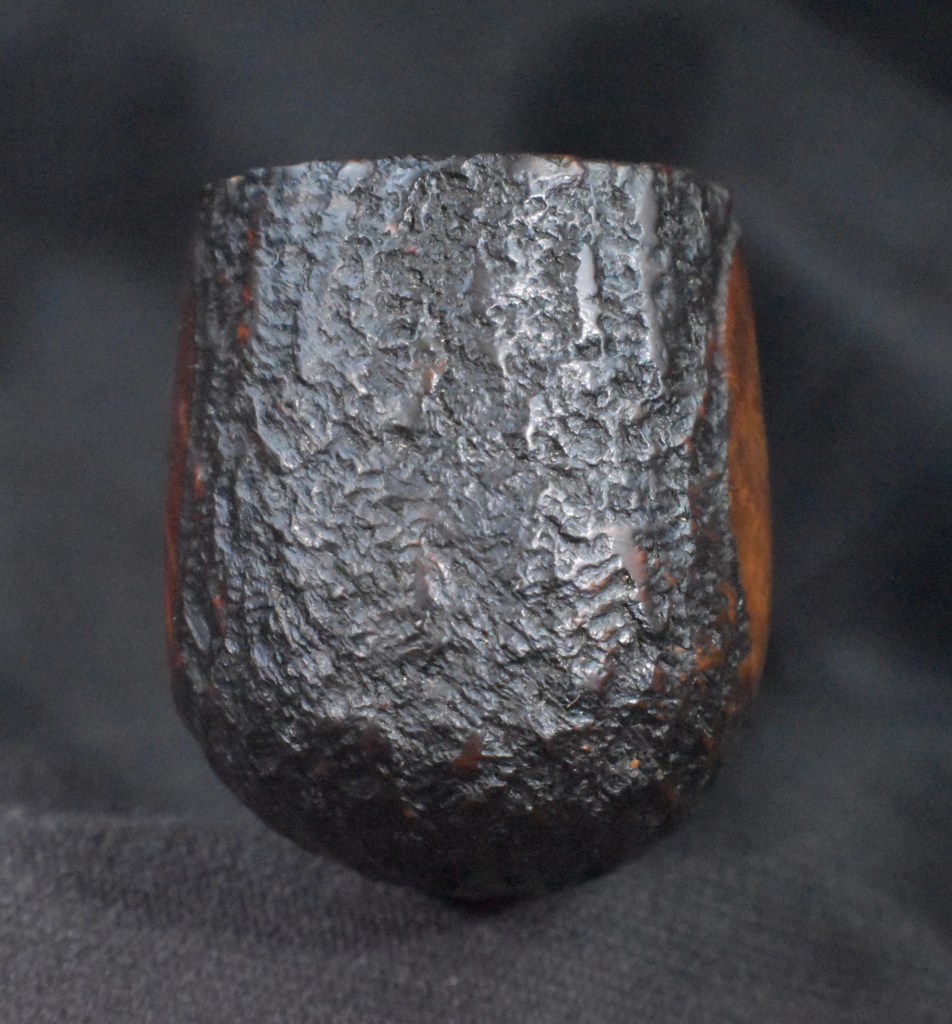

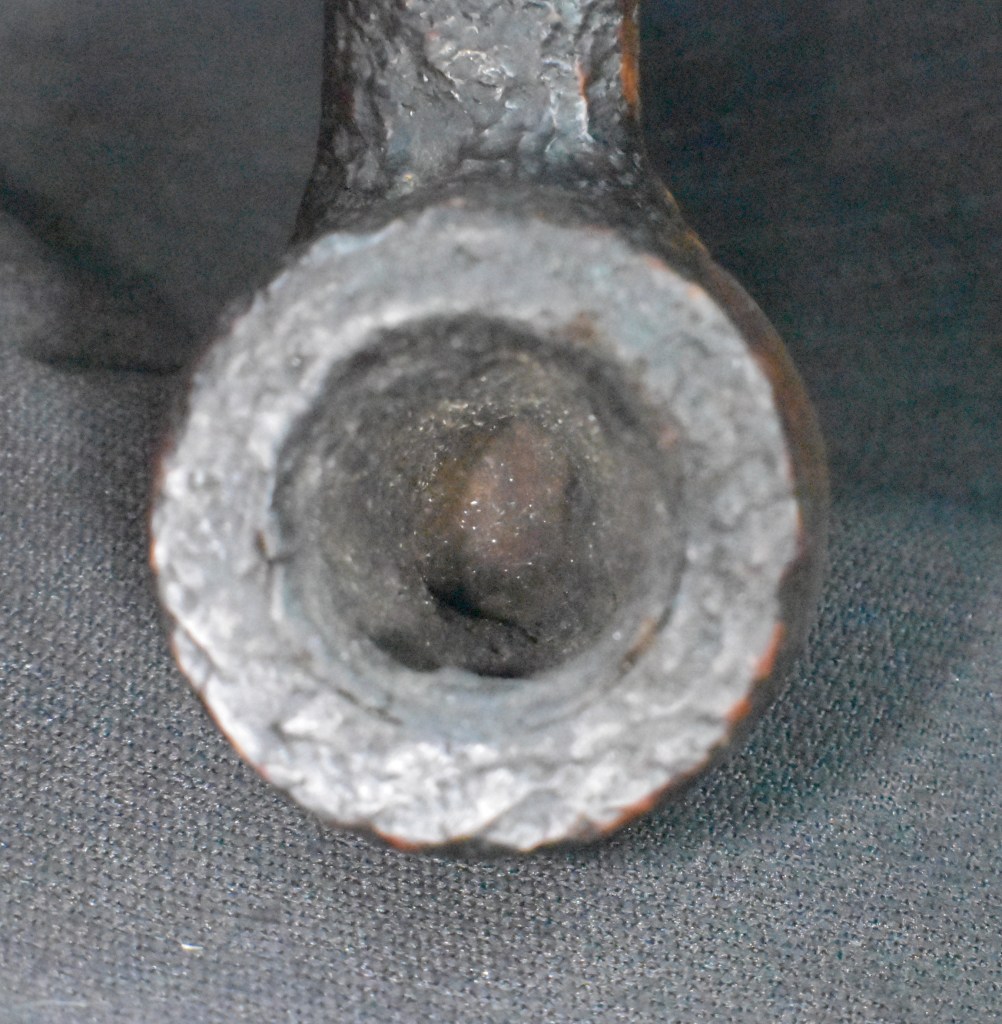

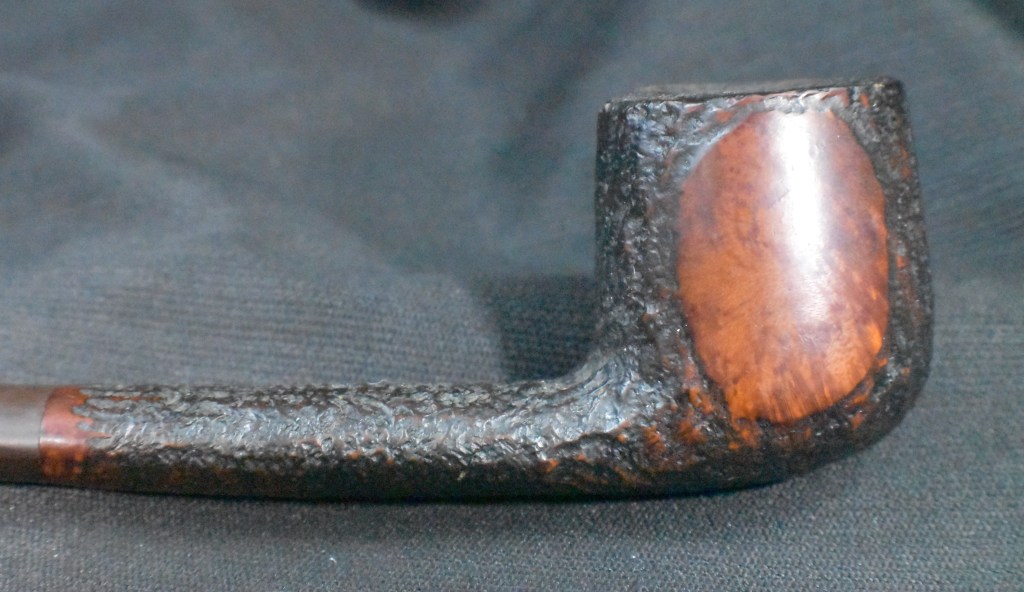

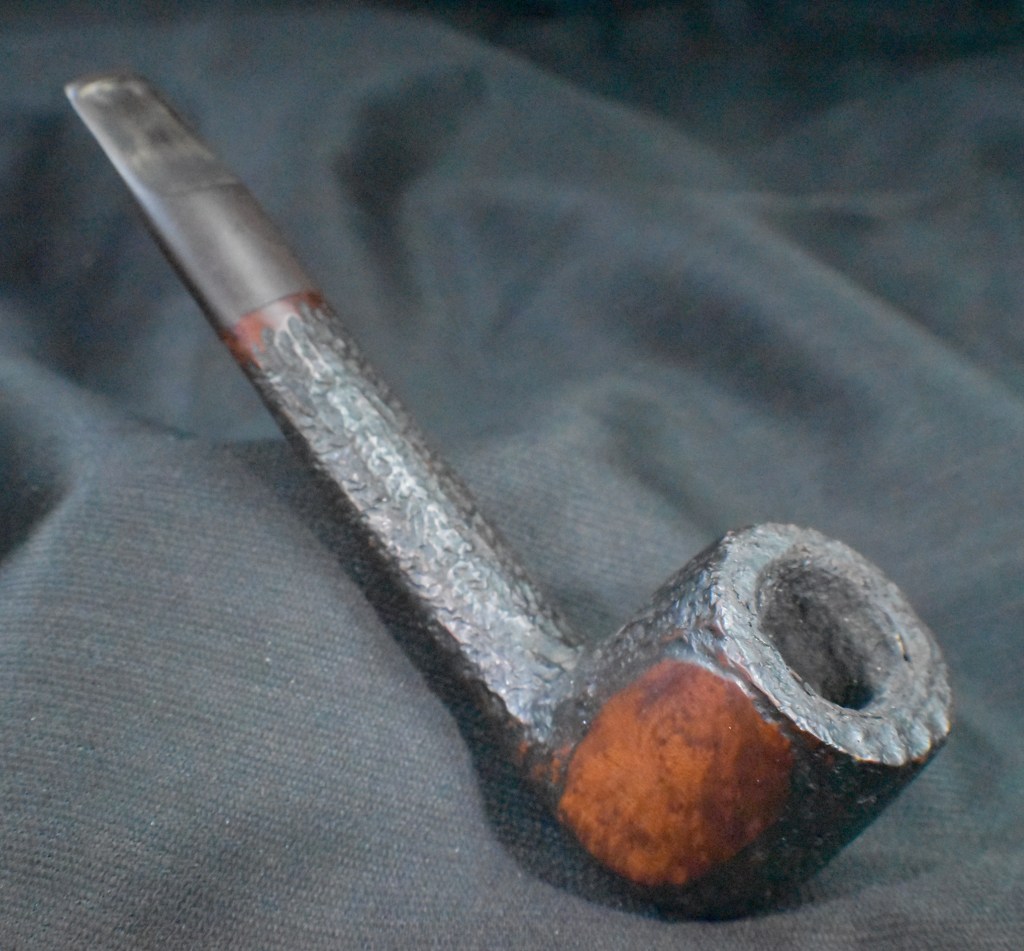
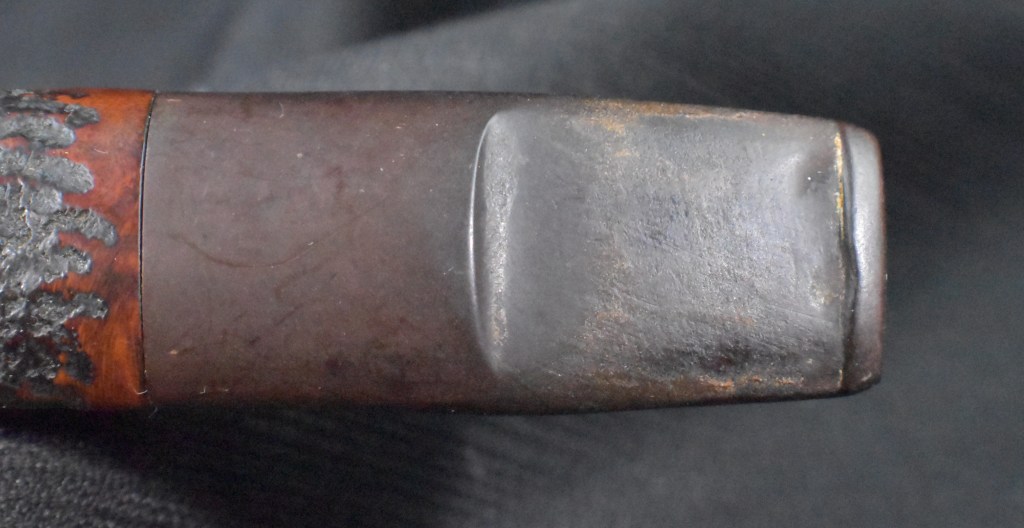
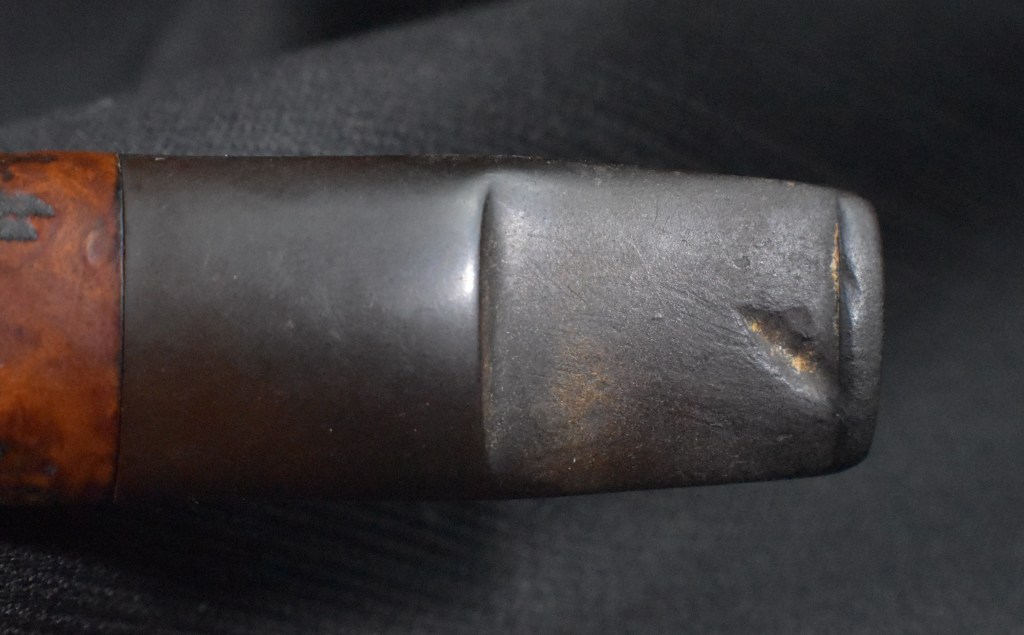
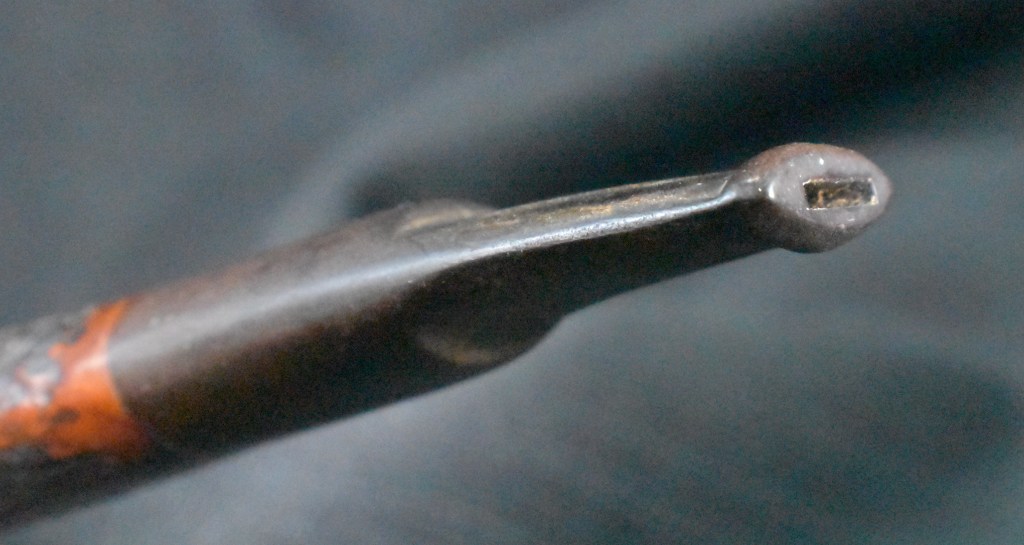


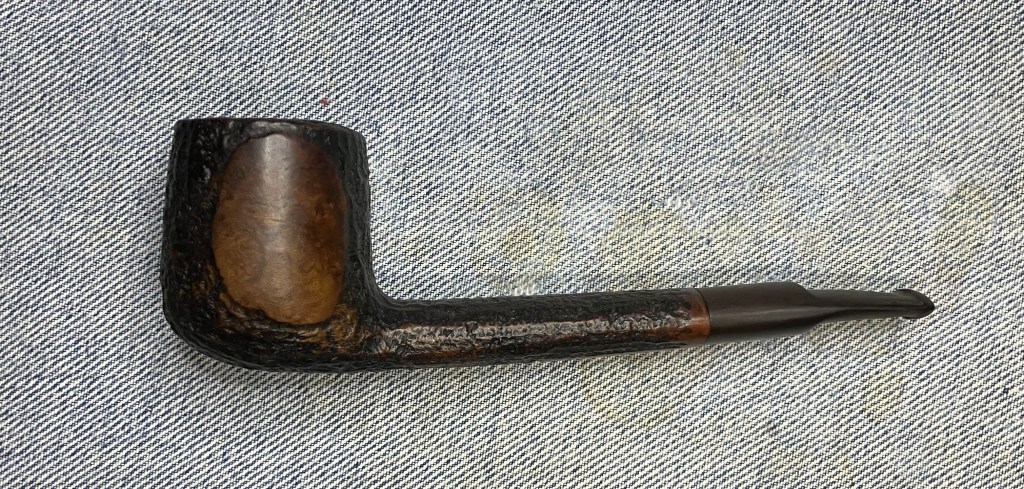

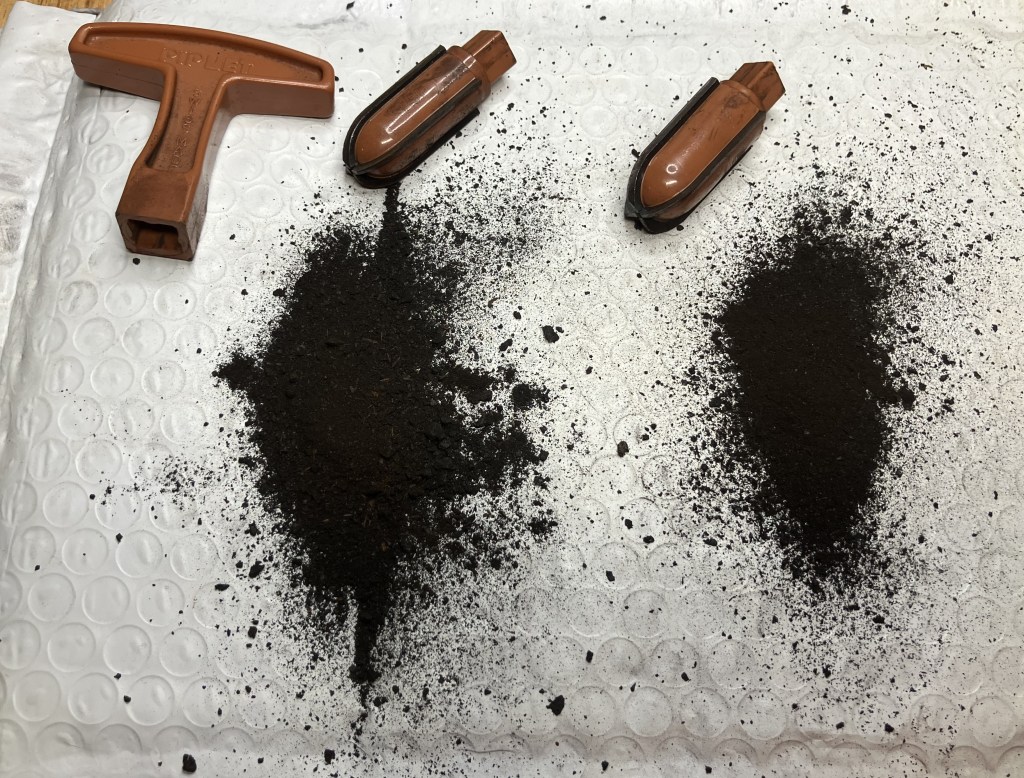


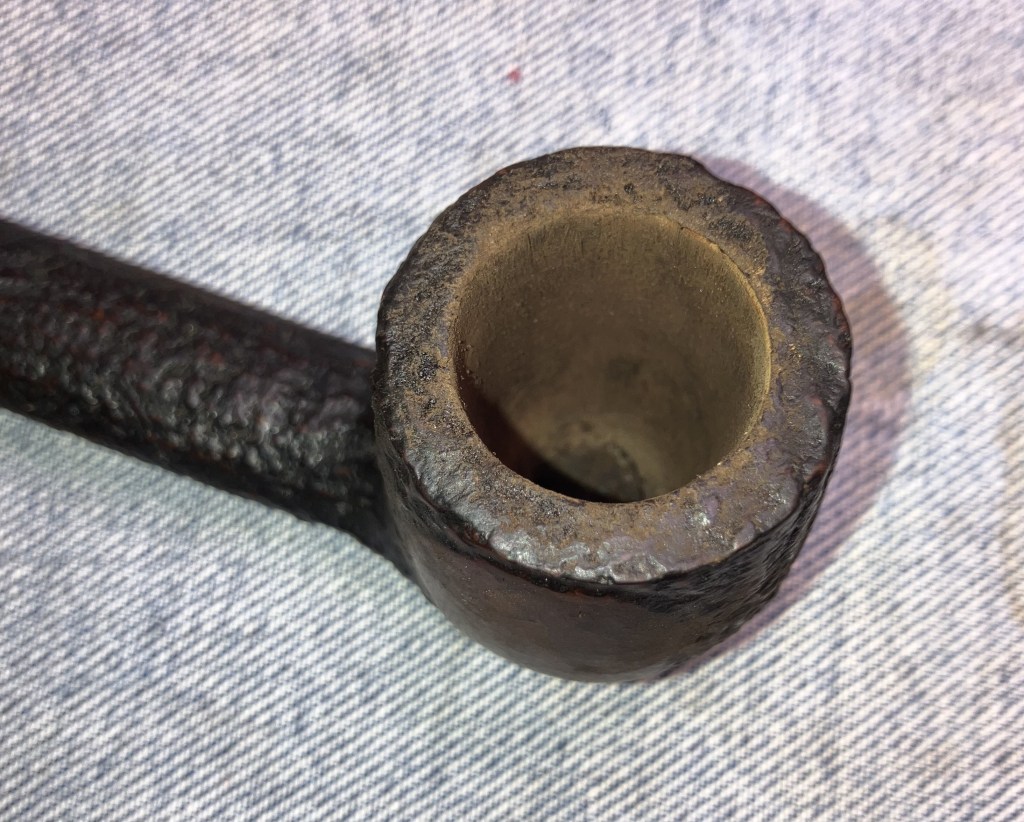
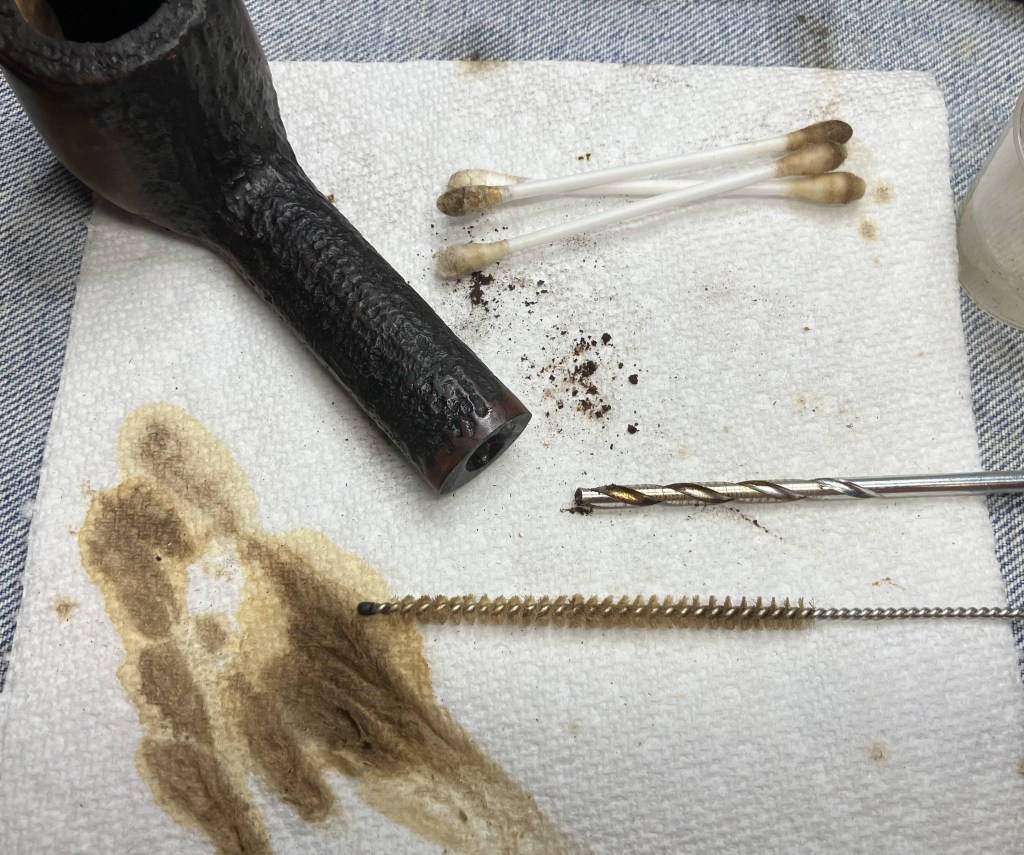
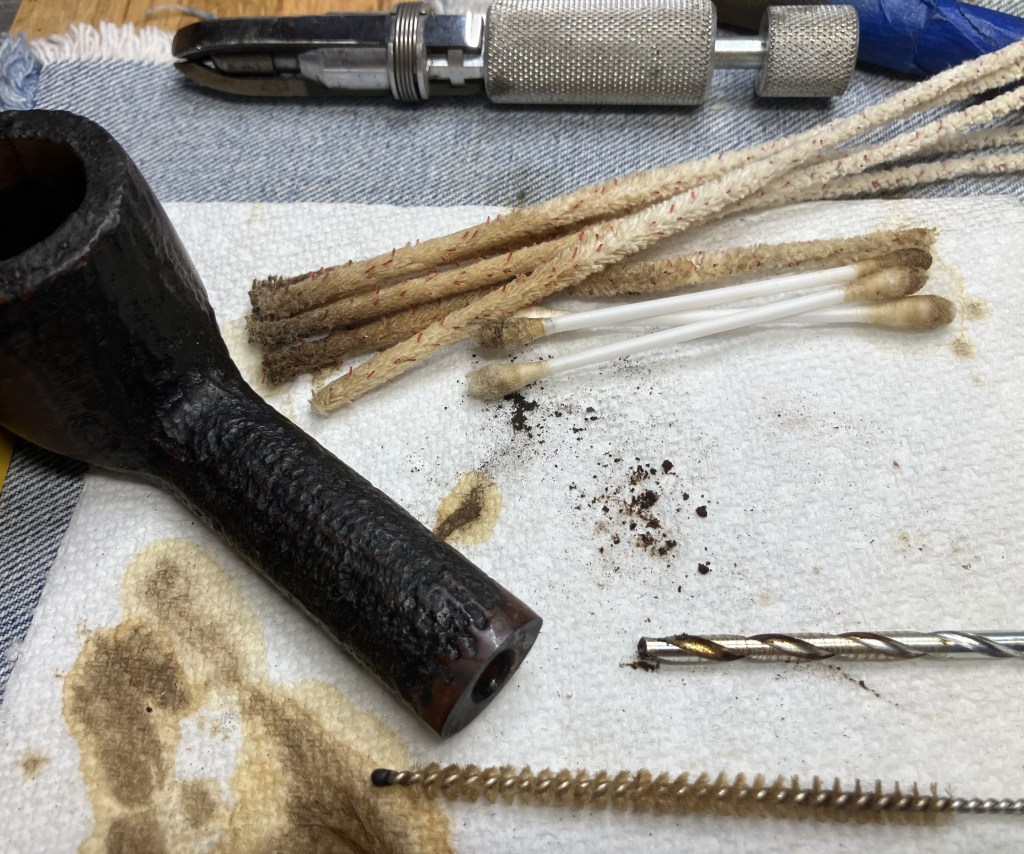


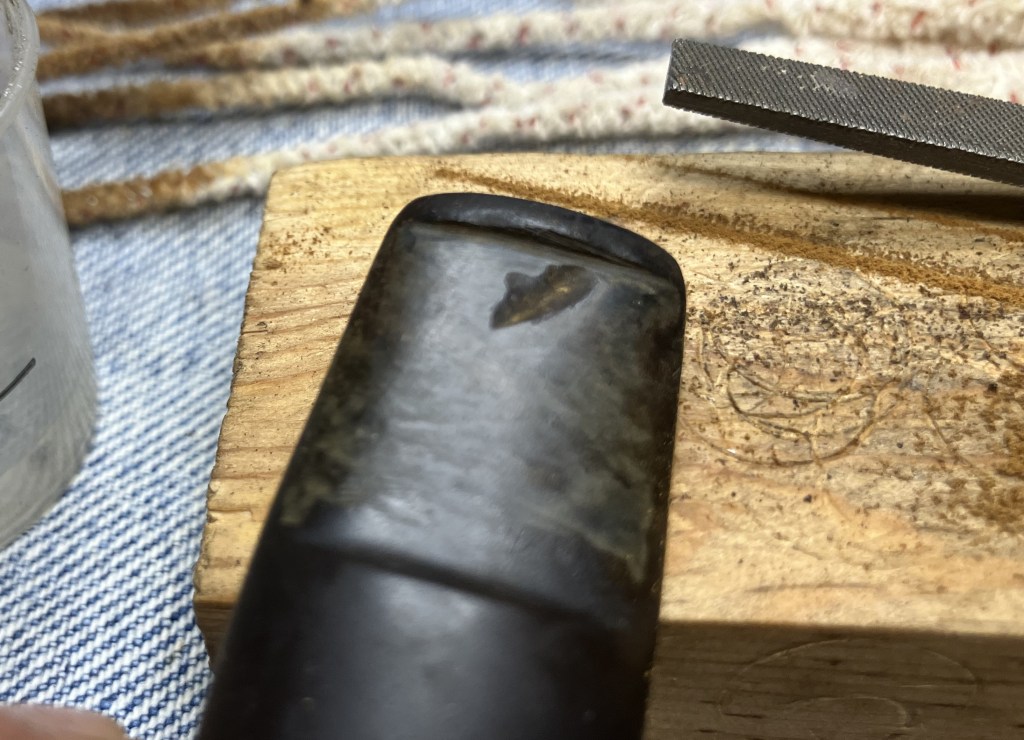
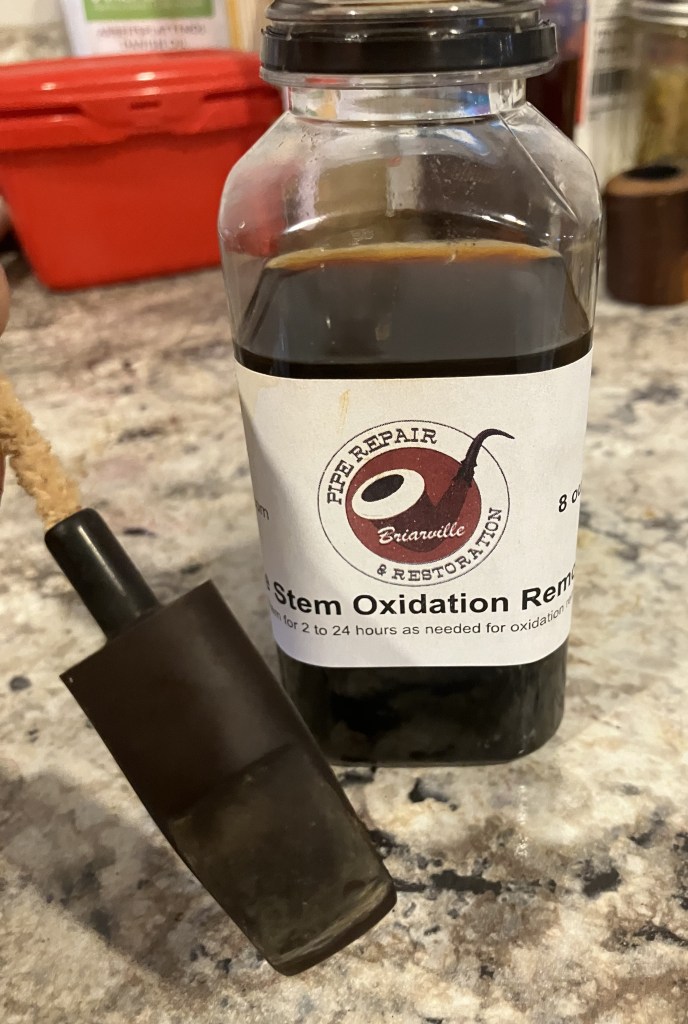
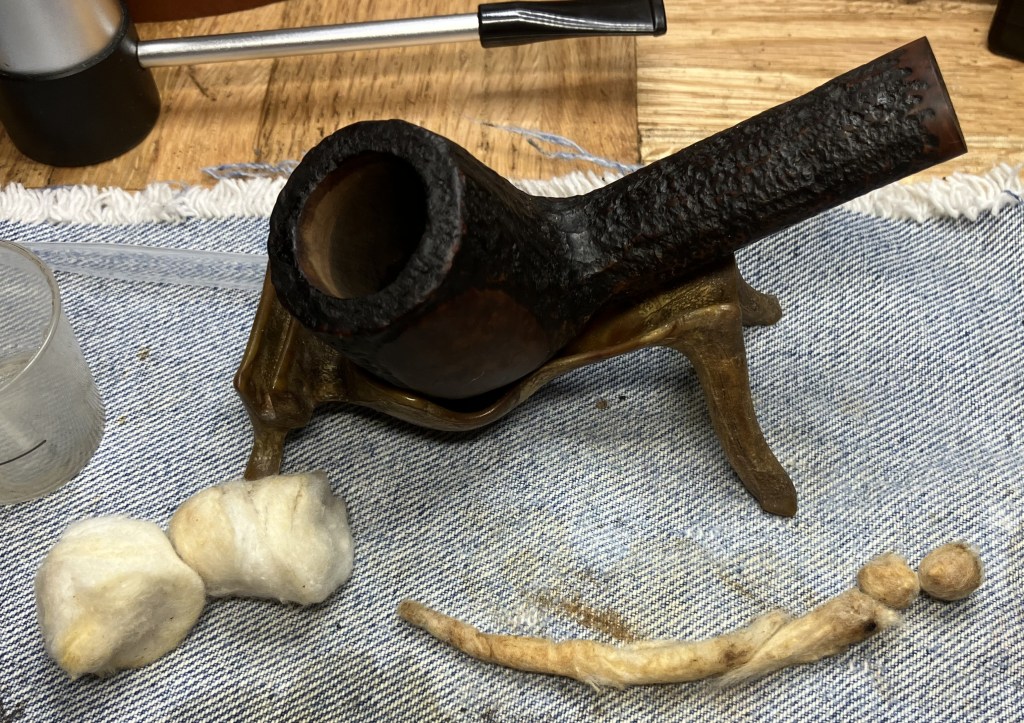


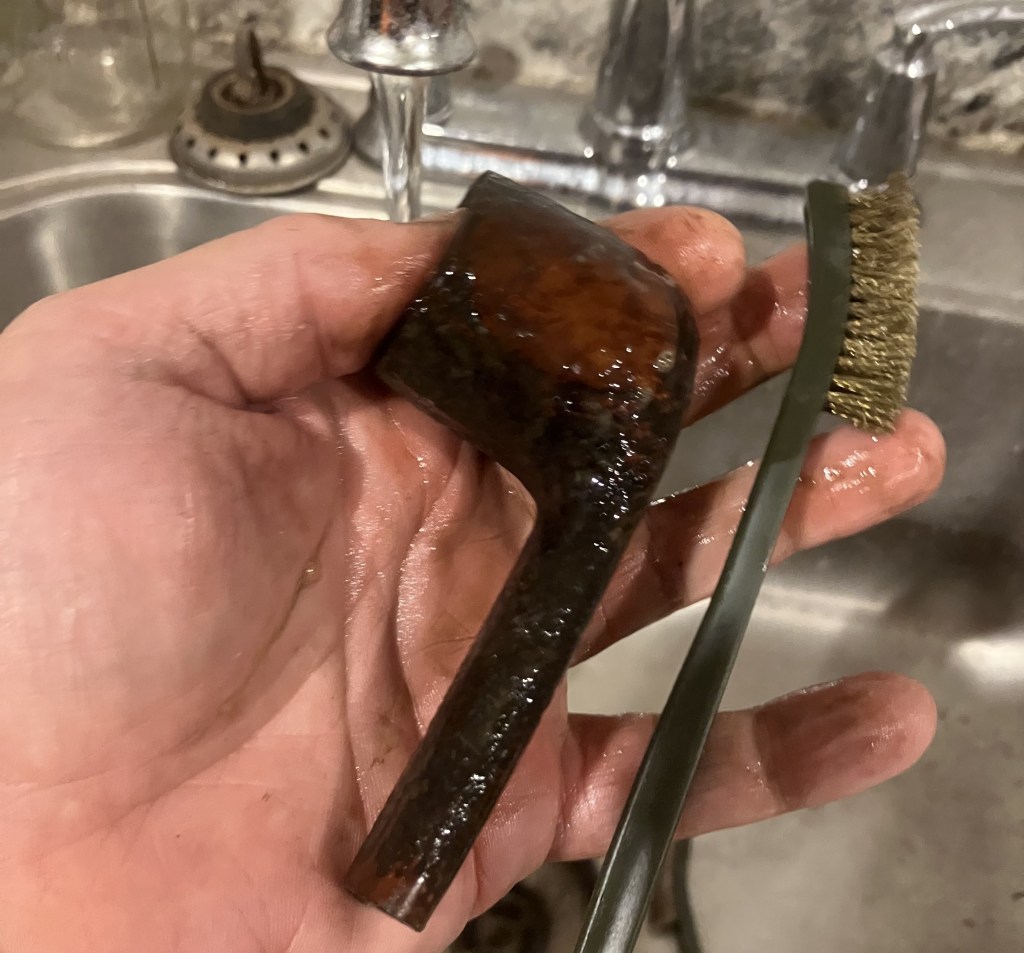
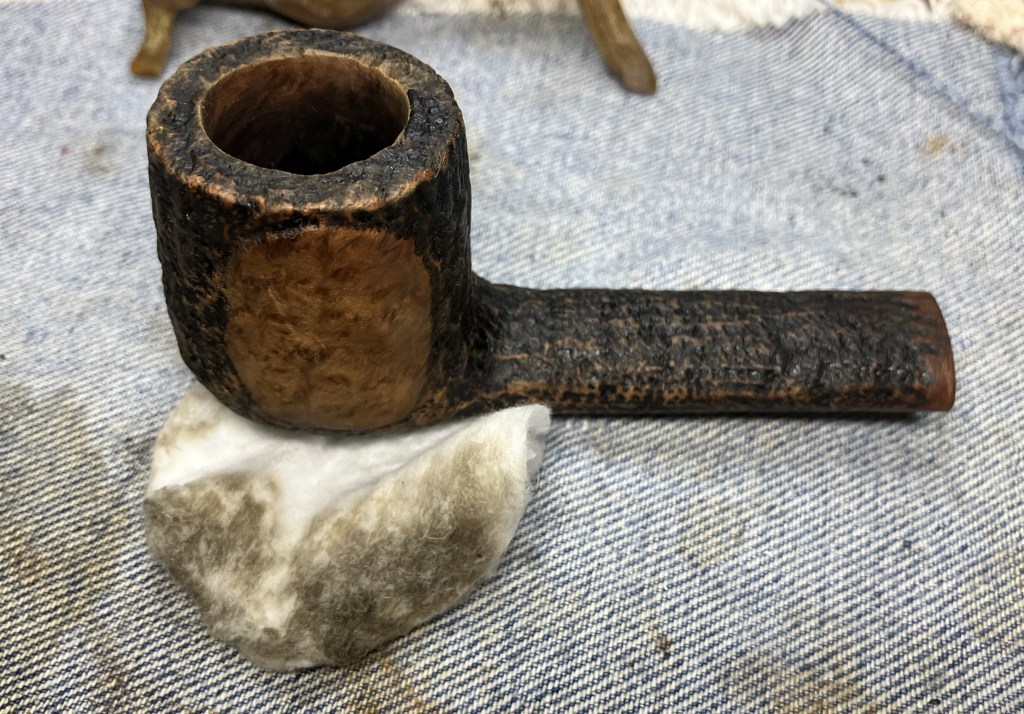
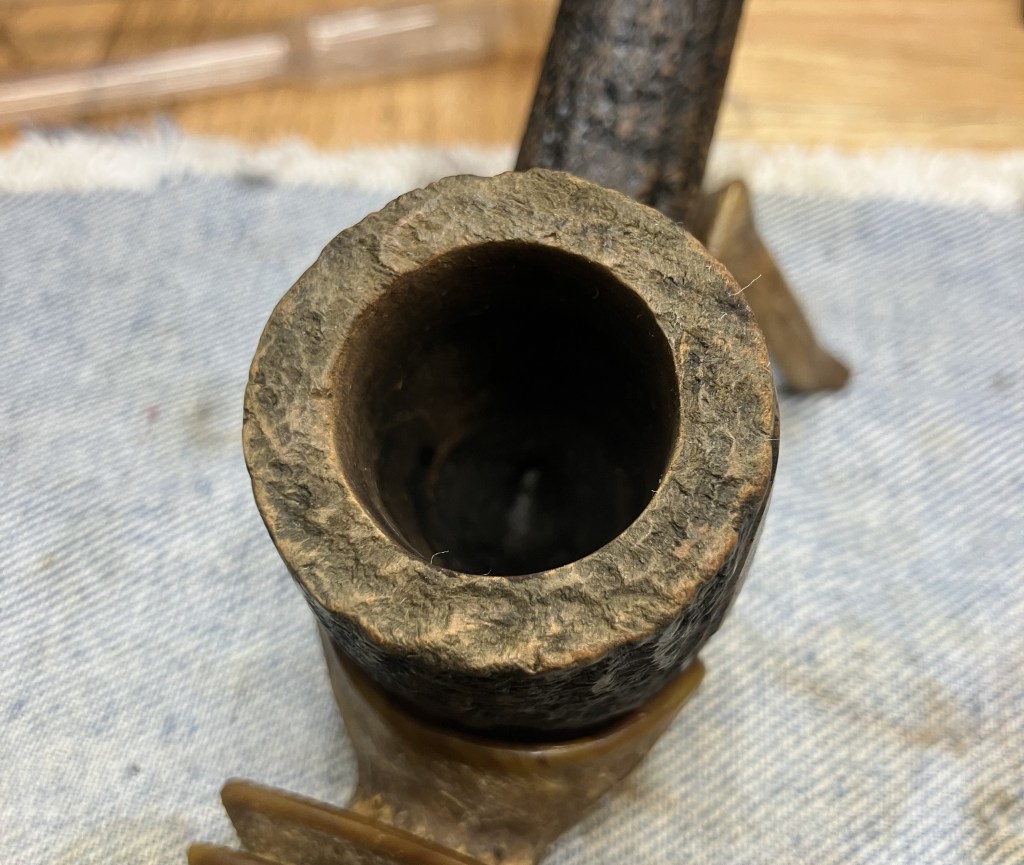

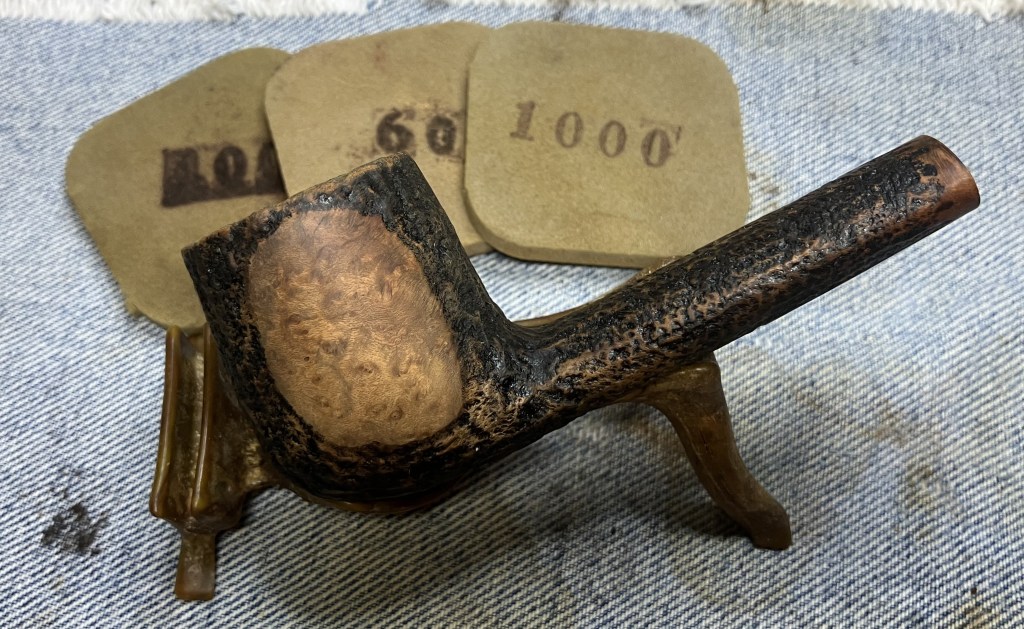

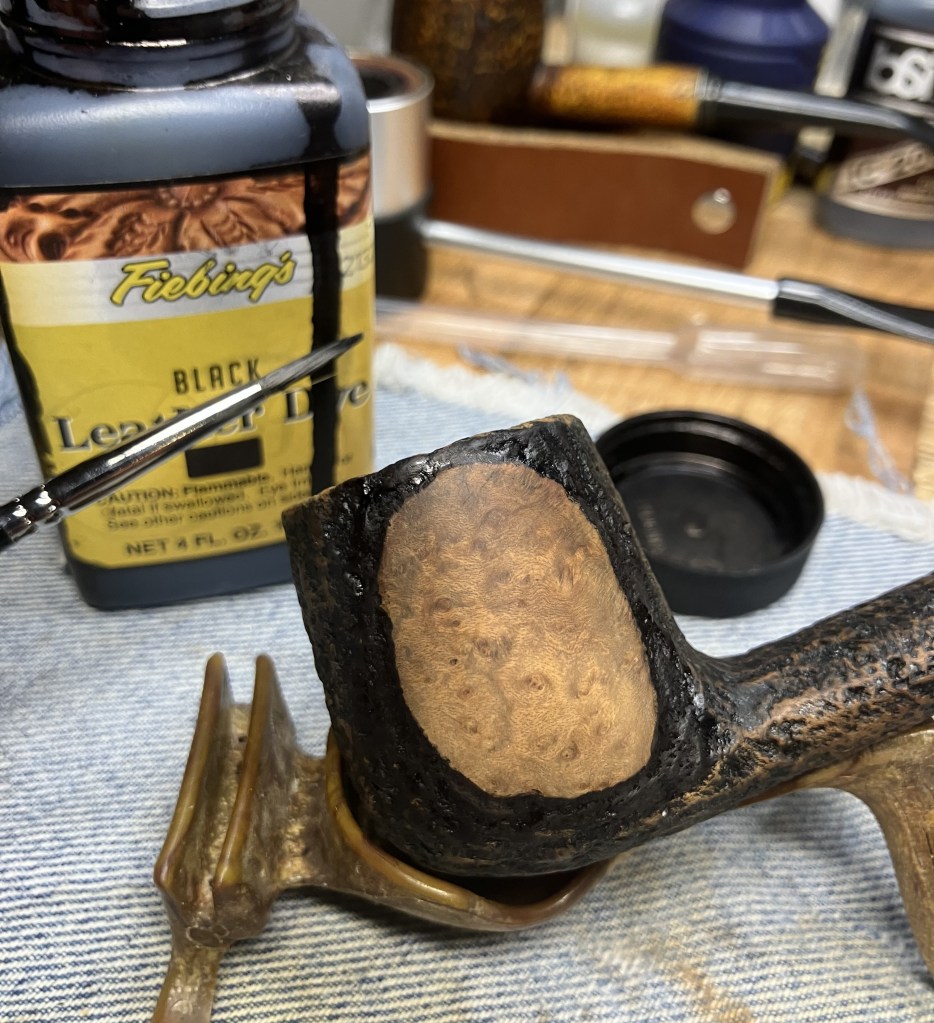
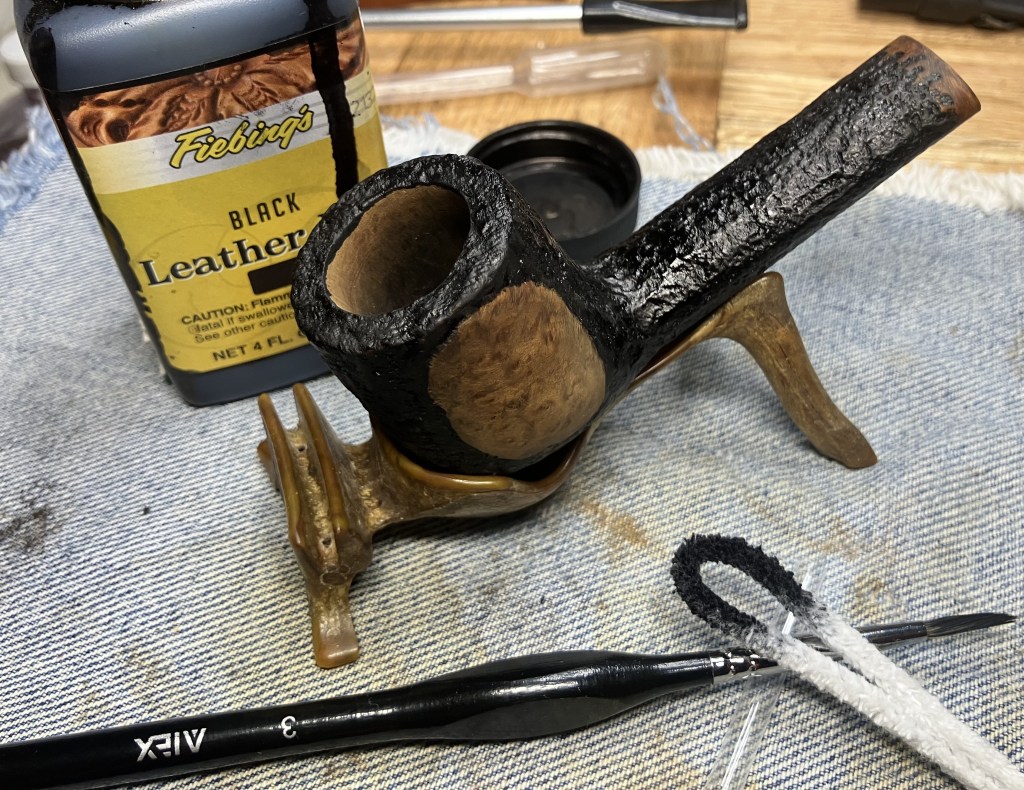


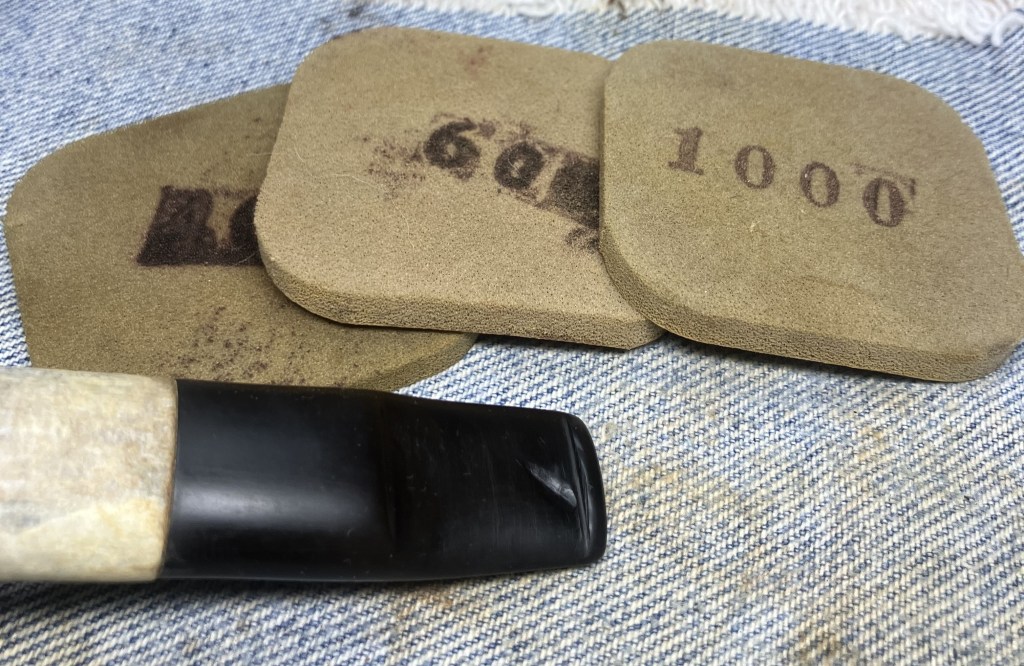


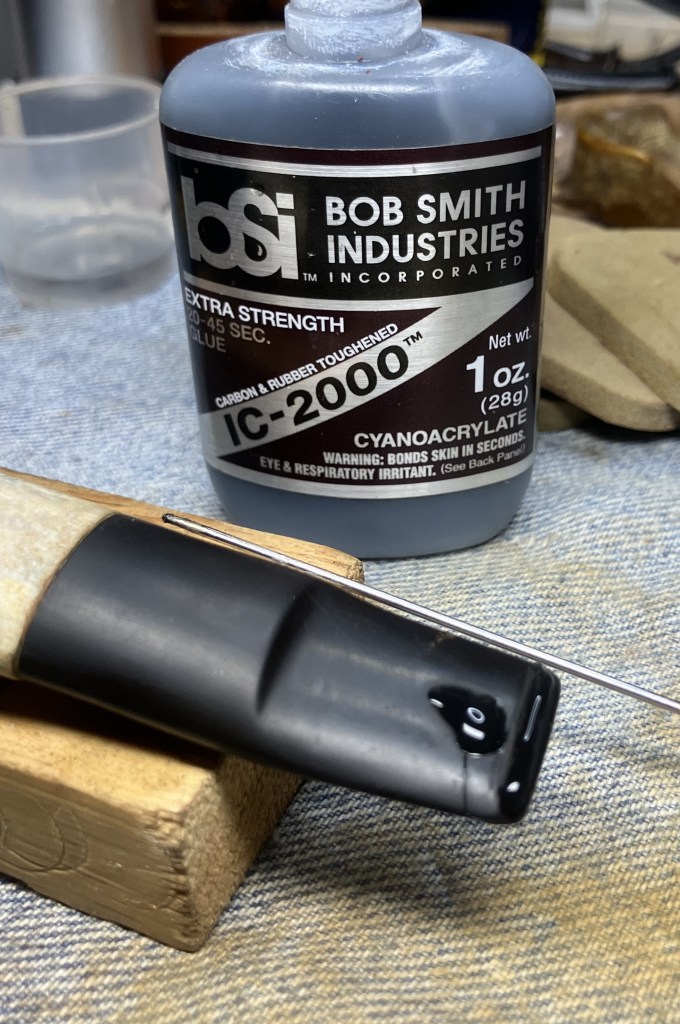

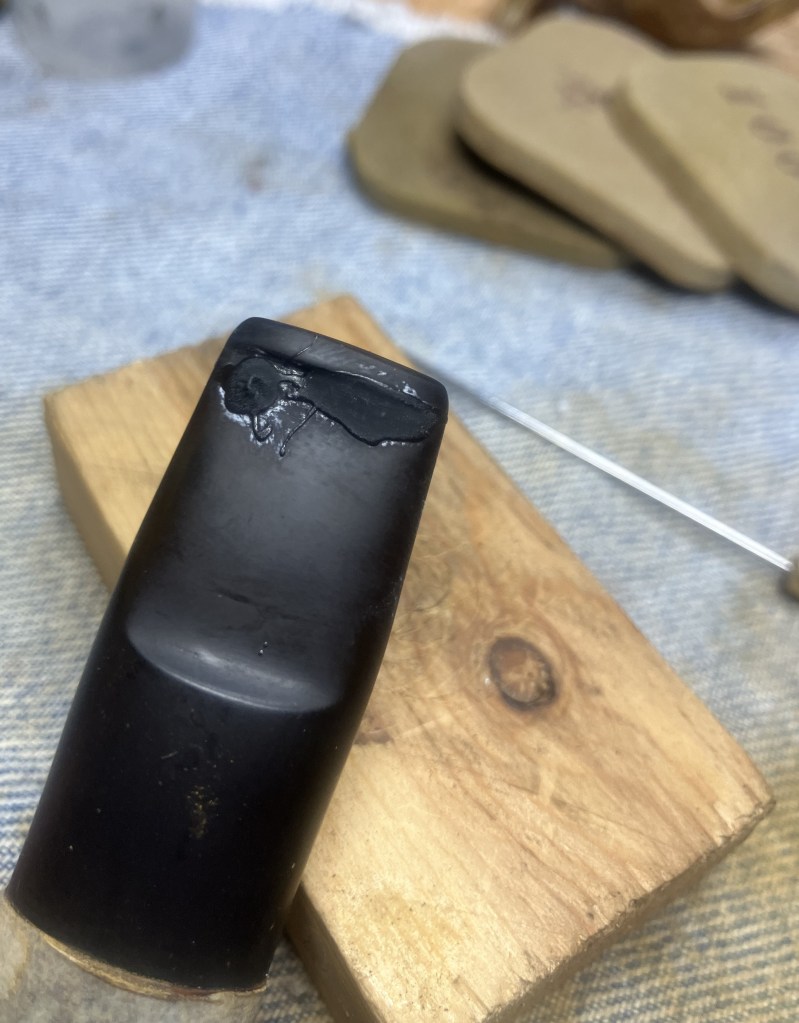


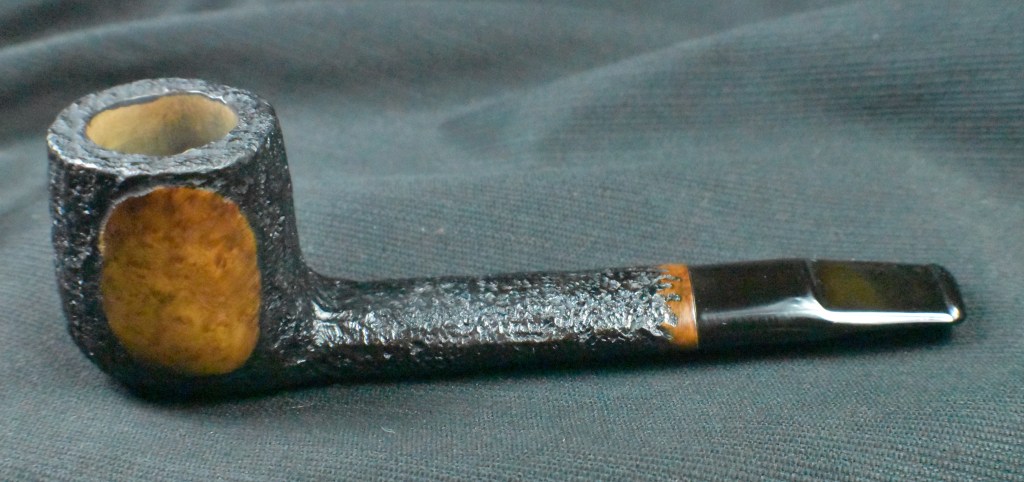


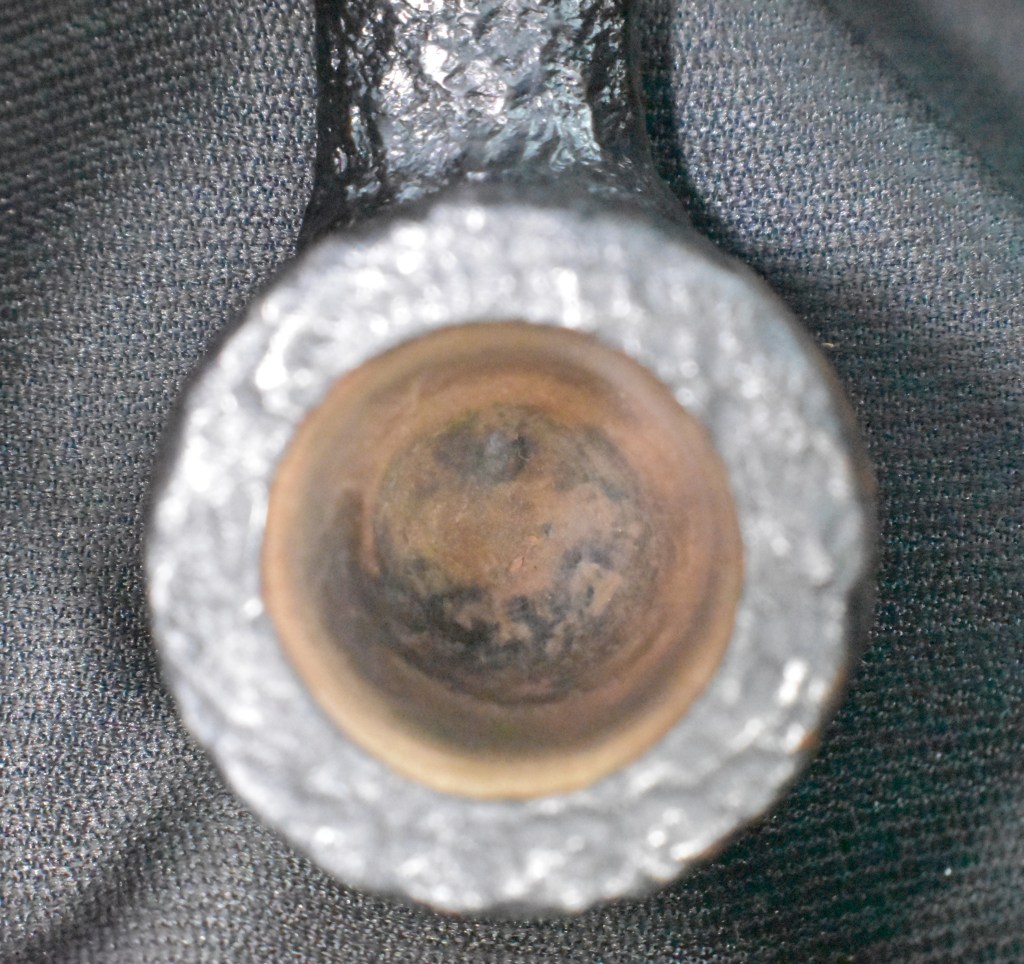
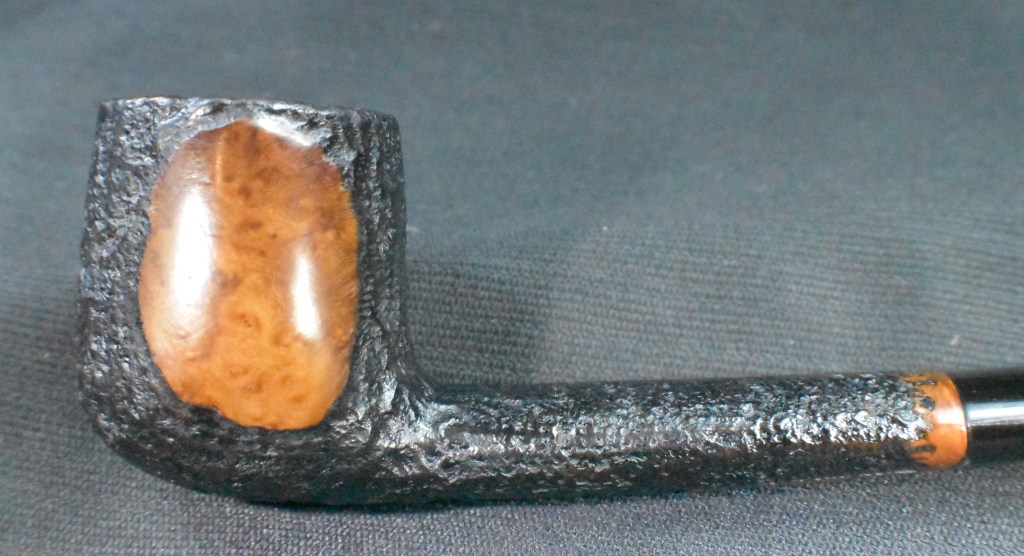

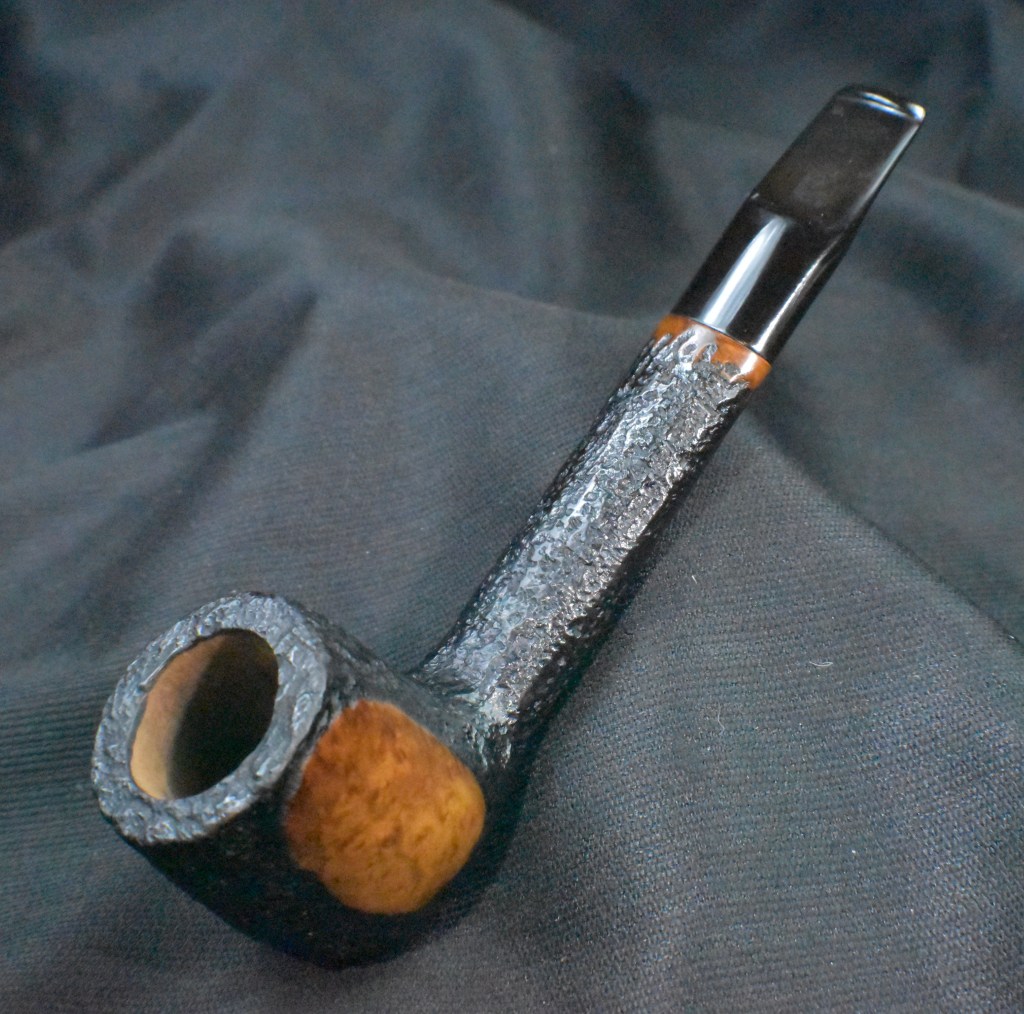
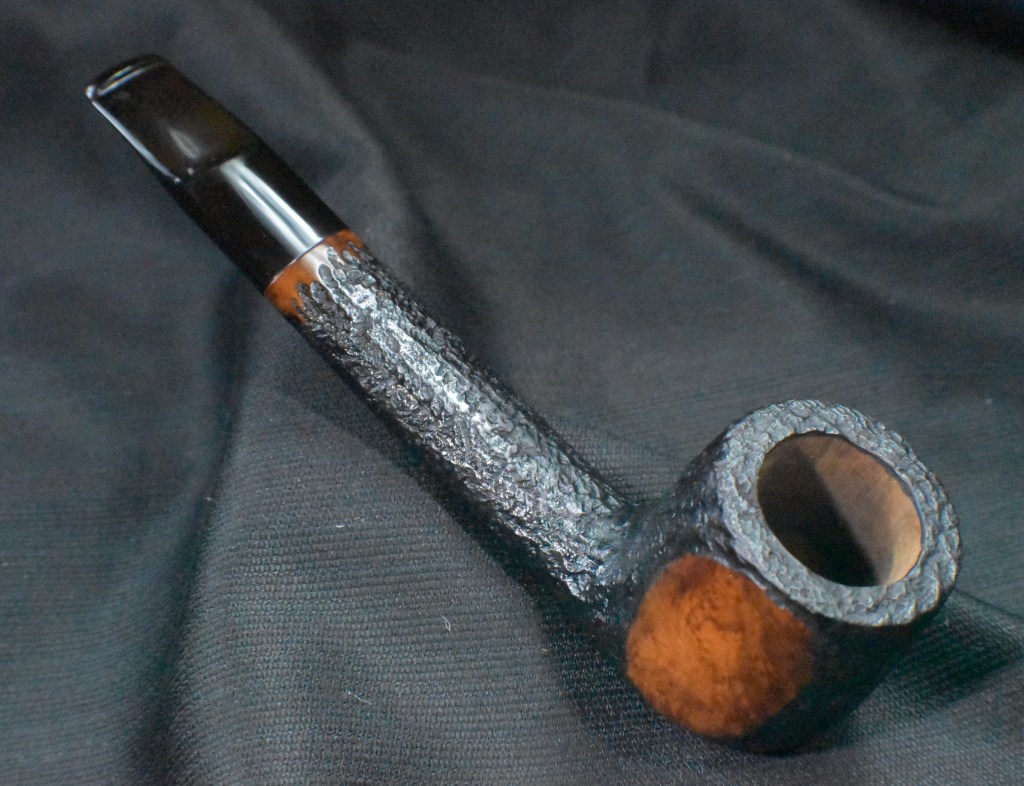

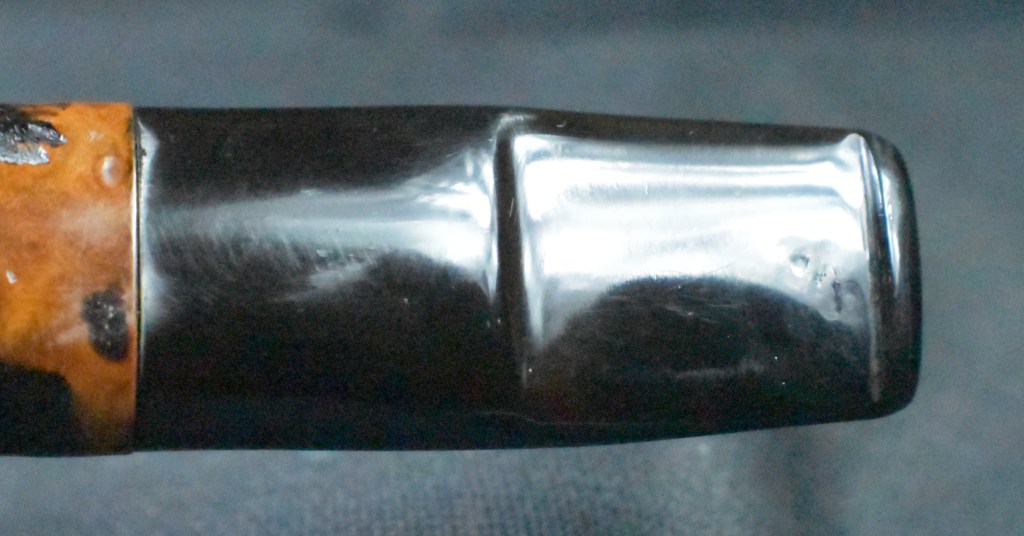
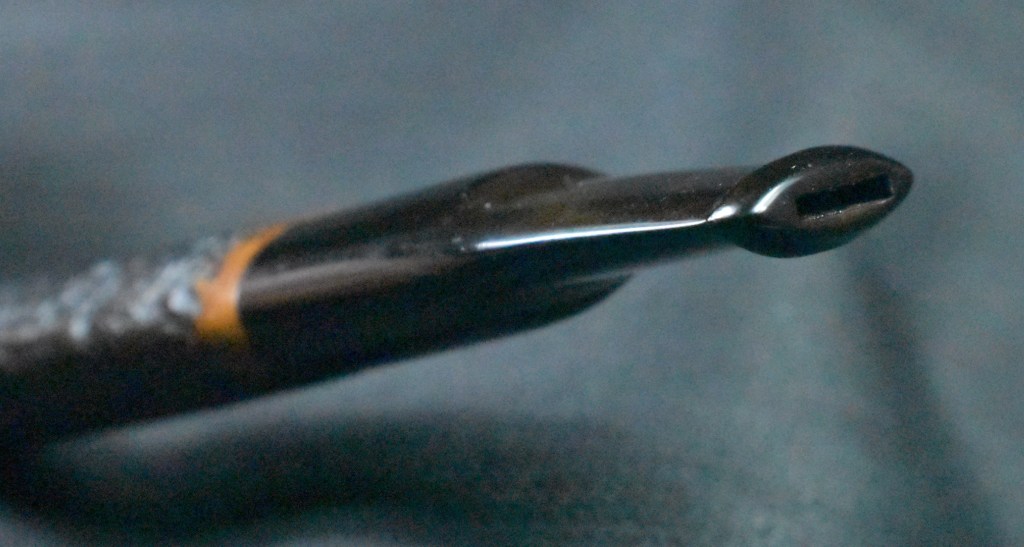
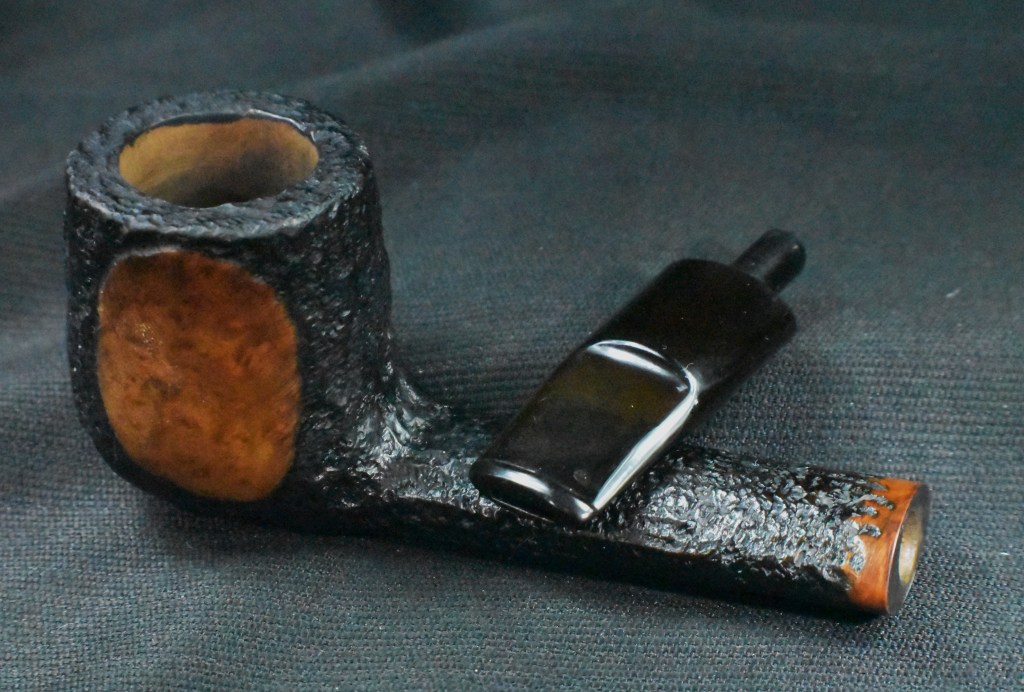
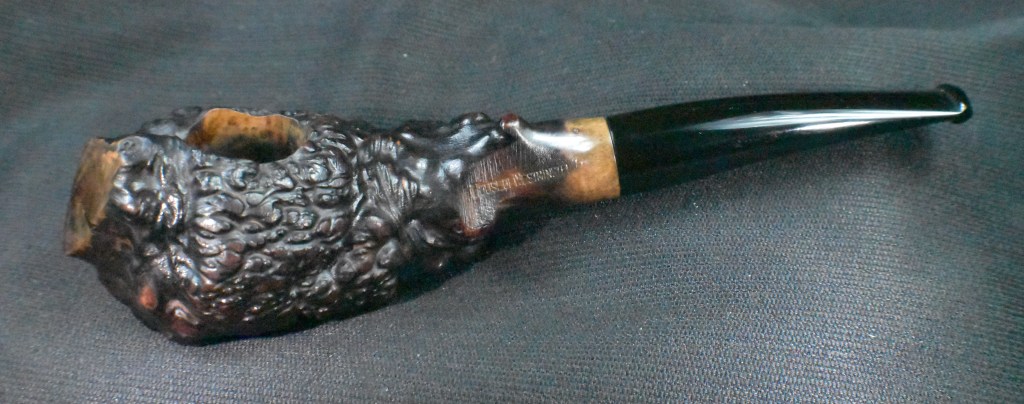
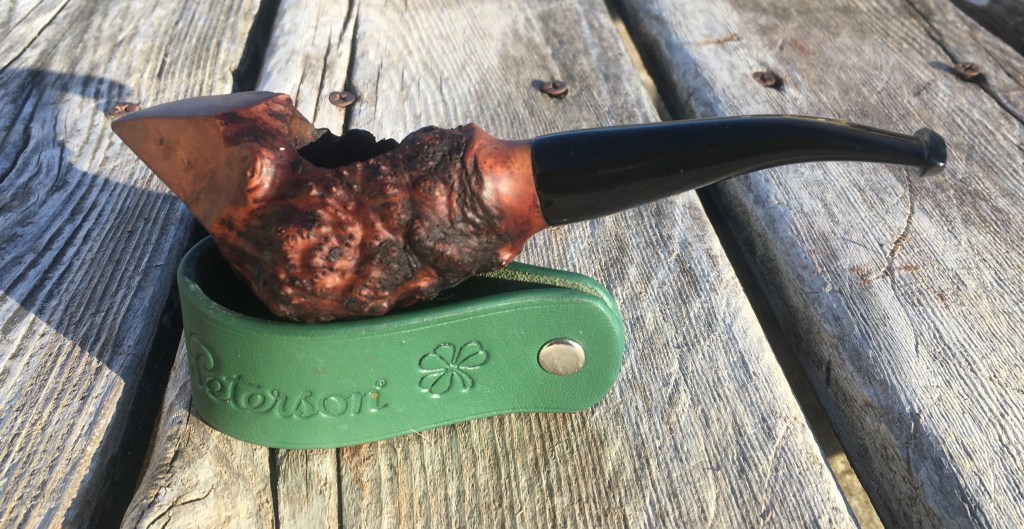
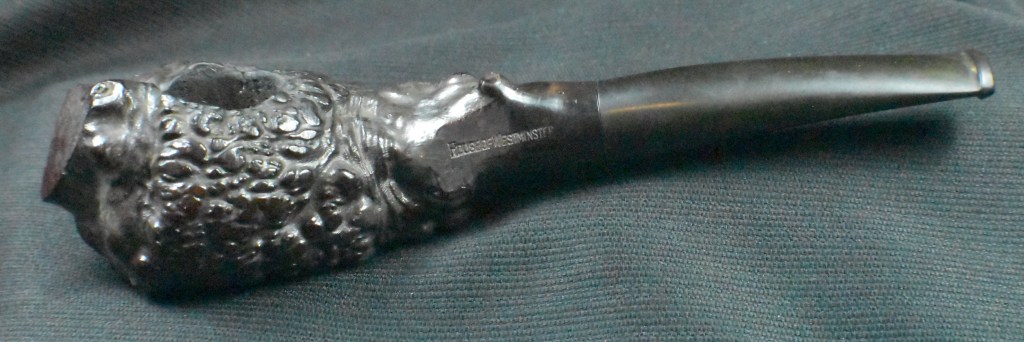

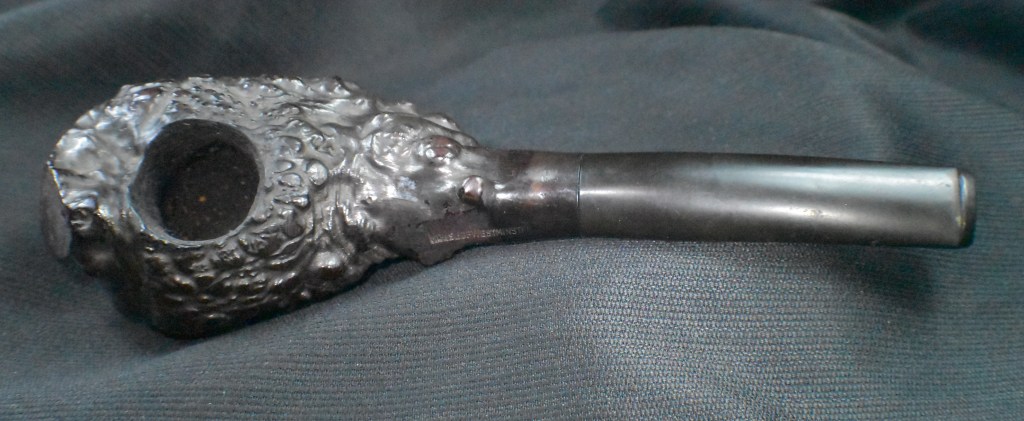
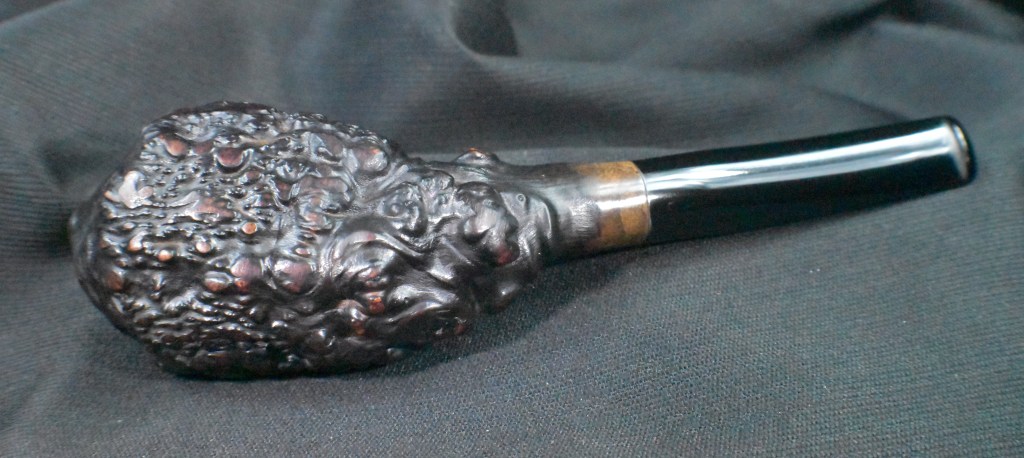

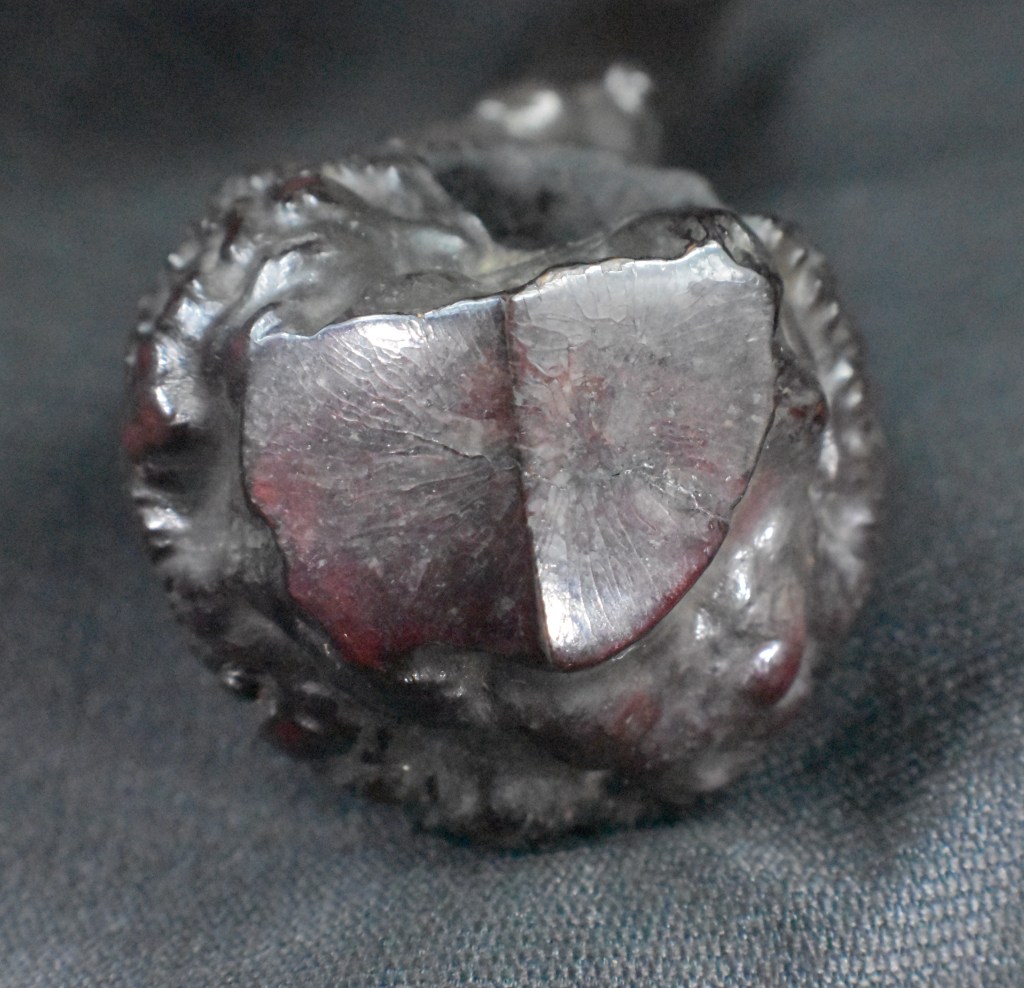

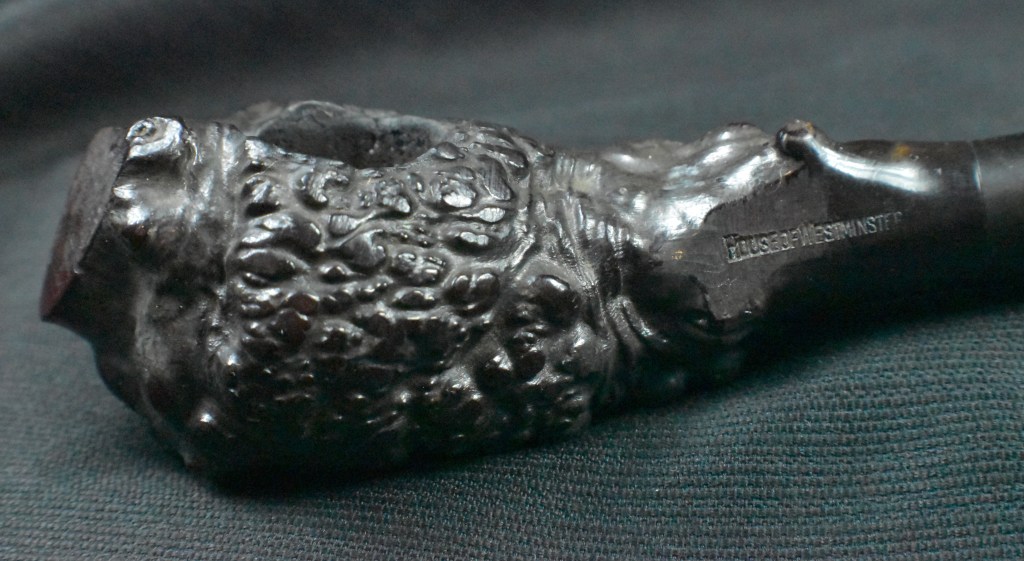
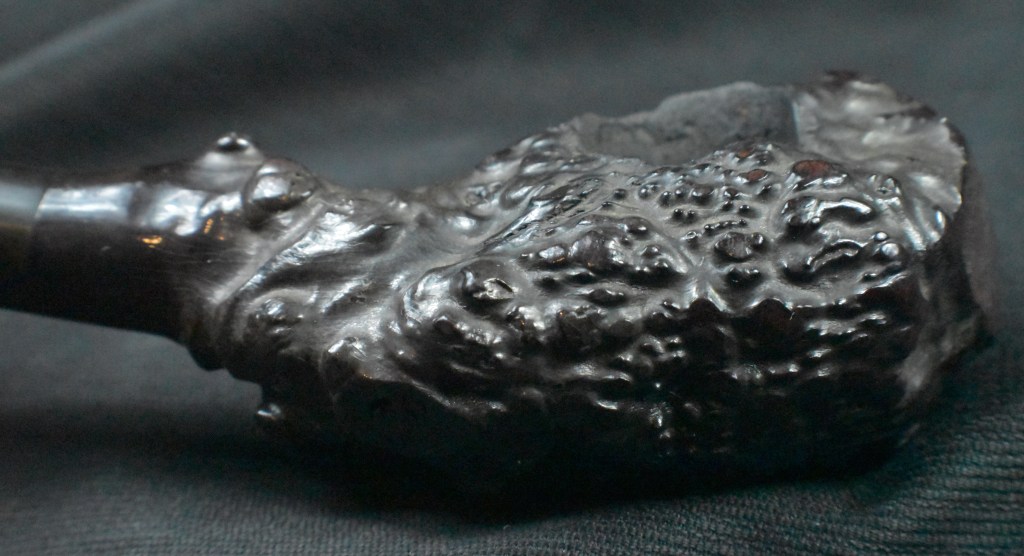


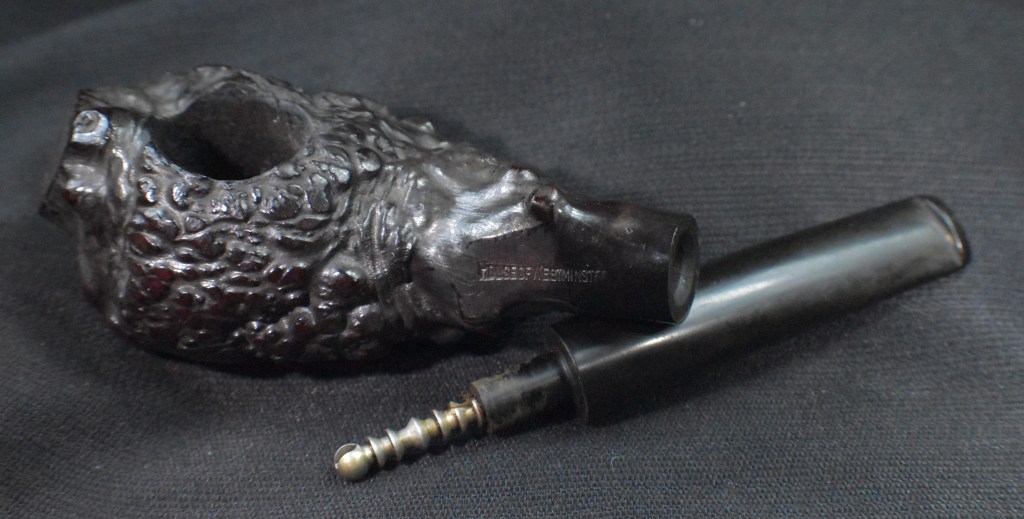


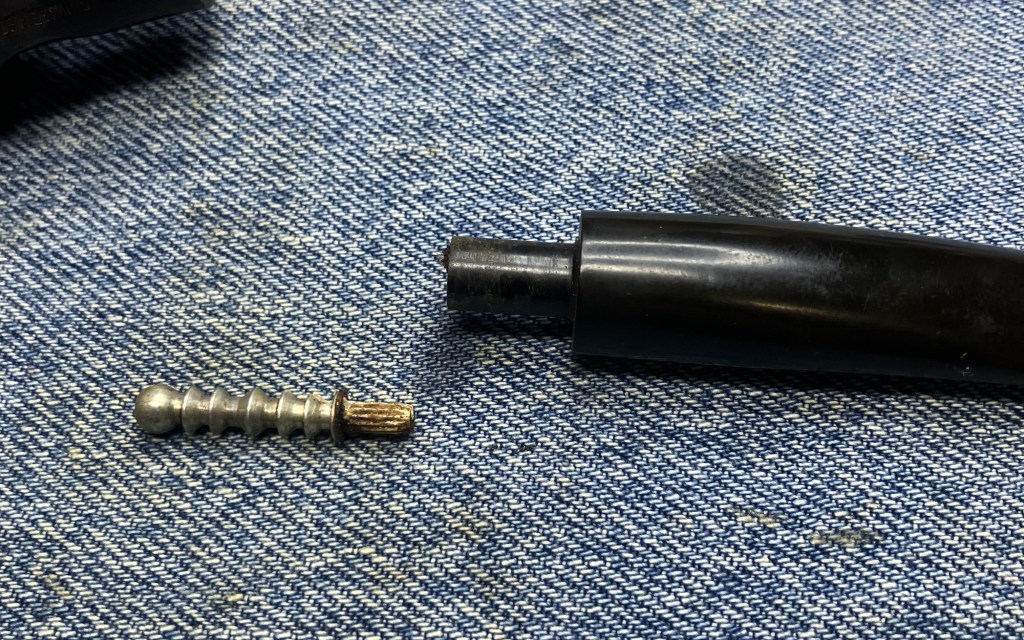


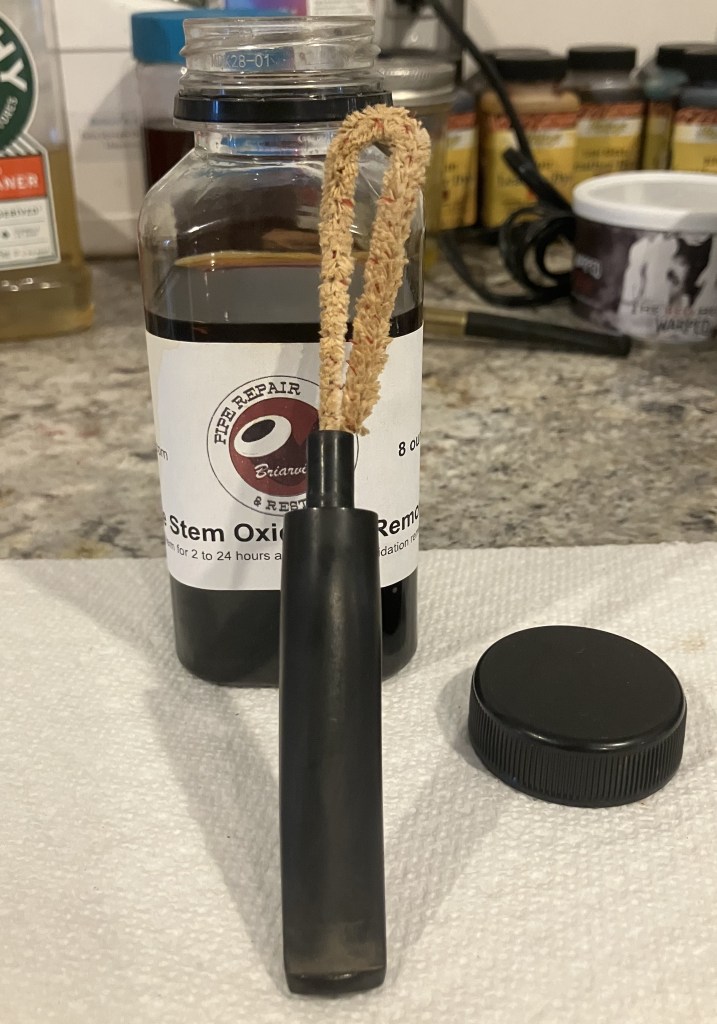

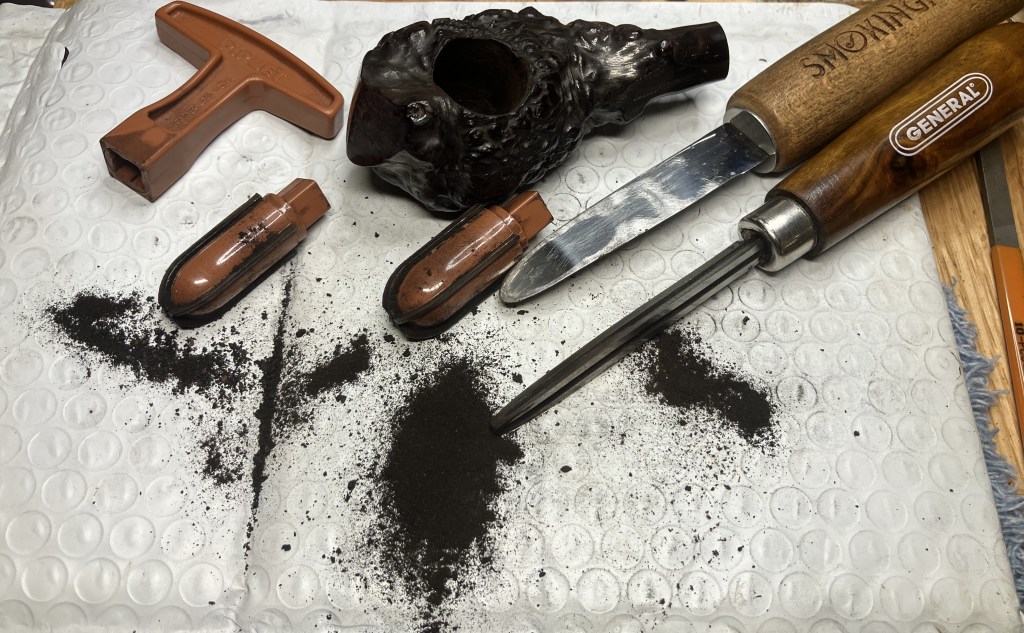


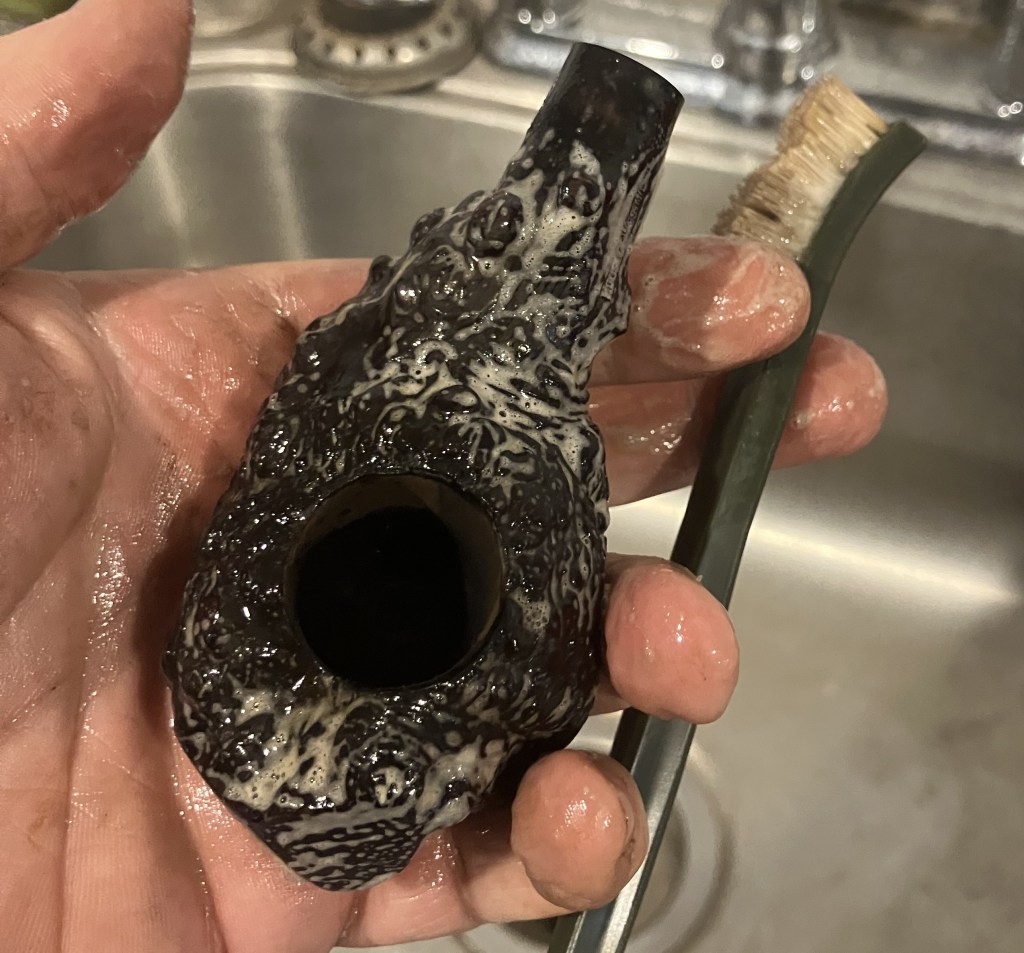

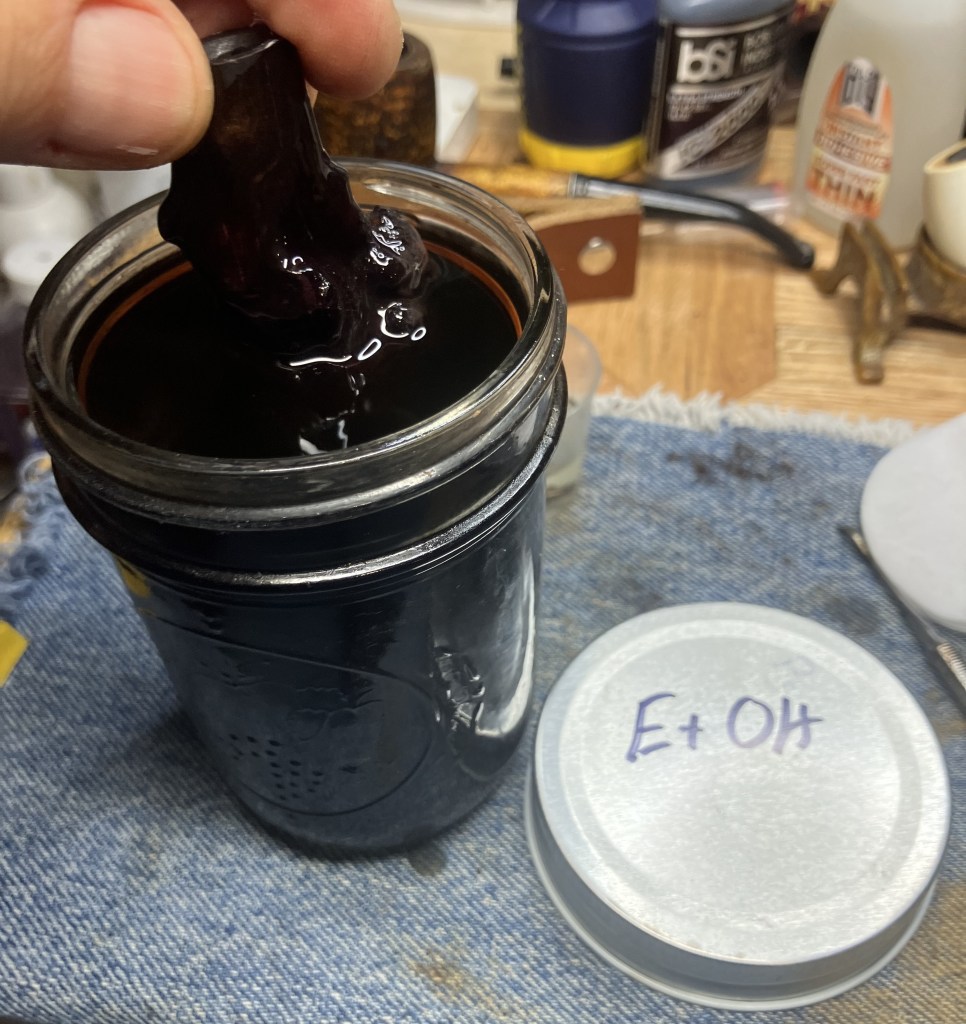


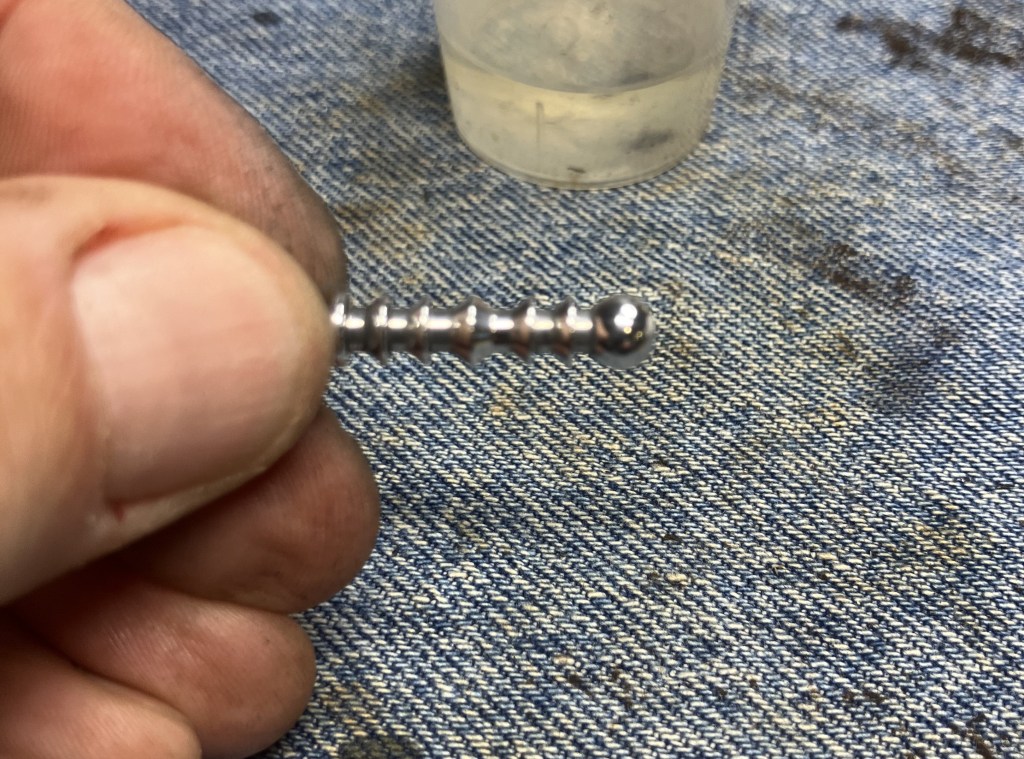

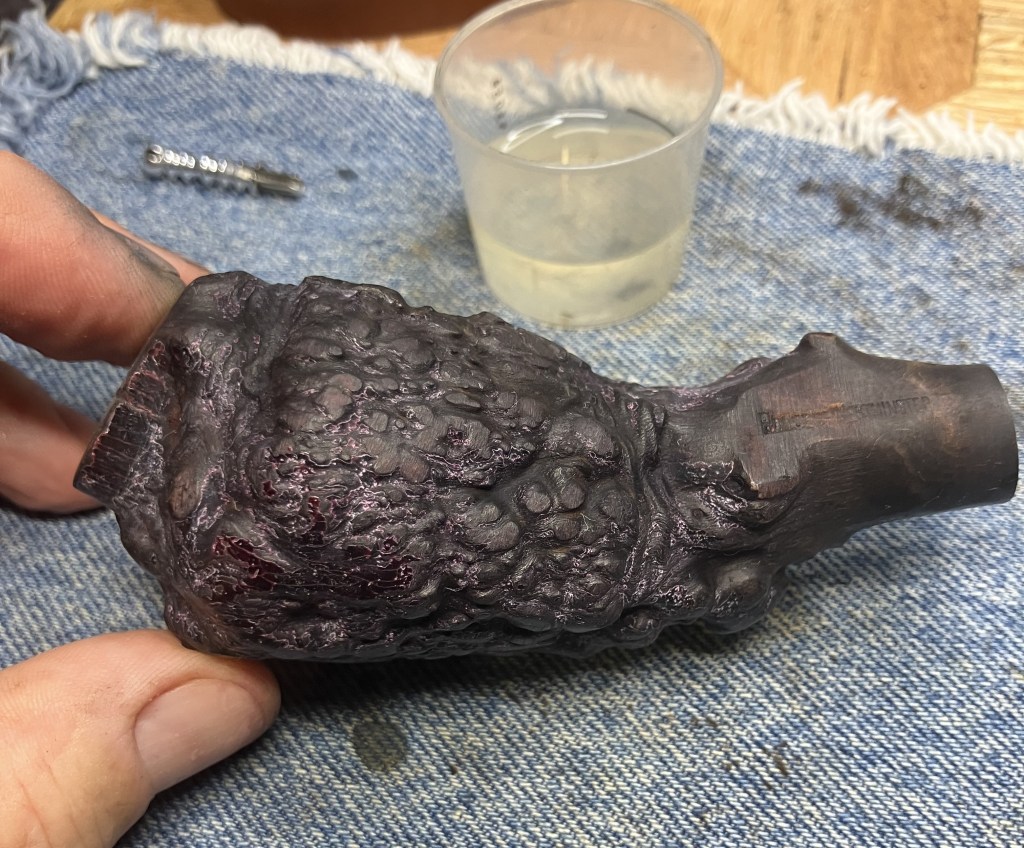


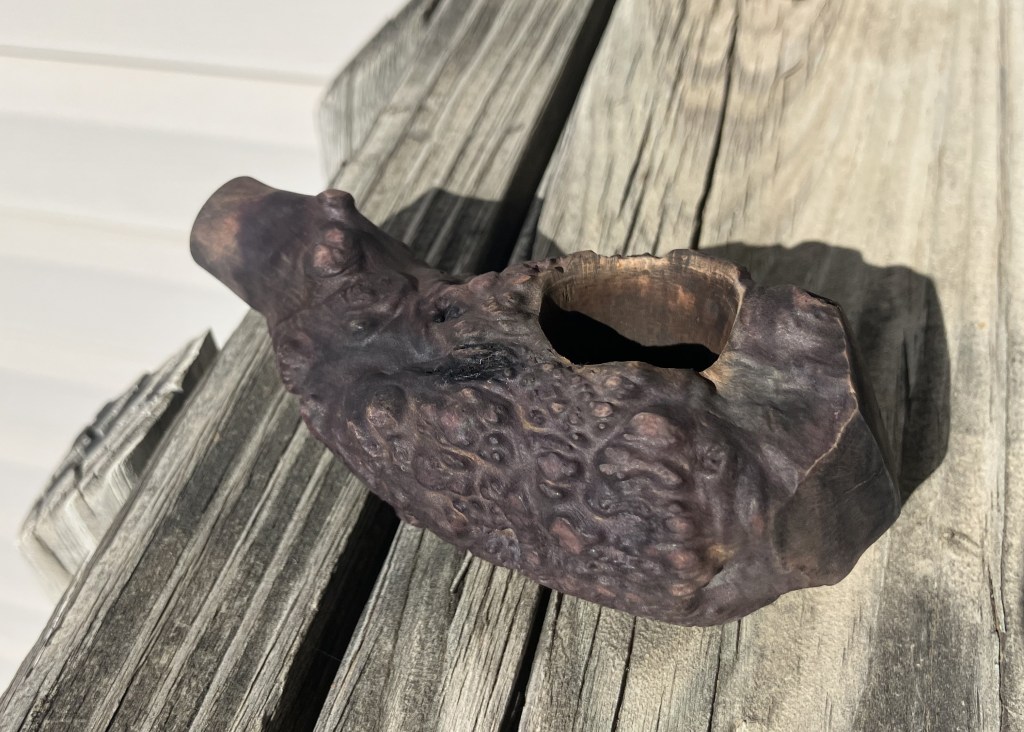


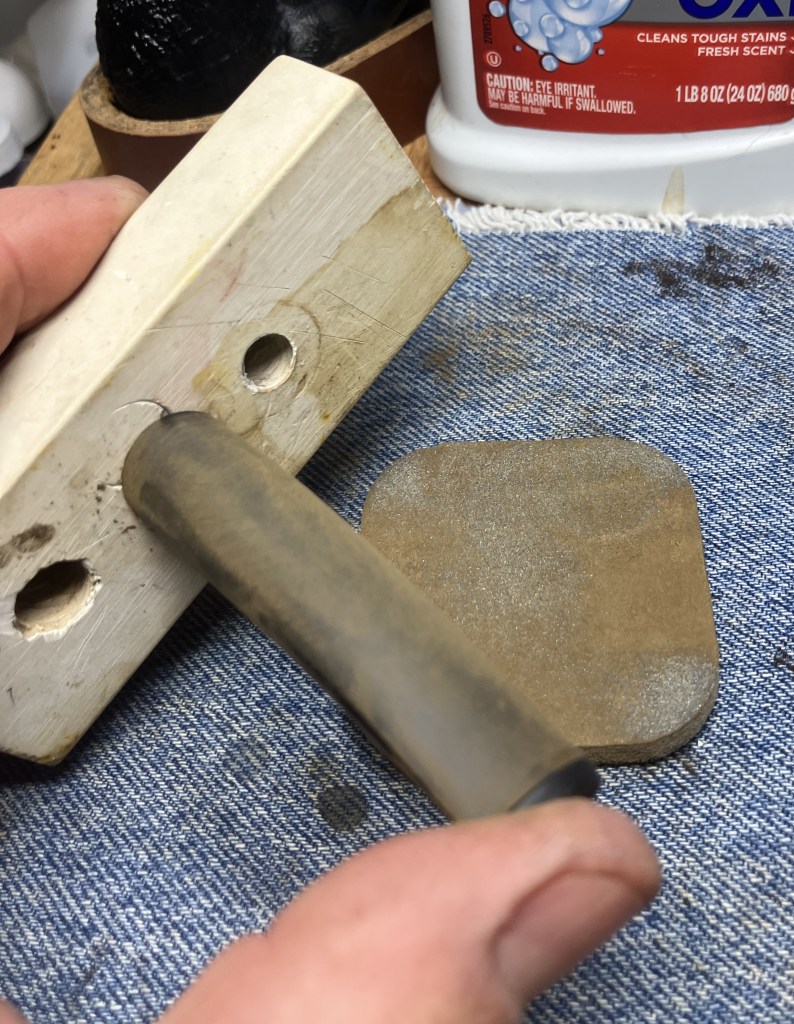
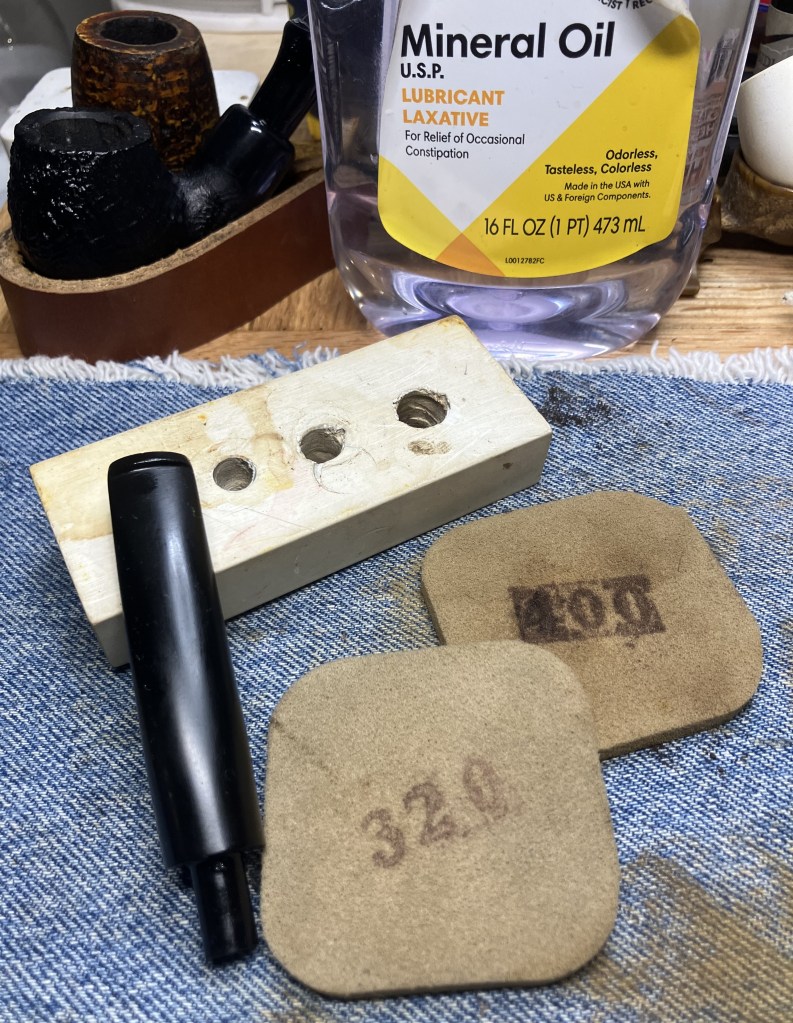
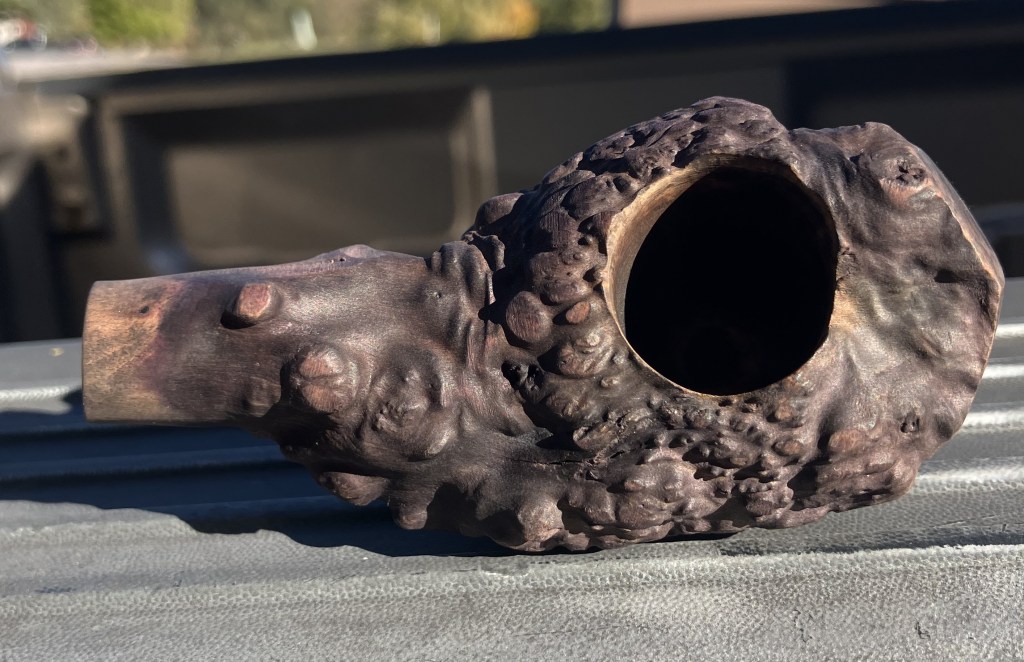

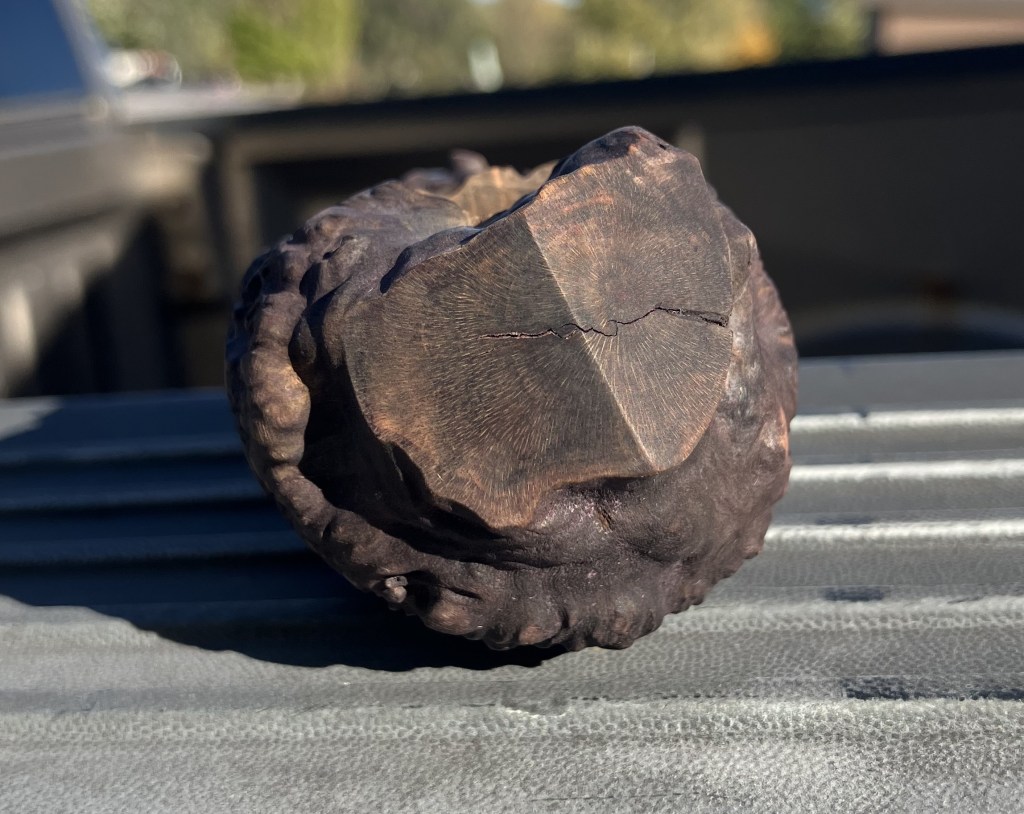


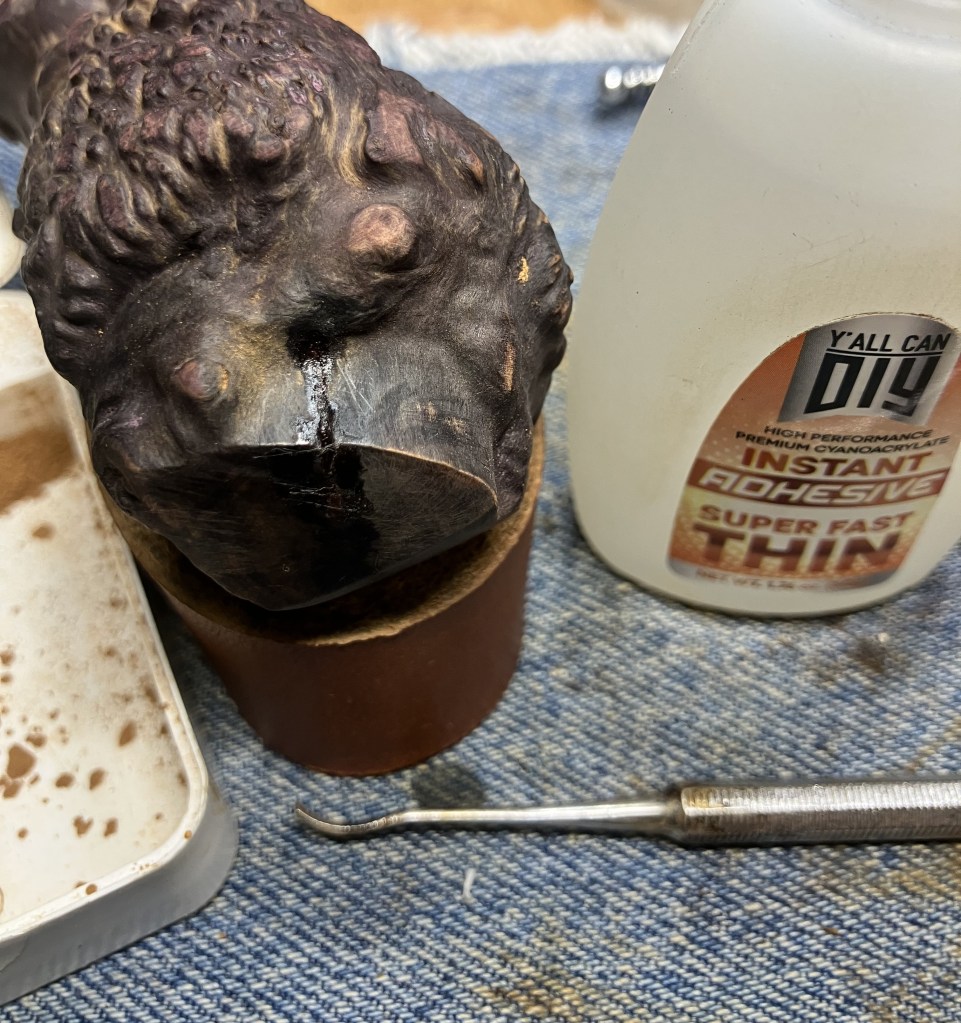


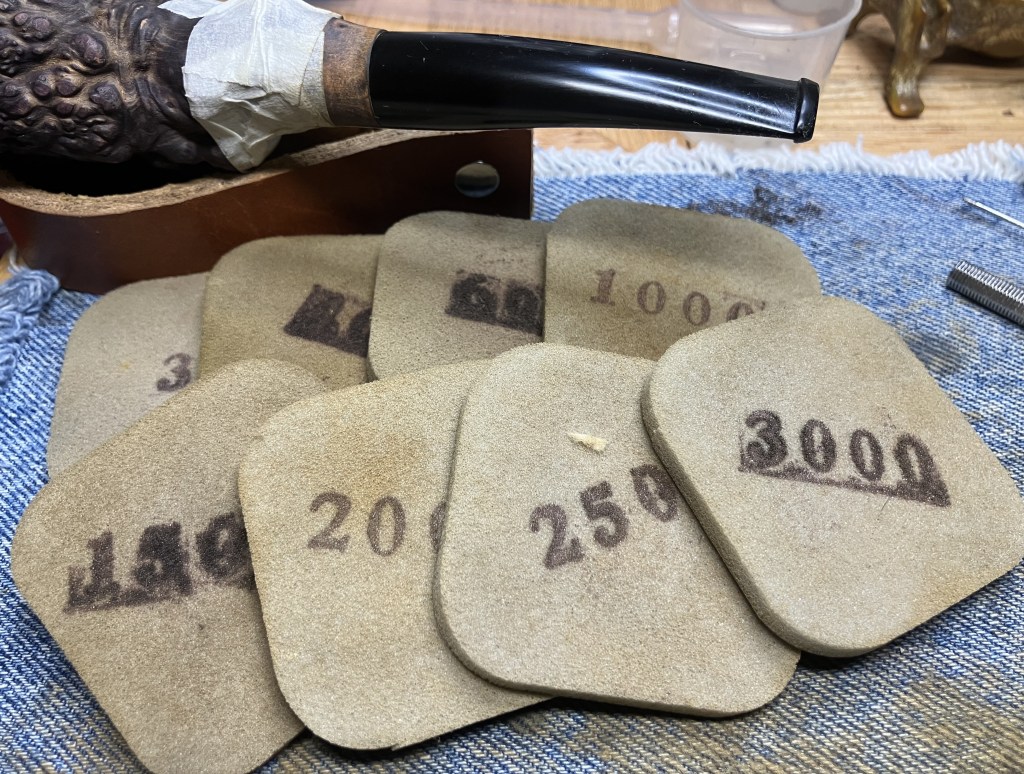
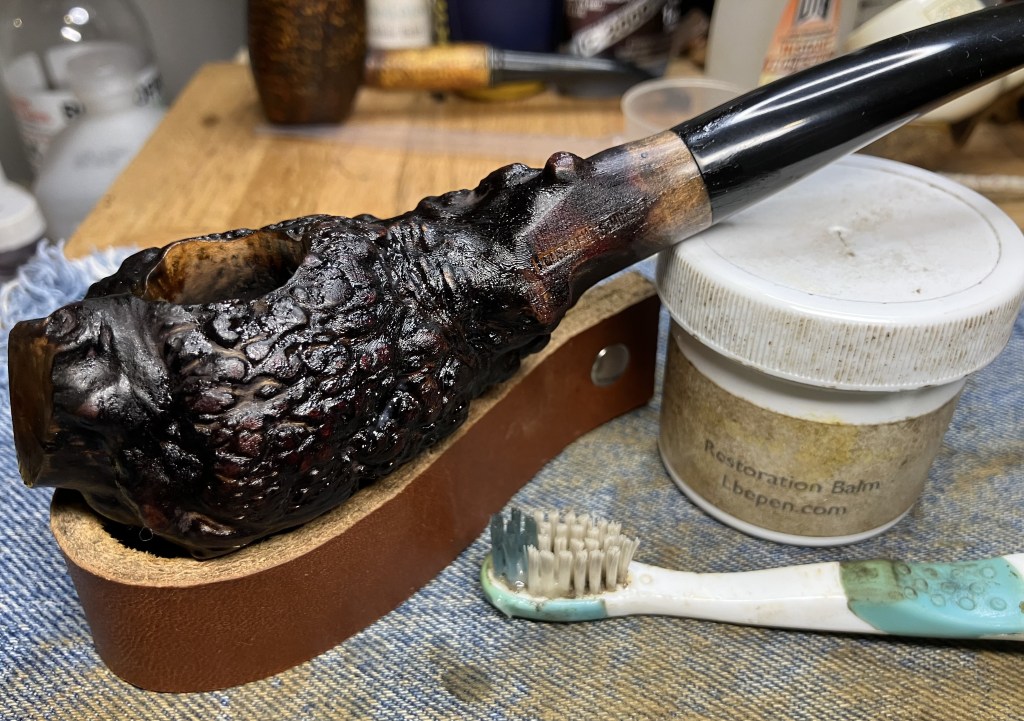

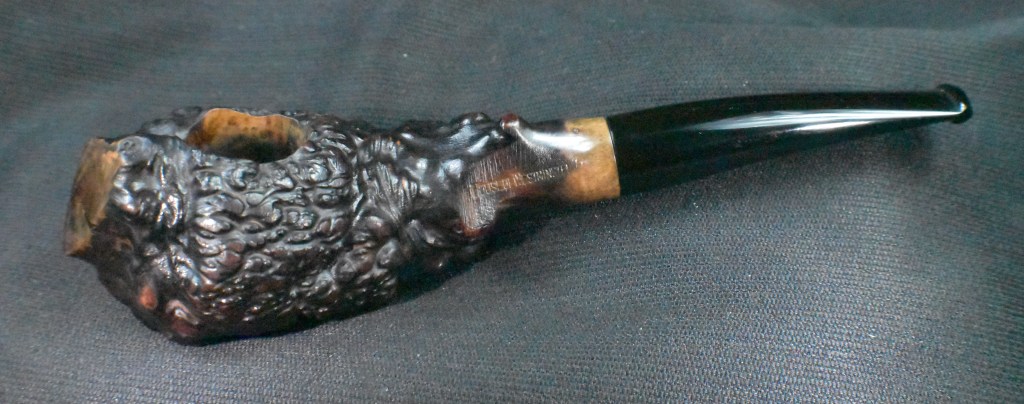
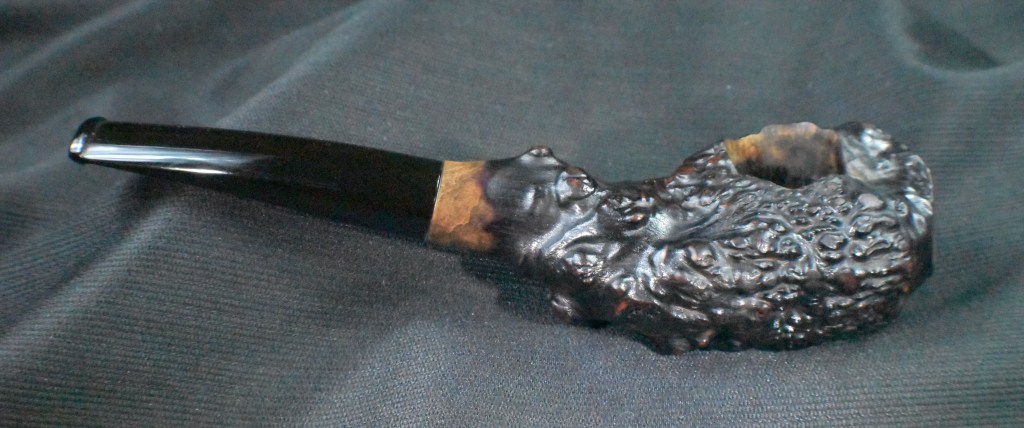

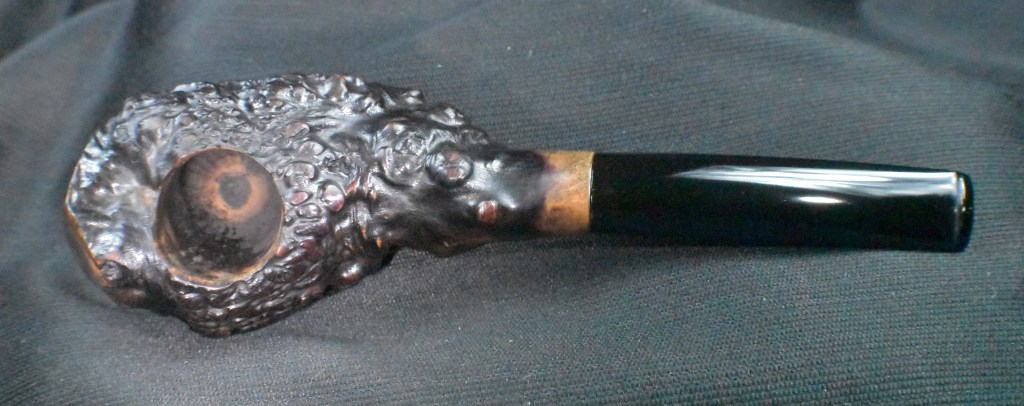
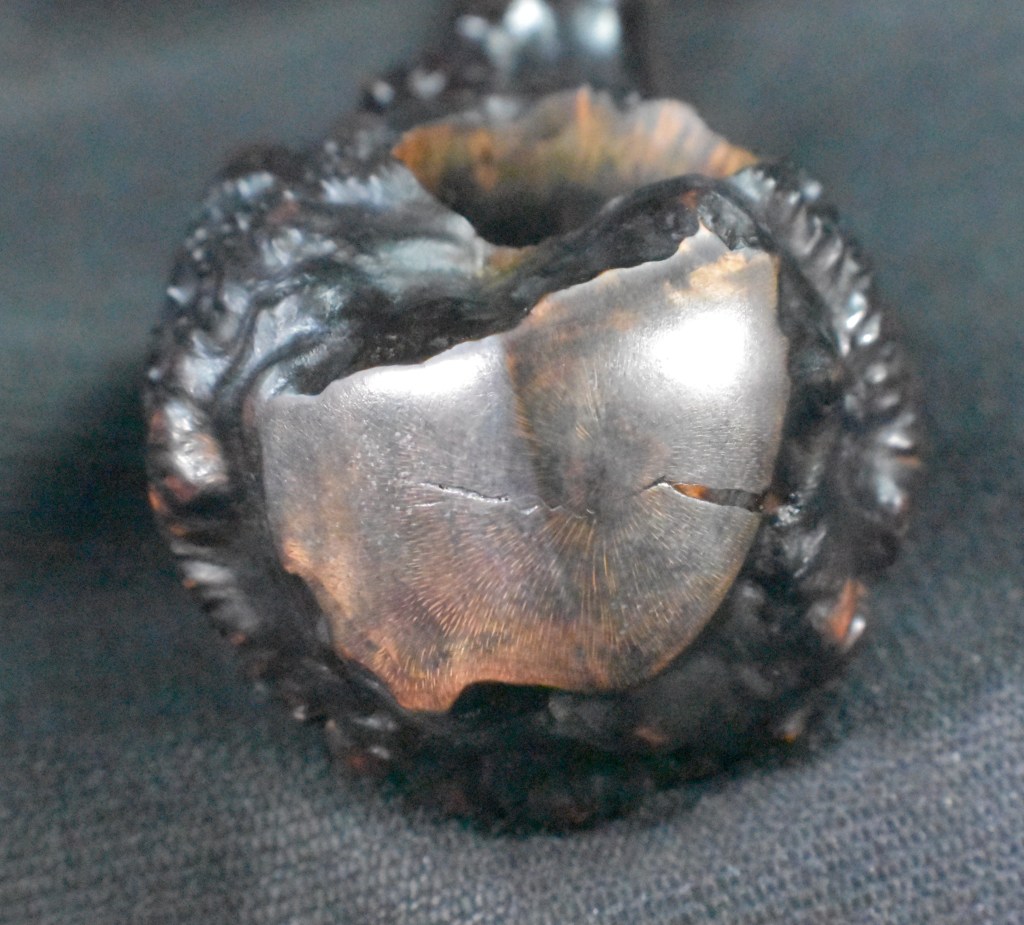

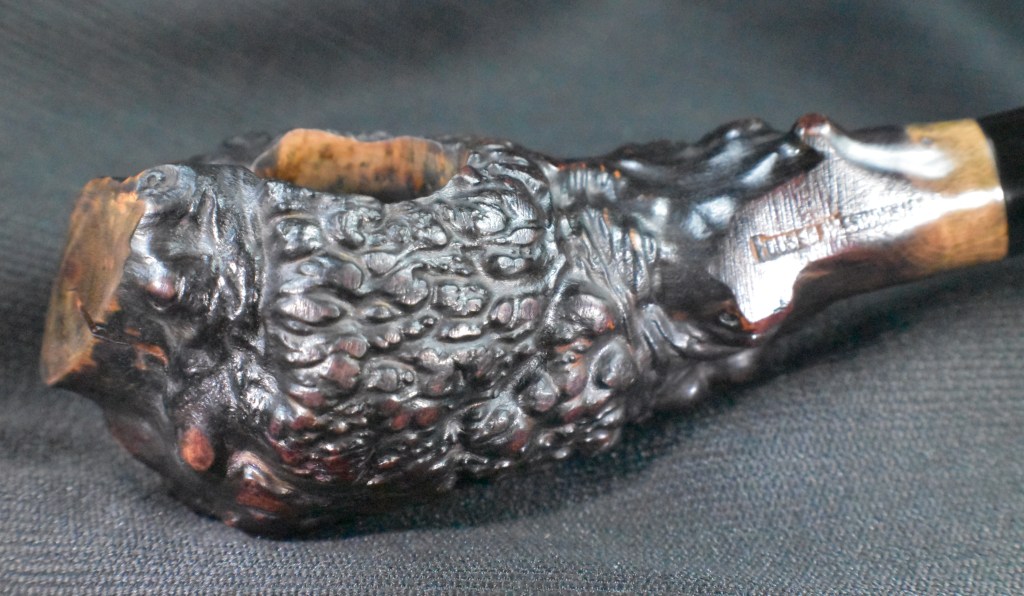
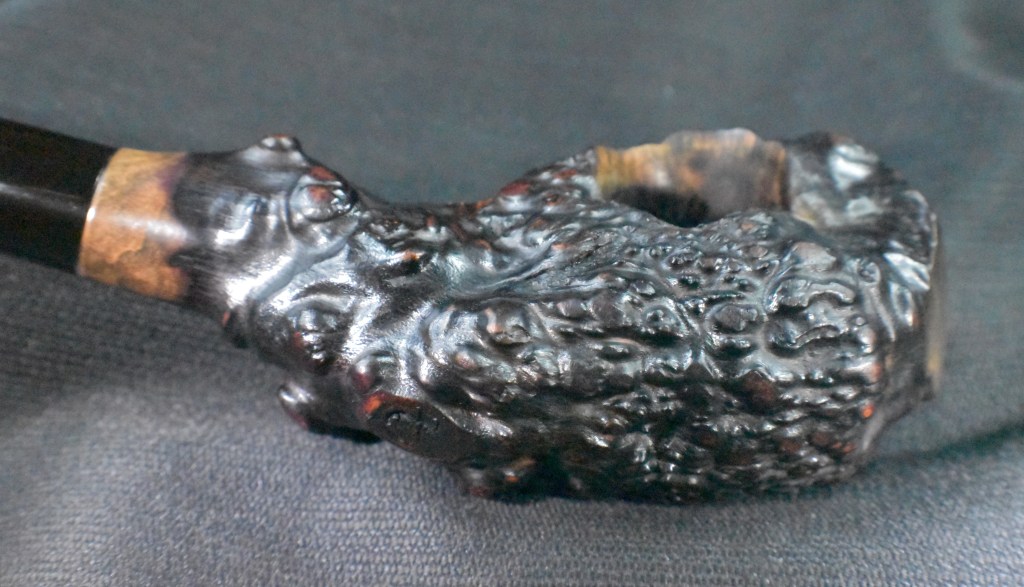


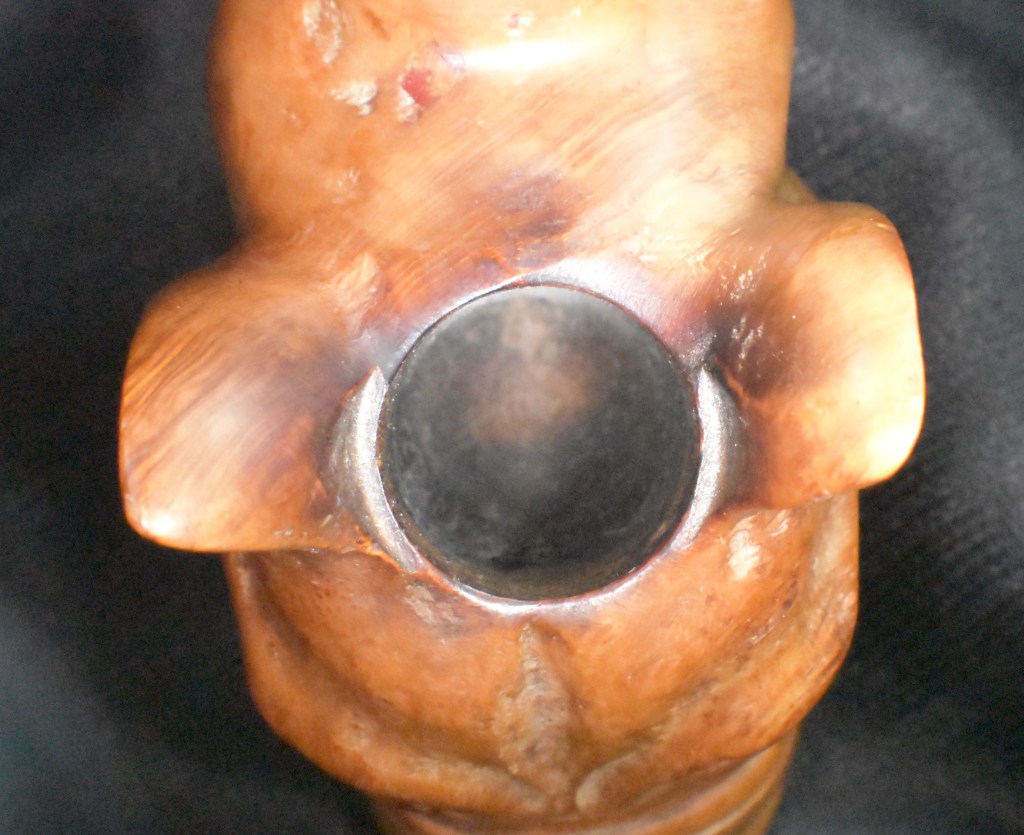
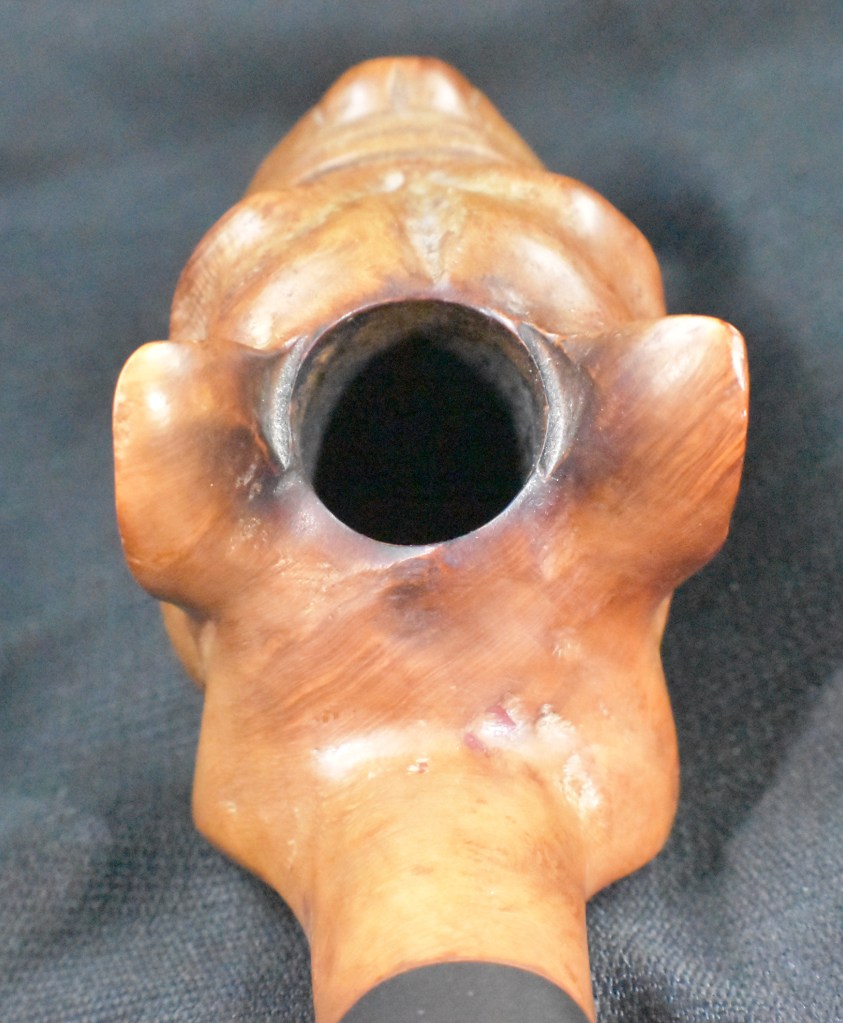
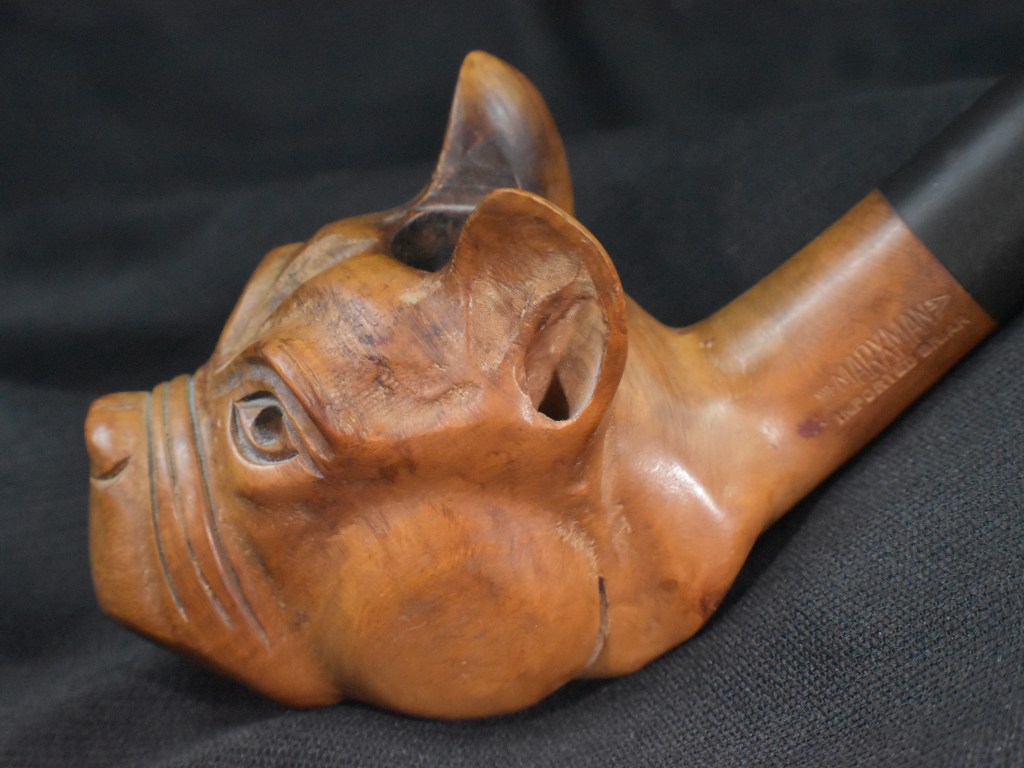


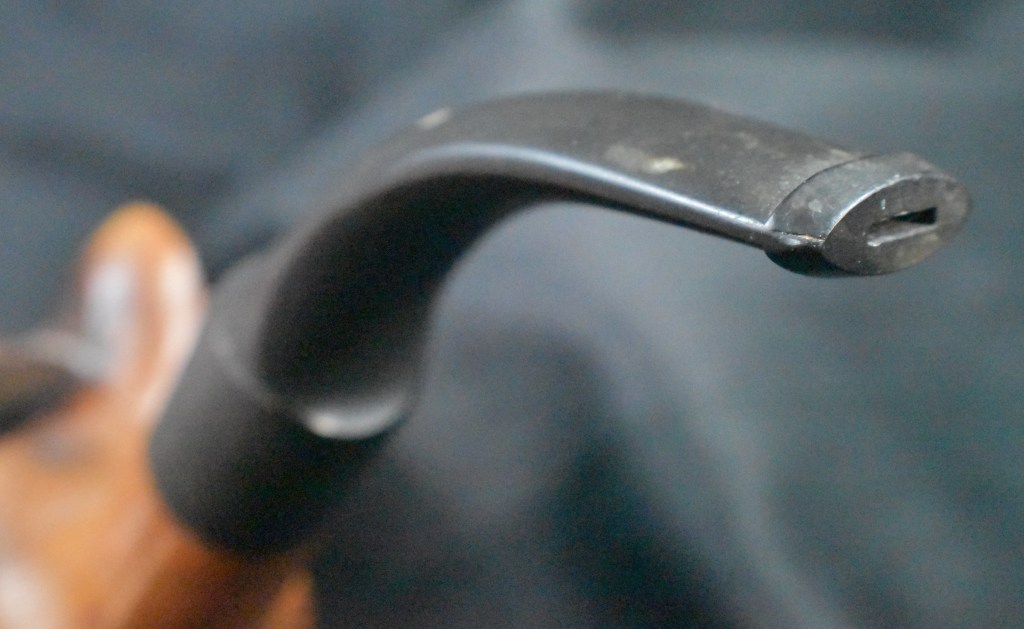


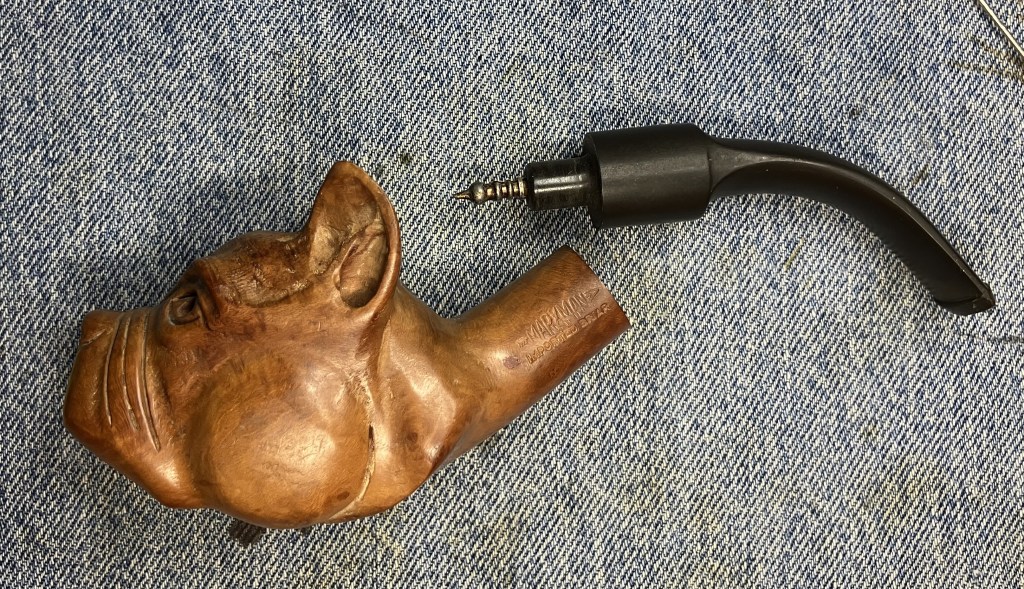


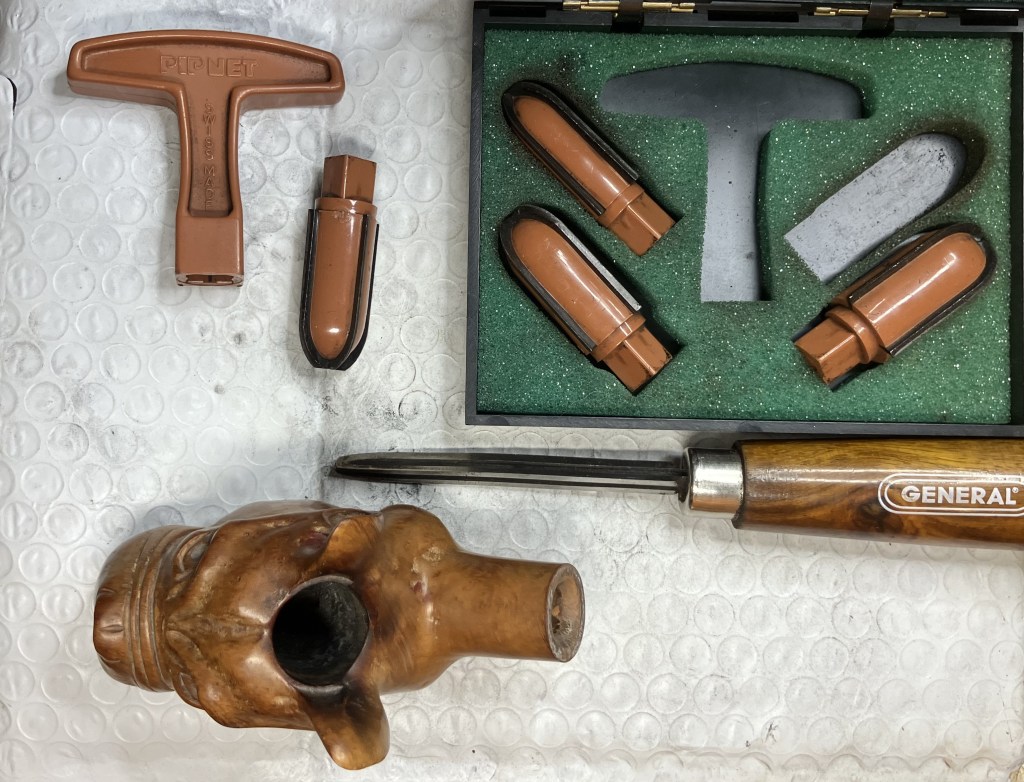
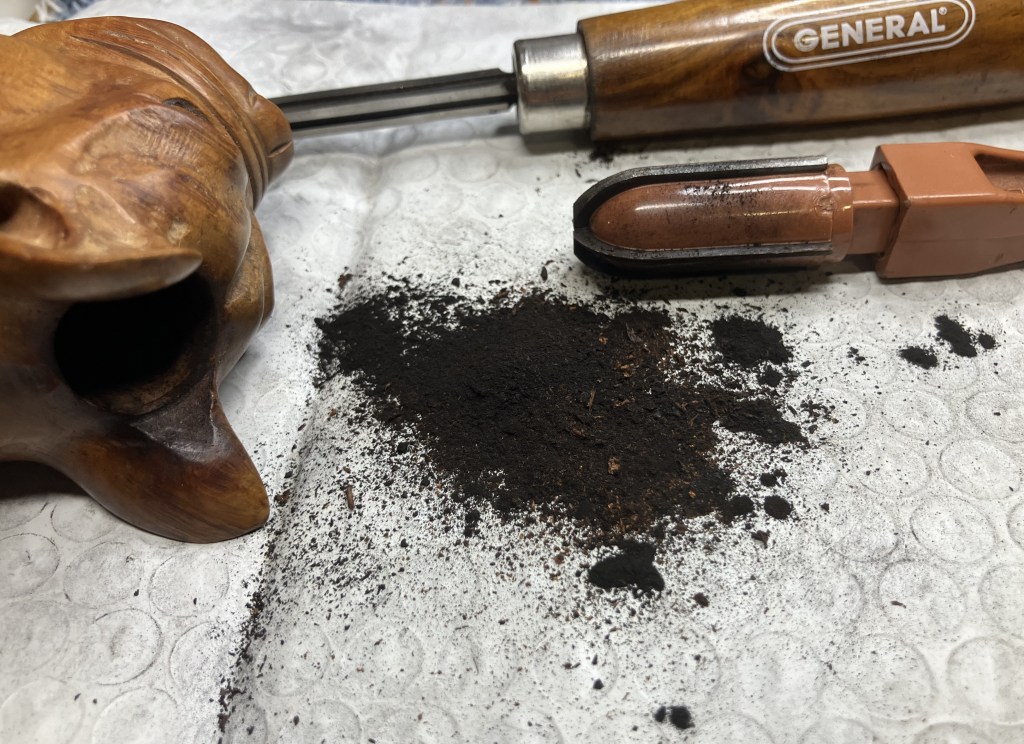


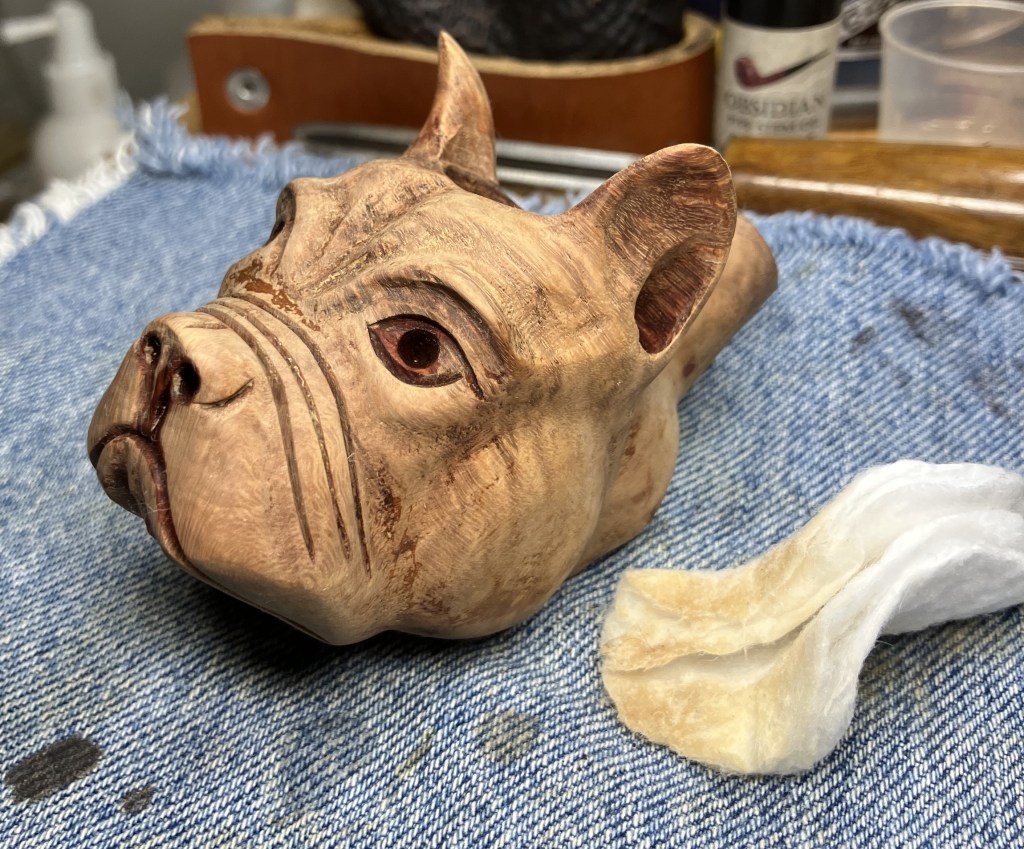


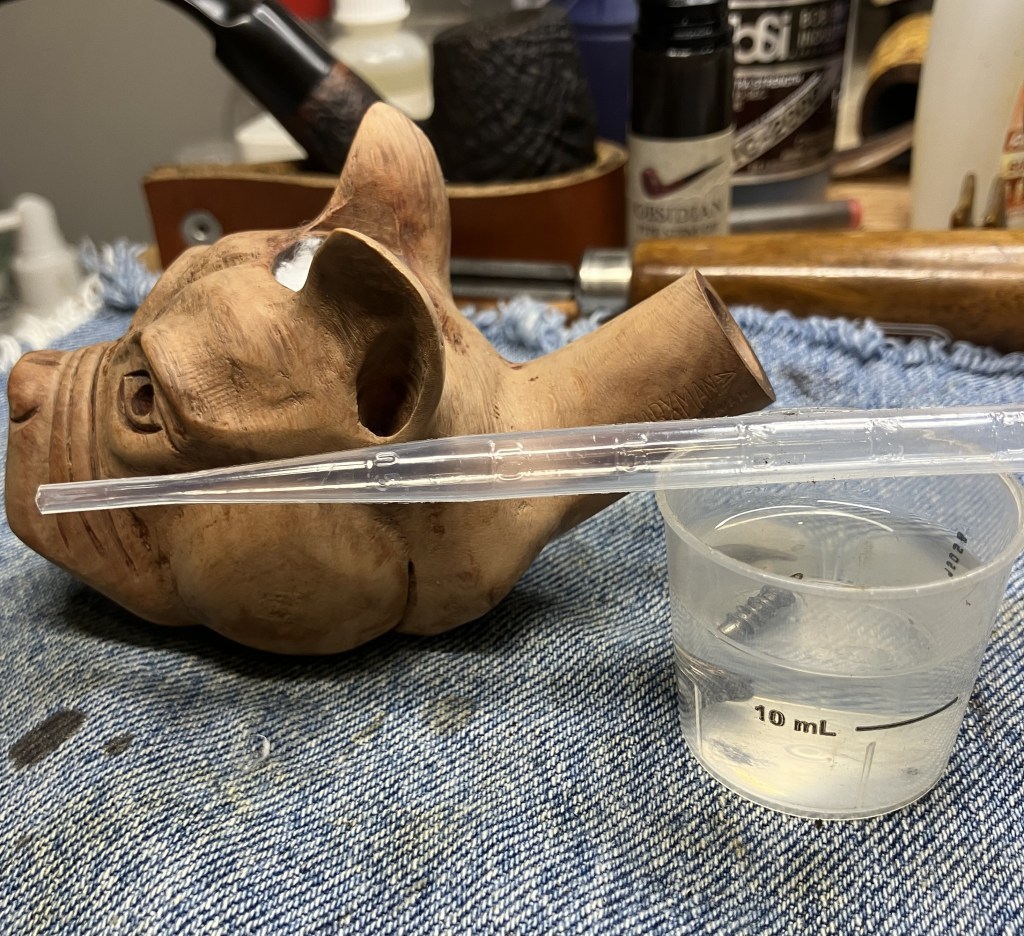

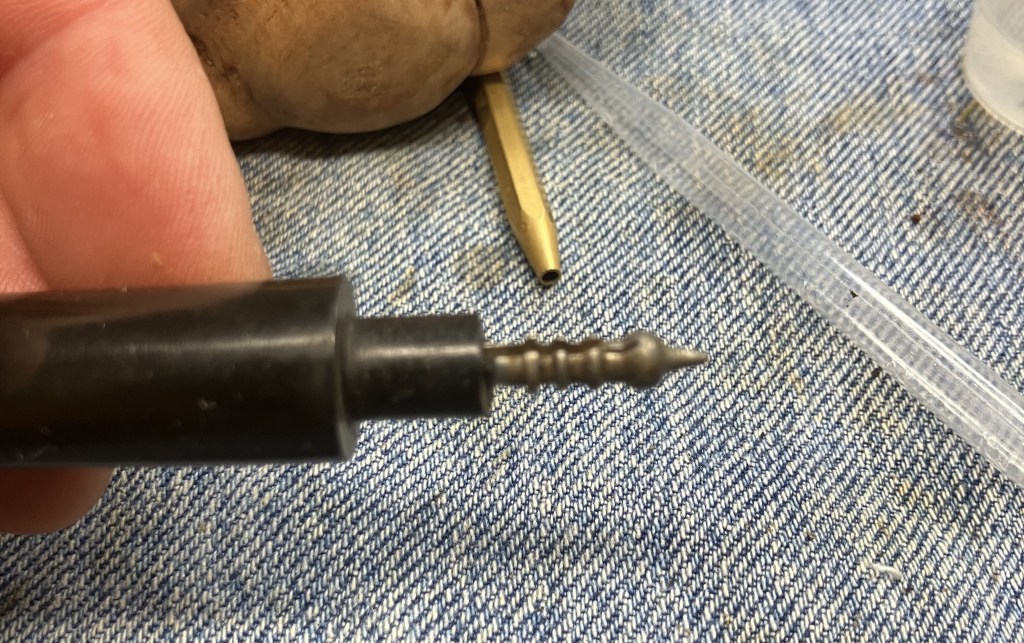
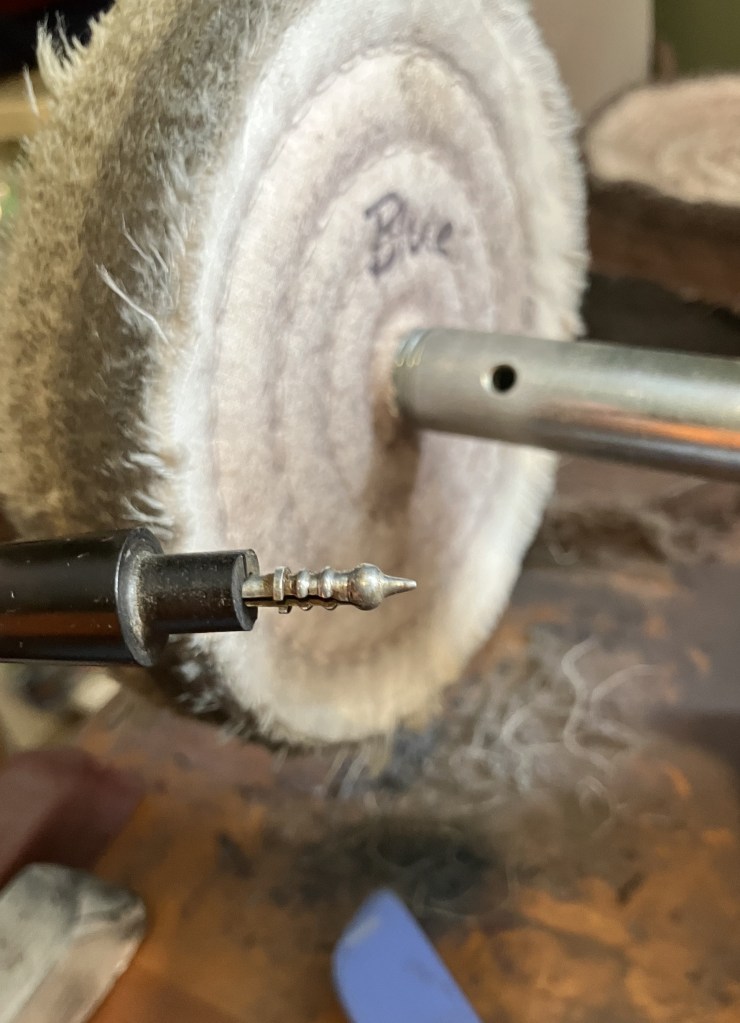
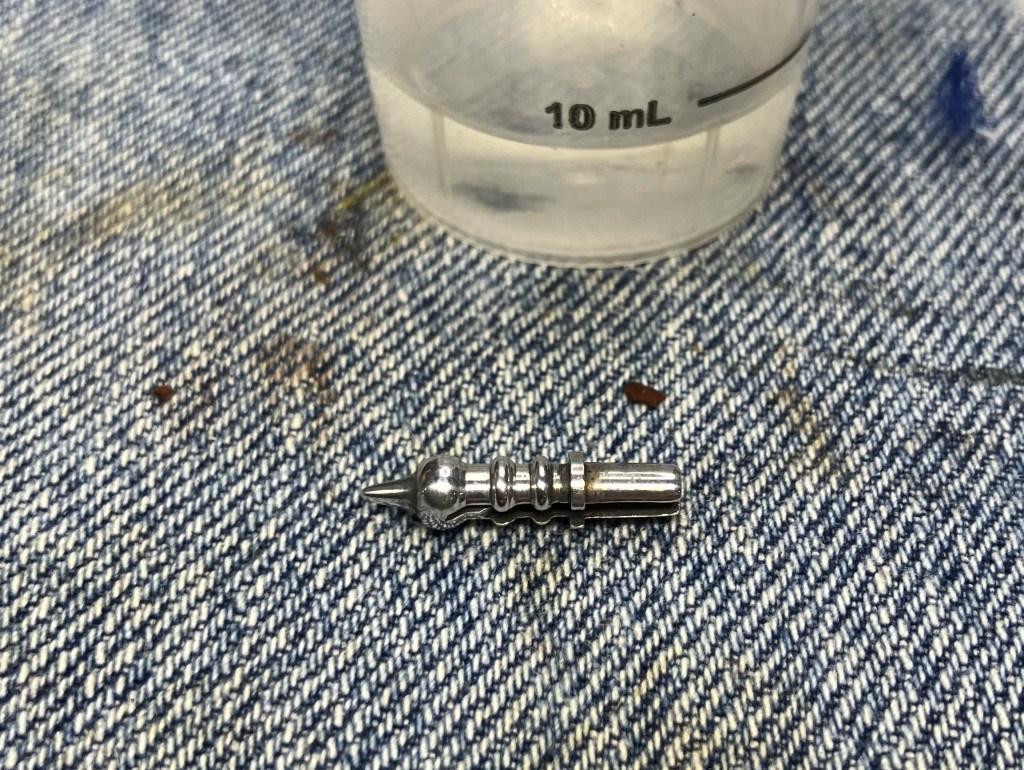

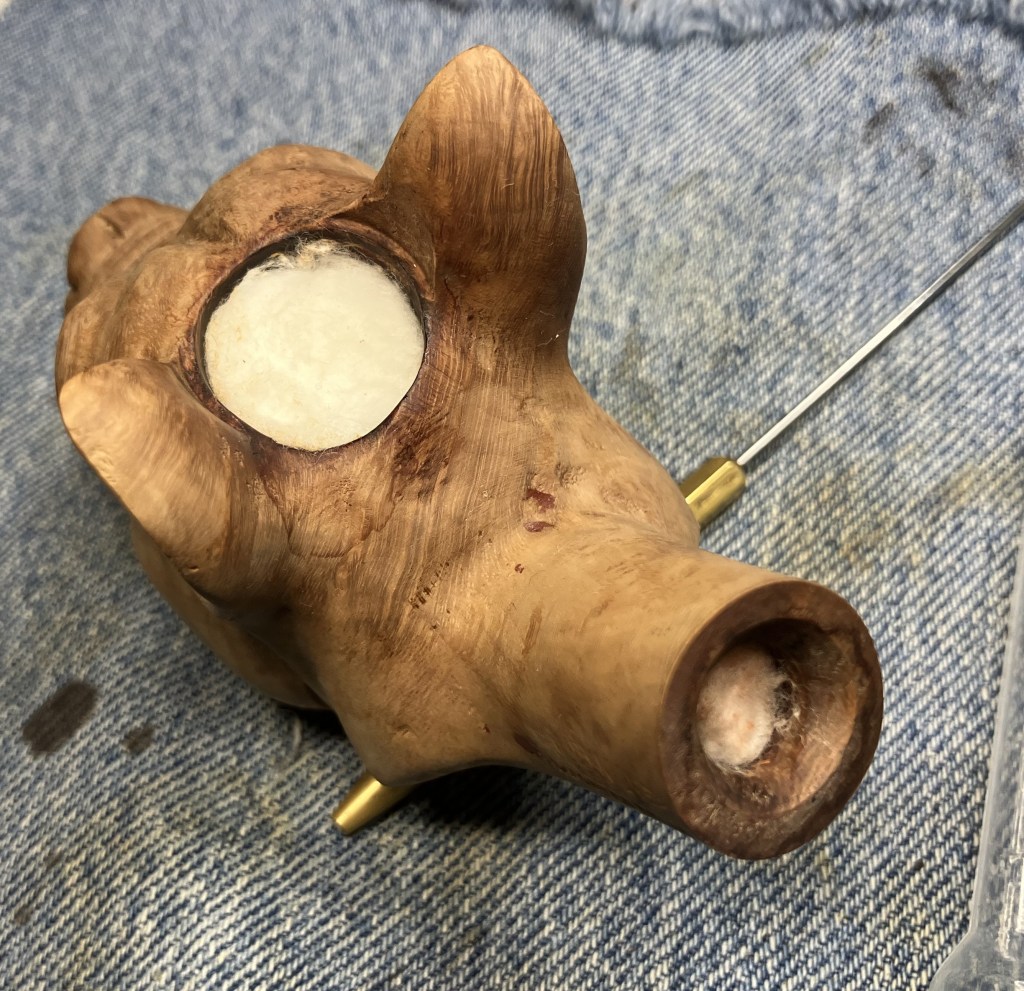

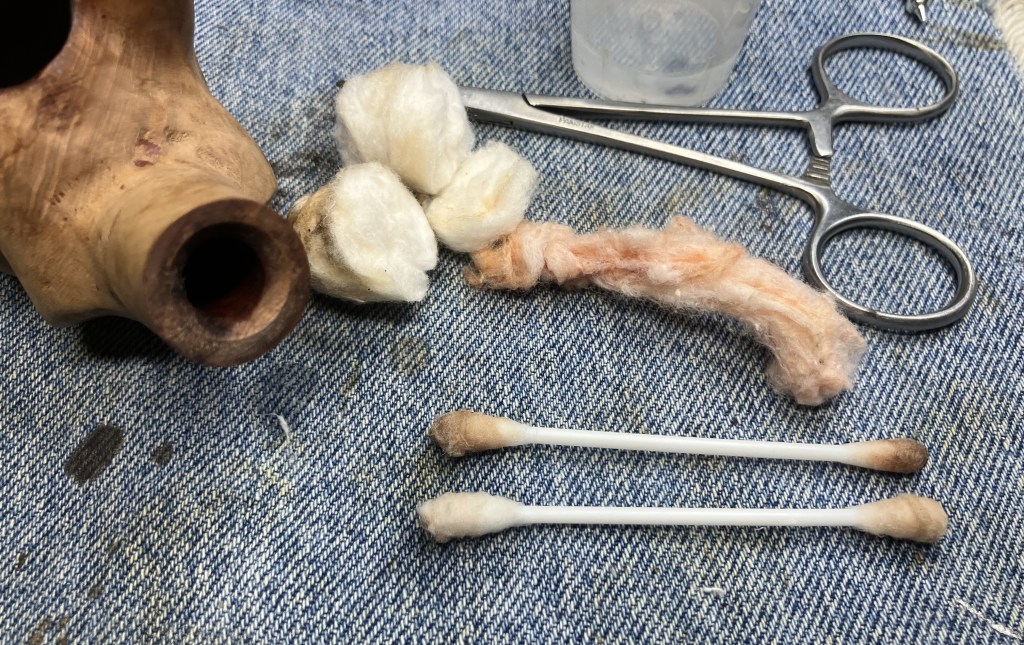
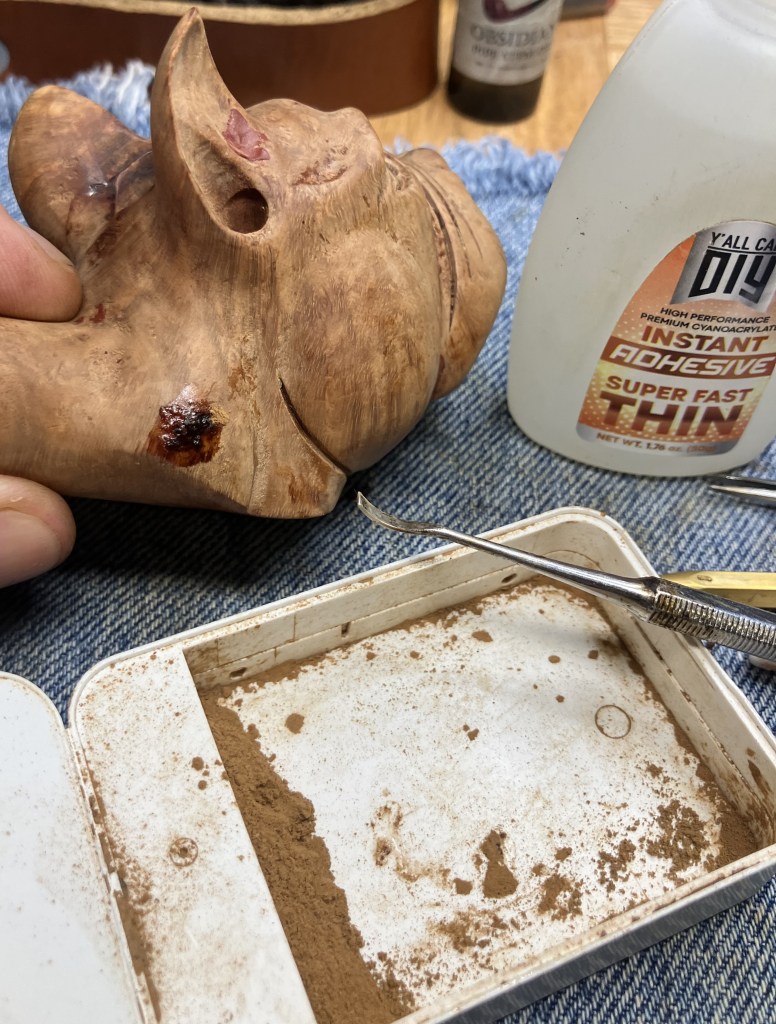


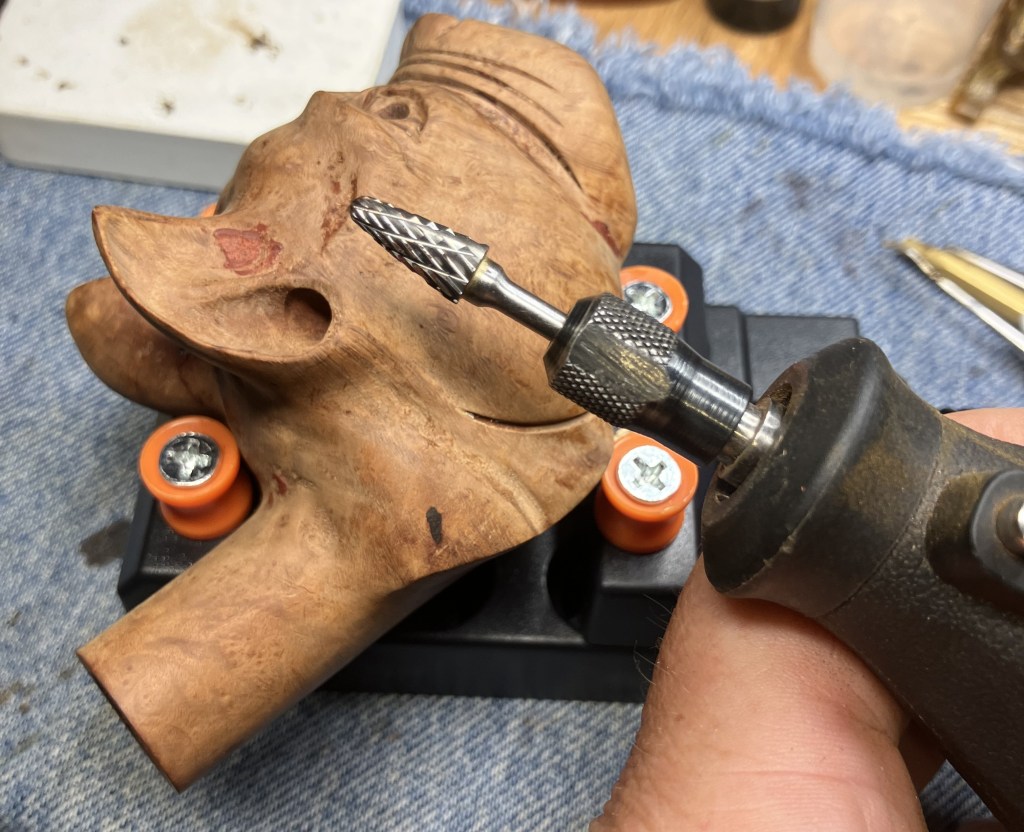


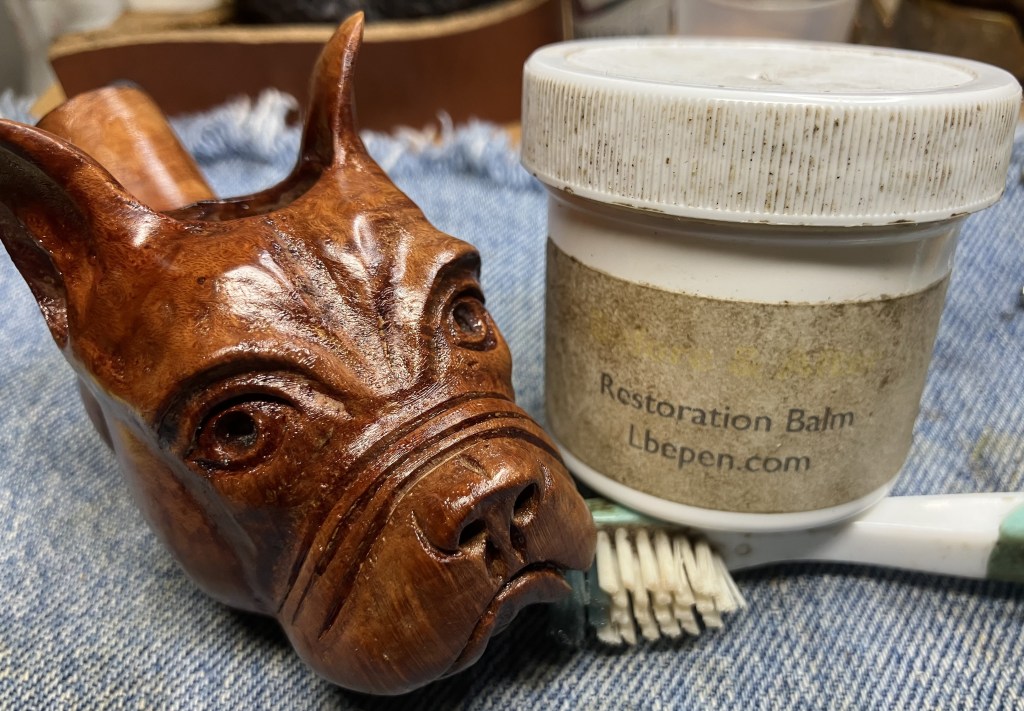


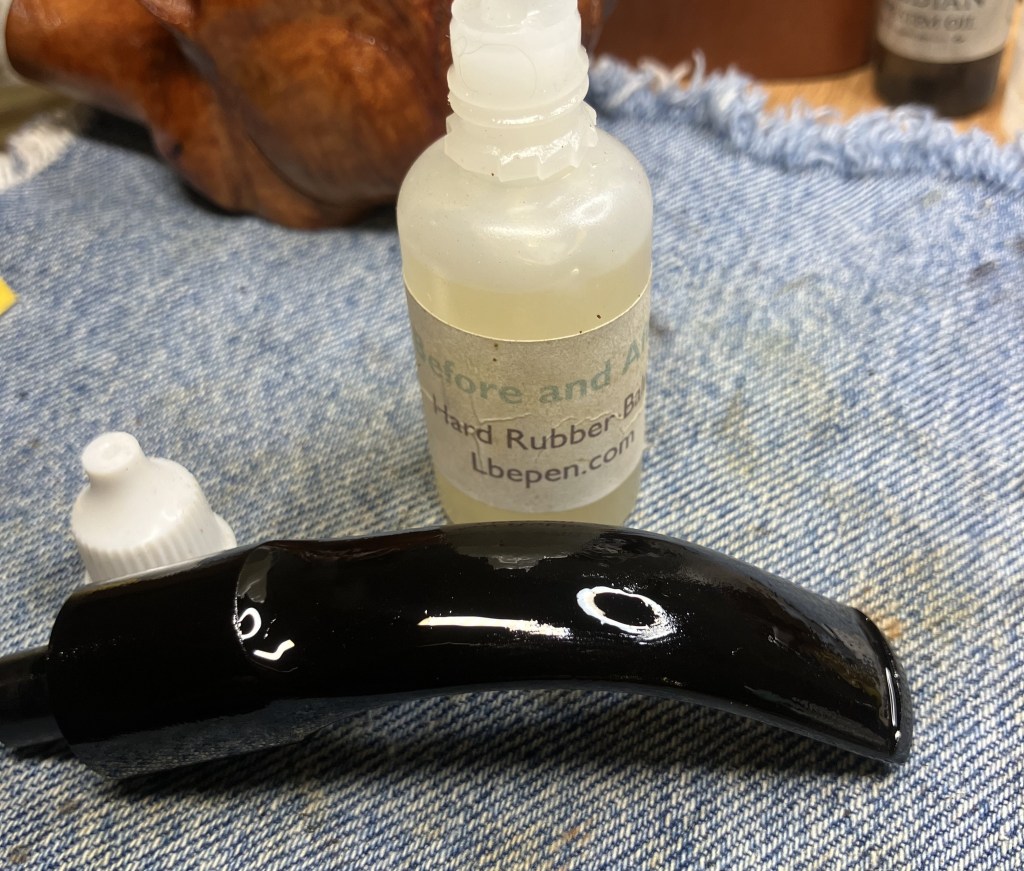

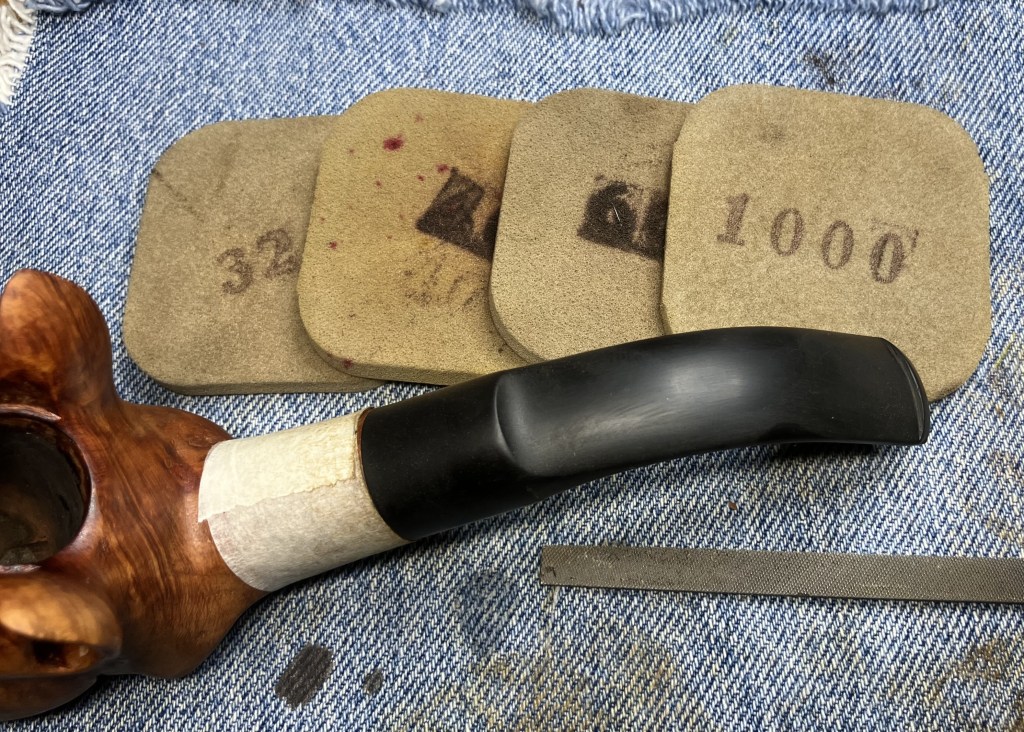


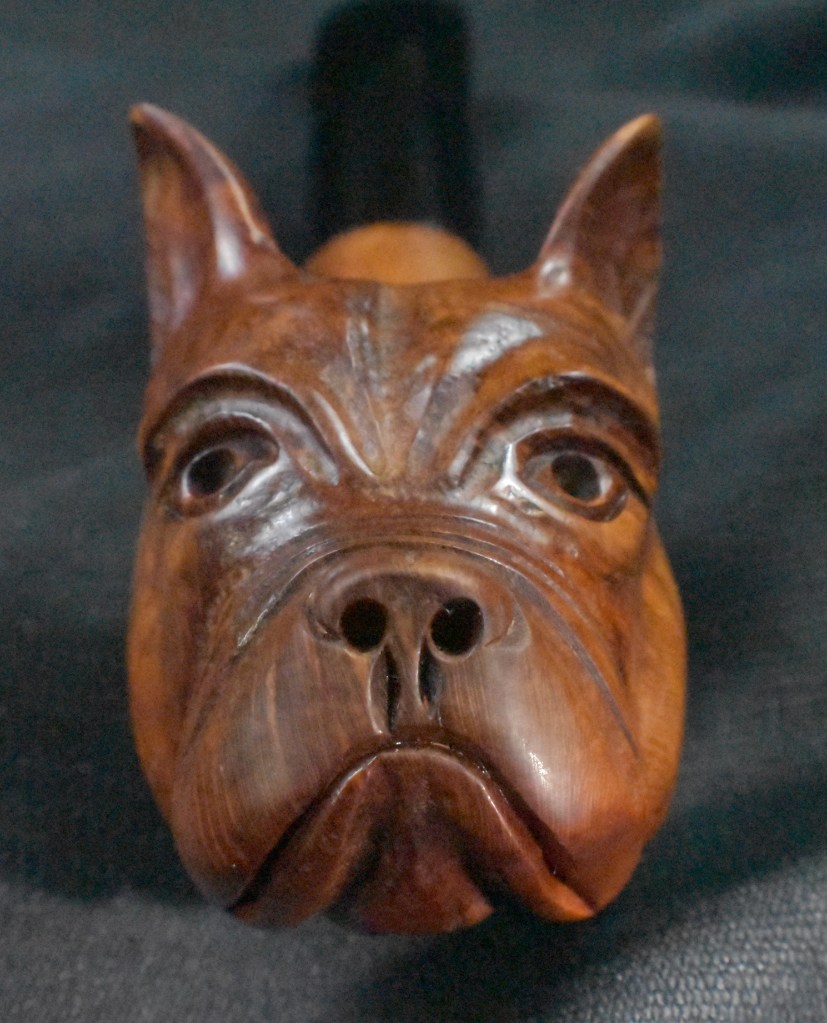
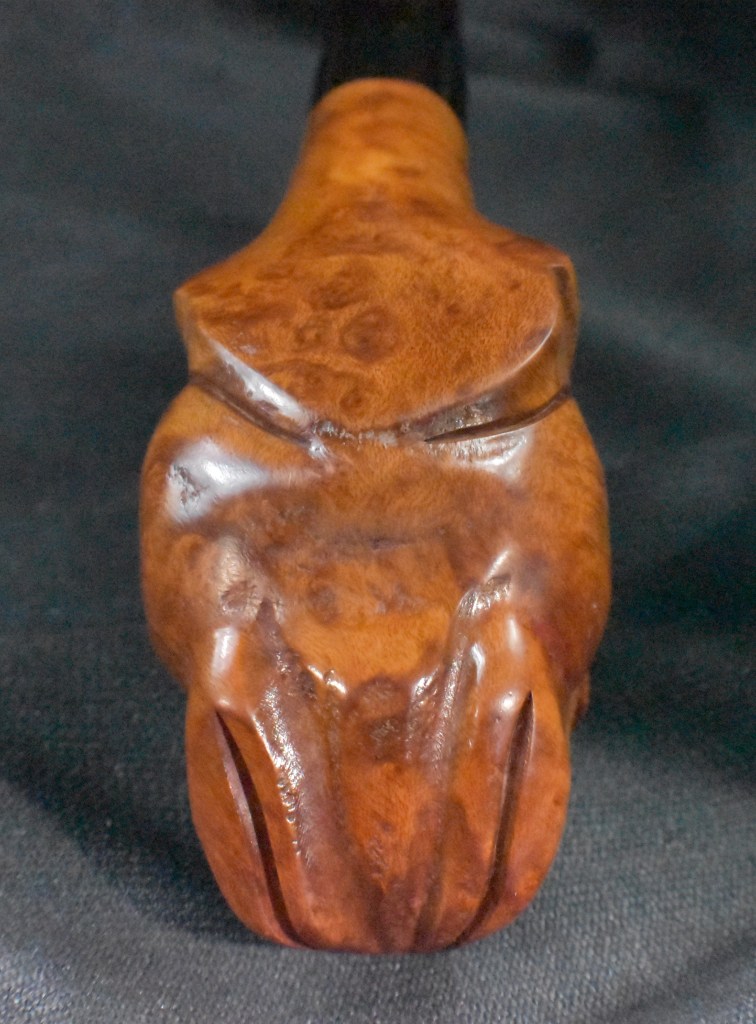
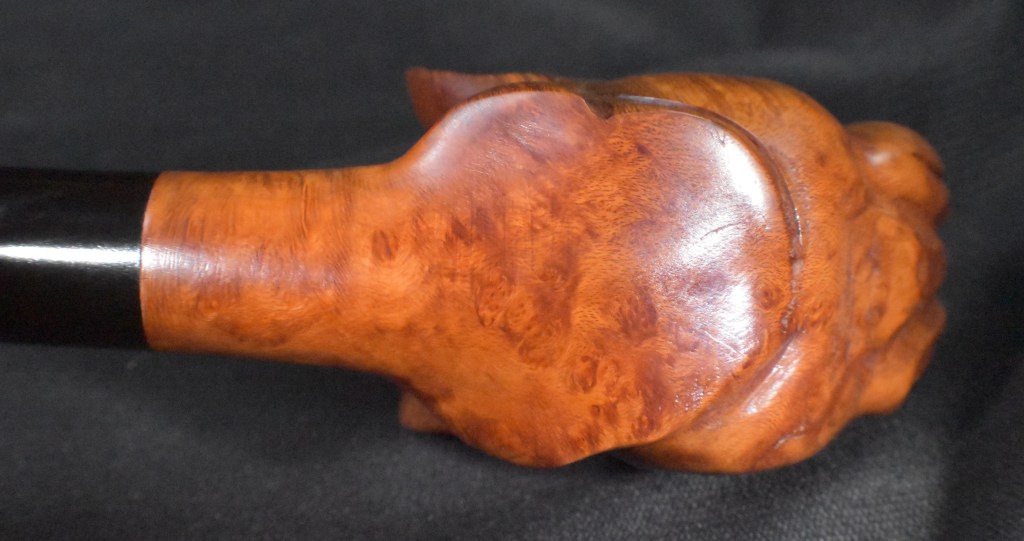


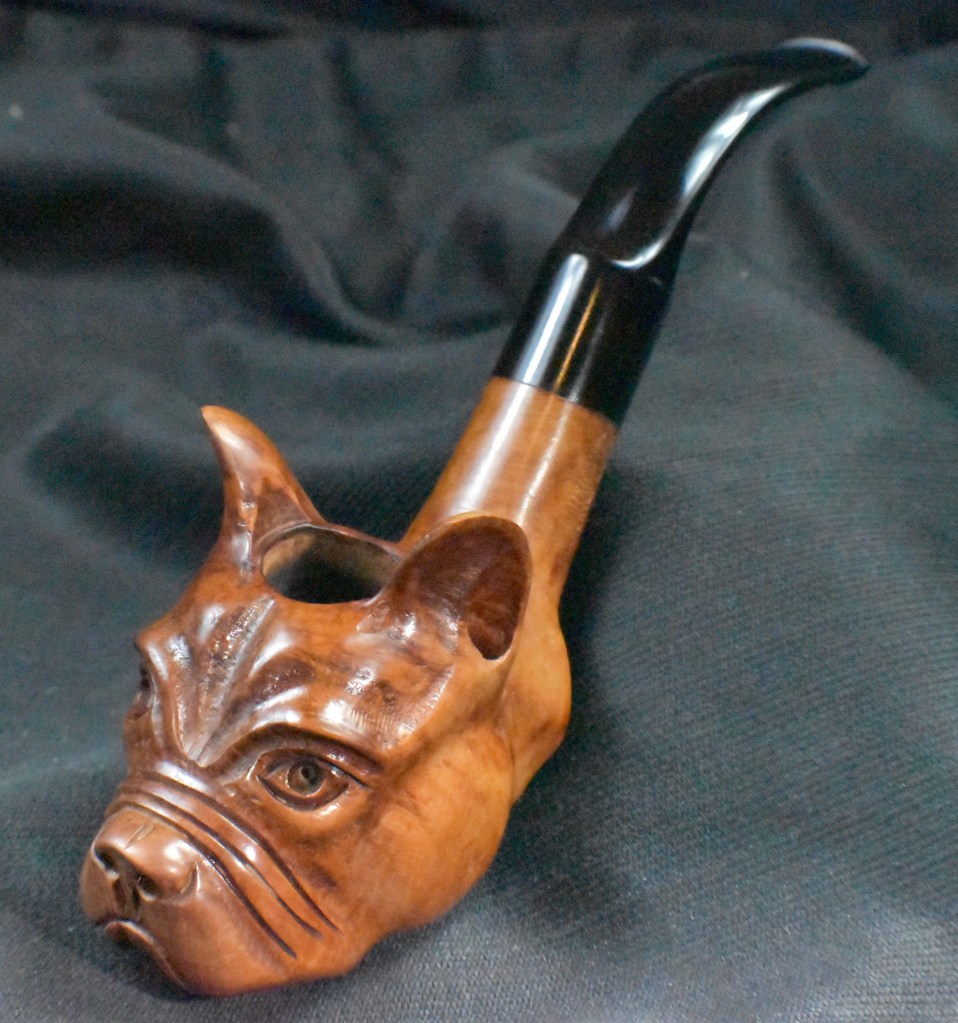


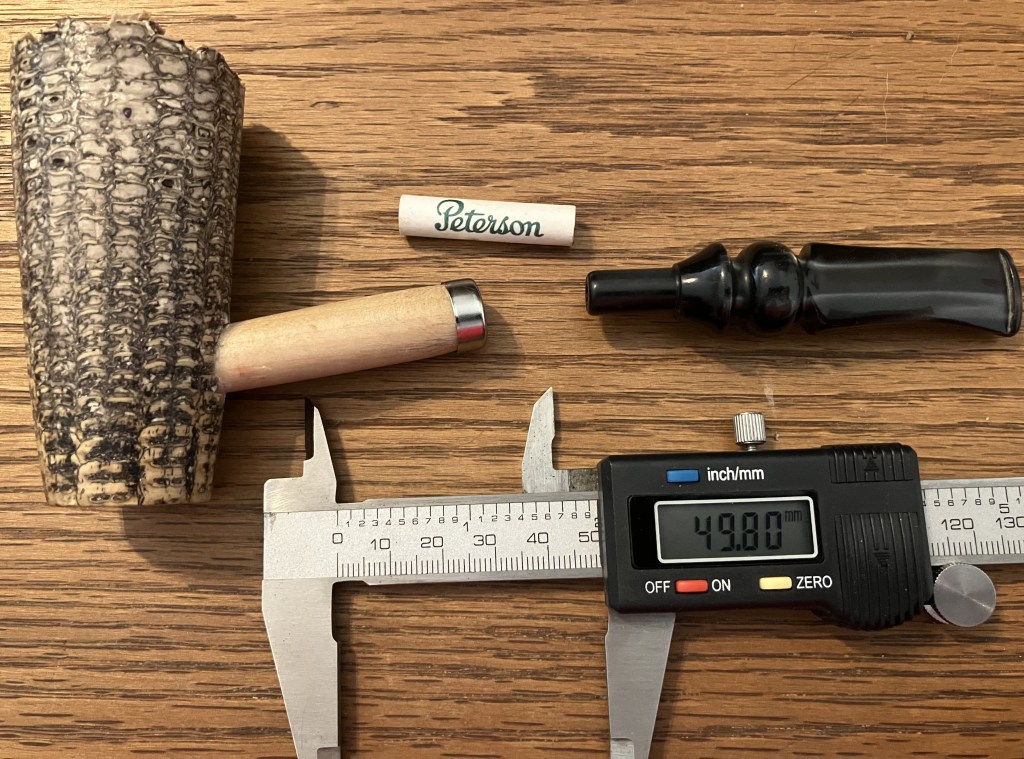


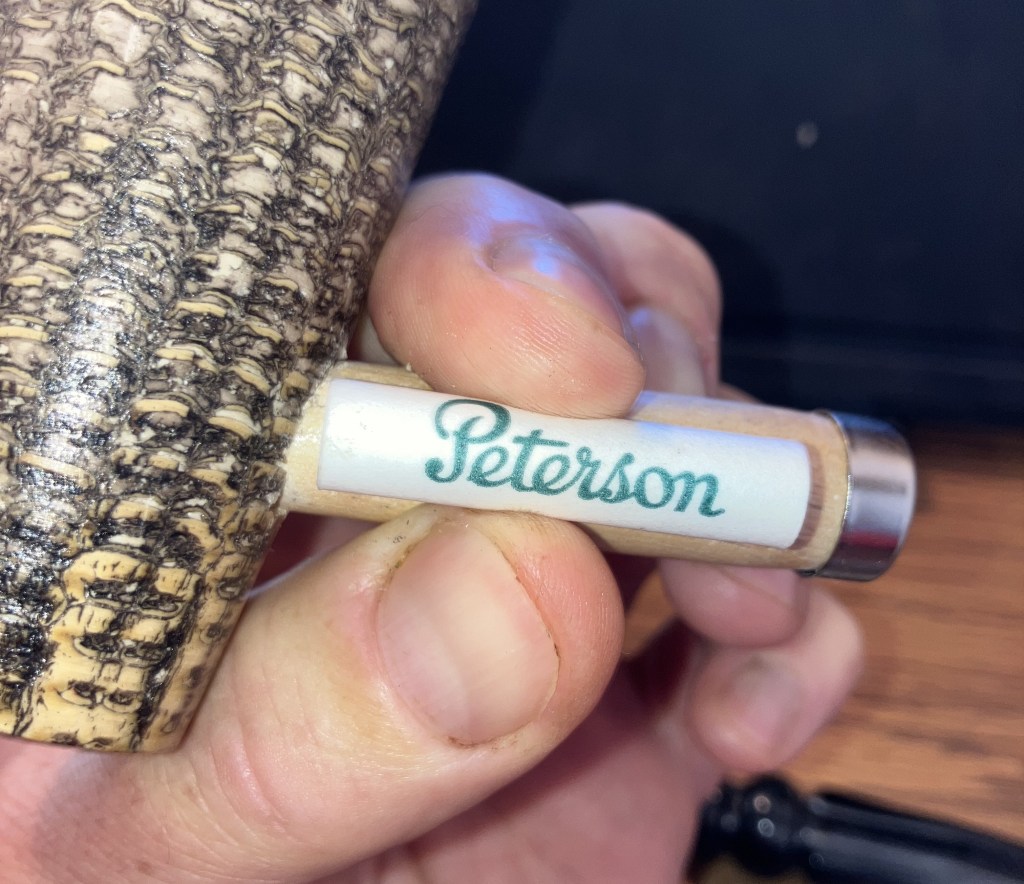
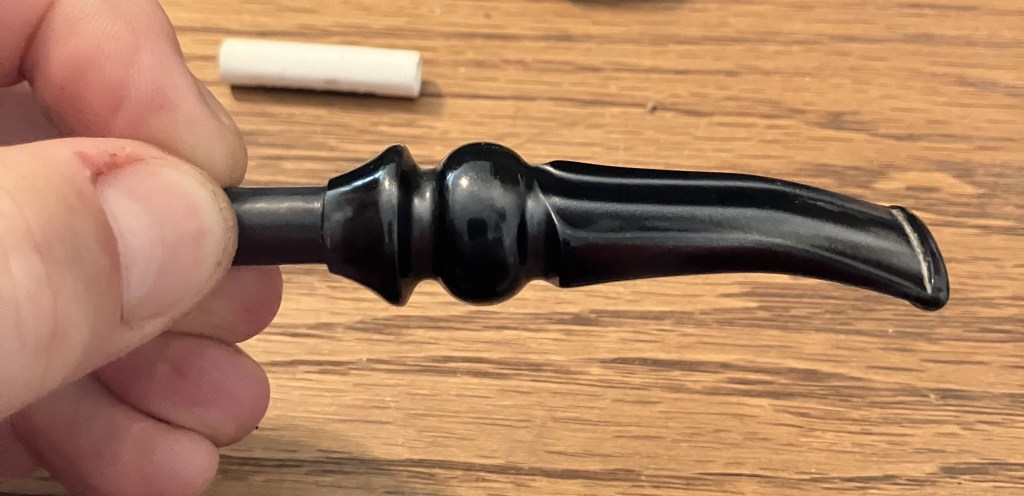


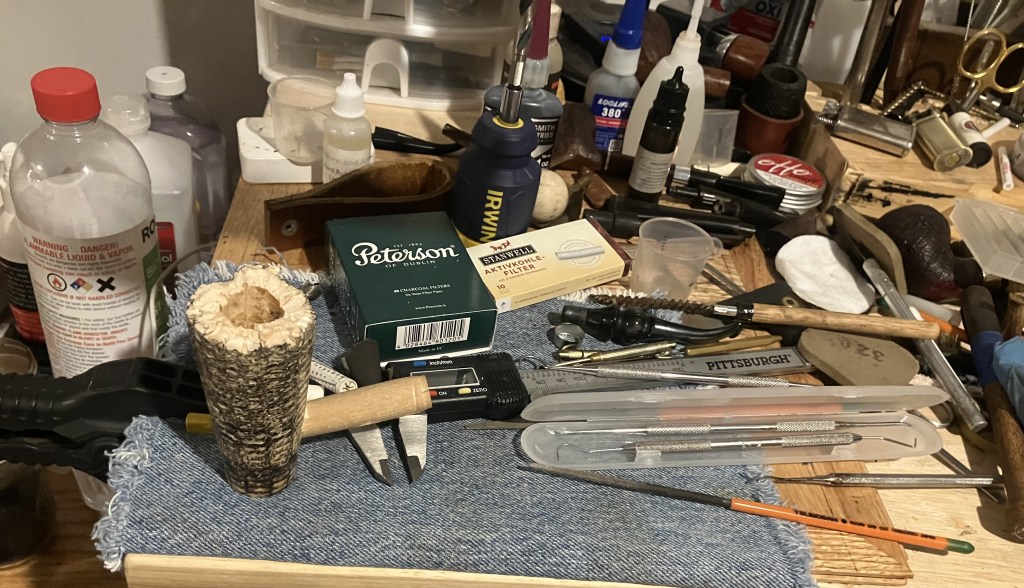


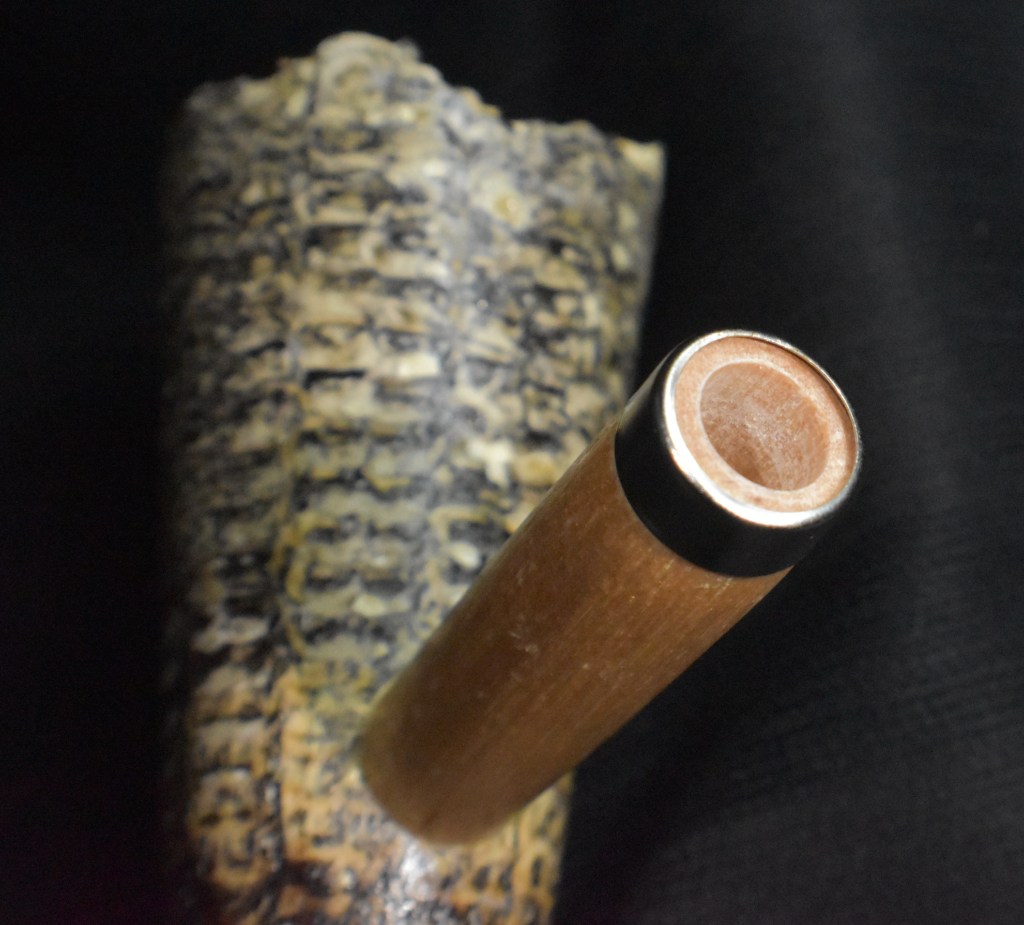


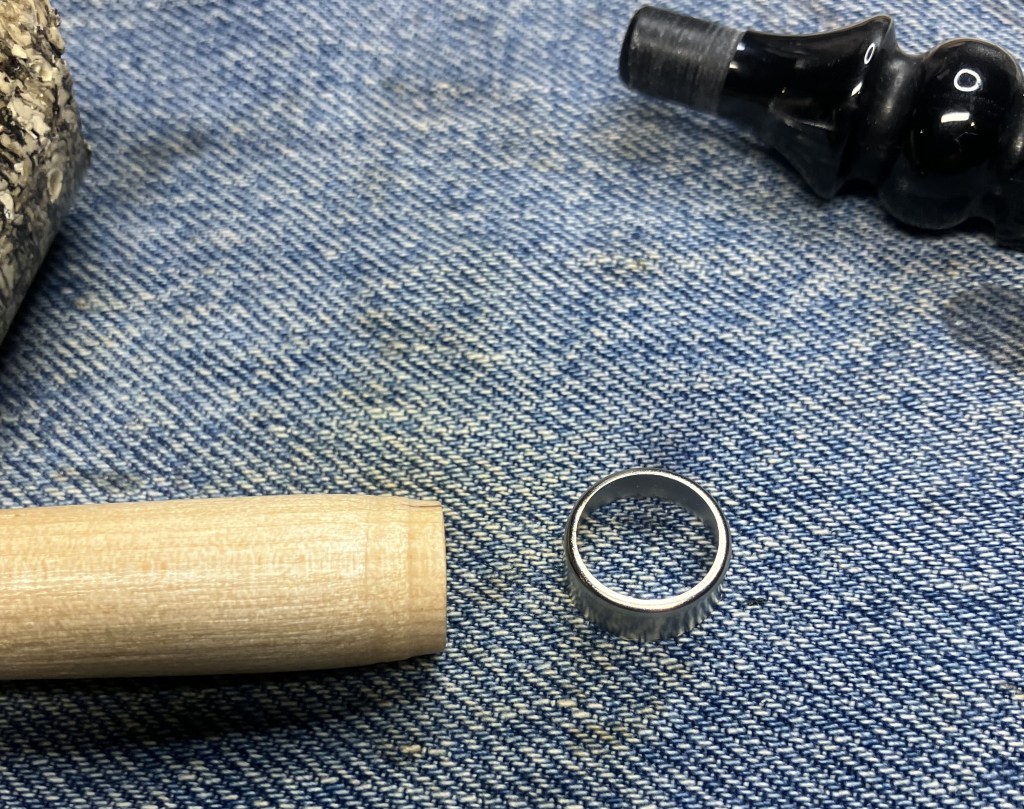
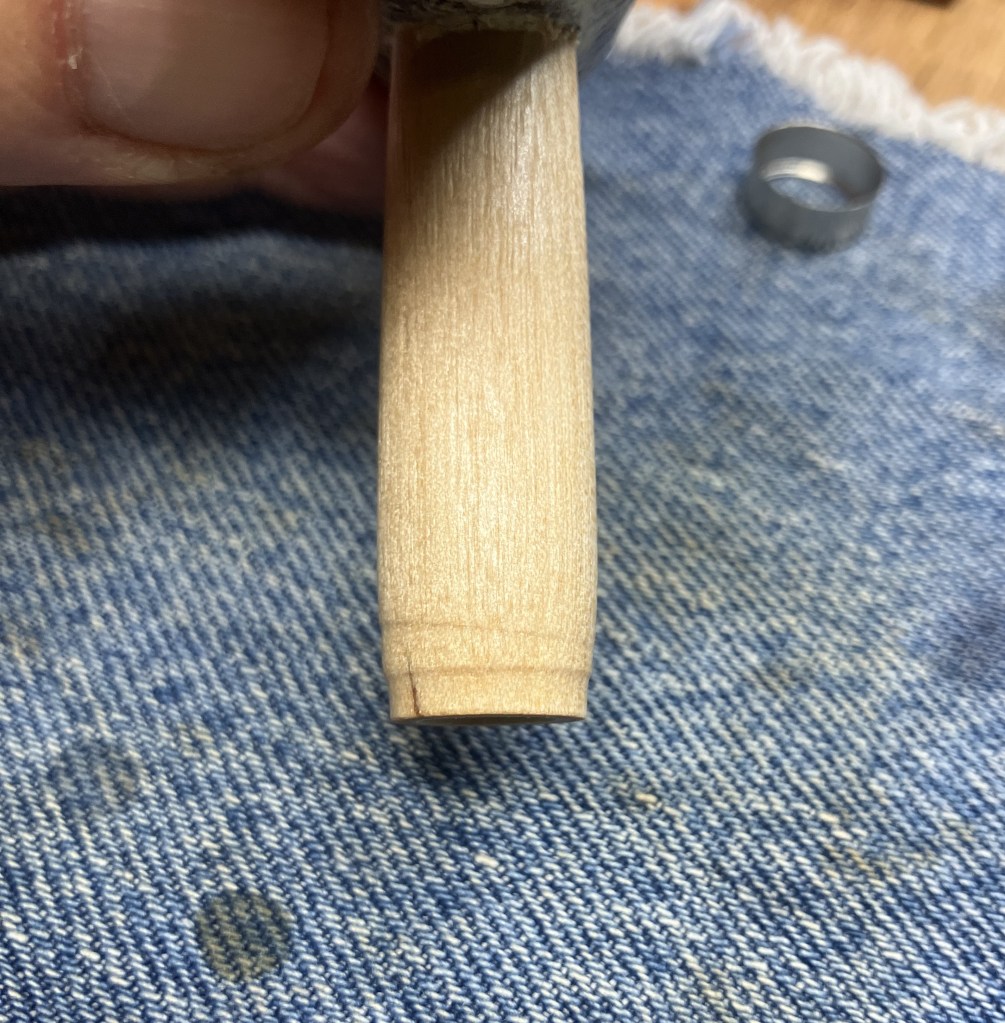

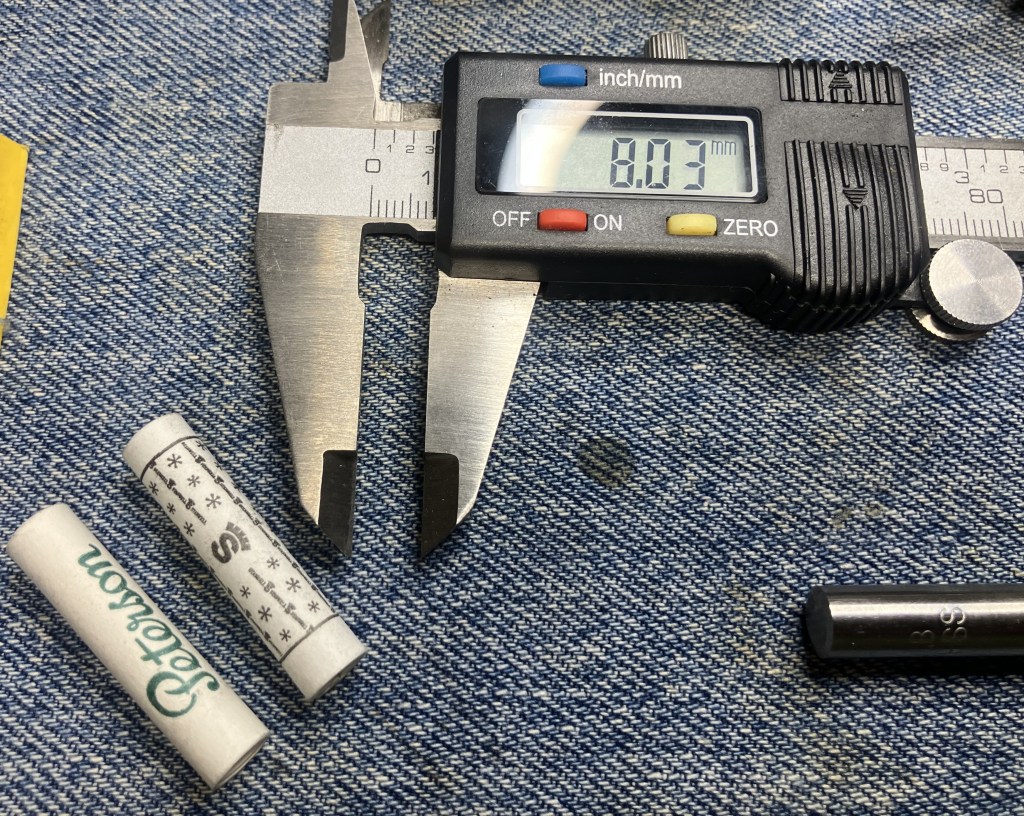

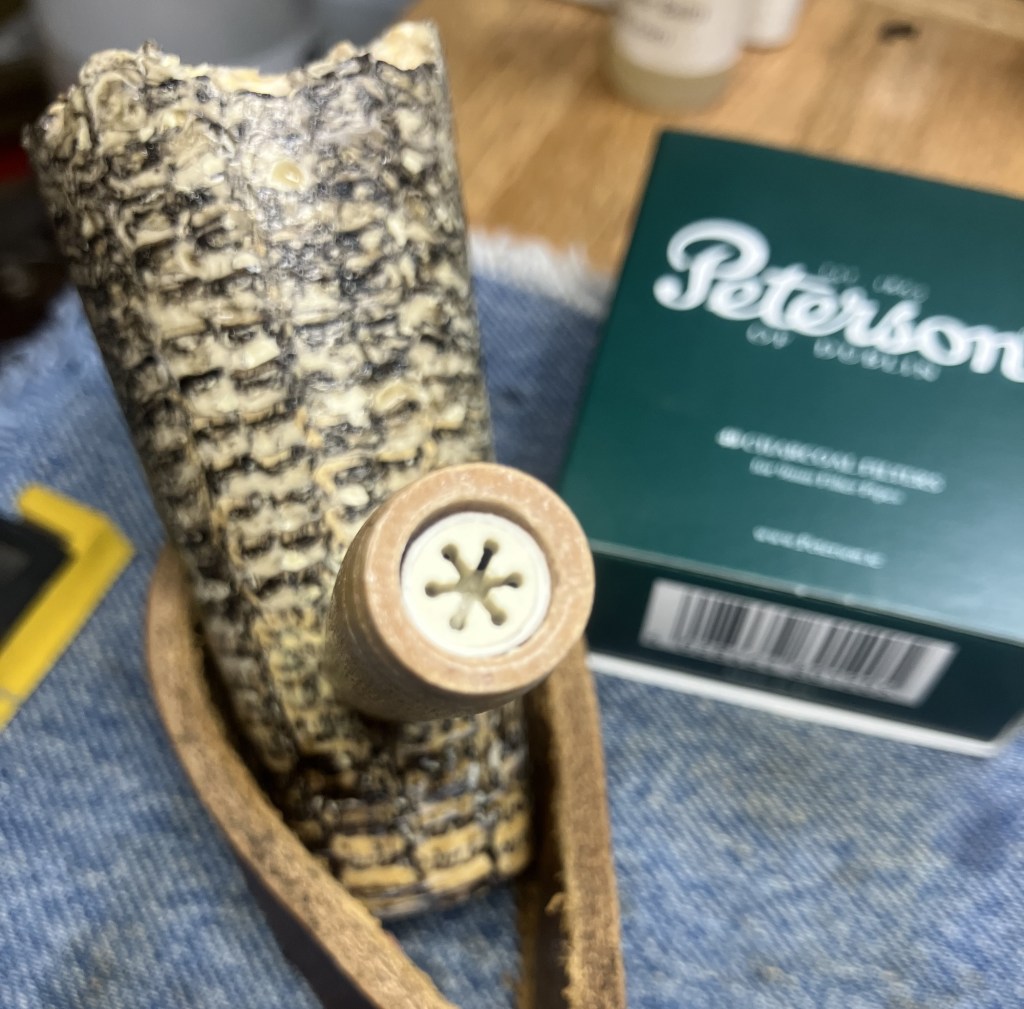


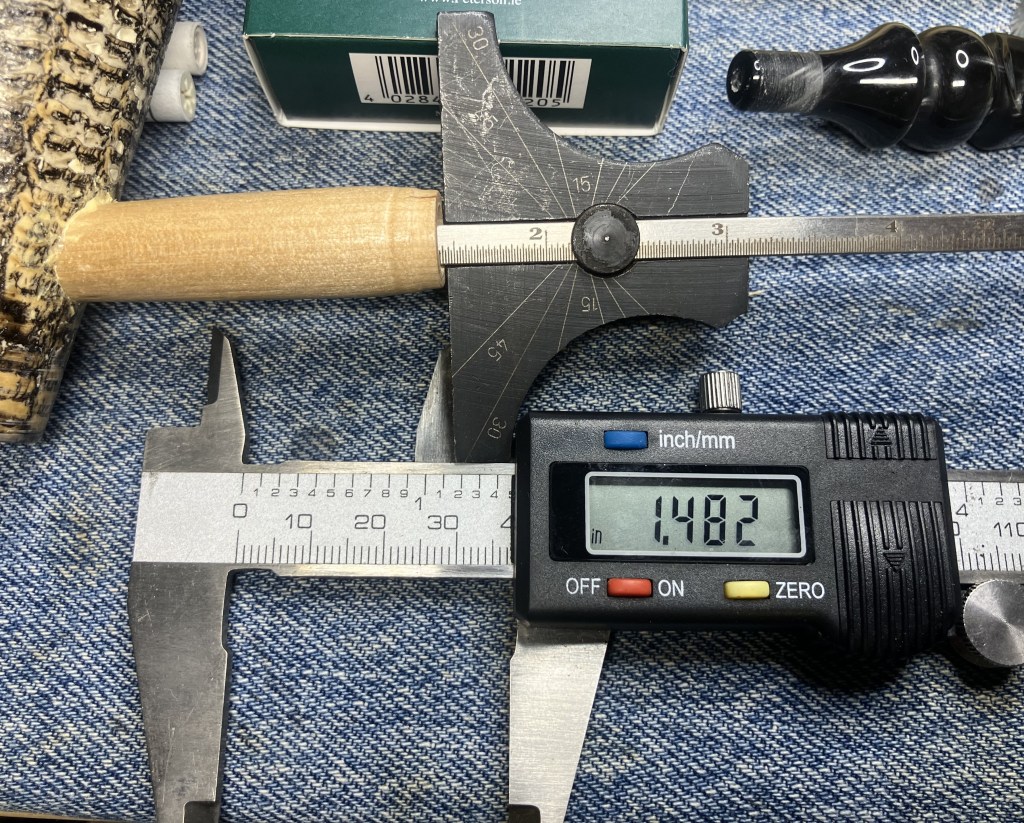
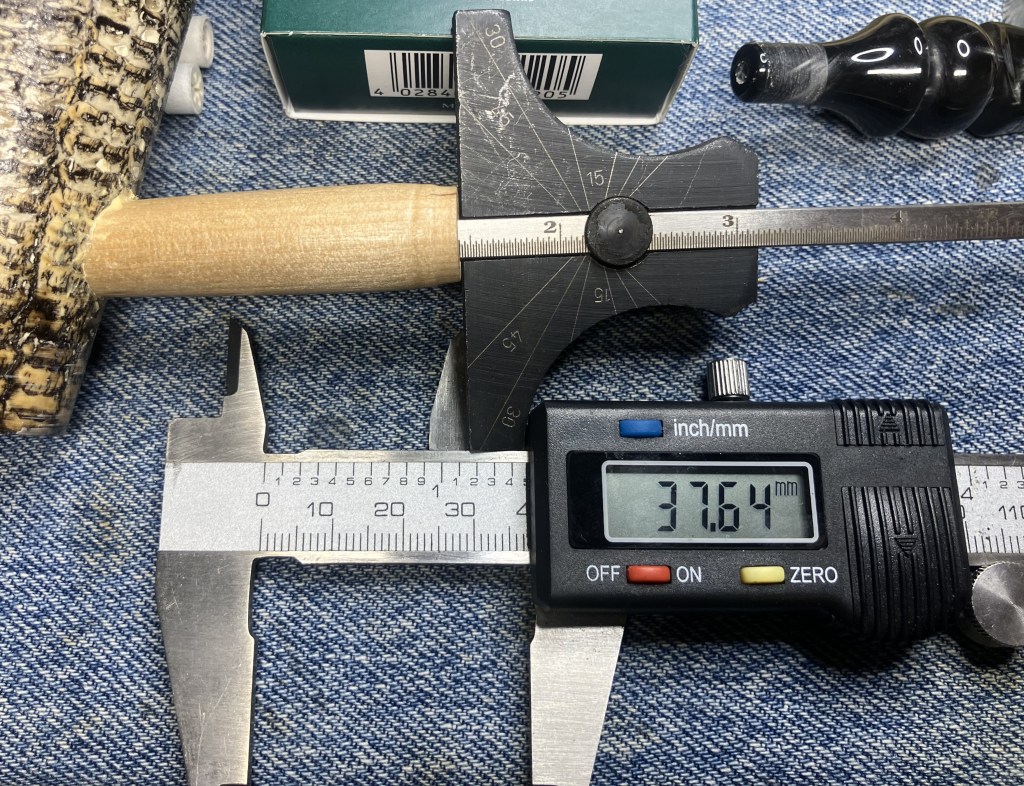


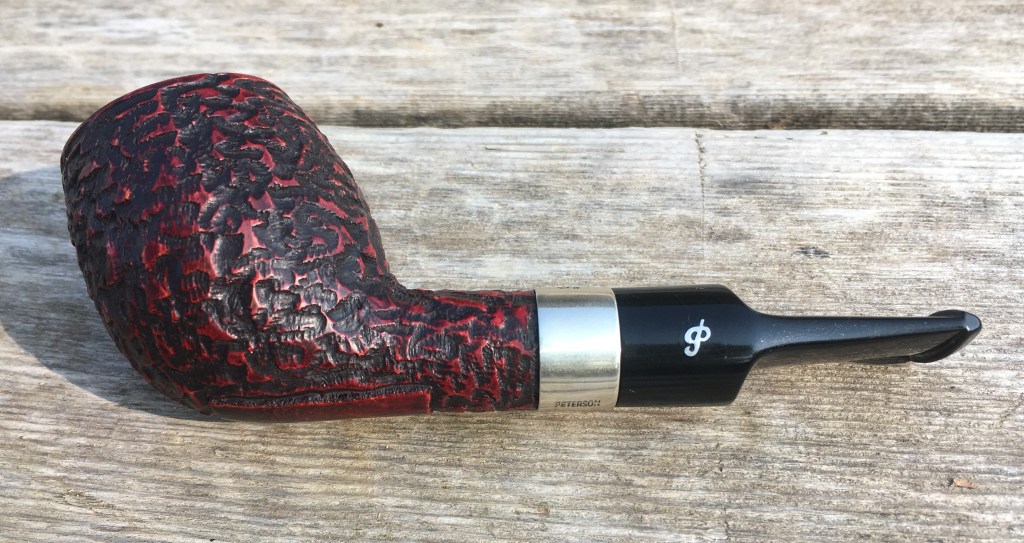
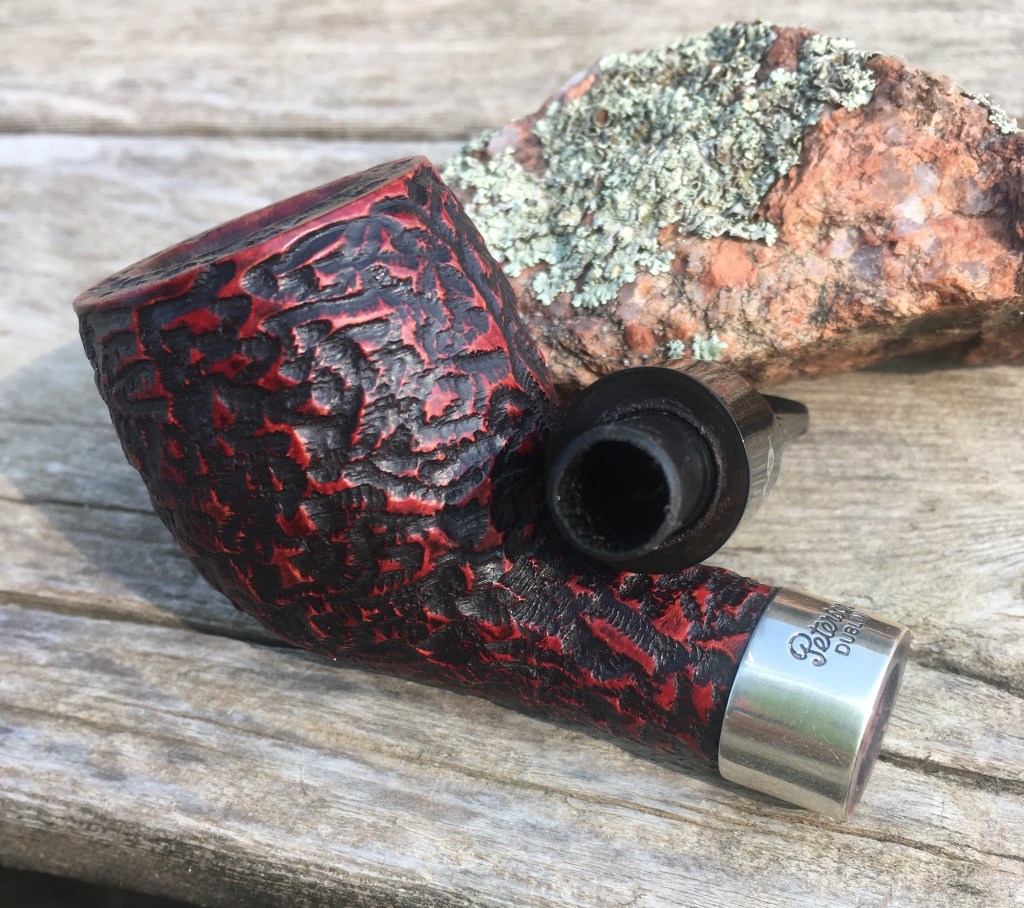


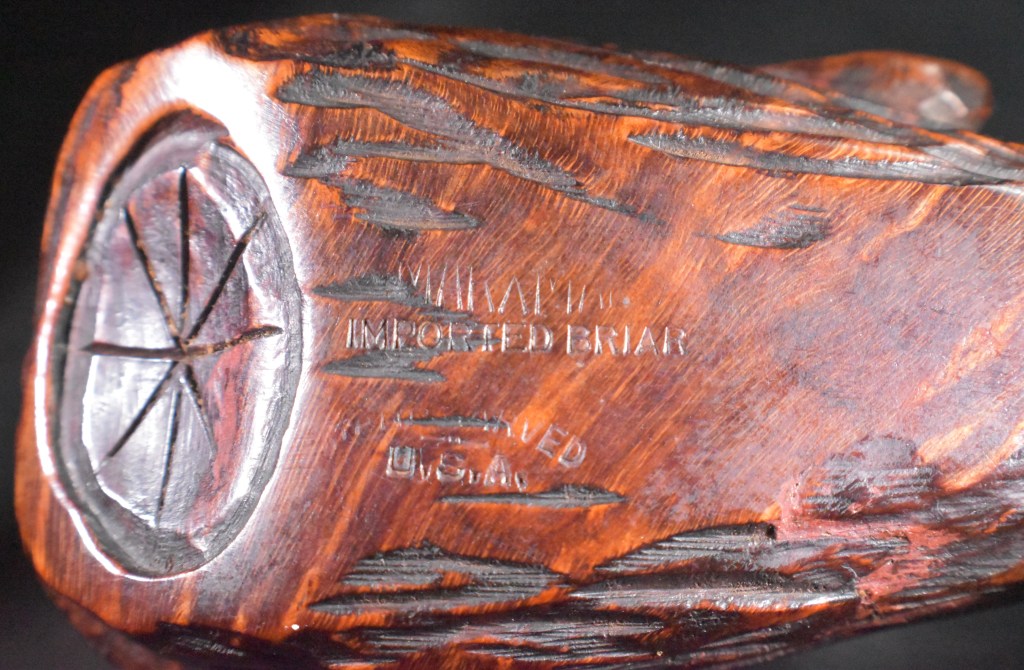


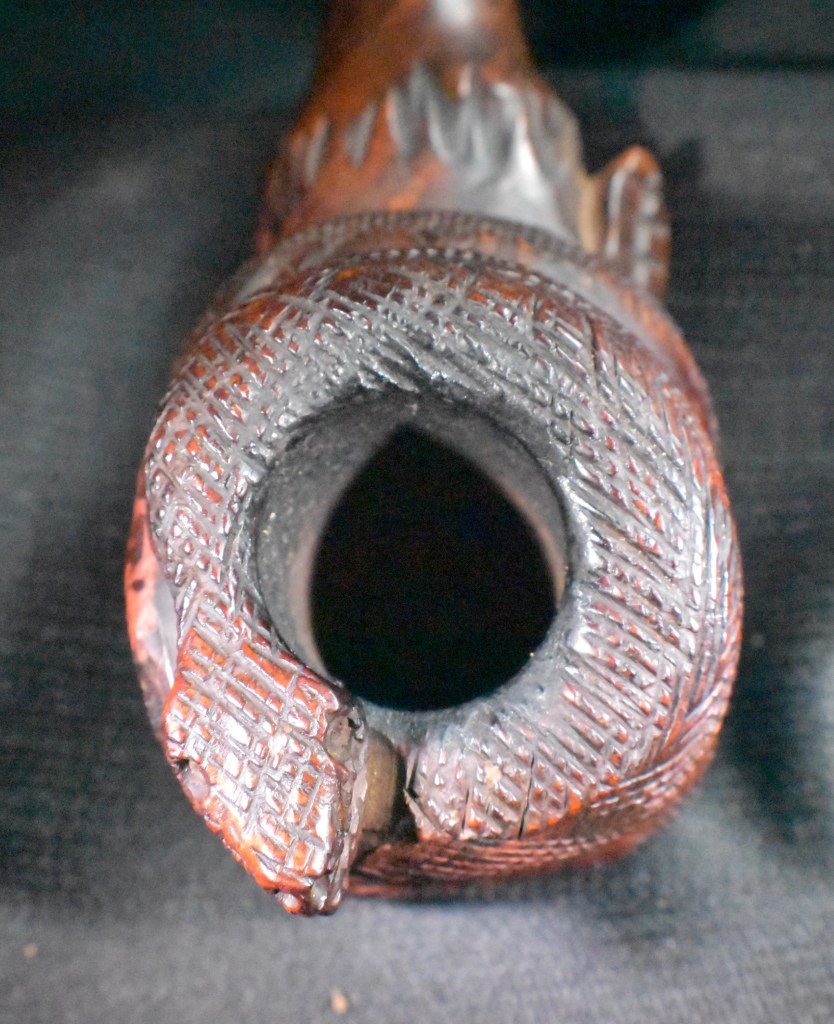


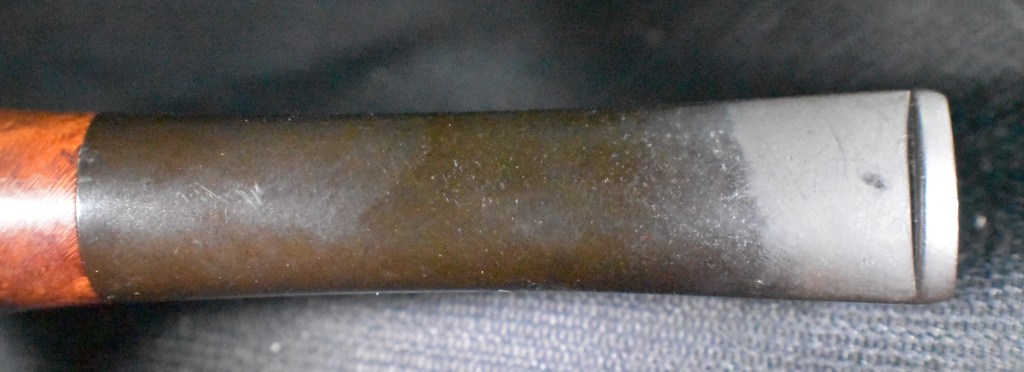


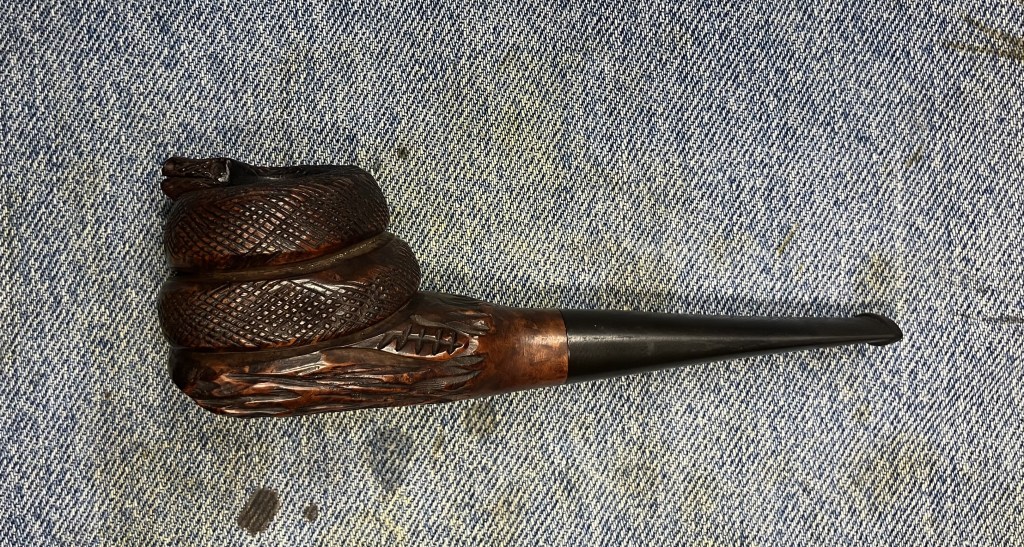

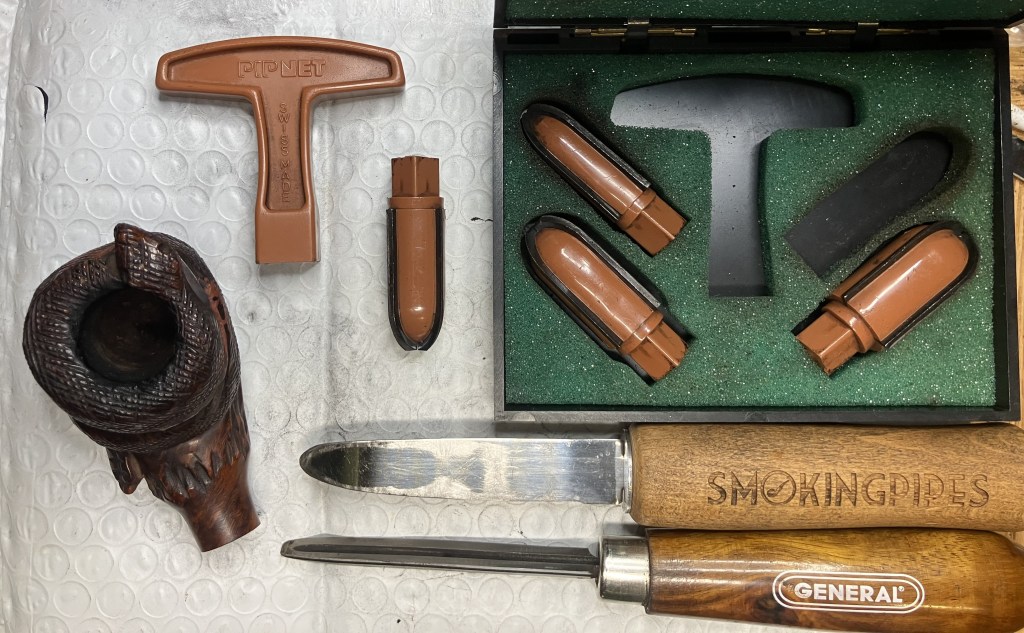


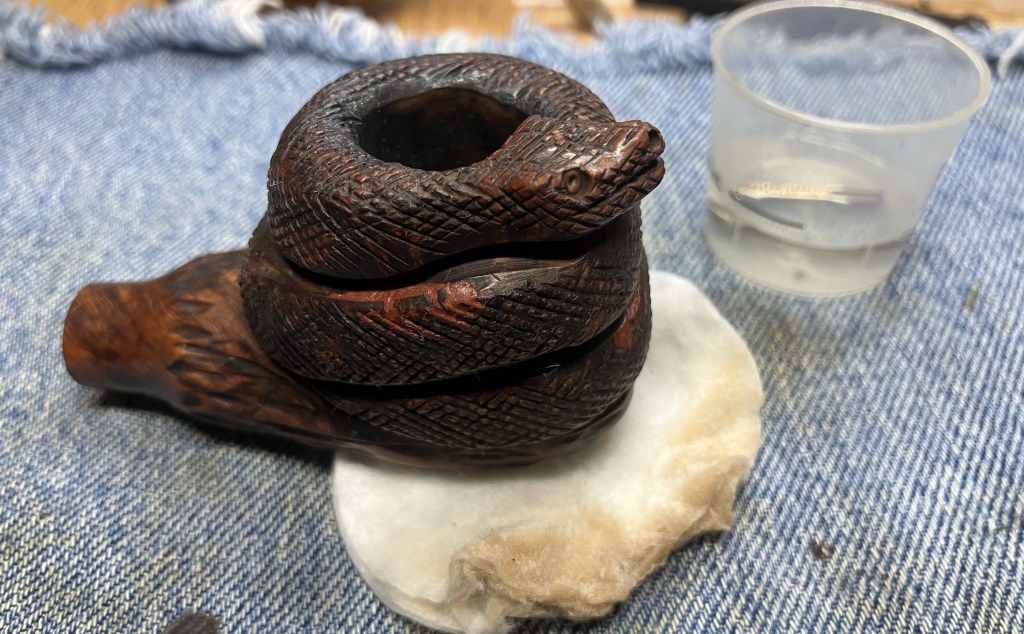

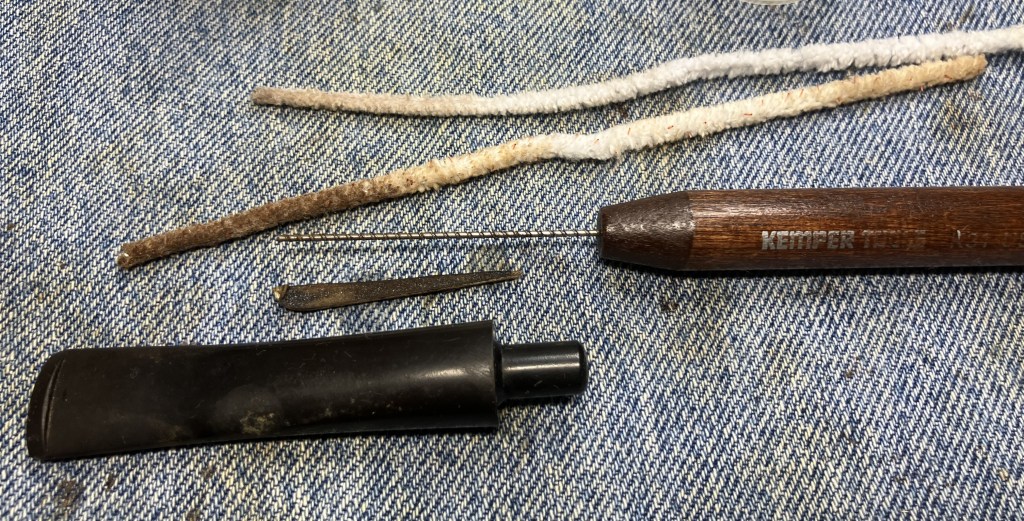






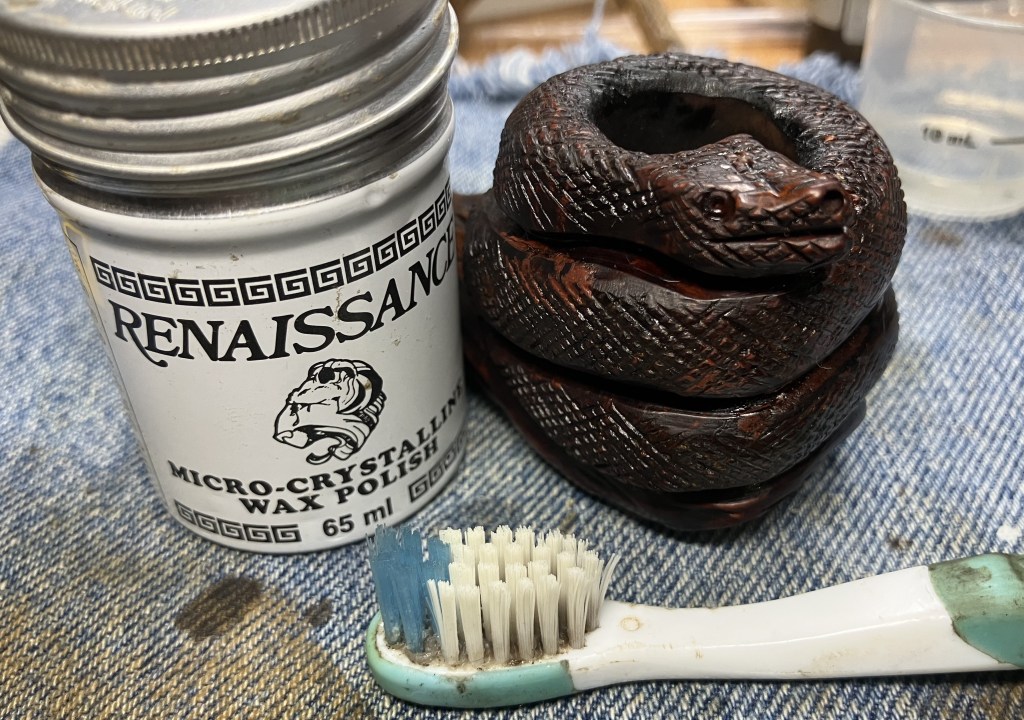

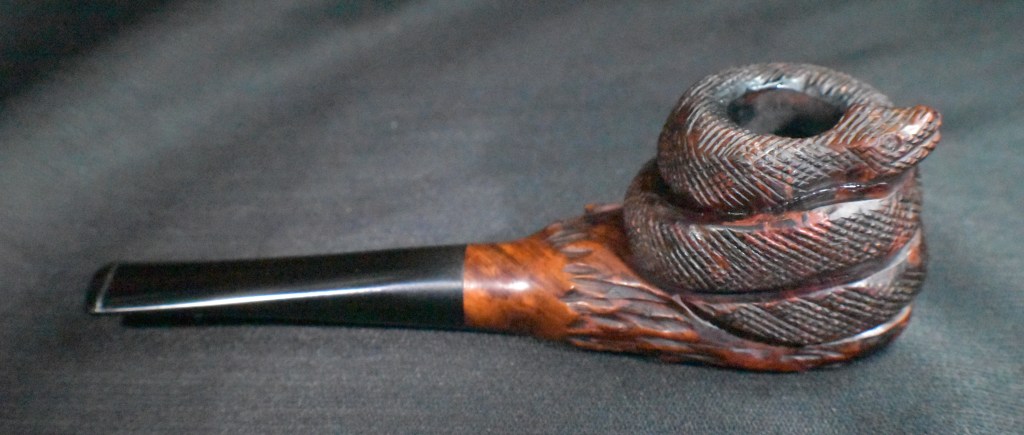
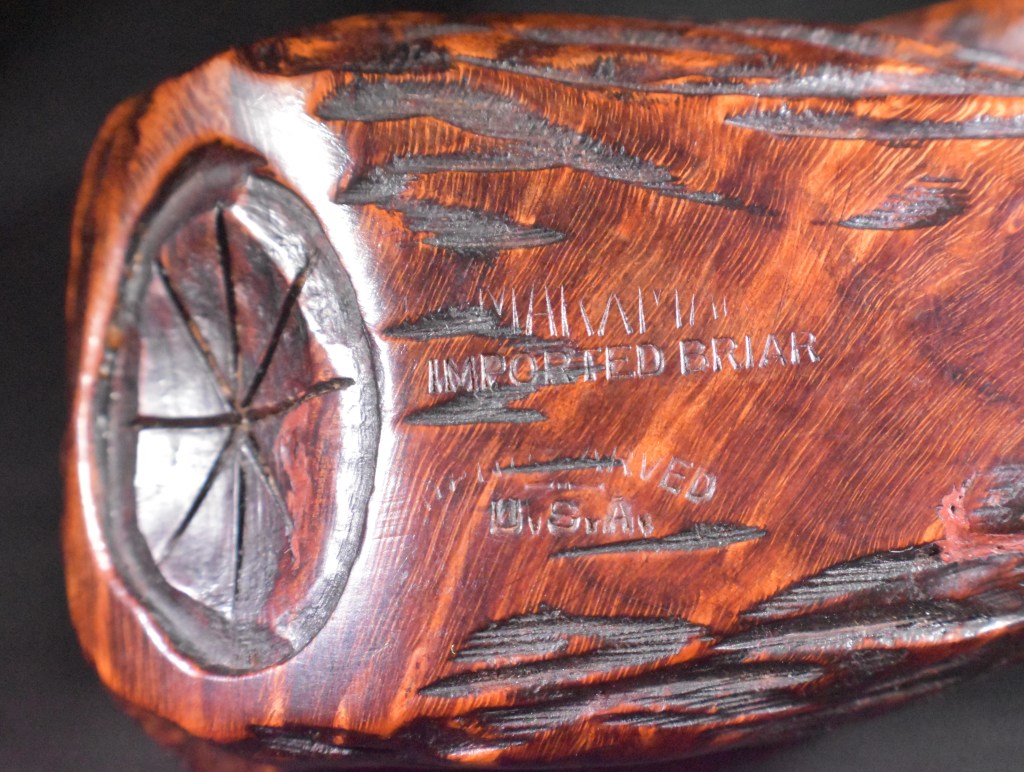
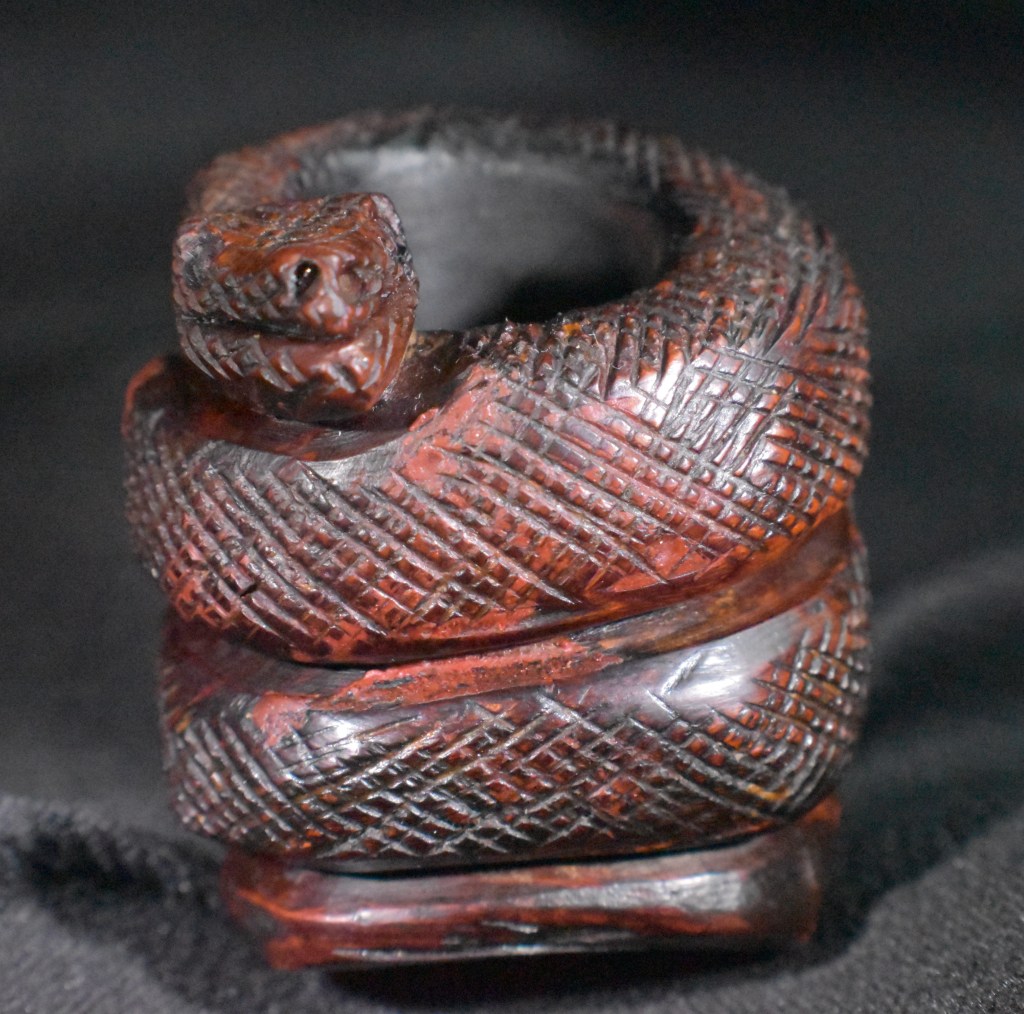
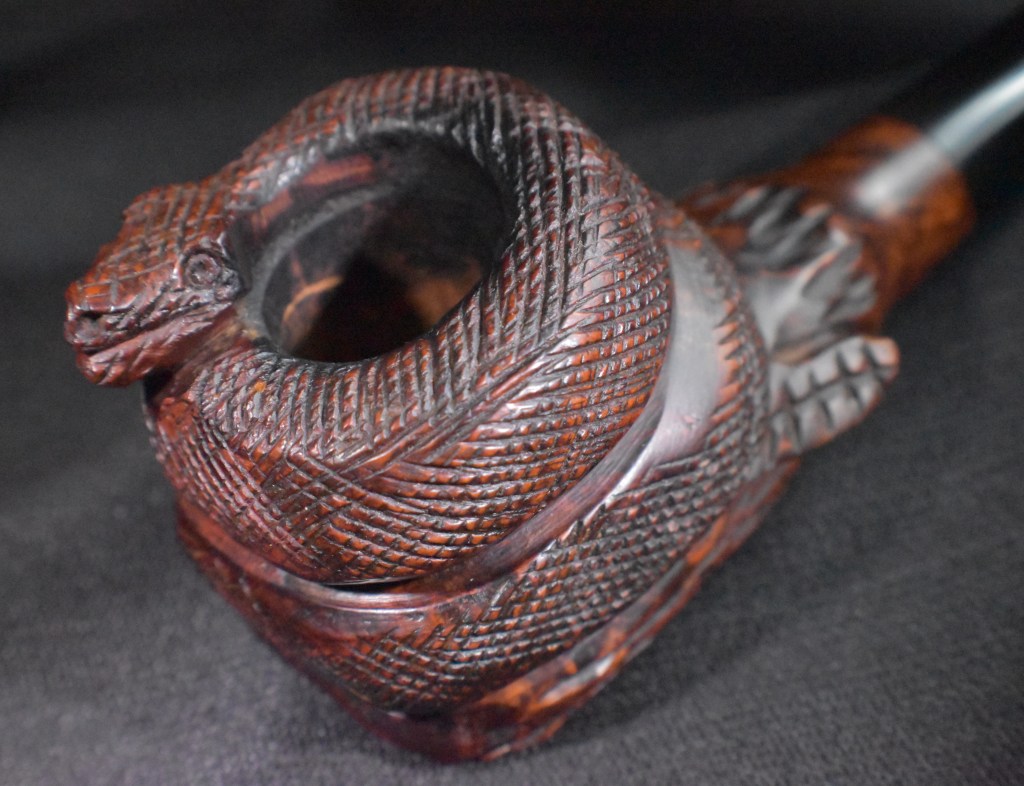

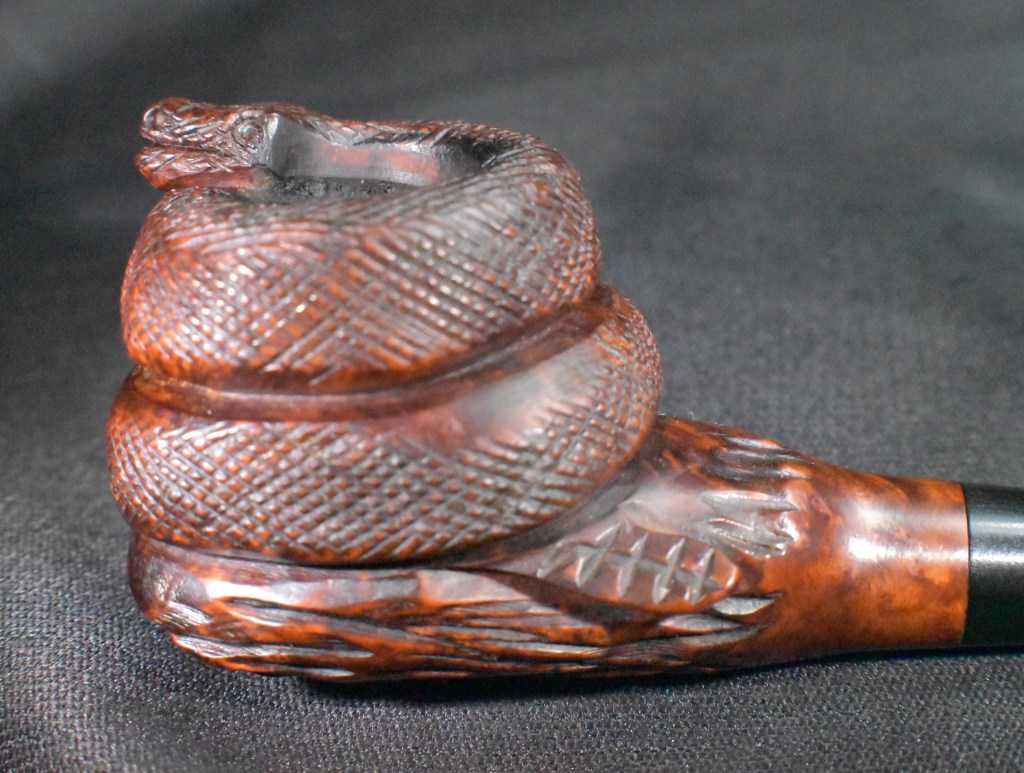
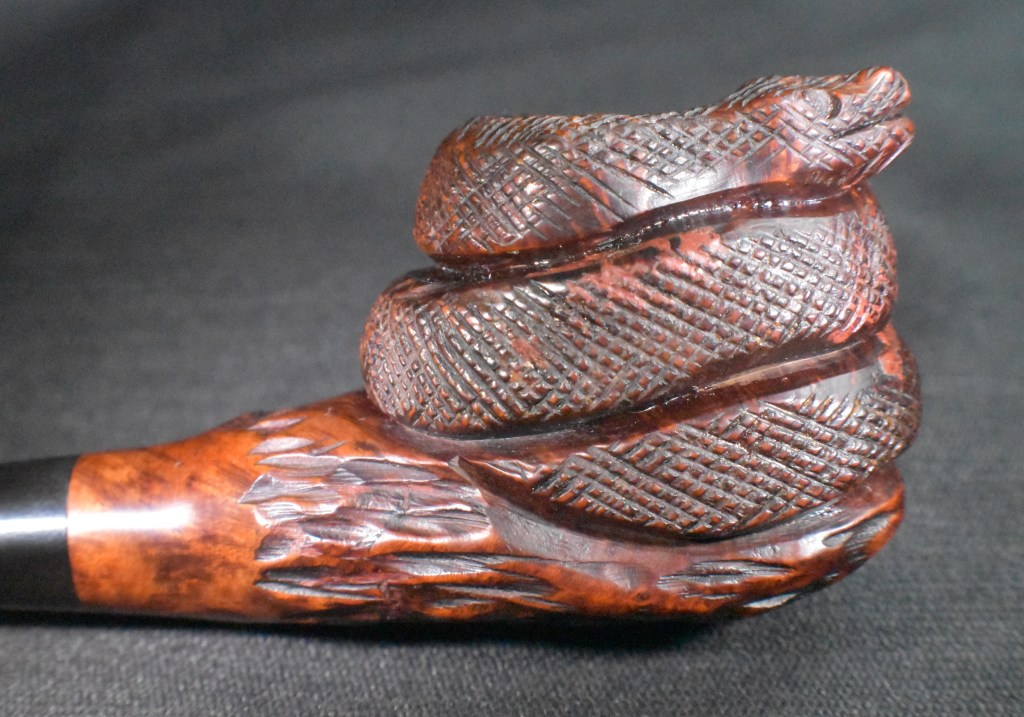
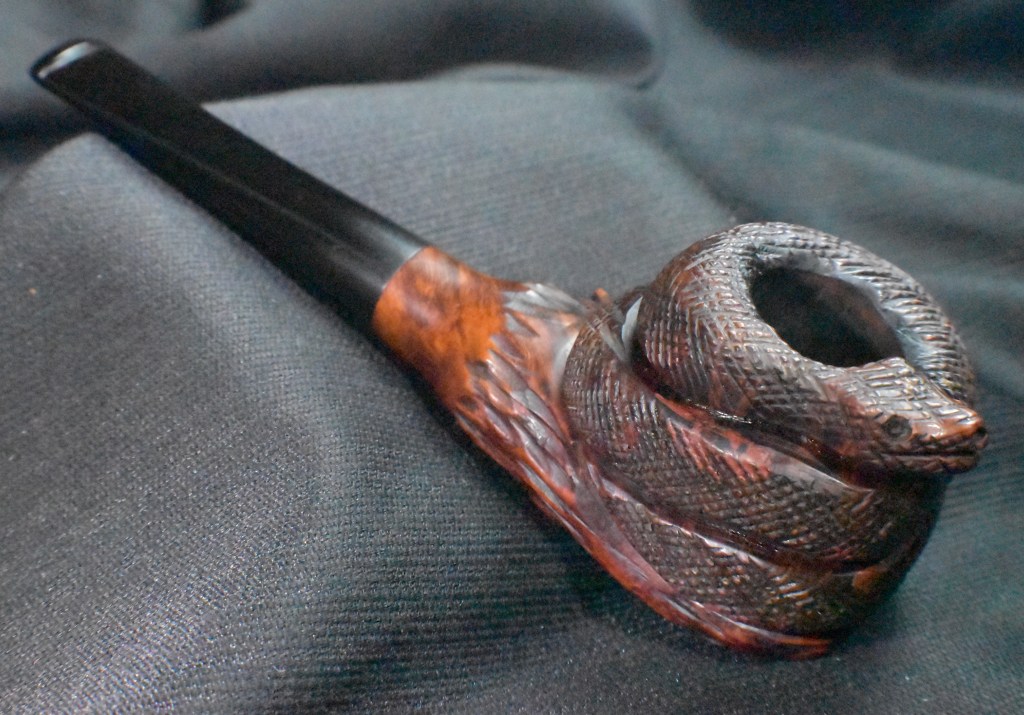
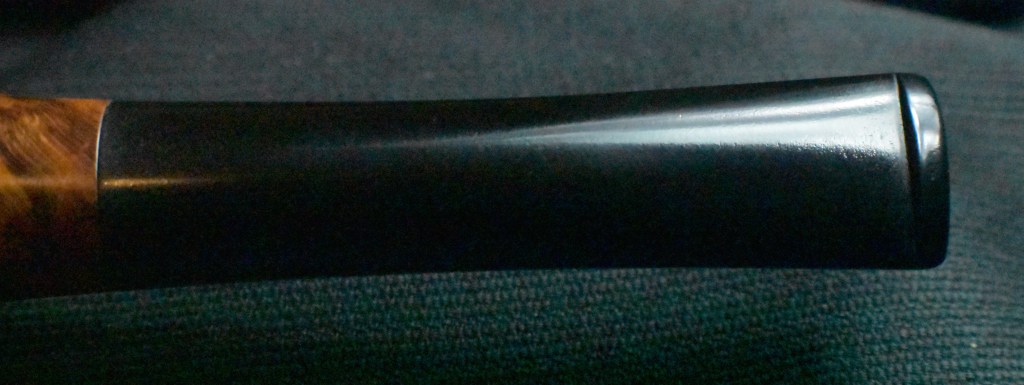
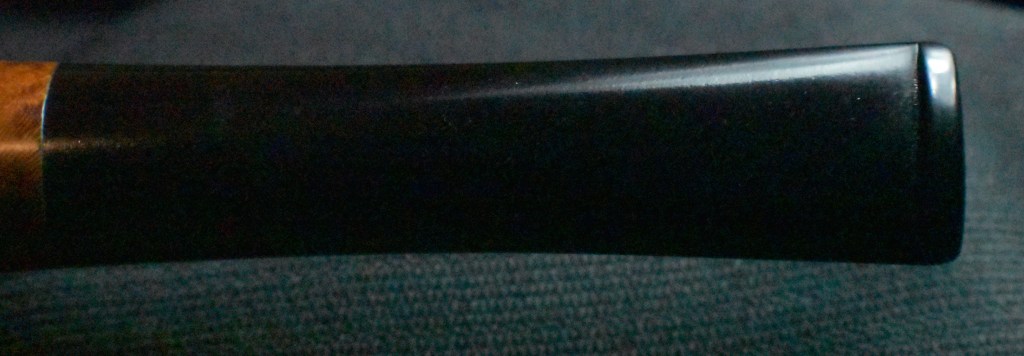


 NebraskaPeteGeek

