Photographed and written by
John M. Young
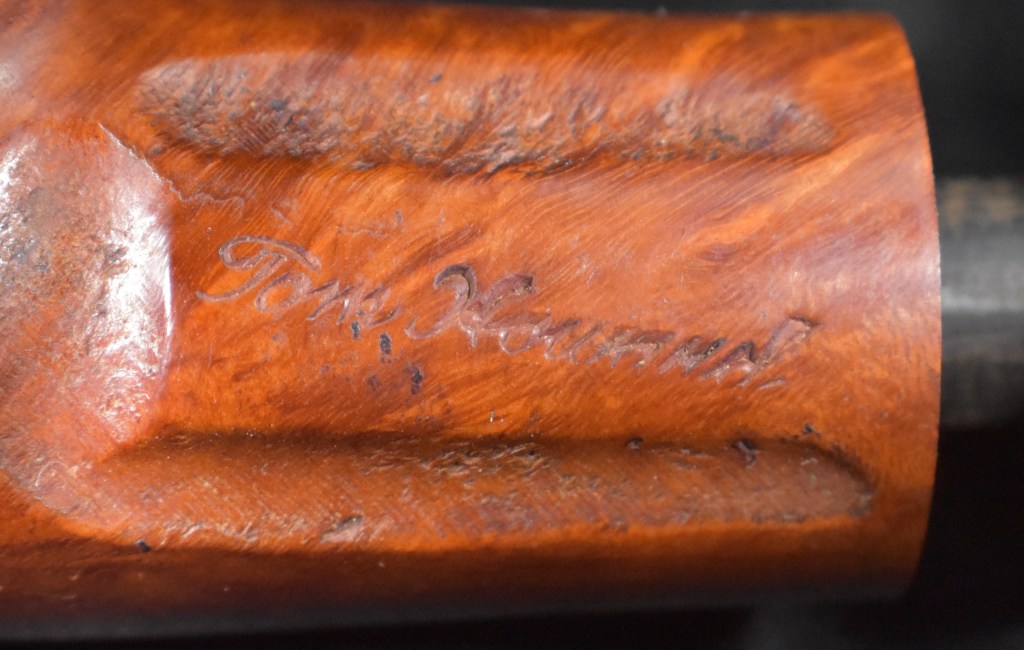
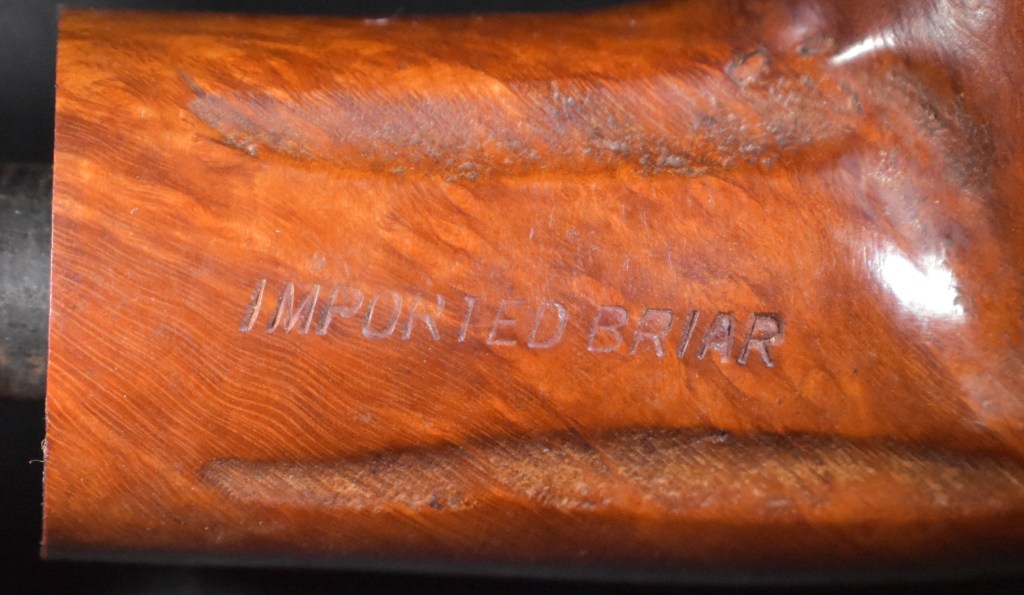
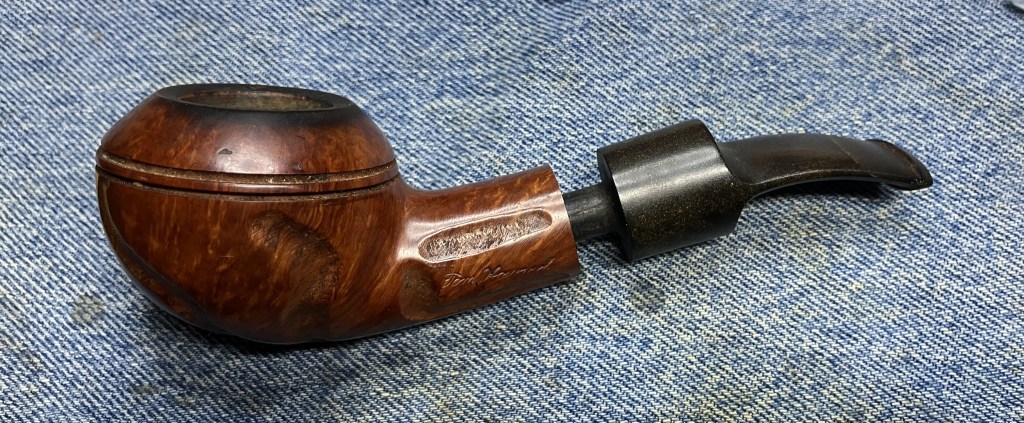
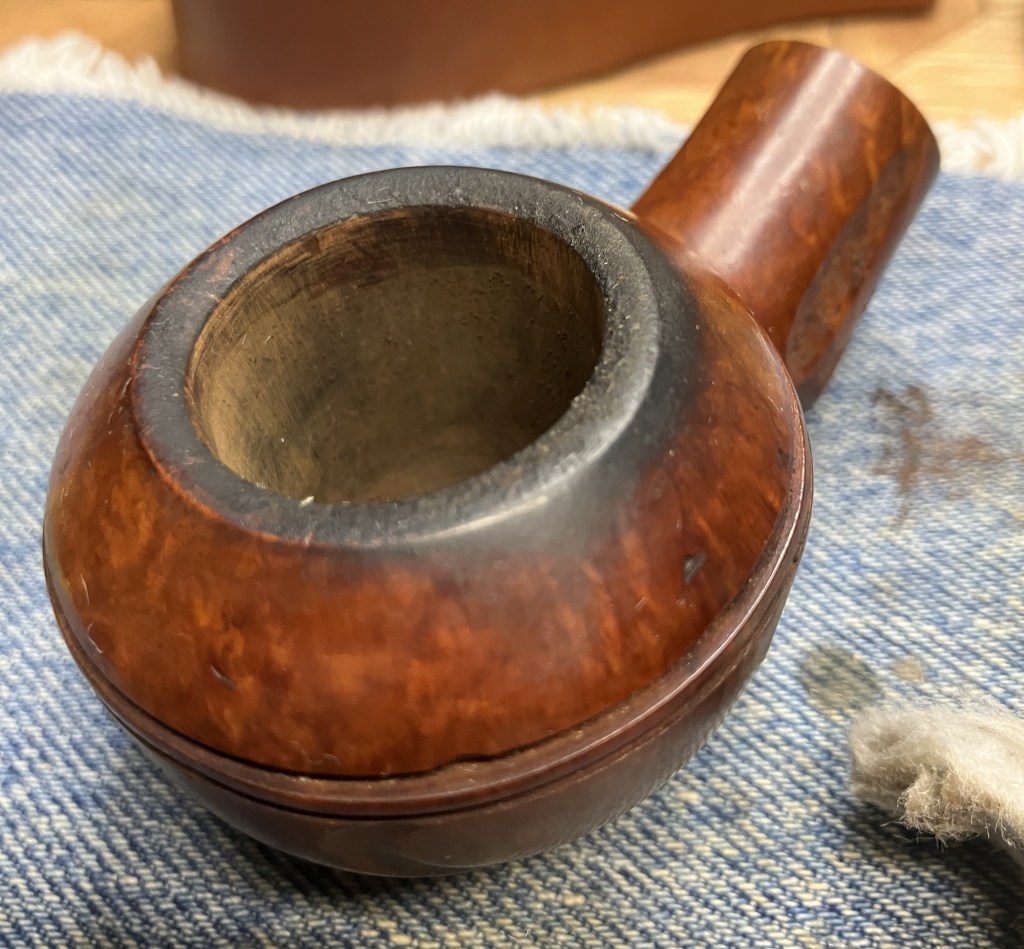
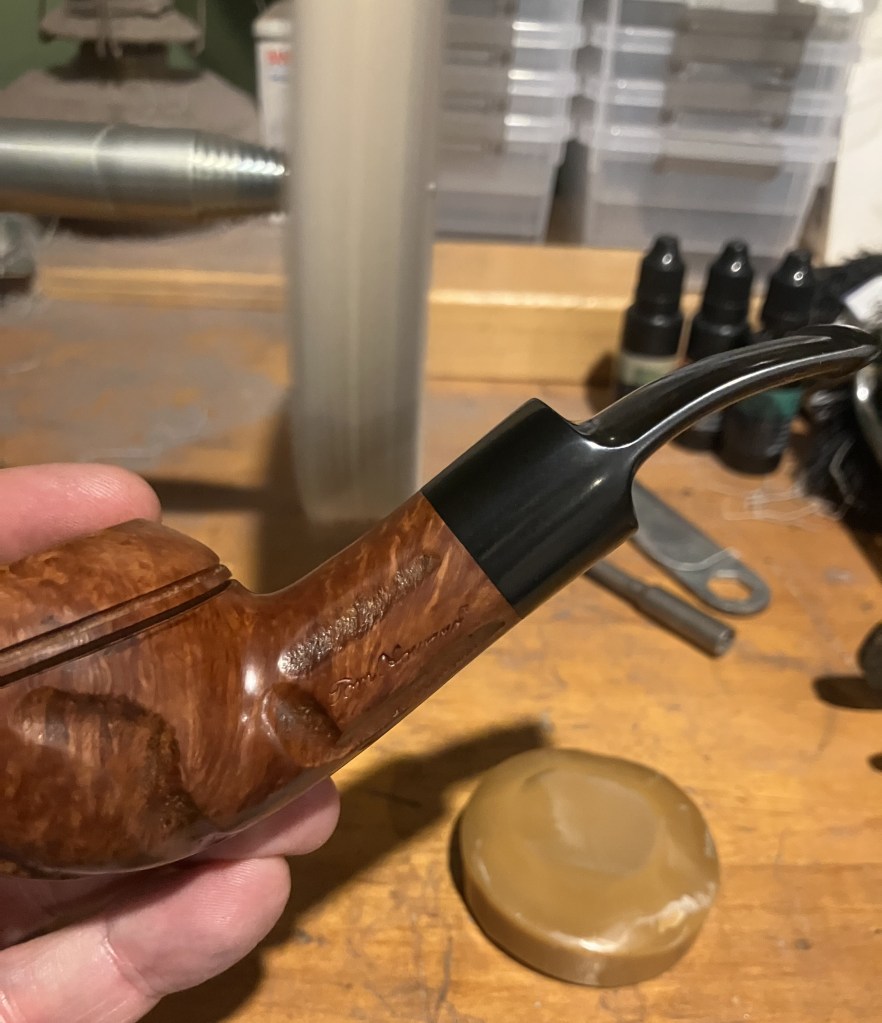
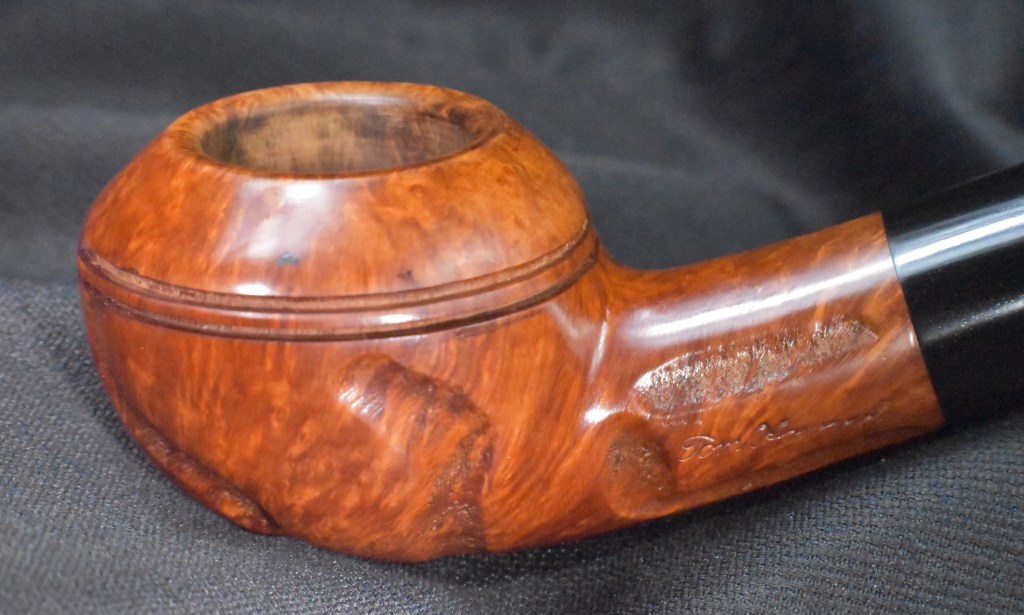
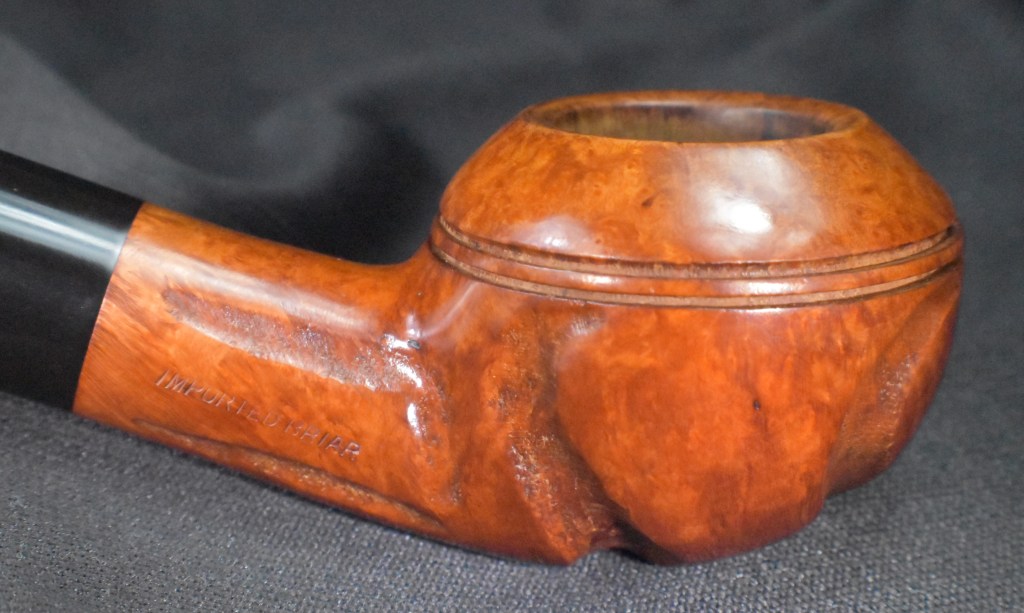
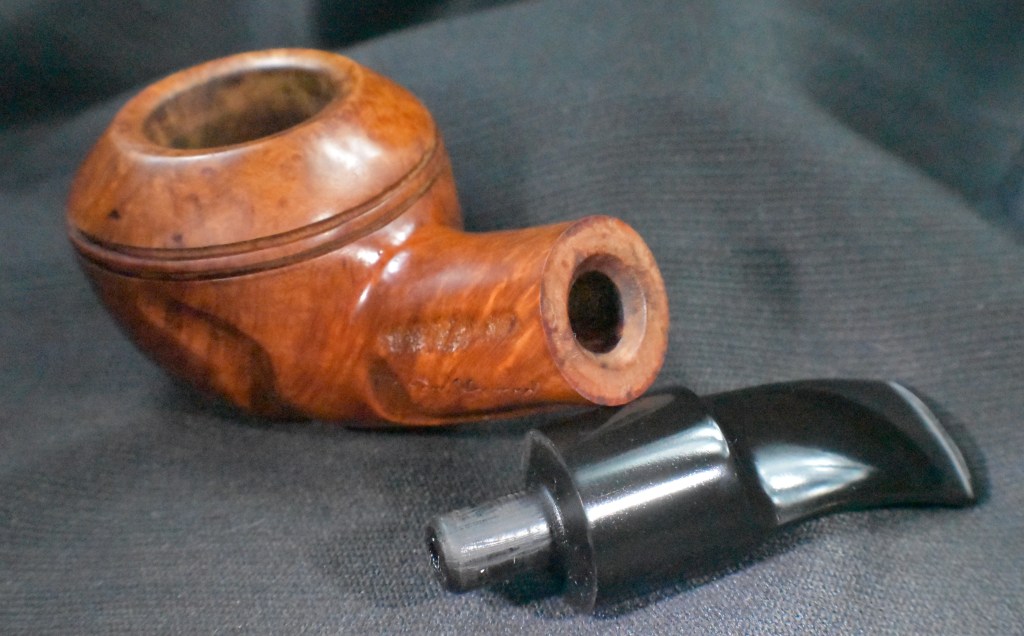
The last Tom Howard pipe I restored could probably be considered a salvage rather than a restoration, here’s that one. This pipe is in far better shape, though still in dire need of some restorative care. This pipe came to me as part of a trade with fellow restorer Donald Cole. If memory serves, and it usually does not, I traded a Custom-Bilt billiard for this pipe and a couple others. I sent Donald a message with before and after photos and his reply was, “Hey now that’s lookin goooood!” (personal communication). I have to agree, but I am getting ahead of myself again. This large Tom Howard bulldog was stamped with Tom Howard, with a cursive script on the left shank and IMPORTED BRIAR on the right. Below are some photos of the pipe prior to beginning work.

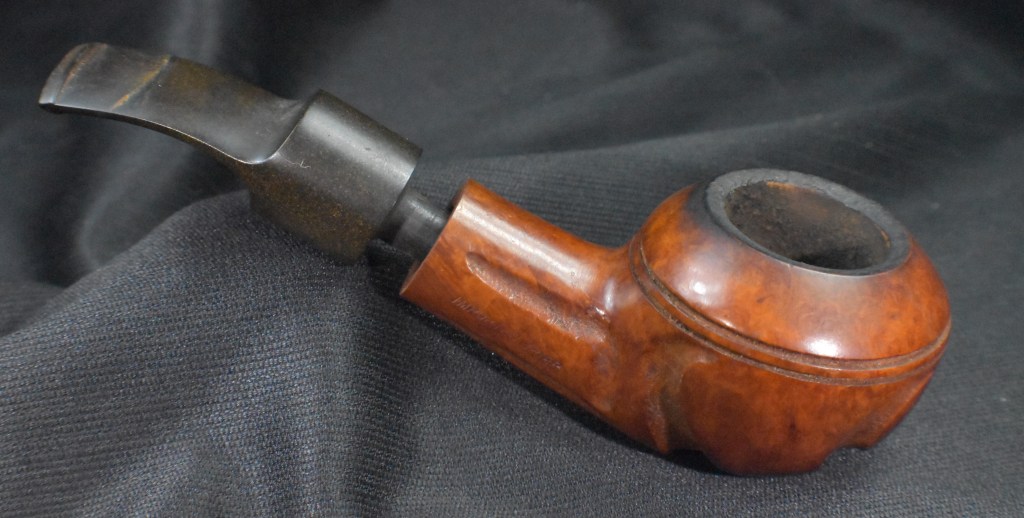
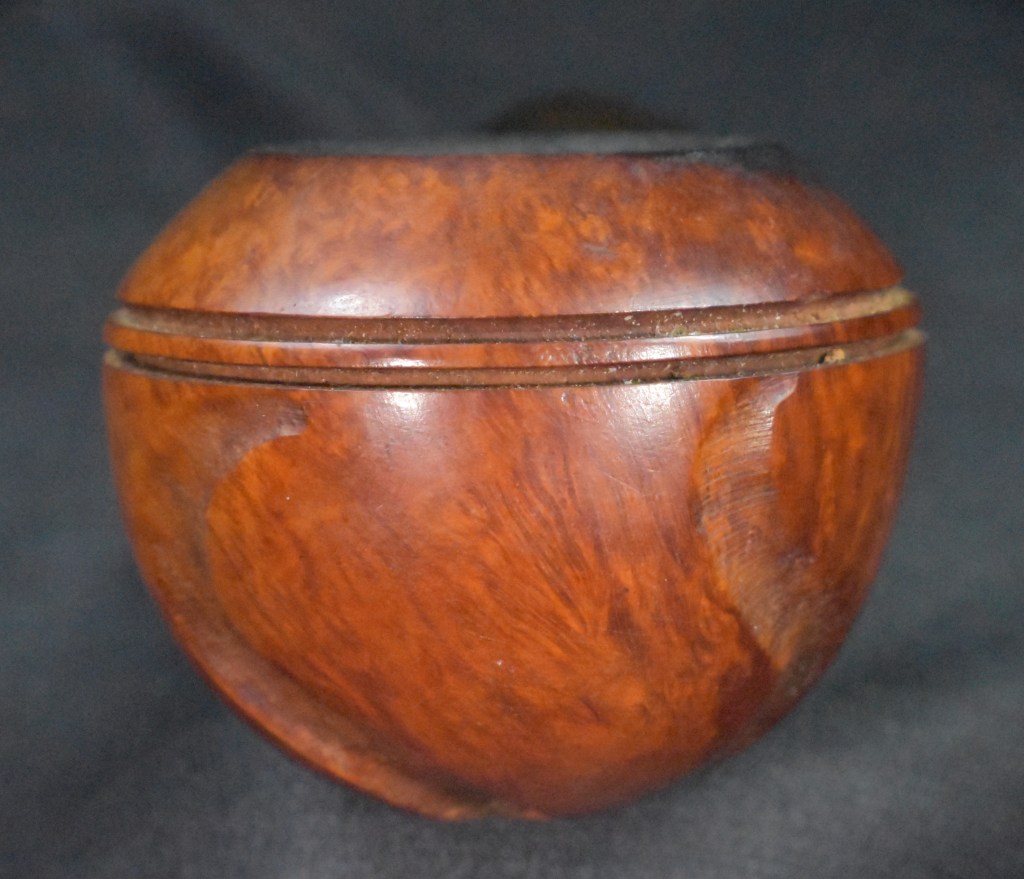
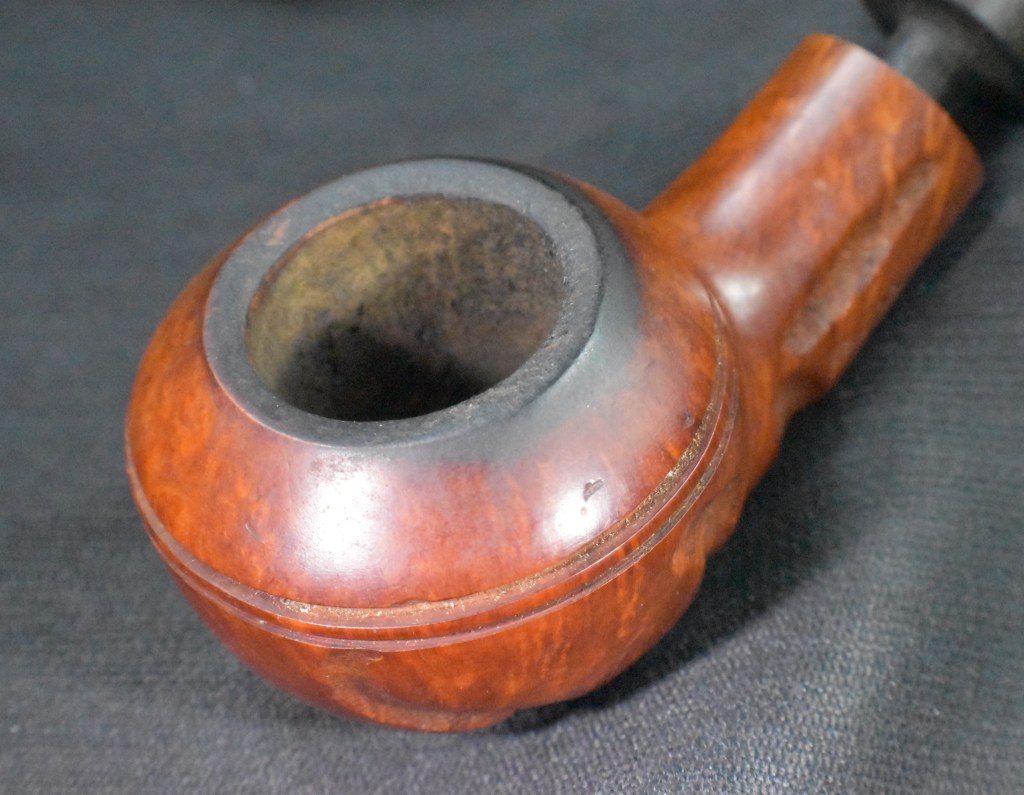
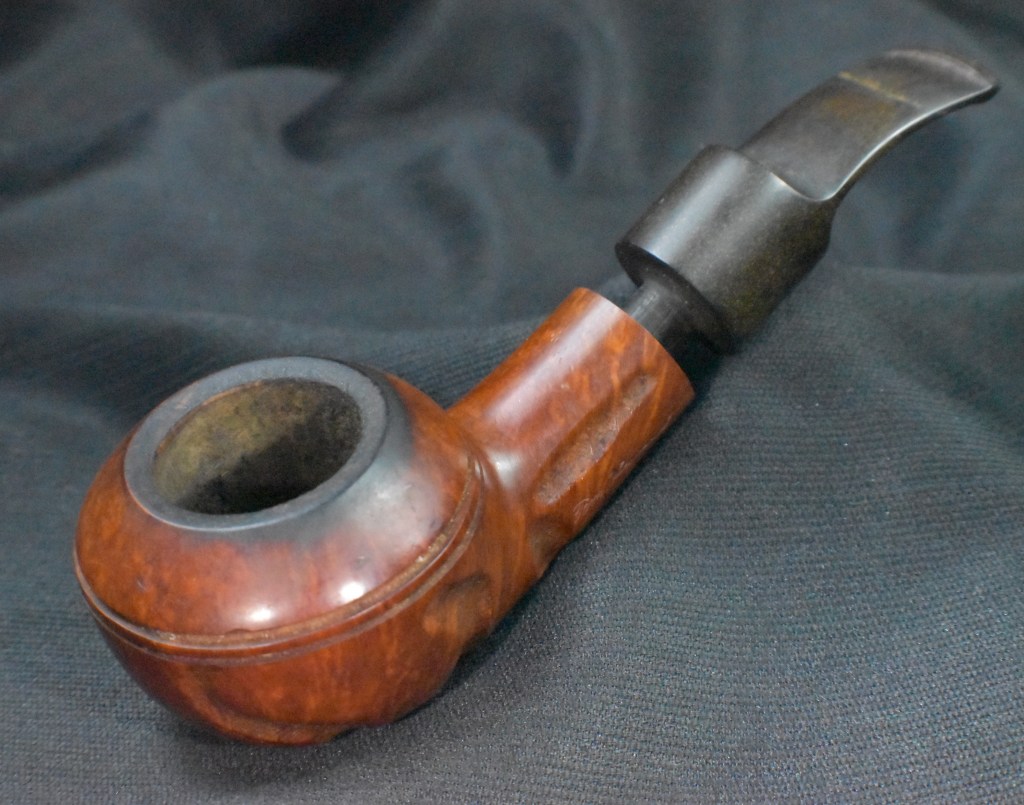


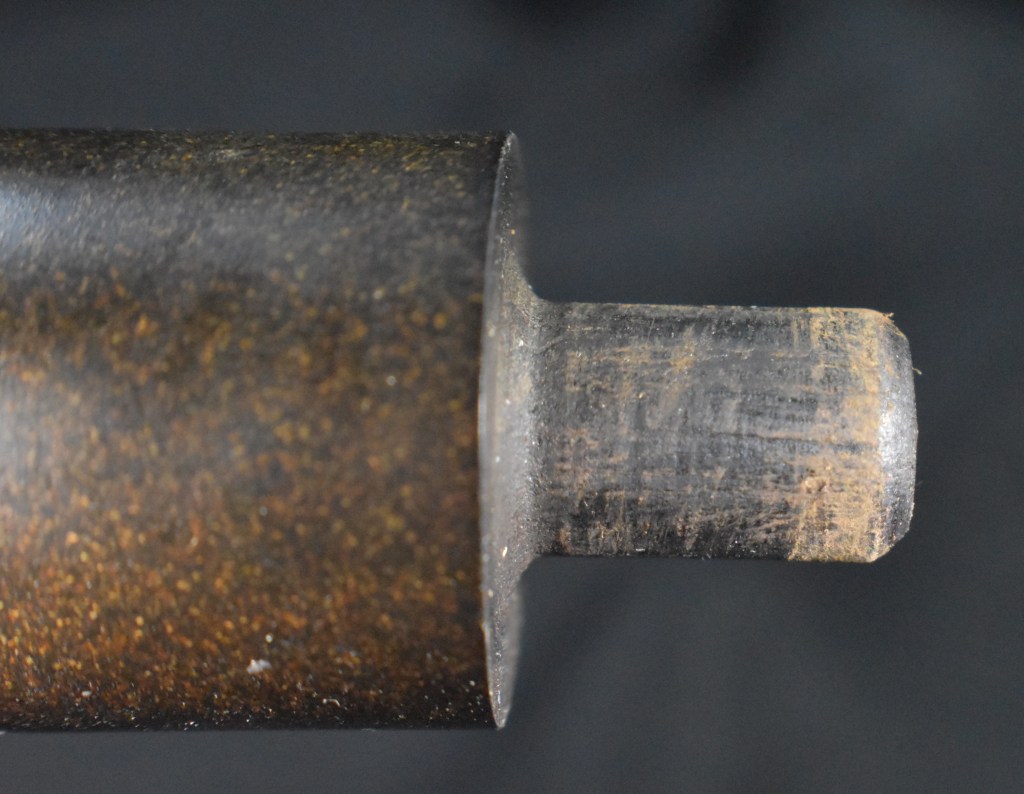
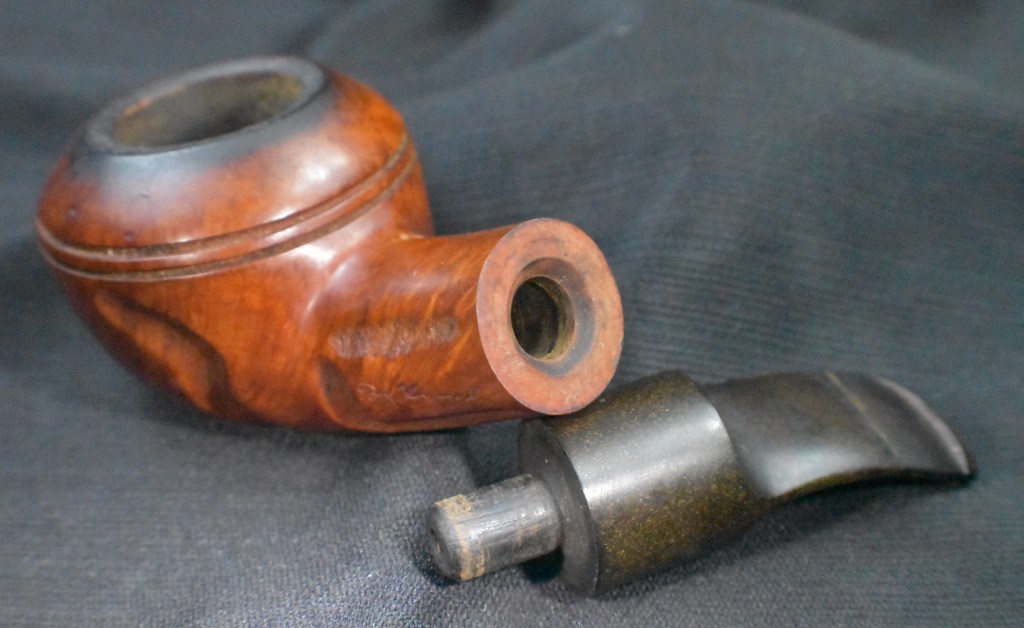
A big job yes, but not a bad job. Big job, because of the huge size of the briar. The pipe was in very good shape for being 85ish years old. The stem appeared to require the most attention. The oxidation was strangely grainy looking, probably from lax quality control while vulcanizing the rubber. It certainly was thick enough to take a good deal of sanding though. The tooth chatter on the stem was not bad which indicated the previous owner was not a clencher or that this pipe was just too heavy to attempt clenching. The final stem issue was the incredibly tight fit of the mortise and tenon. Even with this thick shank, I did not want to force the two together and risk cracking it. The briar was in good shape minus the lava accumulation on the rim. I did hope that there was not any charring of the briar beneath the lava.
Background
I documented Tom Howard’s work in the previous Tom Howard pipe restoration blog. I will include that again here.
“I have to say that I was unfamiliar with any of Tom Howard’s work outside of pipemaking. I began with a search for his pipes on pipephil.eu. Here there was a short entry:

(Hi-Ht — Pipes : Logos & Markings)
The next stop was pipedia.org. At that site there was more information but not a great deal. According to pipedia.org,
“Tom Howard was a popular comedian and personality in the 1940s/50s, known for vaudeville stage and radio work. But he also was a skilled pipe maker. In a Popular Mechanic article from 1947 he is written up as the “Hobbyist of the Month, Tom Howard.” He made pipes in his workshop outside his home in Red Bank, NJ. starting about 1939, and looks like into the late 1940’s or later. He purchased briar blocks by the bag as well as stem blanks, and in his well equipped shop he hand crafted his pipes, in about three hours on average. He was a true craftsman, also specializing in intricate model boats, trains and brass cannons, all built to scale.” (Howard – Pipedia)
There were also several photos of Tom Howard working in his shop. I found these interesting and include them below.
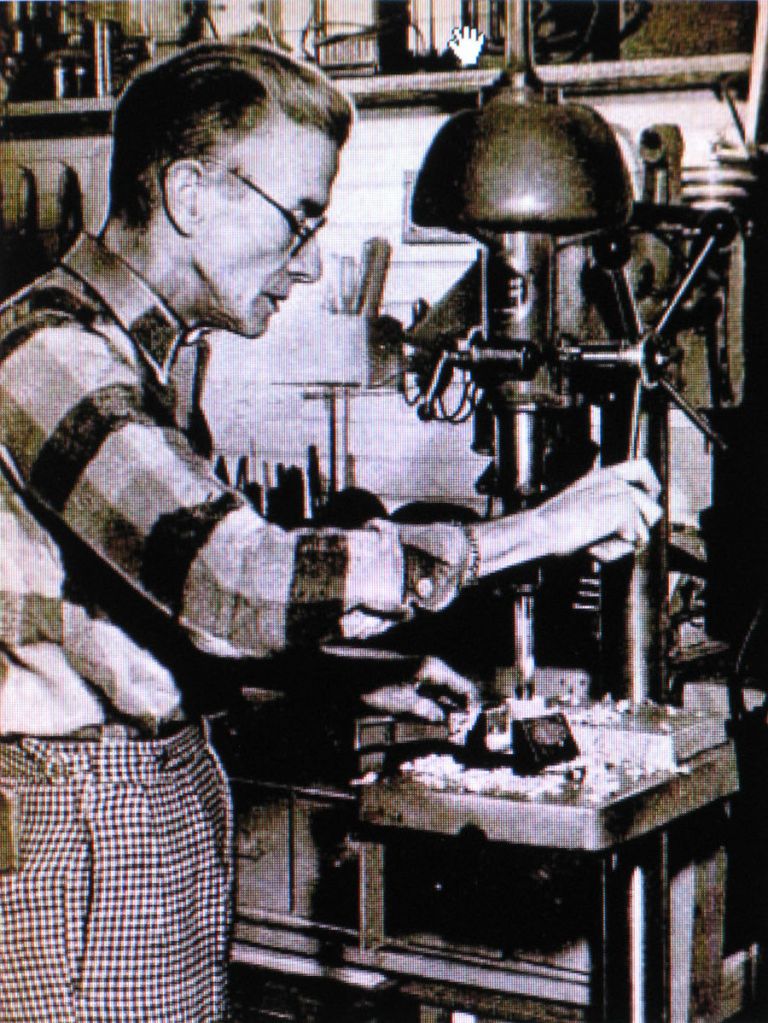
(File:TomHoward16.jpg – Pipedia)

(File:TomHoward17.jpg – Pipedia)
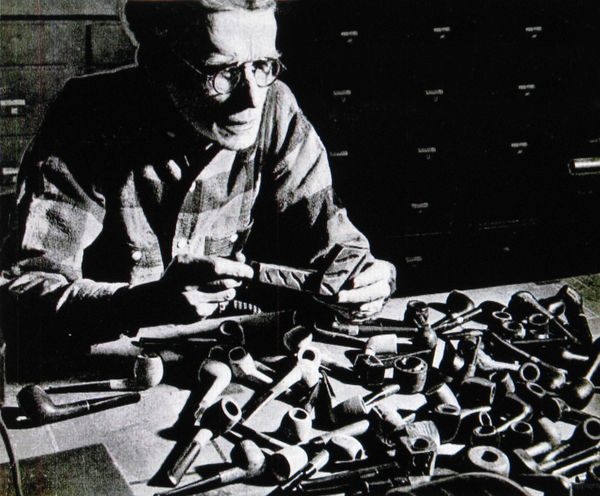
(File:TomHoward15.jpg – Pipedia)
This pipe was likely made between 1939-1950 in the shop of Tom Howard in New Jersey. I had done a restoration of a Greenwich pipe back in November of 2023 that restoration can be seen HERE. Little information was available other than Greenwich House Corporation of New York City produced or imported Algerian briar pipes and produced and sold a metal pipe, Thoro-Kleen.” (A Tom Howard Billiard Restoration – NebraskaPeteGeek)
The Restoration
The very tight stem was hopefully just due to accumulated yuck in the mortise.
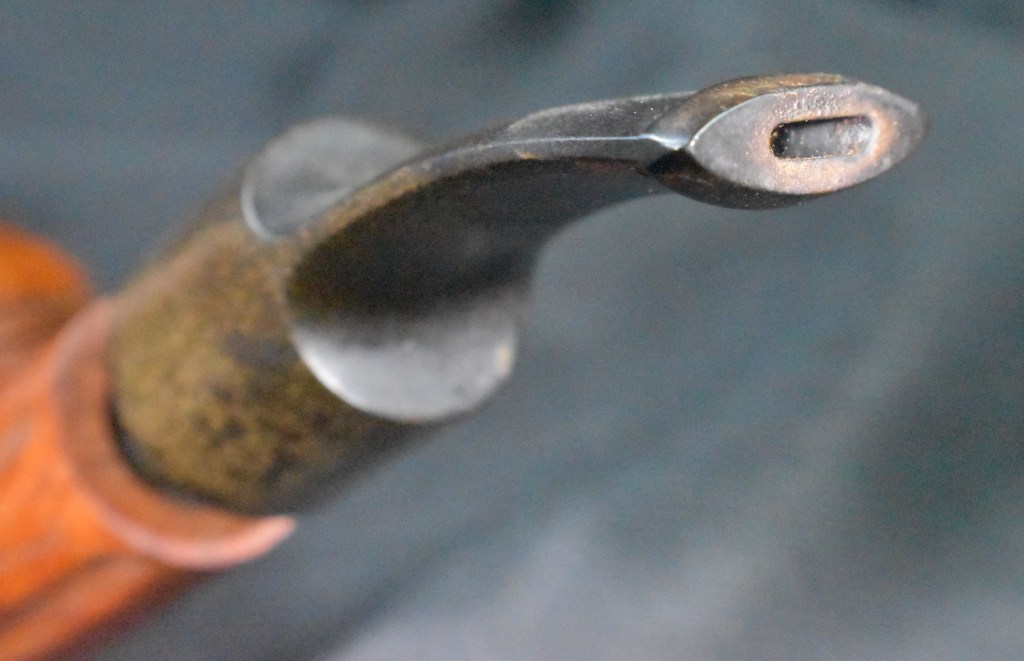
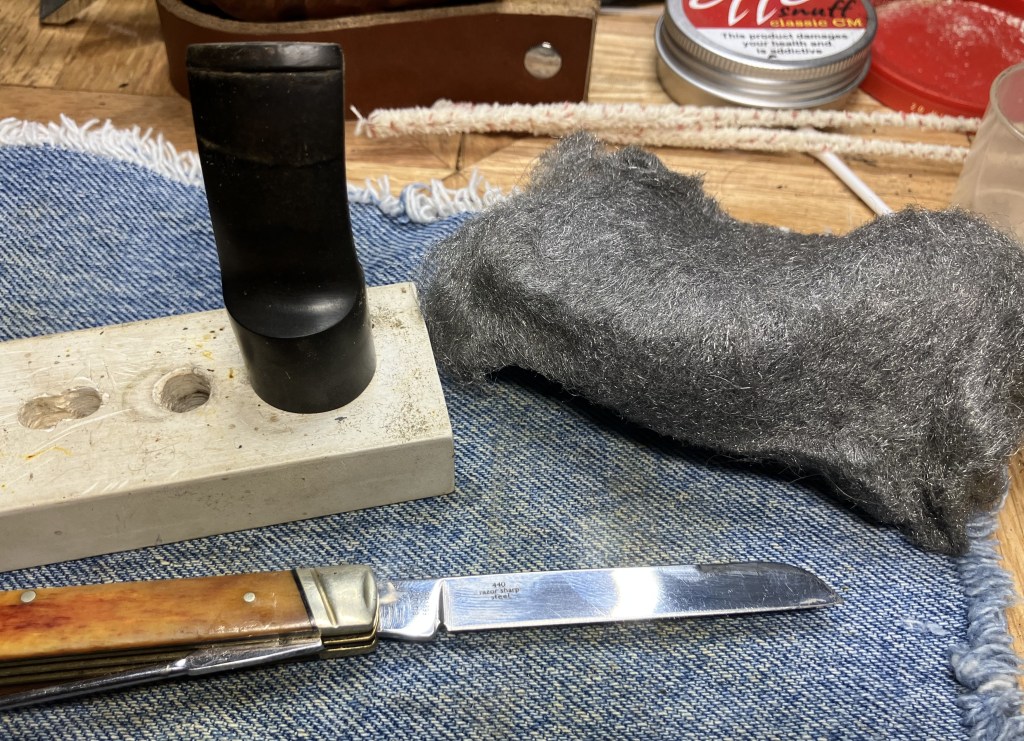
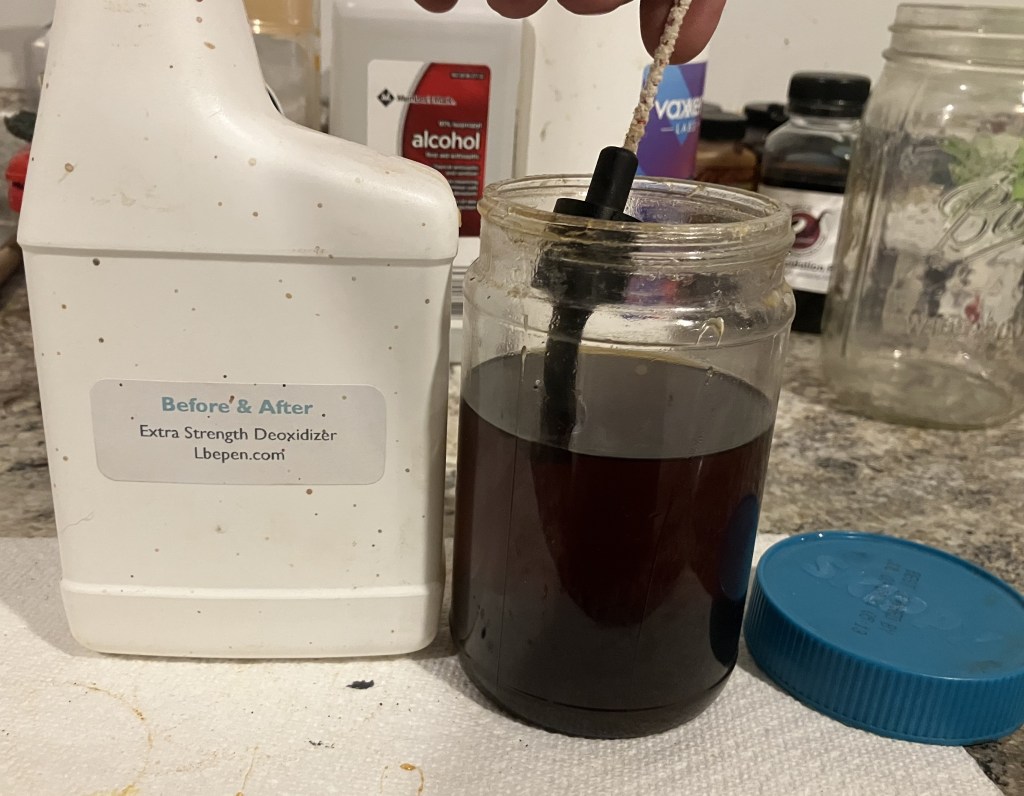
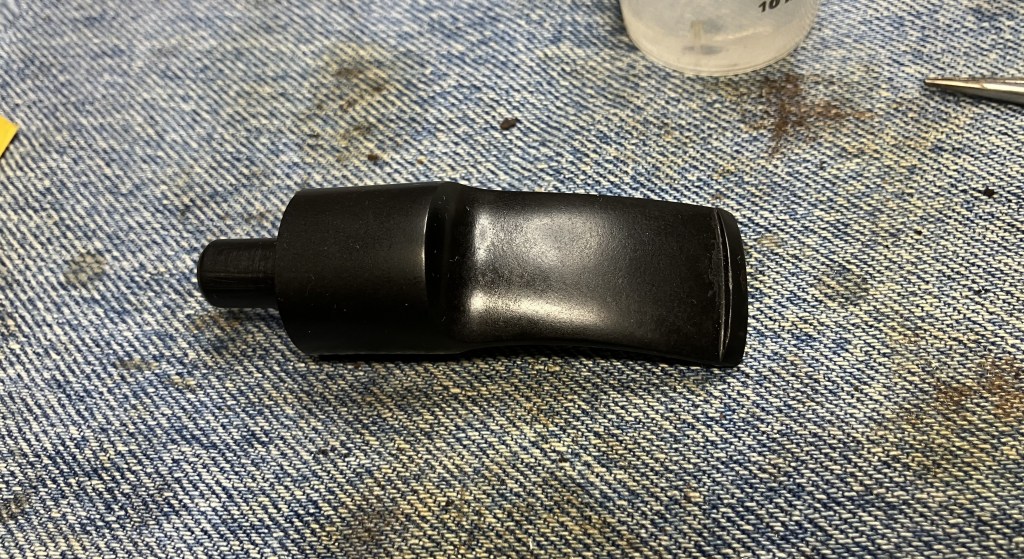
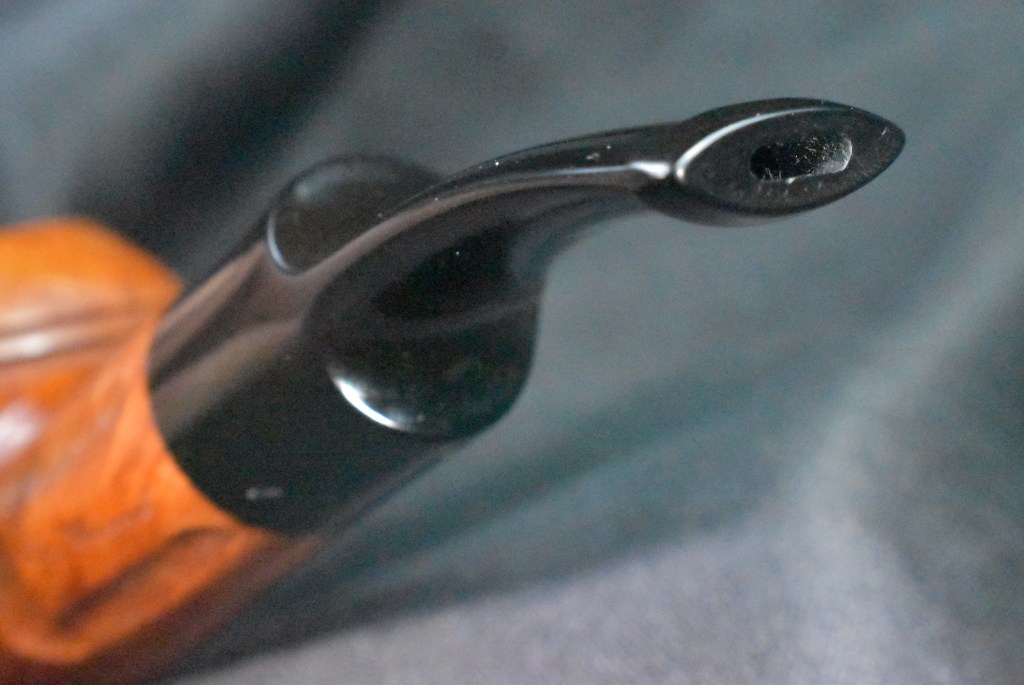
The first task was to prep the stem for deox, a term used to describe the bath in Before and After Extra Strength Deoxidizer. I used a wood block to preserve the edge of the stem from rounding from working it with 0000 steel wool. The pocket knife in the photo below was used to scrape some of the calcium despots from the button area.
The stem was clean on the inside.
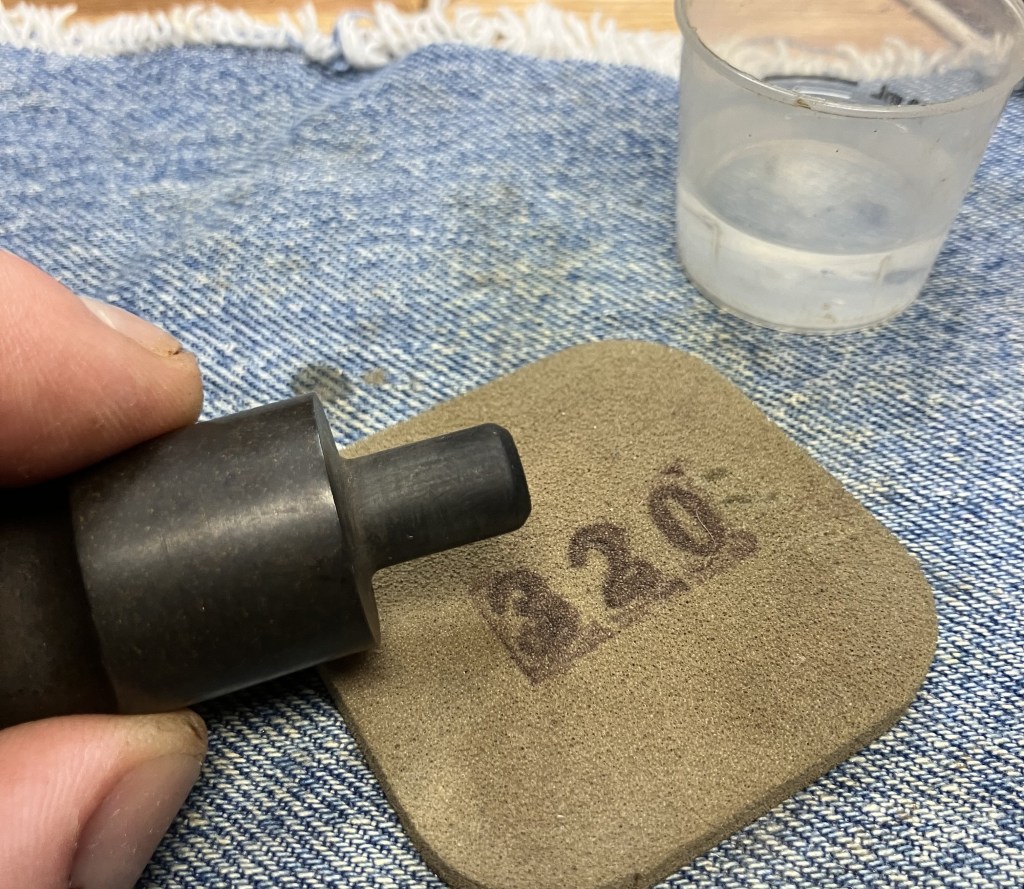
The tenon was slightly smoothed with a 320 grit sanding sponge. I feared working it too much and reducing the fit from too tight to too loose.
The stem was then placed into deox for 18 hours.
Next came the reaming of the tobacco chamber.

The #3 and #4 blades of the pipeNet were used for most of this work with the General triangular scraper doing a little clean-up.

The interior of the chamber was sanded with 320 sandpaper wrapped around a wood dowel and with my finger.
The chamber showed no signs of any heat damage.
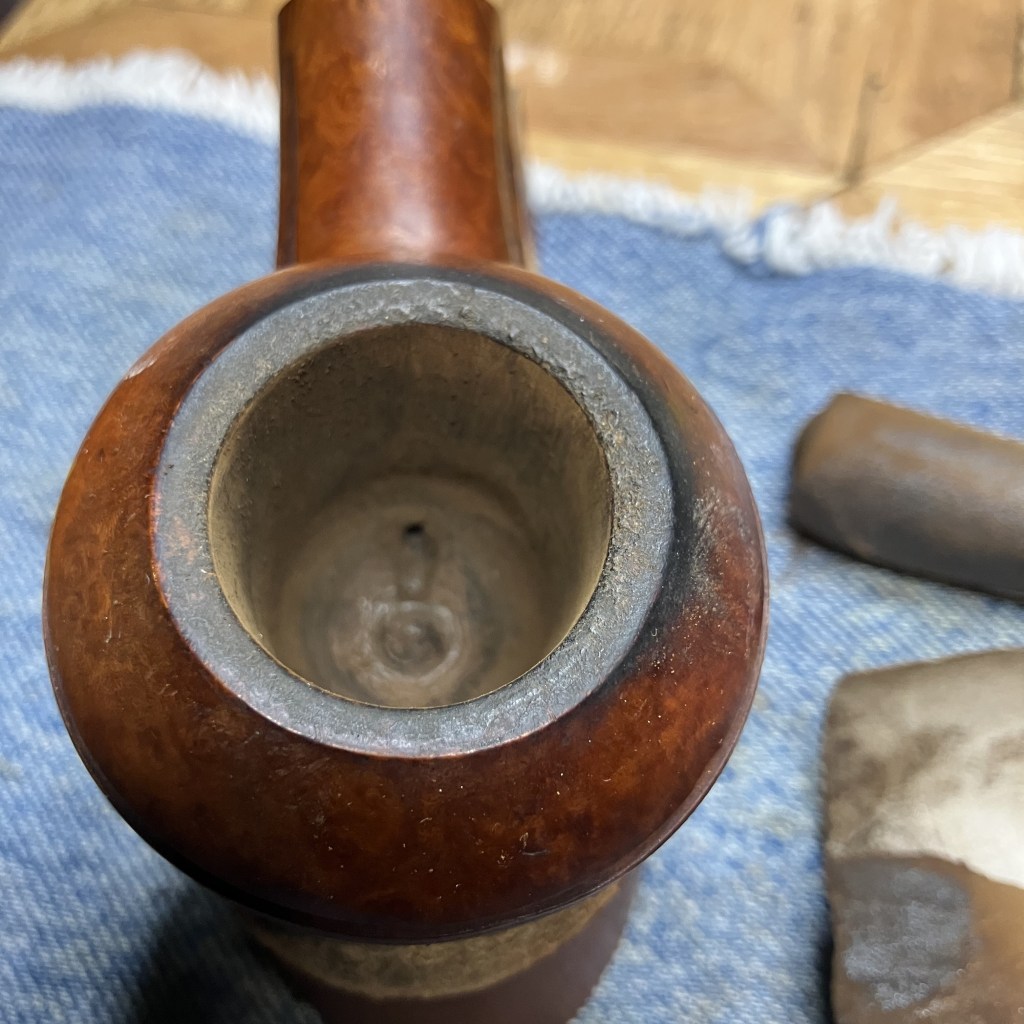
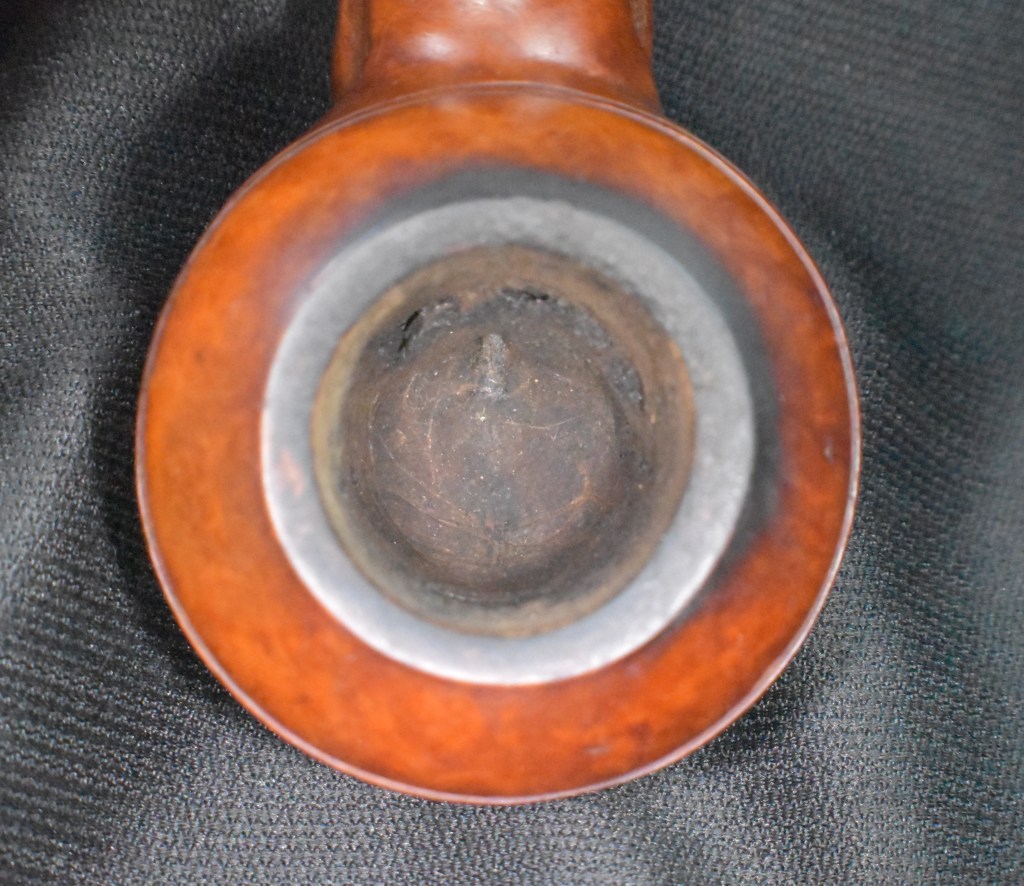
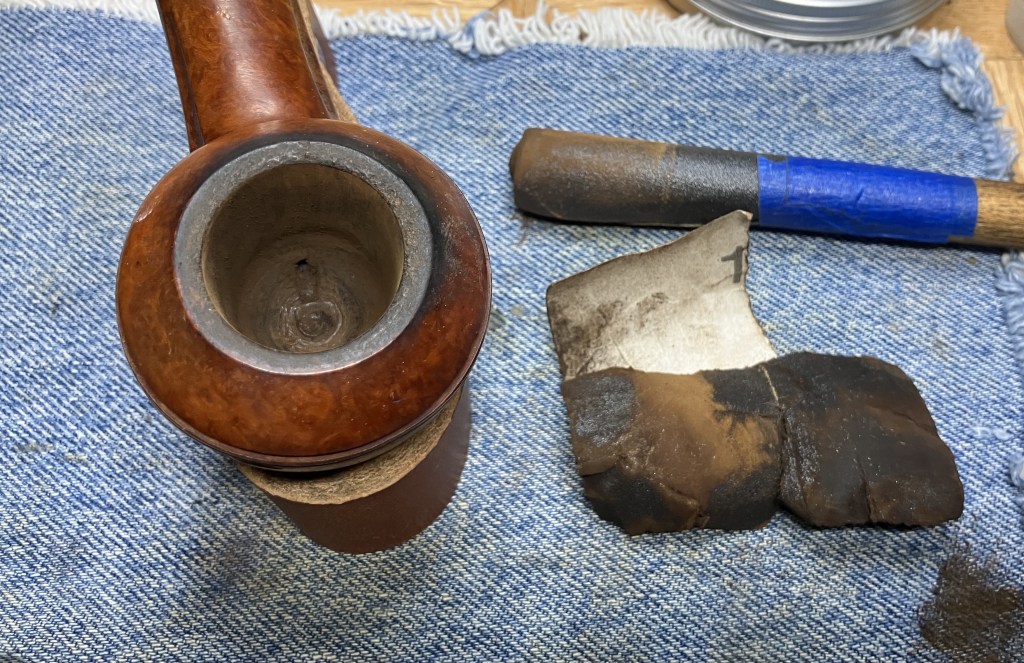
The rim had a worrying lava layer, though.
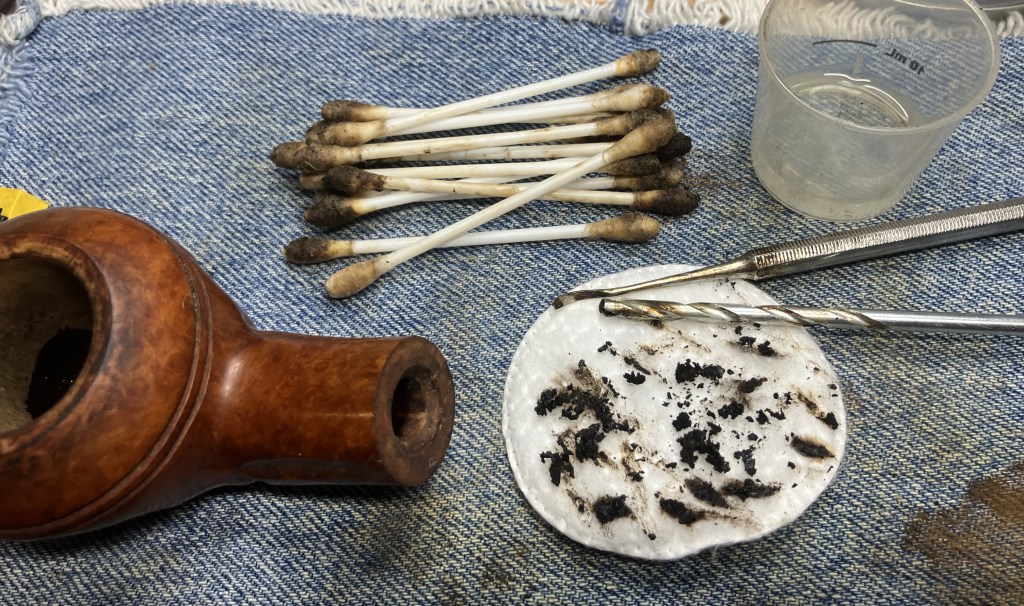
As gross as it sounds, saliva was allied to soften the lava before scraping. This scraping was done with the edge of a sharp pocket knife. This revealed uncharred briar, all that worrying was for nothing.

The clean stem was misleading, though, I kind of expected the shank to be a mess due to the tight fit with the stem. There was a great deal of scraping with a dental scraper and boring out of the draft hole with the Kleen-Reem shank drill. The shank was also scrubbed with numerous cotton swabs dipped in 99% ethyl alcohol.
A scrubbing of the stummel with a nylon brush and Murphy Oil Soap was done at the sink. The soap was rinsed with warm water and the stummel dried with a cotton hand towel.

99% alcohol was used to wipe the stummel after the scrub. Below you can see that there was still some residue removed on the make-up pad.
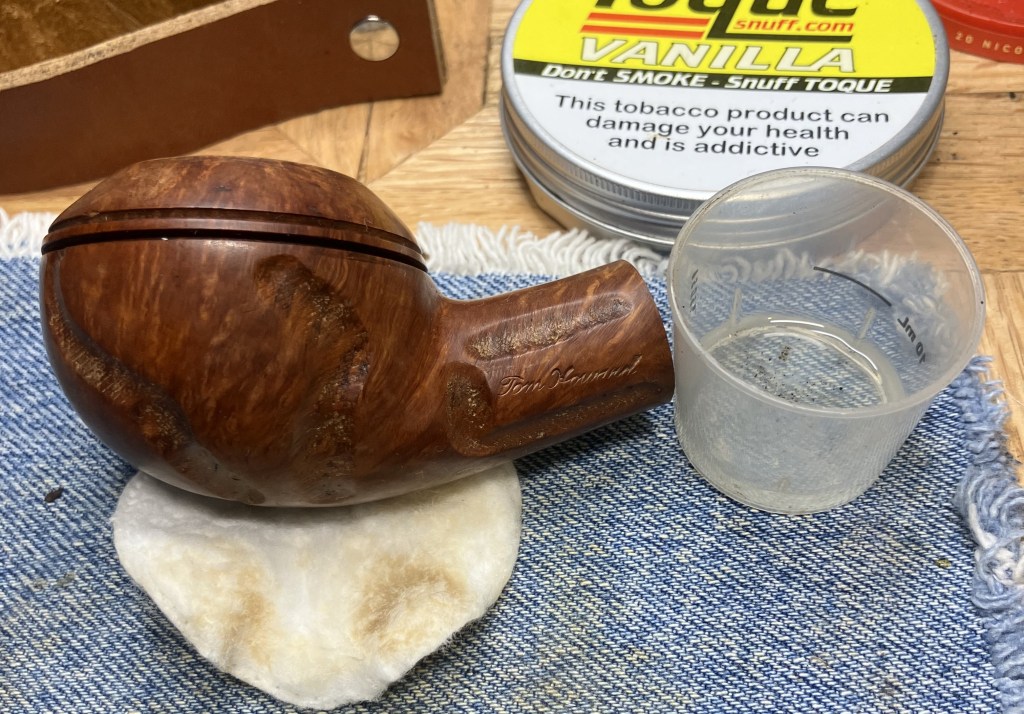
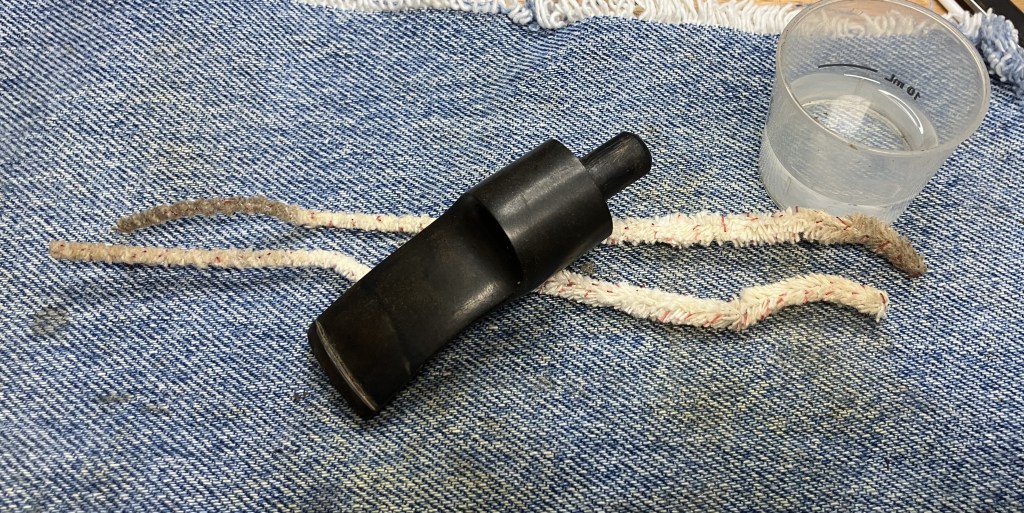
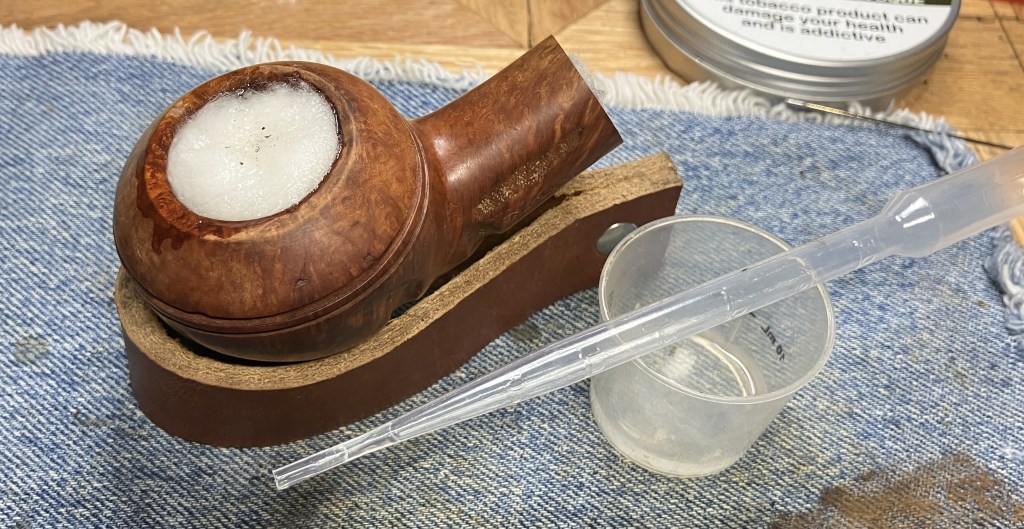
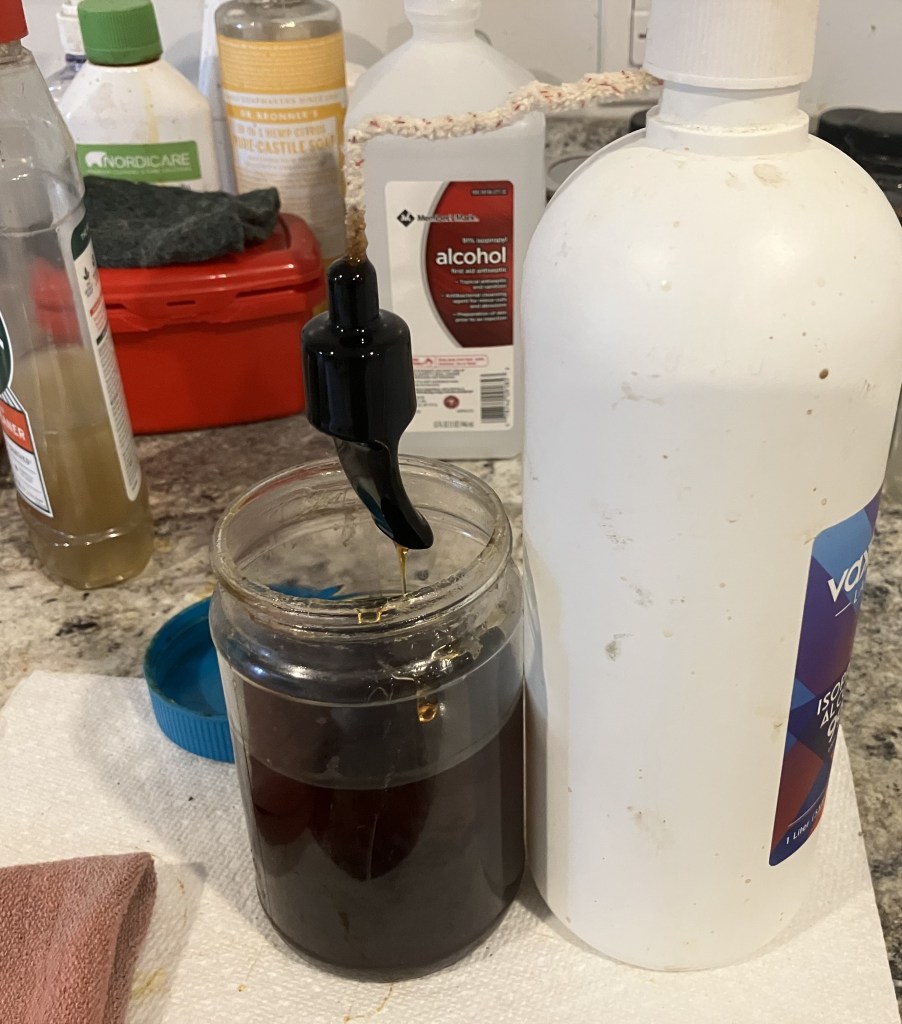
Due to the severe fouling of the shank, I thought it would be a good idea to allow the bowl and airway to have a cotton/alcohol treatment. Both were packed with cotton.
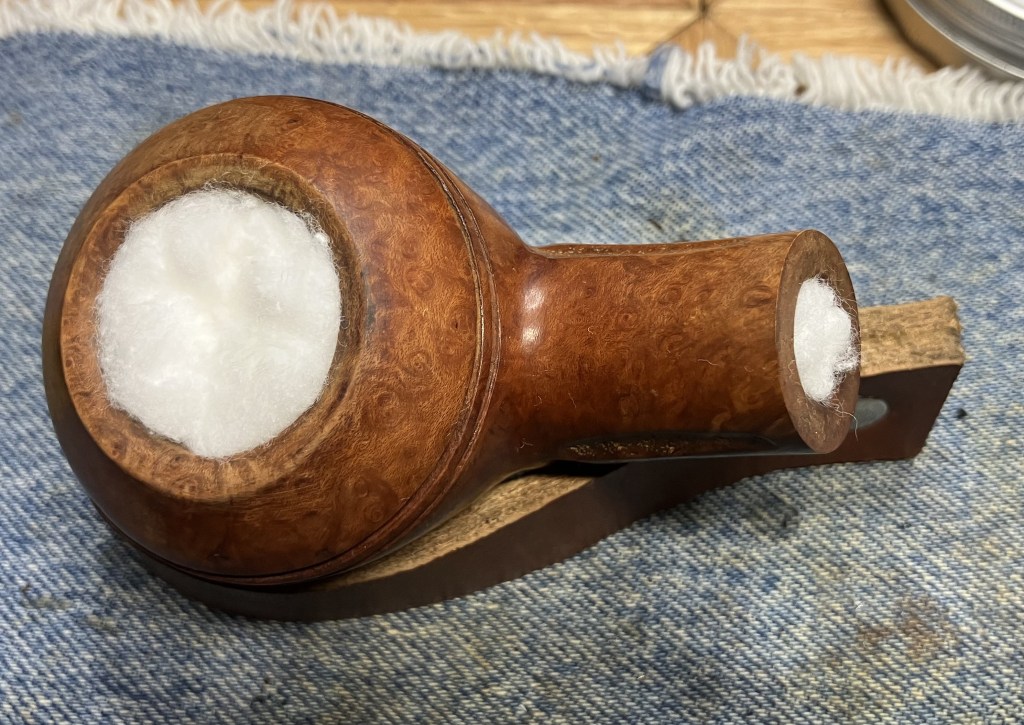
15+ml of 99% ethyl alcohol was added to the cotton with a pipette until the cotton was saturated. This would sit overnight.
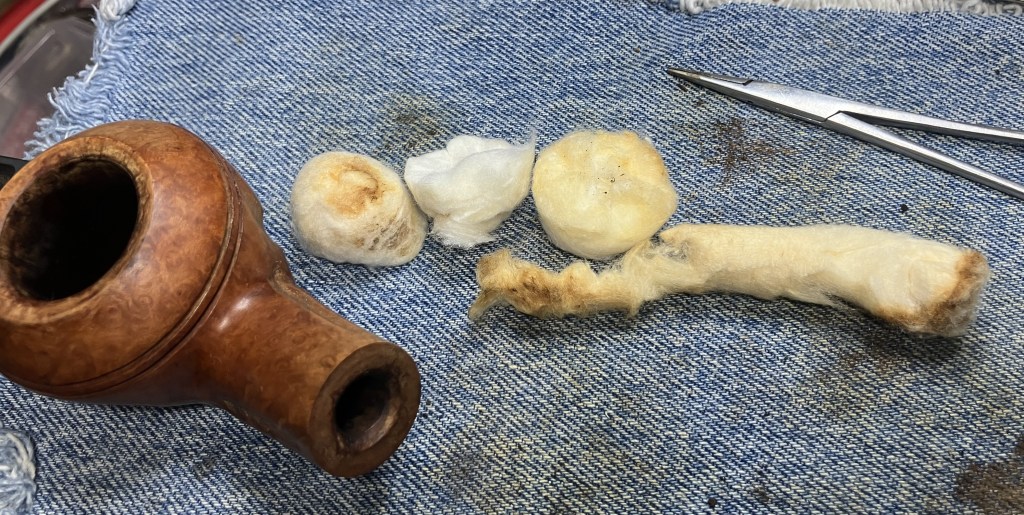
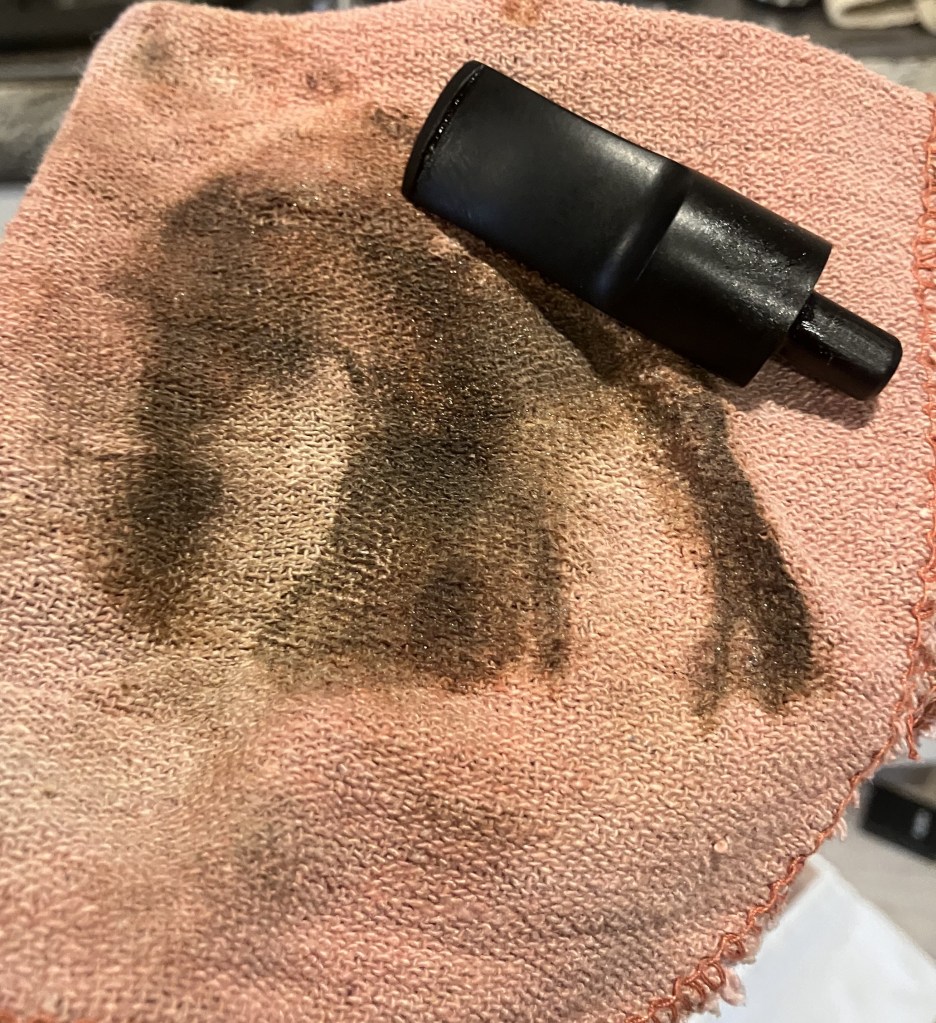
The next day the alcohol had evaporated. In the process it had dissolved some of the tar from the bowl and shank and moved that yuck to the cotton.
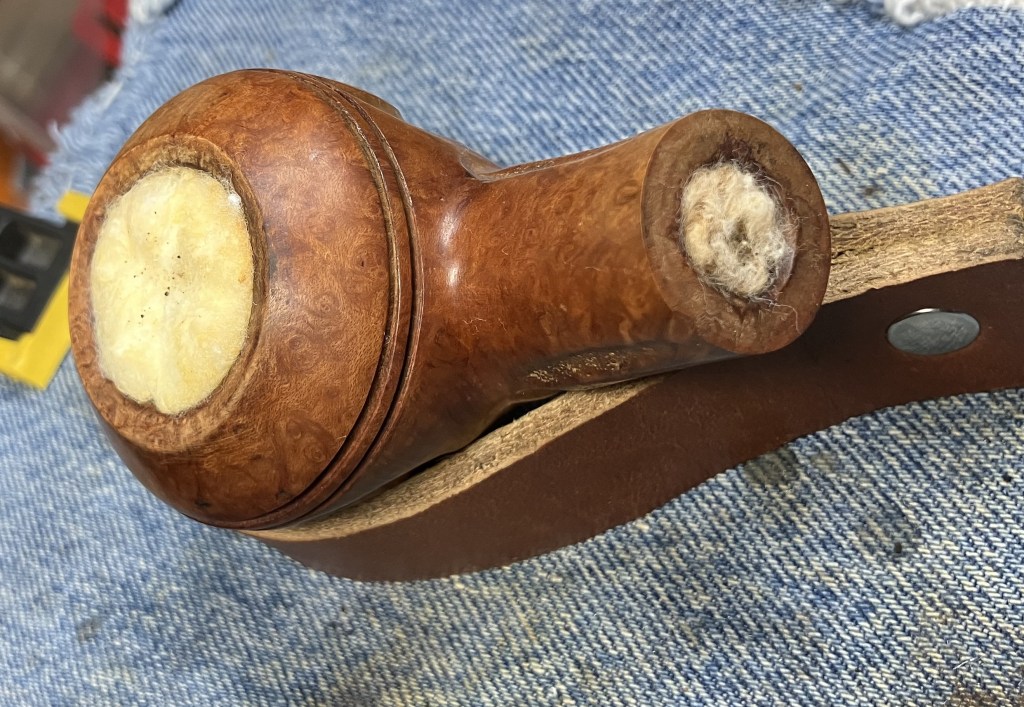
The cotton was removed and showed that my previous shank cleaning was indeed insufficient.
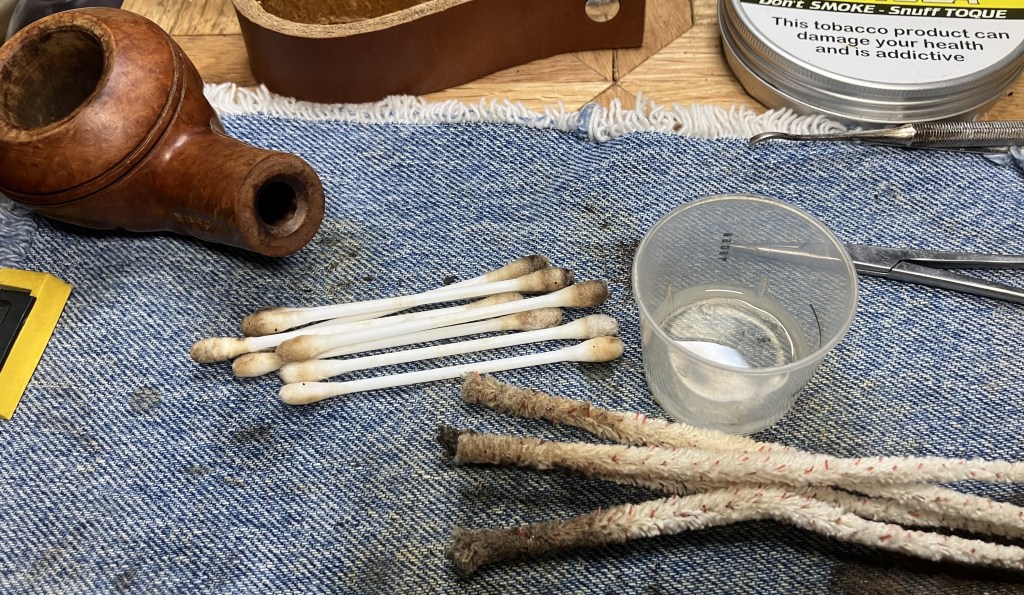
Some more shank cleaning was done with bristle pipe cleaner and cotton swabs dipped in alcohol.
The stem was removed from deox and allowed to drip excess deoxidizer back into the jar.
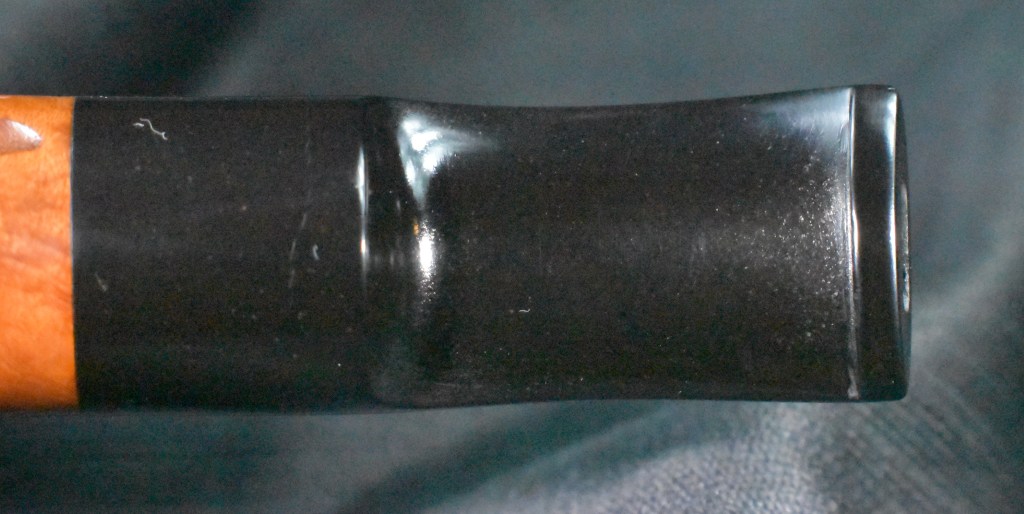
The stem was then vigorously rubbed with a coarse cotton shop rag. This removed a lot of oxidized rubber that had been softened by the deox.
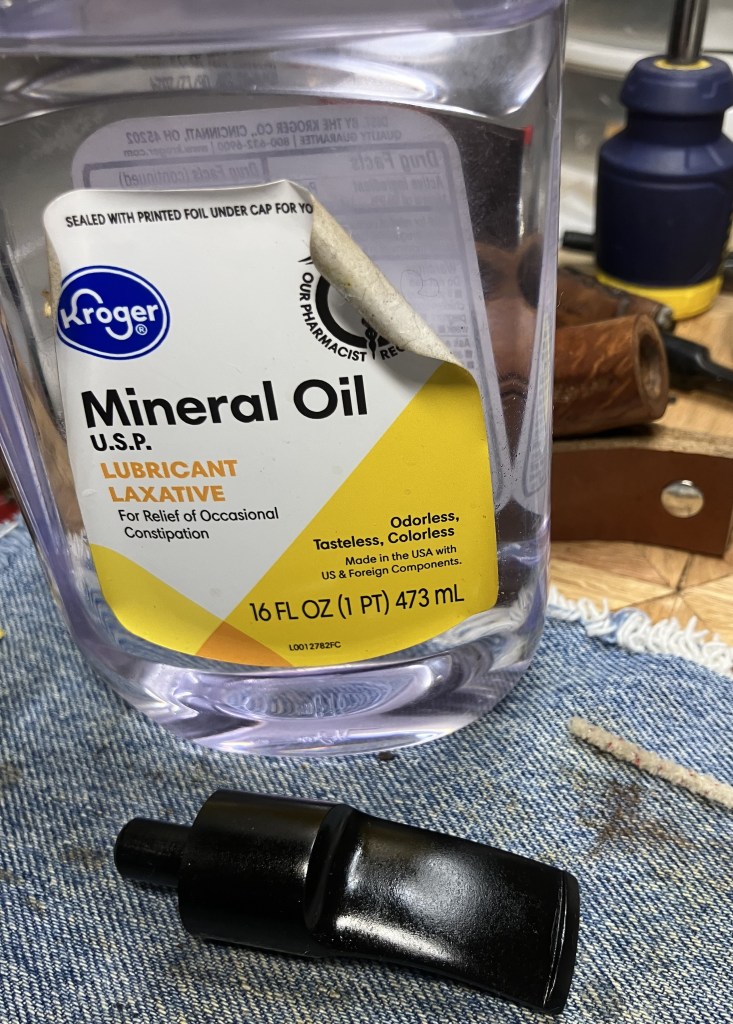
Back at the workbench the stem was rubbed with mineral oil on the outside and in the airway. The color had returned to mostly black but the surface was rough and pitted.
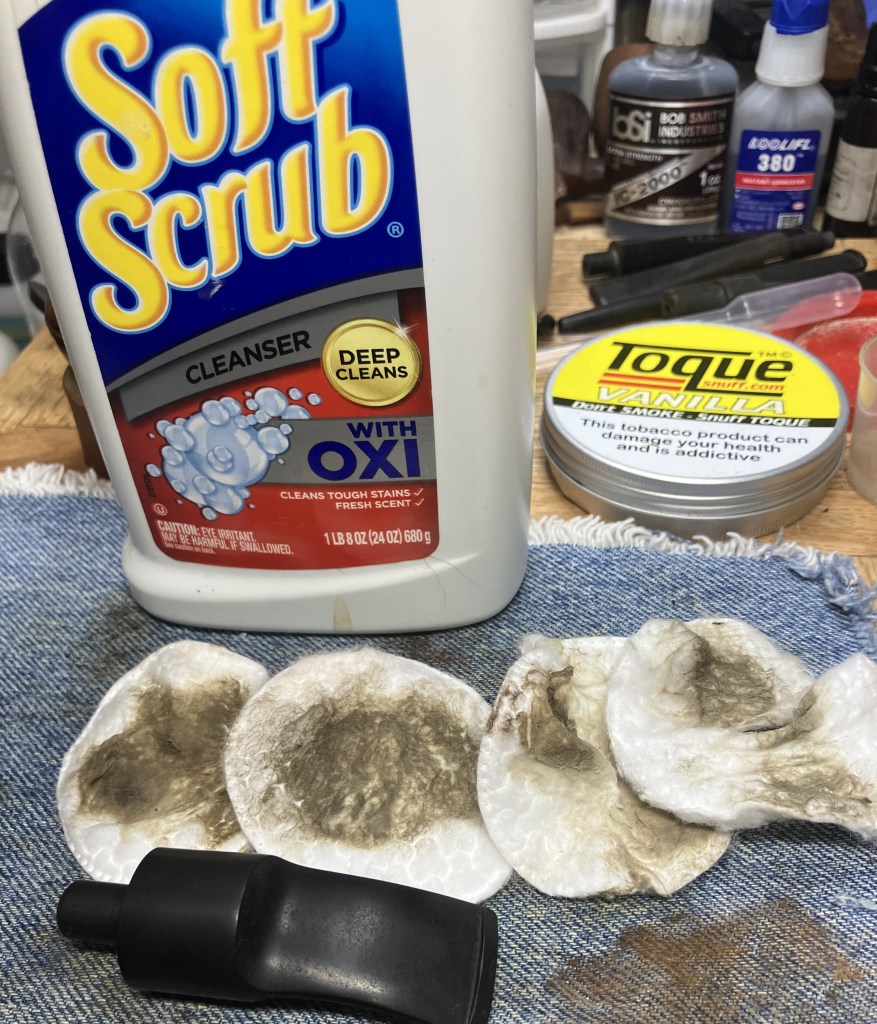
I used Soft Scrub cleanser on make-up pads to remove additional oxidized rubber from the stem.
A second oiling was done and the stem set aside for 20 minutes. I doubt that the oil was absorbed by the vulcanite but I needed a snack.
The moment of truth, would the mortise and tenon be a good fit after all my shenanigans? Yes!

The stamps on both sides of the shank were covered with masking tape.
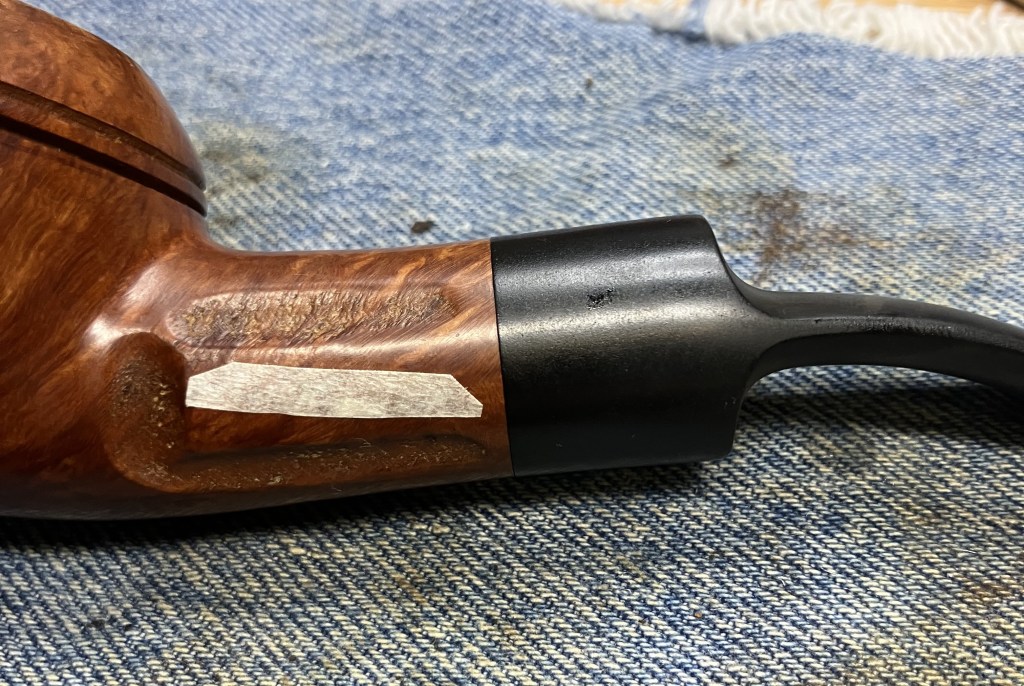
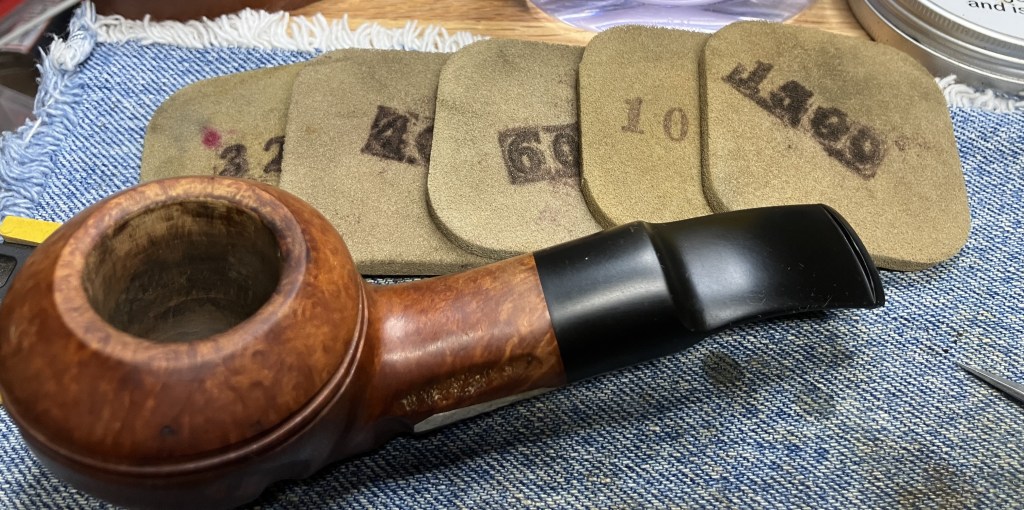
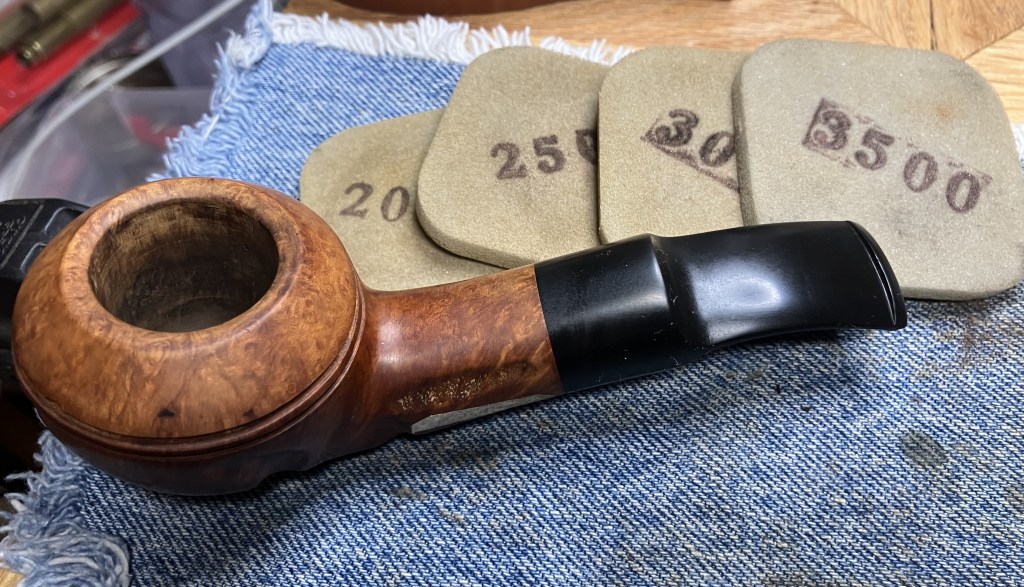
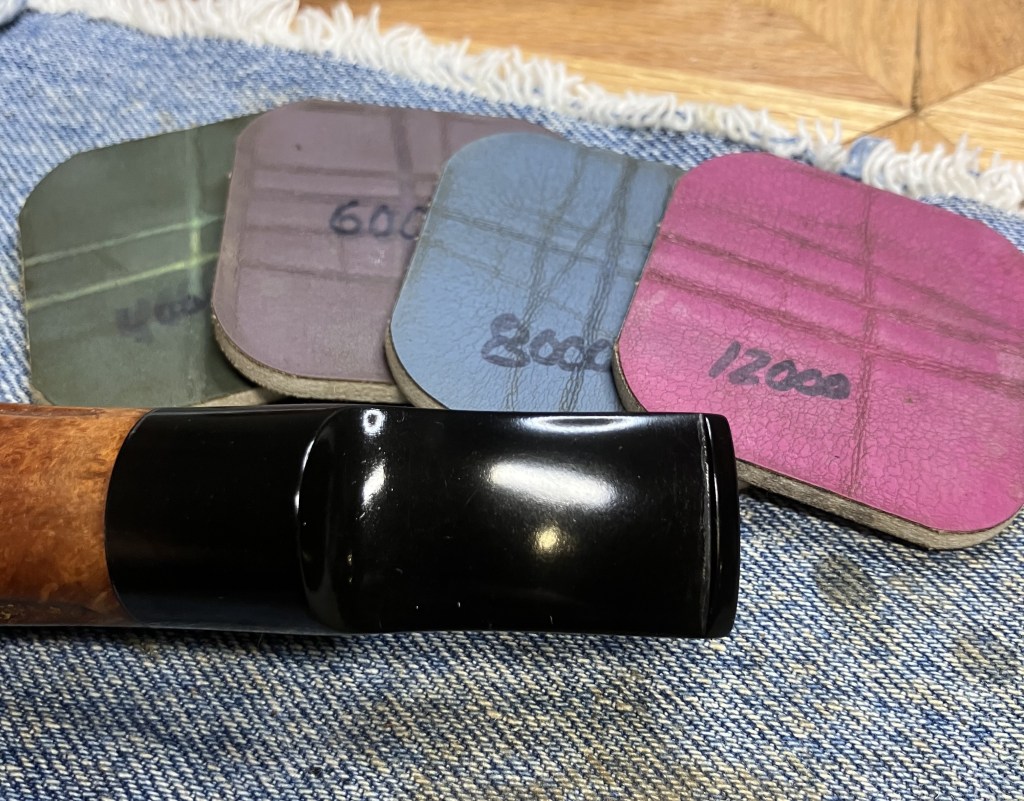
The stem and shank were sanded together using a series of sanding sponges in grits from 320-1500. Between sponges the stem was rubbed with mineral oil and the shank wiped with an alcohol wetted make-up pad.
It was here that I finally came to the conclusion that I could not leave two old fills alone. I thought that I could, but they were just too darn annoying. Kind of like a scab over a healing wound that you just have to pick at.
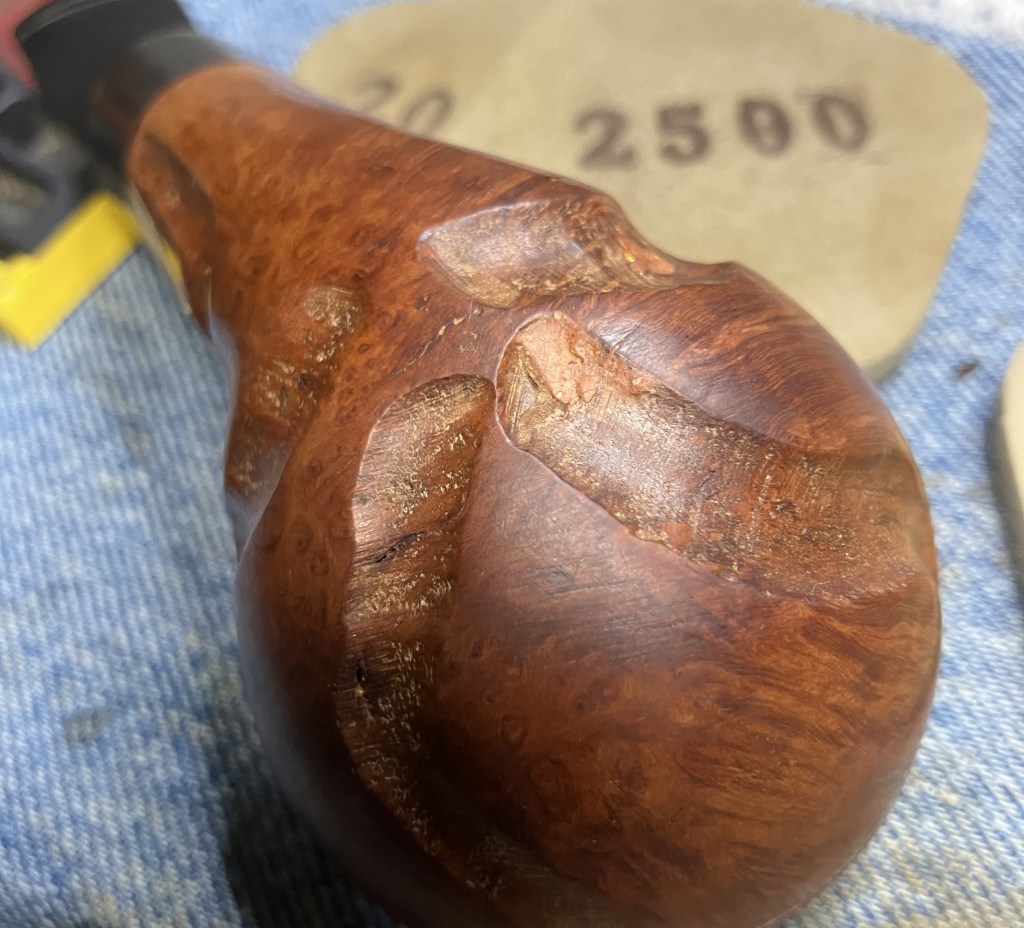
I used the Dremel rotary tool with the below carving bit. The old fill material was solid and not at risk of falling out but the edges were rough. I used the Dremel to smooth the rough edges.
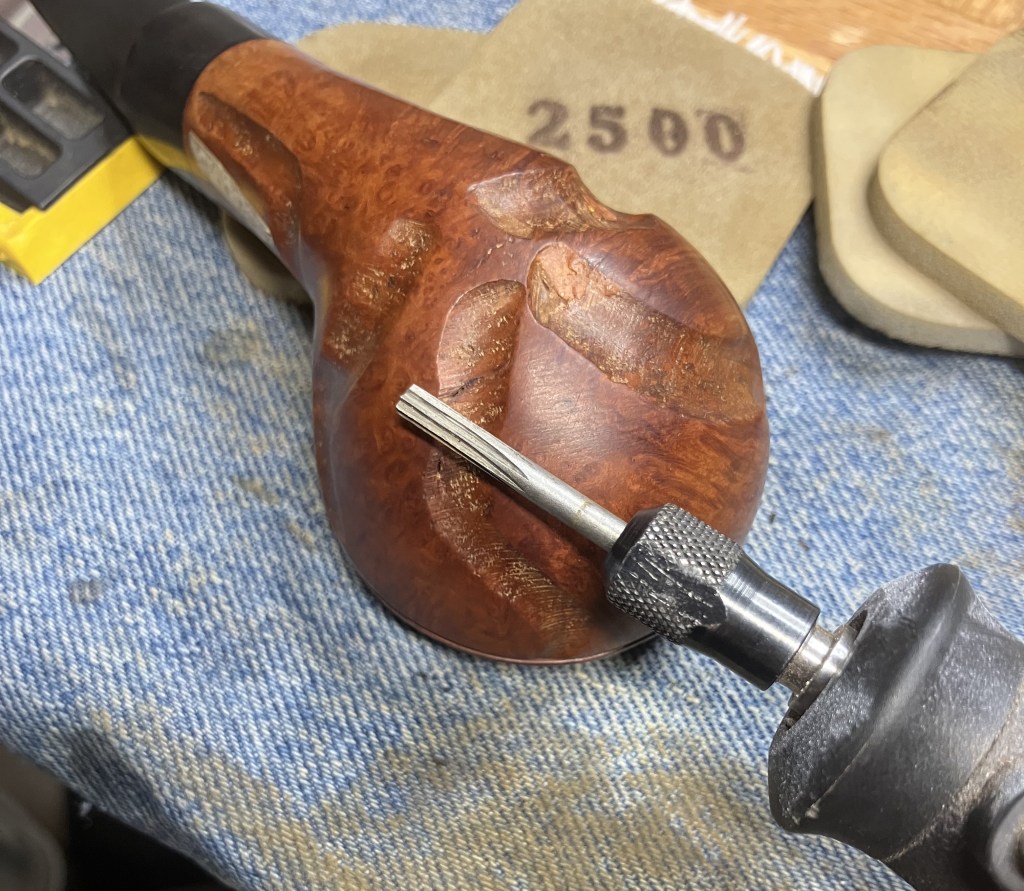
Once smoothed I used the sharp edge of the bit to carve grooves into the fill to match the rustication grooves surrounding it.
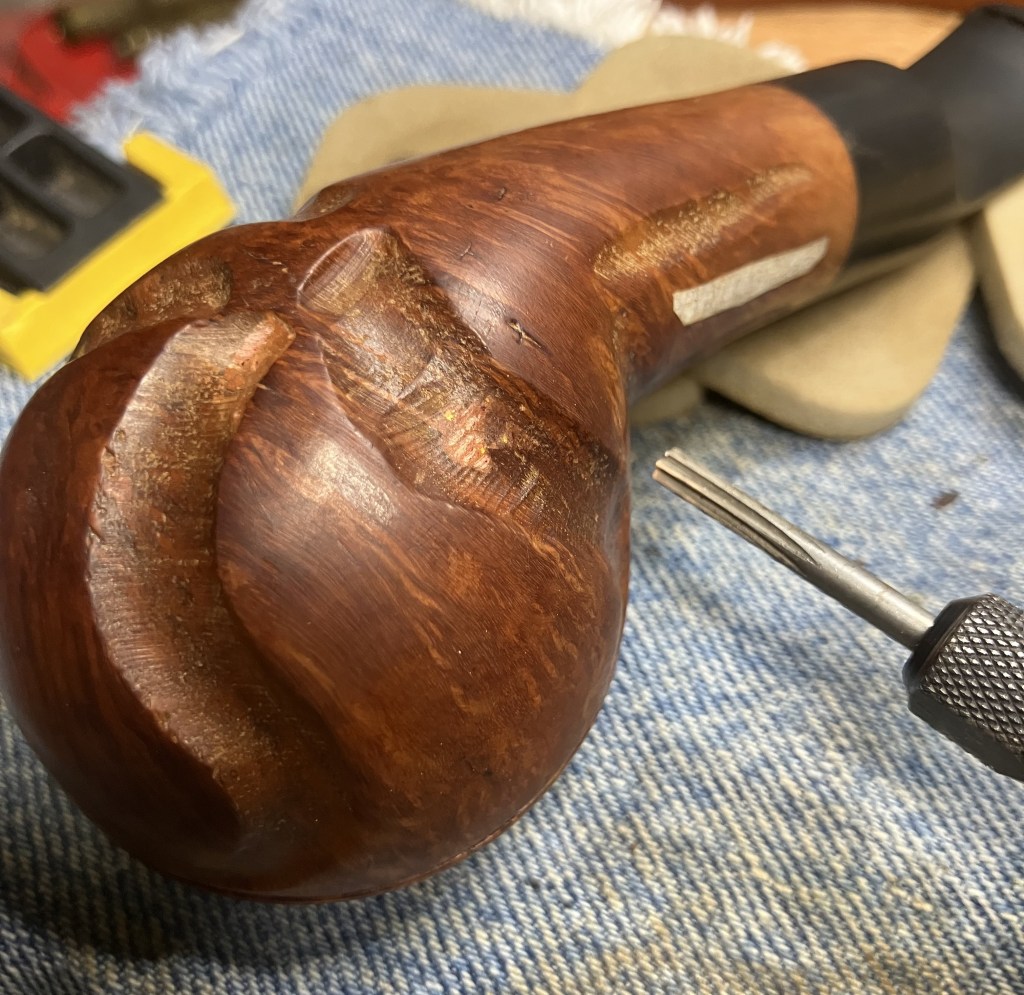
It was far from perfect but it looked far better.
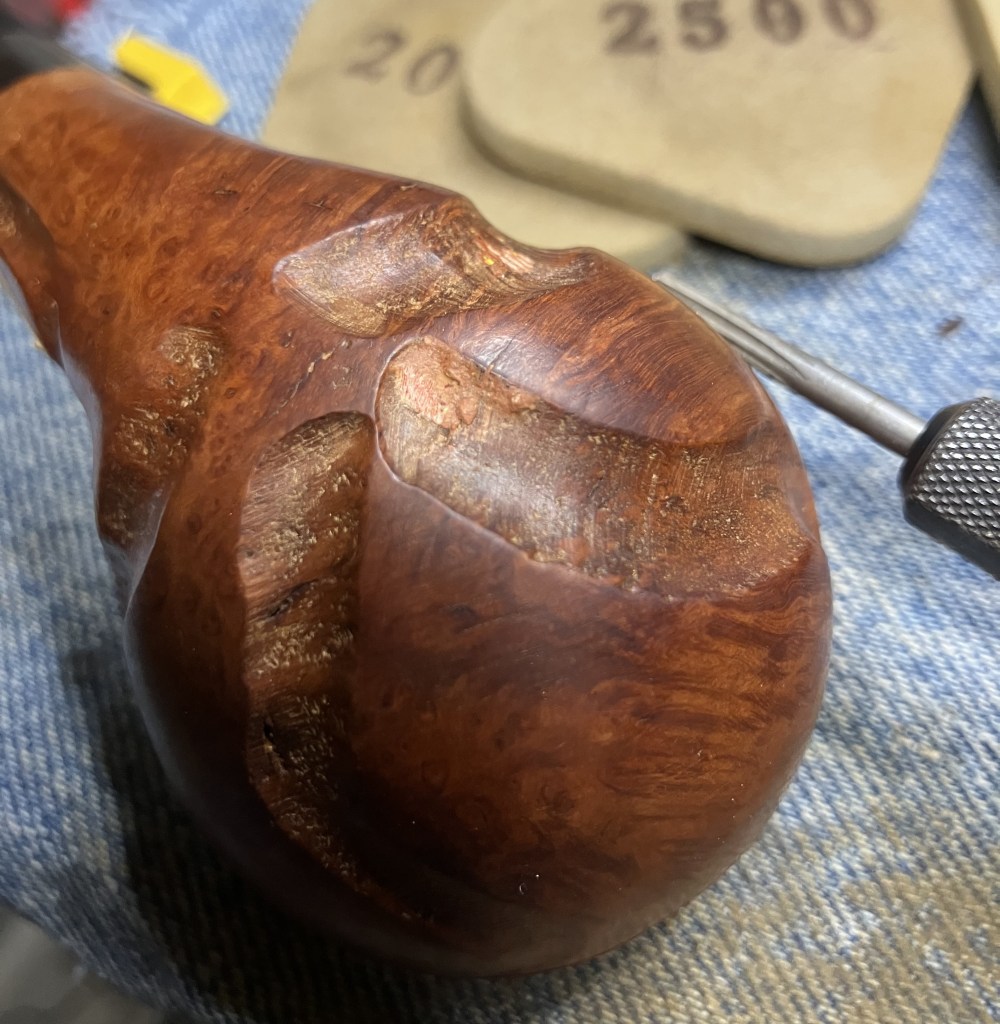
Once happy with the reshaping, I used a walnut Furniture Touch-up Marker to get rid of the pink color of the old fills.

With that done, I was able to finish the sanding. I continued with the series of sanding sponges from 2000-3500 grits with wiping in between sponges as before.
The stem was then worked with micro-mesh pads 4000-12000. Between each pad I oiled the stem with Obsidian oil and wiped it with a paper towel.
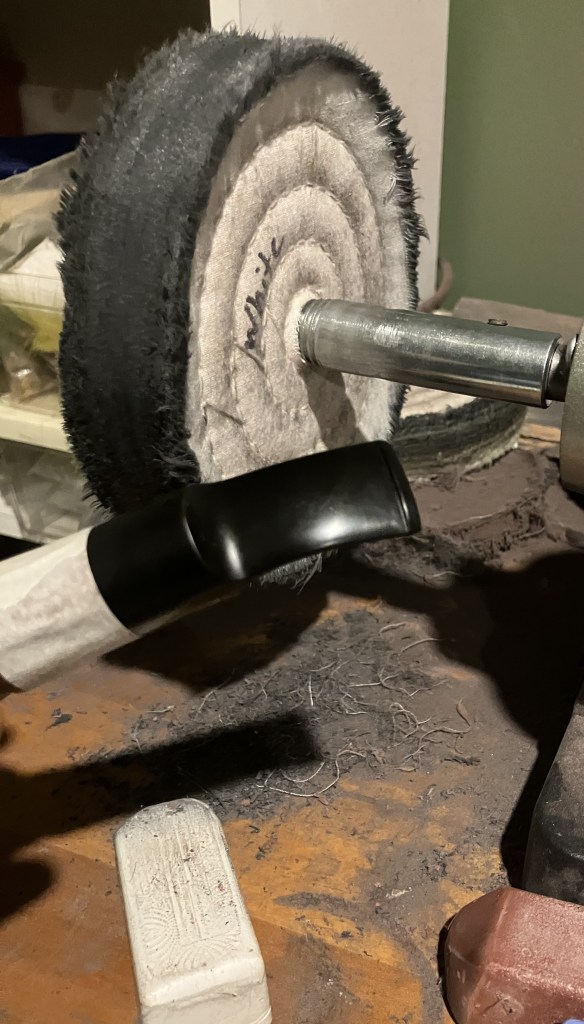
I wrapped the shank with masking tape then took the pipe to the buffer and polished the stem with white buffing compound on the dedicated white compound wheel.
After cleaning the stem of all buffing compound and wiping the stummel with an alcohol wetted make-up pad, I gave the stummel a coating of Before and After Restoration Balm.
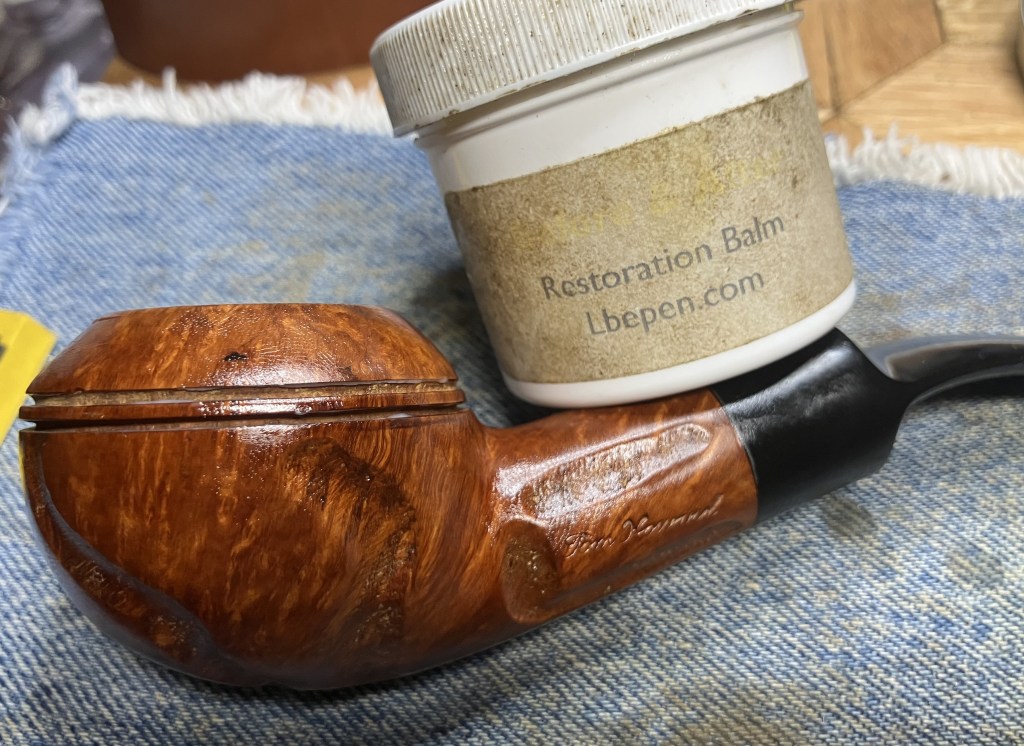
After about 20 minutes the excess balm was wiped from the pipe using an inside out athletic sock.
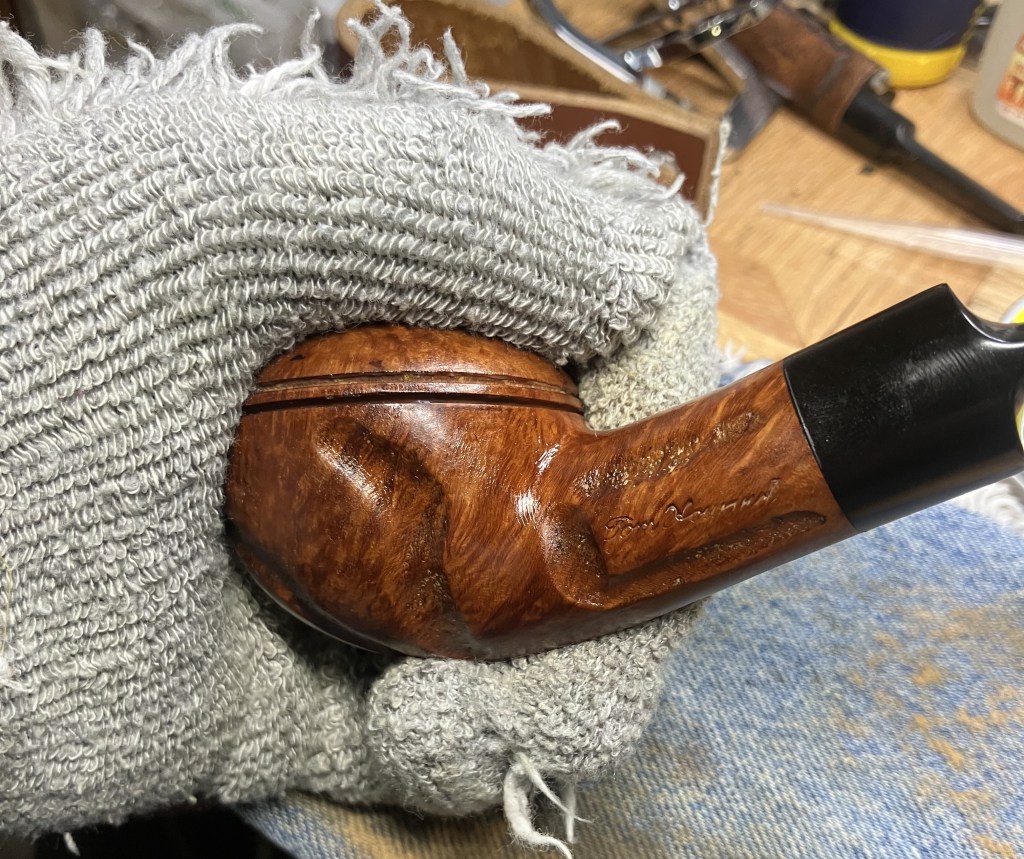
The pipe was then taken to the buffer for several coats of carnauba wax.
The final step was a hand buffing with a microfiber polishing cloth further improving the shine.
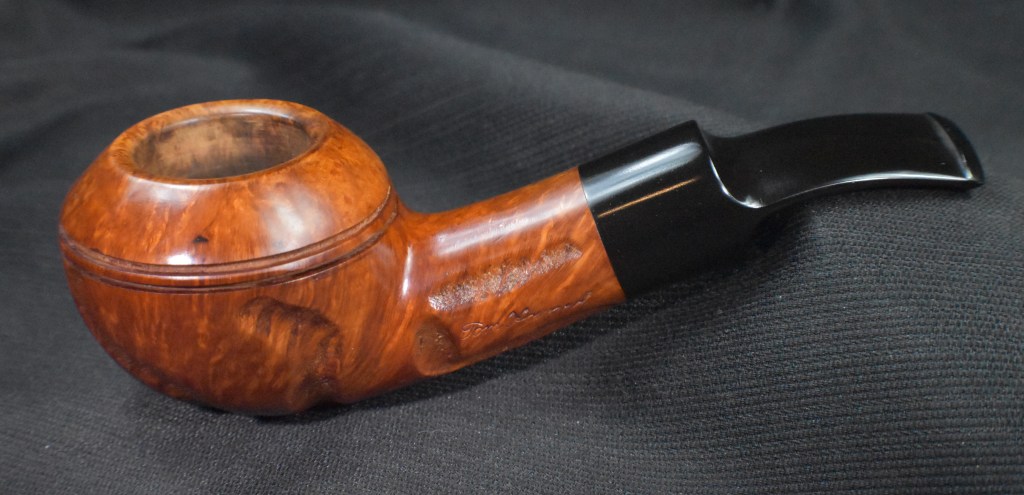
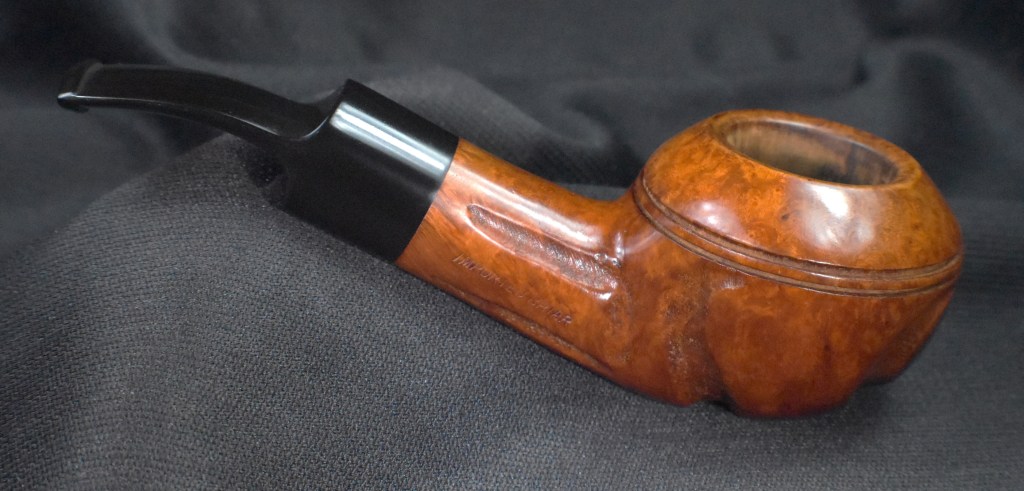
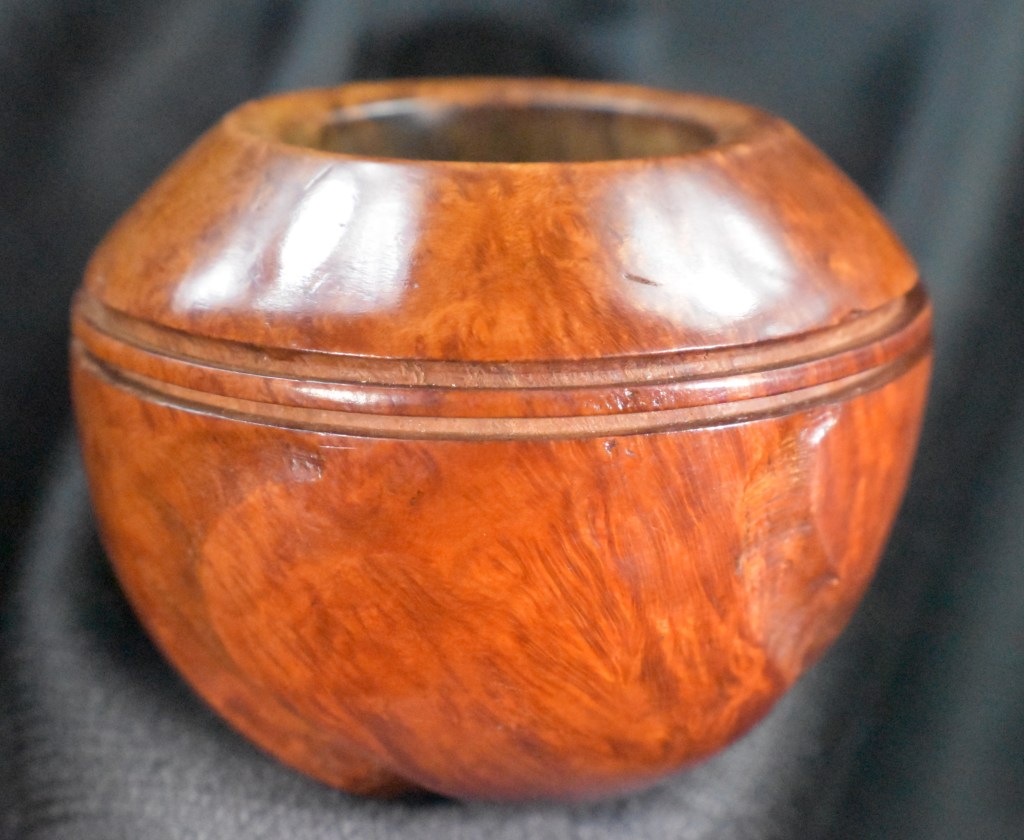
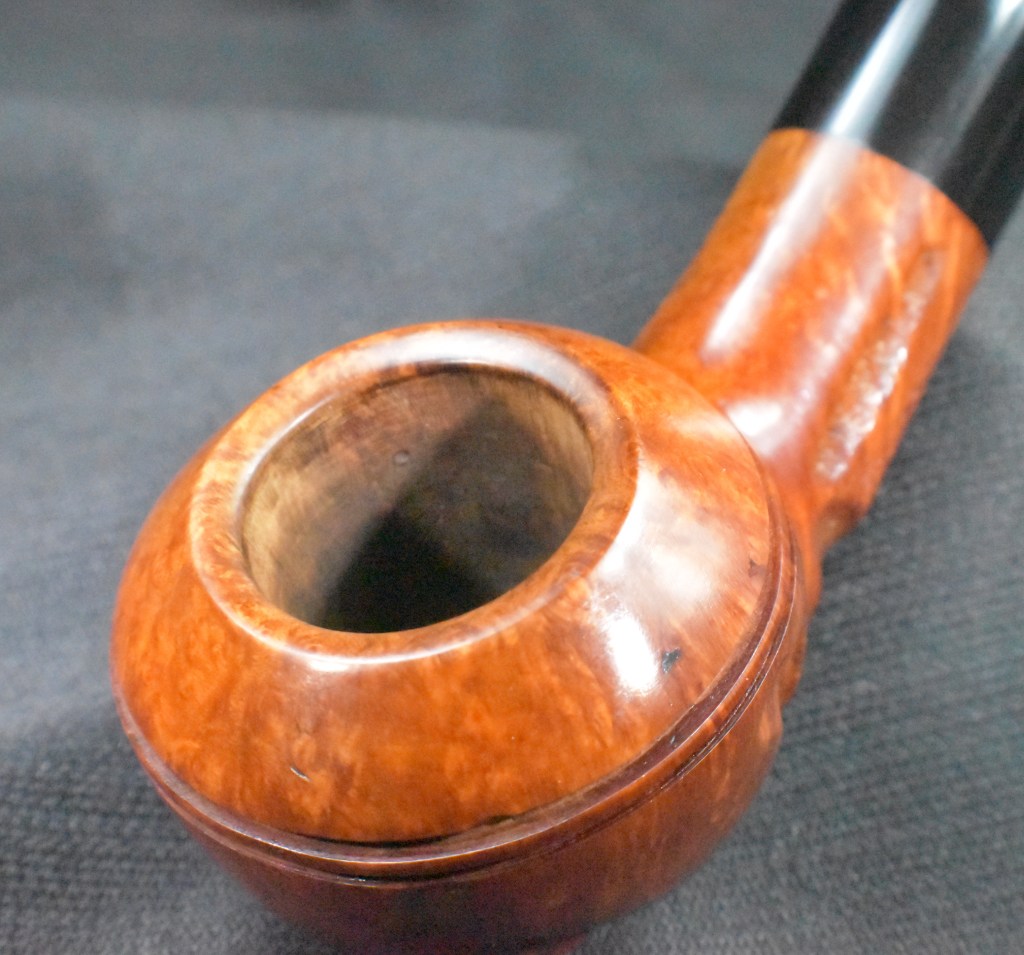
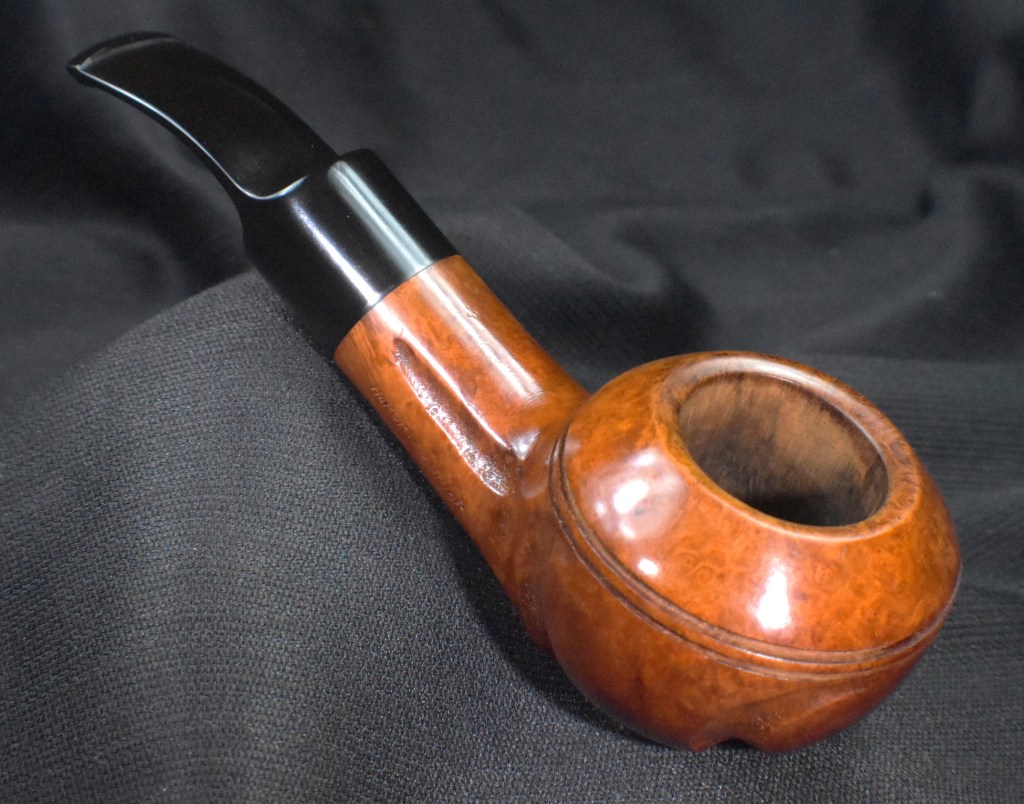
Tom Howard pipes are typically large but this pipe is massive, 2.42 ounces worth of wonderful old briar and vulcanite. Even with it’s bend I doubt this pipe will make a clencher without some serious muscle building. The pipe is a beautiful example of Tom Howard’s workmanship. The smooth sections of briar are accented by the rough carvings. I’m sure the carvings are there to cover flaws in the briar but who cares? They give the pipe the characteristics Custom-Bilts and pipes of this ilk are known for. The vulcanite polished-up nicely and the glossy black further accentuates the briar. I am very pleased with how well this old pipe turned out. The dimensions of the Tom Howard Bulldog are:
Length: 5.43 in./ 137.92 mm.
Weight: 2.42 oz./ 68.61 g.
Bowl Height: 1.74 in./ 44.20 mm.
Chamber Depth: 1.34 in./ 34.04 mm.
Chamber Diameter: 0.94 in./ 23.88 mm.
Outside Diameter: 2.03 in./ 51.56 mm.
I do hope that you have found something here useful to your own pipe care, maintenance or restorations. If you like this sort of thing, please click the like and subscribe buttons. Thank you for reading the ramblings of an old pipe lover.
Below are some photos of the finished Tom Howard Bulldog.


