Photographed and written by
John M. Young
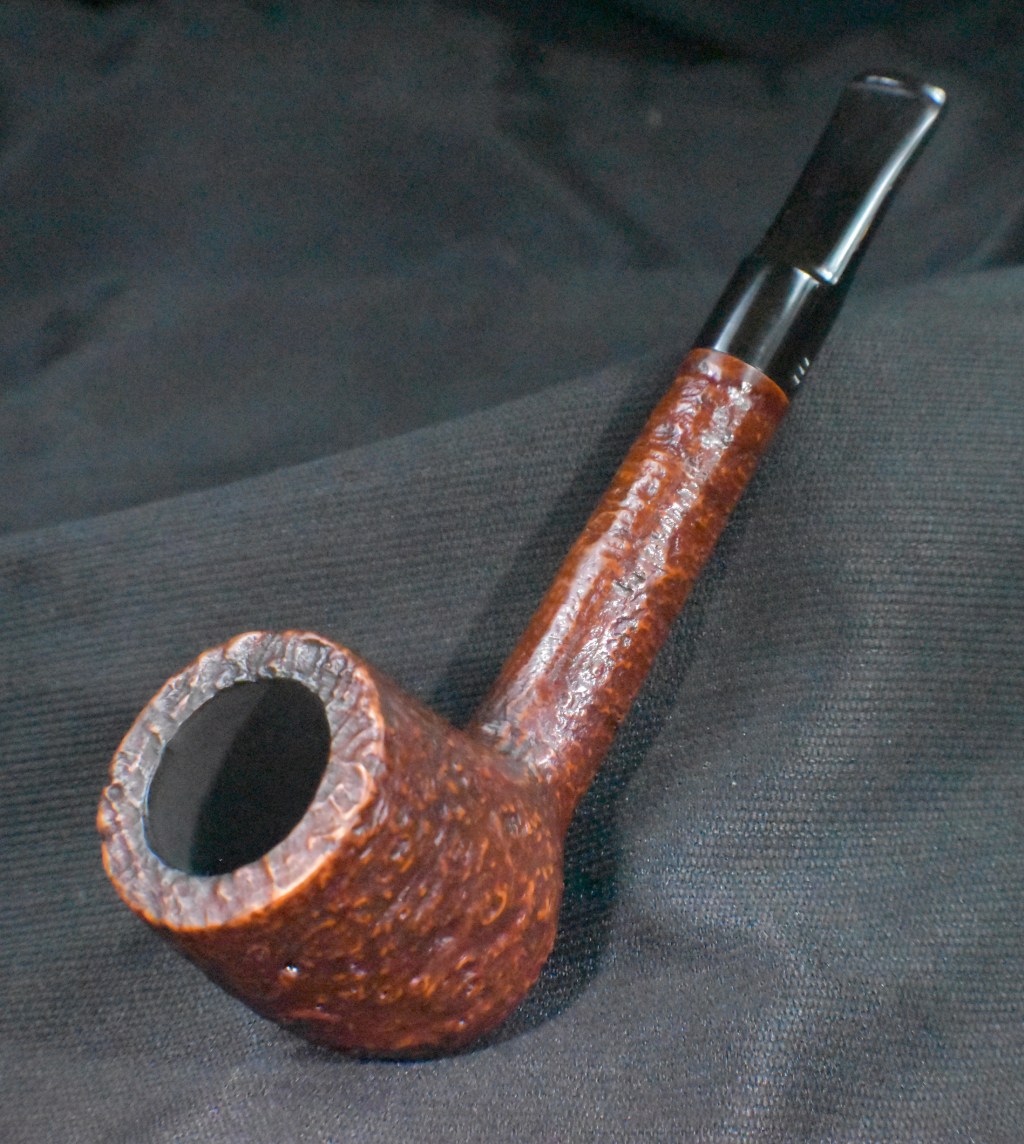
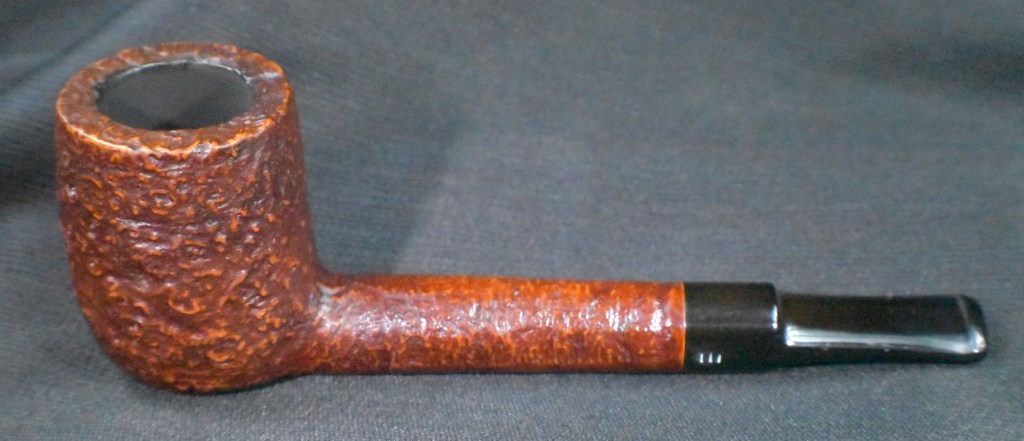
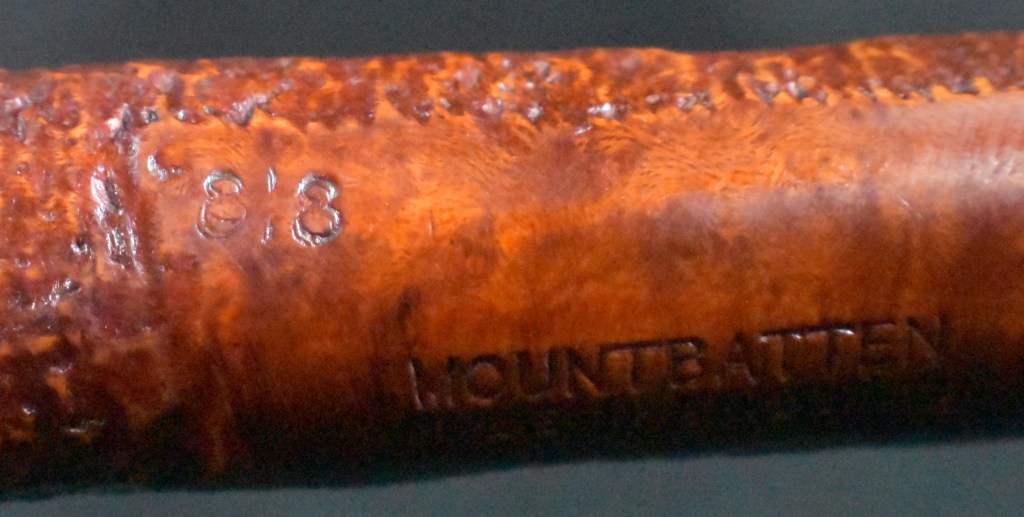
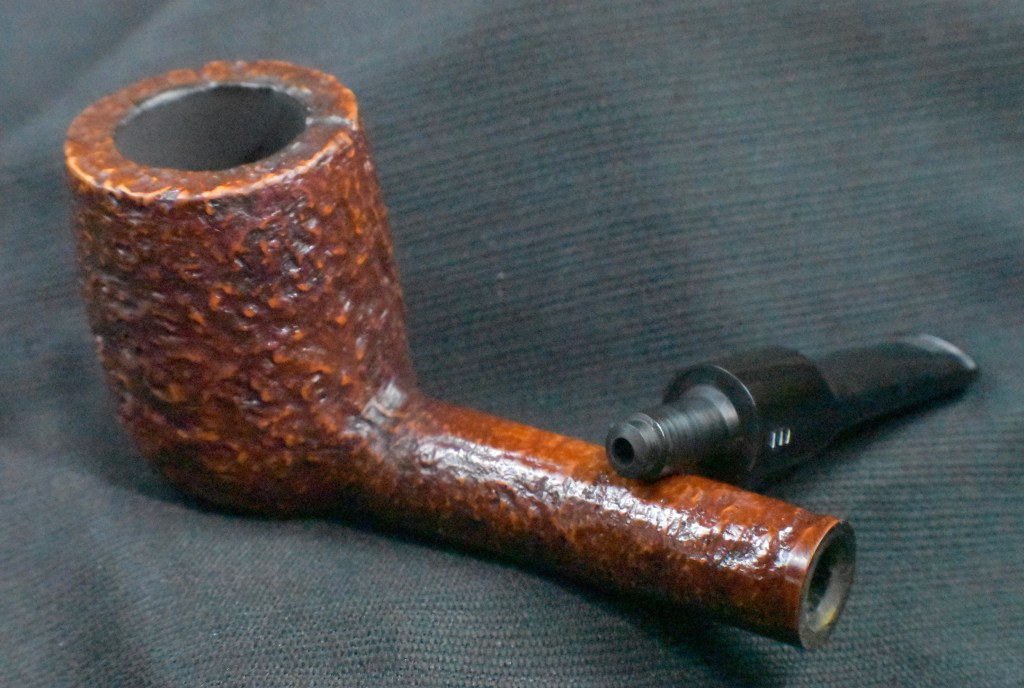
You may have noticed that I have begun to only post one restoration blog per week. I am sure that you are thinking that the writing quality will certainly improve with more time spent on each individual post. Or, that I will make fewer mistakes because I have more time for perfection. Yeah right, like either of those are going to happen. Anyway, we are gathered together today for a pipe restoration, so here it is: A Mountbatten that came in with an estate lot back on February 6th, 2025. The pipe was stamped MOUNTBATTEN over MADE IN ENGLAND. There was another stamp but I didn’t notice it until after I’d started the restoration. See, I’ve already proven that I continue to make mistakes. Here are some photos of the pipe before work was started.

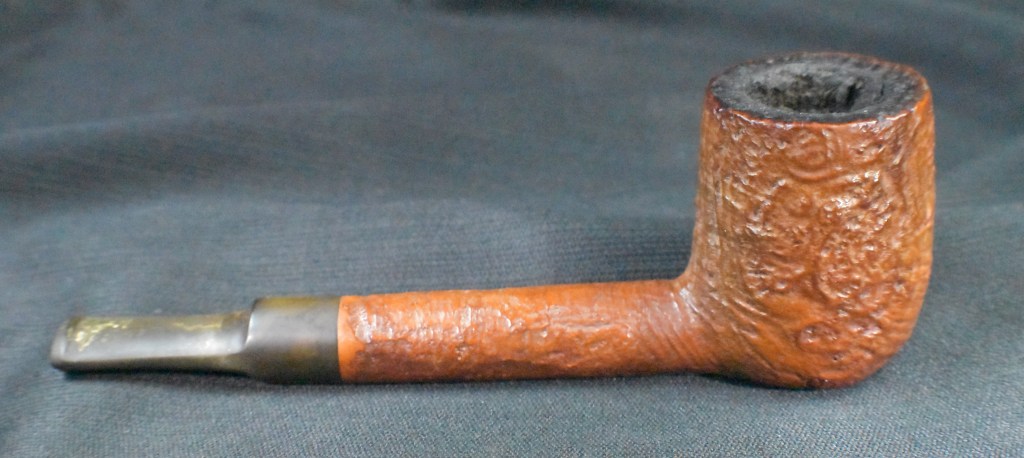


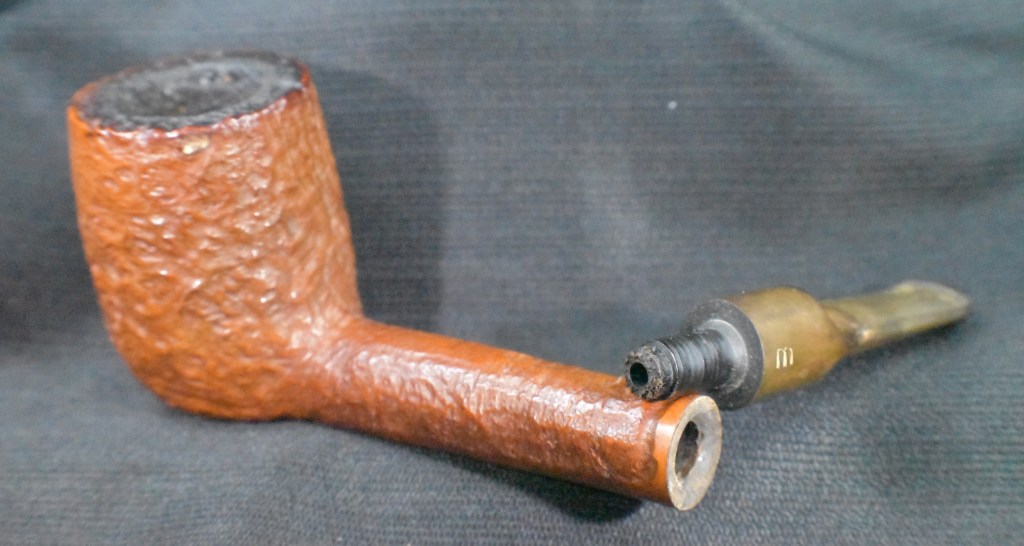
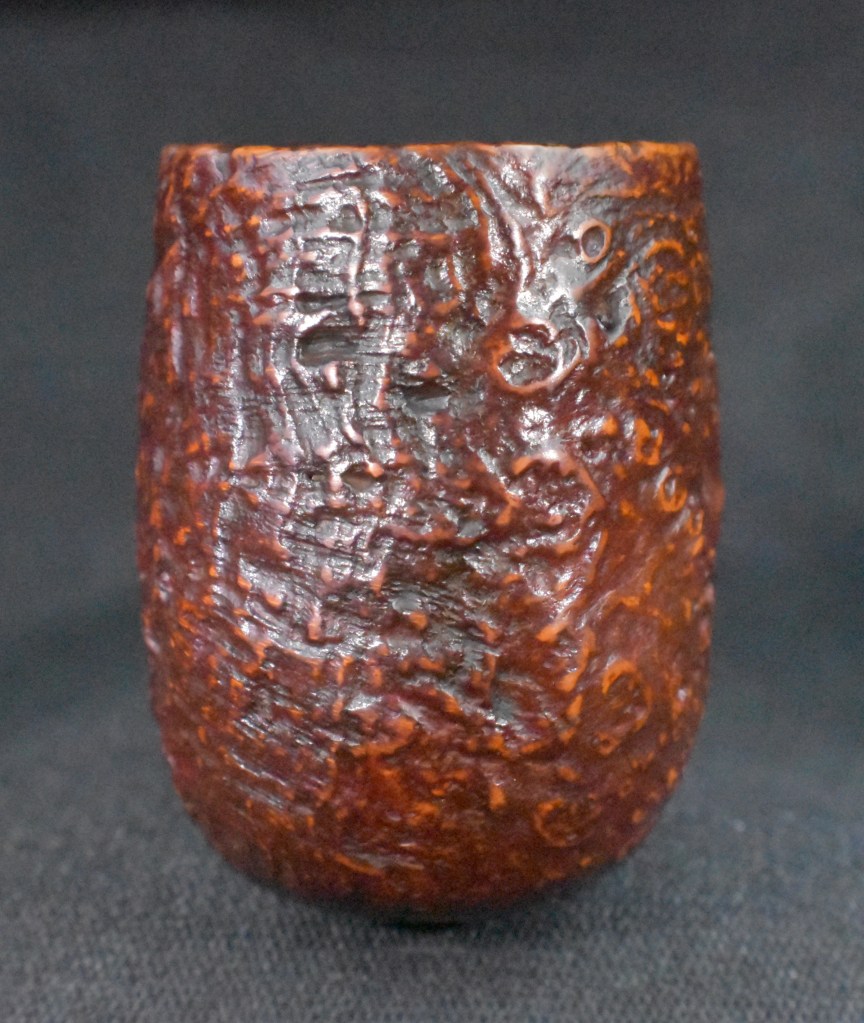
The pipe had obviously been smoked as evidenced by the lava deposits on the rim and the cake built up in the tobacco chamber. The stem was oxidized with some tooth chatter, more dents actually. The finish looked rather drab, which seemed strange because the sandblast texture was very nice with numerous bird’s eyes on both sides and straight grain on the front and back. I thought that some contrast dye would improve the look dramatically. Overall, this appeared to be a rather straightforward restoration.
Background
For some reason I always associated Mountbatten with Blatter of Montreal. Perhaps it is due to my lysdexic (or is that dyslexic?) brain wanting to see a pattern with pipe names and “tt”. This was the first Mountbatten that I recall working on. The pipe was well crafted with the fit of the stem to the shank excellent. I started with a search on pipedia.org for “Mountbatten”. Here I found the following:
“Mountbatten is often referred to as a Charatan second, but apparently the Mountbatten pipes were made by Charatan apprentices. So while they are not Charatans, they are perhaps on their way to becoming Charatans. A second would tend to be a pipe with a deficiency (in material or workmanship), a Mountbatten would perhaps be closer to a Charatan in quality.
The following is originally from a pipes.org forum post by Bill Ramsey.
“Friends, after 40 years of nosing around pipes, what I have gleaned is this: Charatan sold its seconds under private labels and later acquired the English rights for Ben Wade for just this purpose. Mountbatten, on the other hand was not a “second”(in that there was some physical deformity in the pipe) but rather a first line production from Charatan’s apprentice program. Each Charatan carver might have four or six apprentices at any one time of various skill levels. As they improved and started cutting pipes themselves, these pipes had to move… thus the Mountbatten. These were made on Charatan tooling with Charatan materials and teaching. Bear in mind that there was a high attrition rate and , perhaps, one apprentice in nine or ten made it to cutting their own bowls much less a Charatan carver. This is why you see more Charatans than Mountbattens on the market. You’re never going to put your kid through college by selling one but you’ve got a day to day workhorse of the first order. Good luck and happy puffing.”
Pretty interesting! This is information comes to us from an interesting post on rebornpipes.com about restoring the pips bellow” (Mountbatten – Pipedia).
So, I apparently had a pipe made by an apprentice that had mastered the fitting of stems to a shank and had advanced to blasting, which they were quite good at, then attempted finishishing blasts, which they were not quite as good at, yet. I merely say that because I was not impressed by the finish of this pipe. It looked kind of Play-doughy – unicolor and lacked definition.
I still wasn’t sure when the pipe was made. Reading through the pipedia content on Charatan led me to a convoluted history with several “eras” for Charatan pipes but little to no information of Mountbatten. If I assume the shape numbers remained the same for Chatatan and Mountbatten which I thought was a reasonable assumption, then they would be consistent. Hmm, I was wrong about that. 818 was never a Charatan shape. The pipedia.org does have a single photo of a Mountbatten with a very similar shape number and finish:

(File:Mountbatten 812, courtesy of Chris Rigol.jpg – Pipedia)
The Restoration
As per tradition, I placed a relatively clean denim piece on the work surface.

The ream team was gathered and included the following: PipNet with the #2 & #3 blades, the General triangular scraper with the tip ground round and the Smokingpipes Low Country reamer.

The PipNet’s #2 and #3 blades did the majority of the reaming.

The clean-up was done with the other two scrapers.

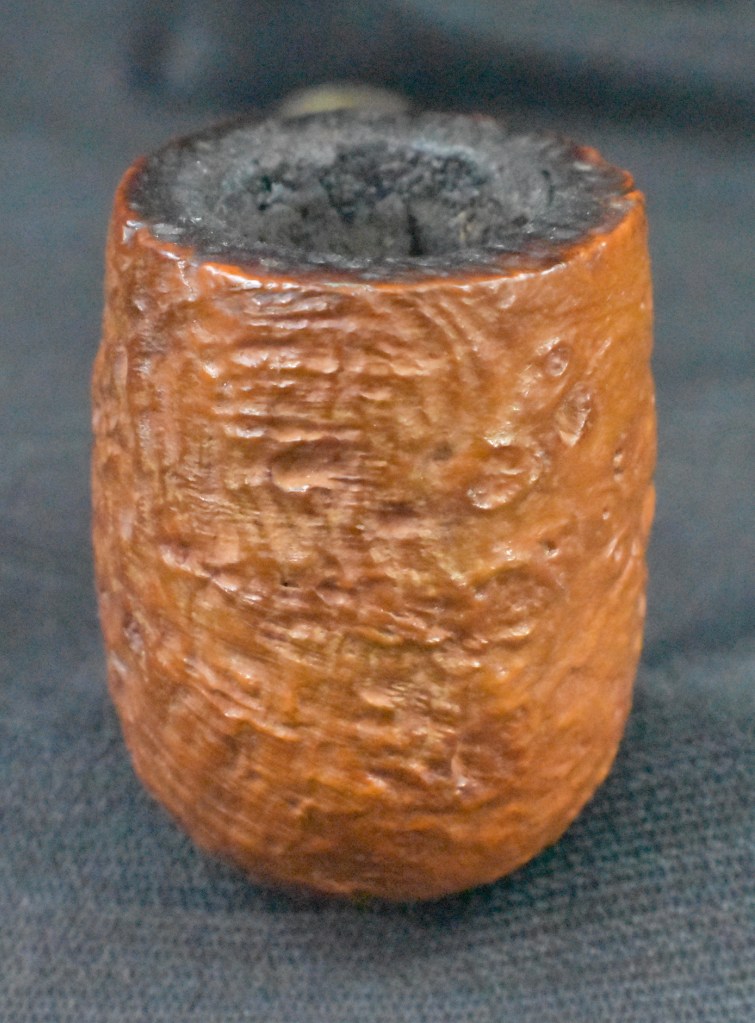
After Reaming the tobacco chamber was sanded with 320 sandpaper wrapped around a wood dowel. There were a couple of gouges on the walls of the tobacco chamber from previous scraping/reaming but no signs of heat damage. I thought that a bowl coating may be beneficial and hoped that I’d remember to do it. The below photo also shows the lava deposits that I hoped the stummel scrubbing would eliminate.

The stem was cleaned with bristle pipe cleaners and 99% ethyl alcohol. The stem was surprisingly clean.
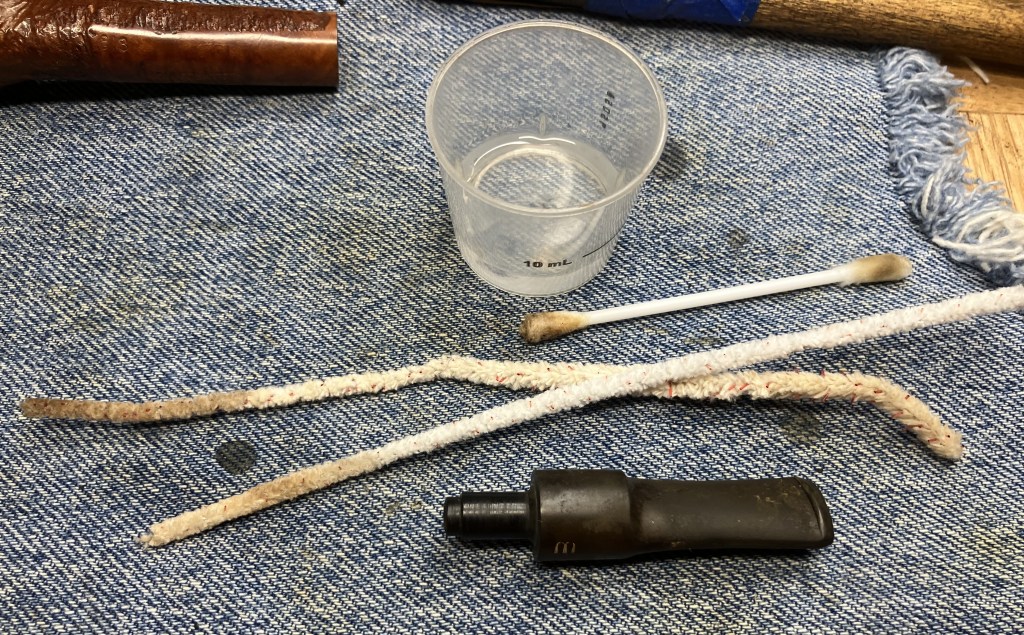
A pipe cleaner was inserted into the stem to act as a handle for removing the stem from the Briarville Pipe Stem Oxidation Remover (lovingly called deox).

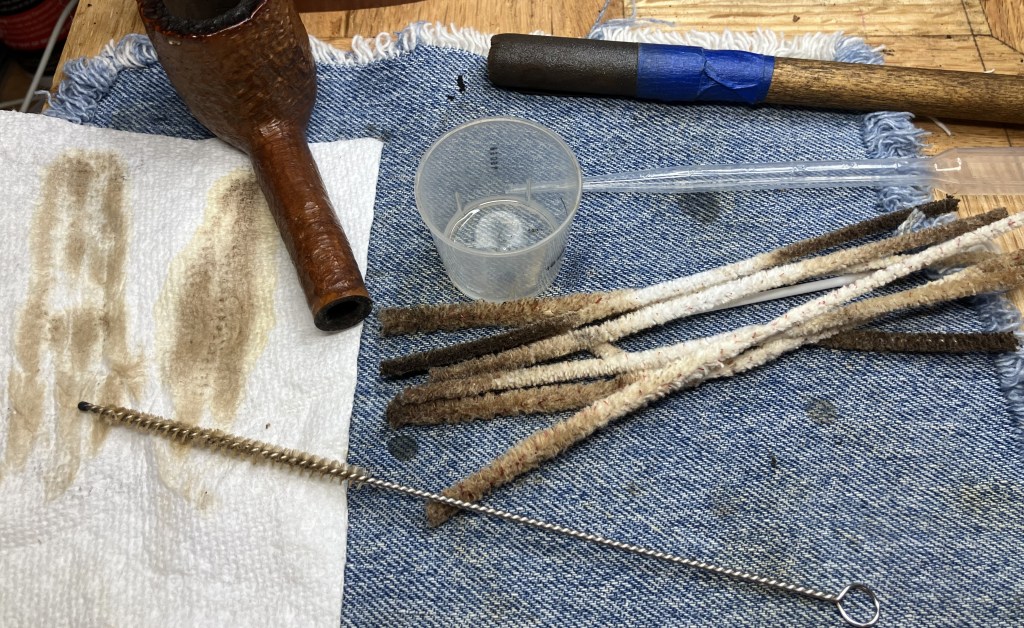
The shank proved to be a bit more difficult to clean than the stem. This cleaning was done in similar fashion to the stem but with a nylon shank brush joining the assault.
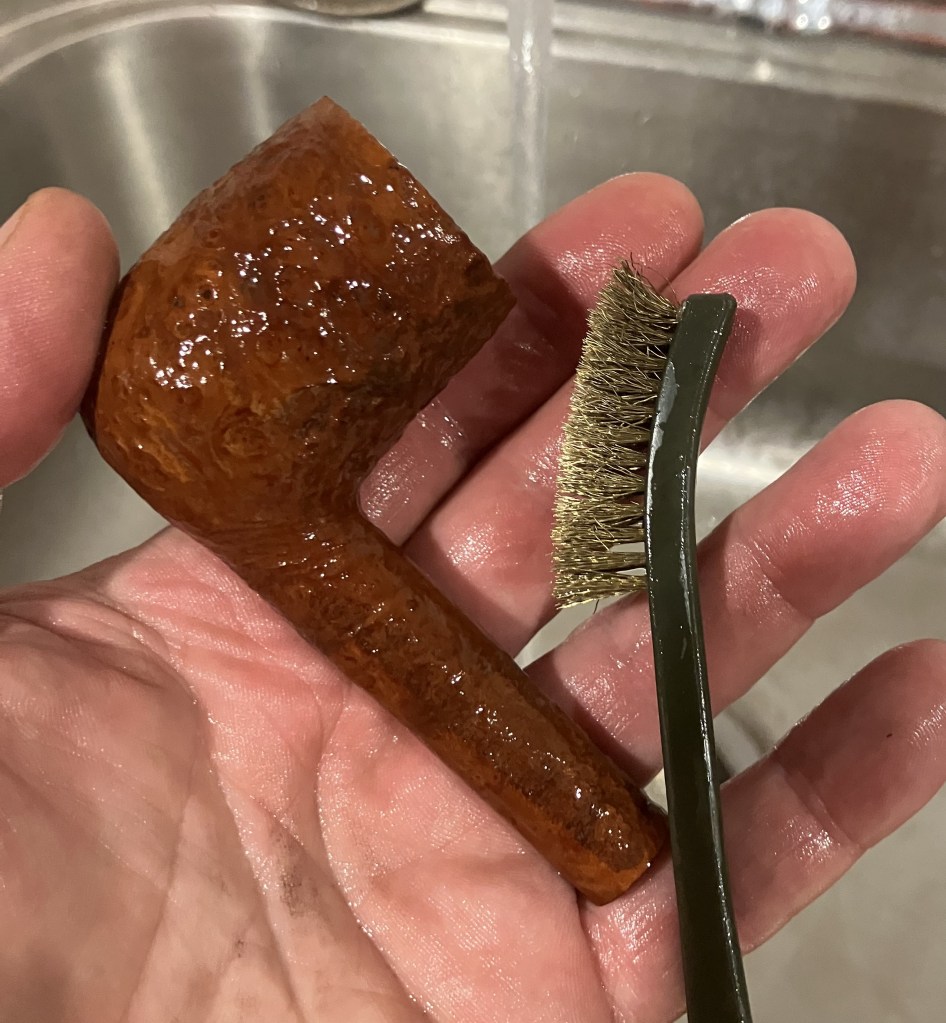
Once the shank was cleaned the stummel was taken to the sink for a scrub. Here I used a nylon brush with Murphy Oil Soap, undiluted. The soap was rinsed with warm water.

Not being completely satisfied with the scrubbing, I upgraded to a brass brush and repeated the process. After the rinse I dried the stummel with a cotton hand towel.
Back at the workbench the stummel was wiped with 99% ethyl alcohol on a make-up pad. This removed a little bit of color, perhaps a stain or wax residue.

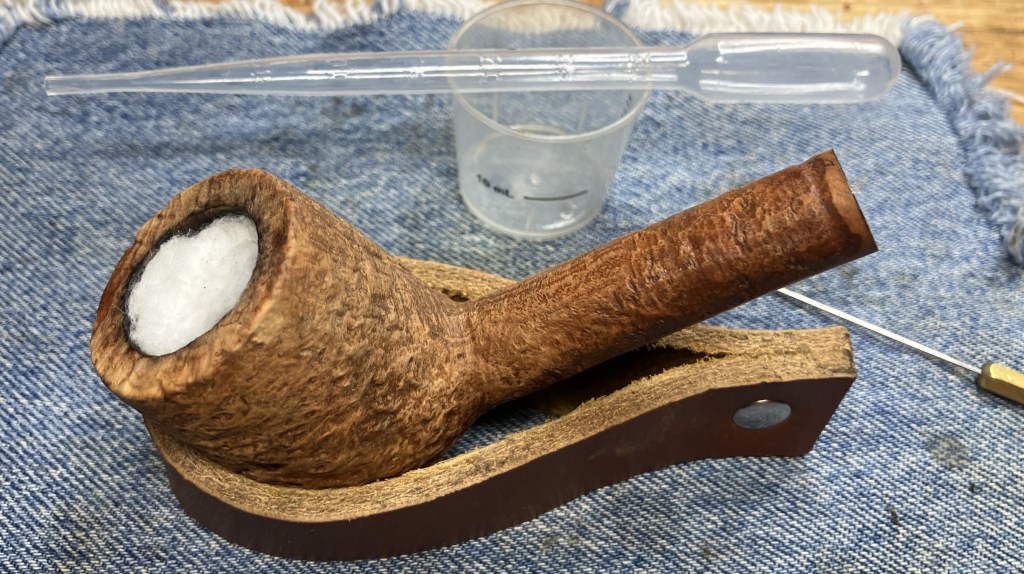
I wanted to give this pipe an alcohol-cotton treatment to eliminate any remaining smoking residue from the airway/tobacco chamber. The tobacco chamber was packed with cotton along with the shank. I figured that 10 ml of alcohol would be the right amount.

The 10 ml of alcohol was applied with a disposable pipette. It saturated the cotton completely and would dissolve the smoking residues and deposit them onto the cotton as the alcohol evaporated overnight.
The next day I saw a purple color on the cotton packed into the shank. This purple was usually from potassium permanganate (KMnO₄). KMnO₄ is an oxidizing agent that is/was used as a stain for wood. Maybe the shank end had been stained this way, certainly the whole stummel had not been.

The cotton in the tobacco chamber did not have any of the purple coloring.

The cotton was removed and the stem cleaned again to remove any of the remaining residues that the alcohol may have softened but not liberated from the airway.

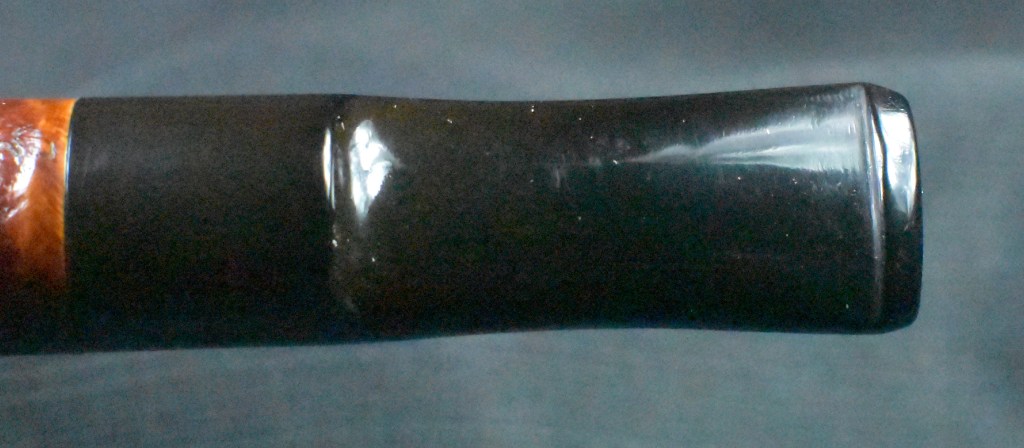
I removed the stem from deox. It was placed on a coarse shop rag where I vigorously hand buffed it. This removed some of the oxidized rubber which had been softened by the deox process.
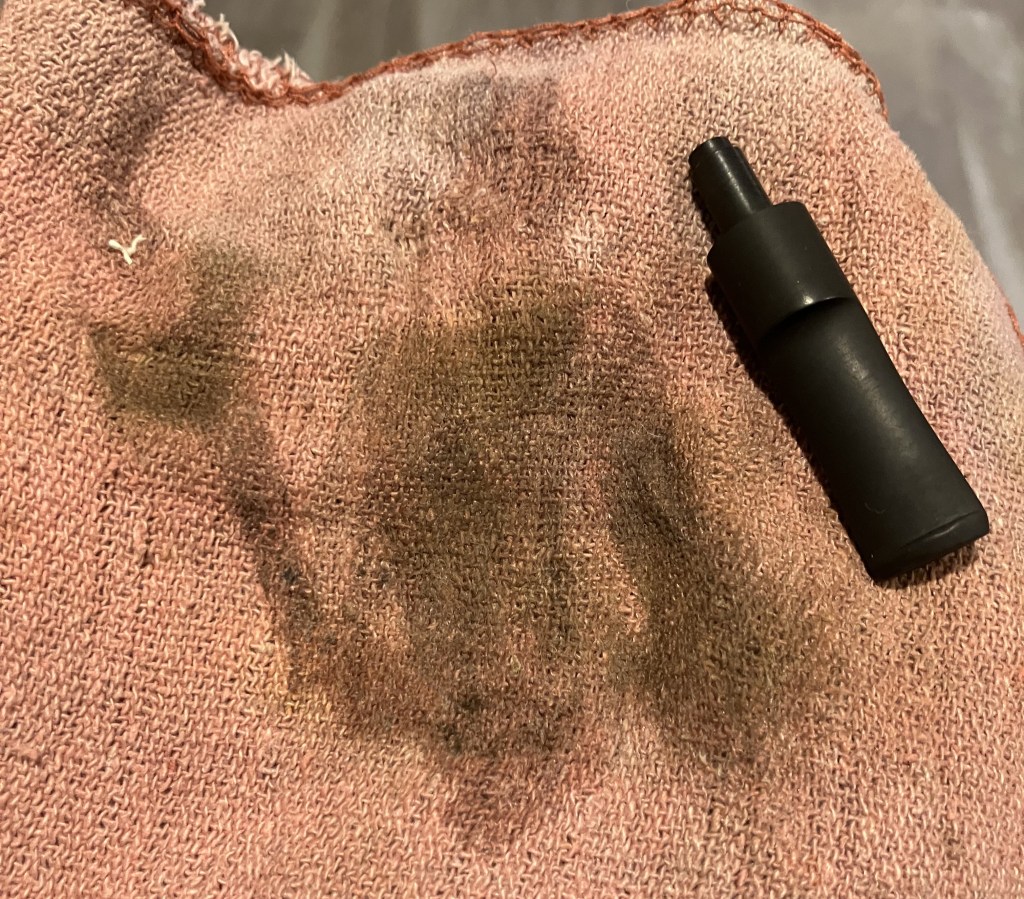
Bah! The deox had removed some of the definition of the logo. This occurs when the oxidation is deeper than the stamping. The stem was returned to the workbench where it received a coating of mineral oil to keep it from further oxidizing.
I thought that this stummel would look better if the low spots of the blast were darker than the high spots. To achieve this I thought a base coat of Fiebing’s Dark Brown Leather Dye would work nicely. The tobacco chamber was sealed off with a wine bottle cork. A folded pipe cleaner acted as my applicator for the dye and a lighter provided a flame to burn away the solvent portion of the alcohol based dye.
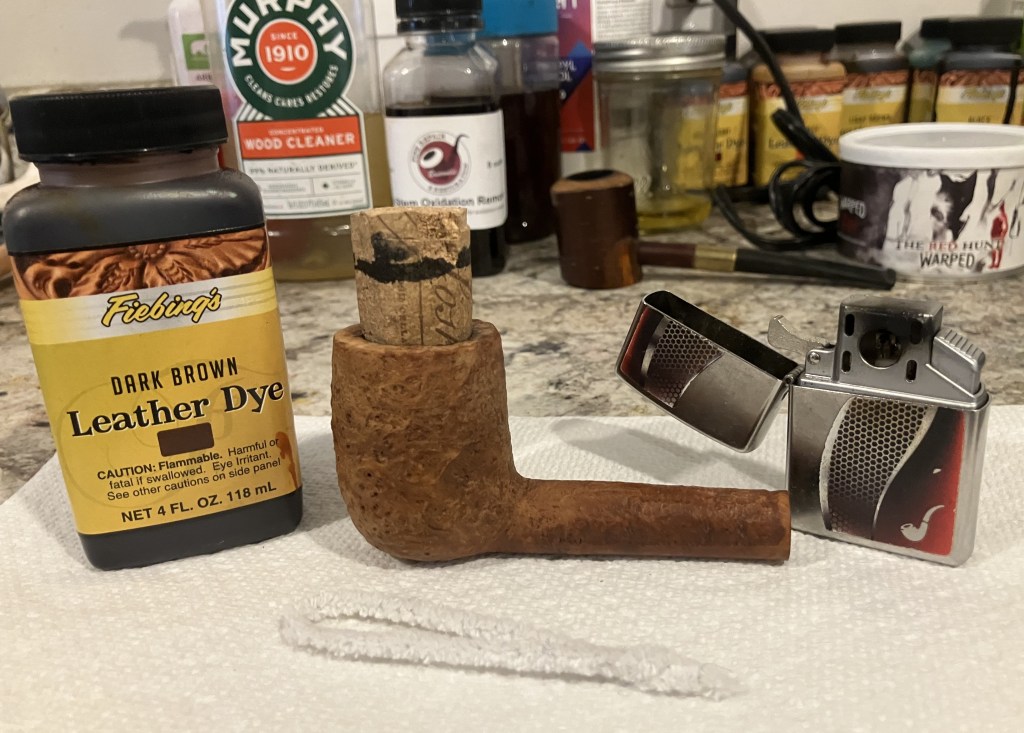
A single coat of dye was applied and flamed.

I allowed the dye to dry then took it to the buffer. I only wanted to remove the dye from the high spots so a light touch was used when buffing with rouge buffing compound.

TO give the pipe more definition I lightly sanded the high spots with a 400 grit sanding sponge.
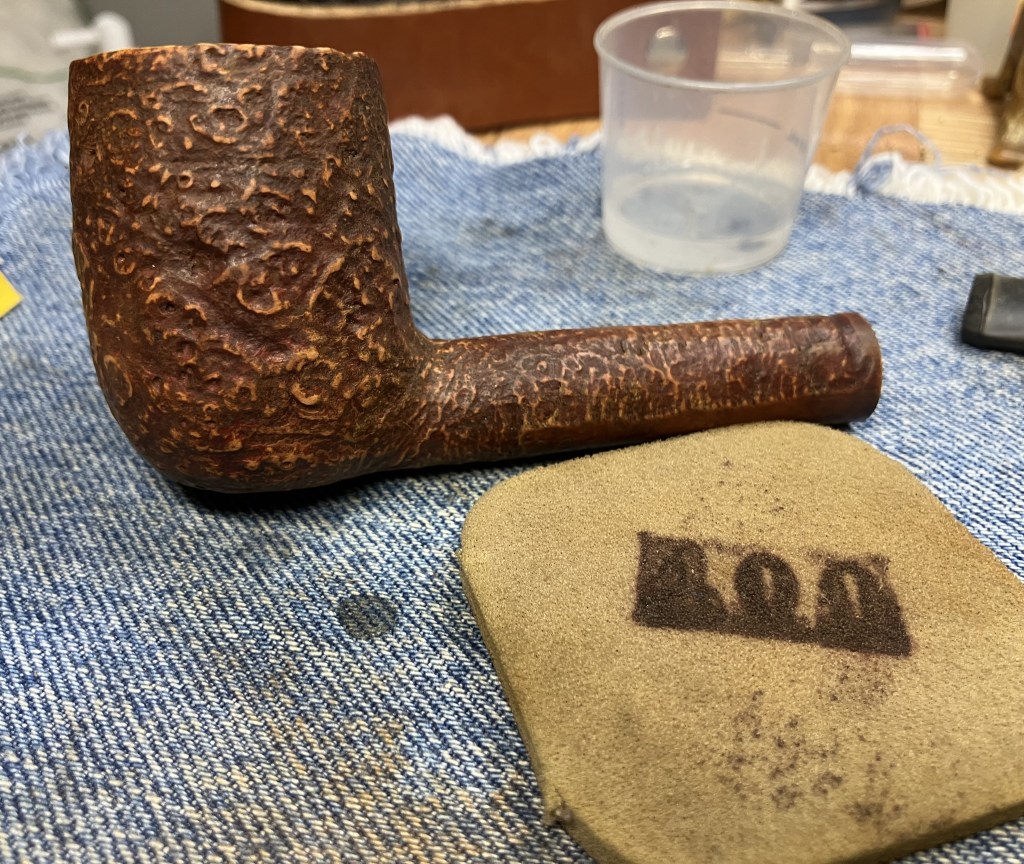
The stummel was wiped with a make-up pad dipped in alcohol to remove buffing compound and sanding debris then a coating of Before and After Restoration Balm was applied and worked into the briar with a baby toothbrush.
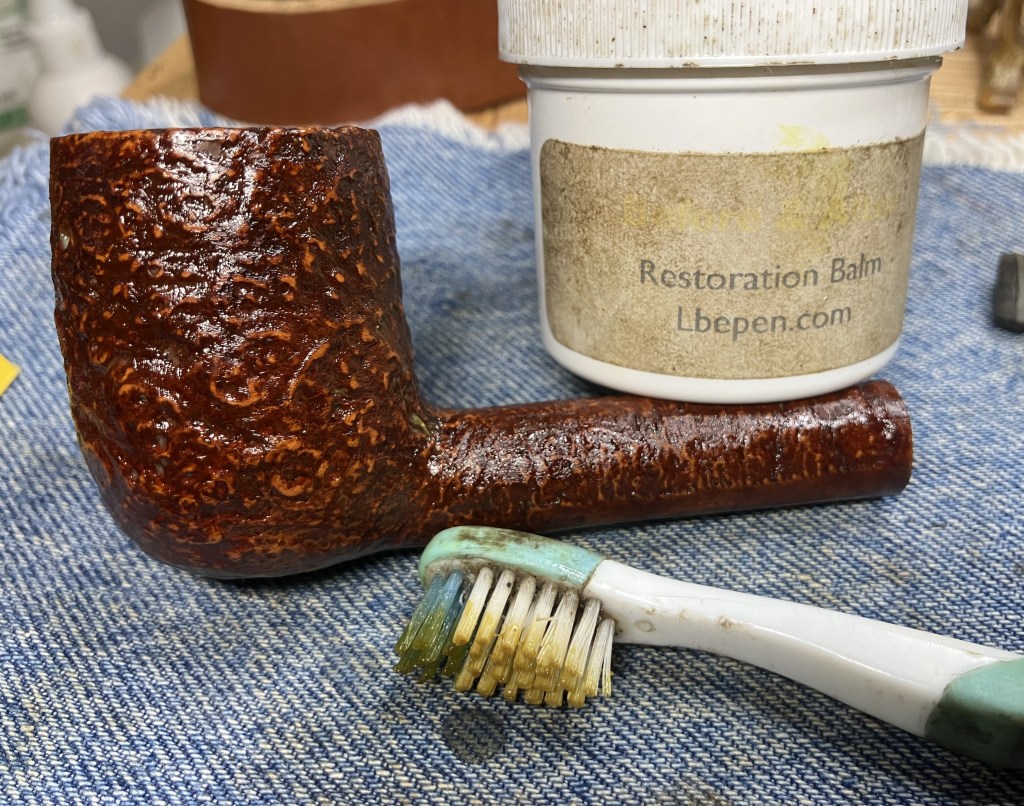
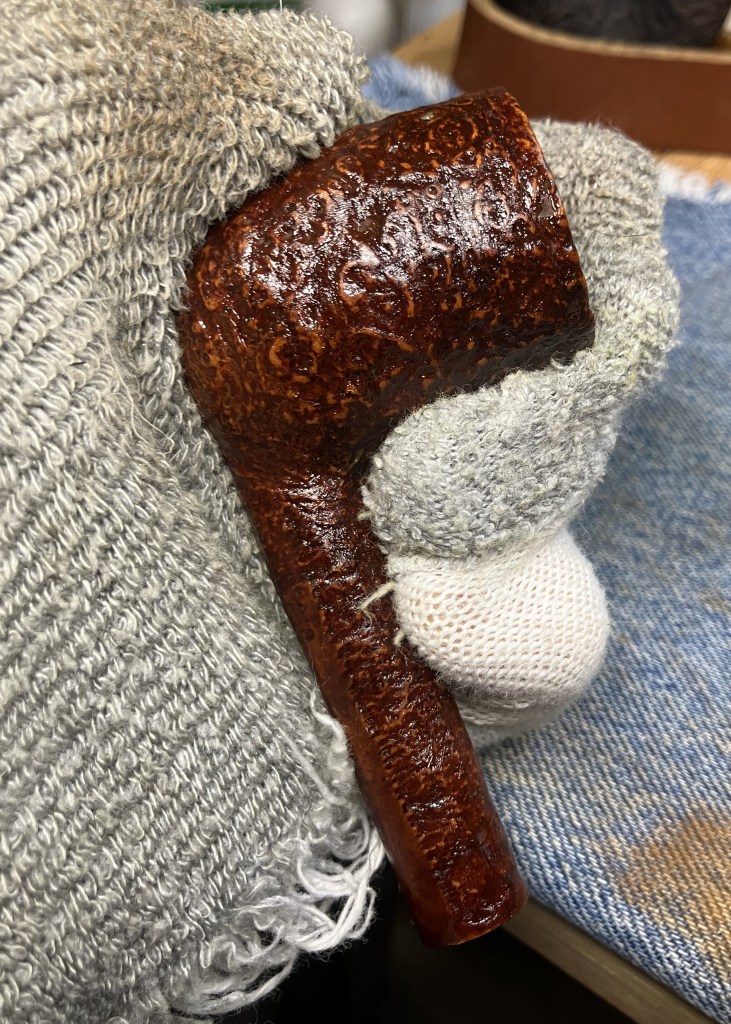
After about 15 minutes the Restoration Balm was hand buffed with an inside out athletic sock to remove the remaining balm.
I covered the stem logo with a piece of masking tape to preserve the remaining logo.
The shank was covered with a layer of masking tape to avoid sanding a well.

The stem was sanded with a series of sanding sponges from 400-3500 grits. Between each sponge, I rubbed the stem with mineral oil and wiped it with a paper towel.

The stem was then micro-meshed with the 4000-12000 pads. Between each pad, I rubbed the stem with Obsidian Oil and wiped it with a paper towel.

I buffed the stem with a blue compound on the dedicated blue compound buffing wheel.

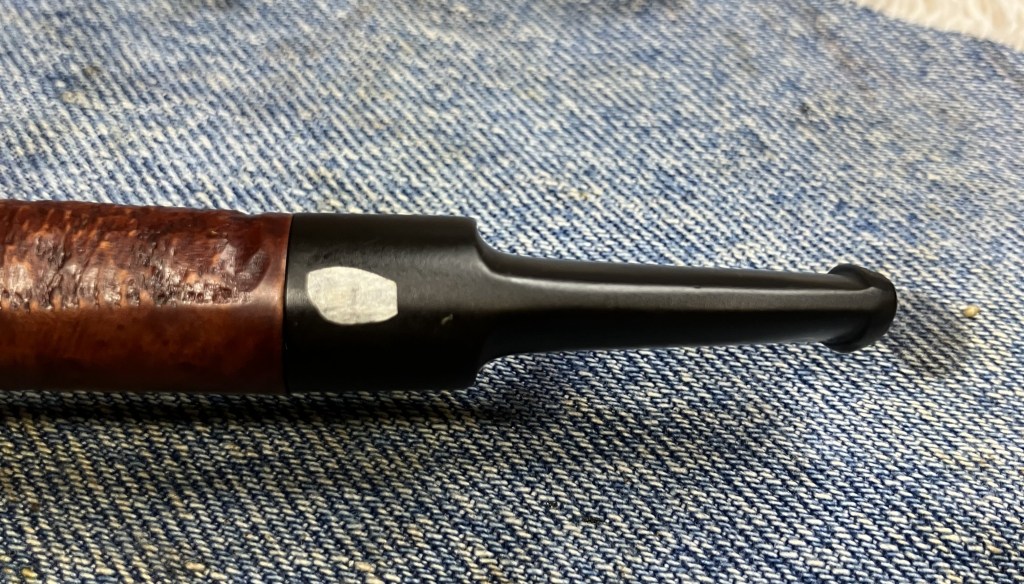
After buffing the stem, I removed the tape from the shank and the stem logo. The logo was still slightly degraded by the deox process. Hmm, I had hoped it would heal. Yeah, unreasonable and foolish but still a hope. It didn’t.
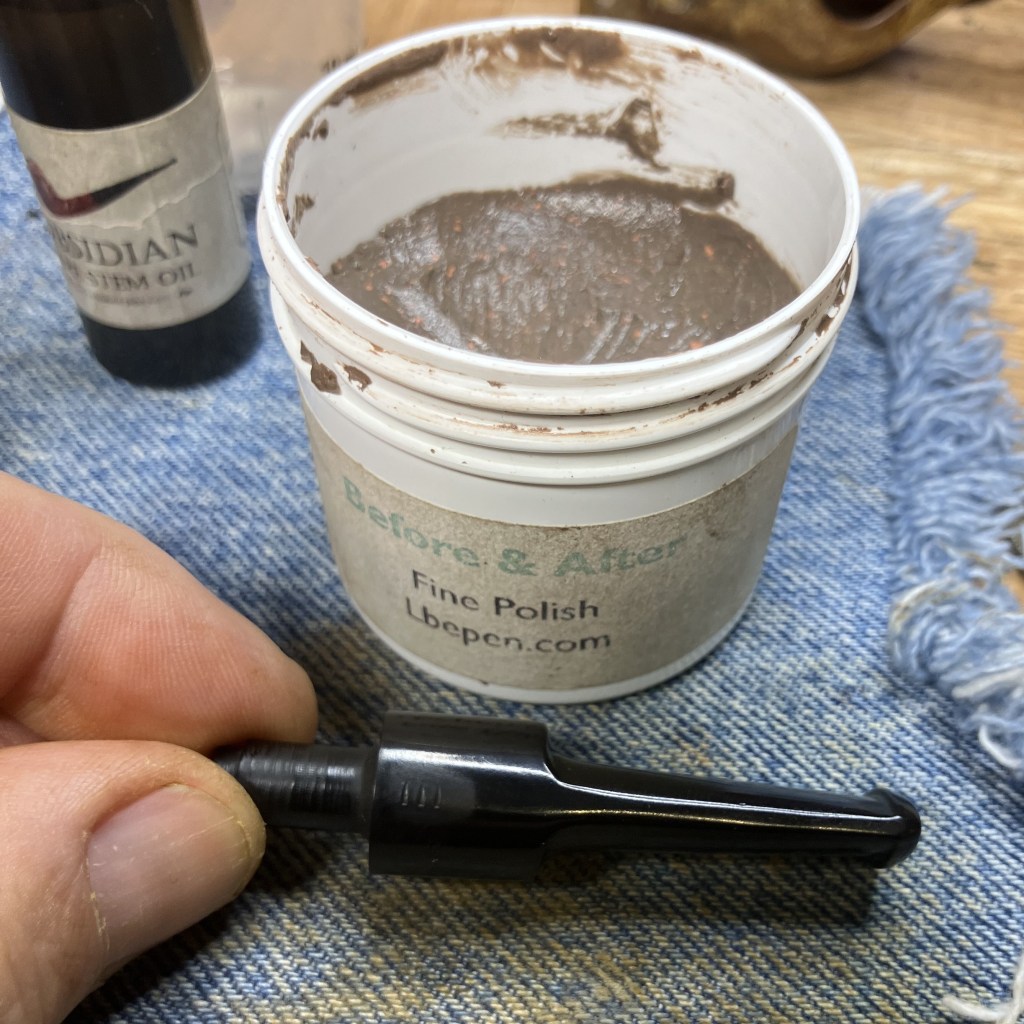
To bend the unsanded/micor-meshed/buffed logo area, I tried to polish it with Before and After Fine Polish applied and hand buffed with a soft cloth.
I chose this white acrylic paint because I had it available, it’s water soluble, dries quickly and it reminds me that I need to paint a few miniatures for gaming.

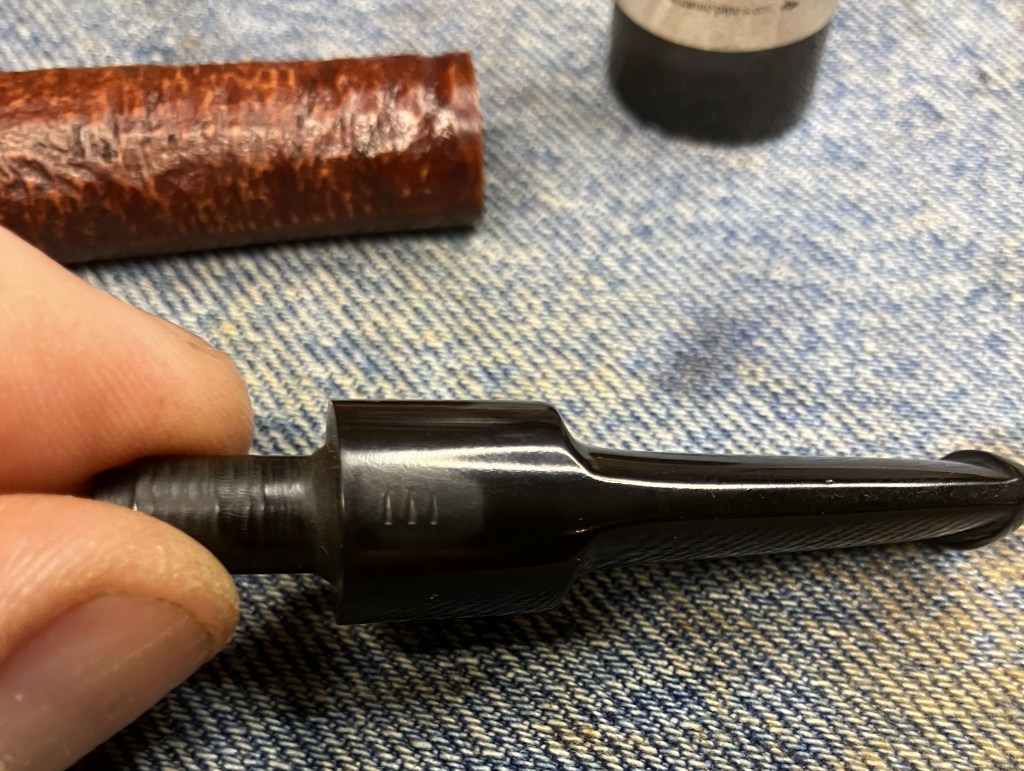
I worked the white acrylic paint into the stampings of the logo with a cotton swab.

The excess white acrylic was buffed off with a soft cotton cloth then re-micro-meshed the logo with a 12000 pad.

I reassembled the pipe and thought back to the before photo.

And compared it to the after. I think the contrast dye brought out the texture of the blast better and added depth and character to the pipe.

The pipe was then returned to the buffer for several coats of carnauba wax.

The final step was a hand buffing with a microfiber polishing cloth.
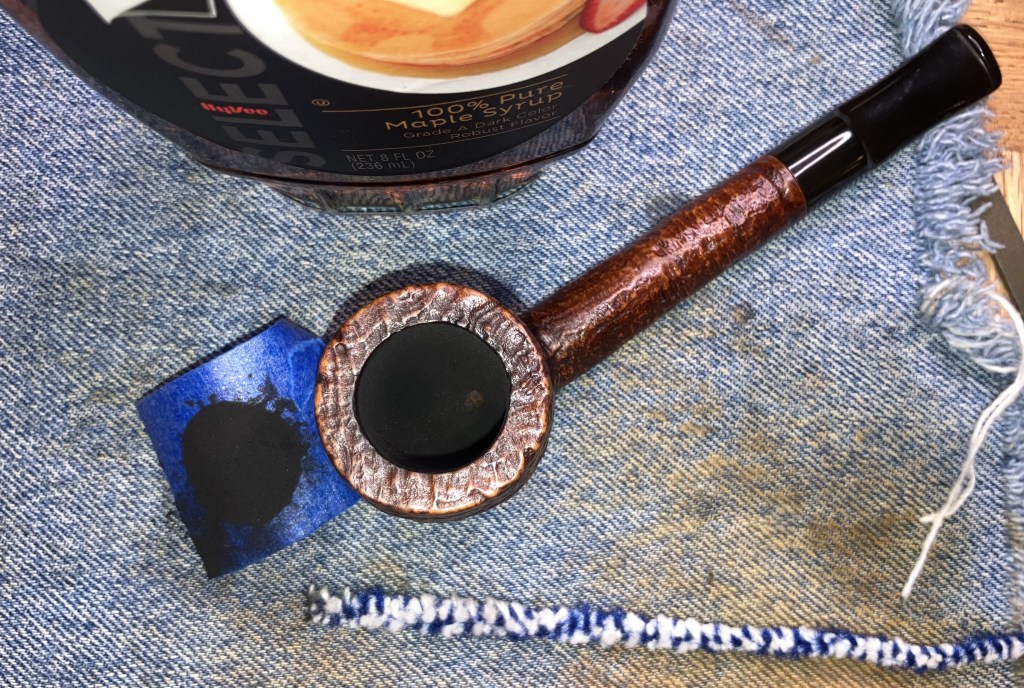
Well, I thought I was finished then I saw the bowl when I was going to take the finished photos of the pipe. DOH! I forgot that I wanted to give this pipe a bowl coating. I coated the interior of the chamber with 100% applied with a cotton swab. A capsule of carbon powder was poured into the chamber after I had blocked the airway with a pipe cleaner.

The rim was covered with a piece of painters tape. The stummel was shaken for about one minute. I removed the tape, pipe cleaner, dumped the excess carbon powder and blew through the airway to clear the remaining powder.
The final step was a hand buffing with a microfiber polishing cloth (the real final step).
This Mountbatten Billiard turned out very nicely. The contrast dye helped eliminate the unicolor of the original finish. The stem polished-up nicely even though I did lose some of the detail on the logo. I went with a bowl coating to address a couple of gouges in the tobacco chamber from overexuberant scraping. The blast texture is very pleasant in hand and brings out the lovely grain to this pipe. Overall this pipe looks well made and of quality briar that should provide years of enjoyment for the next owner. The dimensions of the Mountbatten Billiard are:
Length: 5.61 in./ 142.49 mm.
Weight: 1.41 oz./ 39.97 g.
Bowl Height: 1.92 in./ 48.77 mm.
Chamber Depth: 1.63 in./ 41.40 mm.
Chamber Diameter: 0.74 in./ 18.80 mm.
Outside Diameter: 1.48 in./ 37.59 mm. (from cheek to cheek)
I do hope that you have found something here useful to your own pipe care, maintenance or restorations. If you like this sort of thing, please click the like and subscribe buttons. Thank you for reading the ramblings of an old pipe lover.
Below are some photos of the finished Mountbatten Billiard.


One response to “A Mountbatten Billiard Restoration”
John, great job! Question – is the white acrylic paint you use a better quality than most. I haven’t heard of it. I’ve had trouble where the paint won’t ‘bite’ when the imprint is thin. Thoughts?
LikeLike