Photographed and written by
John M. Young
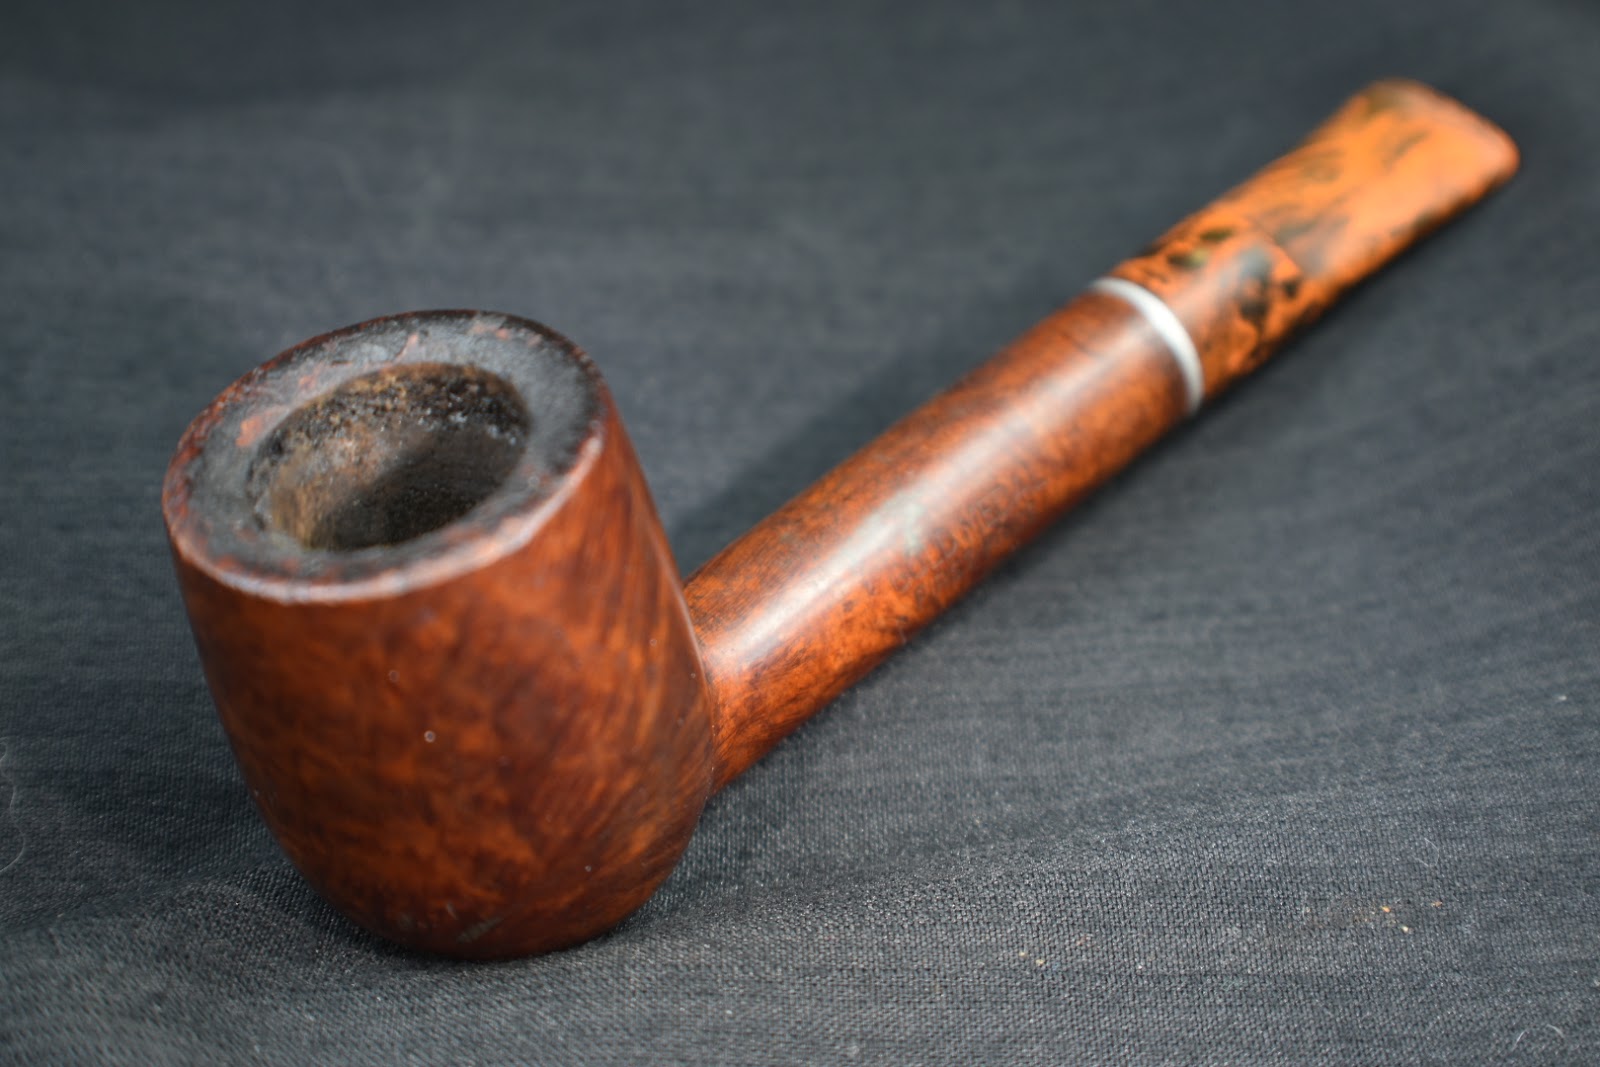
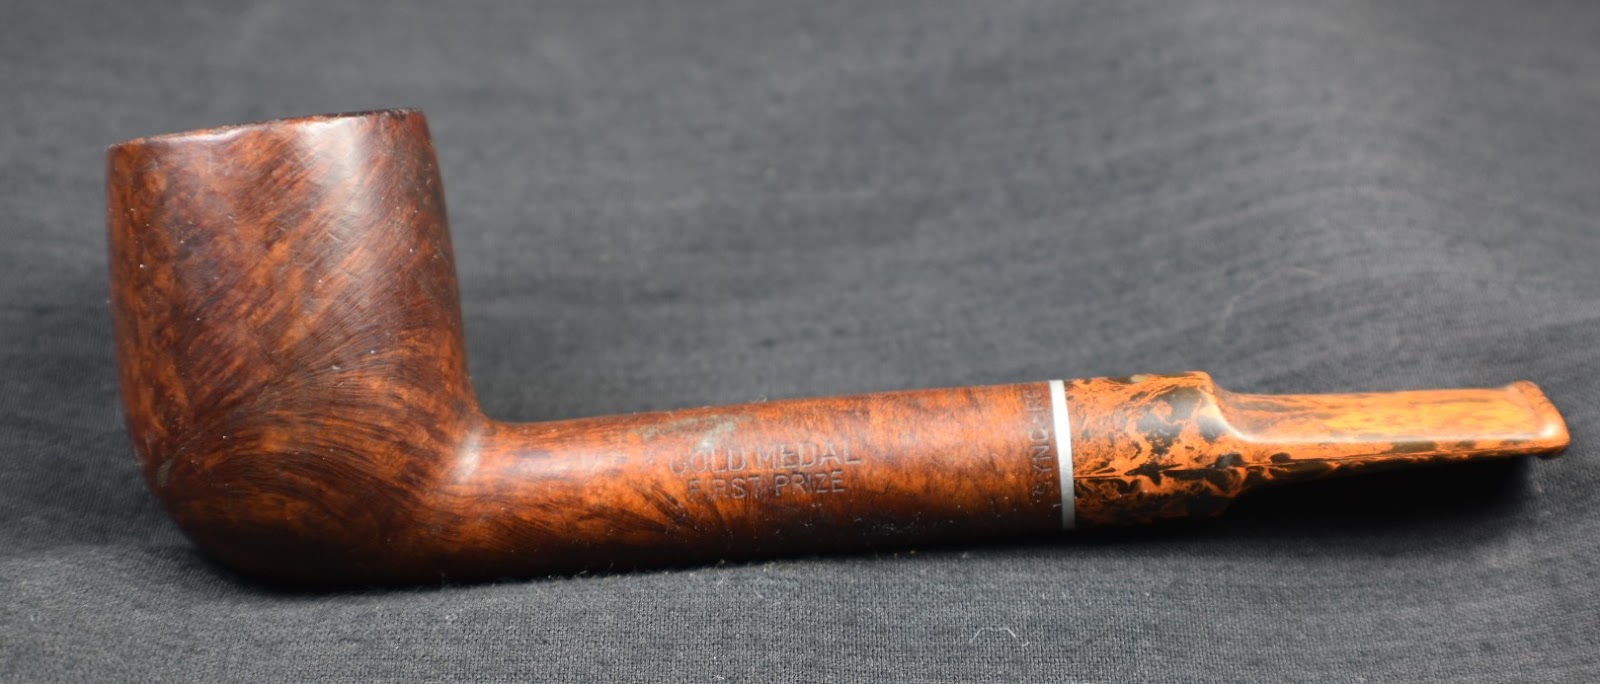
A few years ago when I started the hobby of pipe restoration I picked up a Linkman’s Dr Grabow 9733A with an estate pipe auction. It was in decent shape, if memory serves. For whatever reason I loved the shape and the feel of that pipe in my hand. It was a bit heavy for a clincher and it did have a stinger. Those are two qualities that I now pretty much avoid. Below is a recent photo of that old Linkman.

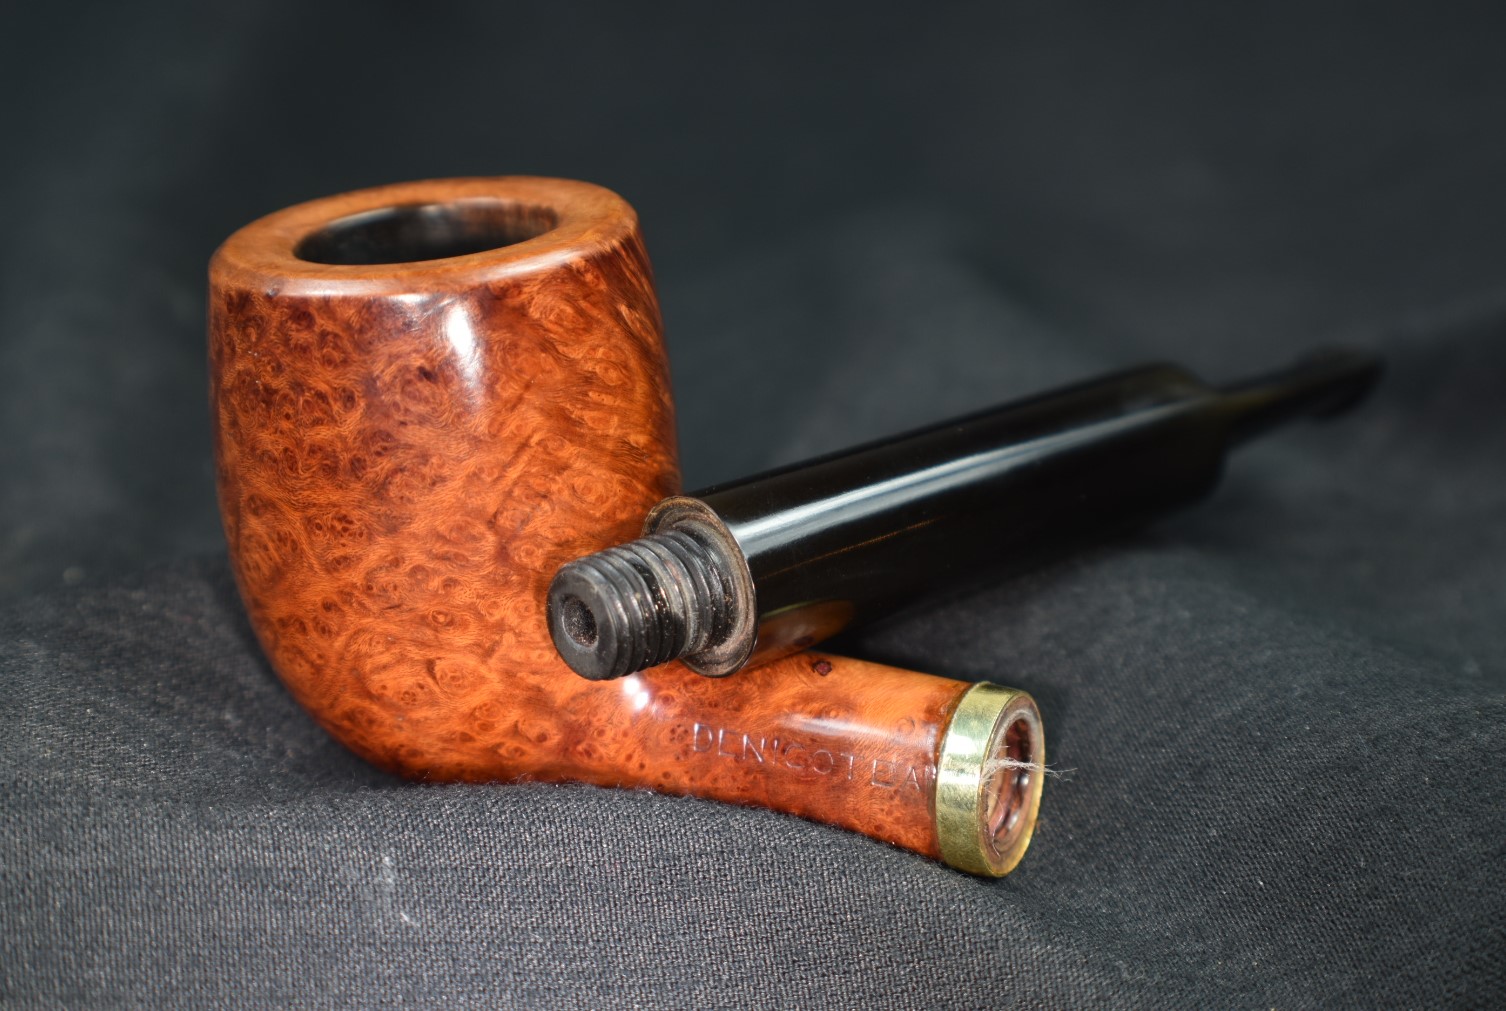
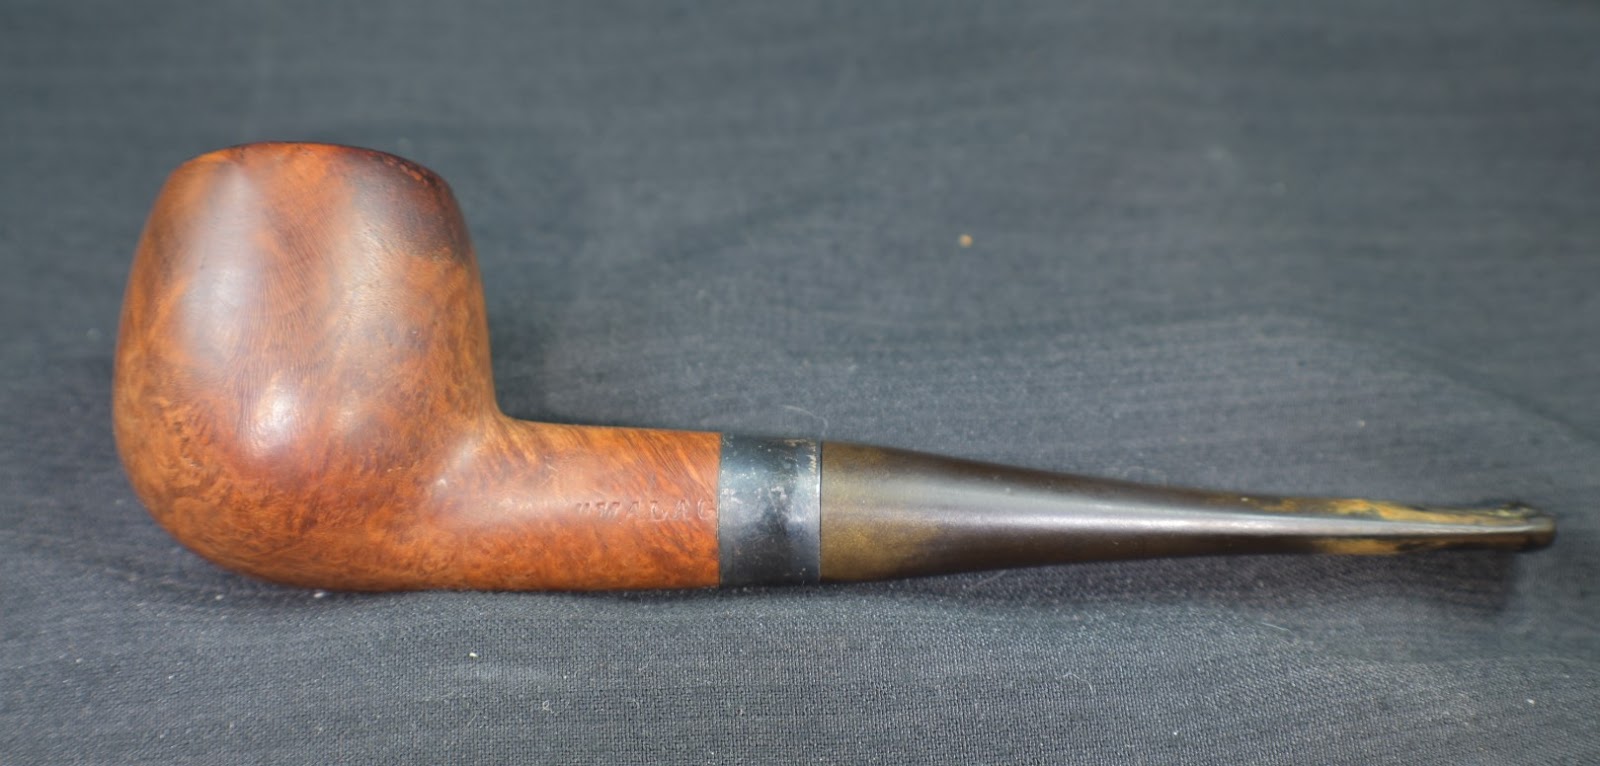
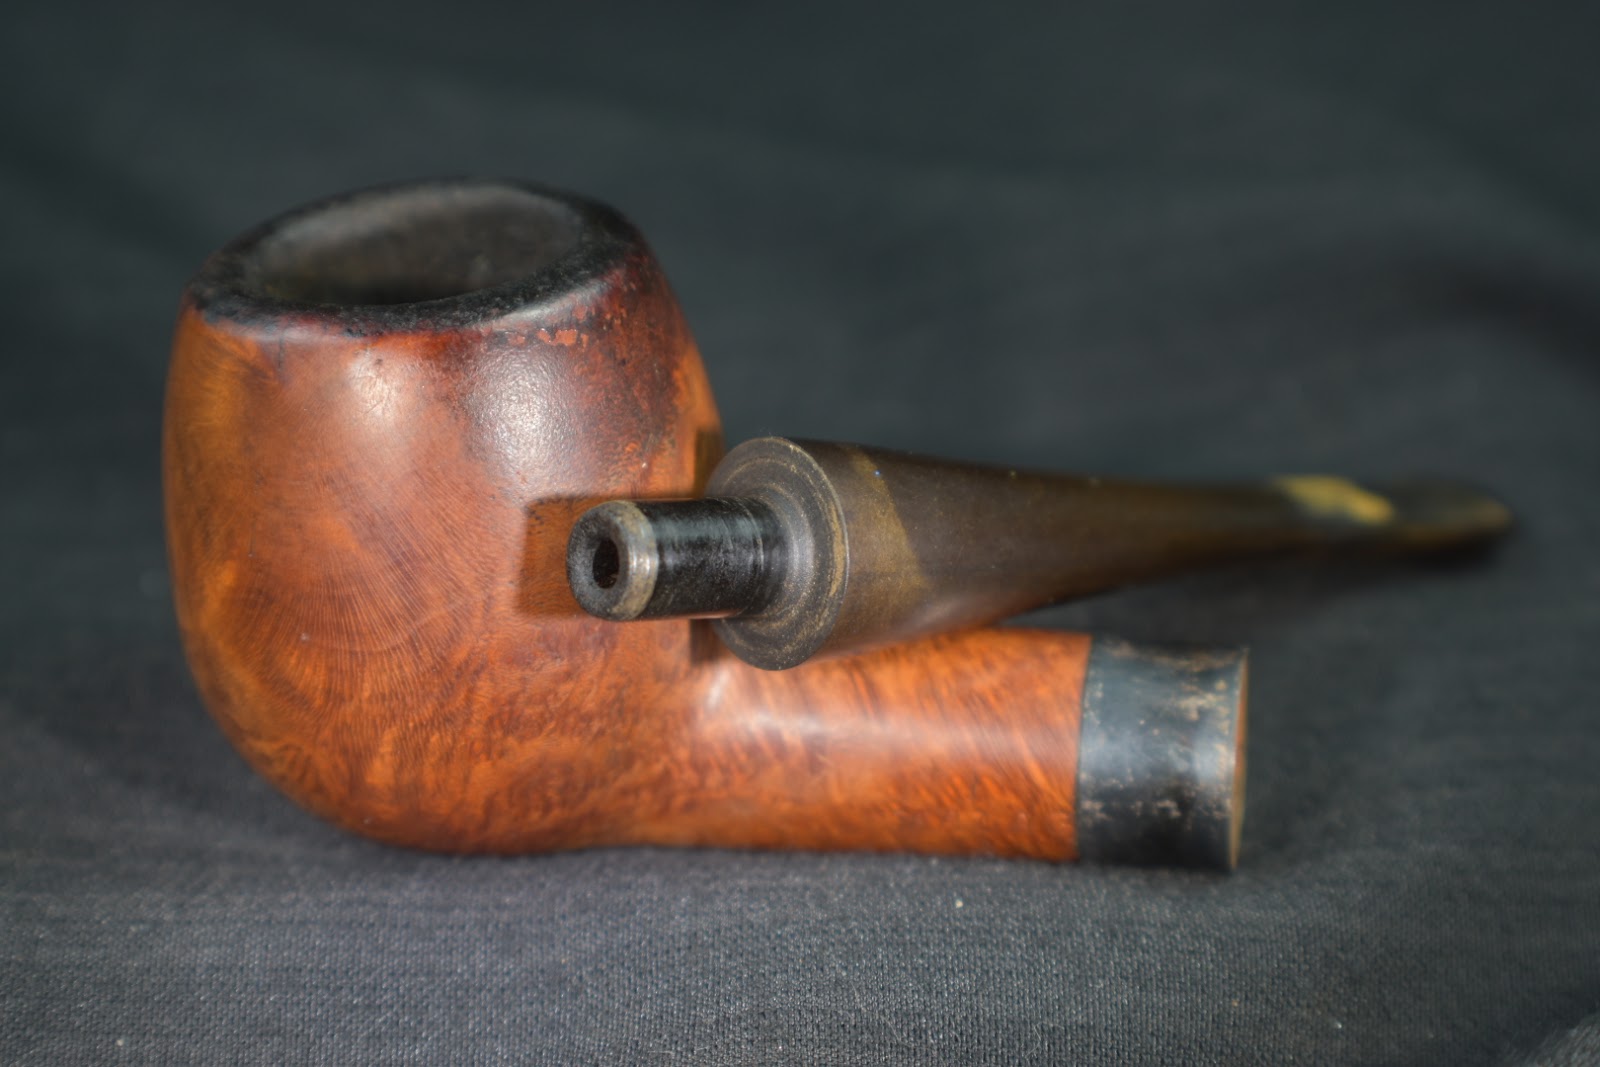
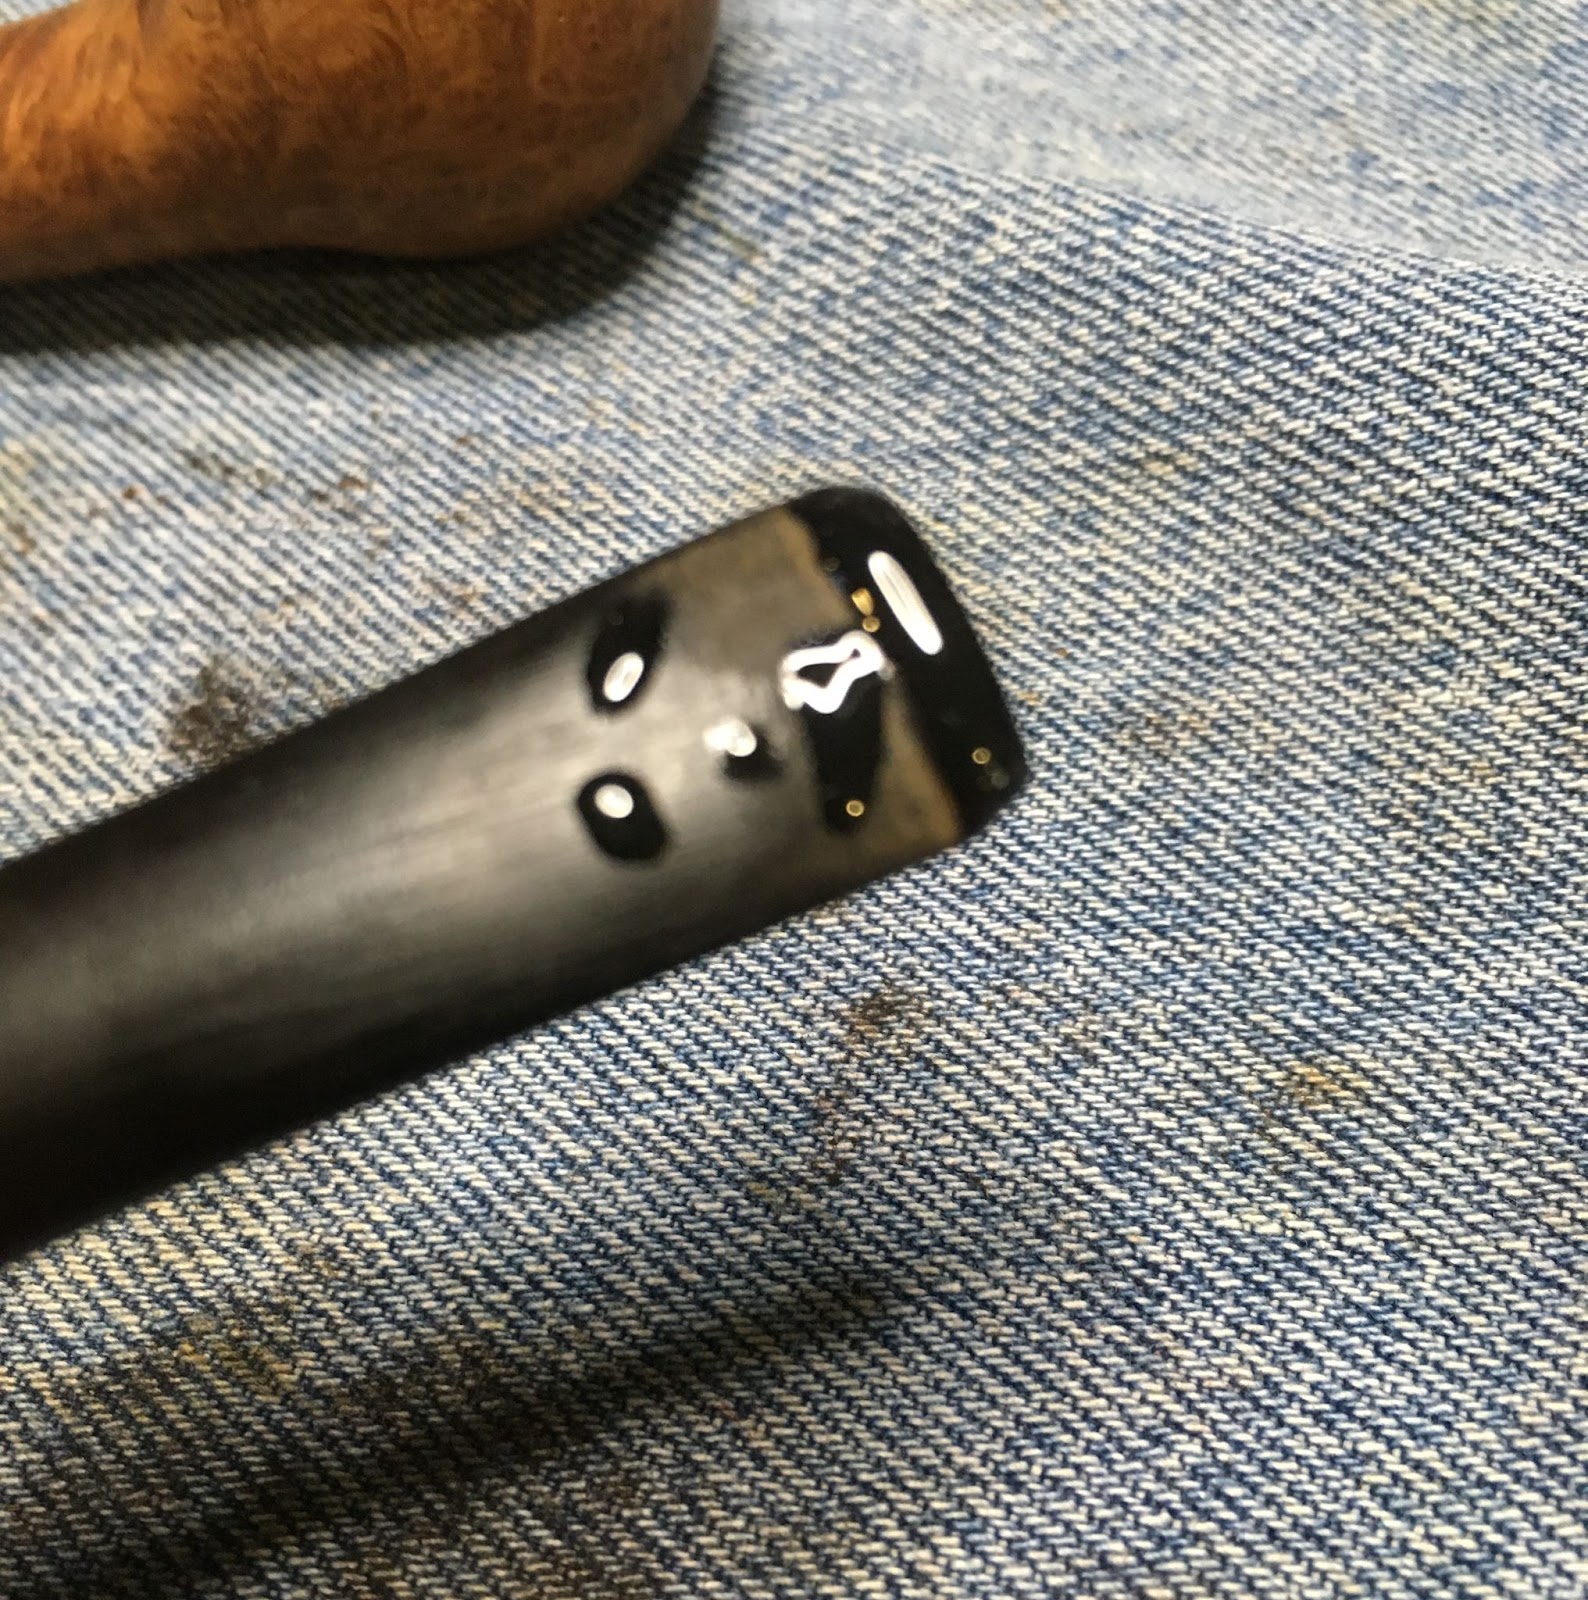
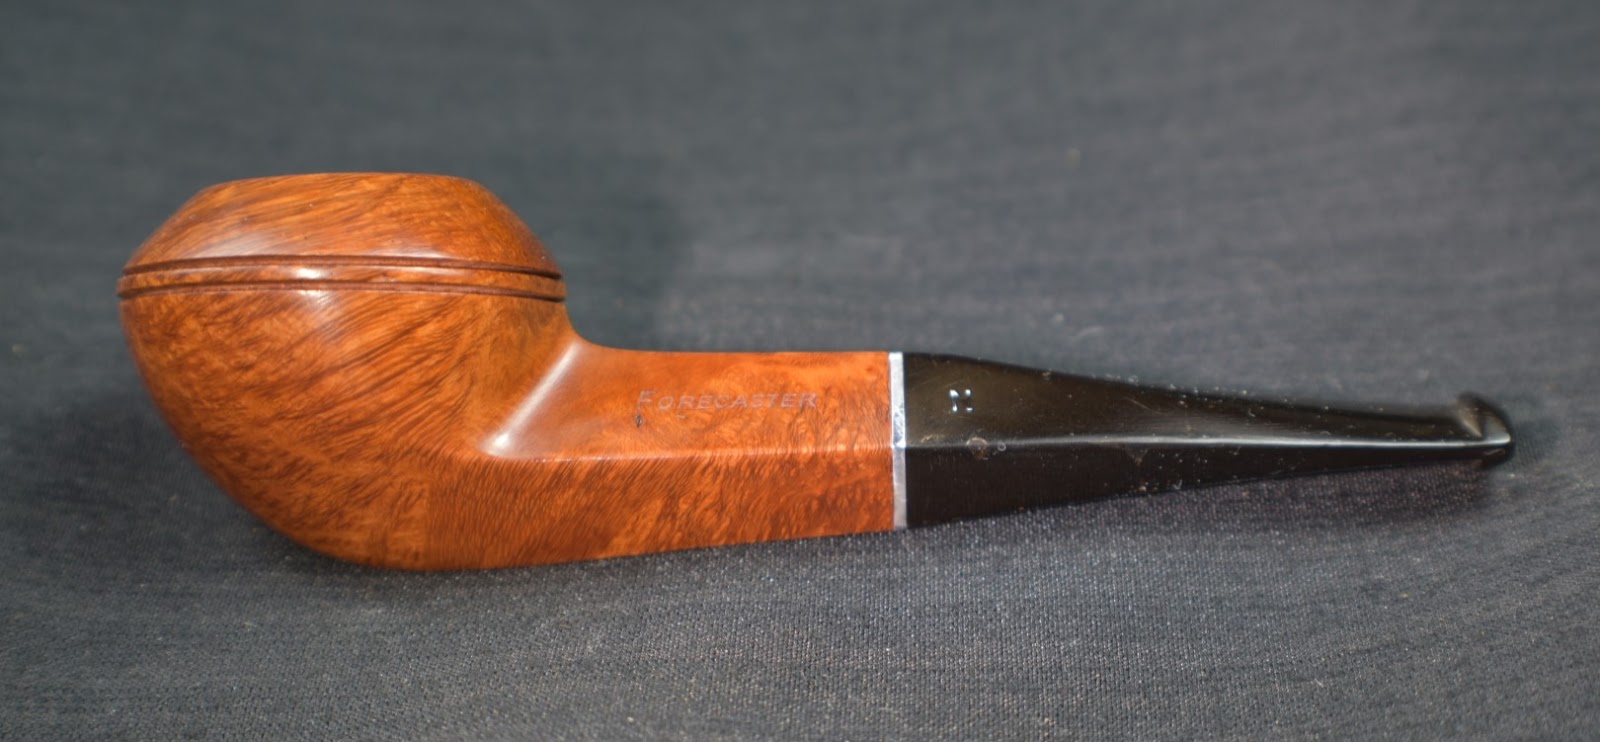
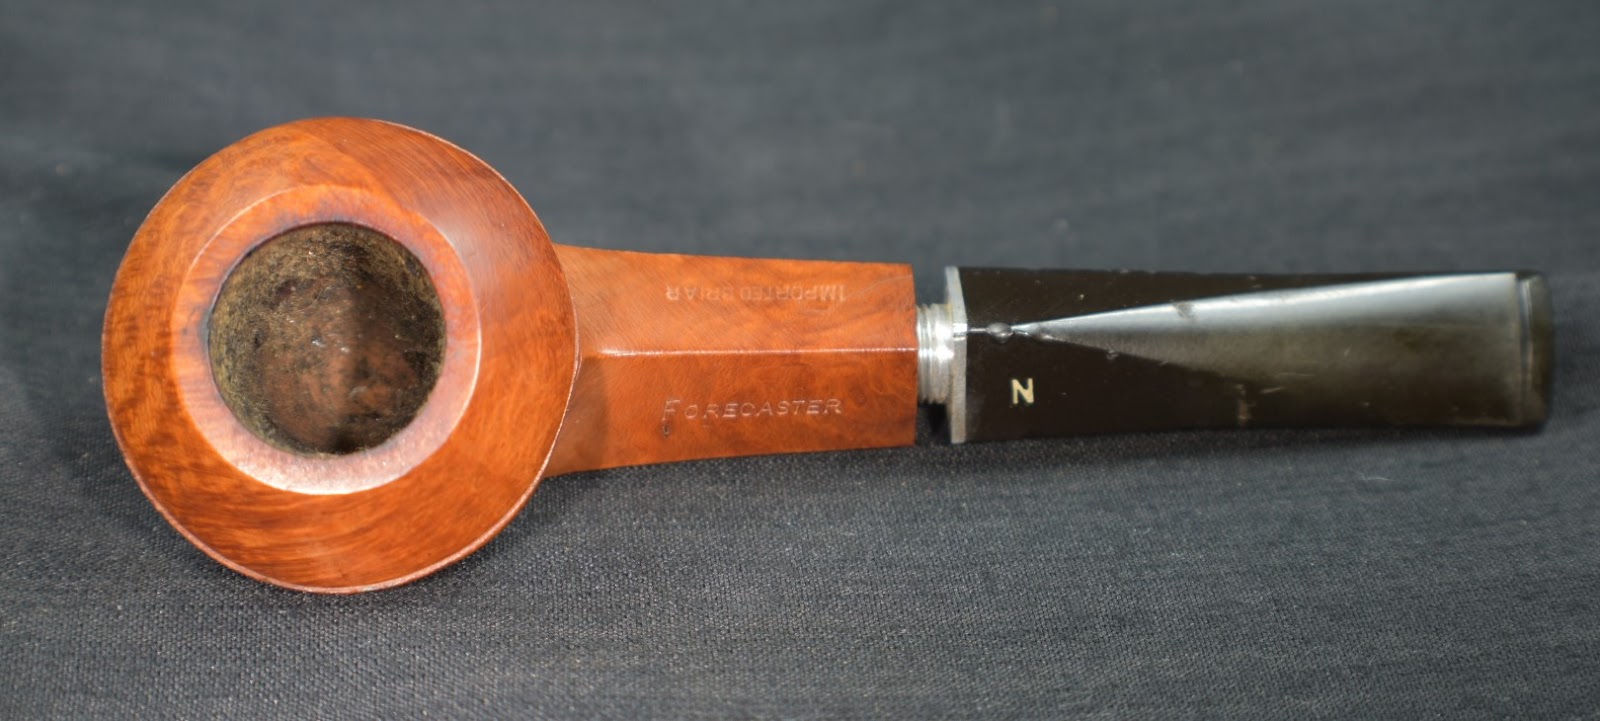
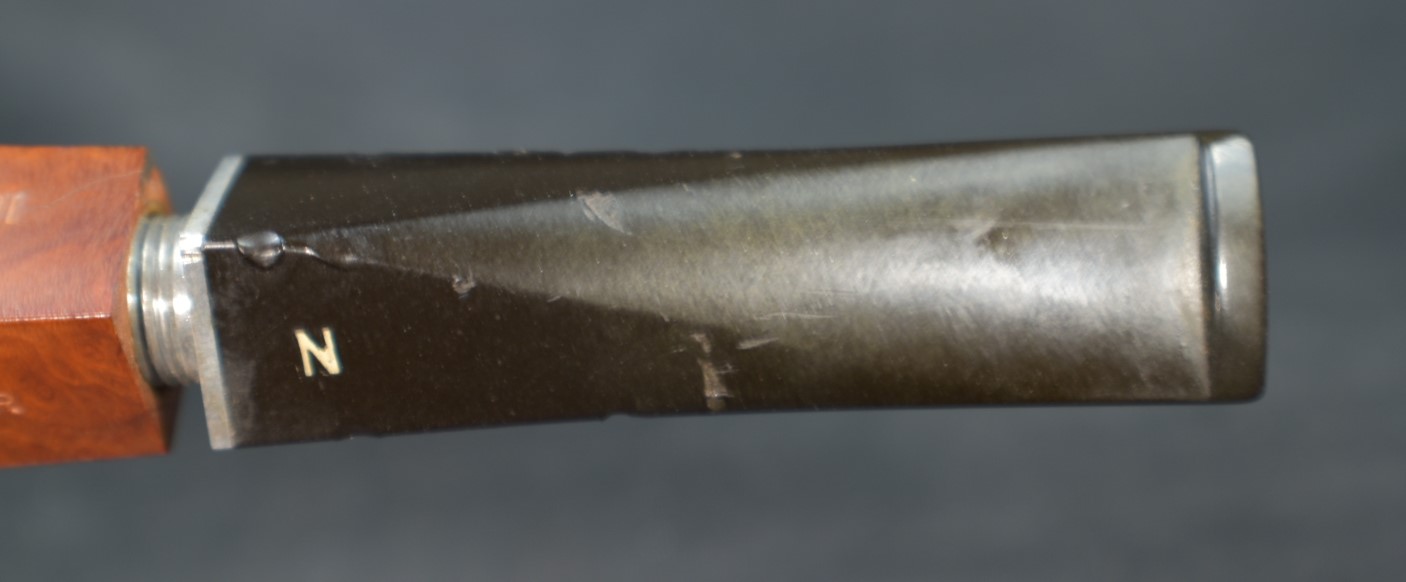
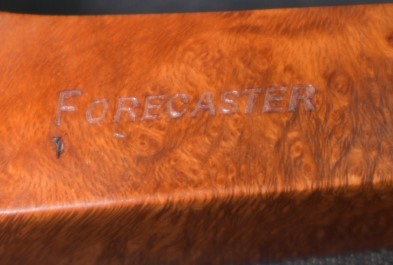
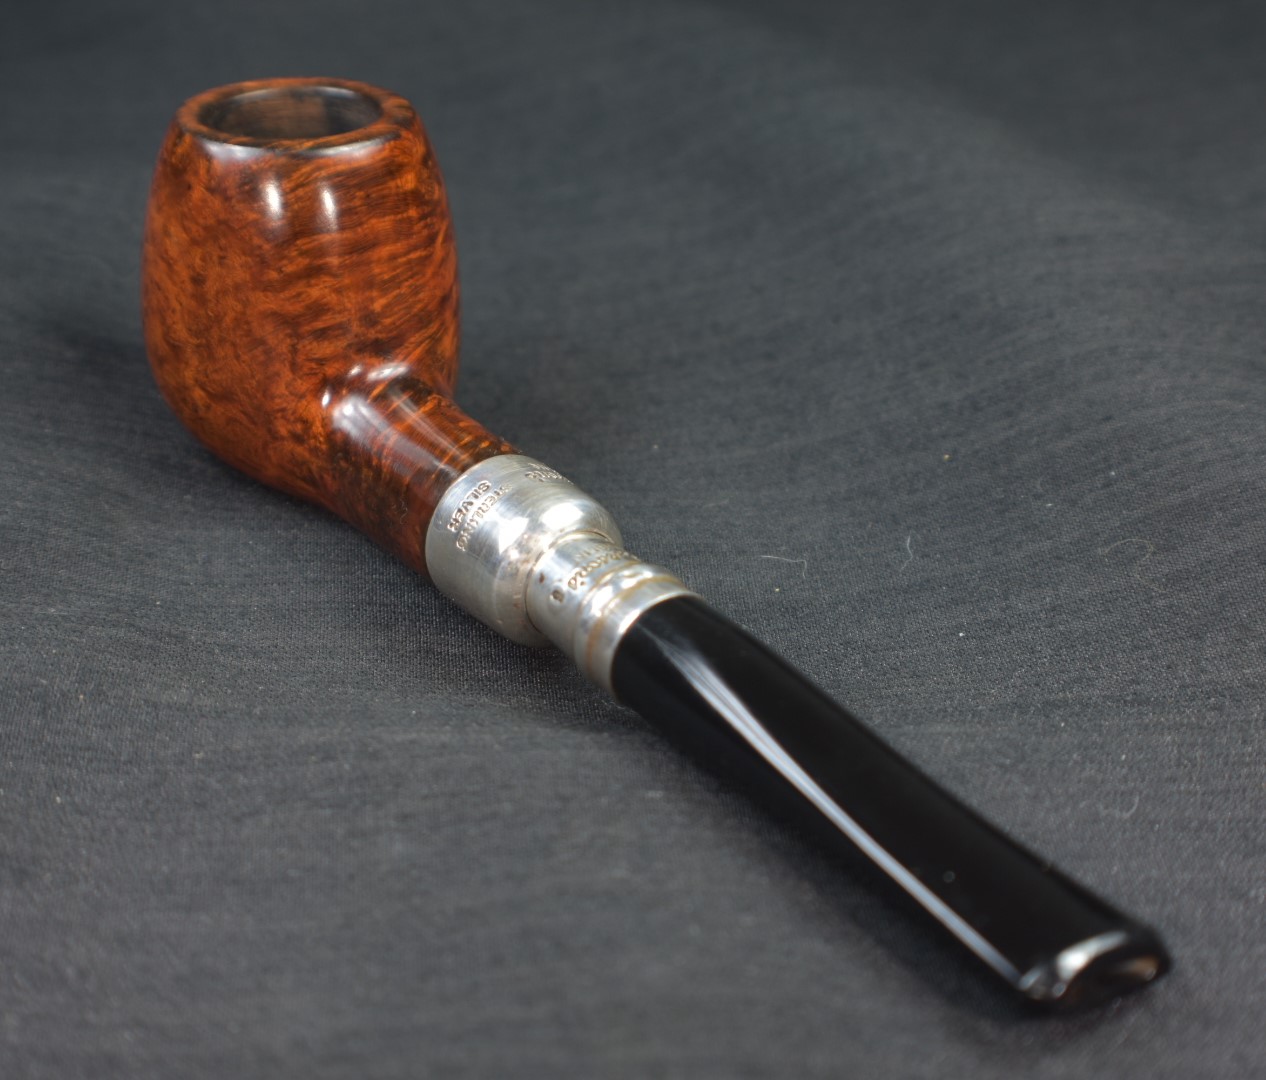
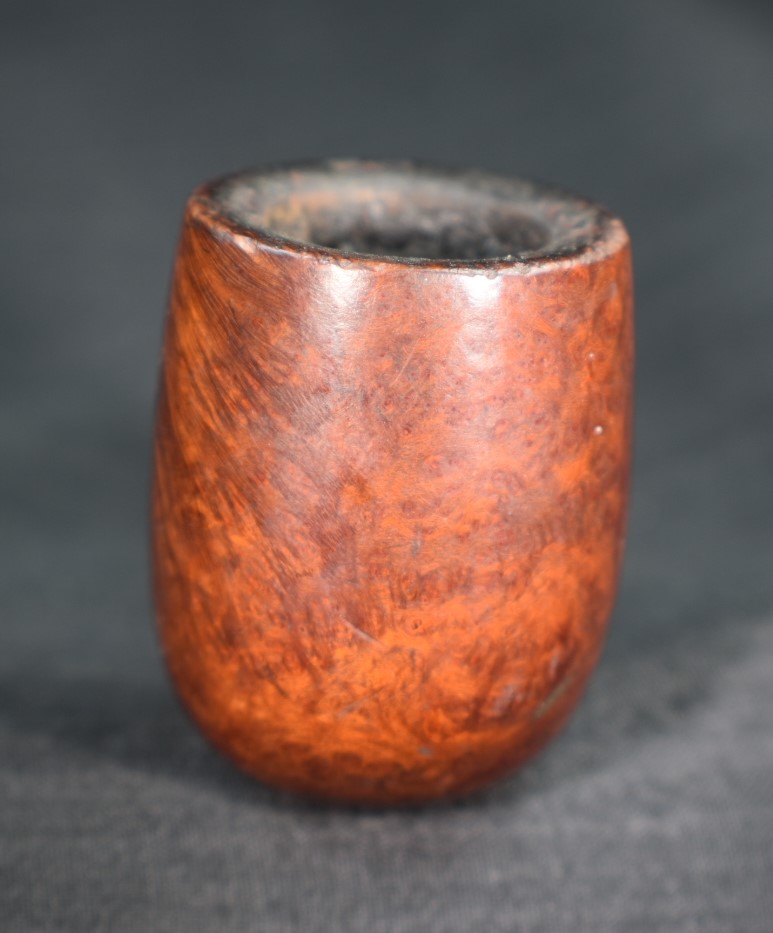
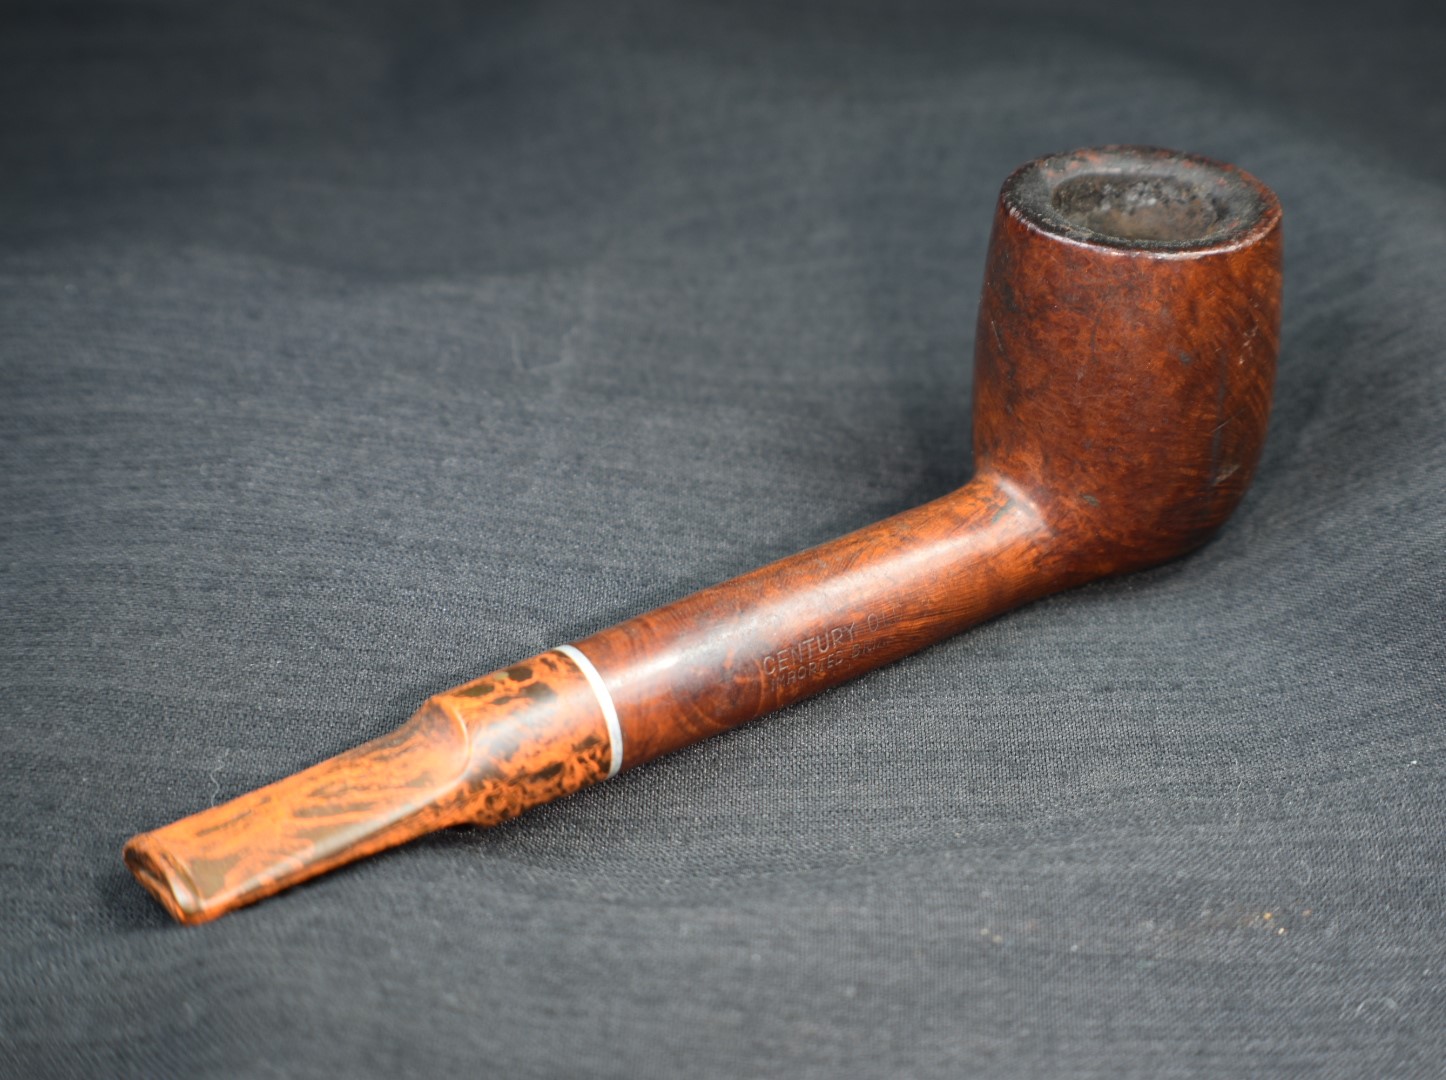
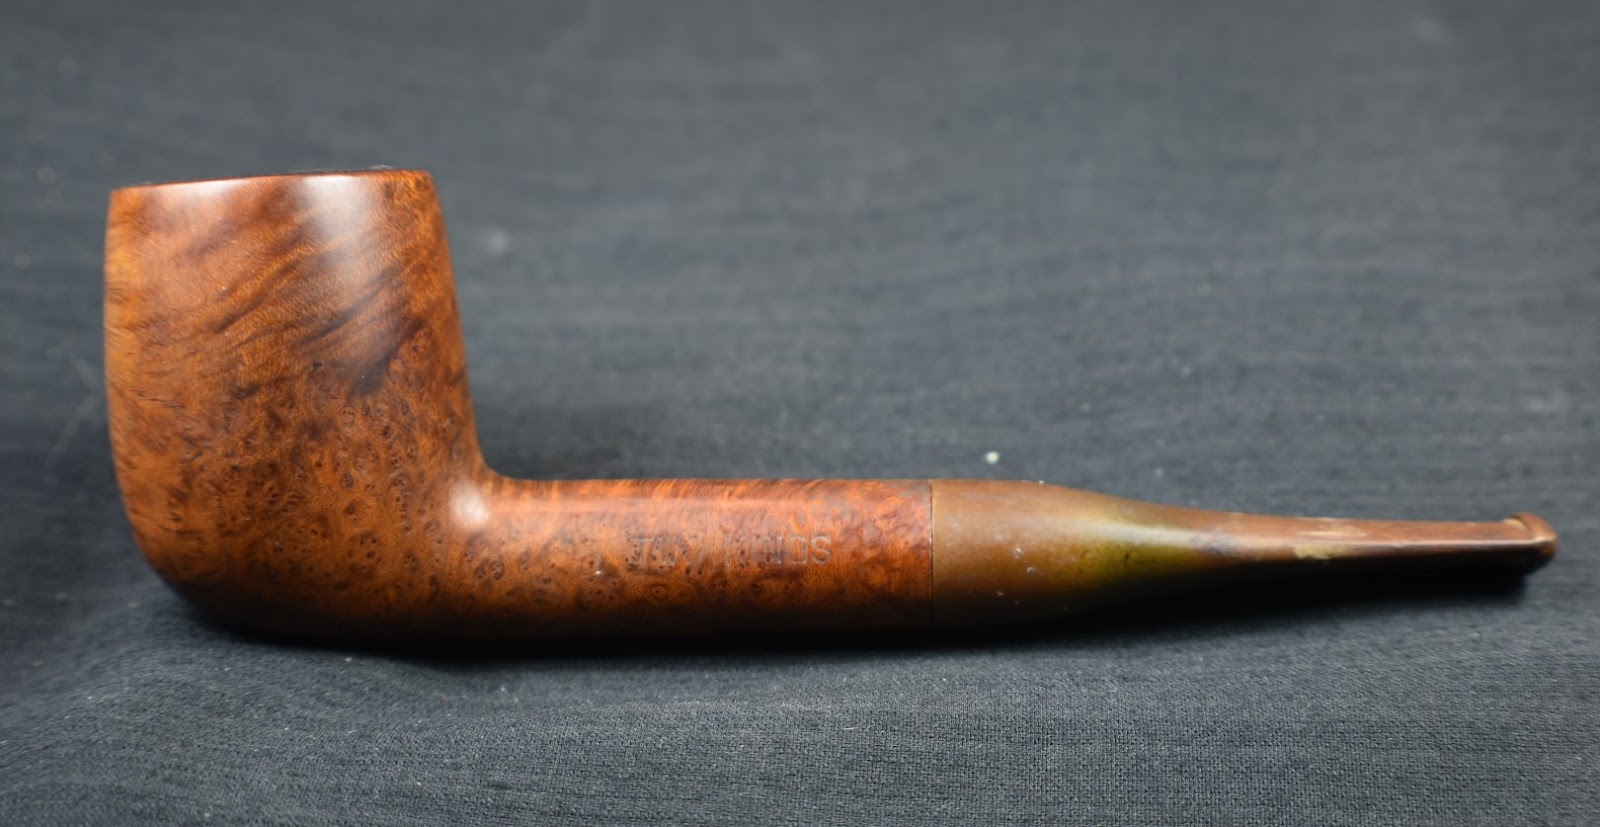
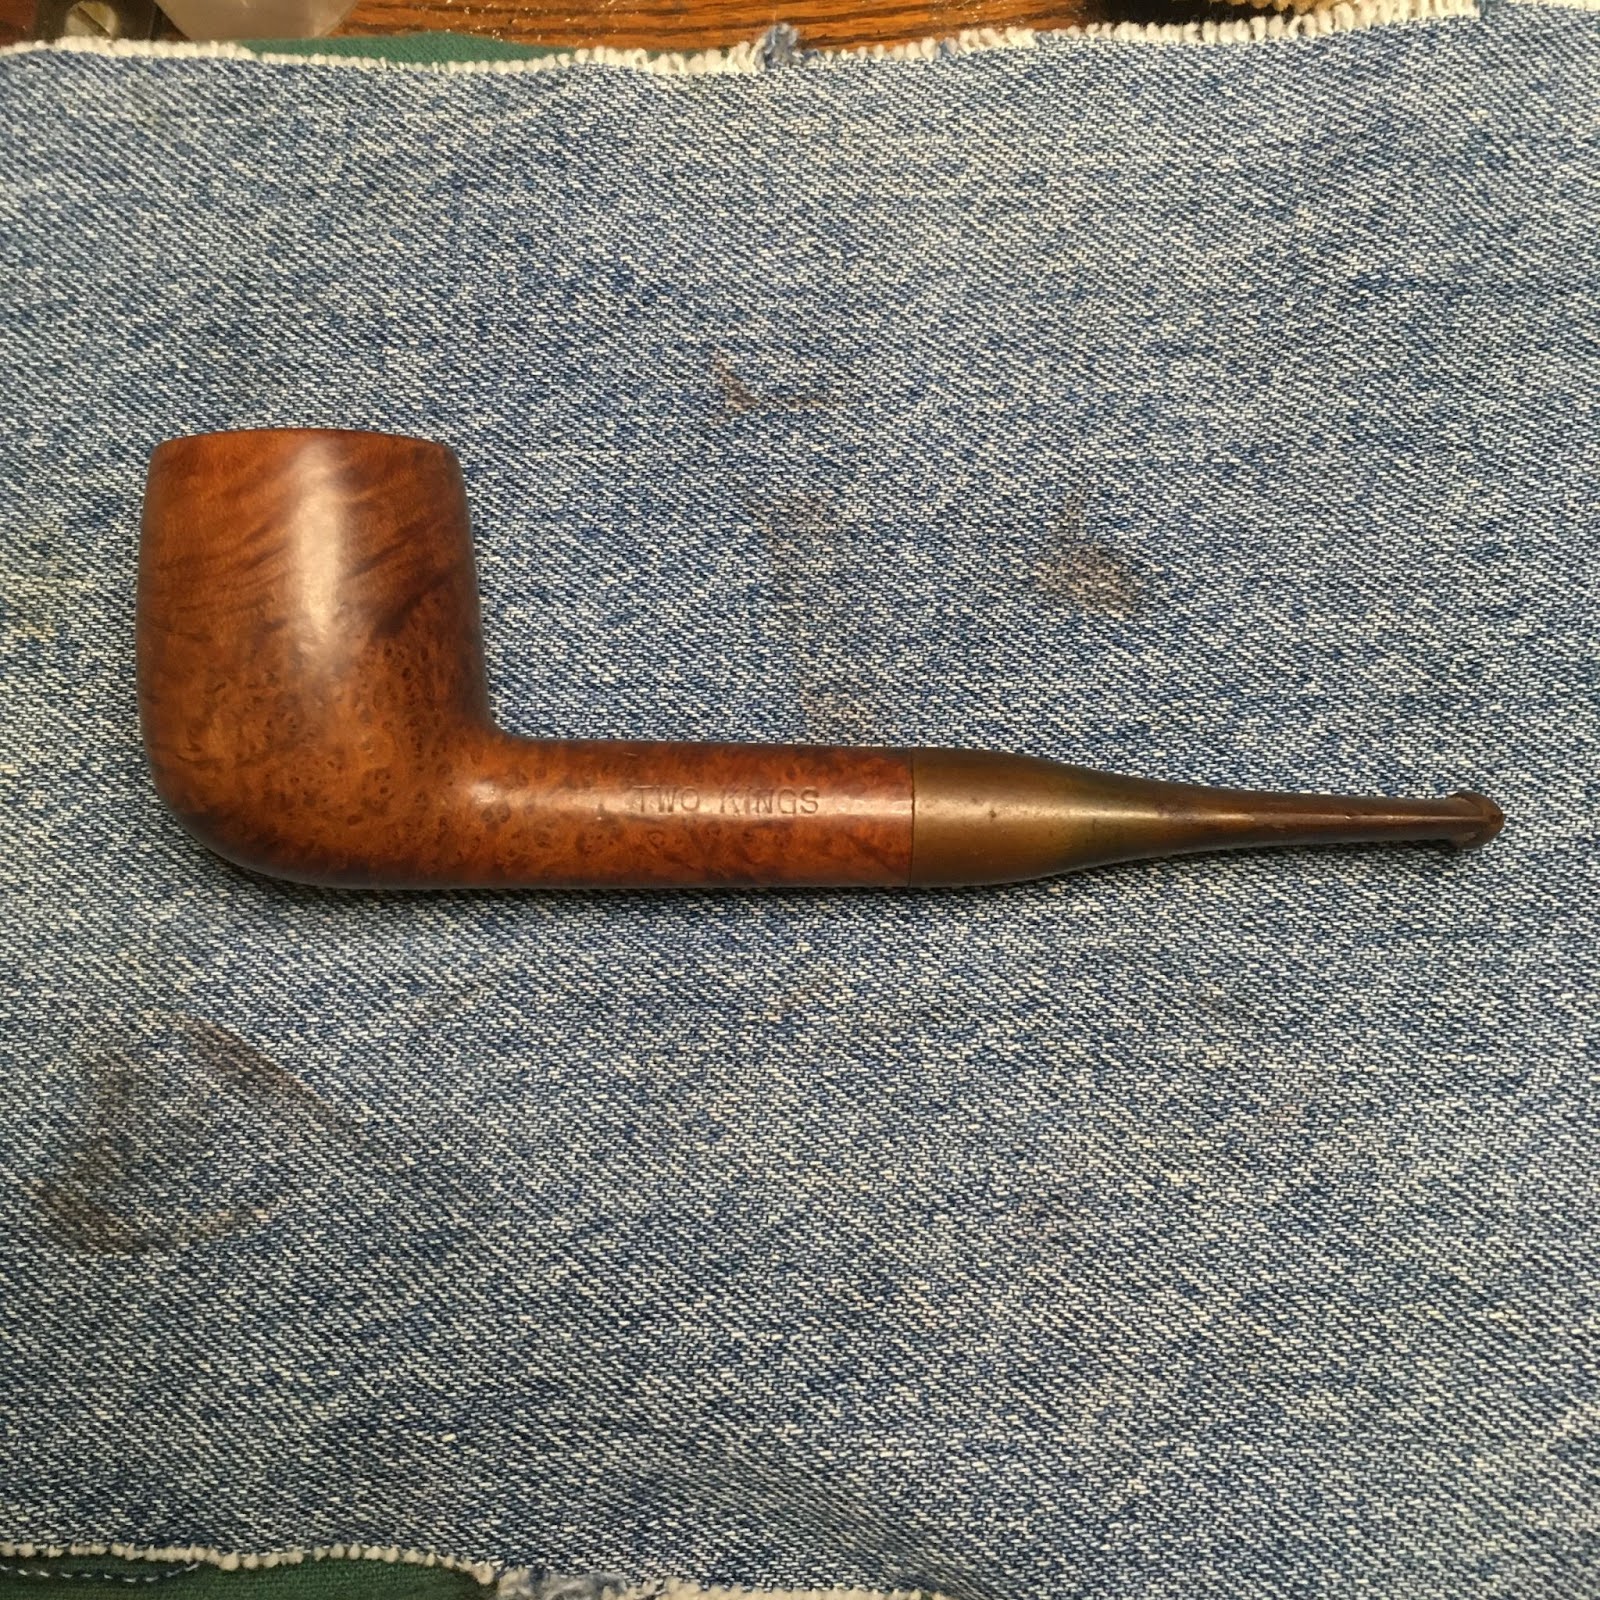
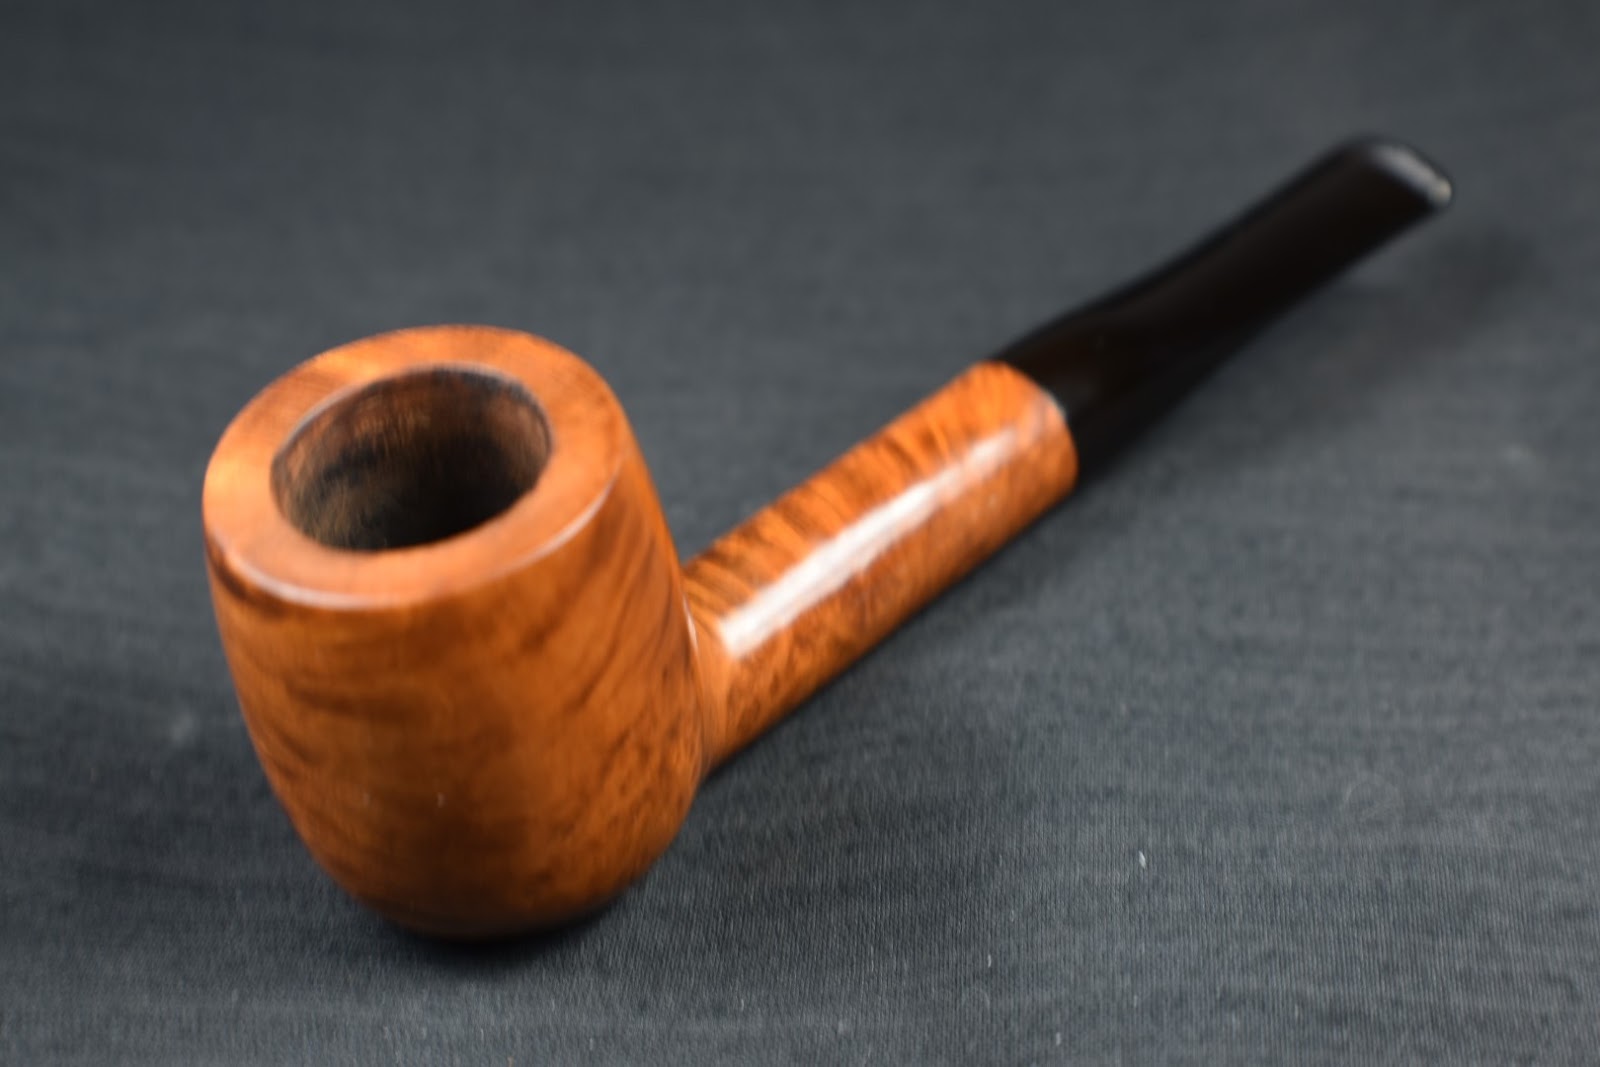
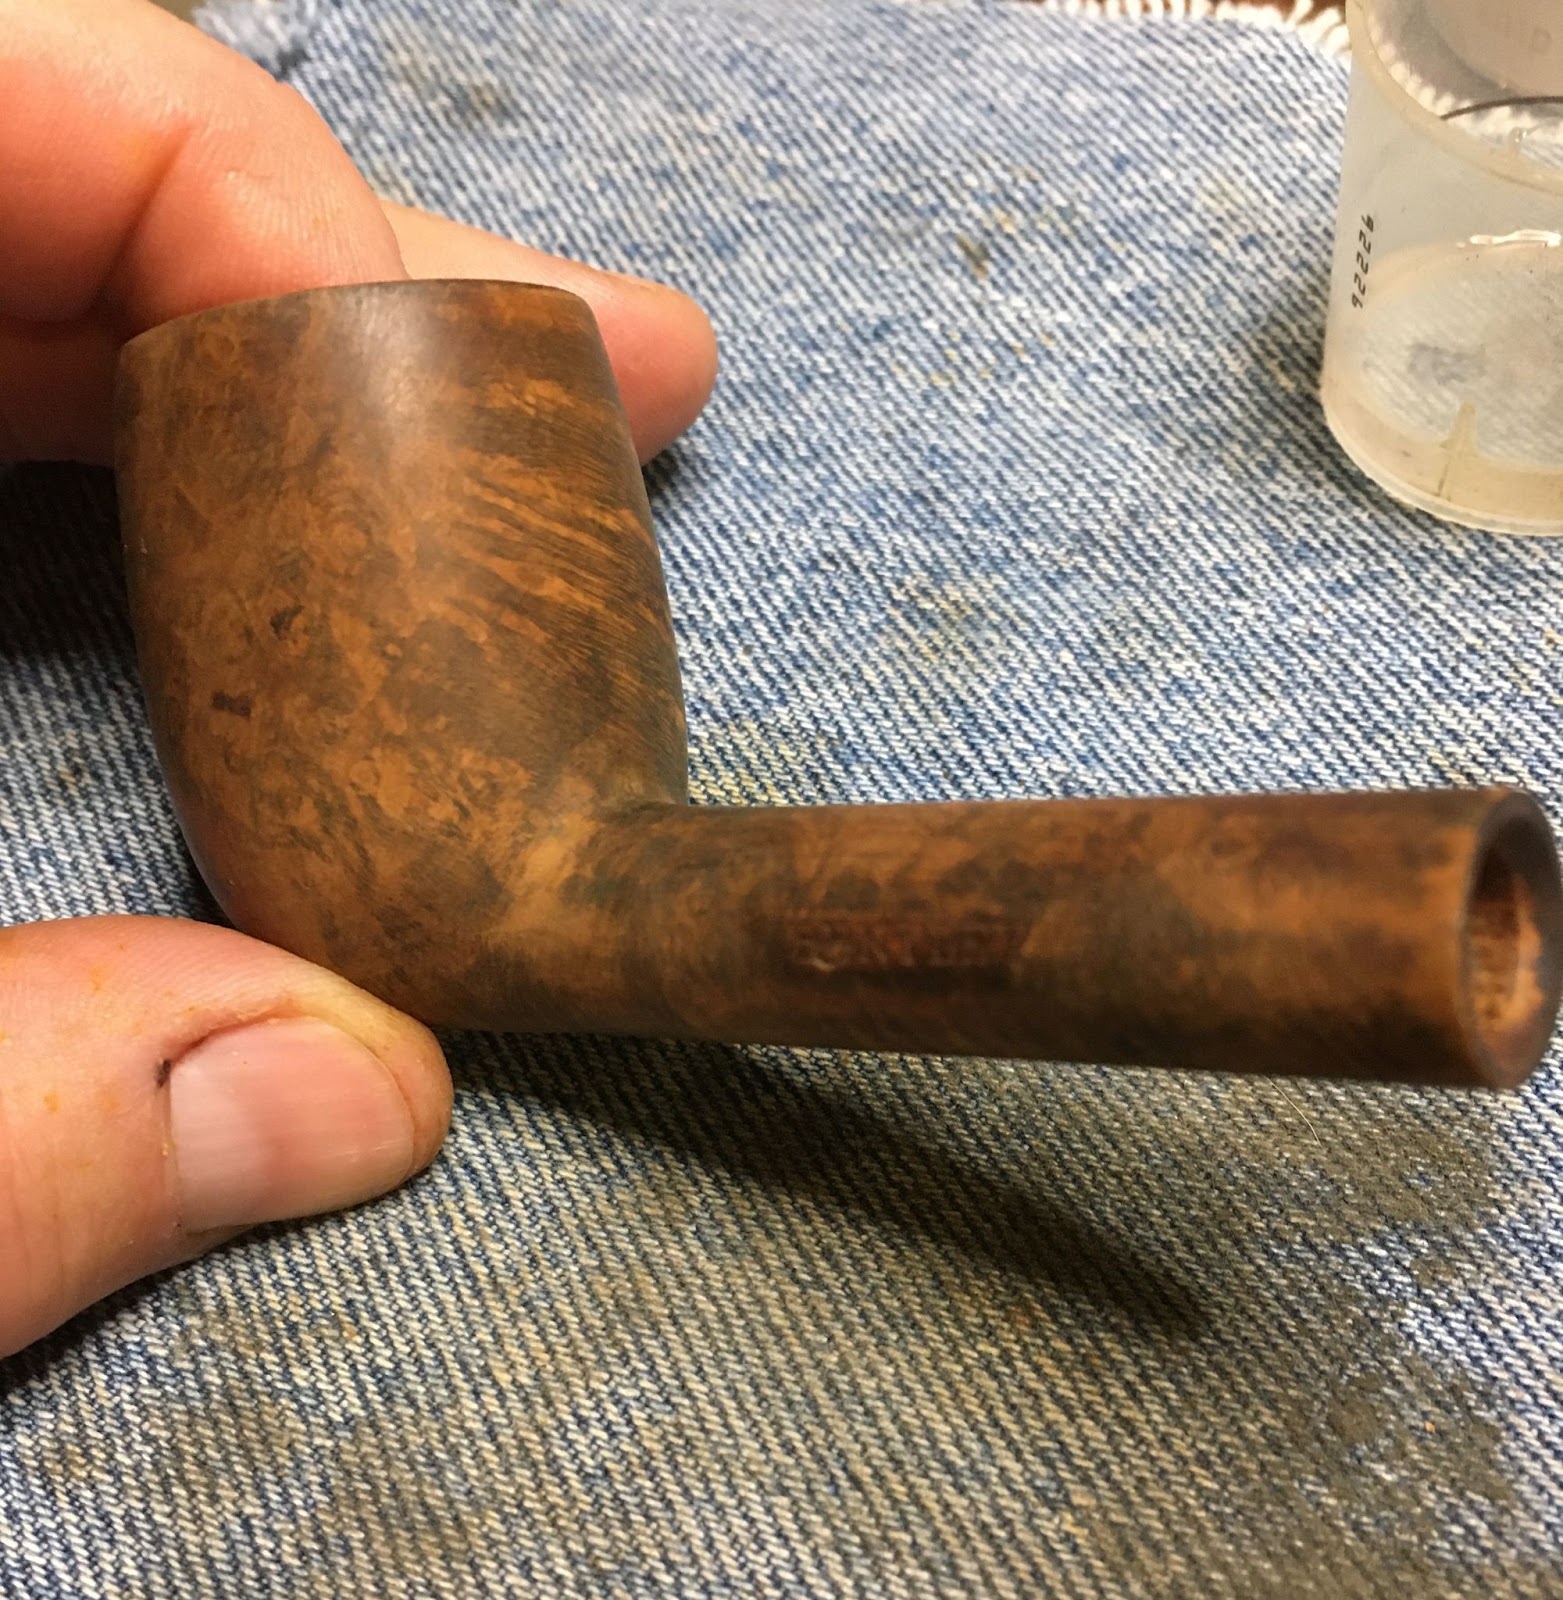
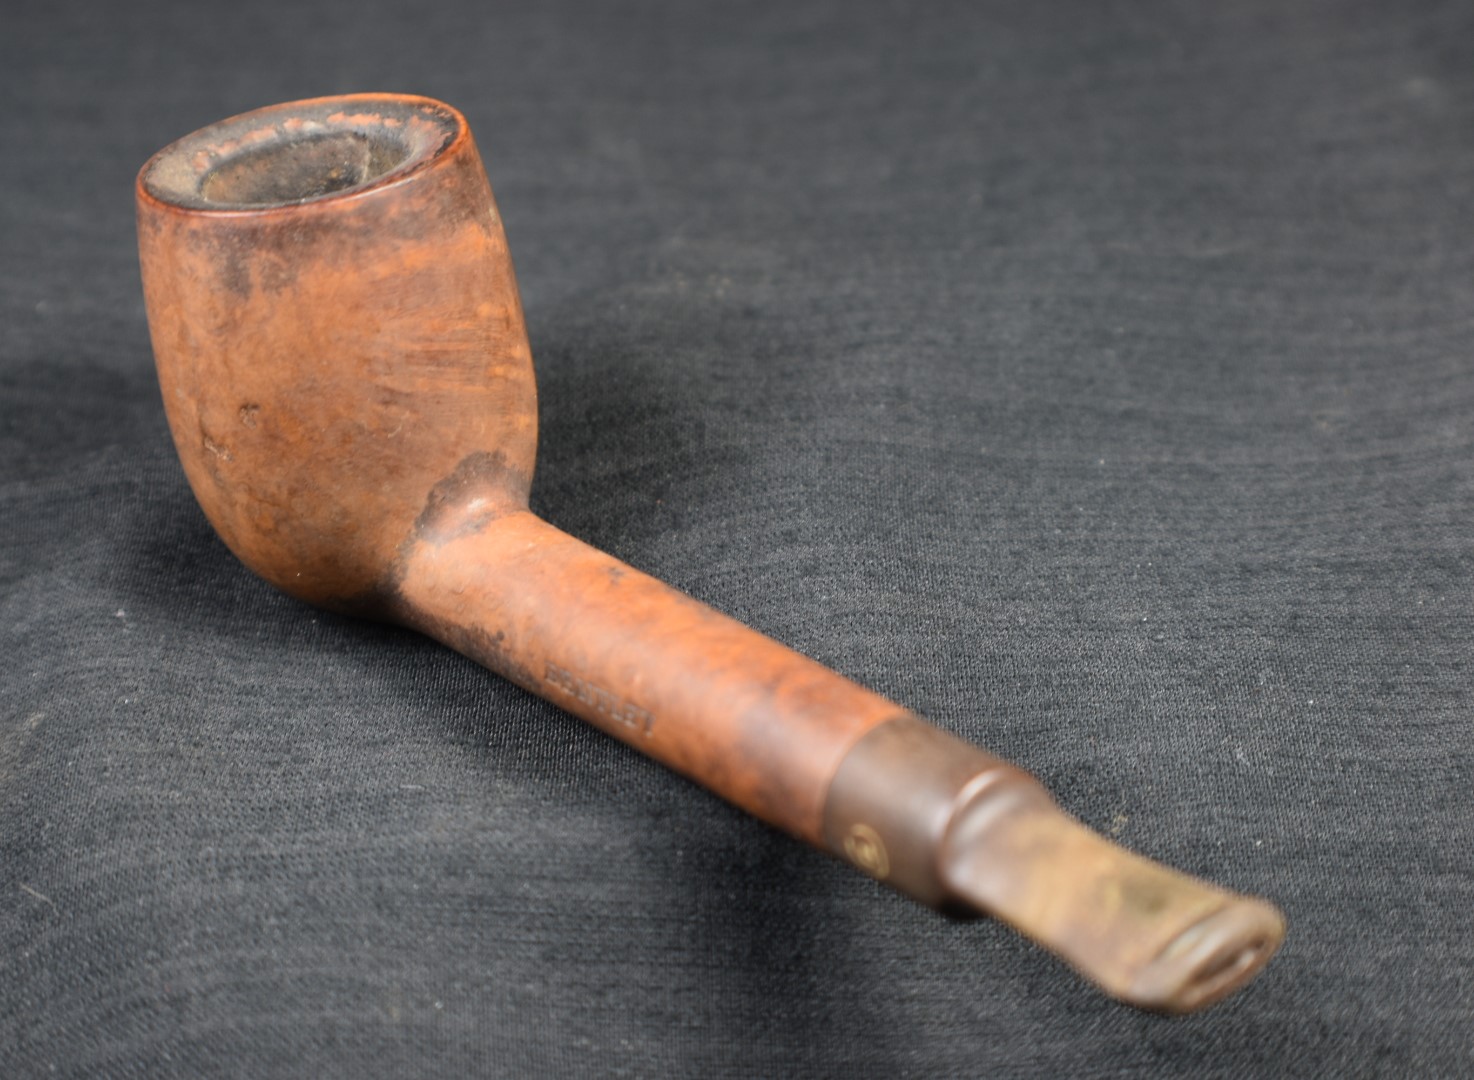
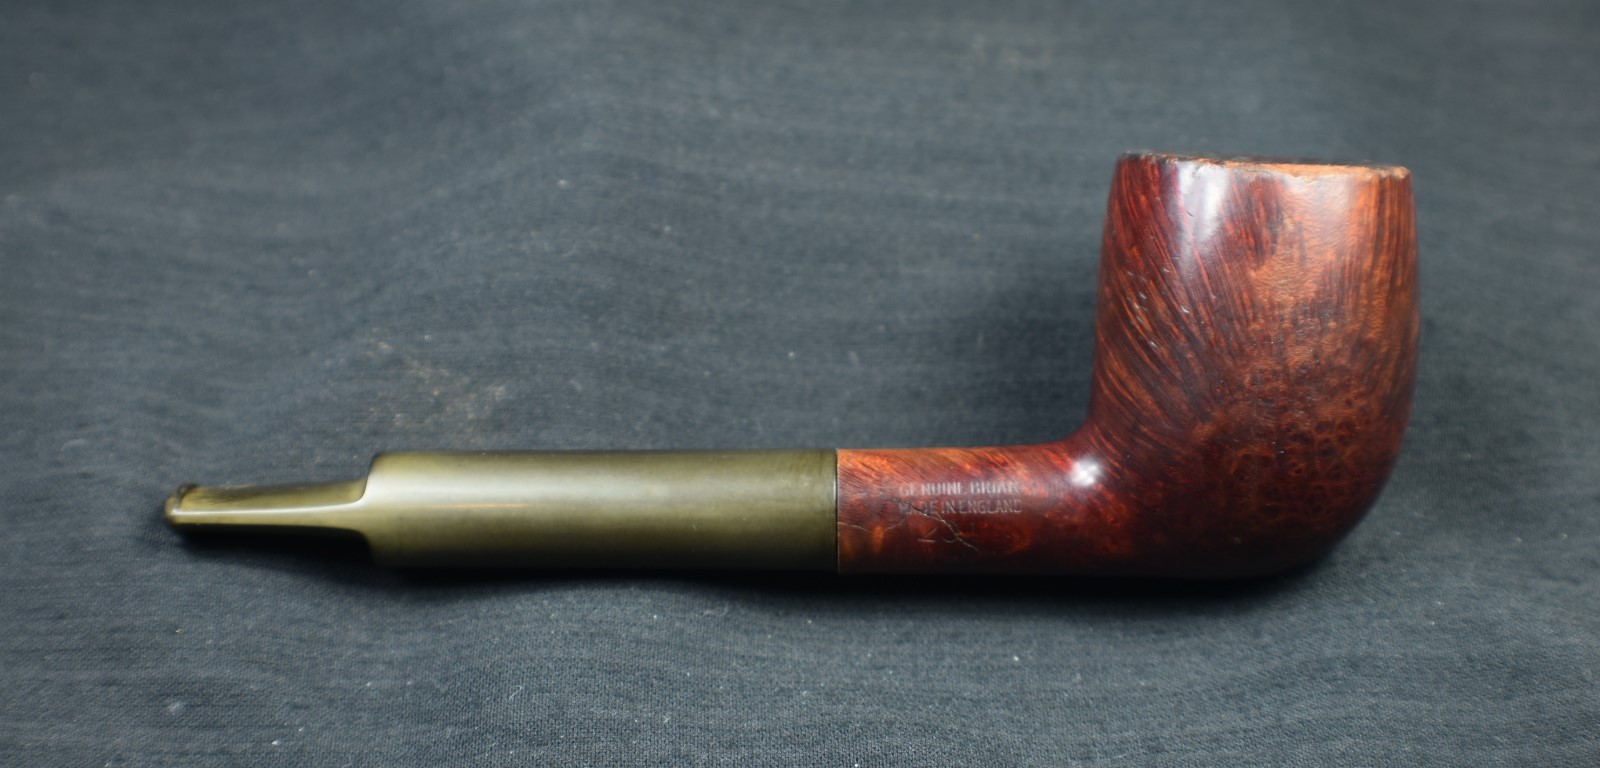
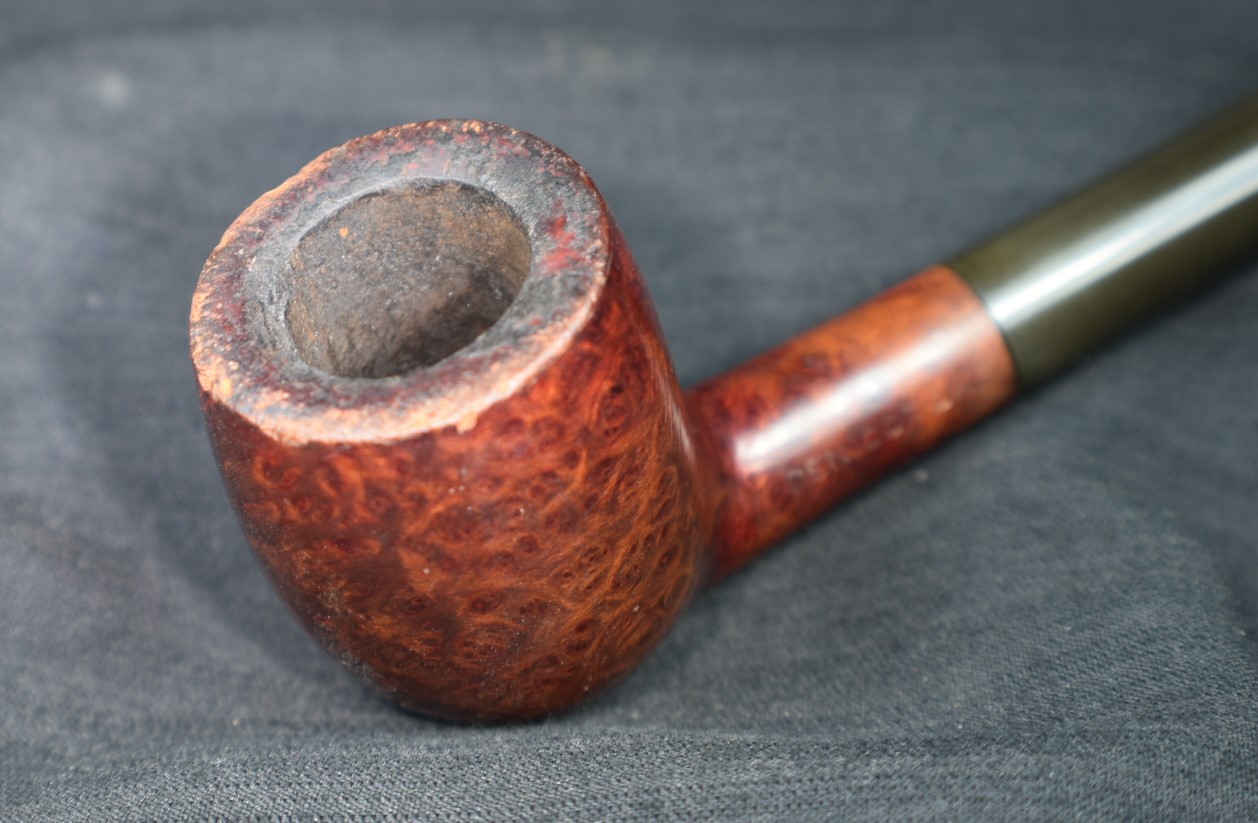
Well, the other day while looking through eBay auctions I came across a sister, as Sascha Mertens (A German friend and pipe restorer of great skill and graciousness) calls them. There up for auction was a Linkman’s Dr Grabow 9733. I can’t say if she was the older or younger sister but, I was as smitten with her as I was her sister. Fortunately for me, there do not seem to be many folks interested in collecting these curvaceous darlings. I did have to wait out the auction and with a winning bid south of $25 I had successfully started the adoption process. A few days later the pipe arrived from Wernersville, Pennsylvania to the wilds of southeast Nebraska. Upon opening the package I was graced by the following new member of my pipe family. Her stamps read: LINKMAN’S over Dr. Grabow on the left shank, 9733 De Luxe over BRUYERE on the right. The top is stamped with a gold shield and the bottom with PAT. NO. over 1896800. The stem also had a white “propeller” logo.


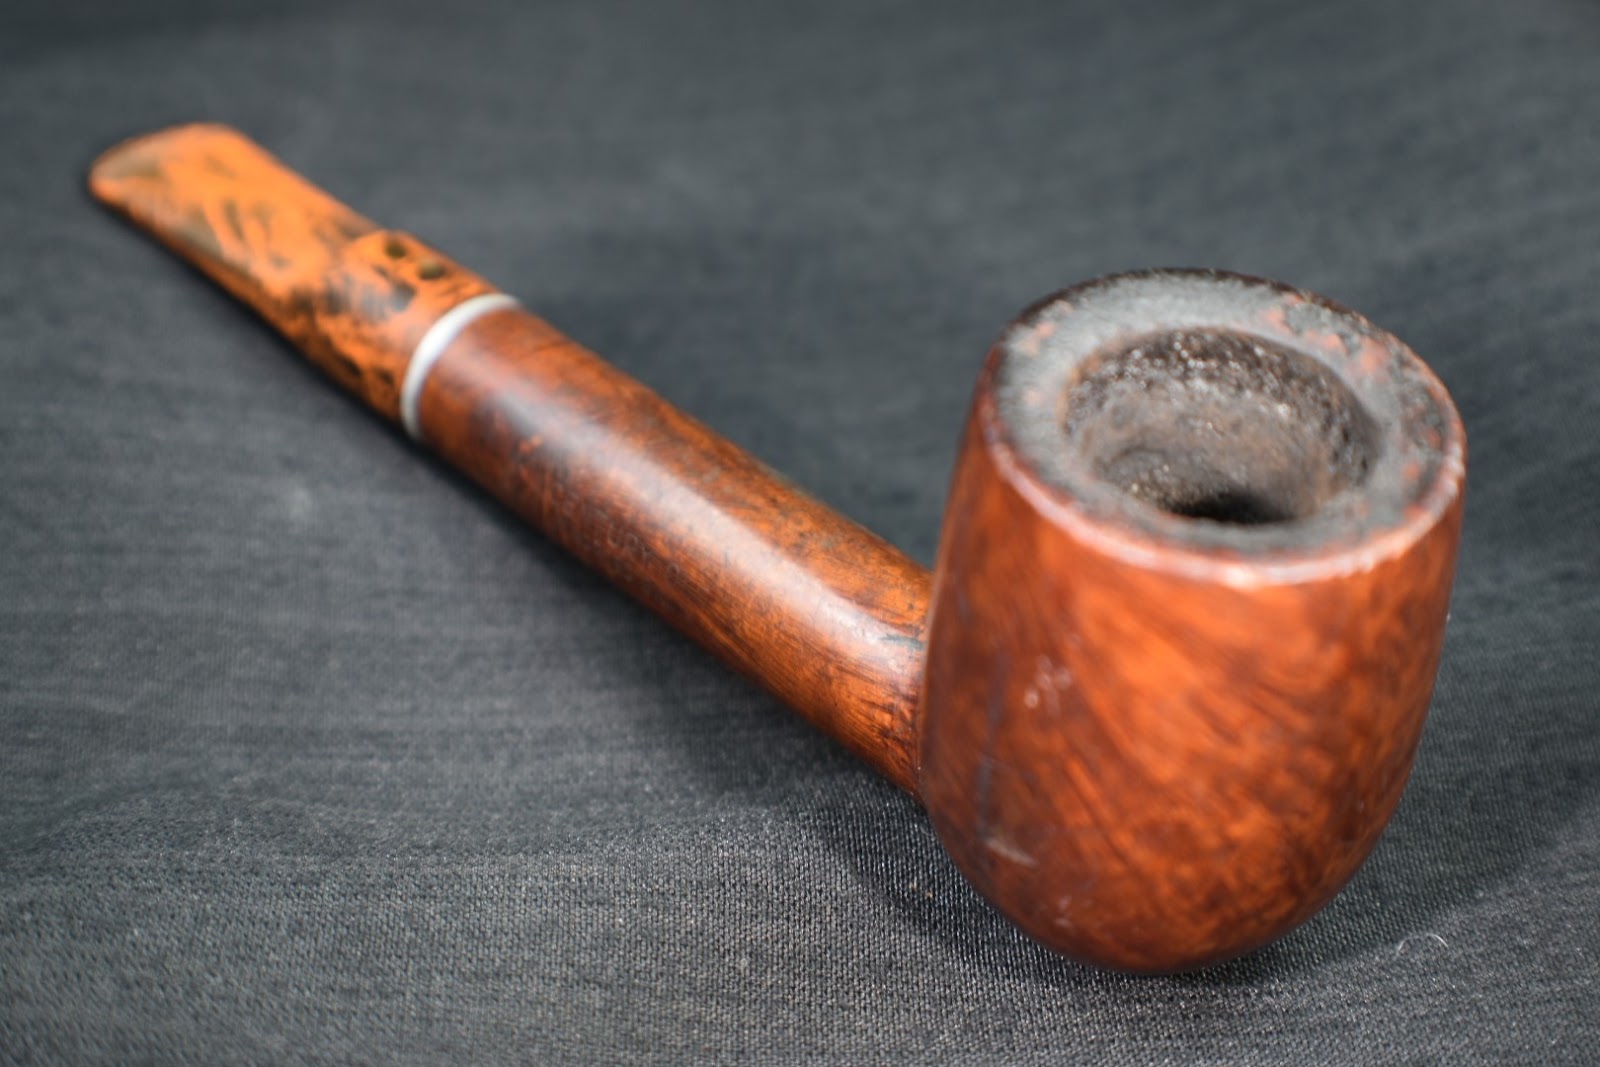
The pipe had some scars, dents and peeling finish and hygiene issues yet structurally she was solid with precise fitting mortise and tenon and was in wonderful shape for a 90ish year old pipe. I was looking forward to spending some quality time with this old piece of briar. There was a substantial queue in front of her to reach the work bench and she did have to wait her turn. Okay, I pulled some strings and got her past a bunch of others. Don’t tell them that though…
Background on Linkman’s Dr Grabow pipes
This story goes back to 1898. No, this is not another of my Peterson pipe reflections but it does begin about the same time that Charles Peterson was changing the pipe smoking world with his wonderful patents. In one of my very first blogs I wrote about the restoration of an MLC pipe. “The stamp that I could not make out on my pipe was the MLC. This stands for Mary Linkman & Company. This is the same company formed by Louis B. Linkman, the originator of Dr. Grabow pipes. In 1898 Linkman and August Fisher started a small business making pipes. The business grew and, “in 1907 M. Linkman & Company was incorporated with Louis B. Linkman as president, August Fisher, vice-president…” (https://pipedia.org/wiki/M._Linkman_%26_Co.). If you would like to see a very early blog about the MLC Hell Maria here is that link.
So, two youngsters started up a pipe making company at the turn of the last century. It doesn’t end there, friends. I wrote the following in a blog about another Linkman’s pipe: “ “BACK IN 1898, two ambitious young men reached the momentous decision to go into business for themselves. They were Louis B. Linkman and August Fisher. From the time they were in knee pants they had worked for a pipe jobber in the mid-west.” (https://pipedia.org/wiki/M._Linkman_%26_Co.). These two young entrepreneurs were joined by a third, “Anton Burger, who had also been employed by a pipe jobber in the mid-west, approached them and was taken in as a partner. M. Linkman & Company proceeded as a partnership; the business developed rapidly through the untiring efforts of these men in producing quality pipes and rendering good service to their customers.” (https://pipedia.org/wiki/M._Linkman_%26_Co.). The company eventually
came to be known as Dr Grabow.”
According to Tobaccopipes.com “The birth of the Dr Grabow smoking pipe is simple enough. It started off when Dr Grabow himself and his acquaintance Dr Linkman regularly visited the local pharmacist at Brown’s Drug Store in Lincoln Park Chicago. Dr Linkman was on the lookout for a doctor’s name to Christian an innovative line of pipes in order to mellow out the smoking apparel’s smoggy image. He asked Dr Grabow to allow him to use his name to which he agreed and the name has stuck since then. Linkman continued to manufacture his Dr Grabow pipes until 1953.
The earliest of these exclusive pipes were stamped both with Linkman’s and Dr Grabow. They included a propeller emblem that was white in color at the top of the mouthpiece. Linkman’s pipes are also stamped with their own four digit code. This code indicates their model and shape. For example, the PRE – 1944 model names included the “Special”, “Supreme” and “Deluxe” versions of Dr Grabow’s pipes.
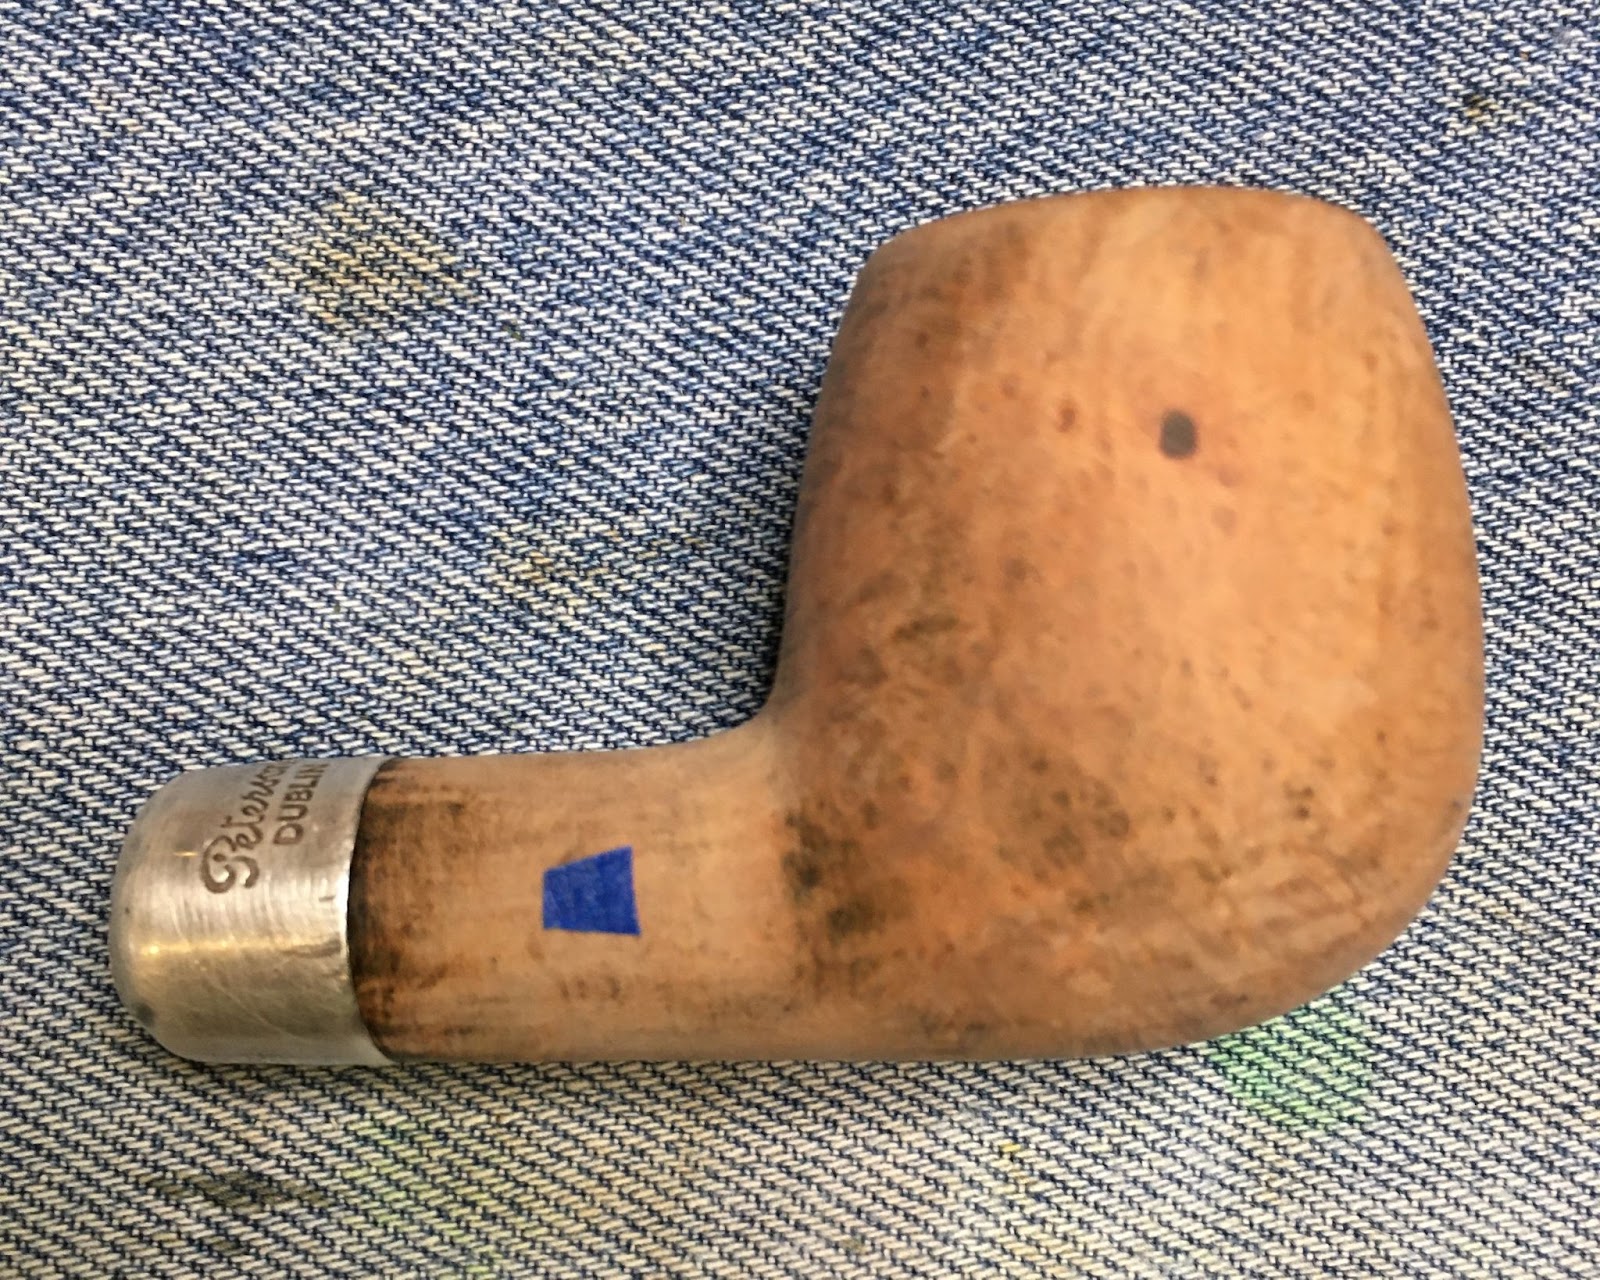
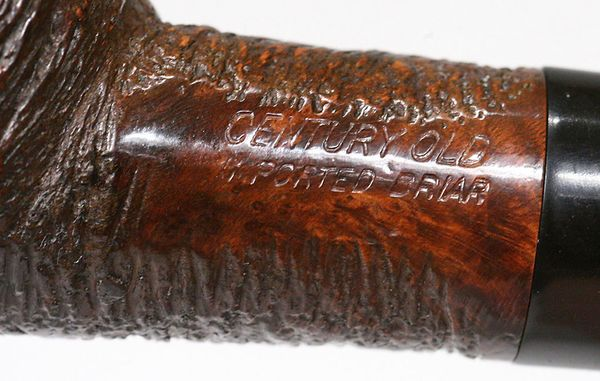
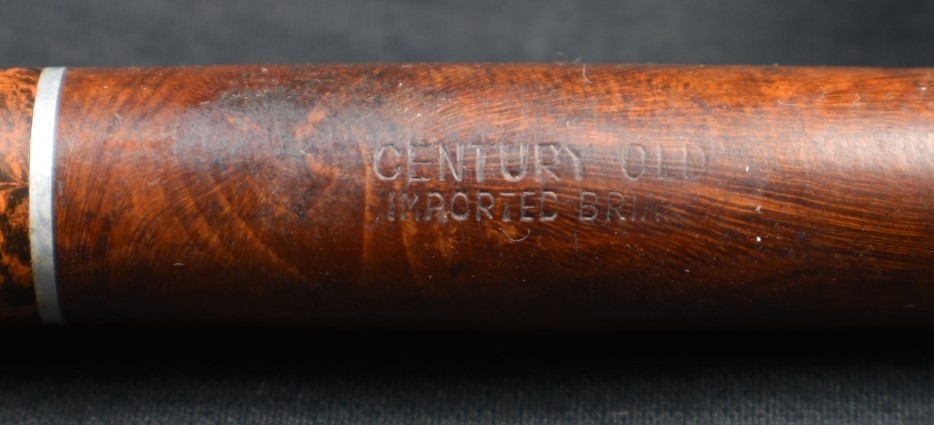
In 1944 the white propeller emblem was replaced with a white spade, a move that heralded the introduction of Linkman’s new Dr Grabow pipes. All of the newer entries included most of the earlier favorites as well as “TRU-GRAIN” and “SELECT”. Later models of Dr Grabow pipes were described as Imported Briar.” (https://www.tobaccopipes.com/dr-grabow-history/)
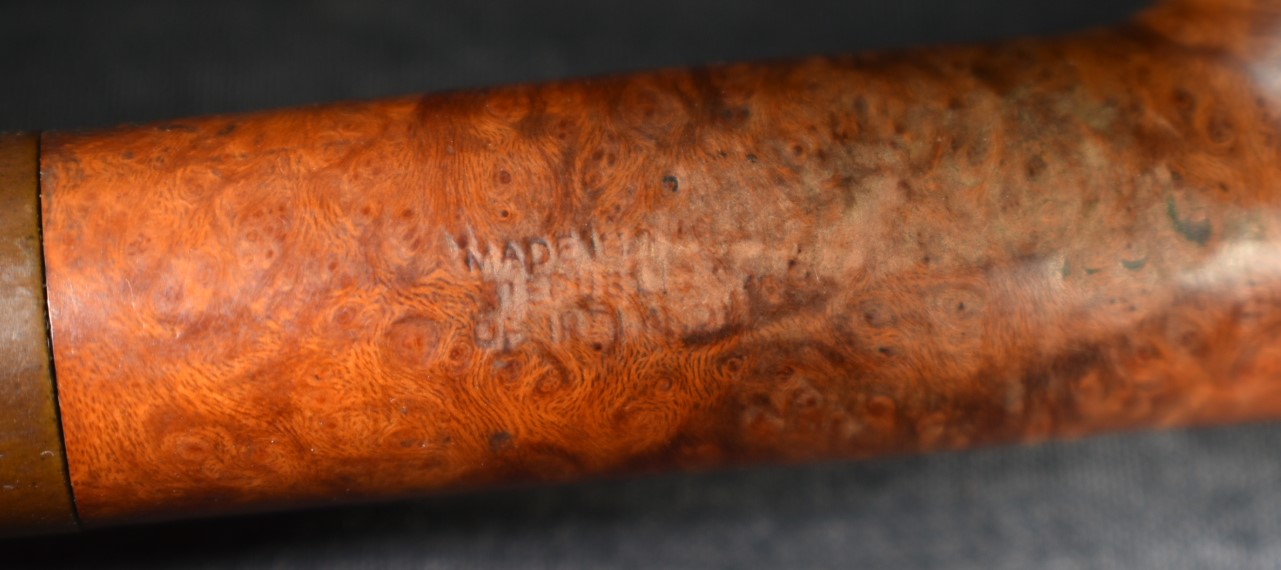
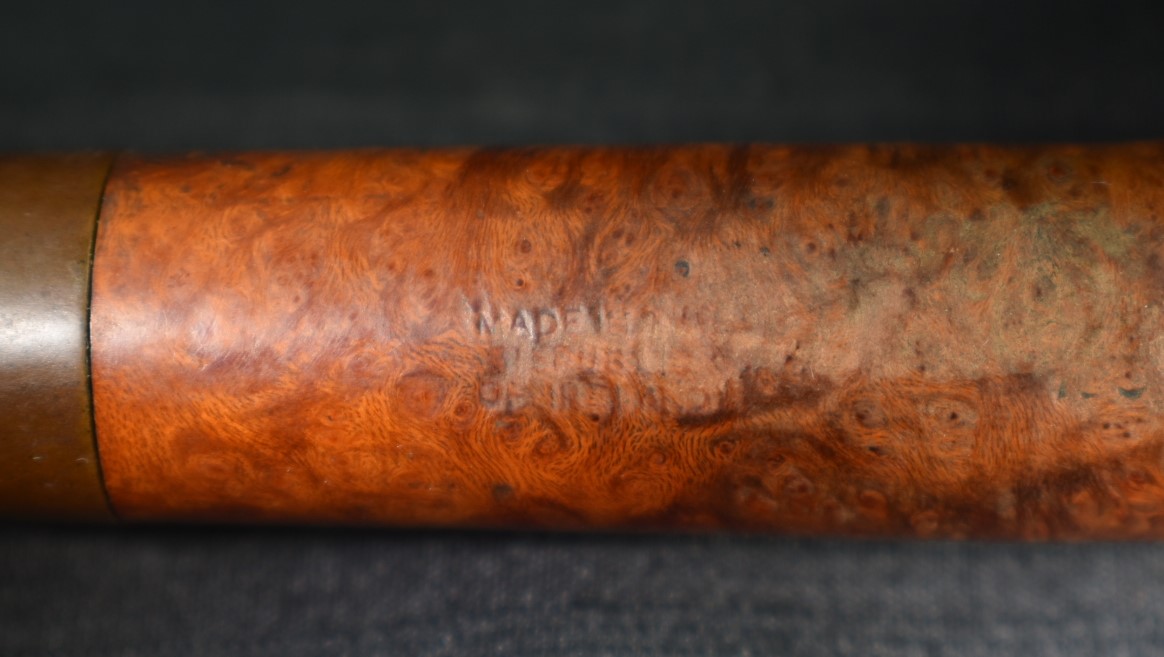
Below I show documentation/definition of the stamps on the Linkman’s 9733.
Dr. Grabow stamp
“1930 Linkman (59 years old?) begins using Dr Grabow (62 years old) name” (Dr. Grabow Pipe History Timeline – Pipedia)
De Luxe stamp – This excerpt from pipephil.eu shows a tremendous amount of information in a small blurb. Which indicates a slightly bent Dublin shape rather than the bent bulldog of the 9733.

9733 stamp
As for the 9733 shape, pipedia.org has an entire article dedicated to “Dr. Grabow Models (Series,Line) Names Through the Years” (Dr. Grabow Models (Series,Line) Names Through the Years – Pipedia). In this article it says the following about the De Luxe:
- DE LUXE begins with 92, 97, 98 – Two Dots, Circle or Shield on shank sometimes. Series 92 = Very dark reddish wine, solid looking finish, yet undefined, possibly from 1938 or slightly later era. Series 97 = Natural Variegated Grain Finish, c1937. Series 98 = yet undefined, Dark Brown appearance? Series 99 = Dark Walnut Finish, c1937.
(Dr. Grabow Models (Series,Line) Names Through the Years – Pipedia)
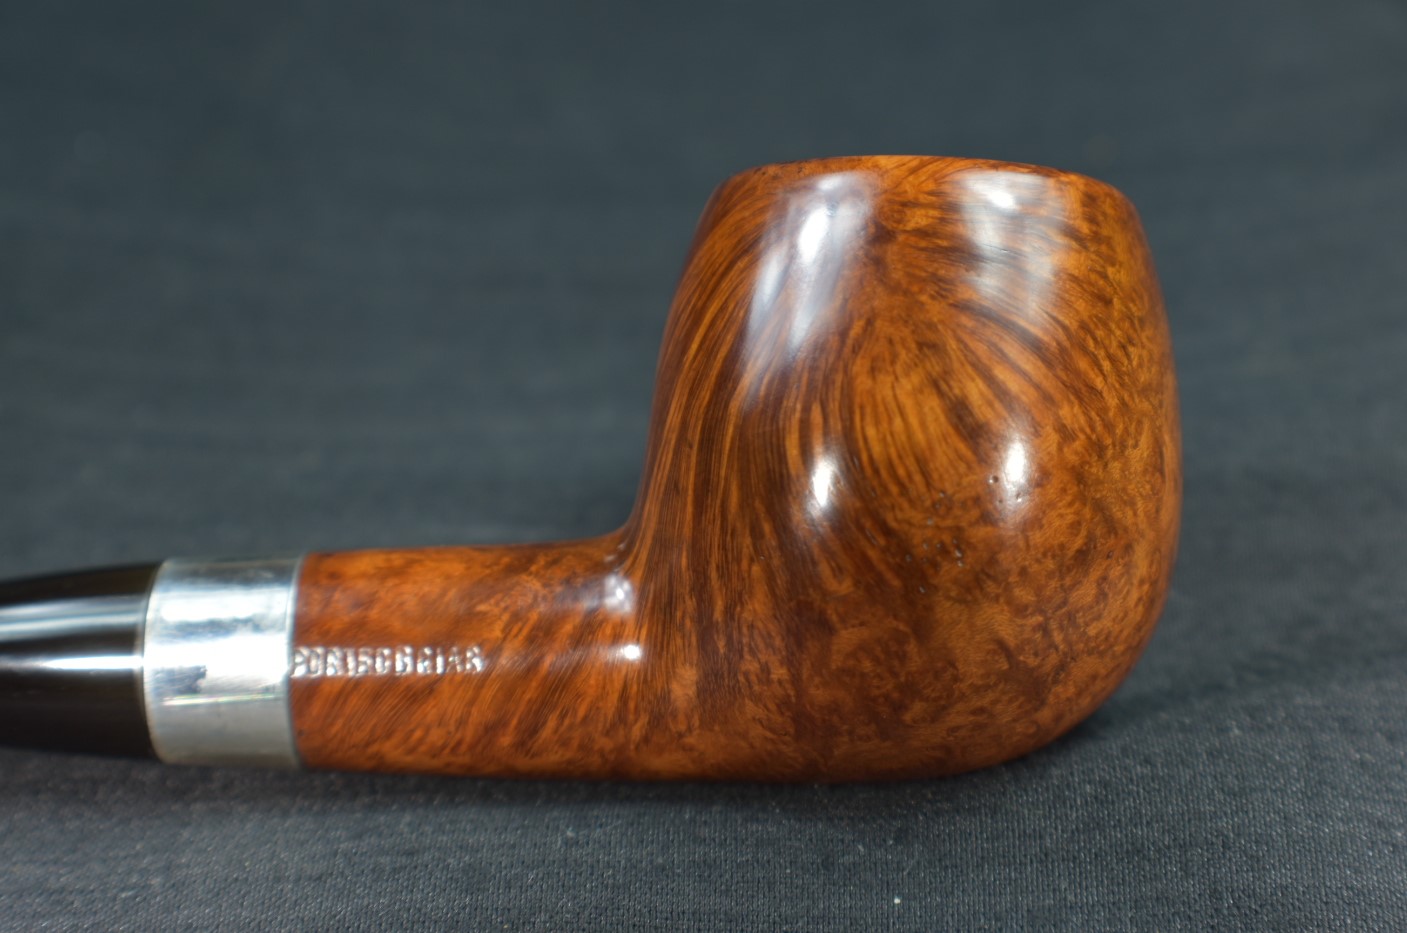
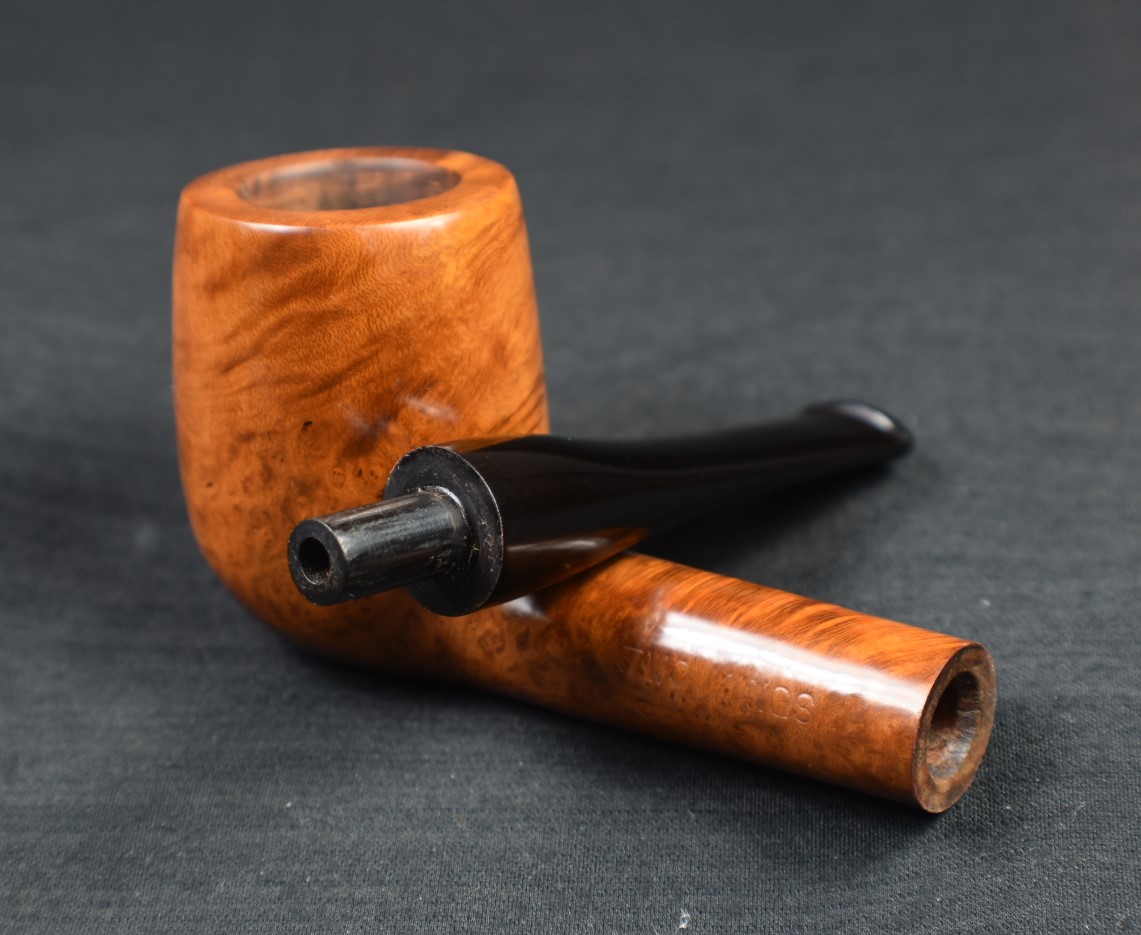
This pipe has the “97” and “Shield”. The second two numbers of the 9733 refer to the shape of the pipe. The 97 with the “Natural variegated Grain Finish” looks like a good fit for a description of this pipe.
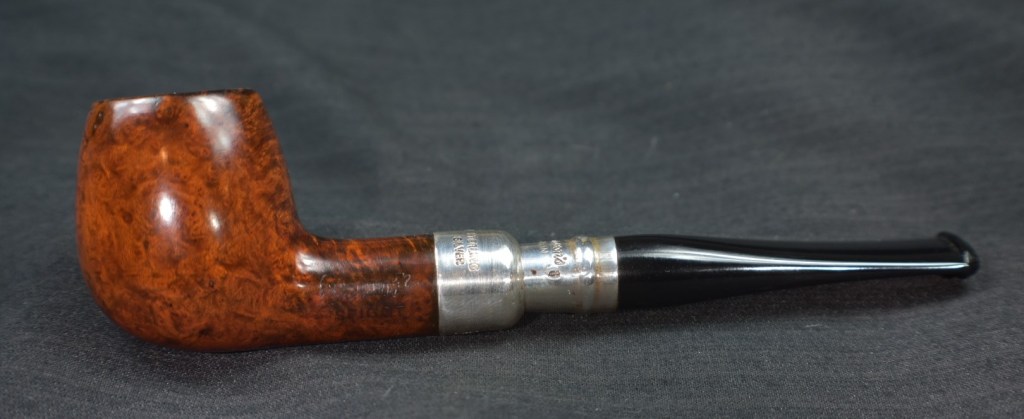
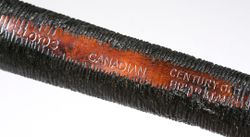
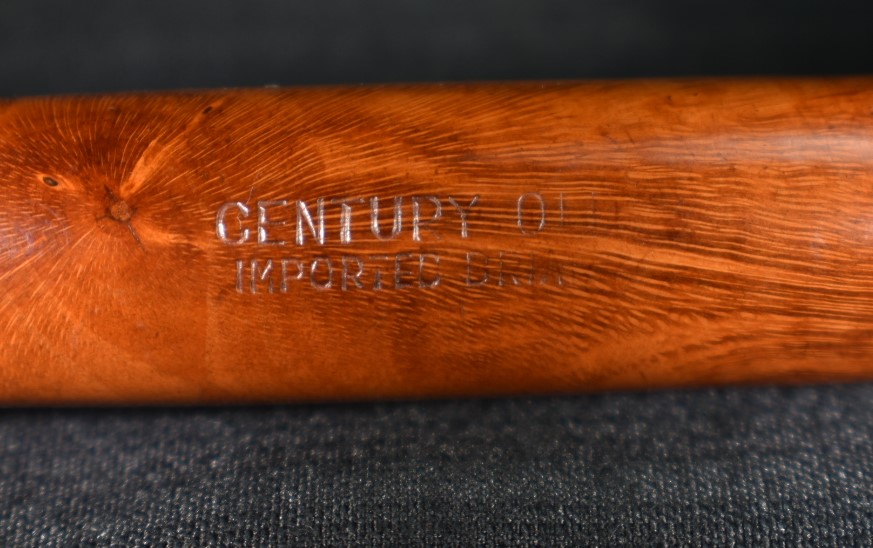
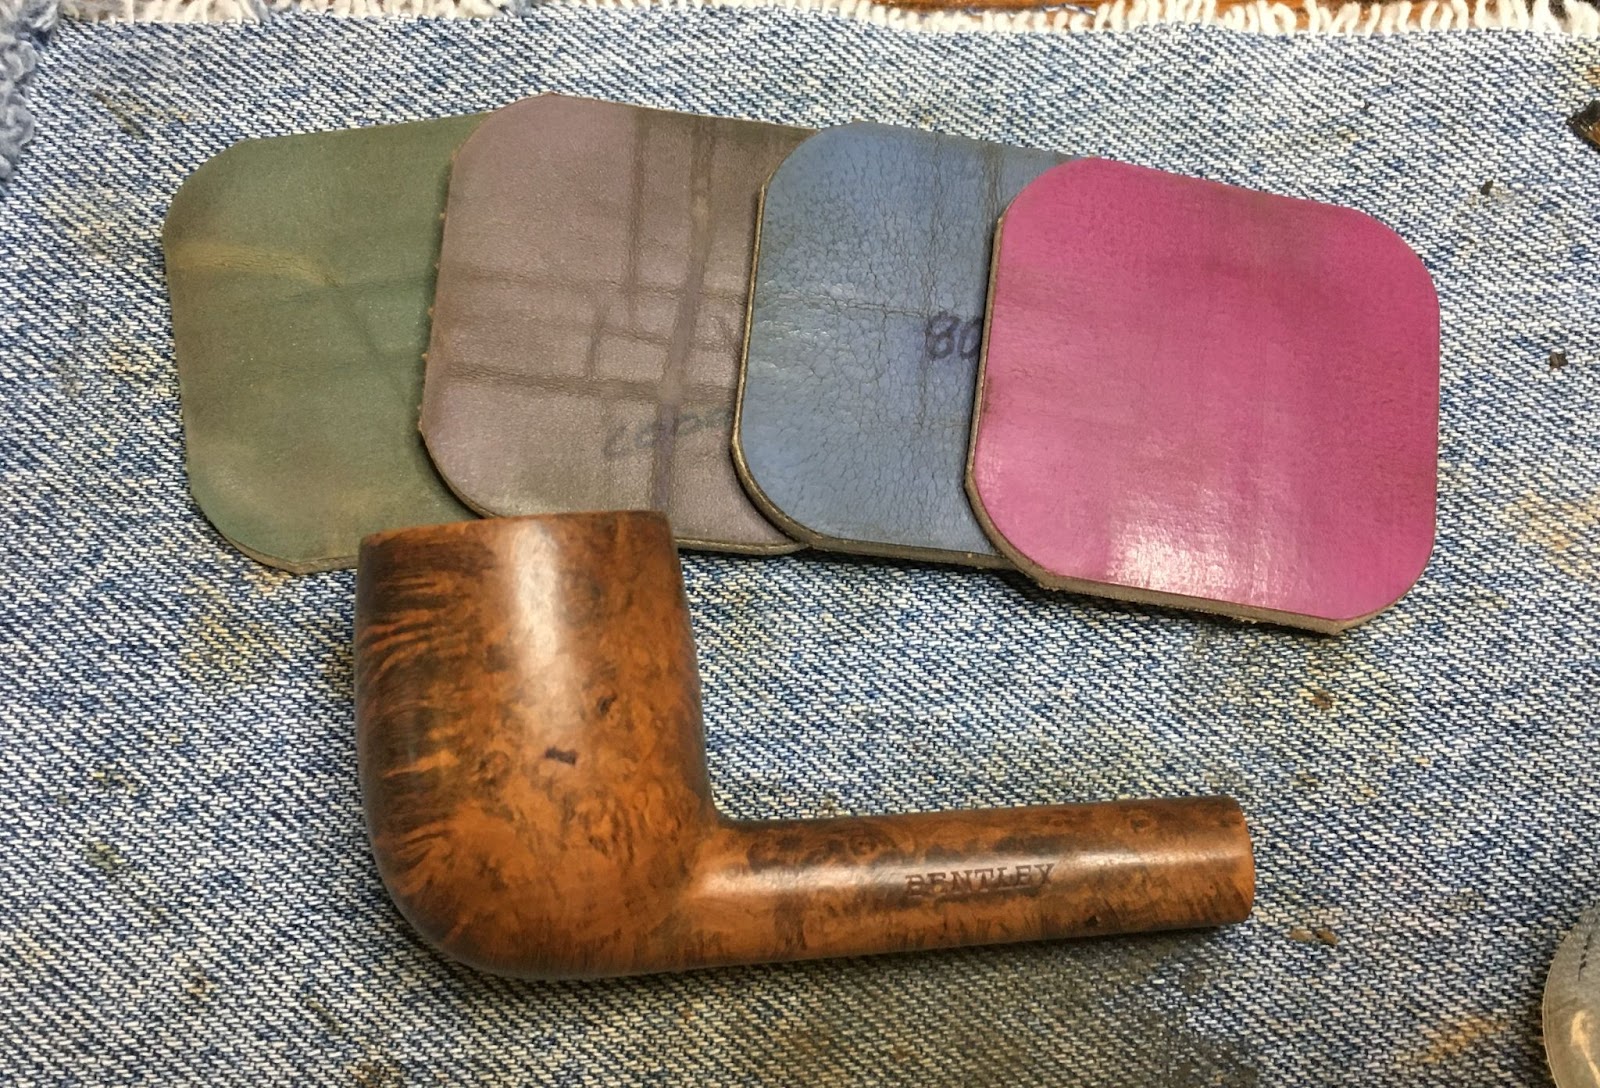
Below is another Linkman’s line, the Courtleigh. It has a different first 2 numbers, “88” followed by the “33”. The 33 here is obviously the same shape as the De Luxe 9733

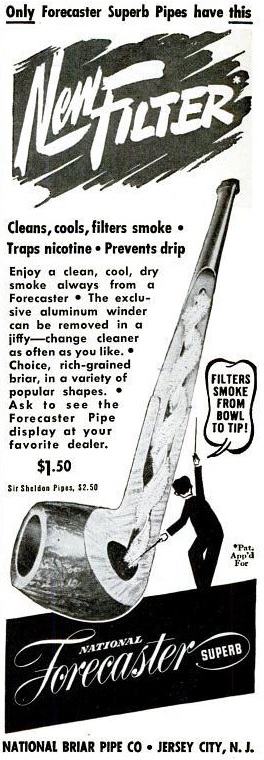
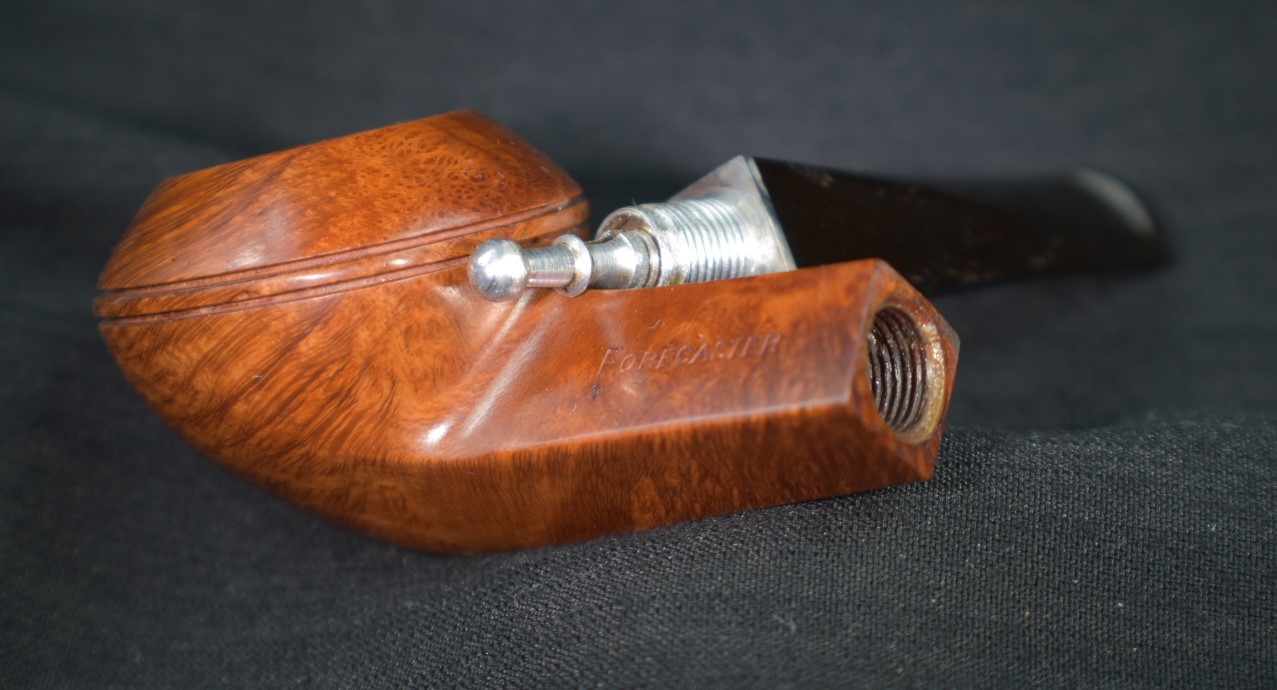
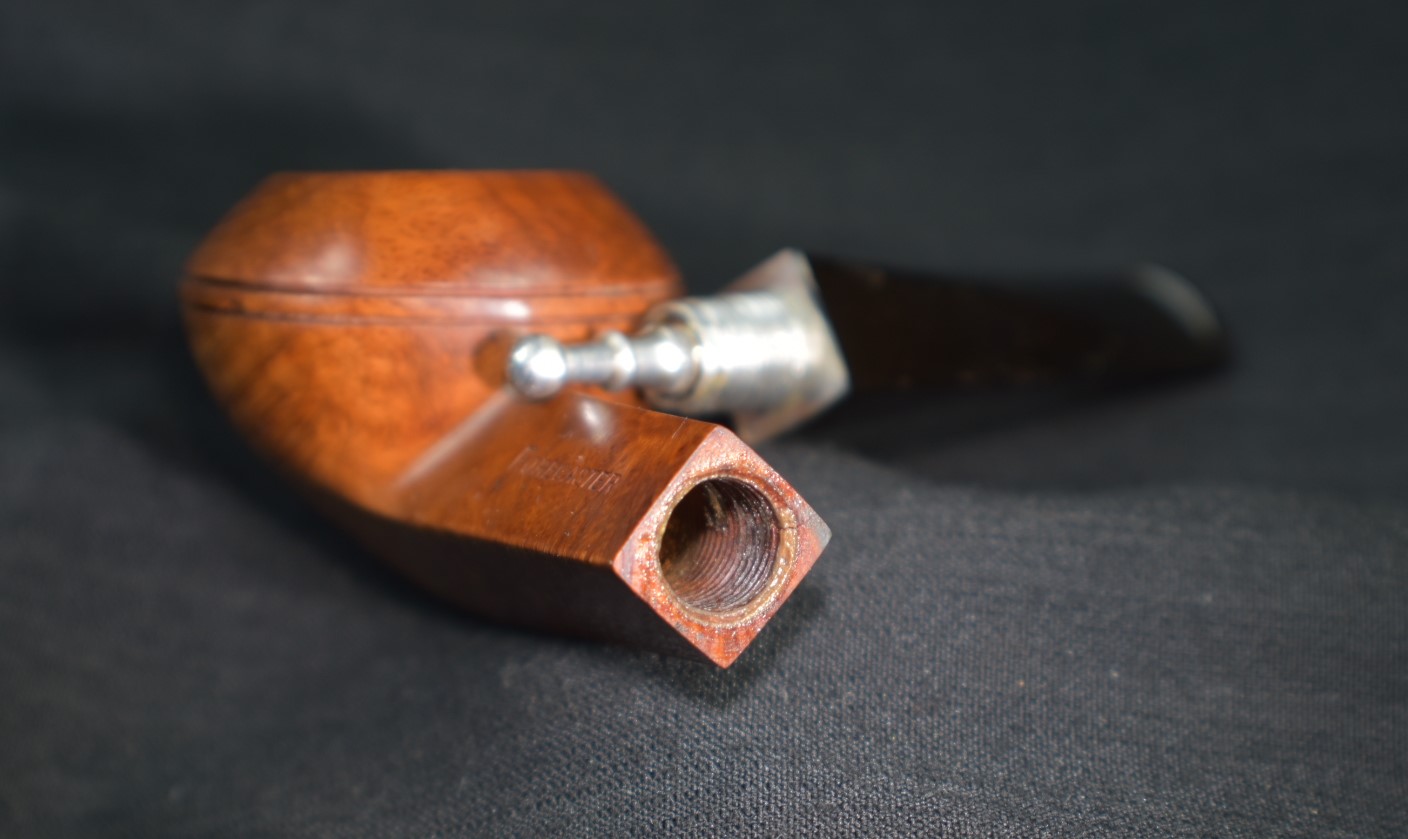
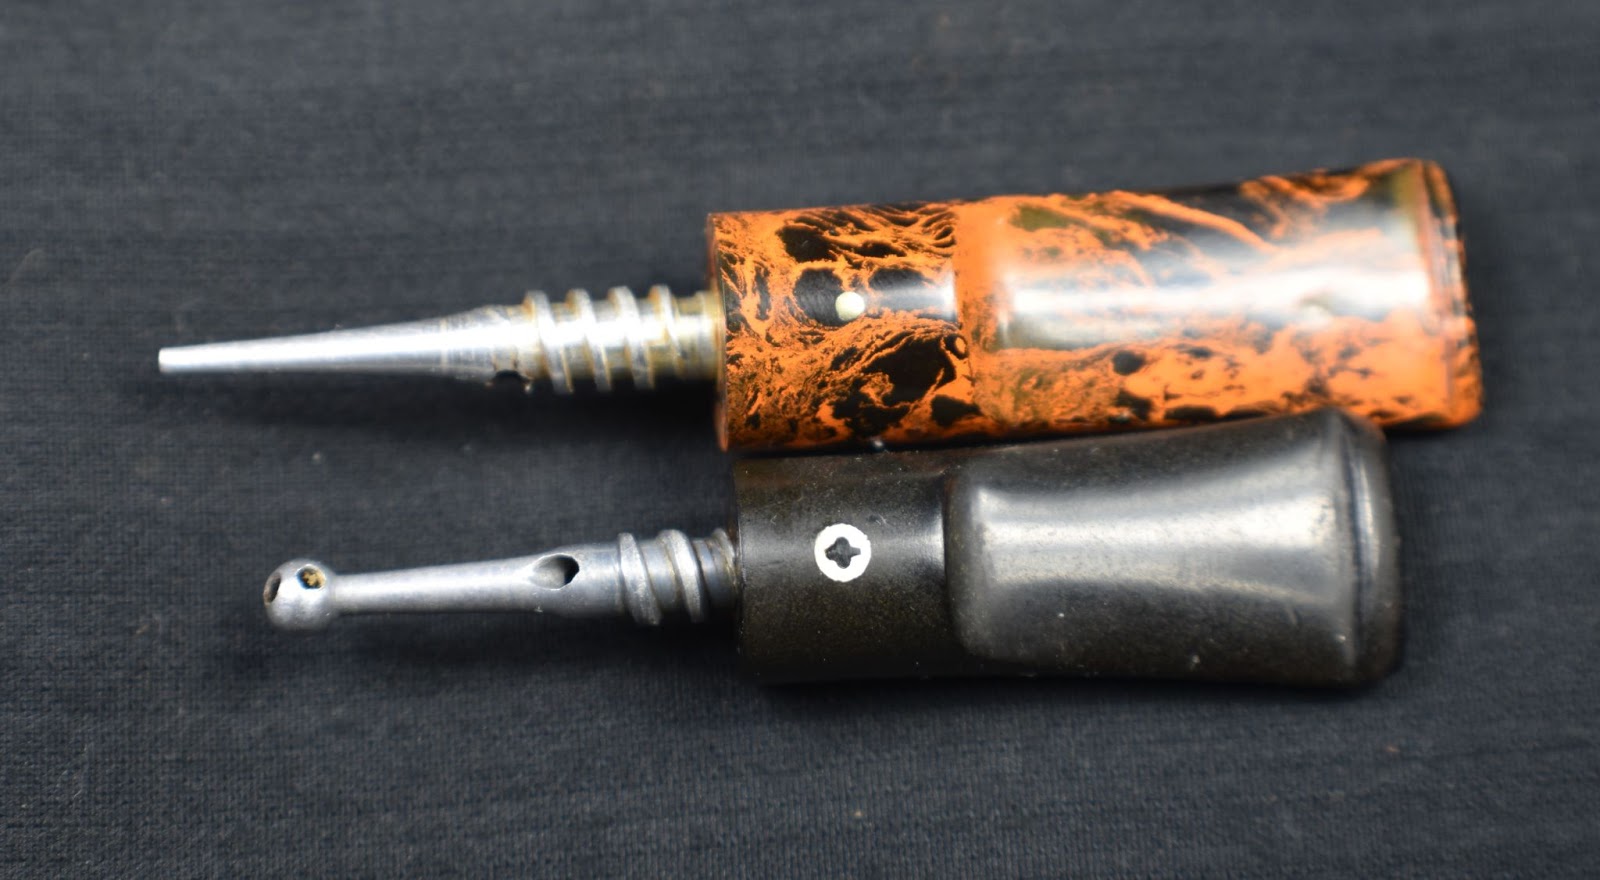
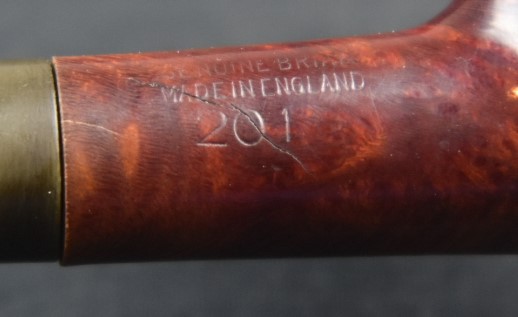
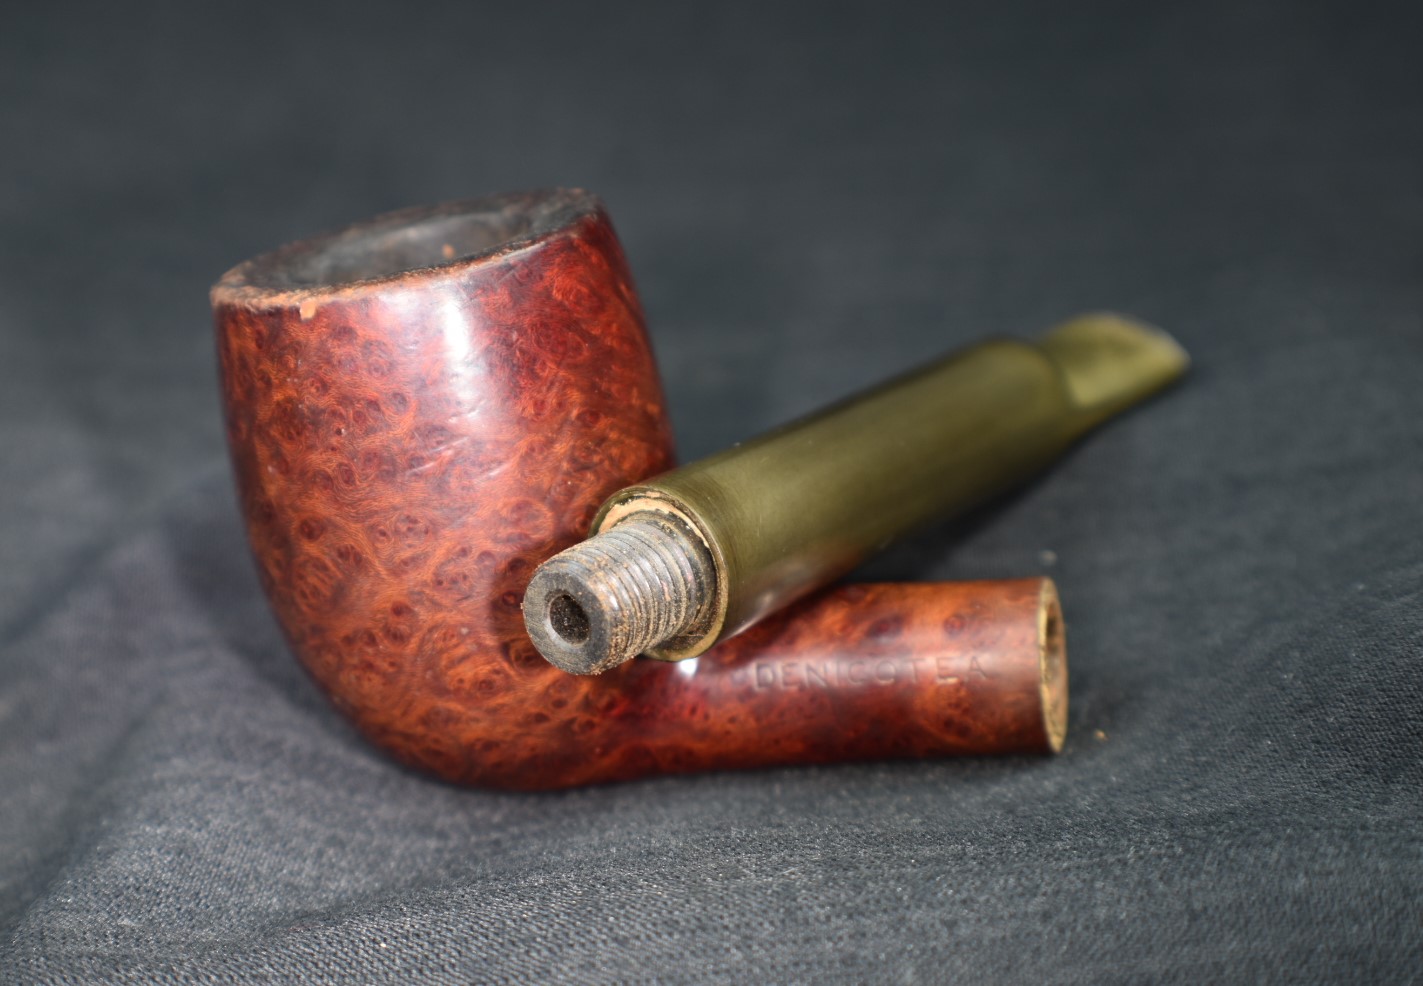
PAT. NO. 1896800
“1932, April 13th, Linkman applies for his spoon/tool/nicotine-saliva trap stinger, Patent #1896800.” and
“1933, February 7th, Linkman (62 years old) receives patent #1896800 for threaded stem”
(Dr. Grabow Pipe History Timeline – Pipedia)


(Patent Public Search | USPTO)
BRUYERE
The term “Bruyere” is French for heather or what we call briar. The terms Bruyere and “Italian briar” were used prior to the Second World War by numerous pipe makers. During the War there was an interruption to the supply of briar from the Mediterranean. This led to manufacturers attempting to use various alternatives. There have been documented 9733 and 9733A pipes stamped with “WEST COAST BRIAR”.
Example: “I did finally get a 9733 stamped West Coast Briar, but it’s a real mess — someone (not me) severely distorted the stem with pliers in an attempt to remove it. This damaged the propeller logo on the stem and sort of actually TWISTED the stem a bit, but it’s the only WCB I have, so it has to do until a better example comes along.
Mine has WEST COAST BRIAR in block letters on the right side along with the number, a script “Dr. Grabow” over a block letter DE LUXE on the left and the SHIELD emblem on the top of the shank. The usual patent number for the cleaner is on the bottom of the bowl.””
Author: LokoMac8 on the Dr. Grabow Pipes forum https://www.tapatalk.com/groups/drgrabows/west-coast-briar-t376.html
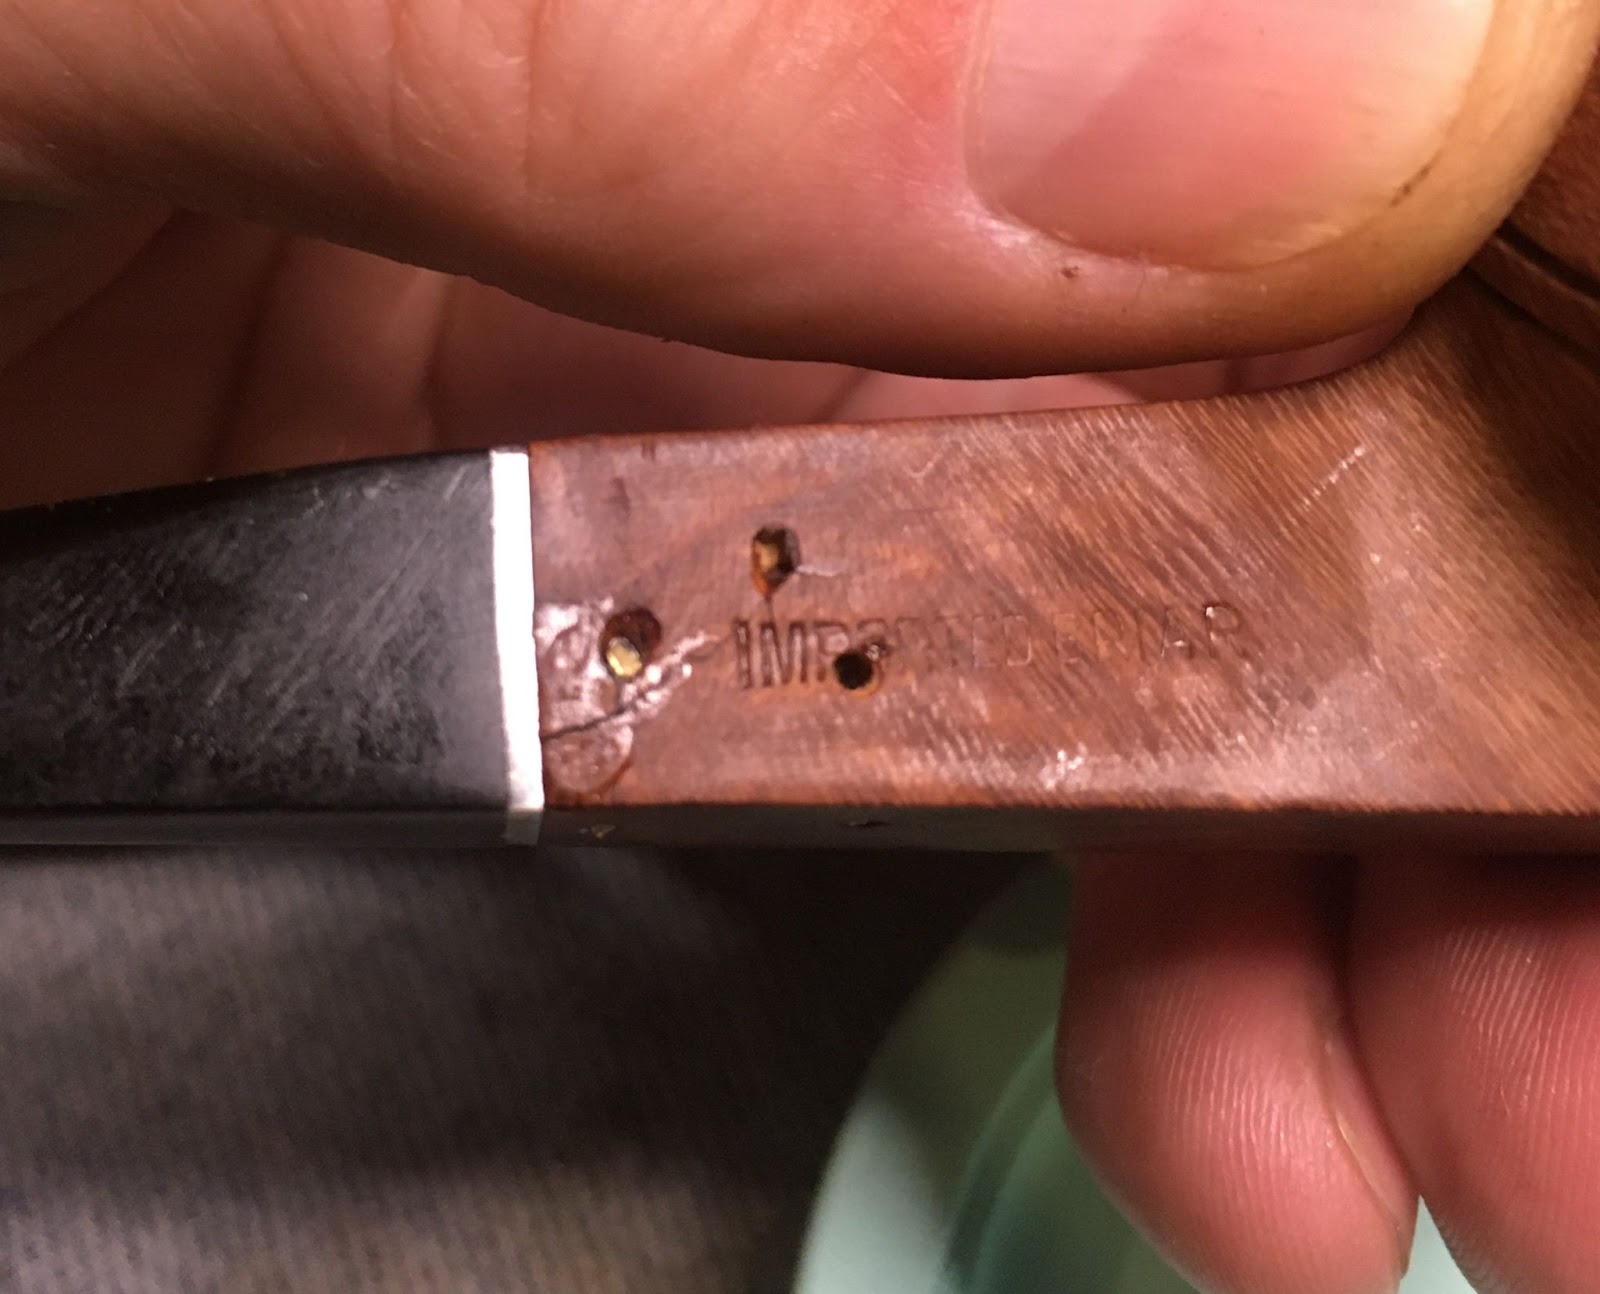
This most likely would have been Manzanita. After the War many manufacturers used the term “Imported Briar” indicating that the wood used was indeed briar.
From the above stamps I can say with a good level of certainty that this pipe was made between 1933-early 1940s at the Chicago Dr. Grabow factory.
The Restoration
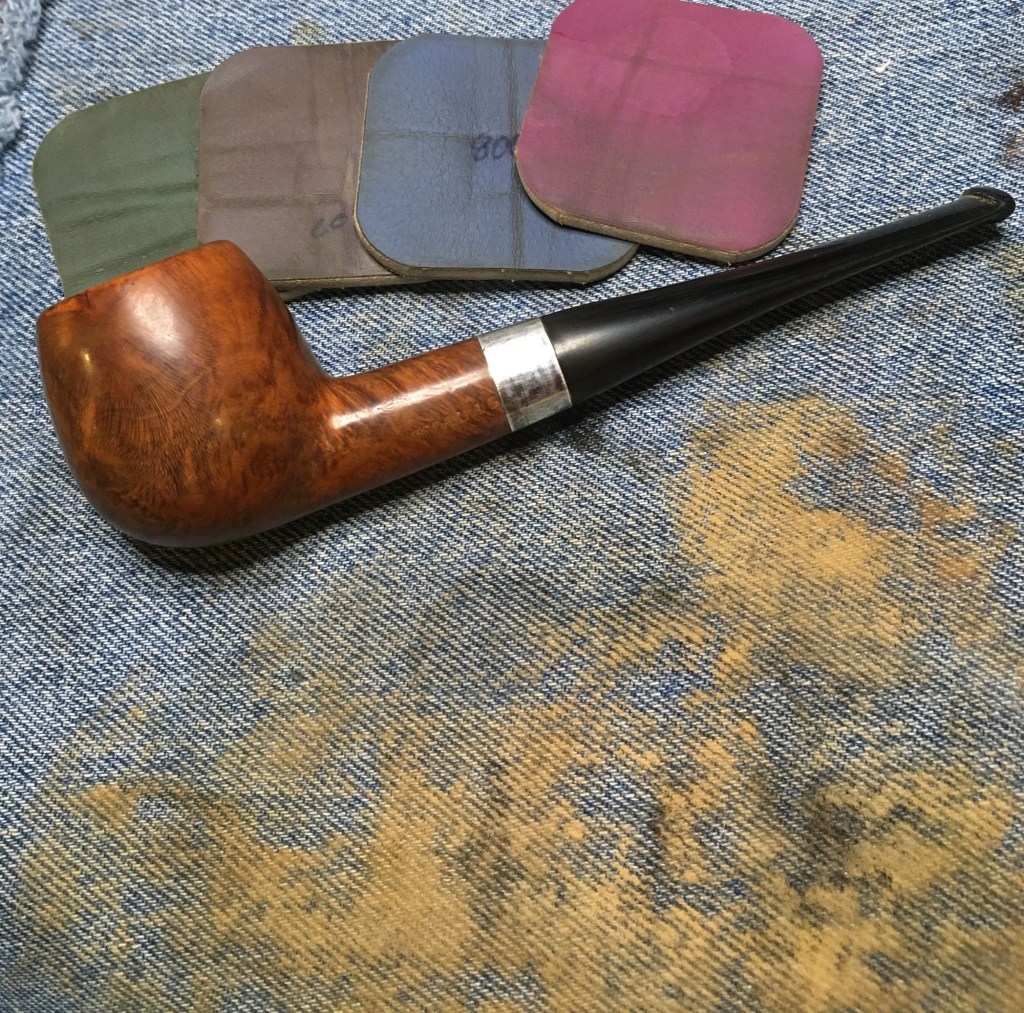
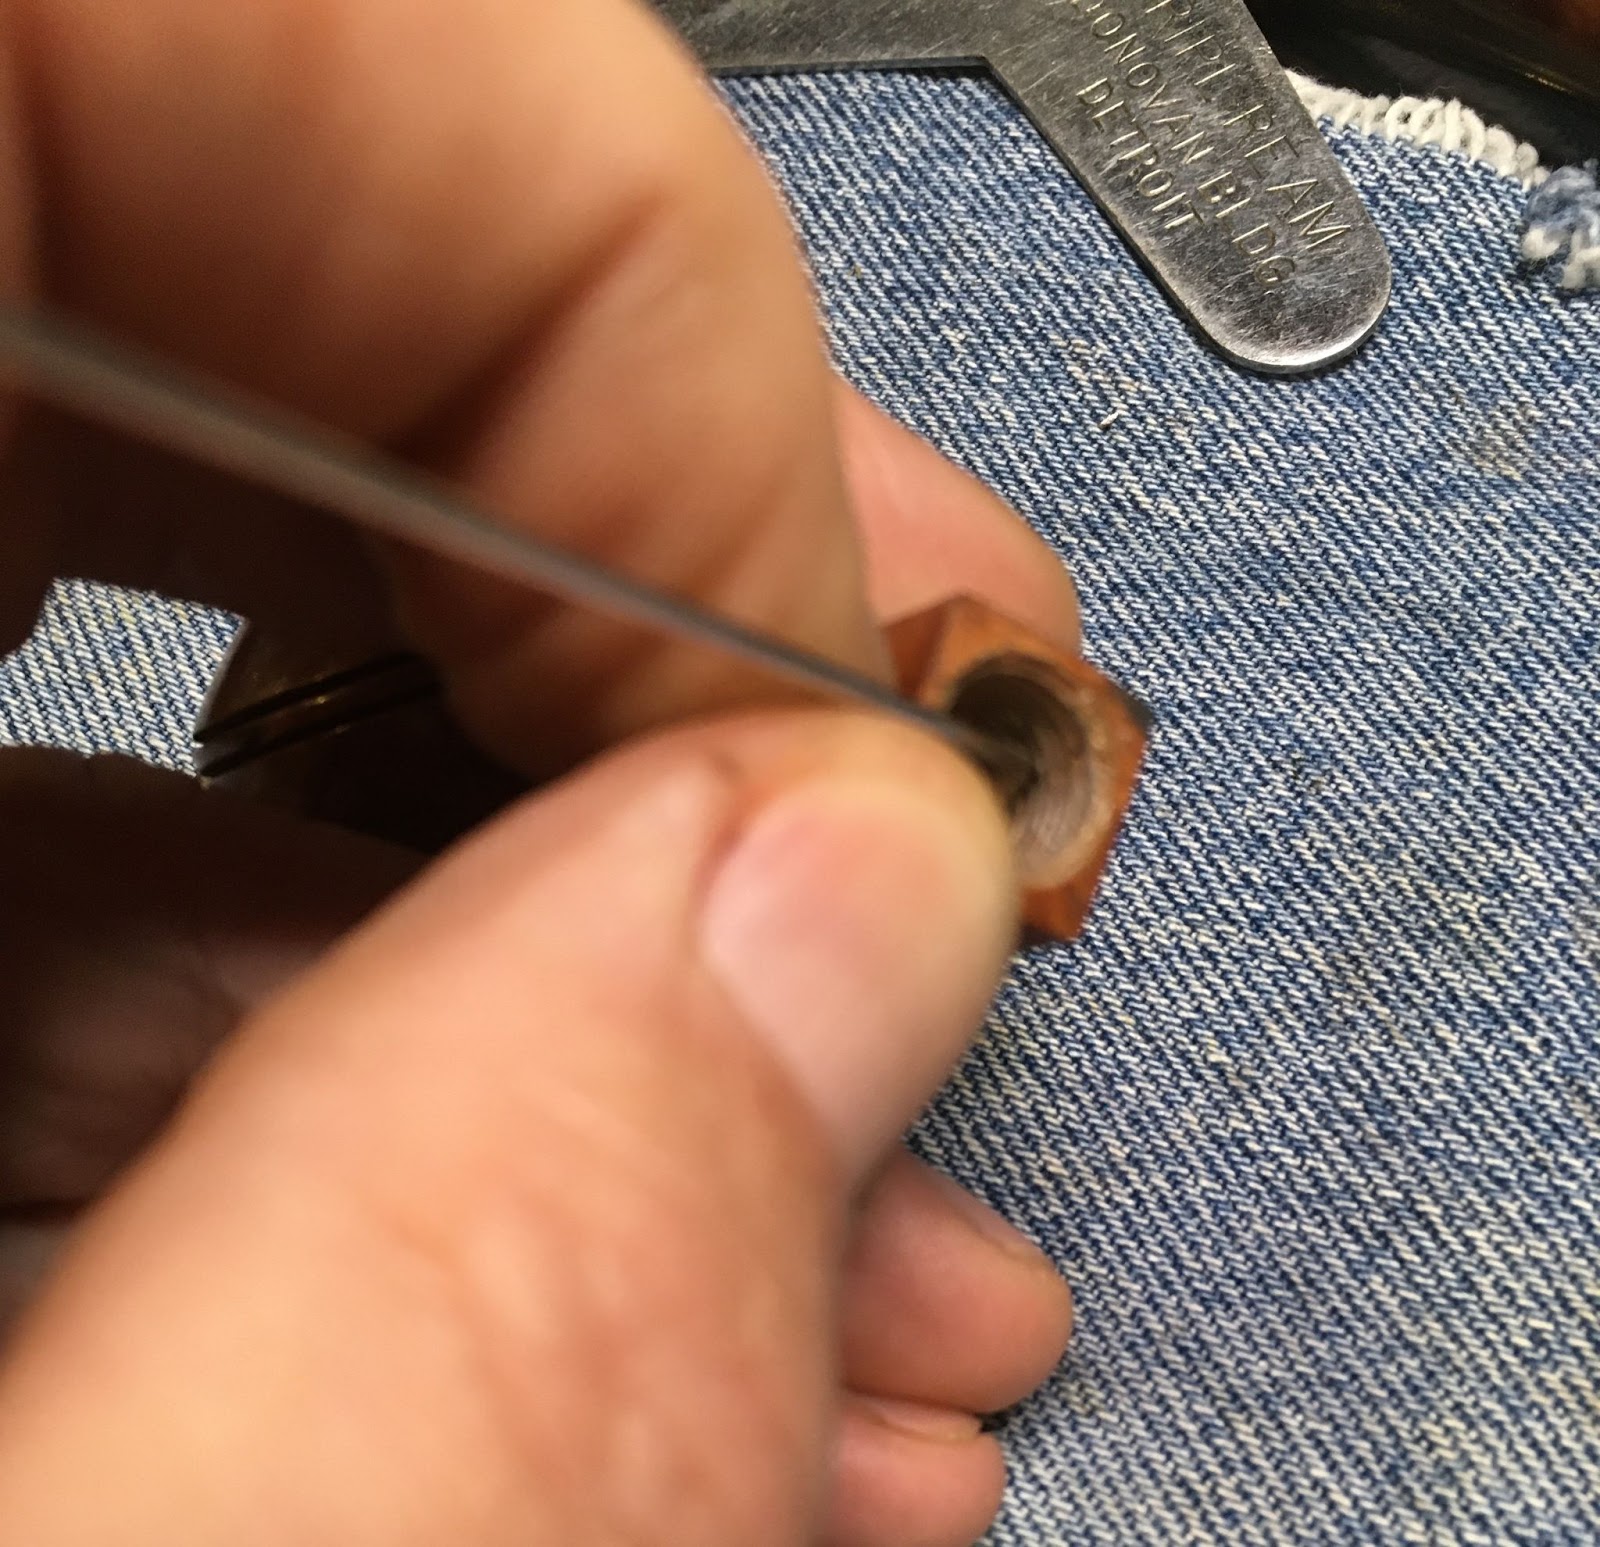
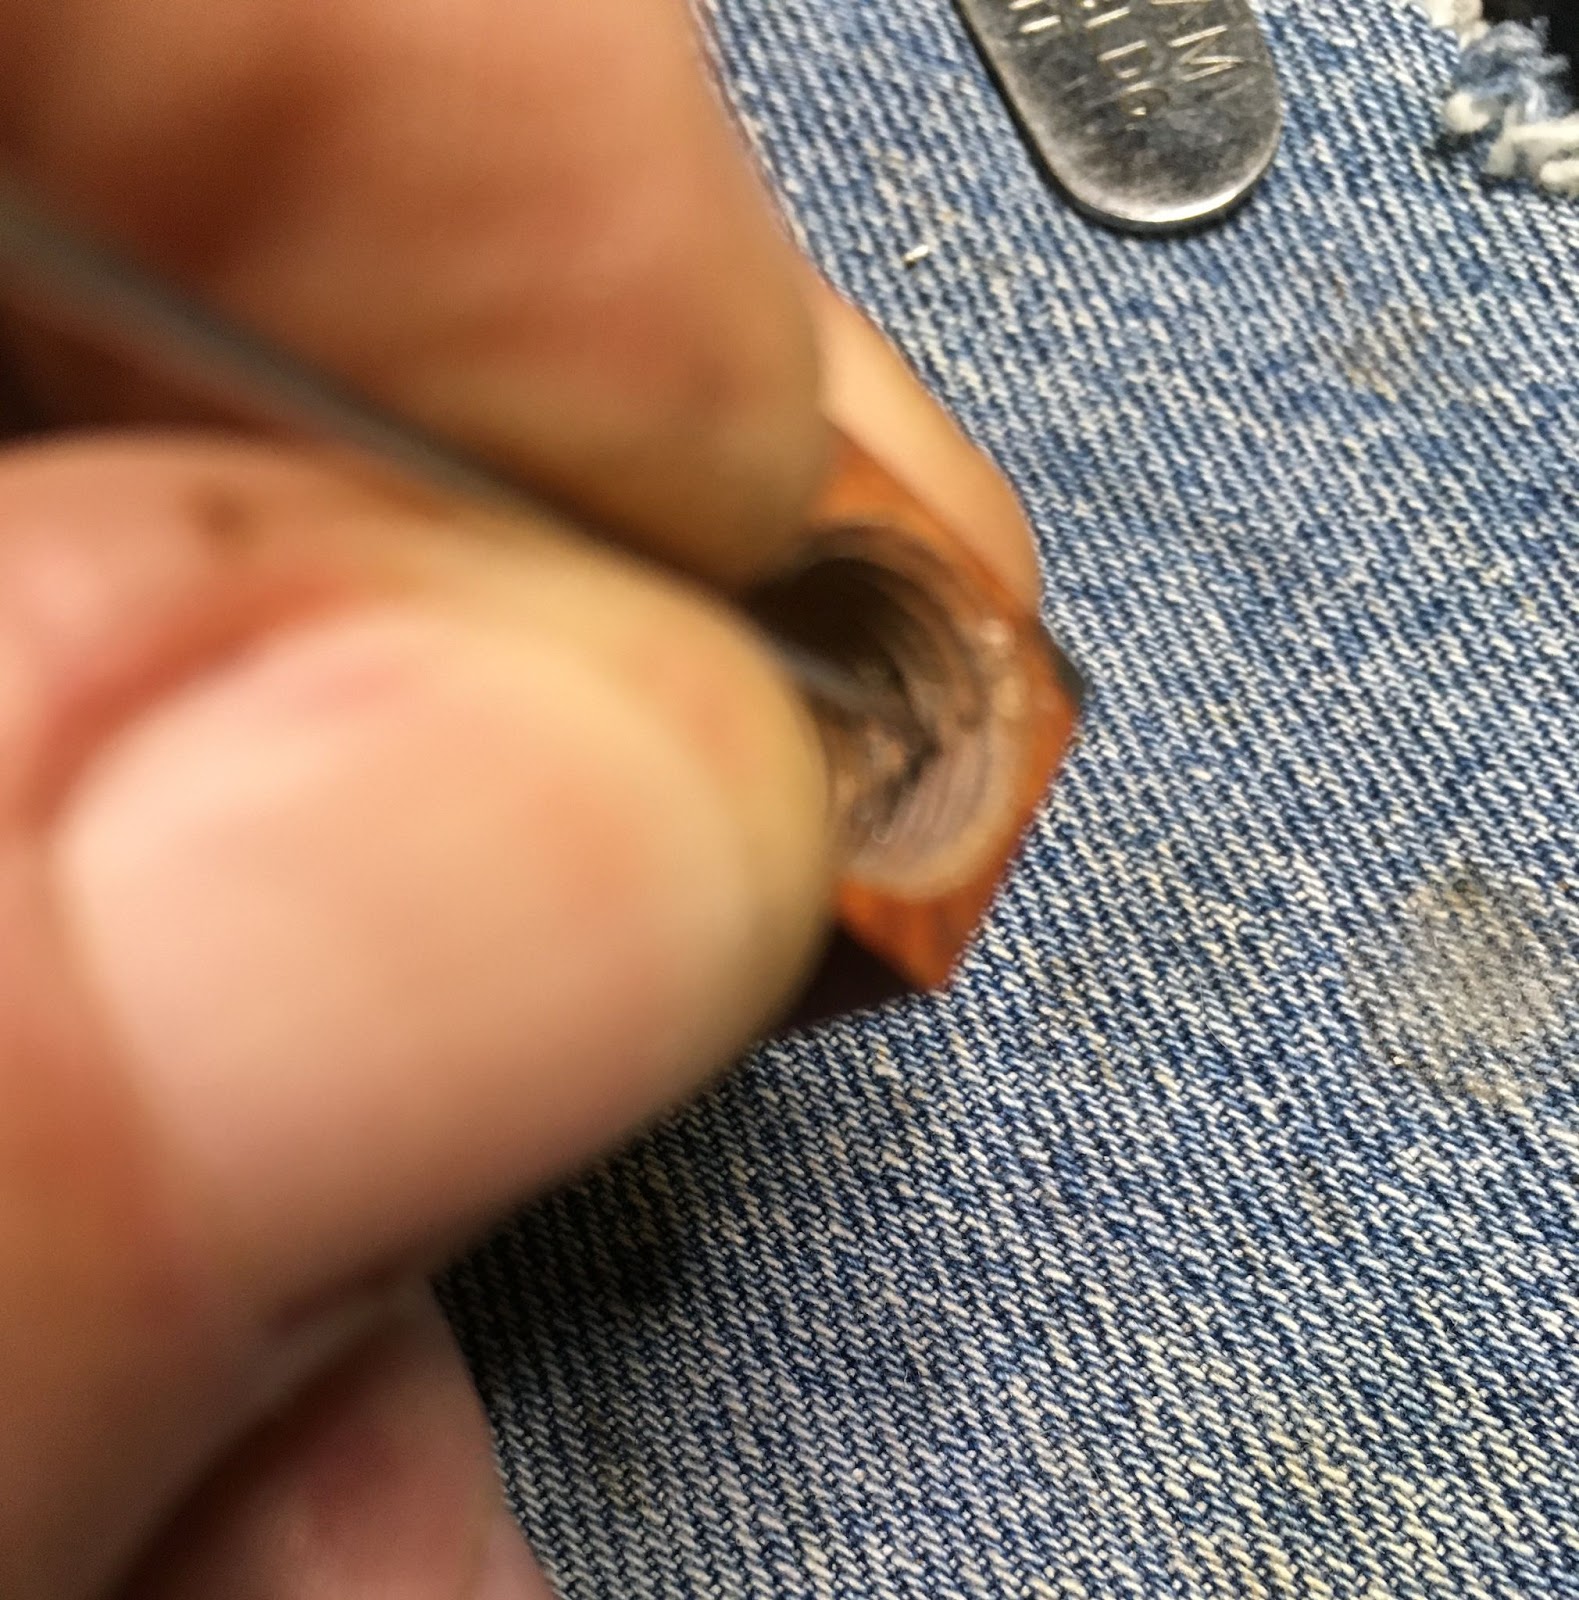
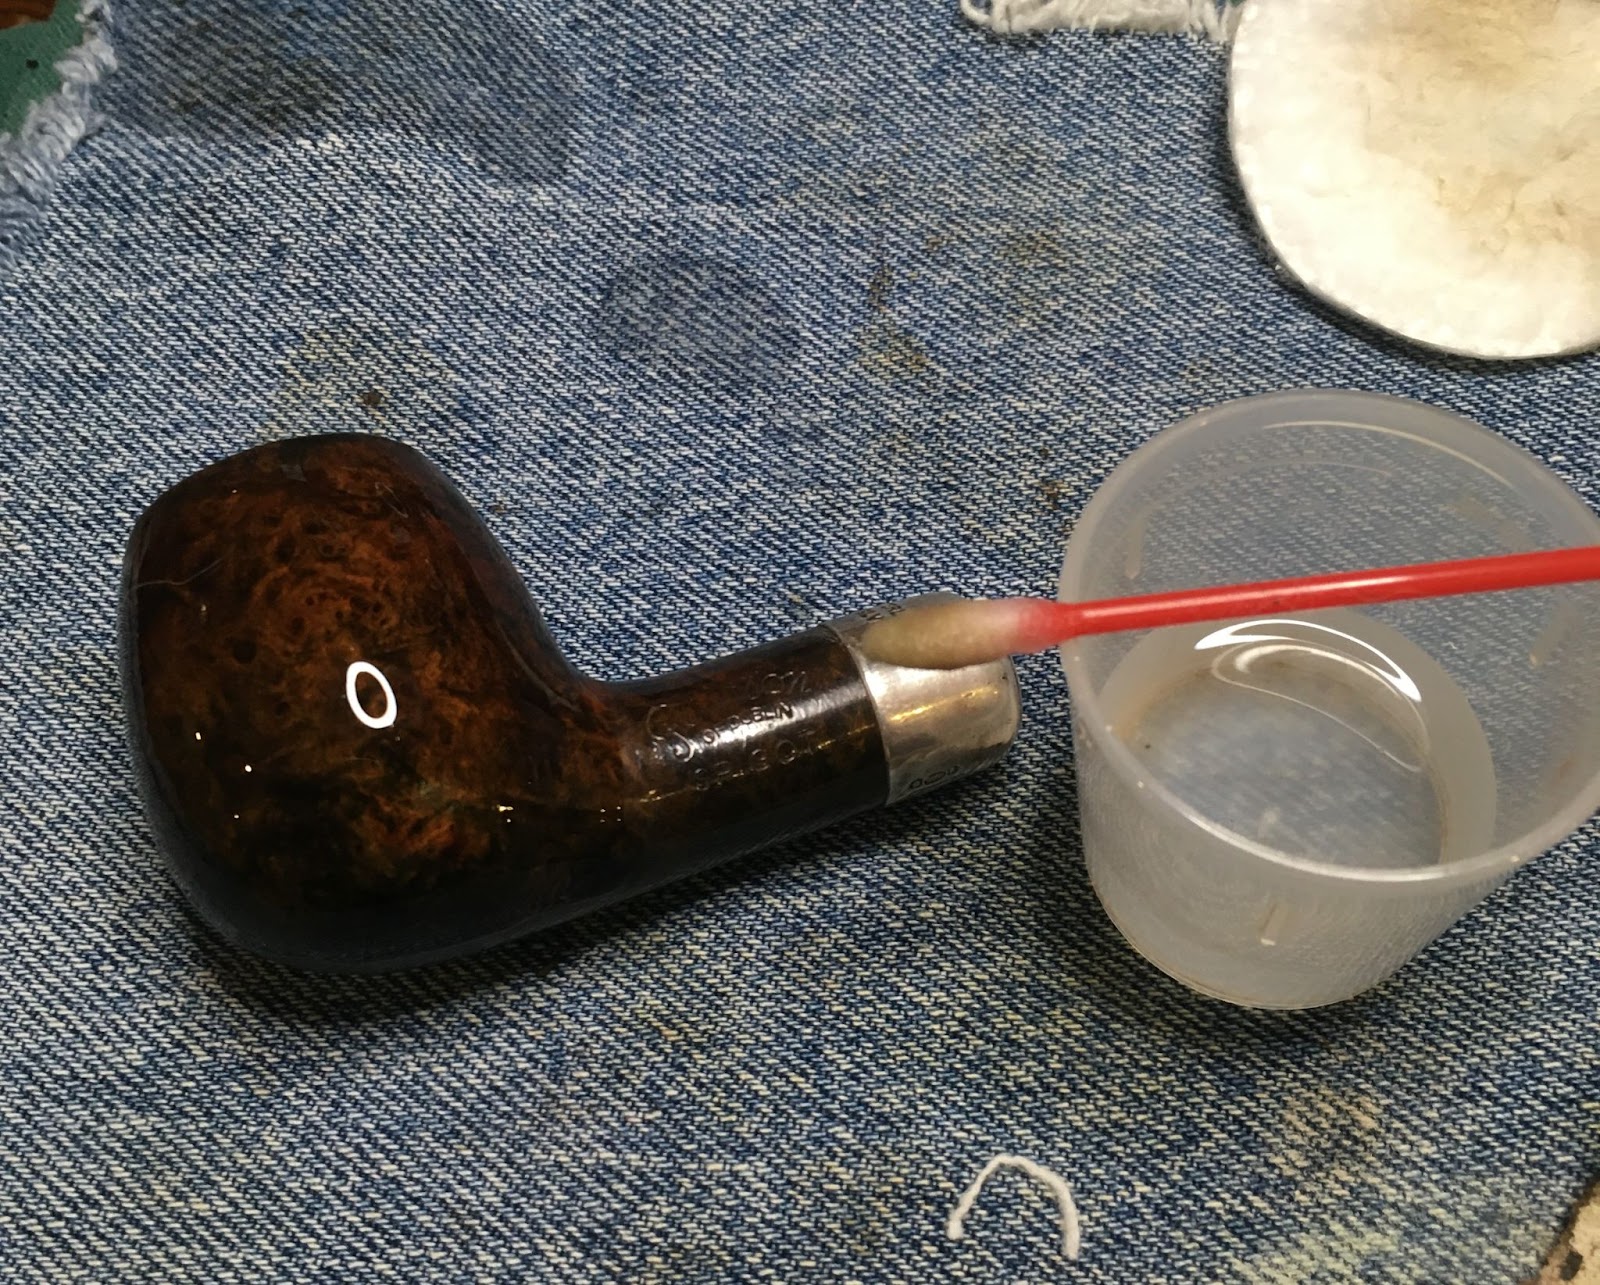
As usual the Linkman’s got a clean denim piece for work surface protection. I must have been in a hurry to work on this pipe because I wasted no time in seeing how dirty the shank was. Yes, it was pretty dirty. I used 95% ethyl alcohol on cotton swabs to soften the smoking residues in the airway.

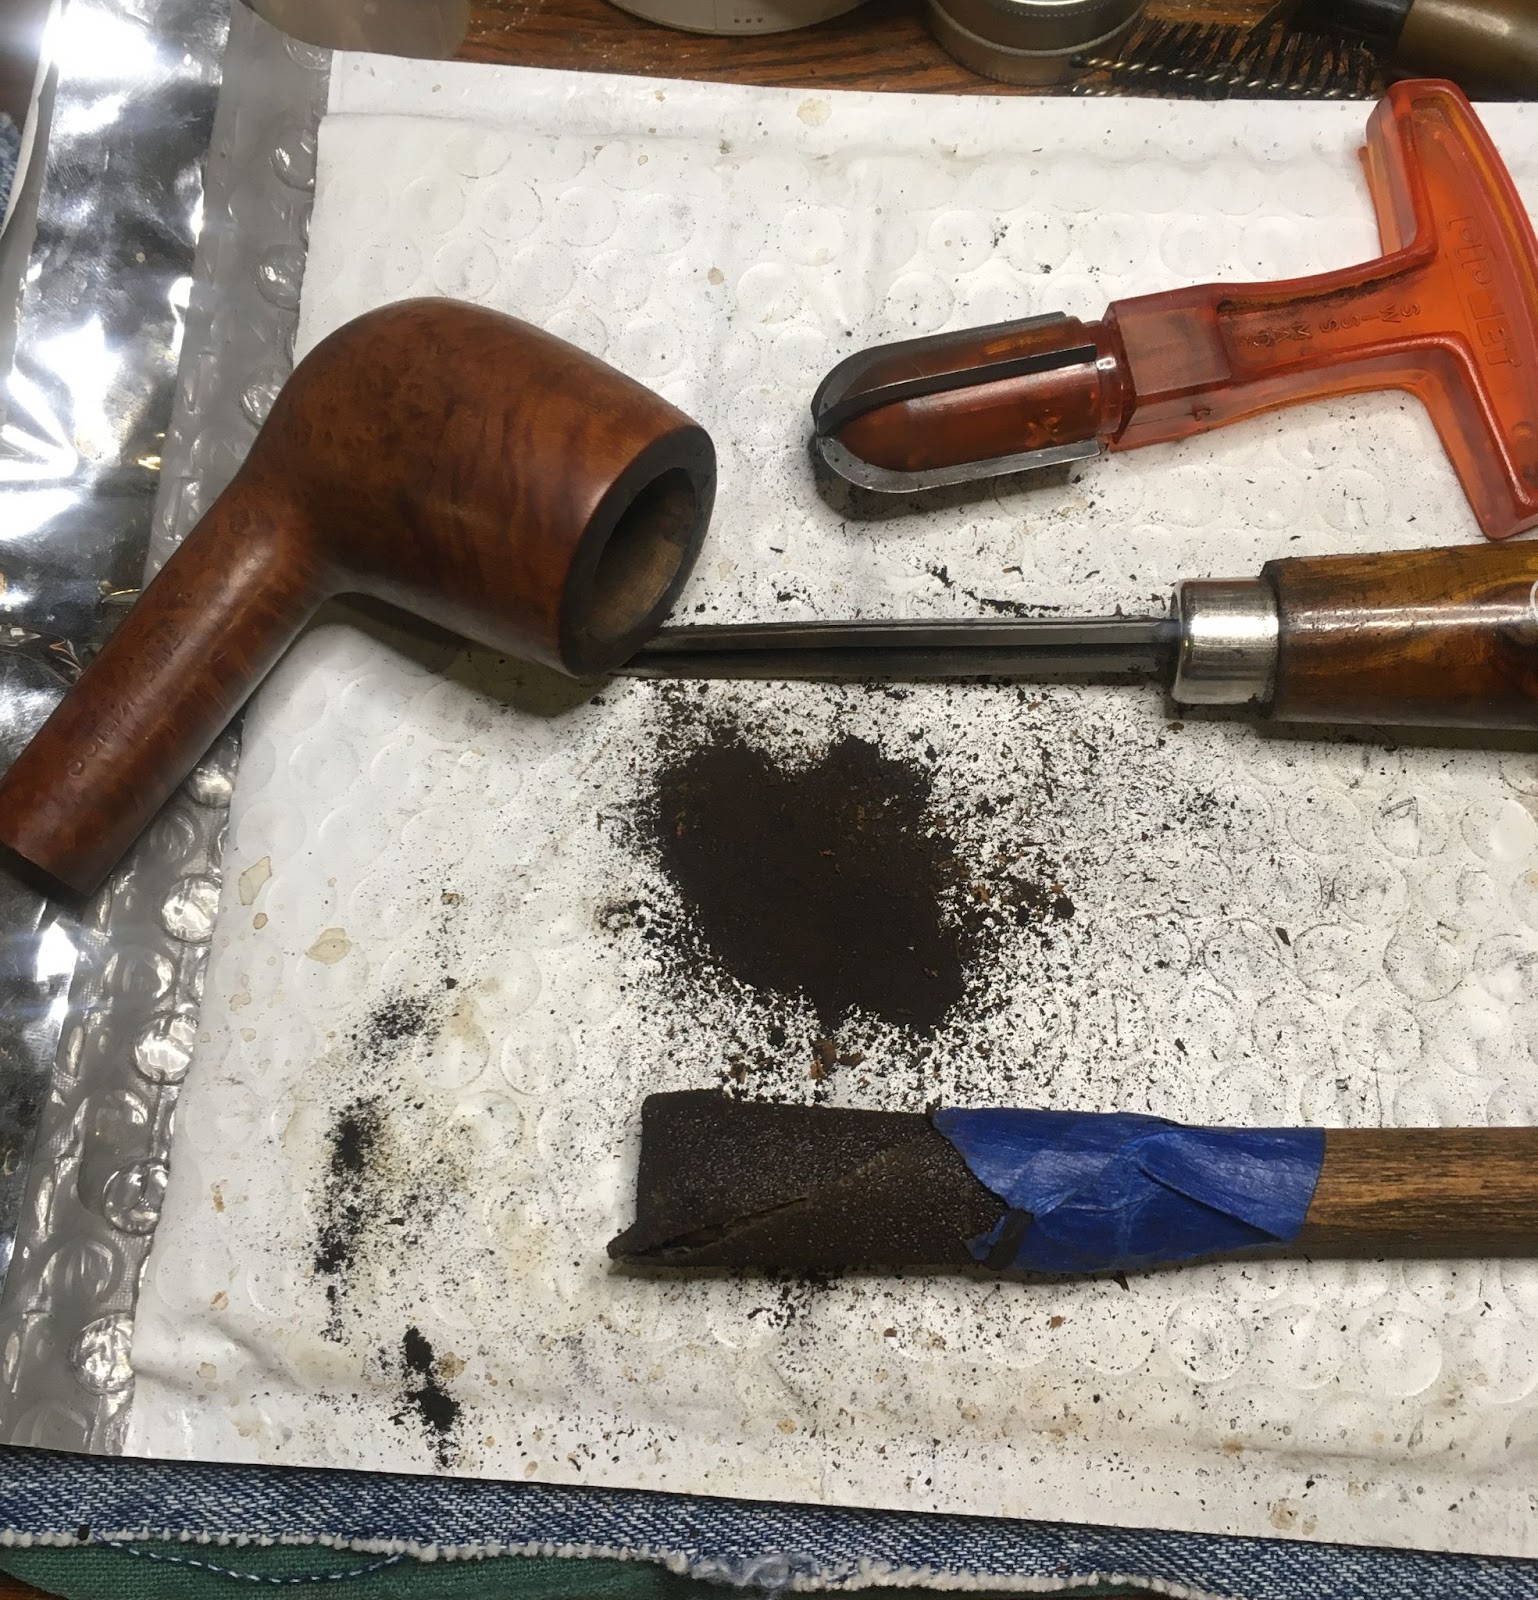
A dental scraper was then used to scrape as much tar from the airway as possible. The more I can get out via scraping the less I have to scrub.

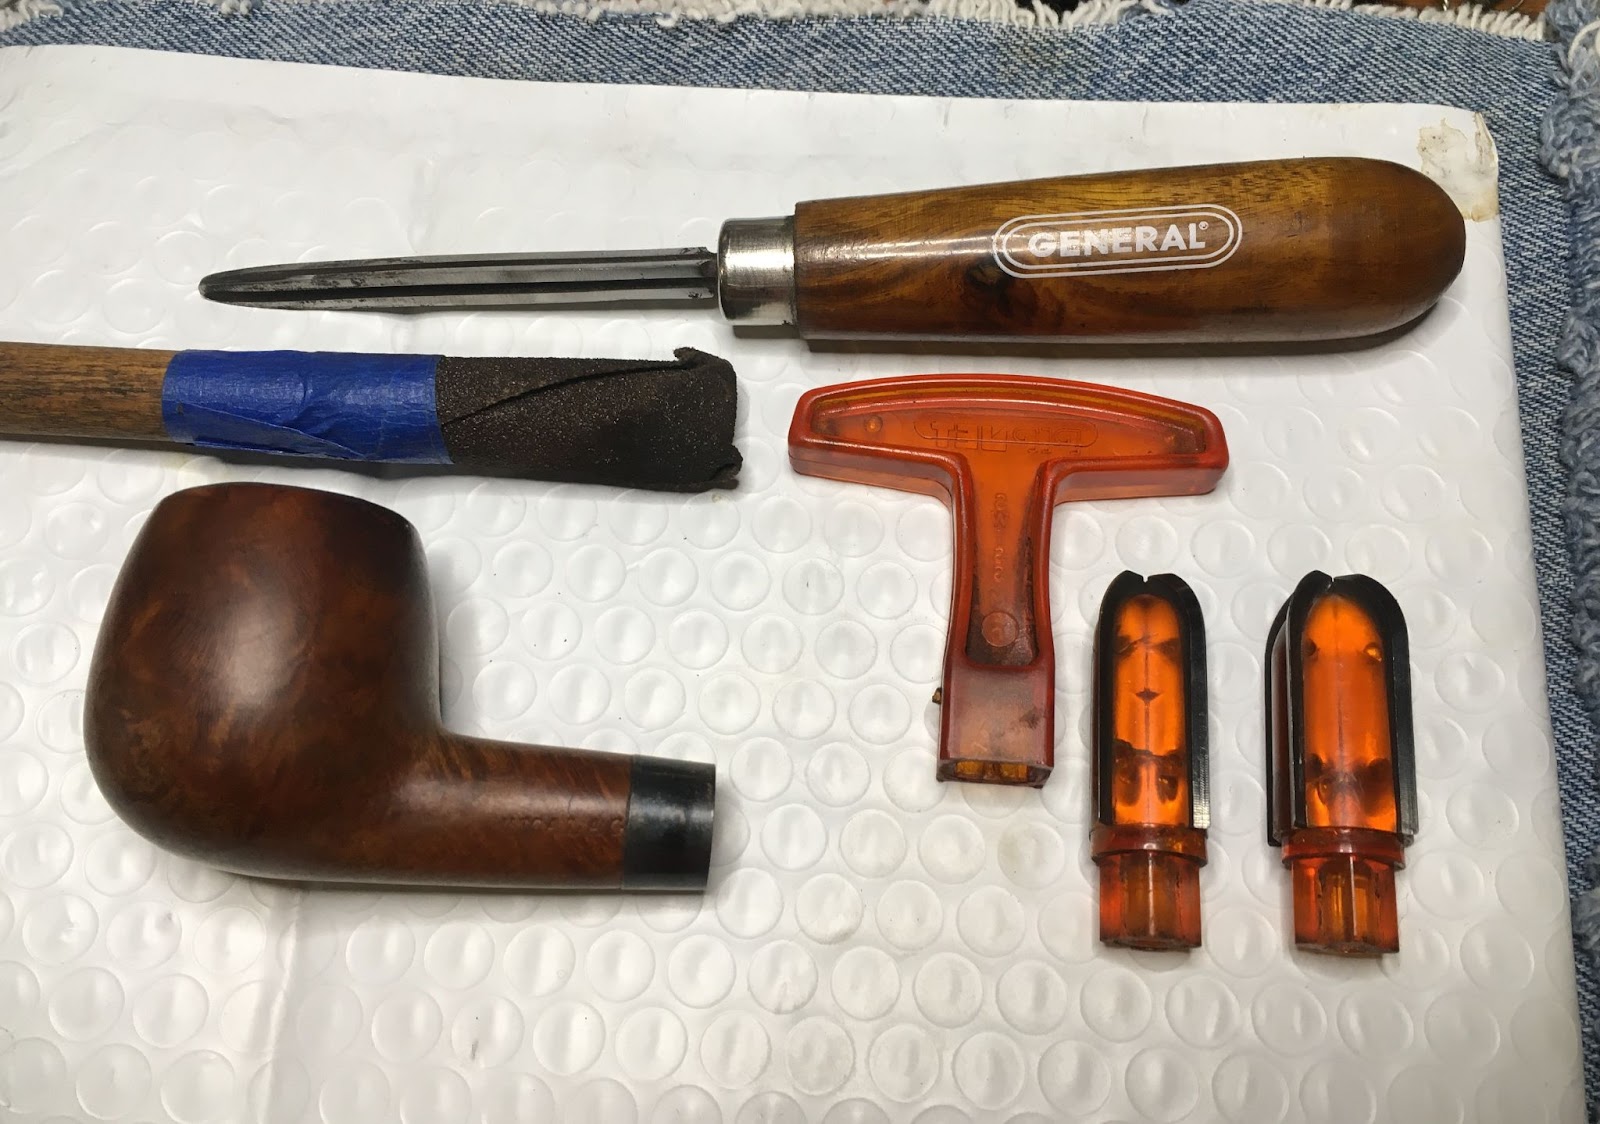
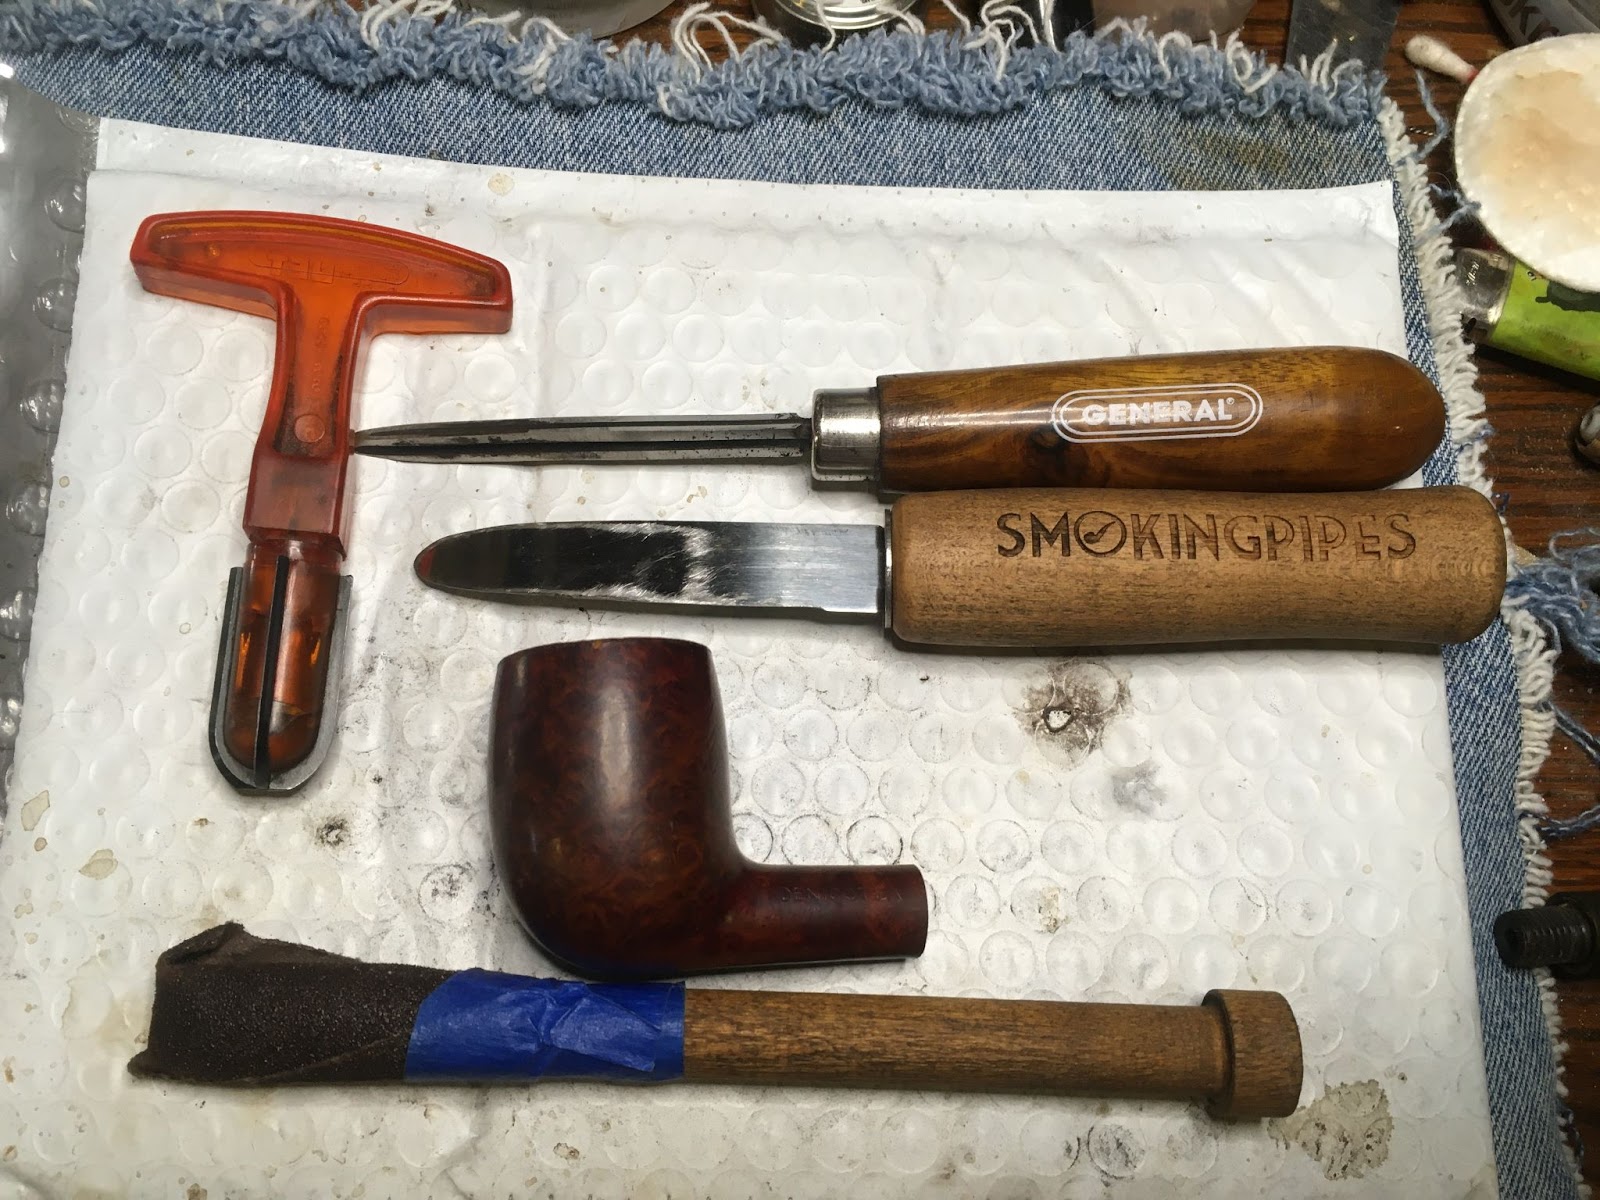
After several minutes of airway scraping and scrubbing I decided that maybe I should do this restoration the way I do most others. Normally I start with the reaming, move to the stummel scrubbing then work on the shank’s airway. I have no idea why I broke from this routine, maybe just excited by this pipe. I returned to doing things “by the booK” and assembled the reaming tools.

The PipNet with the #2 blades did the majority of the reaming. The SmokingPipes scraper and the General were used to finish us the reaming.

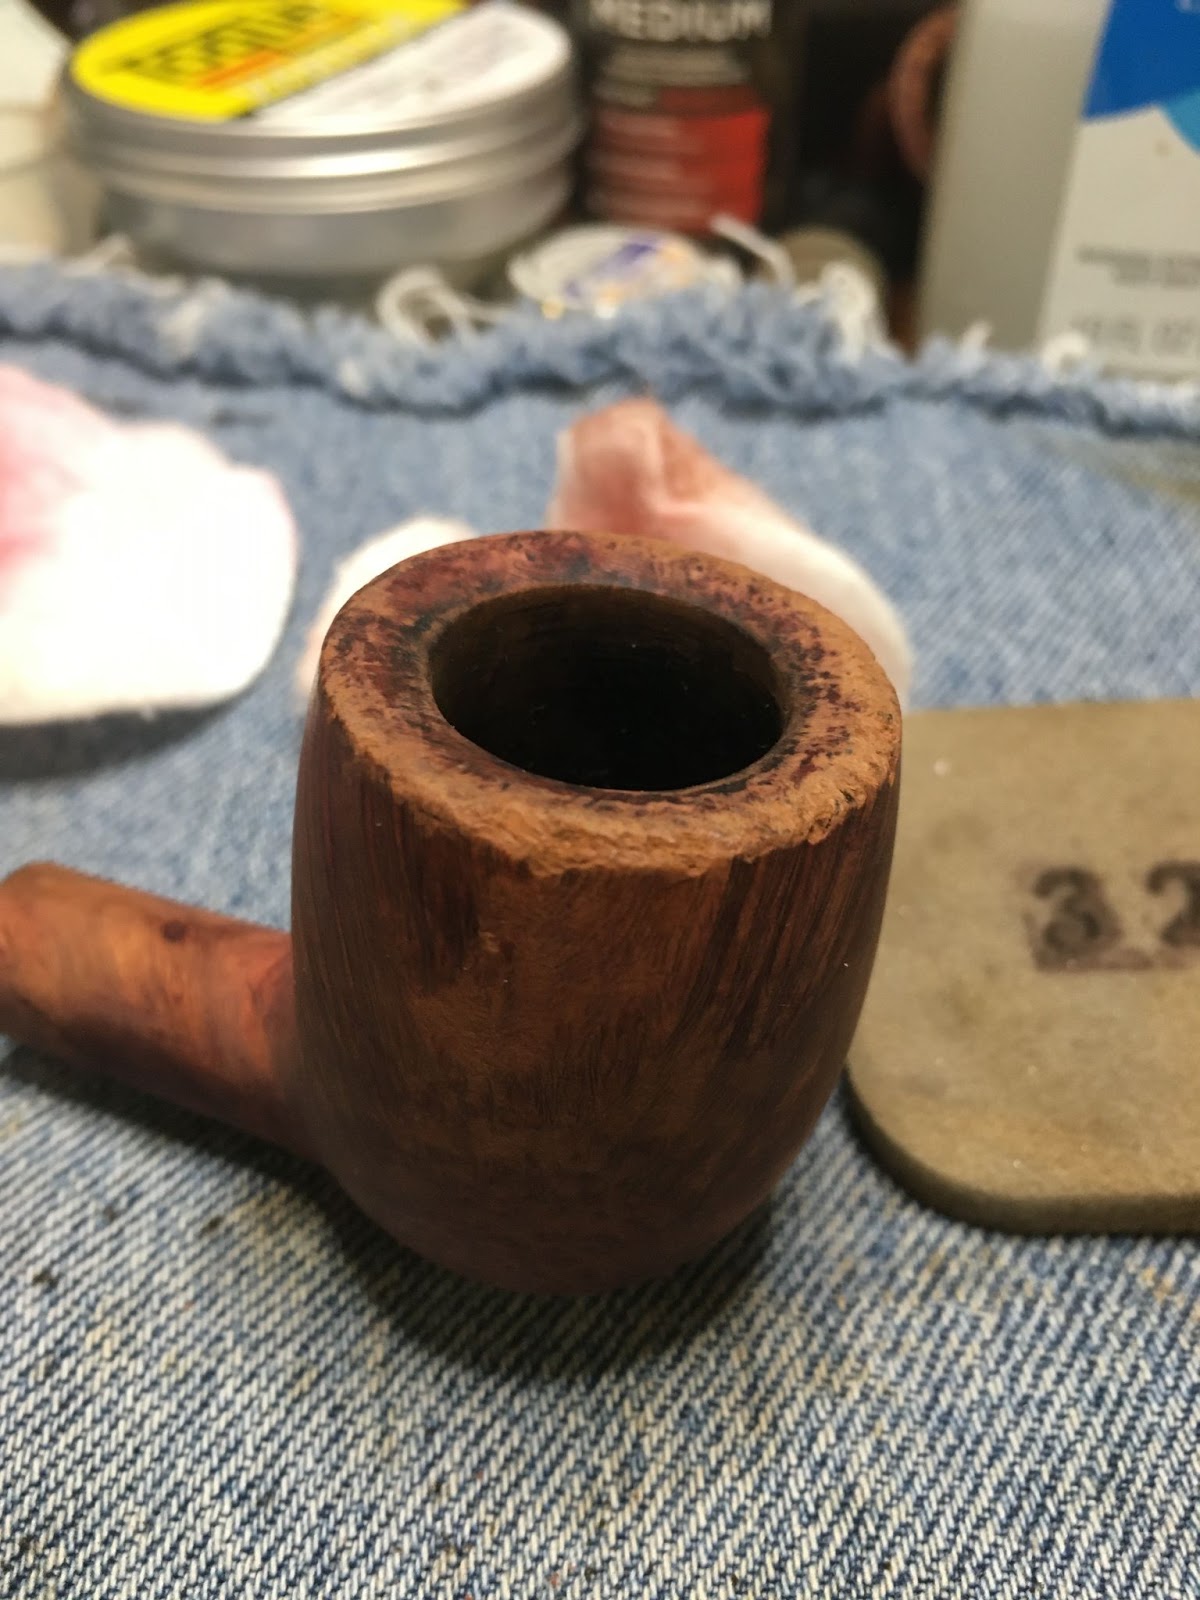
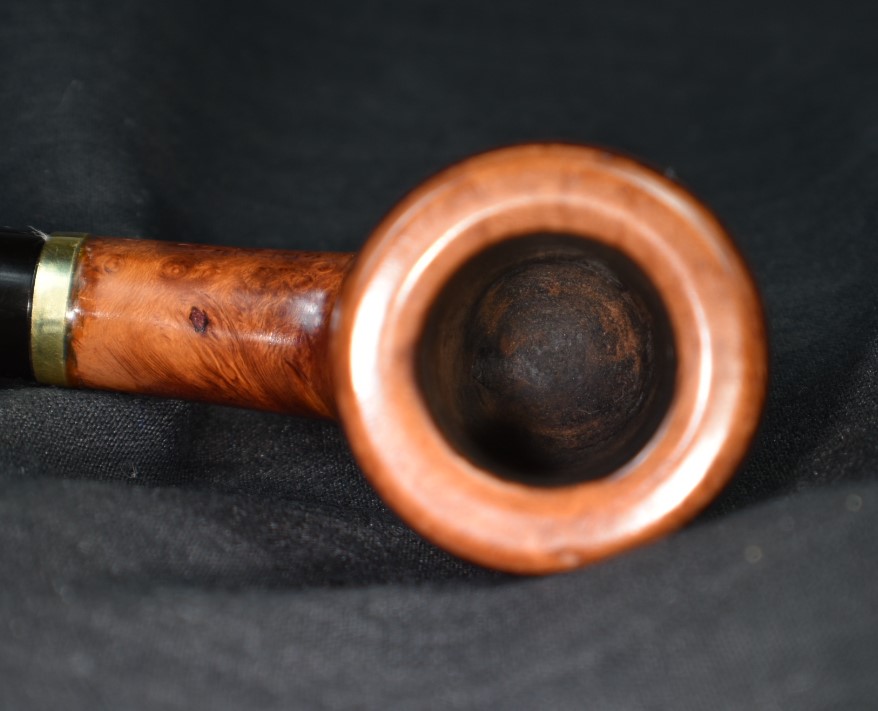
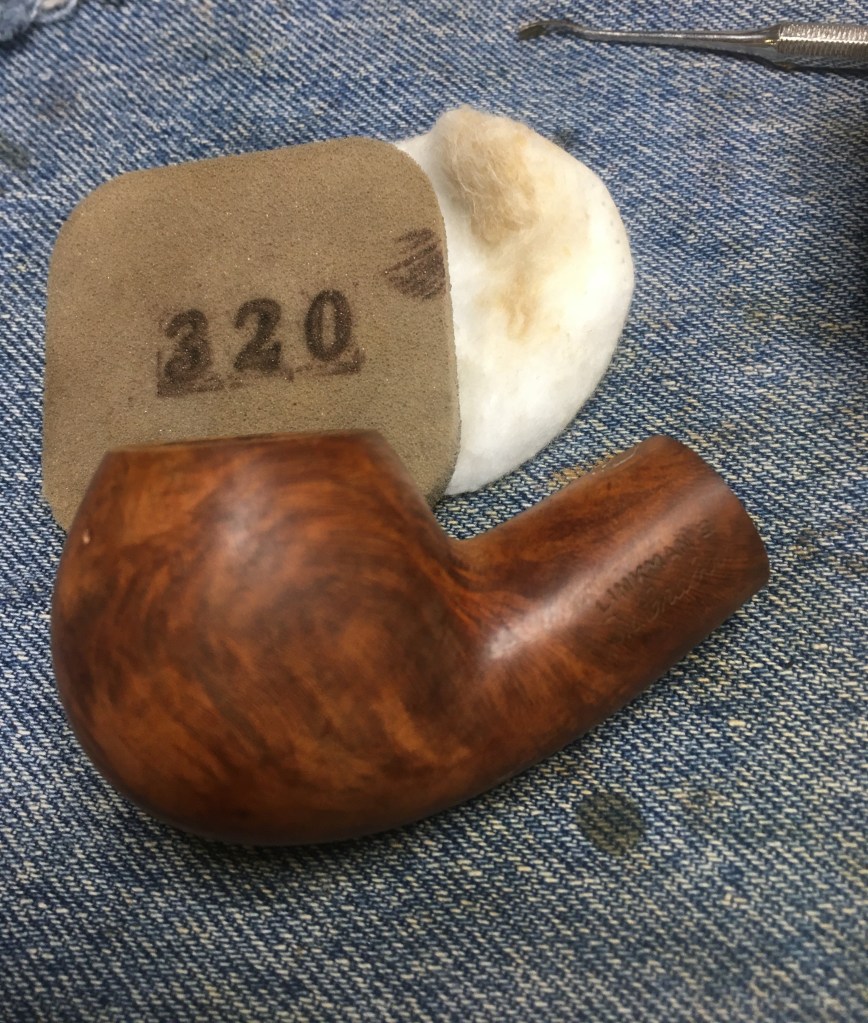
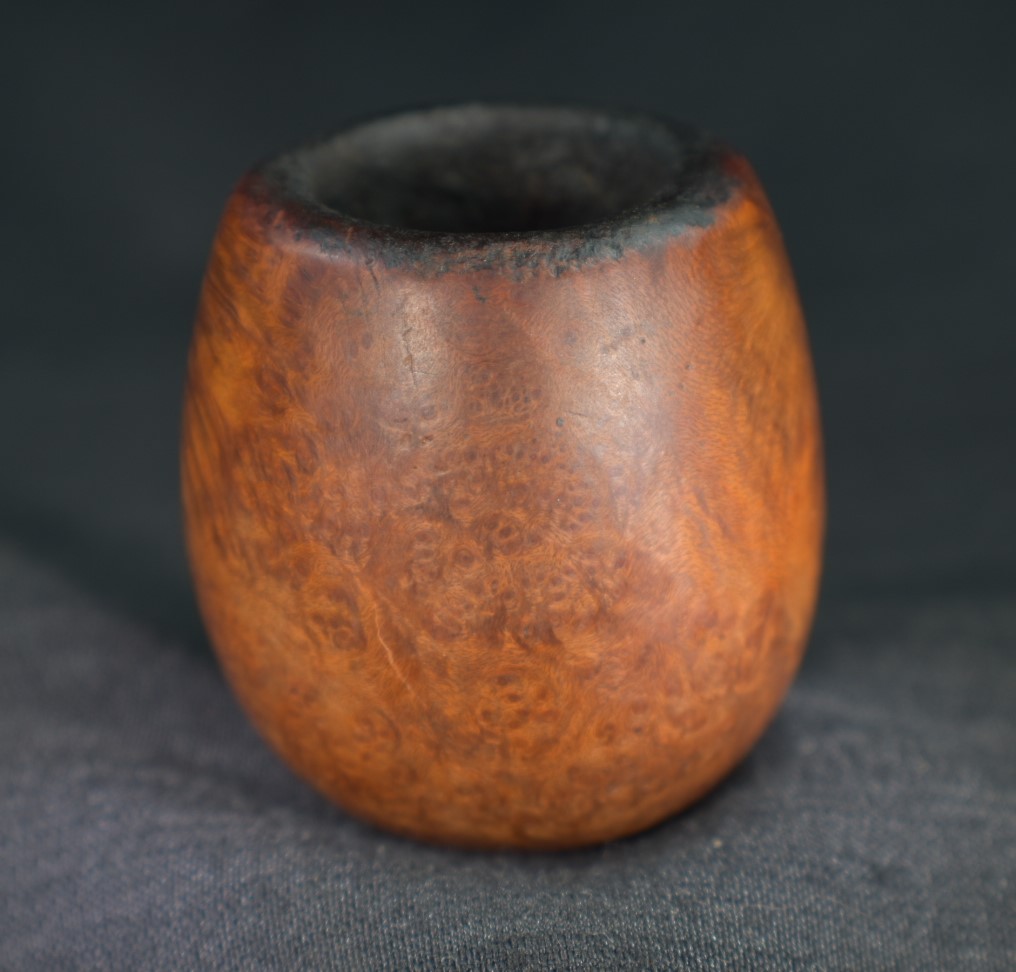
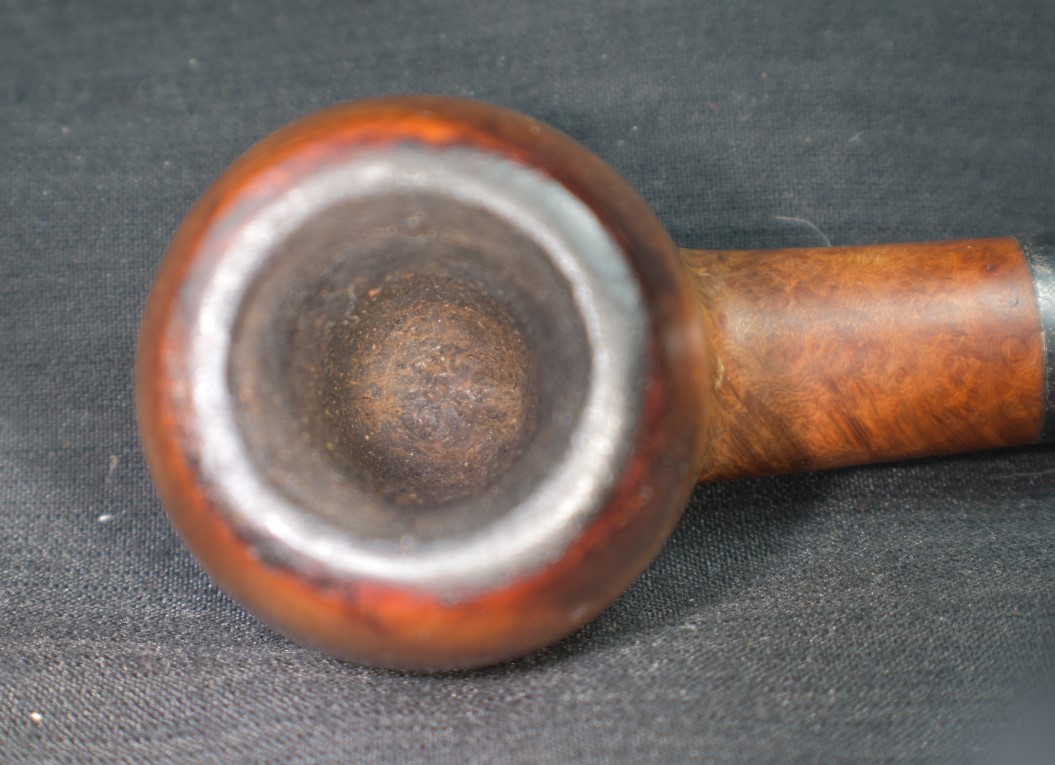
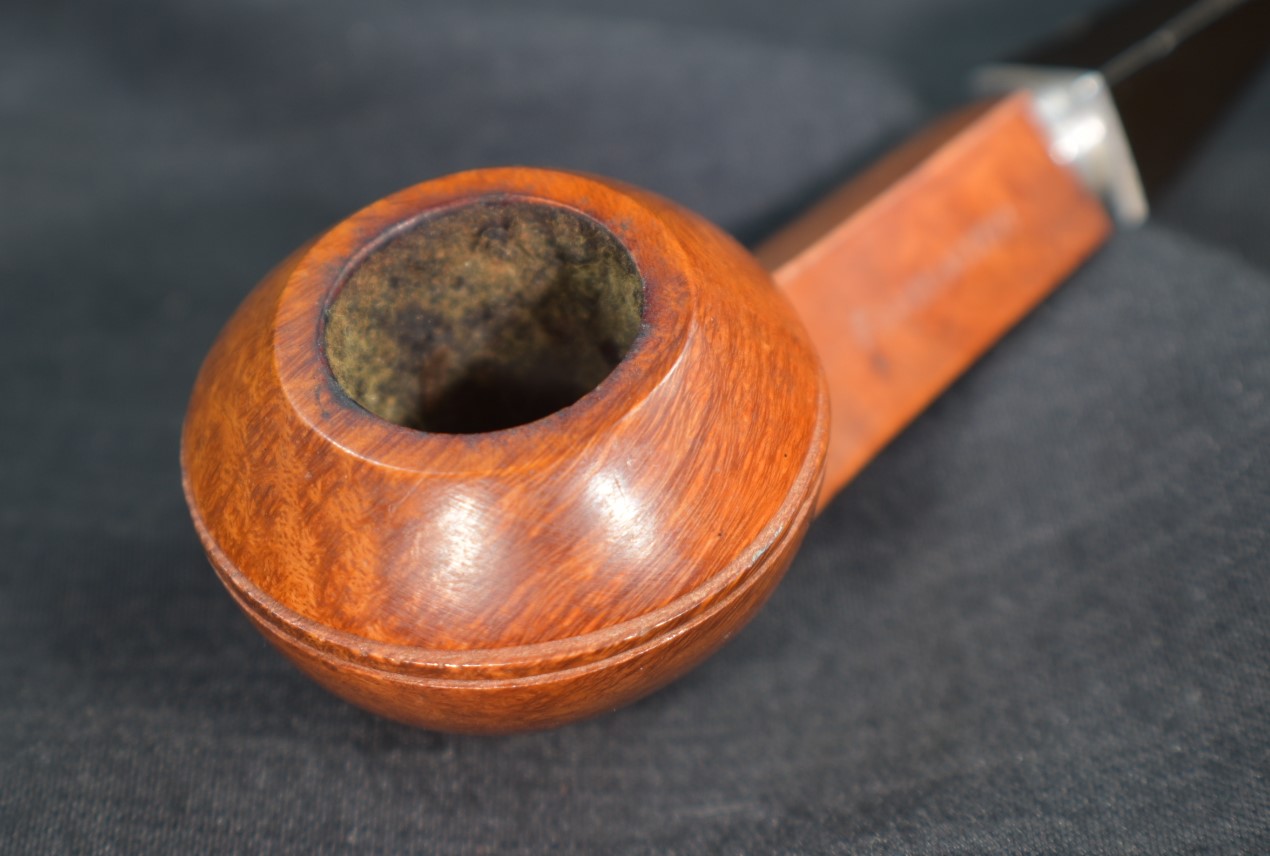
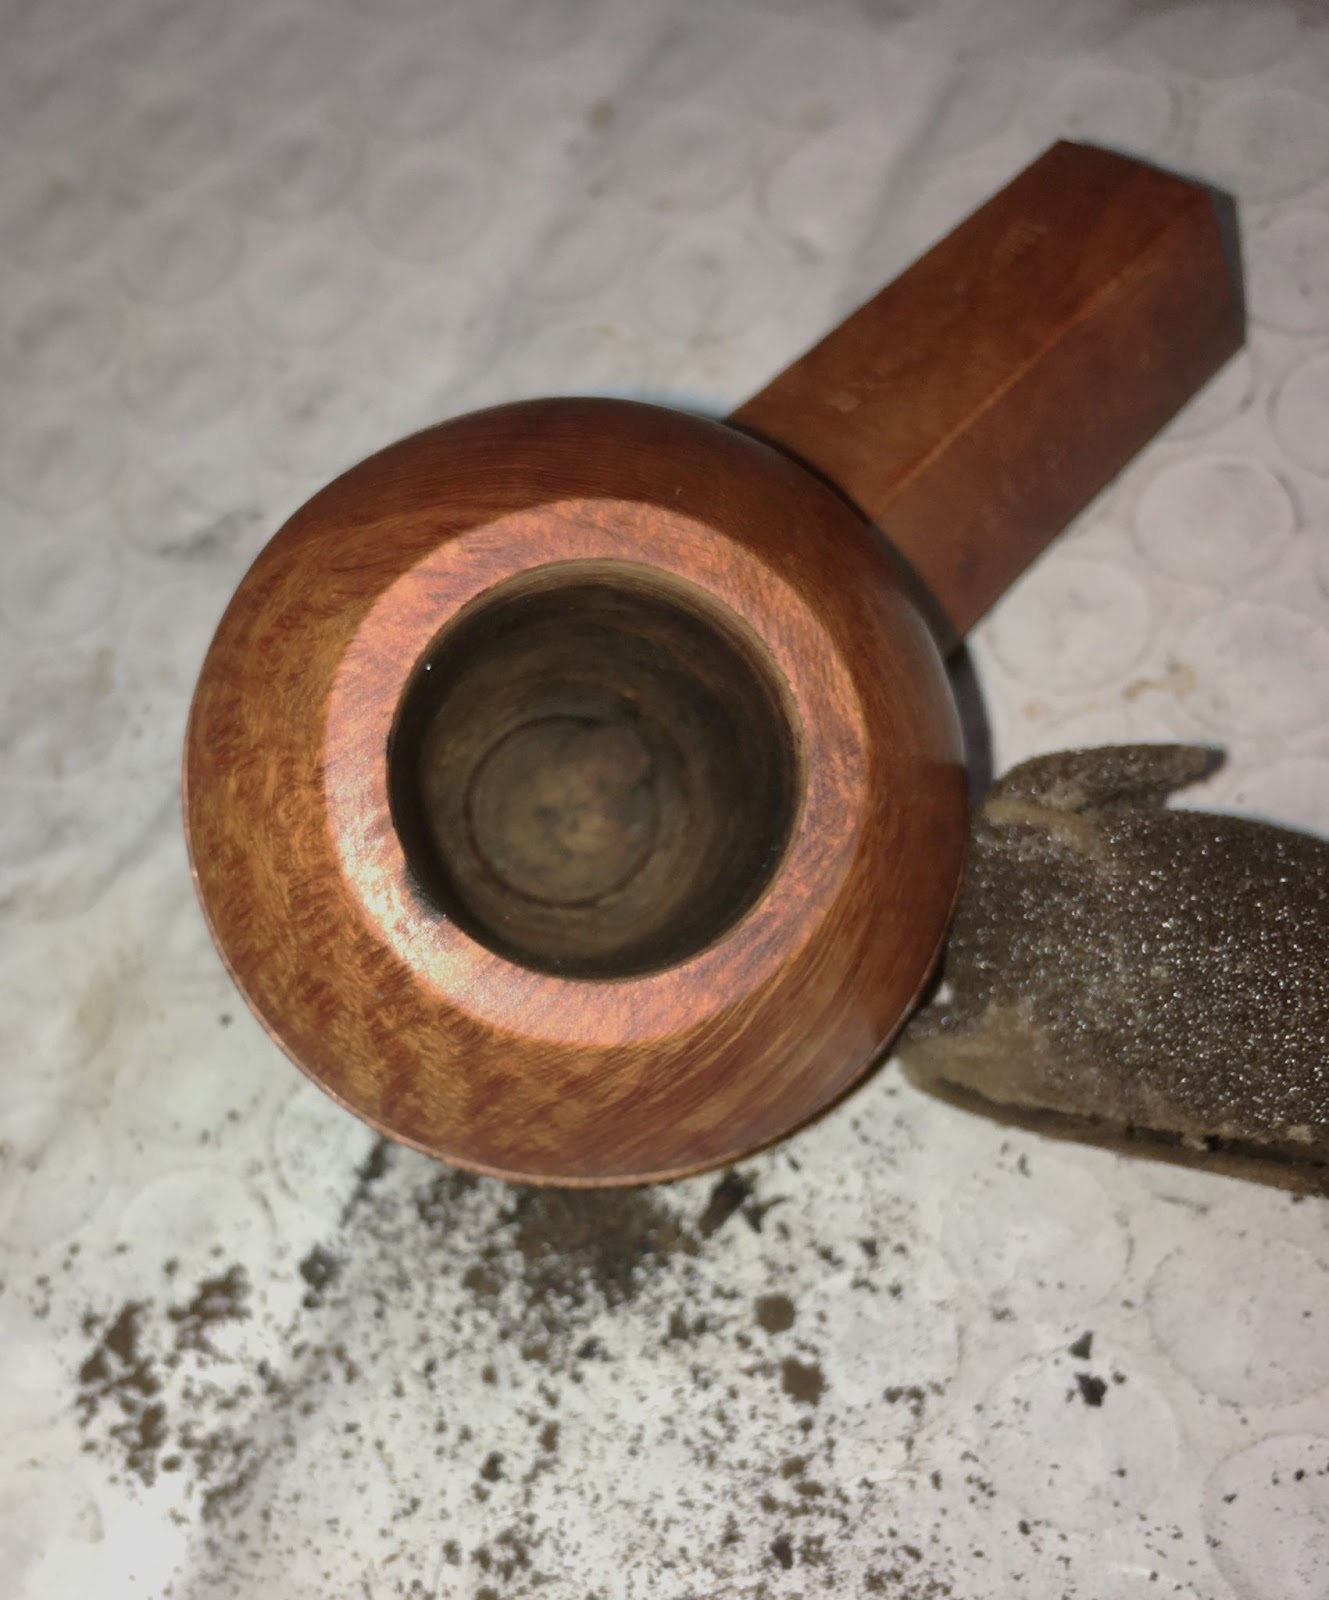
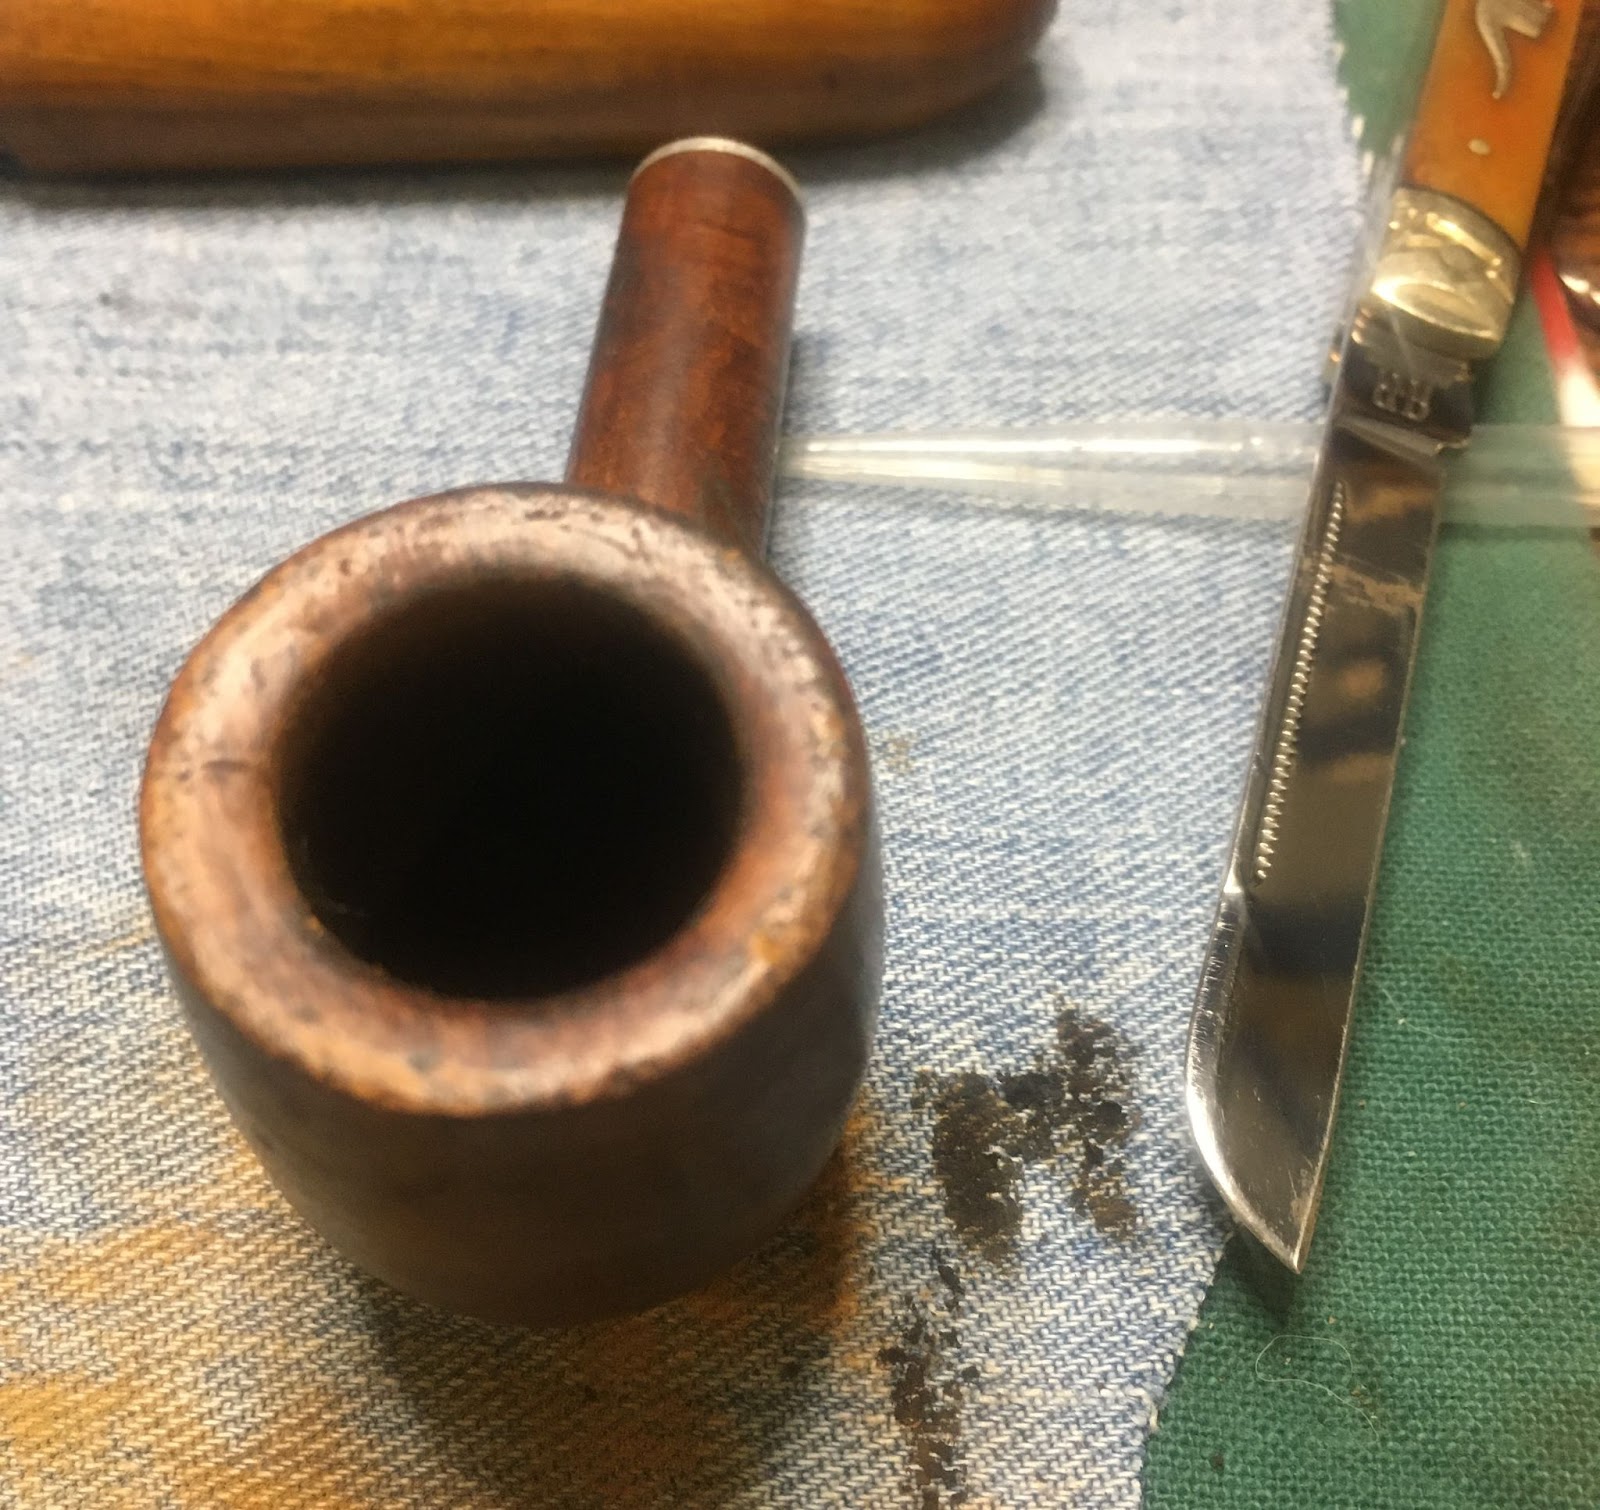
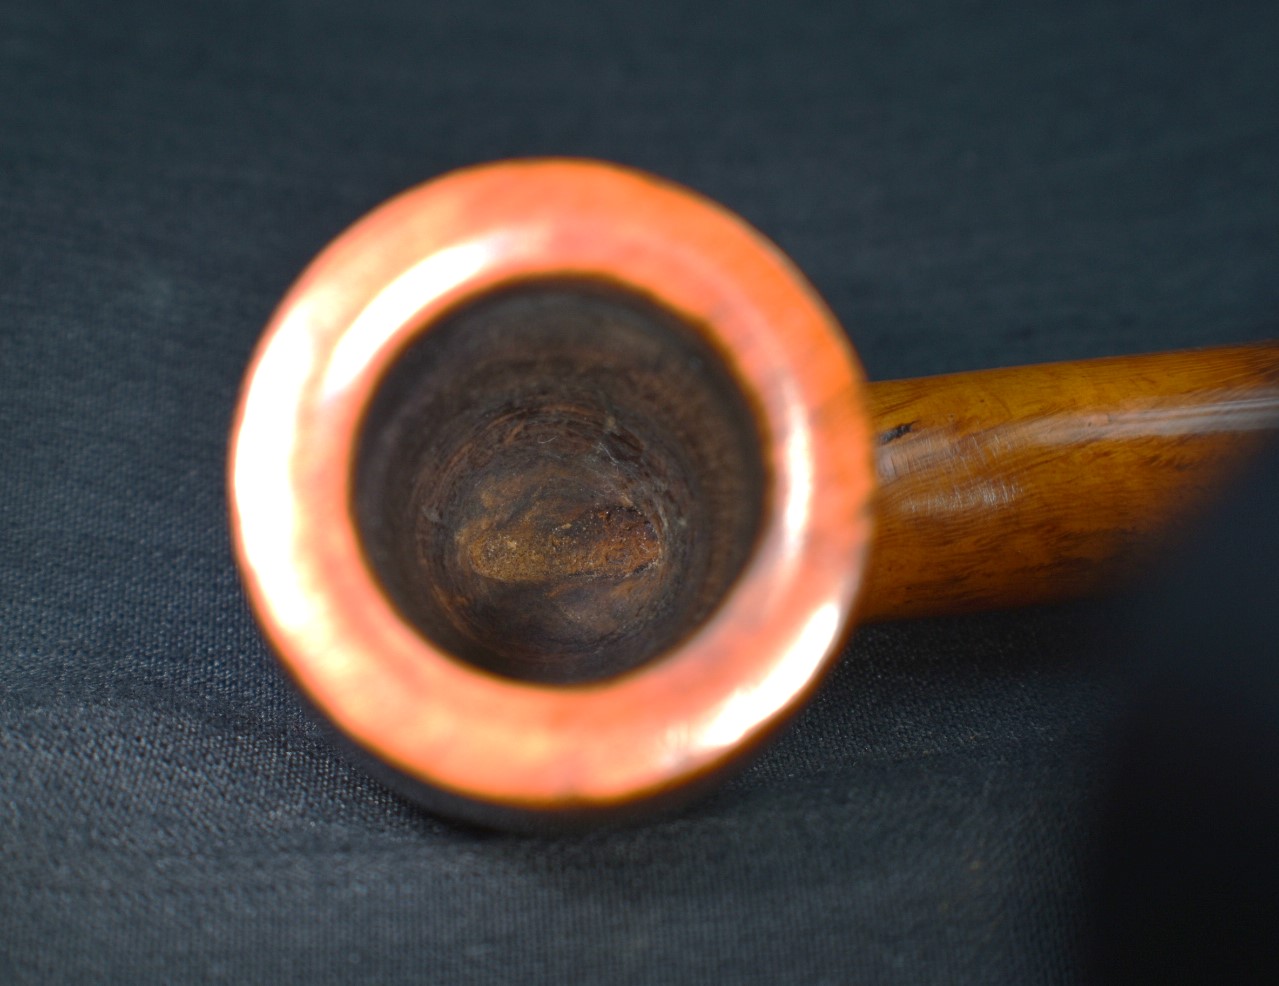
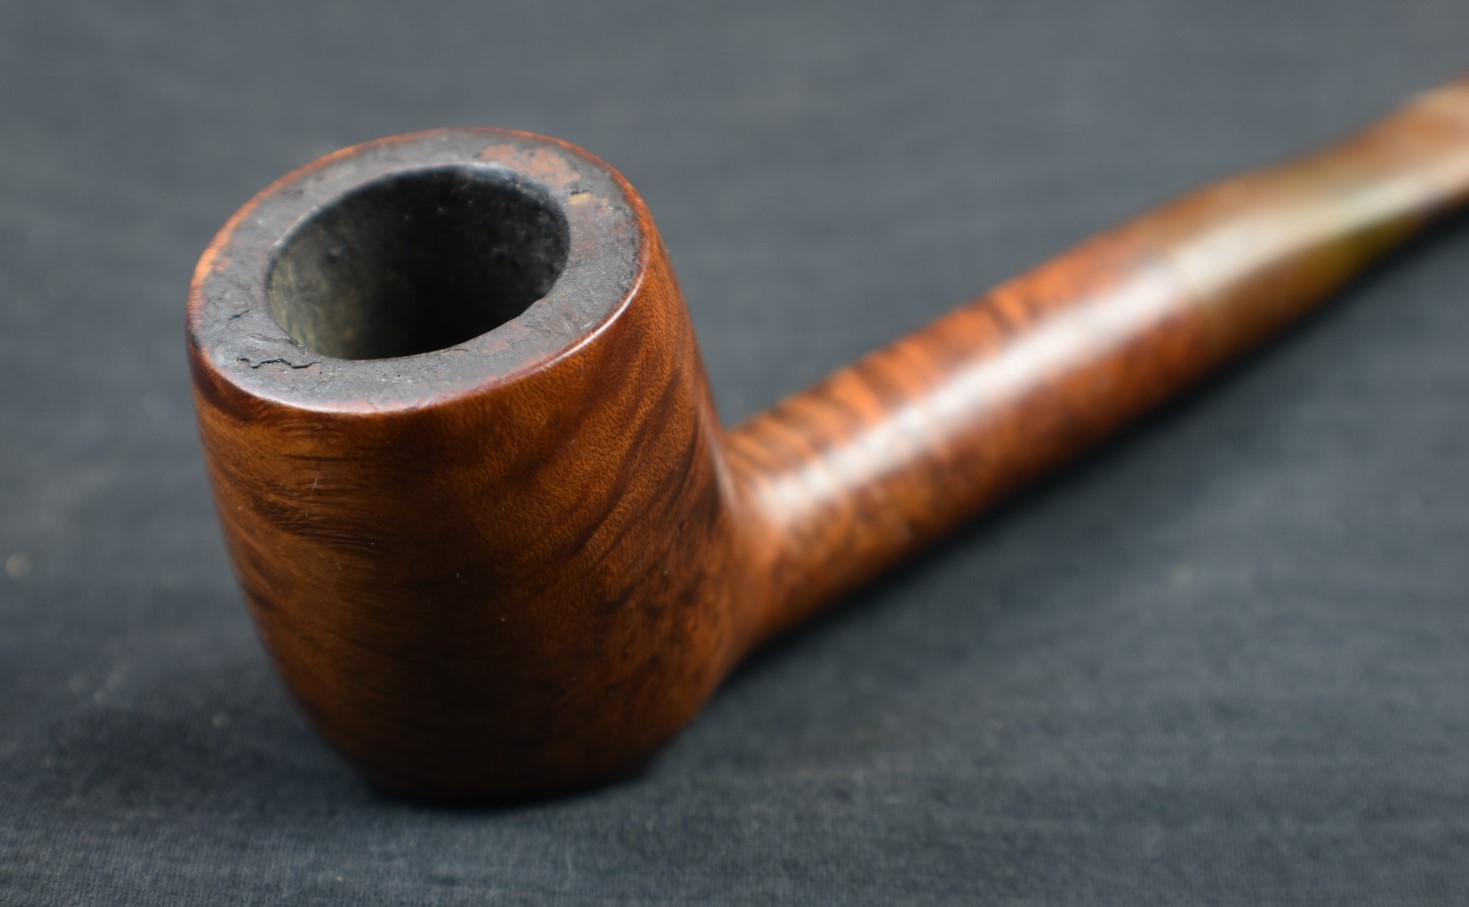
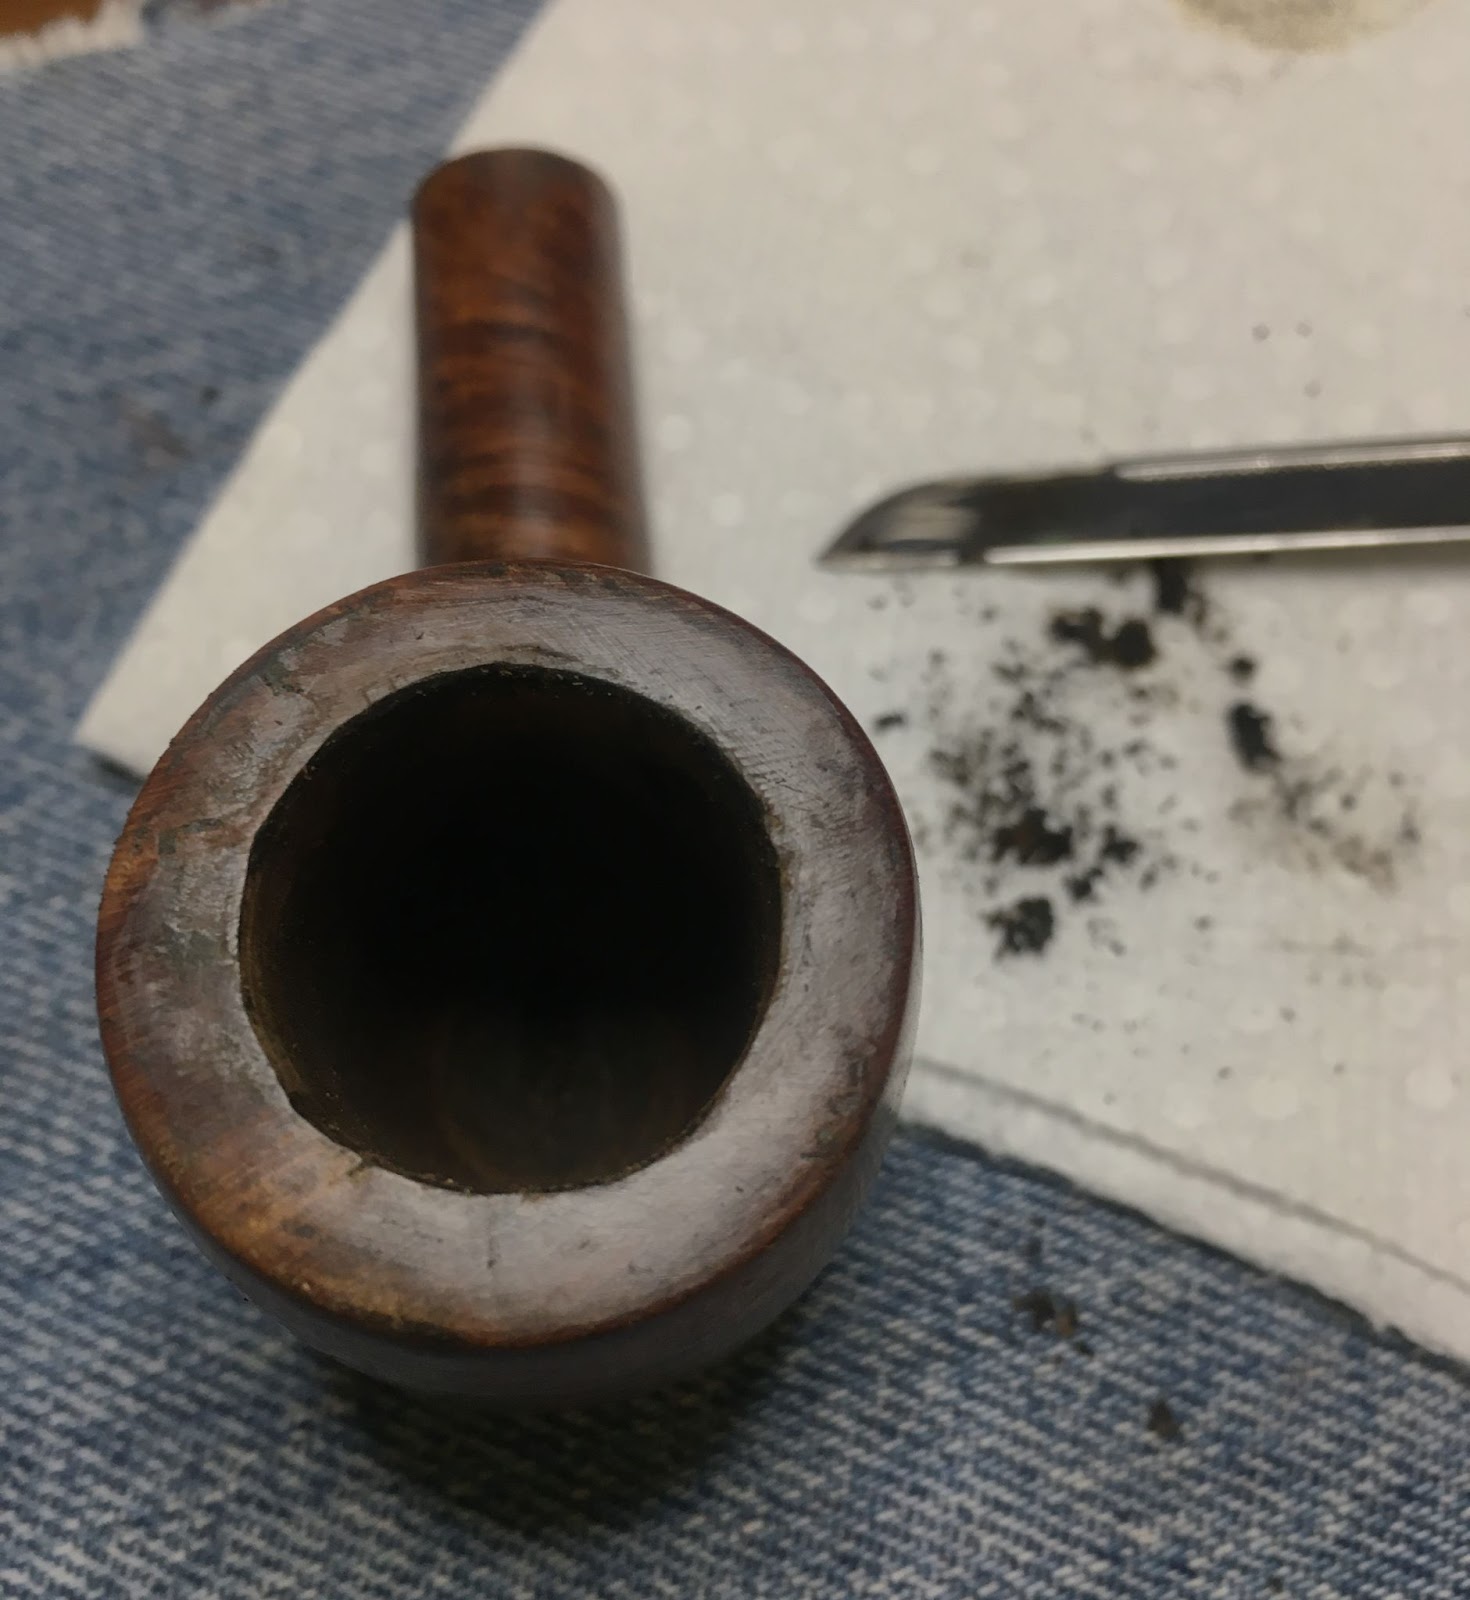
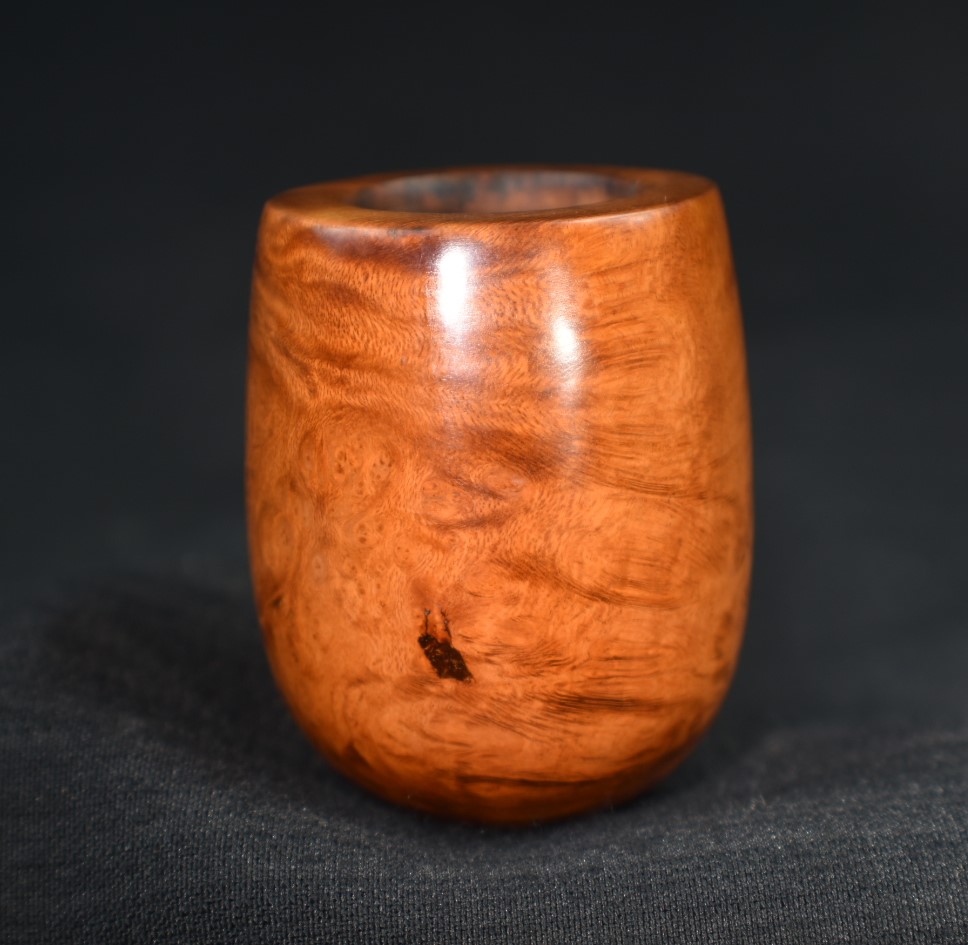
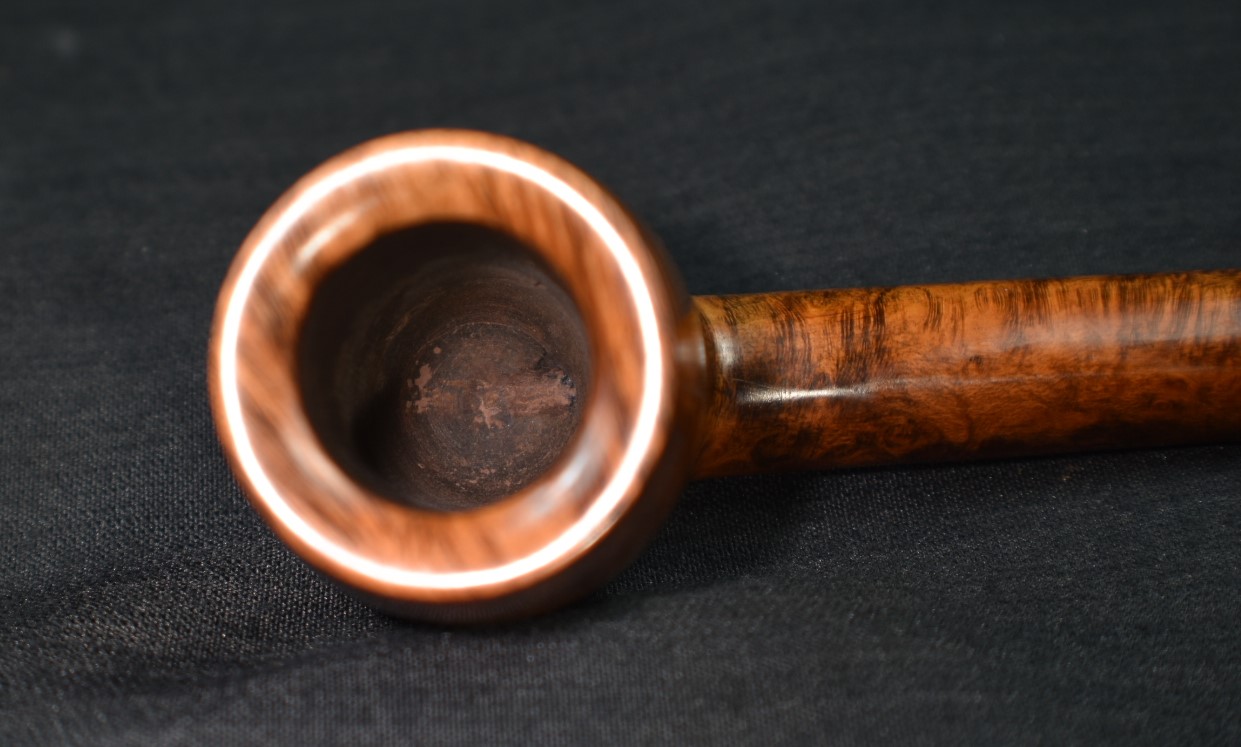
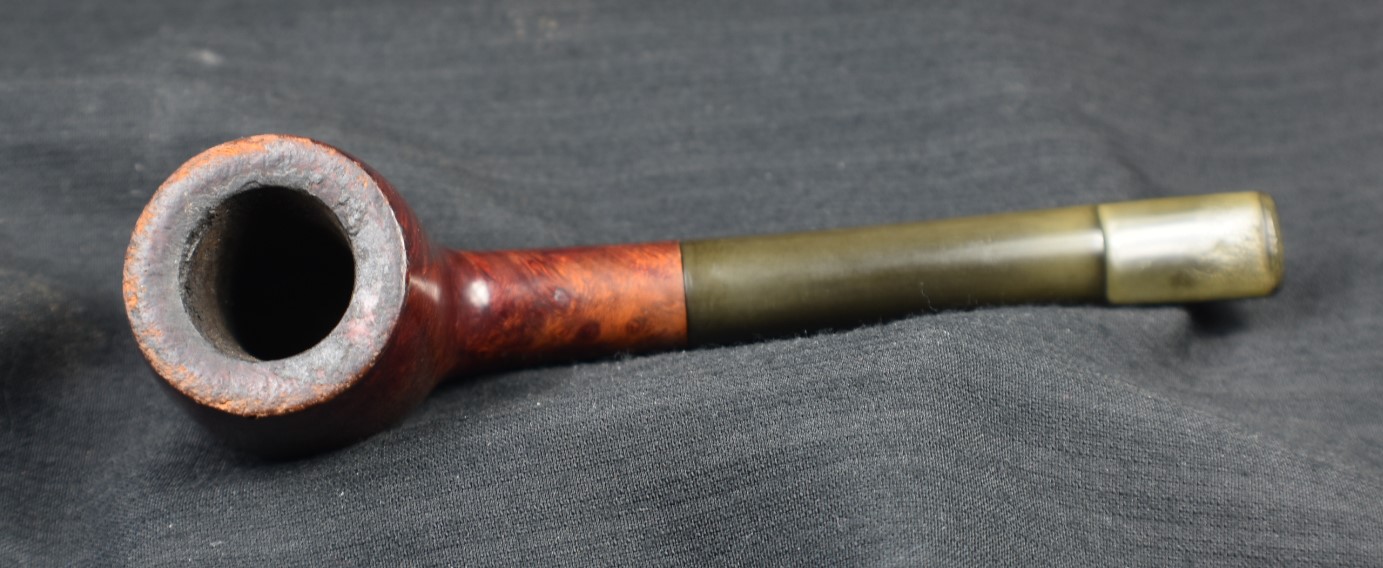
The 220 sandpaper wrapped around the wood dowel was used to sand the chamber to briar. The chamber showed no signs of any damage from excessive heat or any other mistreatment. I further sanded the tobacco chamber with 320 sandpaper wrapped around a Sharpie marker. The rim of the pipe remained dirty with a light lava deposit.

The rim was wetted with saliva and gently scraped with a sharp pocket knife.

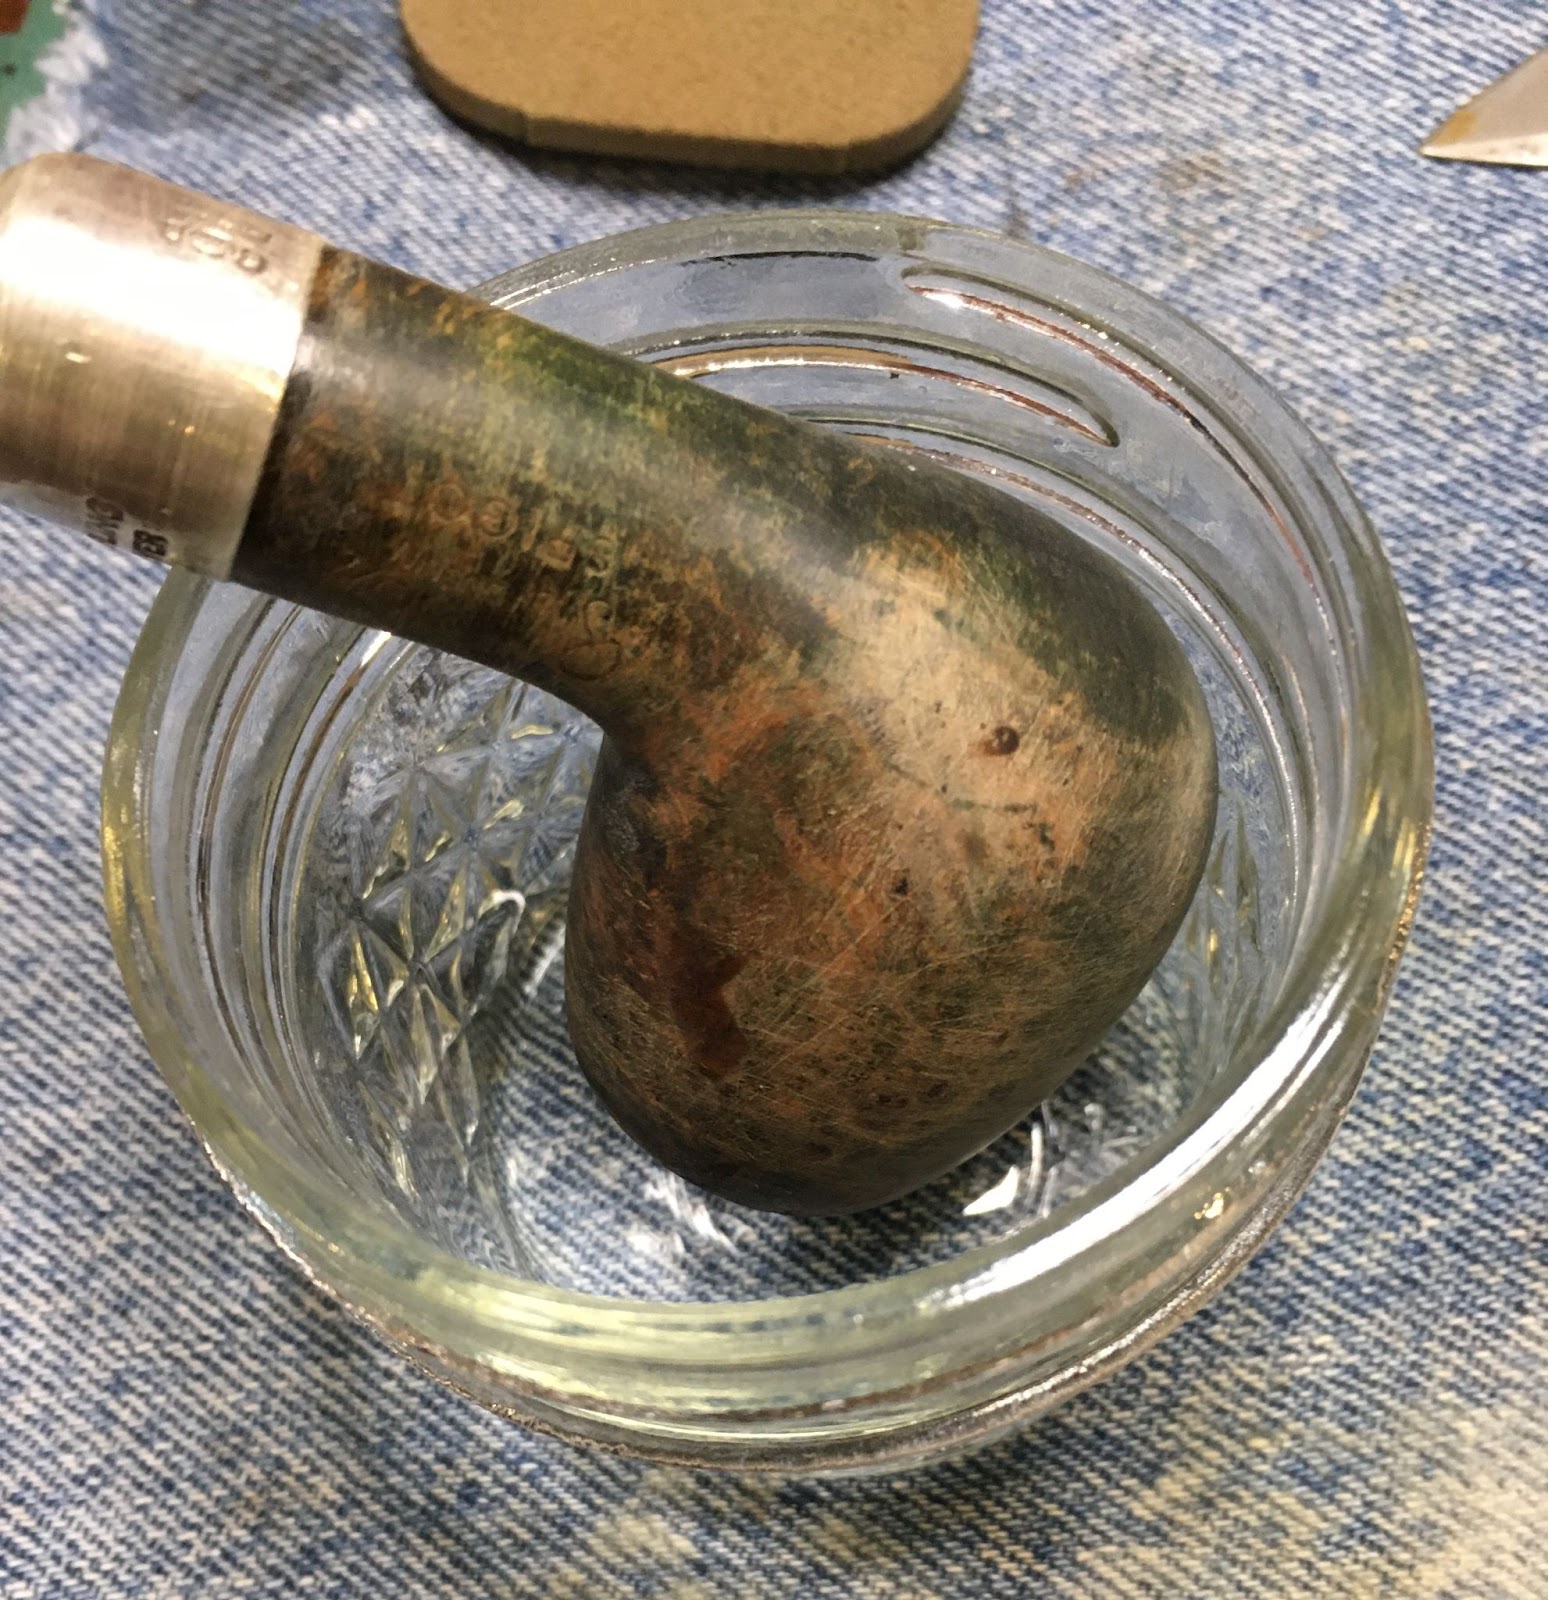
The stummel was then taken to the sink where it was scrubbed with undiluted Murphy Oil Soap and a medium stiff toothbrush. The soap was rinsed with warm water. At this point I thought that I would try scrubbing the shank airway with a shank brush and Dawn dish soap. The airway was thoroughly rinsed with warm water and scrubbed with the shank brush during the rinsing. Upon returning the stummel to the workbench this is how it looked.

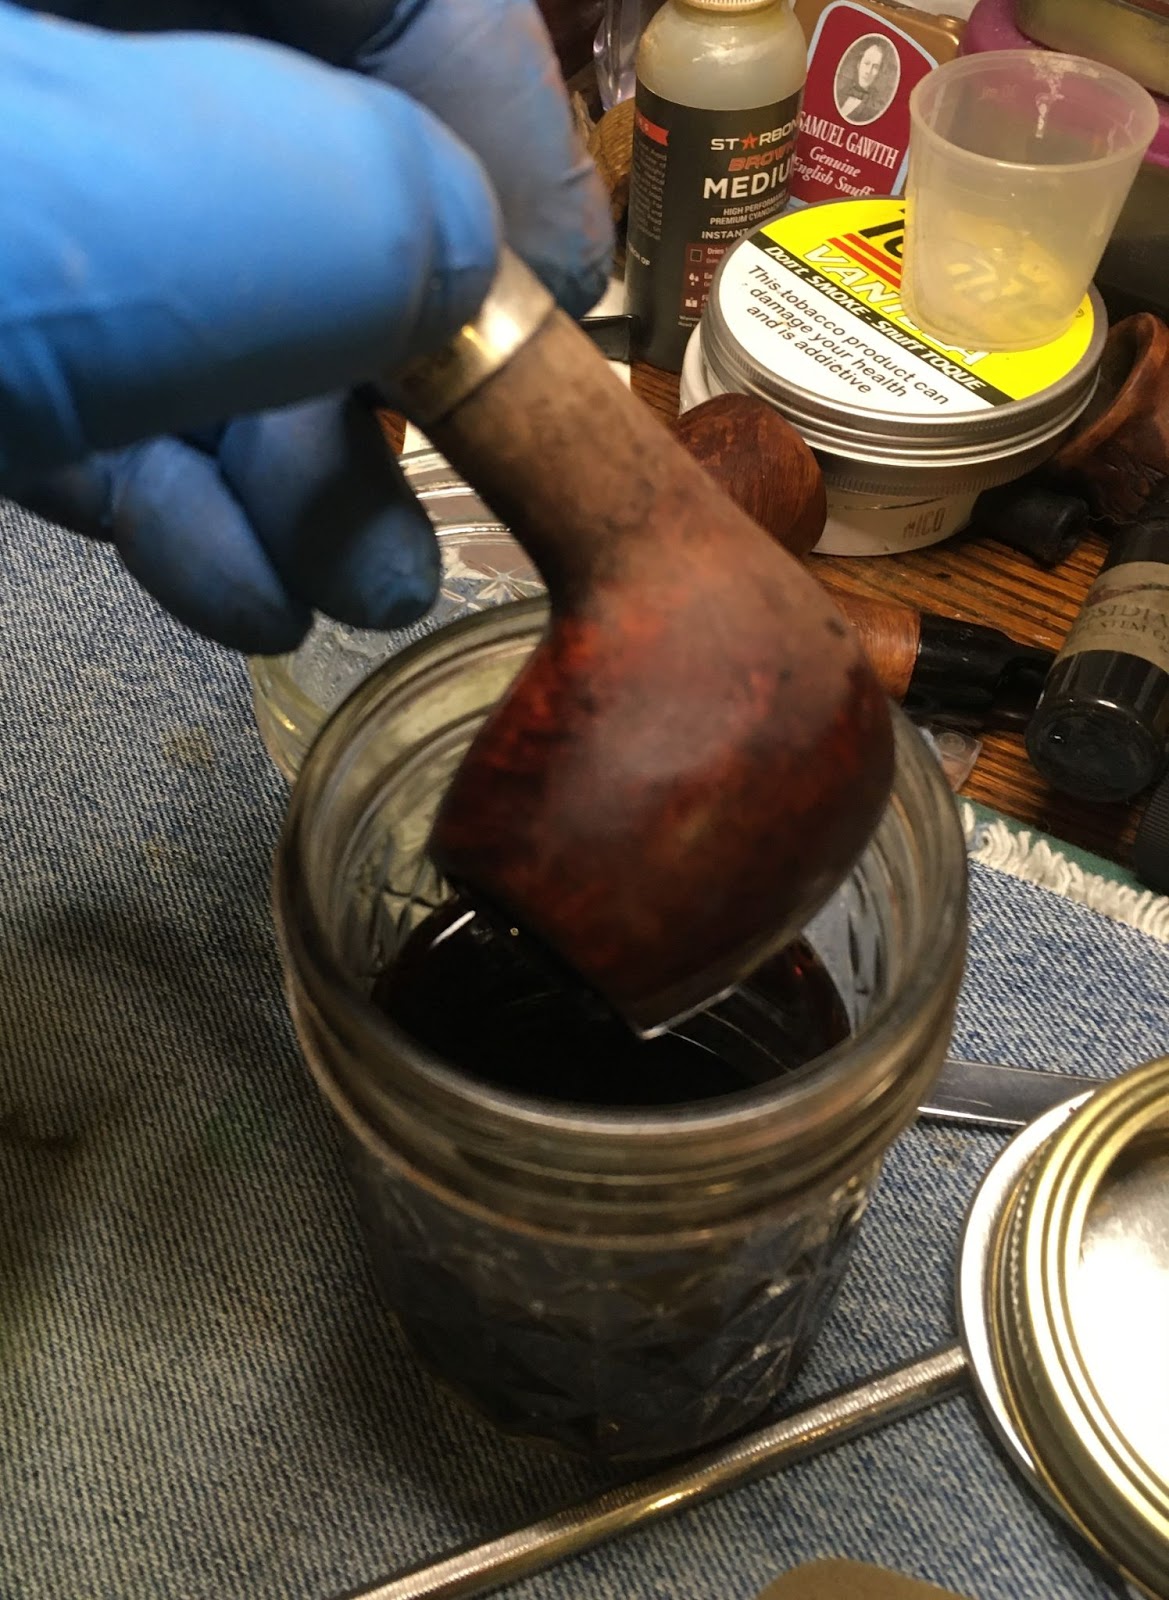
I wetted a make-up pad with 95% ethyl alcohol and gave the stummel a wipe. The remaining clear coat seemed susceptible to alcohol. It must have been a light shellac.

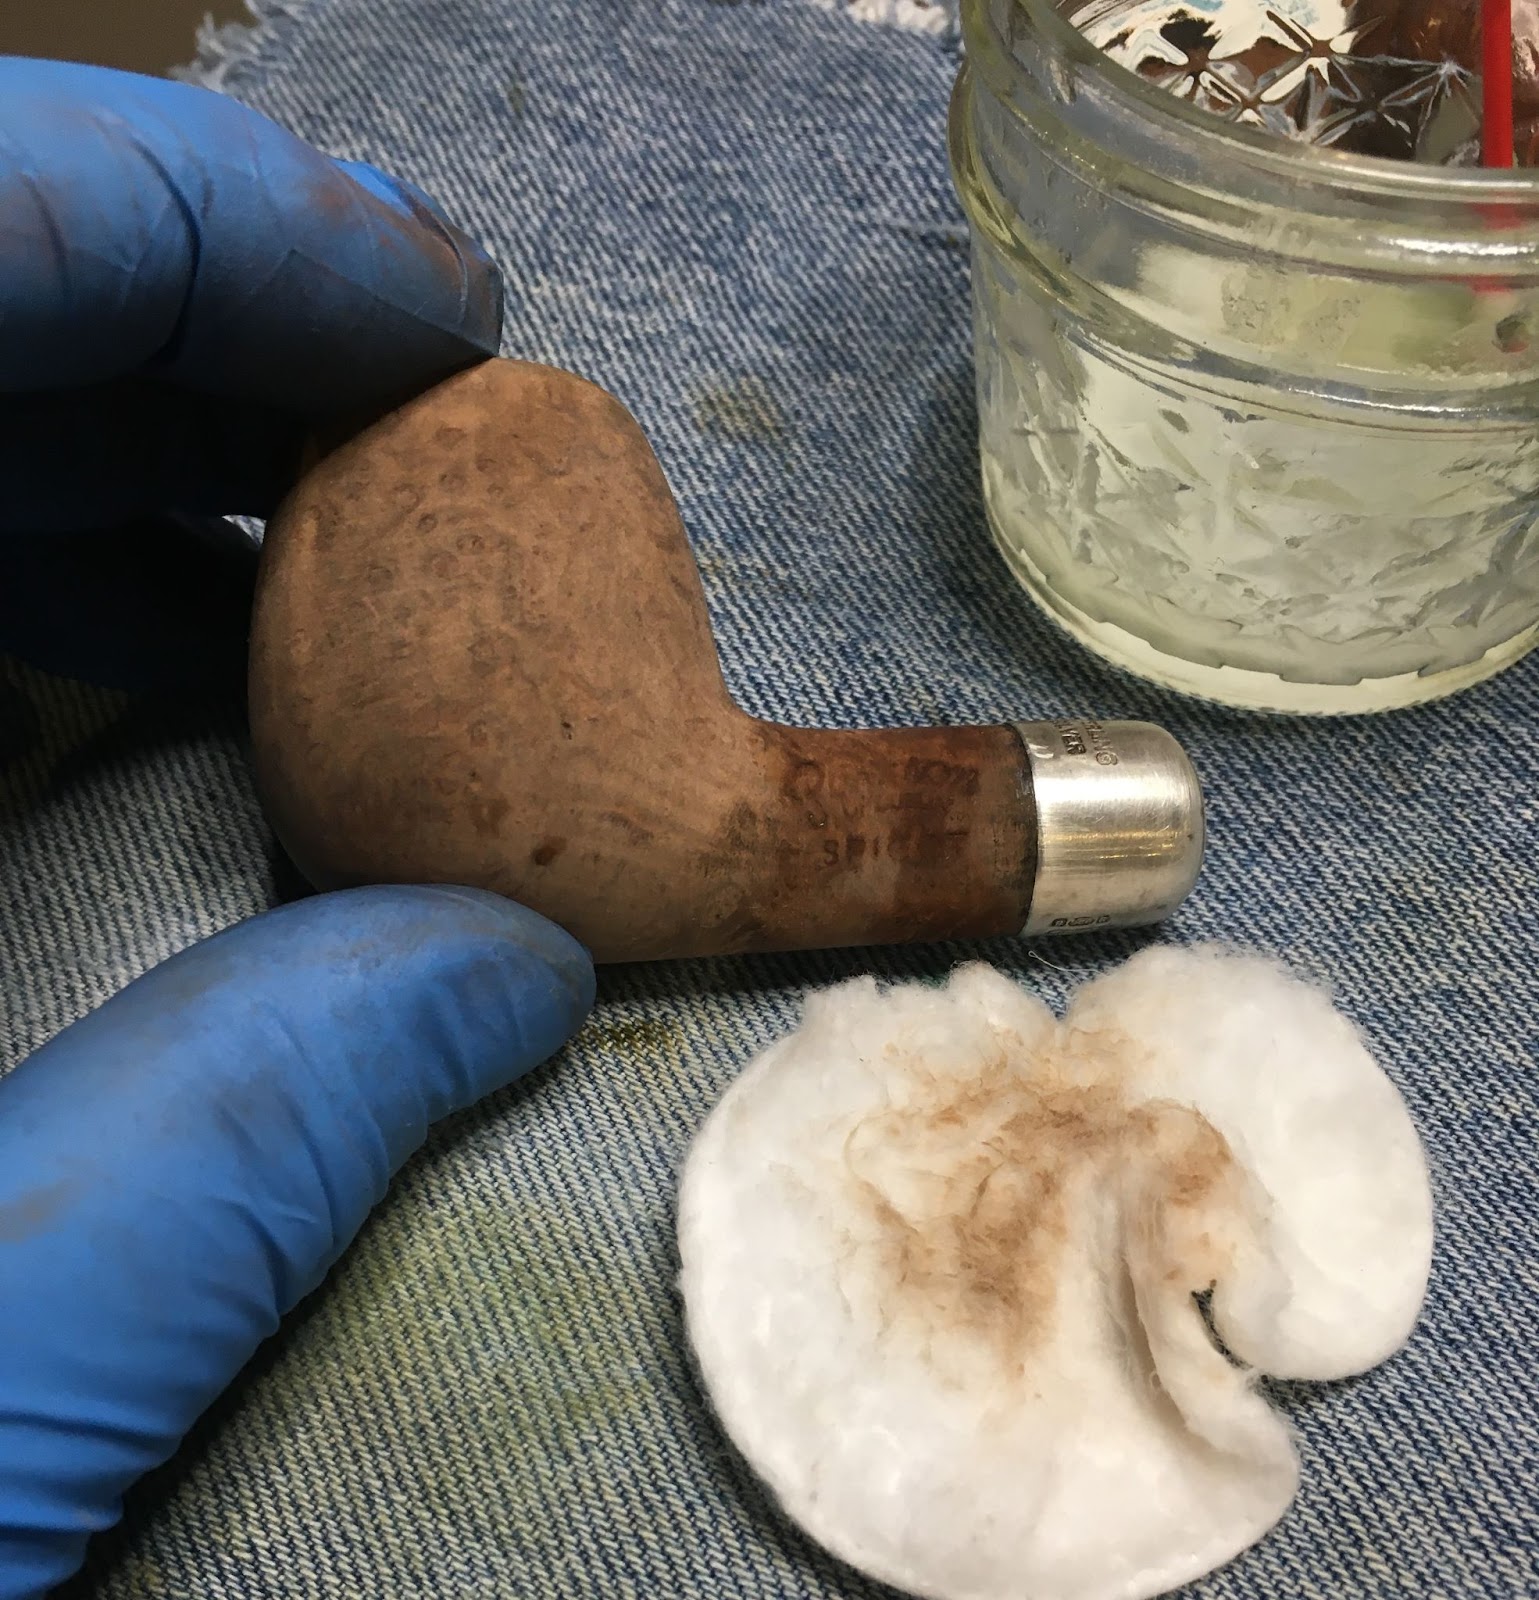
After a second make-up pad with alcohol the shiny spots of the stummel were gone.

I looked over the clean surface of the stummel and saw one pit where the fill had loosened with the scrubbing. I picked the remaining old filler from the pit. This would get filled with cyanoacrylate (CA, super glue) and briar dust later.

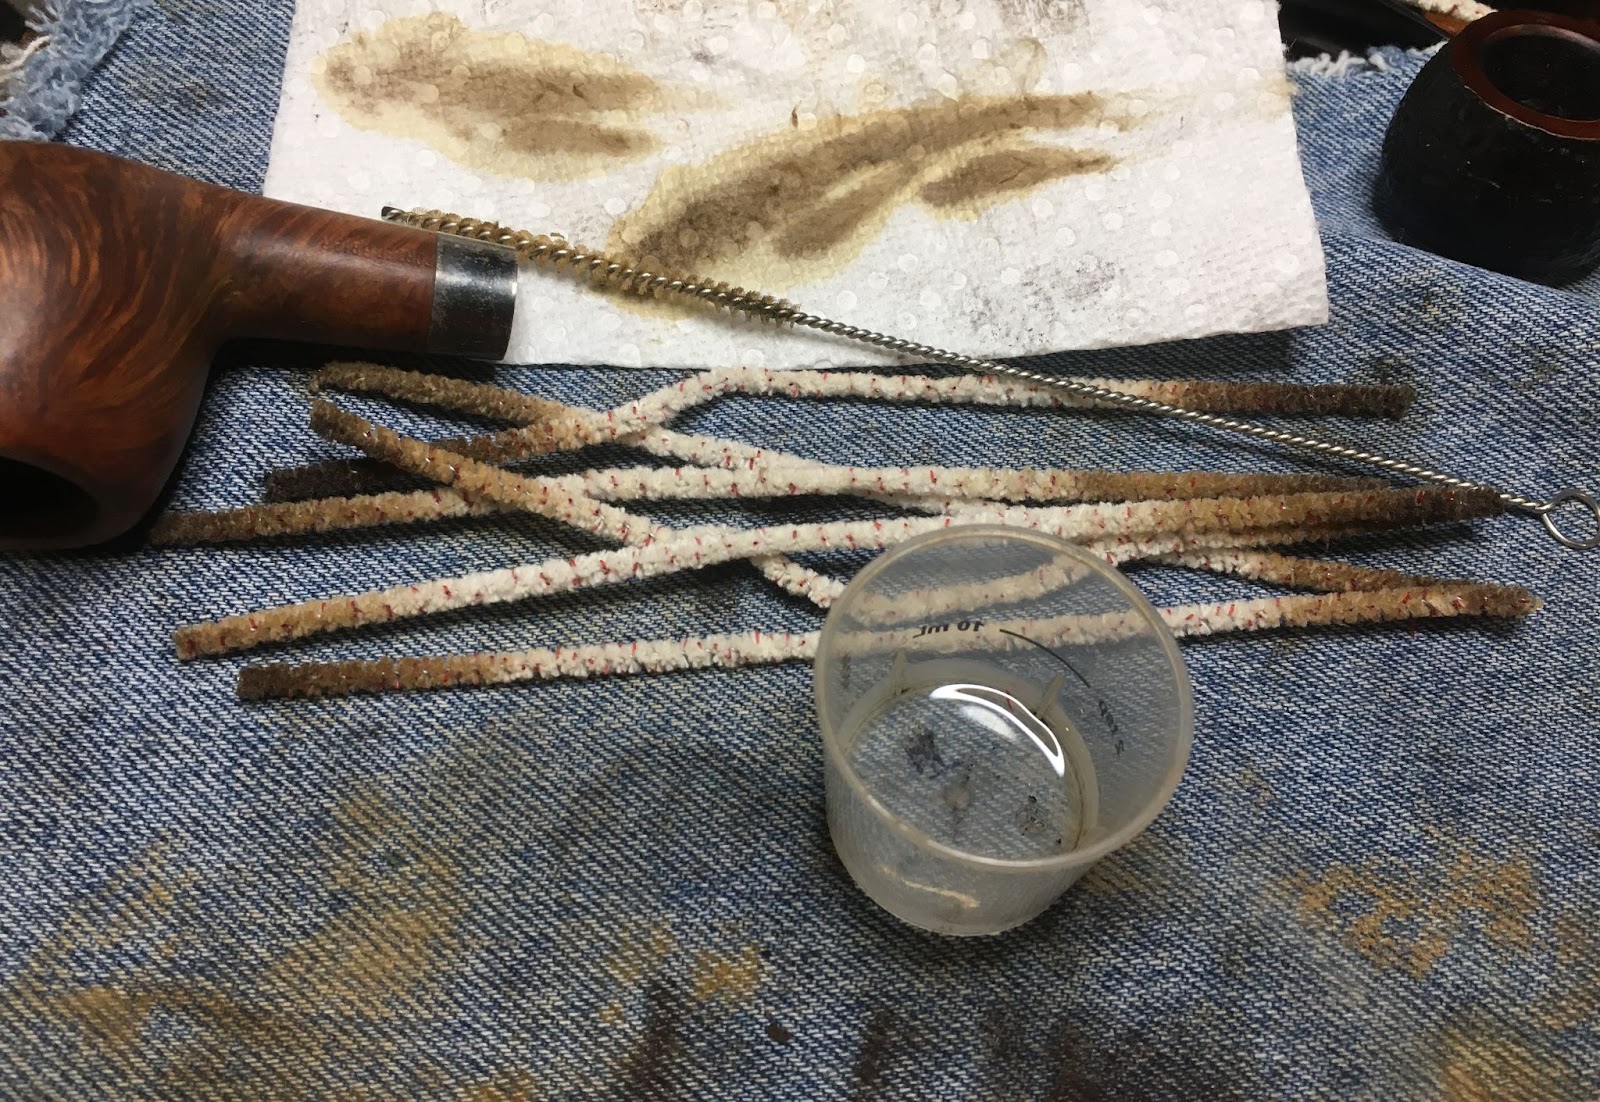
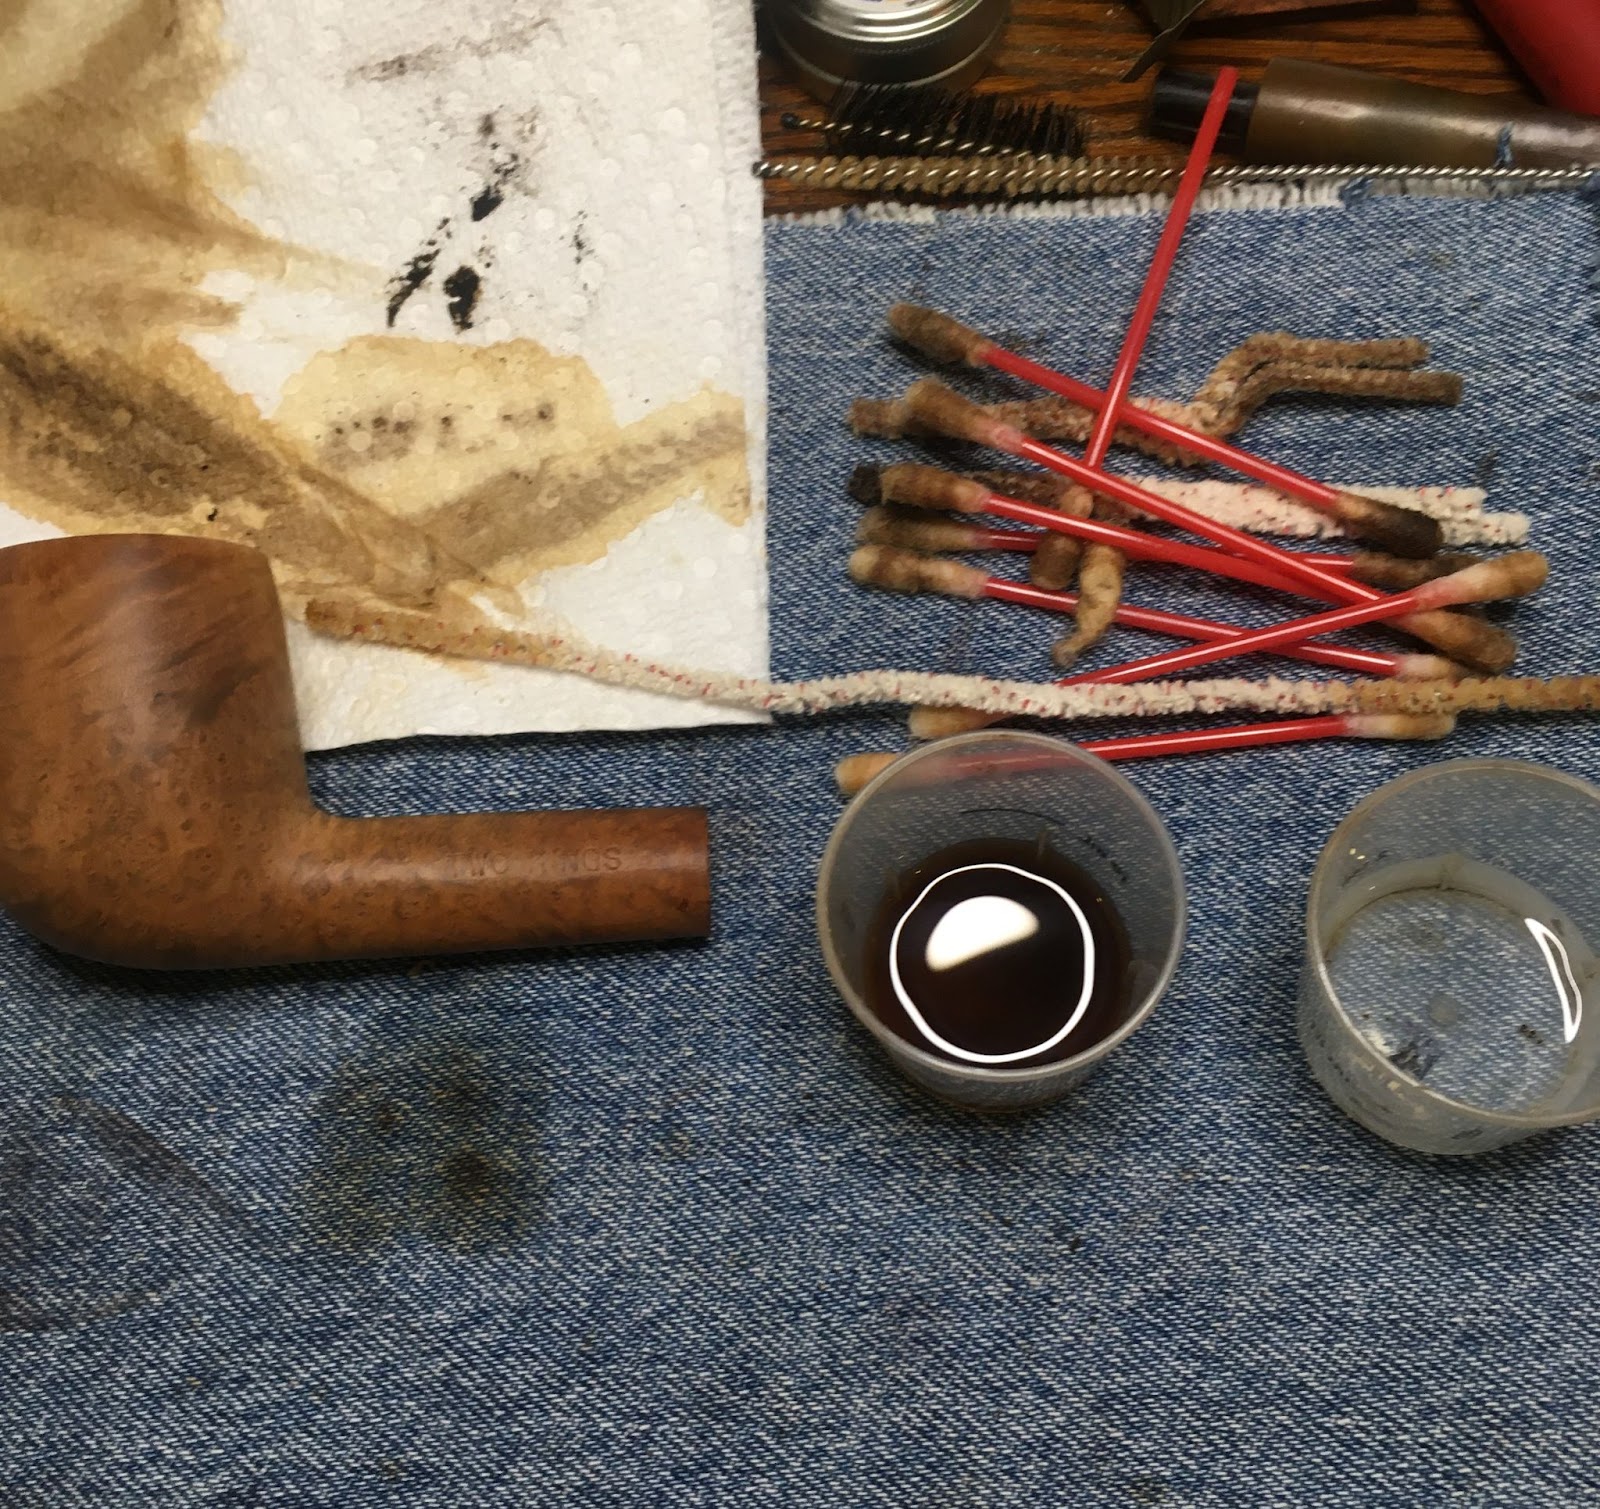
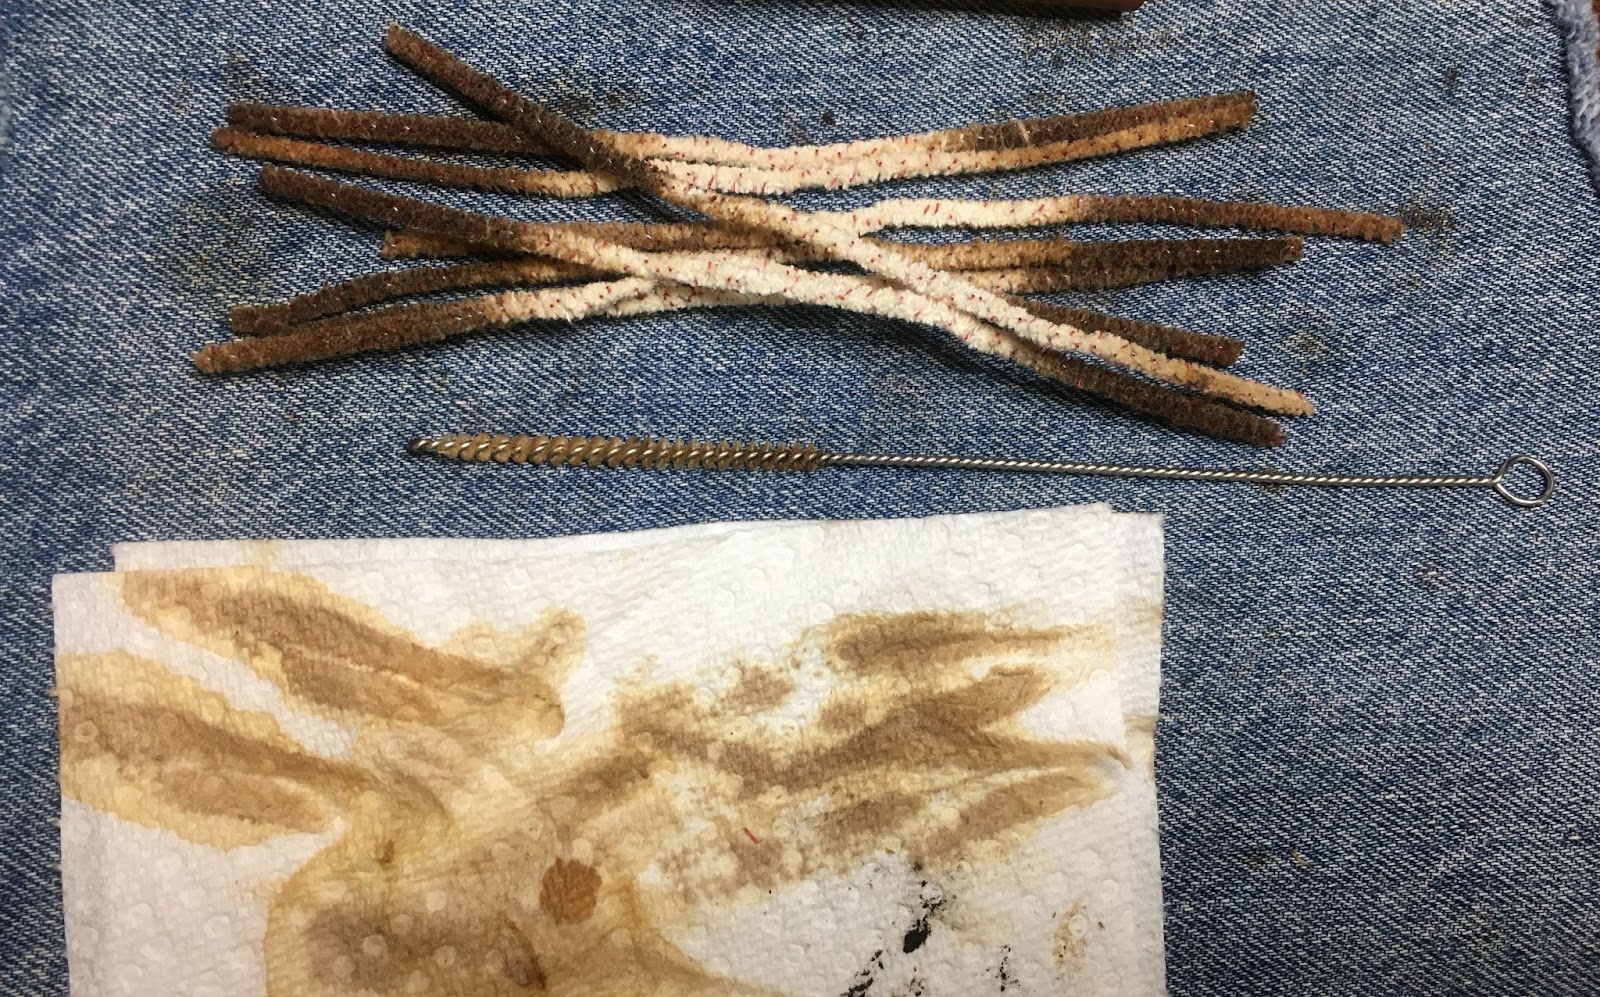
I returned to the cleaning of the airway. I was hoping that the use of the water, soap and rinsing had softened the tar and yuck (Yuck – a highly technical term for hardened smoking residue) in the airway. I poured 3-4 ml of 05% ethyl alcohol into the chamber and allowed it to flow into the shank. I scrubbed with this alcohol and a shank brush to loosen and dissolve the yuck. I then poured the remaining alcohol into a medicine cup. The color was not bad. Apparently my out of sequence scrubbing had served a purpose after all.

I continued to scrub and clean with alcohol dipped cotton swabs until the airway was clean.

Once satisfied with the cleaning of the airway I turned to the filling of pits on the stummel. I only found the one pit which I had already picked free of old fill.
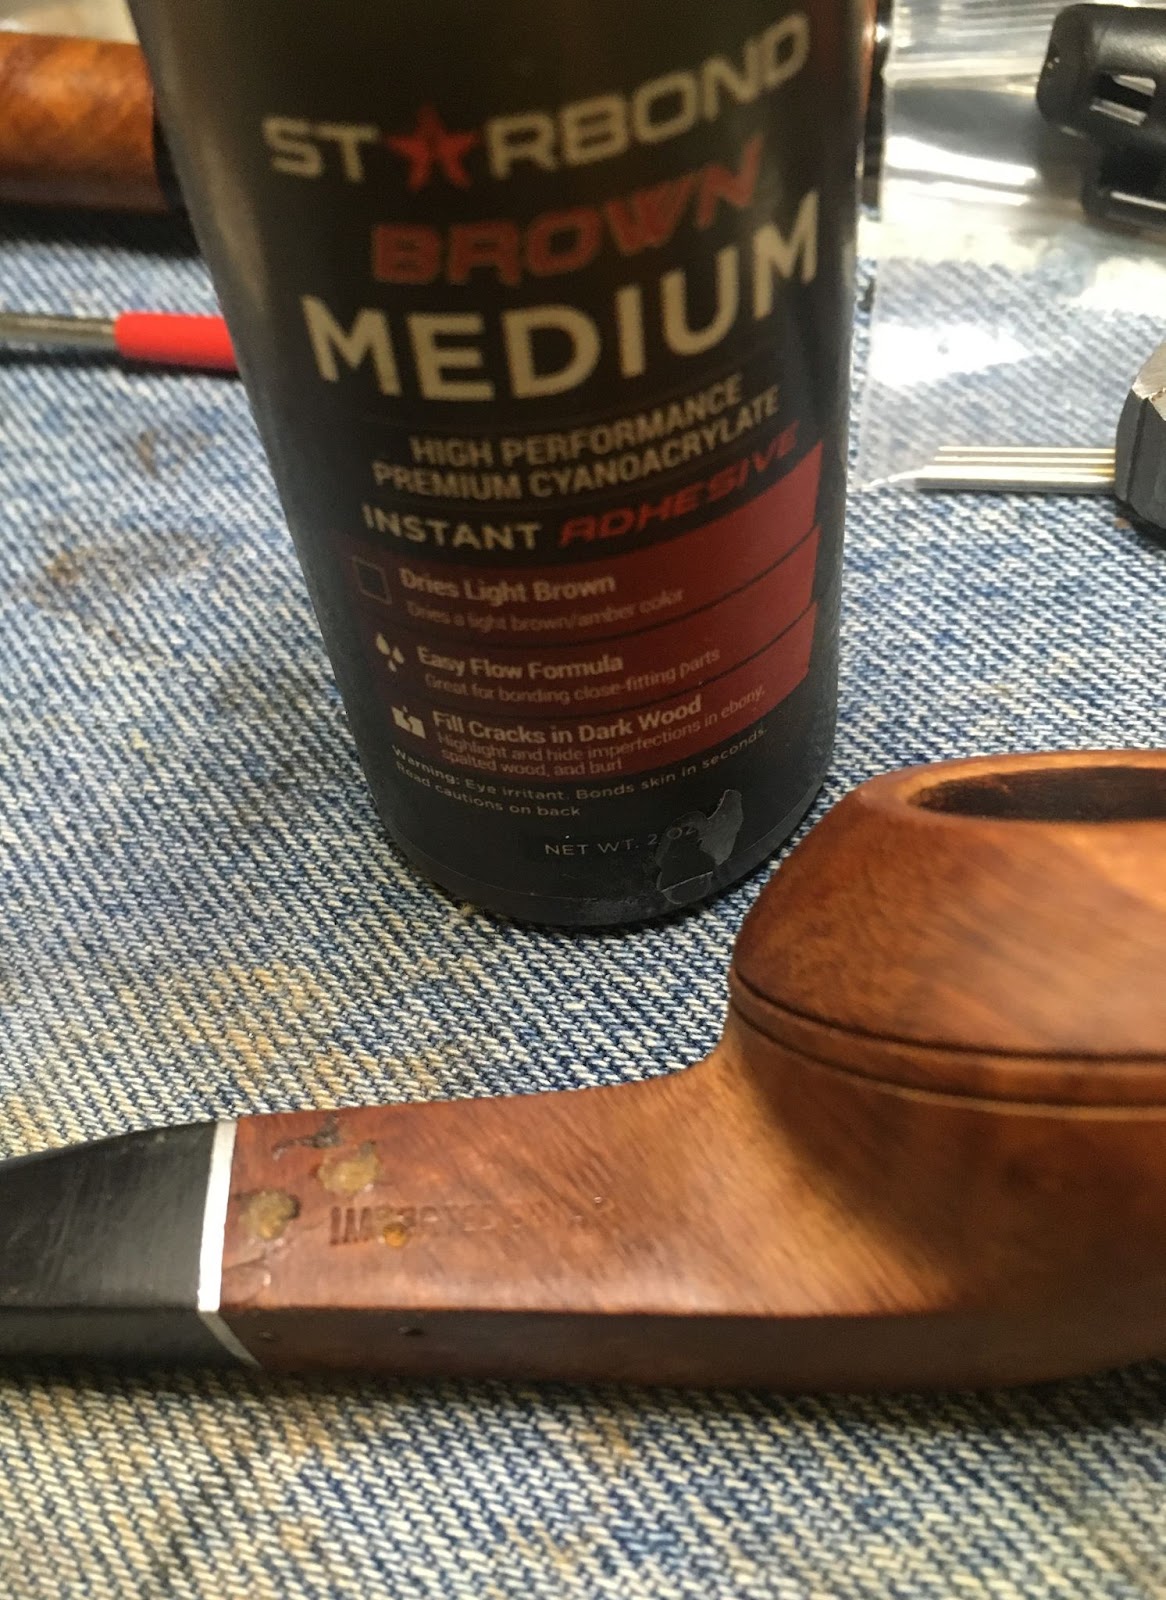
This one pit was filled with a dab of brown CA applied with a fly tying bodkin. I then quickly pressed briar dust into the wet CA. The CA set-up almost immediately with the briar dust and the subsequent fill was sanded smooth.

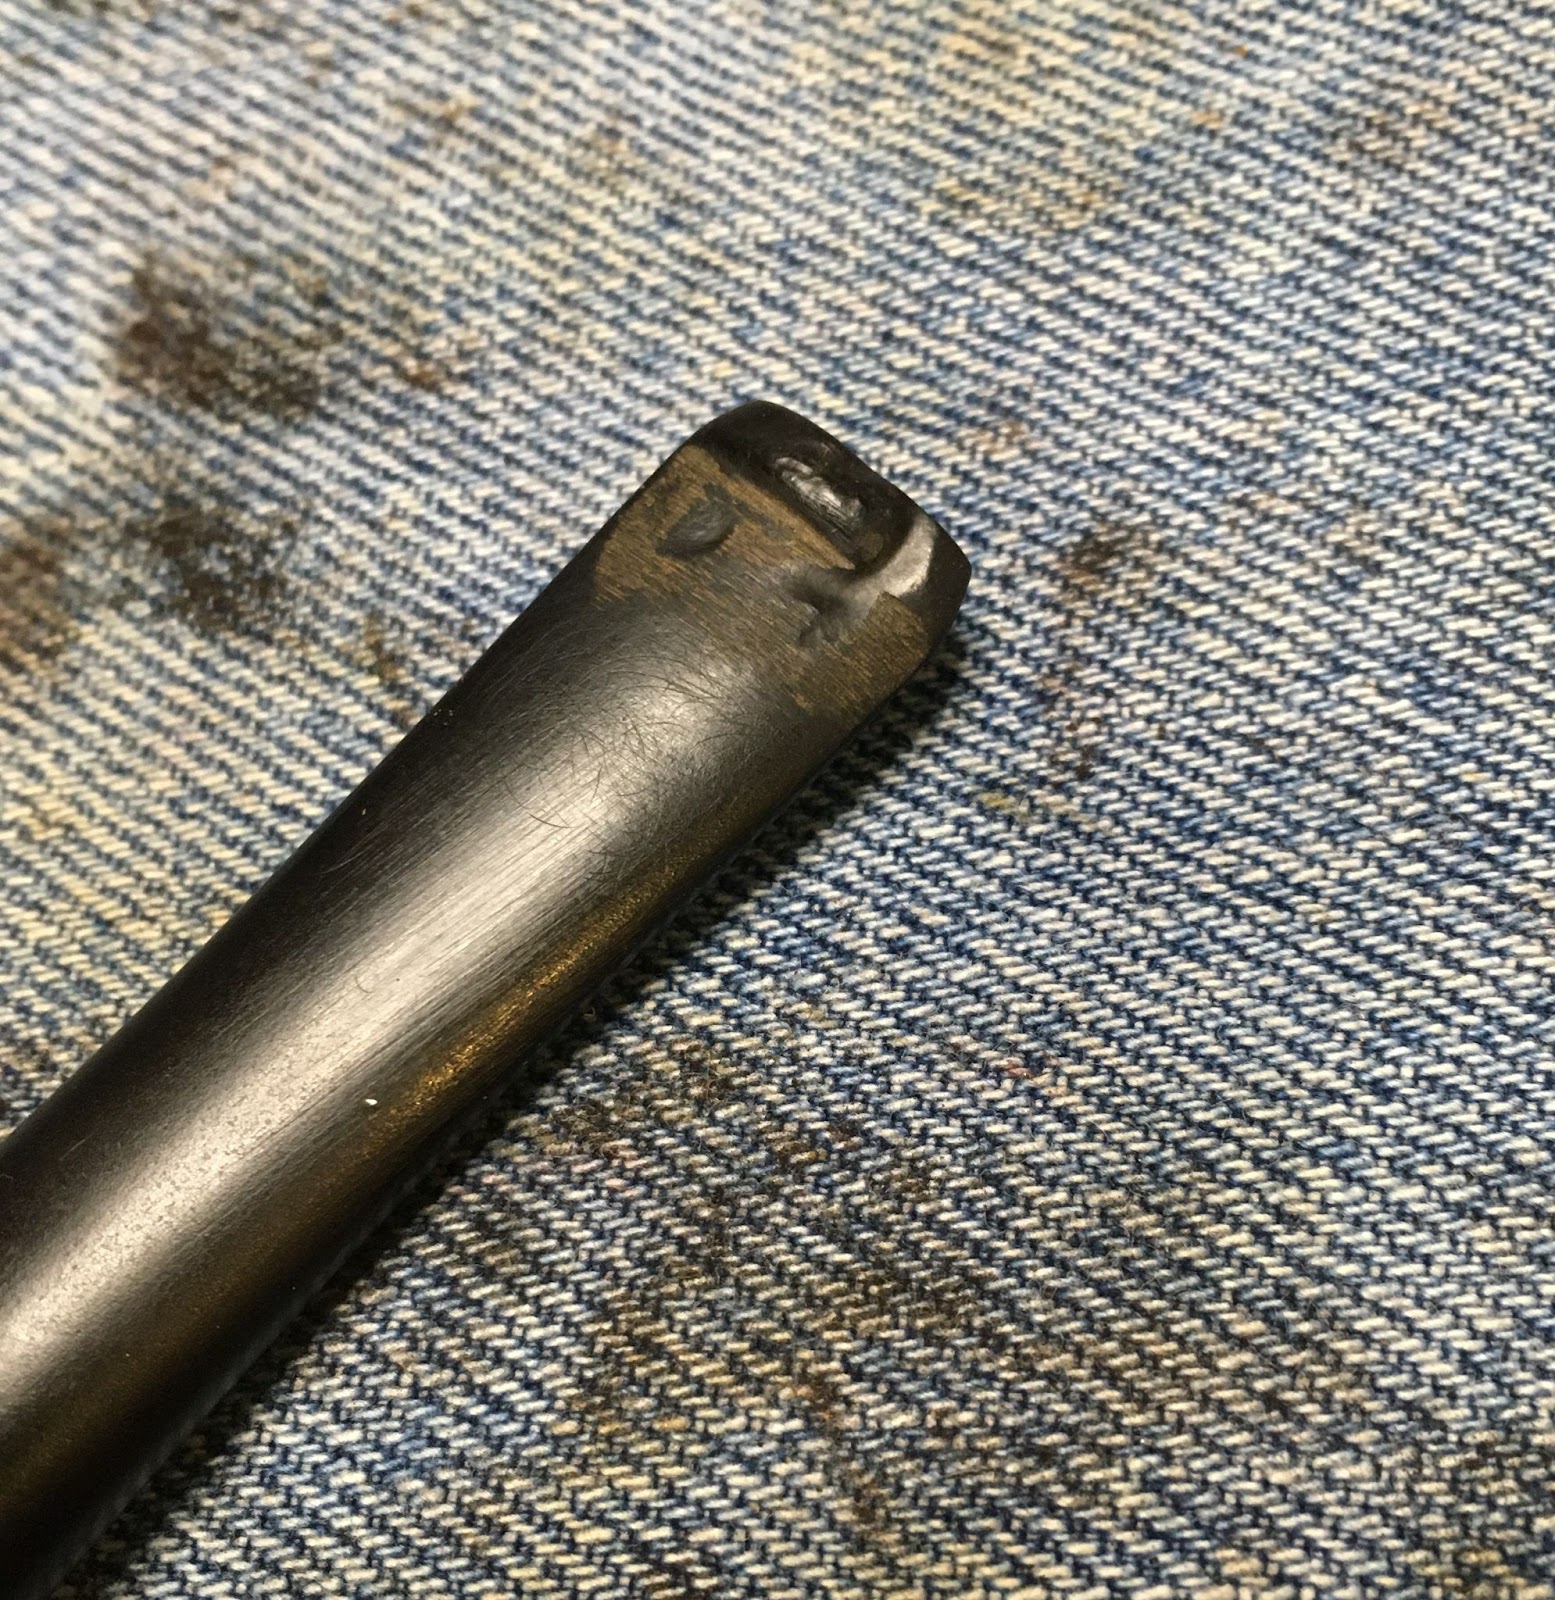
I did find some dents that I did not want to fill with CA and briar dust on the top of the shank and the front of the bowl. To address these I thought that I would try to raise the dents using steam. I heated the clothes iron on high, selected a soft cotton cloth and a pipette with tap water.
I wrapped the dented area with the cloth, applied several drops of water and pressed the iron to the wetted cloth. The dents on both the shank and the bowl front were raised beautifully. I love it when things work like they are supposed to.

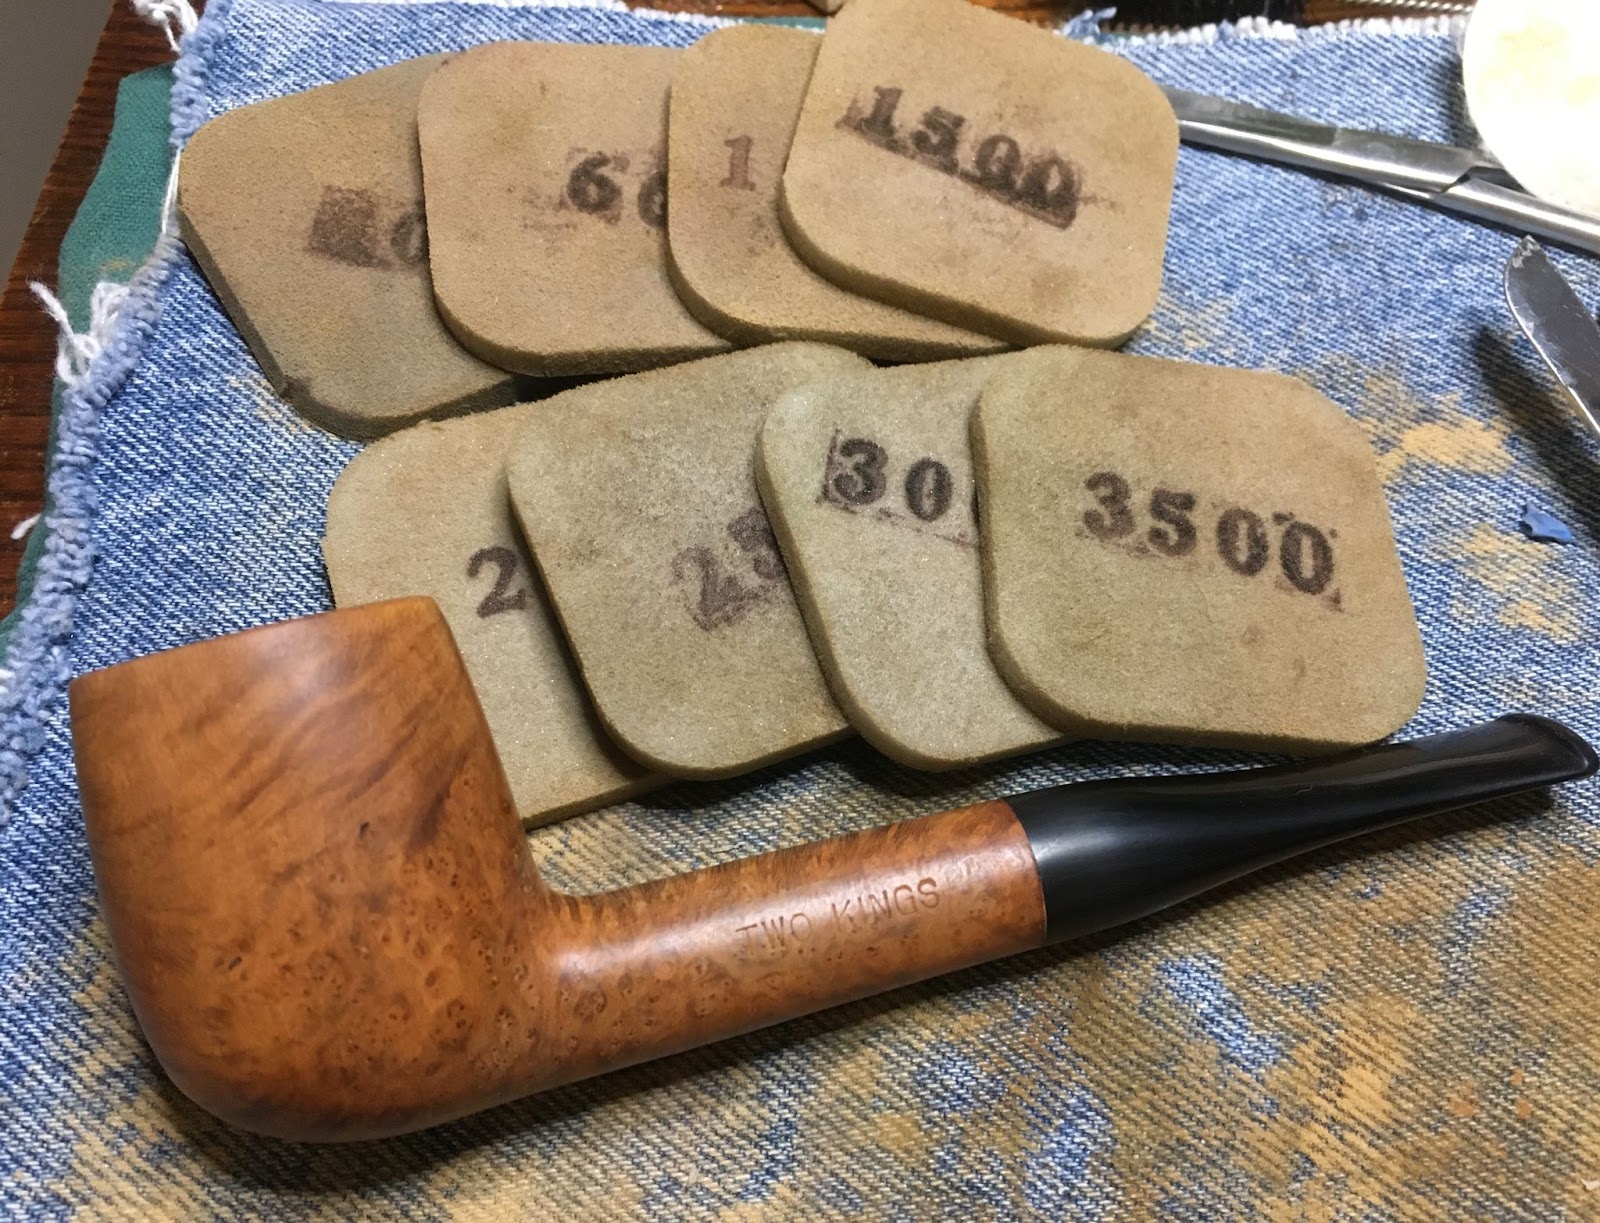
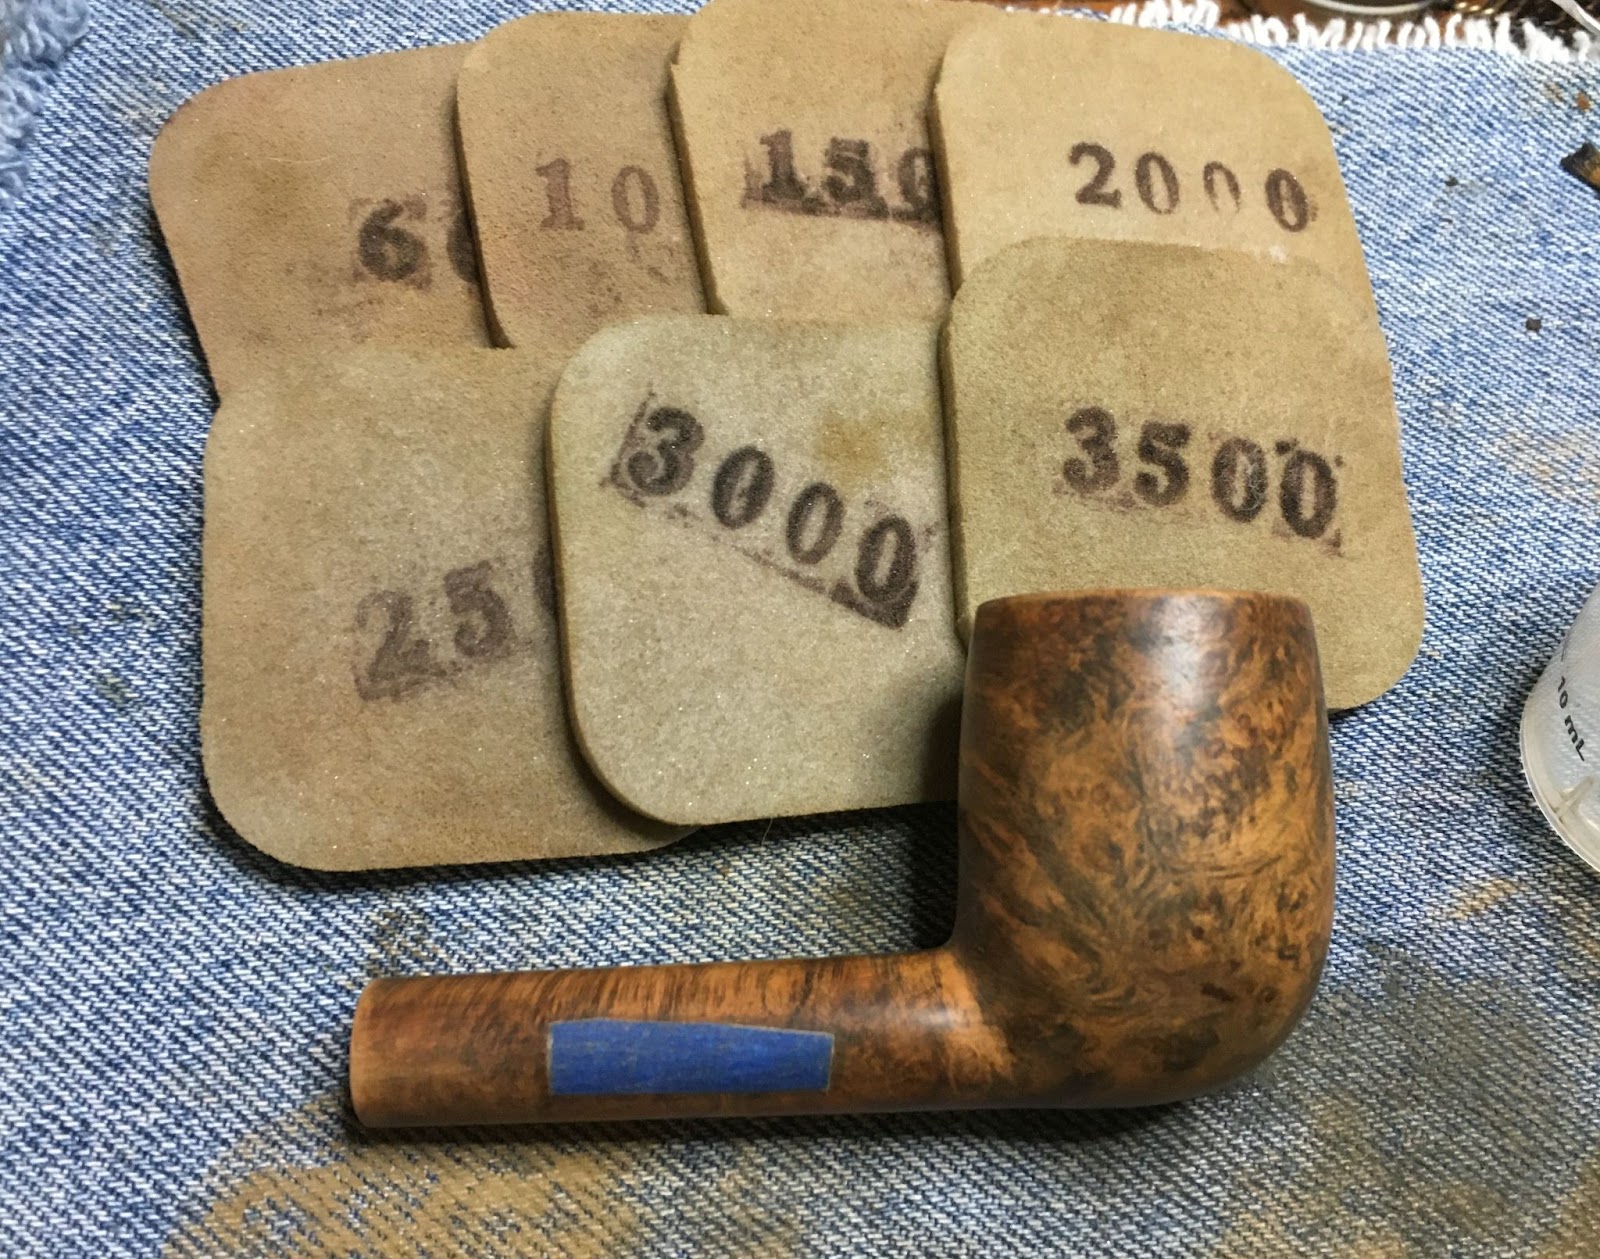
Next was the sanding of the stummel. I first wanted to protect the stamps from any damage by taping over them with painters tape.


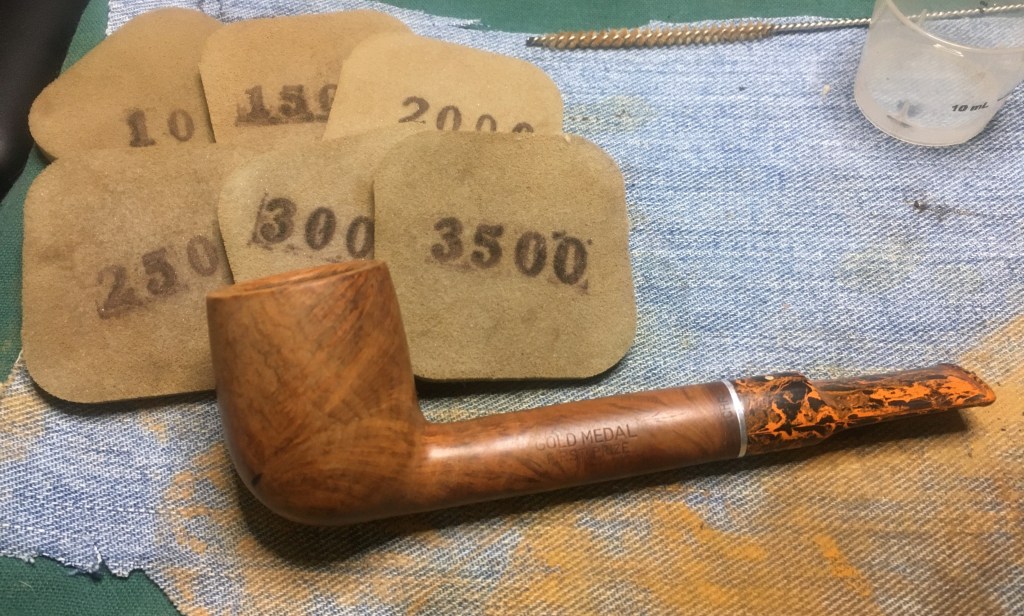
Doh, forgot to tape that logo stamp. I did tape it, then sanded the stummel with a sequence of sanding sponges from 400-3500 grit. Between each sponge I would wipe the stummel with a make-up pad wetted with alcohol to remove dust. This alcohol wiping is hard on smaller taping making me have to retape that logo more than once.

After the sanding the stummel was worked with micro-mesh pads 4000-6000. Again between each pad I wiped with an alcohol wetted make-up pad.

At this point I repainted the logo with Gold Leaf Rub’nBuff.

This is a relatively new product for me. Steve Laug mentioned that I try it in one of our chatting sessions and this was the perfect place for it. I tried to apply it with a cotton swab and made a bit of a mess. I think future applications will be done with a detail paint brush. Anyway, I cleaned up the edges with an alcohol dipped cotton swab and continued micro-meshing with the 800 and 12000 micro-mesh pads.


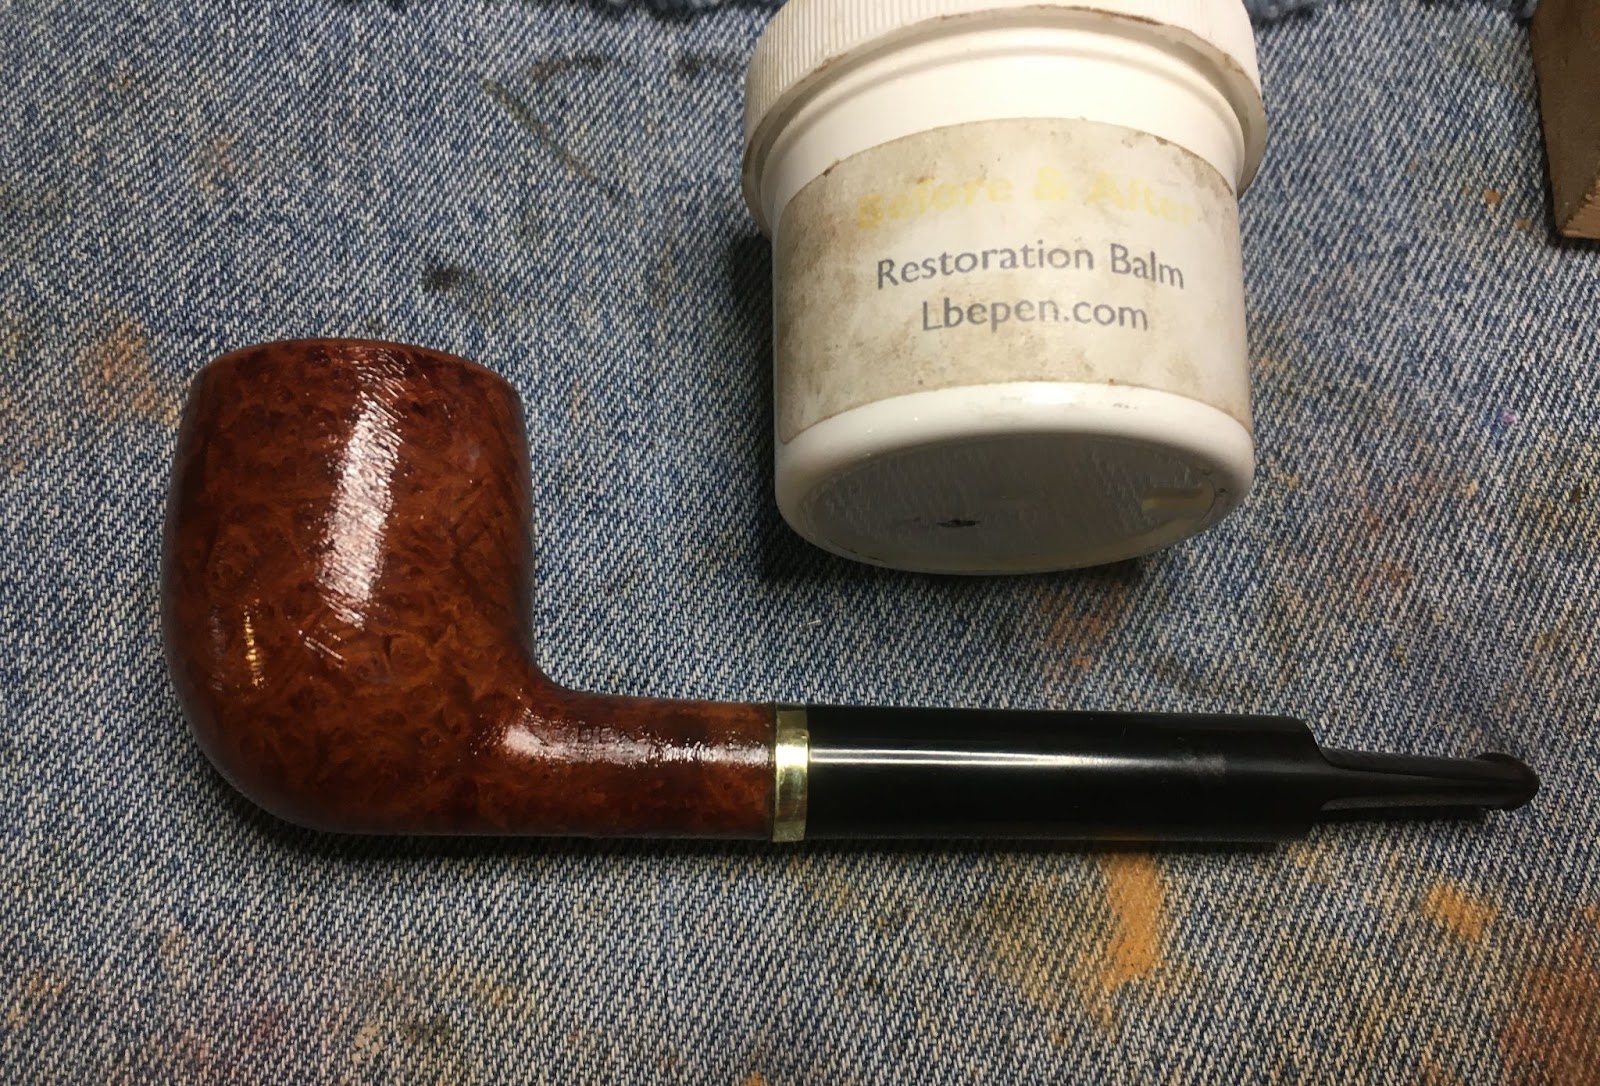
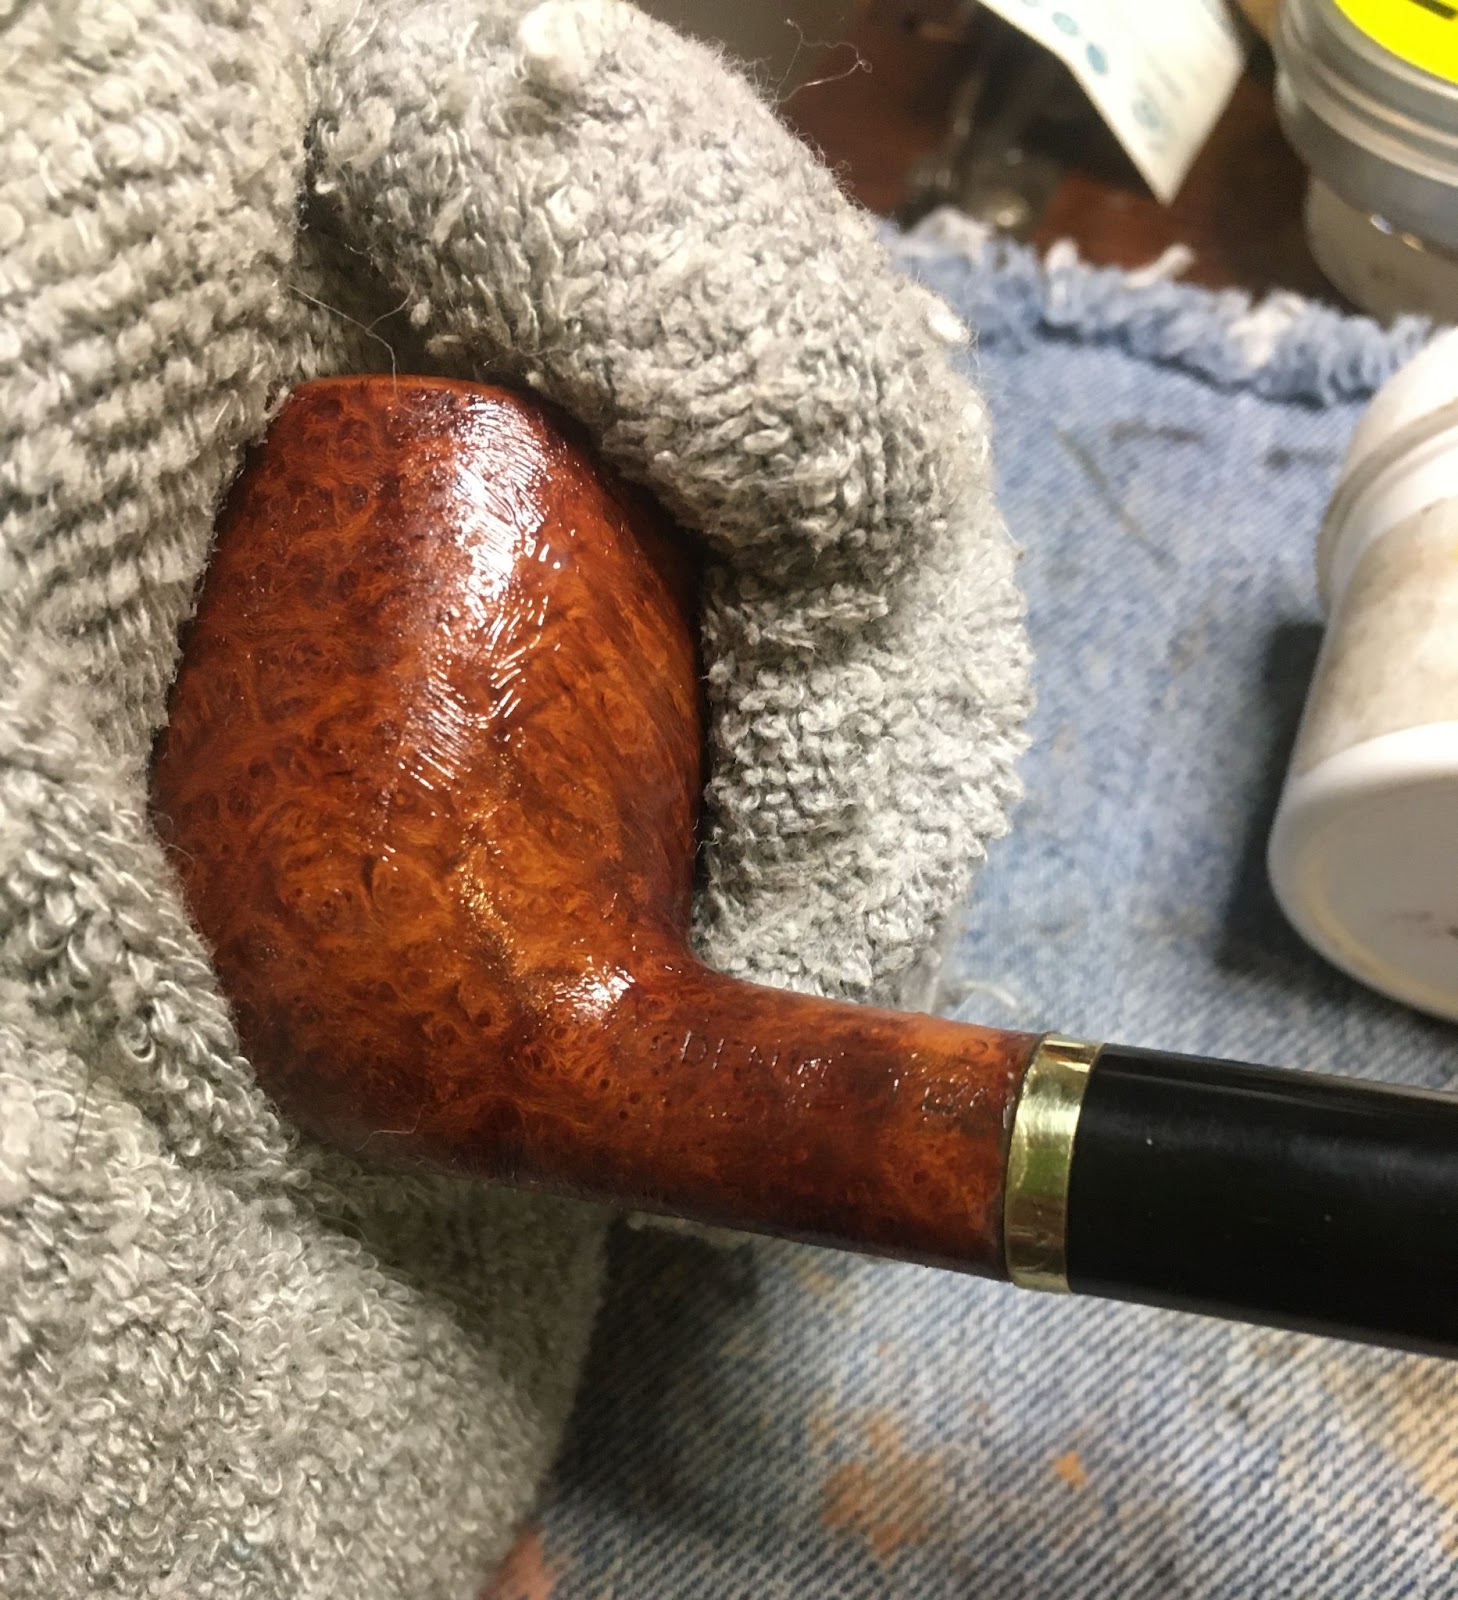
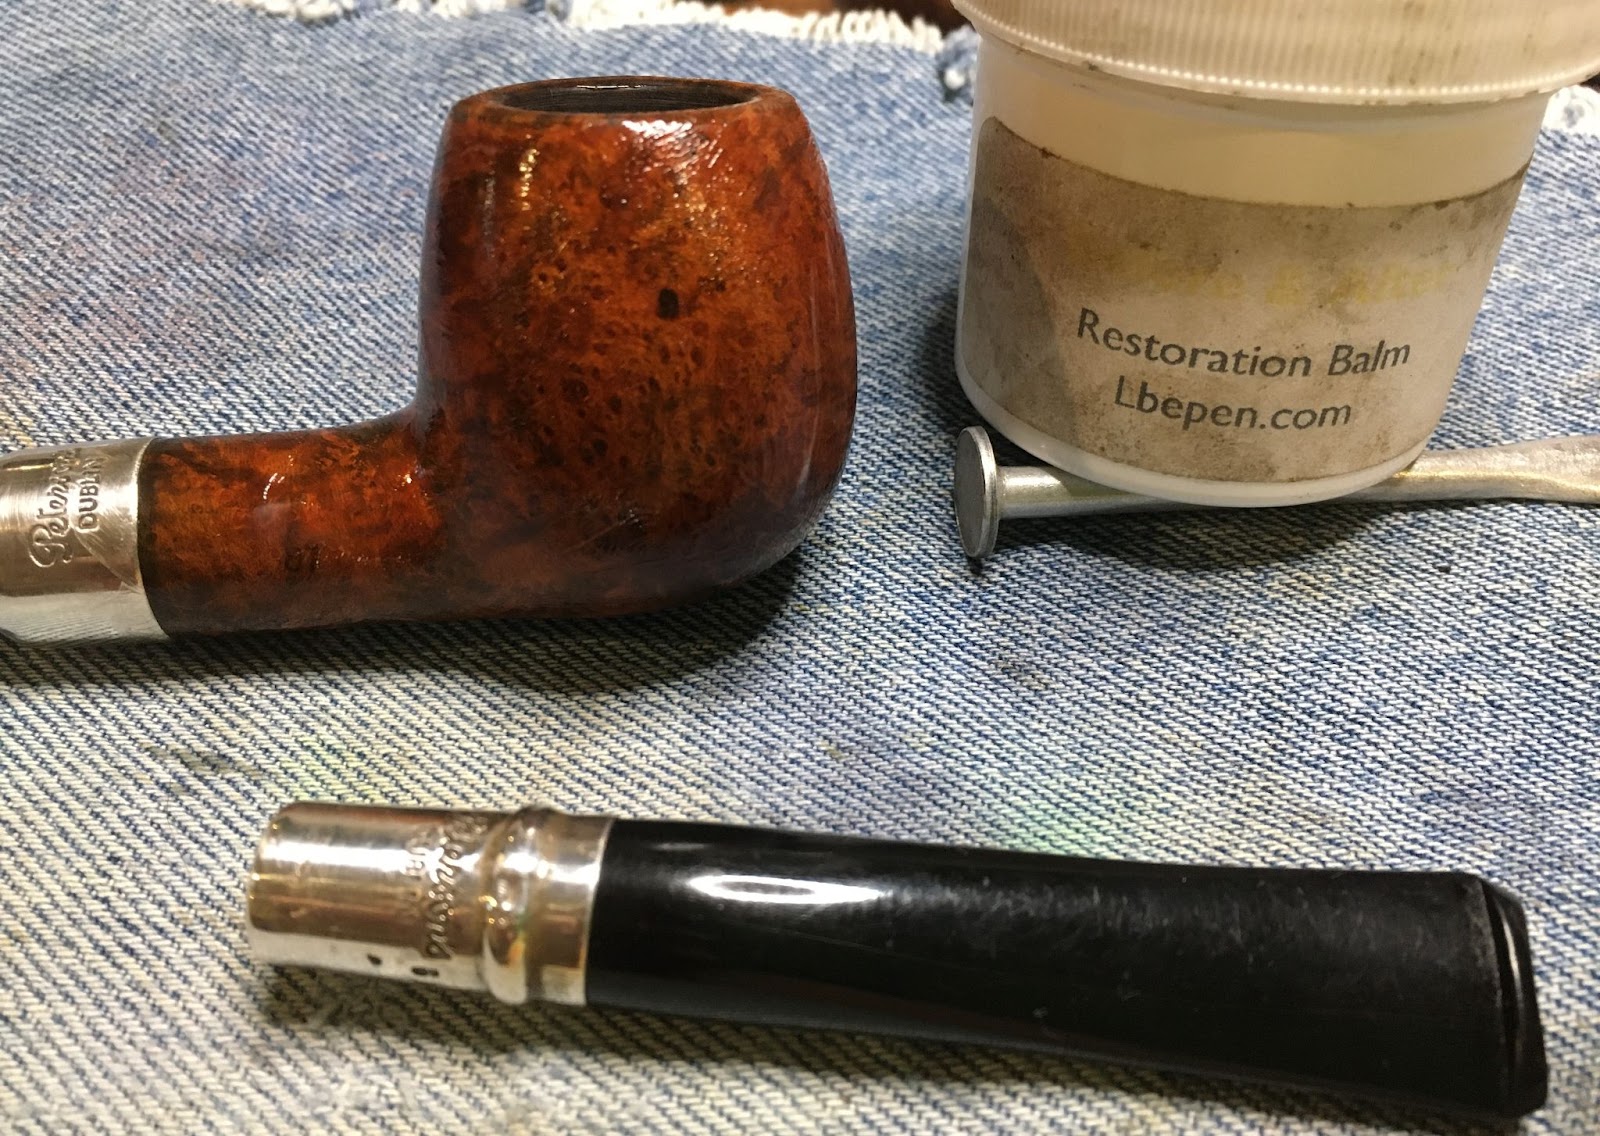
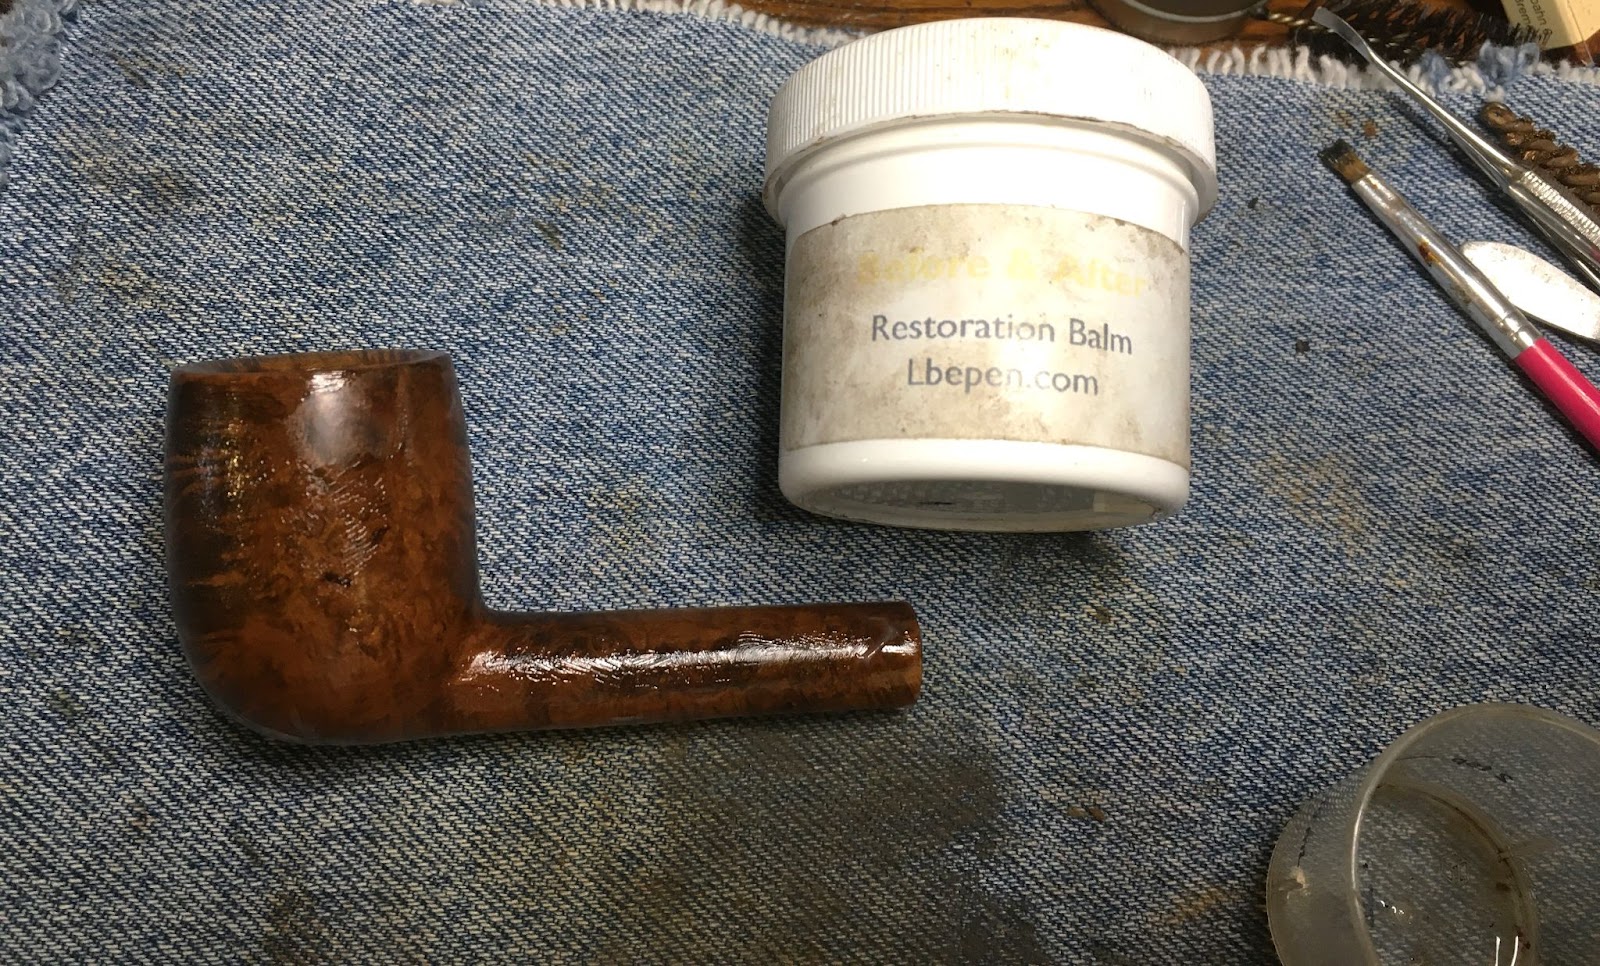
The stummel was then coated with Before and After Restoration Balm and allowed to sit while I worked on the stem.

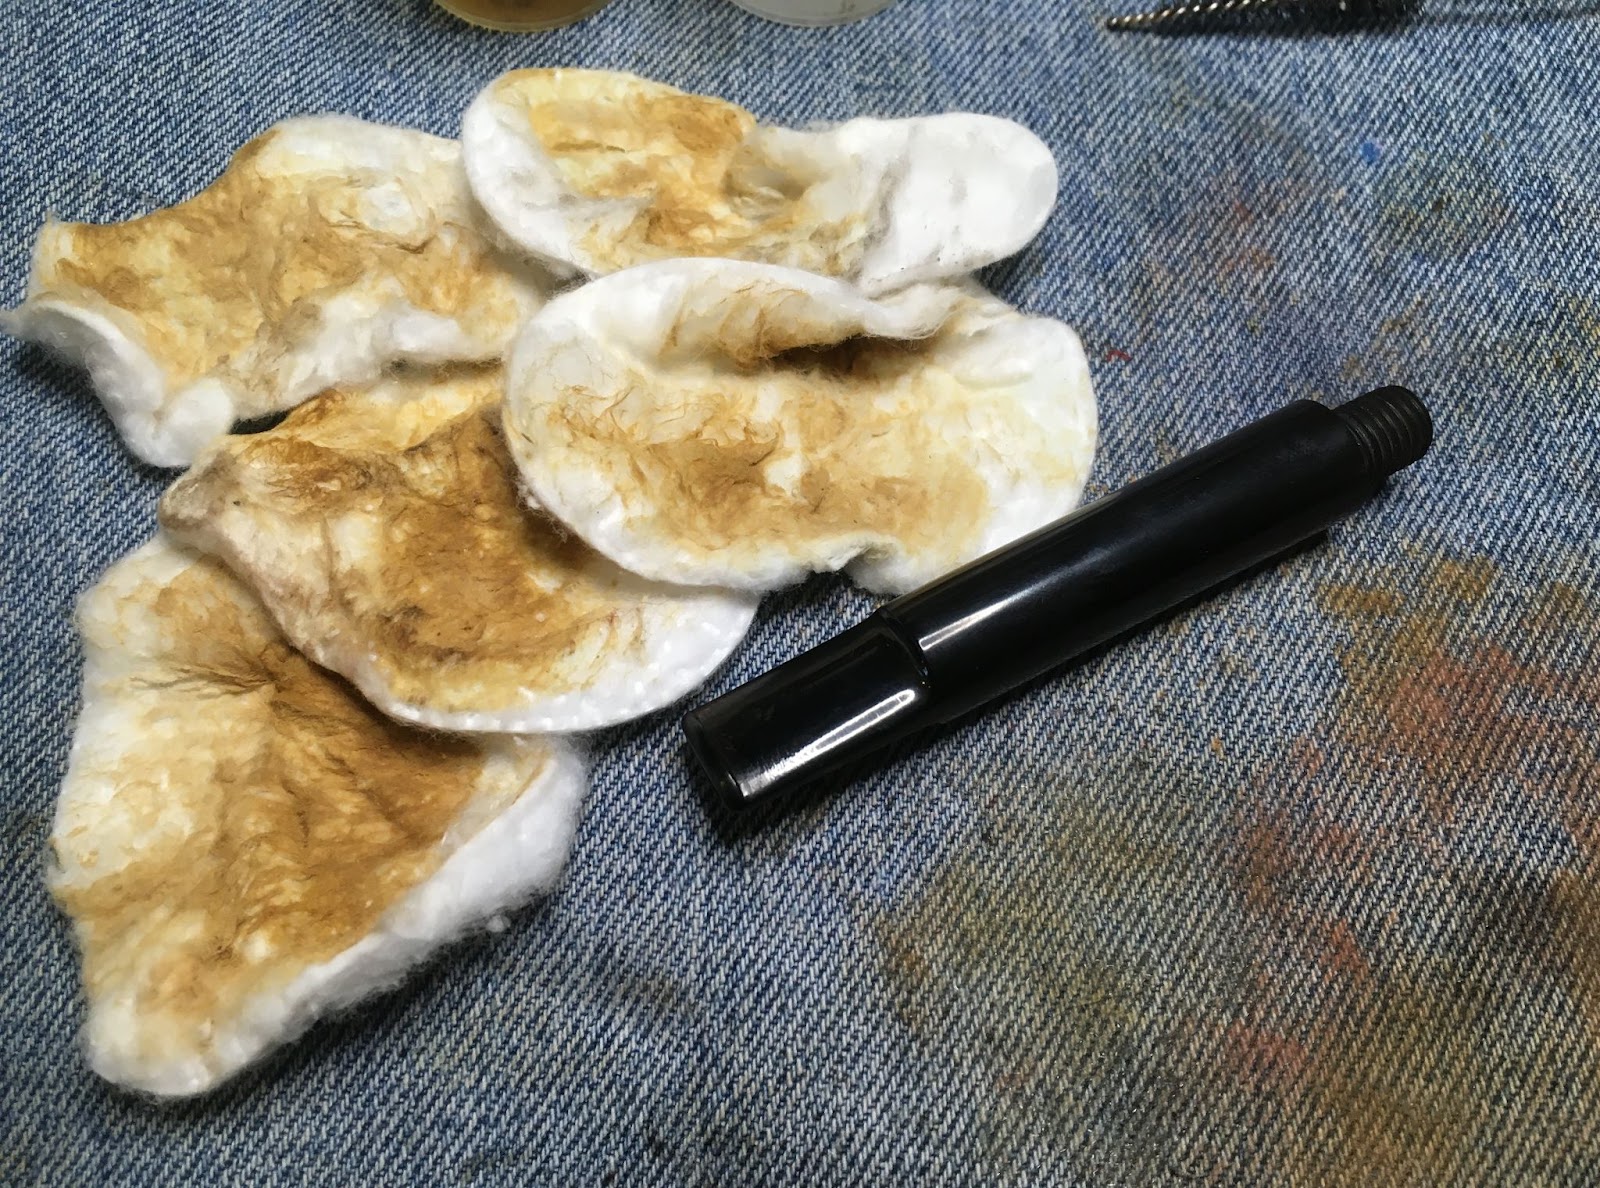
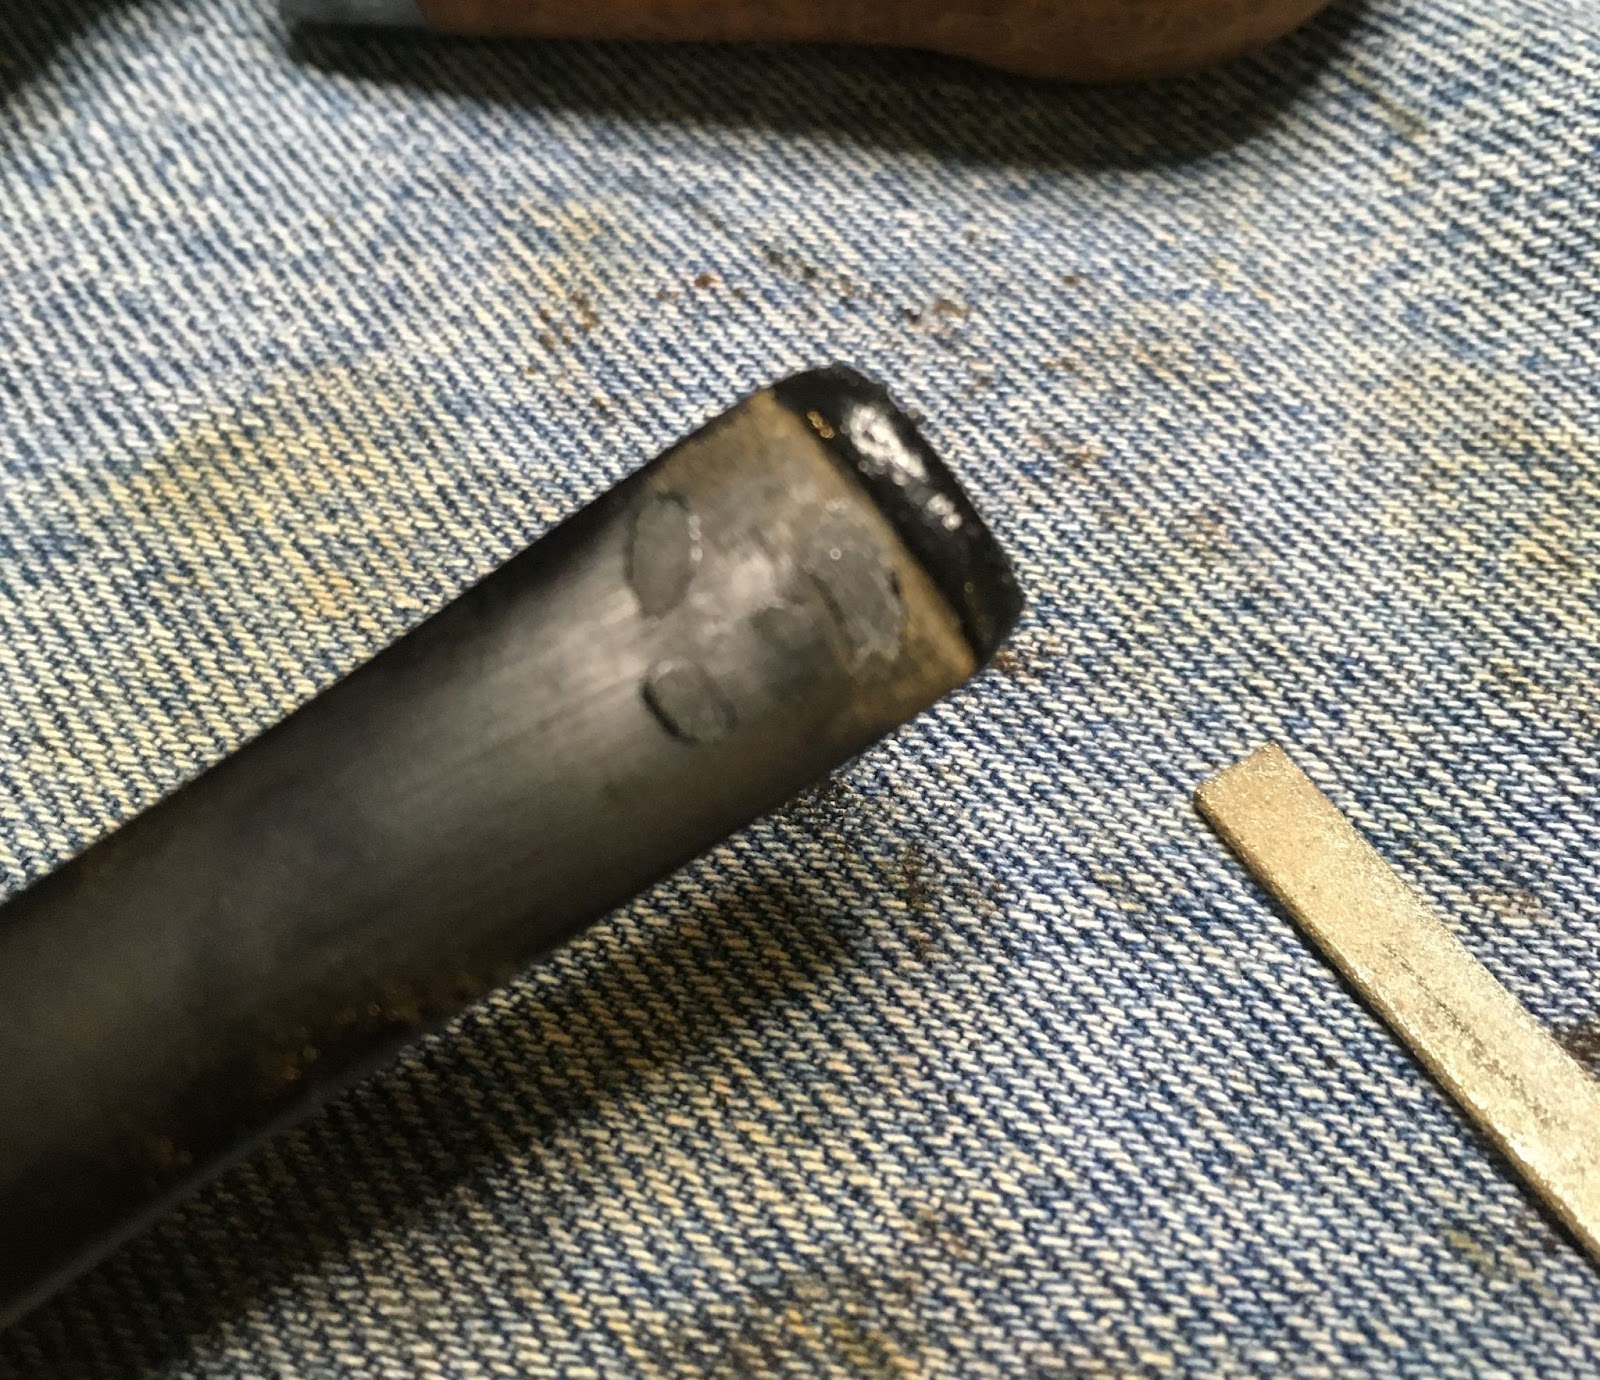
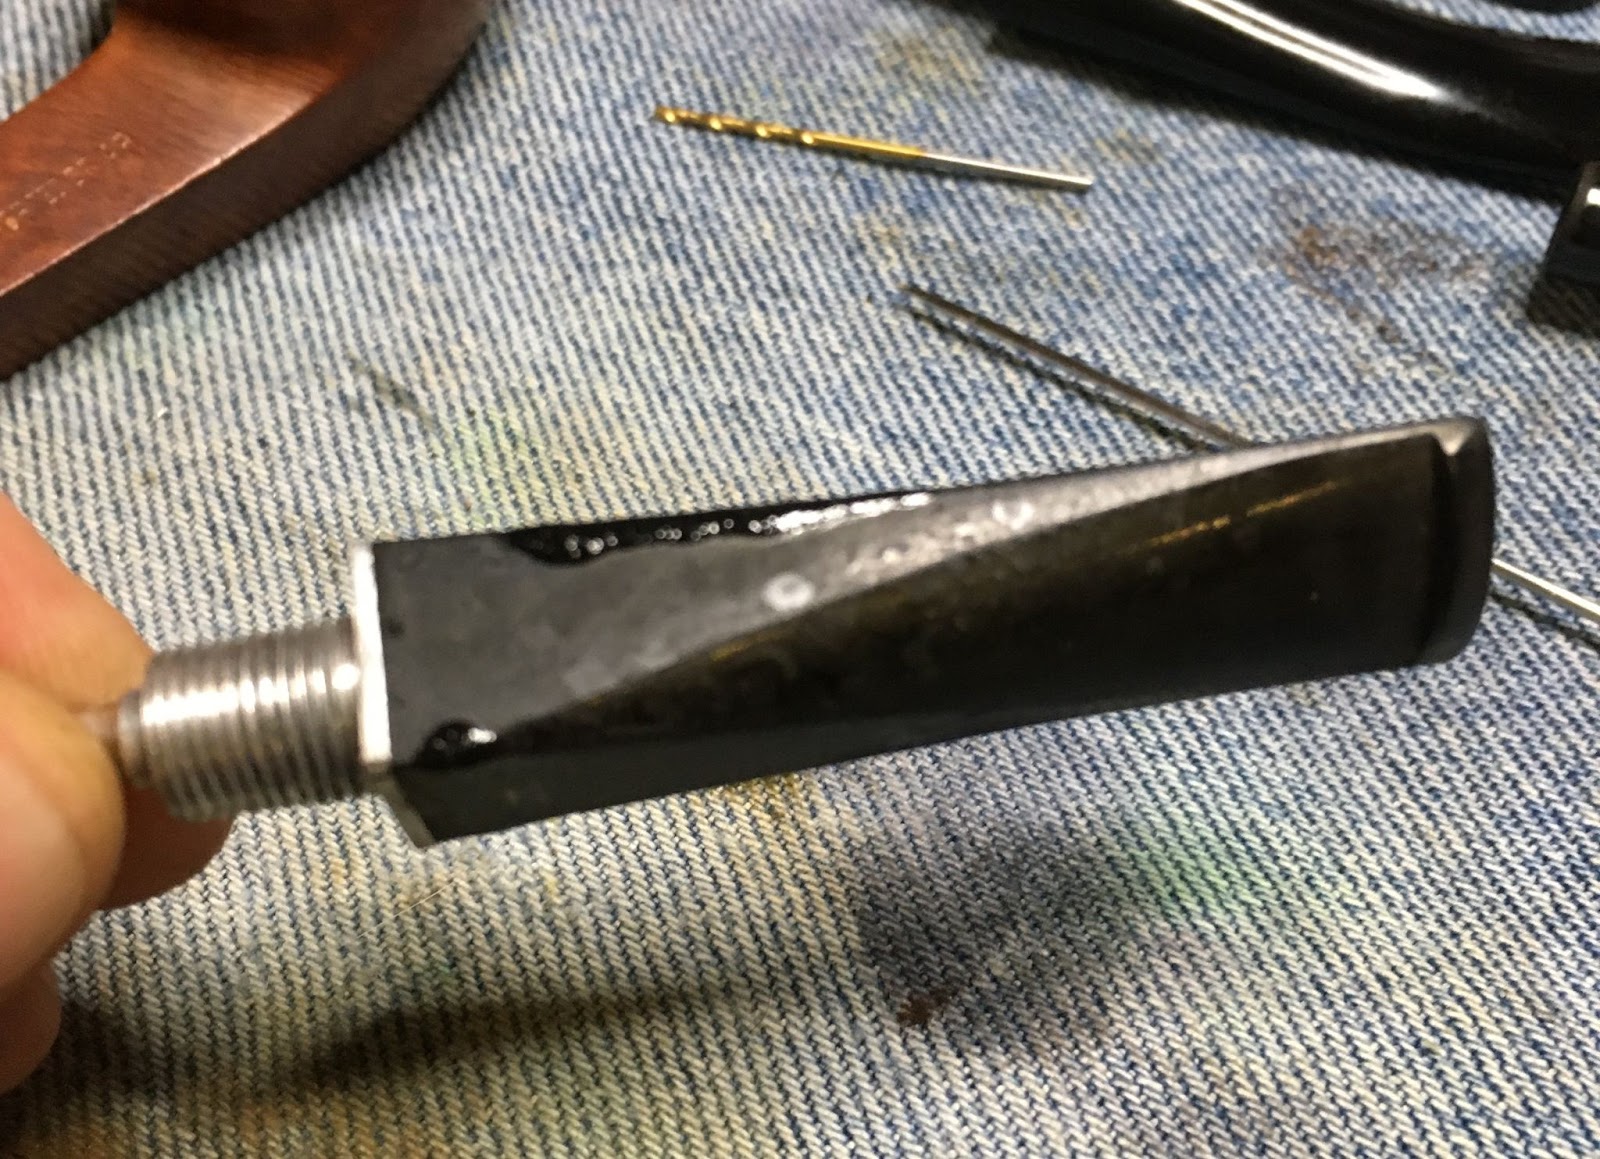
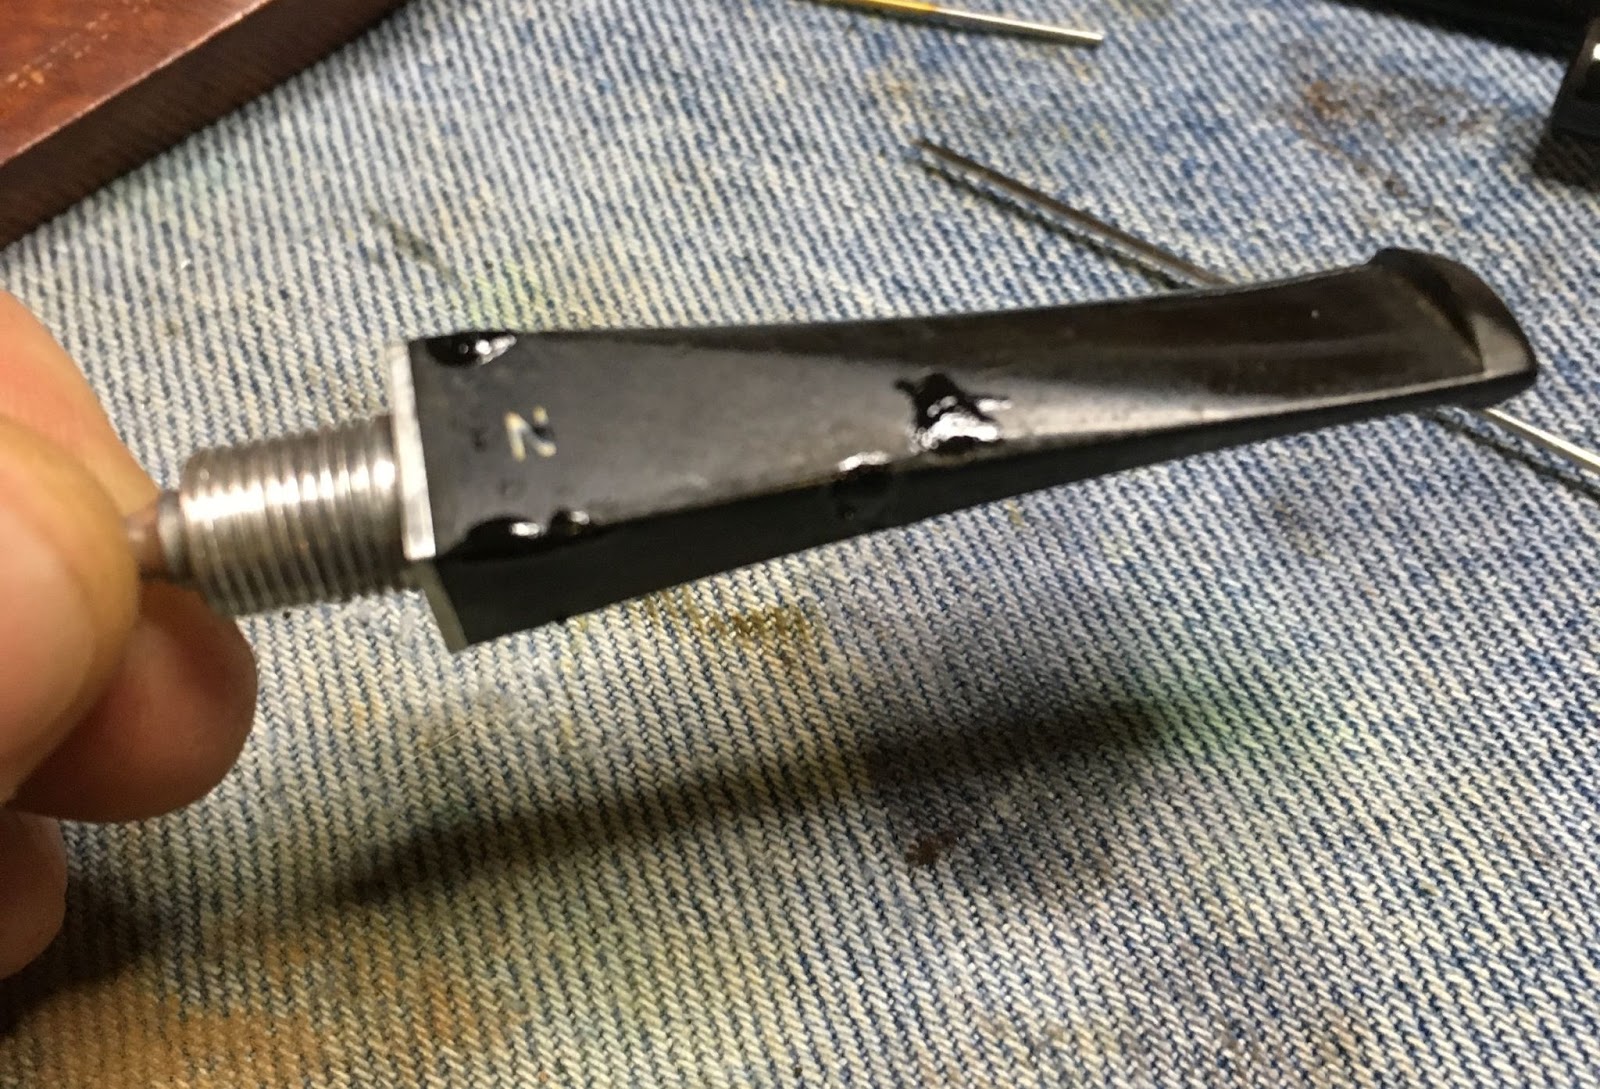
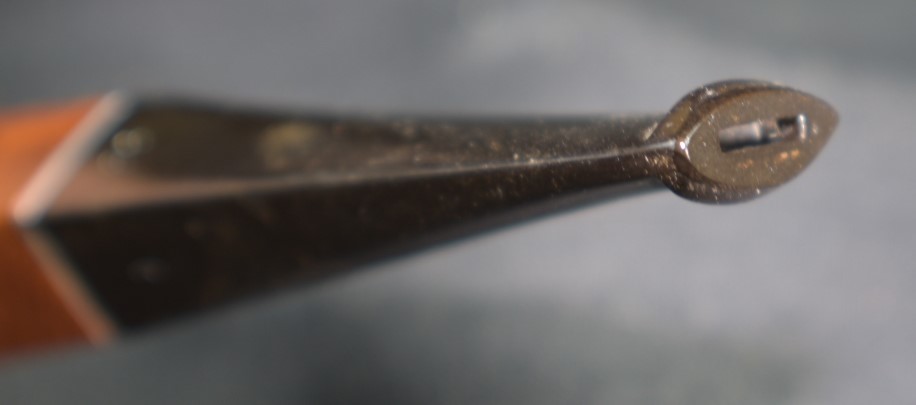
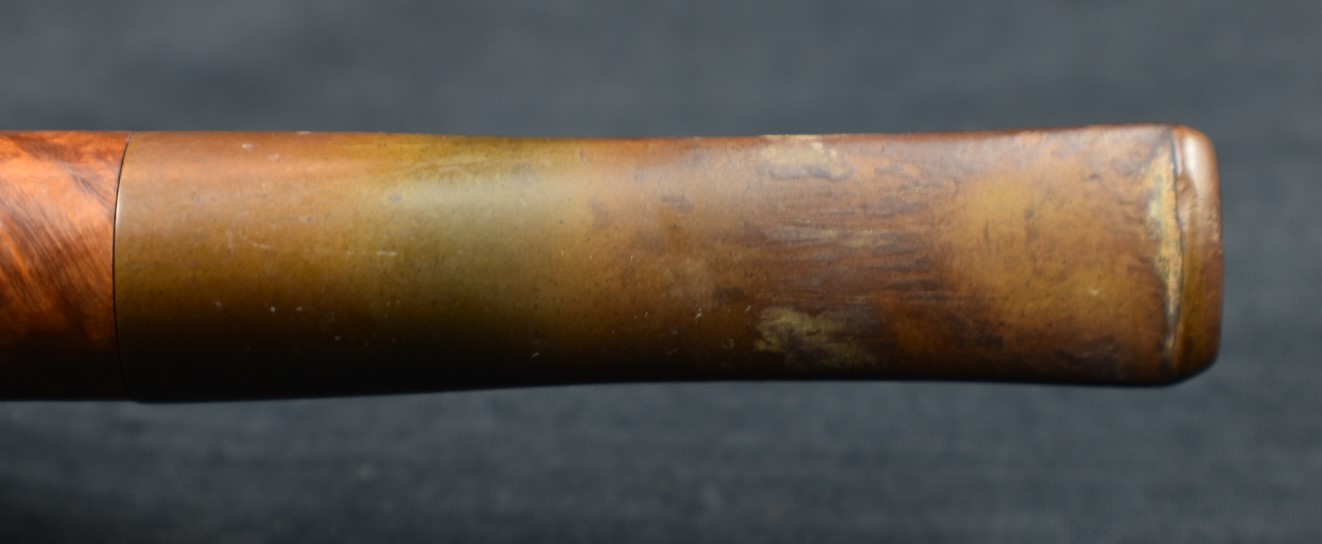
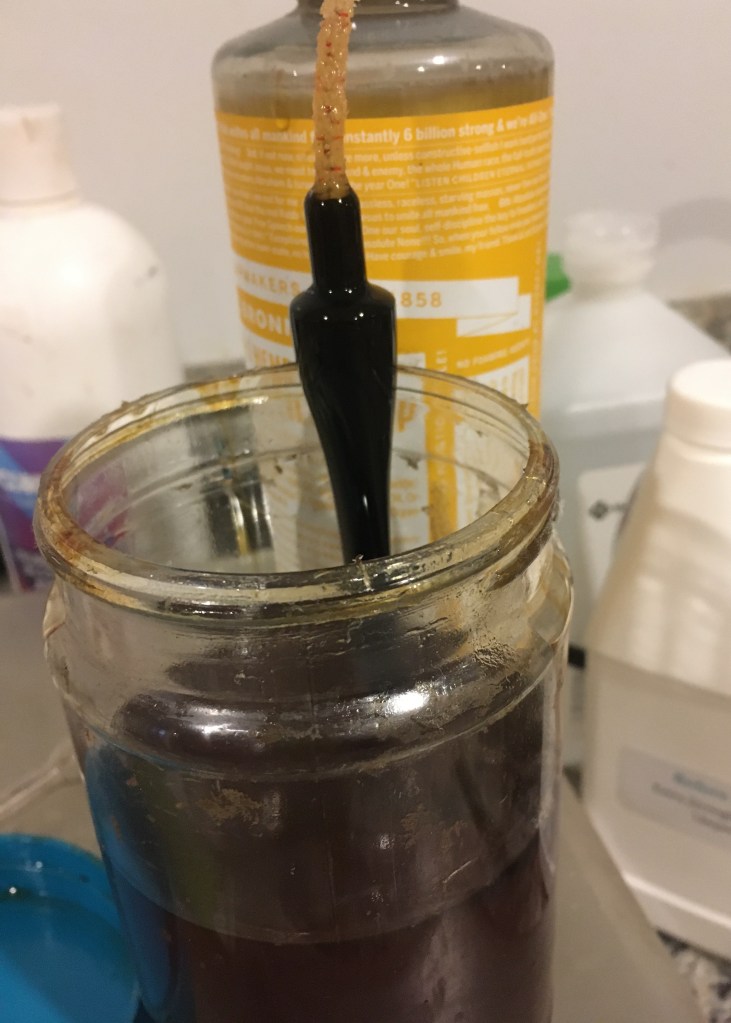
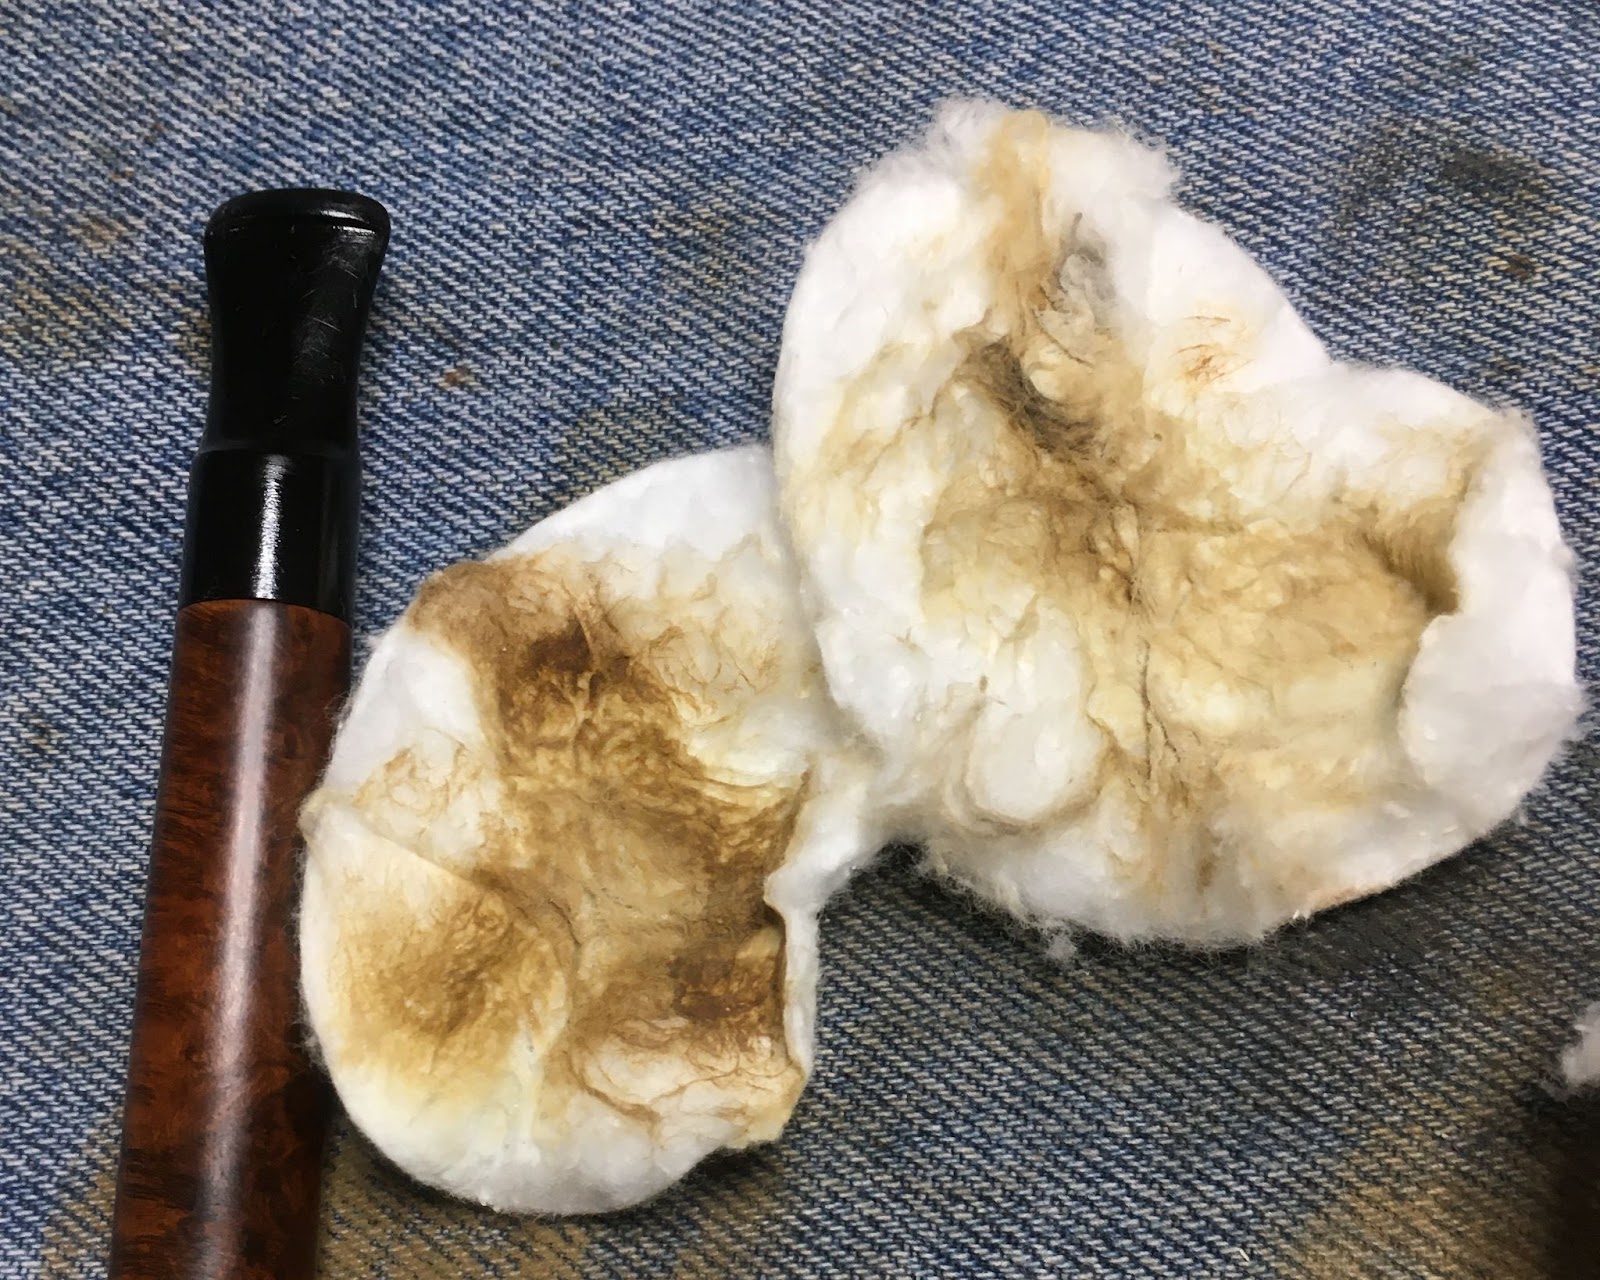
I cleaned the aluminum stinger with 95% ethyl alcohol, a magic eraser and pipe cleaners. It looked much better.

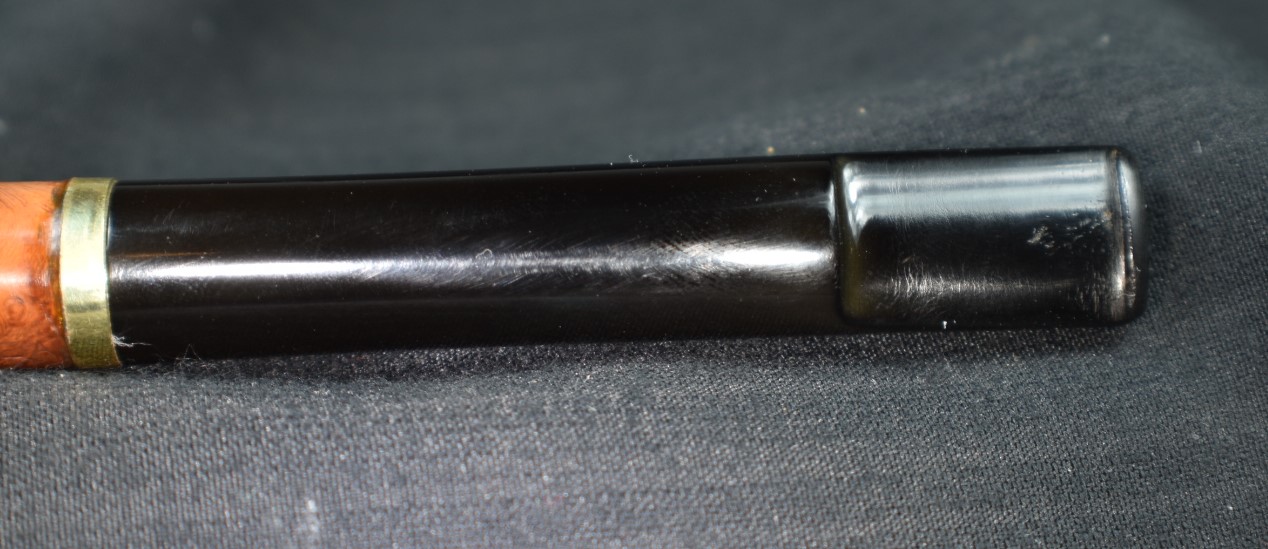
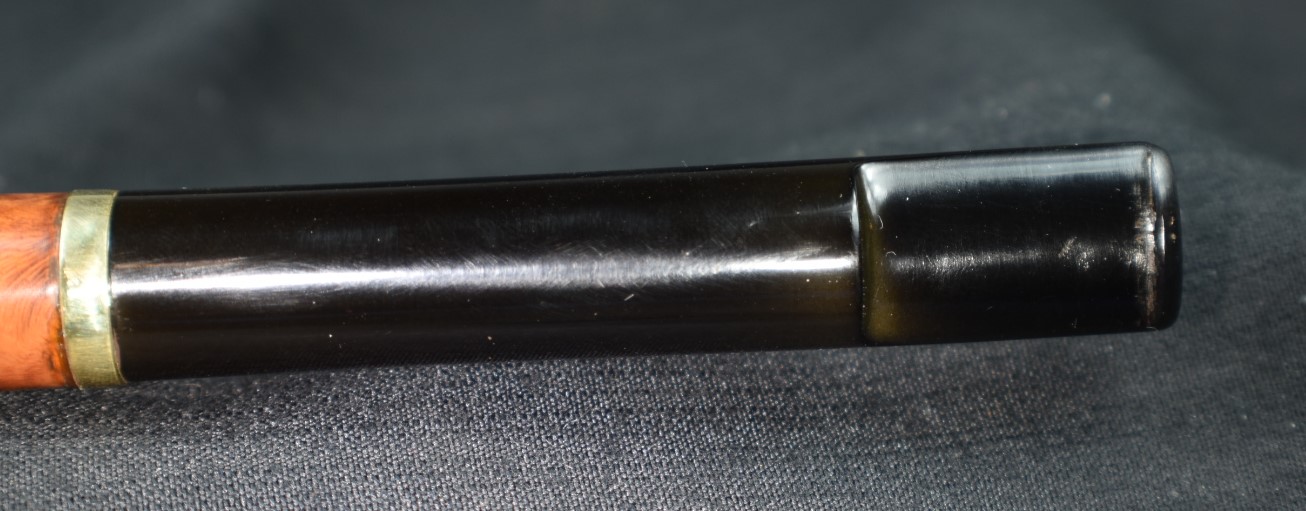
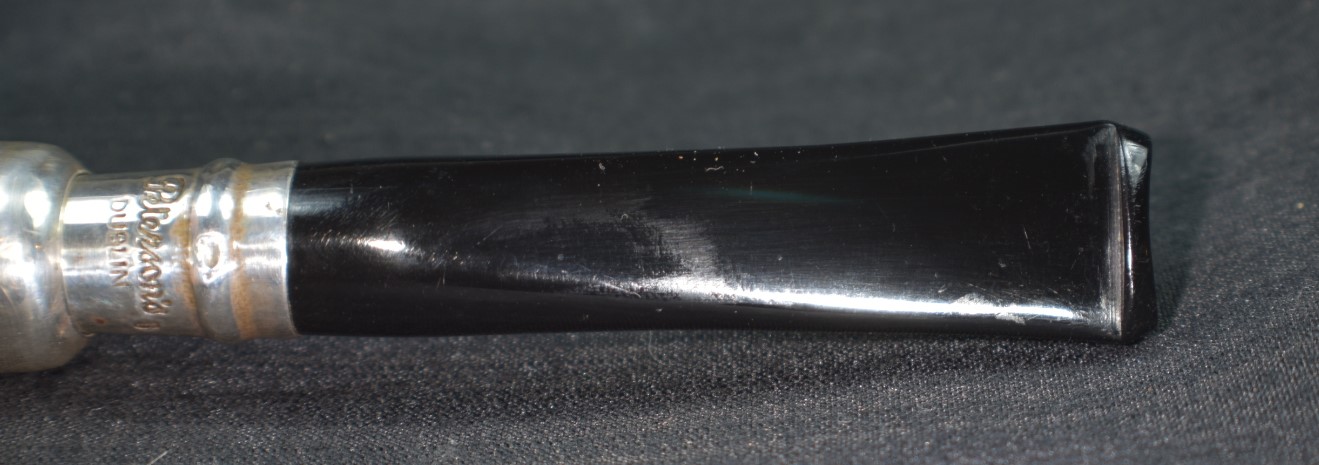
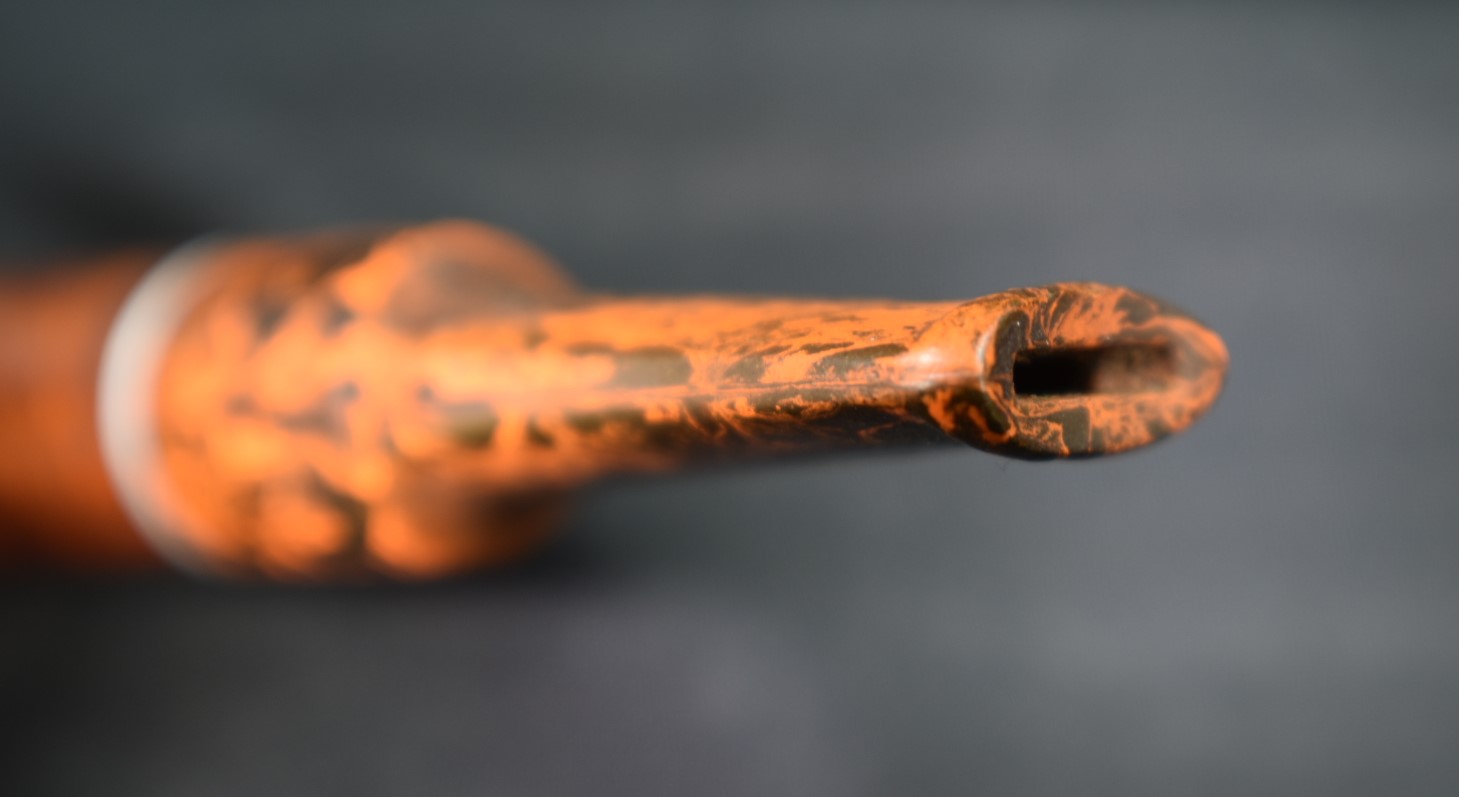
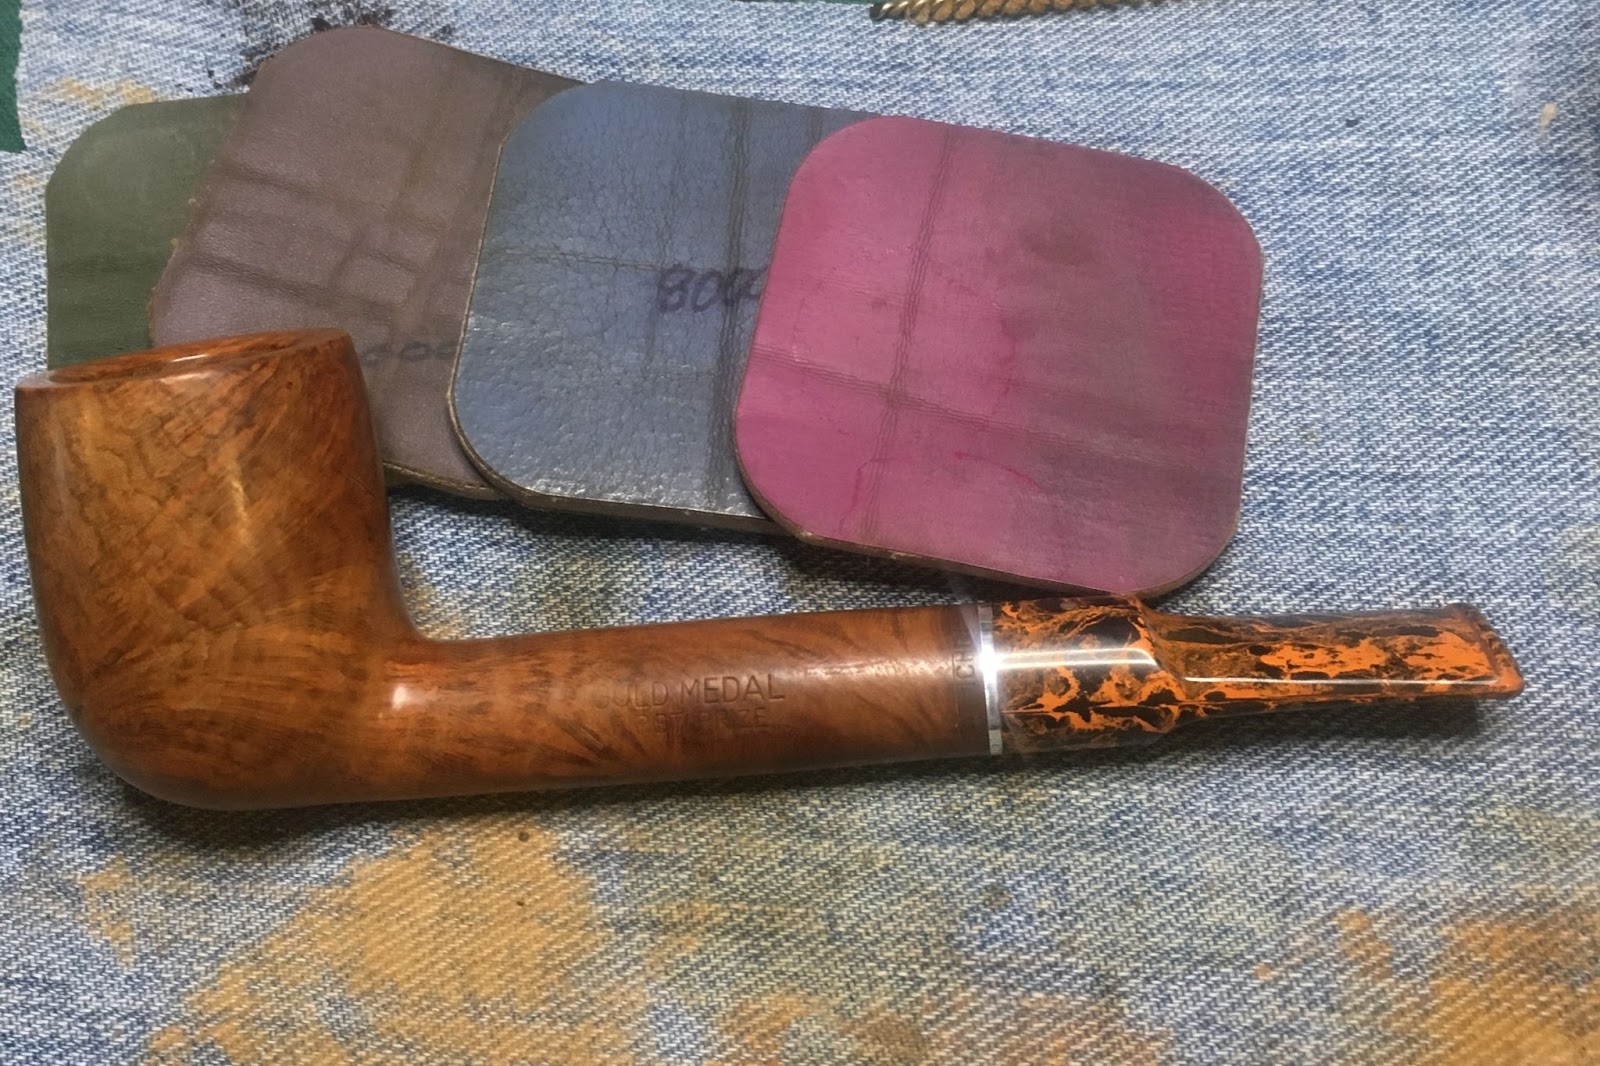
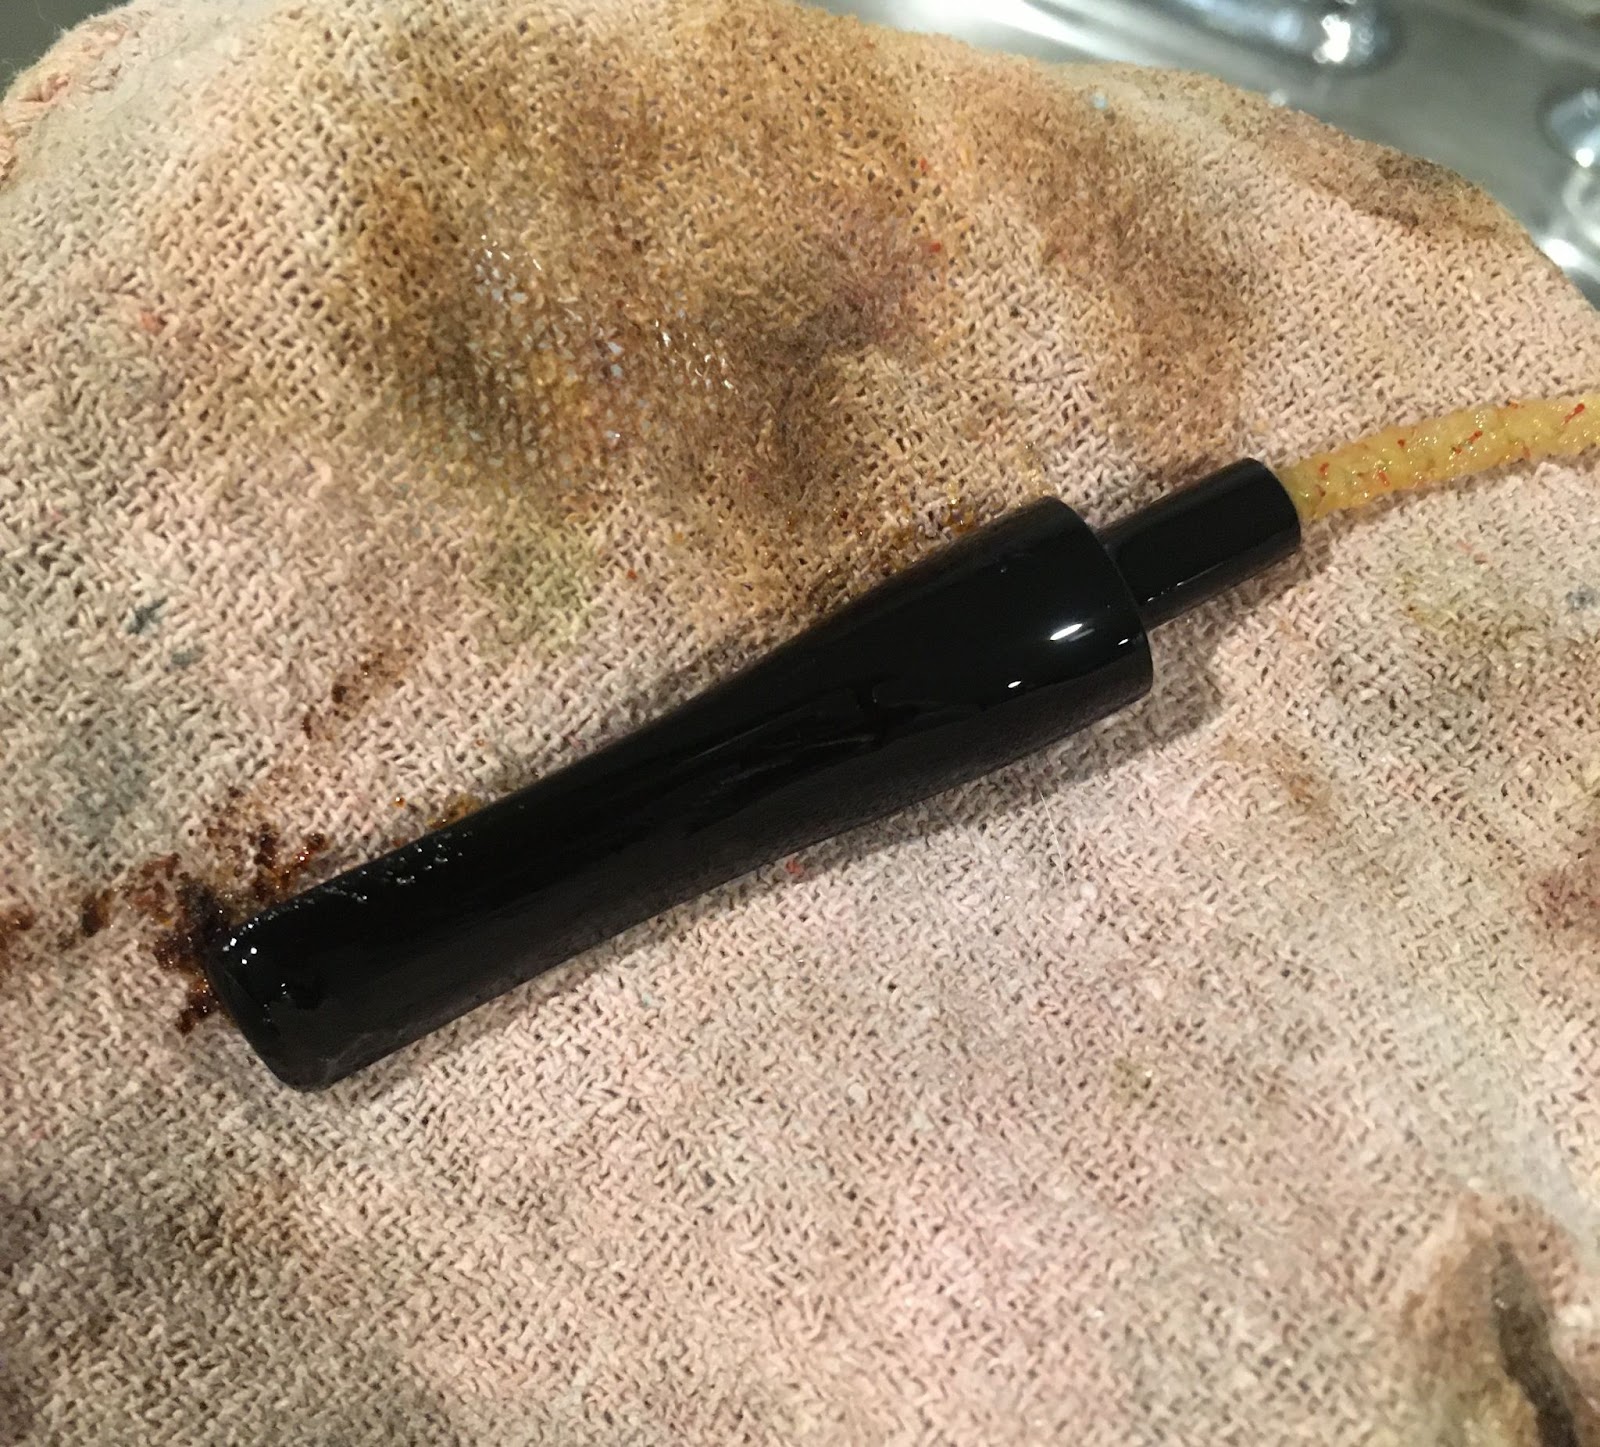
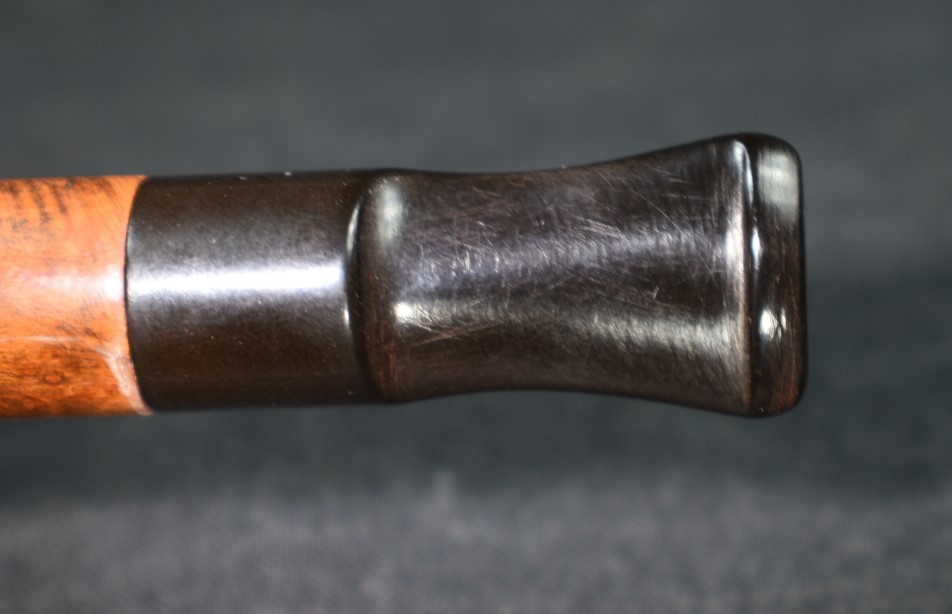
This stem was not typical vulcanite. I could feel the material get slippery with the 95% ethyl alcohol. As the alcohol evaporated it would solidify again. This is more typical of phenolic plastics like Bakelite. Not wanting to dissolve the stem in alcohol I used SoftScrub on make-up pads to clean away the oxidized material. The airway of the stem was cleaned with soap and water with bristle pipe cleaners. Below you can see the make-up pads become less discolored with oxidized material. The stem was then oiled with mineral oil.

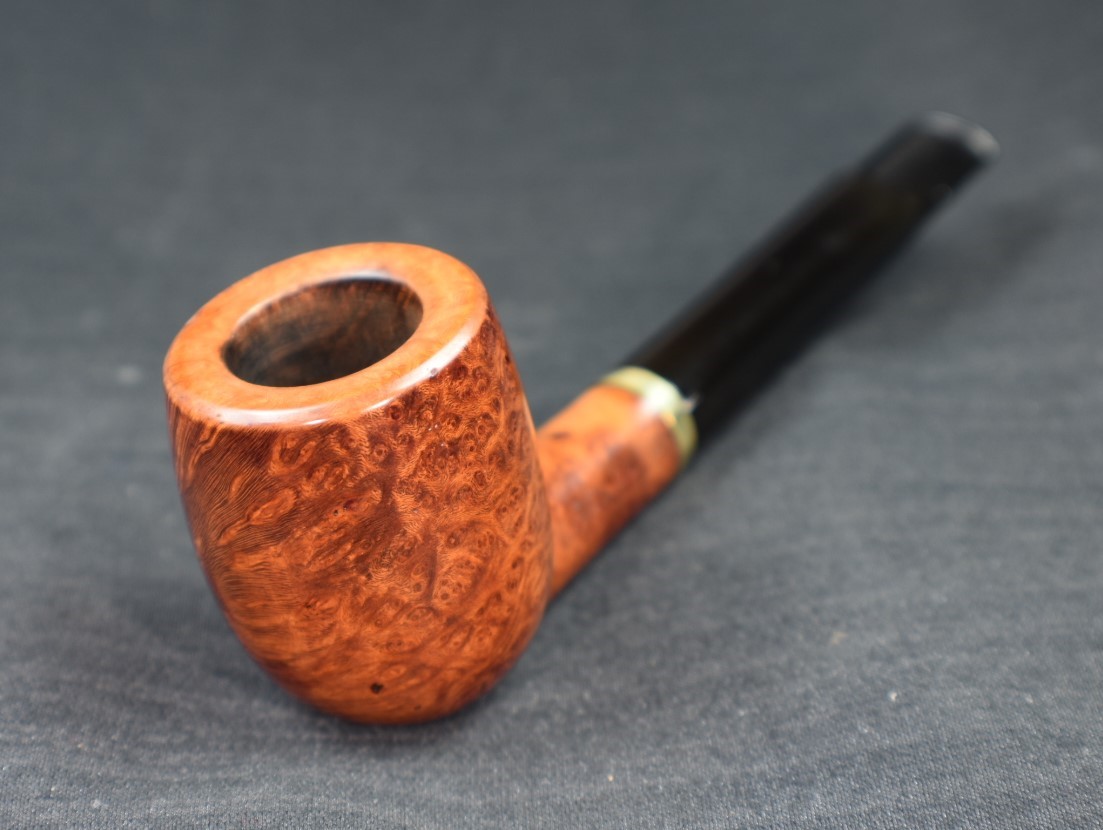
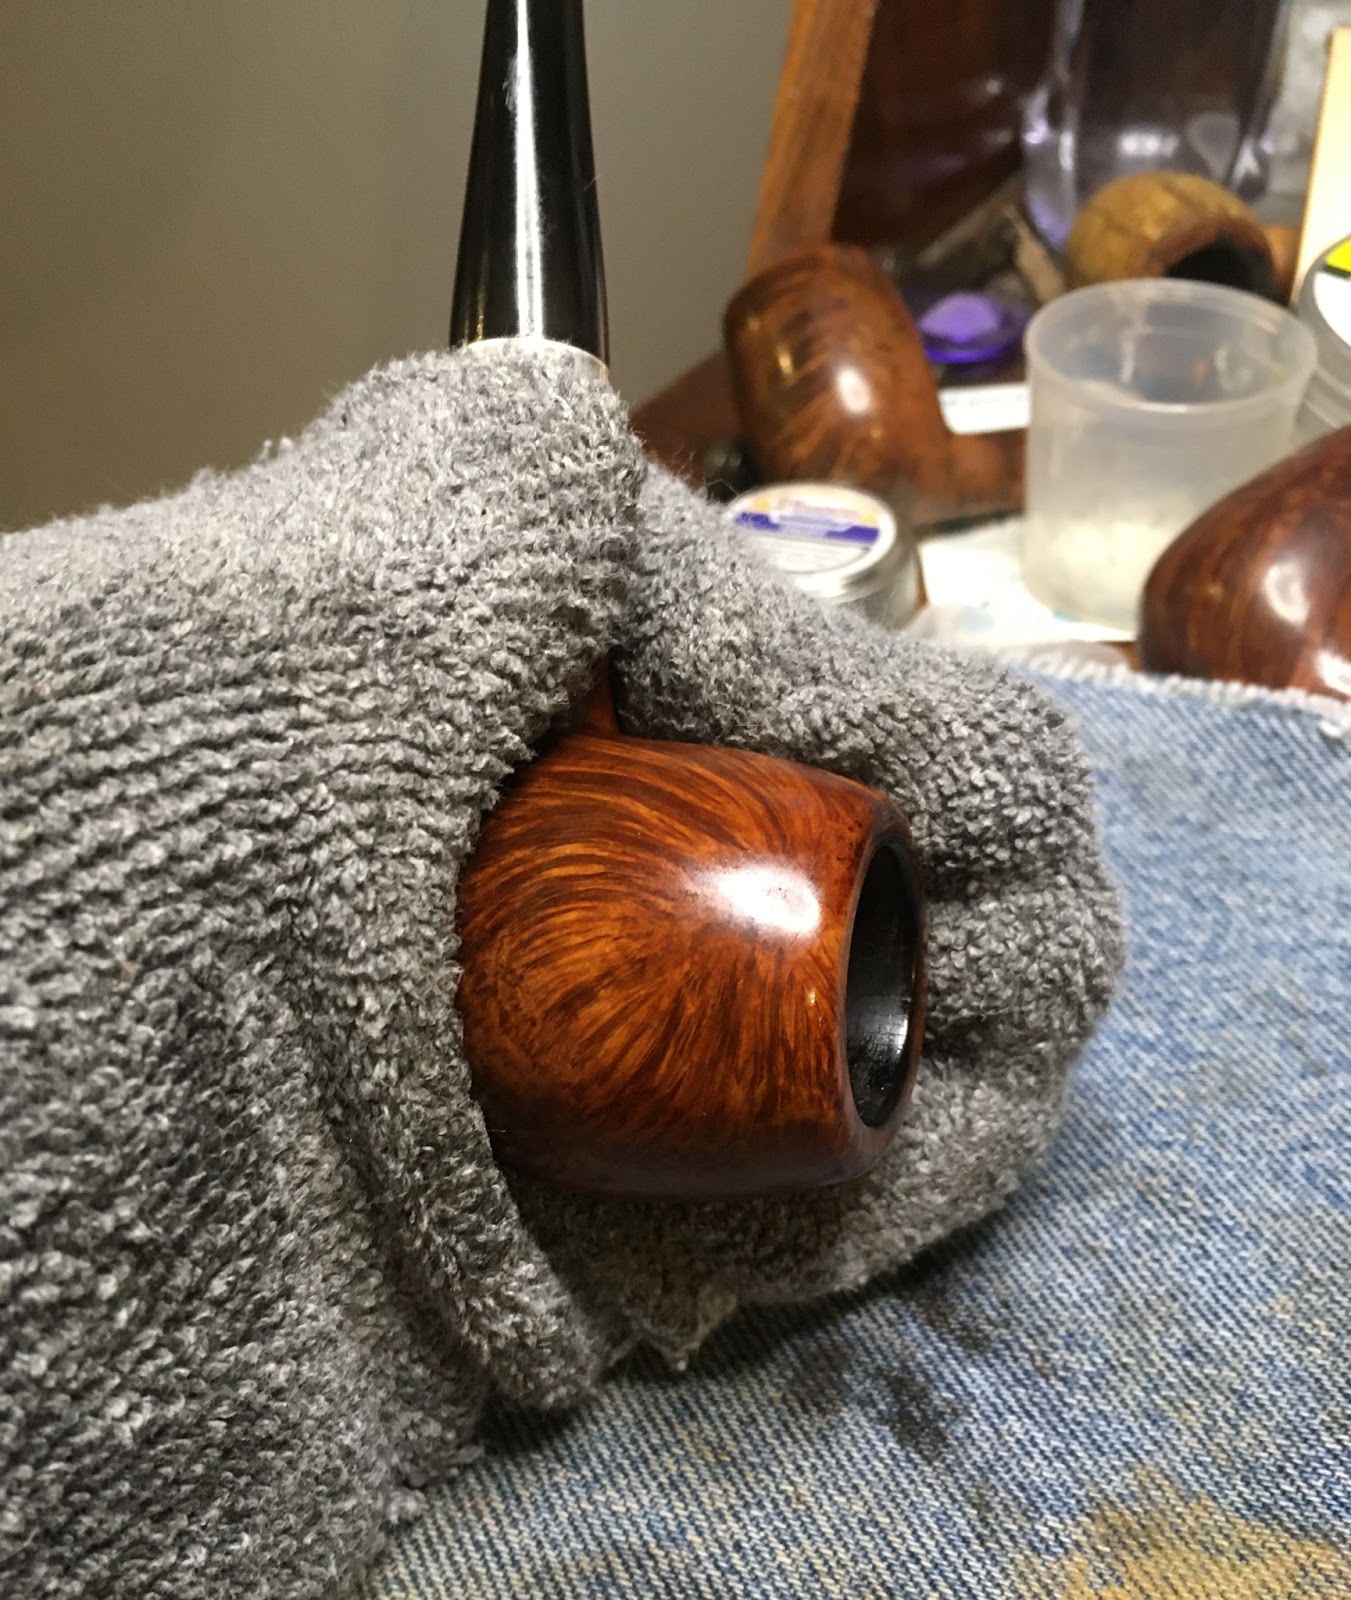
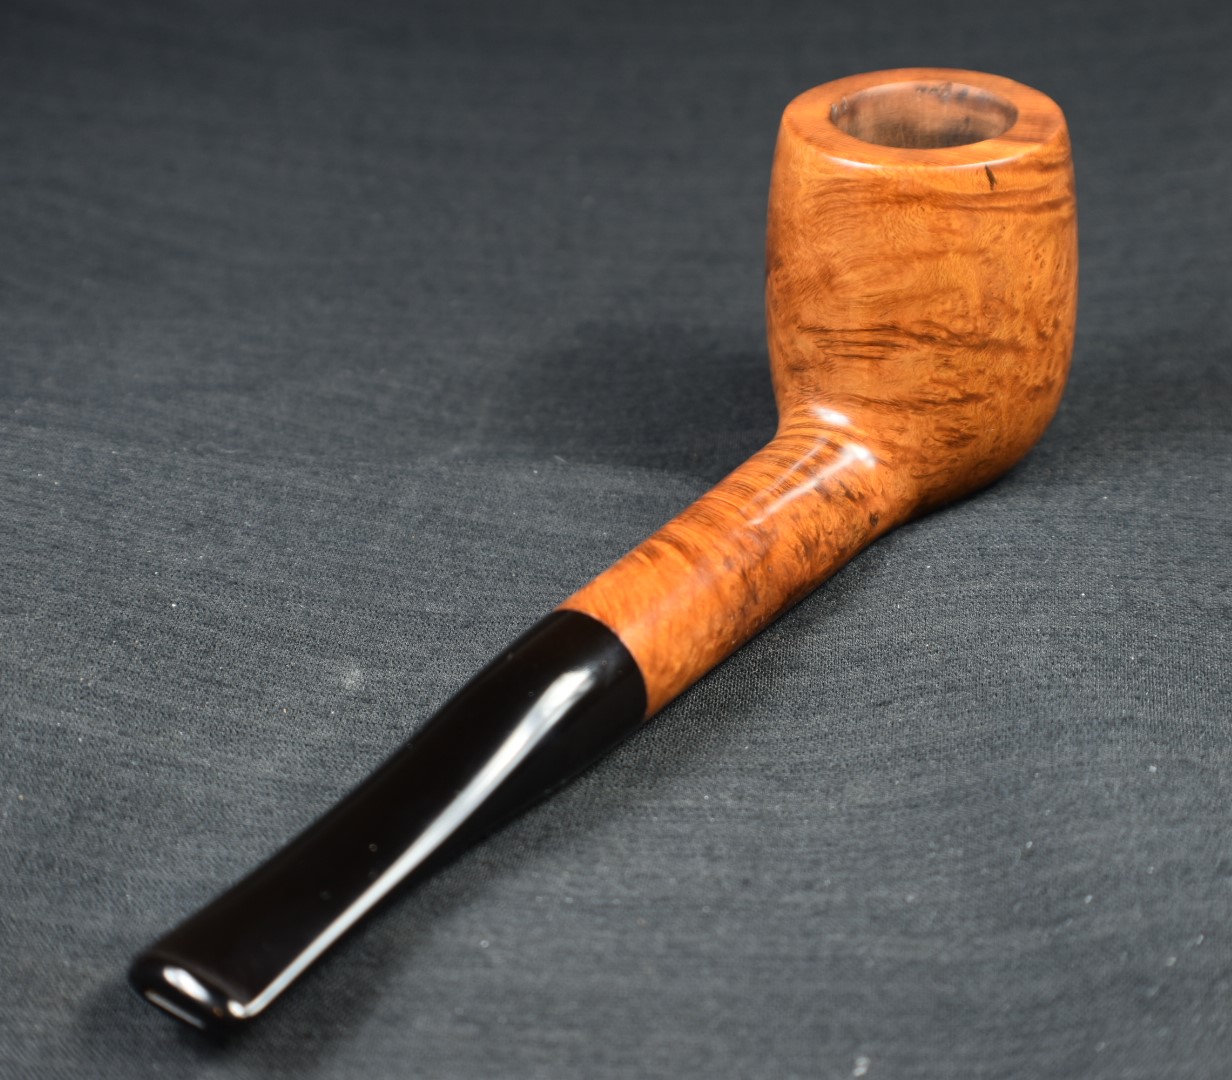
I couldn’t wait any longer to see how the stummel was going to look. I wiped the remaining Restoration Balm from it with an inside out athletic sock. Beautiful is the word that came to mind.

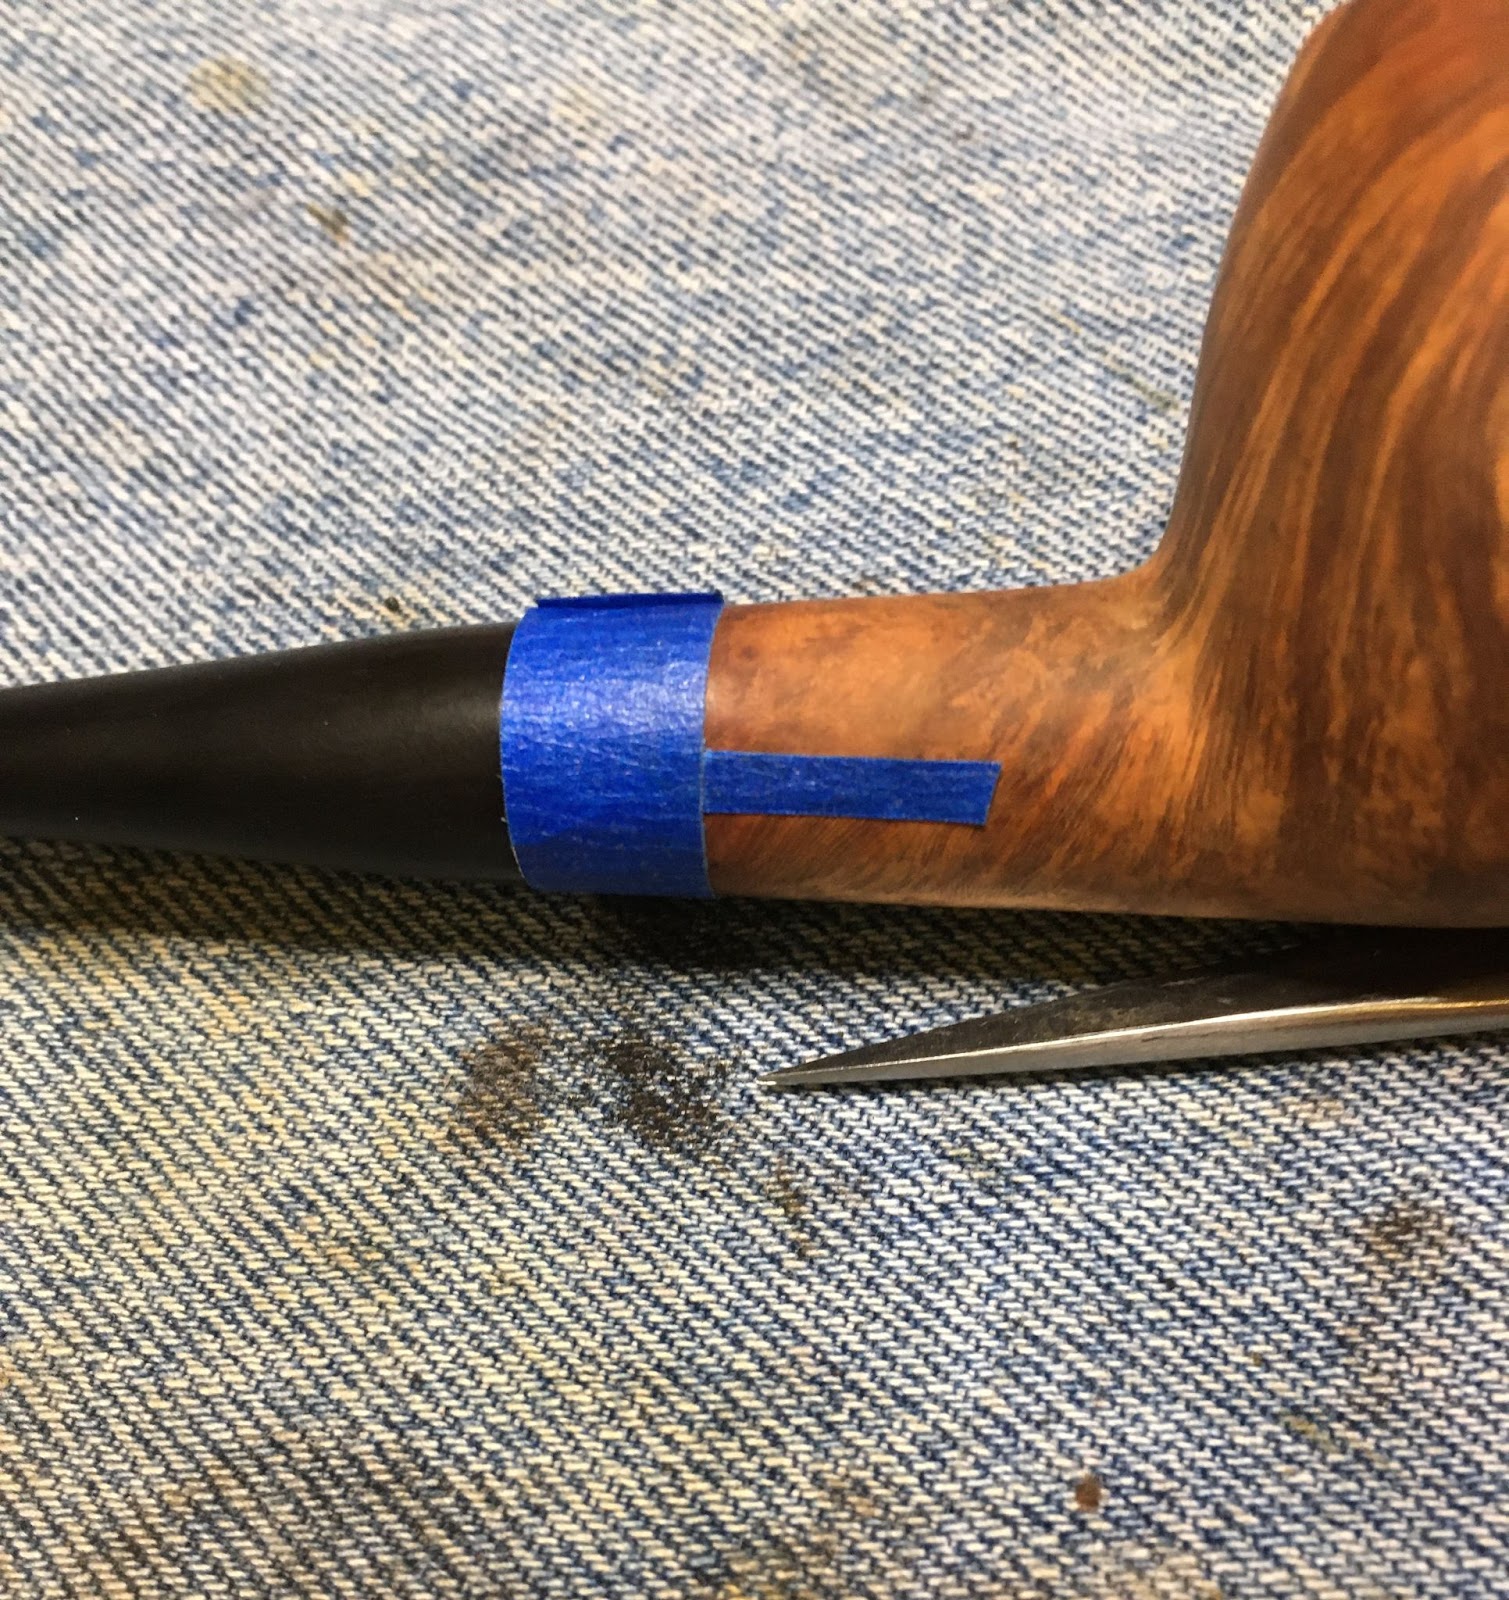
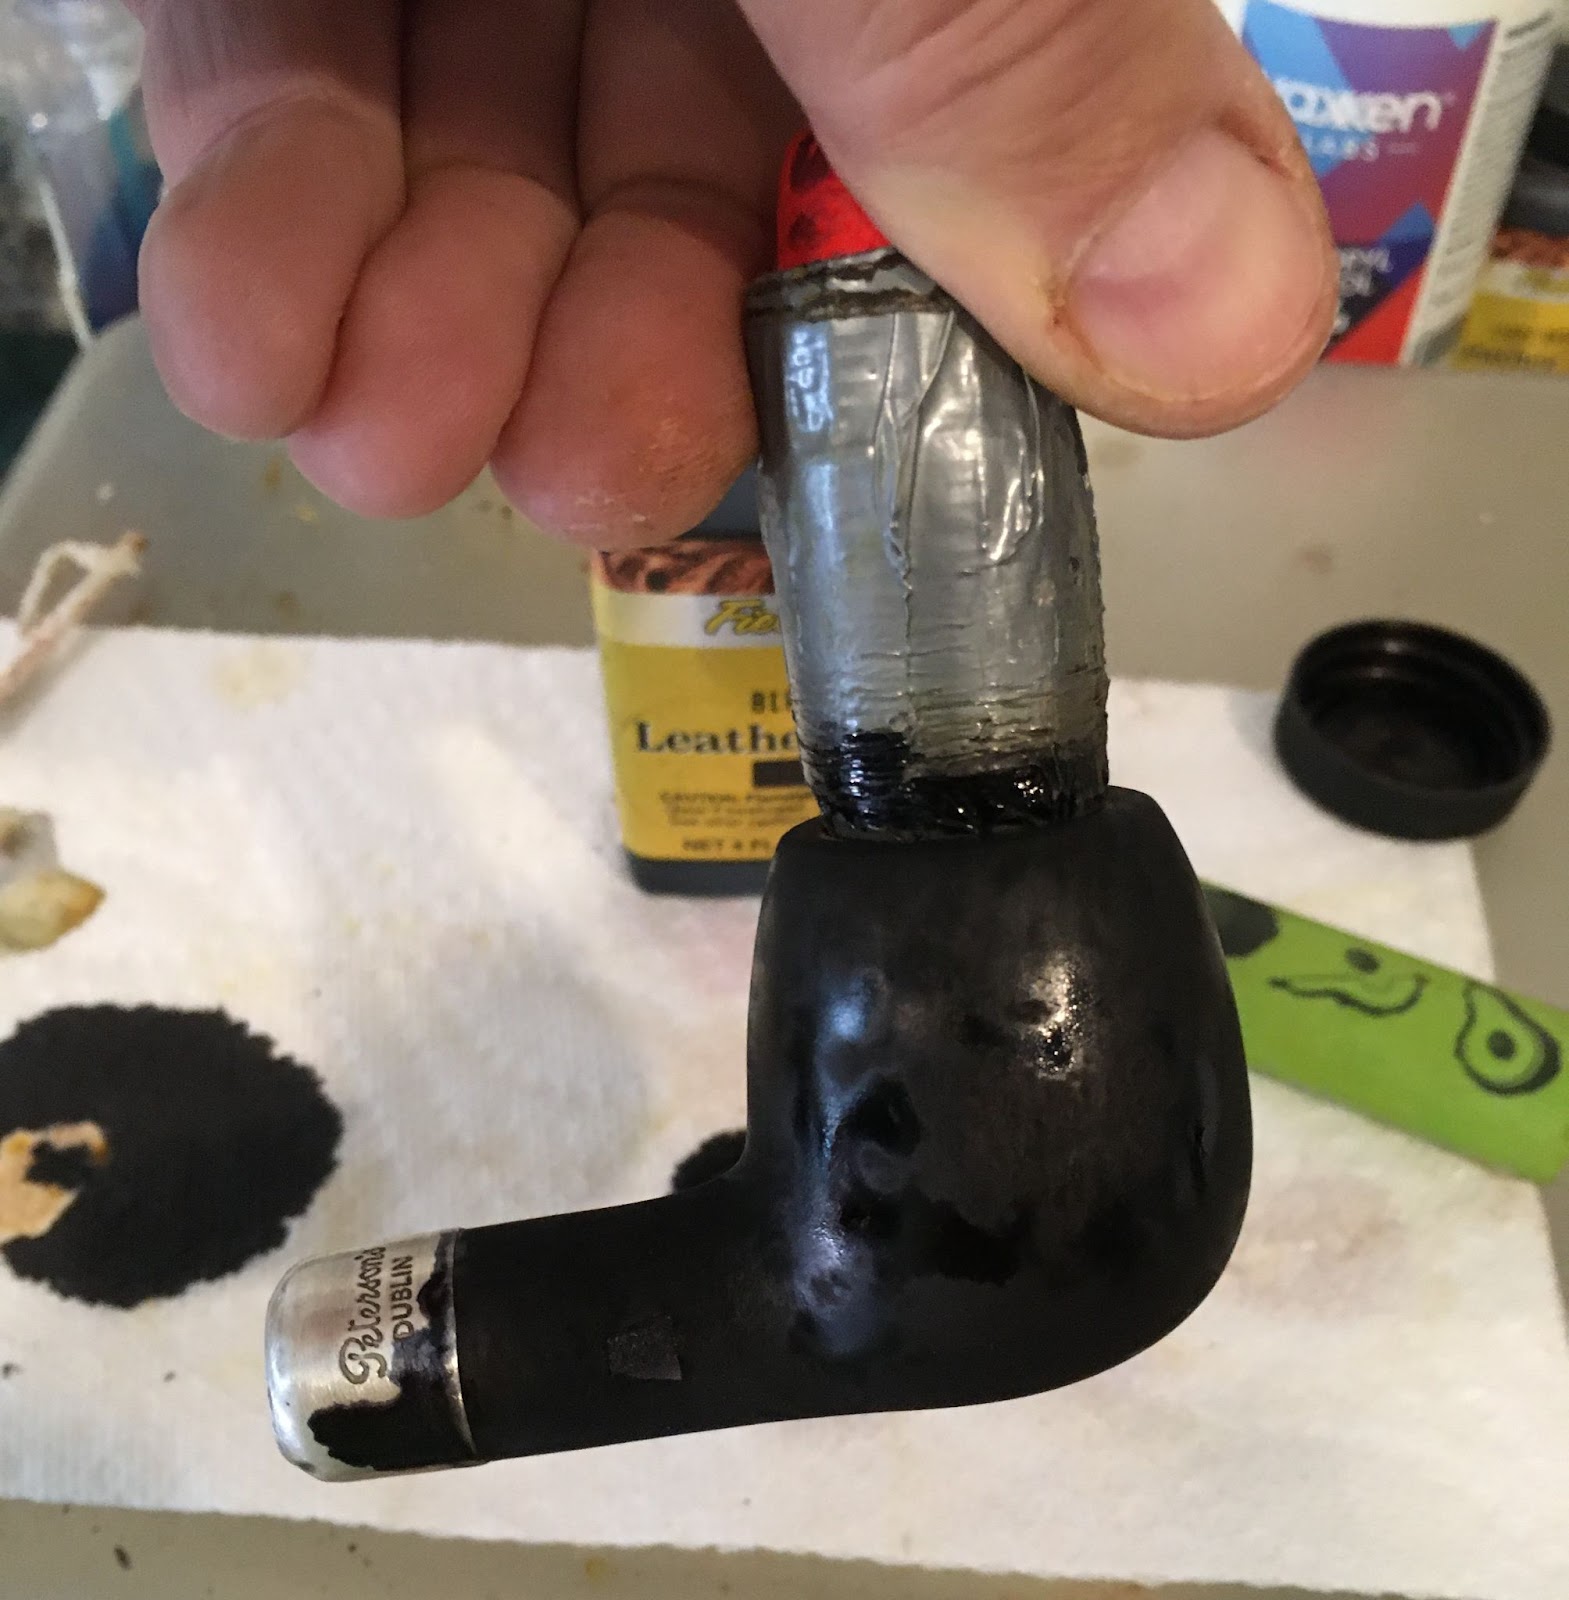
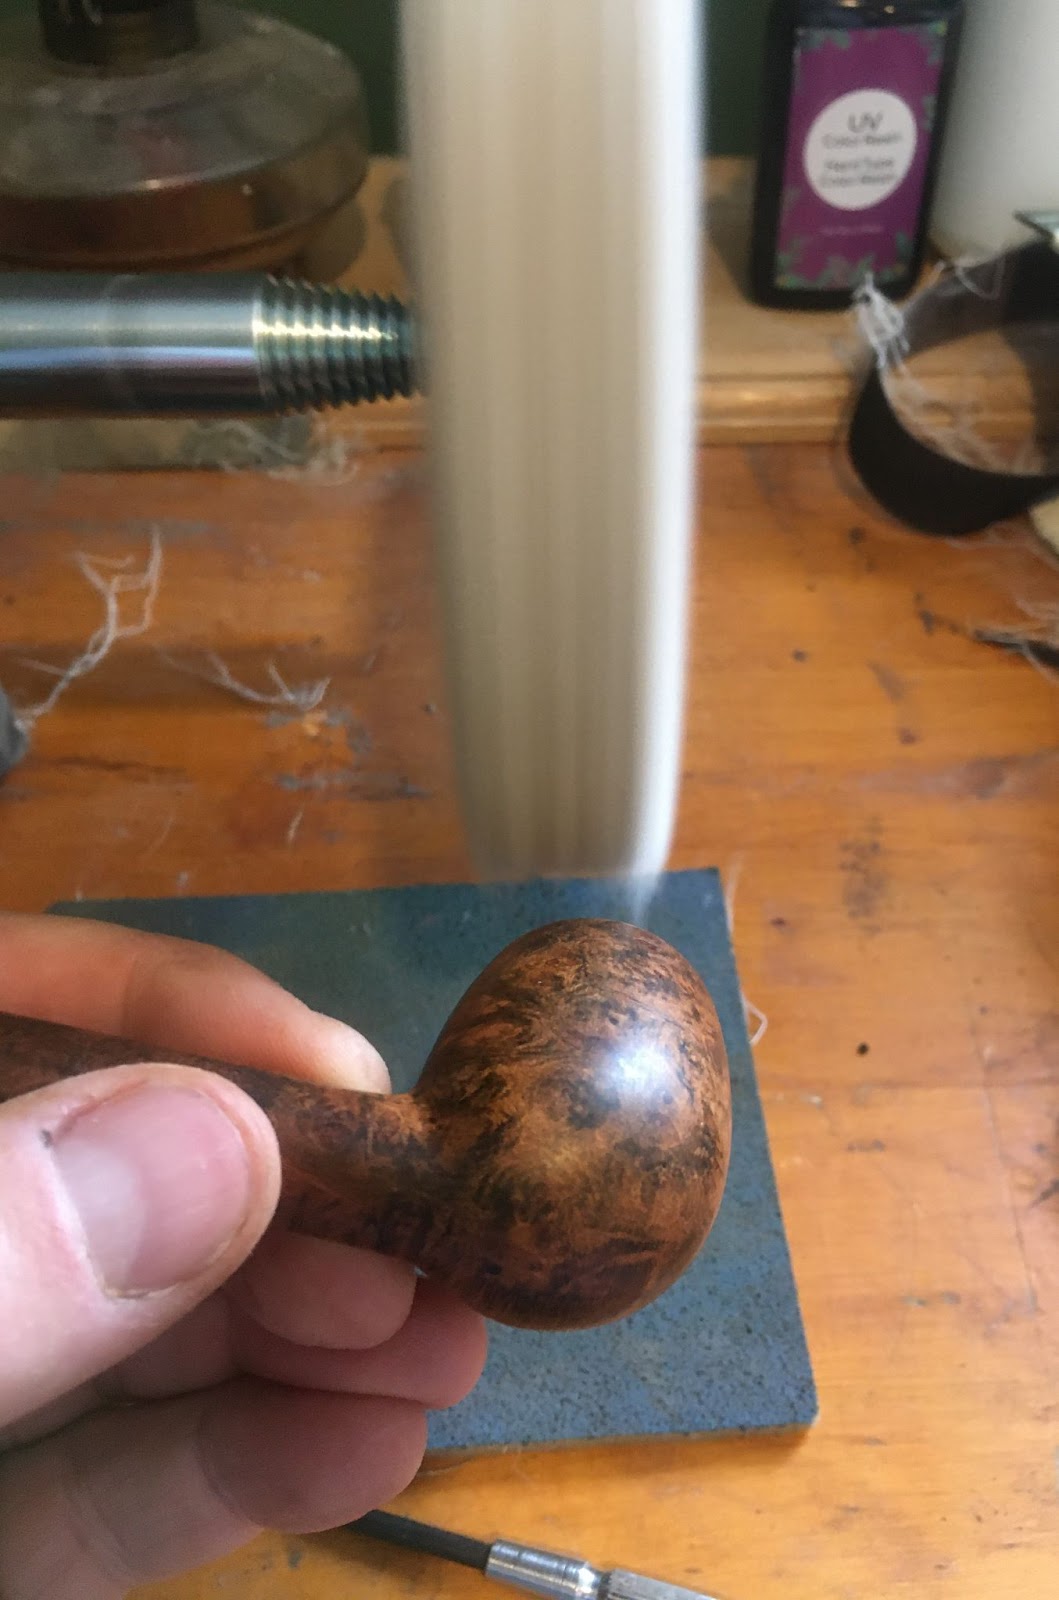
I wanted a better handle for holding the stem while sanding it. The stummel seemed to be the easiest holder. I taped over the finished briar.

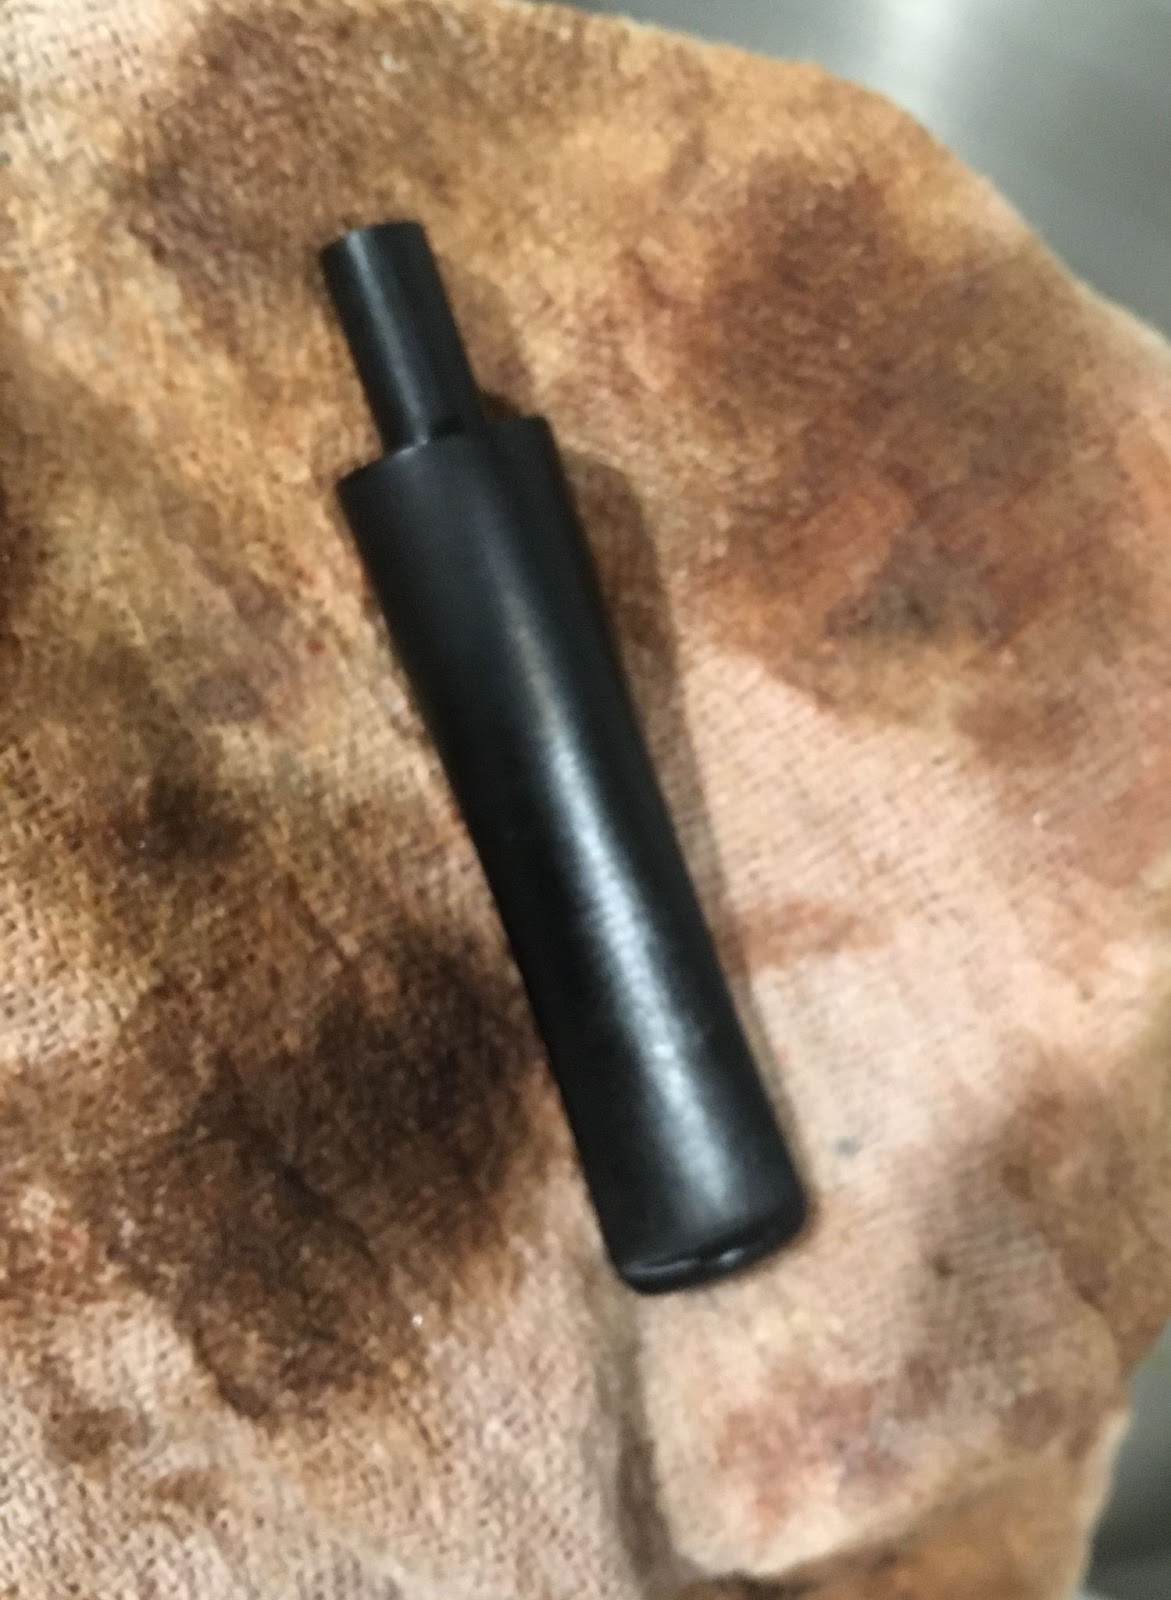
The stem was then sanded with a series of sanding sponges from 400-3500. Between sponges I would apply a bit of mineral oil with my finger and rubbed it over the stem. I would then wipe away the oil and dust from sanding.

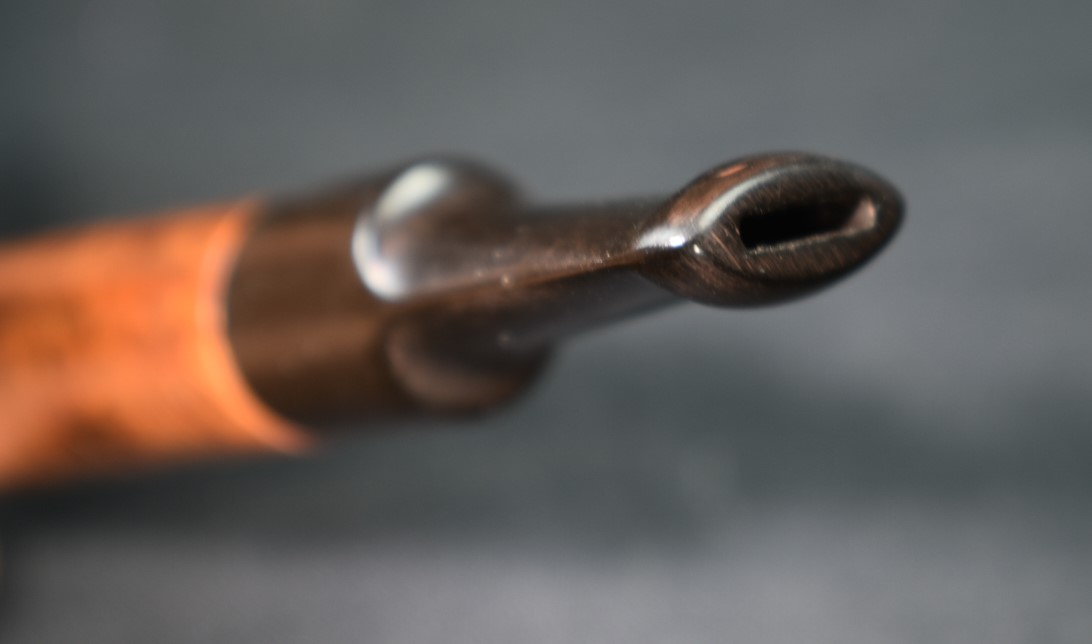
I micro-meshed the stem with the 4000-12000 pads. Between each pad I applied a drop of Obsidian Oil to the stem, rubbed it on and wiped with a clean paper towel.

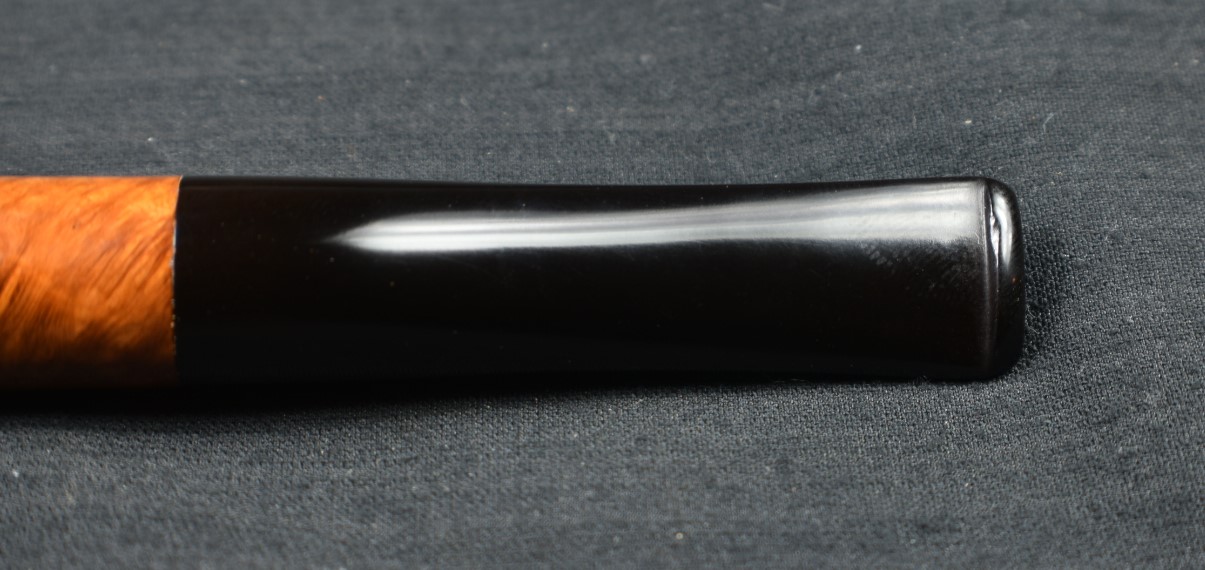
The stem was then polished using Before and After Fine Polish applied by finger and hand buffed using a soft cotton cloth.

After the Fine Polish Before and After Extra Fine Polish was applied and hand buffed.

The pipe was then taken to the buffer for several coats of carnauba wax.

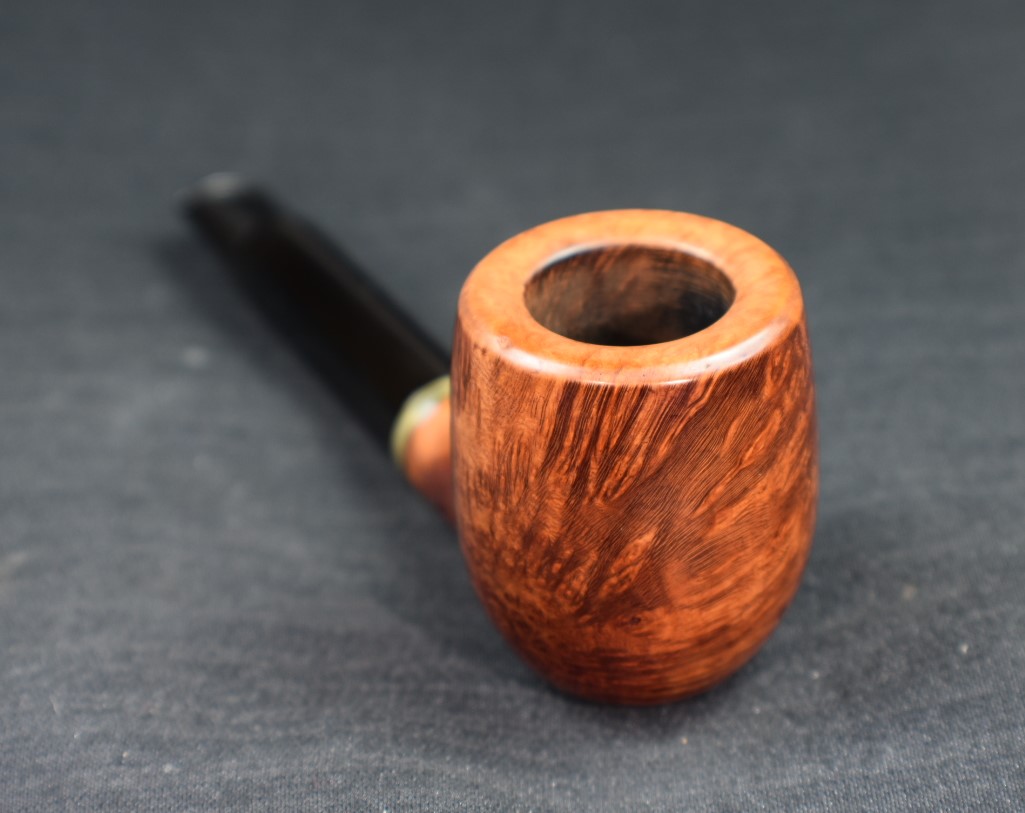
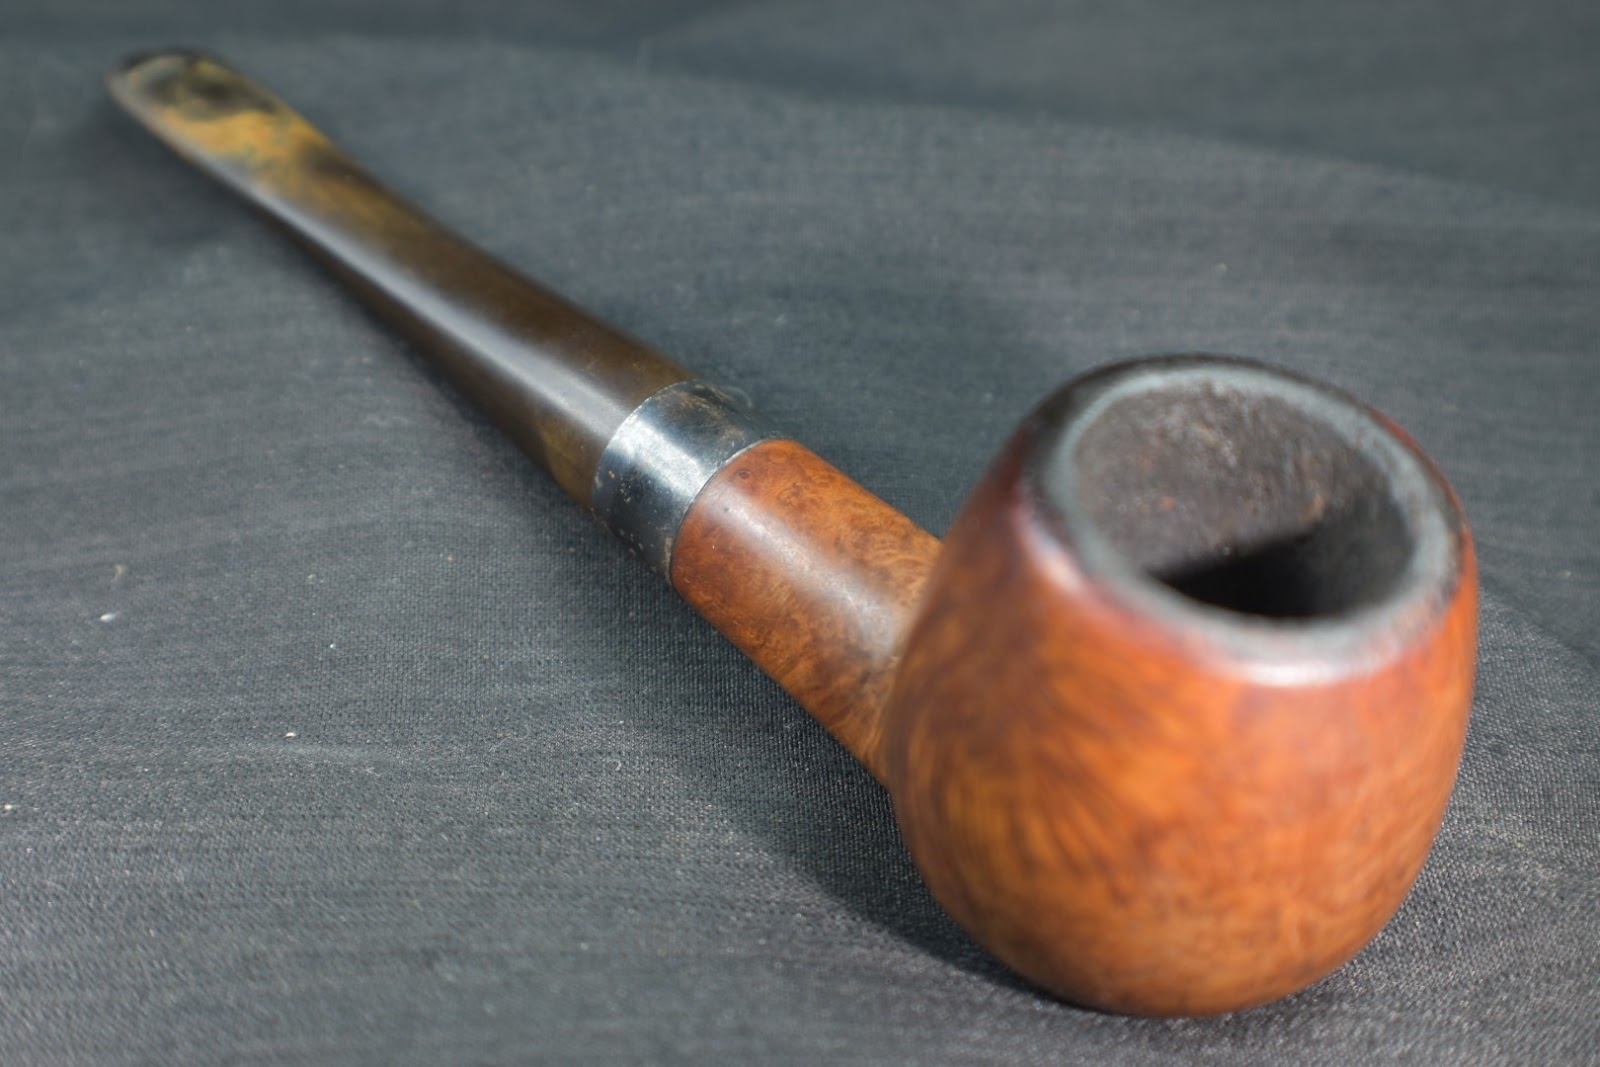
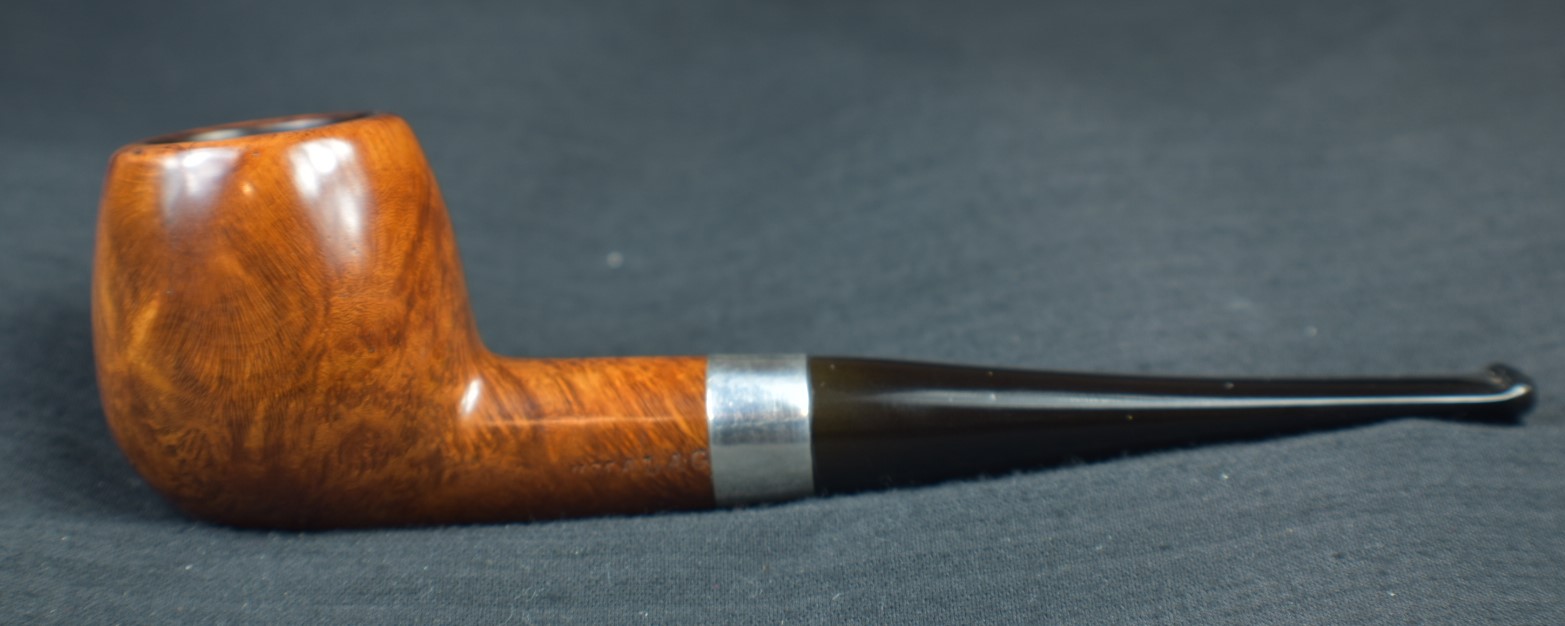
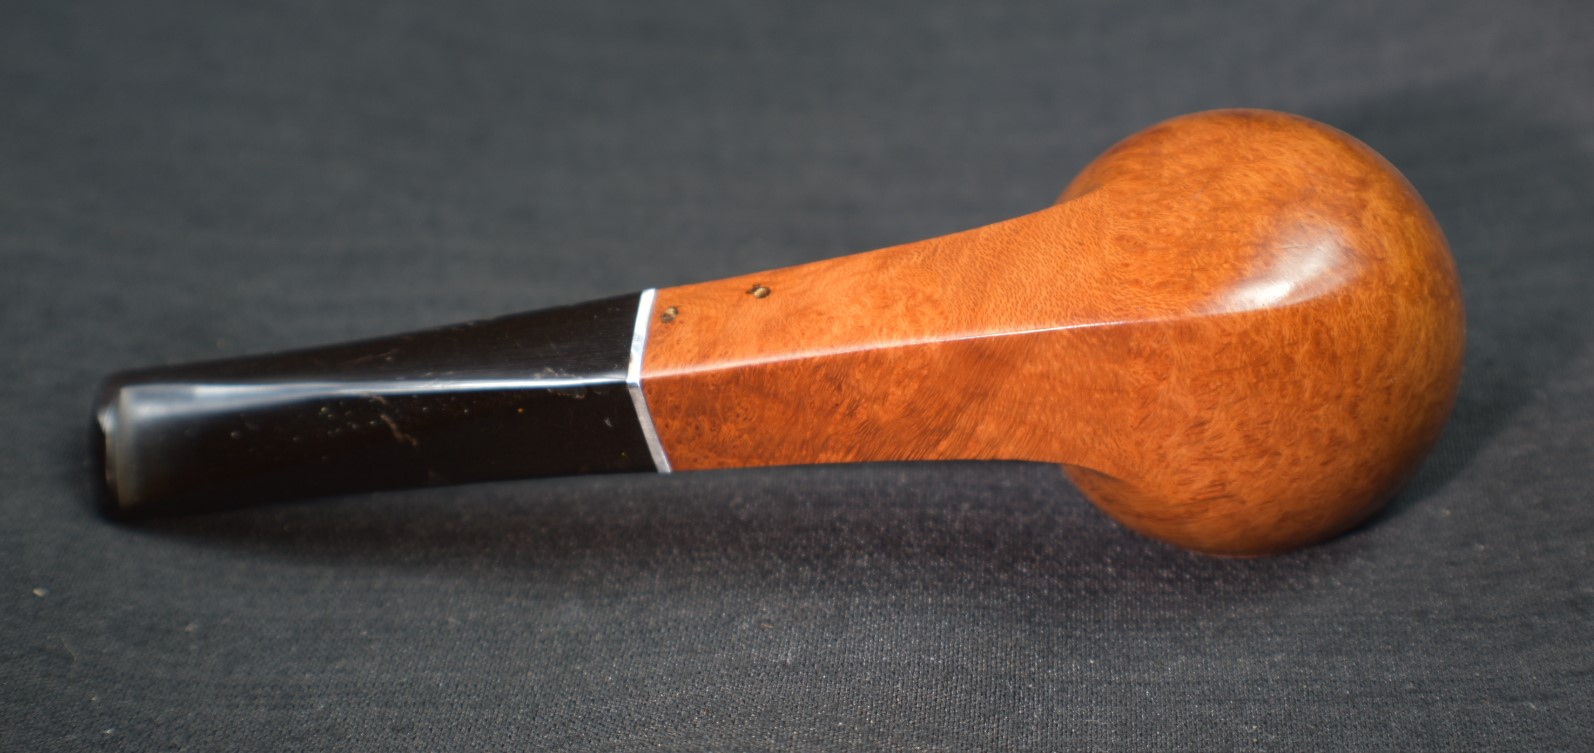
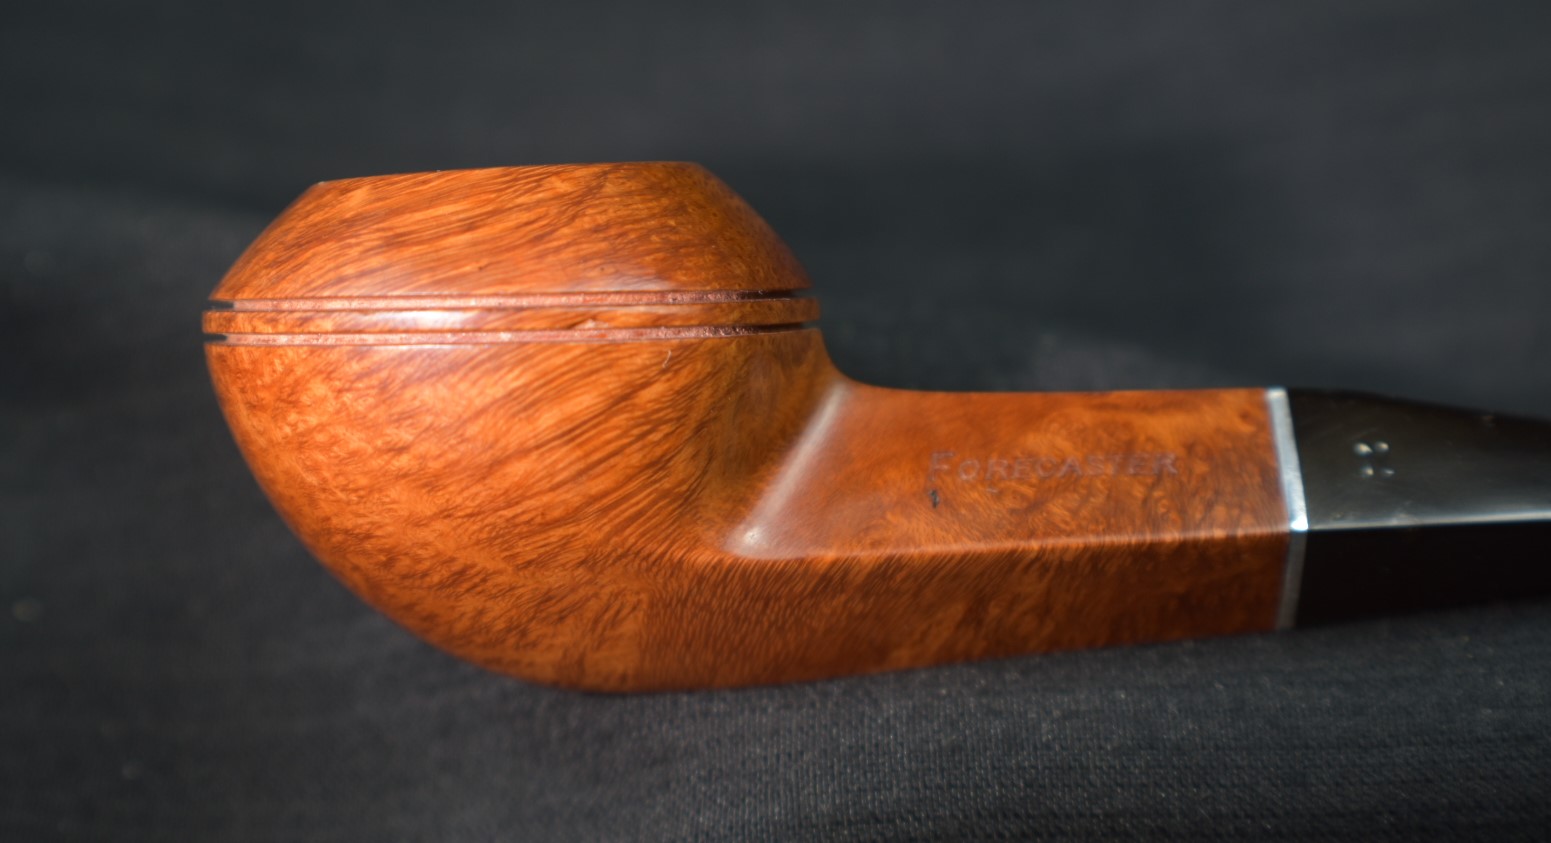
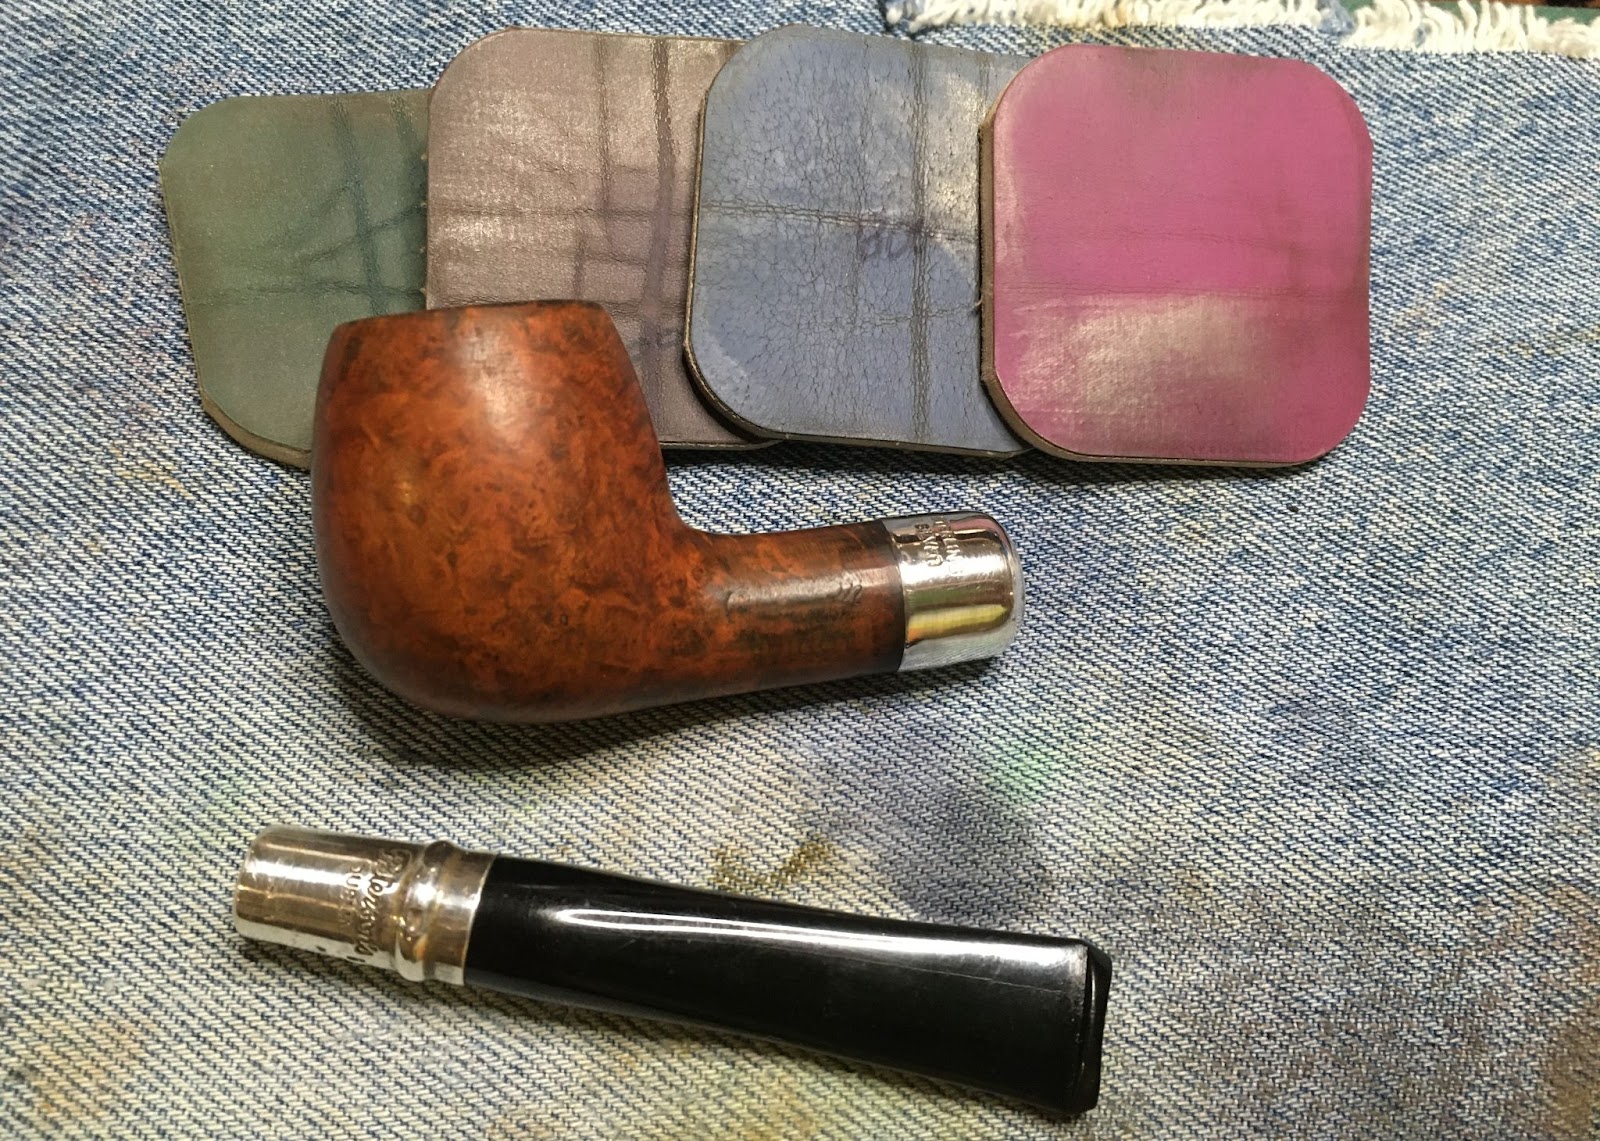
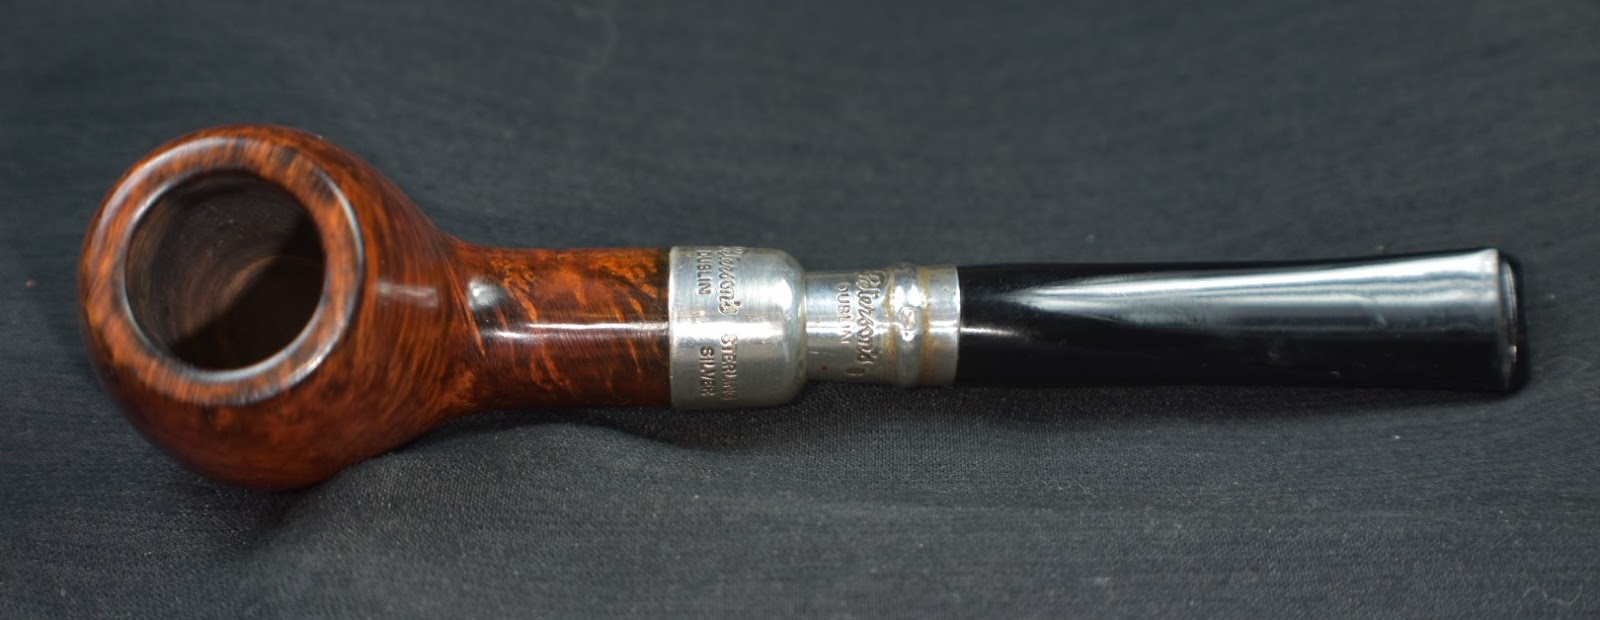
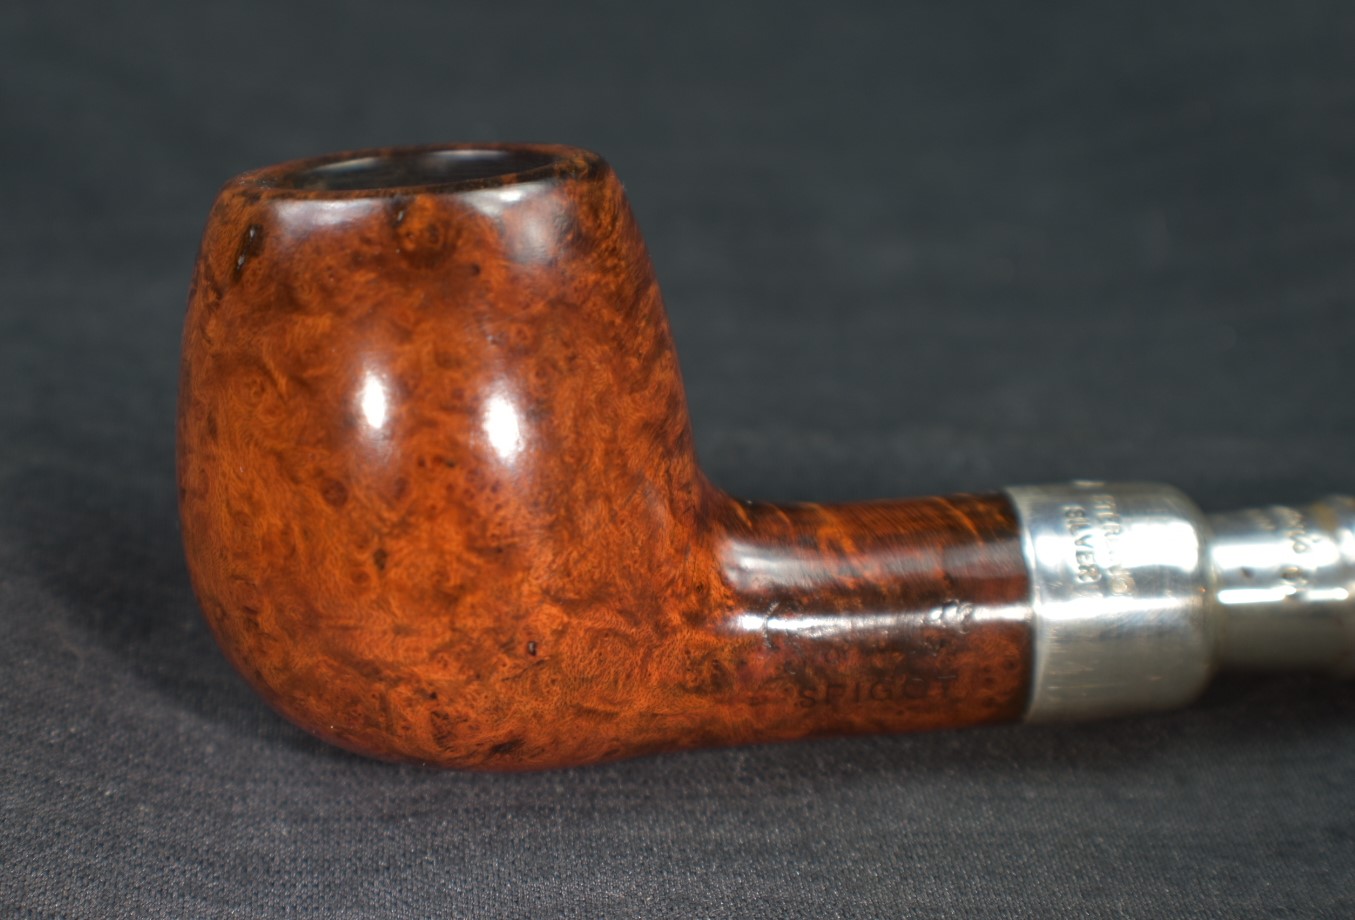
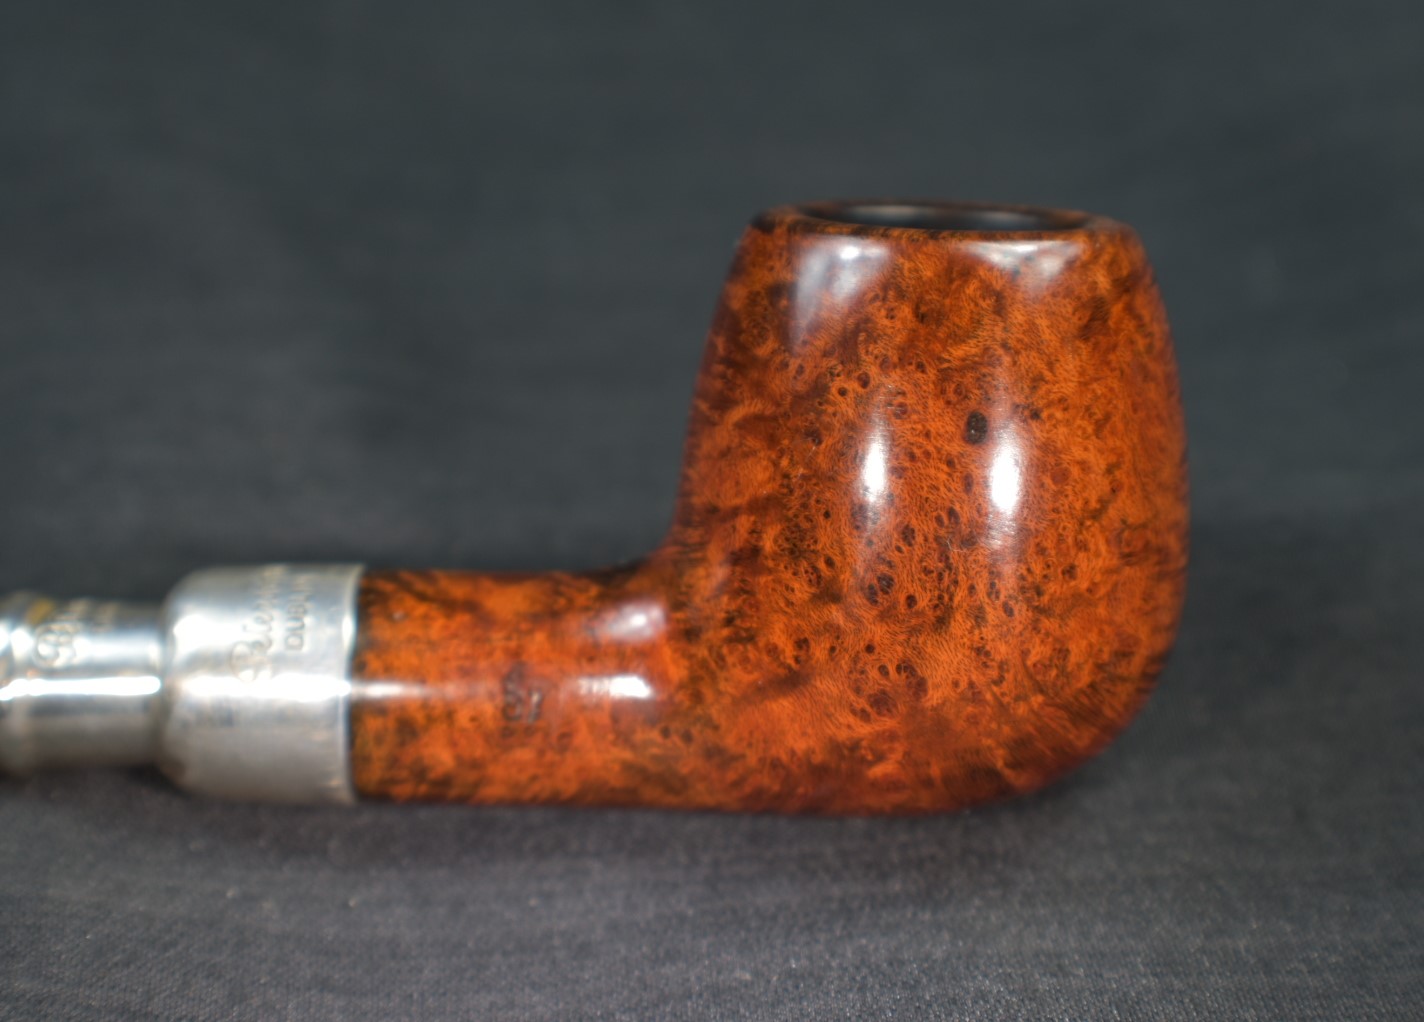
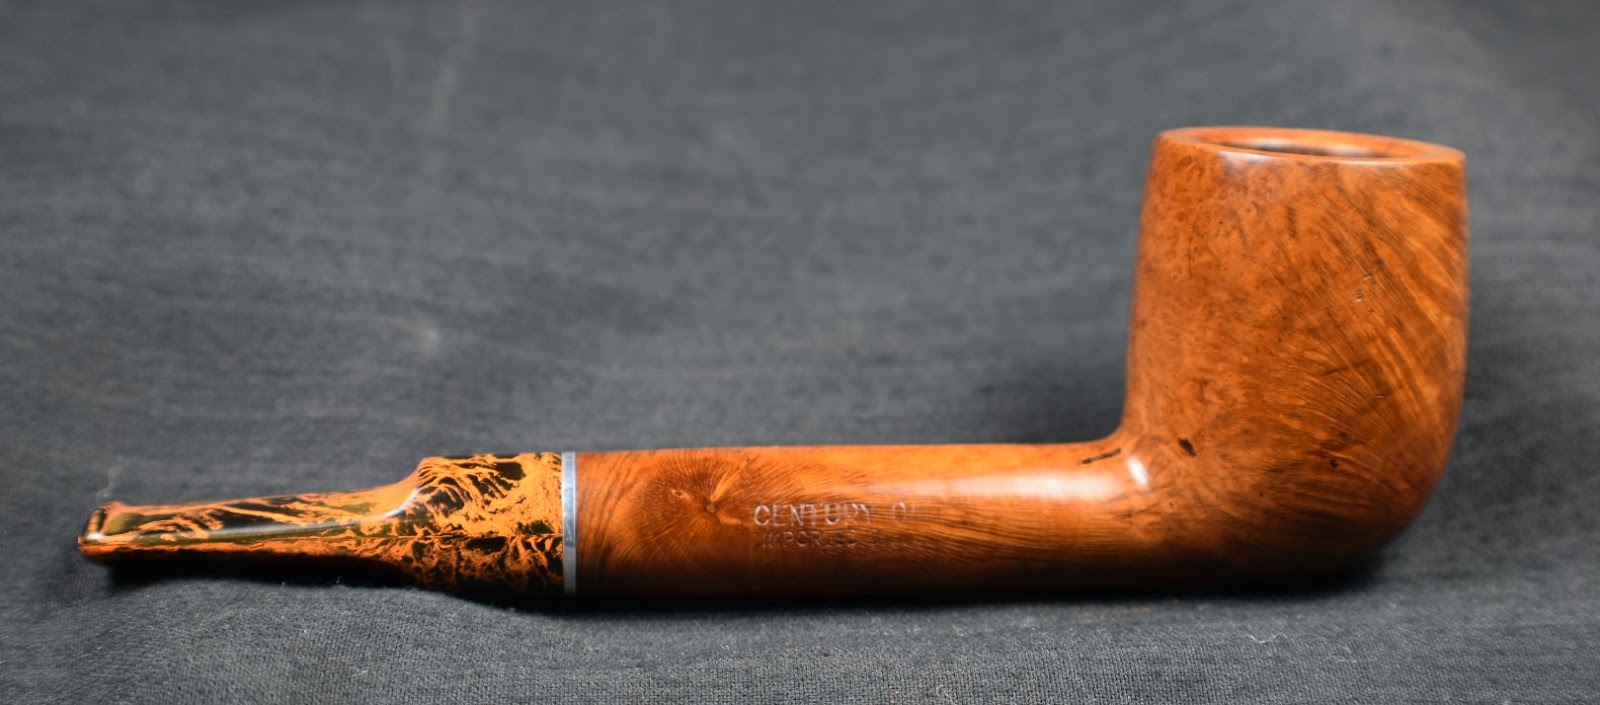
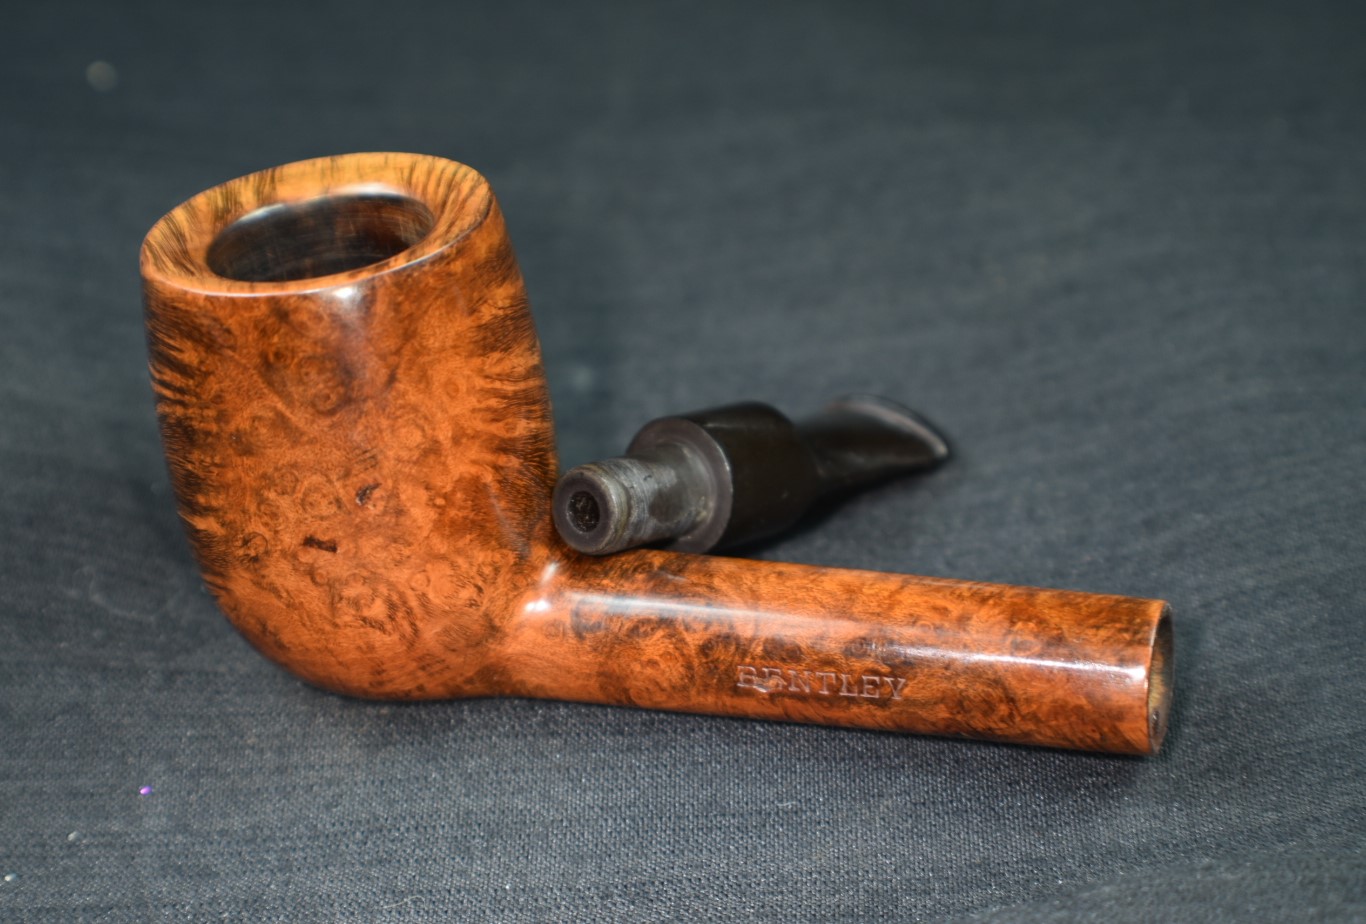
This shape is an absolute favorite of mine. I love the way it hangs from my mouth and feels in my hand. The pipe turned out beautifully. I was very pleased at the way the dents lifted without a trace and the fact that the single pit was a simple fix and nearly unnoticeable was a huge plus. The stem polished up well and accentuates the briar grain wonderfully. I like the lack of the aluminum ring at the junction of the stem and stummel more than her sister. The final photo shows both side by side. Let me know if you agree. I am not sure if I prefer the beading around the bowl over the lack of beading. On Some bull dogs I think the beading is necessary, this one, I am okay without it. Perhaps it is because of the thickness of the shank that makes the beading seem a bit unnecessary. The dimensions of the Linkman’s Dr Grabow De Luxe 9733 are:
Length: 5.32 in./ 135.13 mm.
Weight: 1.58 oz./ 47.30 g.
Bowl Height: 1.65 in./ 41.91 mm.
Chamber Depth: 1.25 in./ 31.75 mm.
Chamber Diameter: 0.69 in./ 17.53 mm.
Outside Diameter: 1.56 in./ 39.62 mm.
I do hope that you have found something here useful to your own pipe care, maintenance or restorations. If you like this sort of thing, please click the like and subscribe buttons. Thank you for reading the ramblings of an old pipe lover.
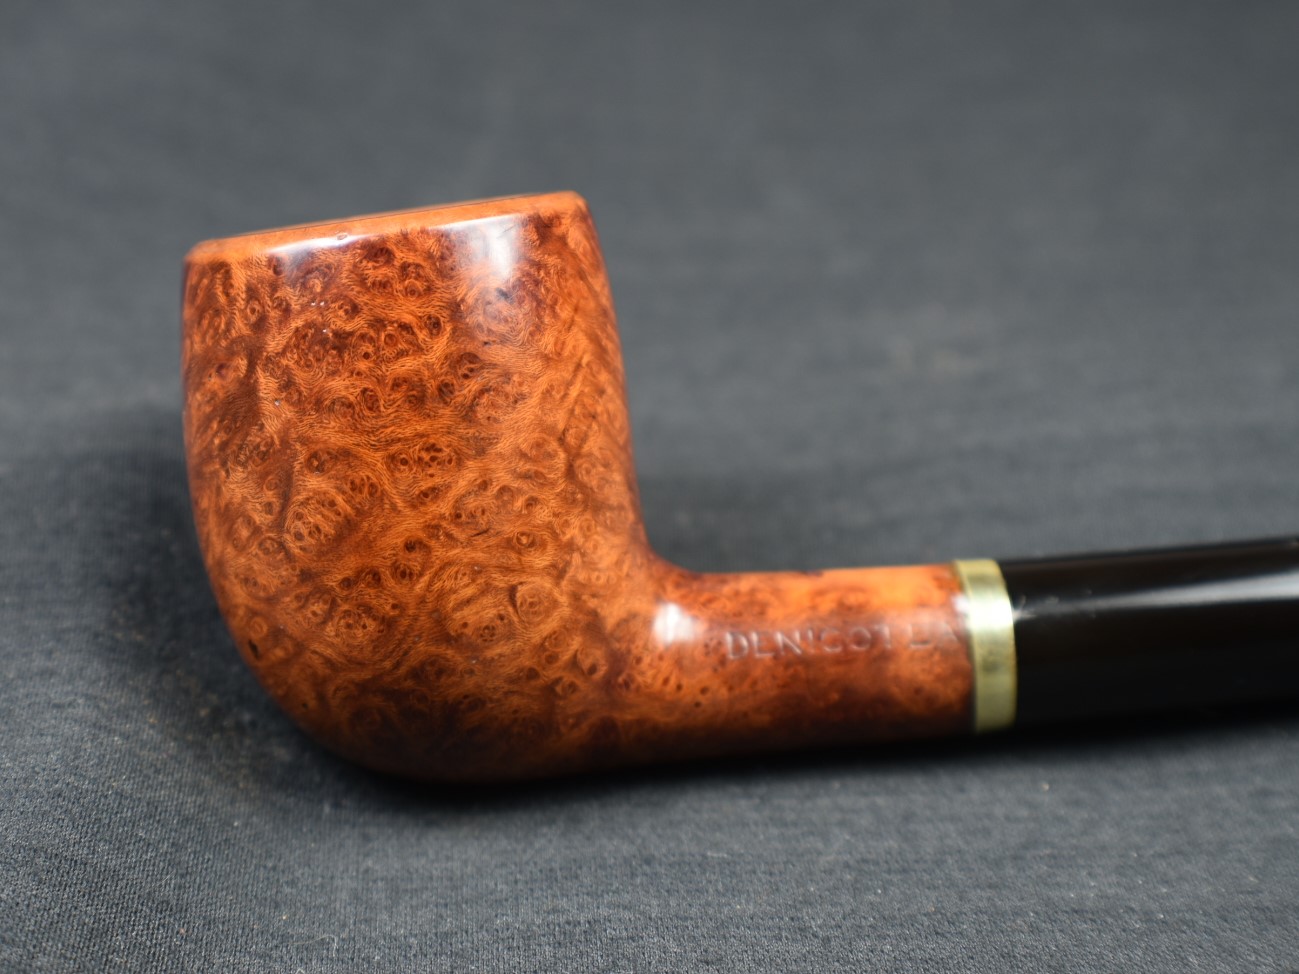
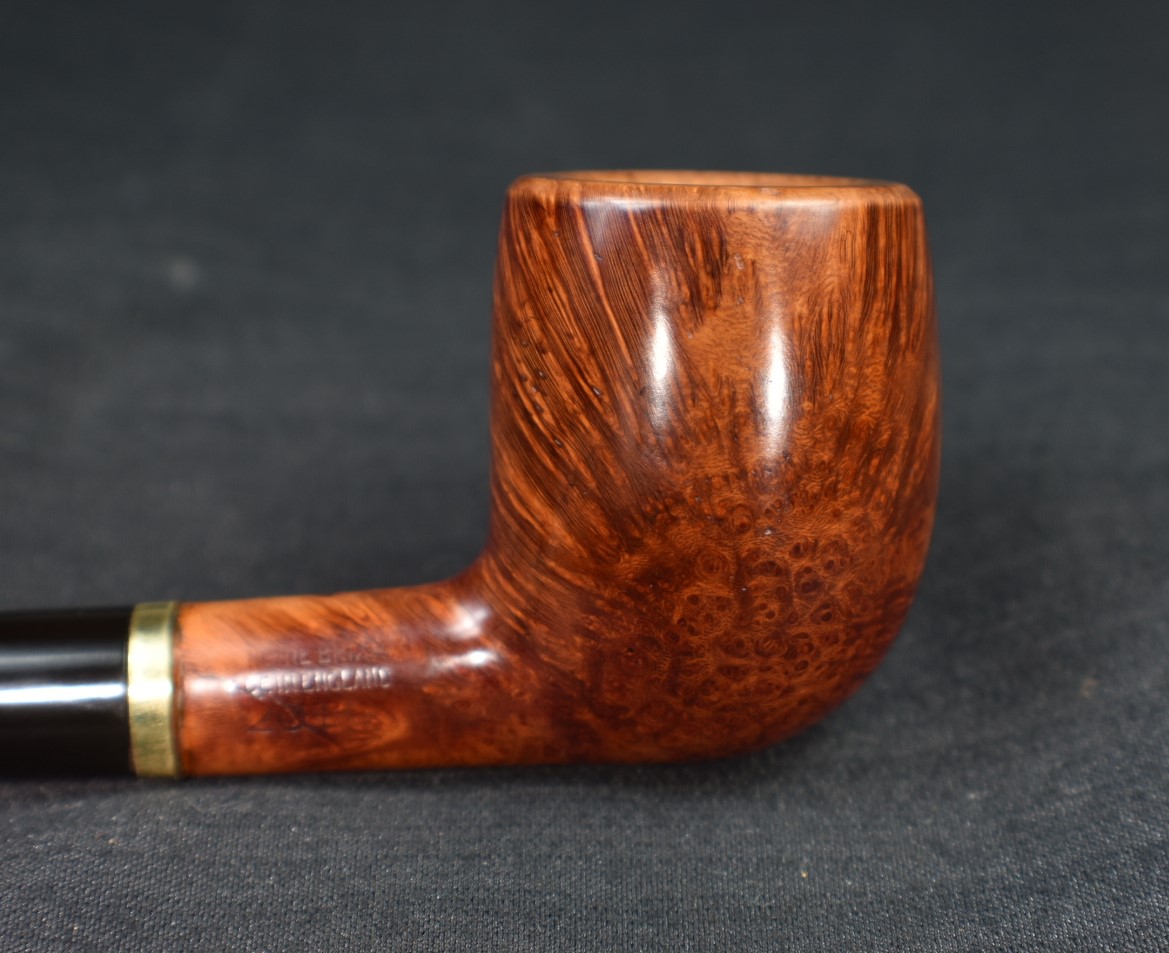
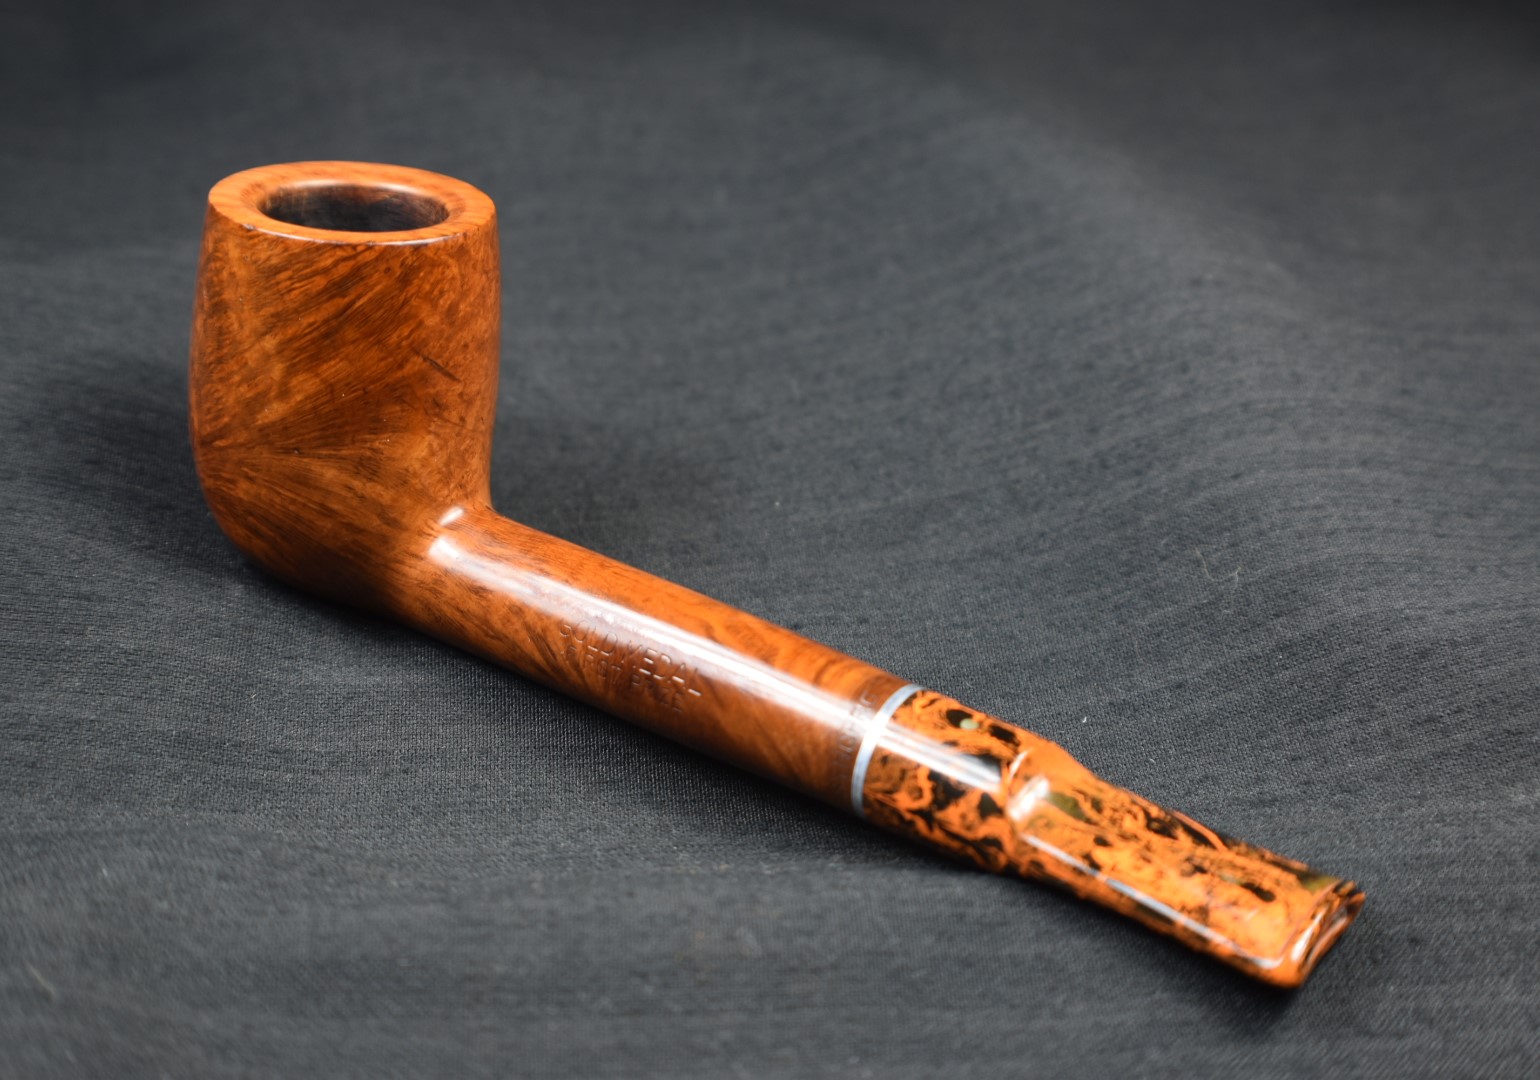
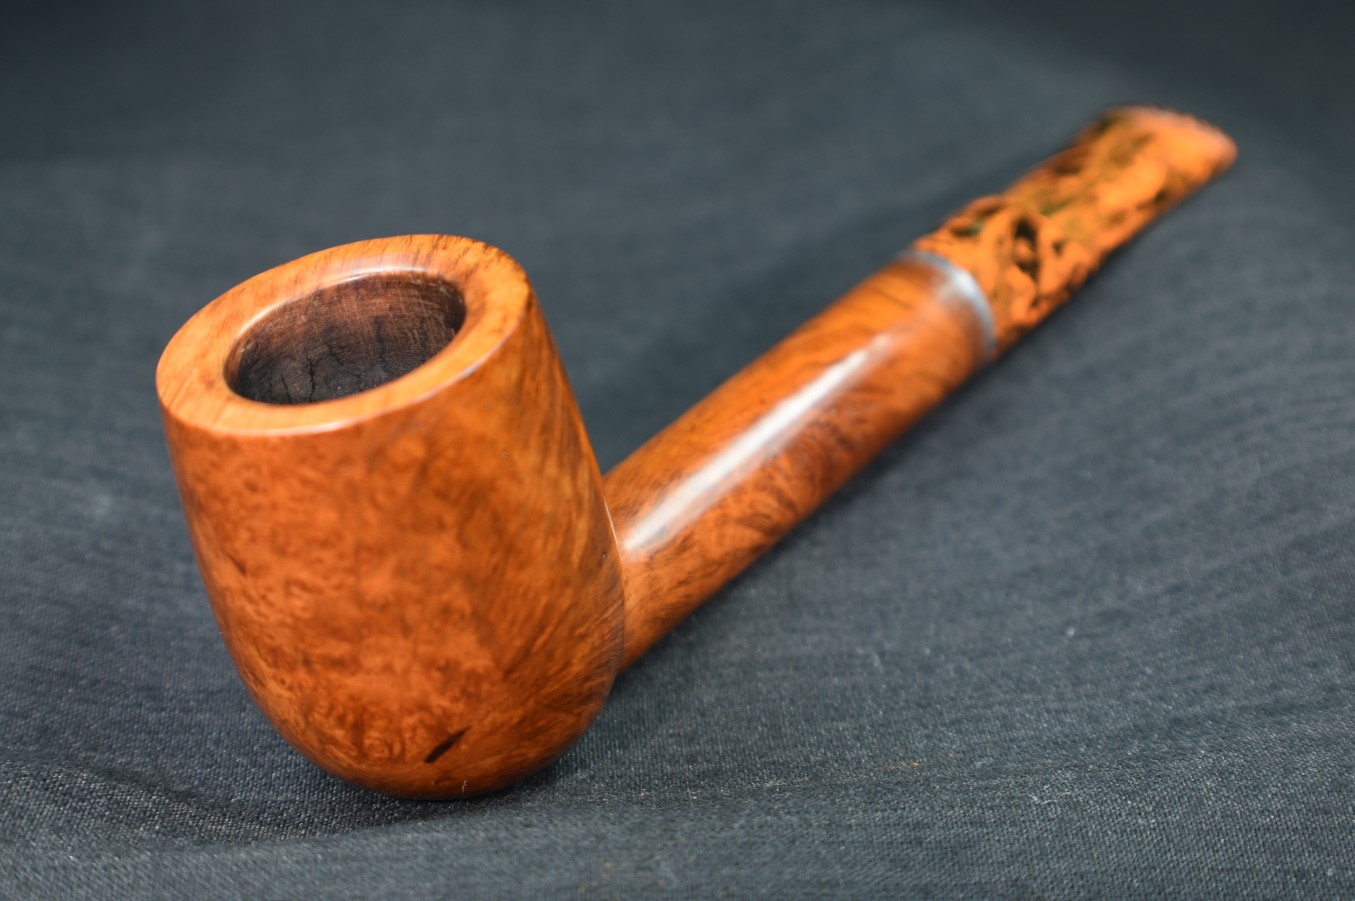
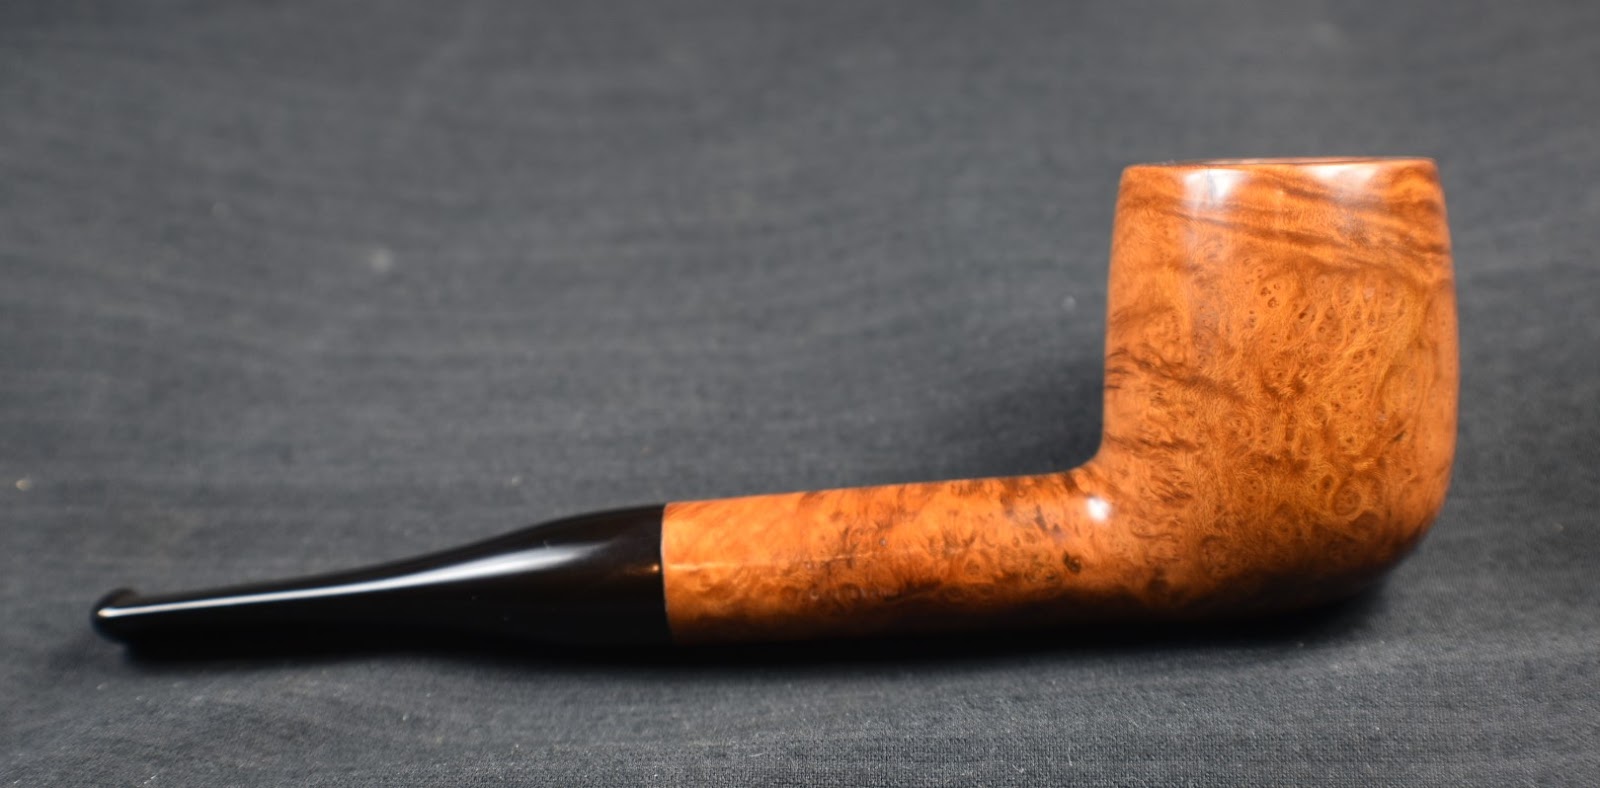
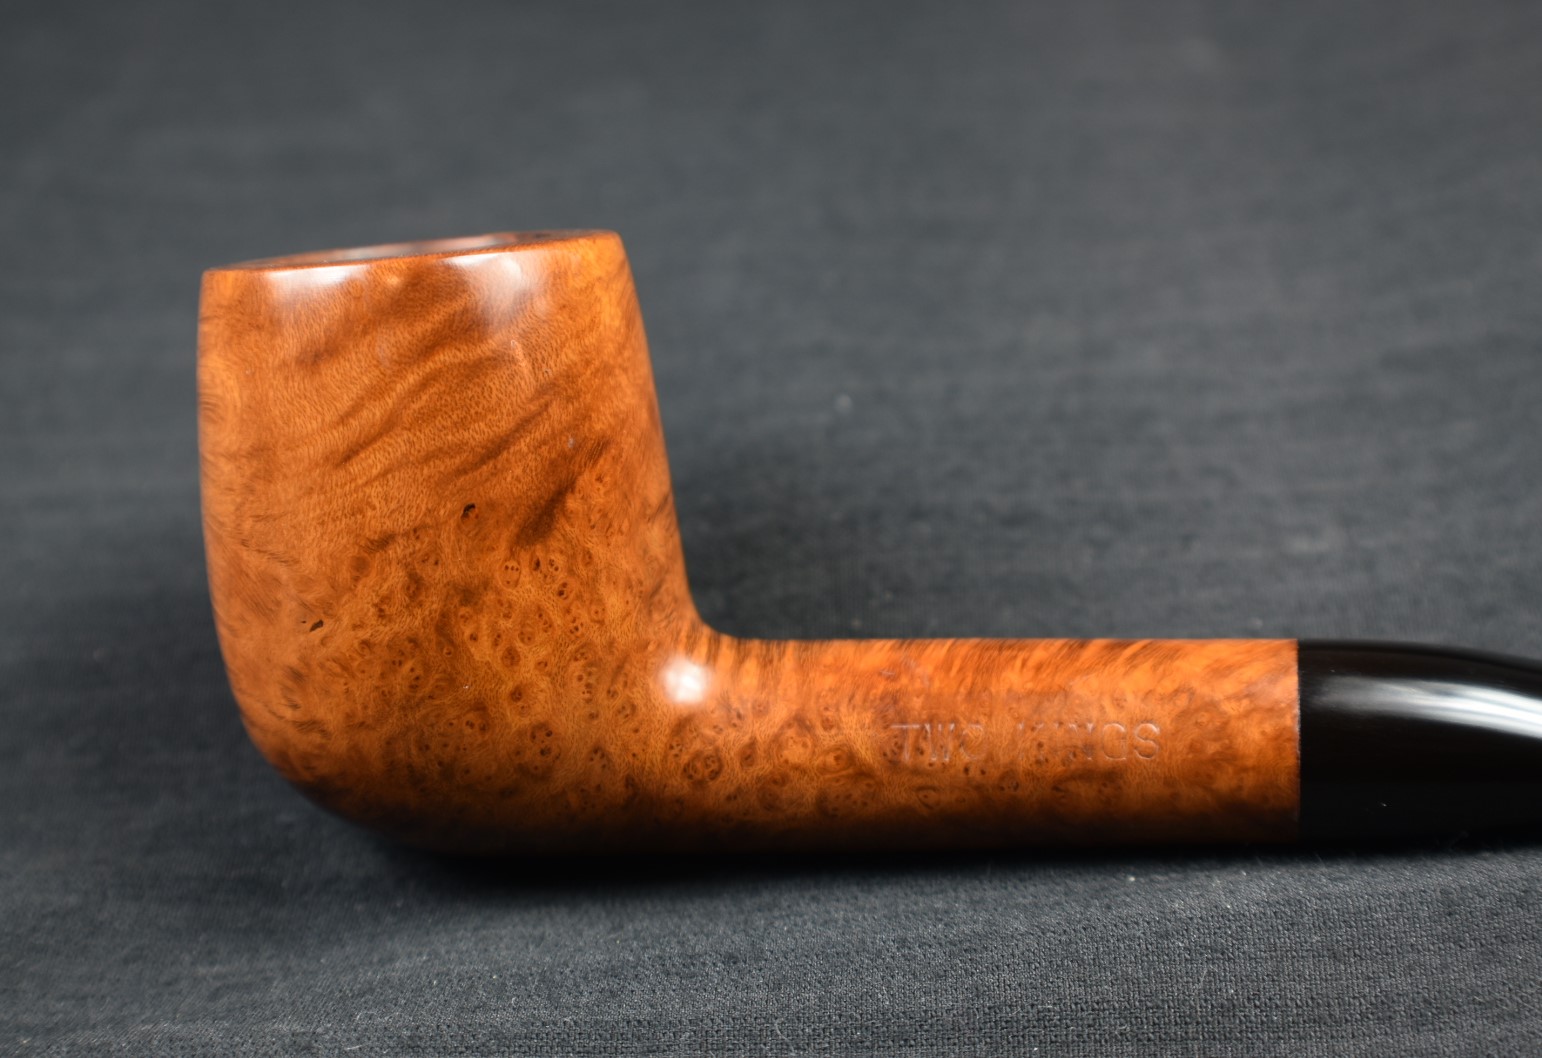
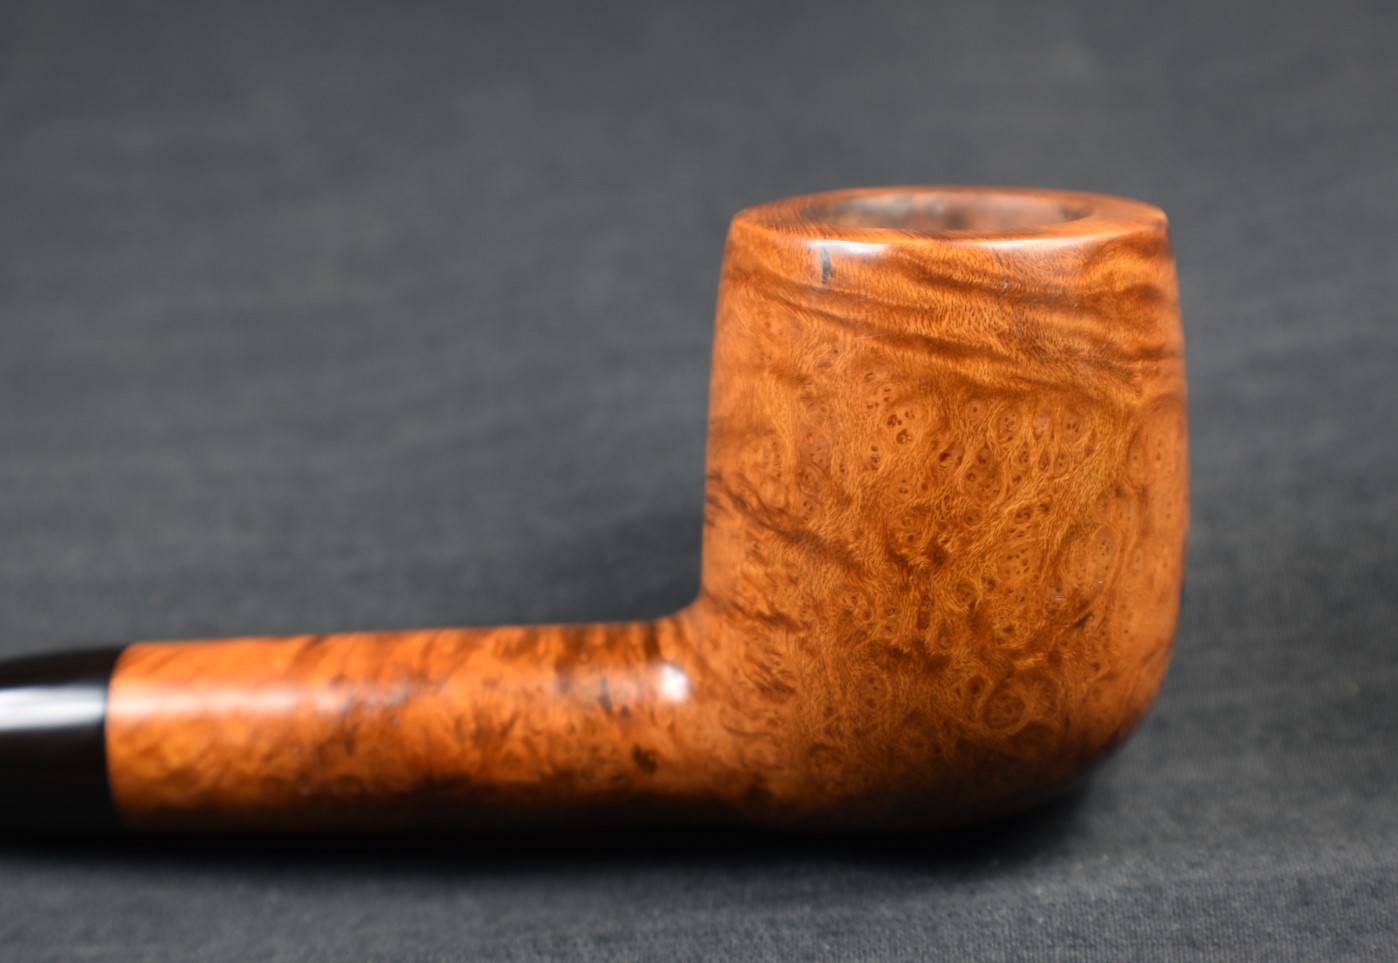
Below are some photos of the finished Linkman’s Dr Grabow De Luxe 9733.


The sisters. 9733A, left and 9733, on the right.


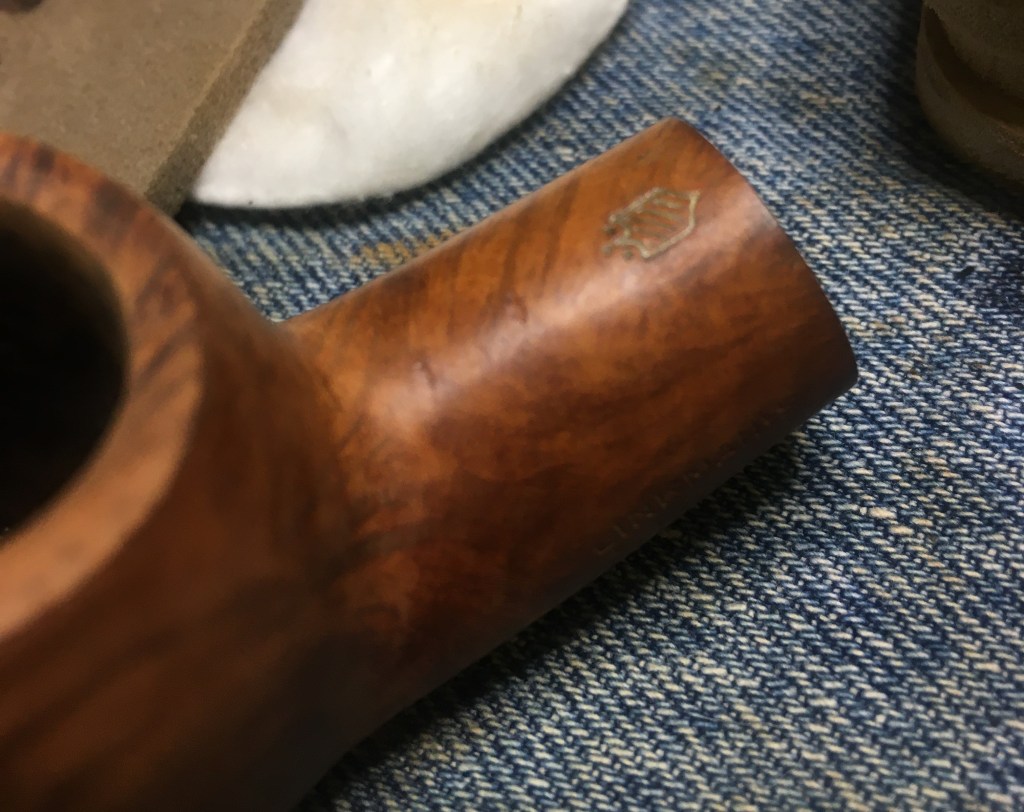
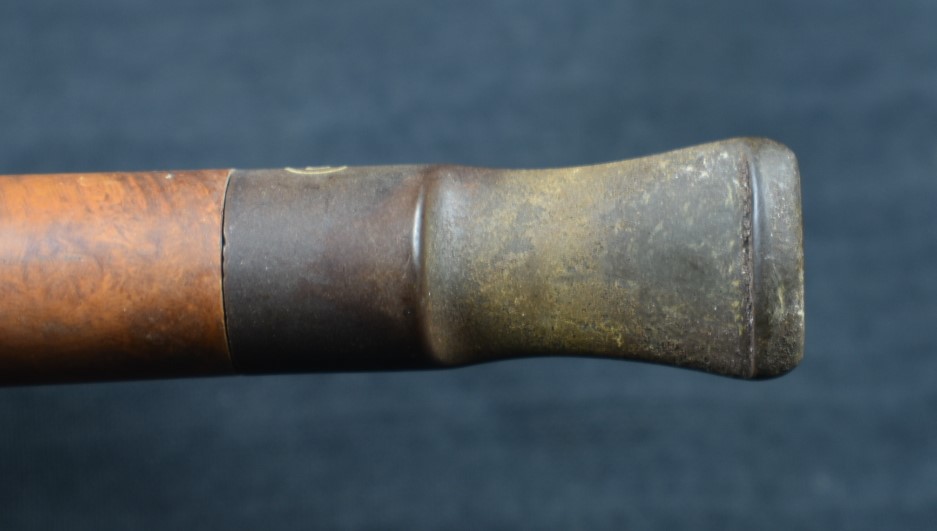
 The image to the left is a screen clip of the PPN-Hallmark-Chart. While the photo below is the hallmark of this pipe.


 (
(


 ”
”


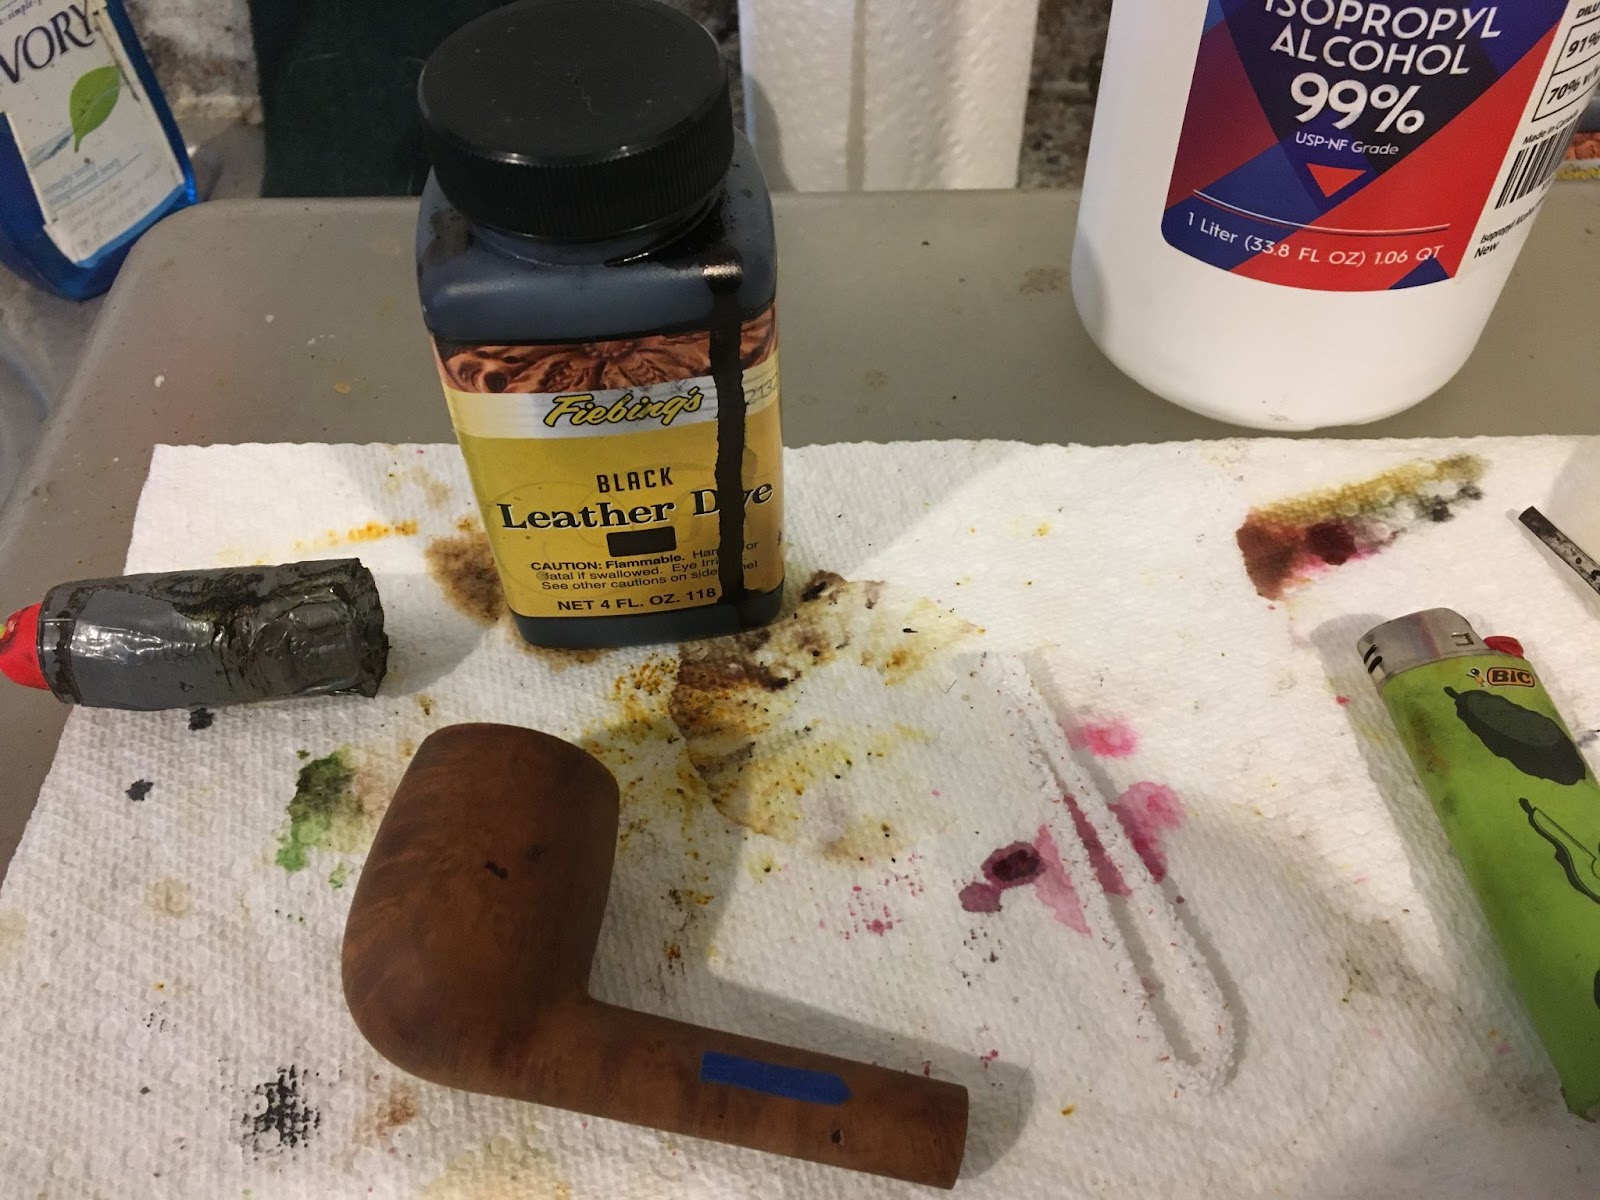
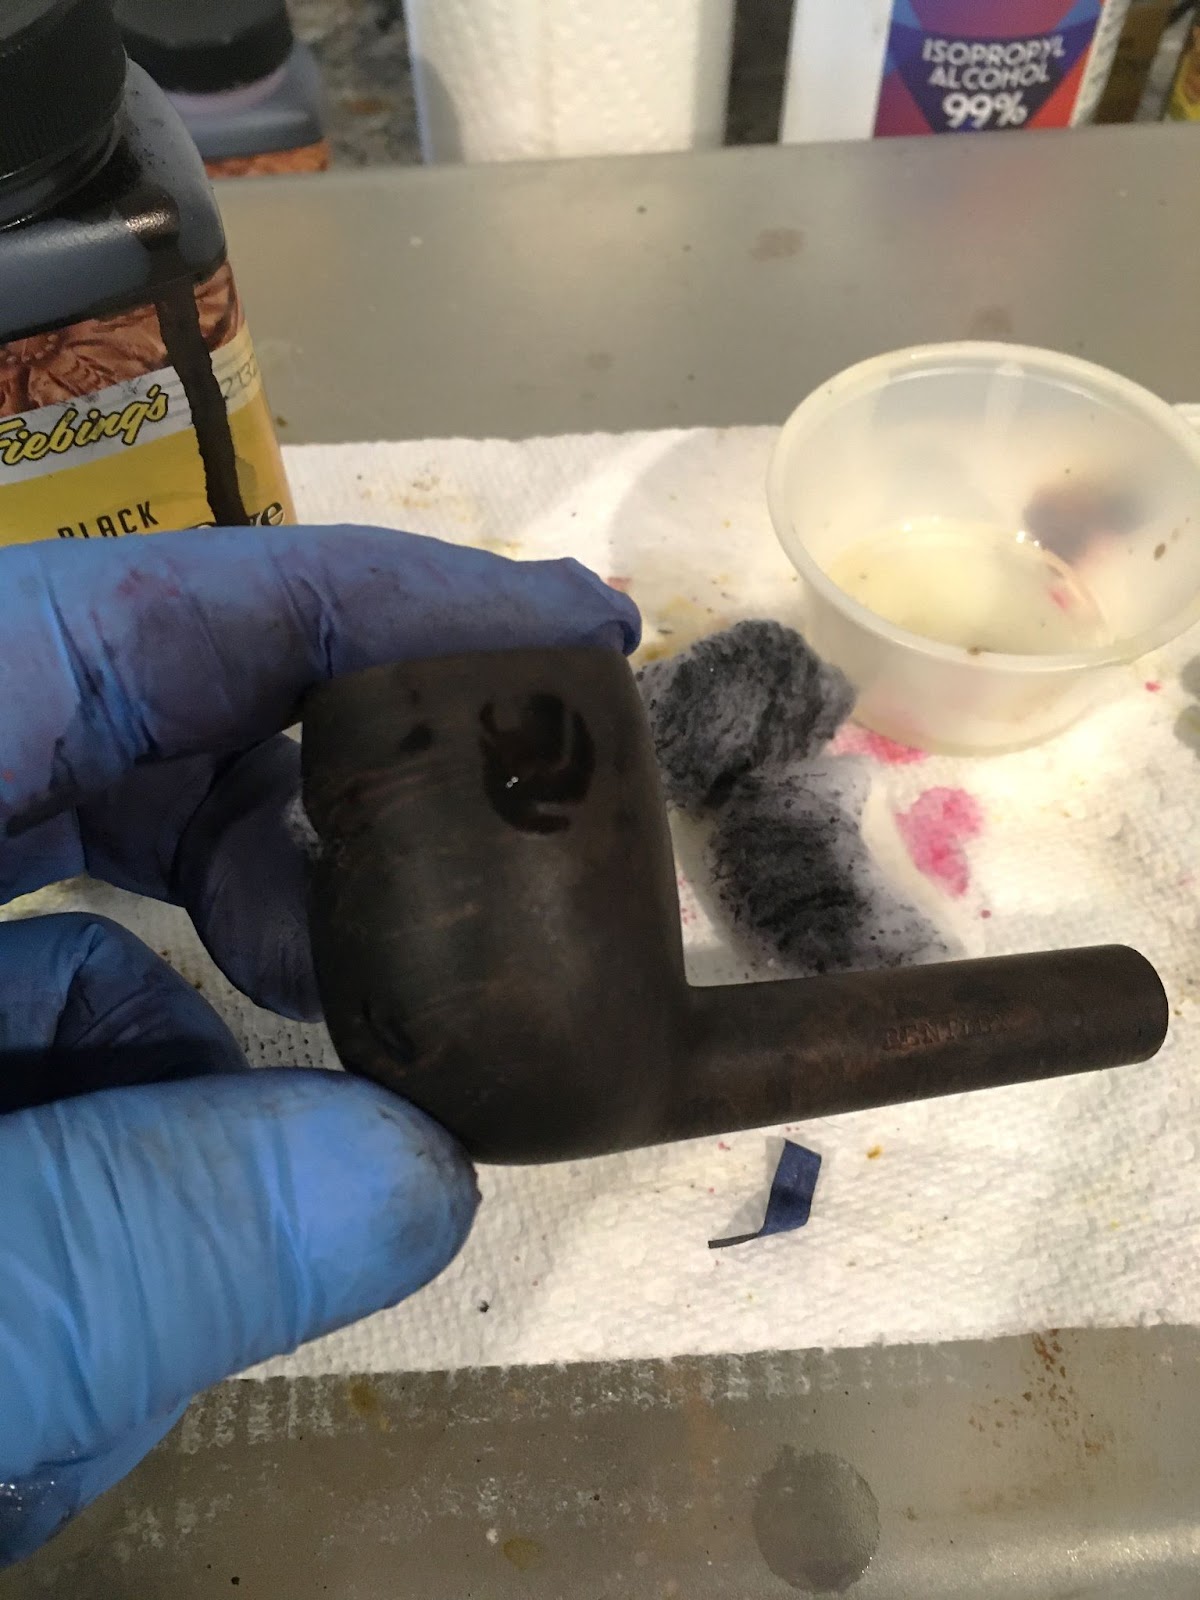


 A second make-up pad yielded similar results. I sanded the stummel with a 320 sanding sponge and wiped the stummel with a make-up pad wetted with acetone. The acetone also was removing red stain. Additional wipes finally freed the red from the briar and I was able to proceed.