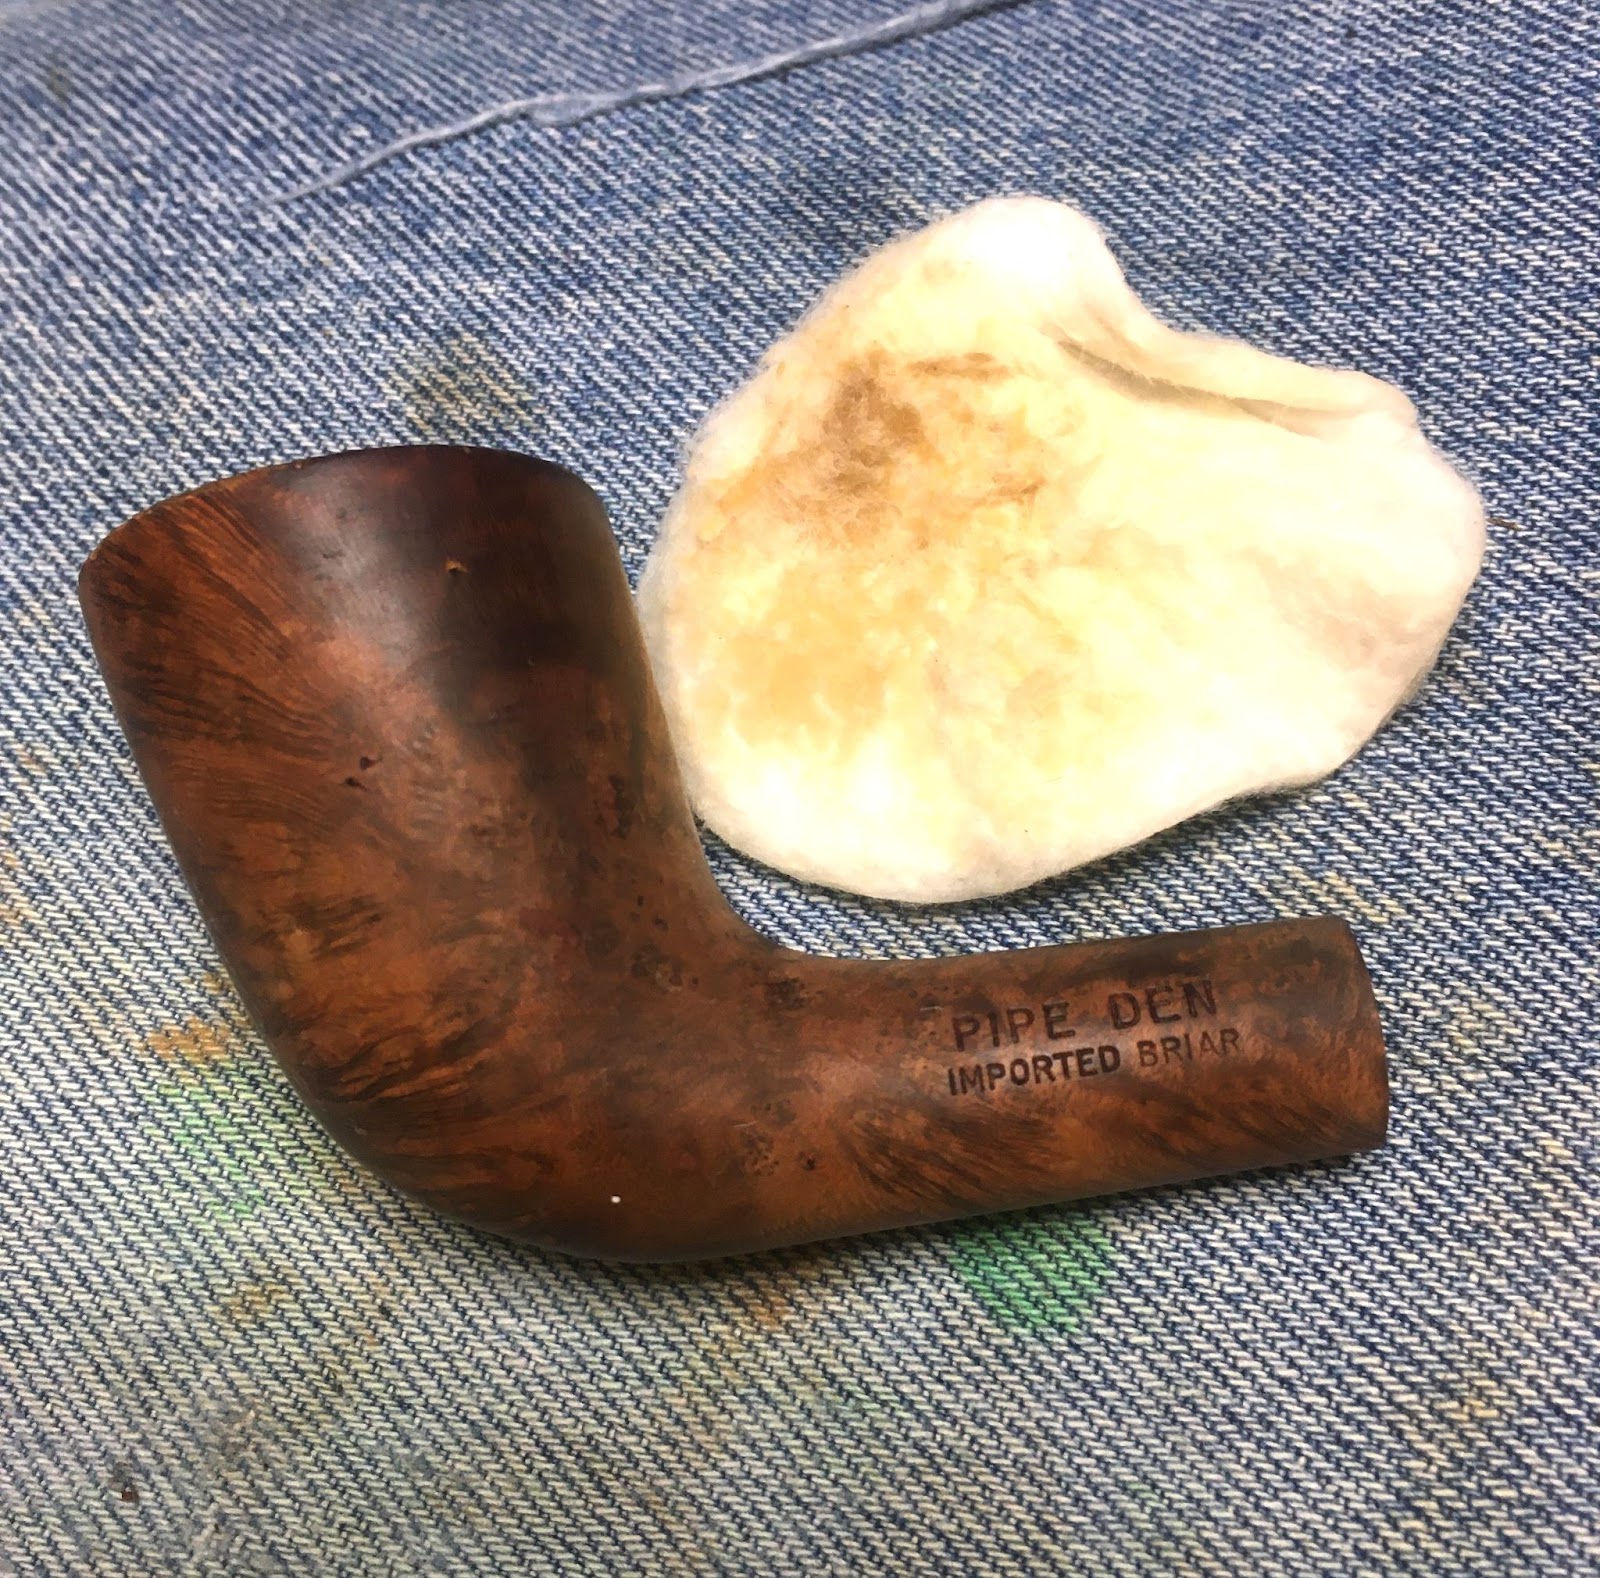
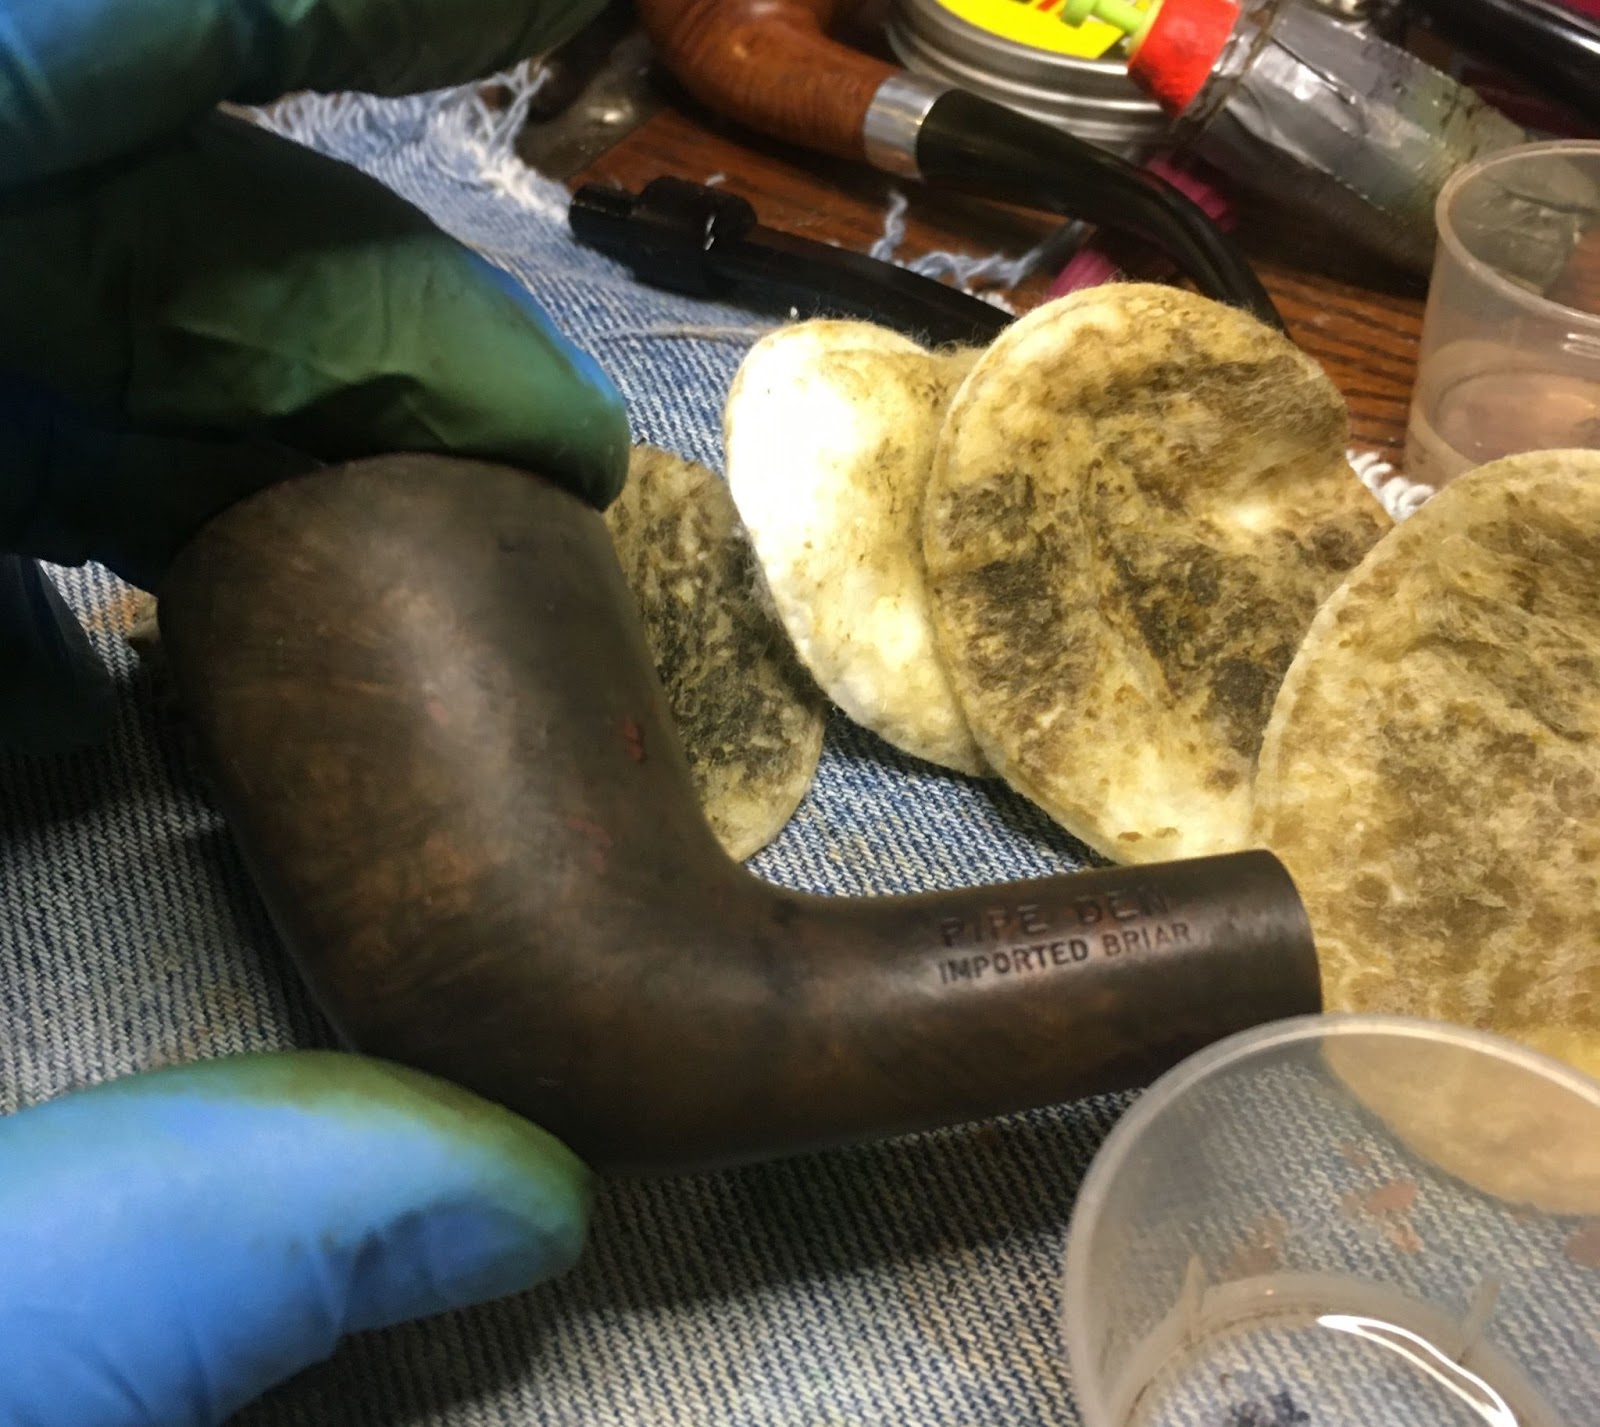
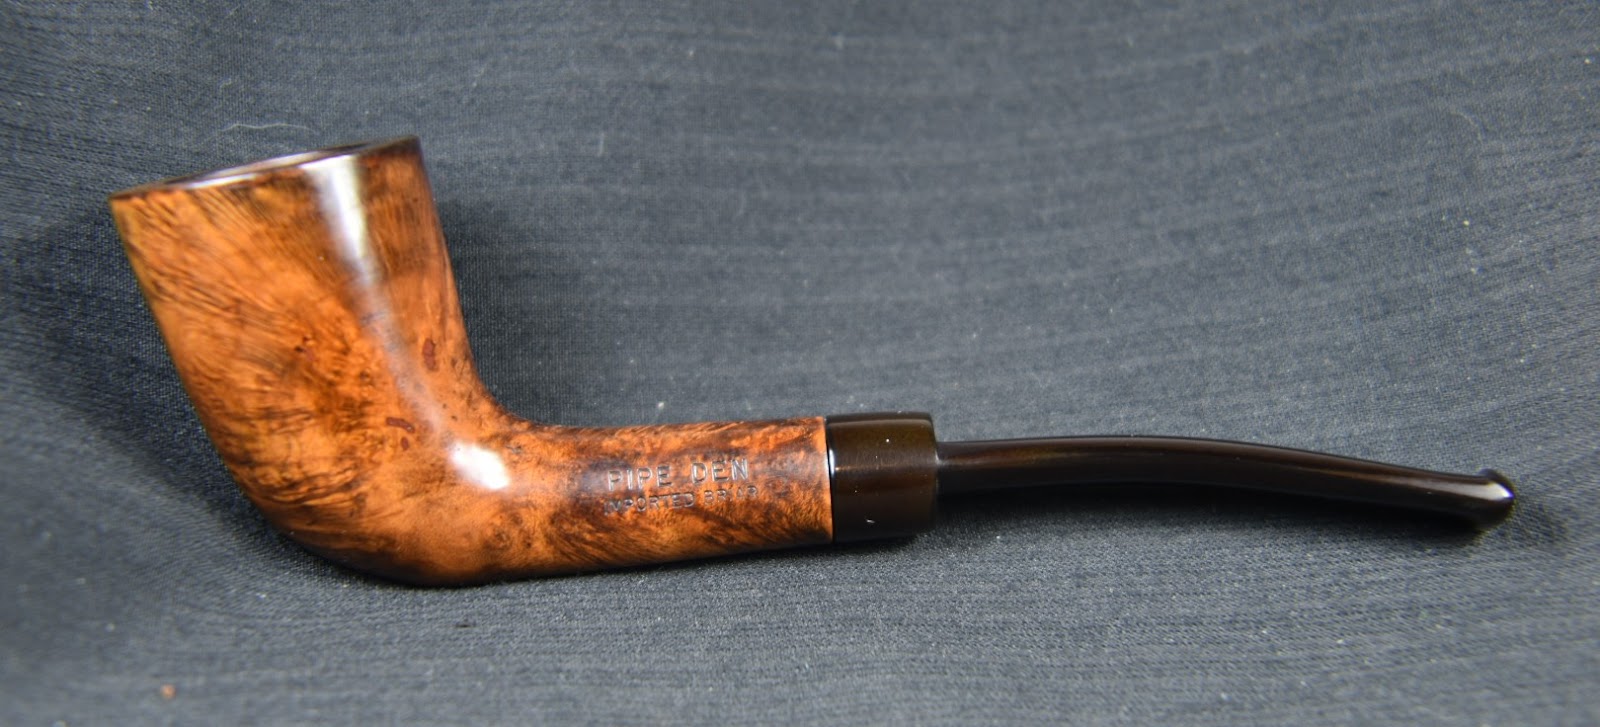
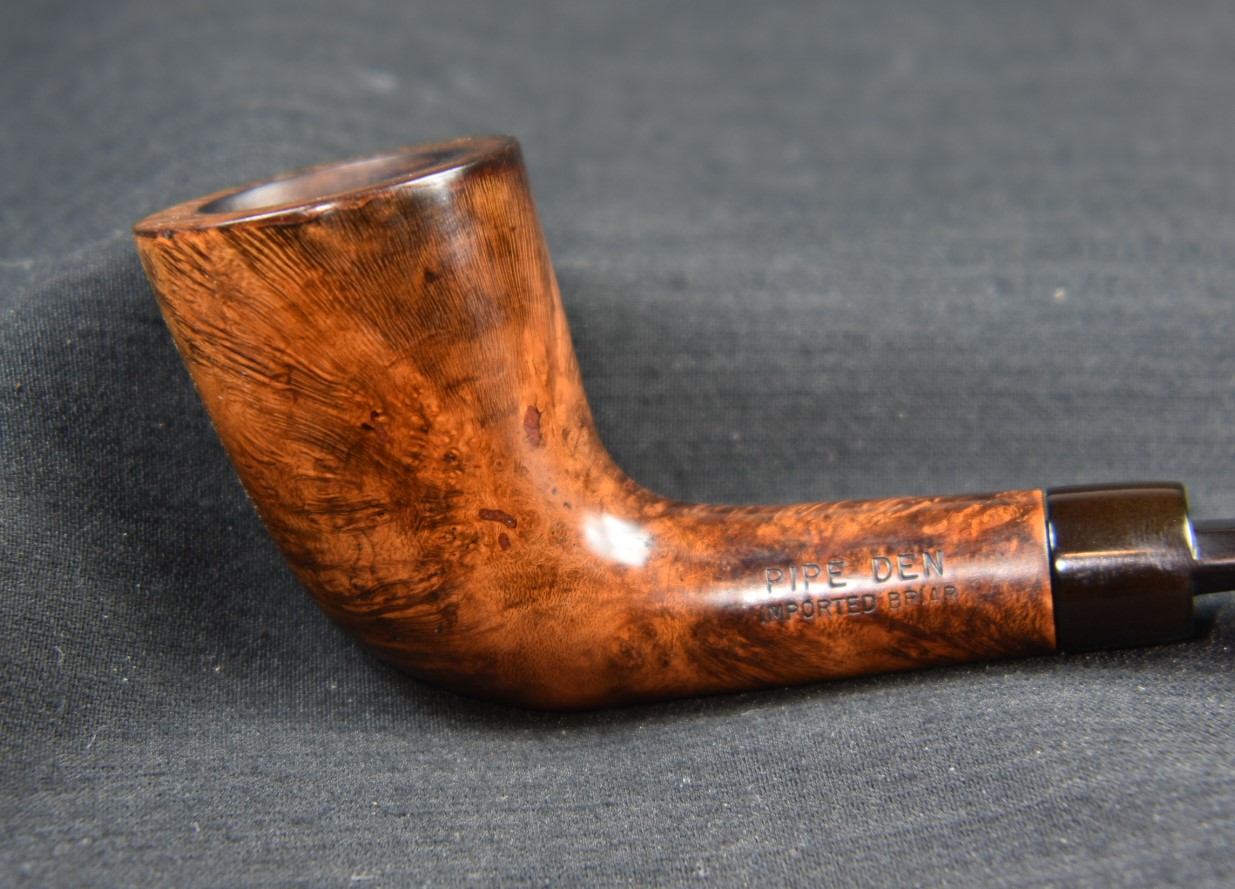
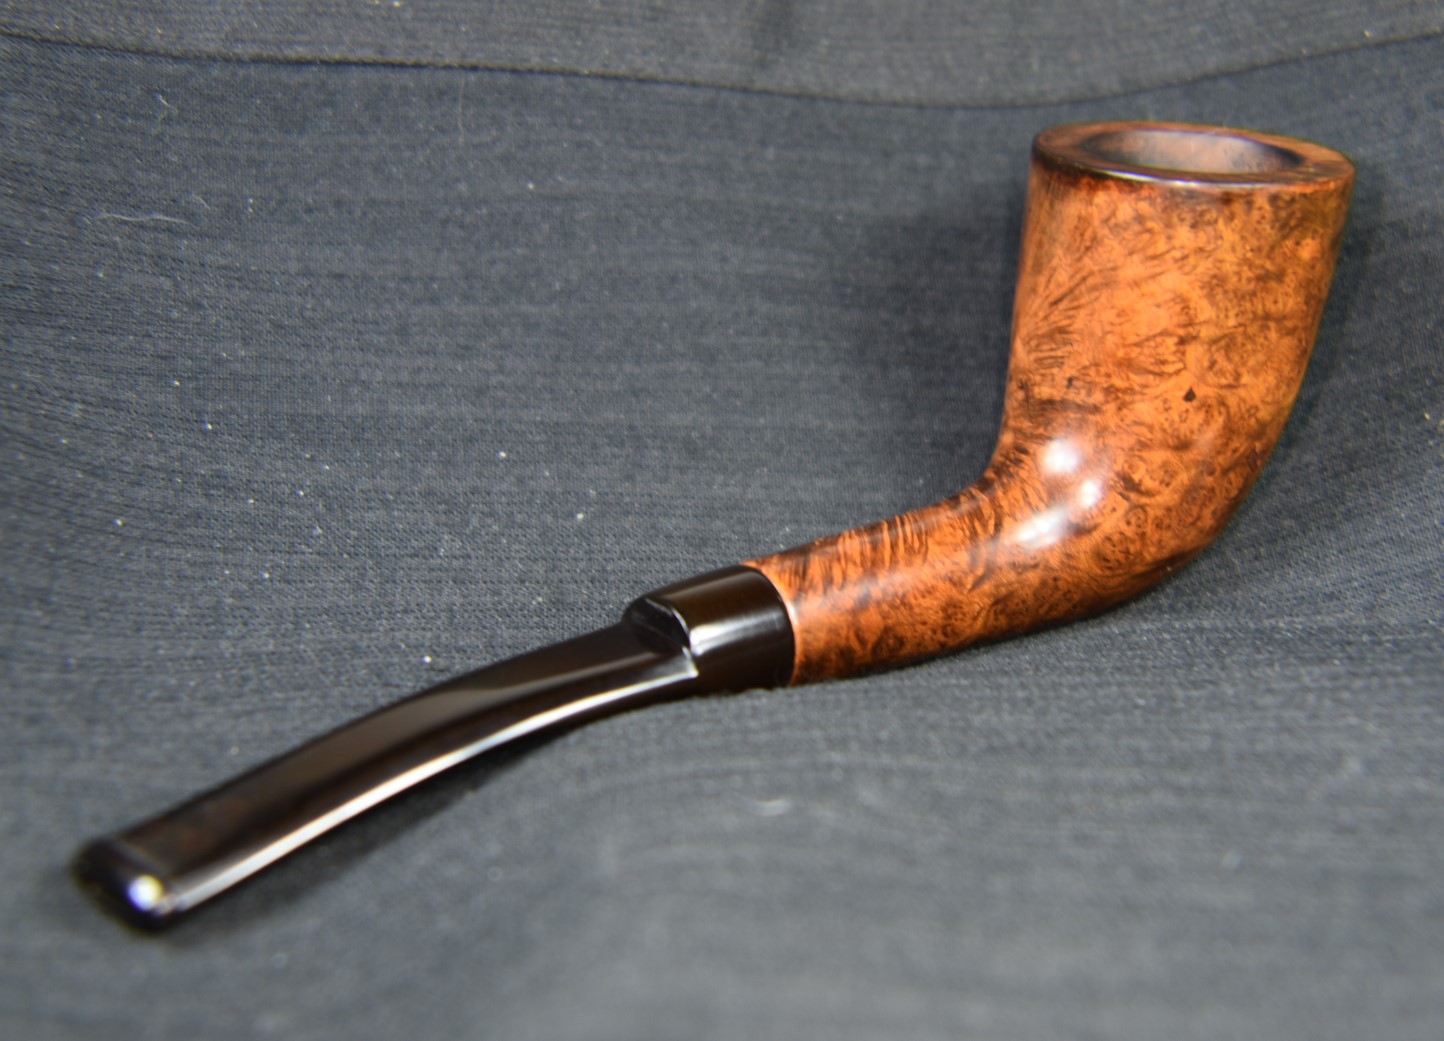
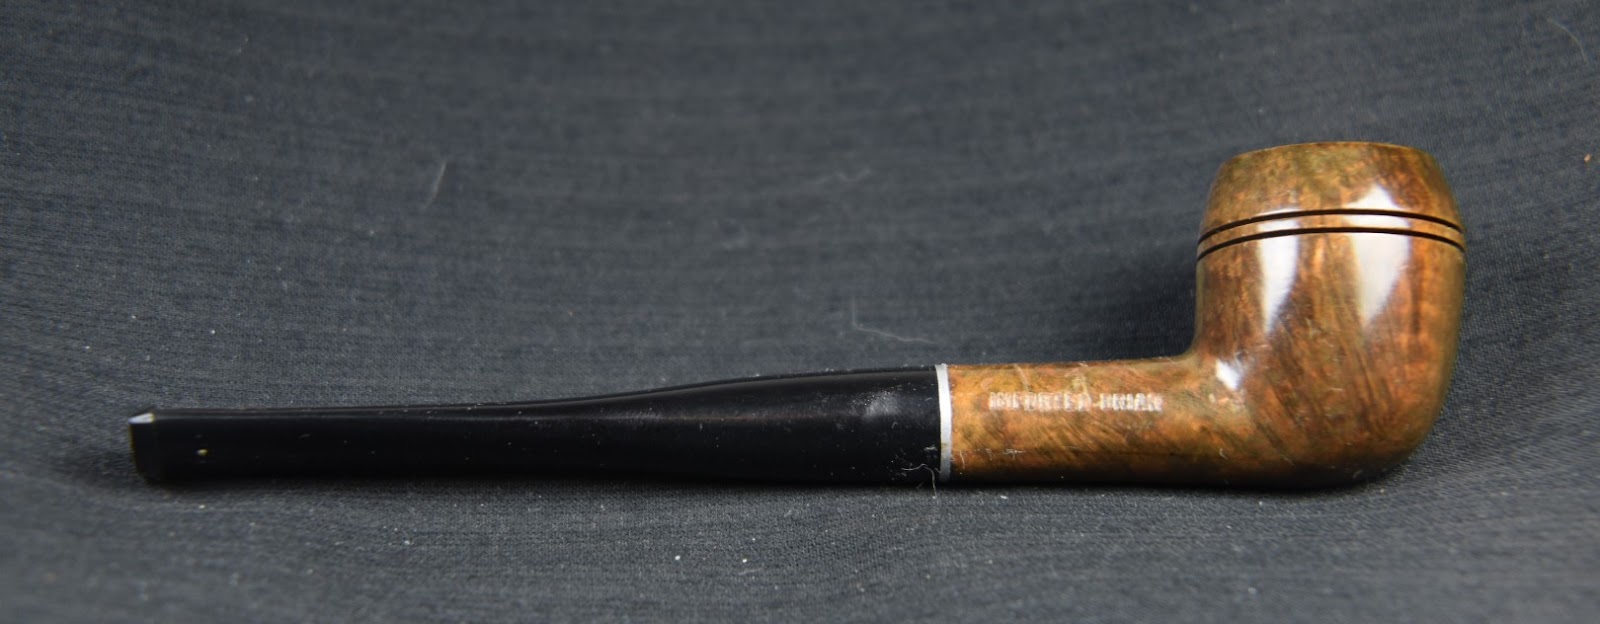
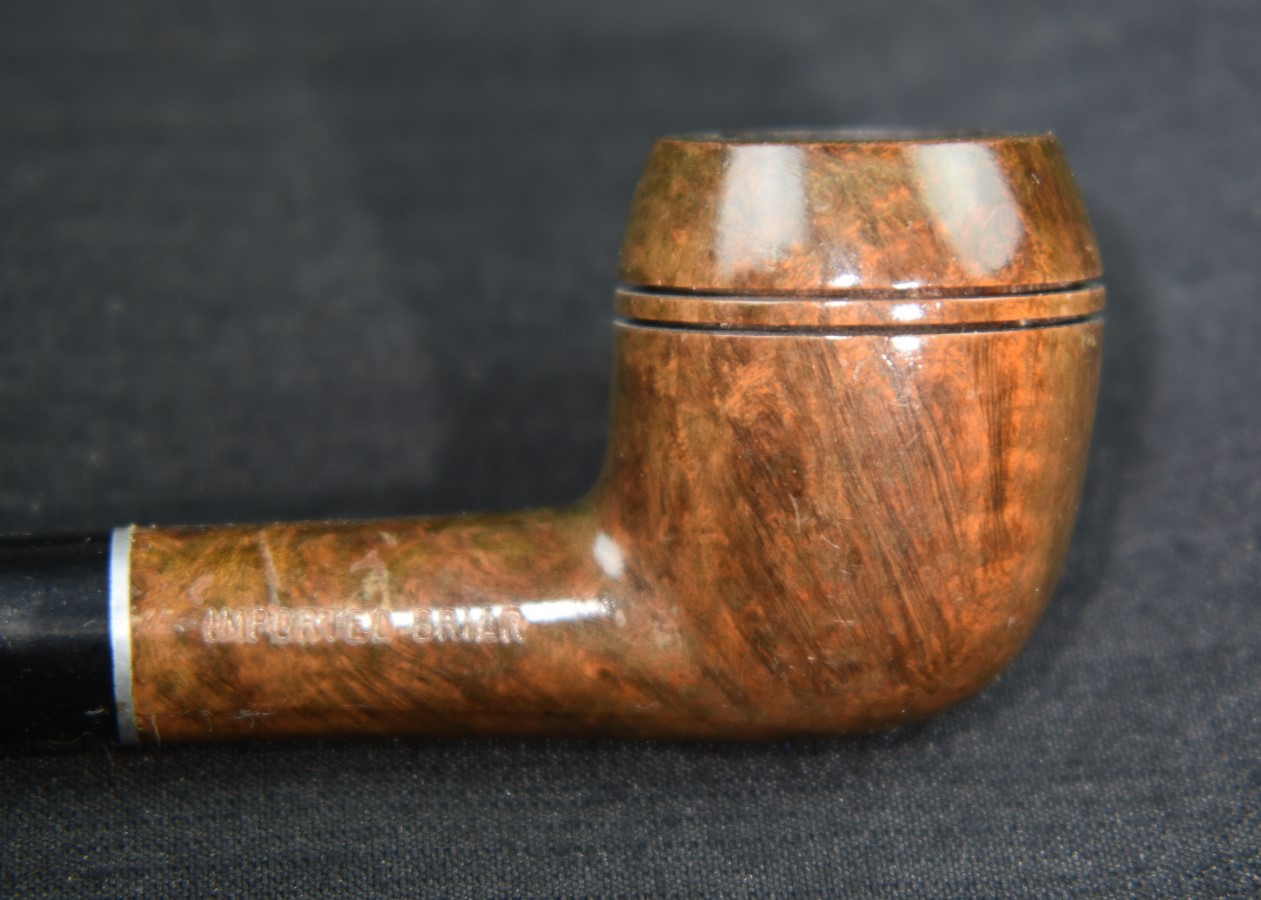
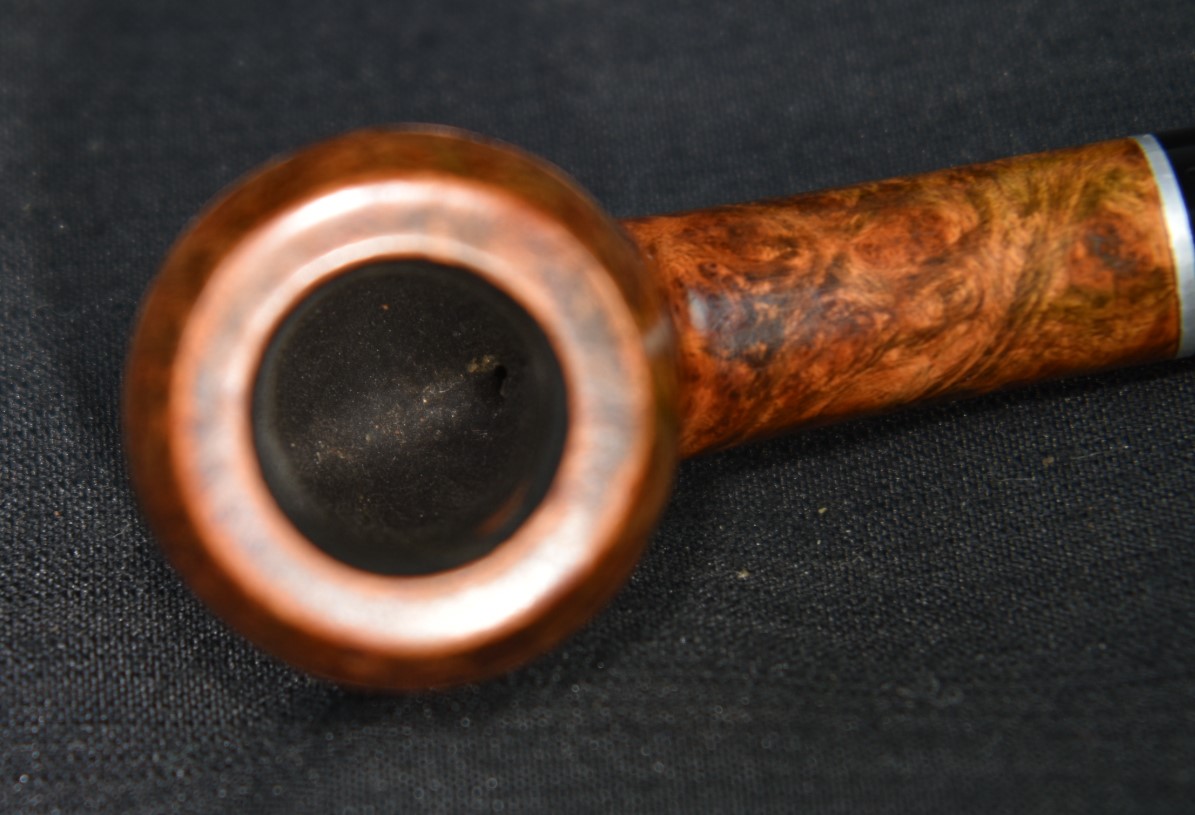
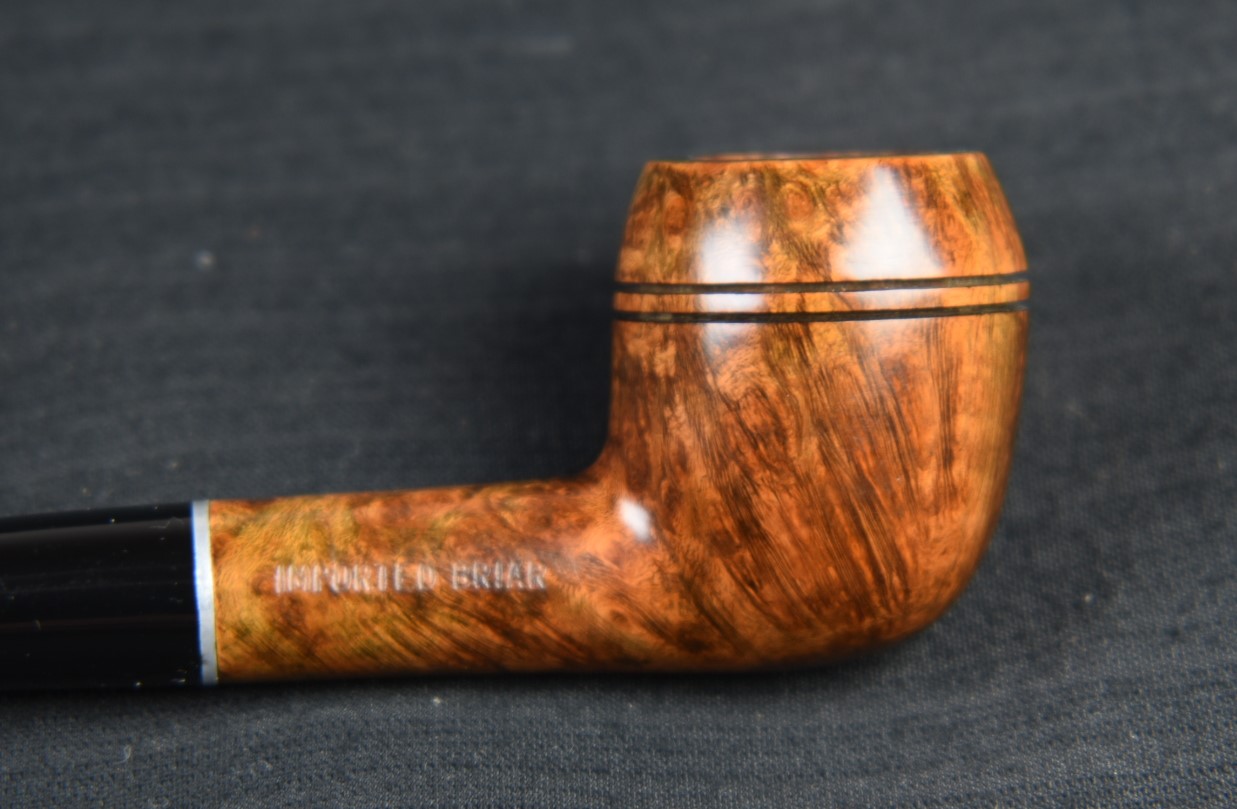
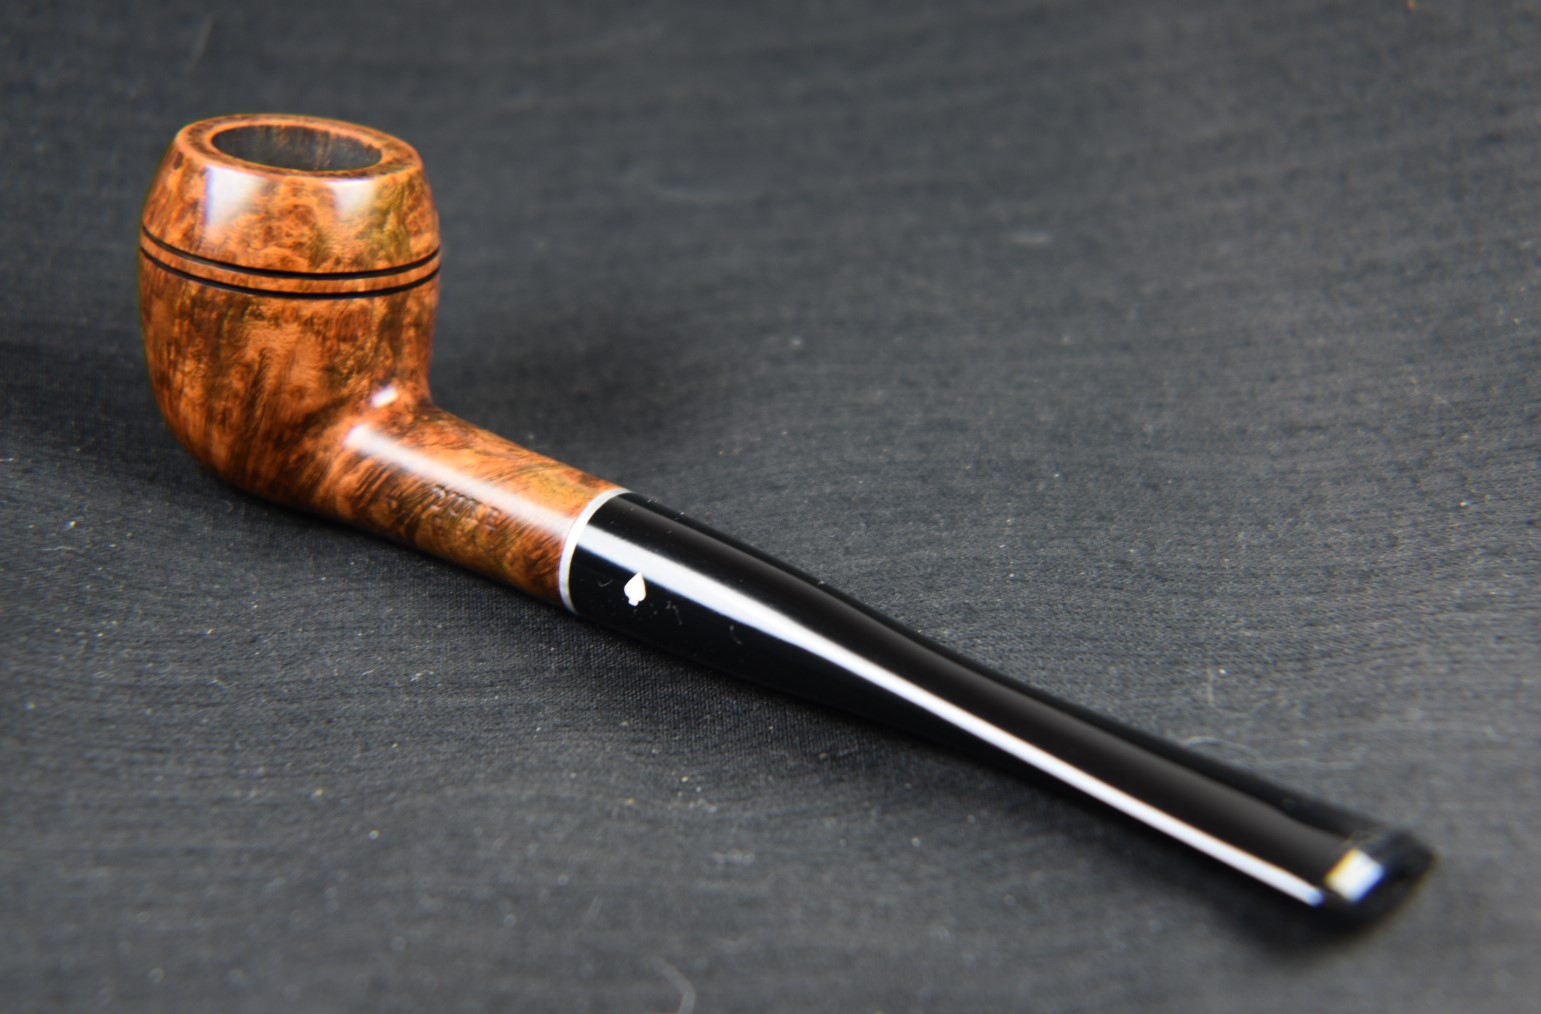
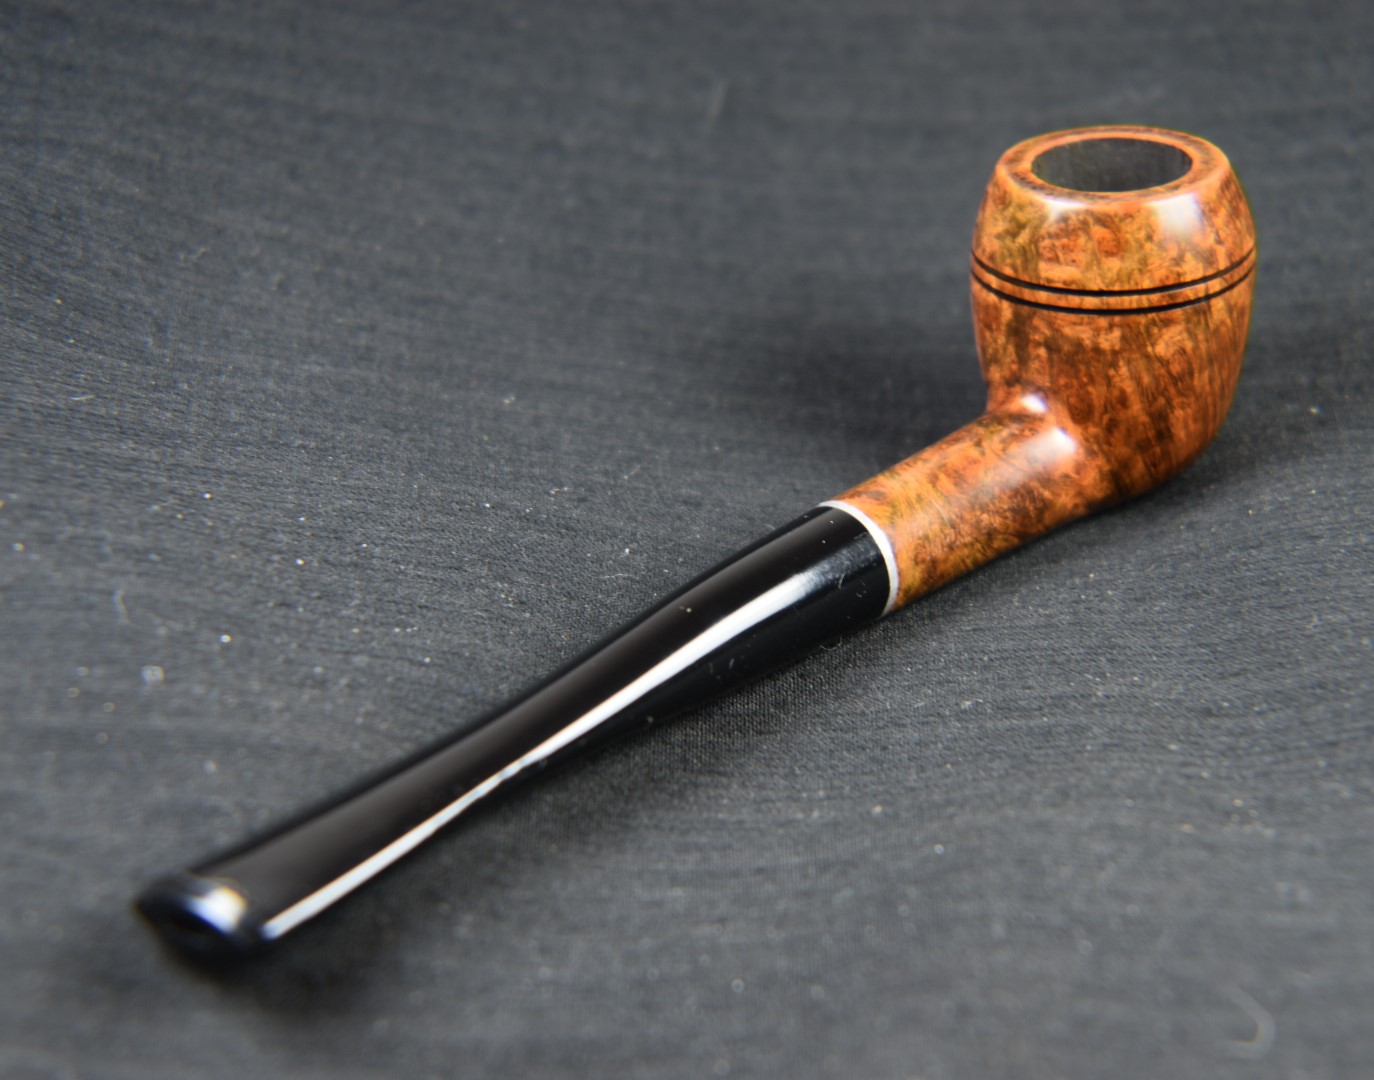
You know that feeling after a long day at work when you finally make it home and you just want to sit in your favorite chair in vegetative relaxation? That is how I felt after the restoration of the Medico Guardsman. I just wanted an easy pipe to work on. I looked through the boxes of “help me” pipes and selected a black the pipe apple. I have no recollection of when this pipe came to me or by what means. If I were to guess, I’d say it was part of an estate lot from a couple years ago. It’s days of languishing unused and unappreciated had come to an end.
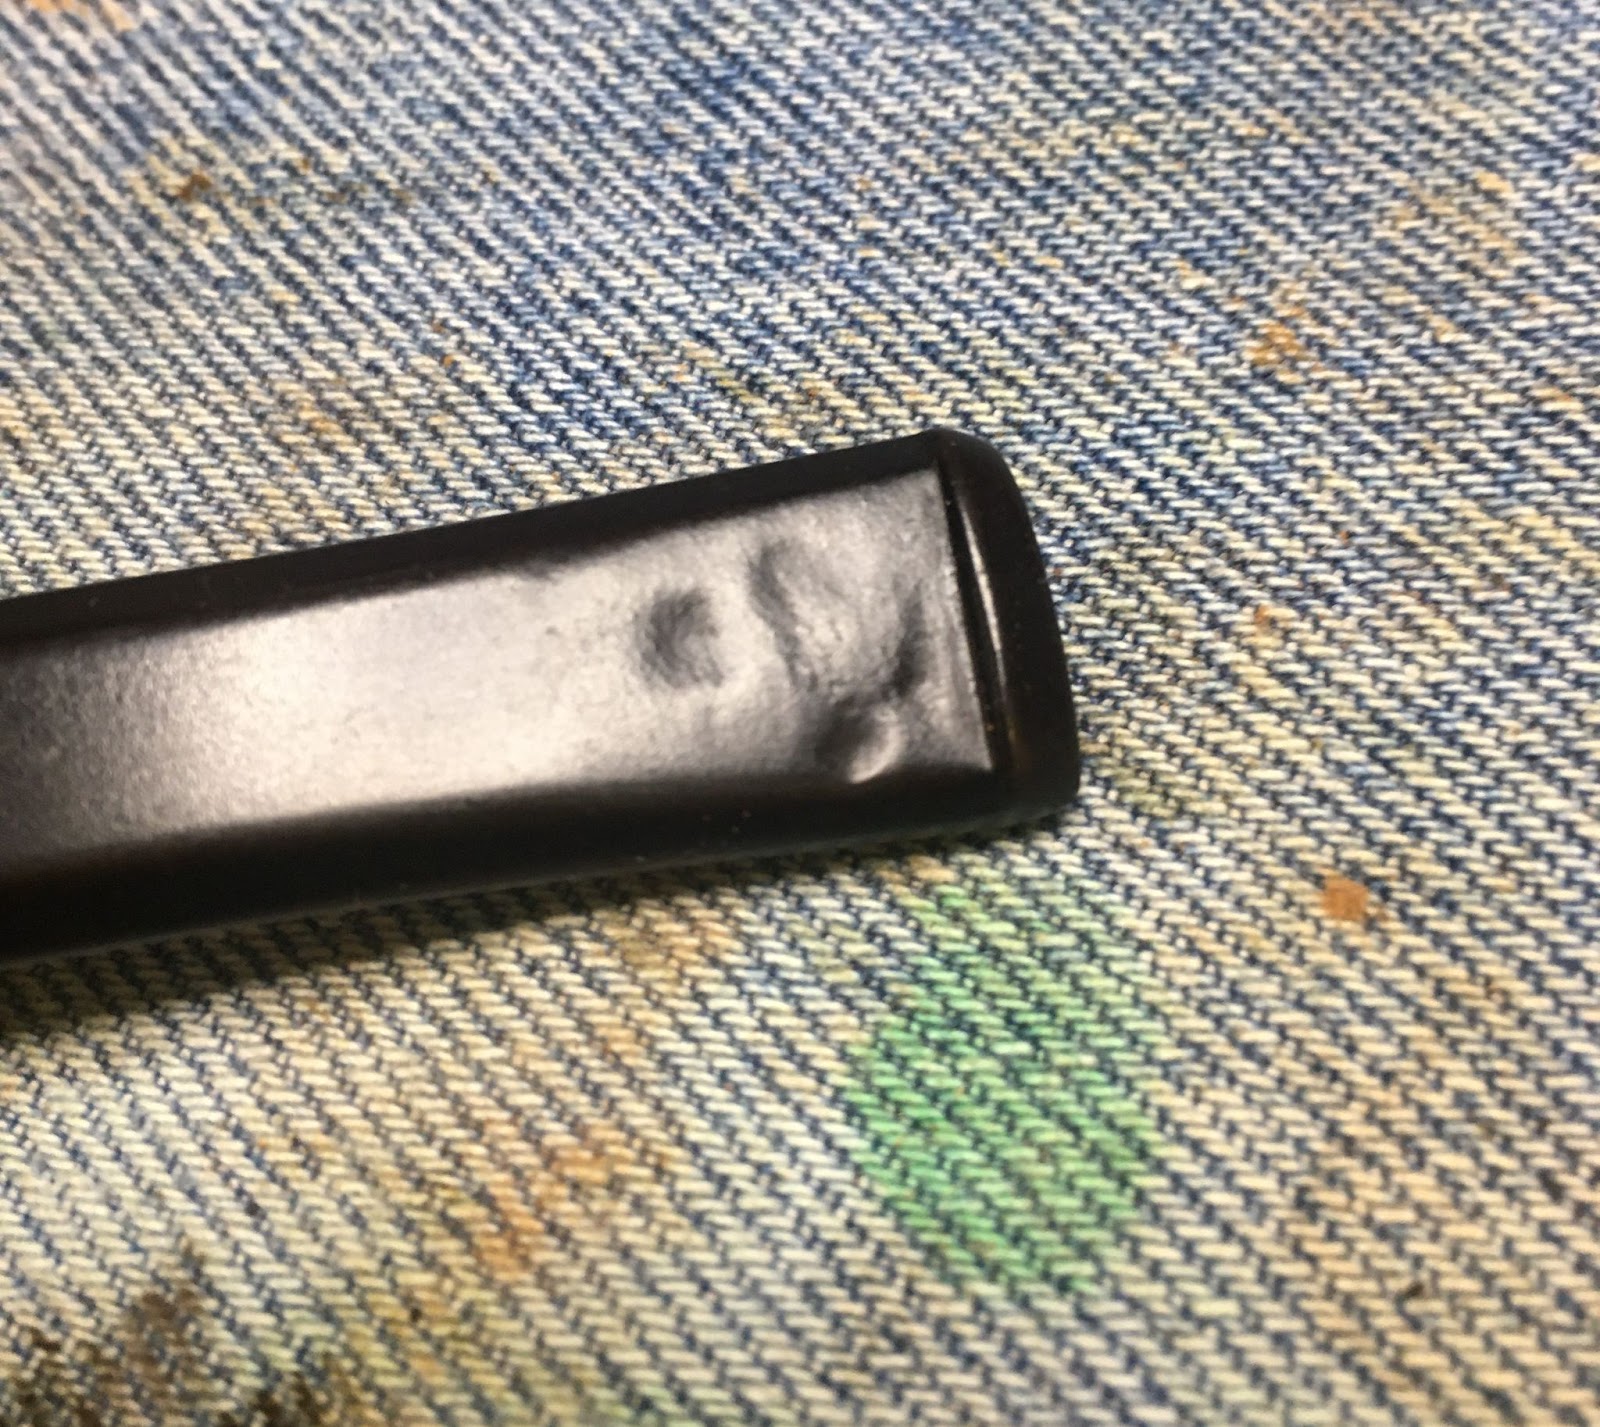
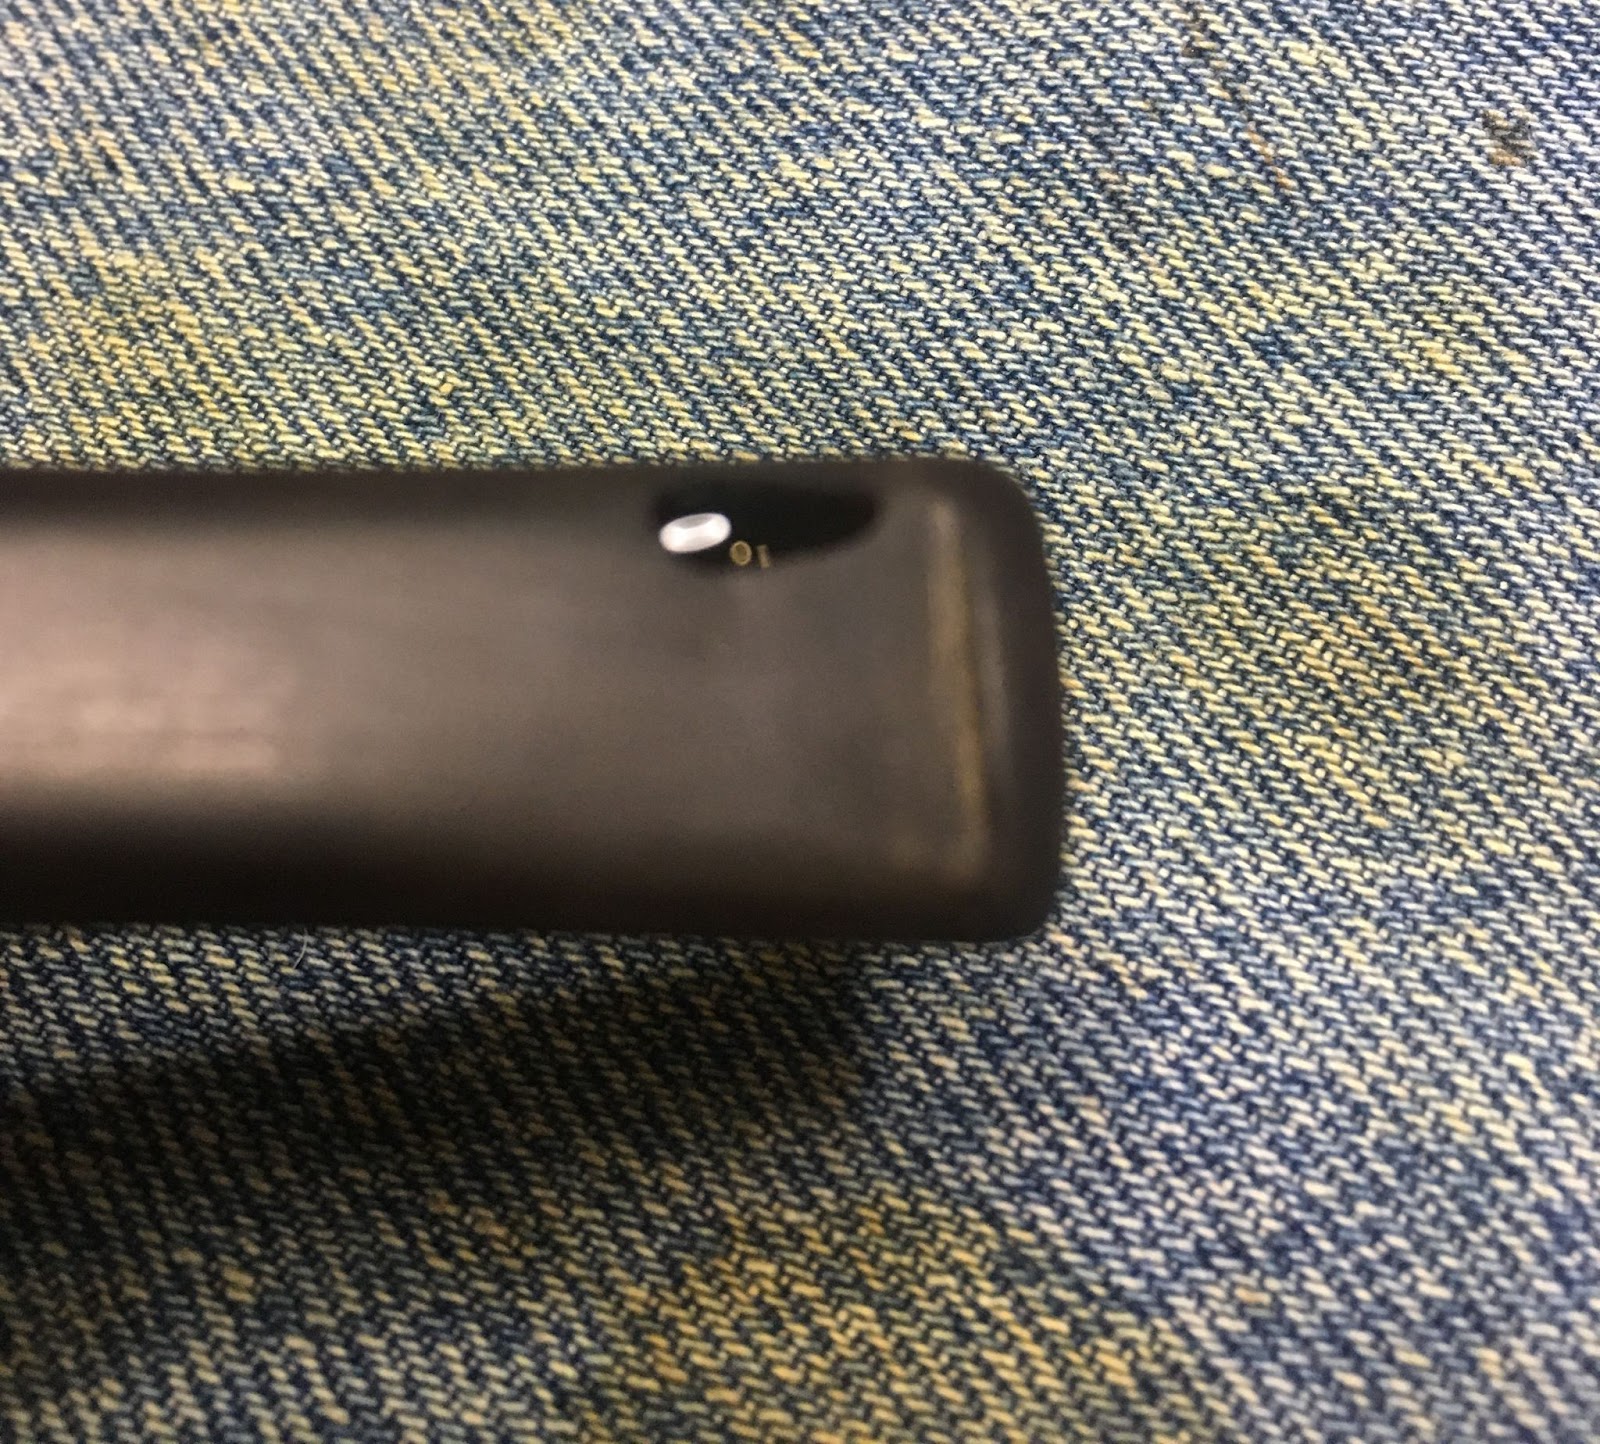
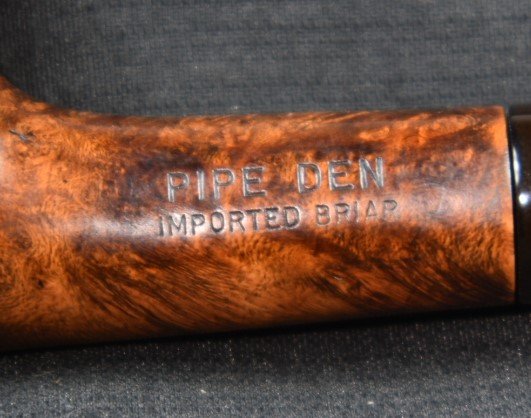
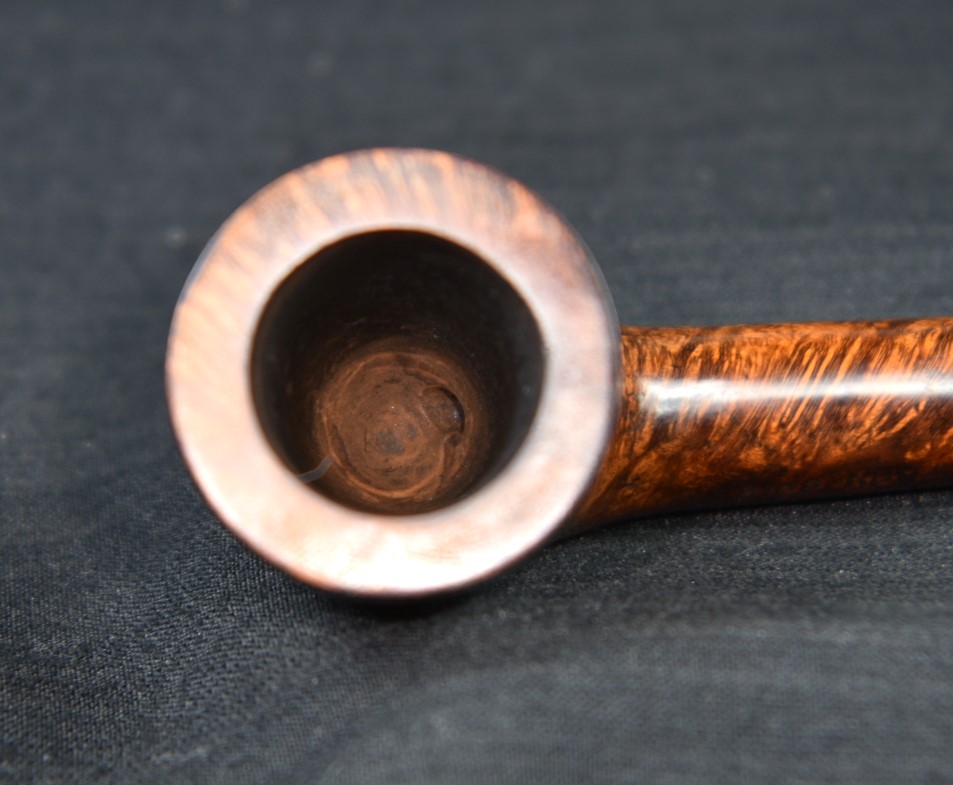
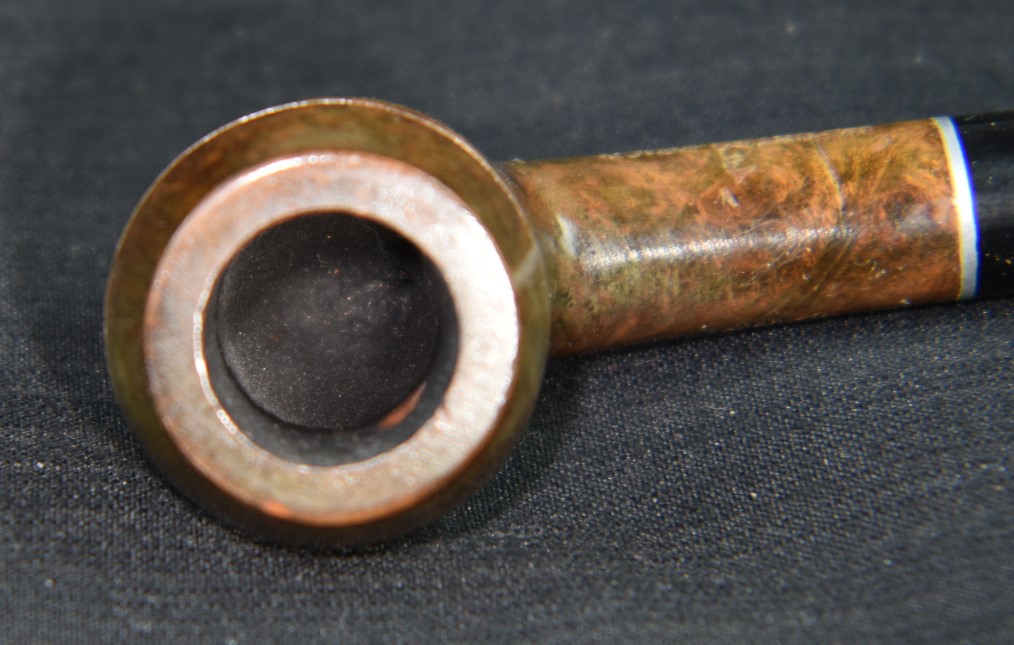
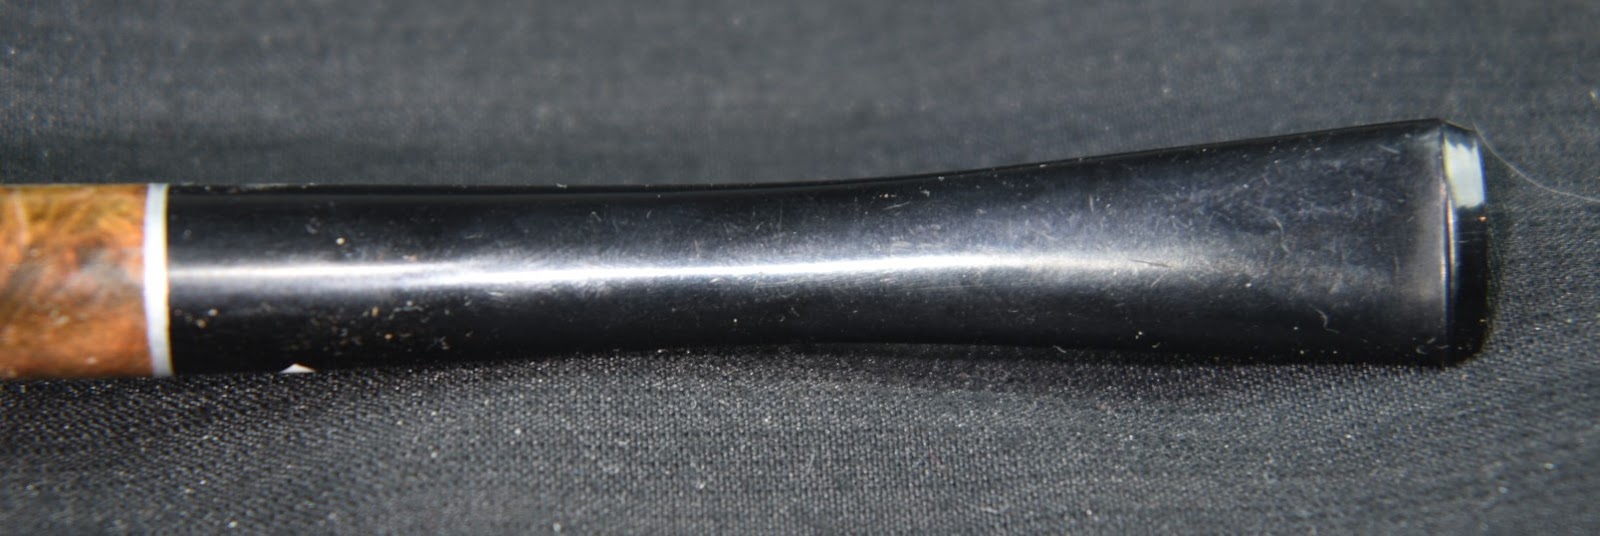
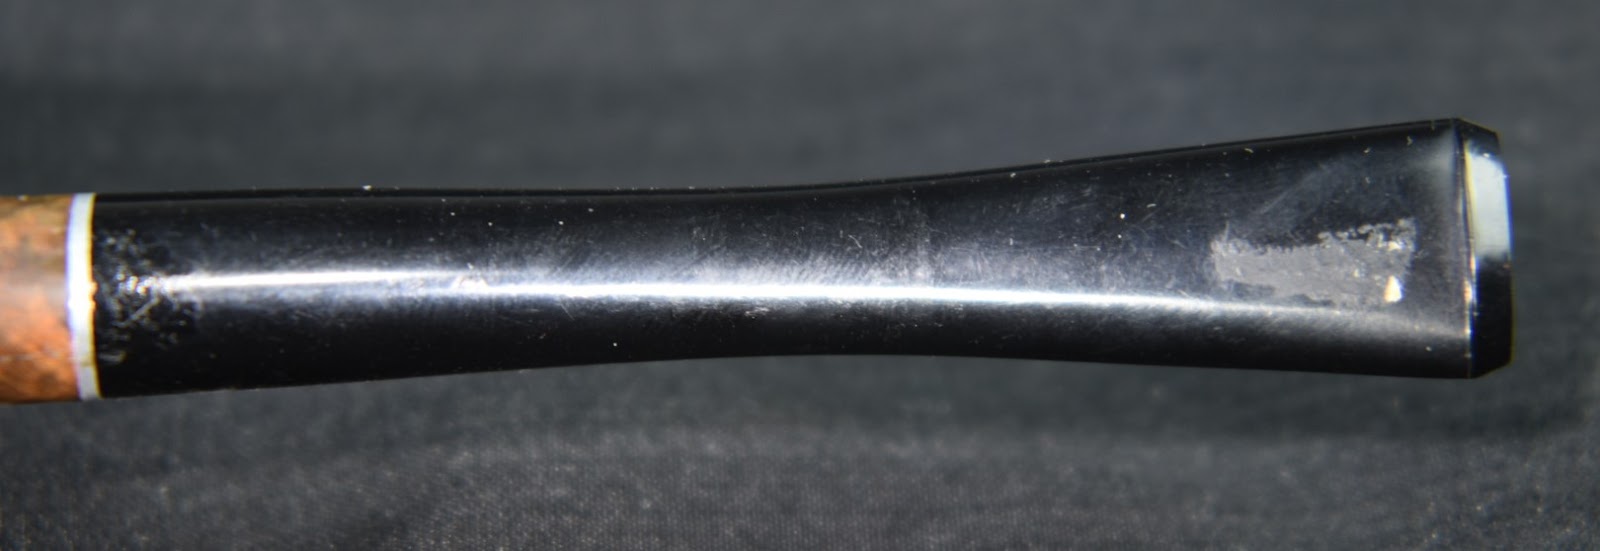
The pipe was in very good shape with just a touch of lava on the rim, no cake to speak of in the tobacco chamber, no layer of grime on the surface but it did have a surprising amount of tooth chatter on the stem. Maybe the previous owner liked the appearance of being a pipe smoker without the smoking part. To each their own… Below are some photos of the pipe before any work was done.
This appeared like it was going to be more of a cleaning and polish job with a bit of stem work than a full blown restoration. I was okay with that.
Background on The Pipe
This brand of pipes is a perfect example of an inventor applying the term, “Better living through modern chemistry”. The first line in pipedia.org reads as follows: “the pipe (pyrolytic graphite/phenolic resin)” (Super-Temp – Pipedia). No introduction, no capitalization, no context, just that line. I find that funny and telling, like the pipe smoking world is just not ready for anything other than clay, briar or meerschaum. So unaccepting the line isn’t even worthy of punctuation. S.M. Frank has been successfully making and selling Brylon (briar dust and resin) since 1966 (Yello-Bole – Pipedia).
Pipedia.org does go on a bit more to say, “In 1963, Super-Temp Corporation began making plastic pipes with pyrolytic graphite bowl liners. They were called the pipe. In 1965, Super-Temp contracted to market their unique pipes through Venturi, Inc., the company which sold Tar Gard cigarette filters. Colors and stripes began to be offered circa 1967. About 1970, THE SMOKE pipes were added to the line – they were non-traditional shapes with a less expensive bowl liner. Venturi pipes were added around 1972 – they had no liner in the bowls at all. The pipes were out of production by 1975.” (Super-Temp – Pipedia)
A while back Dal Stanton did a wonderful job with a restoration of a blue bulldog the pipe. You can find that blog post here. In typical Dal Stanton fashion his research for the brand was wonderfully in-depth and I will defer to Dal and his post if you would like more information about the brand and it’s history. I will mention a gentleman who I found very interesting, a “Billie W. Taylor II, Ph.D. Pipe Collector.” That is the title he uses on his website dedicated to the pipe, THE SMOKE and Venturi pipes. Here is the link to his site. I feel I must thank him for his site and his permission to link to his site, ”If you like this page and wish to share it, you are welcome to link to it, with my thanks.” (Billie W. Taylor II, http://www.thepipe.info/)
The Restoration
I guess I am just used to calling this next part “The Restoration”, though in this case I don’t really consider this a restoration, the pipe is in too good of condition for a restoration. Anyway, I began in my normal fashion with a clean denim piece for a work surface.
Heck, the pipe was cleaner than the clean denim. I blame the guy who does the laundry, yeah, that’d be me.
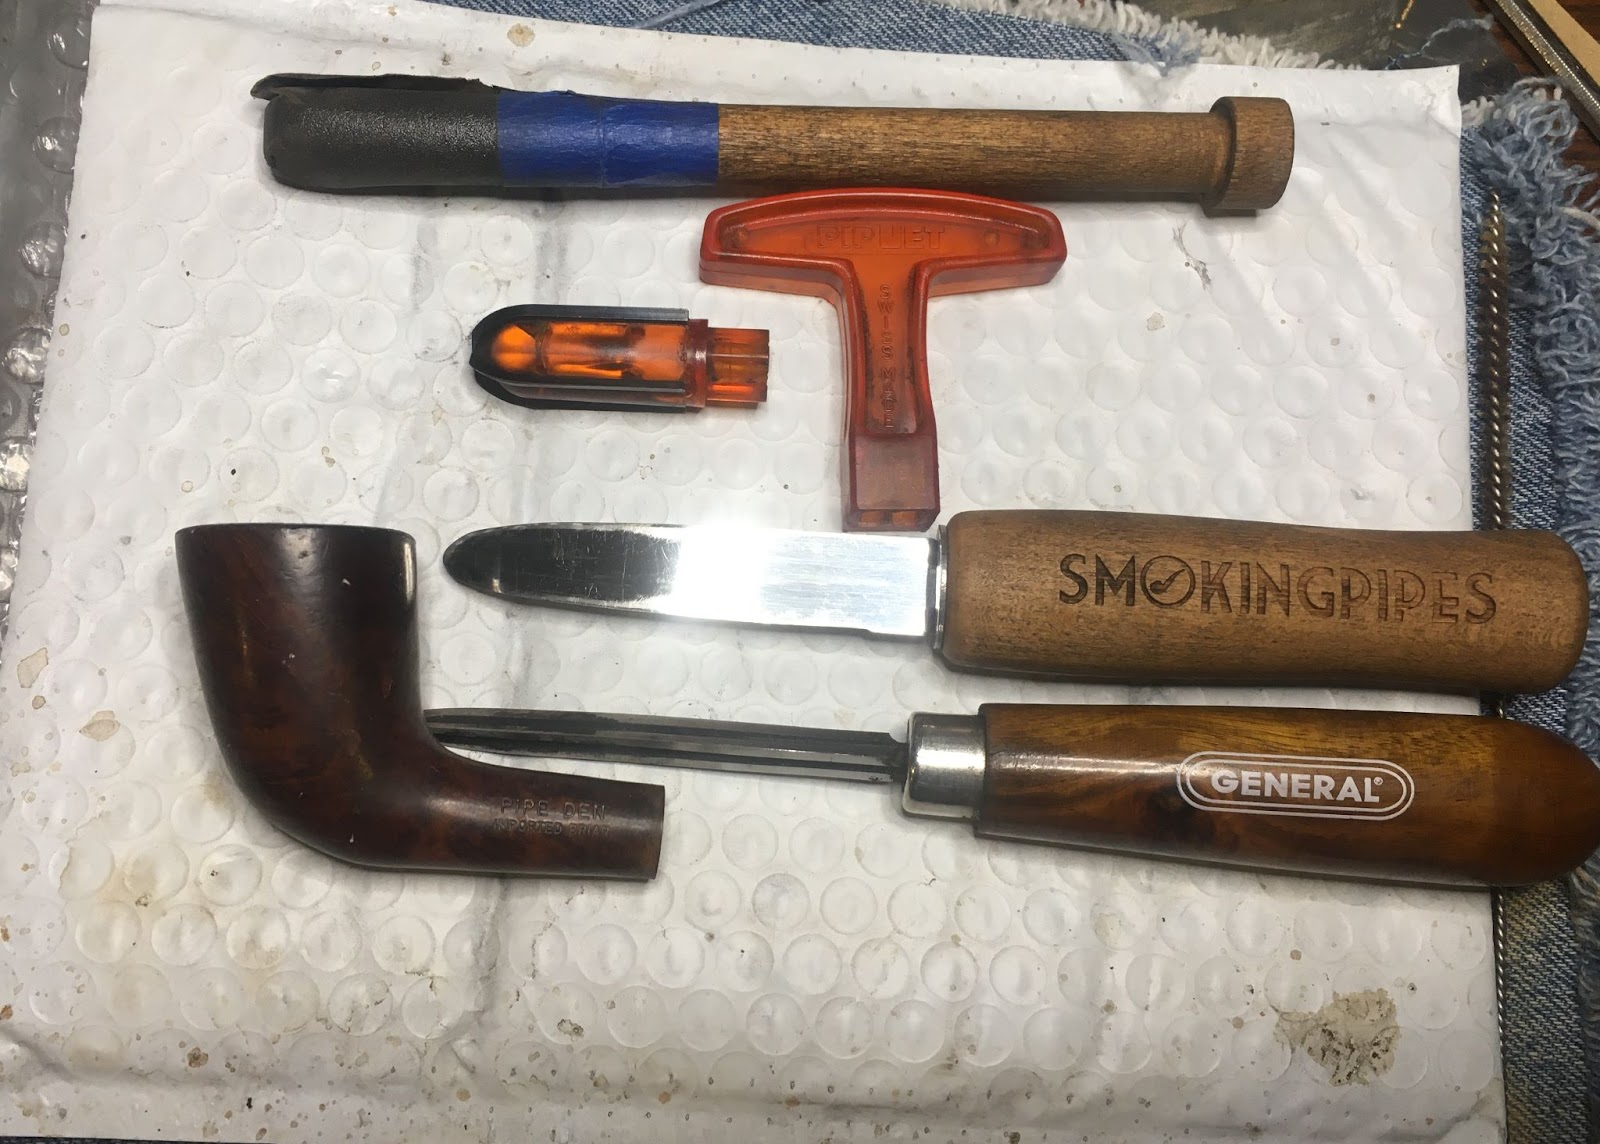
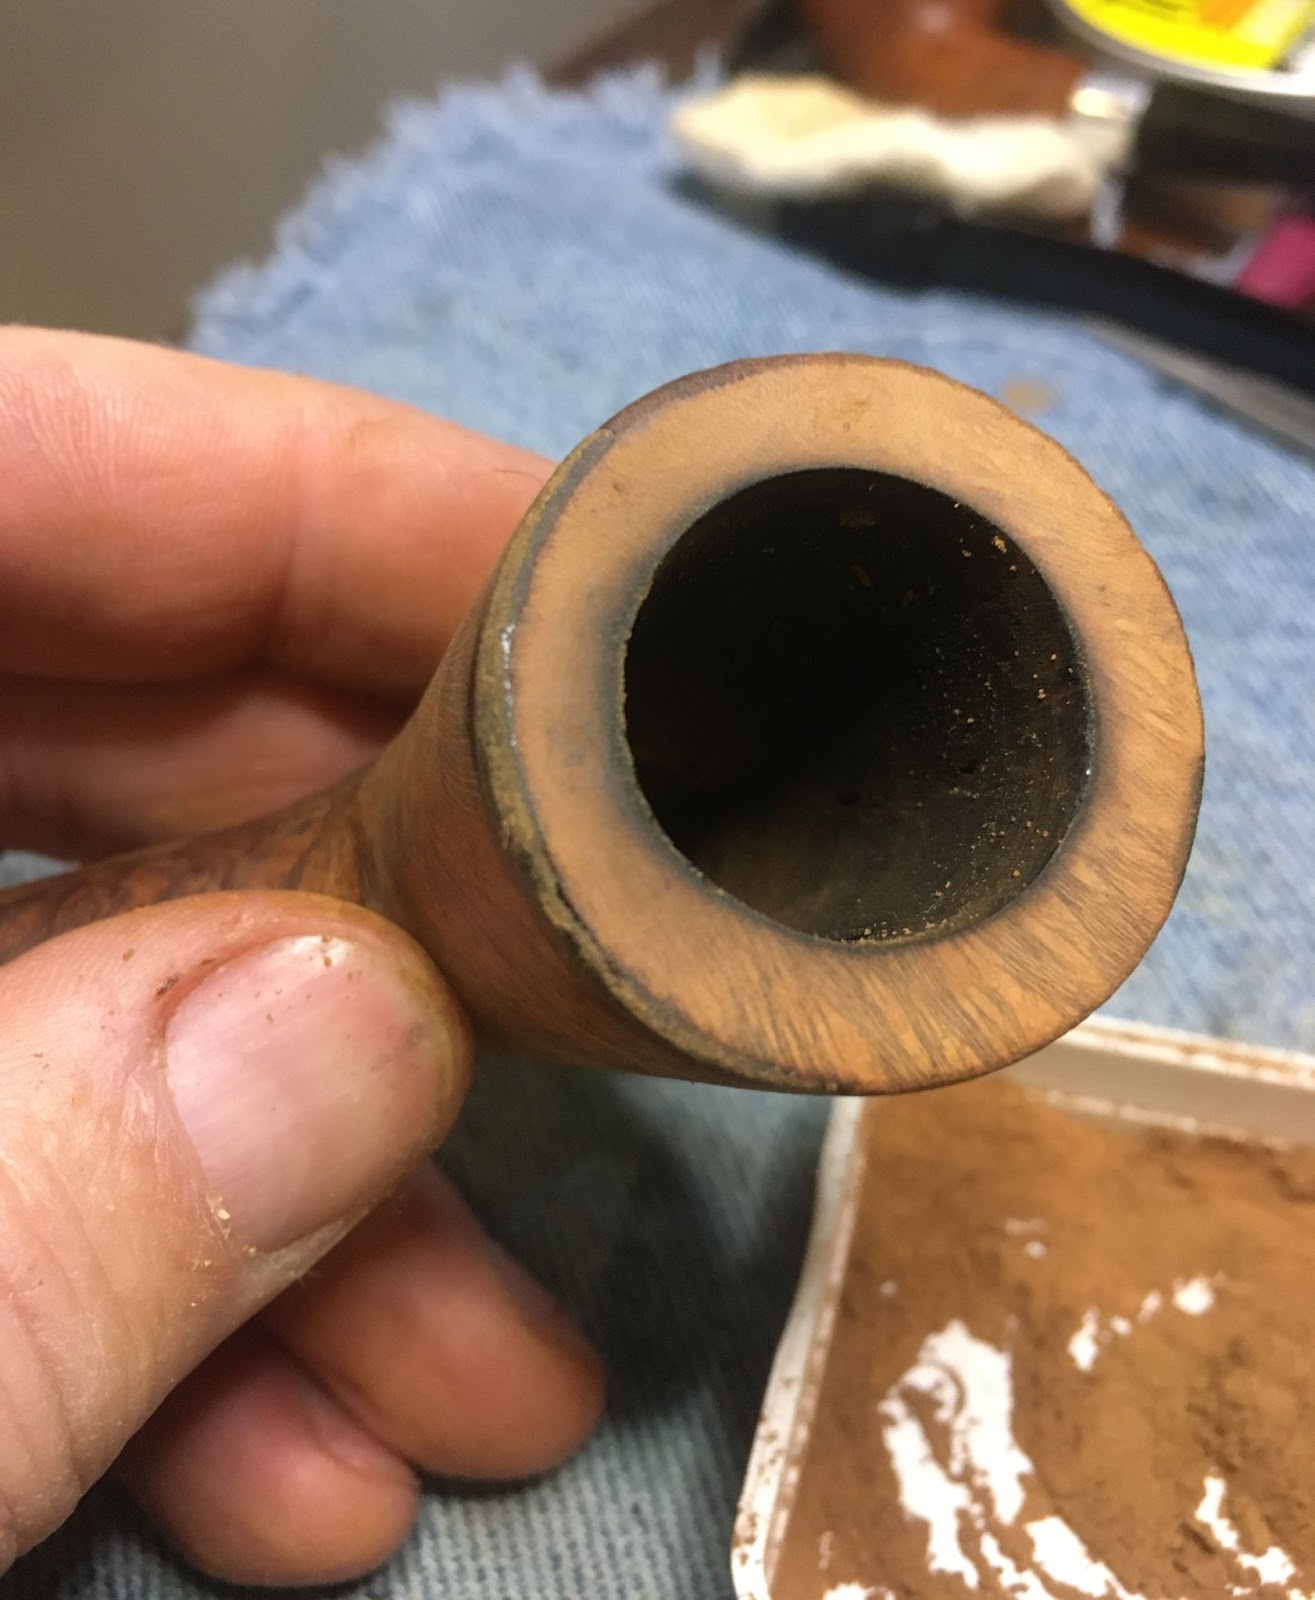
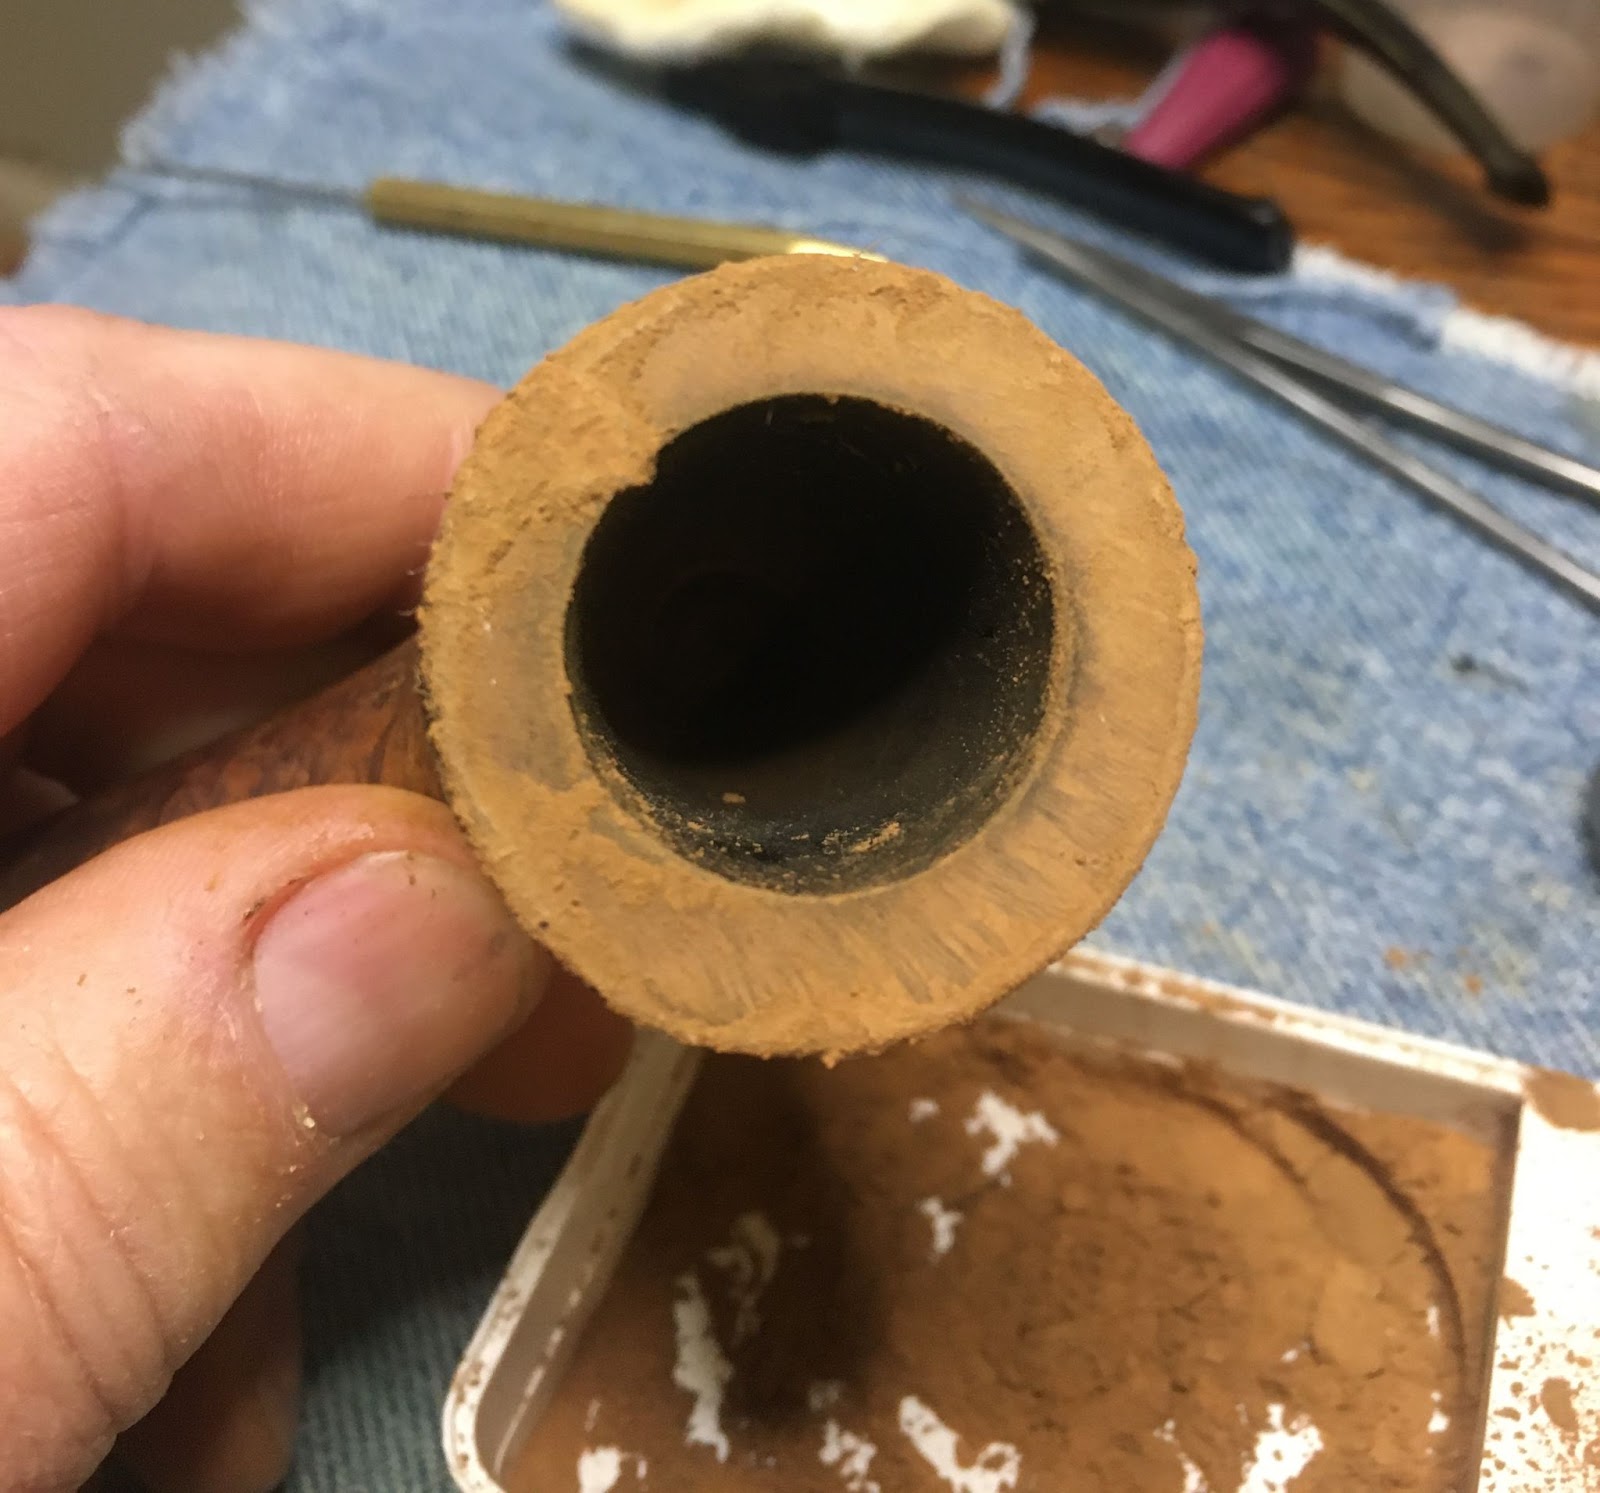
The reaming tools were assembled and barely used.
See what I mean by barely used?
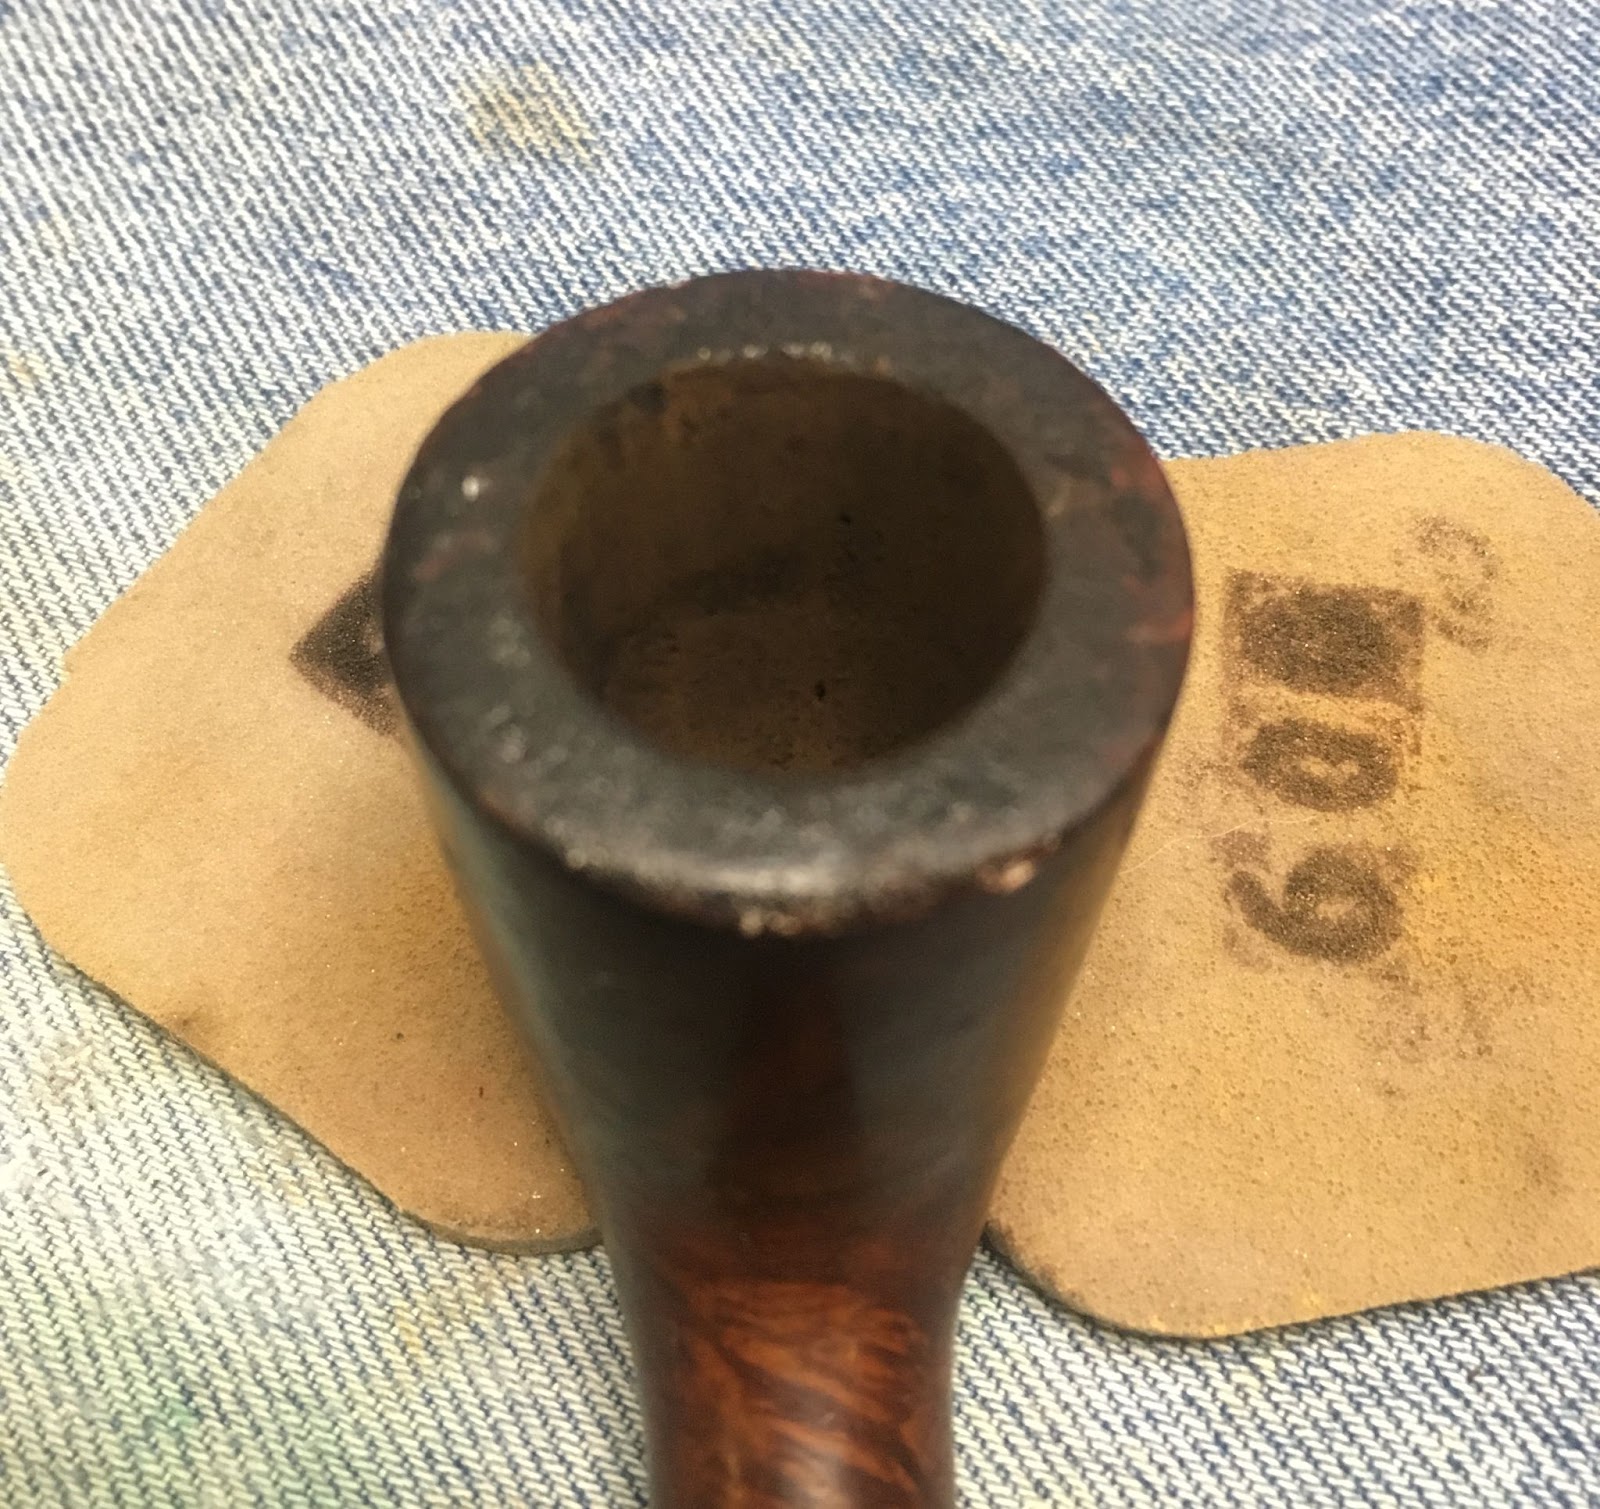
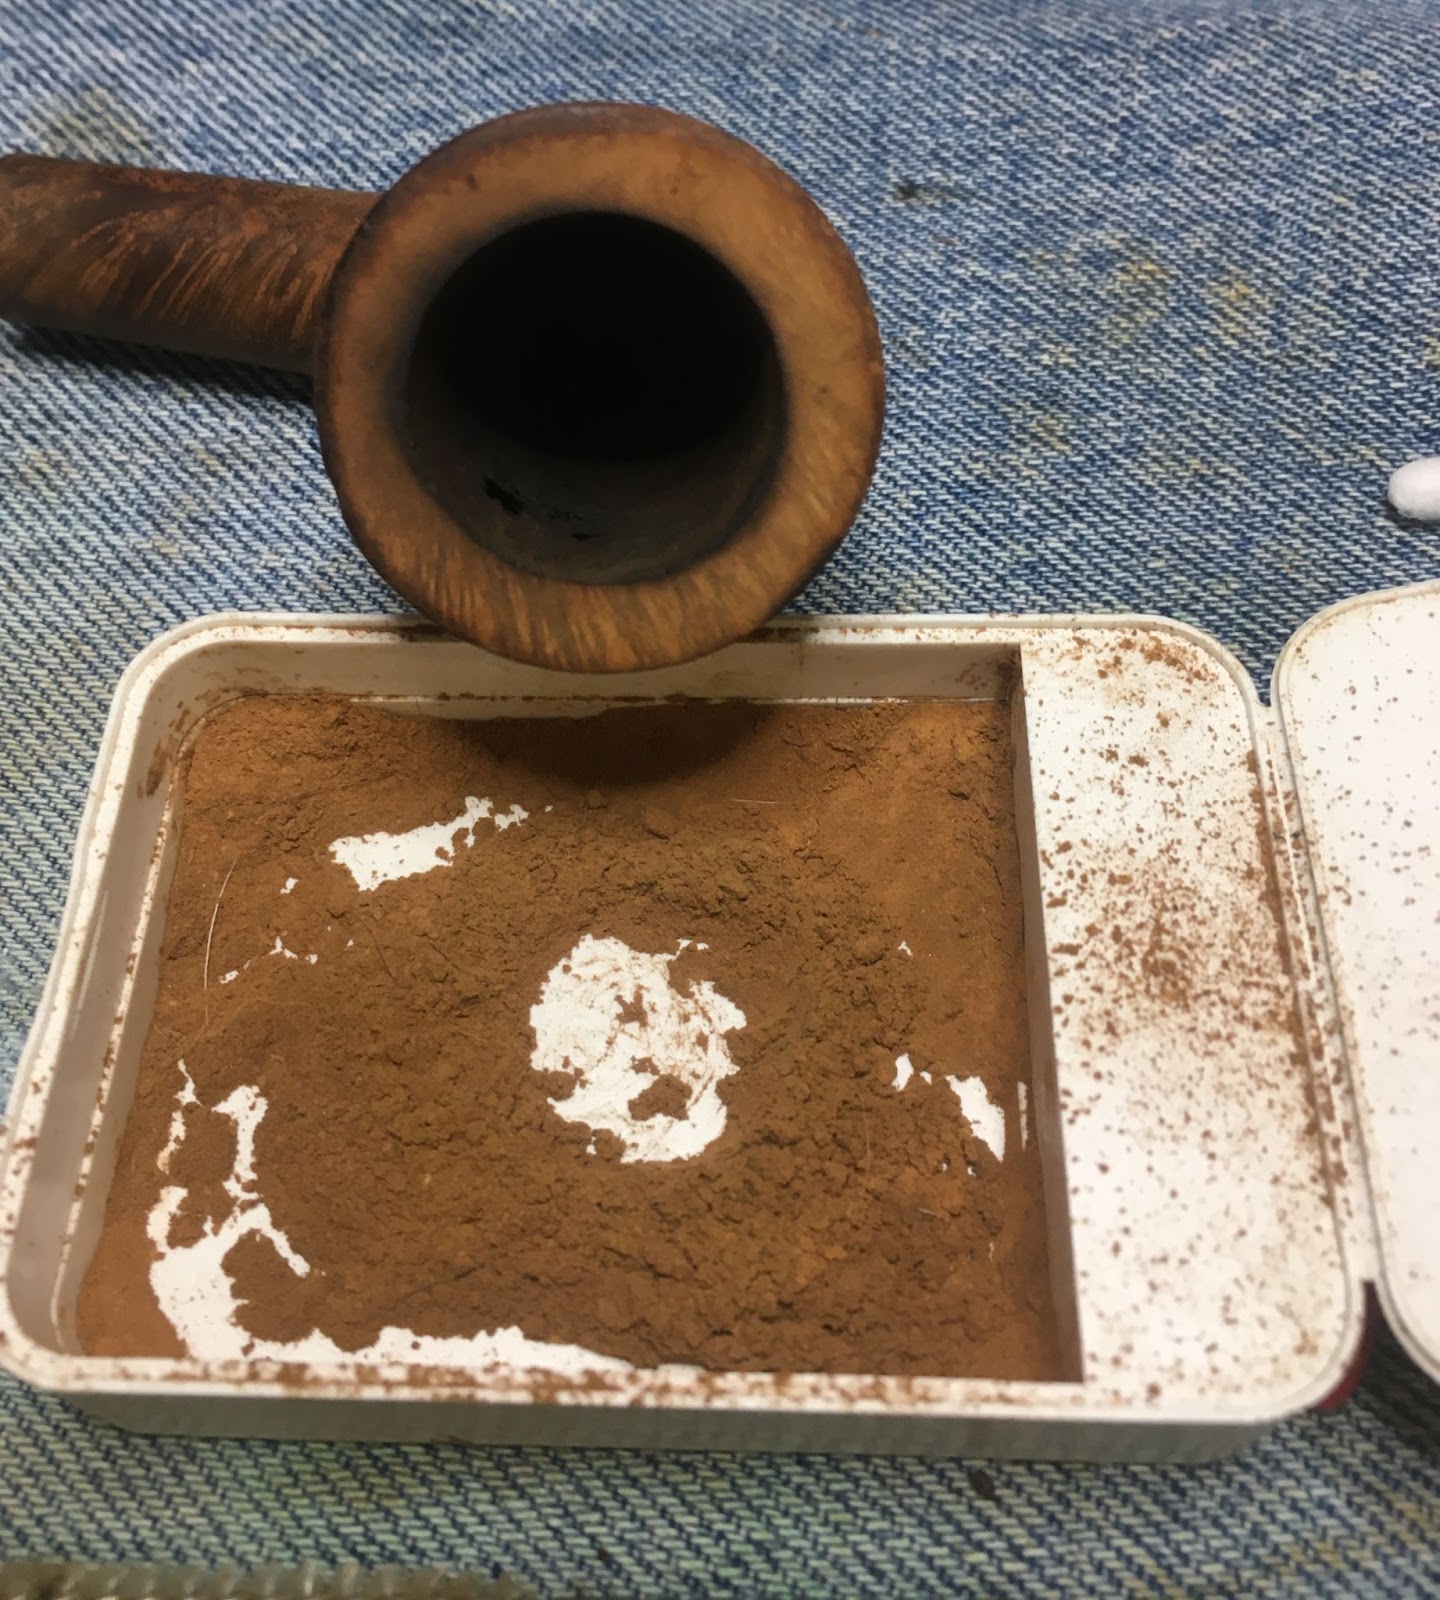
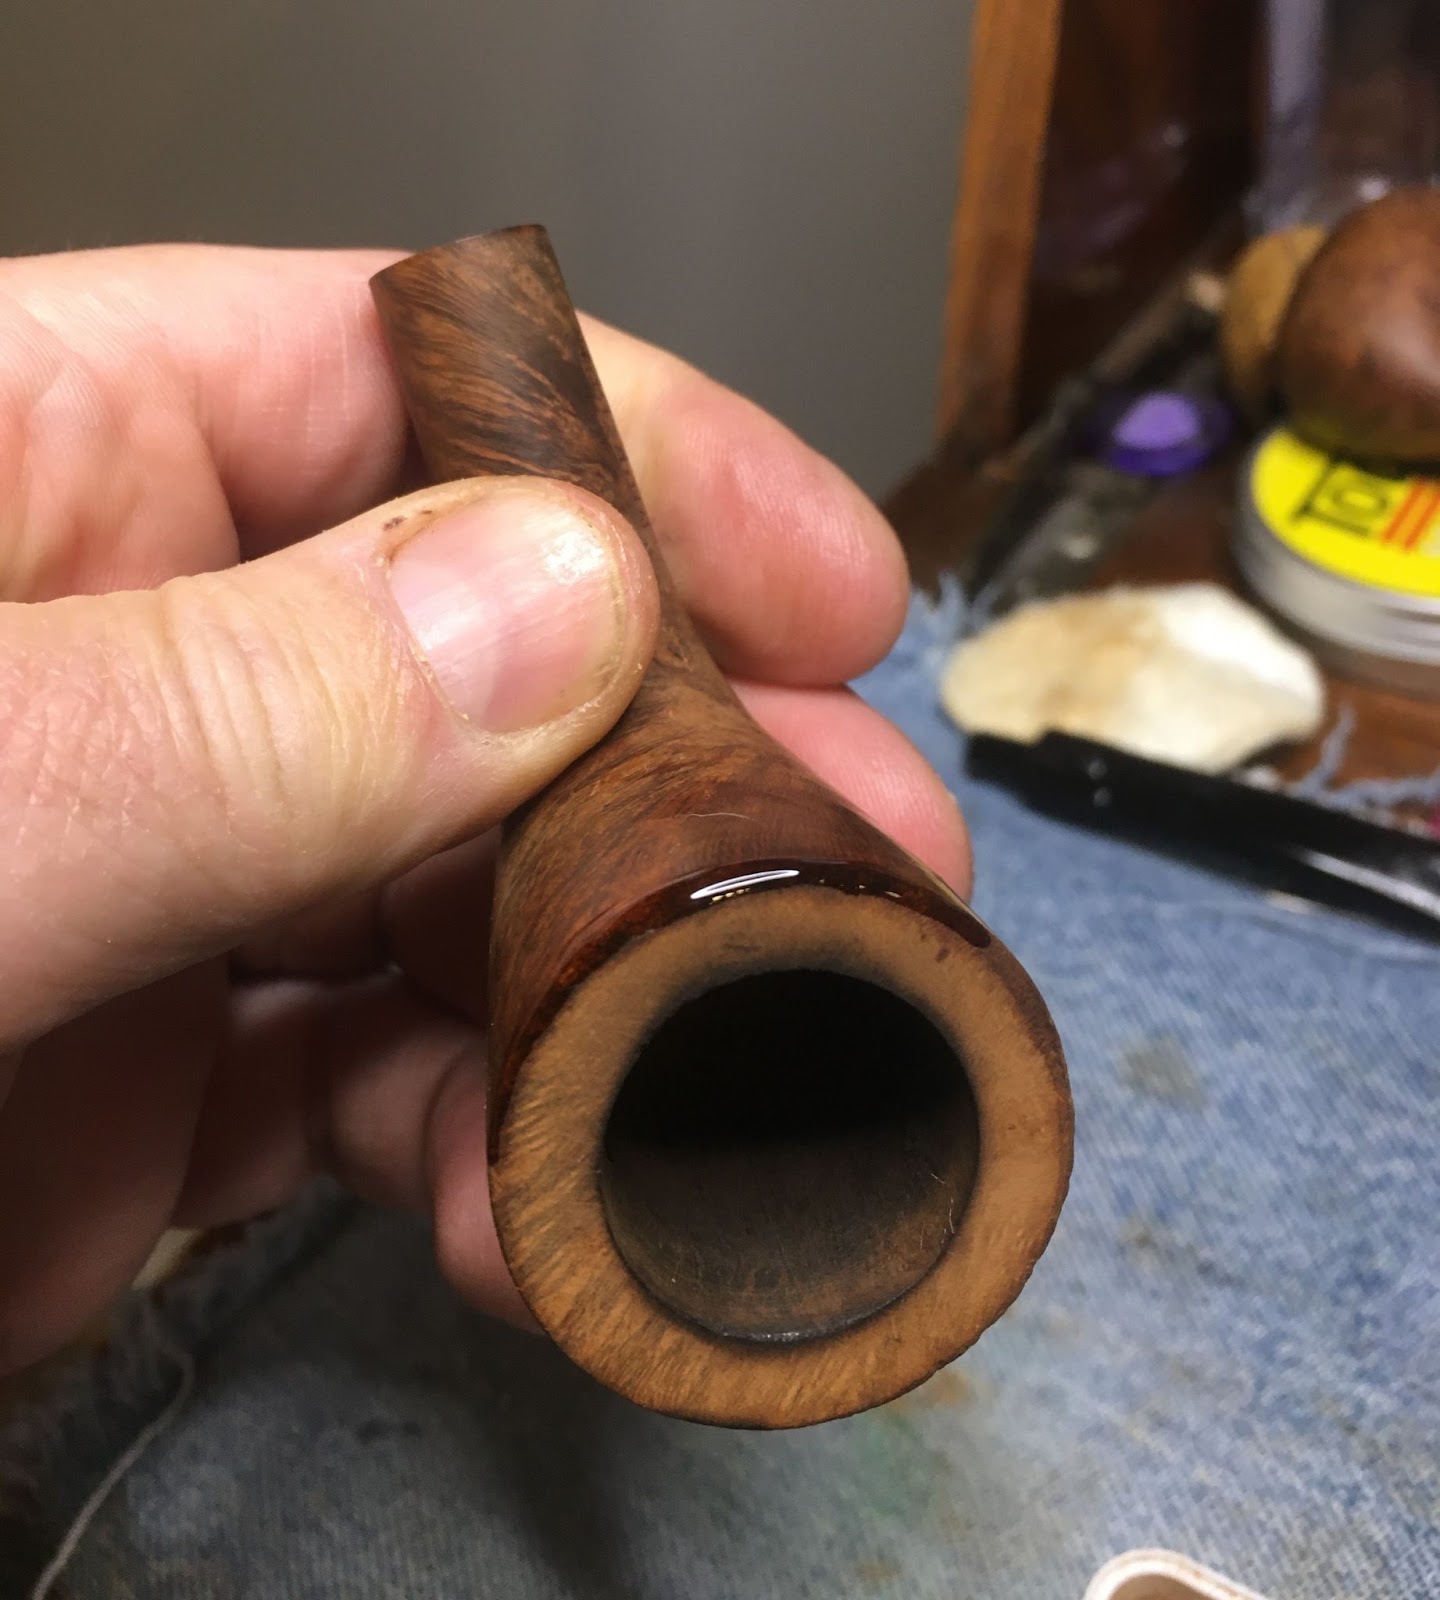
This pipe looked like it had been smoked maybe a handful of times. There was a bit of lava on the rim. “Bit” could be an exaggeration…
I probably could have skipped the scraping of the lava from the rim and just scrubbed it when I did the Murphy Oil Soap scrub but it is a habit to scrape the rim, I guess.
Below is the scraped rim.
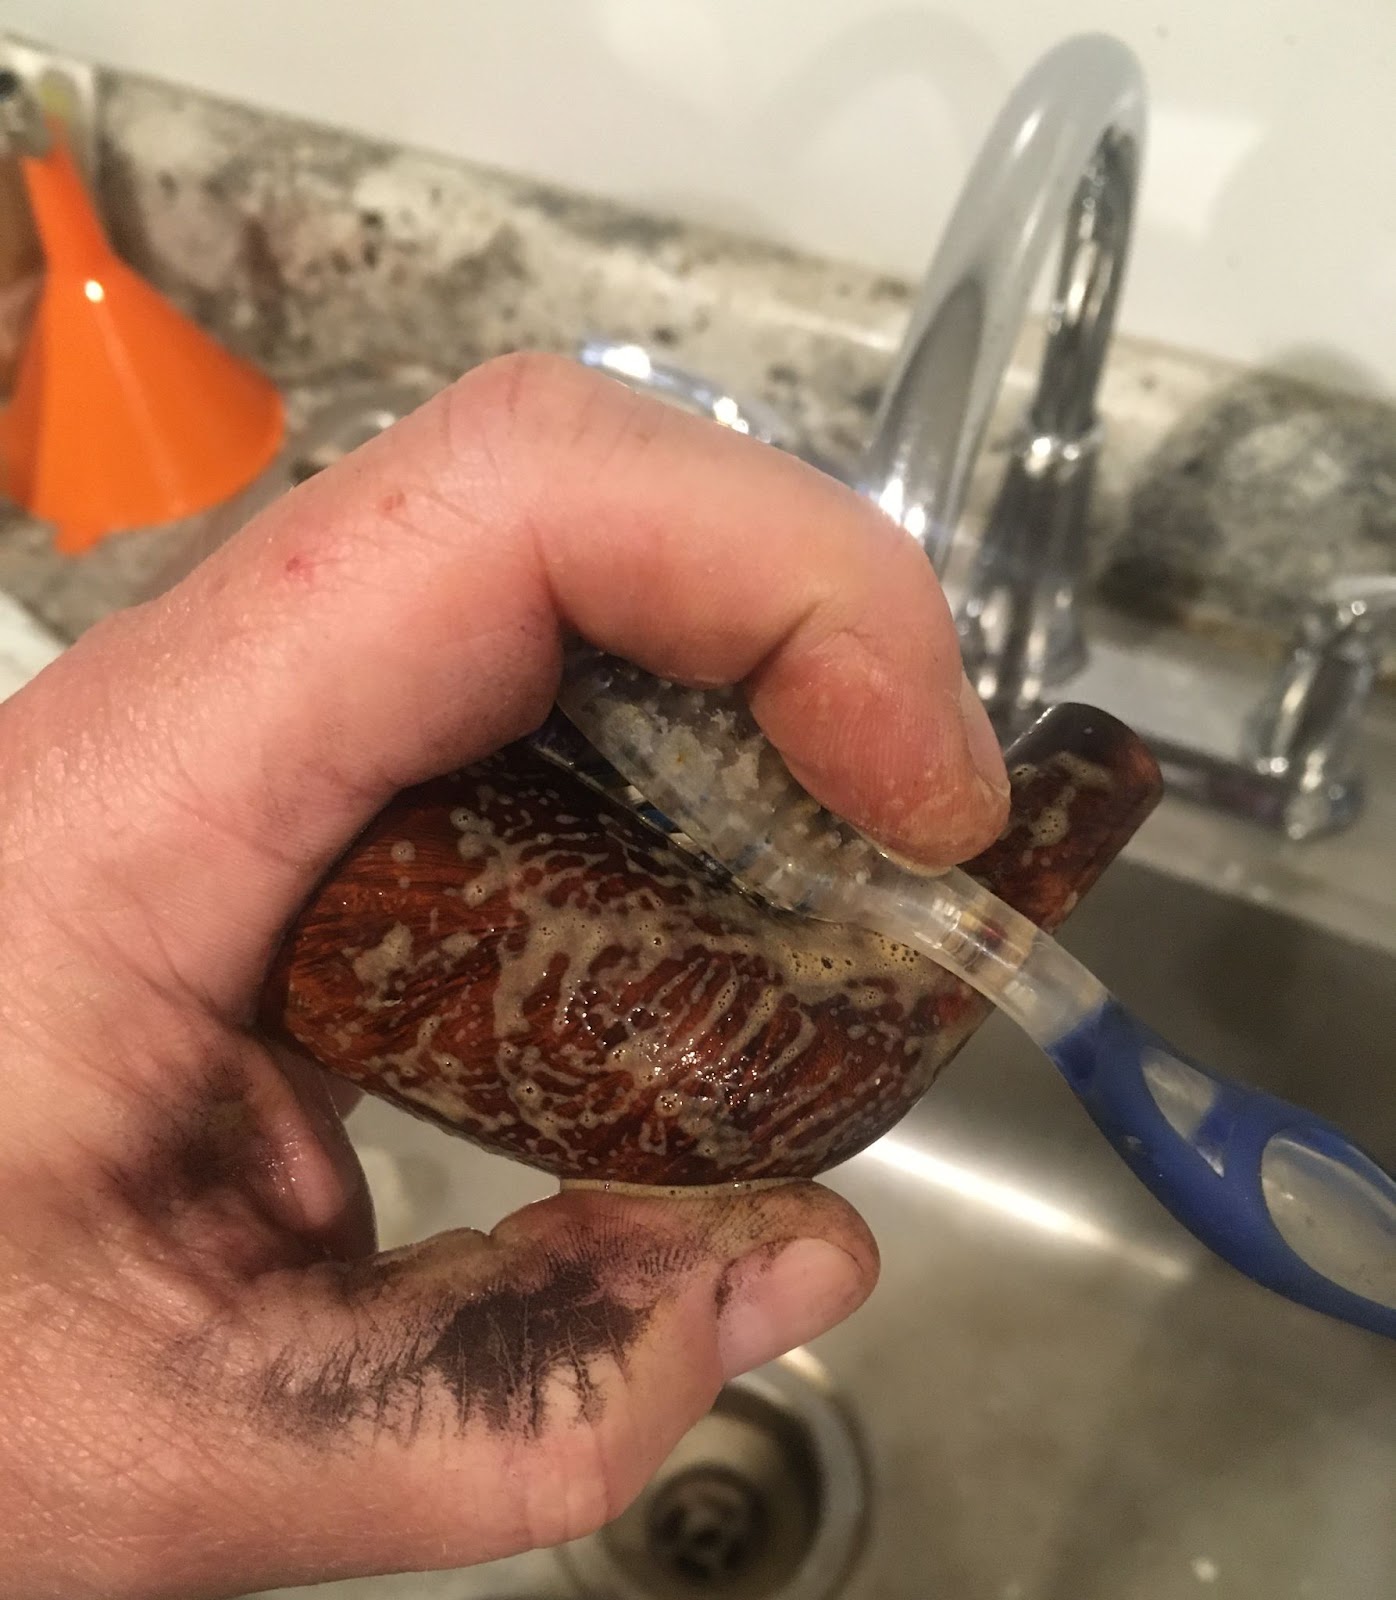
Below is the stummel after having been scrubbed with a medium toothbrush and undiluted Murphy Oil Soap. The soap was rinsed with warm water and the stummel dried with a cotton hand towel.
Oh how nice it would be if every shank were this easy to clean.
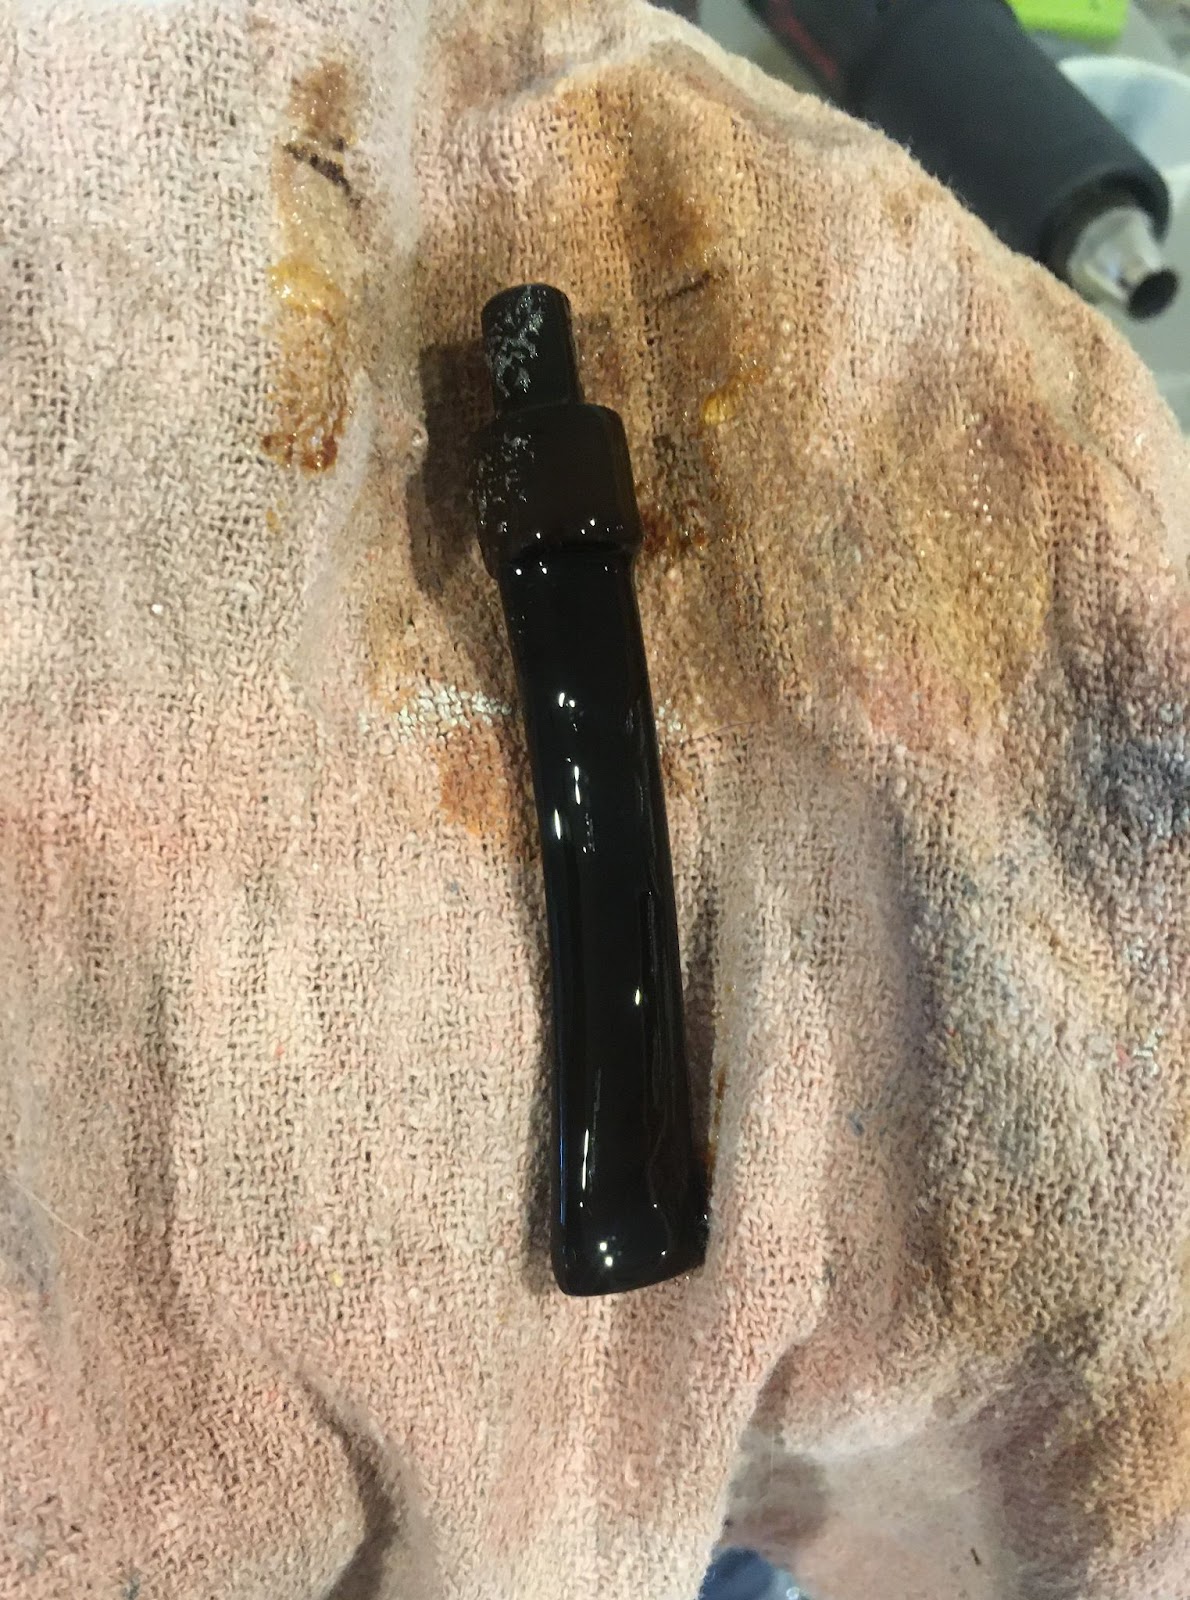
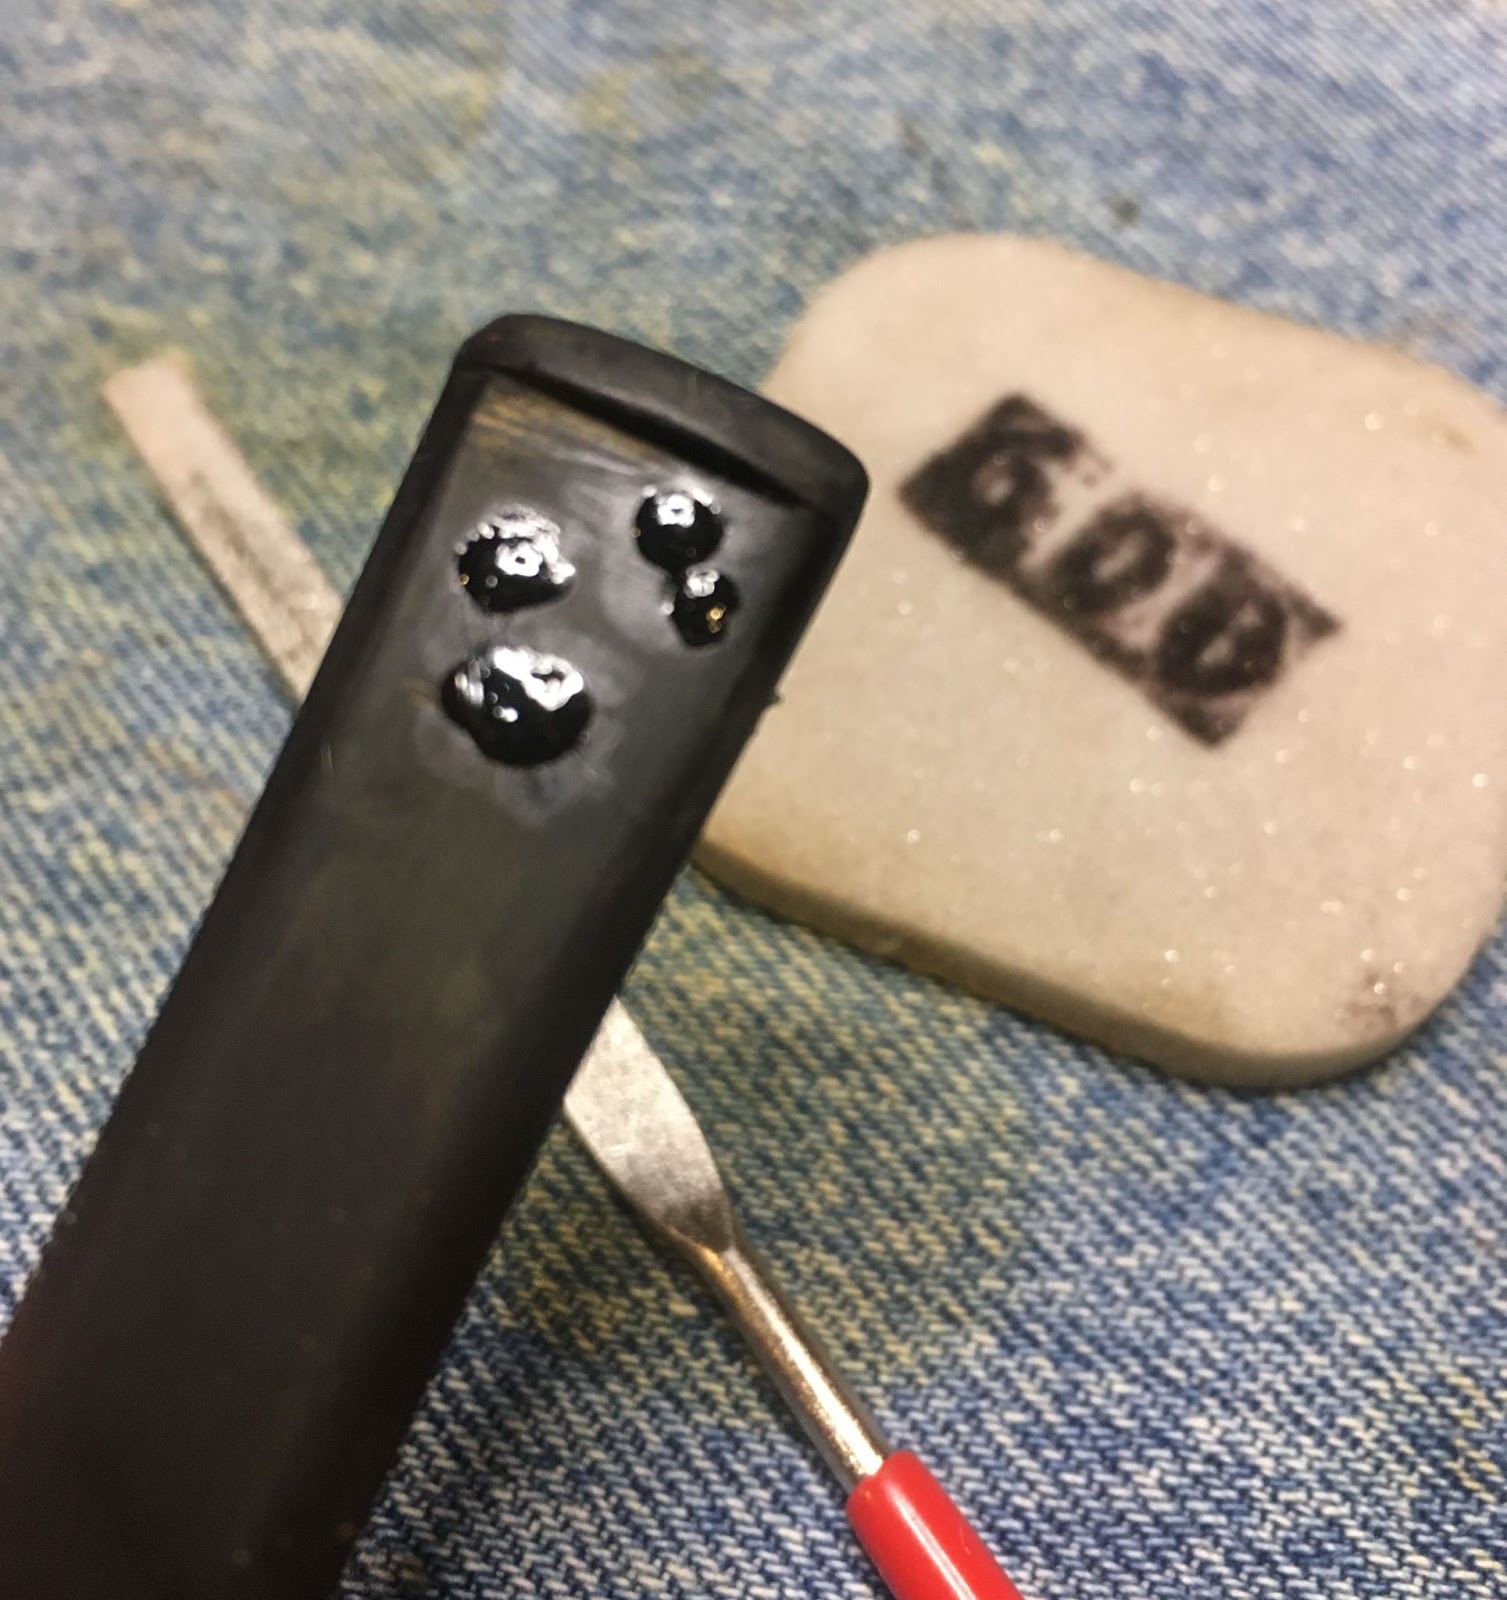
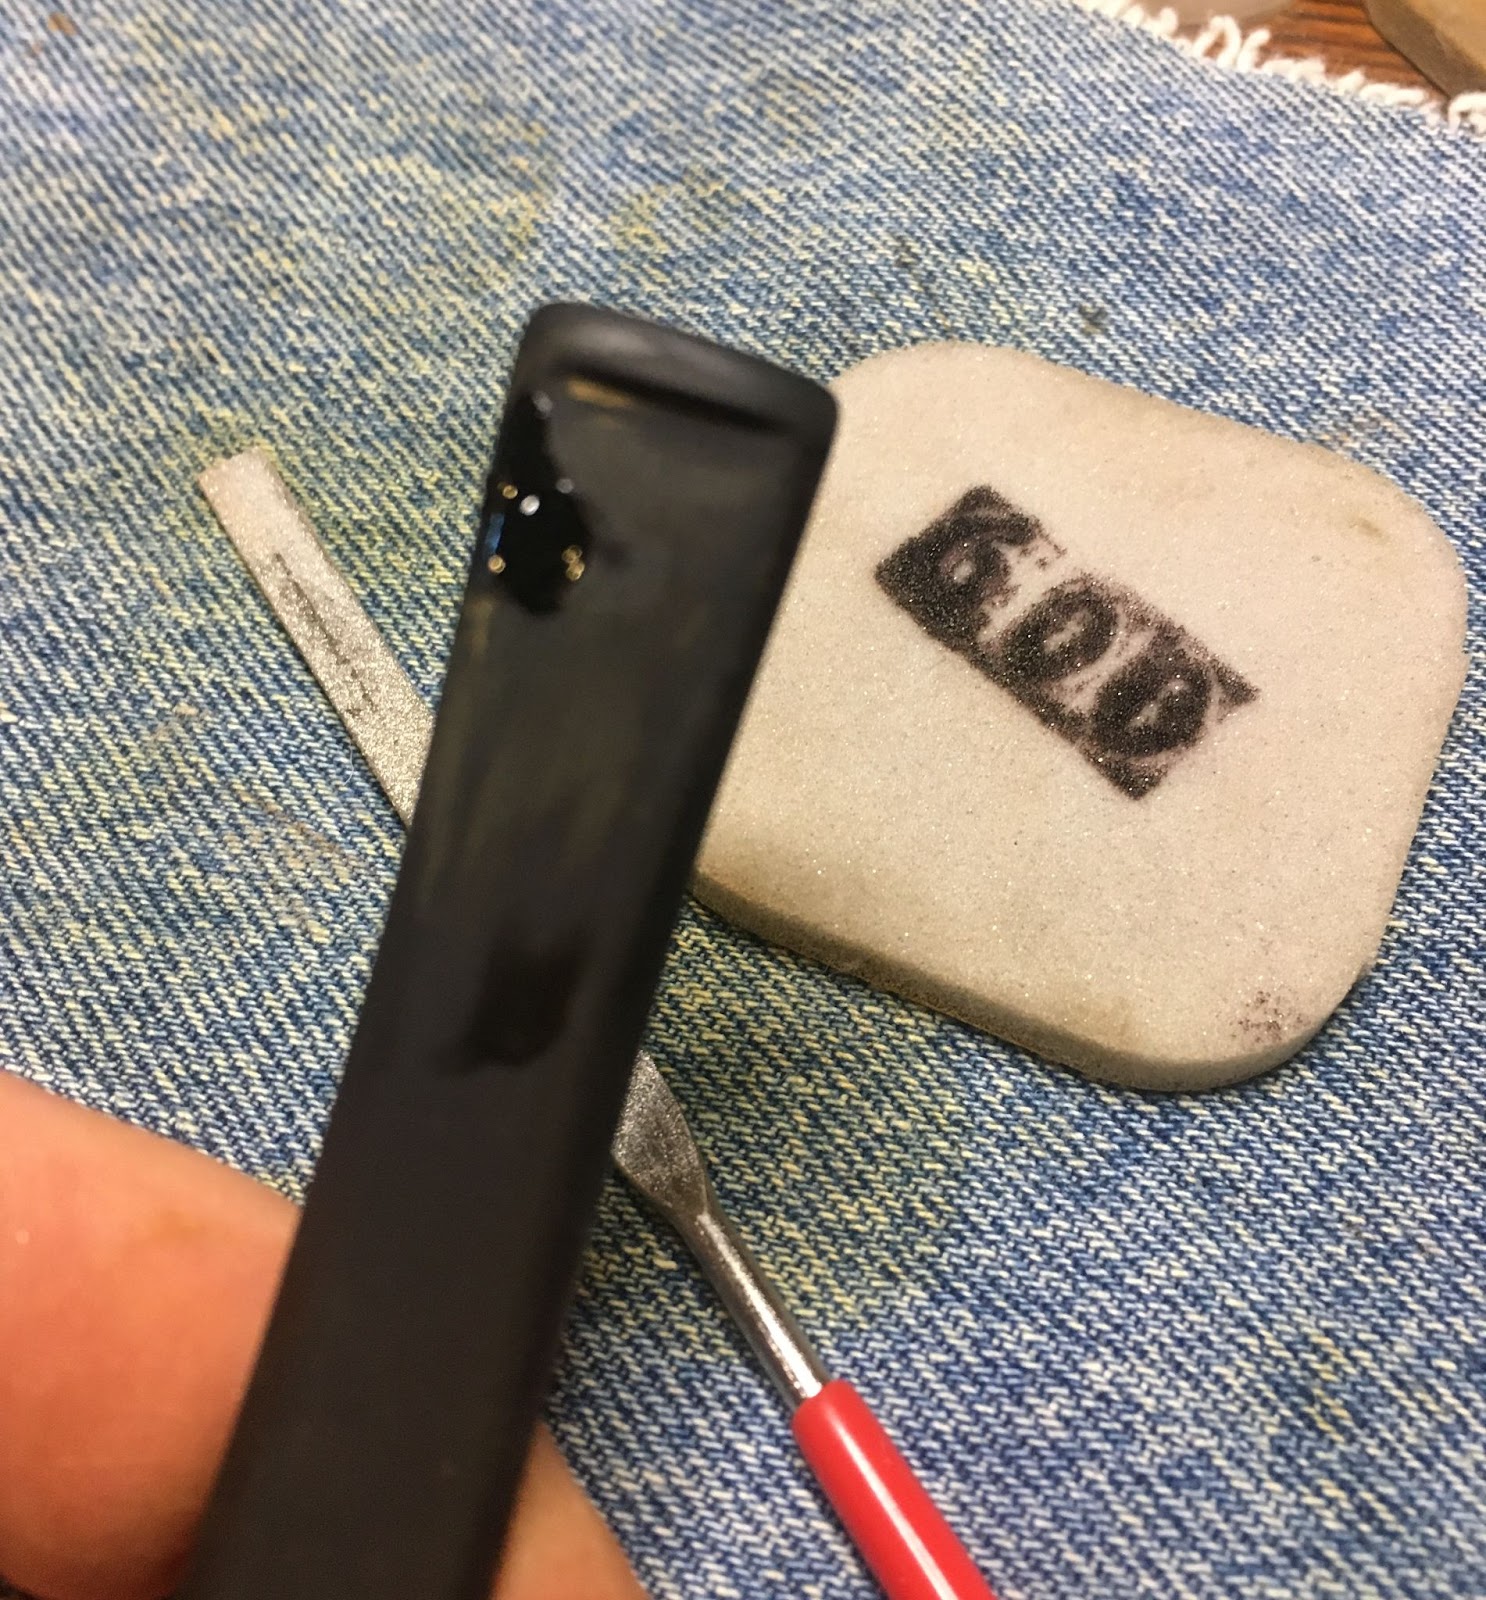
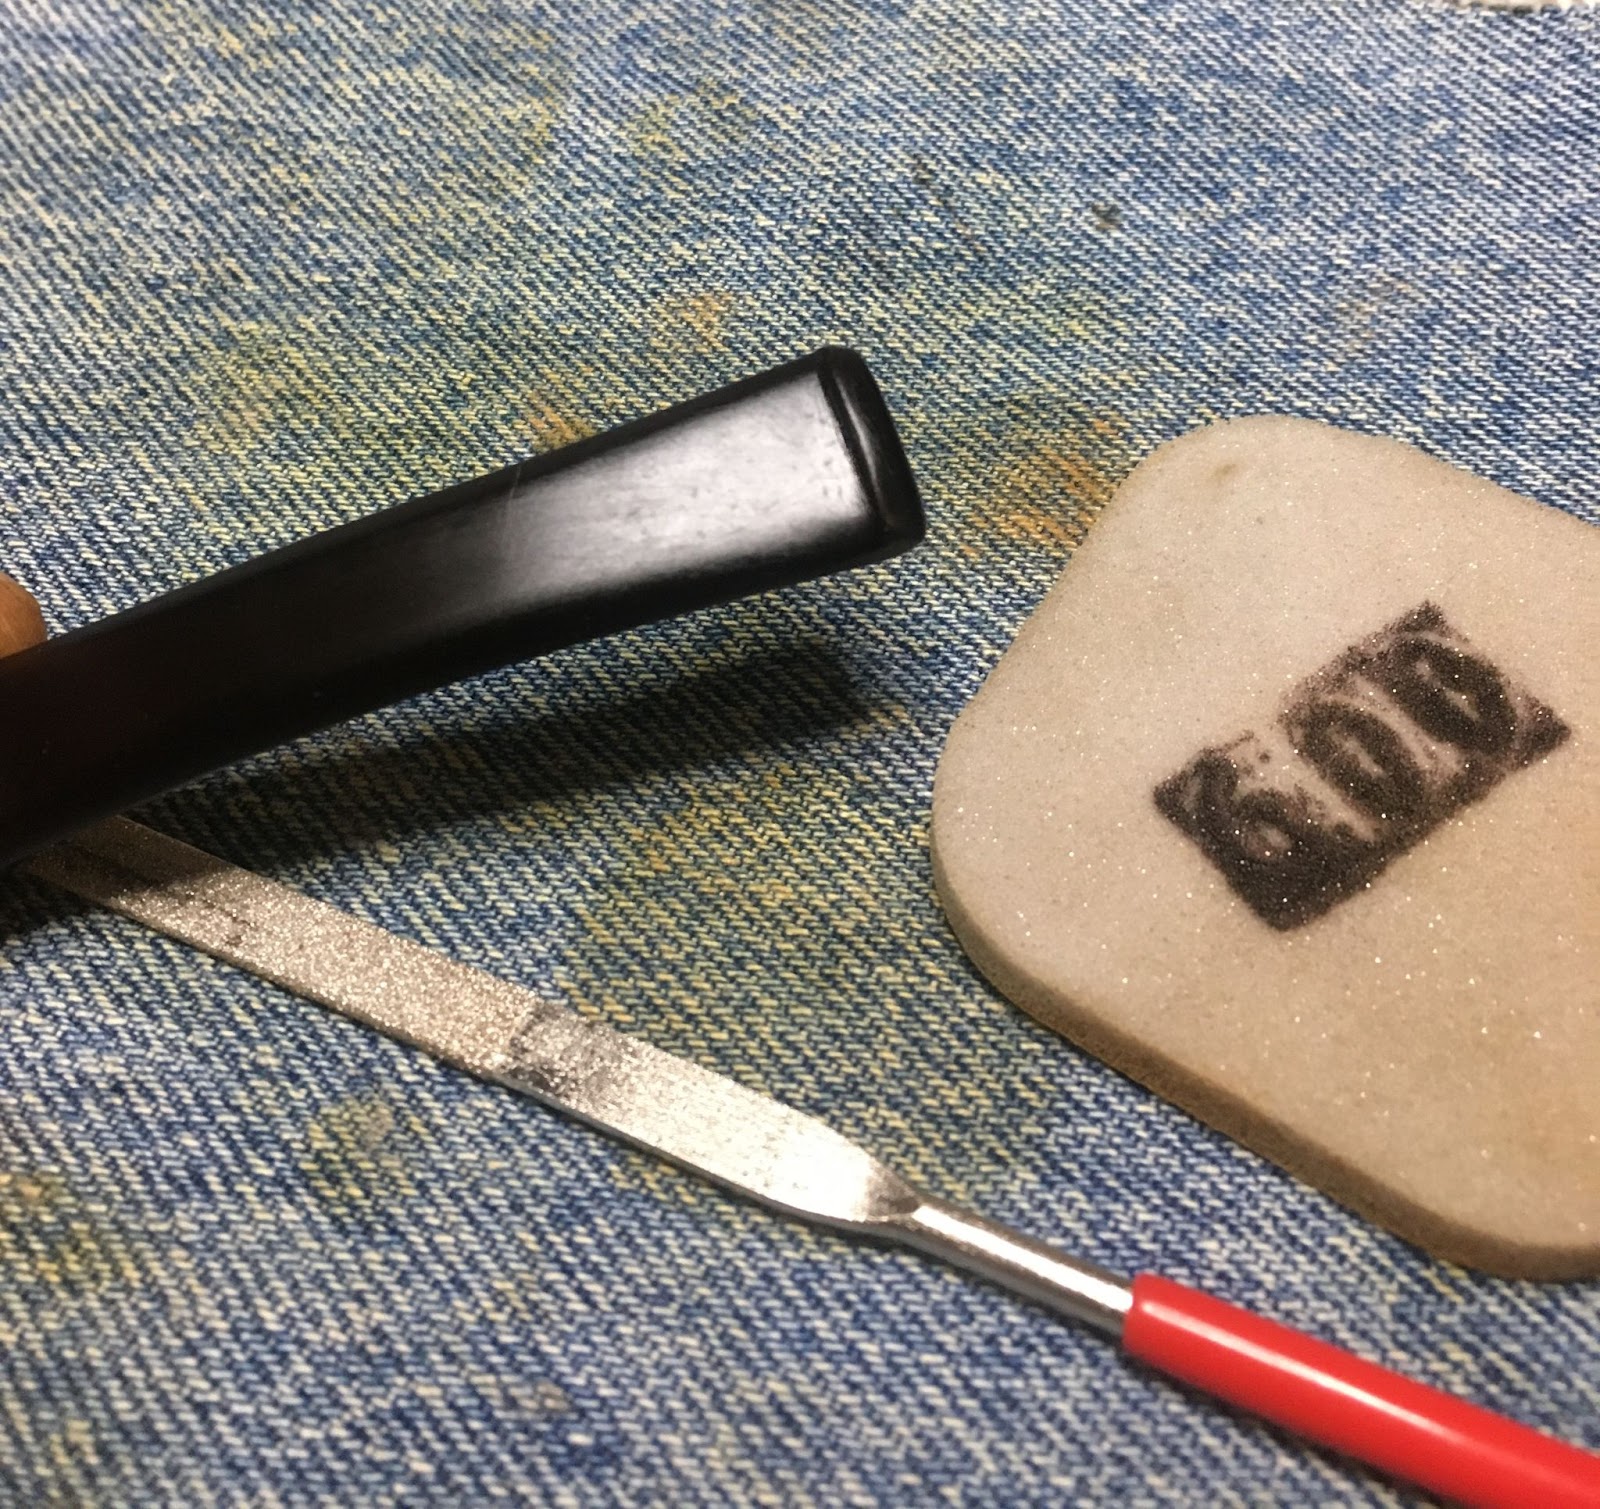
The stem was slightly more dirty but it too was quickly cleaned with 95% alcohol and bristle pipe cleaners. The stem and it’s tooth chatter were more difficult to repair than expected. The plastic just did not respond to sanding like a vulcanite stem did.
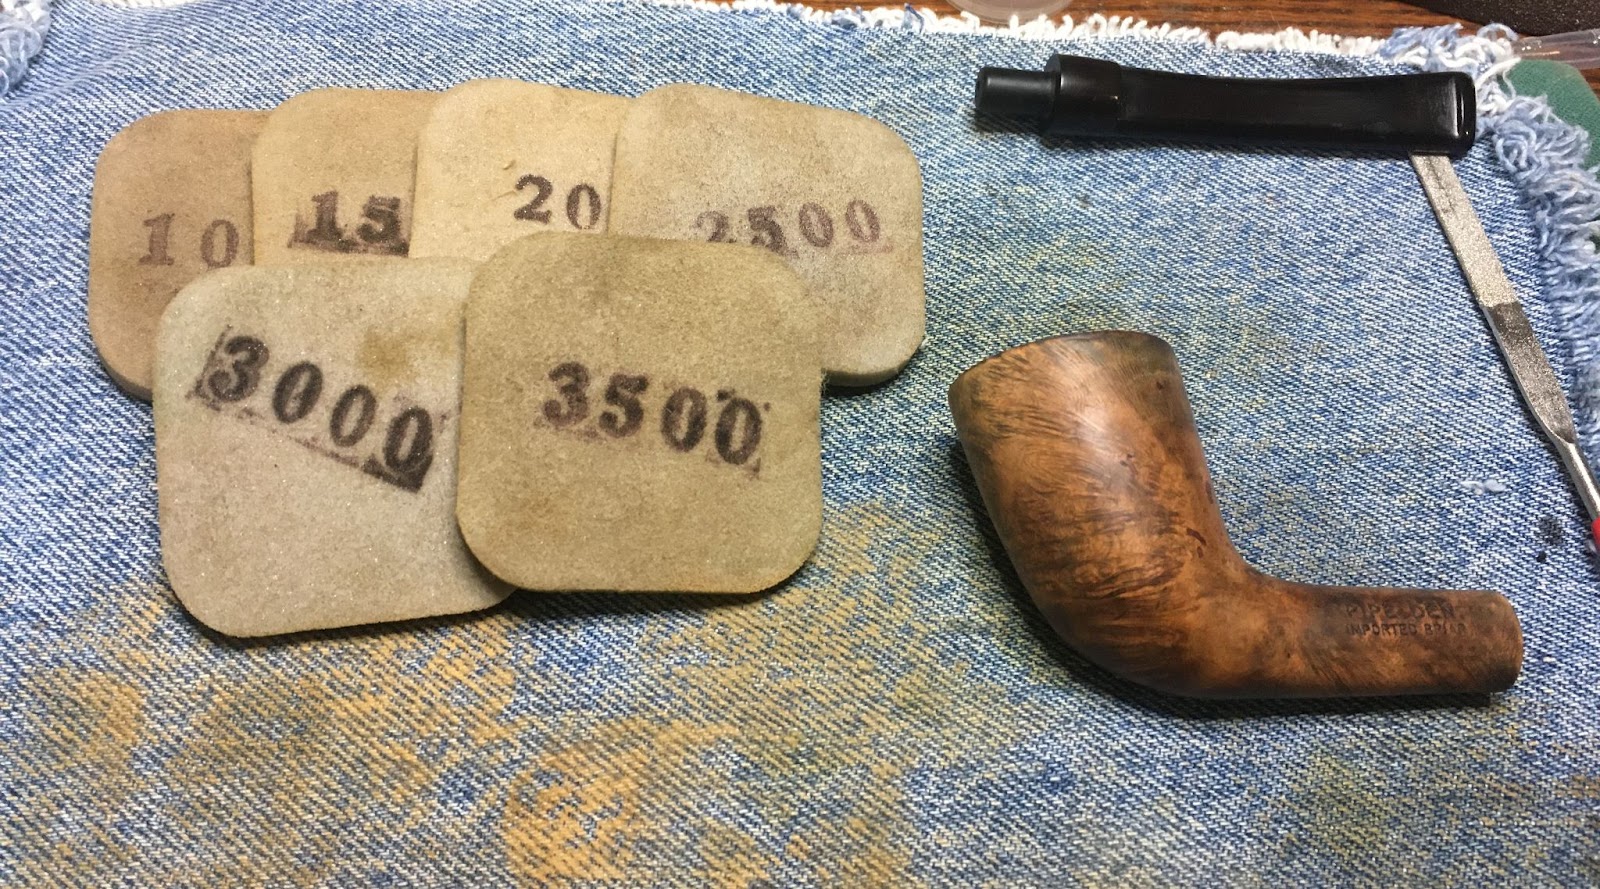
I worked the stem with the sequence of sanding sponges 320-3500. I taped off the shank as it was not needing any sanding. Between sponges I wiped the stem off with an alcohol dampened make-up pad. I remember reading Dal Stanton’s post where he had a similar experience with working with the plastic stem material. He ended up unhappy with his initial work and went back and started all over with 320 sandpaper and worked back up to the Before and After Fine & Extra Fine Polish. I thought about redoing the whole sequence then thought to myself, “Hey self, this is going to be a working pipe, not something for sale or a museum exhibit”. I agreed with self and proceeded.
Next I removed the tape and wiped the pipe with the make-up pad to remove any adhesive from the tape. I used a series of micro-mesh pads from 4000-12000 grit on both stem and stummel. Between each of these pads the sem was again wiped off with the alcohol dampened make-up pad.
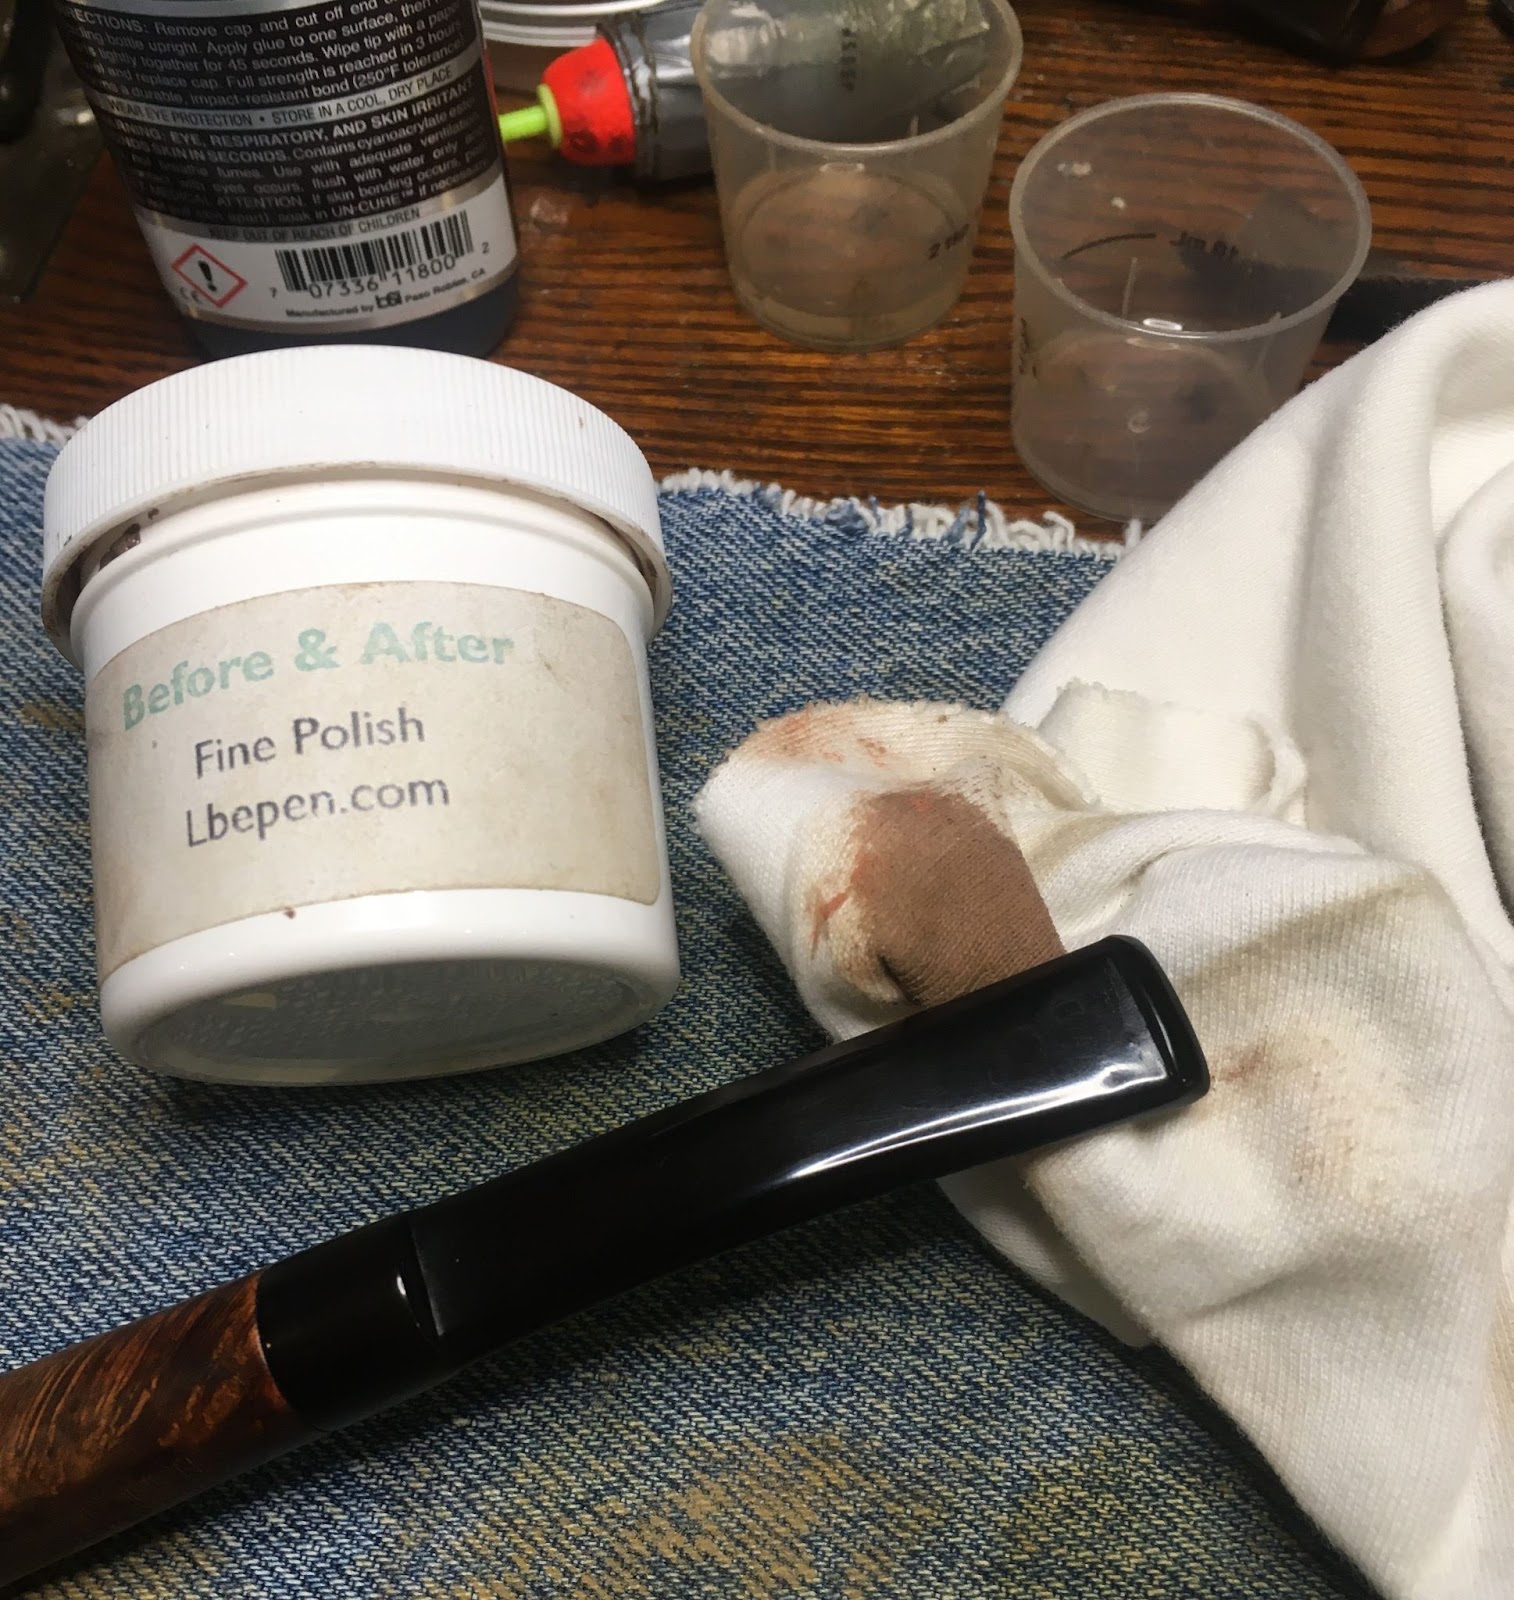
The whole pipe, stem and stummel, were polished with Before and After Fine Polish. The polish was hand buffed with a soft cotton cloth. The same process was repeated with the Before and After Extra Fine Polish. I forgot to photograph that step.
The pipe was then taken to the buffer where it received several coats of carnauba wax.
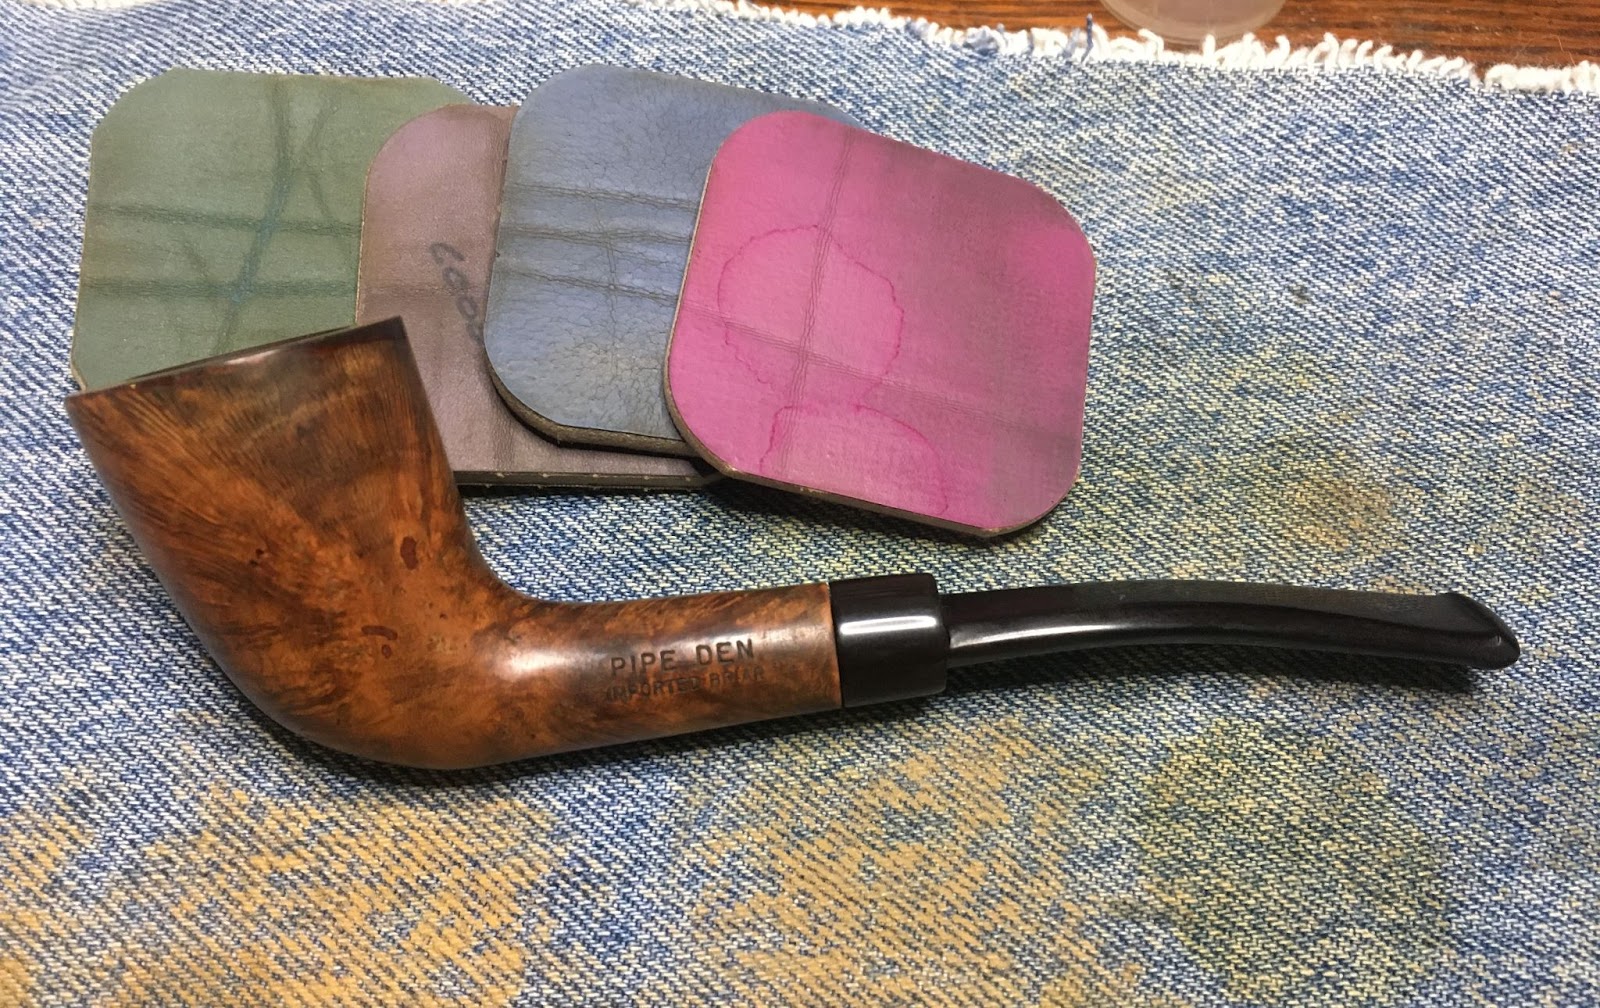
I really like the look of this pipe. It could be because the apple is a favorite shape or the classy elegance of an all glossy black pipe. Either way, it is pretty. There are two things that I have noticed; one – that the pipe feels heavy for the size and two – there is a strange chemical taste similar to formaldehyde when I draw air through the pipe. Neither of these are good selling points. As an example of this, the last two pipes restored were the pipe apple and a Medico Guardsman apple. The sizes of the two pipes are within a few millimeters of each other on all dimensions yet the Medico weighs in at 1.11 oz and the
the pipe weighs 1.47 oz., over a third of an ounce more. I did smoke the pipe and found that it was a nice cool smoking pipe. I did notice the formaldehyde taste once. I do not know if this will continue with future smokes or if that is a “breaking in” issue with this bowl material.
The dimensions of the the pipe Apple are:
Length: 5.34 in./ 135.64 mm.
Weight: 1.47 oz./ 41.9 g.
Bowl Height: 1.54 in./ 39.12 mm.
Chamber Depth: 1.29 in./ 32.77 mm.
Chamber Diameter: 0.72 in./ 18.29 mm.
Outside Diameter: 1.44 in./ 36.58 mm.
I do hope that you have found something here useful to your own pipe care, maintenance or restorations. If you like this sort of thing, please click the like and subscribe buttons. Thank you for reading the ramblings of an old pipe lover.
The question “Why do I do this?” comes to mind with this Nameless pipe. I had written the title and previous sentence before I discovered what this pipe was. With some help and a phone call from Steve Laug this pipe’s Identity has been discerned and a Medico Guardsman. This pipe had been used frequently. The owner must have gained some enjoyment out of it or they would have surely just smoked another pipe. Perhaps it was their only pipe. There was no distinctive aroma other than old tobacco so the blend of choice was probably a common blend like Kentucky Club or Half and Half. The finish on the pipe had long ago faded, cracked and peeled. I couldn’t really see any distinguishing grain. The stem had pretty significant dents from clenching, further proof that this pipe had been someone’s long term companion. It also appeared to have a reverse tenon (more on this later).
Back to the initial question, “Why do I do this?” I could wax philosophically and throw together some word salad of jiberish or I could just say, “because I enjoy it.” Perhaps in the same way that the previous owner enjoyed this pipe. I find peace in working with my hands in a relaxing stress free fashion. There is no timeline, no customer to please upon finishing this pipe, no expectation of having it turn out flawlessly, just me in the cool quiet of my basement with a couple of dogs lounging on the couch and an old pipe. The motions of cleaning, sanding, refinishing are repetitive and require little thought. This is my hobby and I do it because I like to. The product of the hobby may be sold or given away. It doesn’t really matter, either way someone will get a new-to-them pipe that they can enjoy in their future.
Back to the pipe. I kind of have to write this thoughtfully breaking it into two sections:
I had it pretty much finished and ready to write-up when I started chatting with Steve Laug.
Back to the workbench with it in an attempt to fix what we had decided was previous “repair”.
I guess I’ll start with the pipe as it appeared upon arrival.
The word “rough” comes to mind. My dad would have called it “rode hard and put away wet”. Anyway you look at it this one definitely needed some work or a trash can. I went with the first option. With a cursory inspection I immediately thought this pipe to be a Medico due to the tenon with the space for Medico or Dr Grabow filters. I could not make out any definitive stampings though. Usually Medico stamps are good. Even now, knowing what the pipe is, I could not clearly make-out the stamp.
The G on the stem was also worn and didn’t register in my mind. I thought that maybe if I removed the finish the stamp would be more clear. I started a mental list of tasks for this restoration; reaming and cleaning the tobacco chamber, cleaning the airways of the shank and stem, stripping off the old finish and maybe dying the stummel, repairing the bite marks and tooth chatter, sanding, micro-meshing and polishing. It all sounded daily typical.
Now is the time I would normally discuss the background of the pipe. With this pipe I was unsure of it’s name and provenance. I’ll revisit this later.
The Restoration
This restore began like most others with a clean denim on the work surface.
The reaming tools were assembled.
The reaming progressed as normally except that darn grate was in the way.
Eventually the chamber was cleaned. A dental scraper was used to scrape around the aluminum grate.
The rim had some minor lava deposits which required a bit of scraping with a sharp pocket knife.
Below is the scraped rim.
To the sink. Here the stummel was scrubbed with a medium bristle toothbrush and undiluted Murphy Oil Soap. The soap was rinsed with warm water and the stummel was dried with a cotton hand towel.
I returned to the workbench and assessed the stummel. There were remnants of a clear coat finish on the briar, this had to go. Still no clear stamps.
I first tried 95% alcohol on a make-up pad to remove the finish. This did little.
Next I tried acetone on a make-up sponge. This worked well in dissolving the lacquer and removing some stain.
Below you can see the right side of the stummel prior to a wiping with acetone on a make-up pad.
Here is the same side after wiping with the acetone.
Several acetone dipped pads later the finish was removed and the briar was accessible.
The briar was in good shape and showed little signs of old fills or damage. There was an ashtray scar where a cigarette probably charred the briar on the front of the stummel. The stummel was sanded with 400 grit sanding sponges to see if there was damage that I had overlooked. The stummel was then wiped with a make-up pad wetted with 95% ethyl alcohol.
Below you can see the cigarette burn.
I then started scrubbing the airway of the shank. Bristle pipe cleaners, cotton swabs, a .33 caliber brass bore brush and a nylon bore brush were all used with copious amounts of 95% ethyl alcohol. The airway was eventually cleaned but the end of the shank under the grate was difficult to access and continued to return tools stained with tar.
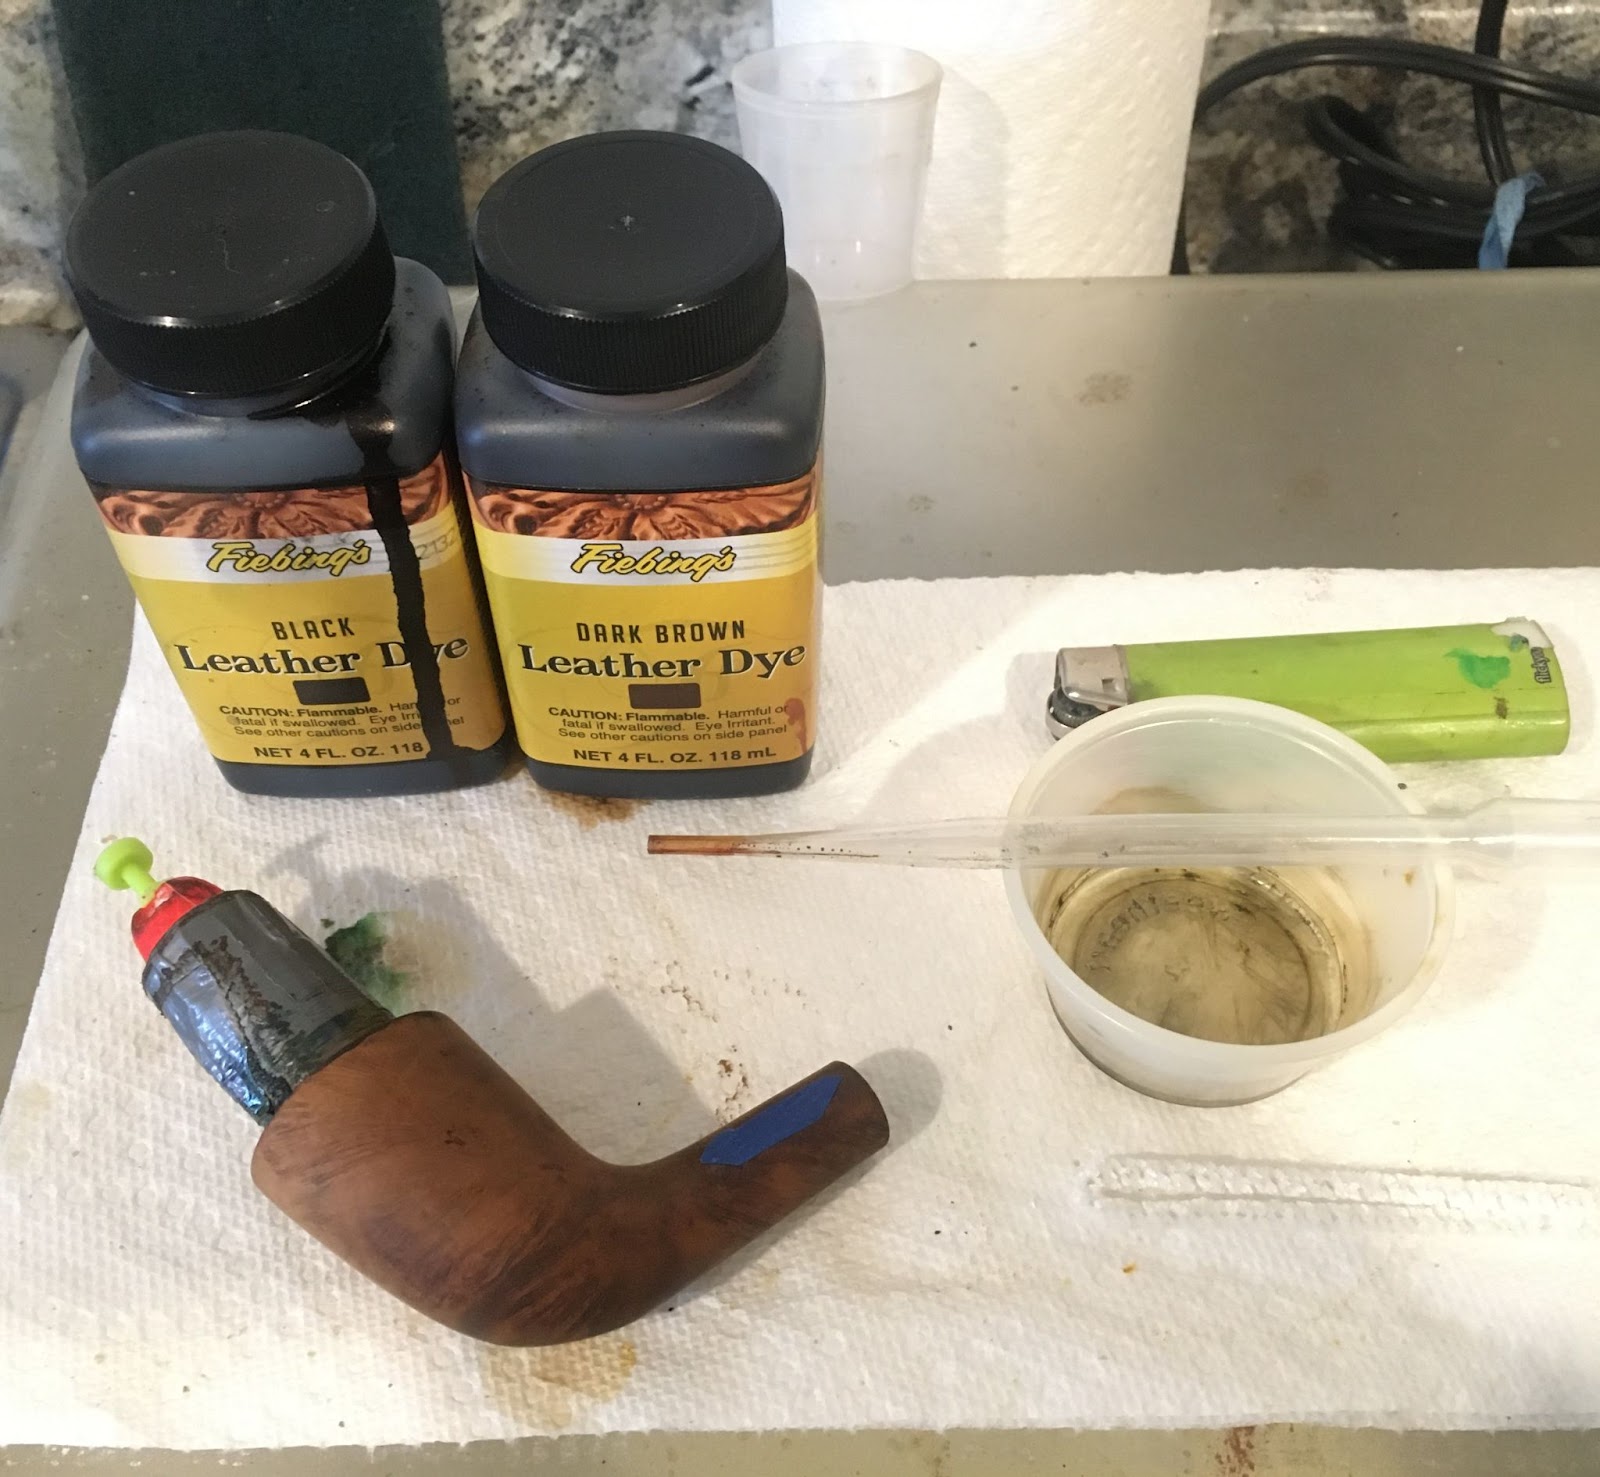
To help conceal the ashtray scar and bring out the briar grain I decided that I would attempt a contrast stain.dye with black Fiebing’s Leather Dye.
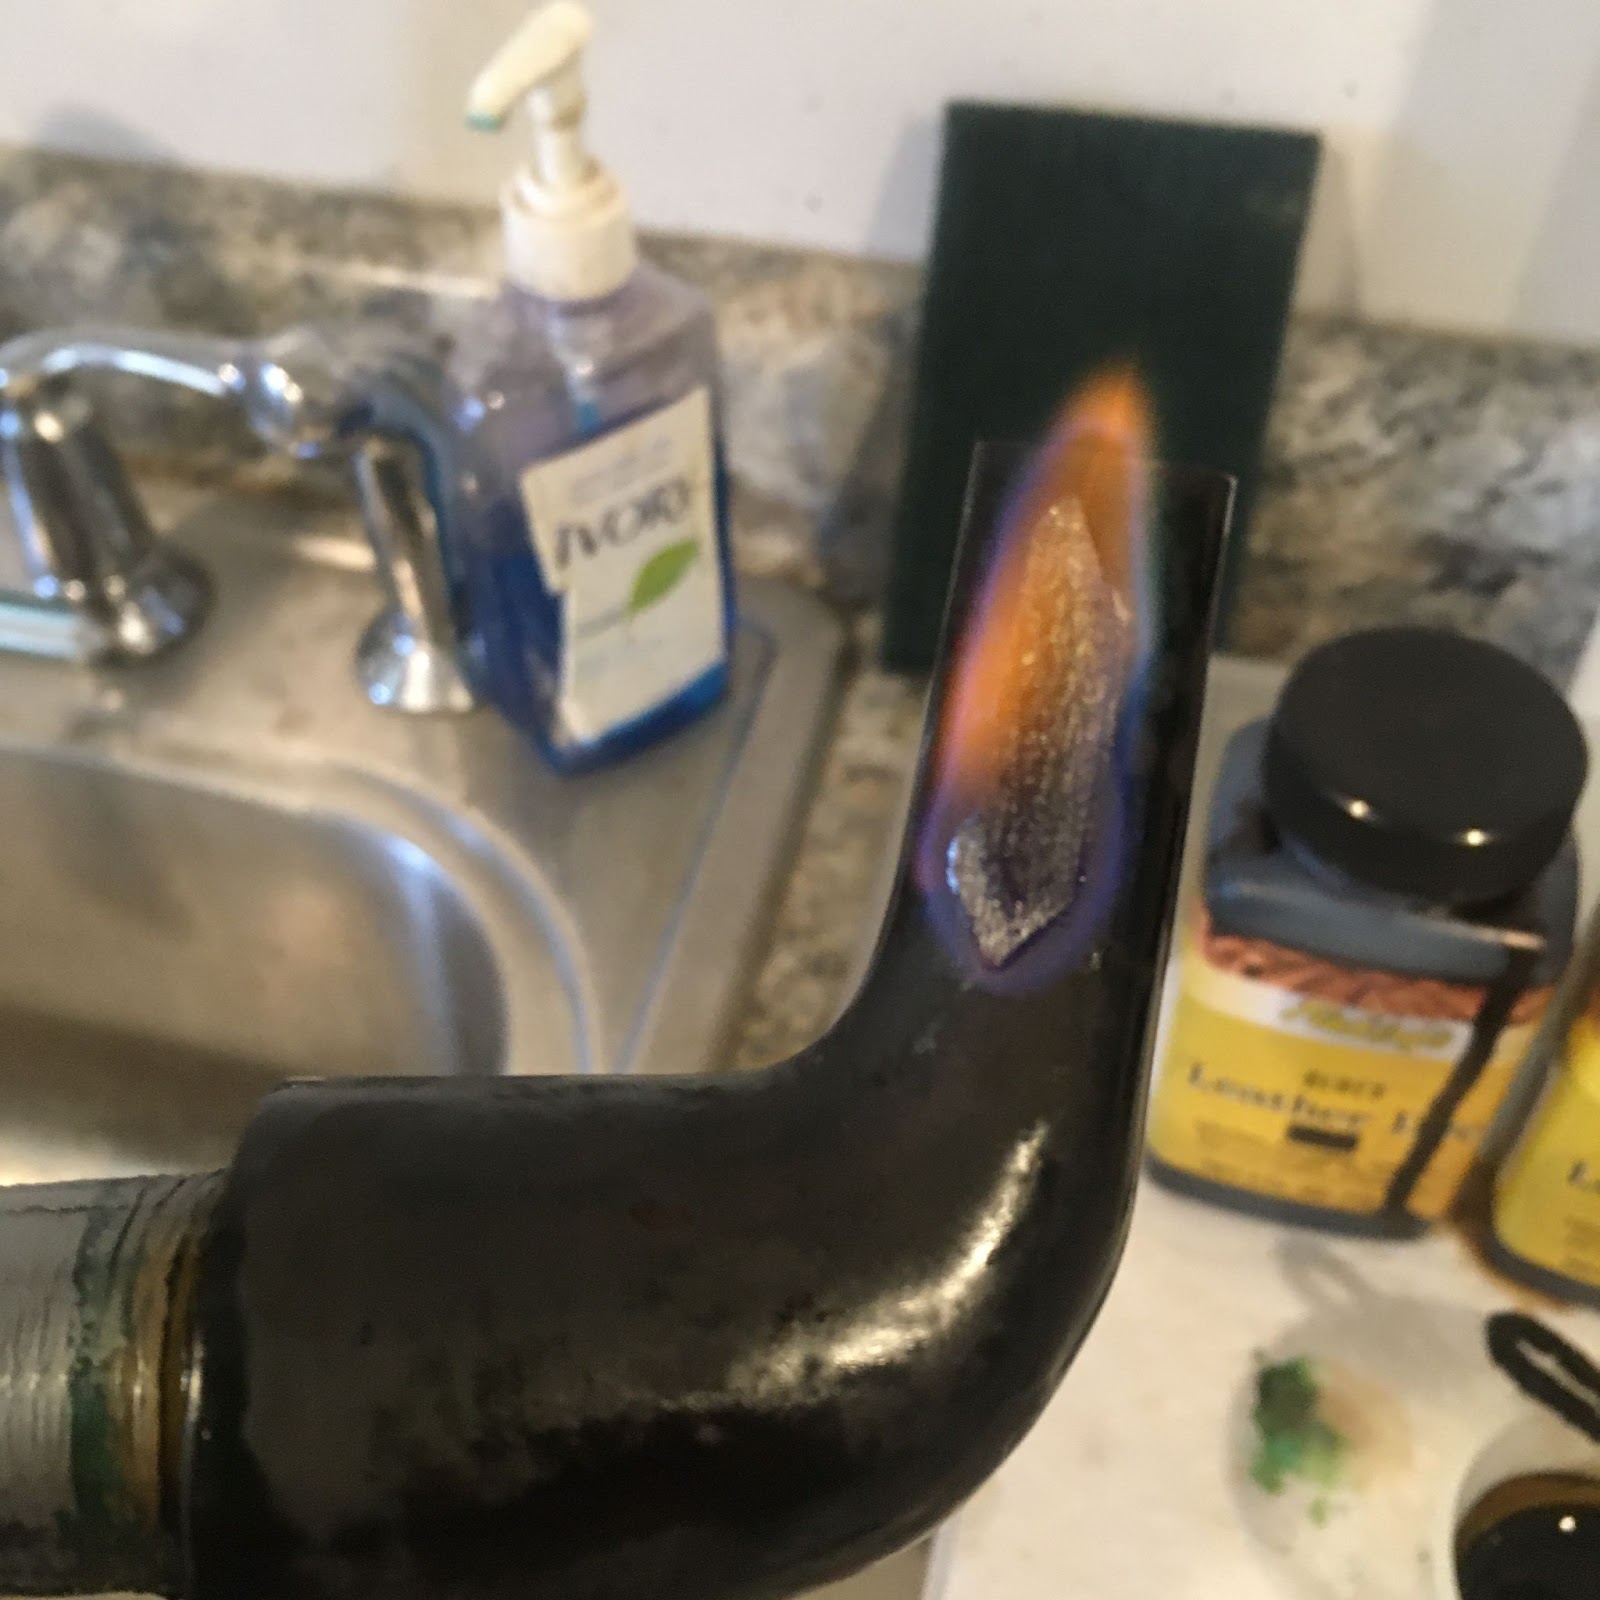
The black dye was applied with a folded pipe cleaner and flamed with a disposable lighter.
I returned to the workbench to sand away the outer surface of black stained briar. I hoped that this would leave the softer grained briar which had absorbed more of the black dye. I allowed the black dye to dry for a while and turned my attention to cleaning out the airway of the stem. Again bristle pipe cleaners, cotton swabs, a shank brush and ethyl alcohol were used.
Once the stem was cleaned I returned to sanding the outer surface of the stummel with both a 320 and 400 grit sanding sponge. The stummel was wiped with make-up pads dipped in 95% ethyl alcohol. Below is how the stummel looked after sanding. The dye had defined the grain nicely.
I thought the stummel needed a bit more color so I decided to give it a wash in a diluted red Fiebing’s Leather Dye. I diluted the red dye with about 50% ethyl alcohol and applied it with a cotton swab.
I thought that this combination of dyes looked about right, I also knew that quite a bit of the red would end up being removed by sanding and micro-meshing but it should retain a light reddish hue.
The stummel was then sanded using the sequence of sanding sponges from 600-3500 grit. I very lightly wiped the stummel between pads with a very lightly alcohol dampened make-up pad. I did not want to remove too much of the red dye.
At this point I switched gears and started working on the stem.
Okay, here is where it gets a little weird. I had sent Steve Laug a private message on Facebook asking if his memory about the aluminum grate in the bowl was any better than mine. He replied, “I have seen it in pipes here but also don’t remember the brand . It is a stinger apparatus if I remember right. With the carb it is like a barbecue grate” he then said, “Let me do some digging”. I continued working on another pipe.
He messaged me a few minutes later saying, “Looks like a Medico Guardsman”. He included a link. Below are some photos from the link.
That served as a very definitive identification to me. I still wondered about the slightly different grate in the bowl on my pipe. Perhaps the previous owner lost a couple of holes? I’d heard of losing a button. Why not a buttonhole?
Anyway, the G on the stem also looked like the worn G on the pipe in hand.
I think we are now ready for, dramatic pause, “The Background section. Yay.
Background of Medico
Pipephil.eu has the following photo of Medico Guardsman logos:
A quick search of Medico of pipedia.org supplies the following.
“When you trace the Medico tobacco pipes history, you have to trace it back to the origins of the company that created it. The company that originated the Medico brand is the S.M. Frank & Co. This company dates back to the year 1900. In that year, a man named Sam Frank began selling pipes and related tobacco products. Eventually, the company began making its own line of pipes. With the help of an experienced pipe manufacturer, Ferdinand Feuerbach, the company produced the popular Royal DeMuth and Hesson Guard Milano tobacco pipes. The company continued to grow well into the early part of the 1930s.
By the early 1930s, there were some concerns about the tars and nicotine found in tobacco smoke. In order to mellow out the flavor of hot tobacco smoke as well as to capture the tars and nicotine, the S.M. Frank & Co. introduced the Medico pipe filter. This is an absorbent paper filter that many people still use to this day. In order to accommodate the new filter, the company developed an accompanying brand of pipes known as Medico. That line of pipes continues in production today.
“The company ended up buying some of their main competition in 1955. That year the Kaywoodie brands came under the S.M. Frank Company. The Medico brand continued production through this transition without many changes. The next big change for the brand came in the late 1960s. In 1966, the company developed a synthetic material that combined the traditional briar wood with resins. It is known as Brylon. At that time, all Medico pipes were made from imported briar wood. In order to keep production costs down, the company began offering some lines with Brylon. Today, that is still true.
Today, the Medico brand of pipes is still a top selling one for the S.M Frank & Co. This line of pipes comes in thirteen different finishes with five made of briar wood and the rest from Brylon. All come with the push bit with a filter inside. The filter is easily changed out when the smoker desires. In the briar wood finishes, this line includes the Silver Crest, Premier, Bold Rebel, Kensington, and Windsor. In the Brylon, the line includes the Lancer, Apollo, Standard, Varsity, Conqueror, Medalist, Cavalier, and V.F.Q. As far as price, the briar wood pipes tend to be higher in cost that the Brylon ones. Courtesy TobaccoPipes.com”
The chatting in Facebook was becoming annoying for both Steve and I so a phone call was made and we were able to discuss this pipe. Steve agreed with me in never having seen a Medico pipe with a reverse tenon. He had seen a tenon where a previous owner had removed the aluminum from the stem and glued it into the shank thus making the pipe into a reverse tenon. He thought that this is what may have occurred with this pipe as well. I decided that the pipe needed to be restored to it’s original configuration. This meant that I too would free the reversed tenon from the shank and glue it where it belonged, in the stem. Both Steve and I agreed that the stem’s mortise appeared to have been roughened with sandpaper to allow the adhesive to better hold the aluminum. So I set out to right perceived wrongs.
Our discussion also included using heat to soften the glue holding the aluminum in the shank, where we have lived in the US and Canada, our previous and current jobs, and turtles. Yes, you read that correctly, turtles. And no, there was no mention of using heat to remove a turtle from it’s shell.
Anyway, back to the restoration part two. A new plan was formulating in my mind:
Heat the aluminum to free it from the glue holding the “reversed tenon” in the shank.
Reclean the shank.
Glue the aluminum into the stem, where it belonged.
Polish and wax for the final time.
That sounded like a good plan.
The aluminum was heated with a disposable lighter for a count of 20. I then used a very high tech aluminum tenon extraction device to apply force to the aluminum. Oh, I suppose you are wondering exactly what a “very high tech aluminum tenon extraction device” is. Well you take a smaller size channel lock and wrap the jaws with painters tape, tadah! Your very own very high tech aluminum tenon extraction device. Let’s just call it a VHTATED or pliers from here on out. The heating and pliers seemed to have no effect on the tenon. It probably needed more heat so, another 20 count of flame was applied. At this point I will warn you to keep your fingers away from the little metal carburetor. I have heard that they become very hot when exposed to a couple of 20 counts. Yeah, I burned myself on that. Twice. Maybe three times but who’s counting? Still nothing was moving. Perhaps a change in the direction of applied force was needed. Instead of a twisting motion with the pliers on the tenon maybe a straight line pull would be better. I used a knife blade to press down between the shank end and the aluminum tenon. I figured that the ring was all part of the tenon and it would pull the tenon free. The knife blade slid the aluminum out away from the shank. Victory, I thought!
Then I realized that the aluminum was just a spacer ring. I removed it.
Hmm, change of strategy. Using a disposable pipette I drew up a little bit of acetone in the pipette and applied it around the aluminum/briar contact. It seeped in quickly. I figured that the acetone would certainly help dissolve the heated glue and help free the aluminum. Nope.
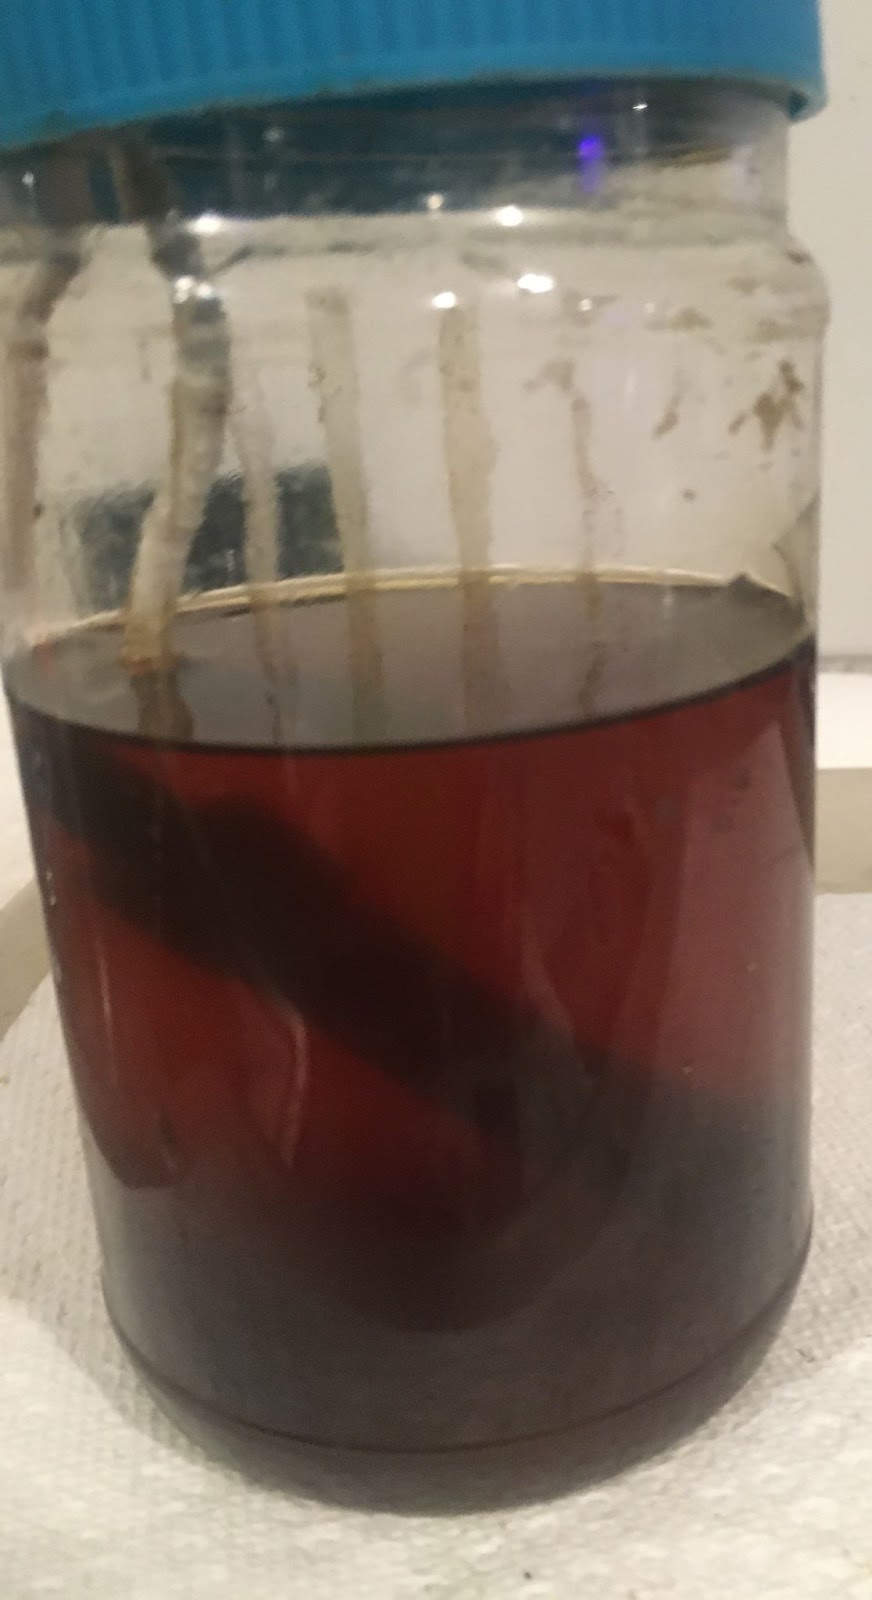
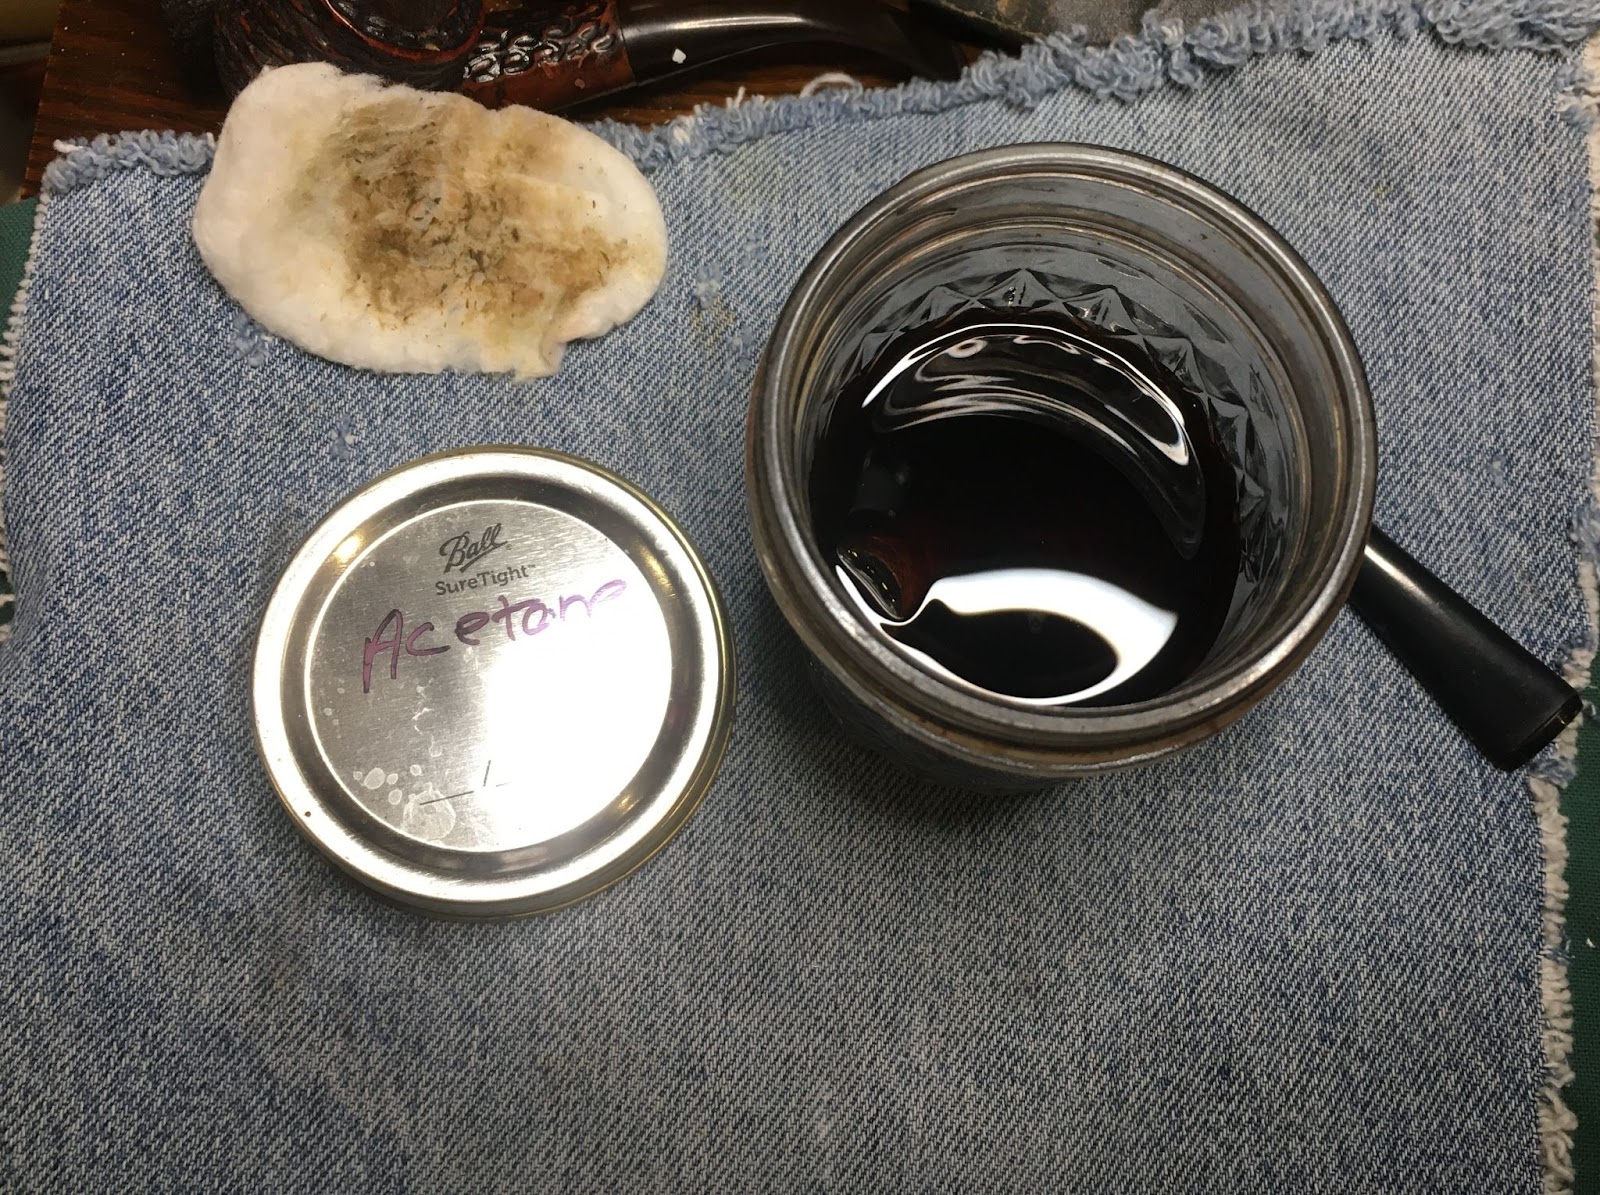
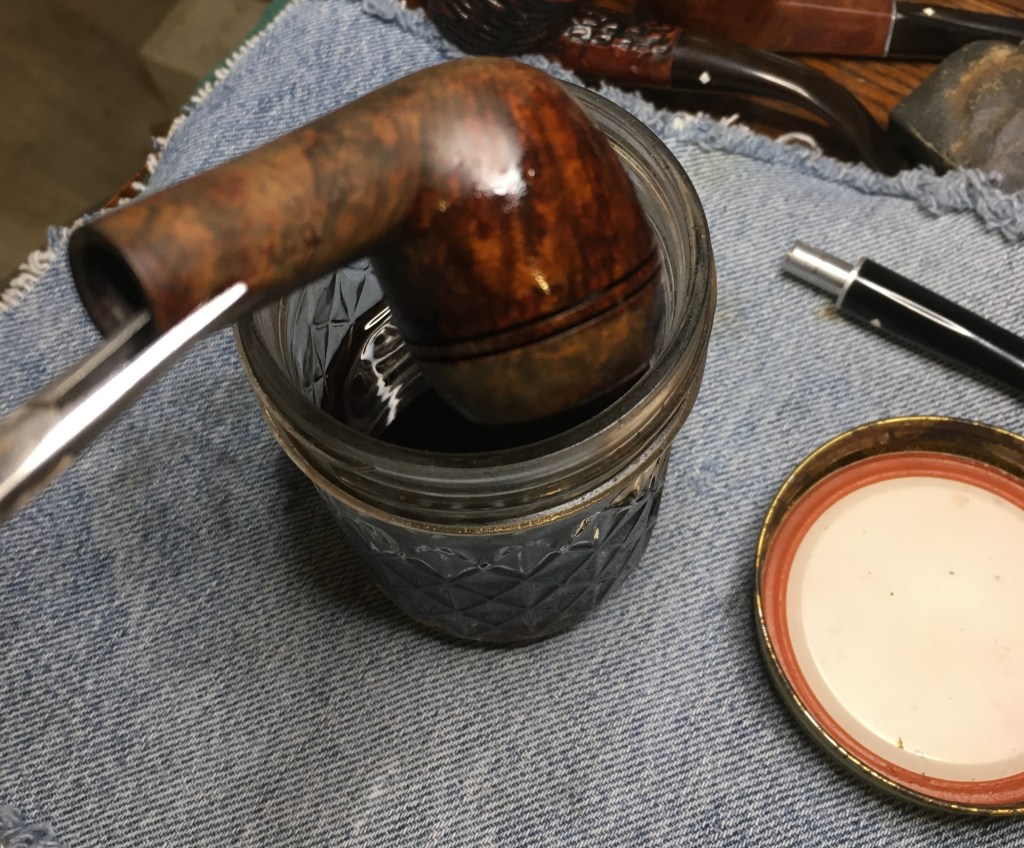
Okay, if a little acetone didn’t work more certainly would. I dunked the stummel into my jar of acetone and let it soak for 2 hours. Below you can see the liberated spacer ring lying below the stummel.
Two hours later I removed the stummel and dried it of acetone. The acetone did not appear to have removed my dye. This was welcomed as a small victory. I again tried to wiggle the tenon while gripping in with the pliers and rotating the stummel. It moved. Maybe only a mm but it moved. I wiggled it some more. I could get it to rotate 1-2 mm. Okay, if a two hour soak was good and longer soak might completely free the aluminum from the shank. Back into the acetone jar went the stummel. I went fishing.
The next morning I retrieved the stummel from the jar. I fully expected the rotation to be free and for the aluminum to slide free. Nope. I started thinking that if the aluminum carburetor had gotten hot enough to cause me pain then it had to be in contact with the aluminum of the tenon. What if they were all in contact with each other? That would mean that the grate was not a separate piece, which is what I had assumed. I rotated the tenon back and forth with it’s 1-2 mm rotation and sure enough, the grate was moving 1-2 mm also. They were the same piece of metal. Moving the stummel around I could see light coming through the hole in the carburetor through a hole in the grate. What if I could push the carburetor out with a punch from the top? I got the fly tying bodkin. It was small enough to go through the grate holes but large enough not to pass through the carburetor. I placed the tip through the hole and into the carburetor. Then tapped it with the pliers. At first nothing happened. I tapped harder and the carburetor started to emerge. I grabbed it with a needle nose pliers and removed it. I then gripped the aluminum tenon and sure enough, it rotated and was pulled free.
The case of the Medico reverse tenon was solved. The hole in the aluminum tube, visible in the photo above, was the hole that the carburetor fit into. It had locked the whole aluminum grate-tenon-tube in place. Below is a photo of the carburetor and the aluminum tube.
Here is the tube with the carburetor hole facing up.
Here is the tube with the grate holes facing up.
The end of the tube was plugged completely with tar and yuck.
The tar plug was removed and the whole piece thoroughly cleaned.
With the removal of the grate the tobacco chamber could now be properly cleaned as well.
With all that finished it was time to see if the pipe could be reassembled. The pieces were all gathered.
The aluminum tube was reinserted and tapped into place.
The holes aligned and the carburetor was reinserted and tapped into place.
The spacer was the most difficult piece to reattach. Once it was nearly in place a thin bead of brown CA was applied to the shank using the fly tying bodkin. The spacer was then pressed into position. This was the only glue used during reassembly.
The stummel then received a coating of Before and After Restoration Balm ti try to rejuvenate the briar after the extended time in the acetone.
Even after the restoration balm tha acetone had done some bad things to the briar. IT was dull and no longer smooth. I resanded the stummel with the sanding sponges from the 1000-3500 sponges. Then micro-meshed again with the 4000-12000 micro-mesh pads. I did not bother to photograph this as you have seen it all before and this blog is getting entirely too long. The Before and After Restoration Balm was applied again and allowed to sit for 30 minutes. It was then wiped away with an inside out athletic sock. The pipe was again waxed with several coats of carnauba wax with the buffer.
This restoration proved to take far longer than what I thought it should have. Although to be honest it kind of was two restorations in one. I have to say that I think it turned out pretty nicely. I also have to admit to having learned a great deal from the process. A big thanks to Steve Laug and his extensive experience. I am actually quite impressed with the Medico Guardsman pipe and am considering picking up a couple more to see if this was a common structure in all of them. The dimensions of this Medico Guardsman Apple are:
Length: 5.46 in./ 138.68 mm.
Weight: 1.11 oz./ 31.70 g.
Bowl Height: 1.54 in./ 39.12 mm.
Chamber Depth: 1.06 in./ 26.92 mm.
Chamber Diameter: 0.73 in./ 18.54 mm.
Outside Diameter: 1.44 in./ 36.58 mm.
I do hope that you have found something here useful to your own pipe care, maintenance or restorations. If you like this sort of thing, please click the like and subscribe buttons. Thank you for reading the ramblings of an old pipe lover.
Below are some photos of the finished Medico Guardsman Apple.
I remember the warnings about peer pressure in the 1980s Before that it was just called “running with the wrongs kids”. I think this pipe purchase represents me being affected by peer pressure, although in a good way. I had not heard of Malaga pipes or their founder, George Khoubesser, until reading about them in Steve Laug’s rebornpipes.com. He has restored several of George “Manny” Khoubesser’s Malaga pipes over the years.
It was chatting with Steve that had piqued my interest in Malagas. I later mentioned that I had tried bidding on one listed at eBay. He said that his brother was also bidding on that same pipe. Well rather than run up the bidding and compete against one another we started coordinating on future Malage pipes as they became available. Eventually I saw this one back at the beginning of May. I made an acceptable offer to the seller and had a Malaga of my own to restore.
Below are some photos of the pipe when it arrived here in southeast Nebraska.
Hmm, there appeared to be several ways to go with this restoration and to several levels. The crack in the shank had been successfully repaired with a silver band albeit an oversized silver band that partially covers the stamps. There looked to be a small crack around the rim. I was not sure if it was superficial or structural. The stummel looked great without a single fill, kudos to Mr. Khoubesser for excellent briar selection. The stem would need a good deal of attention to repair the tooth dents.
Malaga Background
Piedia.org has a nice history of Malaga pipes. I will include the text here in its entirety:
“The Malaga Pipe Company was founded circa 1939 by George Khoubesser, (b.1892 d.1971), and located in Royal Oak, Michigan at 1406 East Eleven Mile road. The second generation owner’s name was Emmanuel Khoubesser (b. 1942 d. 1981), who everyone knew him as “Manny”. He was a big jovial man that was easy to converse with, always had a smile and a good joke to tell his very loyal customers. He had the ability to befriend anyone within minutes. The small store was packed with curious customers every Saturday morning looking for the latest design made earlier in the week. He also carried a full line of custom mixed tobaccos that you could sample and an array tobaccos in tins.
I was first introduced to him in 1969. I remember him taking me in the back to show me each step involved in pipe making. He was very serious about the quality of the product he sold and would never sell a flawed pipe, even if it was very minor. My step father purchased several of his pipes and really enjoyed them. He once said he’s never found a better pipe (his words).
Manny passed away in 1981 and his wife and oldest children took over the business. Malaga closed in 1999 after 60 years in business. The building still exists on Eleven mile, looking almost like it did back then, but now houses the Michigan Toy Soldier Company. I would think the pipes Manny produced are now more valuable than ever. If you happen across one of these pipes, you’ll know a little bit more about it’s rich history. Enjoy!”
If your taste for the history of Malag pipes has yet to be satiated I will refer you to Steve Laug’s blog regarding the history of the brand (George Khoubesser and Malaga Pipes | rebornpipes). Steve also received a treasure trove of ephemera from the estate of one of his reader’s fathers (Malaga Pipes Catalogue of Pipes and Tobaccos | rebornpipes). Wonderful information and valuable insights from people who are far more industrious than I with providing you with background information.
The Restoration
In typical fashion this project began with a clean denim piece on the work surface.
The reaming tools were assembled. The PipNets’s #2 and #3 blades could be used in the large Malaga tobacco chamber.
And used they were. After the PipNet the chamber was scraped with the General triangular scraper and sanded with the 220 sandpaper wrapped around a wood dowel. There was no evidence of heat damage to the interior of the chamber.
Nex was a trip to the sink. Here the stummel was scrubbed with undiluted Murphy Oil Soap and a medium stiff toothbrush.
Returning to the workbench the stummel was wiped with a cotton make-up pad wetted with 95% ethyl alcohol. Some further grime, wax and perhaps stain was removed with the pad.
Next, I addressed the calcium deposits on the stem by scraping them with a sharp pocket knife.
The area immediately above the button was filed with a flat needle file and the entire stem was lightly sanded with 320 then 400 grit sanding sponges. I failed to photograph the next step, apologies. After the sanding I scrubbed the stem with make-up pads and Soft Scrub cleanser. The pads were heavily stained with oxidized rubber. Several pads and Soft Scrub applied to a Magic Eraser later, the stem was cleared of oxidized rubber.
The next step was to repair the tooth dents.
I used black cyanoacrylate (CA, super glue) to fill in the dents and rebuild the damaged button. Below are photos of the top and bottom of the stem.
The wet CA was spritzed with a CA drying accelerator. This cures the CA within seconds. The following two photos show the cured CA.
The CA fills were filed with the flat needle file and the button reshaped.
After filing the fills were sanded with the 400 sanding sponge. The improvement was great but additional thin layers of black CA were required to smooth and blend the repairs. The below two photos show the repairs prior to the additional thin layers and further sanding of the CA.
With the stem bite marks repaired it was time to clean the airway. 95% ethyl alcohol and bristle pipe cleaners were used.
The same process was used to clean the airway of the shank. Ethyl alcohol and a nylon shank brush along with some scraping from a dental pick were added to the cleaning here.
Throughout the above cleaning I was thinking about the silver band. I had tried removing it after the murphy’s scrubbing, alcohol wiping, and now again after the alcohol rich shank cleaning. If there had been glue used to fix the band I could not loosen it with water, soap, or alcohol. I tried a bit of acetone to see if that would penetrate under the band and loosen the grip of the band on the shank. Nothing seed to work. Whomever had installed this band fit it very tightly to the shank. I thought about heating it with a heat gun to try to remove it but decided that it really was a pretty well done banding. How might it look if I just polished it? I tried that.
The band polished nicely and I decided to stop worrying about it. This was going to be a personal use pipe and I was okay with having a couple of letters of the stampings covered.
I then taped the stamps and the silver with painters tape to protect them from the sanding which was to occur next.
The stem and stummel were sanded with a sequence of sanding sponges from 400-3500. Between each sponge the stummel was wiped with an alcohol moistened make-up pad while the stem received a bit of mineral oil from my finger and was wiped with a clean paper towel.
Finishing the sanding, I removed the painters tape and vigorously rubbed any remaining adhesive off with a make-up pad and alcohol. I then used the 4000-12000 micro-mesh pads in sequence on both the stummel and stem. As with the sanding sponges, the stummel was wiped with alcohol on a make-up pad between pads. The stem received a small drop of Obsidian Oil, rubbed in and wiped with a paper towel between pads.
The stummel was then coated in Before and After Restoration Balm and allowed to sit for 30 minutes.
30 minutes later the excess Restoration Balm was wiped off with an inside out athletic sock. The balm had worked it’s magic and the stummel looked fantastic.
The final polishing of the stem was done with Before and After Fine Polish. This was applied by a fingertip and hand buffed with a soft cotton cloth.
The Fine Polish was followed by Before and After Extra Fine Polish applied and buffed the same way.
The final step was to take the pipe to the buffer where it received several coats of carnauba wax. After the wax was applied and buffed I hand buffed the pipe with a nanofiber polishing cloth in an attempt to improve on the already exquisite shine.
I am pleased with the restoration of this Malaga Large Apple. I have also filled the ample bowl with tobacco and given this old girl a “test drive”. Steve Laug was quite right, Malaga pipes are fine smokers. The grain of this pipe is beautiful with flame-like patterns especially on the right side. The stem also cleaned up well. I did notice a metal fleck in the rubber. This usually indicated recycled rubber and was typical during the years around the Second World War. Perhaps that gives a clue to the age of this pipe. I do wish that it had not experienced a shank crack but the repair was done well and I think the silver band looks quite acceptable. The only other flaw is the small crack on the rim. I think that is superficial and did not think that it needed any attention. The dimensions of this Malaga Large Apple are:
Length: 6.10 in./ 154.94 mm.
Weight: 1.73 oz./ 49.10 g.
Bowl Height: 1.78 in./ 45.21 mm.
Chamber Depth: 1.42 in./ 36.07 mm.
Chamber Diameter: 0.83 in./ 21.08 mm.
Outside Diameter: 1.61 in./ 40.89 mm.
I do hope that you have found something here useful to your own pipe care, maintenance or restorations. If you like this sort of thing, please click the like and subscribe buttons. Thank you for reading the ramblings of an old pipe lover.
Below are some photos of the finished Malaga Large Apple.
I am a sucker or a couple of shapes and the bulldog is one of them. By sucker, I mean that I am willing to spend more time on restoring a shape that I like than I am with a shape that I do not find as appealing. This little Forecaster fit the “sucker” category in a couple of ways; one, I wanted to restore a forecaster pipe and two, the shape is a favorite. The pipe came to me as a combined purchase with the Yello-Bole Yacht. I linked that restoration if you are interested. The damage to the Forecater was not nearly as evident from the eBay photos as it was in real life.
Below are some photos of the Forecaster upon arrival here at what some consider the pipe clinic.
The crack in the shank was barely evident yet should have been expected by looking at the construction and damage to the pipe. The mortise was threaded which is a design that begs for owners to over tighten or a stem and can lead to cracking. The damage to the stem looked as if it could have been done with pliers, further evidence of excessive pressure put on the mortise and potential cracking. The question was: “Why was so much force needed to screw in a stem?” That was answered by examining the threads of the mortise. Pieces of aluminum could be seen in the wooden threads. They looked like they were embedded into the wood. I am getting ahead of myself. Before we get to the restoration let me give a quick review of Forecaster.
Background
Below are a couple of print ad images from Forecaster.
These two ads give some historical perspective to the brand and pipe. According to the University of Maryland library Archives, “Roger Bower (1903-1979) was active in broadcasting from 1925 to 1974. He joined radio station WOR in New York in 1928 and became a combination producer, director, actor, announcer, and sound effects engineer. During that time, WOR became the flagship station of the Mutual radio network, and Bower directed many prominent programs, including It Pays to be Ignorant, and Can You Top This? In the early 1930s, Bower announced the first Macy’s Thanksgiving
Day Parade, which he continued to describe for many years. He gave one of the first (closed circuit) television demonstrations in 1933, in a Macy’s department store window. Bower remained with WOR for 24 years, until the station was sold in 1952.” (https://archives.lib.umd.edu/repositories/2/resources/524)
Pipedia.org says the following, “Forecaster pipes were made by the National Briar Pipe Co. of Jersey City, N.J.. The pipe boasted an “aluminum winder” threaded through the airway meant to clean and cool the smoke. For more information see National Briar Pipe Co..” (Forecaster – Pipedia). Upon reading the National Briar Co. page I found that, “The National Briar Pipe Co. was homed in Jersey City, New Jersey. Brands produced afak:
Logo on the left side of the stem on Rembrandt branded pipes is a capital “N” in italics. Assume that holds true for other brands produced by National. —Dgillmor 21:55, 10 May 2012 (CDT)” (National Briar Pipe Co. – Pipedia). This explains the N stamped and painted on the Forecaster stem.
As for the time line with this Forecaster bulldog I have nothing to assign it directly. I think it is safe to assume it to be from the late 1940s-1970.
The Restoration
In our last episode we discovered that Jill was pregnant with Roger’s baby, Seymour had been committed to an insane asylum and that strange aluminum flakes were infesting the threads of the Forecaster’s mortise. Okay, I may have taken some liberties with the story there, about Jill and Roger but Syemore is definitely nuts and the aluminum flakes were more than just a rumor.
I used a fly tying bodkin to pry the aluminum out of the threads then a brass shotgun bore brush to further clean the threads of debris. It took me several minutes to get the visible flakes out of the threads.
Below you can see the metal flakes and briar dust from the threads. I think the white German Shepherd hars was deposited post aluminum extraction and was not part of the problem.
Now I got to play detective and construct a situation of how this aluminum got into the wood and why the pipe had been used so little without resorting to aliens or bigfoot. I am guessing that when the aluminum tenon was cut for threads some of the tailing remained on the tenon. These flakes got forced into the briar threads when the pipe was originally assembled. When the original owner first got his or her (yeah, that’s how woke I am) new pipe they had to take it apart. We all know that experience. This would have liberated any remaining tailings from the tenon and placed them on the scene. The new owner, whether they were female, male or of undisclosed orientation then reassembled the pipe. The stem would have been difficult to reassemble due to the debris filled threads. Extra force would have been required, perhaps even a tool. By tightening the stem with a tool the stem was marred. The new owner couldn’t return the pipe as they had damaged it. So they continued using it but they were also someone who liked a clean pipe so after the first use they wanted to clean the pipe out. The stem was even more difficult to remove and upon reassembly could not be threaded in without enough force to further mar the stem and crack the shank. I’d like to think there was a blood curdling scream, “What have I done?” Probably not, in the 1950s-1960s, John Wayne was the role model and he never screamed “What have I done?” The pipe was left with a gap in the fit of the stem to stummel. Not wanting to look like an idiot the new owner stopped using the pipe concealing their idiocy from the world – until now.
I reamed the tobacco chamber with a Triple-Ream tool that came with an estate lot a while back. I couldn’t use my trusty PipNet with its #1 blade due to personal idiocy and breaking the blade. Some of us don’t bother concealing our idiocy, The fact that the pipe had barely been used helped greatly in the reaming process. The chamber was also sanded with 220 sandpaper wrapped around a wood dowel. Guess what – there was no damage to the chamber from excessive heat.
I started formulating a plan for the shank crack. A couple of scenarios played out in my mind. Again not resorting to aliens or bigfoot, I thought that banding would be the easiest solution. The problem with that is that I have no diamond shaped bands. Typically I use cartridge brass from spent shells or brass tubing. Both of those are fairly thick materials and would be difficult to reform to a diamond shape. The second option was something I had read from Charles Lemon. He had repaired a cracked bowl using a 1.2 mm drill bit and 1.2 mm brass rods. Here is the link to Mr. Lemon’s pinning tutorial. If you are unfamiliar with Chrales Lemon’s work he can be found at https://dadspipes.com/. SIdenote: If you are familiar with my blogs and unfamiliar with Chrale’s you may need to join Seymour at the insane asylum.
I figured that if it worked for a bowl it should also work for a shank. Given, a shank is going to be more difficult to work with due to the smaller size but the idea is the same. After initially reading Charle’s tutorial I quickly ordered 1.2 mm drill bits and 1.2 mm brass tubing for the deluge of cracked bowls that I was sure would need my immediate care. Well, the deluge never arrived but the bits and rods did. I have yet to try this on a cracked bowl and was feeling quite sorry for the bits and rods due to their forced early retirement. I decided this pipe could give me practice with the technique as well as justify the enormous capital investment for the 1.2 mm thingies (<$20 at Amazon).
Now as typical for me, I like to think about a project a good deal before actually attempting it. I started working on repairing the damaged stem while I was planning the pinning repair. Some people call this multi-tasking. I call it thinking about a project a good deal while working on repairing a damaged stem. Probably because I am not good at multitasking. Anyway, the stem needed to have new material built up where there were dents in the rubber. I used layers of black cyanoacrylate (CA, super glue) spritzed with a CA drying accelerator.
The new CA was then filed flat with a flat needle file and sanded with a 320 grit sanding sponge.
Additional CA and drying accelerator were used to further fill any tiny depressions. These were again filed and sanded.
I was still thinking about the pinning project when I moved on to the next phase – cleaning the stummel. I was not dirty so I skipped scrubbing it and moved right to wiping it off with acetone moistened make-up pads. There was a light clear coat on the briar that I wanted rid of. The acetone worked well at removing it.
It was finally time. I had thought myself into a plan of action. Drill two holes with the 1.2 mm drill bit in my battery hand drill. Drill a third hole at the end of the crack , also 1.2 mm, to stop further crack enlargement. I wanted the angle to be dissimilar and through the thickest part of the shank. The holes were drilled and the brass rods inserted.
The final hole was a hole for terminating the crack.
The brass pins were cut then roughed with a file to allow more surface area for the epoxy to adhere to. I would recommend roughening the brass rod before the pins are cut to length as they would be easier to hold. A mistake I’ll probably make again…
The aluminum of the tenon was covered with Vaseline petroleum Jelly to avoid CA or epoxy glue from adhering to the aluminum. Sidenote: When drilling the pinning hole to the left, I accidentally made the hole too far into the threads. This meant that I either had to drill the mortise larger cutting into the brass rod or, to file the first 3-4 mm of threads off the tenon. I chose to file the aluminum threads of the tenon. You can see in the photo below the threads had been filed off.
The 2 part epoxy was mixed according to package instructions. I would recommend against accidentally squeezing way too much epoxy resin onto your mixing surface, like I did.
I applied a drop of thin clear CA for the crack. The Vaseline coated aluminum tenon was rethreaded into the mortise. The thin formula allowed the CA to penetrate the crack. A Vaseline coated clamp was used to clamp the crack closed as much as possible.
After the CA had cured, a couple of minutes later, I used a fly tying bodkin to push some of the epoxy into the pinning holes. The roughened brass rods were then pressed into the holes. When doing this make sure the brass rods are a couple of mm shorter than the length of the hole. This was another mistake which I made. I thought I had cut them short enough so that I could fill the holes on either end of the brass rod. I am not sure how I messed this part up. Either I accidentally switched the rods when placing the pins or I cut the rods too close to the same length as the holes. I dipped a cotton swab into acetone and cleaned any epoxy from the surface of the shaft.
The glued pins were set aside allowing the epoxy to cure for 2 hours. After the epoxy had cured, a small drop of brown CA was applied to each end of the hole and a small amount of briar dust was pressed into the CA moistened hole. Once cured this would be the first layer of the fill. The cured CA briar dust fill was then filed slat with a flat needle file and smoothed with a 400 grit sanding sponge.
The filling of the pinning holes was repeated on the adjacent side of the shaft. The below photo shows the brown CA applied to the hole.
Below you can see the briar dust had been pressed into the CA.
The stamps were then taped with painters tape to protect them and the stummel was sanded with the sequence of sanding sponges from 400-3500. Between each sponge the stummel was wiped with an alcohol wetted make-up pad.
The tape protecting the stapes was removed and the stummel was polished with a sequence of 4000-12000 micro-mesh pads. Between each sponge the stummel was wiped with an alcohol wetted make-up pad.
The stummel then received a coating of Before and After Restoration Balm and was allowed to sit for 30 minutes.
30 minutes later the Balm was wiped away with an inside out athletic sock. The pipe was then taken to the buffer where several coats of carnauba wax were applied with the buffer.
I would like to say that I am pleased with the restoration of this Forecaster Bulldog but there were just too many flaws to make me truly happy. Some were my mistakes or “learning experiences” others were just damage to the pipe. Yes, it does look better than it did originally and it is structurally more sound This one was certainly challenging, but to drill and pin the shank crack using hand tools was difficult. Perhaps a darker base coat dye with some contrast would have been a wise move to conceal the repairs. I rack this restoration up as a learning experience for me and I am looking forward to seeing how well the pinning holds up under normal wear and tear. I will be keeping and using this pipe as a “work” pipe for tasks like mowing, truck maintenance, gardening etc, where it will get more rough treatment to better test the pinning fortitude. Also, the stem repairs look far worse in the photos than in normal room lighting. I swear, they do, really. The dimensions of this Forecaster Bulldog are:
Length: 4.66 in./ 118.36 mm.
Weight: 0.90 oz./ 25.51 g.
Bowl Height: 1.31 in./ 33.27 mm.
Chamber Depth: 0.85 in./ 21.59 mm.
Chamber Diameter: 0.67 in./ 17.02 mm.
Outside Diameter: 1.51 in./ 38.35 mm.
I do hope that you have found something here useful to your own pipe care, maintenance or restorations. If you like this sort of thing, please click the like and subscribe buttons. Thank you for reading the ramblings of an old pipe lover.
Below are some photos of the finished Forecaster Bulldog
In the past I have written about how I think Yello-Bole pipes are considered the Cinderella of the KB&B line. Kind of like the homely, overworked but trustworthy step-sister from the Disney adaptations. When that ugly clearcoat is removed there is frequently beautiful grain underneath also like the Cinderella story, when the heroine gets all gussied-up she is a beautiful young woman. I guess that makes me the Fairy Godmother or Godfather in this restoration. Now if I could just get some magical forest critters to do the work for me…
I go through phases. For a while I was hunting for estate pipe lots, then I started targeting individual specimens of interest then back to lots. Currently I am in specific targeting mode again. This one was a targeted acquisition from eBay. It made the journey from Fleming Island Florida to the wilds of southeast Nebraska and looked to be in very good condition after the travels. Here are some photos of the Chesterfield before any work had been done.
Bah, they even lacquered the aluminum collar. Stupid clear coat.
Judging by the faded stummel and the heavily oxidized stem this pipe had been stored or displayed out in the light. It had not been used heavily as evidenced by the lack of smoking residue in the reservoir and the still visible yellow bowl coating. The stem also showed minimal tooth chatter. There was still plenty to do to make this old girl into the Belle of the Ball.
Yello-Bole Background
A couple of reasons I was bidding on this pipe were that I had never resotored a Chesterfield and the “Honey Cured Briar” stamp. This is a bit more of a rarity than the usual “Cured with Real Honey”. According to pipedia.org, “Pipes from 1933-1936 they were stamped “Honey Cured Briar” (https://pipedia.org/wiki/Yello-Bole). That provides pretty finite dates for this old pipe.
Back in March I blogged about a Yello-Bole billiard. In this blog I wrote about the history of the company and will include that here. Yello-Bole was started as a processor of briar that did not meet the quality standards for Kaywoodie pipes. I’ll allow pipedia.org to tell the story as a more reputable source than my failing memory.
“In 1932 Kaufmann Bros. & Bondy (KB&B), est. 1851, expanded their programm consisting of KB&B pipes, Reiss-Premier and Kaywoodie as the mainstay brand by introducing the Yello-Bole line. Yello- Bole was designed as an outlet for lower grade briar not used in Kaywoodie production.
At that time KB&B produced their brands in Union City and in West New York, both New Jersey. Deviating from that, Yello-Boles were manufactured by The New England Briar Pipe Company in Penacook, New Hampshire to use this KB&B subsidiary to capacity.1966 Add
As briar was hardly had during World War II, the KB&B Company embarked on a project of domestically grown briar wood, called Mission Briar or manzanita early in 1941. The Pacific Briarwood Company, a subsidiary founded for this purpose, began harvesting the burls growing on the slopes of the Santa Cruz Mountains of California. Though this wood is botanically the same as briar form the Mediterranean countries, the smoking characteristics were not quite as good and the project was abandoned after the war.
Was it for that reason? Advertising from the 1940’s pictures the Yello-Bole “Honey Girl”, who gently urges the pipe smoker to smoke the pipe with “a little honey in every bowl.” In fact, honey was an ingredient of the material used to coat the inside of the bowl. It was said to provide a faster, sweeter break-in of the pipe.
In 1952, 101 years after the Kaufmann brothers had opened a small pipe shop in the Bowery section of New York City, Kaufmann Bros. & Bondy Company with all subsidiaries was purchased by an unknown company strange to pipe industry. (At least, the new owner was economical because the KB&B managers had to leave their luxurious bureaus on 630 Fifth Avenue, New York – the Rockefeller Center – for new rooms in the factory on 6400 Broadway, West New York.) This interlude ended after only 3 years in March of 1955, when S. M. Frank & Co. bought Kaufmann Bros. & Bondy, The Kaywoodie Company, Reiss-Premier Corp., The New England Briar Pipe Co. and – of course – Yello-Bole.
From the time of S.M. Frank’s purchase in 1955 until 1972 Yello-Bole was run as a separate company, as division of the parent. Through this period, Yello-Bole, same as Kaywoodie, had it’s own officers, sales force and maintained the production facilities in West New York. These 17 years were probably the most glorious years in Yello-Bole’s history.” (https://pipedia.org/wiki/Yello-Bole).
“Tips for Dating Yello-Bole Pipes
KBB stamped in the clover leaf indicates it was made in 1955 or earlier as they stopped this stamping after being acquired by S.M. Frank.
Pipes from 1933-1936 they were stamped “Honey Cured Briar”
Post 1936 pipes were stamped “Cured with Real Honey”
Pipe stems stamped with the propeller logo were made in the 1930’s or 1940’s – no propellers were used after the 1940’s.
Yello Bole used a 4 digit code stamped on the pipe in the 1930’s.
Pipes with the Yello-Bole circle stamped on the shank it were made in the 1930’s, this stopped after 1939.
Pipes stamped BRUYERE rather than BRIAR it was made in the 1930’s.”
Using the above guidelines this pipe represents the 1st and 2nd bullet points:
KBB stamped in the clover leaf
“Honey Cured Briar”
The Restoration
With the usual clean denim piece placed, I began with the stem on this restoration. I knew it was going to require a bit of time in the Before and After Deoxidizing solution or, deox, as I like to call it. I cleaned the airway with bristle pipe cleaners dipped in 95% ethyl alcohol. The exterior was rubbed with 0000 steel wool in an attempt to remove the oldest of the oxidation.
The stem then received a pipe cleaner to act as a hanger and handle for lowering it into the deox. I left the stem soaking for 2-2.5 hours.
During the deox time I turned my attention to the stummel. I began with reaming the tobacco chamber with the PiNet and #2 blades. The original yellow bowl coating was still slightly pliable and made reaming difficult. That and the more conical drilling is why the Scotte Stainless Steel Reaming tool was also used to ream the bottom of the chamber. The Generar triangular scraper had no difficulty scraping it away. The chamber was then sanded using 220 sandpaper wrapped around a wood dowel followed by 320 sandpaper wrapped around a Sharpie marker.
No damage from heat was expected nor discovered.
The stummel was then taken to the sink for a scrub. The scrub was done with a medium stiff toothbrush and undiluted Murphy Oil Soap. The soap was rinsed with warm water and the stummel dried with a cotton hand towel.
Back at the workbench the stummel was wiped with numerous make-up pads soaked in acetone. This removed the clear coat and a good deal of the excess red stain from the briar. I used a nylon scrub brush dipped in acetone to free the stampings of the clear coat covering them.
The removal of the clear coat revealed 3 old fills which had softened from the acetone. The old material was picked from the pits and they were refilled using brown cyanoacrylate (CA, super glue) and briar dust.
The new fills were smoothed with a flat needle file, topped with a small drop of brown CA then sanded with a 400 grit sanding sponge.
The stummel received painters tape over the stamps to protect them from sanding or polishing in the case of the aluminum collar.
The collar was taken to the buffer where it was polished with red buffing compound followed by buffing with white compound.
The stummel was sanded with a sequence of sanding sponges from 600-3500 grits. Between each sponge the stummel was wiped with an alcohol wetted make-up pad.
After sanding the stummel, I worked with the 4000-12000 micro-mesh pads. Between each pad the stummel was wiped with an alcohol moistened make-up pad.
The stummel then had a coat of Before and After Restoration Balm applied and was allowed to sit for about 30 minutes.
It was time to work on the stem. I retrieved it from deox and allowed the solution to drip from the stem.
And drip.
And drip.
Finally I used a coarse shop rag to wipe away the remaining excess deox solution. I like the shop rag as it is rough textured and it makes me think it is helping abrade away oxidized rubber while wiping.
Stimm quite a bit of brown.
Many make-up pads with Soft Scrub later the stem was looking better. I took it to the buffer and buffed it with red followed by white buffing compounds to remove more of the stubborn oxidation.
The stummel was wiped clean of the Restoration Balm with an inside out athletic sock. The sock had many white hairs from the local White German Shepherd. I am not sure if this is a necessary part of the restoration but it seems inevitable in this house.
Tha stem was looking far better after the buffing however I worked it over with the 4000-12000 micro-mesh pads anyway. Between each pad I wiped the stem with a drop of Obsidian Oil.
The last step was to apply several coats of carnauba wax with the buffer.
I am very pleased with the restoration of this Yello-Bole Chesterfield and can attest to it being a very good smoking pipe. The time honored and proven Peterson system works well with or without the name “Peterson” stamped on the pipe. The removal of the clear coat allowed the briars grain to be seen and appreciated. The stem still shows some signs of the heavy oxidation but cleaned-up quite well. The drilling of the stem is excellent and would make Charles Peterson proud to be imitated so well. I know Peterson litigated patent infringers early on but am unaware of any litigation against KB&B. Although patent law in the US allows 20 years of protection from the time the original patent is filed. That would have made KB&B free to imitate after 1911.
The dimensions of this Chesterfield are:
Length: 5.31 in./ 134.87 mm.
Weight: 0.96 oz./ 27.4 g.
Bowl Height: 1.71 in./ 43.43 mm.
Chamber Depth: 1.47 in./ 37.37 mm.
Chamber Diameter: 0.66 in./ 16.76 mm.
Outside Diameter: 1.19 in./ 30.23 mm.
I do hope that you have found something here useful to your own pipe care, maintenance or restorations. If you like this sort of thing, please click the like and subscribe buttons. Thank you for reading the ramblings of an old pipe lover.
Below are some photos of the finished Yello-Bole Chesterfield.
Here I go again, making you all read about some of my favorites rather than going out and finding obscure makers to educate myself about the history of pipes and pipe smoking. But just look at the curves and lines of that adorable, dare I say sexy yacht shape Yello-Bole. And to think she is 90 years old. How can that not be of interest?
Yes, Yello-Bole was considered a second of Kaywoodie but, in my mind, that is like calling Mary Ann a second to Ginger on Gilligan’s Island. I always thought Mary Ann was way prettier than Ginger. But what do I know, I like Yello-Boles. I also think that the pre-Second World War pipes were of a higher quality than those of post-WWII. The mass production, limited briar and lower quality of briar in general probably all played a role in the decline of quality. Then again I may be looking through some weird romanticized glasses. I do need to get to the eye doctor.
“ Yello-Bole started as a processor of briar that did not meet the quality standards for Kaywoodie pipes. I’ll allow pipedia.org to tell the story as a more reputable source than my failing memory.
“In 1932 Kaufmann Bros. & Bondy (KB&B), est. 1851, expanded their programm consisting of KB&B pipes, Reiss-Premier and Kaywoodie as the mainstay brand by introducing the Yello-Bole line. Yello- Bole was designed as an outlet for lower grade briar not used in Kaywoodie production.
At that time KB&B produced their brands in Union City and in West New York, both New Jersey. Deviating from that, Yello-Boles were manufactured by The New England Briar Pipe Company in Penacook, New Hampshire to use this KB&B subsidiary to capacity.1966 Add
As briar was hardly had during World War II, the KB&B Company embarked on a project of domestically grown briar wood, called Mission Briar or manzanita early in 1941. The Pacific Briarwood Company, a subsidiary founded for this purpose, began harvesting the burls growing on the slopes of the Santa Cruz Mountains of California. Though this wood is botanically the same as briar form the Mediterranean countries, the smoking characteristics were not quite as good and the project was abandoned after the war.
Was it for that reason? Advertising from the 1940’s pictures the Yello-Bole “Honey Girl”, who gently urges the pipe smoker to smoke the pipe with “a little honey in every bowl.” In fact, honey was an ingredient of the material used to coat the inside of the bowl. It was said to provide a faster, sweeter break-in of the pipe.
In 1952, 101 years after the Kaufmann brothers had opened a small pipe shop in the Bowery section of New York City, Kaufmann Bros. & Bondy Company with all subsidiaries was purchased by an unknown company strange to pipe industry. (At least, the new owner was economical because the KB&B managers had to leave their luxurious bureaus on 630 Fifth Avenue, New York – the Rockefeller Center – for new rooms in the factory on 6400 Broadway, West New York.) This interlude ended after only 3 years in March of 1955, when S. M. Frank & Co. bought Kaufmann Bros. & Bondy, The Kaywoodie Company, Reiss-Premier Corp., The New England Briar Pipe Co. and – of course – Yello-Bole.
From the time of S.M. Frank’s purchase in 1955 until 1972 Yello-Bole was run as a separate company, as division of the parent. Through this period, Yello-Bole, same as Kaywoodie, had it’s own officers, sales force and maintained the production facilities in West New York. These 17 years were probably the most glorious years in Yello-Bole’s history.” (https://pipedia.org/wiki/Yello-Bole).
“Tips for Dating Yello-Bole Pipes
KBB stamped in the clover leaf indicates it was made in 1955 or earlier as they stopped this stamping after being acquired by S.M. Frank.
Pipes from 1933-1936 they were stamped “Honey Cured Briar”
Post 1936 pipes were stamped “Cured with Real Honey”
Pipe stems stamped with the propeller logo were made in the 1930’s or 1940’s – no propellers were used after the 1940’s.
Yello Bole used a 4 digit code stamped on the pipe in the 1930’s.
Pipes with the Yello-Bole circle stamped on the shank it were made in the 1930’s, this stopped after 1939.
So there we have it, a 1933-36 Yello-Bole Yacht, oval bit. And a lovely Yello-Bole Yacht it is. Well, maybe not lovely now but wait until the restoration is complete… Speaking of before and after, below are some photos of the Yacht prior to any work being done.
Yeah, I know. It is kind of hard to see the loveliness in those before photos. The old girl needs to have some work done. The restoration will require, cleaning, finish stripping, dent and ding repair of the stummel and stem, oxidation removal from the stem and rebuilding of the stem’s button.
The Restoration
In my typical fashion I began with a clean (kind of, the stains are getting harder to launder) denim piece as a work surface.
The stem was removed. The stinger appeared to be quite stuck and was placed in 95% ethyl alcohol to soak.
Reaming tools were assembled. The PipNet would have to sit this restoration out since I broke the smallest size, #1 blades. The Scotte Stainless Reaming Tool would suffice along with the General triangular scraper and the 220 sandpaper wrapped dowel.
Below is a post reaming photo of the tobacco chamber showing no damage from excessive heat.
The rim was scraped with a sharp pocket knife to remove any lava and some of the charred briar.
There were several spots where the rim had been damaged by dottle knocking or other rough handling. Remedies included topping the rim by a few millimeters or filling with cyanoacrylate (CA, super glue) and briar dust. I chose the latter so as to not change the shape of the yacht’s proportions.
The stummel was taken to the sink for a scrub with a medium bristle toothbrush and undiluted Murphy Oil Soap. The soap was rinsed with warm water and the stummel dried with a cotton hand towel.
Back at the workbench the stummel looked significantly better. It also showed exactly where the old finish needed to be removed.
What solvent would be best for finish removal? I usually start with the least offensive and work up from there. I began with 95% ethyl alcohol on a cotton make-up pad. It removed the fishing but at a very slow and tedious rate.
Next I tried acetone on a make-up pad. Much faster results came with this solvent.
A few pads later and the finish was mostly removed. I did not want to submerge the stummel into a jar of acetone. My acetone jar is getting pretty dark with finish and stain from other pipes and I did not want to risk darkening the briar of this Yello-Bole nor did I have enough fresh acetone on hand to discard the old and make a new acetone bath.
A light sanding with a 400 grit sanding sponge followed by a make-up pad with acetone freed the thicker finish from spots. Notice the stamps still had a heavier layer of finish.
The stamps were cleared of their finish with the use of a nylon scrub brush dipped in clean acetone then scrubbed.
It turns out that the singer was immune to being pulled from the stem not my tars but by threads. Cue the Homer Simpson, “DOH!” Even though the threads look rather shoddily cut and tar filled they cleaned up nicely with alcohol and a bristle pipe cleaner. The brown dust that you see on the denim is from a light sanding of the stem with a 400 grit sanding sponge. I wipe the sponge frequently to clean the dust from the abrasive surface.
The airway of the stem was cleaned with bristle pipe cleaners and 95% ethyl alcohol.
Next came the cleaning out of the airway in the shank. I had a feeling this one was going to be difficult and it was. I started by pouring 4-5 ml of 95% ethyl alcohol into the tobacco chamber and allowed it to flow into the shank. I used a nylon shank brush to scrub the airway with the alcohol. The alcohol was then poured into a medicine cup. The first time doing this is sometimes misleading. It can take a couple of applications of alcohol to get the tar and yuck loosened up and dissolve into the alcohol. Cotton swabs were used to further scrub the airway.
The process was repeated numerous times.
Feeling like I was making little progress I chose to pack the tobacco chamber and airway with cotton and saturate it with 95% ethyl alcohol and let it sit overnight.
While the alcohol was working on softening and dissolving the yuck. I set to repairing the stem. I cut a piece of plastic to use as a dam to keep the black CA from flowing into the airway.
Below you can see the placement of the dam.
The black CA was layered onto the surface of the dam then quickly flipped over to keep gravity from pulling the CA into the airway. The CA was spritzed with a CA drying accelerator. Once I had a layer of solid cured CA on the dam I no longer had to invert the stem and could slowly layer additional CA to build up the missing stem material. One of the keys to successful rebuilding of a stem is the multiple slow thin layer build up of CA rather than a thicker layering.
Once I had enough material built up I removed the dam. And sanded the end of the button flat. The newly formed button was then shaped with a flat needle file and 320 sandpaper.
Below you can see the restored/rebuilt stem with a coat of mineral oil. The Stummel had sat for over 12 hours and the cotton was now mostly dry.
I removed the cotton from the chamber and airway and resumed my cleaning with alcohol scrubbing.
For a more abrasive approach I started using two bristle pipe cleaners folded over (4 pipe cleaners in thickness). This allowed me to more forcefully scrub the airway. After many more repetitions of the alcohol- scrub-alcohol-scrub the airway was finally cleaned.
All of that scrubbing had an unintended consequence – the stem was now too loose. To remedy this I applied a small drop of black CA to two sides of the tenon. I used a paint brush to evenly spread the CA over the tenon, “painting” it in a light coat of black CA.
Once cured the back CA was sanded using a 400 grit sanding sponge until the fit was perfect.
The next task was to repair the damage around the rim of the stummel. There were several dents which required a drop of brown CA in the dent then a pinch of briar dust pressed into the CA wetted depression. A second small drop of CA was then added to the briar dust surface of the fill. This allowed the CA to fuse the briar dust into a solid mass of fill material which could then be shaped and sanded.
The fills using CA and briar dust are dark brown in color. To minimize their appearance and to enhance the briar grain, I decided to contrast stain or dye the stummel with Fiebing’s Leather Dye in black. I taped over the stampings to keep as much of the black dye as possible from the stamp areas.
The dying gear was assembled.
The stummel was coated with the black Fiebing’s Leather Dye then flamed with the disposable lighter to burn off the alcohol solvent of the dye. This also helps to set the dye into the briar. I then used 70% isopropyl alcohol to rinse the entire stummel over the sink.
Returning to the workbench I used make-up pads wetted with 95% ethyl alcohol to wipe/scrub as much of the black dye from the stummel as I could.
The stummel was then sanded with a 320 sanding sponge followed by sanding with a 400 grit sanding sponge. Below are three photos of the results of the black contrast dye after being sanded.
The stem and stummel were sanded together with the series of sanding sponges from the 600-3500 sponges. The stummel was wiped with a make-up pad moistened with alcohol.between each sponge. The stem had a light coat of mineral oil applied by fingertip then wiped with a paper towel between each sponge.
After the sanding sponges the pipe was further polished using micro-mesh pads from 4000-12000. The stummel was wiped with a make-up pad moistened with alcohol.between each pad. The stem had a drop of Obsidian Oil applied by fingertip then wiped with a paper towel between each pad.
The stem and stummel were then given a coat of Before and After Restoration Balm and allowed to sit for an hour.
An hour later the Restoration Balm excess was wiped from the pipe using an inside-out athletic sock.
The pipe was then taken to the buffer where it was given several coats of carnauba wax with the buffing wheel.
I am very pleased with the restoration of this Yello-Bole yacht. I can also report that it is a very good smoking little pipe. This one will be going into my personal collection. I think the contrast staining accentuated the briar grain beautifully. The stem repair also went well and though not completely invisible is only noticeable under close scrutiny. This old Yello-bole should be in service for another 90 years and will hopefully amaze someone in the early 2110s.
The dimensions of this yacht are:
Length: 5.31 in./ 134.87 mm.
Weight: 0.96 oz./ 27.4 g.
Bowl Height: 1.71 in./ 43.43 mm.
Chamber Depth: 1.47 in./ 37.37 mm.
Chamber Diameter: 0.66 in./ 16.76 mm.
Outside Diameter: 1.19 in./ 30.23 mm.
I do hope that you have found something here useful to your own pipe care, maintenance or restorations. If you like this sort of thing, please click the like and subscribe buttons. Thank you for reading the ramblings of an old pipe lover.
Below are some photos of the finished Yello-Bole Yacht
I have a love for two groups of Dr Grabow pipes; the old Linkman’s and the Westbrook line. The Linkmans were produced from 1932-1953 while the Westbrooks were from 1957-88. The linkmans I have are mainly pre-World War Two (WWII) pipes while the Westbrooks are more undetermined ages. I guess I should slow down and clarify this a bit. “BACK IN 1898, two ambitious young men reached the momentous decision to go into business for themselves. They were Louis B. Linkman and August Fisher. From the time they were in knee pants they had worked for a pipe jobber in the mid-west.” (https://pipedia.org/wiki/M._Linkman_%26_Co.). These two young entrepreneurs were joined by a third, “Anton Burger, who had also been employed by a pipe jobber in the mid-west, approached them and was taken in as a partner. M. Linkman & Company proceeded as a partnership; the business developed rapidly through the untiring efforts of these men in producing quality pipes and rendering good service to their customers.” (https://pipedia.org/wiki/M._Linkman_%26_Co.). The company eventually
came to be known as Dr Grabow.
History:
The subject of this blog has a left stamp reading WESTBROOK over DR GRABOW. I believe to be an earlier sample due to the stamping of the right side: IMPORTED BRIAR over Ajustomatic over PAT. 2461905. According to pipedia.org, “1949, February 15th. David P. Lavietes gets patent for AJUSTOMATIC stem to shank threading system, Patent #2461905” (https://pipedia.org/wiki/Dr._Grabow_Pipe_History_Timeline).
So you ask, “Why is a patent from a Mr. Lavietes important to a Dr Grabow pipe?” I reply, , “Good question.” Before I answer that question let’s go back to 1952-53. 1952 Linkman (82 years old?) retires as president of M. Linkman & Co., or maybe in 1953-54?” (https://pipedia.org/wiki/Dr._Grabow_Pipe_History_Timeline). As The founder of Dr Grabow was looking to retire he sold the company to Henry Leonard and Thomas (HL&T). HL&T held the patent for the “Adustomatic” filed by Mr. David Lavietes. Now, you see the connection. In 1955, HL&T started manufacturing the Westbrook line. They stamped the new line with a famous patent number giving additional merit to the new line.
I do not think that pipes produced a few years after this would still be marketed as having this “new” feature. Yes, it is conjecture but it makes sense from a marketing perspective.
“Henry Leonard & Thomas, Inc. (HLT) was founded in Ozone Park, Queens, New York by Henry J. Lavietes and two partners on May 31, 1938. The company patented a stem design for pipes and cigarette holders designed by Henry on March 9, 1943. Henry was the son of David Lavietes, who moved to Sparta, North Carolina in the early 1940s to purchase laurel and rhododendron burl to ship back to his son and HLT. Lavietes decided to stay in Sparta and founded the D&P Pipe Works with his other son Paul, originally as a 15 person operation. David Lavietes was the inventor of the Ajustomatic feature incorporated into Dr. Grabow pipes even today.
In 1953, HLT acquired all assets and equipment of the Dr. Grabow company of Chicago, Illinois, and began production of Grabow and Hollycourt pipes. At the same time, they acquired the Continental Briar Company, owner of the Royal Duke, Duke of Dundee, and Honeydew pipe brands still evident in the common use of the word “Duke” to name Grabow pipes.” (Henry Leonard & Thomas Inc. – Pipedia)
Another interesting feature of the Westbrook line is that they were only available as “coupon” pipes, meaning that they were not sold at normal retailers. They were only available as promotional items via tobacco purchases.
“Westbrook was one of several pipes (Berwyck, Belvedere, Emperor, and Sculptura) that were made by Grabow and distributed by R. J. Reynolds as coupon pipes. A coupon was placed into bags of Carter Hall and George Washington tobacco that was redeemable for these Grabow pipes. Westbrook was about 5 coupons and $3.00 for part of its life. This offer started in the mid-50’s and ended in the late 80’s. It was the longest running redemption offer in history” (https://www.timetoast.com/timelines/dr-grabow).
This now places the production of the Westbrook Dr Grabow Dublin to North Carolina in the late 1950s. Now to find an official name for the pipe. I found a 1970 catalog and screenshot the below image. This lists the name as a Triangle Dublin
Here is what the Westbrook Triangle Dublin looked like prior to having any work done.
Yep, it’s an old dirty beat-up pipe. The list of things to do was a long one. It could be summarized as cleaning inside and out, sanding, refinishing and polishing. That would exclude nearly all nuances but it does describe the process in general terms. Of course, I will go into more detail below.
The restoration began with a clean denim piece on the work surface.
Reaming was the first task. The reaming crew was assembled: PipNet with #2 blade, Smokingpipes Low Country Reamer, General triangular scraper with tip ground to round, and 220 sandpaper wrapped around a wood dowel.
The reaming was uneventful and the sanding unveiled the tobacco chamber free of any heat damage.
The rim was moistened with saliva and scraped with a sharp pocket knife.
The stummel was then taken to the sink where it received a scrubbing with a medium stiff toothbrush and undiluted Murphy’s Oil Soap. The soap was rinsed with warm water and the stummel dried with a cotton hand towel. Upon returning to the workbench, I wiped the stummel with a make-up pad dipped in 95% ethyl alcohol.
Next the stummel was sanded with the 320 and 400 grit sanding sponges to find any hidden spot to fill or to dig out existing fills which needed to be replaced. Care was taken to avoid sanding the stampings. A few pits were discovered and one large gouge on the front of the stummel was picked of it’s original fill material.
The stummel was then topped to remove some of the damage from careless dottle knocking. I know this sounds like a fun sport but let me assure you both Indigo Bunting and dottle knocking are far from fun leisure activities. One is a lovely little bird and the other leaves rim scars that give pipe restorers nightmares.
The topping was done on a counter with a piece of 220 sandpaper laid flat. This was followed by sanding with 400 sandpaper.
The results of the topping are shown below.
Next the shank airway was cleaned. The airway was scraped with a dental scraper to remove the dry crumbly tars.
After the initial scraping, I poured approximately 3-4 ml of the alcohol into the chamber and allowed it to flow into the shank. I used a nylon shank shank brush to scrub the airway with the alcohol. The alcohol was then poured out into a medicine cup. Cotton swabs and folded over bristle pipe cleaners were then dipped in 95% ethyl alcohol and used to scrub the airway.
This alcohol scrubbing was repeated numerous times, with scraping and scrubbing with the cotton swabs and folded pipe cleaners.
Eventually the airway was mostly clean. I decided to give the stummel an overnight alcohol and cotton soaking. Cotton balls were stuffed into the airway and tobacco chamber then saturated with 95% ethyl alcohol.
The stummel was set so that the alcohol would not pour from either end. Evaporation would draw the tars from the briar ind into the cotton.
While the alcohol was doing what alcohol does, I started working on the stem. The button was reshaped with a flat needle file to give it more definition then the stem was sanded with the 320-600 sanding sponges. The stem was wiped with a heavy coat of mineral oil and allowed to sit overnight.
The next day the airway of the stem was cleaned using bristle pipe cleaners dipped in 95% ethyl alcohol. The screw-in tenon was cleaned with 0000 steel wool dipped in the alcohol.
The alcohol in the stummel had done a fine job at moving the tars and smoking residue from the briar into the cotton.
Below are the cotton pieces removed from the stummel. They were dry to the touch as the alcohol had evaporated overnight.
The stem did not line-up correctly. It was approximately 3-5 degrees over-clocked. This could be remedied two different ways. One was to heat the aluminum screw-in tenon to the point where the stem material was partially melted then rotate the aluminum back a few degrees. The second was to “paint” the stem face of the tenon with a thin even coat of black cyanoacrylate (CA, super glue). Allow it to cure then sand it smooth. This additional material would lengthen the stem and shorten the screw-in distance, moving the alignment counter clockwise. I chose the latter and painted the stem with black CA.
I used an emery board to sand the new tenon face smooth.
The stem lined up perfectly with the shank’s mortise aluminum.
The stem was slightly underclocked when all finished. This is how many manufacturers finish the fit of the stems when they leave the production line.
Next I dealt with the fills. Brown CA and briar dust were used to fill the larger gouges and pits.
The CA was applied into the depression.
A pinch of briar dust was pressed into the wet CA. The briar dust sets up almost immediately with the CA.
The resulting fill was then filed with a flat needle file.
A very light bead of thin CA was applied to the surface of the fill.
The wet thin CA was then quickly sanded with the 400 sanding sponge. This same technique was used to fill the smaller pits, a small drop of CA, followed immediately with sanding. The sanding provides the briar dust for the fill. It fills in the depression and the CA bonds with the dust to make a nice fill.
The gouge at the front of the stummel was filled using the brown CA with the pressed briar dust. This one took a couple of pinches and pressing to complete the fill.
Once all the fills were done the stummel was sanded with the 400 grit sanding sponge. I wanted to sand the outer surface from the stummel. My hope was that I could remove some of the old original stain achieving a contrast stain appearance. This proved unsuccessful. The original stain had penetrated the briar very deeply. I then thought that I might be able to lighten the whole stummel using oxalic acid. Besides, I wanted more practice using the oxalic acid. I Made a saturated oxalic acid solution a couple of restorations ago and stored it in a glass canning jar. I applied this solution with a cotton swab. As the stummel absorbed the solution and as it dried, I applied additional solution. I wanted the whole stummel well coated. I allowed it to sit with the oxalic acid for 45 minutes. After 45 minutes I took the stummel to the sink where I rinsed it with warm water. I dipped a toothbrush into baking soda and scrubbed the stummel with the baking soda and water. I figured that this would neutralize any oxalic acid that remained on the stummel. The stummel was further rinsed with warm water and dried with a cotton hand towel.
After a few minutes of drying the stummel did appear much lighter and the grain was more visible.
The stamps were taped over with painters tape and the stummel was sanded with a series of sanding sponges from 1000-3500. Between each sponge the stemmel was wiped with a make-up pad dipped in alcohol.
The stummel was then micro-meshed with 4000-12000 micro-mesh pads. Between each sponge the stemmel was wiped with a make-up pad dipped in alcohol.
The stummel was then coated with a liberal layer of Before and After Restoration Balm.
While the Restoration Balm was working its magic, I worked on sanding the sem. The orange logo was raised slightly above the surrounding stem. I used the topping counter with 400 grit sandpaper to sand the stem logo flush then used the sequence of sanding sponges 600-3500. Between each sponge I dipped my finger into the mineral oil and rubbed it over the stem. I then wiped off the excess oil with a paper towel.
After the sanding sponges I used the 4000-12000 micro-mesh pads. Between each pad I applied a small drop of Obsidian Oil to the stem, rubbed it in and wiped with a paper towel.
The Restoration balm worked it’s magic on the briar returning the luster. The excess balm was wiped off using the inside of a cotton athletic sock.
The pipe was taken to the buffer where it received several coats of carnauba wax.
Overall, I am very happy with this restoration. The briar lightened up nicely with the scrubbing, sanding and oxalic acid treatment. All of these combined to return the wood to more the way I imagine it looked fresh from the factory. The stem polished up nicely as well, showing off the glossy ebony. The orange spade provides a nice accent and fits in well with the color of the briar. The scars on the bowl are present and show that this pipe had been used and was probably a favorite of someone’s. I do regret that the stinger is missing and wish that I had a replacement, perhaps someday…
The dimensions of this Westbrook Dr Grabow Triangle Dublin are:
Length: 5.29 in./ 134.37 mm.
Weight: 1.01 oz./ 29.00 g.
Bowl Height: 1.68 in./ 42.67 mm.
Chamber Depth: 1.42 in./ 36.00 mm.
Chamber Diameter: .70 in./ 17.78 mm.
Outside Diameter: 1.29 in./ 32.77 mm.
I do hope that you have found something here useful to your own pipe care, maintenance or restorations. If you like this sort of thing, please click the like and subscribe buttons. Thank you for reading the ramblings of an old pipe lover.
Below are some photos of the finished Westbrook Dr Grabow Triangle Dublin.
Why is it that some pipes can’t qualify for the maker stamping their name on the pipe? Not to sound like President Biden but, “Come on, man.” IMPORTED BRIAR is not enough of a name to mean anything except that your briar is imported (Duh, isn’t it all imported?) and that the pipe was likely made in the US after World War 2 (WWII).
Fortunately our government is there protecting us from the diabolical domestic terrorist native briar cartels. As can be seen by,
“Section 304 of the Tariff Act of 1930, as amended (19 U.S.C. 1304)
provides that, unless excepted, every article of foreign origin
imported into the U.S. shall be marked in a conspicuous place as
legibly, indelibly, and permanently as the nature of the article (or
container) will permit, in such a manner as to indicate to the ultimate
purchaser in the U.S. the English name of the country of origin of the
article. Congressional intent in enacting 19 U.S.C. 1304 was that the
ultimate purchaser should be able to know by an inspection of the
marking on the imported goods the country of which the goods is the
product.
Part 134, Customs Regulations (19 CFR Part 134), implements the
country of origin marking requirements and exceptions of 19 U.S.C.
1304. As provided in section 134.41, Customs Regulations (19 CFR
134.41), the country of origin marking is considered to be conspicuous
if the ultimate purchaser in the U.S. is able to find the marking
Use your best Yoda impression to read the following, “The sarcasm is strong in this one.”
Okay, what are we looking at with this restoration?
The Restoration
Perhaps it is for the best that little information can be gleaned from the stamping to the heritage of this pipe. All that background and history research would just keep me from addressing the things that need fixing with this pipe. First off there is a clear coat to eliminate. Then there is the standard reaming and cleaning, followed by repairing the damaged rim and stem. I think the briar would benefit from a contrast stain allowing for a highlight red to be accented by black. Stay tuned to see what happens.
Of course I will begin with a clean denim piece protecting the work surface. Someday I will get around to stripping the finish from this old roll top desk that I use as a workbench. It has a shellac finish that does not agree with spilled alcohol or acetone. A polyurethane would make more sense but it was my grandfather’s desk and I don’t want to alter it too much.
I worked on reaming the tobacco chamber first. The PipNet with a #2 blades after I had scraped the hard dry cake a bit with the General triangular scraper. The problem was that the chamber had a diameter that was a touch too large for the #2 blades and too small for the #3 blades. This meant more scraping.
The chamber was sanded with 220 sandpaper to get to clean briar then finish sanded with 320 sandpaper. There was no heat damage observed in the chamber.
That brings us to the rim. The lava deposits made inspection of the rim difficult. Though there did appear to be charring at the 8 o’clock position of the photo below and around the inside edge of the rim from 3-8 o’clock.
The rim was moistened with saliva then scraped with a shape pocket knife.
A further scraping revealed that the rim damage was all around the rim. The charing was also around most of the inside edge. Topping this stummel and removing the dents and dings would be required. I was hoping to only remove about 1/16 of an inch, 1-2 mm of briar from the rim. Beveling of both the inside and outside edges would remove the edge damage and keep me from removing even more briar.
After the reaming of the tobacco chamber, I poured 2-3 ml of 99% isopropyl alcohol into the chamber and allowed the alcohol to flow into the shank. I then used a nylon shank brush to scrub the airway. I poured this alcohol into a clean medicine cup. I was surprised that the alcohol did not have the dark color that I had expected. The long shank would make scraping the airway very difficult.
The stummel was taken to the sink. Here I used undiluted Murphy Oil Soap and a medium stiff toothbrush to scrub the exterior of the stummel. The stummel was rinsed with warm water and dried with a cotton washcloth. I then decided to check the shank airway by using the shank brush with a bit of Dawn dish soap. I was still having trouble believing that the airway was as clean as the alcohol led me to believe. The Dawn shank brush scrub did not result in dark lather. Maybe the previous owner did keep the airway clean. The evidence was mounting in his favor but the question lingered, “If the rim was that fouled with lava, why did he keep the airway clean?”
I returned to the workbench for another go at cleaning the airway. About 5 ml of 99% isopropyl alcohol was used this time and scrubbed with the shank brush. When this alcohol was poured out I saw the dark color I had expected. The airway was dirty; it had just taken a bit of scrubbing to soften the yuck (yuck is a highly technical term to describe the smoking residue). It was present, not easily scraped and needed to be removed. This was going to be a long one. I just realized the unintended pun, there – long shank, long cleaning job.
Before I started the shank airway cleaning I wanted to top the stummel and remove the clear coat as it got sticky with the alcohol.
The topping was done by moving the stummel in a circular motion on a clean sheet of 220 sandpaper laid flat on a countertop. Every 3-4 circles I would rotate the stummel in my hand to keep an even pressure of all sides of the stummel. I wanted to remove about 1/16 inch or 2 mm of briar from the rim. This would not be enough to eliminate the rim edge damage but I figured I could remedy that by beveling the outside edge of the rim.
Next, I first tried removing it with 95% ethyl alcohol. That worked albeit slowly.
I then tried wiping it with acetone. This worked better and faster.
With the finish mostly removedI set to cleaning the stem. The airway was cleaned with bristle pipe cleaners dipped in 99% isopropyl alcohol. The outside was lightly sanded with a 320 grit sanding sponge then with Soft Scrub applied to make-up pads.
Next came the shank cleaning. The long shank did not allow for effective scraping with a dental scraper. The cleaning did utilize a nylon shank brush with numerous scrubbings of the airway with 5 ml of 95% alcohol poured into the bowl and allowed to flow into the shank. While in the airway the alcohol was scrubbed with the brush. Below you can see the medicine cup use to collect the alcohol after the scrubbing.
There were a couple of dents in the lower left section of the stummel. I used a hot iron and a damp rag to raise these.
Below is a photo of the stummel partially wrapped in the wetted cotton rag and pressed against the hot clothes iron.
The steam from the iron heated water raised the dents very nicely.
After the shank was cleaned the pits on the stummel were filled using a small drop of cyanoacrylate (CA, super glue) and briar dust. A small drop of CA was applied to the pit then sanded with a 400 sanding sponge. The dust from the sponge combines with the wet CA to fill the pit. Additional applications were used for deeper pits.
I wanted a contrast dye that had a base of black with a secondary dye of red. I hoped that this would give the pipe an accented grain in black with reddish hued highlights. To achieve this I first dyed the stummel black with Fiebing’s Leather dye. The dye was applied with a folded pipe cleaner and flamed with a disposable lighter.
A duct tape wrapped fishing bobber was used to keep dye from the tobacco chamber and to act as a handle.
The black dye was then wiped from the stummel using several make-up pads dipped in 95% ethyl alcohol.
The stummel was then sanded with a 320 sanding sponge to remove the outermost black dyed briar leaving the underlying black dyed briar in place, accentuating the grain.
A second dying of the stummel was then done with Fiebing’s Dark Red Leather Dye.
This was then wiped from the stummel using alcohol dipped make-up pads.
The sanding of the stummel with a 400 grit sanding sponge then wiped with a clean alcohol dipped make-up pad resulted in the stummel looking quite red, below. Notice the strange surface crack just above center – this was filled using thin CA then sanded, with the sanding dust filling the crack.
Below is the contrast dyed stummel before any sanding with finer sanding sponges.
I felt like this pipe was living up to the unofficial Nebraska motto – Go Big Red.
Next on the list was the stem repair. I admit to getting into the “stem repair” mode and losing track of documenting the process. I start by de-oiling the areas to be repaired with an alcohol dipped cotton swab. Then small drops of black CA are placed into the depressions on the stem. The wet CA is spritzed with a CA drying accelerator. Once dry or cured the CA is filed with a flat needle file. If the depression is deep it may take several small drops of CA and subsequent spritzes with an accelerator to fill the depression. That was the case here. When I started photographing, I was already filing the second application.
A third application was applied and spread around to thin over a larger area using the tip of the applicator on the bottle. This was then spritzed, filed and sanded with a 400 grit sanding sponge. The next two photos show the depressions filled and sanded with the 4000 sponge.
The stem was slightly “over-clocked”. This led to the stem not aligning correctly with the stummel, as it had been over tightened. There are two ways to address this:
1) to heat the aluminum screw-in tenon until the stem is slightly melted, then rotate the aluminum to the correct position and allow it to cool.
2) Add a light layer of black CA to the edge of the stem and allow it to cure.
Both methods work but come with downsides of being time consuming and tedious. I chose to use the adding of black CA to the stem. Since the alignment was very sligh, only a few degrees I only needed to “paint” or apply a single coat of black CA to the stem.
The pipe was sanded intact. I wanted to smooth out the mortise tenon joint as the original fit was less than smooth feeling. I used a series of sanding sponges with grits from 1000-3500, in sequence. Between each sponge the stummel was wiped with a make-up pad wetted with alcohol while the stemI received a bit of mineral oil rubbed in by fingertip then wiped with a paper towel.
After the sanding sponges I used a sequence of micro-mesh pads from 4000-12000. The stummel was wiped between each pad as above. The stem received a drop of Obsidian Oil between pads, rubbed in by fingertip and wiped with a paper towel.
The pipe then was coated with Before and After Restoration Balm. The balm was allowed to sit for 15 minutes.
The excess balm was wiped with an inside-out cotton athletic sock to reveal a beautiful rejuvenated contrast dyed briar.
The stem was further polished using Before and After Fine Polish. The polish was applied by fingertip and hand buffed with a soft cotton cloth.
The polishing was finished using the Before and After Extra Fine Polish using the above procedures.
The final step was to apply several coats of carnauba wax using the buffer.
I am quite pleased with how well this Italian Canadian of unknown make turned out. It is a large pipe yet is surprisingly light in hand. The contrast staining yielded the color that I had in my mind as I was imagining how it would look finished. The screw-in tenon fits and aligns well. Though not the most beautiful grain the contrast stain definitely improved the look of the briar and is accentuated by the high gloss black stem. I am certain that this will be a nice smoking pipe even without a maker’s stamp.
The dimensions of this large Canadian are:
Length: 6.67 in./ 169.42 mm.
Weight: 1.40 oz./ 39.8 g.
Bowl Height: 1.88 in./ 47.75 mm.
Chamber Depth: 1.65 in./ 41.91 mm.
Chamber Diameter: 0.78 in./ 19.81 mm.
Outside Diameter: 1.46 in./ 37.08 mm.
I do hope that you have found something here useful to your own pipe care, maintenance or restorations. If you like this sort of thing, please click the like and subscribe buttons. Thank you for reading the ramblings of an old pipe lover.
Below are some photos of the finished no name Italian Canadian.
I think I might have to start selling these post restoration denim pieces as wall art.
The Pipe Den, the name harkens back to a day of local pipe and tobacco shops which our world appears to have mostly left in the past. Many pipe smokers love our local brick and mortar shops and it warms our hearts to hear the success stories of the local shop that is surviving in the world of big internet retailers. I live within an hour drive of one such shop and I admit to visiting it about once a year to stock up on a local blend assembled there. The place has a cigar lounge and will infuse your clothing with cigar aroma at no cost. I have been the only pipe smoker present on my last two visits. The world I live in enables me to have pipe tobacco from all over the world available with the convenience of no 60 minute drive in city traffic and the thrill of opening the aromatic box, freeing the imprisoned contents and allowing them to join their tobacco blend brethren in glass jars upon a shelf.
I warmly remember the smell of David’s Briar Shop in a local mall Westroads in the 1970’s and 80’s. That smell is firmly locked into the vault and I have to admit to wishing to experience it again. It is a nostalgic smell that when reminiscing with others about the mall, has never met with someone saying “I hate that smell”. To the contrary, it seems to only incite fond memories. These are the memories that stir when I work on a pipe stamped with the name of a pipe shop.
This Zulu came to me as part of an estate lot. Let me show you what I was looking at with this Pipe Den Zulu.
Background on the Pipe Den
The Pipe Den is a shop from Vero Beach Florida. According to the internet, source of only honest, truthful and accurate information, the Pipe Den still operates today. According to their website, Bob Marshbanks has been, “Serving pipe and cigar enthusiasts since 1977. We are your premier cigar, pipe and tobacco shop” (https://pipedenvero.com/). The website does not offer any online shopping yet invites patrons to the actual store to see what they have to offer. There is no mention of specific pipes but they do state the following:
“We offer a large selection of top quality pipes made by the world’s best pipe makers. I personally guarantee all my pipes, even “starter” pipes. Many “production” made pipes are manufactured of “Green” briar, heavily stained, varnished to cover poor grain and imperfections and smoke “hot”. To order a pipe, select your shape preference and let me know the price range you have in mind. Choose natural, dark or sandblast finishes. This will allow me flexibility in my efforts to ensure that you will get the very finest pipe available from my selection.
Even easier, just call, we can discuss your preferences and we can be more sure of the selection. I also have a selection of one-of-a-kind and freehand, hand carved Meershaum and Estate pipes.
The relaxed atmosphere at The Pipe Den is there for everyone. You are welcome anytime to come by, sit and enjoy a good cigar, fill your pipe bowl and get away from the hassles. I specialize in friendly old fashioned service.” (https://pipedenvero.com/pipes-%E2%80%A2-hints-%26-tips)
The question of who made this pipe for Pipe Den remains. In looking at the stem I see similarities to a couple of other pipes that I own. I have two Jobey pipes that appear to have very similar identical stems. They are saddle stems with a near 90 degree shoulder.
The quality of briar and the original stain color also match quite well. Given those last two qualities are hardly good indicators of a shared heritage but they do look similar. When looking up Jobey on pipedi.org, the first sentence of the entry says, “English – American – Danish – French… Sadly, solid information about Jobey is scamt…”(Jobey – Pipedia) Even misspelling scant. This should tell me something, what, I am not sure. The pipedia.org article goes on to discuss possible origins of the Jobey company. The most likely hypothesis, to me, is that Jobey was an American company and a subsidiary of the Norwalk Pipe Corporation (Norwalk Pipe Co. – Pipedia) and later sold to Weber. There is also another discussion mentioning that, “Weber Pipe Co. owned and manufactured Jobey pipes – when mainly sold in the USA by the Tinder Box from 1970’s – 80’s. In addition Jobey / Weber bought Danish freehands from Karl Erik (Ottendahl). These pipes were offered as Jobey Dansk. Ottendahl discontinued exports to the United States in 1987 and in the very same year – obviously only as a ghost brand – Jobey was transferred to Saint-Claude, France to be manufactured by Butz-Choquin.”(Weber Pipe Co. – Pipedia). This I believe is the most likely suspect. The Pipe Den Zulu has a Jobey/Weber feel to it. I can’t explain that other than the word “feel”. The age would fit for the Pipe Den history, according to their website the Pipe Den opened in 1977. I am of the opinion that this Pipe Den Zule was a Weber made pipe likely from the late 1970’s – 1980’s.
The Restoration
In the beginning… No, that sounds too biblical. How about, this restoration began with a clean piece of denim laid out on the workbench? Much better.
The fit of the stem was too tight and was left partially inserted to avoid dressing the mortise. The stem was also in dire need of oxidized vulcanite removal. That is where I began.
I sanded the stem with a 600 grit sanding sponge to remove the calcium deposits, surface oxidation and light tooth chatter. You can see that I used the denim to clean the sponge.
Next the interior of the stem was cleaned using bristle pipe cleaners and a nylon brush dipped in 95% ethyl alcohol.
With the stem cleaned inside and out, It was time to go into the Before and After Deoxidizing solution. A pipe cleaner was used as a hanger to suspend the stem in the solution.
I refer to this as the deox tank or deox, as a play on words with detoxification or detox for alcoholics and drug addicts.
With the stem in deox, I turned my attention to the reaming of the tobacco chamber. The below tools were assembled.
The chamber was bored with a very conical bit and did not fit the PipNet reamer at the bottom. This required more scraping with the Smokingpipes Low Country Reamer and the General triangular scraper.
The interior of the chamber was sanded to bare briar and no evidence of heat damage could be observed. The rim was the next target of restoration. I could see damage around the outer edge from tapping out dottle on surfaces not meant for tapping. There was also a thick coating of lava.
The lava was scraped with care and a sharp pocket knife after being moistened with saliva.
The stummel was then taken to the sink. Here it was scrubbed using a medium stiff toothbrush and undiluted Murphy Oil Soap. The soap was rinsed with warm water. At this point I decided to scrub the airway of the shank with a nylon shank brush and a bit of Dawn dish soap. The airwar was rinsed with warm water and the stummel was dried with a cotton washcloth.
Back at the workbench the stummel was wiped with a make-up pad dipped in 95% ethyl alcohol to remove any remaining wax or finish. The pad came back with reddish brown, indicating that I was removing some of the original stain. No finish could be observed.
The cleaning of the shank was next on the list. I poured about 4 ml of 95% ethyl alcohol into the bowl and allowed it to flow into but not out of the shank. I used a nylon shank brush to scrub the airway with the alcohol present. I then poured this alcohol into a medicine cup to be used until it was too blackened from dissolved tar. After the alcohol scrub I returned to the sink and scrubbed the airway with undiluted Castile soap. Then abc to the workbench for an alcohol scrub. This rotation continued until my nylon brush was no longer turning black with tar.
Between scrubbing rotations I would scrape the airway with a dental scraper and scrub with cotton swabs. Eventually the airway was cleaned.
14 hours later, I retrieved the stem from the Before and After Deoxidizing solution. I allowed it to drip off excess solution for a few minutes.
Below the stem is on my preferred coarse cotton shop rag. I like this rag for buffing a stem after the solution as it absorbs the remaining solution and abbrades some of the loosened oxidized vulcanite.
Below is the stem after the buffing with the rag.
After the hand buffing I used several make-up pads with Soft Scrub to further remove oxidized material from the stem. I could have sworn that I photographed the pads but failed to find the photos. Further proof than getting old is not for the… What was I saying?
The stem was then coated with mineral oil both inside and out.
There were a few small pits which needed to be filled prior to taking on the damaged rim. The small fills were repaired by placing a small drop of cyanoacrylate (CA, super glue) into the pit then sanding immediately over the pit. The dust from the sanding and sanding sponge combined with the CA to fill the pit. Two applications were sometimes needed for slightly larger pits. Now to deal with that damaged rim I did not want to top the rim and remove an ⅛+ inch or 3-4 mm of briar thus changing the shape of the stummel. I lightly topped the pipe to restore sharp edges on the undamaged rim. My plan was to apply a bead of brown CA to the damaged outside edge of the rim then press it into a container of briar dust. The briar dust would then be combined with the CA to make a hard briar incorporated fill which could be sanded smooth.
Below is the bead of CA around the damaged areas
Below is after the first dip of the wet CA into the briar dust. The excess dust was scraped off with a pocket knife.
Below is a photo of the new edge. It would require a couple more beads of CA and dust dips but it was working.
Below is dust dip number two.
After filing and sanding the edge was restored. The fill did appear darker than the supporting briar but that would be addressed with a contrast dye (more on that later).
Now, to conceal the darker edge, I figured a darker stain or dye with the surface sanded away would provide a nice contrast showing off the grain of the briar and concealing the repairs. In preparation for this dye job, I wanted to keep the dye from the stamp if possible. I covered the stamp with a slightly irregularly cut piece of painters tape. I wanted it irregular to avoid the “CENSORED” block look.
I mixed equal volumes of both black and dark brown Fiebing’s Leather dye and added a couple of ml of 95% ethyl alcohol to allow them to mix thoroughly. The dye was applied with a folded pipe cleaner and flamed with a disposable lighter to burn off excess alcohol in the dye and set the dye to the briar.
Below you can see the tape had ignited during the flaming. Oops.
Back at the workbench, the stem appeared black.
I wiped the excess dye from the stummel. Several alcohol dipped make-up pads later the stummel can be seen to have a very dark brown color. Oh yeah, I actually remembered the nitrile gloves this time. I bet you didn’t see that coming?
The stummel was then sanded with a 400 grit sanding sponge to remove the outer layer of dark dyed briar.
Next the damaged stem needed to be repaired. Below are the top and bottom surfaces of the stem.
Black CA was applied to the depressions on both the top and bottom of the stem. The CA was then spritzed with a CA drying accelerator.
These were then filed with a flat needle file until flush with the surrounding stem. Both top and bottom required a second application of CA. I prefer to use several light coats compared to a single large coat of the CA.
Additional filing and sanding eventually led to the below photos of the top and bottom of the stem.
The stem was then sanded using a sequence of sanding sponges in grits 1000-3500. Between each sponge I applied a bit of mineral oil then wiped with a paper towel.
After the sanding sponges I used a sequence of 4000-12000 micro-mesh pads. Between each pad I rubbed in a small drop of Obsidian Oil and wiped the stem with a paper towel.
On to sanding the stummel. It was sanded with the sanding sponges 1000-3500. Between each sponge the stummel was wiped with an alcohol dampened make-up pad.
The stummel was then worked with a sequence of 4000-12000 micro-mesh pads. Between each pad the stummel was wiped as with the sanding sponges.
The stem then received polishing with Before and After fine then Extra Fine polish. Both were applied by finger and hand buffed using a soft cotton cloth.
The stummel then was given a coating of Before and After Restoration Balm and allowed to sit for 20 minutes.
The excess Restoration Balm was removed with an inside out cotton athletic sock to reveal a lovely grained briar.
The pipe then received several coats of carnauba wax from the buffer.
Overall I am pleased with how well this Pipe Den Zulu turned out. I love the shape though I would appreciate a slightly larger size. The repairs of the rim and stem came out better than anticipated. The briar grain was accentuated by the contrast dye and shows itself far better now than when it was buried by years of grime. Though the make of this very nice little pipe may never be known I am sure that it can find a new stewart who will get years of enjoyment from it.
The dimensions of this little beauty are:
Length: 6.06 in./ 153.92 mm.
Weight: 1.05 oz./ 29.7 g.
Bowl Height: 1.94 in./ 49.27 mm.
Chamber Depth: 1.59 in./ 40.39 mm.
Chamber Diameter: 0.77 in./ 19.56 mm.
Outside Diameter: 1.31 in./ 30.28 mm.
I do hope that you have found something here useful to your own pipe care, maintenance or restorations. If you like this sort of thing, please click the like and subscribe buttons. Thank you for reading the ramblings of an old pipe lover.
Below are some photos of the finished Pipe Den Zulu.
This is honestly more of a refinishing than a restoration. This little Dr. Grabow Duke had never been smoked. If you have read my blogs for a while you know that I do not like clear-coat finishes. Oh, and thank you for being a reader. If you are new here, thank you for stopping by and I don’t like clear-coat finishes.
I know many folks don’t think too highly of Dr. Grabow pipes. They have a reputation as mass produced, factory made, low quality and low price pipes. I can agree with all of those statements save the “low quality”. I view a good deal of the Quality of a pipe in the briar used and the finish applied. This pipe is a prime example. Though it is small the briar is a fine specimen. It has nice grain and I did not see a single fill. The finish of the pipe is another matter. I do not like clear-coat finishes. Hmm, have I said that before?
Allow me to show you some photos of the Dr. Grabow Duke prior to being worked on.
Now, this pipe was in fine condition. Never having been smoked helps in that and we could say that the finish on the pipe had not aged well. I would still say that may be true being bumped around in a drawer, unused may lead to some dents, dings and surface scratches. The fact remains that I do not like clear-coat finishes, scratched, aged, dented or dinged. Hmm, have I said that I don’t like clear-coat finishes?
Dr. Grabow Background
I have not blogged about Dr. Grabow pipe too extensively. Although my very first blog was about using a briar plug in the bottom of the bowl of a Dr Grabow Westbrook. Back on December 27, 2023 I wrote a blog about a Grand Duke and included the following links for those interested in reading more about Dr. Grabow pipes. I will include those links again here:
This pipe has no shape number. The only thing which I could find about the history on this specific pipe was a quote from the pipedia.org describing the Duke line, “DUKE (c1964?) — From 1964 to 1984 the “Little Duke” and the Lark were imported from Italy. Later made at Sparta to increase production at the facility.” (https://pipedia.org/wiki/Dr._Grabow_Models_(Series,Line)_Names_Through_the_Years)
The Restoration
As previously mentioned, this was far more of a refinishing project. I did start with a new denim piece and immediately tried to discern what solvent would be best for removing the clear-coat. Have I mentioned my dislike of clear coats? Anyway, the first contestant was 95% ethyl alcohol. Its two carbon chain did a fine job at removing the dust from the clear coat but accomplished little else.
The next contestant was acetone. This highly volatile beauty did a fine job at removing the clear finish and some of the underlying stain by the look of the make-up pad.
I decided that rather than me scrubbing with acetone dipped make-up pads I would just give the stummel a 30 minute dunk in the acetone jar.
This 30 minutes allowed me the time I needed to polish the stem. There was no need to use the sanding sponges since the stem was already looking near new. I ran through the 4000-12000 micro-mesh pads. Between each pad I applied a small drop of Obsidian Oil, rubbed it around with my finger tip then wiped the stem with a clean dry paper towel.
After 30 minutes the stummel was removed from the acetone. The finish was mostly gone.
I rubbed the stummel with a few acetone wetted make-up pads to be sure and folded over a piece of 400 sandpaper to clean out the beading grooves.
Being very careful not to sand the stamps I sanded the stummel with a 320 and 400 sanding sponge. My goal here was to remove the outer layer of darker stained briar while leaving the dark stain in the softer parts of the briar. In essence, using the existing stain as a contrast dye without me having to dye the stummel. I wiped the stummel between each sponge with an alcohol wetted make-up pad.
The stummel was then sanded with a series of sanding sponges from the 600-3500 grit sponges. Between each sponge I wiped the stummel with the alcohol wetted make-up sponge.
After the sanding, I used the 4000-12000 micro-mesh pads in sequence. Between each pad I again wiped the stummel as with the sanding sponges. I failed to photograph this step. If you want a description, it looked like the previous photo only more shiny and with more colorful pads. The stummel was then coated with Before and After restoration Balm and allowed to sit for 30 minutes. I also failed to photograph the restoration balm. Geez, you just can’t get good help these days.
I wiped the balm from the stummel with the inside of a cotton athletic sock and reassembled the pipe. It was really looking good. All it needed was several coats of carnauba wax applied with the buffer.
This restoration, if you want to call it that, turned out very nicely. The clear coat was gone, replaced with the more natural beauty of the briar. The wood grain was allowed to show off it’s God given lines accentuated by the stain from the original manufacturing. Only now it was not hiding beneath all that despicable finish. The glossy black of the long stem building on classic lines of the pipe. This is a small pipe indicative of the times. I can imagine a worker taking a 10-15 minute break and relaxing with their pipe. The dimensions of this little beauty are:
Length: 5.86 in./ 148.84 mm.
Weight: 0.78 oz./ 22.11 g.
Bowl Height: 1.45 in./ 36.83 mm.
Chamber Depth: 1.15 in./ 29.21mm.
Chamber Diameter: 0.63 in./ 16.00 mm.
Outside Diameter: 1.18in./ 29.97 mm.
I do hope that you have found something here useful to your own pipe care, maintenance or restorations. If you like this sort of thing, please click the like and subscribe buttons. Thank you for reading the ramblings of an old pipe lover.
Below are some photos of the finished Dr Grabow Duke.


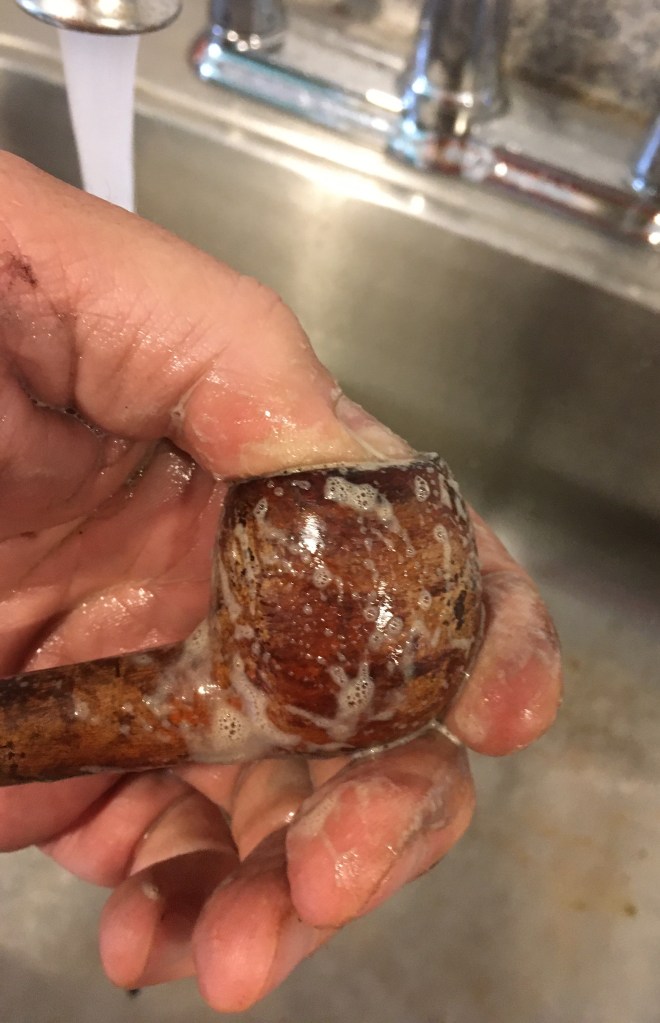


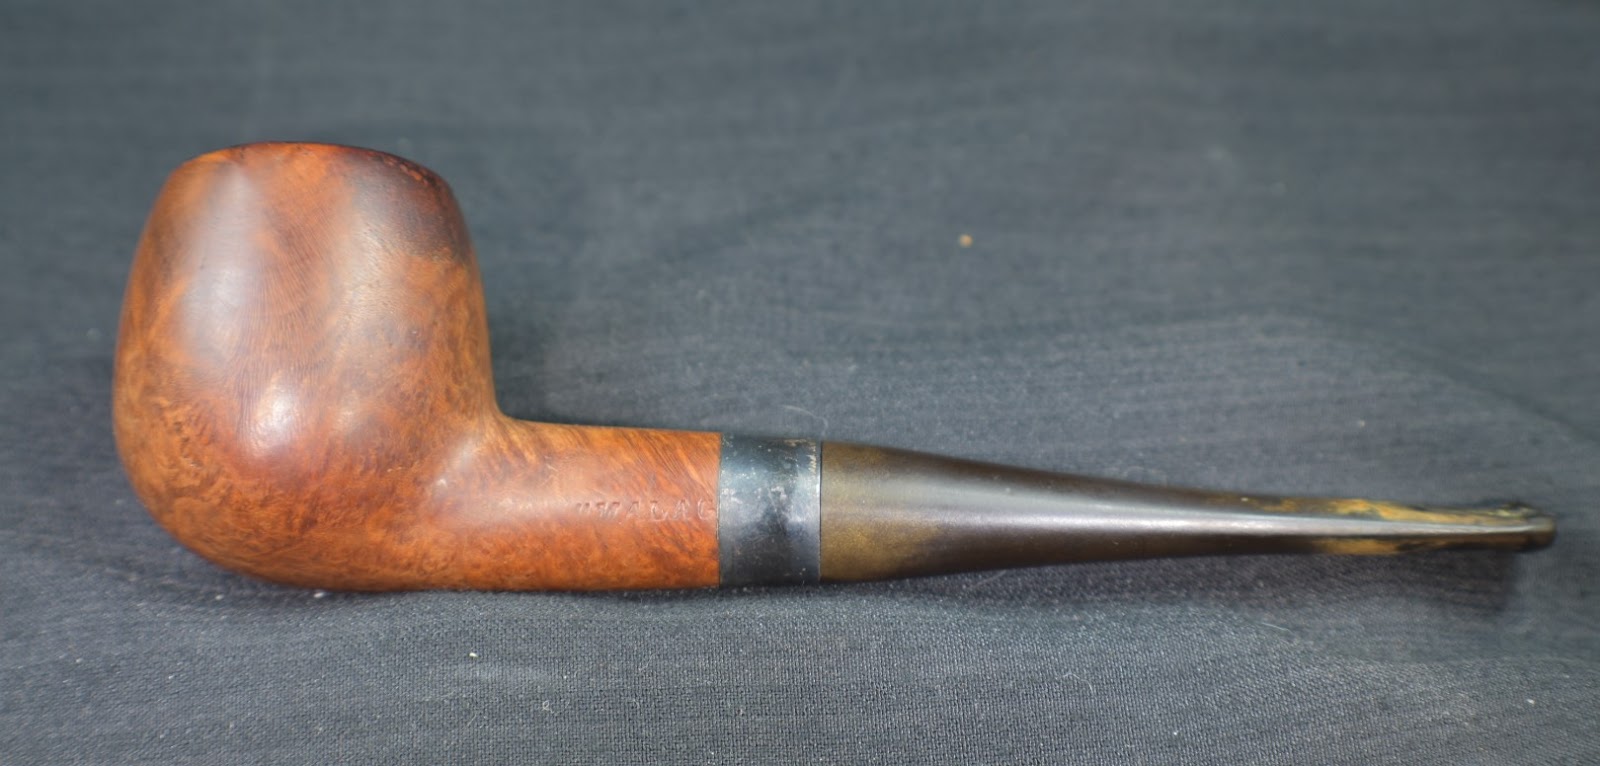


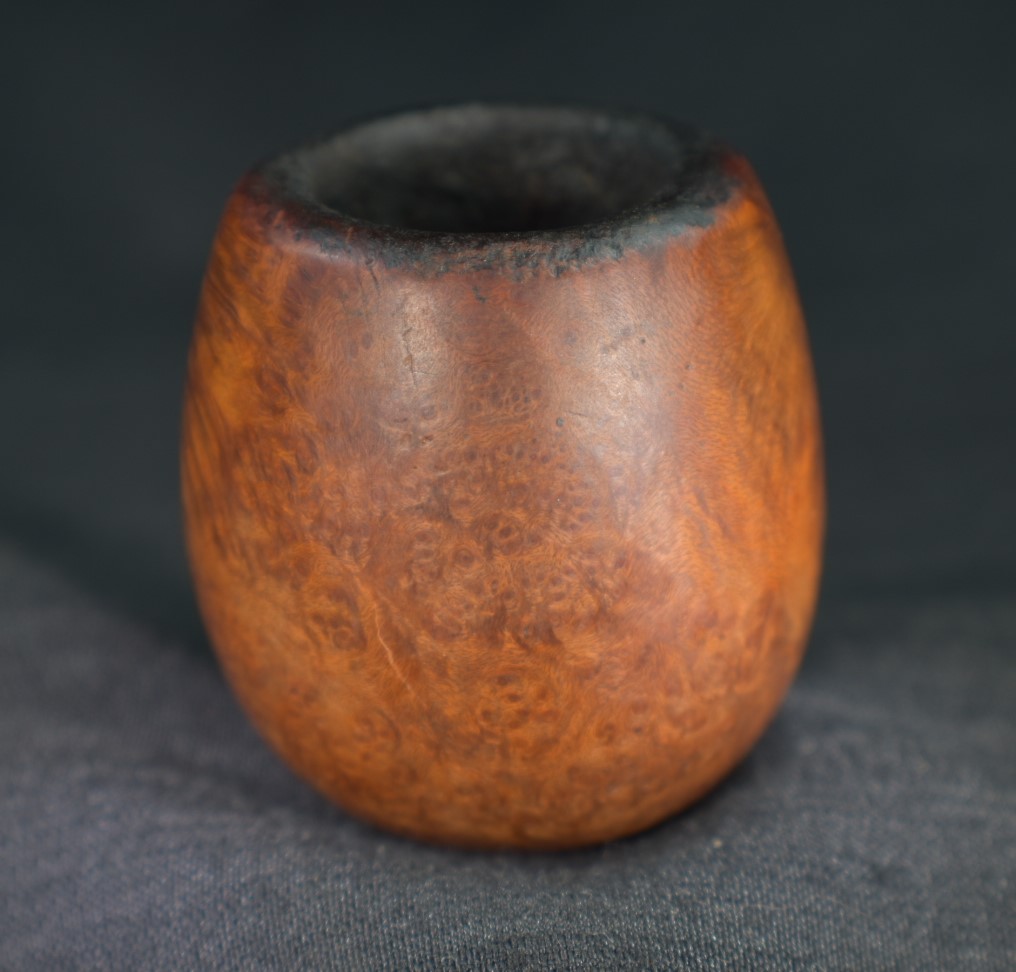
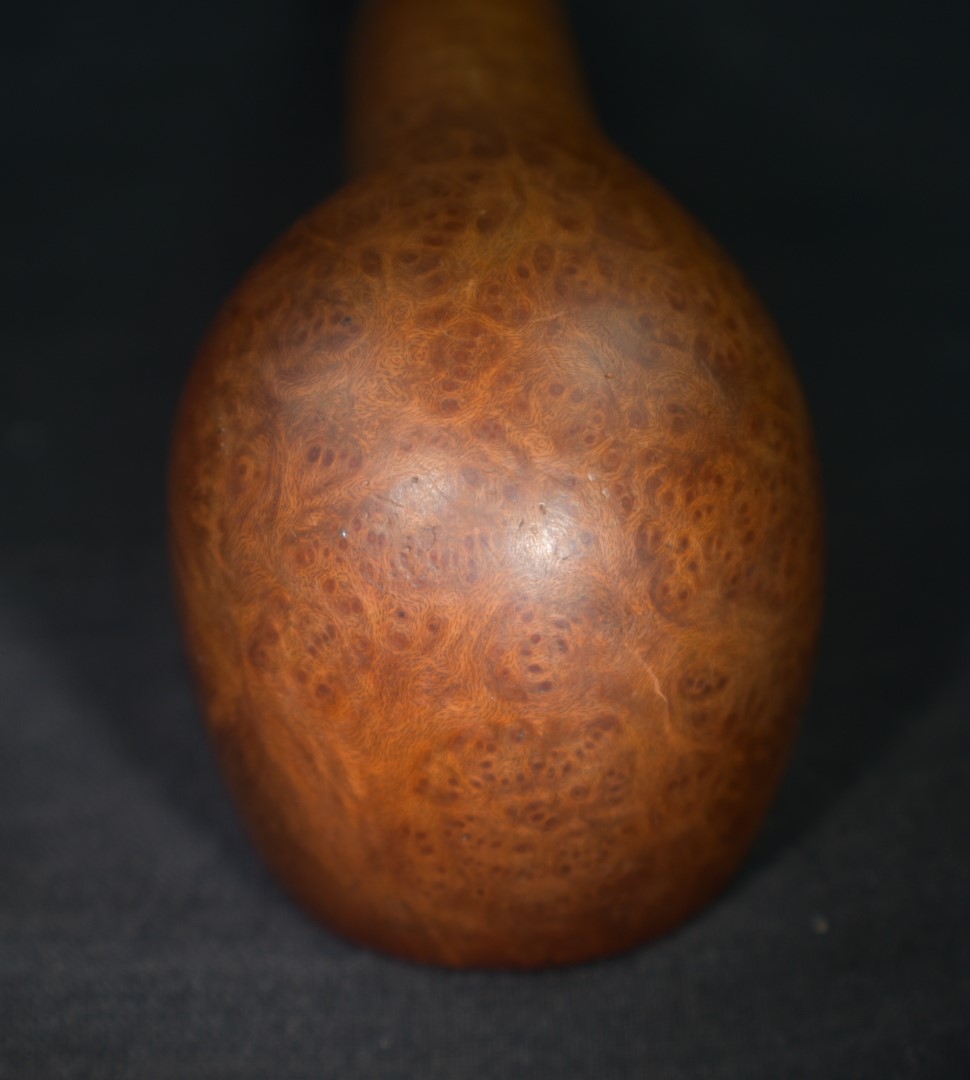

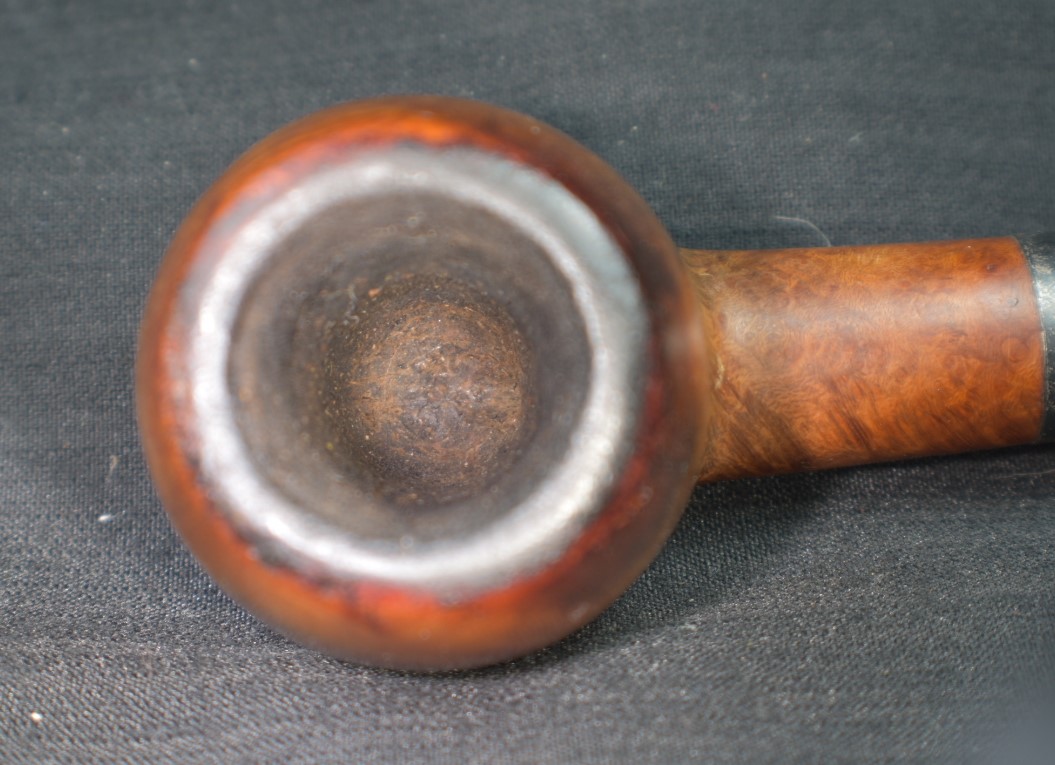


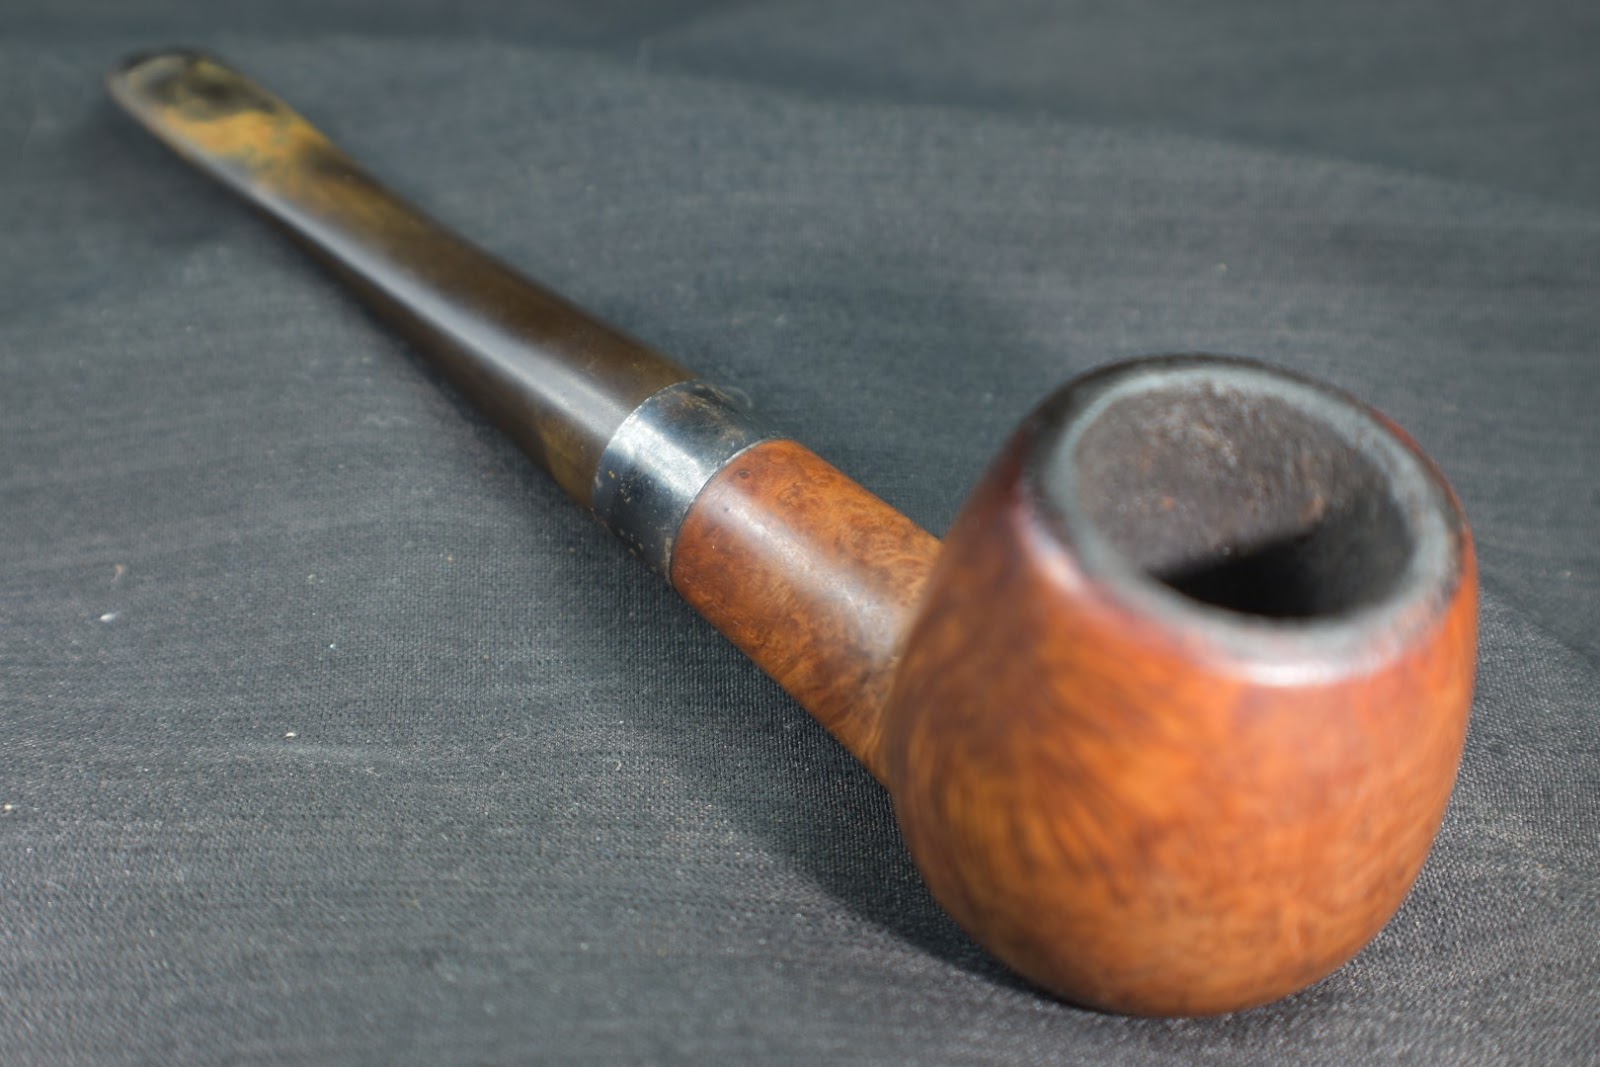


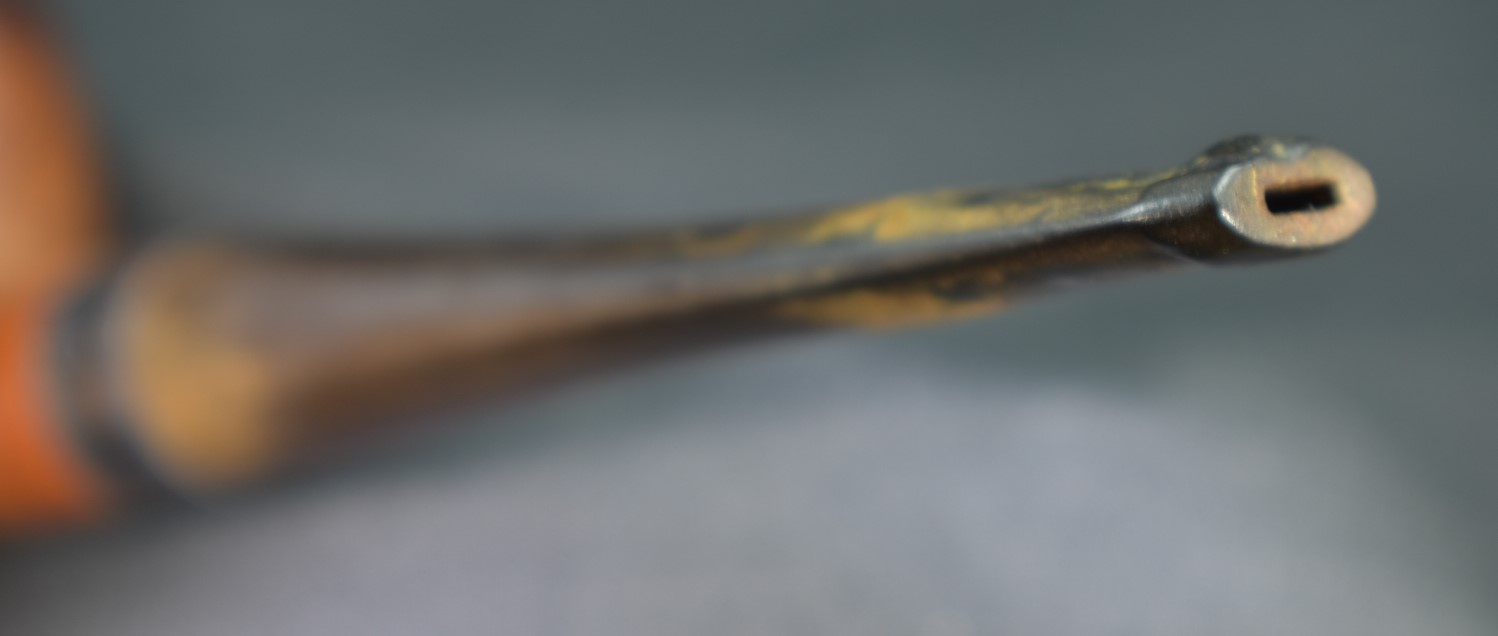
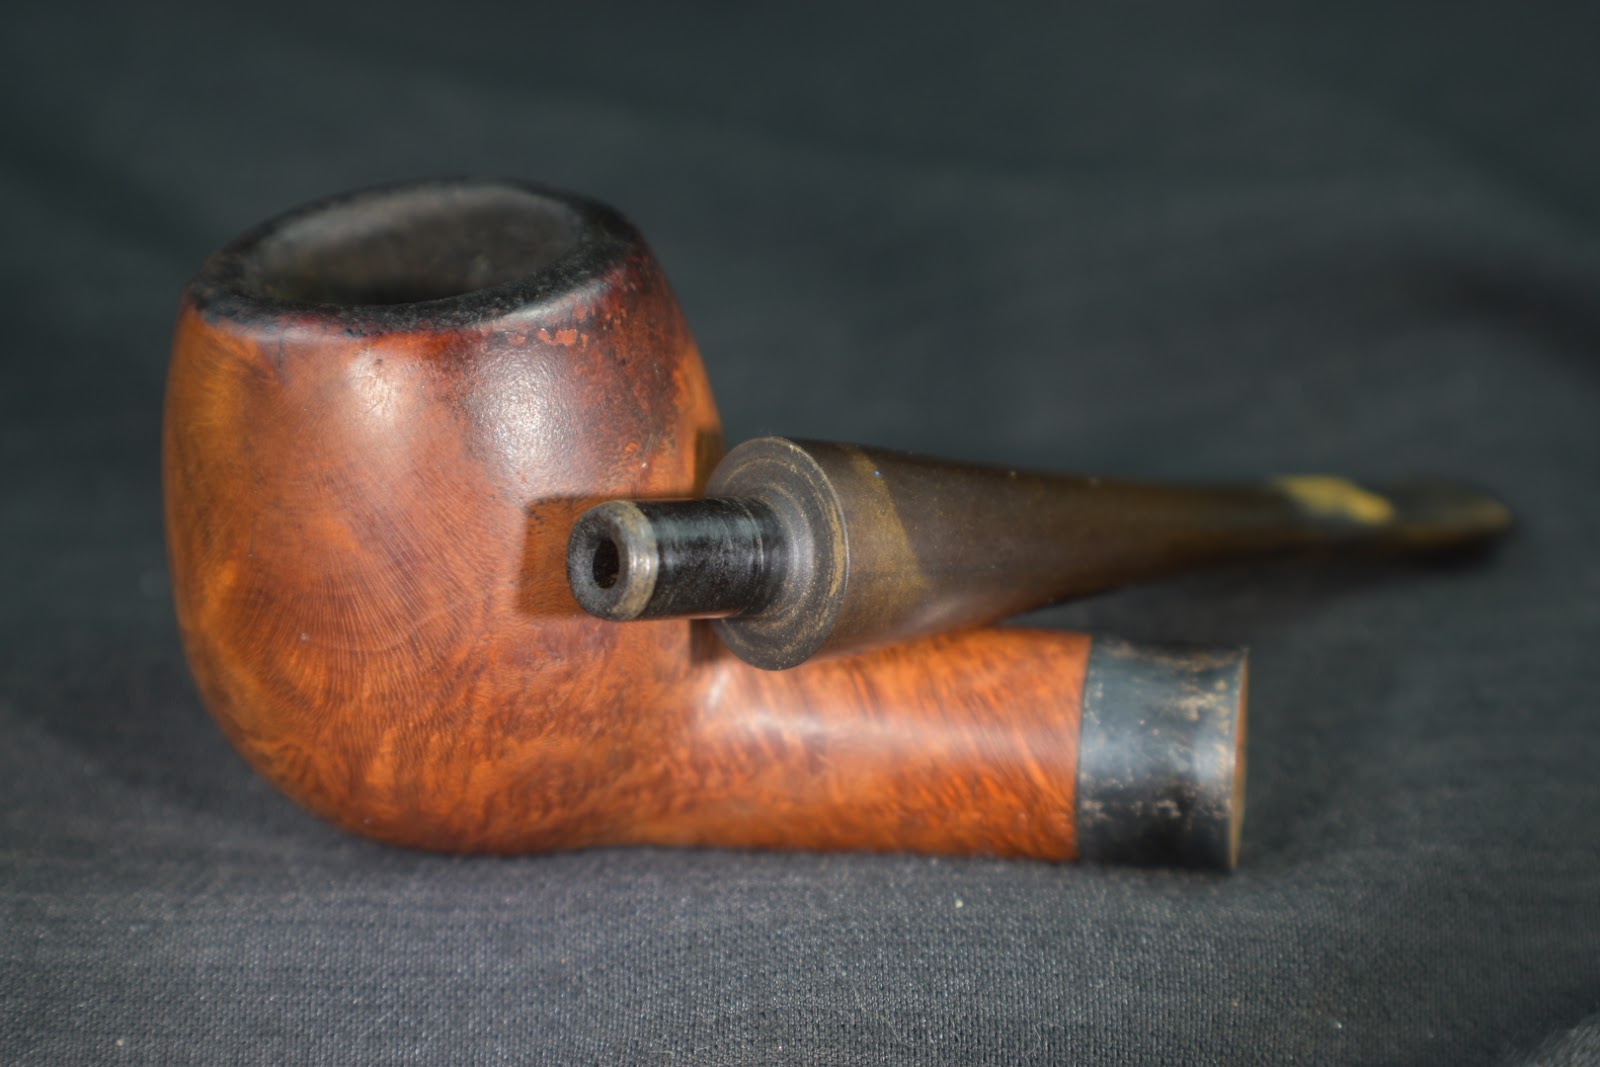

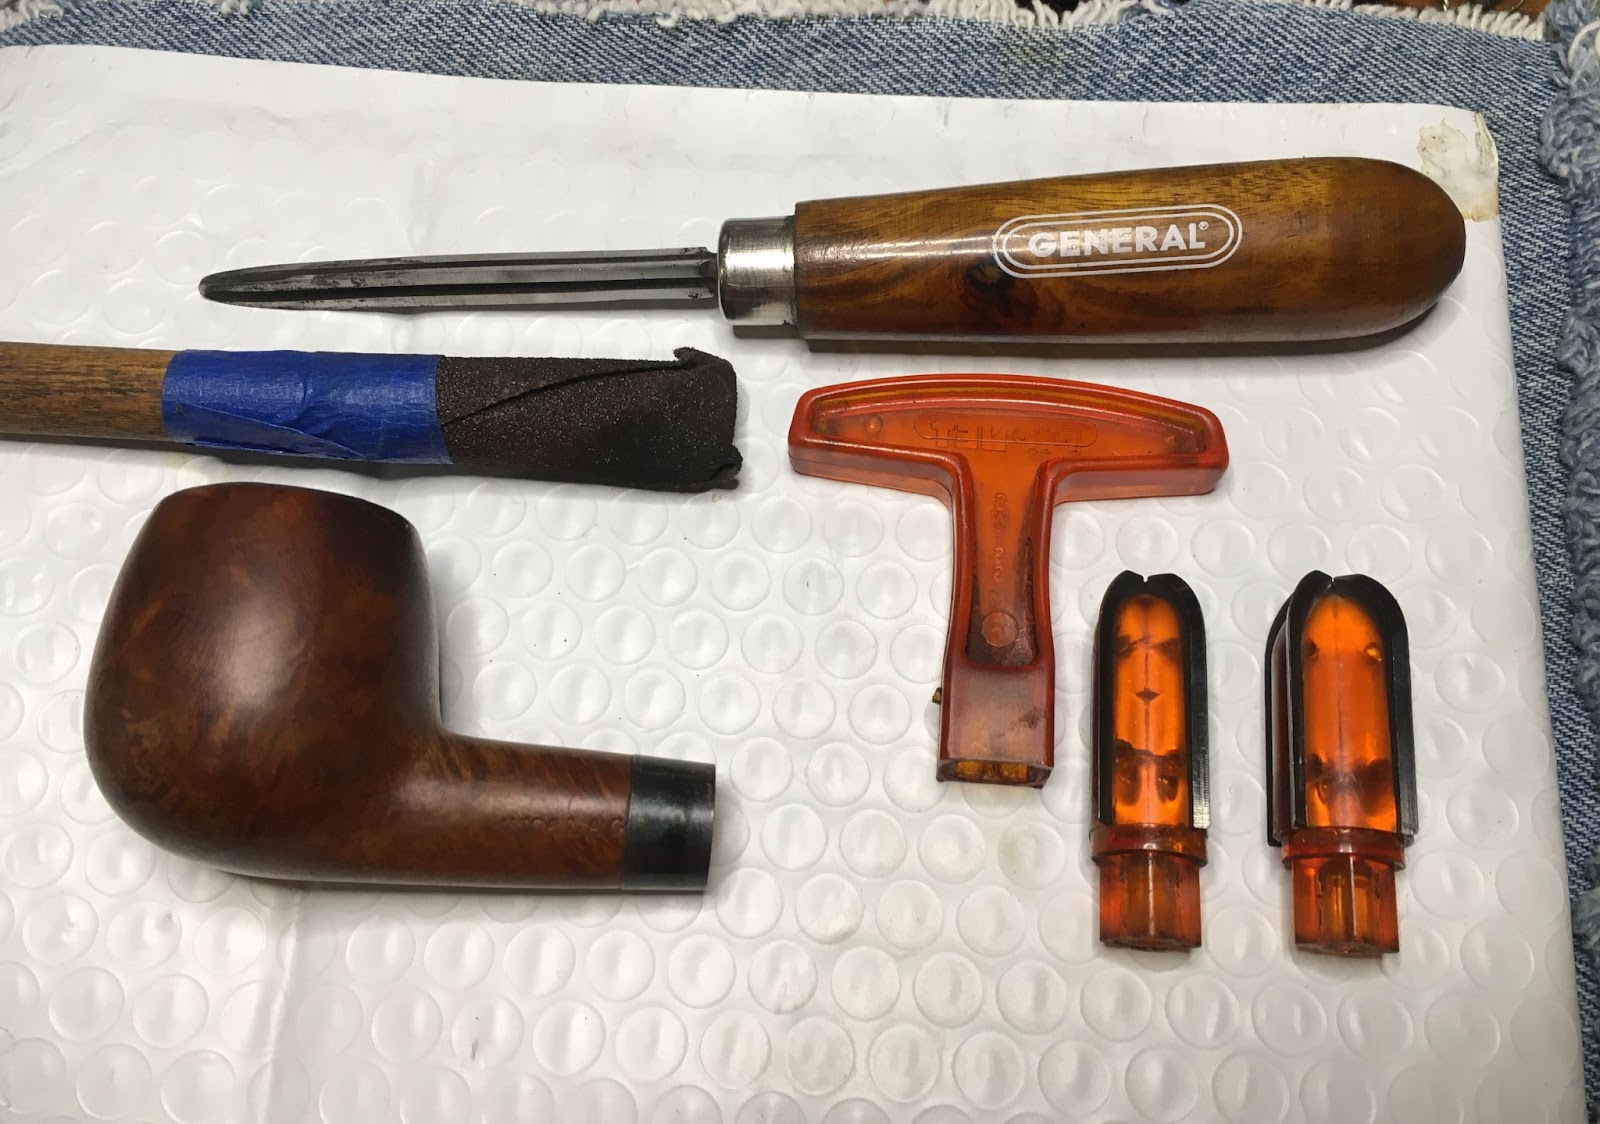


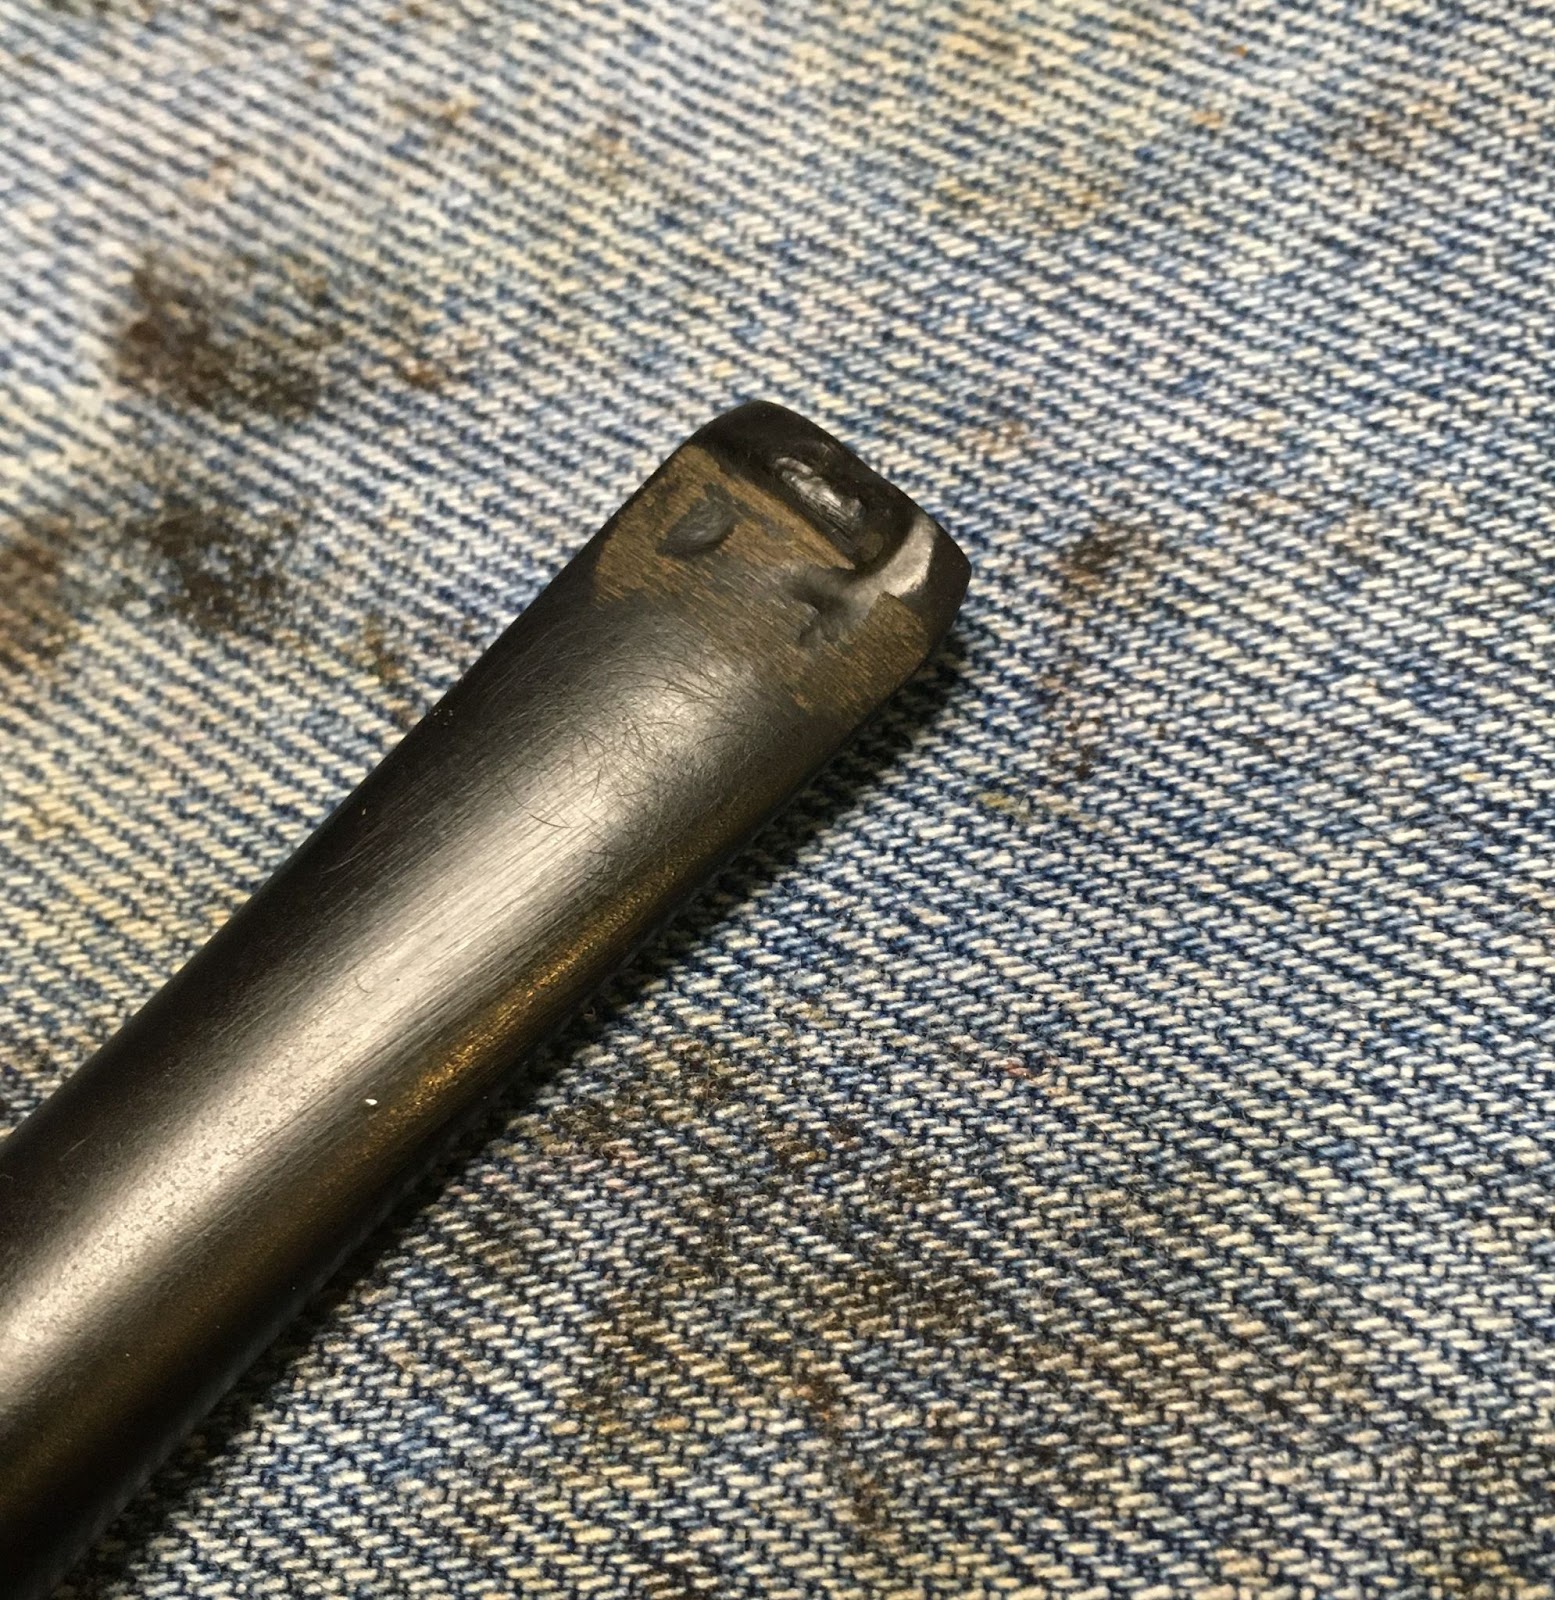


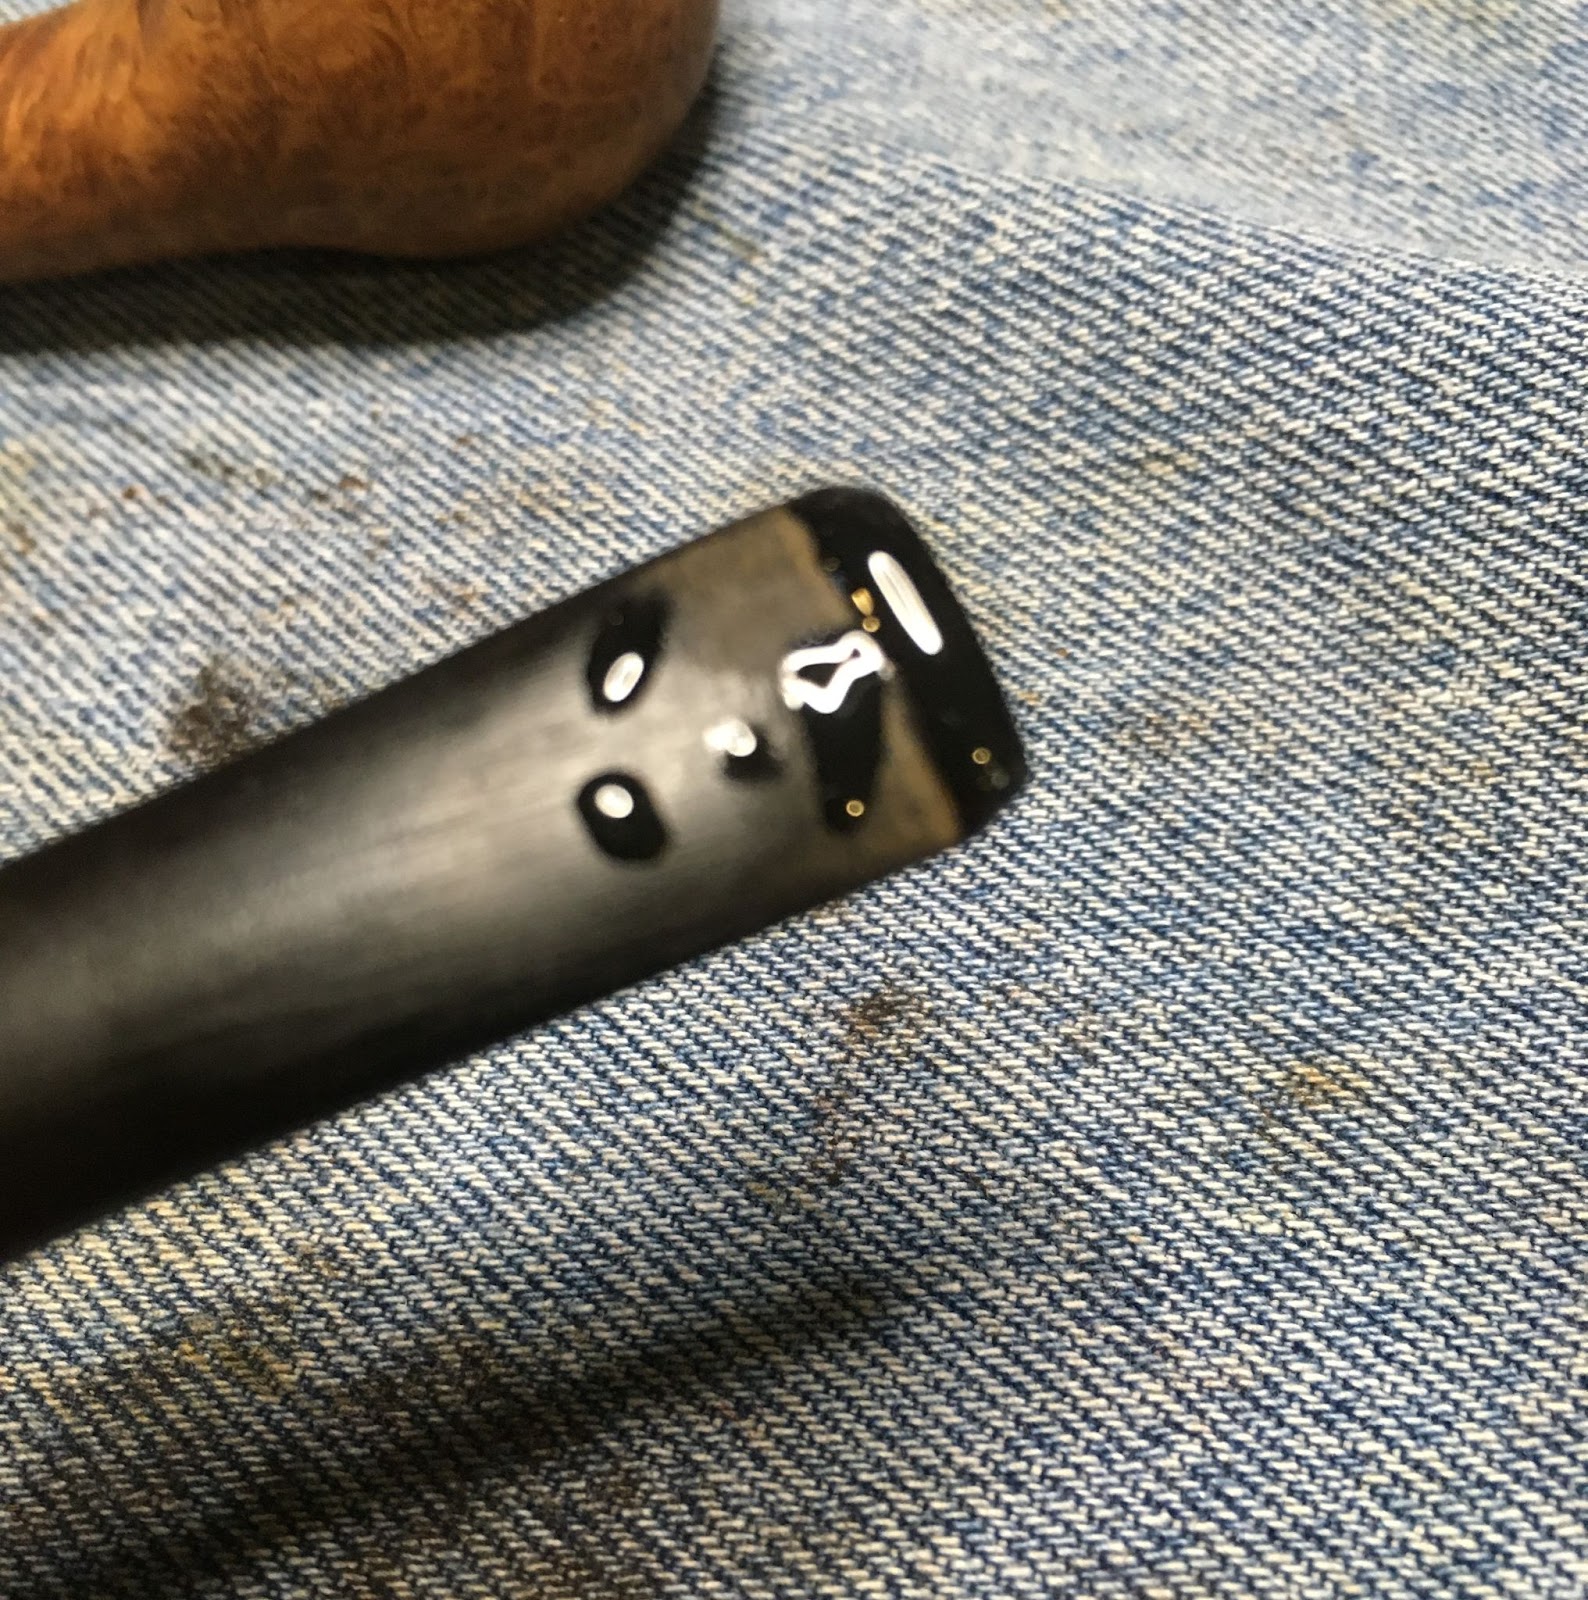


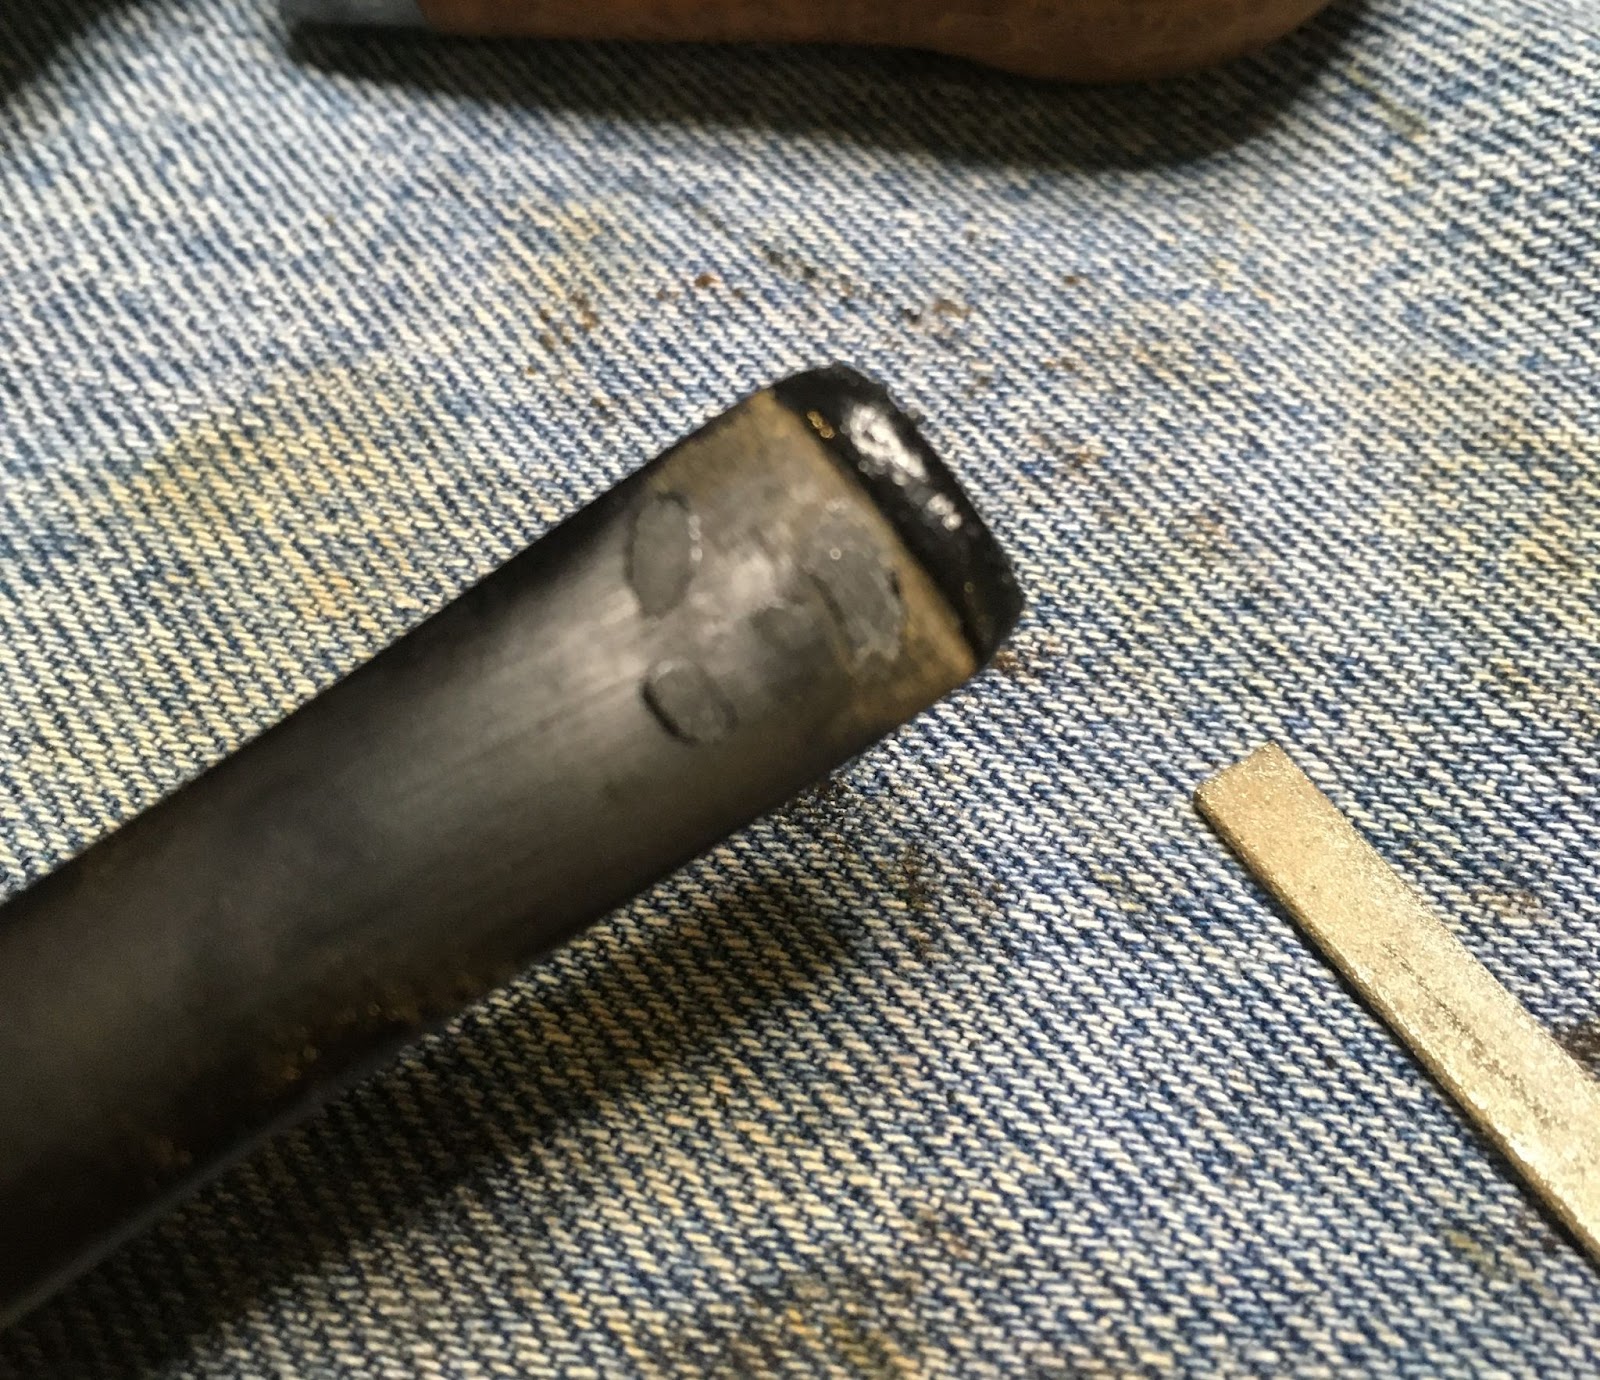


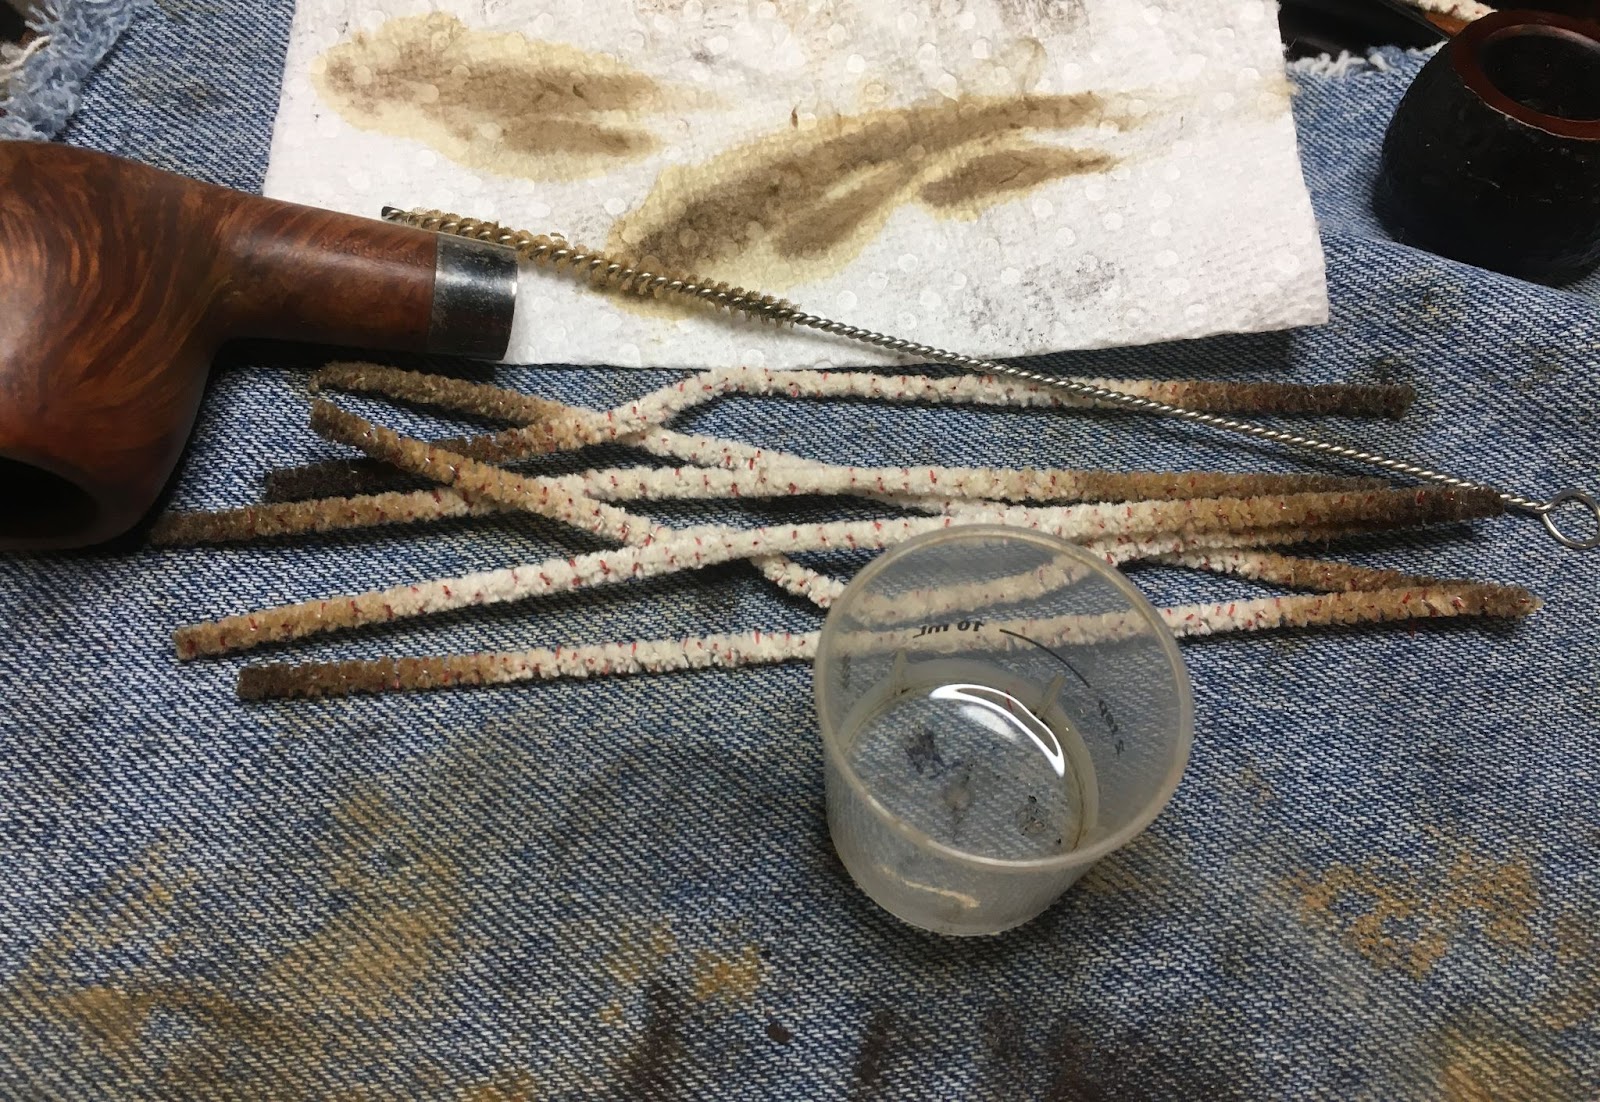
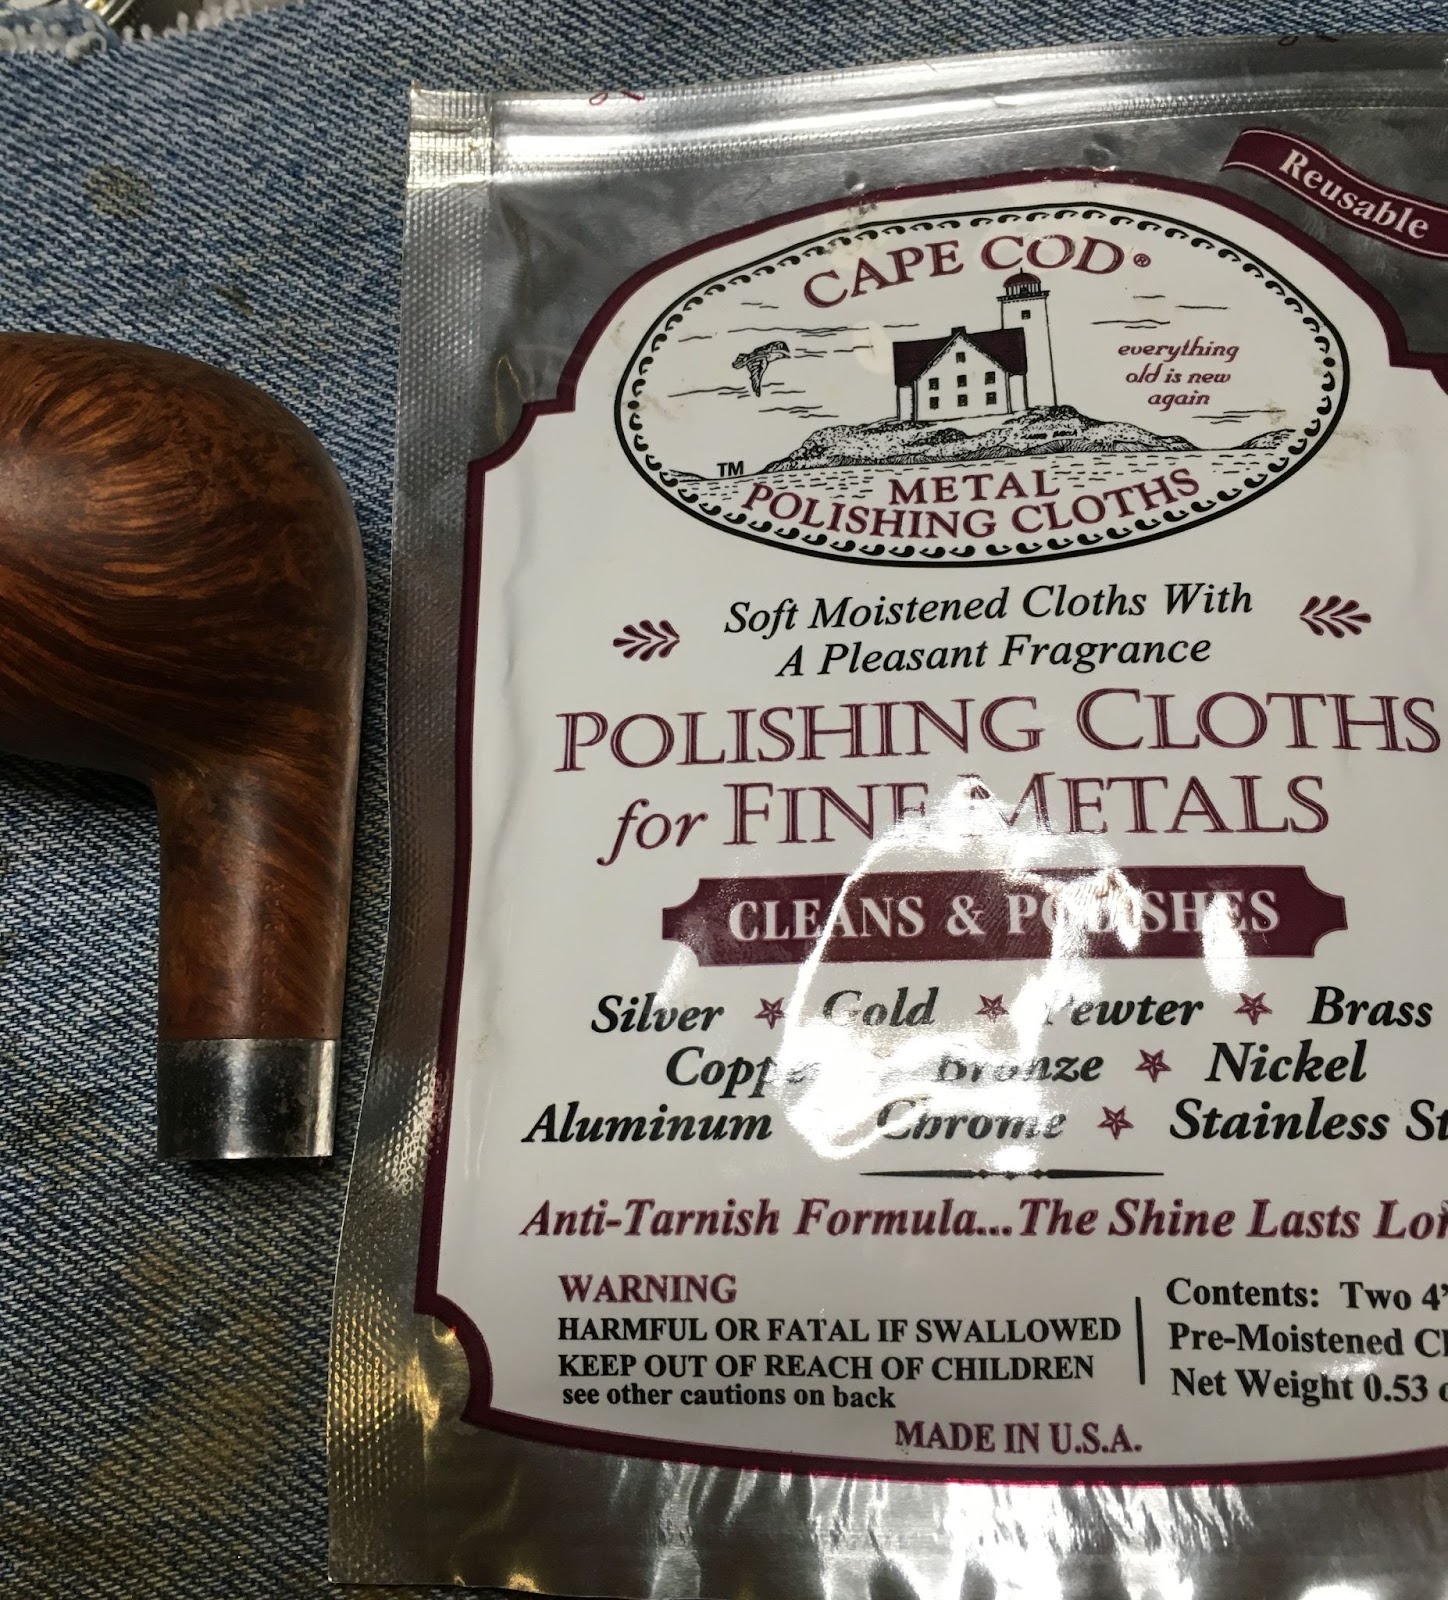

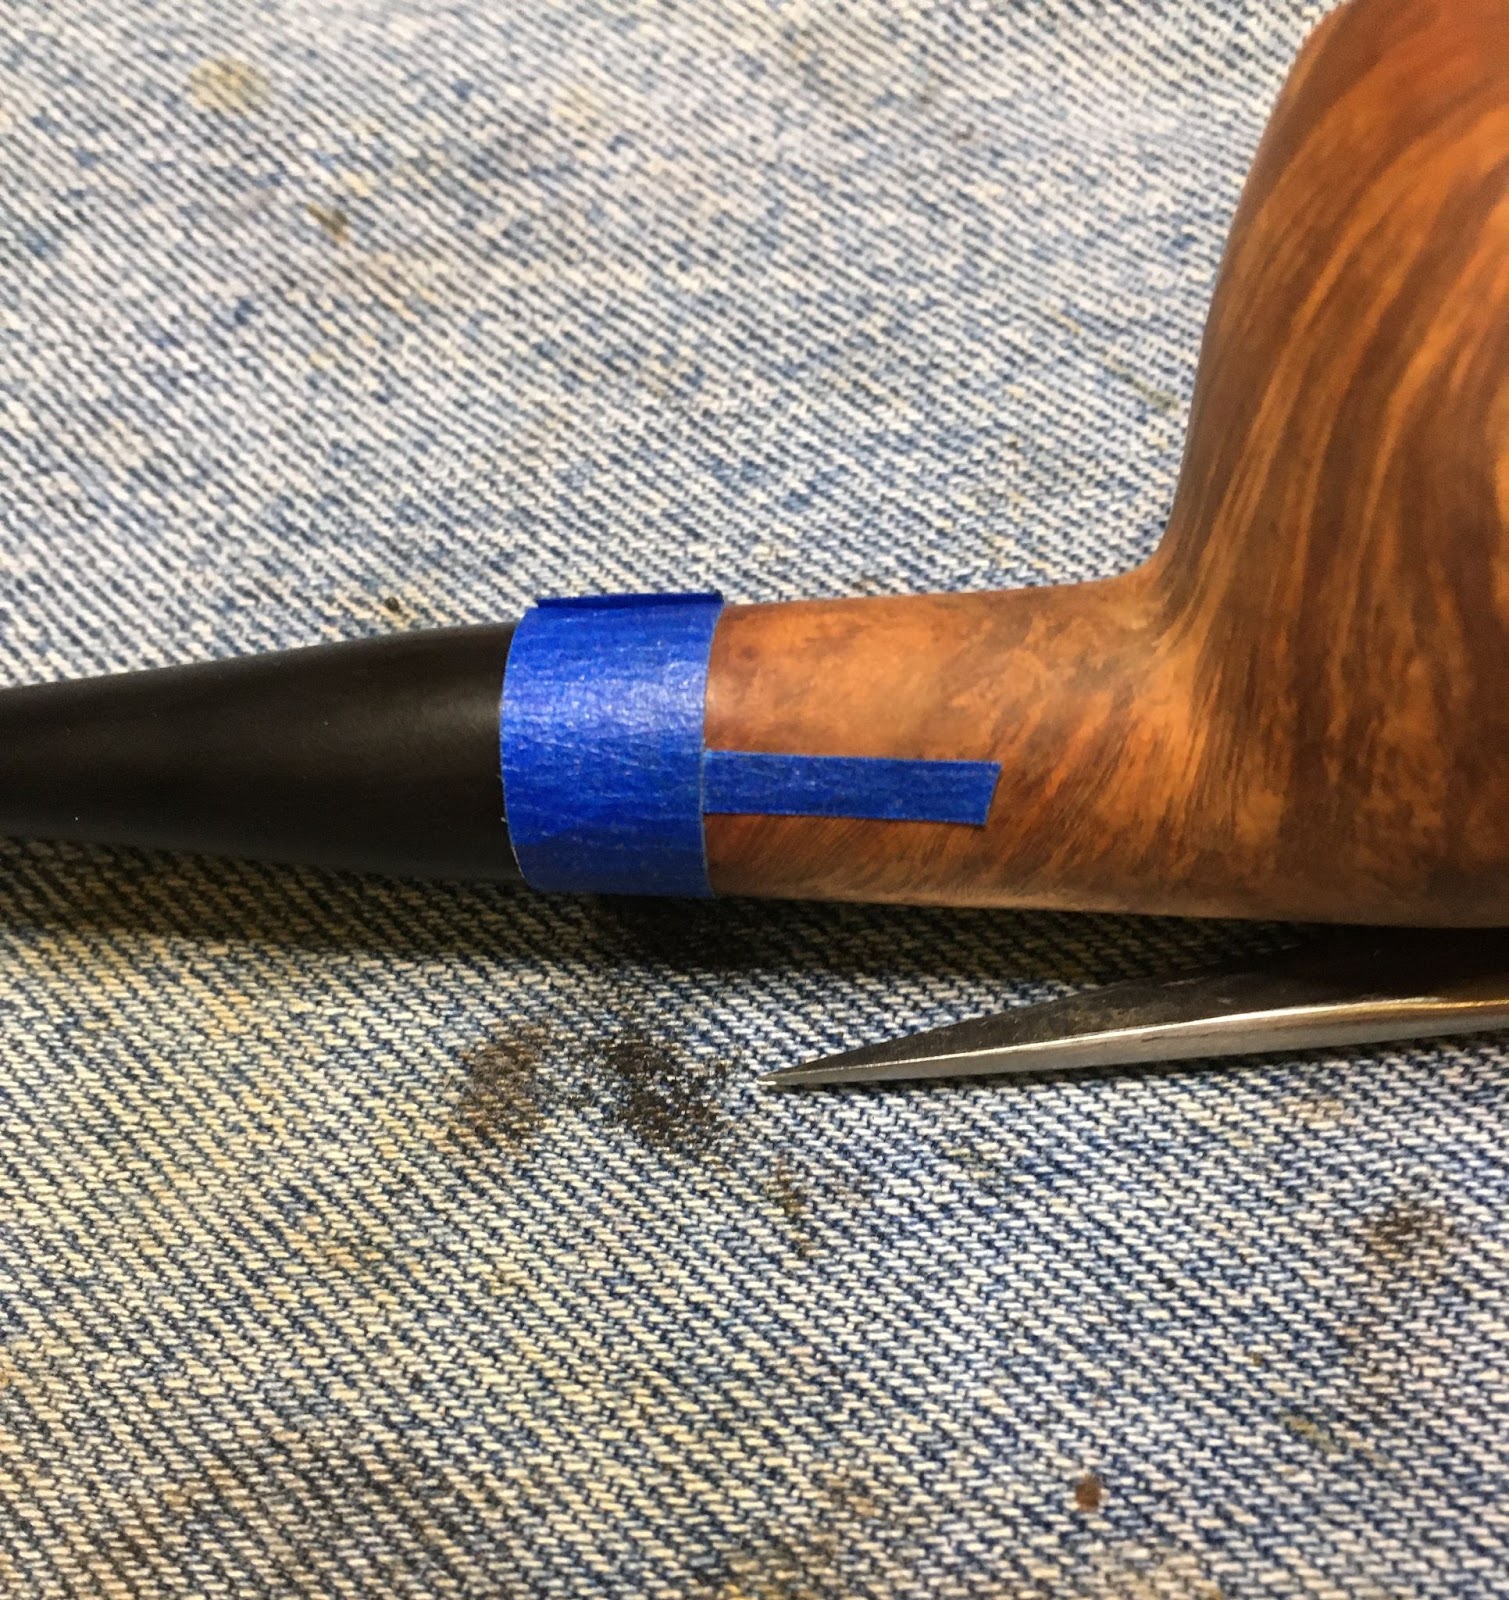

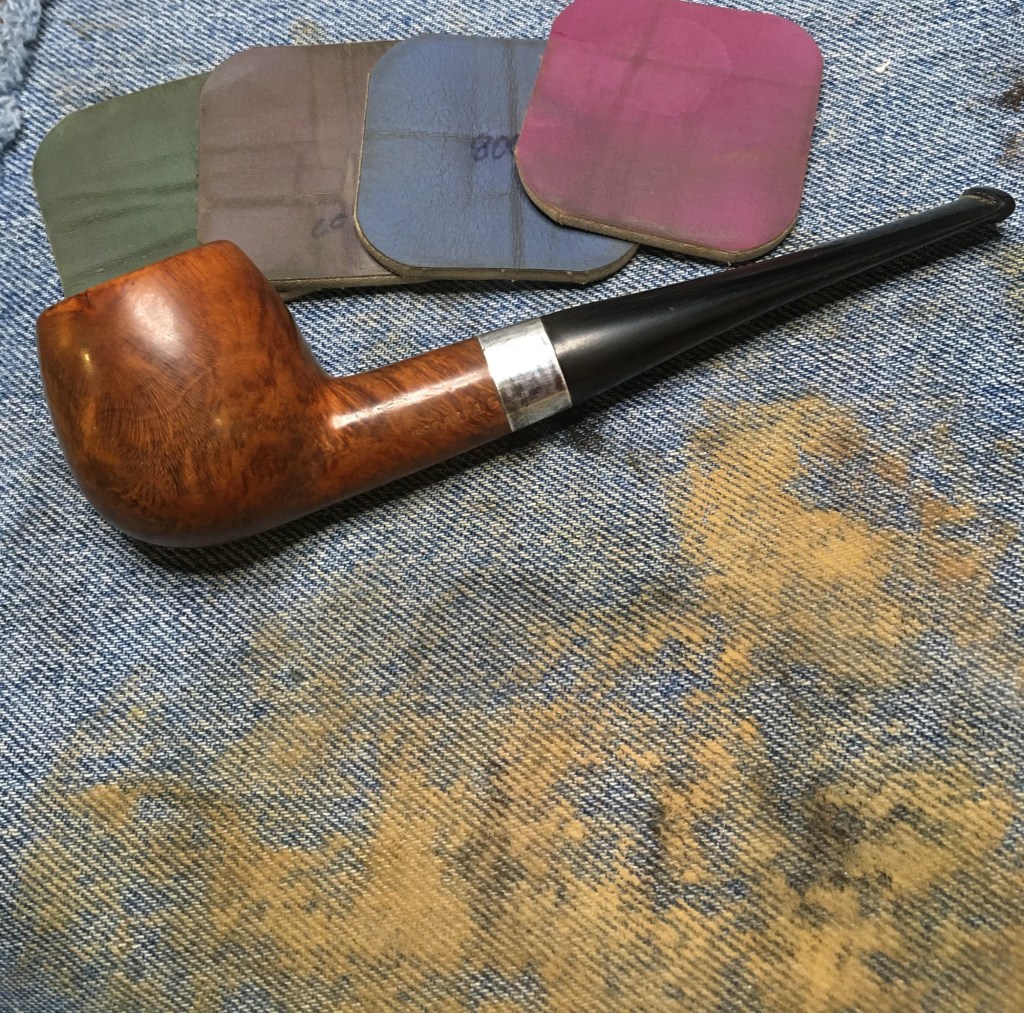

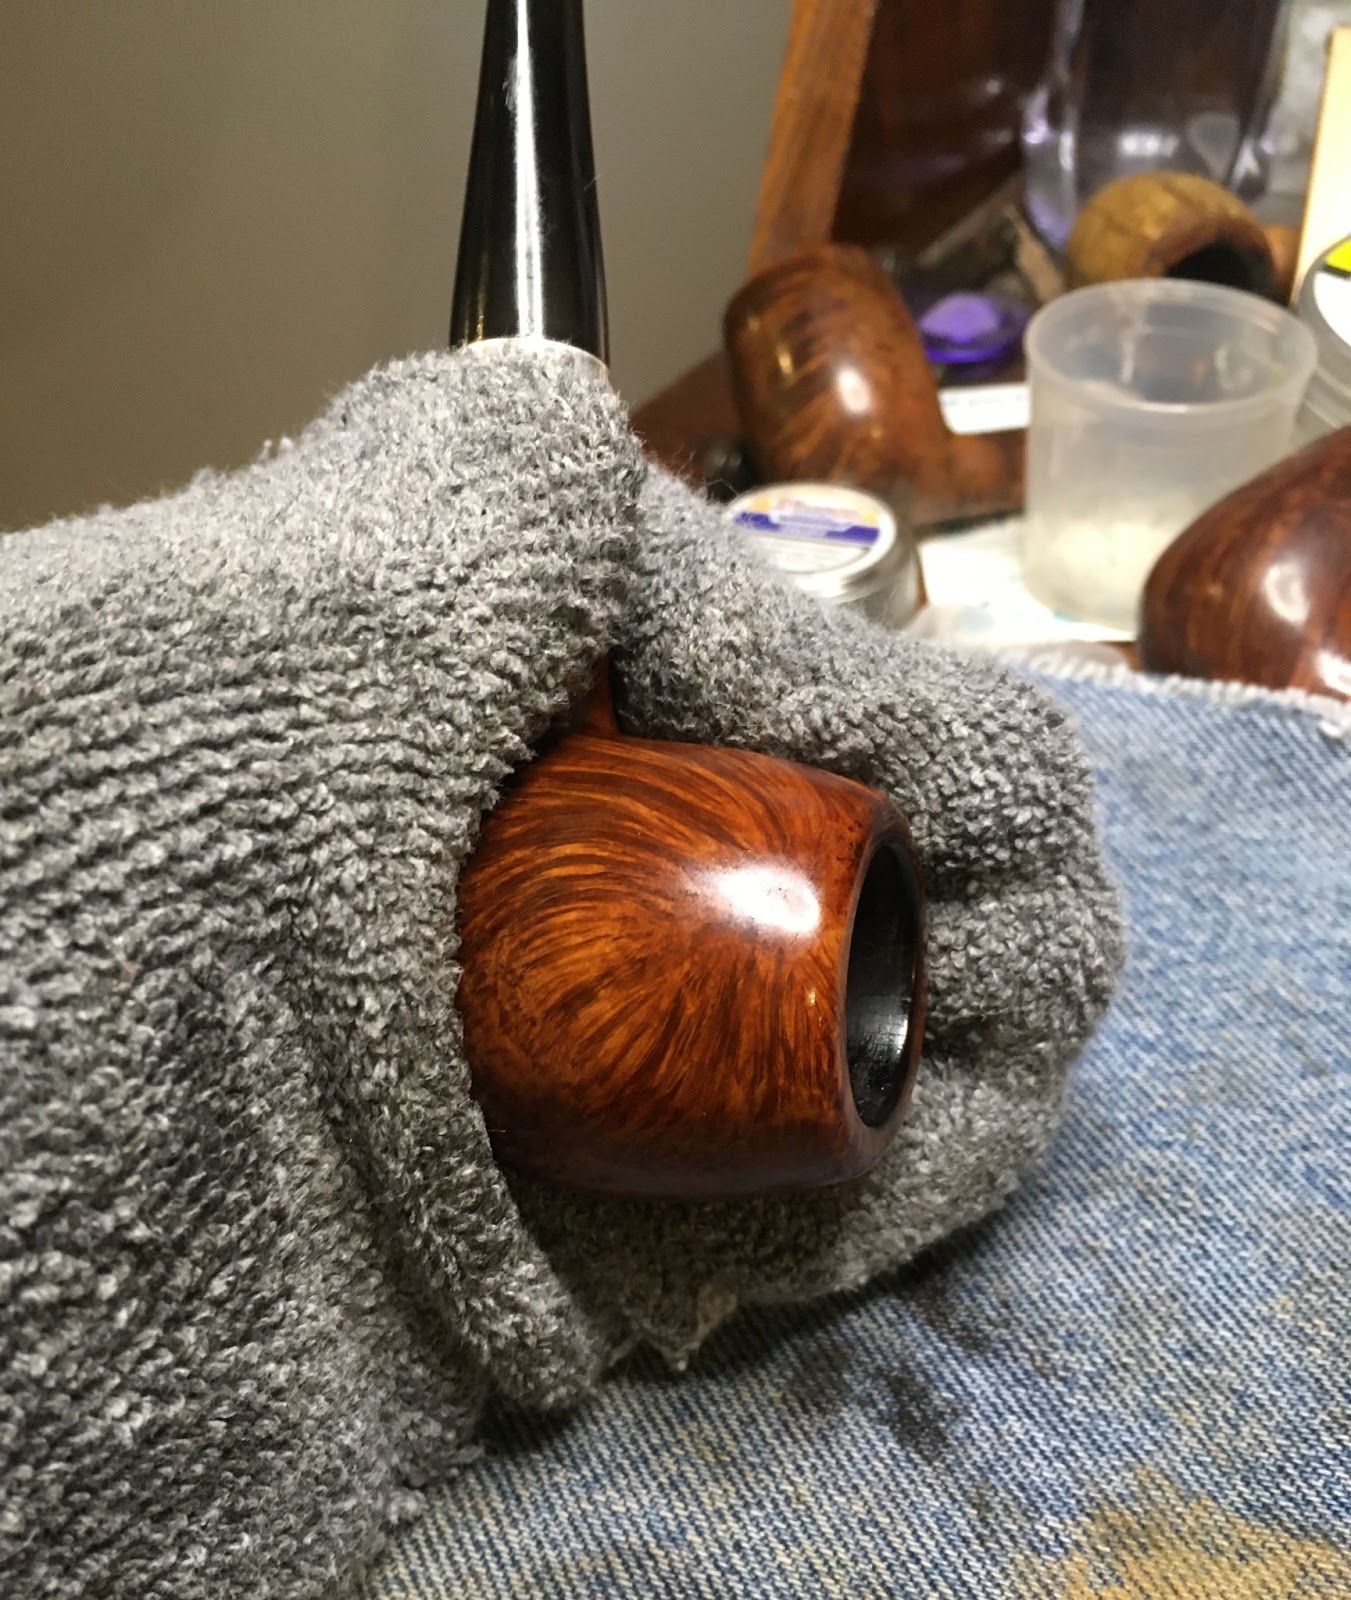


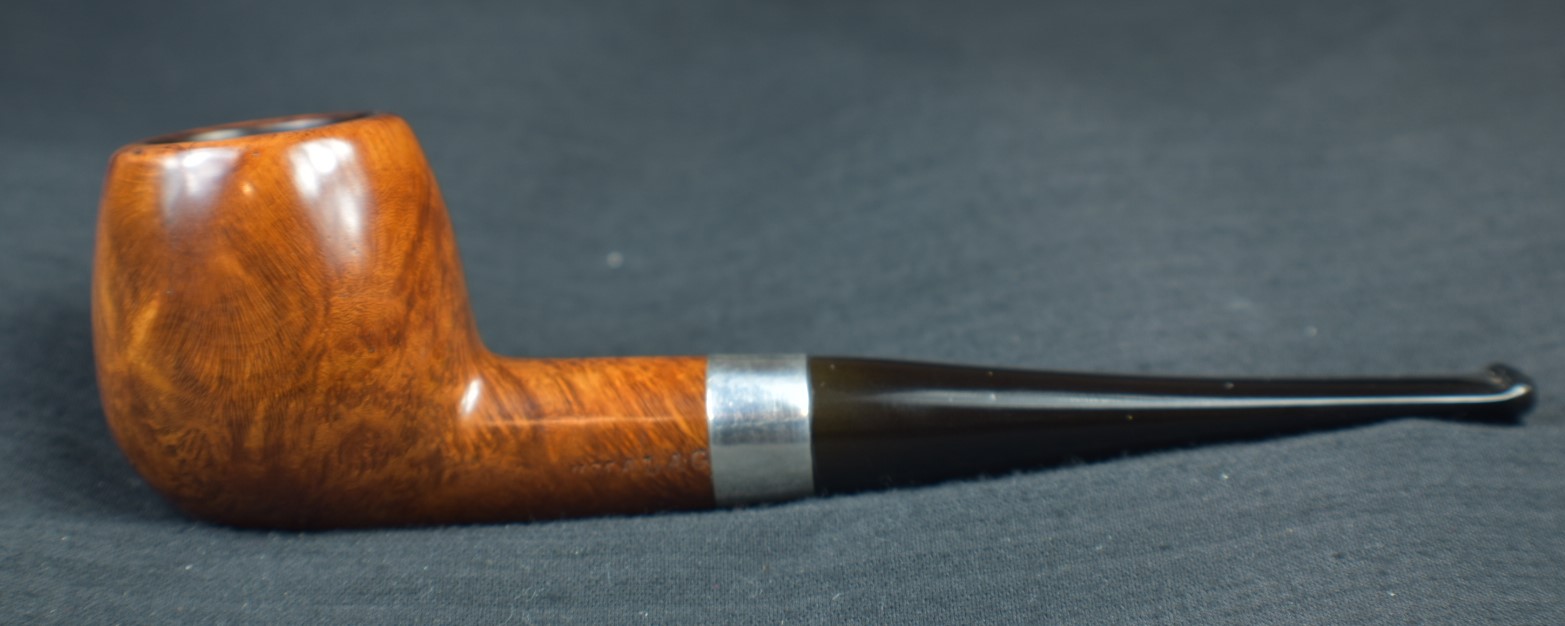

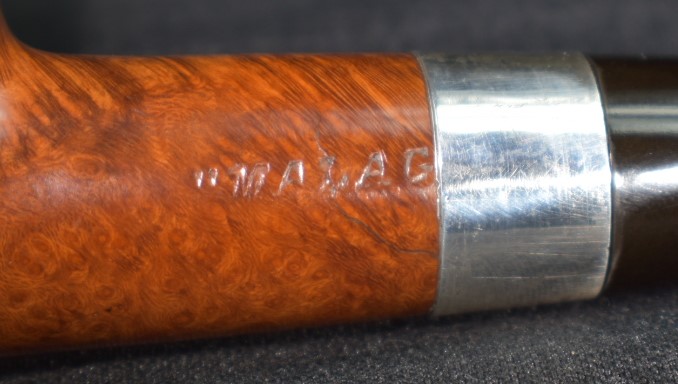


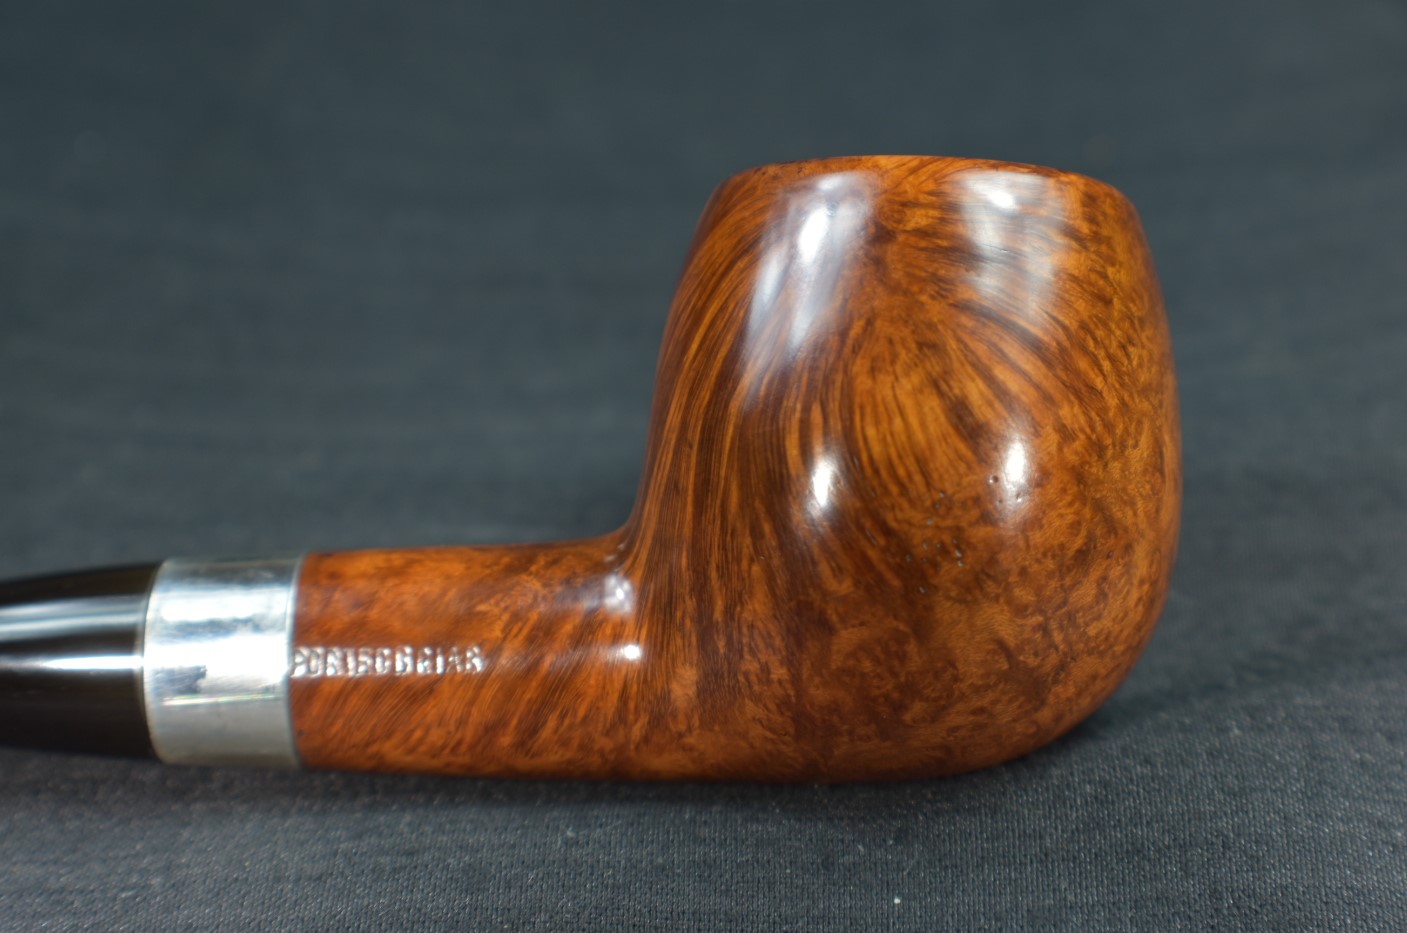


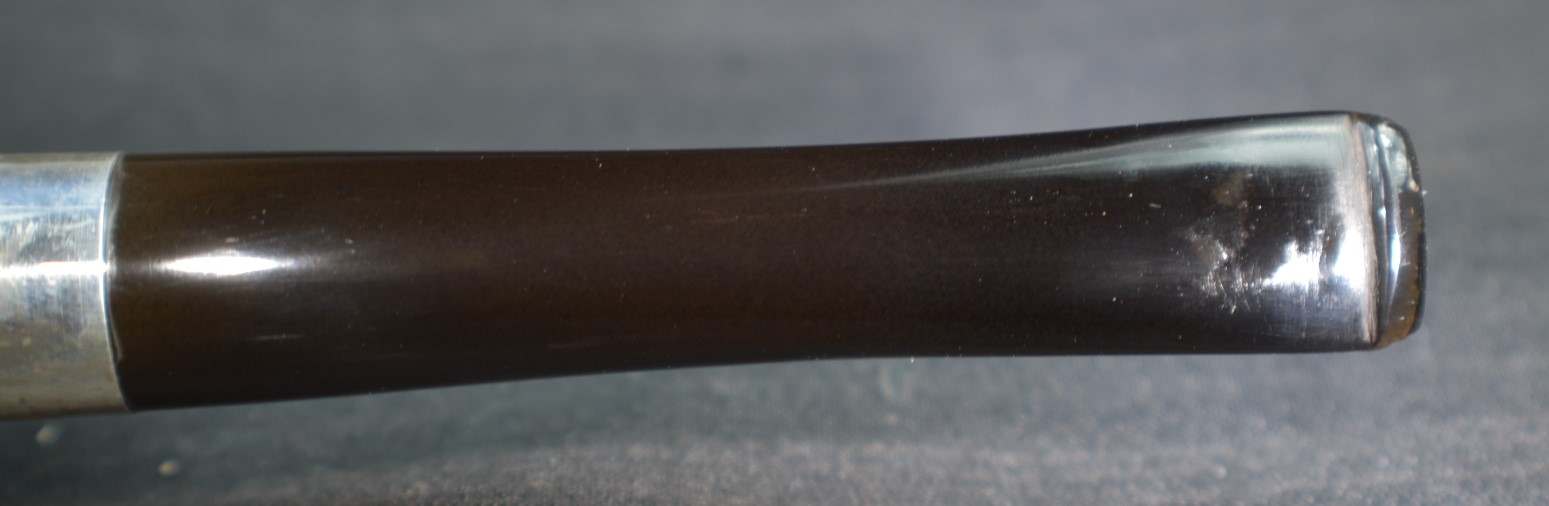


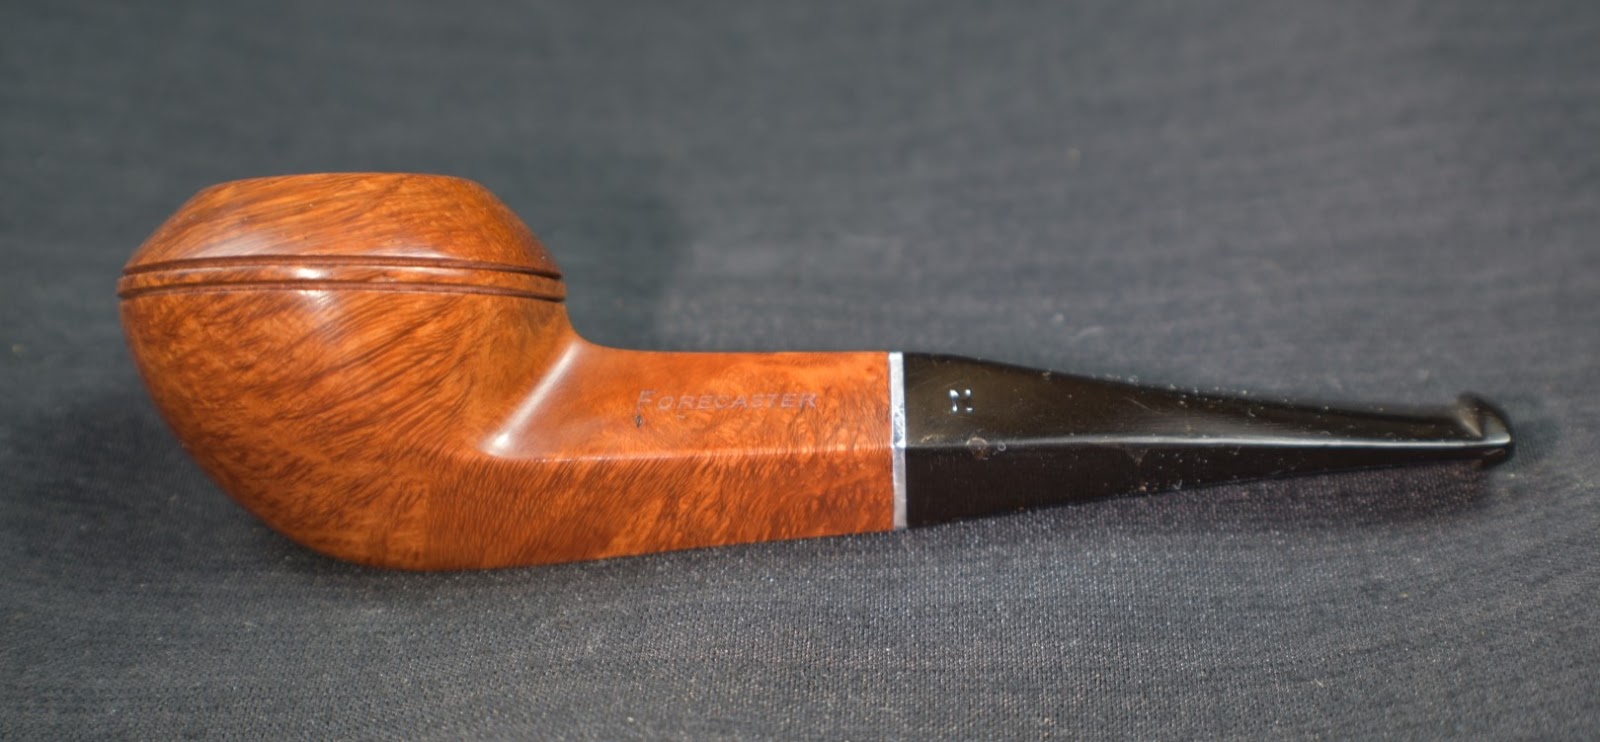


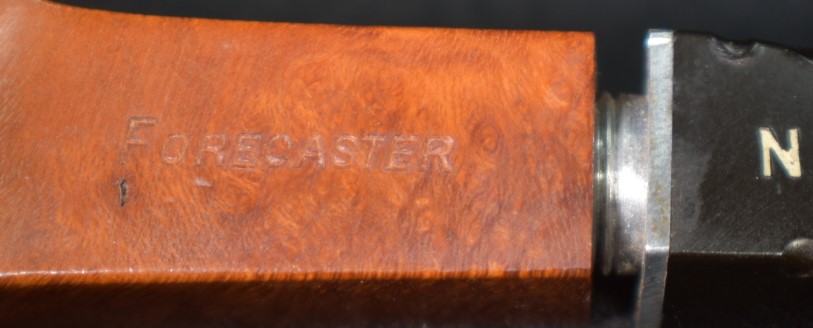


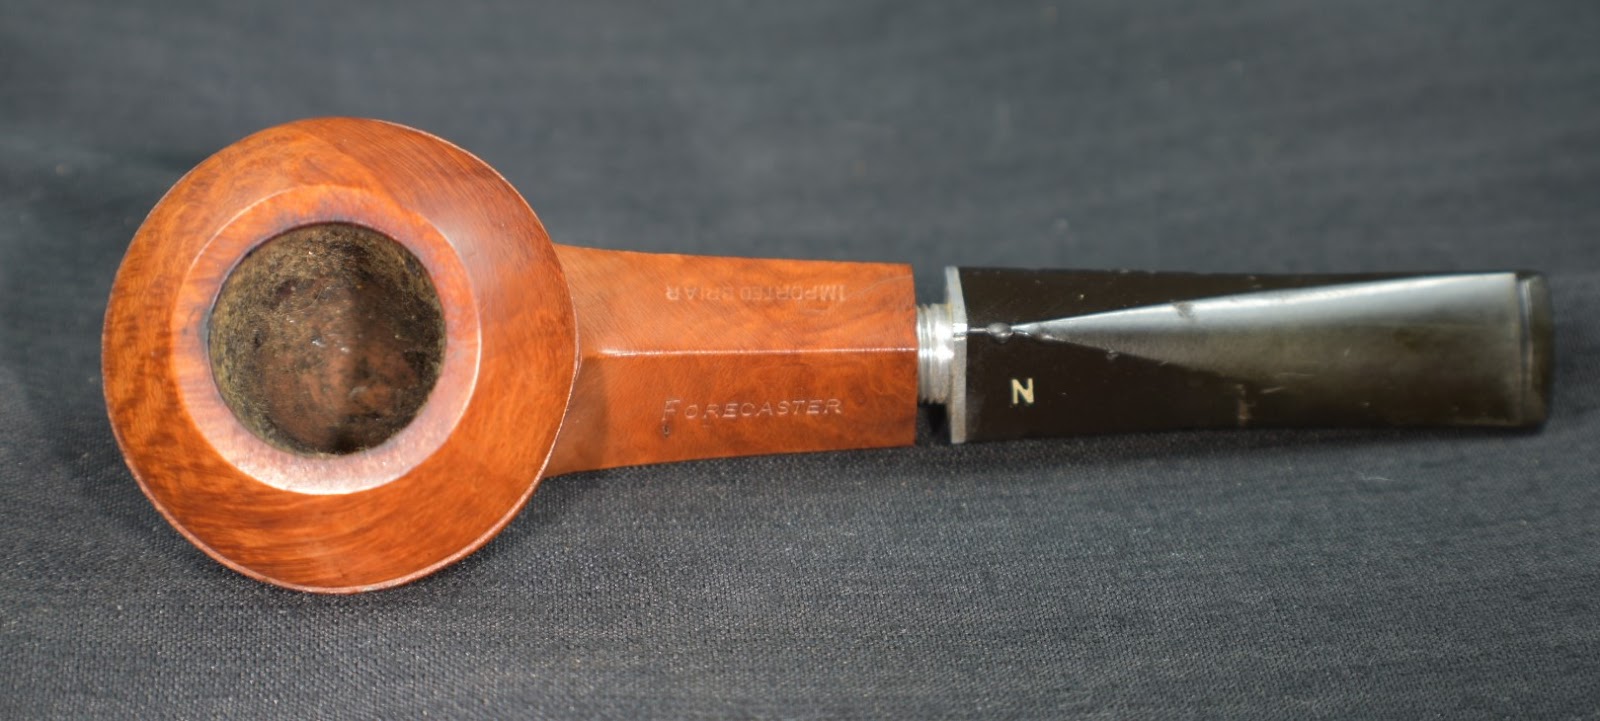


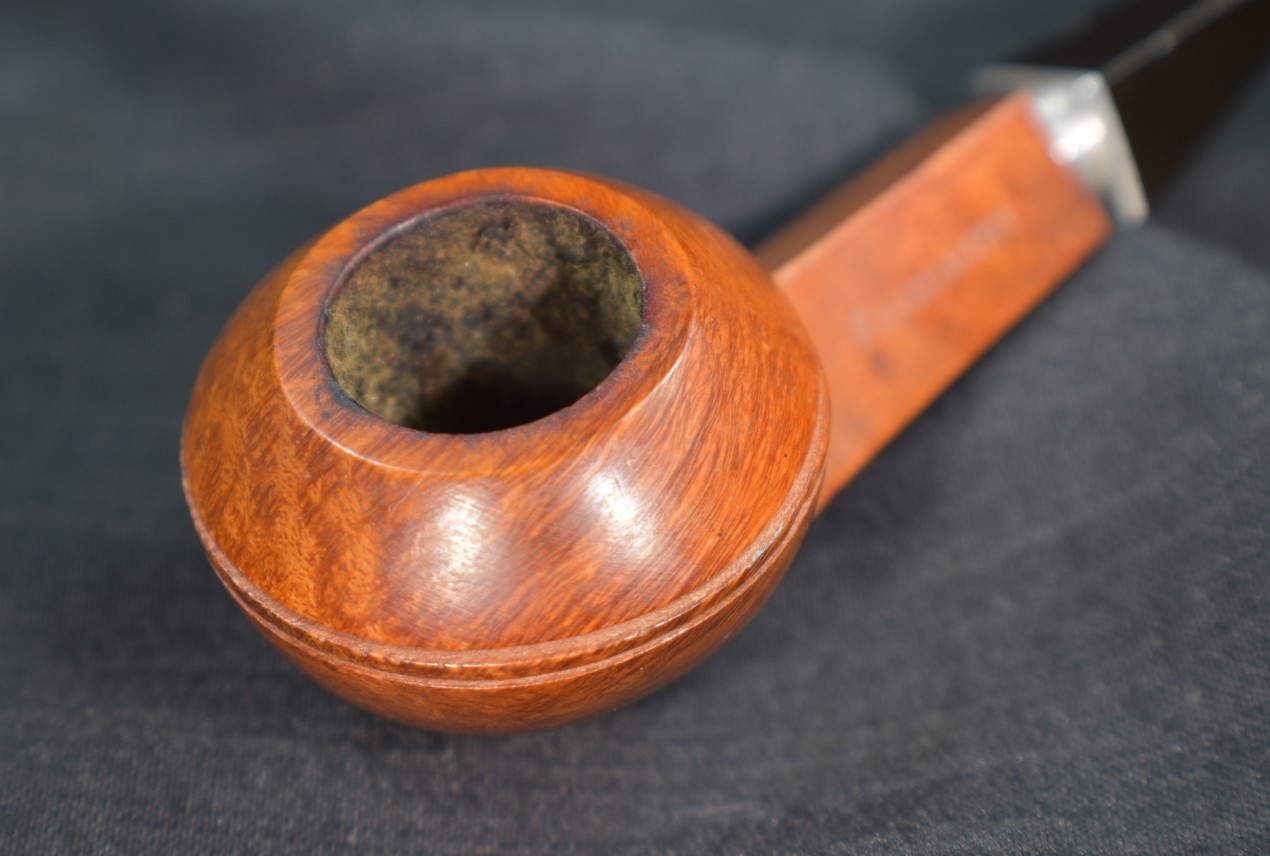

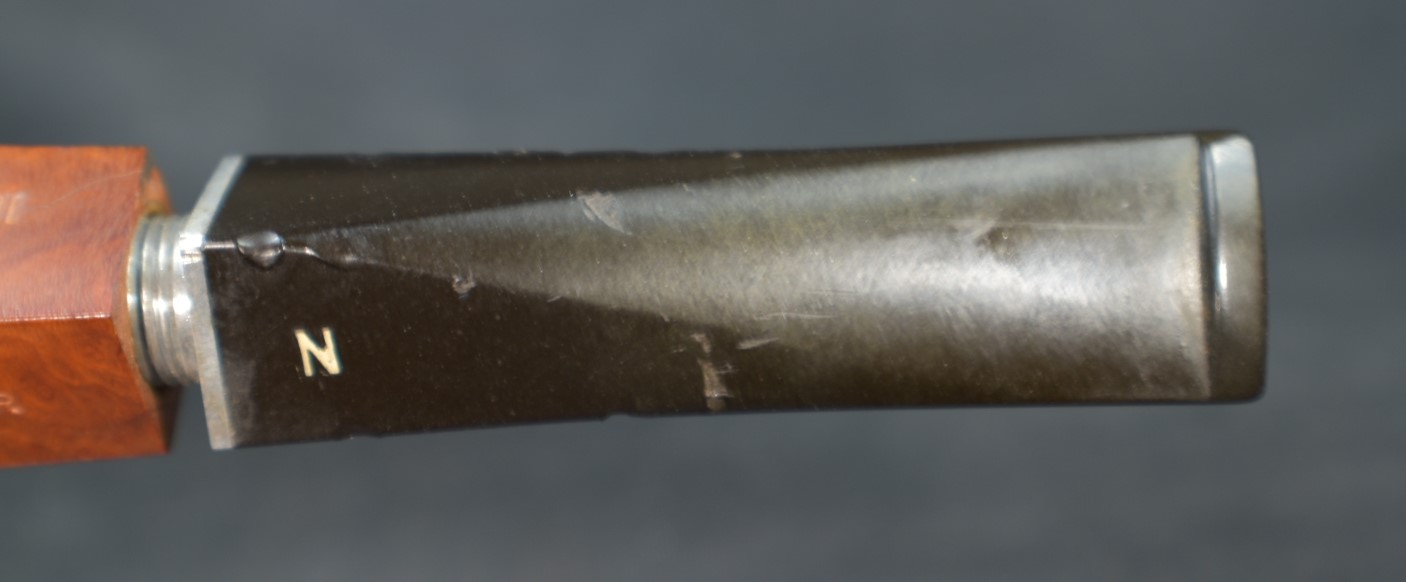


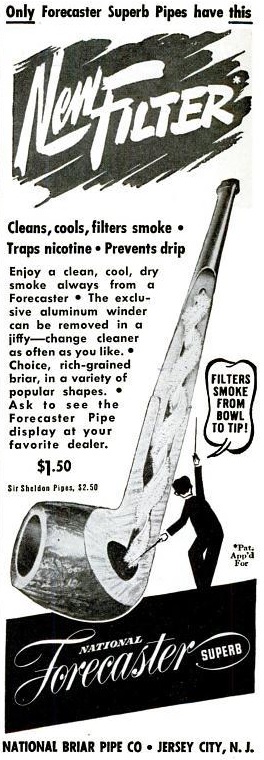
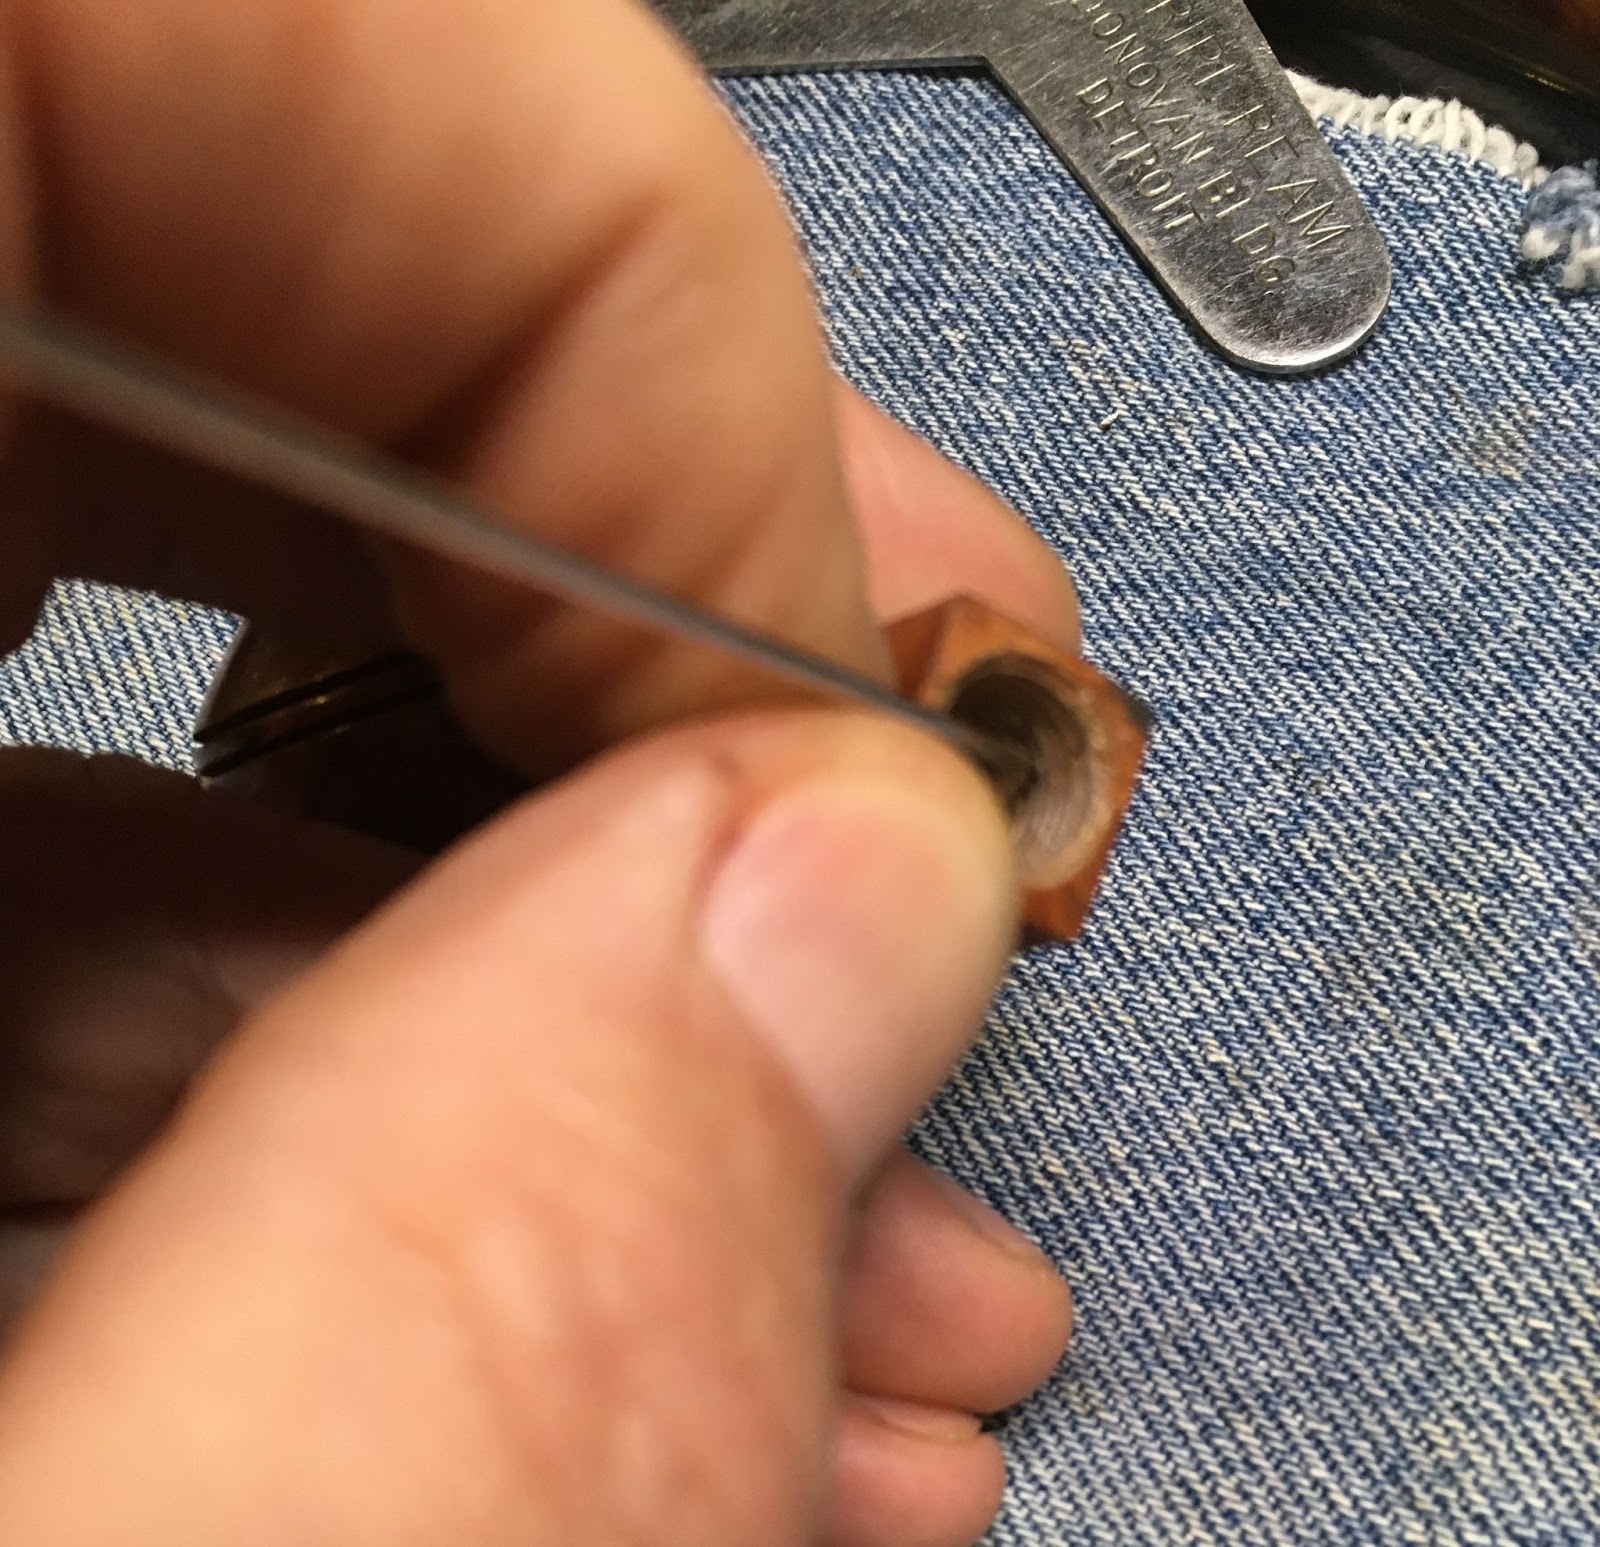


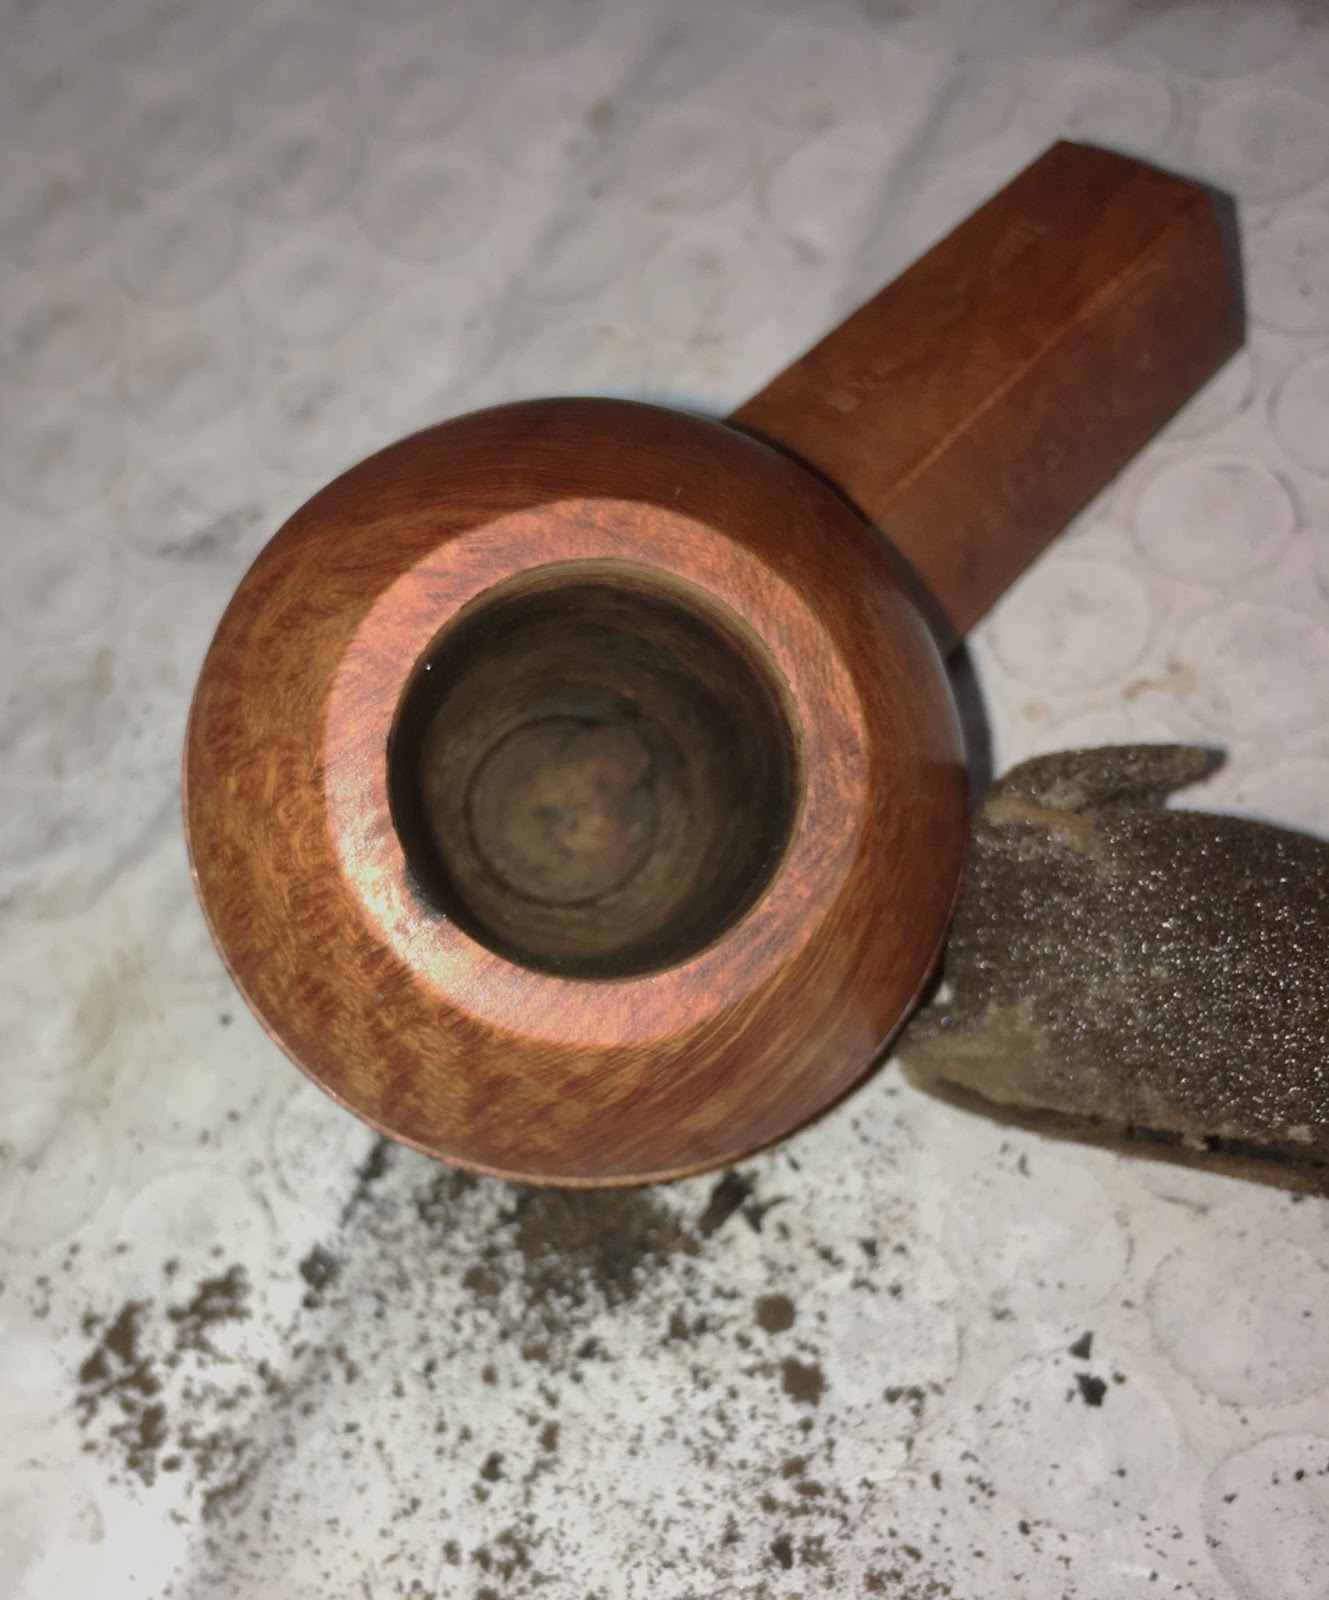

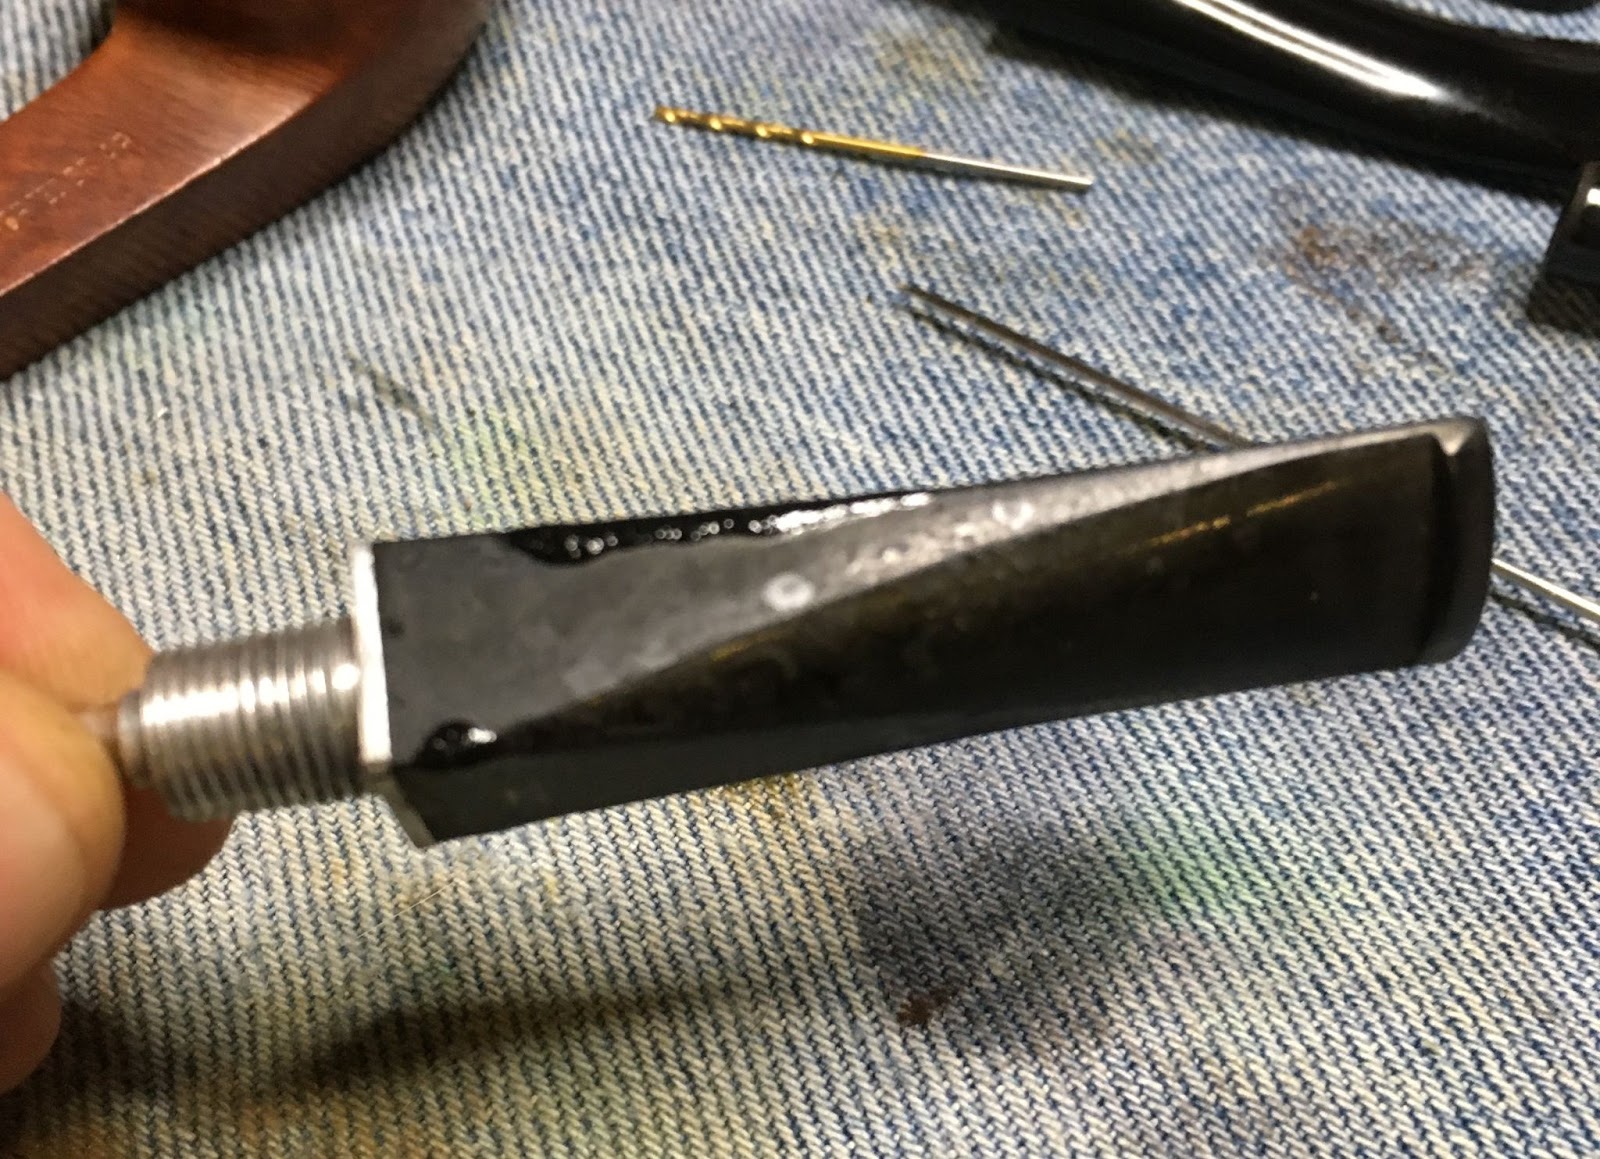

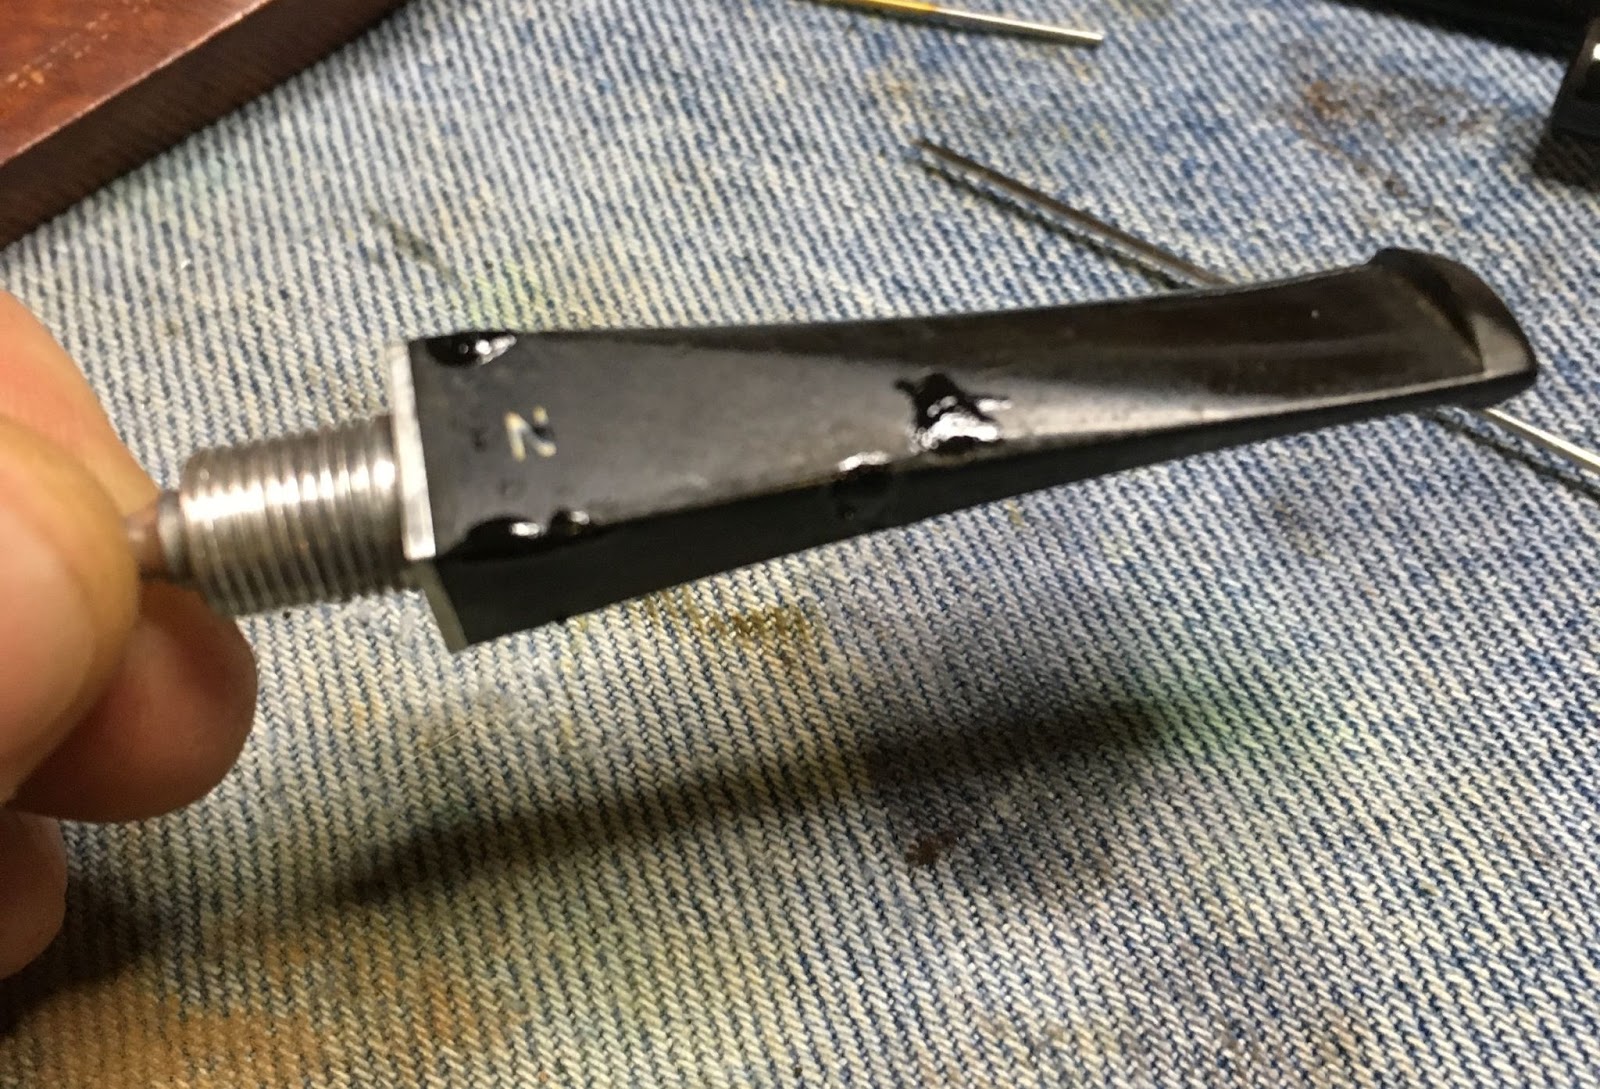
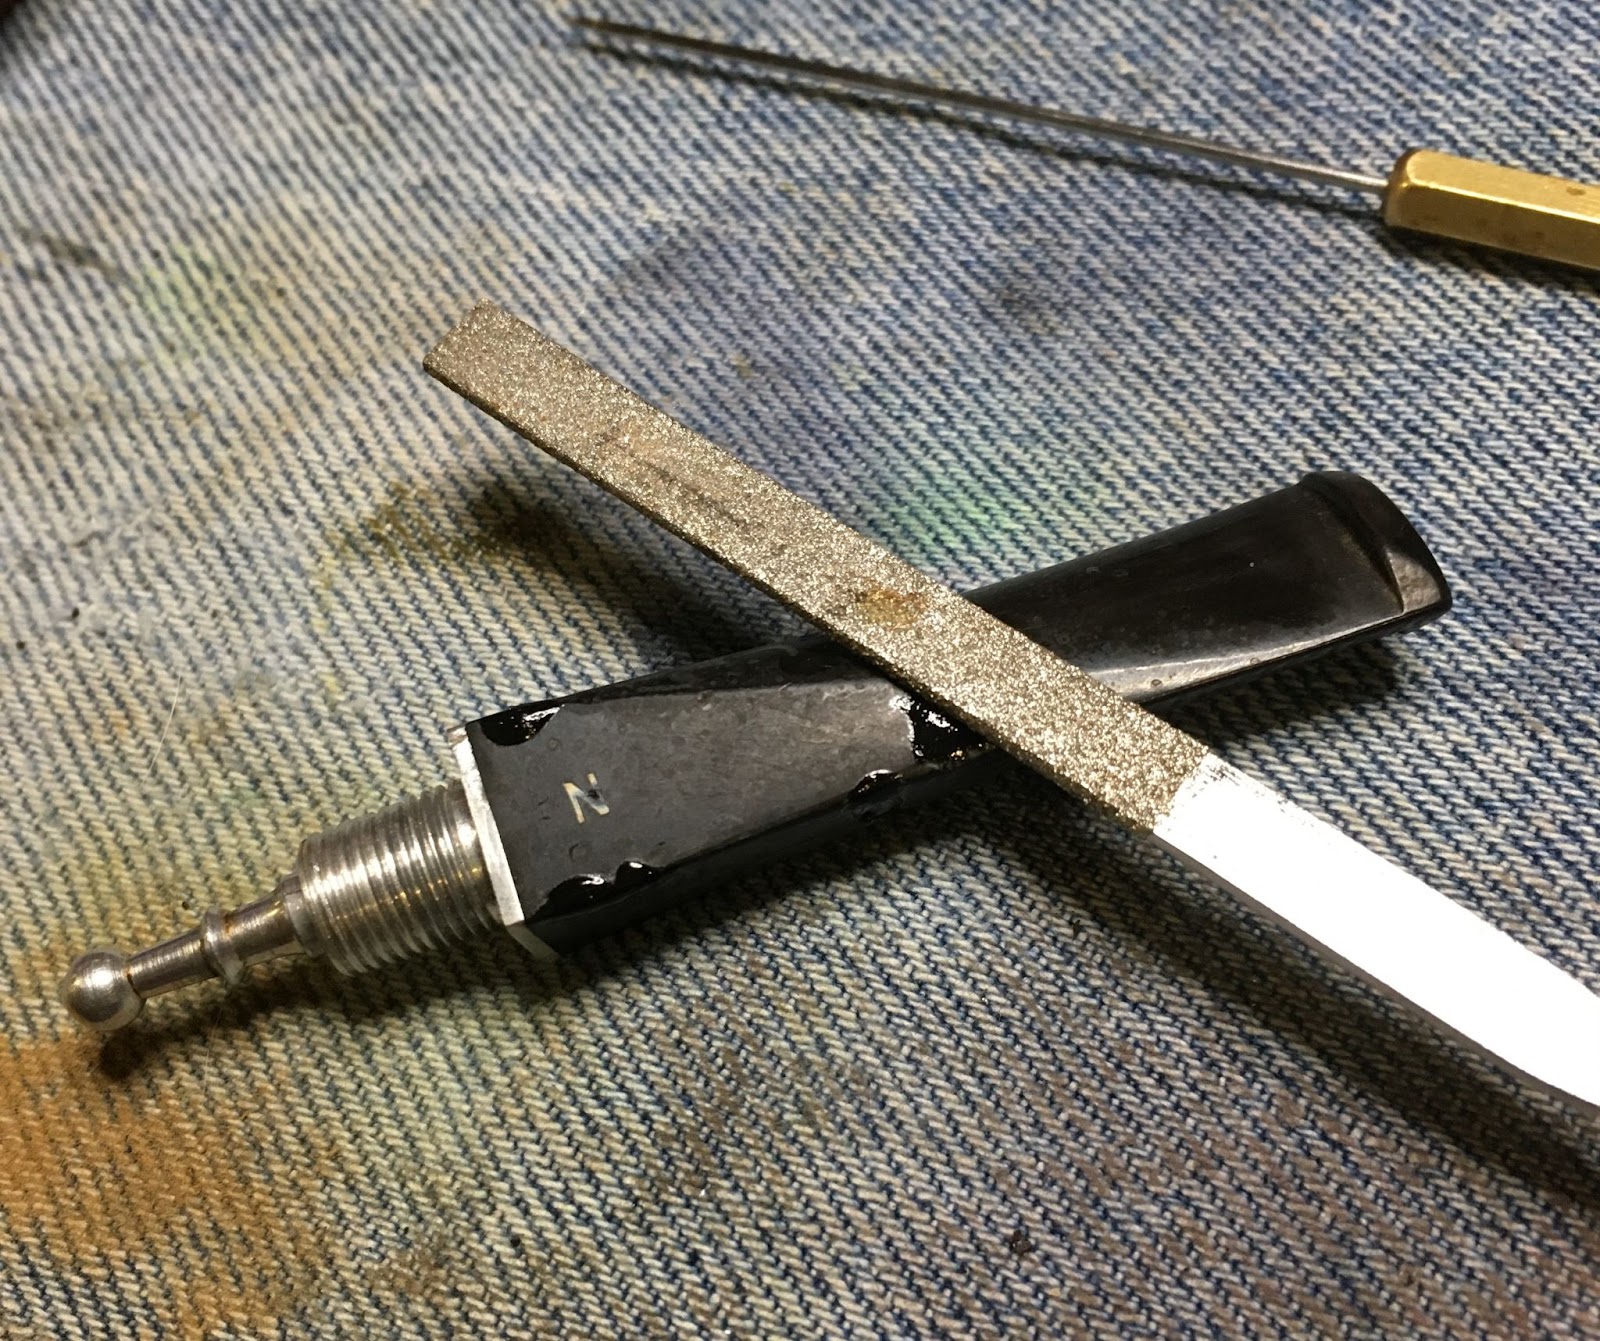


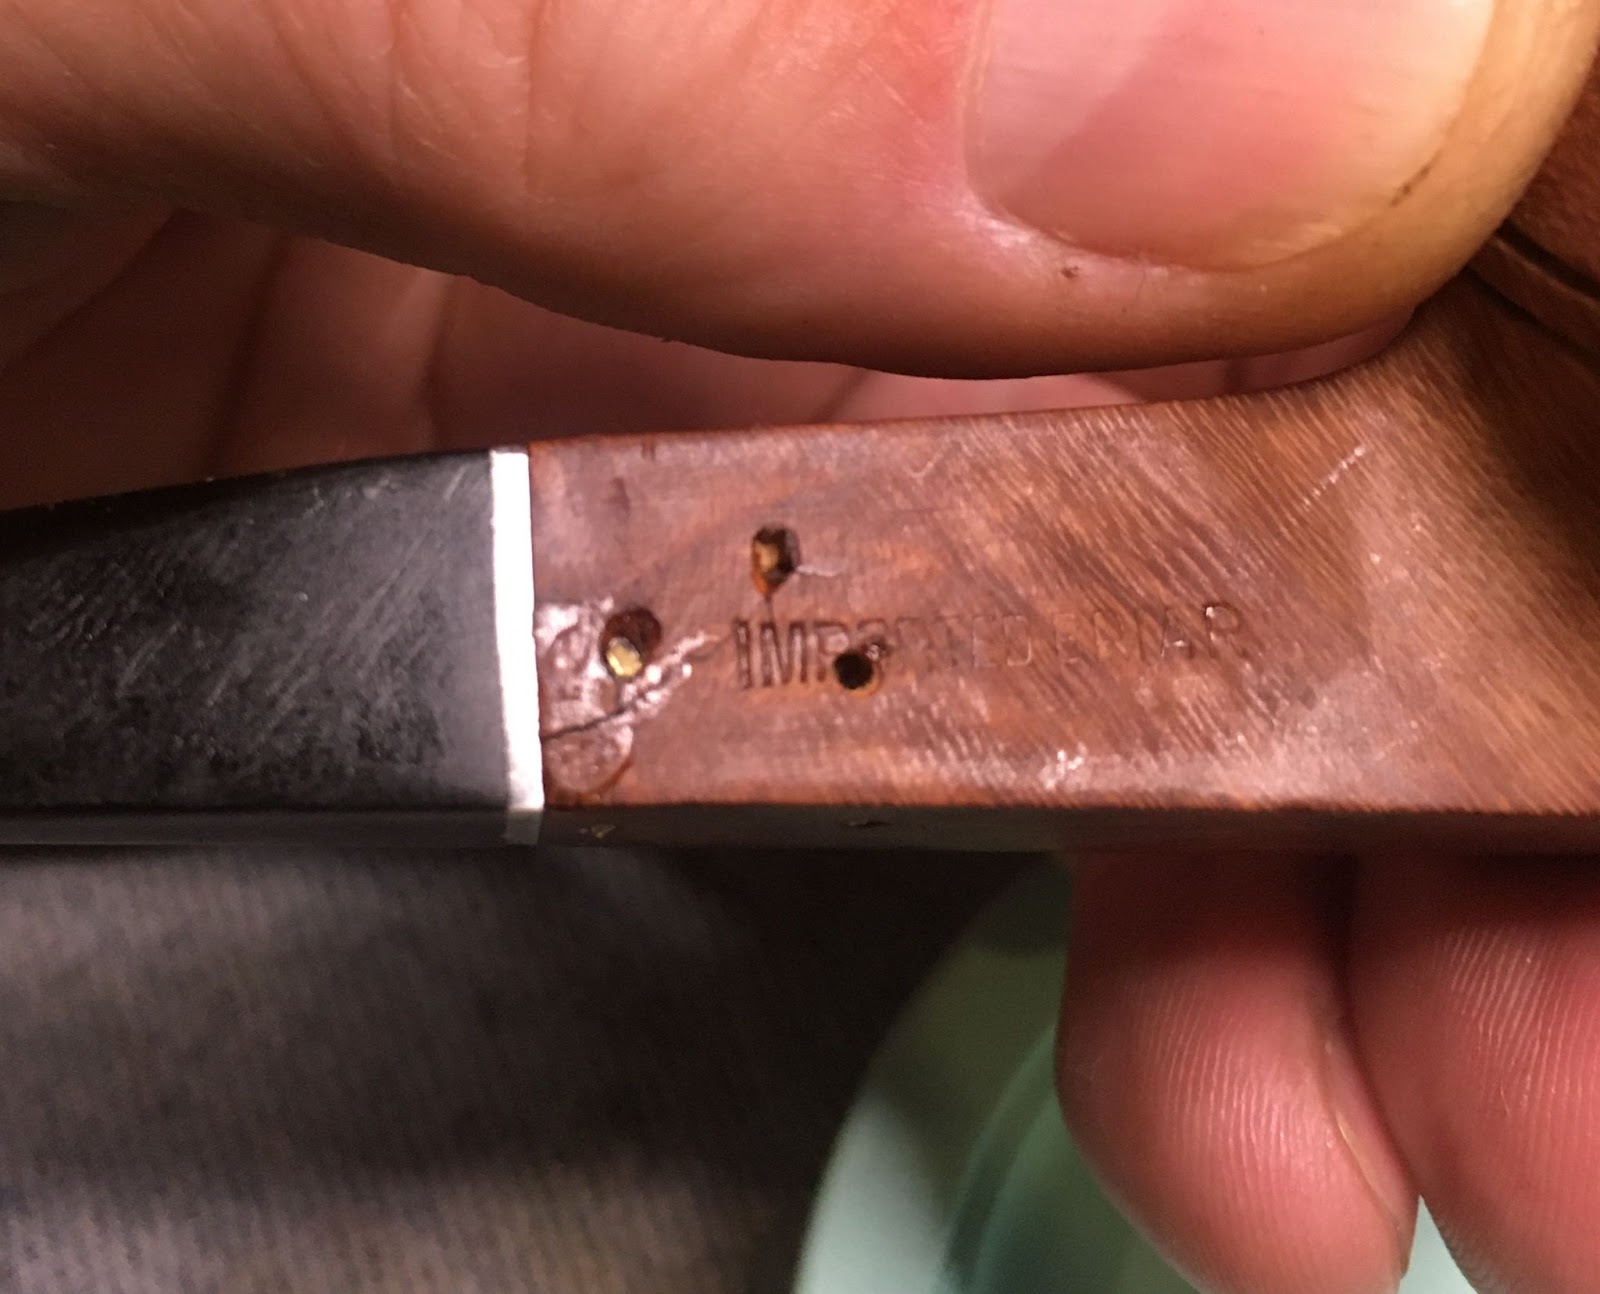
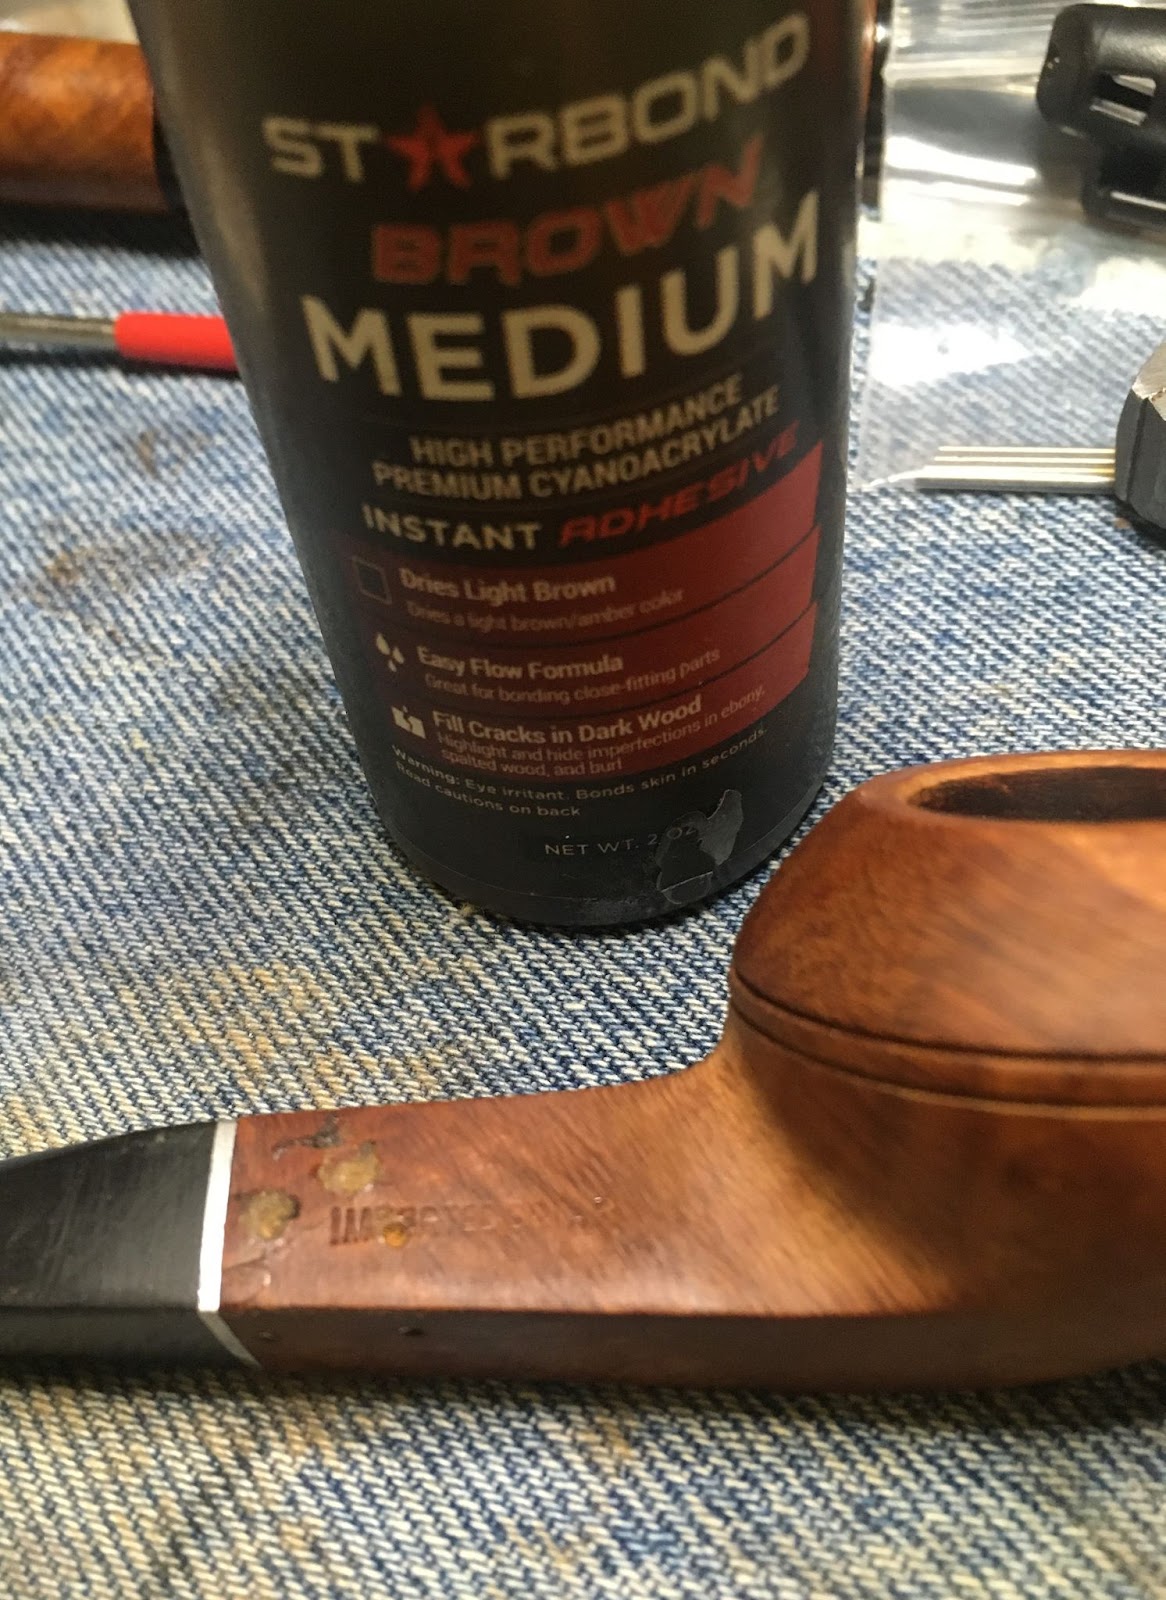


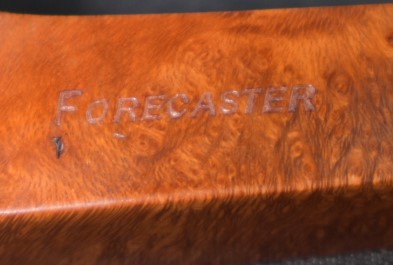

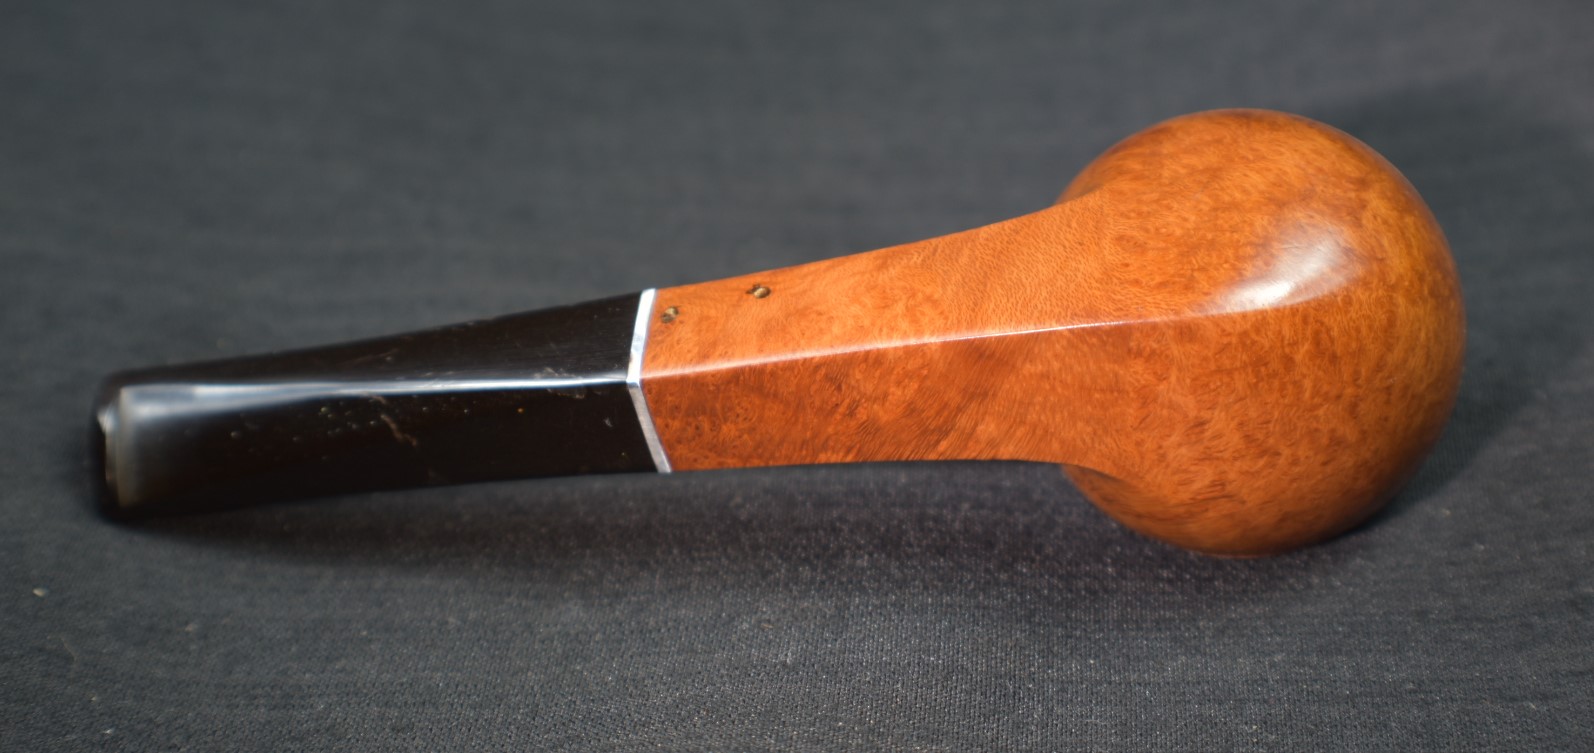

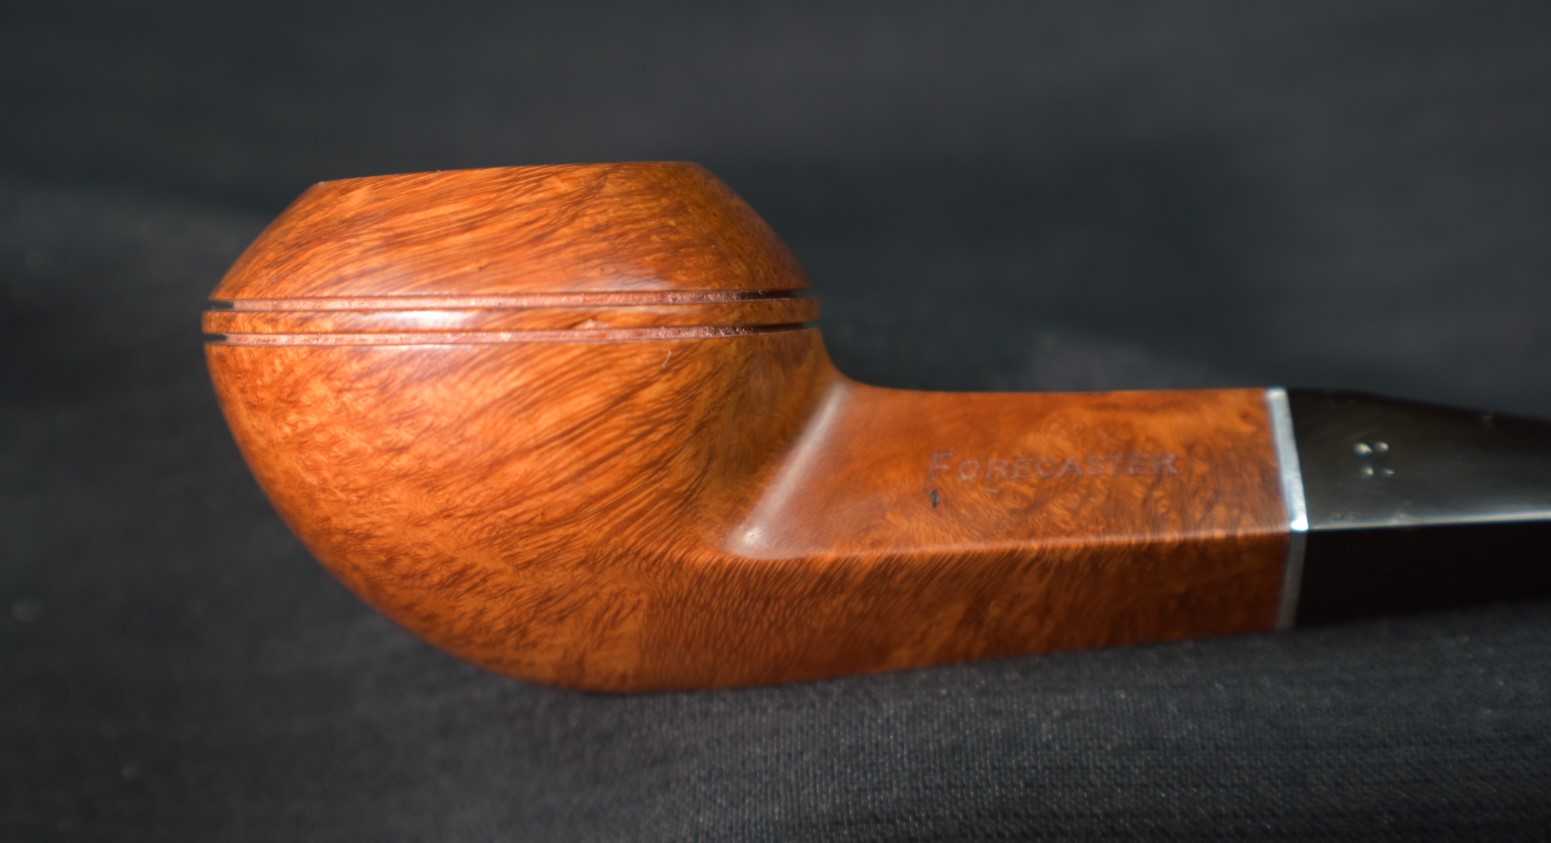


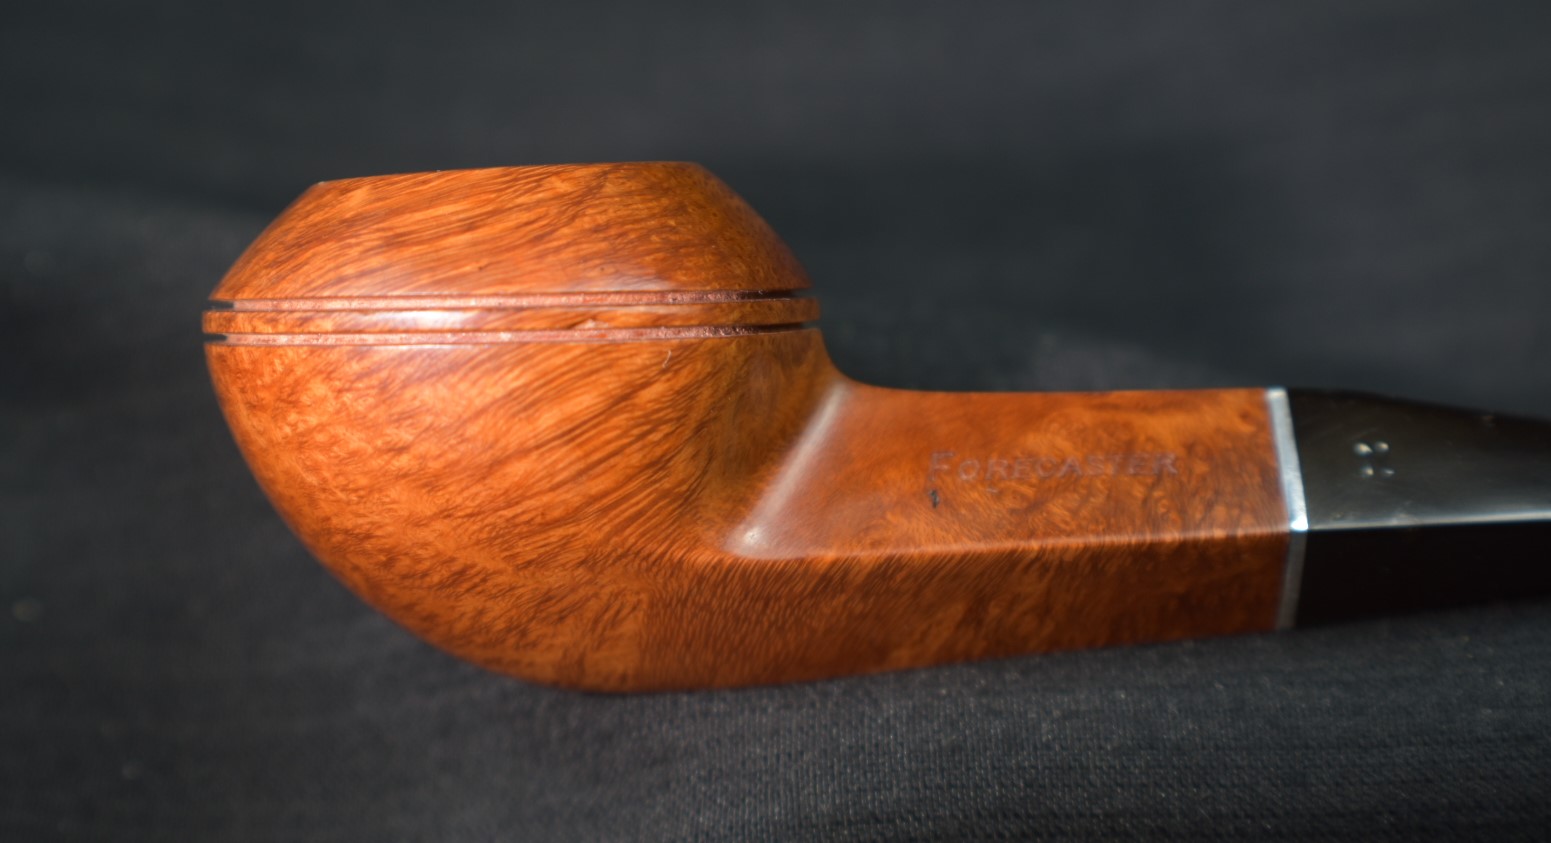


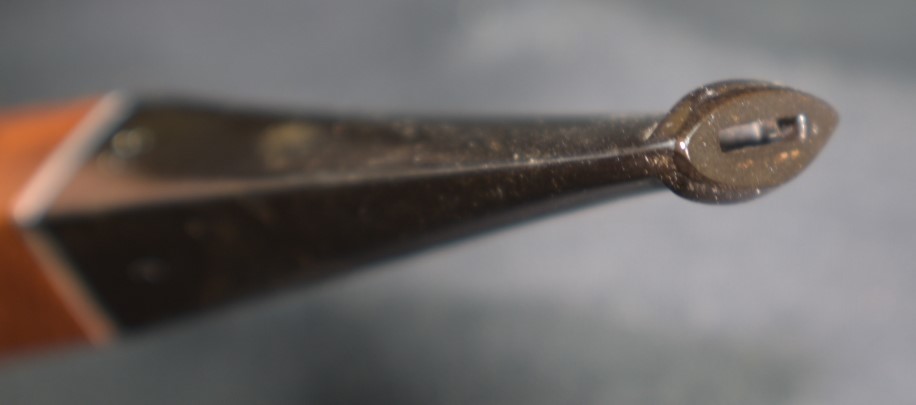

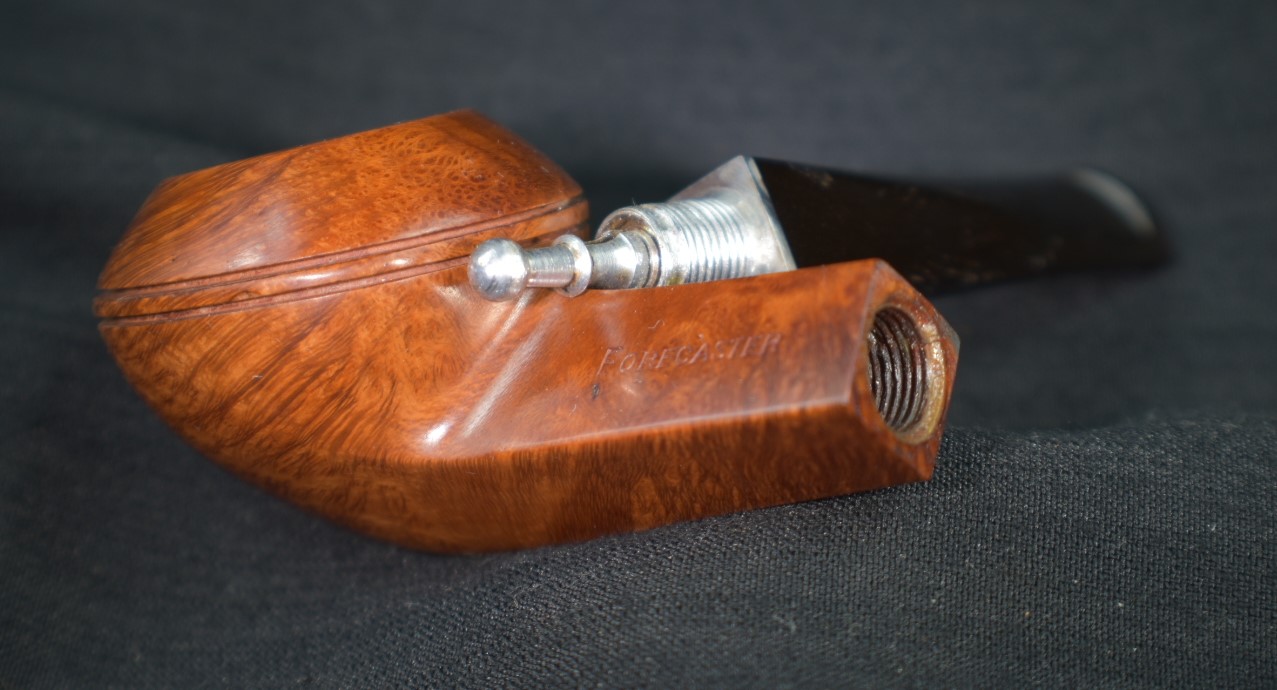
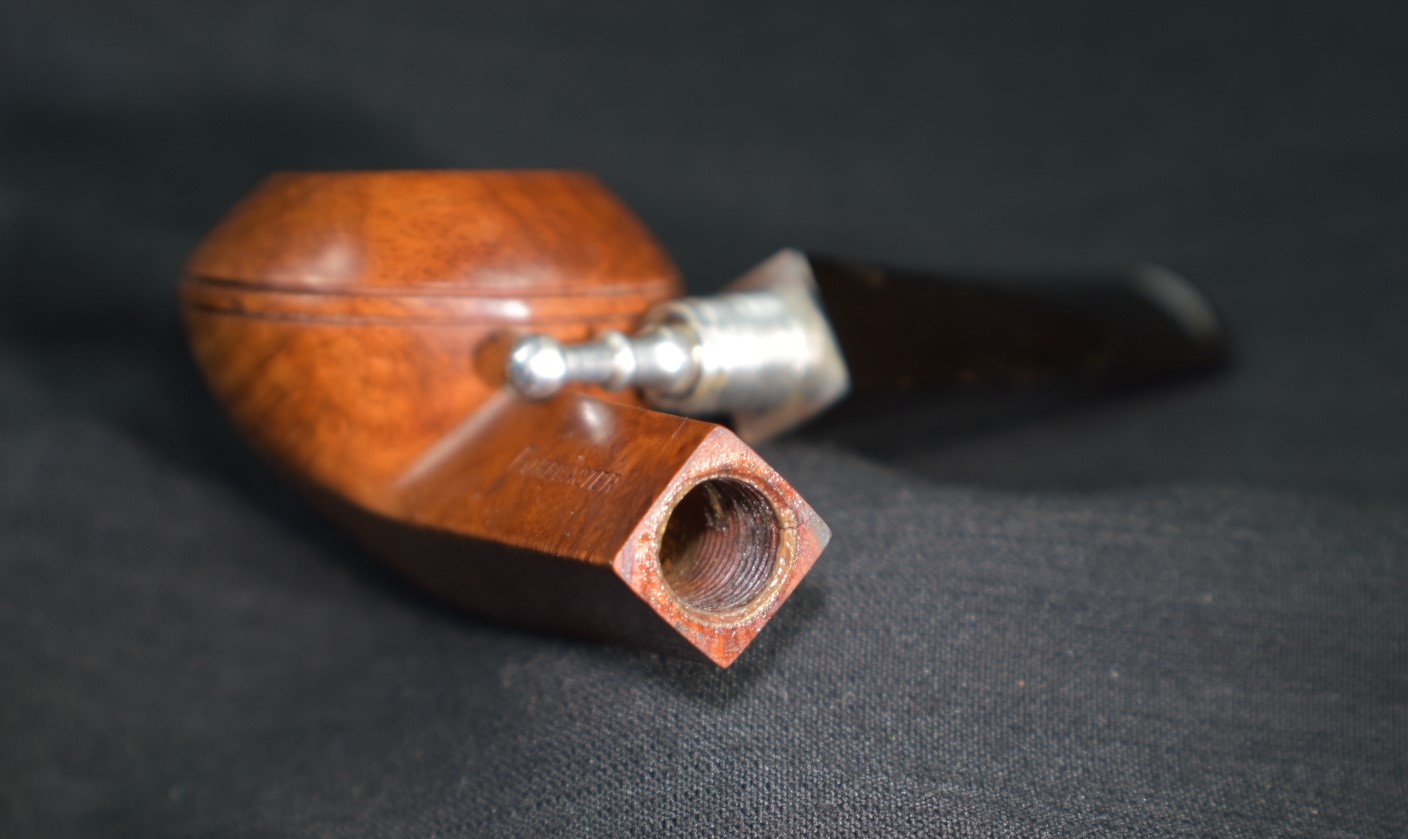


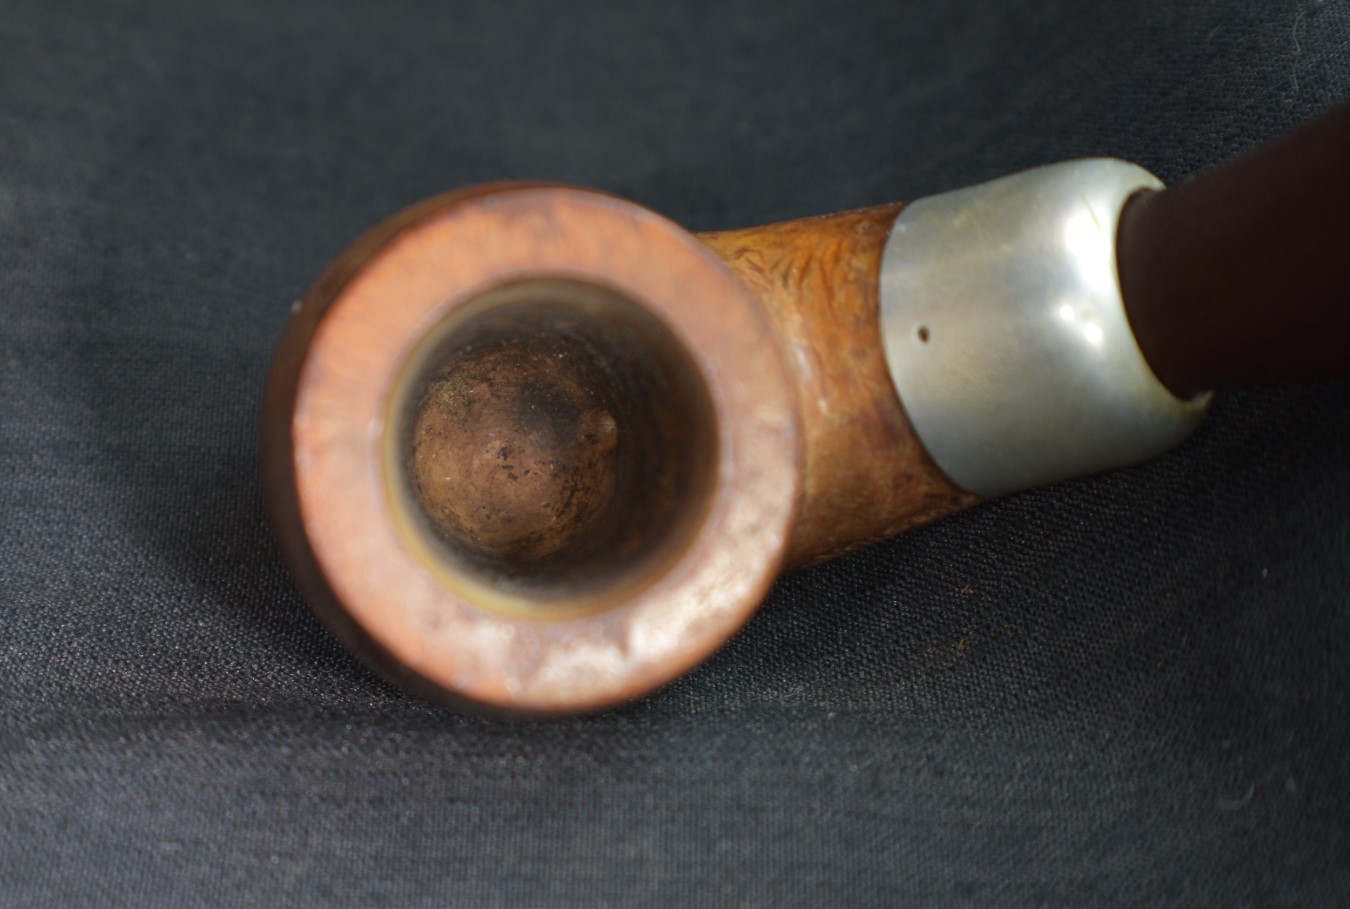

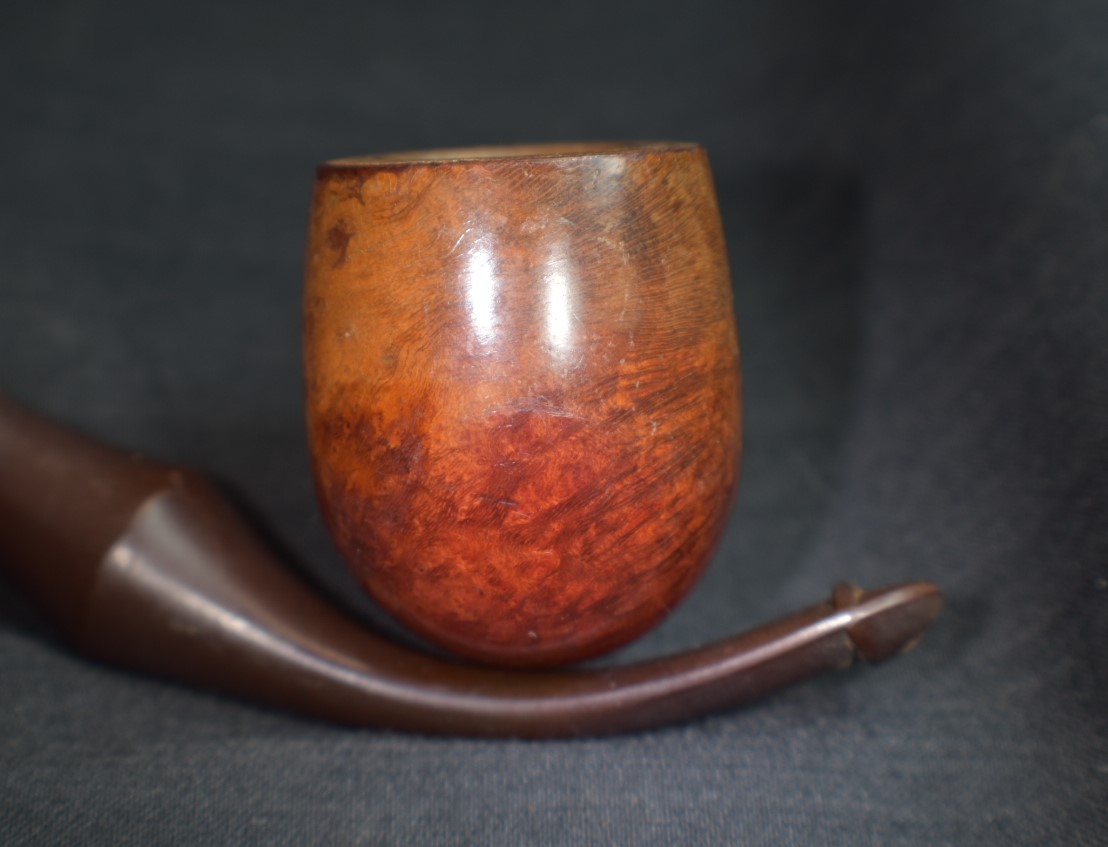

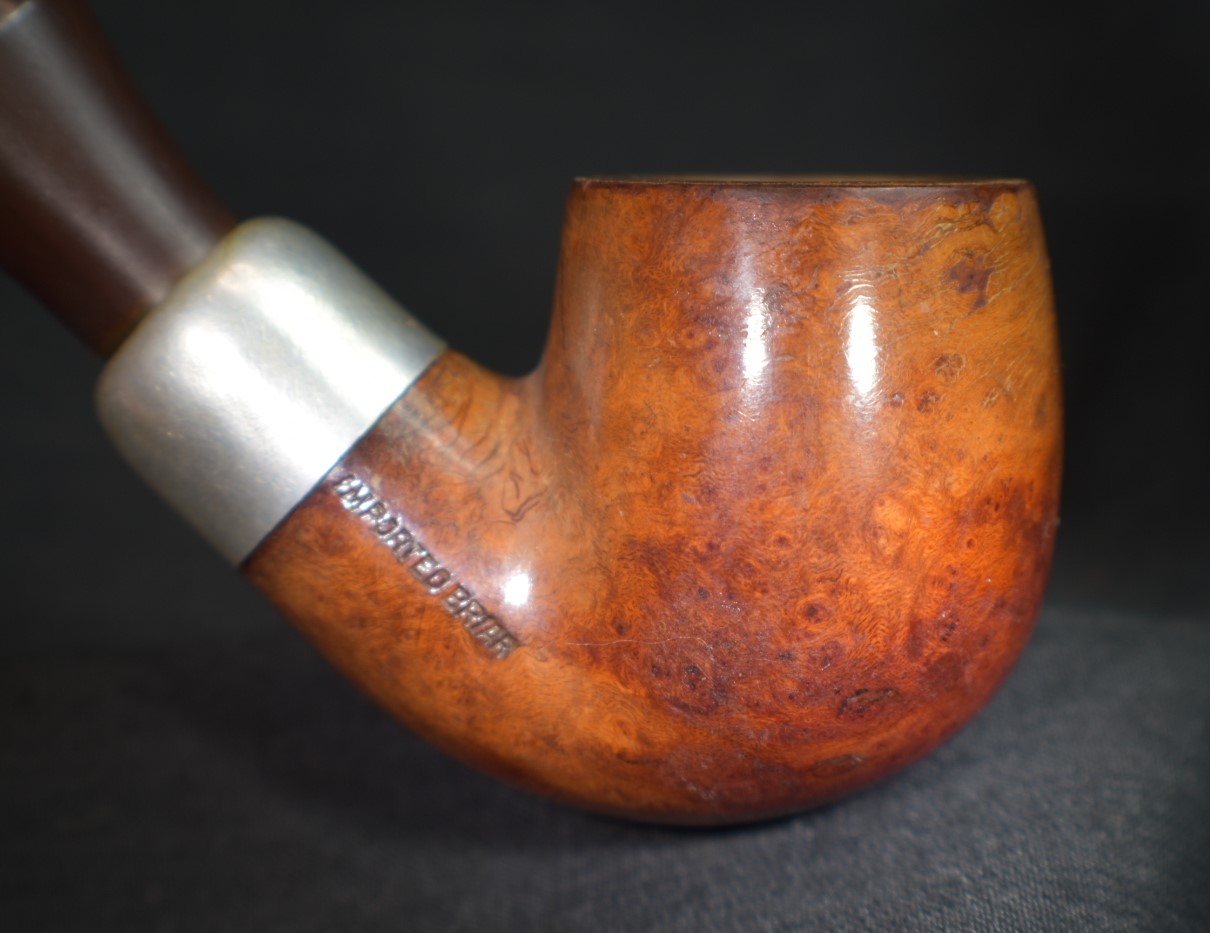


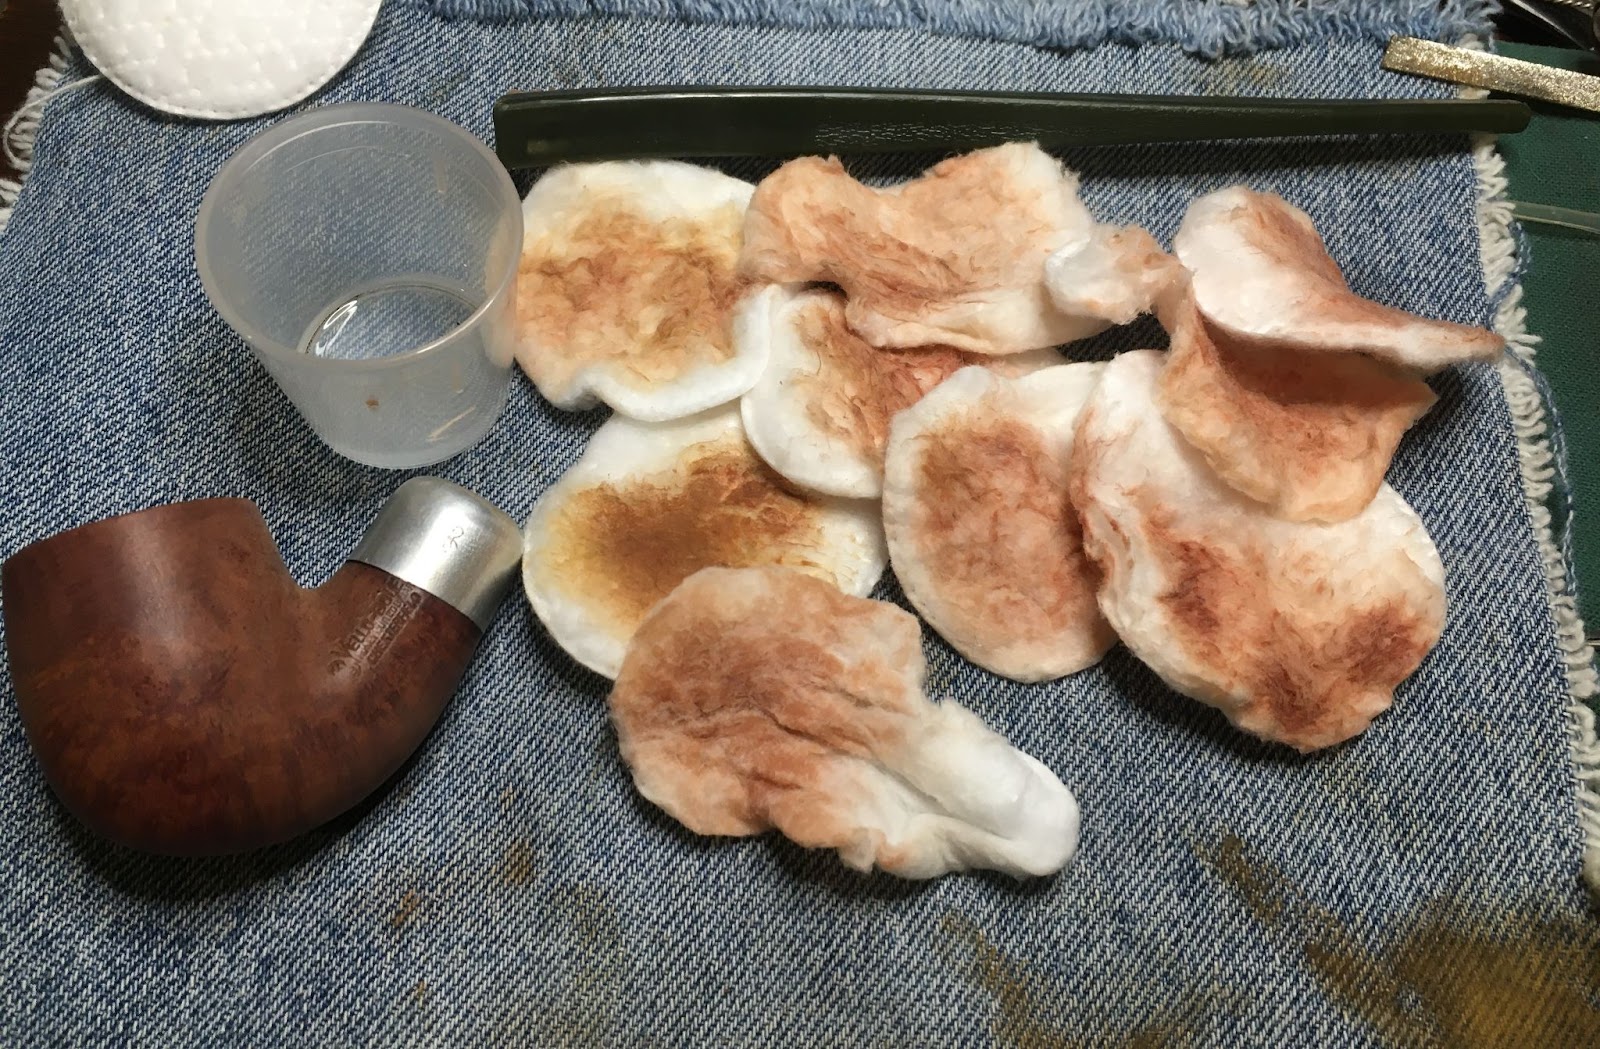
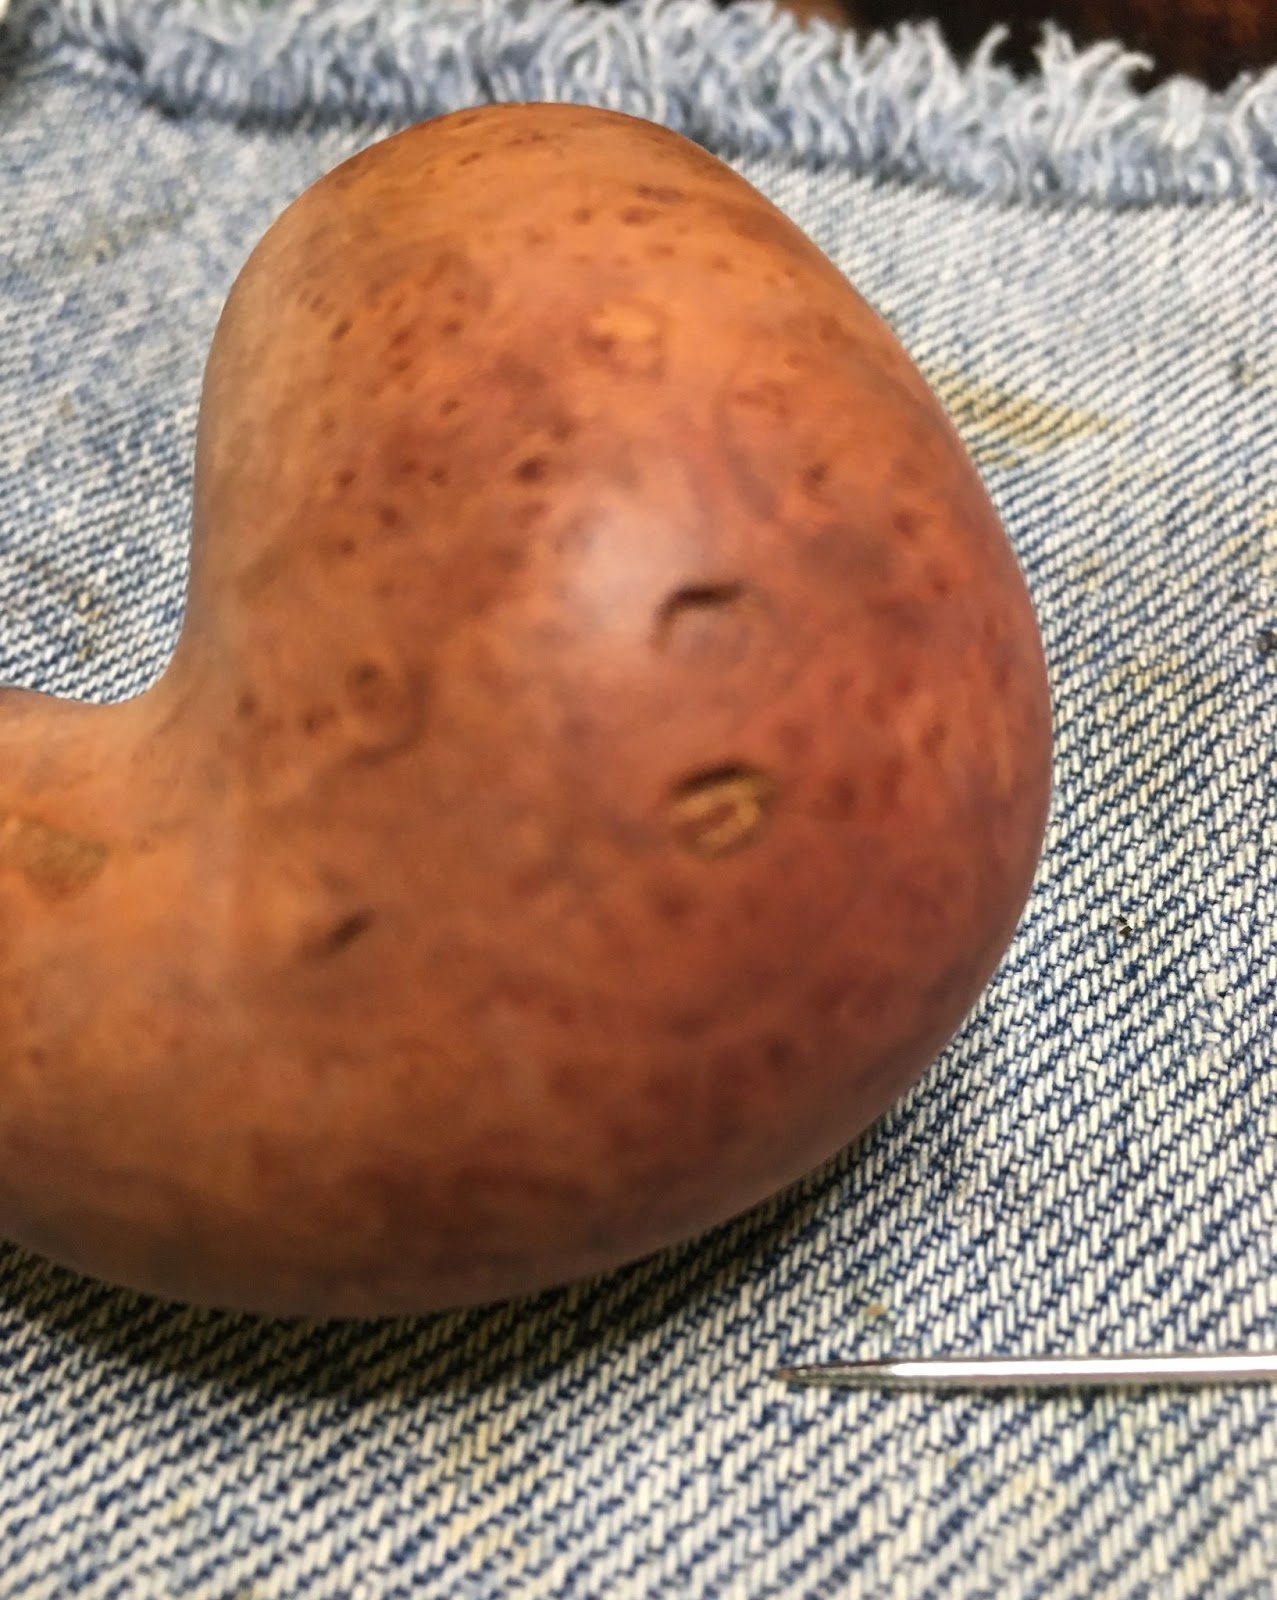
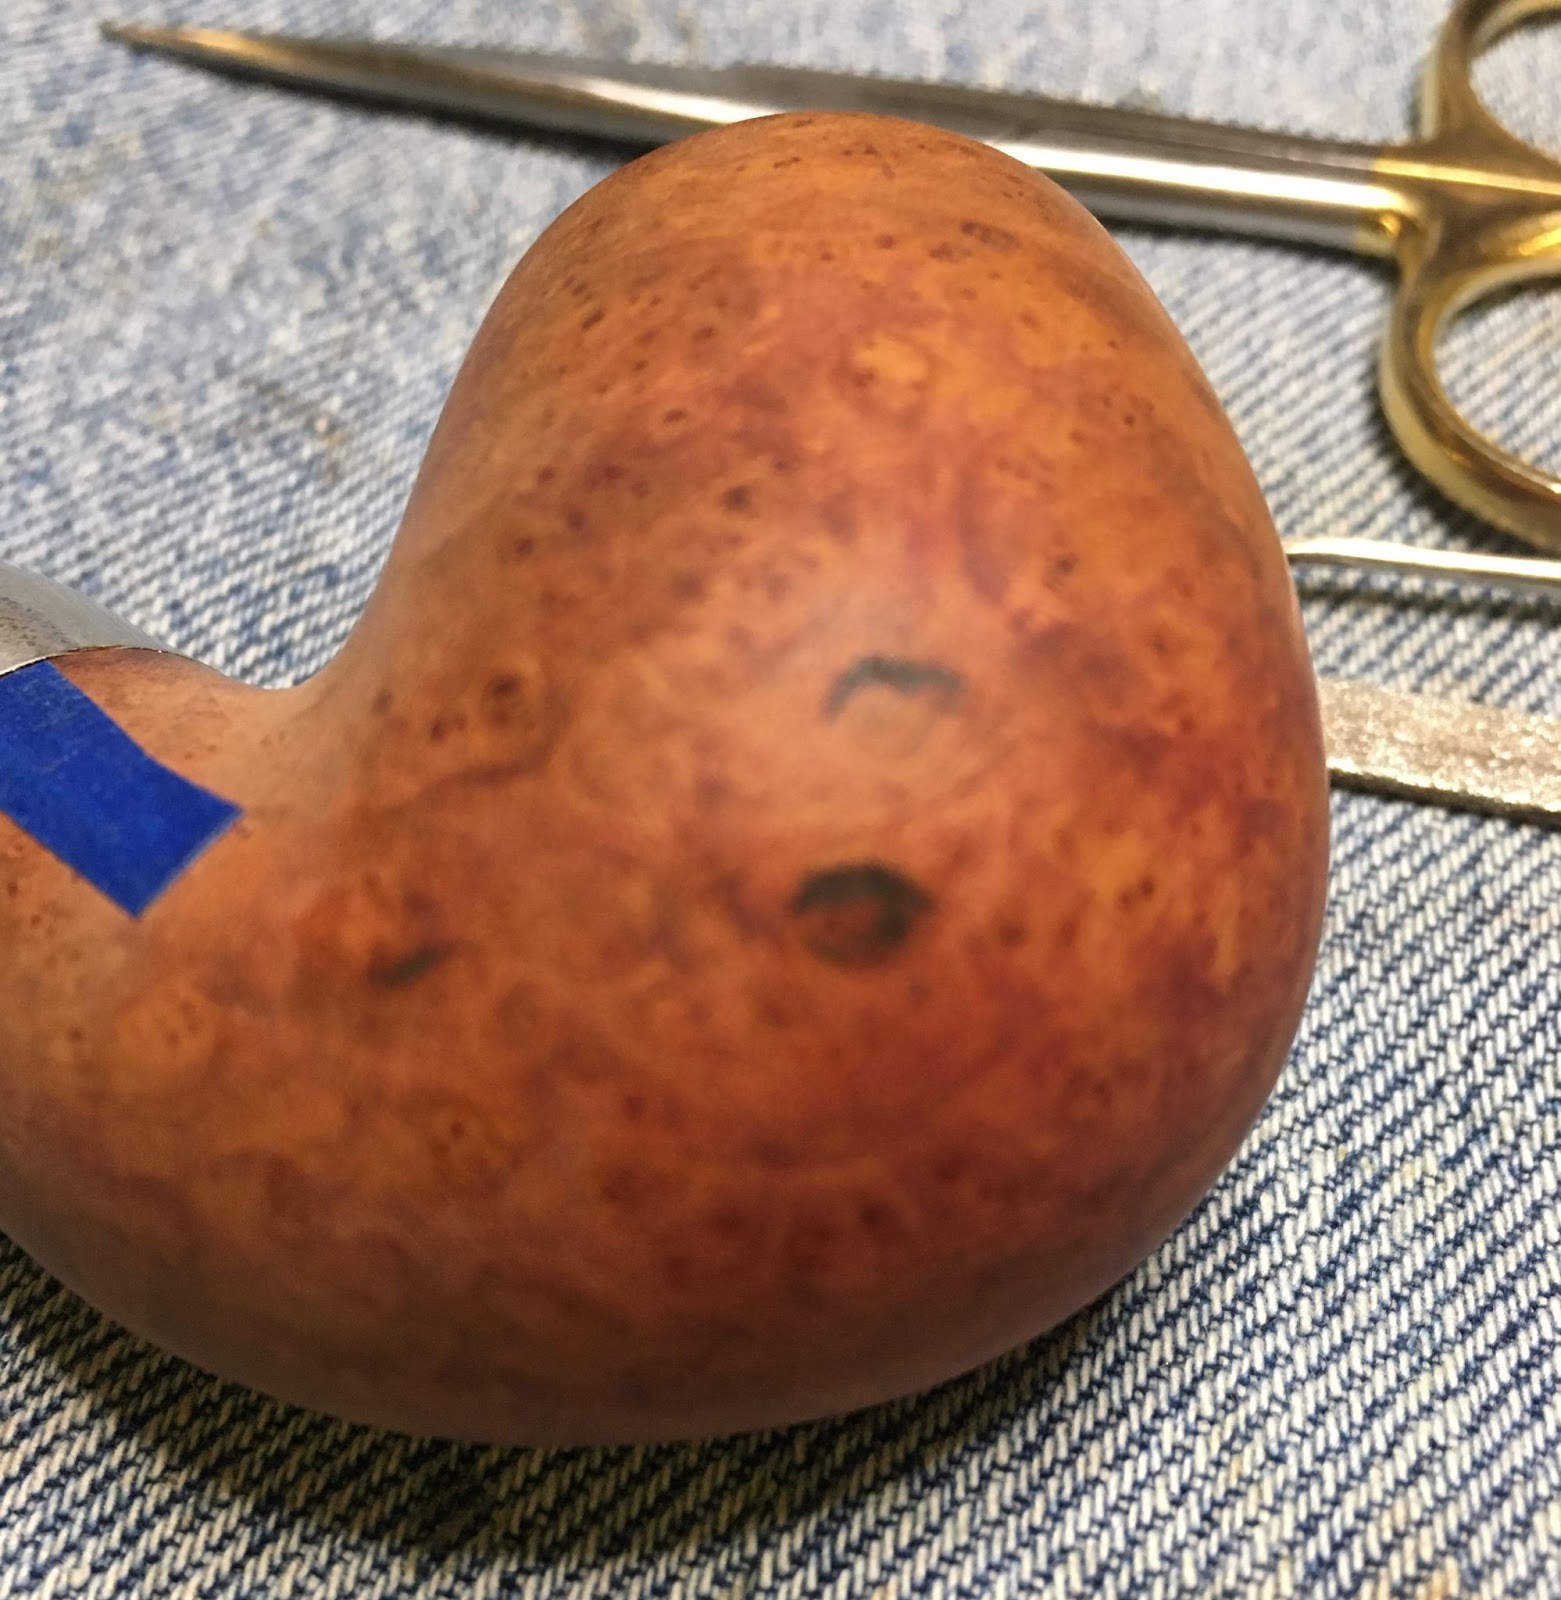

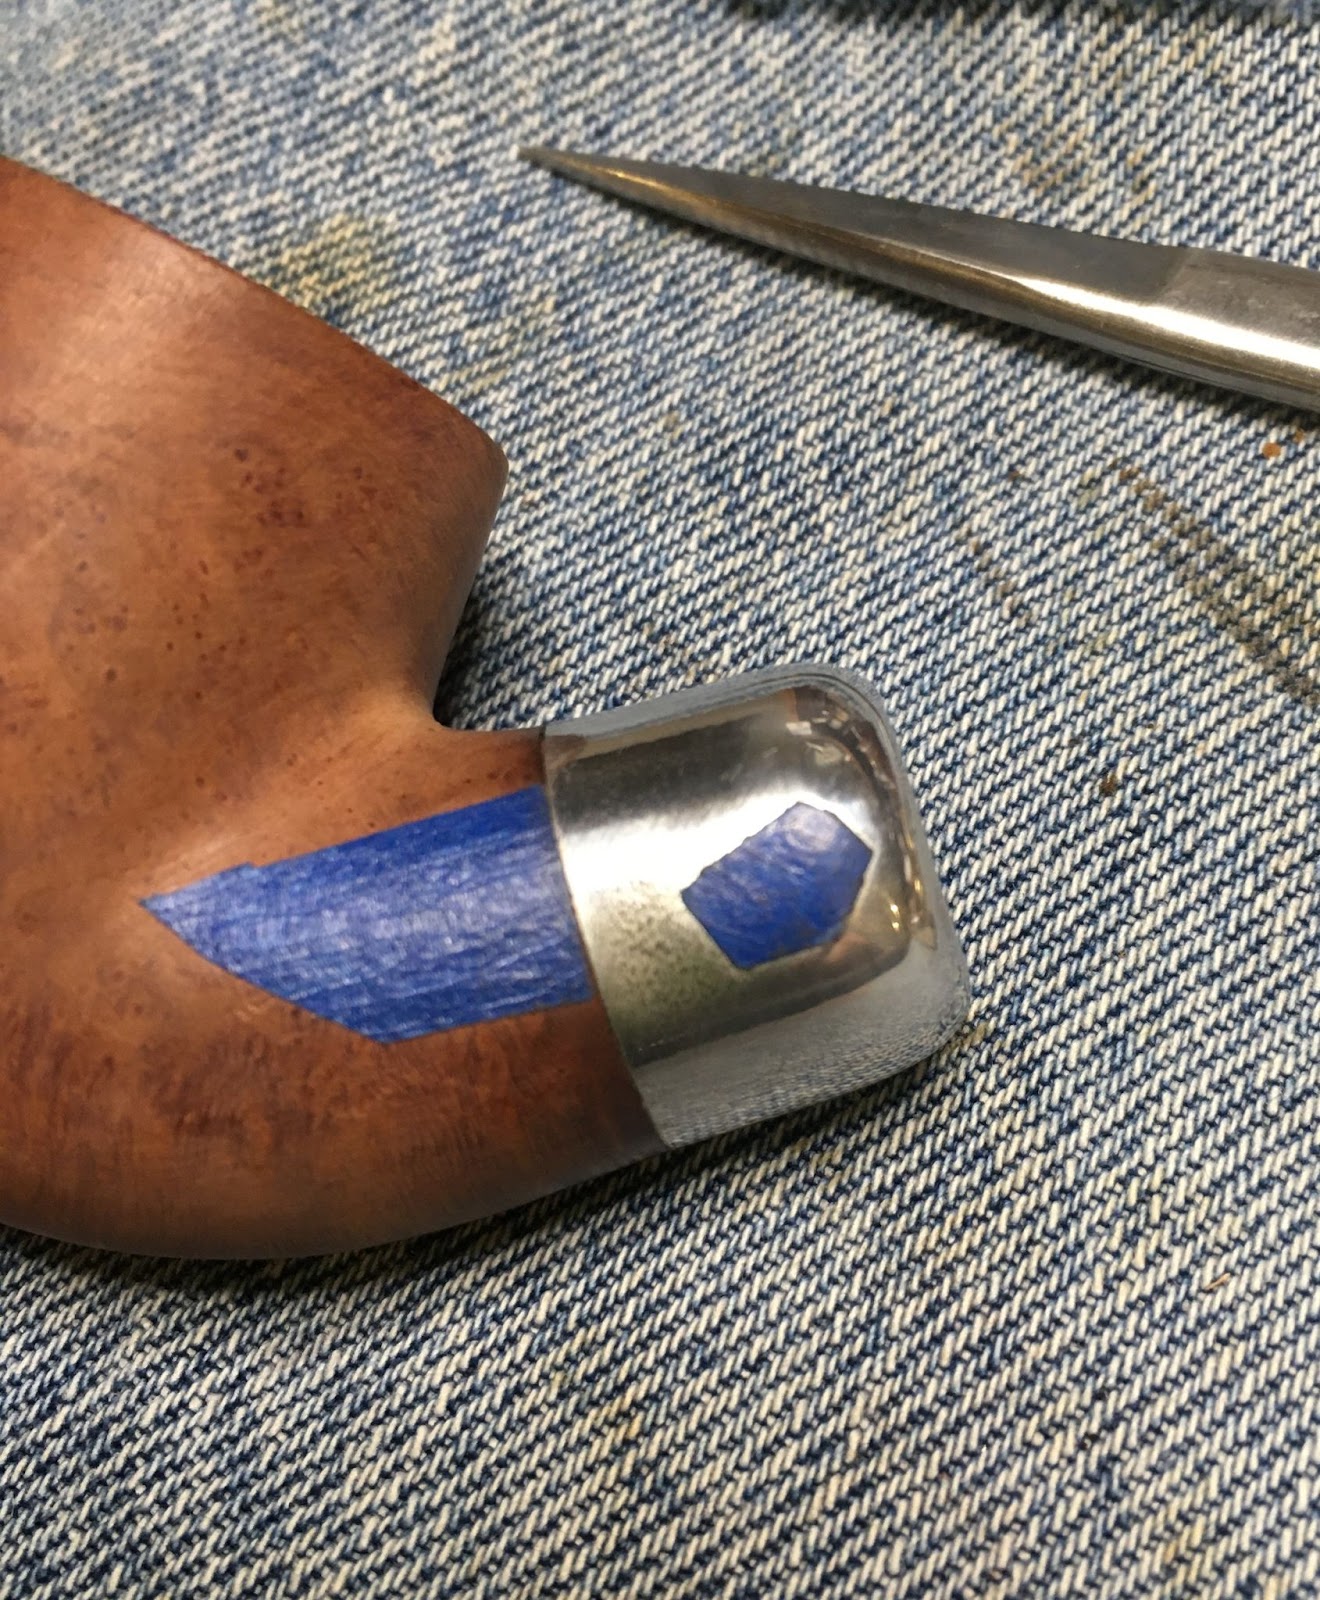
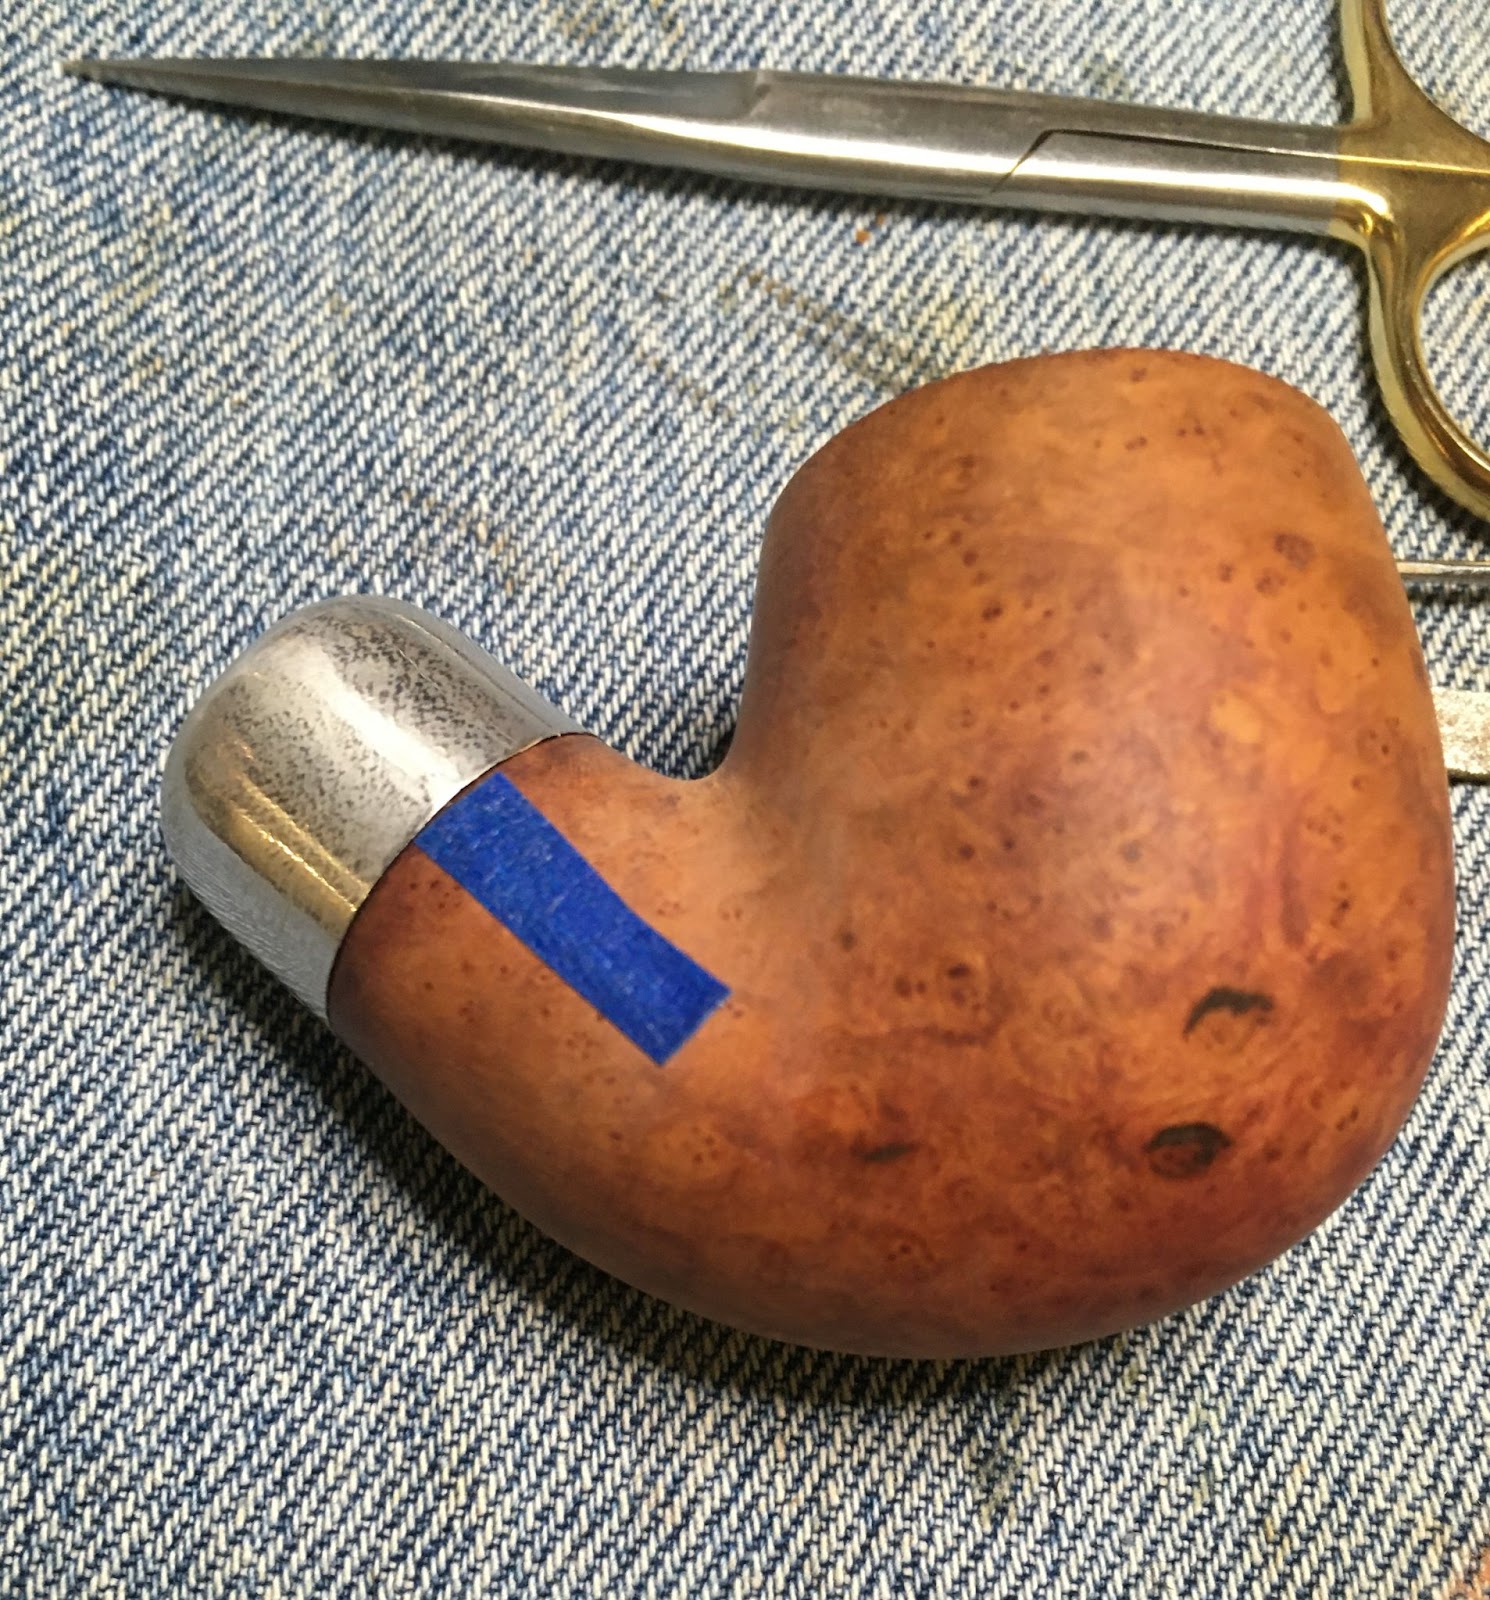
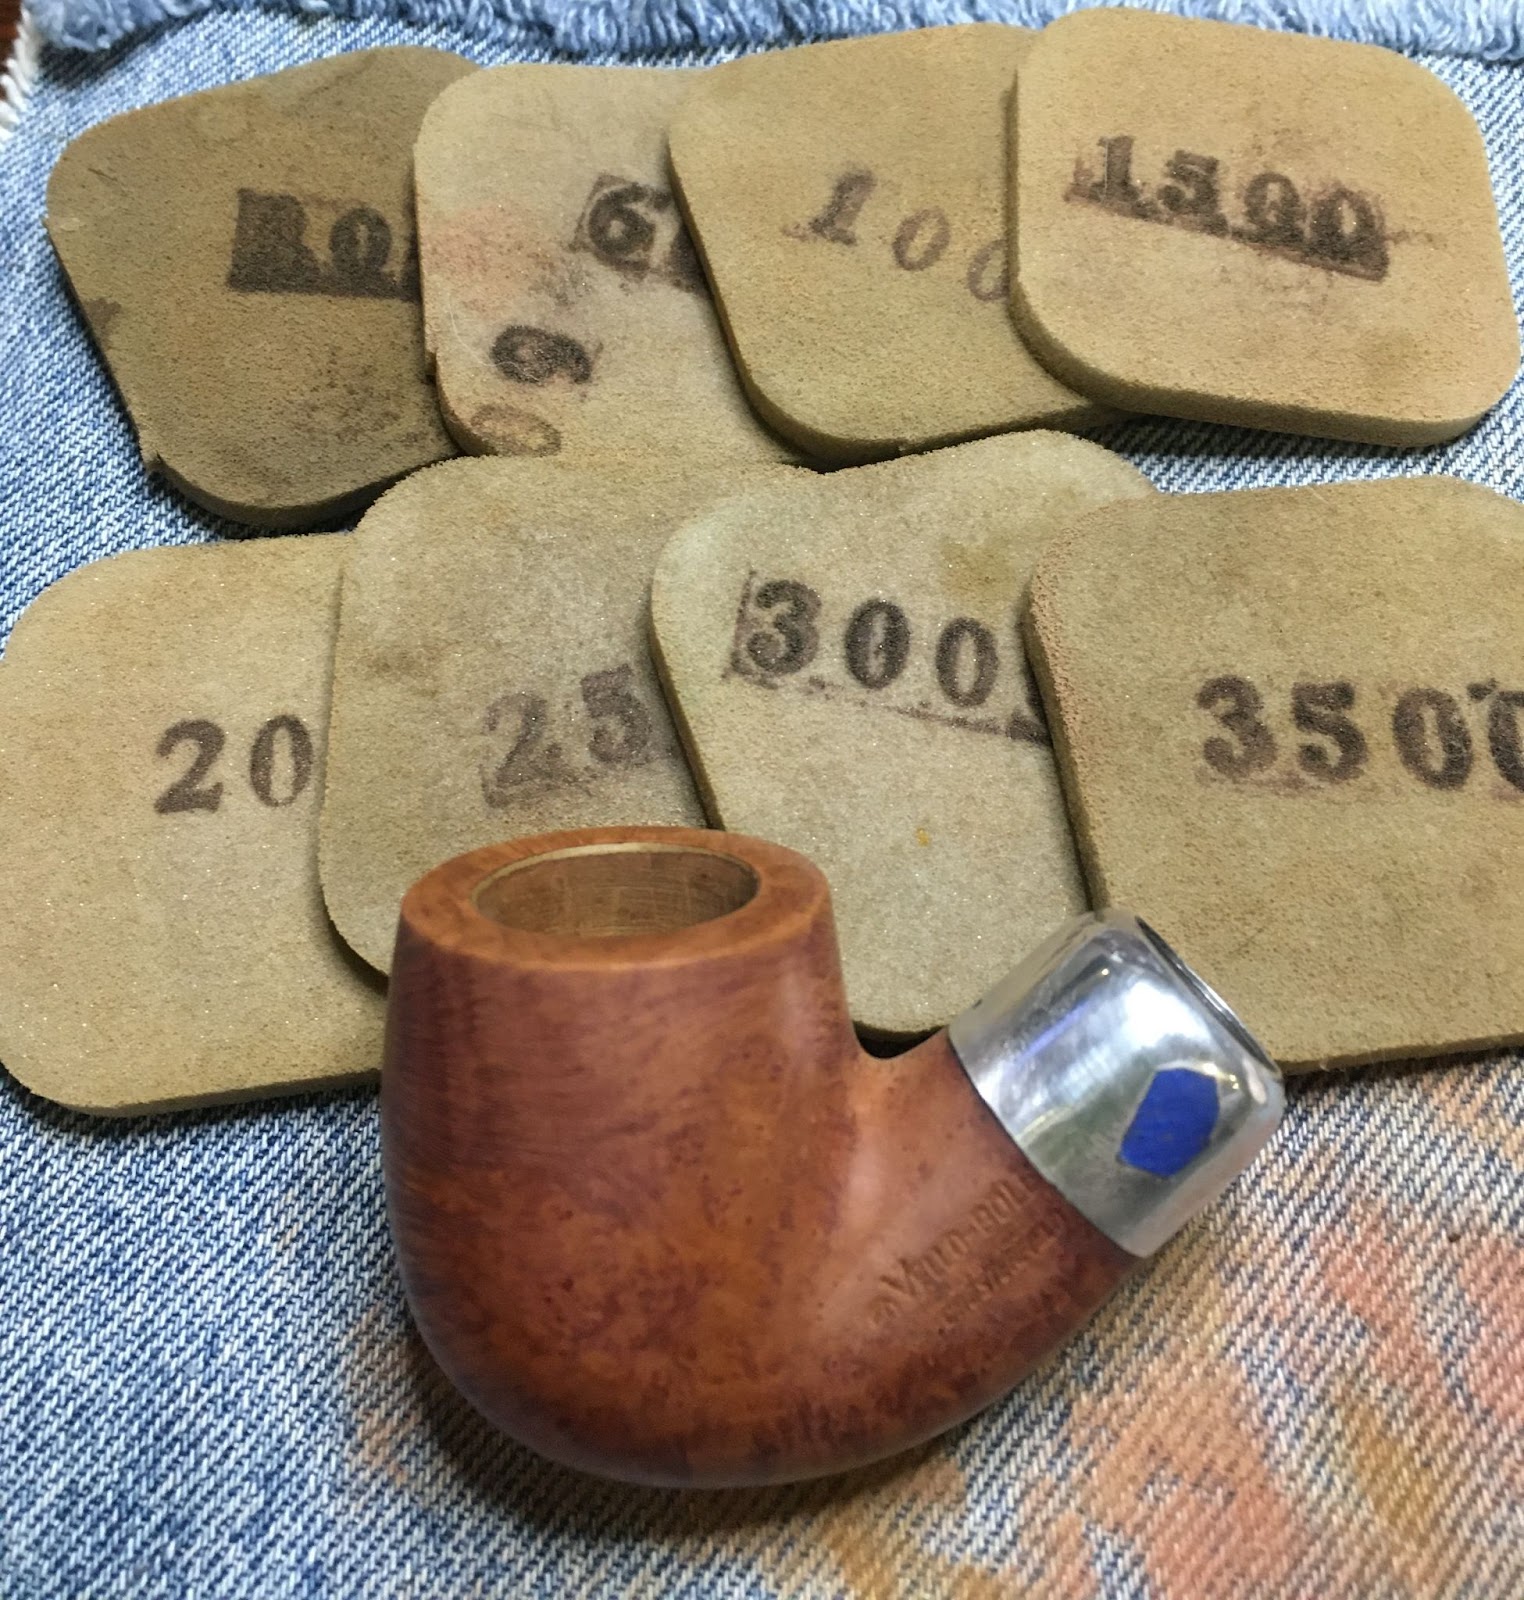


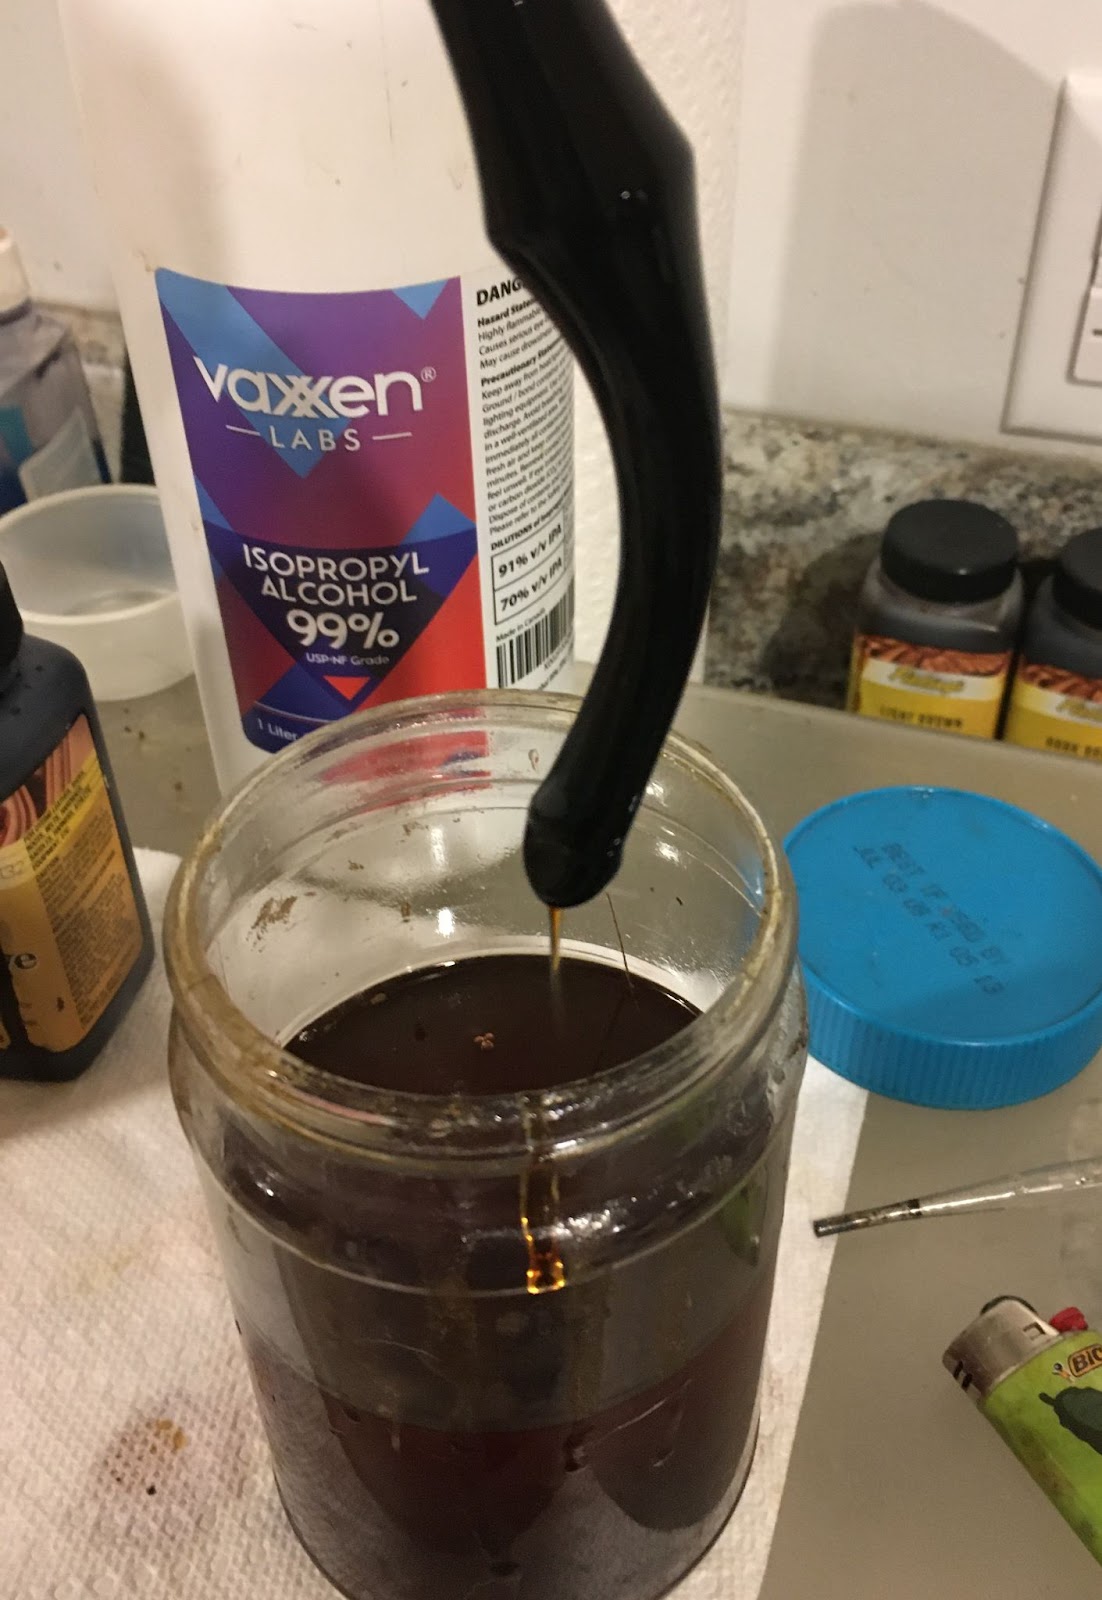

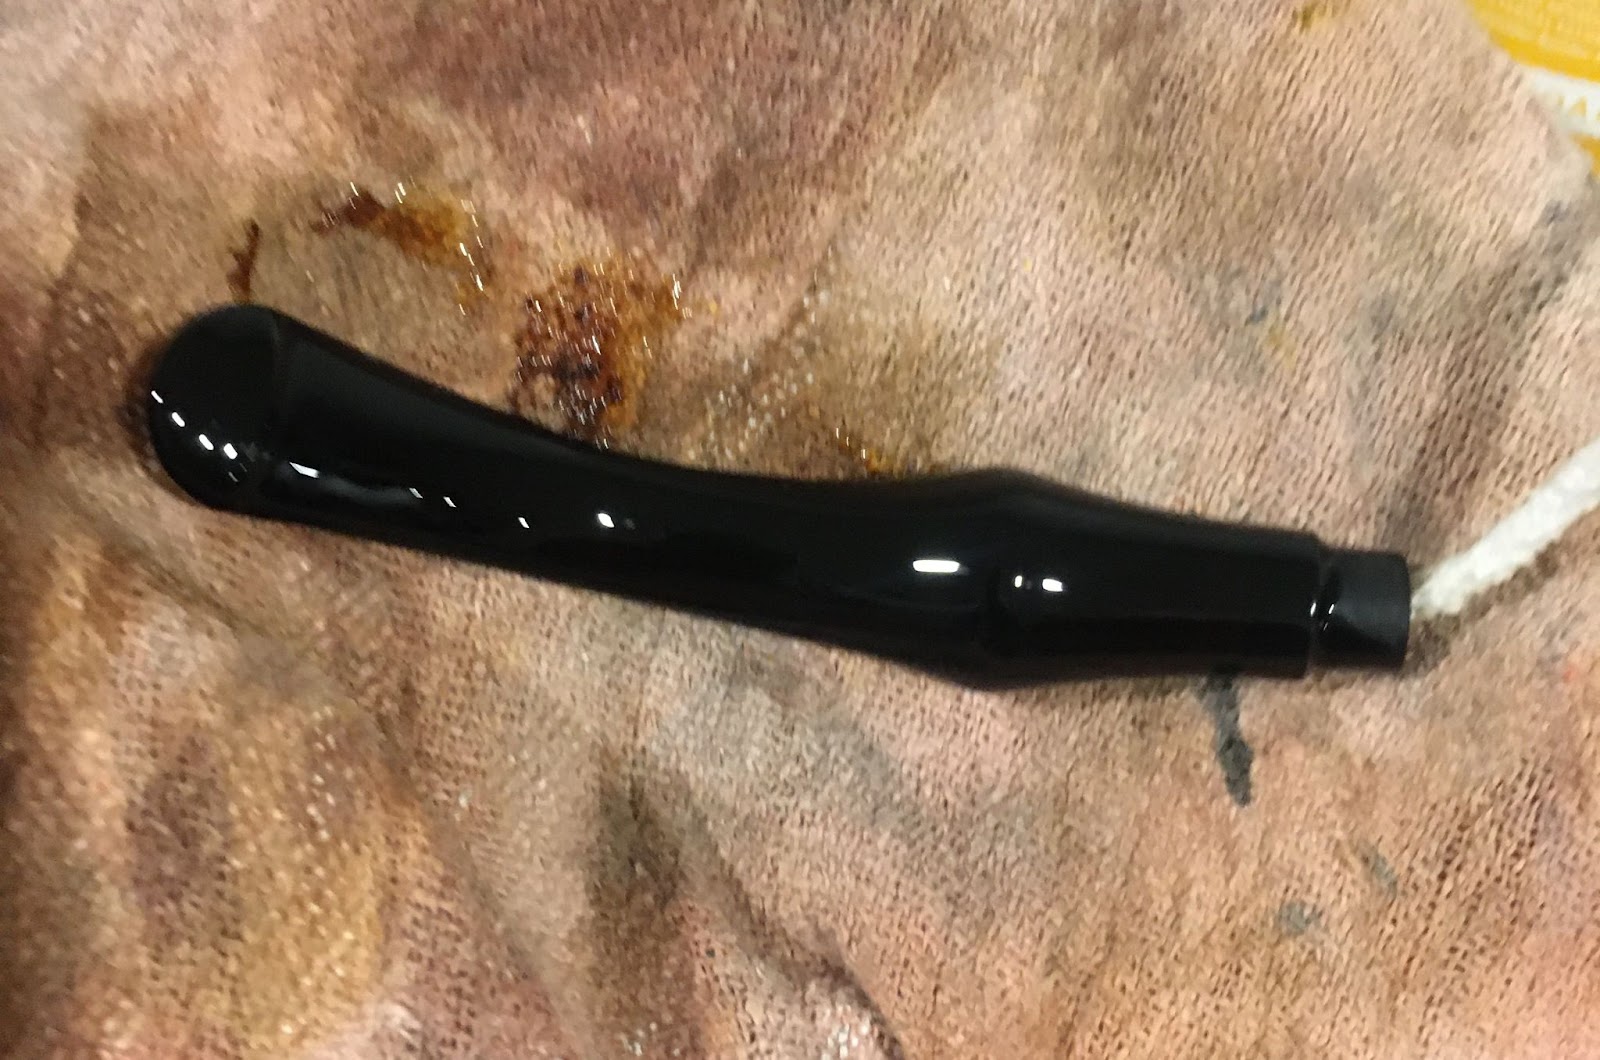
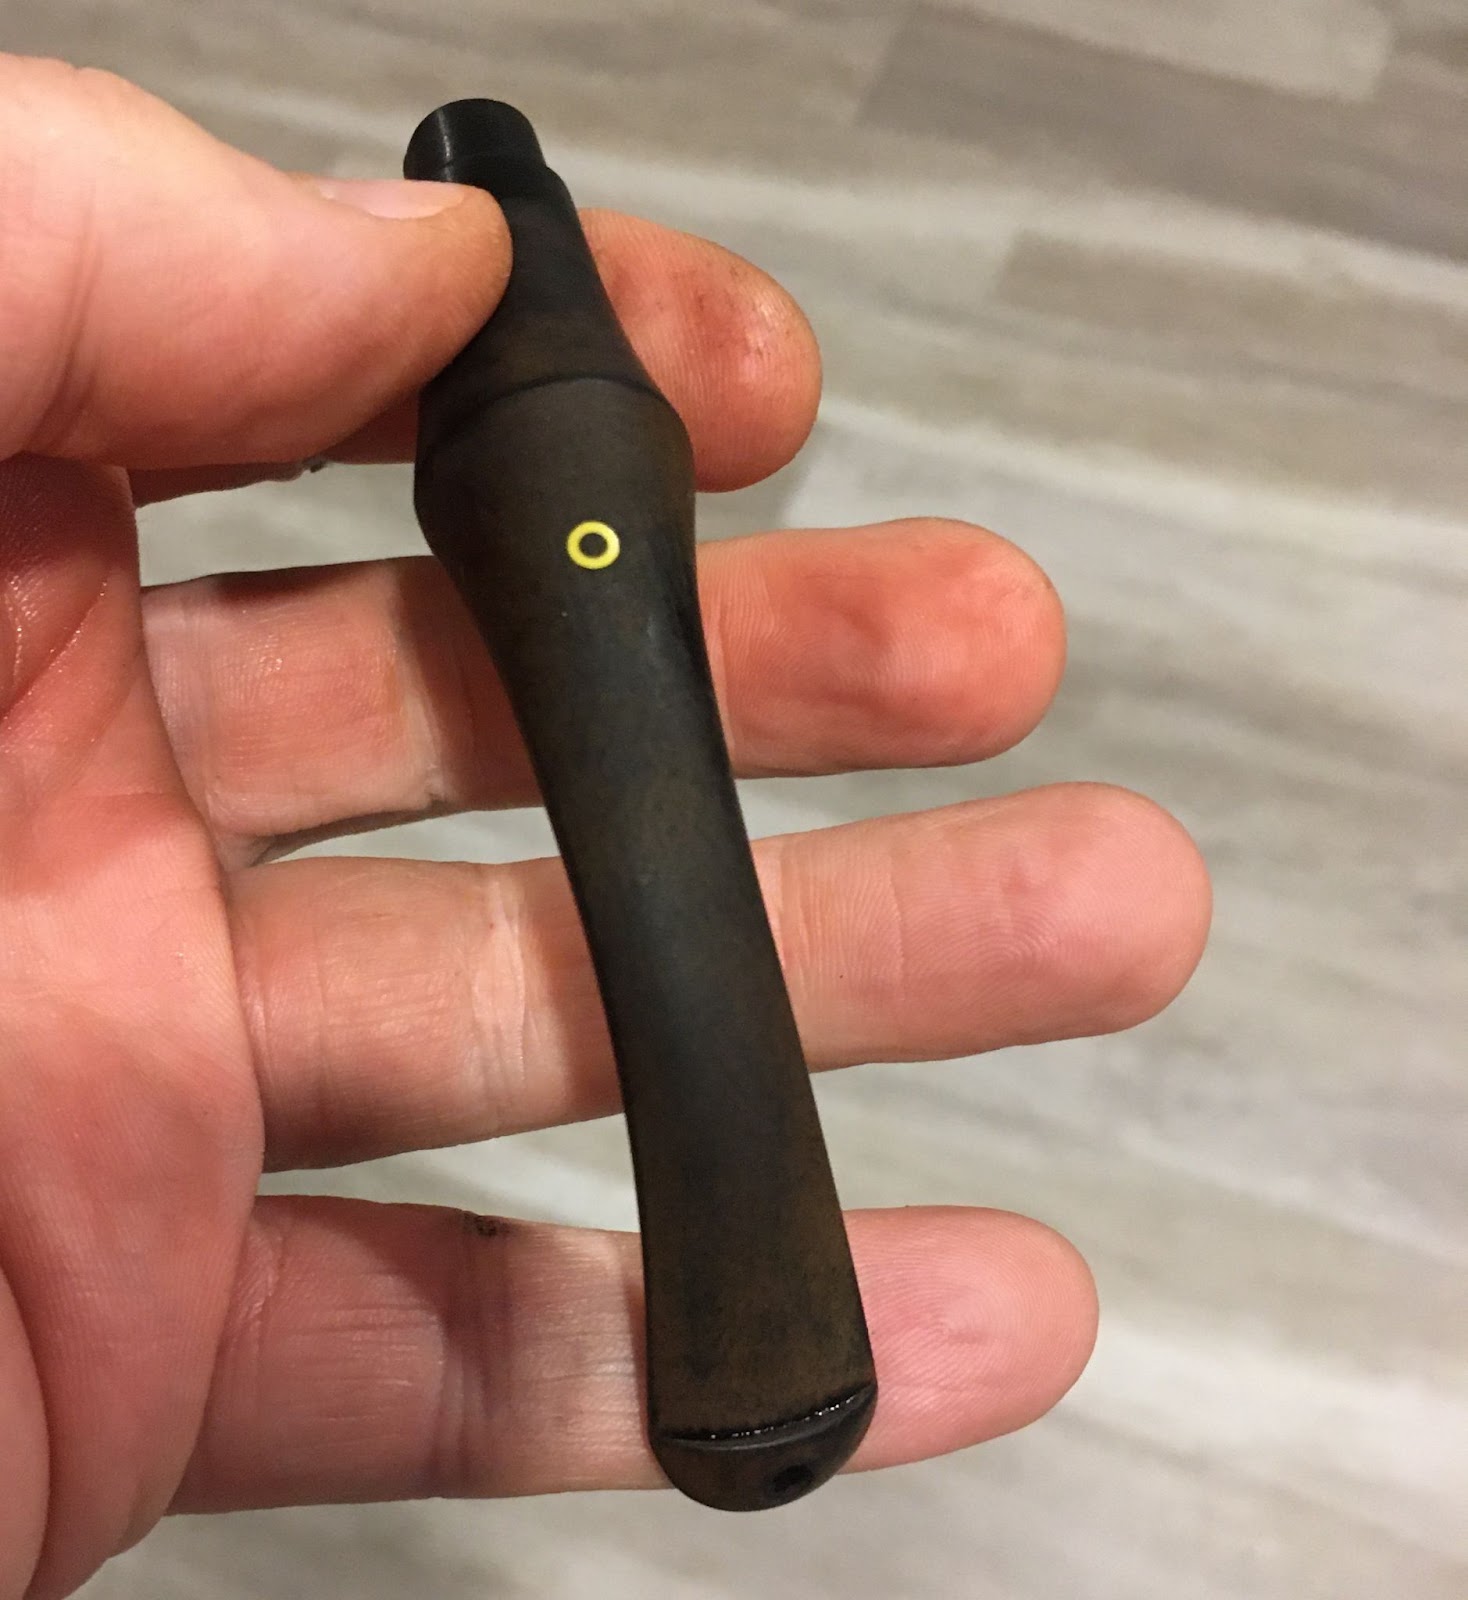

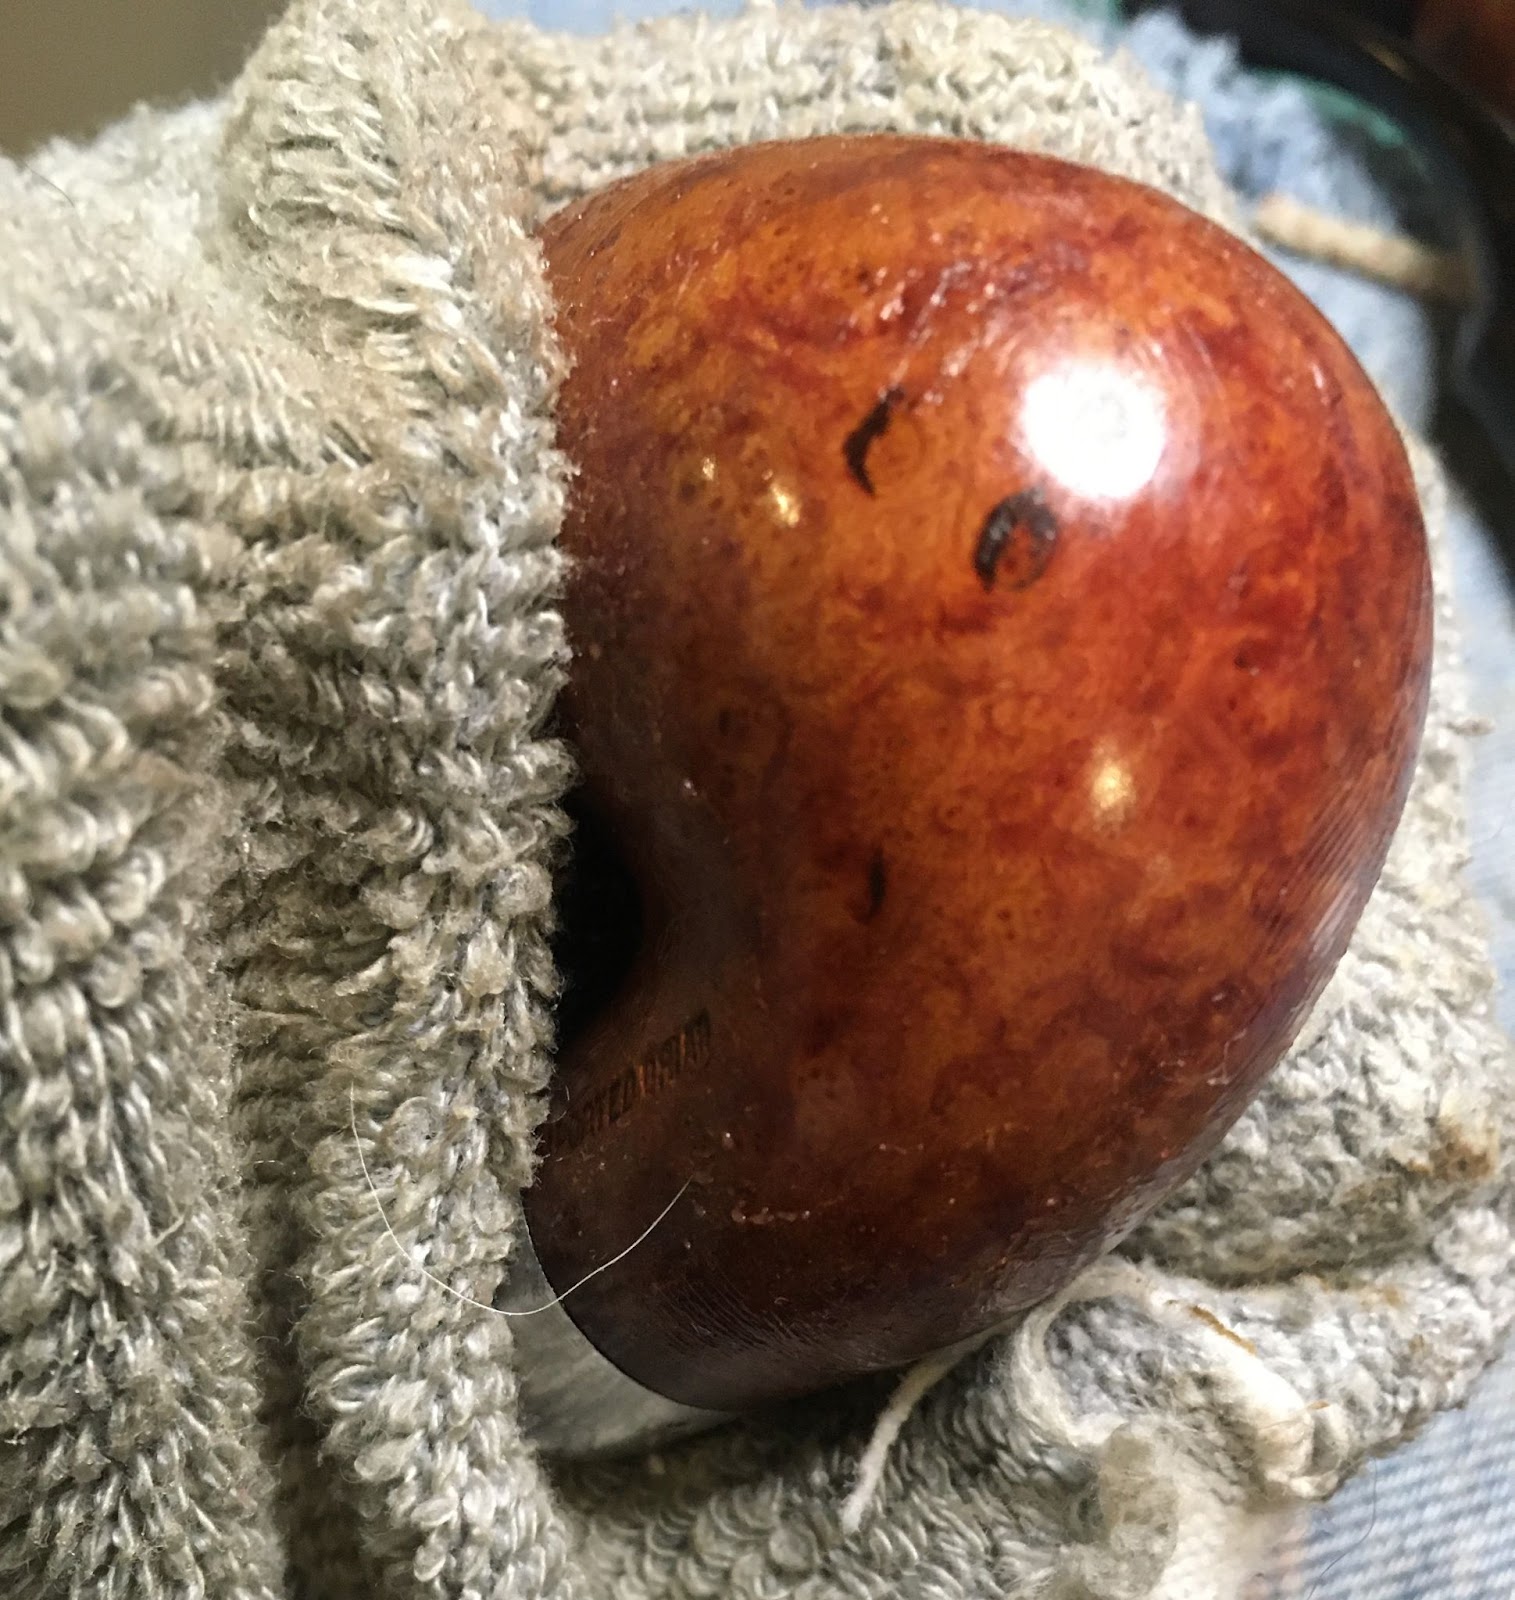
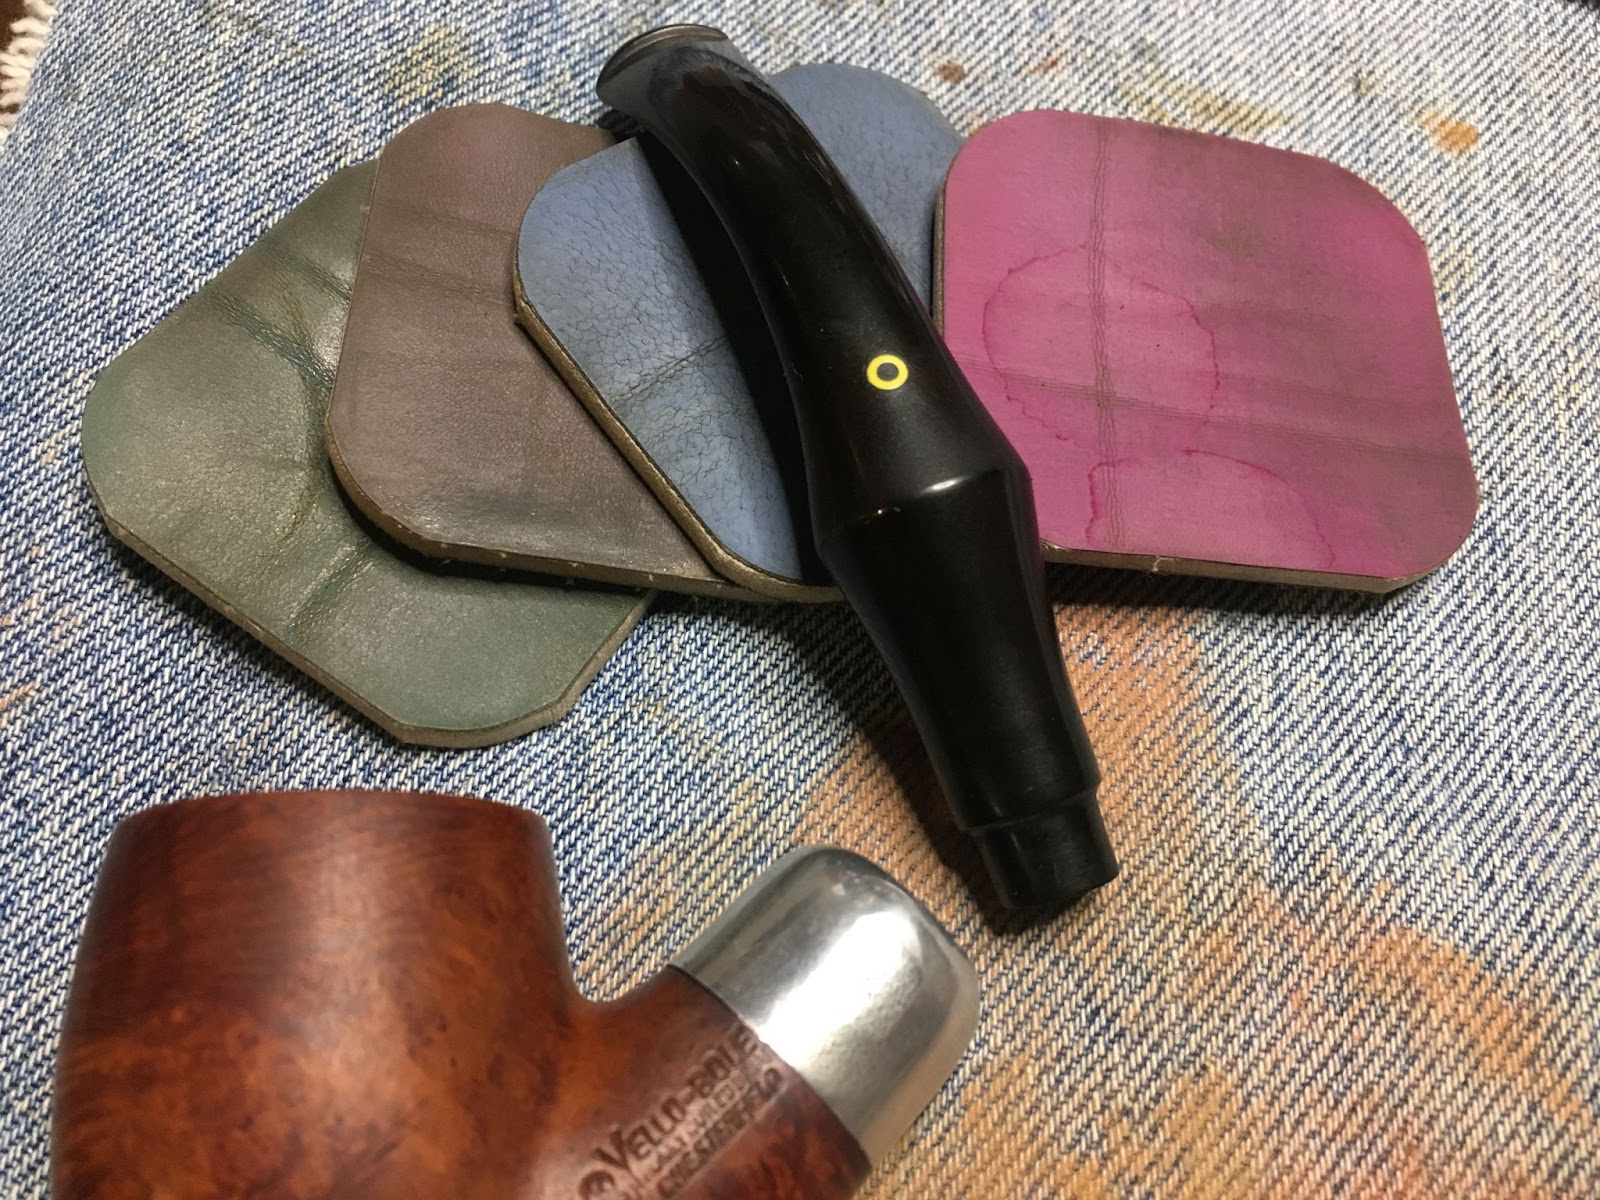


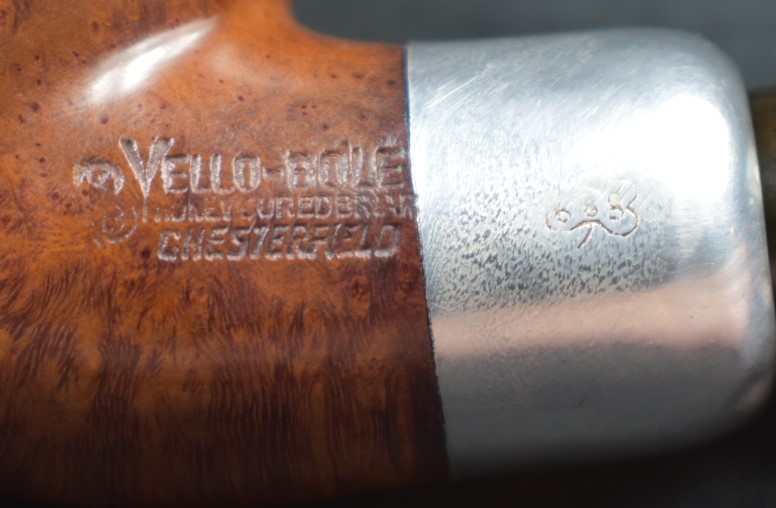
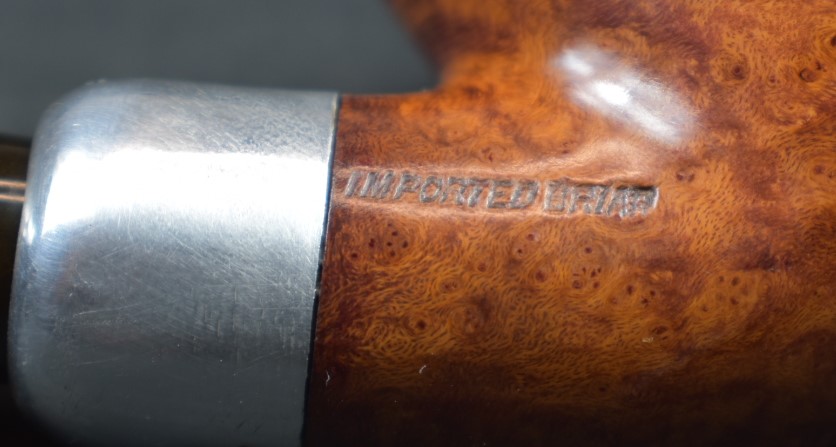

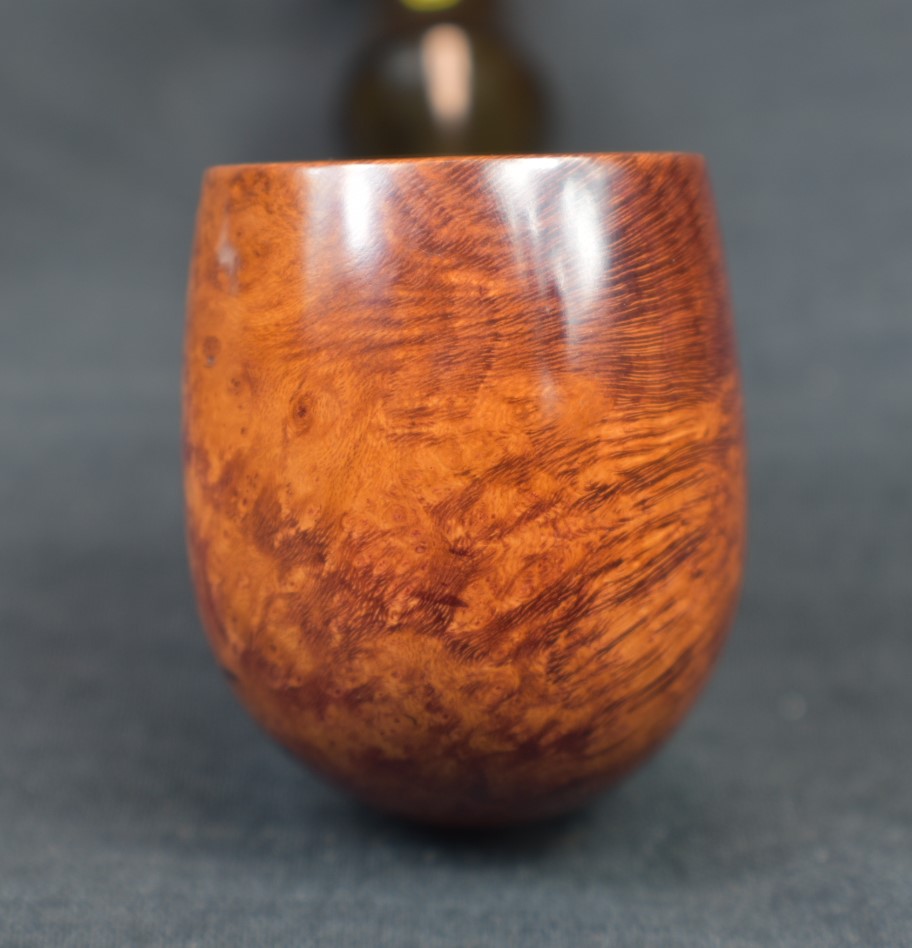


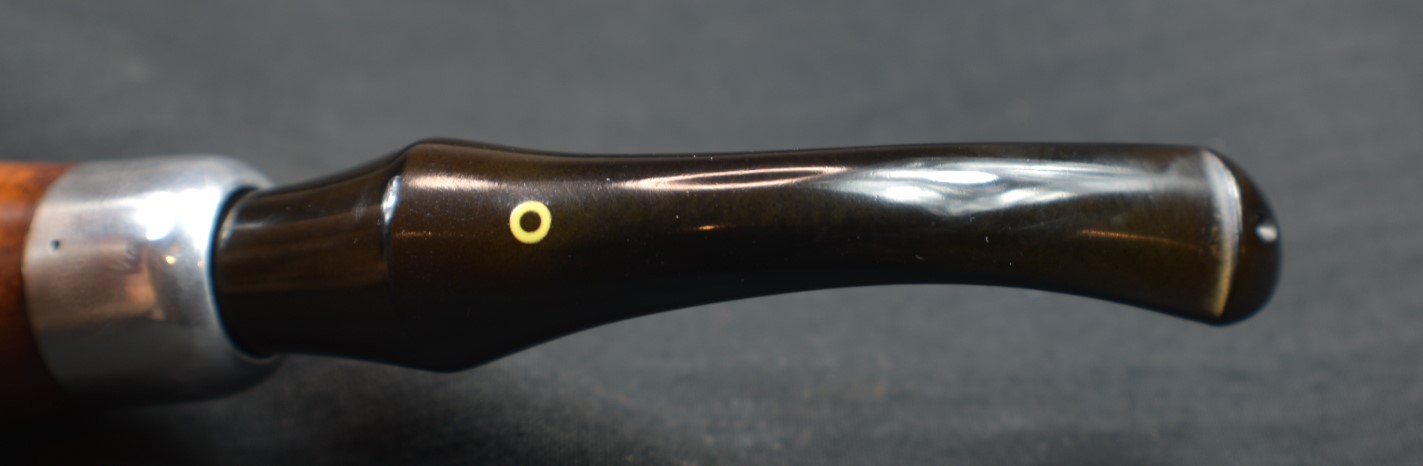

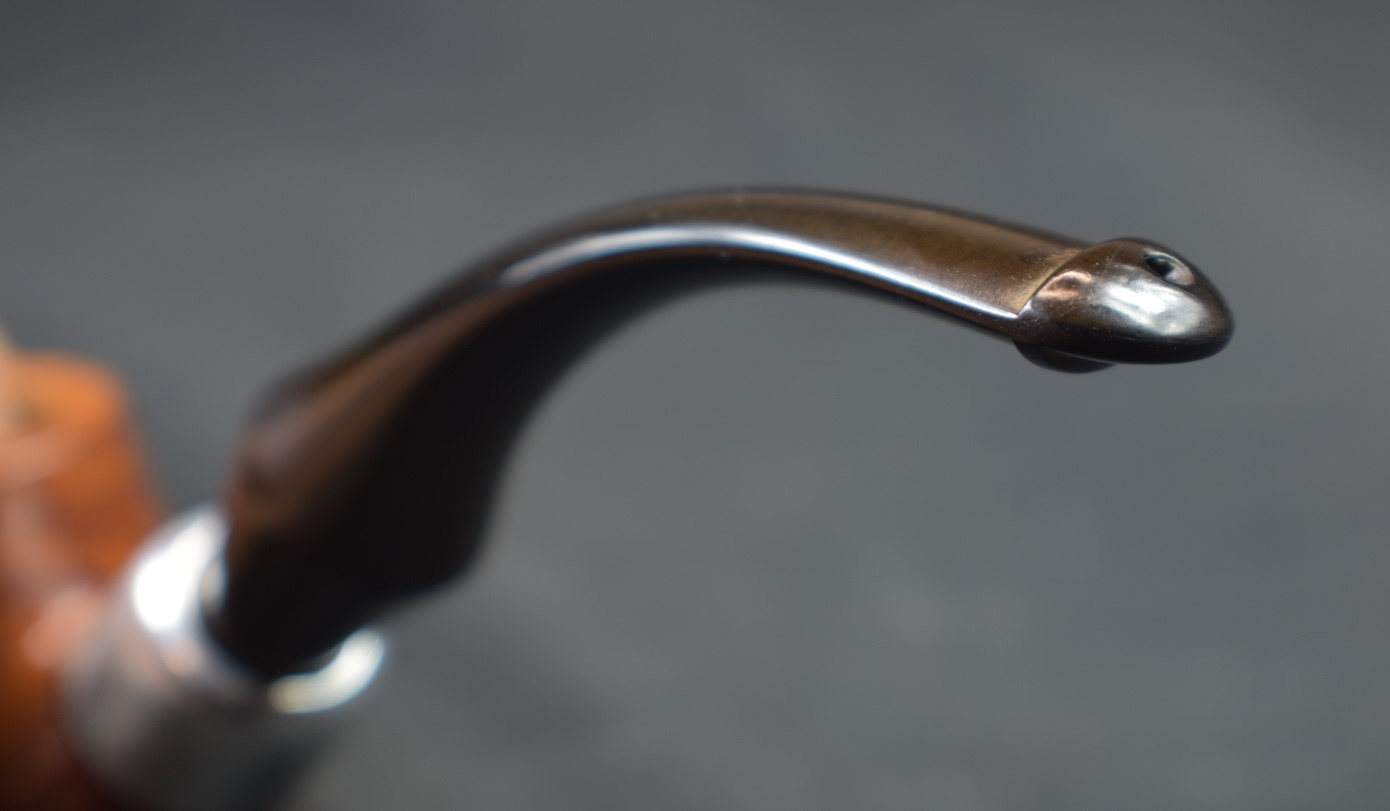


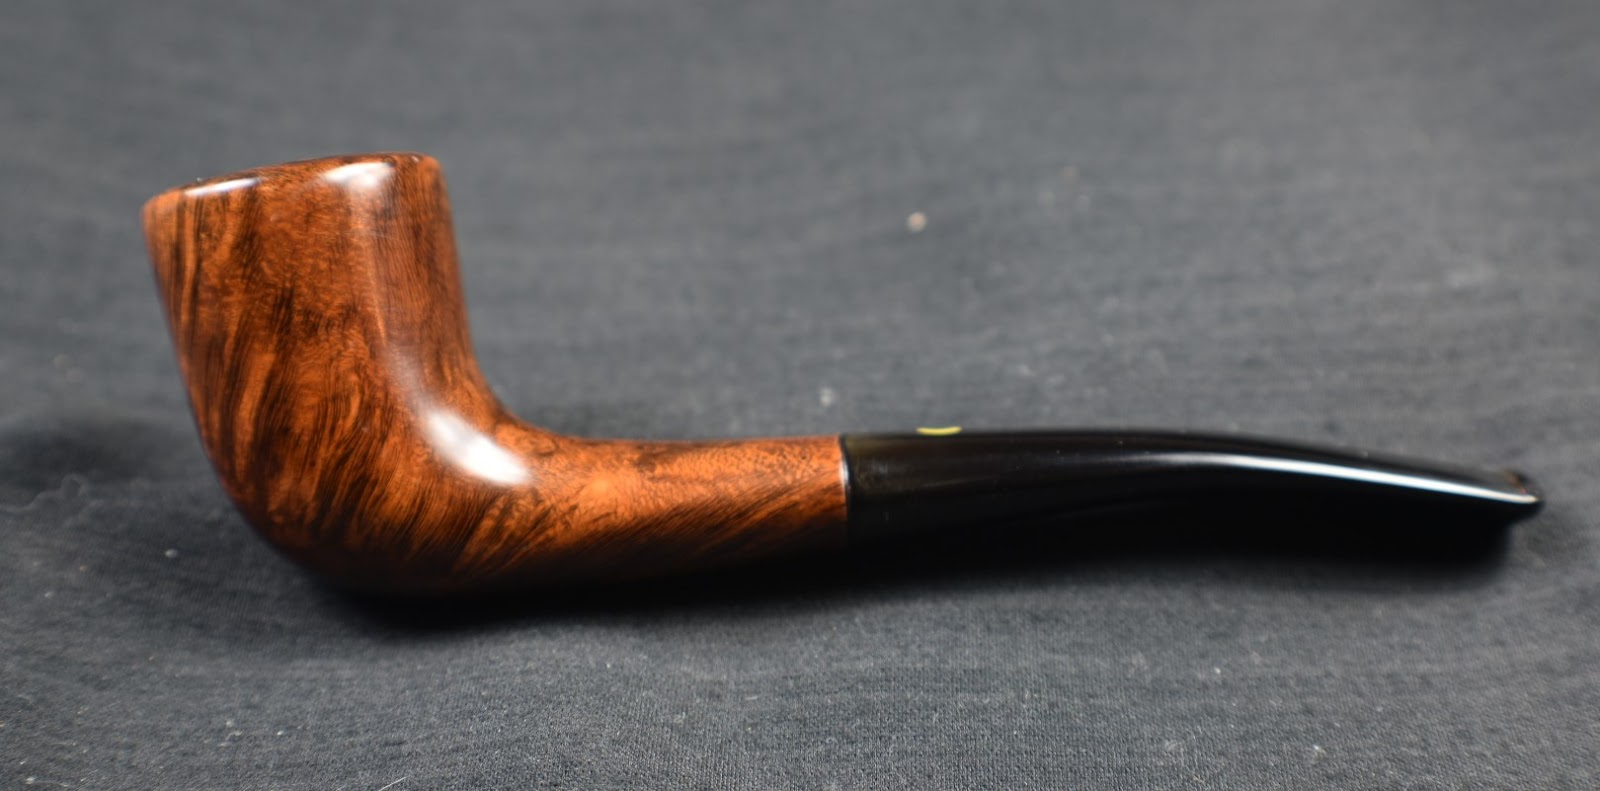


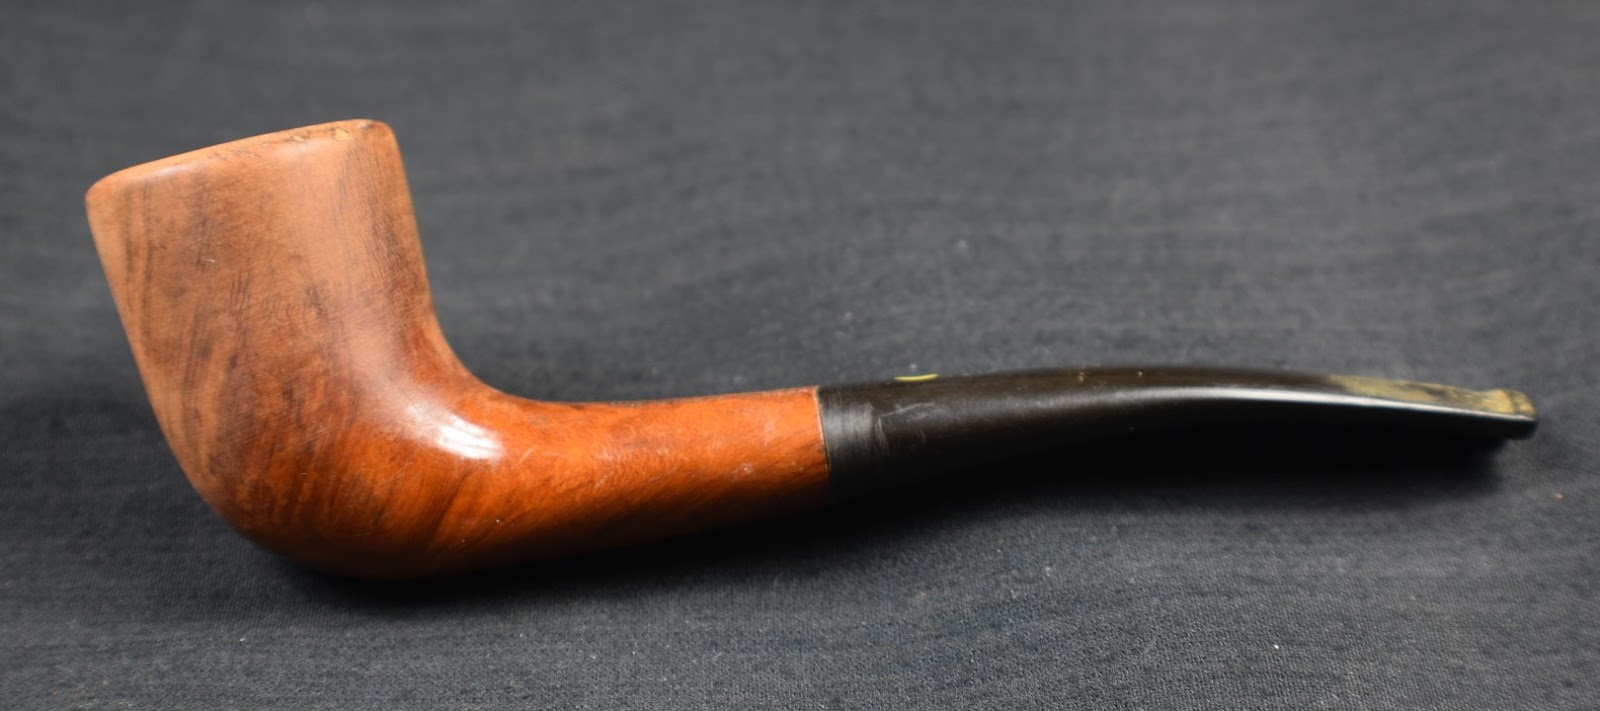


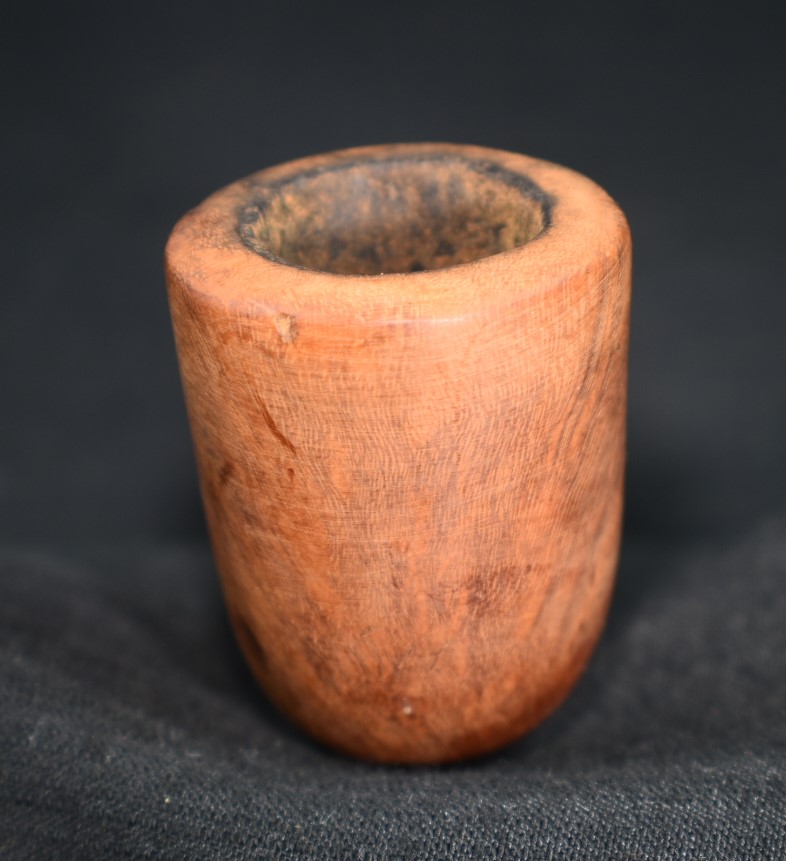
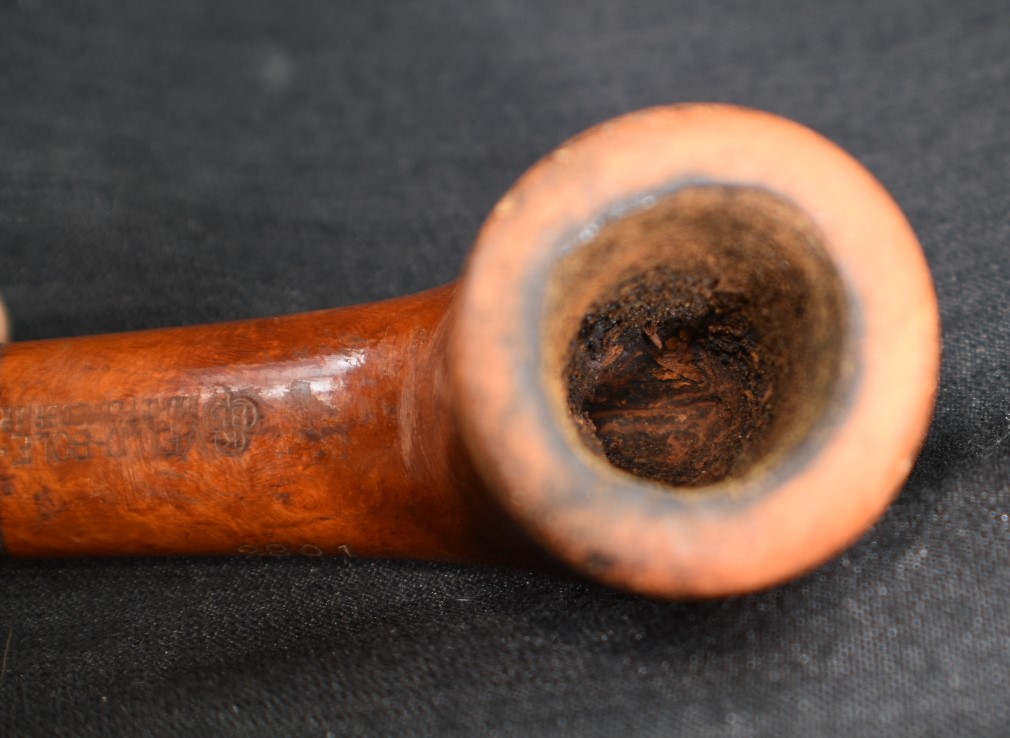


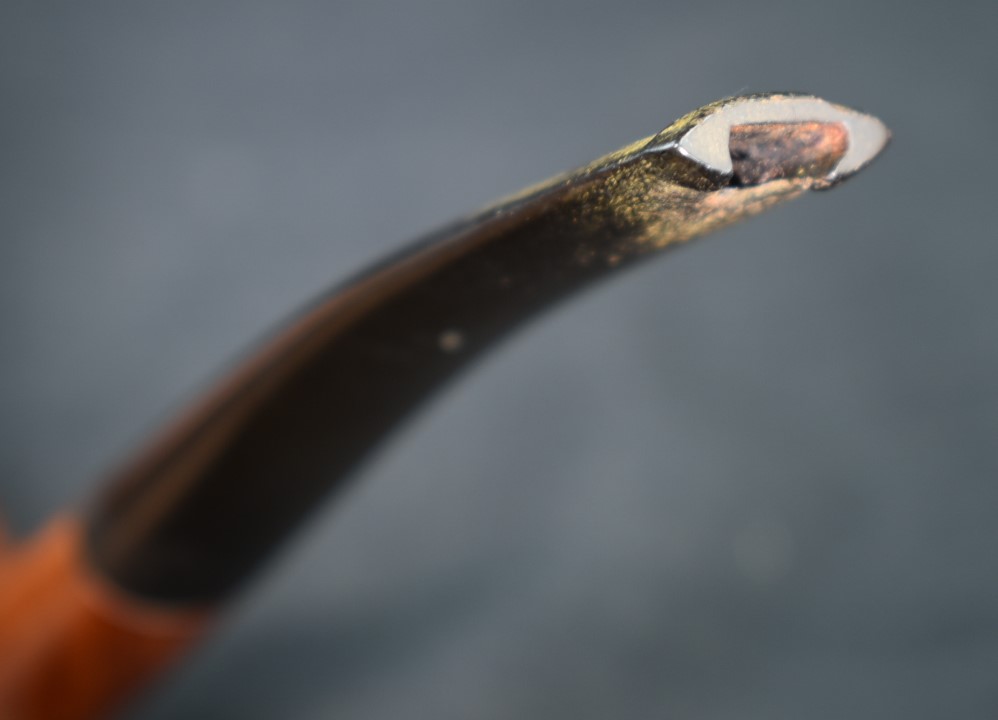


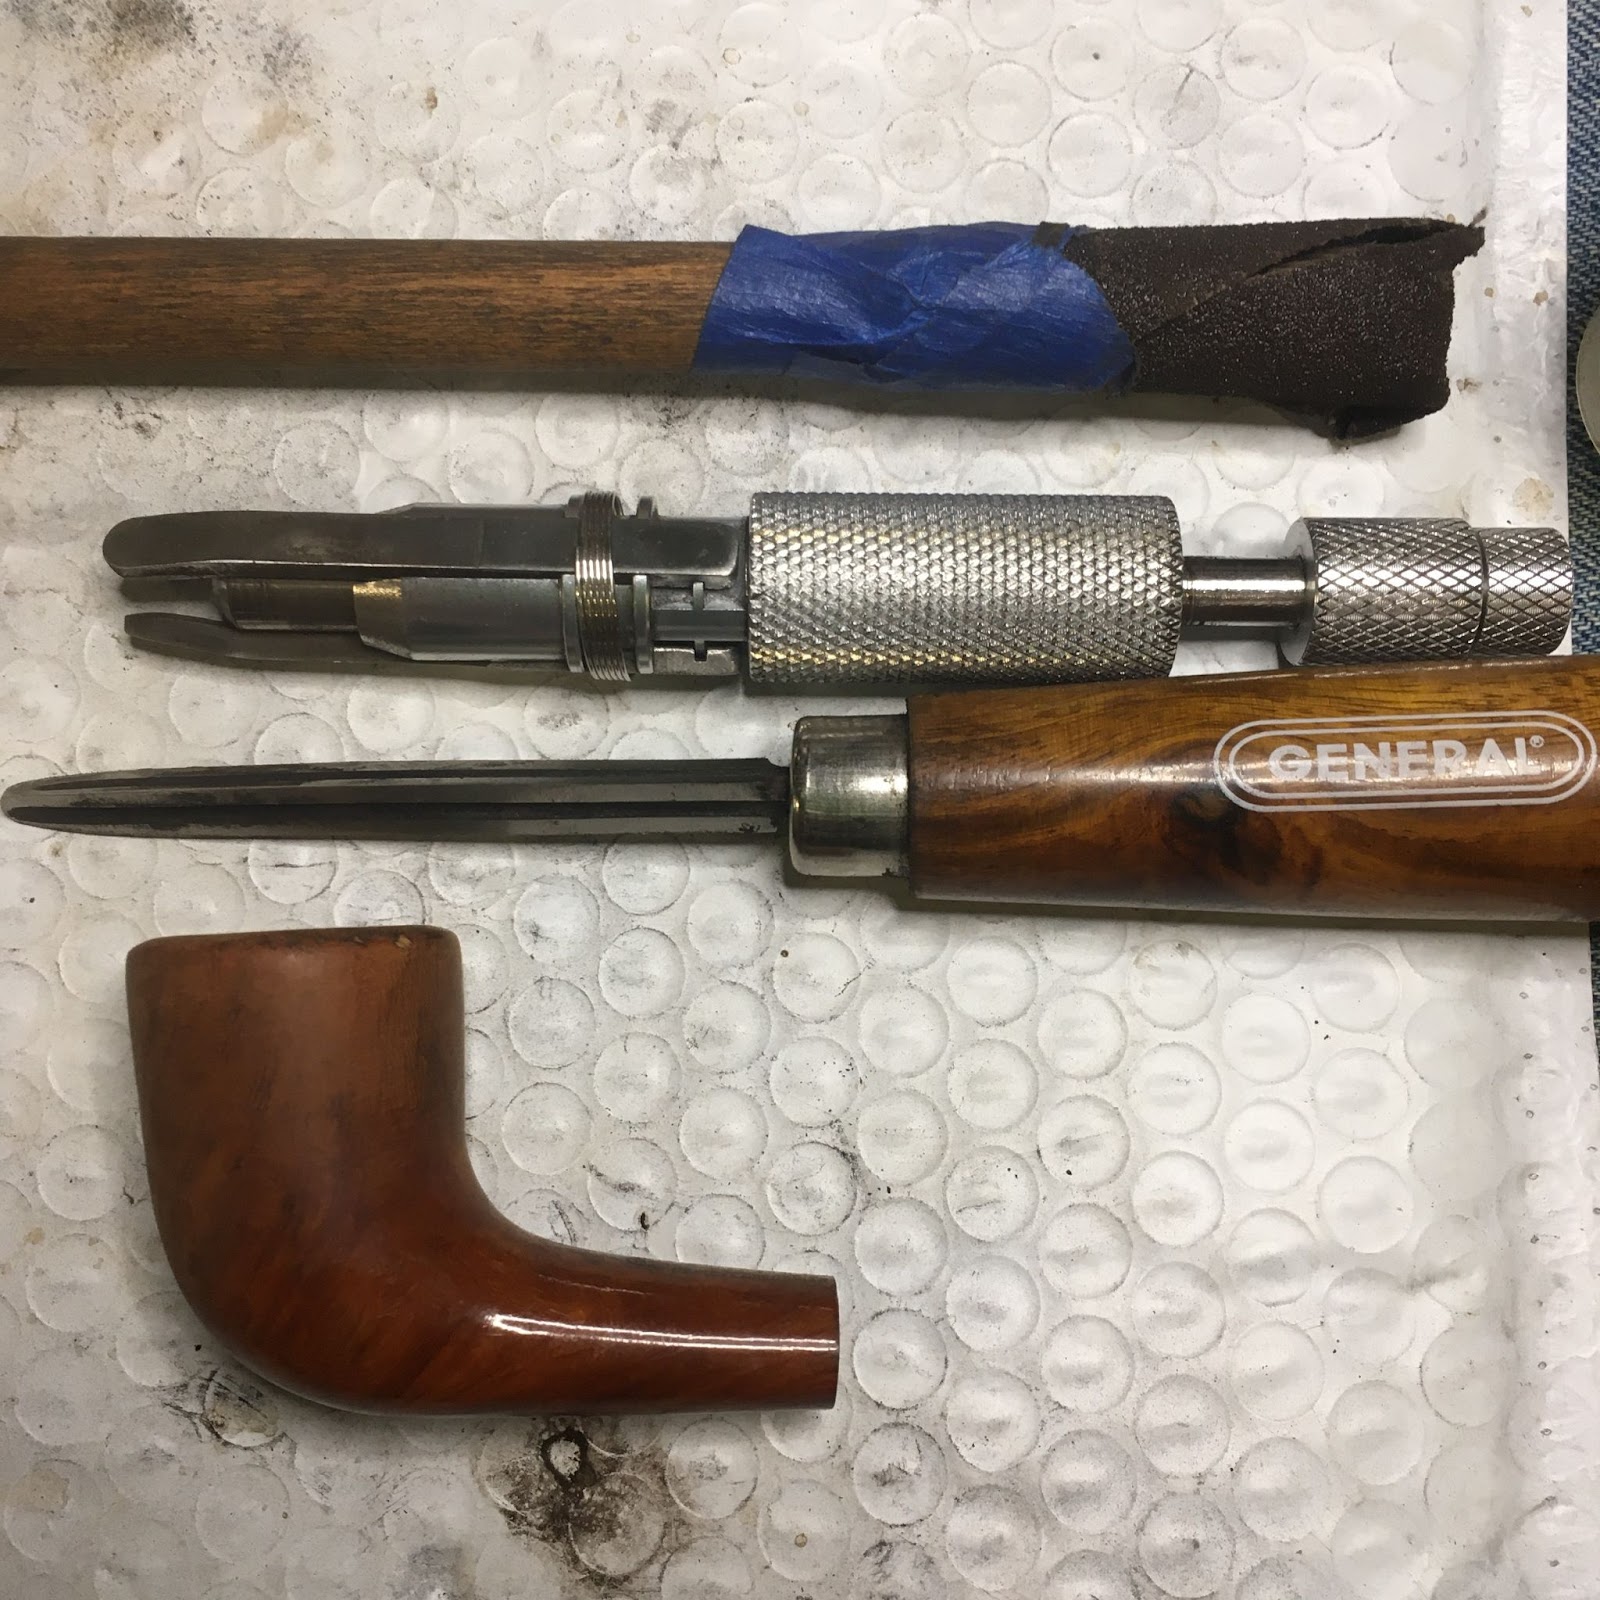
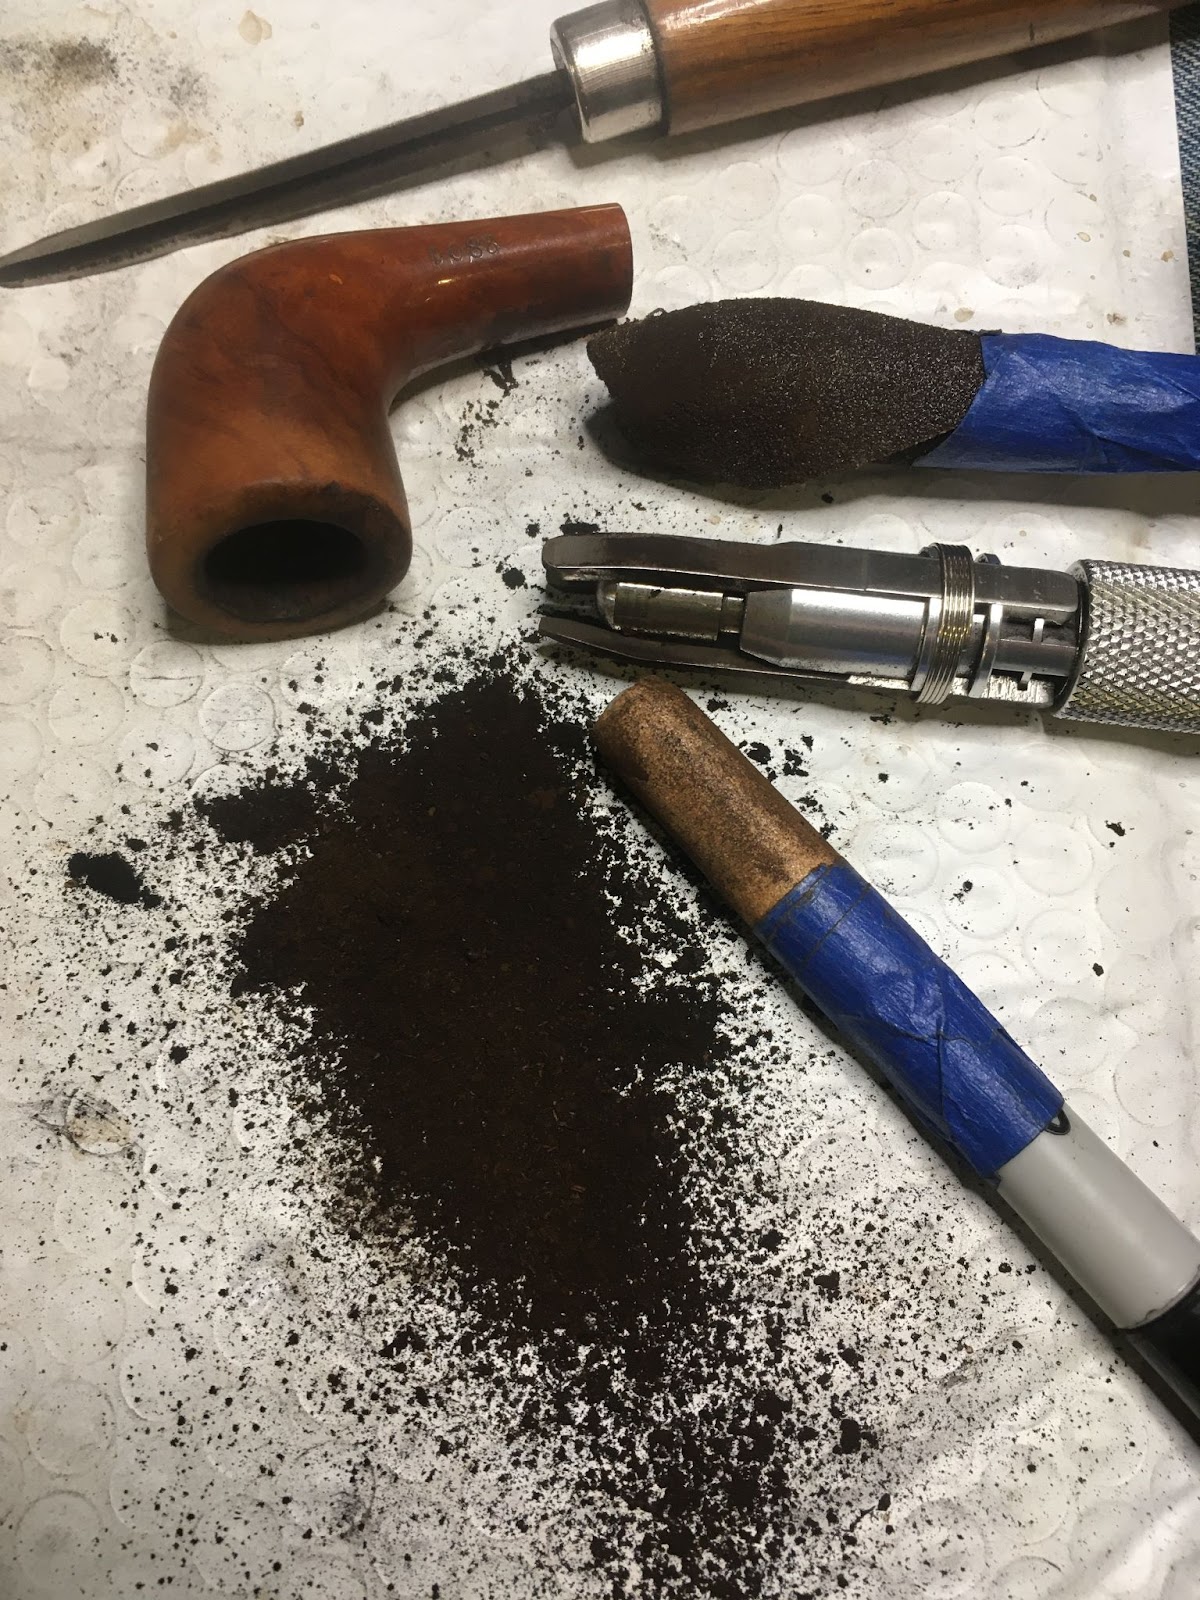

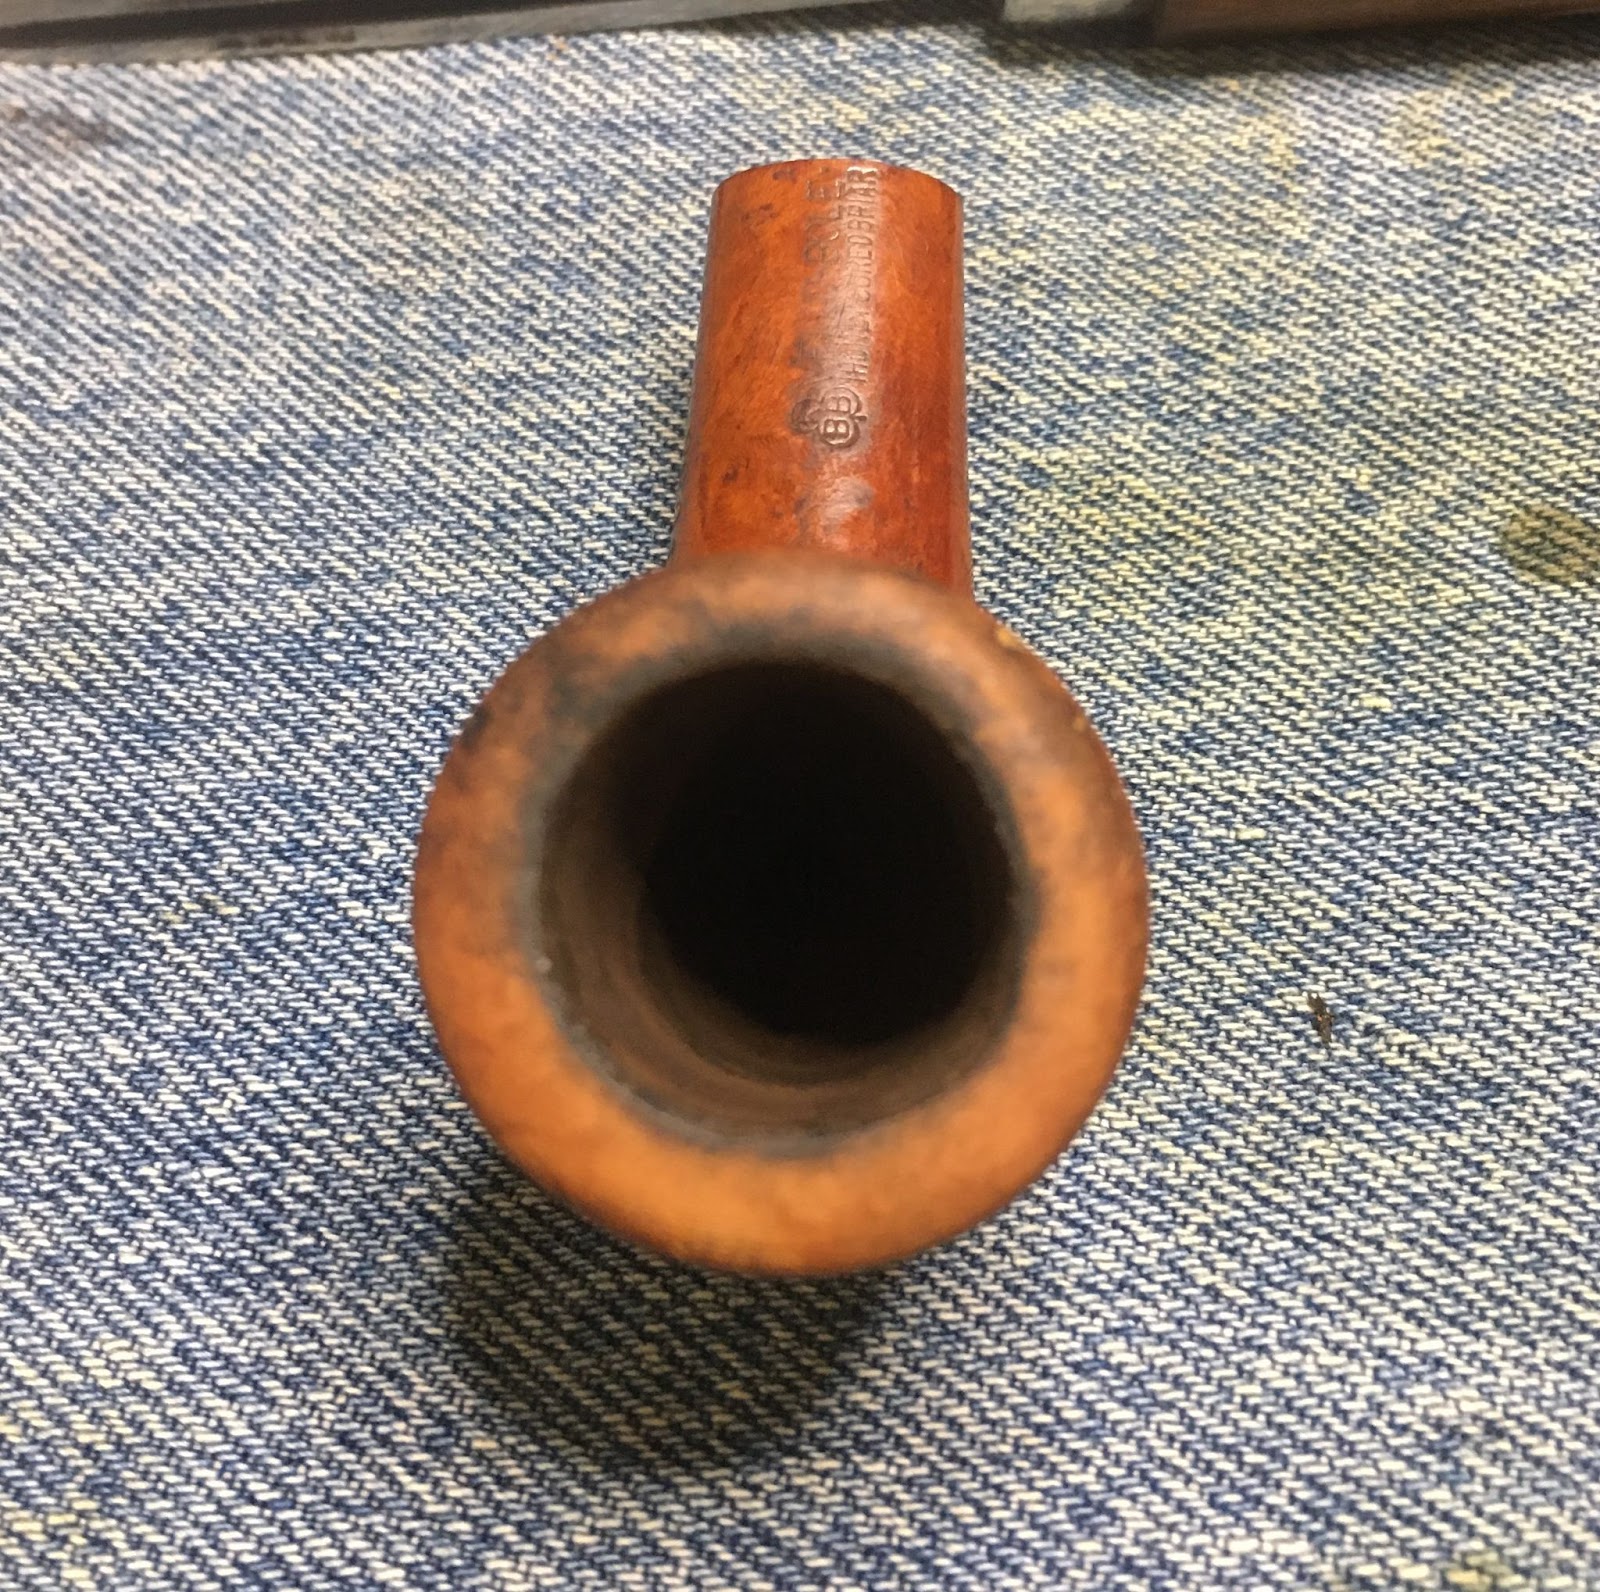

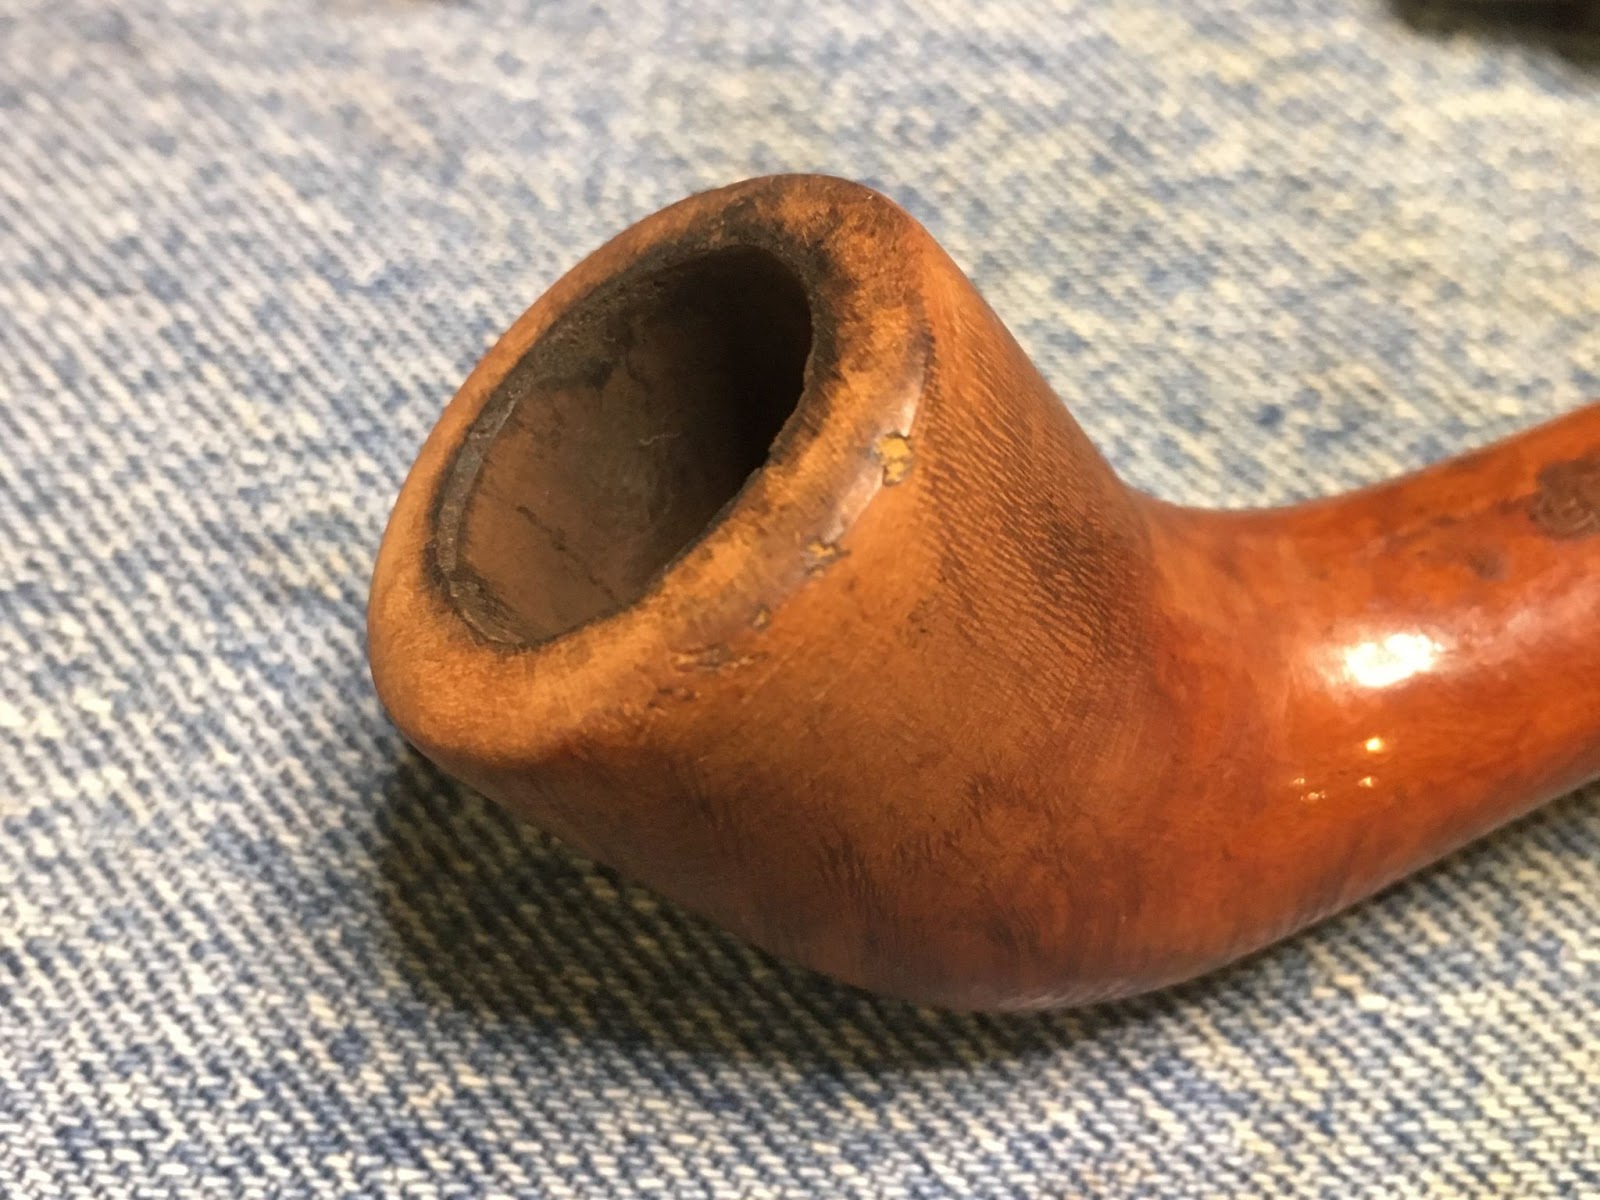
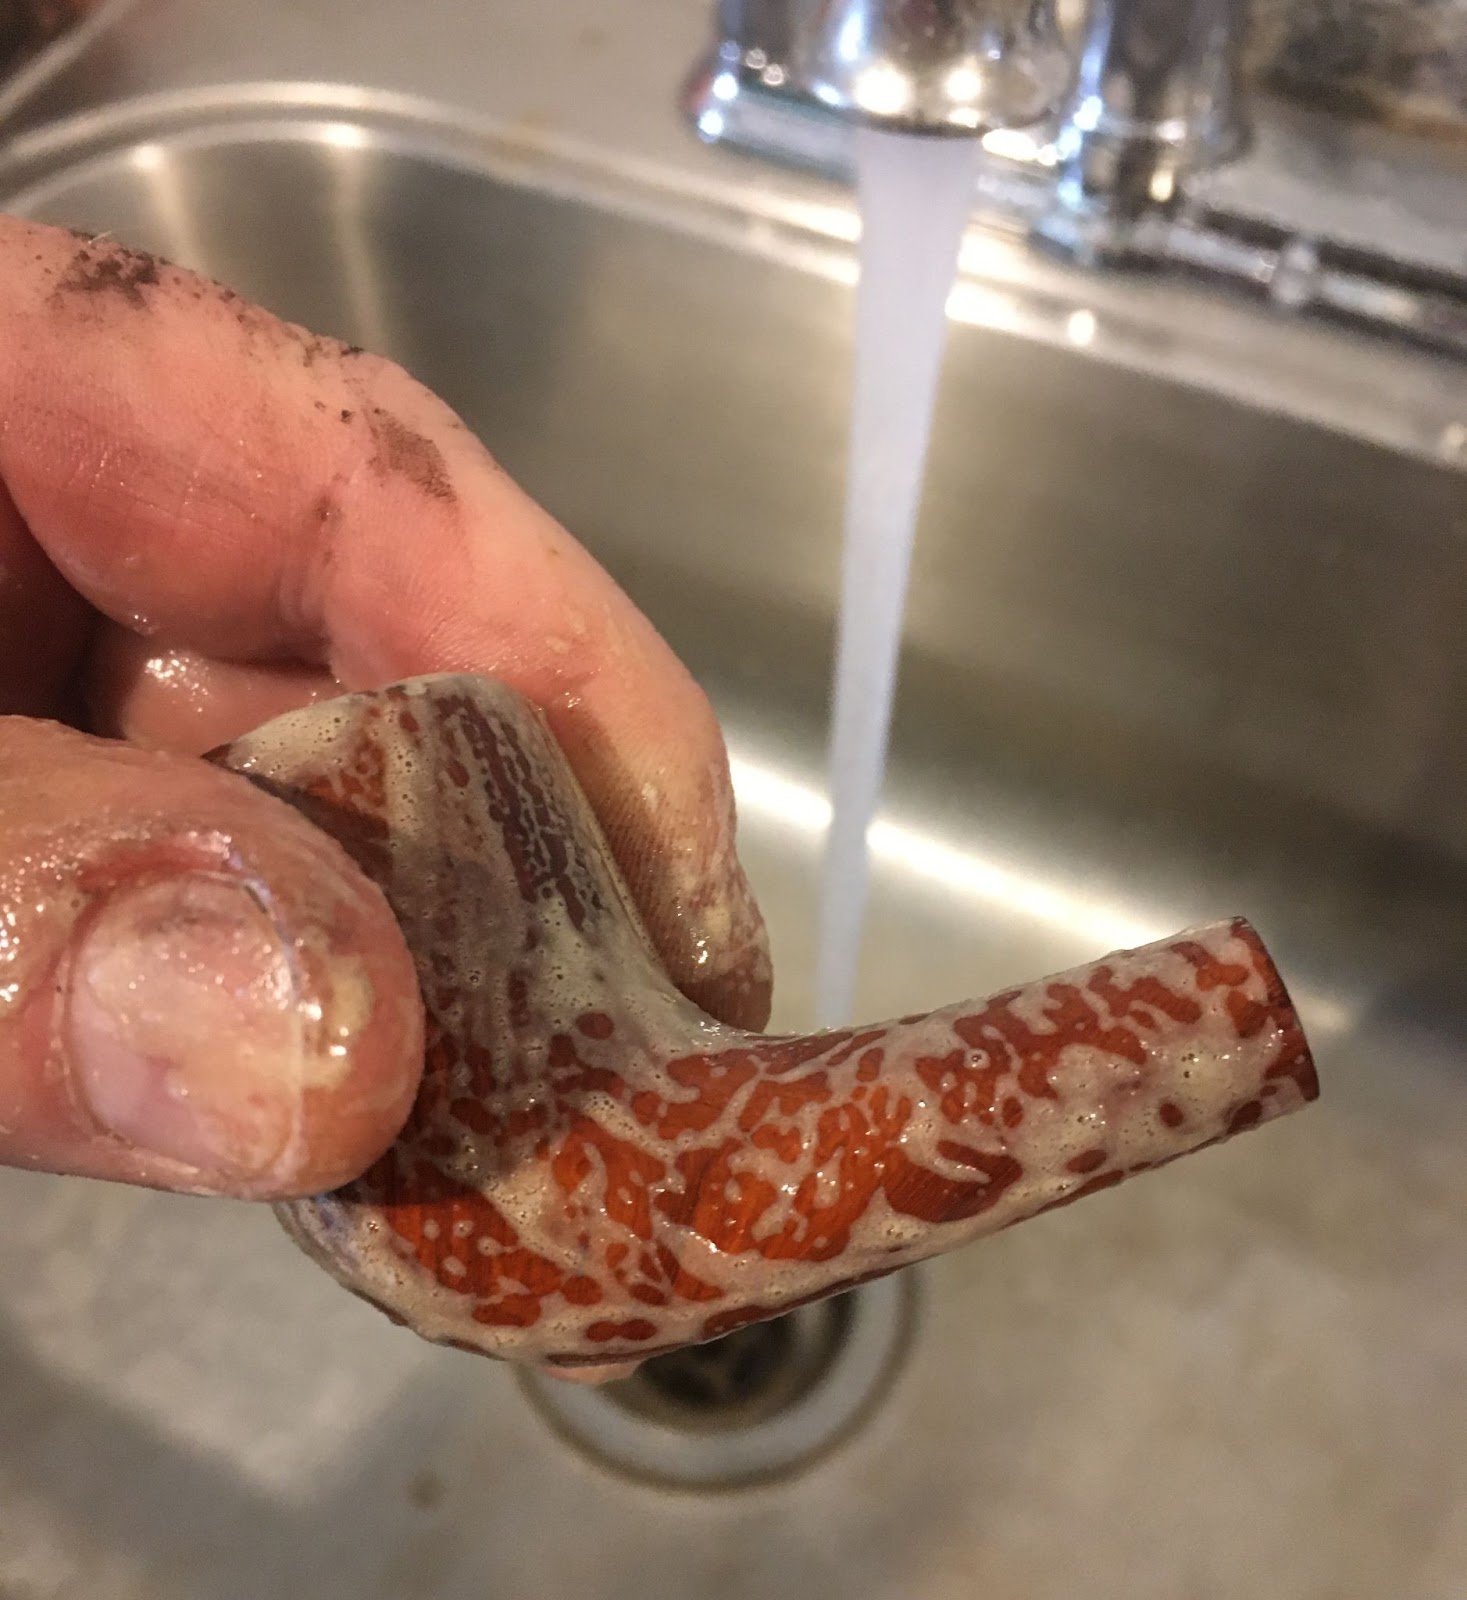
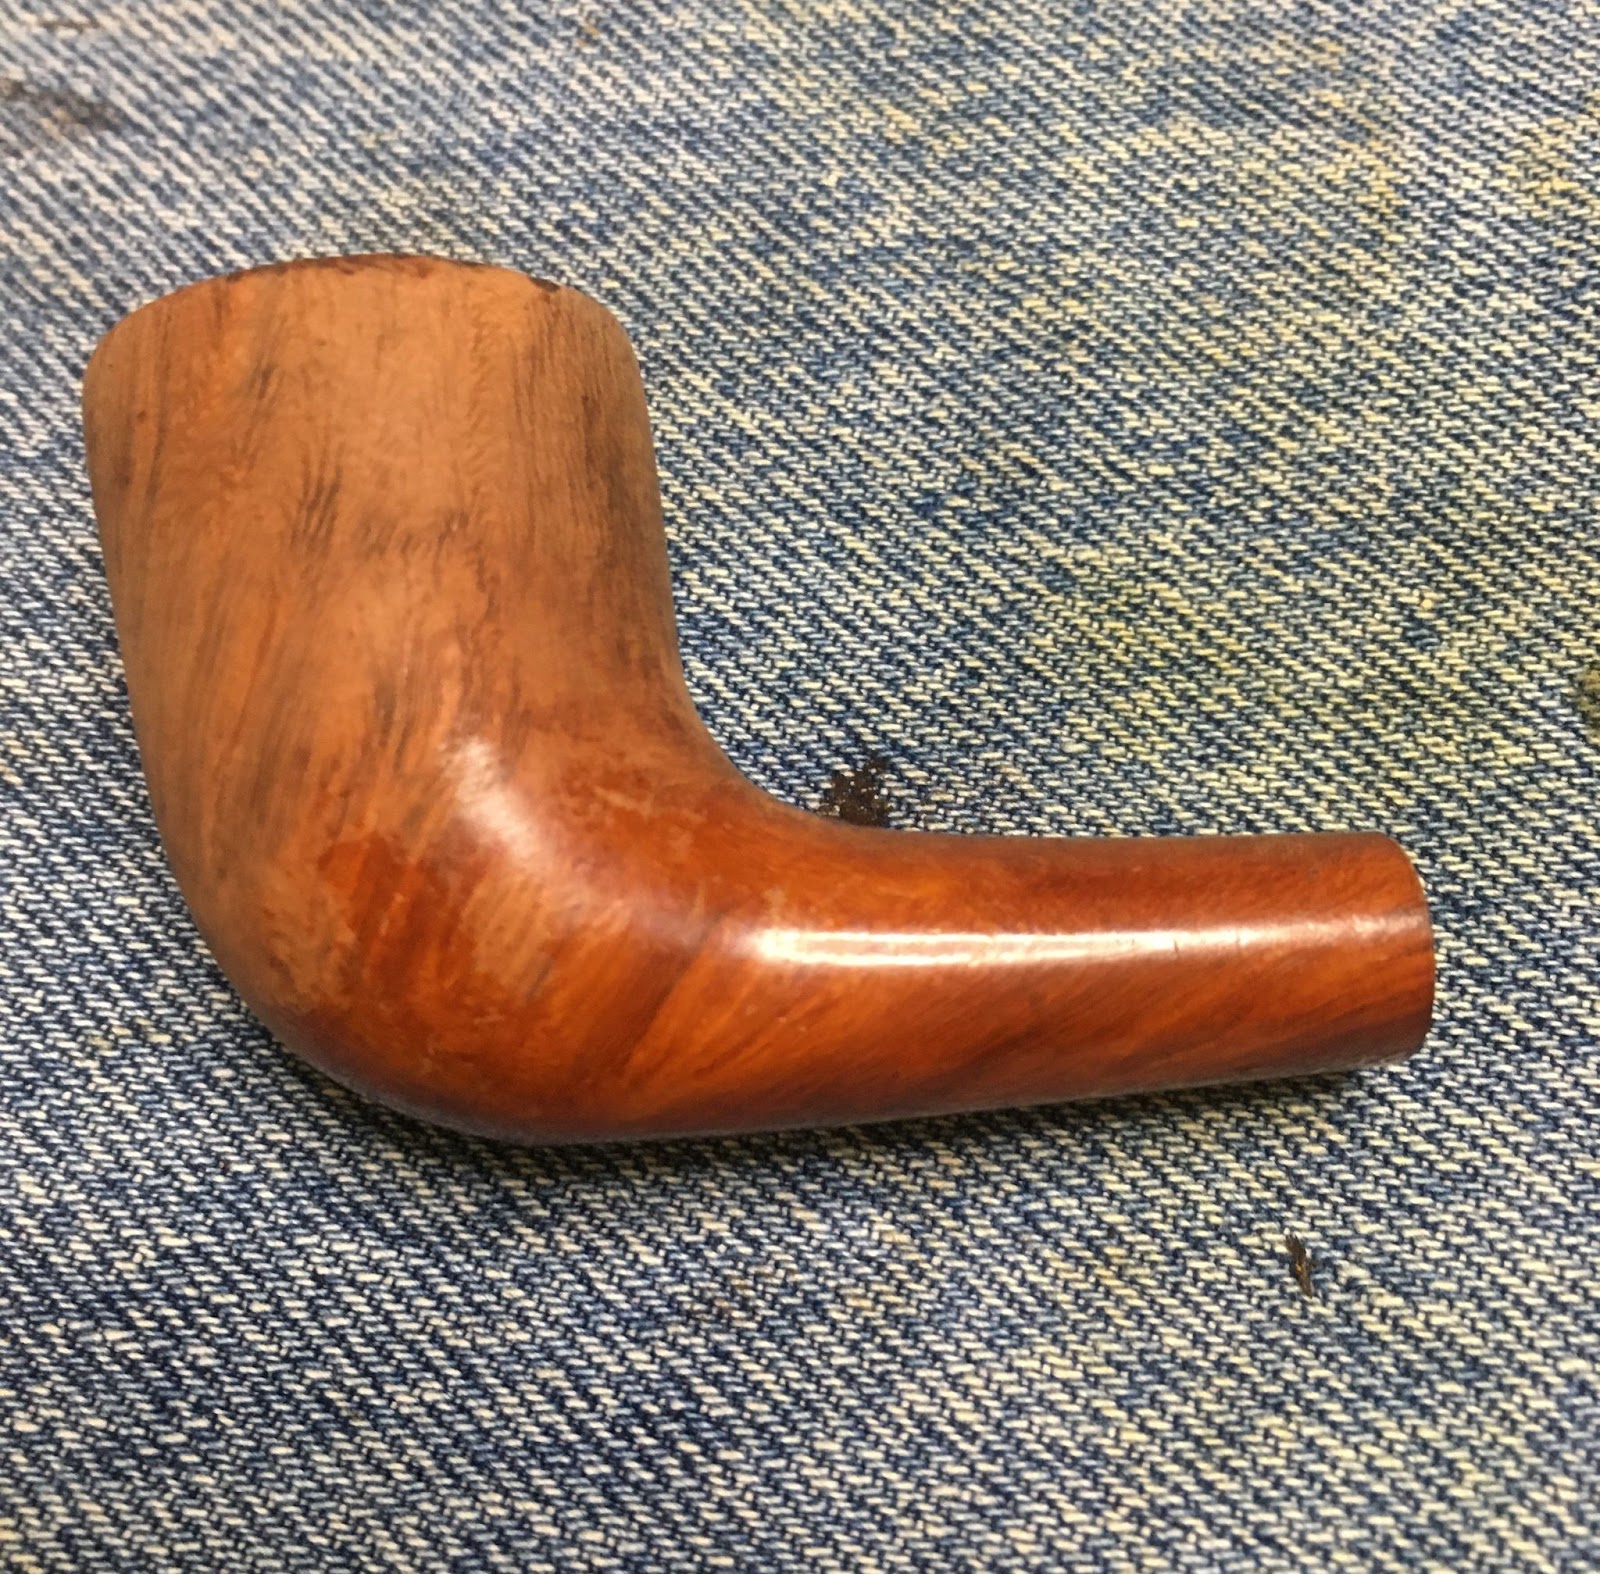


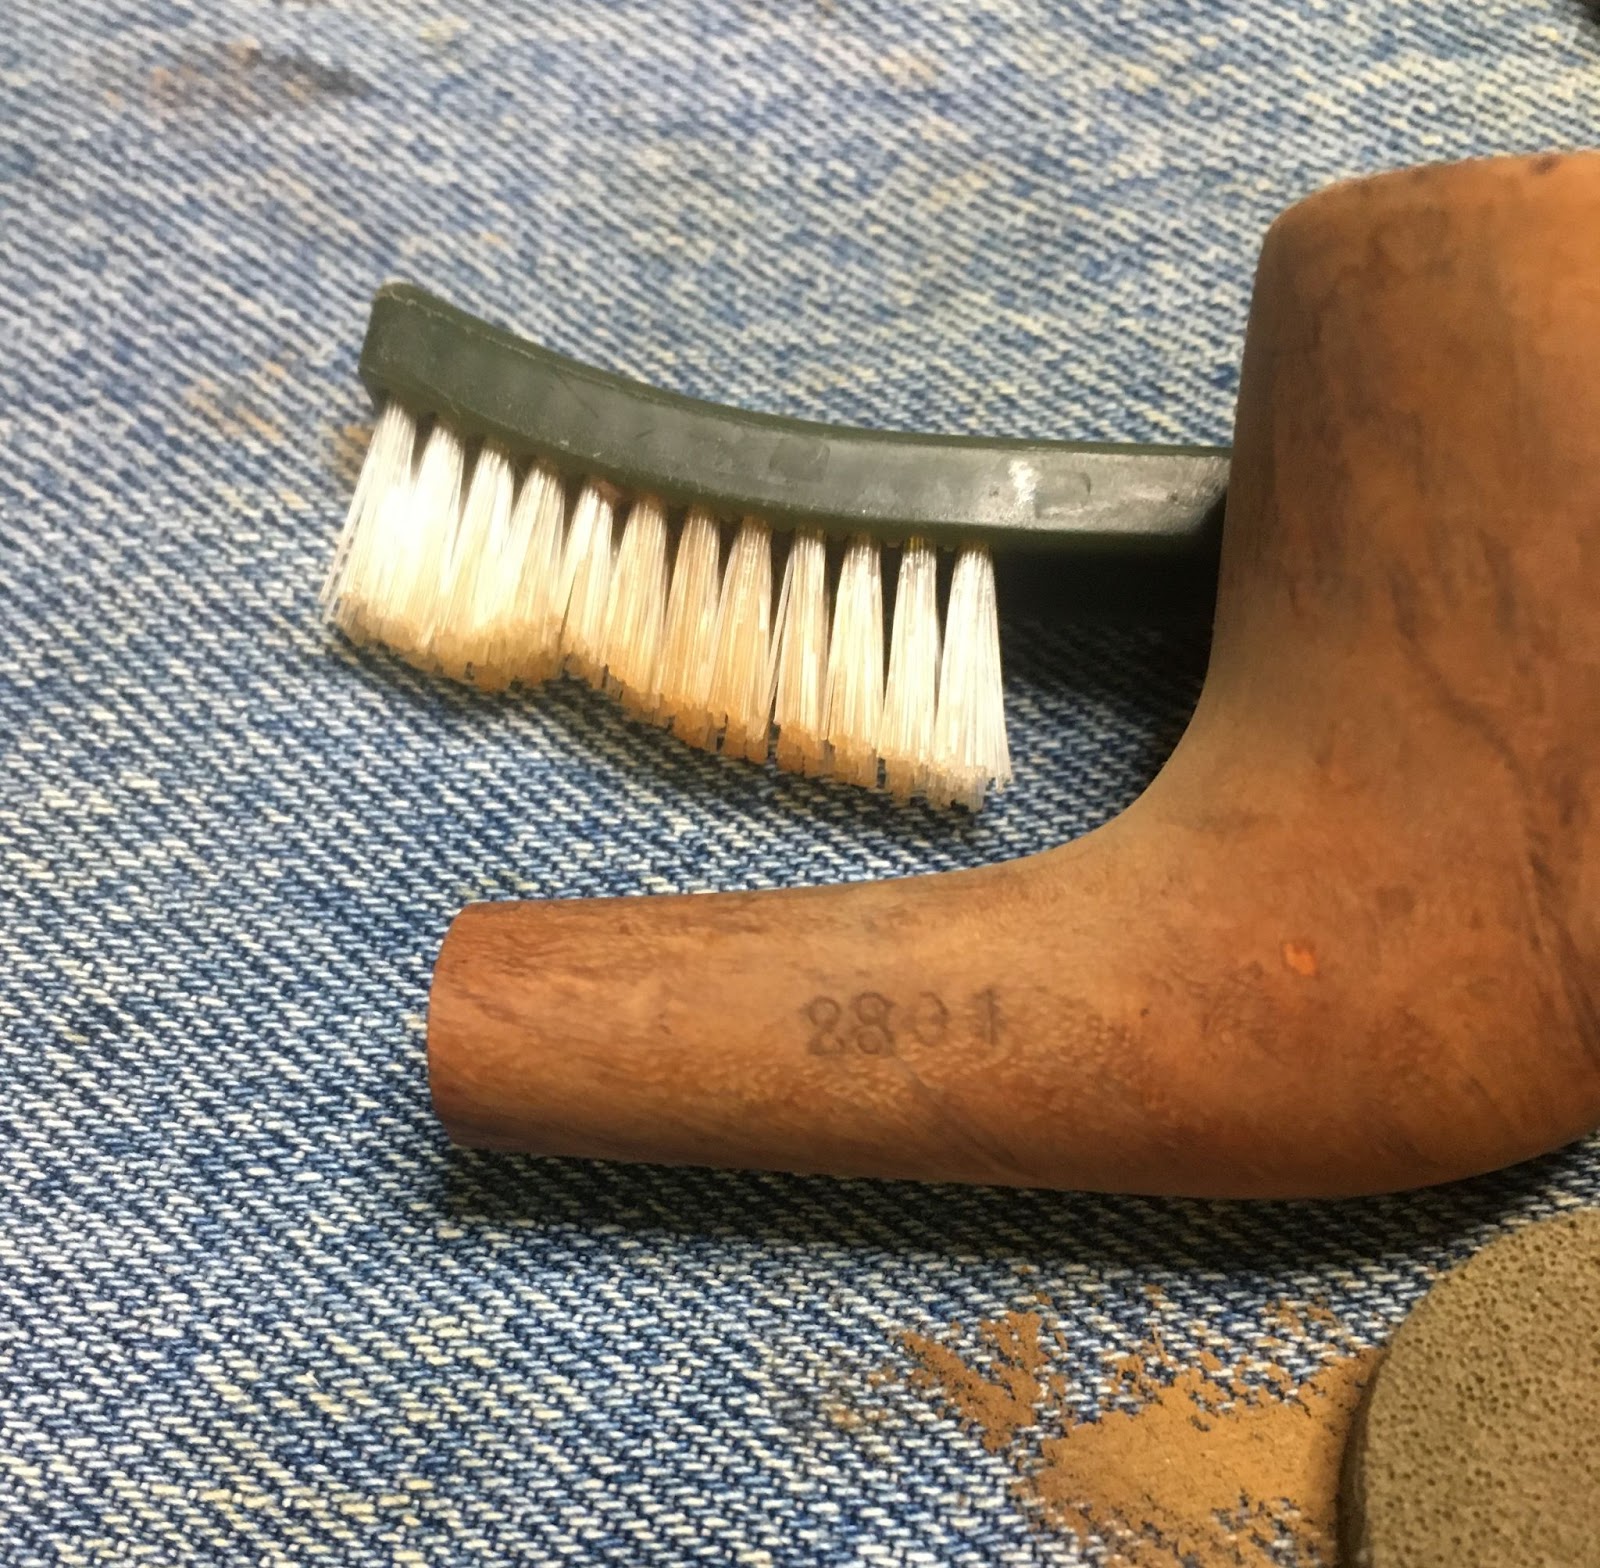


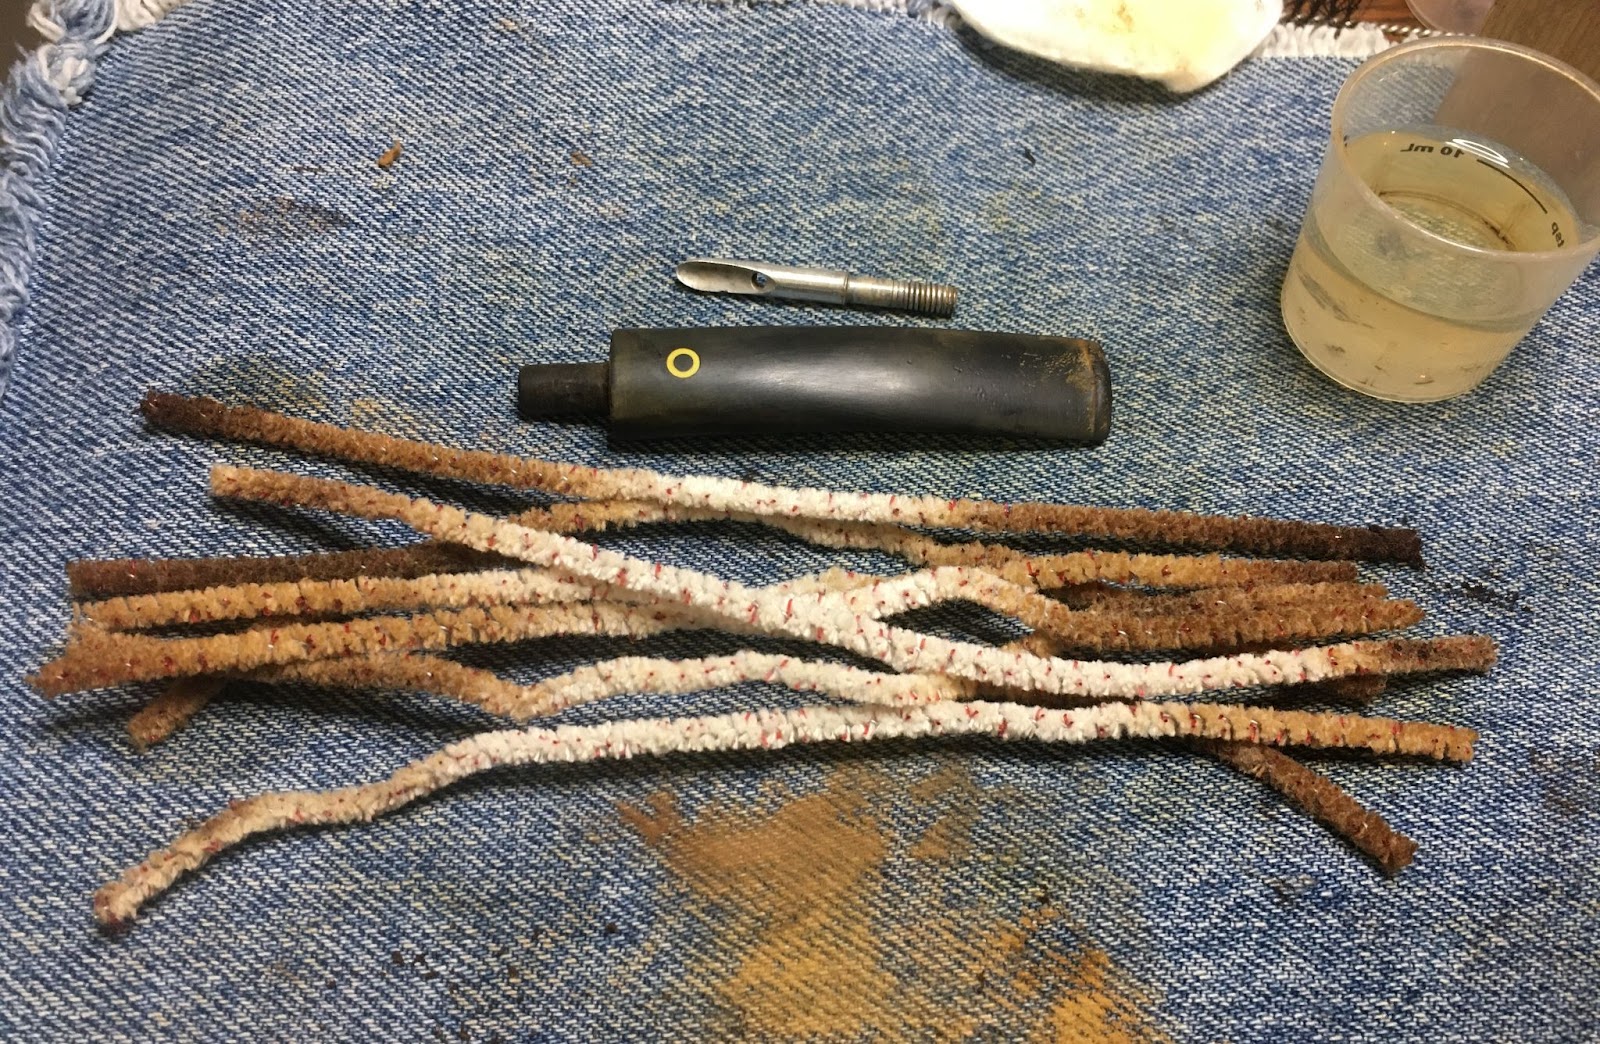


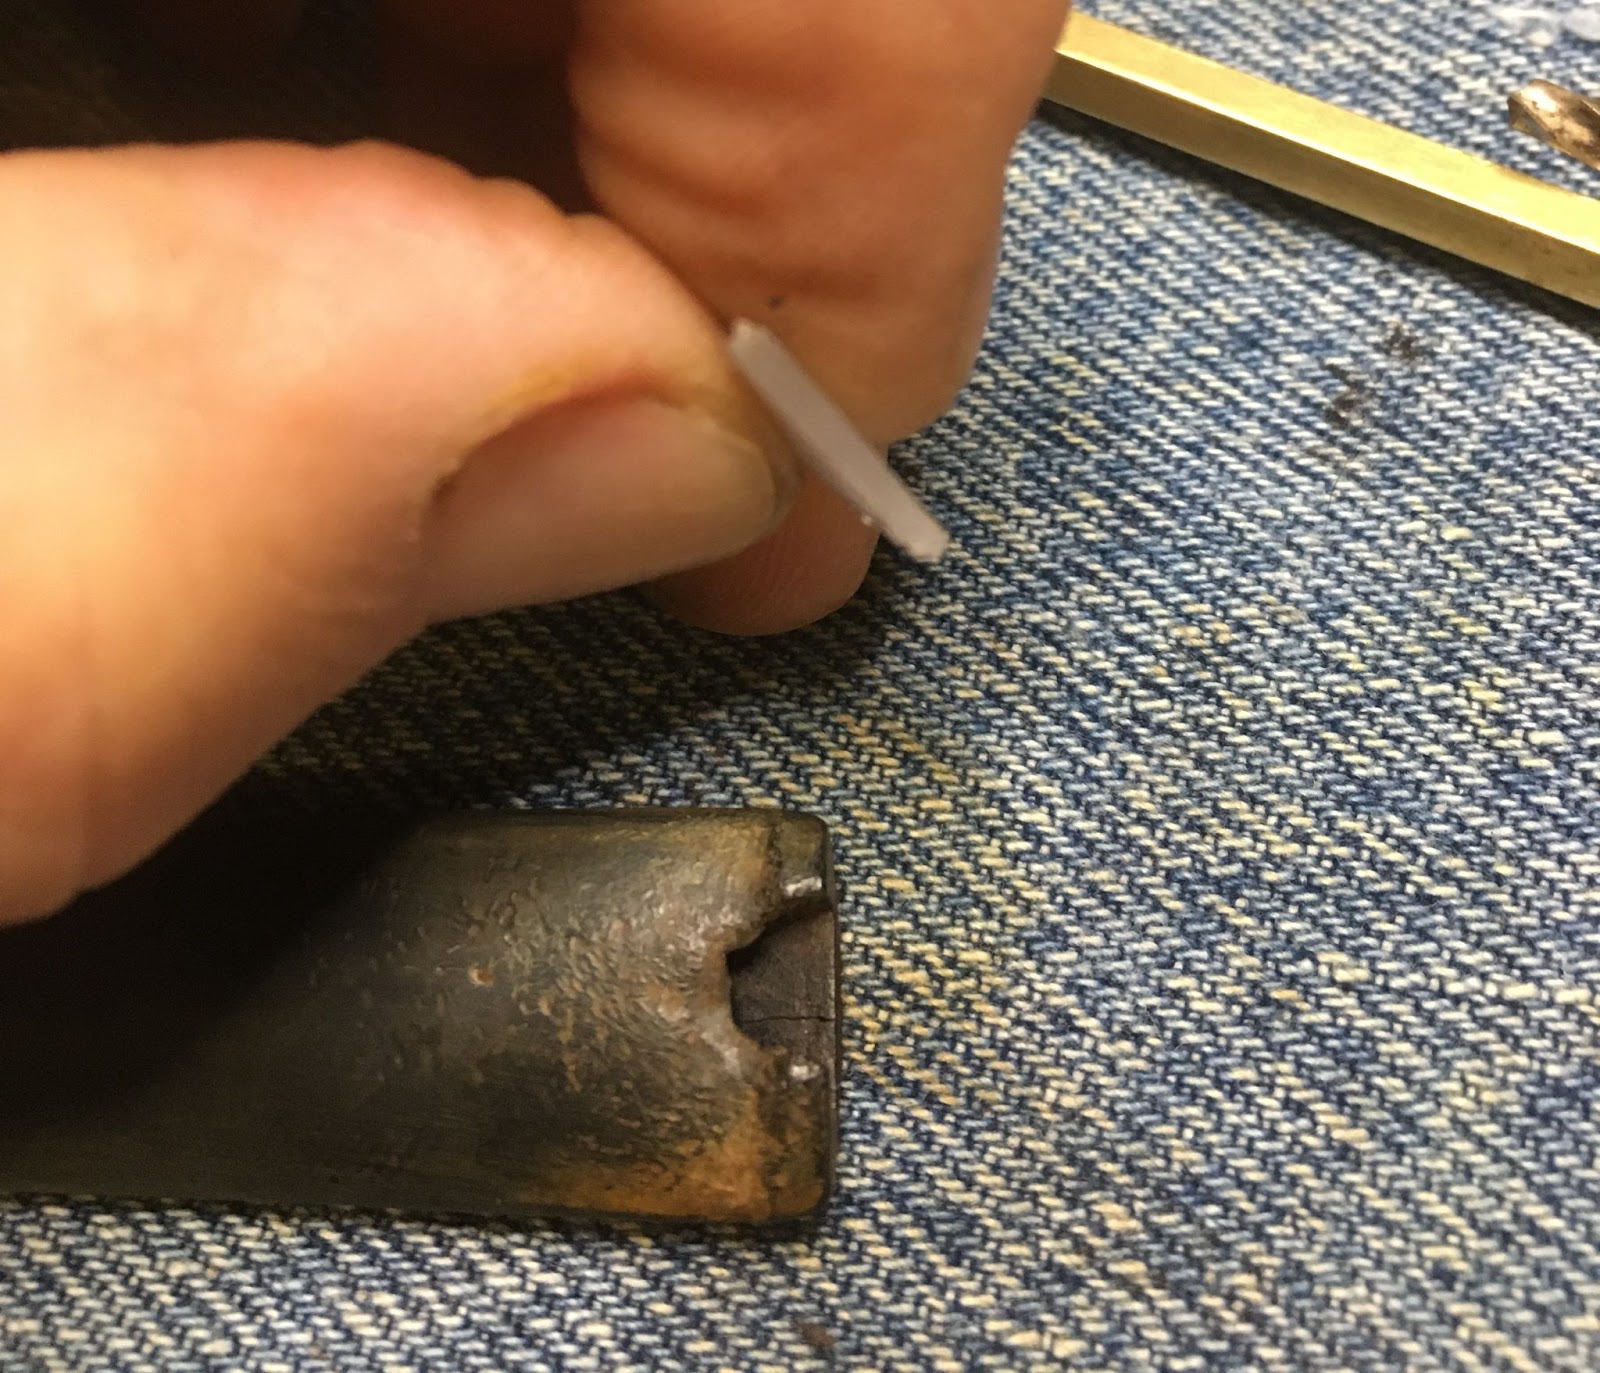


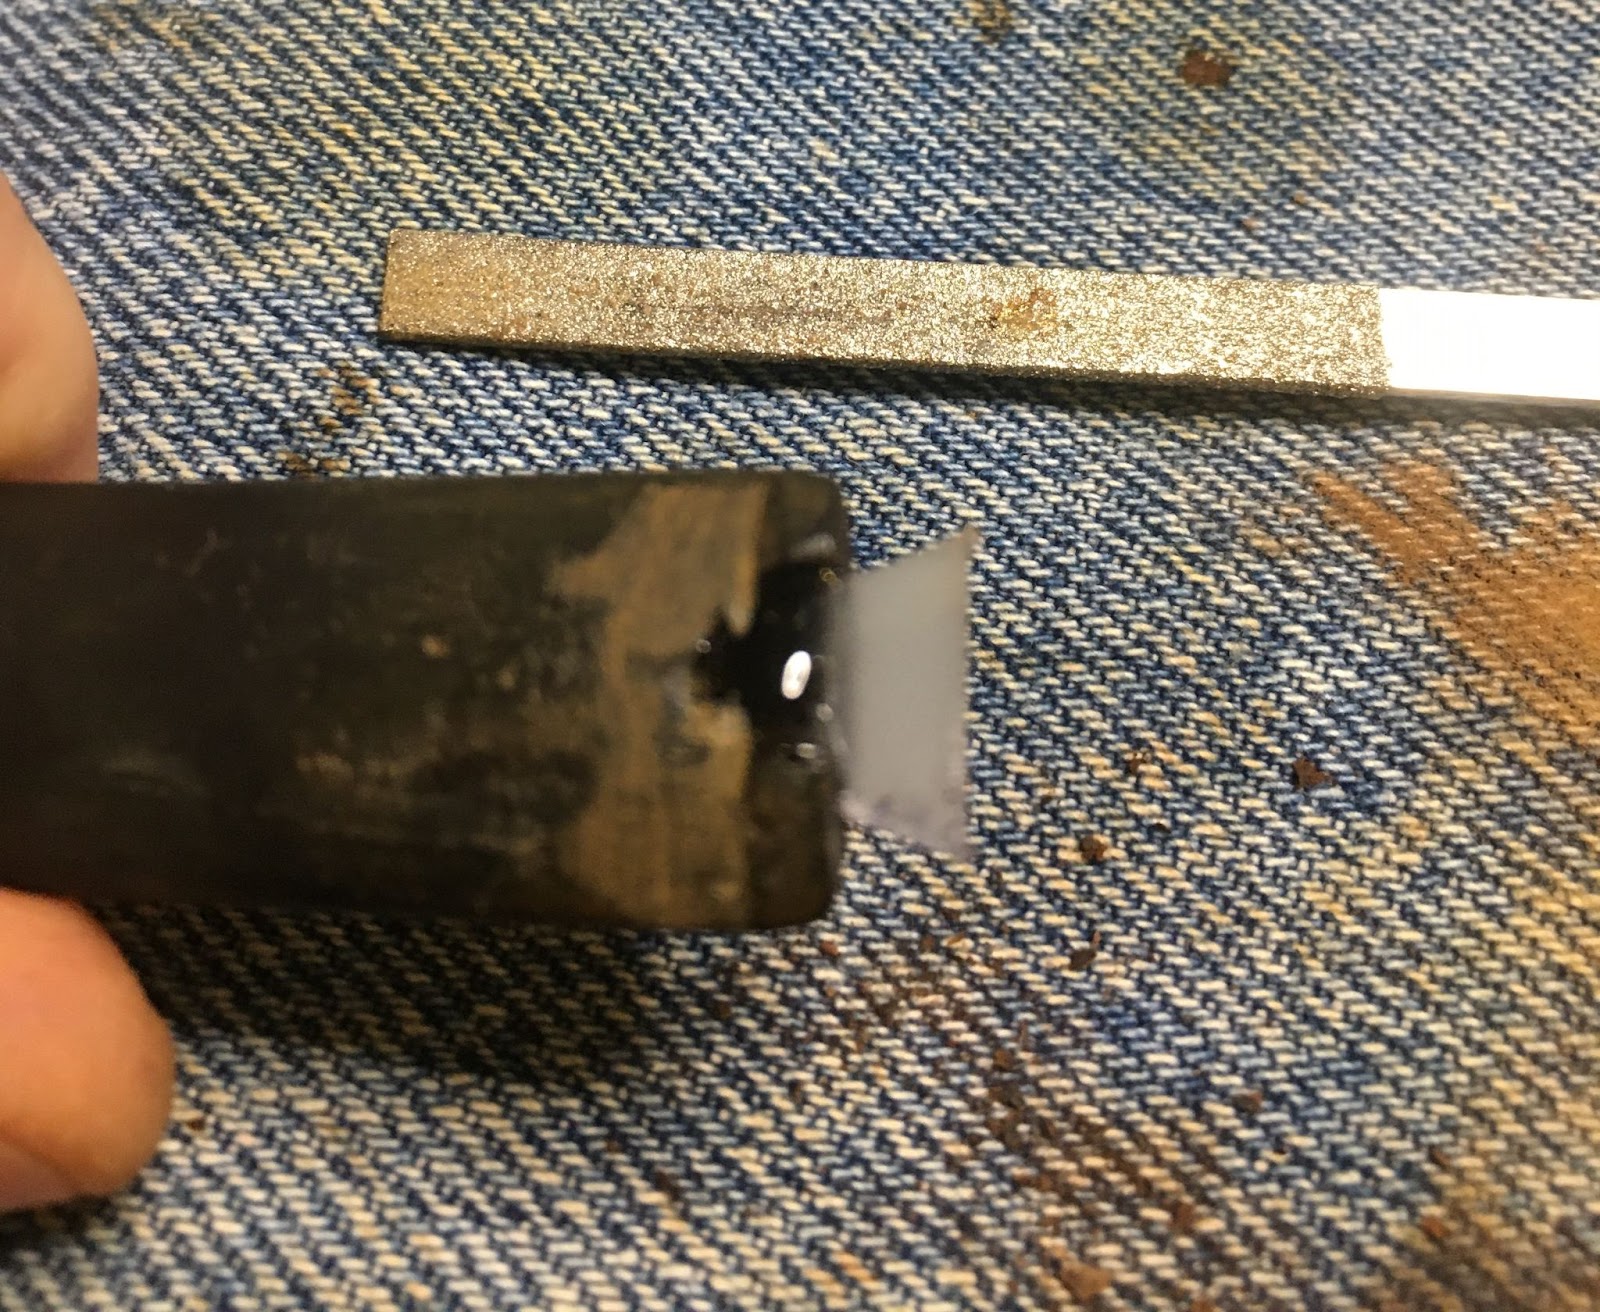
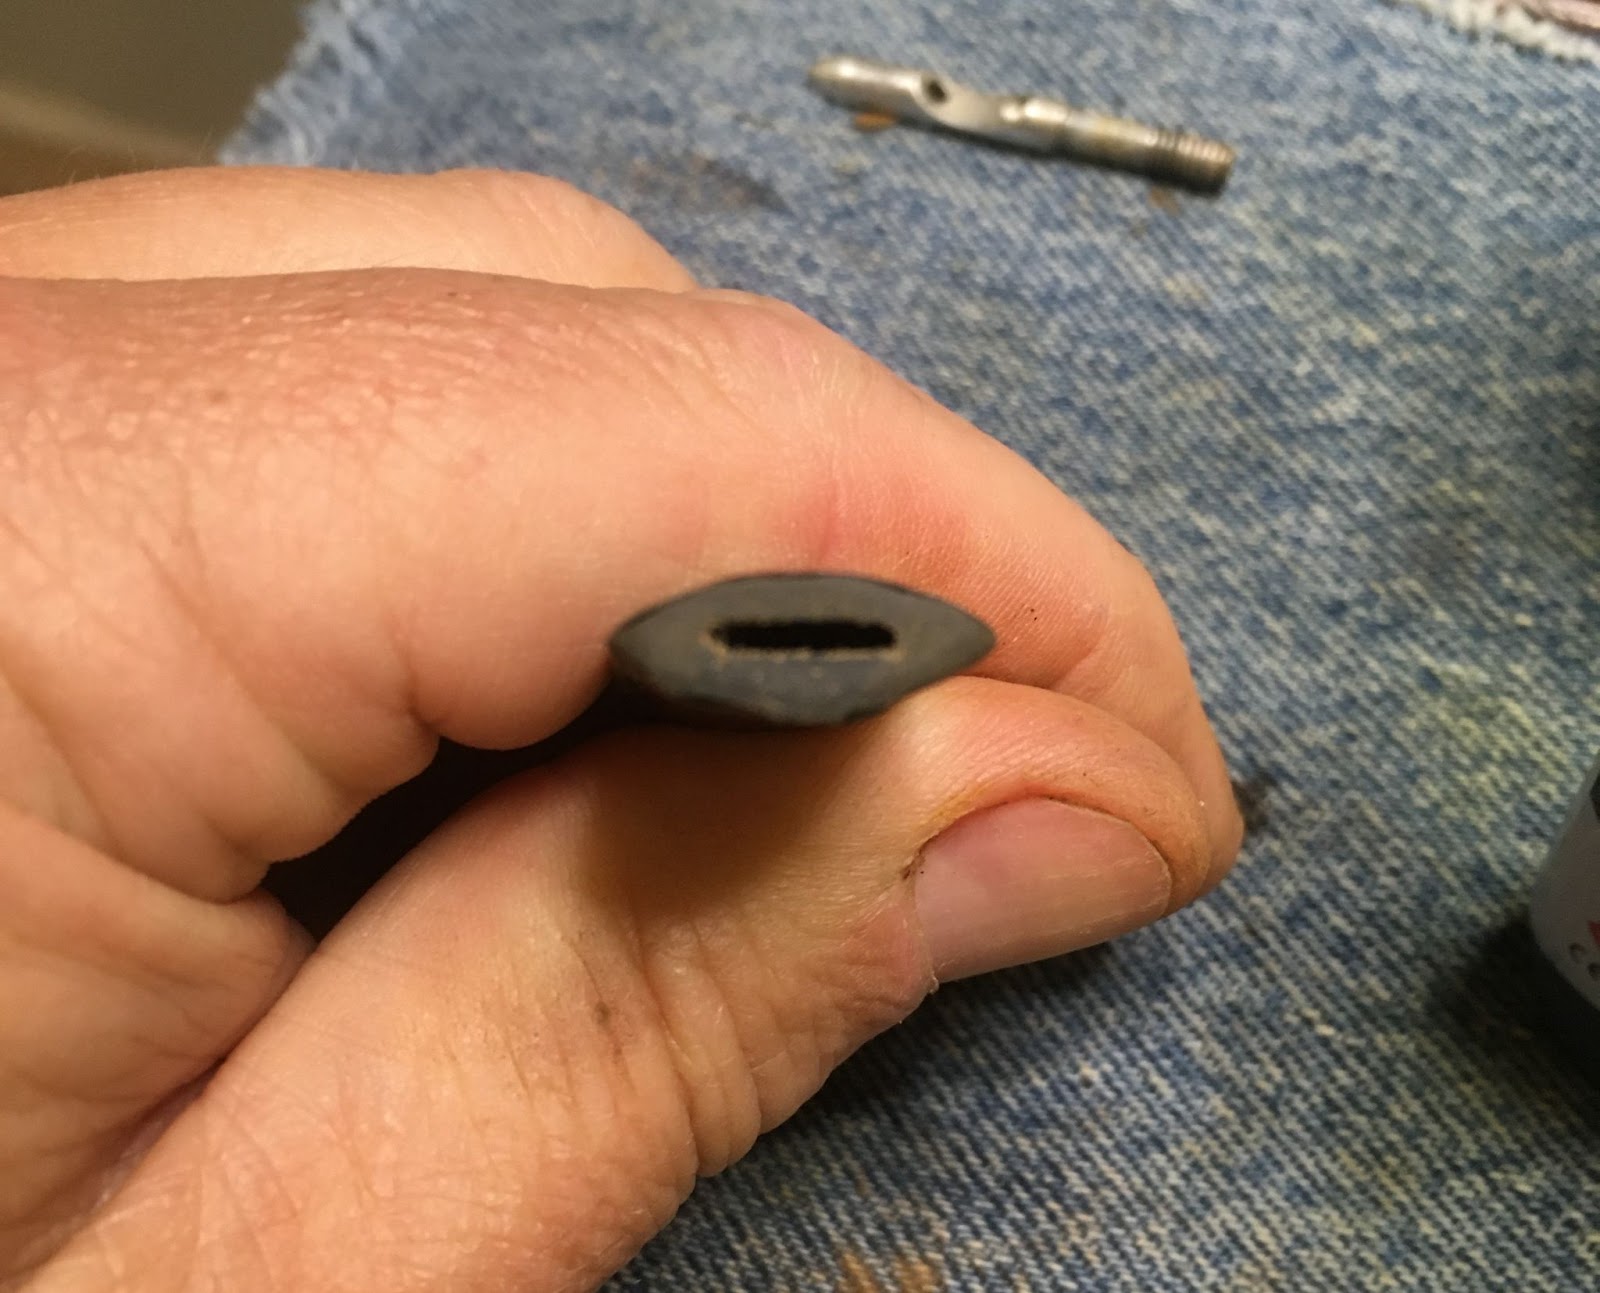


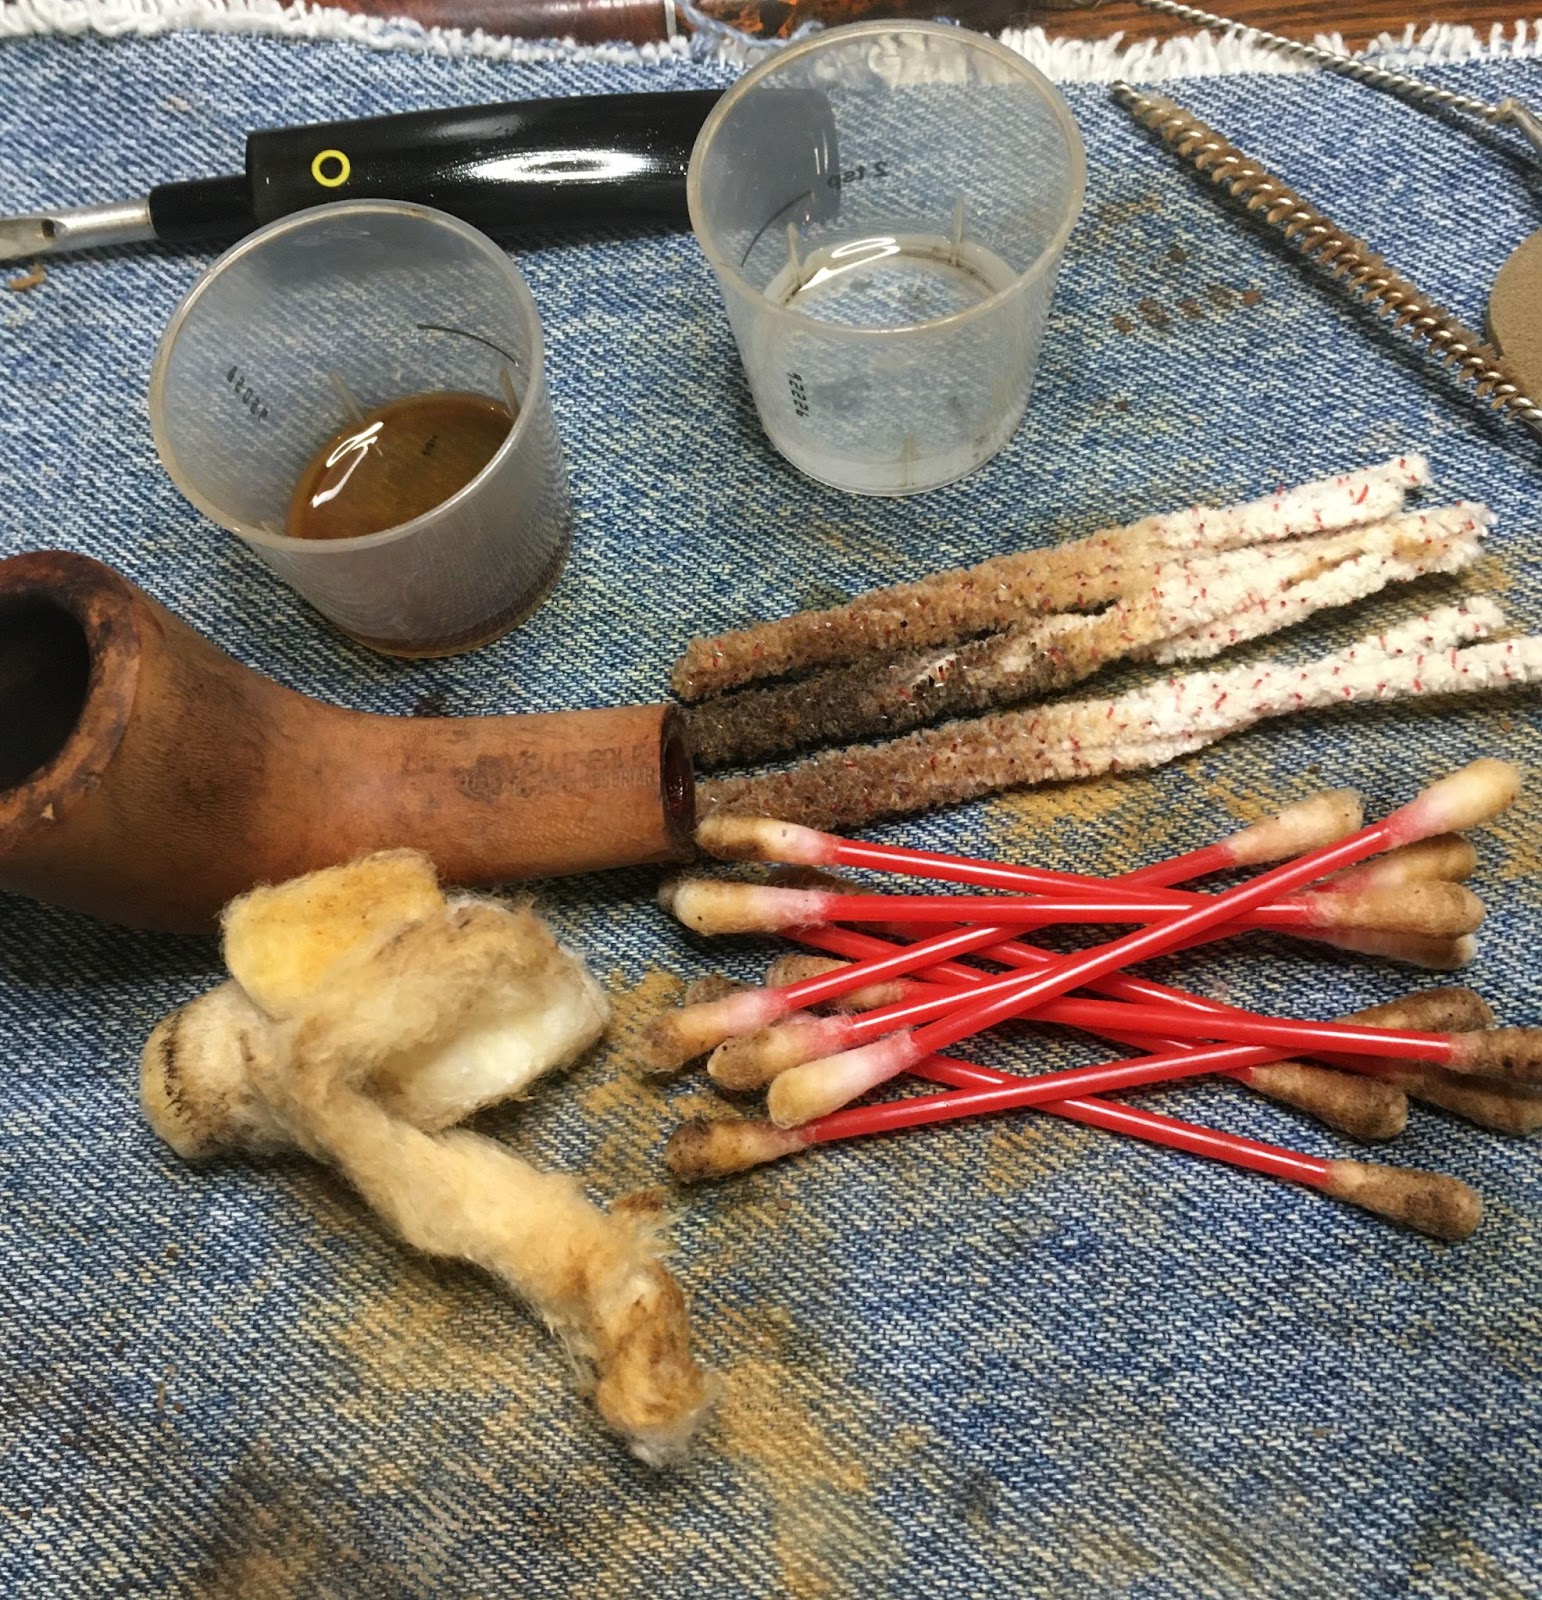
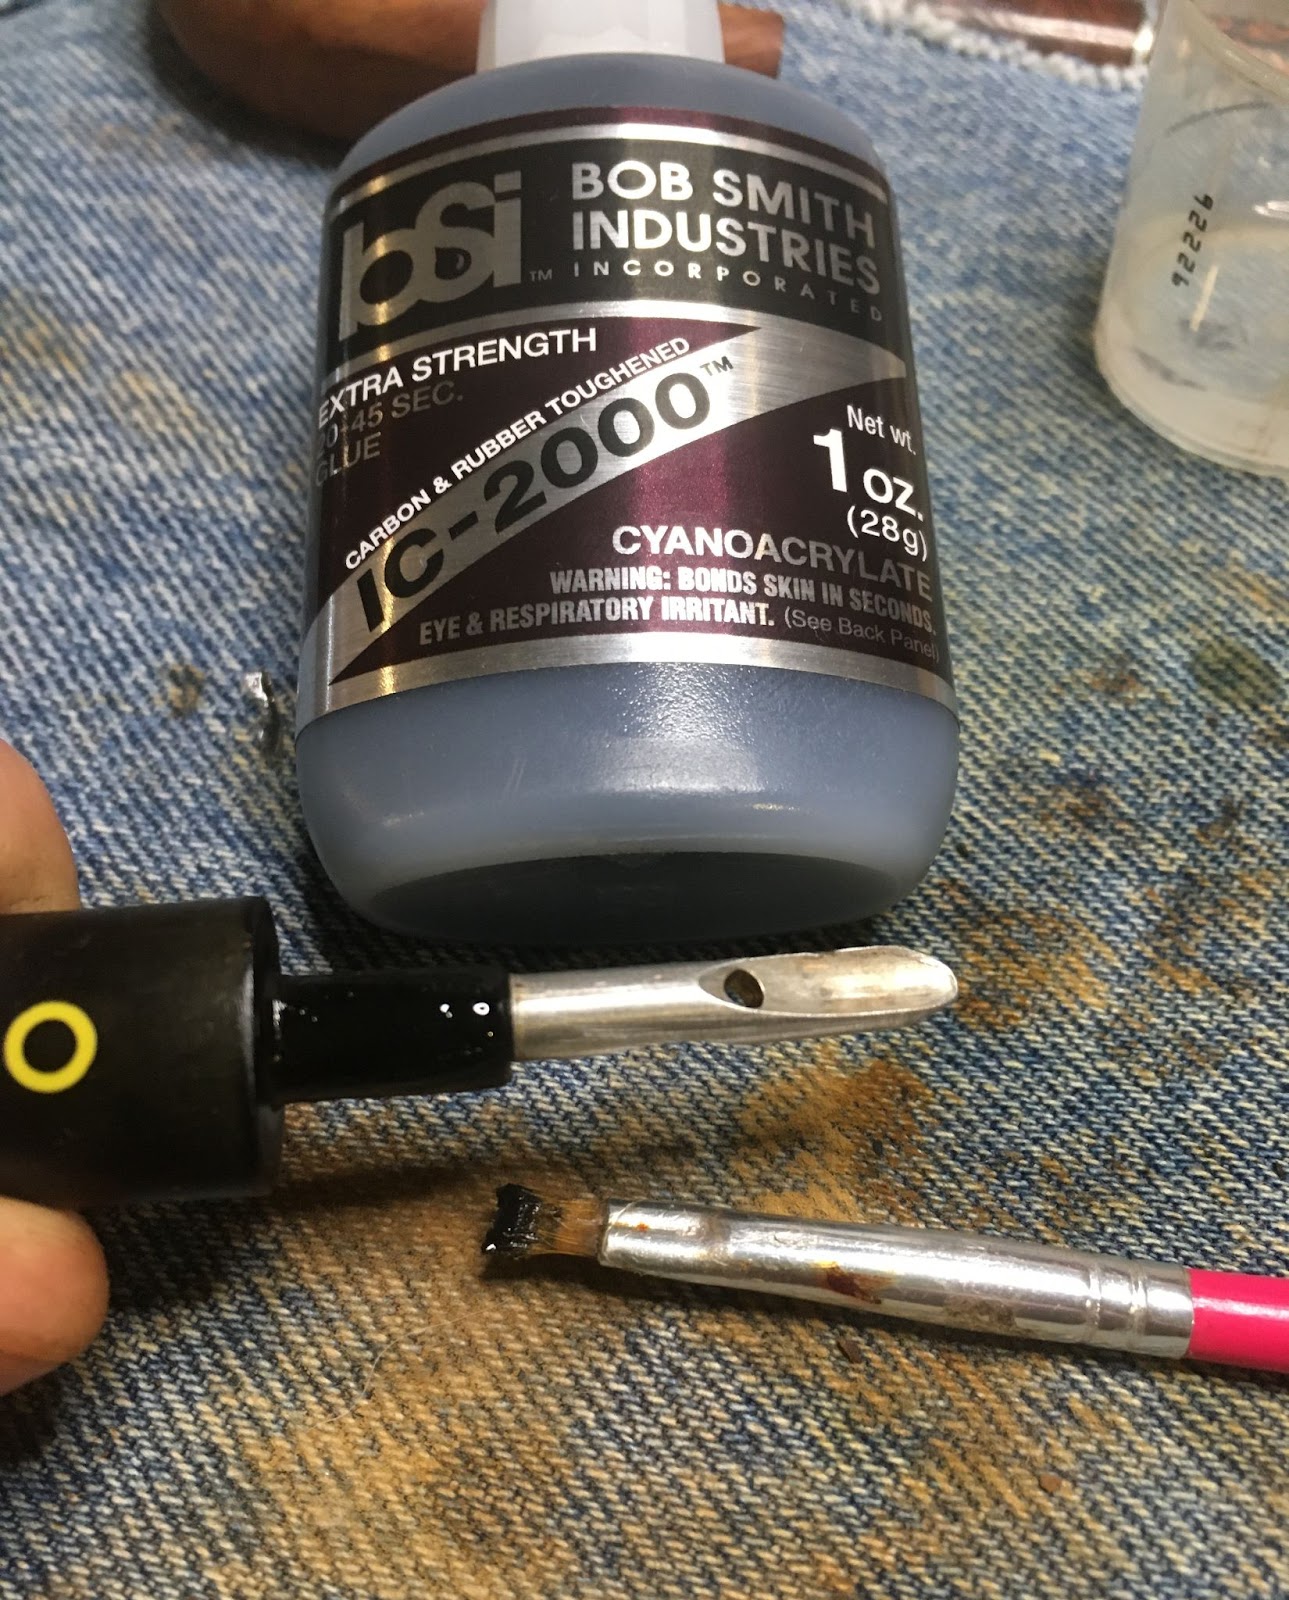


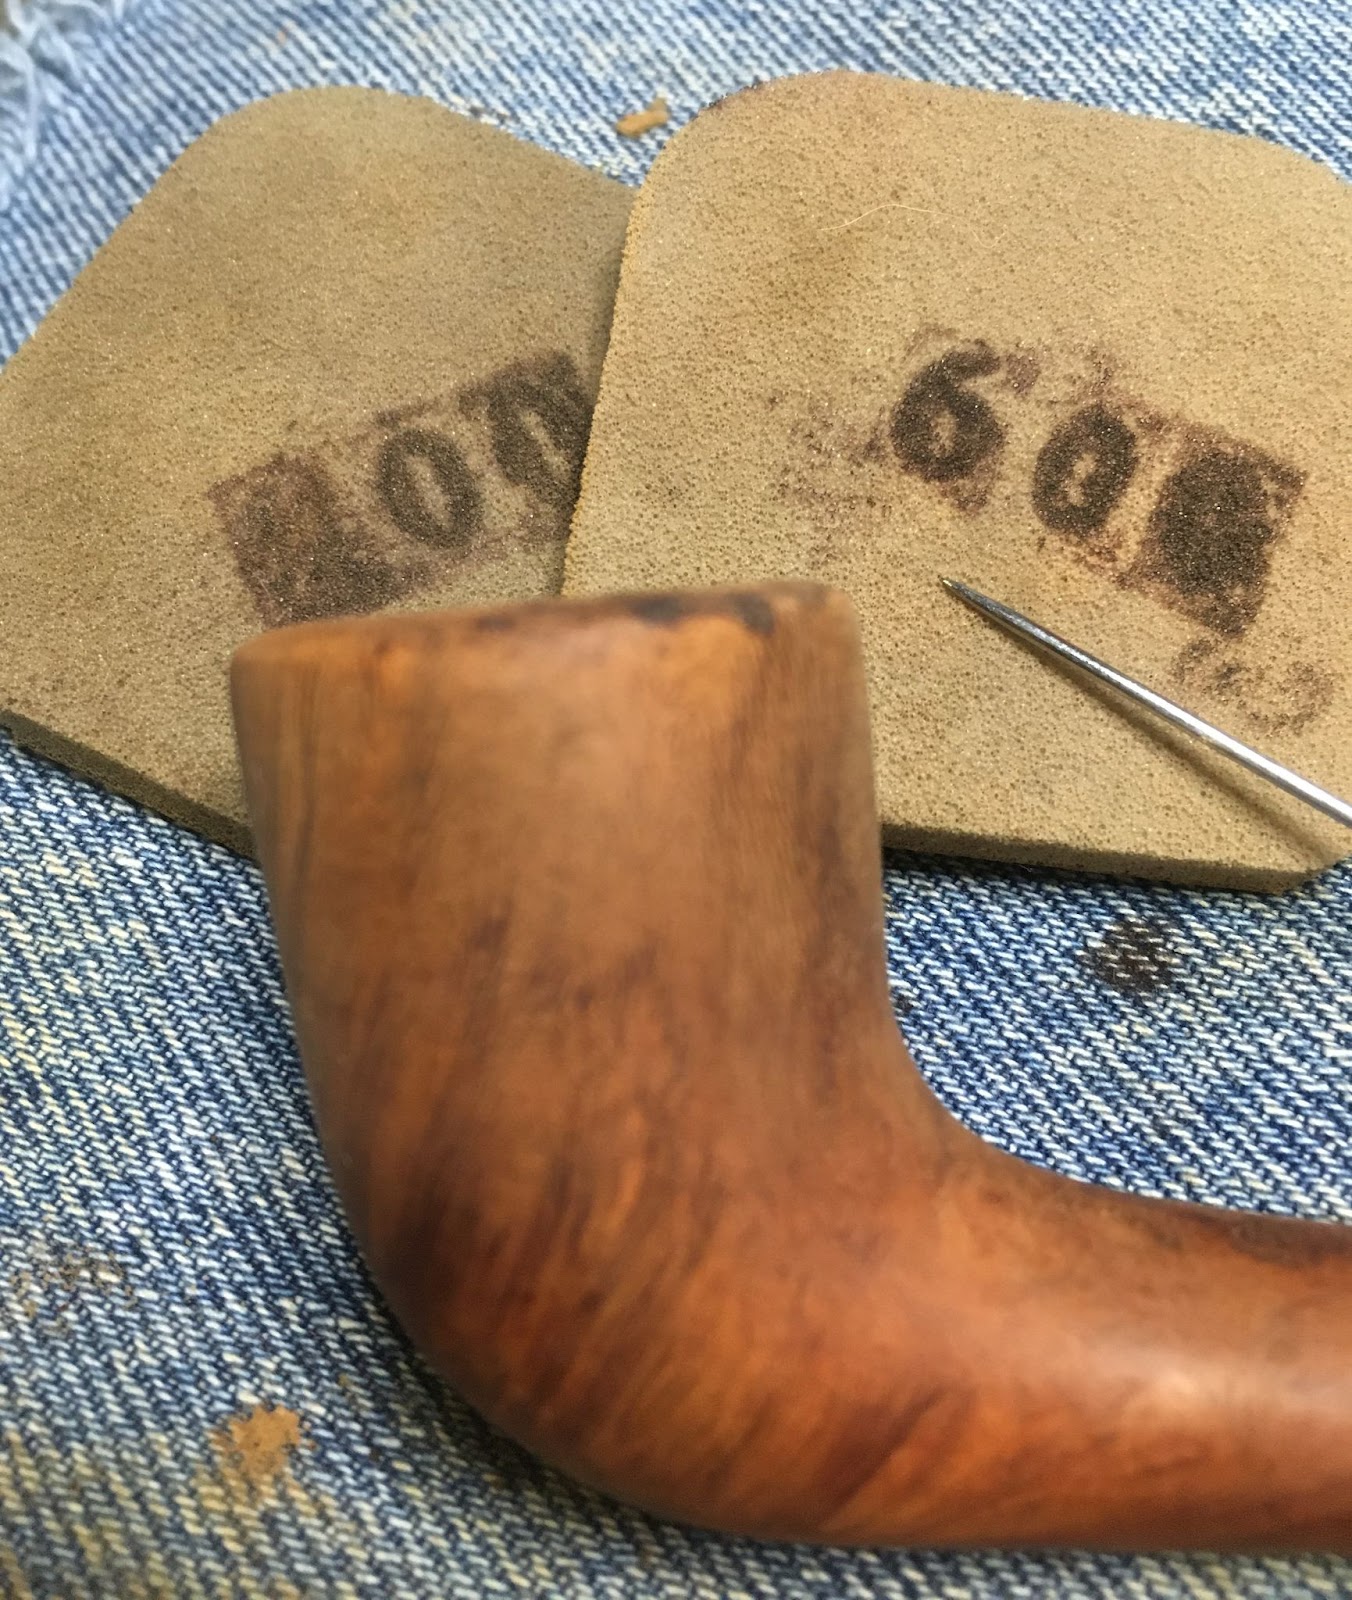


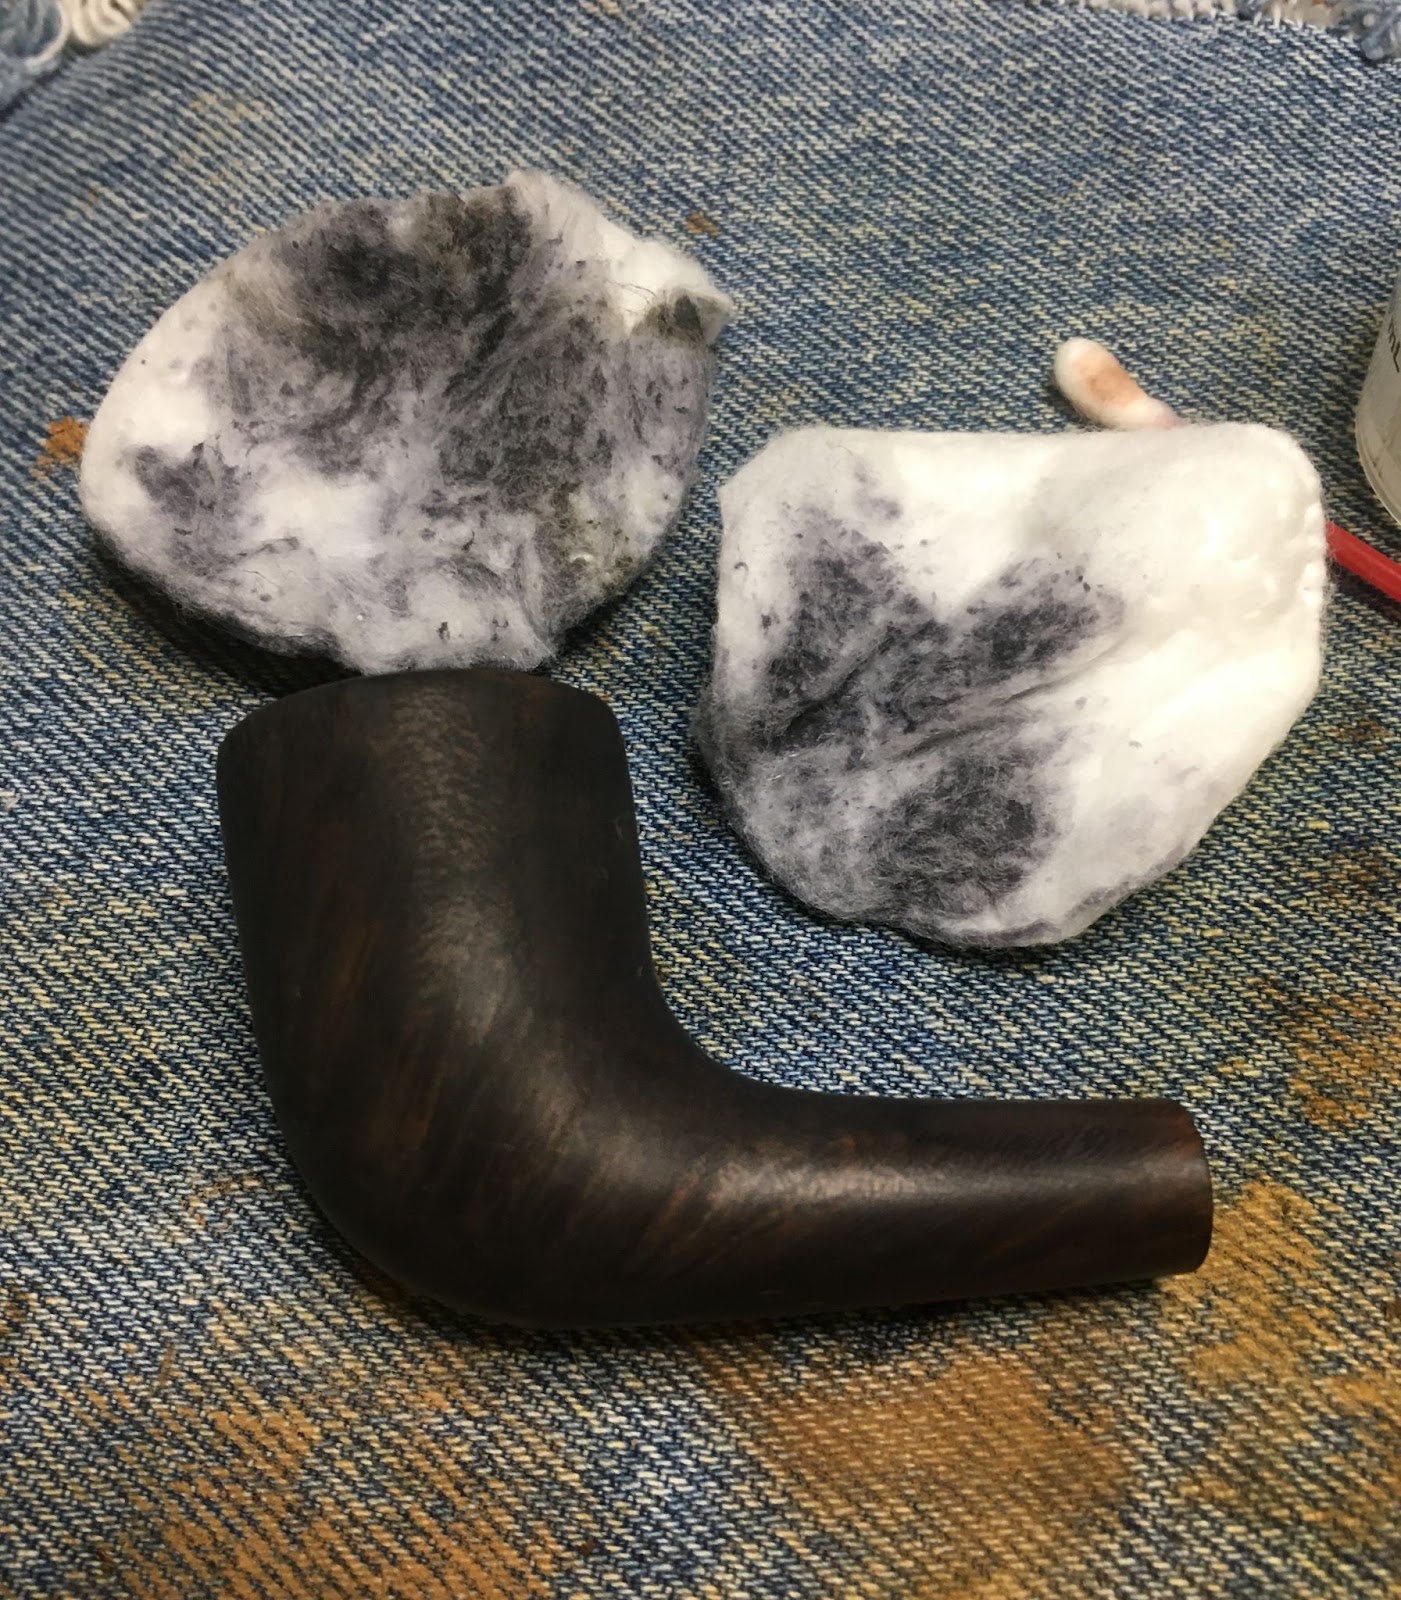

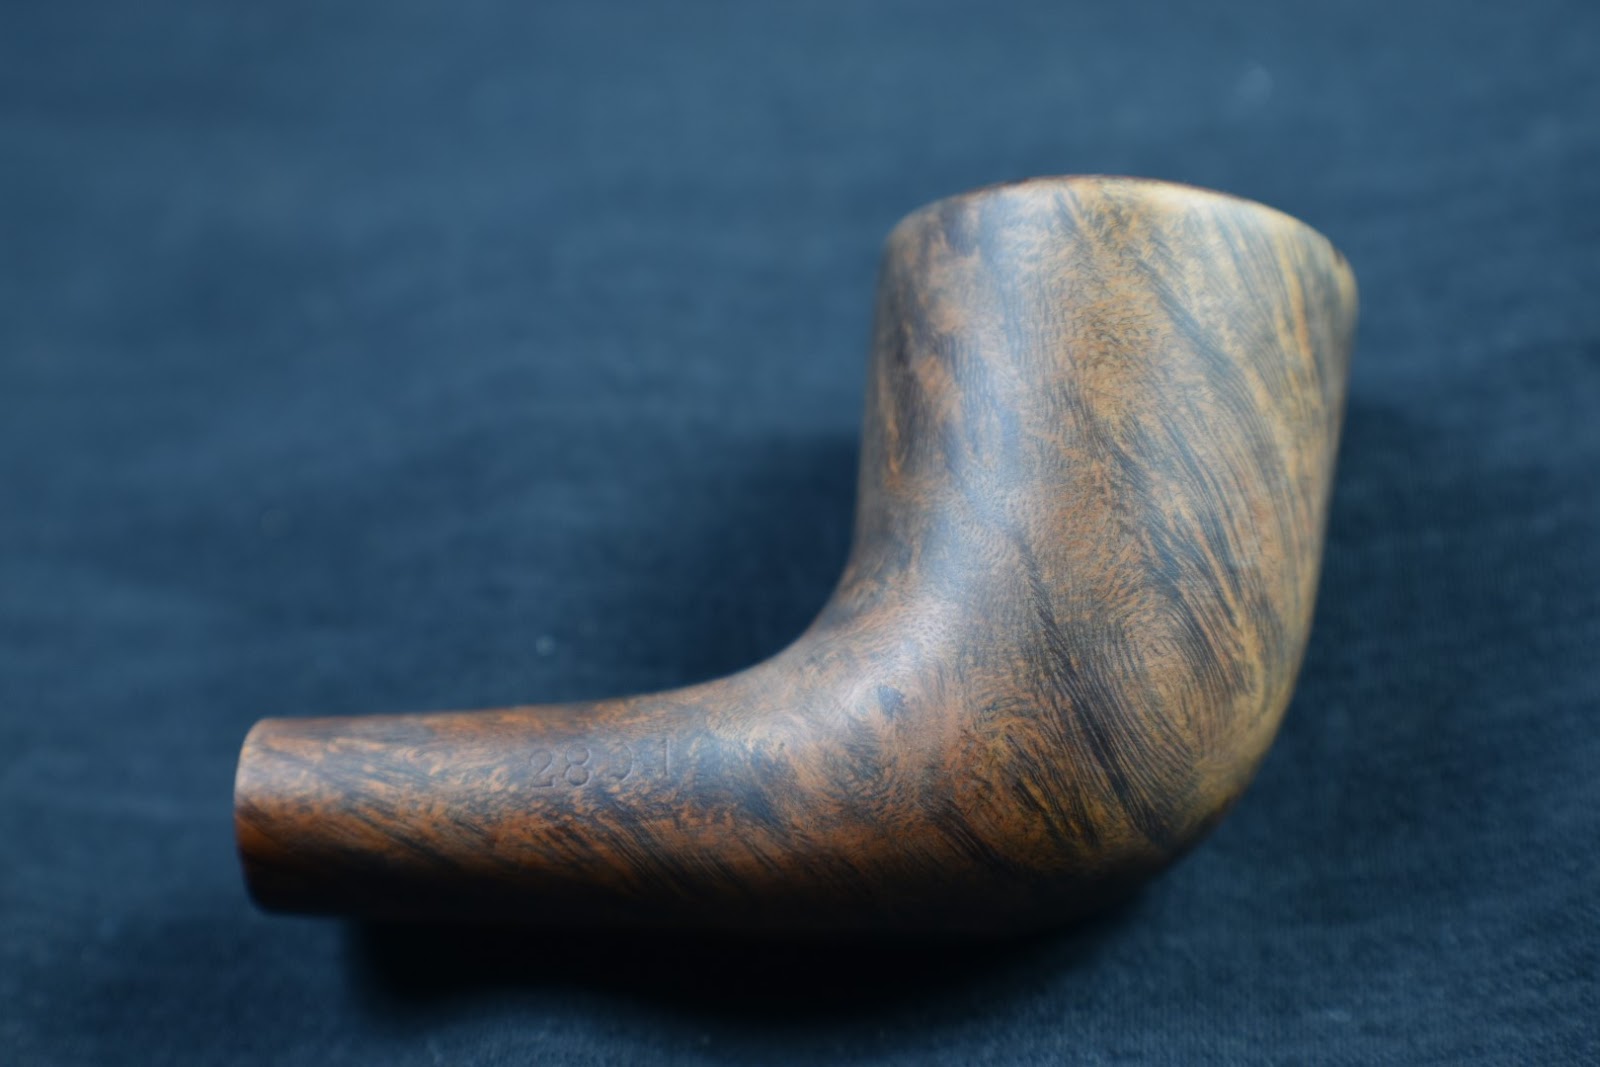
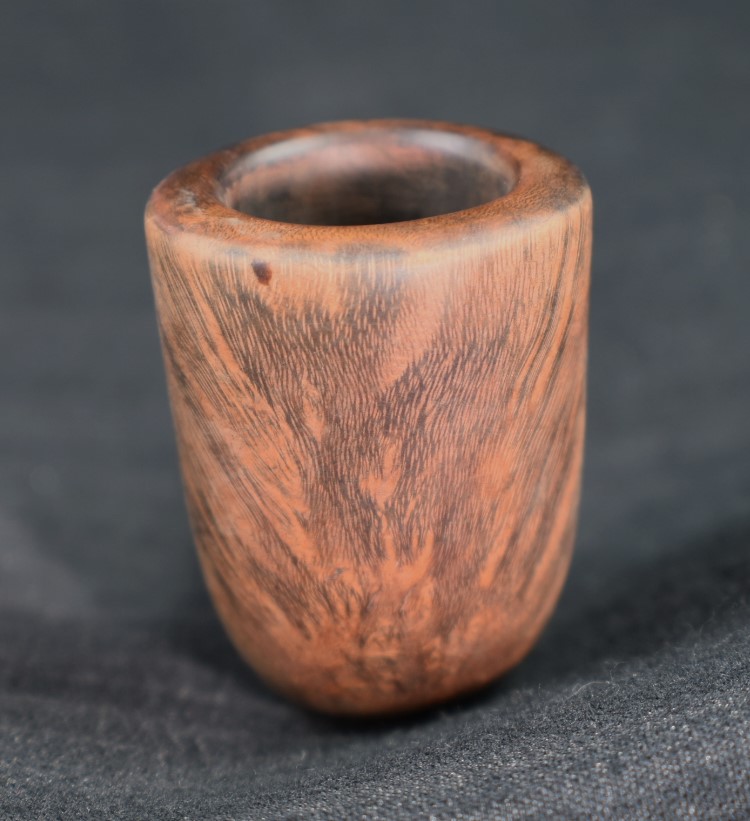


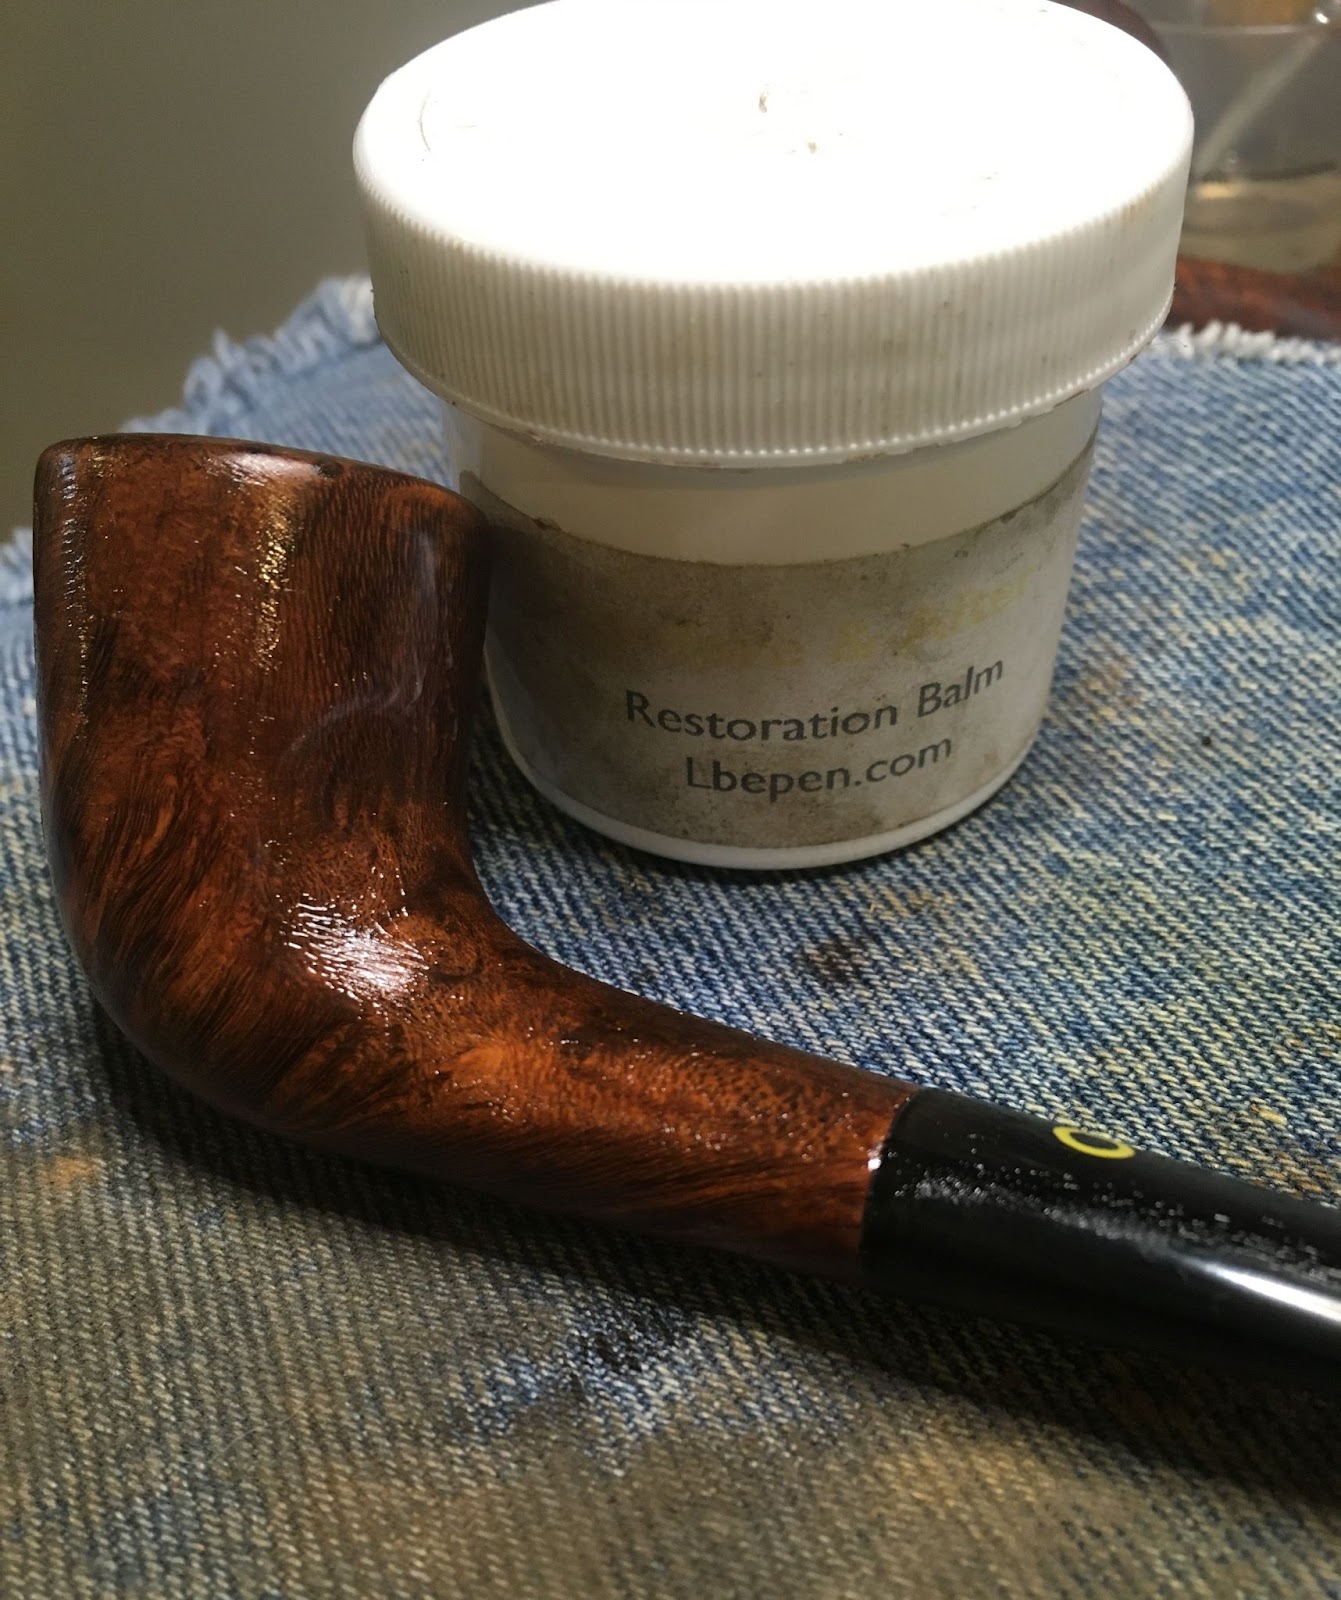

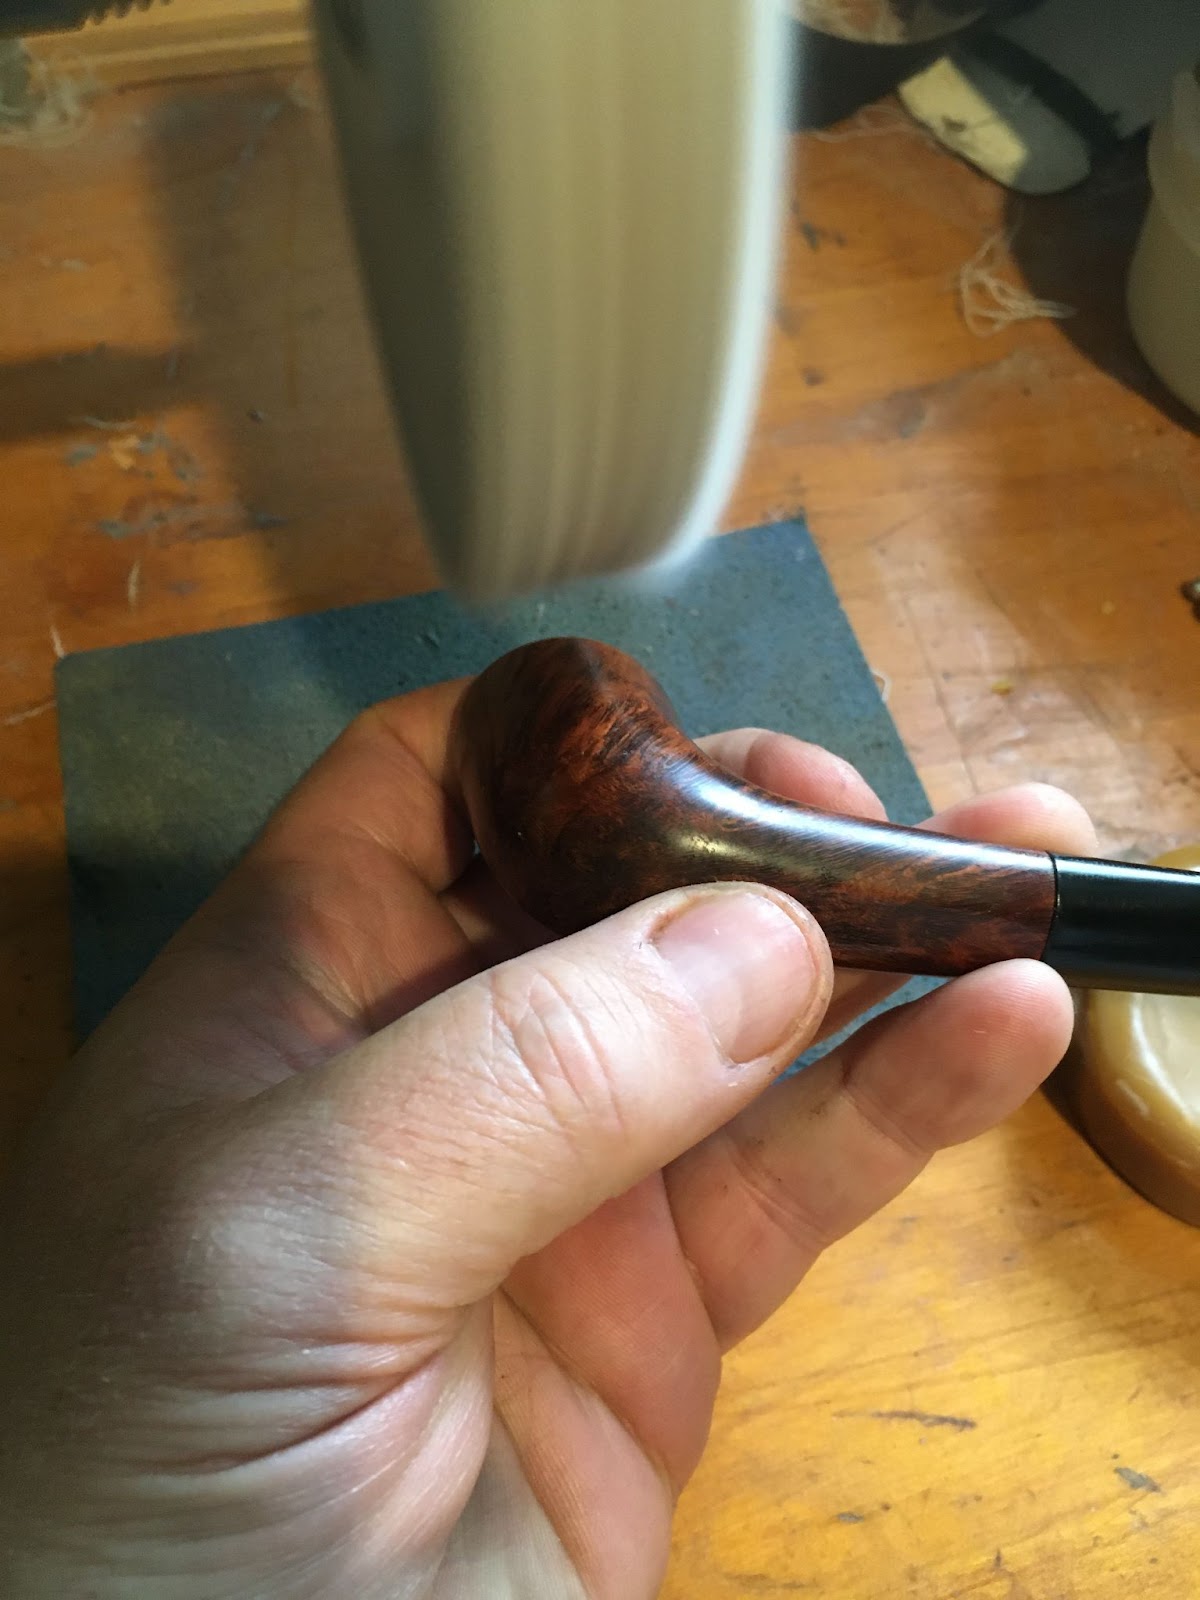


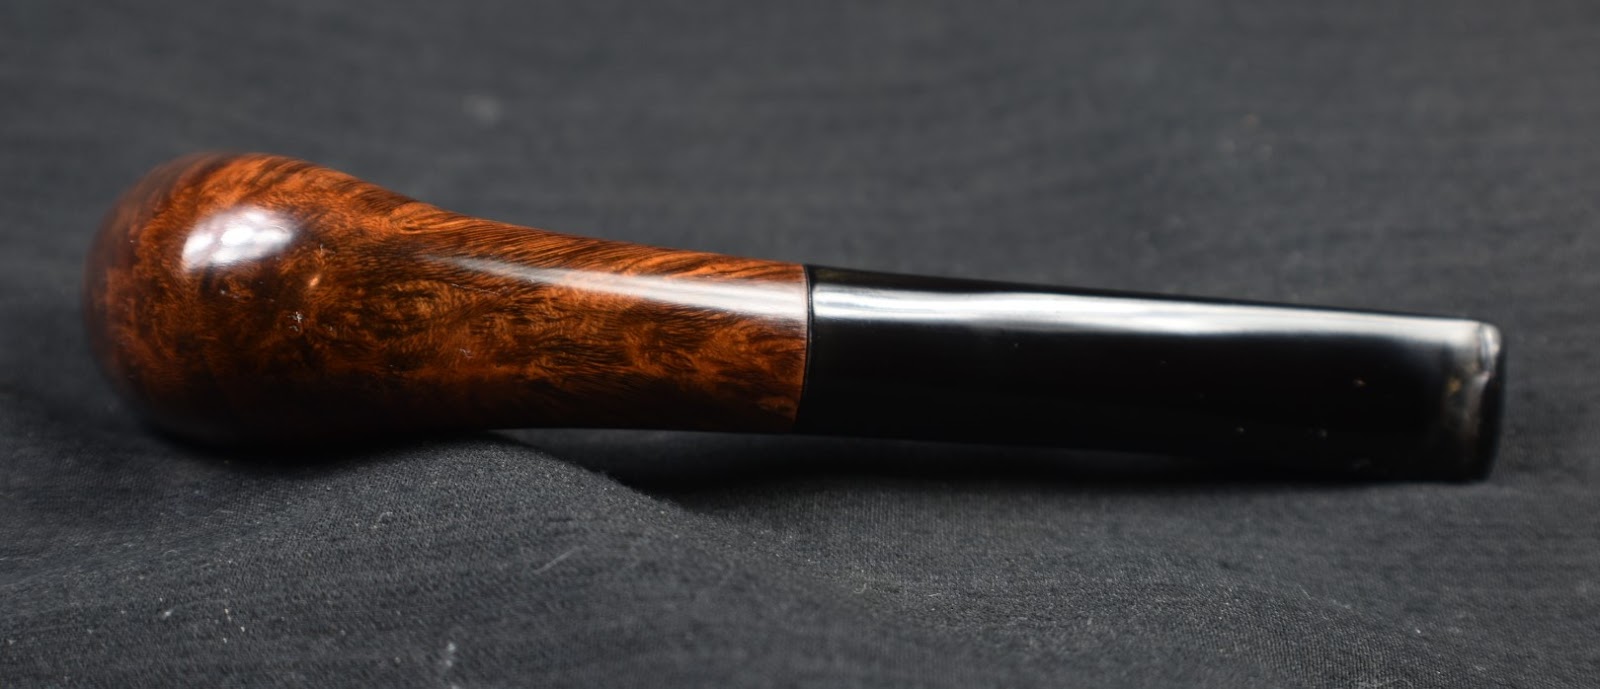

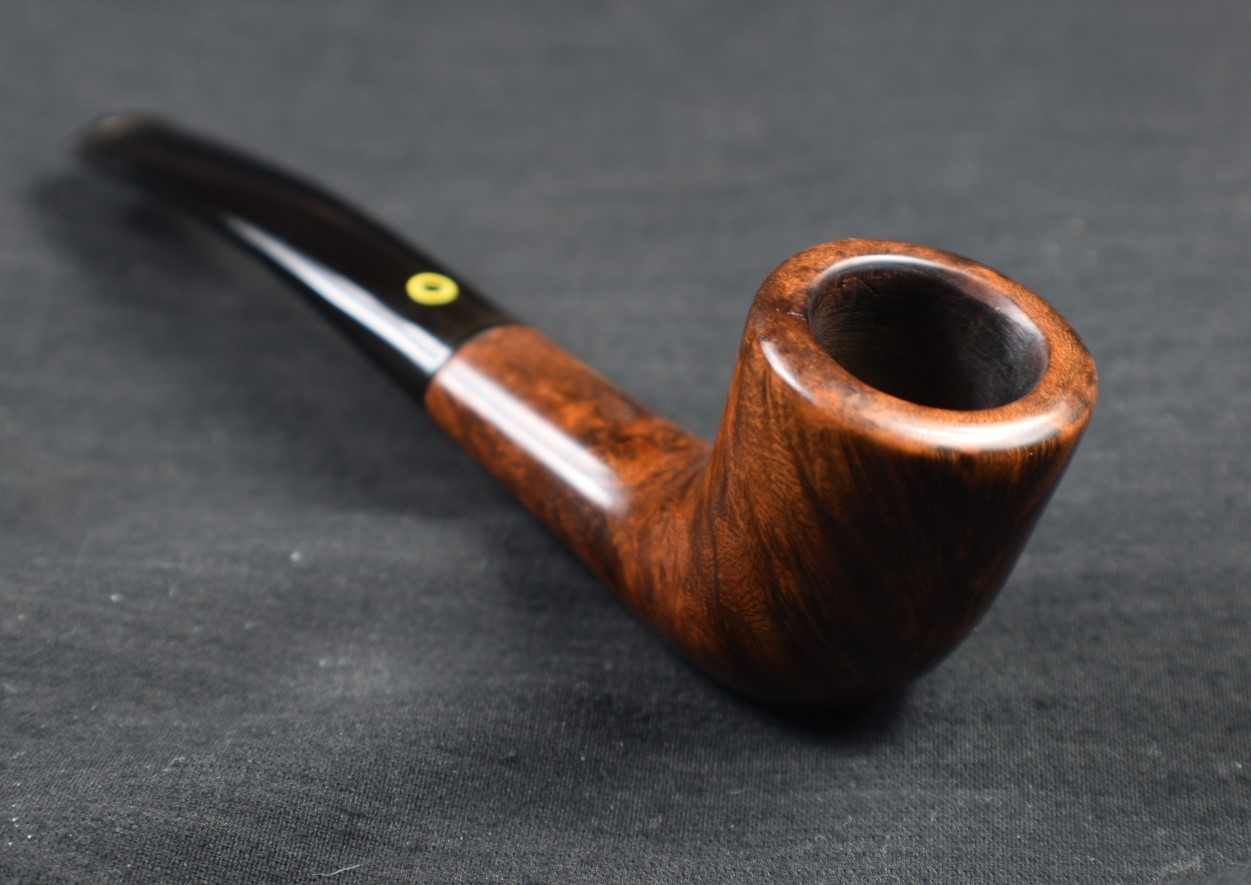
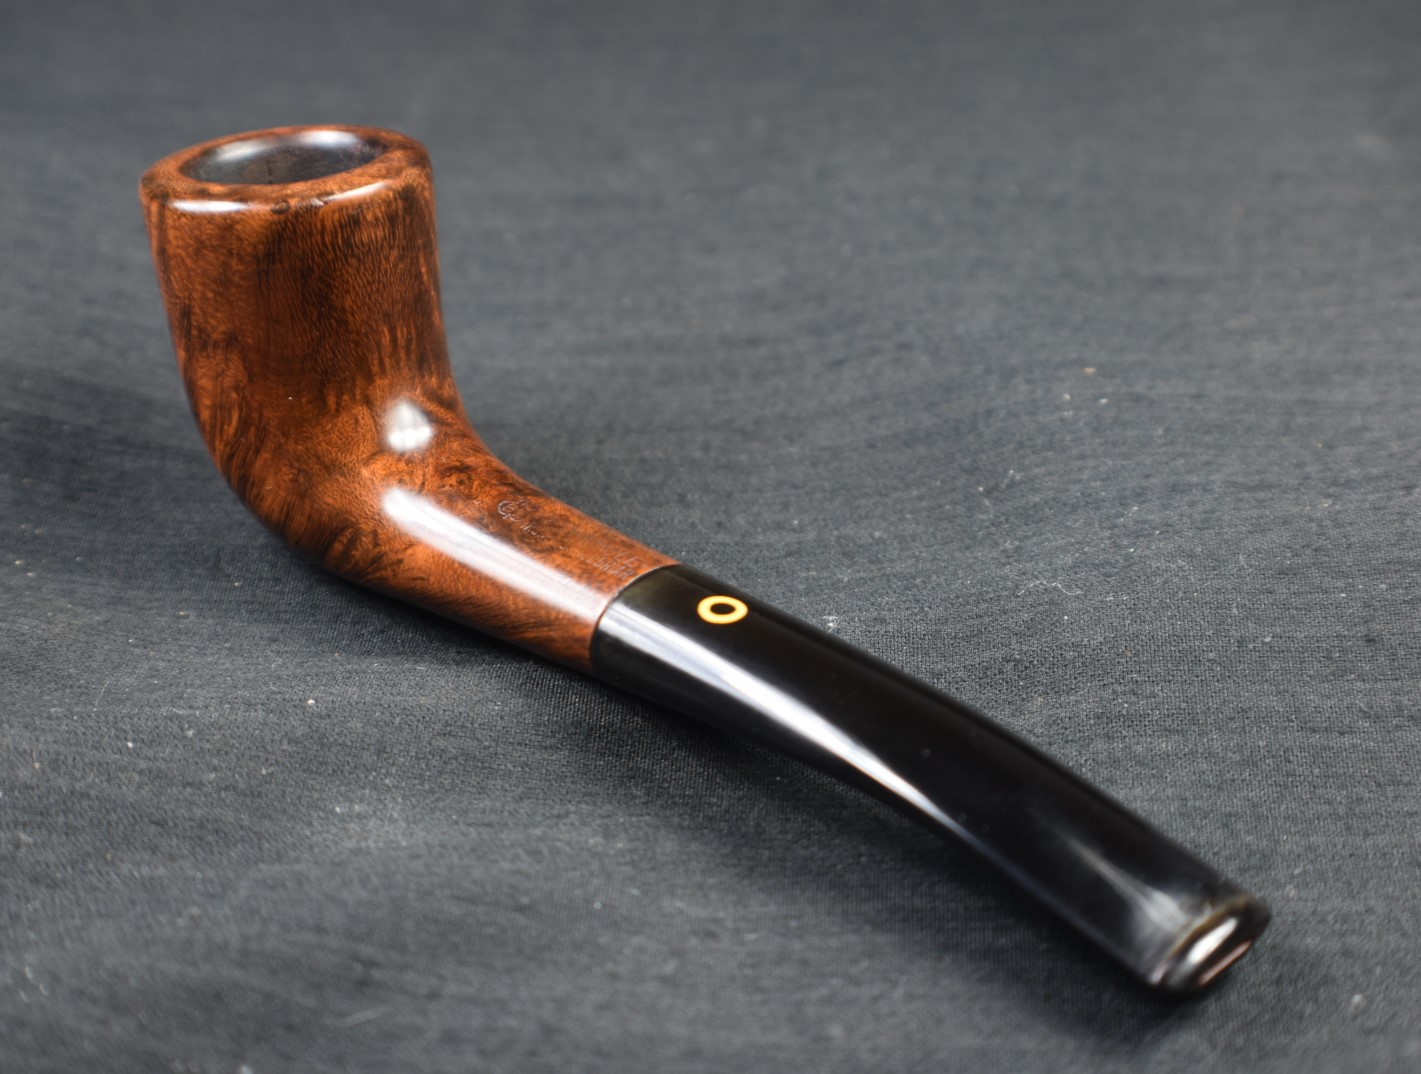


 .
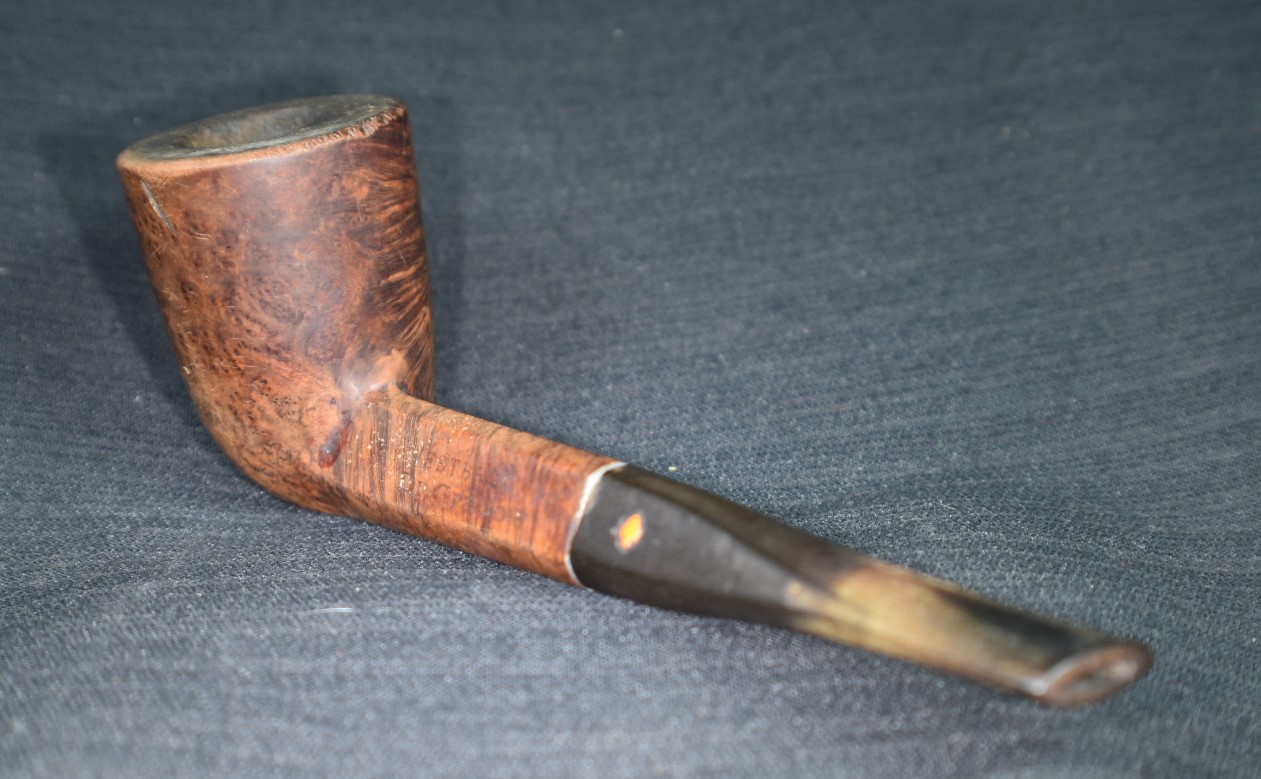
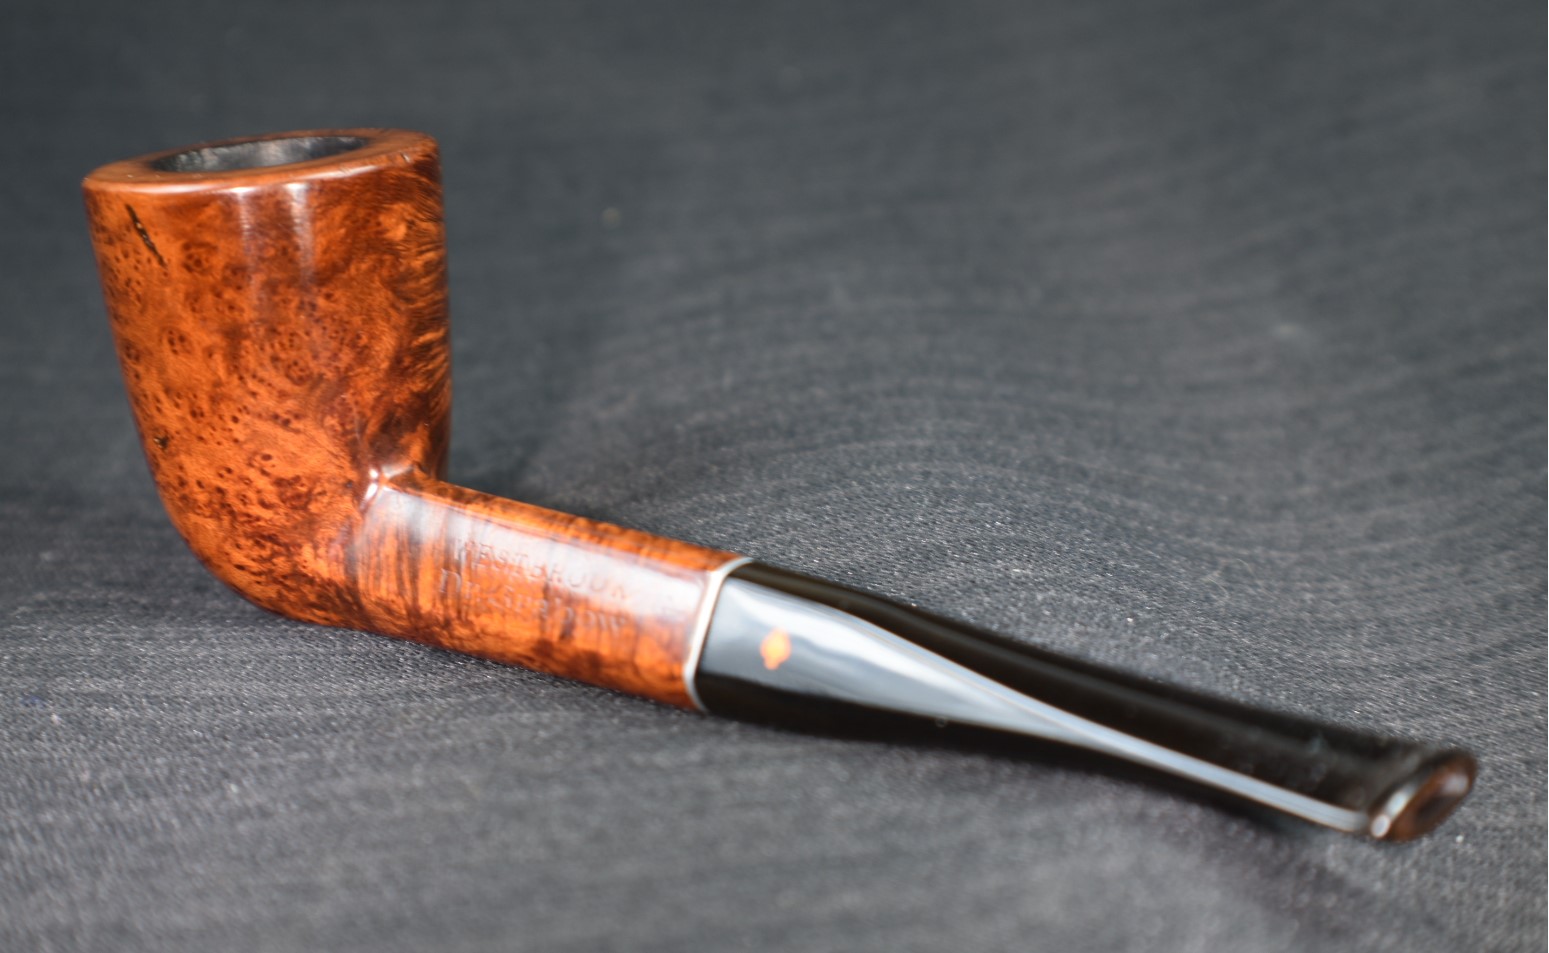


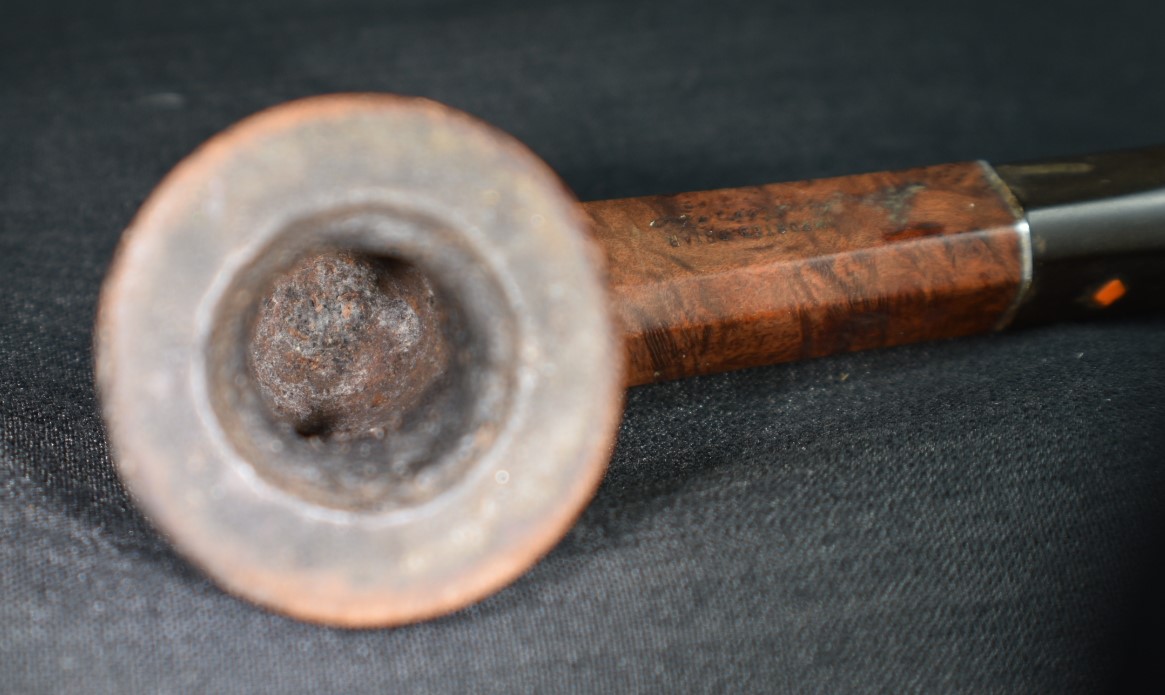


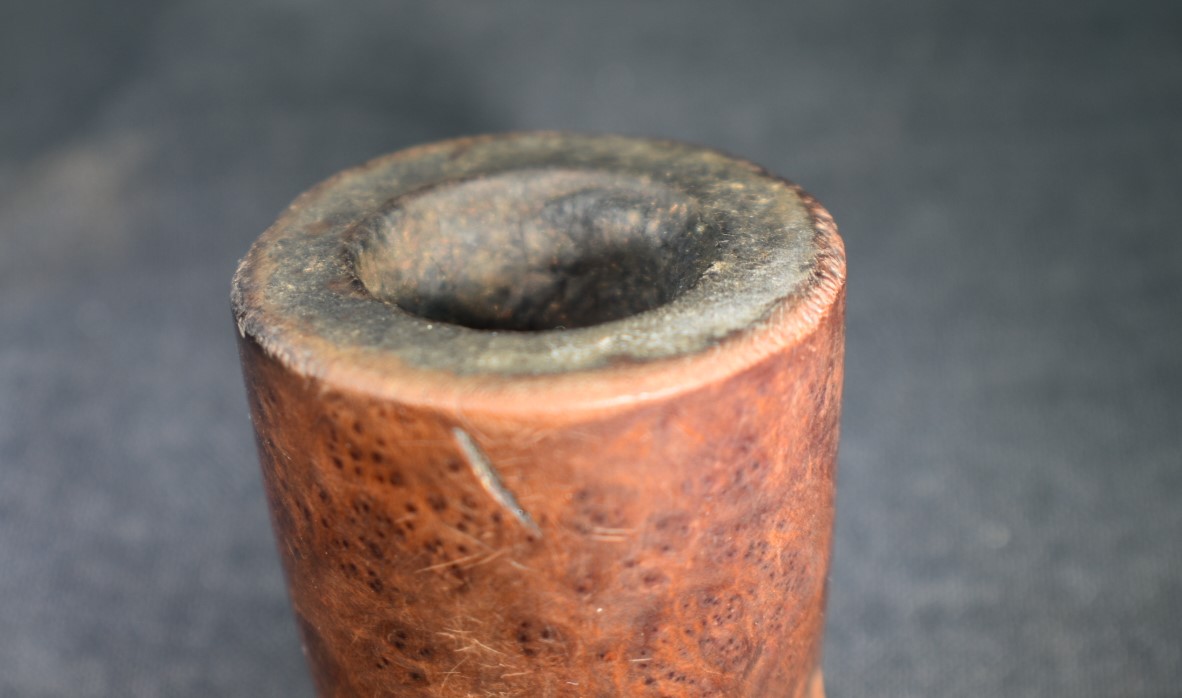
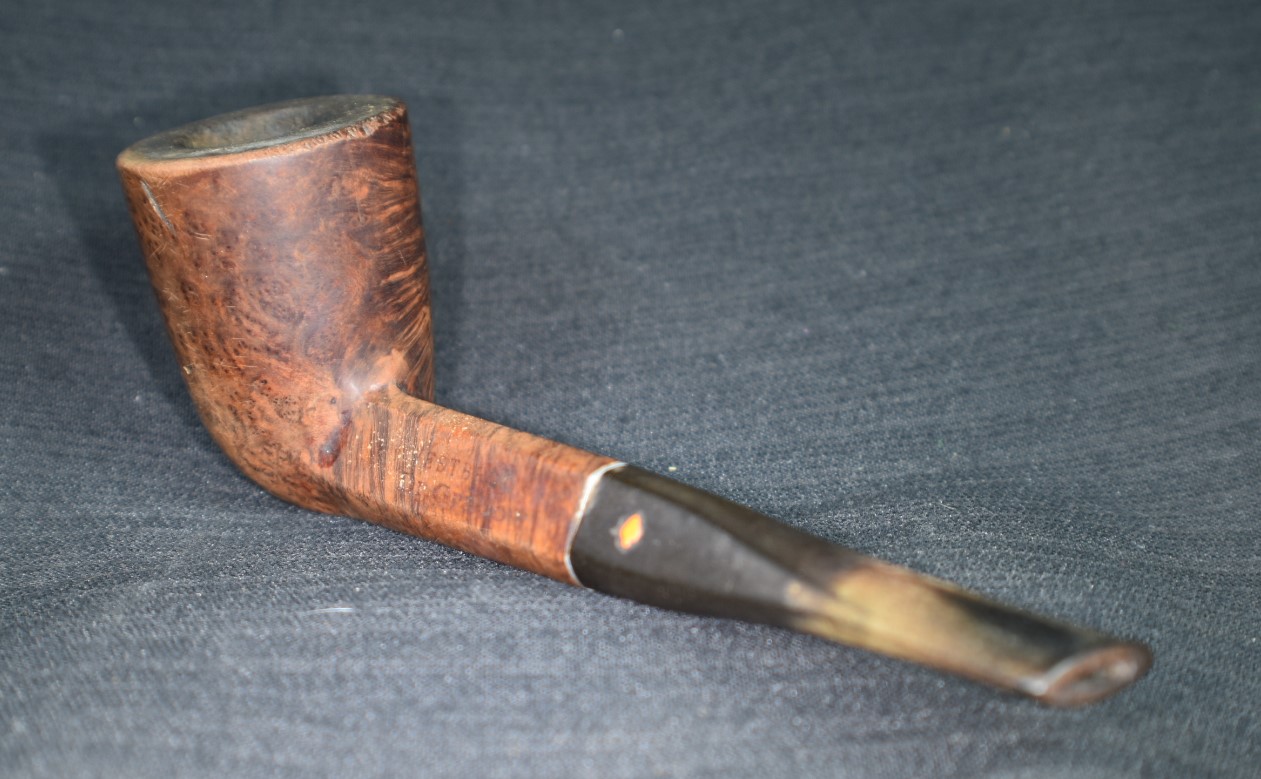


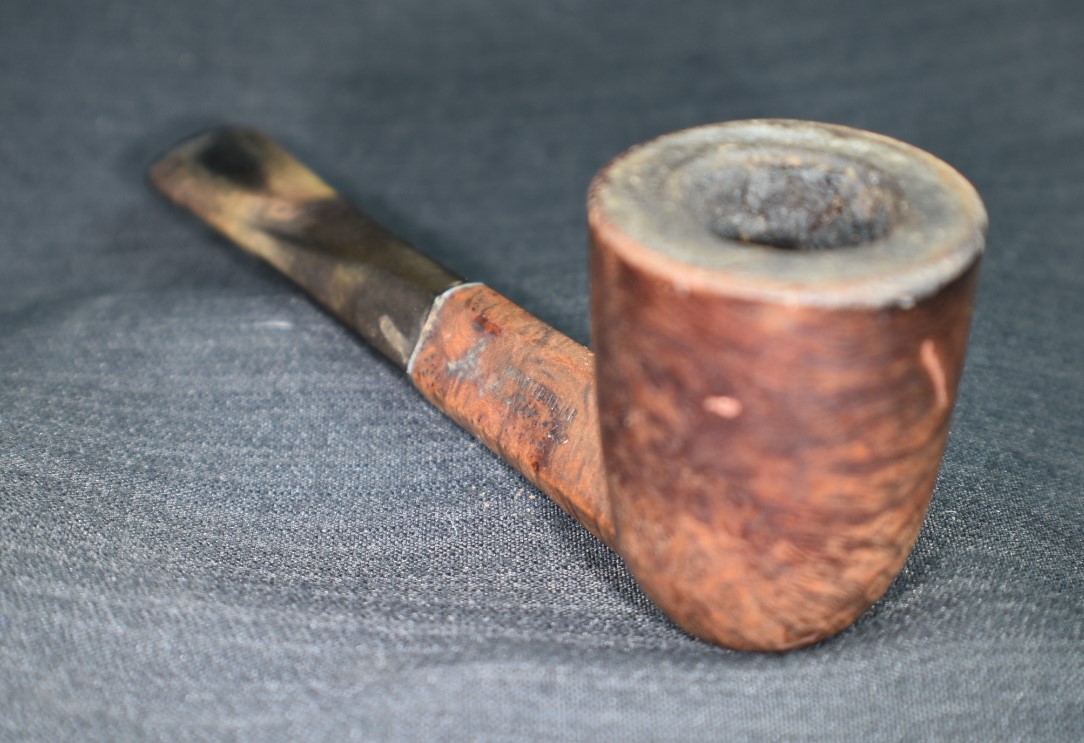
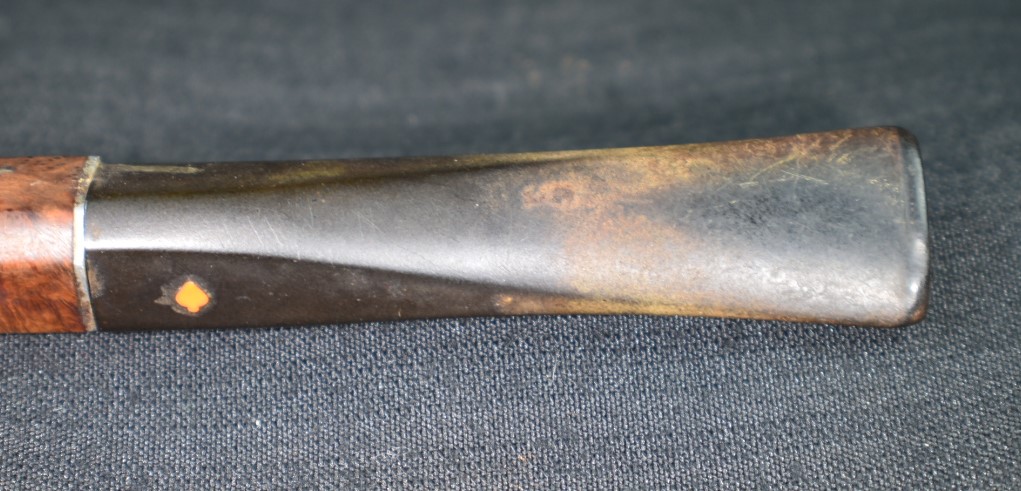

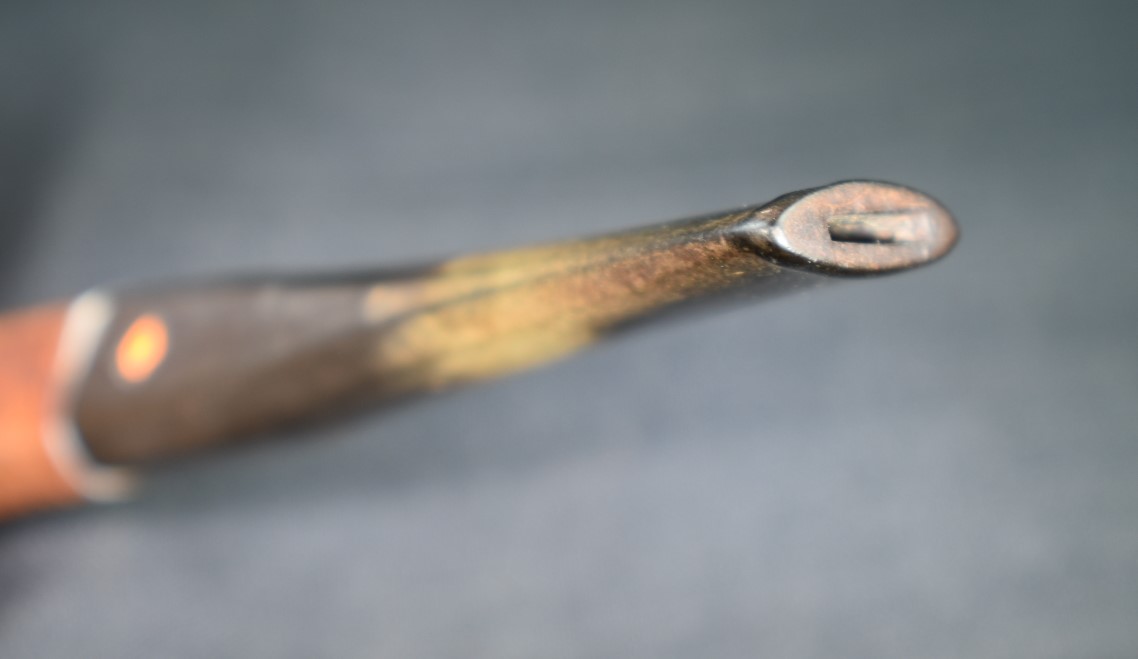

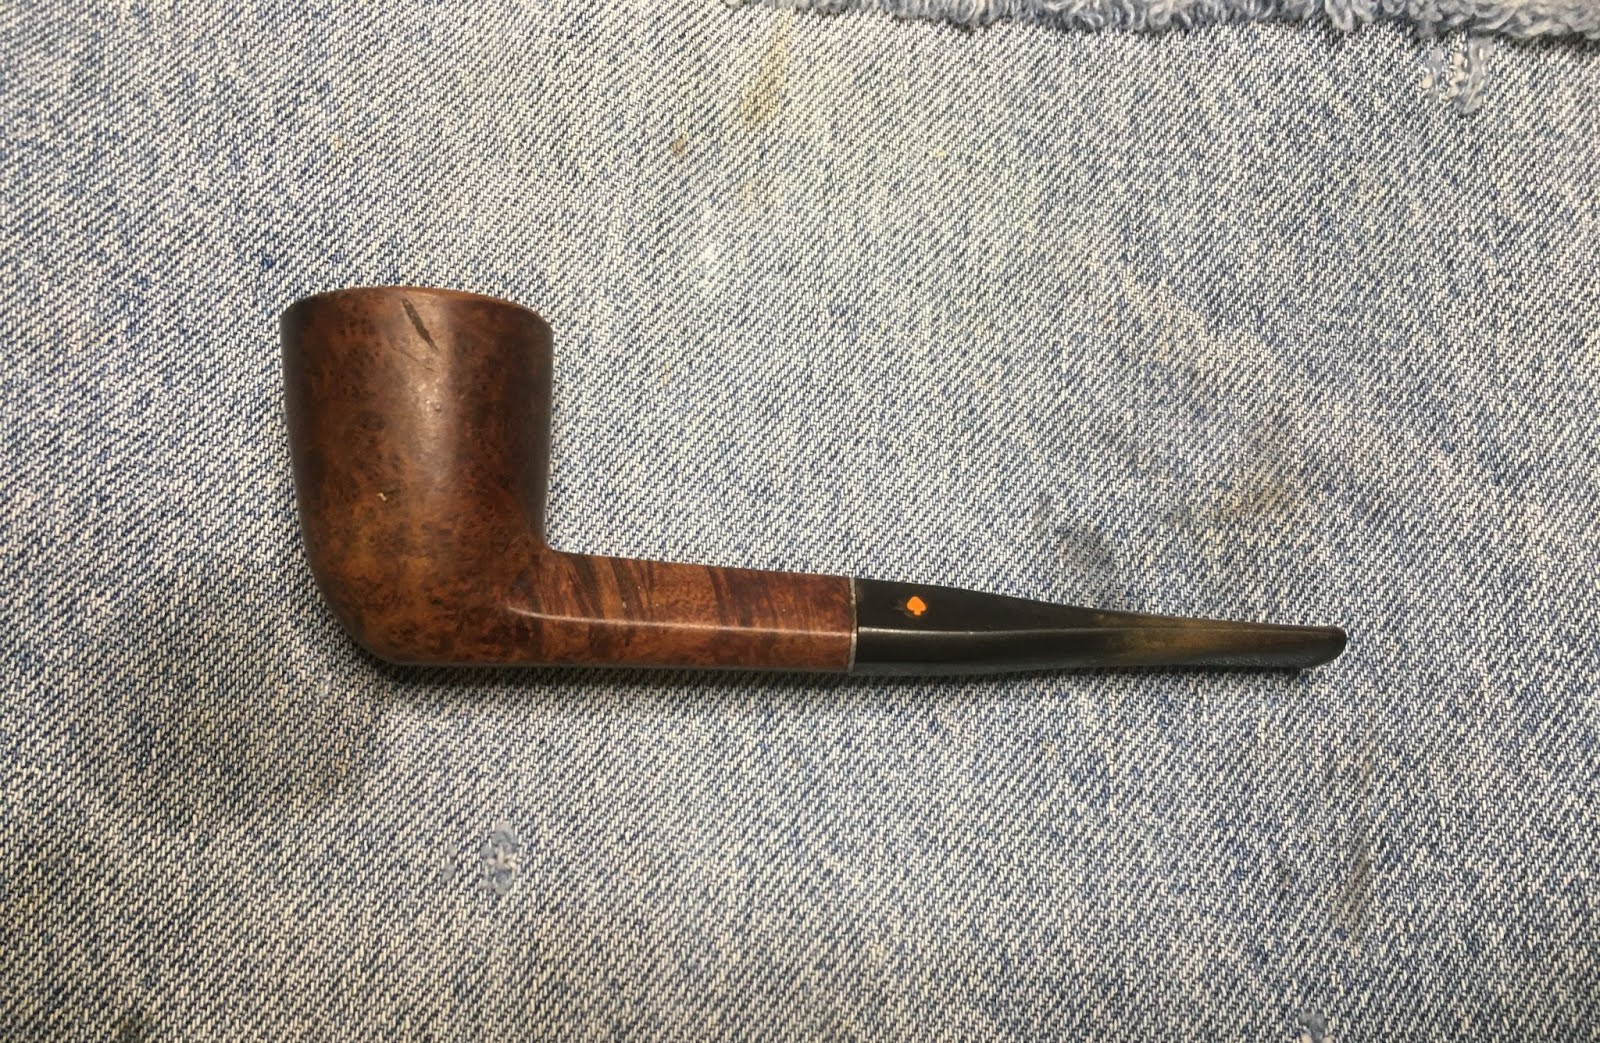

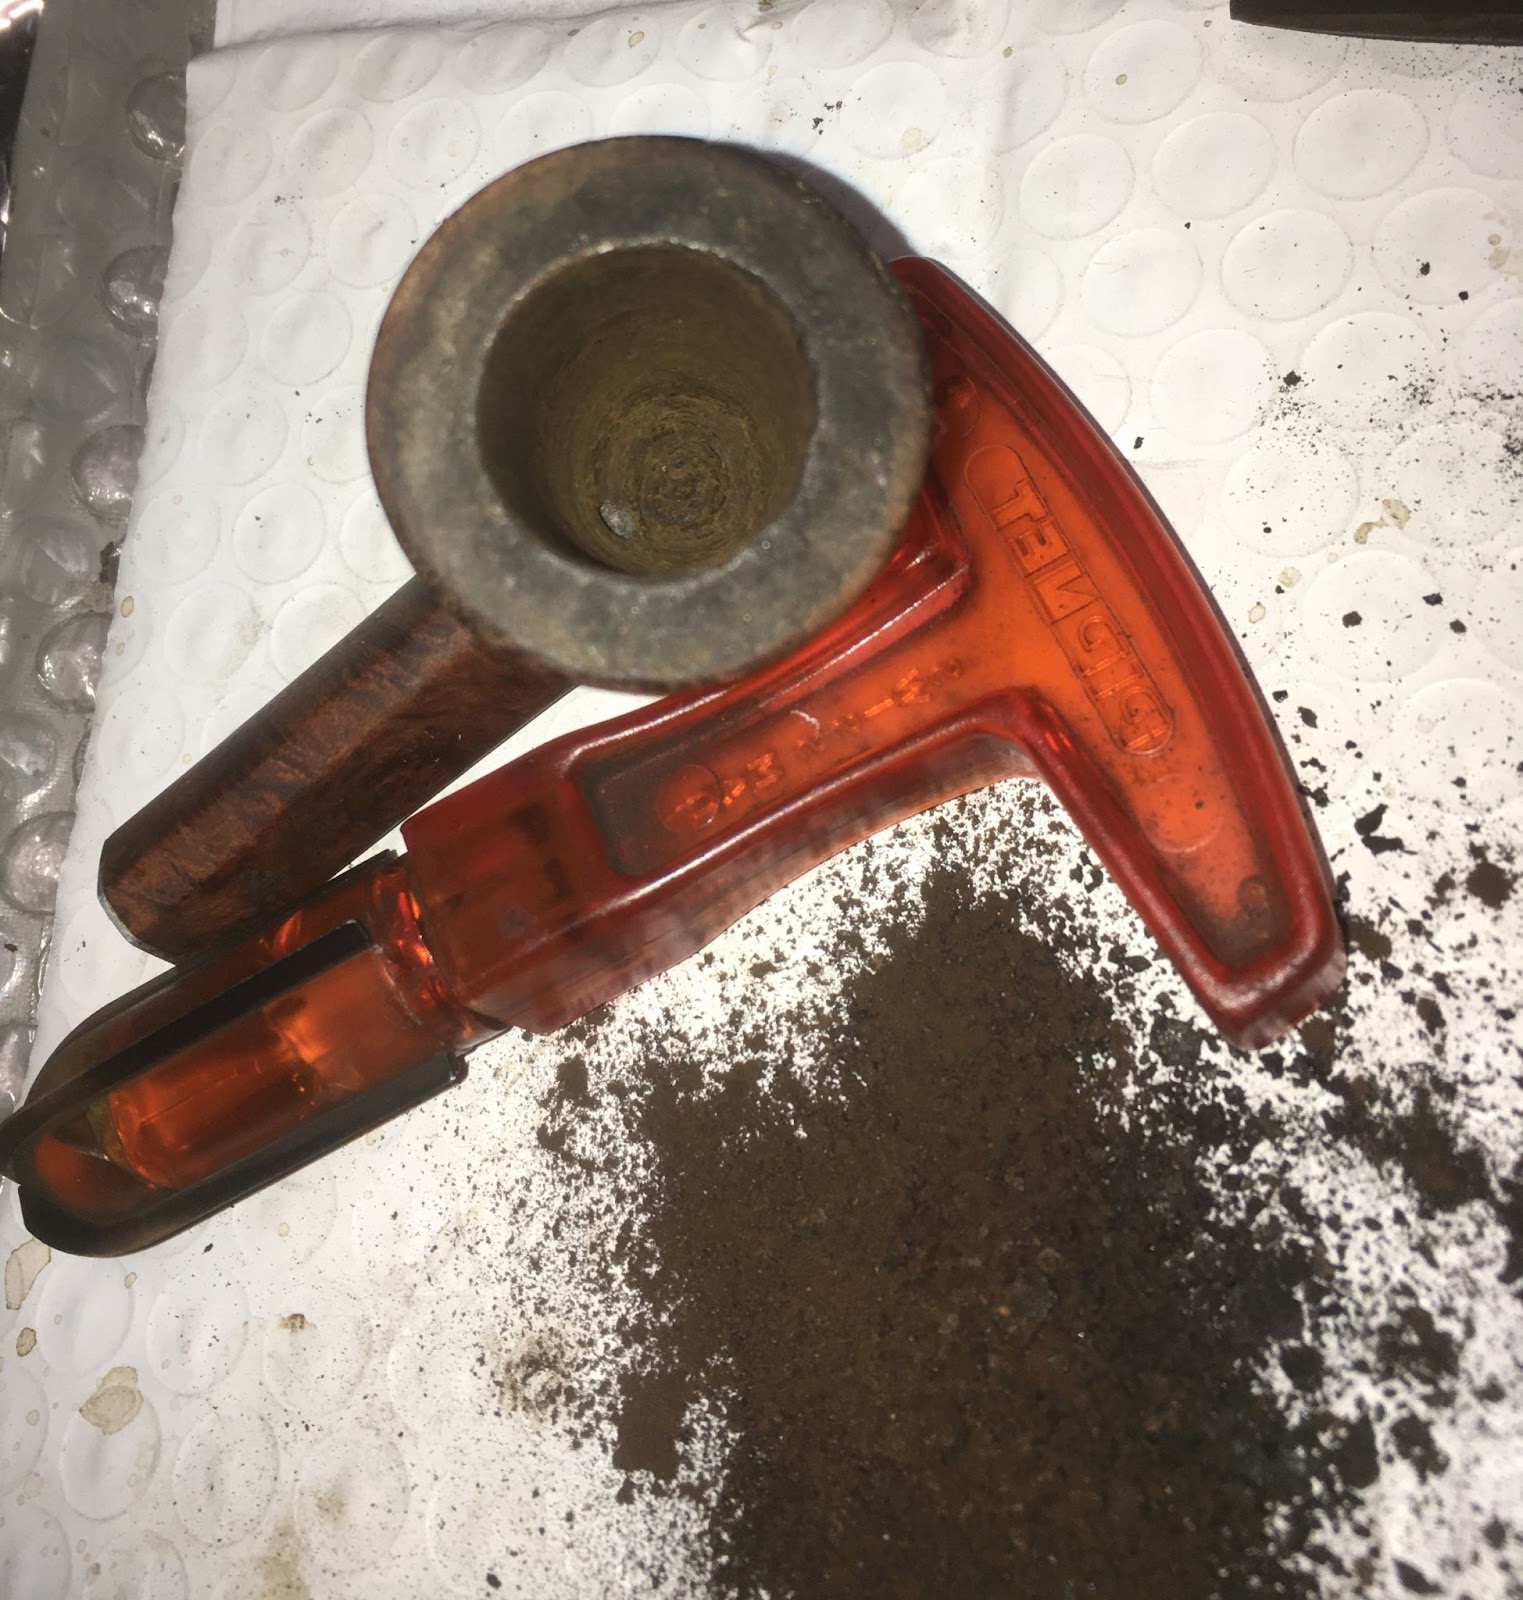
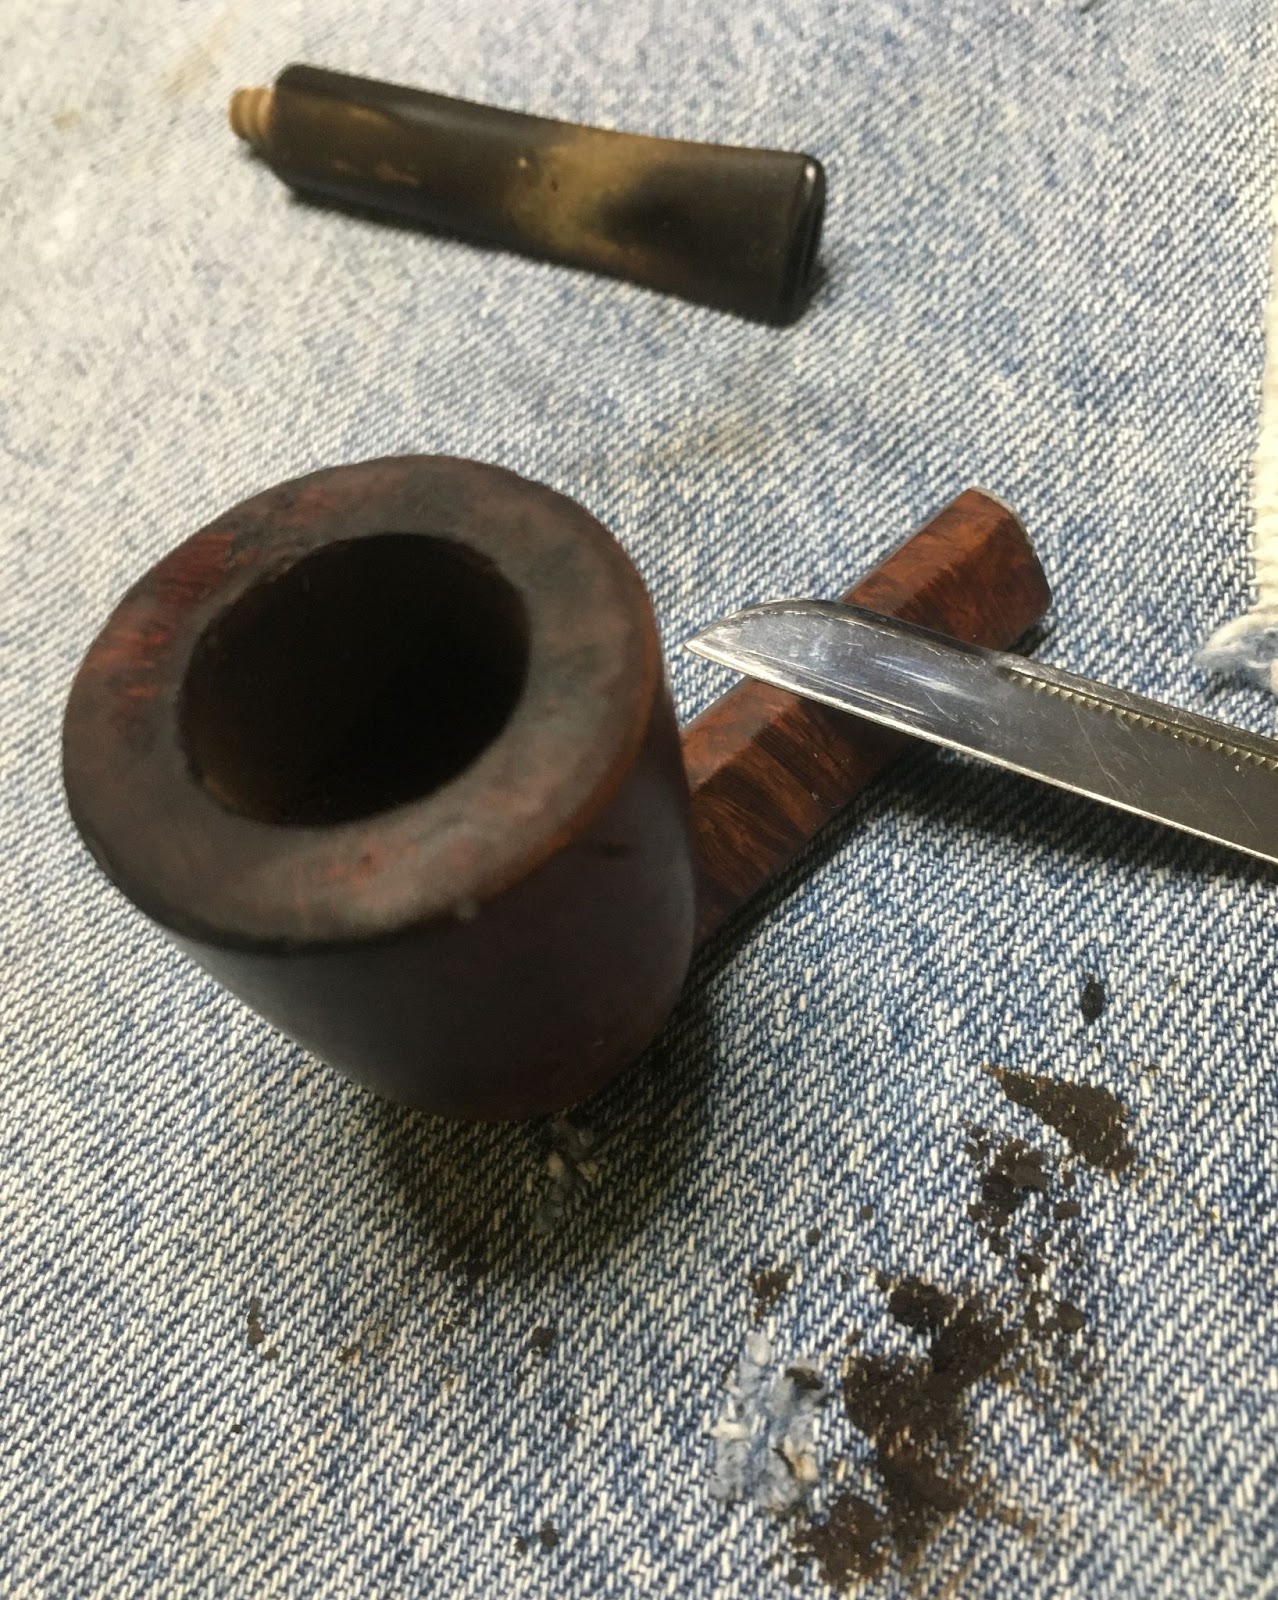


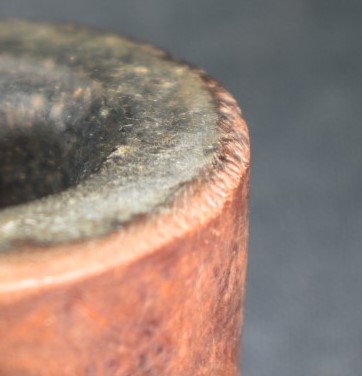


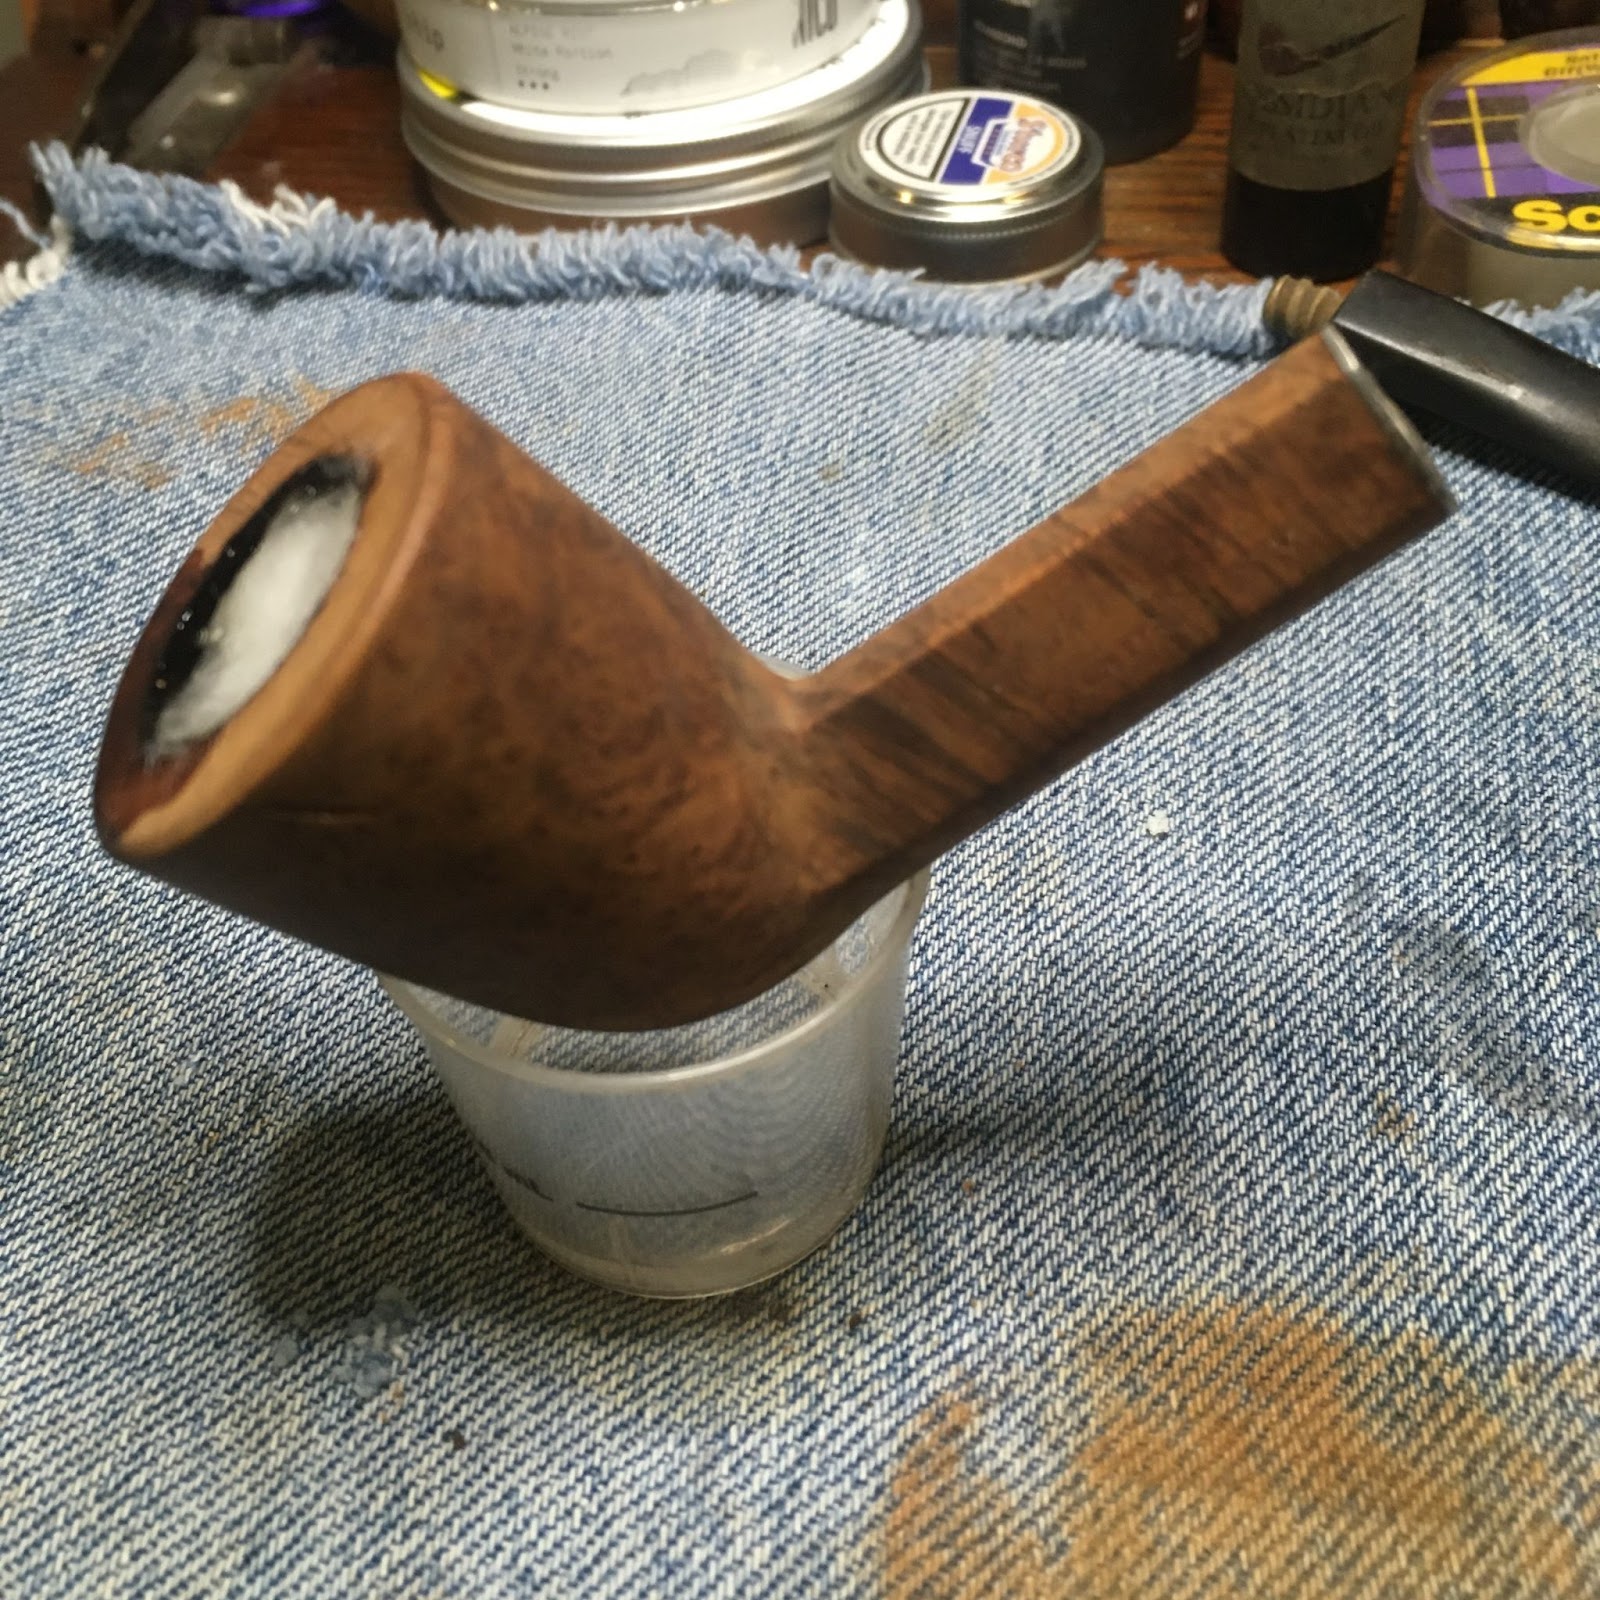


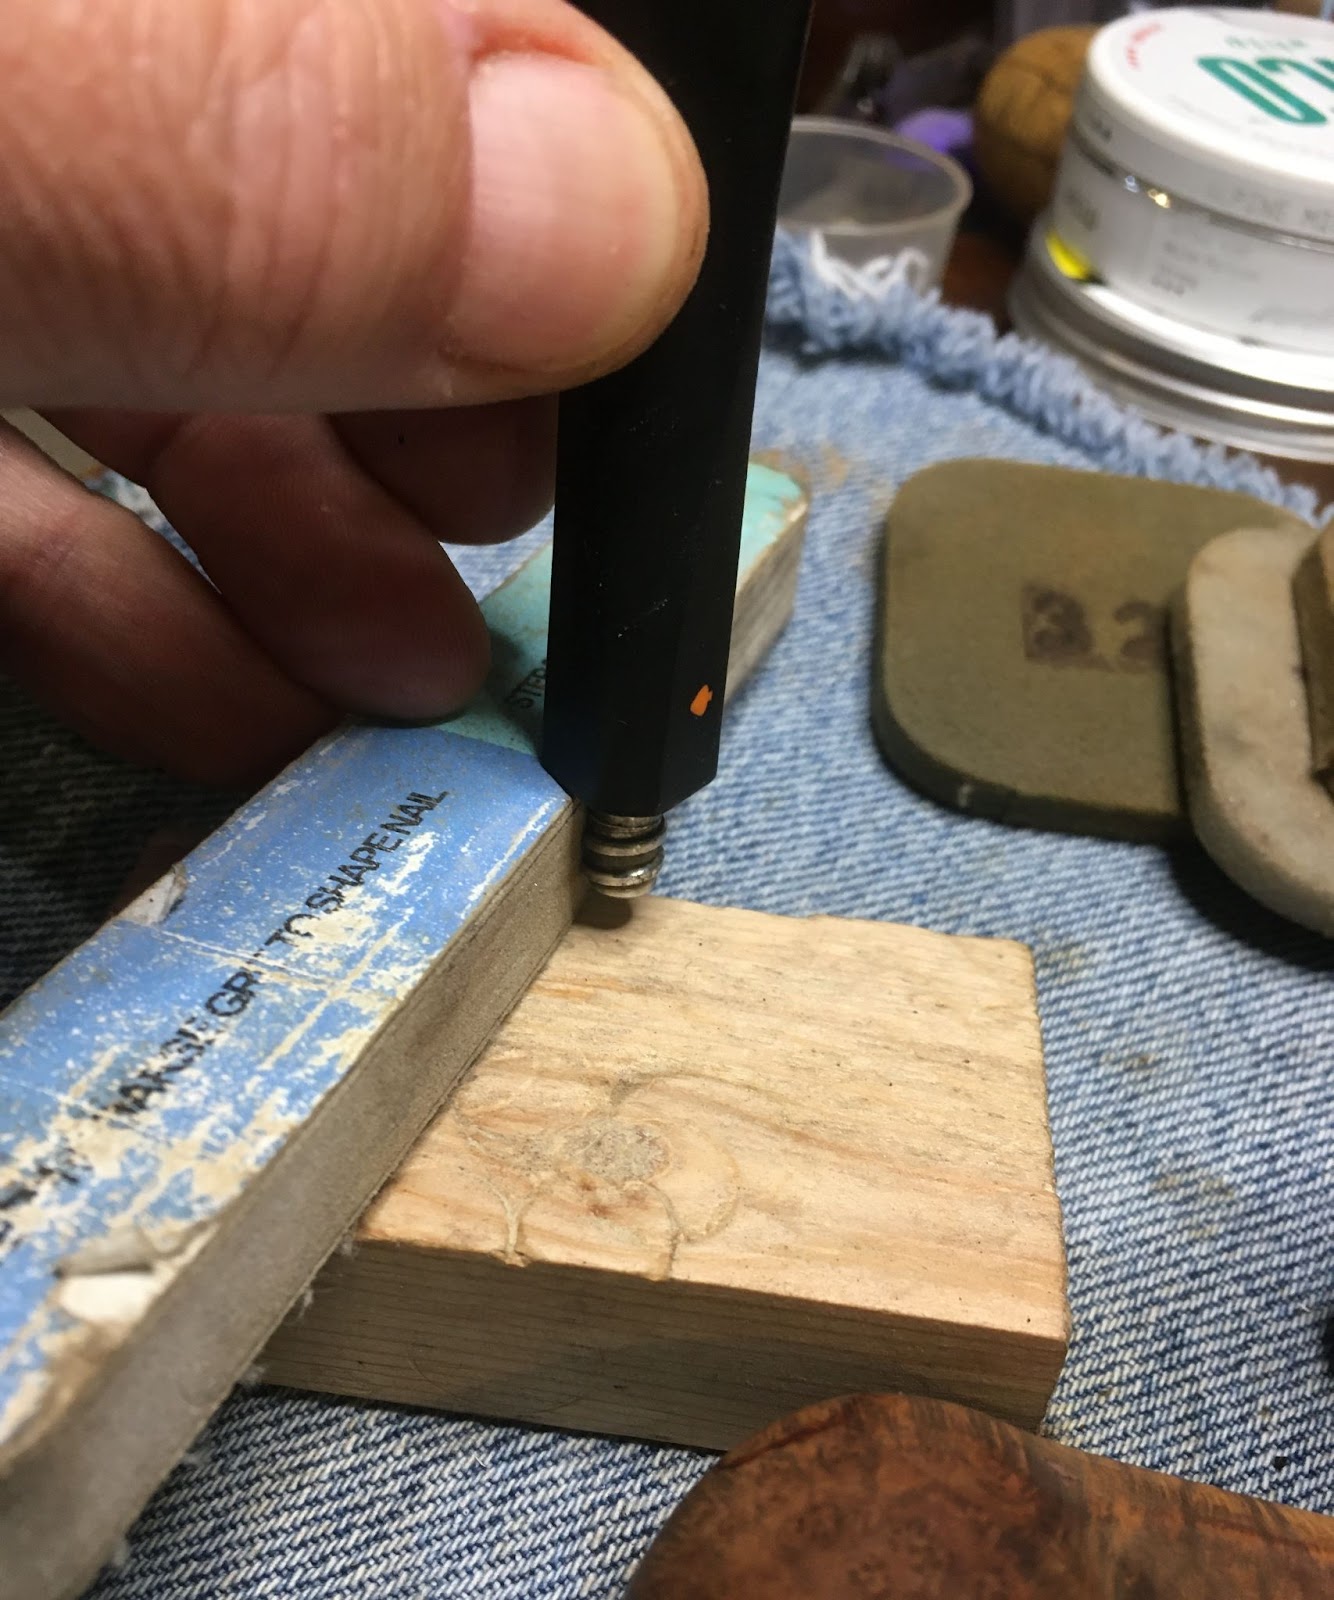


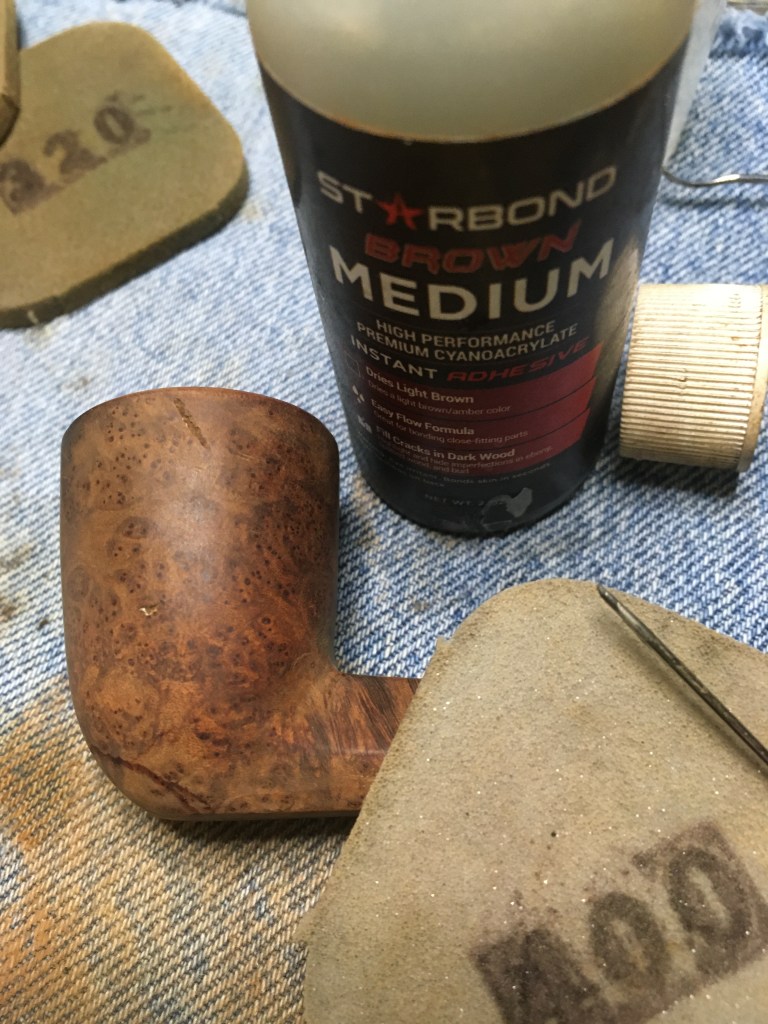

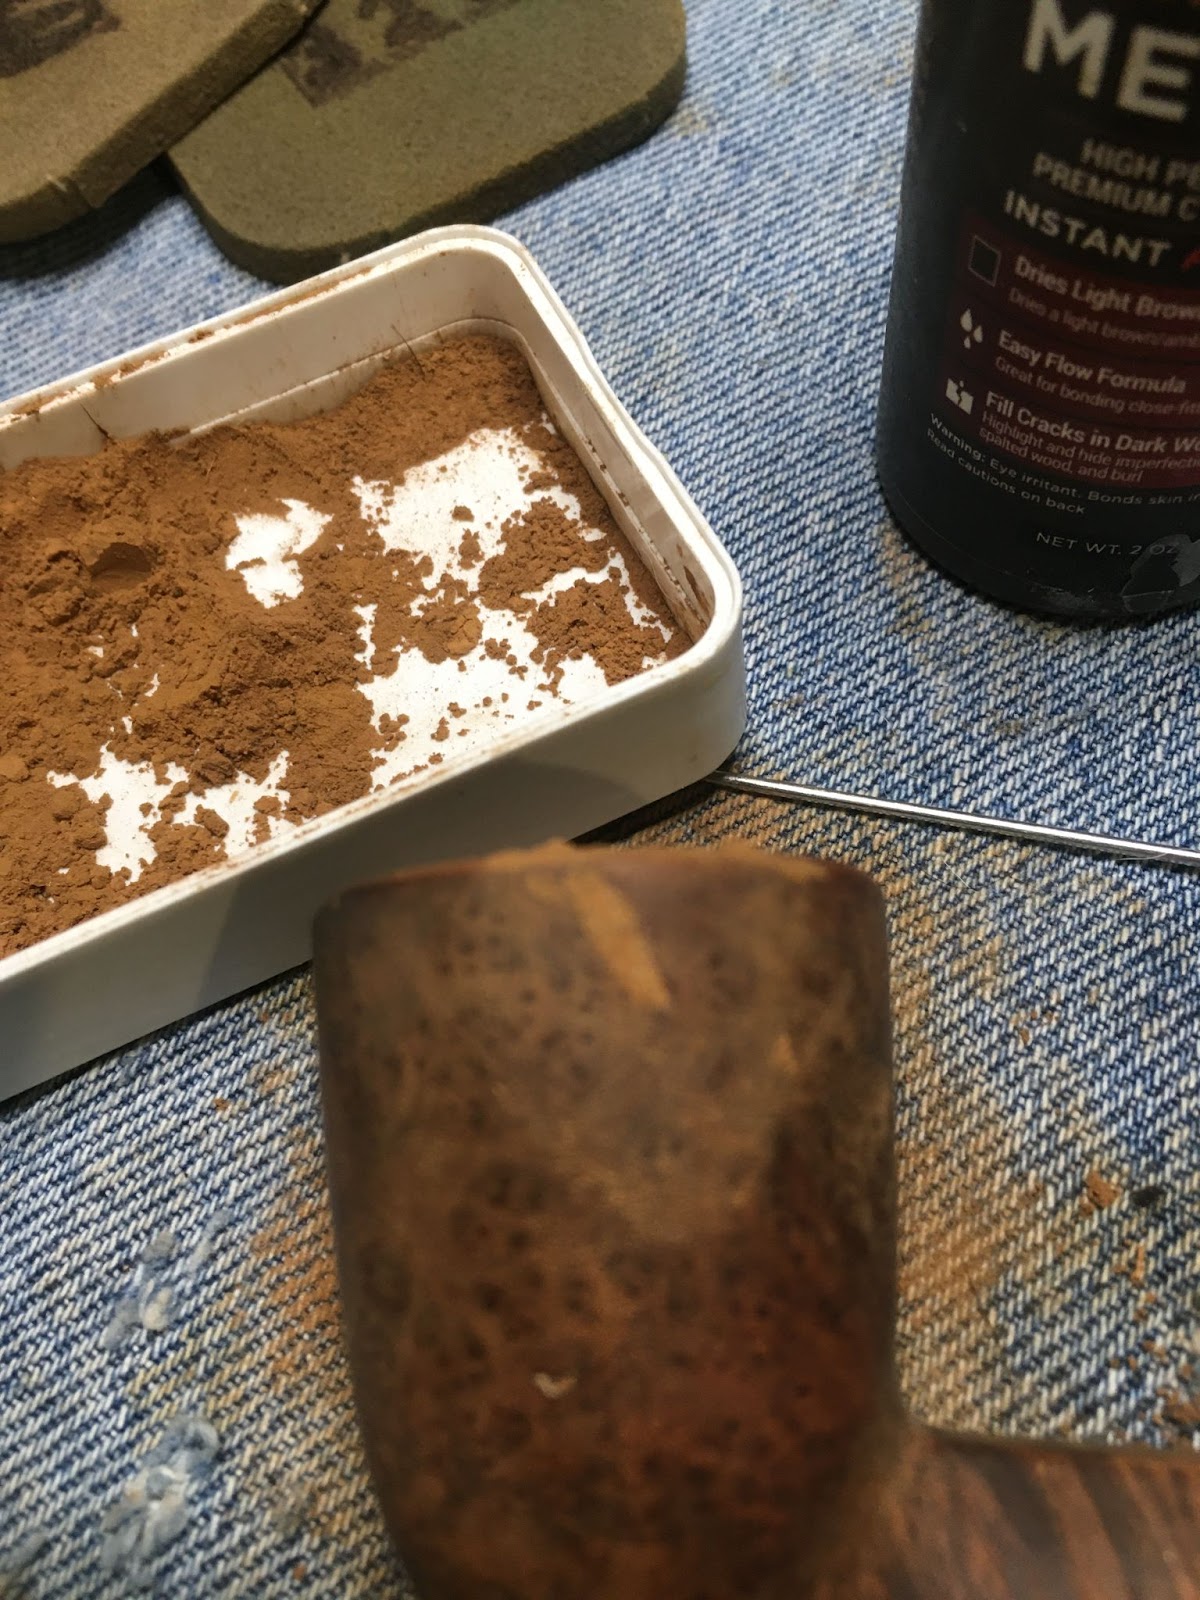
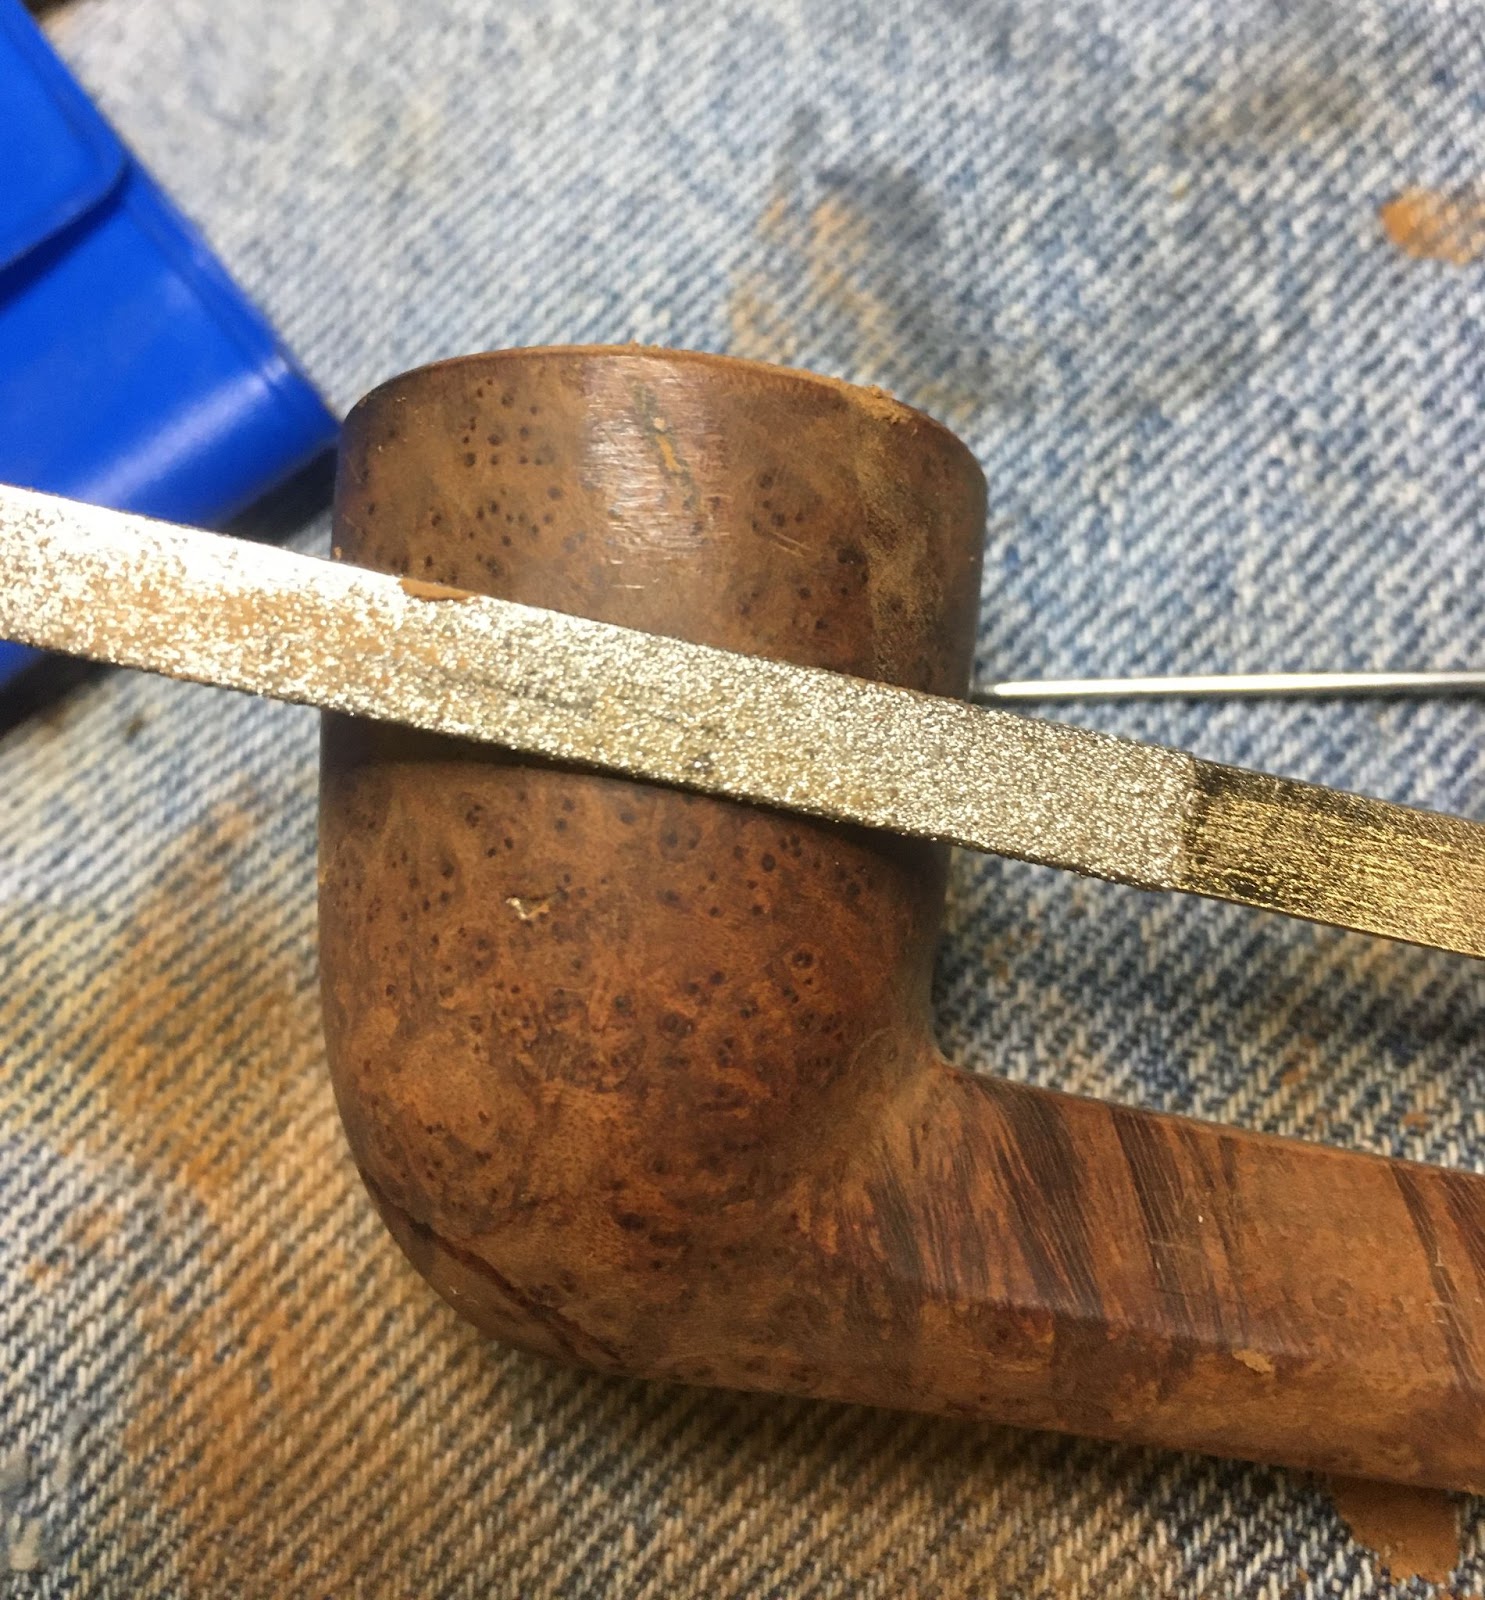


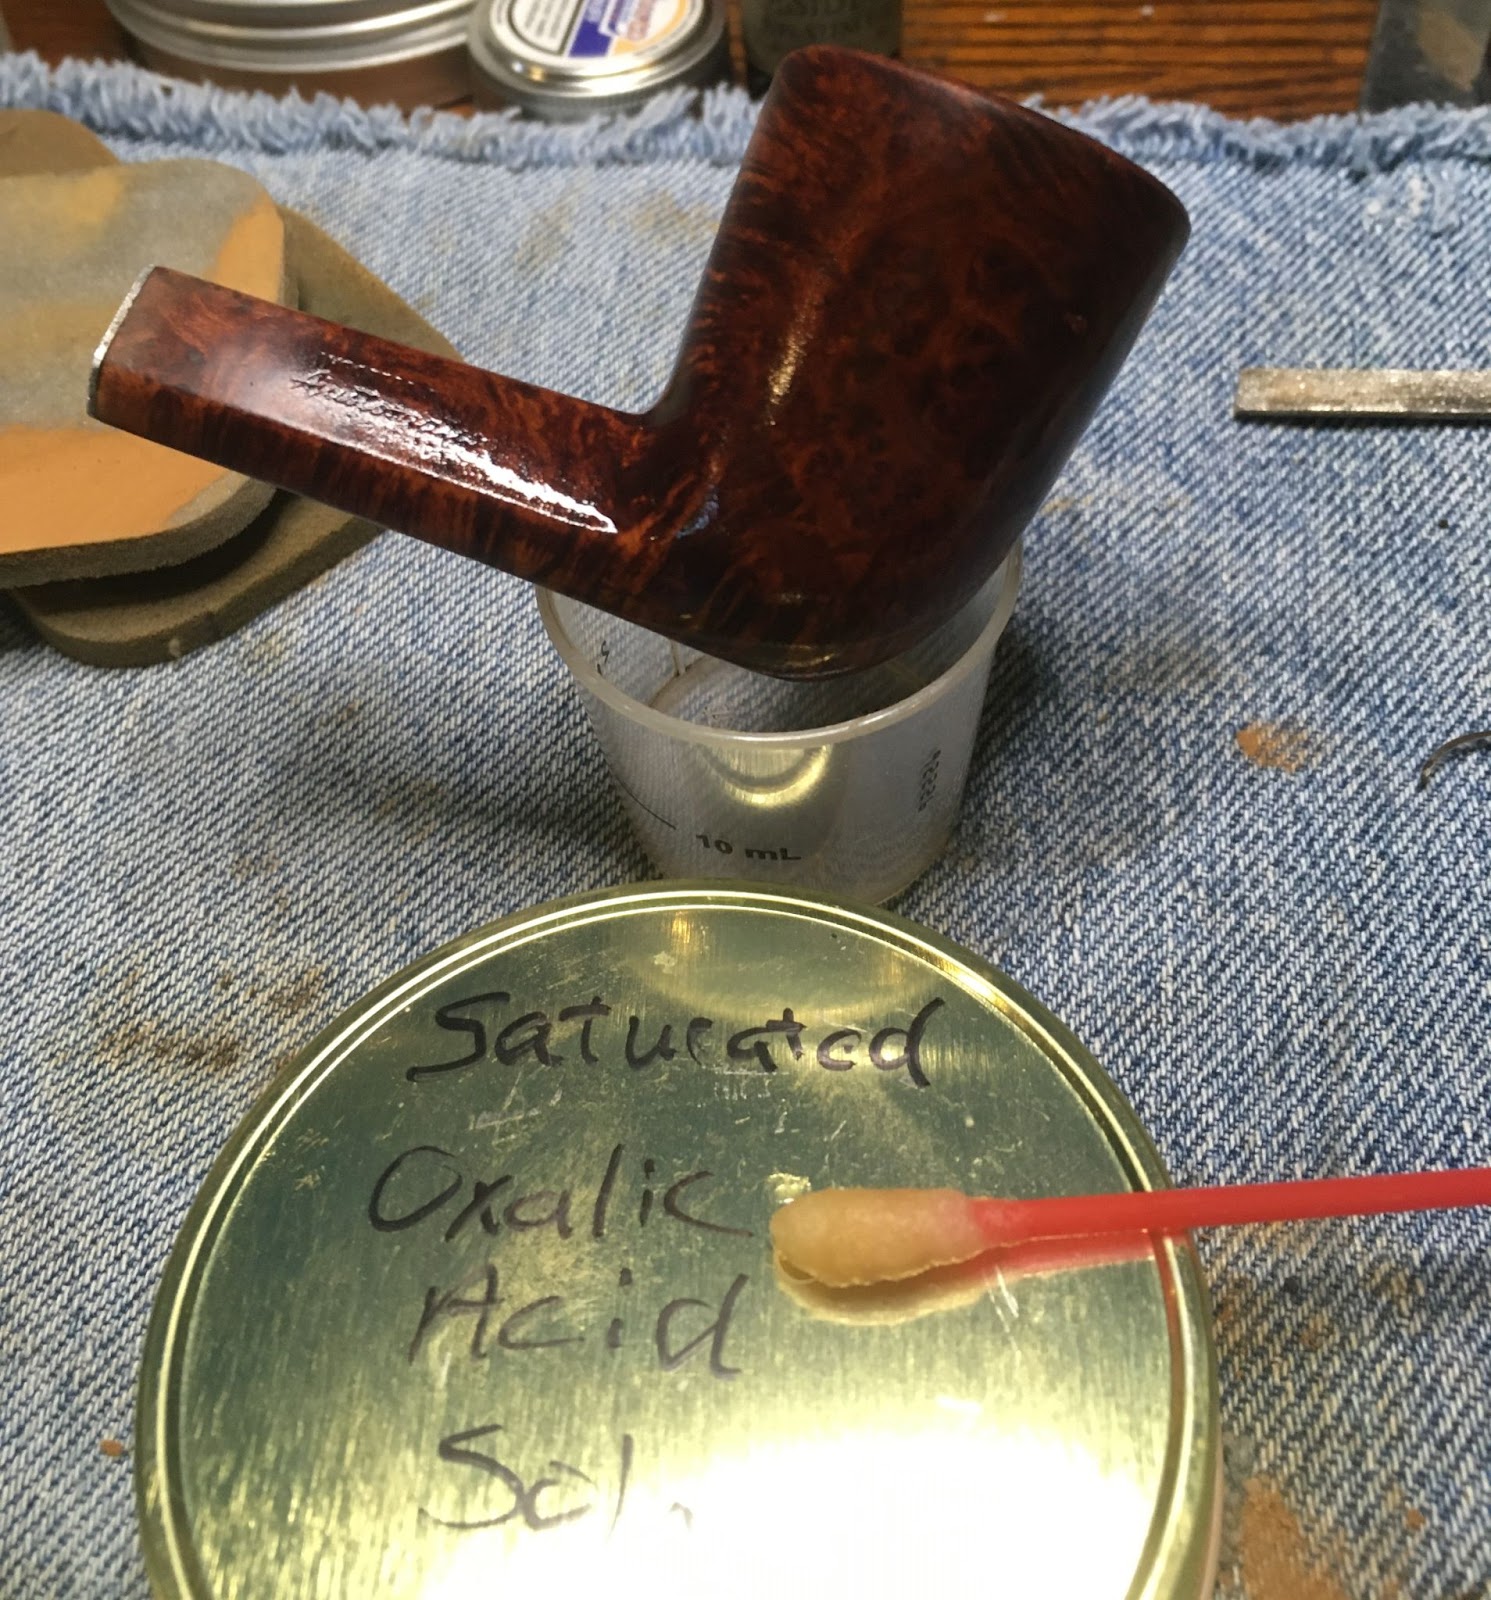

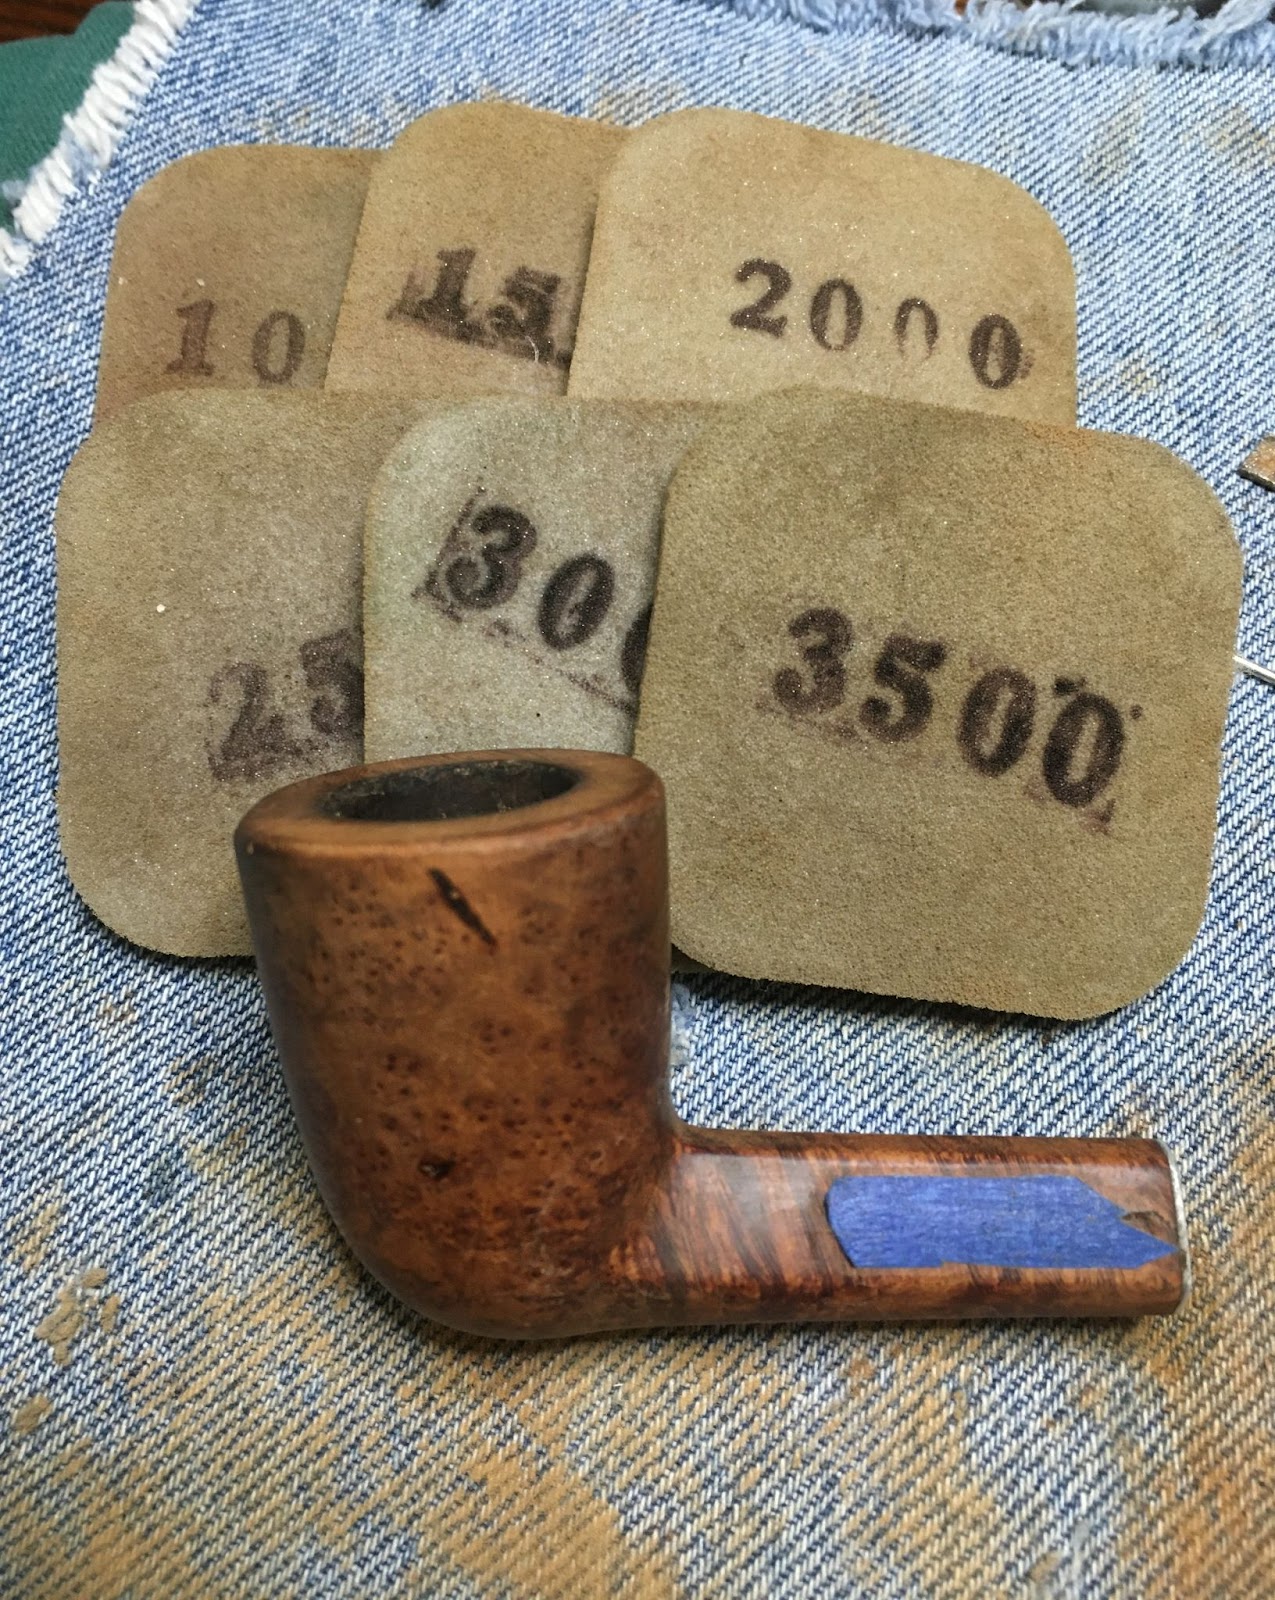


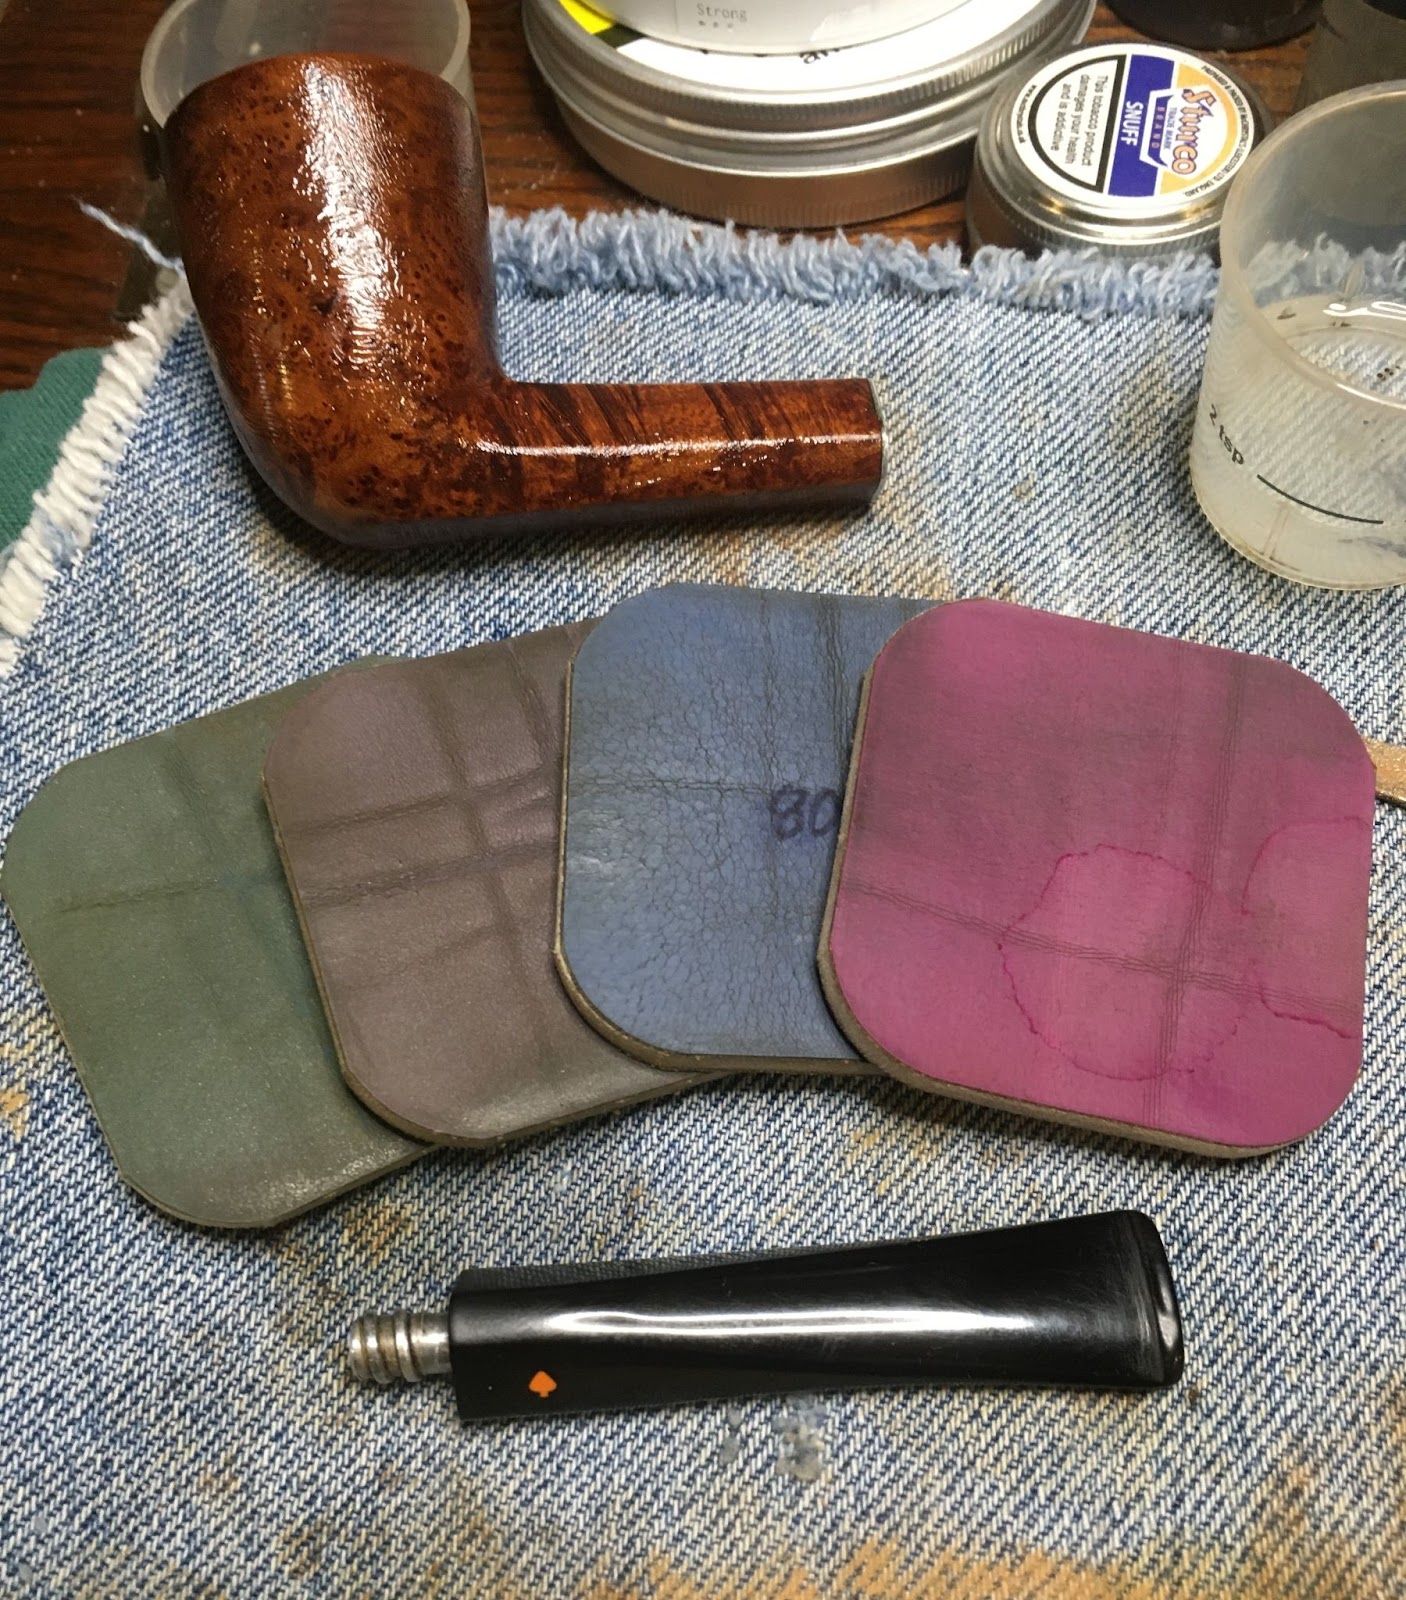
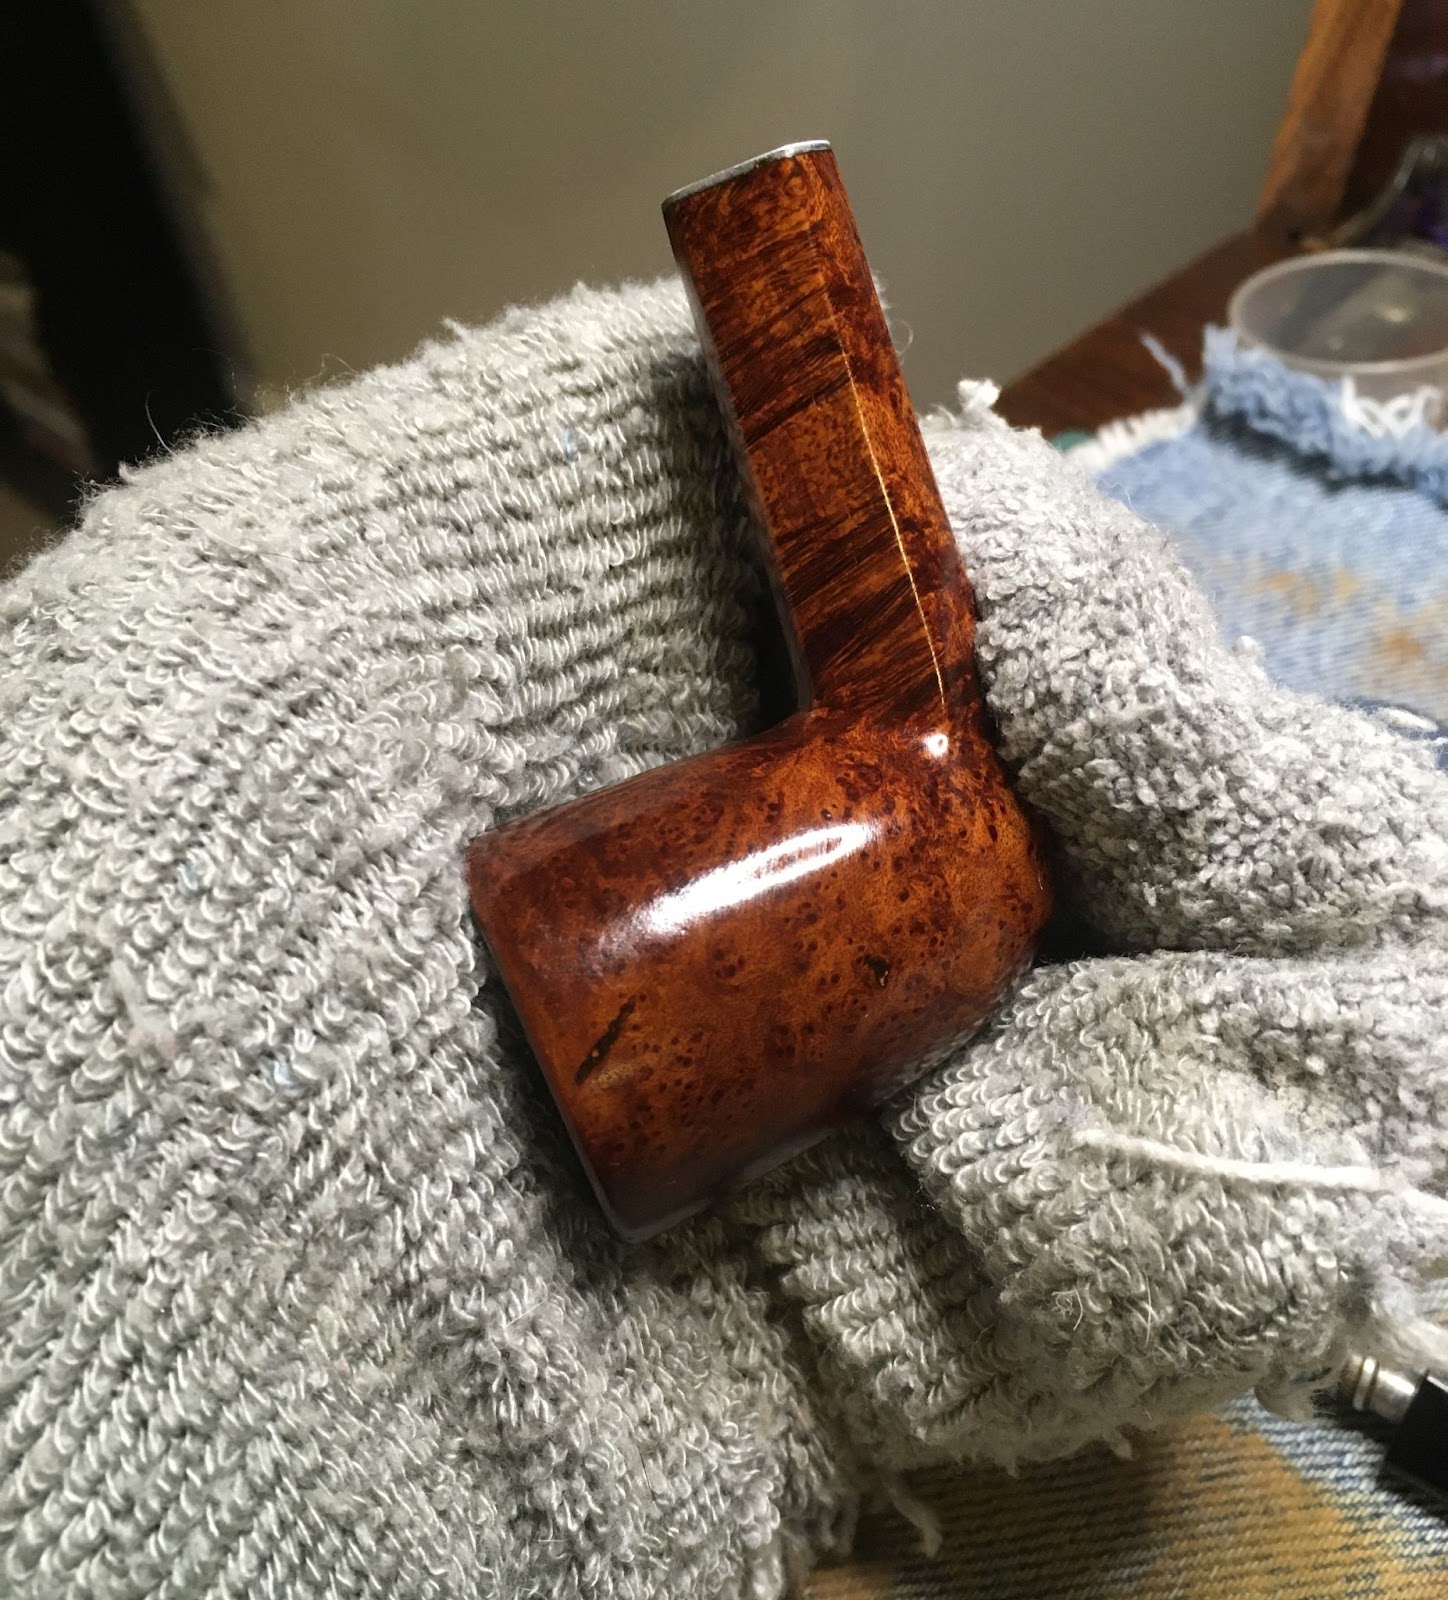
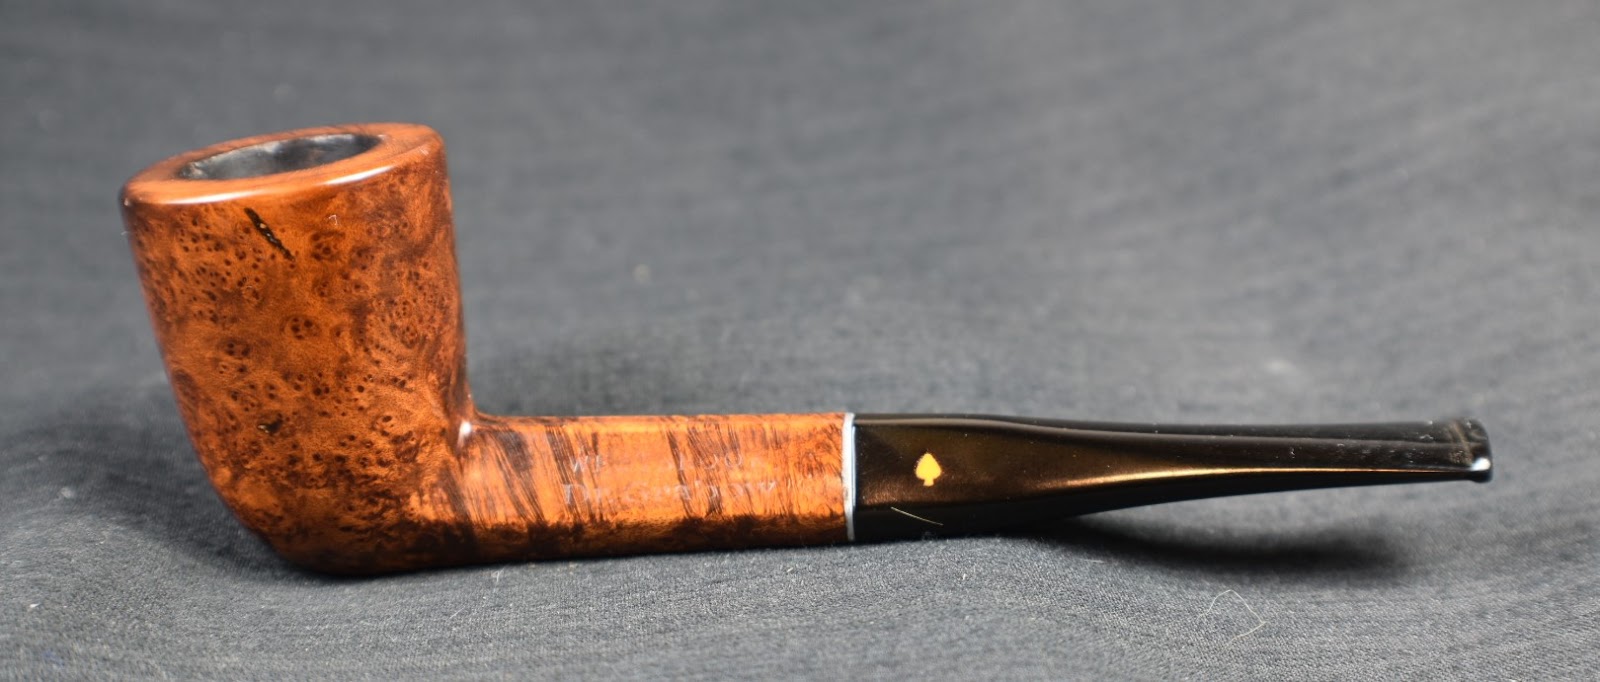
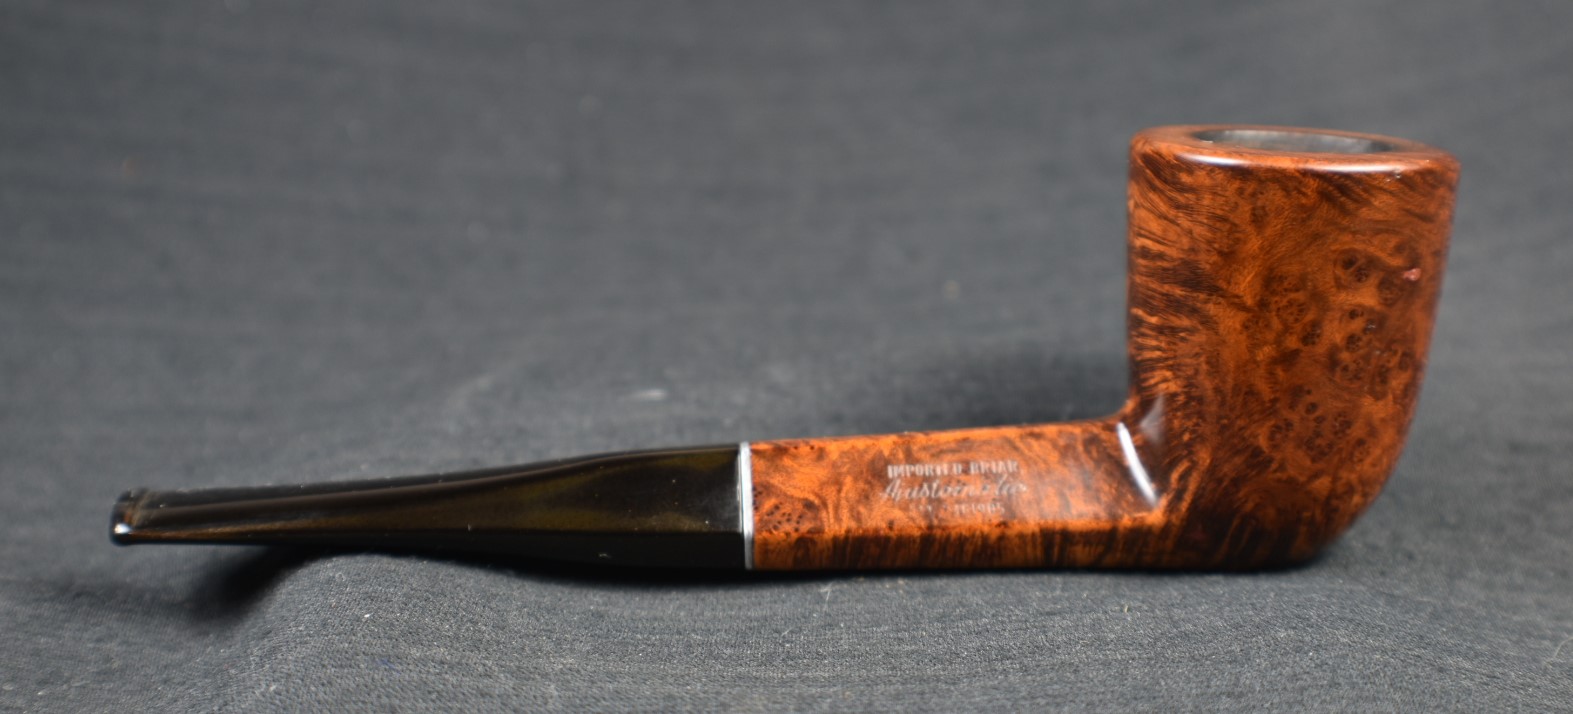


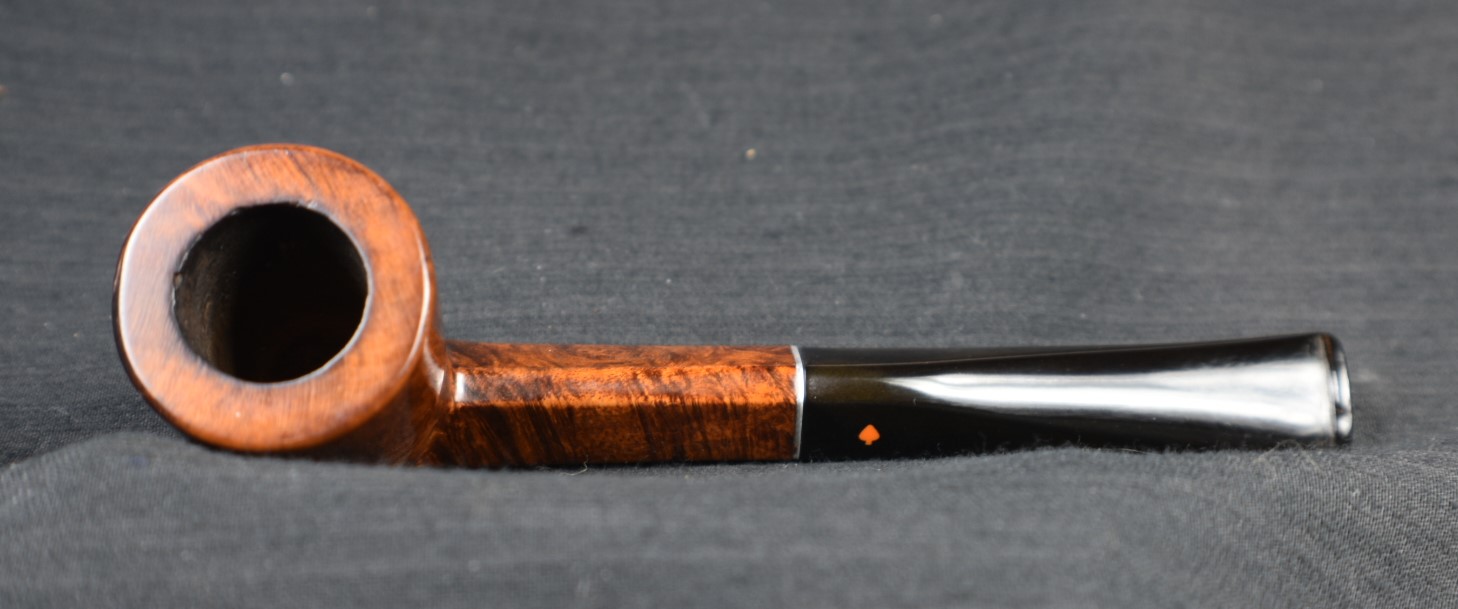
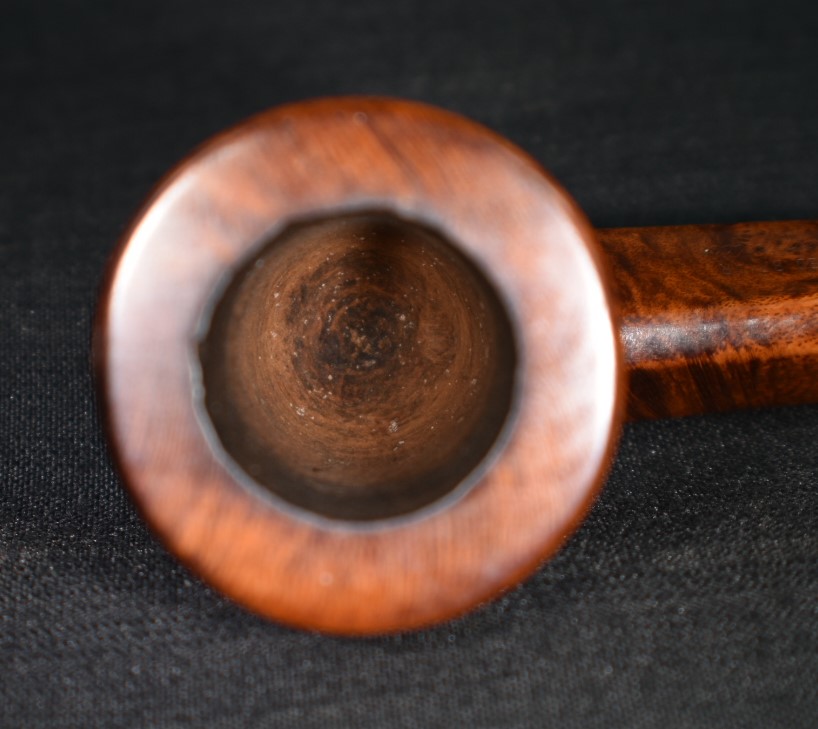
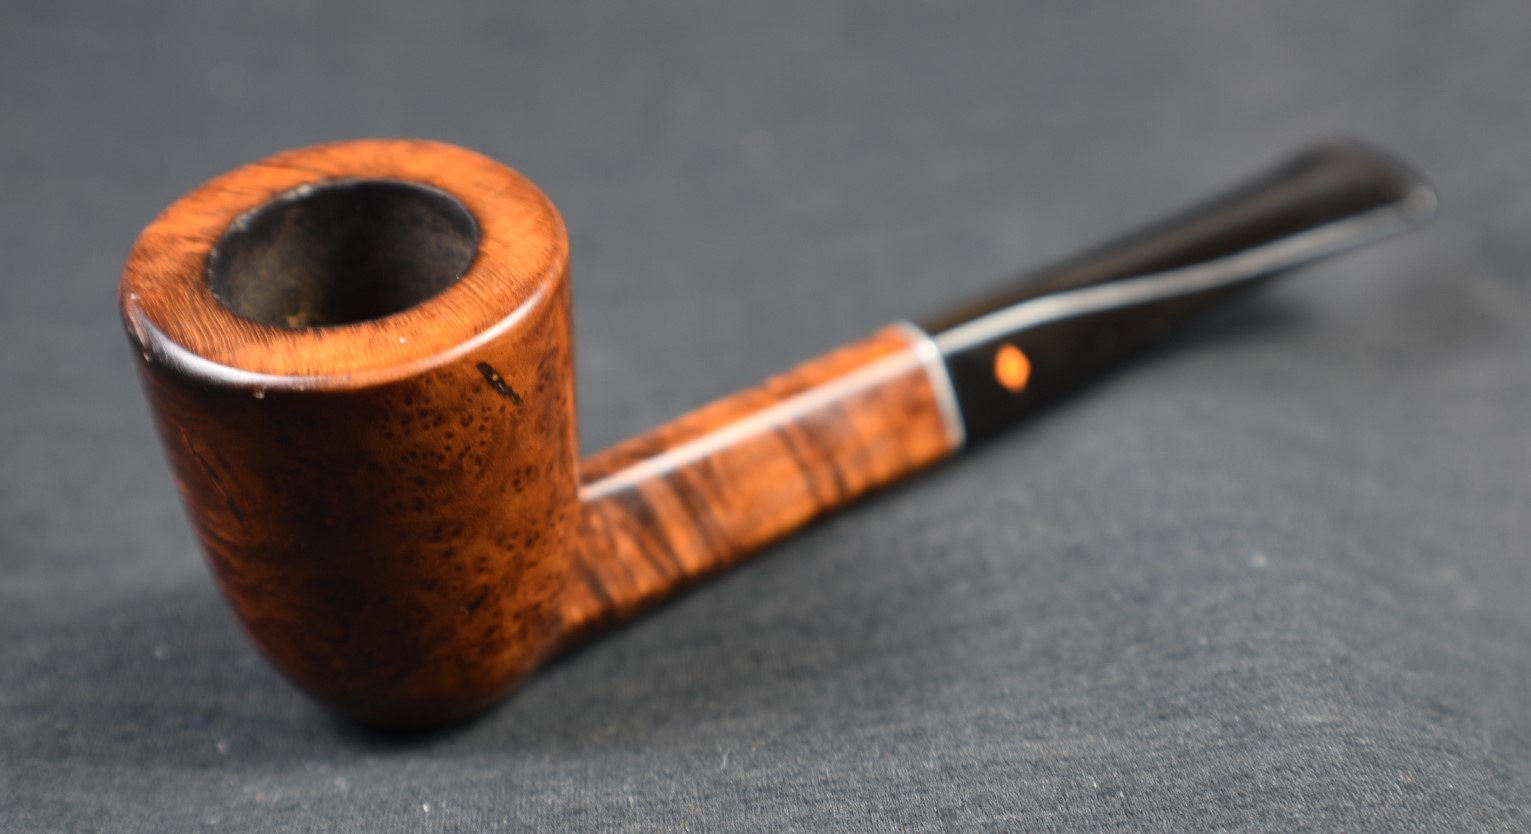

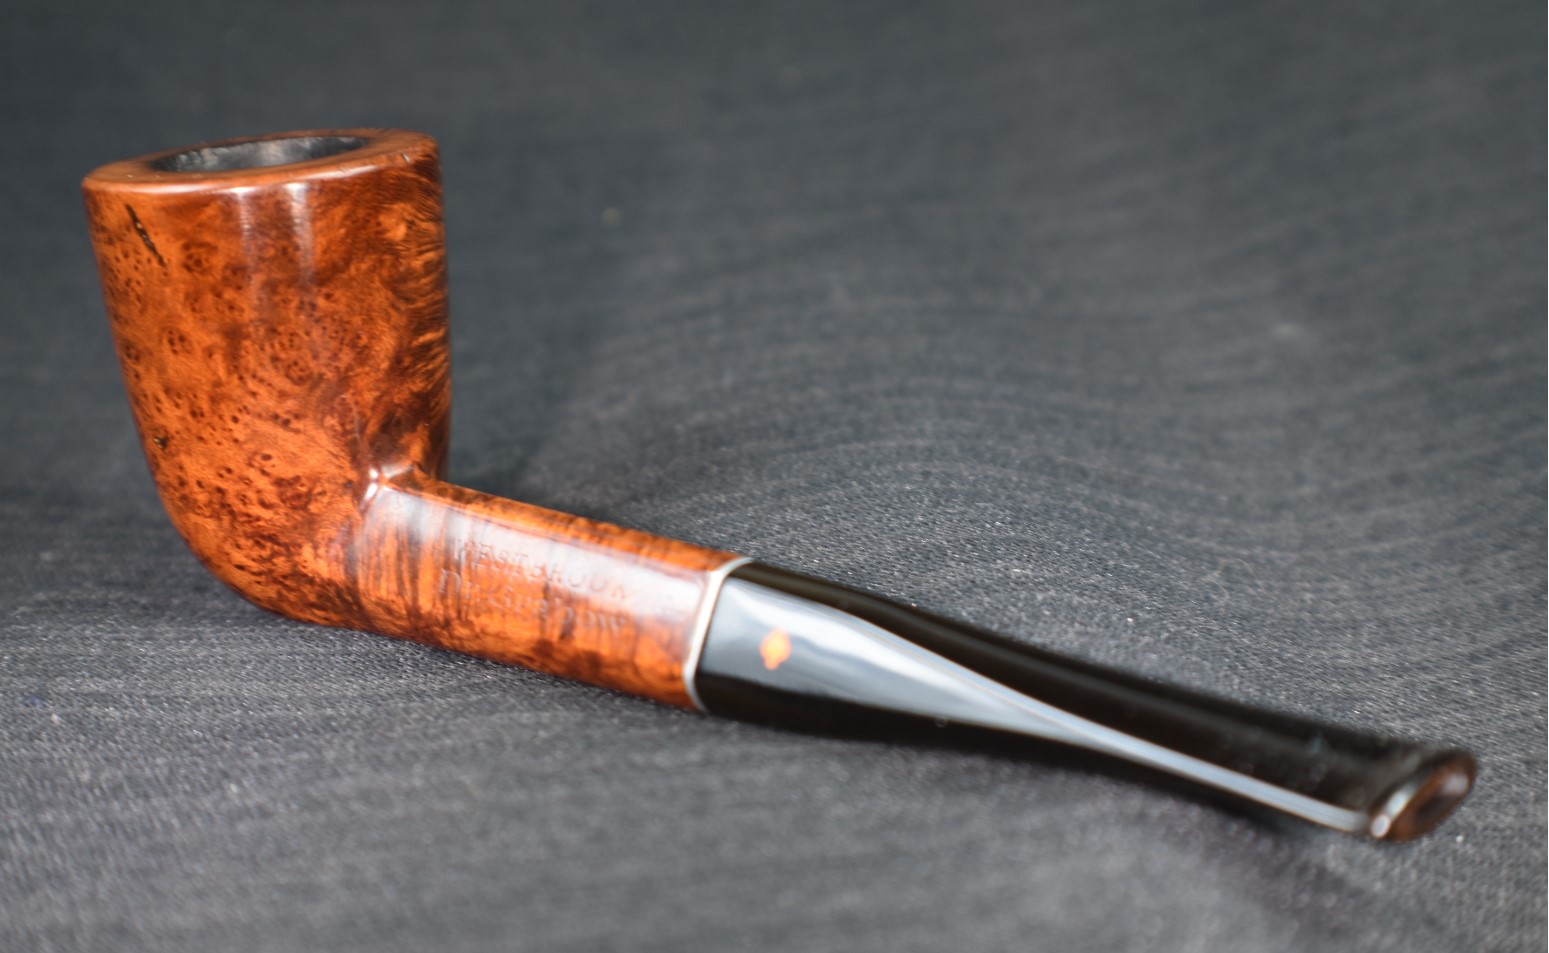


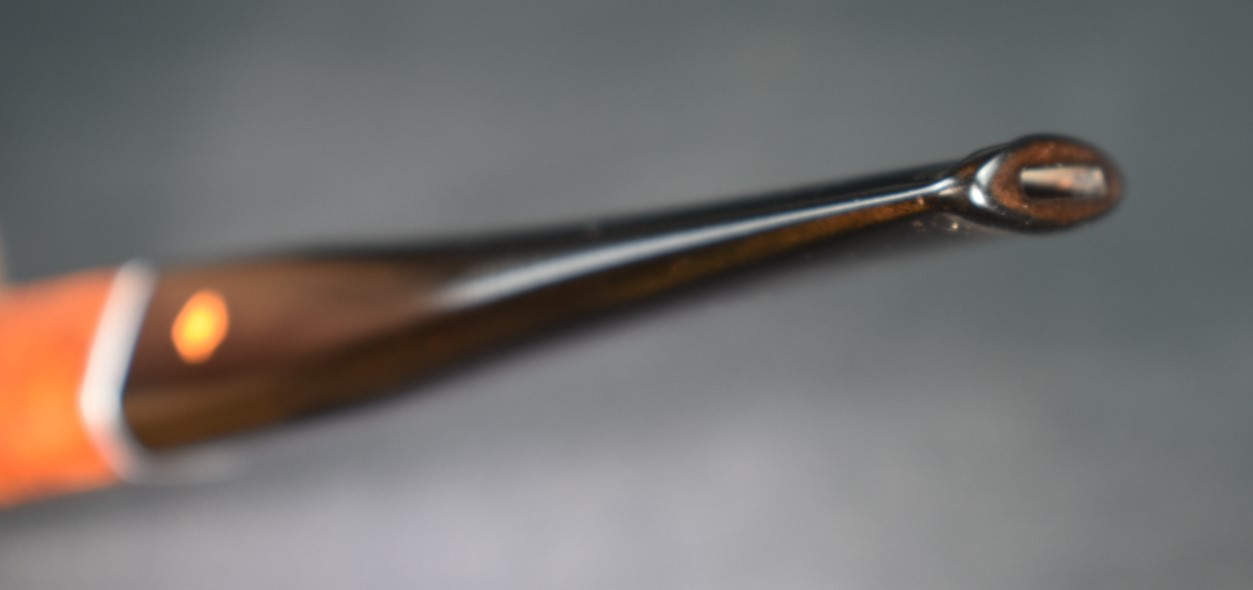

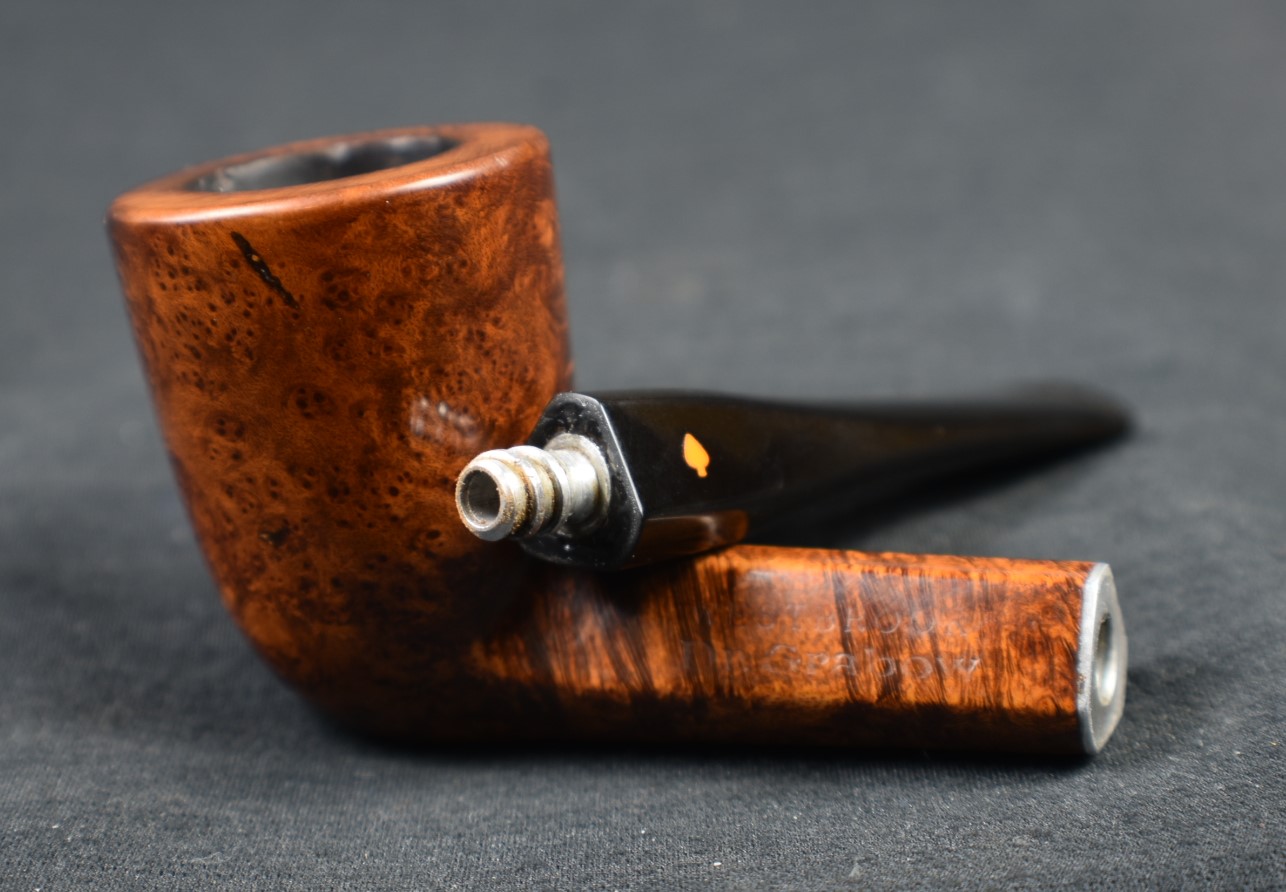

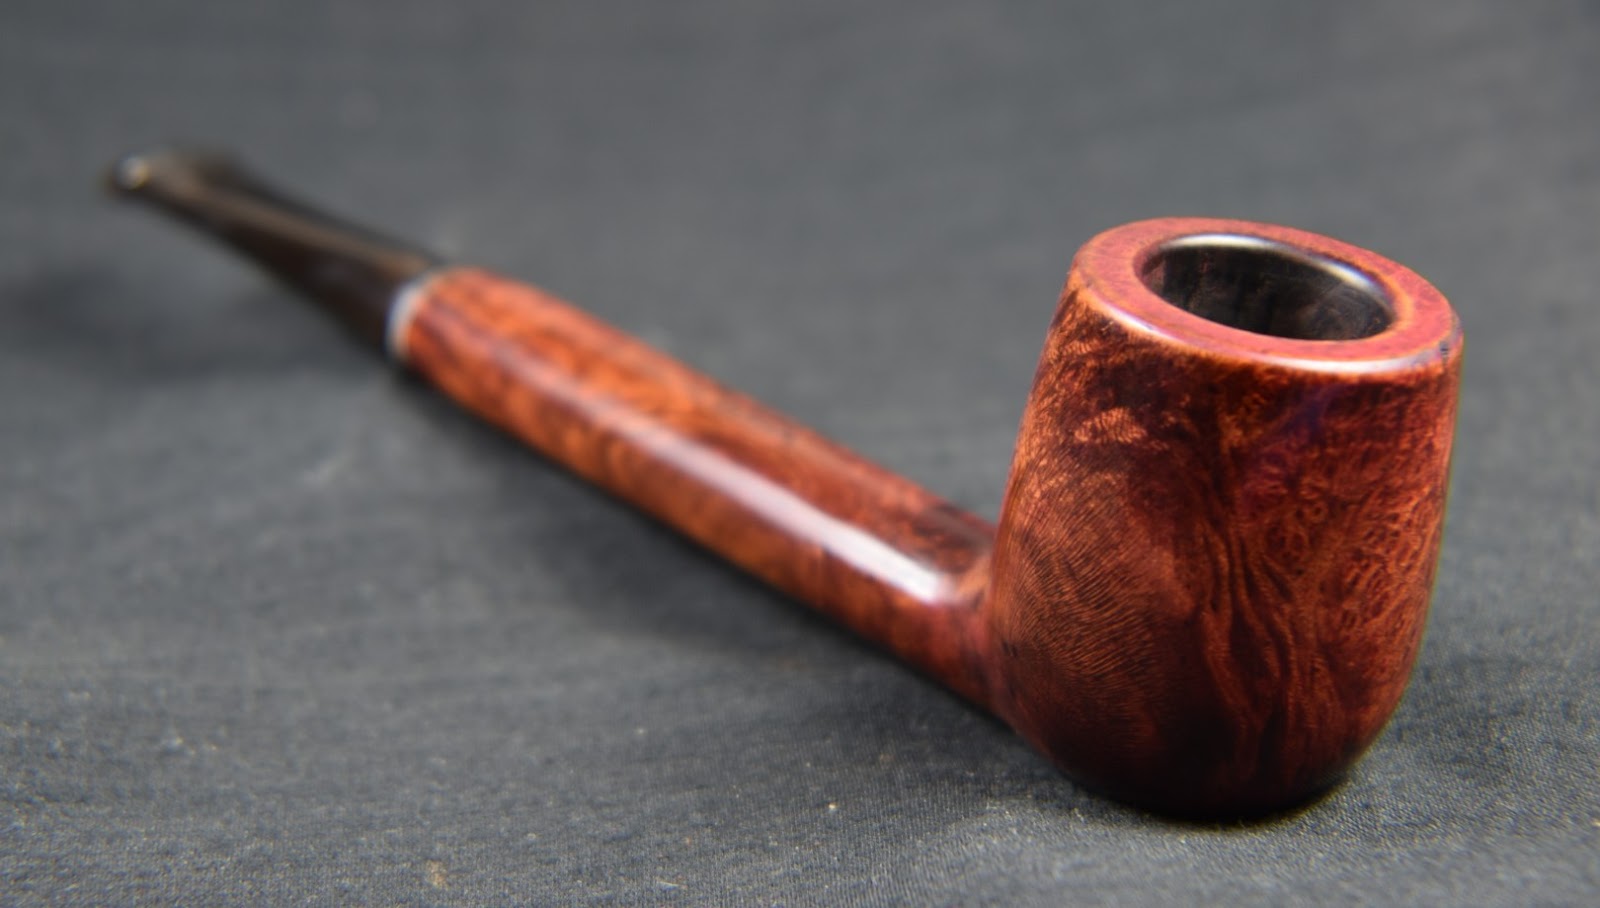
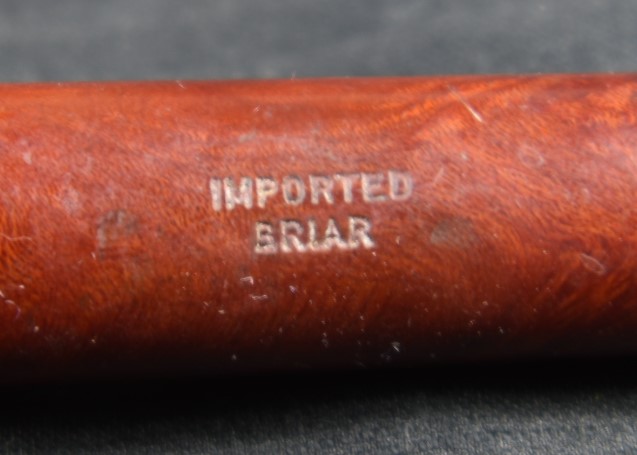

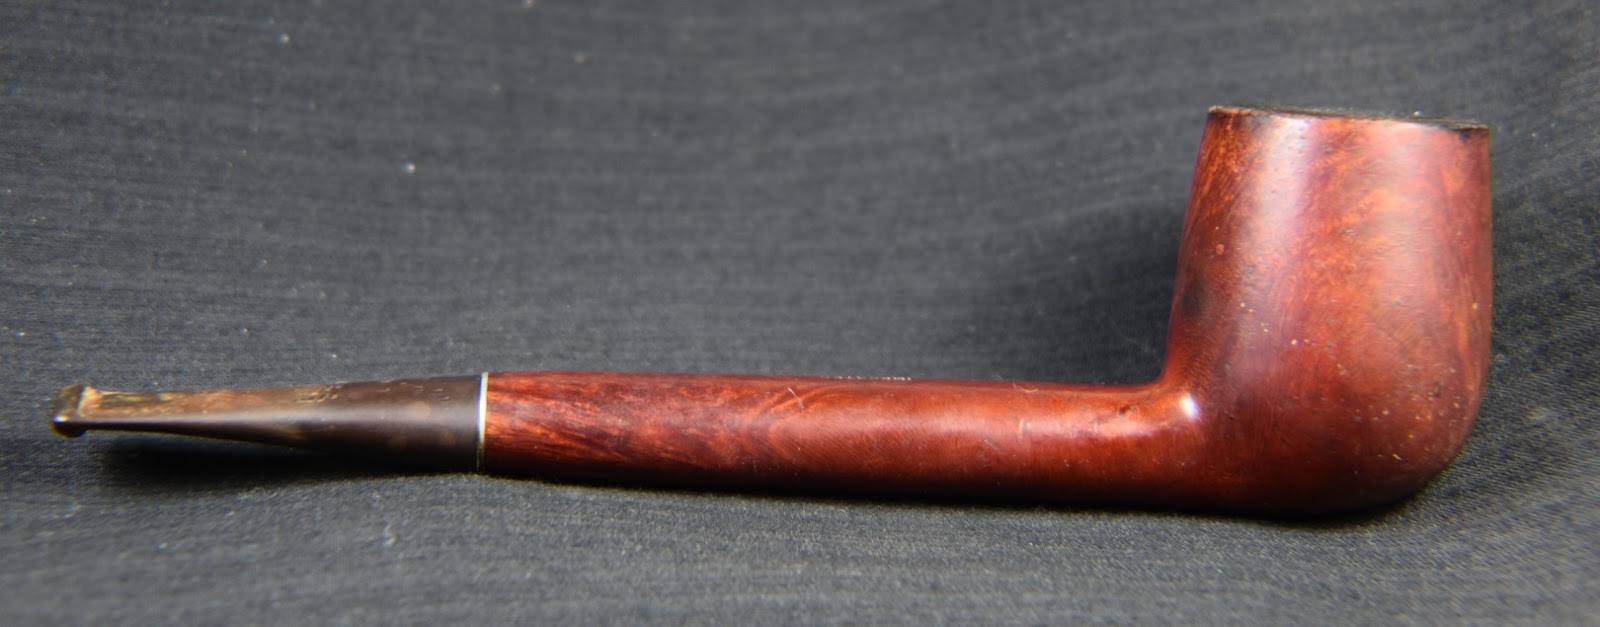


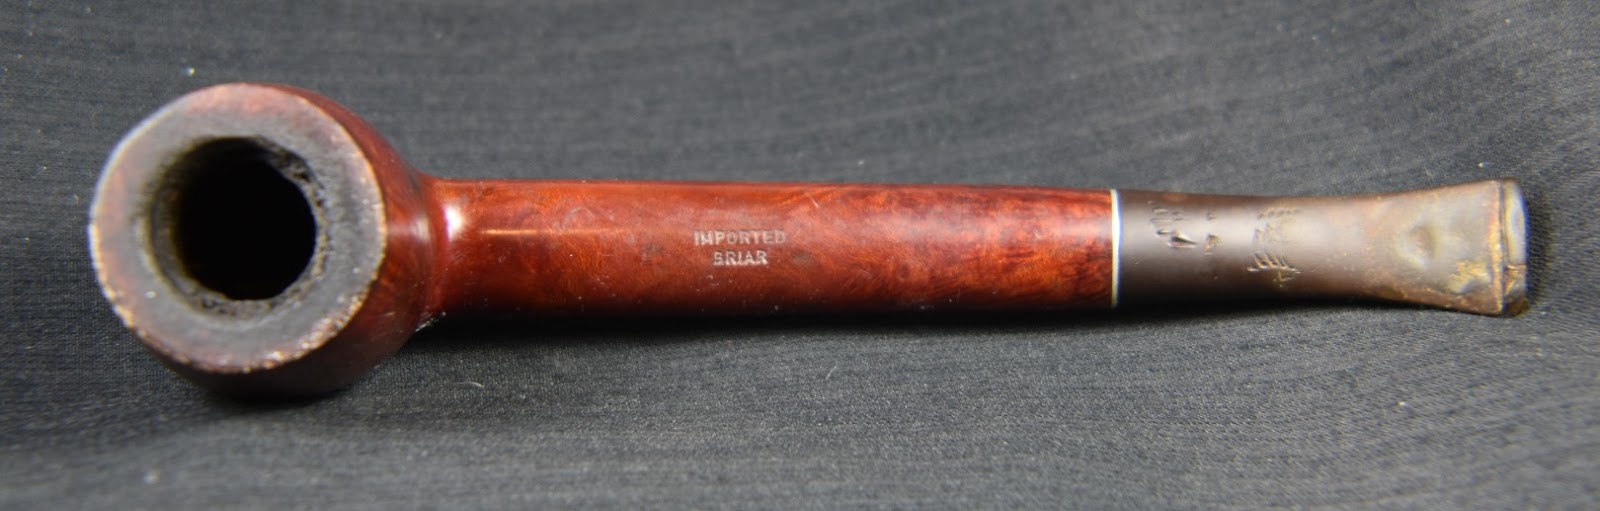


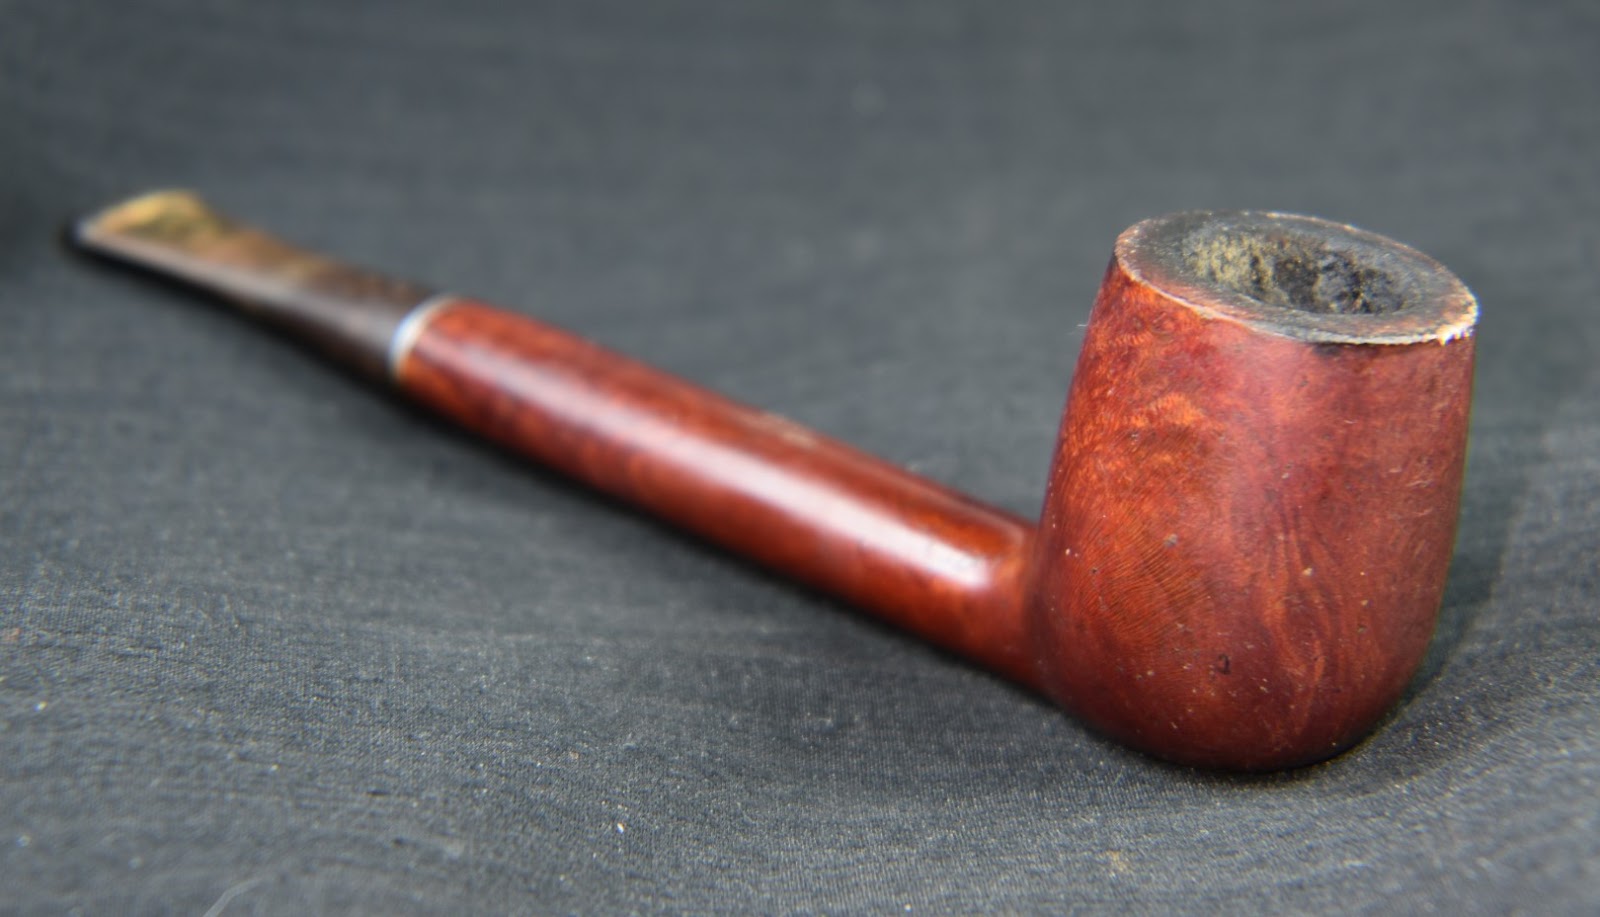

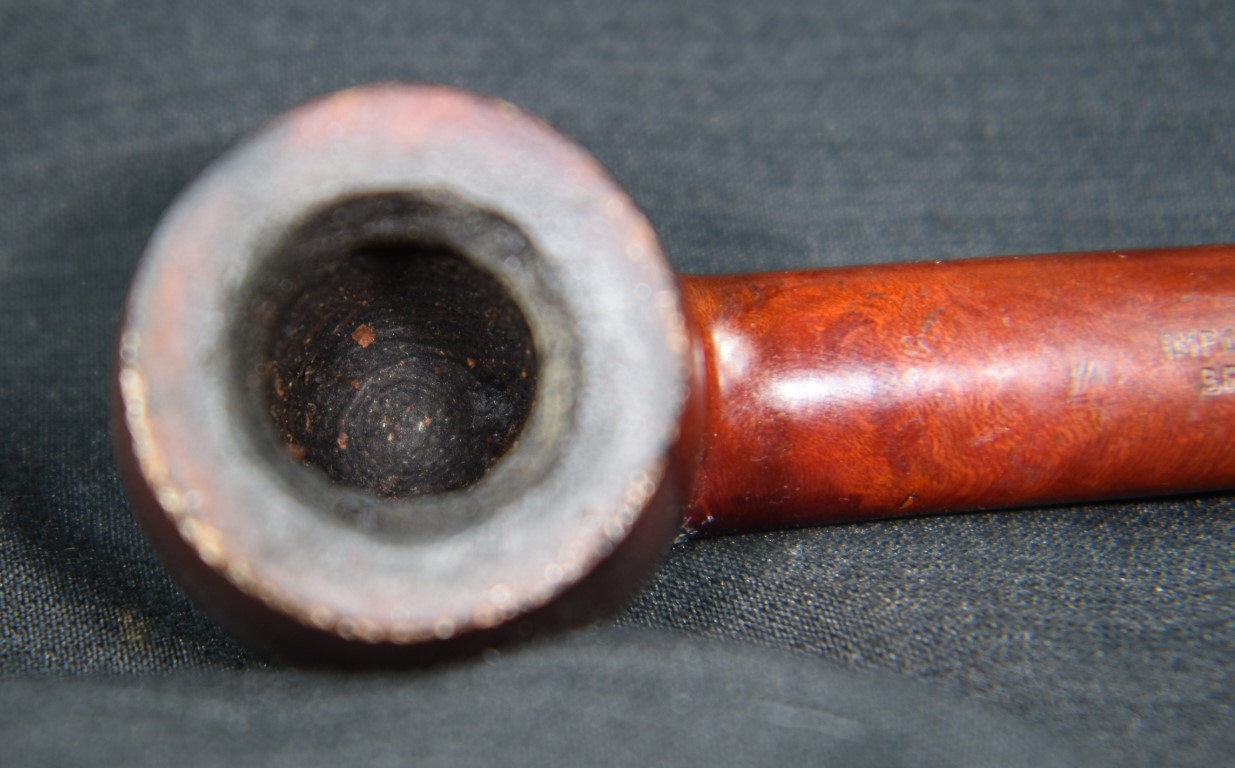
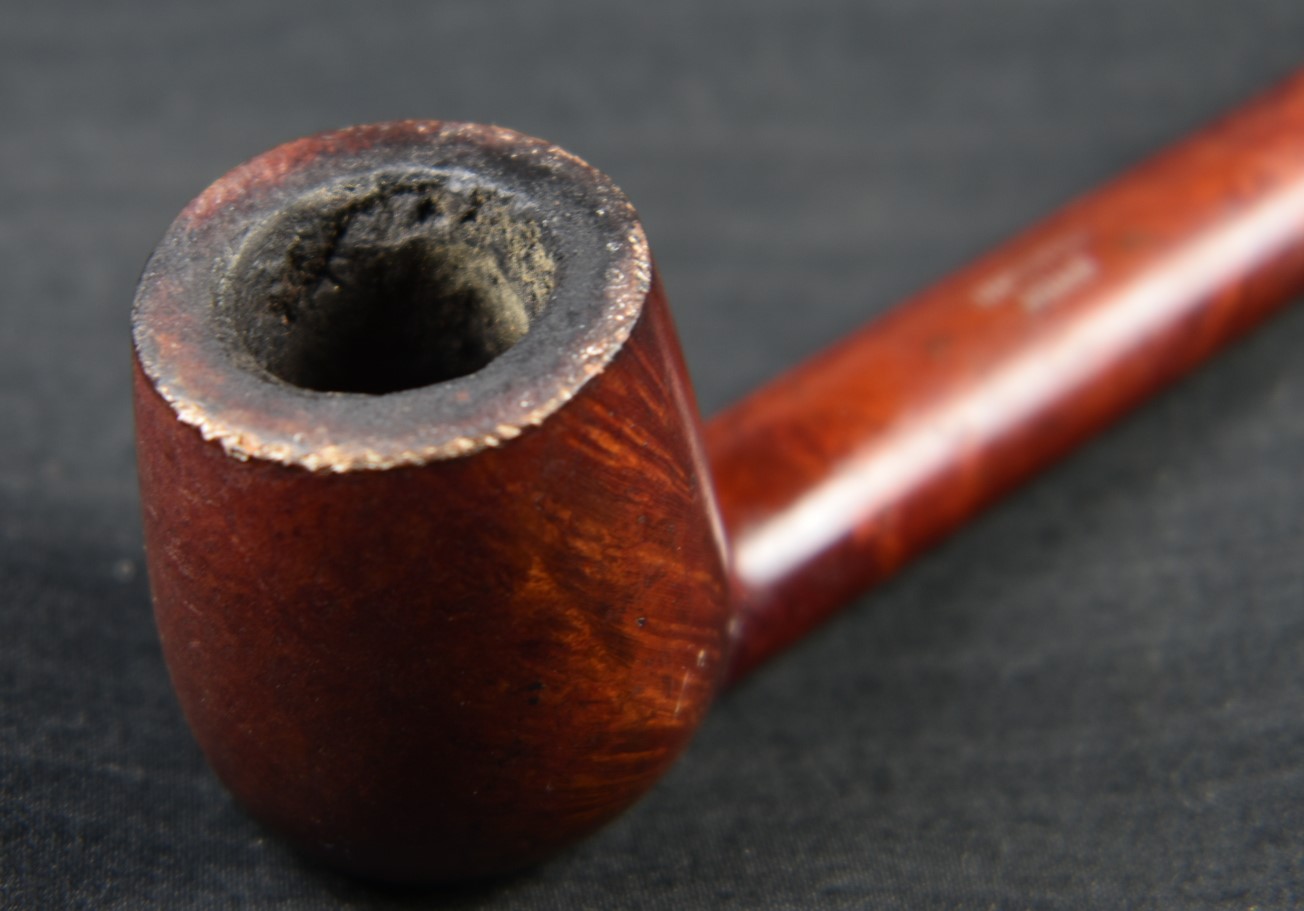
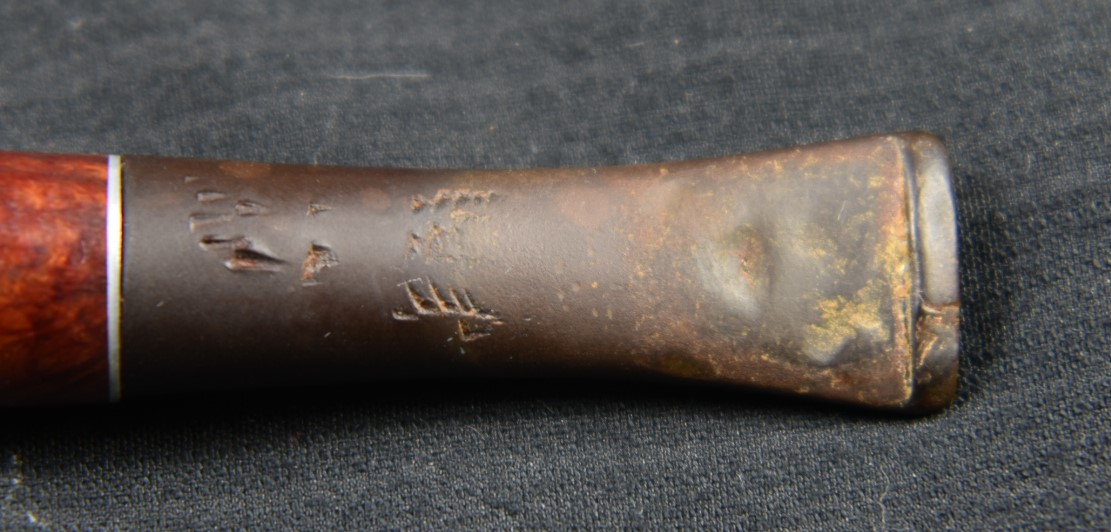

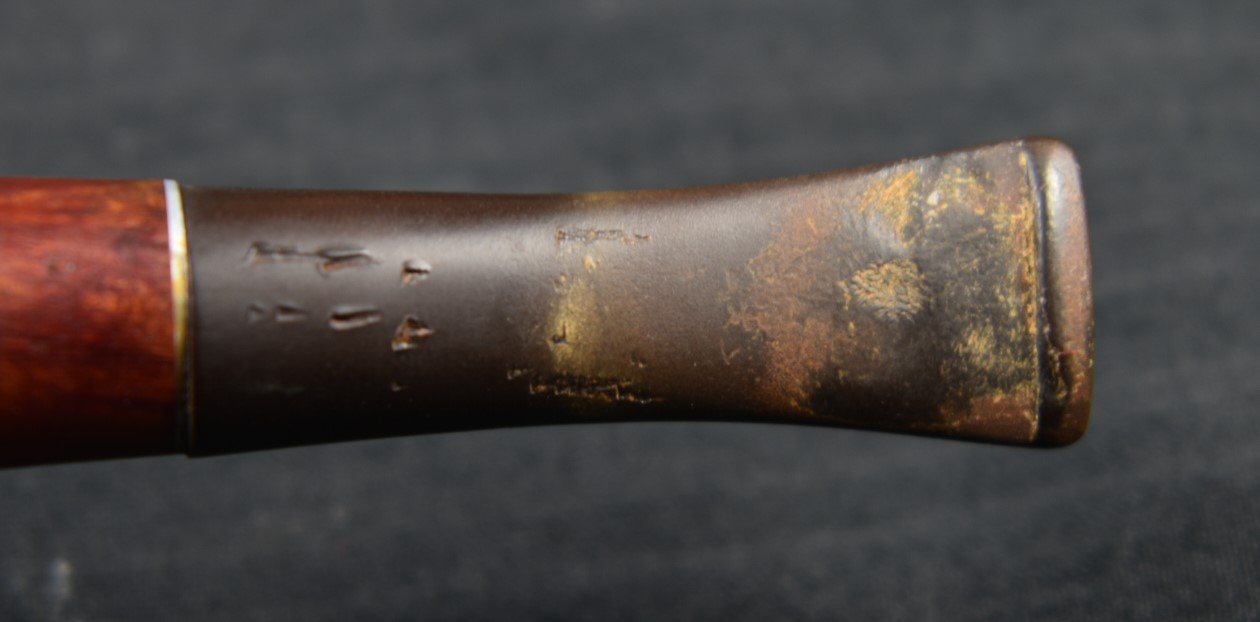

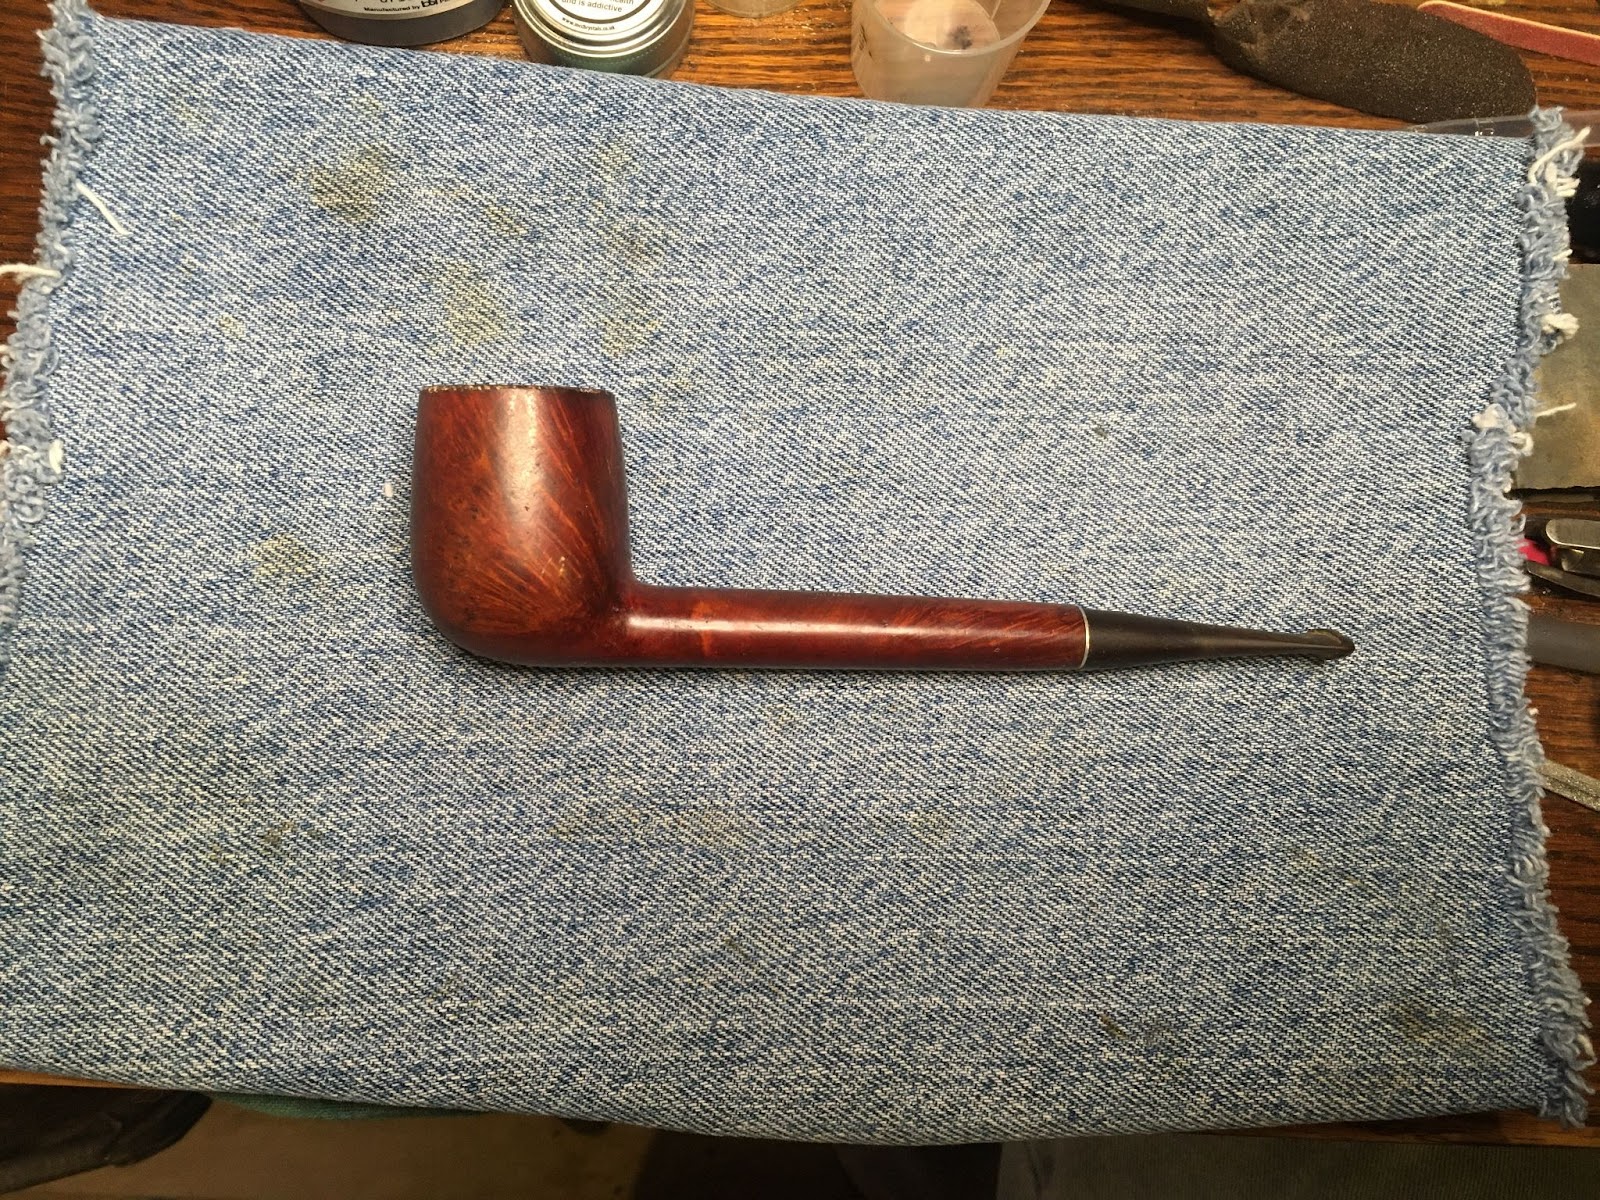


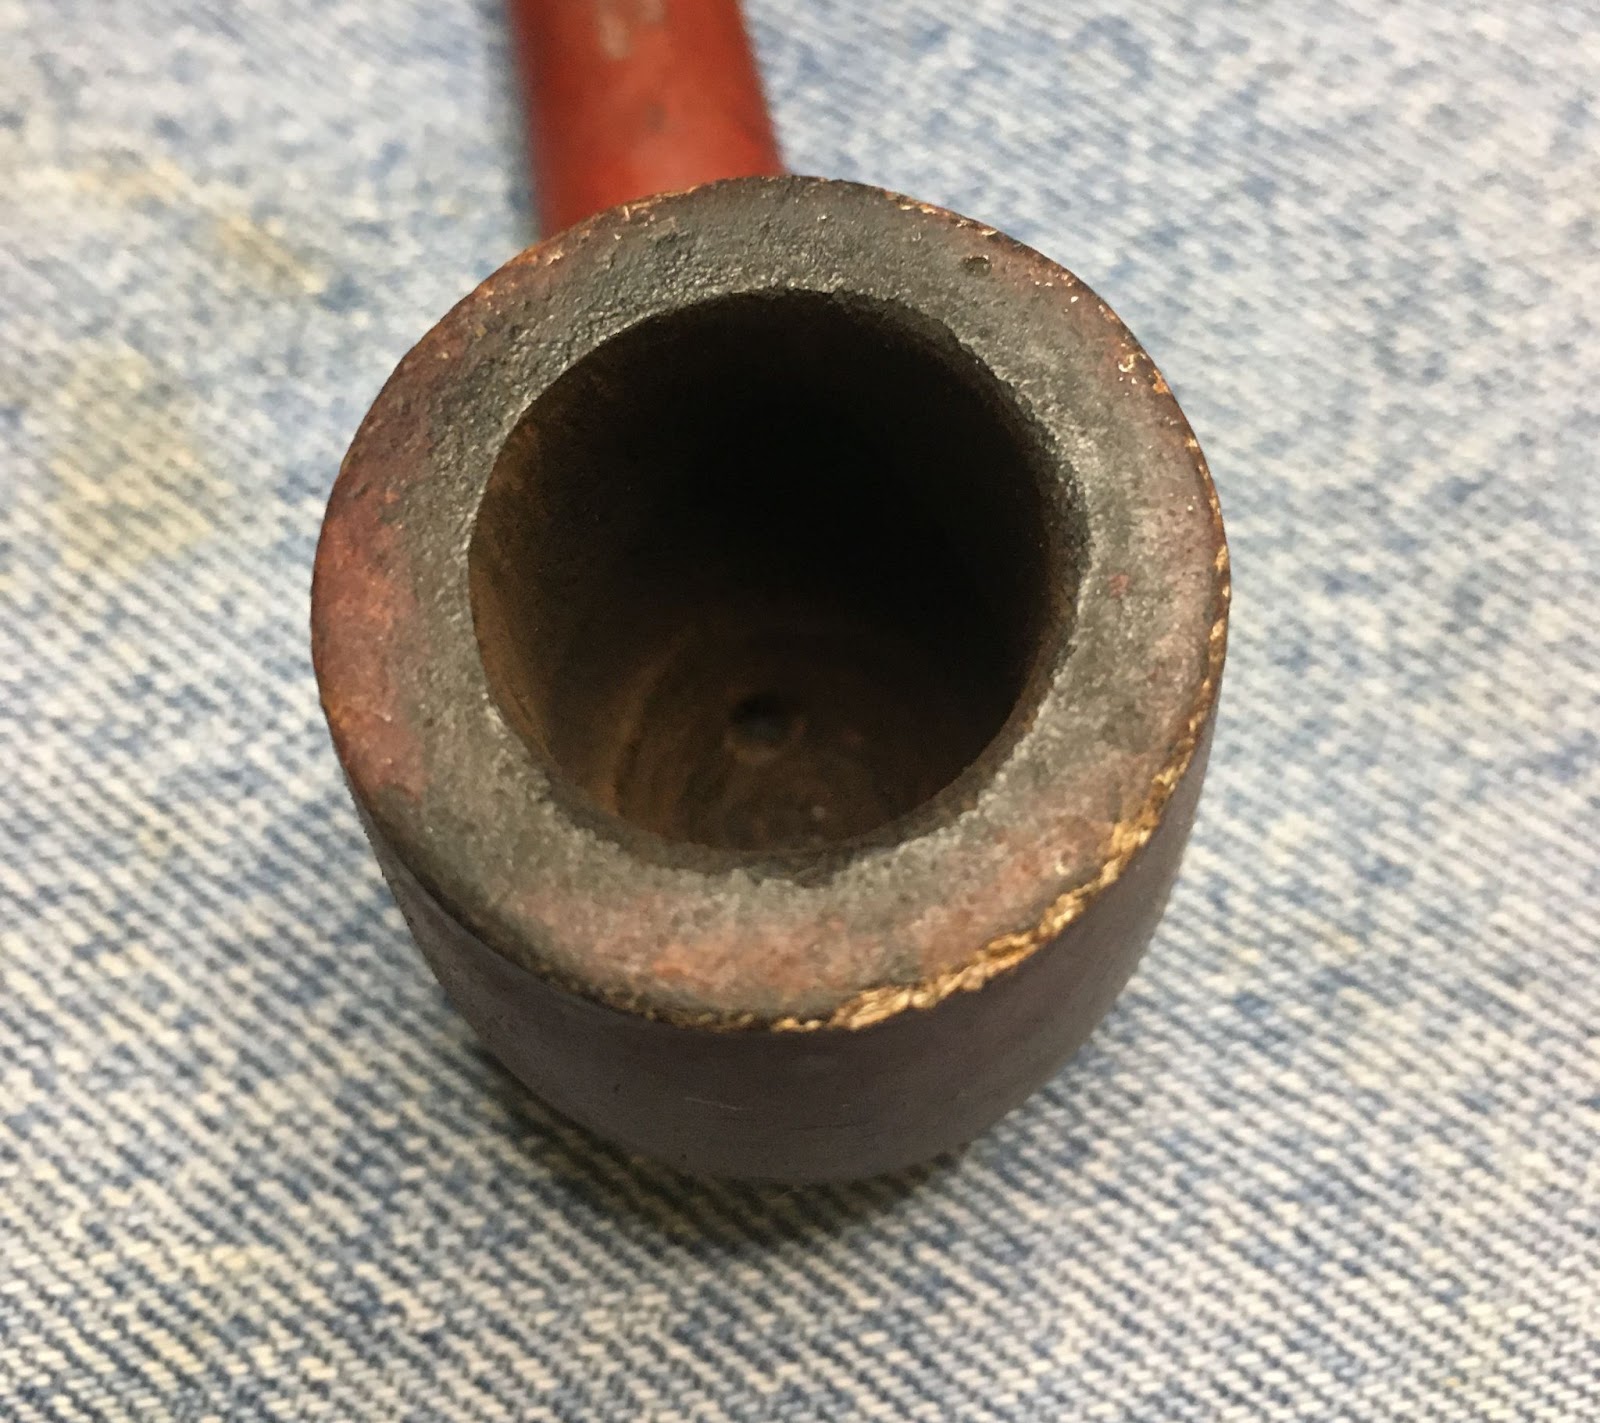

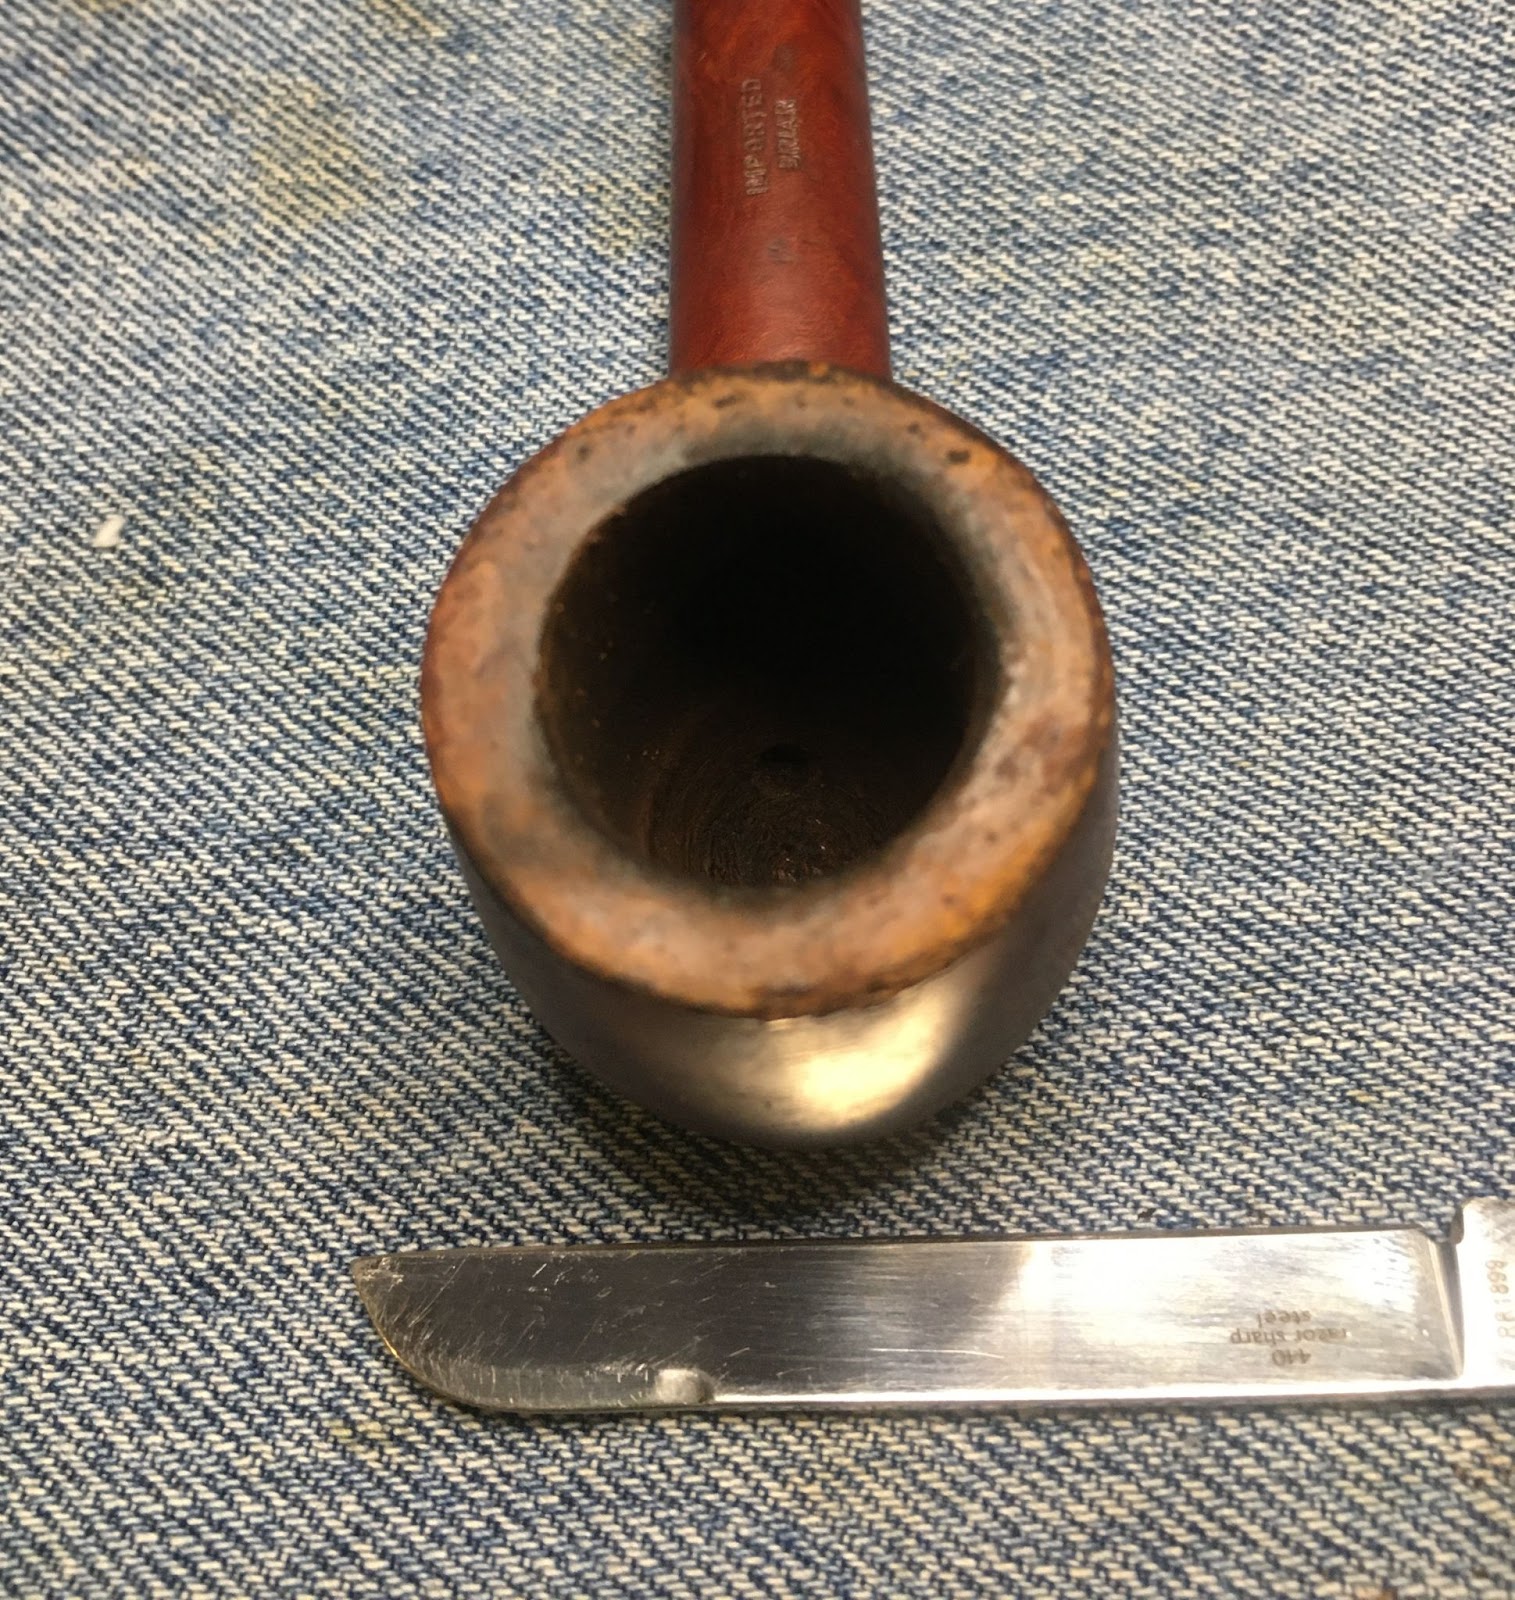


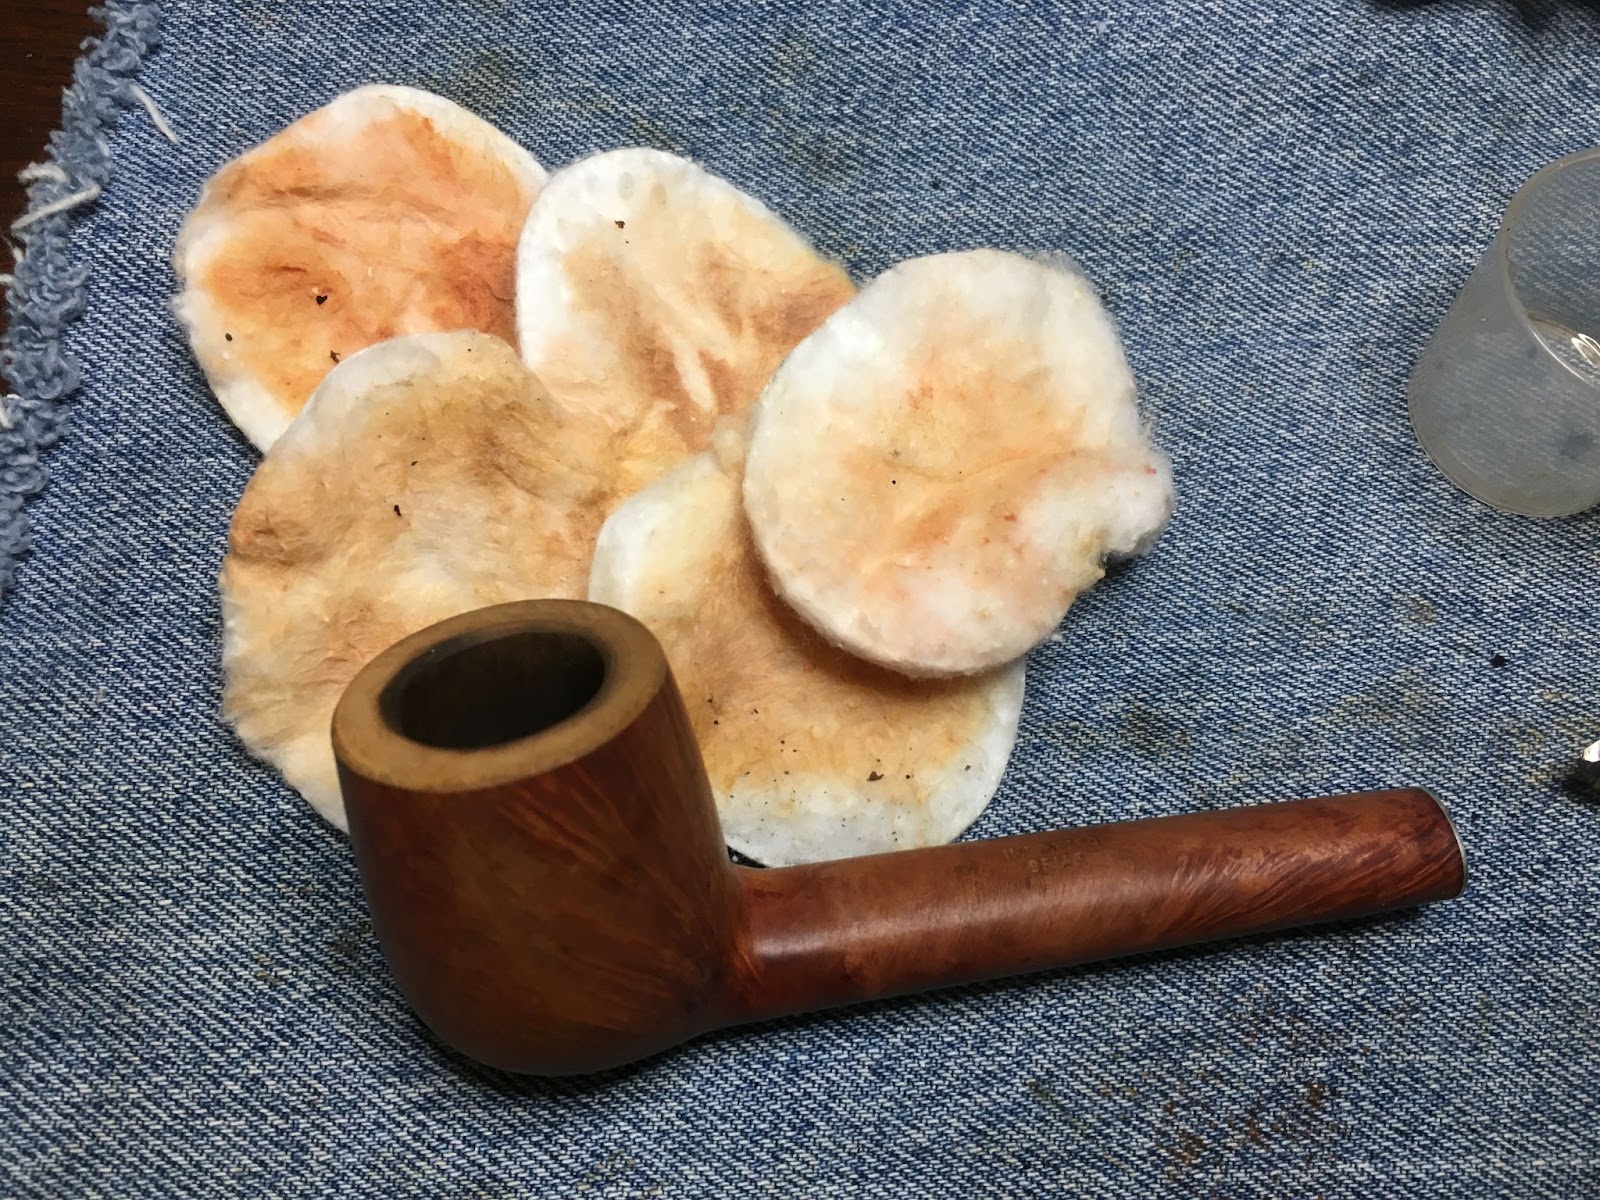


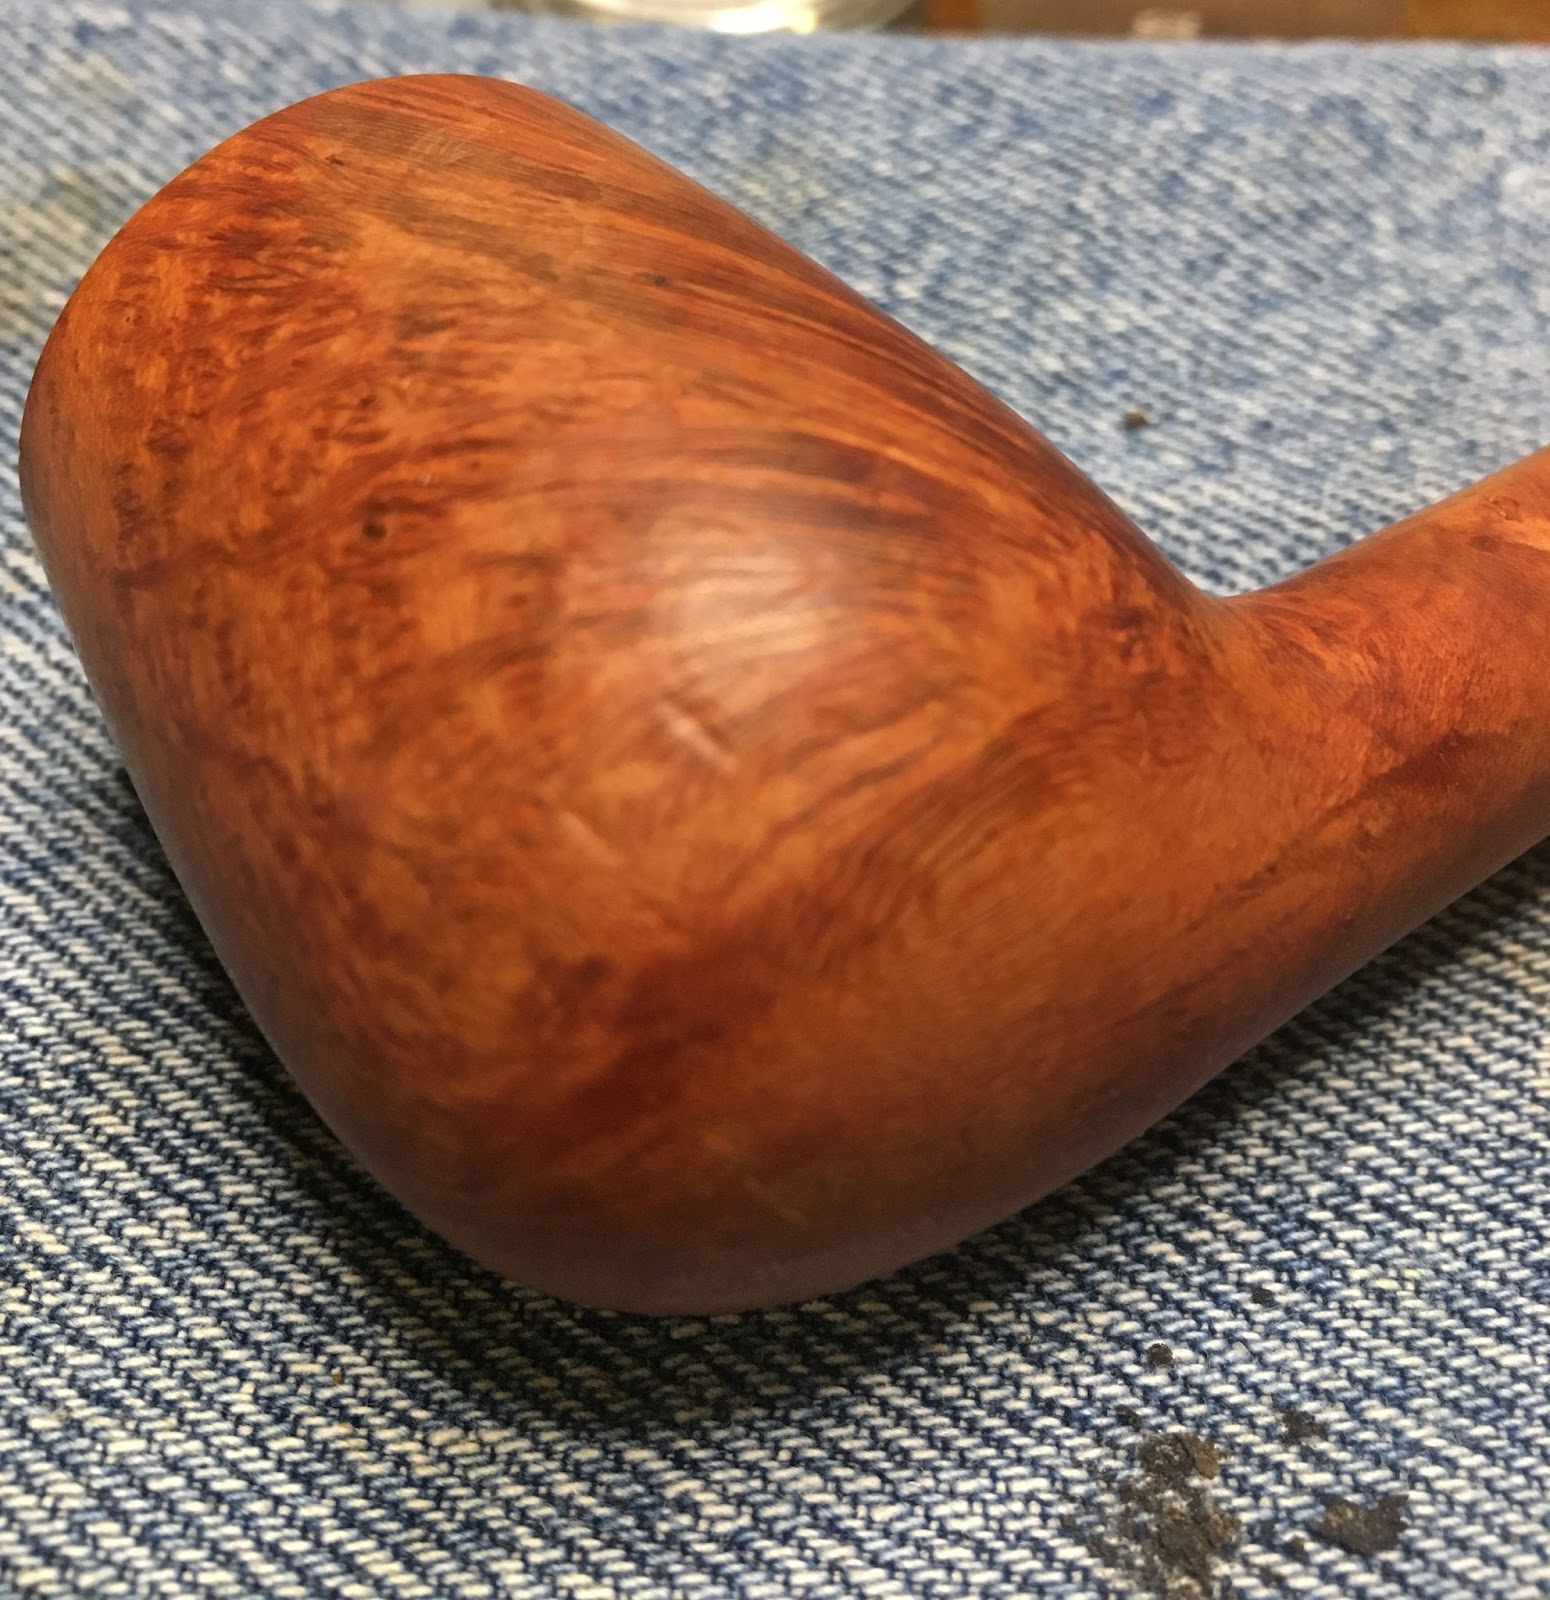
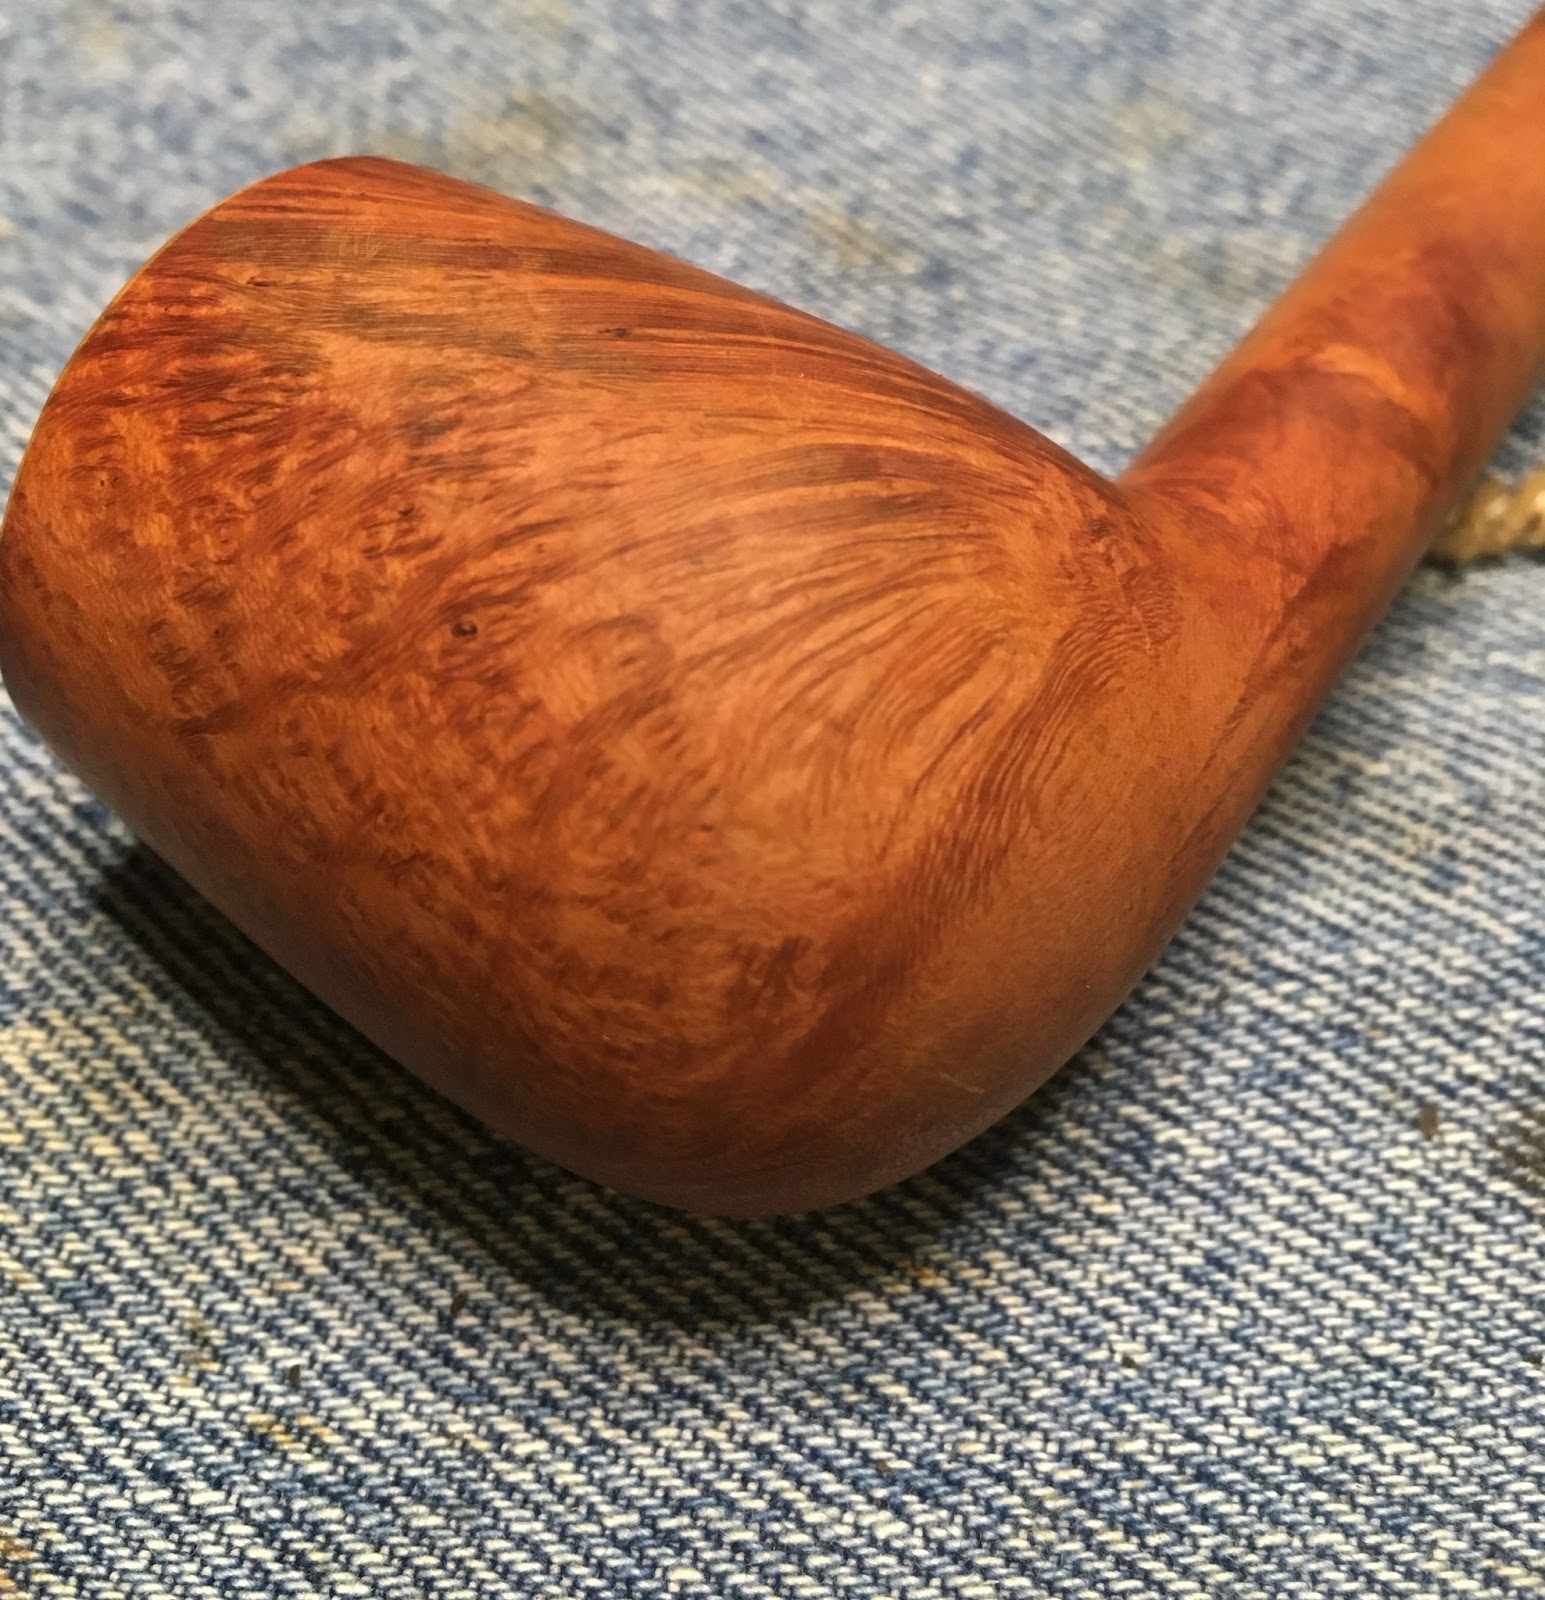


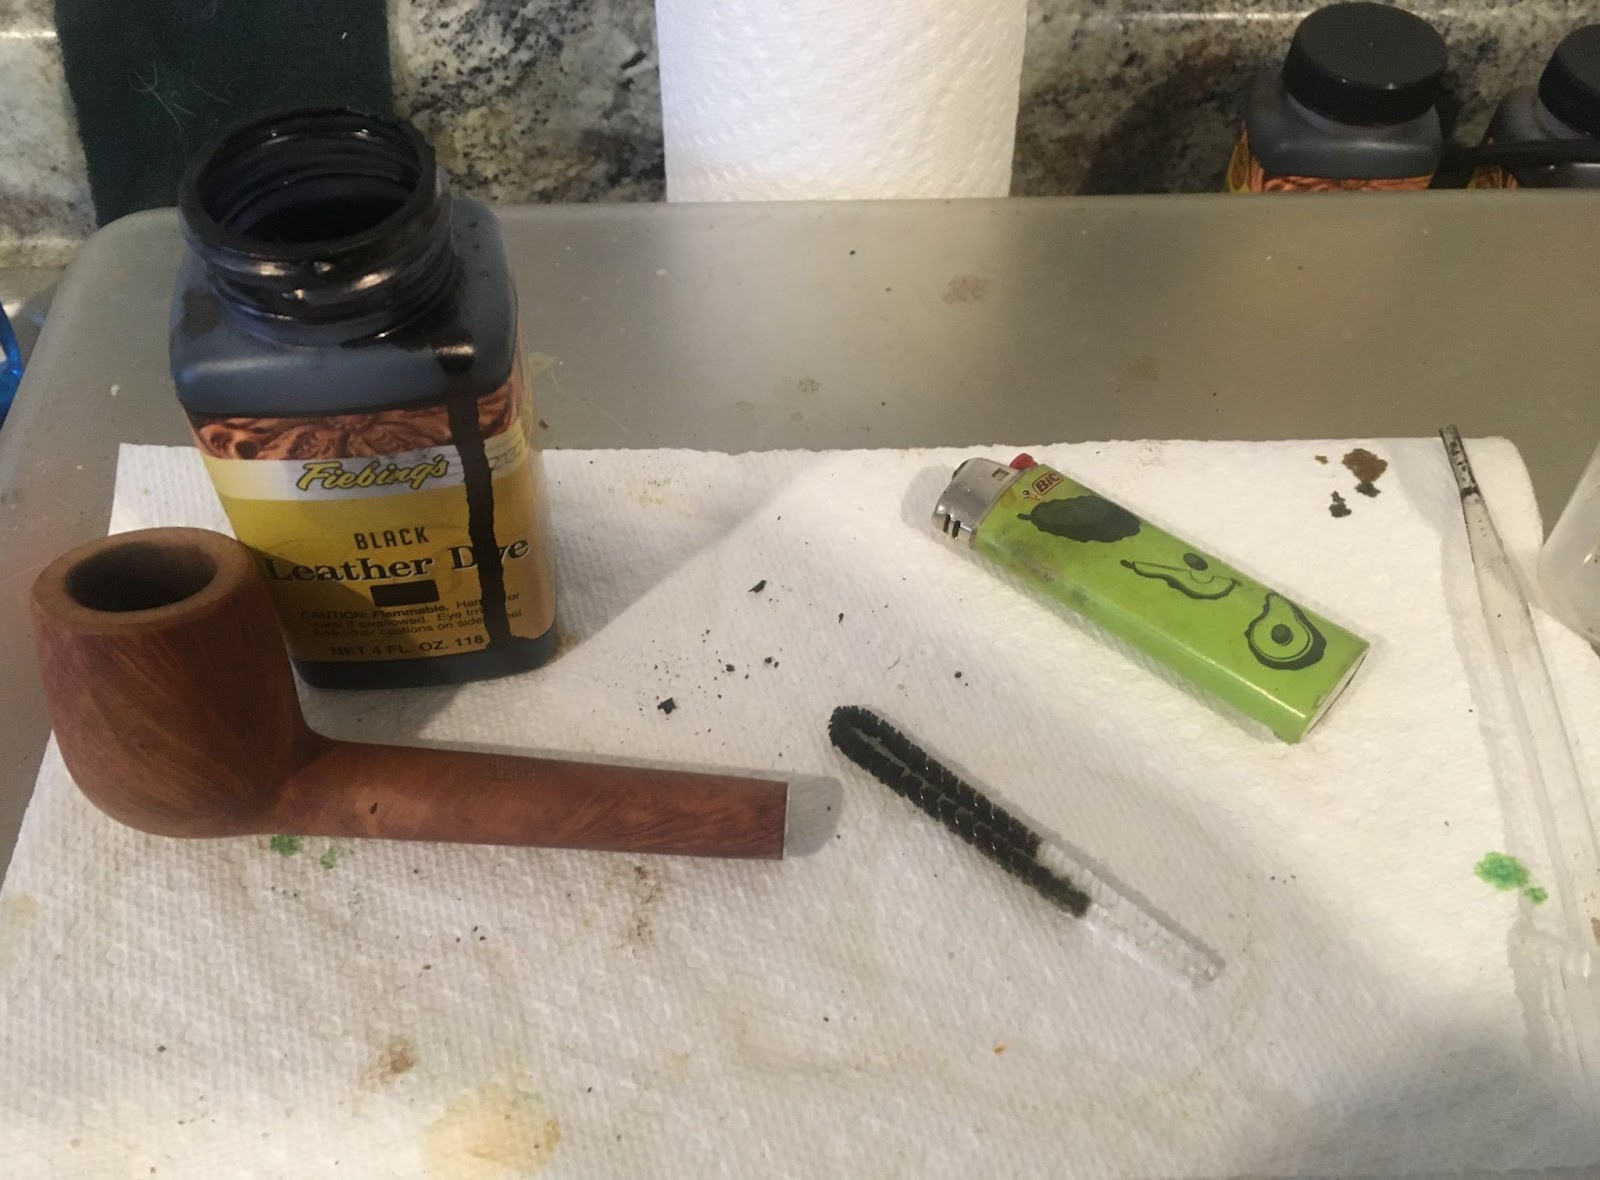


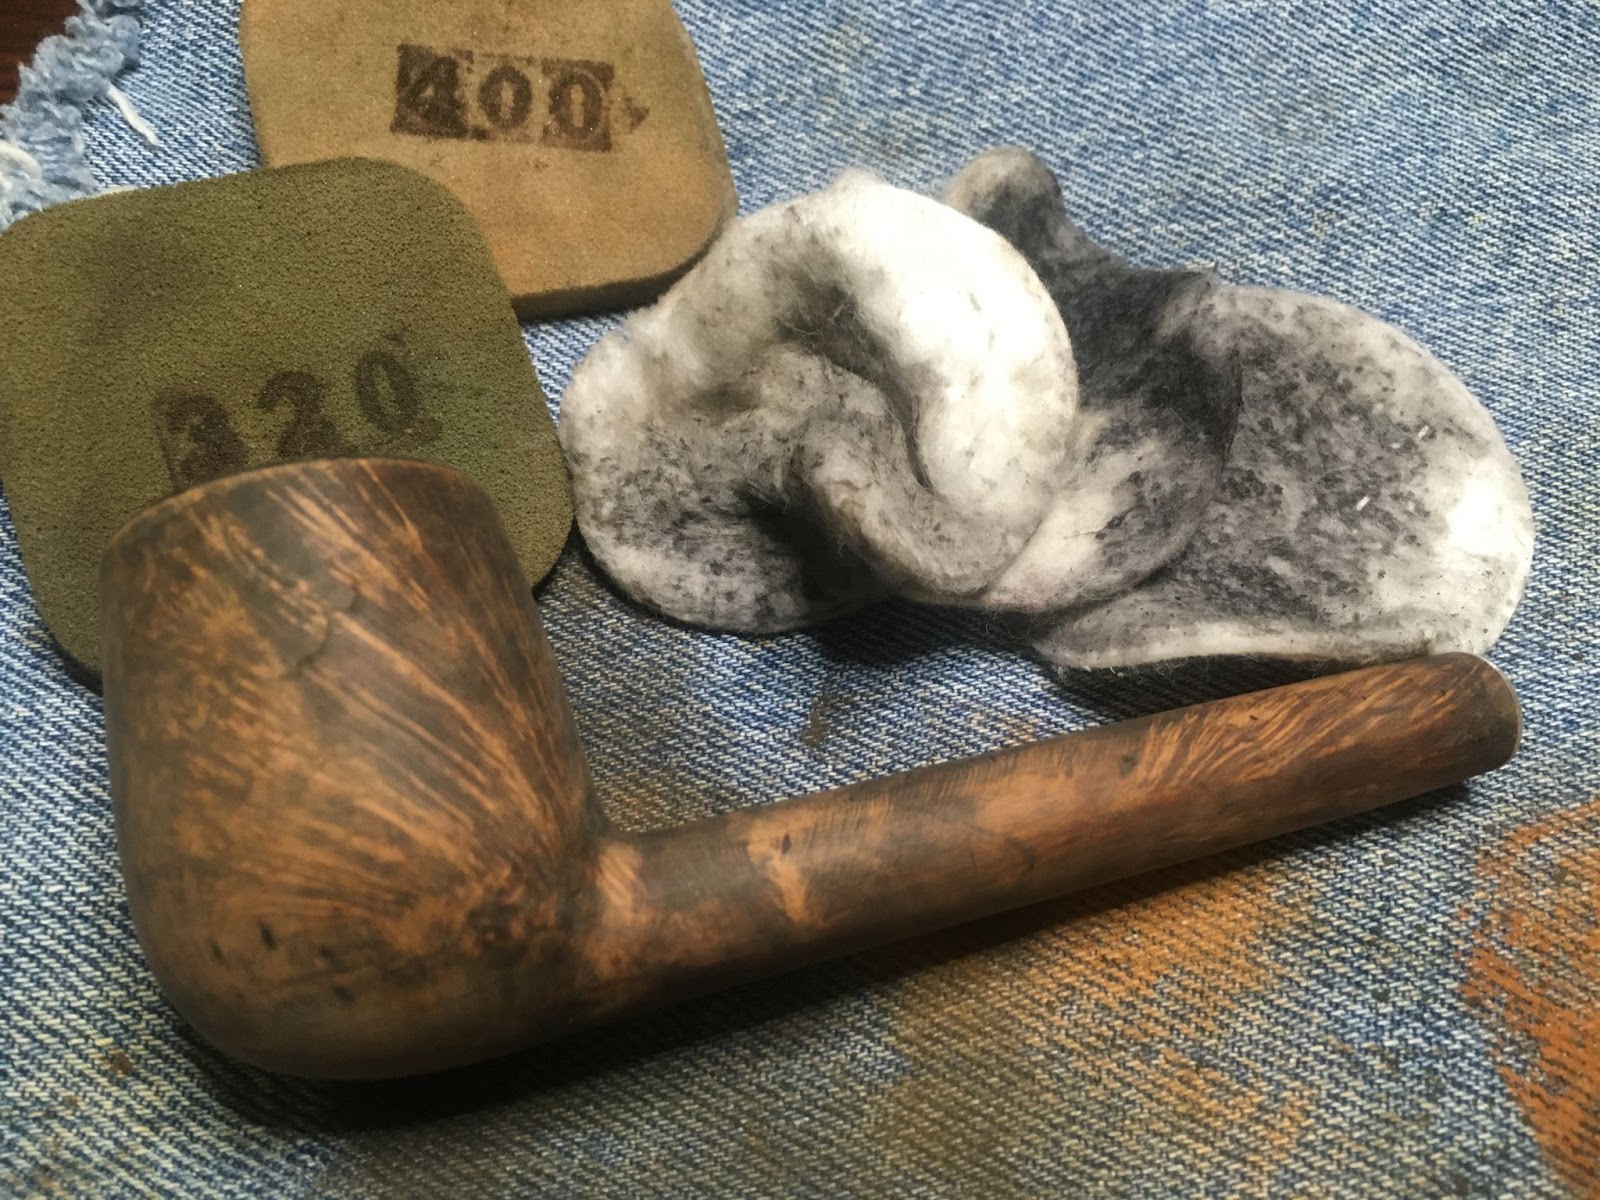
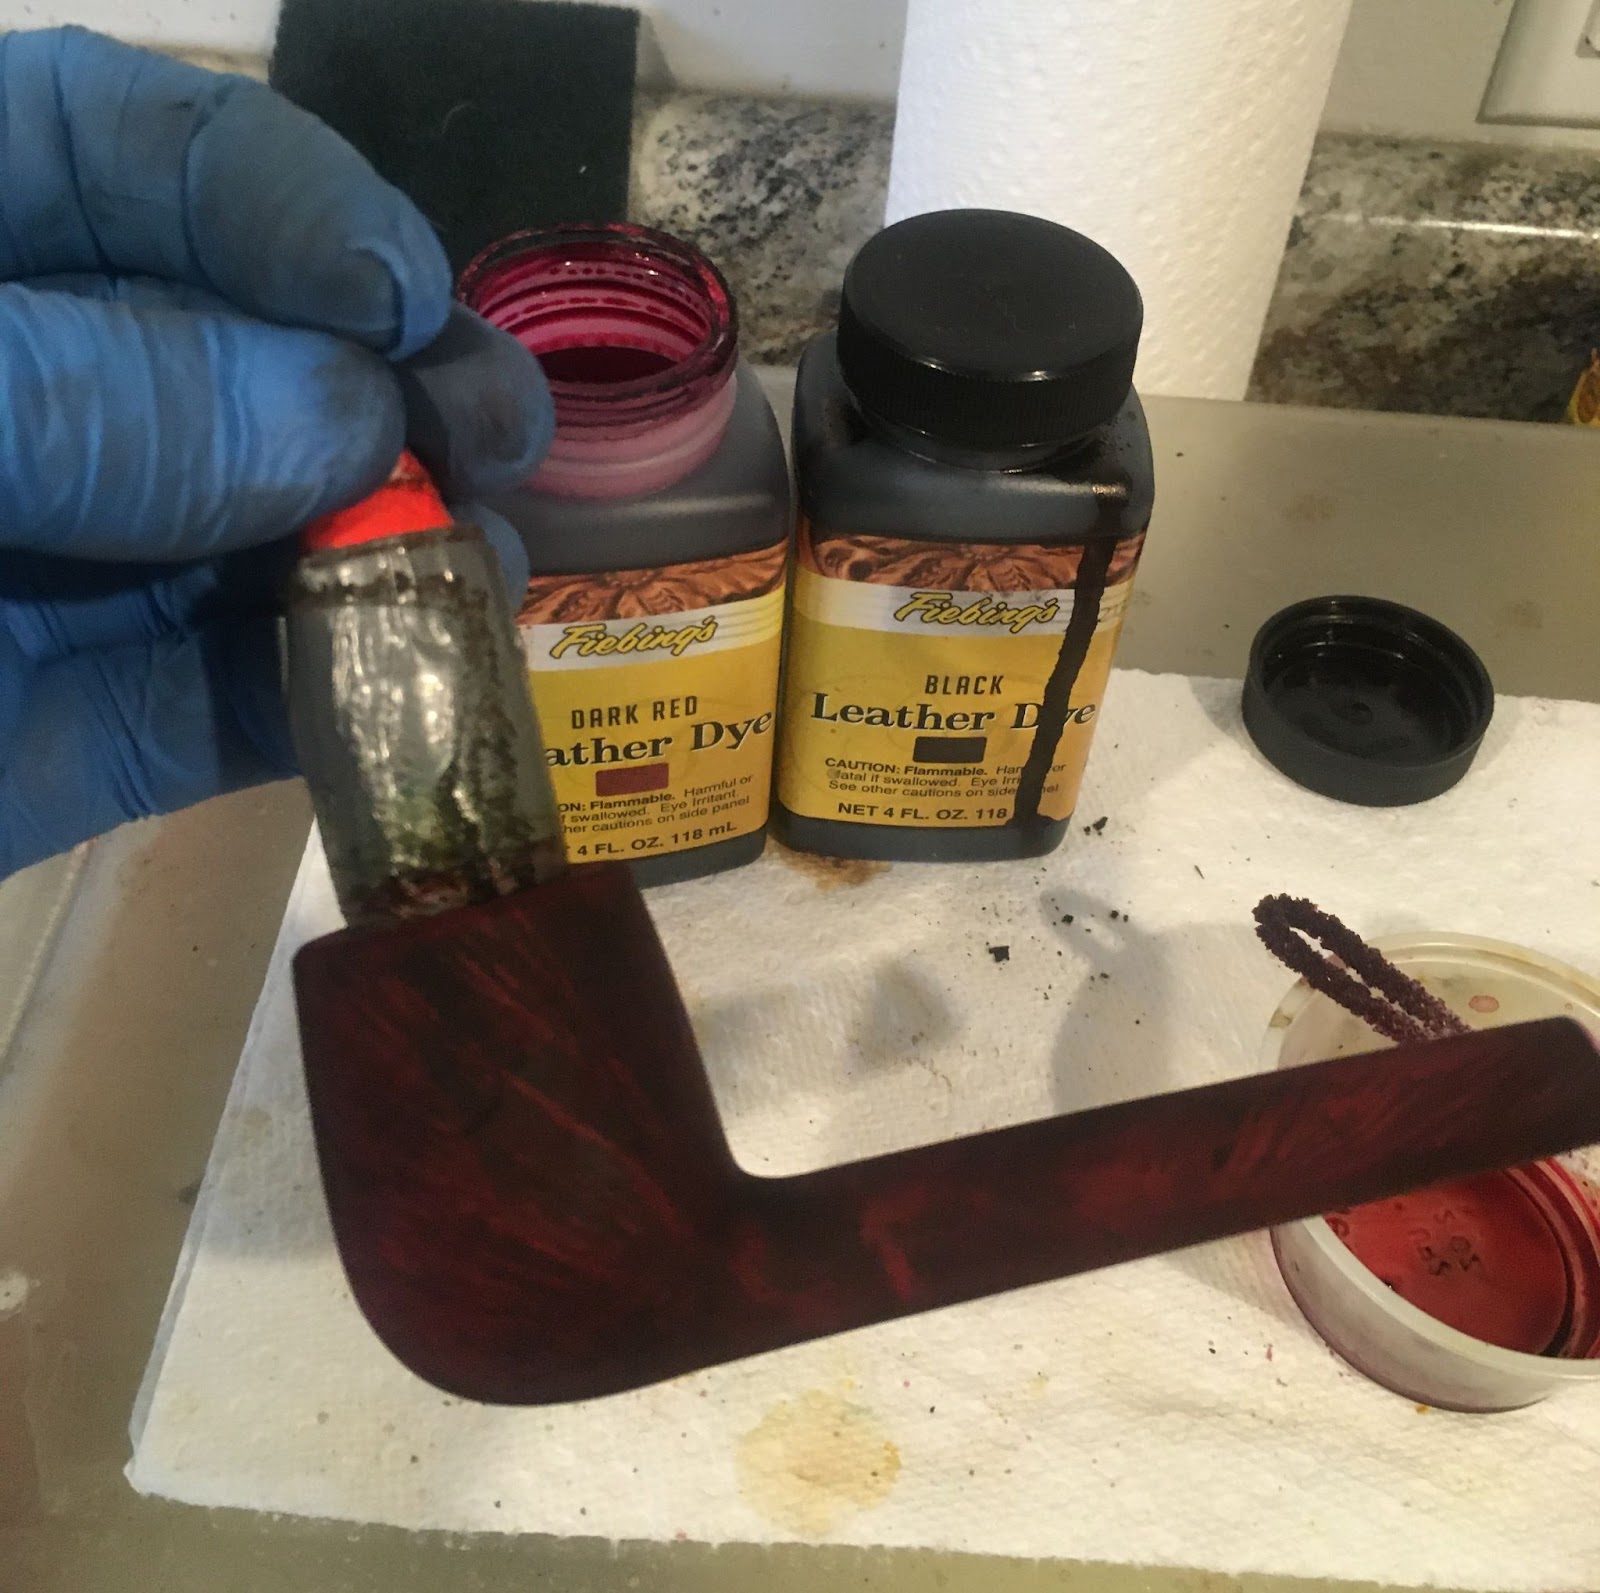

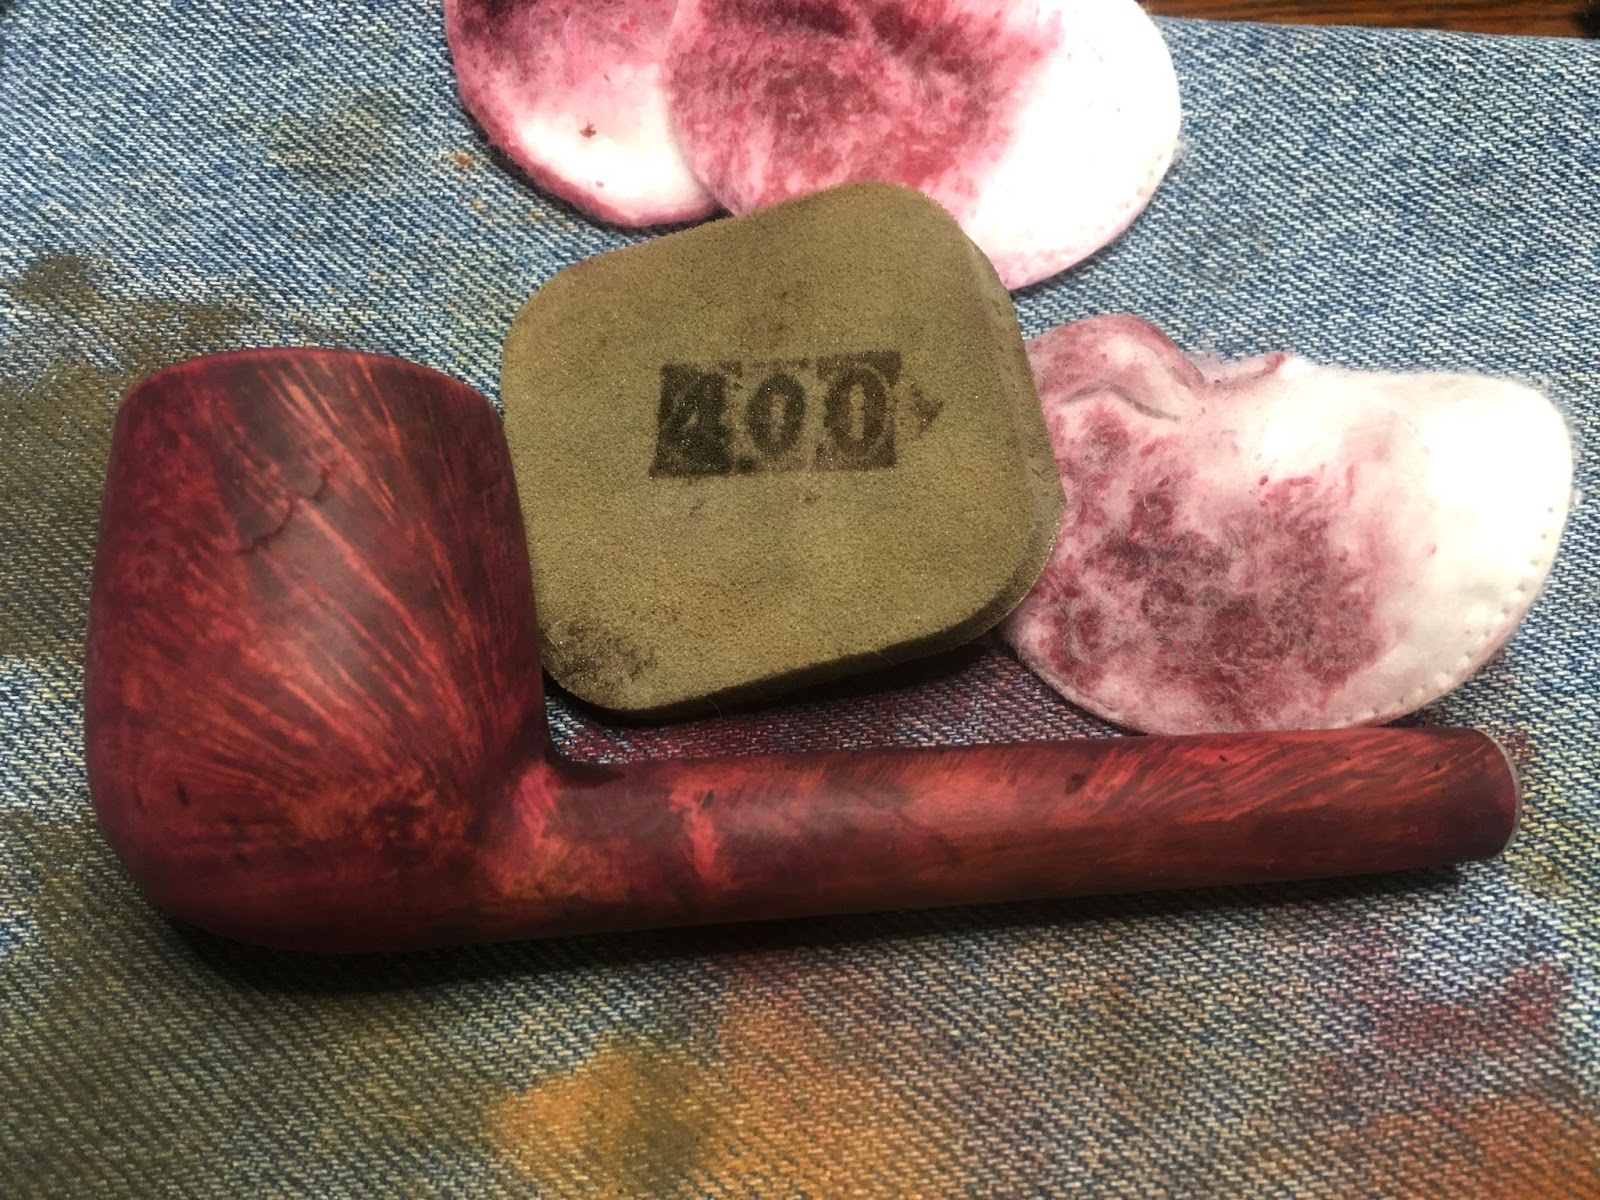


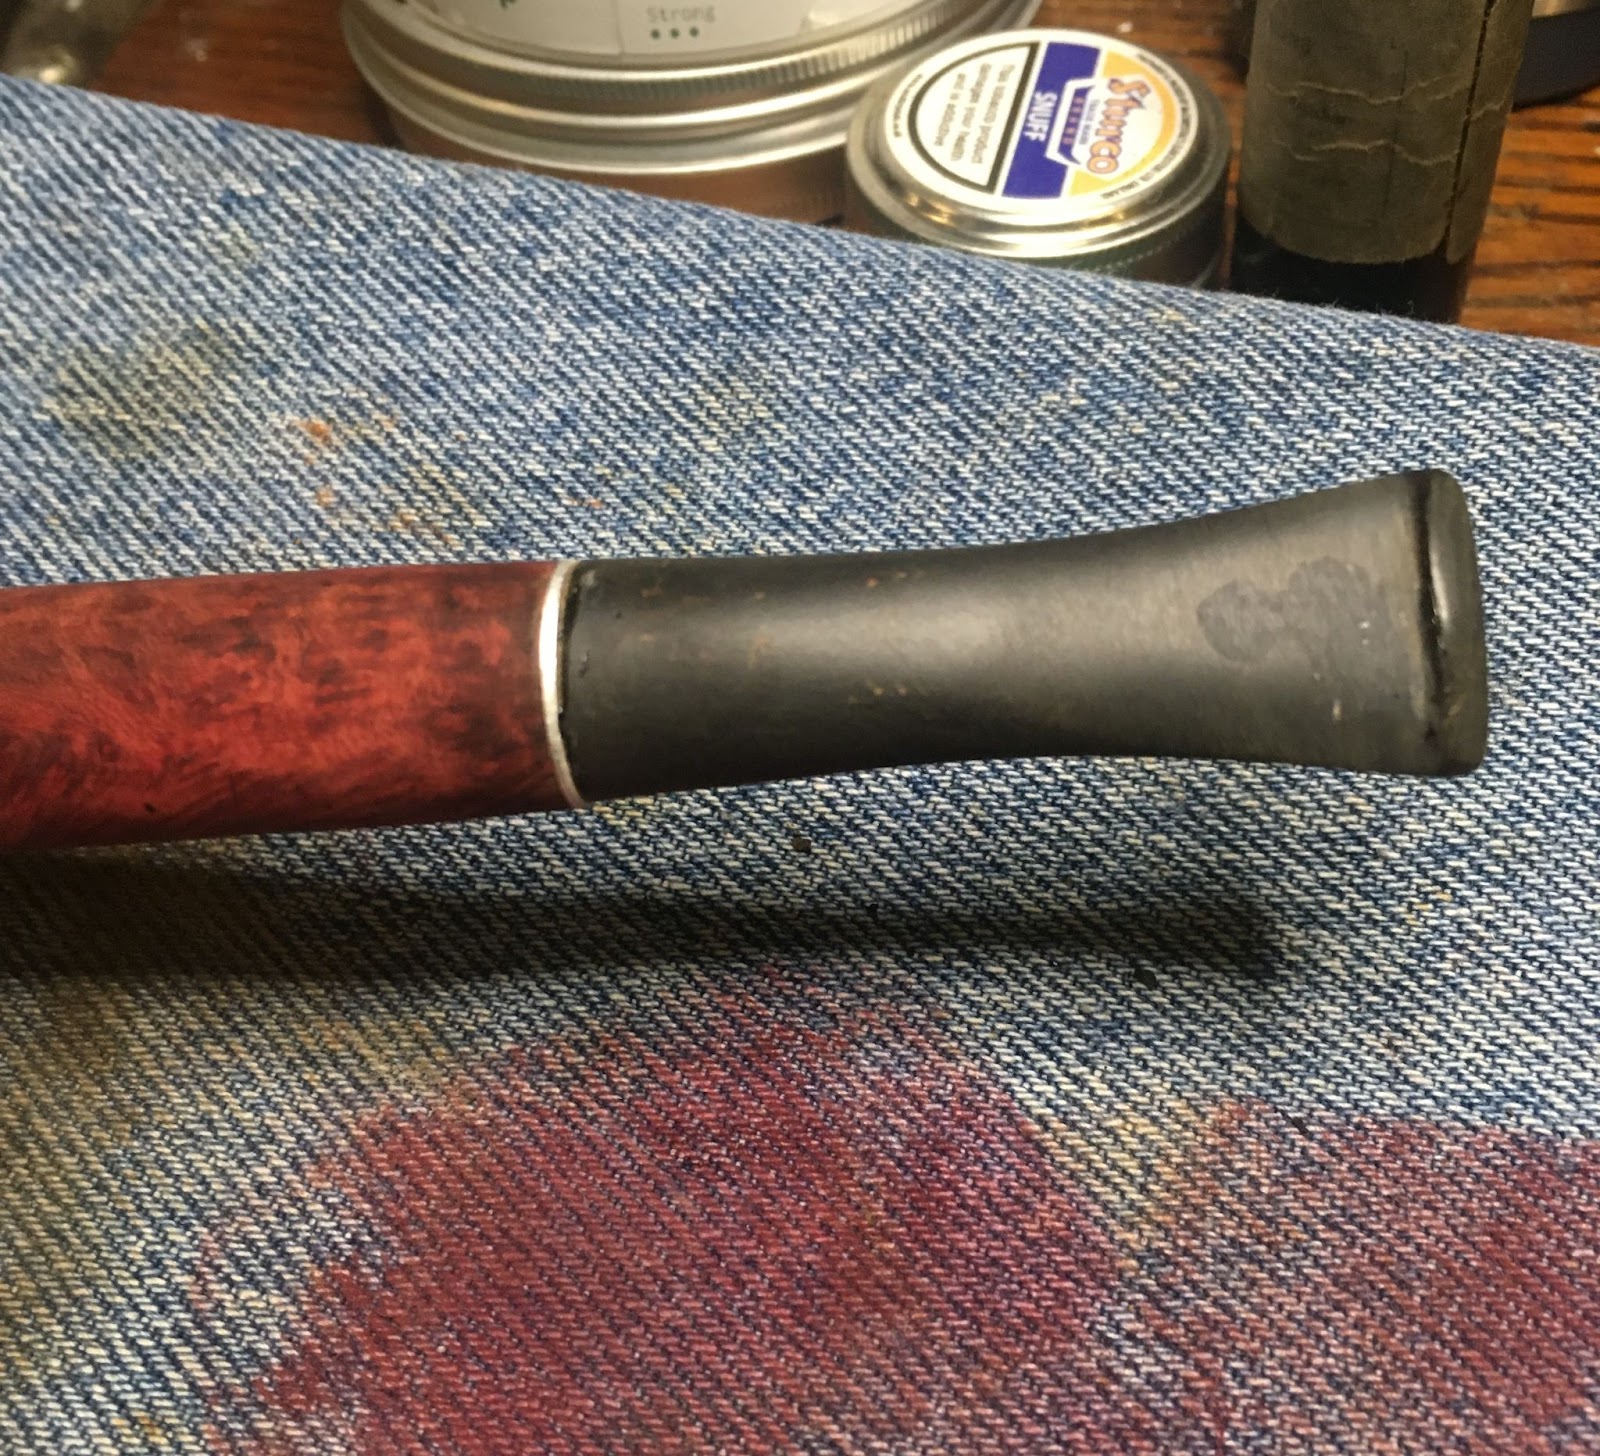

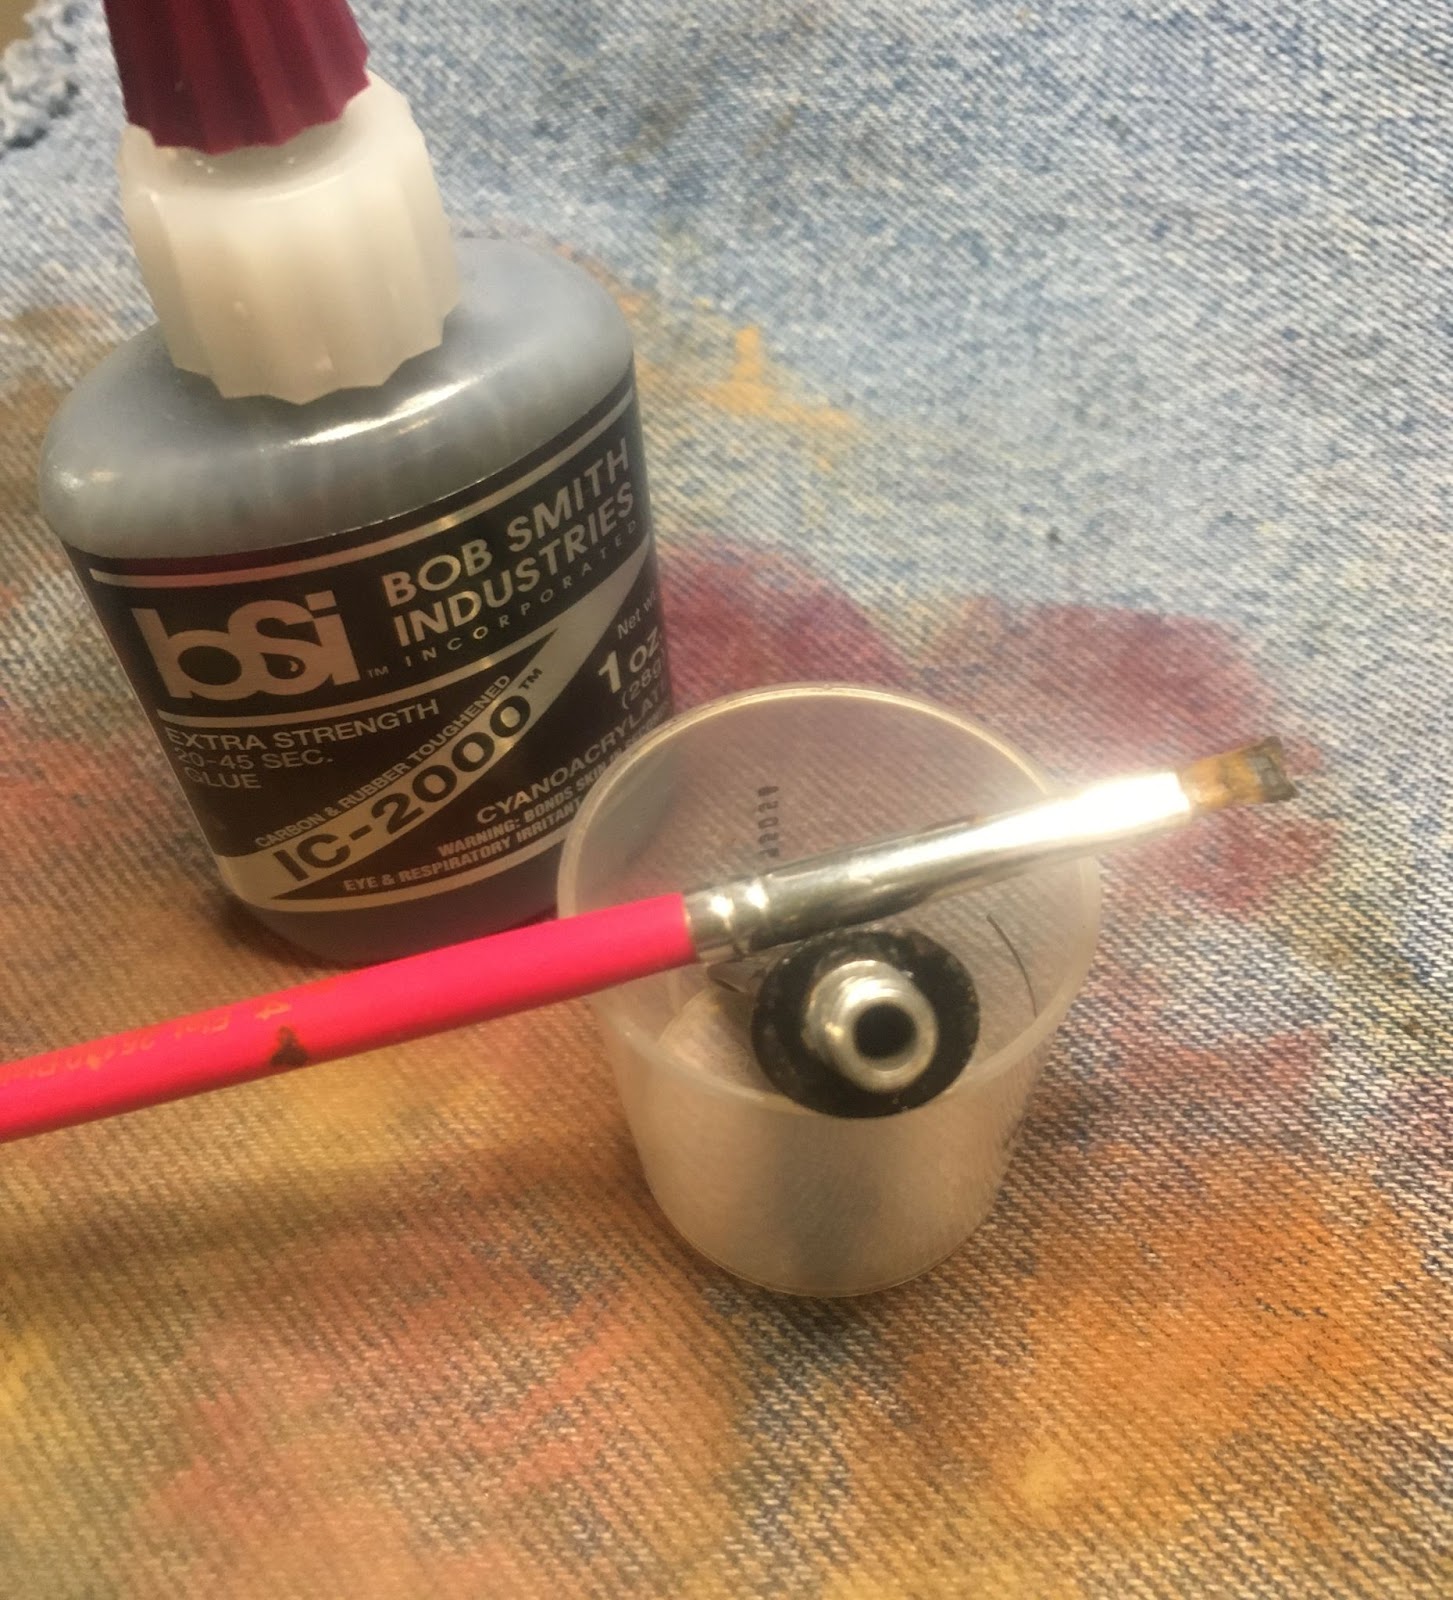

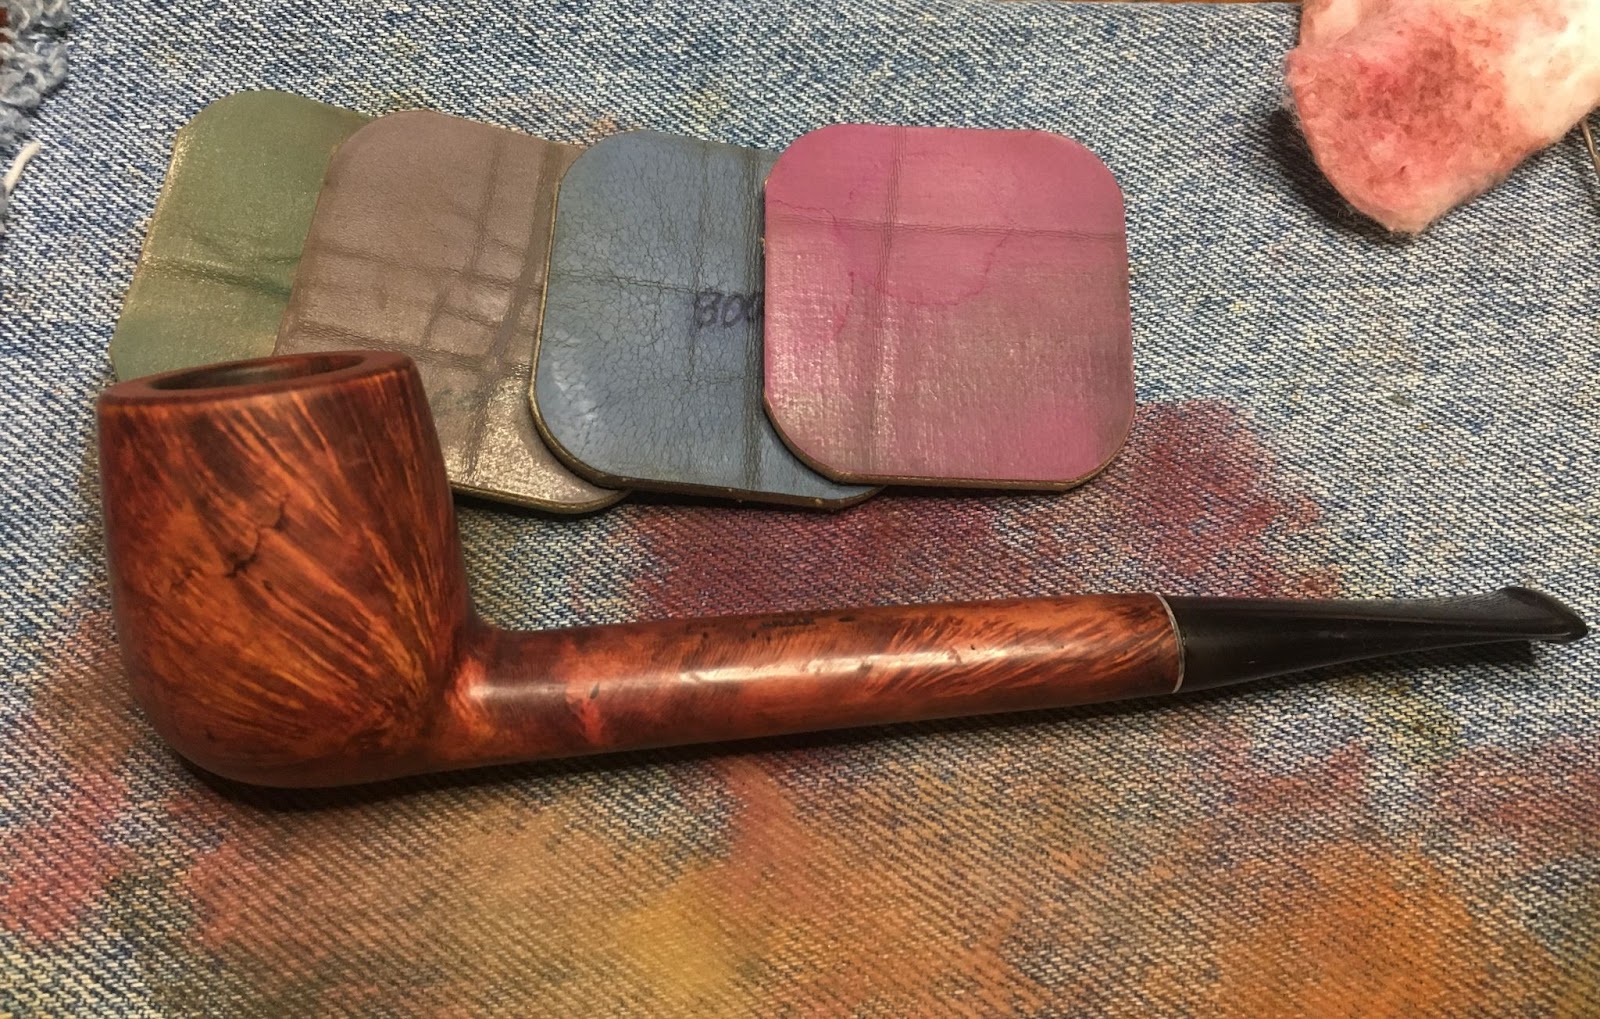
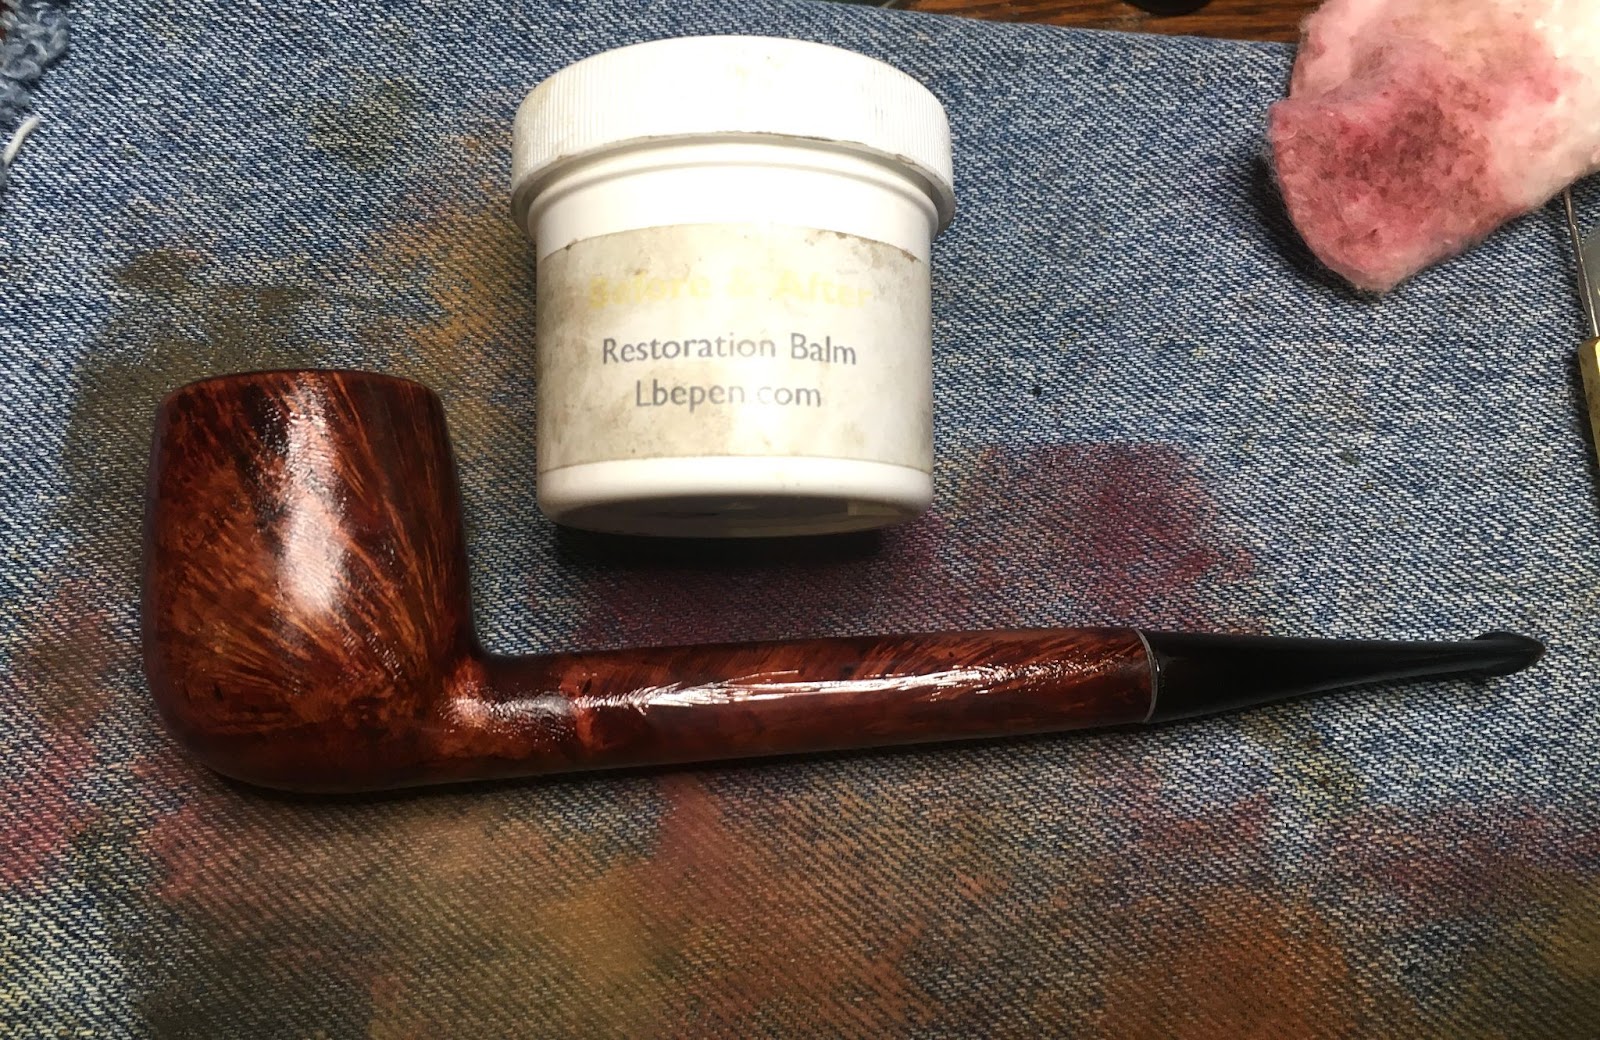
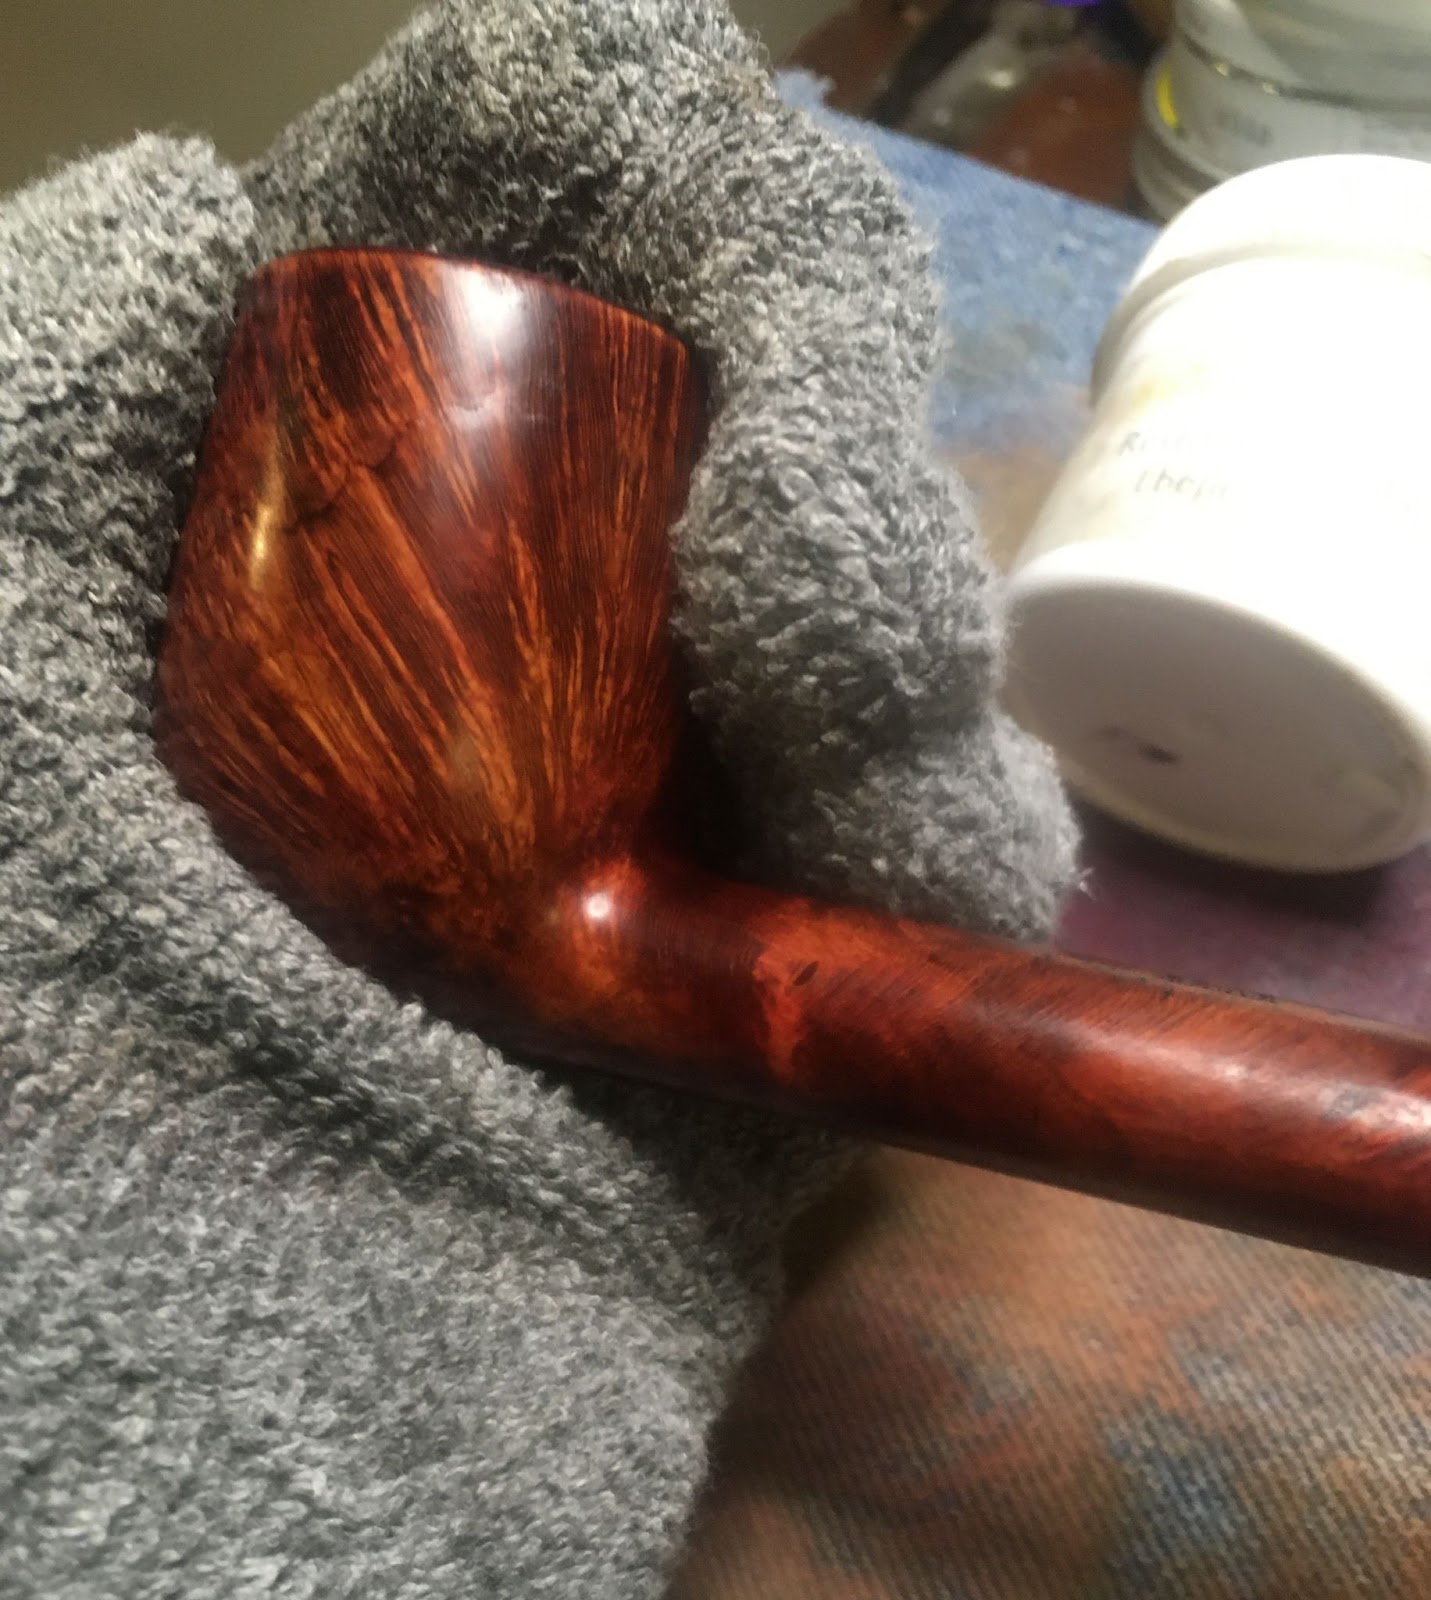


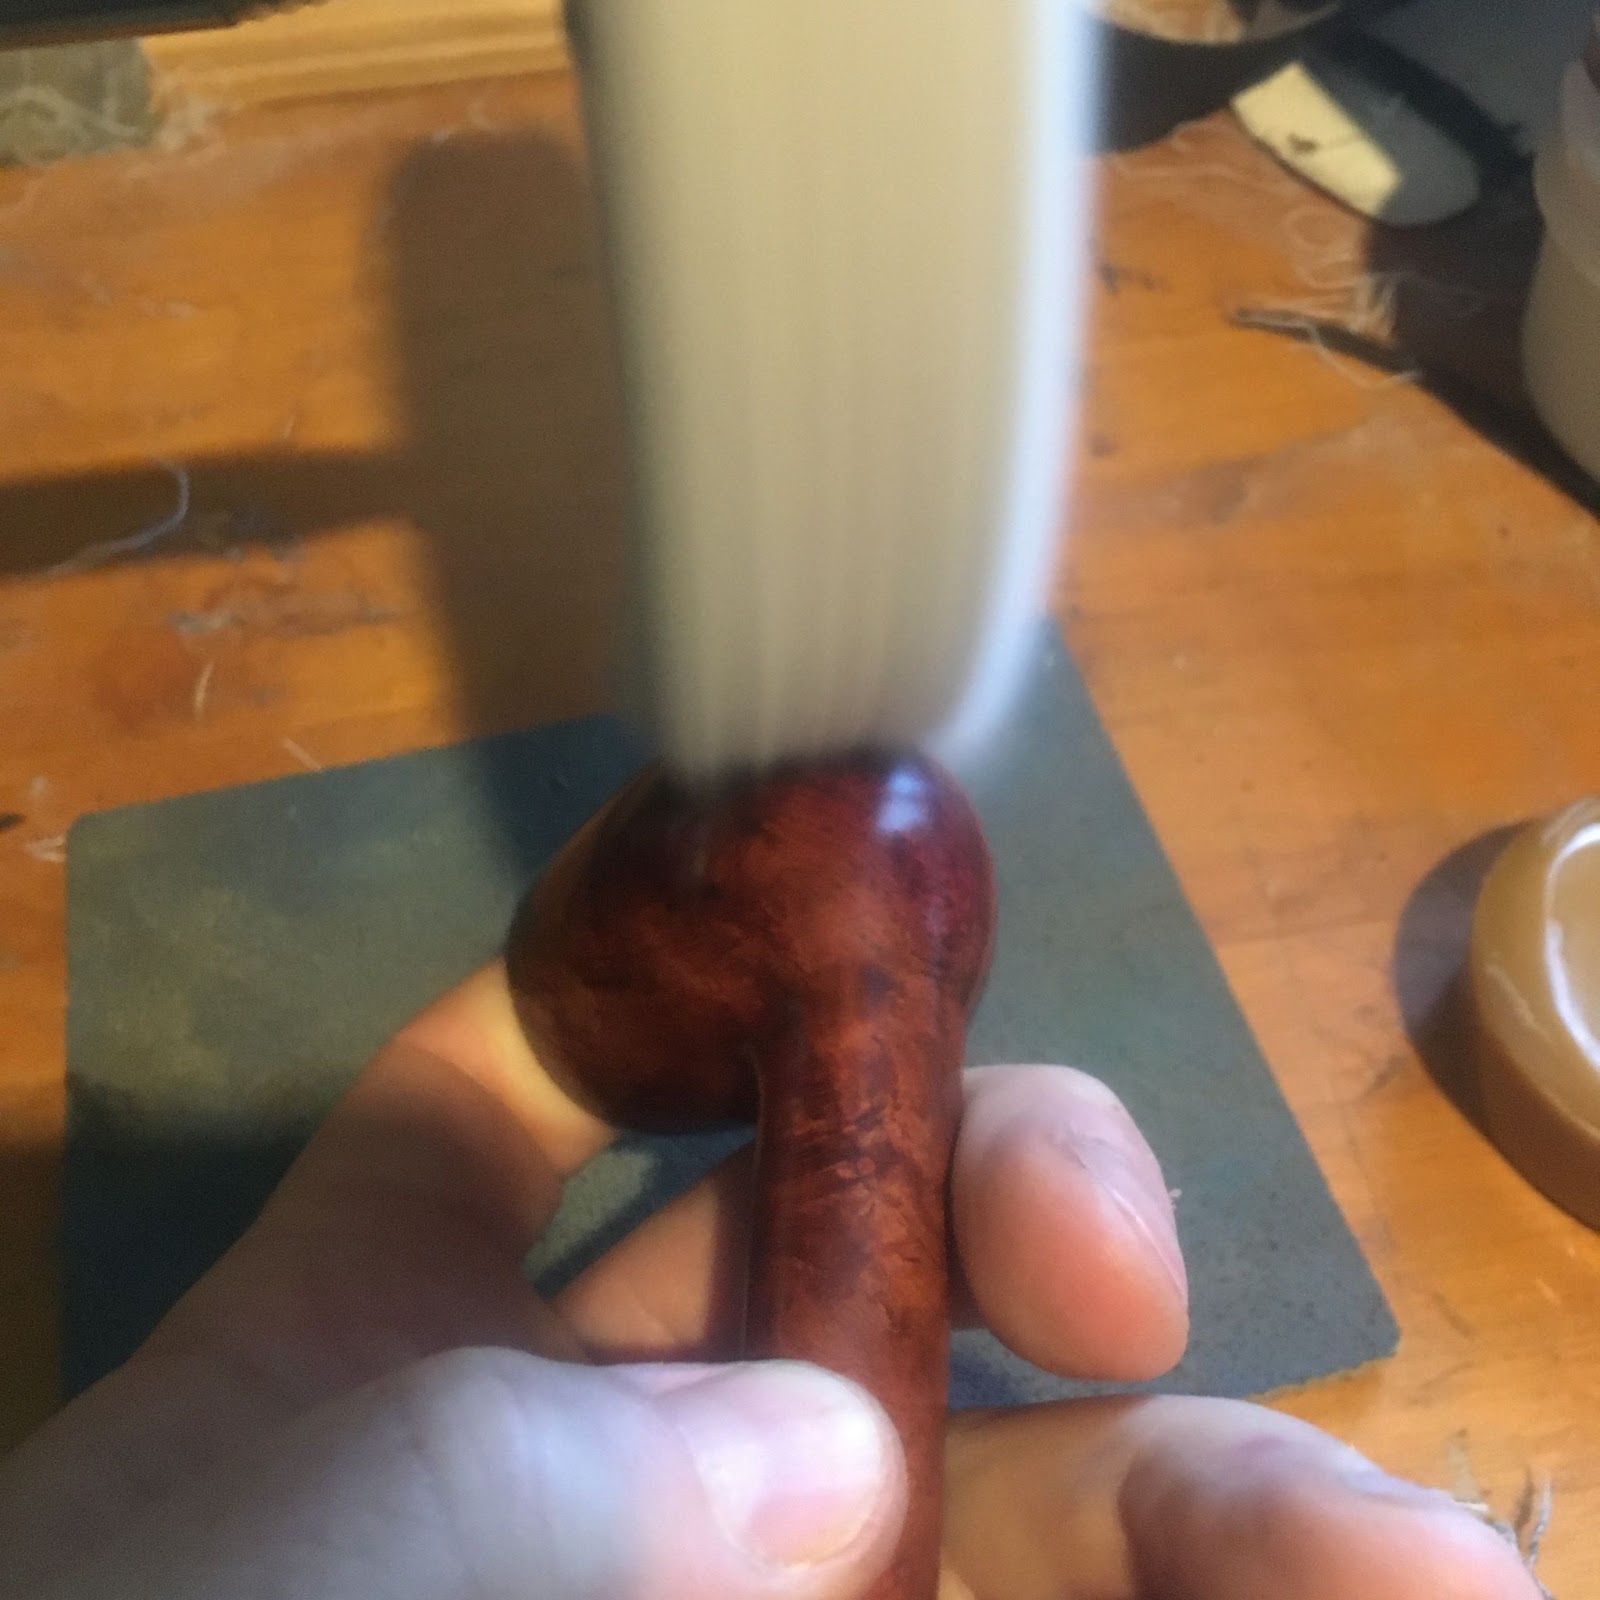

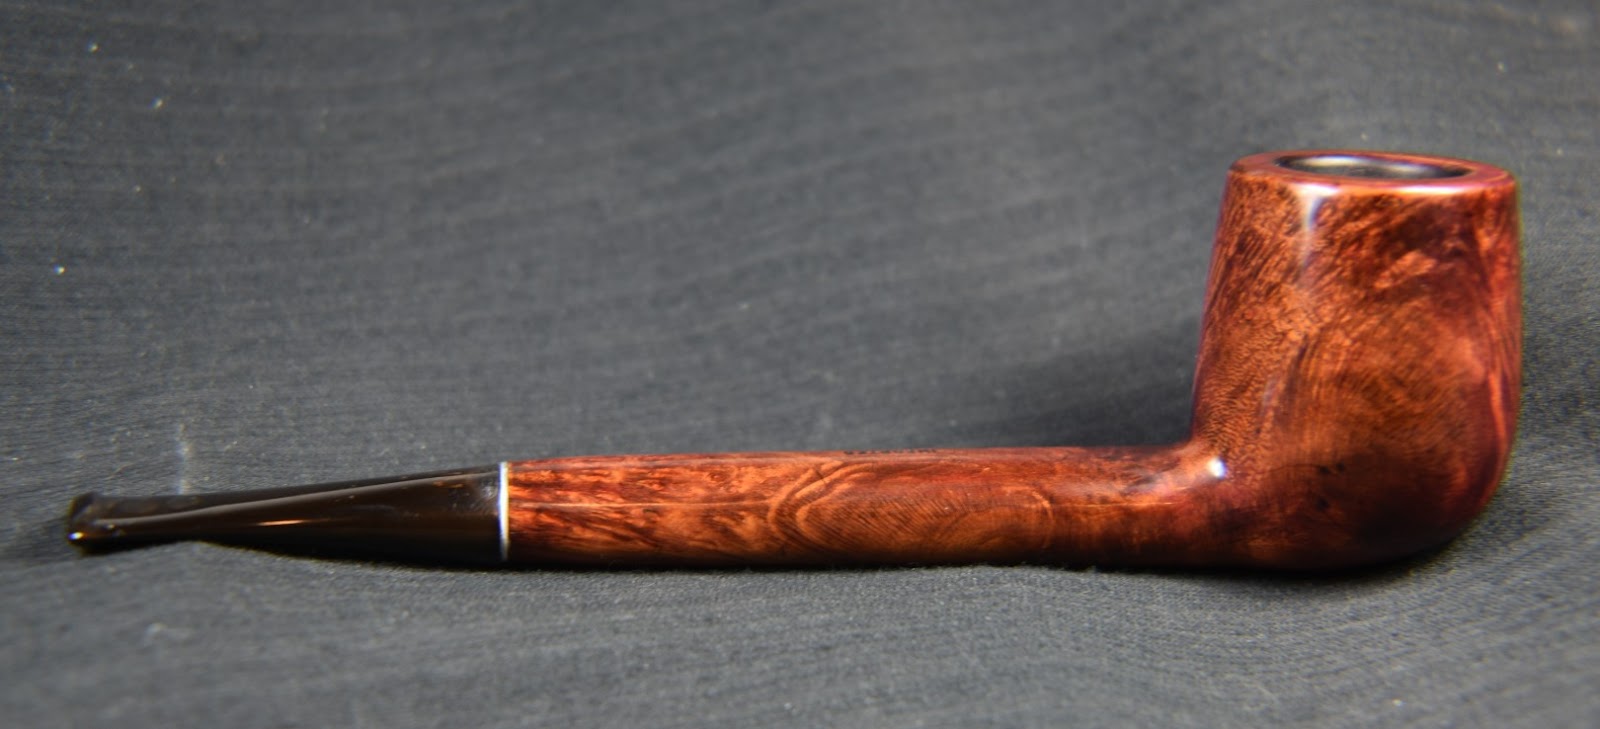
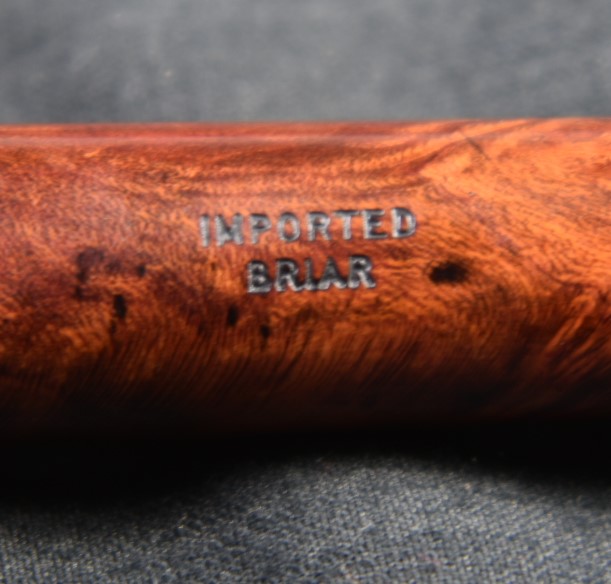
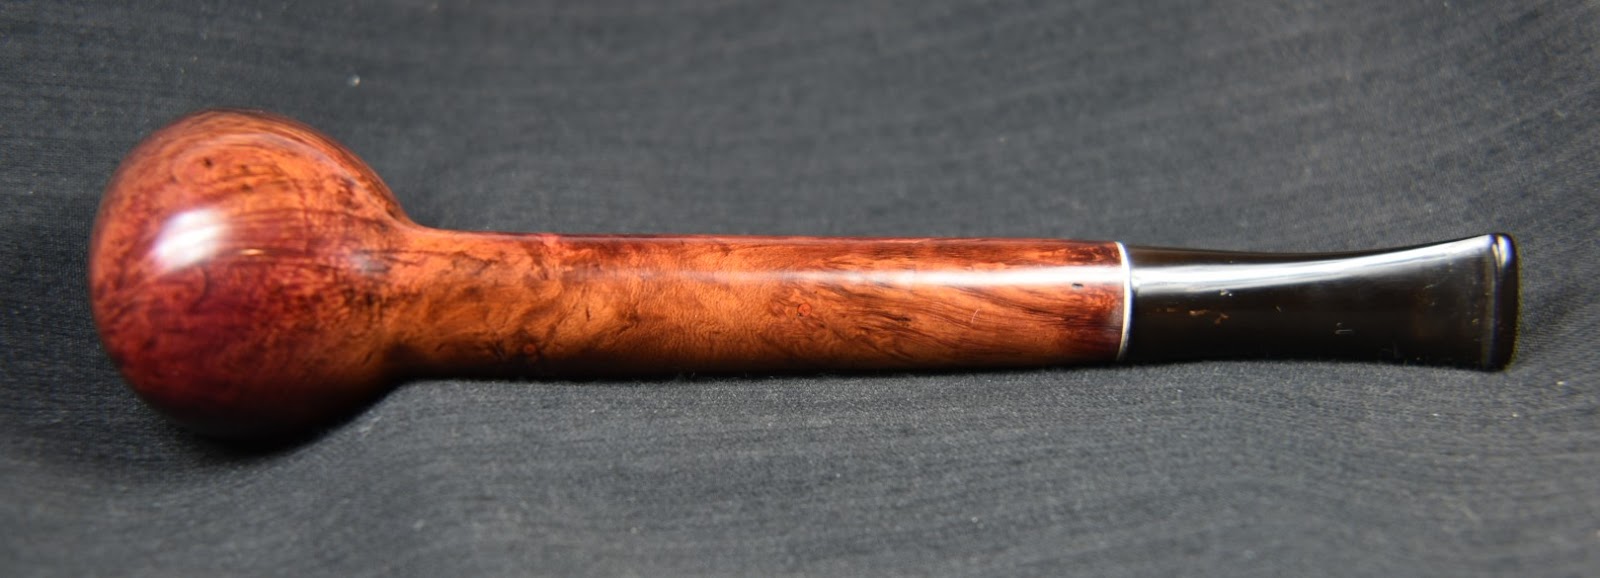


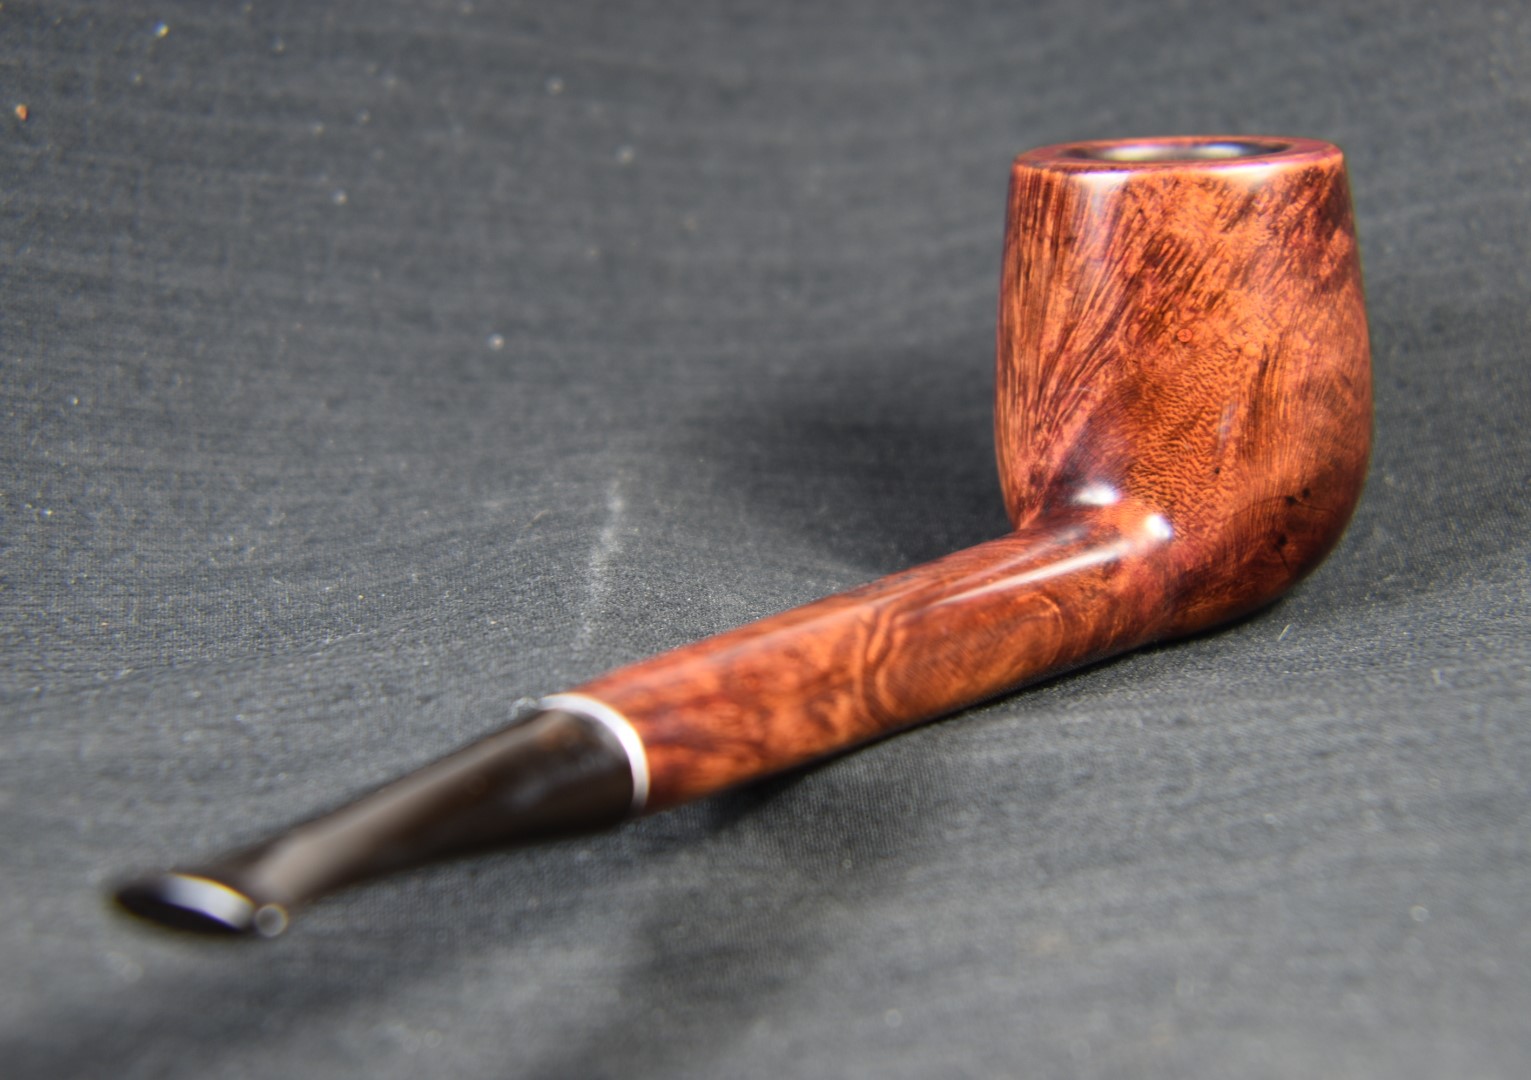

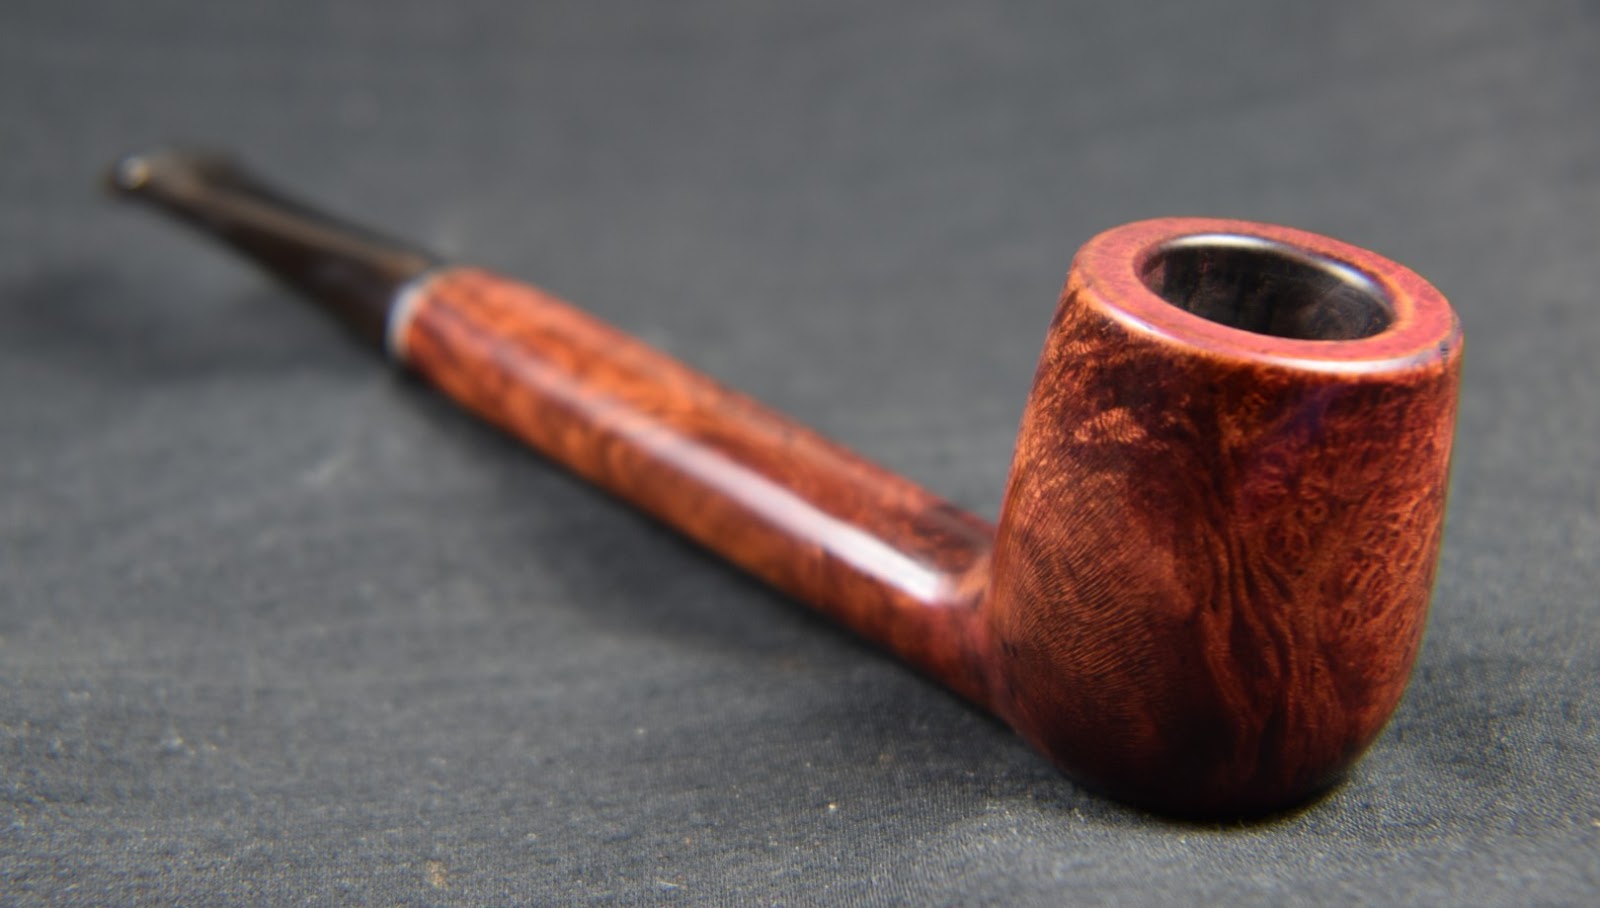


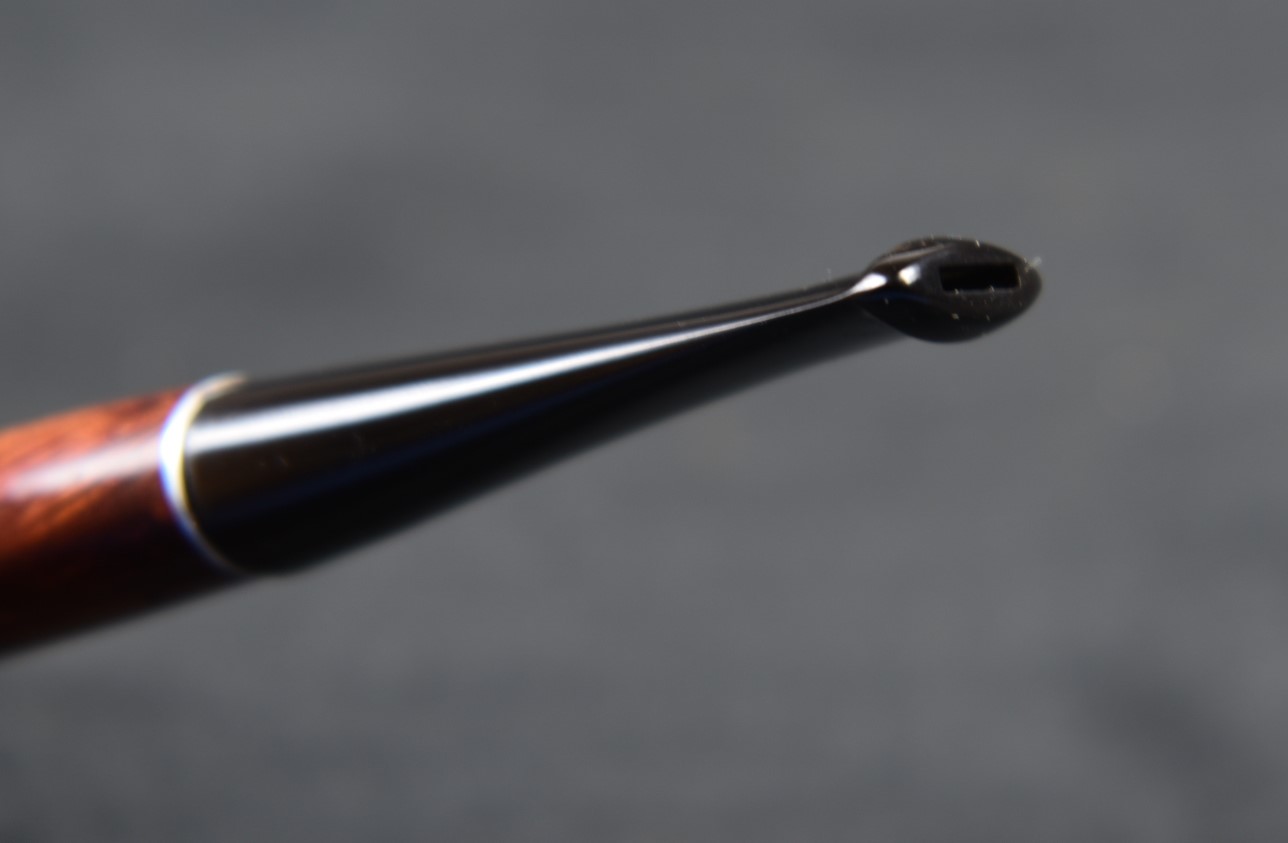
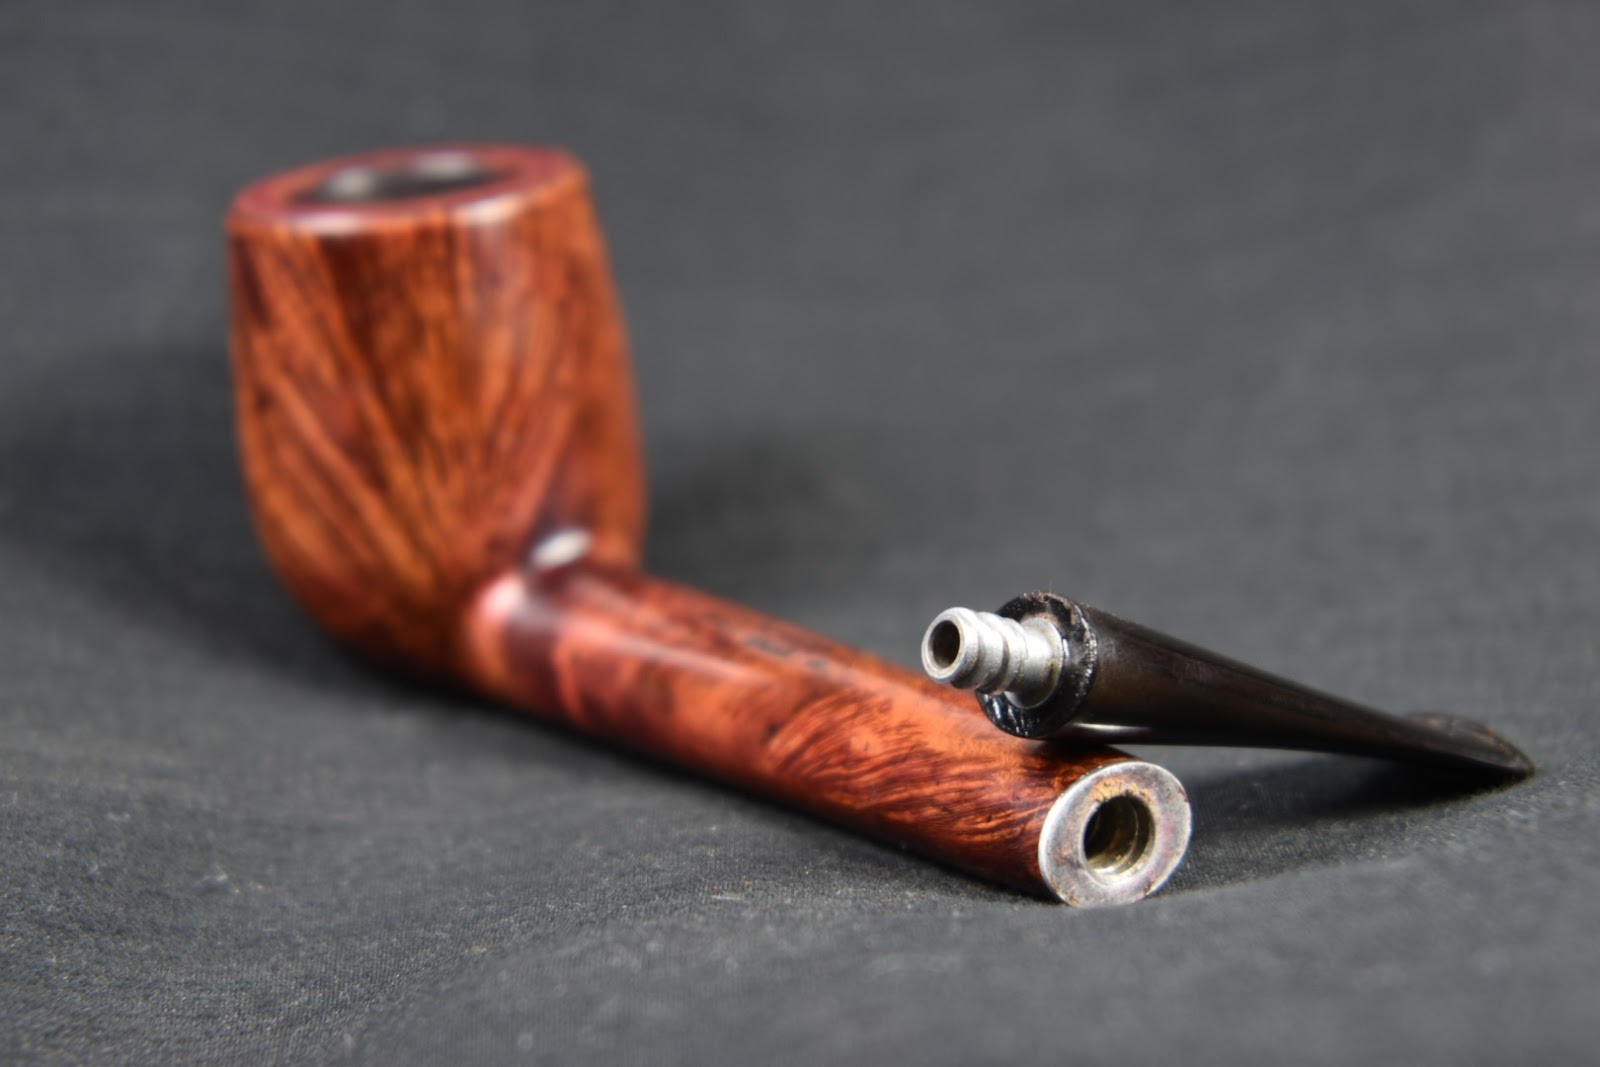

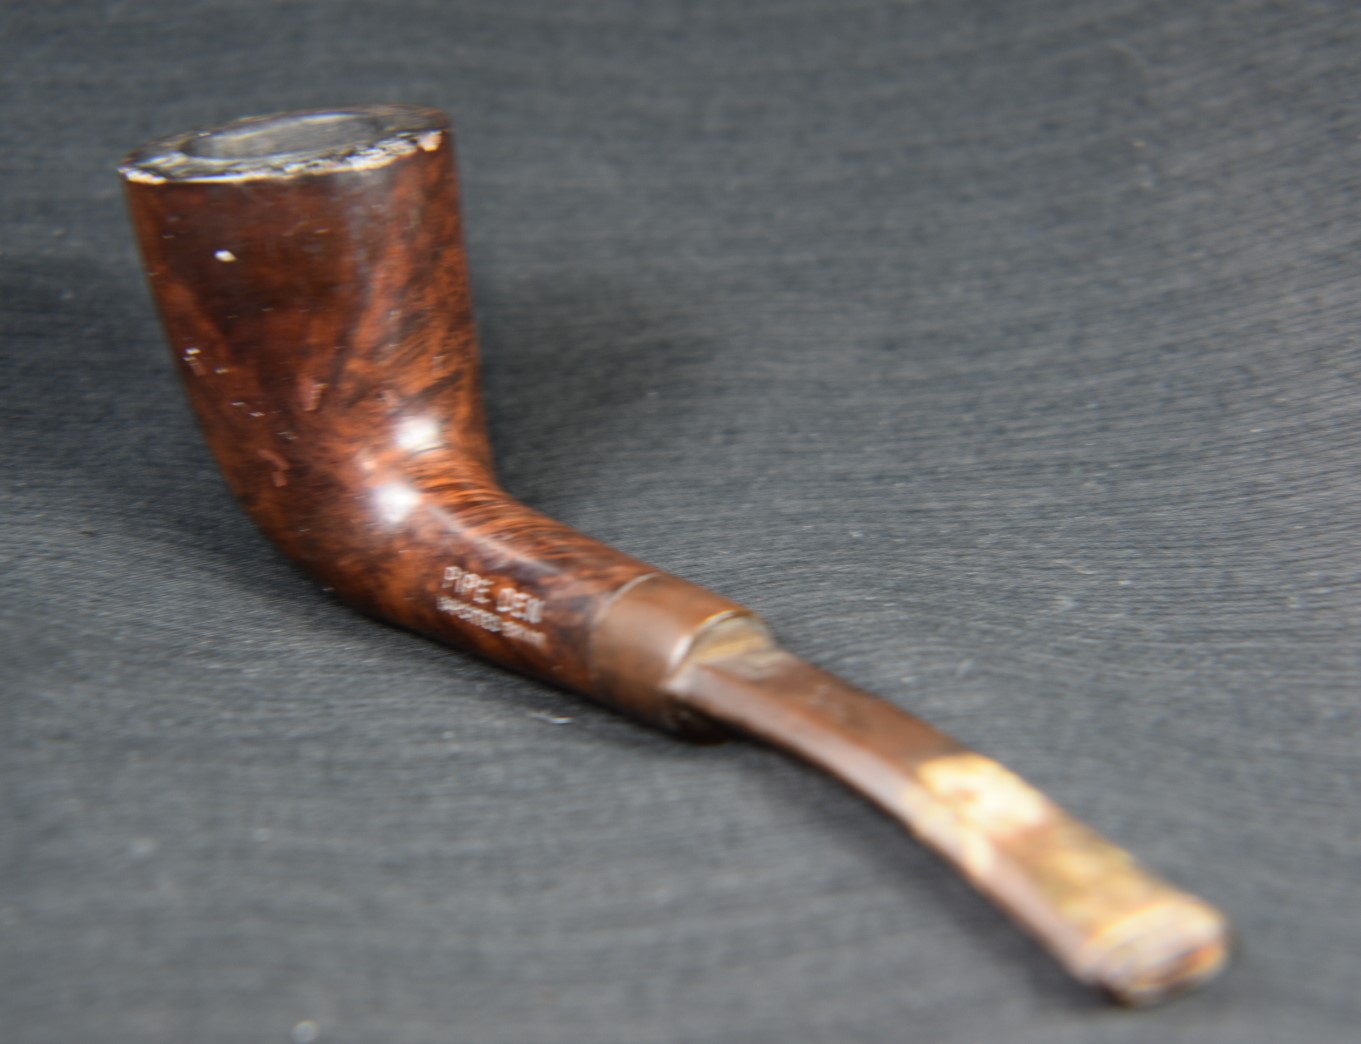


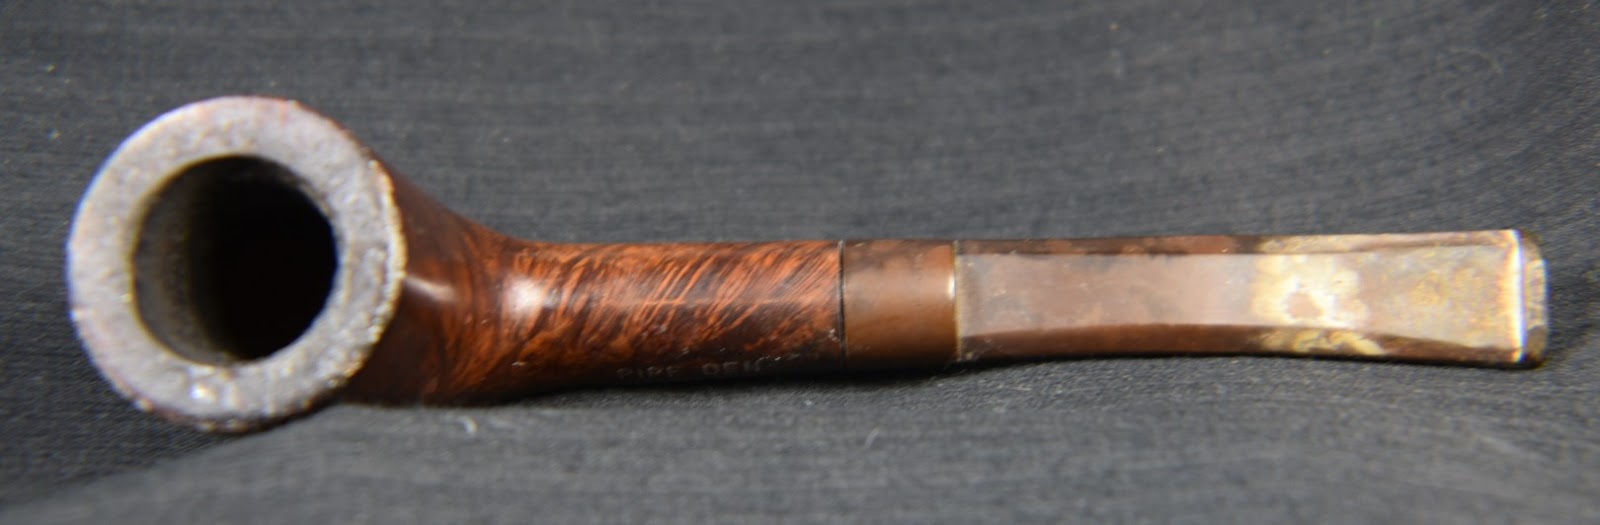

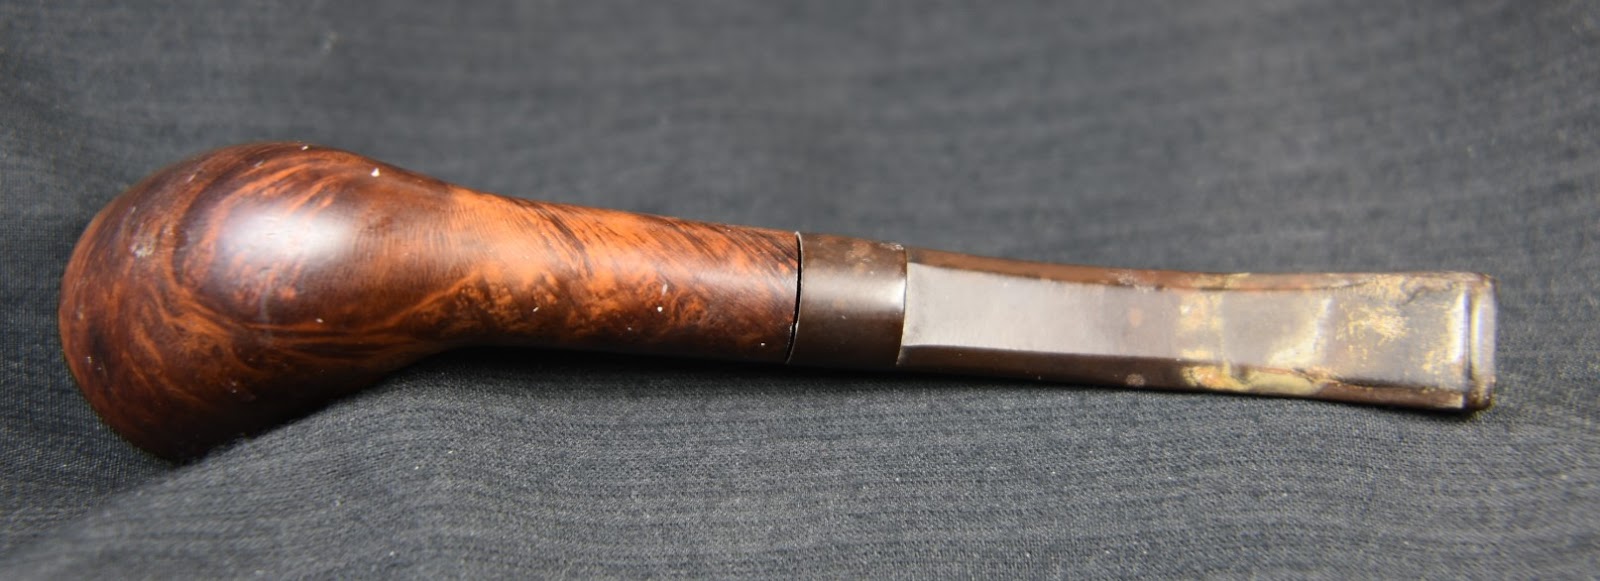
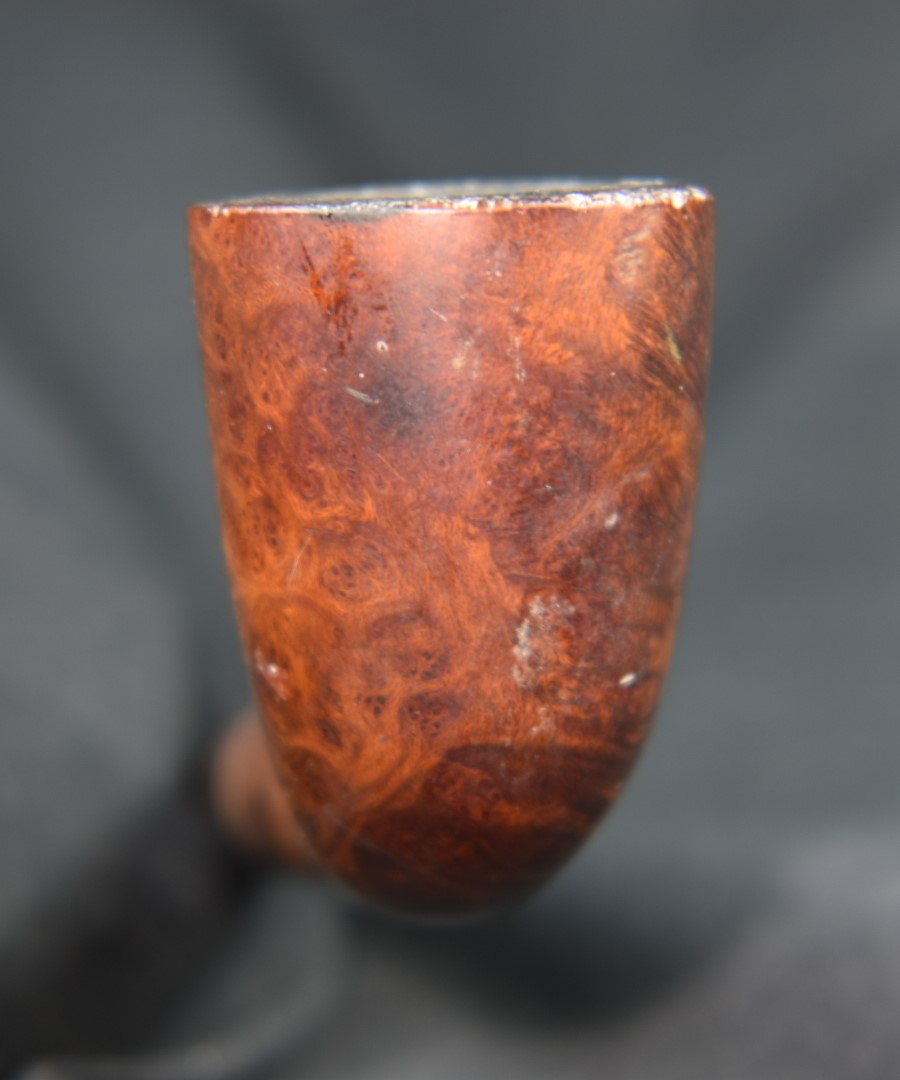

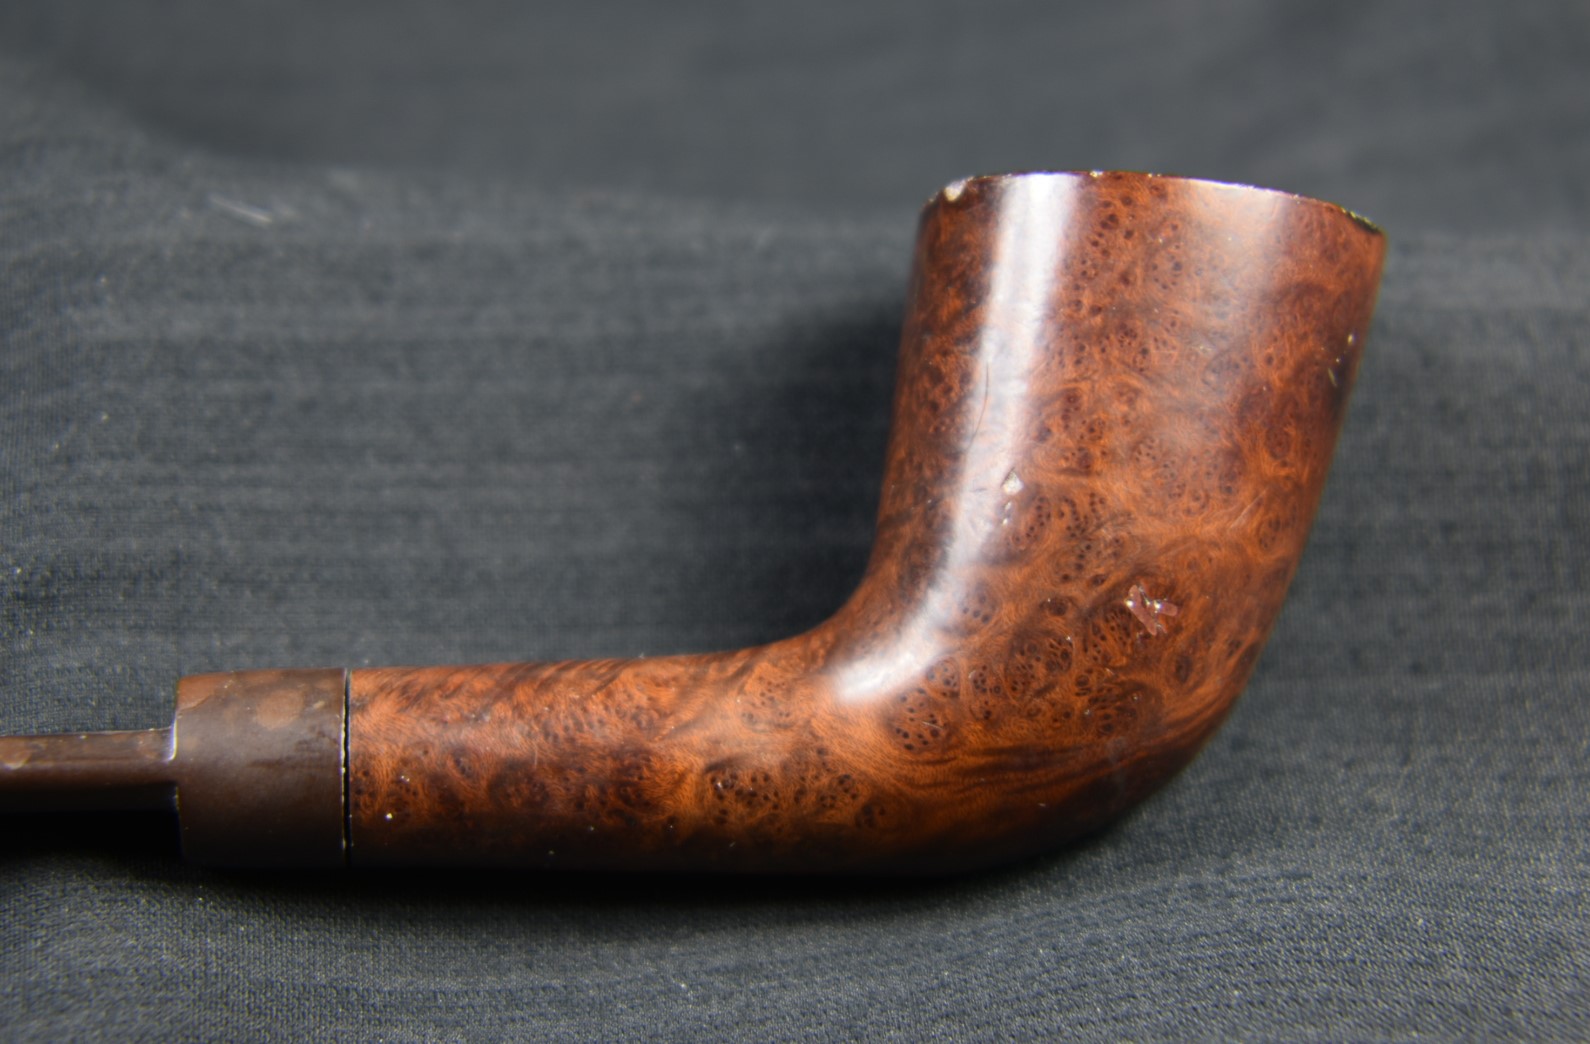
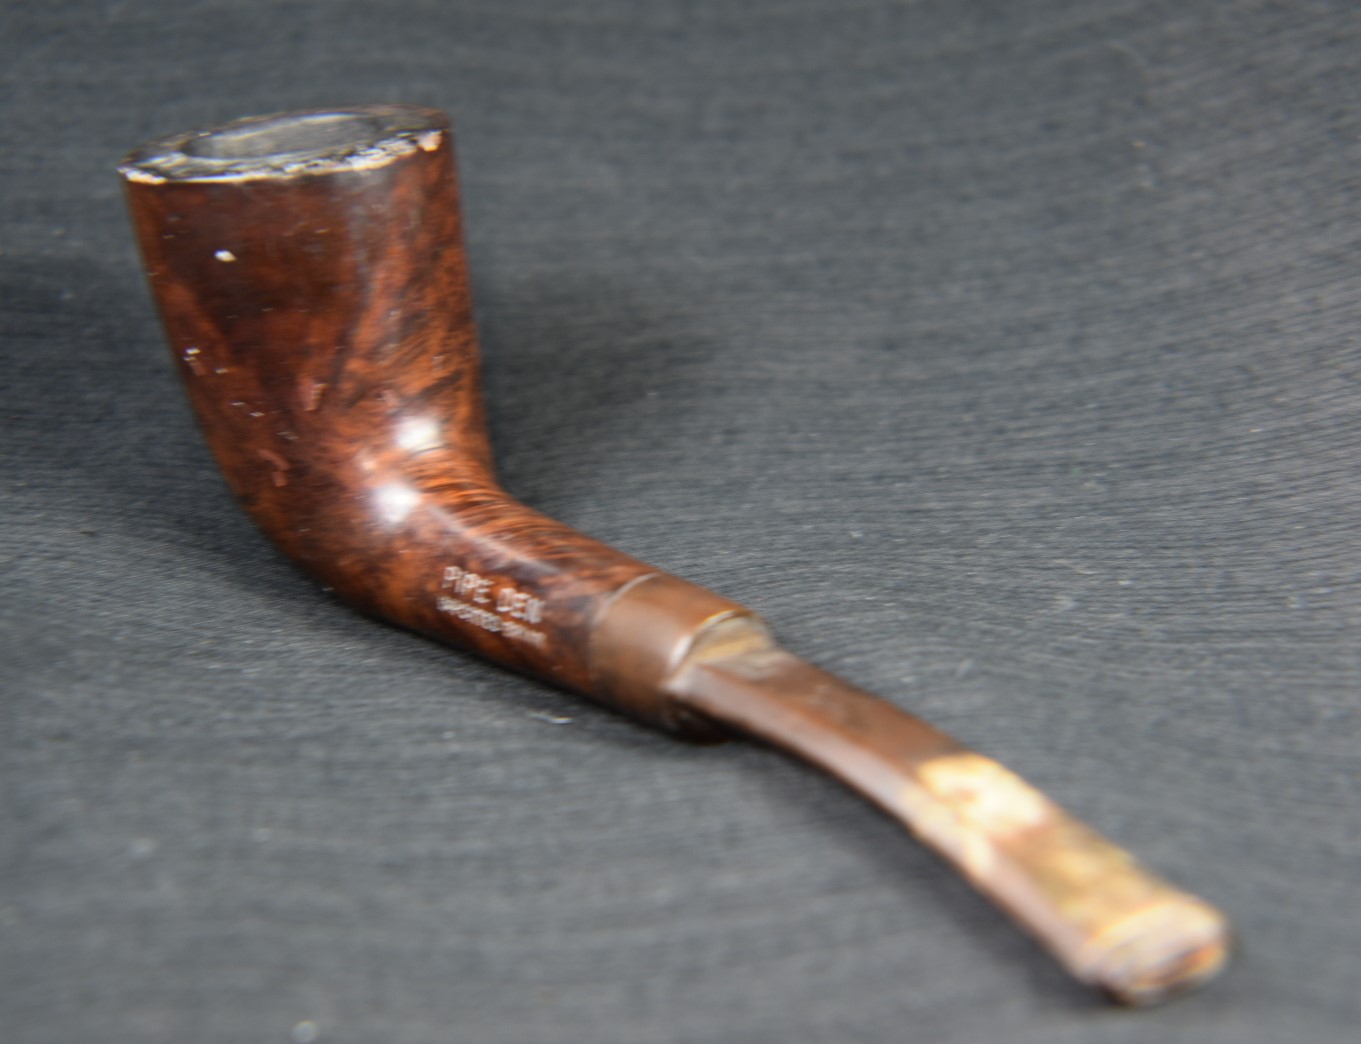
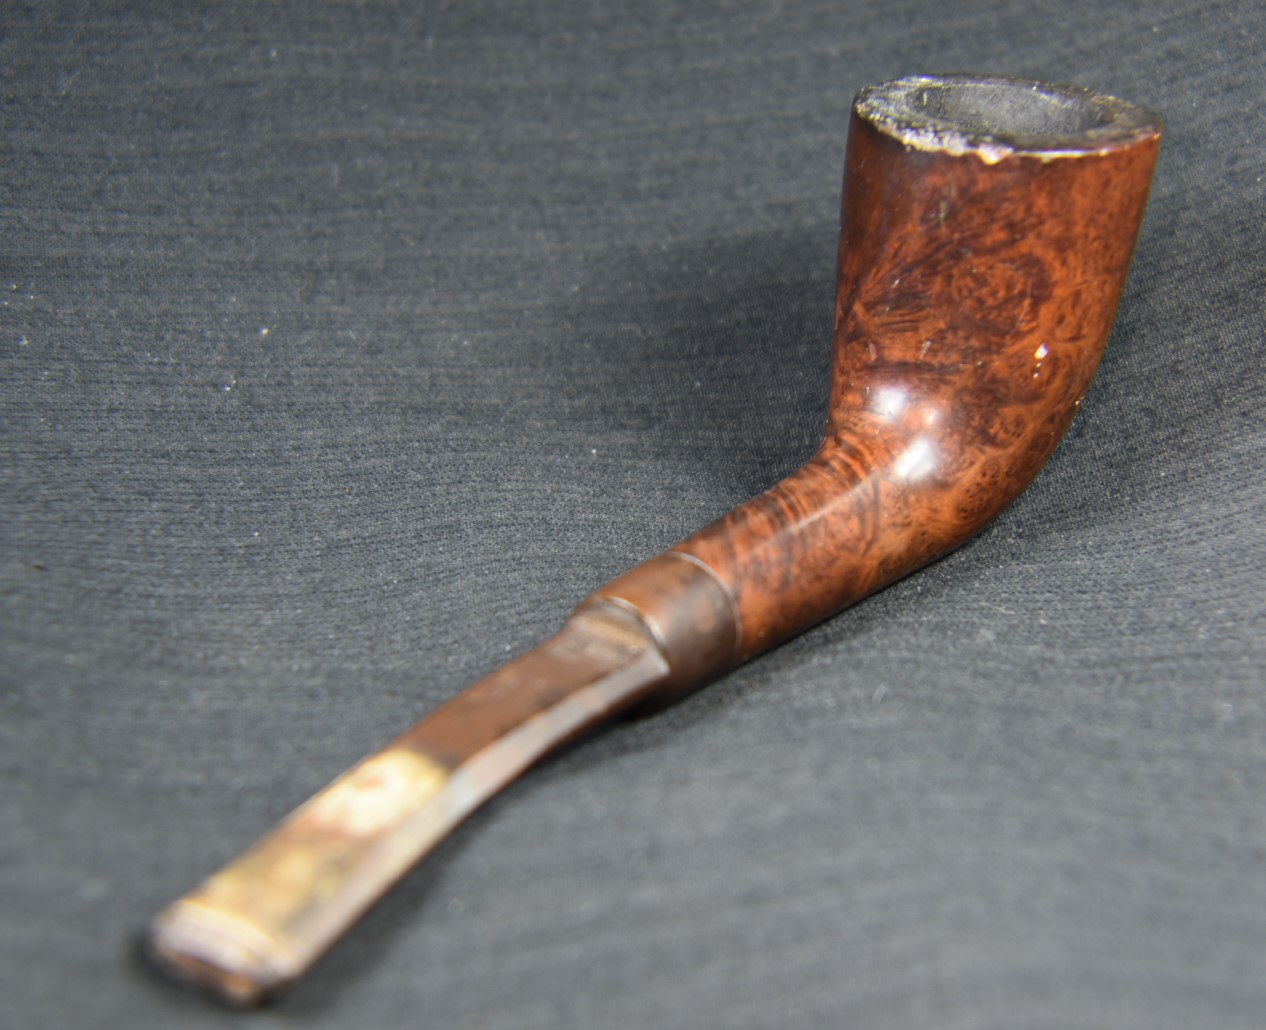

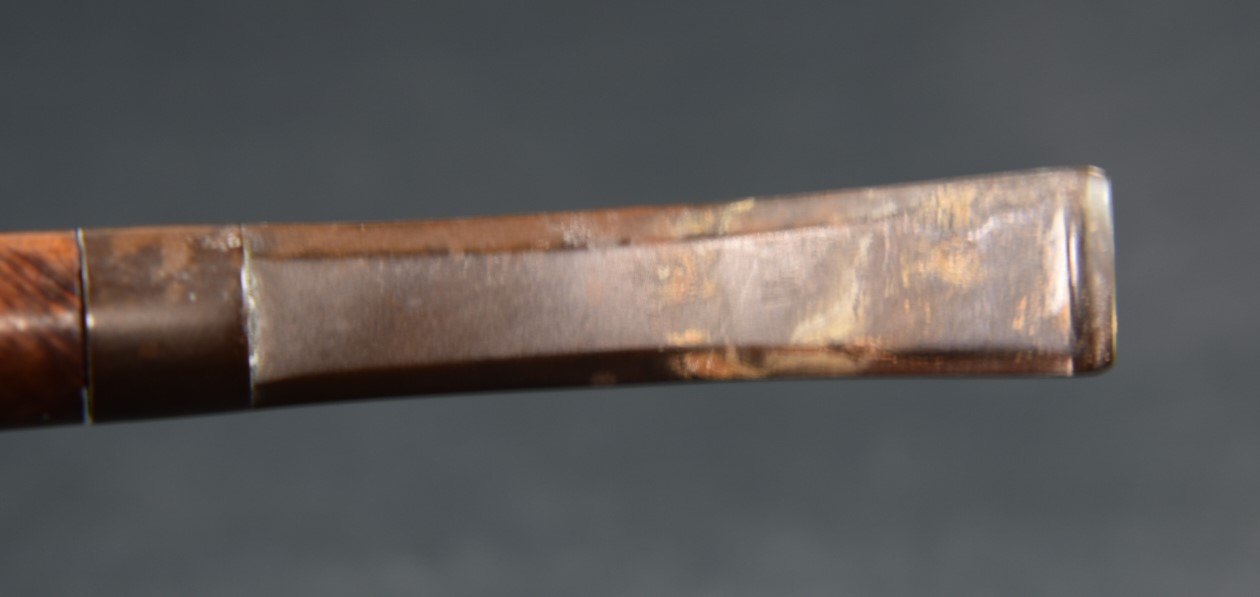

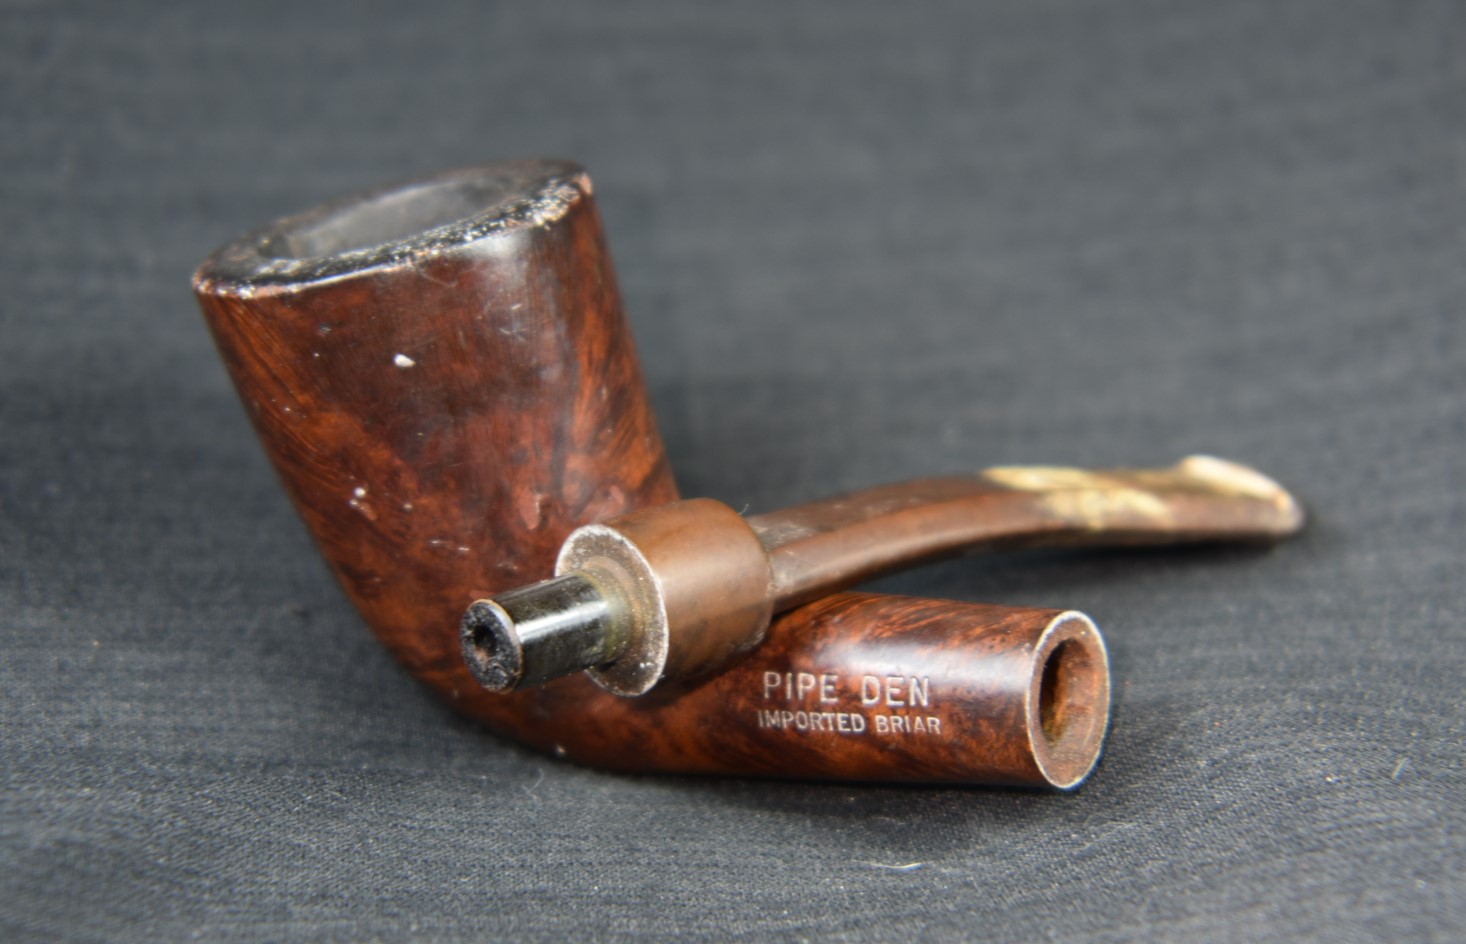
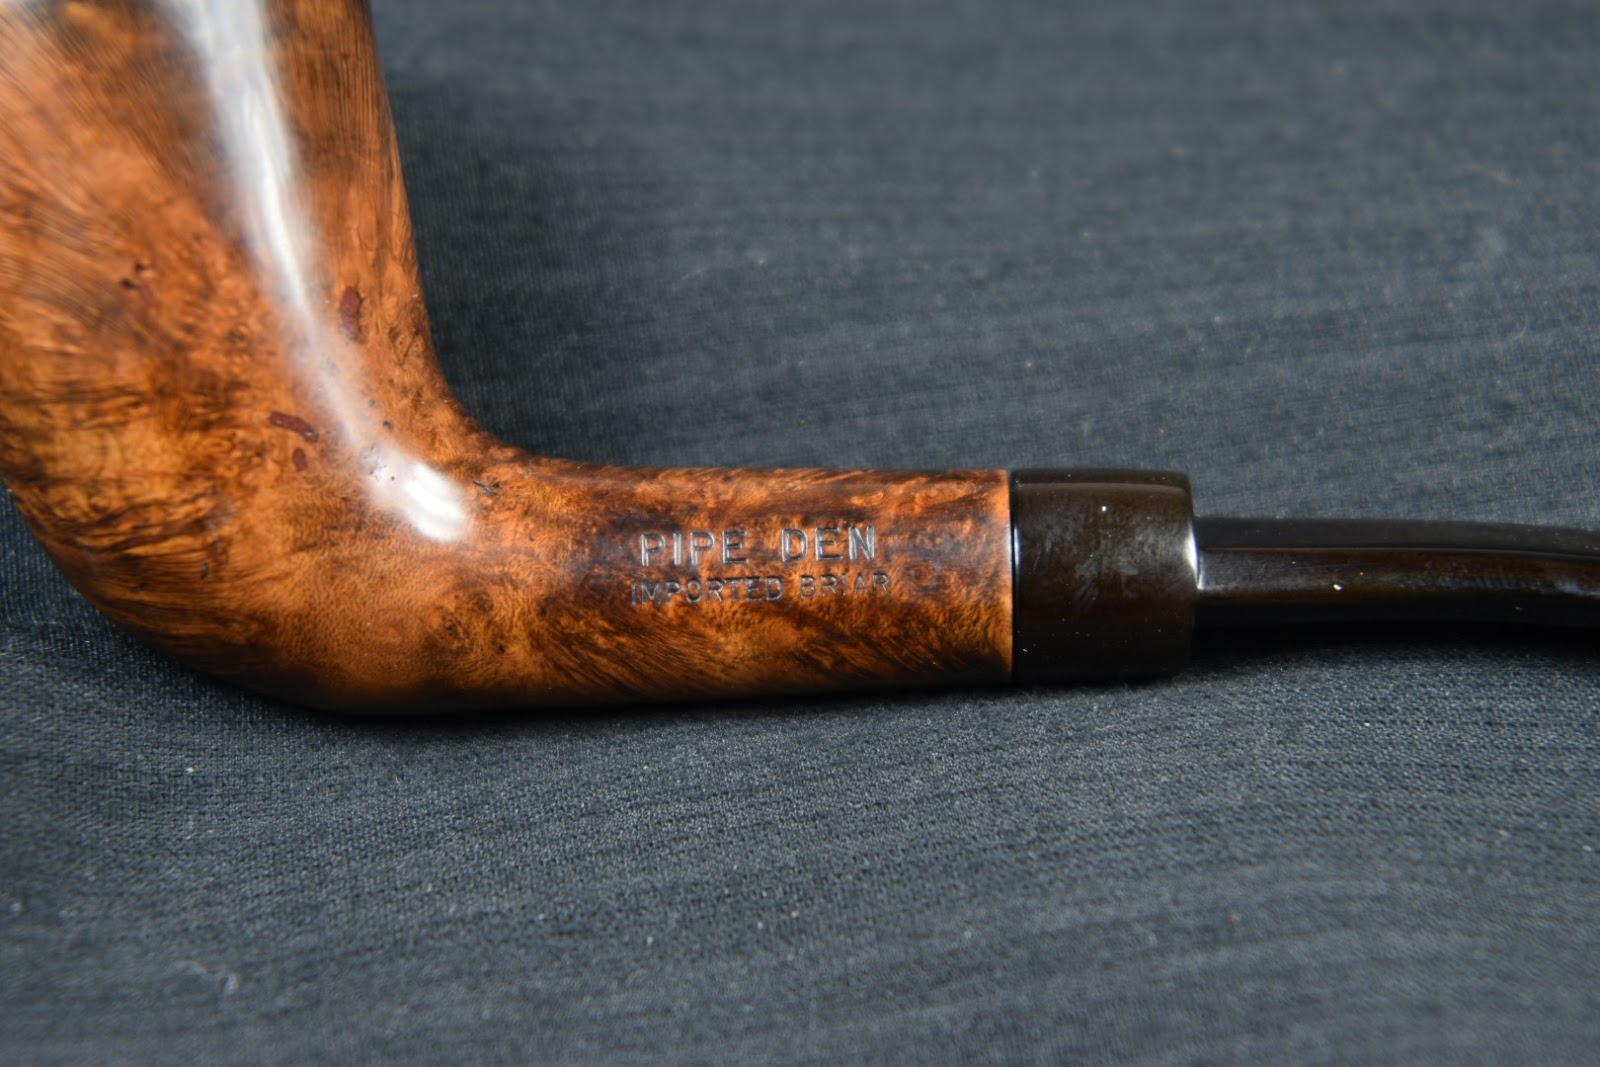

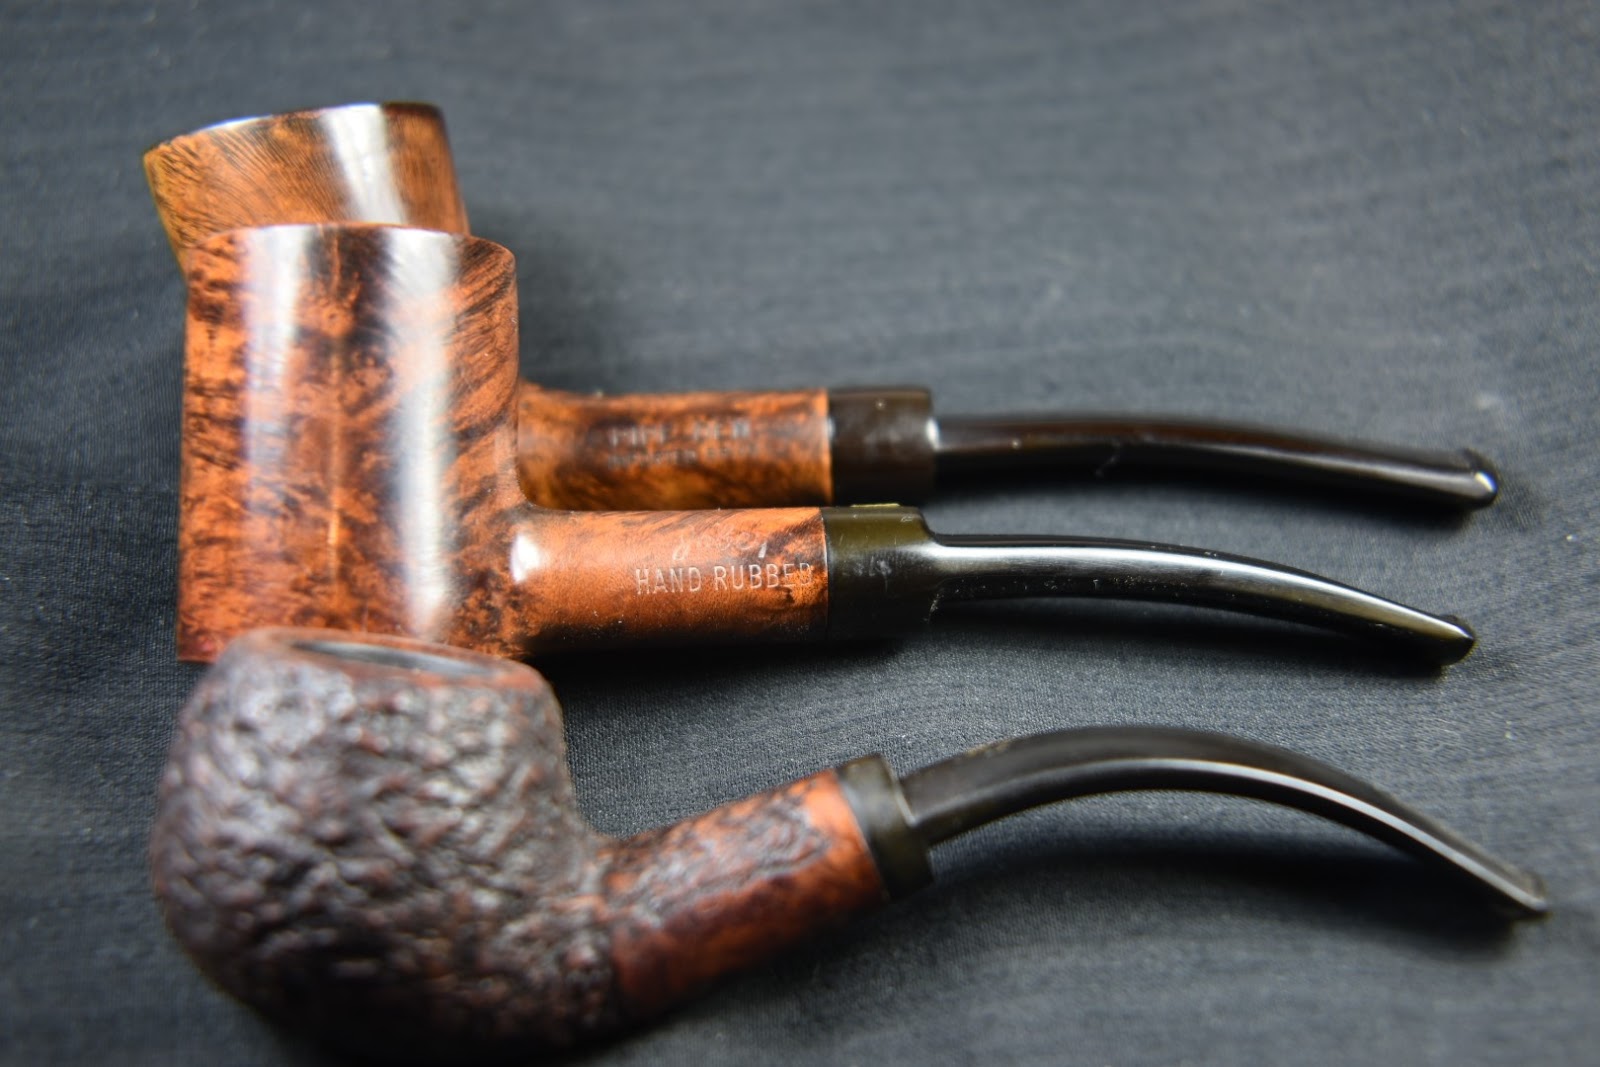 The quality of briar and the original stain color also match quite well. Given those last two qualities are hardly good indicators of a shared heritage but they do look similar. When looking up Jobey on pipedi.org, the first sentence of the entry says, “English – American – Danish – French… Sadly, solid information about Jobey is scamt…”(