Photographed and written by
John M. Young
Well, I’m back from a self imposed sabbatical. It started out as a medical leave and then a bunch of fishing got in the way, but all is well and my summer break is apparently over. I think this does make this restoration one of the longest in my history, since I started it on July 1 and just finished it yesterday, September 19. It is a Marxman figural ram. If you have been reading my ramblings for a while, you may have noticed that the two brands of pipes I seem to work most on are Peterson and Marxman pipes. The history of those two companies have intrigued me for many years and show no sign of fading from my curiosity. At least based upon the fact that I have several of each in the queue for restoration.
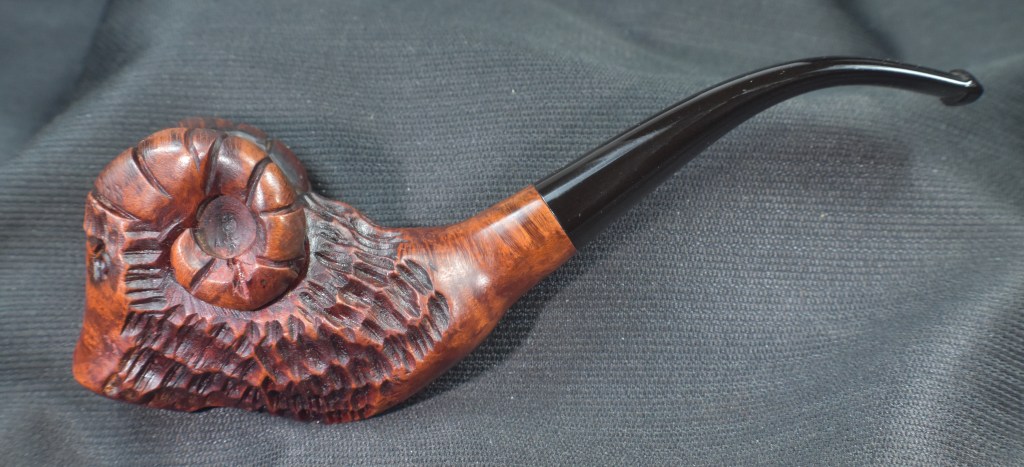
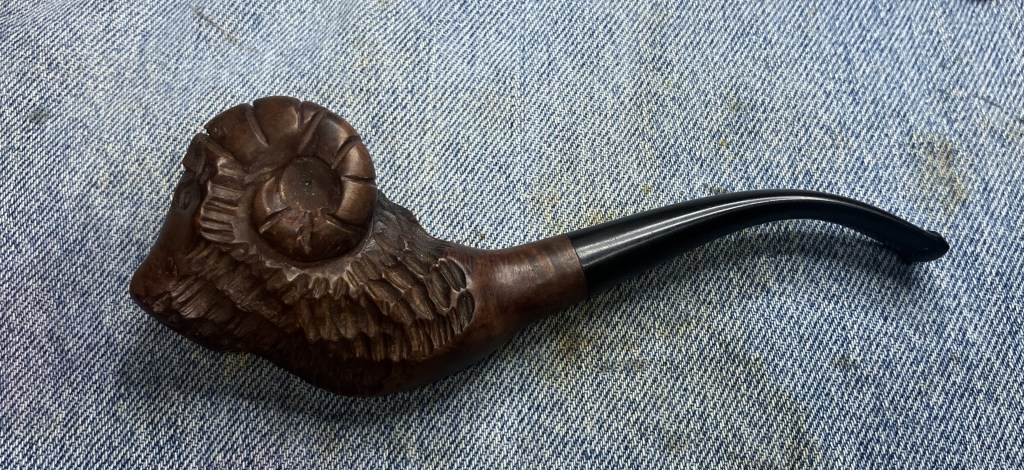
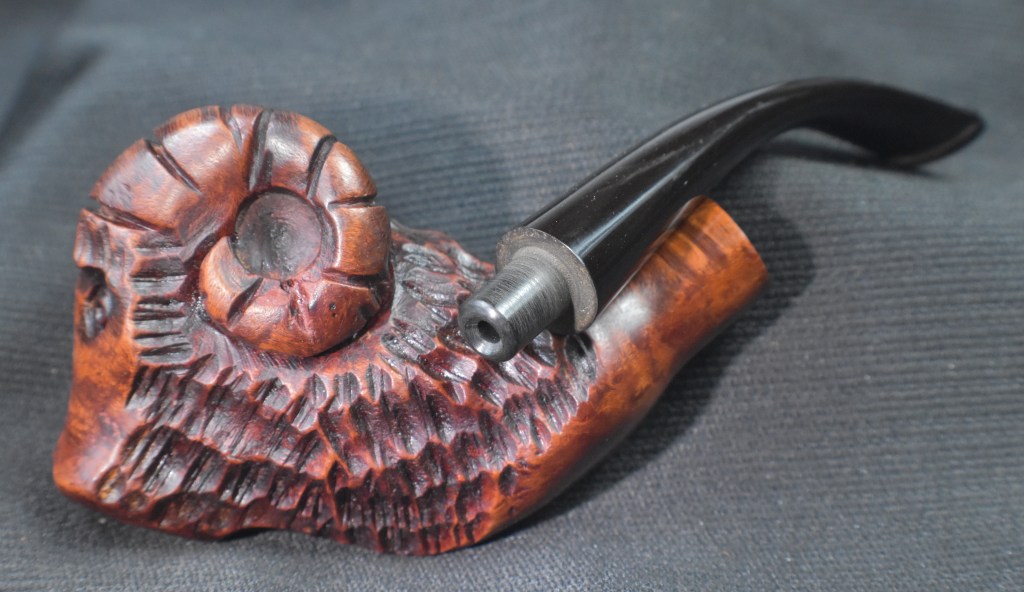
This funky figural ram is not what I would consider the best of the Marxman line and features a rather comical looking creature. The briar quality was far from perfect as seen by the myriad of pink fills but nonetheless it was a fun pipe to work on.
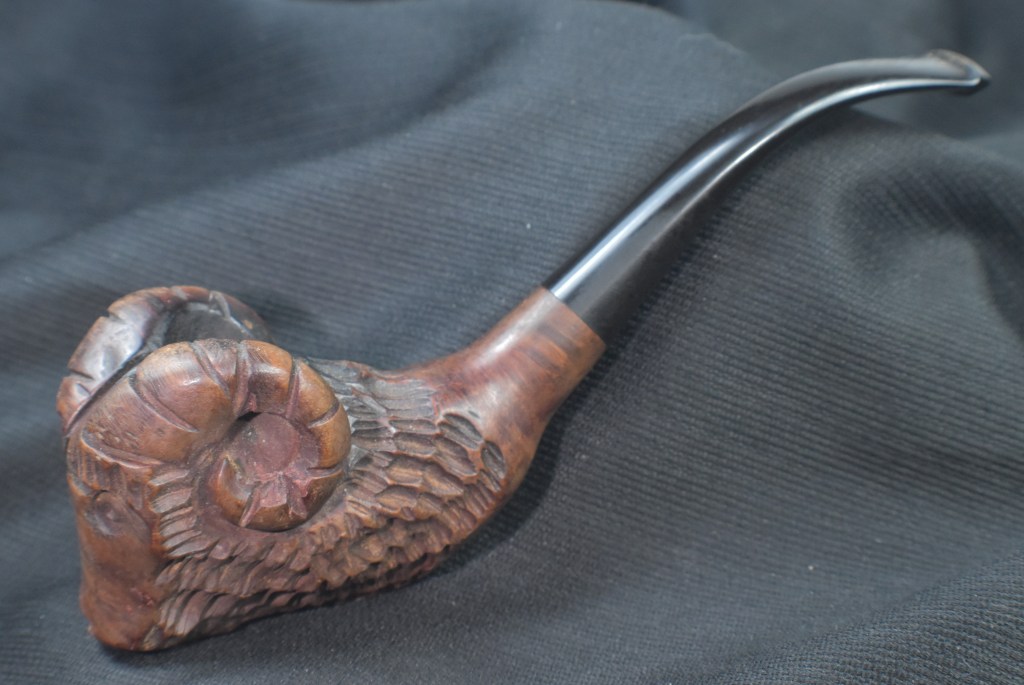
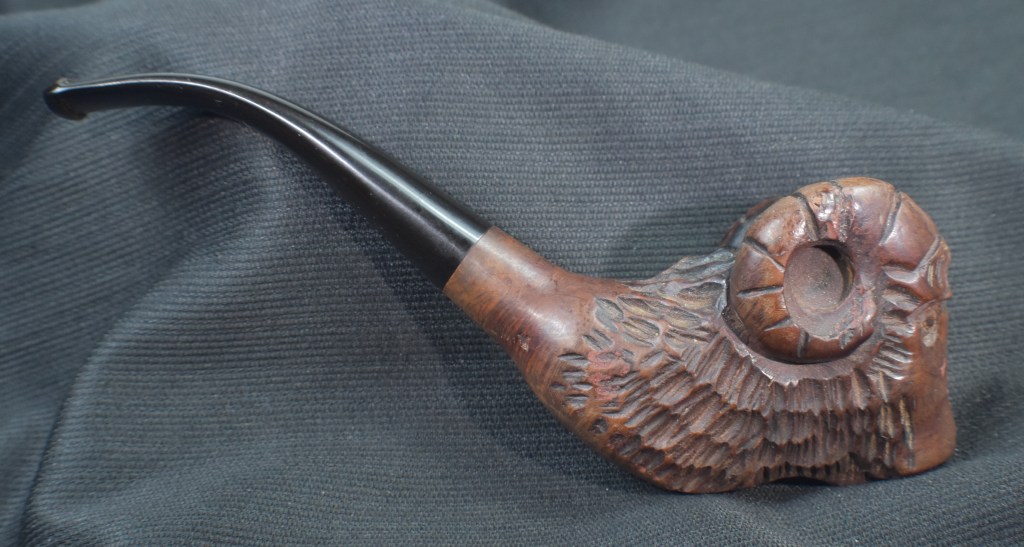
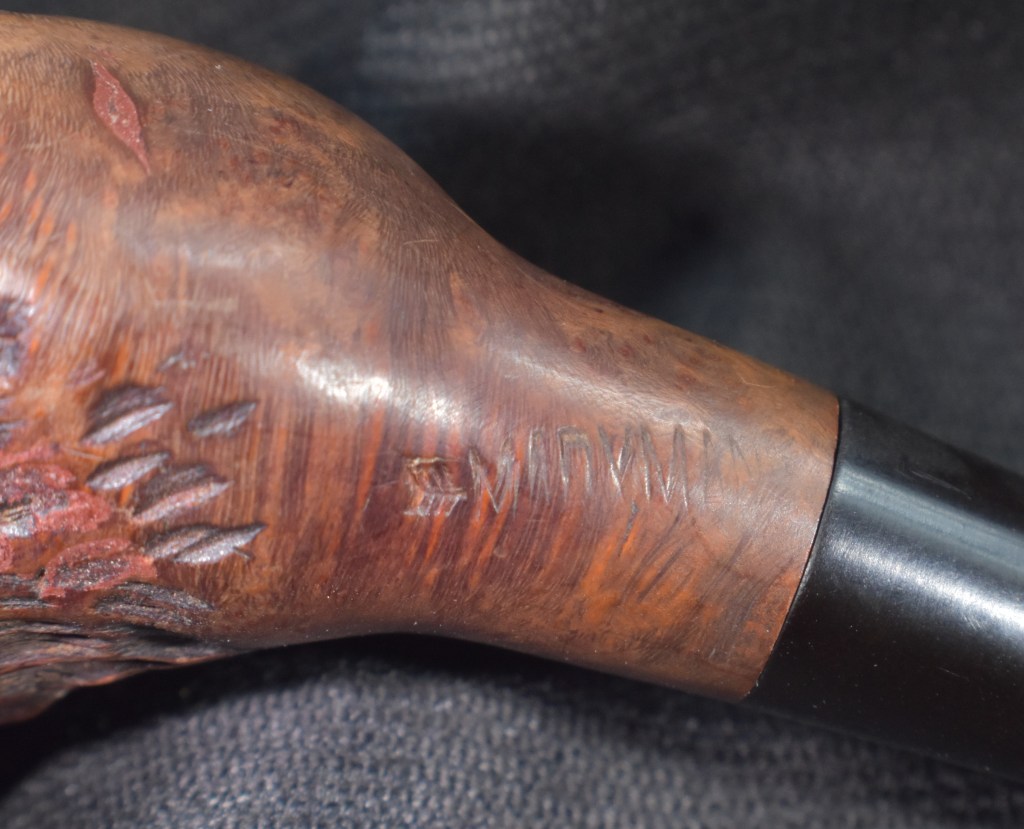
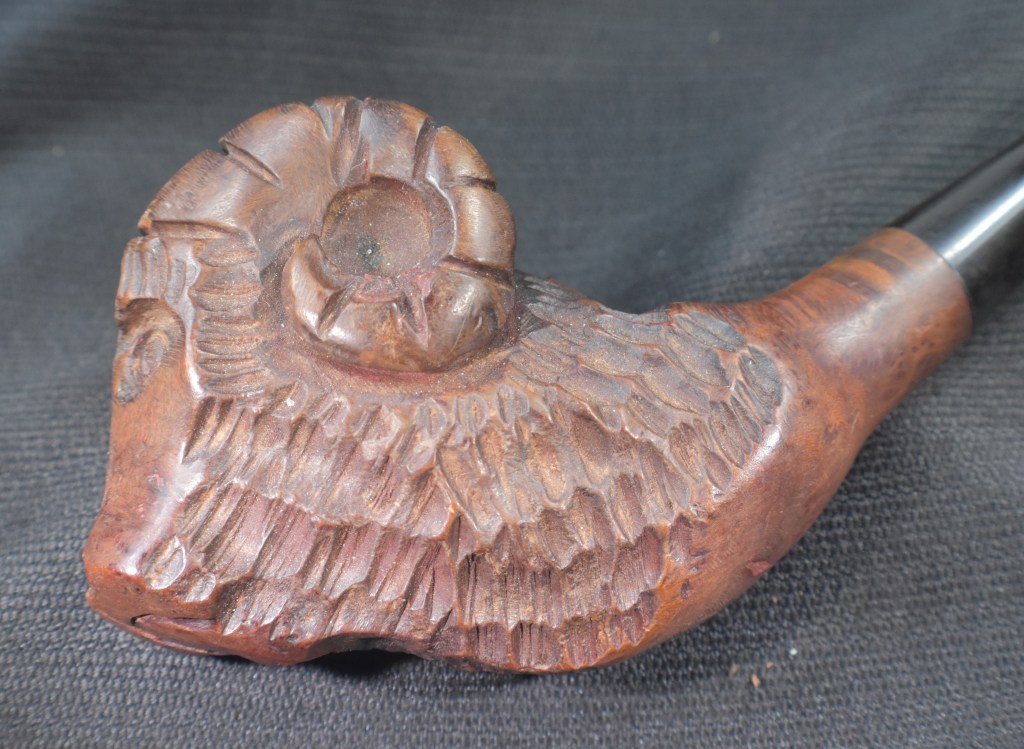
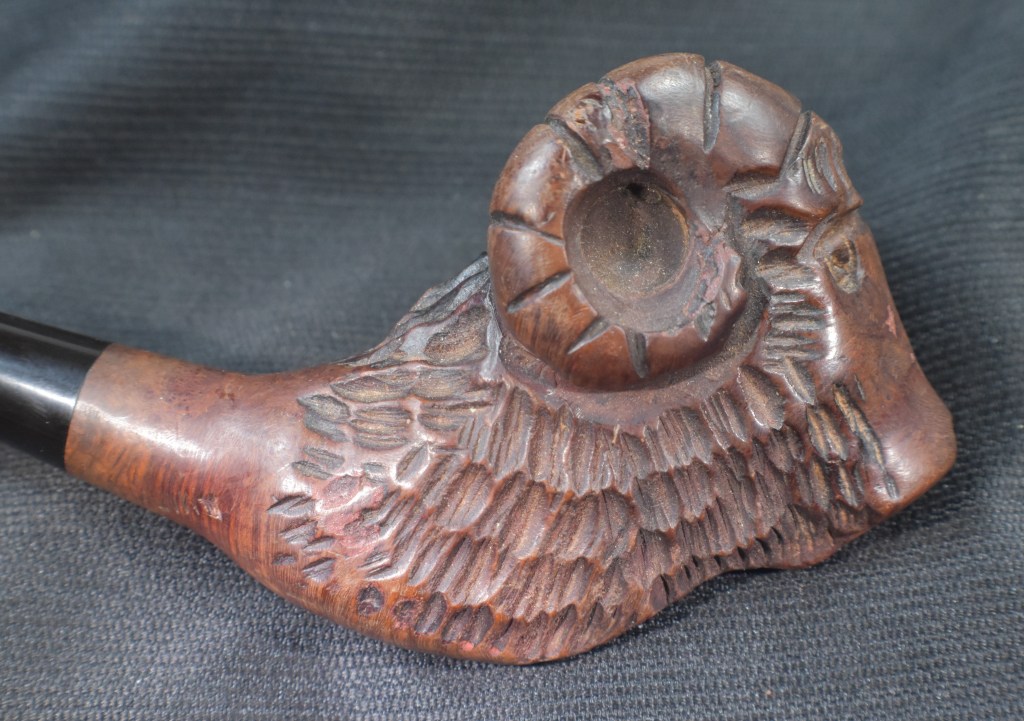
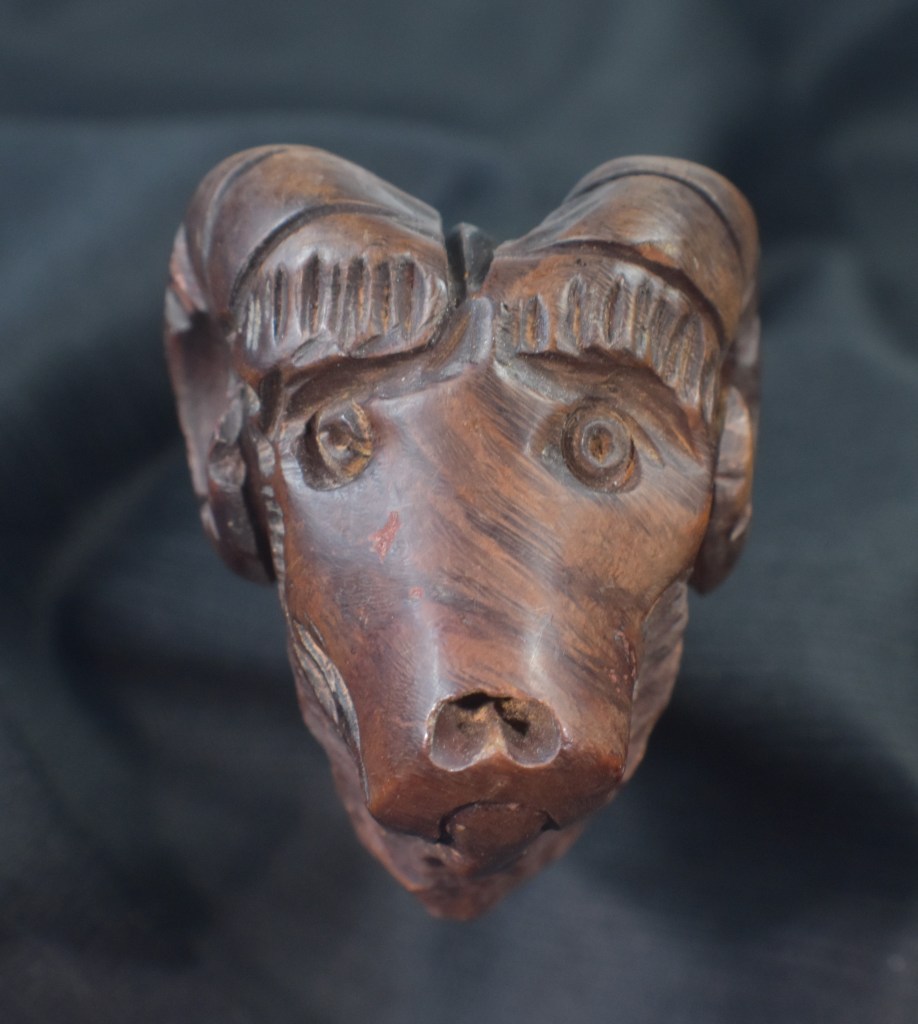
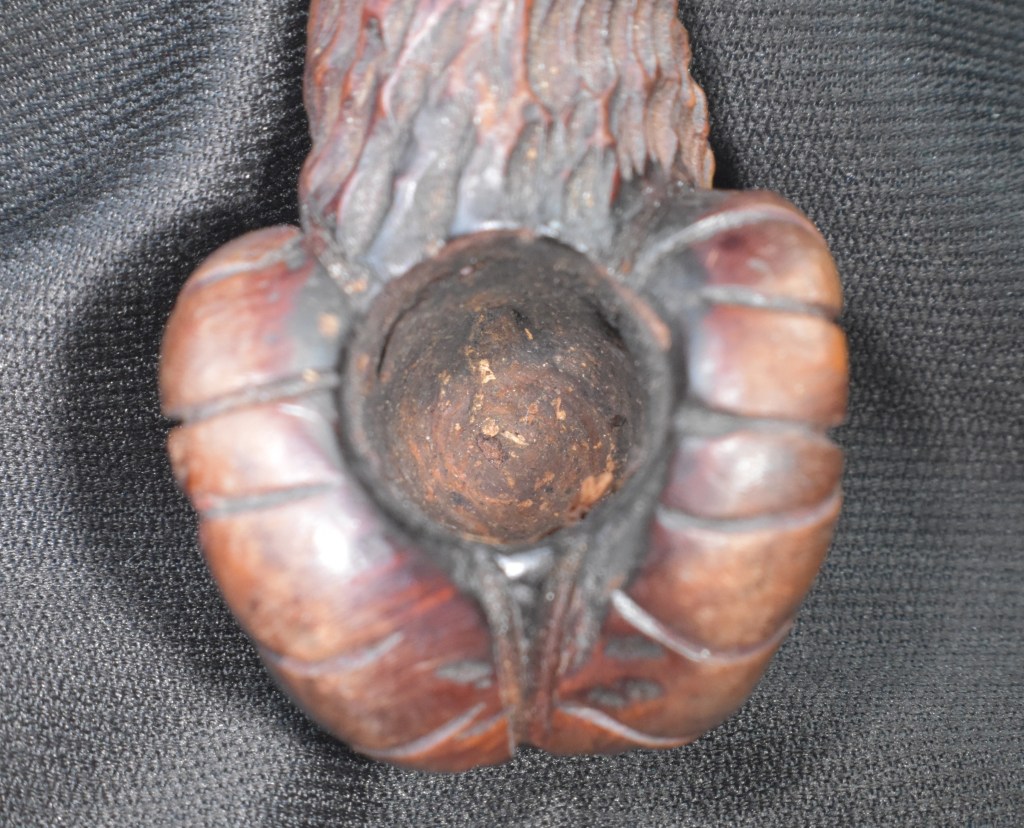
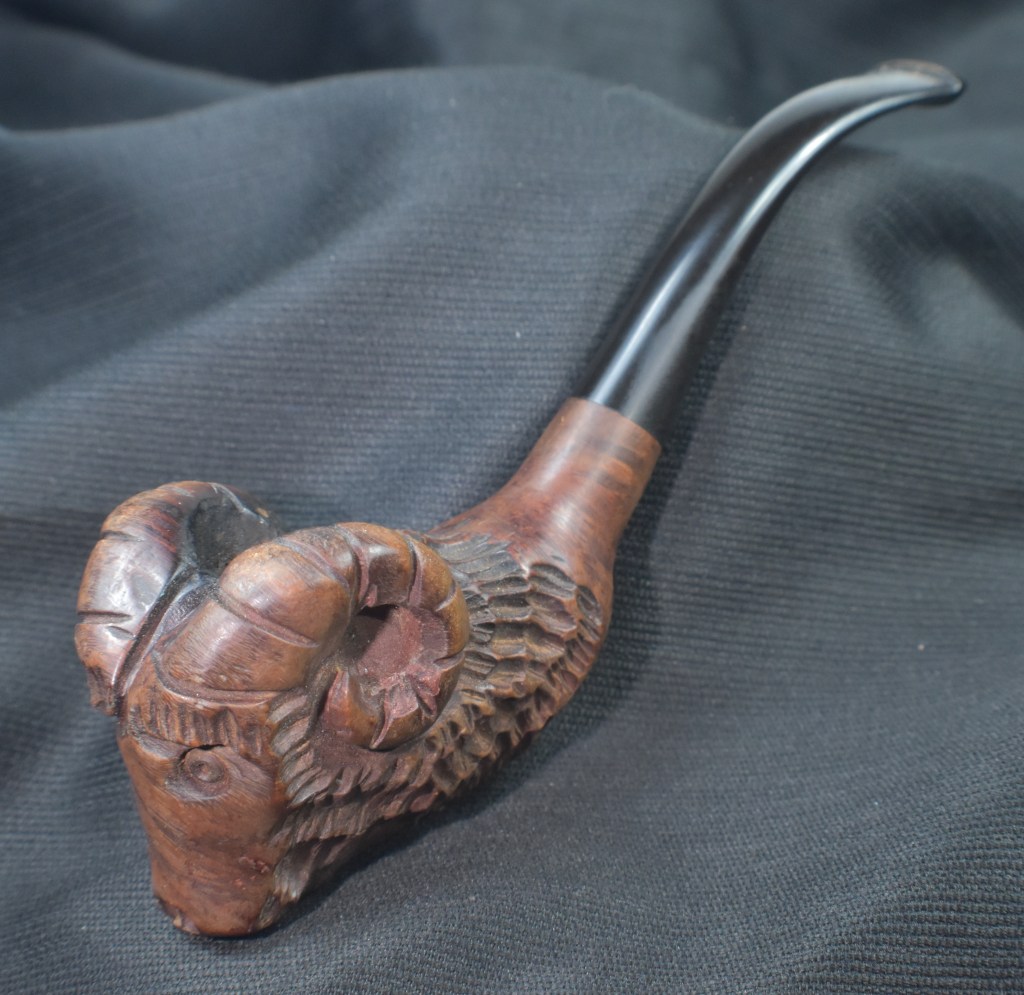
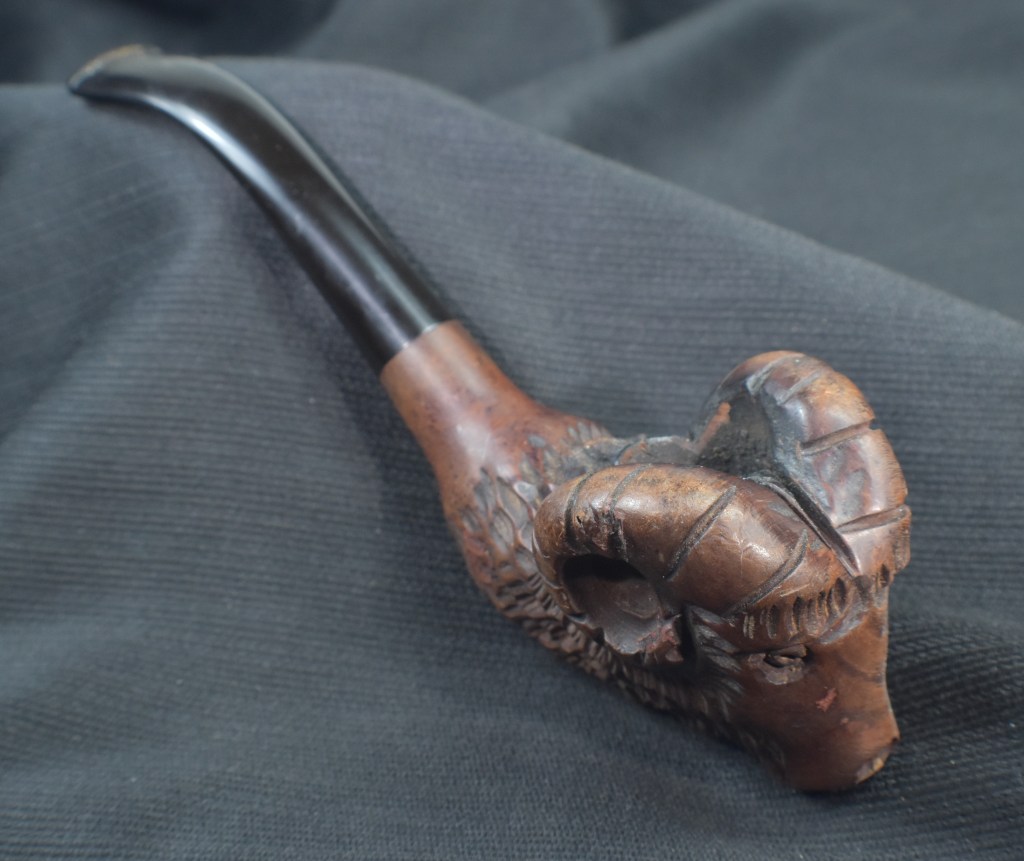
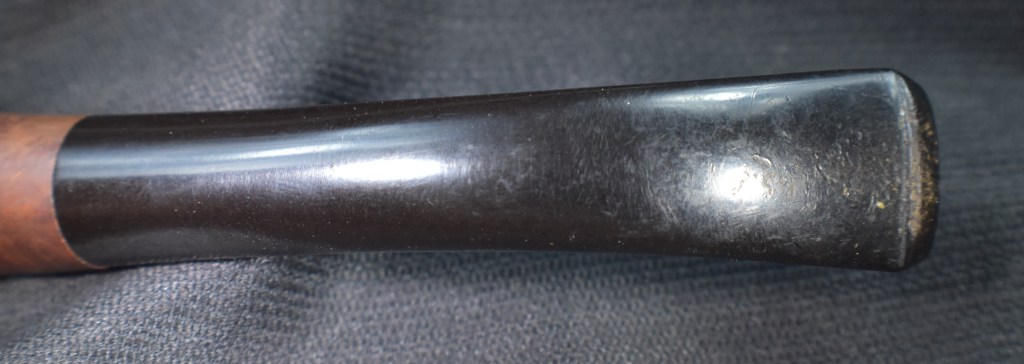
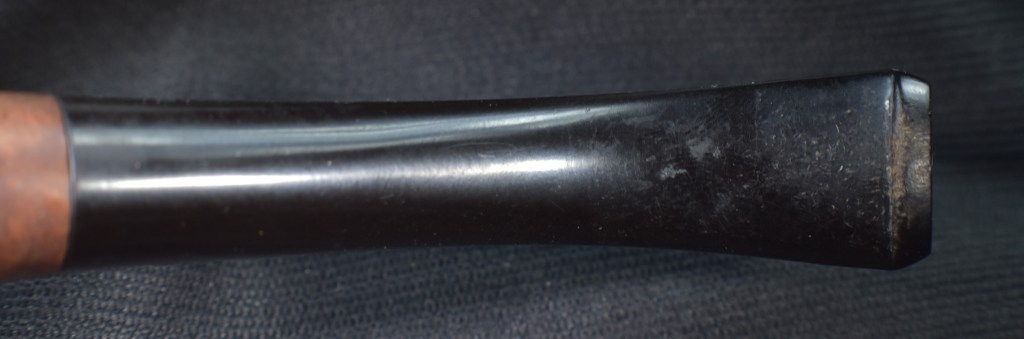
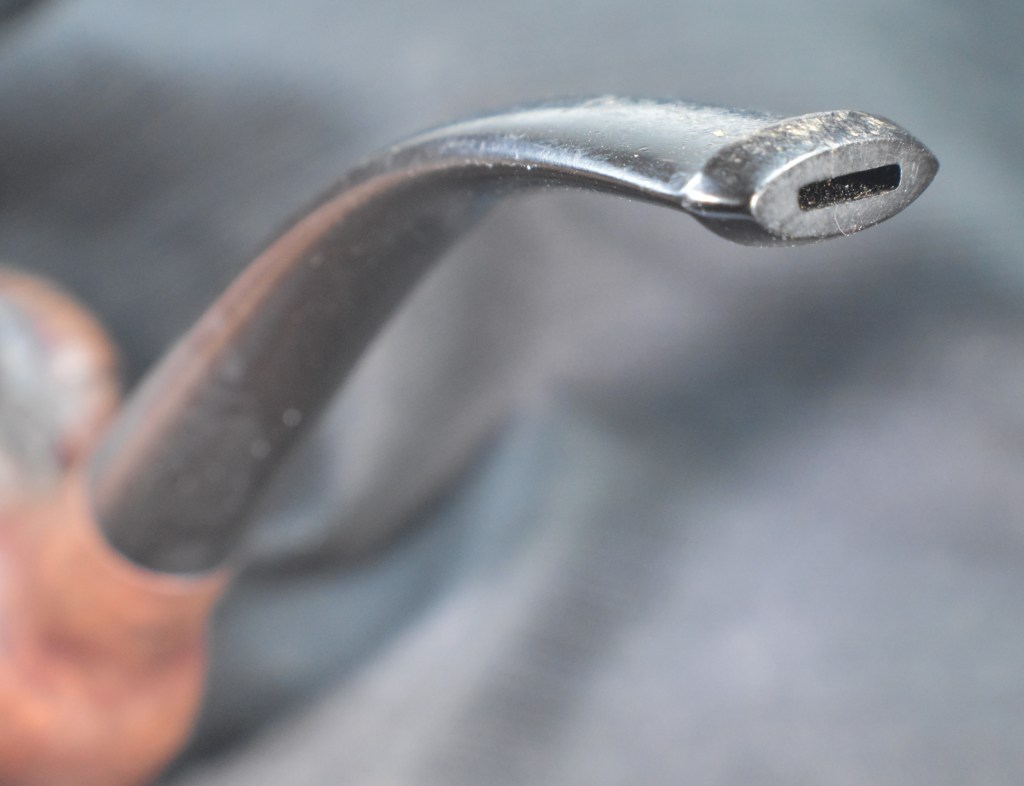
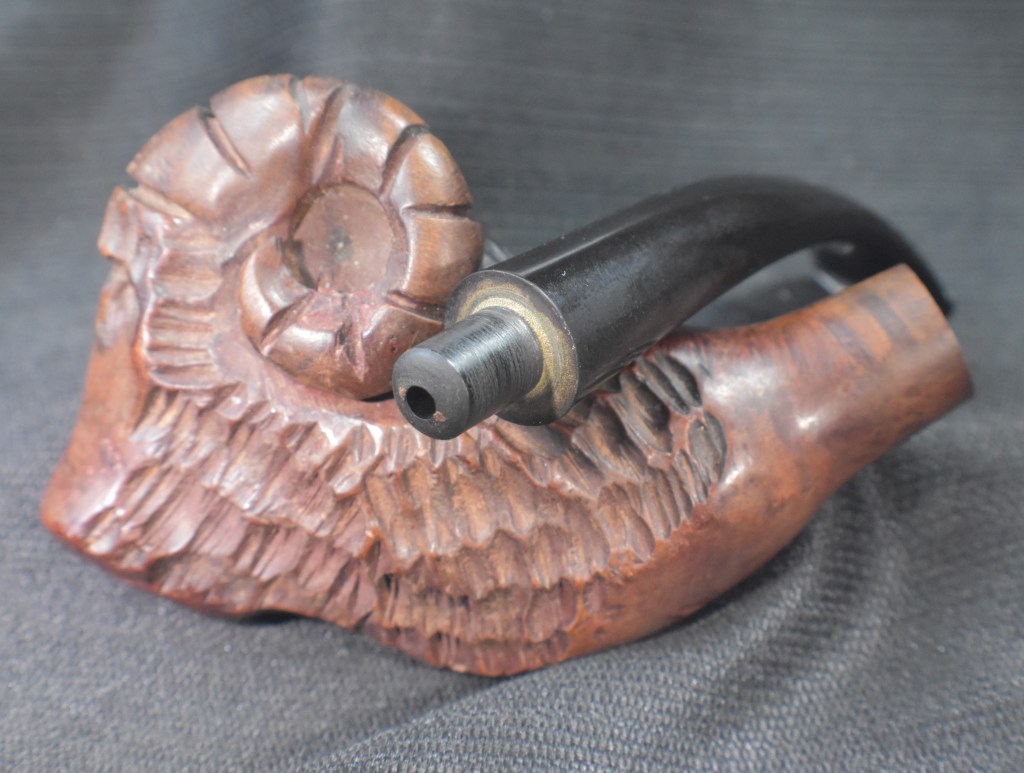
As you can see from the before photos, the pipe was in good condition. The pink fill material had been liberally used, which was not uncommon in Marxman pipes. I am not a fan of the pink goo and vowed to remove as much as possible. This would require some recarving, picking and refilling. The stem was in surprisingly good shape and did not show signs of serious oxidation. This pipe must have been stored out of sunlight. Overall, this looked to be a relaxing restoration.
Background
On a previous Marxman figural restoration I said the following, it still hold very true:
“Due to a level of laziness that impresses even myself, I will use the following from the restoration on a Marxman Rattlesnake figural pipe that I finished recently:
“I have done a lot of Marxman restorations. Next to Peterson pipes I am sure Marxman pipes come close as to numbers. I have also written about the history of Robert Marx and how he formed and built up the company during World War Two, not an easy task considering the main material of his production was nearly inaccessible during the war years. If you would like more information I think I did an acceptable job on Marxman history in the following blog: A Marxman Dublin Gold Band Restoration – NebraskaPeteGeek. Yeah it’s still written by me, but it’s pretty good for a change.
As for Marxman figurals I have done a camel and a monk/friar.” (A Marxman Rattlesnake Figural Pipe Restoration – NebraskaPeteGeek).”
I will add that when I earlier said that I did not consider this to be the best of carvings. I should show a couple of examples from previous restorations of what I think are better quality carvings:
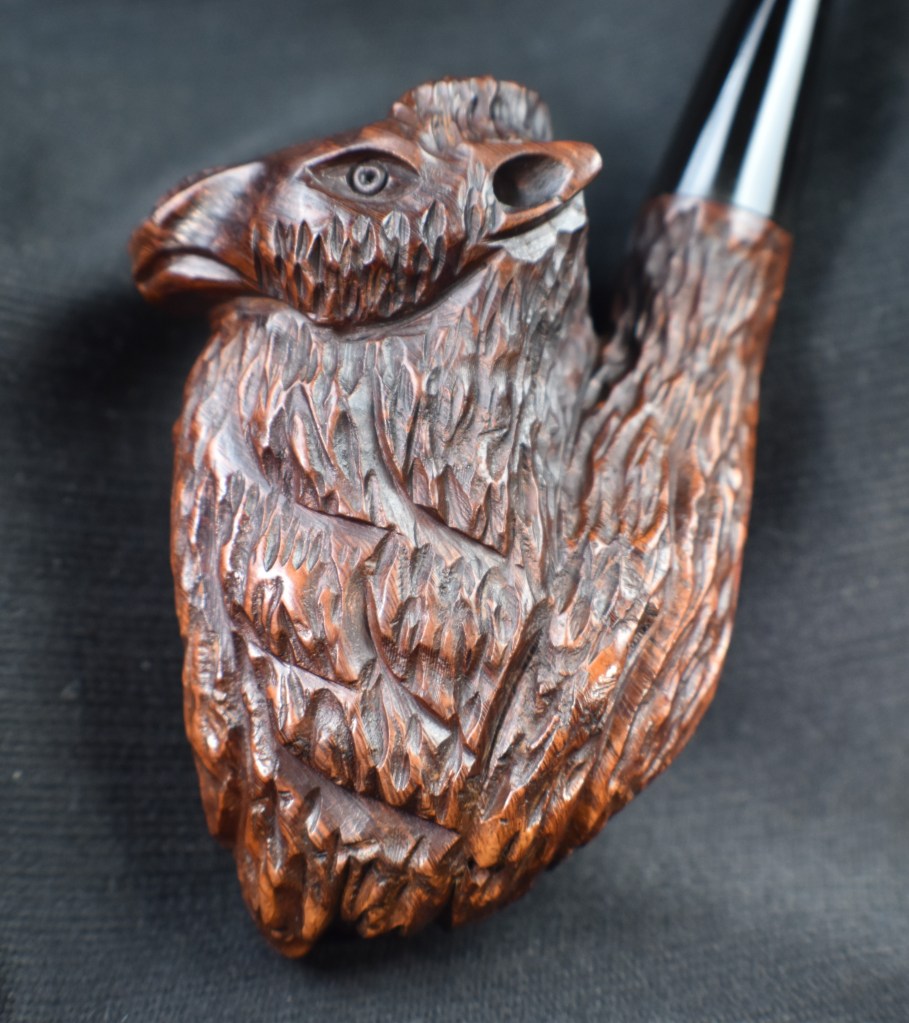
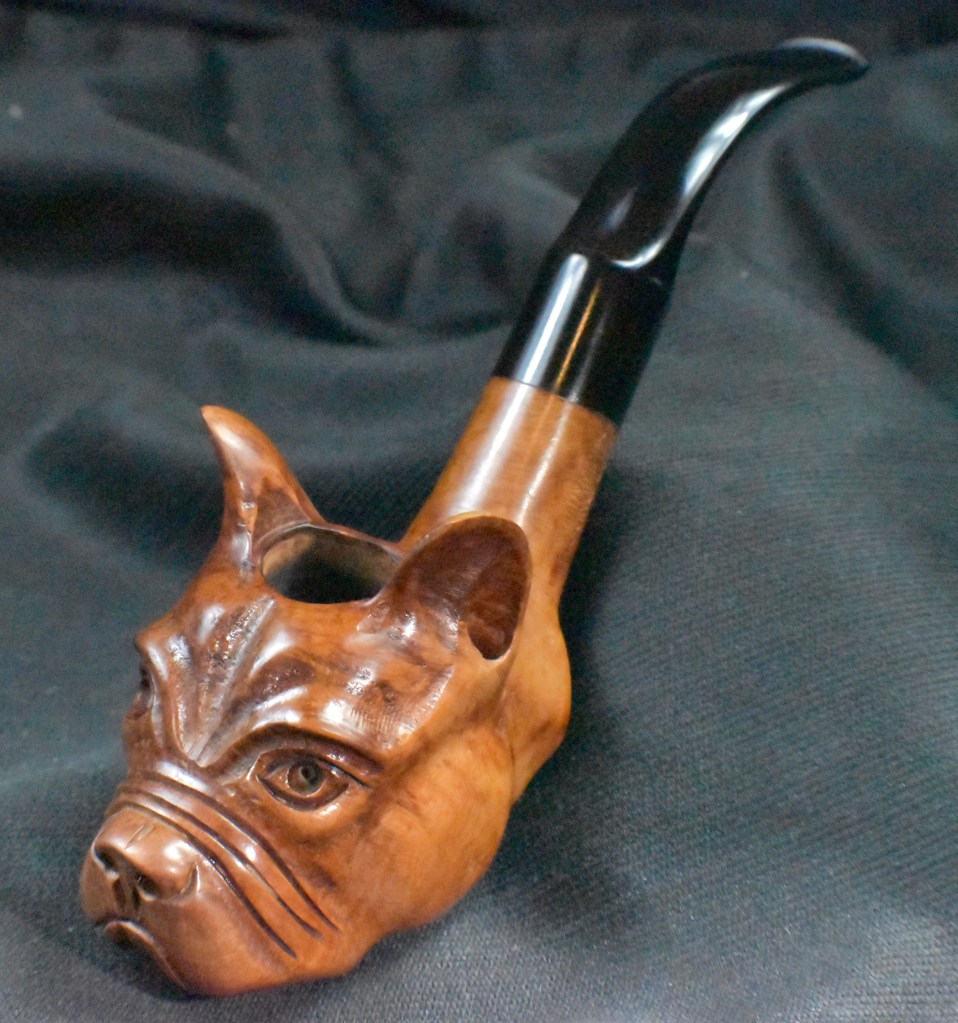
This ram is much smaller and seems to be more of a mass produced pipe than either the camel or the bulldog. I know I shouldn’t use the cliche, “size doesn’t matter”, but larger pipes do show a better quality of both briar and carver ability. Perhaps the less experienced carvers were given the smaller briar blocks to develop and hone their skills?
The Restoration
The ram made the journey to the workbench and a relatively clean denim piece.
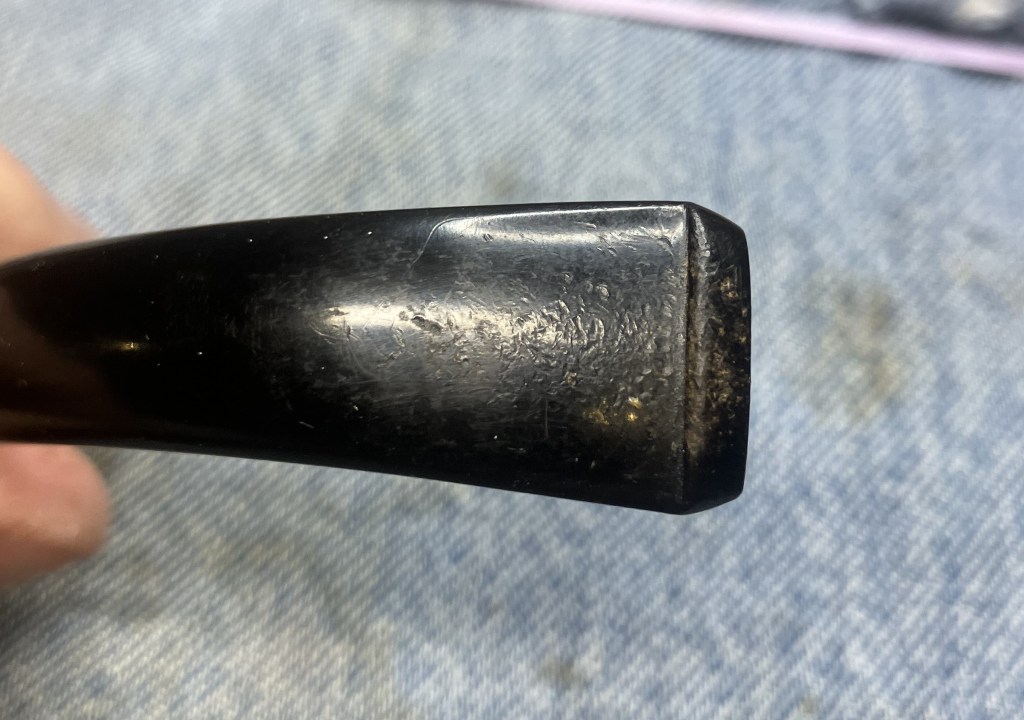
The stem had some tooth chatter. I started with addressing that.
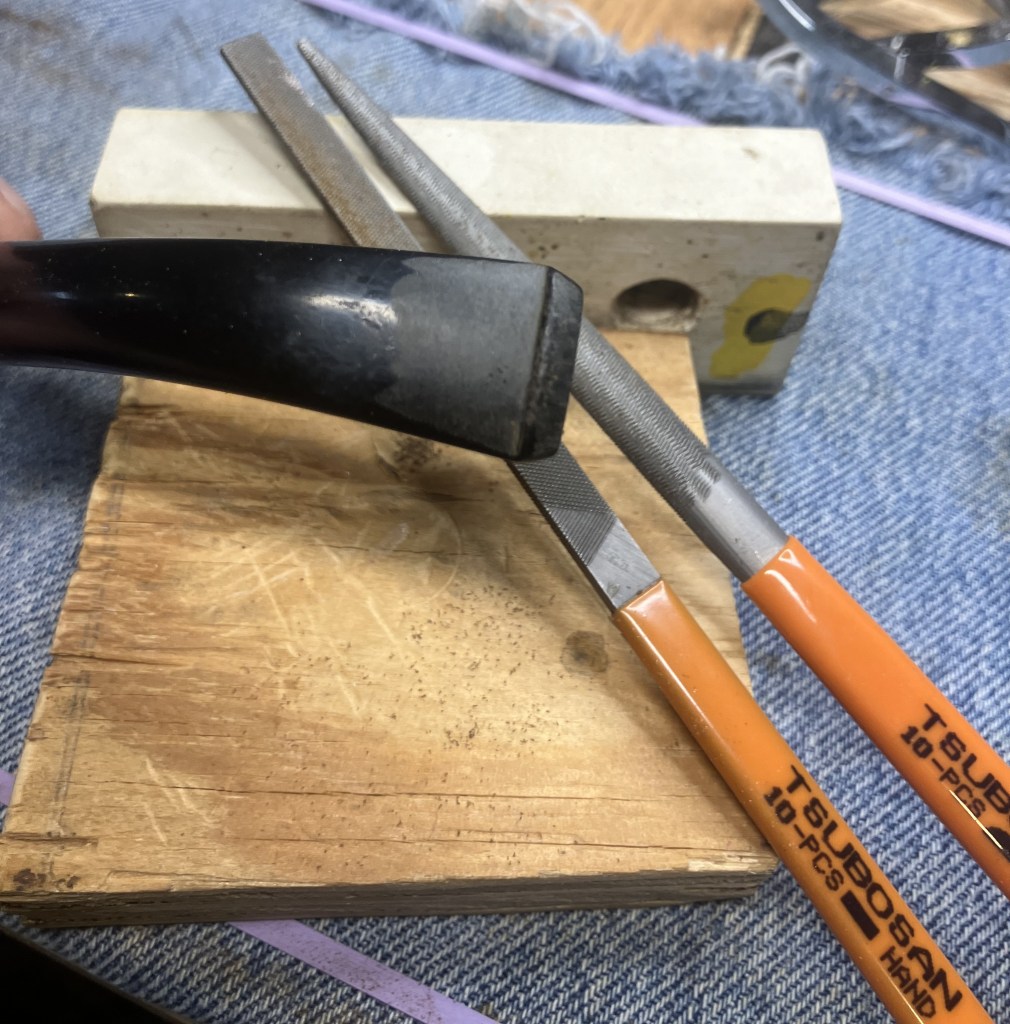
The bite zone was filed with small flat and rounded files.
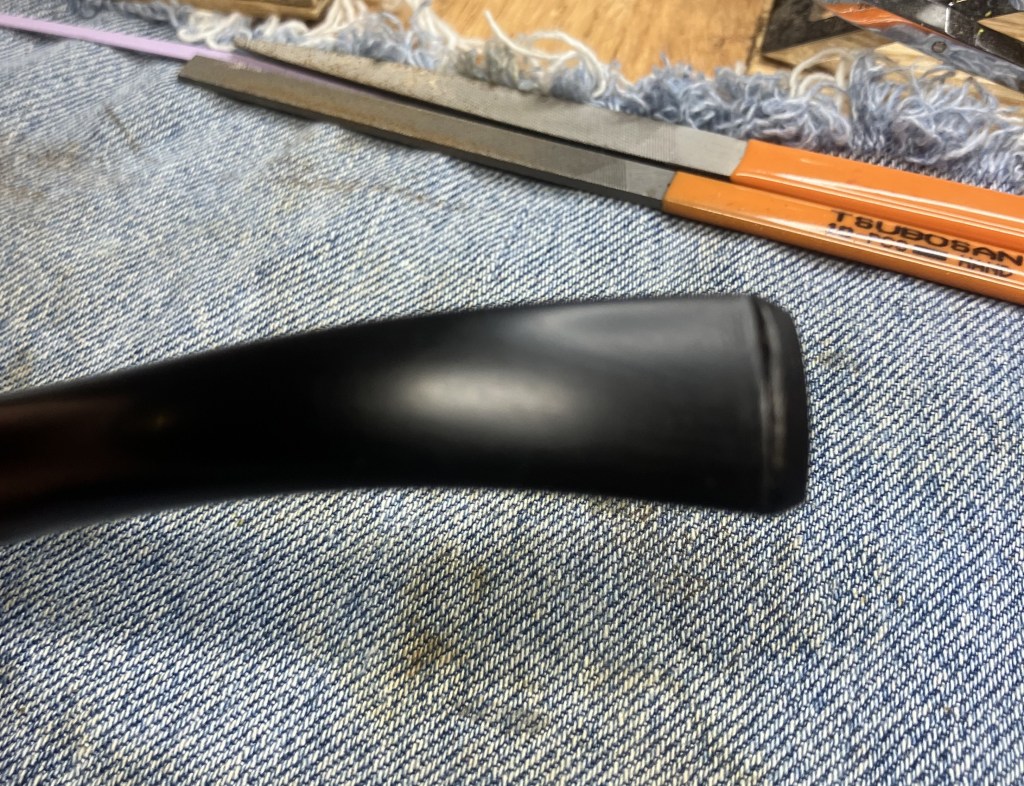
When sanded the tooth chatter was satisfactorily removed.
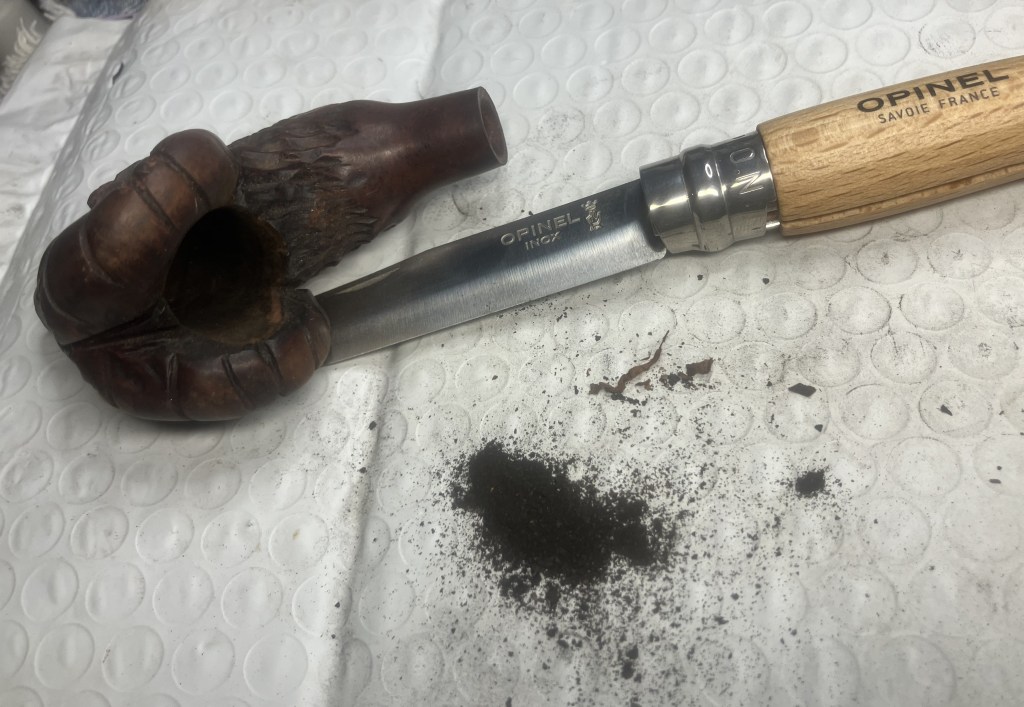
Next came the reaming. I started with an Opinel kid’s knife, not because I remain childish but because they have a wonderfully rounded tip.
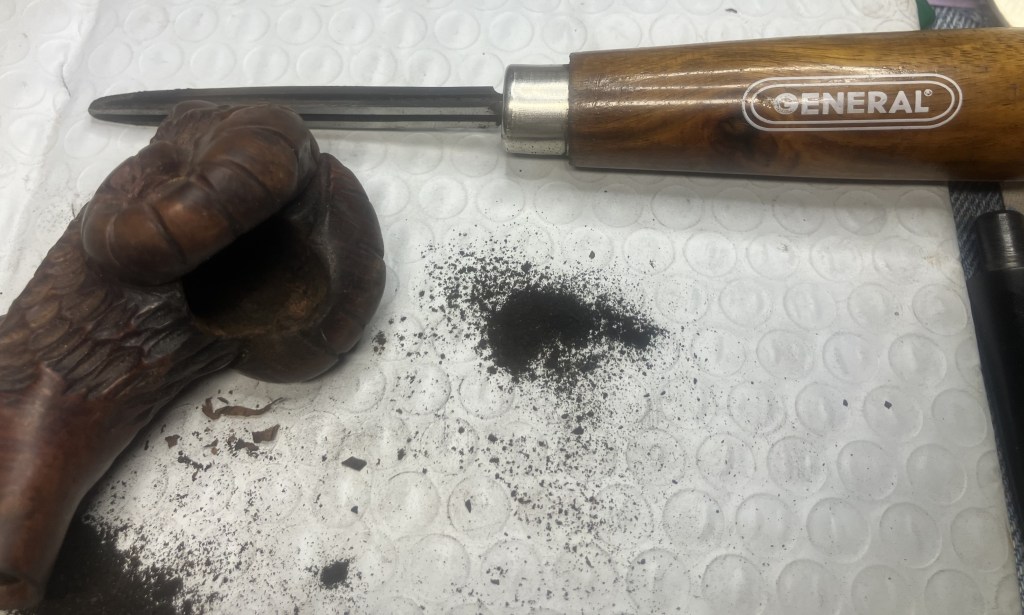
A triangular scraper with its tip ground round with a grinder, did some additional cake removal.
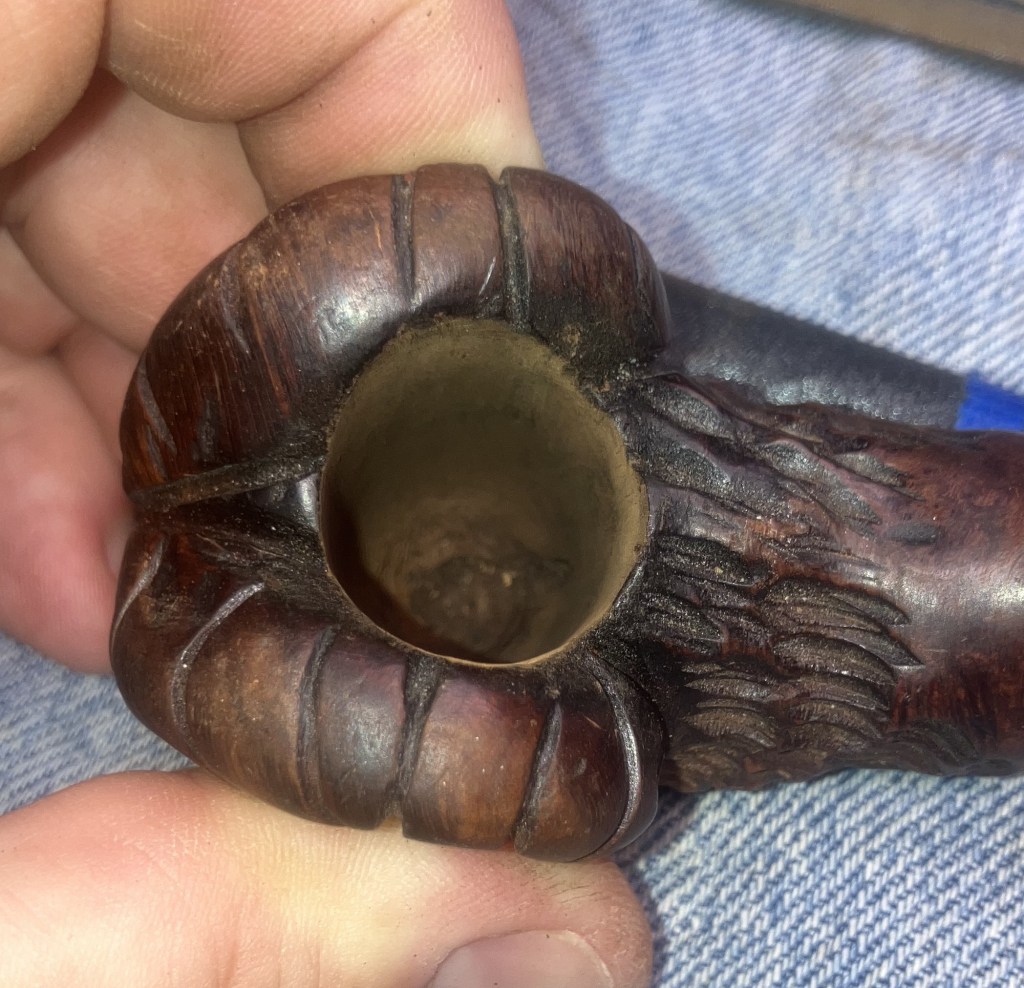
Once sanded the interior of the tobacco chamber looked to be in great shape.
I used a dental scraper to scrape the airway of the shank.
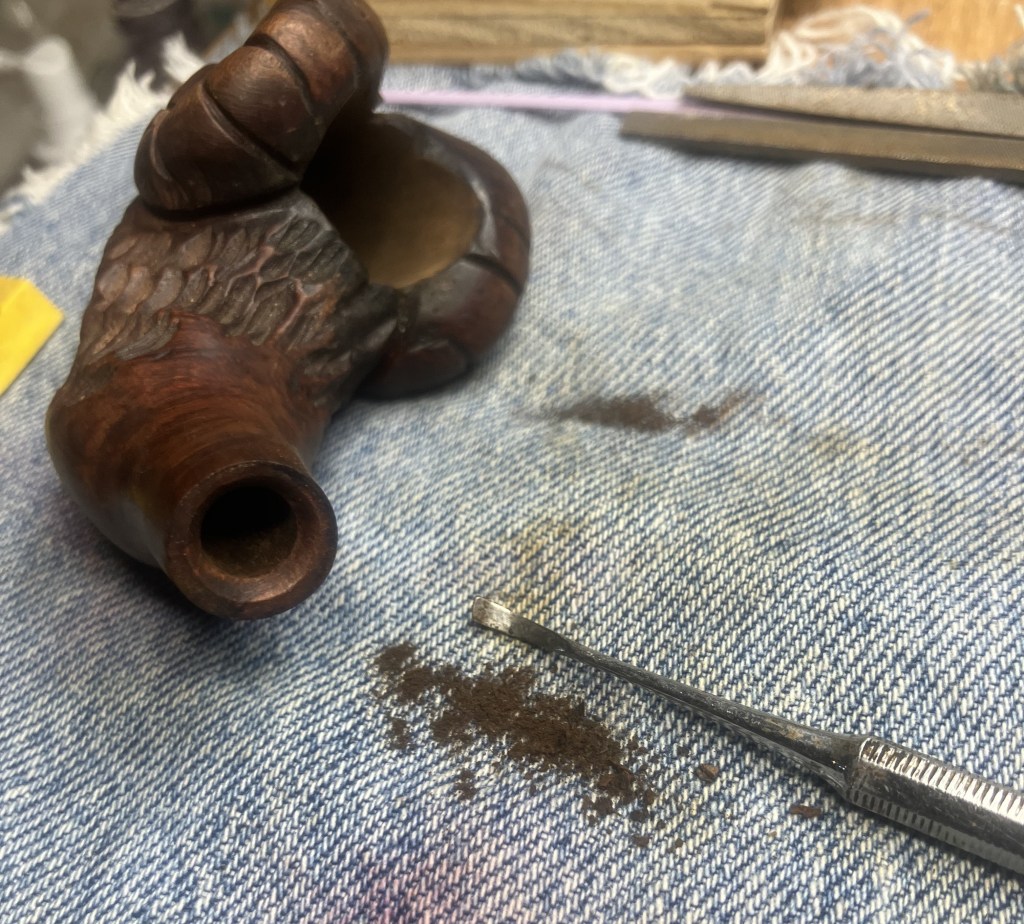
The shank was then cleaned with numerous cotton swabs dipped in 95% ethyl alcohol.
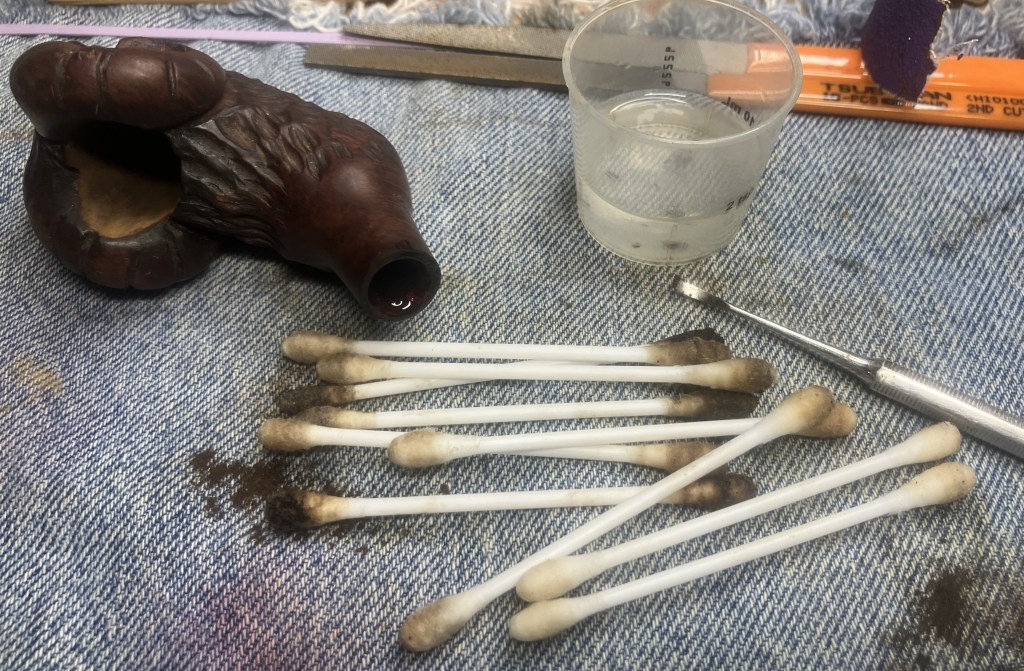
To the sink! I just like saying that. Here the stummel was scrubbed with a nylon brush and undiluted Murphy Oil Soap. The soap was rinsed with warm water and dried with a cotton hand towel.
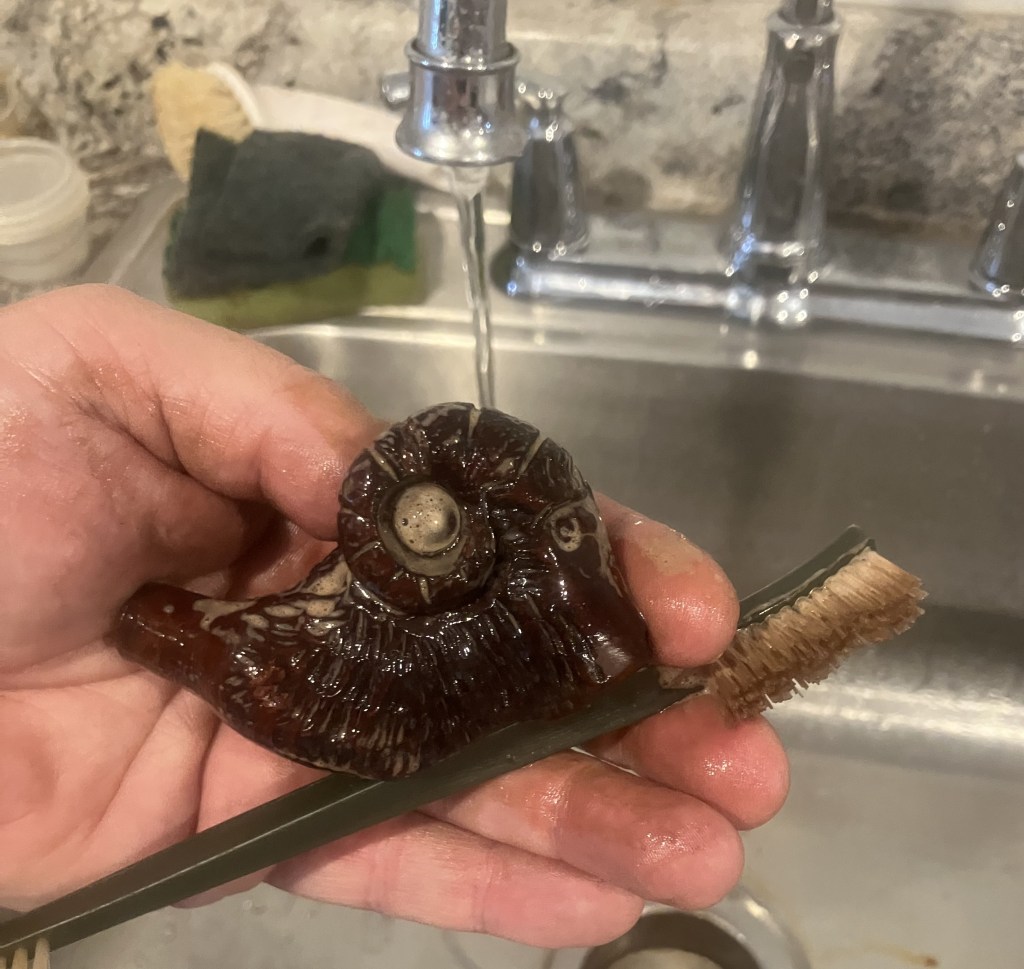
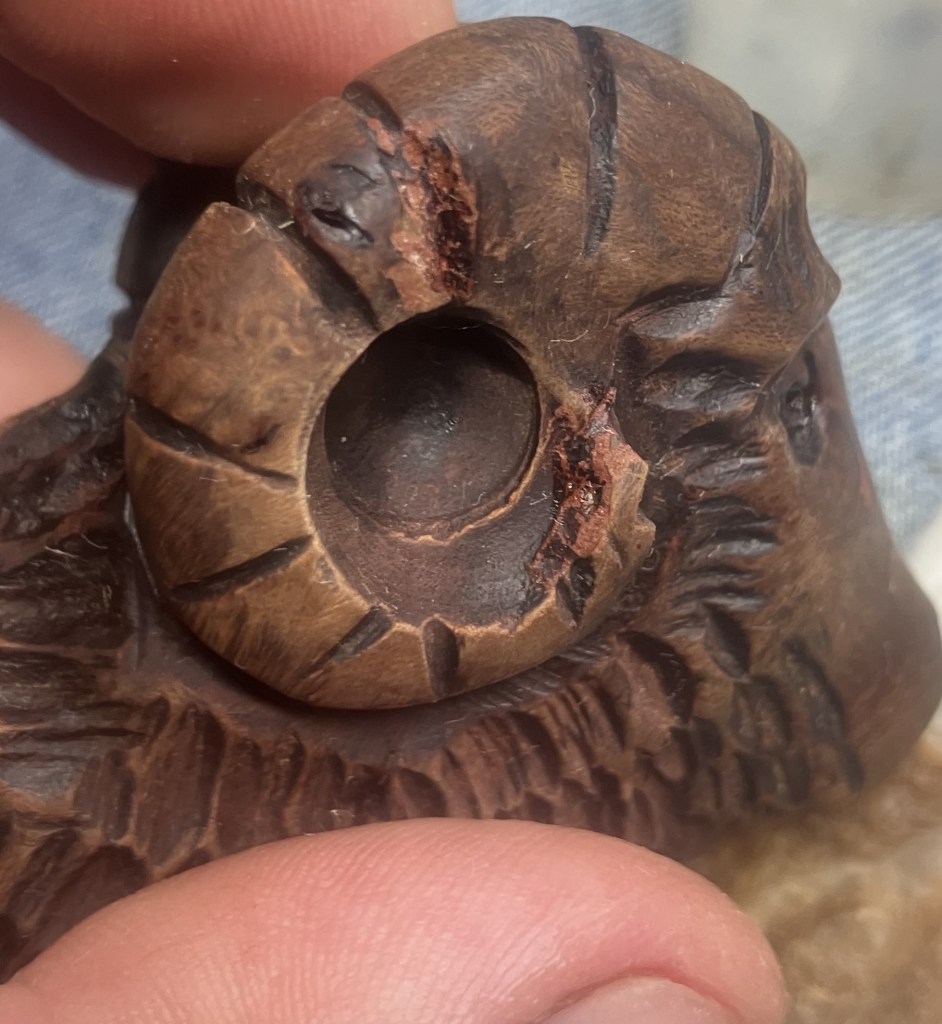
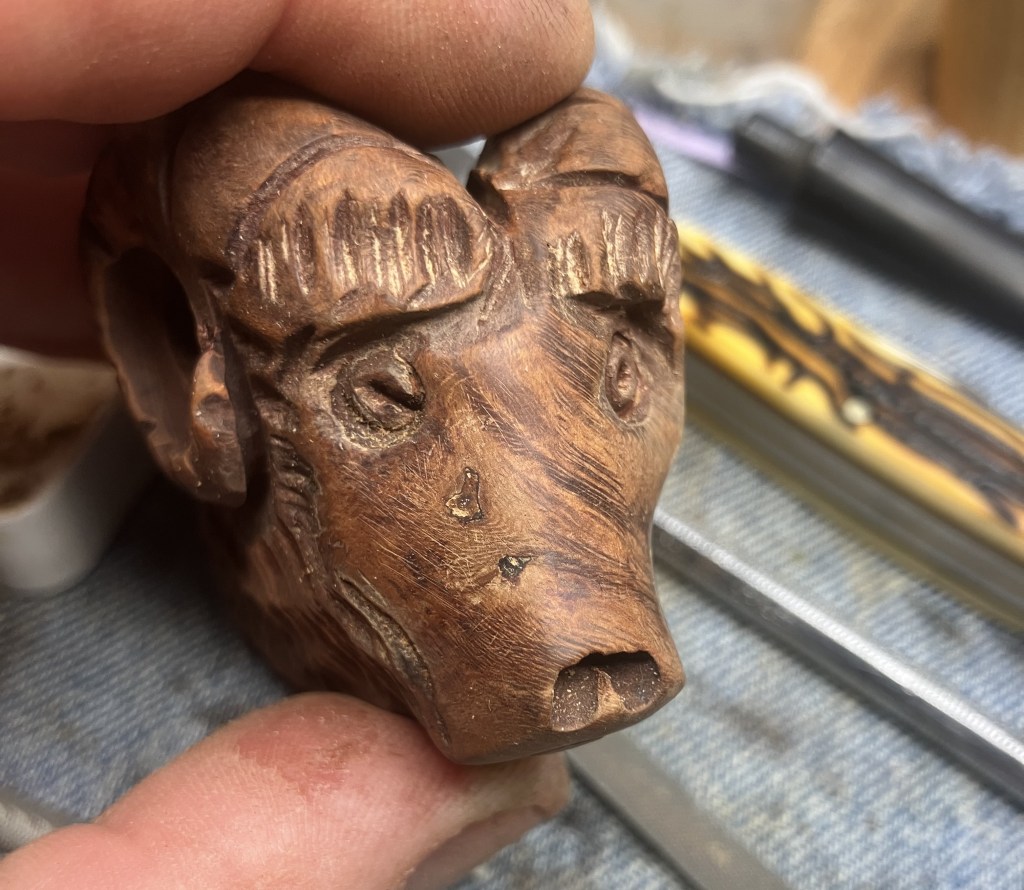
The stummel was looking better but the cleaning revealed the pink goo filler, seen here on the horn. Also, note the round pupil. Goats have those eerie rectangular pupils that give me the heebie-jeebies. If you are wondering,
Heebie-jeebies [ˌhiːbiˈdʒiːbiz]
Noun heebie-jeebies (plural noun) informal (the heebie-jeebies)
- a state of nervous fear or anxiety:
“it takes a lot more than a measly poltergeist to give me the heebie-jeebies”
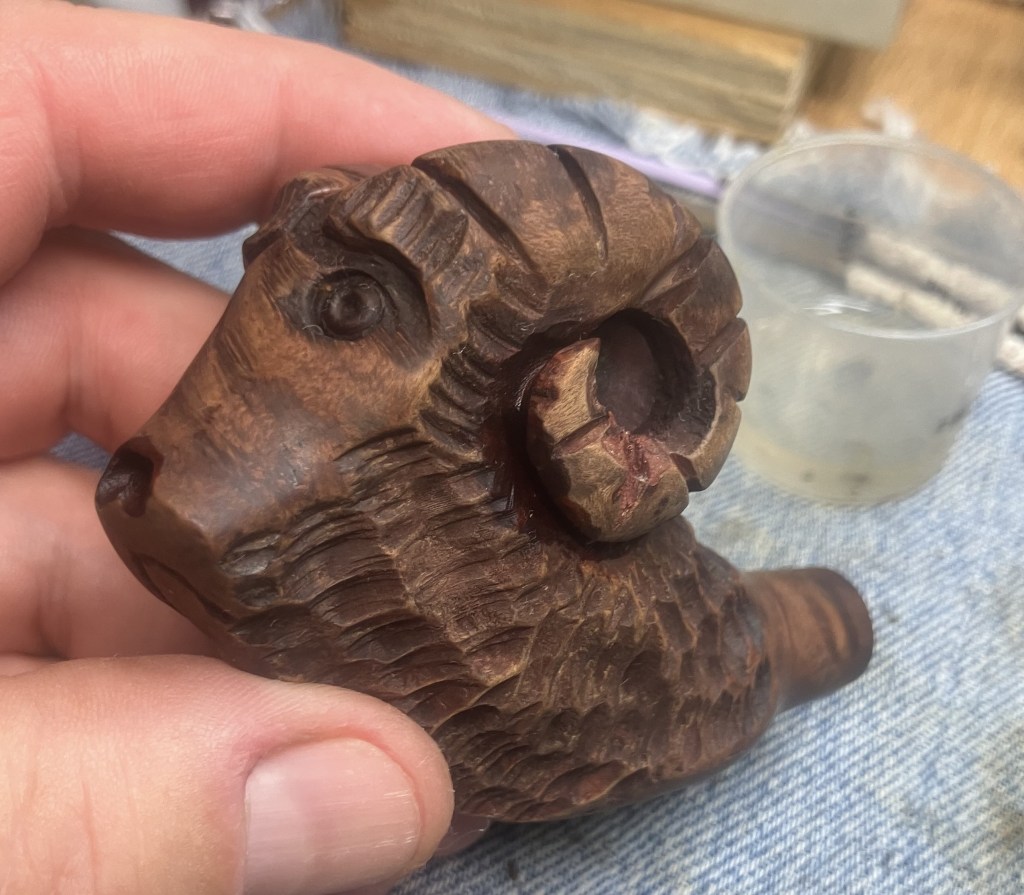
I wiped the stummel with a make-up pad dipped in ethyl alcohol to further remove any remaining grime, wax, yuck, etc…
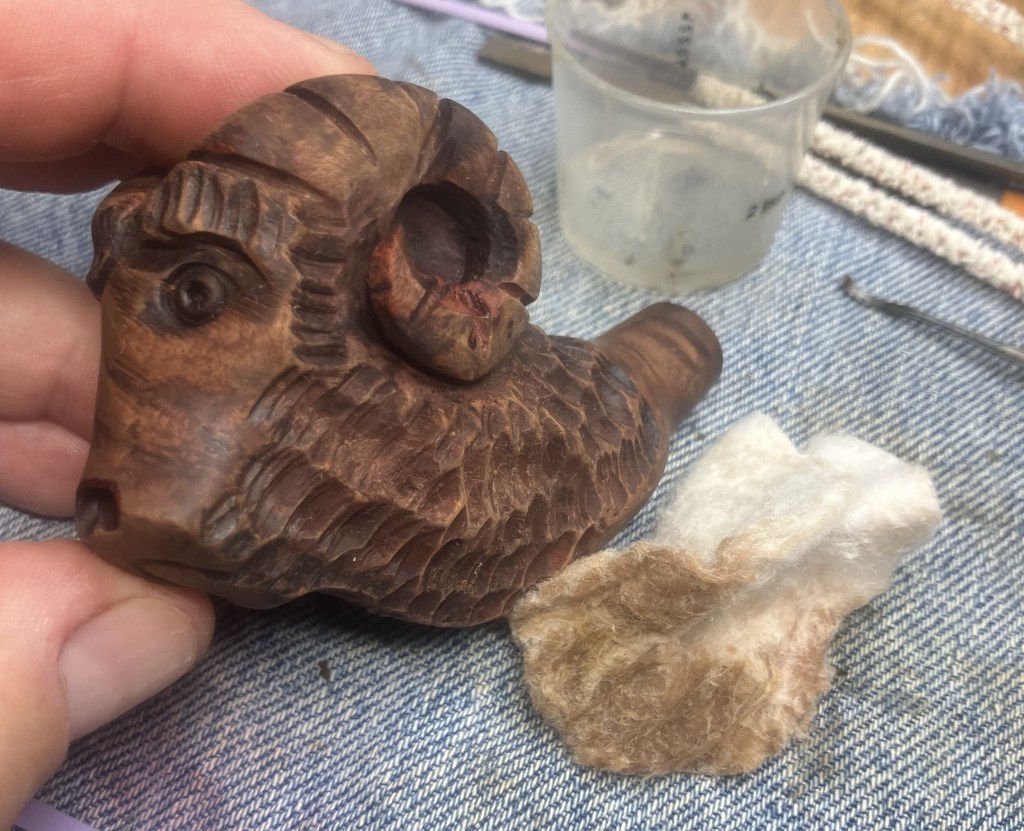
On the other side there were a couple of fills on the muzzle and the opposite horn. At least this side has a more appropriate pupil.
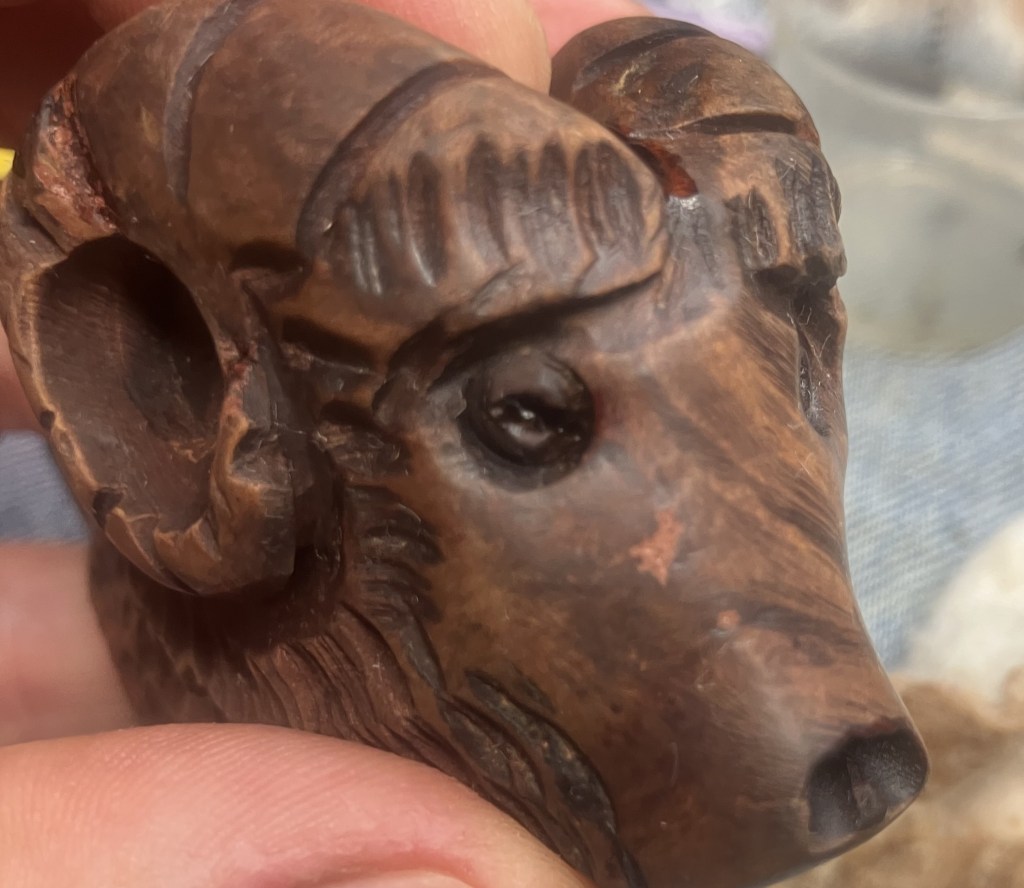
Here’s a close up of the fills on the horn.
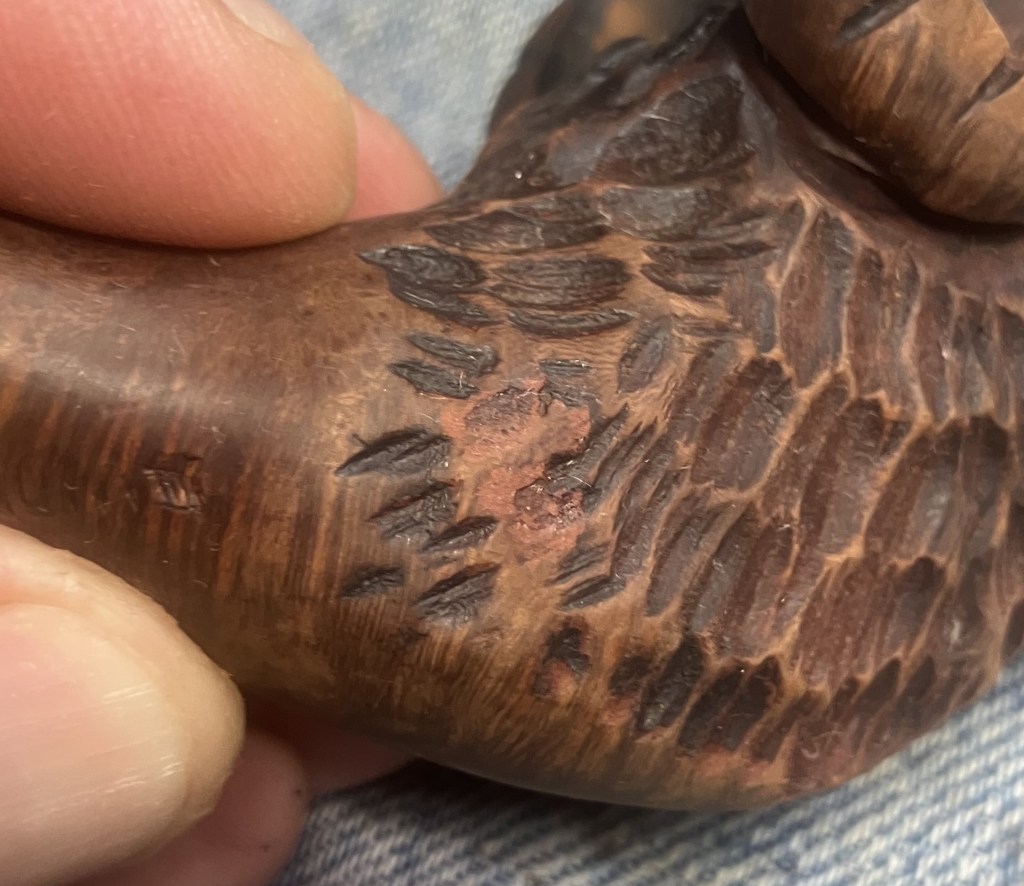
And another area on the right side of the neck/shank.
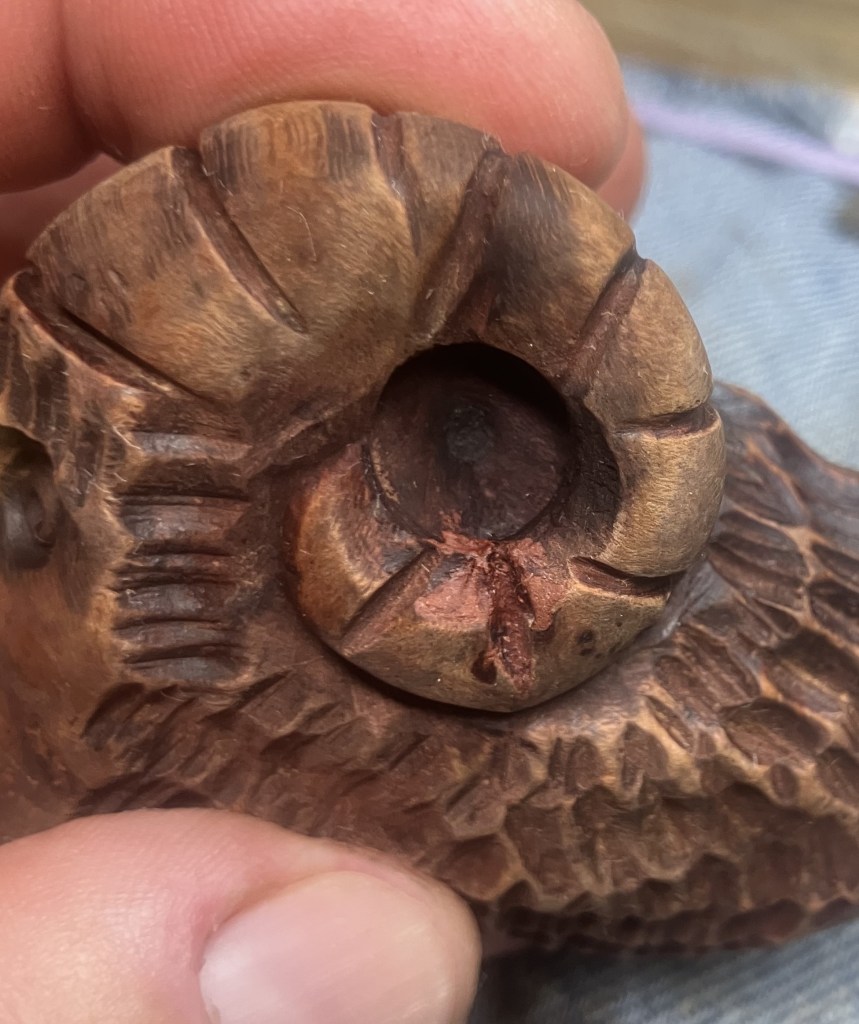
Left side horn.
Here is the underside with a filled sand pit.
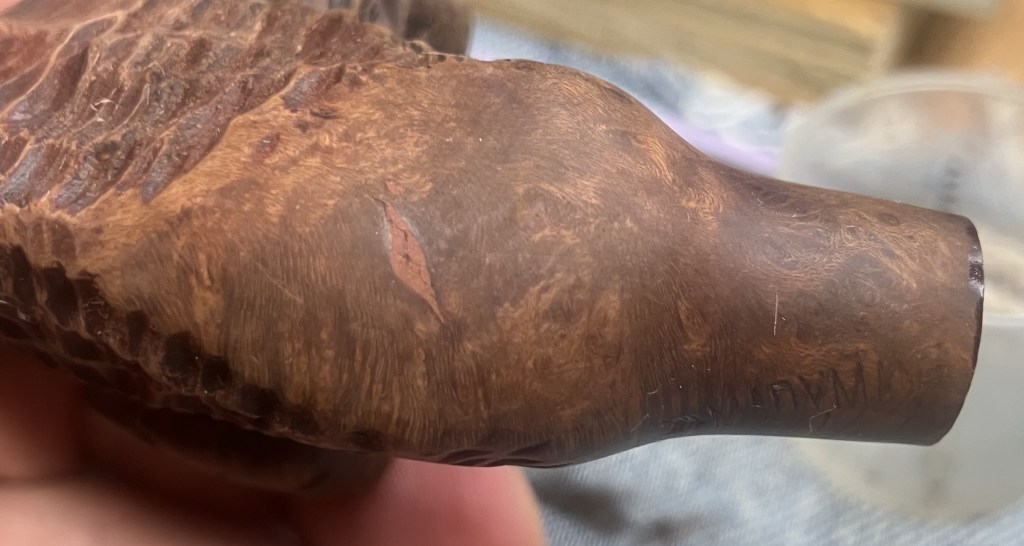
I used acetone applied with a cotton swab to soften the fills and picked the old fill from the briar.
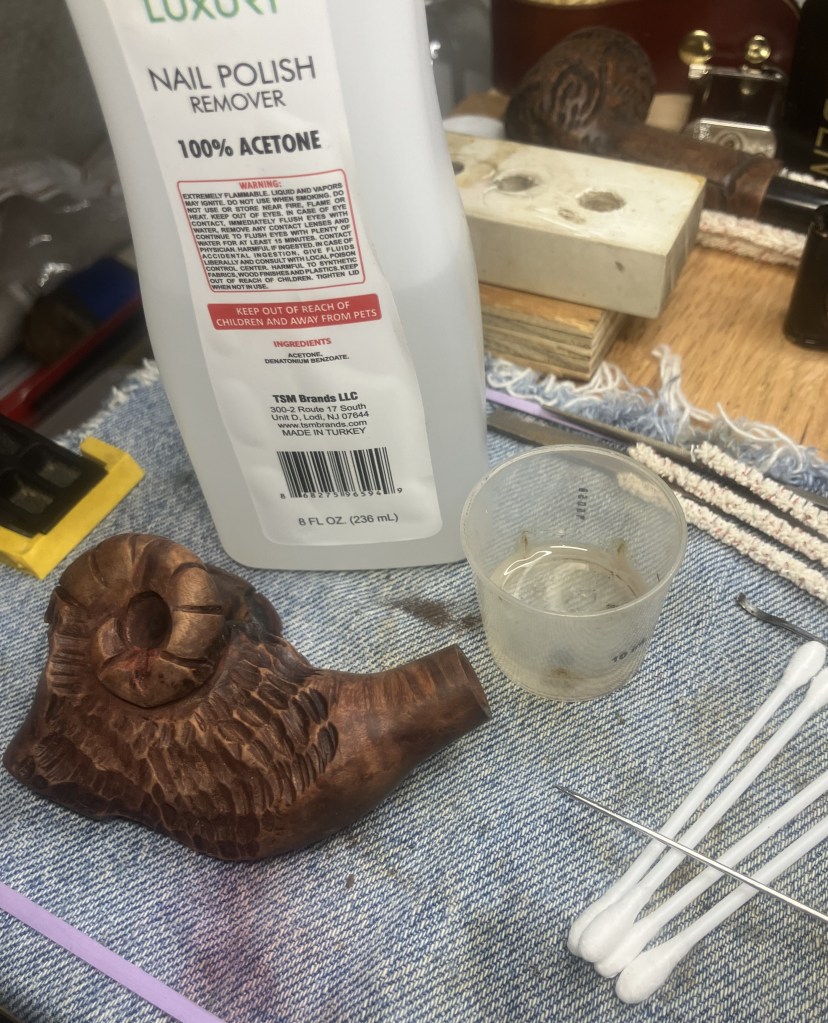
The below photo shows the results of the acetone/picking fill removal.
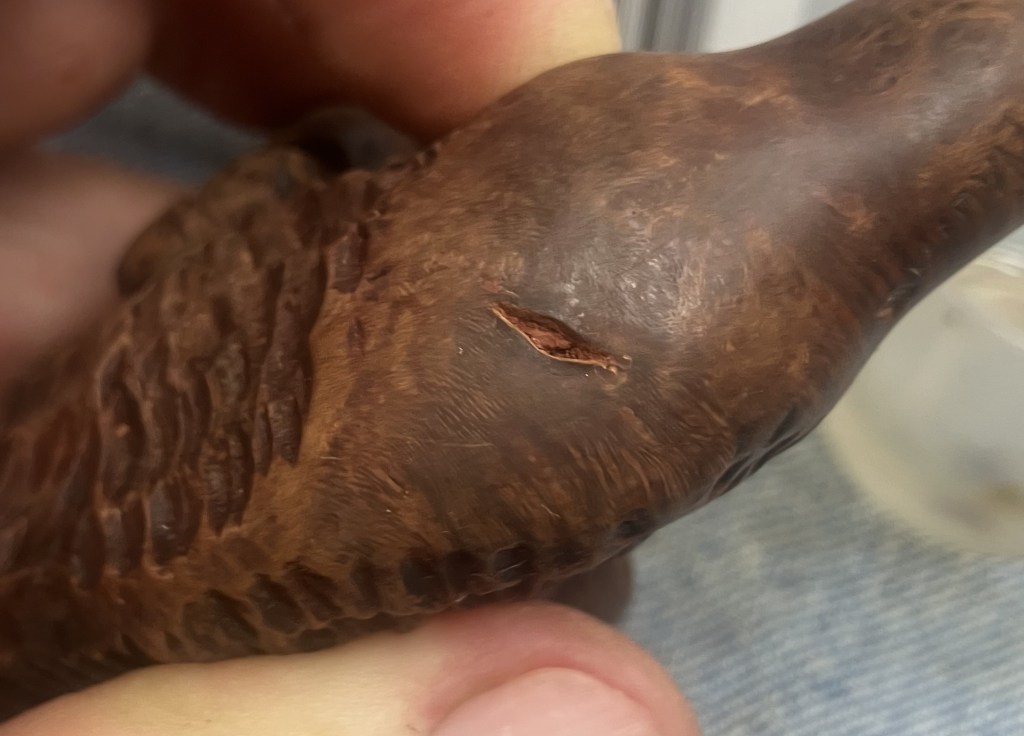
That was where I started my bout with norovirus. Typically a case of gastroenteritis lasts 2-3 days. My atypical case continued for 3 weeks. I’ll save you the details as I would like to forget them, myself. The fishing that occurred on the break from blogging was far more enjoyable than the illness. It even included one 1st place win for my partner and I in a local catfishing tournament.
Intermission over, return to the restoration.
Upon returning to work on this pipe, I wanted to smooth out the carvings in the filled area. To do this I used a sharp carving bit in my Dremel rotary tool. The stummel was taken to the back deck where the sun better lit the work.
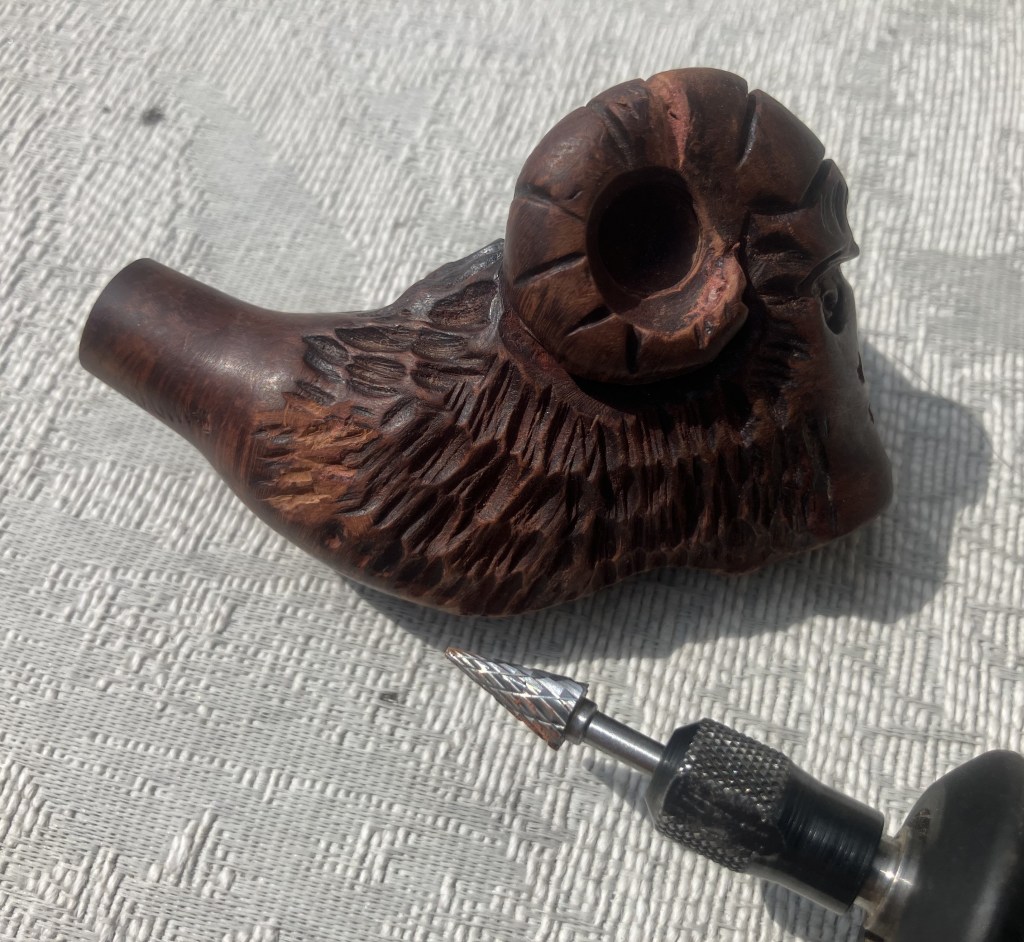
The sun did well to light the work but it made for more difficult photography. Apologies for the poor quality of photos.
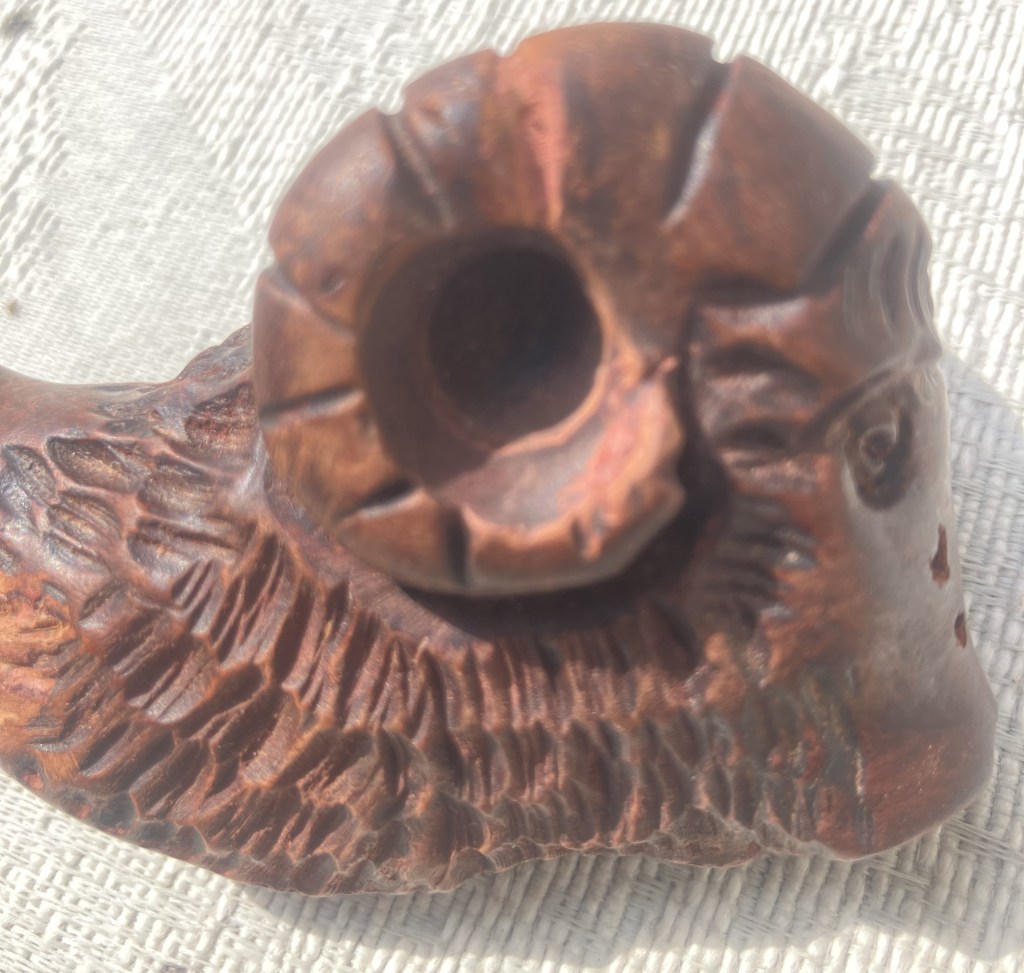
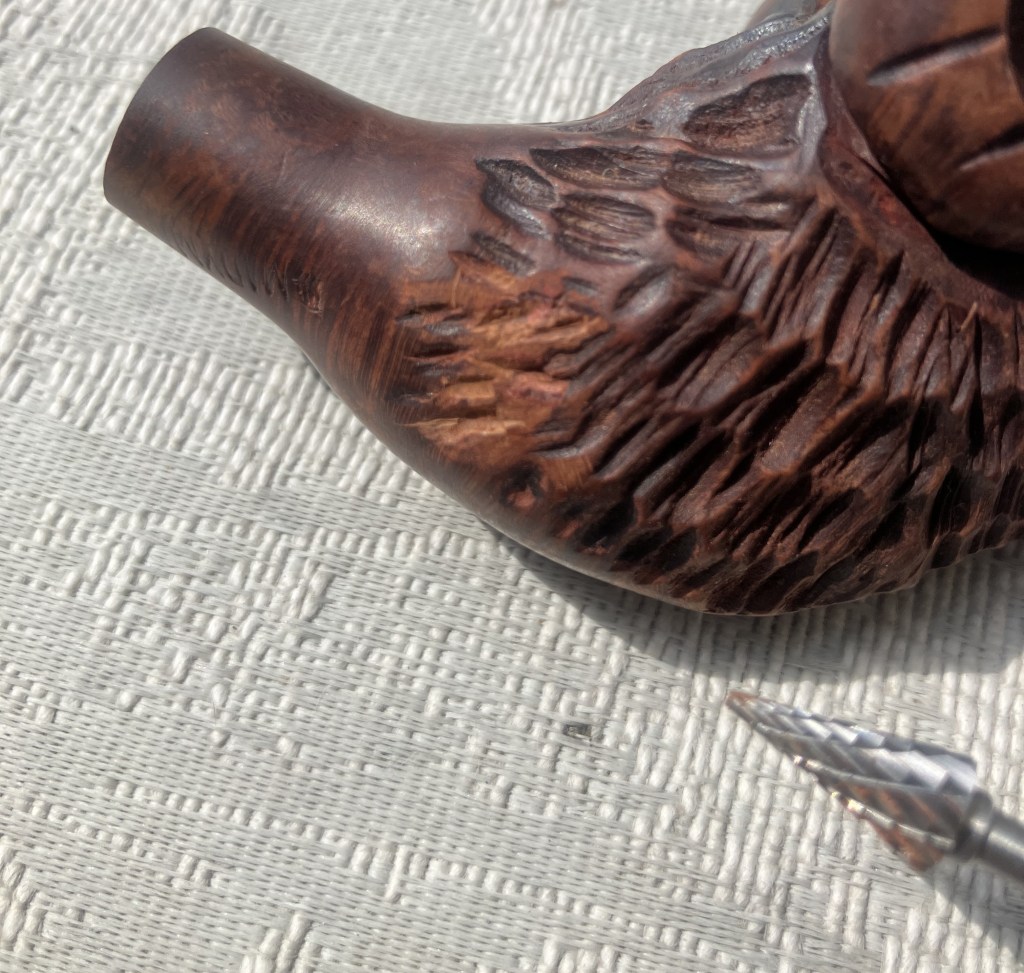
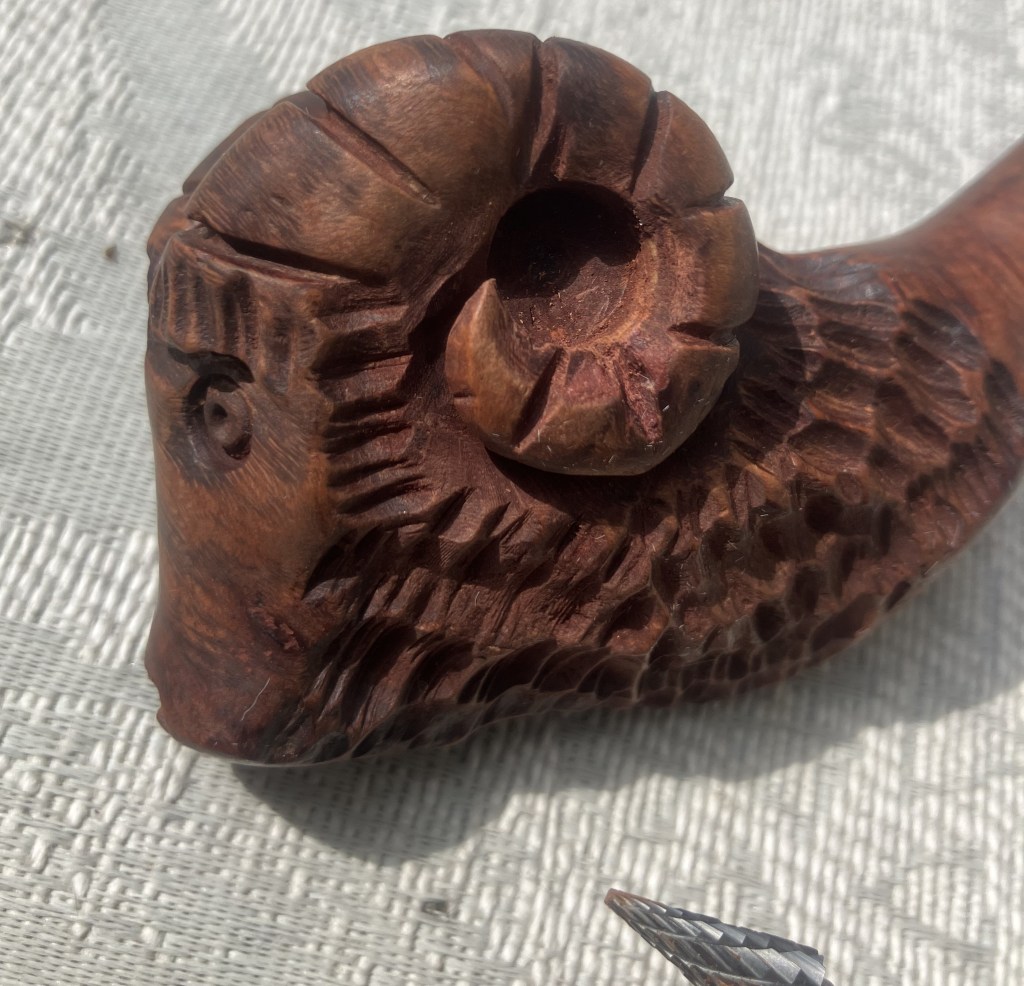
This one turned out better and shows the left horn recarved.
To the sink! Nice, I got to say that again. The stummel was scrubbed again. Partially because I had forgotten that I had already done it but also to remove any of the fine fill and briar dust from the recarving.
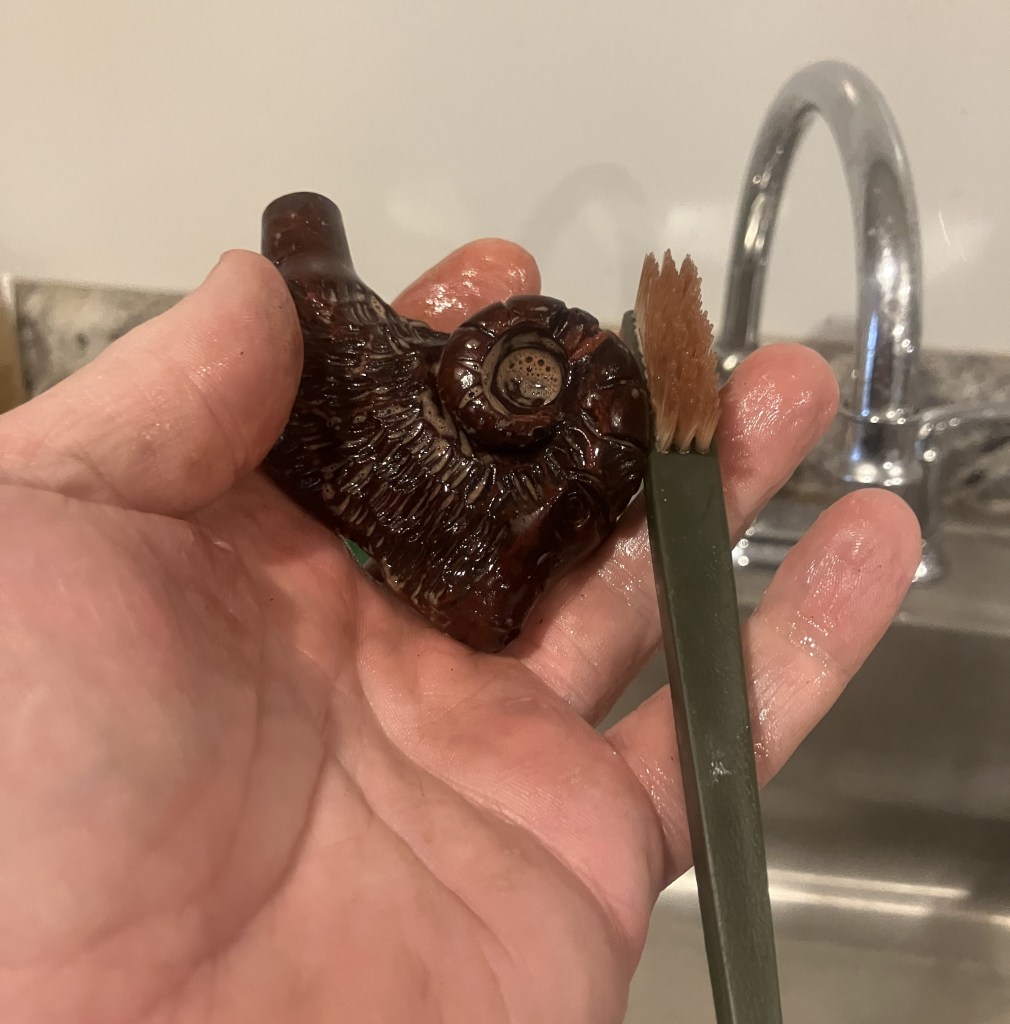
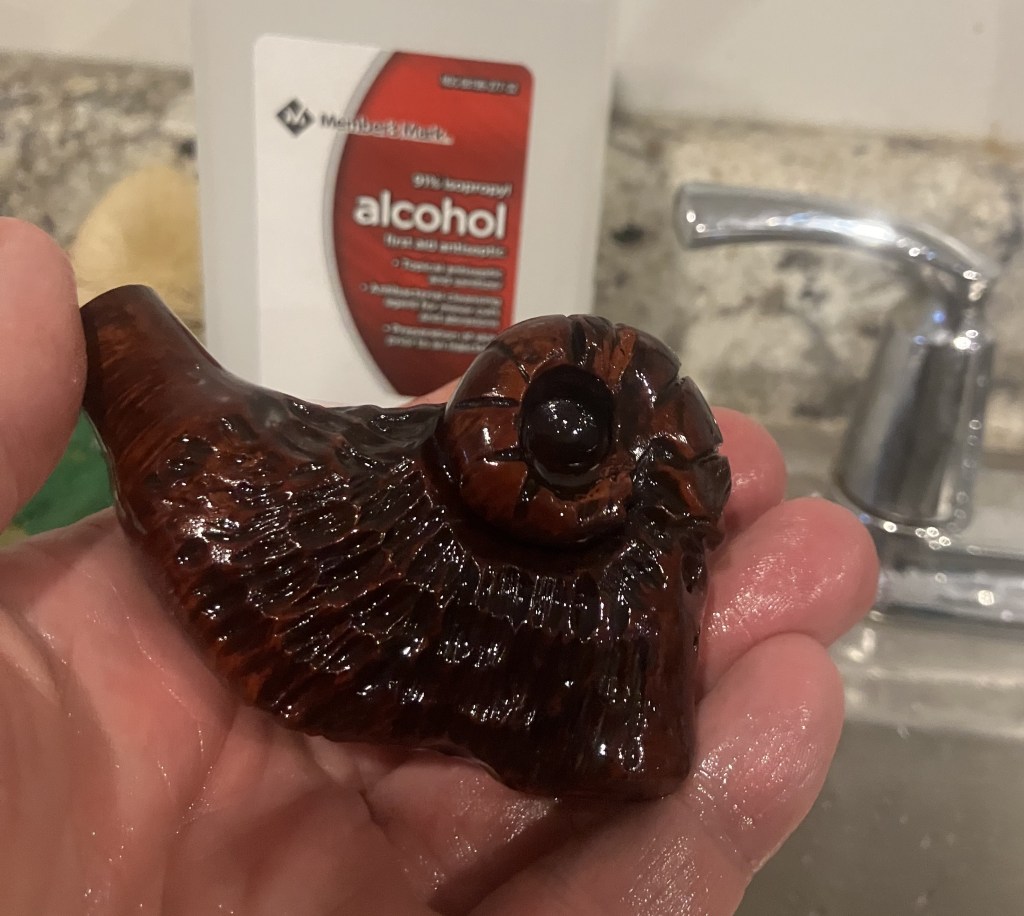
I then scrubbed the stummel with 91% isopropyl alcohol.
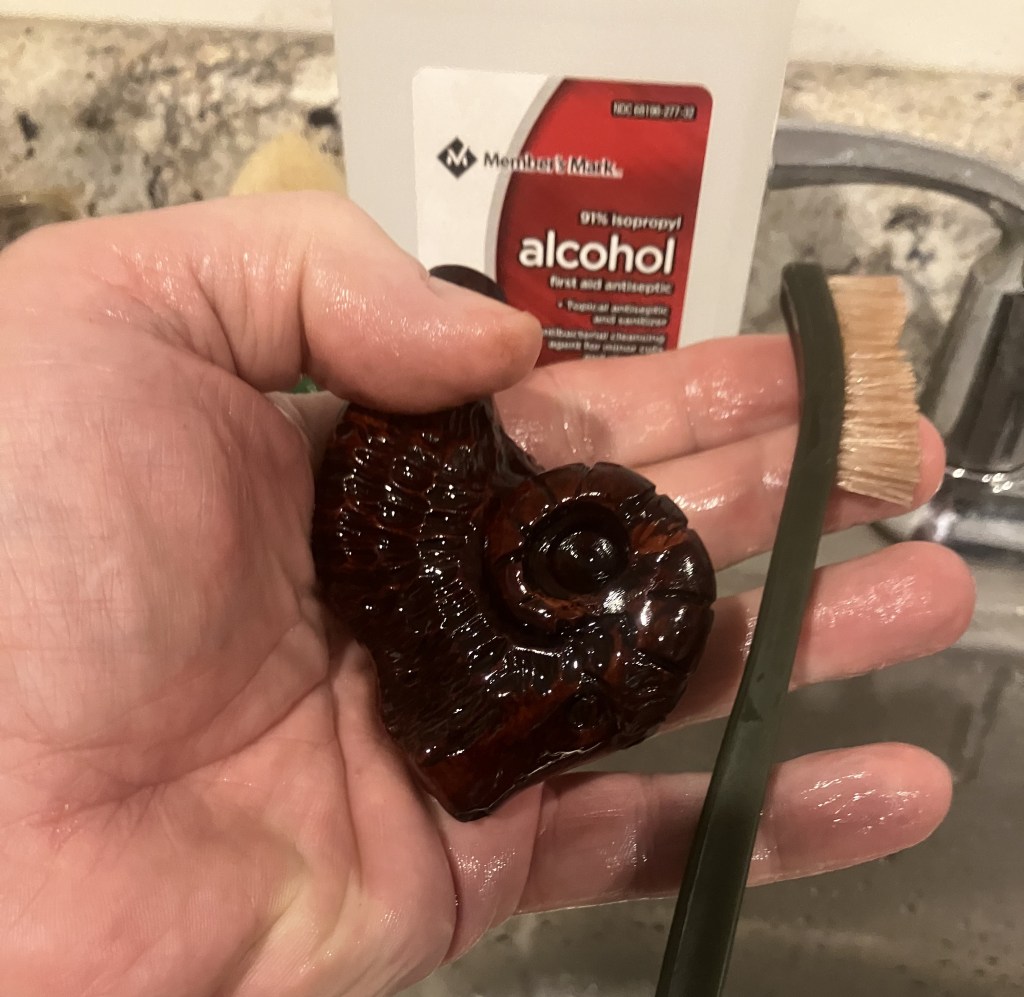
The stummel looked better with less pink filler.
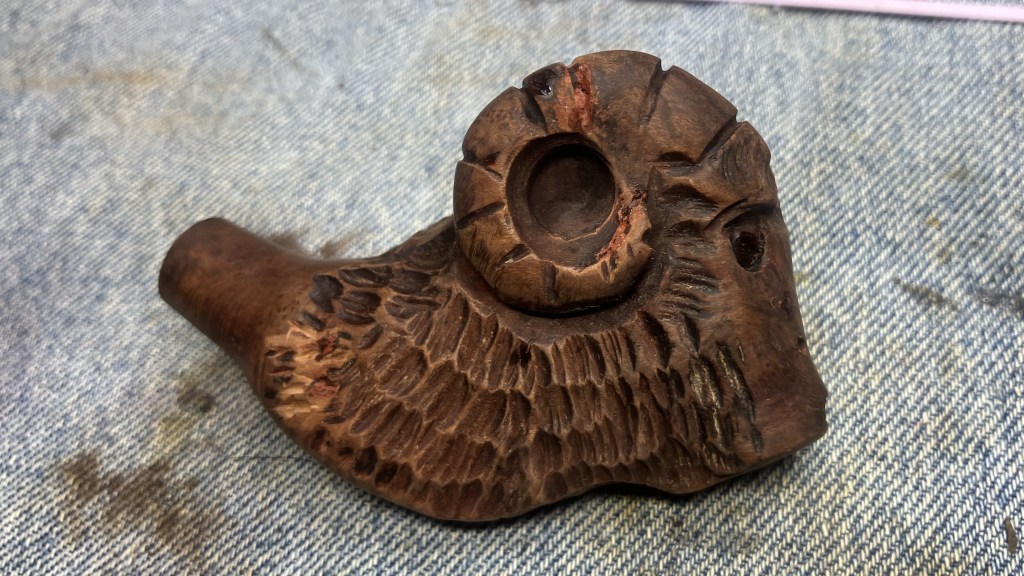
I wondered if Oxalic acid would bleach the darker colored briar and help to lessen the contrast between the pink goo filler and the wood.
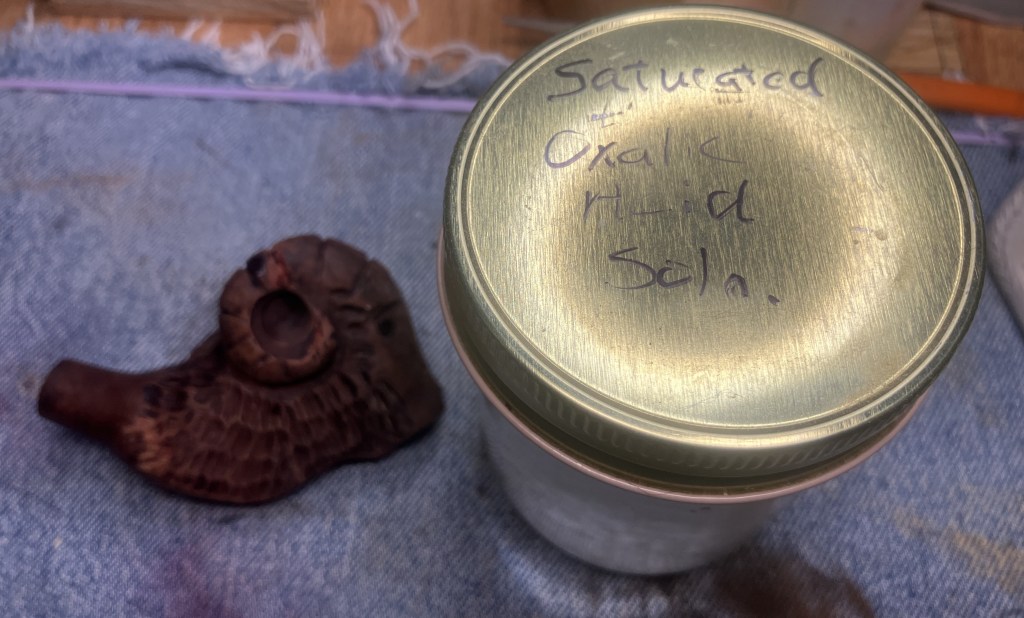
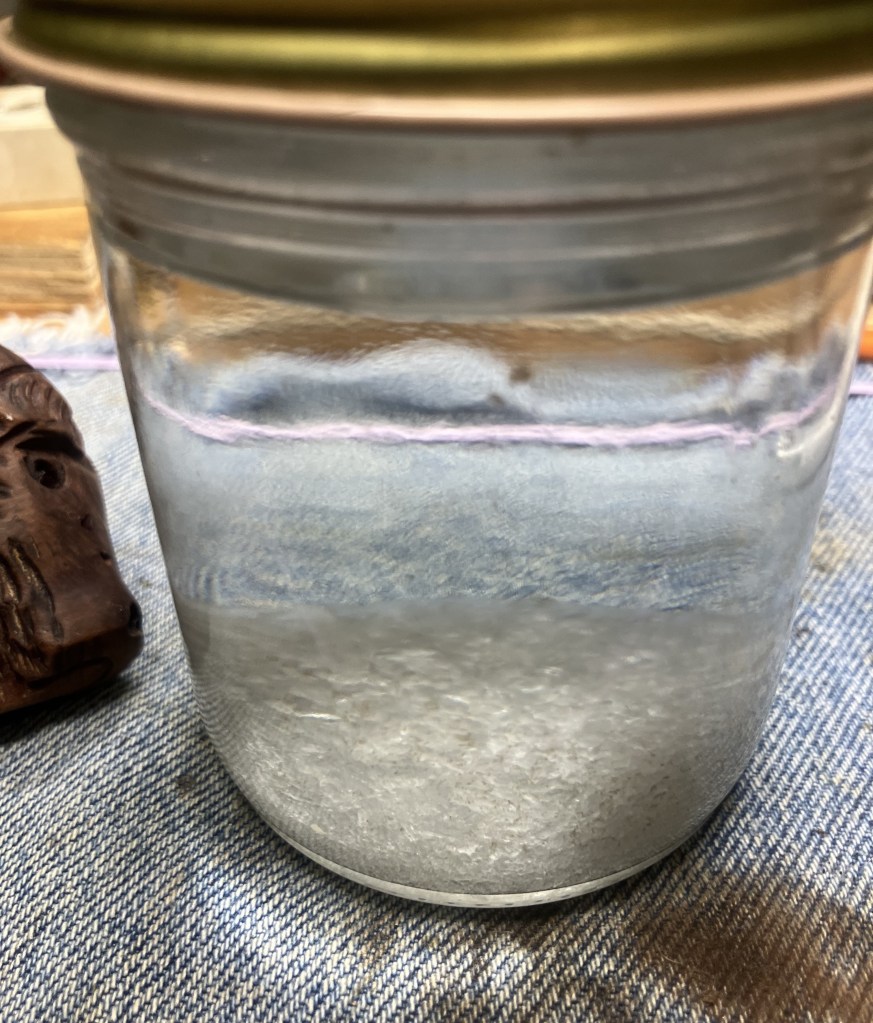
The oxalic acid solution has a great shelf life and the crystals at the bottom of the jar told me it was still very saturated.
The oxalic acid solution was scrubbed into all of the crevasses of the stummel using the nylon brush. I put on a nitrile glove for this step.
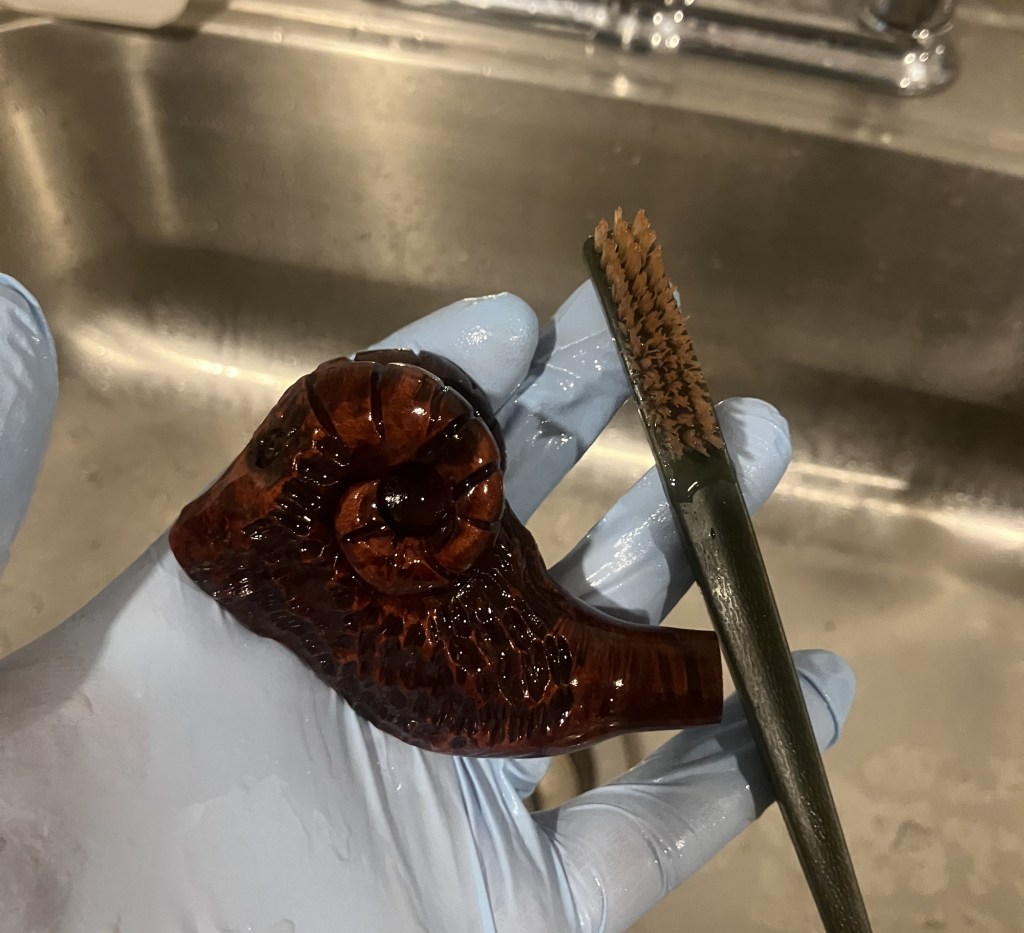
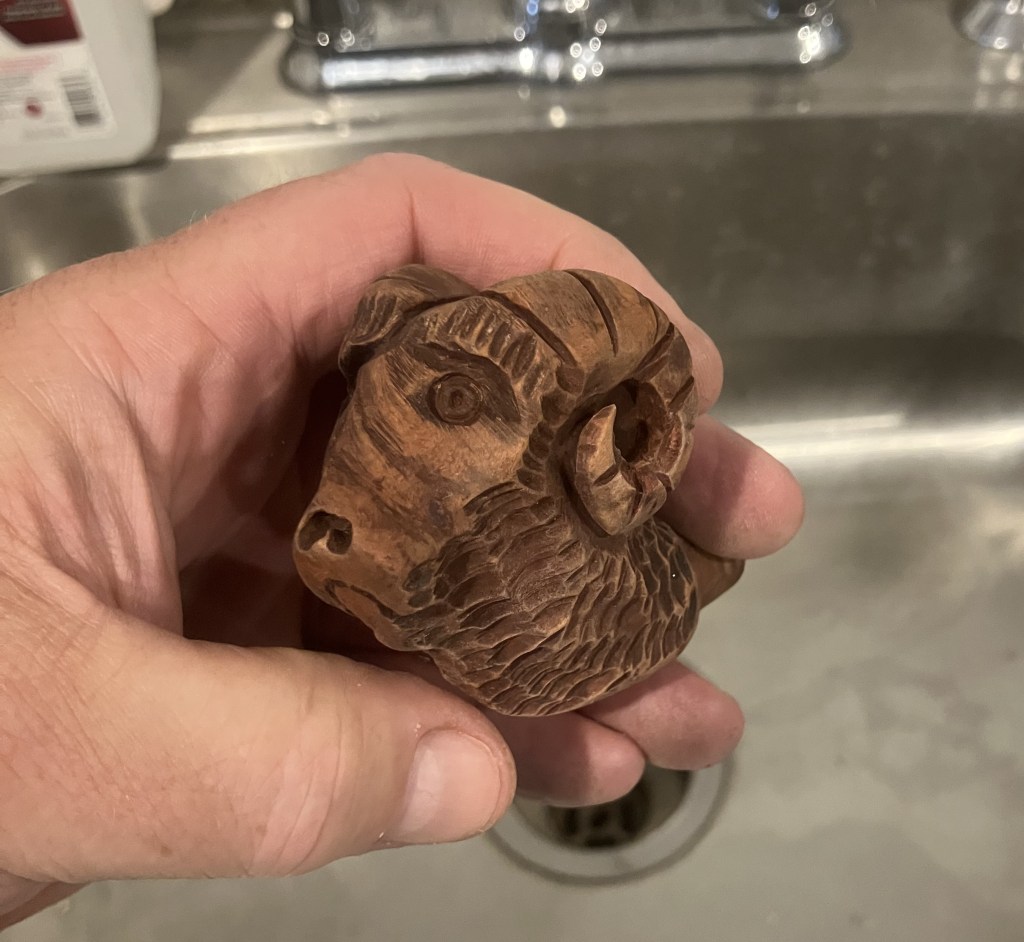
The oxalic acid solution was allowed to dry for approximately 30 minutes. Once dried I thought that it had lightened the briar nicely. It was taken to the sink again for another scrubbing and extended rinsing with warm water.
This was followed by another scrubbing with 91% isopropyl alcohol.
The stummel was then placed outside in the sun to evaporate all of the alcohol.
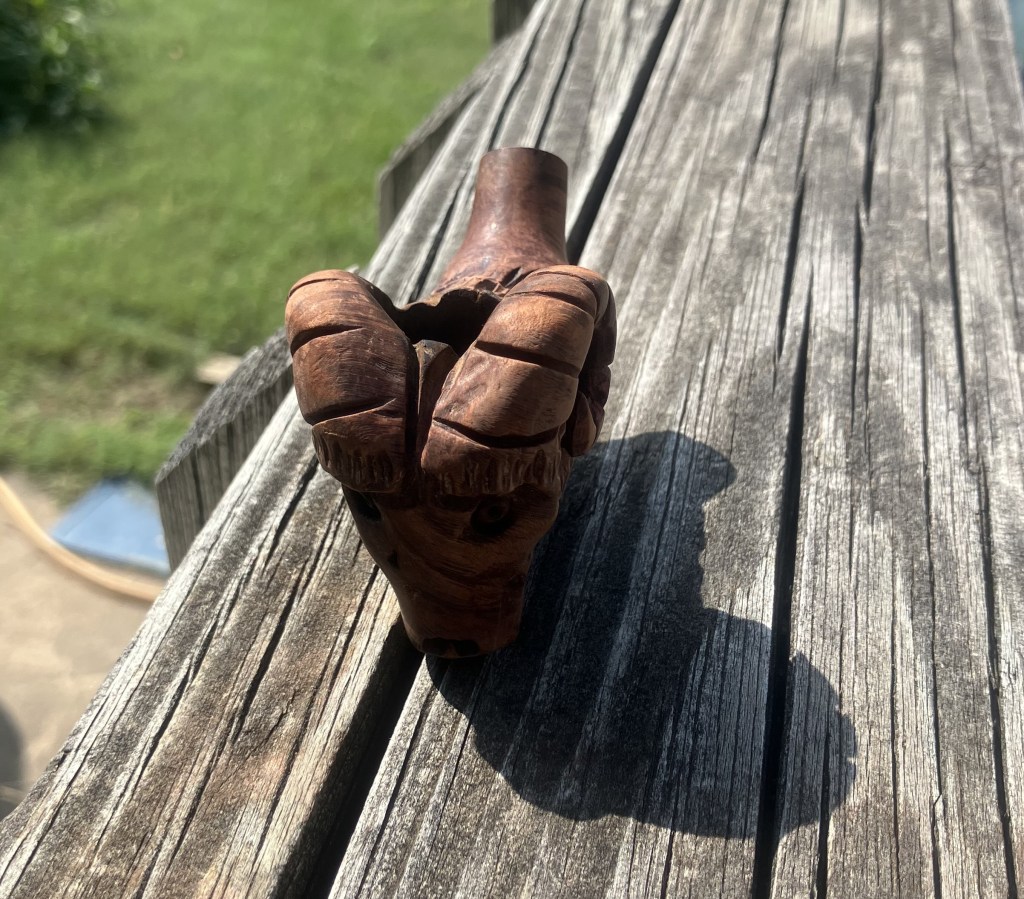
Below are side-by-side photos of the before and after oxalic acid treatment.
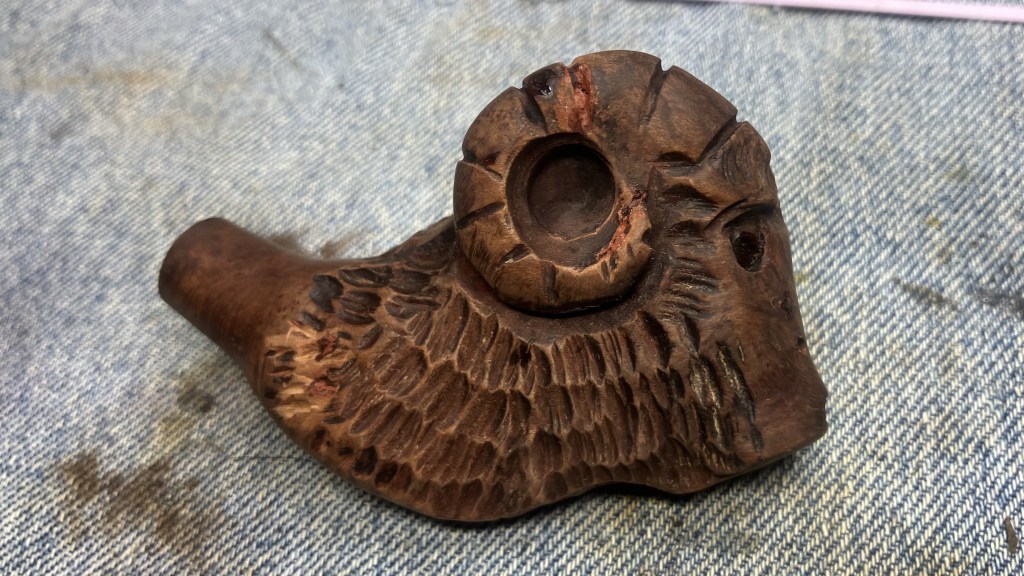
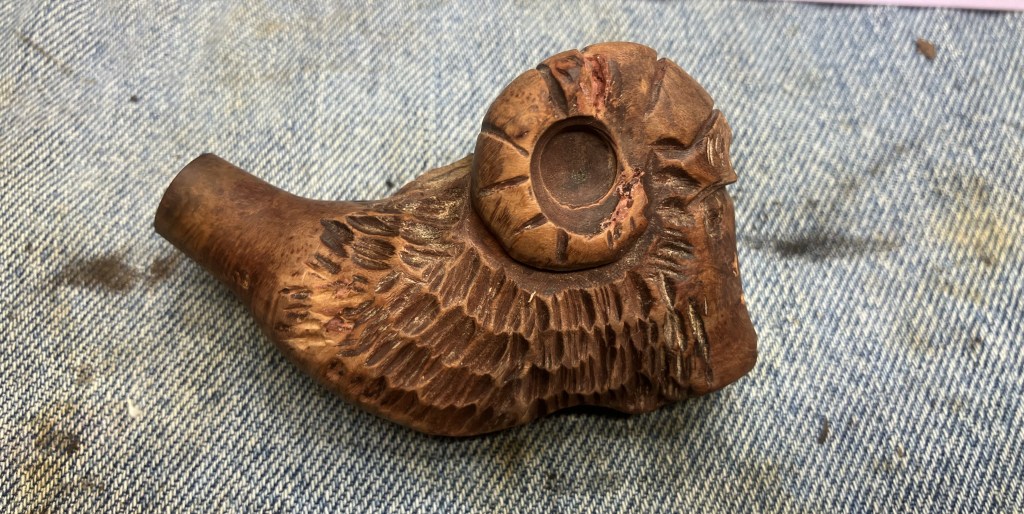
I cleaned the airway again. All of the scrubbing has further loosened some of the remaining residues in the airway.
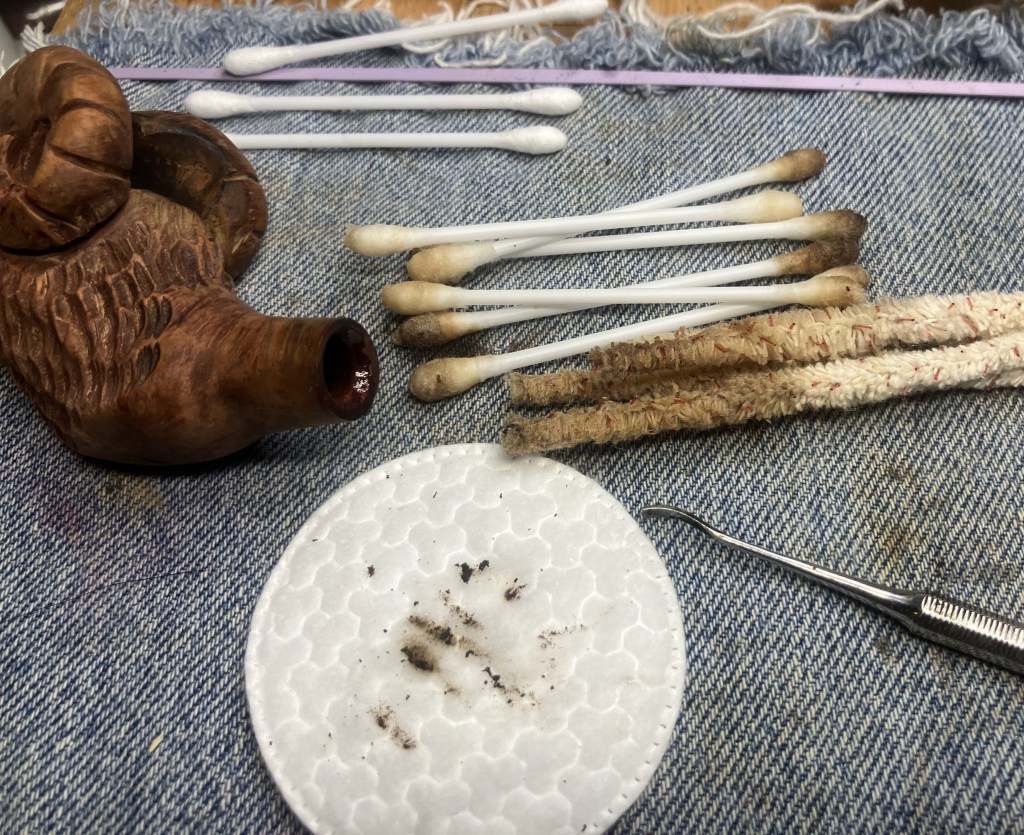
I also resanded the tobacco chamber. More because I had forgotten that I already did it than out of necessity.
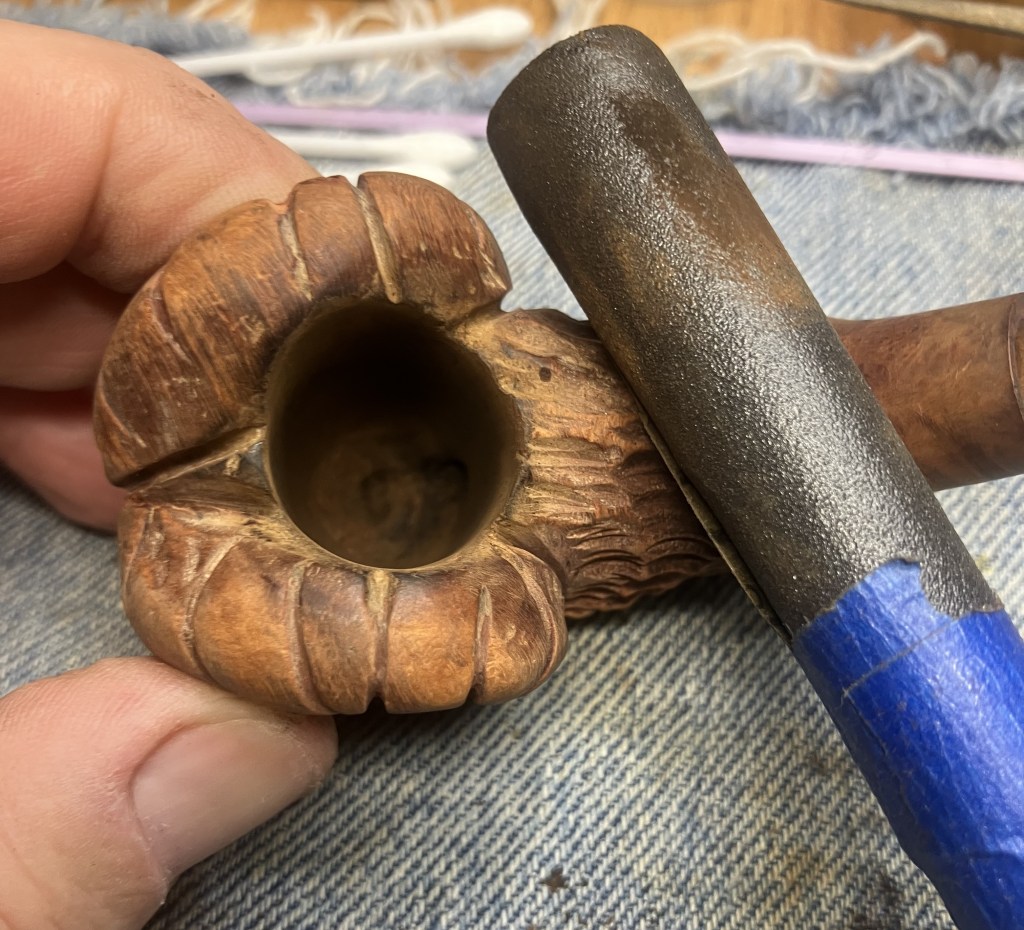
The stem was also recleaned.
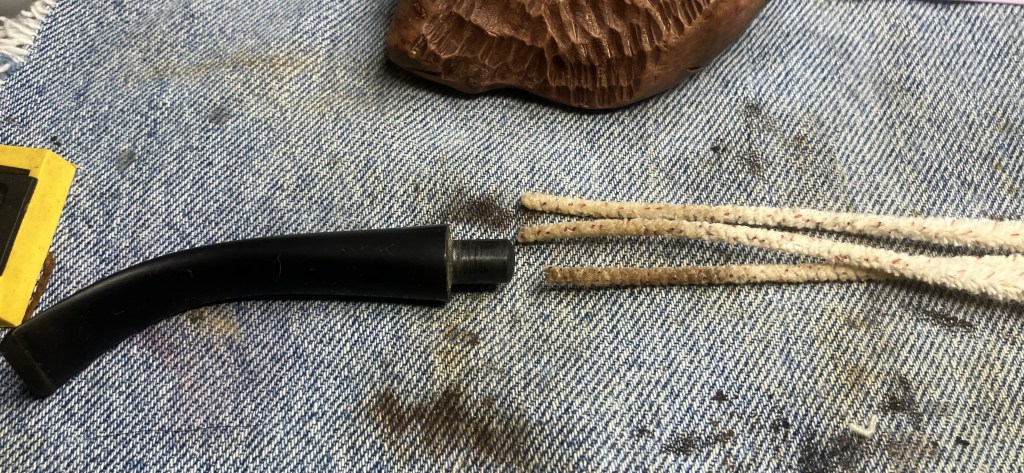
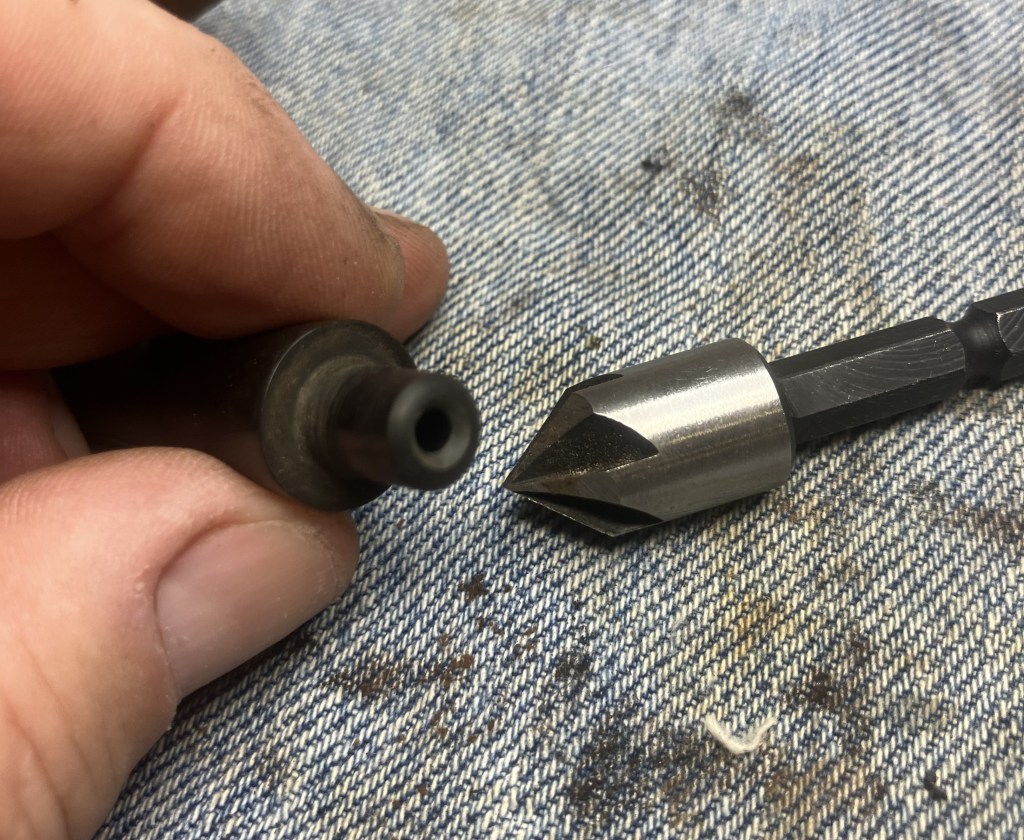
Upon testing the draw of the pipe, I noticed it had a slight hiss. I gave the tenon a bevel with a counter sick bit turned by hand. This reduced the hissing and made for a smoother draw.
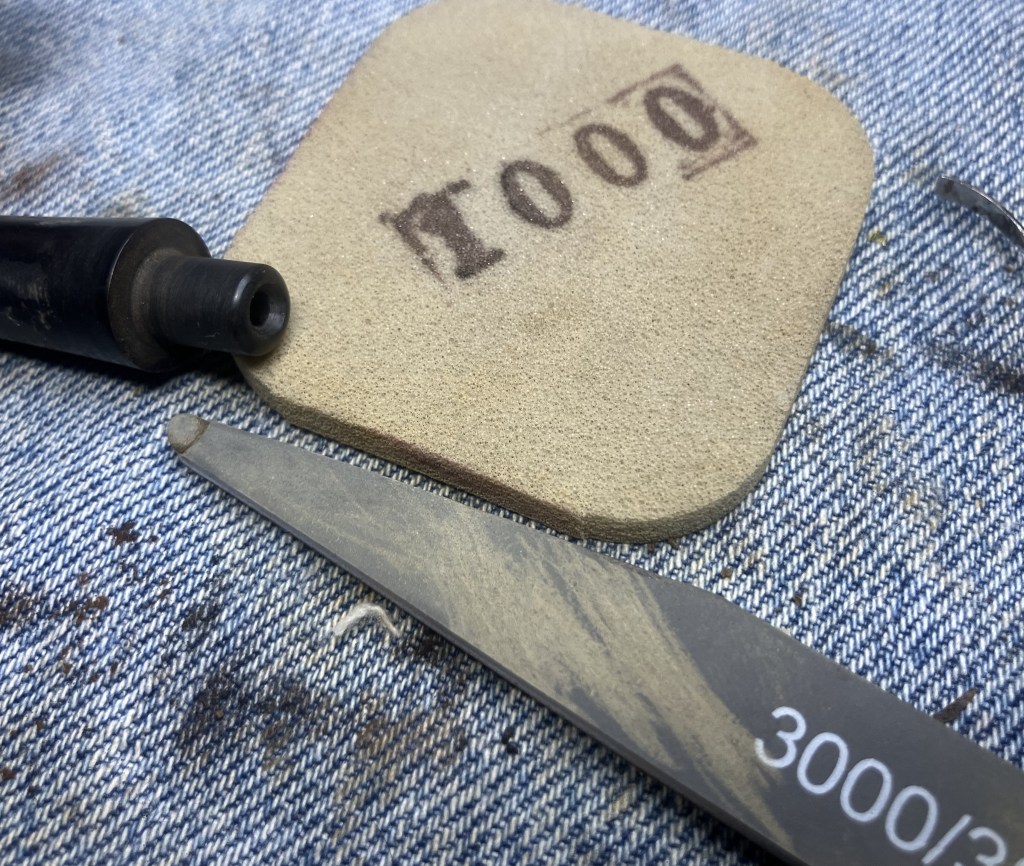
The tenon and bevel were polished with a 1000 grunt sanding sponge and a 3000 grit sanding stick.
Next came the refilling of the old fills. My Thin cyanoacrylate (CA, super glue) had thickened slightly over the sabbatical but it was still quite thin. I applied a tiny drop to a fly tying bodkin then used the bodkin to transfer the CA to the pit.
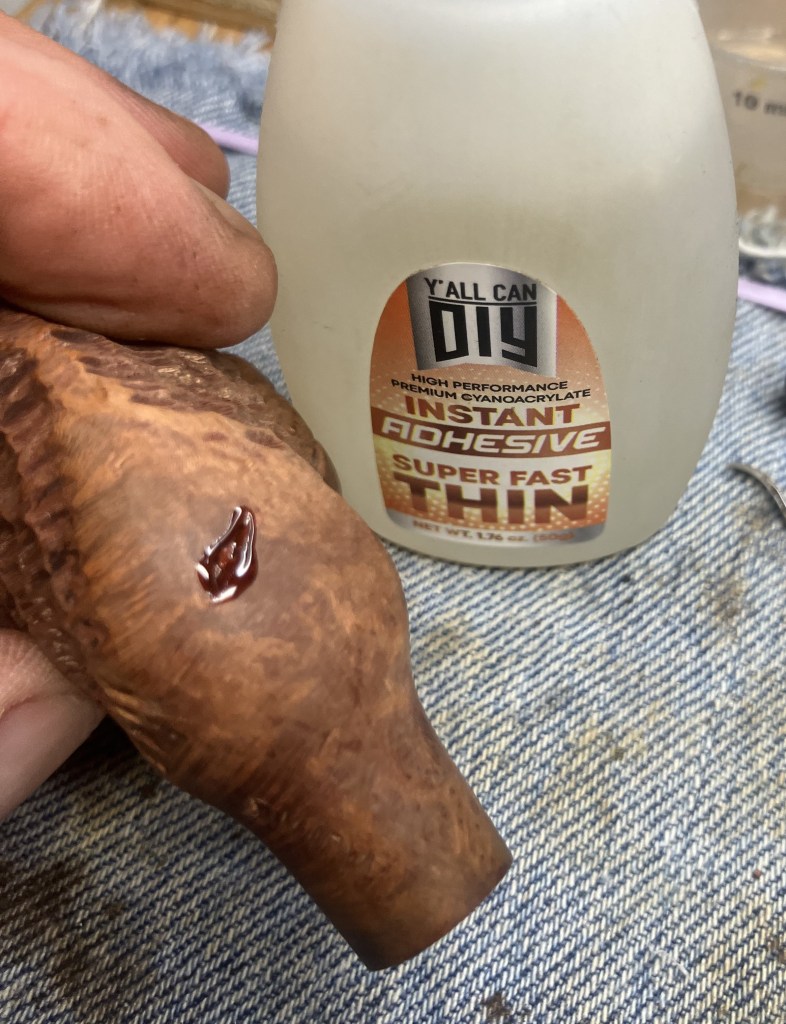
The pit, still wet with CA, was then covered with briar dust. This dust was pressed into the pit.
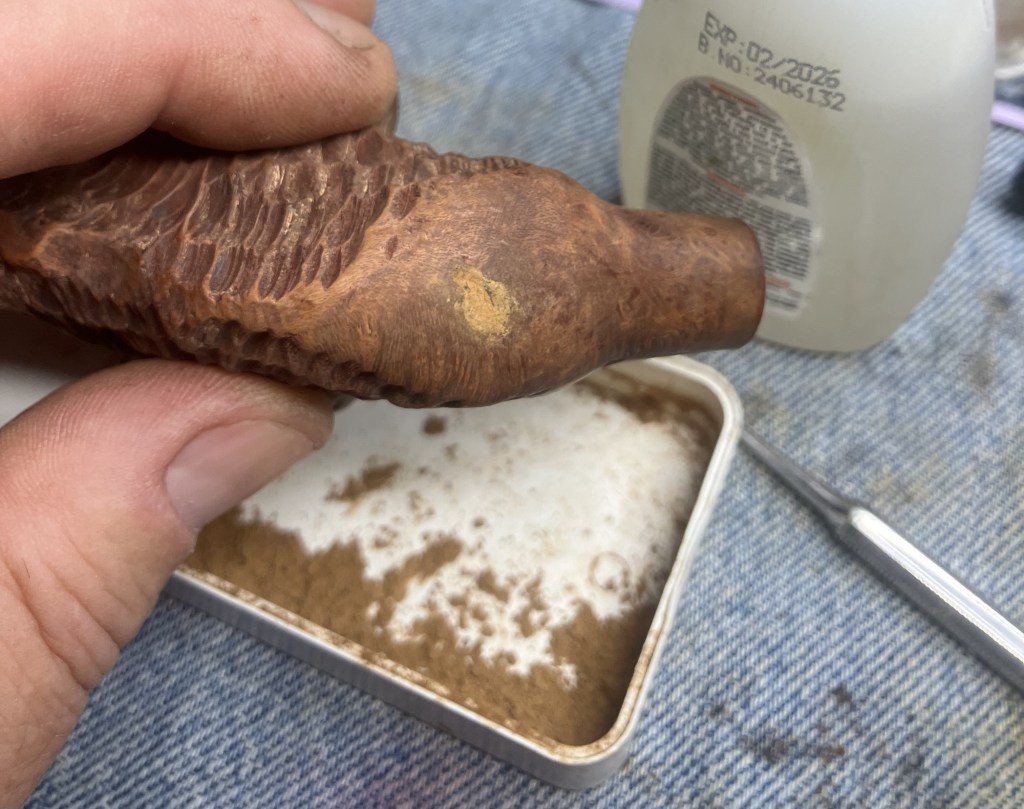
Additional Thin CA was applied to the briar dust.
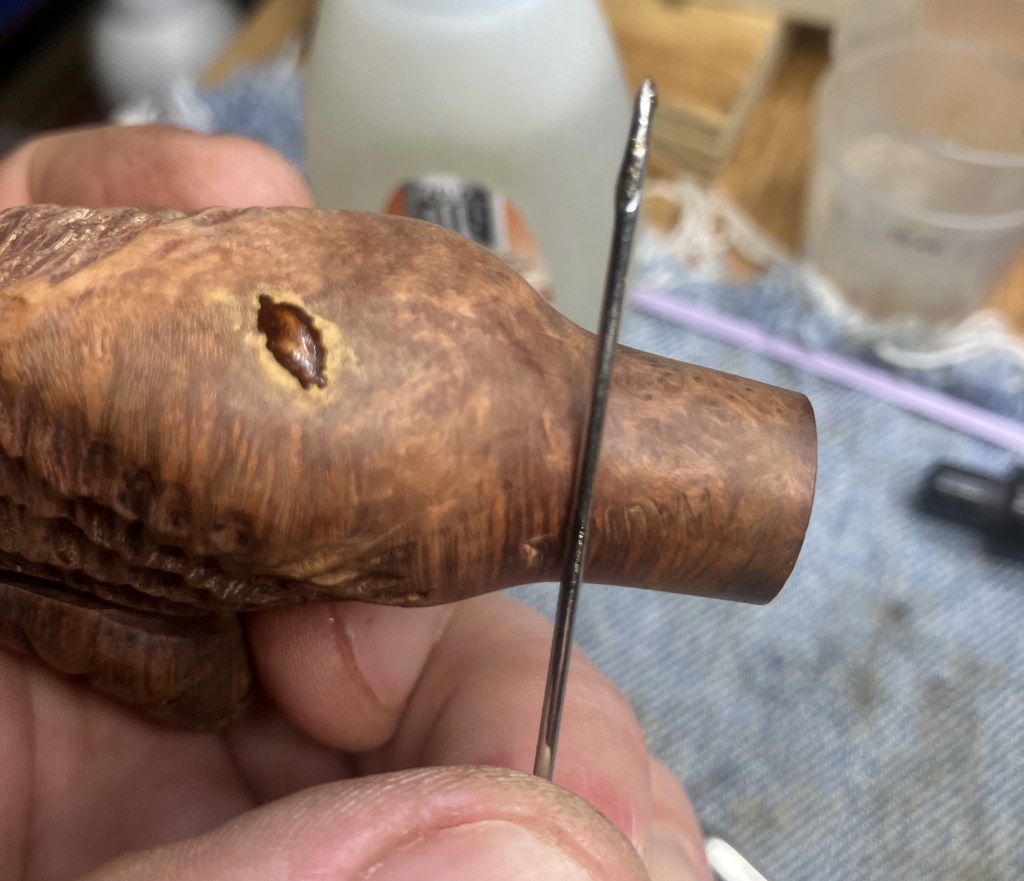
This process was repeated for the fills on the muzzle.
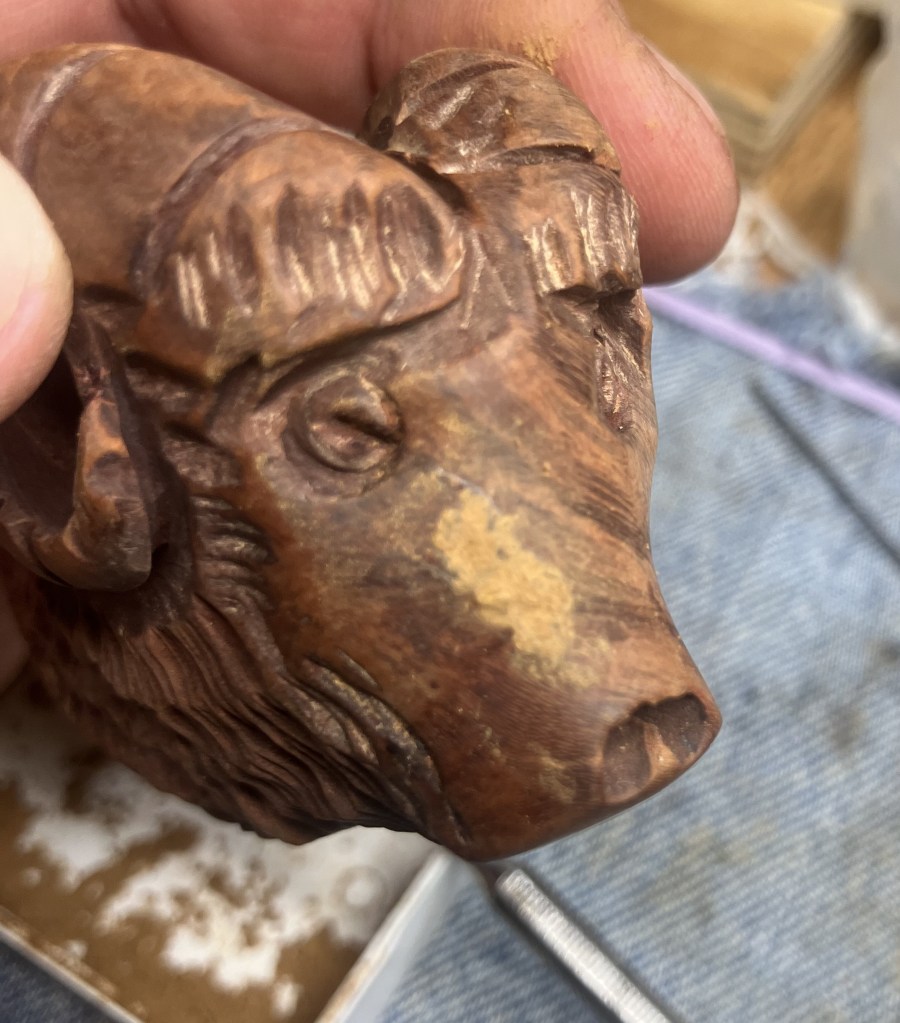
The fills were then filed with a small flat file.
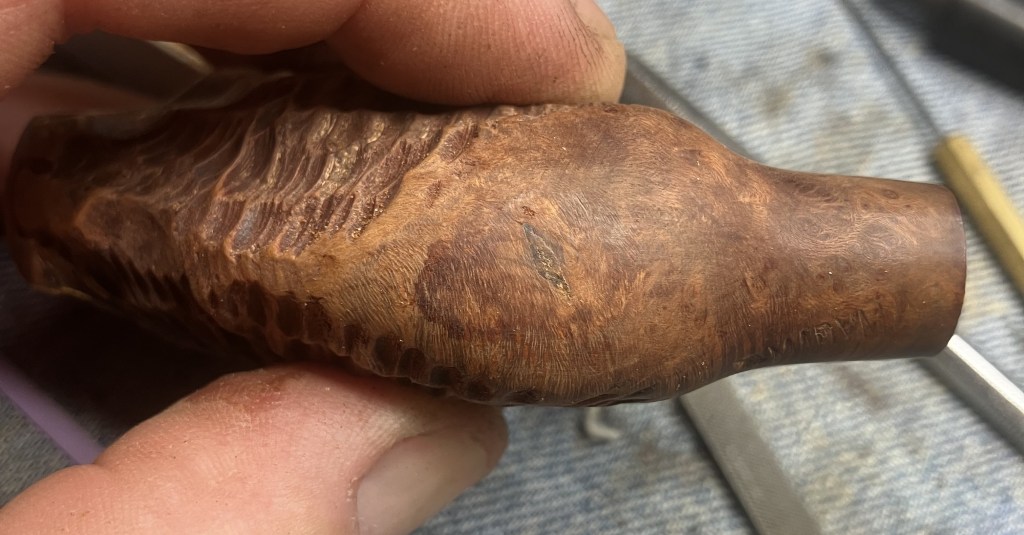
The filing of the muzzle was done with a small ½ round file. Additional refilling with CA and briar dust was done until the pits were filled and smoothed.
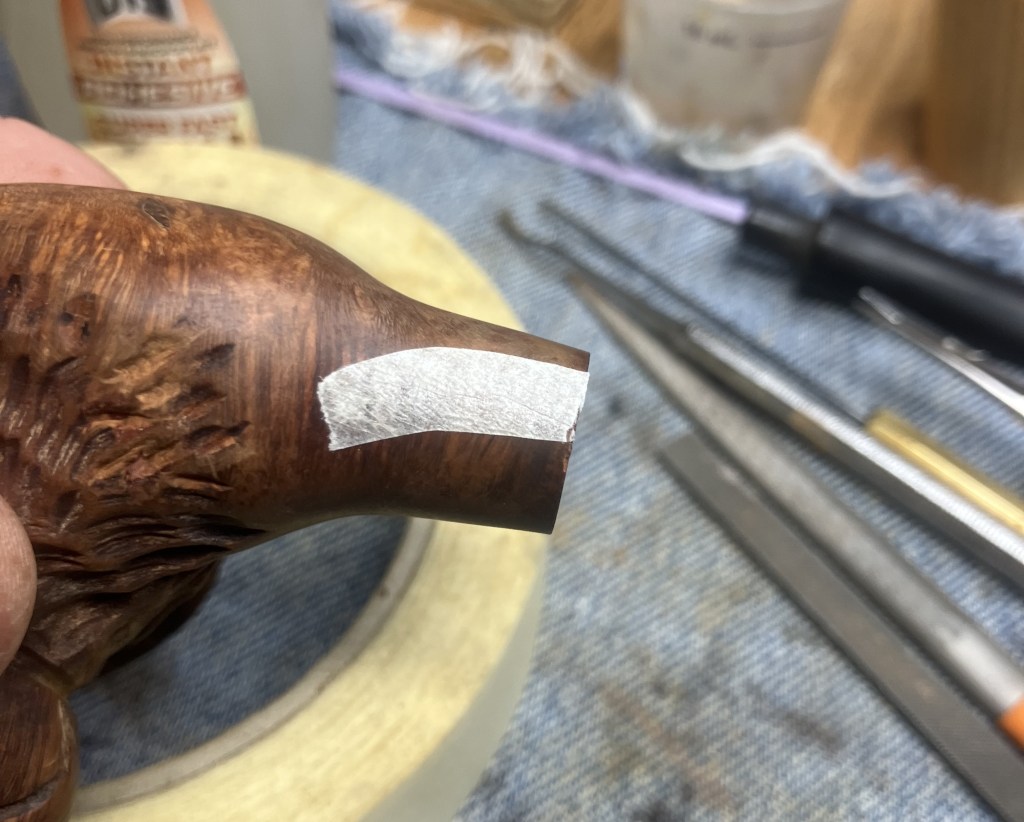
The stamping was taped over with masking tape to protect the stamp from sanding.
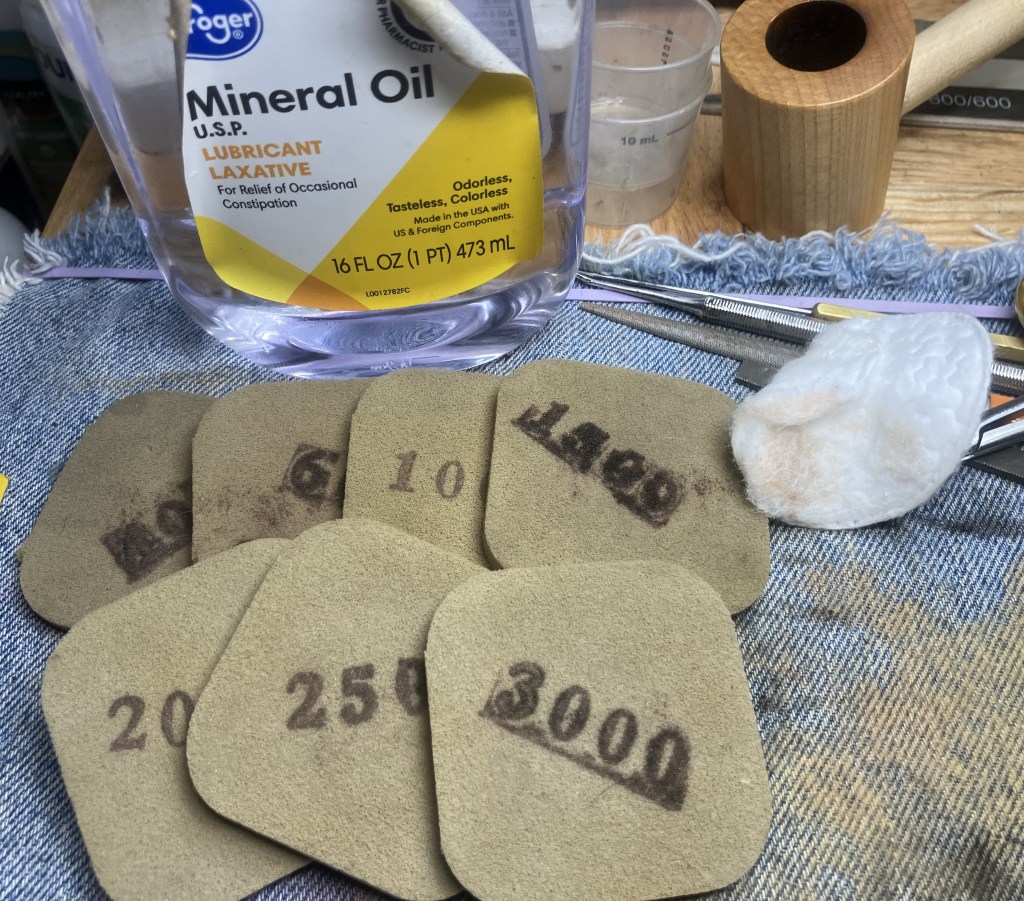
The smooth parts of the stummel and stem were sanded with a series of sanding sponges from 400-3000 grit sanding sponges. Between sponges the stummel was wiped with a make-up pad dipped in 95% ethyl alcohol to remove sanding debris. The stem was rubbed with mineral oil and wiped with a dry paper towel between sponges.
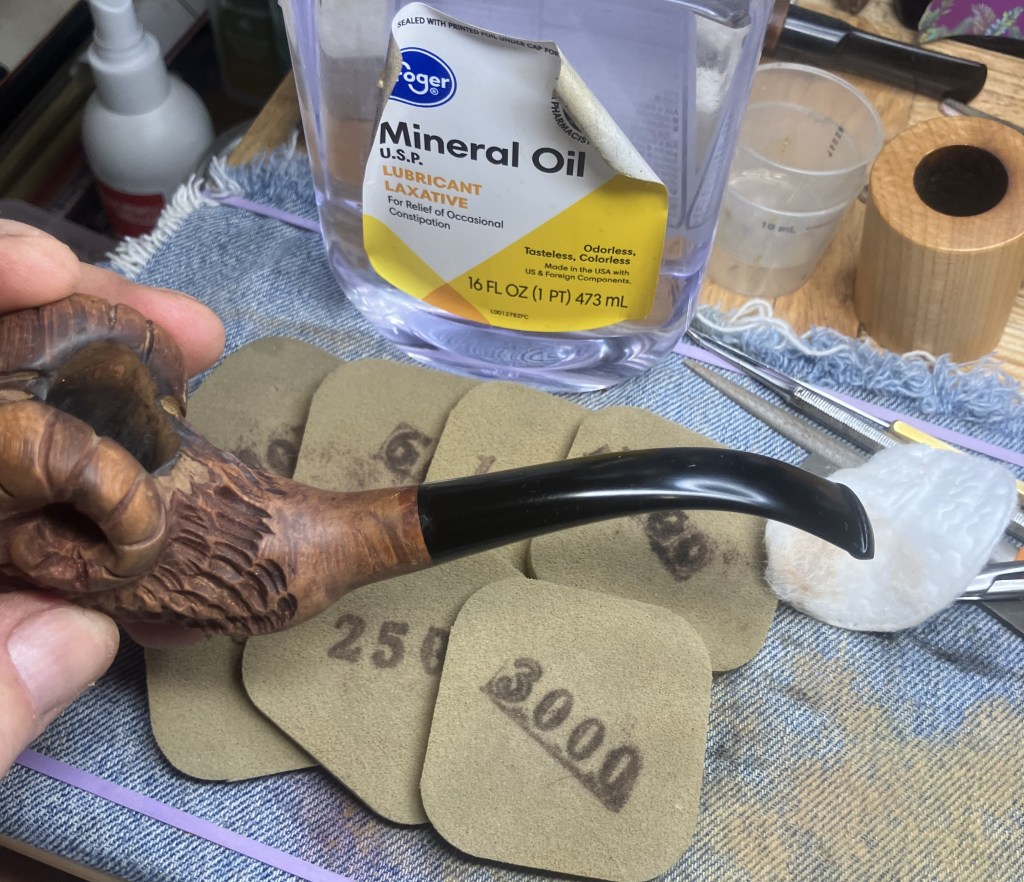
The results of the sanding looked good.
Next, the shank was wrapped in masking tape.
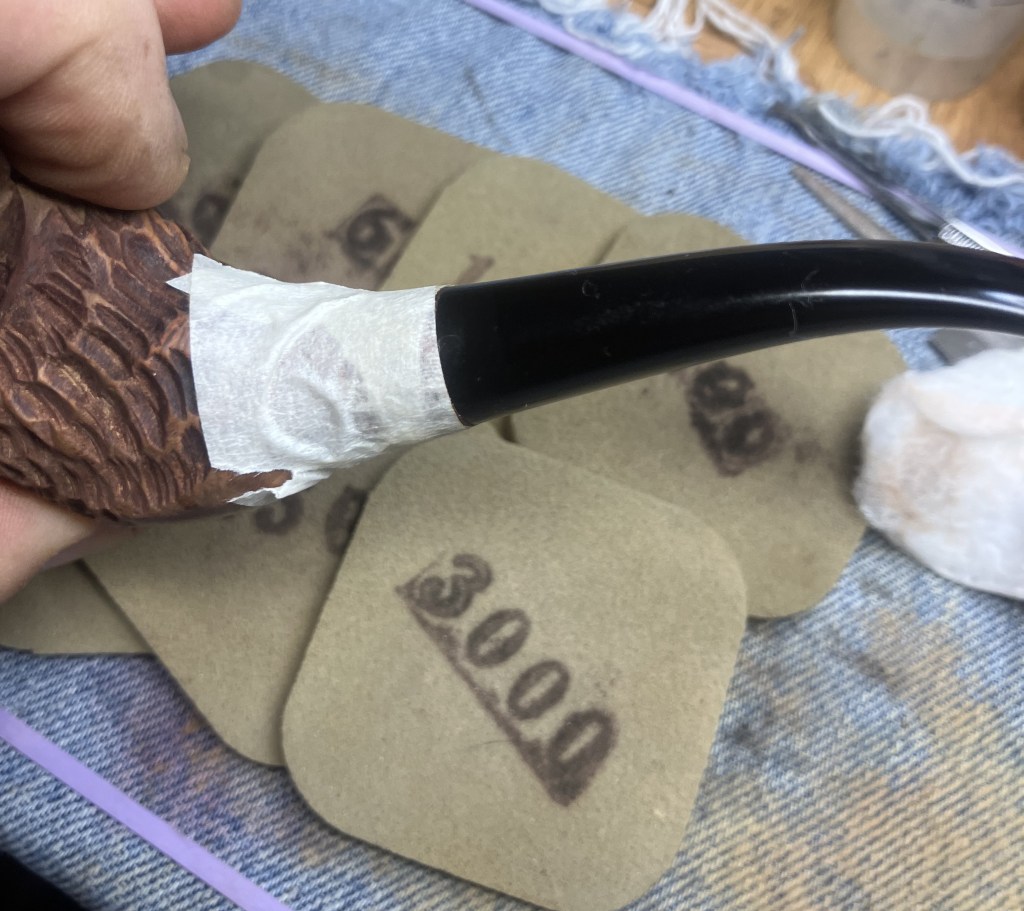
The tape was there to keep the buffing compound from the shank while I buffed the stem.
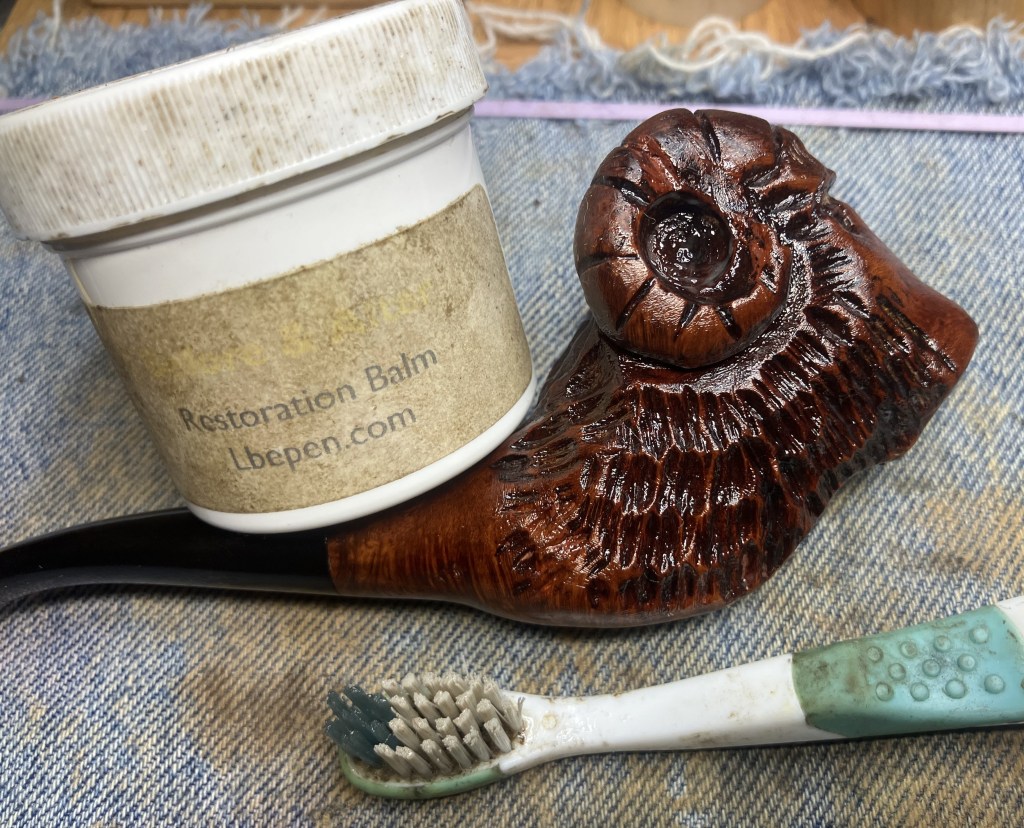
The stummel was then given a liberal coat of Before and After Restoration Balm, worked into the carvings with a baby tooth brush. This was allowed to sit for close to an hour.
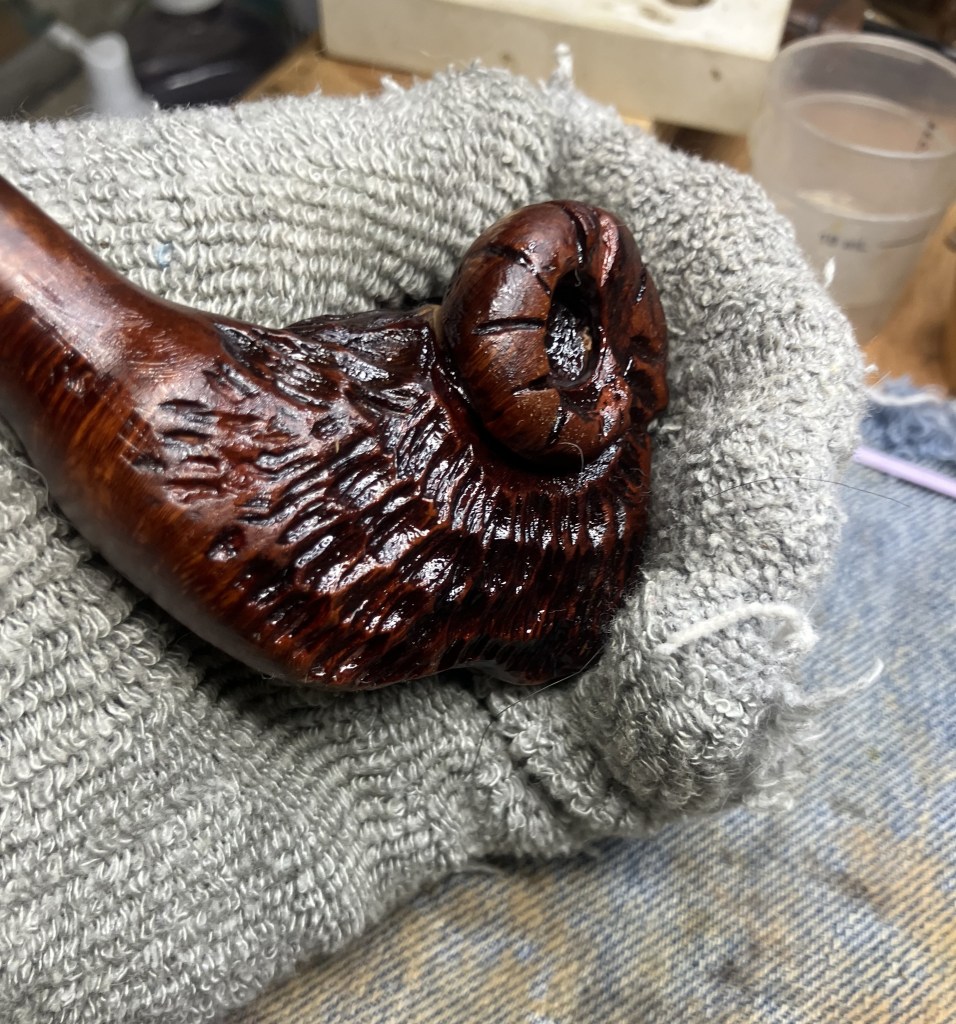
The excess Restoration Balm was removed by a hand buffing with an inside out athletic sock.
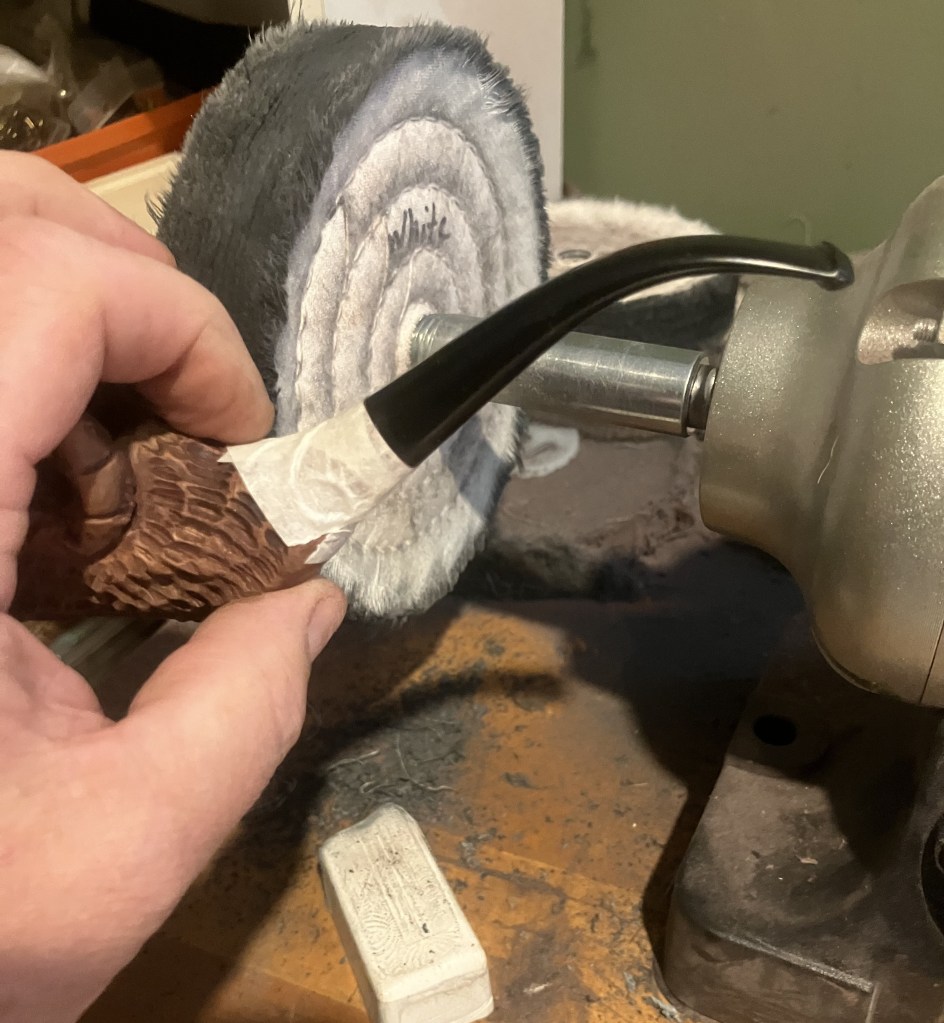
The smooth parts of the stummel and the stem received several coats of carnauba wax at the buffer.
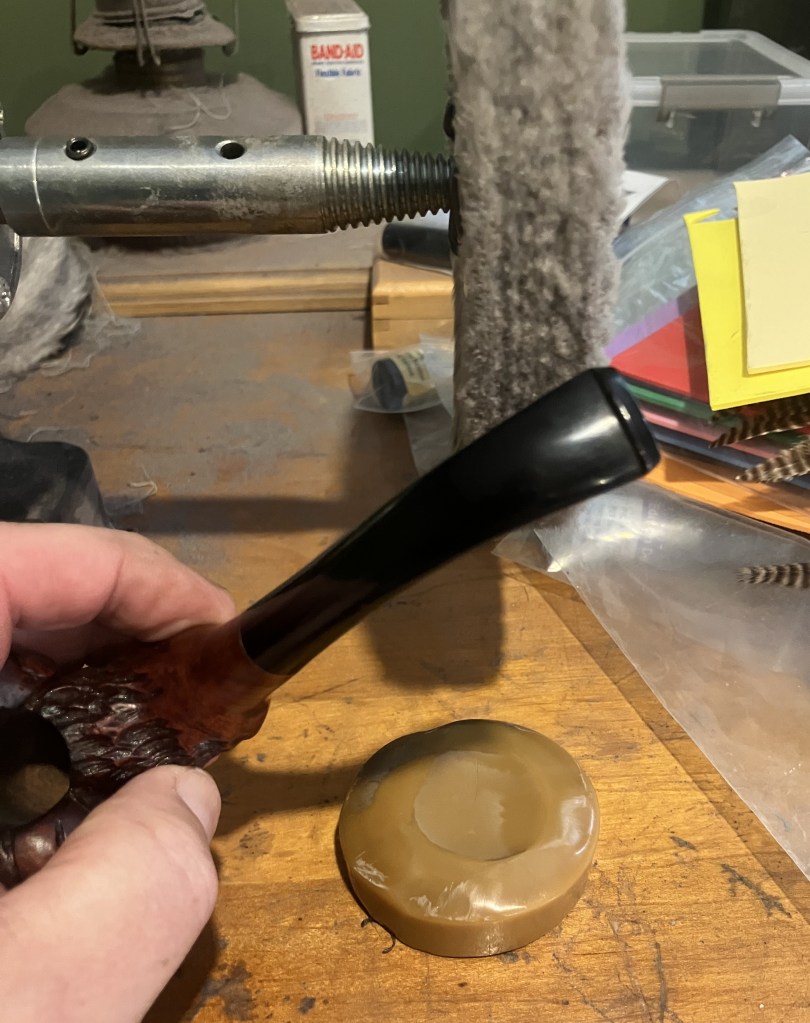
The final step was a hand buffing with a microfiber polishing cloth.
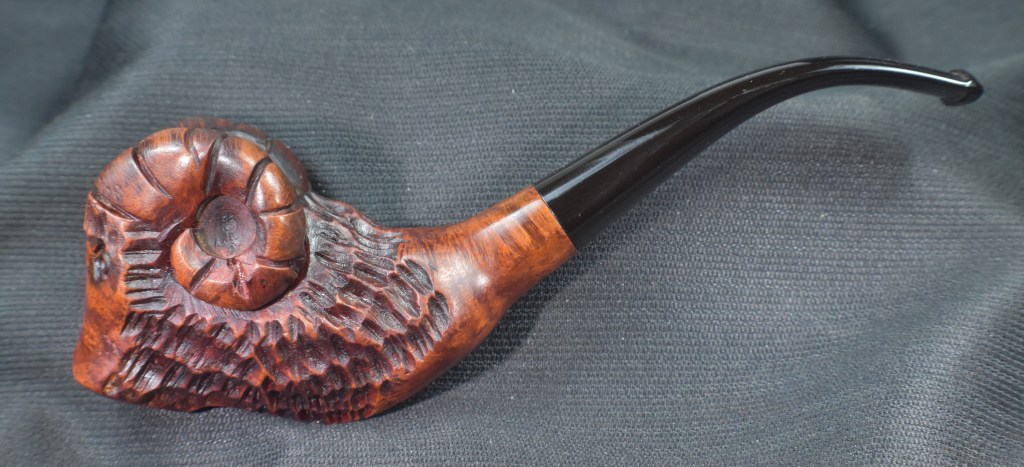
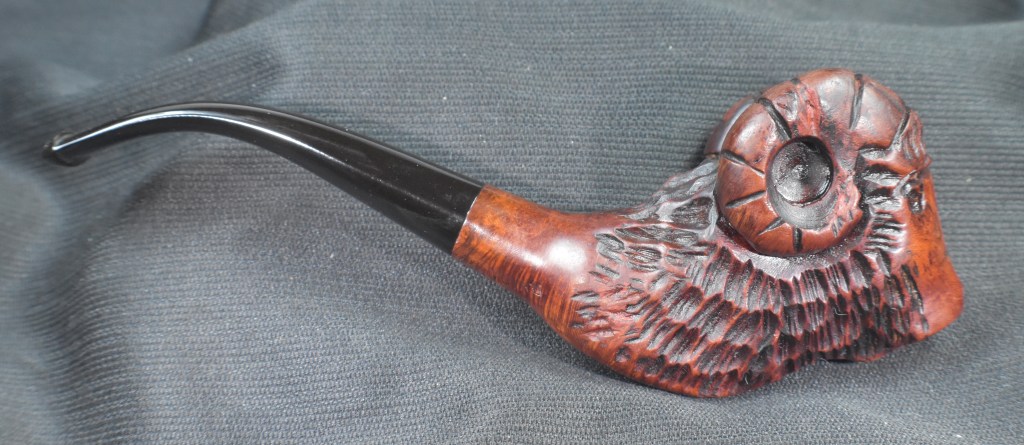
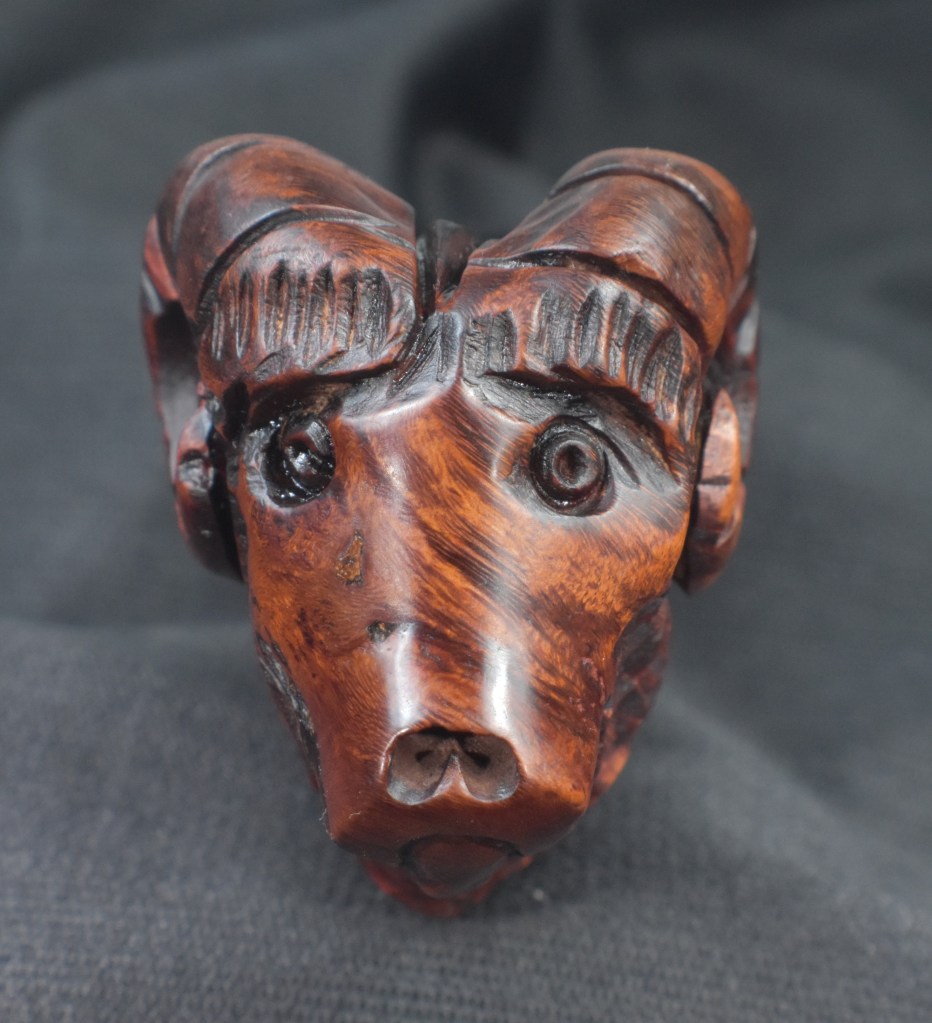
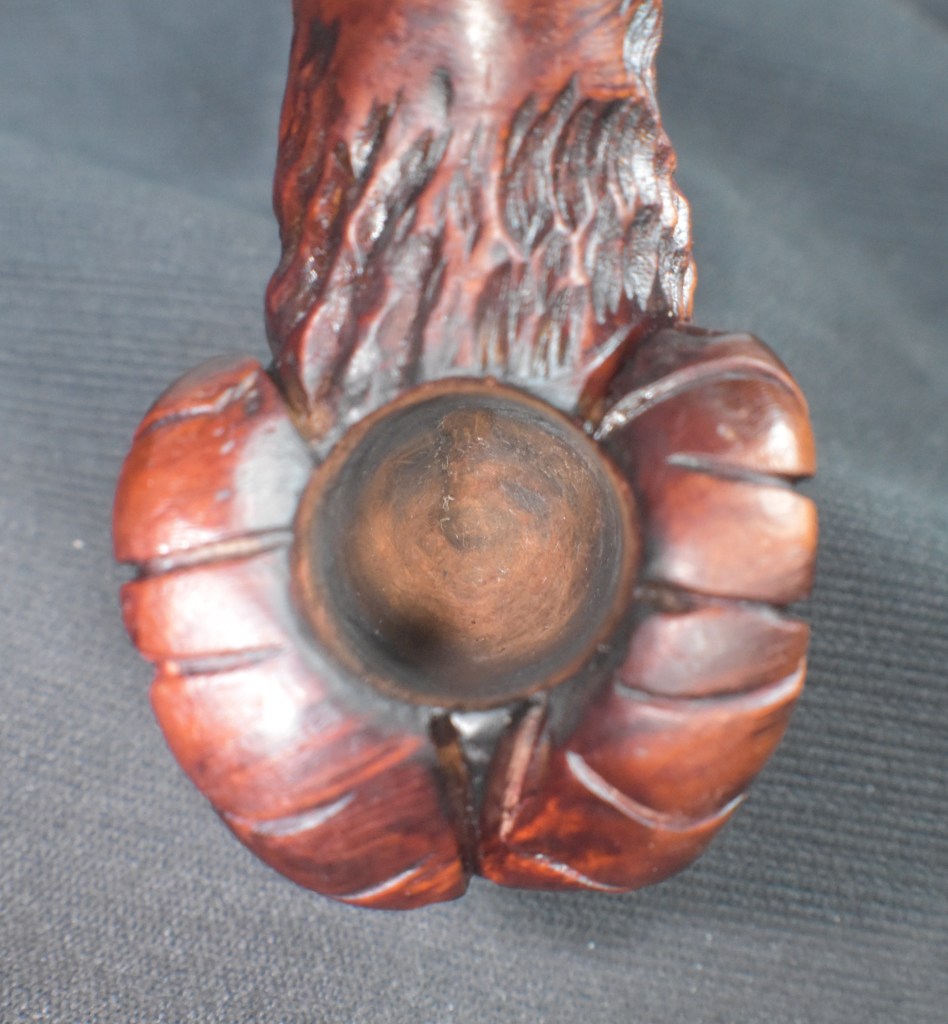
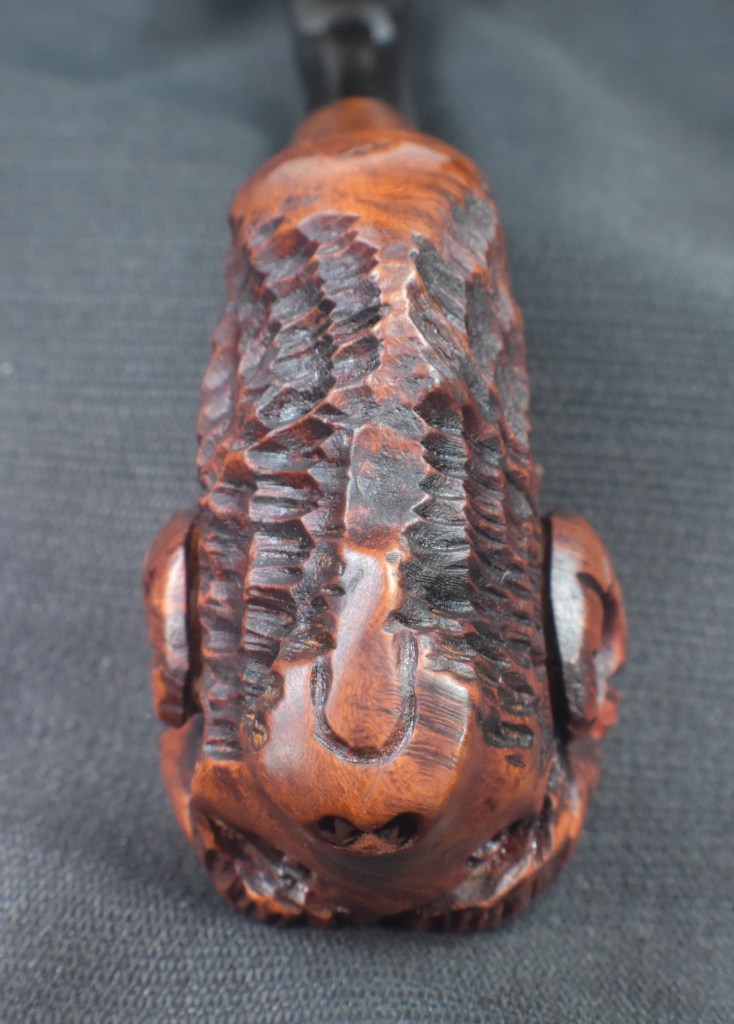
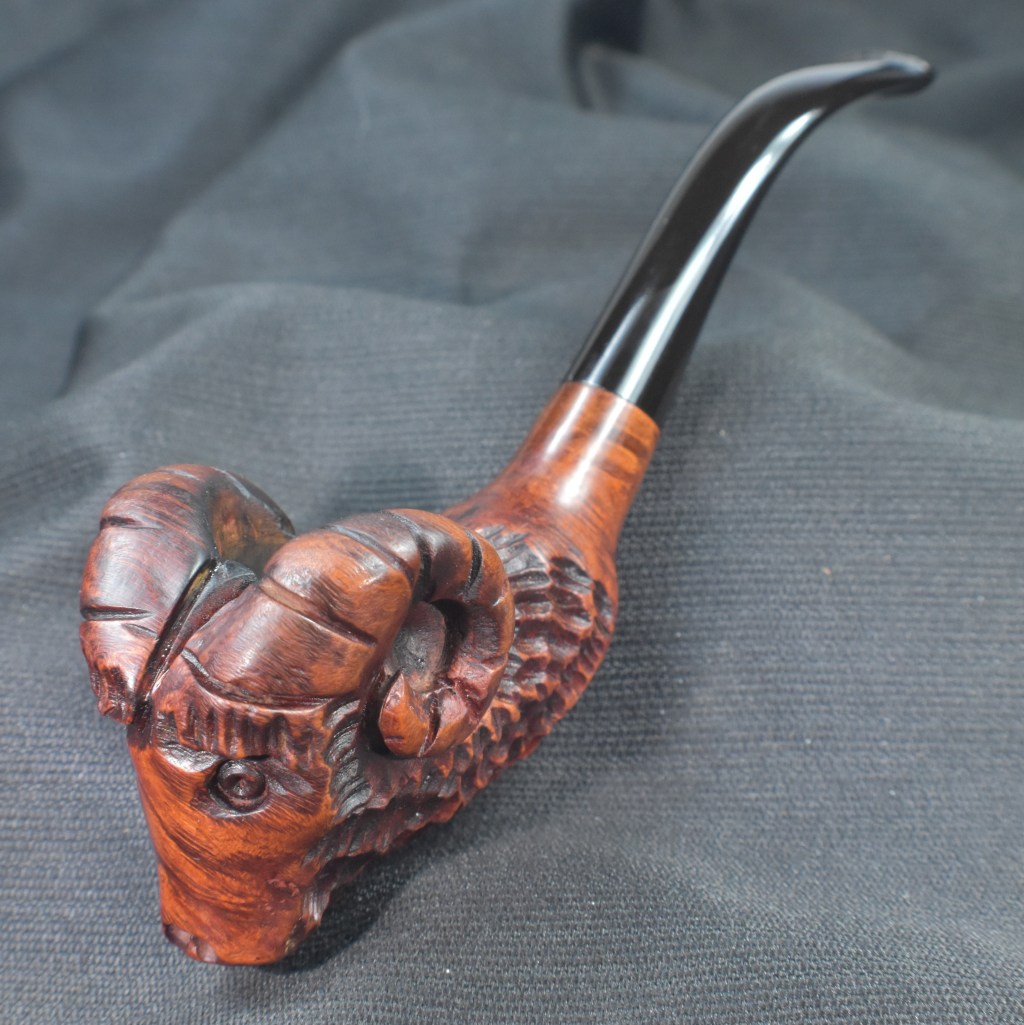
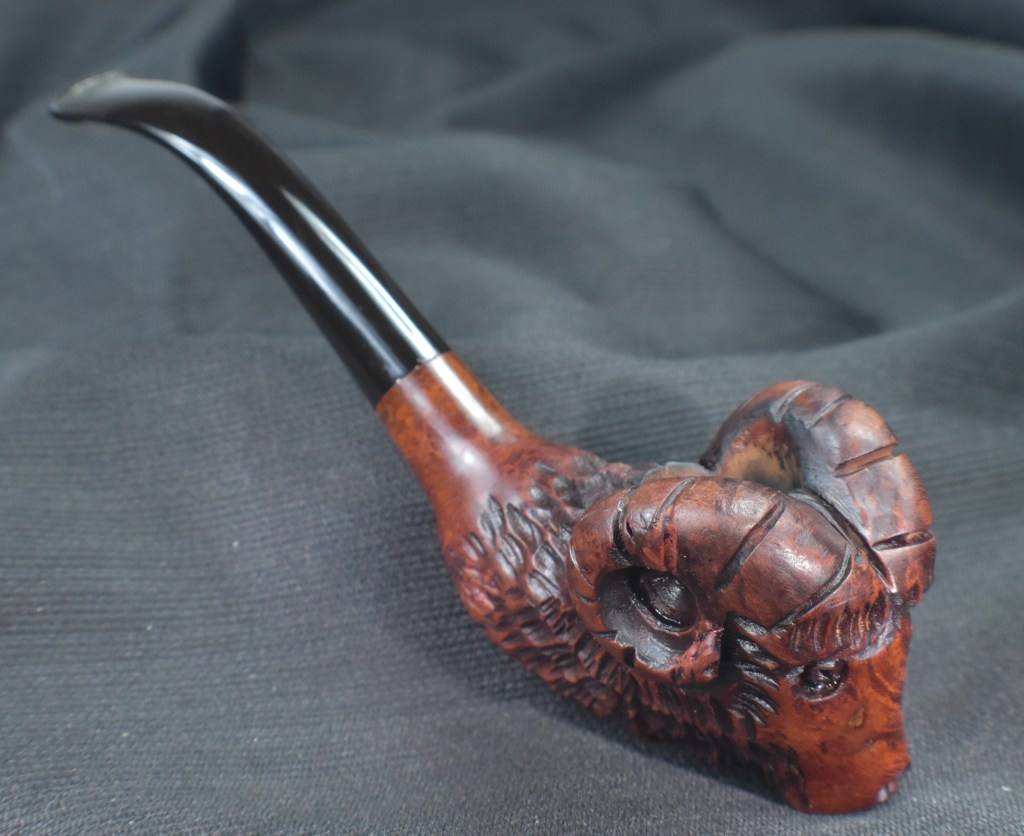
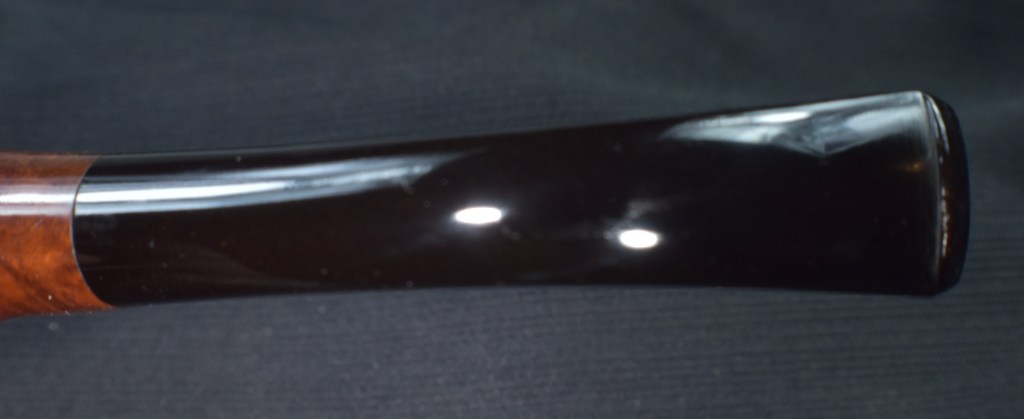
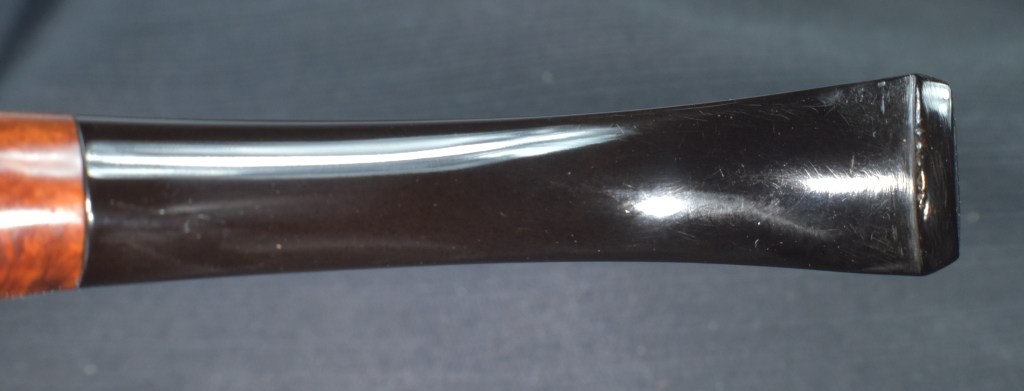
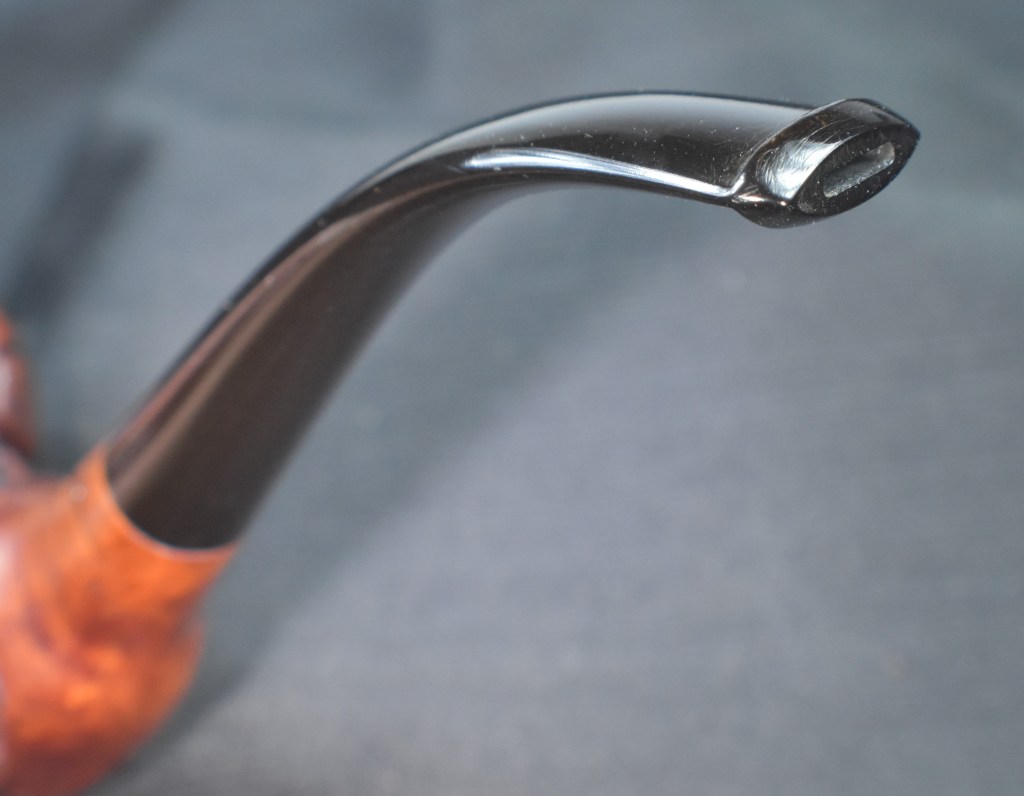
This Marxman Figural Ram turned out quite nicely. It is a nice small pipe with very elegant curves. Due to the bend and the light weight it clenches very well. Stem oxidation can be difficult to deal with with pipes that are 75 years old, fortunately this pipe showed little oxidation and the slight tooth chatter on the stem was removed with little to no evidence of its existence. The stem polished-up beautifully. This cute Marxman Ram will make a nice exhibition piece or a fine smoking pipe for the next owner. The dimensions of the Marxman Figural Ram pipe are:
Length: 6.07 in./ 154.18 mm.
Weight: 1.61 oz./ 45.64 g.
Bowl Height: 1.88 in./ 47.75 mm.
Chamber Depth: 1.29 in./ 32.77 mm.
Chamber Diameter: 0.70 in./ 17.78 mm.
Outside Diameter: 1.63 in./ 41.40 mm. (from horn to horn)
I do hope that you have found something here useful to your own pipe care, maintenance or restorations. If you like this sort of thing, please click the like and subscribe buttons. Thank you for reading the ramblings of an old pipe lover.
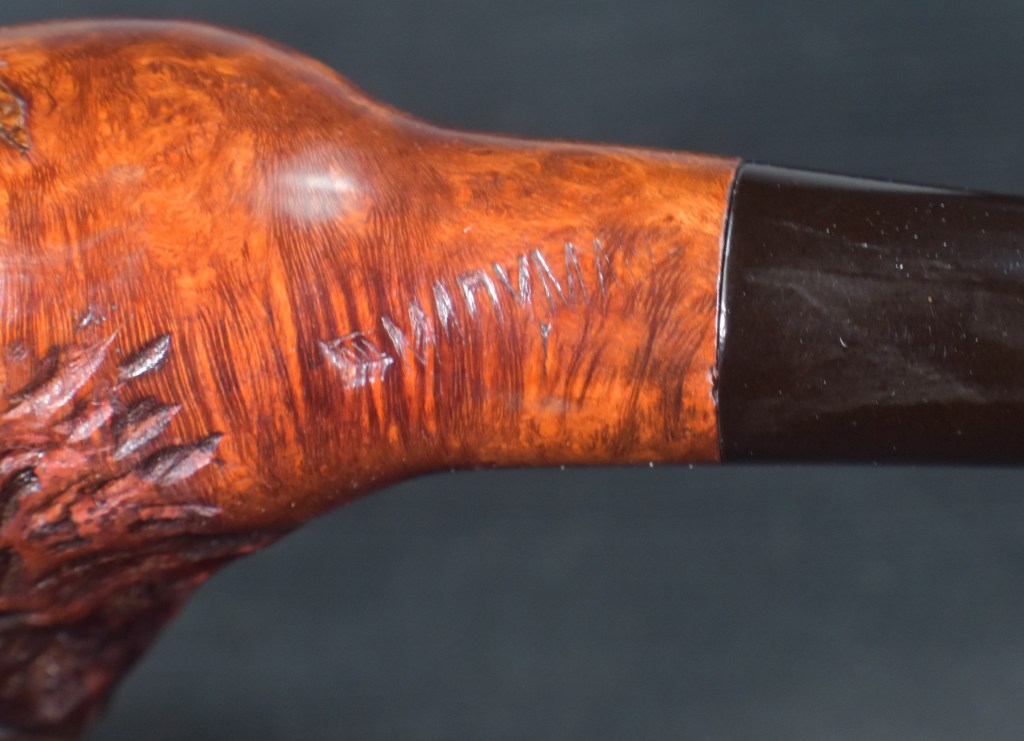
Below are some photos of the finished Marman Figural Ram.
 NebraskaPeteGeek