Photographed and written by
John M. Young
First off, let me say that I am far from my comfort zone with this post. Pipe making is not a skill in my repertoire (heck, if it weren’t for spellcheck I couldn’t even spell repertoire). I have restored hundreds of pipes, customized a few and screwed up a good number as I learned the craft. Making is a new skill set which requires years of practice, probably a mentor, and the patience of Job (James 5:11 (King James Version)). You’ve probably also heard the saying. “You can’t teach an old dog new tricks”. Well, that is going to be tested.
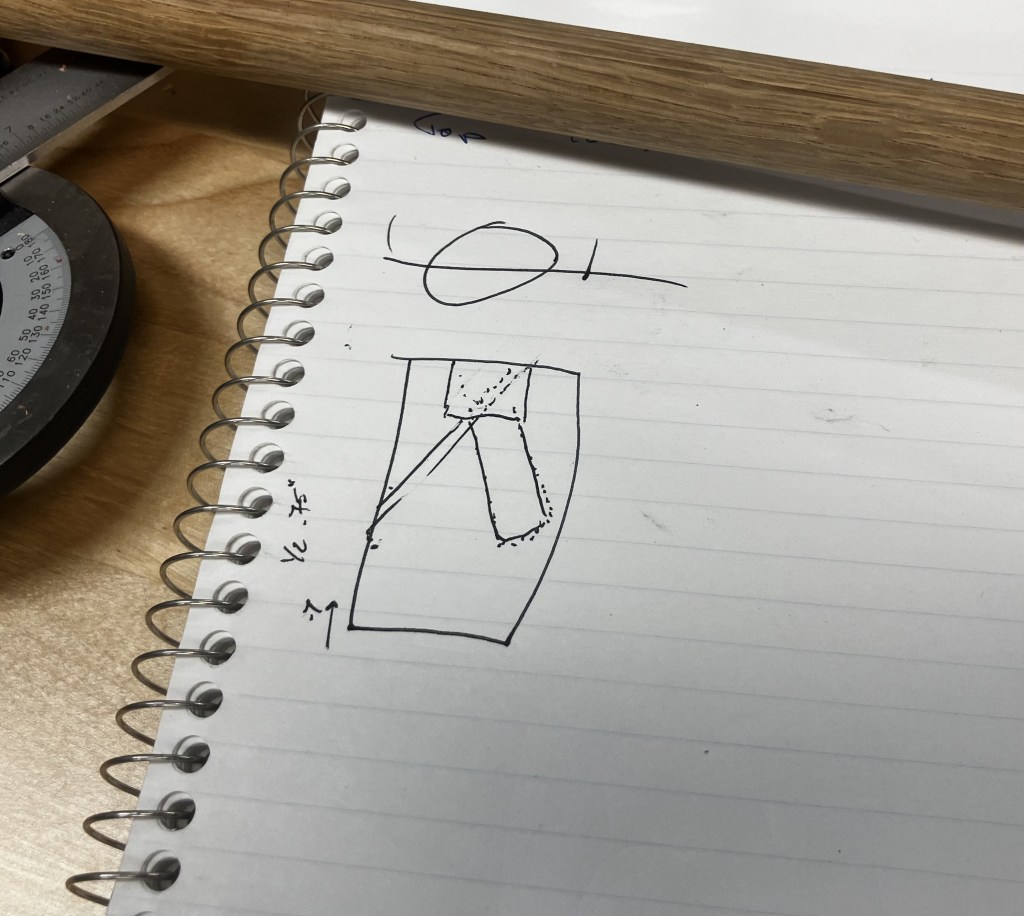
All great endeavors start with a plan. I think that is another saying, though spellcheck also helped with the word endeavor. This project started with me imagining what I could do with a The MMC Pipe Dream Kit from Missouri Meerschaum. This kit had all the parts needed to make three pipes. I purchased the kit back in November of 2025 and it had sat in its bag with me imagining what I could do with those parts for several months. I started sketching with Google Drawings and came up with the below:
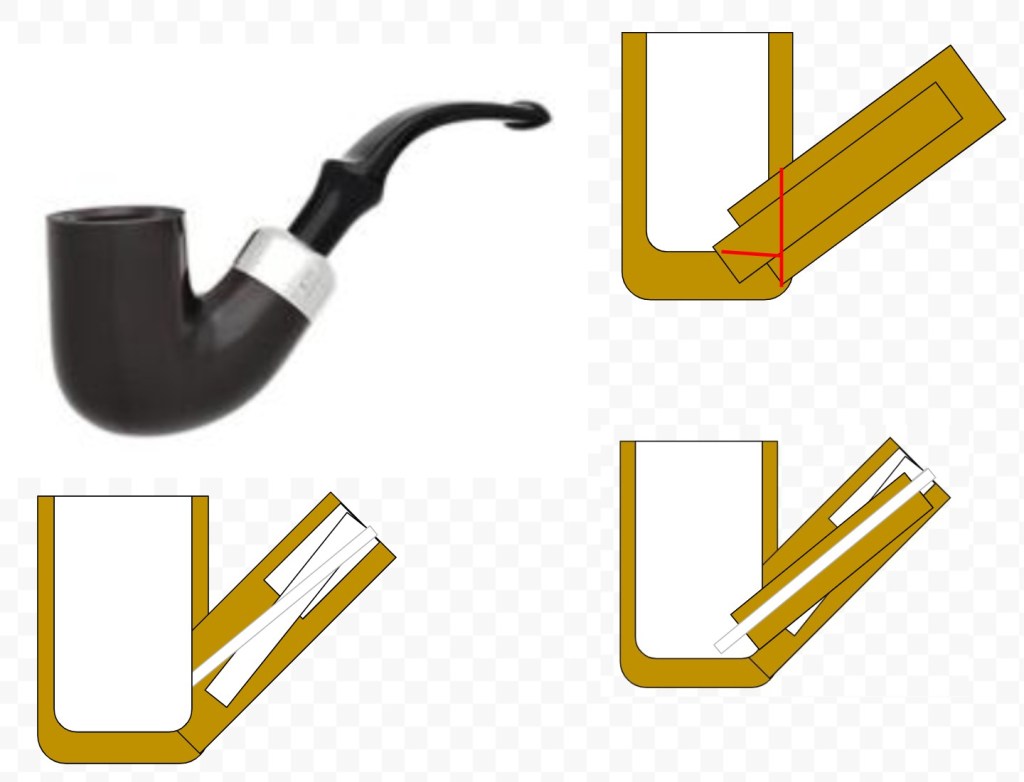
Please know that nothing there is to scale or anatomically correct. At this point, I felt the need to receive some absolution. I mean Peterson pipes were known to be meerschaum or briar and I was thinking about making one from a lowly corn cob. I reached out to Mark Irwin, author of the big Peterson Pipe book and general guru of all things Peterson. I shared the above sketch and a photo of some parts
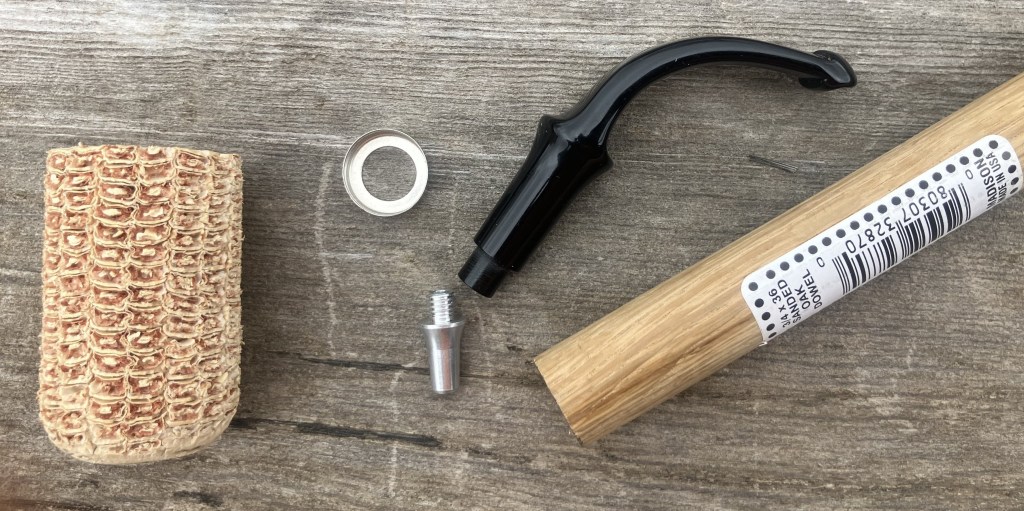
with Mark and asked if what I was doing would be considered heresy or blasphemy. His reply was, “Not heretical at all. In 1896, K&P offered cherrywood w/the bark on, morta, and clay—all locally sourced. If MM had been near Dublin, I bet we would’ve seen a cob 309! Go for it, and I’m rootin’ for you. Make a few and sell me one!! Now, will there be a reservoir? I only ask because MM did a reserve COB calabash a while back. Not sure that would be at all necessary, but it’s the only intelligent thing I can think of to say (well, semi-intelligent).” (Irwin, Mark. Personal email communication). Wow, more than absolution, I was granted encouragement.
Next, I floated the idea by Sascha Mertens. Everyone knows that German engineering is quite highly regarded. Now, Sascha is not an engineer but he is German and darn good at restoring pipes. He critiqued my ideas and asked to send them to Michael Sauer, a fellow German pipeman and kind of mentor to Sascha. I don’t know if Michael is an engineer but by having two Germans onboard my chances were improving. Their criticisms were good and valid and in German fashion not sugar coated. Having a thick skin developed by 33 years of secondary school teaching, I accepted their inputs and proceeded, undaunted.
I knew that I needed machinist assistance with this dream since my array of hand tools would not be adequate for the fabrication. Heck, my hands would likely screw things up without tools. I sent the diagram to the brother of my son-in-law, Christian. Now, that is his name, though he does run the machine shop at a Jesuit university. Christian has come to my rescue on several projects. His skill set is truly amazing and he loves the projects I bring him. Or, maybe he loves that I pay him with smoked pork. Either way, he has yet to turn me down and has never disappointed nor failed to impress me. After seeing some photos of Peterson pipes and schematics of the Peterson System, Christian replied, “Ok, cool. I think we can do that.”
All that remained was the arranging of our schedules for a time to meet. It took about a month from the discussion with Christian until the shop visit.
Away we go
This may seem a bit disorganized or discombobulated as we were working on two pipes simultaneously. This was done mainly to save time with the setting up of machines. I photographed the process fairly well and I have included the photos in chronological order to maintain a more complete version of how the process evolved.
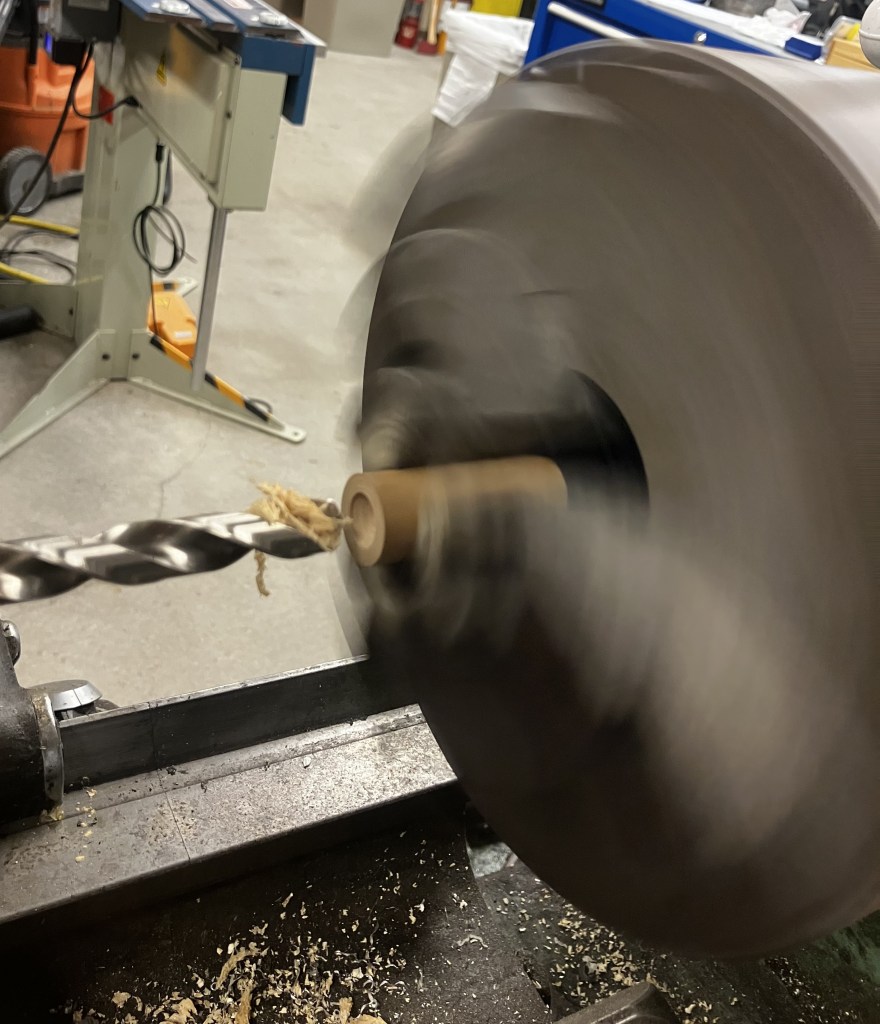
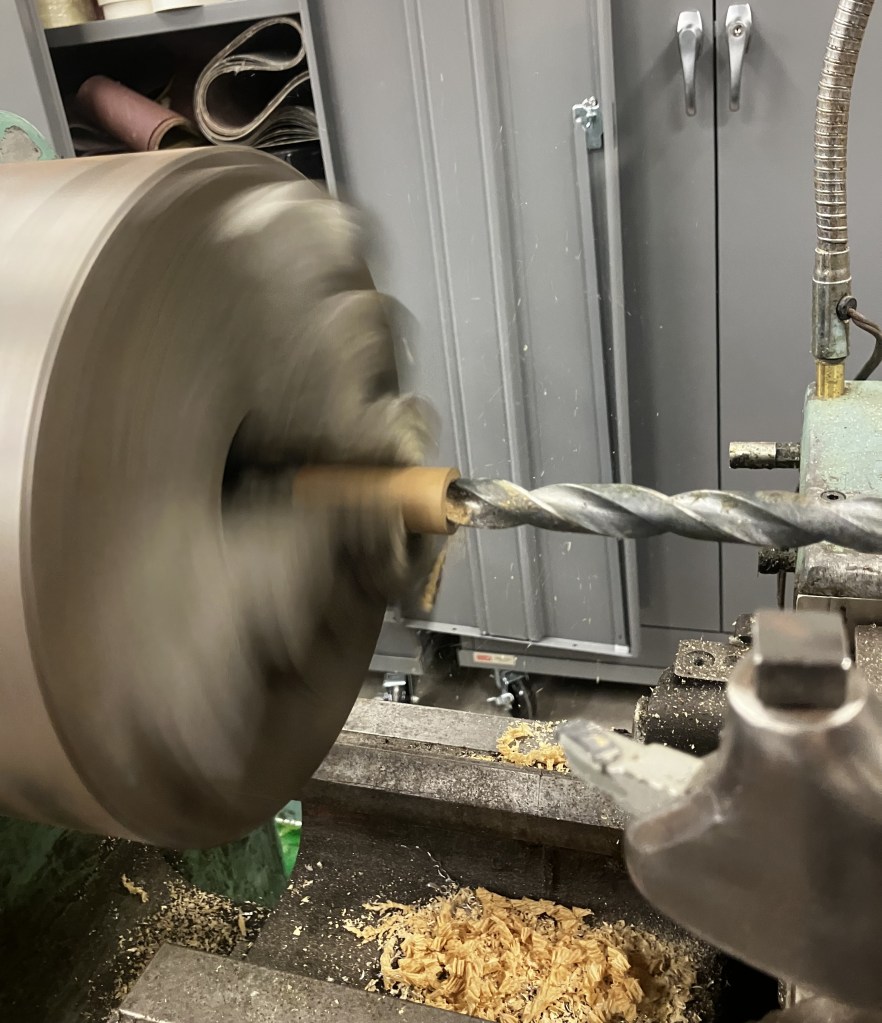
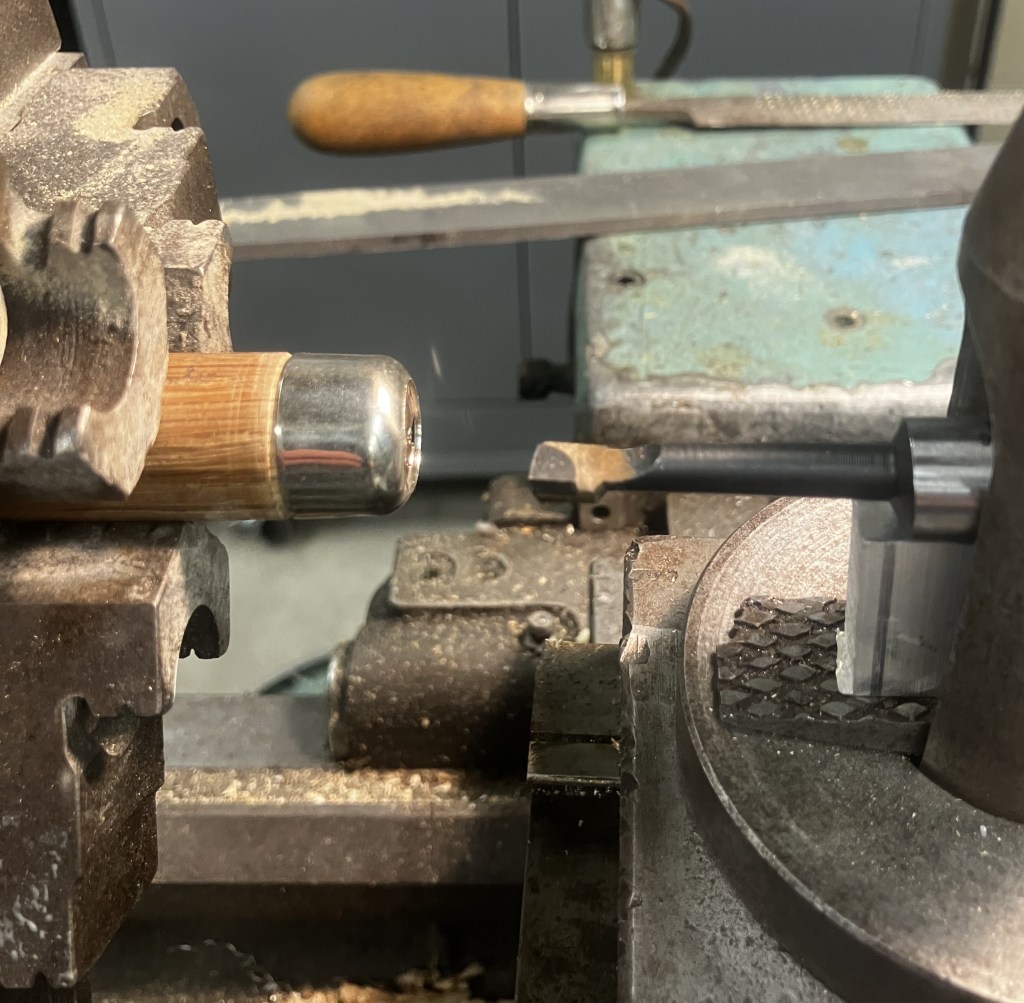
The first machining done was to bore the unprepared pipe with a tobacco chamber. This was a ¾ inch bit on the big machine lathe.
Christian couldn’t get over the fact the corn cobs were so easy to drill. Apparently he was used to working with slightly harder material, like steel.
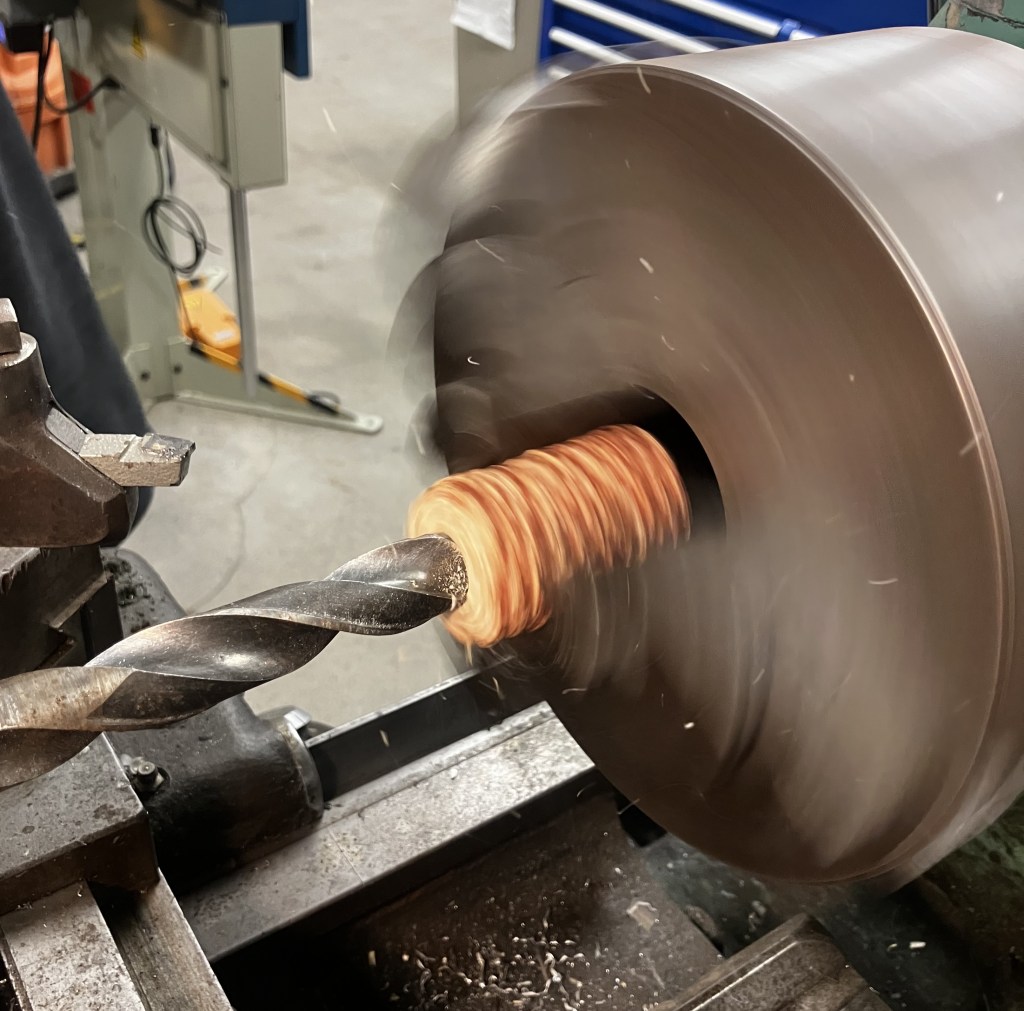
The results looked good to my inexperienced eye.
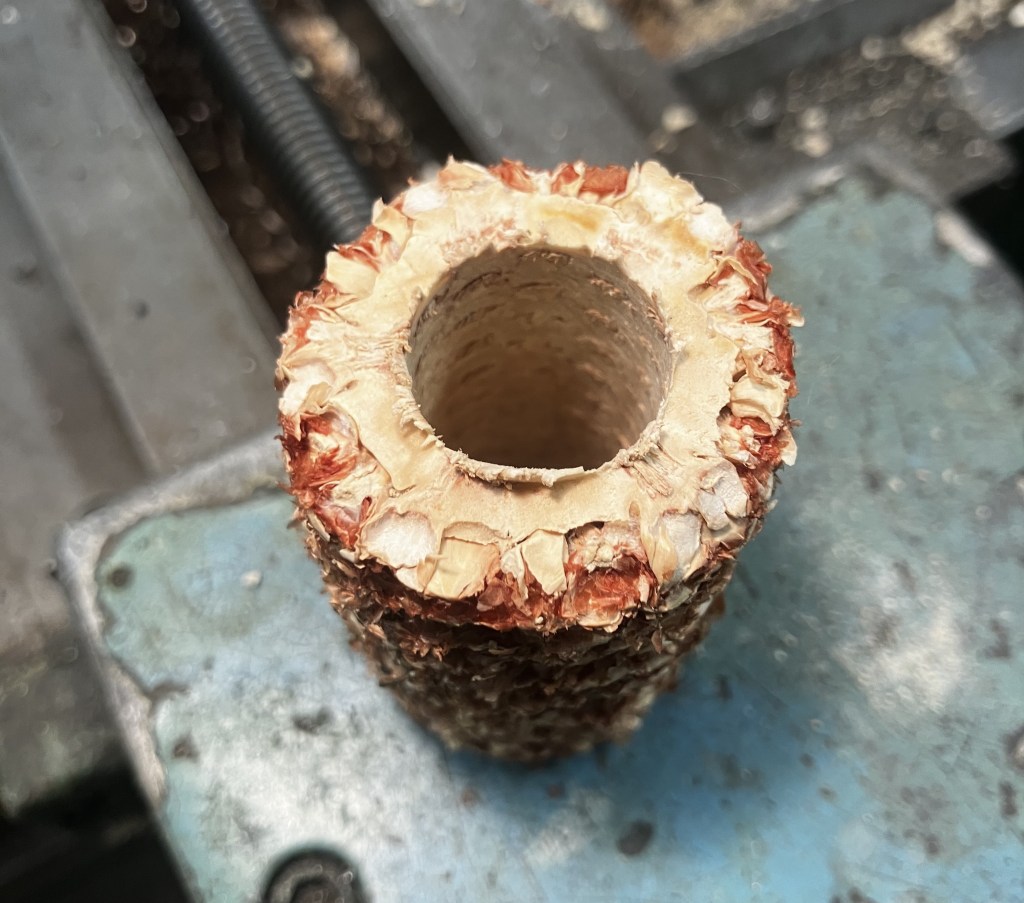
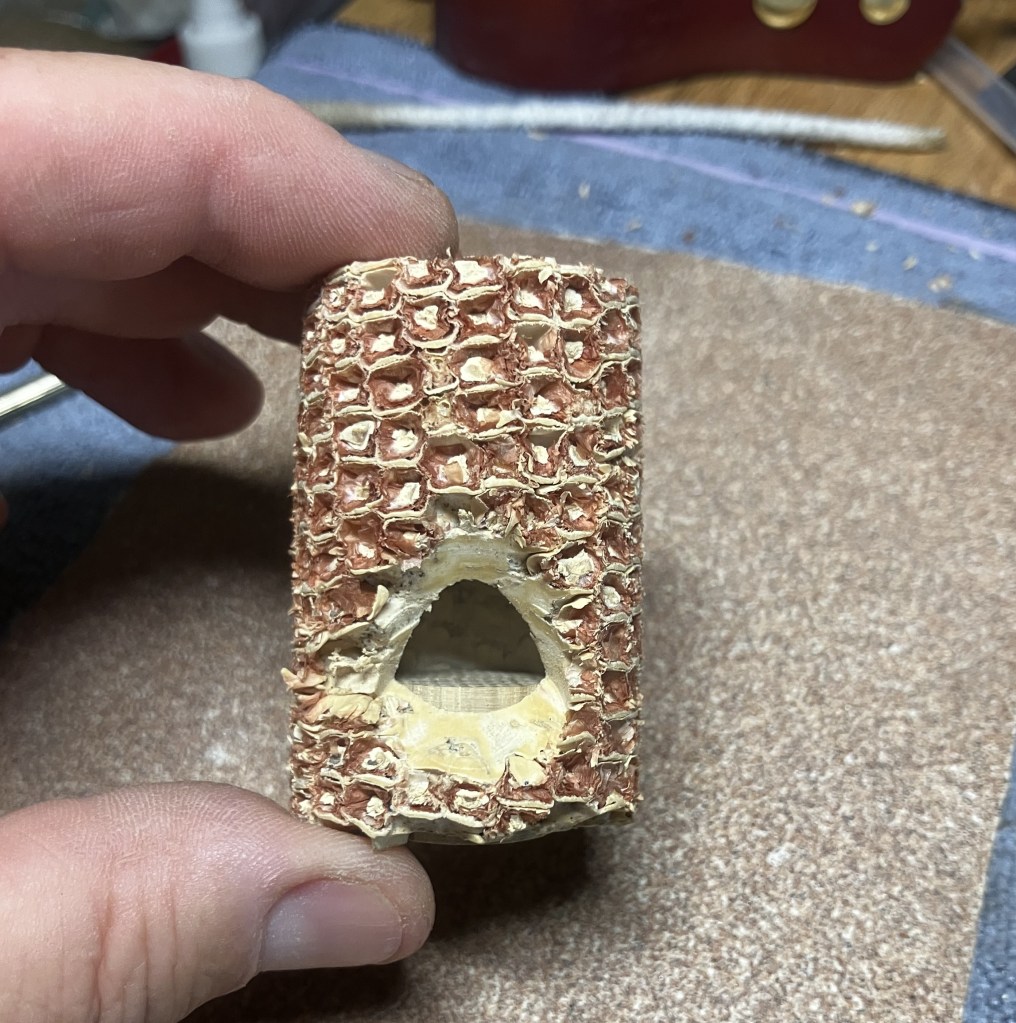
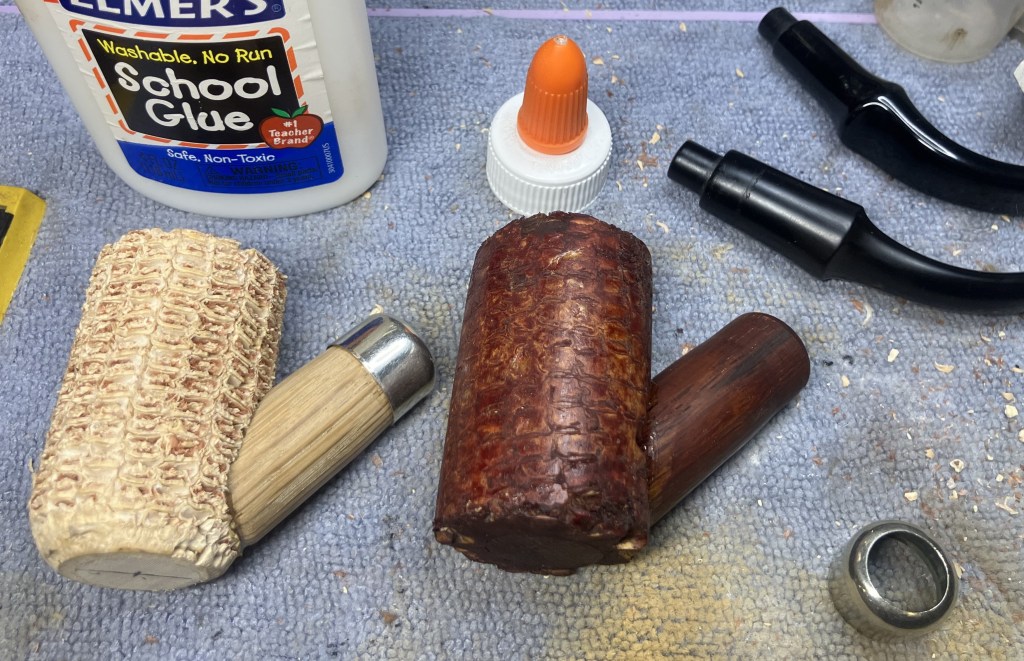
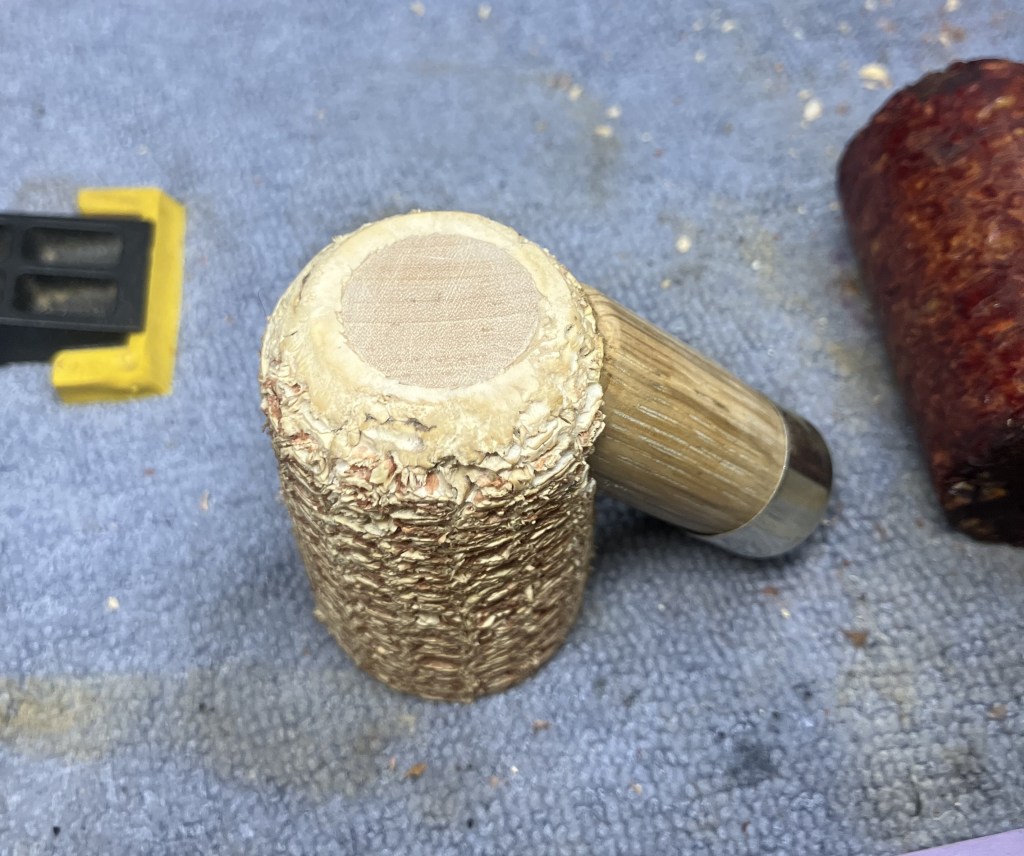
The left cob was partially finished and was provided in the Missouri Meerschaum (MM) kit. The right cob was one of a batch I purchased from Vermont Freehand (Corn Cobs – Vermont Freehand). The kit version was predrilled for the tobacco chamber and had a hardwood plug already glued in.
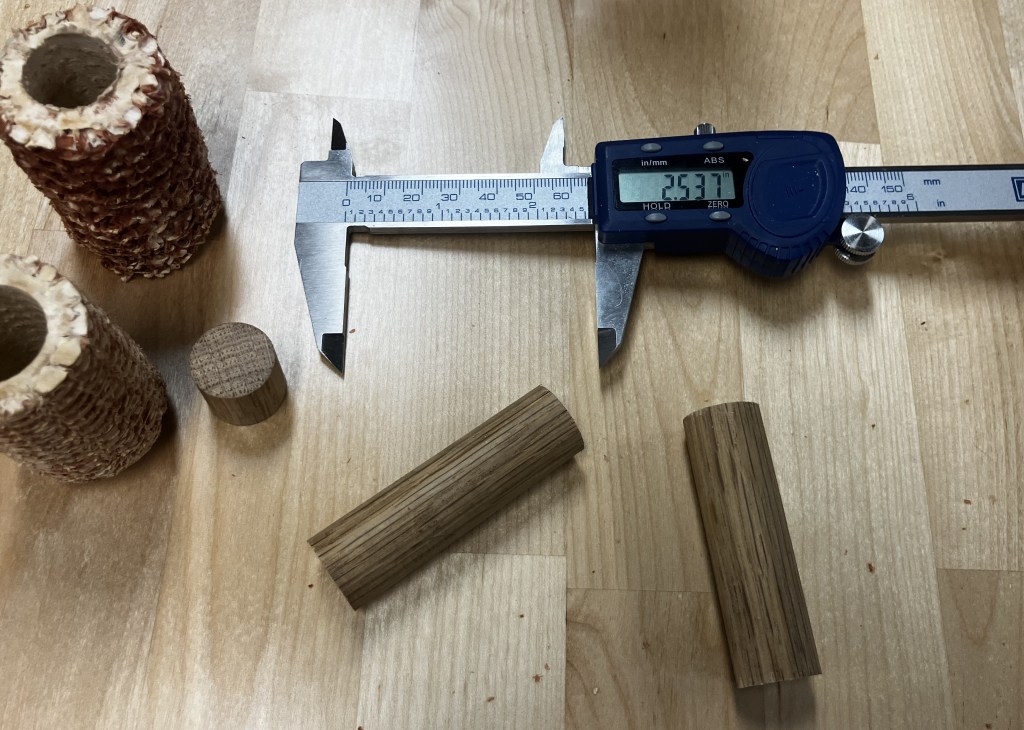
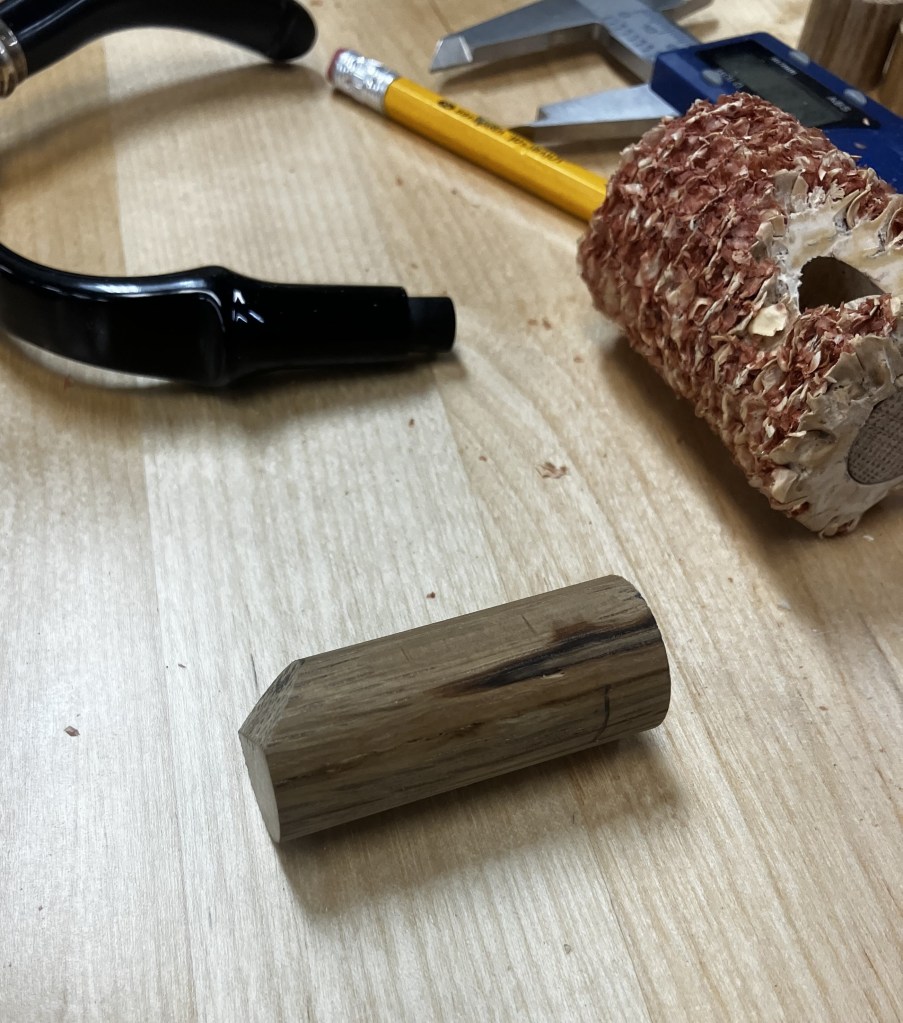
I tried to match the plug thickness with a ¾” oak dowel.
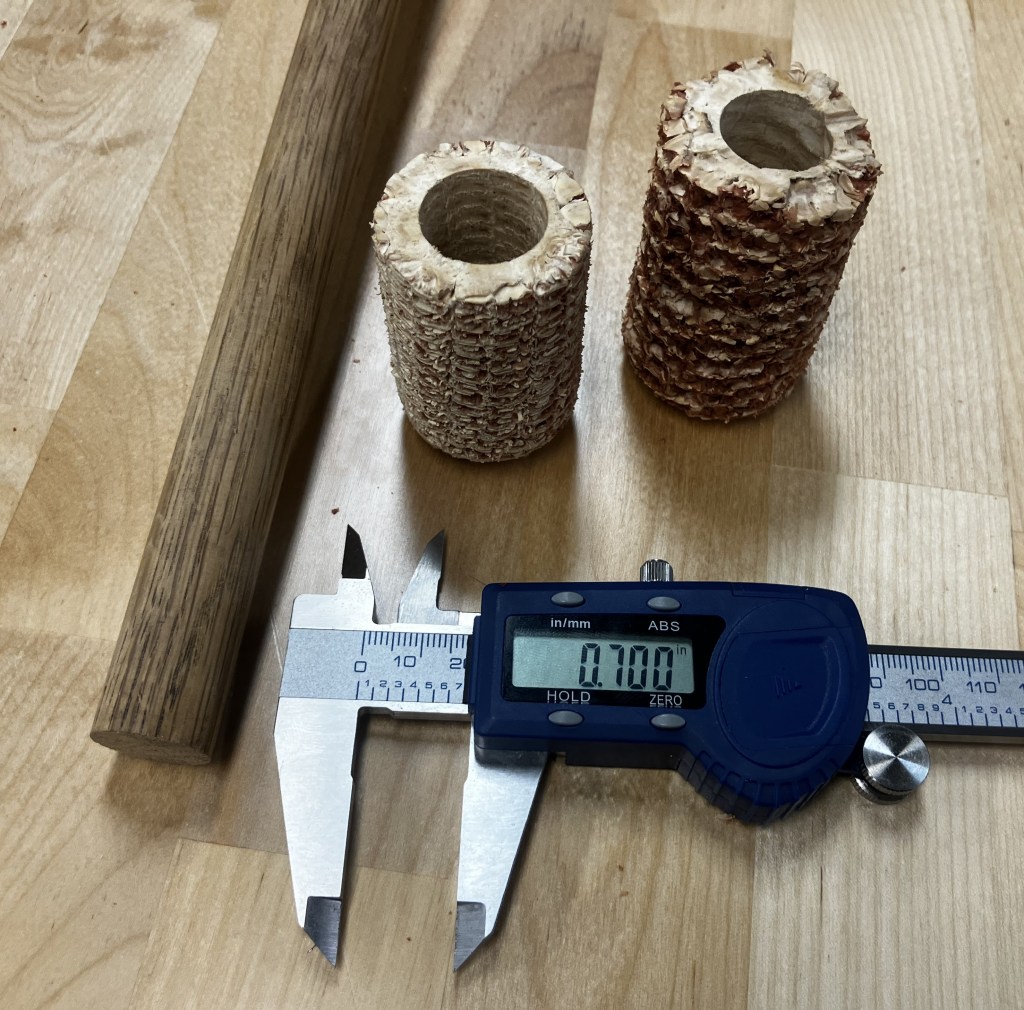
The dowel was cut to length.
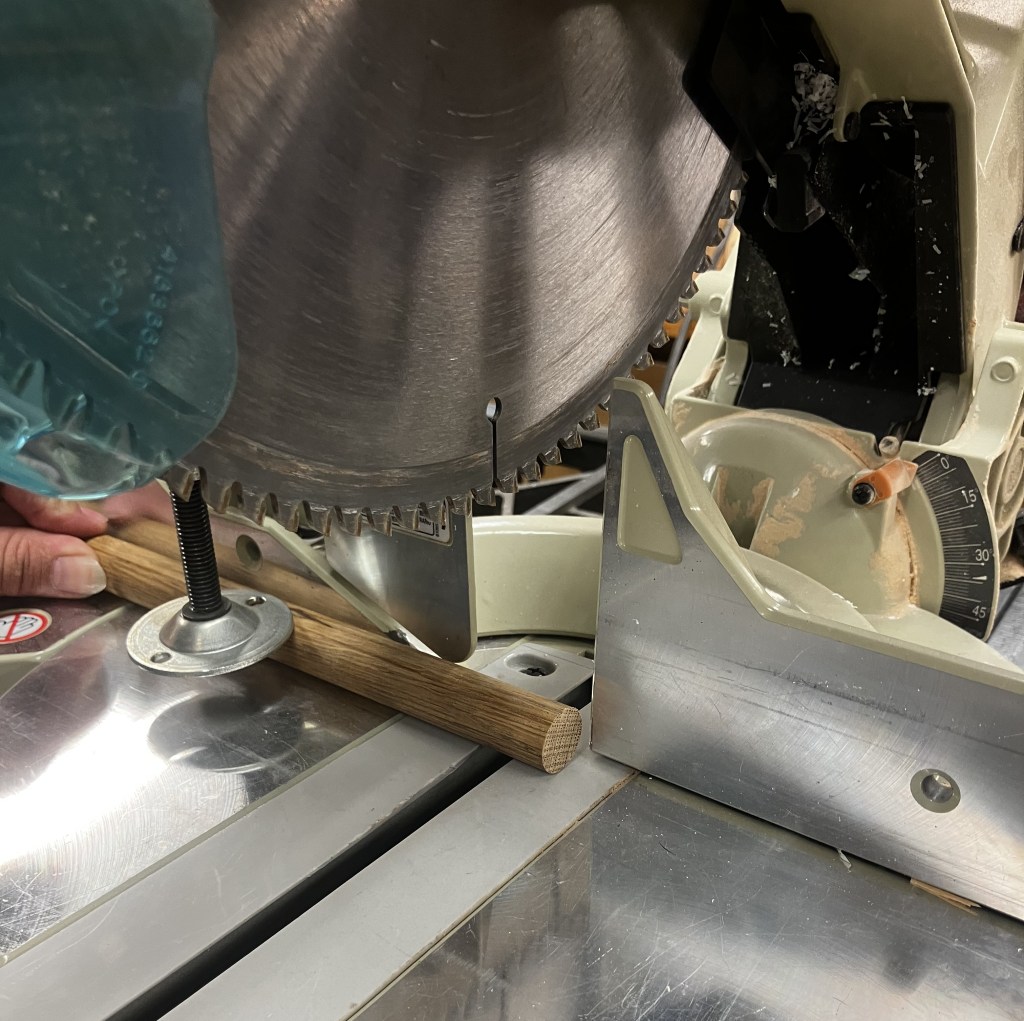
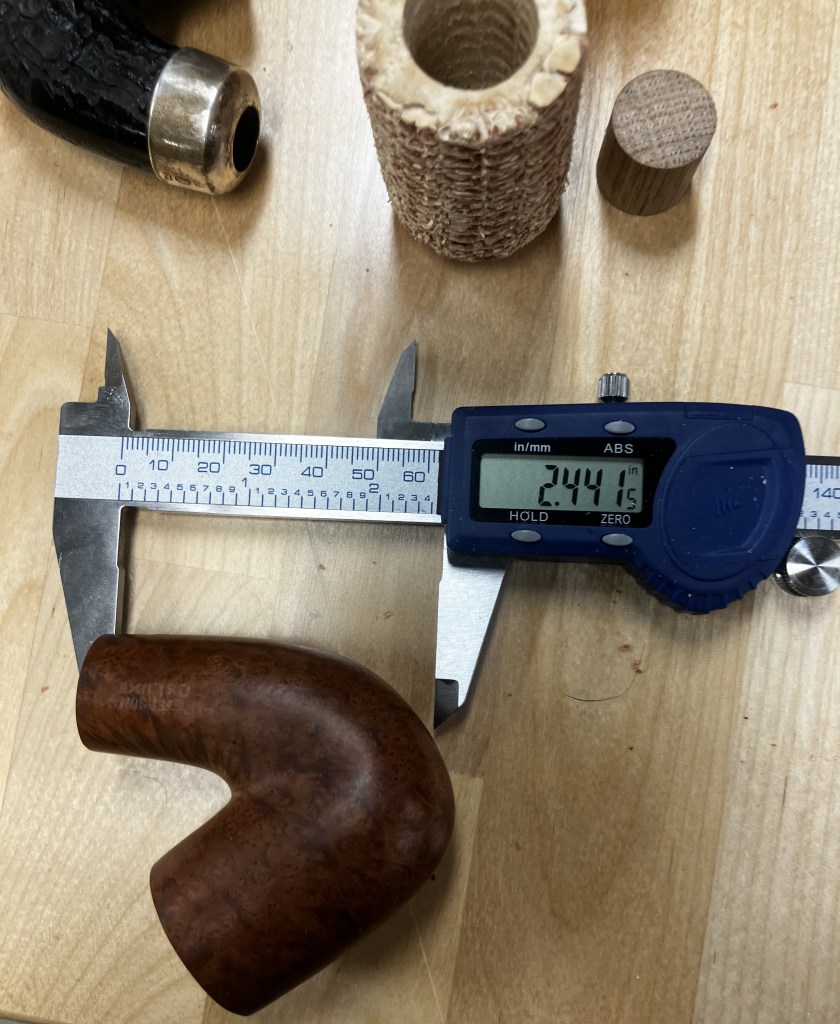
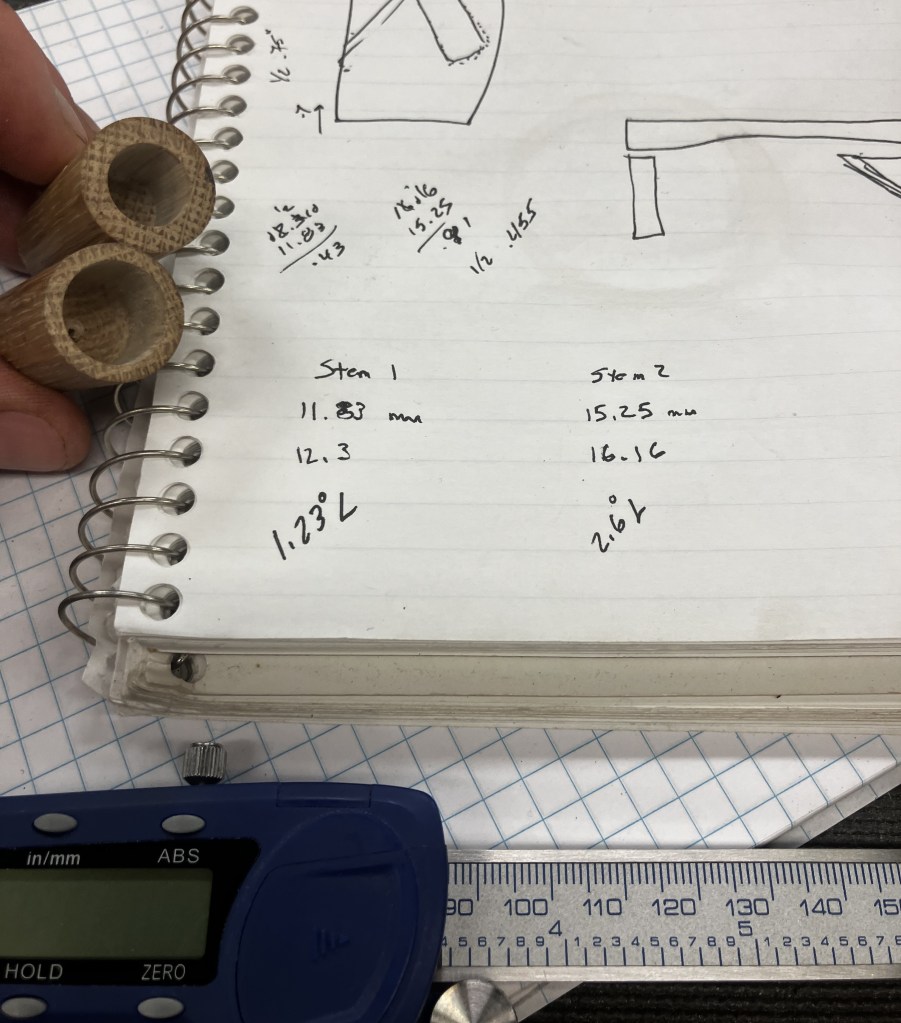
The dowel length seemed rather excessive but the measurements were correct and 0.7 inches. Next came measuring the length of the shanks. I planned on using the same ¾ inch oak dowel for the shank since I had one on hand and it matched the nickel collars I picked up from Vermentfreehand, com (Nickel Bands – Vermont Freehand). A Peterson 309 was used as a model for the measurements.
A refresher course was required for Christian about the drilling that I had envisioned in the shanks. These drawings were even less anatomically correct, but got the idea across.
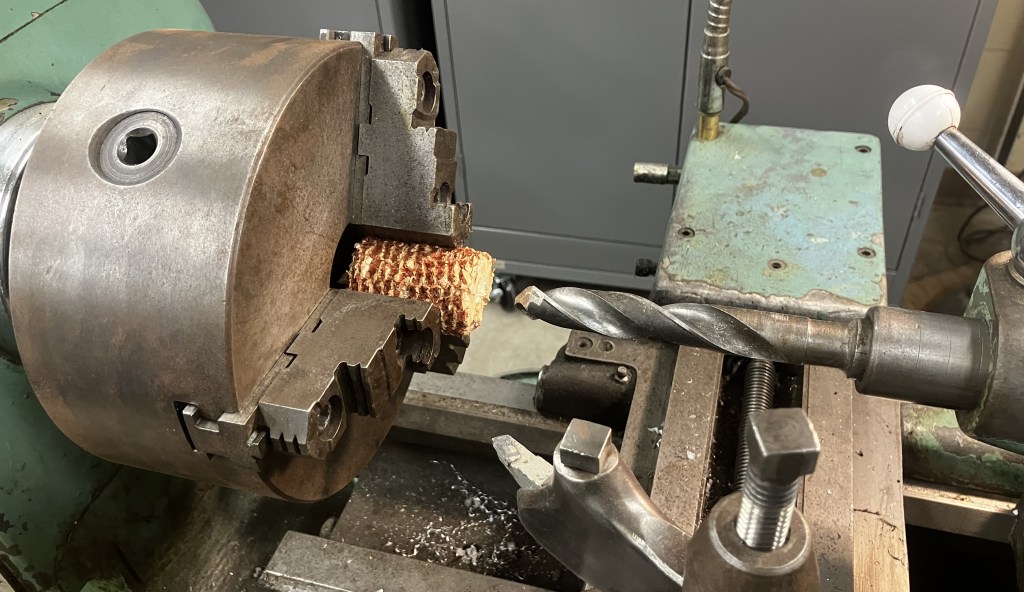
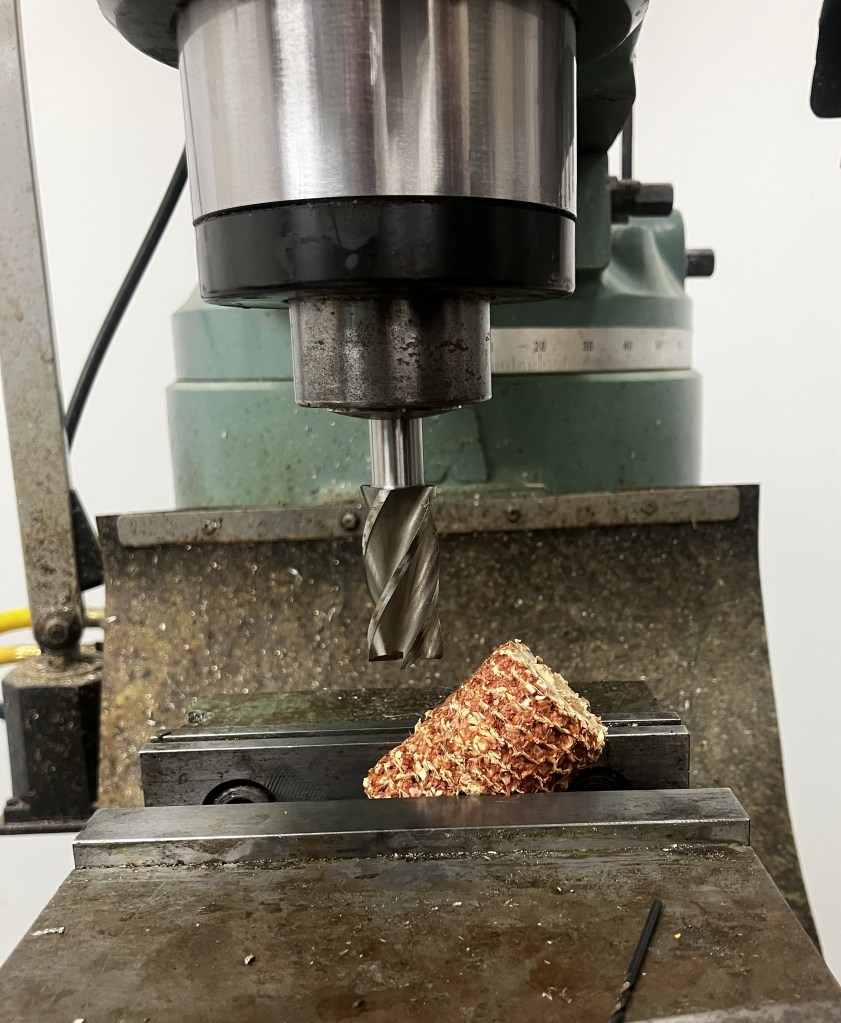
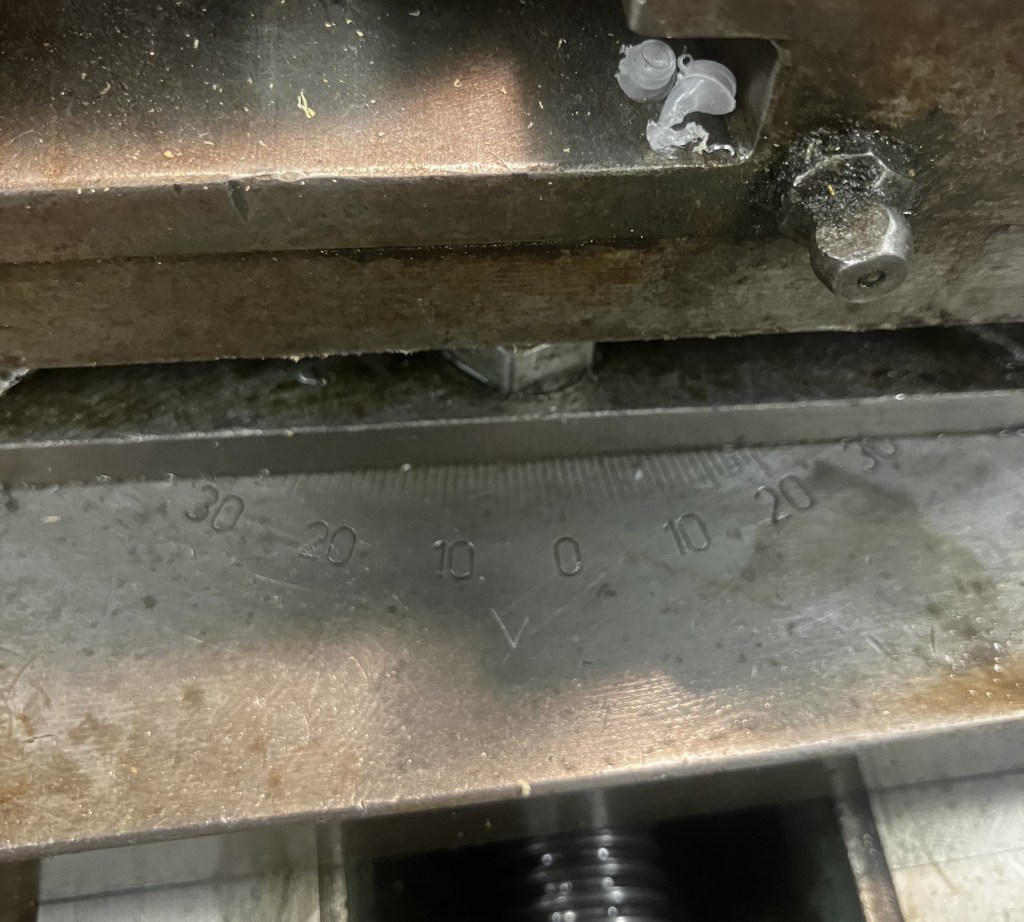
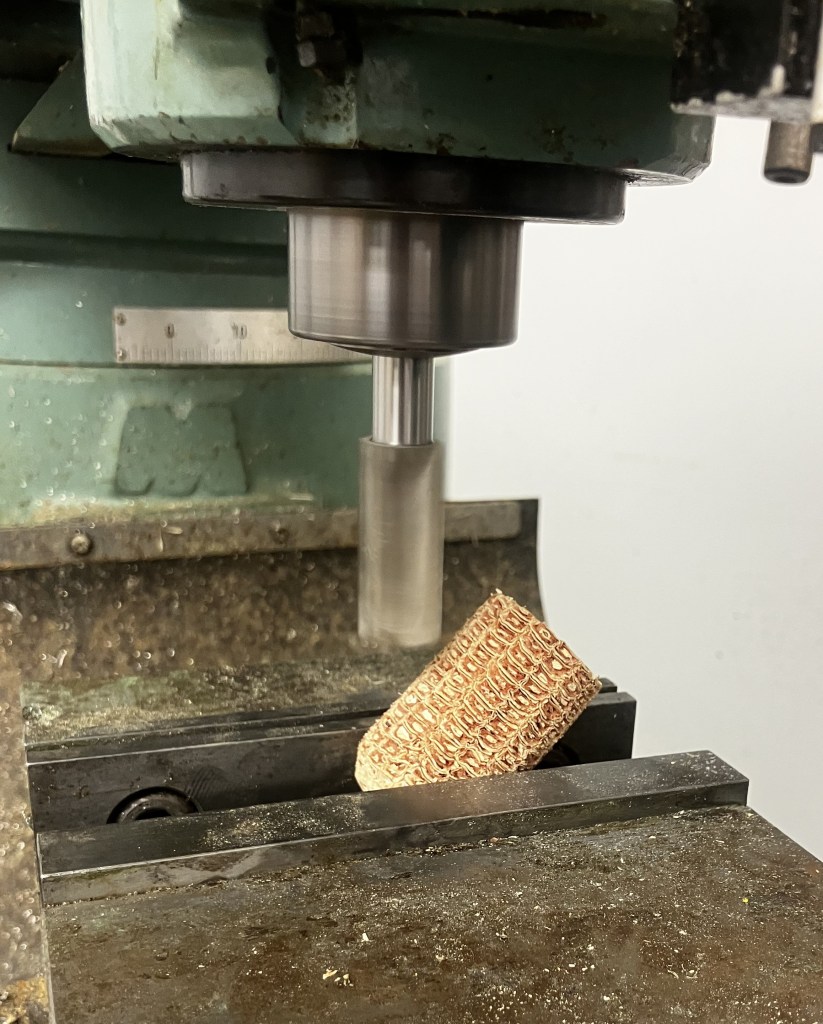
It was decided to use a milling machine to cut the shank juncture. We chose to work with the rough cob rather than the more finished cob. The shank of the real Peterson seemed to be at a 45 degree angle so that was used as a guide for clamping the cob.
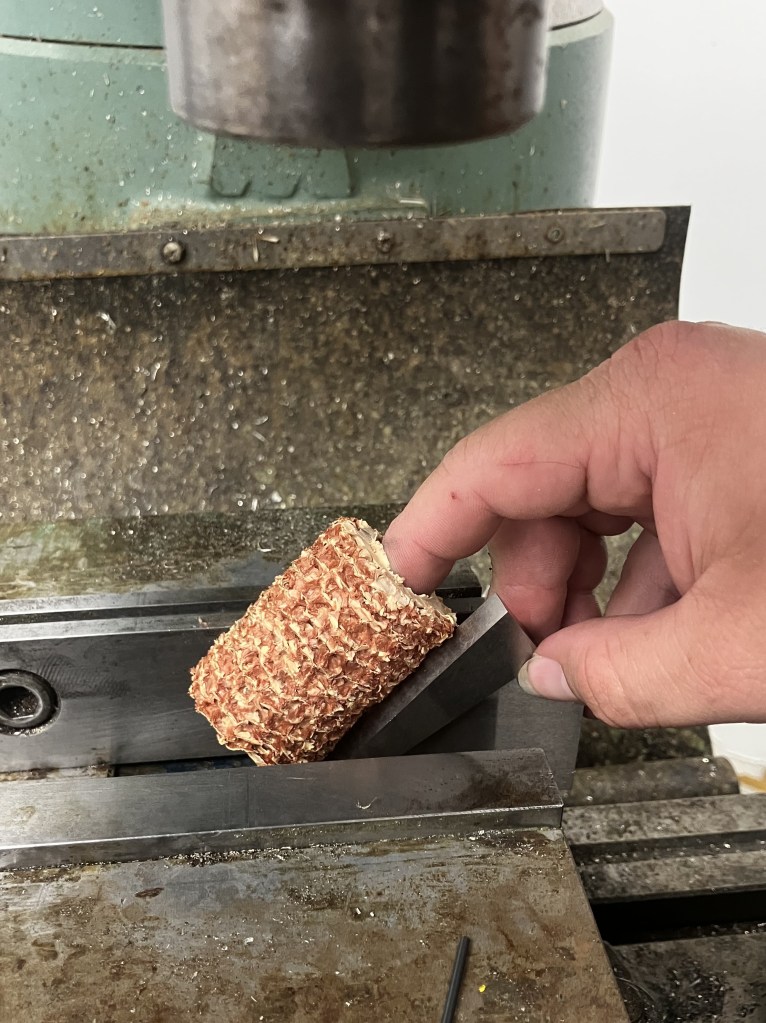
The mill was the preferred machine for this process as the table could be adjusted in two axes.
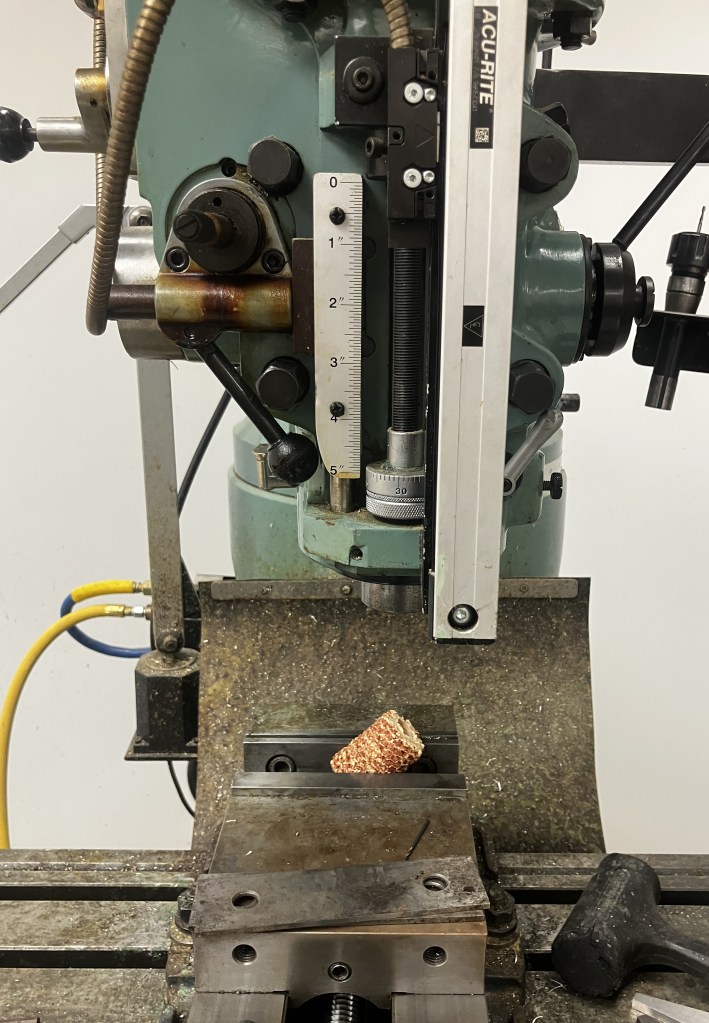
A new ¾ inch bit was selected and placed in the corresponding collet.
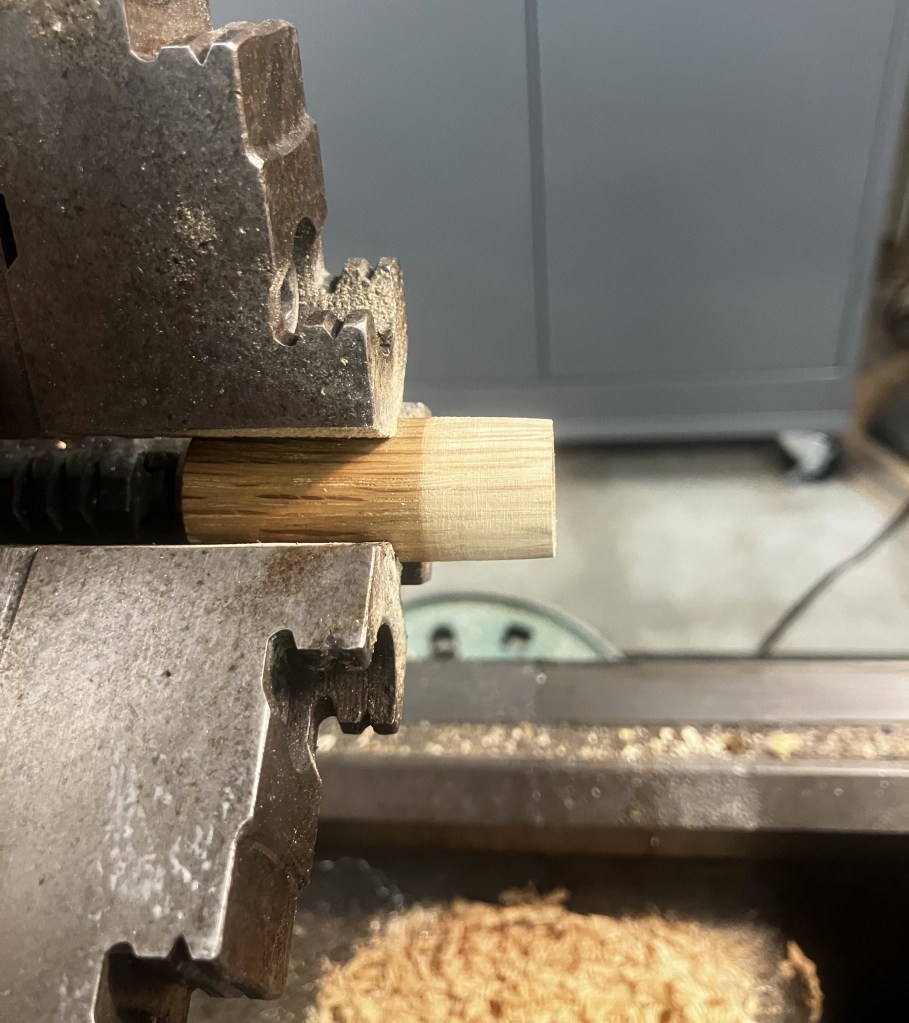
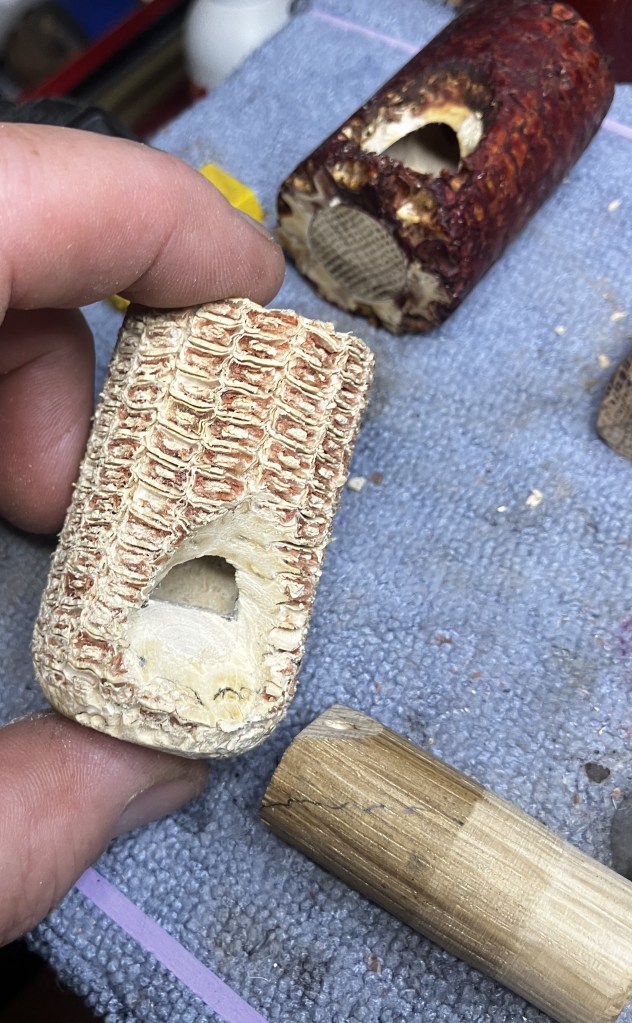
The cutout for the shank had a couple of chips, which cobs are renowned for. The shank was placed in the slot and a pencil line was drawn for the bevel inside the tobacco chamber. I used a sanding wheel to remove the material from the shank.
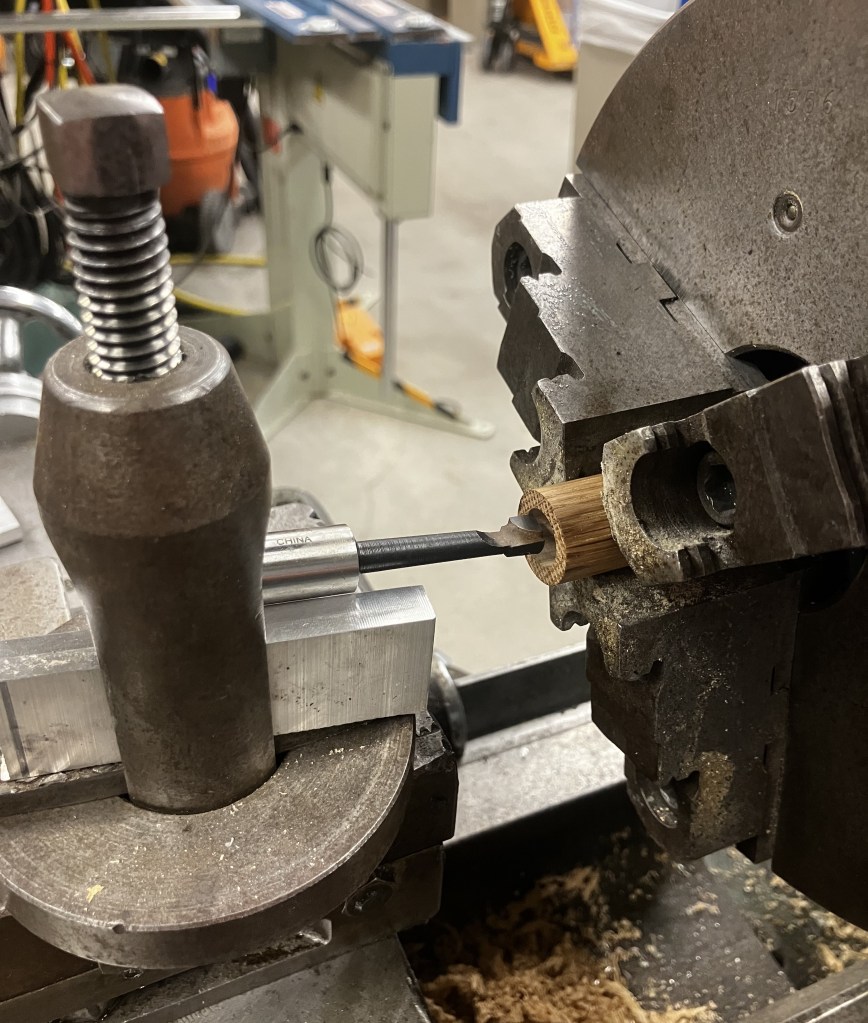
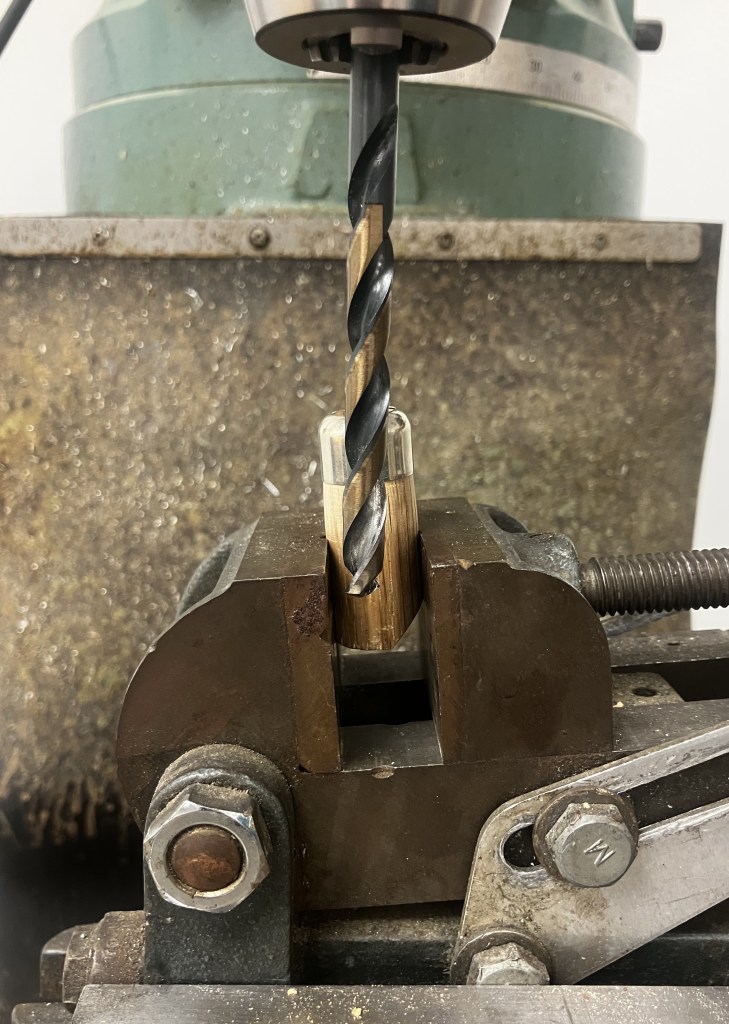
The next part was the drilling of the shanks. We started with the airway. This was bored with a 3 mm bit. Christian was excited to use his new chuck. I’d like to say that this was a highly scientific process but it was a lot of just “eyeballing” the angle

Next the shanks were taken back to the lathe for the drilling of the mortice. This was different for each shank and the two stems were not uniform.
The drilling of the mortises is where we ended the first evening of fabrication. There was a good deal more discussion, thinking and planning of the series and sequence of steps which these pipes would require. And another saying, “time flies when you are having fun”, came to mind.
Back at the home workbench I looked over the pieces. Like I thought, the oak plug seemed to lang but that could be easily remedied with a sander after it was glued in place. I thought that the cutout for the stem would certainly provide enough gluing surface for affixing the shank with epoxy.
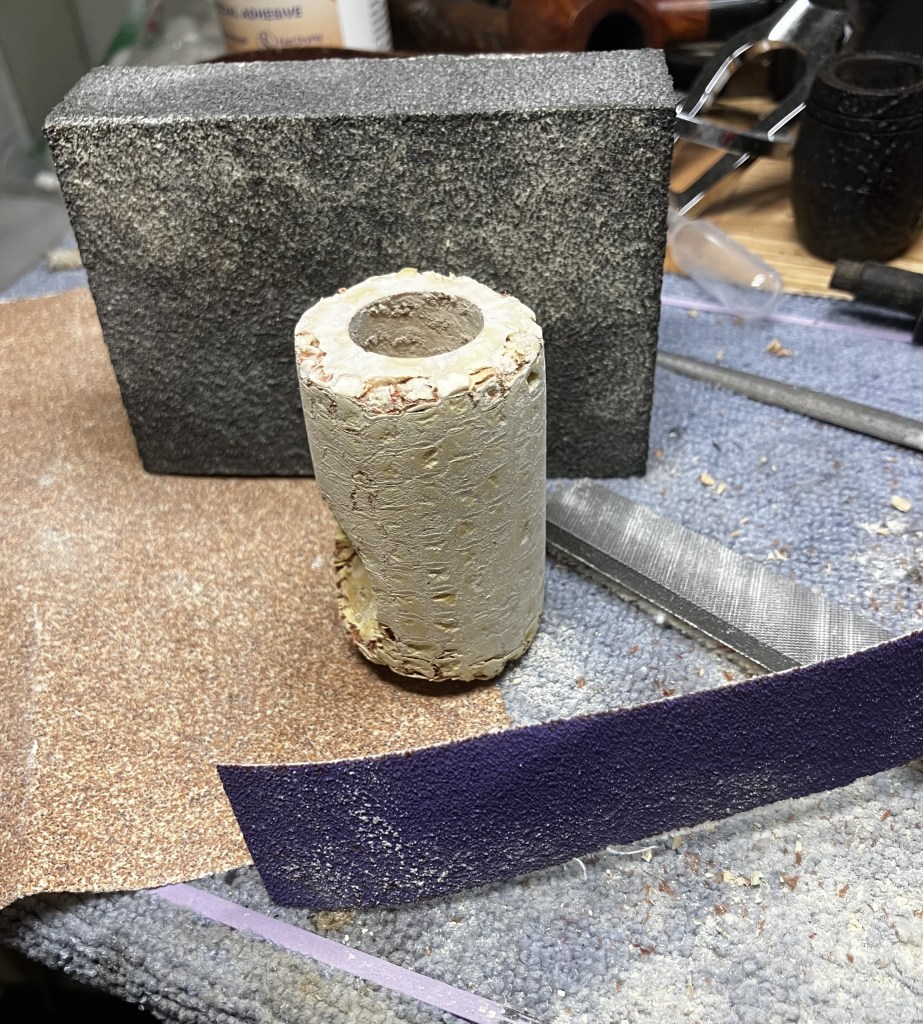
To remedy the rough texture of the rough cob, I tried sanding it with 80 grit sandpaper.

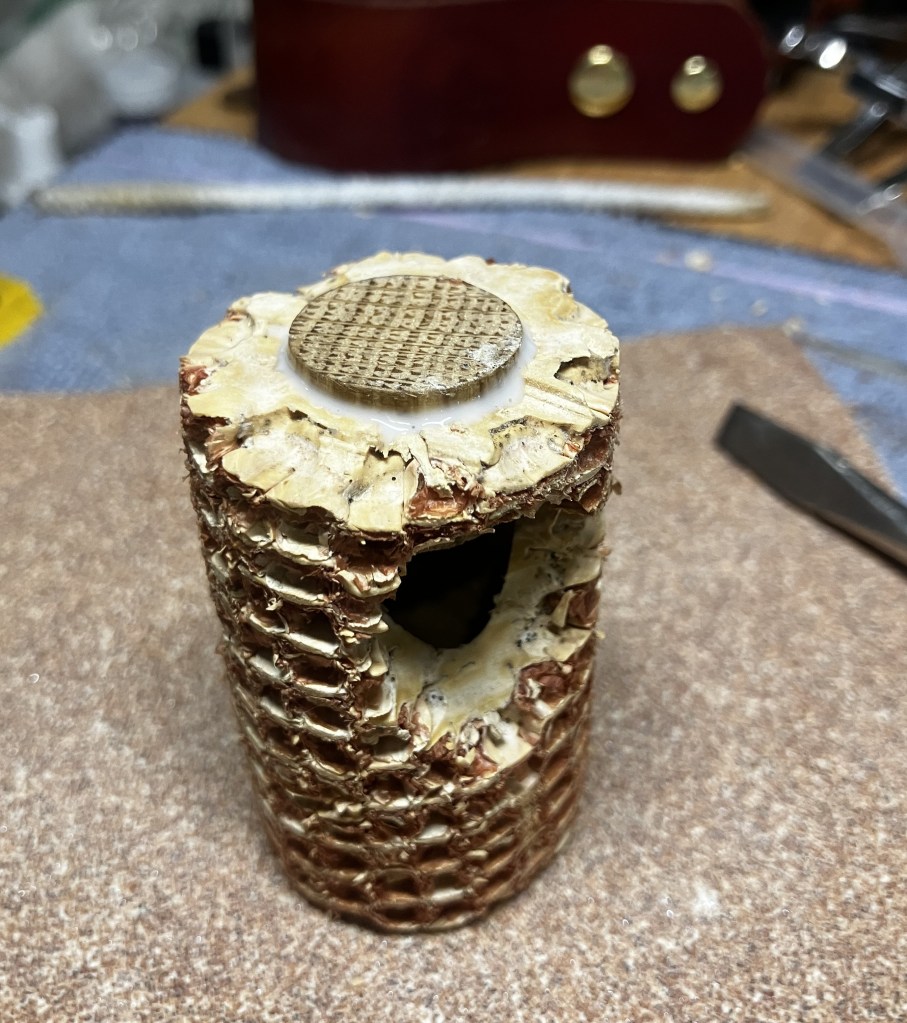
I used white all purpose glue to fix the oak plush in the bottom of the tobacco chamber.
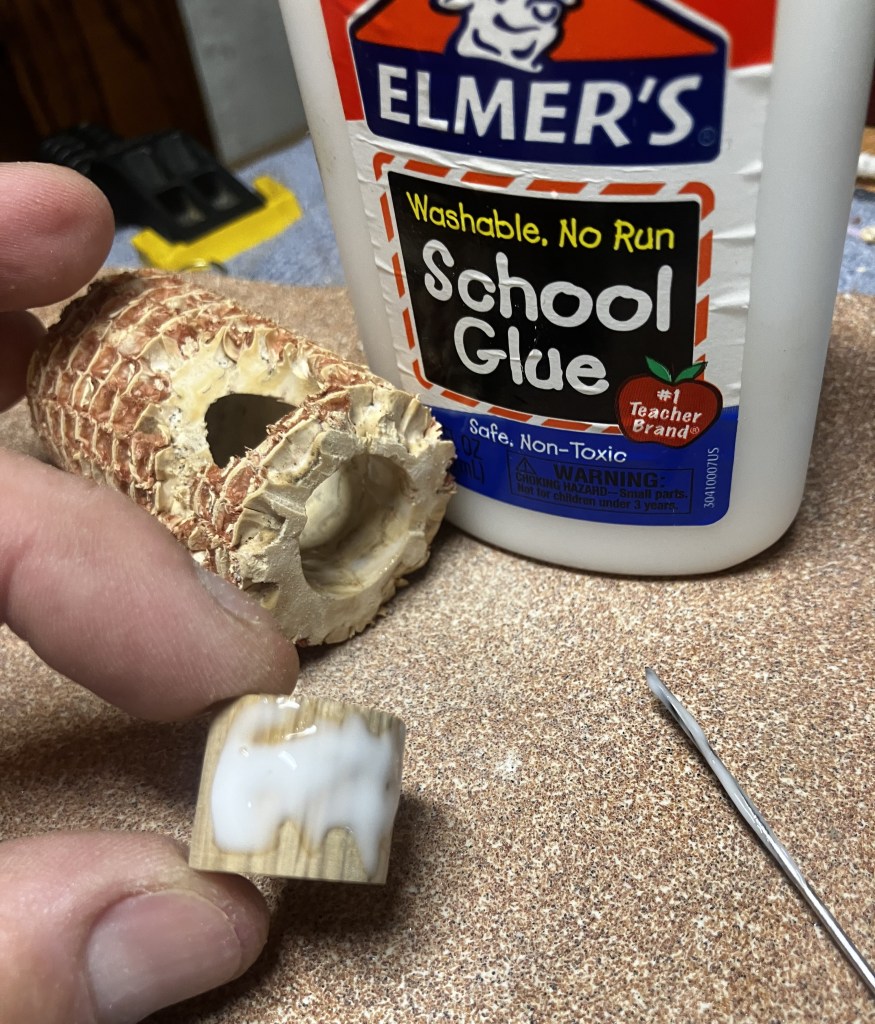
I placed it so that it would fit the cutout better. This left a few mm of material which would have to be sanded away.
I was not happy with the rough texture of the cob. In reading about the history of MM, I found that they had patented a process using a plaster of parish-like material to fill their cobs and aid in the turning of bowls. I opted to use a wood putty thinking that I wanted to dye/stain this example more like a Peterson pipe with a smooth finish. Though at the same time I still wanted the characteristic chips and cob texture to shine through. I chose Durham’s putty for this application.
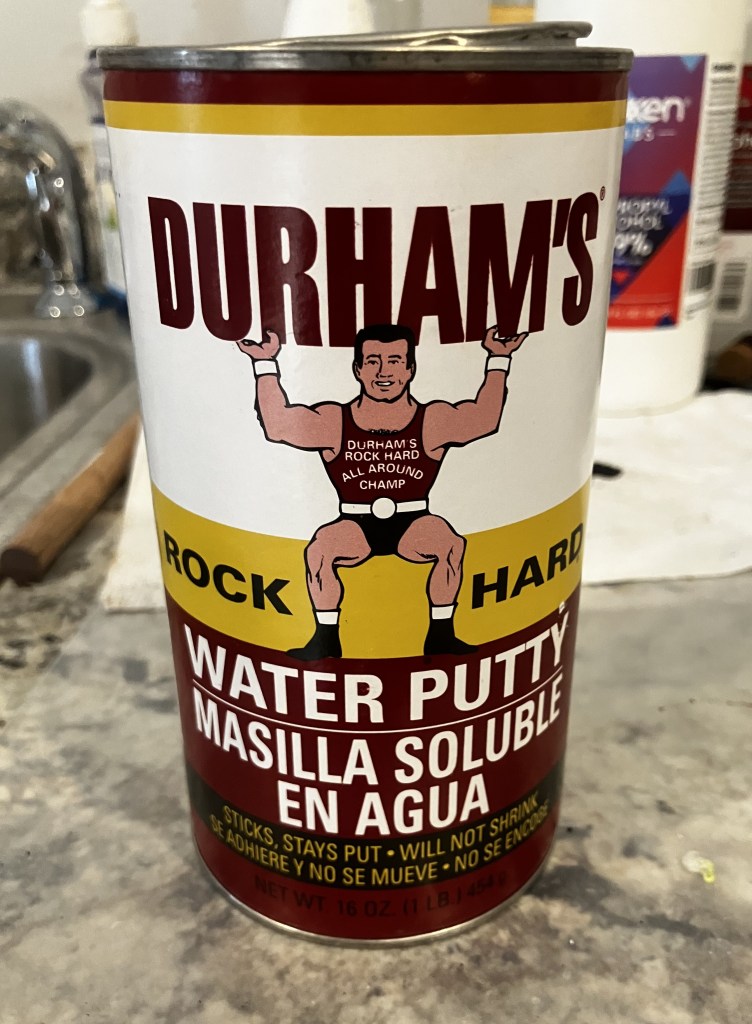
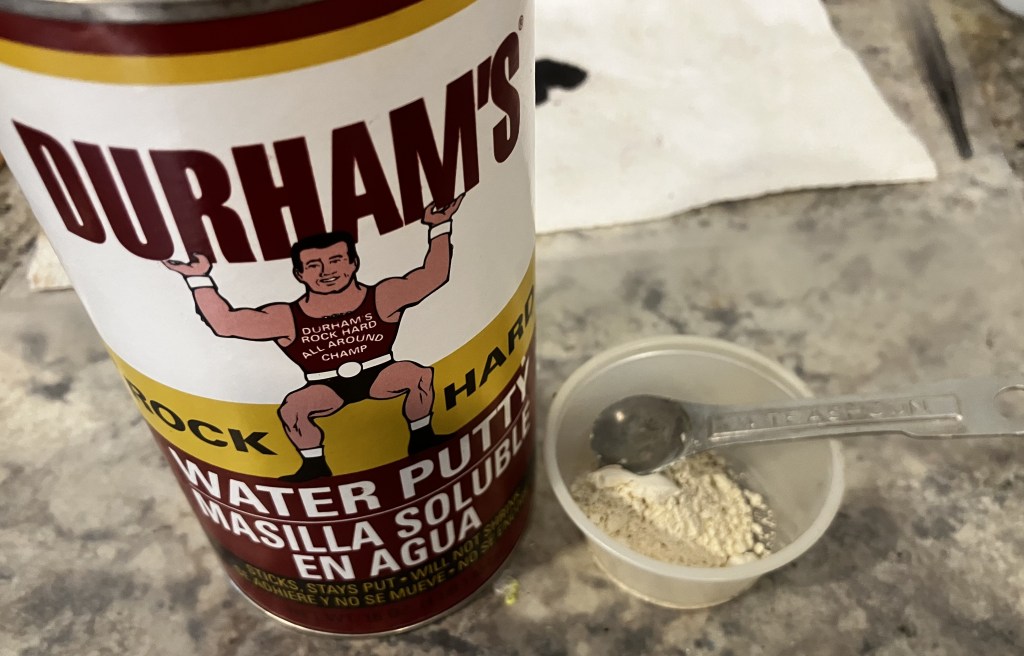
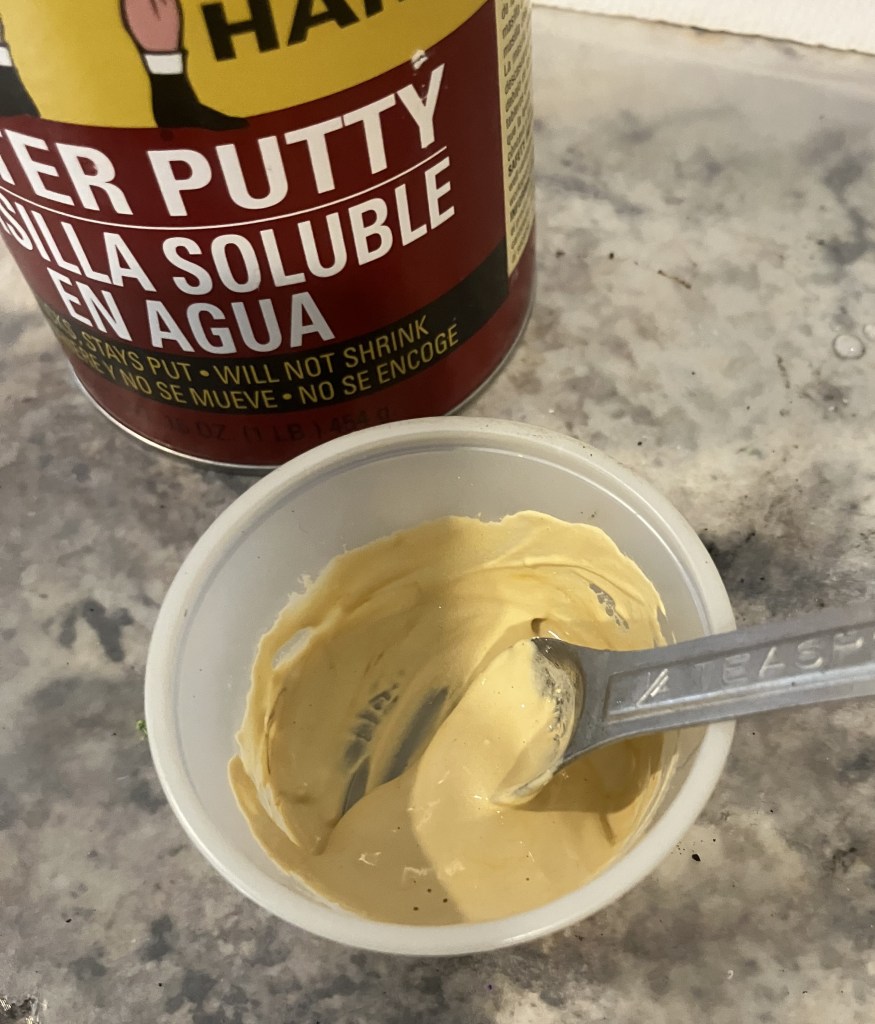
Durhams is a dry powder which water is added to to get the consistency of putty that you want to work with.
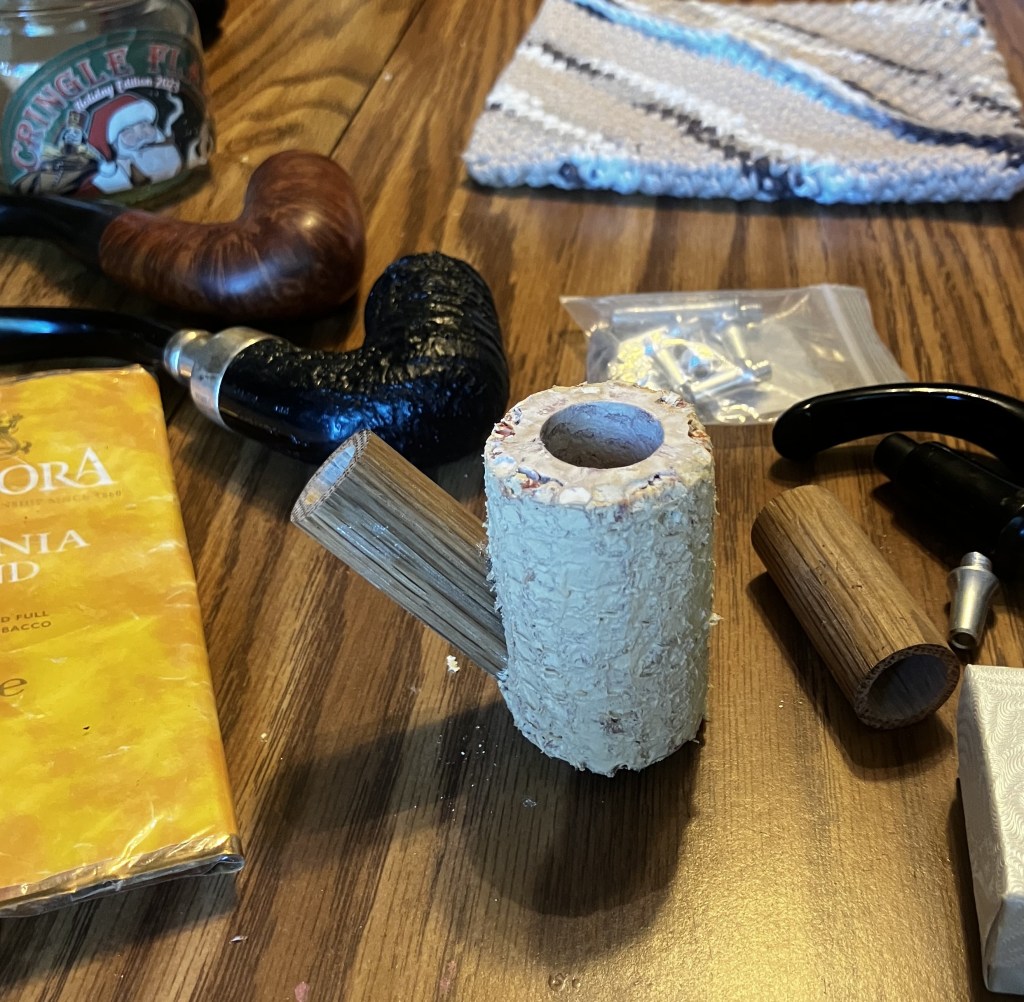
I used a daily thick application of putty to fill the depressions. This was allowed to dry overnight.
The next day I was not impressed with the fill texture, but the cob pattern was maintained.
A lot of sanding and some filing was used to smooth the putty and rough cob material.
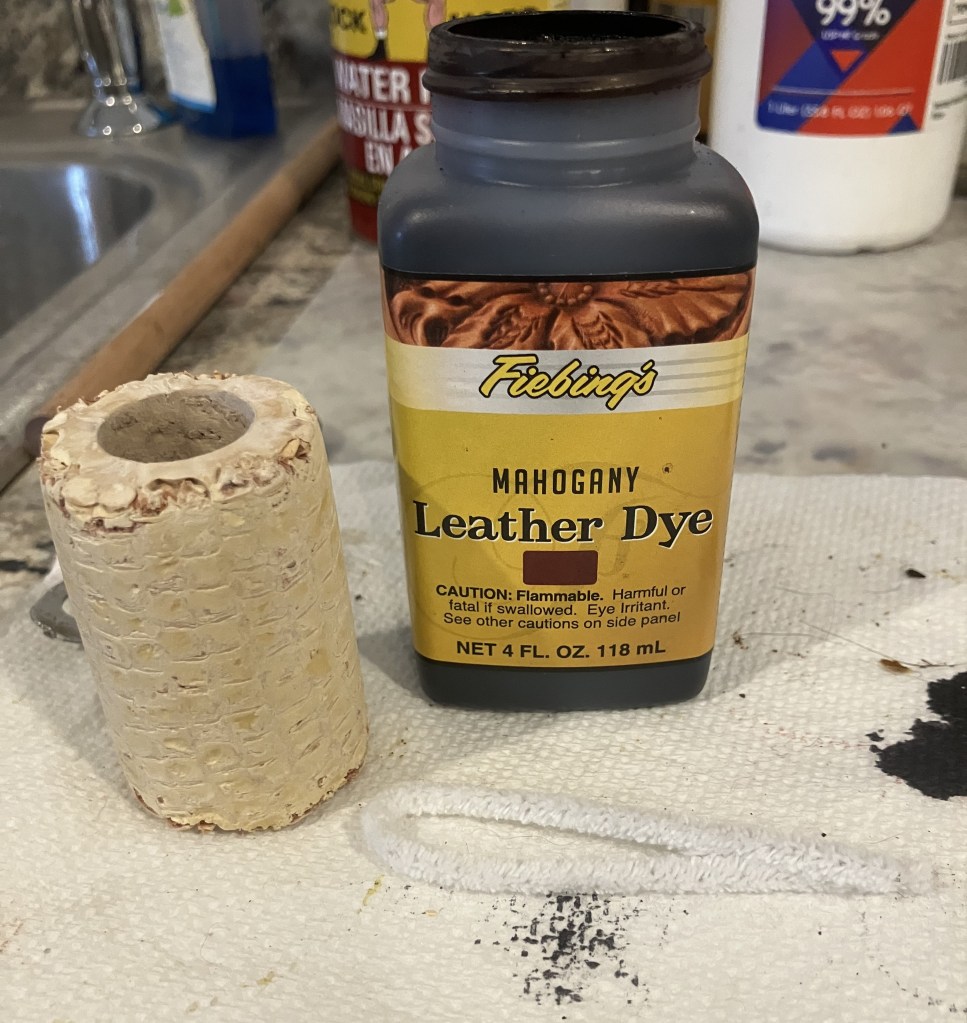
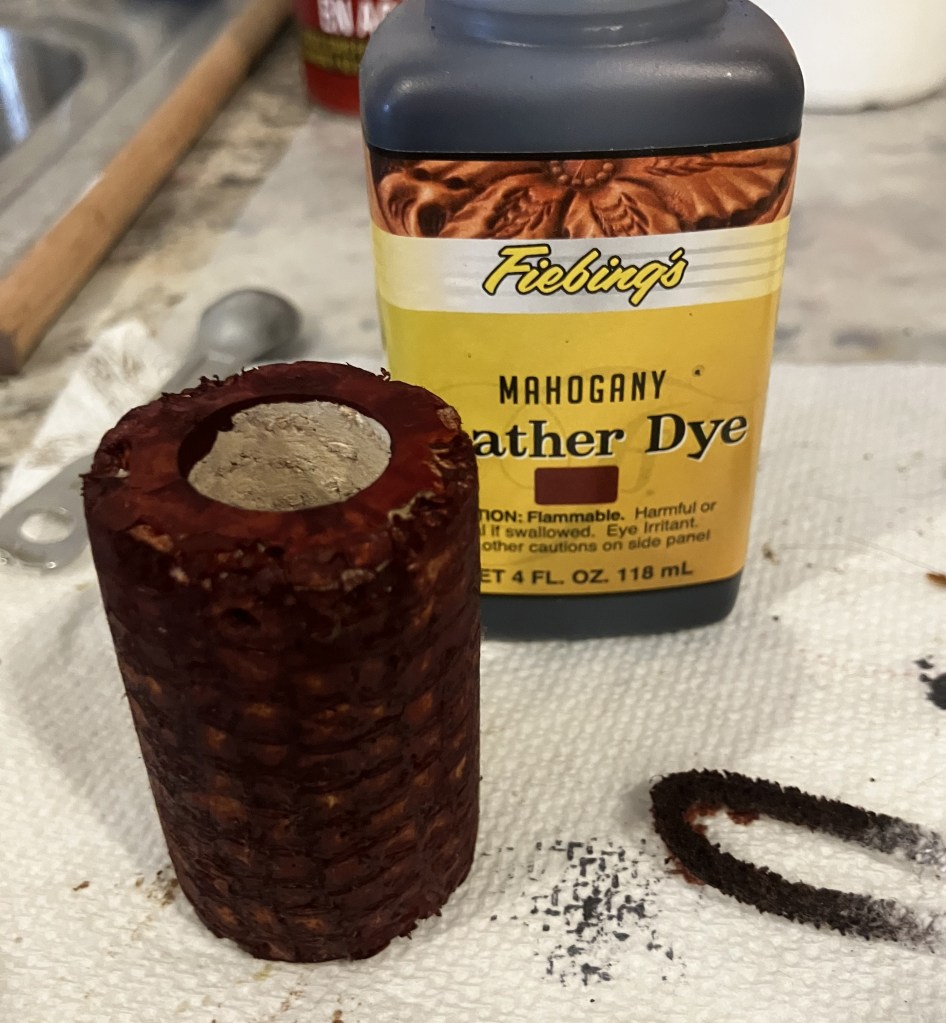
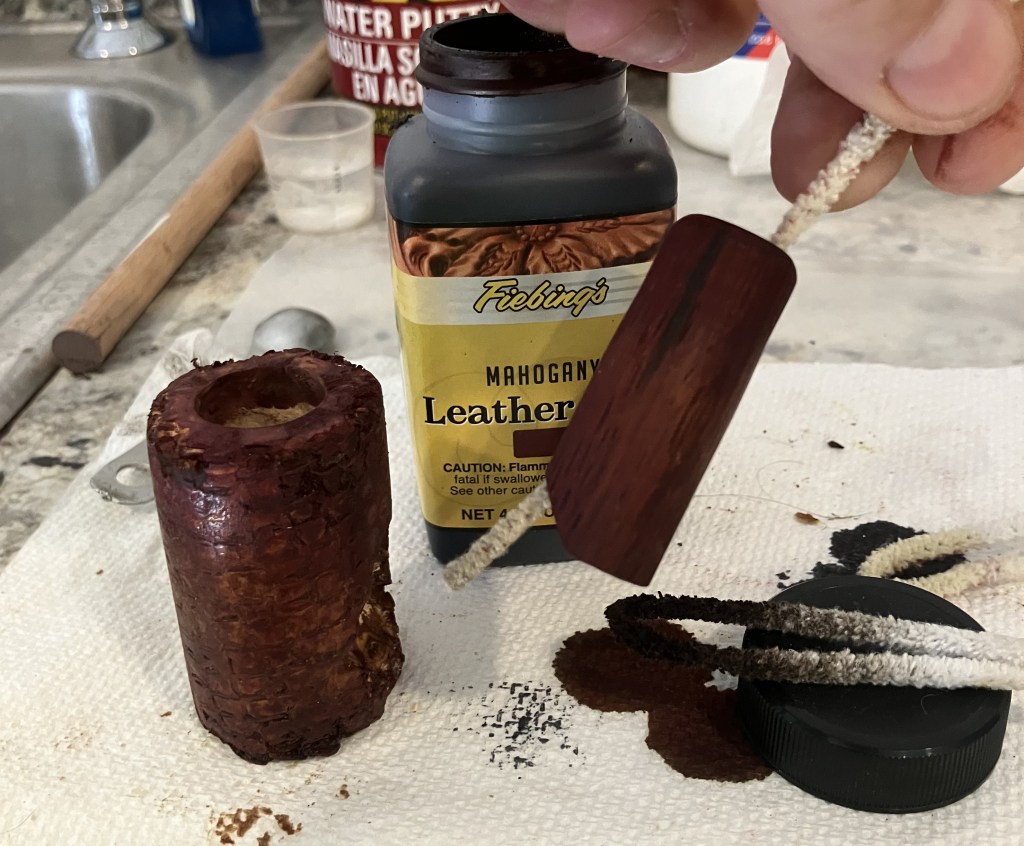
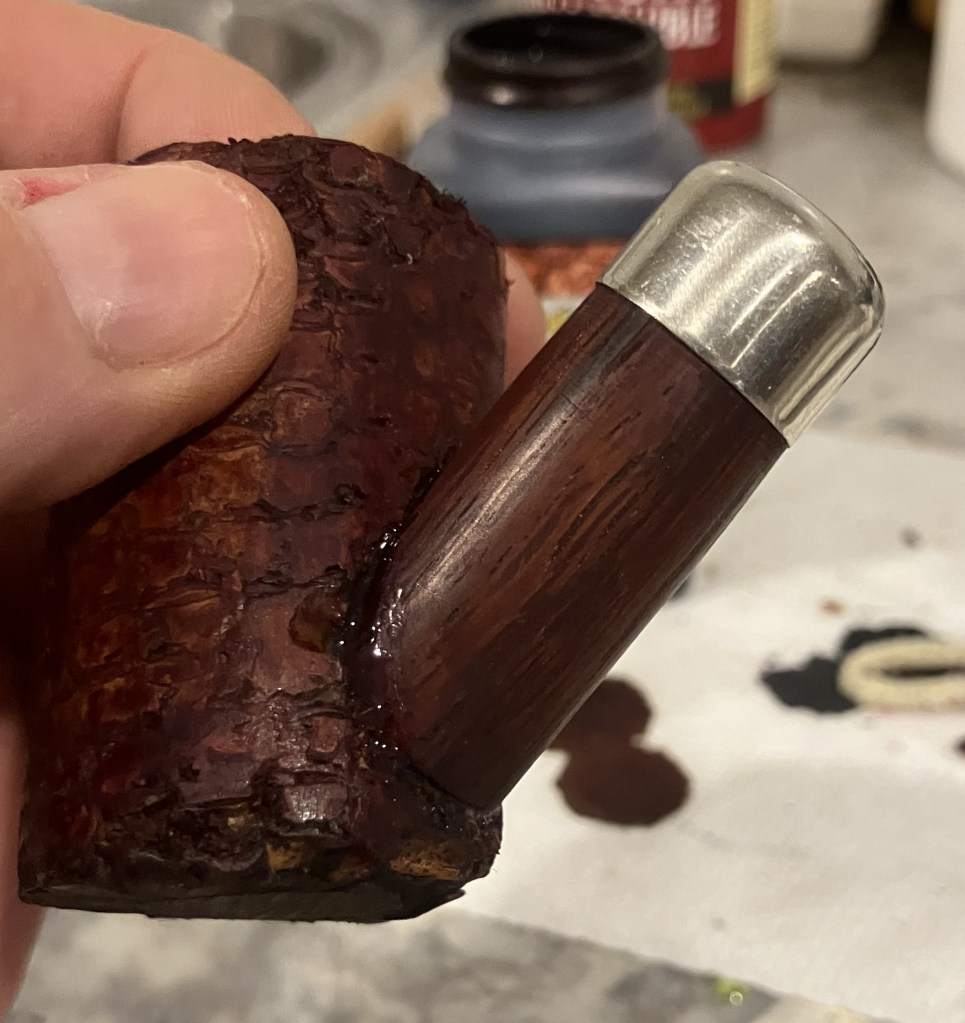
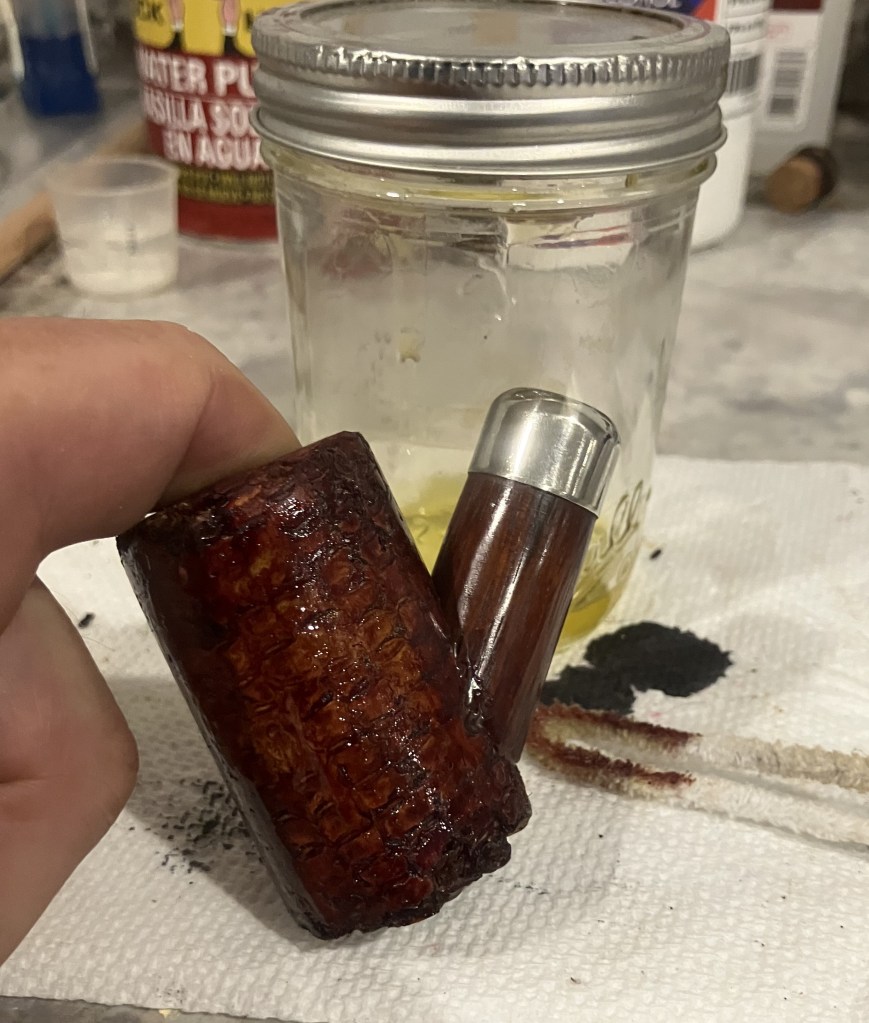
Eventually I was pleased with the sanding and ready to dye. I chose Fiebing’s Leather Dye in Mahogany. This was applied with a folded pipe cleaner. Normally this dye is flamed with a lighter to burn off the alcohol solvent but the porous cob seemed to absorb the dye and flaming was not used.
I was pleased with the color and thought it looked quite like a Peterson color.
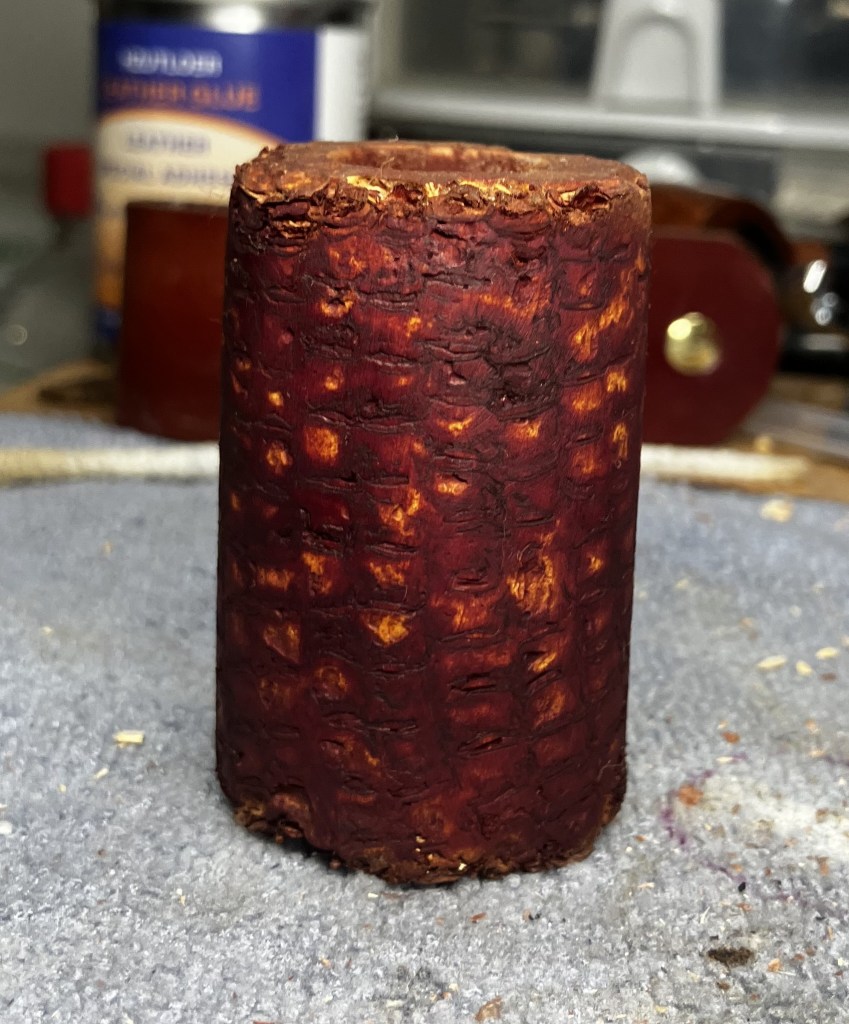
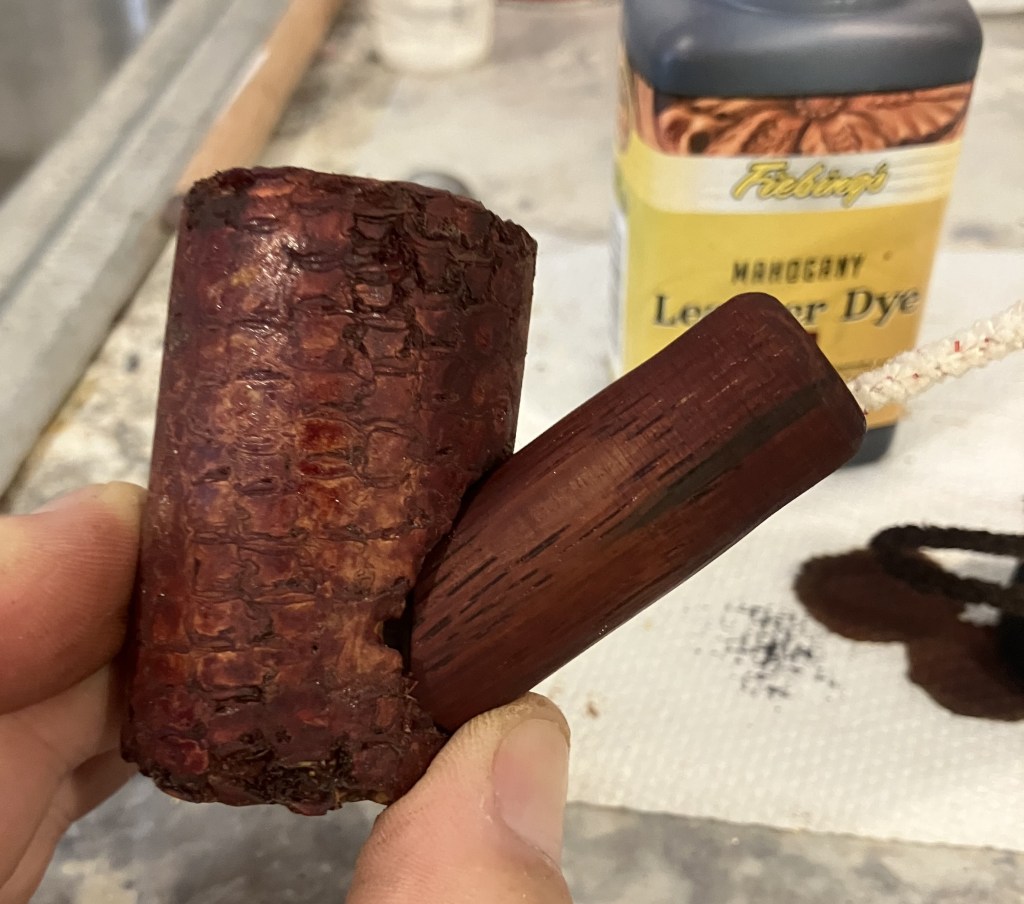
Below is a closeup of the color and pattern of the dyed cob.
The next trip to Christian’s shop was a week later. Our first task was to bore out the mortise so that a taper-fit could be achieved with each stem. Using measurement of the stems two angles were calculated. The stems were of different diameter and slightly different angles.
The holes in the collars were both too small for each stem. The best solution to this was to mount the collar on the stem then widen the hole while achieving the taper-fit within the mortise. The shanks had to be turned on the lather to remove material to allow good collar fit, This was then sanded. To hold the collar in place while boring the taper-fit angle, I wrapped the one shank with masking tape to keep the collar from spinning on the shank. The other collar was a tight enough fit that this step was not necessary.
The angles were set.
A boring bar was used to gradually establish the taper.
With the mortises bored and tapers established we were ready to drill the reservoirs enabling these shanks to have a Petersonesque System configuration. Again, the scientific measurement was pretty much ignored and an eye-balling of the holes was used. We were back at the mill for this process.
Since everything was coming together for the previously rough finished cob, we felt comfortable using the mill to cut the shank cutout for the finished cob. The same process was used as with the first cob.
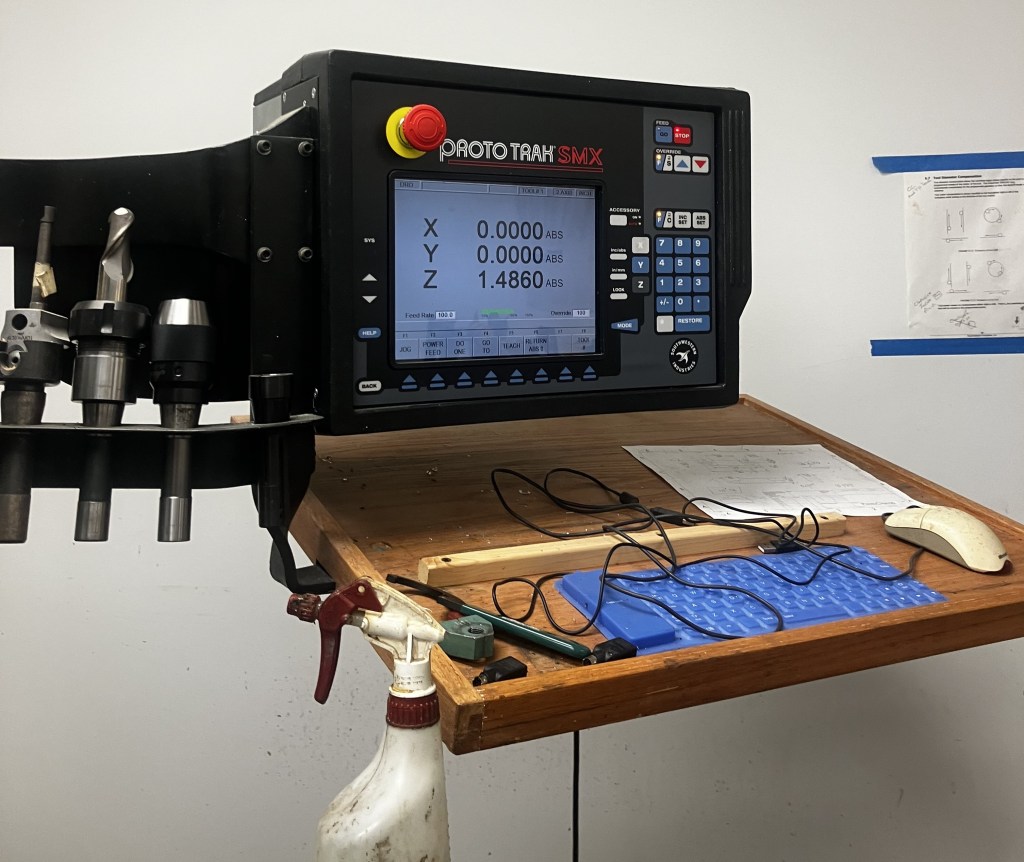
Though electronic calibration was used.
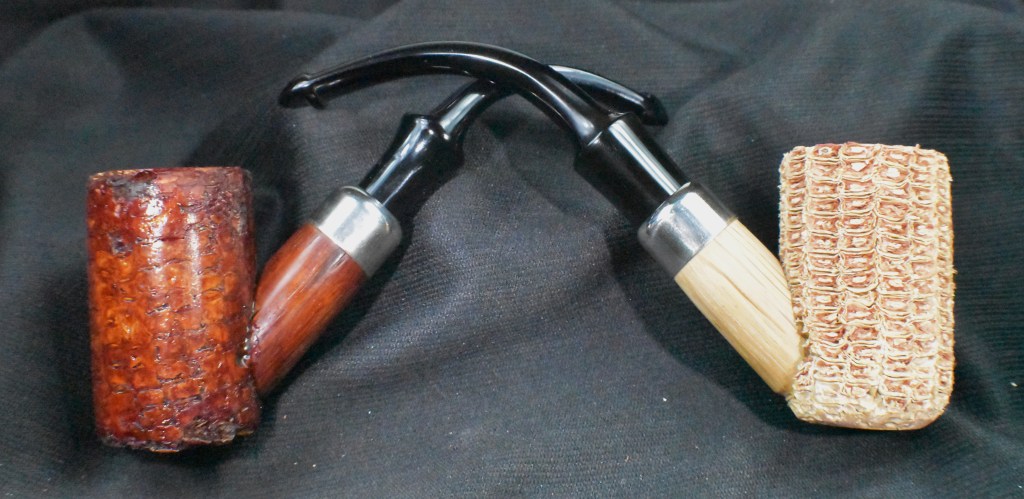
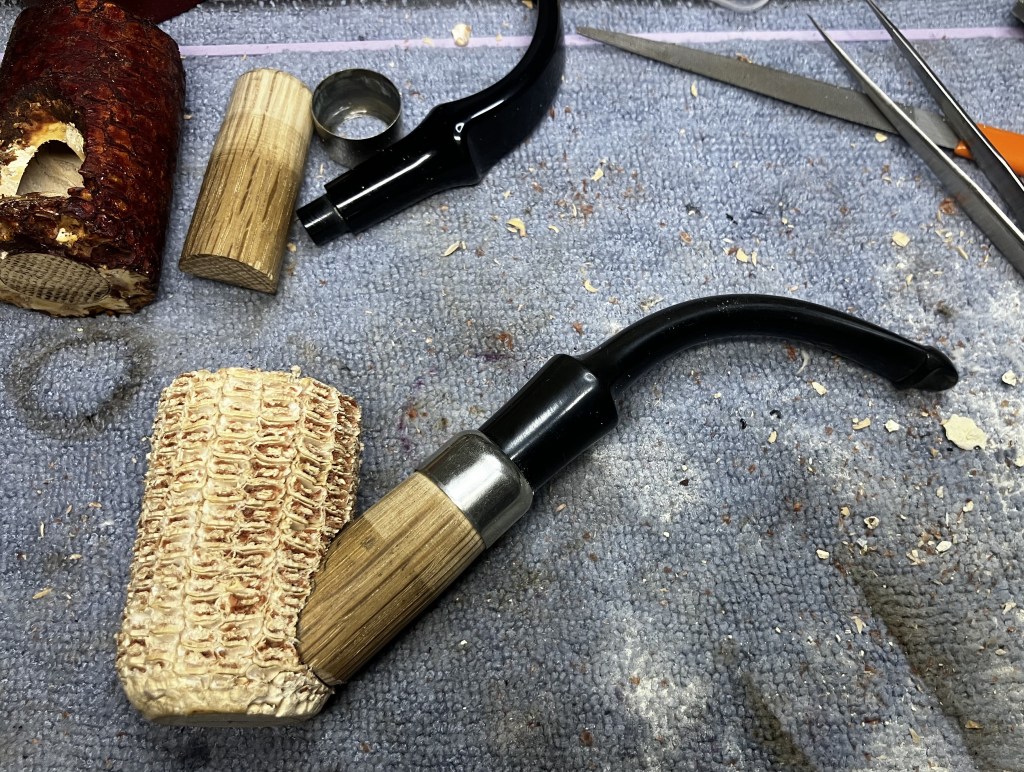
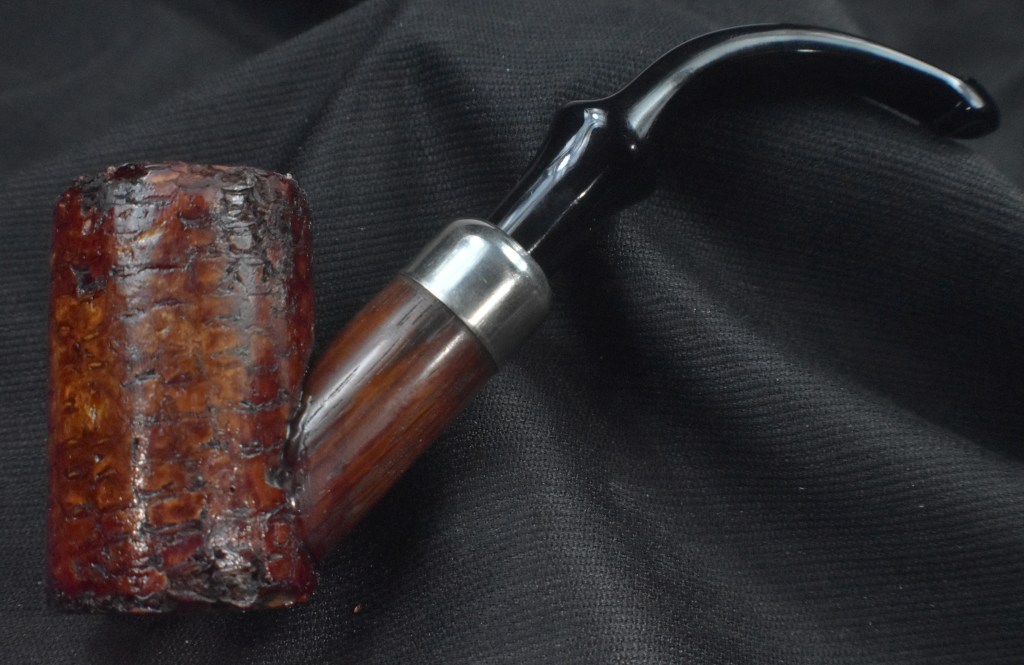
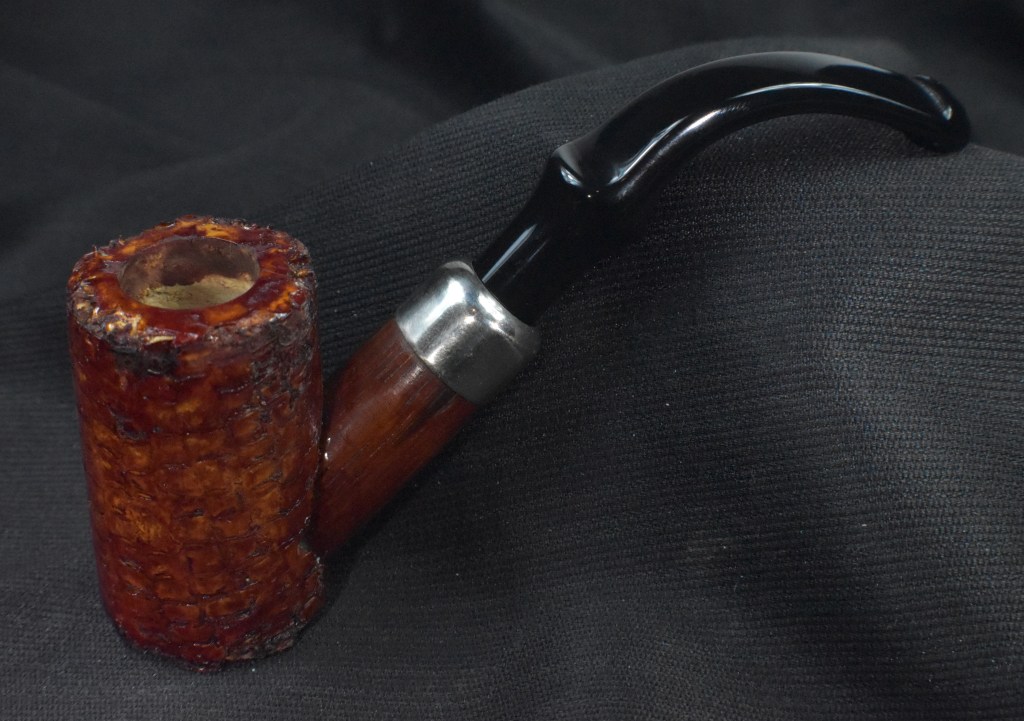
With both cobs having shanks, cutouts, collars and stems, a test fit was attempted.

The results looked very promising.
Christian was paid with a vacuum sealed package of smoked pork, thanked immensely and bid farewell. This left the finish and assembly for me at my workbench.

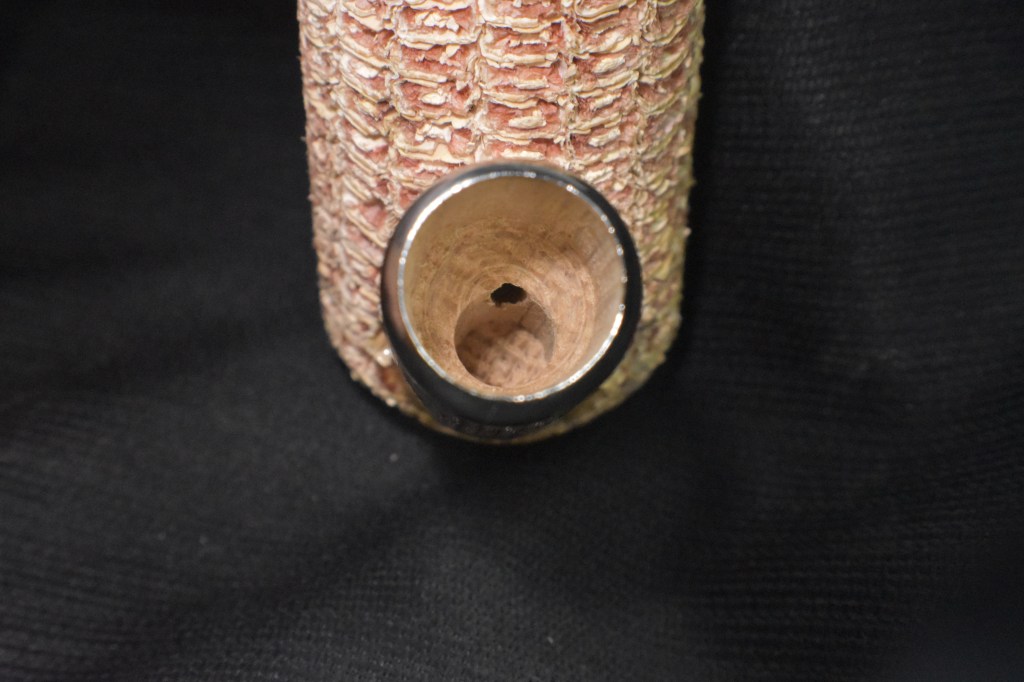
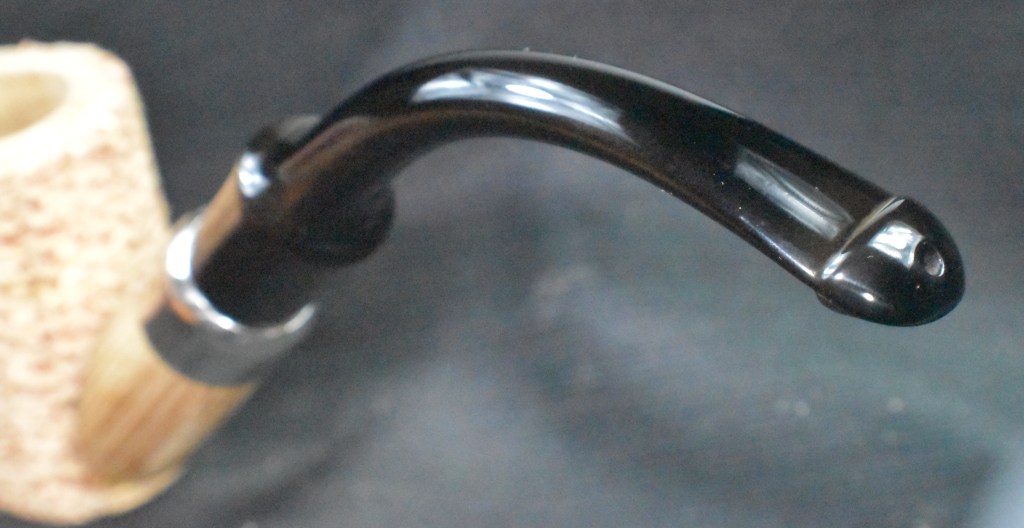
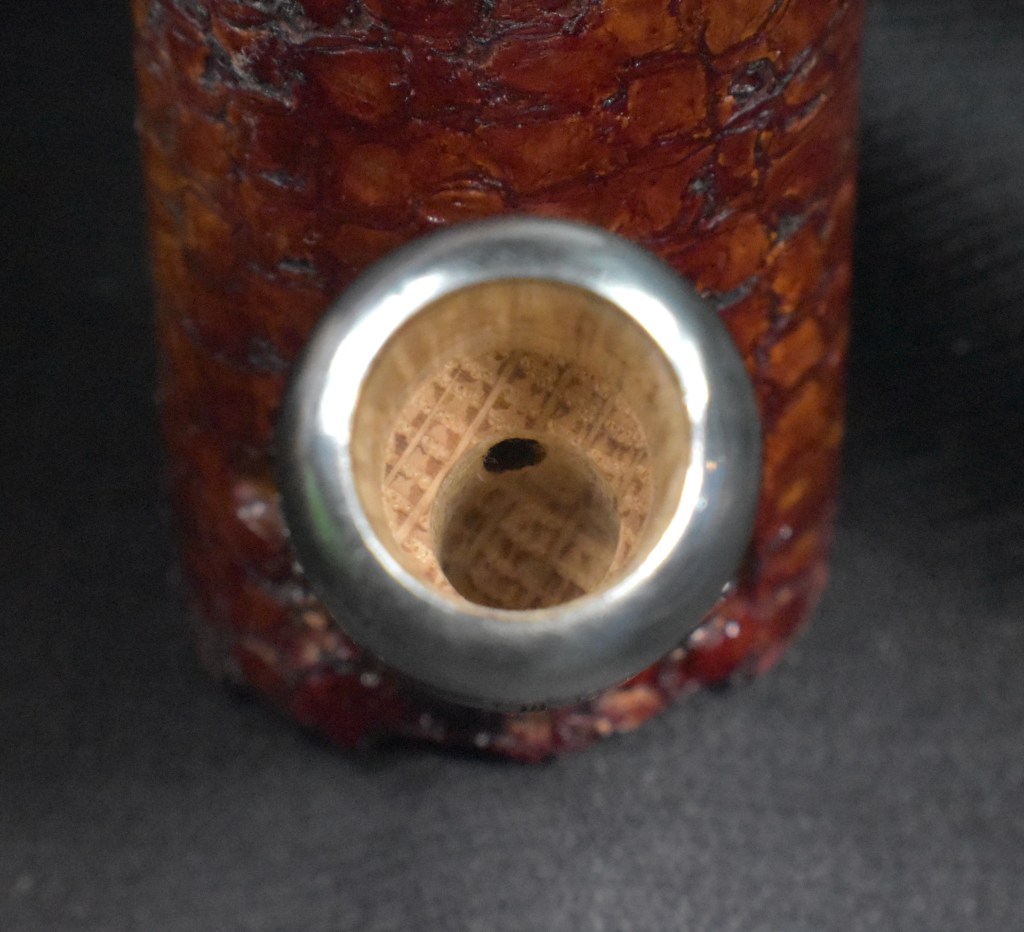
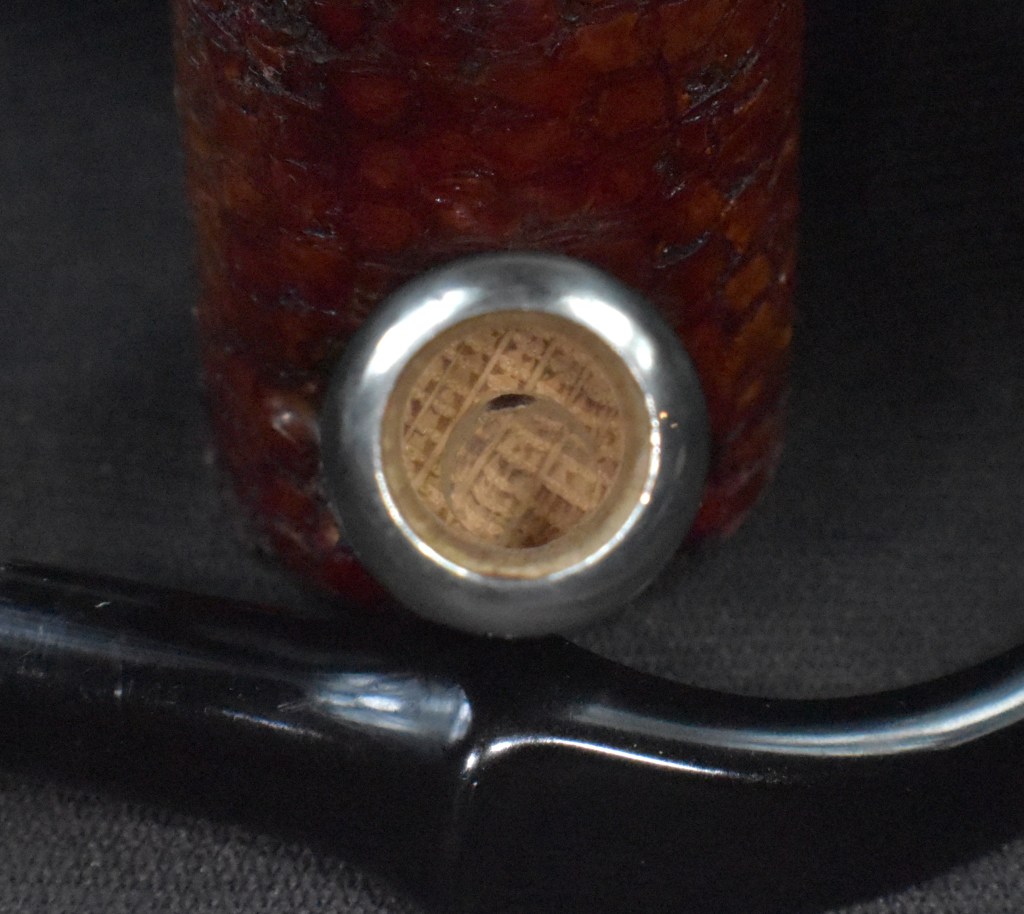
Below is a closeup of the drillings down the mortise of the pipe previously known as the finished cob pipe. The shank of this pipe pipe was significantly thinner than the dyed con shank. The dyed version would be kept while the unfinished cob would be sent to Mark Irwin as a gift. I’ll try to refer to each pipe as mine or Mark’s from here out.
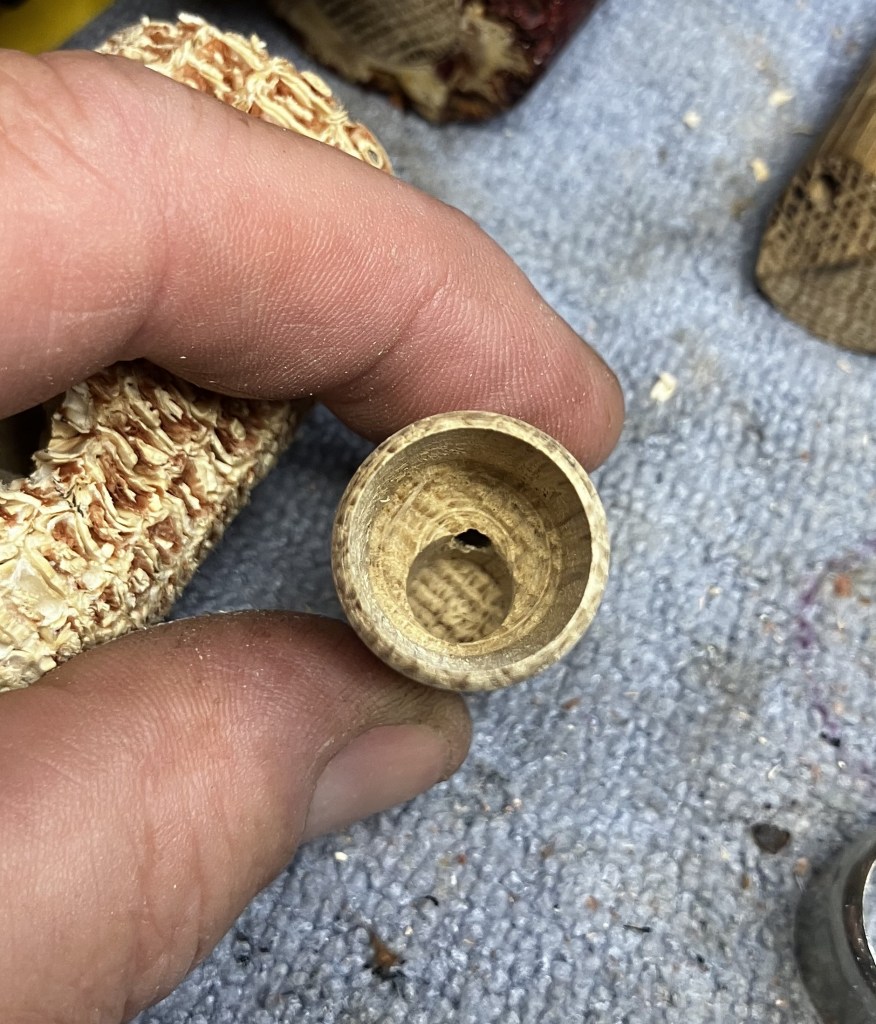
Mark’s pipe had a more finished appearance and a slightly better fit of the component parts.
Both shanks need a good sanding to remove the residues of being worked on.
They were sanded with a series of sanding sponged from 600- 3500 grit.

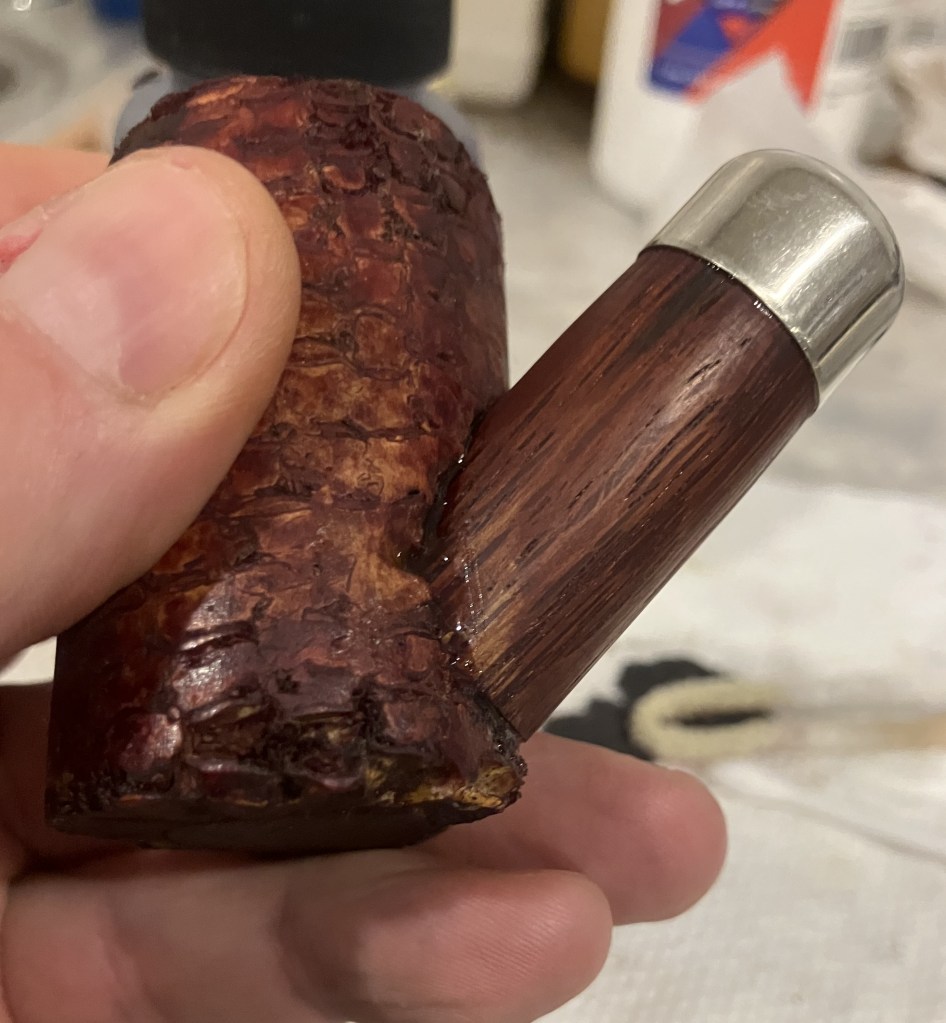
My pipe’s shank received a Fiebing’s dye job which I tried to match the color of the cob.
Mission accomplished.
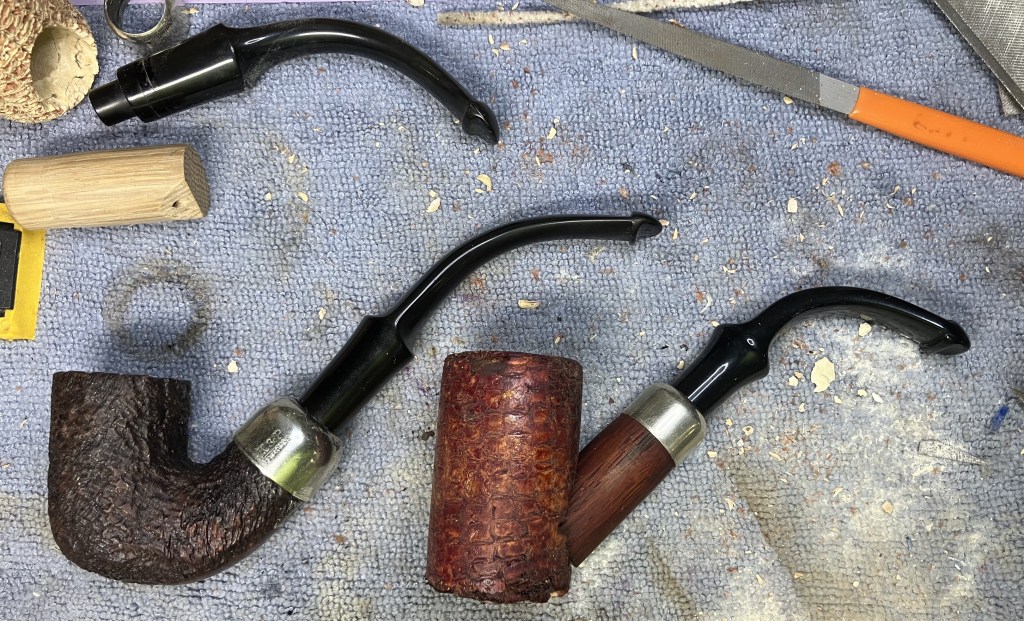
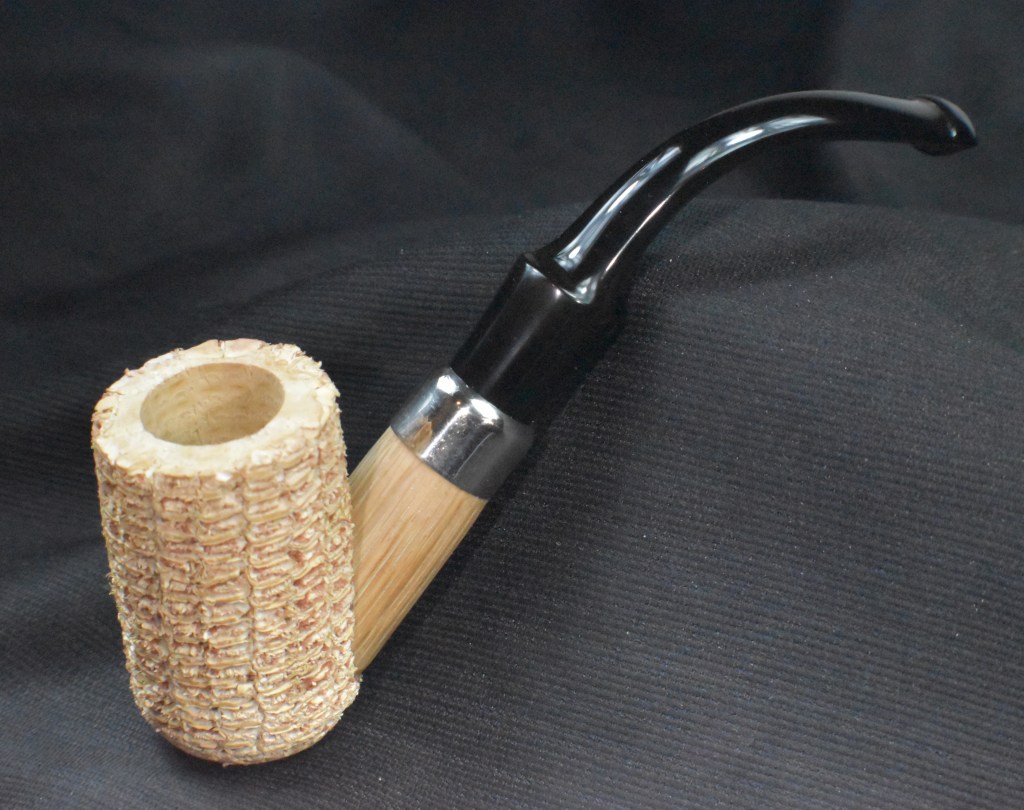
Below is a Peterson 309 of mine and my cob. The acrylic stem of my pipe would need to be rebent to have a more classic 309 stem curve. The bowl also looked off, being taller and not having the subtle sexy curves of the real 309 but the chambers were nearly identical.
It was time to glue the shanks to the cob bowl. I chose J-B Weld 2 part epoxy for this. It tolerates high heat and is known for its strength.
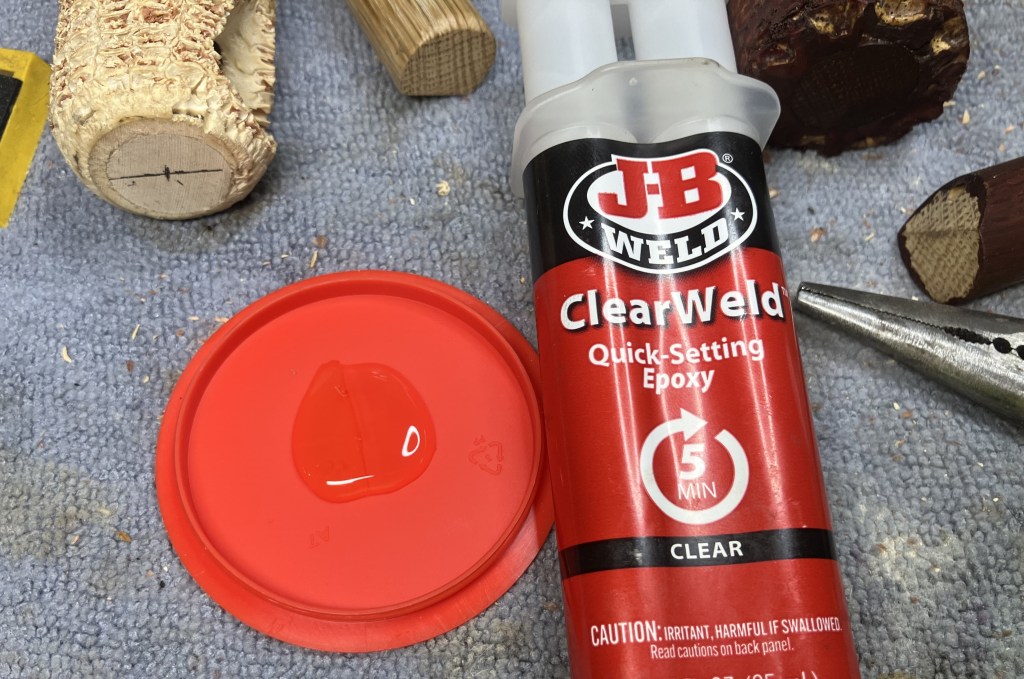
The epoxy was applied to both surfaces and worked into the rough texture of the cob. I thought this would allow even more surface area for secure bonding.
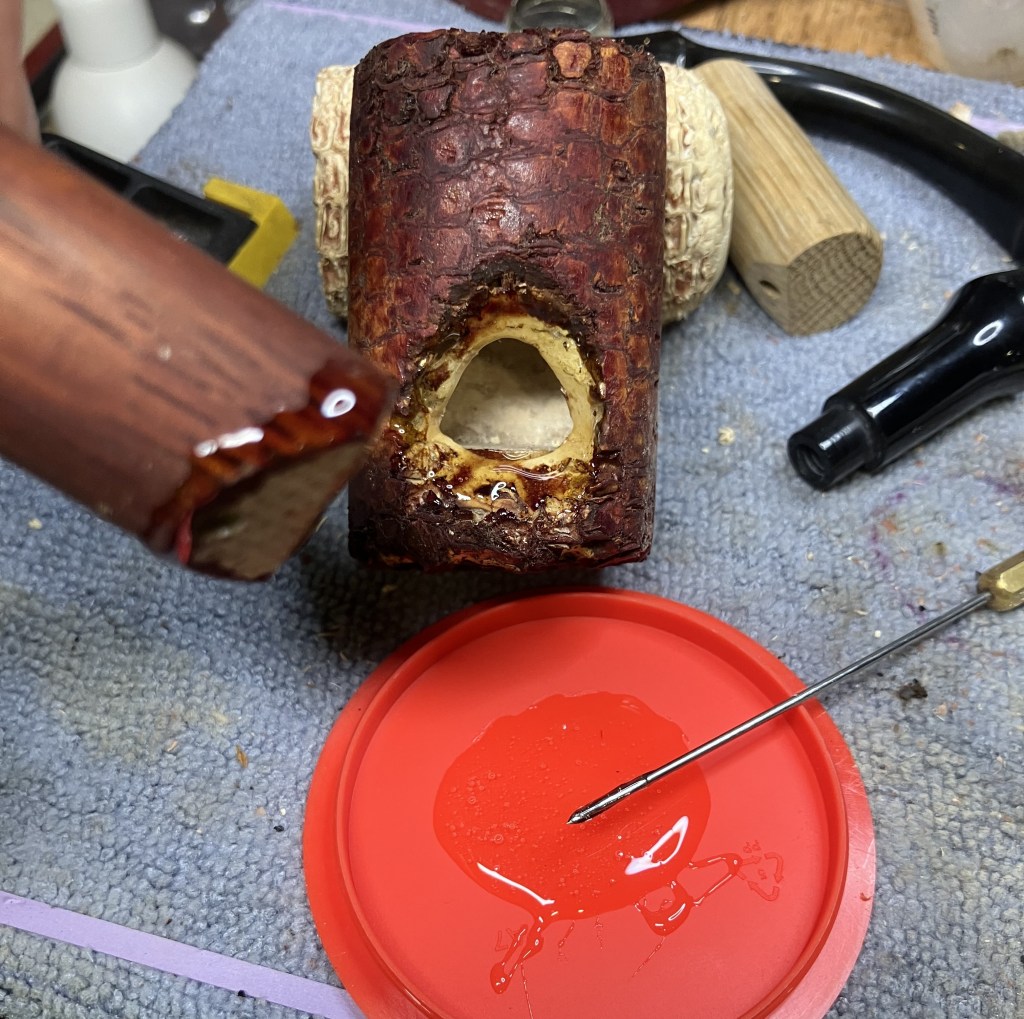
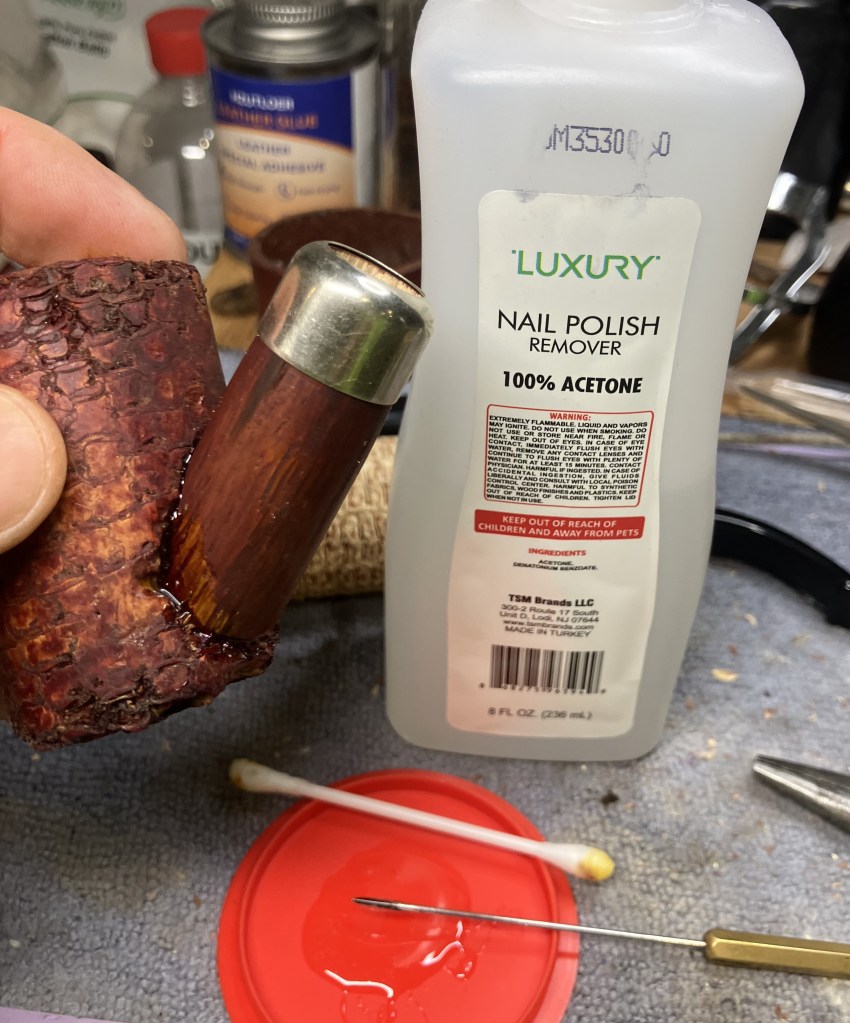
The slight squeeze-out of epoxy was removed with acetone on a cotton swap. This did mar the dye , but I thought it would be easily fixed later.
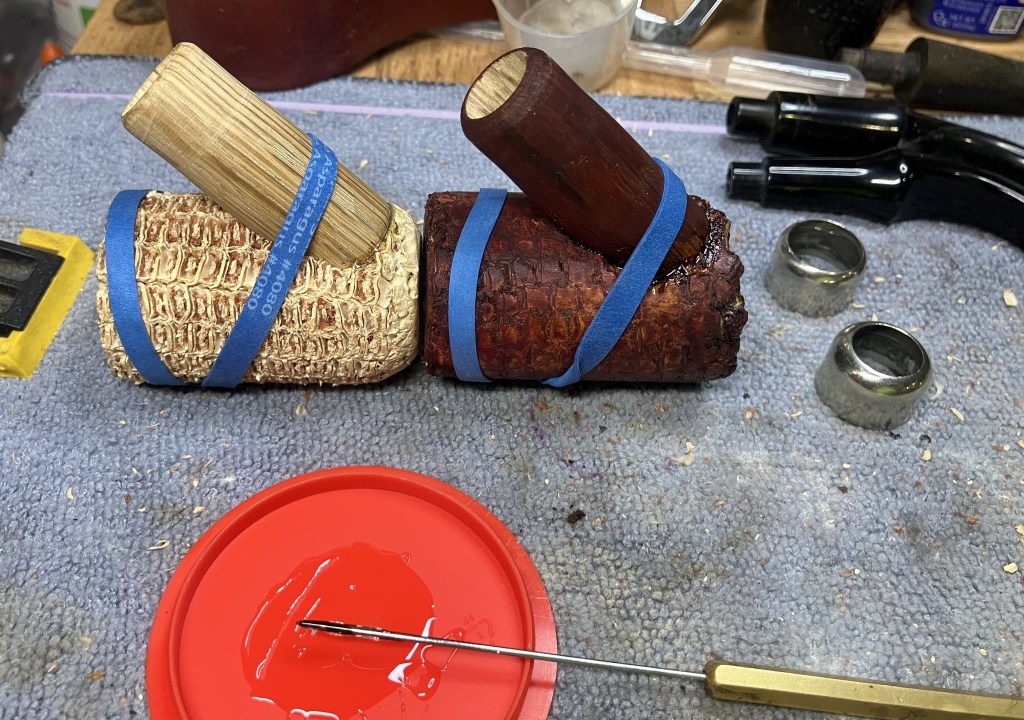
The gluing of Mark’s pipe went smoother. It’s almost like I learned things from the first try. Weird, right? Both shanks were held in place with rubber bands as I didn’t have any clamps that would work with these angles. I know the labels on the epoxy says set-up only takes 20 minutes but, I let them sit overnight.
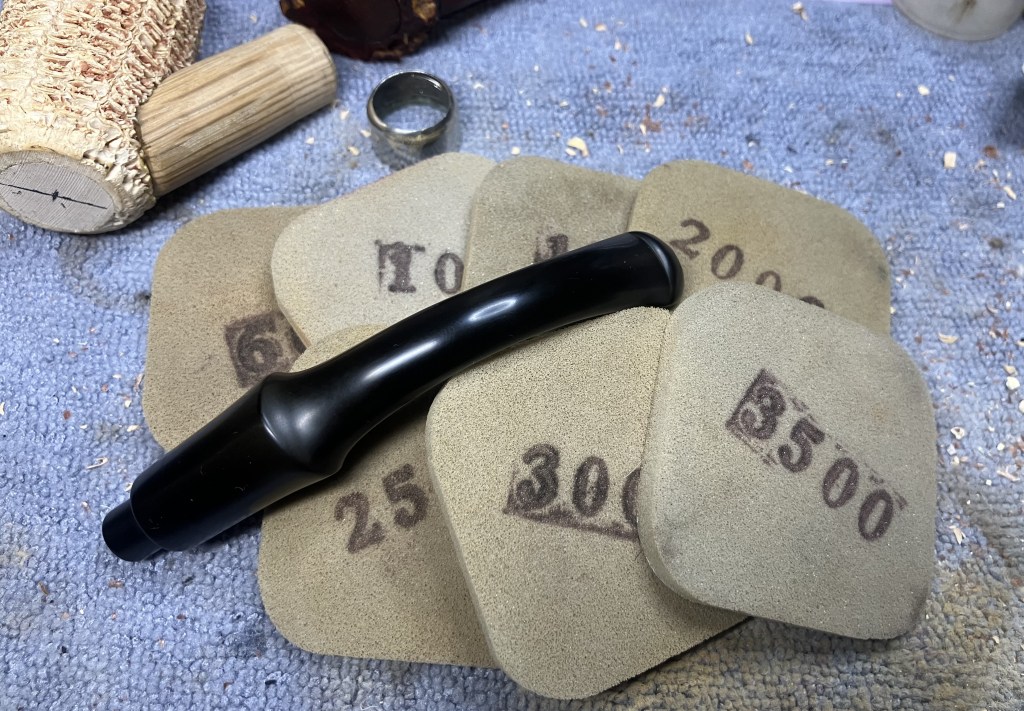
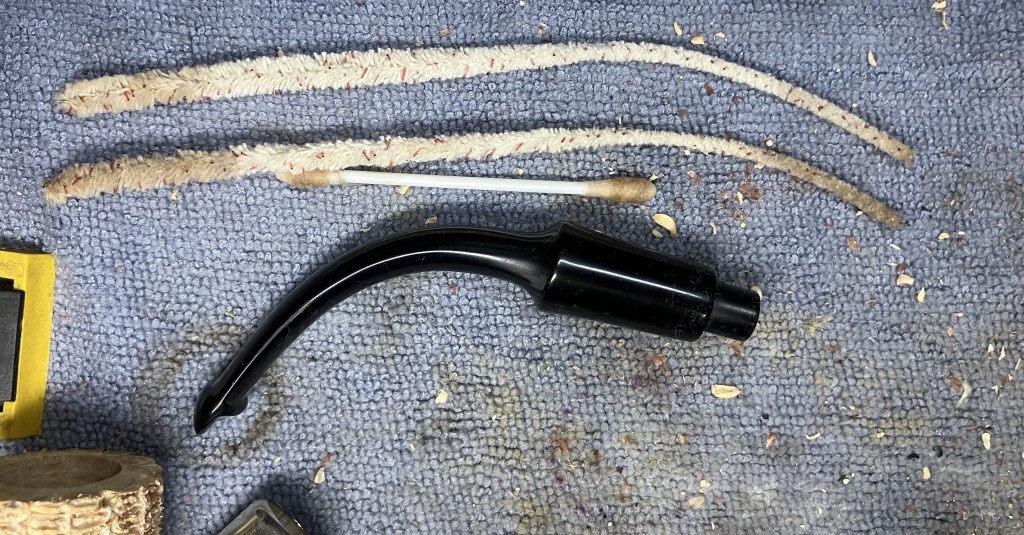
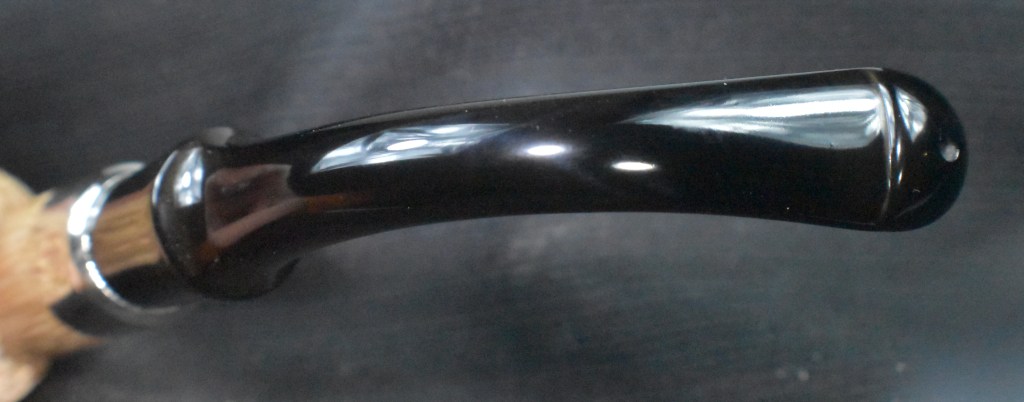
The stem that Mark sent me for his pipe had a little bit of oxidation and a couple of tooth marks. I worked the stem with a series of sanding sponges from 600-3500. Between sponges the stem was rubbed with mineral oil and then wiped with a paper towel. The acrylic stem for my pipe didn’t require anything special as it was purchased as a replacement for a Peterson stummel years ago. I didn’t fit the stummel in question so it has just been sitting in a plastic baggie.
The collars were glued into place with white all purpose glue. I know I’ll probably get complaints about using this glue but my reasoning is sound: Corn cob pipes tend to take more of a beating than other pipes. This rougher treatment is likely to lead to a dented collar and a collar glued with white glue is much easier to remove, allowing dent removal on the collar.
The marring of the dye from the acetone needed to be repaired.
A little bit of blending the Fiebing’s Mahogany took care of that issue.
The bottom of Mark’s pipe was sanded to remove an unsightly pencil mark.
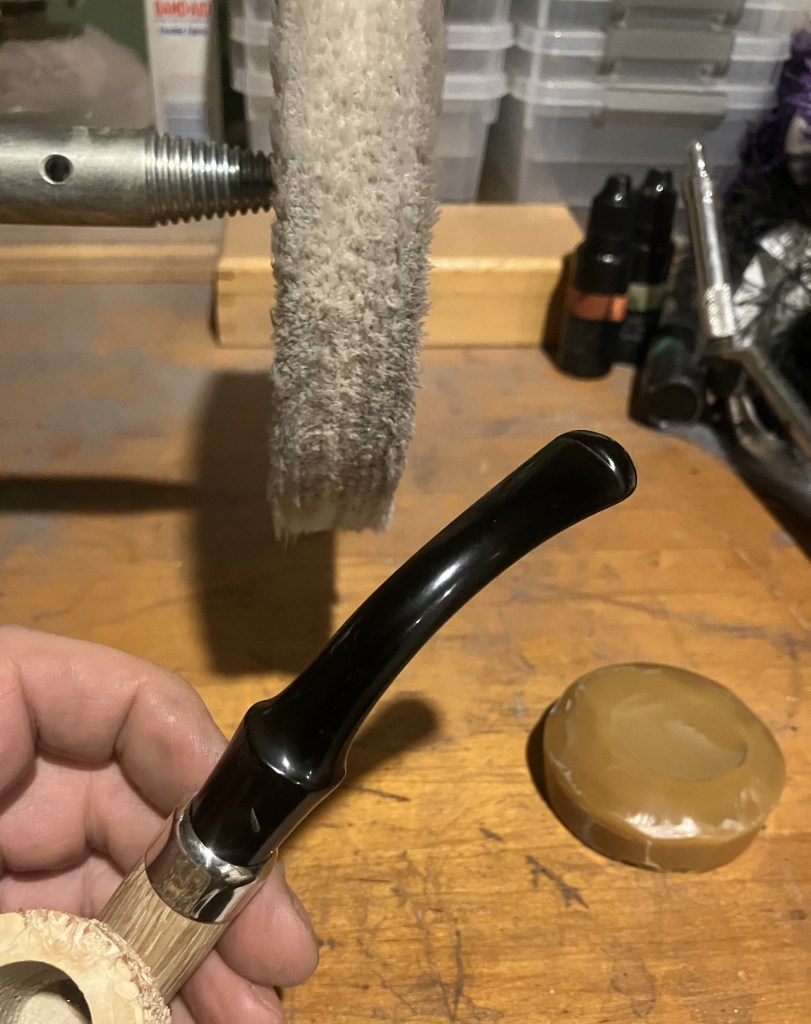
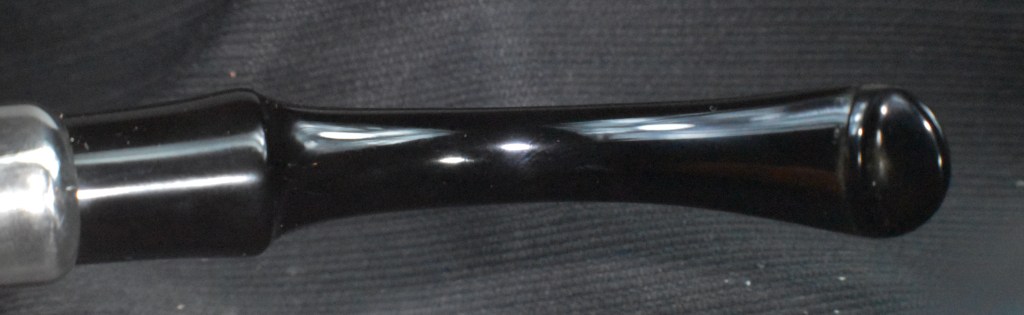
Mark’s stem was buffed with White Diamond to a lovely shine.
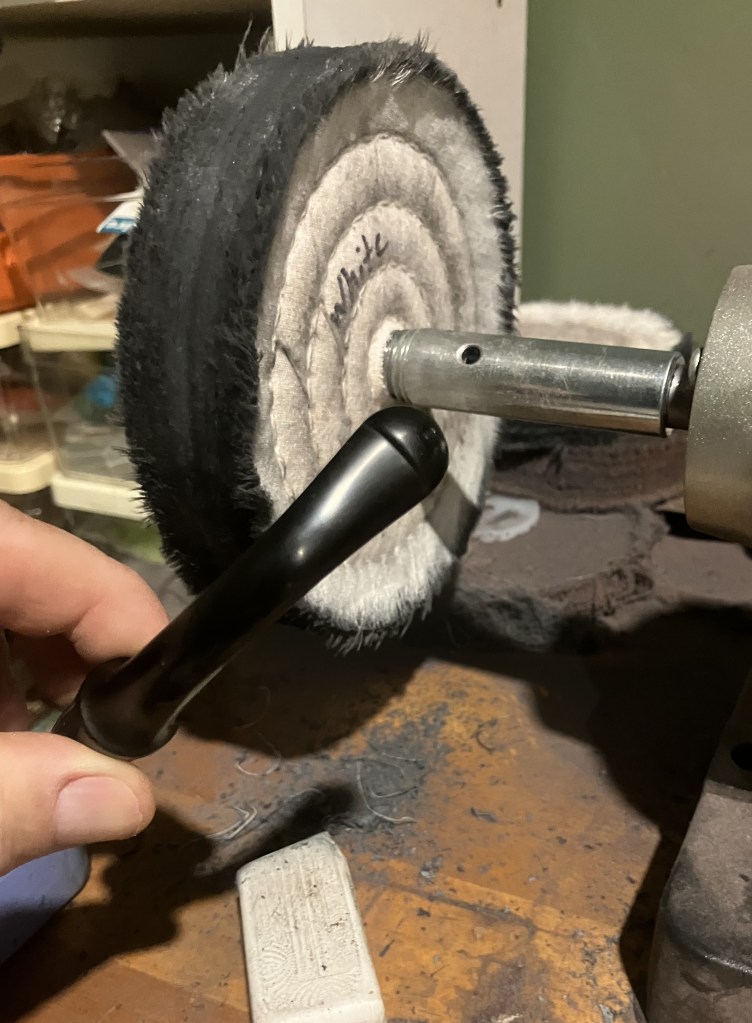
I even cleaned out the stem airway.
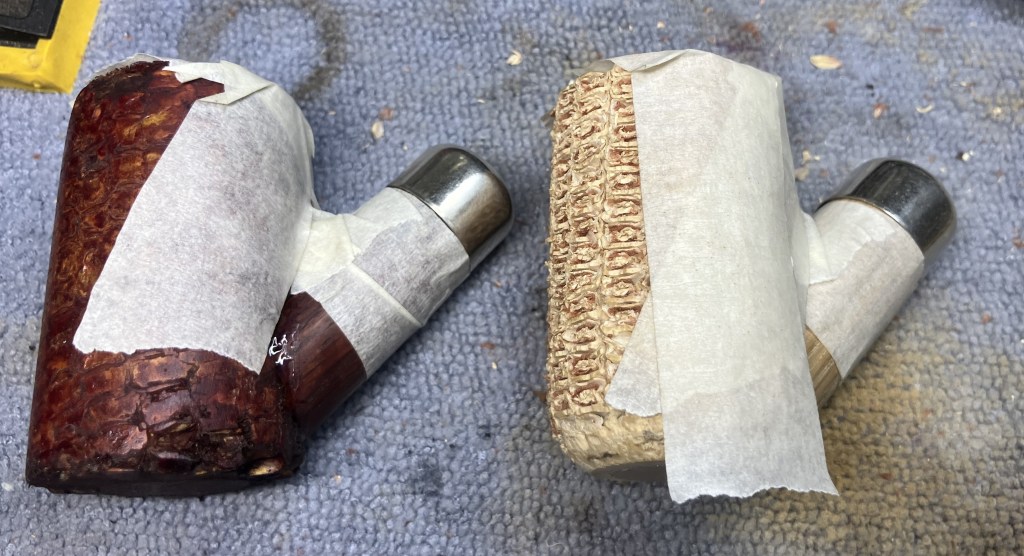
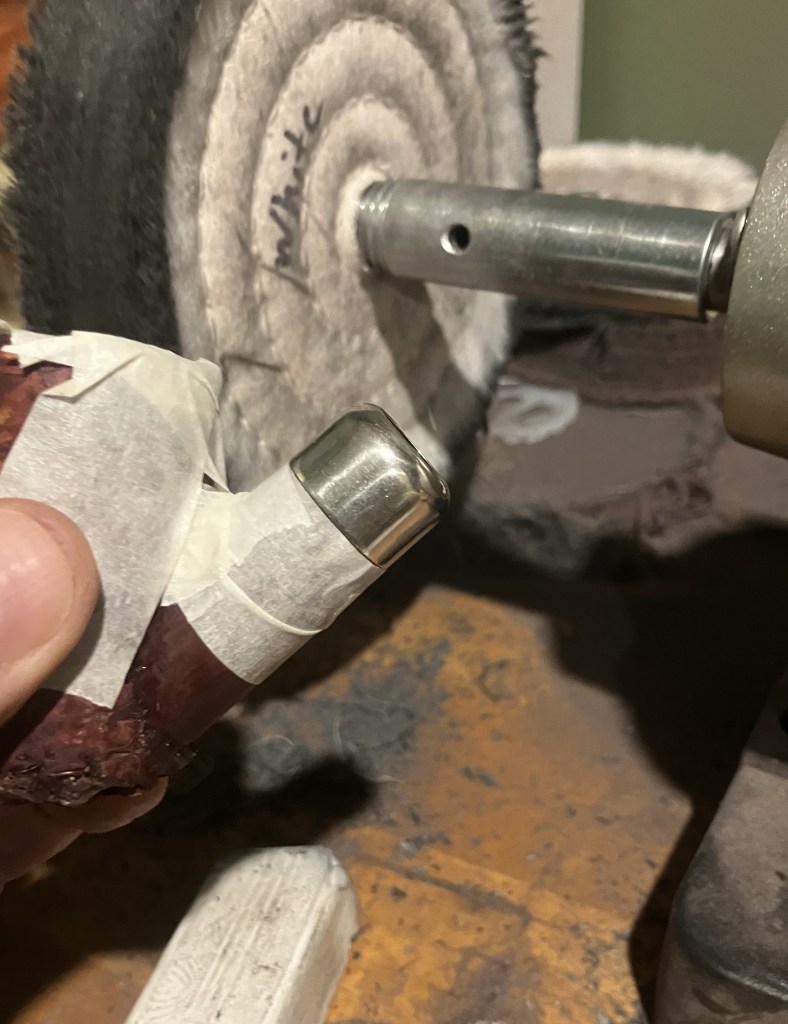
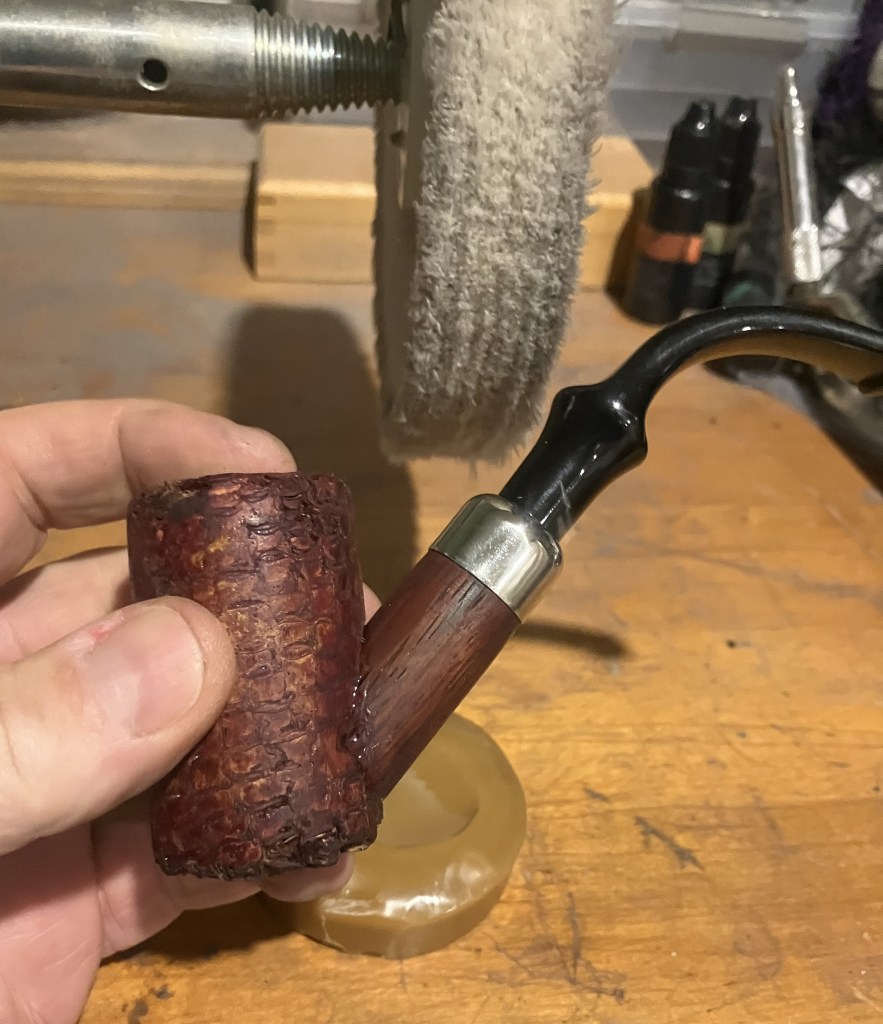
The nickel collars need to be buffed. To protect the surrounding shank and stummel I masked off the area which could come into contact with the buffer.
The collars were buffed with White Diamond on the buffer.
I waxed the shank with carnauba but kept it away from the cob.
Mark’s stem was waxed with a couple coats of carnauba wax.
I used a shellac for the finish on the dyed cob. This finish will allow me to reapply and blend the dings and wear that I am sure will befall this cob. My cobs are prone to being knocked about quite a bit. I know me, heck, I’ve been me my whole life.
The pipe was hung over the sink to dry.
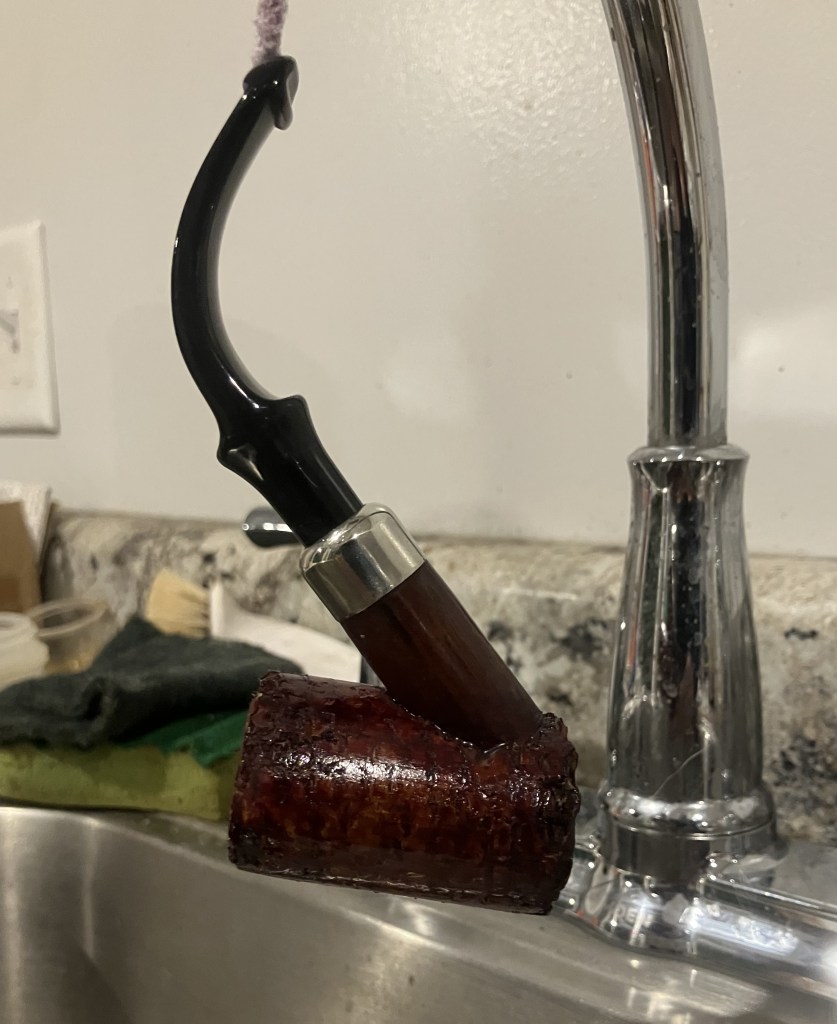
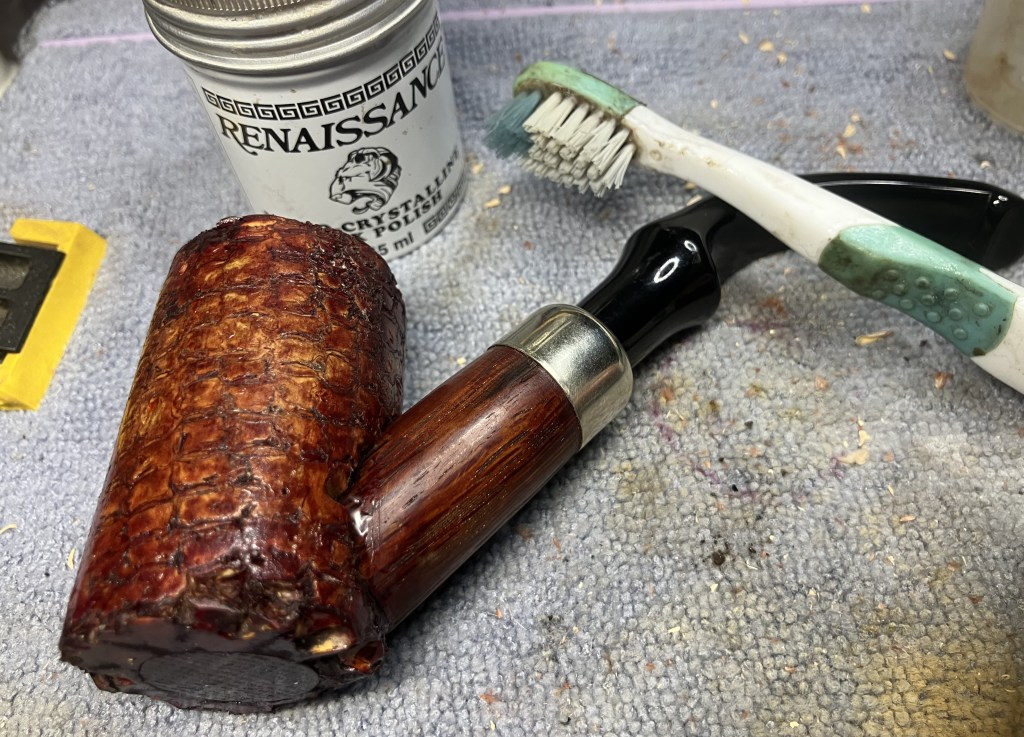
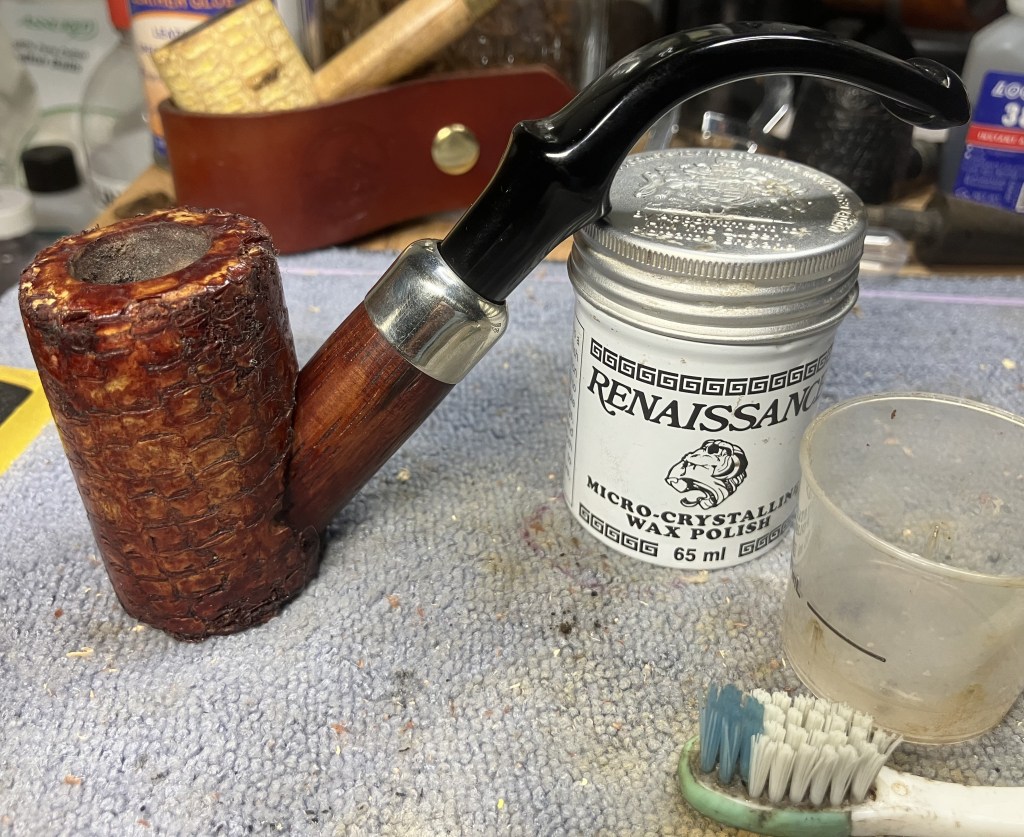
Now, you are probably saying, “I remember reading that you hate clear coat finishes.” You are correct, I’m not usually a fan. Since this pipe was not flamed and the furface had a lot of raw con cob, I figured that a shellac would penetrate and protect it better while still allowing be to reapply additional finish as needed in the future. To keep the shellac from feeling sticky with sweaty hands, I hoped that a couple coats of Renaissance Micro-Crystalline Wax would keep the shellac from damage from hand moisture. The wax was applied by working it into the cob with a baby toothbrush. The wax was allowed to dry for a couple of minutes, then hand buffed with a soft cloth.
The resulting finish has so far worked well.
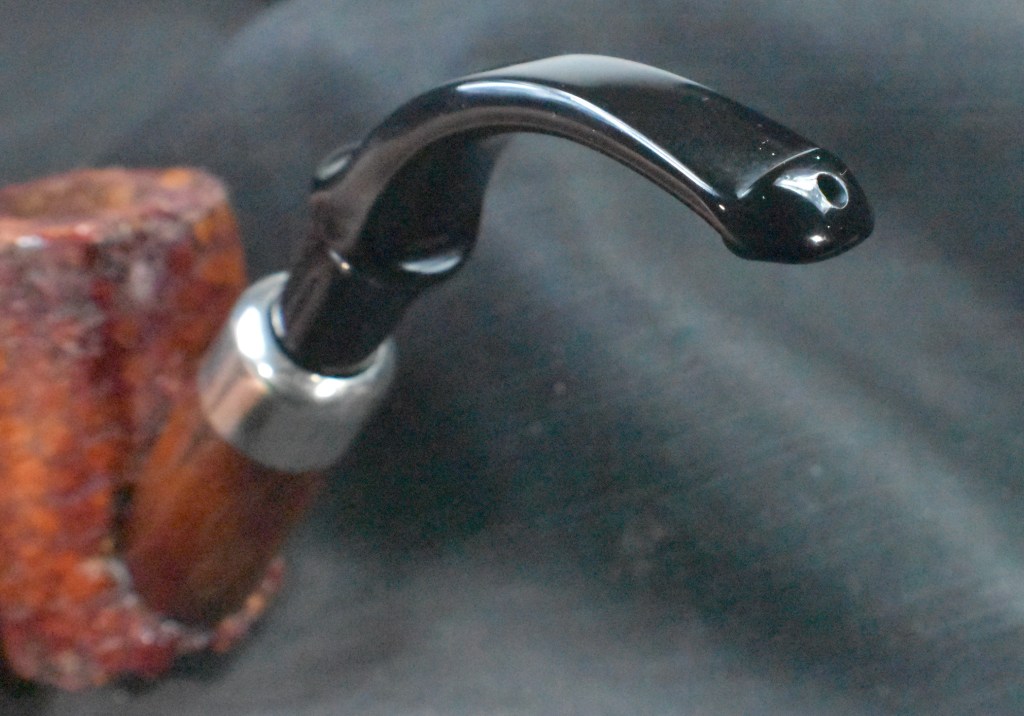
Mark’s pipe was left natural or with a Peterson Barley finish if you are familiar with the company’s terminology.
Mark’s pipe turned out much lighter weight than mine. The additional mass of the putty and finish were noticeable. I sent Mark’s to him before I did the final measurements. The dimensions of my version are listed below:
Length: 5.17 in./ 131.32 mm.
Weight: 1.76 oz./ 49.90 g. (working by pure memory, which is dangerous, I think Mark’s version was 1.36 oz. or 38.56 g.)
Bowl Height: 2.20 in./ 55.88 mm.
Chamber Depth: 1.66 in./ 42.16 mm.
Chamber Diameter: 0.74 in./ 18.80 mm.
Outside Diameter: 1.40 in./ 35.56 mm.
I do hope that you have found something here useful to your own pipe care, maintenance or restorations. If you like this sort of thing, please click the like and subscribe buttons. Thank you for reading the ramblings of an old pipe lover.
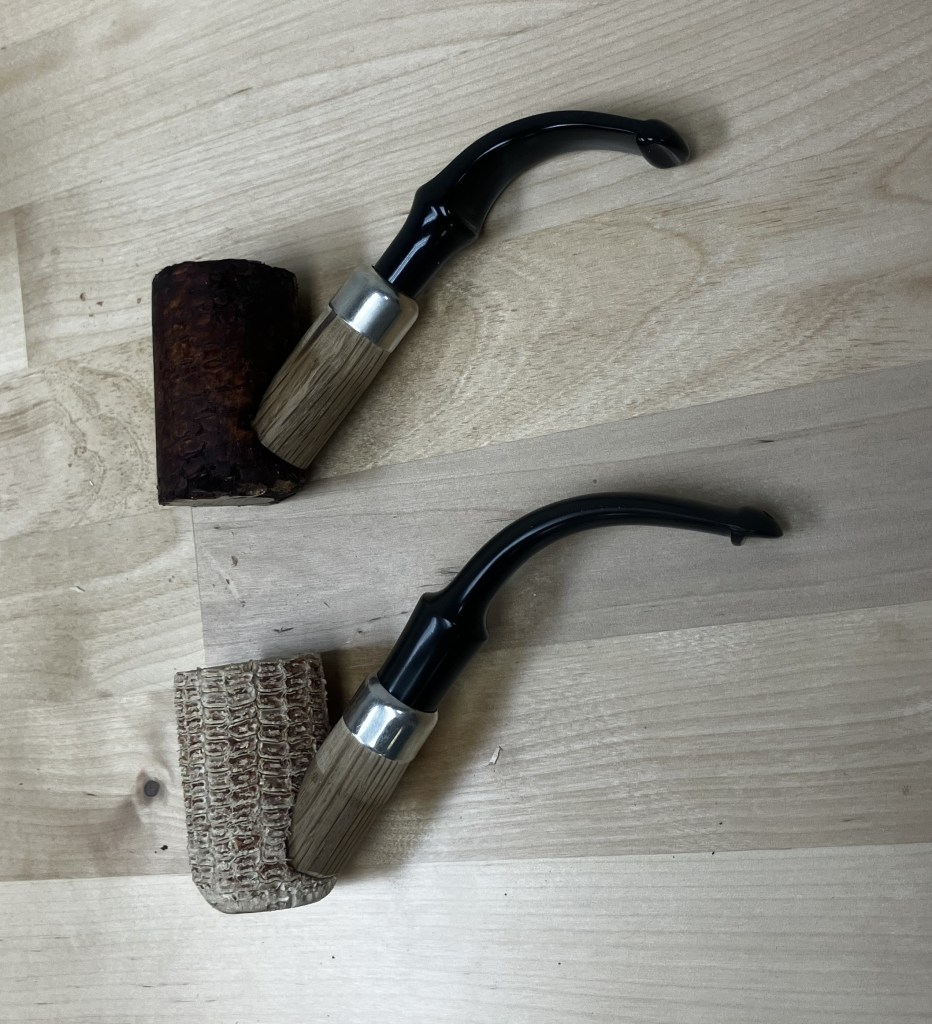
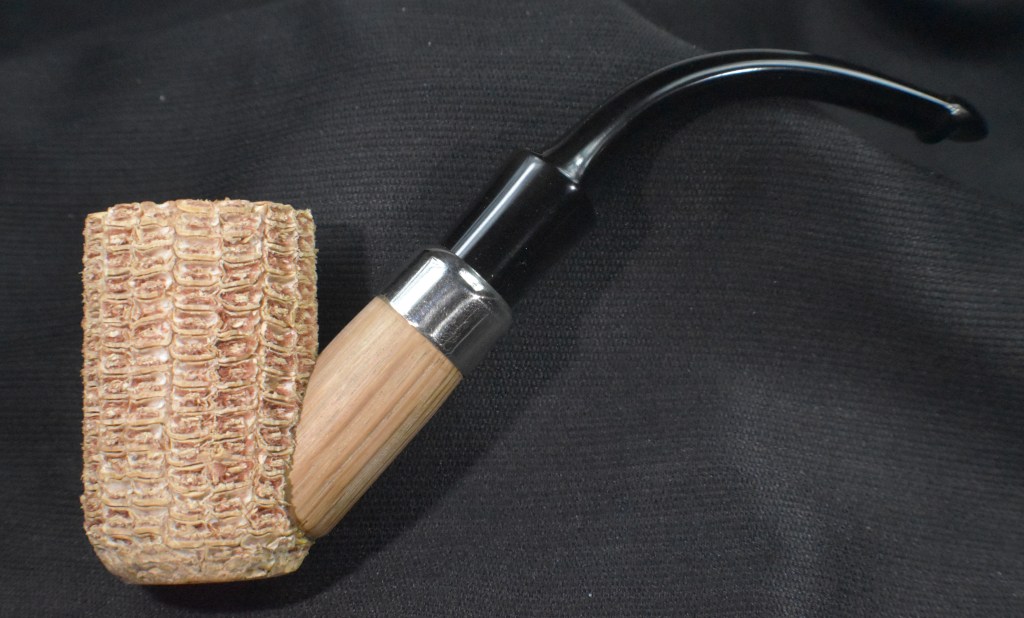
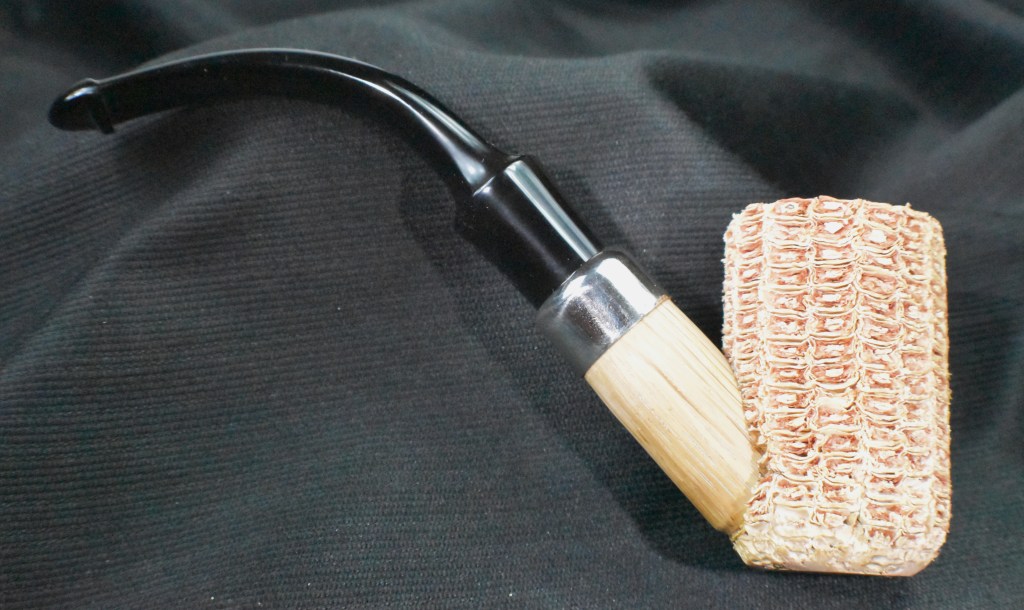
Below are some photos of the two Petersonesque 309s, the first pipes I actually made.


2 responses to “Making a Petersonesque 309 Corn Cob Pipe, or two.”
These are way beyond cool, John! You did an amazing job, and I believe you and Christian have a new avenue of income to explore in the hobby!
LikeLike
Hi there Pete the Geek, thank you.
LikeLike