Photographed and Written by
John M. Young
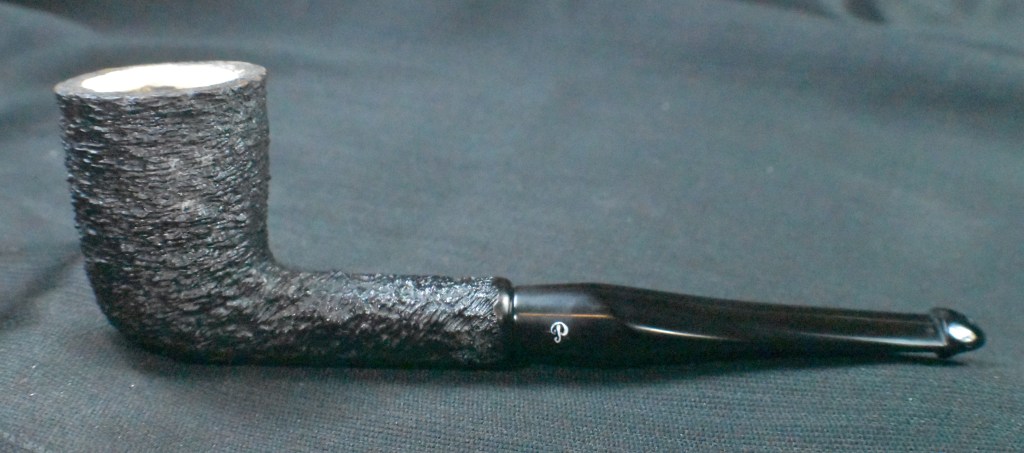
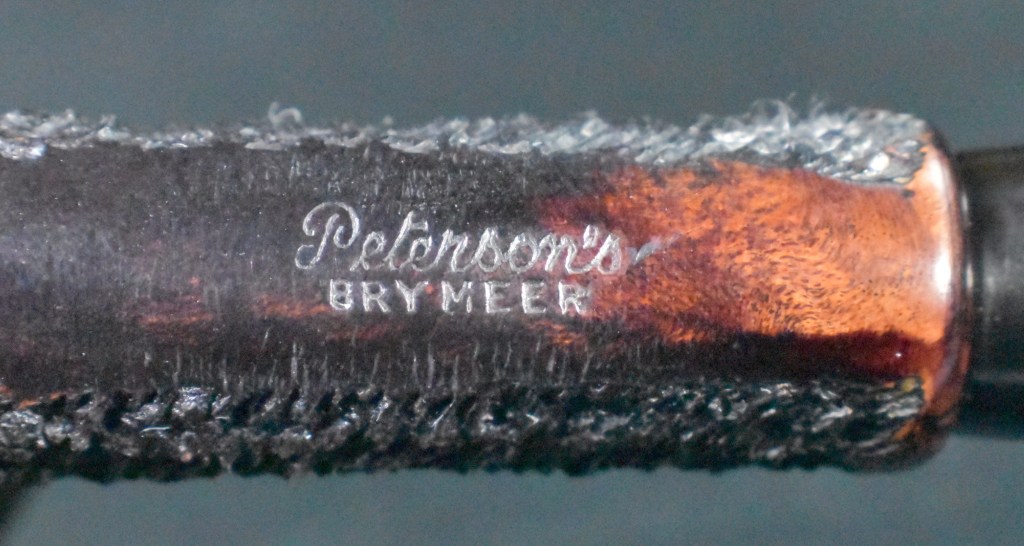
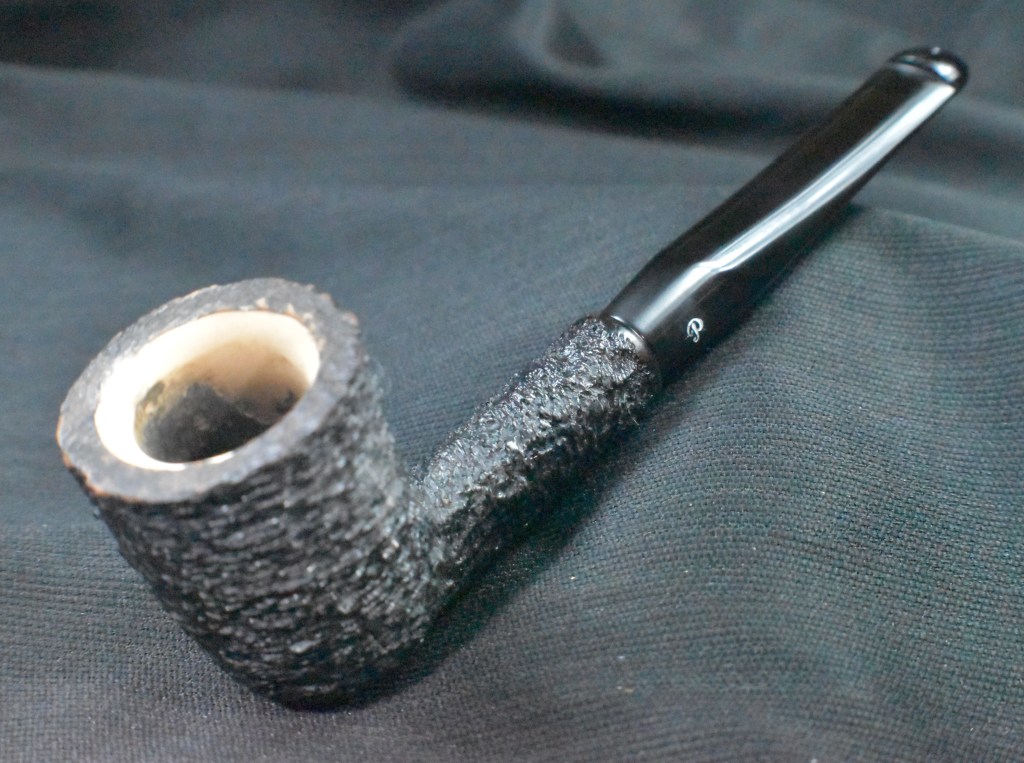
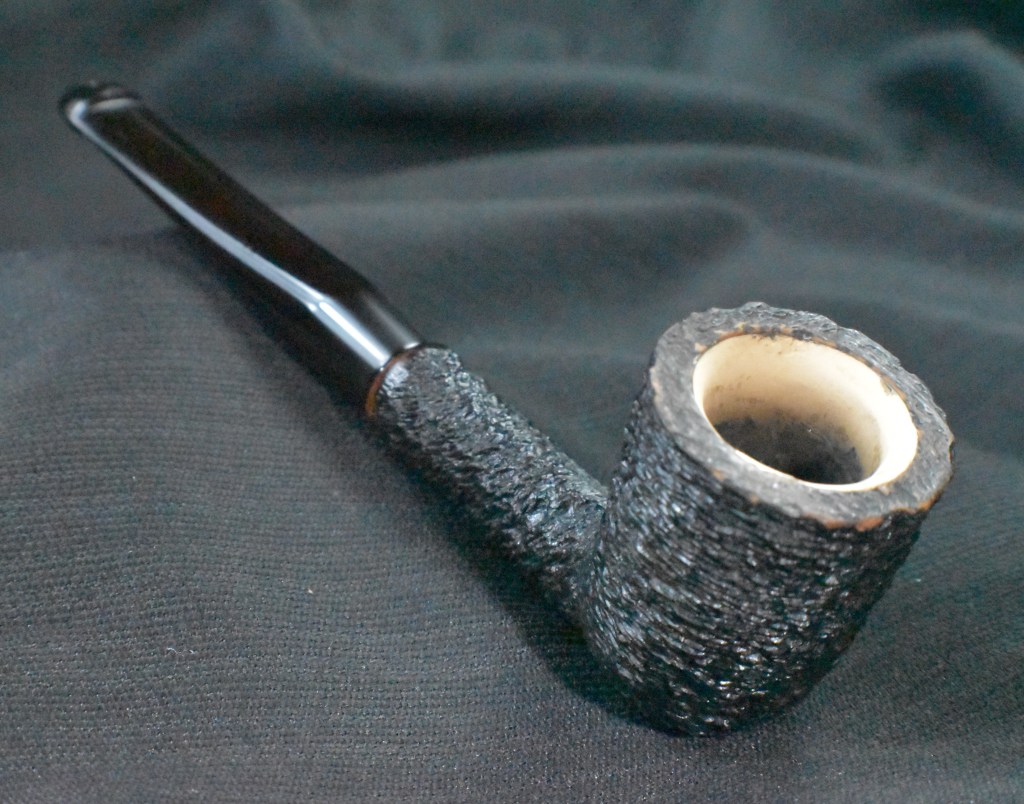
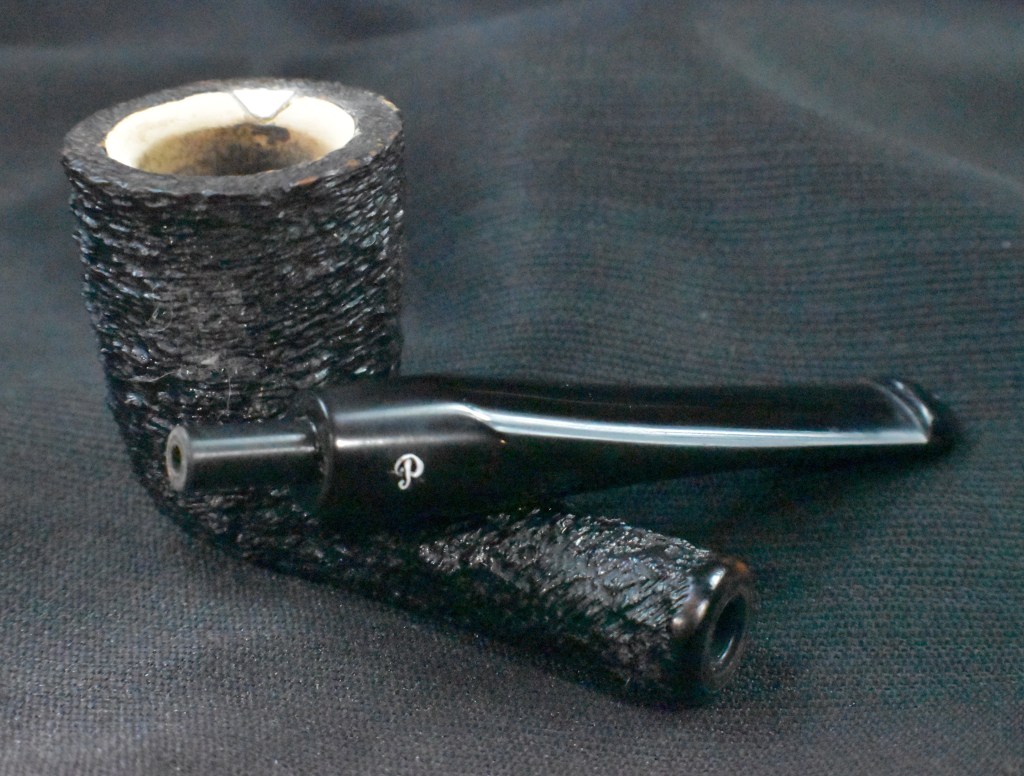
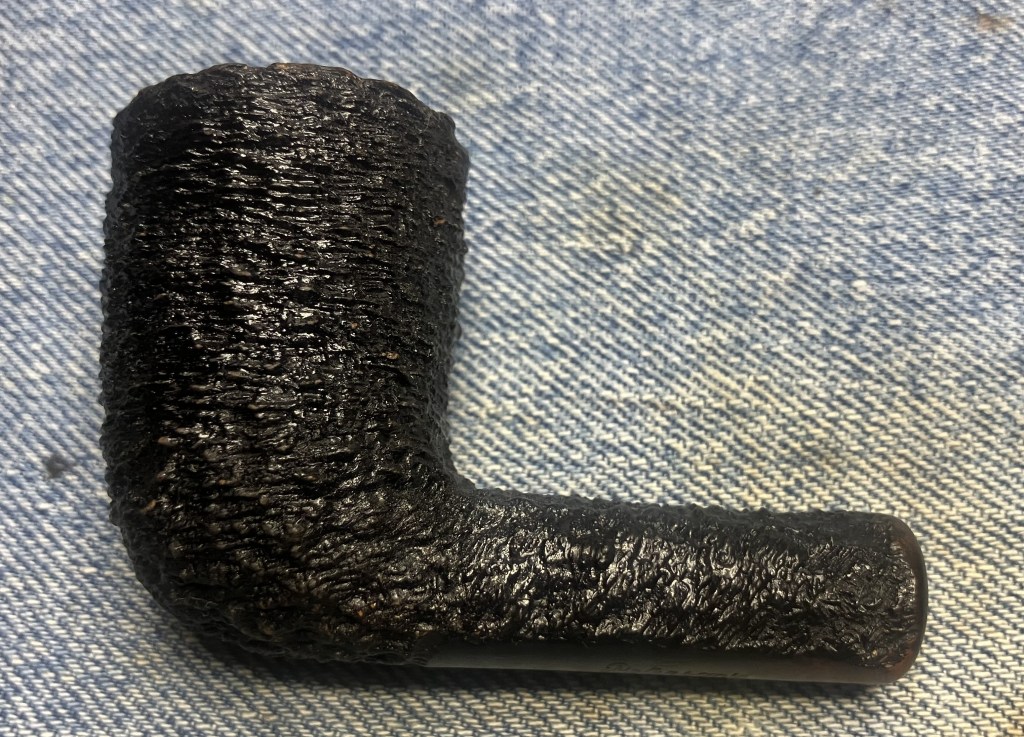
If you have read a few of my blogs you know I have a thing for Peterson pipes. Oh yeah, the name NebraskaPeteGeek may also provide a clue. Anyway, I have returned to Peterson restoration. This particular pipe was a line unfamiliar to me, Brymeer. I found it strange that there were only 3 others bidding on this pipe and when I won it for less than $20 I was even more surprised. Given, it was in rough and dirty shape. After a journey from Lowell, Indiana to the wilds of southeast Nebraska the pipe arrived. Below are some photos taken before I began work on the pipe.
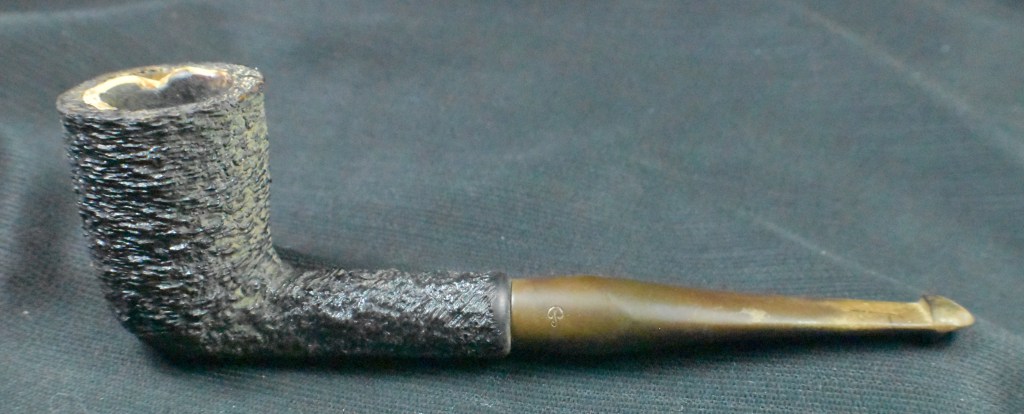


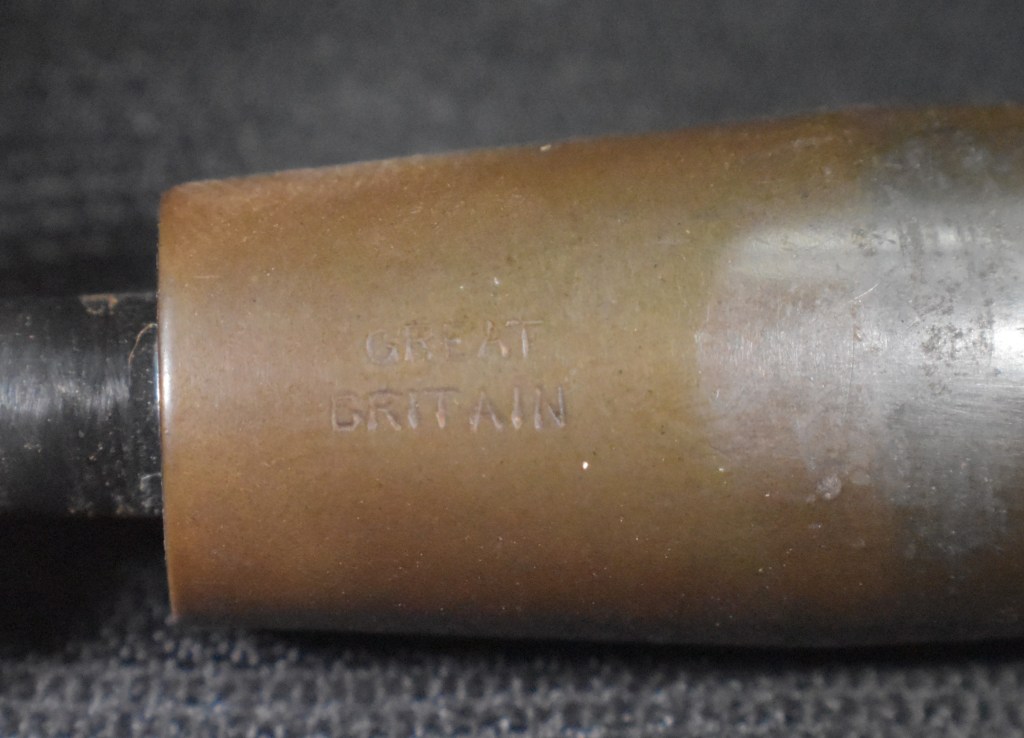
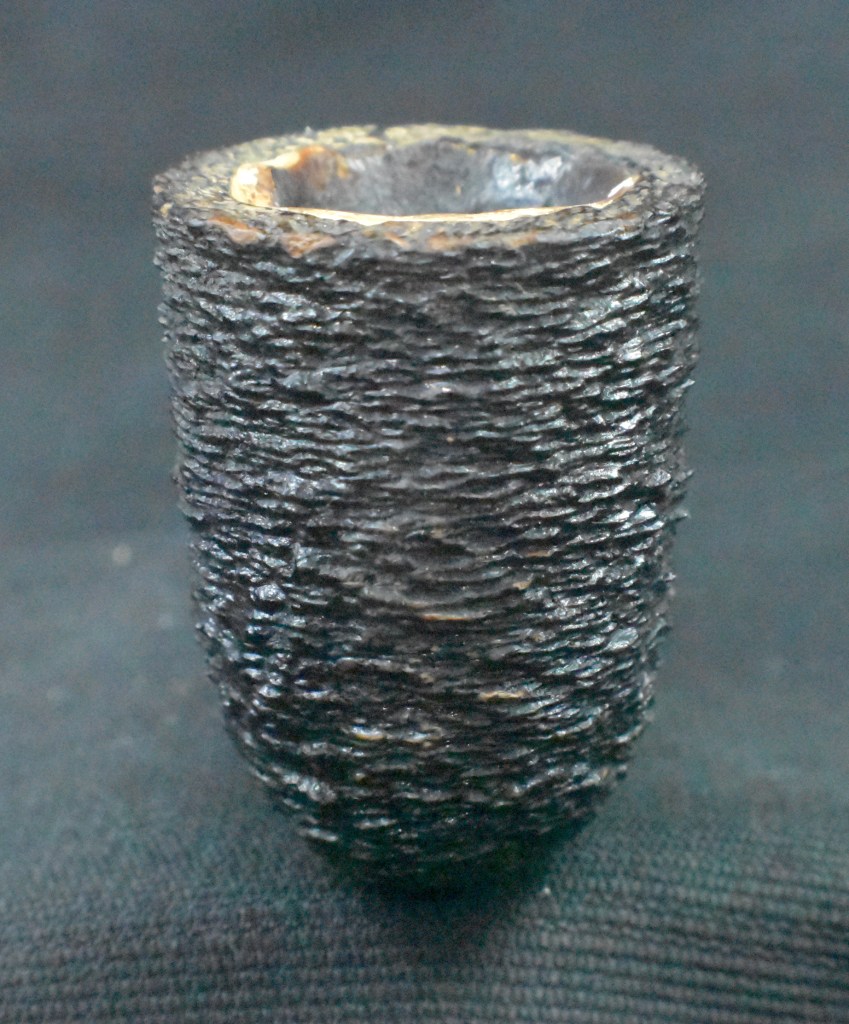
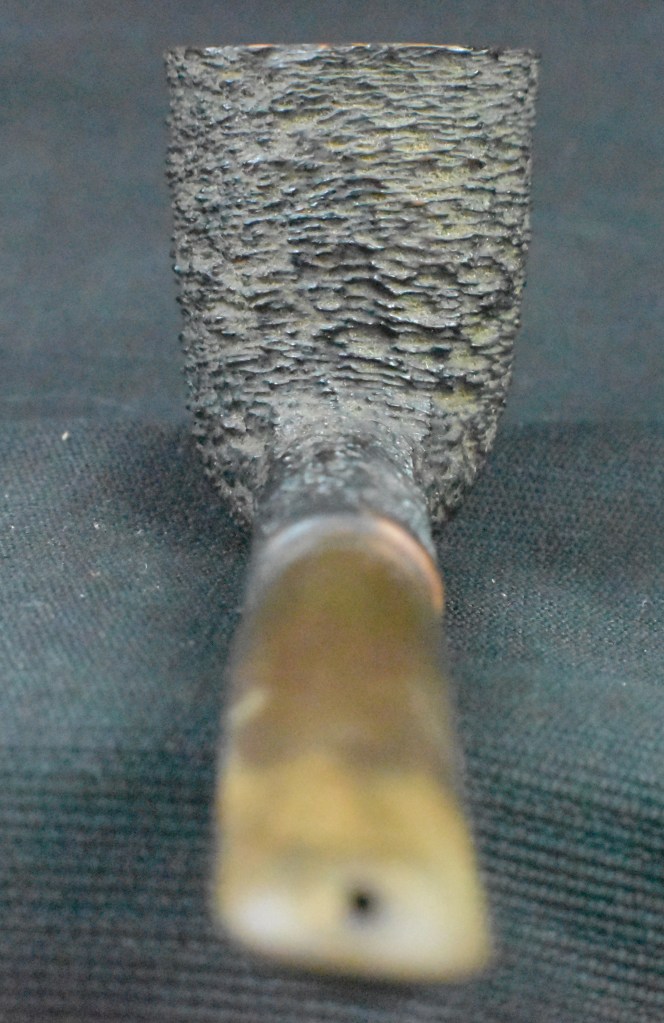
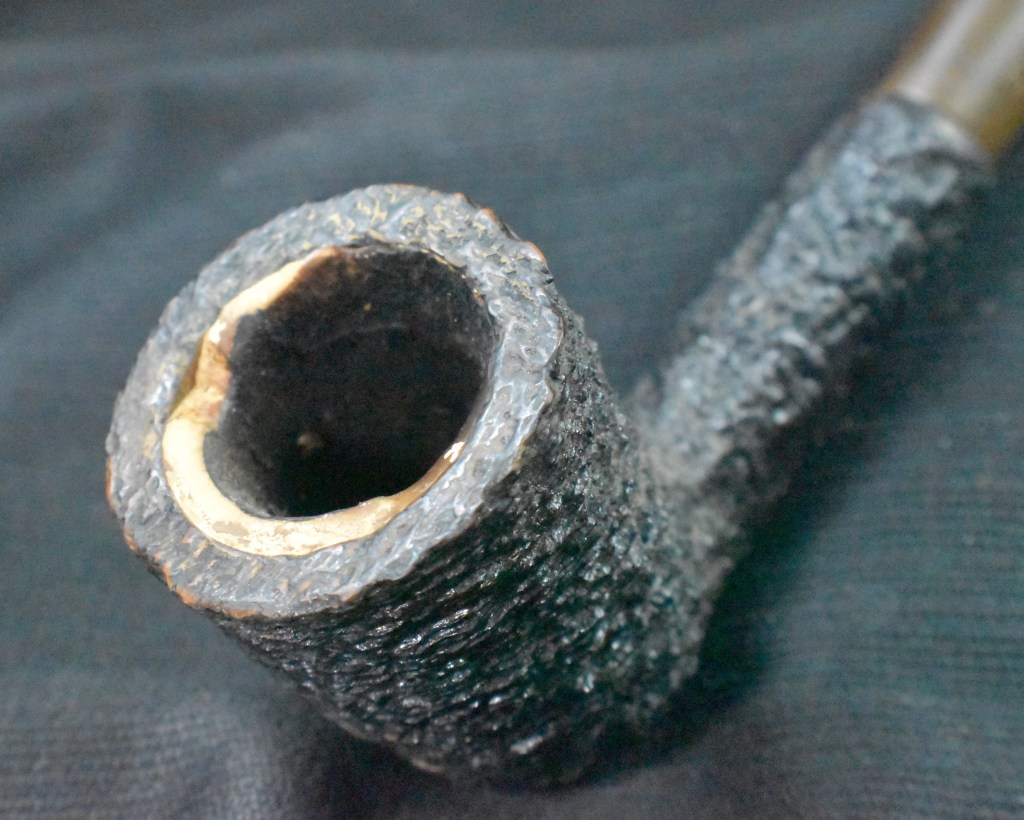
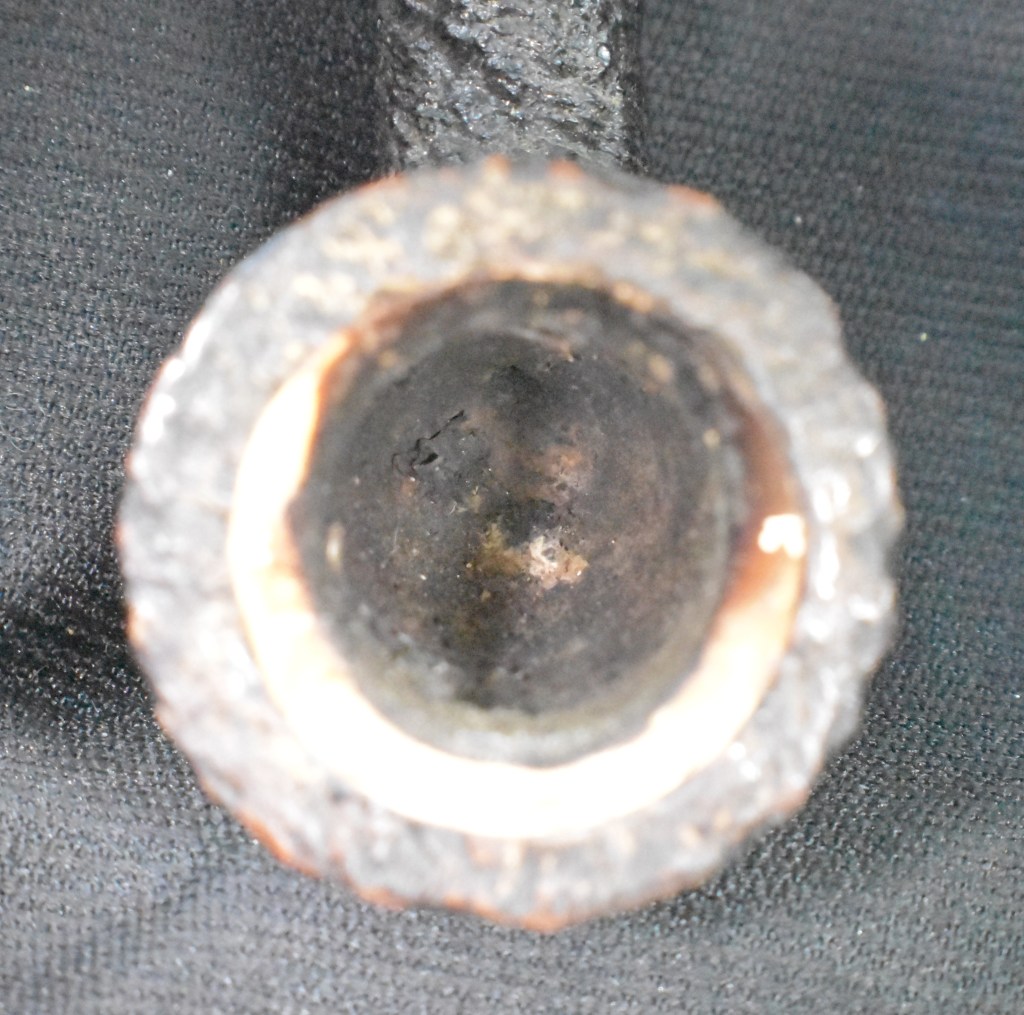
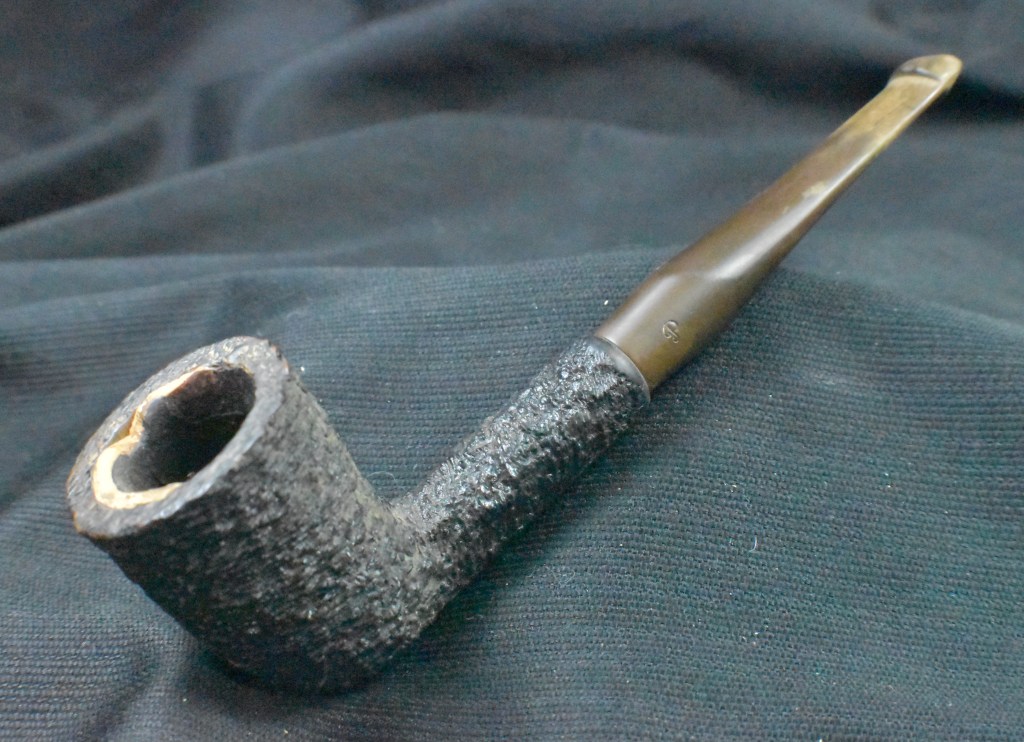
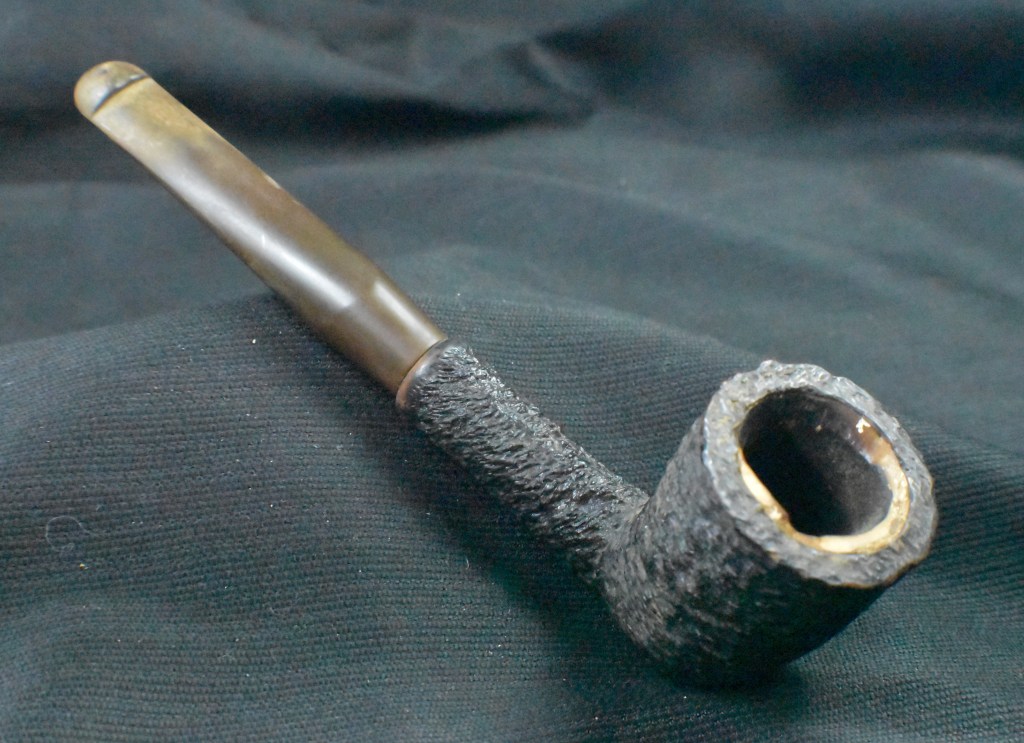
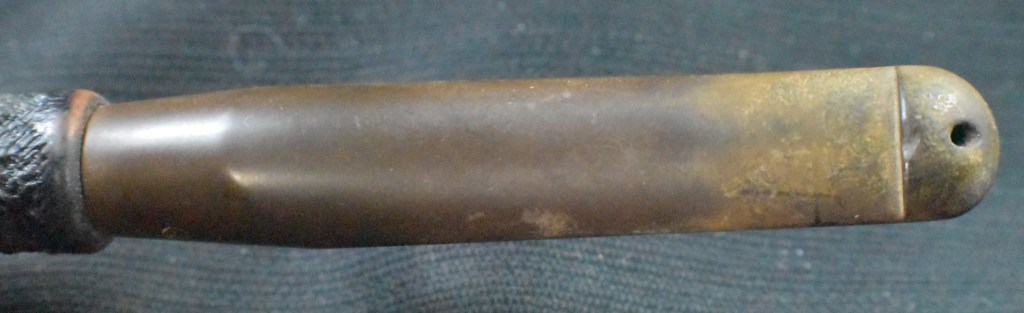
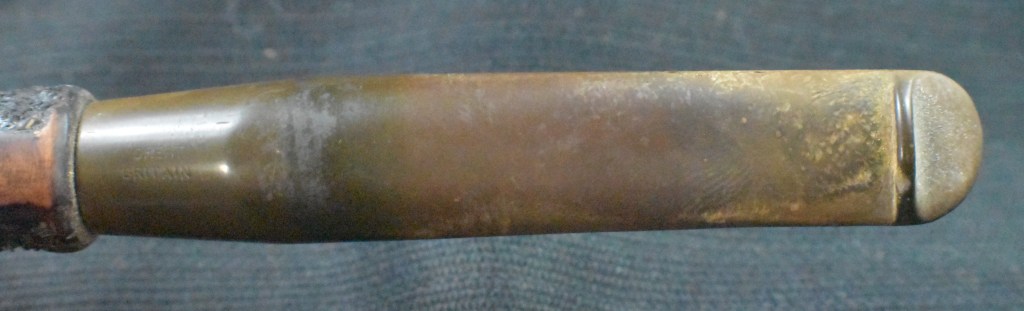
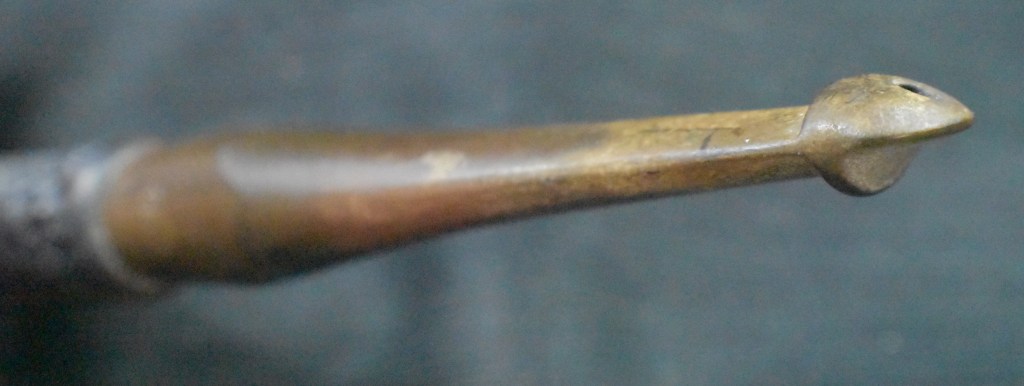
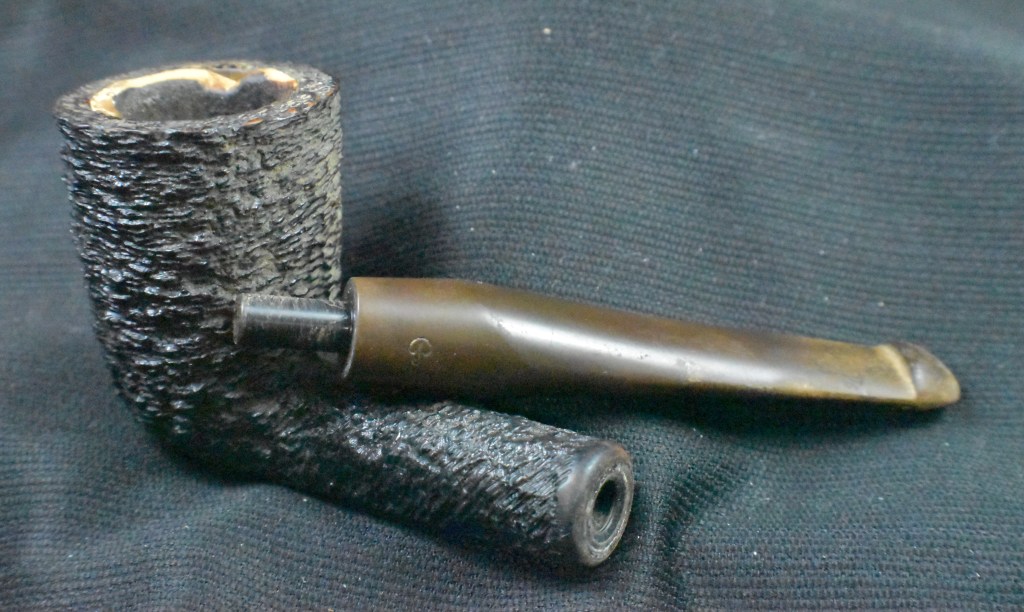
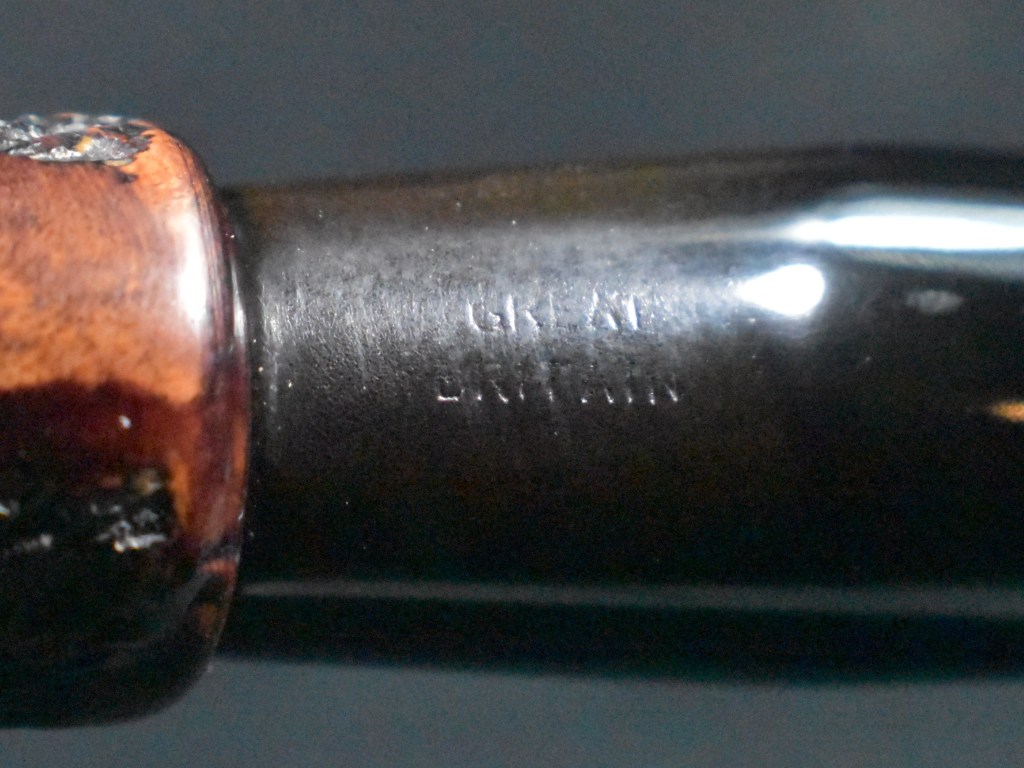
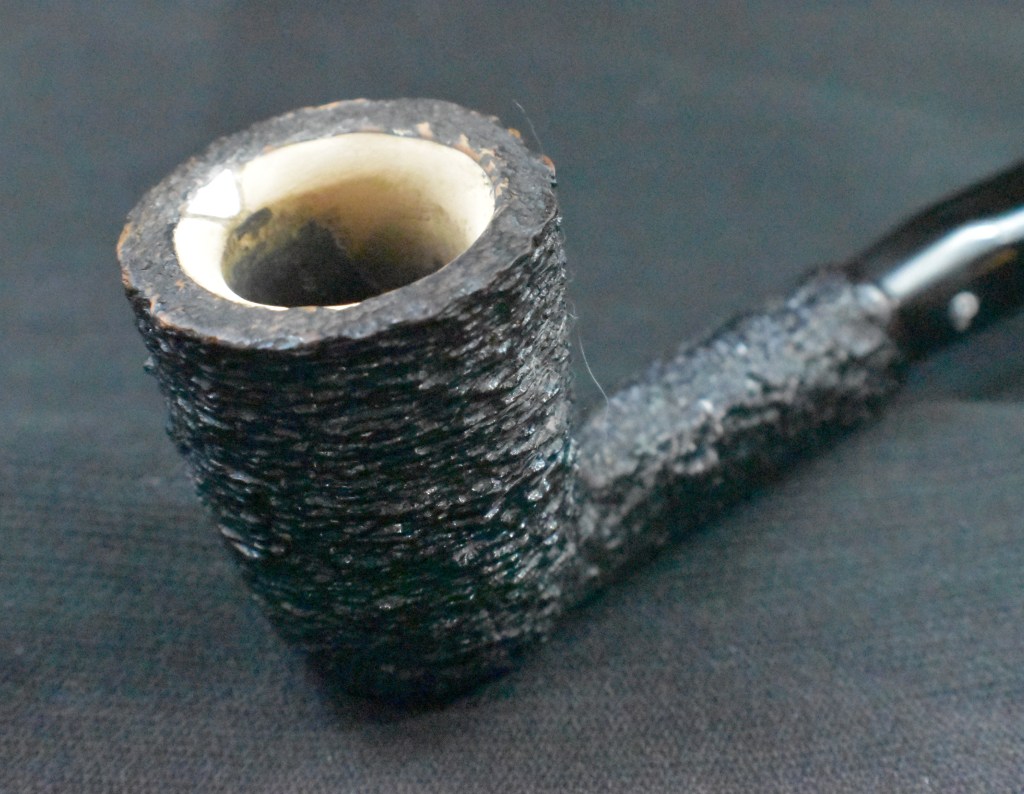
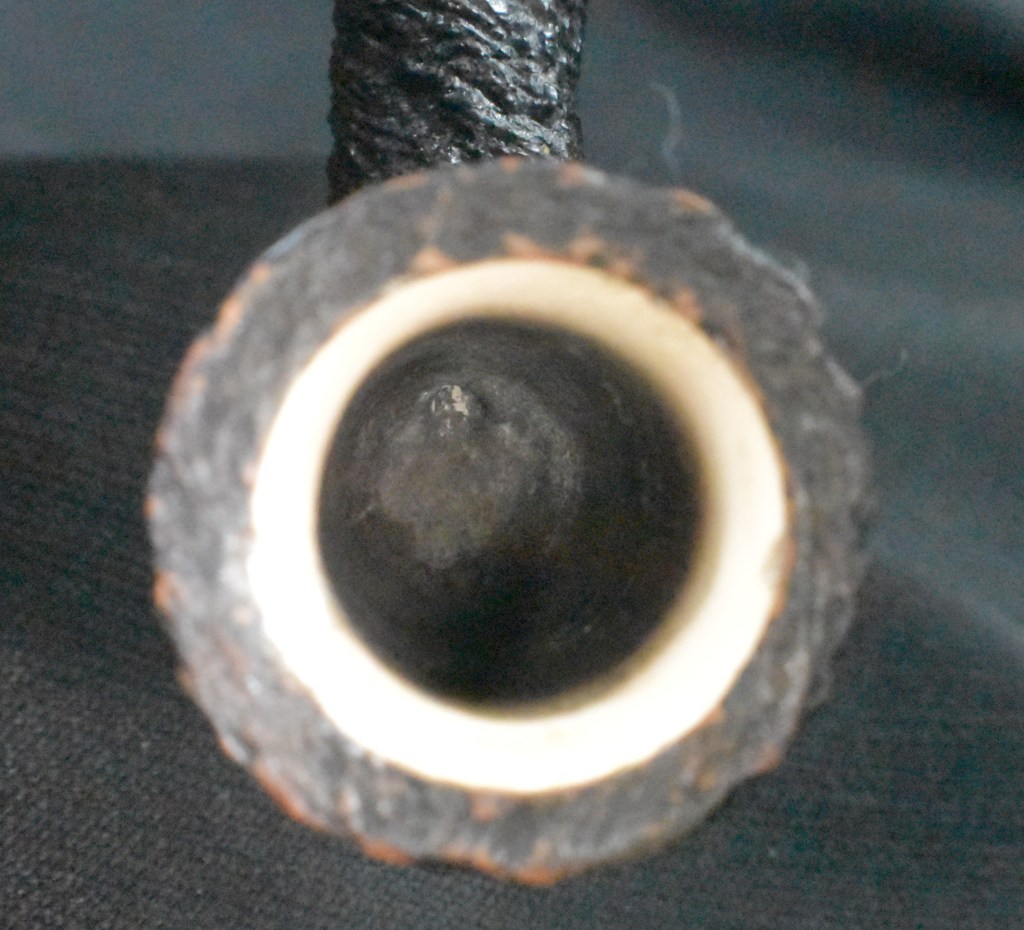
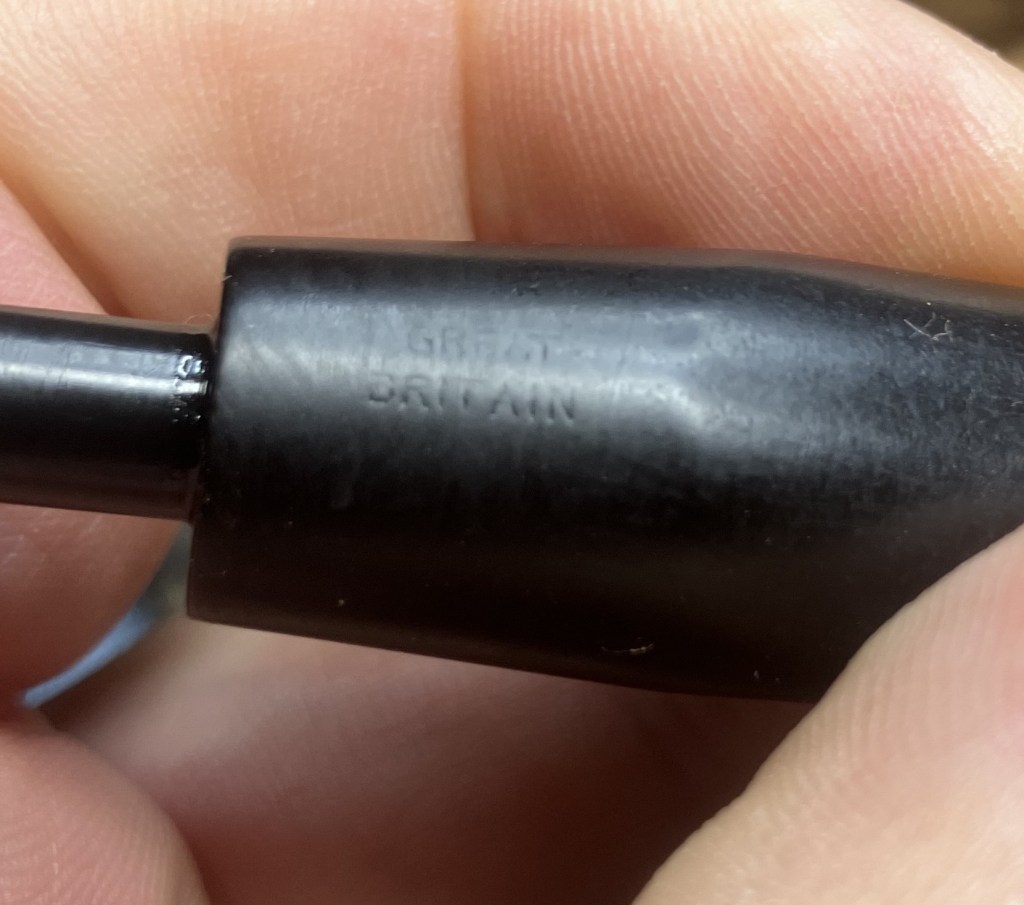
Hmm, where to start with this one? The stem was severely oxidized with a couple of deeper tooth dents. I feared losing the GREAT BRITAIN COM stamp with oxidation removal.The stummel was quite dirty but looked good otherwise. The rim was a mess with chips in the meerschaum liner. The tobacco chamber was carbon caked, who knows what lies under that? I do like a challenge.
Background
I have said it before and likely will again, “For a great history Mark Irwin and Gary Marlburg’s book is a must read for a Pete Geek.
(Available at https://www.smokingpipes.com/accessories/books/moreinfo.cfm?product_id=471478) Given the price is a bit high but worth every penny for a Peterson aficionado.
The next site is pipedia.org’s History of Peterson by Jim Lilley (Peterson – Pipedia)
Lastly the pipephil.eu site for all things logo: Peterson: historical pipes — Pipes: Logos & Markings (pipephil.eu) They also have a few other links to things like the Peterson timeline and P-lip information.
Another amazing site full of Peterson information is, Peterson Pipe Notes. I can wholeheartedly recommend the free at
https://petersonpipenotes.org/ Yes, you will get emails but only for things like the weekly blog post and occasional Peterson pipe drops (like the Peterson Pipe Notes Pipe of the Year) or offers for cool Pete Geek merchandise.
According to the Big Book, also known as The Peterson Pipe,
“Brymeer (1971-75) Offered only in Iwan Ries catalogs, meerschaum-lined black sandblast briar and P-lip of fishtail mouthpiece. Produced by Peterson-Manxman factory” (The Peterson Pipe Irwin, Mark and Malmberg, Gary. The Peterson Pipe; The Story of Kapp and Peterson. 2018, Briar Books Press, Canada. First edition, second printing. p. 308)
“What is this Peterson-Manxman Factory?”, you ask. Pipedia.org to the rescue.
“Laxey Pipes Ltd. resided in a historical 19th century four-storey Man stone building at The Quay, Old Laxey, Isle of Man, which thankfully has been preserved.
The company specialised in the production of meerschaum pipes using the Meerschaum mined by the Tanganyika Meerschaum Corporation in the Amboseli basin in Tanganyika (since 1964 part of the United Republic of Tanzania).
Please note: you may often find names like “Manx Pipes Ltd.”, “Man Pipe Co.” and others more, but there is no indication of another Isle of Man pipe producer other than Laxey Pipe Ltd. at any time!
Laxey Pipes Ltd. marketed own brands like “Manxpipe”, “Manxman”, “Manxland” e.c. Names like “John Bull”, “White Knight” (unwaxed), “Domino” (black, or lined) indicated some shapes / colours of Laxey’s own series. The stems either showed the astronomical sign for “male” or “man” (circle + arrow), or the crest of the Isle of Man, the 3-legged X in a circle. Manxpipes and Laxey’s other brands were available through pipe retailers in general, but also were sold (mainly) to tourists through their own shop in Laxey.
Furthermore Laxey Pipes Ltd. manufactured the meer bowls for Peterson, Barling, Nørding and others from the later 1960’s until 2001. Man Pipe e.g. was a brand distibuted by Comoy’s. The bowls usually showed no nomenclature indicating the orderer. “Genuine Block Meerschaum” was engraved frequently. Often, just the stems were different, while bowls were the same.
Supply of meerschaum from East Africa run out (Kenya / Tanzania exhausted, Somalia inaccessible), and thus the last Laxey meers were supplied to trade in May, 2001. Laxey Pipes Ltd. tried to survive continuing with briar pipes – mainly in the Danish style -, but to no success. It closed down business in July, 2002.” (Laxey Pipes Ltd. – Pipedia)
There we have it, this pipe was made between 1971-1975 in the Peterson-Manxman factory on the Isle of Man. That is a darn definitive piece of provenance if ever there was one.
The Restoration
The slightly battered dirty girl made her way to the workbench and a clean denim piece.

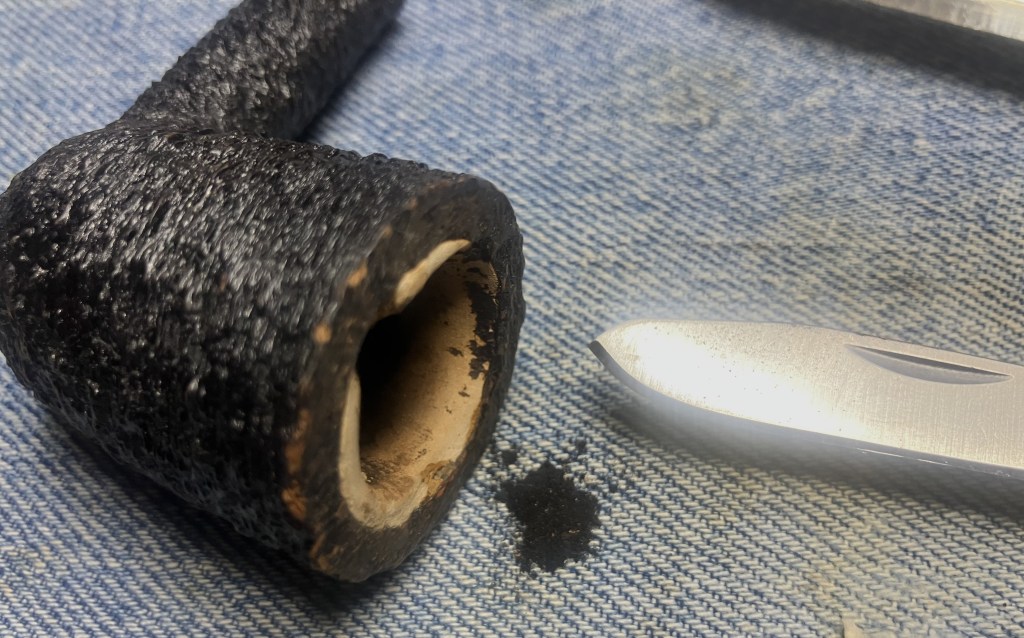
The first order of business was to clear the accumulated cake from the tobacco chamber. This proved to be a much more difficult job that I imagined. I did not use a reamer like the Kleen-Reem or the PipNet due to the threat of cracking the meerschaum liner with additional torque, instead the Smokingpipe Low Country reamer and the very sharp pocket knife were deployed.

Let me assure you that both diamonds and cake on meerschaum have a similar hardness. The scraping continued.
Eventually I moved to the wood dowel wrapped in 320 grit sandpaper.

Next, came the cleaning of the stem. This was done with 99% ethyl alcohol and bristle pipe cleaners.
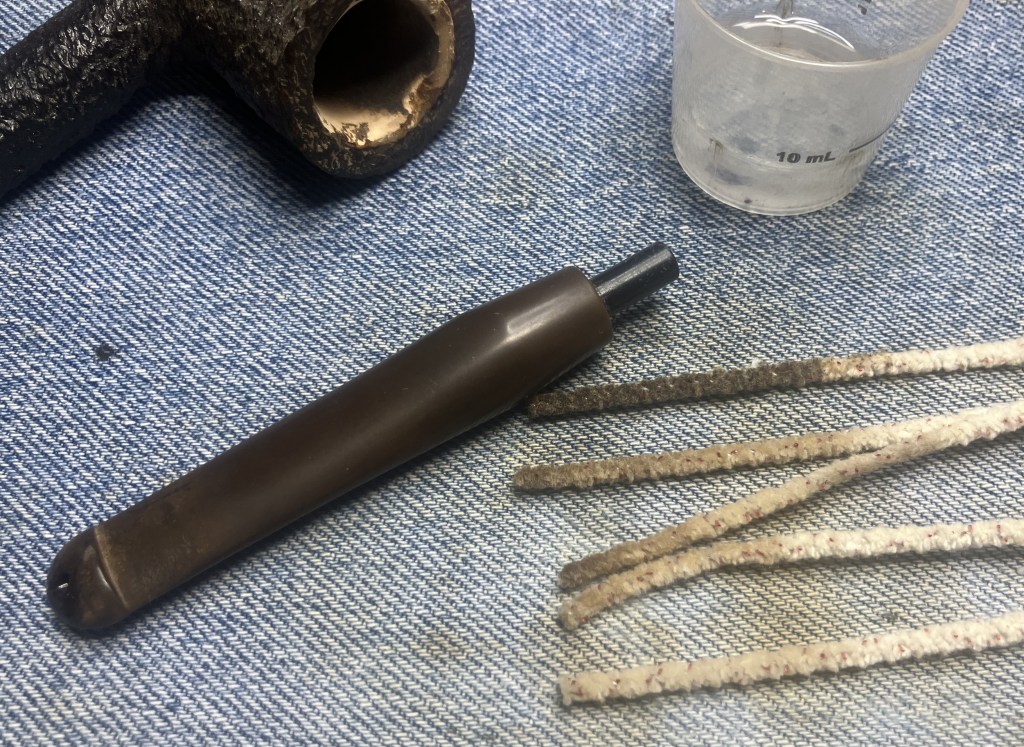
The stem was then hung, suspended, in Before and After Extra Strength Deoxidizer. I had not used this wonderful product for a few months because the fine folks at Briarville had sent me a complimentary bottle of their Pipe Ste Oxidation Remover. That bottle had finally started giving less and less desired results after about 9 months and approximately 30 pipe stems. Mark Hoover’s Before and After product seems to last longer, doing more pipes, and though a bit more difficult to remove the solution after deoxidizing, I think it works slightly better overall. Since this stem was quite oxidized, I figured 24 hours in the solution would be adequate.

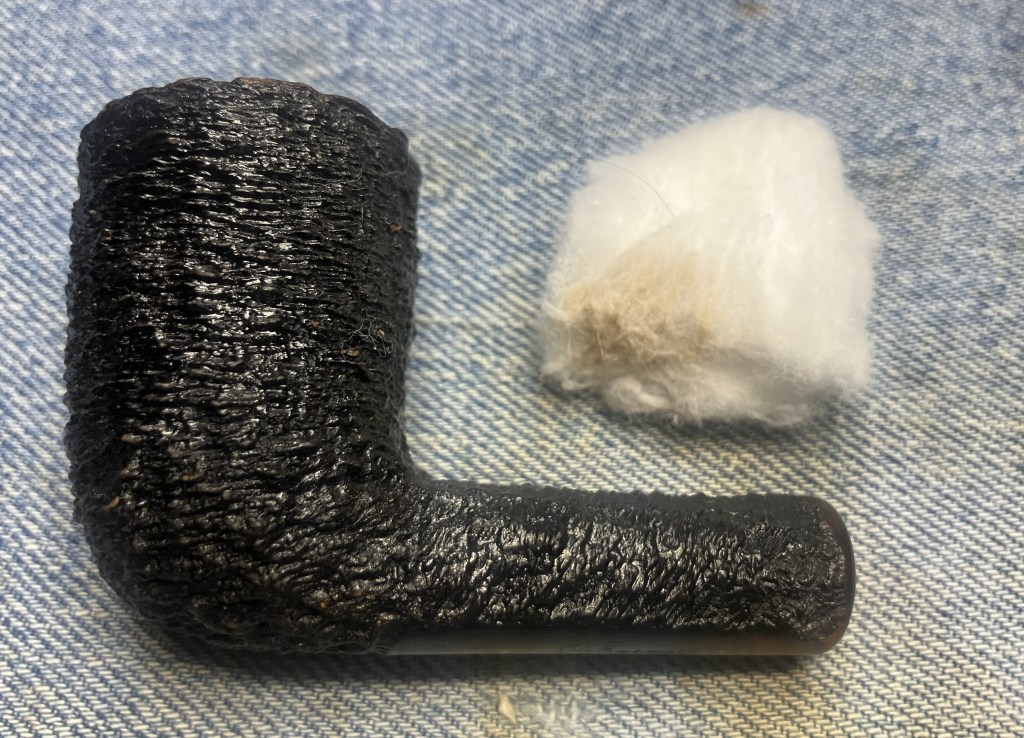
With the stem out of the picture for a day, I switched to the stummel. It was scrubbed with undiluted Murphy Oil Soap and a nylon brush over the sink. The soap was rinsed with warm water and the stummel dried with a cotton hand towel.
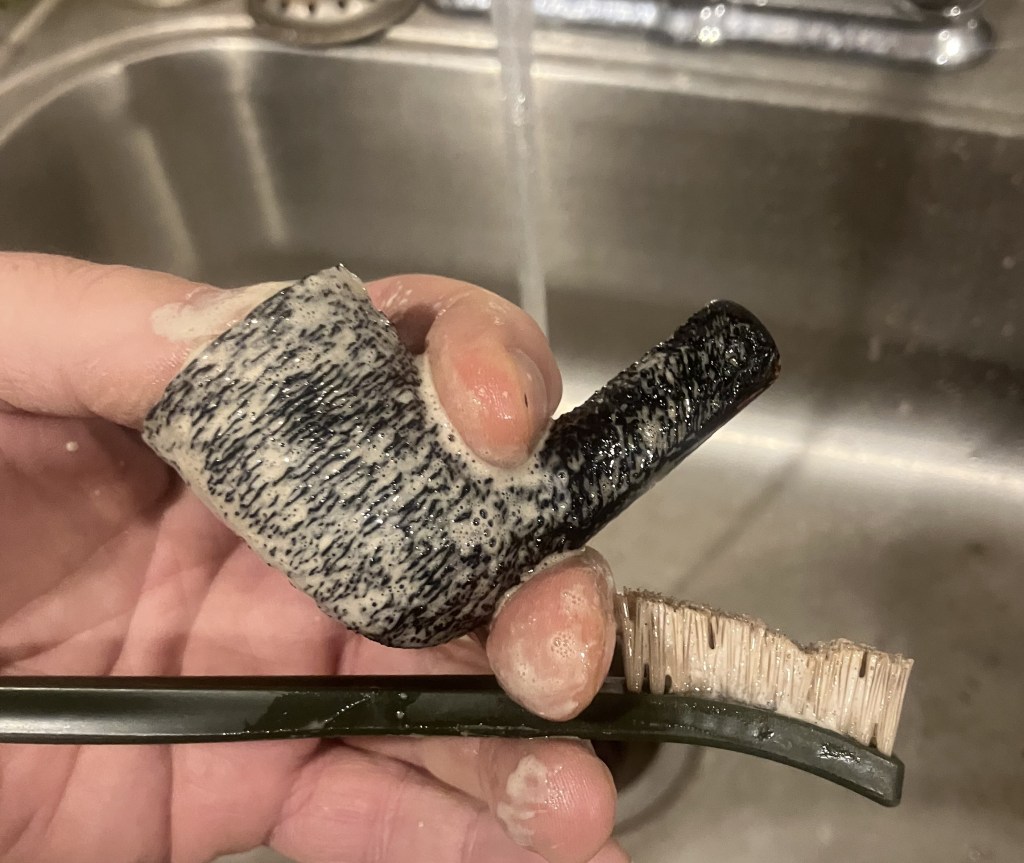
The stummel looked much better once cleaned.
I wiped the stummel with a cotton ball wetted with 99% ethyl alcohol and it only removed a slight bit of dirt and no dye.
Still unimpressed with my removal of the cake from the tobacco chamber, I returned to scraping it with the General triangular scraper, the pocket knife and a rotary tool grinder mounted to a hand drill. This combination helped free the caked carbon from the bowl better but still not to my satisfaction. I feared marring the meerschaum with more aggressive methods.

The next evening, I removed the stem from the Before and After Extra Strength Deoxidizer and let it drip excess solution back into the jar.

After drip drying the stem was vigorously rubbed with a coarse shop rag to remove some of the oxidized vulcanite.
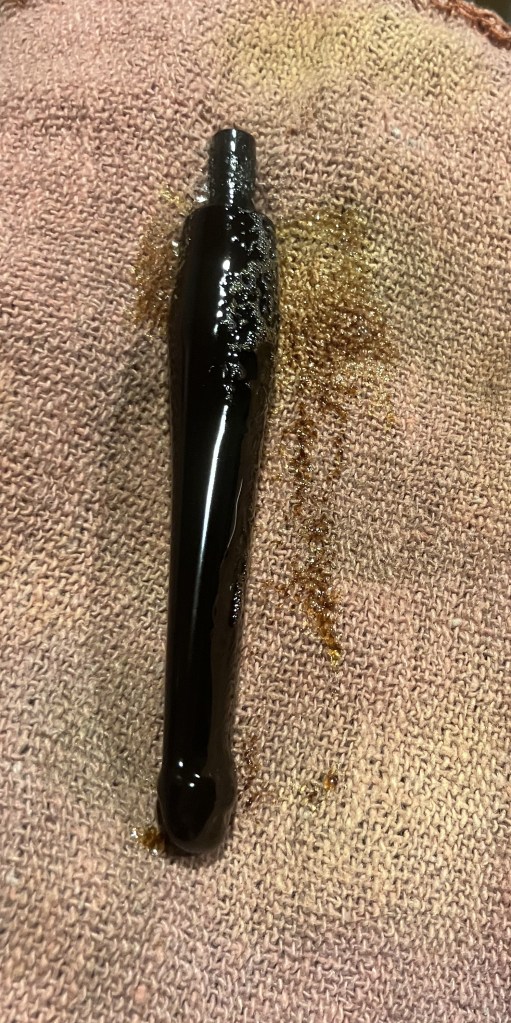
The shop rag shows the removed oxidized rubber.
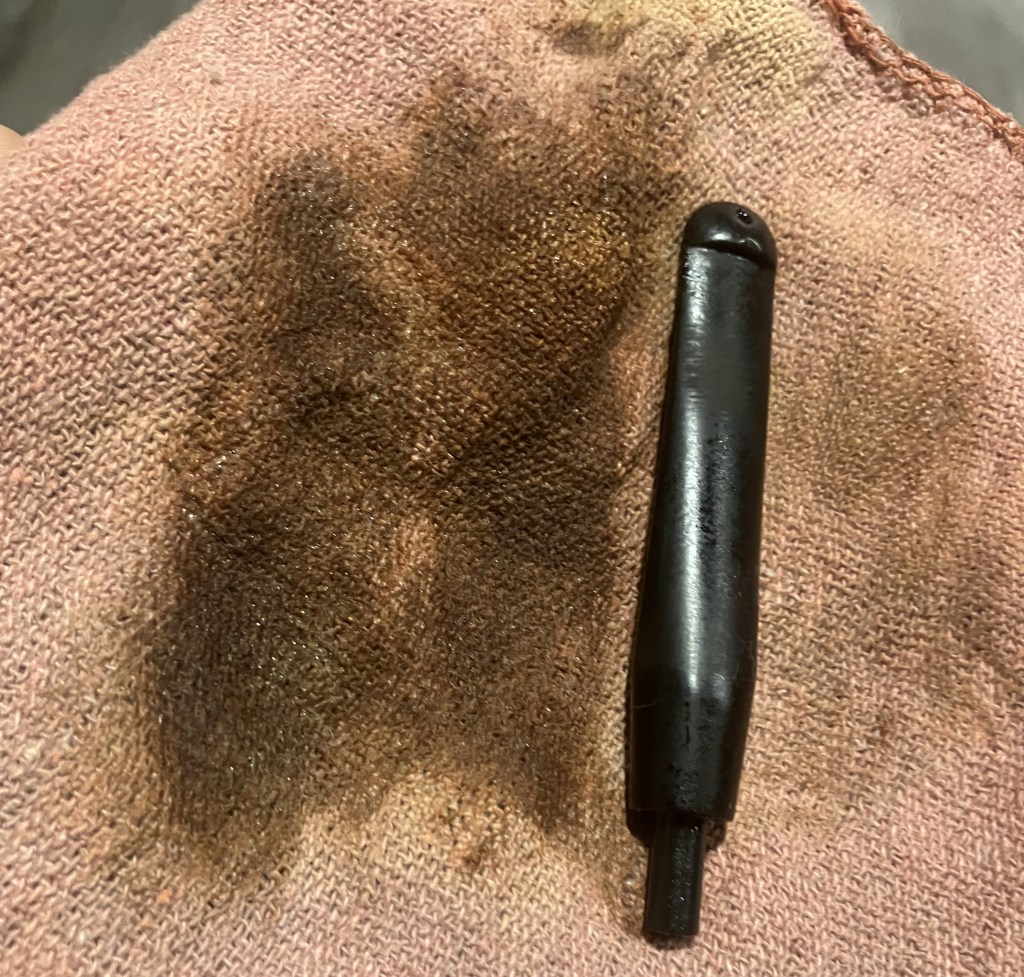
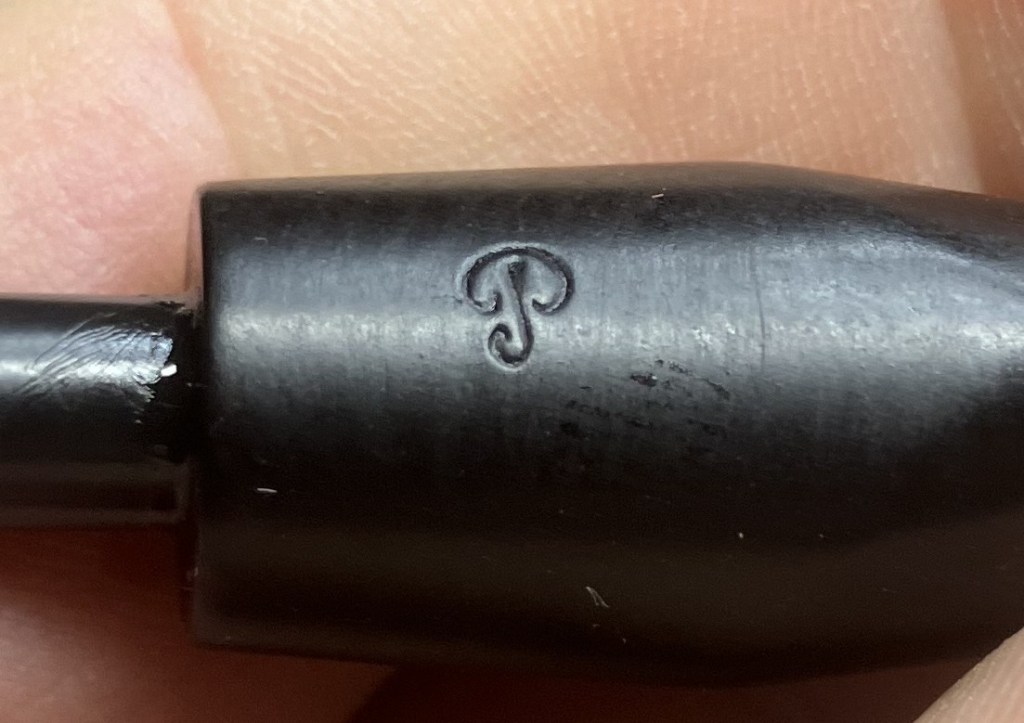
Another of my fears with this pipe was the obliteration of the stem stamps from the deoxidation. I was glad to see that the stamps remained legible, though faint.
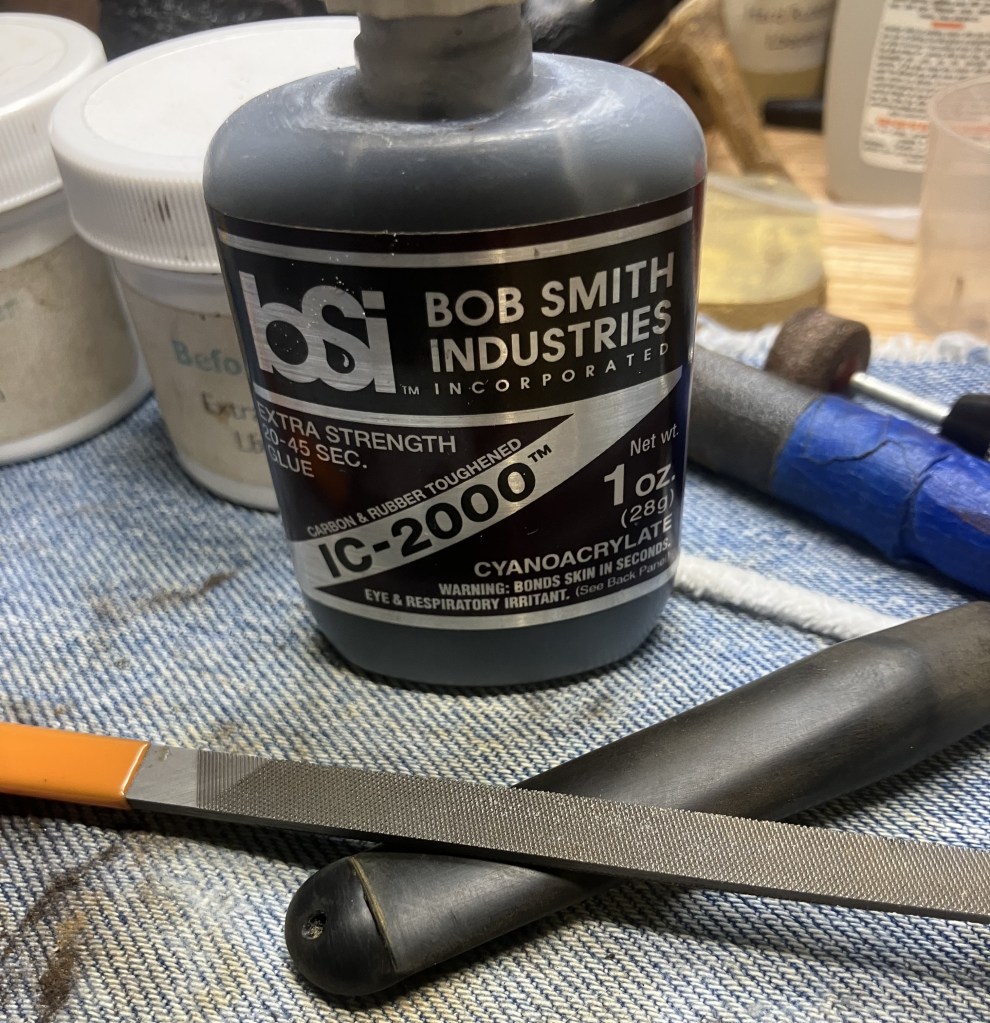
The tooth dents above the button were addressed with rubberized cyanoacrylate (CA, super glue). These were filed smooth and sanded.
The stem was then sanded with 320-600 grit sanding sponges. The ste log and Country of manufacture (COM) stamps were masked with masking tape to protect them during the sanding.
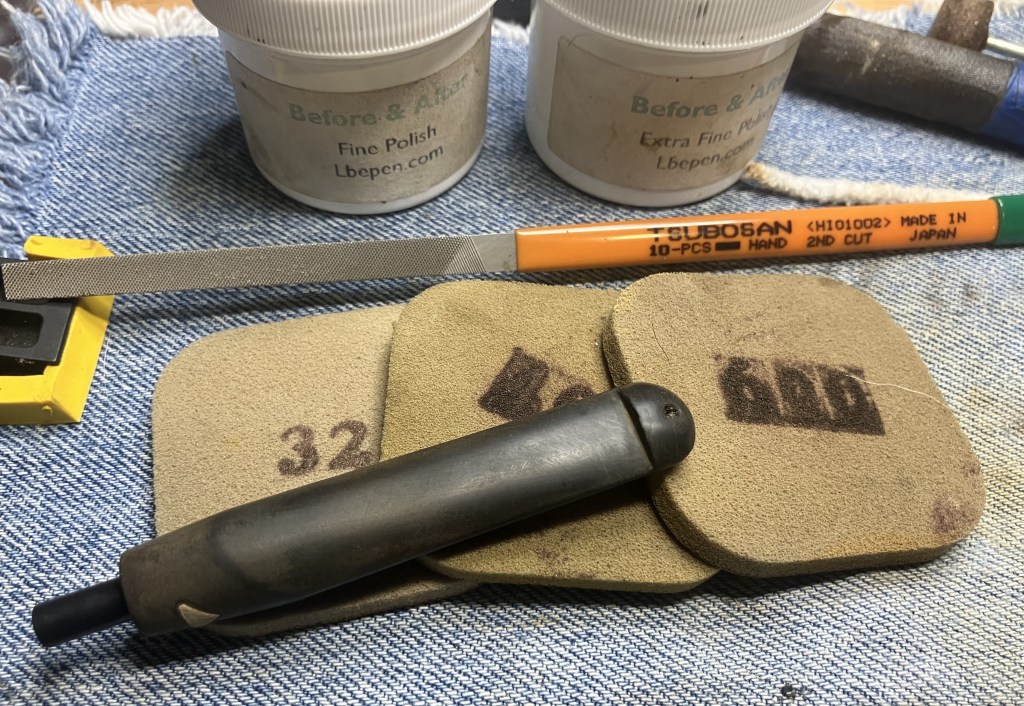
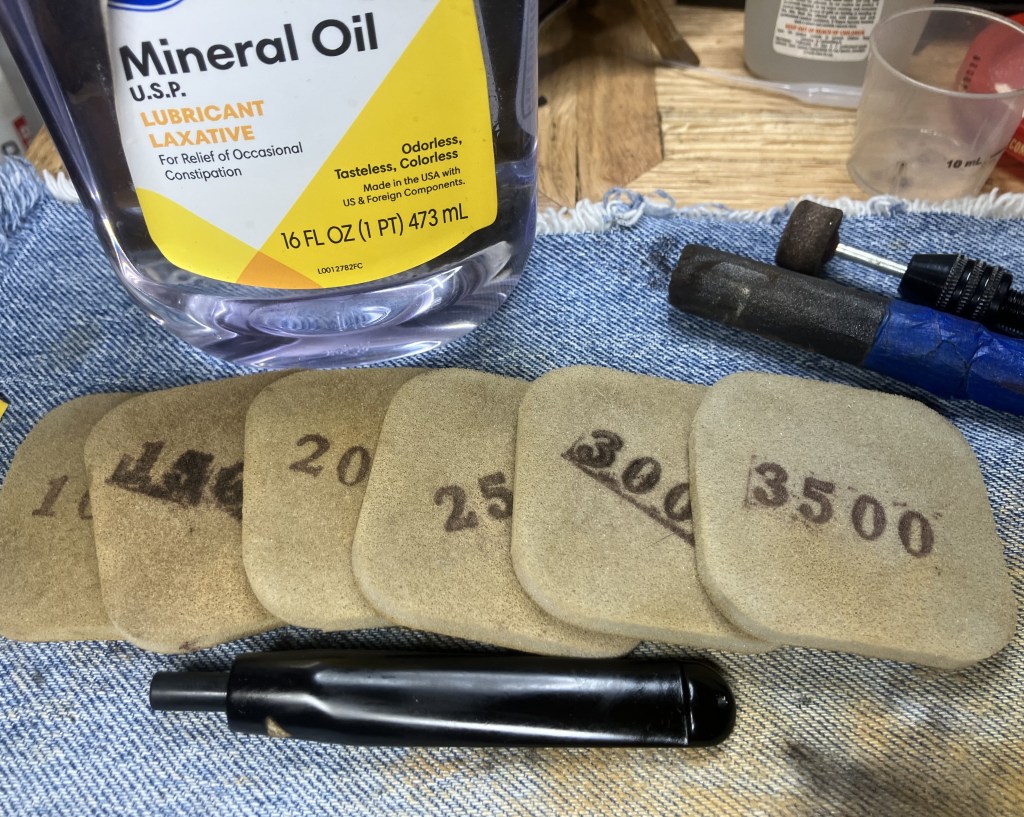
The stem was then worked with a series of sanding sponges. Between each sponge the stem was rubbed with mineral oil and wiped with a clean dry paper towel to remove sanding debris.
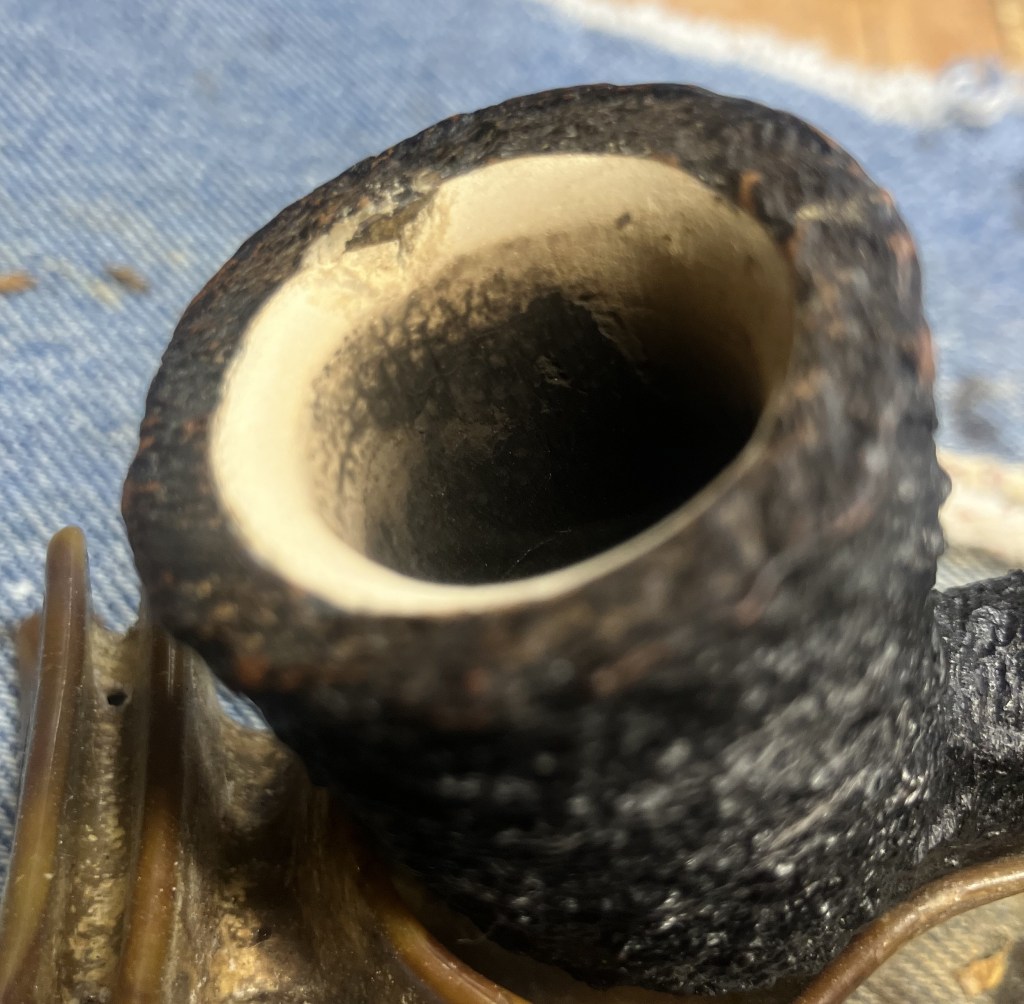
The chip on the rim of the meerschaum bowl liner had me thinking of ways to repair it. The area was rough enough and the meerschaum porous, so I thought that I could use the old technique of egg white and meerschaum dust to fill the chipped area.

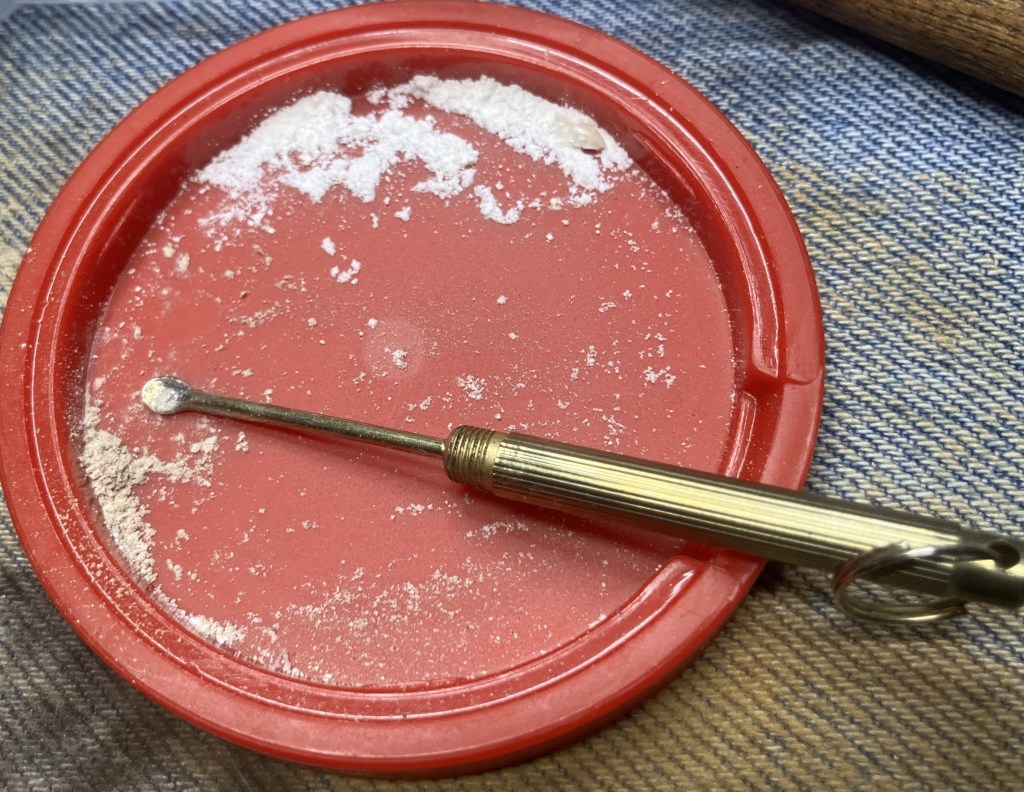
I made a paste with the egg white and meerschaum dust and applied it with a snuff spoon.
The chip looked better and I thought it would lighten as it dried. It did lighten then fell out. I repeated the attempt with the same results. I could not get the eggwhite-meerschaum dust paste to adhere to the existing meerschaum. Strike one and two.
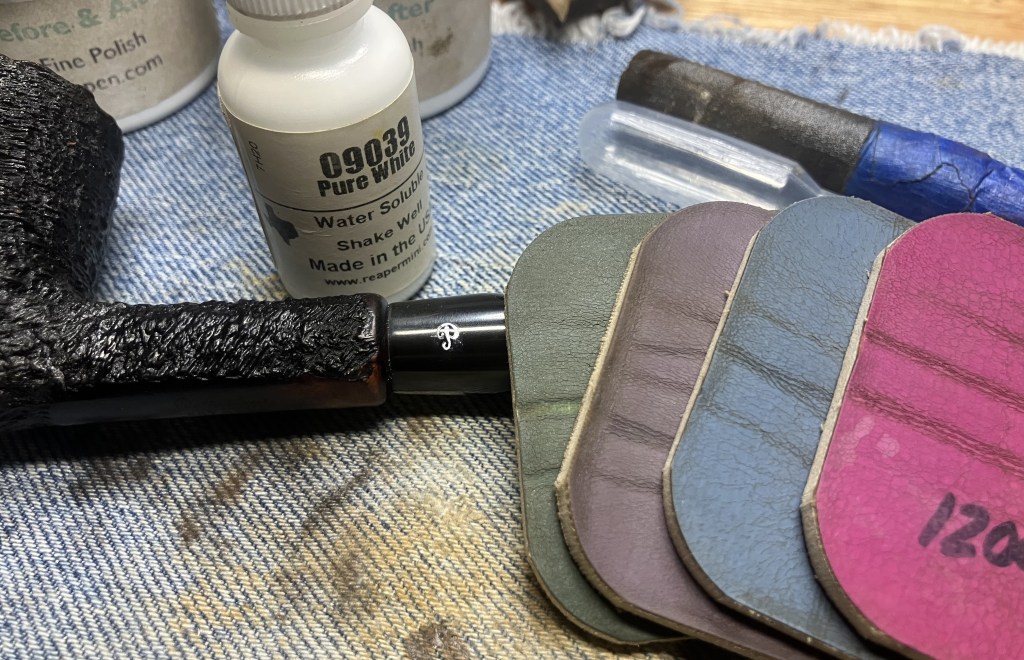
With my brain engaged with chip solutions, I turned to a more repetitive task while I thought. I micro-meshed the stem with 4000-12000 micro-mesh pads. Between each pad I rubbed the stem with Obsidian Oil and wiped it with a dry paper towel. I then repainted the Stem logo with a white acrylic modeling paint.
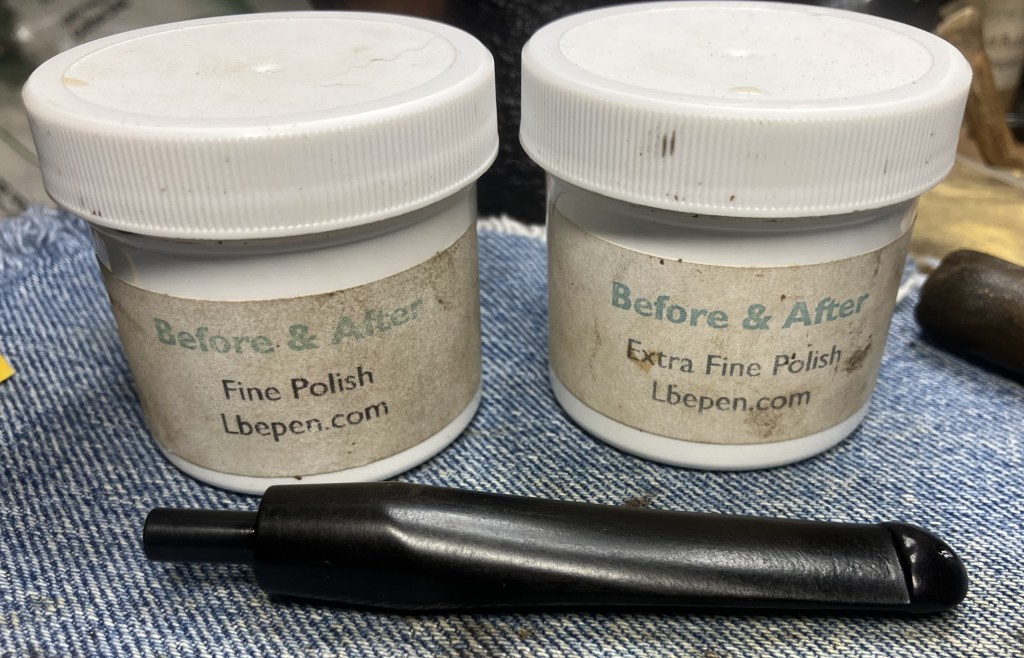
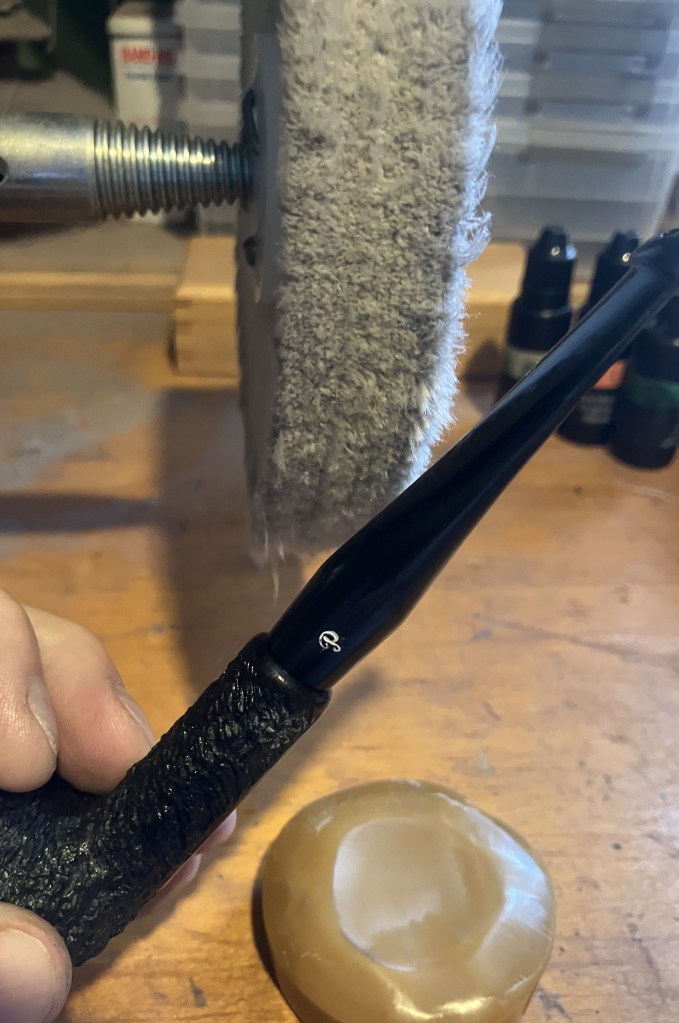
I used the Before and After Fine Polish then the Extra Fine Polish on a soft cotton cloth and hand buffed each.
The stem was then buffed with carnauba wax on the buffer.
The stummel received a coating of Renaissance Micro-Crystalline Wax applied with a baby toothbrush.
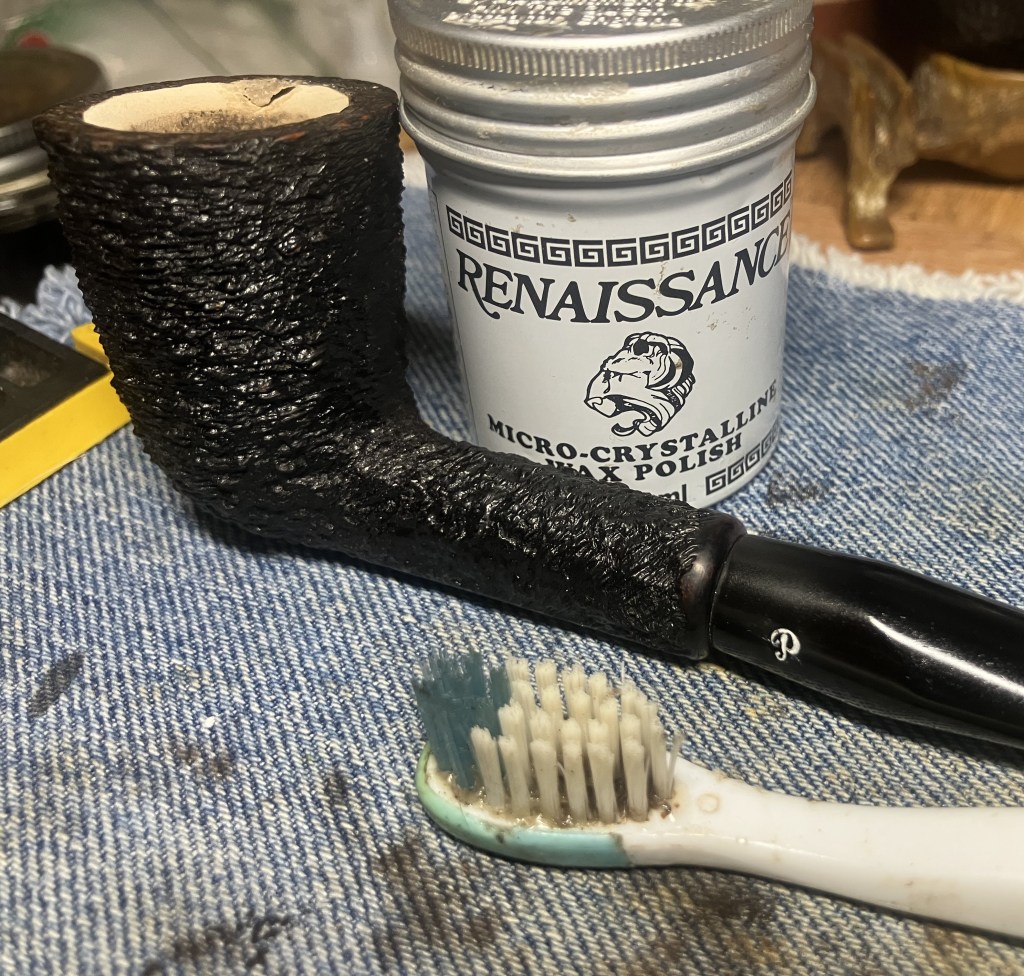
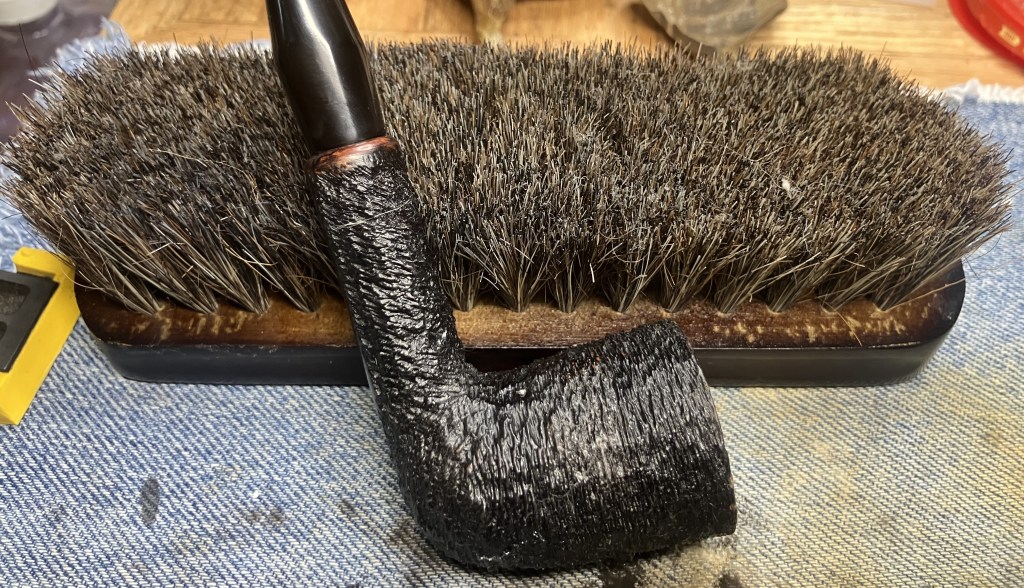
In the above photo you can see the repaired chip loosening in preparation to fall out. The stummel was then worked with a shoeshine brush to polish the Renaissance Wax.
I was at two strikes for chip repair. My thought process was working out other potential solutions I had two other ideas for repairing the chip:
- Cut a and shape a replacement chip from stock meerschaum and gluing it in place with clear JB Weld. This product was preferred due to its ability to withstand high temperatures.
- Mixing some clear JB Weld epoxy and meerschaum dust. Then applying the epoxy-meerschaum to the chip, allow it to cure then sand to blend.
Both ideas relied on the ability of the epoxy to adhere to the meerschaum and I hoped the heating and cooling or expansion and contraction of the materials would be compatible.
I opted to try the chip replacement with a new meerschaum chip, first.
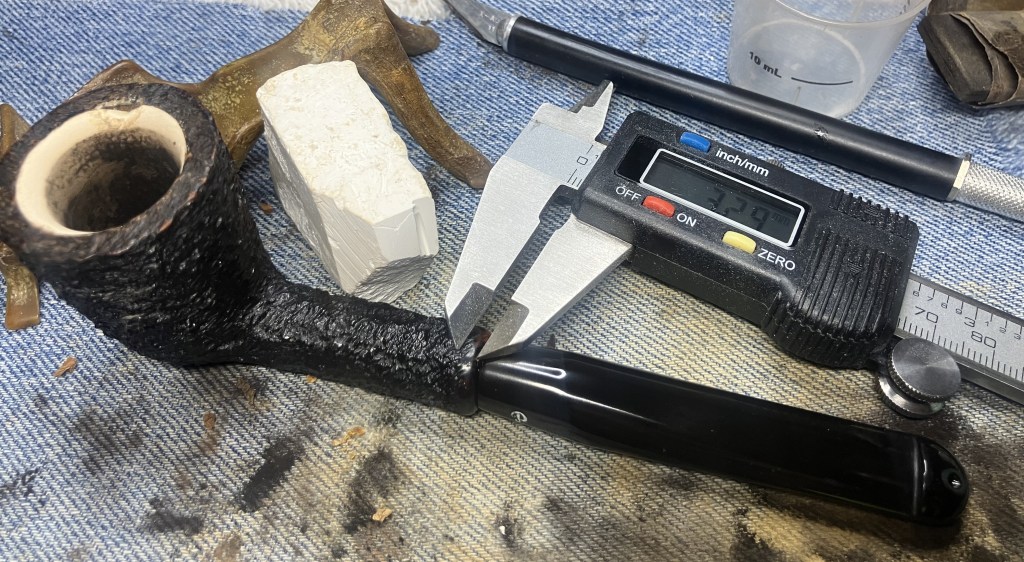
The first part of this idea required a fairly accurately measured replacement piece of meerschaum. My father, a Geography and Industrial Technology (shop) teacher by original training, frequently said, “Measure twice and cut once.” Cautious measurements were taken and transferred to the piece of block meerschaum. The only meerschaum I had was of Turkish origin and not the more off-white African version as with the bowl liner.
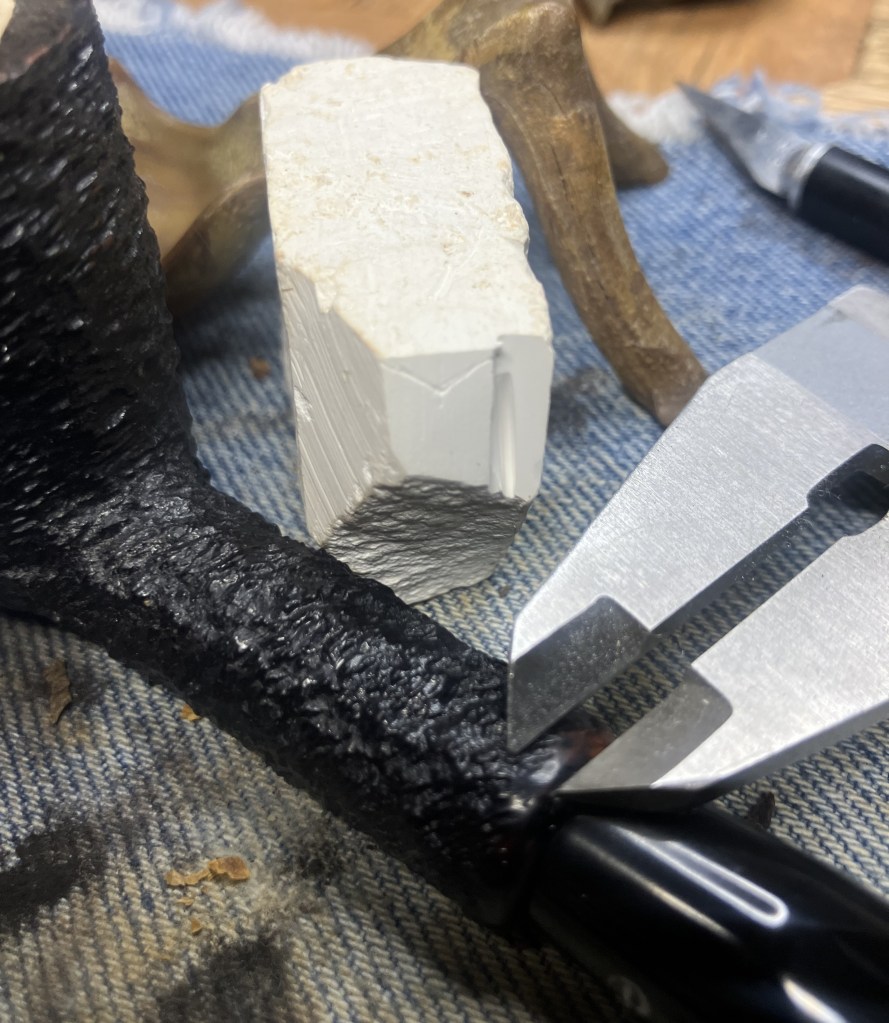
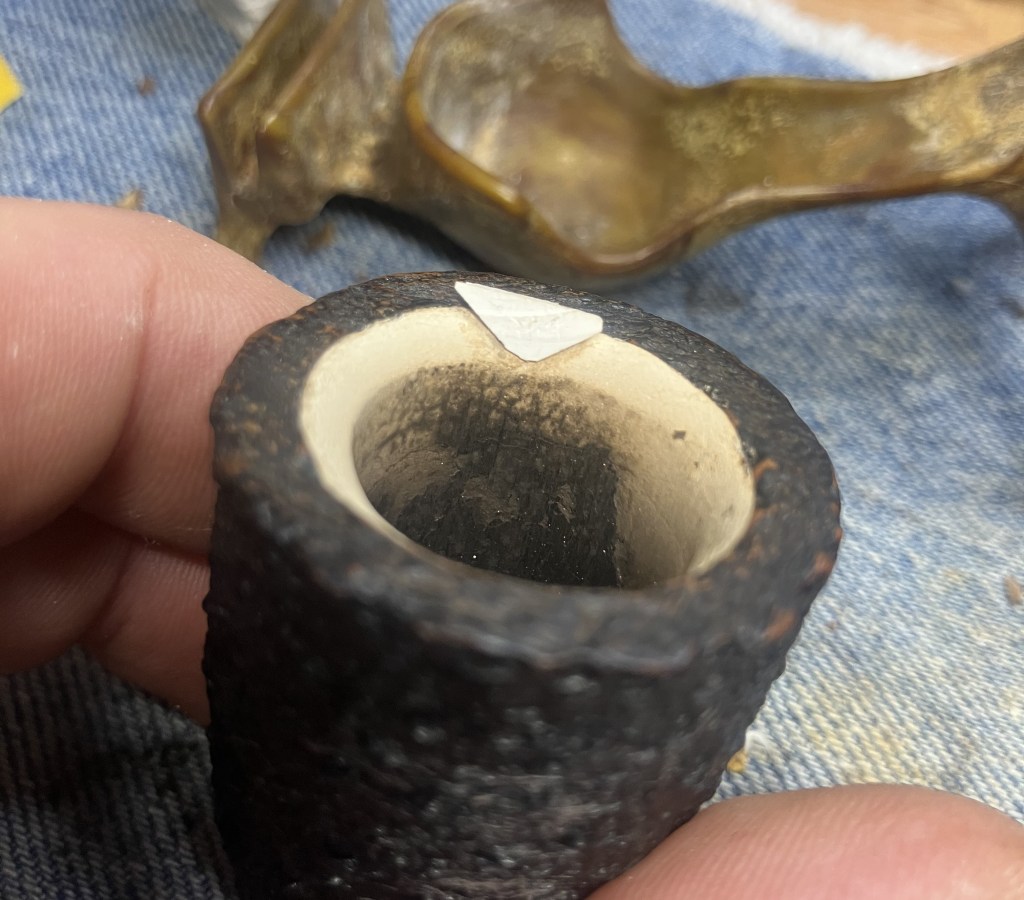
Below you can see a better view of the proposed chip replacement.
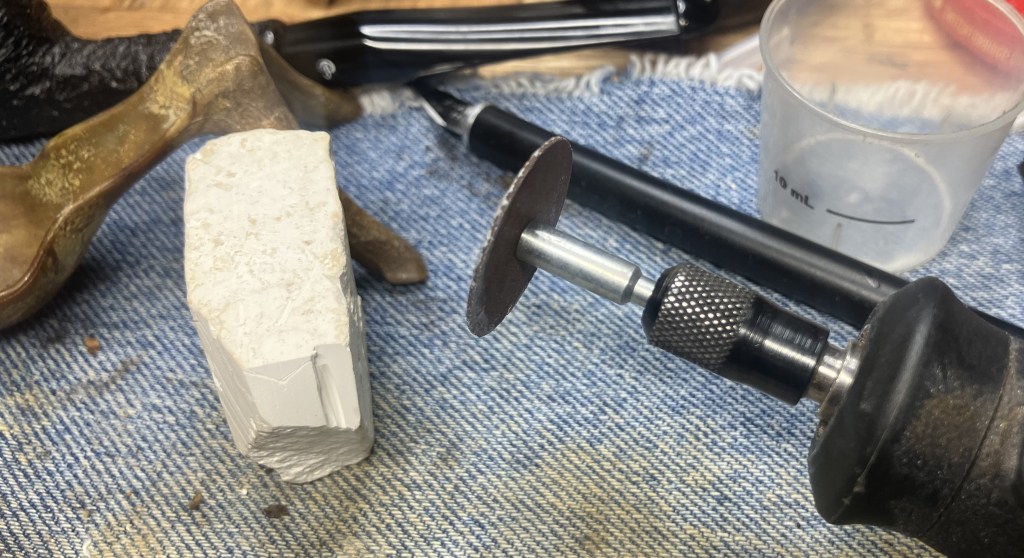
To cut this delicate material, I used a Dremel rotary tool with a thin cut-off bit.
Below is a photo of the replacement chip.
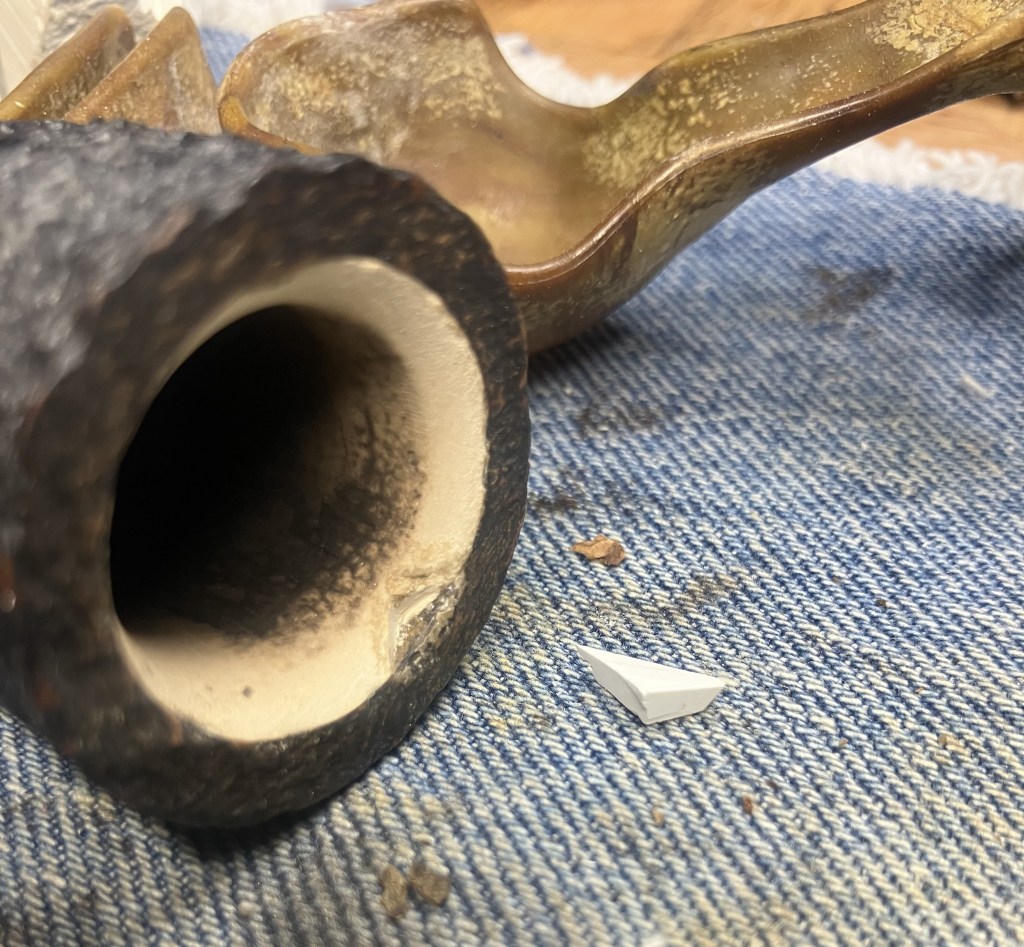
With some fine tuning of the replacement chip’s edges a good fit was eventually found.
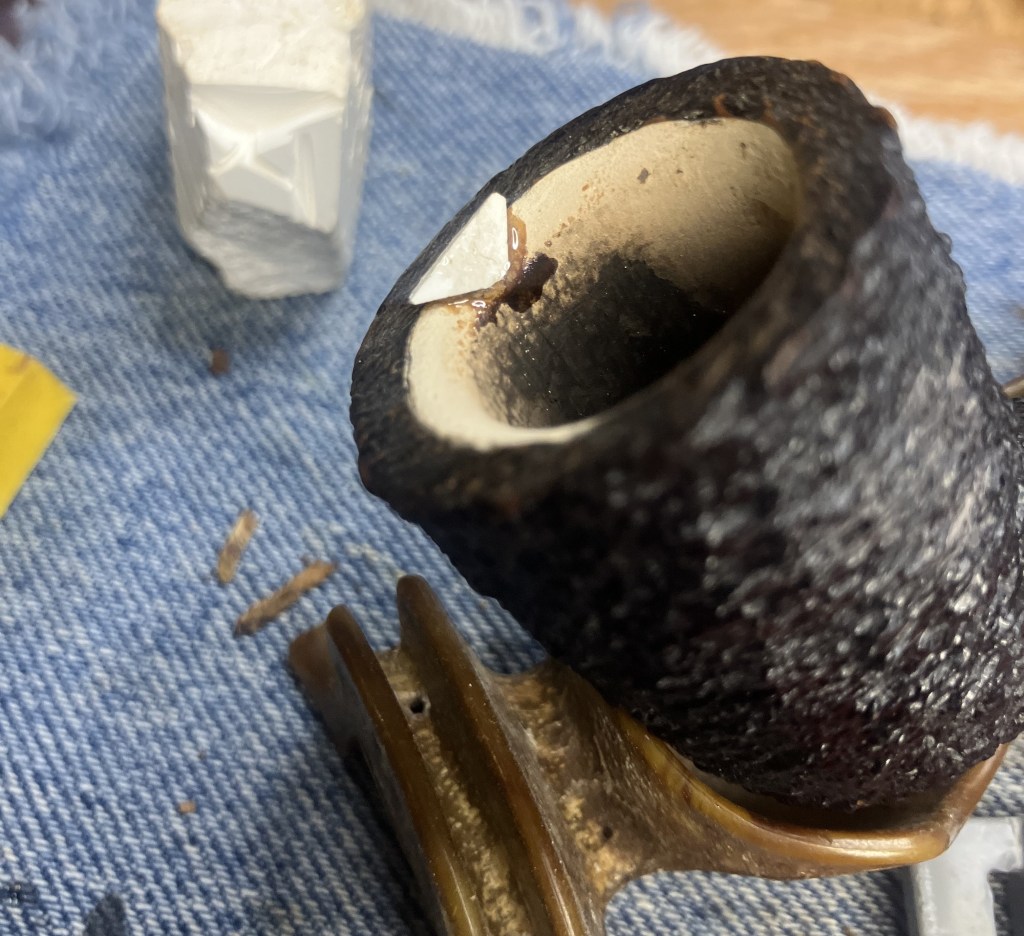
As previously mentioned JB Weld clear epoxy was the adhesive of choice. Equal parts were measured and mixed according to packaging directions.

The epoxy was applied to both surfaces and the replacement chip fitted to the gap. I thought that I could come back to trim the excess epoxy after it had set-up for about an hour. It would still be soft enough to cut away from the meerschaum with an Exacto knife.
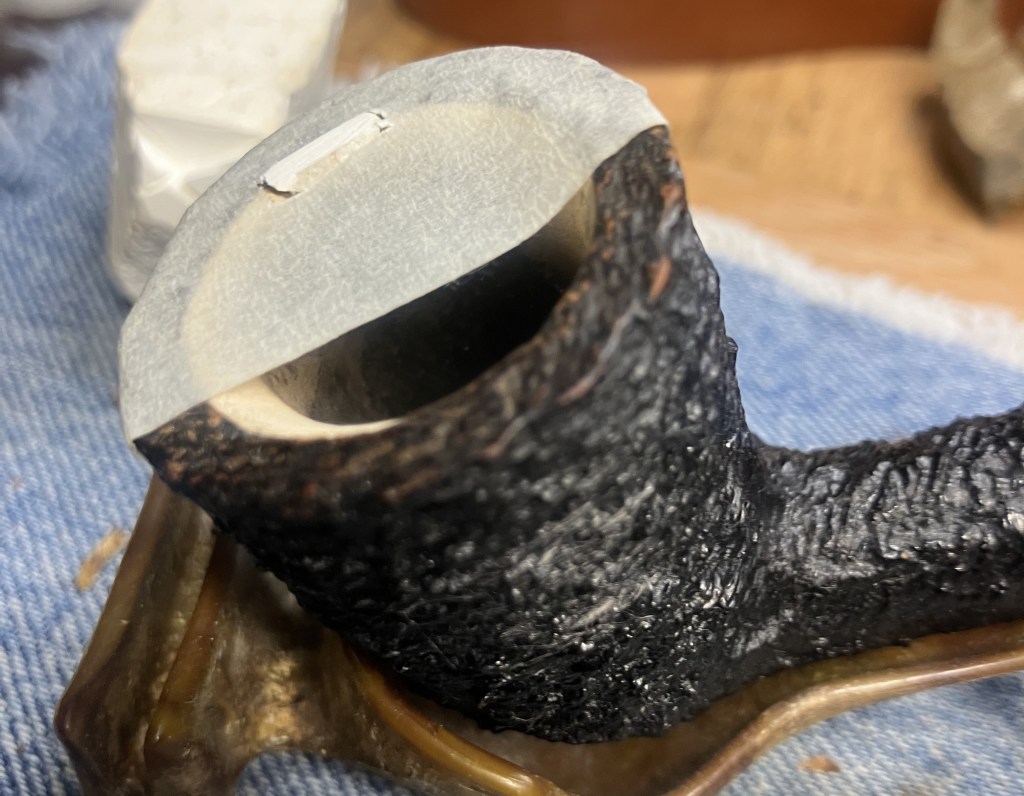
After the epoxy had set up for about 6 hours I applied a piece of masking tape and cut out for the replacement chip. This allowed me to remove the excess material using an emery board without marring the rim.
The emery board made short work of the soft meerschaum.
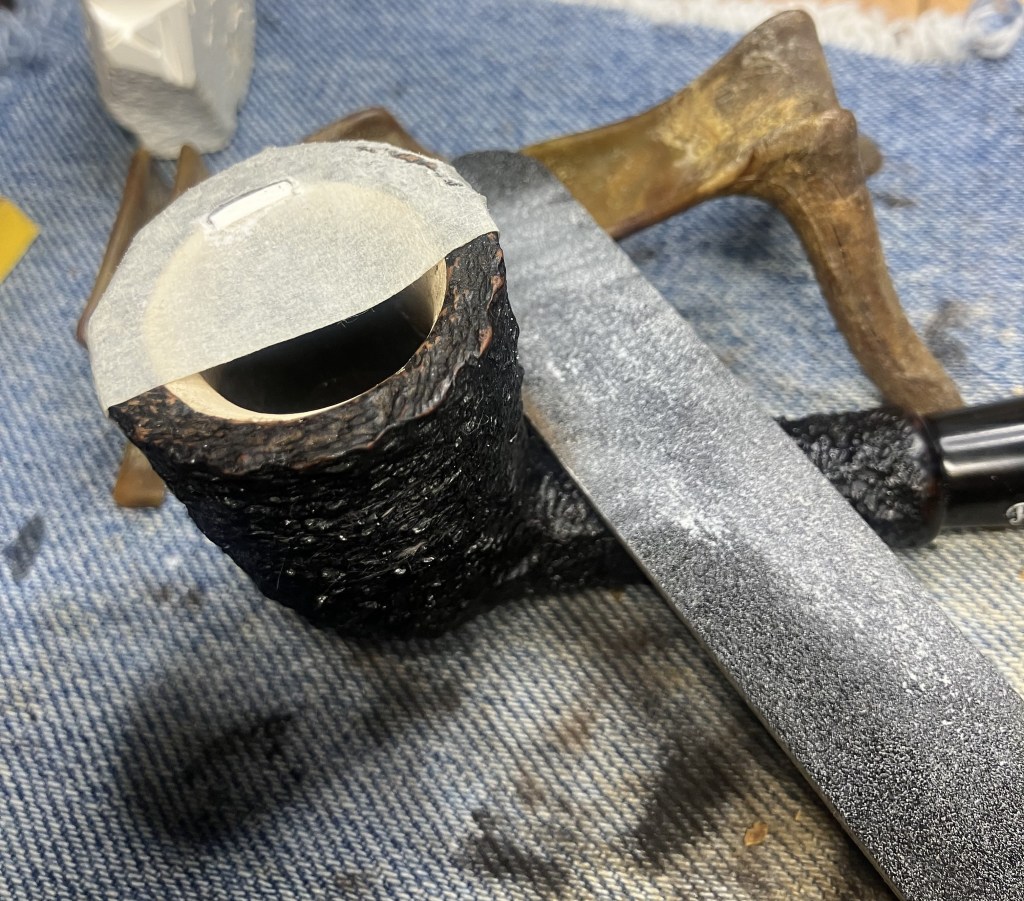
Additional sanding was done using a wood sphere wrapped in 320 sandpaper and a piece of 400 sandpaper by hand.
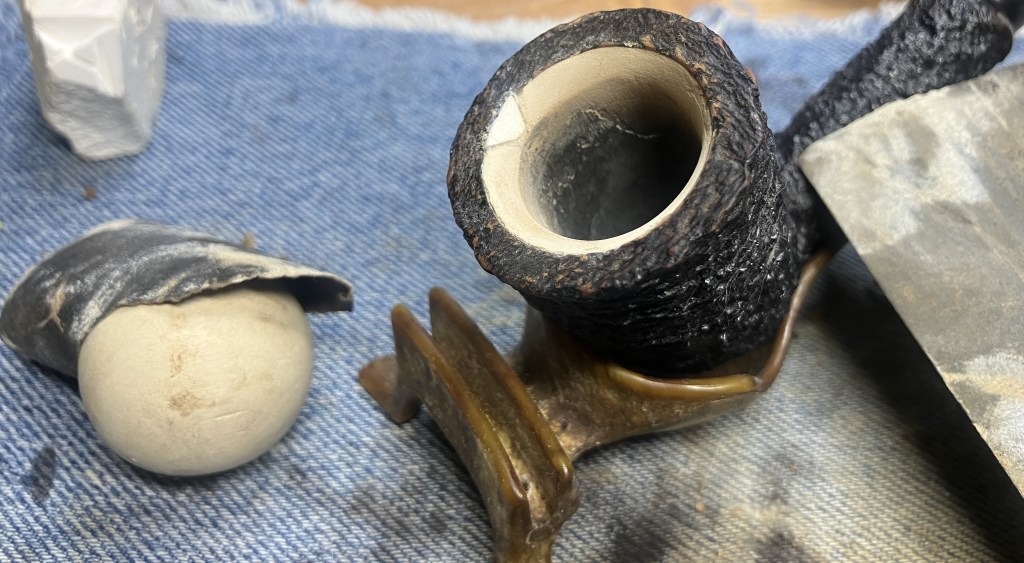
Below is a view of the replacement chip immediately before final sanding with the 400 sandpaper.

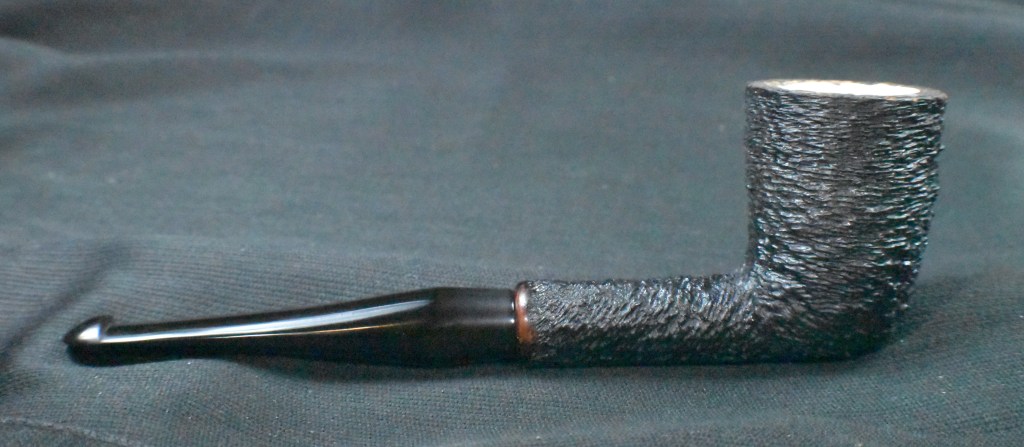
Since I had already waxed the stem and stummel , all that remained was a hand polish with a microfiber polishing cloth and a stop at the photo table.
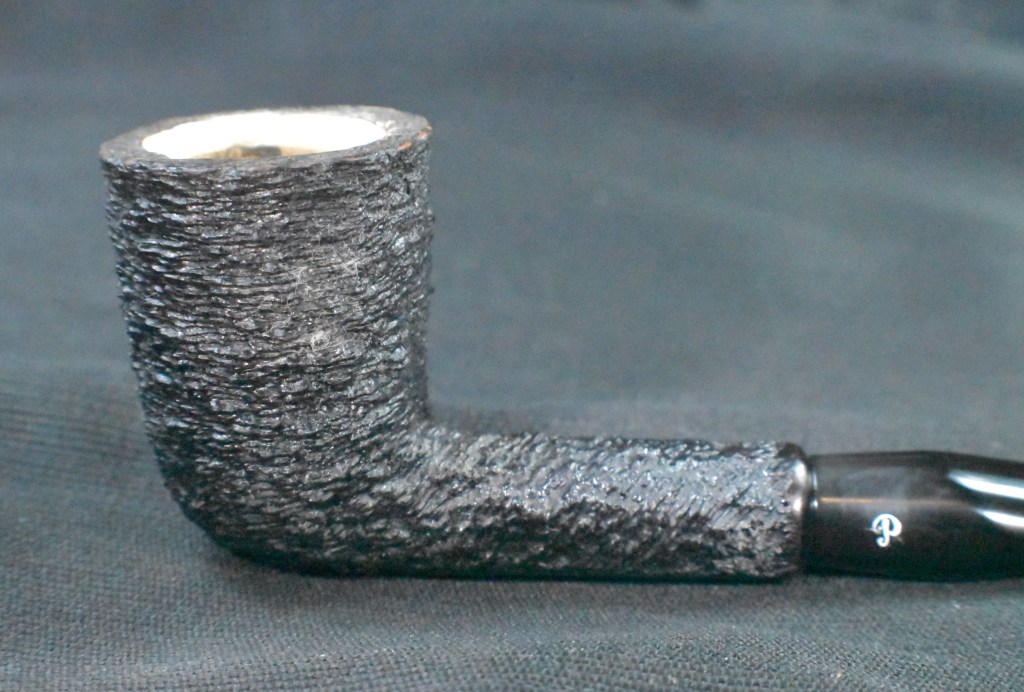
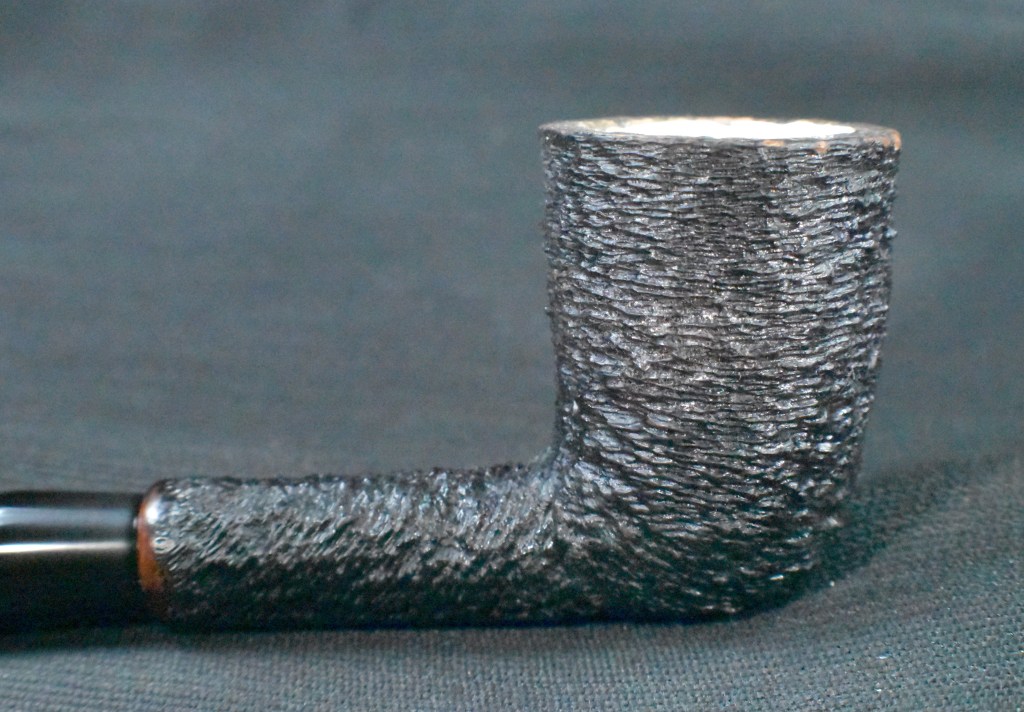
I think this Peterson Brymeer Dublin turned out quite well compared to how she looked originally. The briar’s sandblast cleaned-up very nicely. With the dark original stain of the stummel there is a lovely contrast to the slightly off-white meerschaum lining. The stem deoxidized remarkably well. I was able to retain both the COM and the P logo on the stem. The fresh vulcanite looks great with the black of the briar. The chipped rim repair turned out about as well as I could have hoped. Yes, it is noticeable but with a few smokes, I think the meerschaum will color and conceal the repair almost completely. The tobacco chamber cake was very resistant to removal. I guess there is a reason that diamonds are so tough. This carbon was nearly diamond-like in its resistance to removal, but in the end most of it was cleared. The dimensions of the Peterson Byrmeer Dublin are as follows:
Length: 6.06 in./ 153.92 mm.
Weight: 1.22 oz./ 34.59 g.
Bowl Height: 1.89 in./ 48.01 mm.
Chamber Depth: 1.55 in./ 39.37 mm.
Chamber Diameter: 0.71 in./ 18.03 mm.
Outside Diameter: 1.38 in./ 35.05 mm.
I do hope that you have found something here useful to your own pipe care, maintenance or restorations. If you like this sort of thing, please click the like and subscribe buttons. Thank you for reading the ramblings of an old pipe lover.
Below are some photos of the finished Peterson Byrmeer Dublin.