
Photographed and written by
John M. Young
I remember reading my first Sherlock Holmes in middle school, The Hound of the Baskervilles by Sir Arthur Conan Doyle. I loved the idea of a mystery, even though I knew about the great detective, the solution to the mystery was all new to me. I feel that way about this pipe, a Peterson Croydon Square 42. I had above average knowledge of Peterson pipes but had not heard of the Croydon Square line. Where would this mystery lead me?
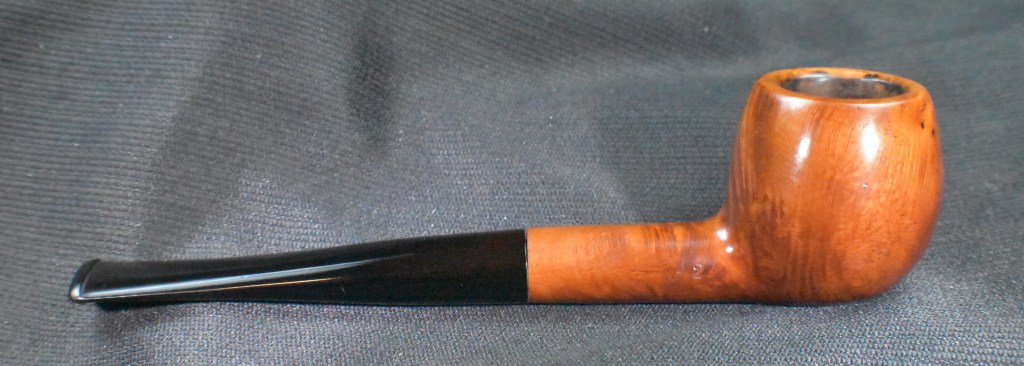
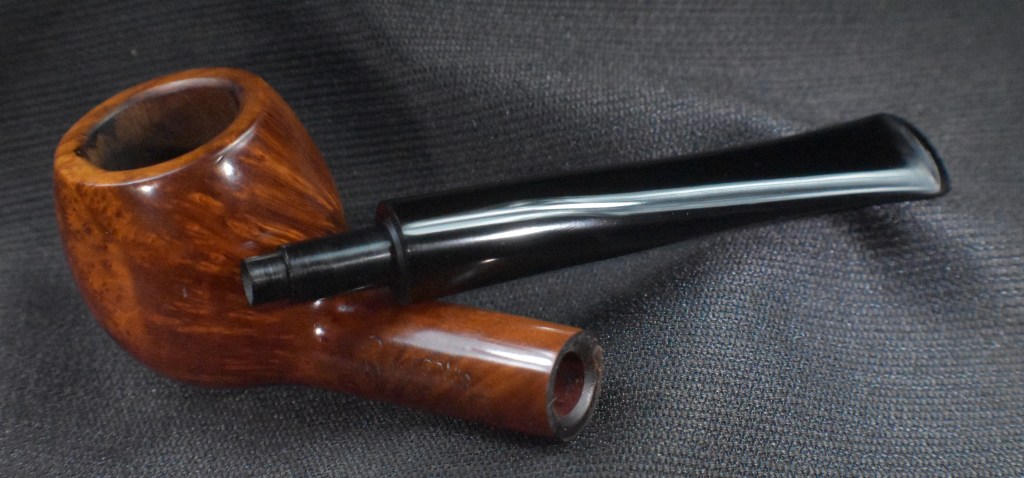
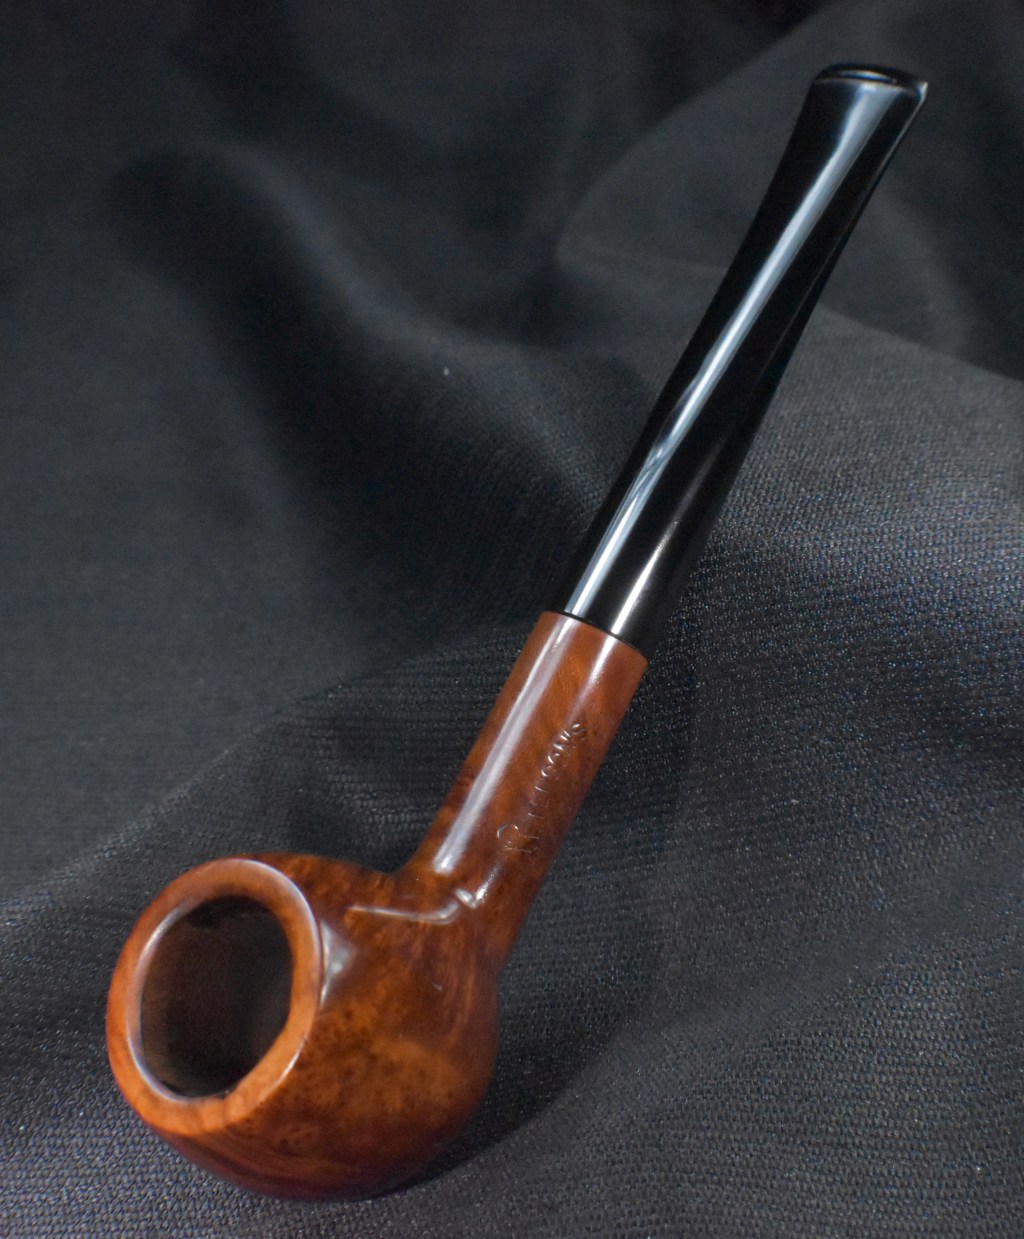
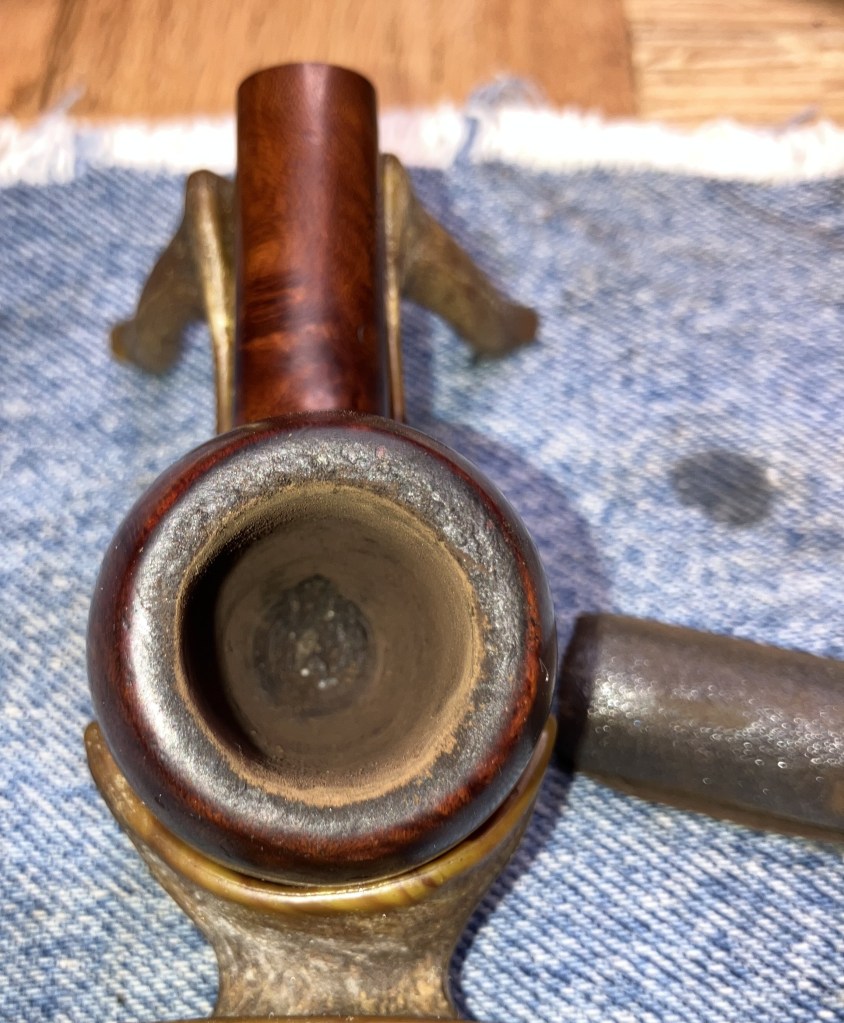
The pipe was another single target eBay acquisition. I paid more than I really wanted to but it was a specimen that I had not seen before and I wanted to work on it. After a quick trip from LaGrange, Georgia to the wilds of southeast Nebraska, I had my prize. The photos below show the pipe prior to any work.


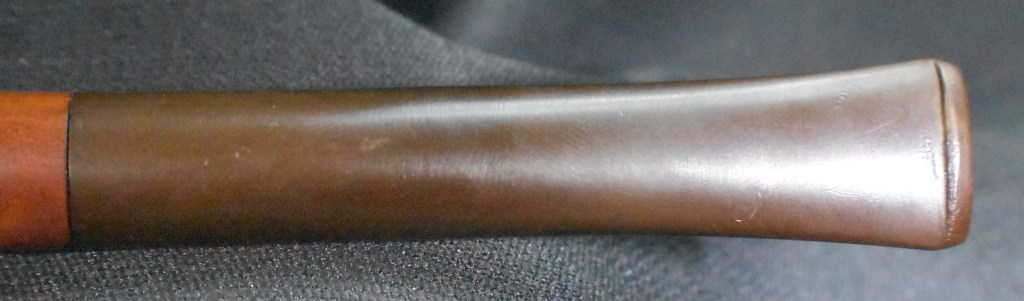


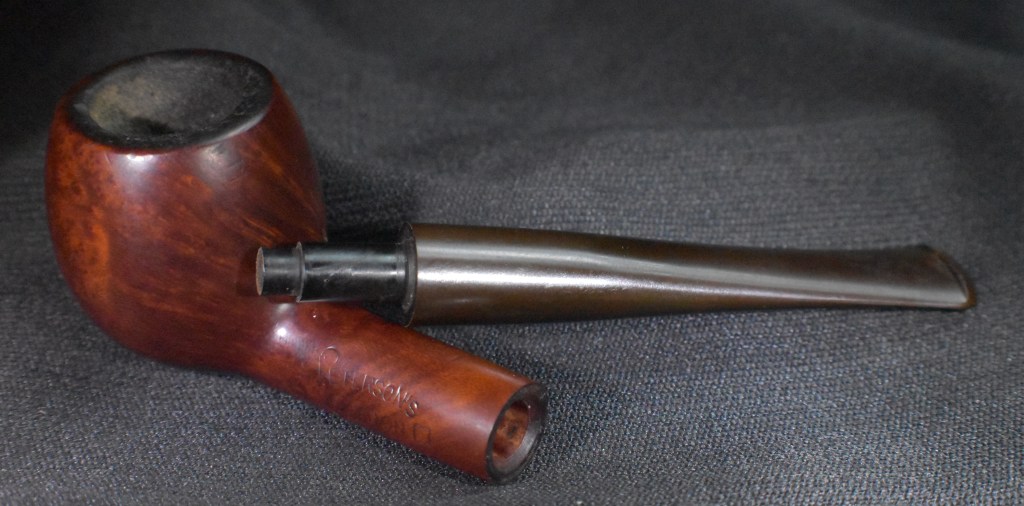
The Croydon Square looked like a well loved and used pipe. The restoration looked straight forward; cleaning, reaming, sanding of the stummel, deoxidation of the stem with sanding and polish. There did not appear to be any glaring issues with this old pipe, just use and time.
Background
Being unfamiliar with London, I’d not heard of Croydon nor of Croydon Square. I am familiar with Peterson pipes though, yet Croydon was an unfamiliar line of Petersons to me. I first wanted some information about the geography.

(London Borough of Croydon – Wikipedia)
Apparently Croydon dates back to:
- Croydon was first recorded in 809 CE as the site of a Saxon minster church. It later grew into a major medieval market town.
- Surrey Street Market has traded since 1276, making it one of the UK’s oldest continually operating markets.
- Croydon Palace and Addington Palace served as archbishops’ residences for over 500 years, notably under John Whitgift.
- Croydon Aerodrome pioneered international passenger flights and established the world’s first air traffic control tower.
- Modern Croydon blends cultural venues, a tram network and major office space, anchored by Fairfield Halls and St George’s House.
(Croydon’s History | Saxon Settlement to South London Hub)
With my curiosity settled on that account, I turned my gerbil-like attention to the pipe. I cannot give Kapp and Peterson the credit they are due. In the most comprehensive guide to the history of Peterson Mark Irwin and Gary Malmberg wrote a wonderful book The Peterson Pipe (Irwin, Mark and Malmberg, Gary. The Peterson Pipe; The Story of Kapp and Peterson. 2018, Briar Books Press, Canada. First edition, second printing.). According to Irwin and Malmberg, the legacy of Peterson as “the world’s oldest continuously operating briar pipe maker” (Irwin, p. 3). This is a treasure trove of information for those interested in Peterson pipes. It is currently “sold out” from The Peterson Pipe Book (Softcover) | Smokingpipes.com.
As complete a guide to Peterson pipes as this book is, it was lacking in much information regarding the Croydon pipe in hand. I was able to glean additional information from Mark Irwin’s Peterson Pipe Notes (PPN) (Peterson Pipe Notes – Peterson Pipe Notes: Celebrating Peterson Pipes). Within the blog entry, “136. Filling the Gap: The 1939 Rogers Import Peterson Catalog & Download” (136. Filling the Gap: The 1939 Rogers Import Peterson Catalog & Download – Peterson Pipe Notes), I read the following:
“I’m also happy to report that a few revisions of the book are now in order. That didn’t take long, did it? So get out your pencil, it’s time to annotate your copy: (1) The Croydon Square origin date is given as 1949 in the book, as we only had an RDTA Almanac an unhallmarked specimen to go by. But now—surprise!—it’s clear that the line was being made as early as ’39. (The similarity between the name of Croydon Square and Trafalgar Square also has me wondering if the latter didn’t replace the former at some point.) (2) We can also pencil in ’39 as the earliest documented date (so far) for the Captain Pete. (3) The ad copy in the catalog also suggests that, at this date, the line was made exclusively at the London factory. (4) And if that’s not enough, at the beginning of the “N” section in the Information Guide, you can write, “An N prefacing two-digit shape numbers of English-made pipes refers to a natural finish.”” (136. Filling the Gap: The 1939 Rogers Import Peterson Catalog & Download – Peterson Pipe Notes)
In the above quote from Mark Irwin, the “RDTA” refers to “Retail Tobacco Dealers of America. The forerunner of the current Premium Cigar Association with a few name changes in between.” (Mark Irwin, personal communication. September 22, 2025). Don’t worry, I had no idea what it meant either. I emailed Mark and got a quick reply. The PPN blog also had the following page from a 1939 Roger’s catalog:

(136. Filling the Gap: The 1939 Rogers Import Peterson Catalog & Download – Peterson Pipe Notes)
AHA, specific historical information about the Croydon Square pipe was at hand. This put the pipe’s provenance from at least 1939 to ? and also the shape 42. Although this information led to more questions. There is no mention or illustration of fishtail stems, only P-lips. The pipe in hand had been smoked quite a bit leading me to the thought that the stem of this pipe may be a replacement.
In The Peterson Pipe, where the London production of pipes is discussed at length, was another interesting piece of information. Here, Irwin and Malmberg say, “Apparently, the London factory did not order a MADE IN ENGLAND die until after the war. Any Peterson stamped with an English COM must be no older than the later 1940s” (Irwin, p.150). If it is assumed that this pipe was not stamped due to there not being a stamp available then it would date from 1939-late 1940s. If it was merely not stamped with a COM then it is assumed to be made during the years of pipe production at the London factory 1936-1962. I prefer to think that it is due to the former. This is actually a selfish desire to have the dates of production to be a more definitive late 1930s-late 1940s. I know, too much conjecture…
The Restoration
The restoration began with a clean denim piece protecting both the work surface and the pipe.

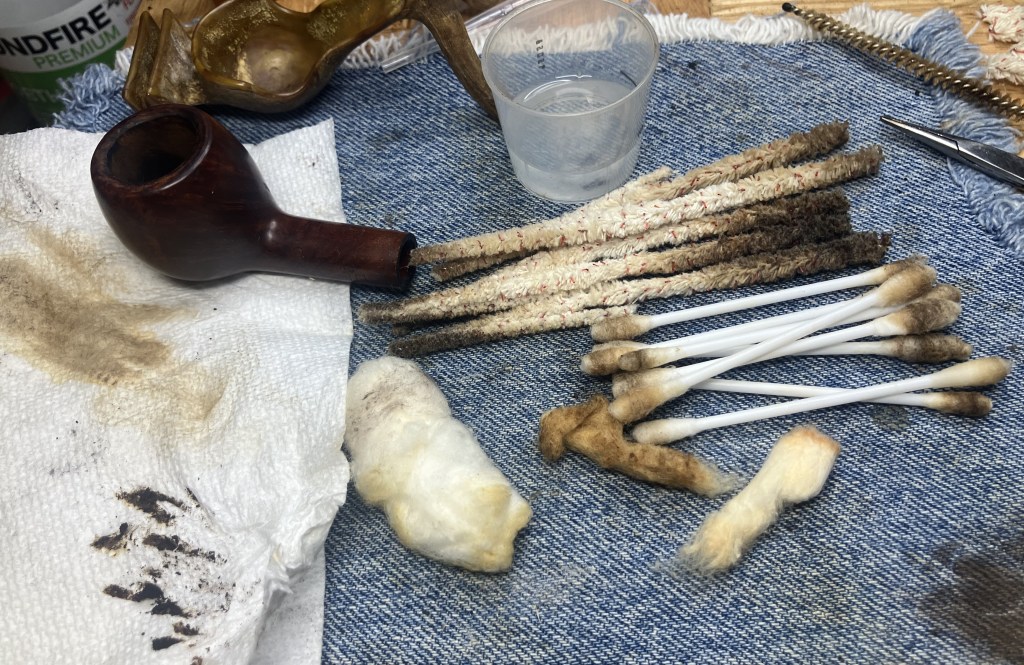
I began with the stem. This was cleaned with bristle pipe cleaners and 99% ethyl alcohol.

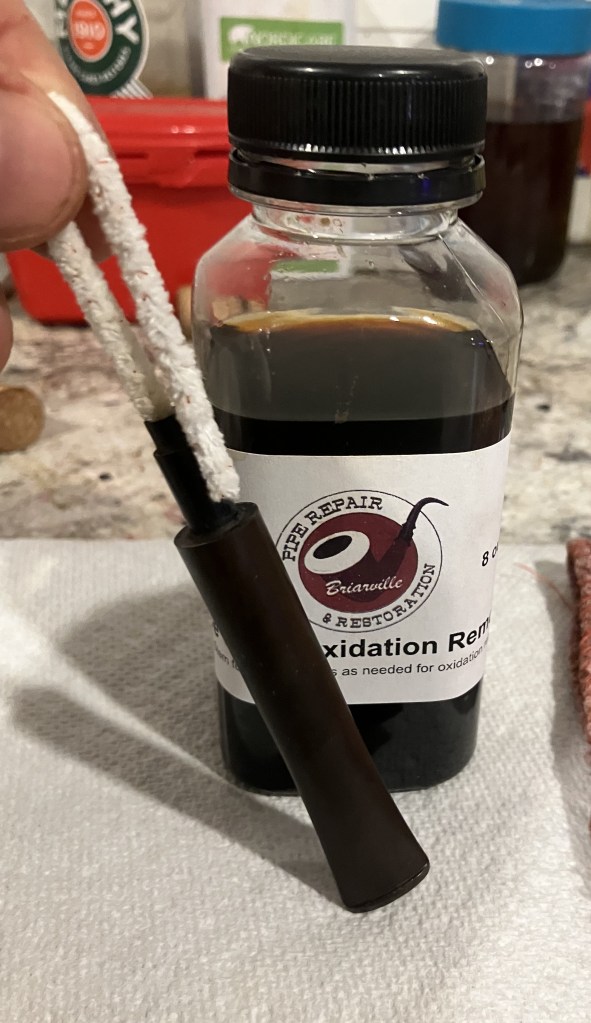
The stem was then submerged in Briarville’s Pipe Stem Oxidation Remover (deox). It bathed for 18 hours.
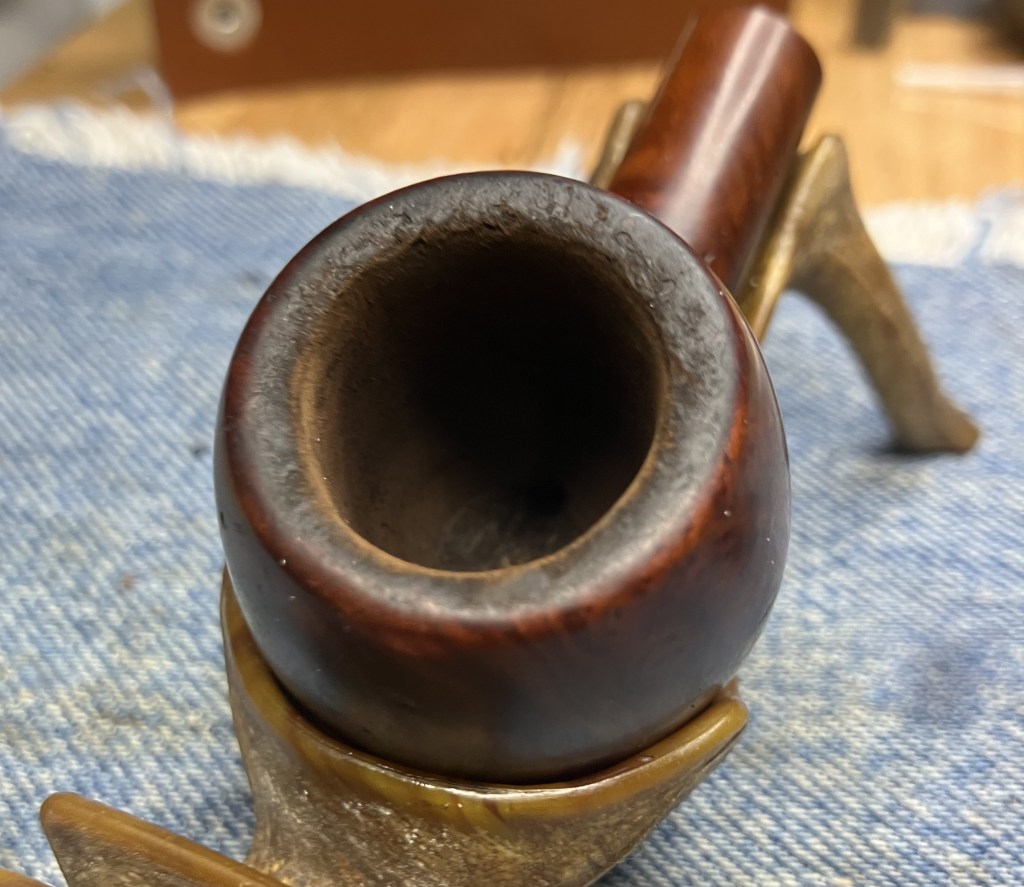
In the meantime, I worked on the stummel. The ream team was gathered.

The PipNet #1 and #2 blades were both put to use. The General triangular scarper was also used to do some cleanup of the tobacco chamber and the rim.

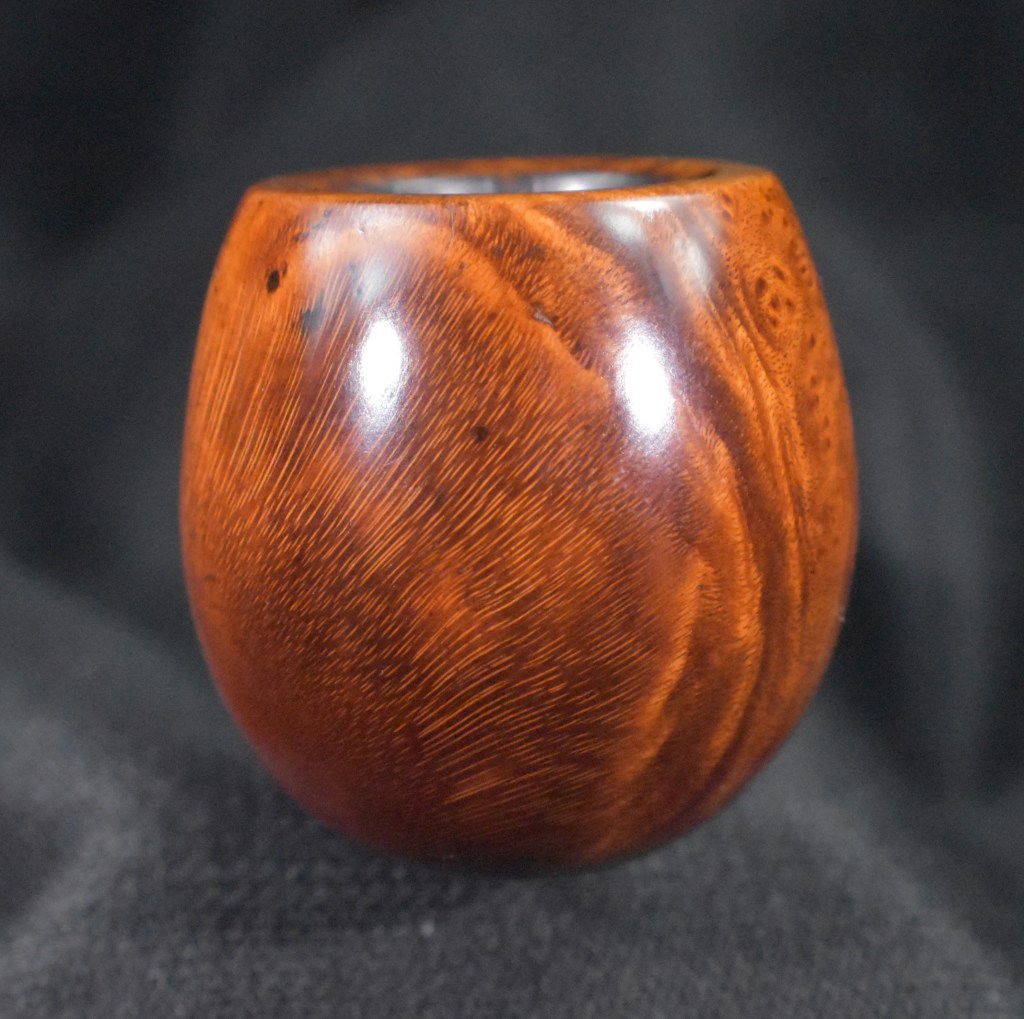
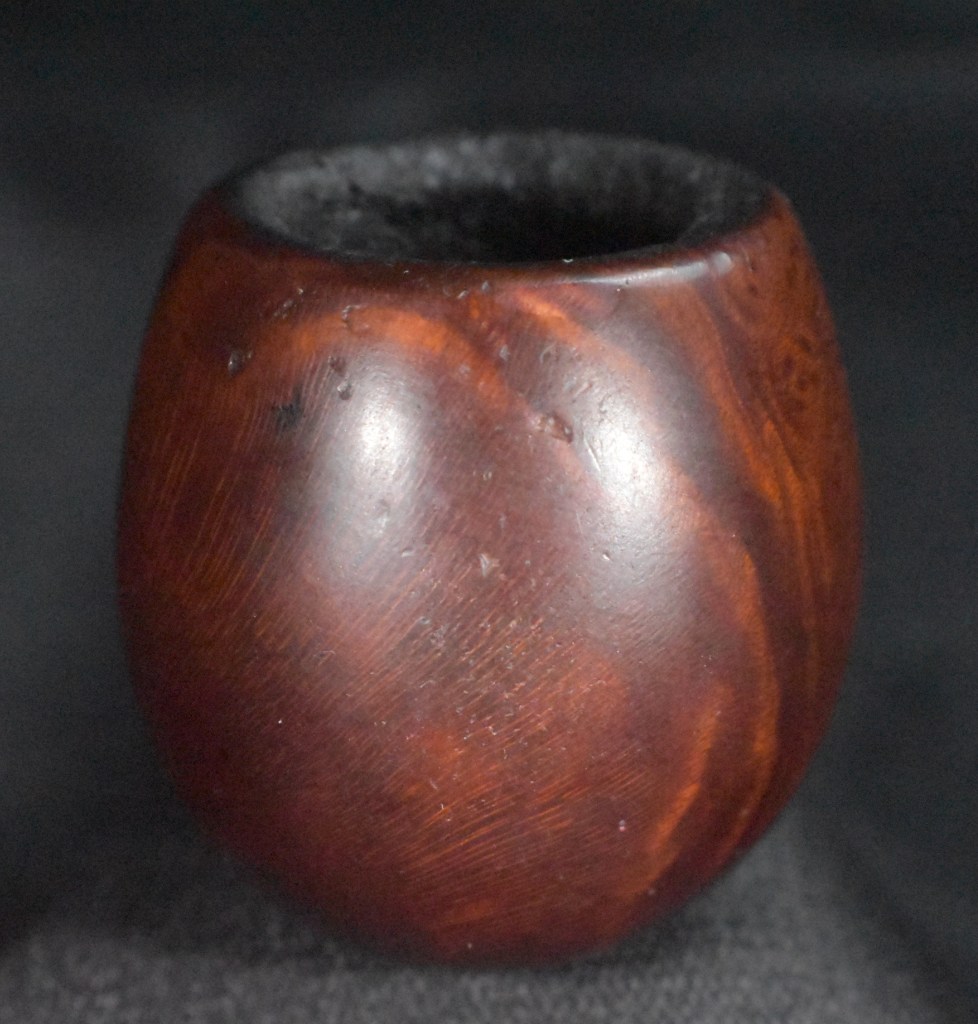
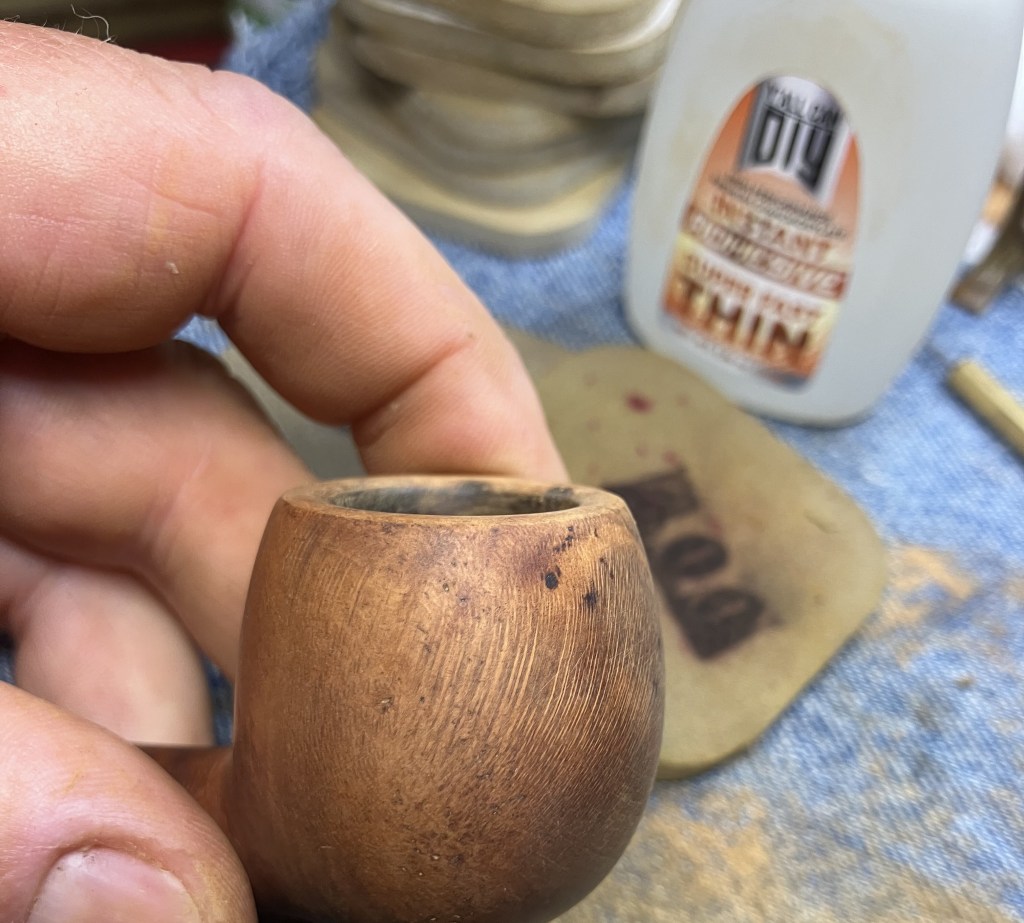
Below is a photo of the tobacco chamber after the reaming.
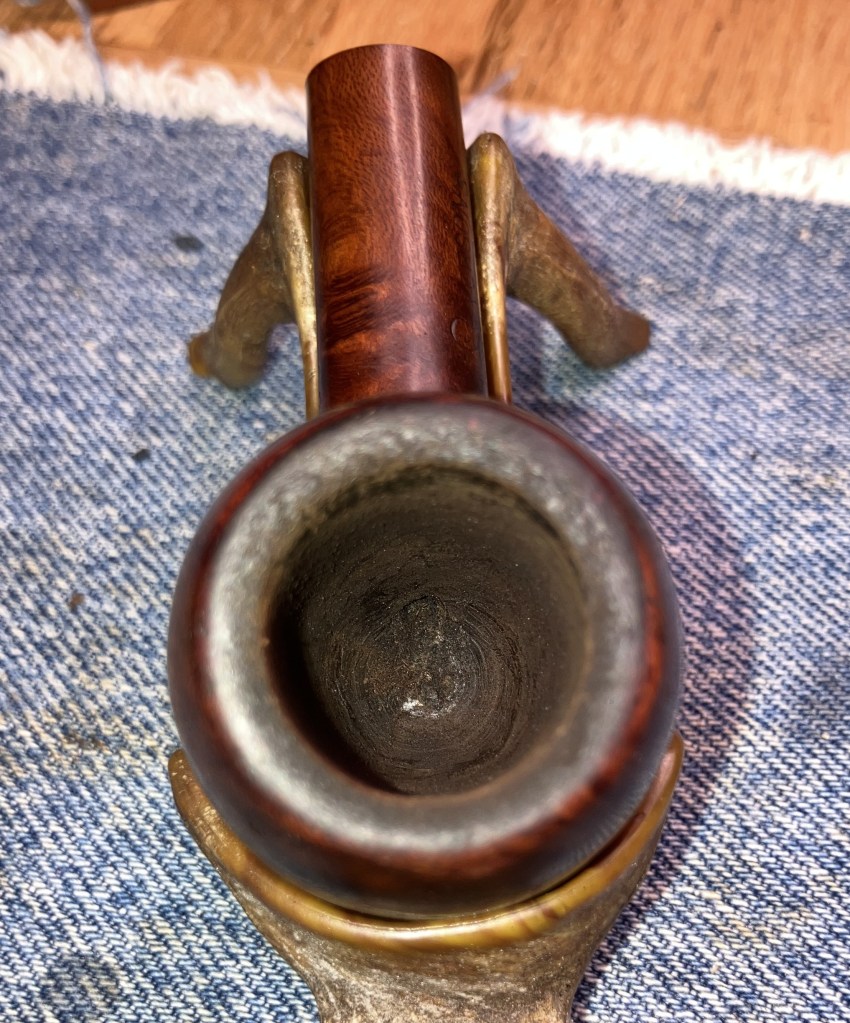
The chamber was then sanded with 320 sandpaper wrapped around a wood dowel. No damage to the chamber was observed.
The rim however was encased in a layer of lava.
The lava was softened with saliva and scraped with the blade of a sharp pocket knife.

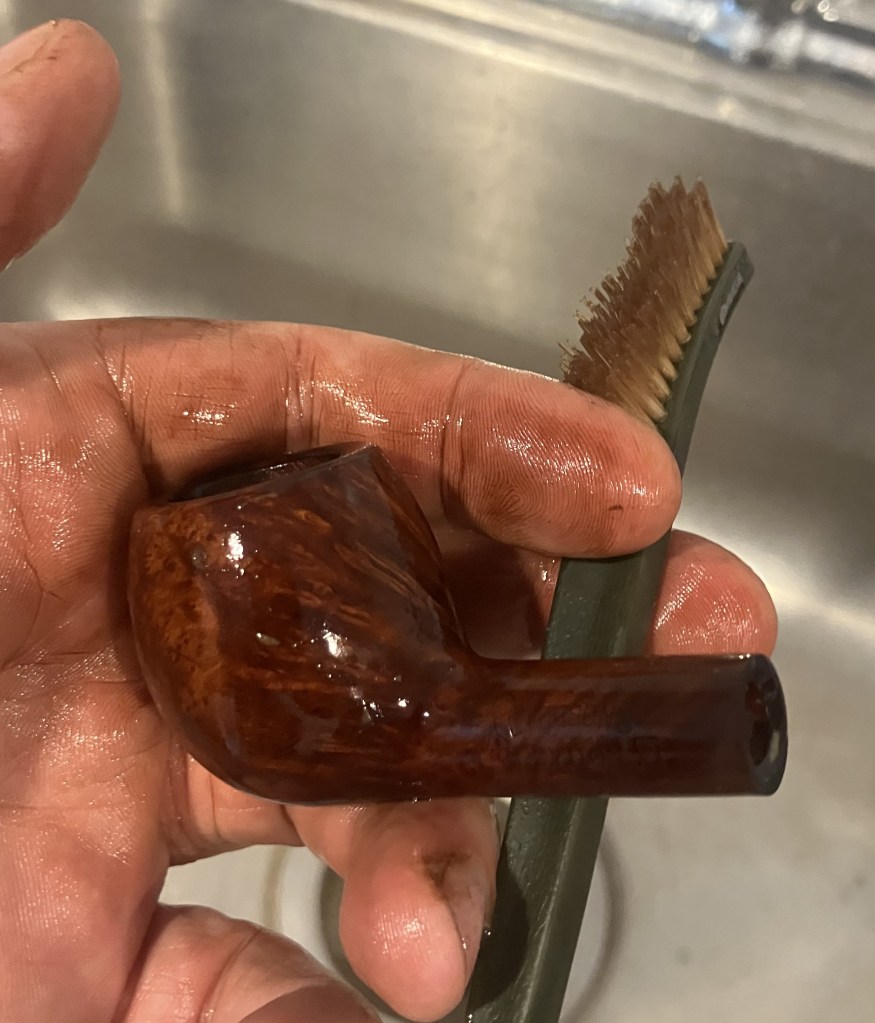
Next came the shank airway cleaning. Again the 99% ethyl alcohol and bristle pipe cleaners were used. There was also a good deal of scraping with a dental scraper and use of a nylon shank brush.
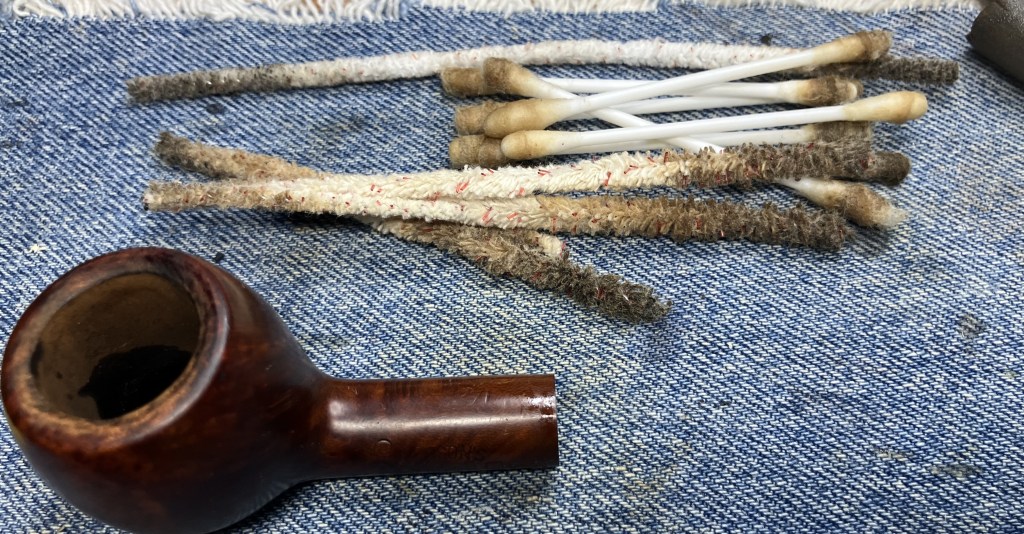
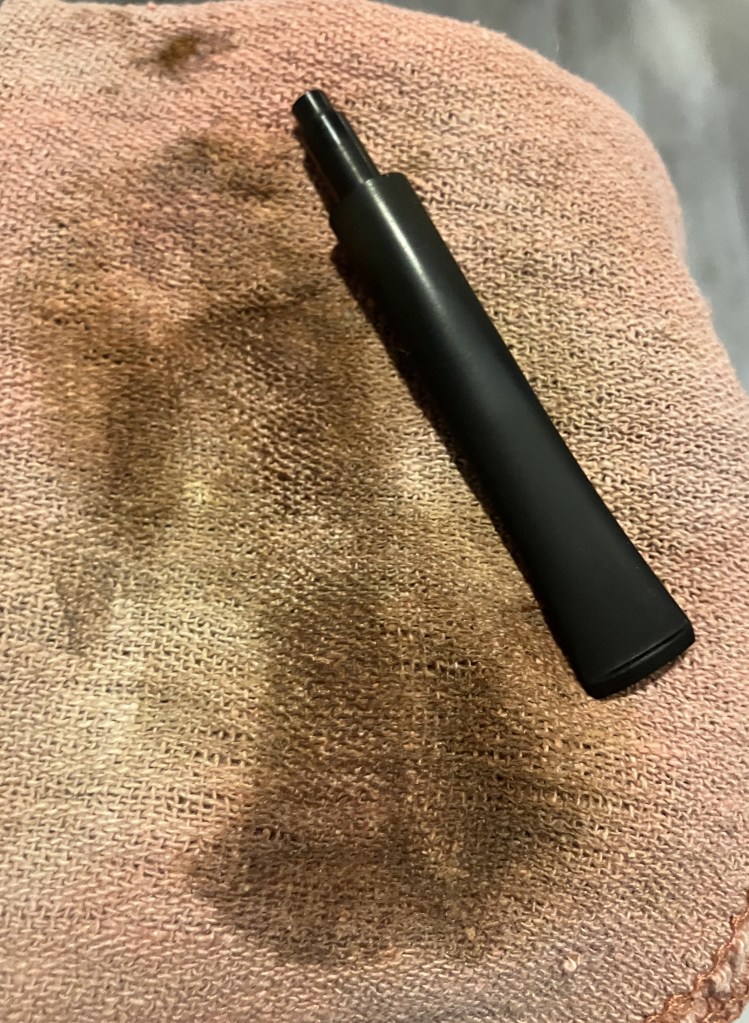
I was not completely happy with my efforts to rid the airway of the residue of tar and general yuck. I thought an alcohol and cotton treatment would do the airway some good. The tobacco chamber and the airway were stuffed with cotton.

99% ethyl alcohol was applied via a disposable pipette to the cotton until it was saturated. This took about 10 ml of alcohol.
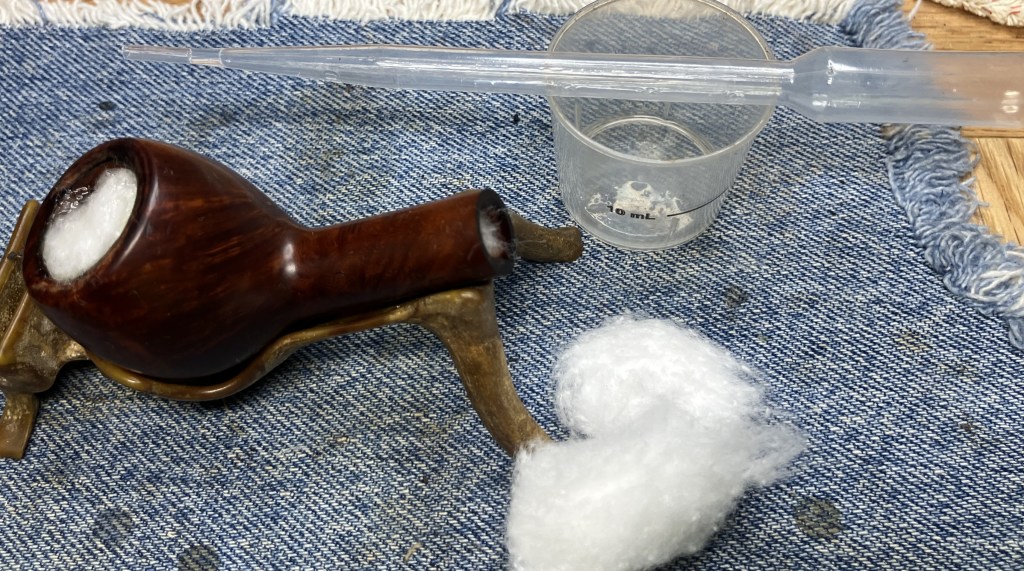
The alcohol was allowed to evaporate overnight. This allowed the alcohol to dissolve the tars and transfer them to the cotton as the alcohol evaporated. The next day the cotton was stained, telling me the process worked.

The cotton was removed and the airway was cleaned again. The below photo shows the 2nd cleaning and the tars that were removed after the overnight cotton alcohol treatment.
The stummel was then taken to the sink for a scrubbing with a nylon brush and undiluted Murphy Oil Soap. The soap was rinsed with warm water and the stummel dried with a cotton hand towel.
Returning to the workbench, the stummel was wiped with a make-up pad dipped in ethyl alcohol.

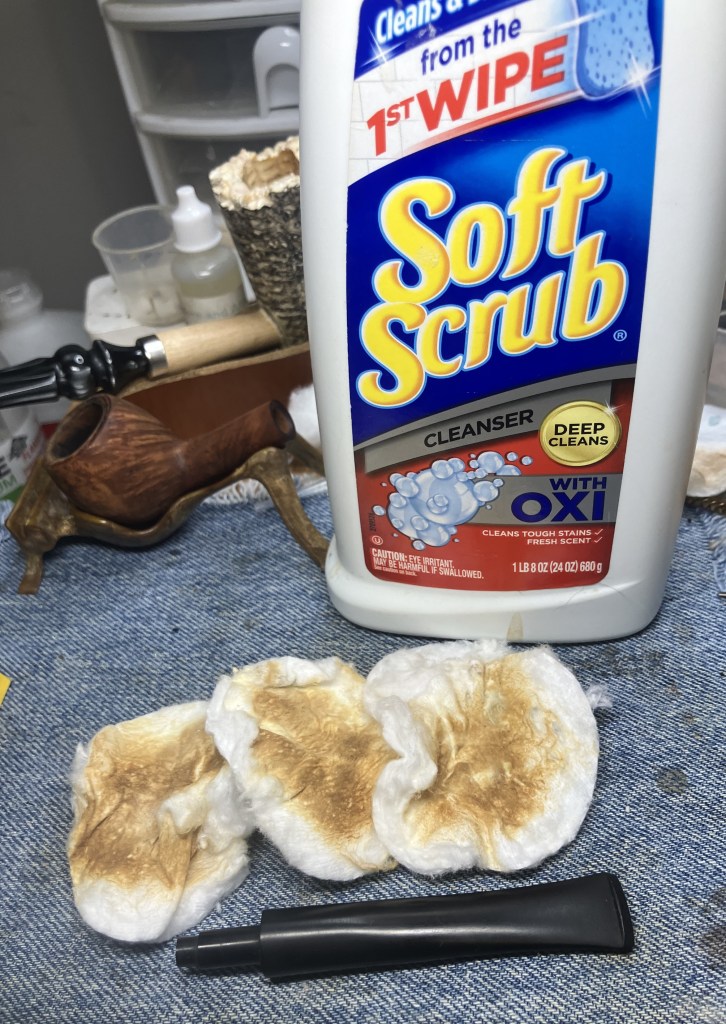
The stem was removed from deox and rubbed with a coarse shop rag. This removed a good deal of the oxidized rubber from the stem.
The stem was then worked with Soft Scrub cleanser on make-up pads to remove more of the oxidation.
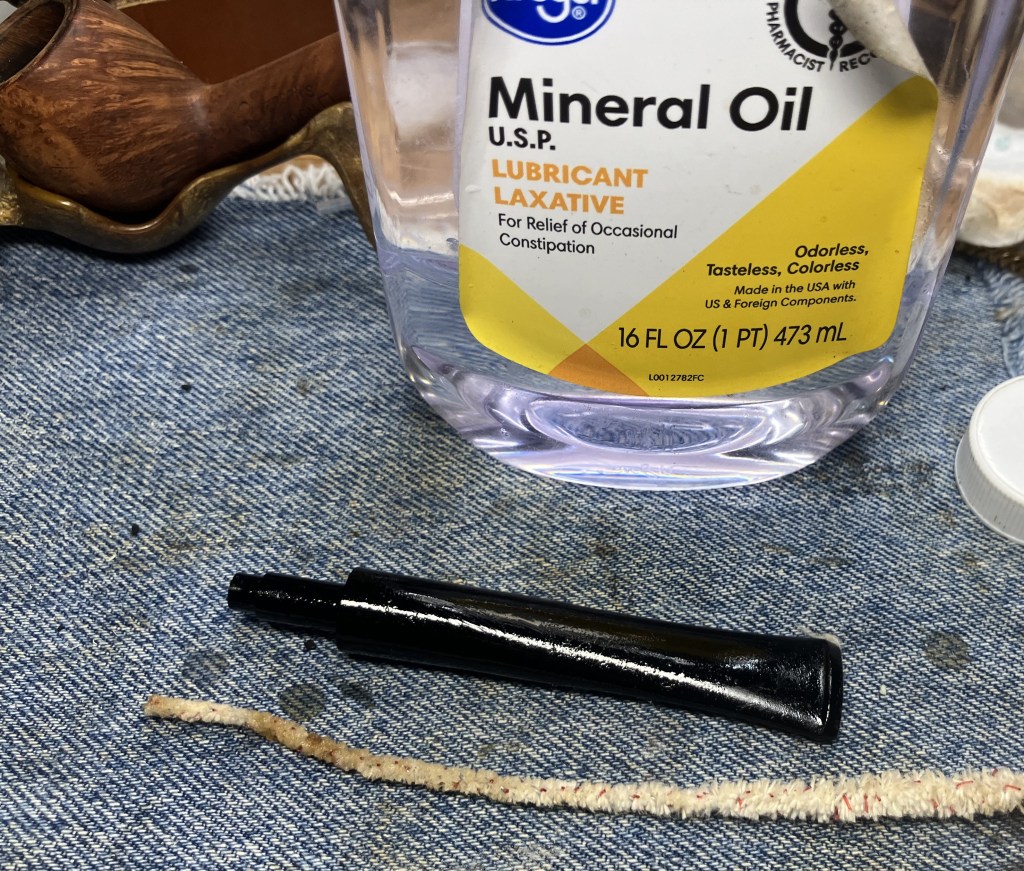
I then oiled the stem with a liberal coating of mineral oil and let the stem sit for several hours. Oh yeah, I also ran a pipe cleaner through the stem and oiled the interior as well.
The rim looked far better but still rather rough. I thought that a light topping was in order.

The topping was done with 320 sandpaper laid on a flat counter top followed by a piece of 400 sandpaper. This revealed two additional areas of concern. A deeper dent or ding in the inner rim (about 5:00) and a hairline crack (at about 7:00).

I used a wood sphere wrapped in sandpaper to reestablish the inner rim bevel and smooth the rim.

I deemed the crack to be superficial and not structurally important. It was given a dab of Thin cyanoacrylate (CAl super glue) to seal it and was topped a second time with the 400 sandpaper. The ding was filled by packing it with briar dust and then applying a small drop of CA. This was repeated a second time. The wooden sphere and sandpaper was used to smooth the fill and the rim was topped again with the 400 sandpaper.

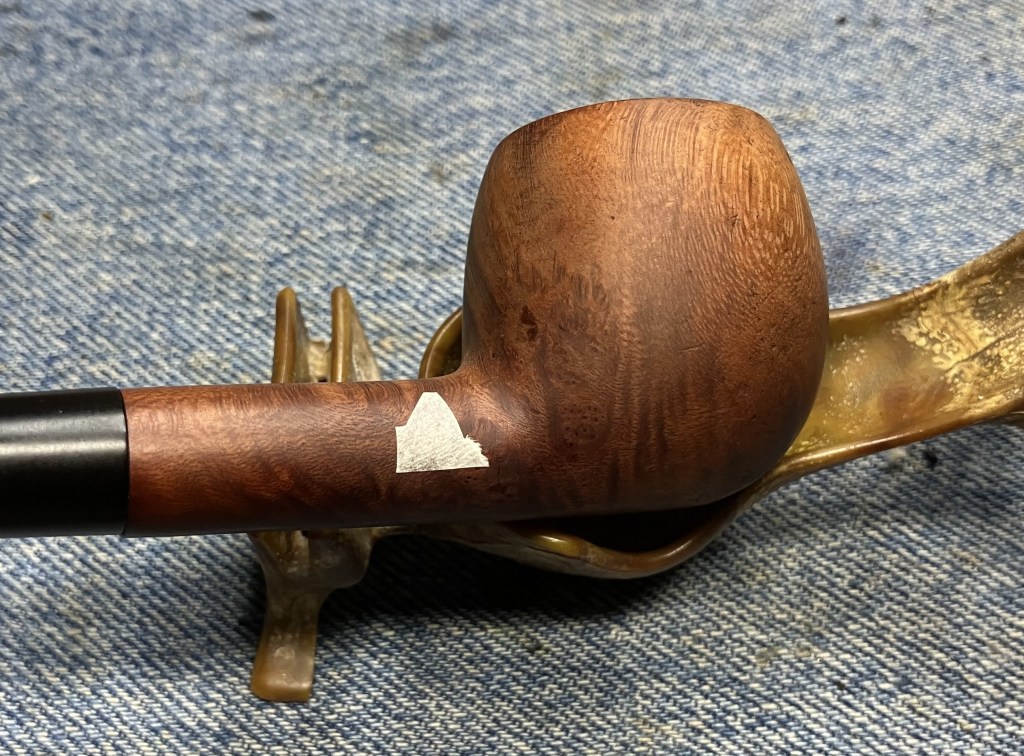
The stamps were taped off with masking tape to protect them from sanding.

I prefer asymmetrical pieces of tape because they leave a less noticeable mark on the briar where sanding was not done.
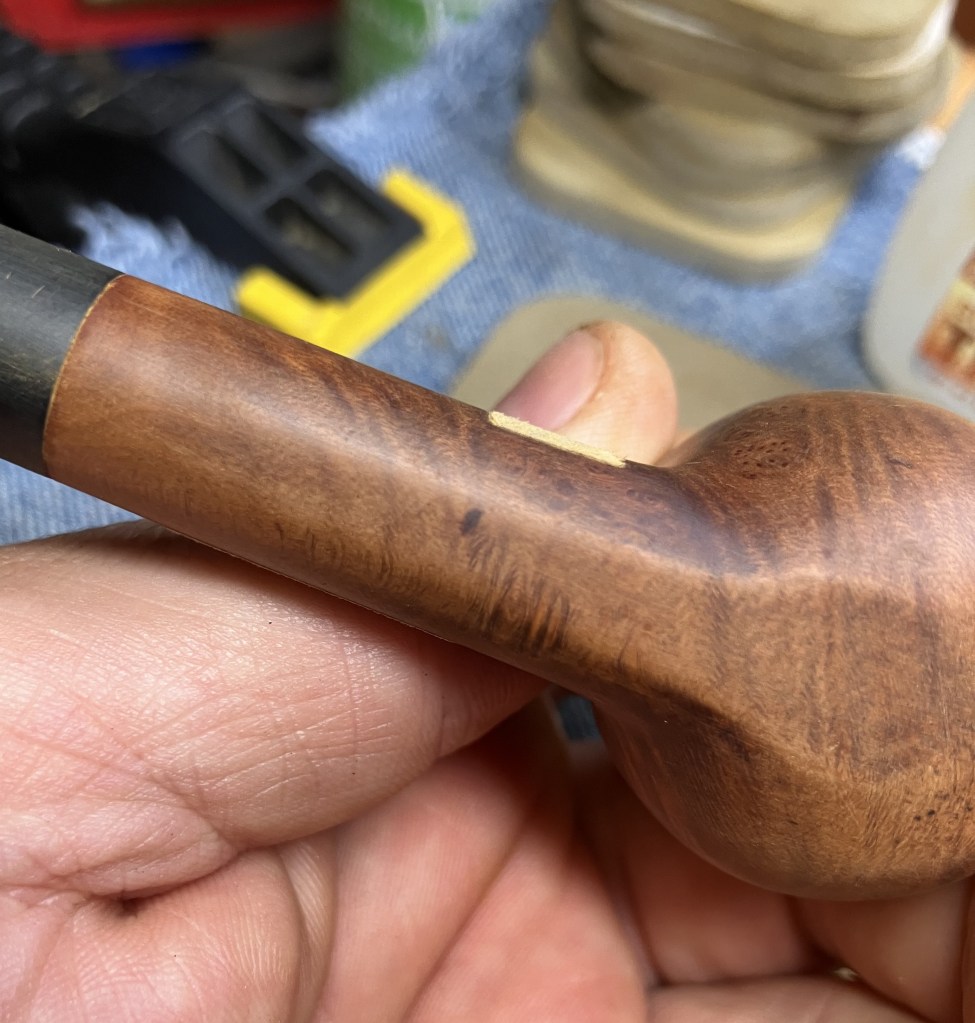
The first two sanding sponges used were the 320 and 400 grit. Sanding with these two showed me where several dents and pits were. All of these blemishes were small so they were filled by placing a tiny drop of Thin CA on the spot and sanding it with a very dirty sanding sponge. By dirty, I mean a sponge that has a large amount of briar dust on it. Even with the extra briar dust sometimes the CA gets onto the sanding sponge. This can be seen below as the dark spots on the sponges.

The small fills were sanded with 324 and 400grit sponges.

Below are some photos of the fills after they’d been filled.


The pipe was then sanded with the full series of sanding sponges from 320 -3500 grit. Between each sponge the stummel was wiped with a make-up pad wetted with alcohol. The stem was rubbed with mineral oil and wiped with a dry paper towel.

The pipe was then worked with micro-mesh pads 4000-12000. The wiping of the stem and stummel was done as with the sanding sponges except the stem was rubbed with Obsidian Oil.

I took the pipe to the buffer and buffed it with blue buffing compound.

After wiping any remaining buffing compound from the pipe it was given a coating of Before and After Restoration Balm and allowed to sit for an hour. Why an hour? Because I got side-tracked with another project.

The excess balm was wiped away using an inside out athletic sock.

The pipe was then taken to the buffer for several coats of carnauba wax.

The final step was another hand buff with the microfiber polishing cloth then off to the final photo shoot.
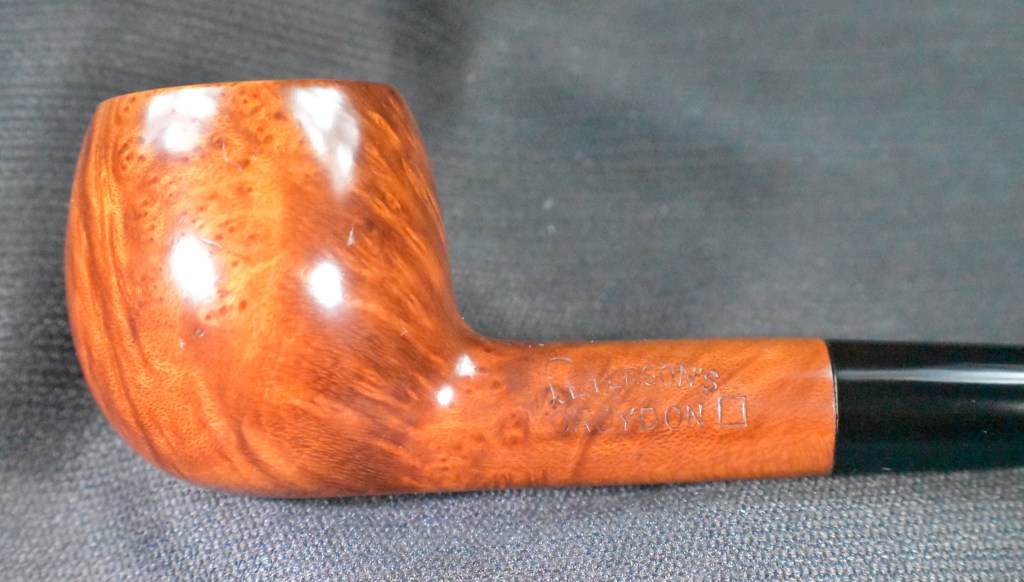
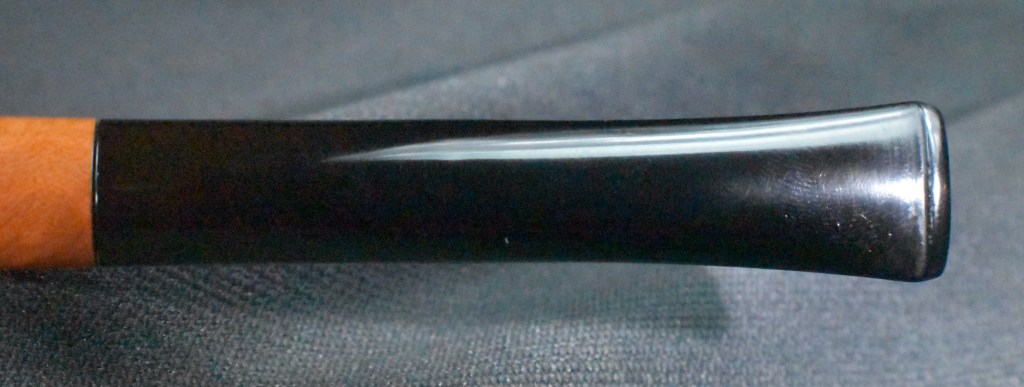
This beautiful Peterson’s Croydon Square 42 is a great example of Peterson’s English workmanship. The stain of the original pipe was maintained and gives the pipe a slight contrast-dye look. It was finished with careful sanding and just carnauba wax. The stem sanded and polished to a gorgeous glossy luster. Though lacking any stunning briar grain there is some nice flame grain on the rear left. The dimensions of the Peterson’s Croydon Square 42 are:
Length: 5.67 in./ 144.02 mm.
Weight: 0.95 oz./ 26.93 g.
Bowl Height: 1.43 in./ 36.32 mm.
Chamber Depth: 1.25 in./ 31.75 mm.
Chamber Diameter: 0.71 in./ 18.03 mm.
Outside Diameter: 1.37 in./ 34.80 mm.
I do hope that you have found something here useful to your own pipe care, maintenance or restorations. If you like this sort of thing, please click the like and subscribe buttons. Thank you for reading the ramblings of an old pipe lover.
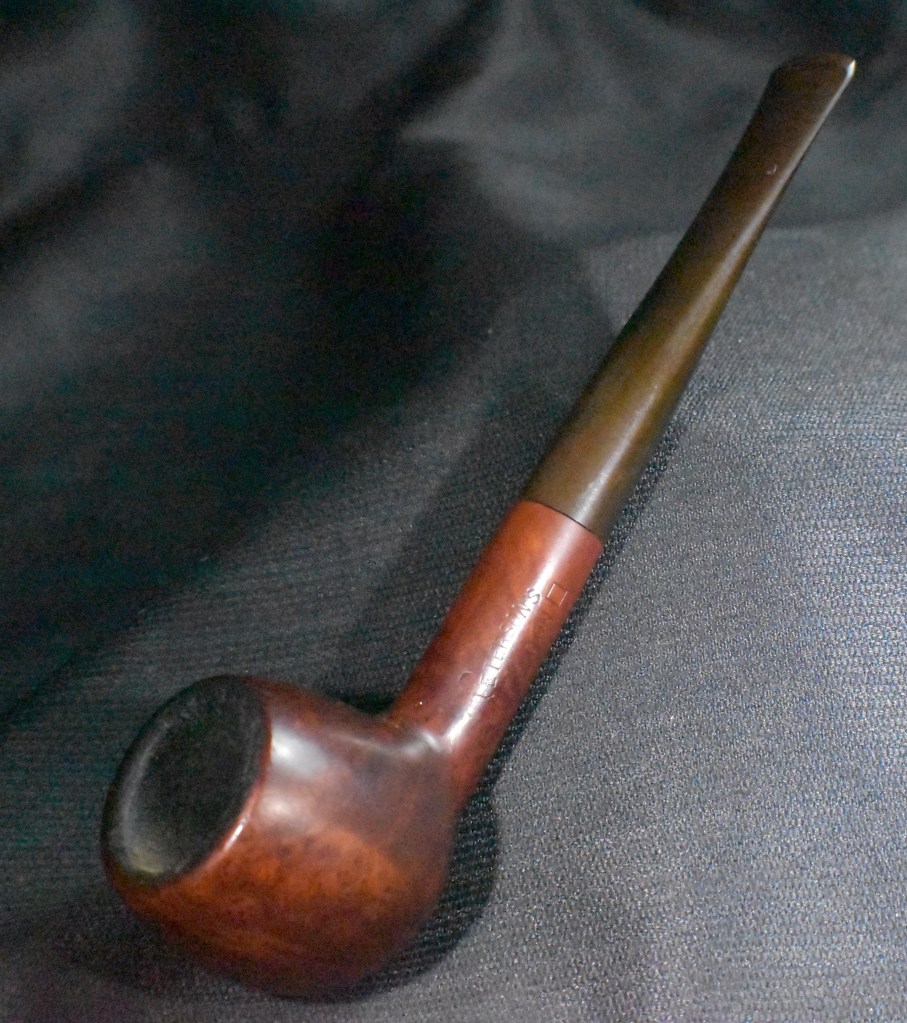
Below are some photos of the finished Peterson Croydon Square 42.