
Photographed and written by
John M. Young
I am not only a pipe restorer but also a Nebraska Master Naturalist. “What the heck is that?” you ask. The Nebraska Master Naturalist Program was started by a longtime friend, Dennis Ferraro (PhD) the official Nebraska Herpetologist as a way to certify non-academic citizens and get them involved in citizen science, volunteering, education and promoting the wild flora and fauna of Nebraska. “Herpetology. What the heck is that?” you ask. Herpetology is the study of reptiles and amphibians. Since the mid-1980s I have pursued reptiles and amphibians across Kansas, Nebraska and Wyoming. My interest has always been more biogeography. “Biogeography, what the heck is that? You ask. Goodness, you ask a lot of questions. I’m interested in the geographic ranges of reptile and amphibian species within Nebraska. Believe it or not, Nebraska has a very diverse set of physical features with numerous isolated pieces of specific habitat removed from where they would normally be found. This leads to species also found outside of their expected or documented ranges. That is what I enjoy doing, field biology searching for and documenting reptile and amphibian ranges. So, when I saw this rattlesnake Marxman, I knew I had to have it even though it bears little resemblance to a real rattlesnake. Yeah, I help Dr. Ferrao out every spring and fall with Prairie Rattlesnake (Crotalus viridis) research in western Nebraska.

Here is what a researcher cabin looks like, every red bucket has one or more C. viridis in it.

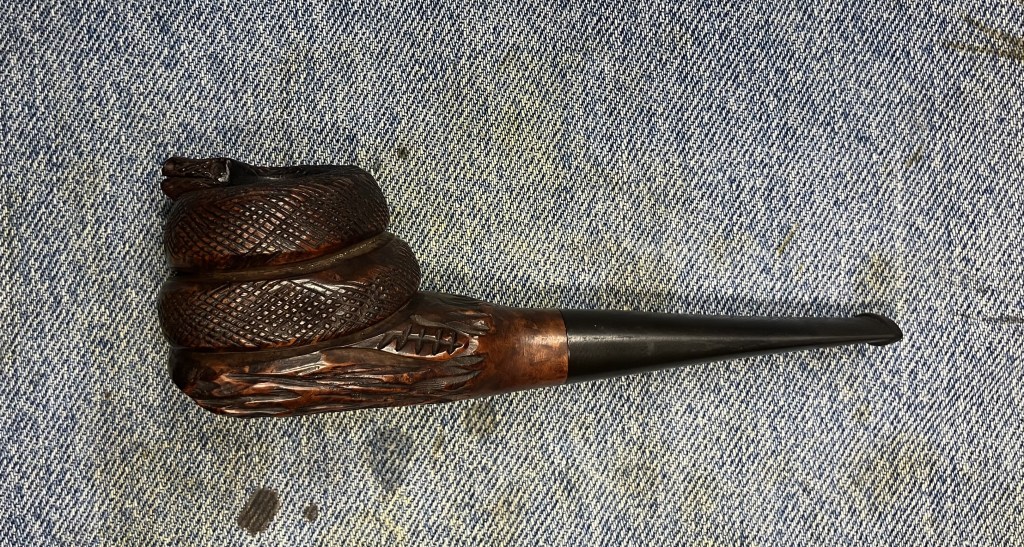
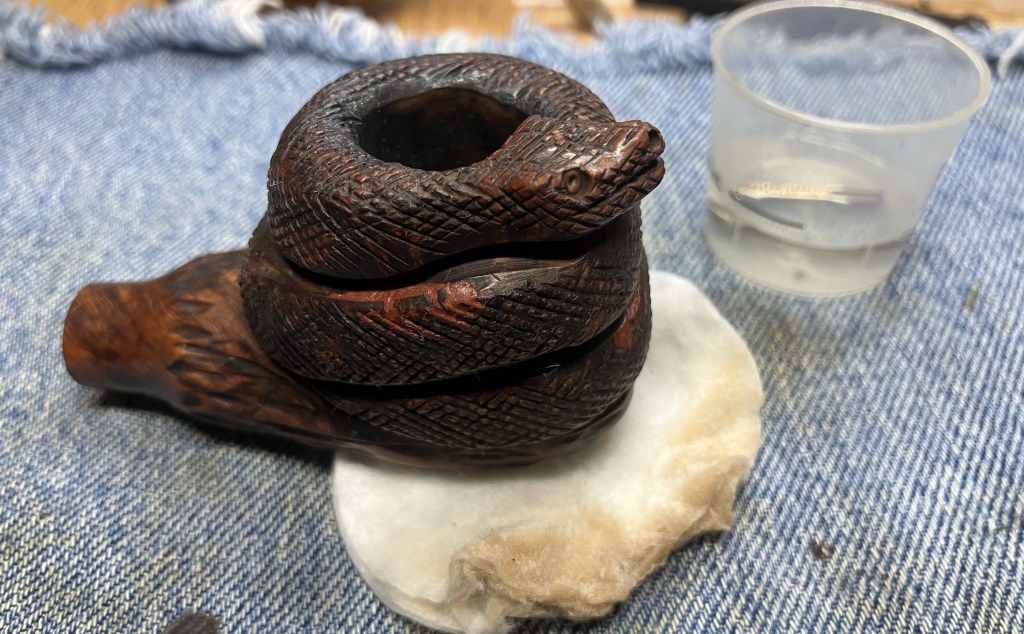
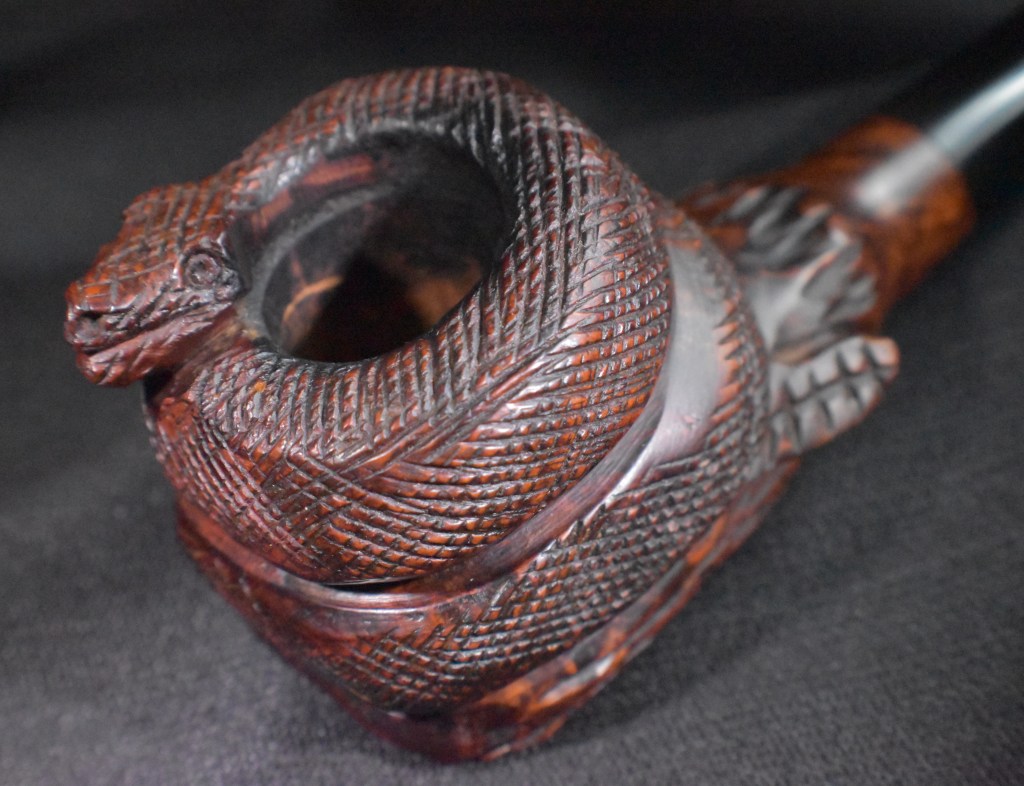
The subject of this post is a figural Marxman pipe that showed up on eBay last August. Won and delivered for under $50, I was quite pleased. The pipe came from Newark, Delaware. The only rattlesnake in Delaware was the Timber Rattlesnake (Crotalus horridus) which is probably extirpated from the state (Snakes to Watch Out For – DNREC).
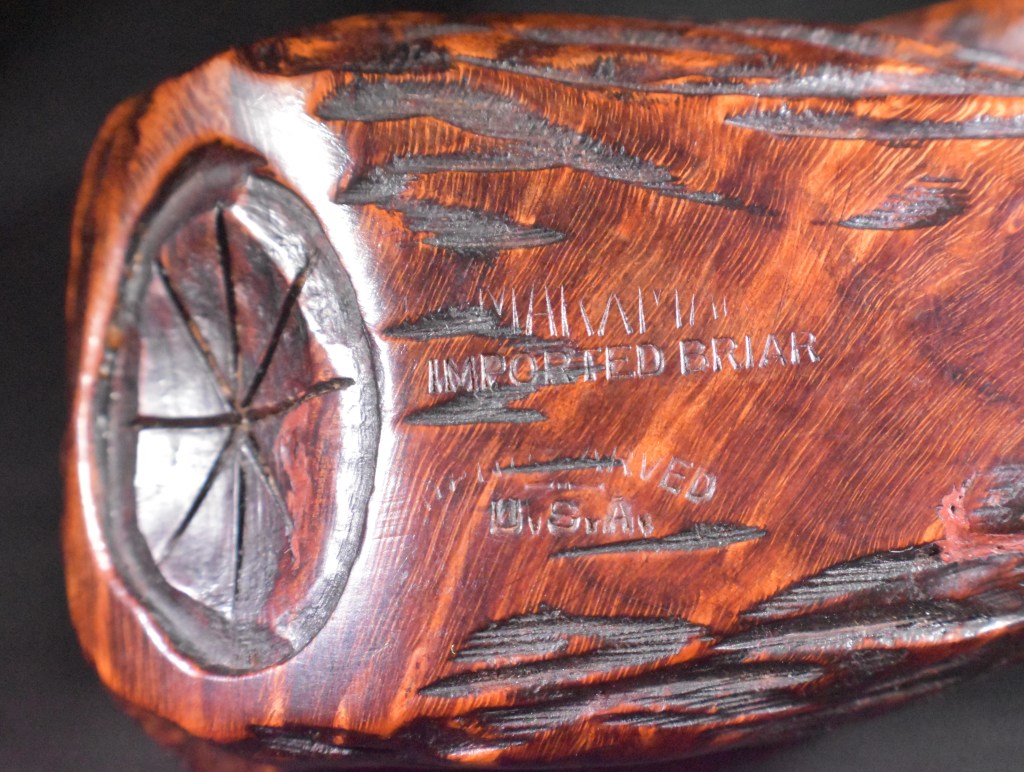
The stampings on the bottom of the pipe were MARXMAN (with the arrow passing through) over IMPORTED BRIAR over HAND CARVED (curved) over U.S.A.. The MARXMAN and the HAND CARVED were faint. There was also a carving at the heel of the pipe which I think, is supposed to represent the end of a log. This was an interesting feature. Below are several photos taken prior to any work done.


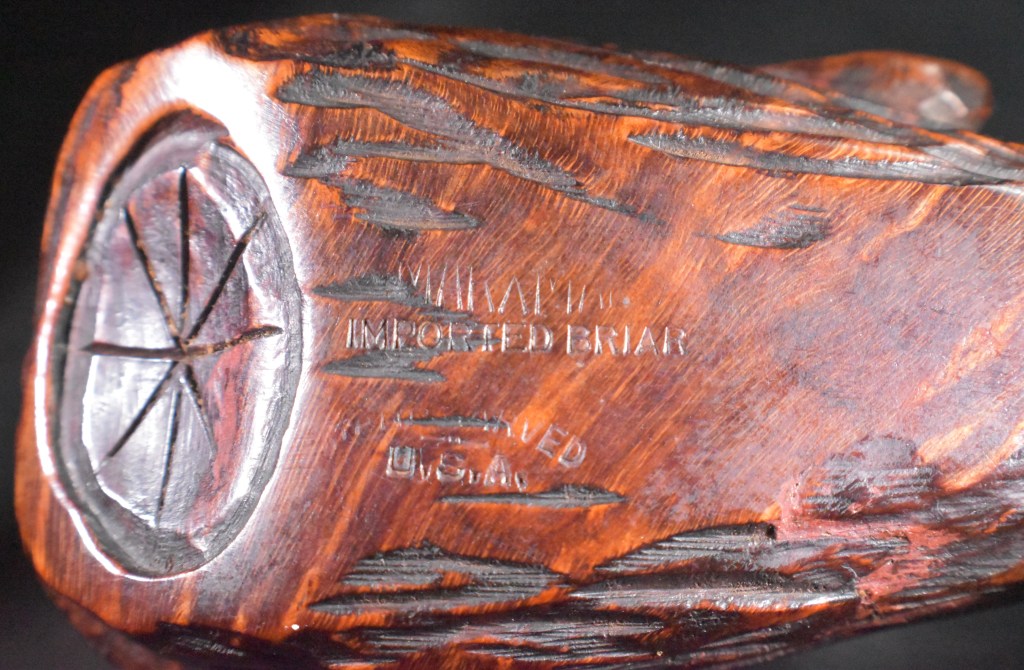


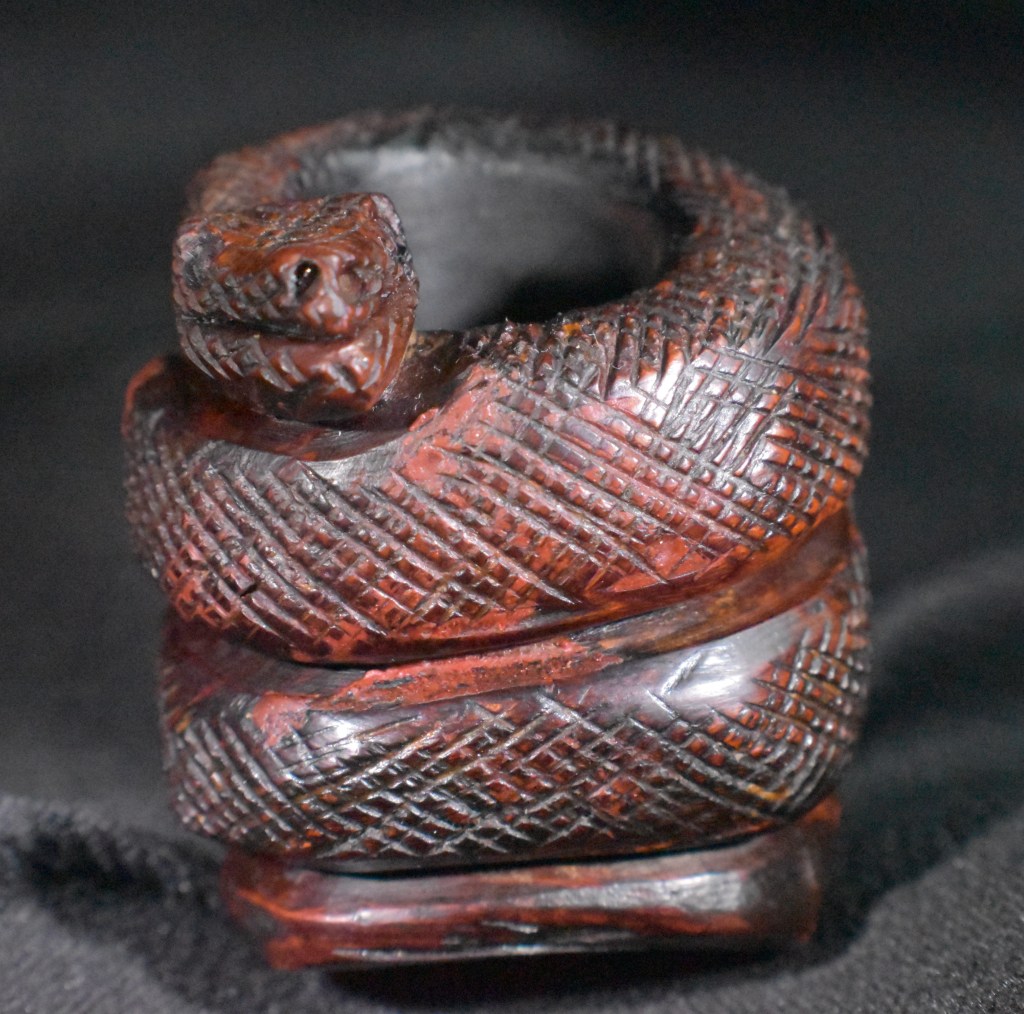
The pipe was in good shape. It had been smoked as evidenced by the light cake in the tobacco chamber, the light lava deposits on the snake’s head and the smoking residue on the stinger. I wondered if the stinger should be renamed fang? Anyway, the oxidation of the stem was not too bad. The pipe did show signs of having extensive fills done. This was seen as the pinkish red spots that were carved through but remained as discolored patches. I knew that I did not want to pick the old fill material out and redo the fills. The recarving would likely look atrocious.
Background
I have done a lot of Marxman restorations. Next to Peterson pipes I am sure Marxman pipes come close as to numbers. I have also written about the history of Robert Marx and how he formed and built up the company during World War Two, not an easy task considering the main material of his production was nearly inaccessible during the war years. If you would like more information I think I did an acceptable job on Marxman history in the following blog: A Marxman Dublin Gold Band Restoration – NebraskaPeteGeek. Yeah it’s still written by me, but it’s pretty good for a change.
As for Marxman figurals I have done a camel and a monk/friar. This is the first snake pipeI have gotten to work on. I am guessing this pipe was made in New York City. The home of Marxman during the years of production before Robert Marx sold the company to MasterCraft in 1953. Again guessing, but with conviction, the pipe was made between 1938 and 1953. Based on the inclusion of what looked like metal flecks in the rubber, I think the pipe was likely made during or shortly after WWII due to the recycling of rubber from tires and the accidental inclusion of metal in the stem.
The Restoration
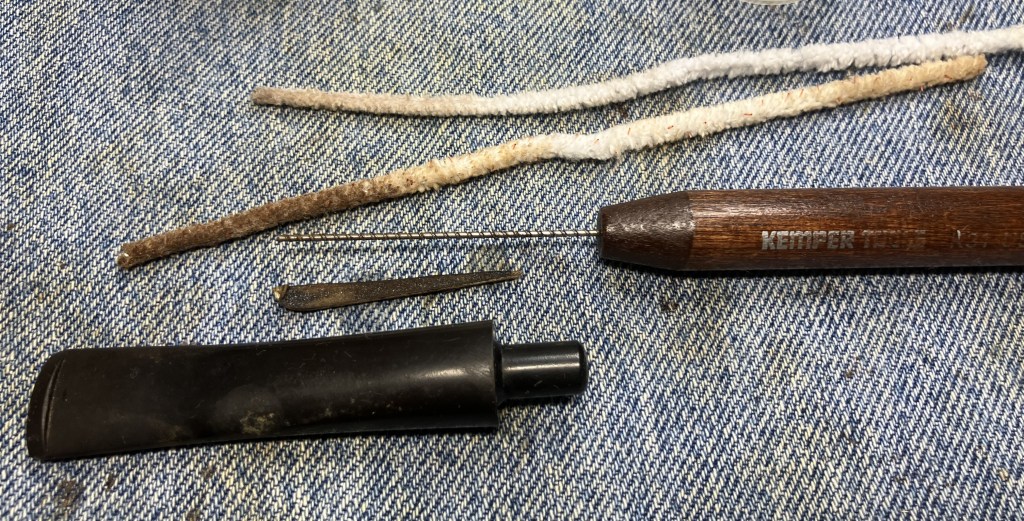
After the before photos the pipe was taken to the workbench and a clean denim piece.
I removed the stem then pulled the stinger. It looked like it was coated in a brown lacquer of smoking residue. I placed the stinger in a medicine cup with 99% ethyl alcohol.

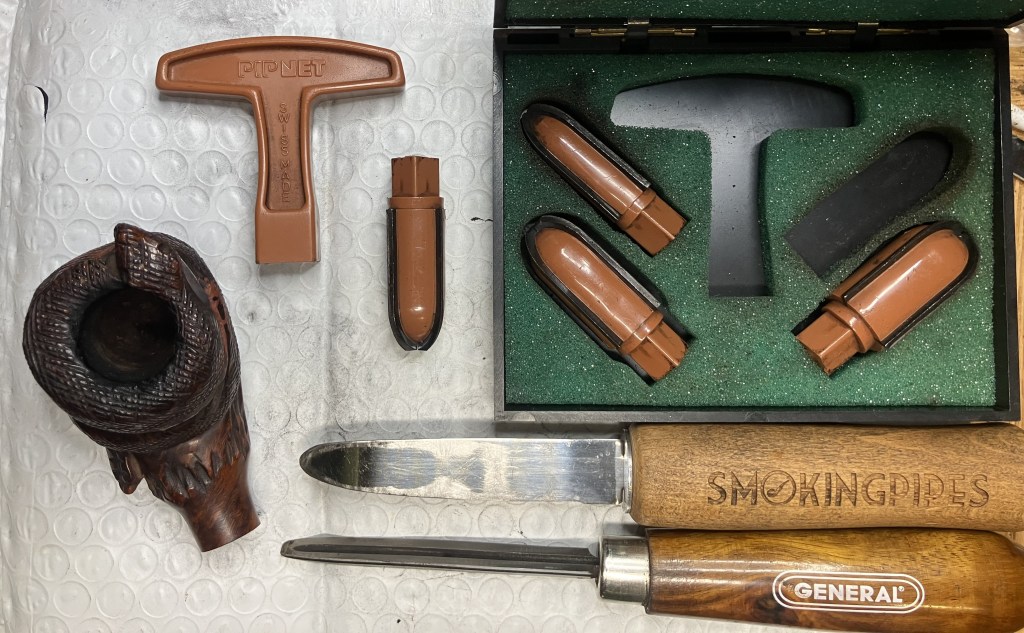
The ream team was gathered and consisted of the PipNet with the #2 blades, Smokingpipes Low Country reamer and the General triangular scraper.
There was very little cake to actually remove.

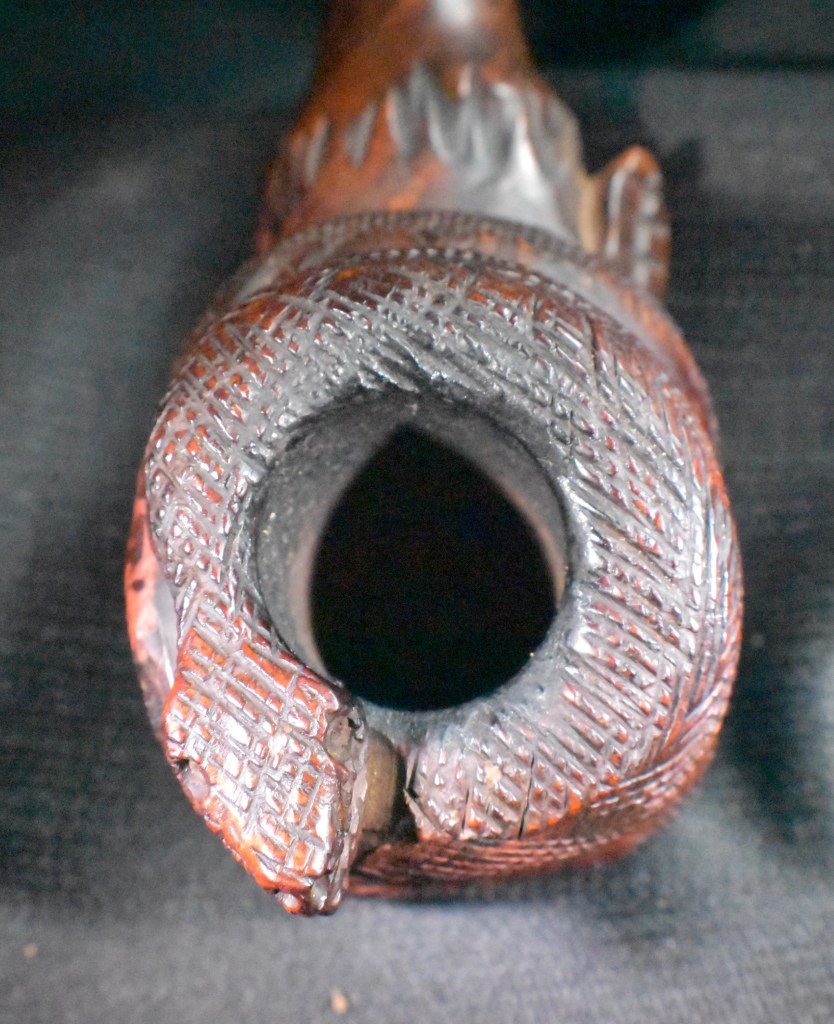
Below you can see the reamed tobacco chamber with some lava deposits around the inner edge of the rim.

The chamber was sanded with 320 sandpaper wrapped around a wood dowel. No damage to the tobacco chamber was noticed.

The shank was surprisingly clean and took only a couple of cotton swabs dipped in alcohol to remove the accumulated residue.

The airway was a little more dirty but again quickly cleaned with a nylon shank brush and bristle pipe cleaners dipped in alcohol.

The stummel was taken to the sink for a scrubbing with Murphy Oil Soap, undiluted and a nylon brush. The soap was rinsed with warm water and the stummel dried with a cotton hand towel.

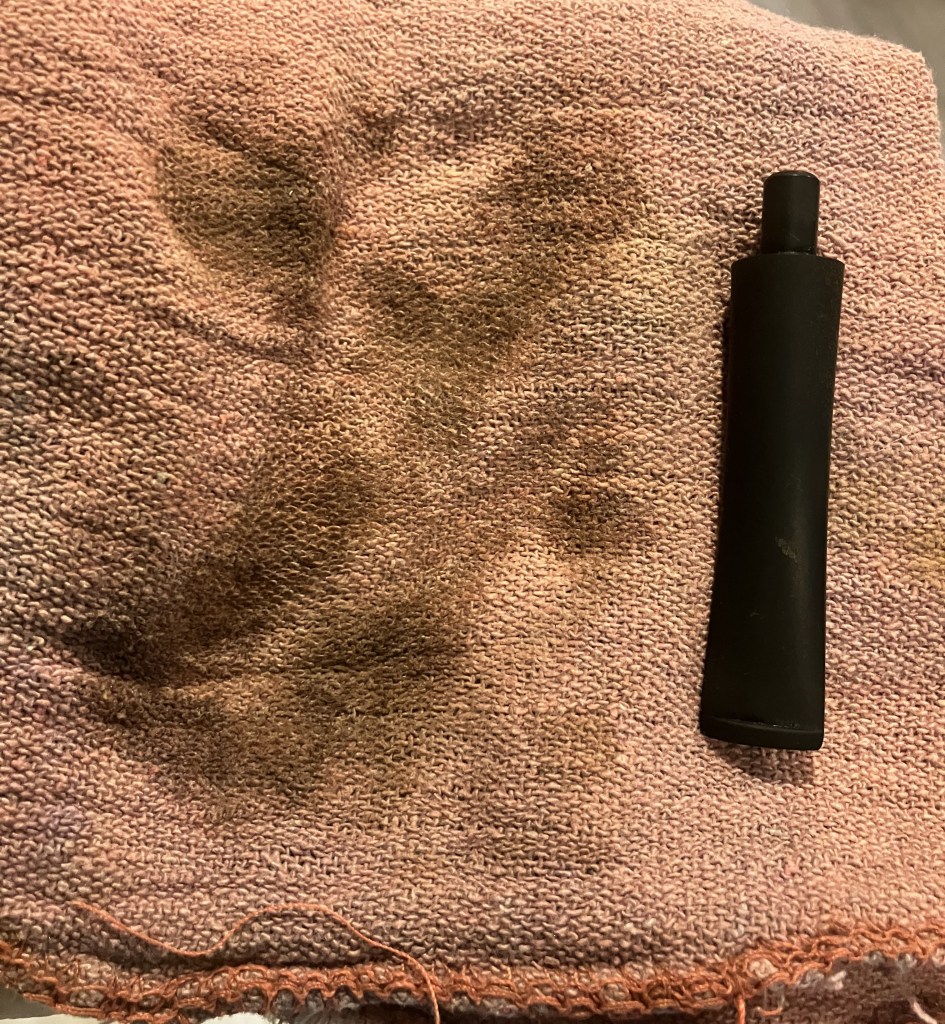
Back at the workbench the stummel was wiped and scrubbed with a make-up pad wetted with 99% ethyl alcohol. The discoloring of the make-up pad can be seen below. Very little stain came off the briar.
I removed the stinger from the alcohol and used the same make-up pad to clean the aluminum. The stinger left more yuck on the pad than the entire stummel did.

The stem was cleaned with bristle pipe cleaners and more alcohol. The button end of the airway drilling would not pass a pipe cleaner smoothly. I remedied this with a slot tool and a sliver of an emery board.
The outside of the stem was lightly sanded with a 320 grit sanding sponge in preparation for the Briarville Pipe Stem Oxidation Remover bath.

I placed a pipe cleaner in the tenon to aid in the retrieval of the stem. I figured that I would leave the stem in the solution until the next day.

In the photo below you can see the pink-stuff used as a filler. When I scrubbed the pipe I did not want to use a more aggressive brass brush for fear of removing too much of the filler.

Normally, I like to remove this unsightly pink-stuff but doing so with this pipe would mean that I would have to re-fill the material with cyanoacrylate and briar dust then carve the new fill to match the original carvings. I strongly doubted my ability to do that, so leaving it alone seemed my best option.

Well, there was another option: Use a furniture touch-up marker to dye the pink-stuff to mask its unsightly pinknocity. Wow, spellcheck thinks pinknocity is a word.

This is what the pink-stuff looked like with a walnut colored touch-up marker. Much better.

The side, too, looked dramatically better.

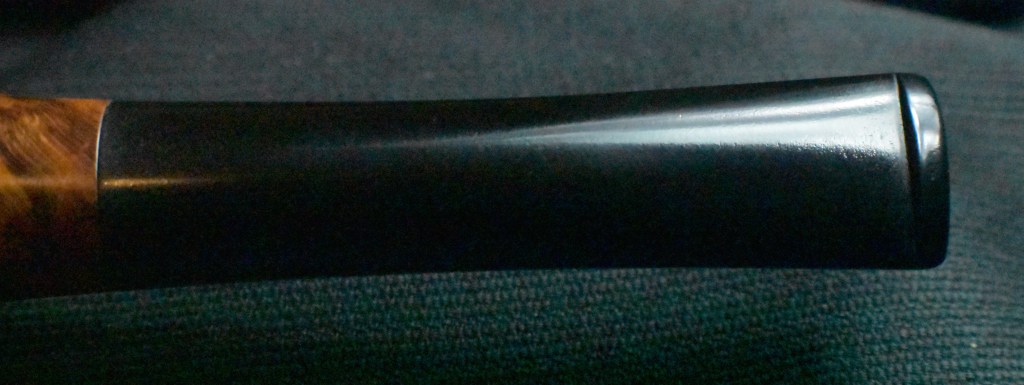
The following day, nearly 24 hours to the minute, I removed the stem from the Briarville solution. I like to call this deox, poking fun at the detox of drug or alcohol abuse. Yeah, been there, done that. I also like to use a coarse texture shop rag to vigorously rub the stem while it is still wet with the deox solution. This removes some of the oxidized vulcanite as can be seen in the photo below.
The stem had pits where the oxidized material was chemically softened and removed from the stem and fleck of metal.

I used several make-up pads doused with Soft Scrub cleanser to scrub away more of the oxidized vulcanite. The color was more of a dark greenish than the typical dark reddish brown of vulcanite.

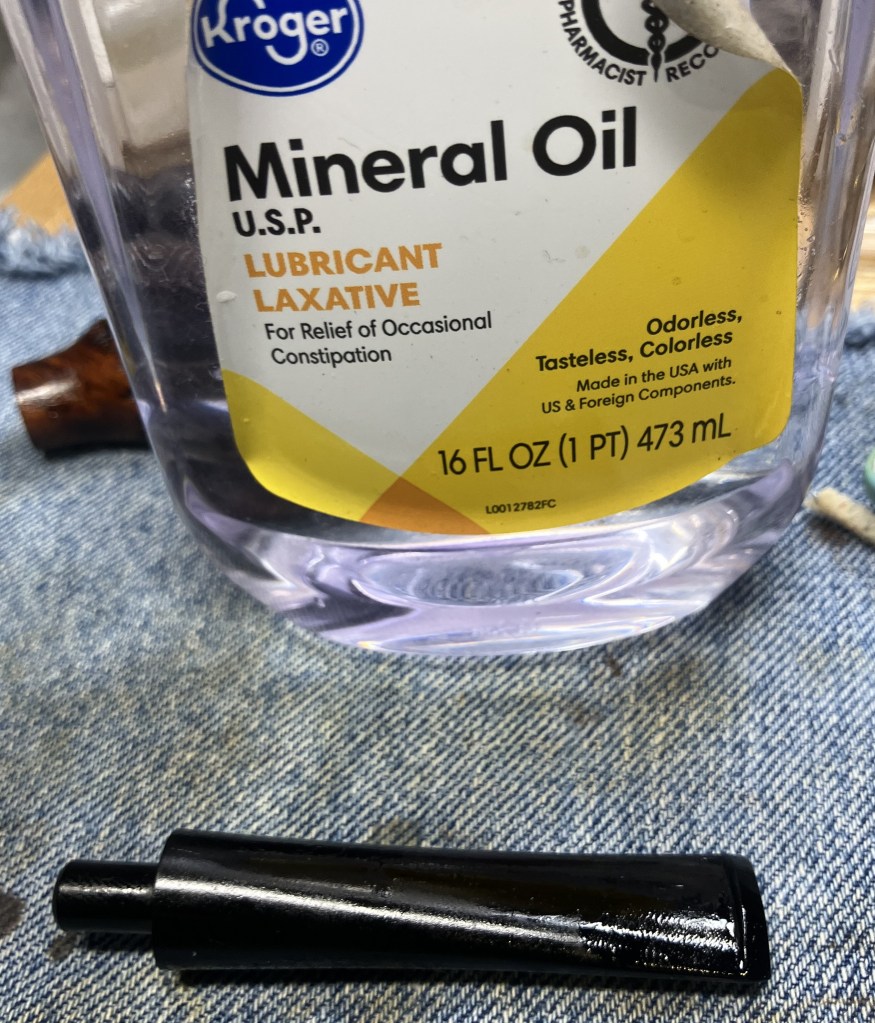
I oiled the stem with mineral oil and allowed it to soak in the oil for about 30 minutes.
There was not much that I could do with the carvings of the stummel but give it a coating of Before and After Restoration Balm. I worked this wonder-product into the crevices of the briar with a baby toothbrush. The stummel then was set aside for 30 minutes.

The stummel was wiped and hand buffed with an inside out athletic sock to remove excess Restoration Balm.

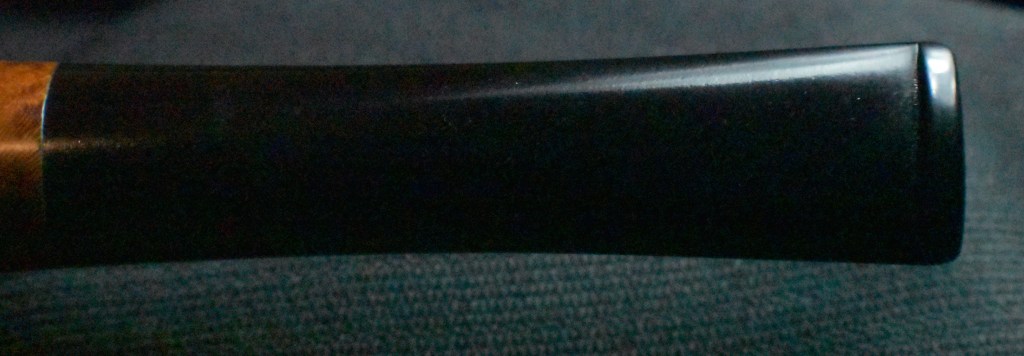
I used masking tape to protect the shank from the sanding which the stem would undergo. The sanding was done with a series of sanding sponges in grits from 320-3500. Between each sponge I rubbed the stem with mineral oil and wiped it dry again with a paper towel. This removed any of the sanding debris. The stem looked better but the pitting was deep enough that the only way to remove it and retain the smooth feel from the shank to the stem would have been to also sand the shank briar. I did not want to do that and risk removing detail from the carving. Instead I took the pipe to the buffer and worked the stem with red buffing compound followed by blue buffing compound on their respective buffing wheels. The results looked better but not great.

The stummel was waxed with Renaissance Micro-Crystalline wax again applied with a baby toothbrush. I did have to clean the baby toothbrush using alcohol before and after the wax.
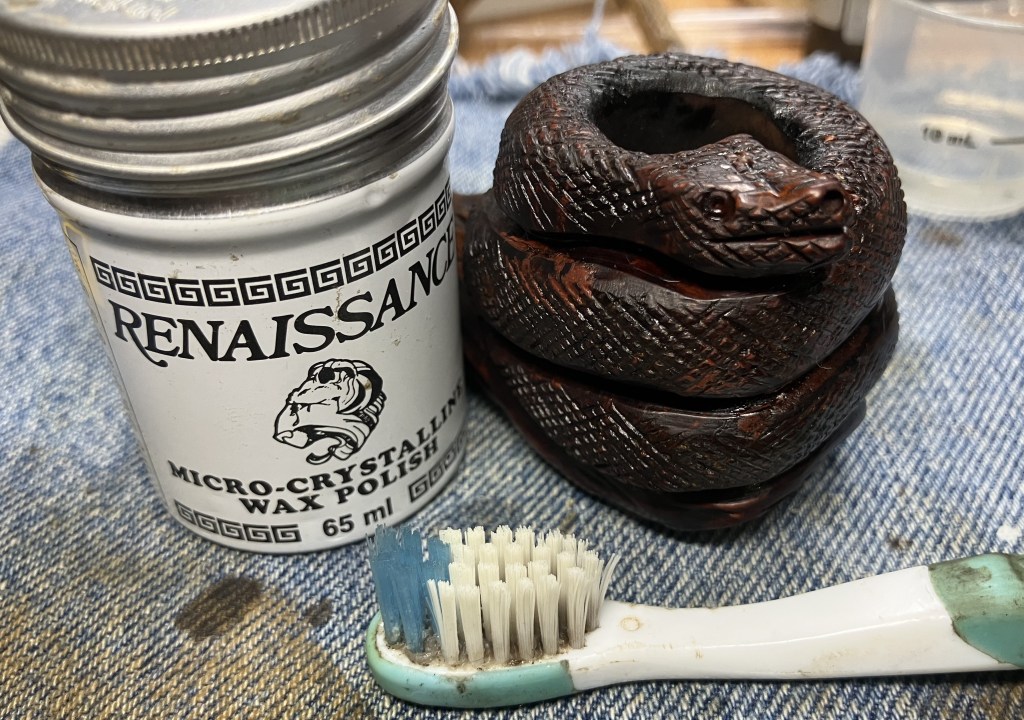
The final step was a hand buffing with a microfiber polishing cloth.
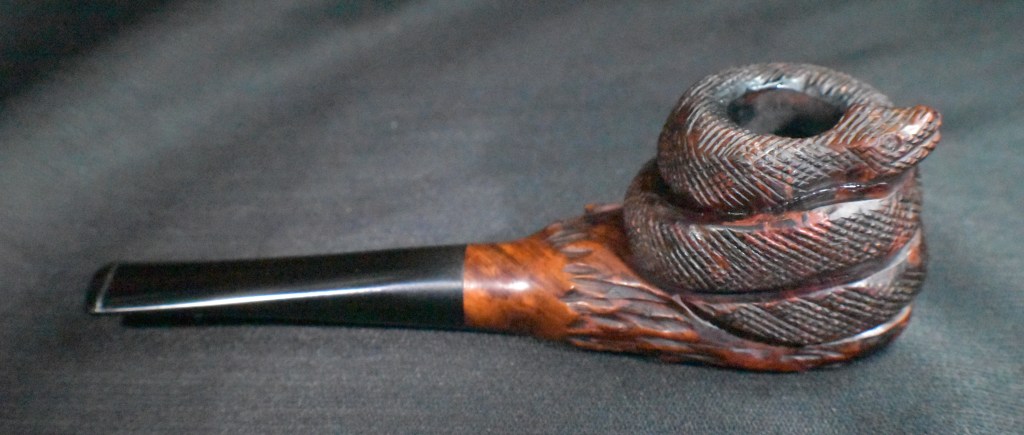
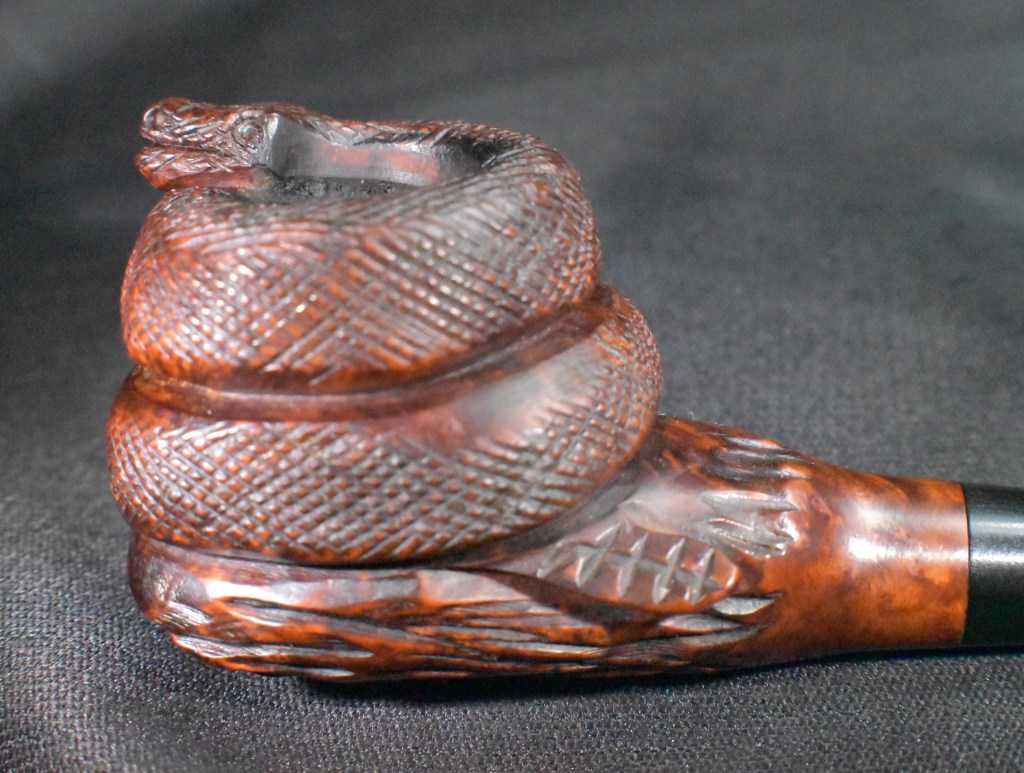
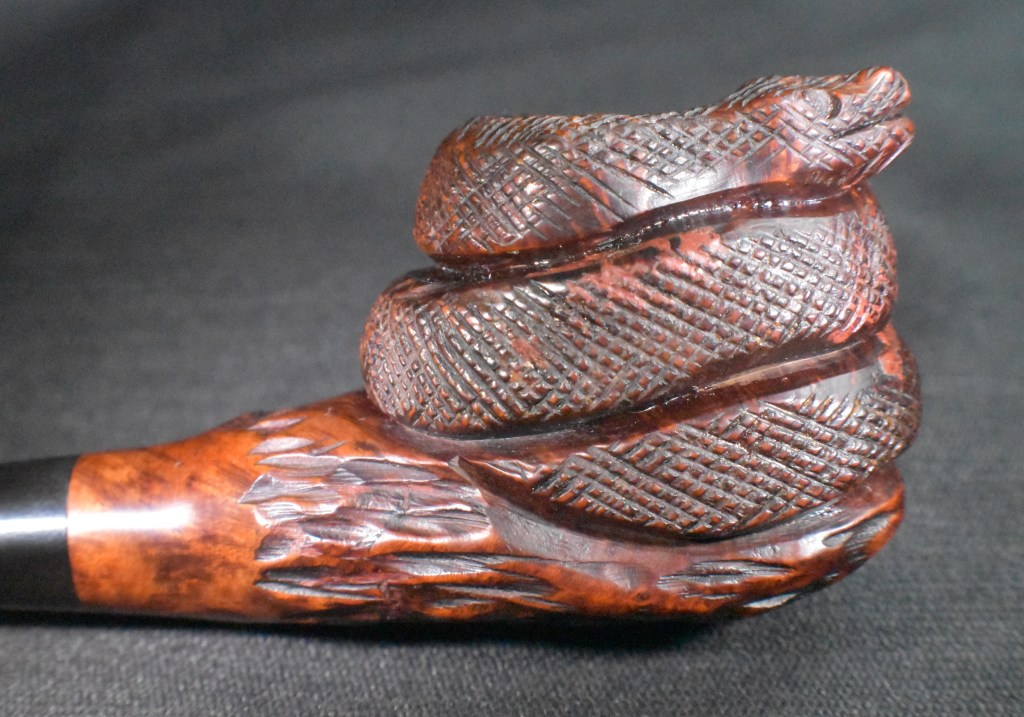
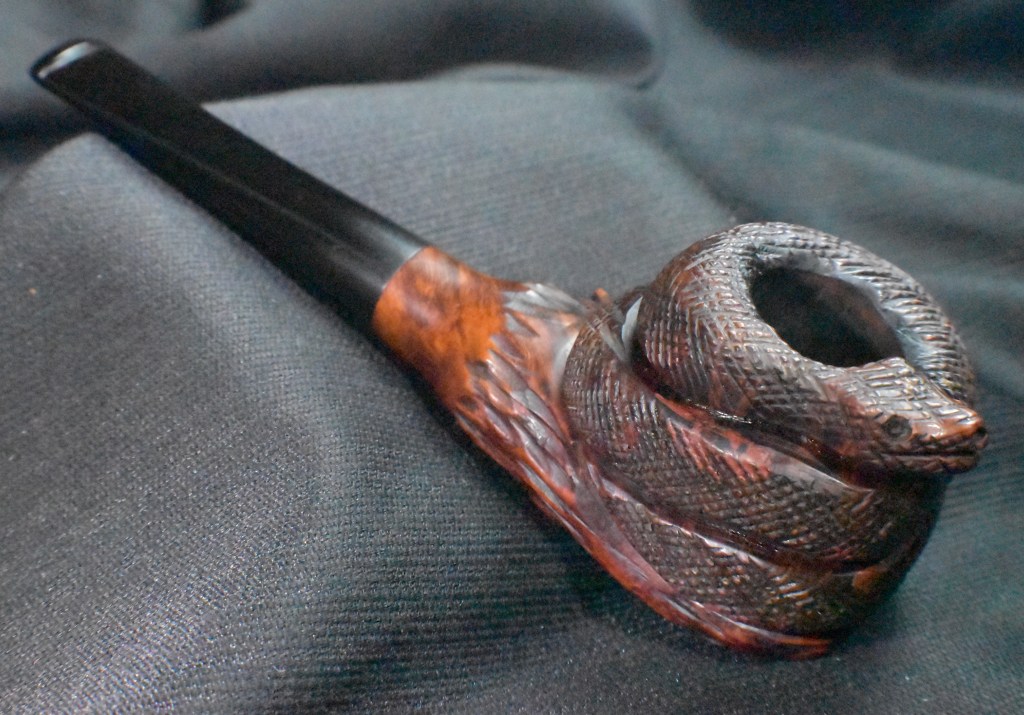
This Rattlesnake figural by Marxman, though anatomically incorrect, is still a fun pipe for me. Sure the stummel is full of the dreaded pink-stuff fills and the vulcanite of the stem is lower quality recycled tires, I still enjoy it. The dying of the pink-stuff did improve the look, some, and the stem did polish-up, some, they are still nothing to brag about. The carving of the snake is pretty impressive with the checkering over the entire curved body. That is impressive. The details like the rattle on the tail, the texture along the log and the end of the log are also quite impressive and well done. The snake is a caricature of the elegant serpent with the head being comically misshapen. I will say that the pipe feels very good and substantial in my hand and the weight is comfortable for short periods of clenching. The dimensions of the Marxman figural Rattlesnake pipe are:
Length: 5.58 in./ 141.73 mm.
Weight: 1.94 oz./ 55.00 g.
Bowl Height: 1.73 in./ 43.94 mm.
Chamber Depth: 1.56 in./ 39.62 mm.
Chamber Diameter: 0.73 in./ 18.54 mm.
Outside Diameter: 1.61 in./ 40.89 mm.
I do hope that you have found something here useful to your own pipe care, maintenance or restorations. If you like this sort of thing, please click the like and subscribe buttons. Thank you for reading the ramblings of an old pipe lover.
Below are the finished photos of the Marxman Rattlesnake Figural Pipe.


One response to “A Marxman Rattlesnake Figural Pipe Restoration”
[…] As for Marxman figurals I have done a camel and a monk/friar.” (A Marxman Rattlesnake Figural Pipe Restoration – NebraskaPeteGeek). […]
LikeLike