

Photographed and written by
John M. Young
Okay, sometimes I am attracted to a pipe on pure whimsey. This time it was the name: Bonnie Briar. A term that has gone out of mainstream use and belies one’s Scott heritage “bonnie” or “bonny”. Used as an adjective to describe something as lovely. If you prefer a more formal definition here is Oxford’s “1.b. 1580– Of an object: attractive; beautiful or handsome; esp. (of a place) characterized by attractive landscape or architecture; scenic, pretty (used esp. as a conventional epithet in Bonnie Scotland).” (https://www.oed.com/dictionary/bonny_adj?tl=true)
Now you may say, “If the briar is so bonnie, why’d they carve all them gouges in it?” A fine question, indeed. Perhaps they were trying out another Scottish stereotype of being frugal with one’s money? Ah dinnae ken the reason but I liked the name and the graceful curves and had to adopt the wee bonnie lass.
Below are some photos of the Bonnie Briar prior to working on it.


As you saw it was a little used pipe and was in great shape. It did have a cursed clear coat which had to be exorcised with extreme prejudice (that may be a bit dramatic). Overall this looked to be a straight forward restoration.
Background on Bonnie Briar
When I saw the stem I immediately assumed it was an S.M. Frank co. pipe, namely Medico product. Alsa, my prejudice led me astray. According to pipedia.org,
“Bonnie Brier is a trademark of Finsbury Products, Inc. of Elmsford, NY.. The trademark was registered in November of 1976, and expired in August of 1997. The pipes are signed “Bonnie Briar” in script with the name of the model line underneath and “Imported Briar” below. There are several model lines with different makers marks on the stem or shank: Matterhorn (a crown), Standard, Highlands (script “H”), Interlude (stylized “JB” in an oval) and Willow Ridge (script “W R”).” (Italics are mine)
(src: http://www.trademarkia.com, www.pipephil.eu)
After reading the above I asked, “who the heck is Finsbury?” Having never heard of them I continued along the trail. Pipedia provided little information here but they did provide a clue with the Oppenheimer Pipe lead.

(American Pipe Brands & Makers E – F – Pipedia)
I checked Finsbury on pipephil.eu and found the following:

Again, not much additional information. I then searched “Bonnie Briar” on pipephil and came up with logos matching the “makers marks” mentioned in the pipedia.org excerpt.

The strange thing with the above set of logos is that pipephil.eu has the country of manufacture (COM) as England yet Finsbury has a definitive U.S. address of Elmsford, NY. Perhaps the Oppenheimer ownership of Finsbury swayed their COM perspective. Below are names of brands under the Oppenheimer umbrella.

Again using pipedia.org as the source:
The Oppenheimer Group was a British holding company, which through the Cadogan company had various pipe brands. It was founded in 1860 by Charles Oppenheimer, along with brothers Adolphe and David, and Charles’s brother-in-law, Louis Adler. They established connections with GBD in 1870. With business interests in Saint-Claude, Oppenheimer bought the Marechal Ruchon & Cie. factory, which from then on had two directors in London (Adolphe Oppenheimer and James Adler, son of Louis Adler), and two in Paris (August Marécel and Ferdinand Ruchon). In 1906, the group built a large factory in Saint-Claude, under the direction of Lucien Verguet, which led to the merger of Sina & Cie. and C.J. Verguet Freres. In 1920, the London factory took over A. Frankau, which produced BBB. Between the wars, Oppenheimer assumed the management of Ropp and used countless pipe factories around the world. In the 1970s, with the creation of Cadogan France, which had the GBD, Chacom, and Ropp brands, the last two being sold later, it separated from its English partner.
(From Pipes, Artisans and Trademarks, by José Manuel Lopes) (Italics are mine)
This clarifies the provenance of our little Bonnie Briar and establishes it as a pipe made in Elmsford, N.Y. between 1976-1997. I am still slightly confused by the Medico style mortise and tenon though I cannot find any link between S.M. Frank and Finsbury, Bonnie Briar or Oppenheimer. Not a real oldie but still a goodie.
The Restoration
As usual I began with a cleanish denim piece for a work surface.

I tried to remove the clear coat with 95% ethyl alcohol on a make-up pad and met with no success. The next attempt was with acetone on a make-up pad. That did work. Since the pipe was heavily carved a simple wiping of the surface would not be effective or efficient so the acetone jar would have to come into play. This is not my preferred method as it can cause the briar to swell and has a tendency to reduce stamps making them less defined. It does however remove lacquer quite well.
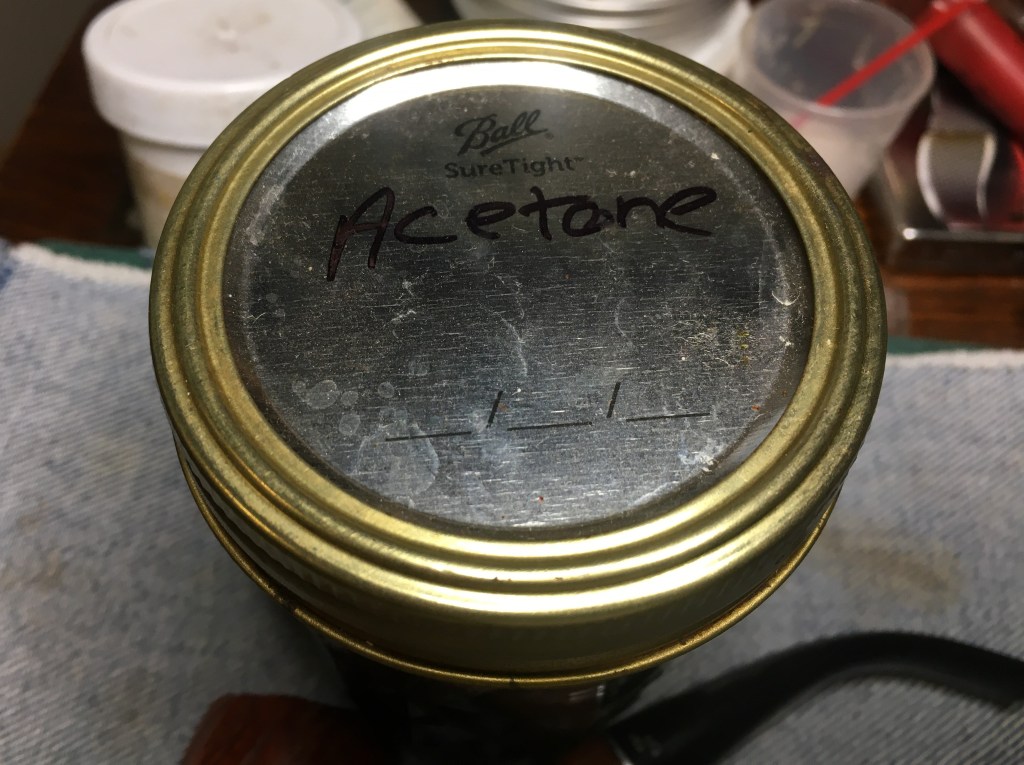

Timing is the hard part with acetone. In a perfect world a stummel would be placed in the acetone bath and removed every 30 minutes to see how well the removal of finish is proceeding. In my world, I typically either have something come up or forget to remove the stummel and end up leaving it in the acetone for a longer period of time. Once removed I like to use a brass or nylon brush dipped in acetone to scrub the stummel while it is still wet. I couldn’t find whether my brass or nylon brushes so the steel brush was used very lightly. Thye did show up later, amazingly right where I had left them.

The stummel was then wiped with acetone wetted make-up pads to remove any remaining residue.

To evaporate the acetone that had soaked into the briar I placed the stummel outside in the partial sun for about 30 minutes.

Below is what it looked like after drying.

The reaming went quickly as the little cake present was thoroughly softened by the acetone bath.

The cleaning of the airway within the shank was more difficult than expected. I think the Black that is shown on the pipe cleaners and cotton swabs was more of a bowl coating that was sprayed into the bowl/shank. I did not see how this pipe had ever been smoked enough to make the airway that dirty. The stem airway was nearly clean from the start and I didn’t even think to photograph it.

I lightly sanded the stummel with 400 then 600 grit sanding sponges. I wanted the carvings dyed darker than the ridges of the stummel so I decided to dye it with Fiebing’s Dark Brown Leather Dye. I then planned to sand the ridges to remove most of the dark brown leaving a more contrasted surface to the stummel.

Here you can see the dying process.

Once everything had been coated a couple of times the disposable lighter was used to flame the dye. This burns off the alcohol solvent of the dye and sets the dye into the briar.

The surface was then wiped with make-up pads wetted with 95% ethyl alcohol removing excess dye from the stummel. Then sanded with a 400 grit sanding sponge to unveil the lighter briar of the ridges while leaving the troughs darker..

The stummel was then worked over with sanding sponges 1000-3500 (I failed to photo document this) and 4000-12000 micro-mesh pads. Between each sponge or pad I wiped the surface with a slightly alcohol dampened make-up pad to remove sanded material and dust.

I wasn’t quite pleased with the color of the stummel so I thought a light with diluted Fiebing’s Orange Leather Dye would make the color a bit brighter. I mixed equal parts of the orange dye with 95% ethyl alcohol.

This dilution was applied to the stummel with a cotton swab. The stummel was again flamed with the lighter and allowed to dry for a few minutes.

I then used a clean flannel wheel on the buffer with one white diamond compound to buff the stummel. This removed a little bit of the orange. While there I also butted the stem.

Below you can see the orange washed stummel after buffing.

In the sunlight the color really showed.

The stummel was given another alcohol wipe with a clean make-up pad then it received a liberal coating of Before and After Restoration Balm.

While the balm was doing whatever magic that it does, I turned to repainting the logo and poorly photographing the repainting. First the logo area was cleaned with a cotton swab dipped in alcohol.

Next I used a white acrylic modeling paint working into the stamping of the logo. This paint dries within a few minutes.

I then used a stiff plastic card to scrape the paint from the area around the logo. And buff the remaining paint off with a cotton rag.

The Restoration Balm was wiped from the stummel having done its magic.

The stem was slightly loose when inserted into the shank. This was remedied by pushing a needle nose pliers into the tenon spreading the two halves slightly more apart.

Bonnie Briar was then returned to the buffer and after a quick wheel swap was given several coats of carnauba wax.
I think this little pipe turned out quite nicely. I did lose a small amount of definition with the stamping due to the finish removal but that is a small price to pay for the exorcism of that demon coating. The color turned out to be a near perfect match to the original with better depth and slightly more contrast. I do think that the draft hole drilling is a little too high in the bottom of the tobacco chamber. That is something far outside my control without building up the bottom of the chamber with either pipe mud or J.B. Weld. I could be wrong and should probably shut-up and test before commenting on it. The draw is quite smooth and easy with or without a Medico filter. I am sure this will be a fine smoking little pipe. The dimensions of this Bonnie Briar standard are:
Length: 5.36 in./ 136.14 mm.
Weight: 1.09 oz./ 30.90 g.
Bowl Height: 1.51 in./ 38.35 mm.
Chamber Depth: 1.24 in./ 31.50 mm.
Chamber Diameter: 0.72 in./ 18.29 mm.
Outside Diameter: 1.30 in./ 33.02 mm.
I do hope that you have found something here useful to your own pipe care, maintenance or restorations. If you like this sort of thing, please click the like and subscribe buttons. Thank you for reading the ramblings of an old pipe lover.
Below are some photos of the finished Bonnie Briar standard.


