Photographed and written by
John M. Young
I am a sucker or a couple of shapes and the bulldog is one of them. By sucker, I mean that I am willing to spend more time on restoring a shape that I like than I am with a shape that I do not find as appealing. This little Forecaster fit the “sucker” category in a couple of ways; one, I wanted to restore a forecaster pipe and two, the shape is a favorite. The pipe came to me as a combined purchase with the Yello-Bole Yacht. I linked that restoration if you are interested. The damage to the Forecater was not nearly as evident from the eBay photos as it was in real life.
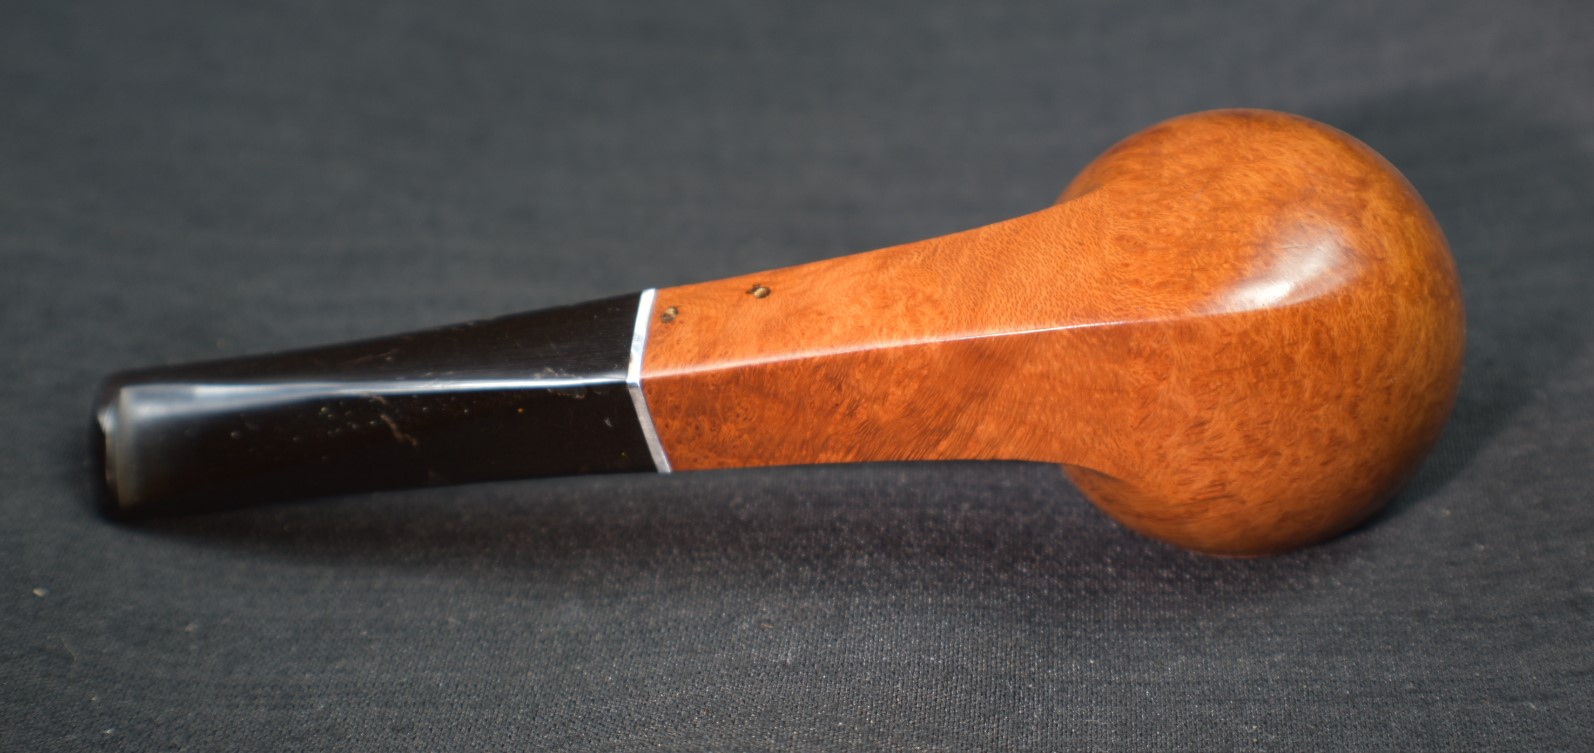
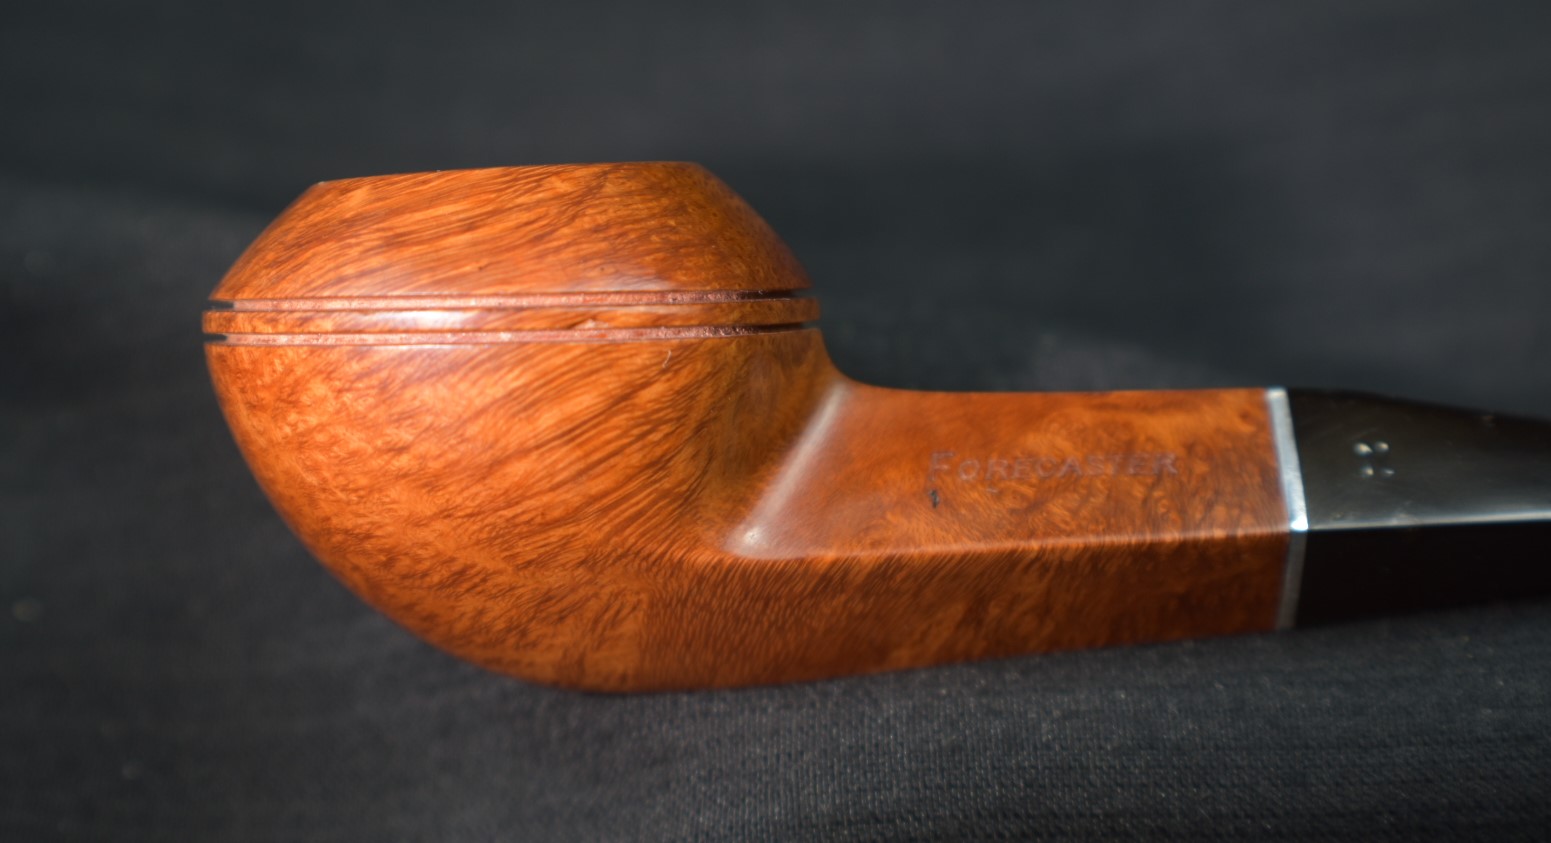
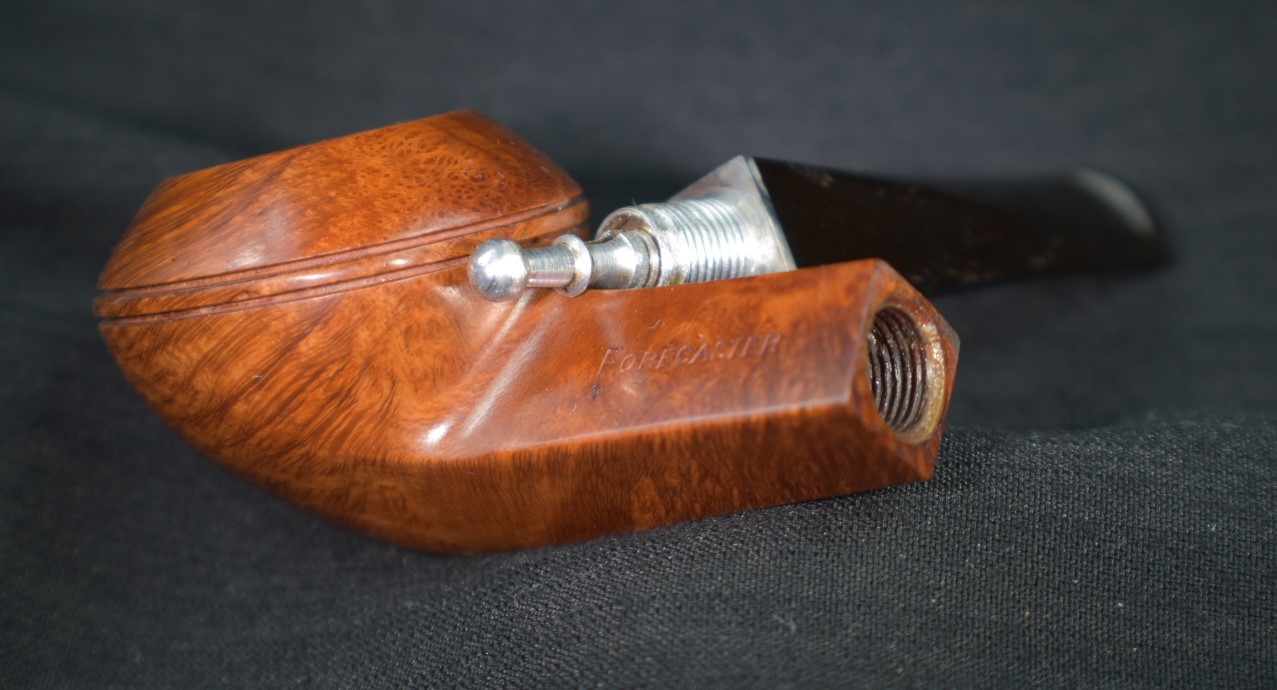
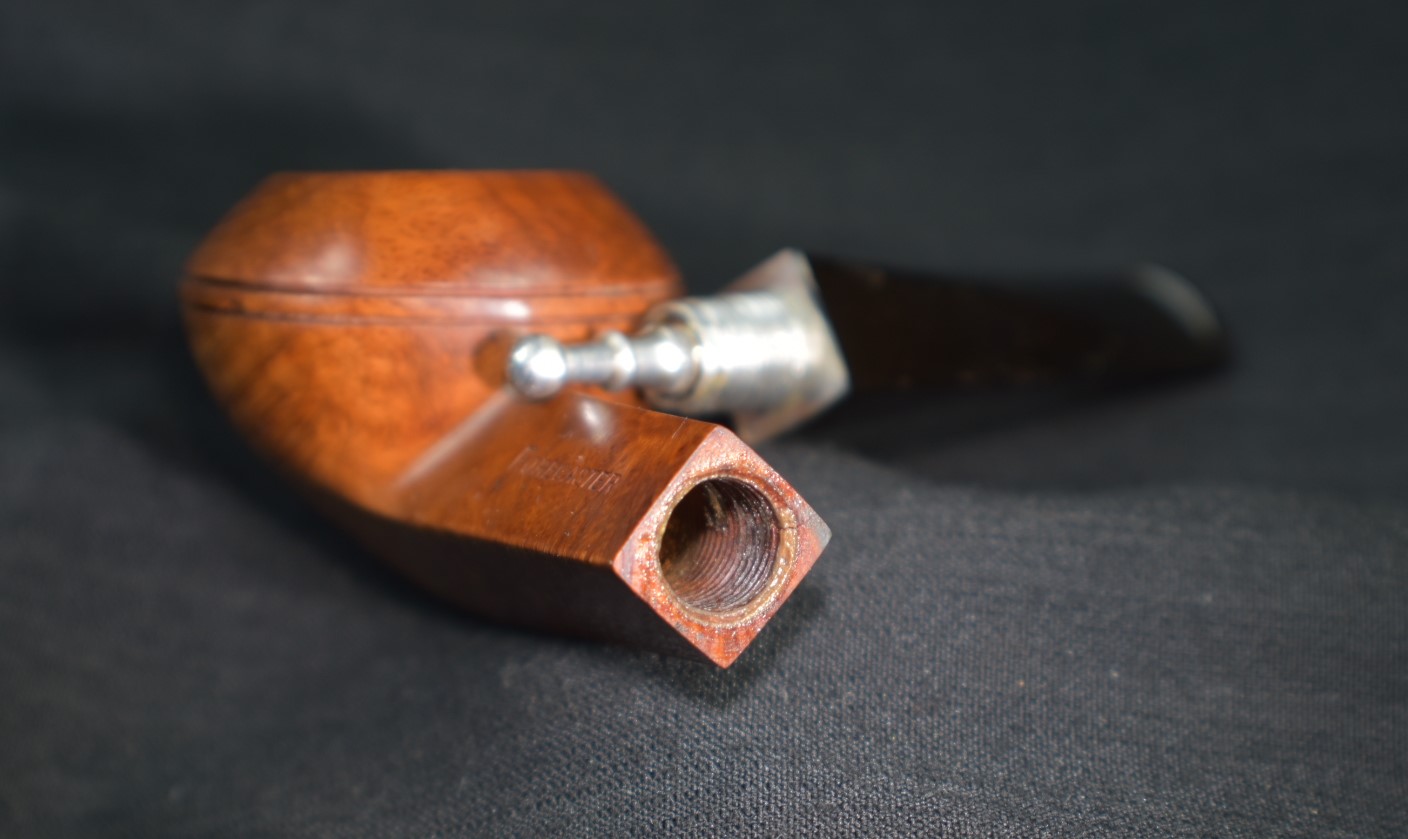
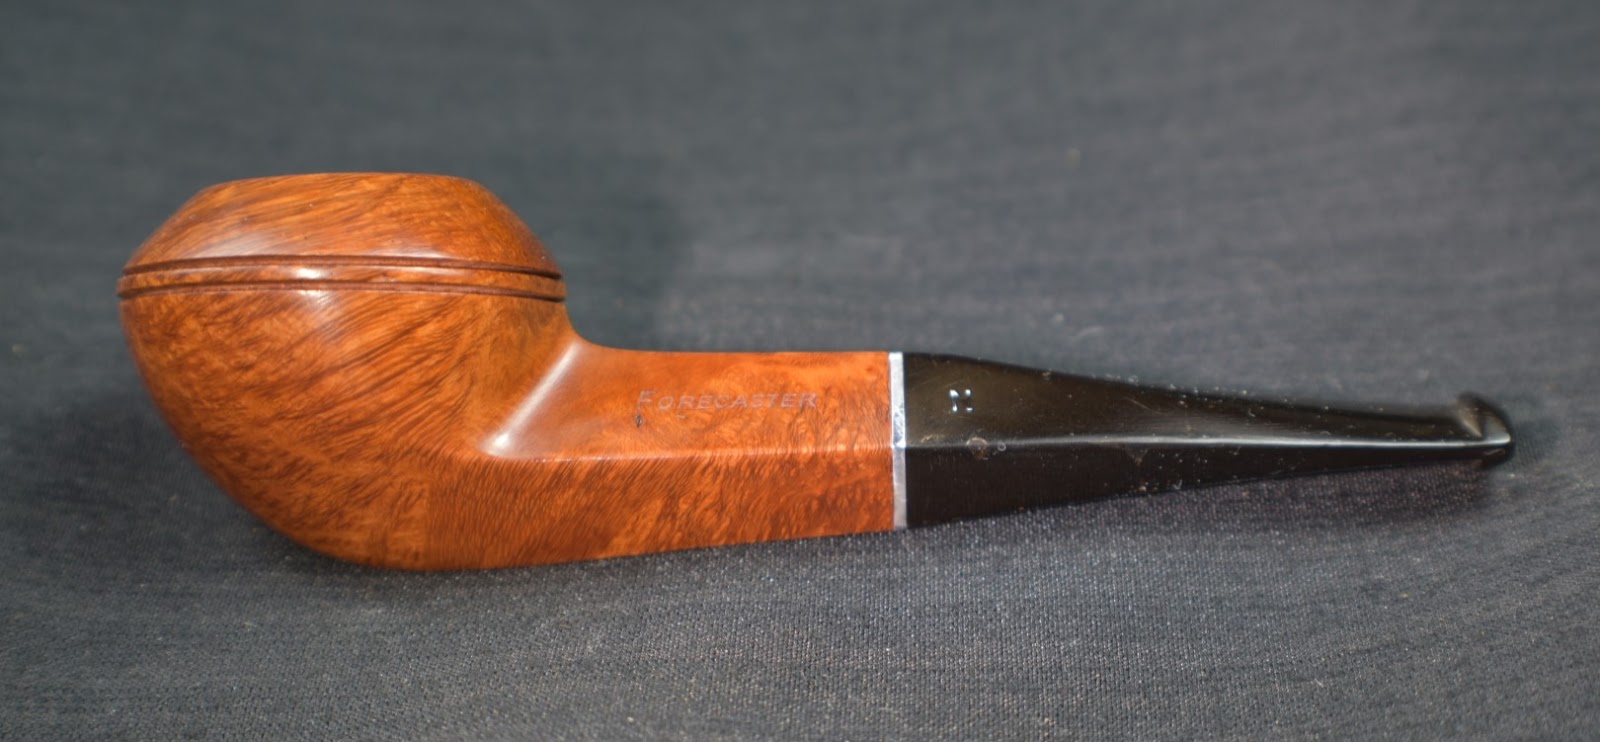
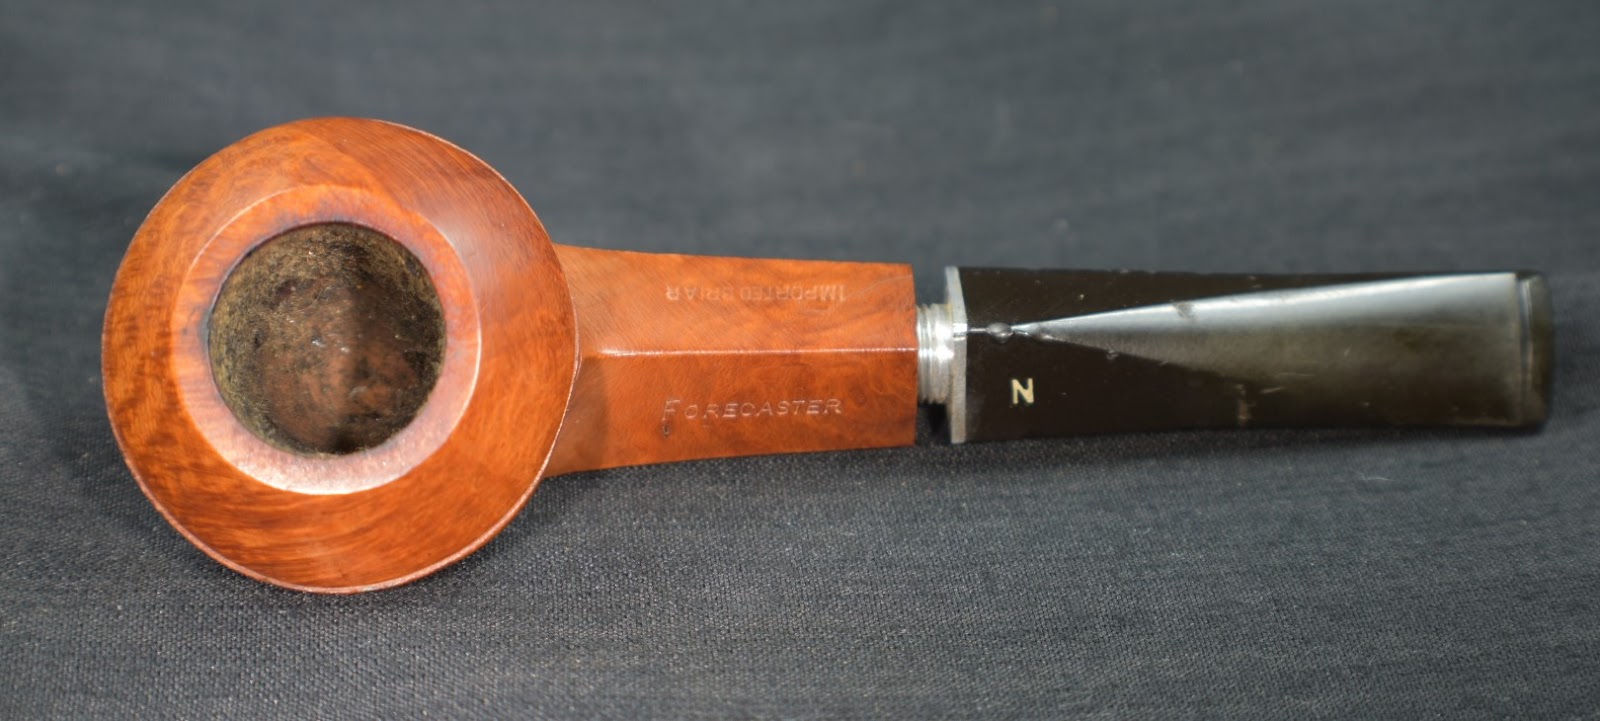
Below are some photos of the Forecaster upon arrival here at what some consider the pipe clinic.


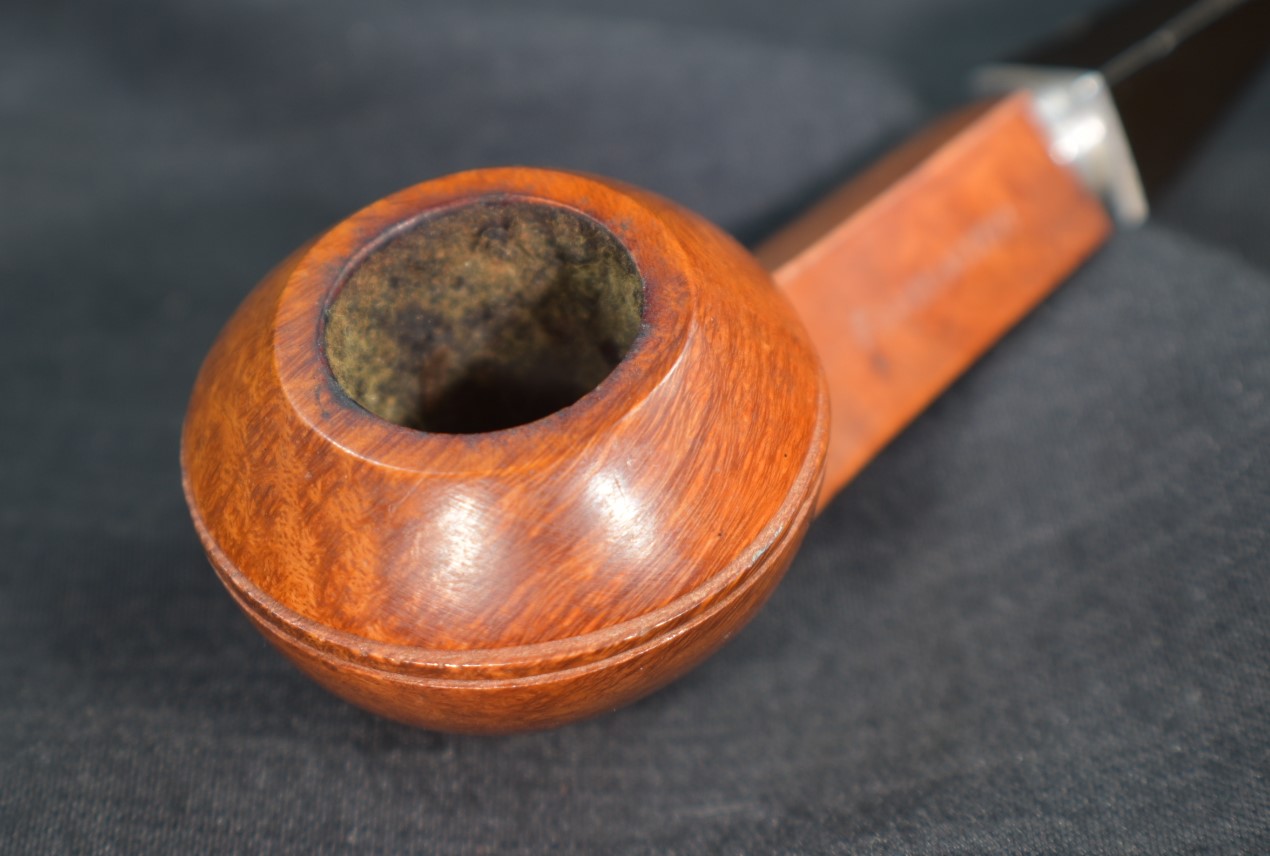

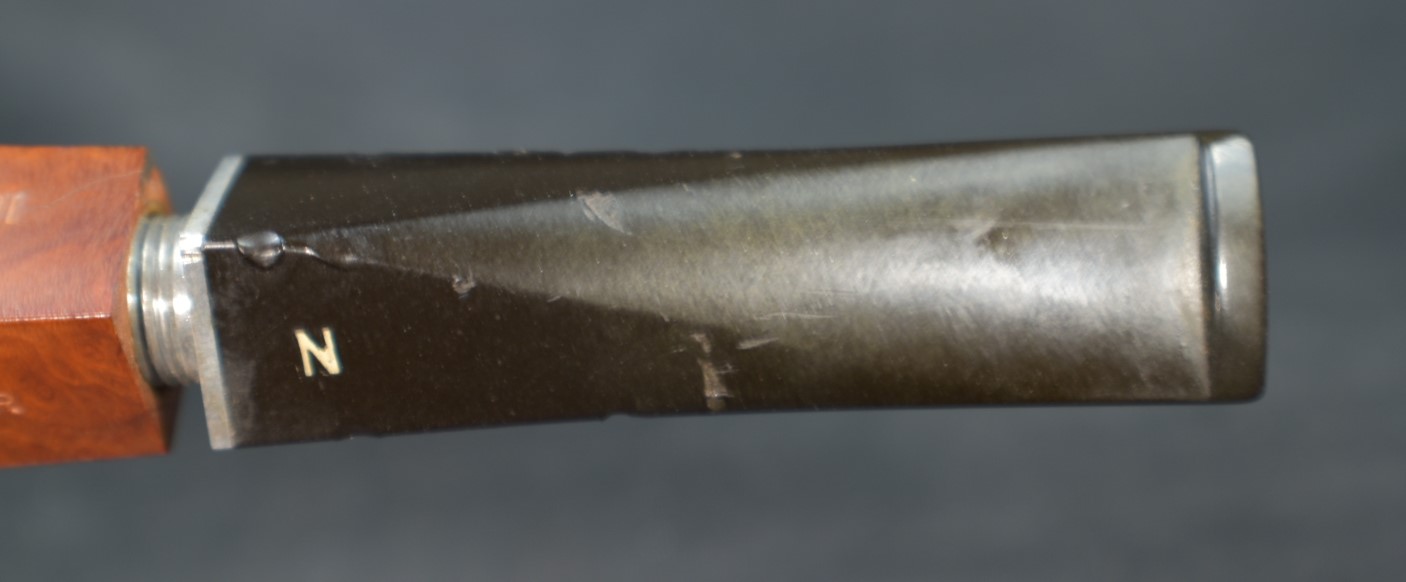


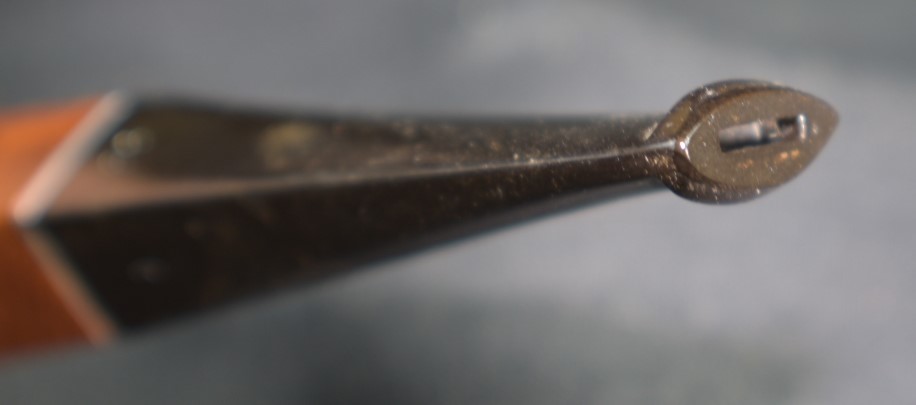
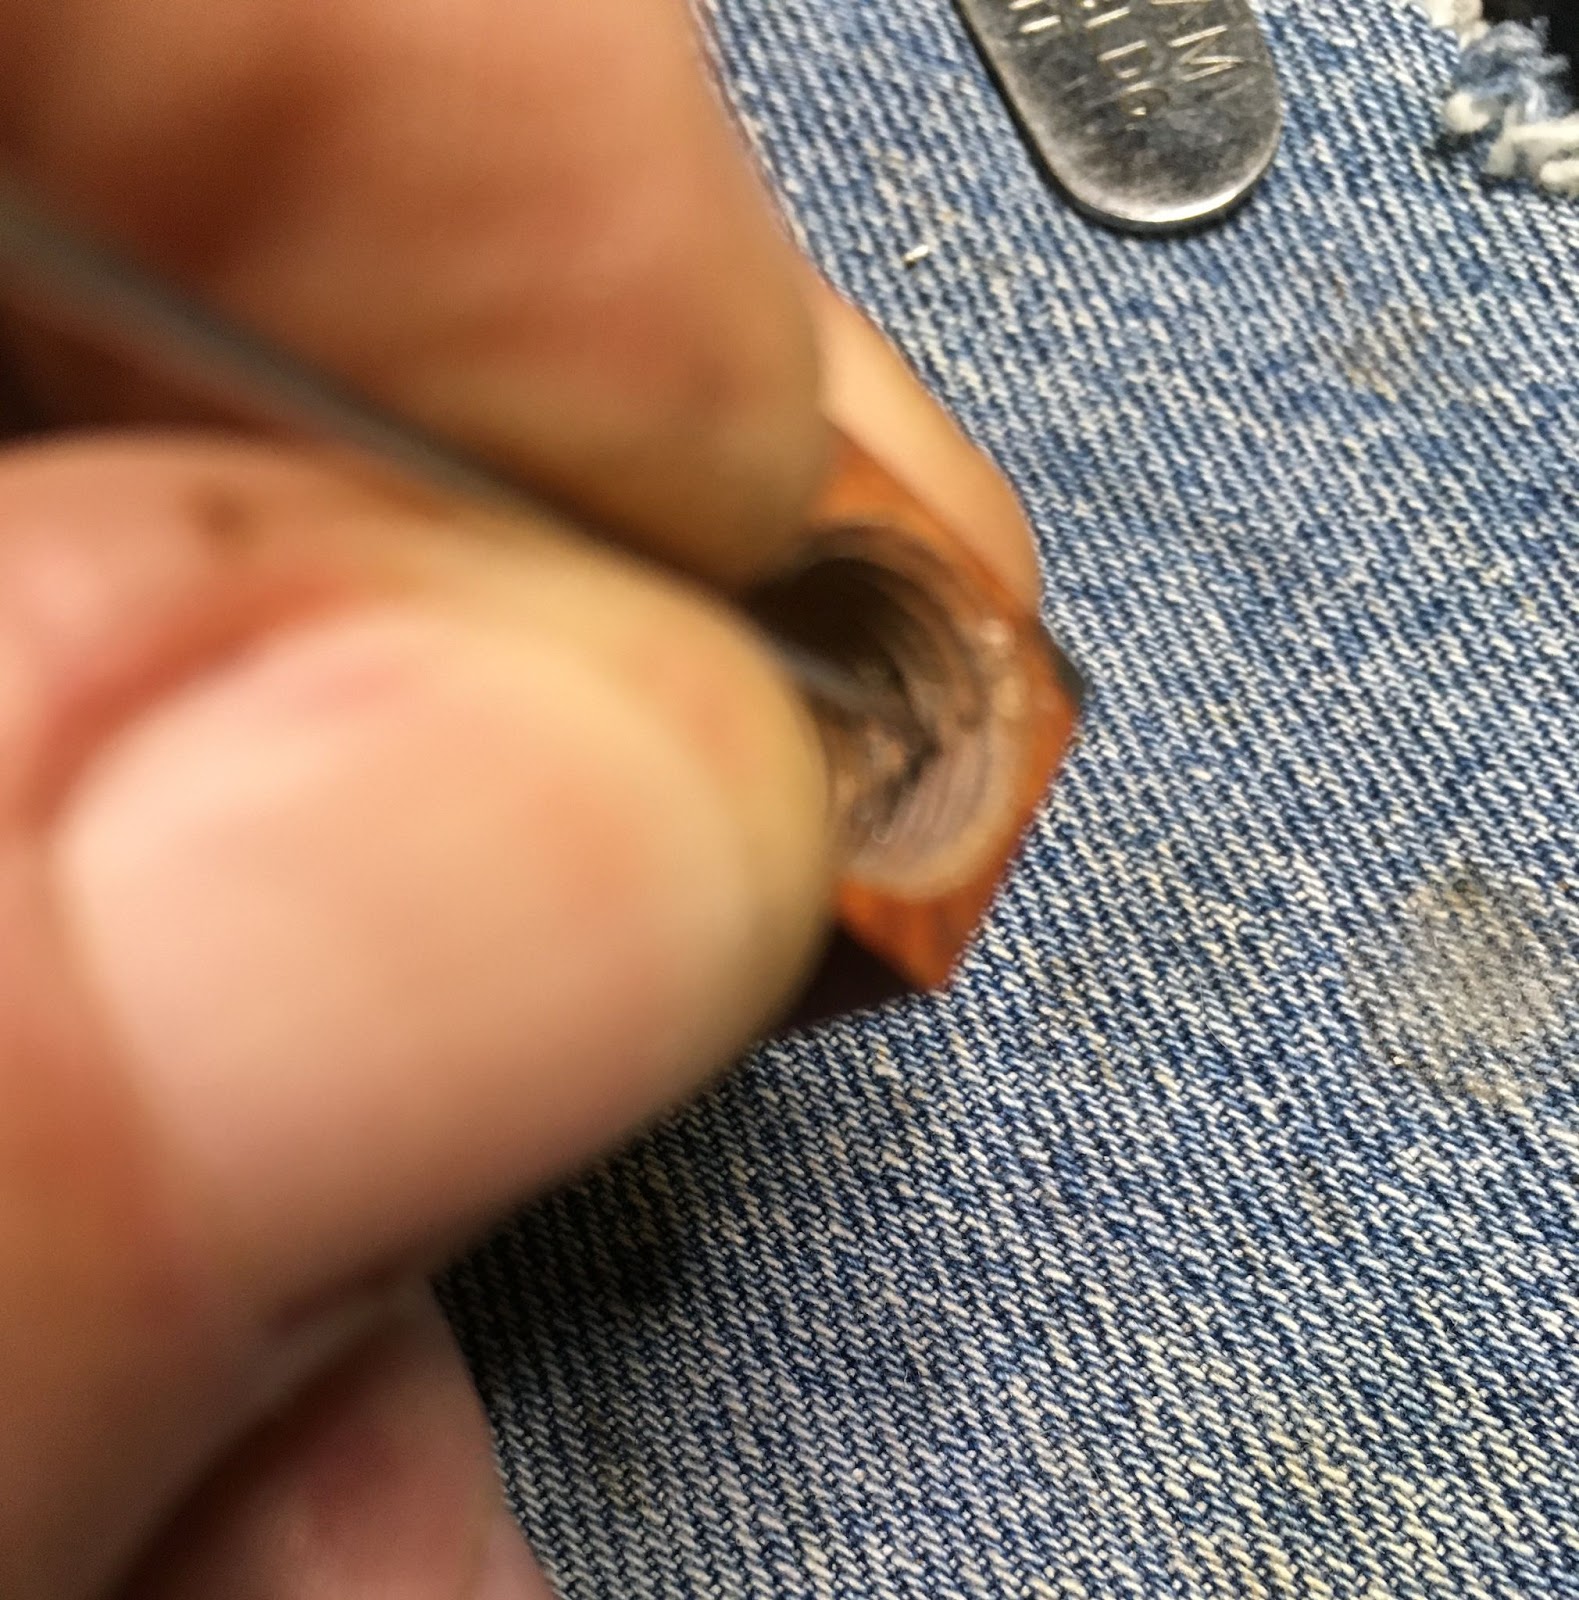
The crack in the shank was barely evident yet should have been expected by looking at the construction and damage to the pipe. The mortise was threaded which is a design that begs for owners to over tighten or a stem and can lead to cracking. The damage to the stem looked as if it could have been done with pliers, further evidence of excessive pressure put on the mortise and potential cracking. The question was: “Why was so much force needed to screw in a stem?” That was answered by examining the threads of the mortise. Pieces of aluminum could be seen in the wooden threads. They looked like they were embedded into the wood. I am getting ahead of myself. Before we get to the restoration let me give a quick review of Forecaster.
Background
Below are a couple of print ad images from Forecaster.

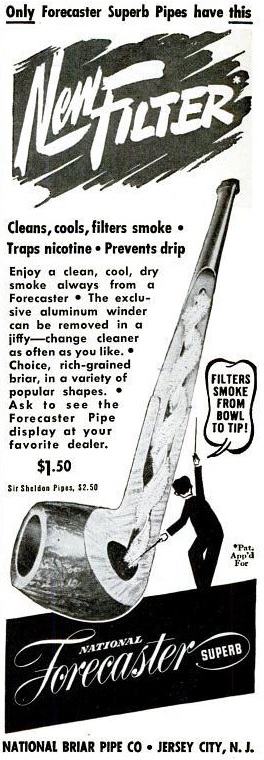
These two ads give some historical perspective to the brand and pipe. According to the University of Maryland library Archives, “Roger Bower (1903-1979) was active in broadcasting from 1925 to 1974. He joined radio station WOR in New York in 1928 and became a combination producer, director, actor, announcer, and sound effects engineer. During that time, WOR became the flagship station of the Mutual radio network, and Bower directed many prominent programs, including It Pays to be Ignorant, and Can You Top This? In the early 1930s, Bower announced the first Macy’s Thanksgiving
Day Parade, which he continued to describe for many years. He gave one of the first (closed circuit) television demonstrations in 1933, in a Macy’s department store window. Bower remained with WOR for 24 years, until the station was sold in 1952.” (https://archives.lib.umd.edu/repositories/2/resources/524)
Pipedia.org says the following, “Forecaster pipes were made by the National Briar Pipe Co. of Jersey City, N.J.. The pipe boasted an “aluminum winder” threaded through the airway meant to clean and cool the smoke. For more information see National Briar Pipe Co..” (Forecaster – Pipedia). Upon reading the National Briar Co. page I found that, “The National Briar Pipe Co. was homed in Jersey City, New Jersey. Brands produced afak:
- Biltmore
- Forecaster
- Honeybrook
- King Eric
- Kleenest
- Nifty
- Rembrandt
- Sir Sheldon
- Drysmoke Silvertone
- The Mayflower
- The Doodler (created and formerly produced by Tracy Mincer, †1966)
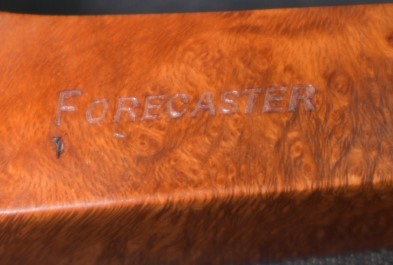
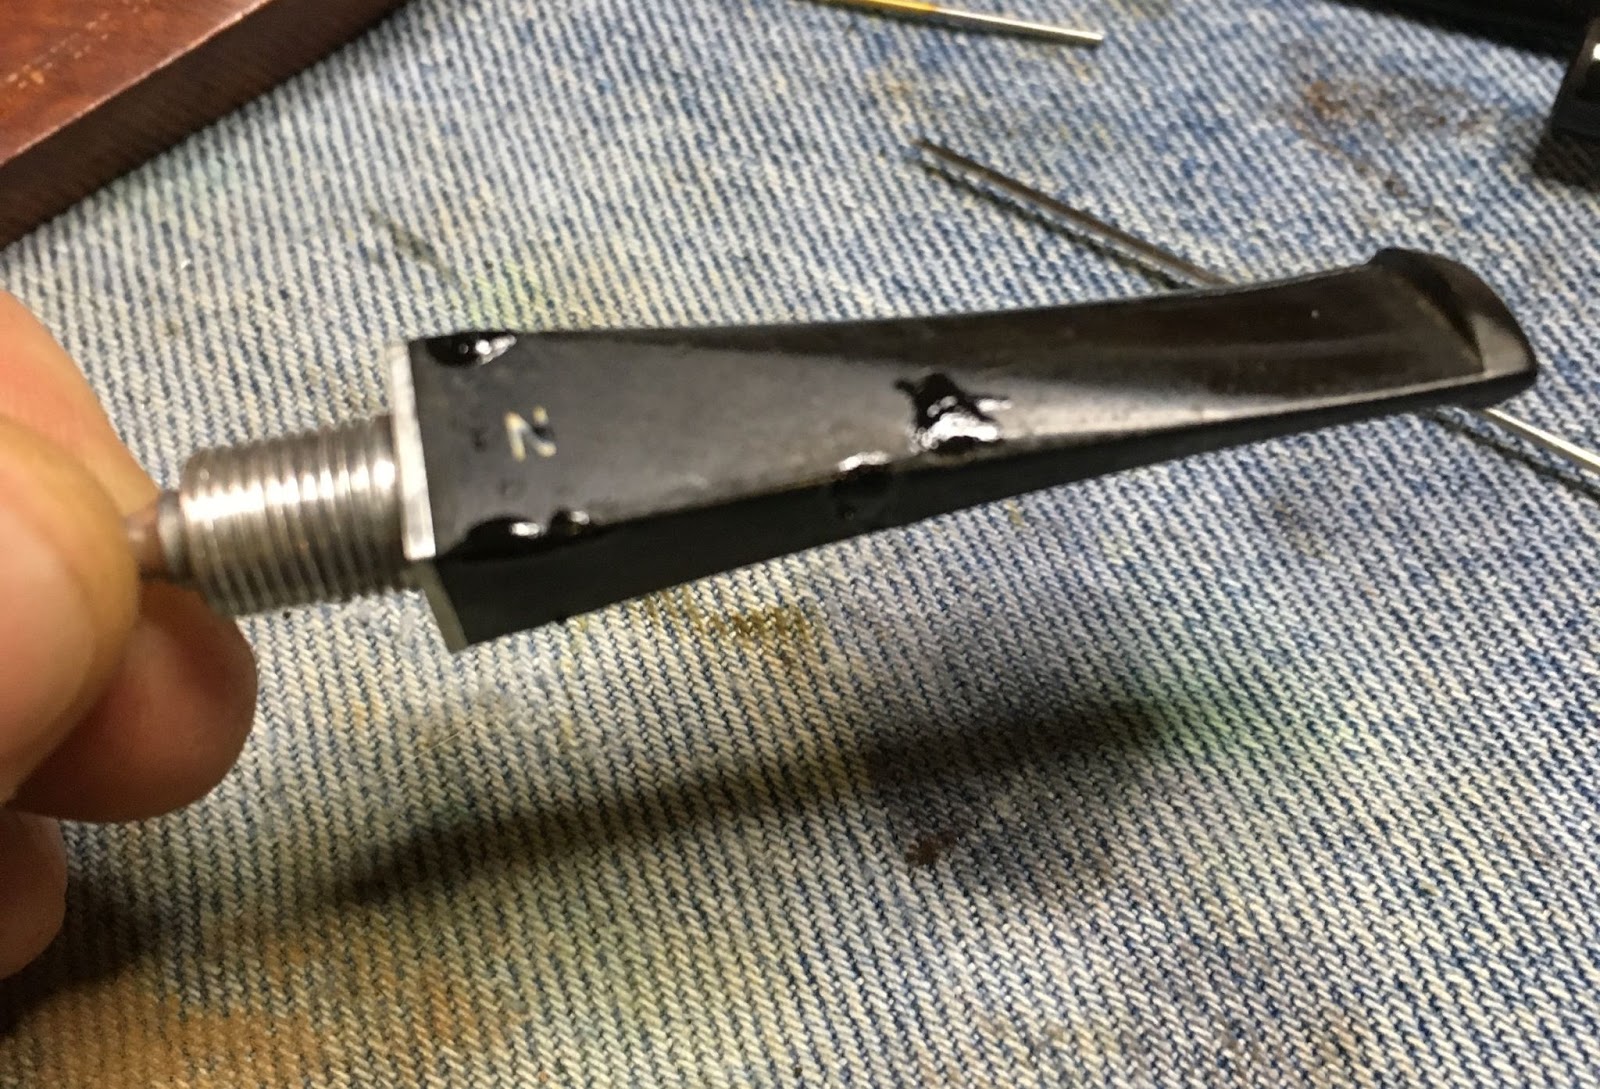
Logo on the left side of the stem on Rembrandt branded pipes is a capital “N” in italics. Assume that holds true for other brands produced by National. —Dgillmor 21:55, 10 May 2012 (CDT)” (National Briar Pipe Co. – Pipedia). This explains the N stamped and painted on the Forecaster stem.
As for the time line with this Forecaster bulldog I have nothing to assign it directly. I think it is safe to assume it to be from the late 1940s-1970.
The Restoration
In our last episode we discovered that Jill was pregnant with Roger’s baby, Seymour had been committed to an insane asylum and that strange aluminum flakes were infesting the threads of the Forecaster’s mortise. Okay, I may have taken some liberties with the story there, about Jill and Roger but Syemore is definitely nuts and the aluminum flakes were more than just a rumor.
I used a fly tying bodkin to pry the aluminum out of the threads then a brass shotgun bore brush to further clean the threads of debris. It took me several minutes to get the visible flakes out of the threads.
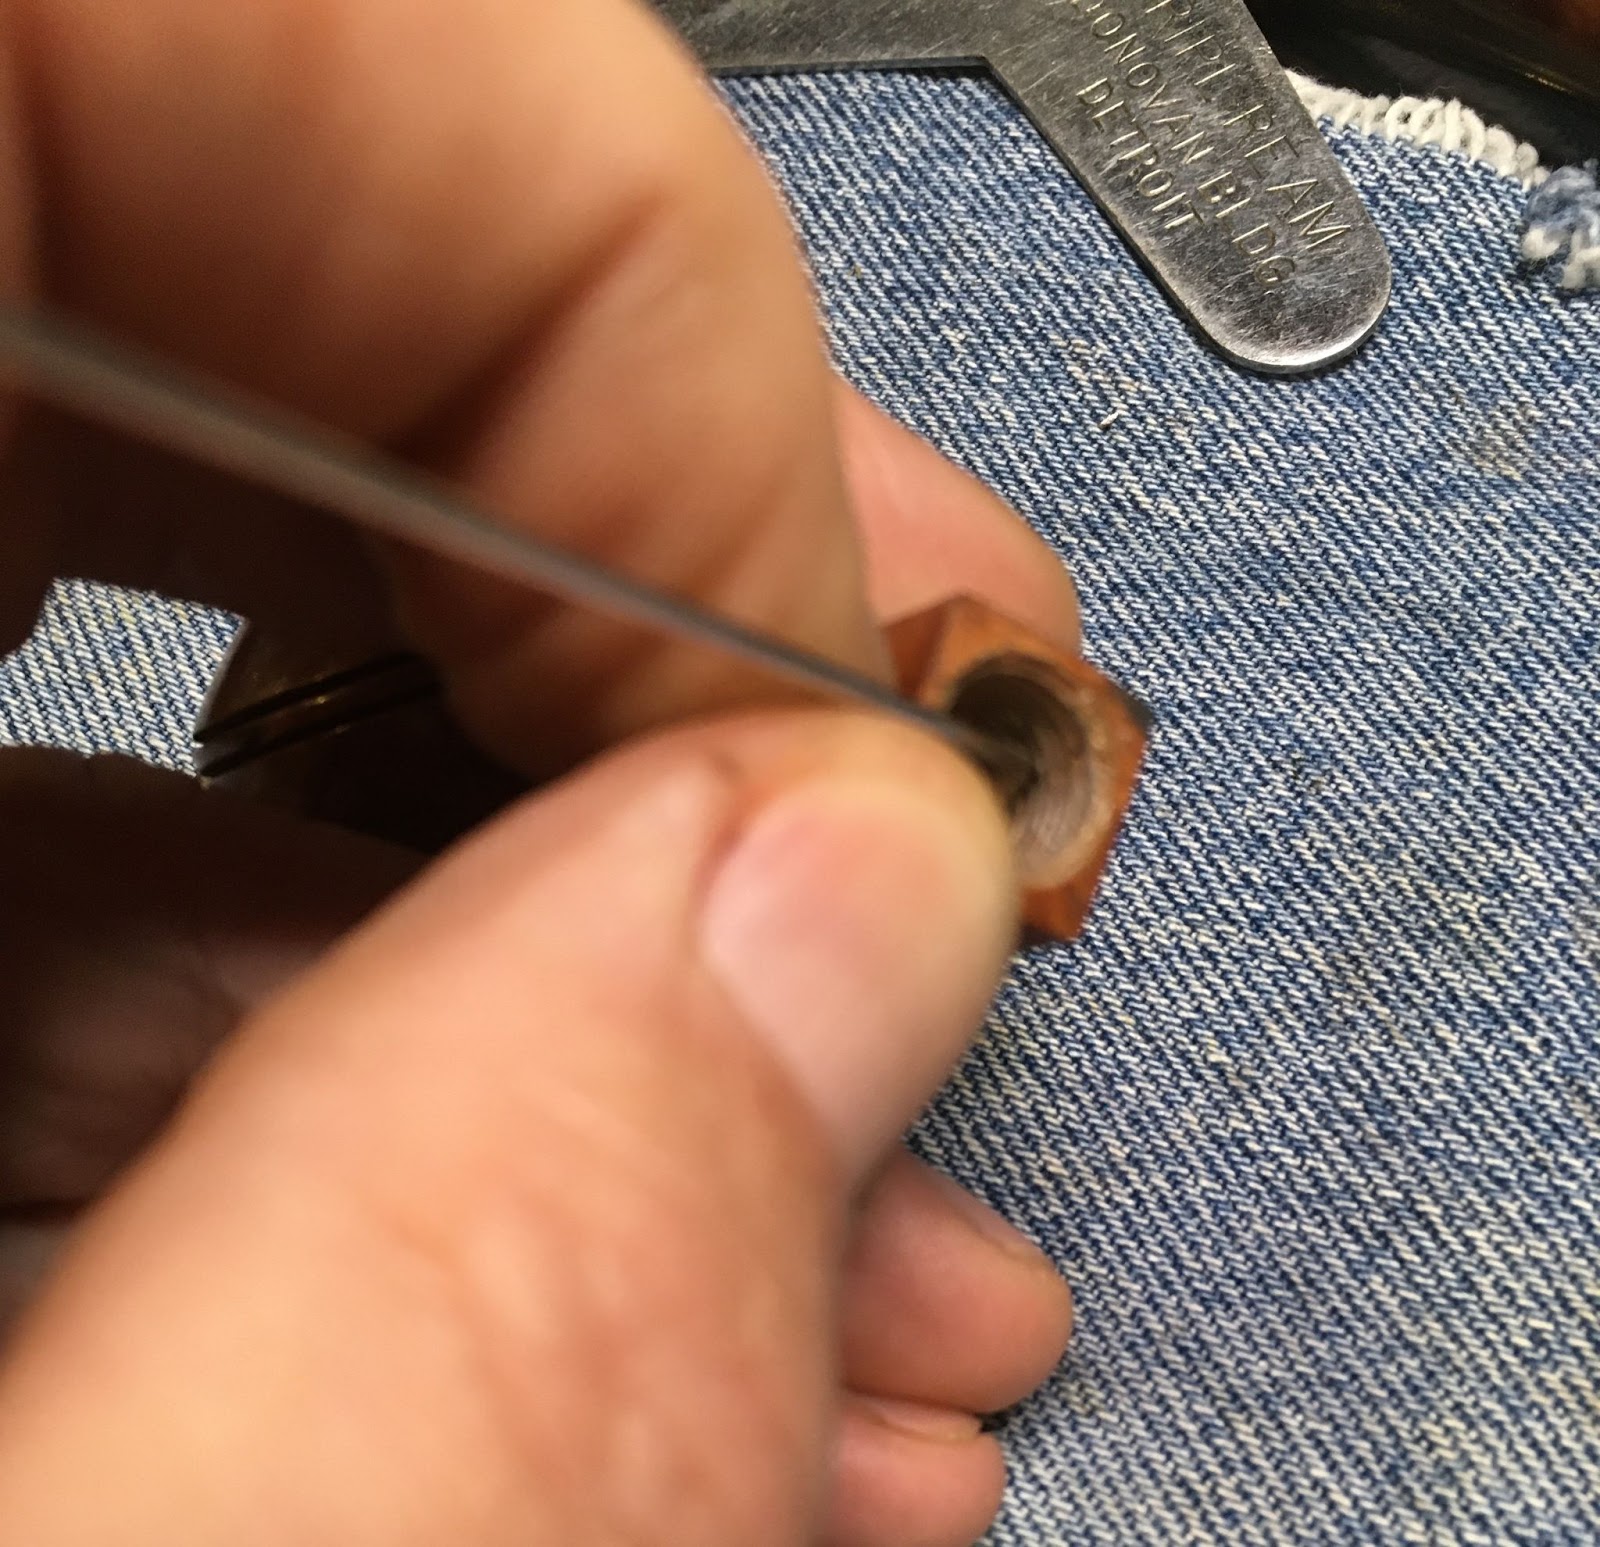
Below you can see the metal flakes and briar dust from the threads. I think the white German Shepherd hars was deposited post aluminum extraction and was not part of the problem.


Now I got to play detective and construct a situation of how this aluminum got into the wood and why the pipe had been used so little without resorting to aliens or bigfoot. I am guessing that when the aluminum tenon was cut for threads some of the tailing remained on the tenon. These flakes got forced into the briar threads when the pipe was originally assembled. When the original owner first got his or her (yeah, that’s how woke I am) new pipe they had to take it apart. We all know that experience. This would have liberated any remaining tailings from the tenon and placed them on the scene. The new owner, whether they were female, male or of undisclosed orientation then reassembled the pipe. The stem would have been difficult to reassemble due to the debris filled threads. Extra force would have been required, perhaps even a tool. By tightening the stem with a tool the stem was marred. The new owner couldn’t return the pipe as they had damaged it. So they continued using it but they were also someone who liked a clean pipe so after the first use they wanted to clean the pipe out. The stem was even more difficult to remove and upon reassembly could not be threaded in without enough force to further mar the stem and crack the shank. I’d like to think there was a blood curdling scream, “What have I done?” Probably not, in the 1950s-1960s, John Wayne was the role model and he never screamed “What have I done?” The pipe was left with a gap in the fit of the stem to stummel. Not wanting to look like an idiot the new owner stopped using the pipe concealing their idiocy from the world – until now.
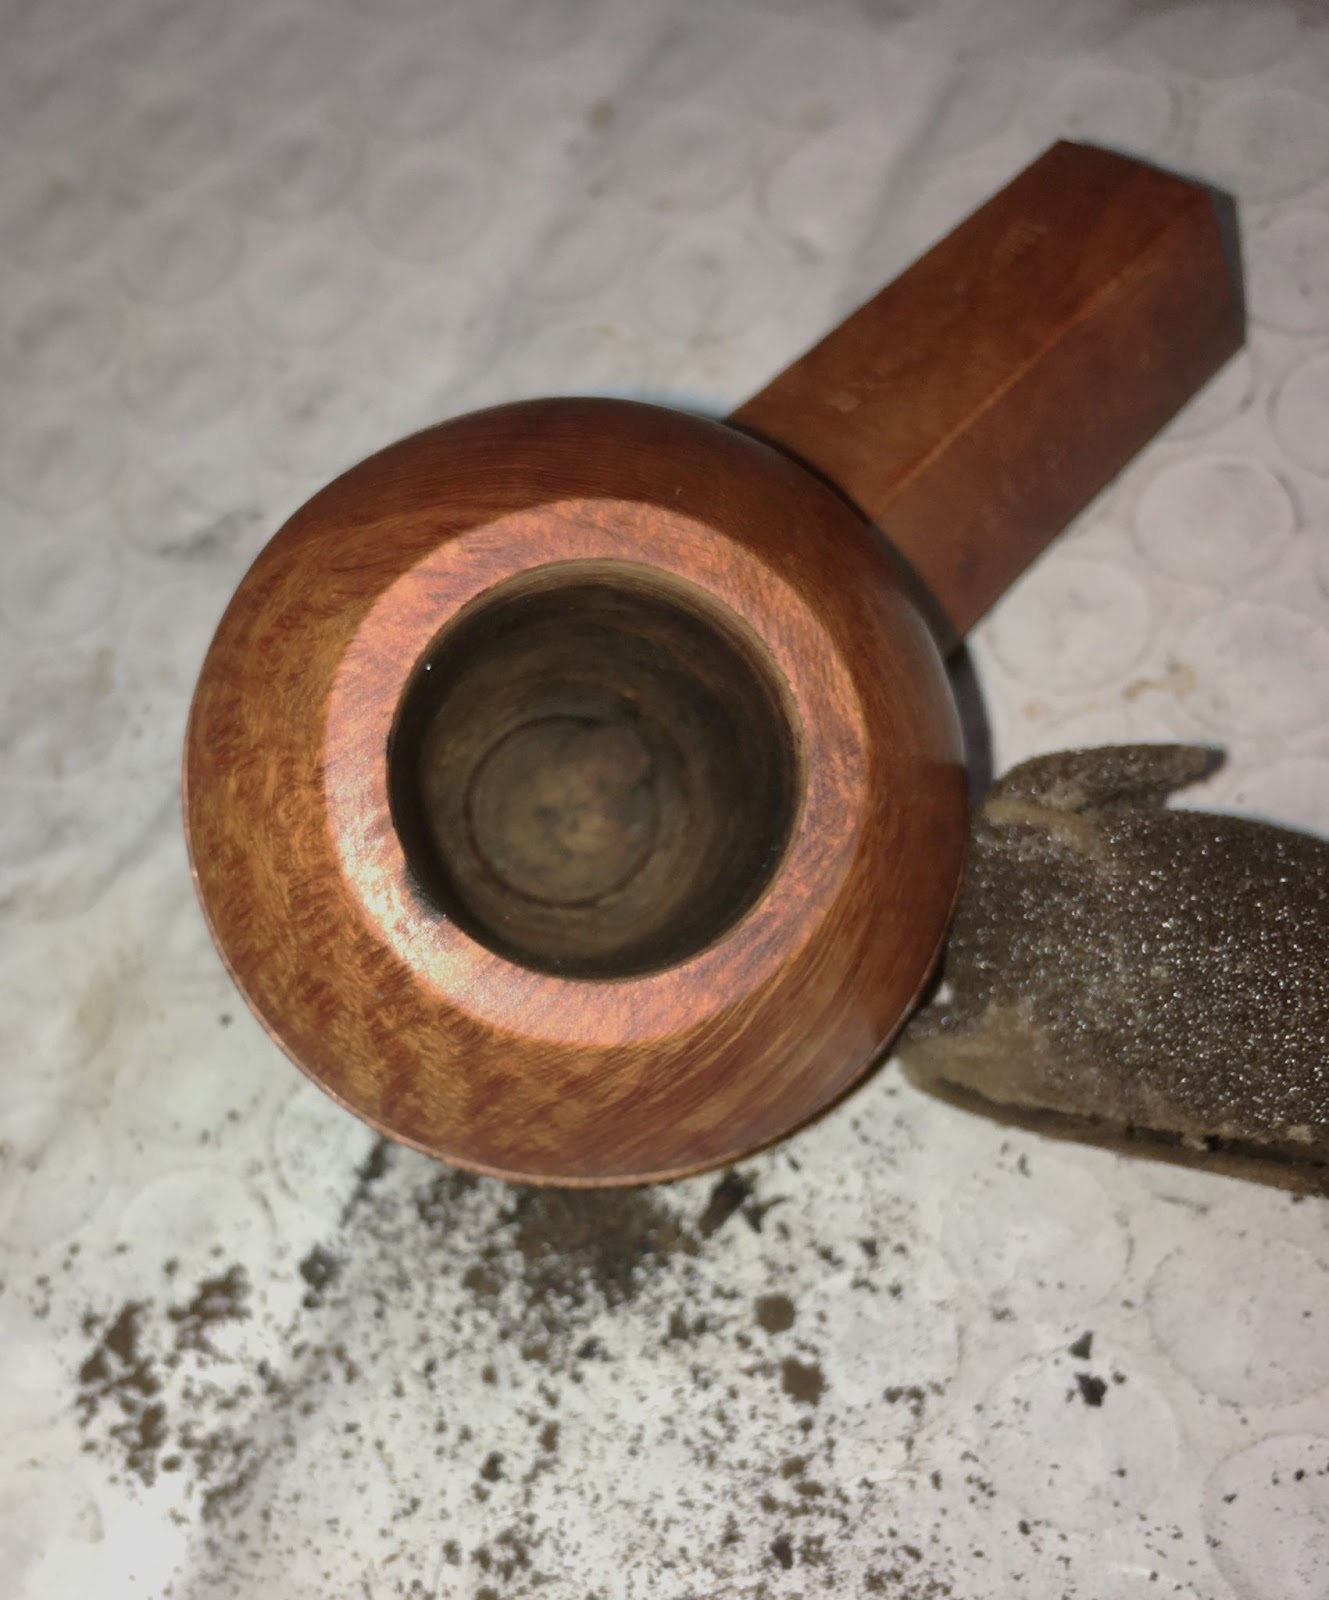
I reamed the tobacco chamber with a Triple-Ream tool that came with an estate lot a while back. I couldn’t use my trusty PipNet with its #1 blade due to personal idiocy and breaking the blade. Some of us don’t bother concealing our idiocy, The fact that the pipe had barely been used helped greatly in the reaming process. The chamber was also sanded with 220 sandpaper wrapped around a wood dowel. Guess what – there was no damage to the chamber from excessive heat.

I started formulating a plan for the shank crack. A couple of scenarios played out in my mind. Again not resorting to aliens or bigfoot, I thought that banding would be the easiest solution. The problem with that is that I have no diamond shaped bands. Typically I use cartridge brass from spent shells or brass tubing. Both of those are fairly thick materials and would be difficult to reform to a diamond shape. The second option was something I had read from Charles Lemon. He had repaired a cracked bowl using a 1.2 mm drill bit and 1.2 mm brass rods. Here is the link to Mr. Lemon’s pinning tutorial. If you are unfamiliar with Chrales Lemon’s work he can be found at https://dadspipes.com/. SIdenote: If you are familiar with my blogs and unfamiliar with Chrale’s you may need to join Seymour at the insane asylum.
I figured that if it worked for a bowl it should also work for a shank. Given, a shank is going to be more difficult to work with due to the smaller size but the idea is the same. After initially reading Charle’s tutorial I quickly ordered 1.2 mm drill bits and 1.2 mm brass tubing for the deluge of cracked bowls that I was sure would need my immediate care. Well, the deluge never arrived but the bits and rods did. I have yet to try this on a cracked bowl and was feeling quite sorry for the bits and rods due to their forced early retirement. I decided this pipe could give me practice with the technique as well as justify the enormous capital investment for the 1.2 mm thingies (<$20 at Amazon).

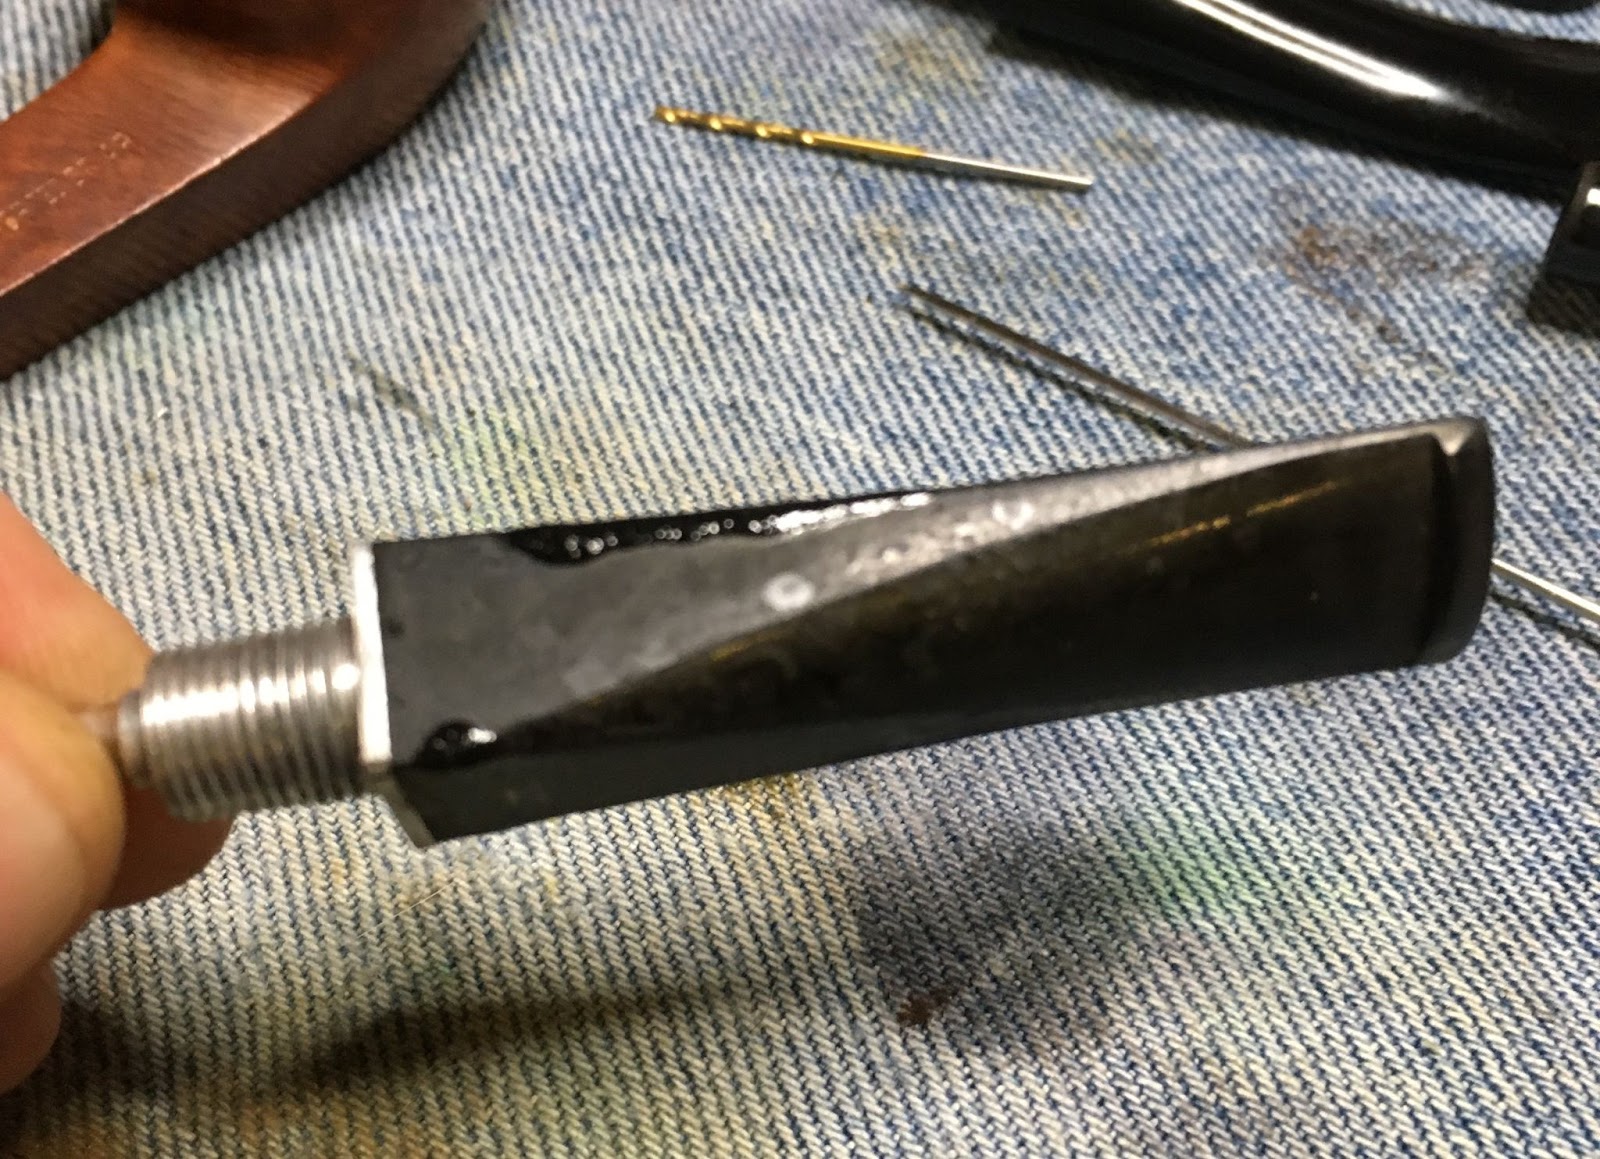
Now as typical for me, I like to think about a project a good deal before actually attempting it. I started working on repairing the damaged stem while I was planning the pinning repair. Some people call this multi-tasking. I call it thinking about a project a good deal while working on repairing a damaged stem. Probably because I am not good at multitasking. Anyway, the stem needed to have new material built up where there were dents in the rubber. I used layers of black cyanoacrylate (CA, super glue) spritzed with a CA drying accelerator.

The new CA was then filed flat with a flat needle file and sanded with a 320 grit sanding sponge.


Additional CA and drying accelerator were used to further fill any tiny depressions. These were again filed and sanded.

I was still thinking about the pinning project when I moved on to the next phase – cleaning the stummel. I was not dirty so I skipped scrubbing it and moved right to wiping it off with acetone moistened make-up pads. There was a light clear coat on the briar that I wanted rid of. The acetone worked well at removing it.


It was finally time. I had thought myself into a plan of action. Drill two holes with the 1.2 mm drill bit in my battery hand drill. Drill a third hole at the end of the crack , also 1.2 mm, to stop further crack enlargement. I wanted the angle to be dissimilar and through the thickest part of the shank. The holes were drilled and the brass rods inserted.


The final hole was a hole for terminating the crack.

The brass pins were cut then roughed with a file to allow more surface area for the epoxy to adhere to. I would recommend roughening the brass rod before the pins are cut to length as they would be easier to hold. A mistake I’ll probably make again…

The aluminum of the tenon was covered with Vaseline petroleum Jelly to avoid CA or epoxy glue from adhering to the aluminum. Sidenote: When drilling the pinning hole to the left, I accidentally made the hole too far into the threads. This meant that I either had to drill the mortise larger cutting into the brass rod or, to file the first 3-4 mm of threads off the tenon. I chose to file the aluminum threads of the tenon. You can see in the photo below the threads had been filed off.

The 2 part epoxy was mixed according to package instructions. I would recommend against accidentally squeezing way too much epoxy resin onto your mixing surface, like I did.

I applied a drop of thin clear CA for the crack. The Vaseline coated aluminum tenon was rethreaded into the mortise. The thin formula allowed the CA to penetrate the crack. A Vaseline coated clamp was used to clamp the crack closed as much as possible.

After the CA had cured, a couple of minutes later, I used a fly tying bodkin to push some of the epoxy into the pinning holes. The roughened brass rods were then pressed into the holes. When doing this make sure the brass rods are a couple of mm shorter than the length of the hole. This was another mistake which I made. I thought I had cut them short enough so that I could fill the holes on either end of the brass rod. I am not sure how I messed this part up. Either I accidentally switched the rods when placing the pins or I cut the rods too close to the same length as the holes. I dipped a cotton swab into acetone and cleaned any epoxy from the surface of the shaft.
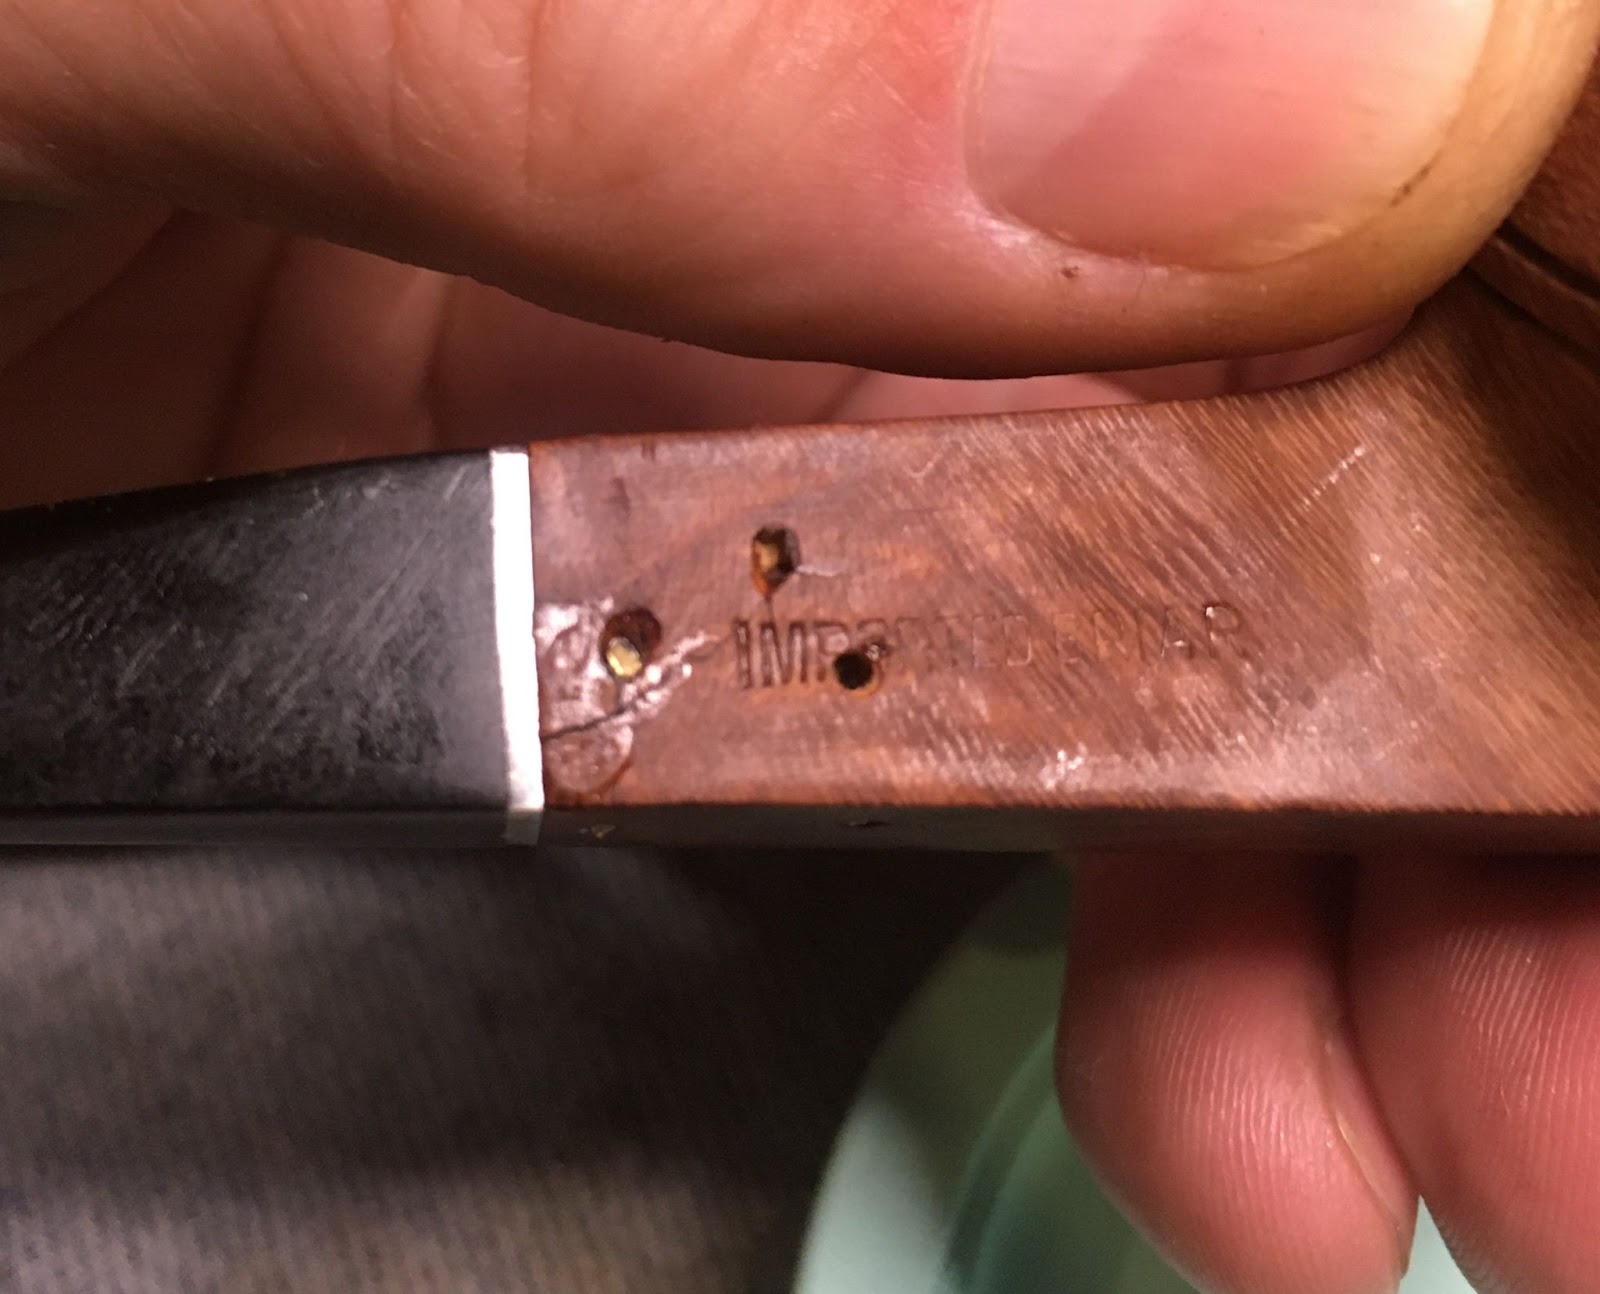
The glued pins were set aside allowing the epoxy to cure for 2 hours. After the epoxy had cured, a small drop of brown CA was applied to each end of the hole and a small amount of briar dust was pressed into the CA moistened hole. Once cured this would be the first layer of the fill. The cured CA briar dust fill was then filed slat with a flat needle file and smoothed with a 400 grit sanding sponge.
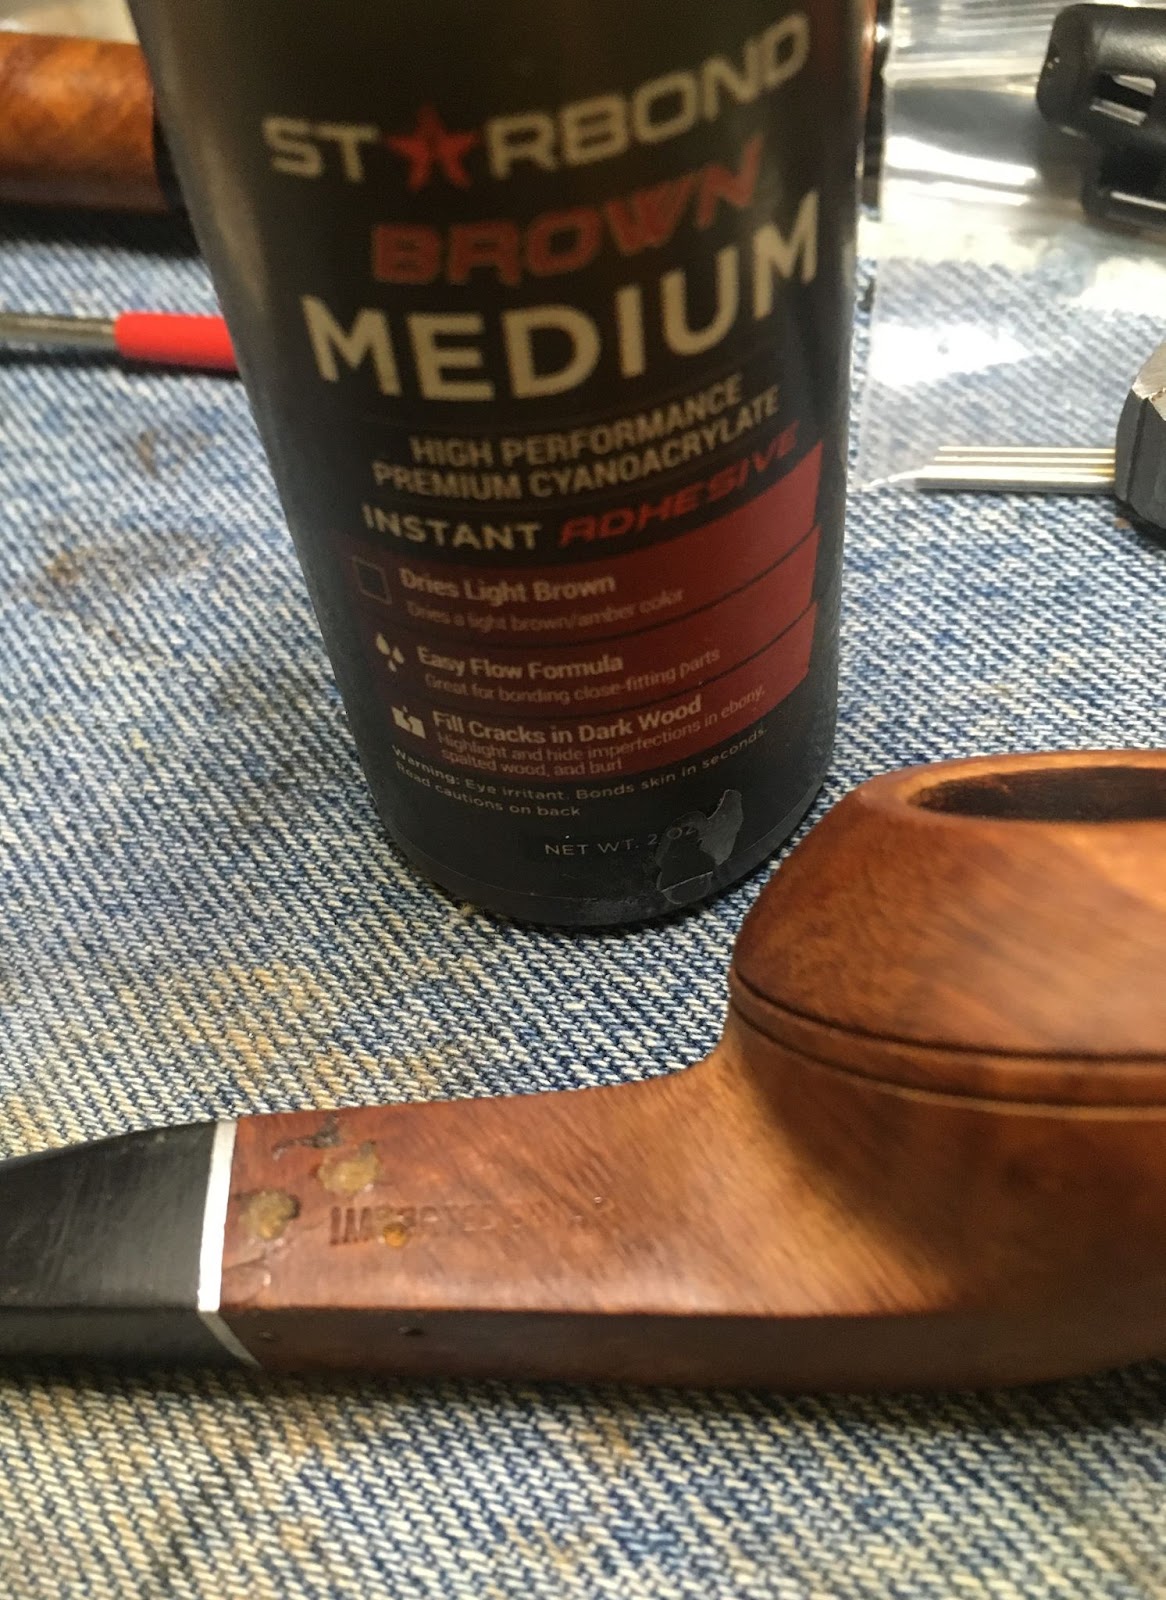
The filling of the pinning holes was repeated on the adjacent side of the shaft. The below photo shows the brown CA applied to the hole.

Below you can see the briar dust had been pressed into the CA.

The stamps were then taped with painters tape to protect them and the stummel was sanded with the sequence of sanding sponges from 400-3500. Between each sponge the stummel was wiped with an alcohol wetted make-up pad.

The tape protecting the stapes was removed and the stummel was polished with a sequence of 4000-12000 micro-mesh pads. Between each sponge the stummel was wiped with an alcohol wetted make-up pad.

The stummel then received a coating of Before and After Restoration Balm and was allowed to sit for 30 minutes.

30 minutes later the Balm was wiped away with an inside out athletic sock. The pipe was then taken to the buffer where several coats of carnauba wax were applied with the buffer.
I would like to say that I am pleased with the restoration of this Forecaster Bulldog but there were just too many flaws to make me truly happy. Some were my mistakes or “learning experiences” others were just damage to the pipe. Yes, it does look better than it did originally and it is structurally more sound This one was certainly challenging, but to drill and pin the shank crack using hand tools was difficult. Perhaps a darker base coat dye with some contrast would have been a wise move to conceal the repairs. I rack this restoration up as a learning experience for me and I am looking forward to seeing how well the pinning holds up under normal wear and tear. I will be keeping and using this pipe as a “work” pipe for tasks like mowing, truck maintenance, gardening etc, where it will get more rough treatment to better test the pinning fortitude. Also, the stem repairs look far worse in the photos than in normal room lighting. I swear, they do, really. The dimensions of this Forecaster Bulldog are:
Length: 4.66 in./ 118.36 mm.
Weight: 0.90 oz./ 25.51 g.
Bowl Height: 1.31 in./ 33.27 mm.
Chamber Depth: 0.85 in./ 21.59 mm.
Chamber Diameter: 0.67 in./ 17.02 mm.
Outside Diameter: 1.51 in./ 38.35 mm.
I do hope that you have found something here useful to your own pipe care, maintenance or restorations. If you like this sort of thing, please click the like and subscribe buttons. Thank you for reading the ramblings of an old pipe lover.
Below are some photos of the finished Forecaster Bulldog