Photographed and written by
John M. Young
Here I go again, making you all read about some of my favorites rather than going out and finding obscure makers to educate myself about the history of pipes and pipe smoking. But just look at the curves and lines of that adorable, dare I say sexy yacht shape Yello-Bole. And to think she is 90 years old. How can that not be of interest?
Yes, Yello-Bole was considered a second of Kaywoodie but, in my mind, that is like calling Mary Ann a second to Ginger on Gilligan’s Island. I always thought Mary Ann was way prettier than Ginger. But what do I know, I like Yello-Boles. I also think that the pre-Second World War pipes were of a higher quality than those of post-WWII. The mass production, limited briar and lower quality of briar in general probably all played a role in the decline of quality. Then again I may be looking through some weird romanticized glasses. I do need to get to the eye doctor.
Yello-Bole Background
Being a proud member of Generation X, I will refer to one of my previous blogs about Yello-Bole for an account of the brand’s history and the age of this specimen (https://wordpress.com/post/scimansays1787.wordpress.com/3929):
“ Yello-Bole started as a processor of briar that did not meet the quality standards for Kaywoodie pipes. I’ll allow pipedia.org to tell the story as a more reputable source than my failing memory.
“In 1932 Kaufmann Bros. & Bondy (KB&B), est. 1851, expanded their programm consisting of KB&B pipes, Reiss-Premier and Kaywoodie as the mainstay brand by introducing the Yello-Bole line. Yello- Bole was designed as an outlet for lower grade briar not used in Kaywoodie production.
At that time KB&B produced their brands in Union City and in West New York, both New Jersey. Deviating from that, Yello-Boles were manufactured by The New England Briar Pipe Company in Penacook, New Hampshire to use this KB&B subsidiary to capacity.1966 Add
As briar was hardly had during World War II, the KB&B Company embarked on a project of domestically grown briar wood, called Mission Briar or manzanita early in 1941. The Pacific Briarwood Company, a subsidiary founded for this purpose, began harvesting the burls growing on the slopes of the Santa Cruz Mountains of California. Though this wood is botanically the same as briar form the Mediterranean countries, the smoking characteristics were not quite as good and the project was abandoned after the war.
Was it for that reason? Advertising from the 1940’s pictures the Yello-Bole “Honey Girl”, who gently urges the pipe smoker to smoke the pipe with “a little honey in every bowl.” In fact, honey was an ingredient of the material used to coat the inside of the bowl. It was said to provide a faster, sweeter break-in of the pipe.
In 1952, 101 years after the Kaufmann brothers had opened a small pipe shop in the Bowery section of New York City, Kaufmann Bros. & Bondy Company with all subsidiaries was purchased by an unknown company strange to pipe industry. (At least, the new owner was economical because the KB&B managers had to leave their luxurious bureaus on 630 Fifth Avenue, New York – the Rockefeller Center – for new rooms in the factory on 6400 Broadway, West New York.) This interlude ended after only 3 years in March of 1955, when S. M. Frank & Co. bought Kaufmann Bros. & Bondy, The Kaywoodie Company, Reiss-Premier Corp., The New England Briar Pipe Co. and – of course – Yello-Bole.
From the time of S.M. Frank’s purchase in 1955 until 1972 Yello-Bole was run as a separate company, as division of the parent. Through this period, Yello-Bole, same as Kaywoodie, had it’s own officers, sales force and maintained the production facilities in West New York. These 17 years were probably the most glorious years in Yello-Bole’s history.” (https://pipedia.org/wiki/Yello-Bole).
“Tips for Dating Yello-Bole Pipes
- KBB stamped in the clover leaf indicates it was made in 1955 or earlier as they stopped this stamping after being acquired by S.M. Frank.
- Pipes from 1933-1936 they were stamped “Honey Cured Briar”
- Post 1936 pipes were stamped “Cured with Real Honey”
- Pipe stems stamped with the propeller logo were made in the 1930’s or 1940’s – no propellers were used after the 1940’s.
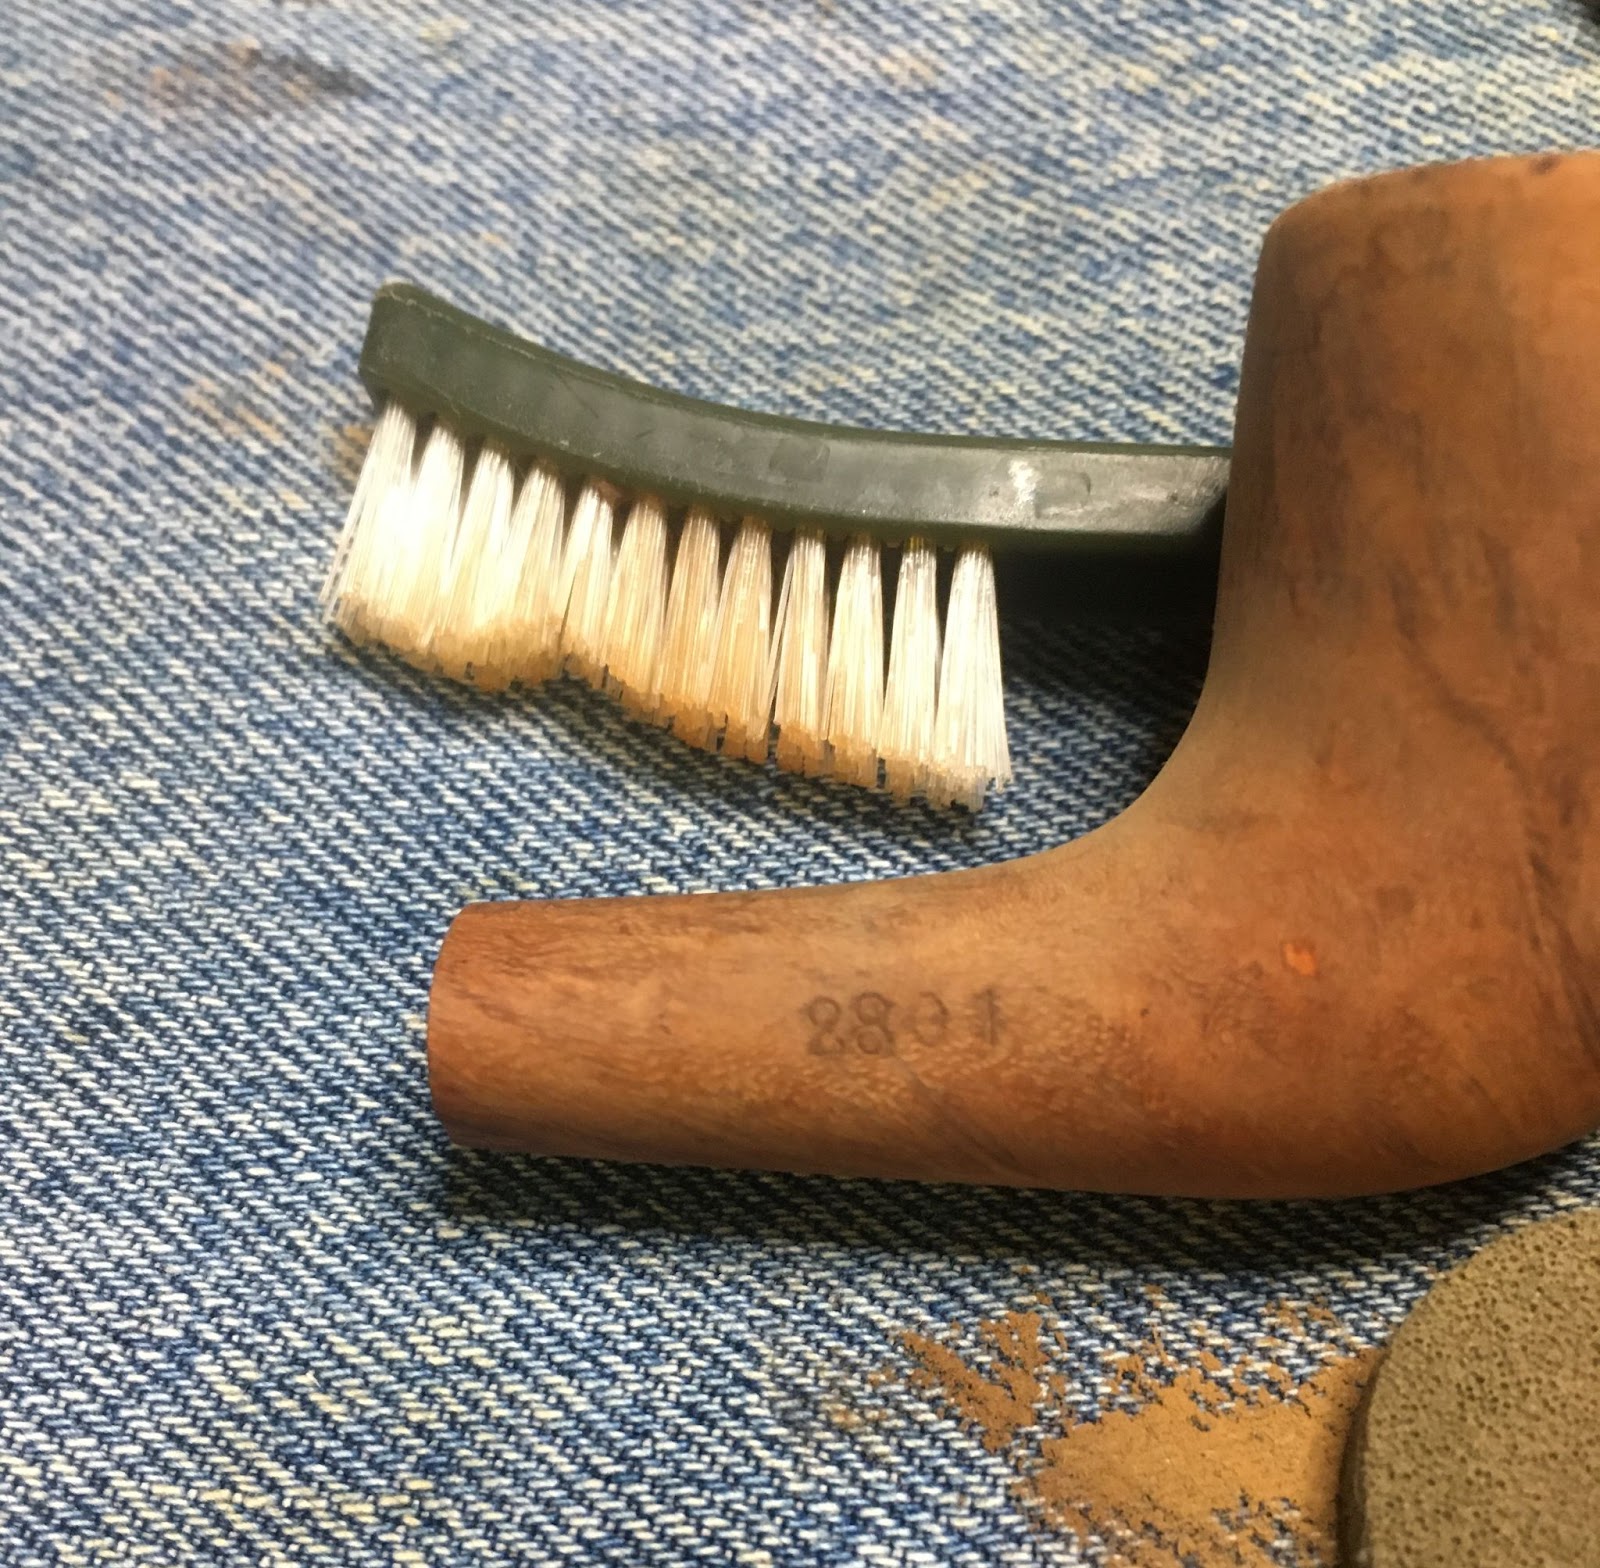
- Yello Bole used a 4 digit code stamped on the pipe in the 1930’s.
- Pipes with the Yello-Bole circle stamped on the shank it were made in the 1930’s, this stopped after 1939.
- Pipes stamped BRUYERE rather than BRIAR it was made in the 1930’s.” (https://pipedia.org/wiki/Yello-Bole).
Using the above guidelines this pipe represents the 1st, 2nd and 5th bullet points:
- KBB stamped in the clover leaf
- “Honey Cured Briar”
- 4 digit code”
Now for the shape number. This is a four digit number. Using the shape chart from the Kaywoodie Collector’s Guide I made the following:


(https://pipedia.org/wiki/Kaywoodie_Shape_Numbers)
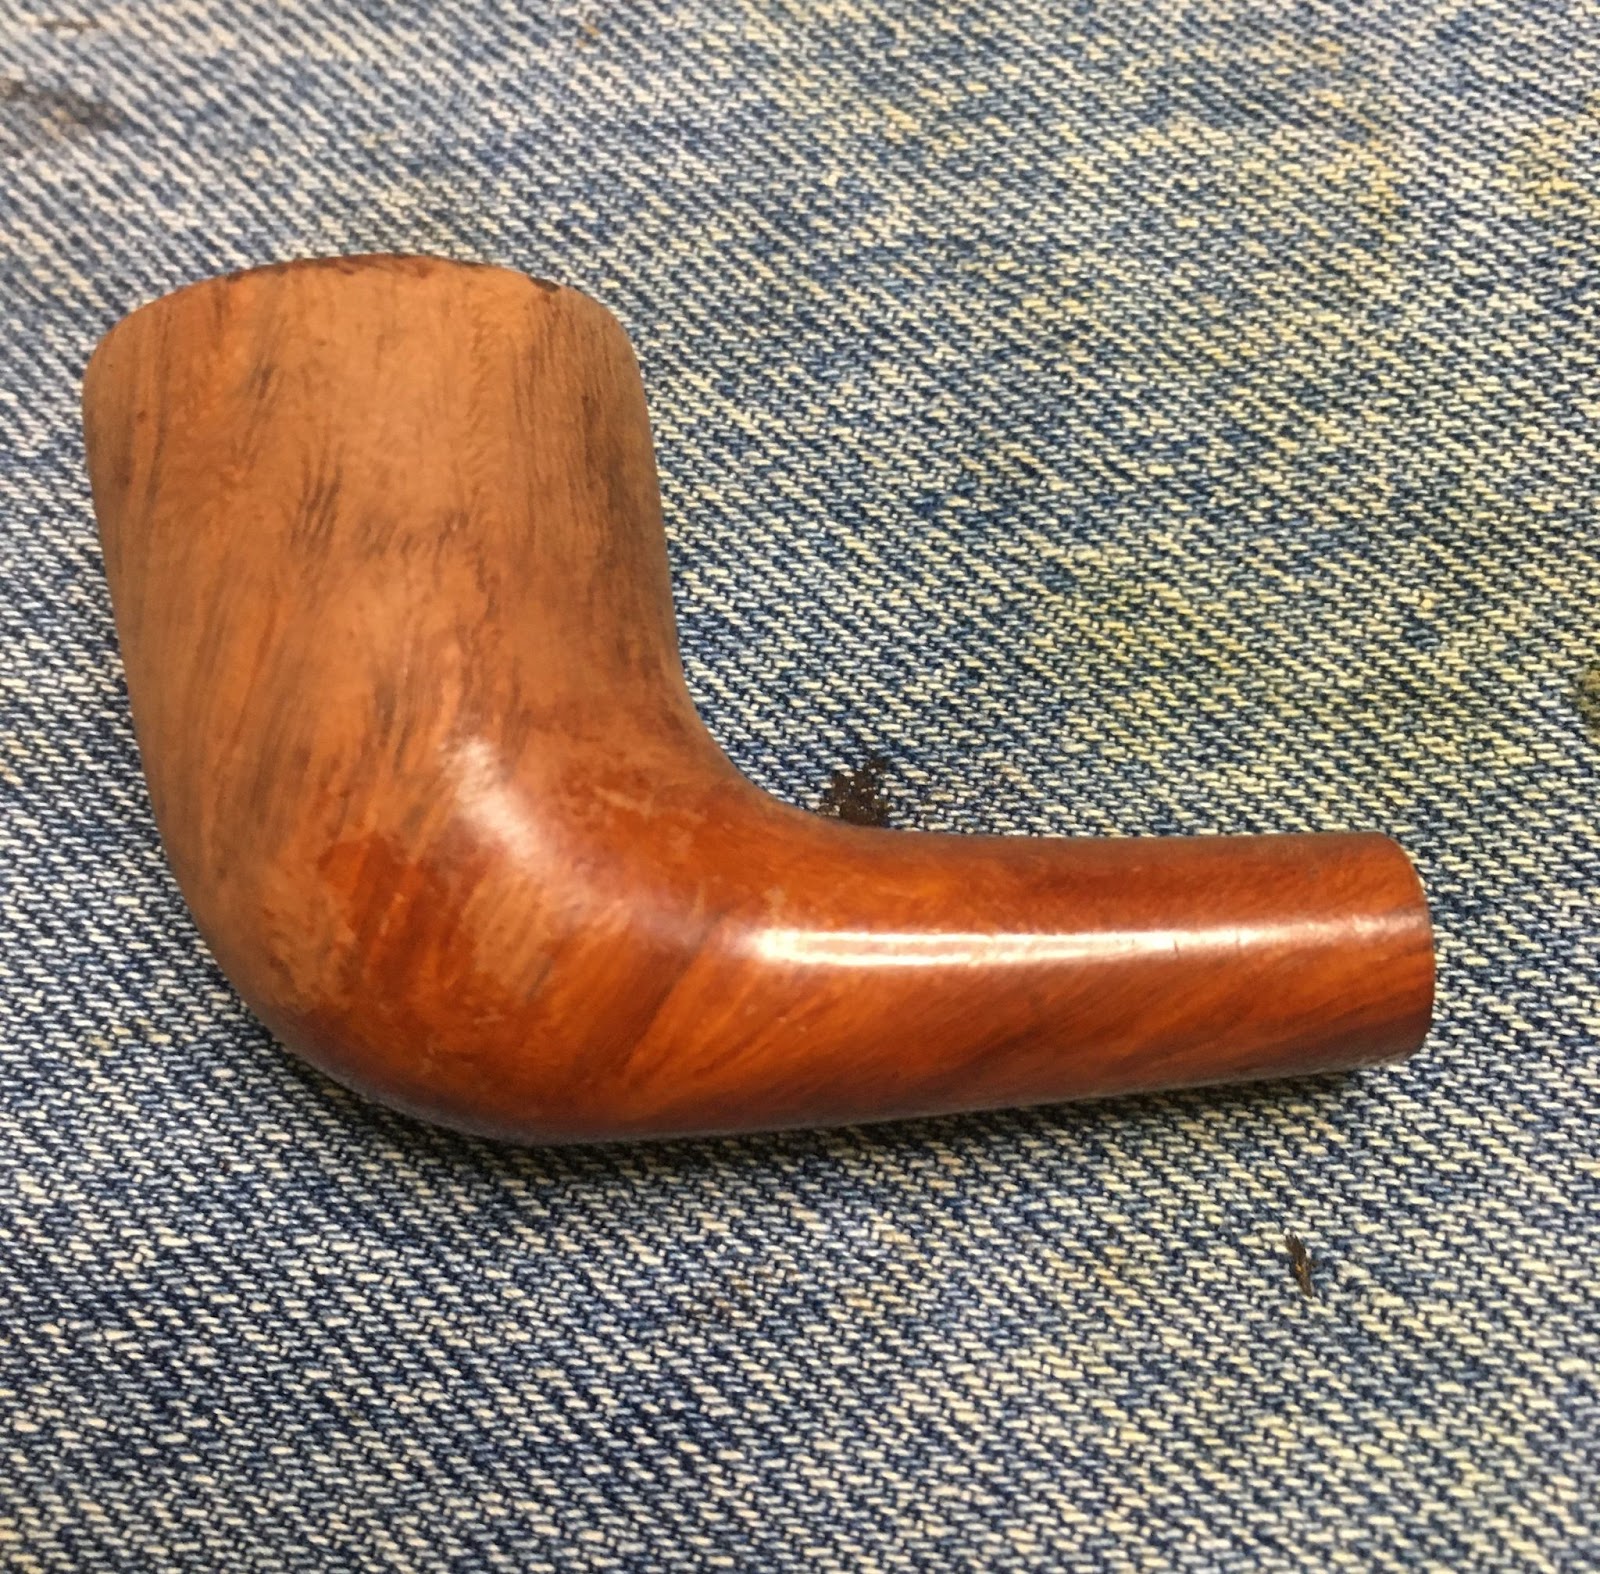
So there we have it, a 1933-36 Yello-Bole Yacht, oval bit. And a lovely Yello-Bole Yacht it is. Well, maybe not lovely now but wait until the restoration is complete… Speaking of before and after, below are some photos of the Yacht prior to any work being done.
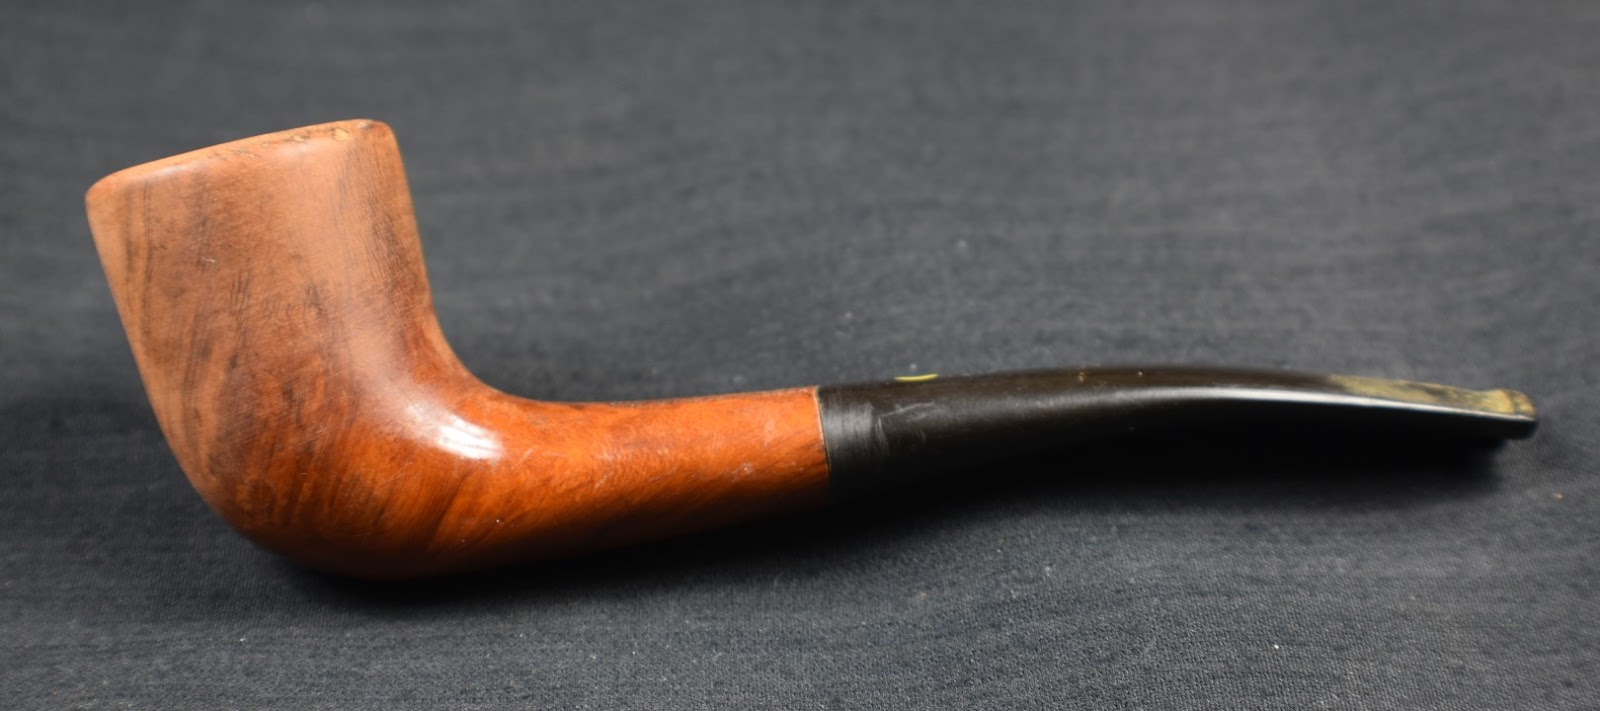


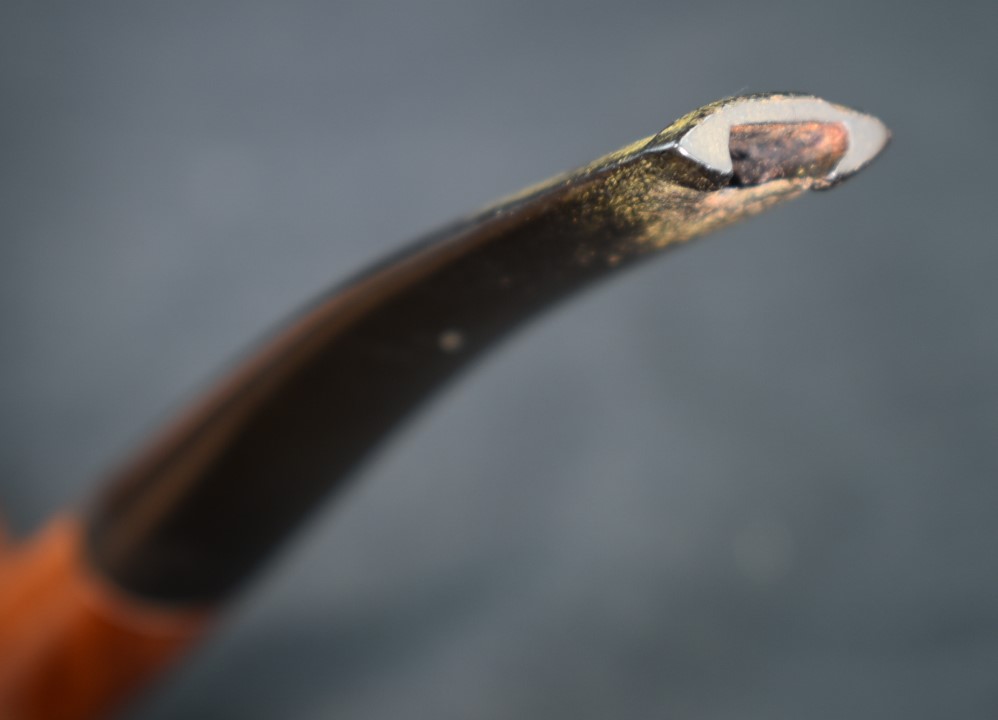

Yeah, I know. It is kind of hard to see the loveliness in those before photos. The old girl needs to have some work done. The restoration will require, cleaning, finish stripping, dent and ding repair of the stummel and stem, oxidation removal from the stem and rebuilding of the stem’s button.
The Restoration
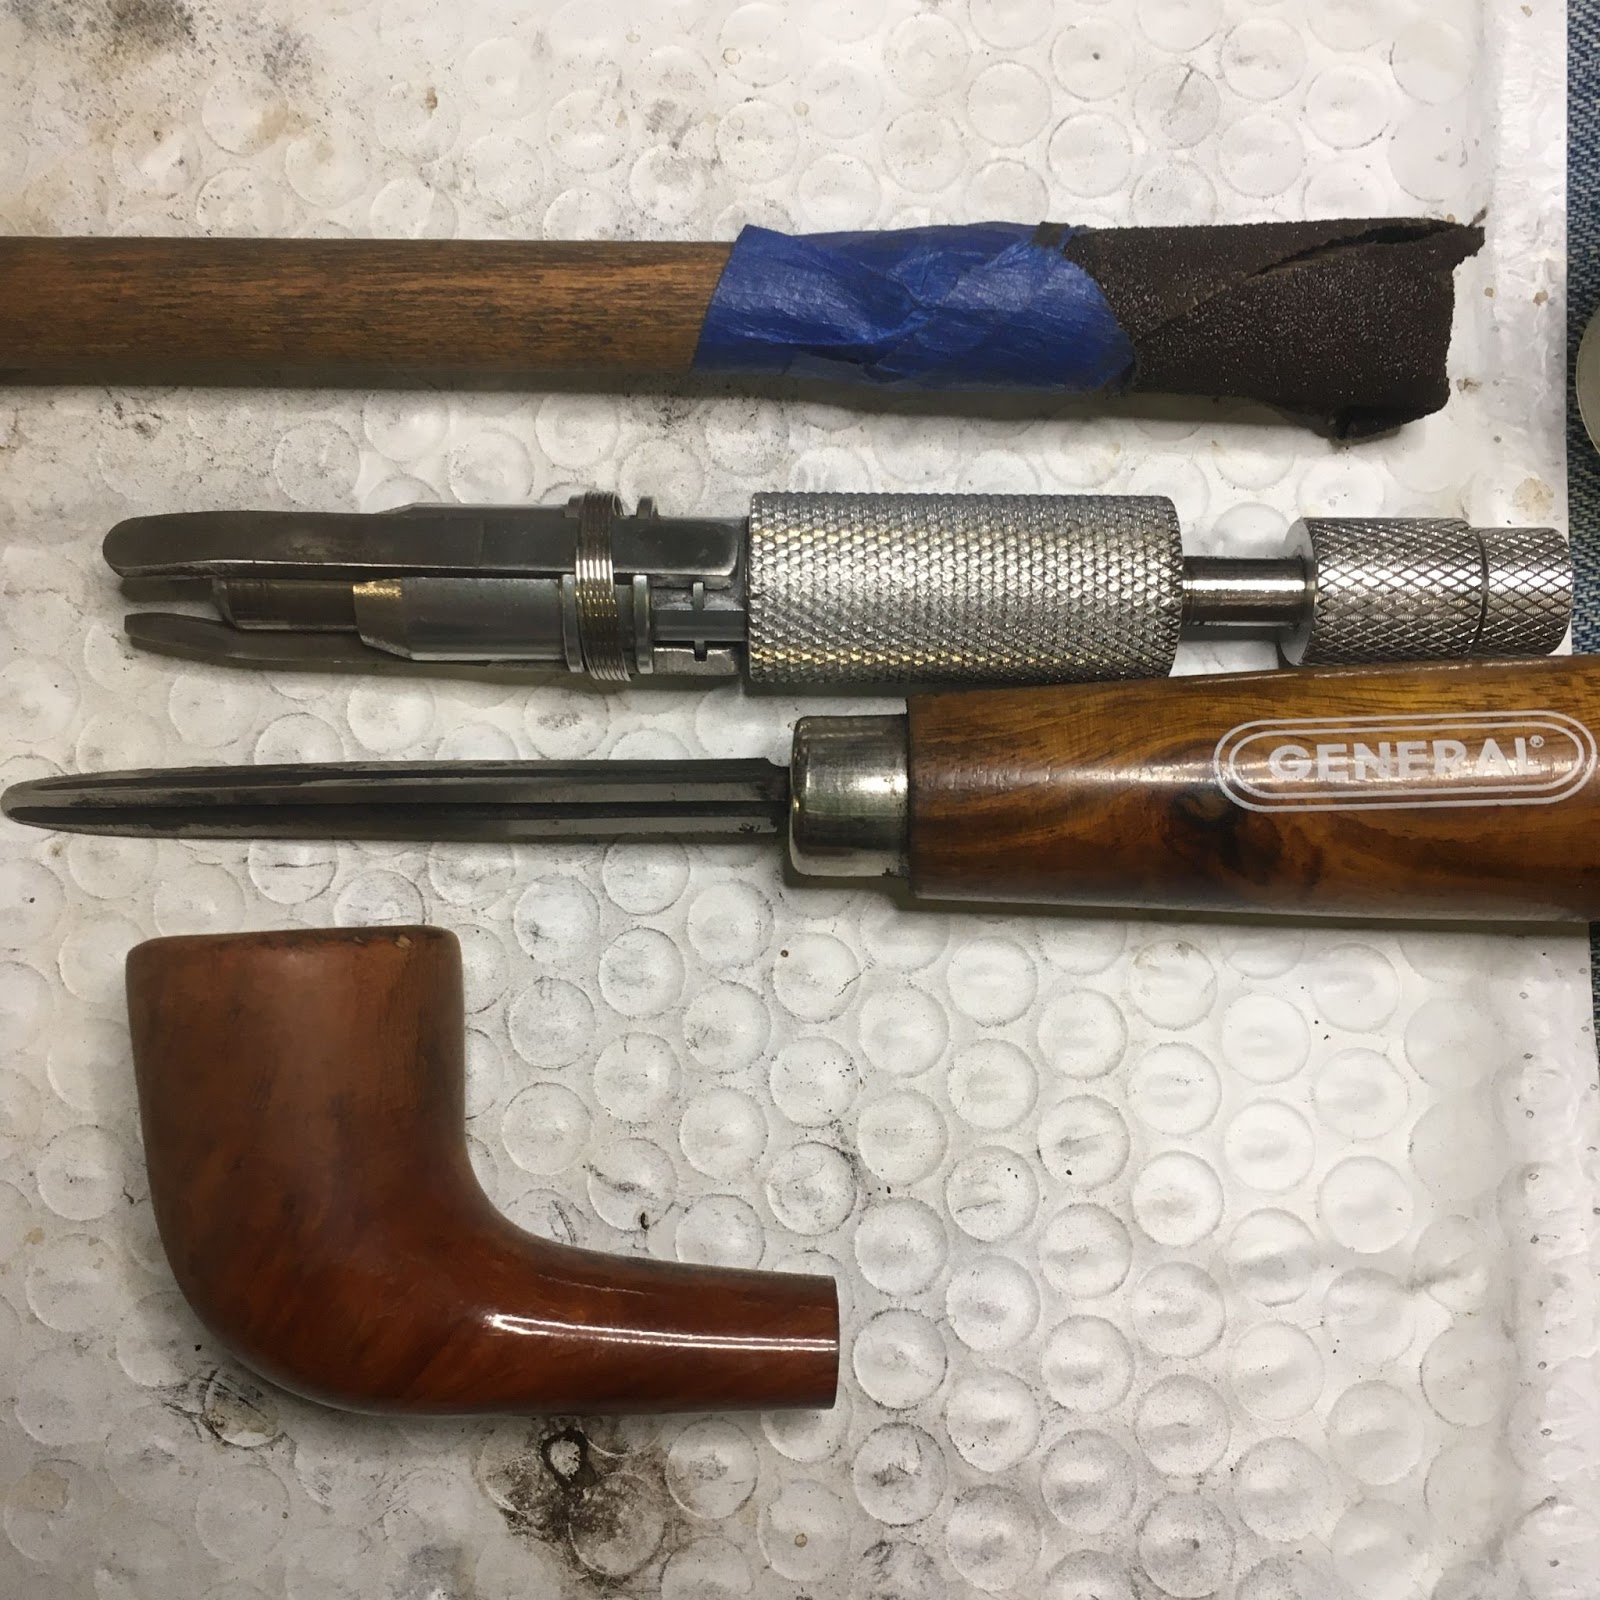
In my typical fashion I began with a clean (kind of, the stains are getting harder to launder) denim piece as a work surface.

The stem was removed. The stinger appeared to be quite stuck and was placed in 95% ethyl alcohol to soak.

Reaming tools were assembled. The PipNet would have to sit this restoration out since I broke the smallest size, #1 blades. The Scotte Stainless Reaming Tool would suffice along with the General triangular scraper and the 220 sandpaper wrapped dowel.
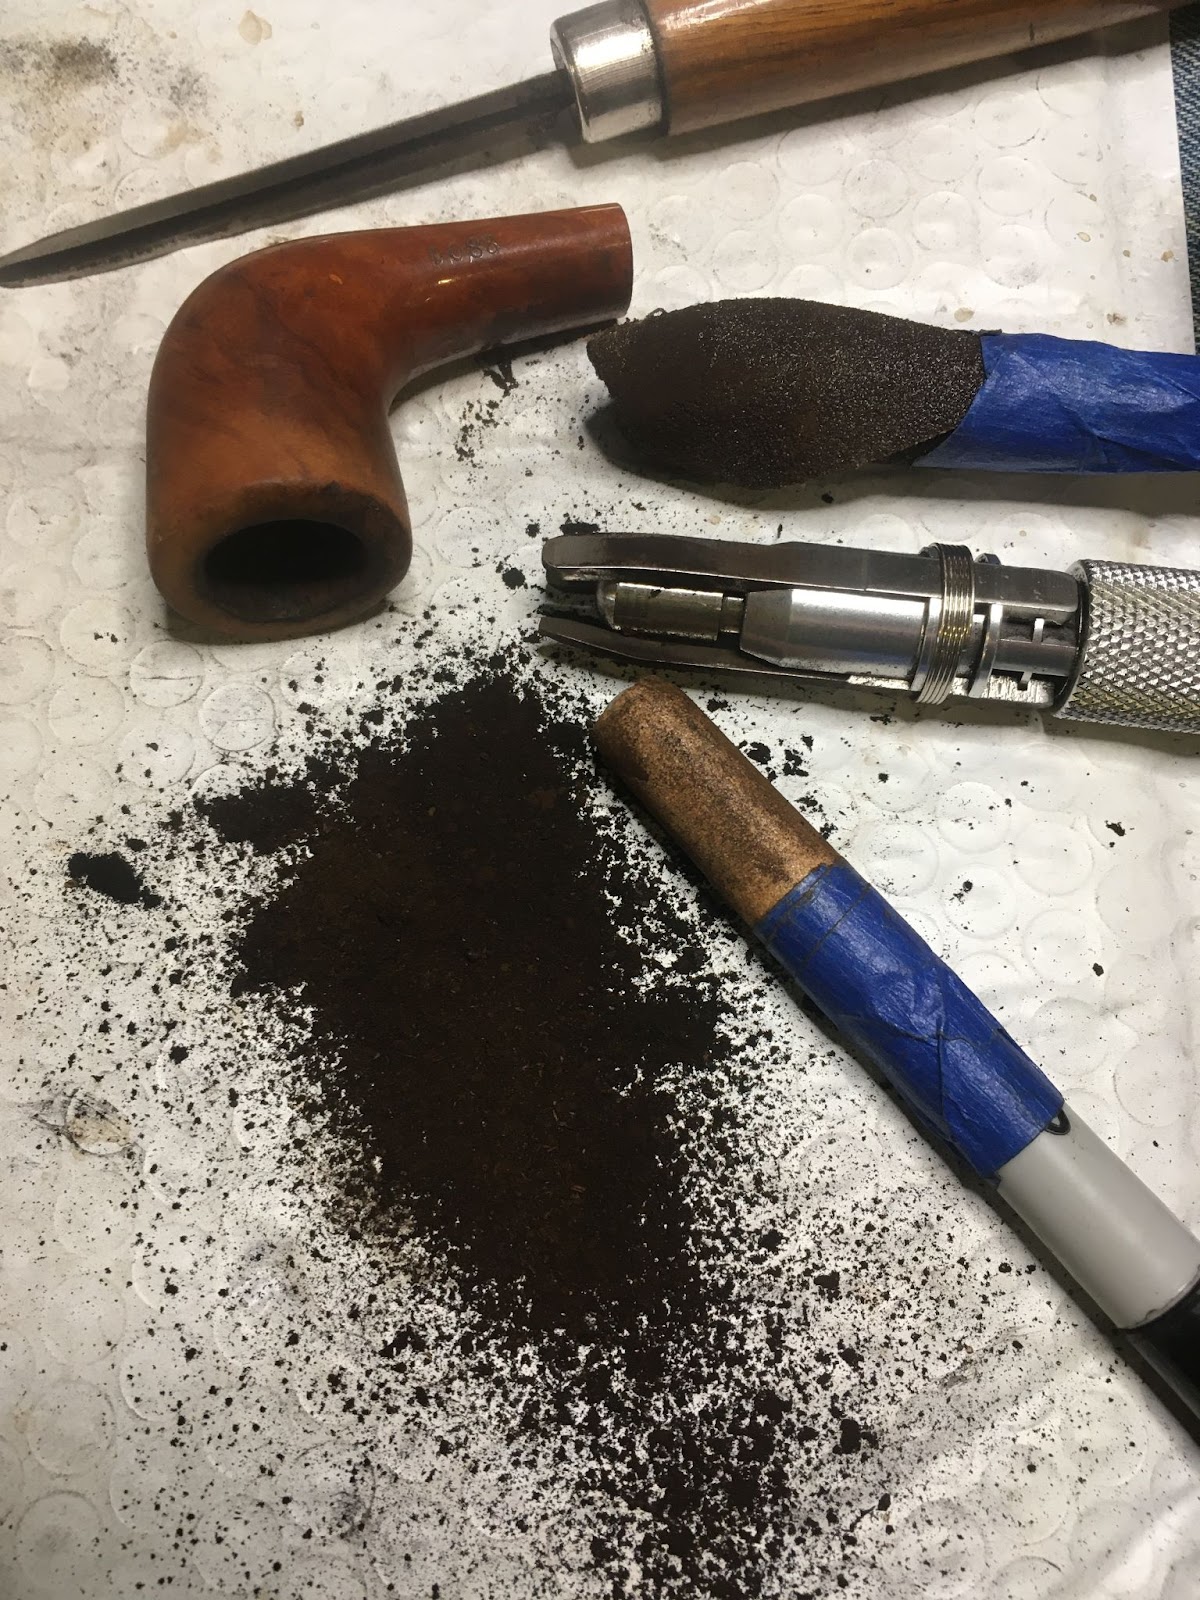
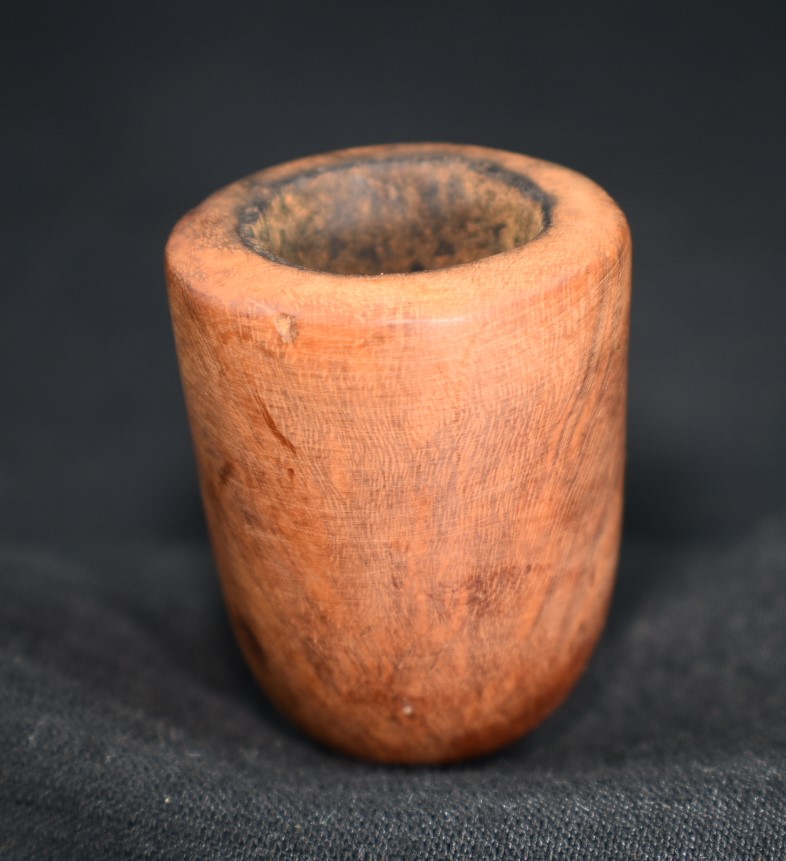
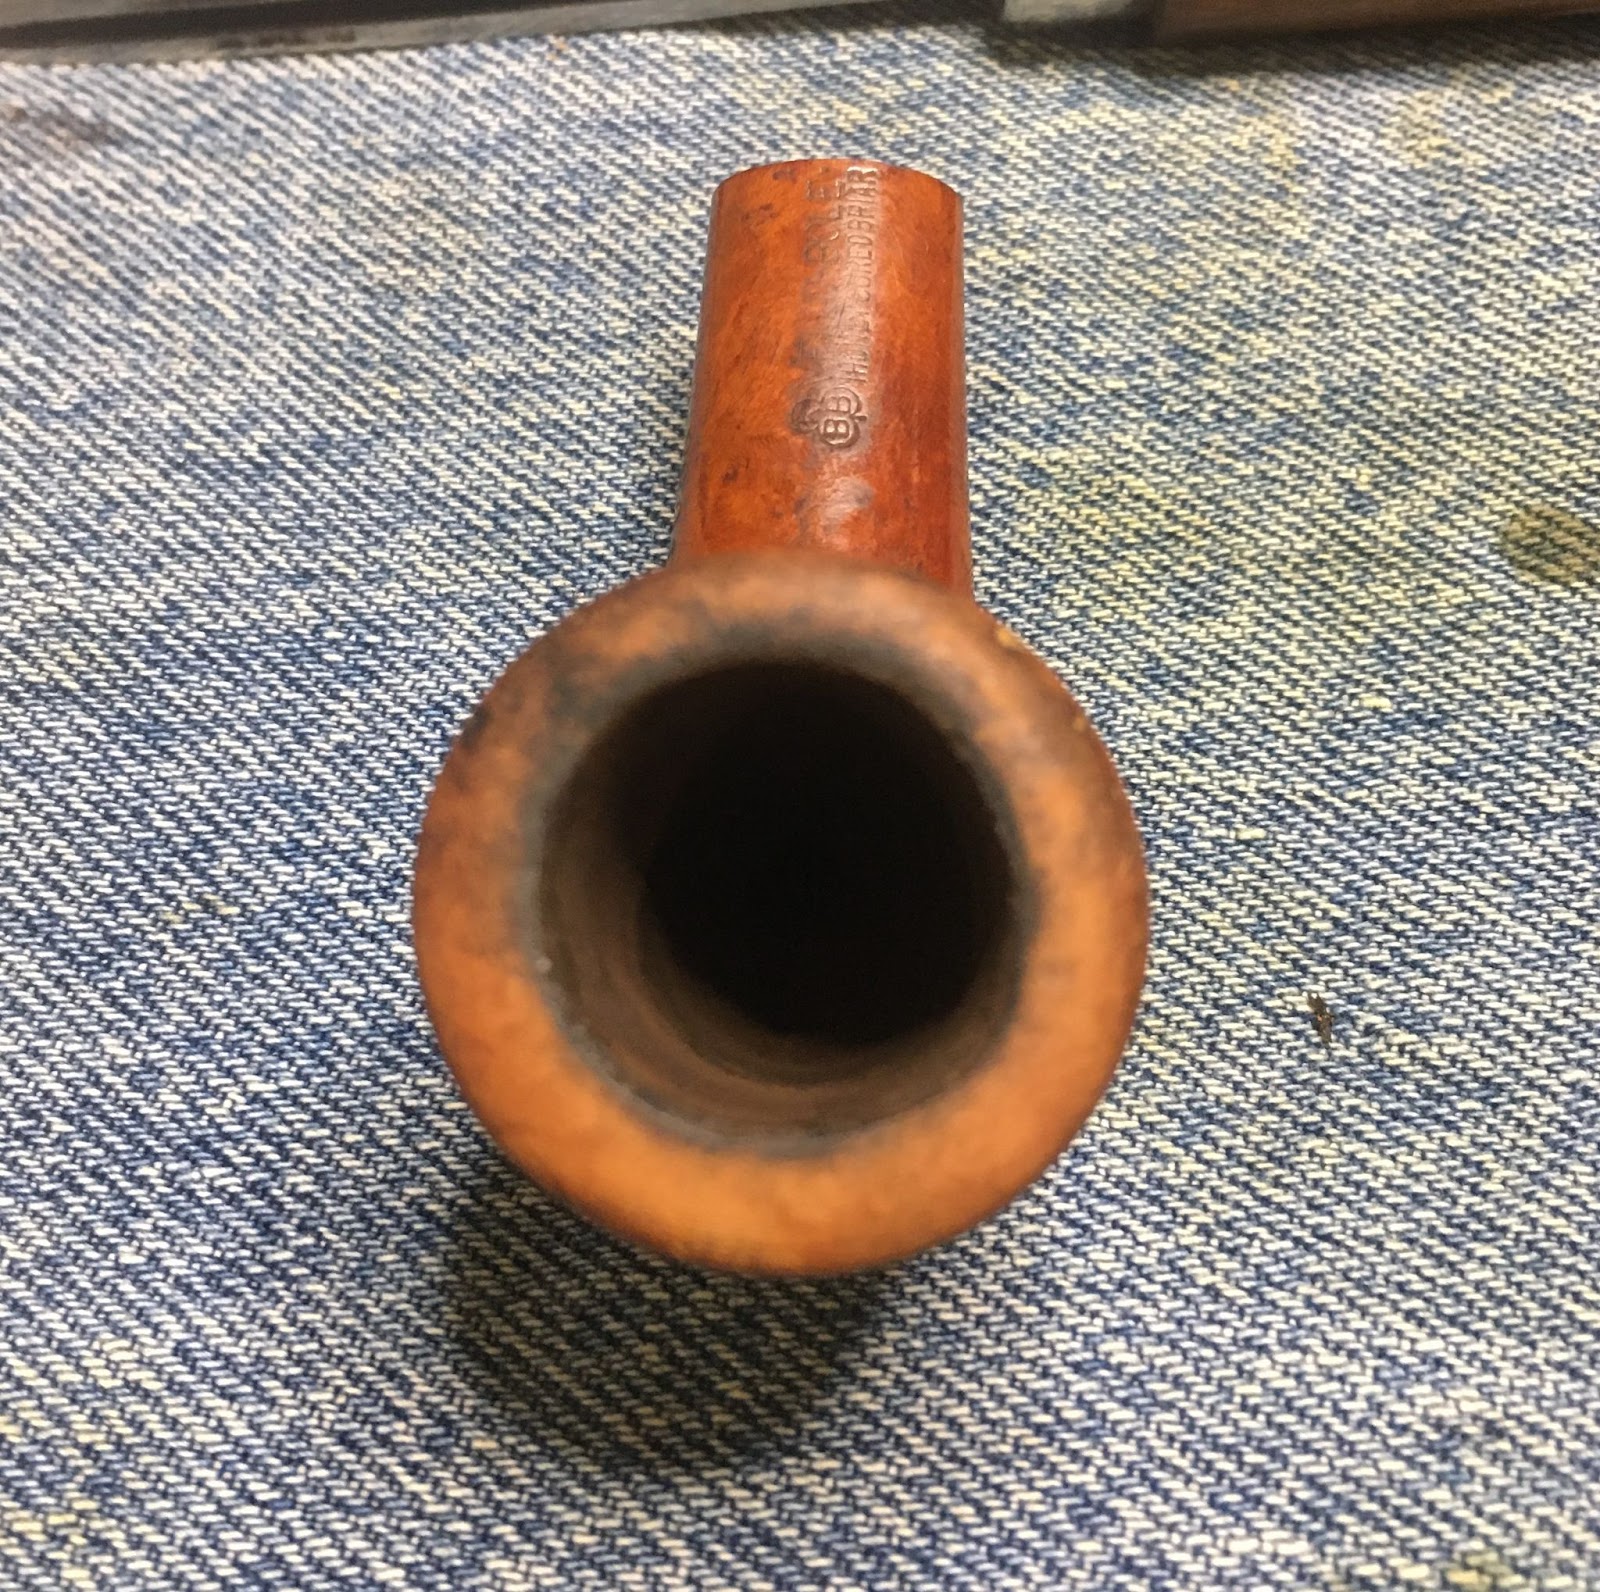
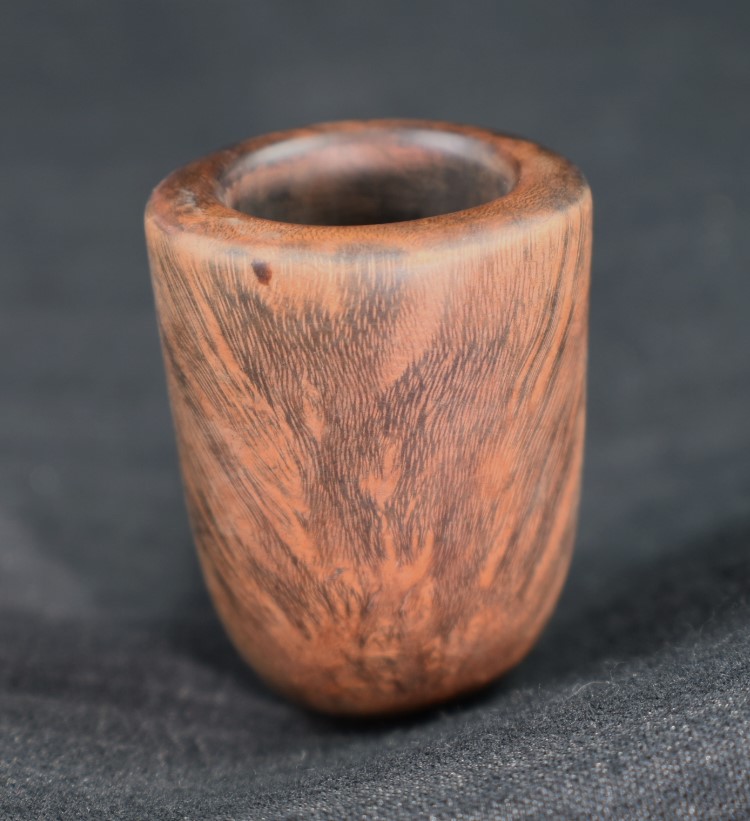
Below is a post reaming photo of the tobacco chamber showing no damage from excessive heat.

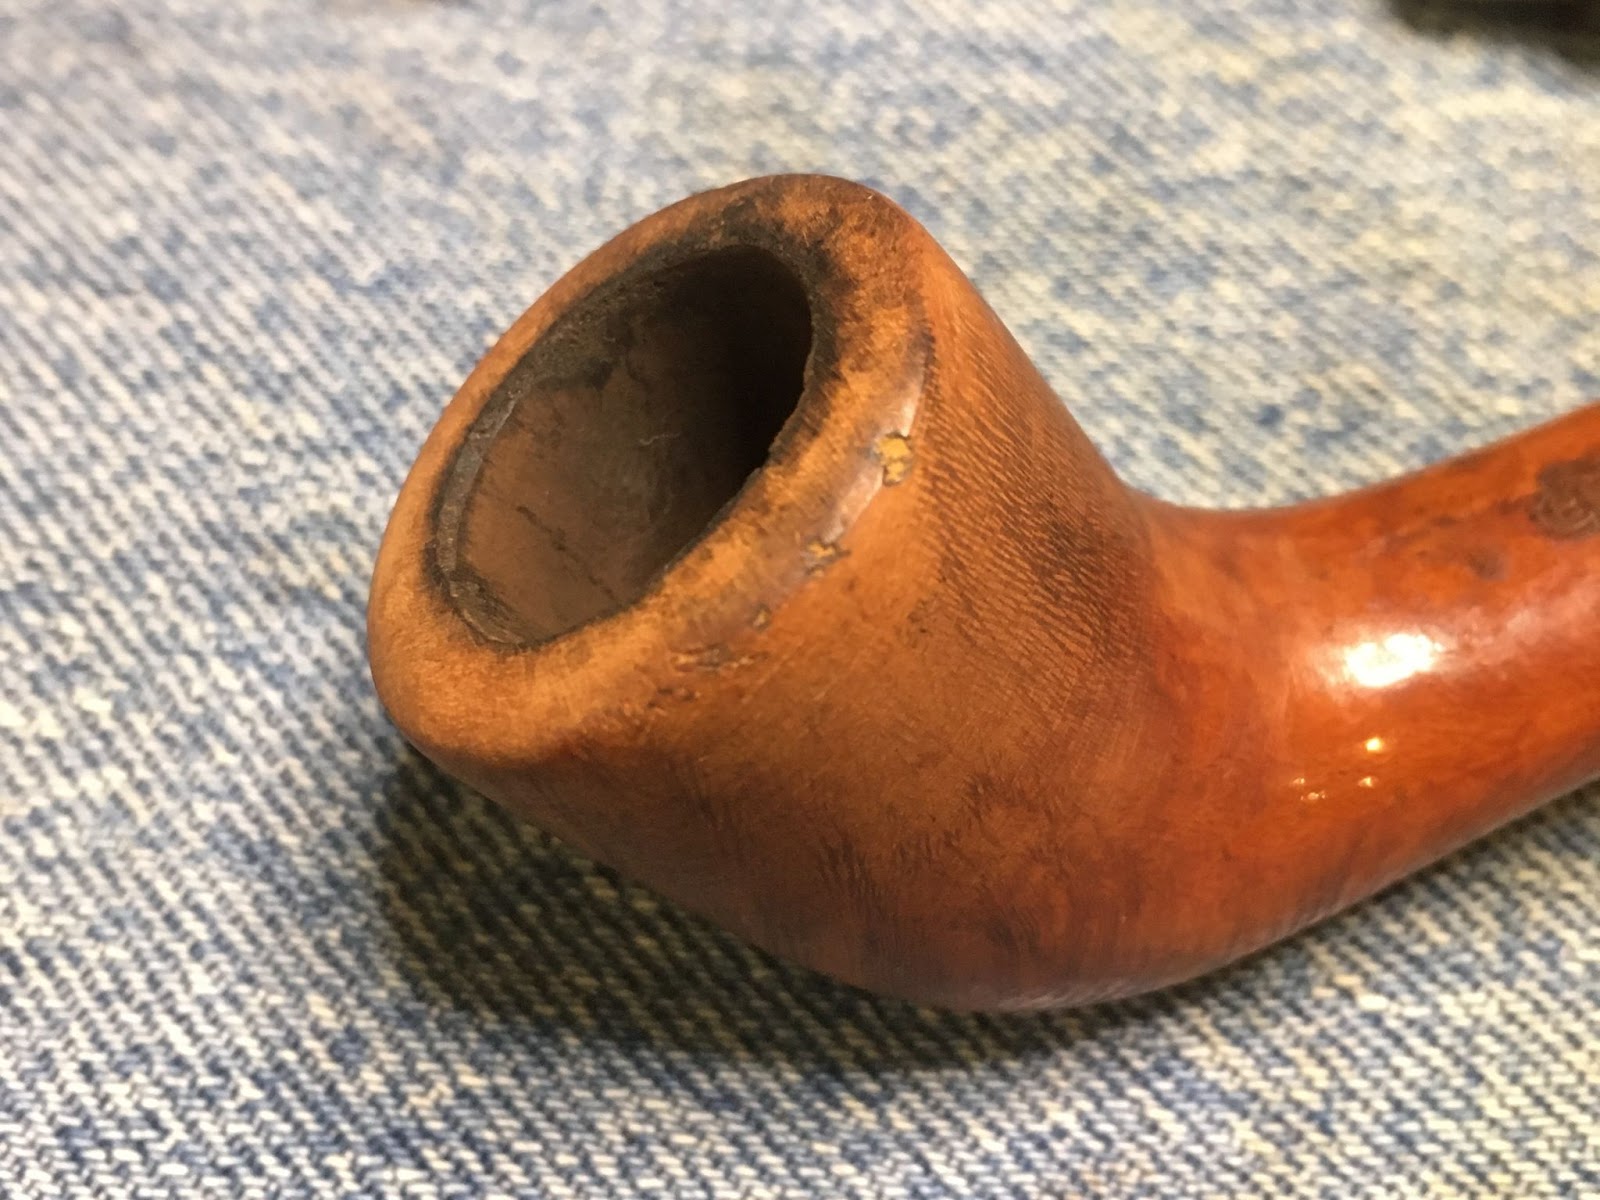
The rim was scraped with a sharp pocket knife to remove any lava and some of the charred briar.
There were several spots where the rim had been damaged by dottle knocking or other rough handling. Remedies included topping the rim by a few millimeters or filling with cyanoacrylate (CA, super glue) and briar dust. I chose the latter so as to not change the shape of the yacht’s proportions.

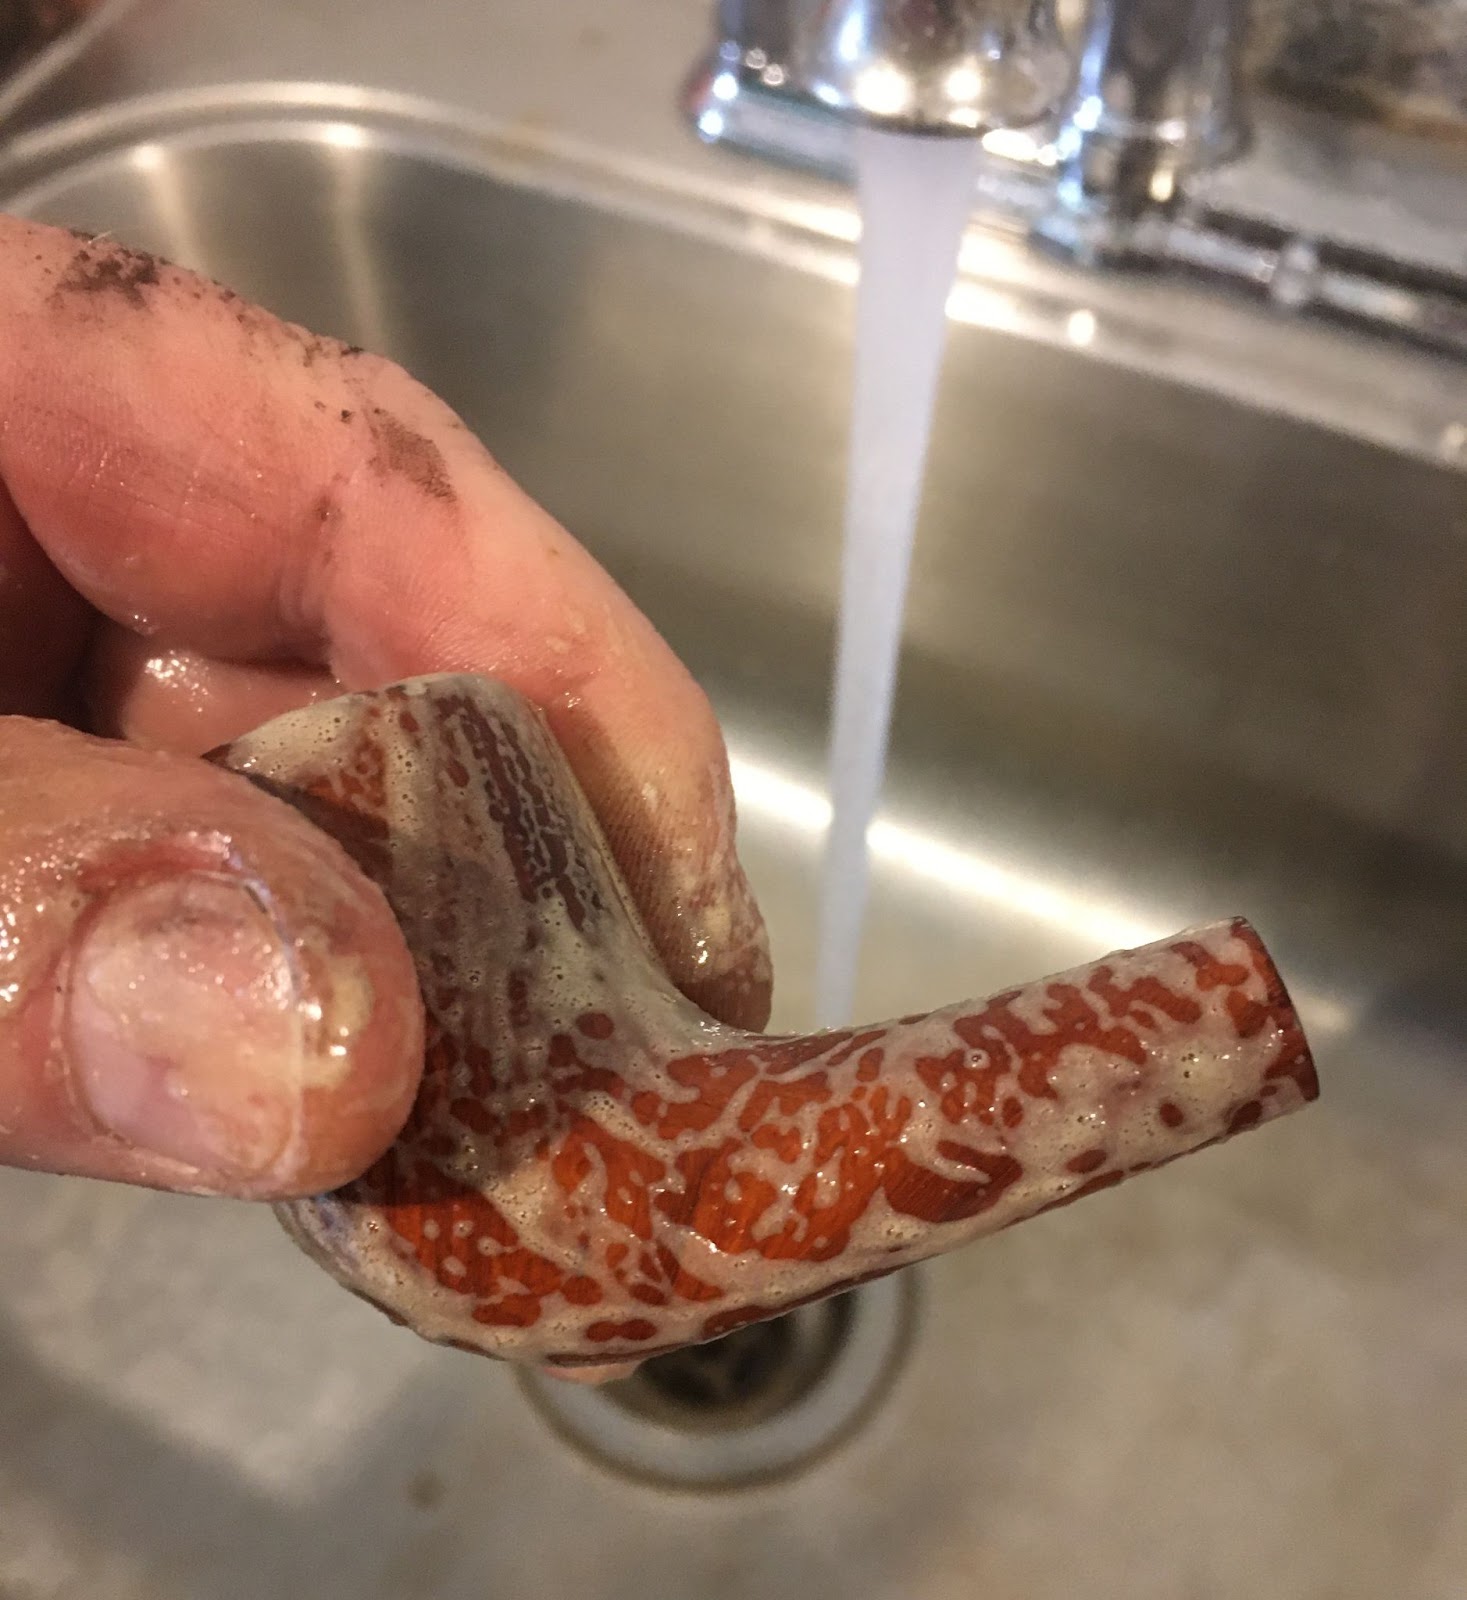
The stummel was taken to the sink for a scrub with a medium bristle toothbrush and undiluted Murphy Oil Soap. The soap was rinsed with warm water and the stummel dried with a cotton hand towel.
Back at the workbench the stummel looked significantly better. It also showed exactly where the old finish needed to be removed.
What solvent would be best for finish removal? I usually start with the least offensive and work up from there. I began with 95% ethyl alcohol on a cotton make-up pad. It removed the fishing but at a very slow and tedious rate.

Next I tried acetone on a make-up pad. Much faster results came with this solvent.

A few pads later and the finish was mostly removed. I did not want to submerge the stummel into a jar of acetone. My acetone jar is getting pretty dark with finish and stain from other pipes and I did not want to risk darkening the briar of this Yello-Bole nor did I have enough fresh acetone on hand to discard the old and make a new acetone bath.

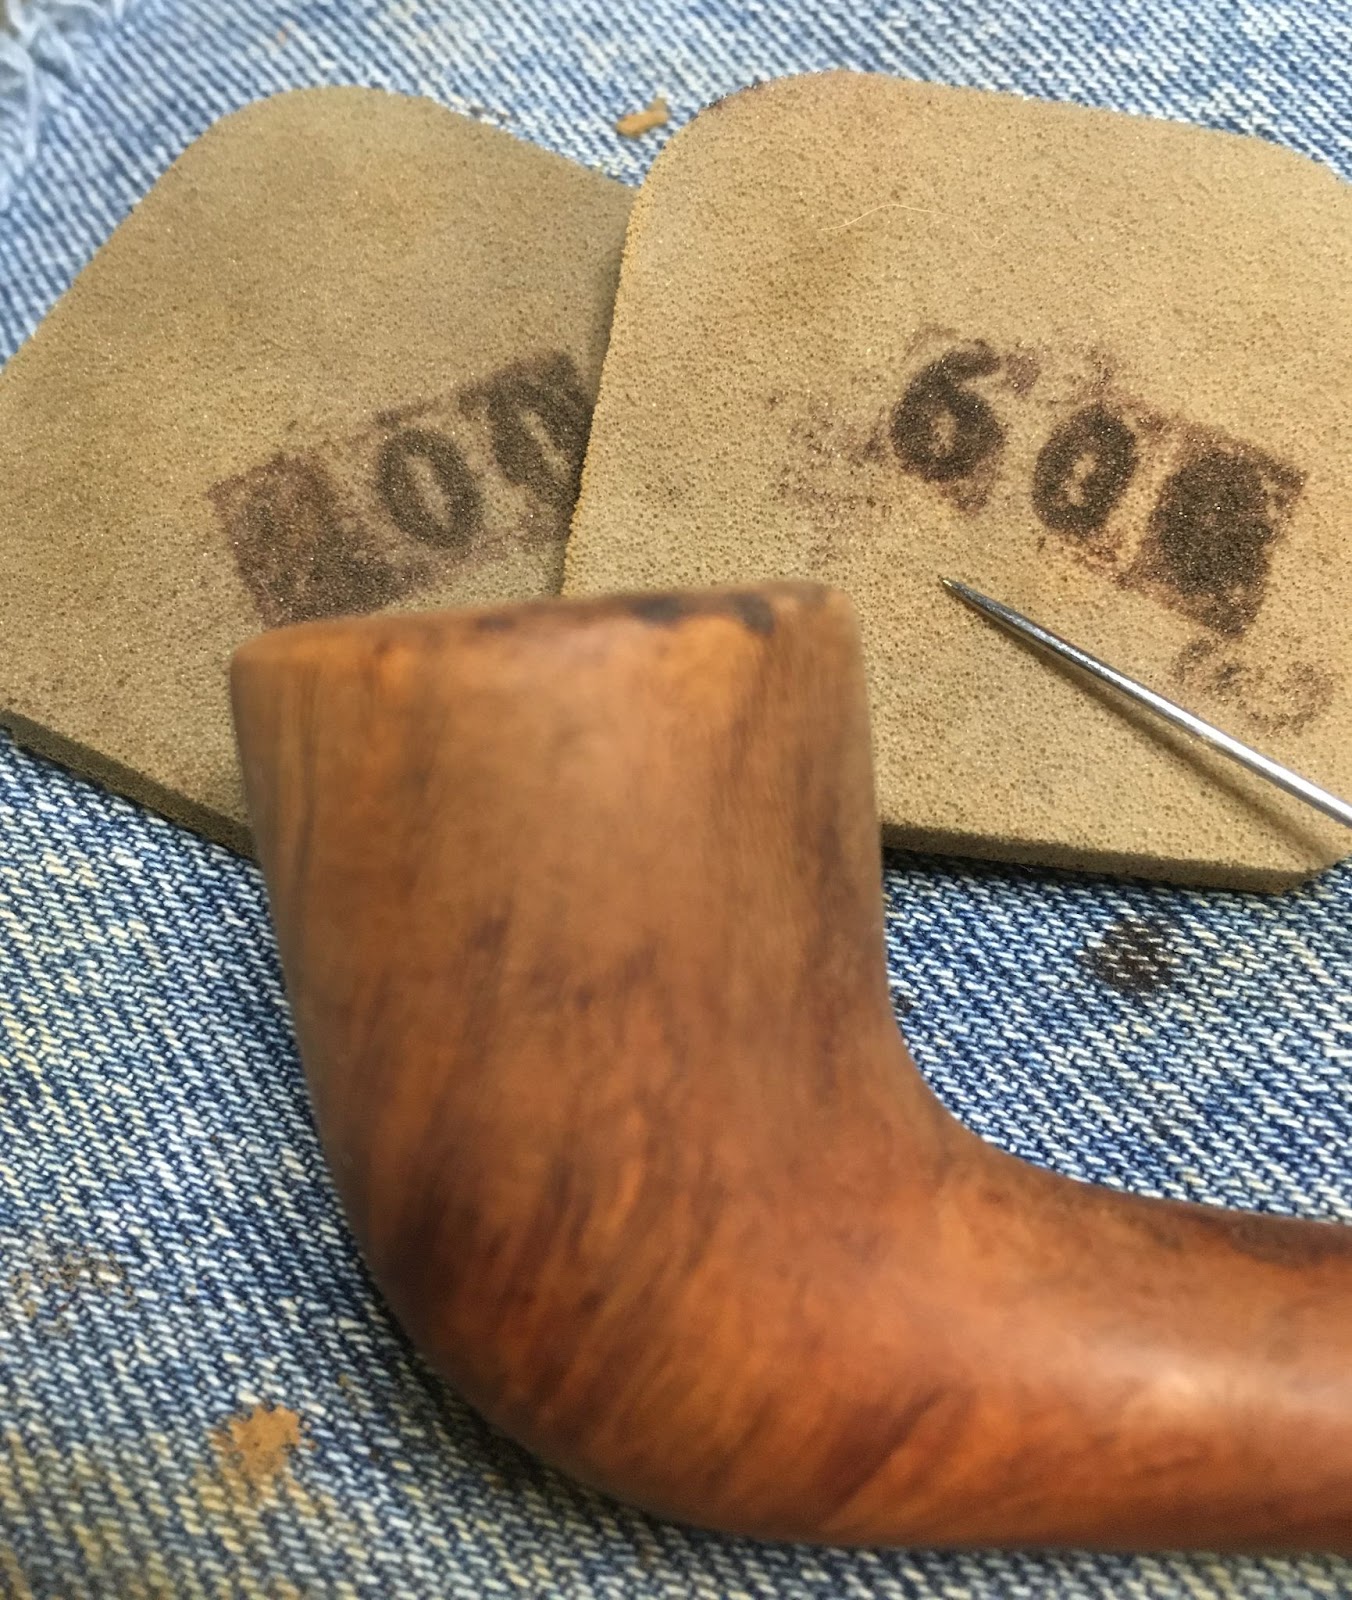
A light sanding with a 400 grit sanding sponge followed by a make-up pad with acetone freed the thicker finish from spots. Notice the stamps still had a heavier layer of finish.

The stamps were cleared of their finish with the use of a nylon scrub brush dipped in clean acetone then scrubbed.

It turns out that the singer was immune to being pulled from the stem not my tars but by threads. Cue the Homer Simpson, “DOH!” Even though the threads look rather shoddily cut and tar filled they cleaned up nicely with alcohol and a bristle pipe cleaner. The brown dust that you see on the denim is from a light sanding of the stem with a 400 grit sanding sponge. I wipe the sponge frequently to clean the dust from the abrasive surface.

The airway of the stem was cleaned with bristle pipe cleaners and 95% ethyl alcohol.
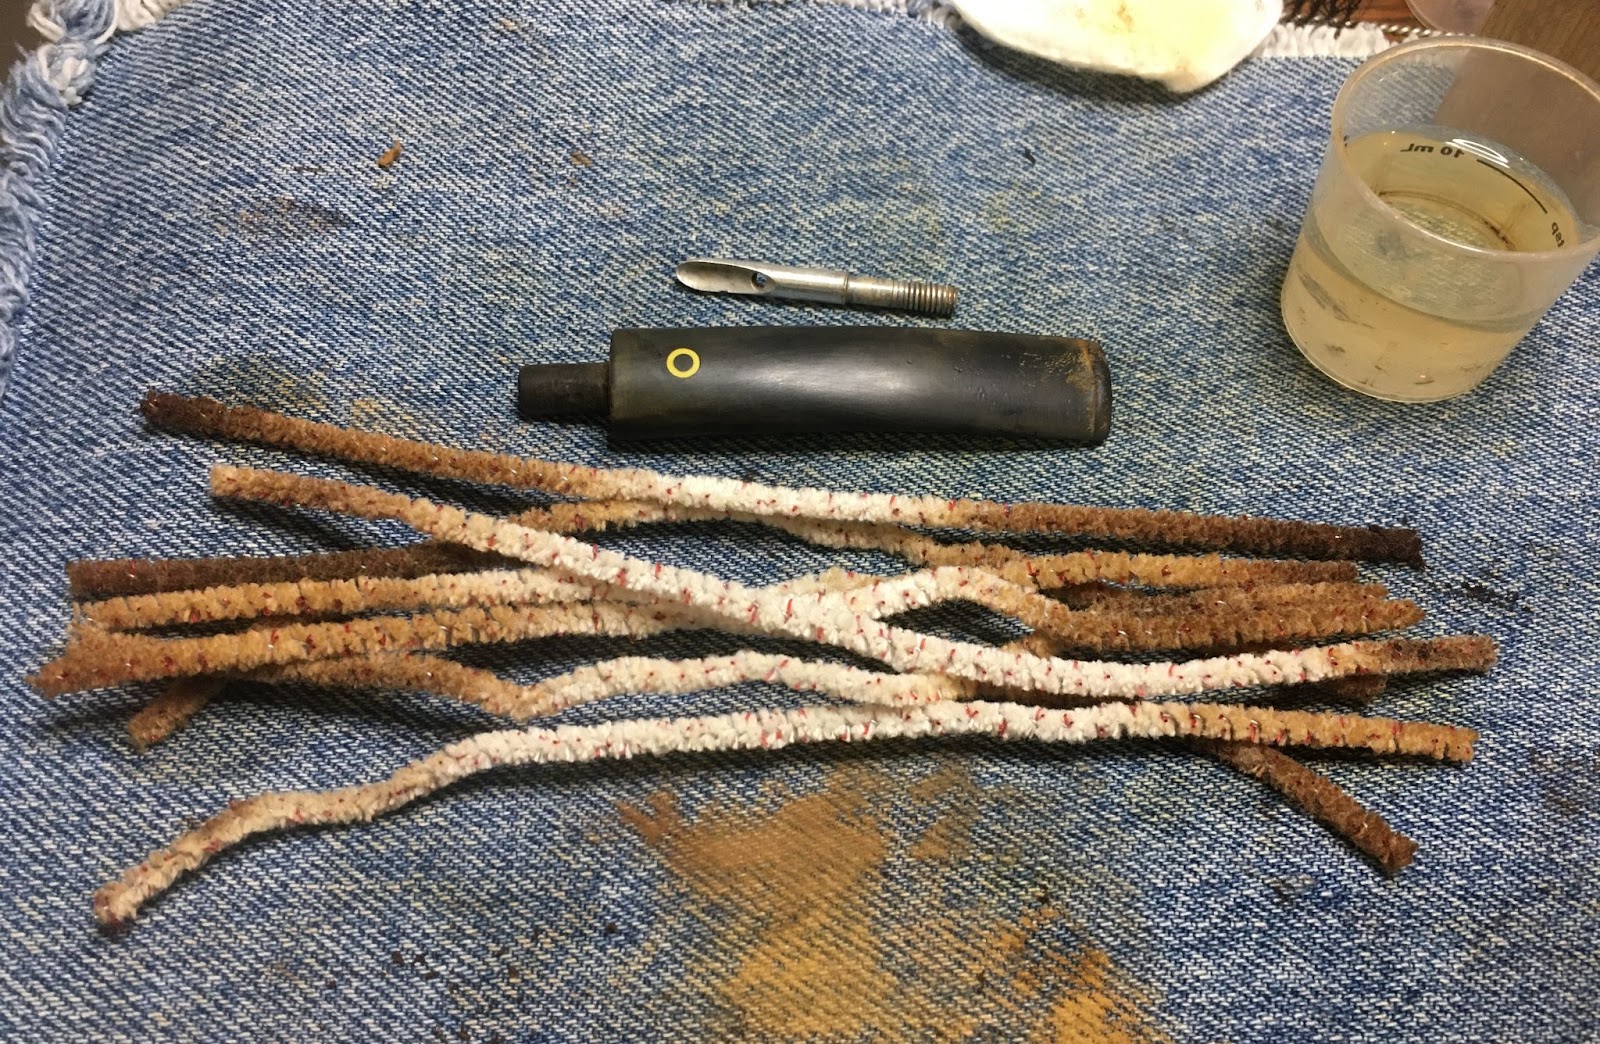
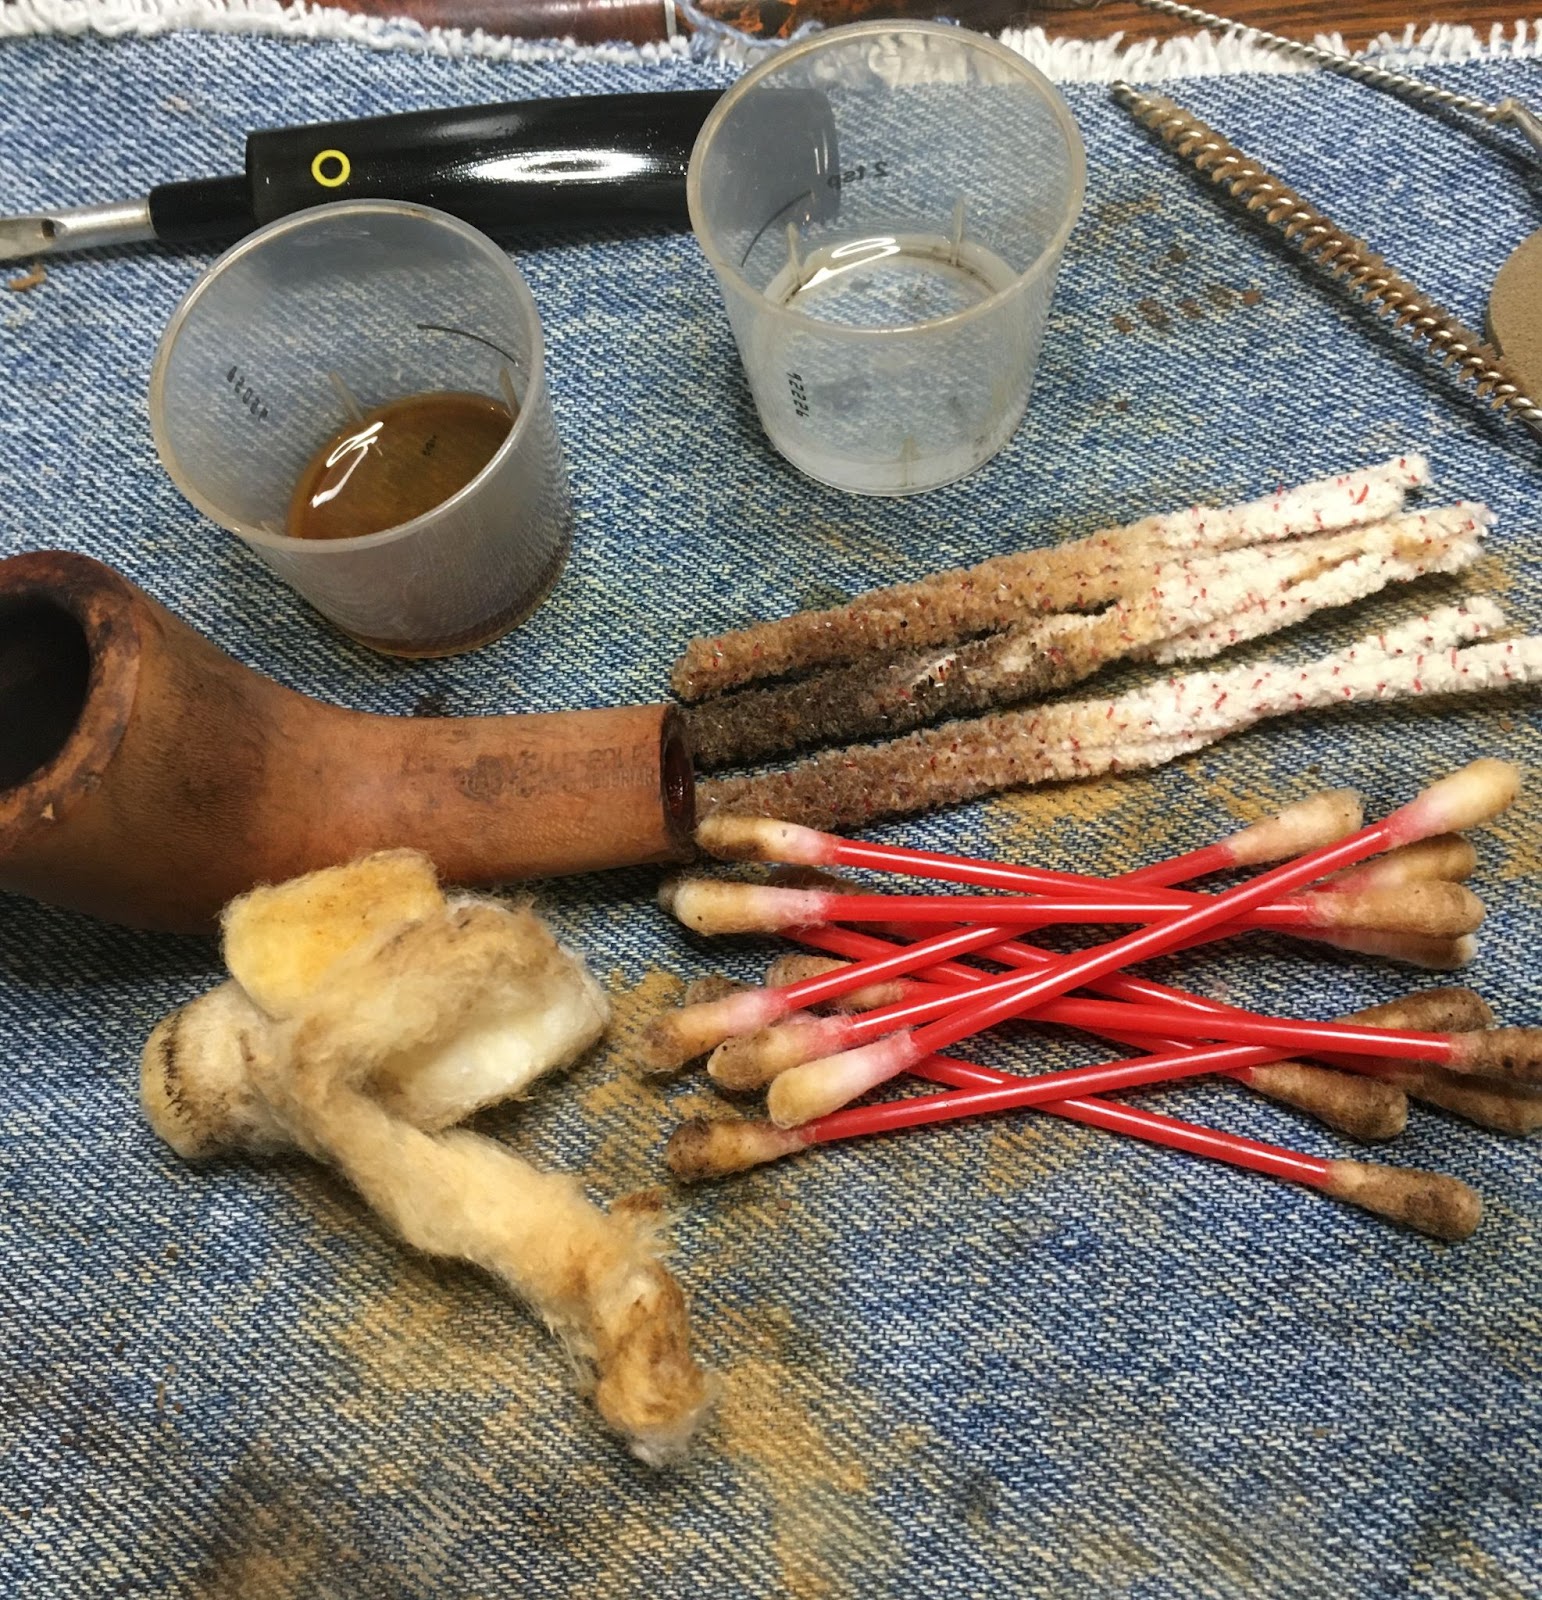
Next came the cleaning out of the airway in the shank. I had a feeling this one was going to be difficult and it was. I started by pouring 4-5 ml of 95% ethyl alcohol into the tobacco chamber and allowed it to flow into the shank. I used a nylon shank brush to scrub the airway with the alcohol. The alcohol was then poured into a medicine cup. The first time doing this is sometimes misleading. It can take a couple of applications of alcohol to get the tar and yuck loosened up and dissolve into the alcohol. Cotton swabs were used to further scrub the airway.

The process was repeated numerous times.

Feeling like I was making little progress I chose to pack the tobacco chamber and airway with cotton and saturate it with 95% ethyl alcohol and let it sit overnight.


While the alcohol was working on softening and dissolving the yuck. I set to repairing the stem. I cut a piece of plastic to use as a dam to keep the black CA from flowing into the airway.

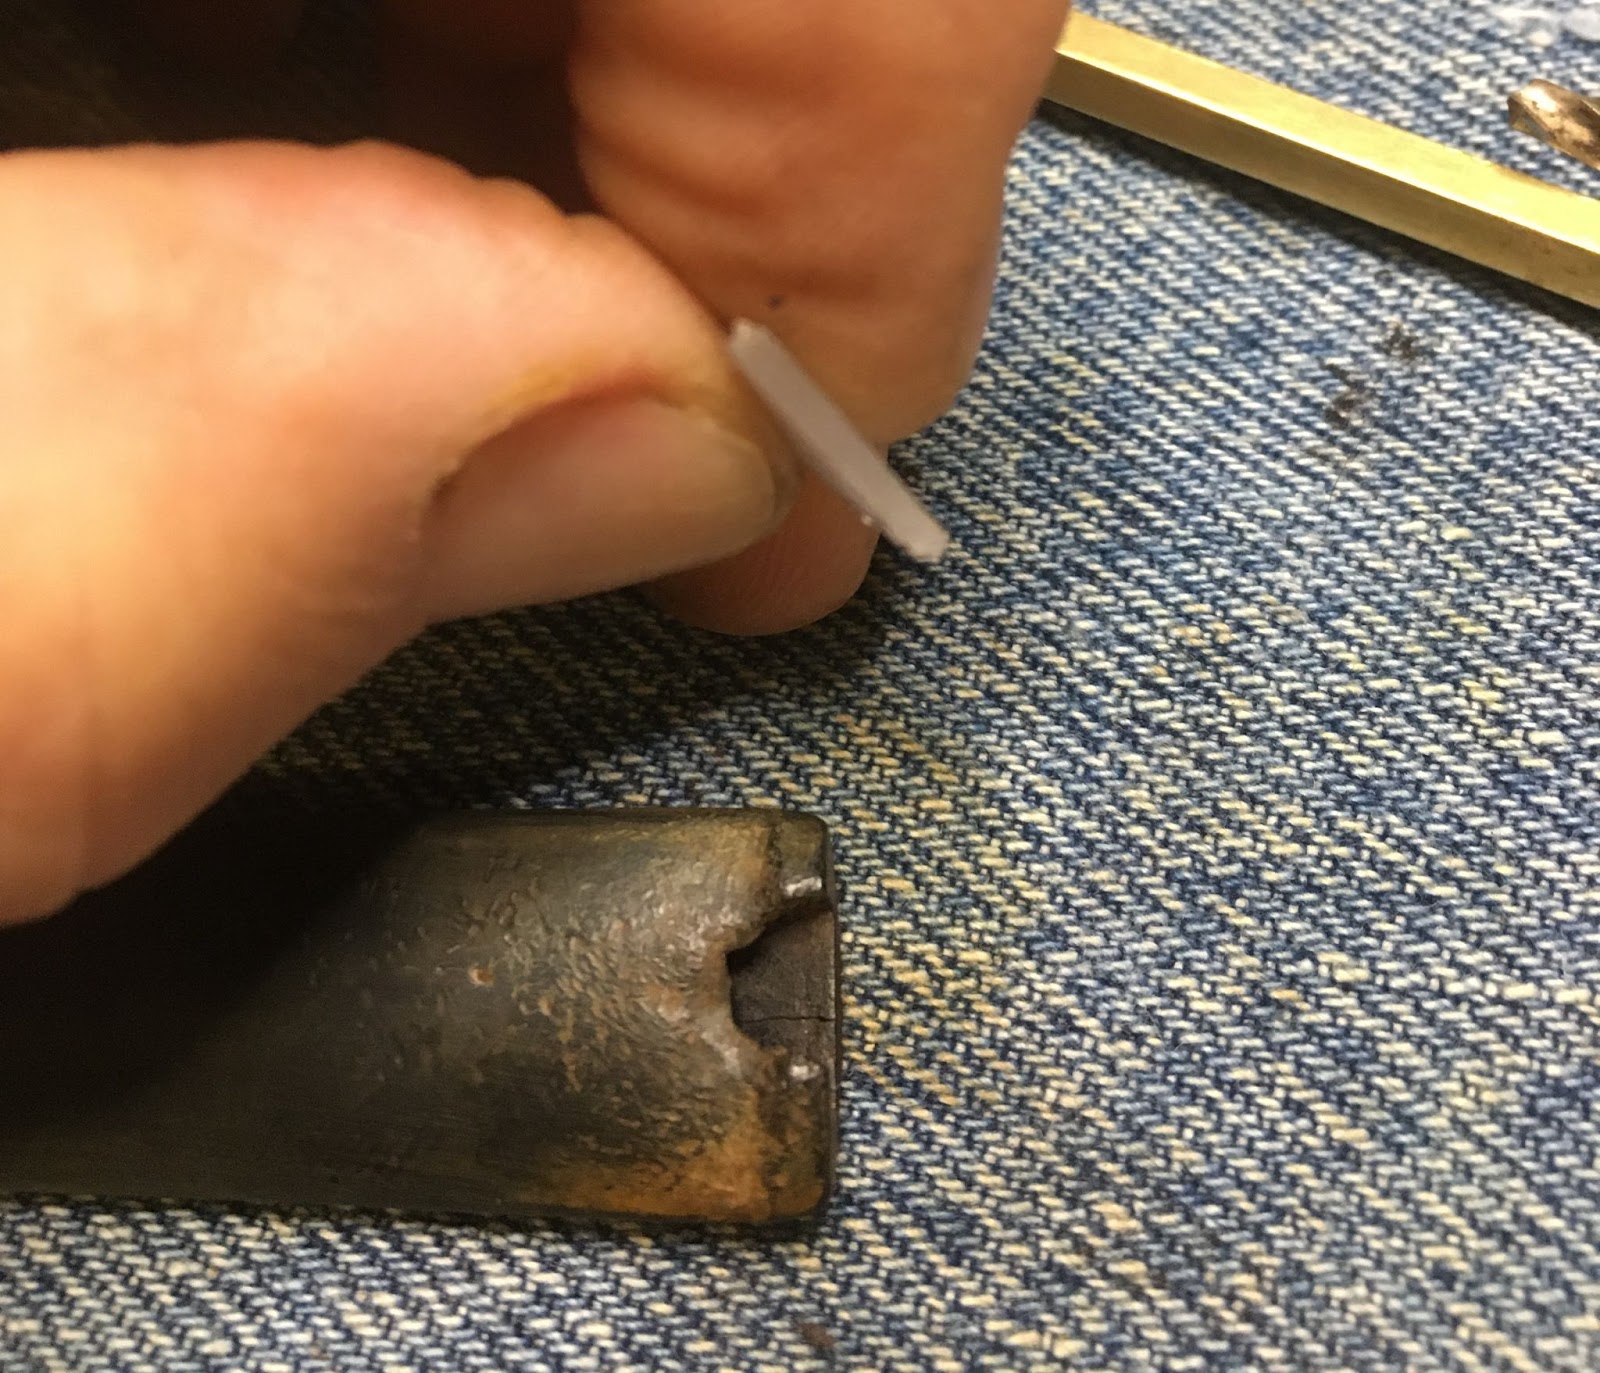
Below you can see the placement of the dam.

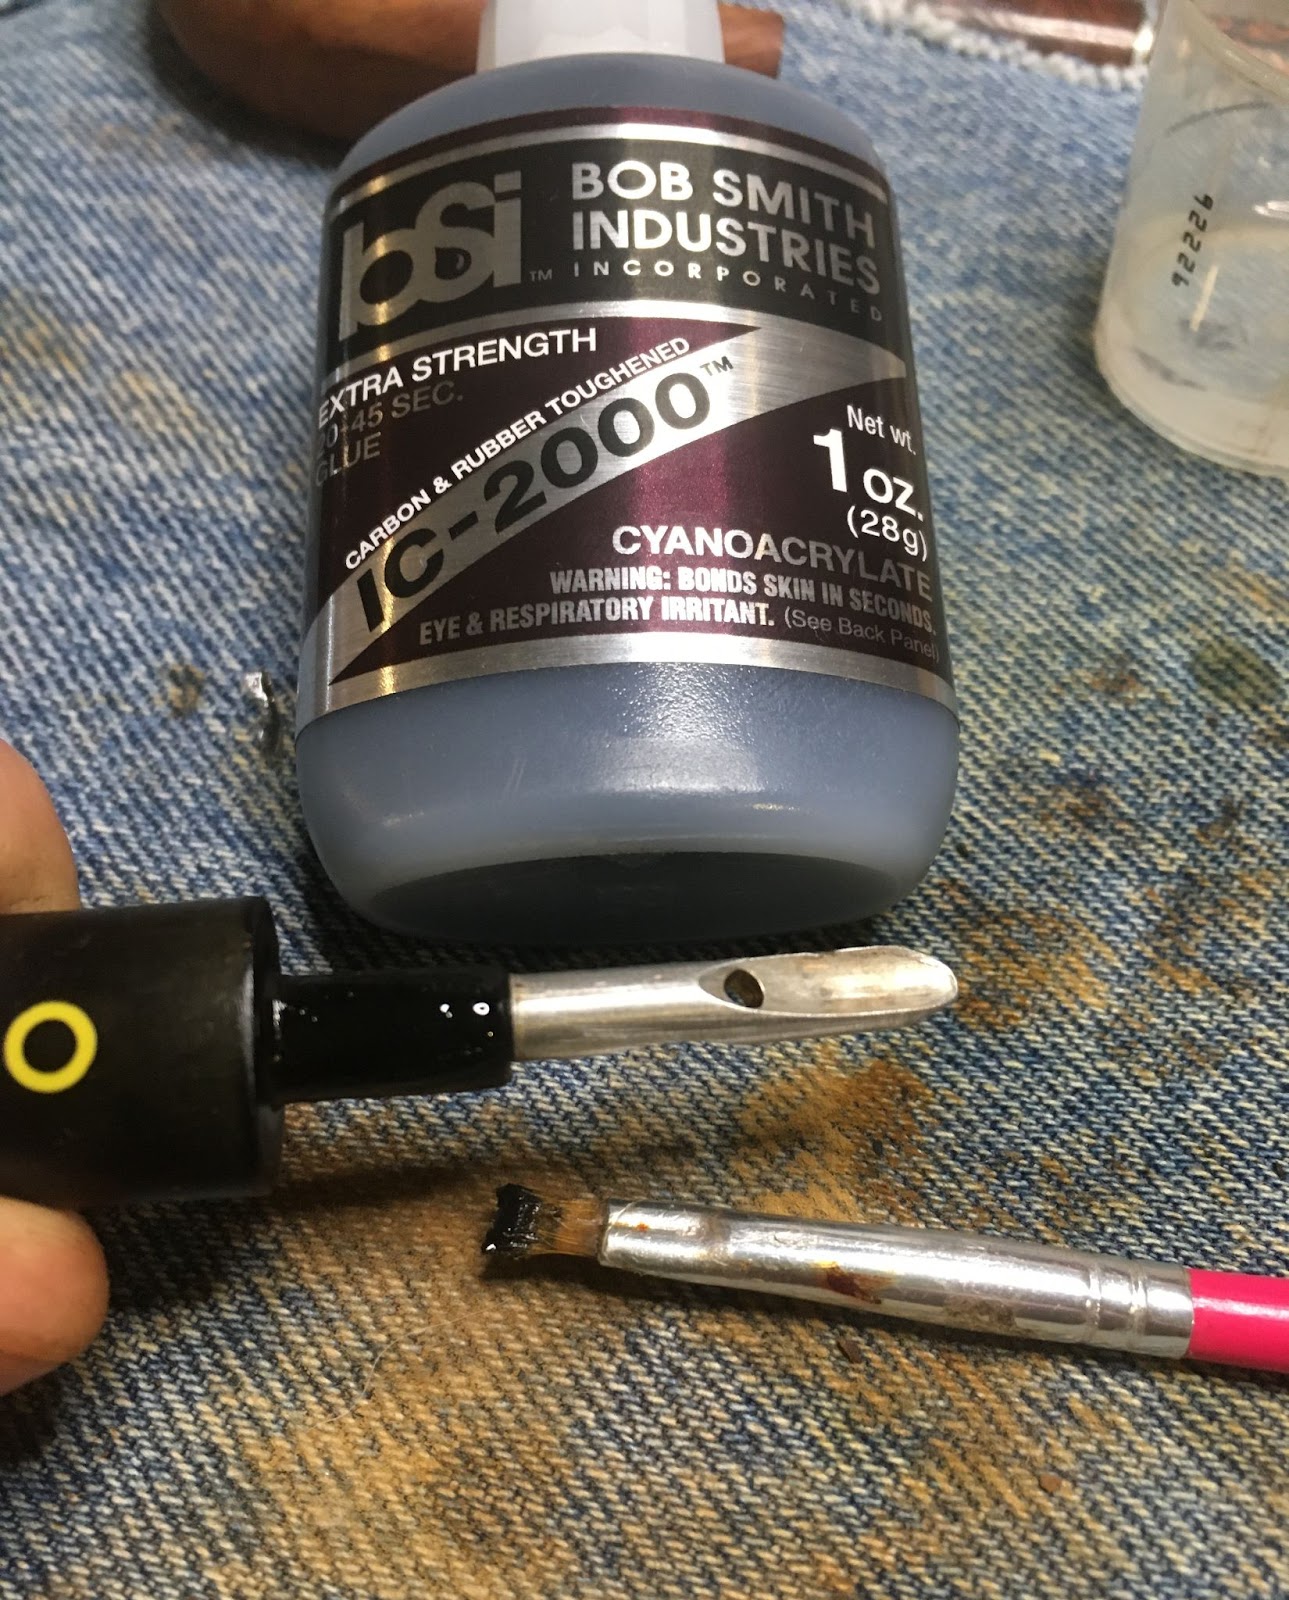
The black CA was layered onto the surface of the dam then quickly flipped over to keep gravity from pulling the CA into the airway. The CA was spritzed with a CA drying accelerator. Once I had a layer of solid cured CA on the dam I no longer had to invert the stem and could slowly layer additional CA to build up the missing stem material. One of the keys to successful rebuilding of a stem is the multiple slow thin layer build up of CA rather than a thicker layering.


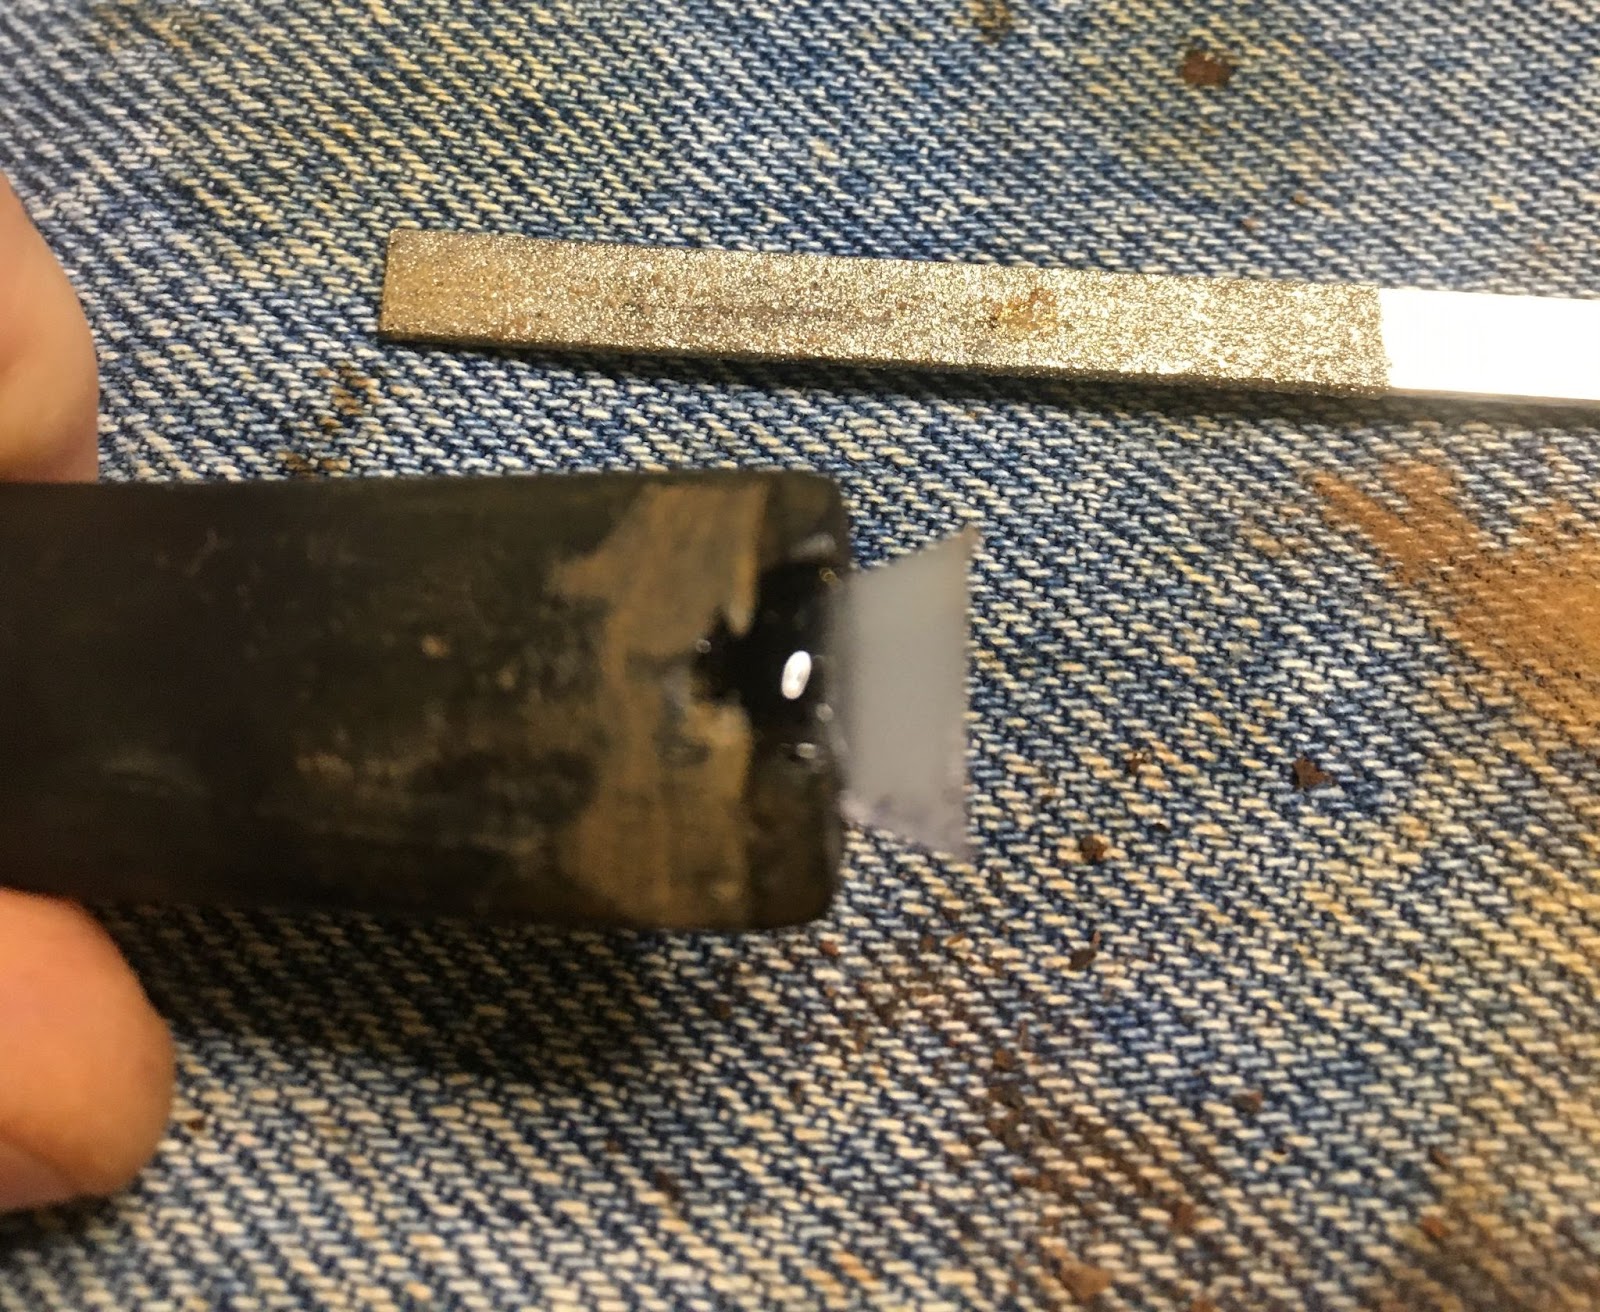
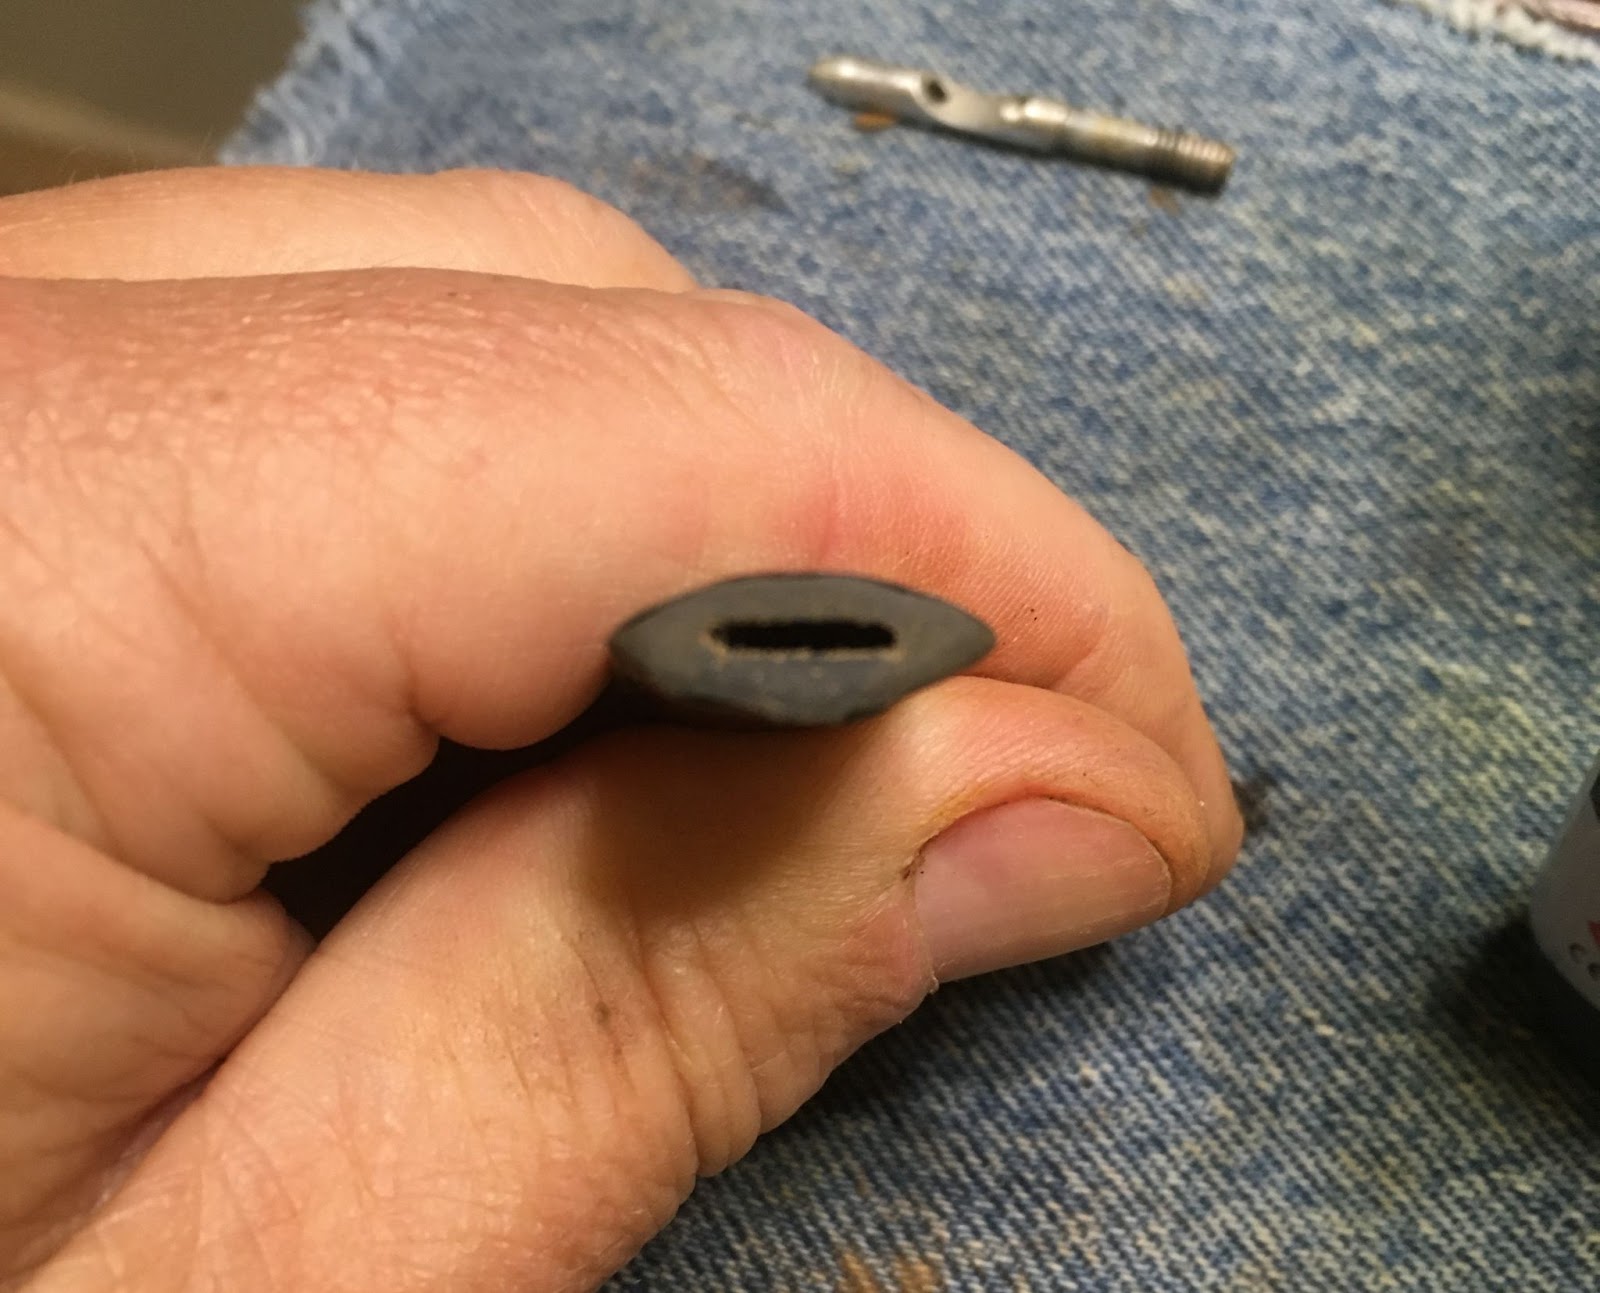
Once I had enough material built up I removed the dam. And sanded the end of the button flat. The newly formed button was then shaped with a flat needle file and 320 sandpaper.
Below you can see the restored/rebuilt stem with a coat of mineral oil. The Stummel had sat for over 12 hours and the cotton was now mostly dry.

I removed the cotton from the chamber and airway and resumed my cleaning with alcohol scrubbing.

For a more abrasive approach I started using two bristle pipe cleaners folded over (4 pipe cleaners in thickness). This allowed me to more forcefully scrub the airway. After many more repetitions of the alcohol- scrub-alcohol-scrub the airway was finally cleaned.
All of that scrubbing had an unintended consequence – the stem was now too loose. To remedy this I applied a small drop of black CA to two sides of the tenon. I used a paint brush to evenly spread the CA over the tenon, “painting” it in a light coat of black CA.
Once cured the back CA was sanded using a 400 grit sanding sponge until the fit was perfect.

The next task was to repair the damage around the rim of the stummel. There were several dents which required a drop of brown CA in the dent then a pinch of briar dust pressed into the CA wetted depression. A second small drop of CA was then added to the briar dust surface of the fill. This allowed the CA to fuse the briar dust into a solid mass of fill material which could then be shaped and sanded.

The fills using CA and briar dust are dark brown in color. To minimize their appearance and to enhance the briar grain, I decided to contrast stain or dye the stummel with Fiebing’s Leather Dye in black. I taped over the stampings to keep as much of the black dye as possible from the stamp areas.

The dying gear was assembled.

The stummel was coated with the black Fiebing’s Leather Dye then flamed with the disposable lighter to burn off the alcohol solvent of the dye. This also helps to set the dye into the briar. I then used 70% isopropyl alcohol to rinse the entire stummel over the sink.

Returning to the workbench I used make-up pads wetted with 95% ethyl alcohol to wipe/scrub as much of the black dye from the stummel as I could.
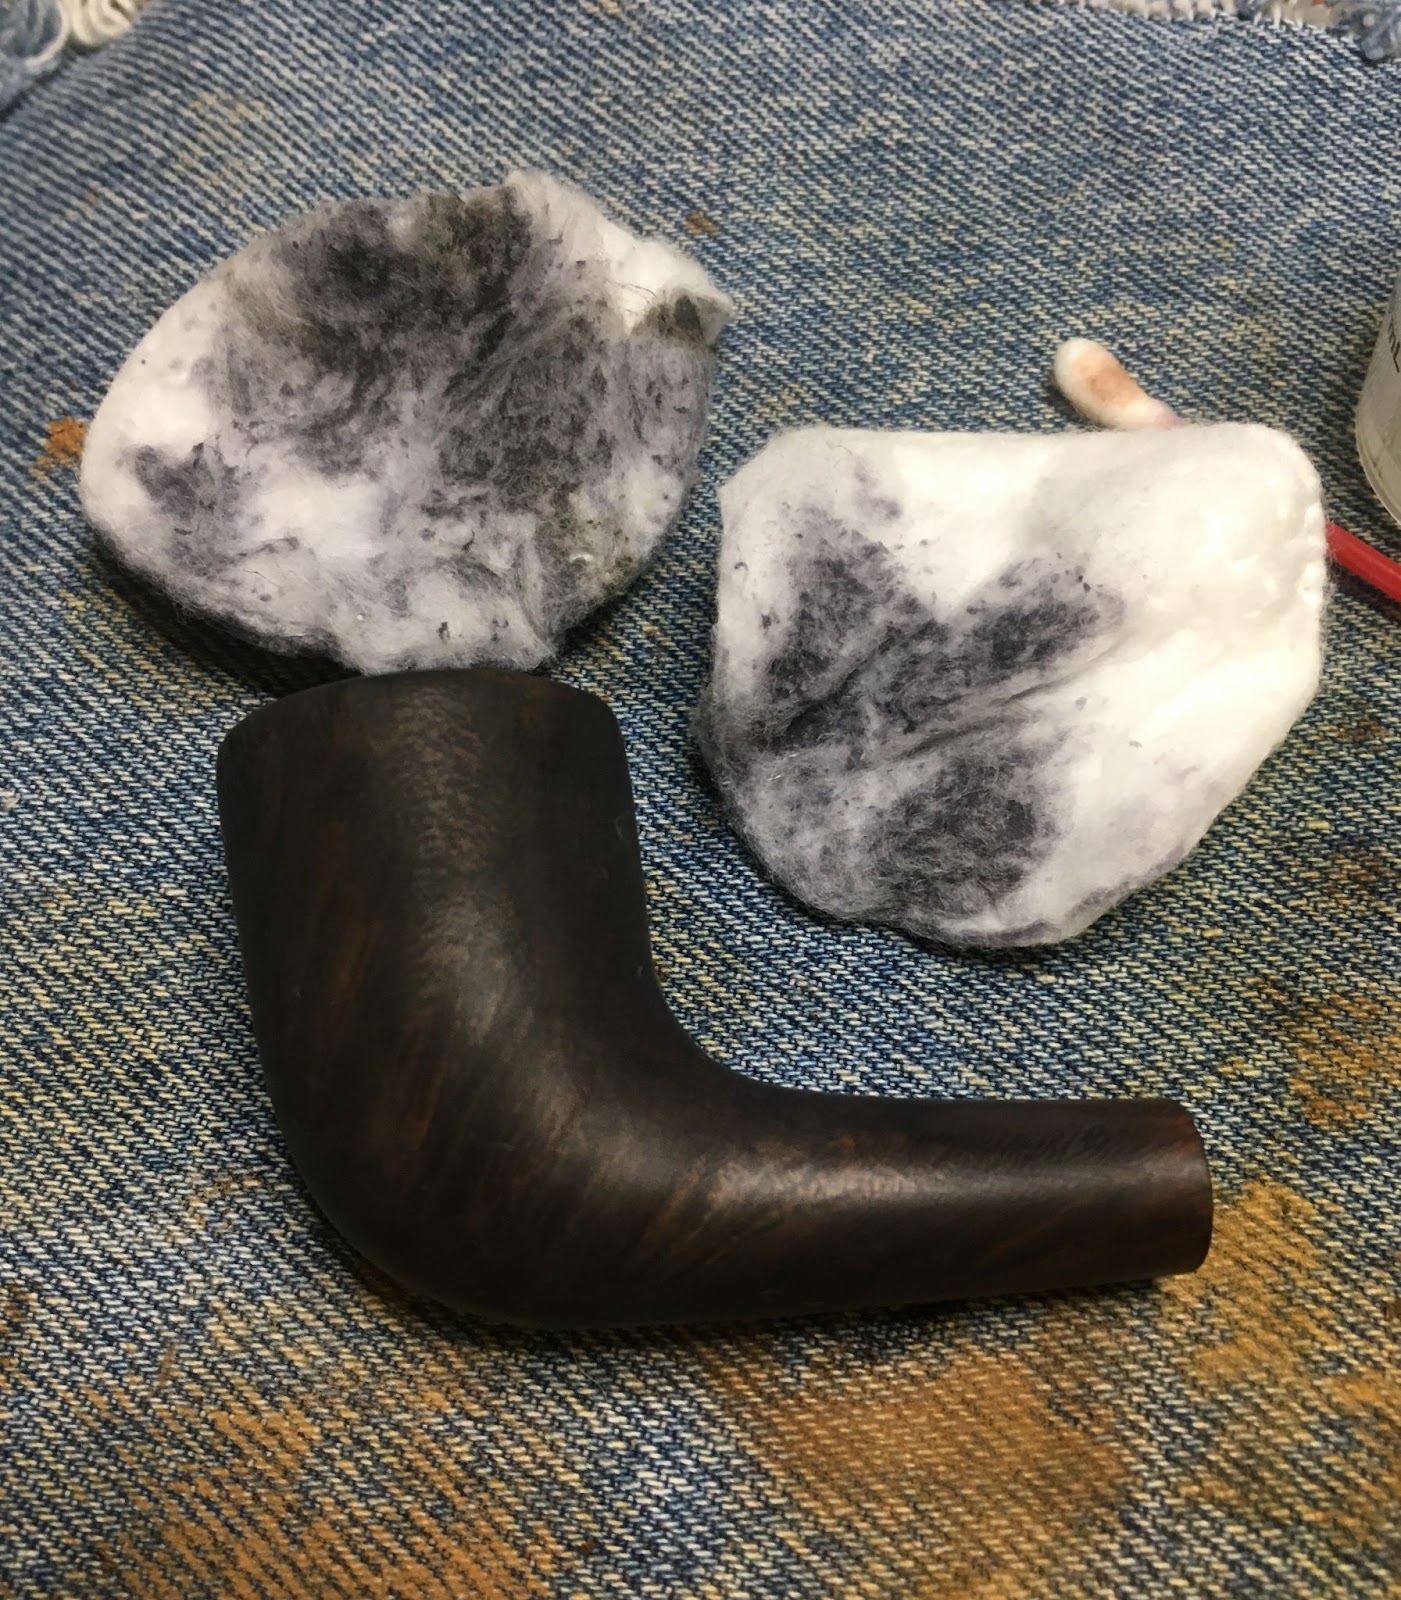
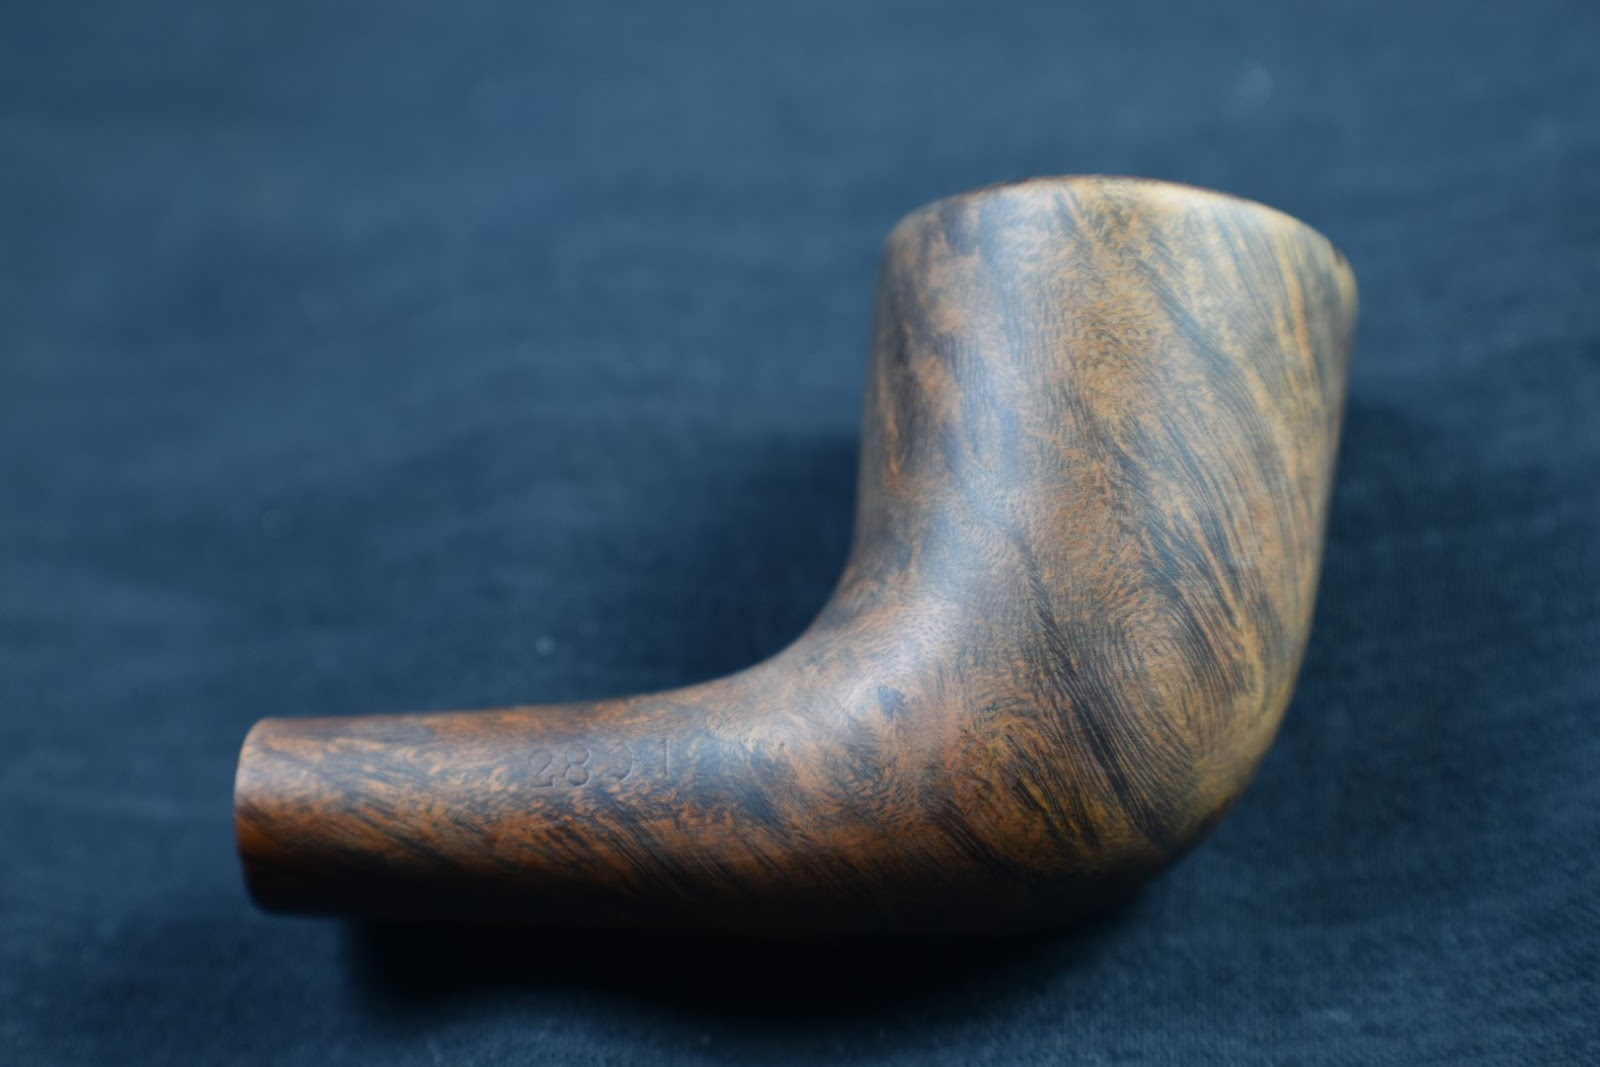
The stummel was then sanded with a 320 sanding sponge followed by sanding with a 400 grit sanding sponge. Below are three photos of the results of the black contrast dye after being sanded.

The stem and stummel were sanded together with the series of sanding sponges from the 600-3500 sponges. The stummel was wiped with a make-up pad moistened with alcohol.between each sponge. The stem had a light coat of mineral oil applied by fingertip then wiped with a paper towel between each sponge.

After the sanding sponges the pipe was further polished using micro-mesh pads from 4000-12000. The stummel was wiped with a make-up pad moistened with alcohol.between each pad. The stem had a drop of Obsidian Oil applied by fingertip then wiped with a paper towel between each pad.

The stem and stummel were then given a coat of Before and After Restoration Balm and allowed to sit for an hour.
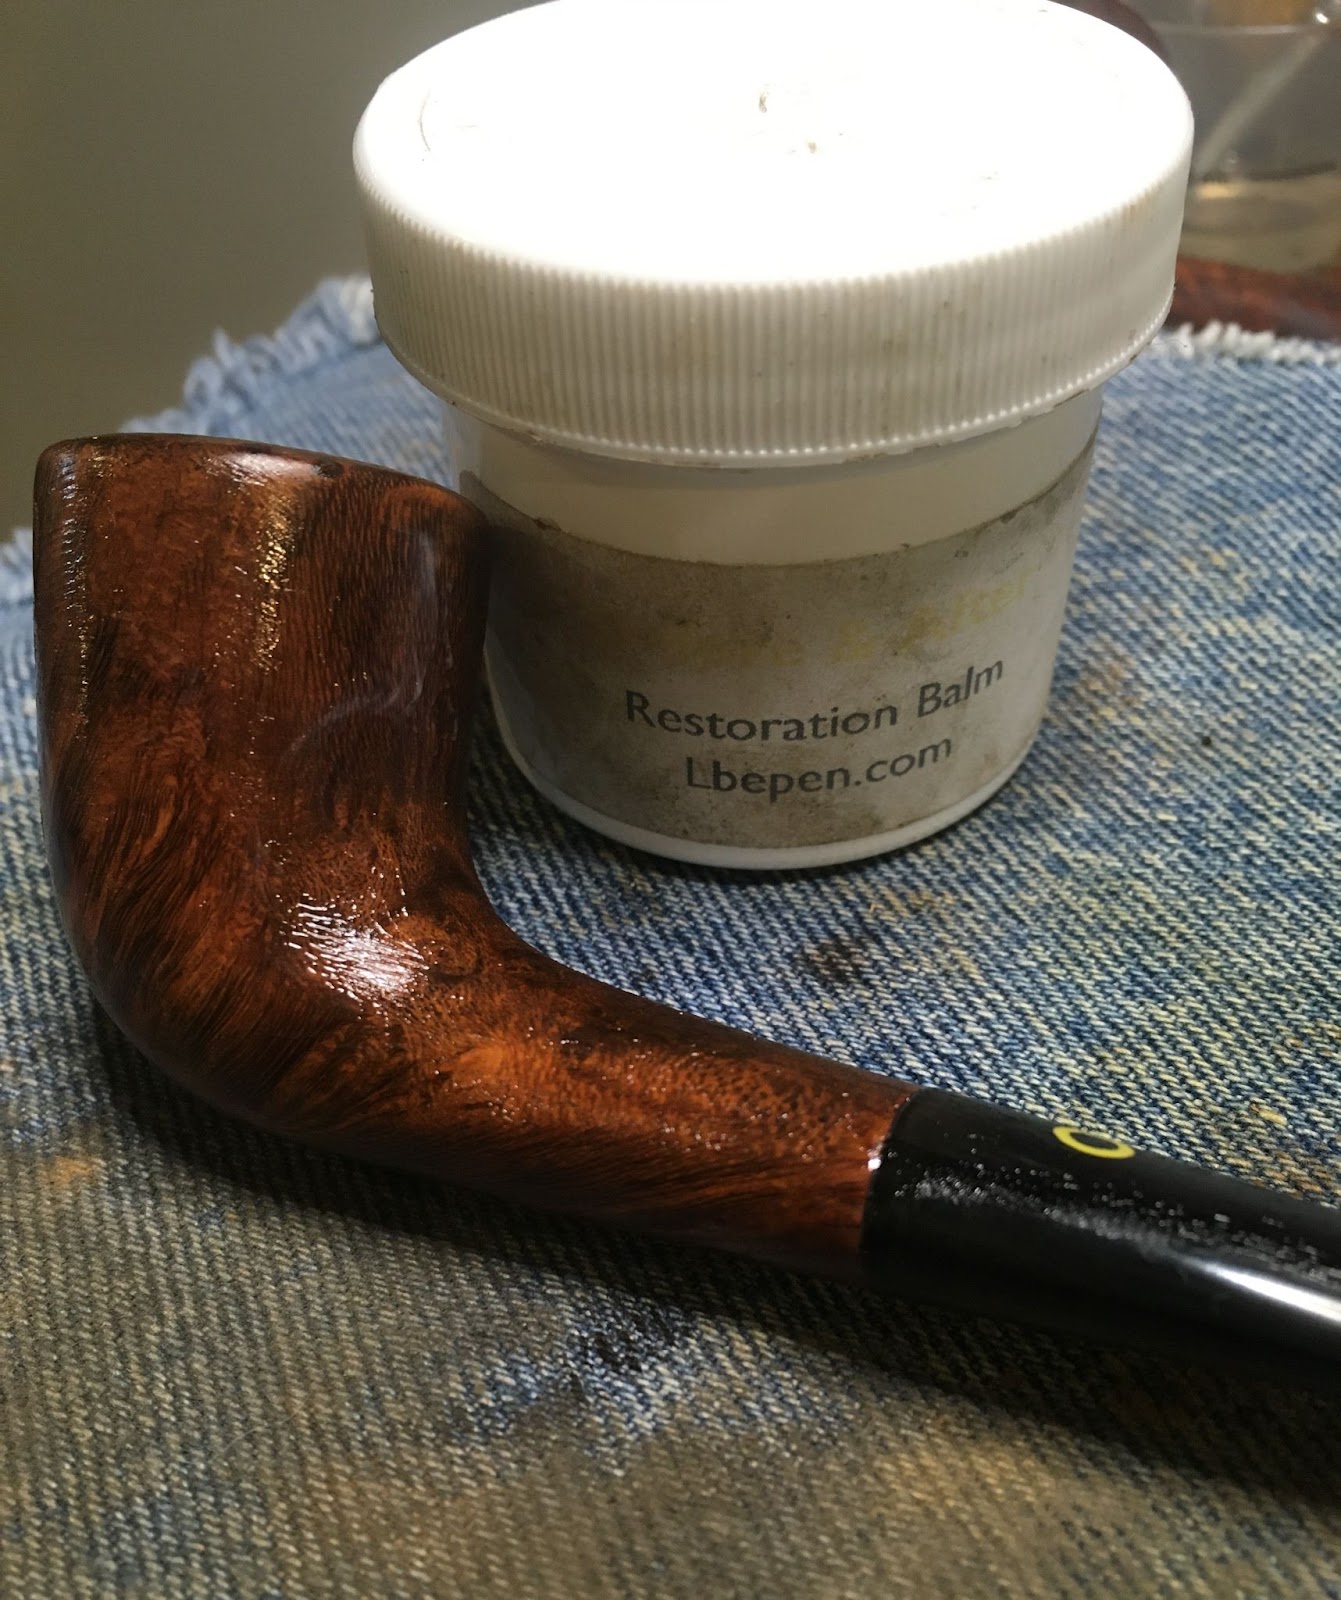
An hour later the Restoration Balm excess was wiped from the pipe using an inside-out athletic sock.

The pipe was then taken to the buffer where it was given several coats of carnauba wax with the buffing wheel.

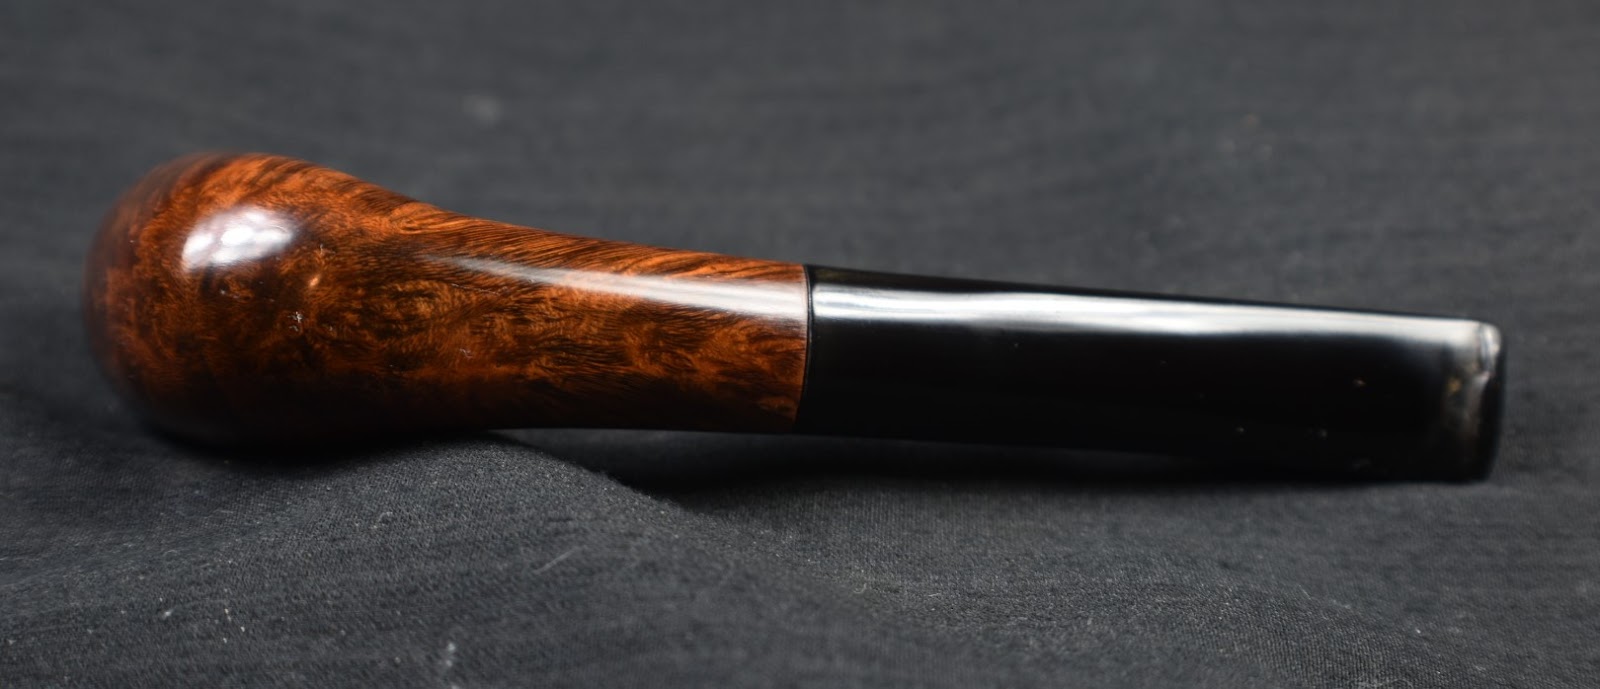
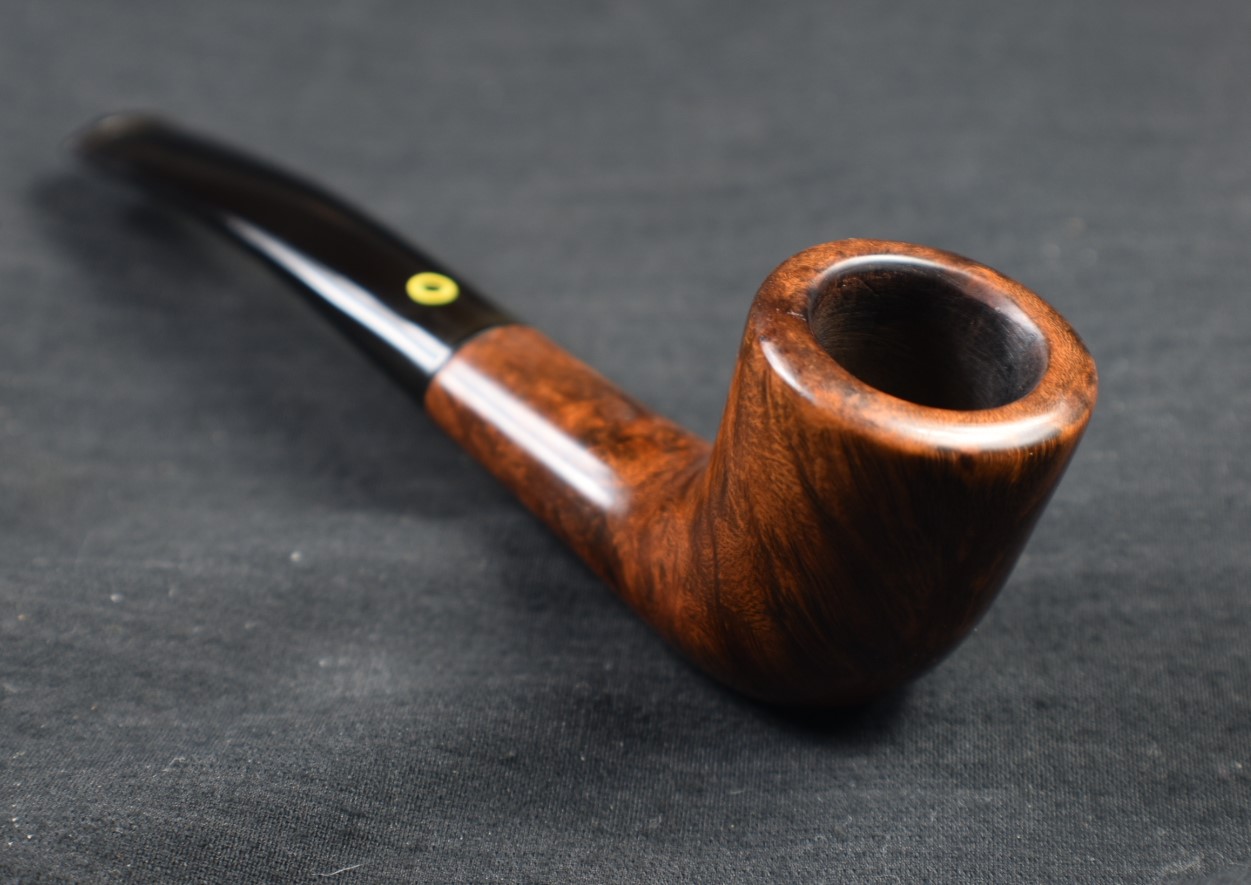
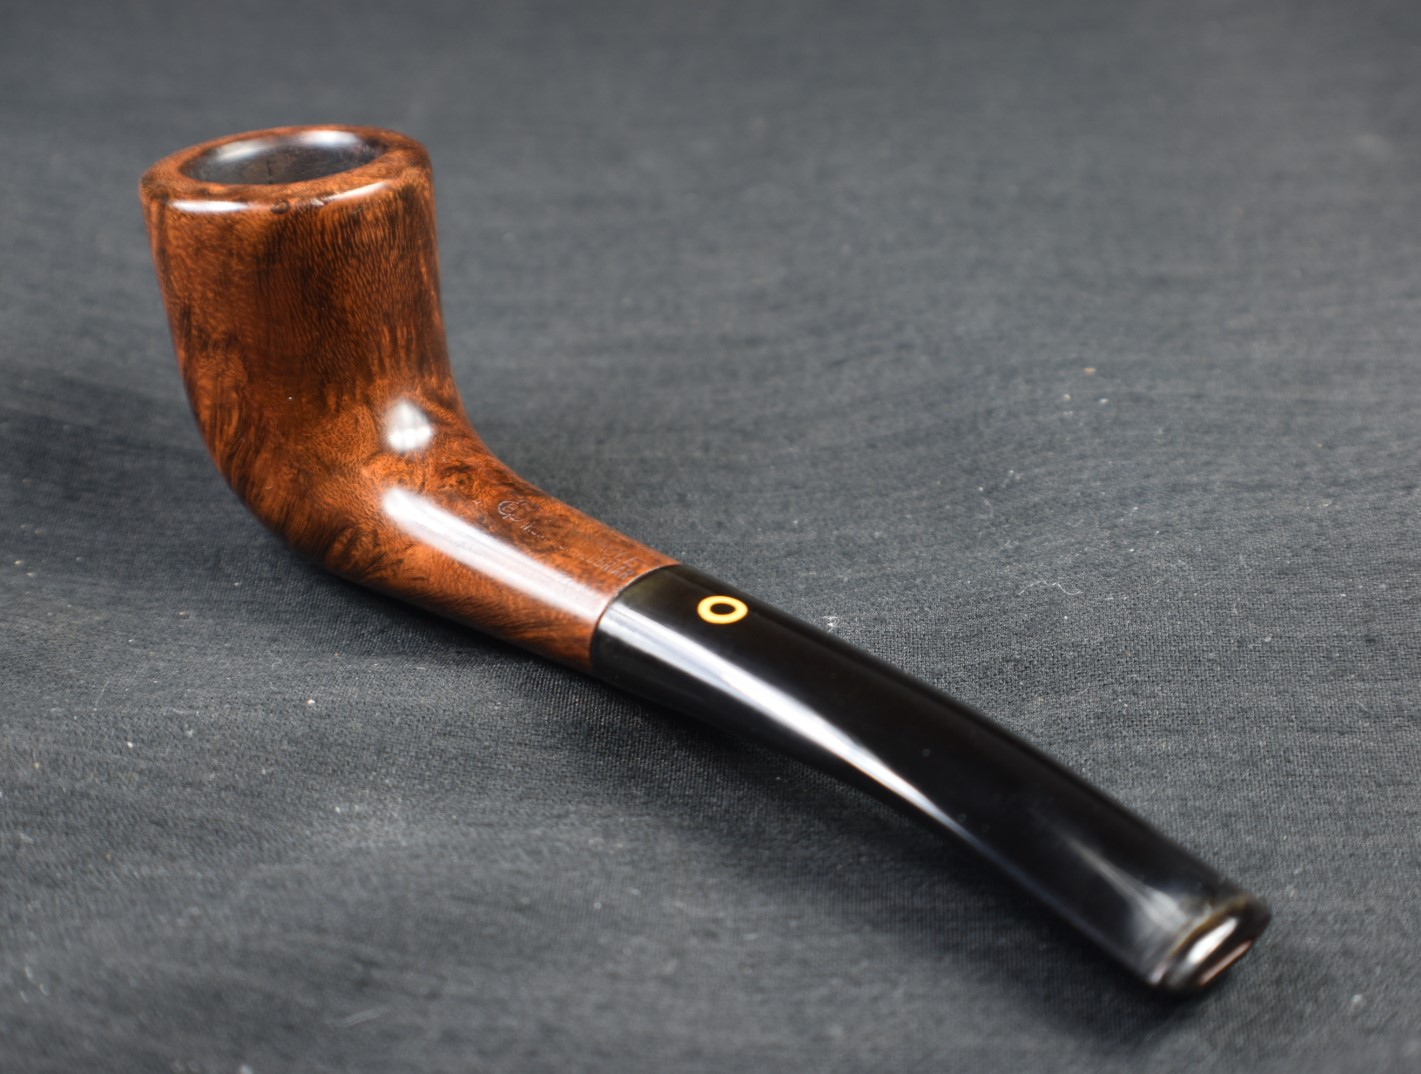
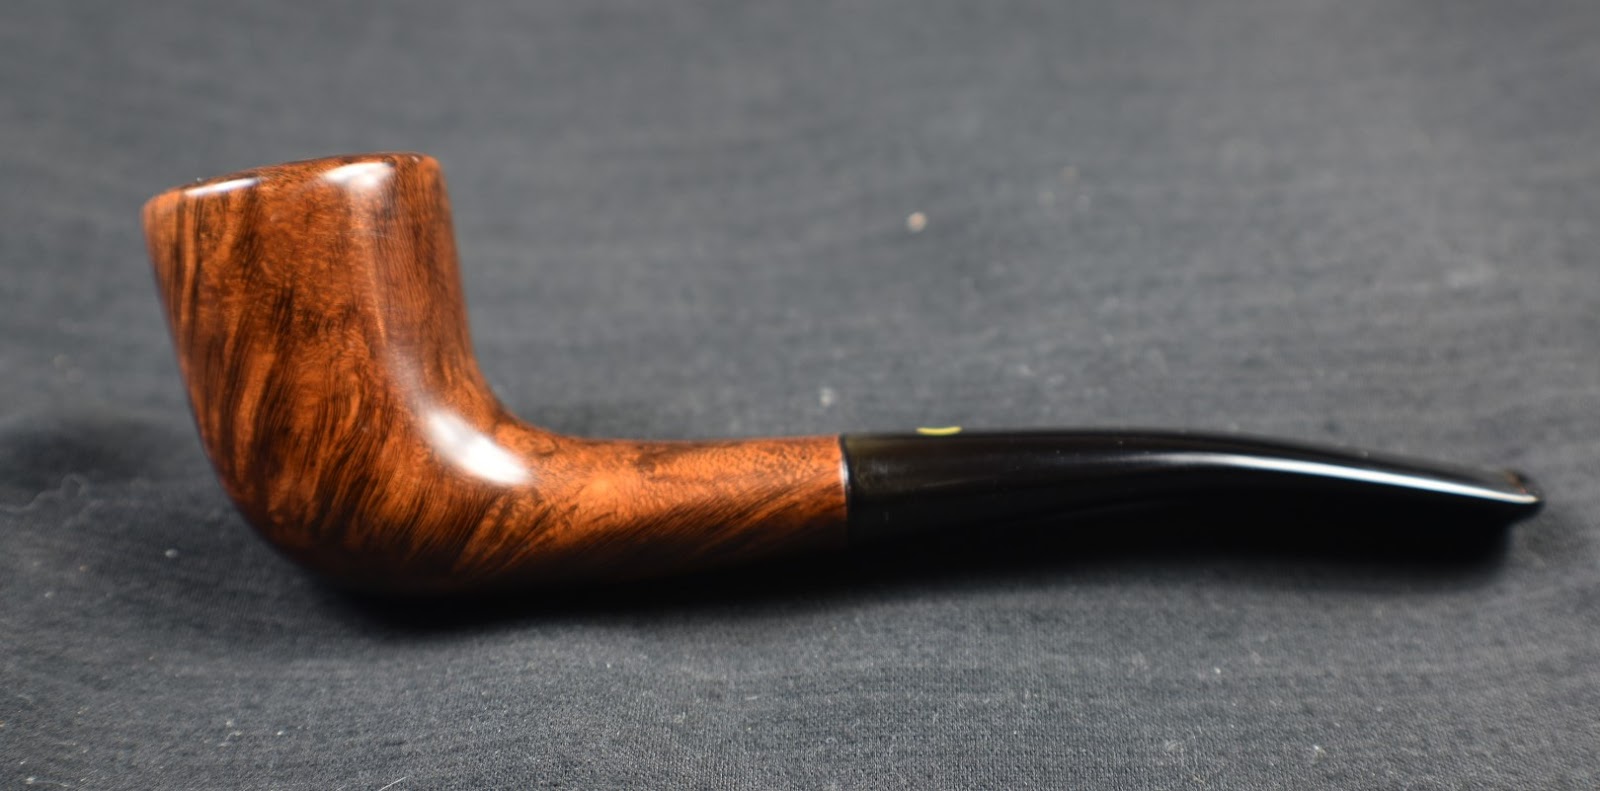
I am very pleased with the restoration of this Yello-Bole yacht. I can also report that it is a very good smoking little pipe. This one will be going into my personal collection. I think the contrast staining accentuated the briar grain beautifully. The stem repair also went well and though not completely invisible is only noticeable under close scrutiny. This old Yello-bole should be in service for another 90 years and will hopefully amaze someone in the early 2110s.
The dimensions of this yacht are:
- Length: 5.31 in./ 134.87 mm.
- Weight: 0.96 oz./ 27.4 g.
- Bowl Height: 1.71 in./ 43.43 mm.
- Chamber Depth: 1.47 in./ 37.37 mm.
- Chamber Diameter: 0.66 in./ 16.76 mm.
- Outside Diameter: 1.19 in./ 30.23 mm.
I do hope that you have found something here useful to your own pipe care, maintenance or restorations. If you like this sort of thing, please click the like and subscribe buttons. Thank you for reading the ramblings of an old pipe lover.
Below are some photos of the finished Yello-Bole Yacht