Photographed and written by
John M. Young
This is honestly more of a refinishing than a restoration. This little Dr. Grabow Duke had never been smoked. If you have read my blogs for a while you know that I do not like clear-coat finishes. Oh, and thank you for being a reader. If you are new here, thank you for stopping by and I don’t like clear-coat finishes.
I know many folks don’t think too highly of Dr. Grabow pipes. They have a reputation as mass produced, factory made, low quality and low price pipes. I can agree with all of those statements save the “low quality”. I view a good deal of the Quality of a pipe in the briar used and the finish applied. This pipe is a prime example. Though it is small the briar is a fine specimen. It has nice grain and I did not see a single fill. The finish of the pipe is another matter. I do not like clear-coat finishes. Hmm, have I said that before?
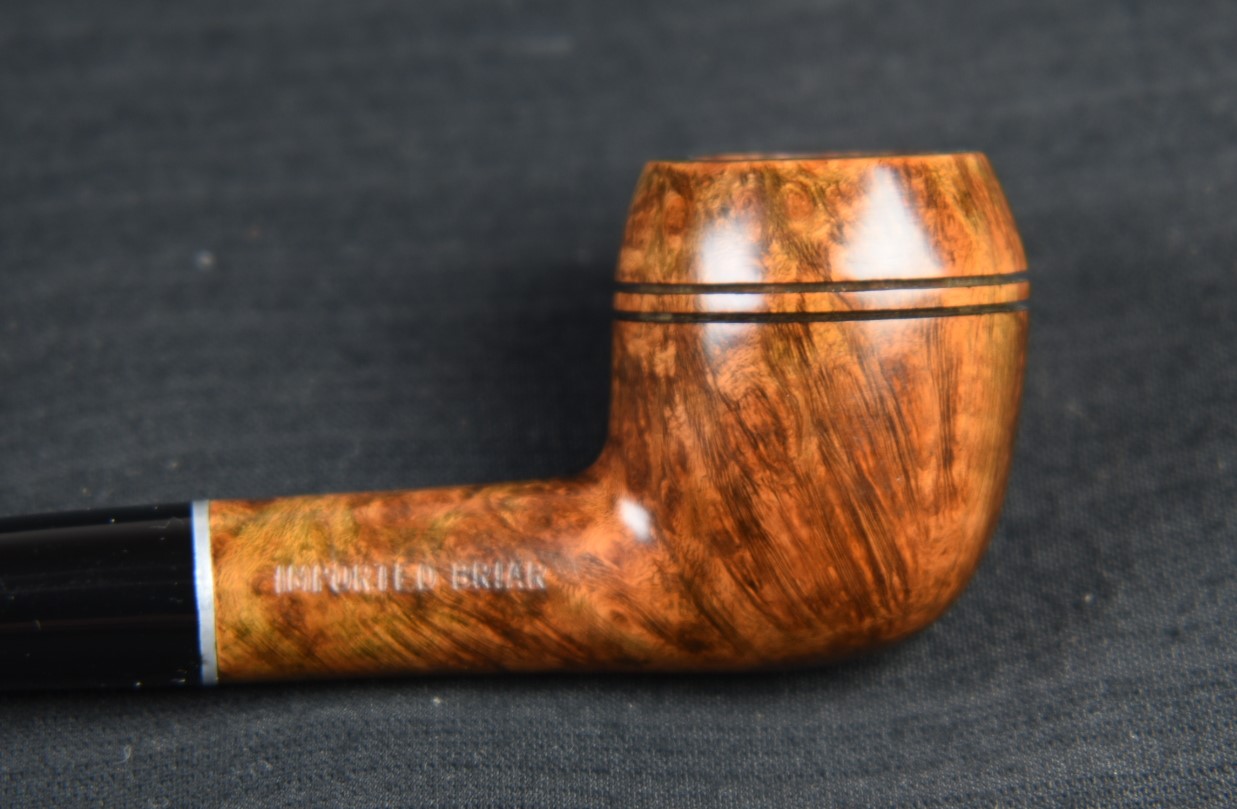
Allow me to show you some photos of the Dr. Grabow Duke prior to being worked on.

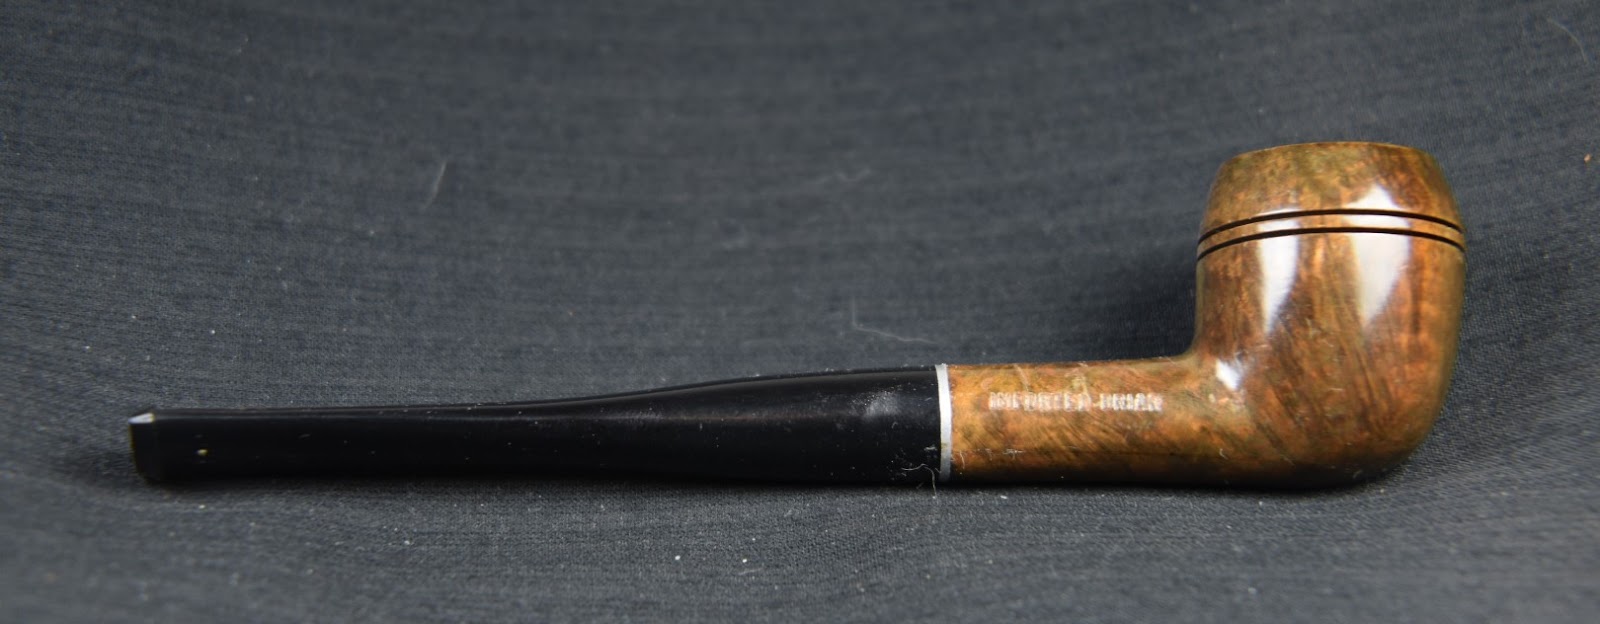


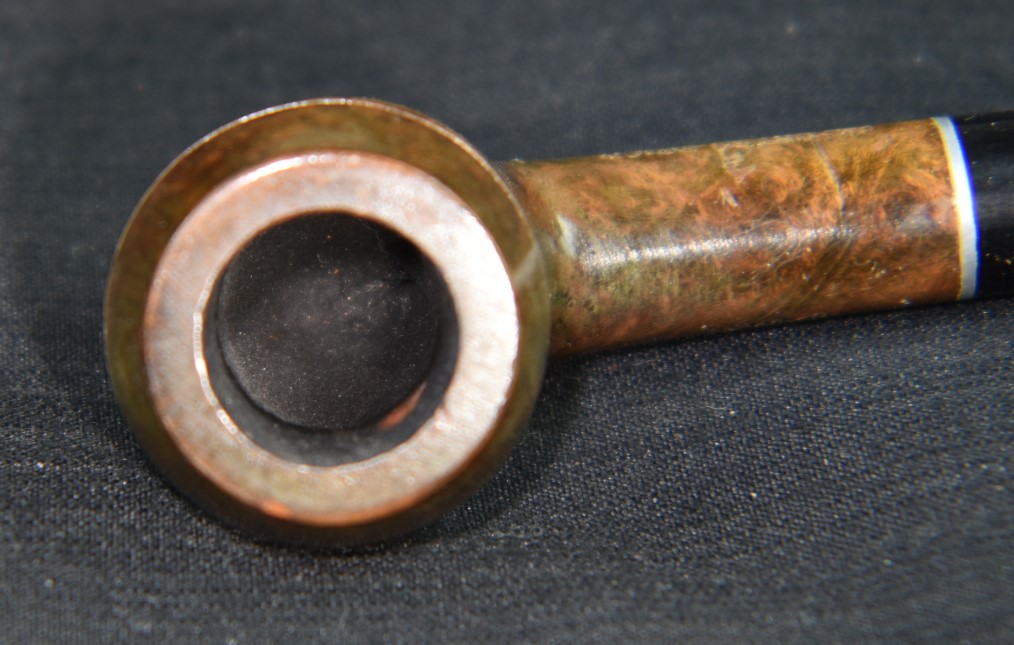
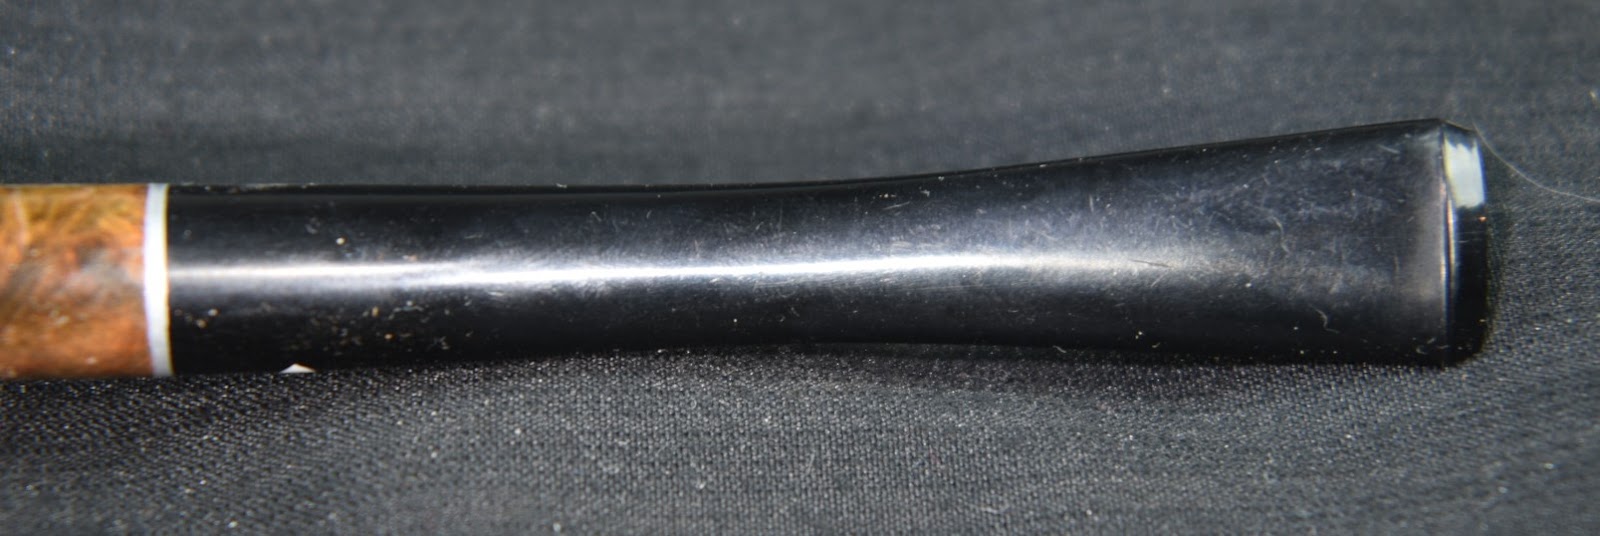


Now, this pipe was in fine condition. Never having been smoked helps in that and we could say that the finish on the pipe had not aged well. I would still say that may be true being bumped around in a drawer, unused may lead to some dents, dings and surface scratches. The fact remains that I do not like clear-coat finishes, scratched, aged, dented or dinged. Hmm, have I said that I don’t like clear-coat finishes?
Dr. Grabow Background
I have not blogged about Dr. Grabow pipe too extensively. Although my very first blog was about using a briar plug in the bottom of the bowl of a Dr Grabow Westbrook. Back on December 27, 2023 I wrote a blog about a Grand Duke and included the following links for those interested in reading more about Dr. Grabow pipes. I will include those links again here:
History:
Dr. Grabow Pipes: https://www.tobaccopipes.com/dr-grabow-history/#:~:text=The%20famous%20smoking%20pipe%20brand,US%20patent%20number%201.896%2C800.
Dr. Grabow on Pipedia:
https://pipedia.org/wiki/Dr._Grabow
Dr. Grabow timeline, Pipedia:
https://pipedia.org/wiki/Dr._Grabow_Pipe_History_Timeline
Current Dr. Grabow:
This pipe has no shape number. The only thing which I could find about the history on this specific pipe was a quote from the pipedia.org describing the Duke line, “DUKE (c1964?) — From 1964 to 1984 the “Little Duke” and the Lark were imported from Italy. Later made at Sparta to increase production at the facility.” (https://pipedia.org/wiki/Dr._Grabow_Models_(Series,Line)_Names_Through_the_Years)
The Restoration
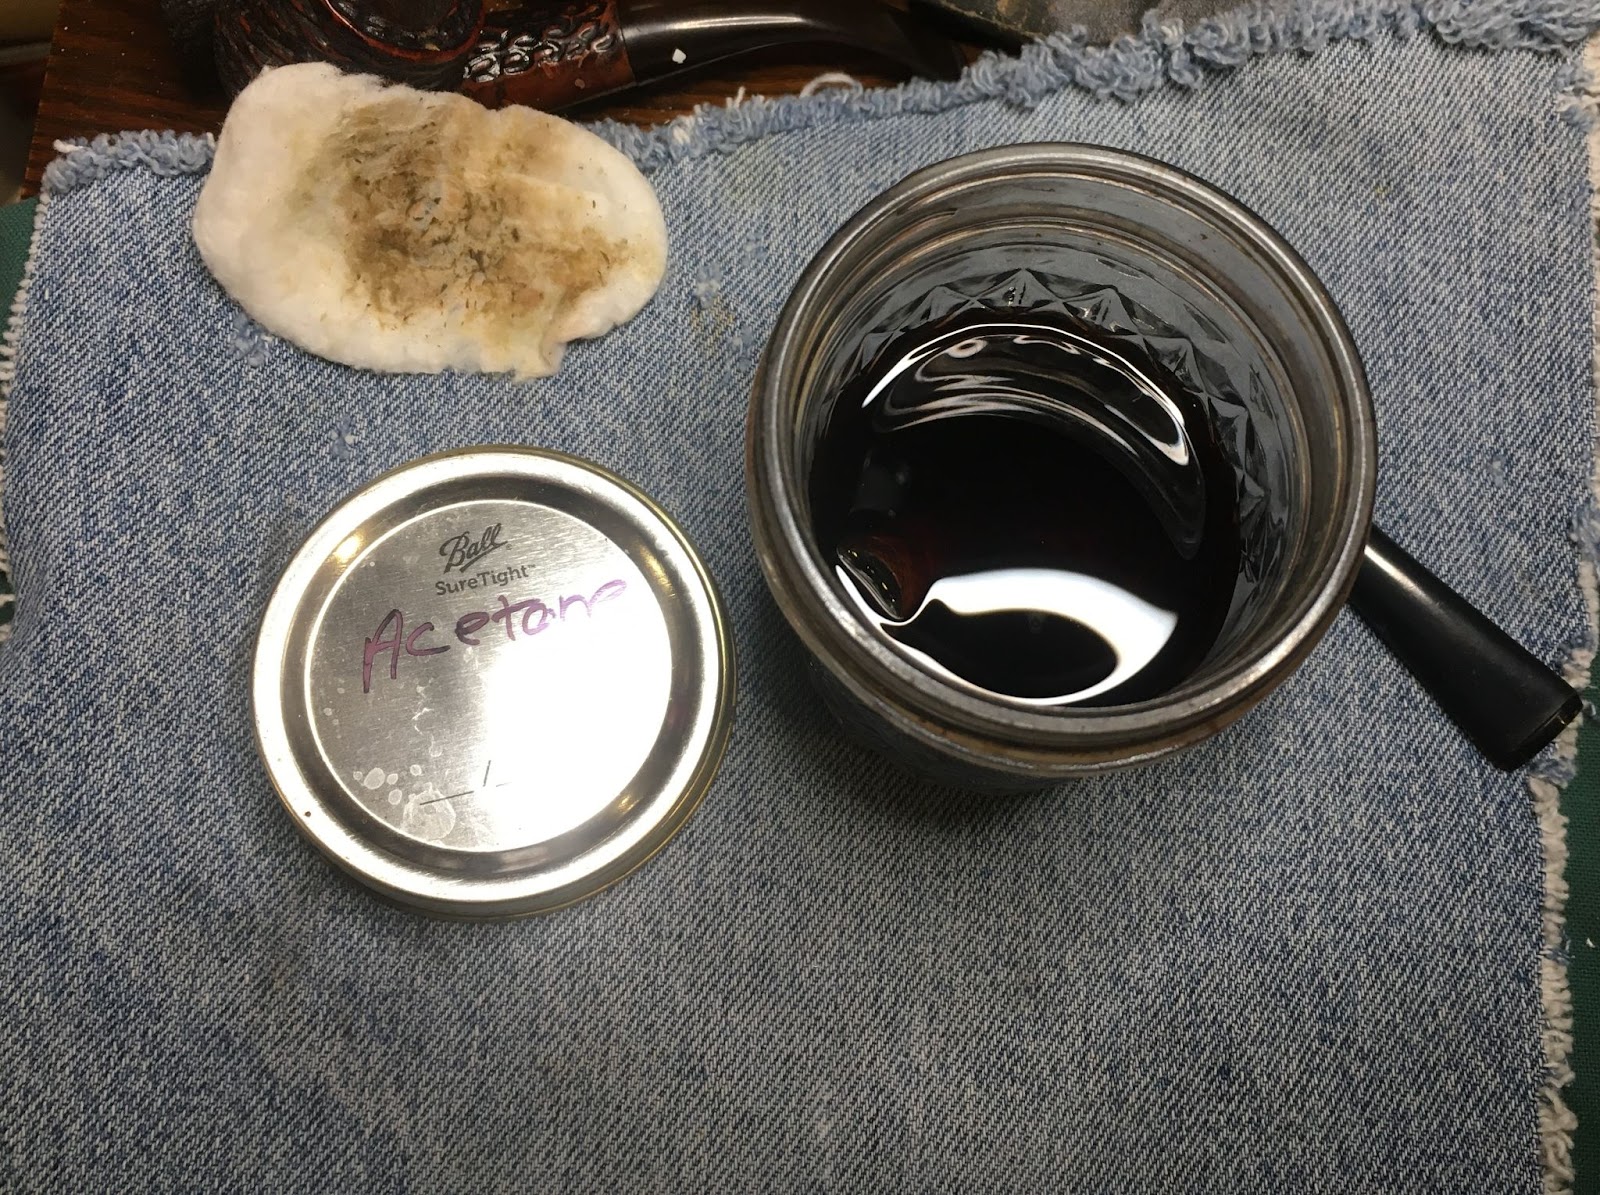
As previously mentioned, this was far more of a refinishing project. I did start with a new denim piece and immediately tried to discern what solvent would be best for removing the clear-coat. Have I mentioned my dislike of clear coats? Anyway, the first contestant was 95% ethyl alcohol. Its two carbon chain did a fine job at removing the dust from the clear coat but accomplished little else.

The next contestant was acetone. This highly volatile beauty did a fine job at removing the clear finish and some of the underlying stain by the look of the make-up pad.

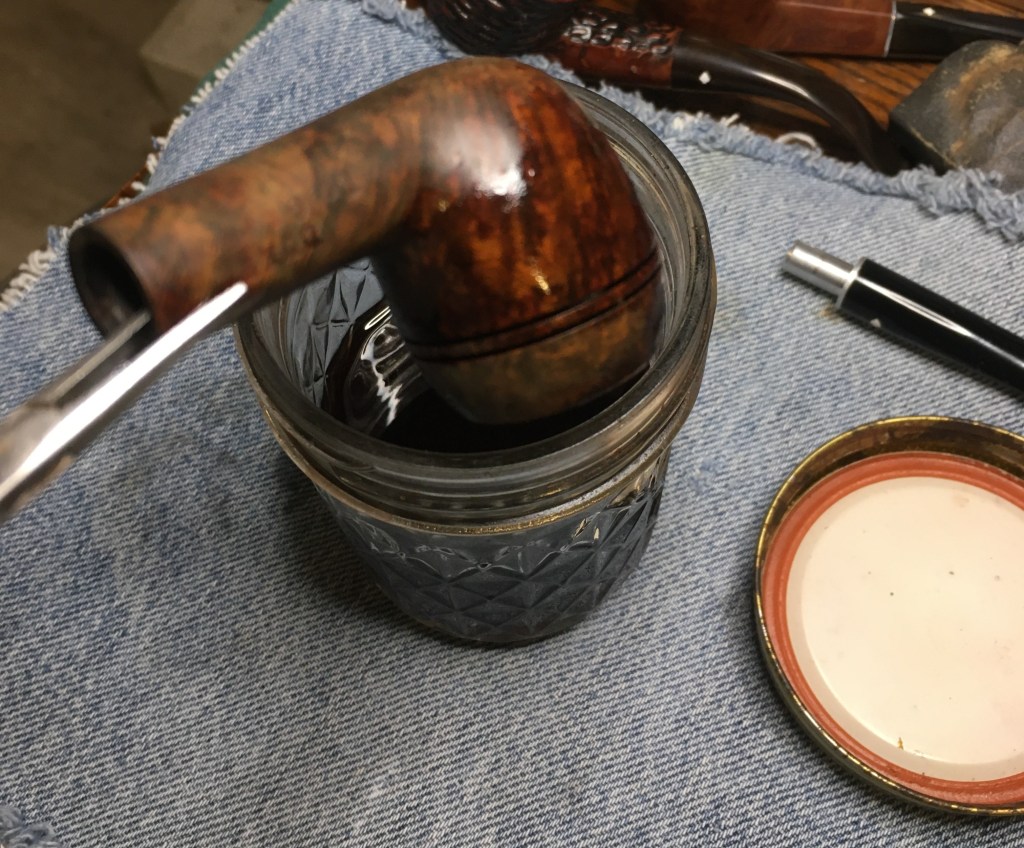
I decided that rather than me scrubbing with acetone dipped make-up pads I would just give the stummel a 30 minute dunk in the acetone jar.
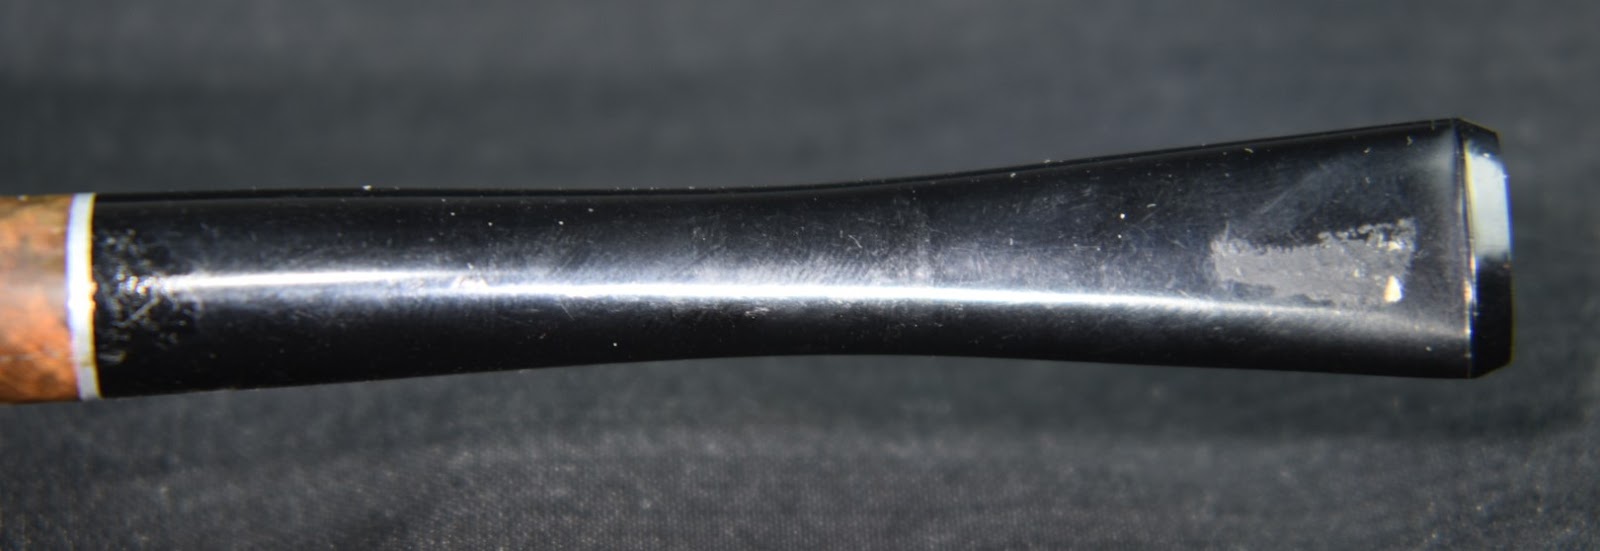
This 30 minutes allowed me the time I needed to polish the stem. There was no need to use the sanding sponges since the stem was already looking near new. I ran through the 4000-12000 micro-mesh pads. Between each pad I applied a small drop of Obsidian Oil, rubbed it around with my finger tip then wiped the stem with a clean dry paper towel.

After 30 minutes the stummel was removed from the acetone. The finish was mostly gone.
I rubbed the stummel with a few acetone wetted make-up pads to be sure and folded over a piece of 400 sandpaper to clean out the beading grooves.

Being very careful not to sand the stamps I sanded the stummel with a 320 and 400 sanding sponge. My goal here was to remove the outer layer of darker stained briar while leaving the dark stain in the softer parts of the briar. In essence, using the existing stain as a contrast dye without me having to dye the stummel. I wiped the stummel between each sponge with an alcohol wetted make-up pad.

The stummel was then sanded with a series of sanding sponges from the 600-3500 grit sponges. Between each sponge I wiped the stummel with the alcohol wetted make-up sponge.

After the sanding, I used the 4000-12000 micro-mesh pads in sequence. Between each pad I again wiped the stummel as with the sanding sponges. I failed to photograph this step. If you want a description, it looked like the previous photo only more shiny and with more colorful pads. The stummel was then coated with Before and After restoration Balm and allowed to sit for 30 minutes. I also failed to photograph the restoration balm. Geez, you just can’t get good help these days.
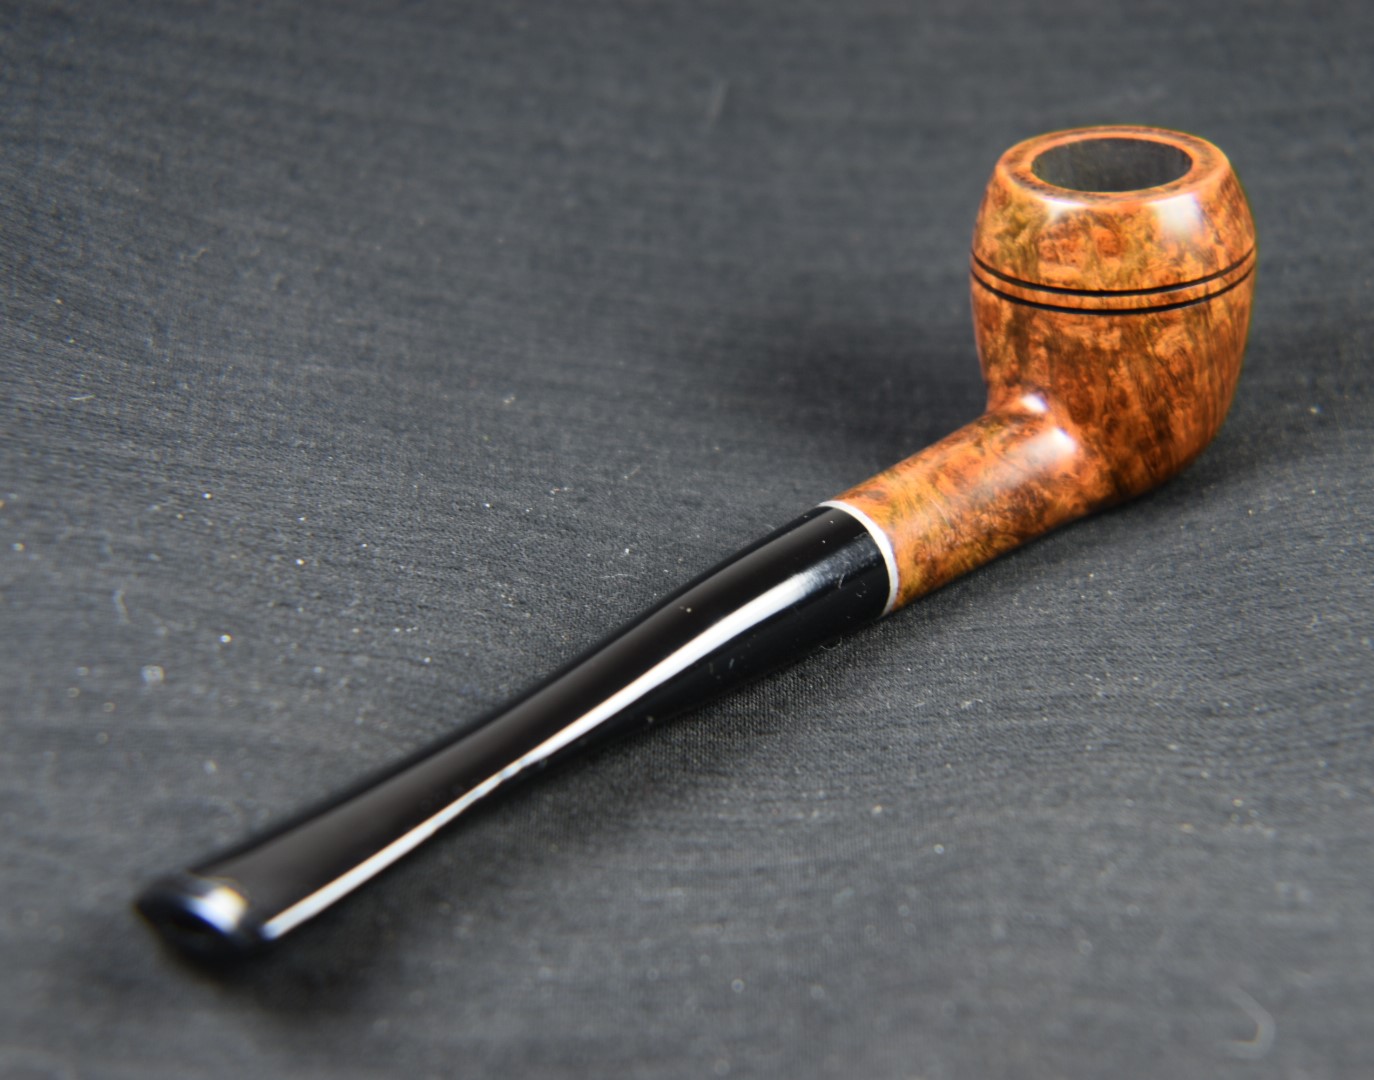
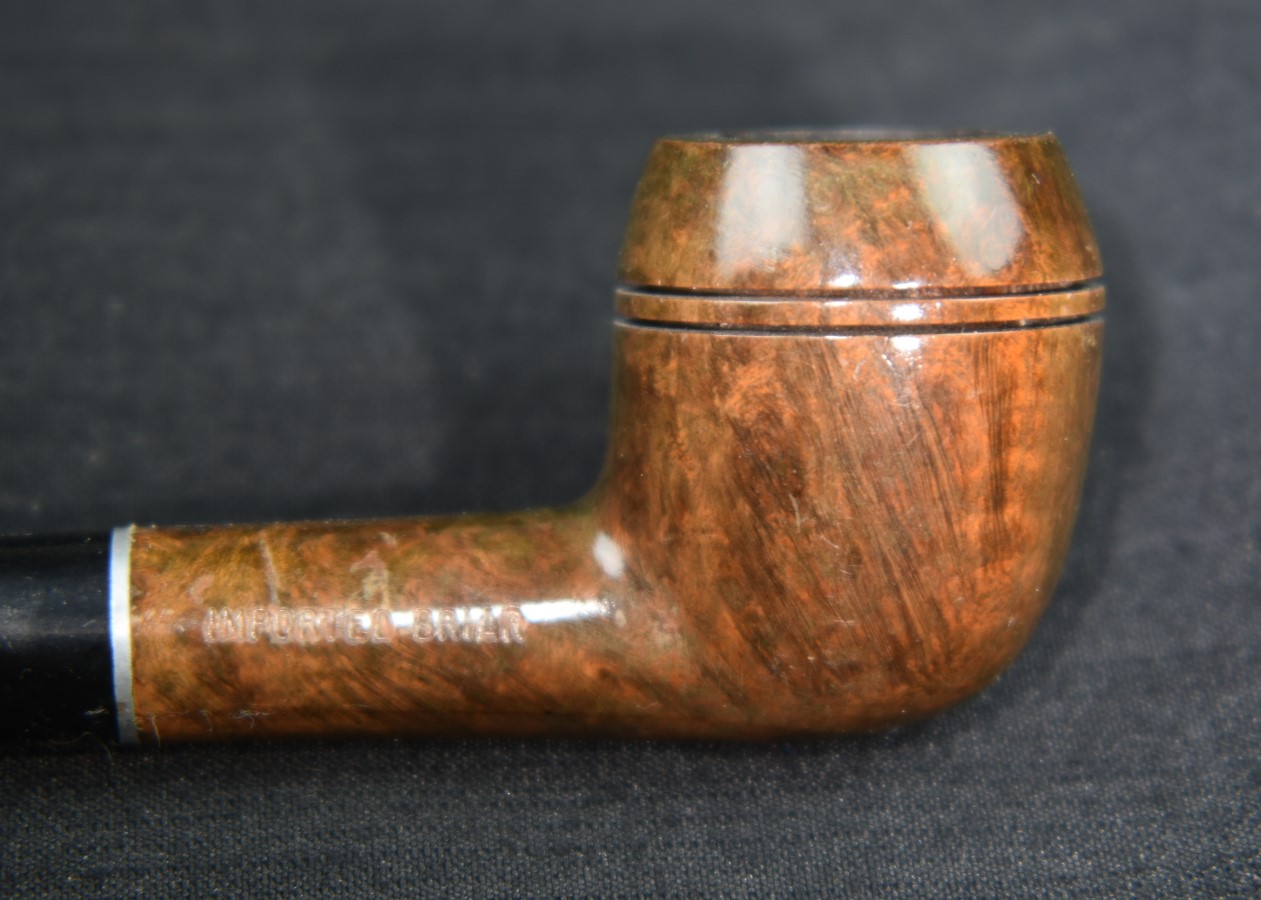
I wiped the balm from the stummel with the inside of a cotton athletic sock and reassembled the pipe. It was really looking good. All it needed was several coats of carnauba wax applied with the buffer.
This restoration, if you want to call it that, turned out very nicely. The clear coat was gone, replaced with the more natural beauty of the briar. The wood grain was allowed to show off it’s God given lines accentuated by the stain from the original manufacturing. Only now it was not hiding beneath all that despicable finish. The glossy black of the long stem building on classic lines of the pipe. This is a small pipe indicative of the times. I can imagine a worker taking a 10-15 minute break and relaxing with their pipe. The dimensions of this little beauty are:
- Length: 5.86 in./ 148.84 mm.
- Weight: 0.78 oz./ 22.11 g.
- Bowl Height: 1.45 in./ 36.83 mm.
- Chamber Depth: 1.15 in./ 29.21mm.
- Chamber Diameter: 0.63 in./ 16.00 mm.
- Outside Diameter: 1.18in./ 29.97 mm.
I do hope that you have found something here useful to your own pipe care, maintenance or restorations. If you like this sort of thing, please click the like and subscribe buttons. Thank you for reading the ramblings of an old pipe lover.
Below are some photos of the finished Dr Grabow Duke.