
Photographed and written by
John M. Young
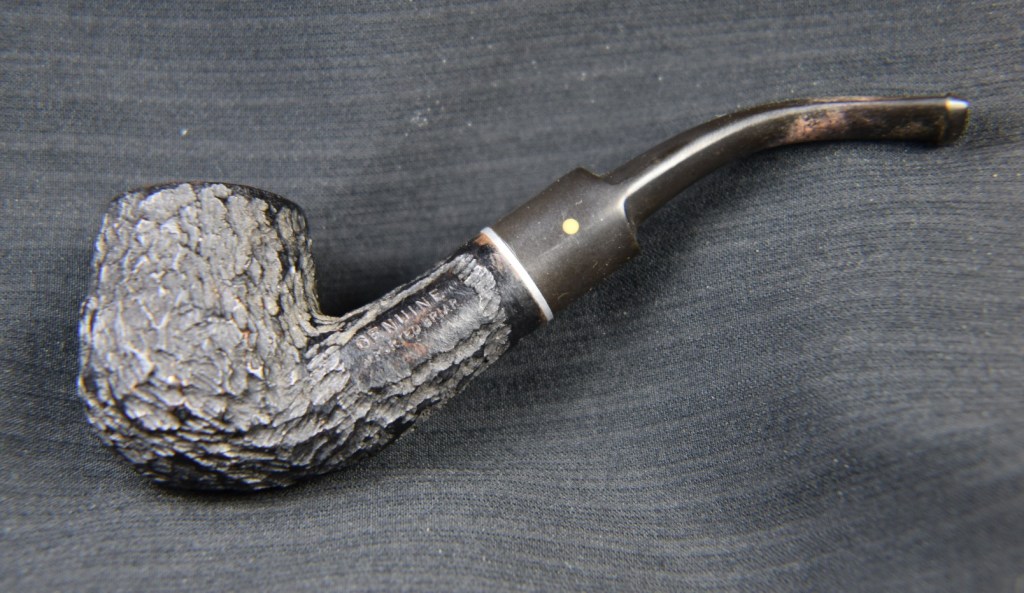
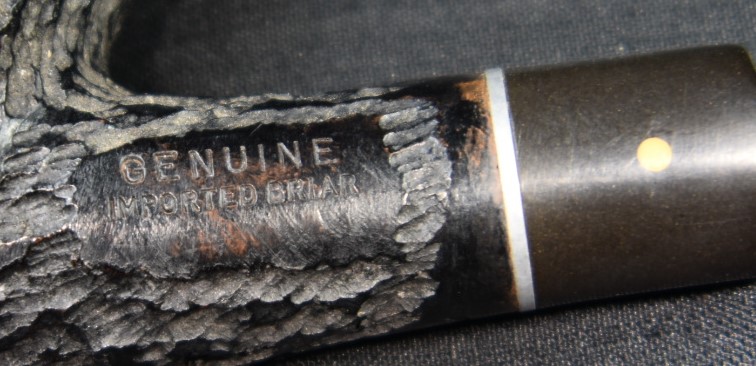
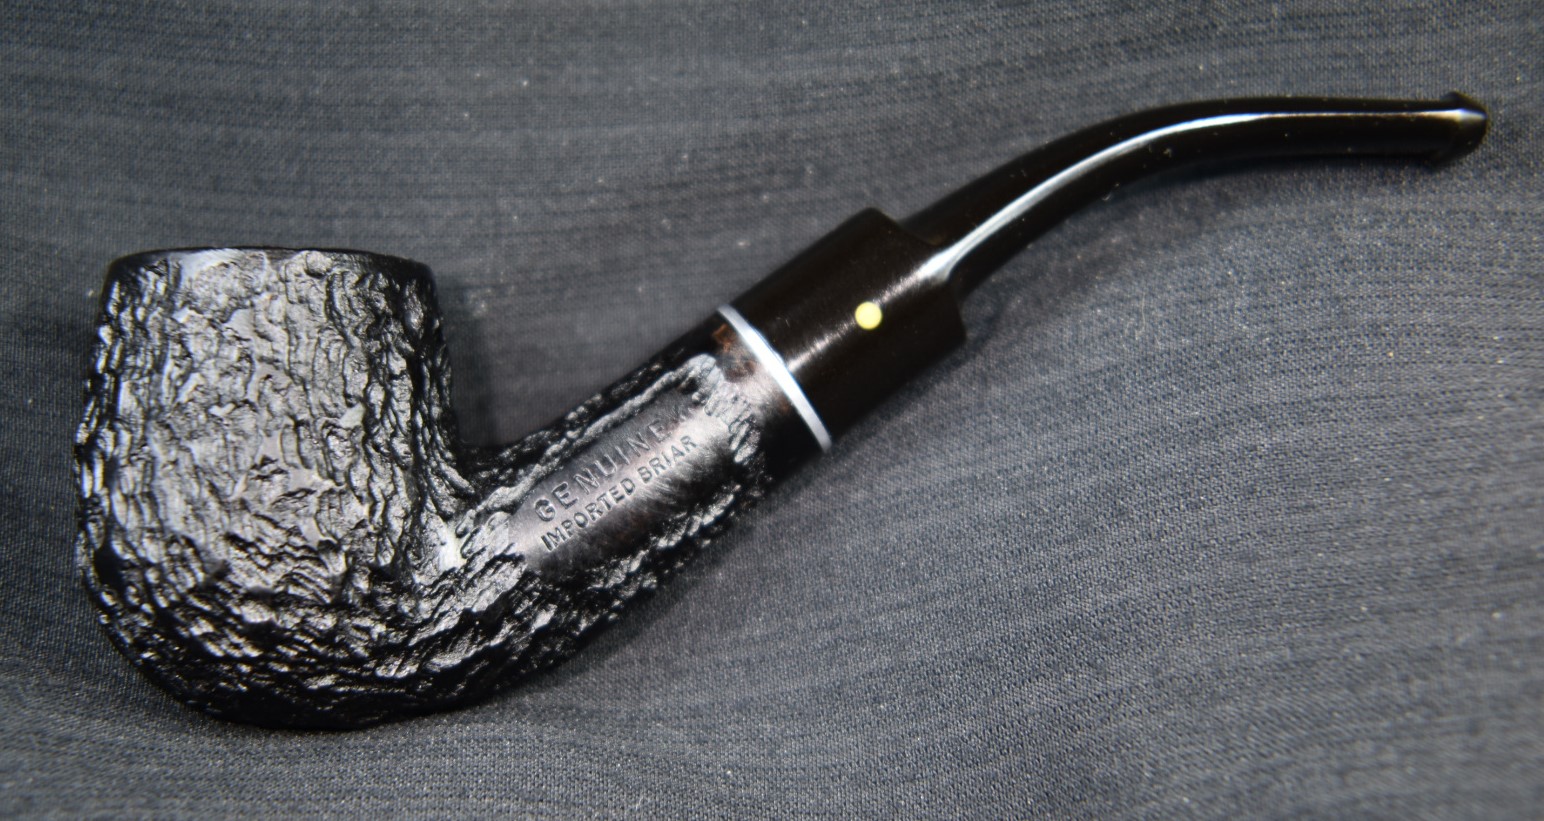
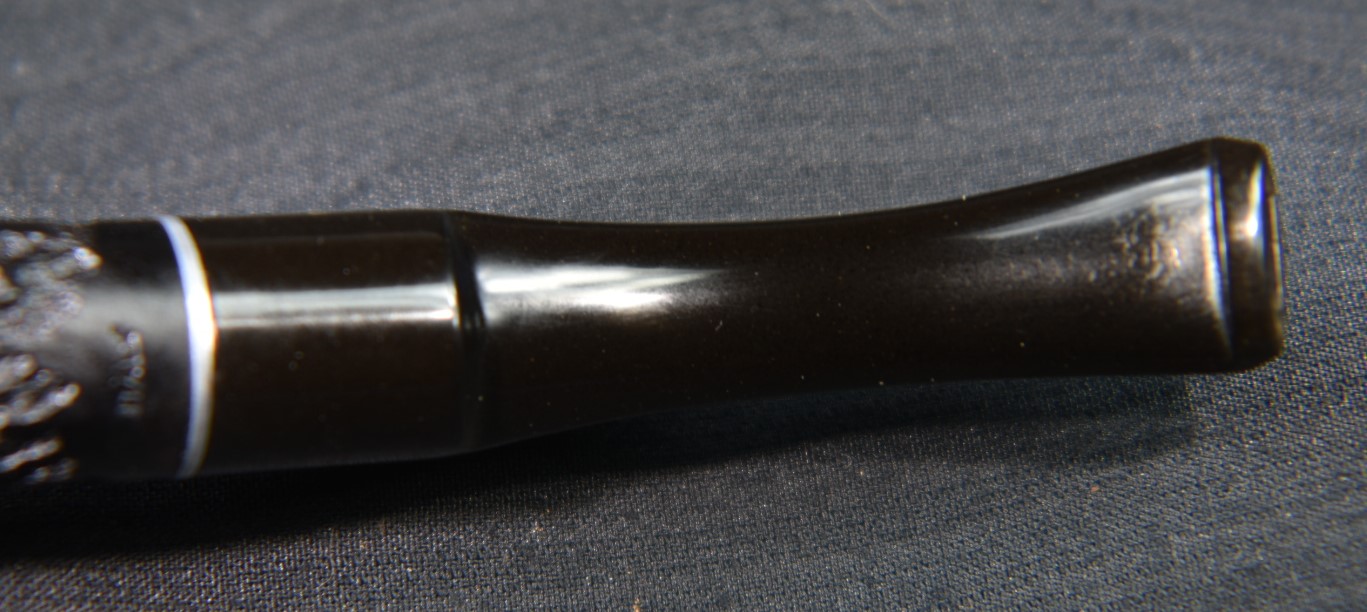
This pipe stamped GENUINE over IMPORTED BRIAR with ITALY also stamped on the shank is another entrant in “why do I try to research the history” category of pipe restorations. It is obviously made in Italy but it has a screw in tenon and aluminum mortise. There is also a singular yellow dot inlay into the stem. The aluminum features indicate to me that the pipe was a product of an American manufacturer of the mid-1900s. Of course there is no mention of a company called “Genuine” in pipedia.org nor pipehih.eu, which are the “go to” sources for initial searches for a pipe’s provenance.
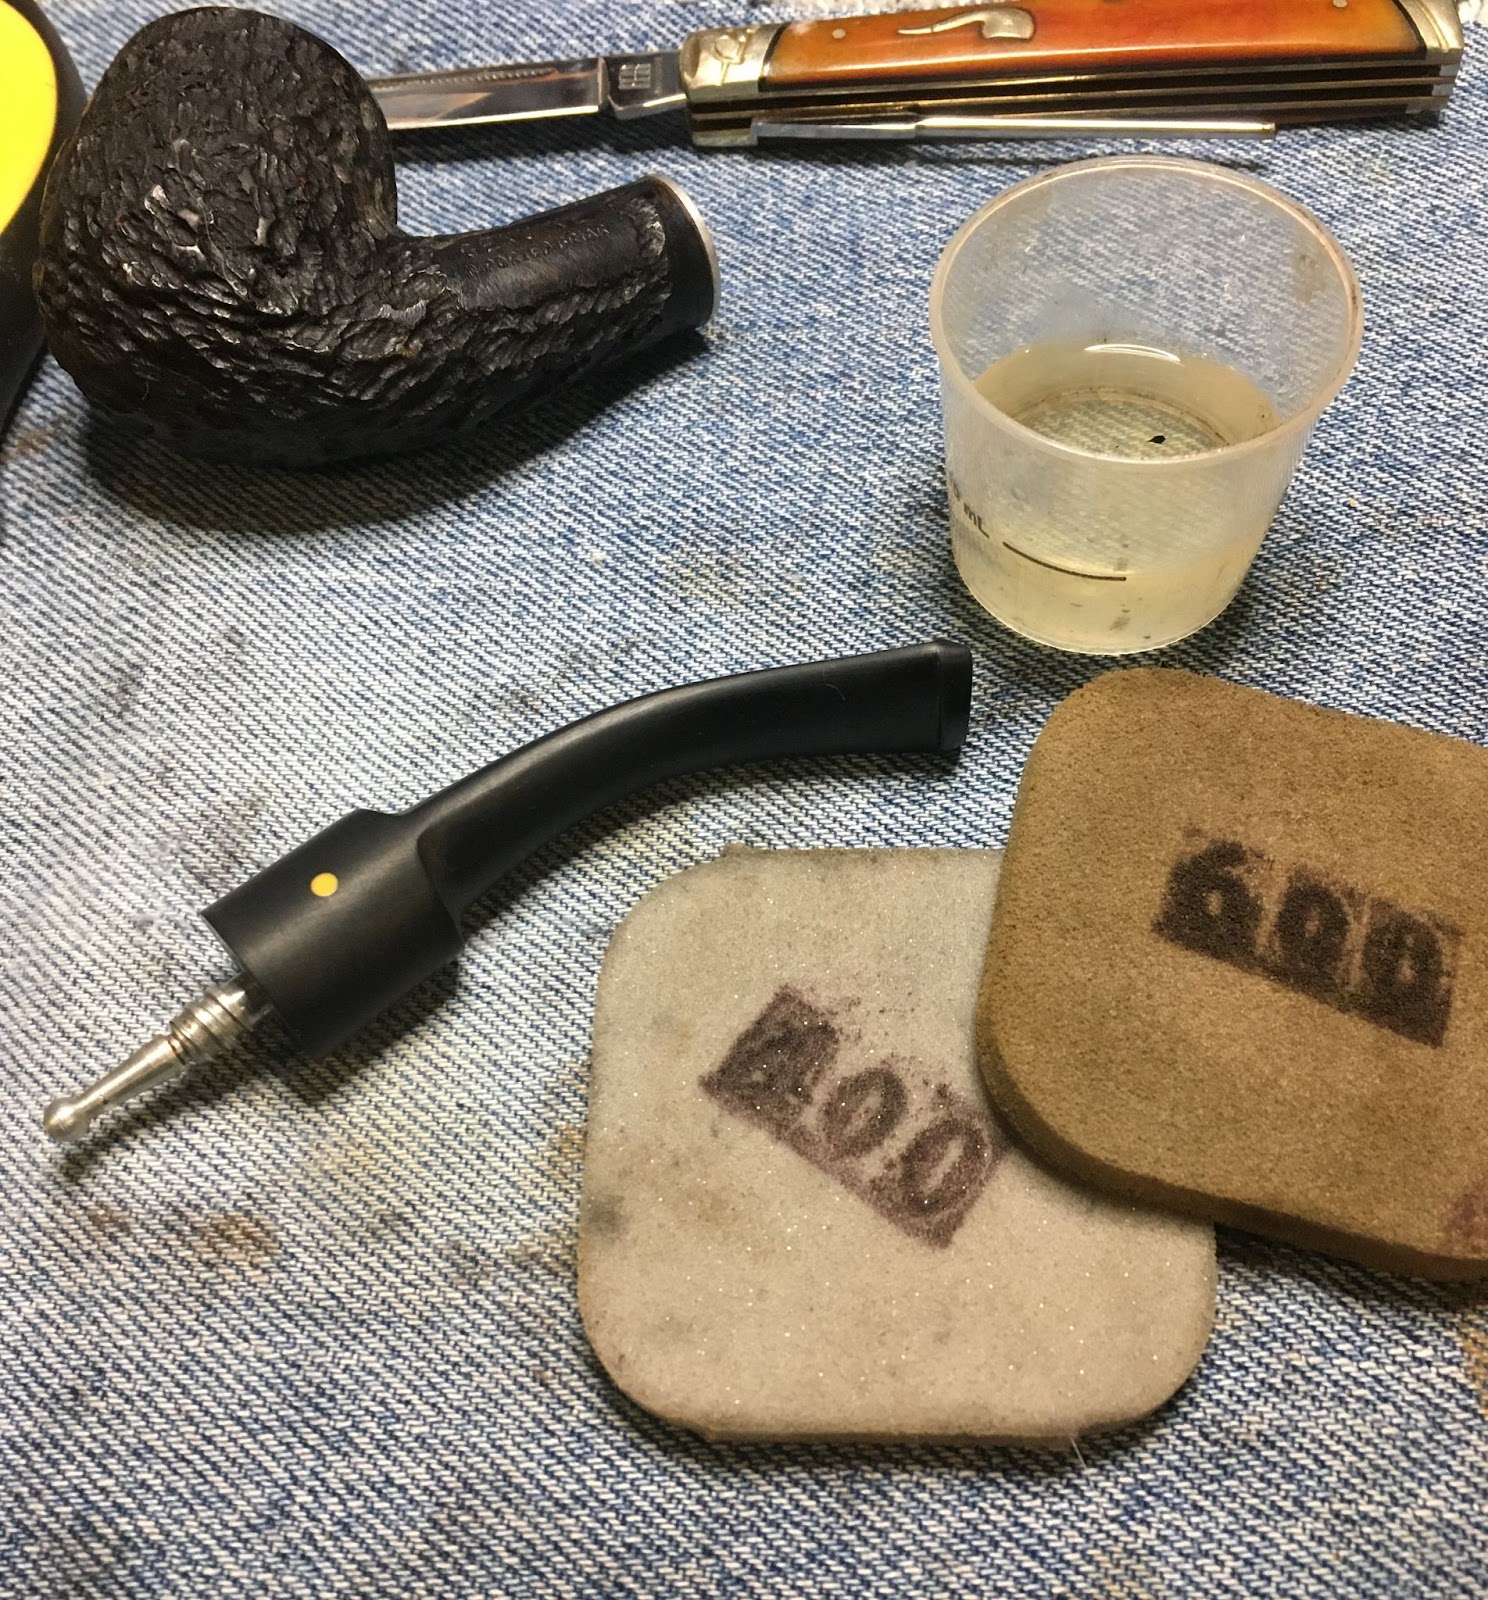
Here is what it looked like prior to me doing anything to it.


So, who made this pipe? I do not know. When? Probably 1950-1980. Where? Italy. Why? To make some money. Sorry if you were looking for some great detective work tracing the history and thrilling story behind this pipe. If you have additional information about this pipe, please feel free to include it in the comments.
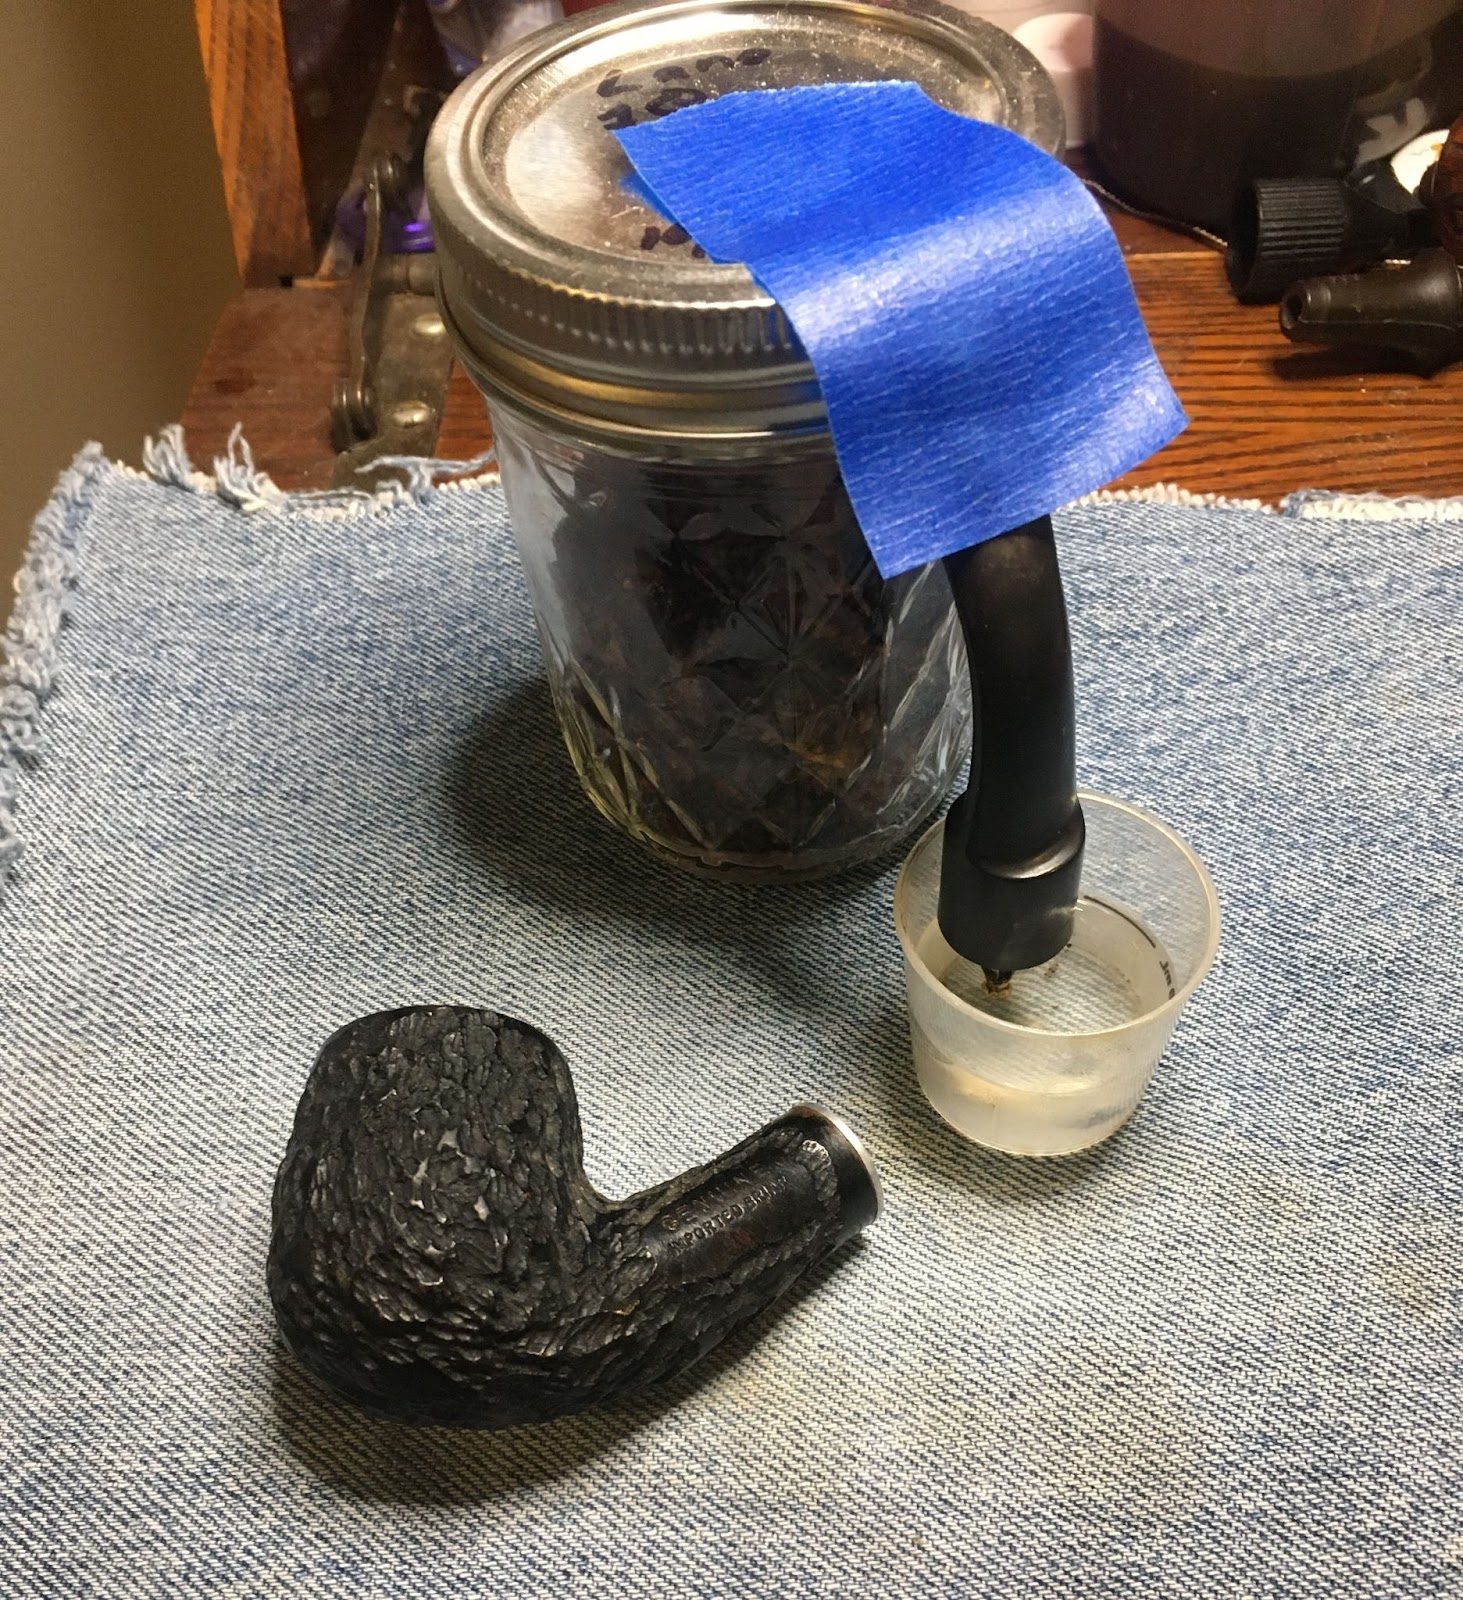
As for the restoration, it was a nice relaxing restore. I began with trying to get the stinger free of the tenon. The dried smoking residues had sealed the stinger into the threaded part of the tenon. I used a piece of painters tape to hold the stemupright in a medicine cup filled with 95% ethyl alcohol. While this was softening the tars I turned to reaming the tobacco chamber.
The usual tools joined the crusade against cake.
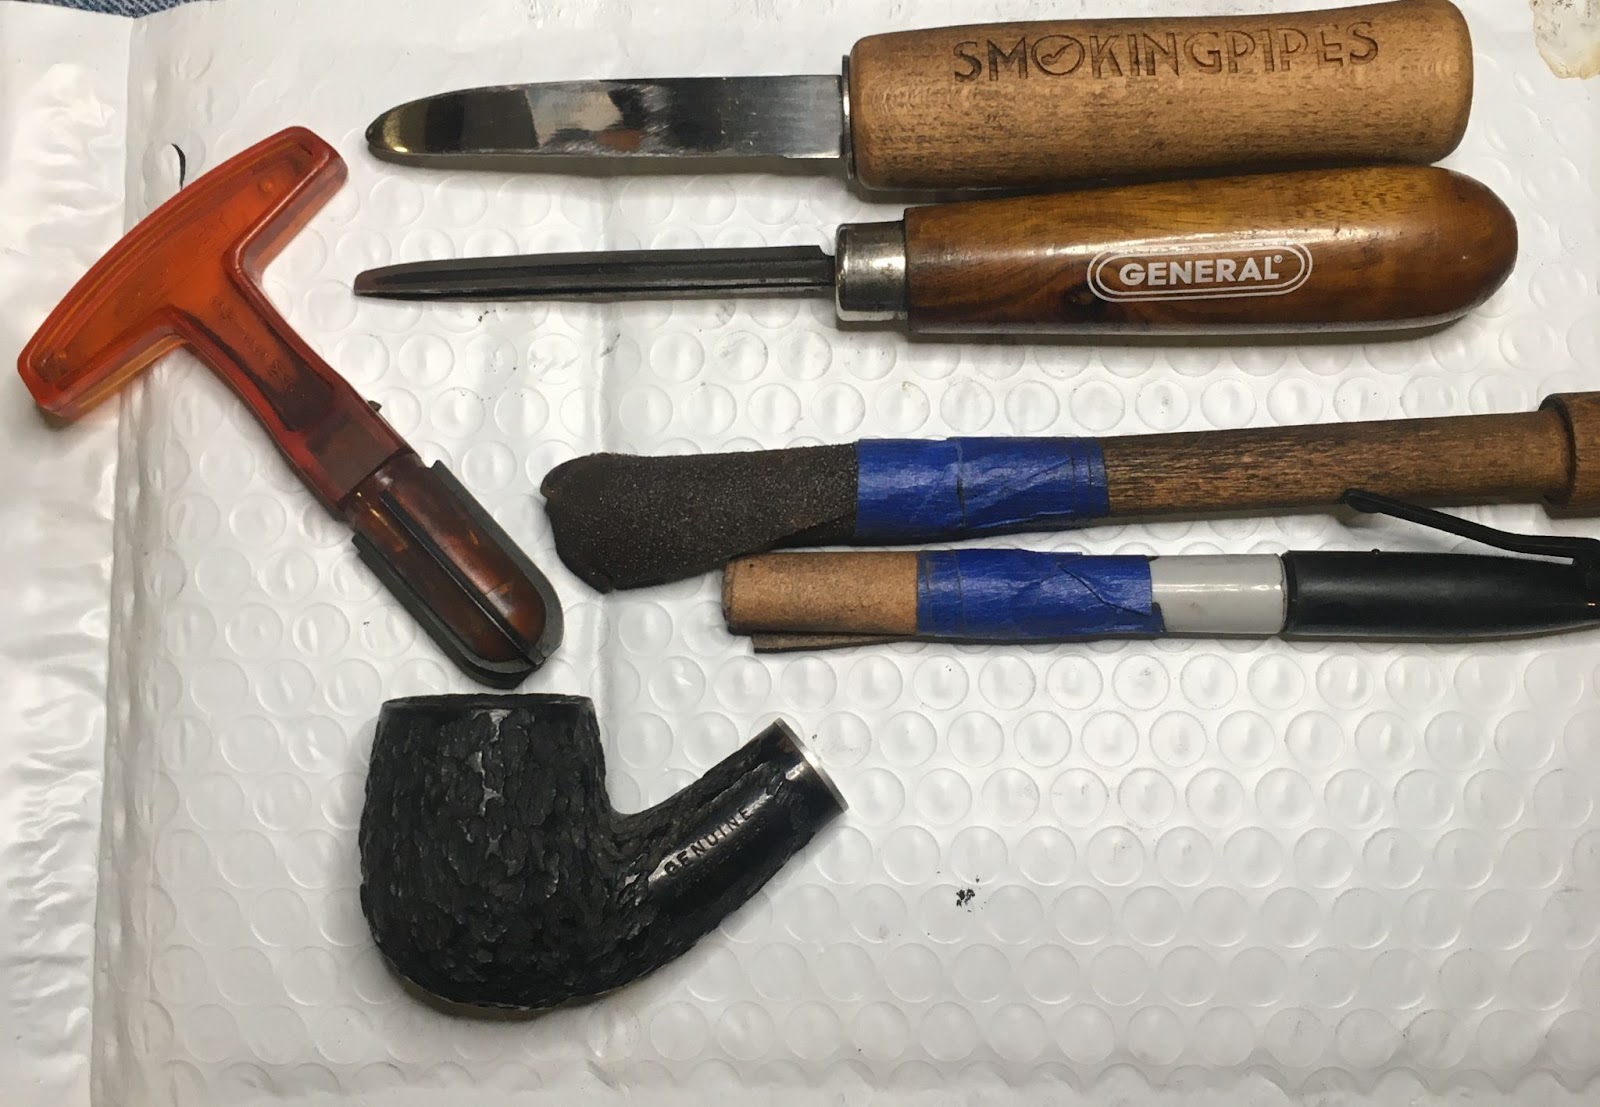
The pipNet with the #2 blades, the Smokingpipes knife, the General triangular scraper, the 220 sandpaper wrapped wood dowel and the 320 sandpaper wrapped Sharpie expected to see some action. The reaming went quickly as it was not very thick. The interior of the chamber was sanded to bare briar and revealed no sign of heat damage.

I returned to the stem. The alcohol had done it’s dissolving tar magic. I used several layers of paper towel to protect the stinger from the jaws of a needle-nose pliers and wiggled the stinger free. It was dropped back in the alcohol while I cleaned out the stem with bristle pipe cleaners dipped in the alcohol. The stinger was then cleaned with the alcohol, paper towels and a pipe cleaner.

To assess the amount of work needing to be done to the stem I wanted to sand it with the 400 and 600 sanding sponges. These were used to remove the calcium deposits and tooth chatter as well as the outermost oxidation.
I then used Soft Scrub on a make-up pad to vigorously rub the stem to remove the remaining oxidation.

After this the stem was rubbed with mineral oil and allowed to absorb the oil.
I then cleaned out the airway within the shank using cotton swabs dipped in the alcohol.

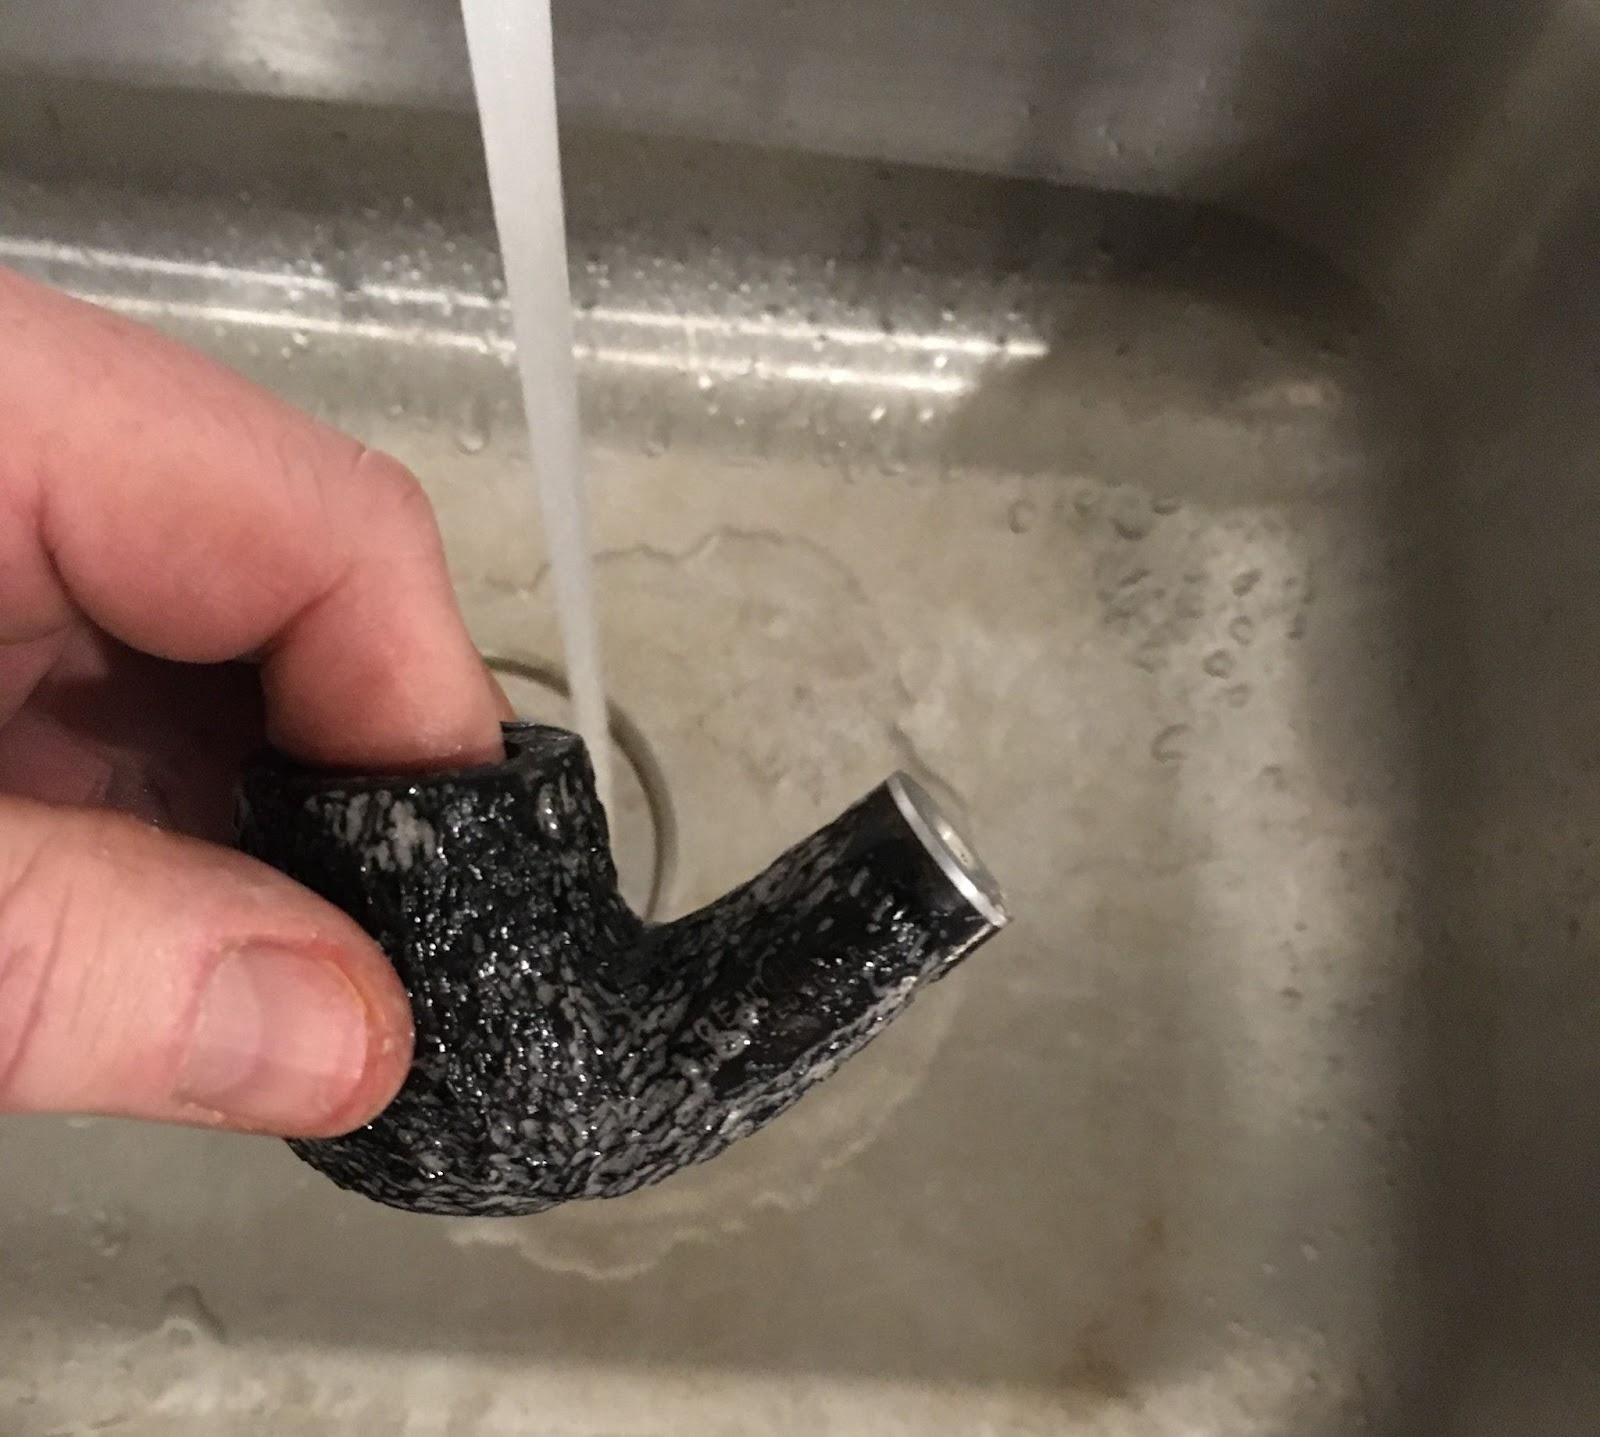
I took the stummel to the sink to scrub it with Murphy’s Oil Soap. The soap was used undiluted and scrubbed with a medium bristle toothbrush. Once scrubbed it was rinsed with warm water and dried with a cotton dish towel.
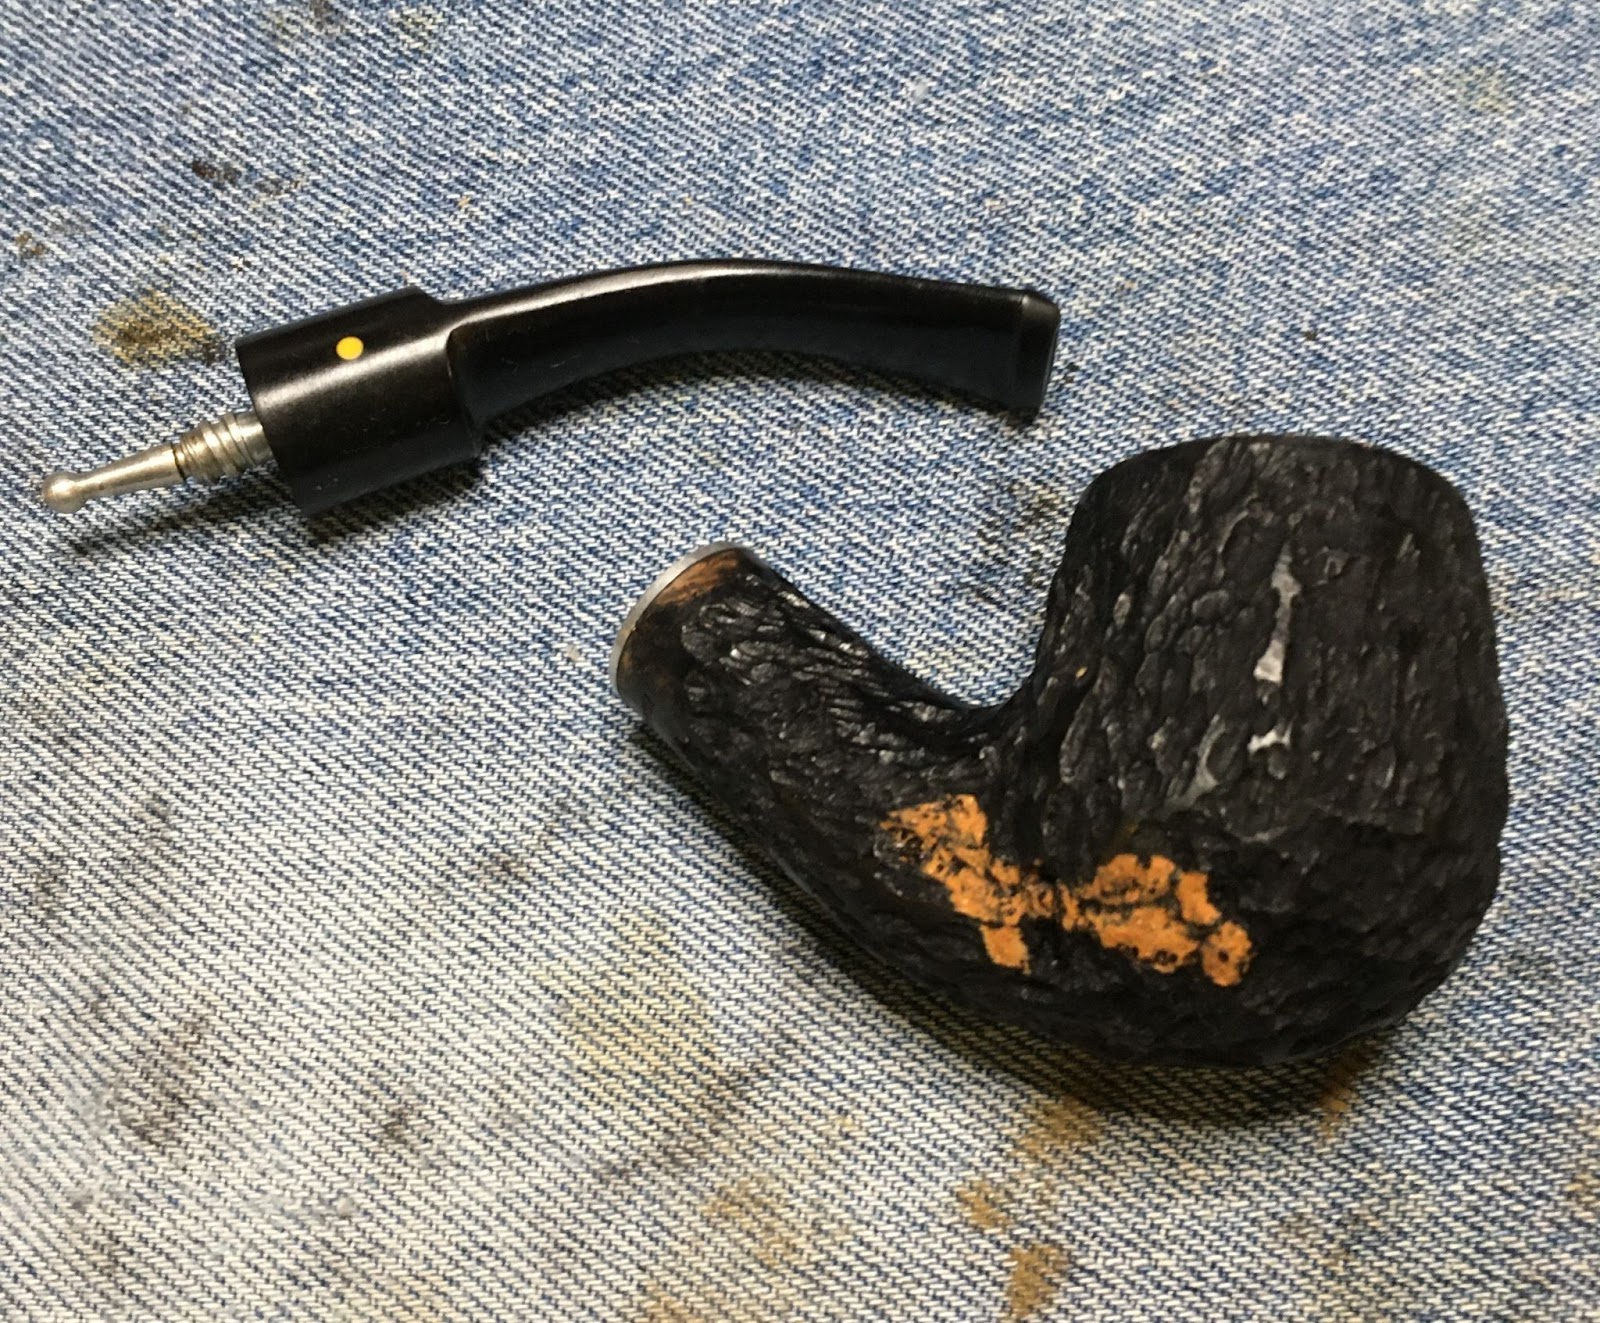
The scrubbed stummel showed off the areas where the black stain had been scratched off. This would have to be restrained. Below you can see photos of the left and right sides of the stummel after it was scrubbed.
Initially I thought that I could just stain the worn areas with black Fiebing’s Leather Dye. As I examined the stummel in better light, I decided to redye the entire stummel. I applied the Fiebing’s with a folded pipe cleaner. I flamed the dye to better set the stain to the briar. This was repeated two times.


I was actually quick enough with the camera to catch a little bit of blue flame from the burning alcohol based dye. There’s a first time for everything, I guess. The stummel was allowed to dry. After 30 minutes, I rubbed the surface with a cotton rage to remove and dye that remained on the stummel. The shank was then wrapped in a protective layer of painters tape.
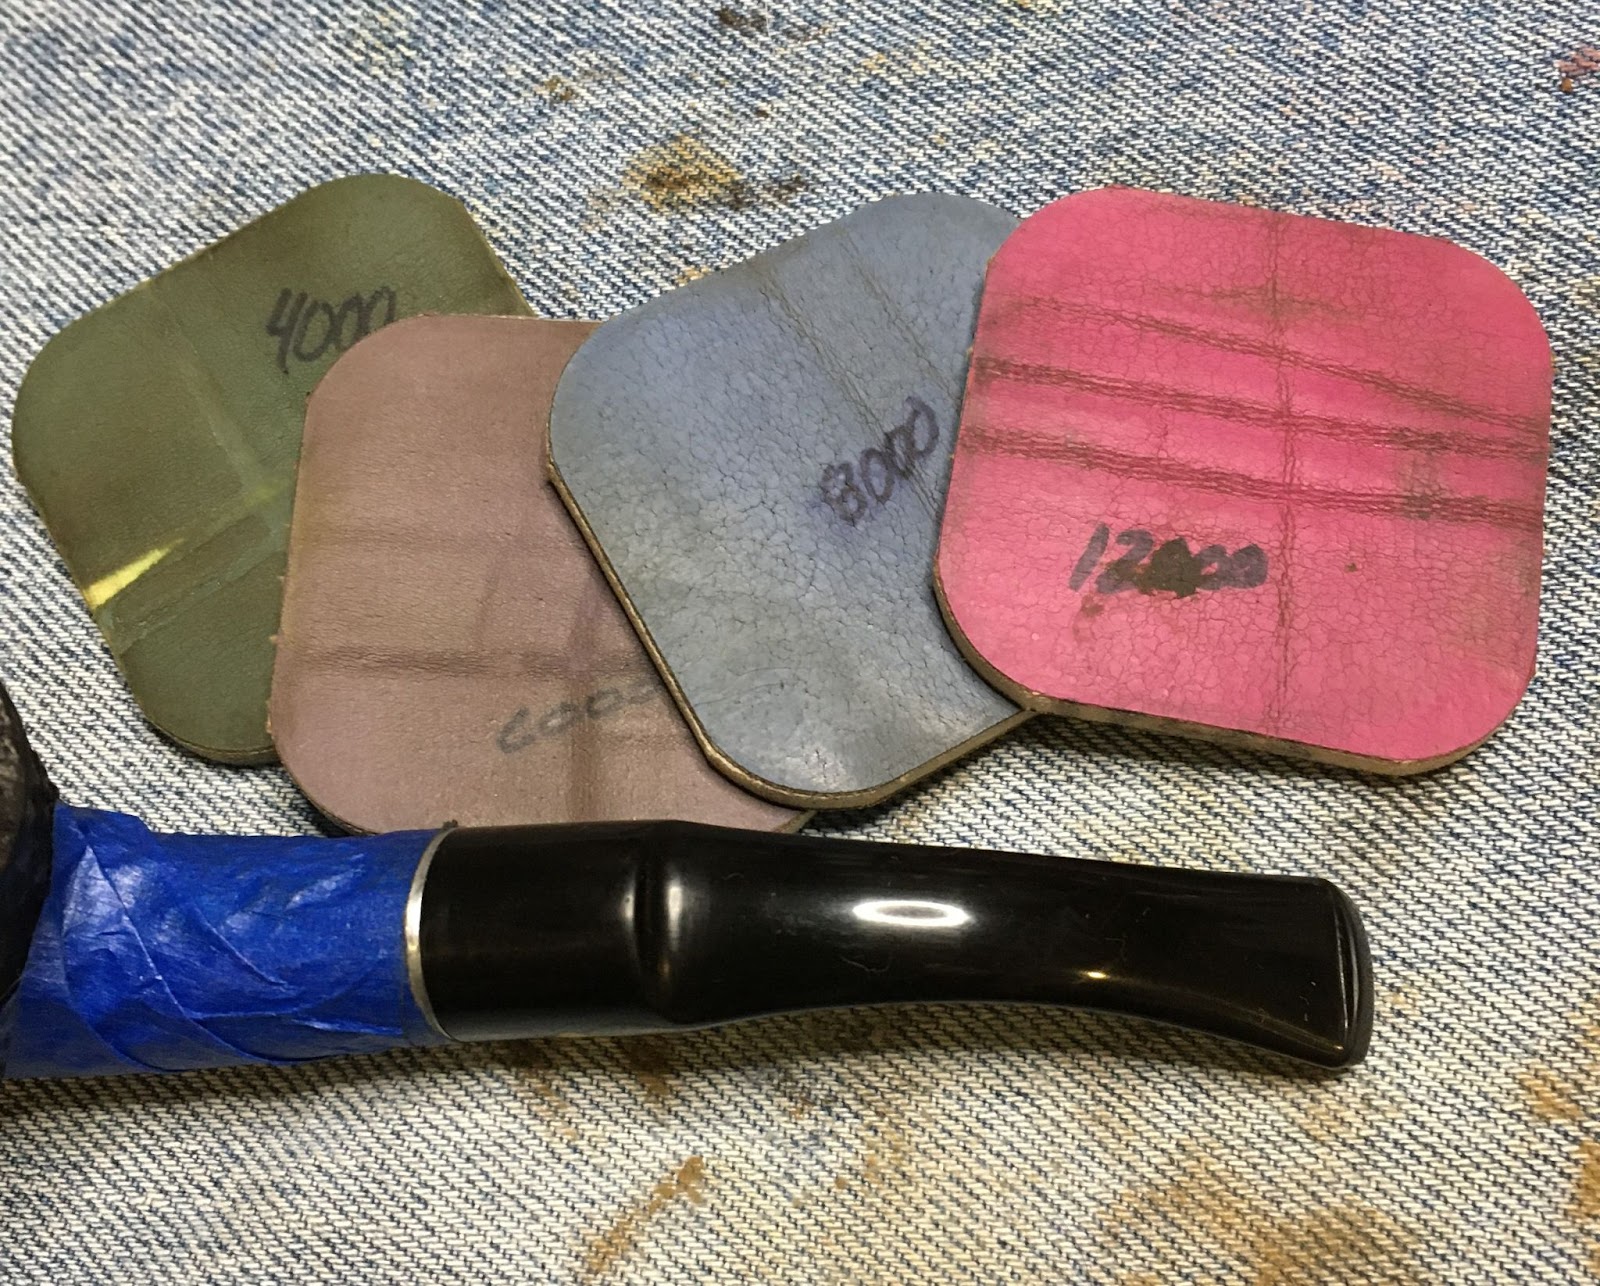
I used the sanding sponges and progressed from the 1000-3500 grits. Between each sponge I would apply a dab of mineral oil with my finger and wipe it away with a paper towel.

Next the stem was micro-meshed using the 4000-12000 pads in sequence. Between each pad I would apply a drop of Obsidian Oil, rub this in and wipe away the excess with a paper towel.
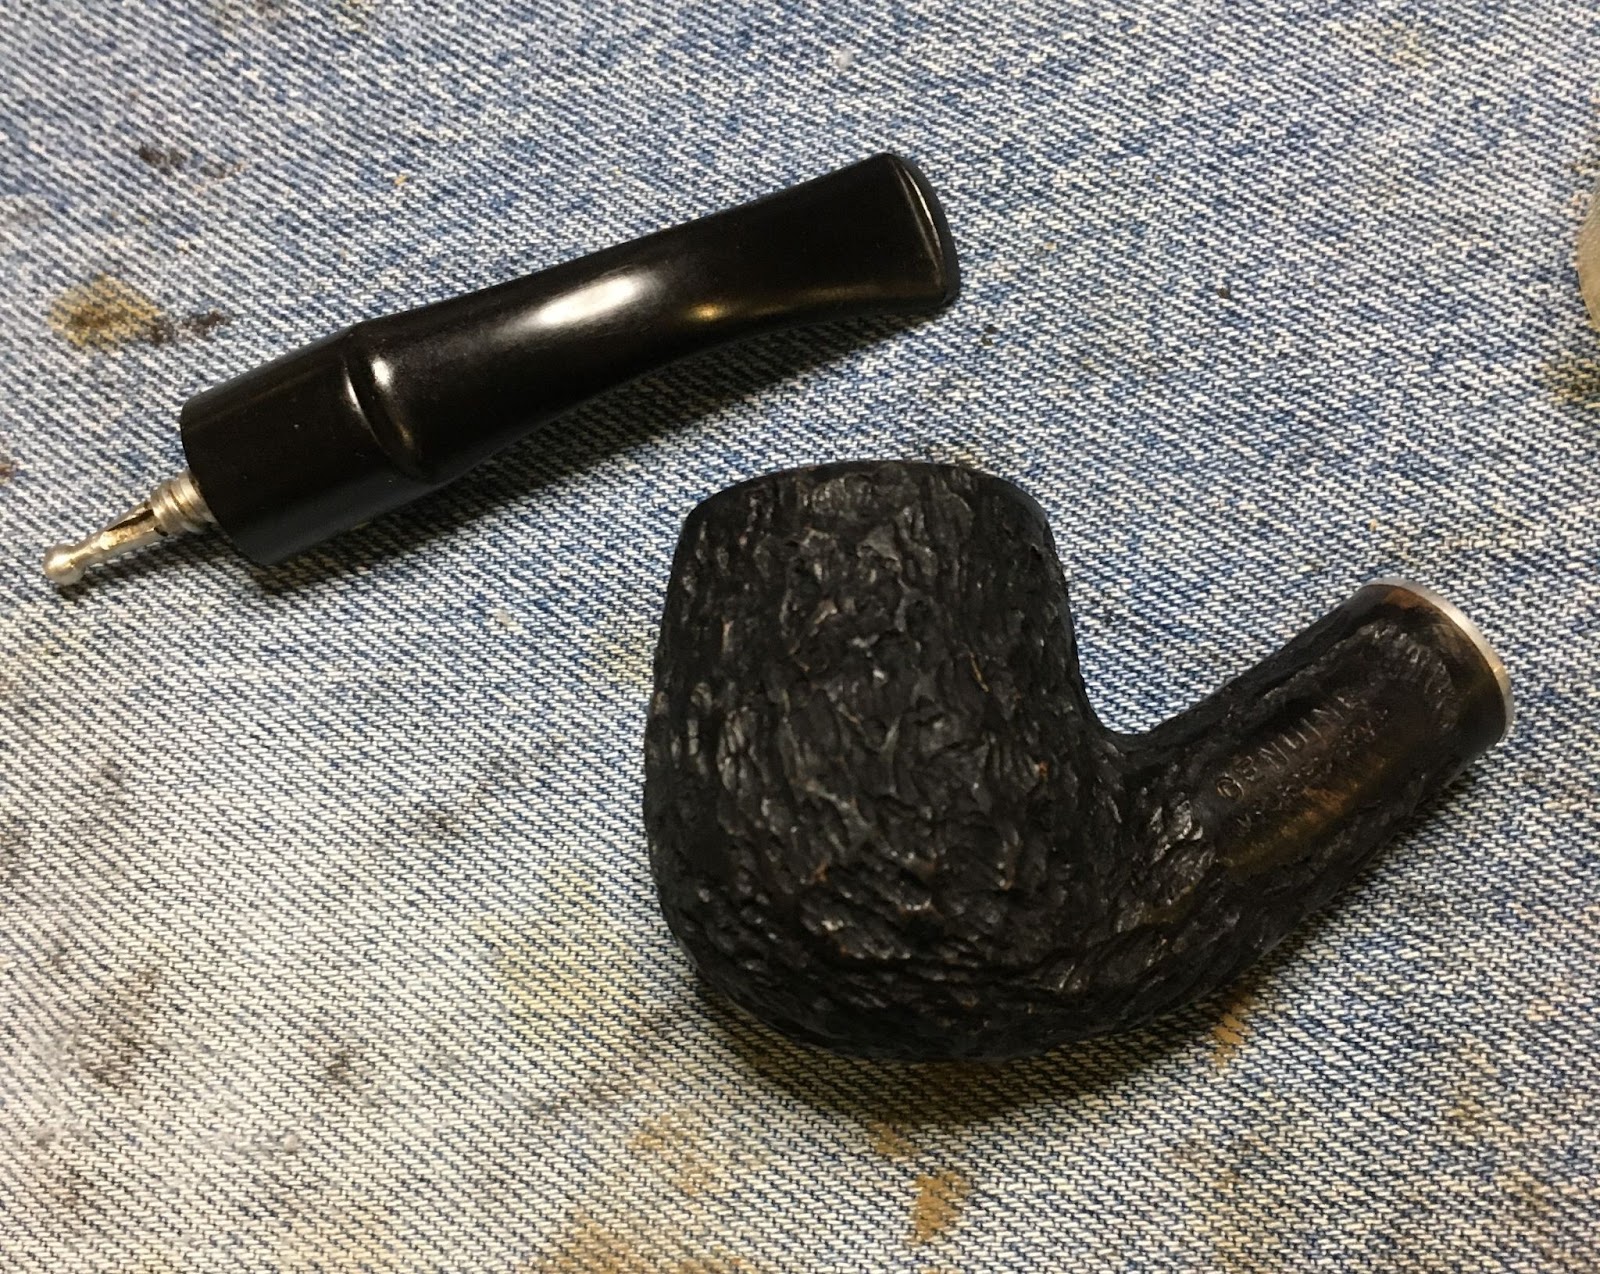
The last thing to do was to wax the Genuine. I used the Renaissance Micro-crystalline Wax Polish applied by finger and brushed in with a baby toothbrush. The wax was allowed to dry for 30 minutes then buffed with a shoe shine brush.

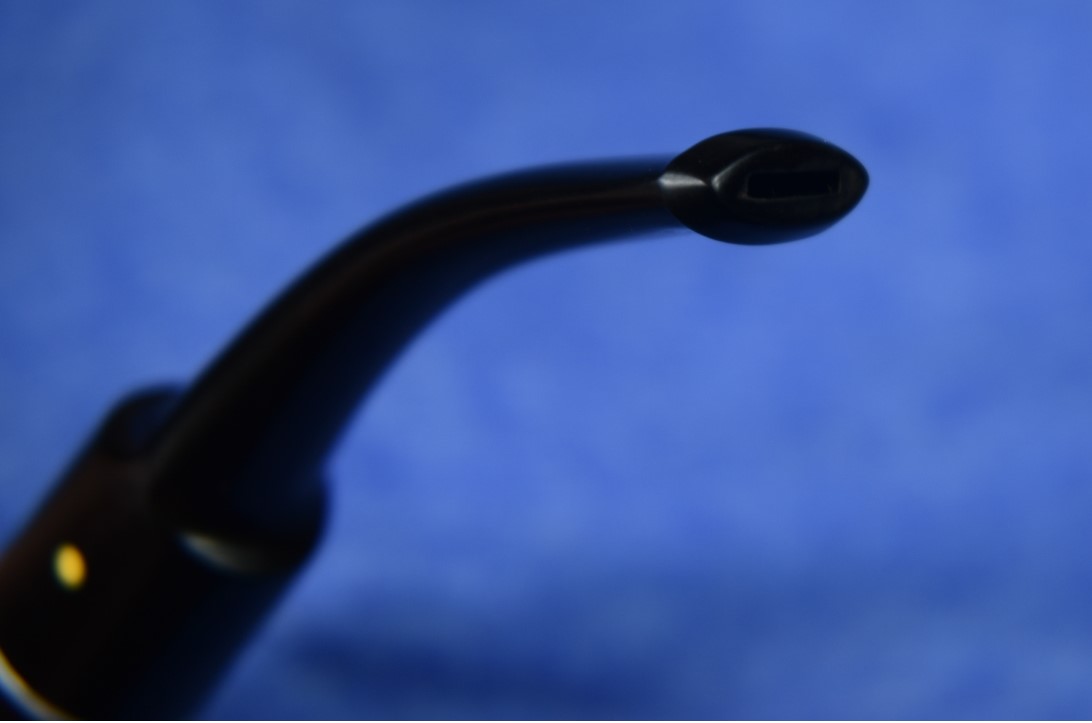
The stem and smooth area where the stamps had carnauba wax applied with the buffer.
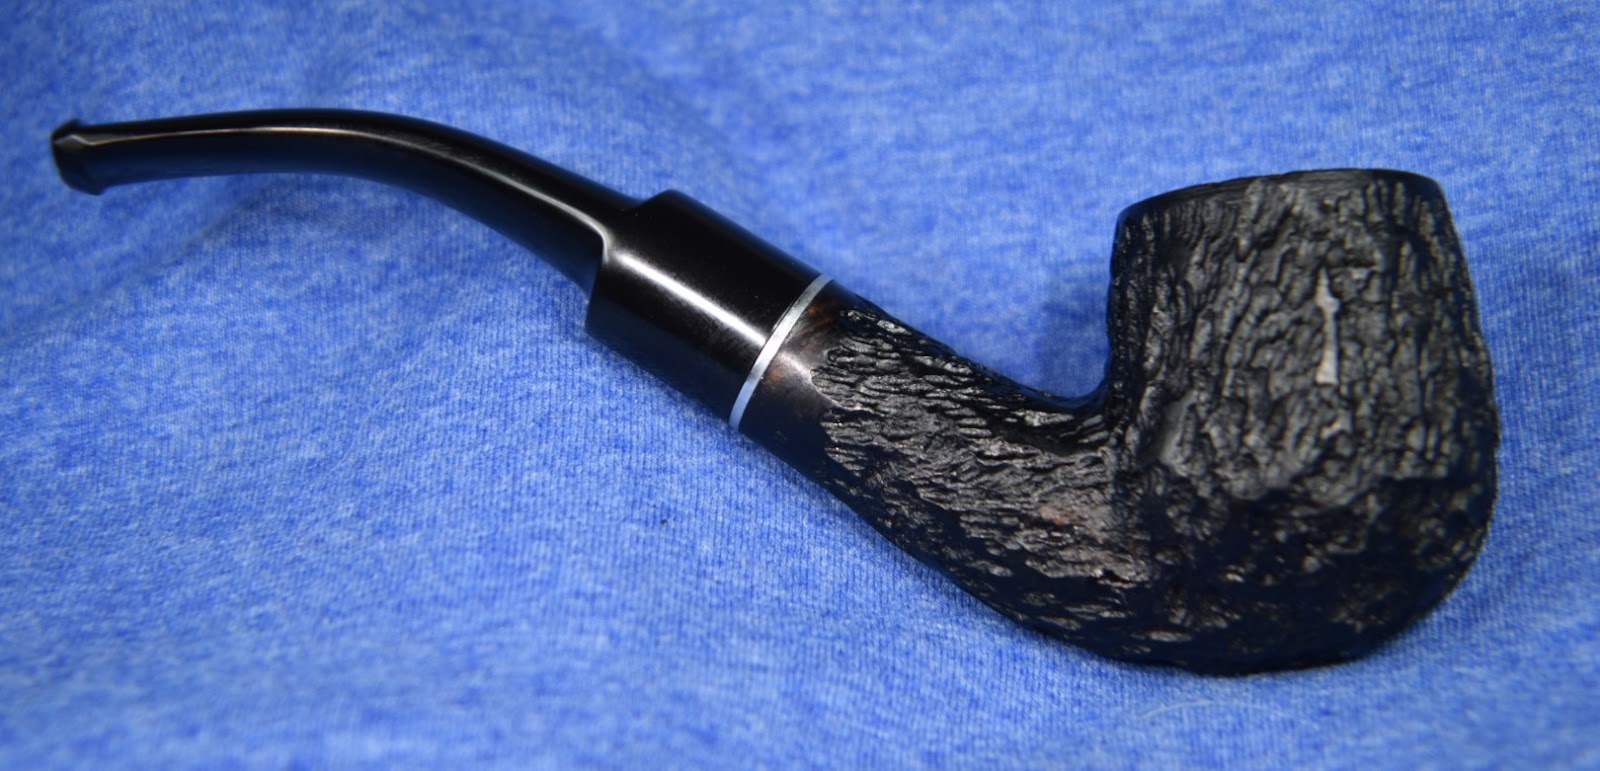
Overall I think this Genuine Imported Briar pipe turned out very nicely. It is a good looking pipe made from briar with good clean centered drillings and a rustication that provides a solid grip. This would make for a great outdoor use pipe for lunting, fishing or a Saturday work on the car, yard or garden. The rusticated black finish would hide most of the dirt and grime of outdoor activities and still look presentable in public. Although smoking in public will still probably get you an “evil-eye look’ until they smell the delightful smoke. I hope you found this useful in restorations of your own or you had a relaxing read. If you like this sort of thing please click the like and subscribe. Thank you for reading the ramblings of an old pipe lover.
Below are some photos of the finished Genuine Imported Briar.


I am still debating the background color. Tell me what you think in the comments. Thanks.

One response to “A Genuine Imported Briar Restoration ”
For the background, the blue is more pleasant but that’s not the main reason for reading the blog. The posts are informative while being humorous and entertaining. For someone “dipping their toes” into pipe restoration, your blog is definitely one I read every time.
LikeLike