
Written and photographed by
John M. Young
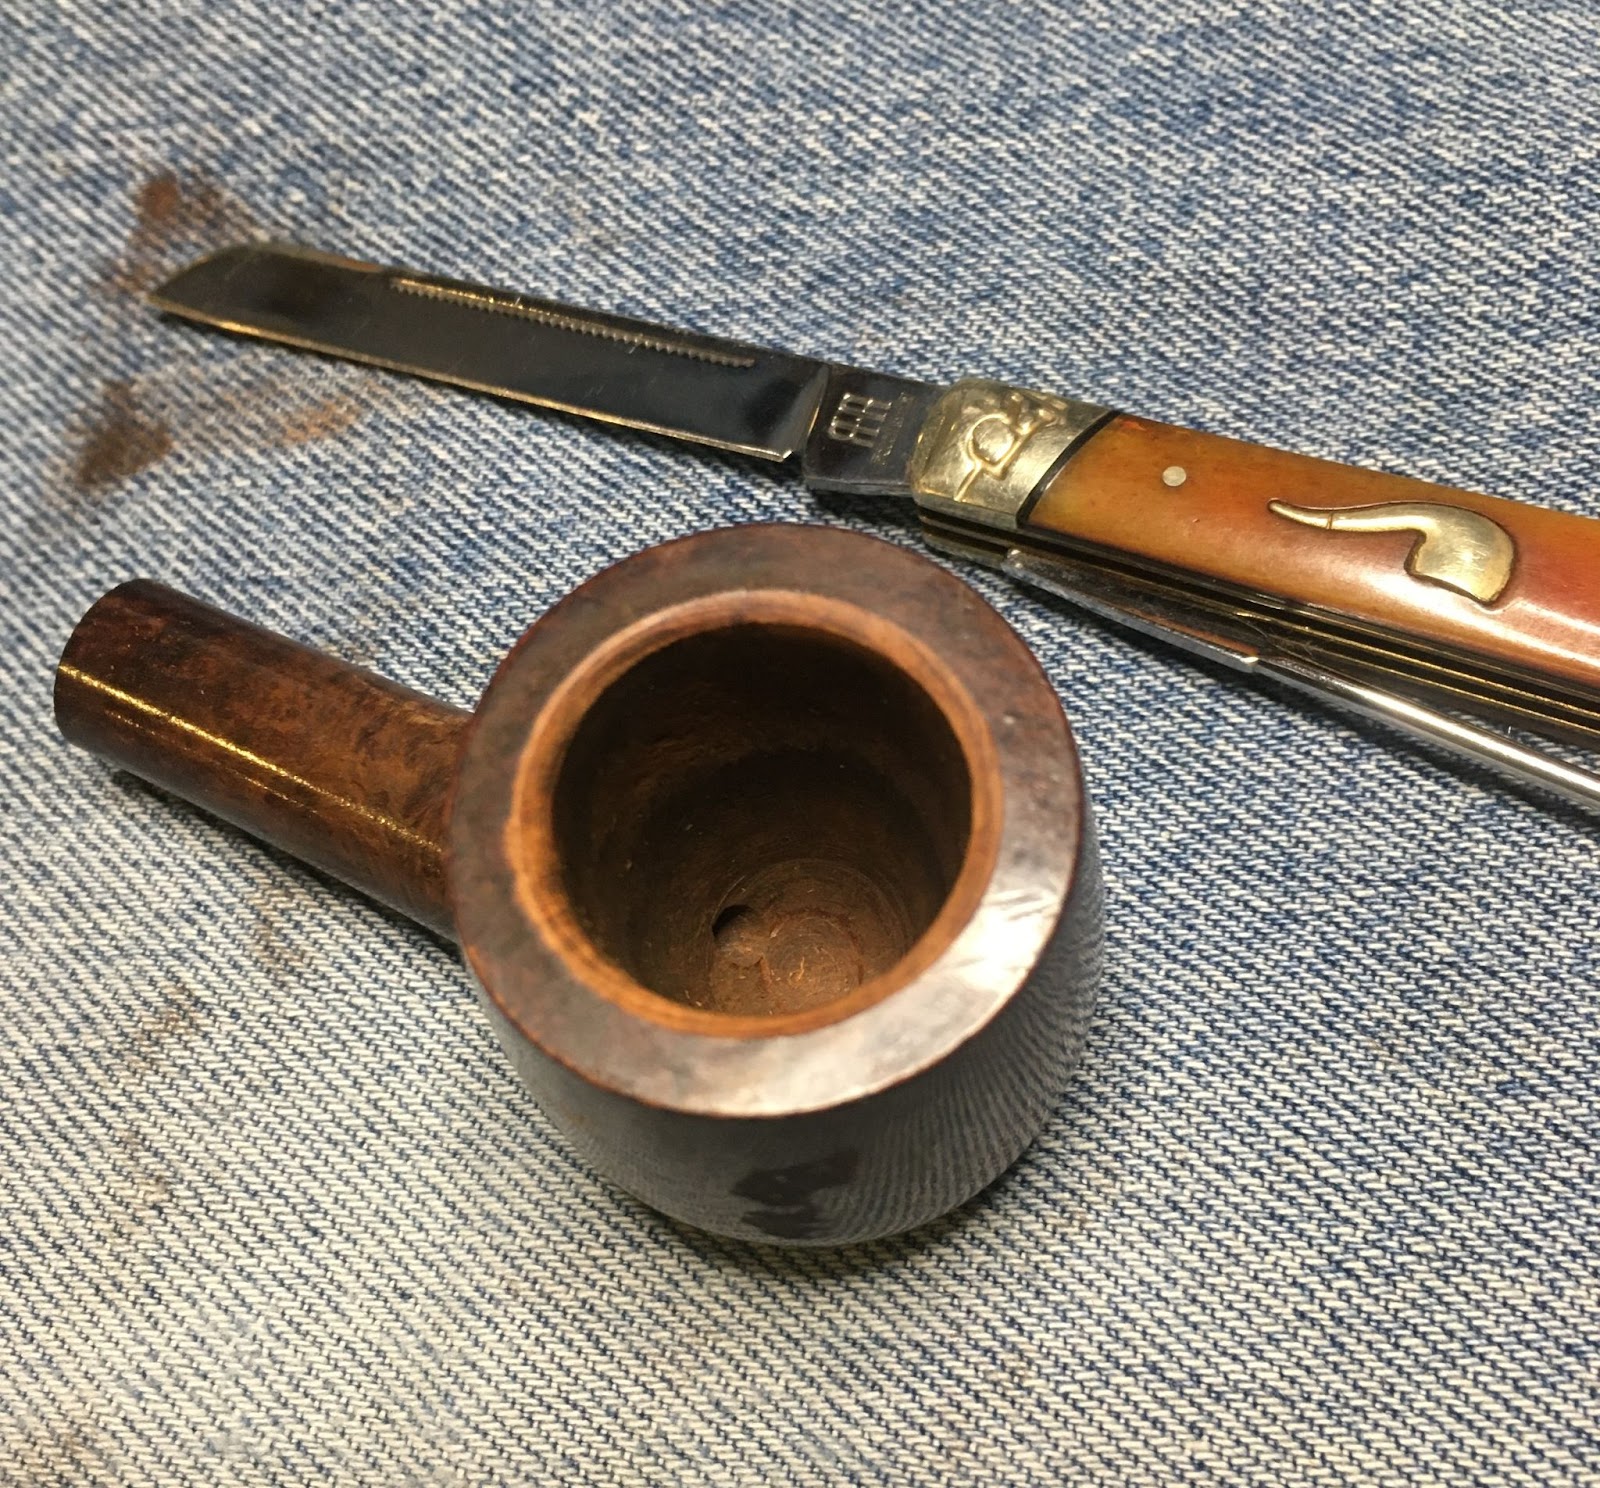
You may have guessed that Tropical Paints Cleveland is not a pipe manufacturer. Not a very catchy name if they were. I am assuming that this pipe was a promotional or advertising item. That is something that I would love to see return to our culture. I can imagine the outrage of all the Karens and Kens (the male version of a Karen according to https://www.fatherly.com/life/male-version-of-karen-meme) towards a company giving away tobacco use products. Below are some photos of the Tropical Paints Cleveland as it arrived.


So, how does one research the maker of a promotional type pipe? Well I first started with Tropical Paints Cleveland. Searching that on the internet led me to a brief history of the company. The company name had gone through several changes over their history as seen below.
“The Tropical Paint & Oil Company was founded in 1883 in Cleveland, Ohio. Its industry was oils and industrial paints and its headquarters remained in Cleveland (Brunswick), Ohio. In 1964, Tropical was acquired by the Hooker Chemical Corporation and made a subsidiary. The company was acquired by Bondex International, Inc., a subsidiary of RPM, Inc., in 1977. The company dissolved in 1990.”

(https://mycompanies.fandom.com/wiki/Tropical_Paint_%26_Oil_Company)
Armed with this piece of information I narrowed the window of possible dates to the 1956-1979 years. T his made the most sense to me because the company name during this time was the “Tropical Paint Company” minus the two years when they called themselves T/P Protective Coatings. It made sense that this would be shortened to “Tropical Paints Cleveland” when stamping a pipe.
Next stop was to pipedia.org, of course. As you have probably already surmised, “Tropical Paints Cleveland” was not entered at pipedia.org. Rather, I used a “promotional pipe” to start the search. This returned the following:
“The New Jersey Briar Pipe Co. produced primarily closeout and promotional pipes as well as private label pipes.
The company was purchased by the S.M. Frank company in 1956 and continued to operate as a subsidiary of S.M. Frank until December 31, 1972.” (New Jersey Briar Pipe Co. – Pipedia)
This made sense when looking at the dates for the “Tropical Paints Company” name. The year range of 1956-1972, fit in well. Not the definitive answer to the question, “who made this pipe?” but, certainly a likely suspect.
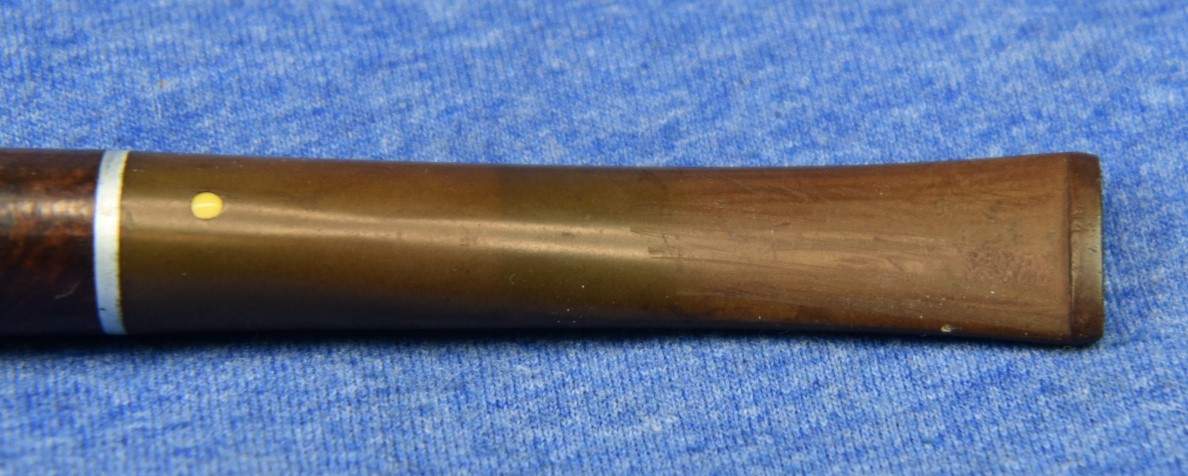
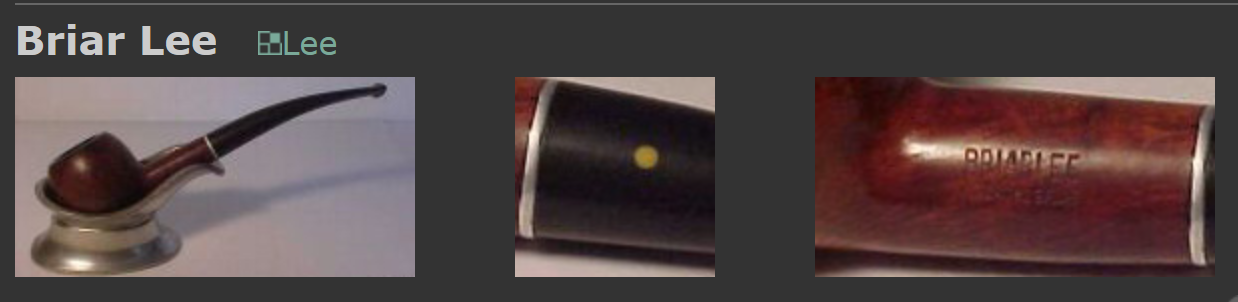
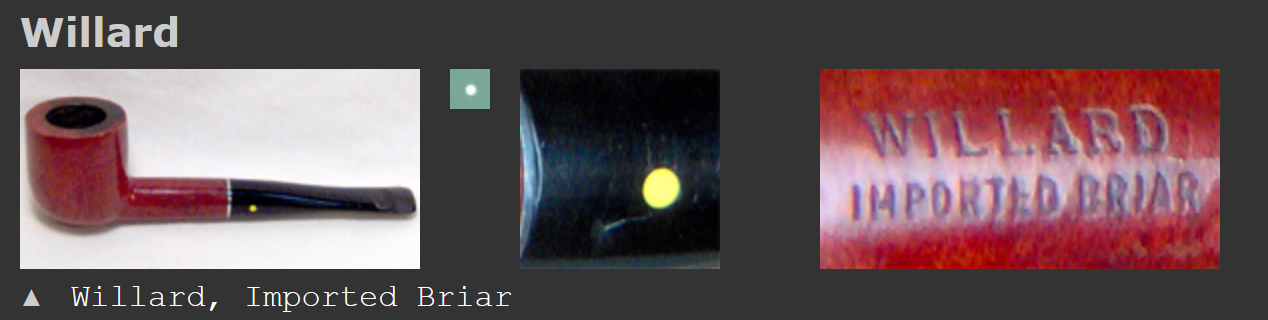
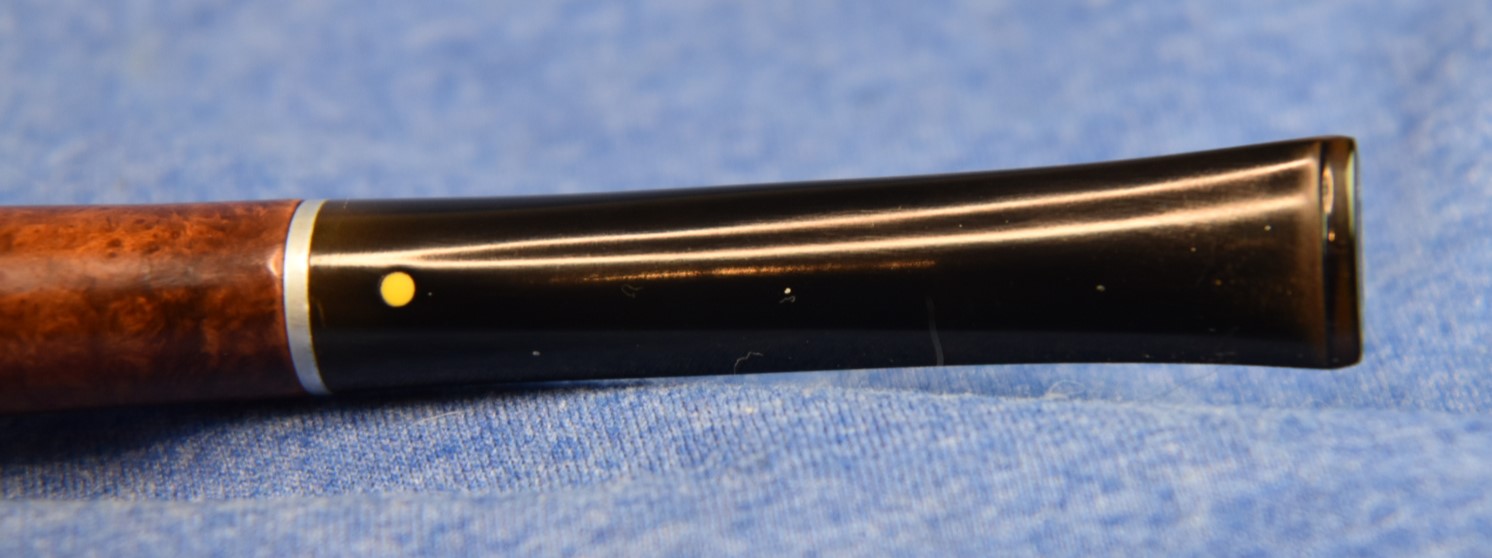
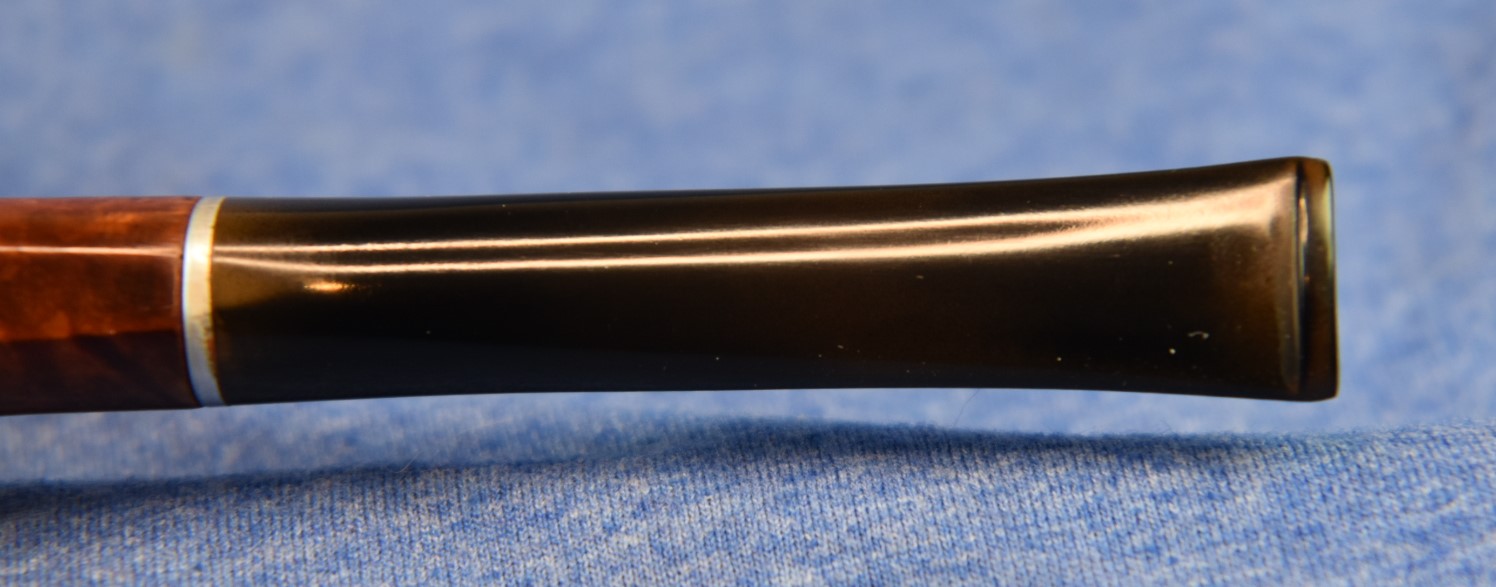
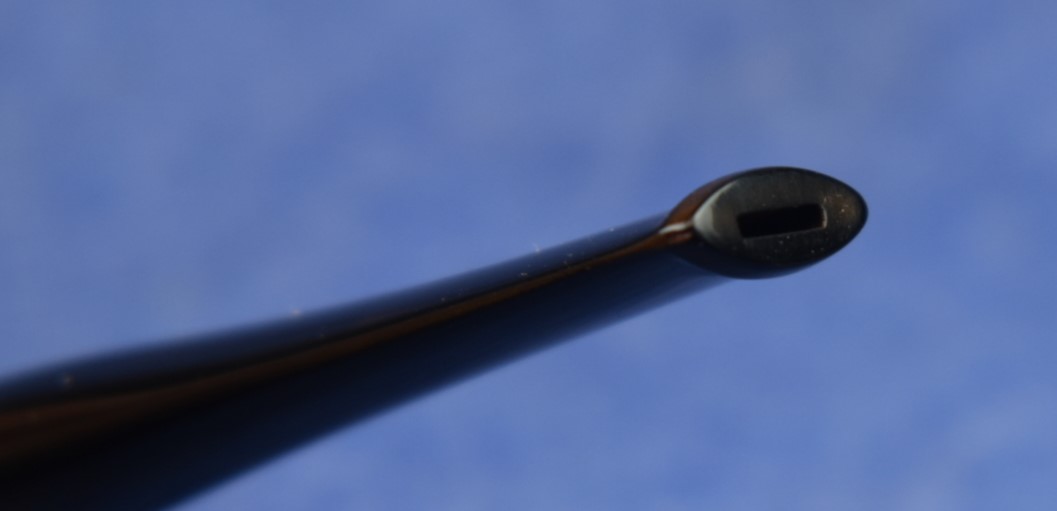
I was plagued by the thought of the yellowish white dot on the stem. I knew I’d seen that before. I turned to pipehil.eu and looked at the single dot stem logos. The two that seemed the best match for the yellowish dot and the aluminum mortise were Willard and Briar Lee.
(One dot — Pipes: Logos & Markings (pipephil.eu))
Returning to pipedia.org, I looked into each Briarlee and Willard. Briarlee had a mere one sentence.
“Briarlee was a sub-brand (possibly seconds line) of pipes by Lee, included in at least one Pipes by Lee Catalog.” (Briarlee – Pipedia) With Briar Lee already being a second, I thought they were unlikely to take on additional business. The Willard entry had more information but was the same information found on the pipehil.eu site.
“The Willard pipes were made by Sparta Industries in Sparta, N.C from 1963 to 1975 (about 60,000 pipes per week). Some were distributed by the Post and Base Exchanges that serviced the military during the Vietnam War. Others were produced for R. J. Reynolds Tobacco.” (Willard – Pipedia) The dates for Willard are a nearly perfect match for the dates of “Tropical Paints” and provide a second suspect.
Another piece of this puzzle is the mortise tenon evidence. I have a Willard pipe that I was going to give a buddy for Christmas. It wass still here in the house as I hadn’t made it to see him yet. I photographed the Willard side by side with the Tropical Paints pipe. The Willard dot appears to be slightly larger than the Tropical Paints dot.

The Willard pipe has a screw in tenon while the Tropical paints has a push tenon with a push-fit stinger. The aluminum is part of the tenon on the Tropical Paints stem while the aluminum is part of the mortise with the Willard.

So, which manufacturer made the Tropical Paints Cleveland? I am inclined to say that the Tropical Paints pipe was produced by the New Jersey Pipe company as a subsidiary of S.M. Frank. I think an argument could be made for either Millard or the New Jersey boys but the quality of the pipe, the mortise & tenon and the promotional pipe making strikes me more as the latter.
To the restoration. As would be expected from a paint company promotional pipe, this old girl has a thick finish of some kind of clear coat. That had to go. Otherwise the pipe is in very good shape. There was a light cake deposit in the bowl and the stinger looked heavily varnished with tar. That indicated that the shank and stem would be dirty as well. The stem was heavily oxidized but had minimal tooth chatter and strange scrape marks.
I started by setting out a clean piece of denim.

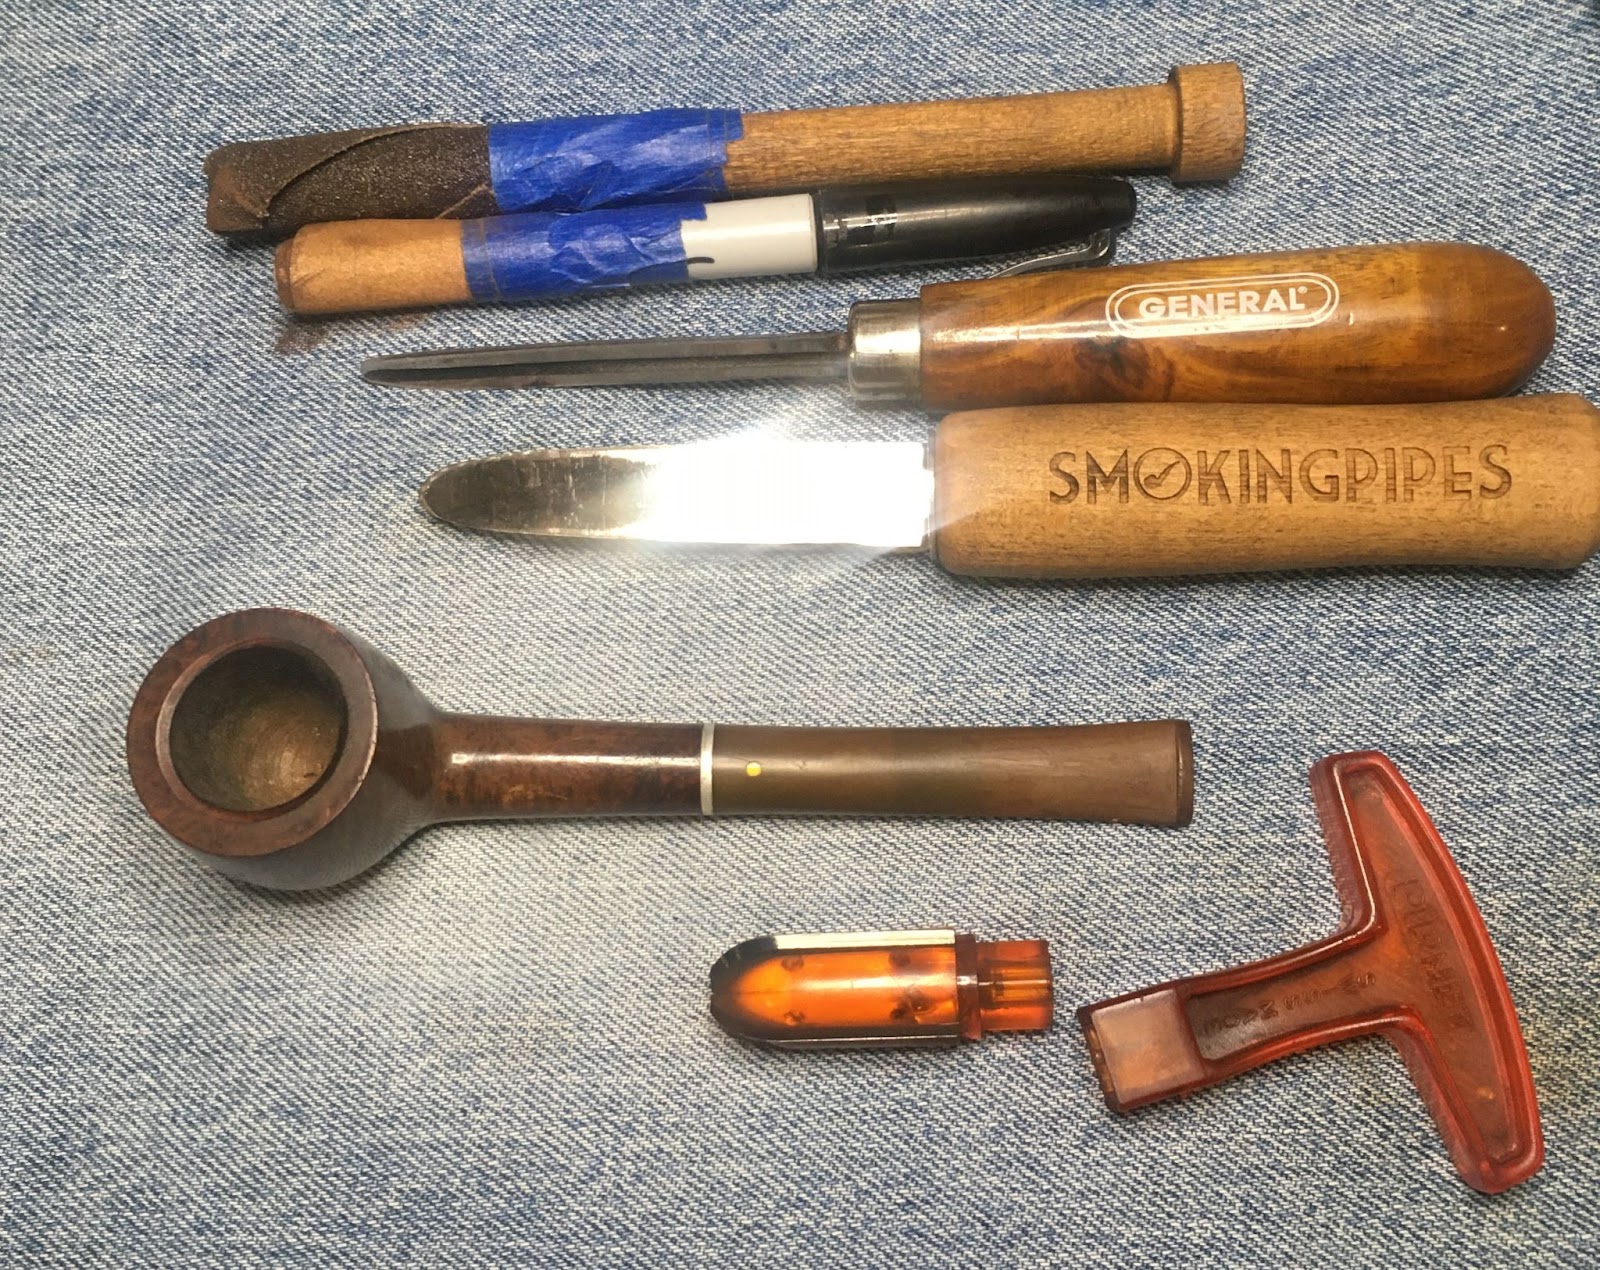
The chamber reaming would be the next task. The Tropical Paints was a fairly large tobacco chamber so the PipNet and the #3 blade were called for, the General triangular scraper and the Smokingpipes Low Country knife were used to scrape the walls and bottom of the chamber. When finished with the scraping the chamber was sanded with 220 sandpaper wrapped around a wood dowel followed by 320 sandpaper wrapped around a Sharpie.

With the chamber done, I started scraping the rim and the inside beveled edge. I used a sharp pocket knife to scrape the surfaces after I wetted them with saliva.
The shank airway was then cleaned with cotton swabs dipped in 99% isopropyl alcohol. I was pleasantly surprised at how clean the shank was.

Next came the removal of the clear coat. I dipped a make-up removal pad into the 99% isopropyl alcohol and rubbed the bottom of the pipe for several seconds. The result was a nice clean clear coat. Hmm, alcohol doesn’t touch the finish. Next up, acetone on a make-up pad, also rubbed for several seconds. Success. I Placed the stummel into a jar filled with acetone. I let the stummel soak for about an hour.
During the acetone bath I worked on the stem. With the shank being less dirty than I expected I was hoping for the best and expecting the worst. You know, that way I can’t be disappointed. It started out being dirty but that changed quickly and only required a few alcohol dipped pipe cleaners.

Insides were cleaned now to address that oxidation. I gave the stem a rub with 0000 steel wool and dropped it into a container with warm water and dissolved Oxy-clean. I have no idea how much Oxy was dissolved in the water as I made this solution months ago. Within 5 minutes the solution around the stem was turning brown from what I assume was oxidized rubber

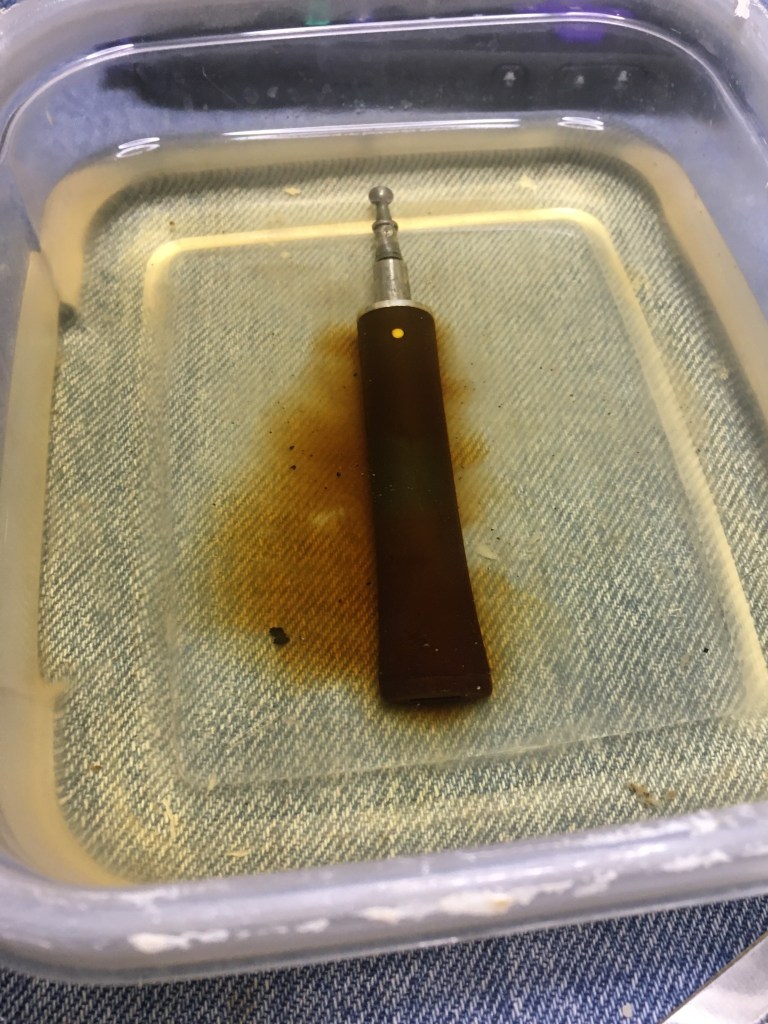
The stem was allowed to soak for approximately 30 minutes. After the 30 minutes I started getting nervous, what if the whole thing dissolves? I removed the stem and wiped it dry. It was still discolored from oxidation. I started working the surface with Soft Scrub on another piece of denim. I used the larger part of the denim laid on my knee while using a corner wetted with the Soft Scrub to vigorously rub the stem. This was working at removing the brown oxidized surface. After many reapplications of Soft Scrub I finally felt like I was making progress. Next came the sanding of the stem and I hoped that would remove the remaining browned stem. I sanded from 600-3500 with the sanding sponges. Between each sponge I rubbed in a drop of mineral oils and then wiped the stem with a paper towel.
With the stem looking ready for micro0meshing I returned to the acetone jat to remove the stummel. The finish looked like it had been thoroughly dissolved. I wiped the remaining acetone from the stummel. I sanded the stummel with the 600 sanding sponge and wiped it with a make-up pad dipped in 99% isopropyl alcohol. This was repeated with the 1000 sanding sponge. I then paused for a few photos of the stummel.
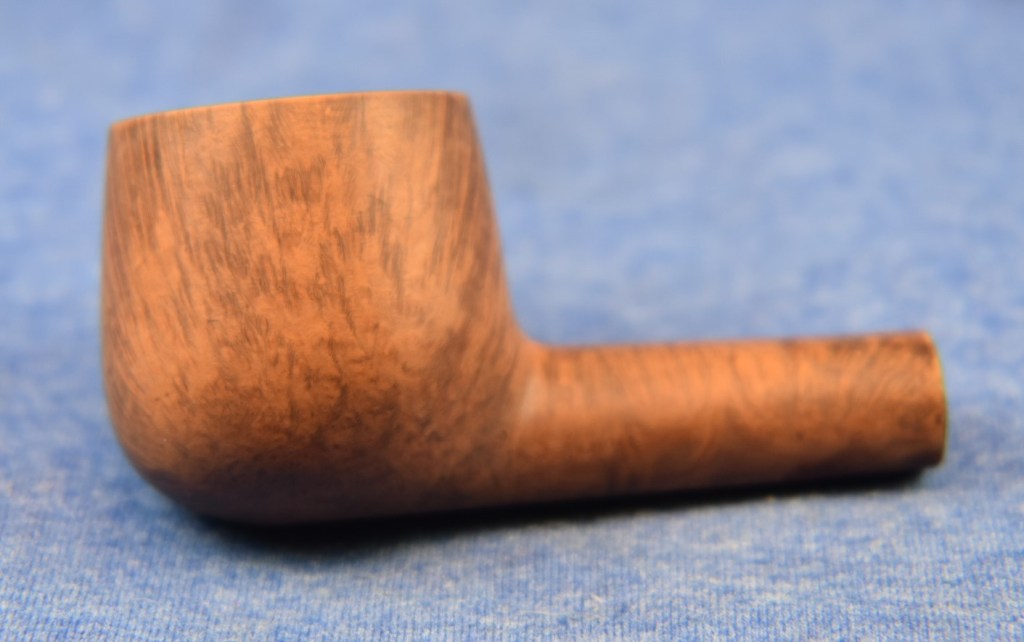


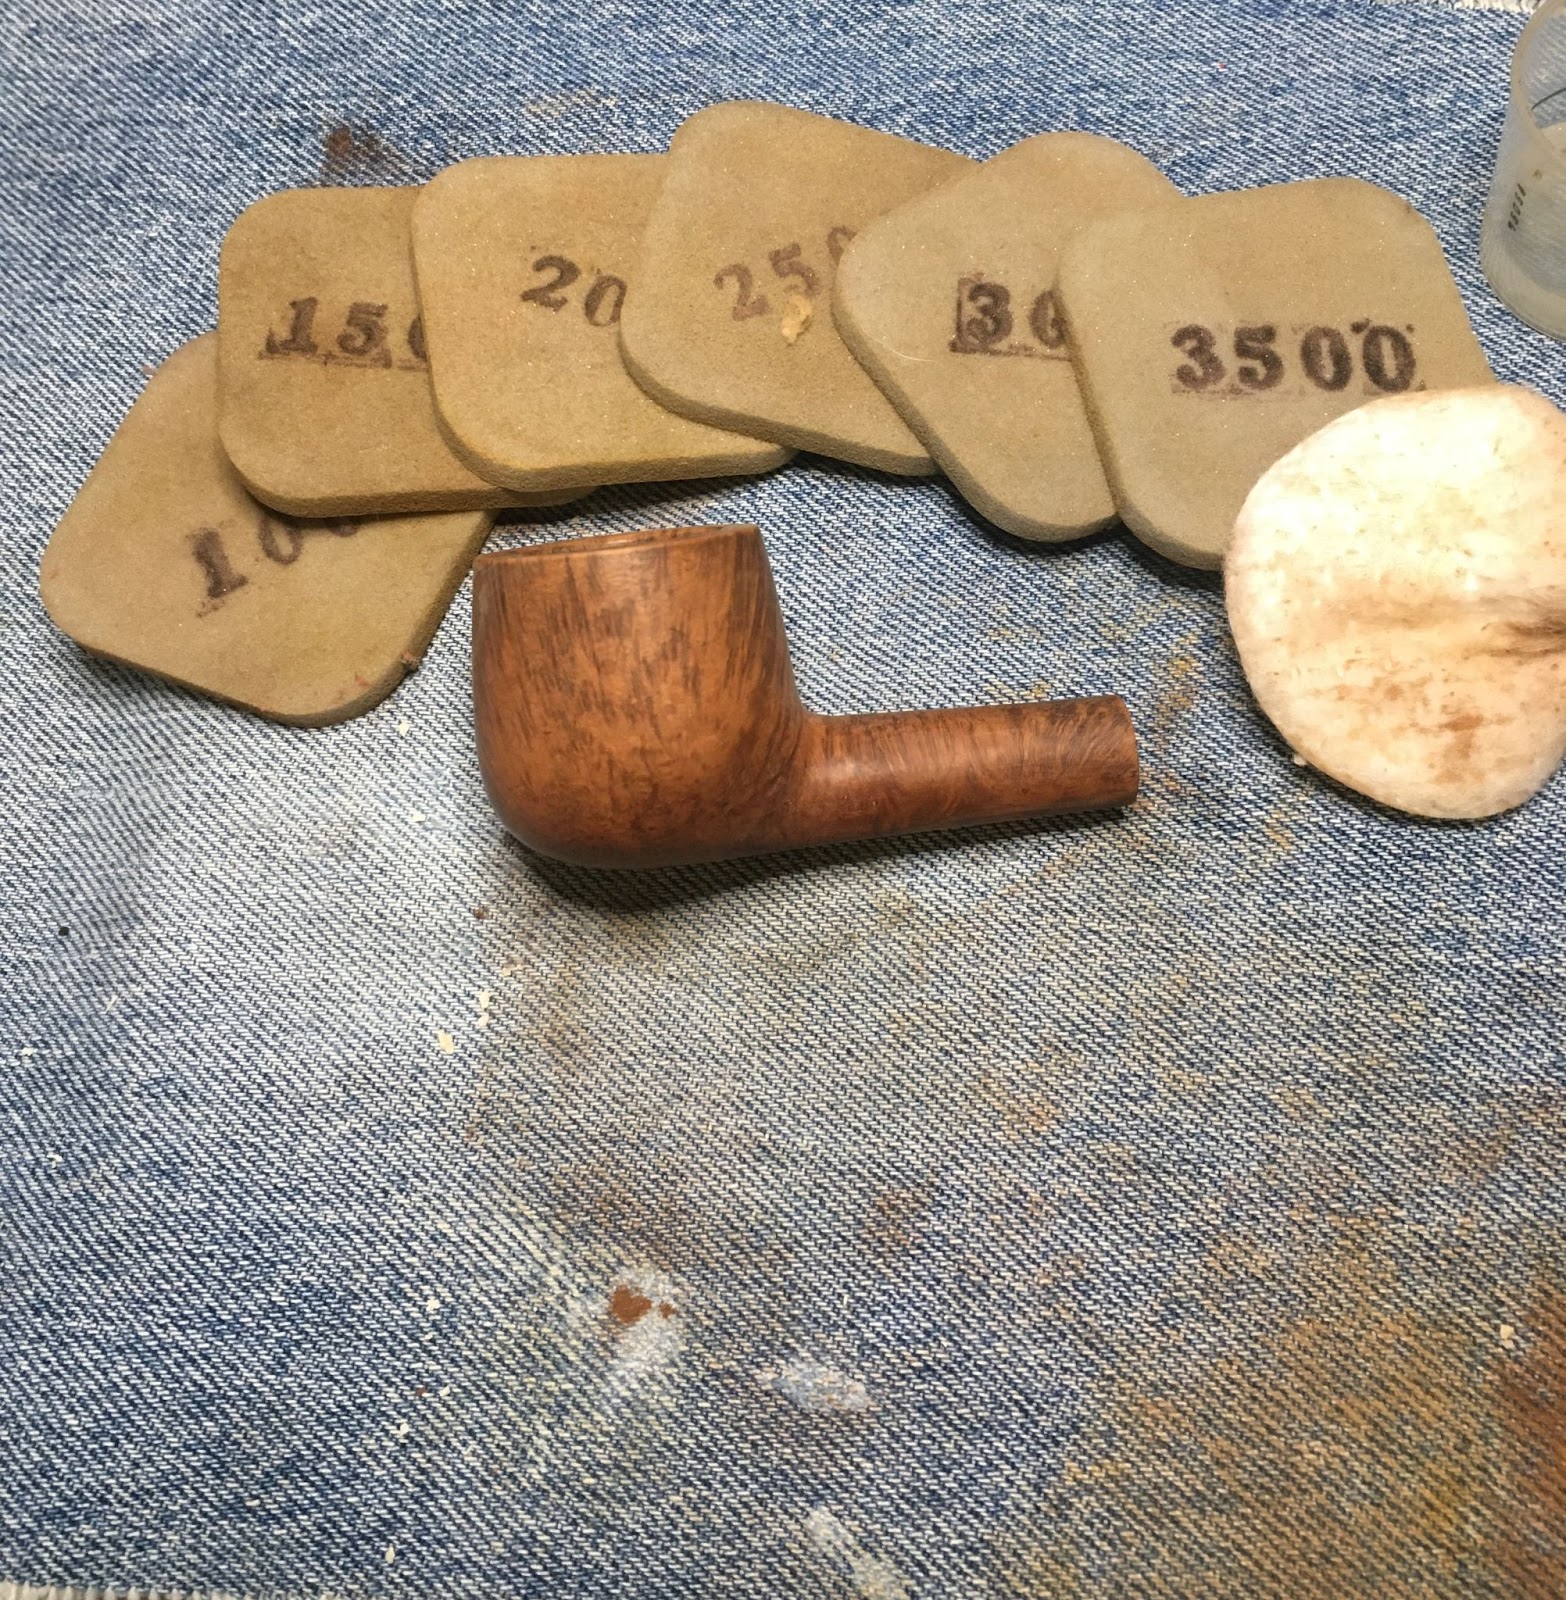
The results were far better than I had hoped. The grain was very nice looking. Though not a contrast stain, the stain was even and looked very well defined when wet from the alcohol. I continued the sanding with the 1500-3500 sanding sponges. Between each I wiped the stummel with an alcohol wetted make-up pad. You can see at the bottom of the photo below where I would wipe the briar dust from the sponge during the sanding. The clean sponges worked much faster than a sponge fouled with dust. I did not feel that there were any fills which needed to be addressed.
The stem had the aluminum tenon where it met the stummel so there was no reason to keep the pipe assembled for the sanding and micro-meshing. I micro-meshed the stummel with the 4000-12000 pads. Again between each pad I wiped the stummel with an alcohol wetted make-up pad.

With the stummel micro-meshing completed. I gave it a liberal coat of Before and After Restoration Balm. The balm was allowed to soak into the briar while I returned to the stem.
The micromeshing of the stem was done with the 400-12000 micro-mesh pads. Between

each pad I applied a drop of Obsidian Oil to the stem, rubbed it in with my fingers and wiped the excess off with a paper towel. After the final pad I used the Before and After Fine polish. The polish was applied by finger and vigorously rubbed with a soft cotton cloth.
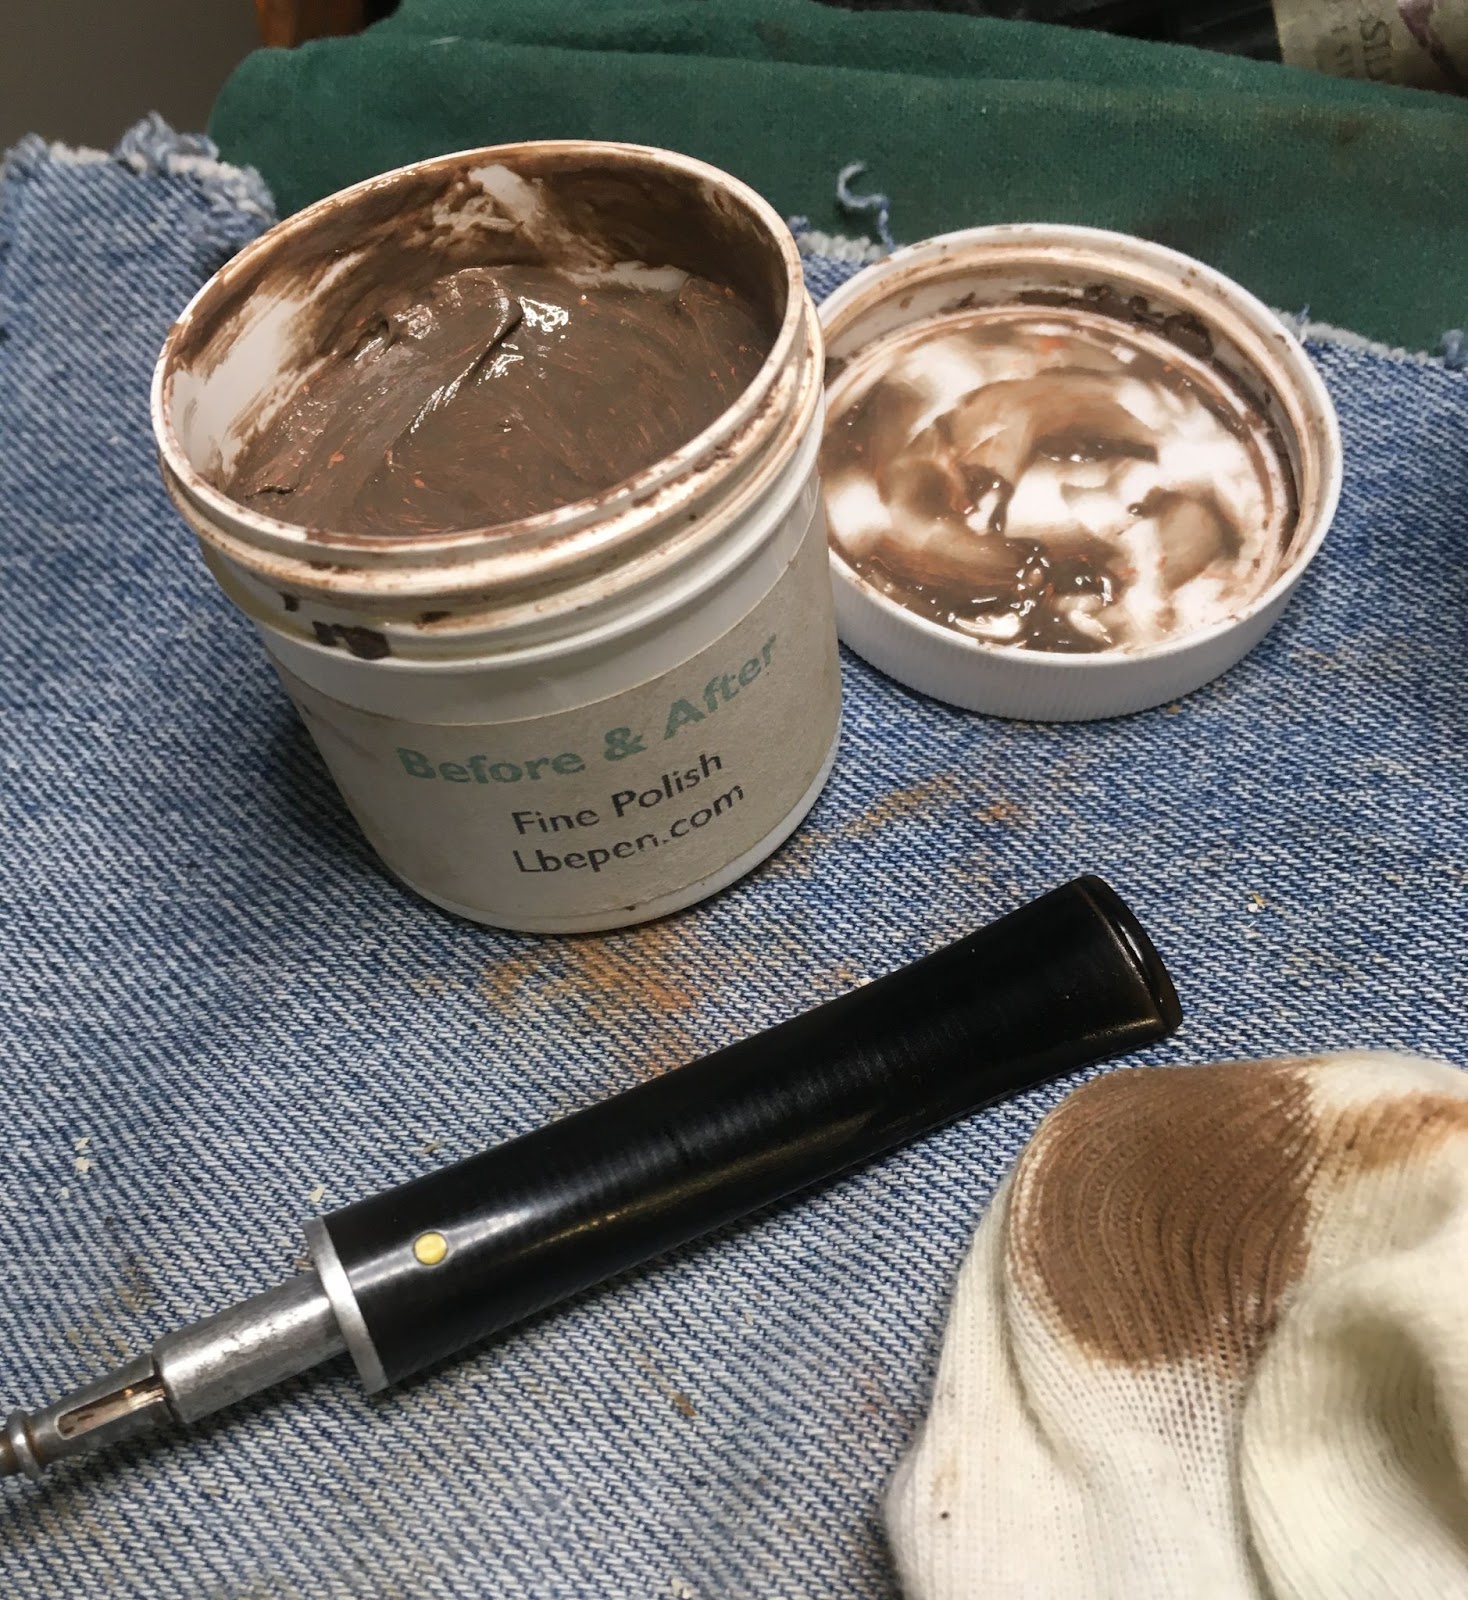
The polishing was repeated using the Before and After Extra Fine Polish. With the polishing completed the stummel was wiped clean of the Restoration Balm and the pipe was ready for the final treatment – several coats of carnauba wax applied with the buffer.
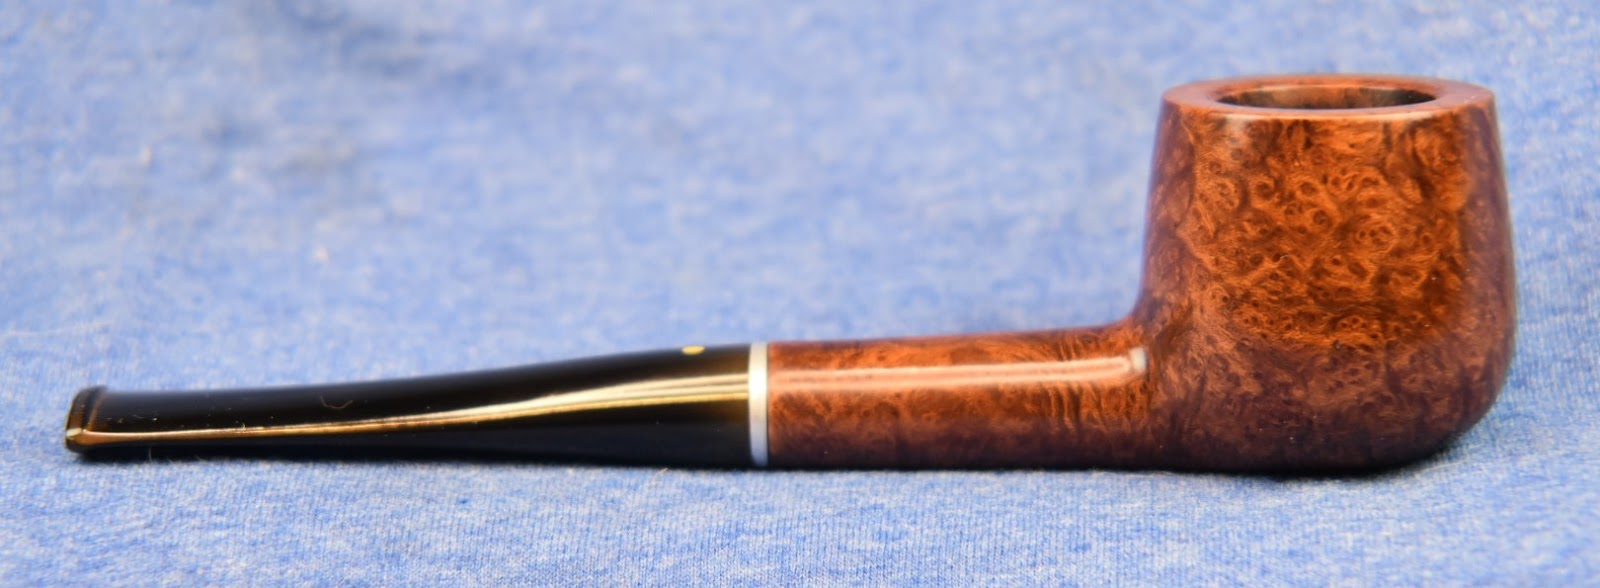
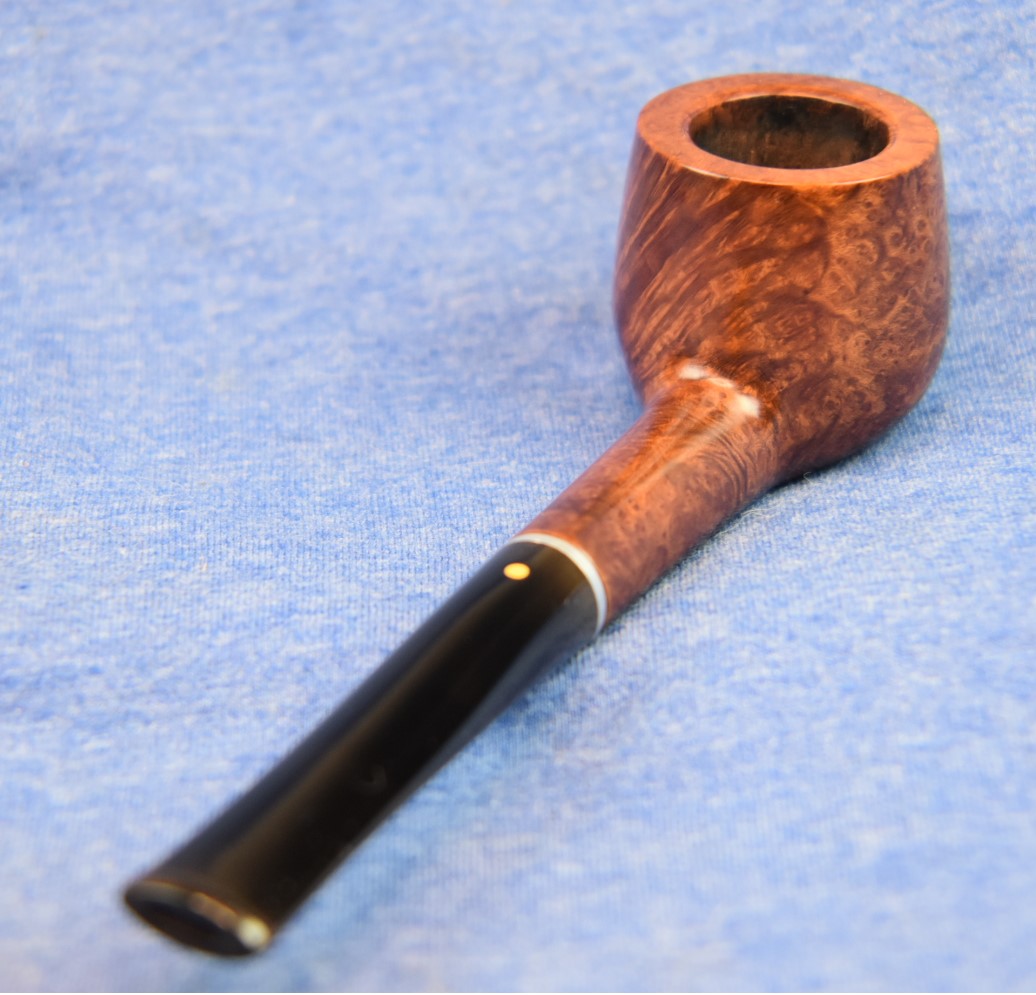
The Tropical Paint Cleveland Pot turned out amazingly well. The old fishing was hiding some lovely grain. I was surprised that there were no flaws in the briar which required fills. I guess I was expecting that the briar used for a promotional pipe would be of a lower quality and it was not. The stem fit is slightly loose. This is most likely due to the acetone soak and the incredibly dry air within the house. I think that a single bowl of tobacco smoked will return the pipe to proper snugness. I do hope that some of the techniques used here will be useful for restorations of your own or that you were entertained. If you like this sort of thing please click the like and subscribe buttons. I thank you for reading the ramblings of an old pipe lover.
Below are some photos of the finished Tropical Paint Cleveland Pot.


6 responses to “A Tropical Paints Cleveland Pot Restoration”
Loved the research, John. Great job bringing this one back to life.
LikeLike
Thank you. When it arrived, I thought how am I going to find anything out about this one? I am not sure what I liked more the restoration of the hunt for the maker.
LikeLiked by 1 person
Usually, it’s not either/or, but frosting on the cake :-). I like the research because it adds a page to the pipe’s story for us. When you pack him up with a good blend, the first thing you’ll think about is Paradise Paint :-).
LikeLike
[…] A Tropical Paints Cleveland Pot Restoration […]
LikeLike
Thank you. The research and the restore were both fun.
LikeLike
[…] made by renowned pipe manufacturers. I have restored pipes Stamped with; TROPICAL PAINTS (A Tropical Paints Cleveland Pot Restoration – NebraskaPeteGeek), DUPONT EXPOSIVES (A du Pont Explosives Promotional Pipe Restoration – NebraskaPeteGeek), […]
LikeLike