Written and photographed by John M. Young
I know what you are going to say, “Good Lord man, another Kings Cross?” Well this is actually only the fifth one of a six pipe estate lot. All six of them, Kings Cross. I will probably spare you from the last pipe restoration as it is another saddle stem billiard with the same shape number as this pipe. Anyway, I thank you in advance for reading this. Maybe, I will be try something new, be especially insightful and humorous this time. That too is probably not going to happen. I’m just full of good new year cheer, eh?
Well, here we are again. The history of a Kings Cross pipe. The best part of this blog for me is that I am writing it while smoking the Pipe by Lee from the last restoration. Let me rephrase that, from the previous restoration. I bet you were thinking, “finally this guy’s last restoration. I figured he would be canceled after the second one.” Hah, still going strong with at least 5 more pipes in the restore box and another 4 due on Friday. Okay, I’ve been putting it off long enough. The history of Kings Cross pipe. Really, again?
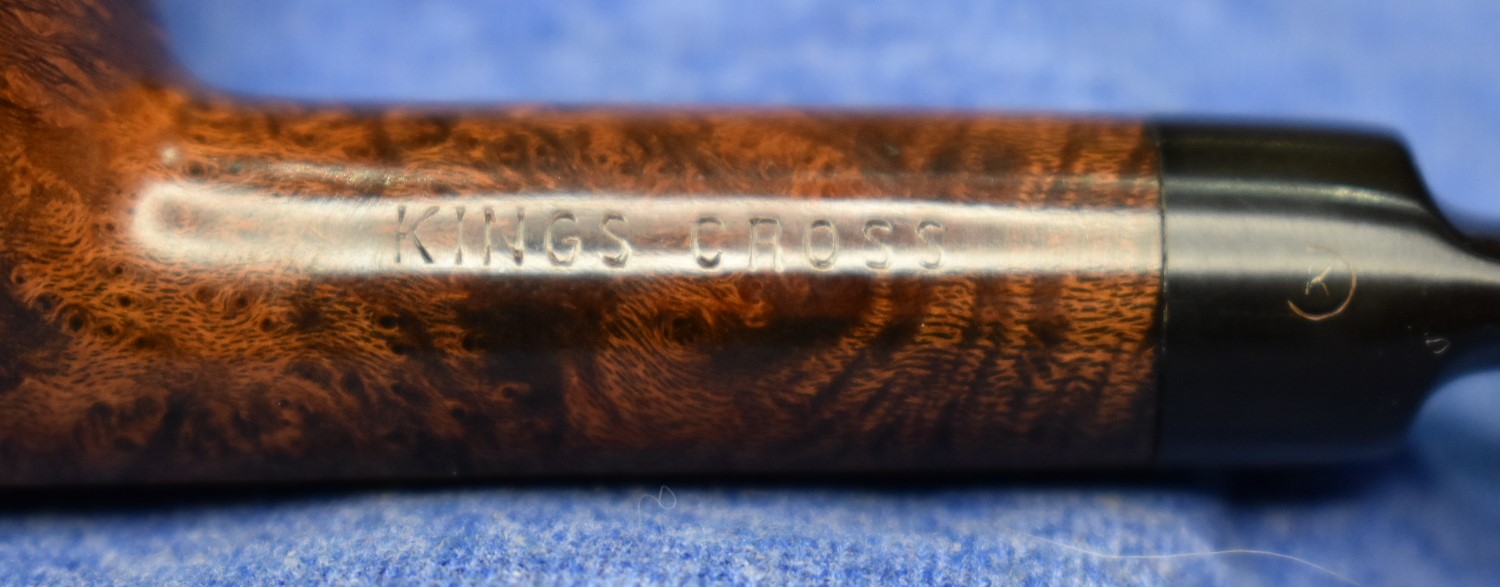
These were pipes made by the Chapuis-Comoy company in both their English and French factories. The “FRANCE” stamped on the stem of this pipe indicates the Chapuis factory in France was the home of this pipe. Kings Cross pipes stamped “MADE IN ENGLAND” would be those made in the Comoy’s London factory. Pipe lovers of the world are indebted to the Comoy family for their contributions of bringing briar to the pipe making world. If you are interested in the Chapuis-Comoy family history, and it is amazing, take a look at these or these links:
- https://pipedia.org/wiki/Comoy%27s
- https://pipedia.org/wiki/Kings_Cross
- https://pipedia.org/wiki/Chapuis-Comoy
- https://pipedia.org/wiki/Comoy%27s_Shape_Number_Chart
- http://www.pipephil.eu/logos/en/logo-comoy.html
- http://www.pipephil.eu/logos/en/infos/connect-en.html
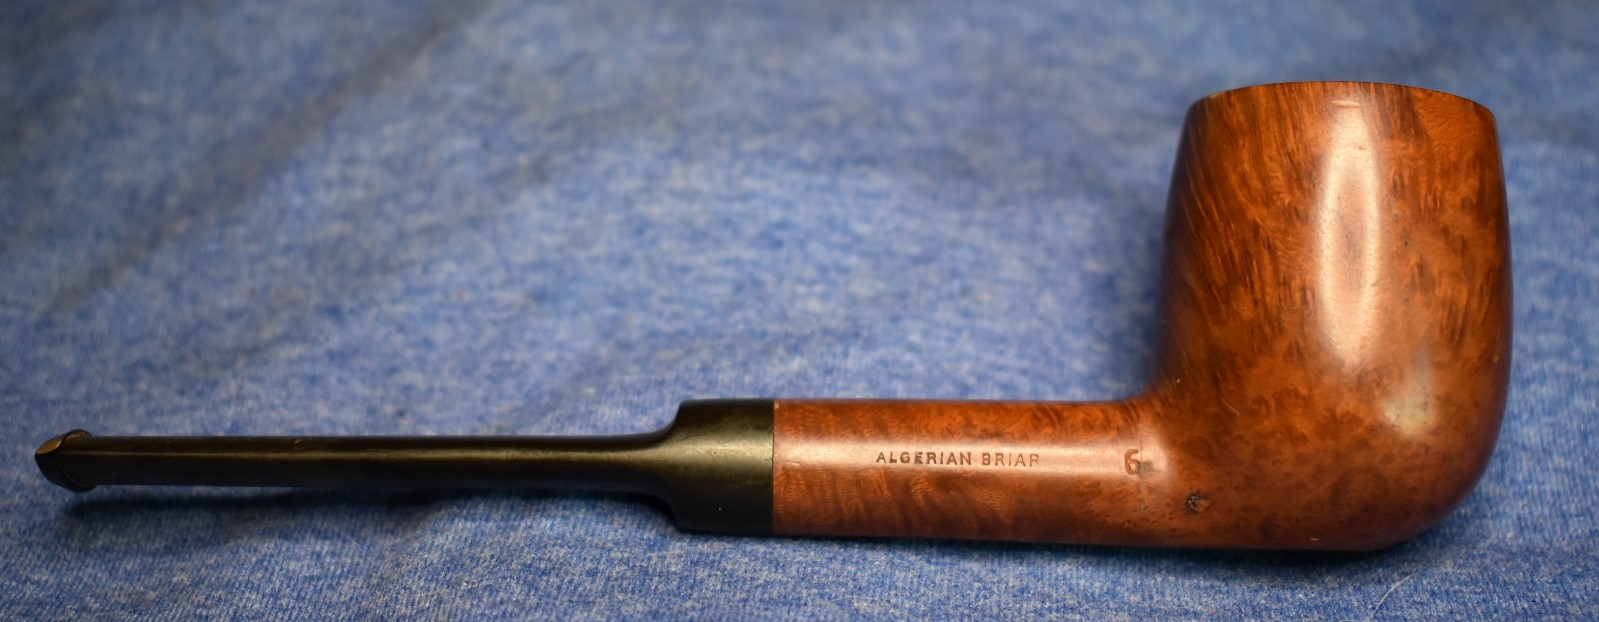
As for this pipe and the “6” pipe shape. That coincides with the Comoy shape chart which both factories share.


(https://pipedia.org/wiki/Comoy%27s_Shape_Number_Chart)
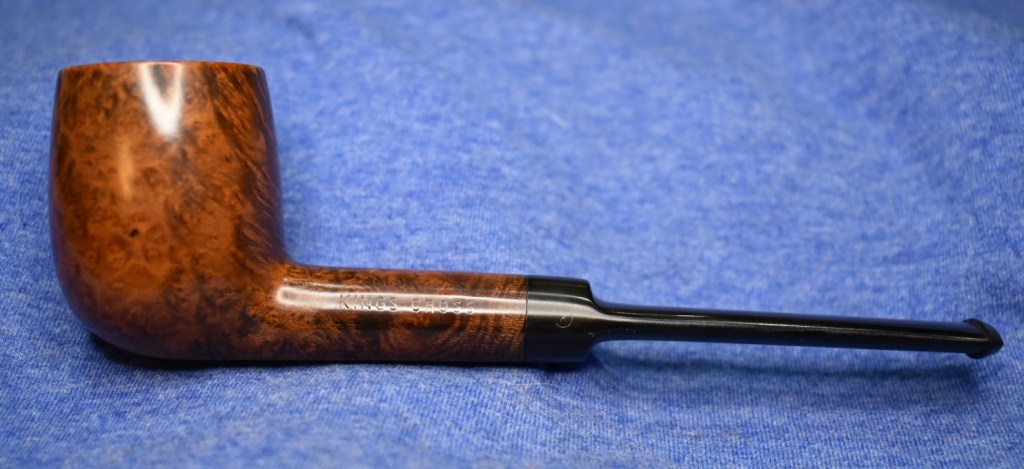
The below photos show how the Chapuis Saddle Stem Billiard appeared upon arrival.
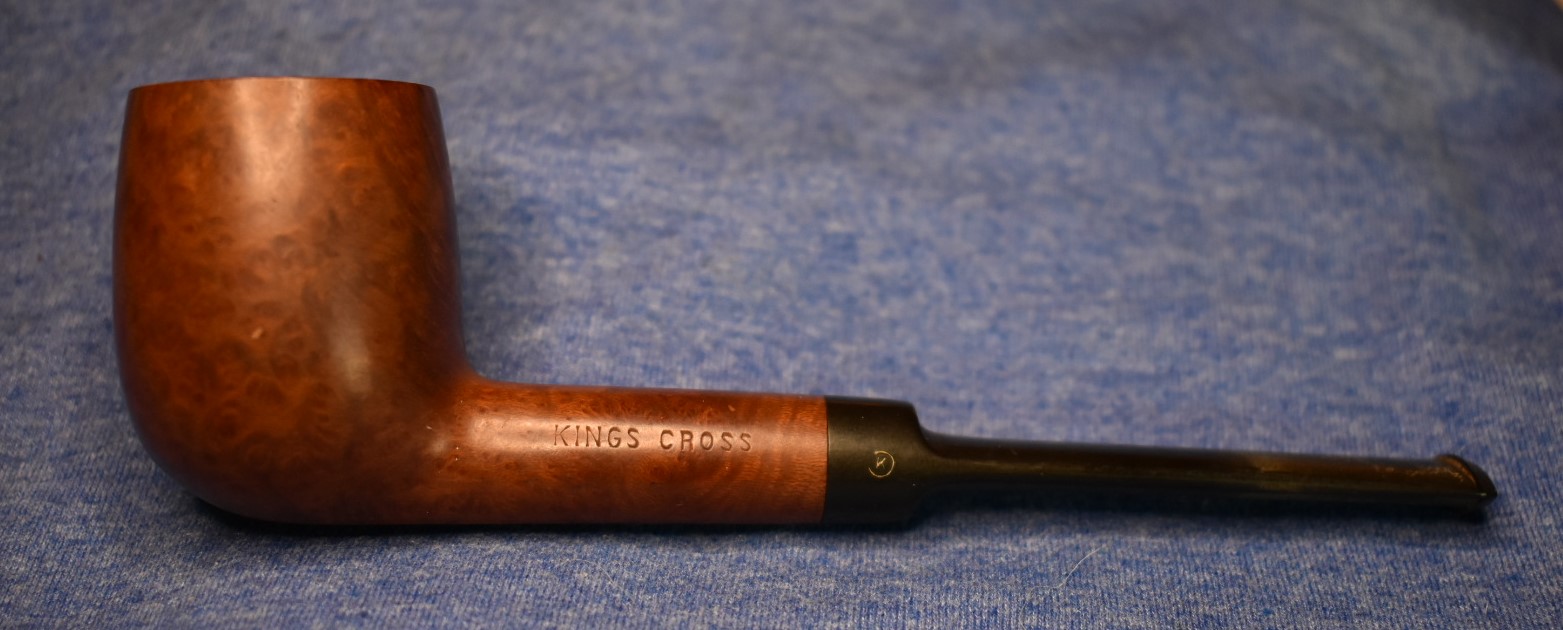


The pipe showed signs of regular use, well developed cake in the tobacco chamber, some calcium deposits and numerous tooth chatter marks on the stem. Overall, the pipe appeared in good condition and only needed fills in two spots. This looked like a straight forward restoration.
I began with reaming the tobacco chamber using the PipNet reaming tool with the number 2 blade, Smokingpipes Low Country reaming knife, General triangular scraper and the 220 sandpaper wrapped wood dowel. The cake was hard and required some knife work prior to the PipNet tool.

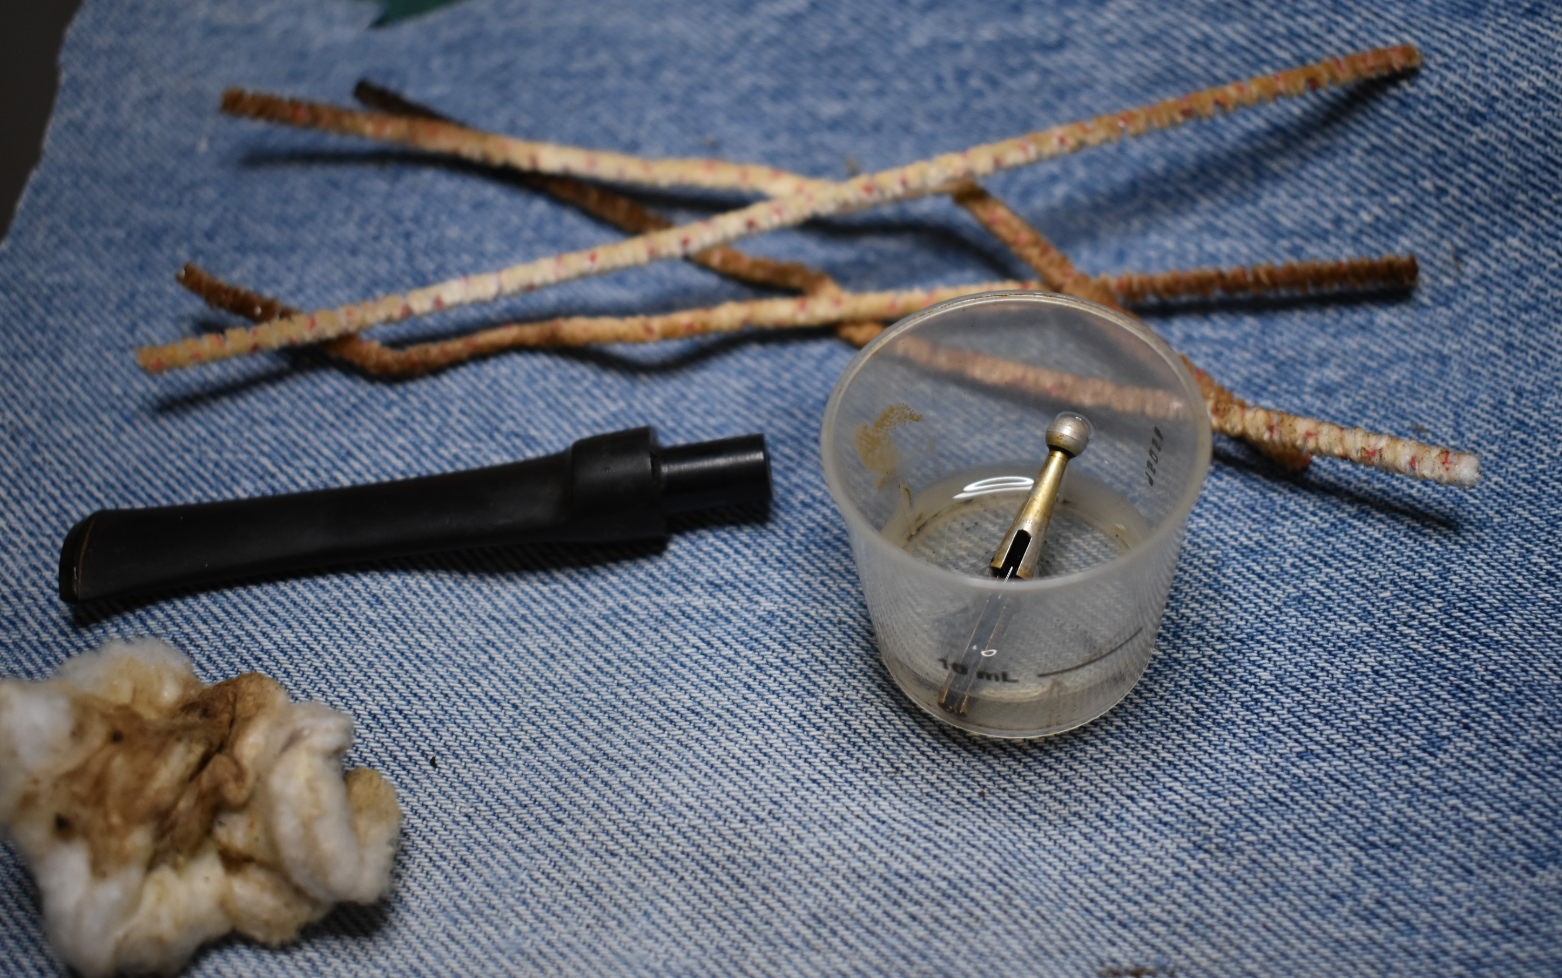
Next I removed the stem and began cleaning the airway within the shank with a dental scraper, nylon shank brush, cotton swabs and a good deal of 99% isopropyl alcohol.
The initial alcohol dipped cotton swabs came back dark with tar. The initial scrapings were also hard and dry. To soften the residues in the shank I poured approximately 3 ml of alcohol into the bowl and slightly rotated it to allow the alcohol to flow into the shank. While holding the bowl slightly lower than the shank I could keep the alcohol in the bowl and shank. I scraped the airway with the dental scraper, swished the alcohol into the shank then scrubbed with the shank brush. I would clean the brush by pinching it in a paper towel. After scrubbing with the brush I scrubbed the shank with the cotton swabs to absorb the loosened/dissolved tar and removing the 3 ml of blackened alcohol. I repeated these steps numerous times.

Eventually the shank was cleaned and a folded pipe cleaner dipped in alcohol came back without discoloration.
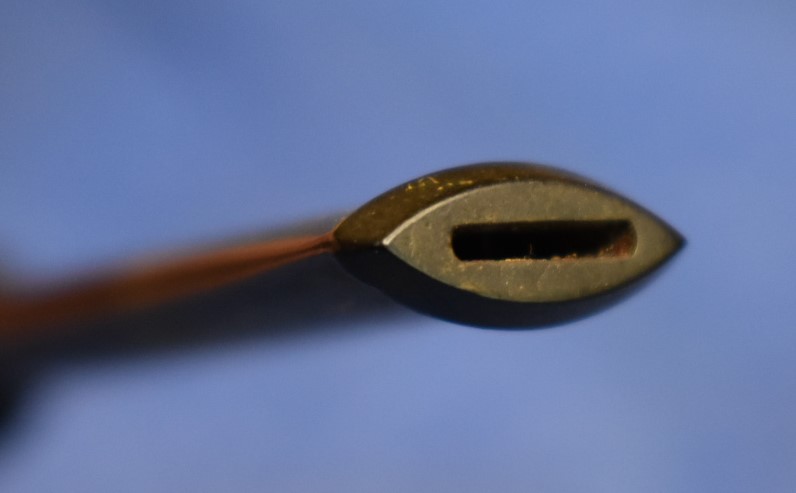
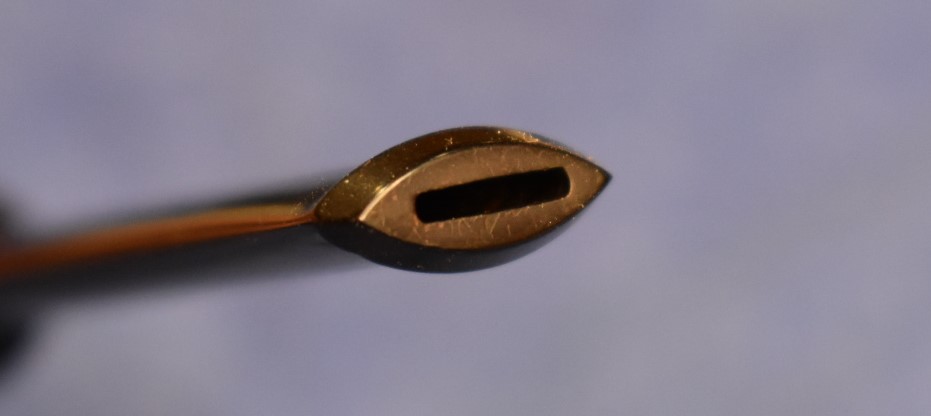
The stem was then cleaned with alcohol dipped bristle pipe cleaners, Again several pipe cleaners were used before the pipe cleaners went through the stem without discoloration. The stinger was soaked in alcohol to soften the residues on it. After softening the aluminum stinger was cleaned using a pocket knife blade in the grove and 0000 steel wool dampened with alcohol.
Wit the internals cleaned I took the stummel to the sink to scrub the externals with Murphy’s Oil Soap. The Murphy’s was used undiluted and scrubbed with a medium stiff bristle toothbrush. Once scrubbed the stummel was rinsed with warm water and dried with a cotton dish towel. I returned the stummel to the work bench and wiped the surface with a cotton make-up removal pad wetted with 99% isopropyl alcohol. The make-up pad came back with very slight discoloration.

The lack of color to the pad indicated that either there was little finish remaining on the stummel of that the alcohol did not dissolve the finish. I repeated the make-up pad wipe with acetone to see if that solvent would remove any additional finish. It too came back without much discoloration.

I placed protective painters tape strips over the stampings on the stummel and the stem. I wanted to sand/micro-mesh the stem and stummel together to avoid rounding the edges of the mortise/tenon contact. I sanded the pipe with sanding sponges with 600 grit followed by the 1000 grit sponge. The stummel and stem were wiped with an alcohol dampened make-up pad between and after the pads.

At this point I decided to try to give the stummel a contrast stain to liven-up the pipe a bit. The tape on the stummel was removed. I then prepped the area for dyeing. I use an upside down plastic tub as the work surface, paper towel base, black Fiebing’s Leather Dye, a folded pipe cleaner applicator and a disposable lighter. And, the official duct tape wrapped styrofoam fishing bobber for the tobacco chamber plug/ handle.

I applied one complete coat and flamed it with the lighter. I then allowed the dye to dry for about 5 minutes.

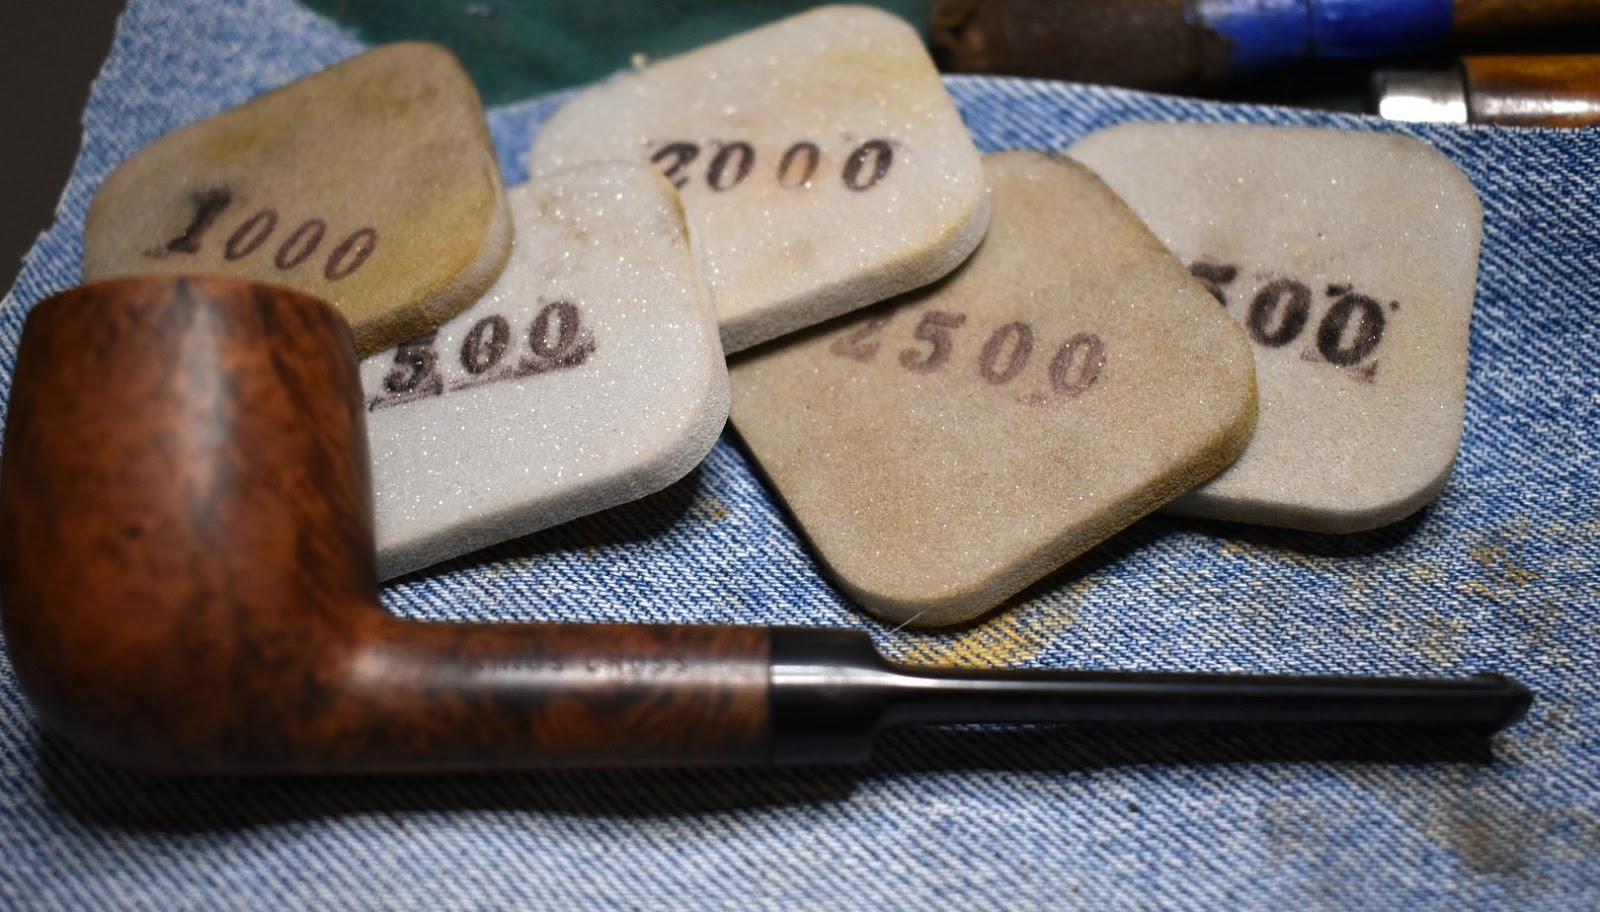
After it was dry I returned the pipe to the workbench and wiped off the excess dye with a couple of make-up pads wetted with 99% isopropyl alcohol. One really nice thing about a black stained pipe is how well they show off any flaws in the wood. I decided to fill the two spots now since I would be sanding for the next half hour anyway. This was done using cyanoacrylate (CA, super glue) and briar dust. I pressed some dust into the pit and dabbed a small drop of CA onto the briar dust. I used the 600 grit sanding sponge to smooth the fills and to remove the upper layer of dyed briar. Care was taken to avoid the stampings. Some sanding of these areas was necessary but done with a very light touch. The below photos show the stummel dyed and sanded with the 600 sponge.


With the dyeing and initial sanding complete it was time to sand and micro-mesh the stummel and stem. I was really wanting to see how this dye job would look. I used the sanding sponges 1000-3500 with an alcohol dampened make-up pad wipe between sponges. The stem was sanded at the same time with the same sponges. I did use a lighter touch on the stem than on the stummel. The stem was wiped off with a dry paper towel between sponges and a thin layer of mineral oil was applied to the stem with my finger tips then wiped again with a paper towel.

Once finished with the final micro-mesh pad I wiped the stummel with the alcohol pad then applied a coating of Before and After Restoration Balm to the entire pipe. I let this sit overnight as it was bedtime.

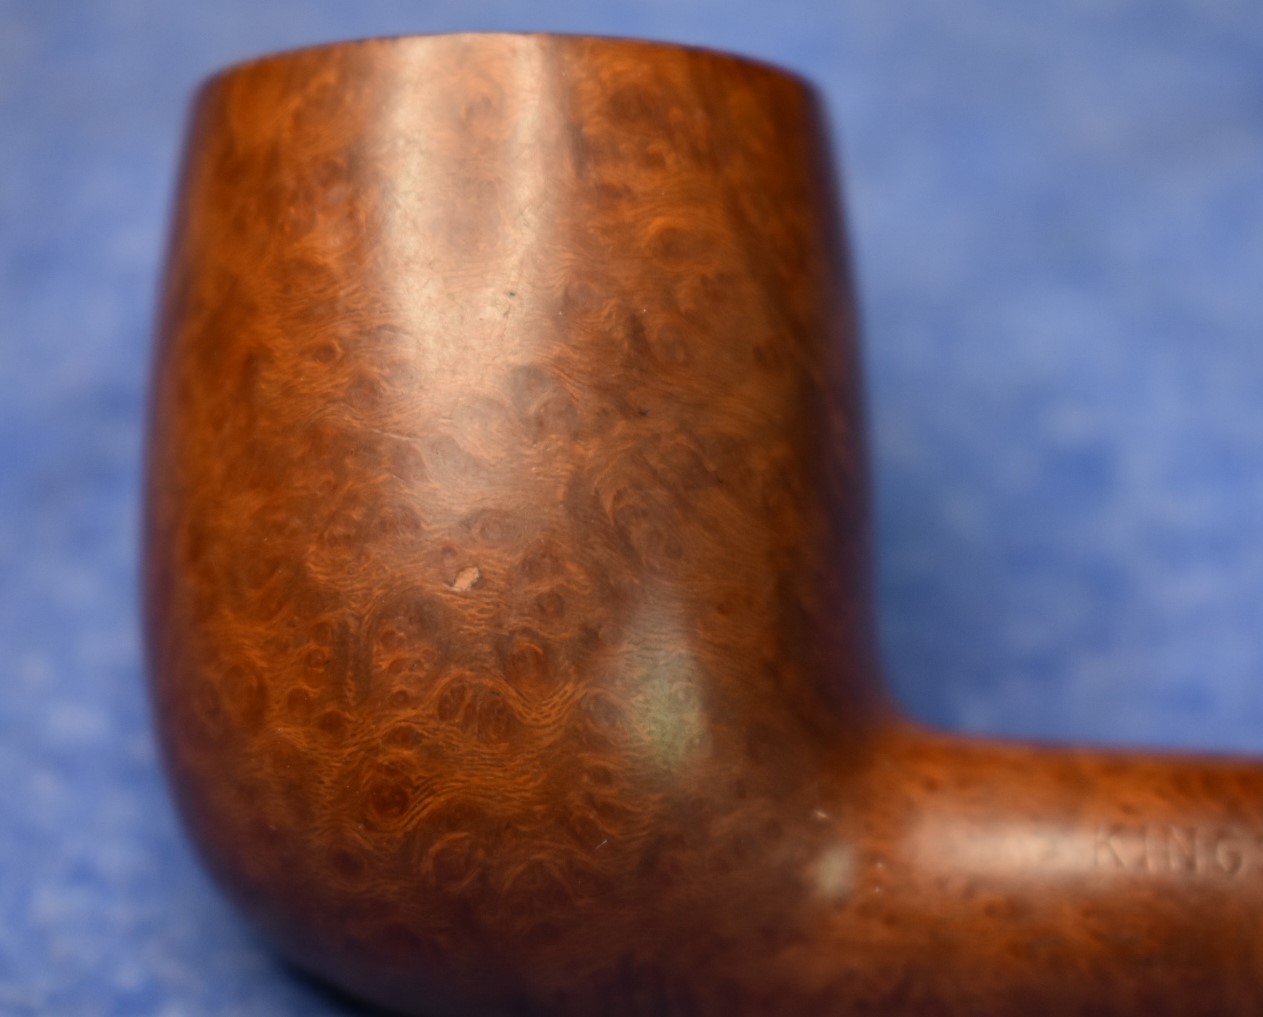
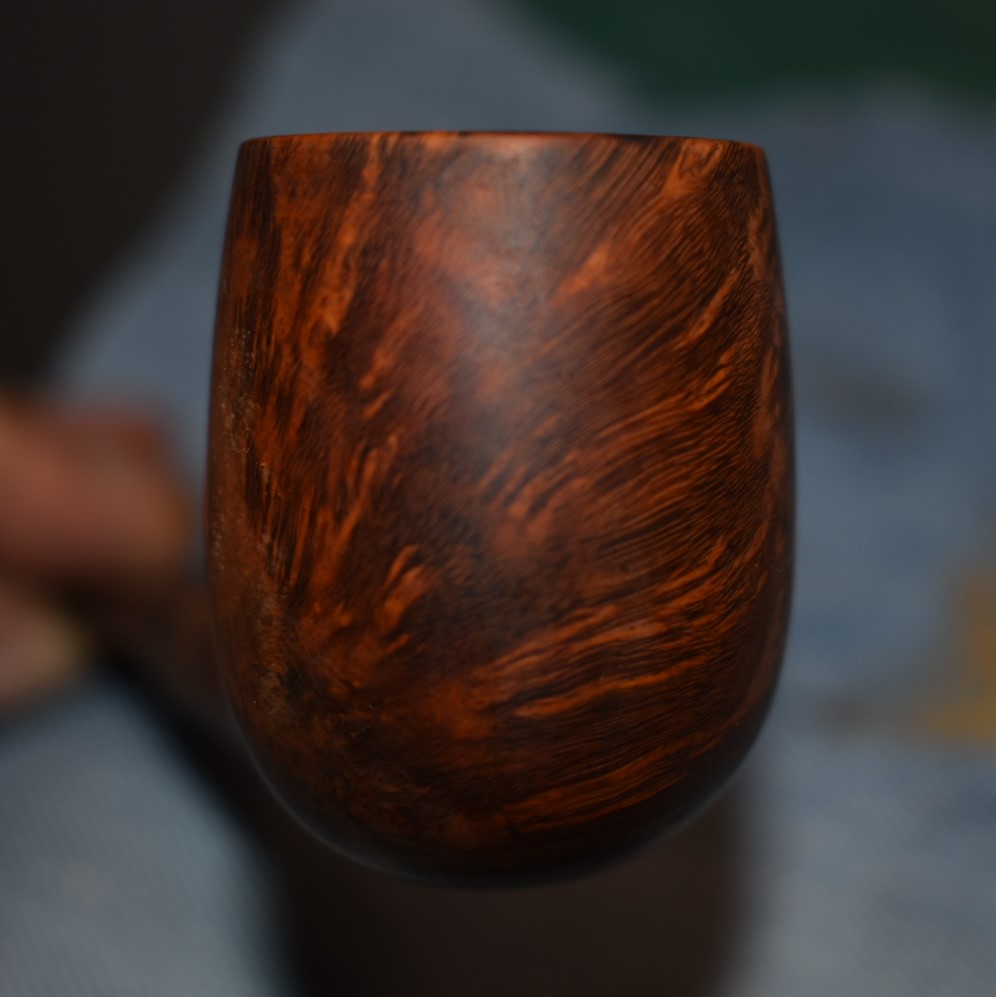
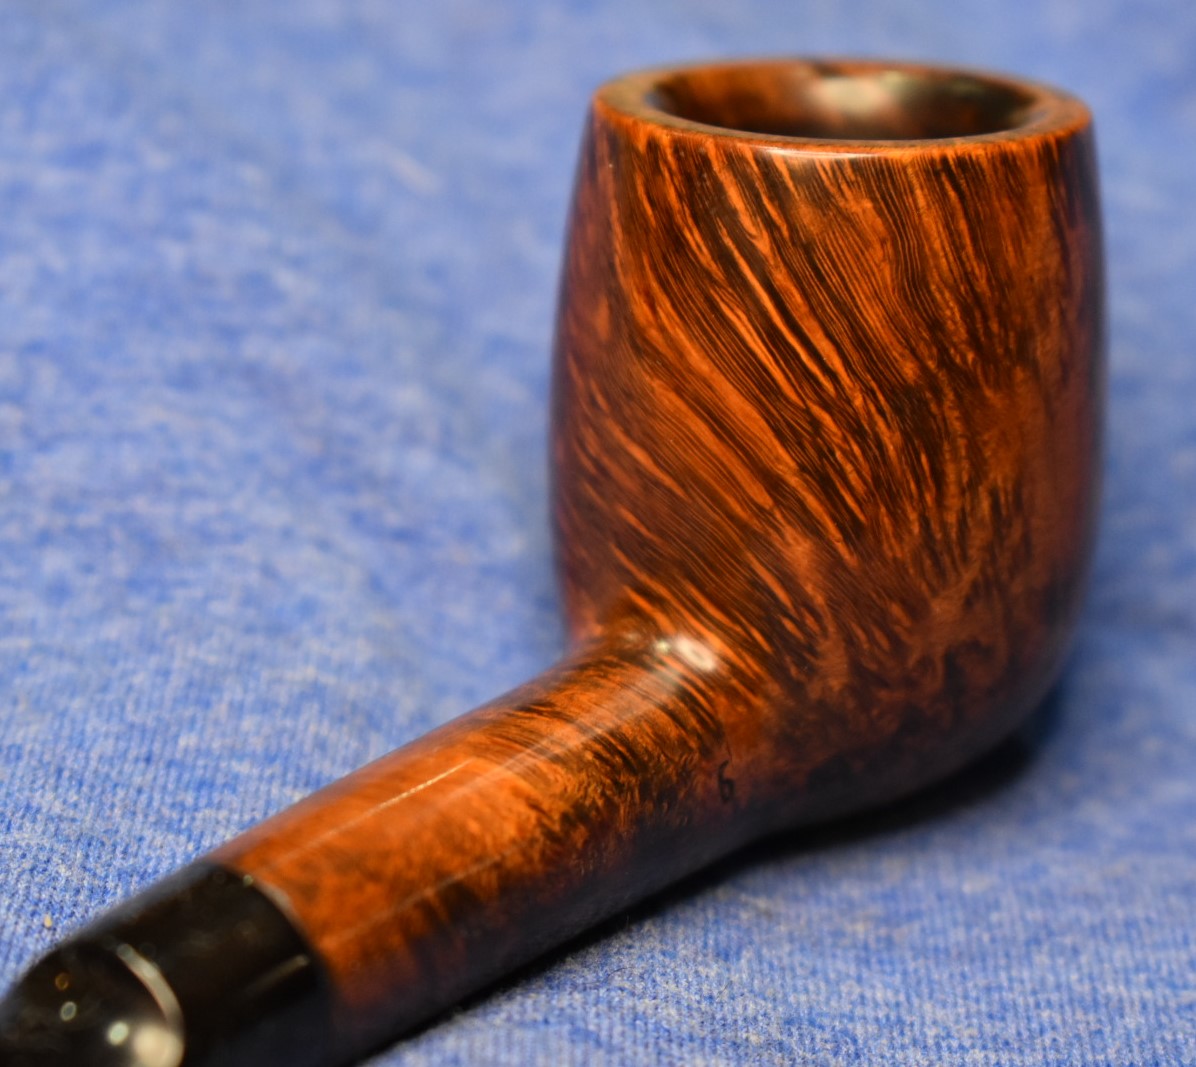
Morning came, as I find they always do. I wiped away the slightly more rigid Restoration Balm with the inside of an athletic sock and found a quite lovely finish. All this one needed now are a few coats of carnauba wax from a buffer. The below three photos are of the pipe after the balm was wiped off.


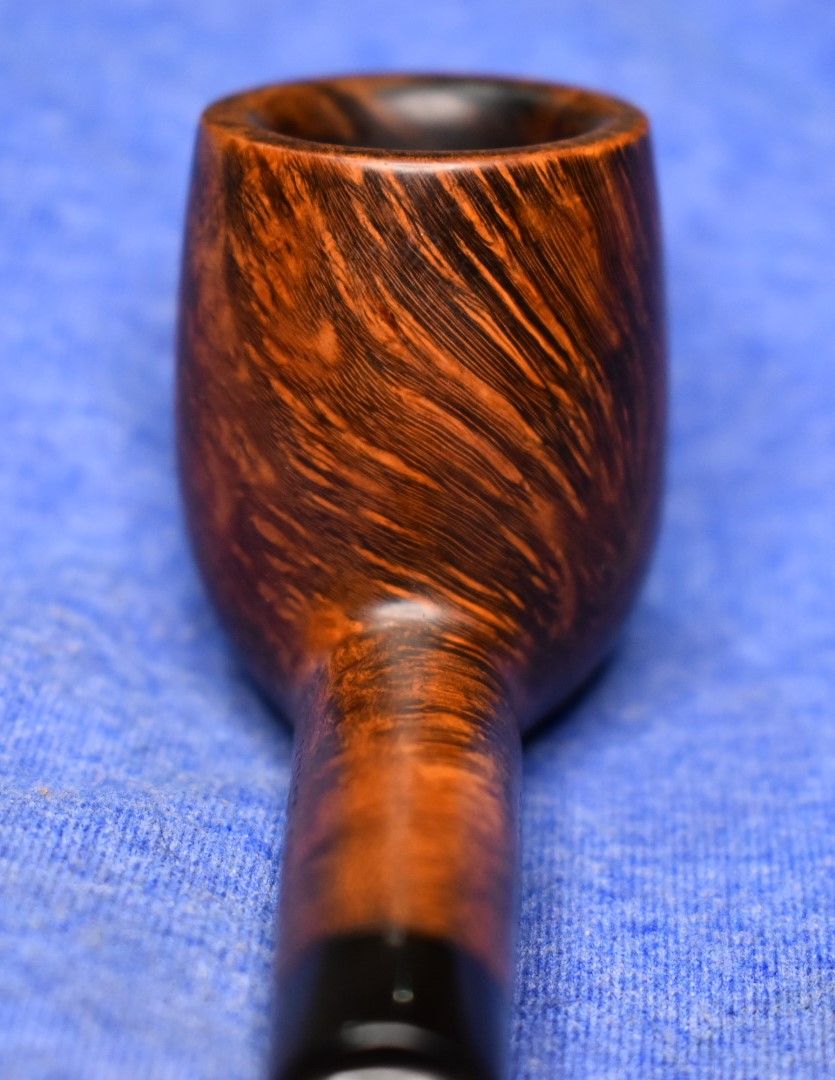
I took the pipe to the buffer for this carnauba wax application. I took my time making sure to apply wax to each side from different directions. I then used a polishing cloth to hand buff the pipe. I returned to the buffer for one more application of carnauba. Maybe, it was just to polish my own ego rather than the pipe. I was pretty pleased with how the stain looked. The contrast stain looked beautiful and the wax was giving it a glow. I looked at the finished pipe and thought “I don’t really care that I don’t know your exact providence. You are lovely.”
Overall I think this Kings Cross Saddle Stem Billiard turned out very nicely. I am glad that I did the contrast stain/dye. I think that it really made the grain show up beautifully. I often feel torn during a restoration that I should try to keep things as original as possible. In this case I am pretty sure that the original workmen would have approved. I was able to retain the stampings and showcase the natural grain in a way that accentuates the natural beauty of the briar. The polished black of the stem goes even better with the black from the contrast stain. I hope that there was something here that you can use in your own restorations or that you were entertained. Thank you very much for reading the ramblings of an old pipe lover. Oh yeah, I almost forgot the required if you like this sort of thing please click the like and subscribe buttons.
Below are some photos of the finished Kings Cross Saddle Stem Billiard.


2 responses to “A Kings Cross Saddle Stem Billiard Restoration”
Nice grain… the contrast stain worked very well
LikeLike
Thank you.
LikeLike