Written and photographed by John M. Young
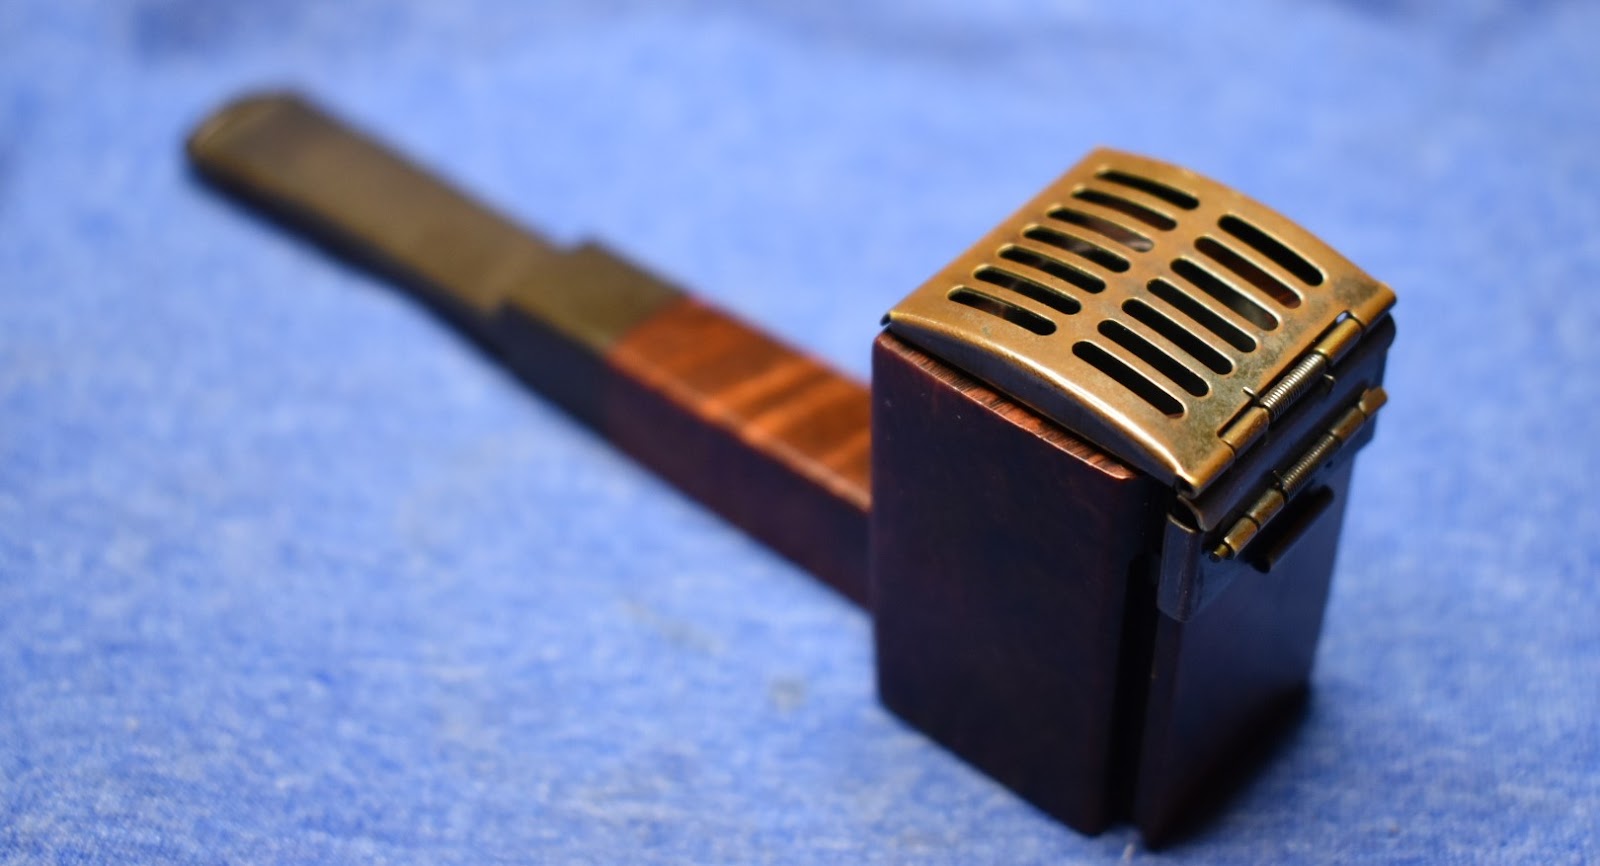
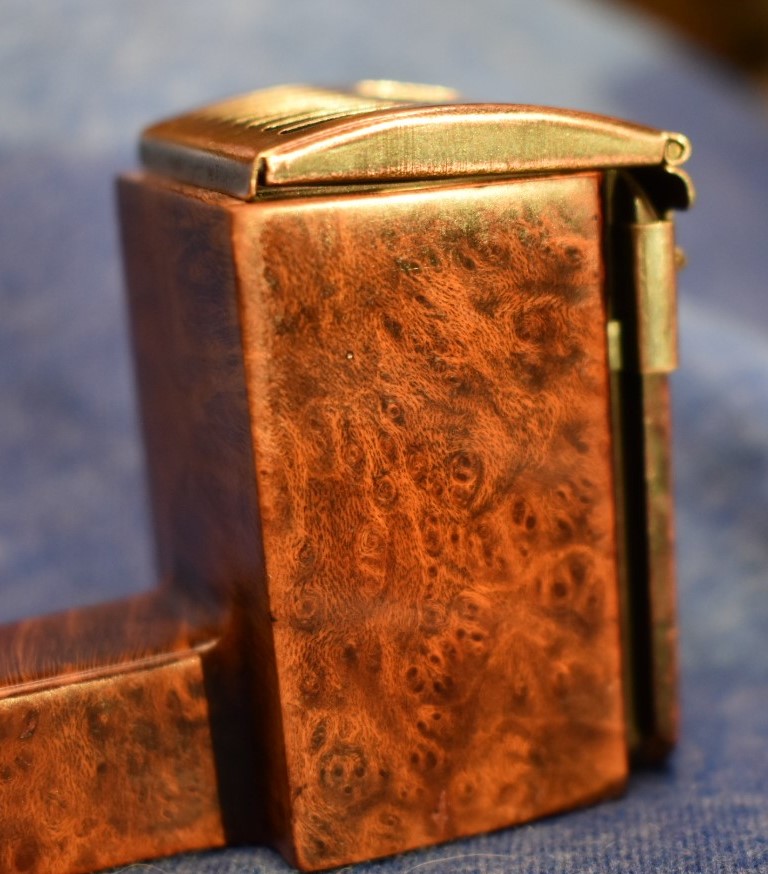
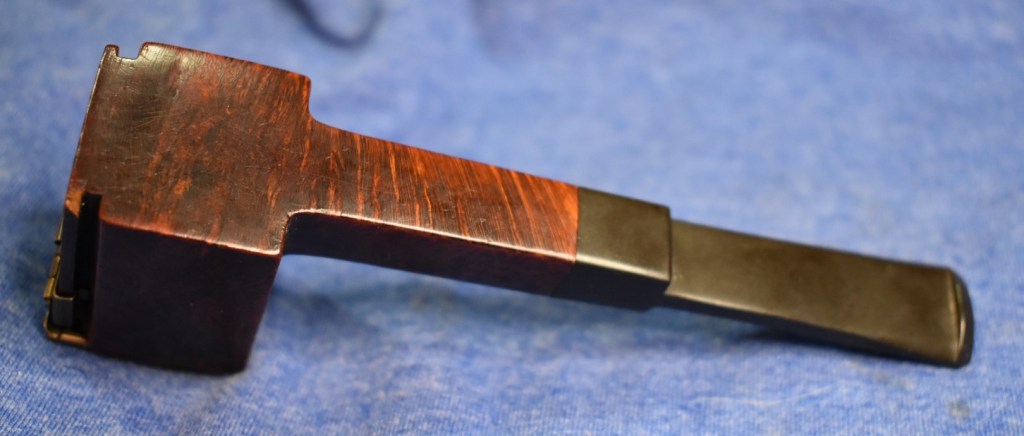
Here we have another pipe from the curiosities rack. This is a pipe that I received years ago and didn’t do anything with since it was unsmoked. Well winter is nearly upon us and it seems like a good time to revisit some of these old pipes and breathe a bit of life into them. I do not recall when this pipe arrived nor from where. I can tell you that a certain granddaughter can use this pipe to raise a certain grandfather’s blood pressure quickly with her ability to take things apart. Given her saying, “Grandpa, I think I broke it” didn’t help. Let the record show that the metal wind-cap slides on and off easily.
You can see that the finish is darkened with age, the stem is oxidized and the metal has developed a patina yet the springs still function like new.


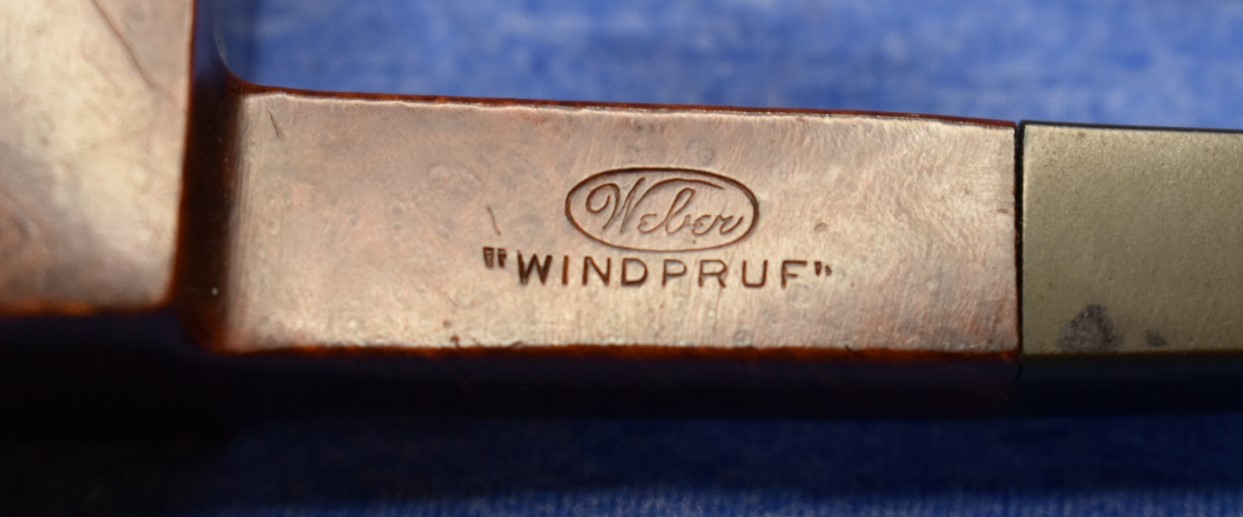


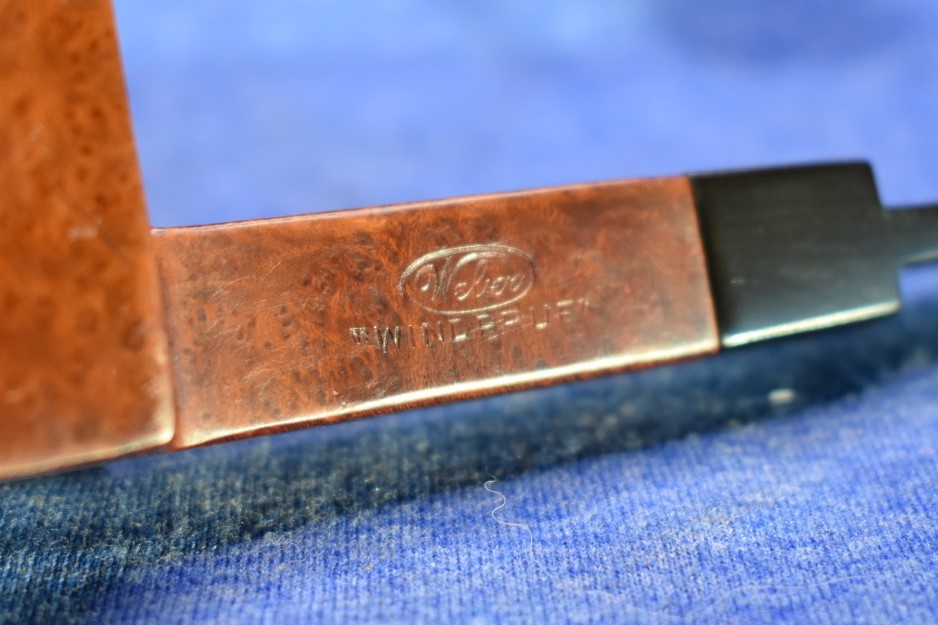
Who the heck is this Weber guy? Carl Weber according to pipedia.org:
“Carl B. Weber was a German from Bavaria. Aged 21 he emigrated to the USA in 1911. In 1938 he established Weber Briars Inc. in Jersey City, New Jersey. Later renamed in Weber Pipe Co..
The firm grew to be one of the giants of American pipe industry focusing itself in the middle price and quality zone. Trademark: “Weber” in an oval. Beside that Weber – especially in the years after 1950 – was a most important supplier for private label pipes that went to an immense number of pipe shops. Alone in New York, exactly the same pipes were found at Wilke’s, Barclay Rex, Trinity East, Joe Strano’s Northampton Tobacconist in Ridgewood, Queens, Don-Lou in Bensonhurst, Brooklyn… Nearly all pipes for Wilke were unstained and many models, for example the “Wilke Danish Bent”, could hardly deny originating of Weber.
Weber Pipe Co. owned and manufactured Jobey pipes – when mainly sold in the USA by the Tinder Box from 1970’s – 80’s. In addition Jobey / Weber bought Danish freehands from Karl Erik (Ottendahl). These pipes were offered as Jobey Dansk. Ottendahl discontinued exports to the United States in 1987 and in the very same year – obviously only as a ghost brand – Jobey was transferred to Saint-Claude, France to be manufactured by Butz-Choquin.” (Weber Pipe Co. – Pipedia)
In other words he was the epitome of the American dream. A true immigrant success story like so many in the history of our hobby. Unfortunately, he has slipped into the mists of history without much acknowledgement. A most poignant observation was written in a Smokers Forum of Pipesmagazine.com by a frjacob:
“I like Carl Weber Scoop pipes — the carved ones. I’ve seen short bios of him & his company online https://pipedia.org/wiki/Weber_Pipe_Co., but I’d really like to know more about him. Like, when did he/his company stop making pipes, and when did he die, for example; and pretty much anything else about him. He and his company were very prominent from the 40’s into the early 60’s. He also wrote two of the best pipe books ever written. I’ve never heard him mentioned at pipe shows or, unfortunately so far as I can discover, featured in the sorely lamented Pipe & Tobaccos magazine.” (Carl B. Weber – Pipe Maker :: Pipe Talk :: Pipe Smokers Forums of PipesMagazine.com)
There ore no responses to frjacobs. and all it says and the bottom is: ” Not open for further replies.” The two books mentioned are most likely Carl Weber’s
- Weber’s Guide To Pipes And Pipe Smoking (ISBN-10 1438288514)
- Carl Weber’s The Pleasures of Pipe Smoking (ISBN: B0013OOJQ8)
I have a 1962 paperback copy of the first book and can attest to the easy writing style and informative nature of Weber’s work. It is a lovely little book that you feel you must have a pipe in hand while reading. Topics include the history of smoking to selecting a pipe.
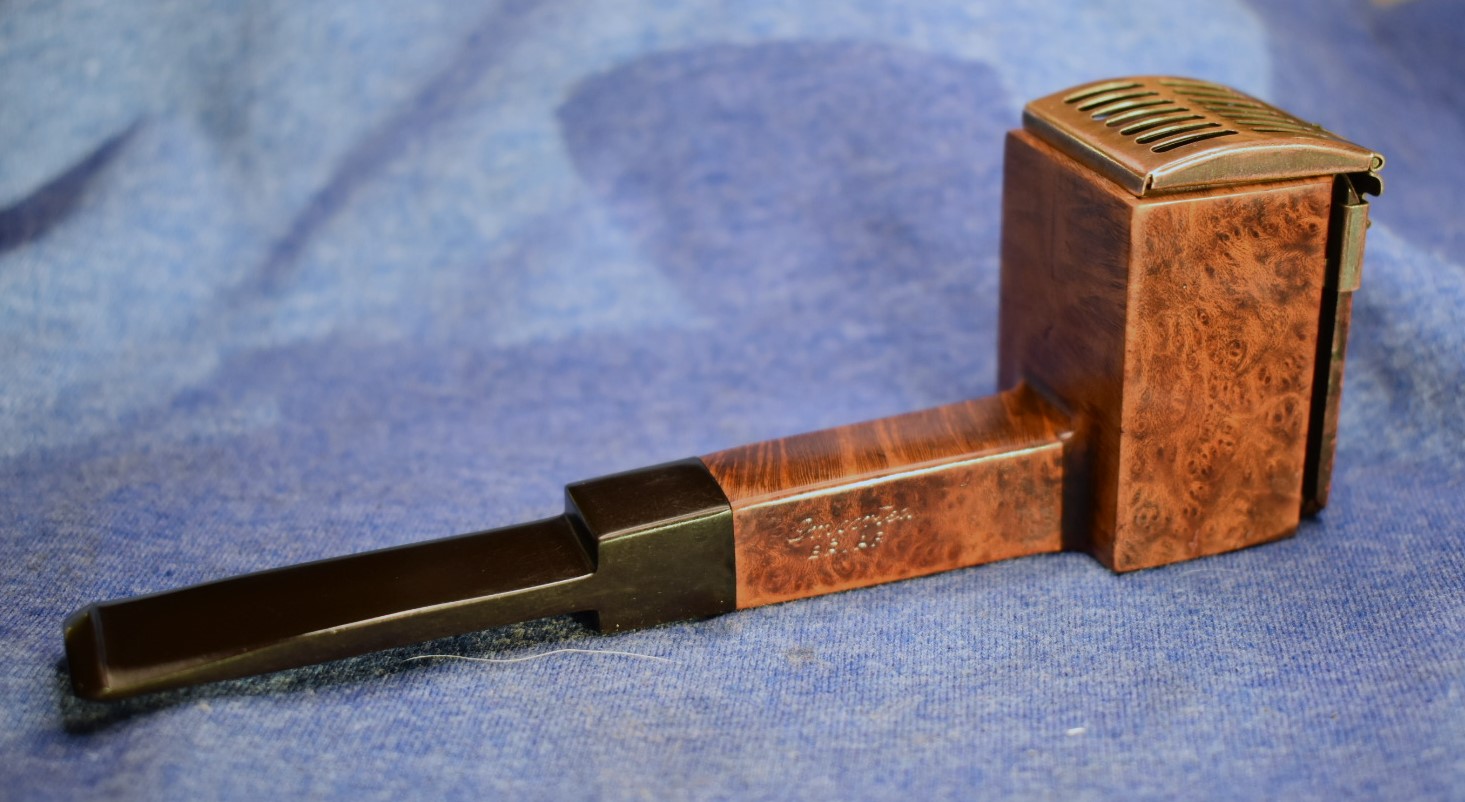
Regarding the provenance of the of this “Windpruf” pipe, sitting on the workbench, I can say next to nothing. It is a Weber pipe dating from 1938-1980s. I could find no Weber shape chart nor history. There are several Weber print ads which are fun to look and do have dates of “1940’s” and “1947” associated with them (Weber Pipe Co. – Pipedia). I will end this history with a quote from Weber himself, “A pipe to be smoked outdoors should be fitted with a cap. The cap will prevent flying ashes from starting small fires and keep the wind from burning the tobacco so rapidly as to cause a cracked bowl. Pipe caps come in various sizes, to fit any size bowl.” (p. 56)*. A generalized Weber quote for a generalized Weber pipe.
*Weber, Carl. Weber’s Guide To Pipes And Pipe Smoking. New York, Cornerstone Library, 1962.
My goals with this pipe were to remove the original finish (clearcoat) to emphasize what looked like pretty grain underneath, revitalize the vulcanite and polish the metalwork while retaining the patina. That sounds like a grand way to spend a winter afternoon. Far better than picking up the leaves that finally fell from the Red Oak tree out back.
This old girl didn’t need a trip to the sink and an introduction to Mr. Murphy. Instead I started by wiping the left side with a make-up removal pad dipped in 95% ethyl alcohol. If the finish is shellac, the ethyl will dissolve it in short order. The pad took off something but not very much.

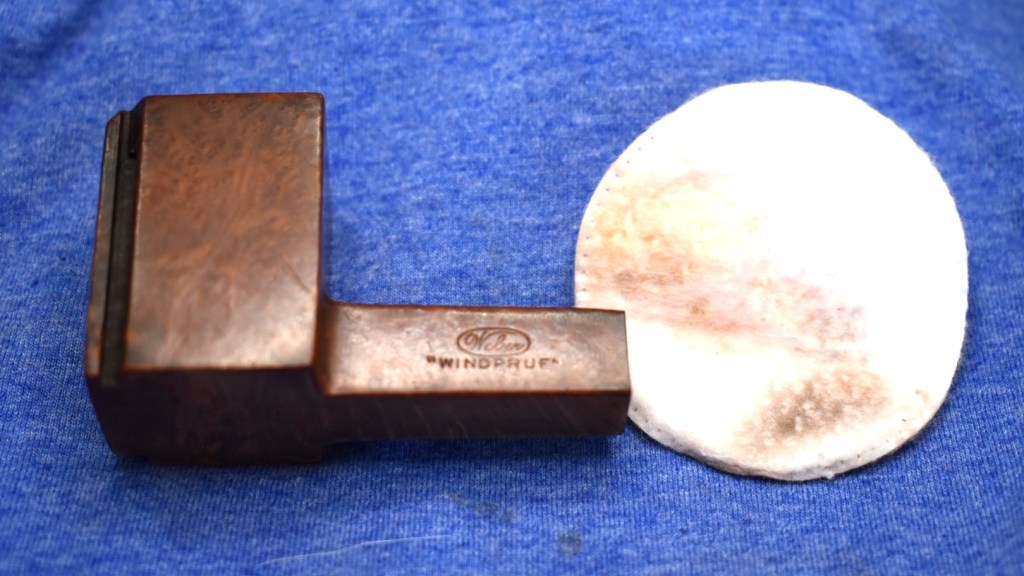
Hmm, not shellac I guess.
I tried the same thing with acetone on the right side. This pad came back with more material removed but there was still finish left behind.

I tried the acetone on the bottom. Bright red finish and stain. Apparently, at the factory they sprayed the pipes and the finish dripped to the bottom surface and deposited a thicker coating there. Oh well, so much for removing the finish without sandpaper.
I first taped over the stampings with painters tape. Then I got a piece of 400 sandpaper and my small foam block and started sanding the stummel. The
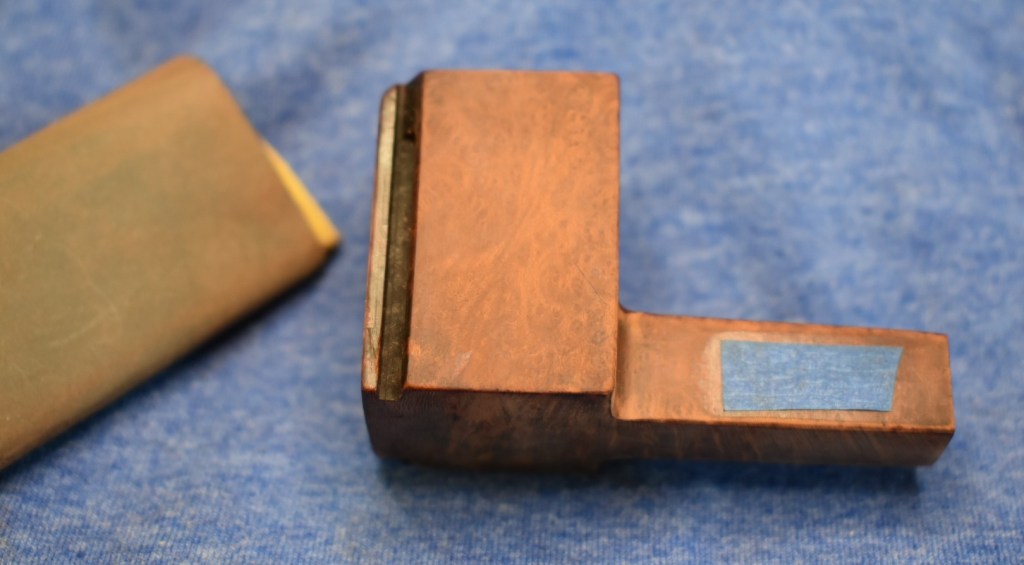
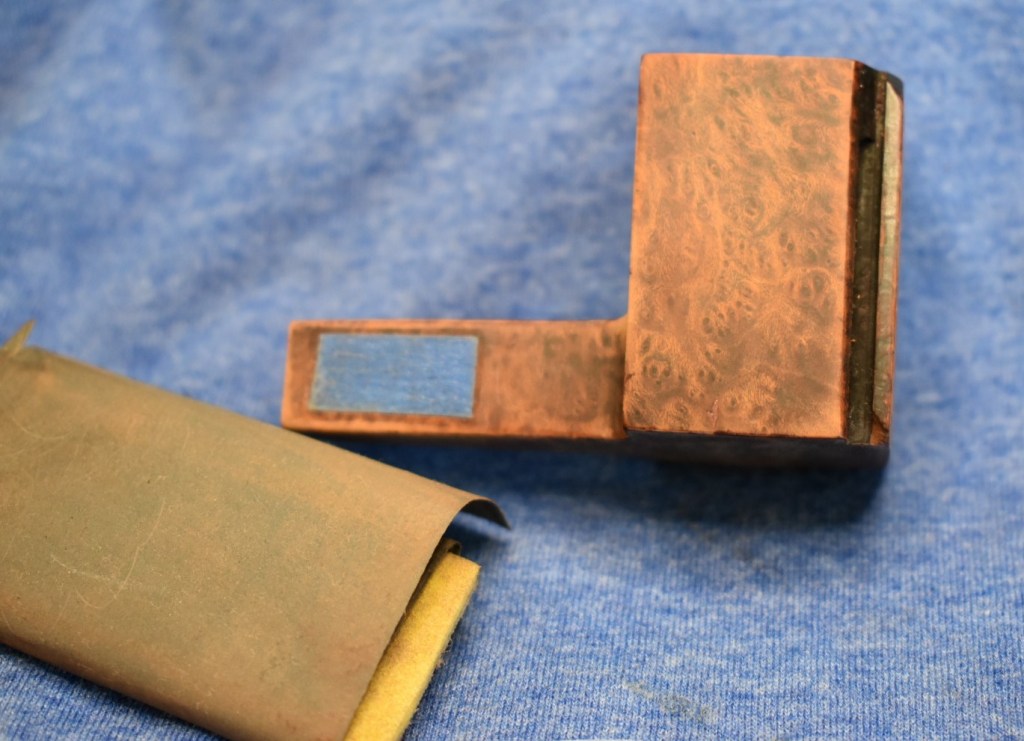
sandpaper worked through the finish quickly. The flat surfaces of the pipe made this easier than I had thought it would be. The only problem was that the

finish clogged the sandpaper quickly and required me to clean the sandpaper frequently. This was done by dipping a toothbrush into alcohol and scrubbing the surface of the sandpaper then wiping the paper on a rag. The following photos show the sandpaper and foam block with the stummel.
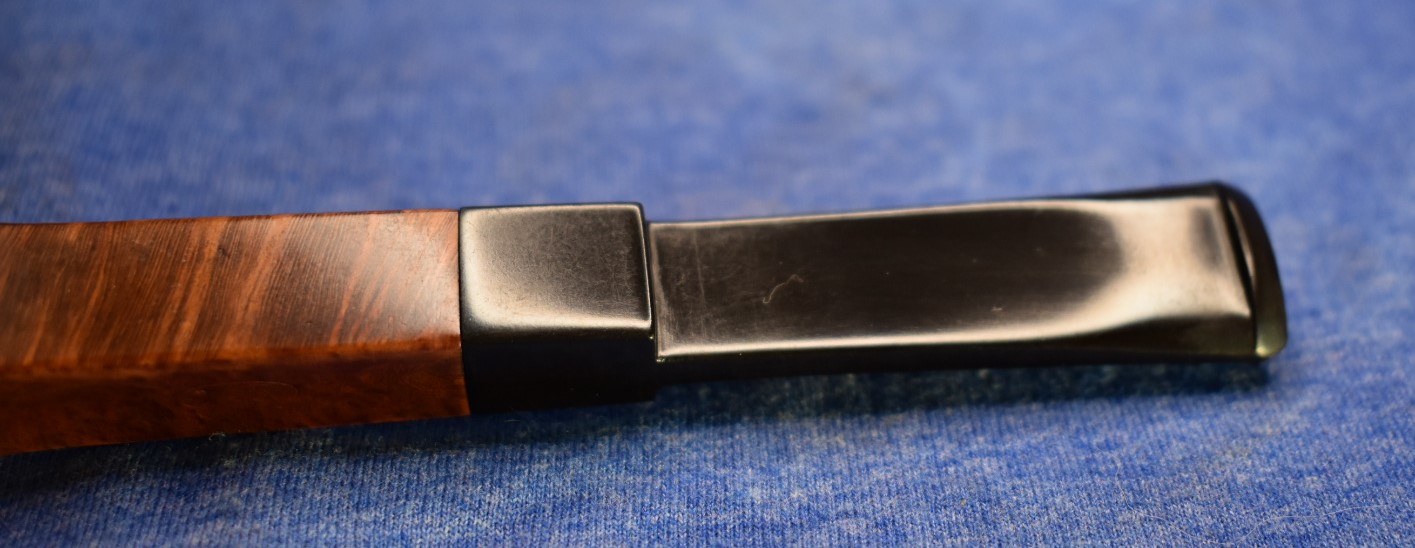
At this point I thought I had better address the stem. The oxidation was fairly well developed. The entire stem appeared uniformly brown. I rubbed each side with

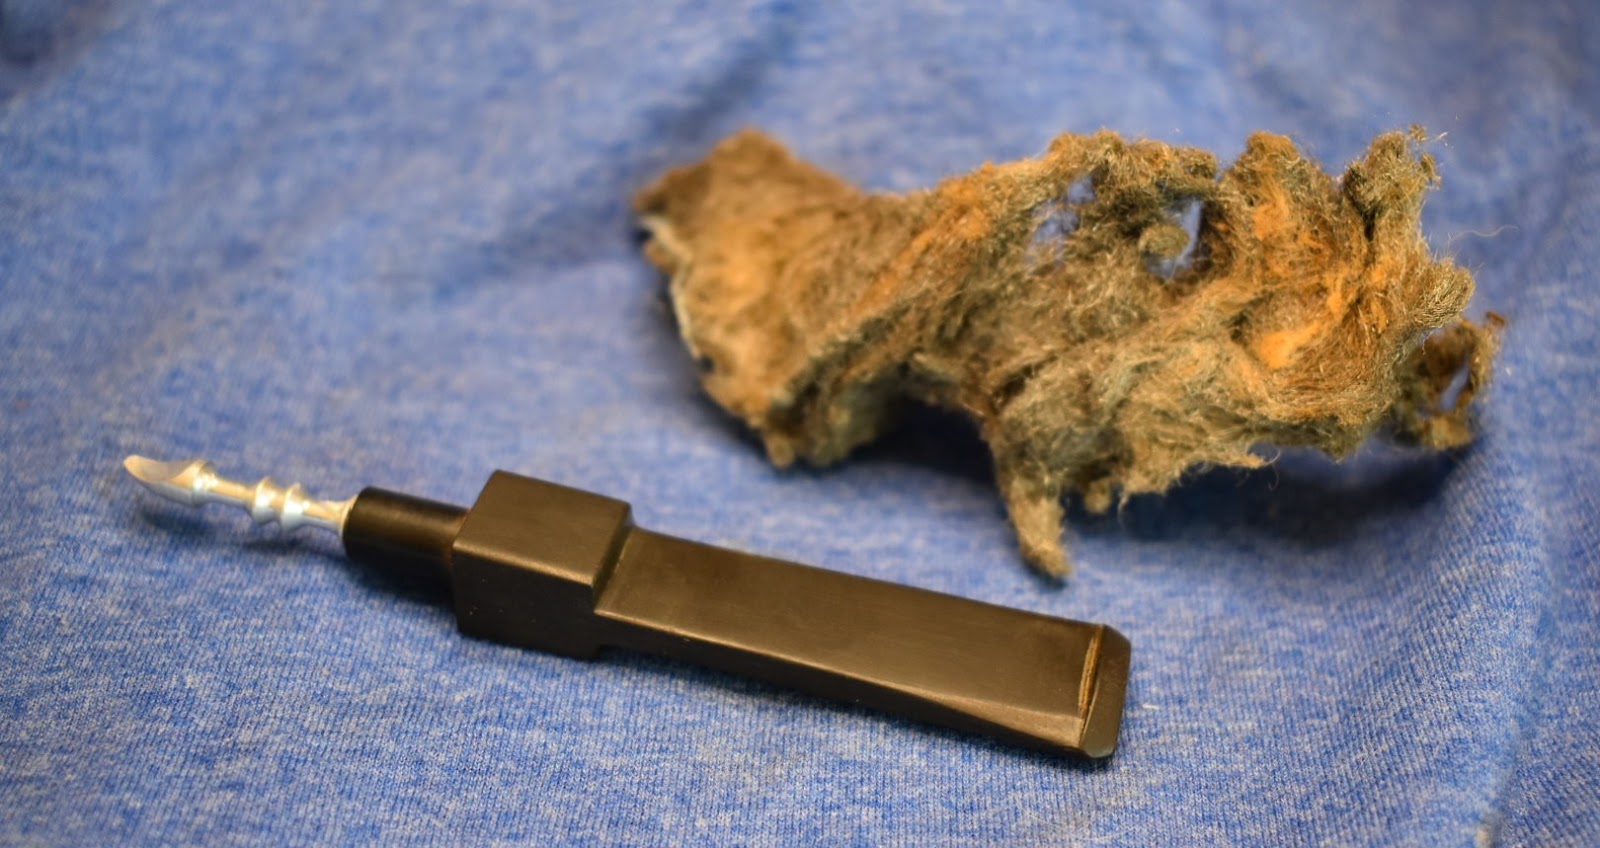
0000 steel wool to remove the outermost layer of oxidation. I could not get the stinger to come free of the stem so, I inserted a pipe cleaner into the stinger and placed the stem into the Deoxidizing solution. I figured that about an hour in the solution would be enough.
I returned to the stummel and started working the surface with the micro-mesh pads. I began with a wetted 1500 micro-mesh pad. I followed the micro-mesh pad with a wipe with an alcohol moistened make-up removal pad. I then went to ta wetted 1800 micro-mesh pad and repeated the alcohol wipe when finished with it. I continued with the pads in order to the 4000

micro-mesh pad. Here I removed the painters tape. I figured that the 6000, 8000 and 12000 micro-mesh pads would not remove enough material to affect the stampings and may blend the fresh briar with the old finish. The remaining micro-mesh pads were each used with an alcohol wipe between each. The stummel was then coated with a liberal coating of Before and After Restoration Balm and allowed to set while I worked on the stem.
I removed the stem from the Deoxidation Solution and allowed the excess to drip back into the jar. I then energetically rubbed the stem with a coarse shop rag. The rag absorbed the remaining solution and rubbed off some of the oxidized vulcanite. The stem looked like there was still some oxidation browning present. I used make-up pads and Soft Scrub to remove the remaining oxidation. The pads showed that there was indeed oxidation.

After the Soft Scrub I returned the stem to the workbench and gave the exterior a coating of mineral oil. It now looked nice and black. I ran two pipe cleaners through the stem, from the stinger end, through the stem to remove and deoxidation solution. I then dipped a clean pipe cleaner in the mineral oil and oiled the airway. The stem was ready for the micro-mesh pads. They were used in sequence from 1500-1800 wet, then 2400-12000 dry. In between each pad I would rub a drop of Obsidian Oil onto the stem and wipe the excess oil with a make-up pad.
After the stem was completed I wiped the excess balm from the stummel and reunited the two pieces. I was very glad that I decided to remove the finish here are before and after photos of the right side of the stummel and the

bottom. The grain is far too pretty to keep hidden under that coating of old finish.

I took the brass wind-cap to the buffer. I used a very light touch just allowing the loose fuzz of the buffing wheel to touch the brass. I did not actually allow the felt proper to come in contact with the brass. I lightly brushed the surfaces to clean and polish them. The corners were used the same way to reach the inside hinged areas. I was able to preserve the patina while still polishing the surfaces.
The wind-cap was slid back into position. I applied a thin coat of Johnson’s Paste Wax to the wooden rails on which the brass wind-cap slides. I then gave the entire pipe was given several coats of carnauba wax. This proved more difficult than a rounded pipe. I would get one side buffed and there would be a bit of non-buffed wax deposited on the adjacent surface. Buffing that surface would do the same thing to the next side, Eventually everything was evened out and made pretty.
Overall this restoration turned out very nicely. It was enjoyable not to have a bowl to ream, nor a dirty airway to clean. The new finish really shows off the grain of the briar. The stem polished up beautifully as well. I would like to say that this pipe is ready to return to duty but the poor thing never got any use, much less duty. Either way, she is clean, shiny and ready to be smoked. I hope you found this useful in your own restorations or entertaining. I thank you for reading the ramblings of an old pipe lover. Oh yeah, If you did like this please click the like and subscribe below.
Here are the photos of the finished Weber “Windpruf”. Ready to report to duty.


One response to “A new old stock (NOS) Weber “Windpruf” Restoration”
[…] A new old stock (NOS) Weber “Windpruf” Restoration […]
LikeLike