Written and photographed by John M. Young
The below auction appeared in October of this year. I had already exceeded the amount I budgeted for pipes but I justified it by saying, “They will be Christmas presents for someone.” That was my story and I was sticking to it. Besides, how can I say “no” to a pair of classic Petersons who’s restoration would provide me with entertainment and a new shape for the

collection. Er, I mean a potential present to a loved one. I already had a beautiful Peterson Deluxe 14S so the Kildare 14S would, most likely, become a present. The Premier Selection 51, on the other hand, was awfully cute and a new shape for me.
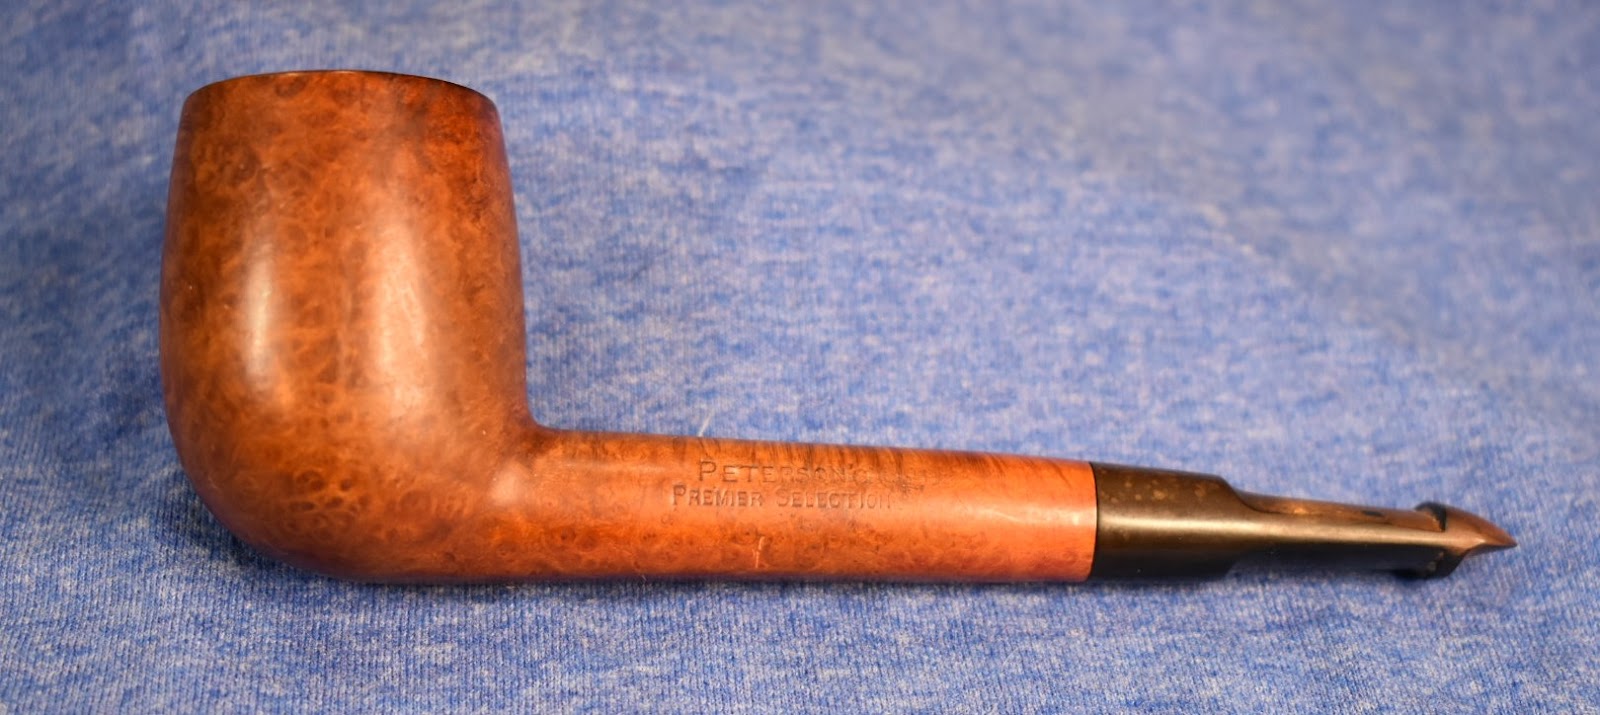
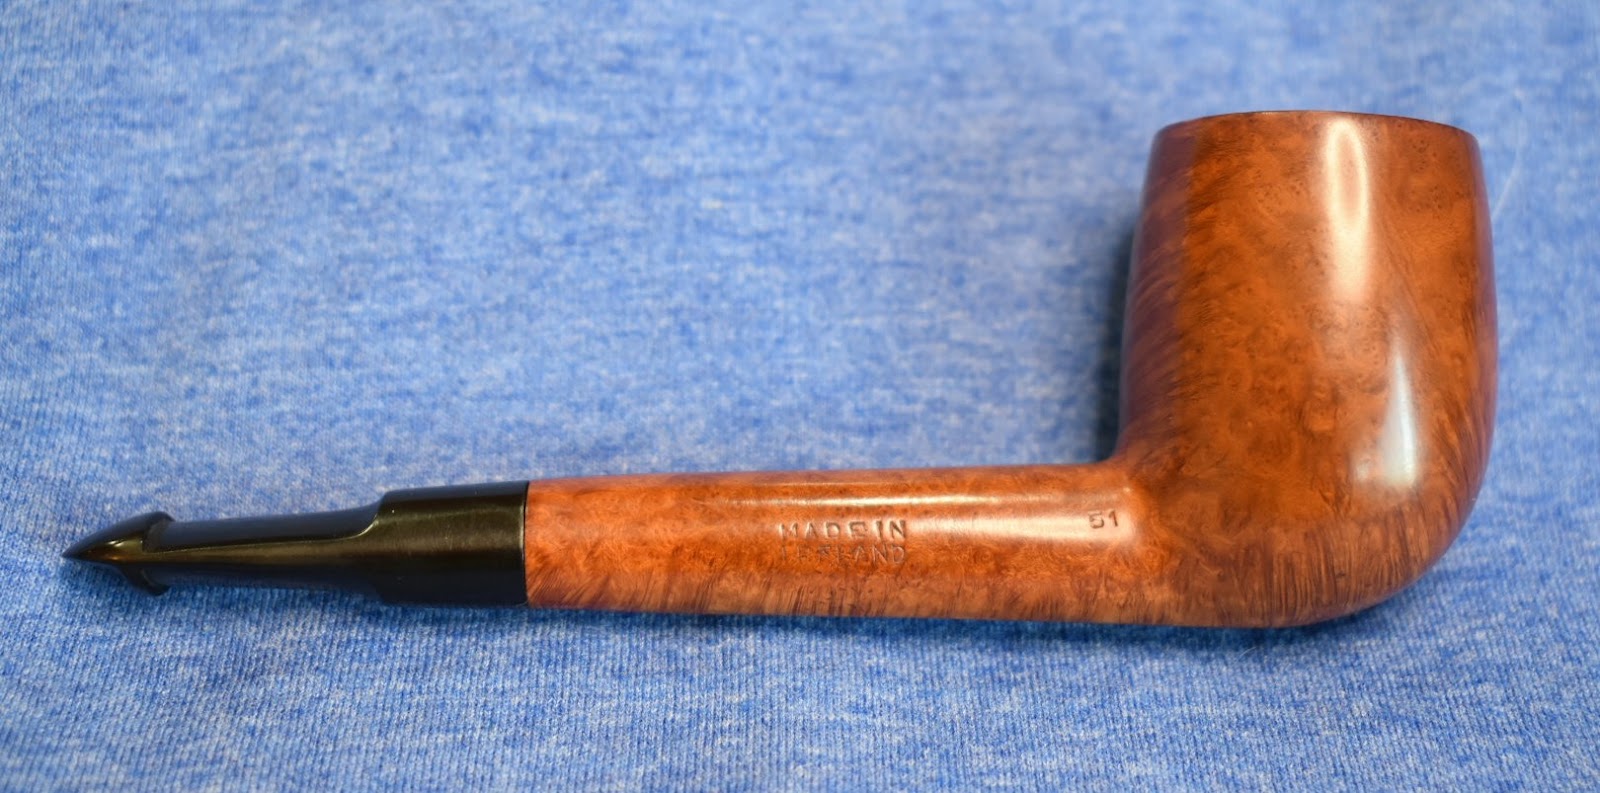
The auction was won and the two darlings arrived in short order. The first pipe that I began working on was the 51. She was in very good shape with clear stampings and I wondered what her history and pedigree were. Obviously she was a Peterson and that meant that she was made by the oldest continuously operating briar pipe company in the world. I got out Mark Irwin’s big The Peterson Pipe book and began researching the “Premier” line. According to Irwin, the Premiers are:

“A high-grade line of Classic Range shapes for the US market introduced by Rogers Imports in their 1953 catalog. Offered in smooth or sandblast finish, a P-Lip mouthpiece with an aluminum P, the first occurrence of this logo in the ephemera. The Tan Bark Premier appeared in the ‘69 Iwan Ries catalog. COM of MADE IN over IRELAND, A PREMIER stamp also appears over SELECTION and will be distinguished by an inset brass P on the mouthpiece.” (Irwin 310) This pipe did not have the PREMIER over SELECTION as they were stamped in line.
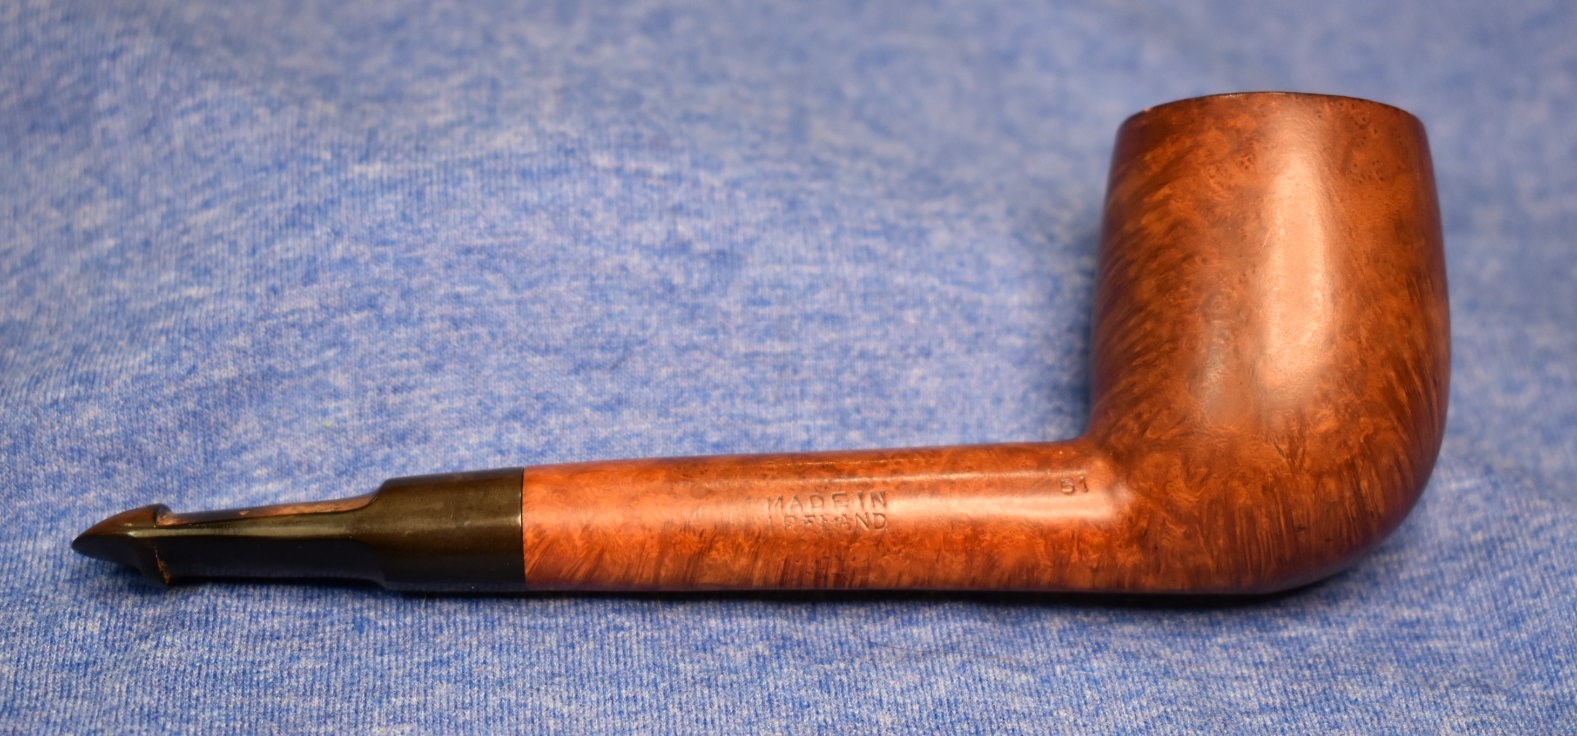
The term “Classic Range” refers to pipes not of the Peterson System variety. This also indicated that the 51 was made for the US market in the ‘50-60 and imported by either Rogers Imports or Iwan Ries. I wanted something more specific so I did a bit of looking into the 51 shape. This led me to marking and tagging several pages in the big book. The 51 shape was only shown in the 1953 Rogers Imports catalog. (Irwin pp.156-157)
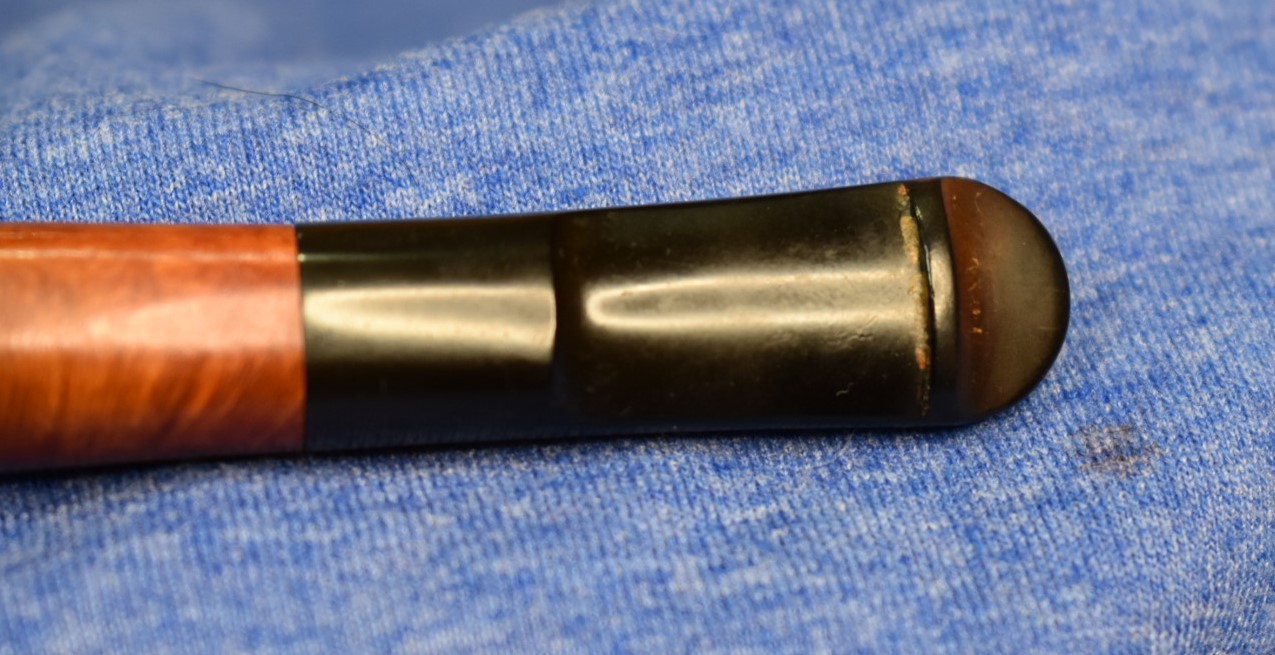
These catalog pages also illustrate “Peterson’s Comfort Bit” which matches the bit for my pipe in the same catalog. The problem is that this pipe does not have the aluminum P. Looking at the Iwan Ries catalog photos there is no mention of shape 51. The only Lovat is called “53 Large Lovat” (Irwin p.171).
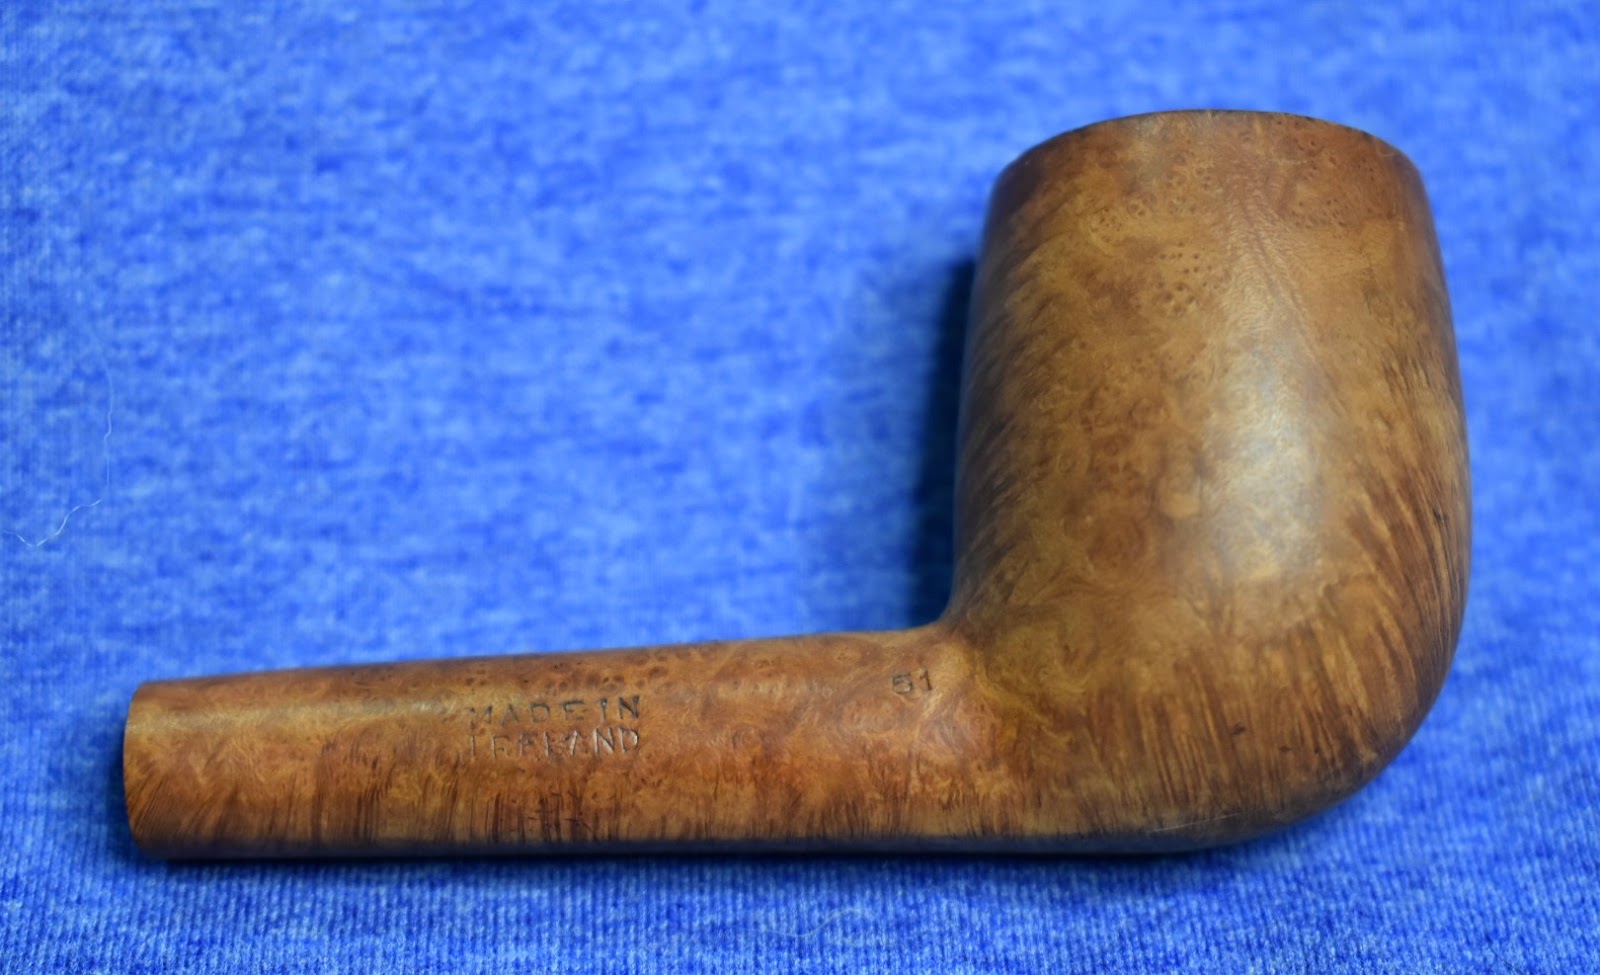
The next stamp to examine is the Country of Manufacture (COM) stamp.

This 51 is stamped with MADE IN over IRELAND. Pipedia claims “At the start of the 1950s, all pipes at Kapp & Peterson were stamped with “Made in the Republic of Ireland” stamp…” (Lilley) Yet Irwin states: “This stamp appears on many models spanning most decades of Peterson’s history” and that “Without hallmark dates or other clues, this stamp provides no reliable indication of a pipe’s age.” (Irwin p. 296). Further evidence is the complete lack of a shape 51 in the 1975 Peterson Catalog. This catalog was “Peterson’s first attempt since 1906 to illustrate their complete catalog.” (Irwin 160-161) The Lovat in these illustrations is now called shape 53.
I take all of this to mean that the Premier Selection 51 I have is from the Rogers Import times of 1953- 1968. Why it dos not have the aluminum P on the mouthpiece and why the PREMIER and SELECTION are stamped in line are a mystery. With that bit of history finished. I was off to work on the pipe.
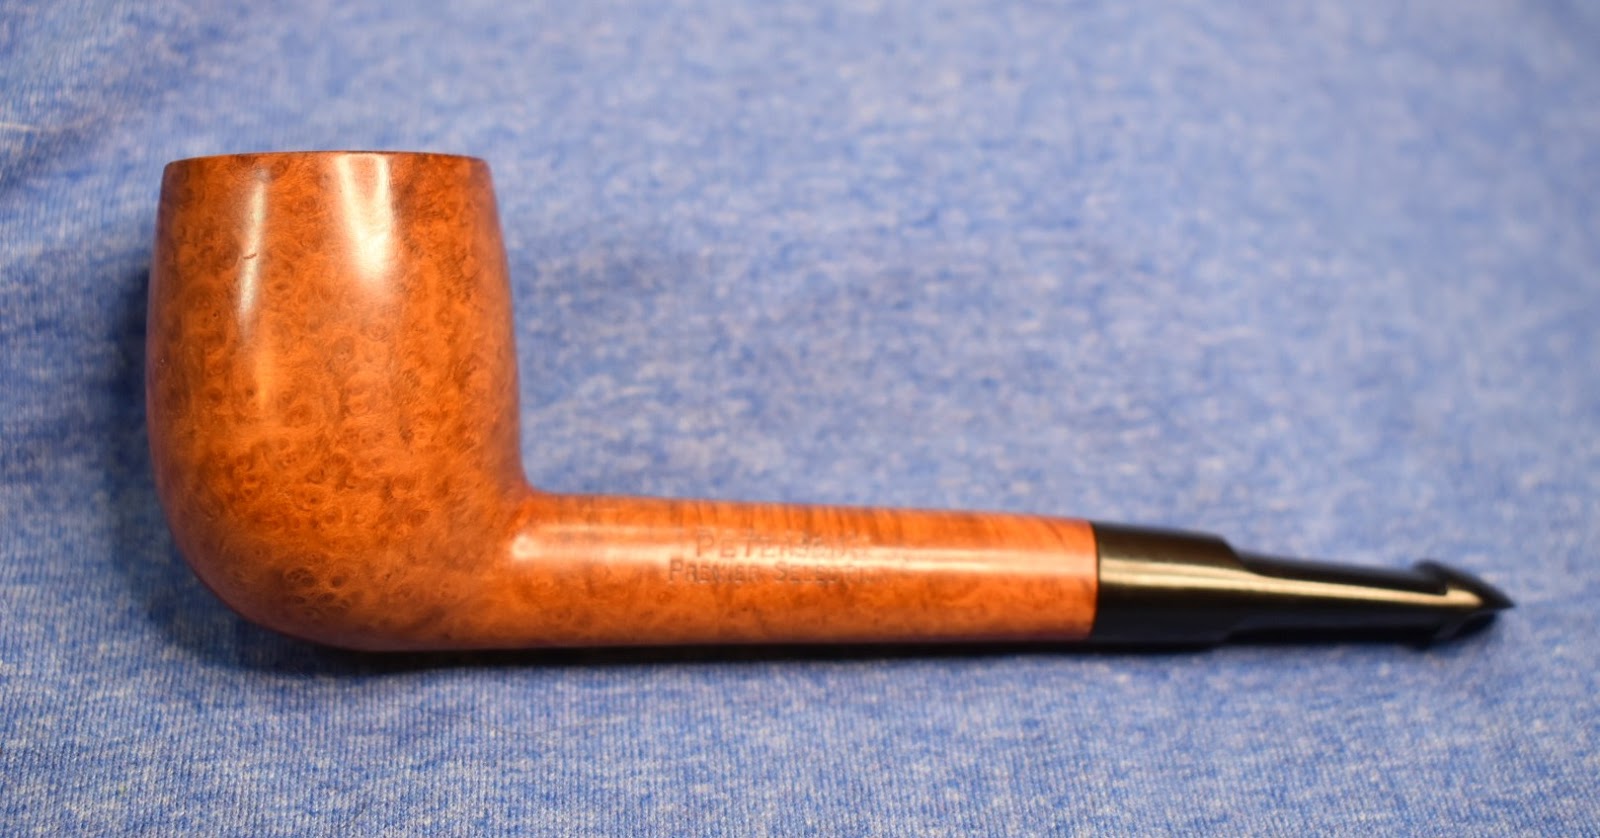
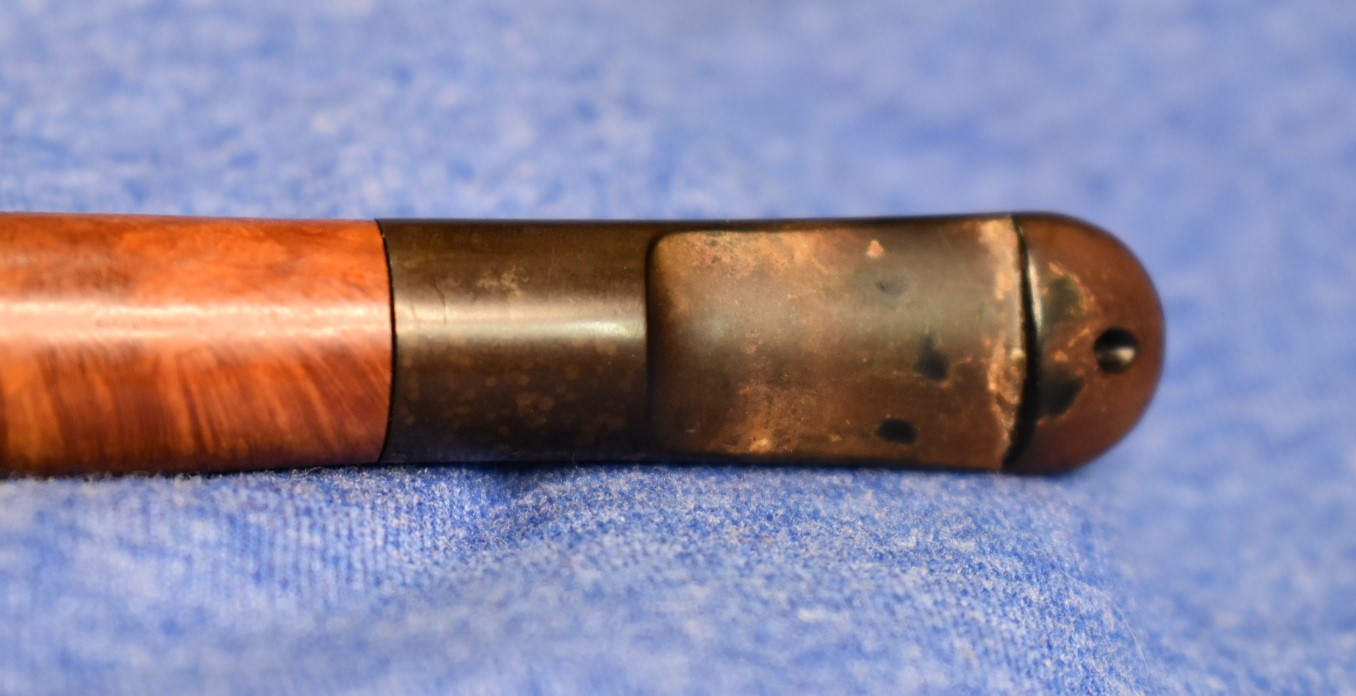
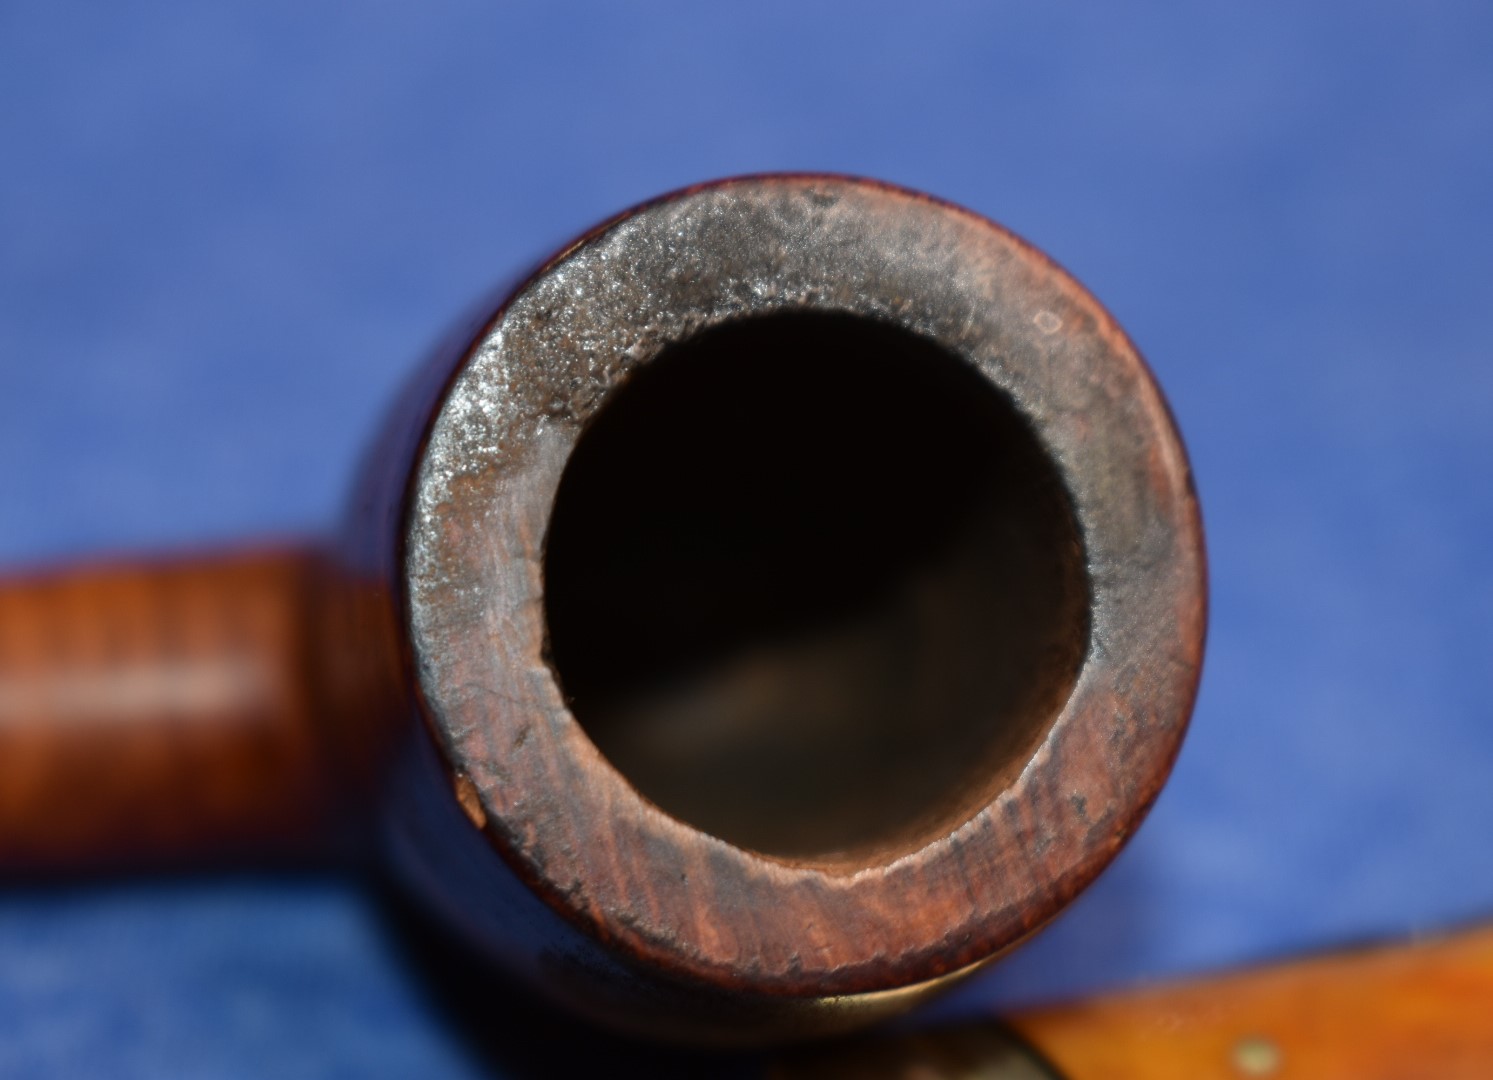
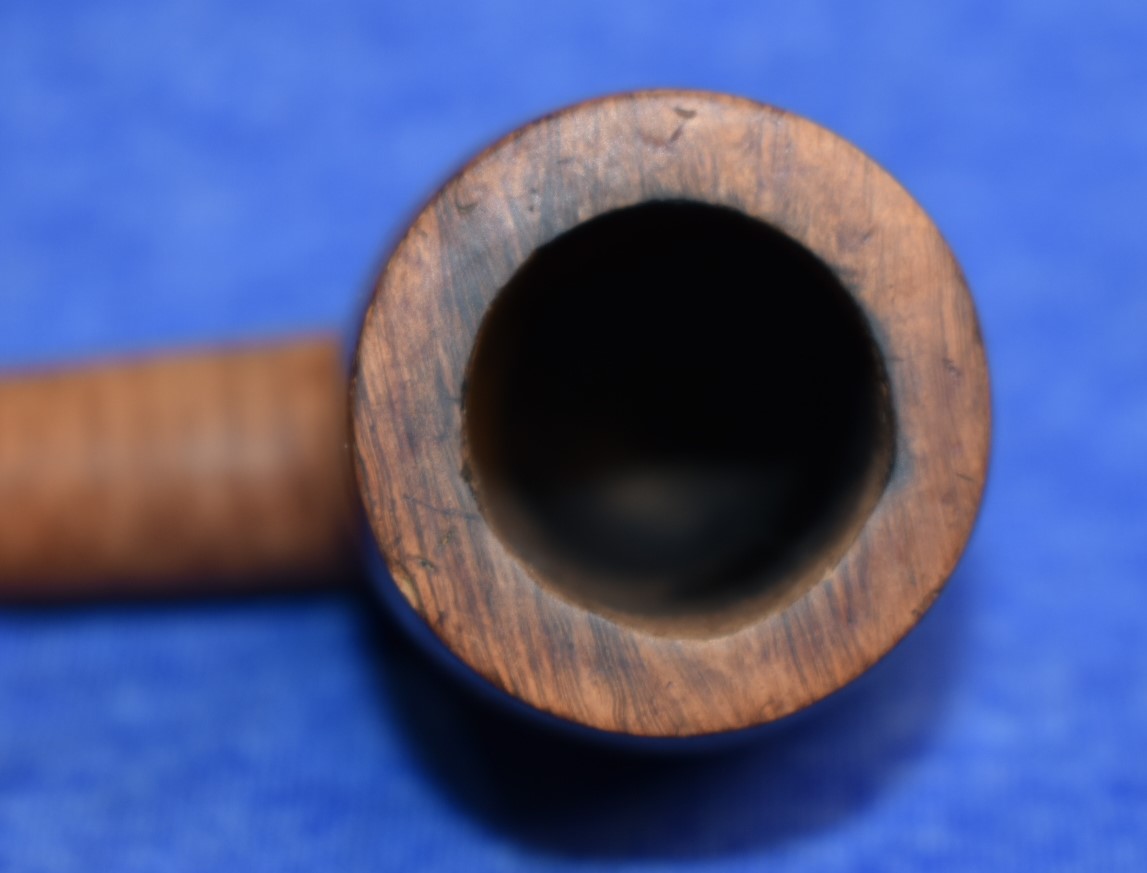
I began with an examination and photo shoot of the pipe. Below you can see the “before” photos of how the 51 looked upon arrival. The briar was in good shape, the rim had a significant build-up of lava, the tobacco chamber did not have a thick cake build-up and the mouthpiece had calcium deposits and oxidation issues. Overall, I did not think there were any issues that would require abnormal work for restoration.

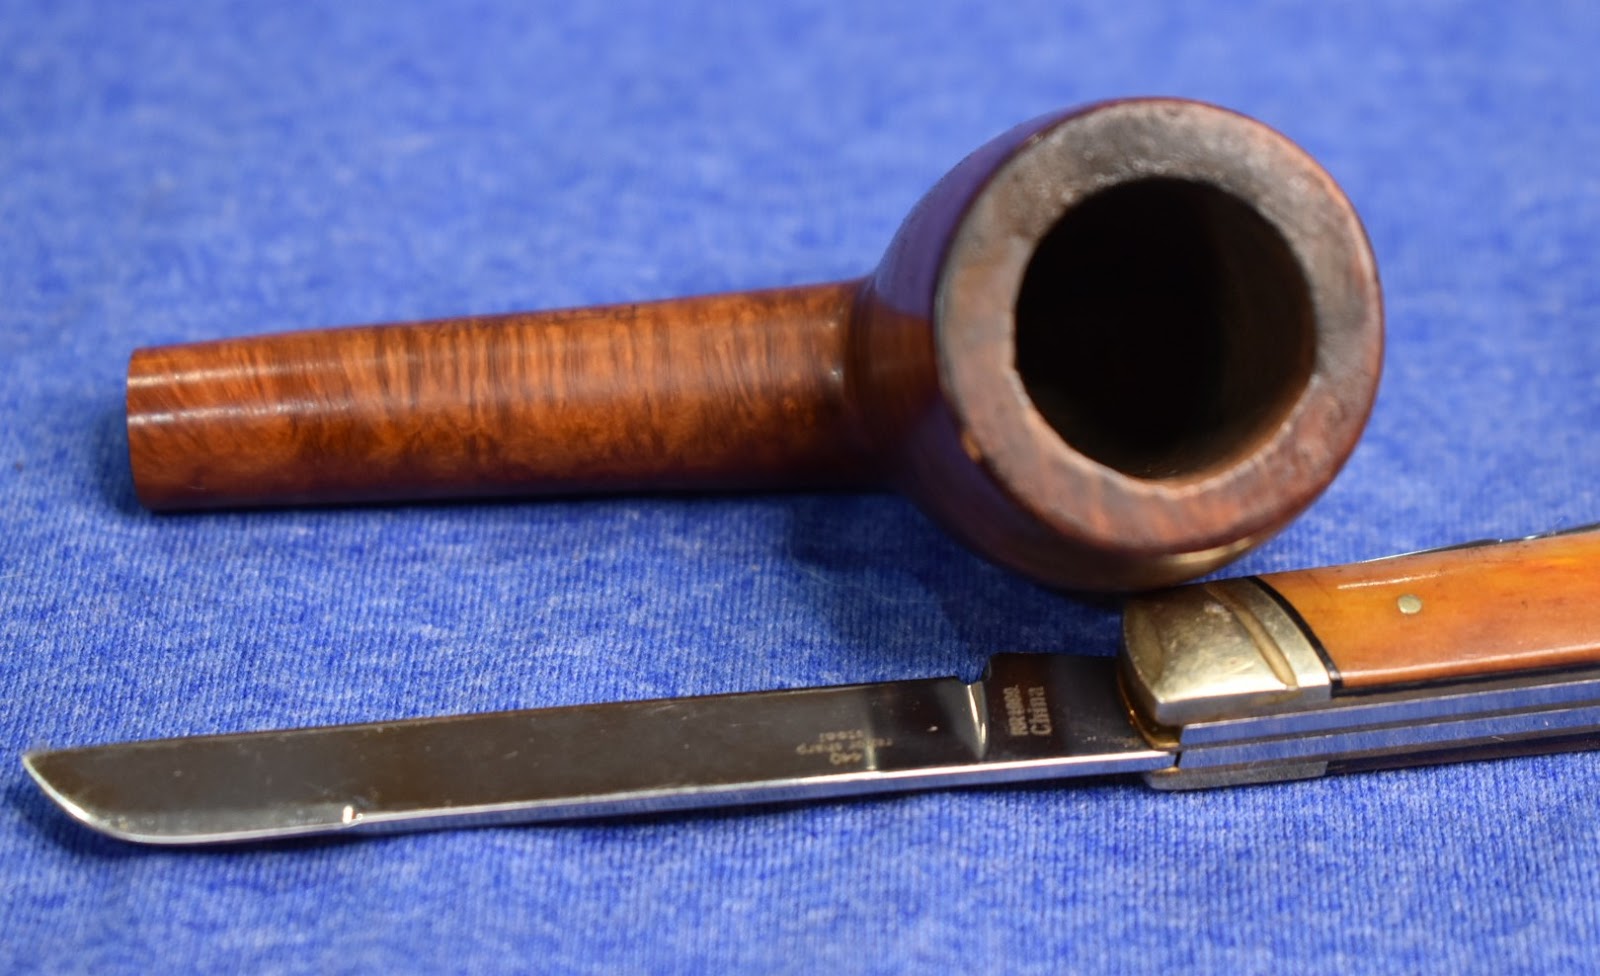
The first step of this restoration was to ream the tobacco chamber. This was done using the PipNet reamer and a reaming knife. There was not a great amount of cake to remove and the process went quickly. After the cake was

removed I sanded the chamber with 220 sandpaper on a wooden dowel. When finished sanding I wiped the chamber with a cotton make-up removal pad moistened with 99% ethyl alcohol. Next was the lava build up on the rim. I moistened the lava with a bit of saliva on my finger tip. I then carefully began scraping with the edge of a sharp knife.


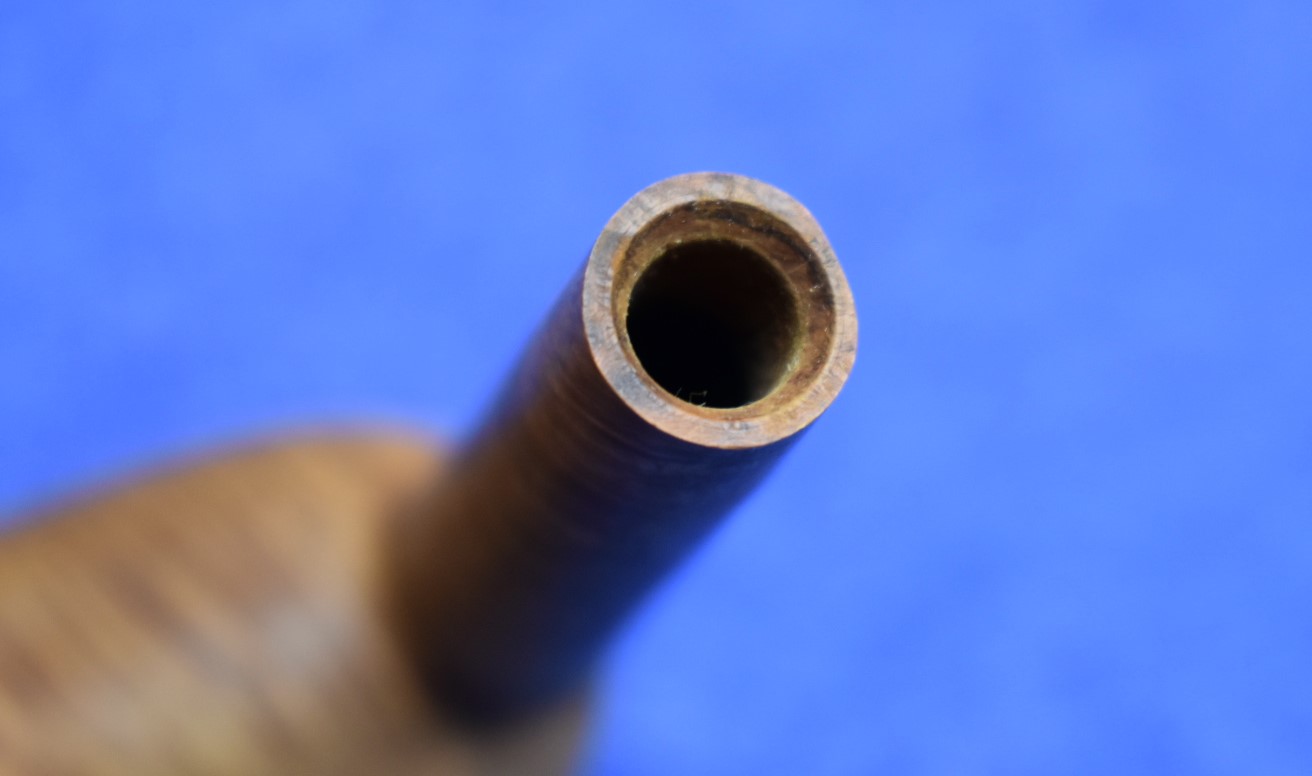
Next was the shank interior. I start out with a dental scraping tool. If I can scrape out a little bit, that means my scrubbing is greatly reduced. This one didn’t give me much scrapings but, judging from the lava on the rim I knew there was a bit of residue lurking inside. I used cotton swabs soaked in 99% ethyl alcohol. At first I thought, “this isn’t too bad”. Then, I realized the alcohol had to soften the tars and residues. Black, black and black was the only word to describe the cotton swaps. Lots of them. After about 15 there was a bit of improvement and a color change to brown – progress. I needed a break from the shank so I decided to take the stummel to the sink and scrub the exterior. This was more to use some different muscles in my cramping hands than for other real reasons.
At the sink I used Murphy’s Oil Soap (undiluted with water) on a medium stiffness toothbrush to scrub the stummel. The rim had come mostly clean with the scraping but there was still some residual lava present. Even with what looks like a clean pipe the Murphy’s Oil Soap does wonders at removing dirt and grime that I didn’t even realize was there. I’ll usually run the warm water while I scrub so I can rinse with warm water. After the initial rinse I used the oil soap a second time focusing on the rim. Some of the warm water was allowed into the shank as well. I figured that it might help loosen the stubborn residue inside as well as out. After I’d rinsed the stummel for the second time I dried it is a cotton towel. I then used a nylon bore brush and a small amount of Dawn Dish Soap to scrub the interior of the shank. The scrubbing produced a brown lather that showed me that it was working. This scrubbing was rinsed with liberal amounts of warm water with and without the brush until I was certain the soap had been washed away.
I returned to the bench and gave the stummel a vigorous rub with a make-up pad soaked in alcohol. I then poured about 5 ml of the alcohol into the tobacco chamber and swirled it around. I plugged the shank with my finger and heard the pip pip pip of air bubbles being replaced by alcohol all through the shank. The alcohol is used to pull the water out of the briar. 99% Ethyl alcohol is very hydrophilic meaning that it will pull the alcohol out of the wood and into solution with the alcohol. The alcohol then dries quickly leaving the wood dry after a few minutes. I hoped that all of my scrubbing had removed the residues within the shank. It helped but there were still another 15 alcohol soaked cotton swabs before I considered the shank cleaned out.
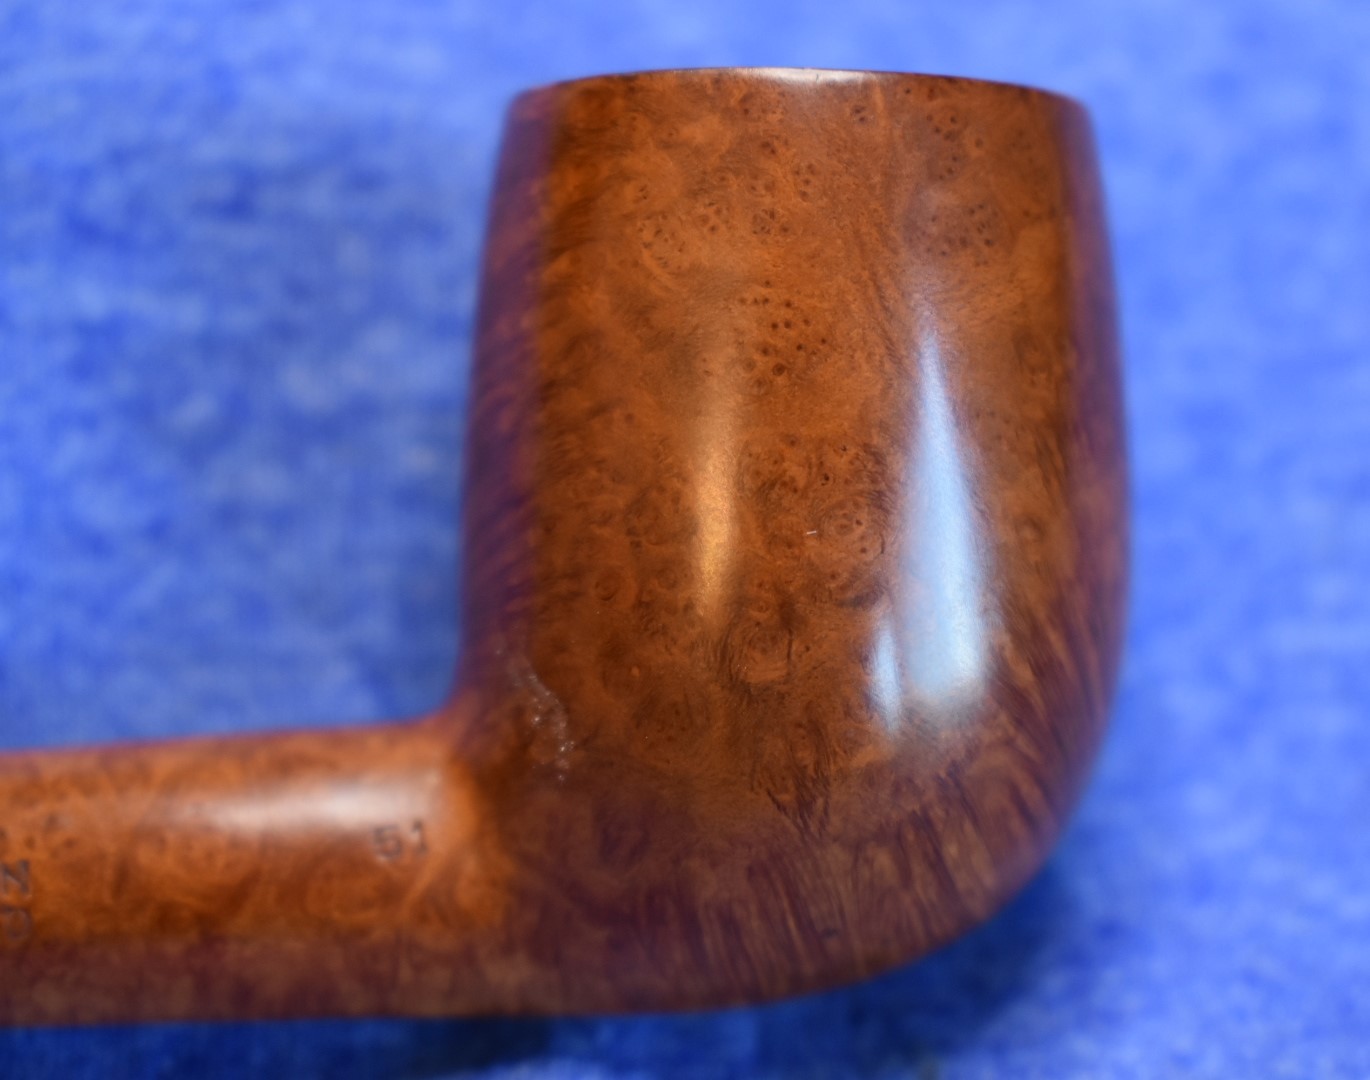
The below photos are what the Premier 51 looked like after the scrub-fest. There was no finish remaining, there were a few scratches that would need sanding and the rim would require a light topping to remove the dents, dings and a bit of char. Overall she was looking good .


Topping the stummel required a new piece of 220 sandpaper laid flat upon the counter top and a light touch. I Help the stummel firmly yet gently and sanded in a circular motion rotating the stummel in my hand every 2 rotations. I wanted to sand the rim as evenly as possible. After the 220 sandpaper I repeated the whole process with a new piece of 440 sandpaper. I did not want to change the shape of the stummel and stopped sanding after most of the blemishes where removed. The photo, right, shows what it

looked like when finished. Next came the sanding of the whole stummel. Since the pipe was in good shape I did not start with sandpaper but rather the micro-mesh pads. The 1500 was used first dampened with a bit of water. After micro-meshing I wiped the stummel off with a make-up pad moistened with alcohol. I repeated the same “wet” technique with the 1800 micro-mesh pad. After those two I proceeded to use the pads dry in order of increasing fineness, always wiping between pads with the alcohol. When finished with the micro-mesh pads I applied a coating of Lbepen’s Restoration Balm to the stummel and allowed it to do what it does to the wood.

With the stummel absorbing the Restoration Balm, I turned my attention to the stem. It had calcium deposits and oxidation on its surface. I used 0000 steel wool to lightly buff the entire stem. I then inserted a pipe cleaner into the stem from the shank side and dipped it into the Lbepen Deoxidizing Solution. I place the lid on the jar using the pipe cleaner as a suspension rack to hold the stem completely under the surface of the solution. I left the stem in the solution for approximately an hour. Upon removing the stem from the deoxidizing solution I allowed the excess solution to drip from the stem back into the jar. I vigorously rubbed the remaining solution from the stem using a cotton rag. I recommend using nitrile gloves for this as does the manufacturer. The draft hole needed to be cleared of solution also. This was done with a couple of pipe cleaners. Immediately after removing the deoxidizing solution I wiped down the stem with my fingers dipped in mineral oil. I also ran a pipe cleaner dipped in mineral oil through the stem. The oil stops the vulcanite from further oxidizing with contact with the air.
The stem looked nice and black with no signs of oxidation. I then used the micro-mesh pads to smooth and polish the stem. I began with the 2400 pad and proceeded through each pad up to the 12000. In between pads I wiped the stem off with Obsidian Oil on a make-up pad. Once the micro-mesh pads were each used I used Lbepen’s Fine Polish and Extra-Fine Polish with a cotton cloth. These were applied like a rubbing compound to further polish the vulcanite. When finished with the polishing I applied a final coating of Obsidian Oil to the stem and allowed it to sit for about an hour. I am not sure if this is necessary but I think that allowing the oil to penetrate into the vulcanite provides a bit more protection from the effects of oxygen.


The before and after photos show the great improvement of the restoration of the stem’s vulcanite.
It was time to wipe the remaining Restoration Balm off the stummel and reunite the stummel and stem. They looked great together. The next thing to do was to take the old girl to the buffer and apply a few coats of carnauba wax. A final hand buffing of the entire pipe was done with a microfiber polishing cloth. This added a little more depth to the final shine of the wax.
I am very pleased at how well this restoration went. There were no hidden issues and everything went smoothly. The pipe turned out very well and should be a pleasure to smoke for many more years. Thank you for reading the ramblings of an old pipe lover. Below are a few photos of the finished Peterson Premier 51.


Irwin, Mark. The Peterson Pipe The History of Kapp & Peterson. First Edition, second printing 2021 ed., Canada, Briar Books Press, 2018.
Lilley, Jim. “Peterson.” Pipedia, 23 October 2023, https://pipedia.org/wiki/Peterson#1950_-_1989_The_Republic_Era. Accessed 7 November 2023.

3 responses to “A Peterson Premier Selection 51 Restoration”
Nice job… do you ever smooth out the roughness on the inner edge of the rim?
LikeLike
Yes, I will sometimes use a wooden ball/sphere (different sizes) wrapped in a bit of sandpaper to smooth the inside rim.
LikeLiked by 1 person
[…] A Peterson Premier Selection 51 Restoration […]
LikeLike