Written and photographed by John M. Young

It only seems fitting to do a Brigham restoration on a Canadian shape pipe as they are a Canadian company. I have only smoked one Brigham pipe. It is my Brigham 5 dot Bulldog, shape 526 and it is a joy to smoke. I knew that Brigham was an old company and that they used their proprietary rock maple insert as some kind of “filter”. I also had some inkling that the brass dots that adorned the mouthpieces is an indication of the qualify of the briar used to make their pipes. Below is my Brigham bulldog.

When I saw the Brigham Canadian shape 5, I thought, “I like Canadians and really only have 2 or 3. I probably need another, eh?” Okay, the “eh?” is terribly stereotypical but it made me smile. For less than the price of a steak dinner I had the next subject of my hobby/obsession/calling(?) In my hands.
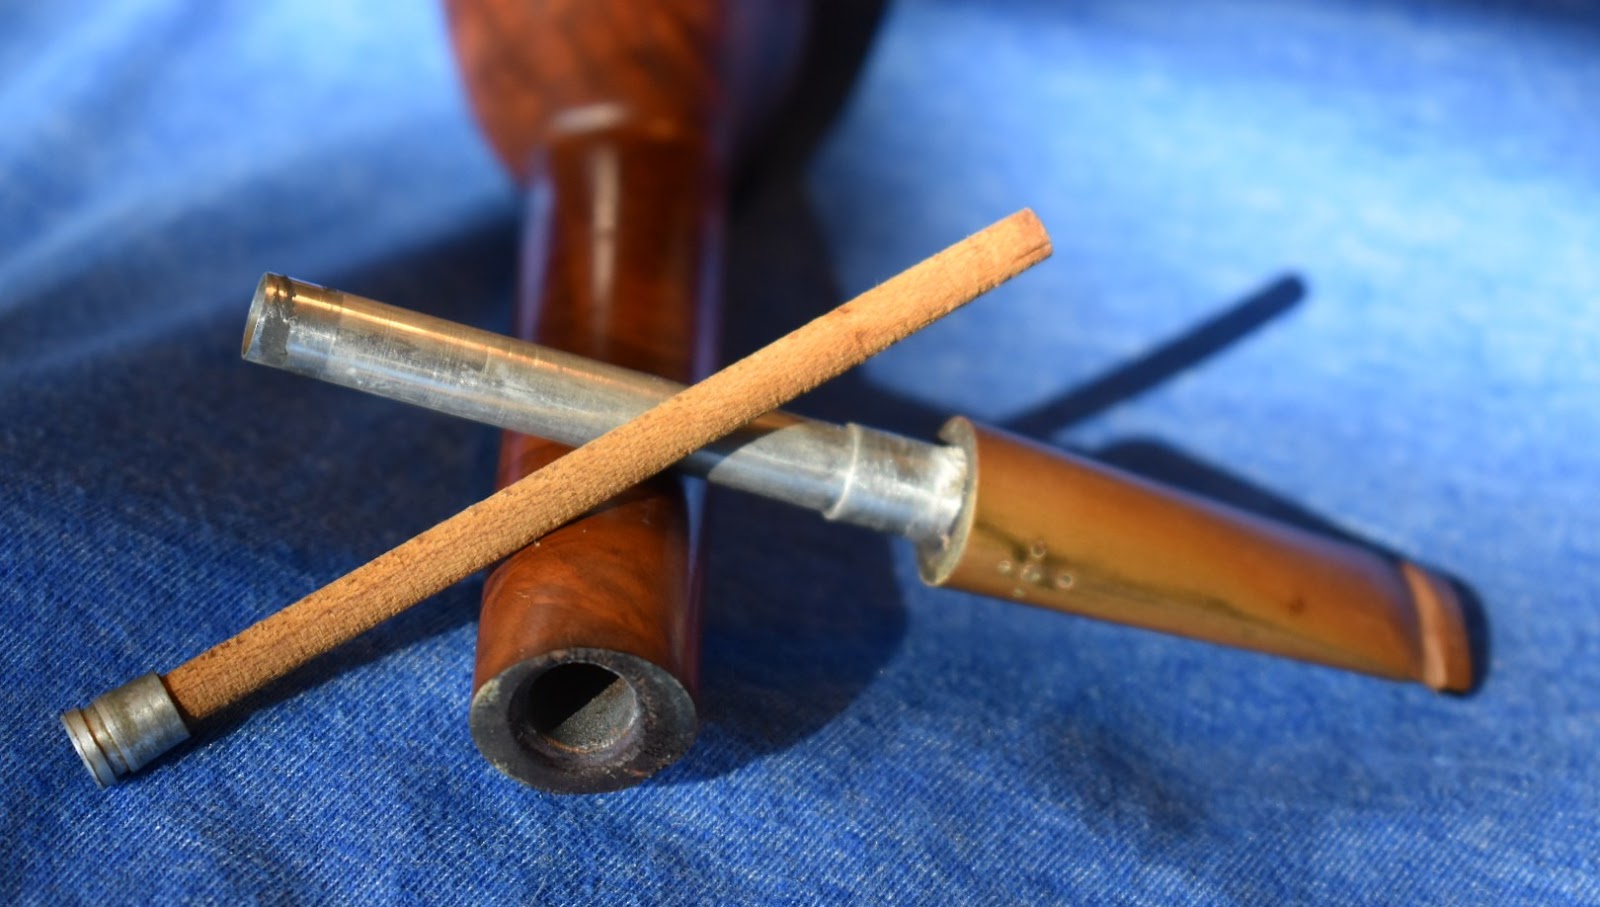
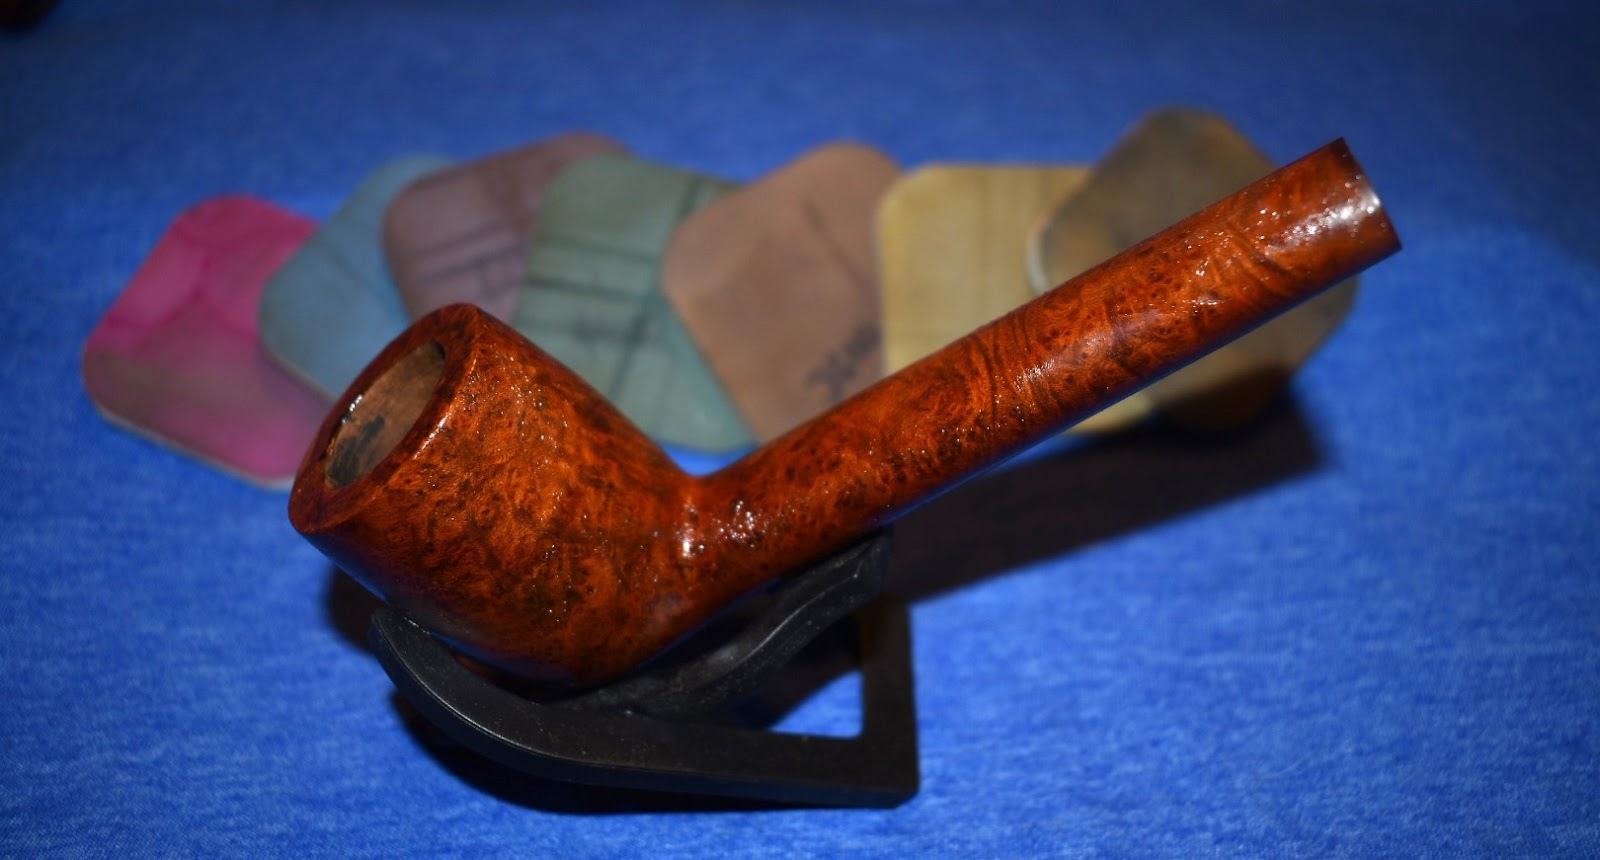
The pipe (henceforth she/her) looked to be in good condition. Her stem was very oxidized to a dark beige. Her briar looked good and the stampings were clear. She did have a bit of a lava coating on the rim and what could be a clear coat finish of some kind. I hoped that it was just a thick layer of carnauba wax but, I know better. She still had a rock maple insert in the stem and it was not dark brown or black. Her tobacco chamber was not caked to any noticeable thickness. The latter two observations indicated that her previous owner smoked her infrequently but in the appropriate Brigham fashion – with an appropriate insert. Here are some photos taken upon her arrival:


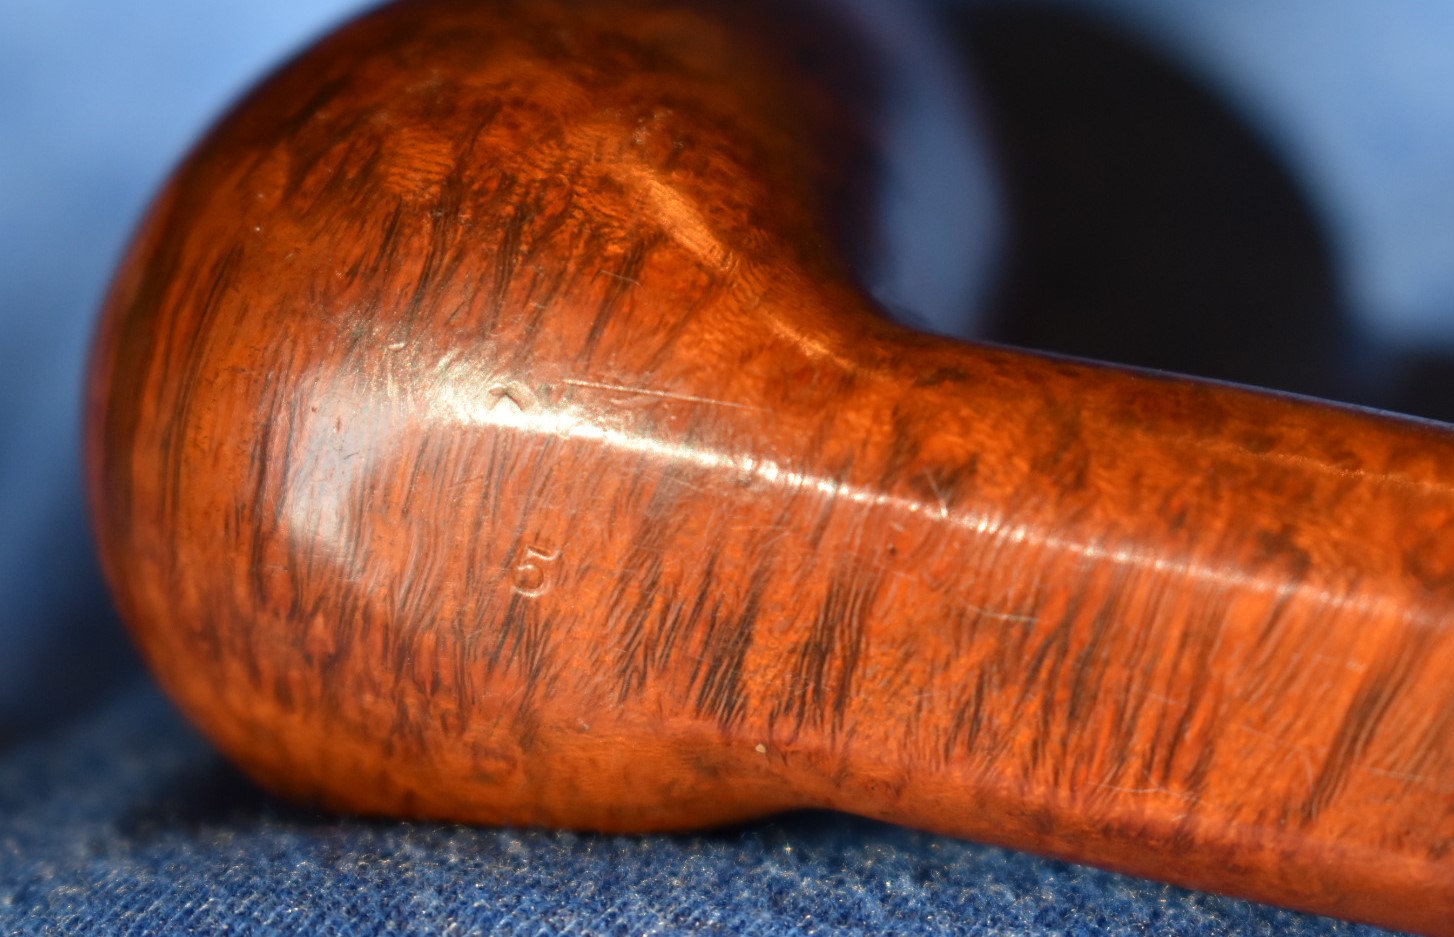
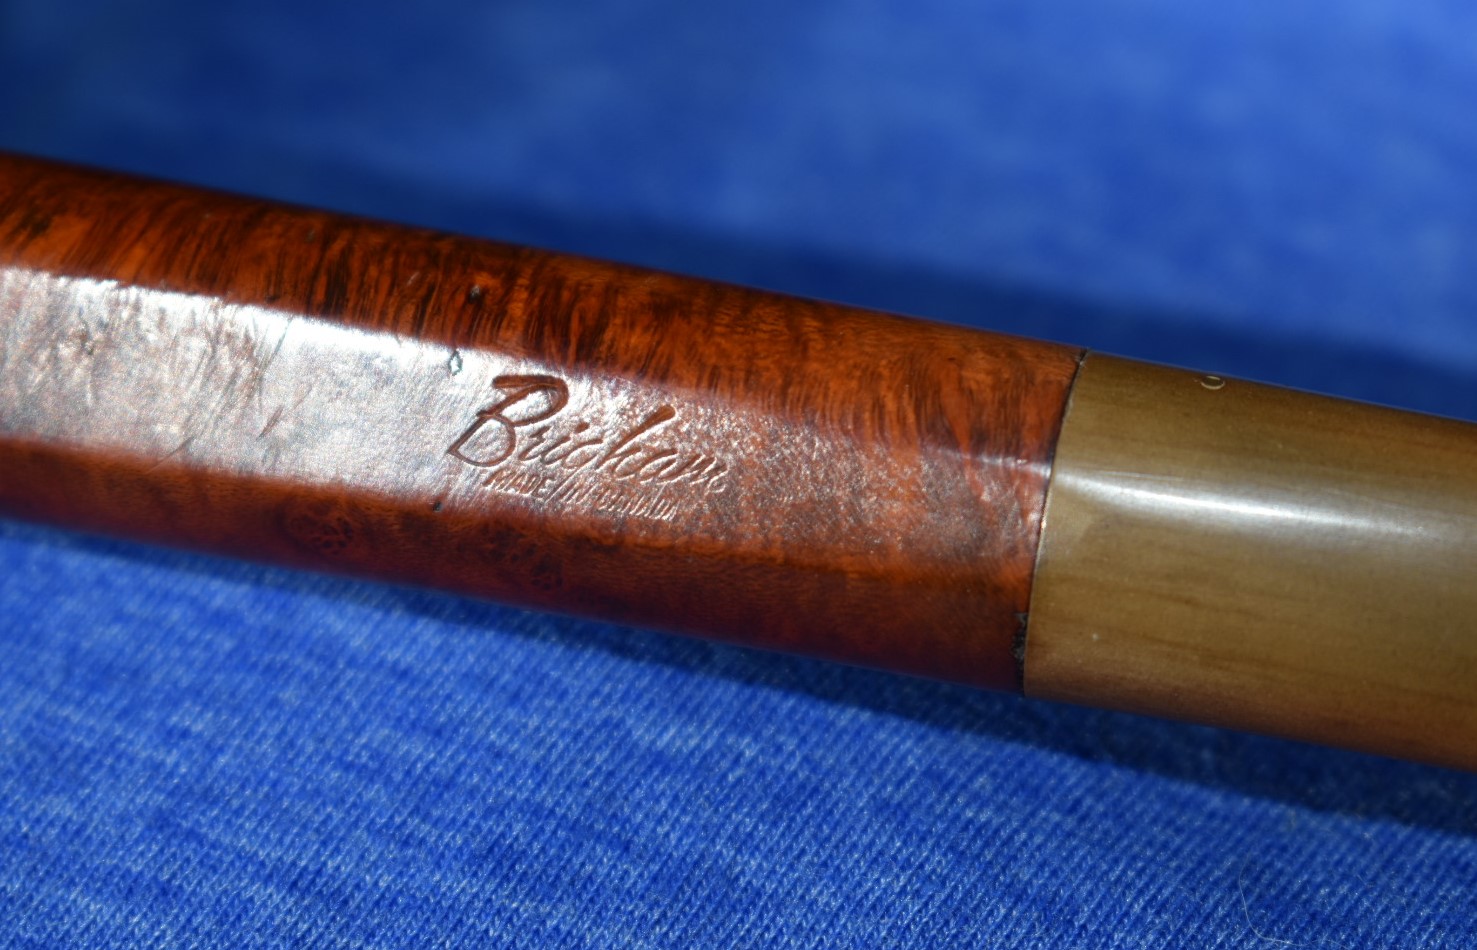

Now for a little bit of Brigham history. Just kidding, I won’t distract you with that. I know you are dying to get to the restoration. However, if you are interested, here are links to Brigham’s official history and from pipedia.org: History | Brigham Enterprises Inc (brighampipes.com), Brigham Pipes – Pipedia. As for this pipe, she wanted to remain a bit mysterious. Brigham pipes are supposed to have a 3 digit shape number. This has been the case since 1938, the end of the “Patent Era”. Very little data apparently survived from the origin of the company in 1906 through 1937. This according to “Charles Lemon, originally appeared on: DadsPipes.com, and is used here by permission…here in its entirety.” (Brigham Pipes – A Closer Look at Dots, Dates and Markings – Pipedia). Anyway, this old girl has only a single number, 5. The other stamps which are useful are the “Brigham” above “MADE IN CANADA”. These stamps were used between the late 1960’s-1980. (Brigham Pipes – A Closer Look at Dots, Dates and Markings – Pipedia). That means that this slightly mysterious gal was likely made between about 1970-1980.
On to the restoration. Normally I start by addressing the stummel. This pipe had such a bad case of stem oxidation that I started with that. I removed the stem and the rock maple insert. I used a pad of 0000 steel wool to buff off some of the oxidation. All that did was to make the oxidation angry and a bit shiny. I folded a pipe cleaner in half and inserted the doubled end into the aluminum stem tube. I then hung the stem in the jar of Lbepen Deoxidizing Solution (lbepen.com). I had an appointment that would take a couple of hours so, I figured two hours was the right amount of time to leave the stem in the deoxidizing solution.
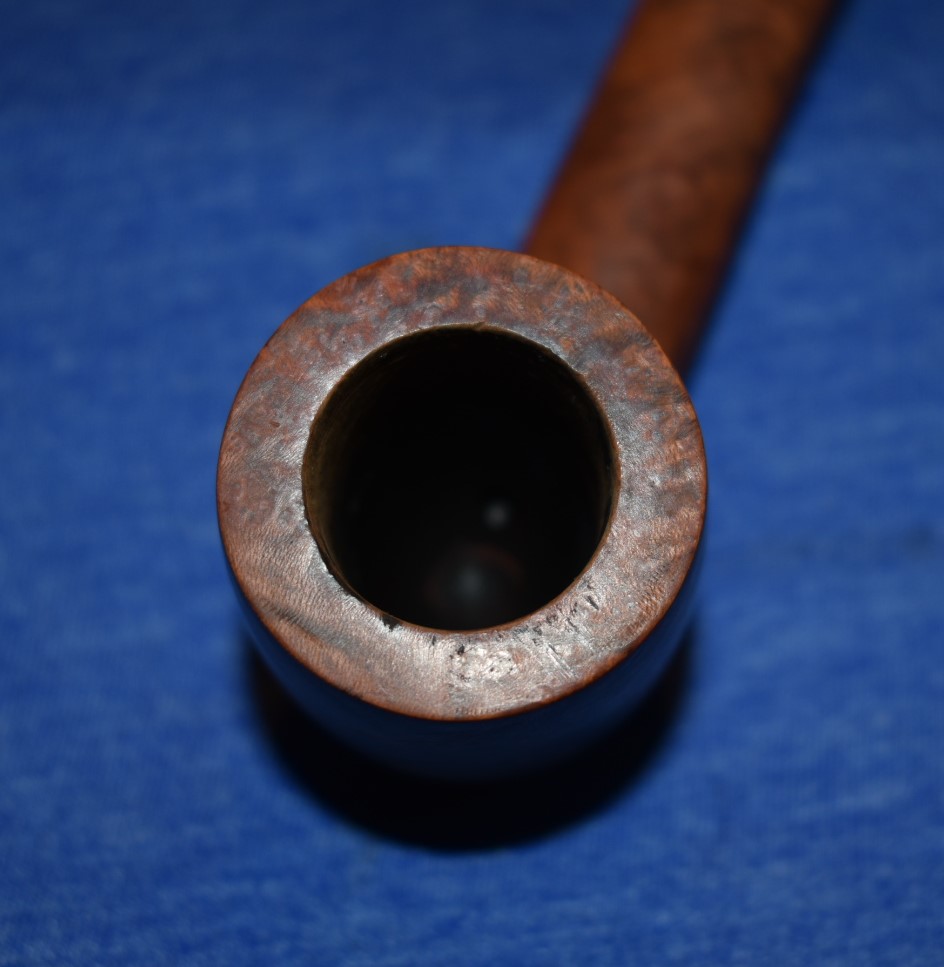
Since I had a few minutes before I had to leave, I worked on cleaning up the stummel. I reamed the tobacco chamber with the third largest reamer in the PipNet set and and reaming knife. The inside of the bowl was then sanded with 220 sandpaper around a wood dowel. There was not much cake built up and the interior briar looked good after sanding. Next was the interior of the shank. I used 99% ethyl alcohol soaked cotton swabs to scrub the draught hole as far as I could reach. They came out blackened with residue. I stopped after using 5 cotton swabs as I thought I was not making much progress. Next was the rim. There was a coating of dried smoking residue and tar, this is often referred to as lava. The lava was moistened with a bit of saliva and gently scraped with a sharp pocket knife. Using care to not scratch the underlying briar I removed most of the lava and I figured the remaining bit would come off with the next step of cleaning. Get to your appointment!


Notice the purple ring on the make-up pad, that comes up later.
When I returned from the appointment I continued. To the sink. With the tobacco chamber reamed, lava removed and internals pretty much cleaned it was time for the Murphy’s Oil Soap. I applied the oil soap to a medium stiffness toothbrush and scrubbed the externals of the stummel. The soap was used straight and not diluted with water. After scrubbing the soap was rinsed with warm water. I was not completely happy with the black residue inside the shank (from earlier) so I used Dawn dish soap on a nylon bore brush to scrub the interior of the shank. Once everything had been scrubbed, it was all thoroughly rinsed with warm water and dried with a towel.
Water is often considered the enemy of fine wood. To remove the water that had soaked into the briar I liberally dampened a make-up remover pad with 99% ethyl alcohol and wiped the externals of the pipe. I then poured about 5 ml of alcohol into the tobacco chamber and swished it around allowing the alcohol to flow into the shank as well. I just plugged the end with my finger. After it had sloshed about, I dumped it into a medicine cup. The reason for the alcohol swirly is that 99% alcohol is hydrophilic (water loving). It will pull the water out of the wood and into the alcohol. The remaining alcohol dries very quickly. I also used the alcohol to wipe down the entire stummel to see if there was finish that remained after the scrubbing and to removed any last bits of lava from the rim. This is when I noticed the bright purple on the make-up pad. I thought, “that’s weird”. Being a retired chemistry teacher I thought, “that looks like potassium permanganate purple” and In the recesses of my memory there was something about using it to stain wood. Sure enough, a quick internet search of potassium permanganate reveals that it is used to stain wood.
More like 3 hours later, I removed the stem from the deoxidizing solution and allowed it to drip, the solution is not cheap but, I am so, I try to reuse as much as possible. The oxidized aluminum bubbled up a bit, you can see it in

Retuning to the stummel I wiped vigorously with alcohol dampened pads to see if I was removing any of the remaining finish. The pads had a slight yellow-brown color to them. I took this to be a little bit of shellac that remained after the oil soap scrub. I then used a pad moistened with acetone to see if I got any additional finish off. It was clean. Good, no finish remained. Time for the mico-mesh pads. Since this stummel was in very good shape with no areas of deep scratching I did not have to start with 220 sandpaper. I started with a 2400 micro-mesh pad slightly moistened with water. Being careful to avoid the stamped areas I continued using each of the pads in succession up to the 12000 grit pad. In between each pad I wiped the stummel down with a make-up pad moistened with alcohol. The final step with the stummel is to apply Lbepen’s Restoration Balm to the briar.

Micro-mesh pads.
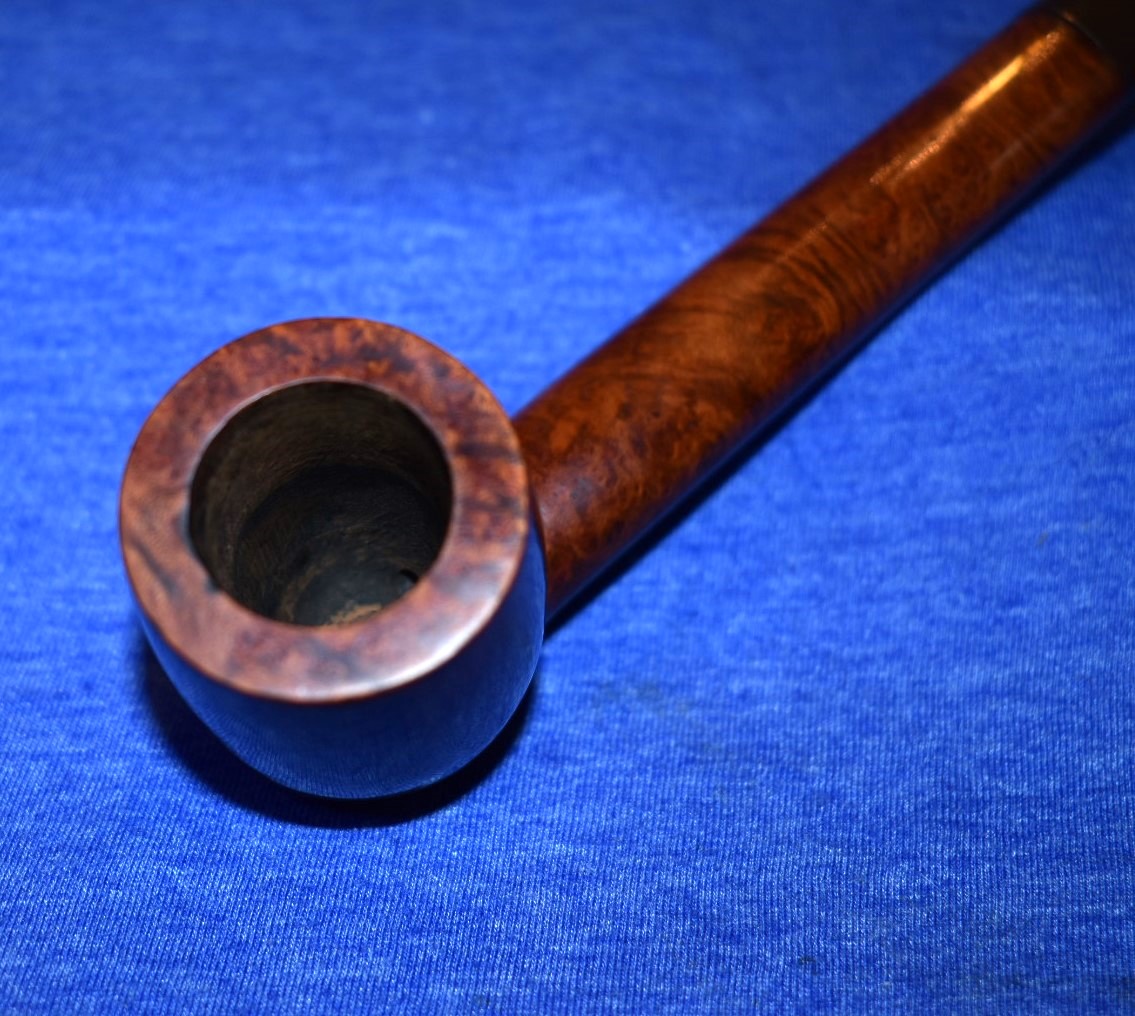
Below you can see the cleaned pre-micro-mesh rim and the Restoration Balm coated stummel.
I will usually allow the Restoration Balm to do what it does for 20 minutes to overnight. In this case it was on for as long as it took me to finish the work on the stem.
Returning my attention to the stem, I was not pleased with the level of oxidation removal. It still appeared brownish in bright light. I rubbed the oil from the stem with a clean dry cotton rag and re-dipped it into the deoxidizing solution. This time I let it soak for about 30 minutes. Upon removal I repeating the same steps as earlier. This time it came out looking better but still some oxidation remained. I knew this was going to be the most difficult part of this restoration. I figured I’d try to remove more of the oxidation with Soft Scrub with Oxy-Clean. A few make-up pads with Soft Scrub and a lot of elbow grease removed most of the oxidation. 
I figured the rest would come off with the micro-mesh pads. As with the stummel I began with a coarse grit, this time 1500, and worked my way finer and finer. I rubbed down the stem with Obsidian Oil between each pad. The final step in finishing the stem was to use Before and After Fine Polish followed by the Extra Fine Polish.

Stem done. Stummel needs to have the Restoration Balm wiped off then this old girl can get reassembled and waxed. I took the pipe to the buffer and applied several coats of carnauba wax. When that was finished I final polished the wax with a microfiber polishing cloth to give it a little more shine.
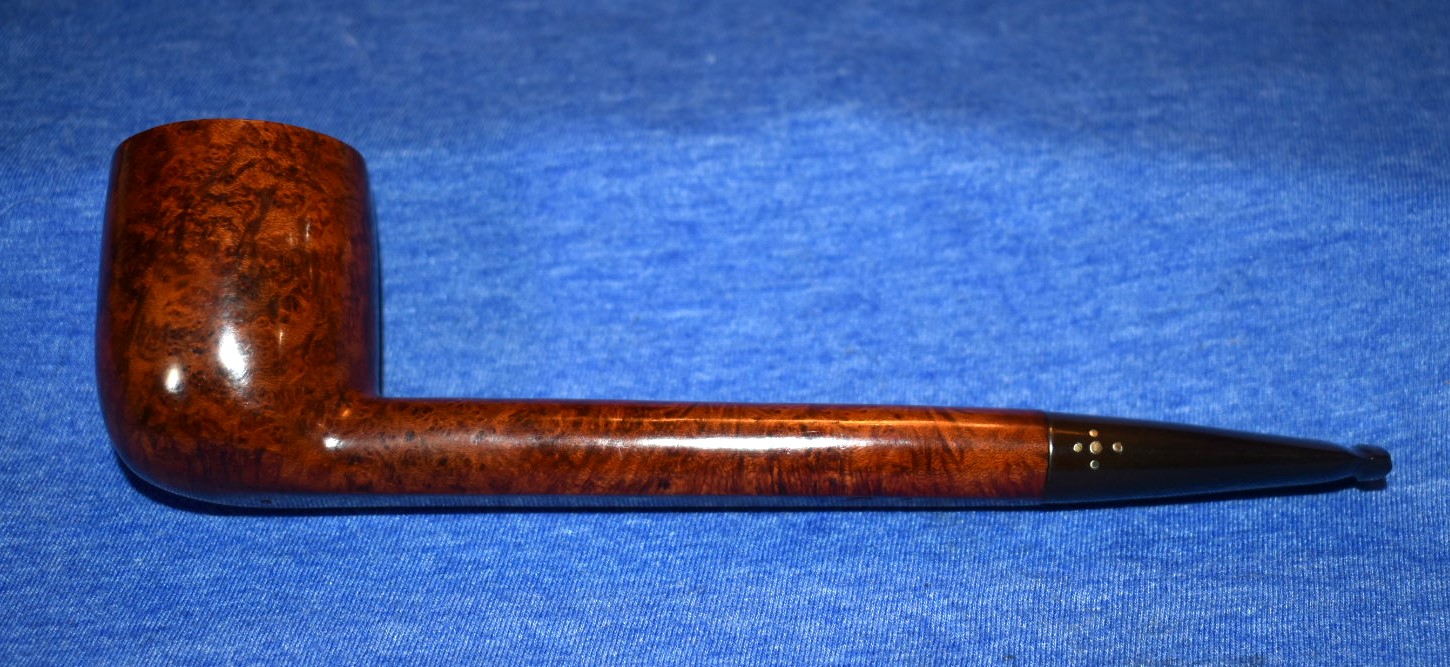
Overall, I am quite pleased to see how this 40-50 year old Brigham canadian turned out. I’m sure she will smoke quite well and continue to for many more years. I thank you for reading the ramblings of this old pipe lover. Below are some photos of the finished pipe.


One response to “A Brigham Restoration”
[…] A Brigham Restoration […]
LikeLike