Photographed and written by
John M. Young
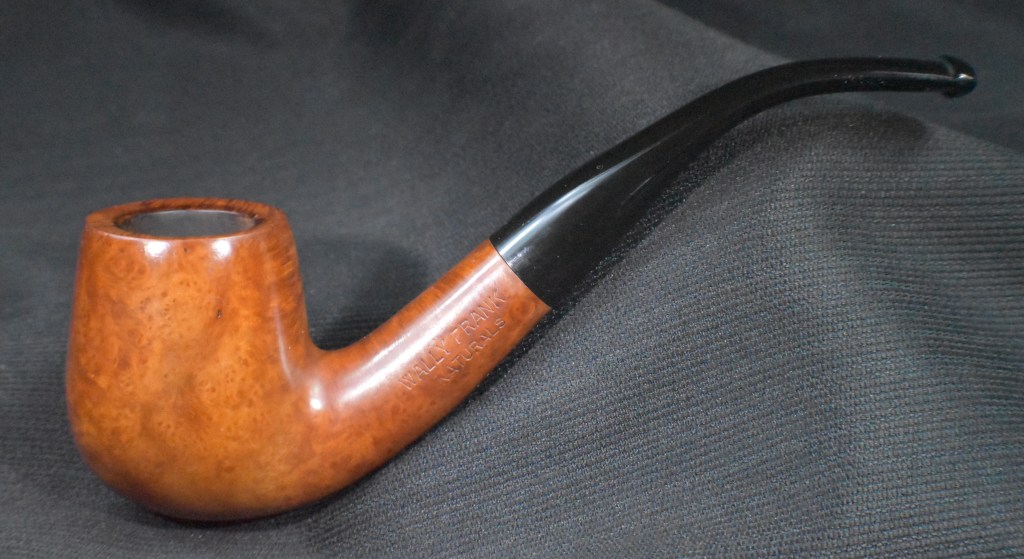
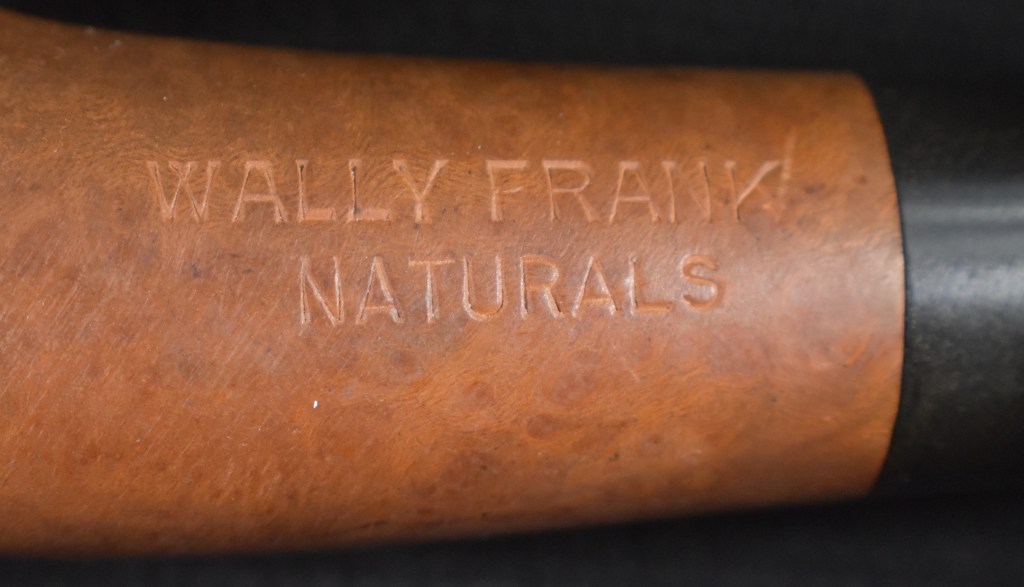
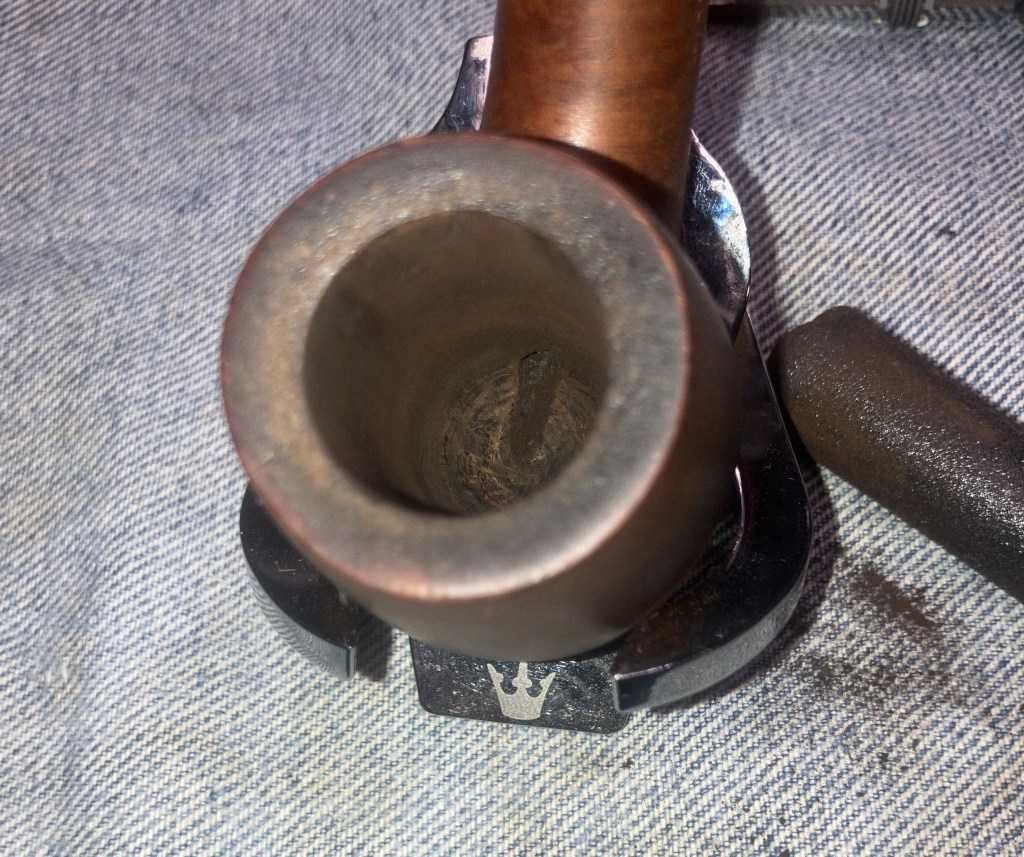
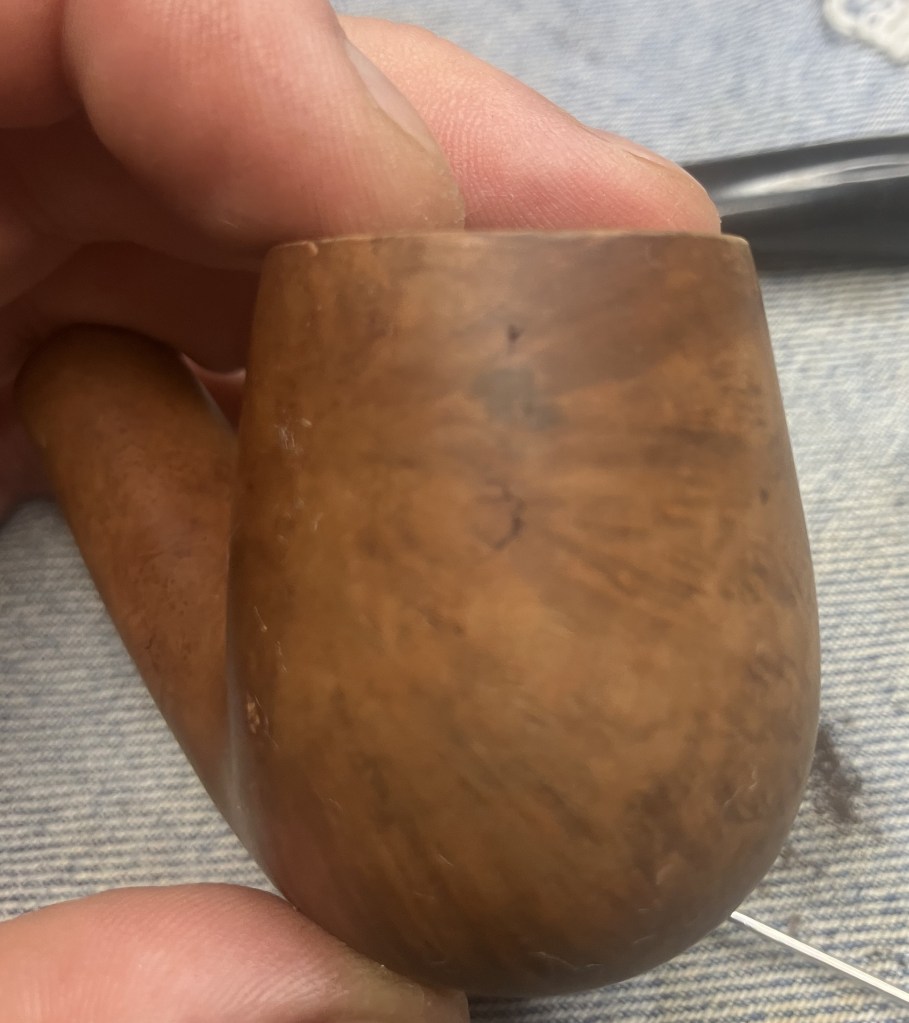
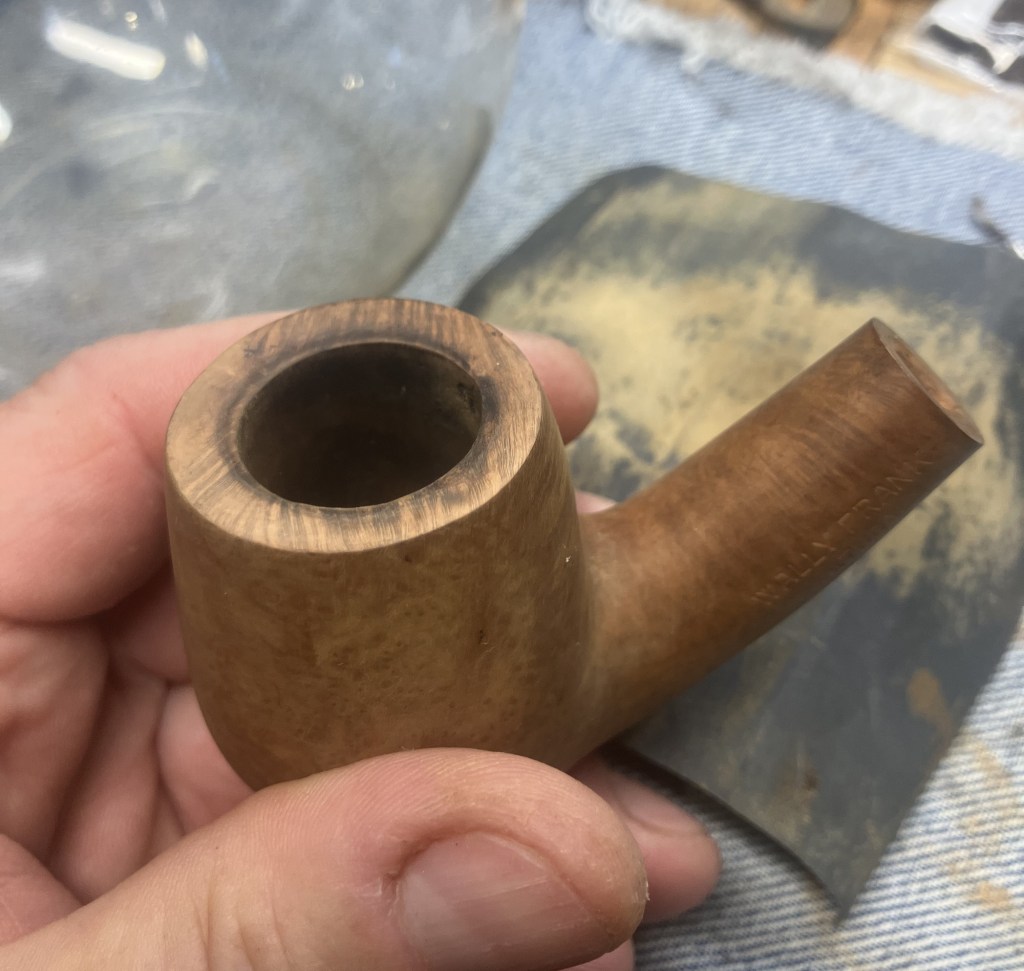
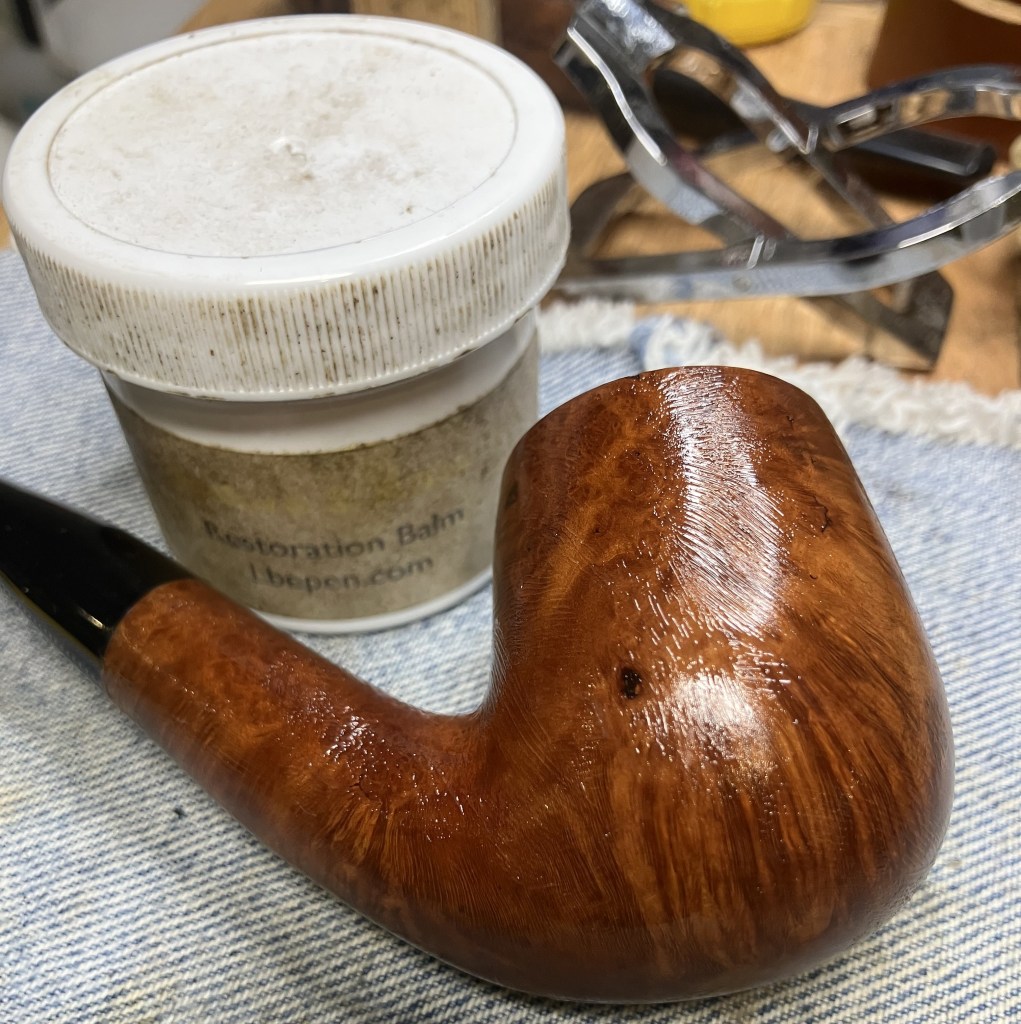
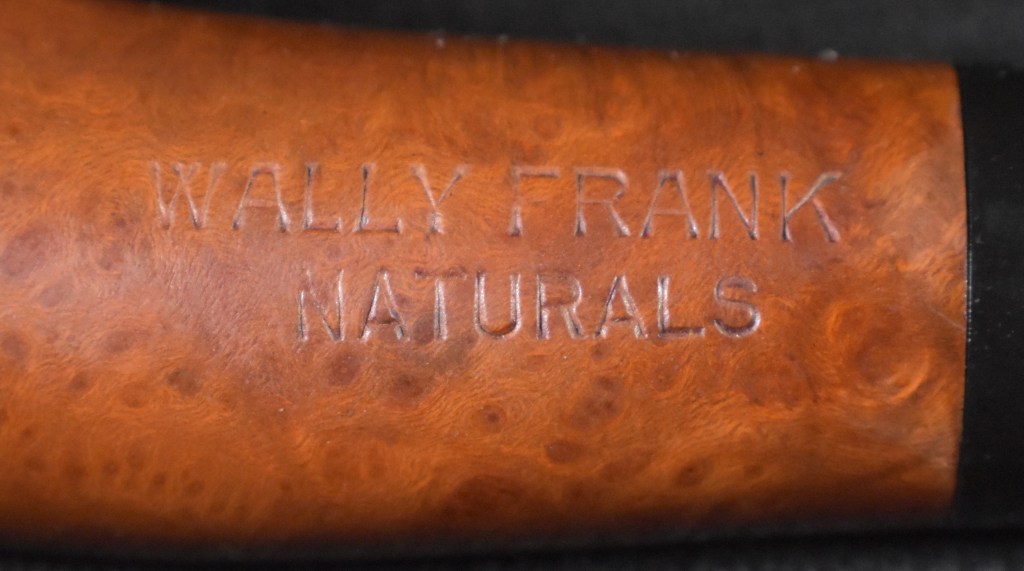
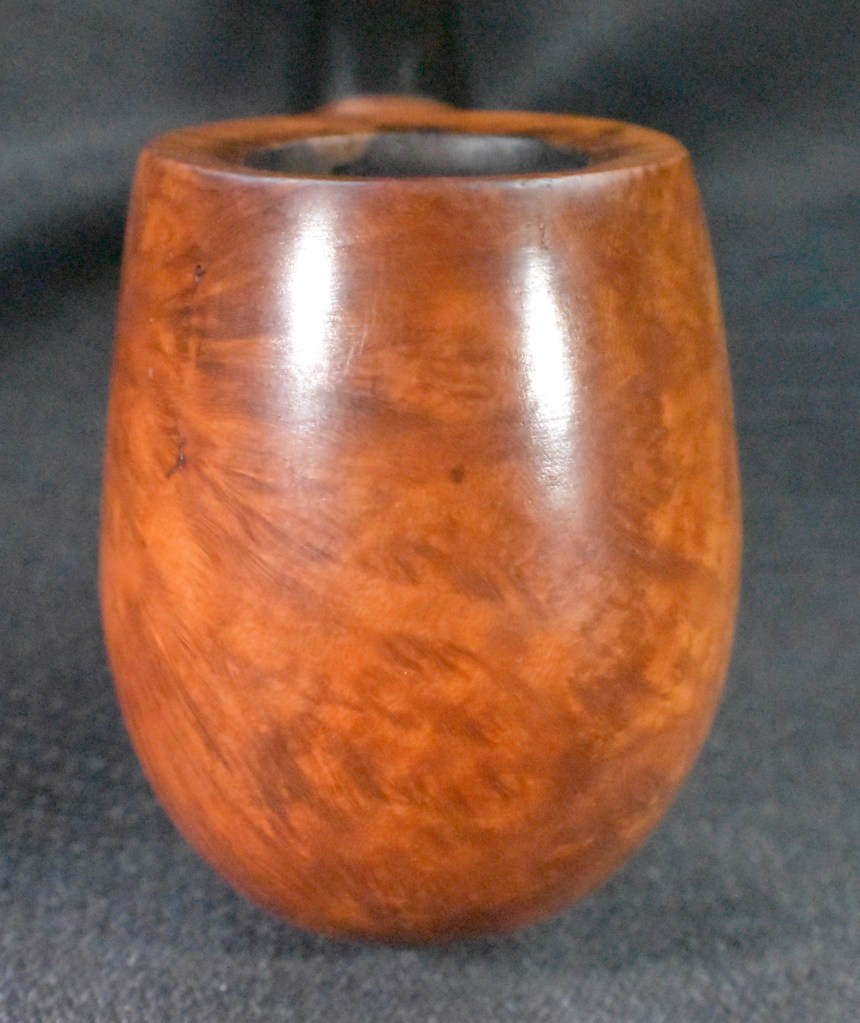
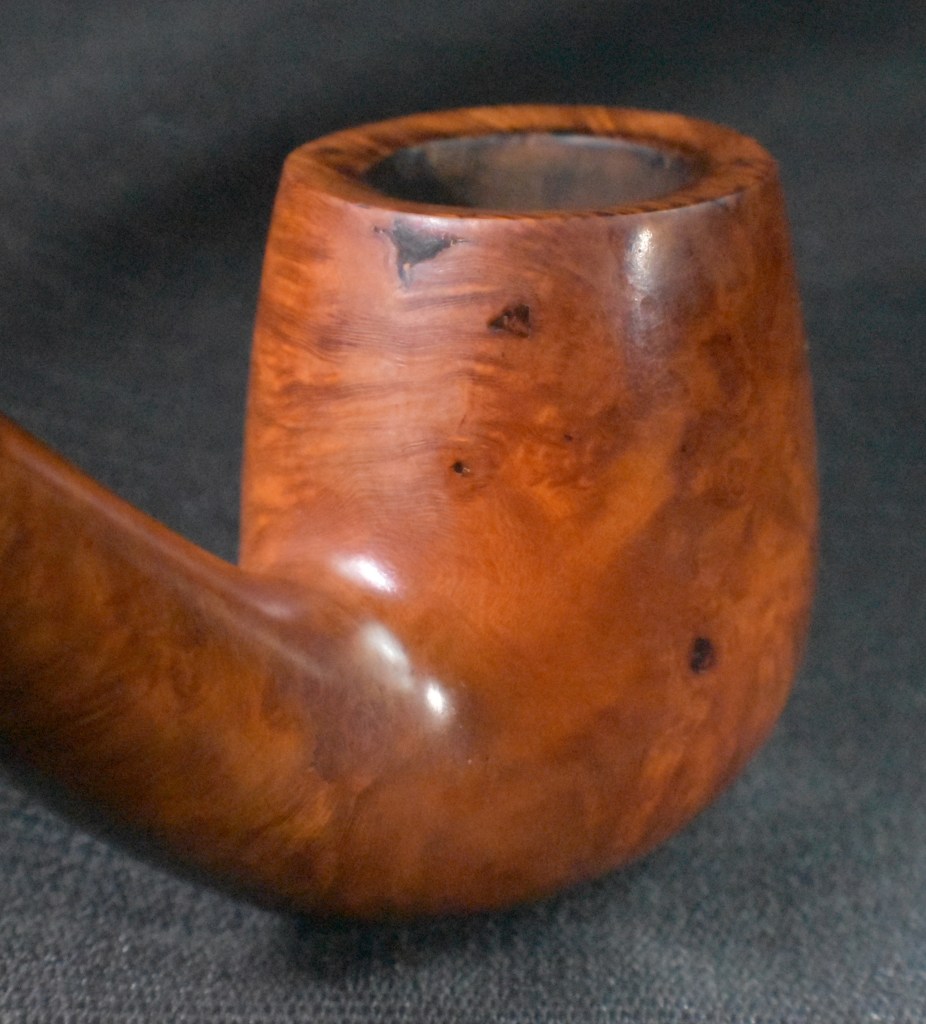
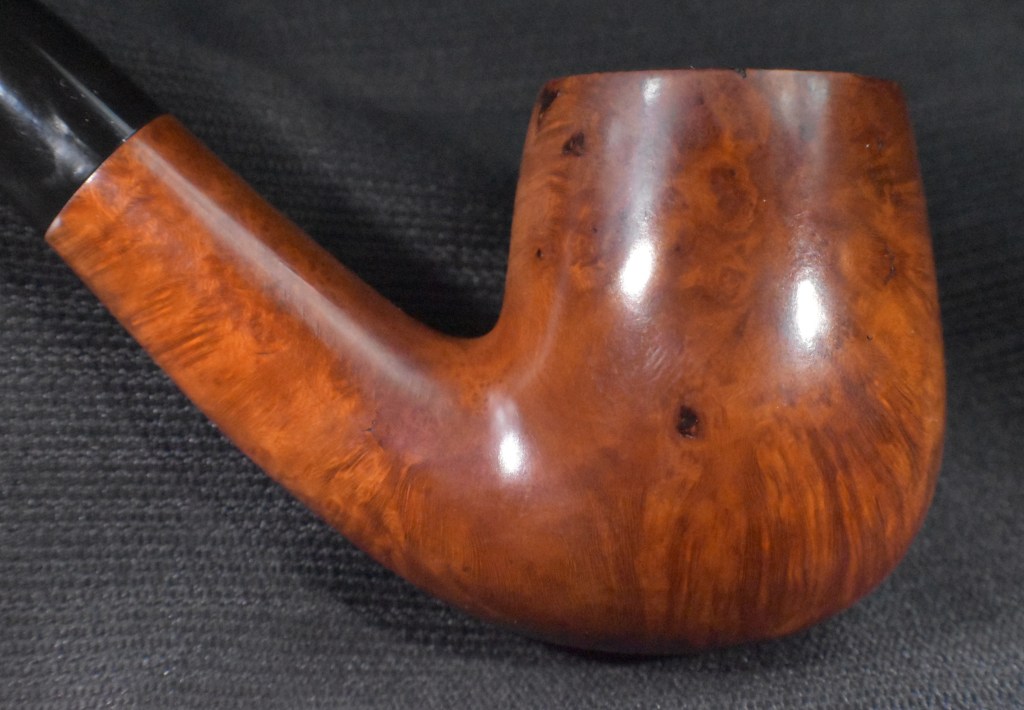
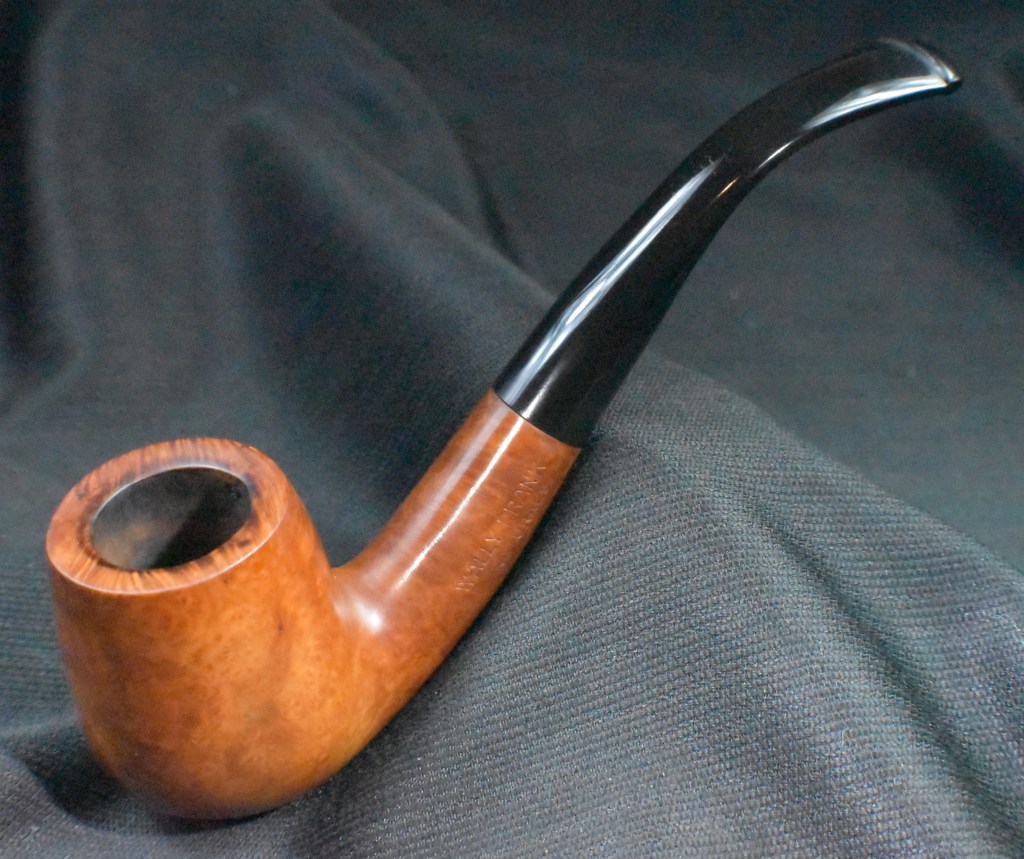
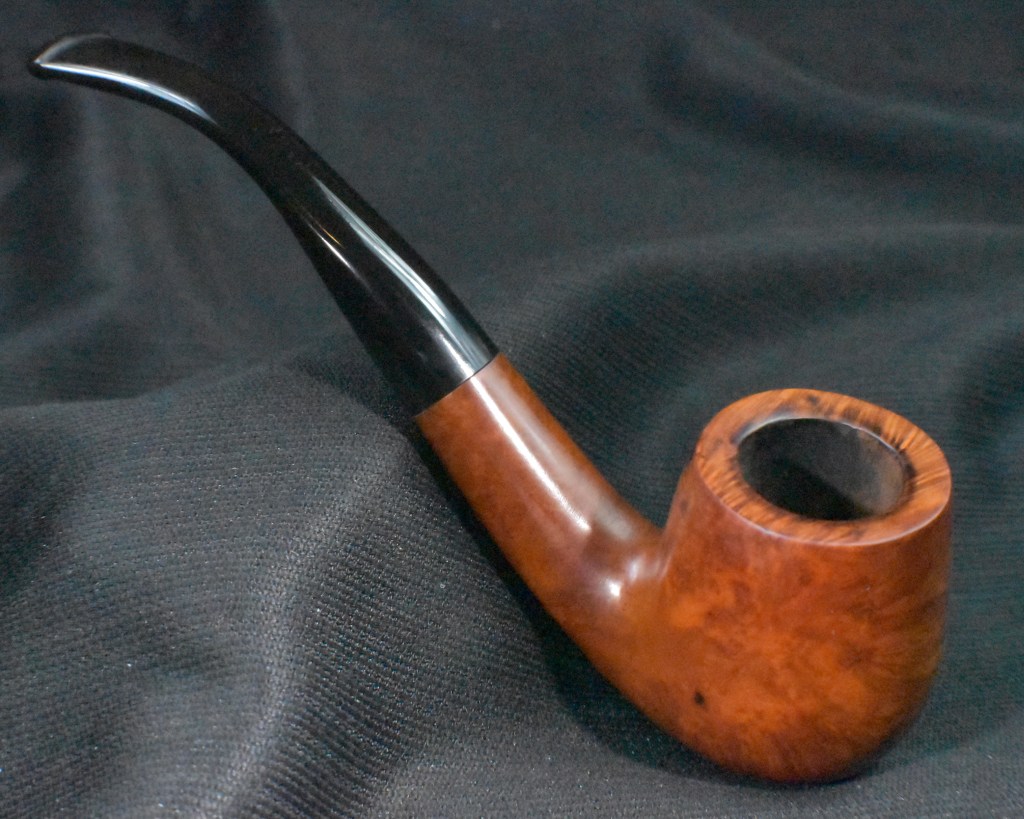
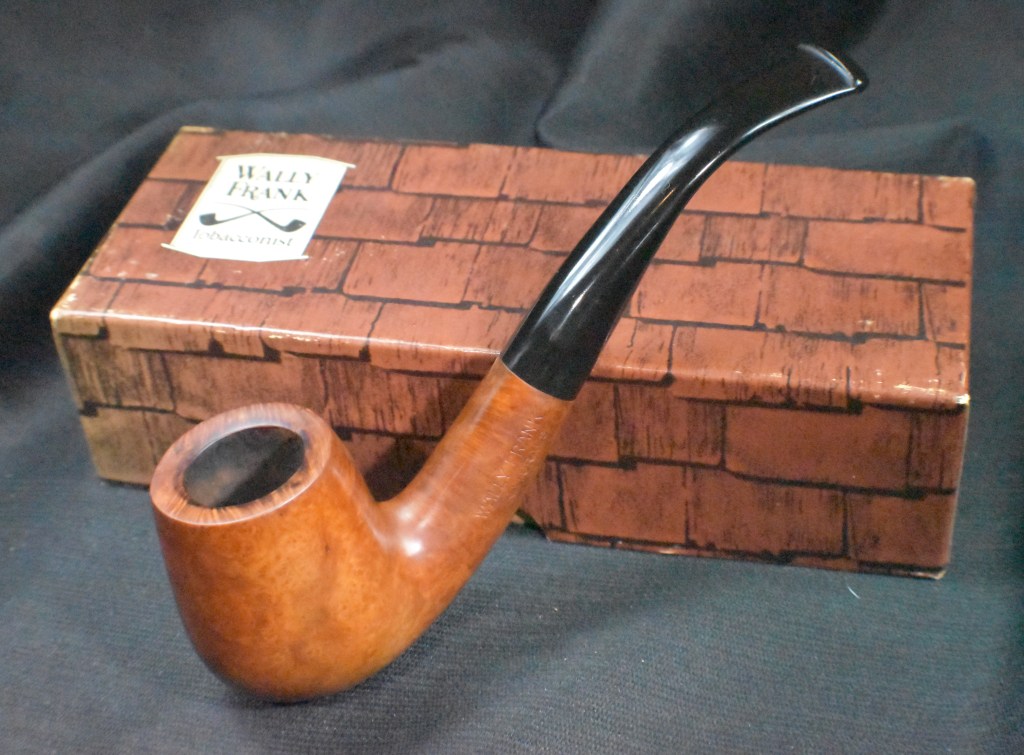
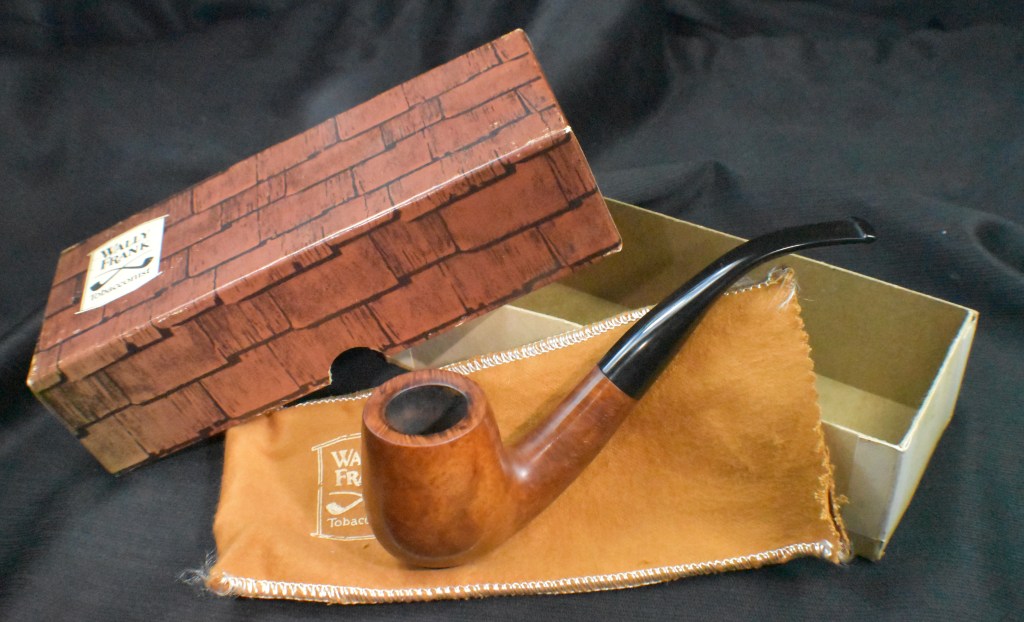
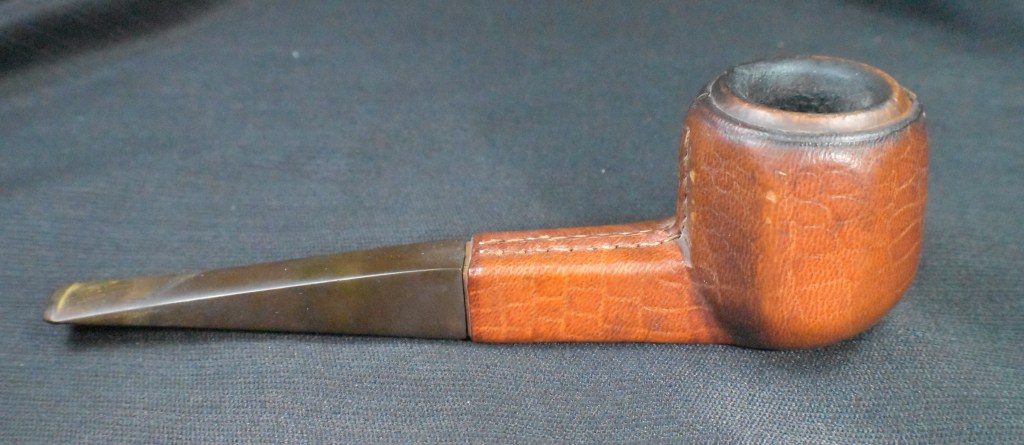
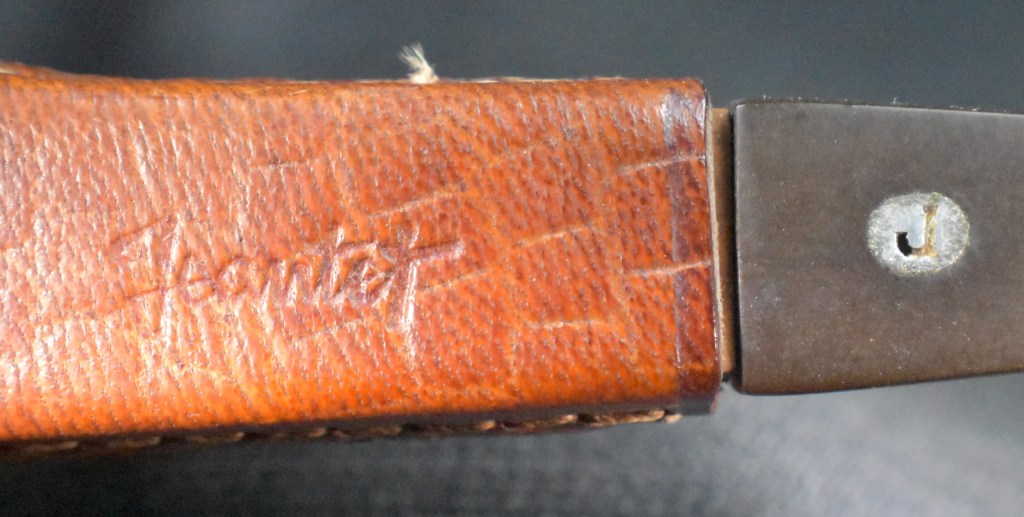
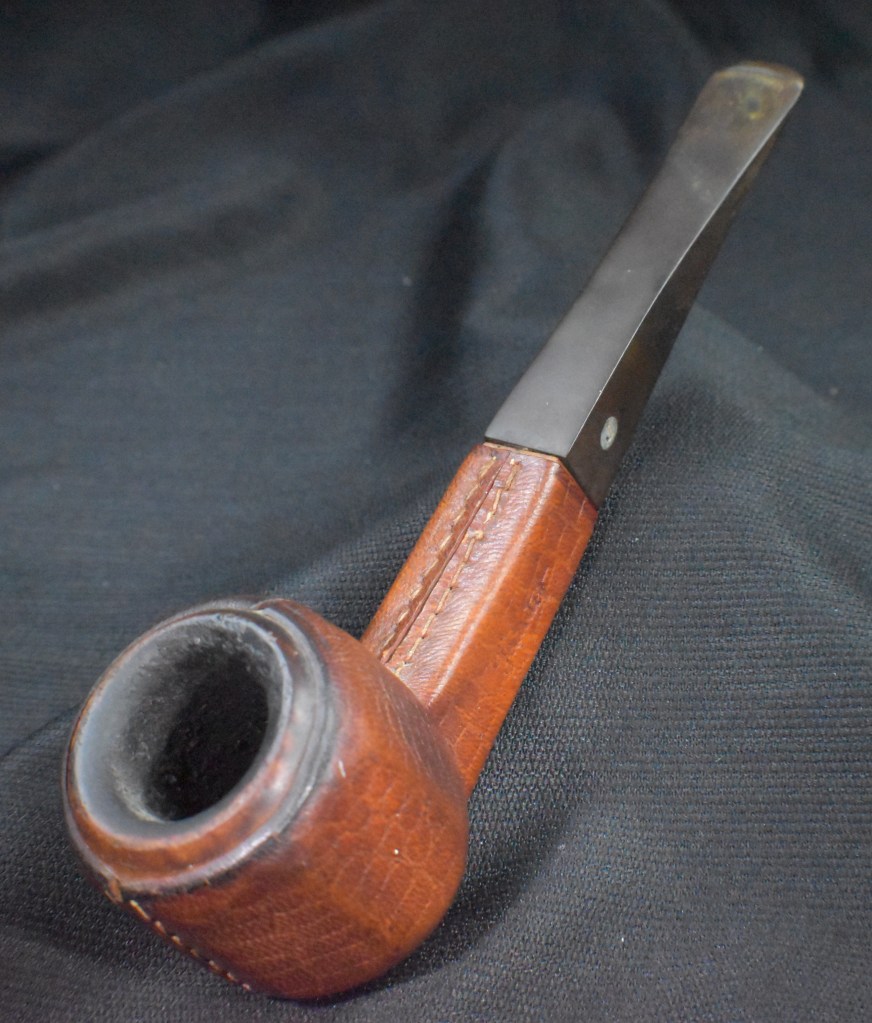
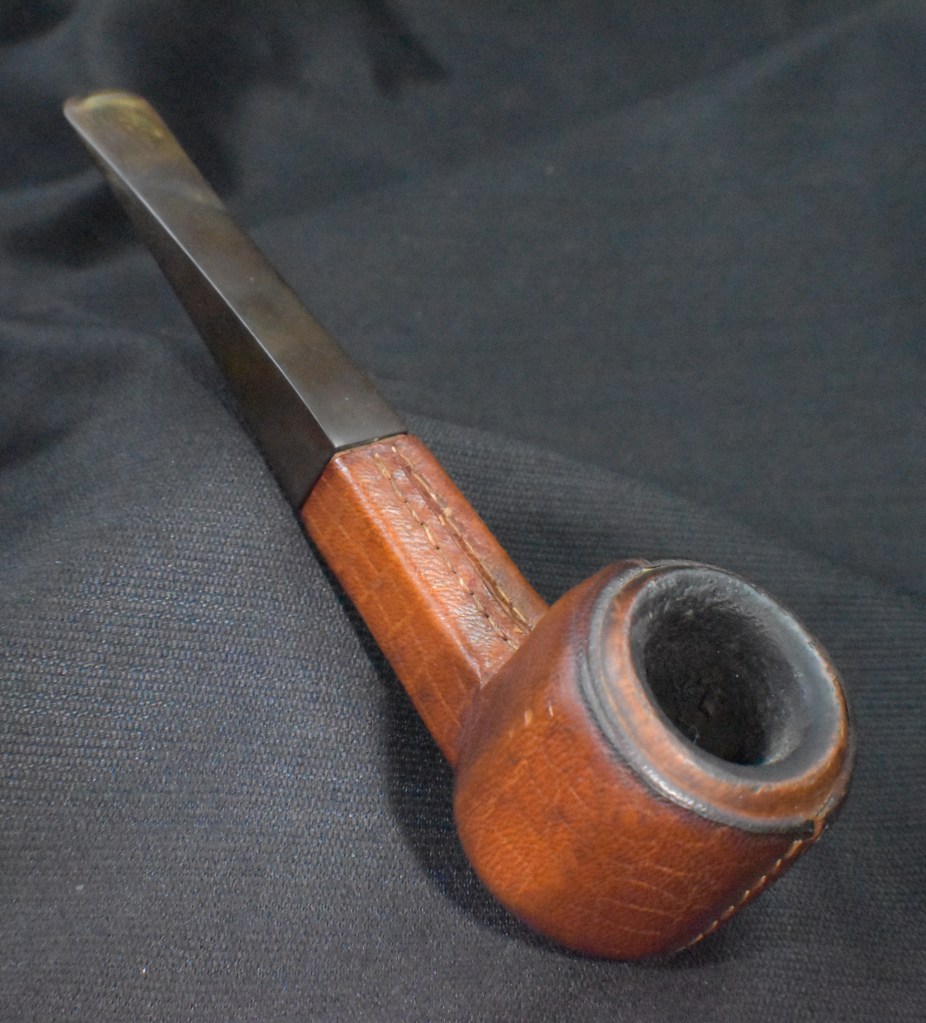
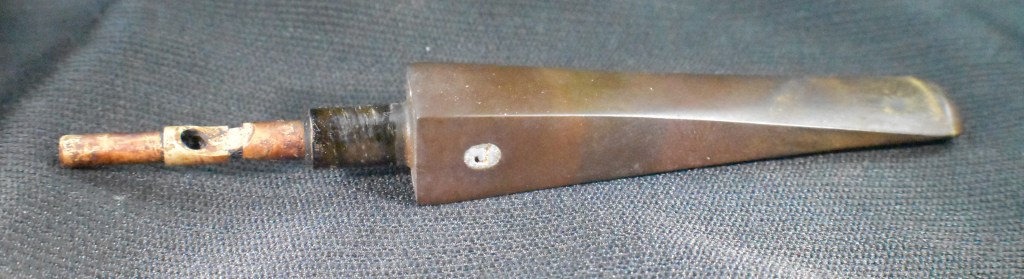
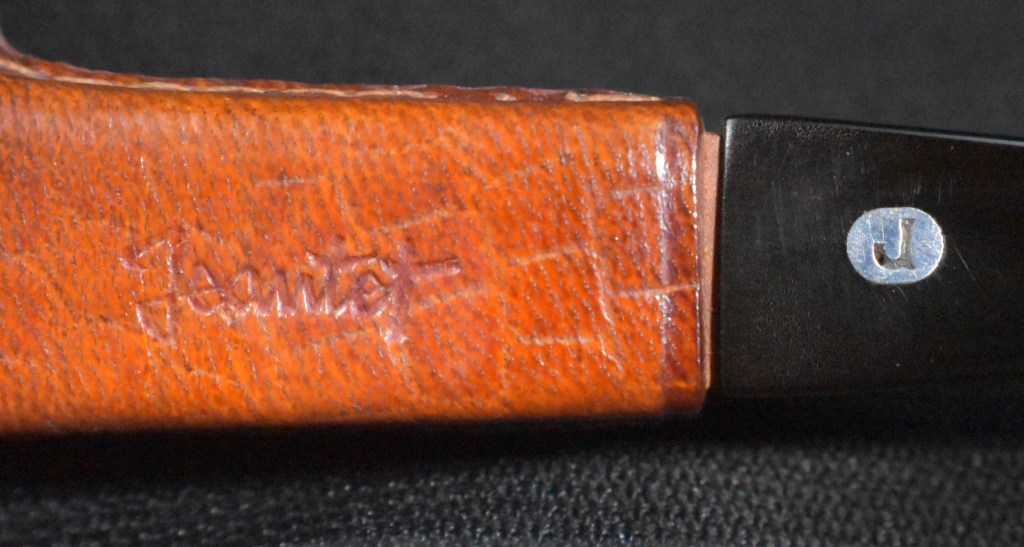
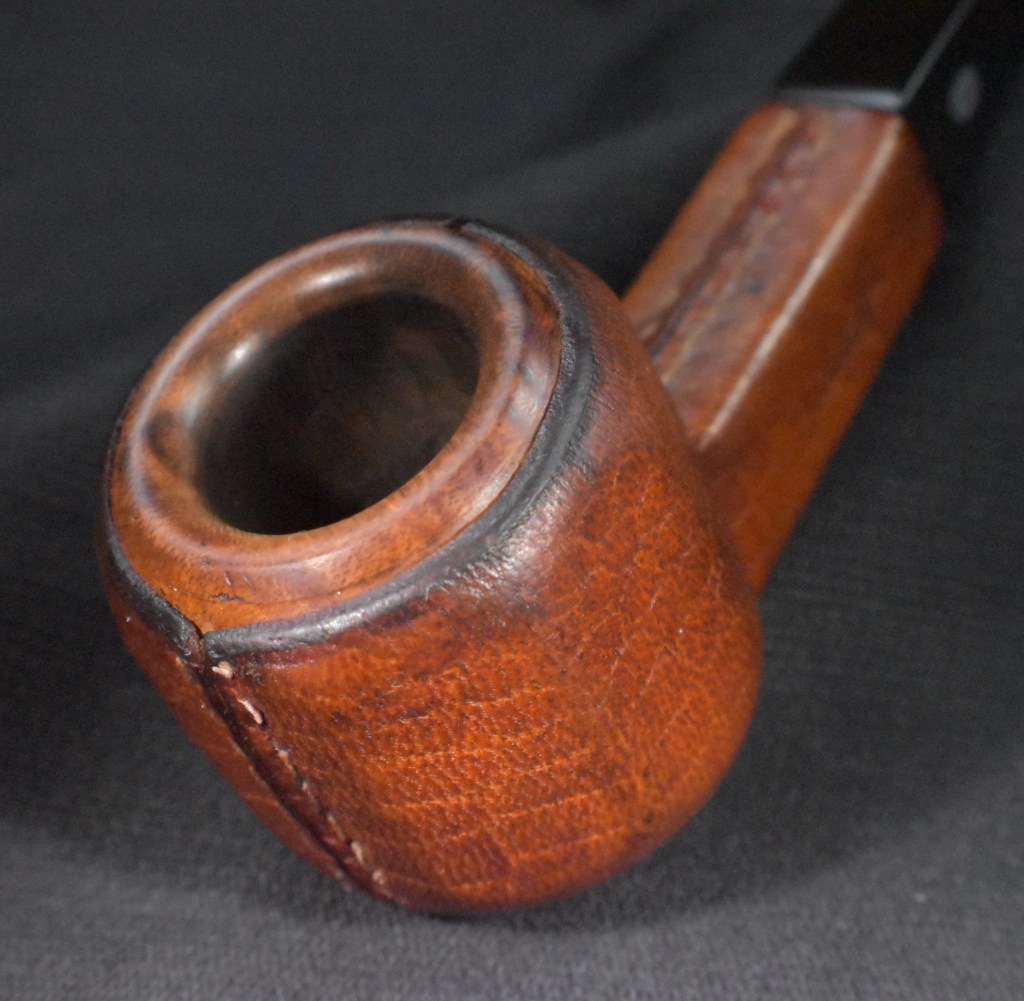
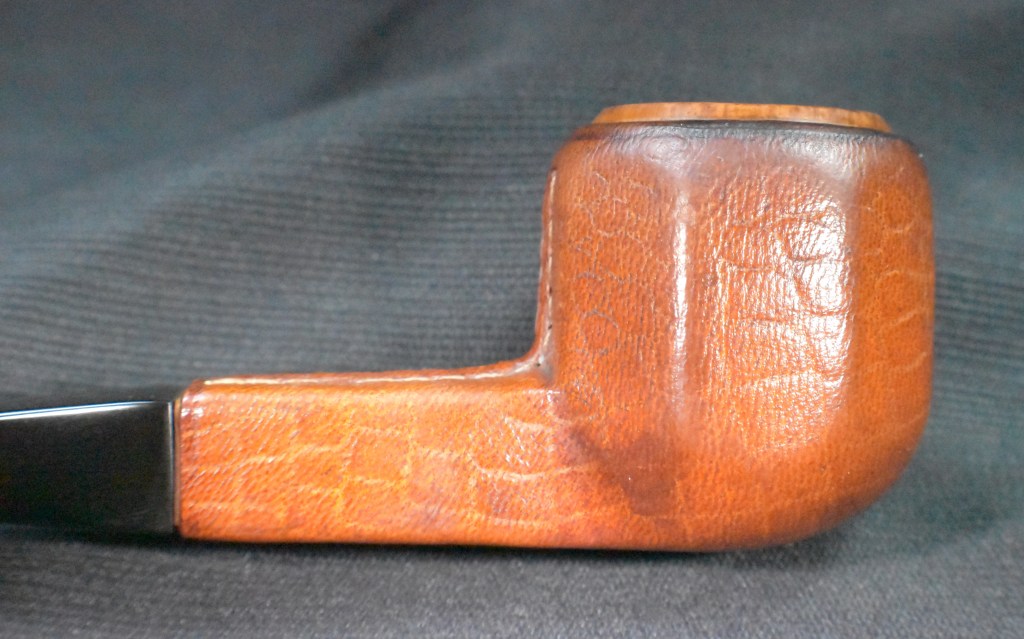
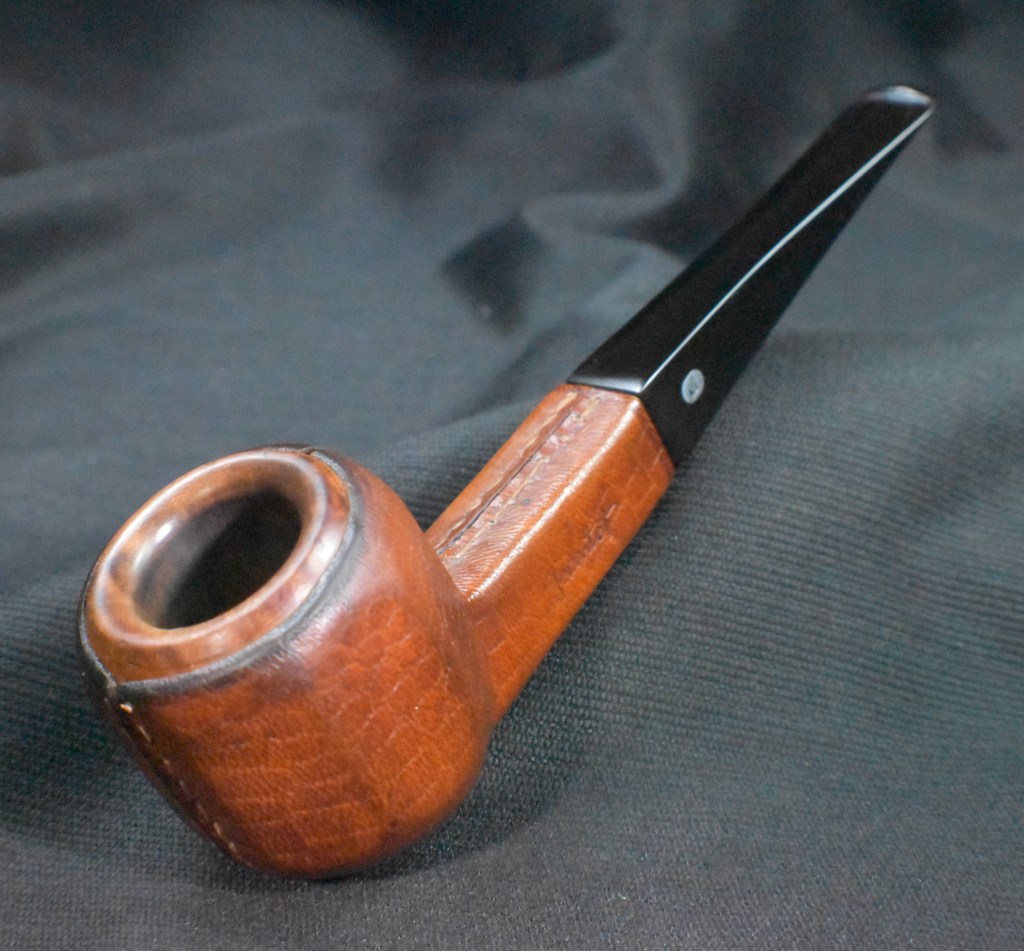
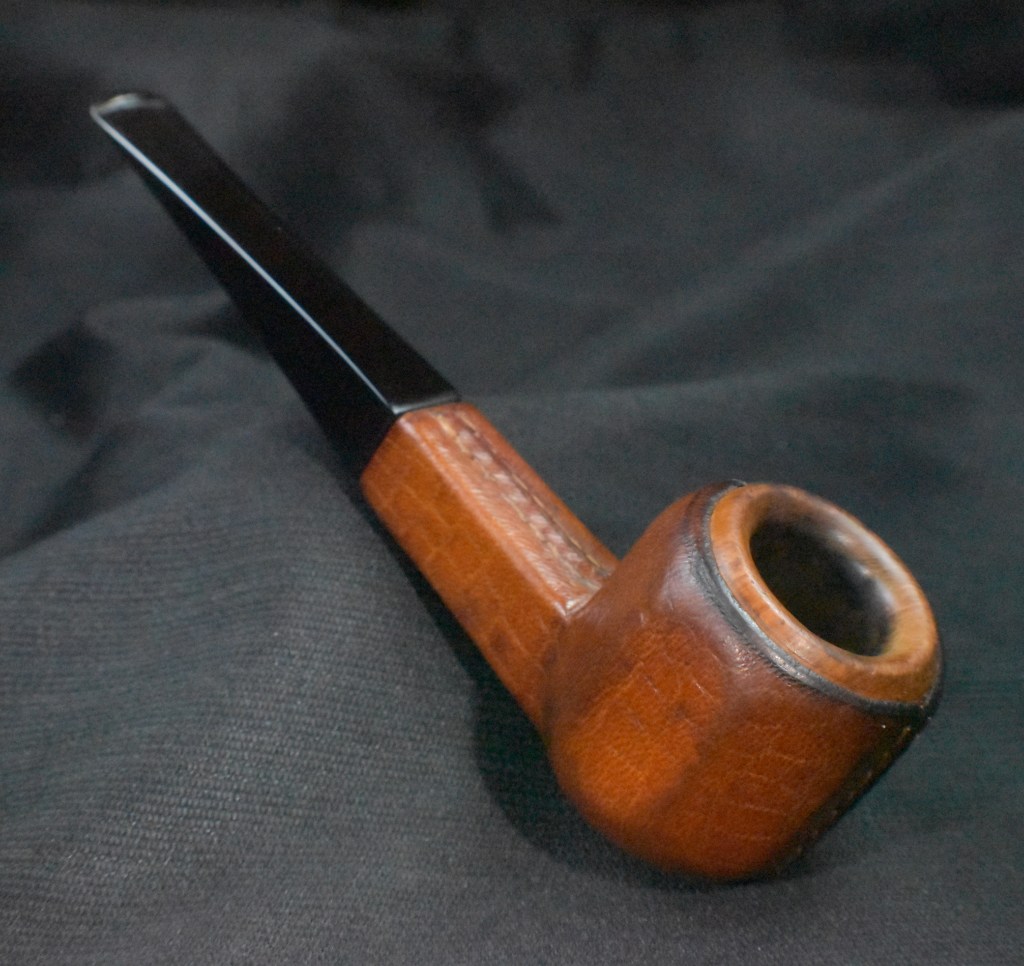
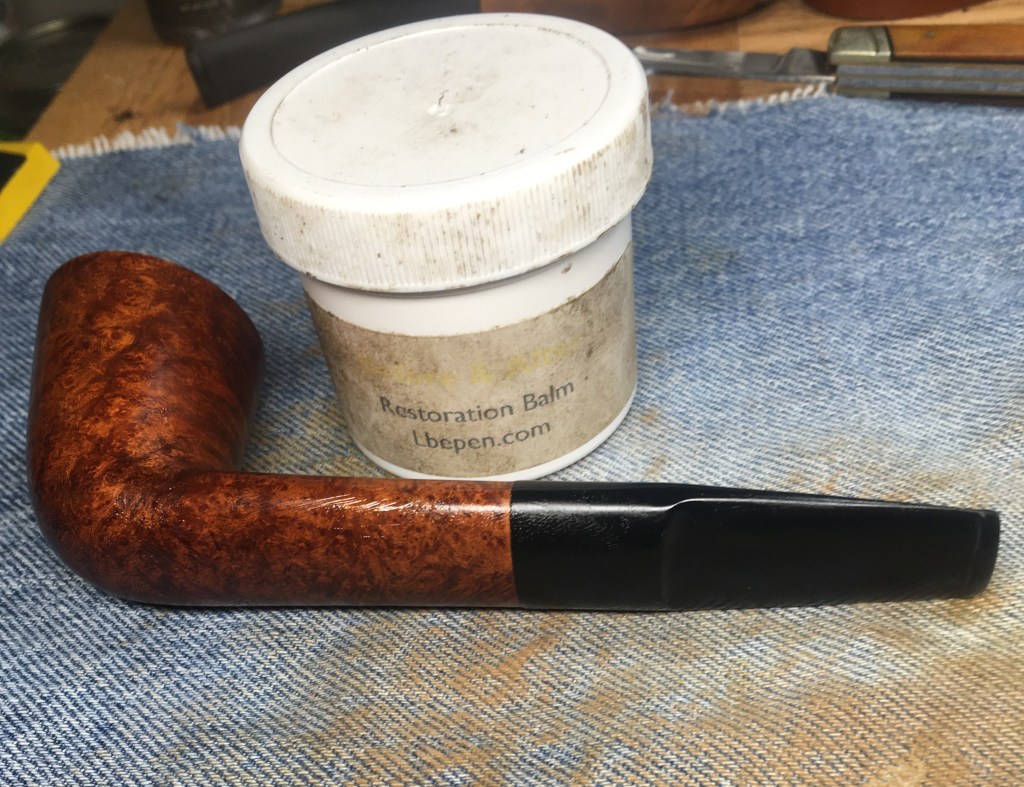
I do love a smooth bent billiard. There is just something classic and elegant about the shape. This Wally Frank Naturals is a nice example of a bent billiard and it also has the distinction of a classic American name. The pipe caught my eye on the eBay auction due it having the original box and pipe sleeve. I was surprised when I won the pipe for the meager bid that I made. Perhaps it looked like too much work for someone to give the poor old girl. A journey from South Carolina to Nebraska shortly after Thanksgiving and the pipe arrived. The stampings were clear and read: WALLY FRANK over NATURALS. No shape number nor country of manufacture. This led me to believe it truly was an American made pipe. Below are some photographs I took of the pipe prior to starting work.
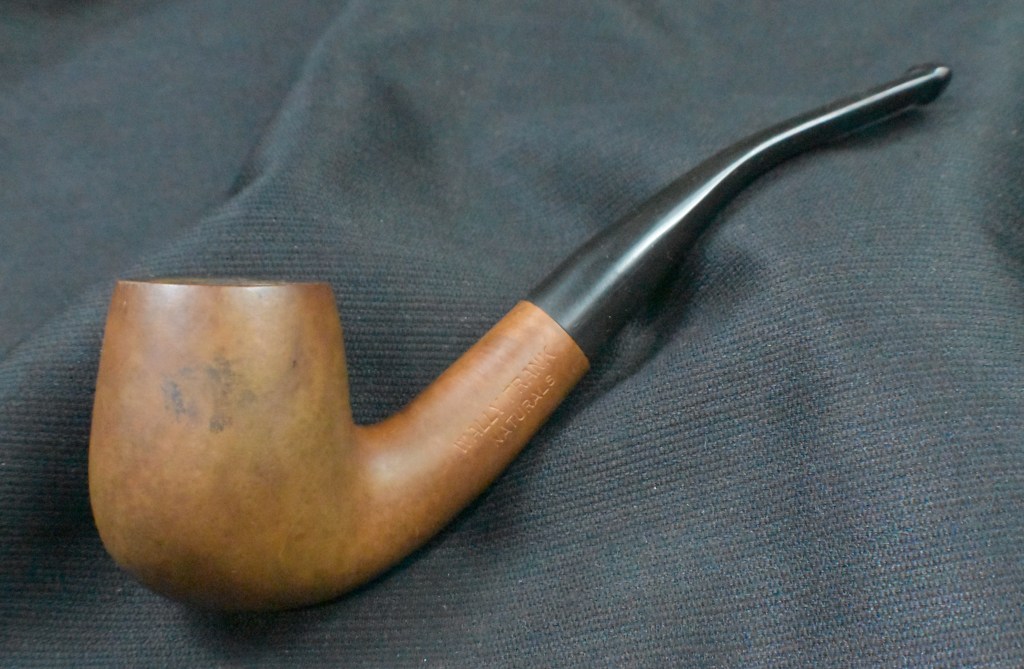
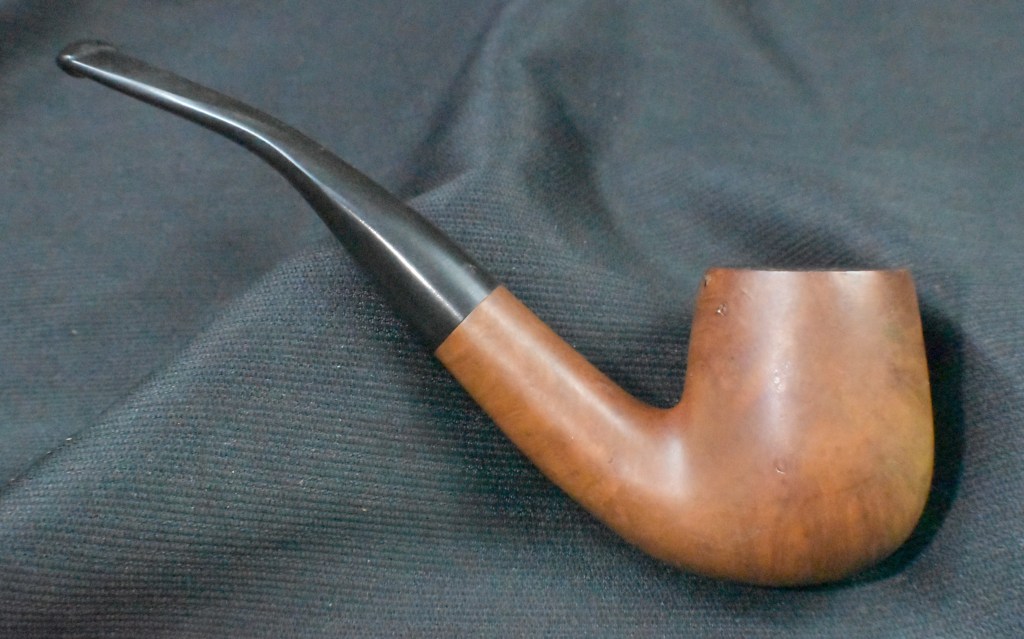
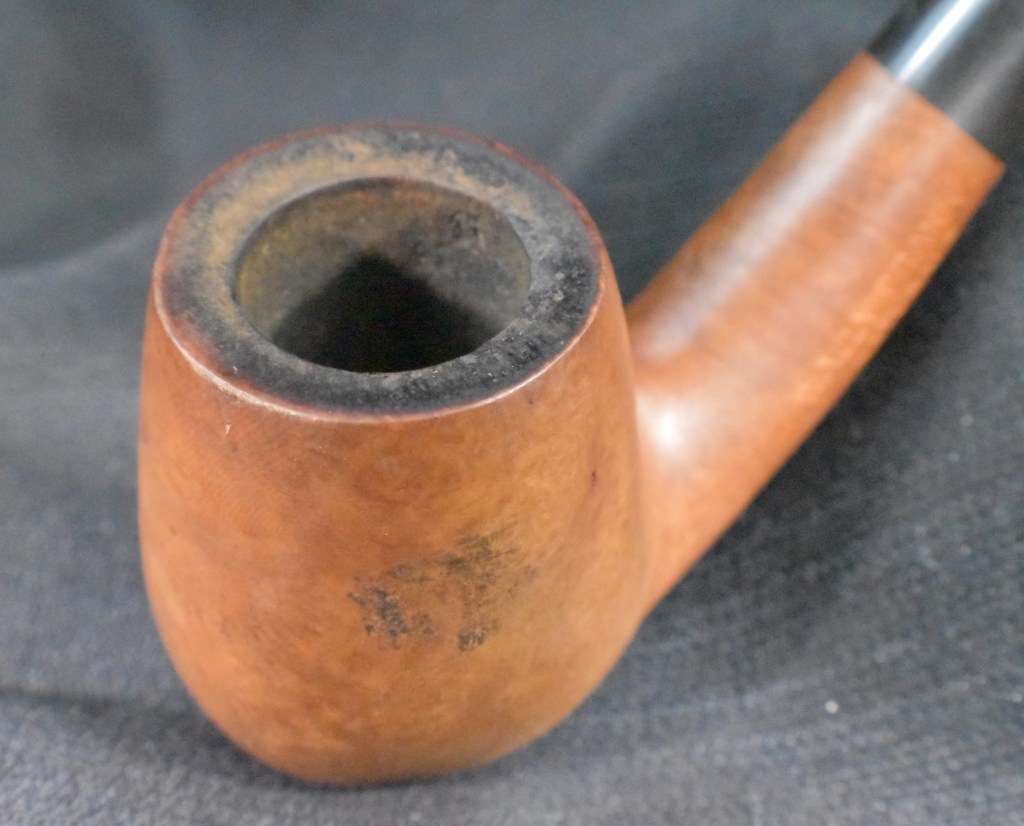


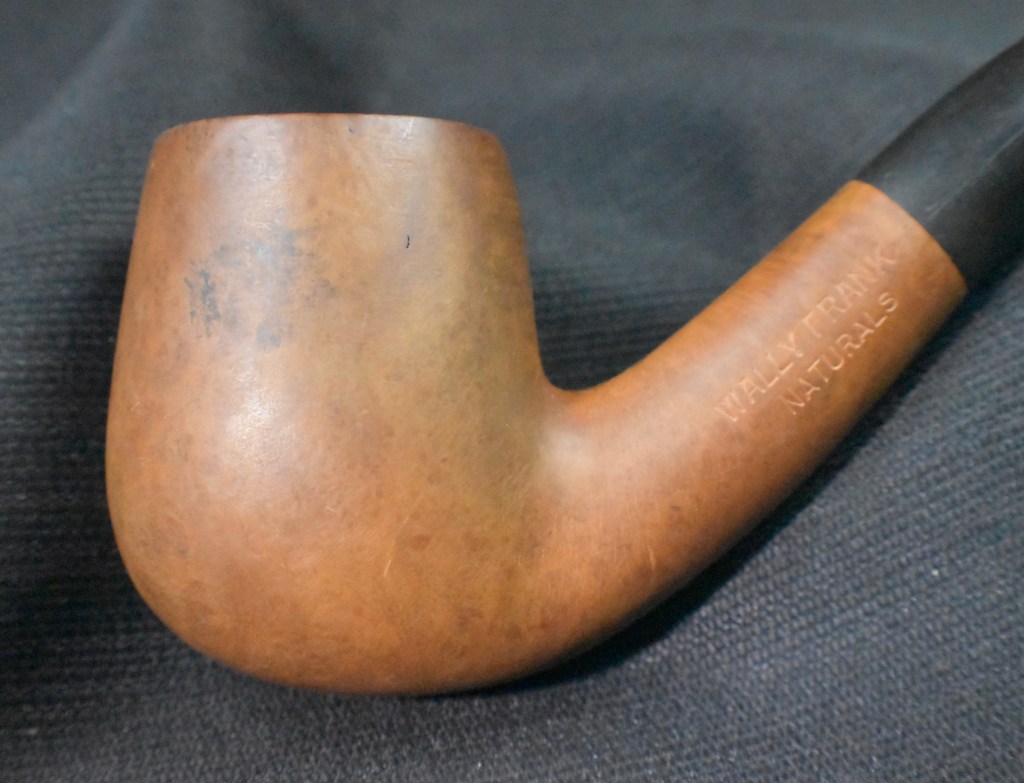
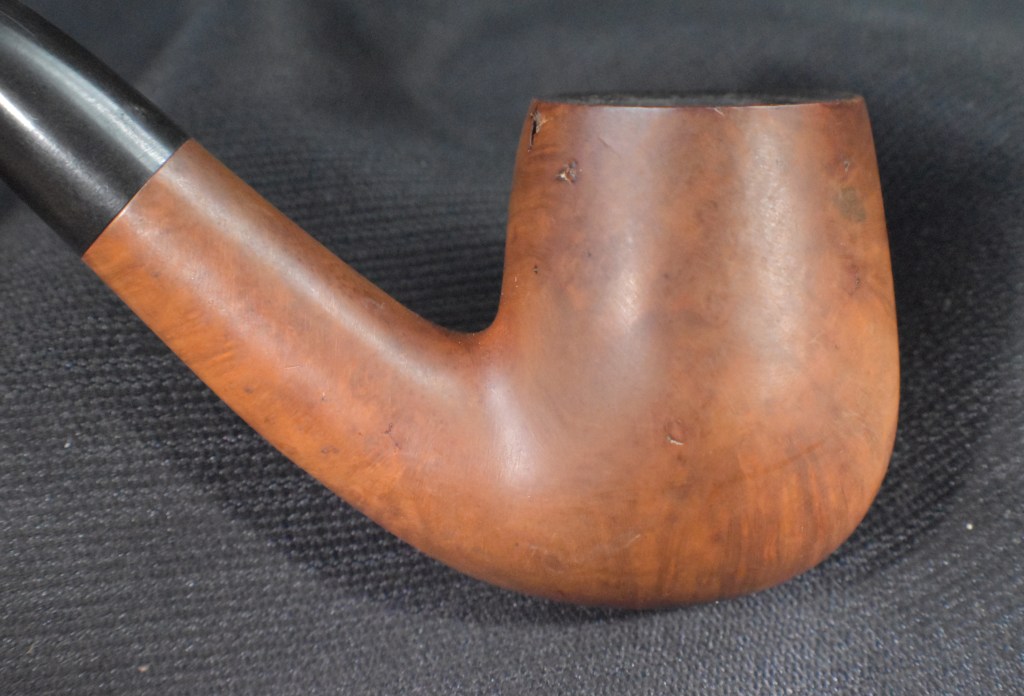
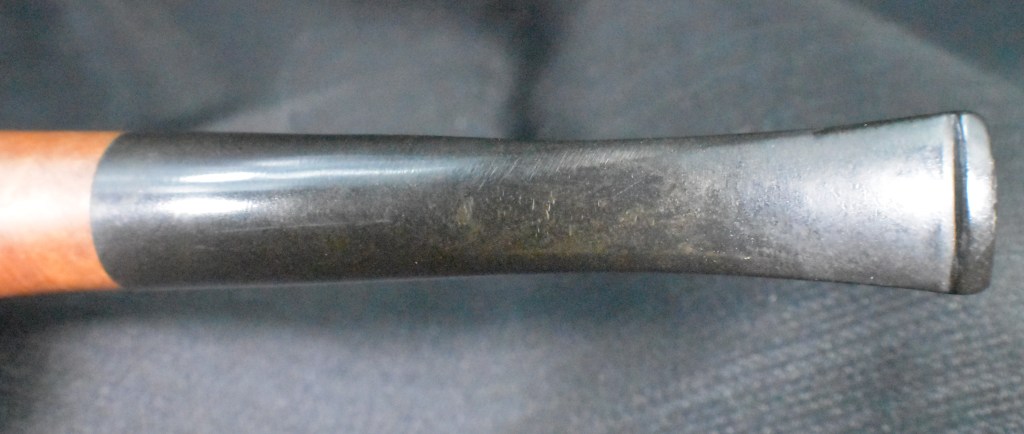
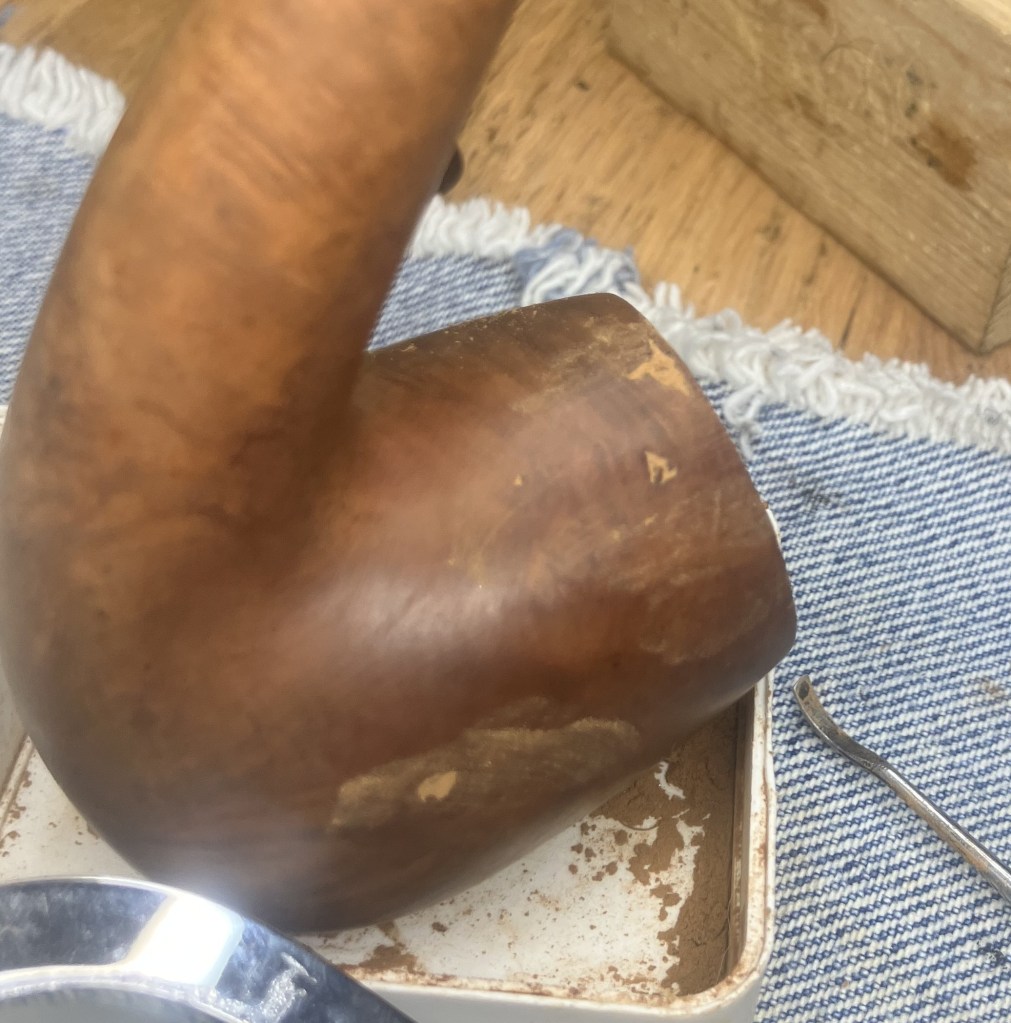
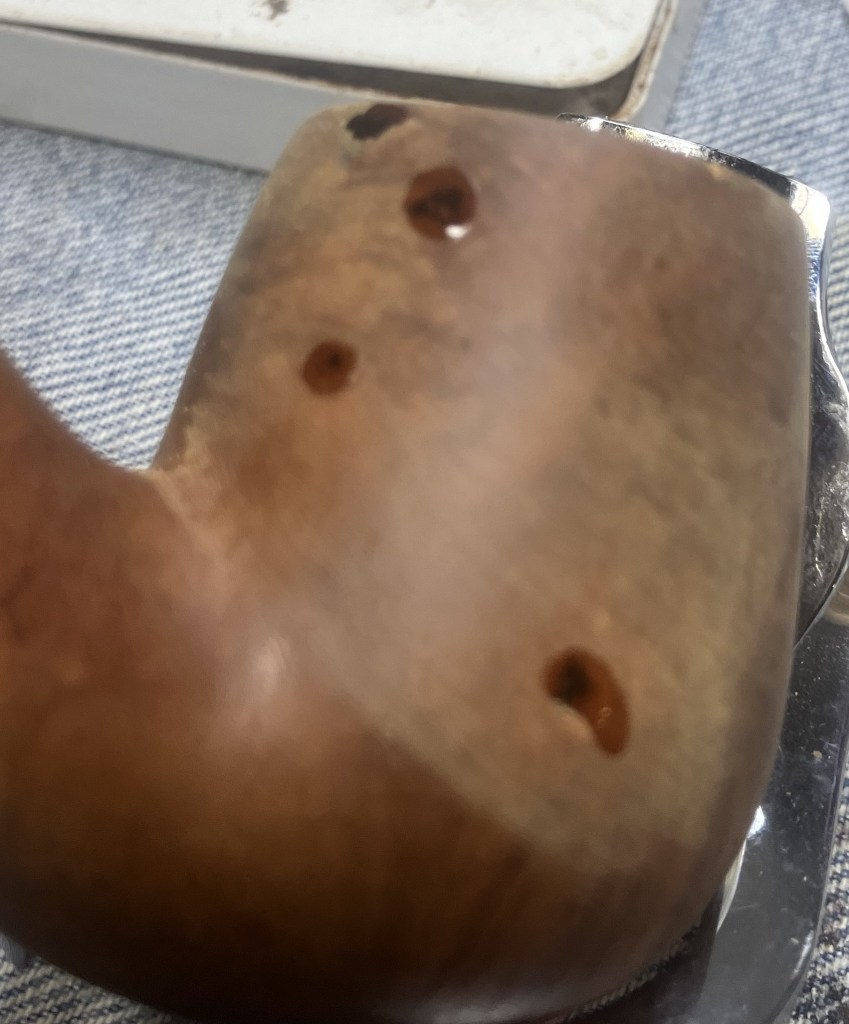
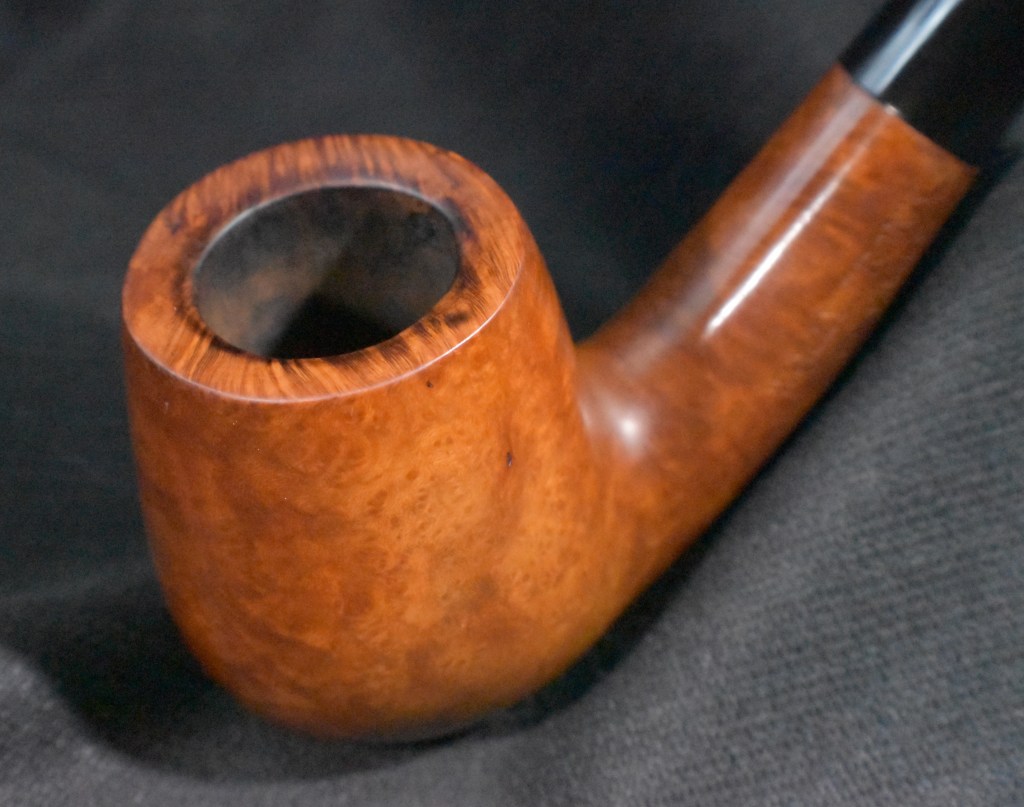
Overall, the pipe was in very good shape. The box is just a fun piece of ephemera that you don’t see frequently with estate pipes. There were a few pits that would require filling. The “Natural” finish would have to be maintained. The stem showed little evidence of oxidation, I thought that it must have been stored in that box and never saw the light of day. Of course a reaming of the tobacco chamber and a thorough cleaning were needed, but this looked like a very relaxing restoration.
Background
I am going to use my own writing on the background of Wally Frank from a blog I wrote back in June of 2024.
“Okay, back to my editorializing about Wally. The huge variety, nearly schizophrenic in nature, of Wally Frank style pipes may be due to his constantly trying to keep his offerings fresh in a competitive pipe market. Frank’s pipes were not what I would consider high end pipes. He was likely going after customers with less disposable income and mimicking a variety of popular styles . He was known to venture throughout Europe searching for less known carvers and small shops where he could purchase quality at lower prices. Wally Frank’s unique pipe offerings may make more sense when you consider the Wally Frank “Pipe of the Month Club”, an early subscription pipe offer. He apparently wanted to keep the customers satisfied with new and unique offerings. Here is the order form from http://www.pipephil.eu/logos/en/logo-w1.html
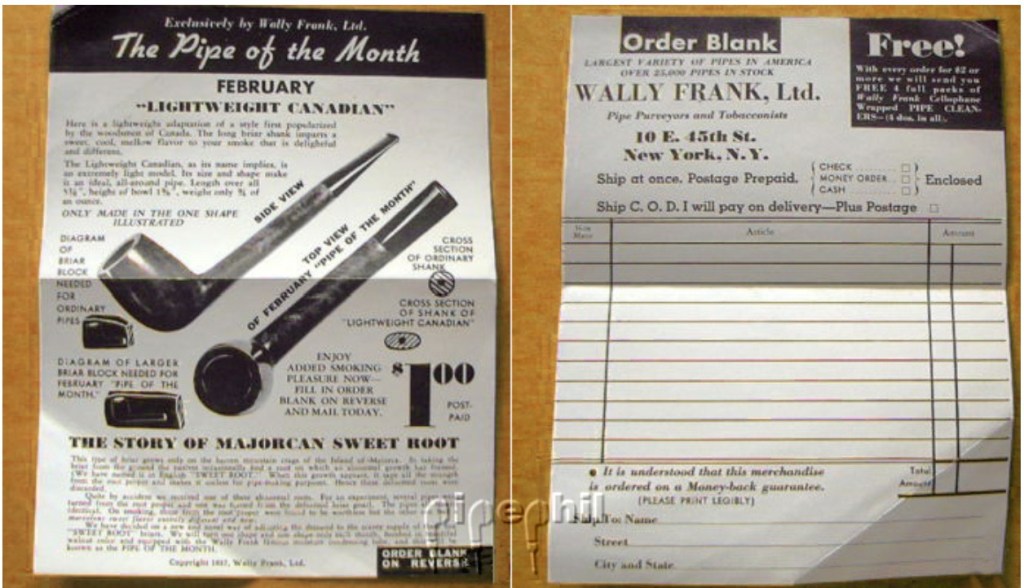
The date on the form is difficult to make out but, I think it is 1947. $1 in January of 1947 is equivalent to $14.58 in April of 2024 (https://www.bls.gov/data/inflation_calculator.htm). Who wouldn’t jump at the chance to get a new pipe every month for $15 dollars today?
The first paragraph about Wally Frank from Pipedia pretty much sums up Frank’s contributions to our hobby:
Wally Frank, Ltd. was one of America’s oldest and most respected names in pipes and tobaccos, beginning in the early 1930’s. Wally Frank operated a chain of tobacco stores in New York City (the flagship store was in Lexington Avenue) and had a vast catalog business for pipes and pipe tobaccos. Their numerous private-label pipes were made by many makers, including Charatan, Sasieni, Weber, and many others. Wally Frank, Ltd. also owned the Pioneer brand of meerschaum pipes, made from both Turkish and African meerschaum. In addition to importing pipes, he had many pipes made in his own name and also employed pipemakers like Peter Stokkebye, Svend Bang, and Ed Burak (who later became the owner of Connoisseur). As a result, each Wally Frank pipe must be individually evaluated on its own merit. (Wally Frank – Pipedia) Mr. Frank did this for many years, Wordcat.org is a library of print material available via interlibrary loans. They have several Wally Frank catalogs available from 1930-1958 (au:Wally Frank, Ltd. – Search Results (worldcat.org)).
Due to the large number of sources of Wally Frank pipes there is no Wally Frank shape chart to use as with Dunhill, Peterson, Kaywoodie and other manufacturers. I looked through the several Wally Frank pipes that I have kept for personal use and I could find only one with a shape number stamped on the pipe. And that is a Custombilt pipe from the Wally Frank Era of ownership. So, in a sense not really a Wally Frank pipe. The
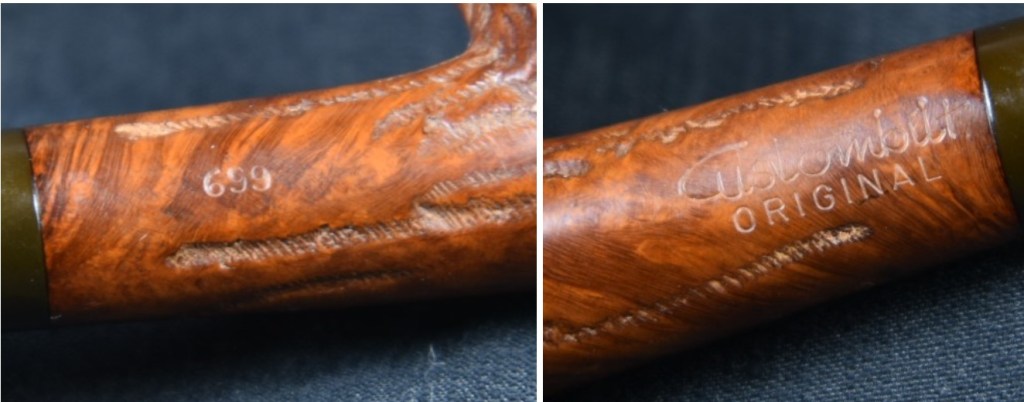
Above photos are from a restoration I did in February 2024, here is the link for those interested: Custombilt Original 699.” (A Wally Frank Ltd. Rusticated Billiard Restoration – NebraskaPeteGeek)
The Restoration
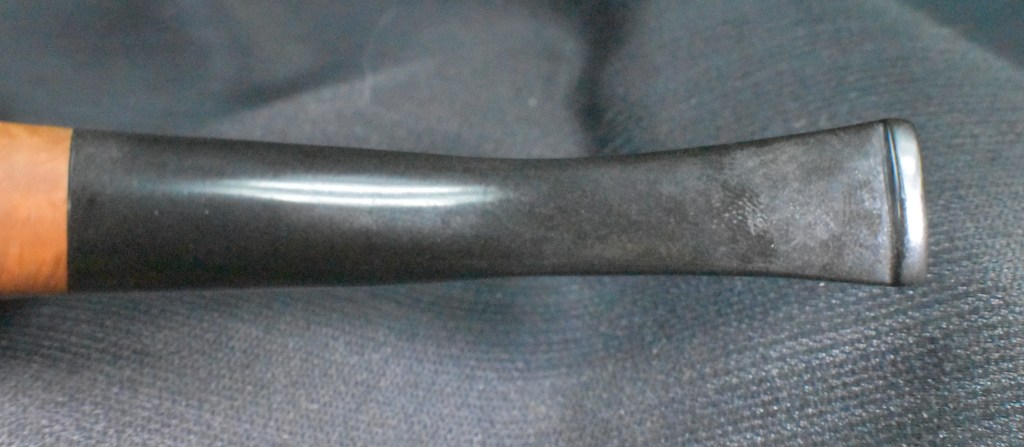
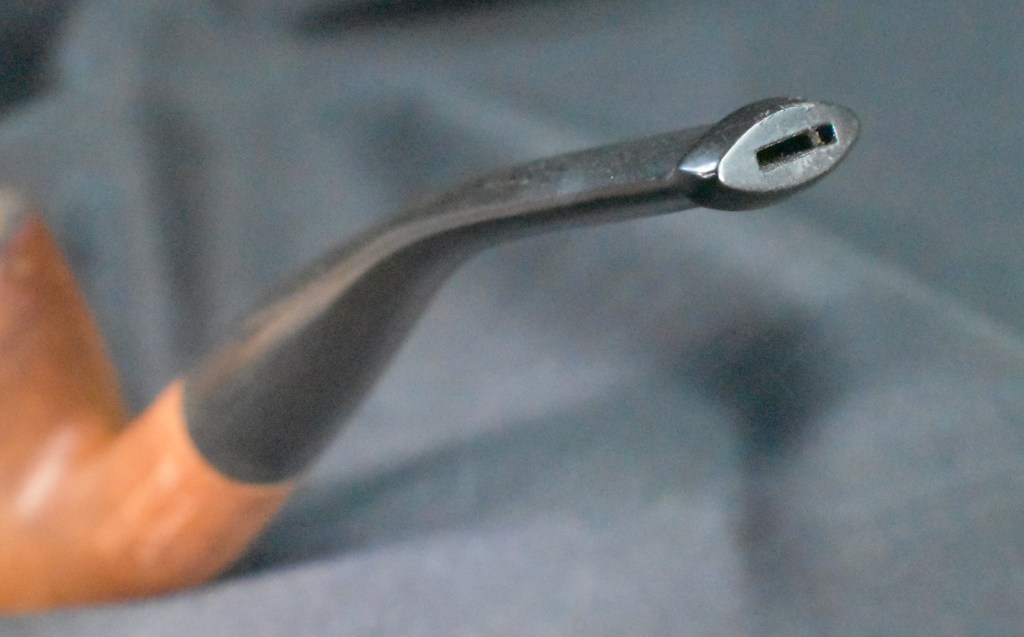
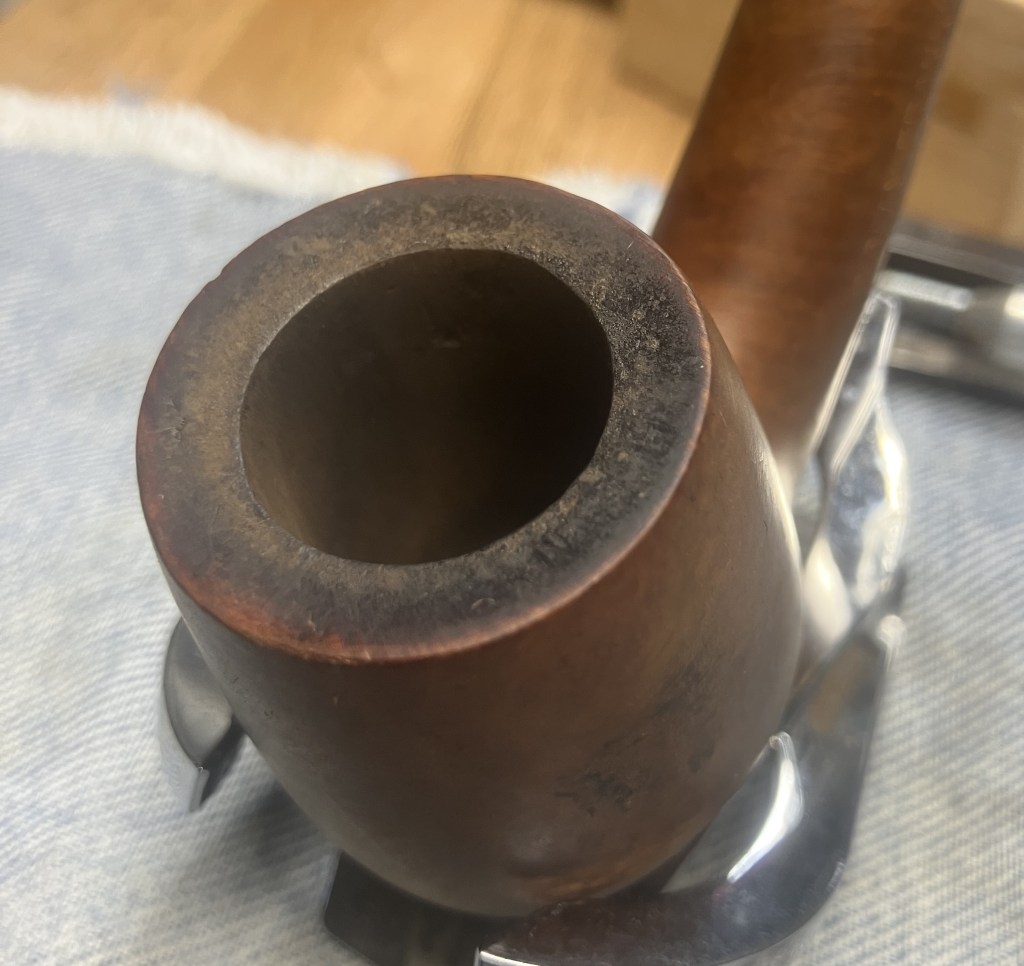
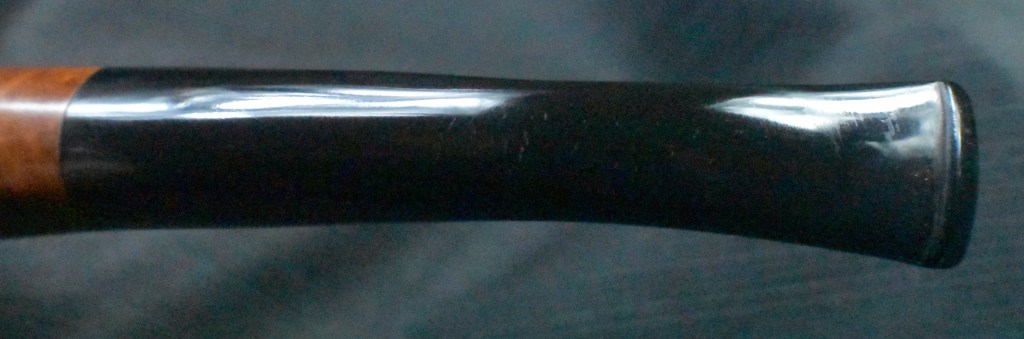
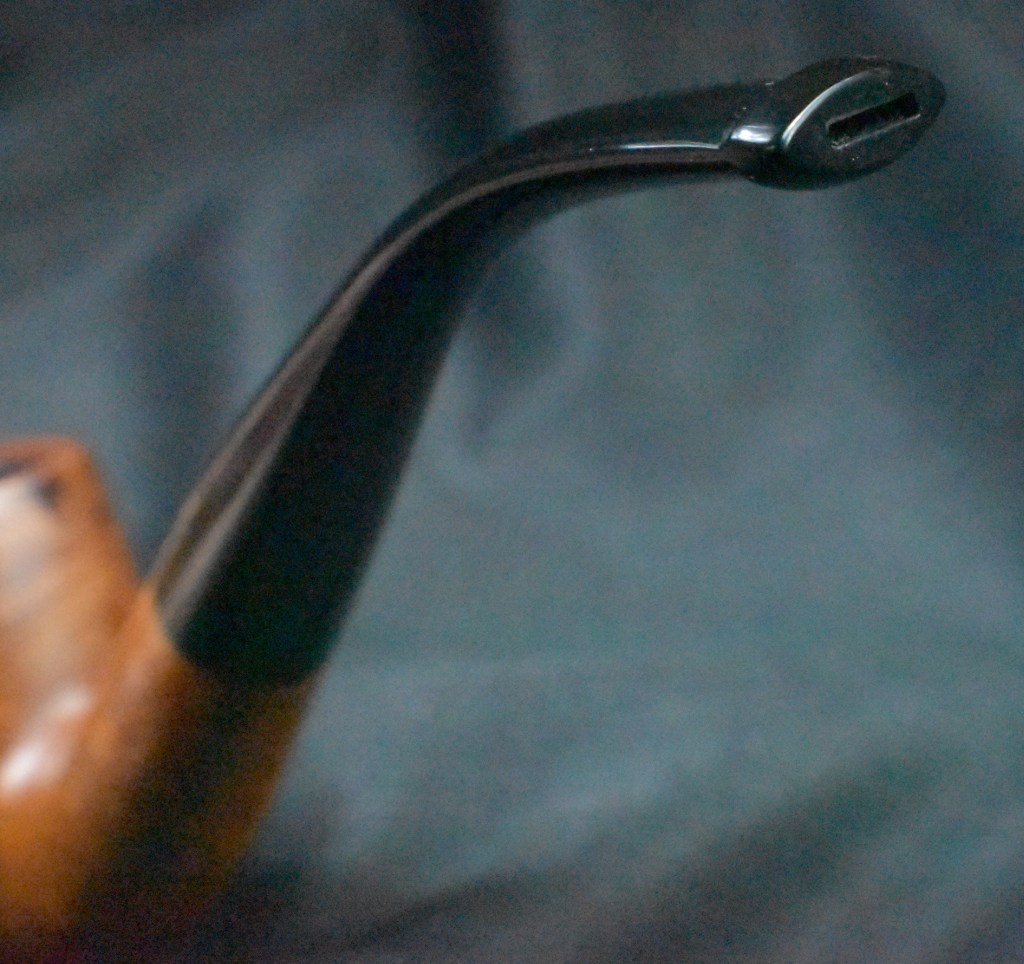
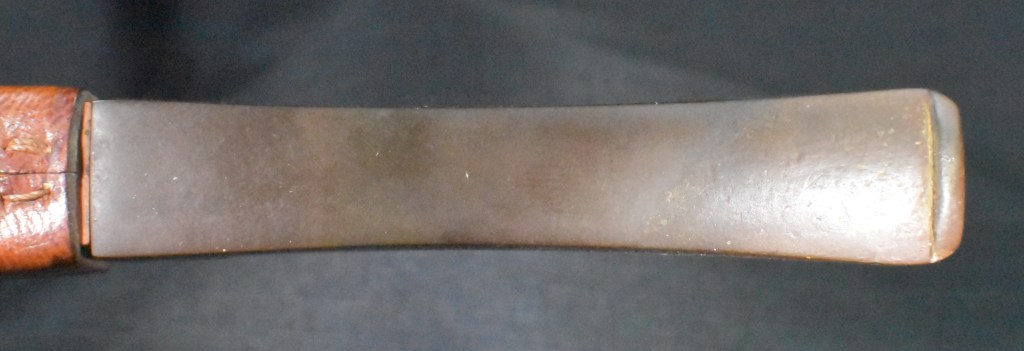
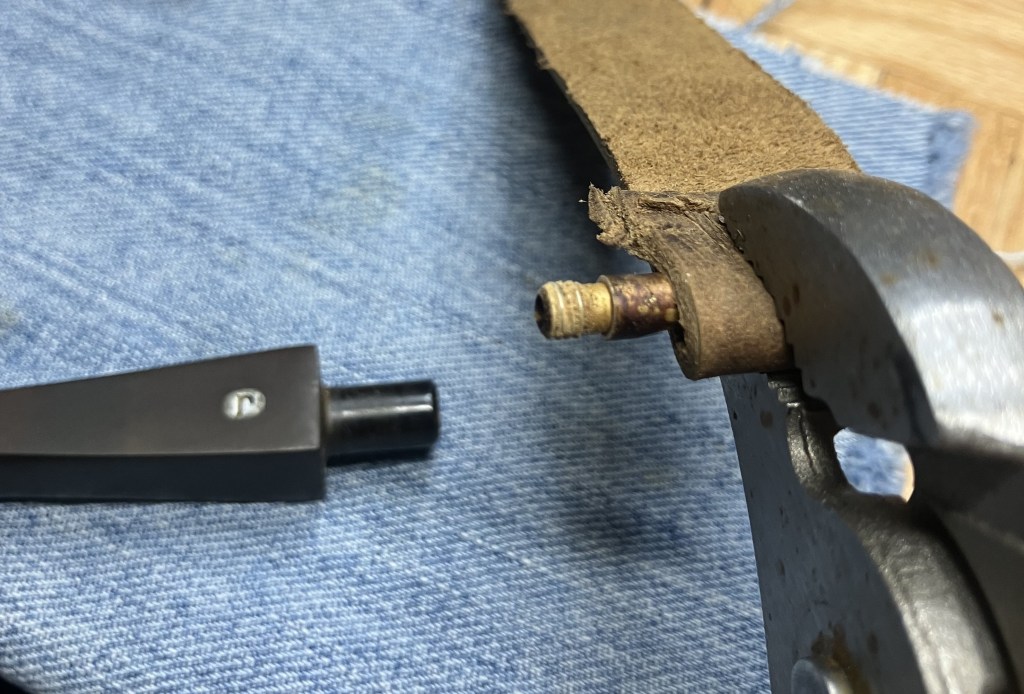
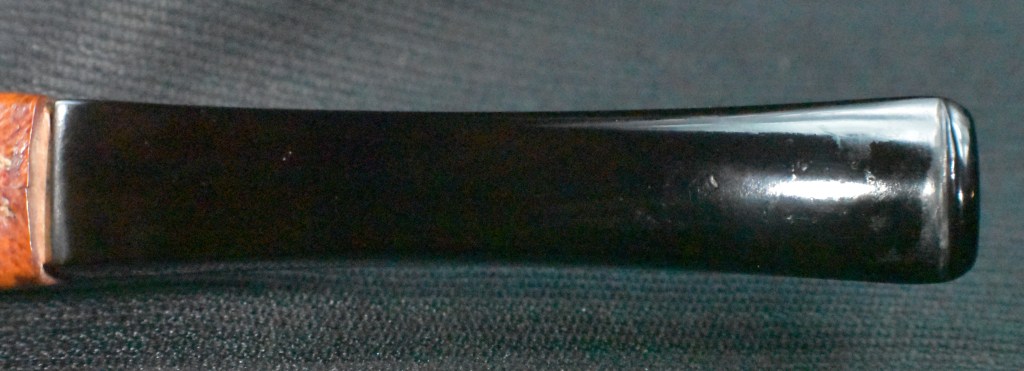
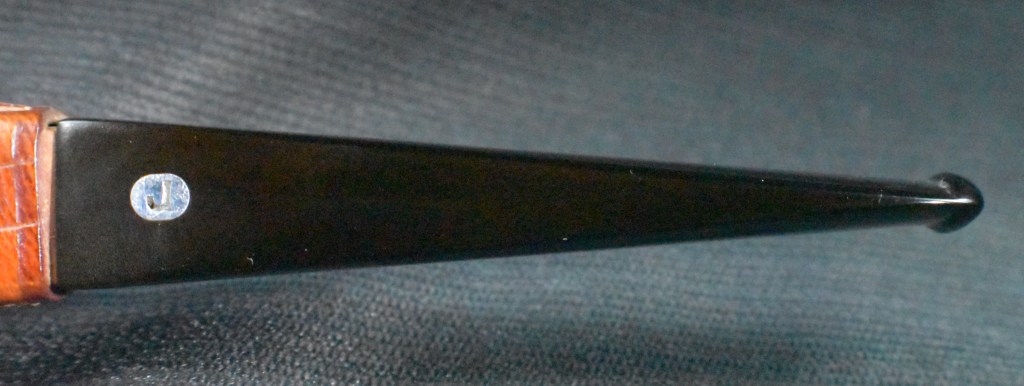
I apparently neglected to take a photo of the pipe arriving at the workbench and jumped right to the stem. Slight creases could be seen on the stem. I assumed these were from the bending of the stem, likely after it had been polished. There was also some light tooth chatter.
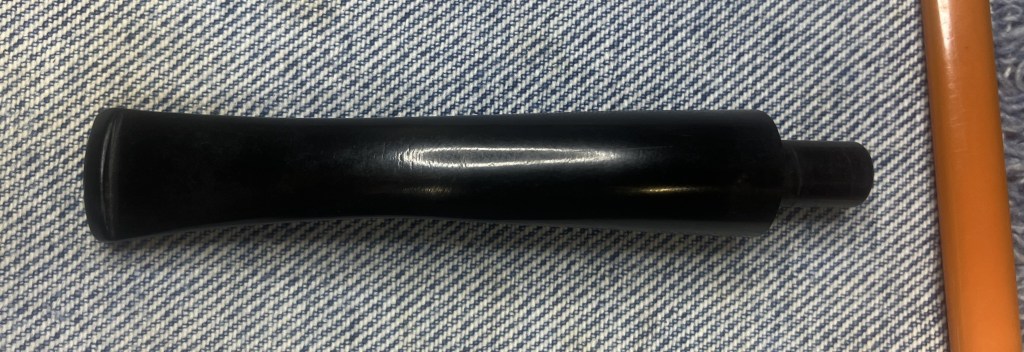
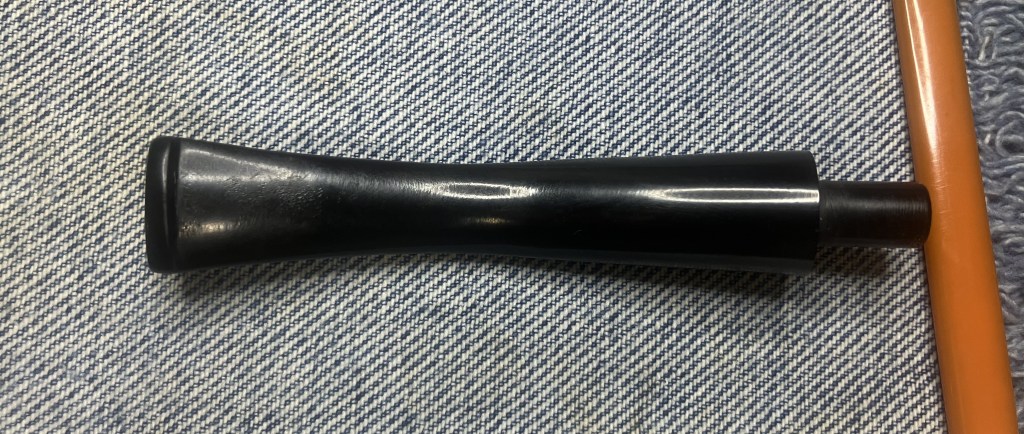
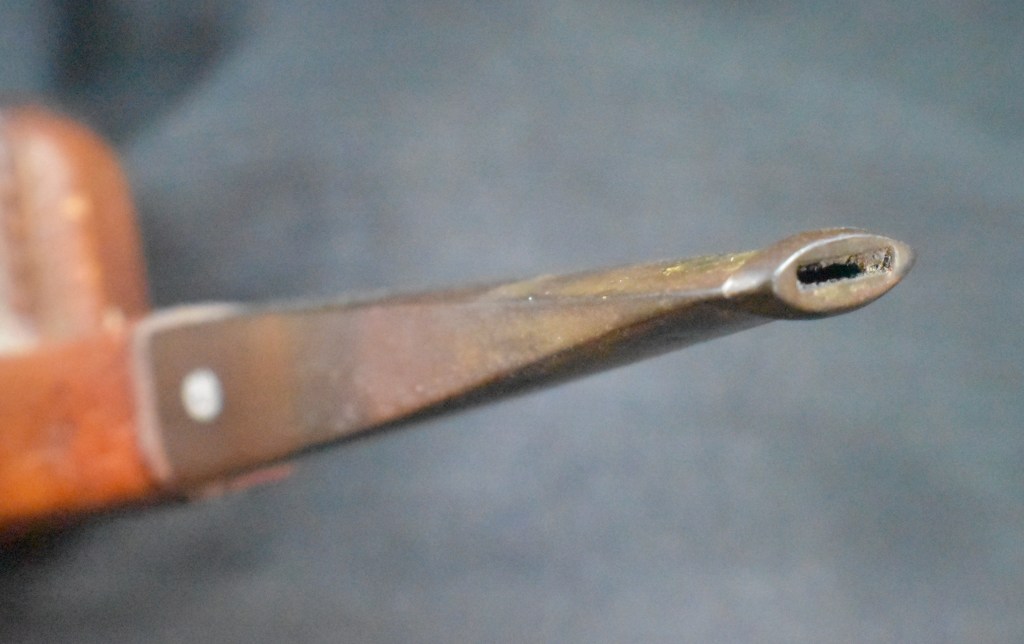
The chatter on the bottom of the stem was also visible but here, there were fewer creases.
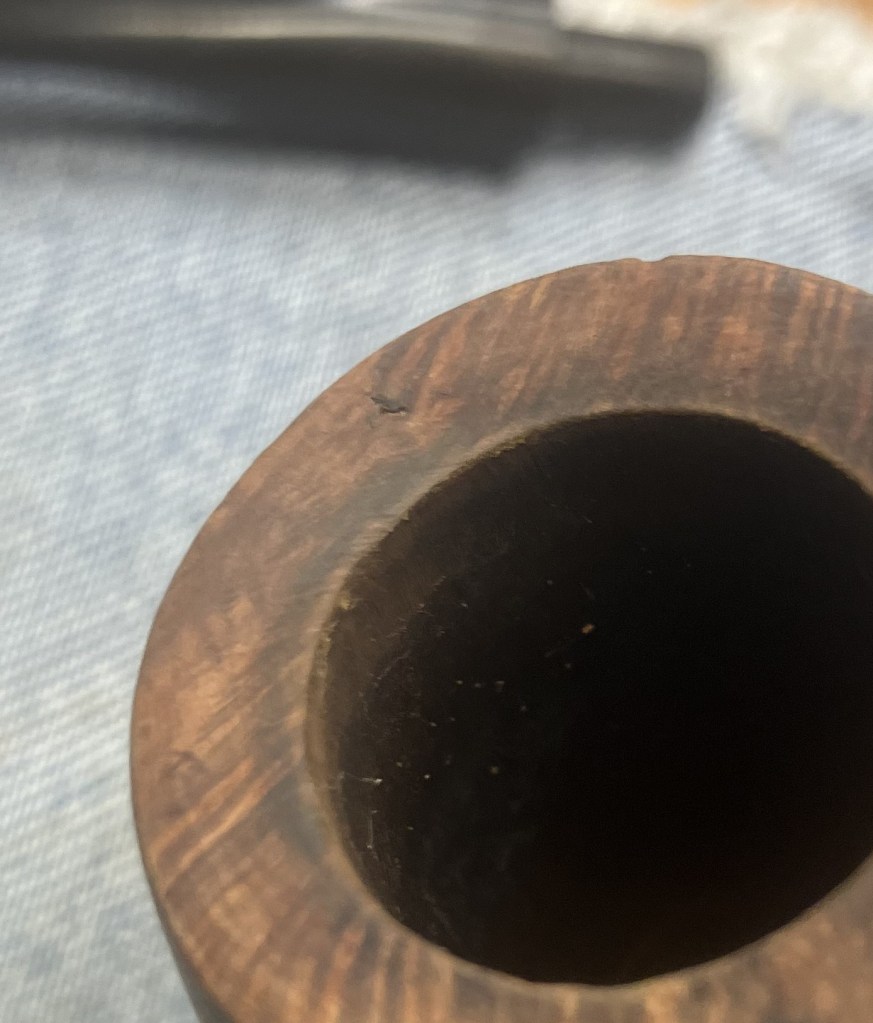
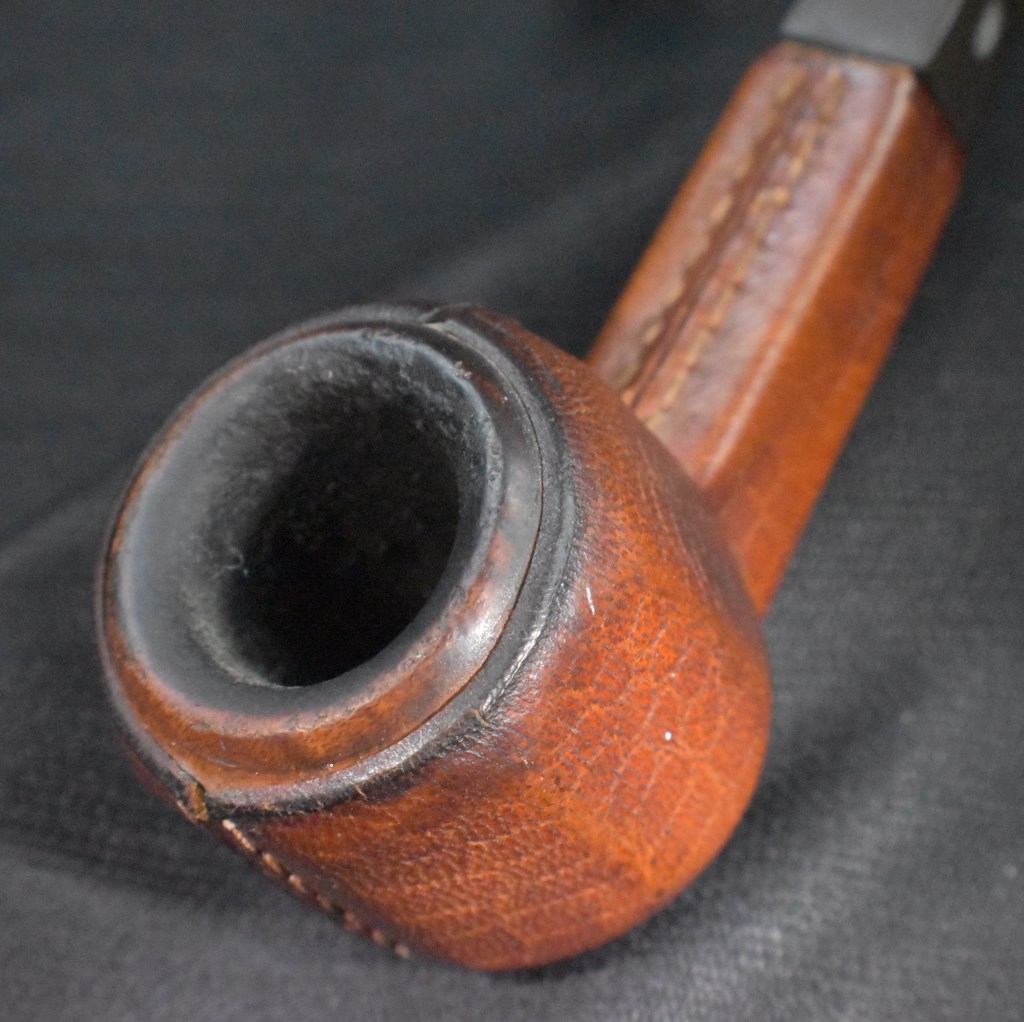
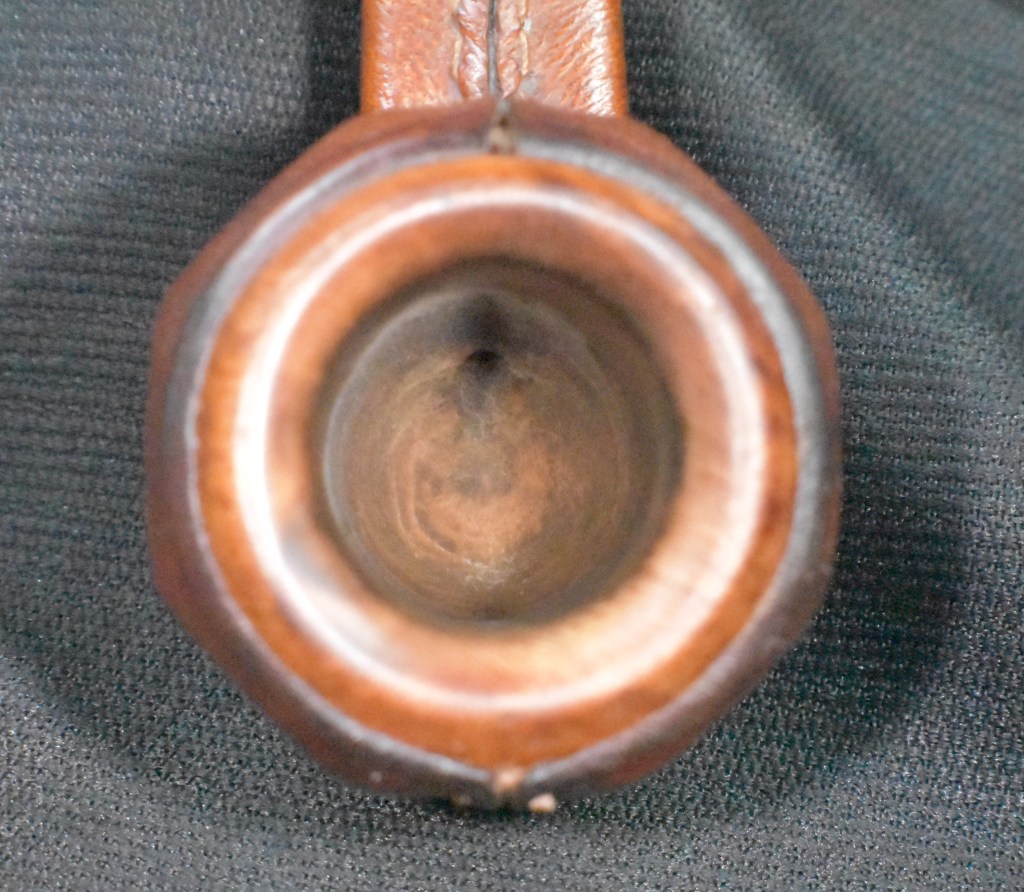
The tobacco chamber had a light development of cake.

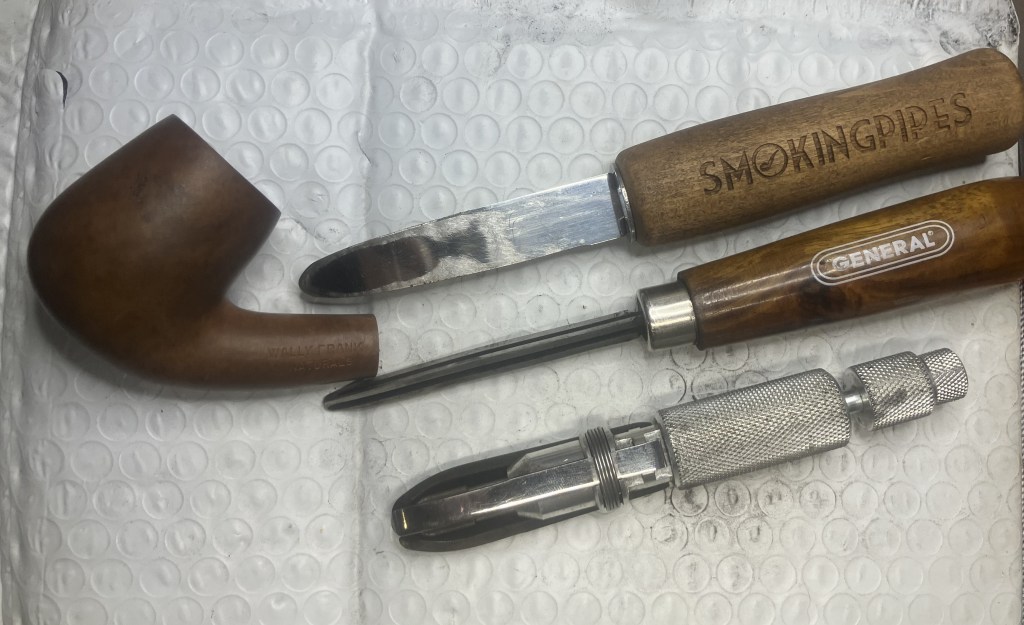
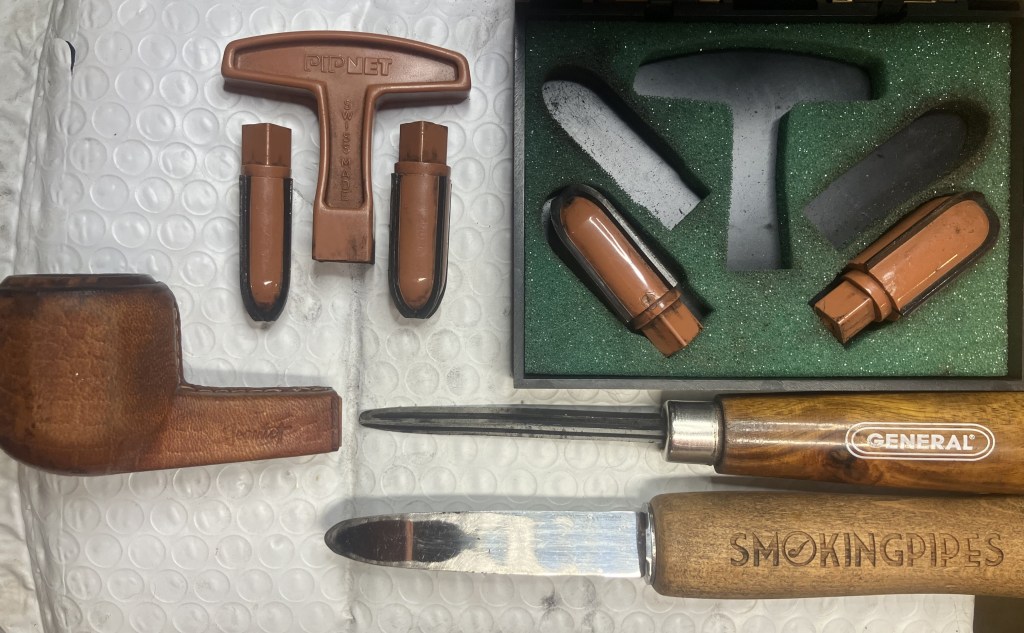
Due to the chamber being right in between the blades of the PipNet, I had to use the Kleen-Reem, Smokingpipes Low Country reamer and the General triangular scraper.
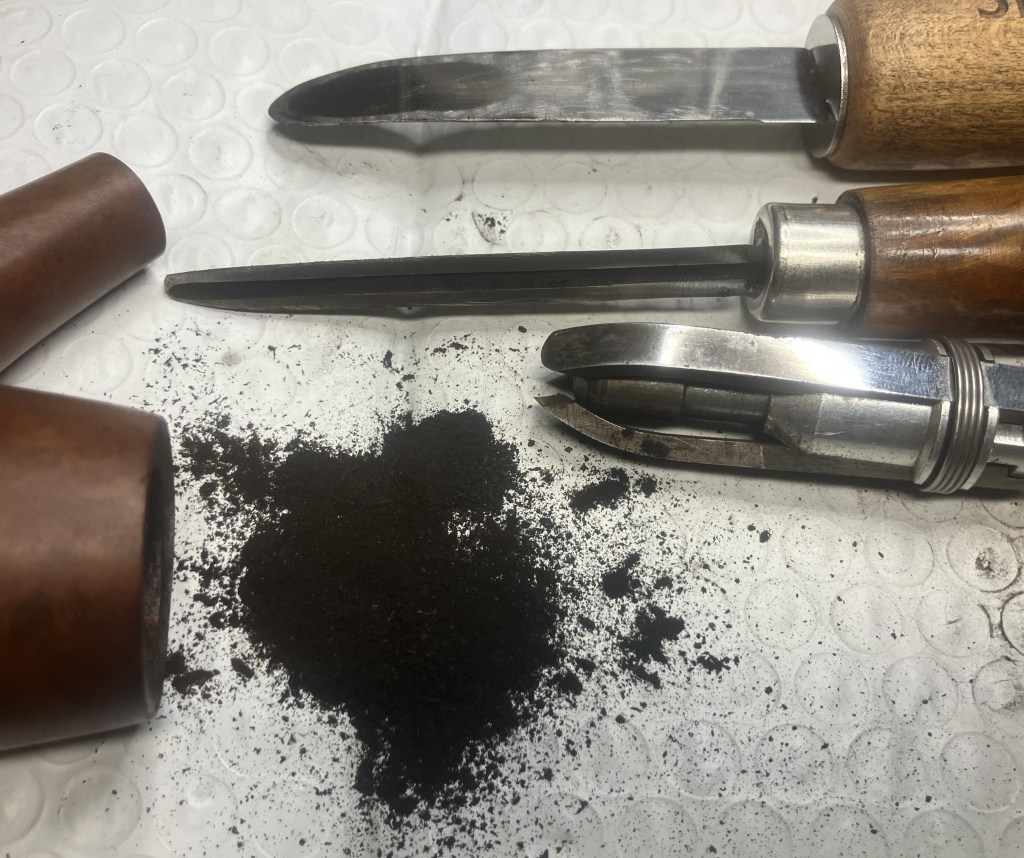
I was a bit surprised with the amount of cake removed.
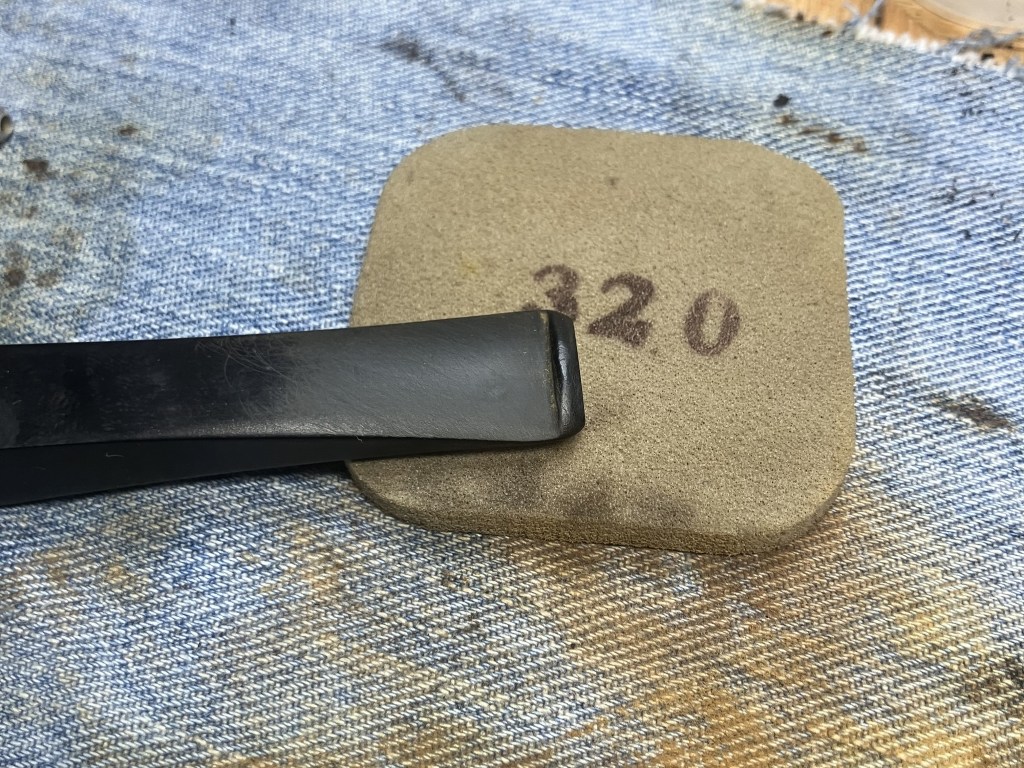
Once sanded with 320 sandpaper wrapped around a wood dowel, I could see that the tobacco chamber was free of any heat damage.
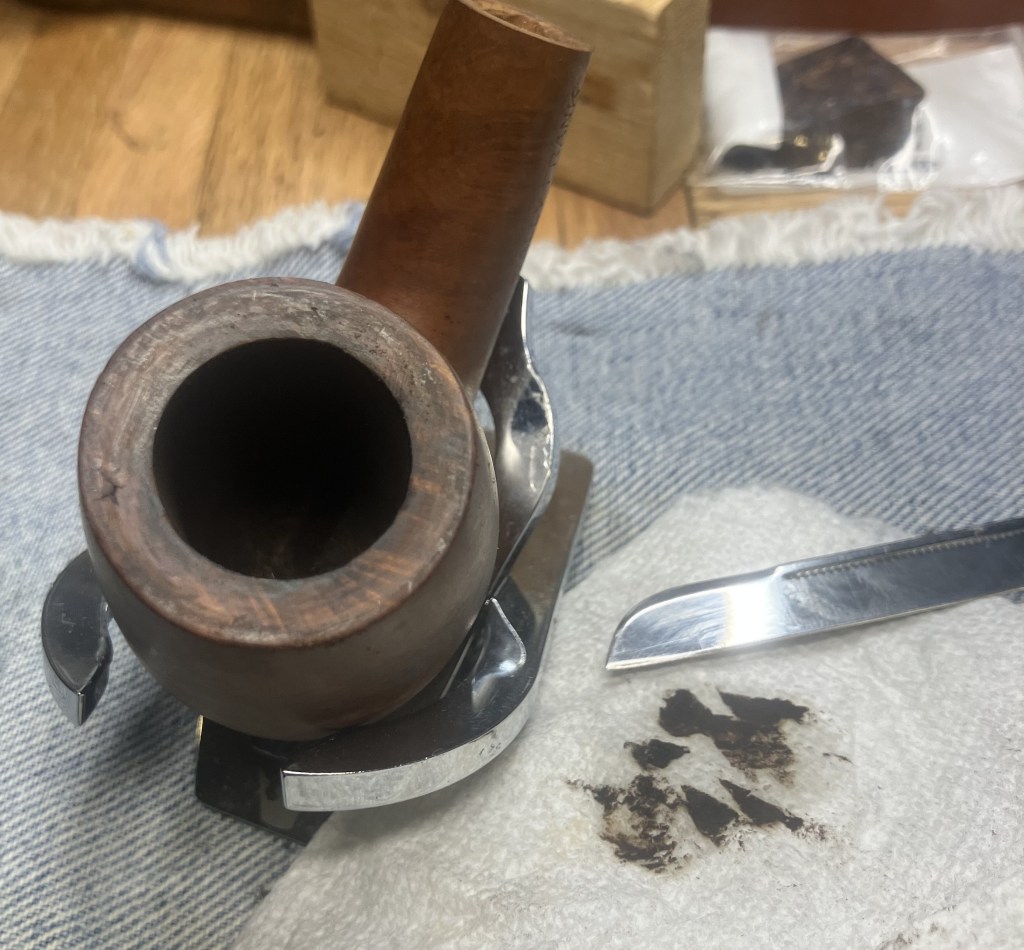
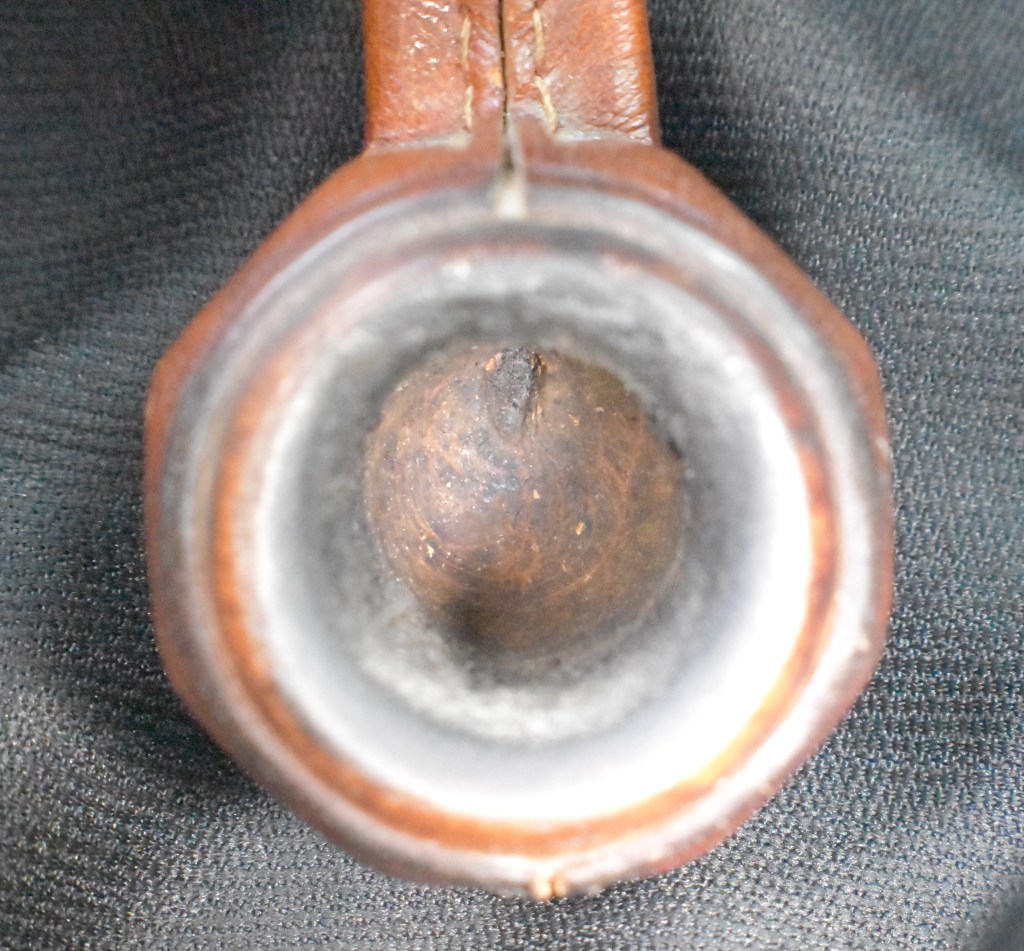
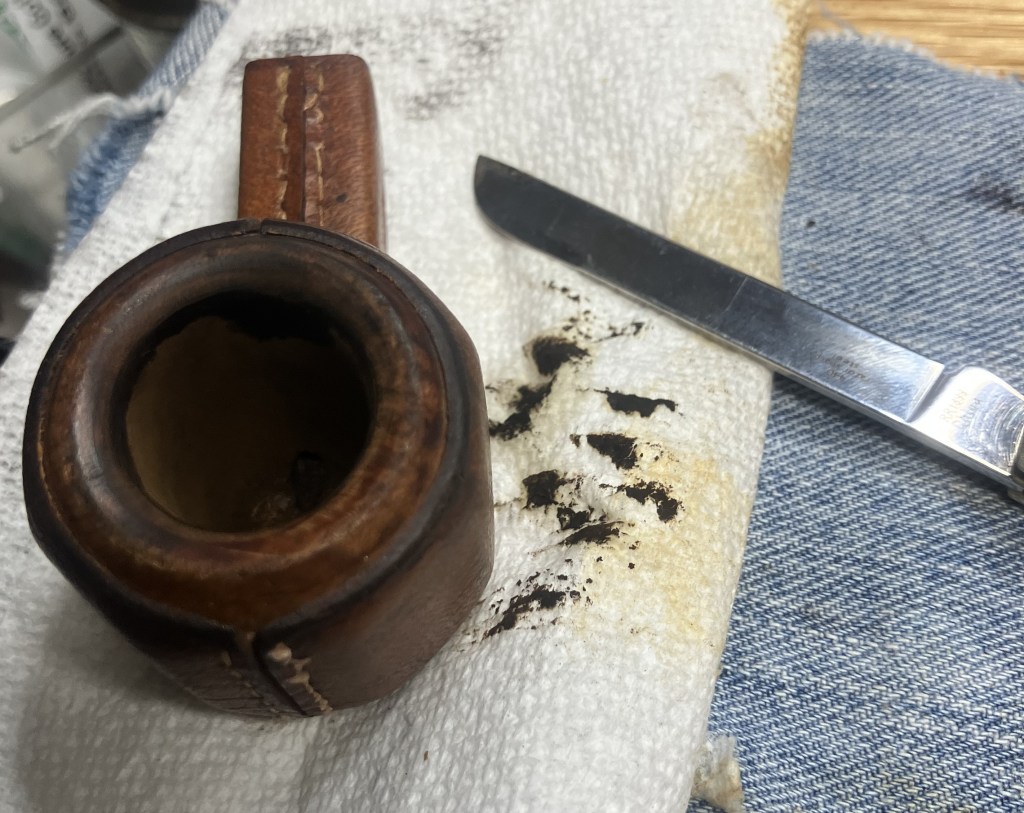
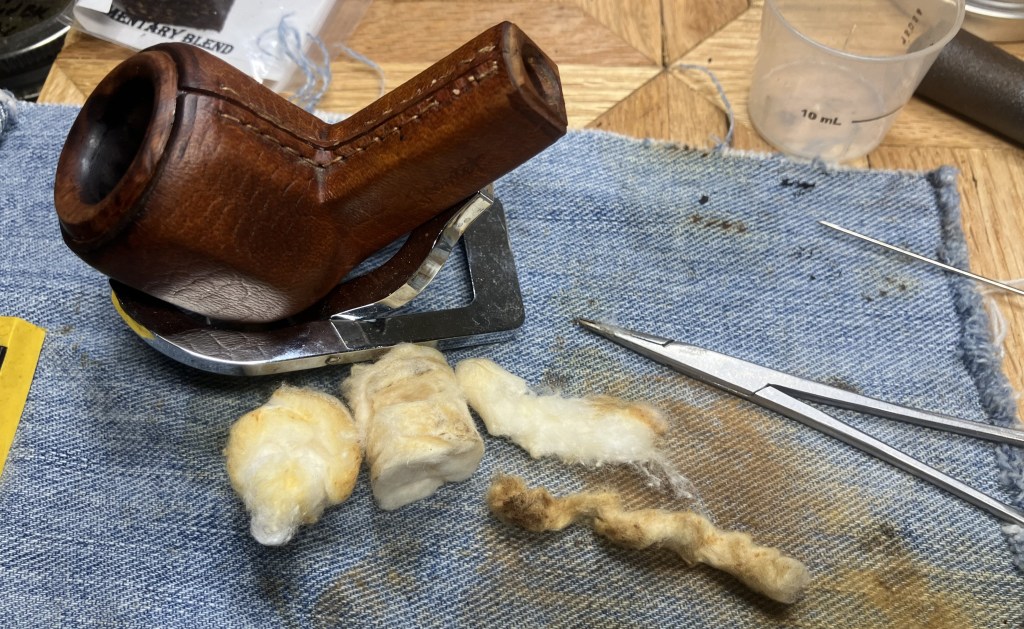
The rim was encrusted with smoking residue or lava.
This was moistened with saliva and allowed to soak while I went upstairs to sharpen the pocket knife on a stone. Once that was done the rim was scraped with the resharpened blade.
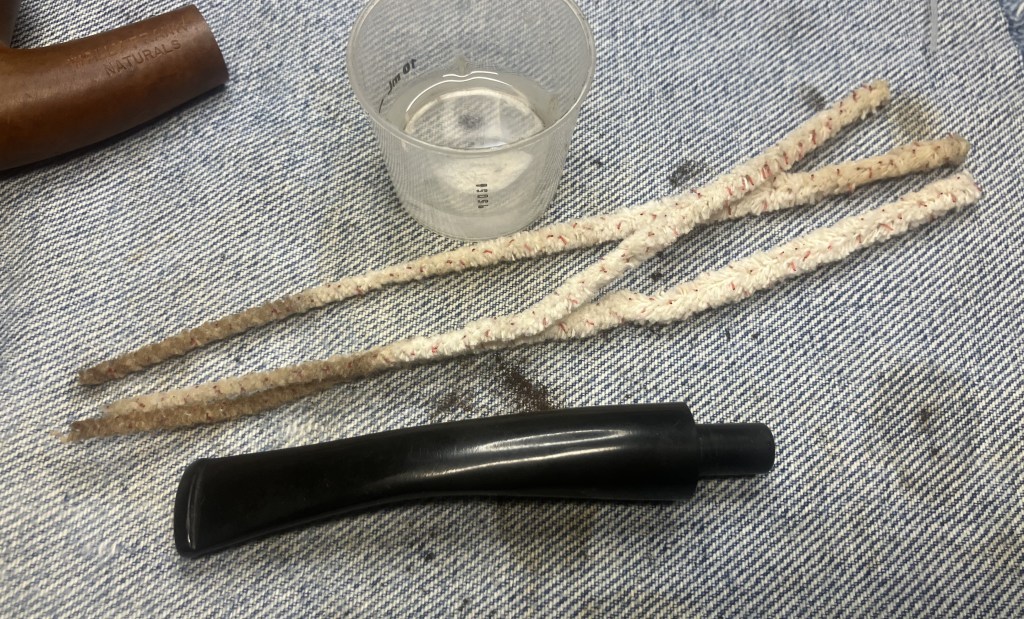
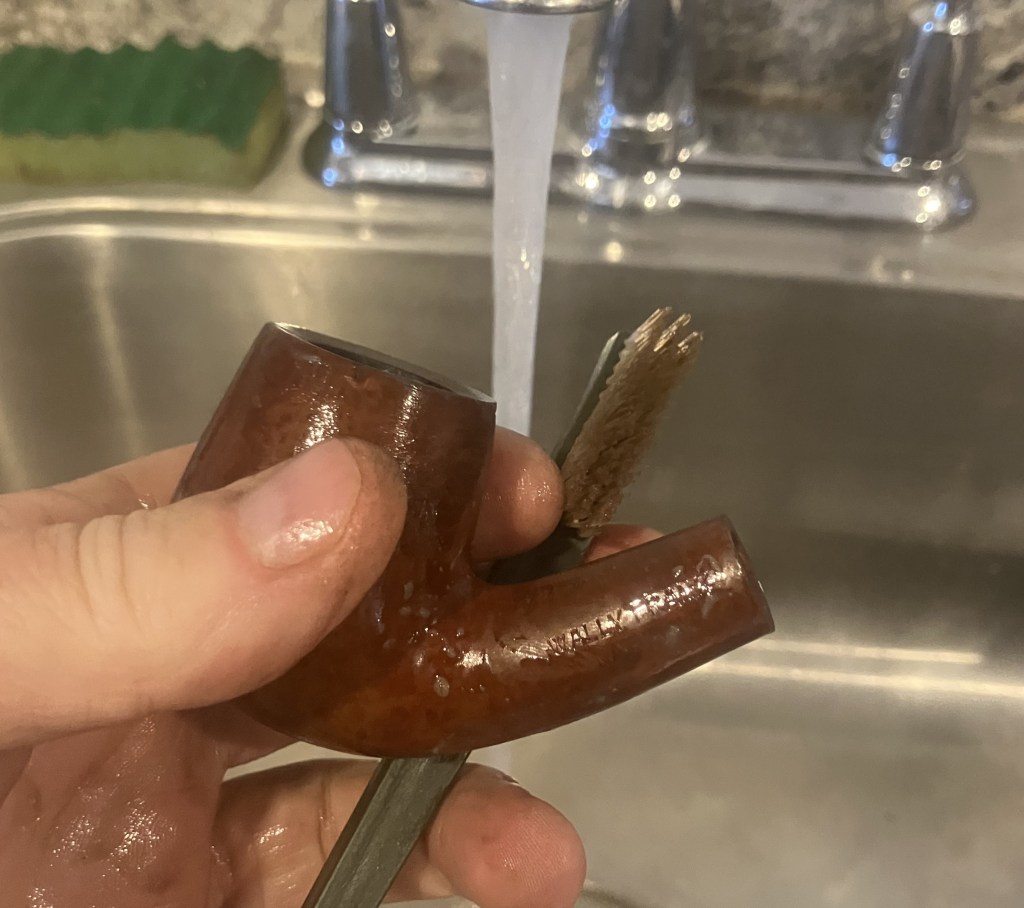
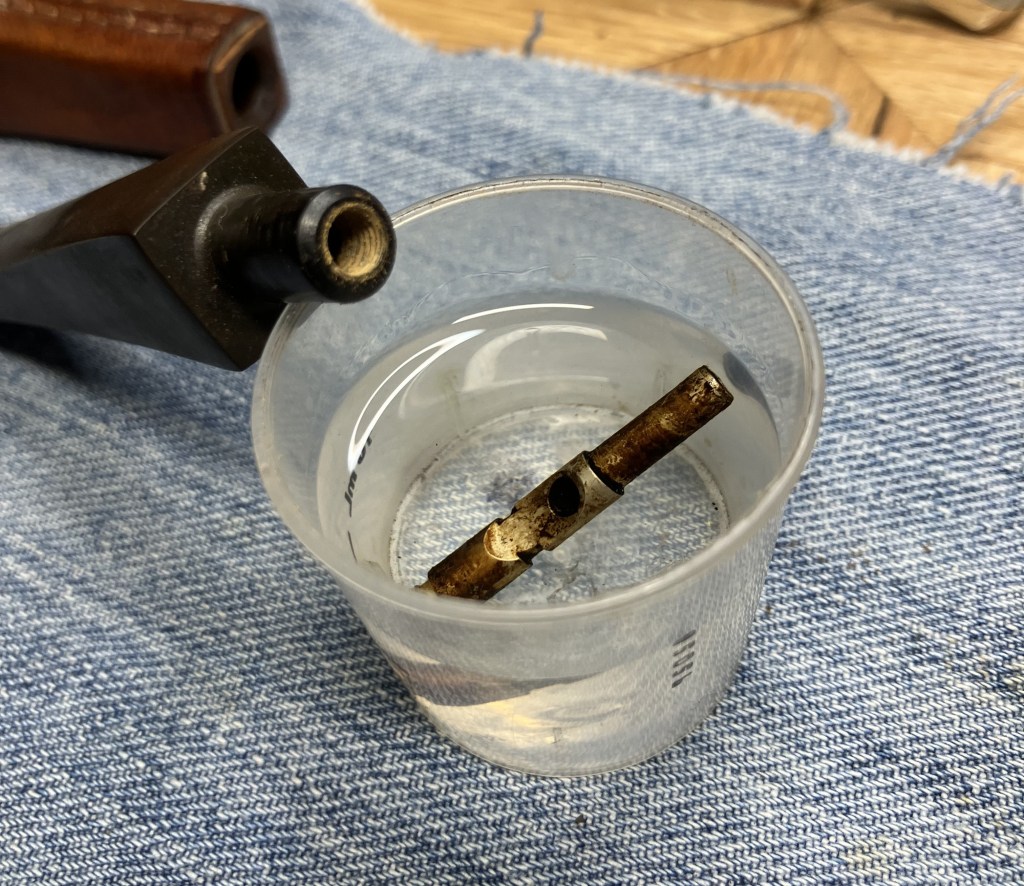
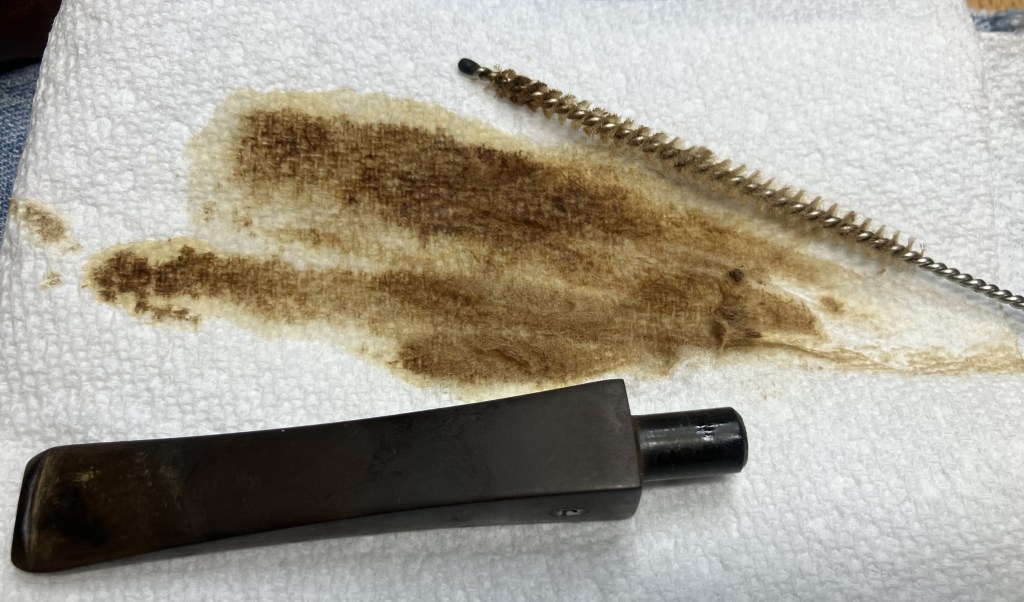
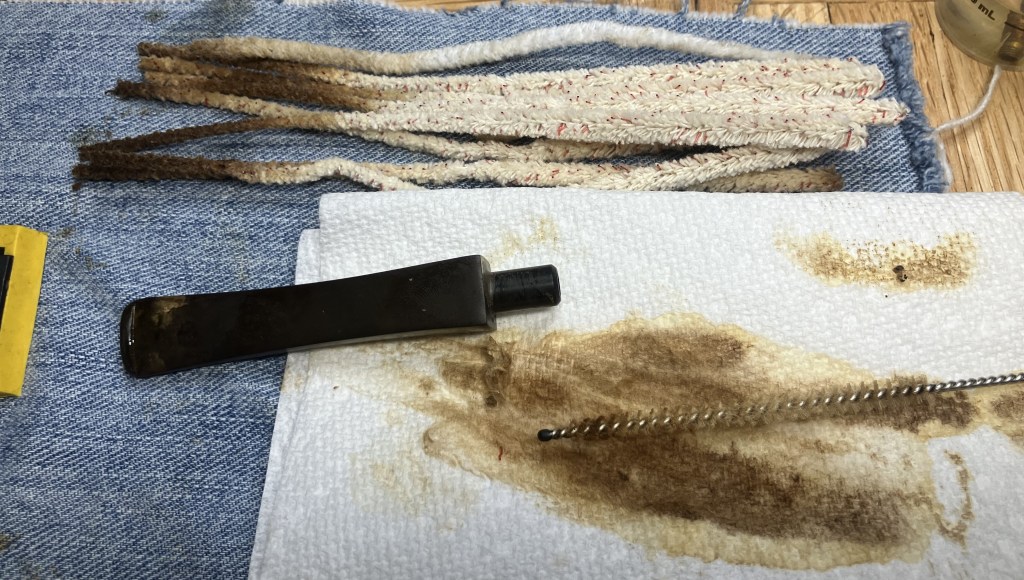
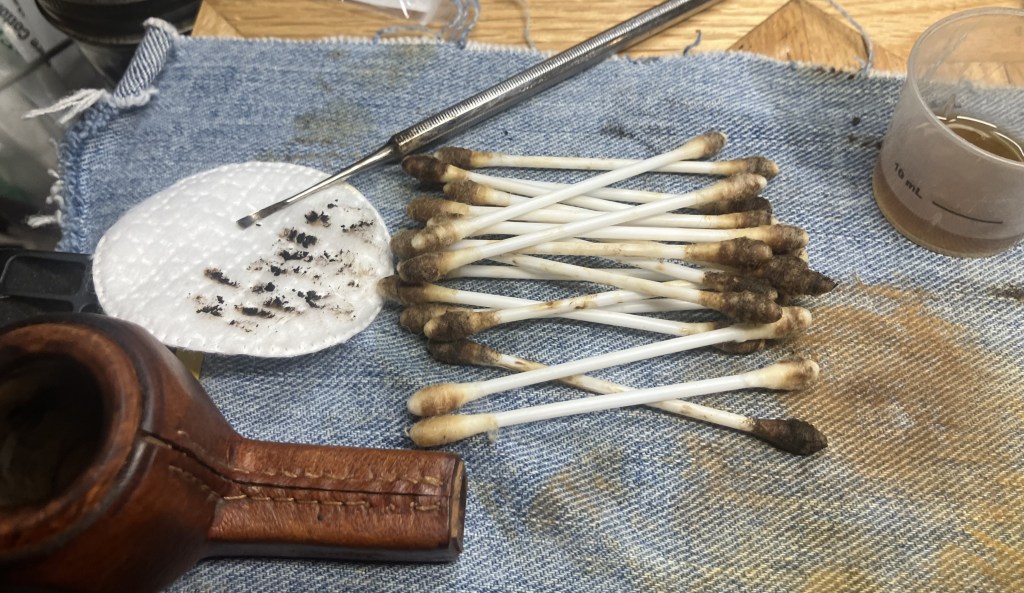
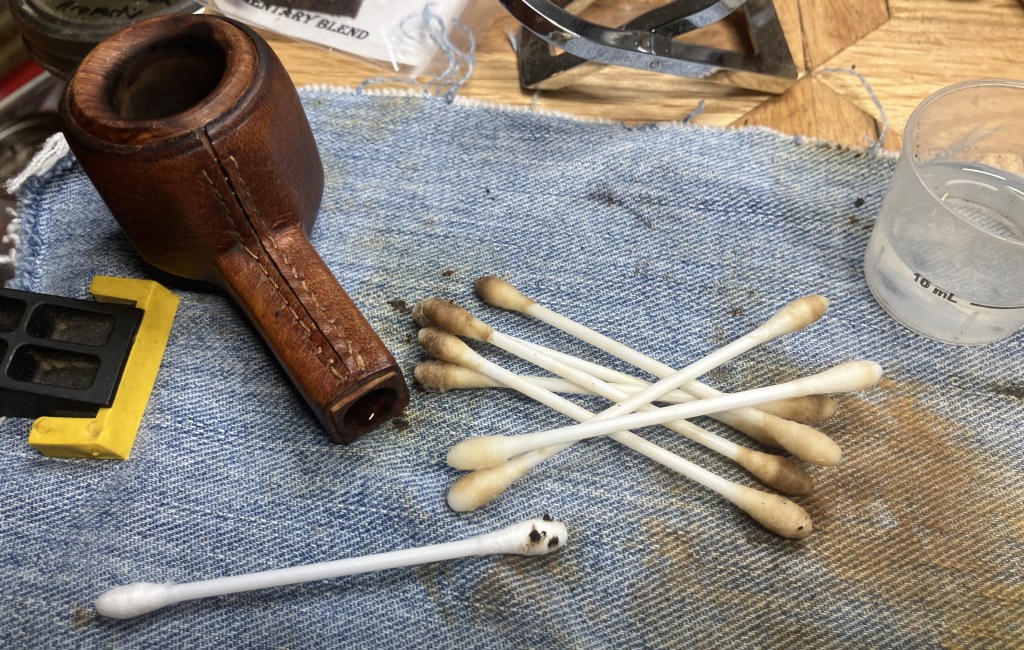
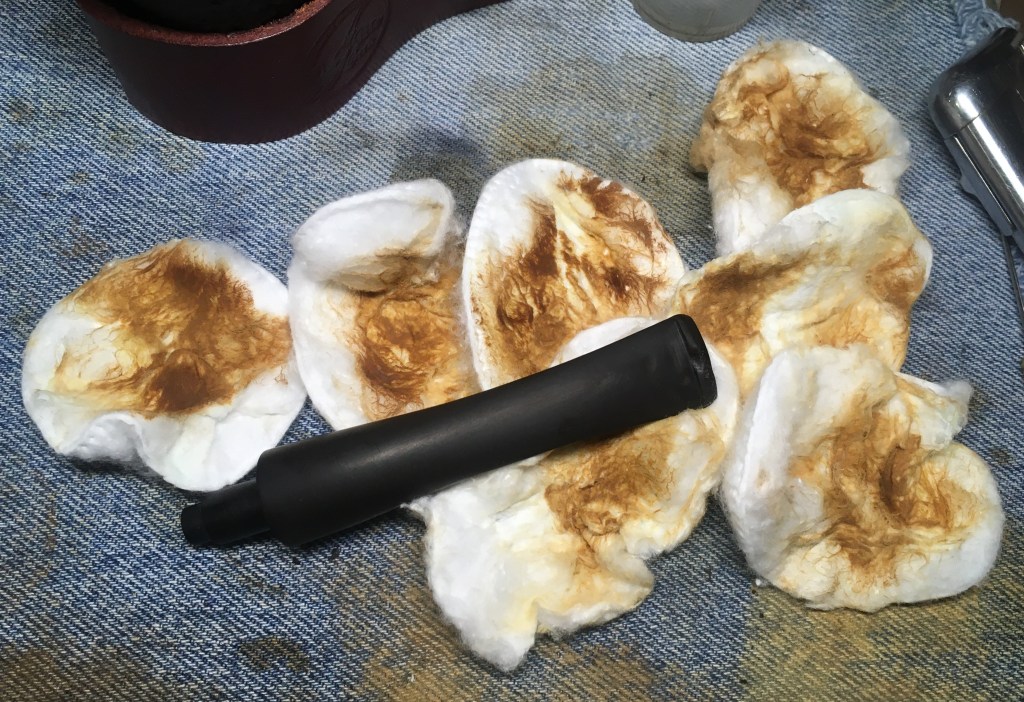
The airway of the shank was cleaned with 99% ethyl alcohol on cotton swabs and bristle pipe cleaners.
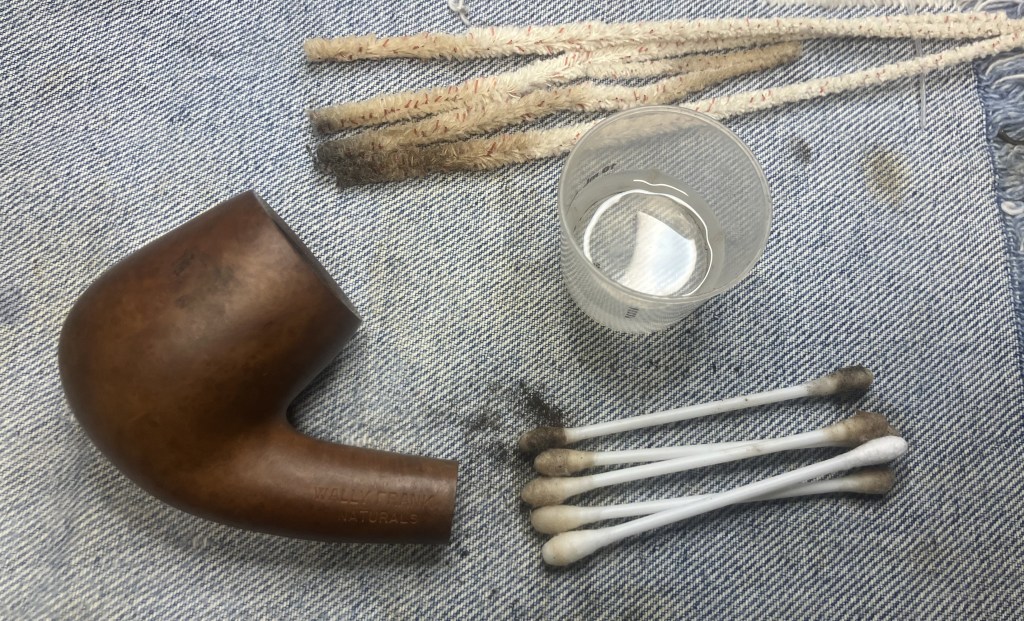
The same alcohol and pipe cleaners were used with the stem. Well, different pipe cleaners, I mean the same is ridiculous because the first ones were dirty. Stupid English… My students used to find it funny when I said that. Most of them were English Language Learners and loved it when I made fun of English.
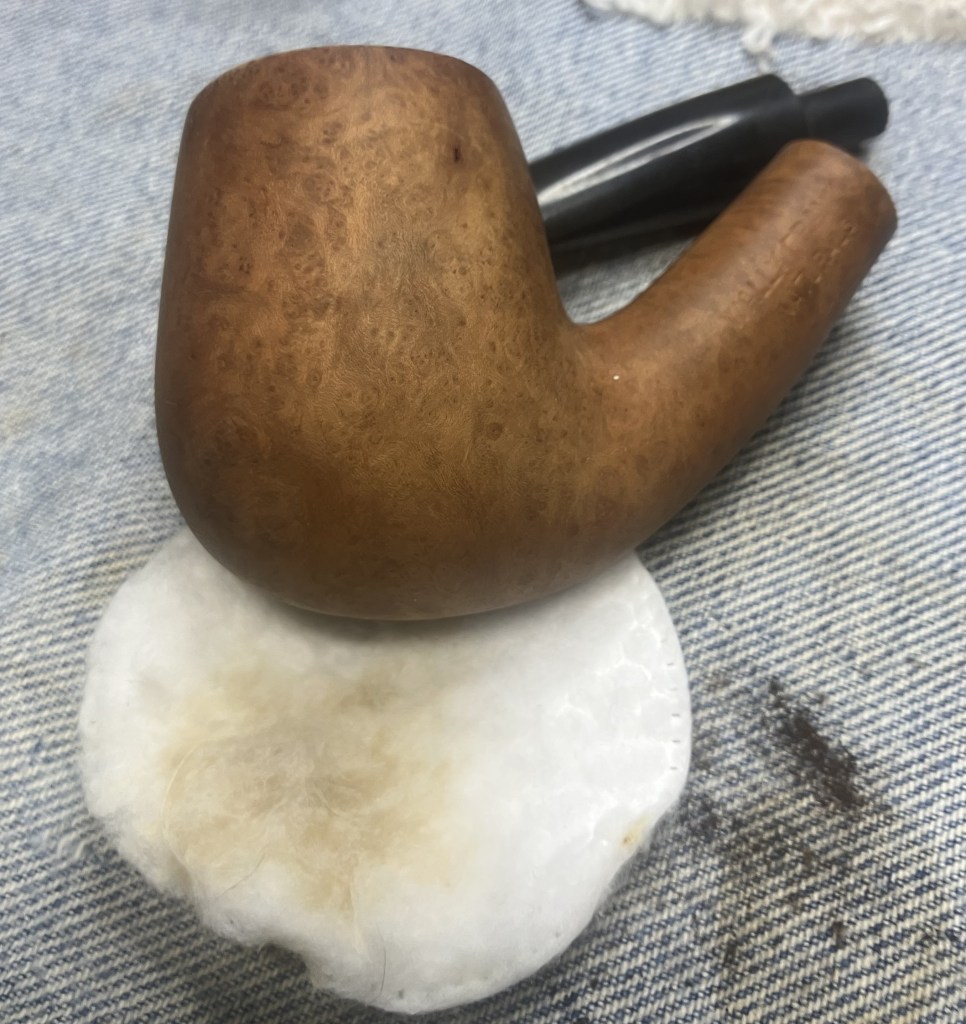
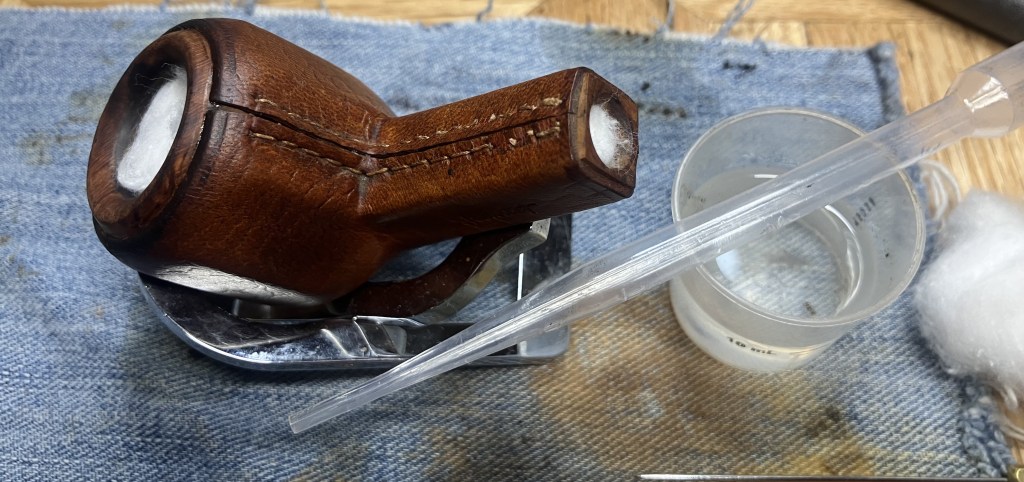
At the sink, I scrubbed the stummel with undiluted Murphy Oil Soap and a nylon brush. The soap was rinsed with warm water and dried with a cotton hand towel.
Back at the workbench the stummel was wiped with a make-up pad wetted with 99% ethyl alcohol. Very little color came off the briar indicating that it was clean of dirt and wax.
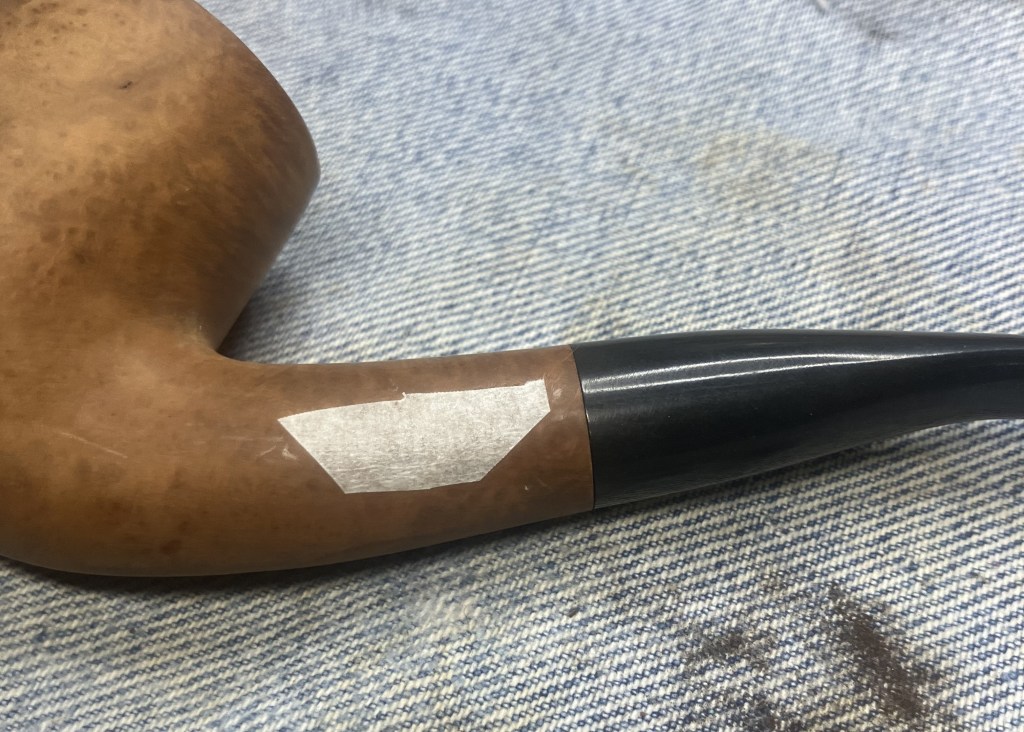
I went to work picking old fill material from the observable pits using a fly tying bodkin.
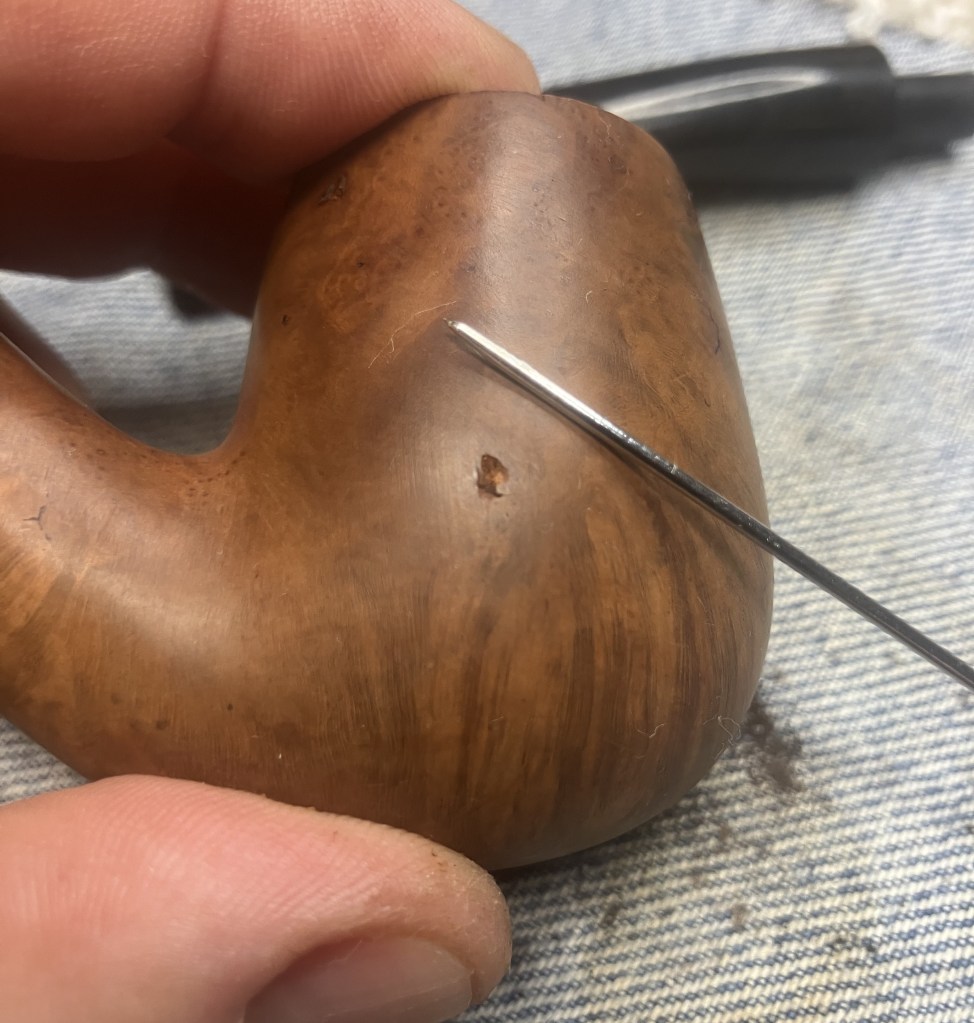
Several surface flaws were noted and I hoped that these could be filled with cyanoacrylate (CA, super glue)
The larger pits would require briar dust and CA.
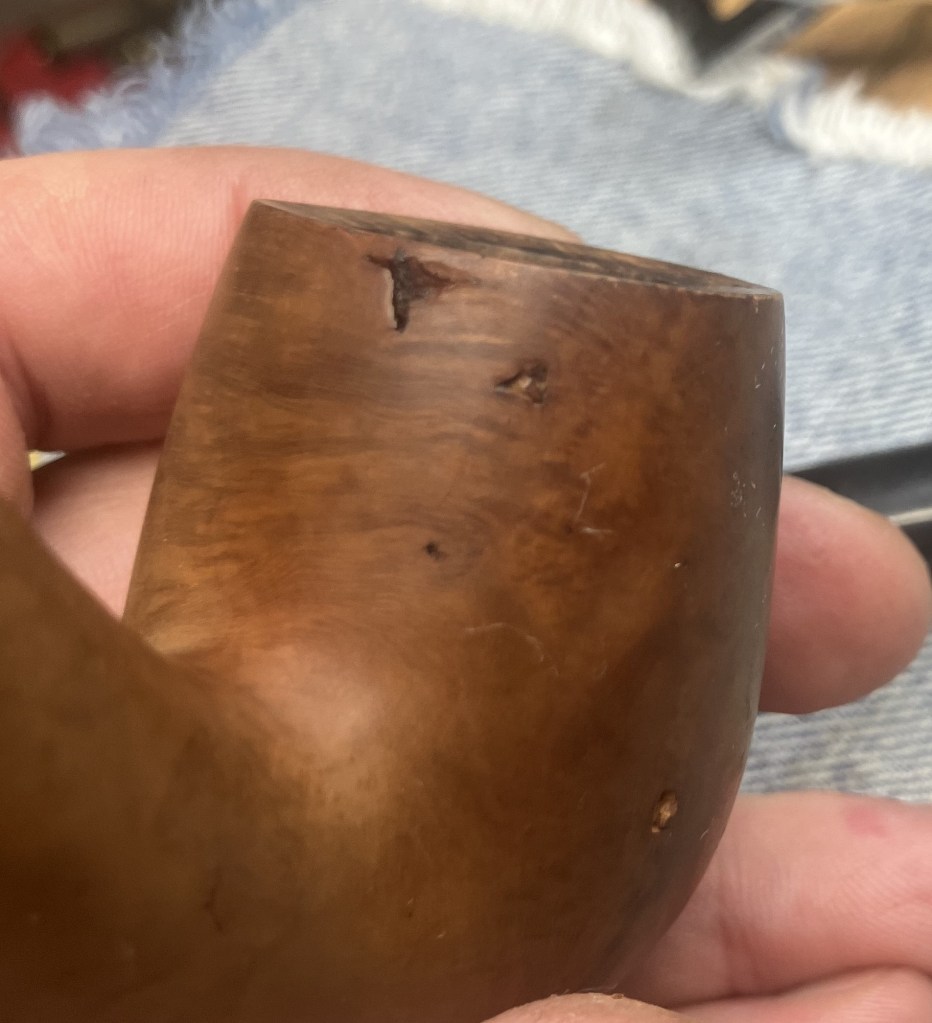
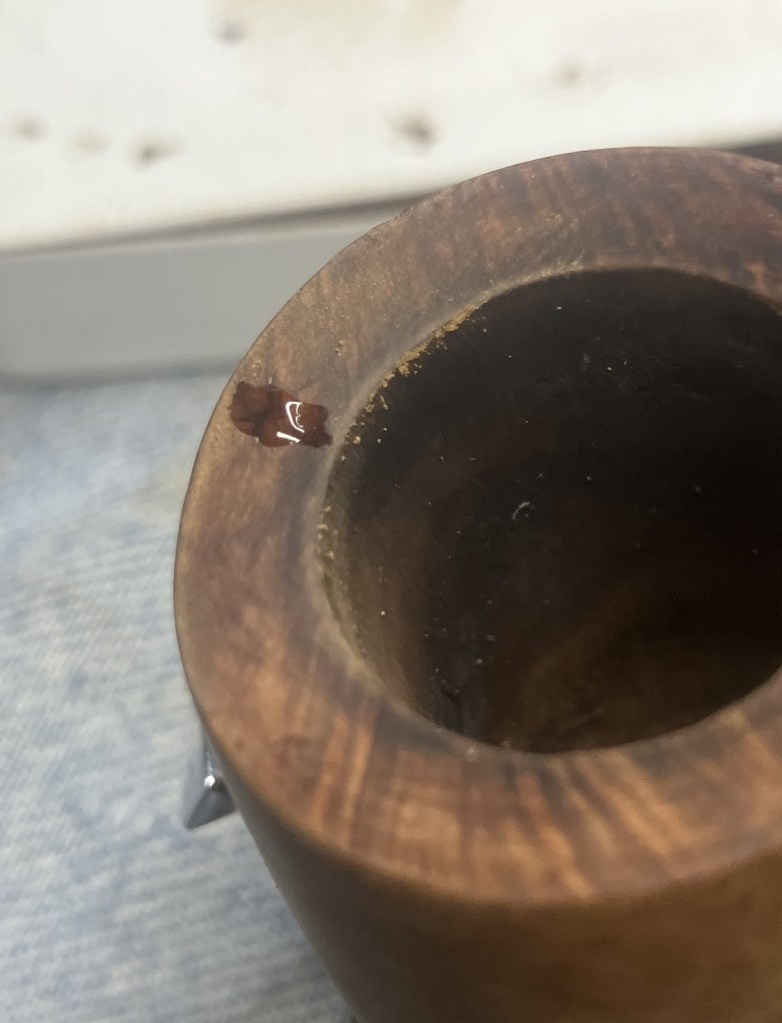
There was also a small flaw on the rim. This would be tougher for fill due to the bevel of the rim.
The larger pits were packed with briar dust by pressing the dust in with my finger tip or the curved back of the dental scraper..
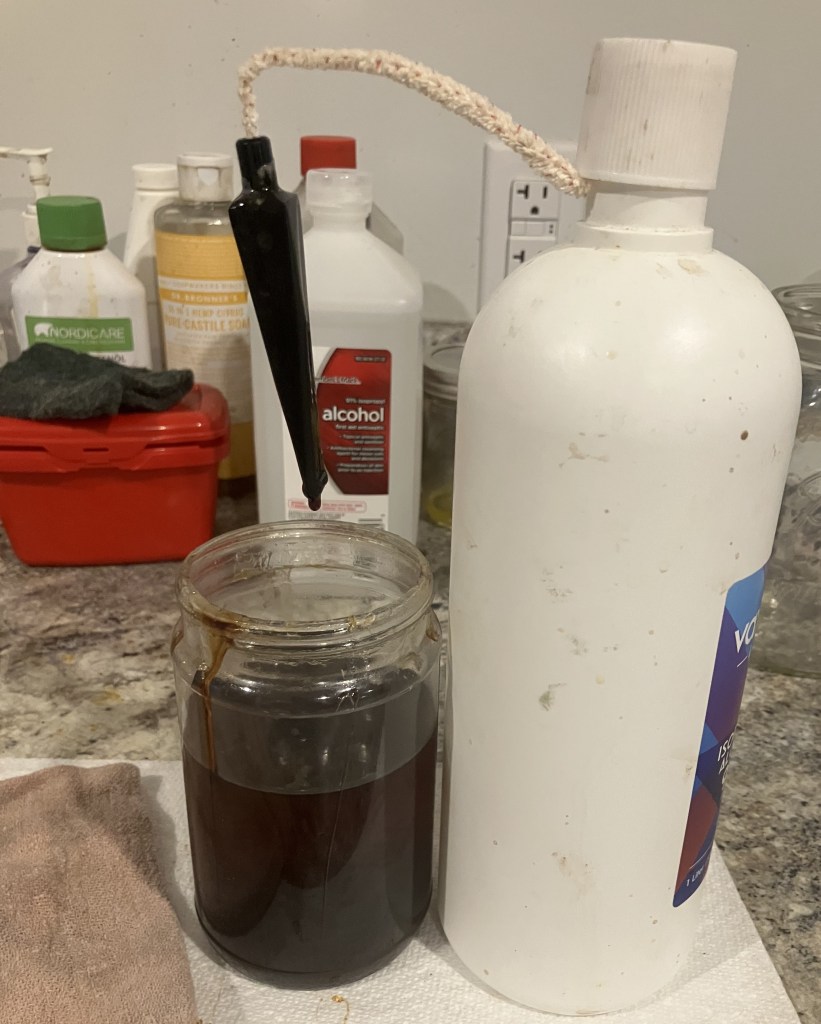
Using a fine disposable applicator tip on the bottle of CA, I applied a small drop of Thin CA to the briar dust.

Once set-up the new fill was filed with a small flat file then smoothed with a 400 grit sanding sponge. If the fill required additional briar dust , more was added and the CA application repeated.
The process was repeated for the rim.
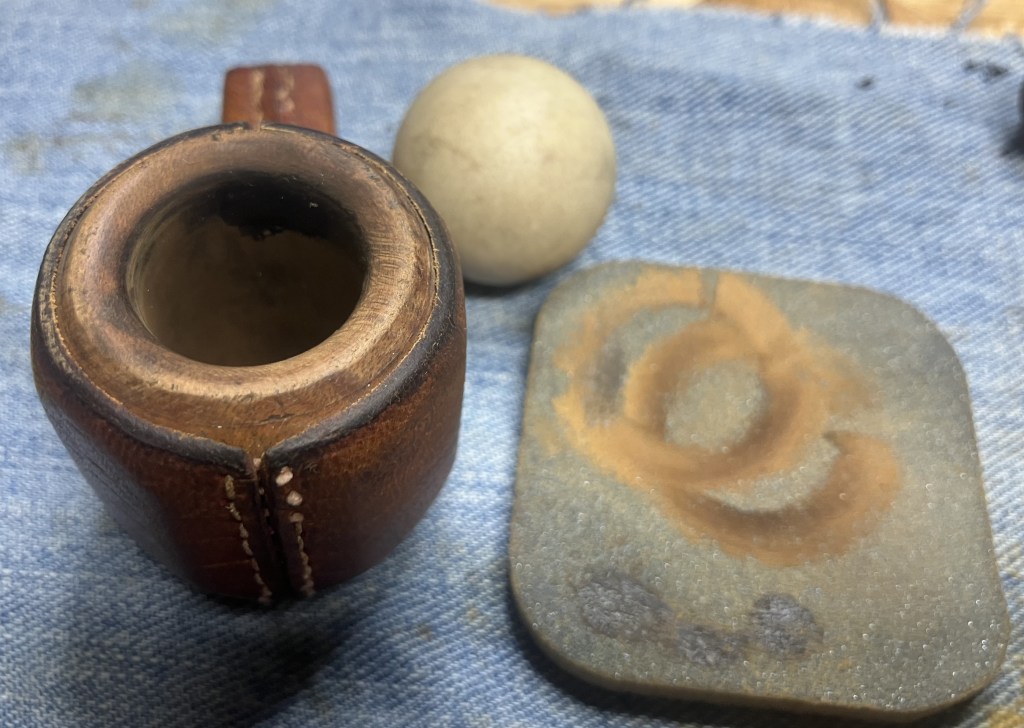
Now, I bet you are wondering, “why does this clown have a tea pot on his workbench?” Good question. This clown thought that I did not have any round surface large enough for sanding the bevel of this rim. Violla, a tea pot might just be a fitting curve.
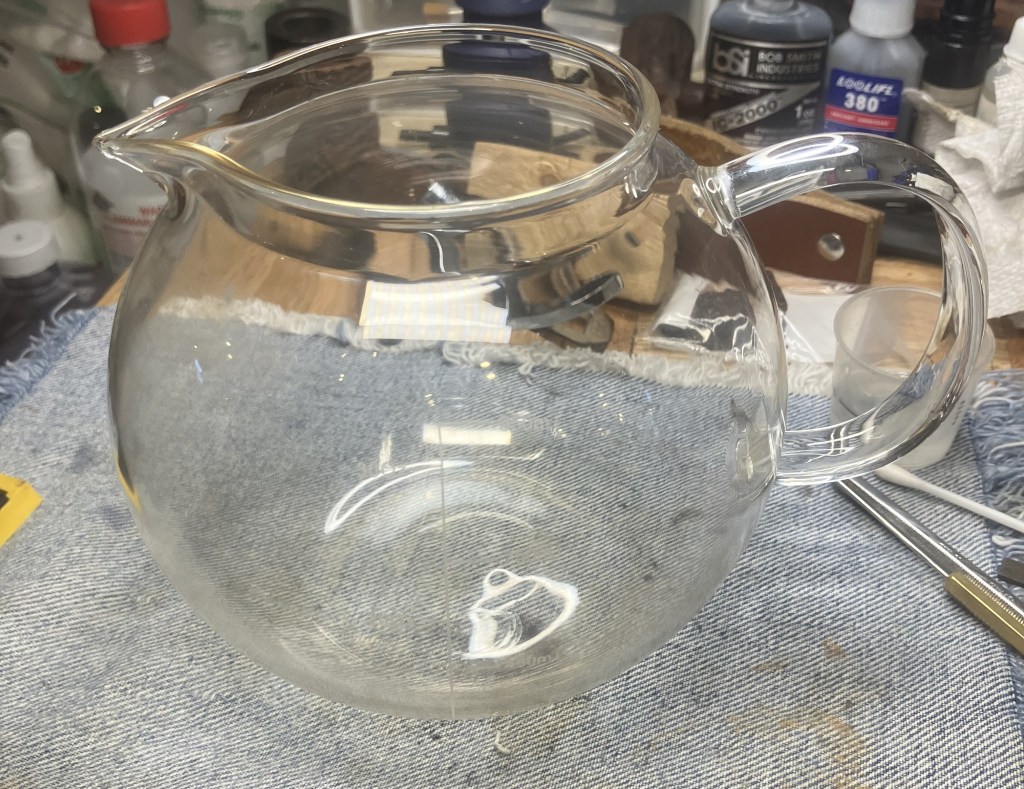
And it was.
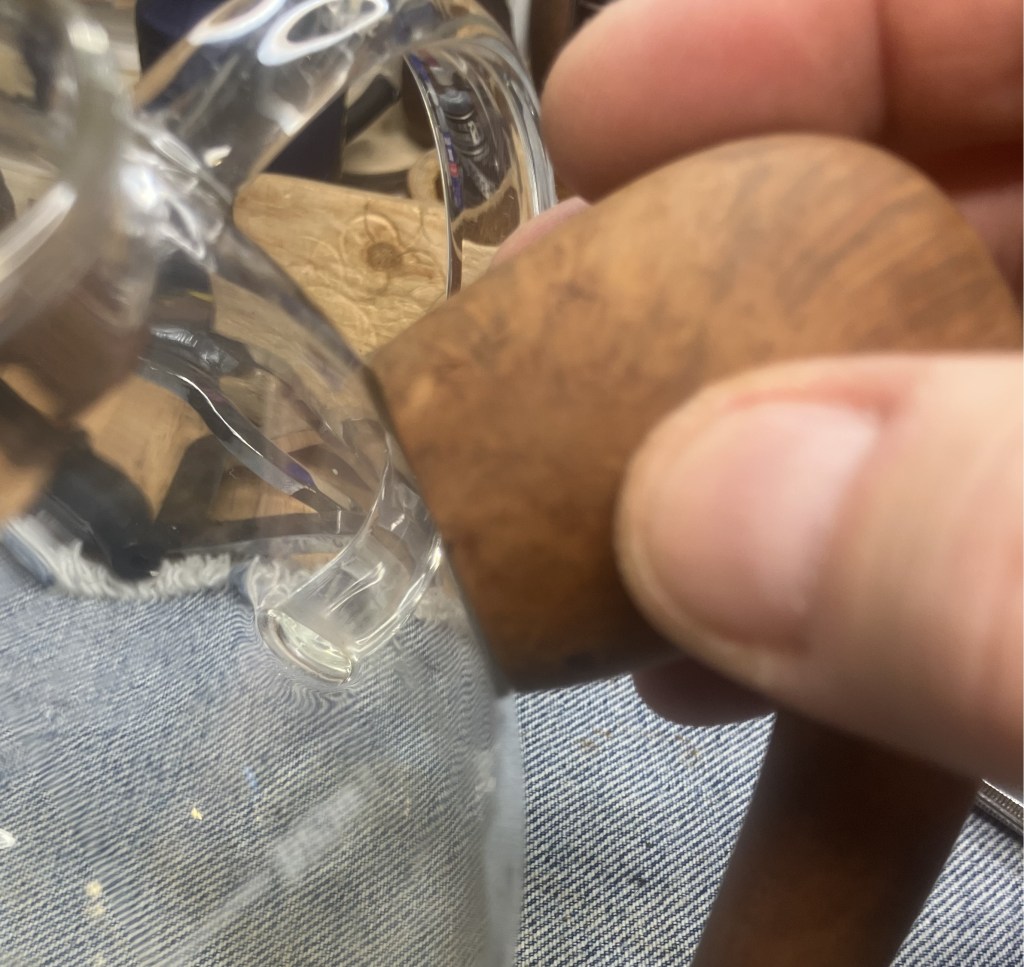
I held a piece of 400 sandpaper in place on the teapot and was able to sand the curved bevel quite well.
Covering the stamps with masking tape to protect them from sanding was necessary.
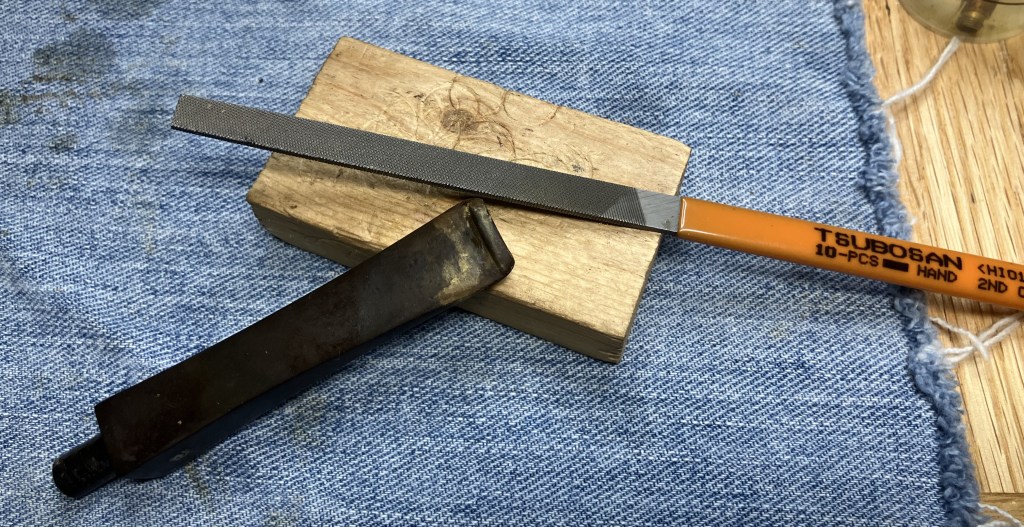
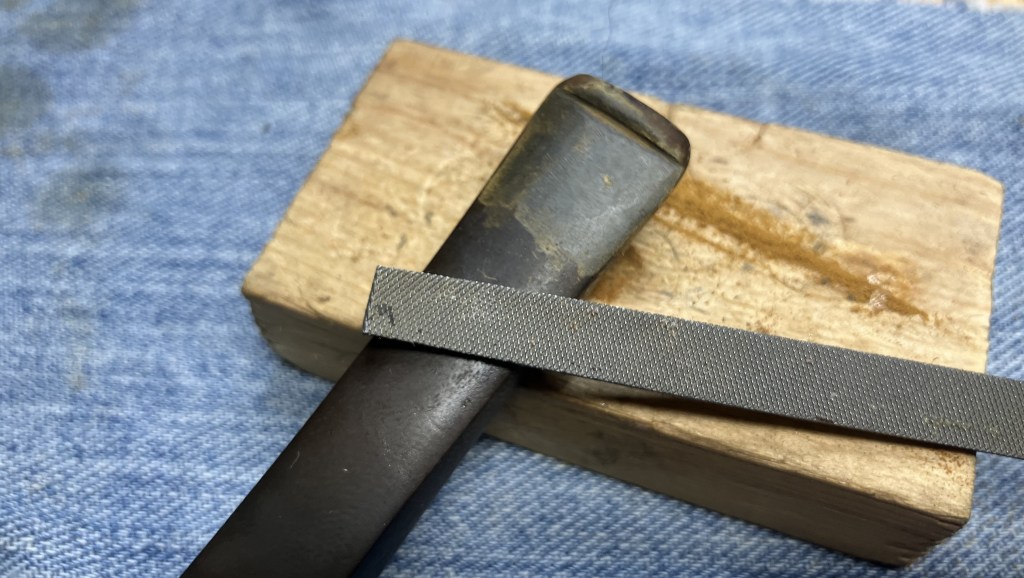
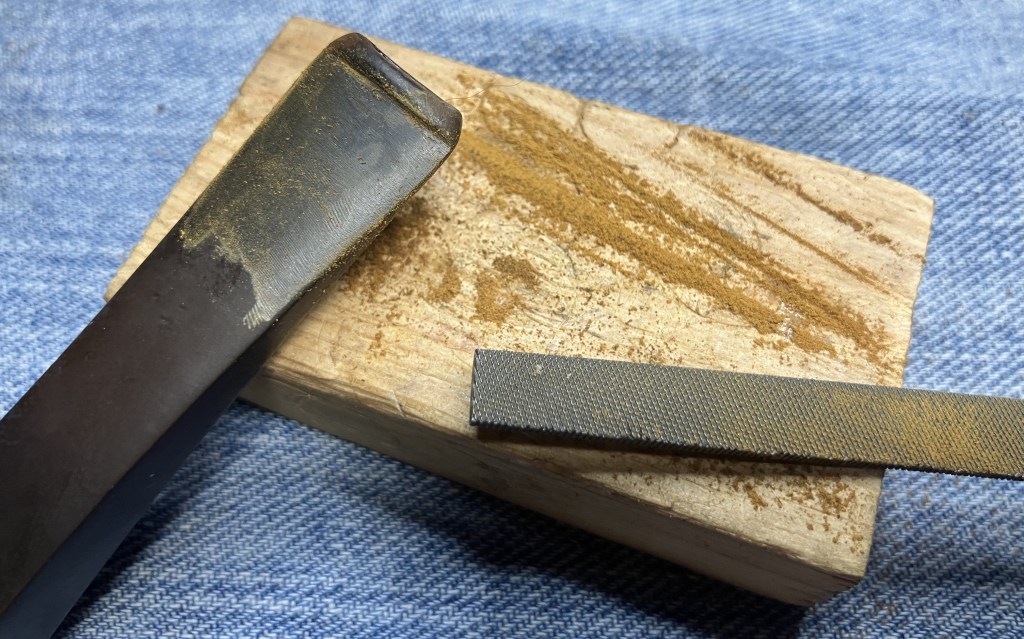
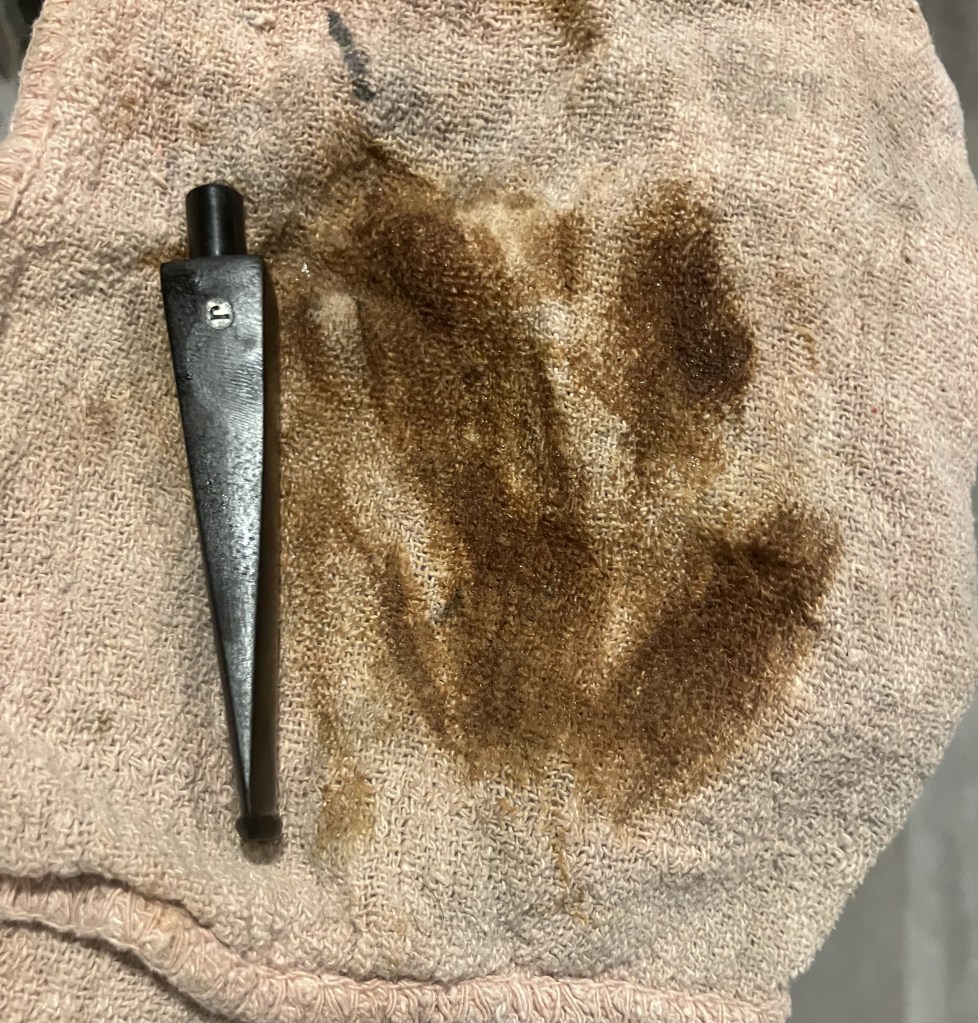
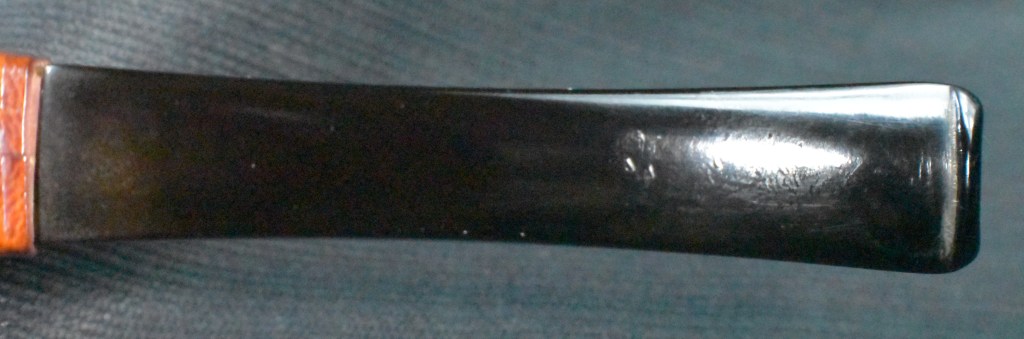
The stem was then sanded with 320-600 sanding sponges. There was also a little bit of filing of the tooth chatter, but I failed to photograph that. You can see the tip of the file in the photo below, though.
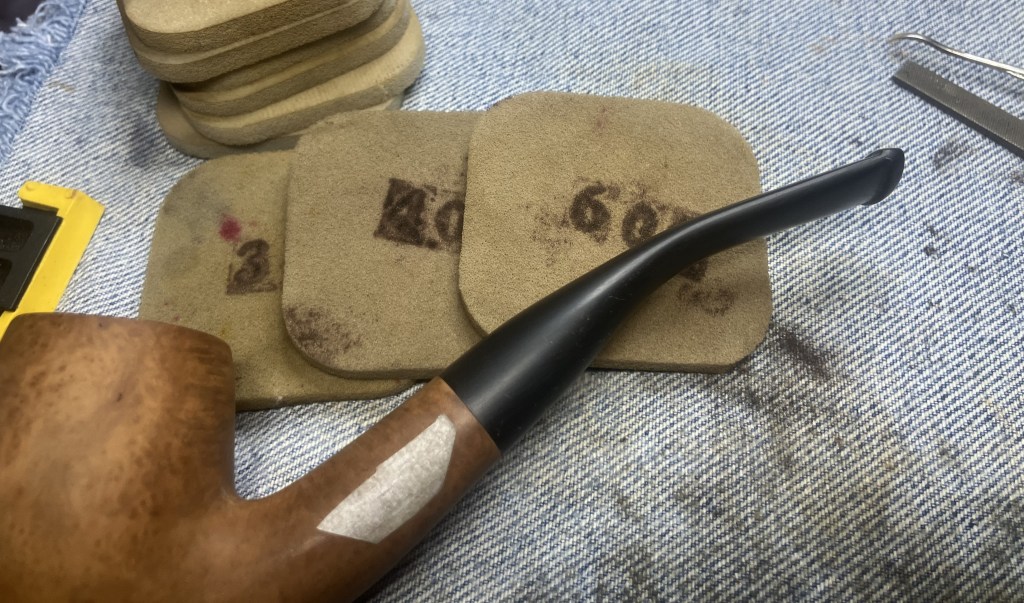
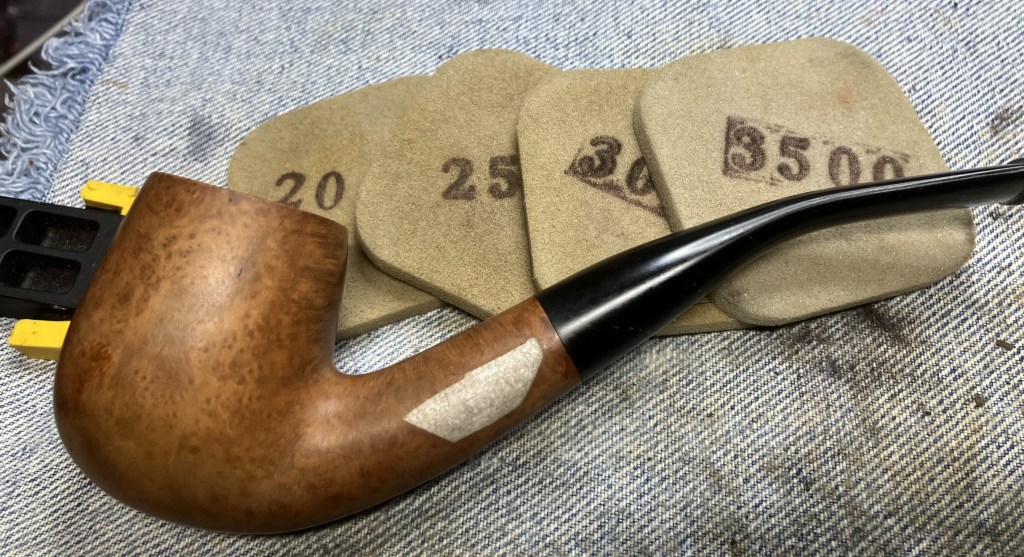
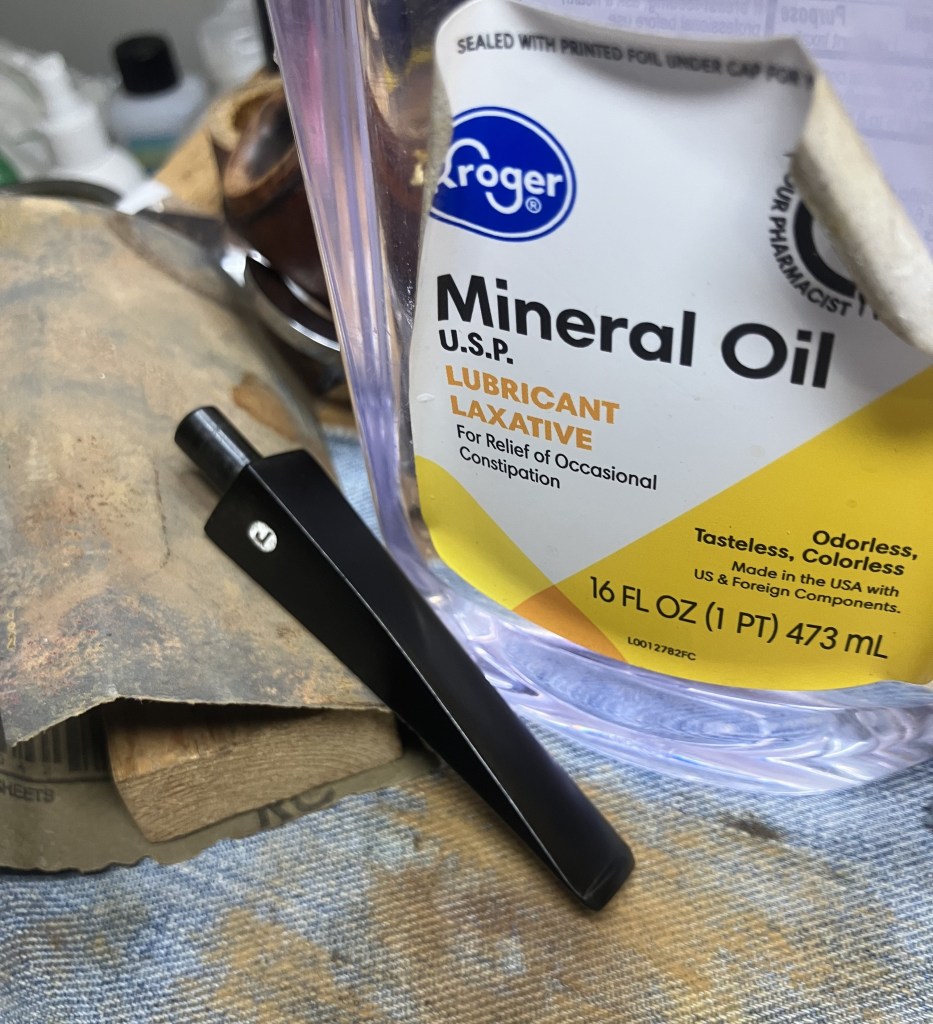
The stummel was then sanded to match the stem. Between sponges I wiped the stummel with an alcohol wetted make-up pad. The stem was rubbed with mineral oil and wiped with a dry paper towel between sponges.
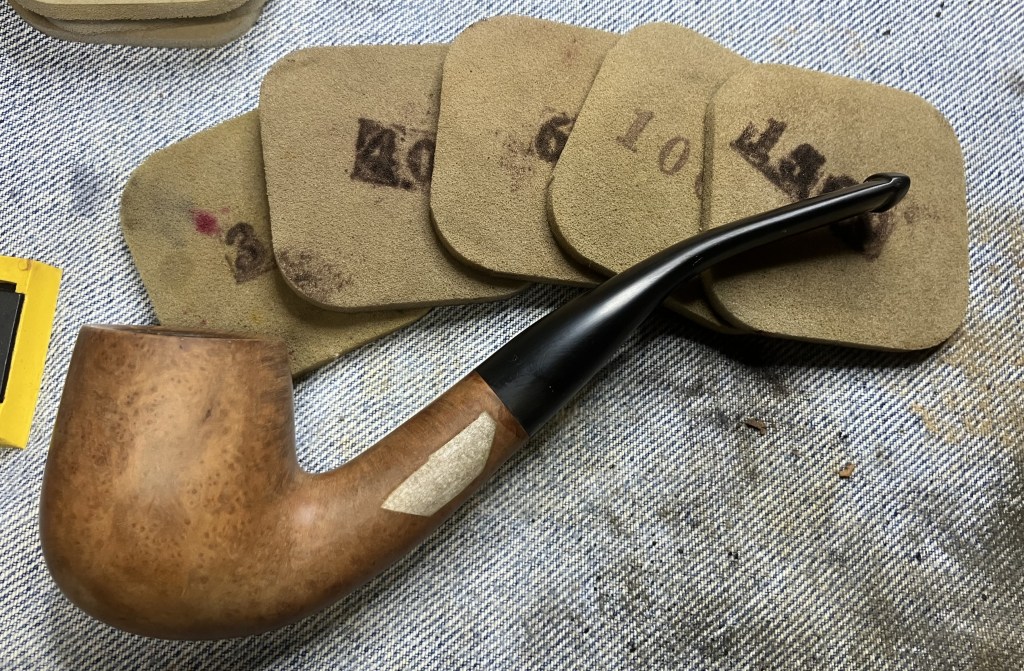
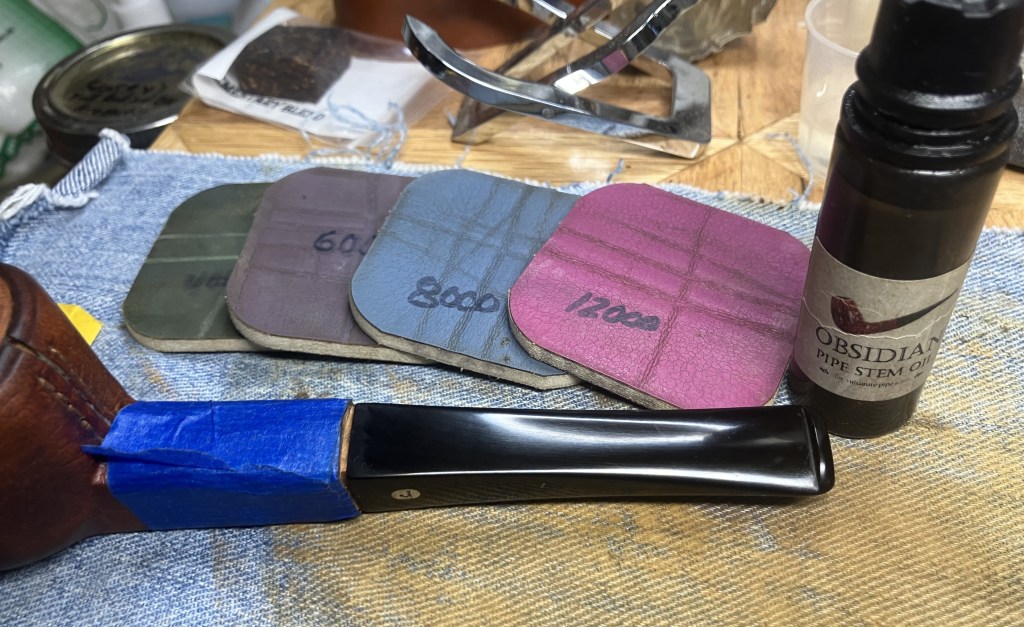
The sanding and wiping continued through the series of sanding sponges to 3500.
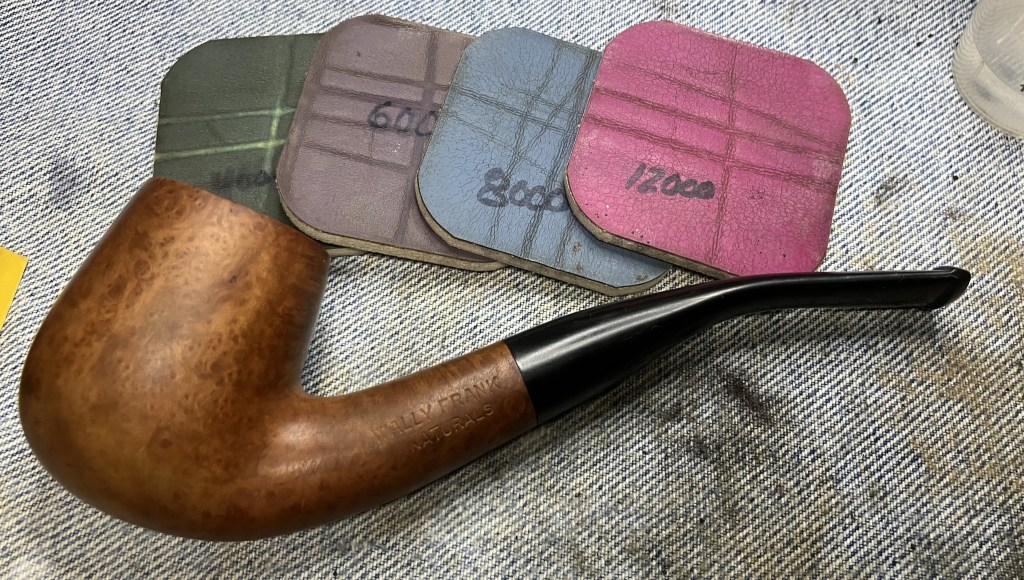
After the sponges came the micro-mesh pads. These were wiped as with the sanding sponges except I used Obsidian Oil on the stem rather than mineral oil.
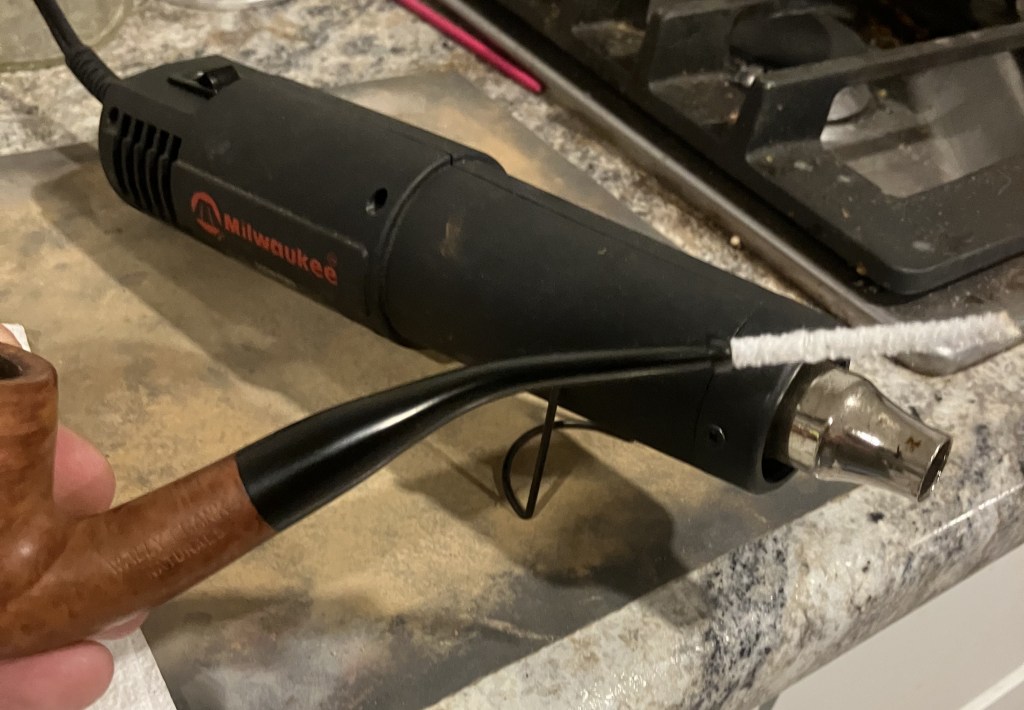
I placed a pipe cleaner in the stem then used a heat gun to heat the vulcanite and rebend it
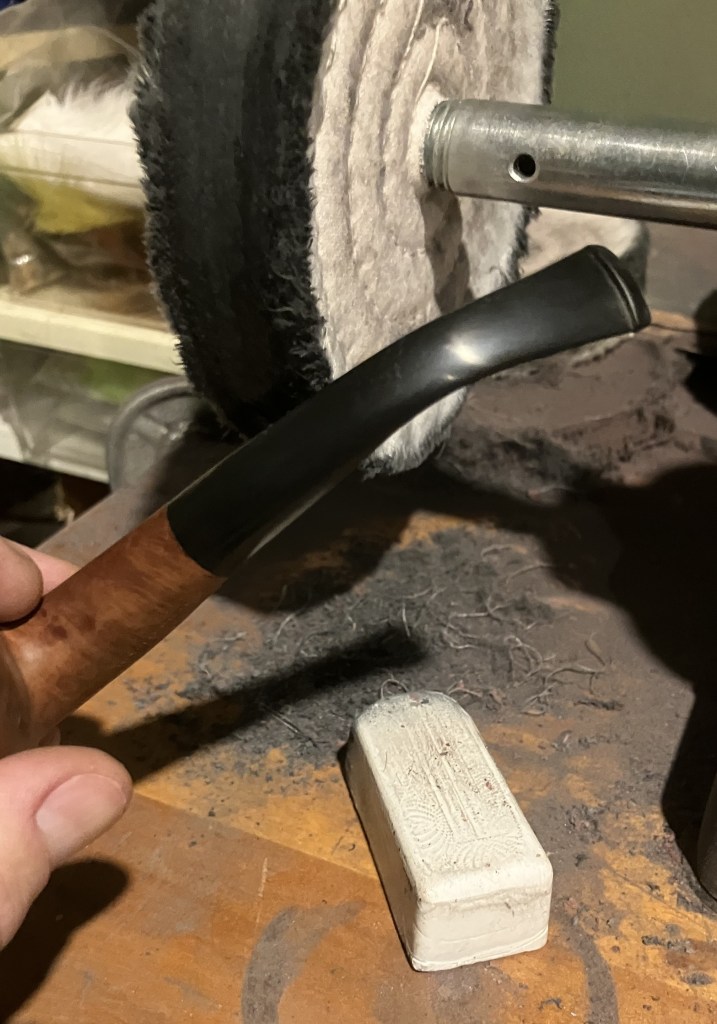
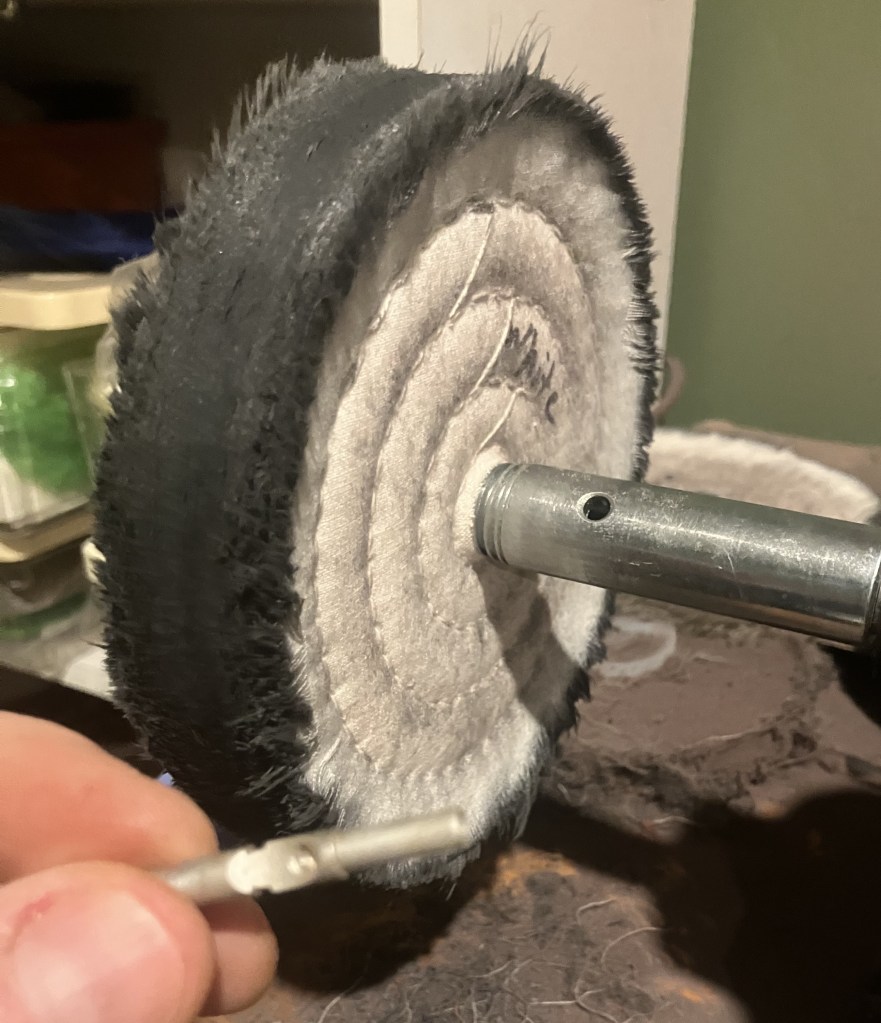
The stem was then polished on the buffer with white buffing compound.
A coating of Before and After Restoration Balm was applied to the briar and allowed to work its magic for 30 minutes.
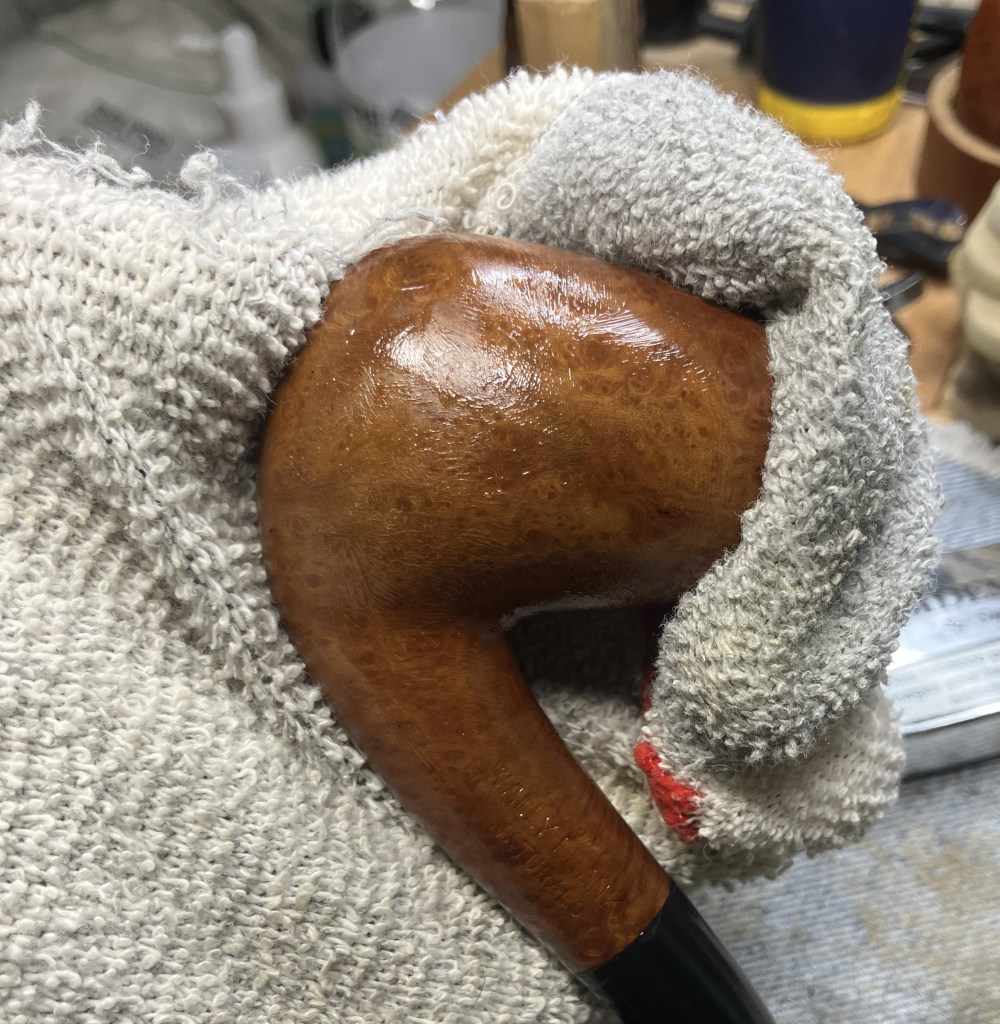
A thorough hand buffing of the stummel with an inside out athletic sock was used to remove the excess balm.
The final steps were to apply several coats of carnauba wax to the shank and stem with the buffer. This was followed by a hand buffing of the pipe with a microfiber polishing cloth.
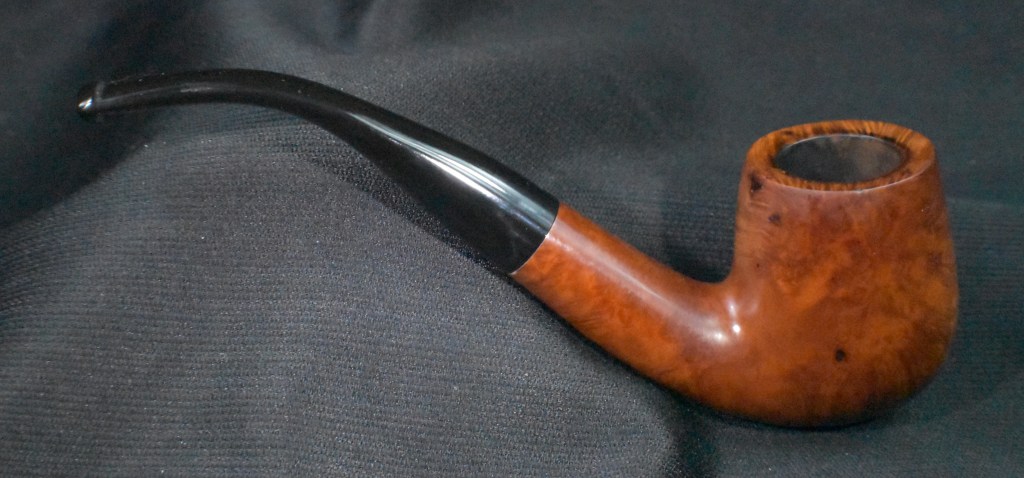
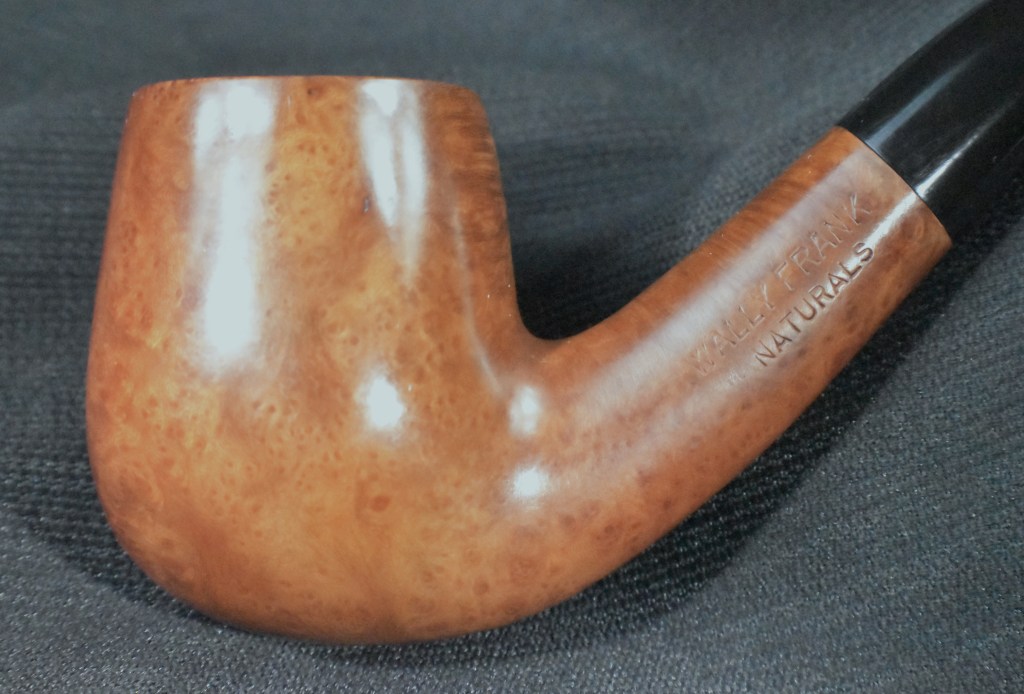
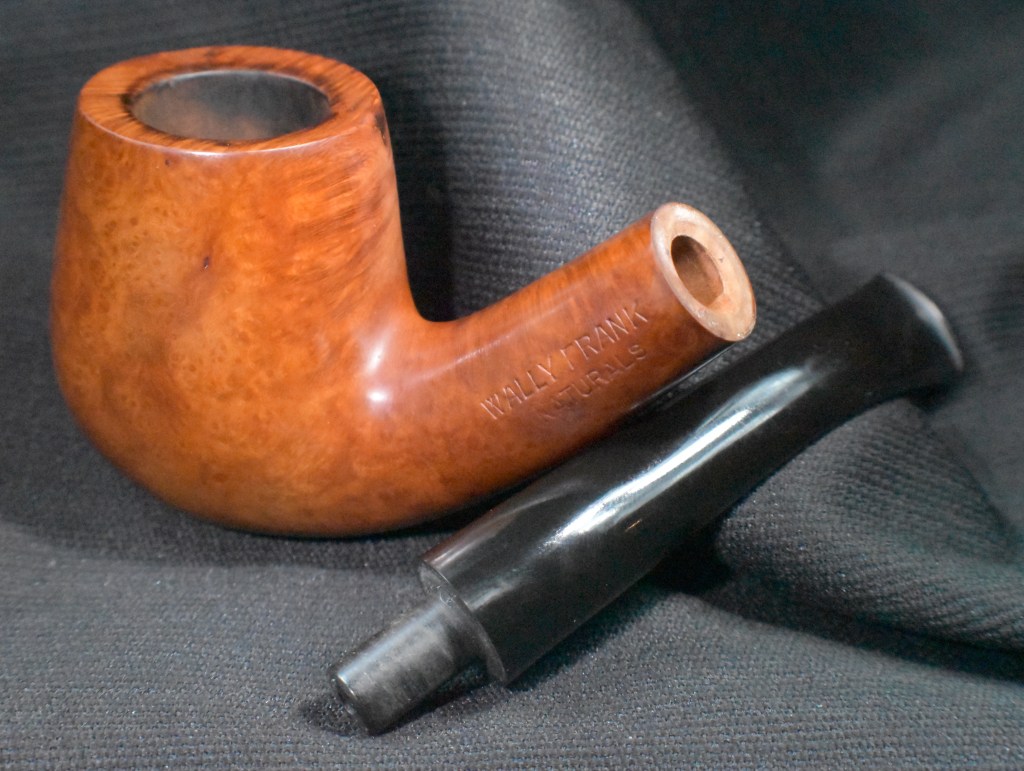
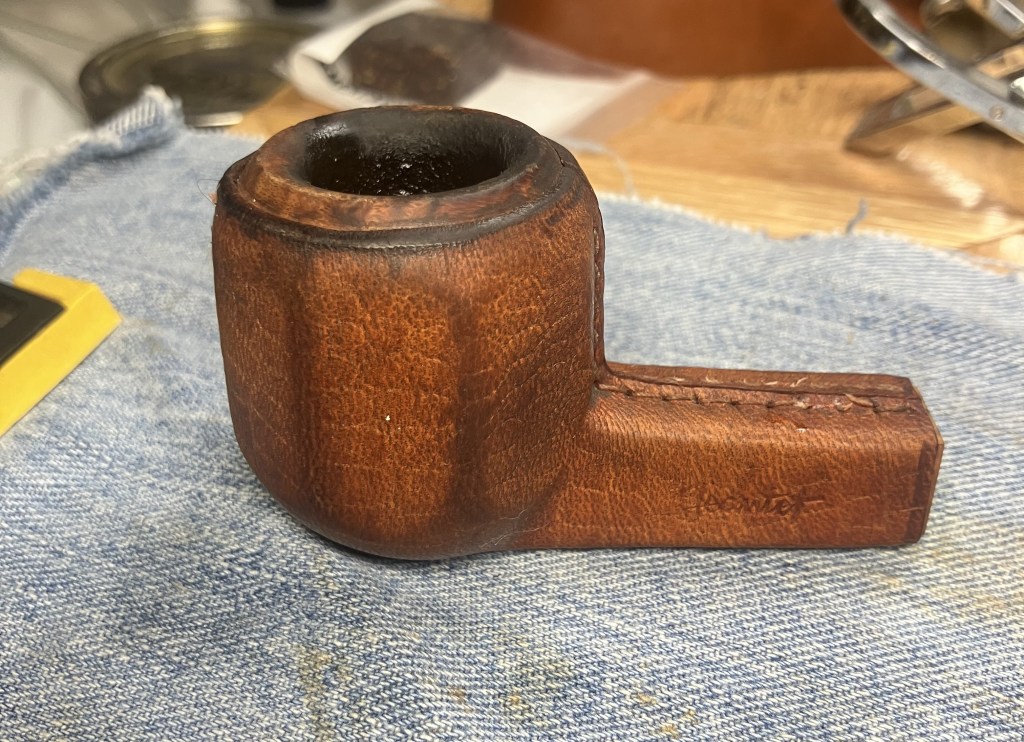
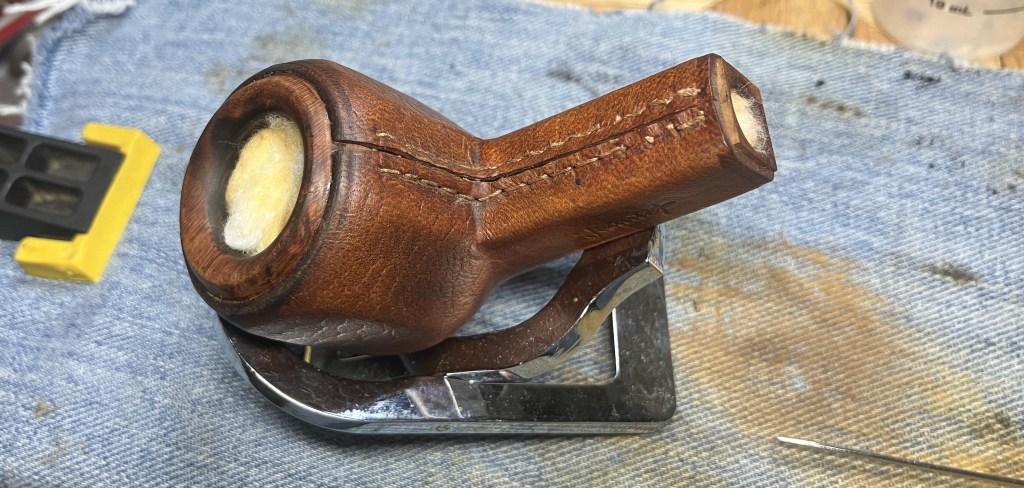
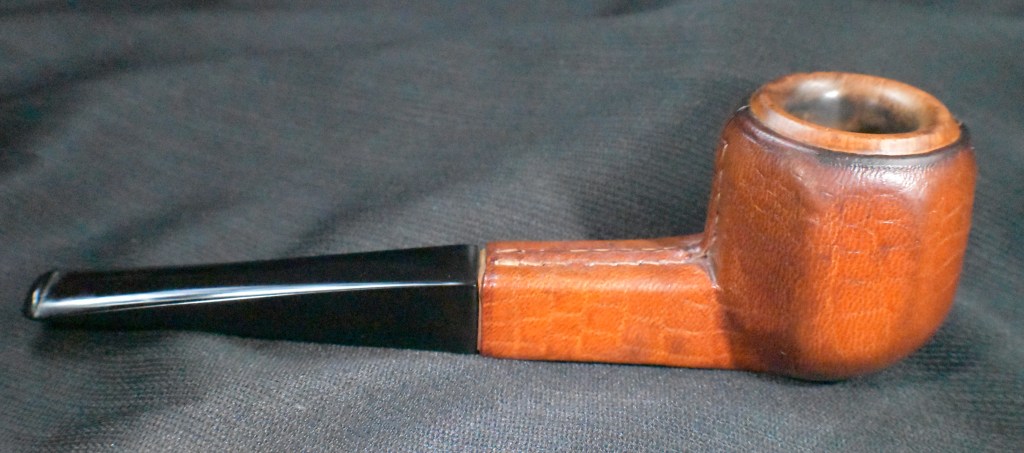
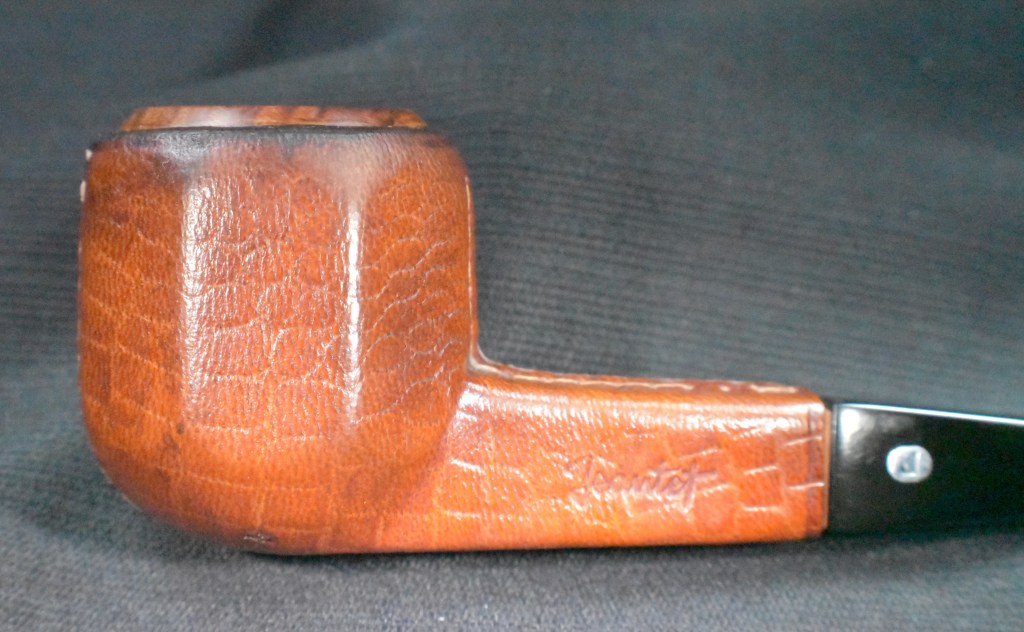
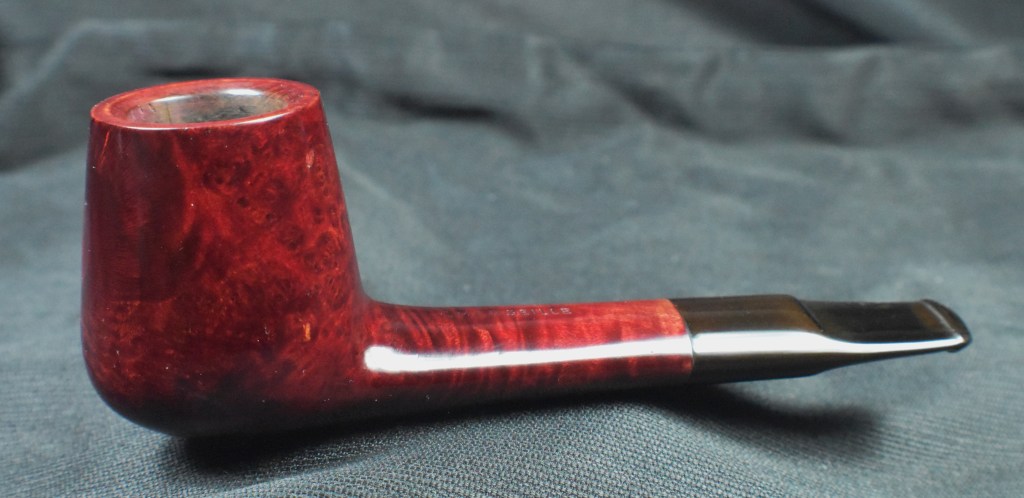
I think this old Wally Frank Natural Bent Billiard turned out very well. The “Natural” nishing of the briar looks good though it does not conceal the fills. Fills in briar are necessary to give a smooth pipe the expected uniform even surface. I have not found a way to have them match the color of briar, perhaps someday a product will be discovered to aid this dilemma. The stem was in good condition before but looks very good with the removal of the creases and the adjusted bend. The stark difference between the glossy black and the natural briar is very attractive. The dimensions of the Wally Frank Natural Bent Billiard are:
Length: 5.94 in./ 1540.88 mm.
Weight: 1.57 oz./ 35.3 g.
Bowl Height: 1.95 in./ 49.53 mm.
Chamber Depth: 1.65 in./ 41.91.02 mm.
Chamber Diameter: 0.76 in./ 19.30 mm.
Outside Diameter: 1.51 in./ 38.35 mm.
I do hope that you have found something here useful to your own pipe care, maintenance or restorations. If you like this sort of thing, please click the like and subscribe buttons. Thank you for reading the ramblings of an old pipe lover.
Below are some photos of the finished Wally Frank Natural Bent Billiard.


 Which, in all honesty, is the same as nothing. The pipe has no country of manufacture (COM) stamp but, if I were a betting man, I’d bet on France. Marseille makes me think of Marsielle Marso but I kind of dislike bringing that up due to the dislike of mimes in general by AMericans. At least in my experience mimes are not appreciated.


 .
.


 (
(


 well, it was not much to go on and it looked like a stretch but, follow it, I did. The link was to a French pipe maker LMB. The only text was the following and it appears roughly translated from French to English: “From Les Pipiers Français — Histoire et Tradition. Gilbert Guyot


Leave a comment