
Photographed and Written by
John M. Young
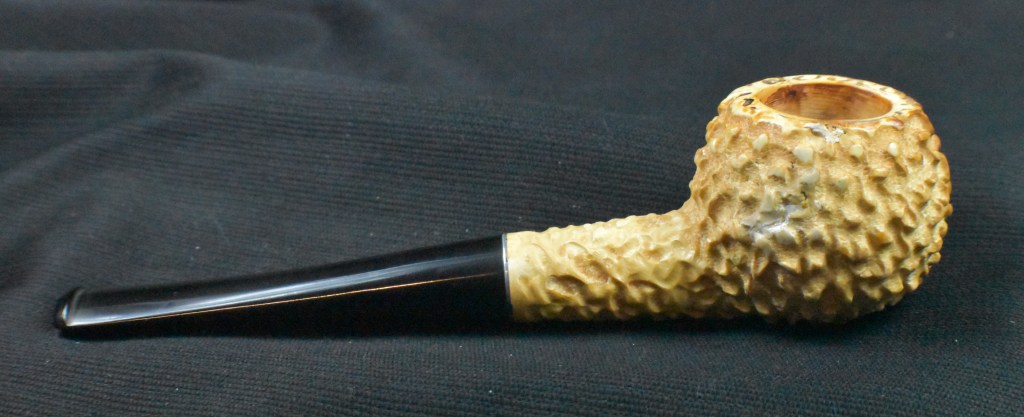
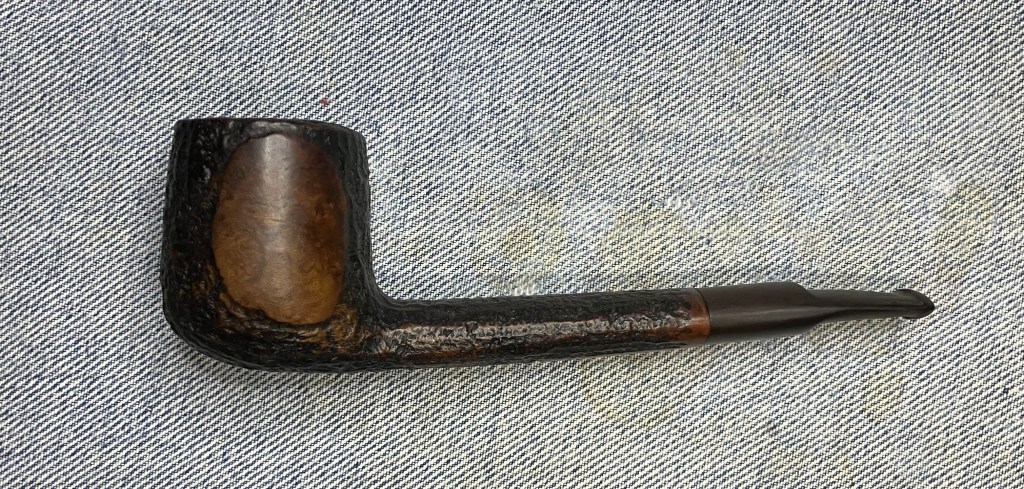
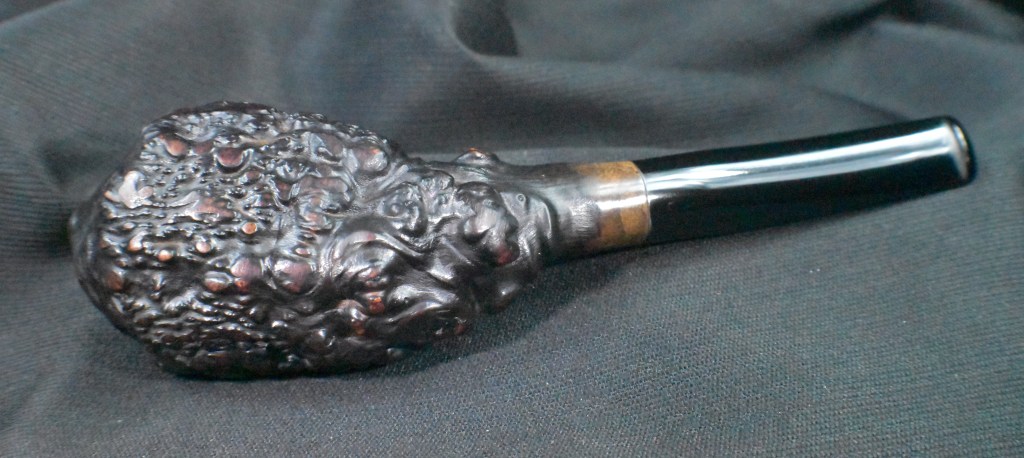
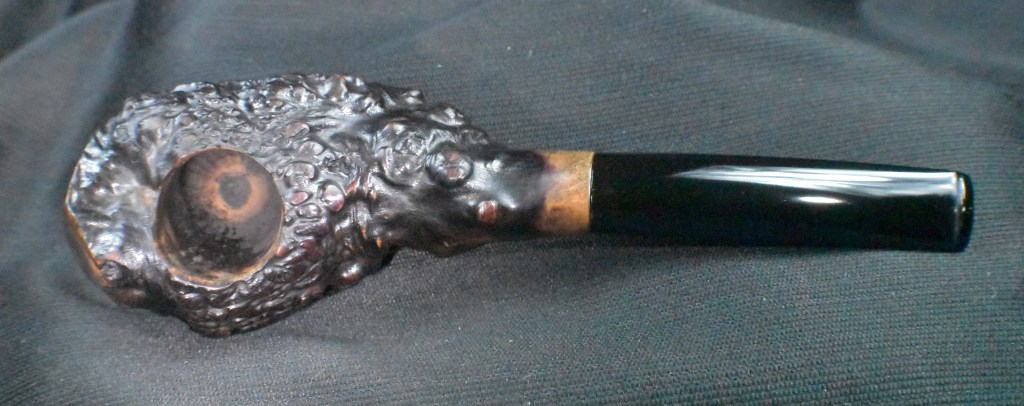
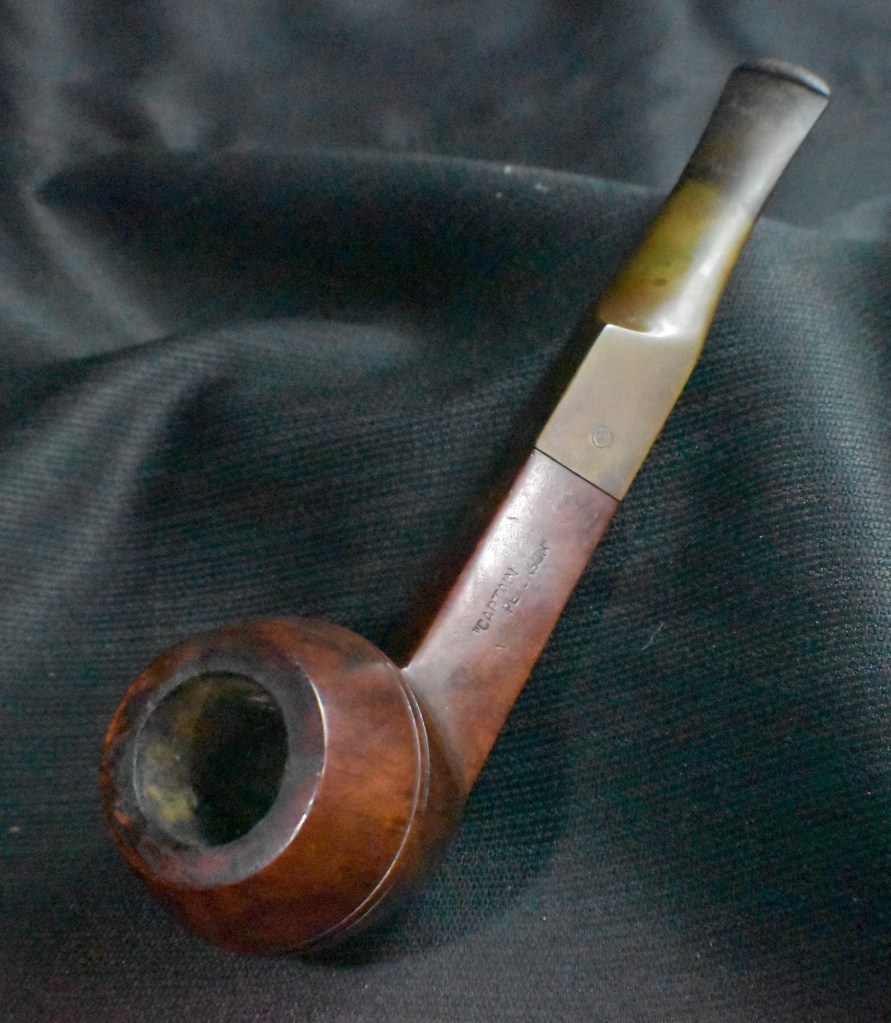
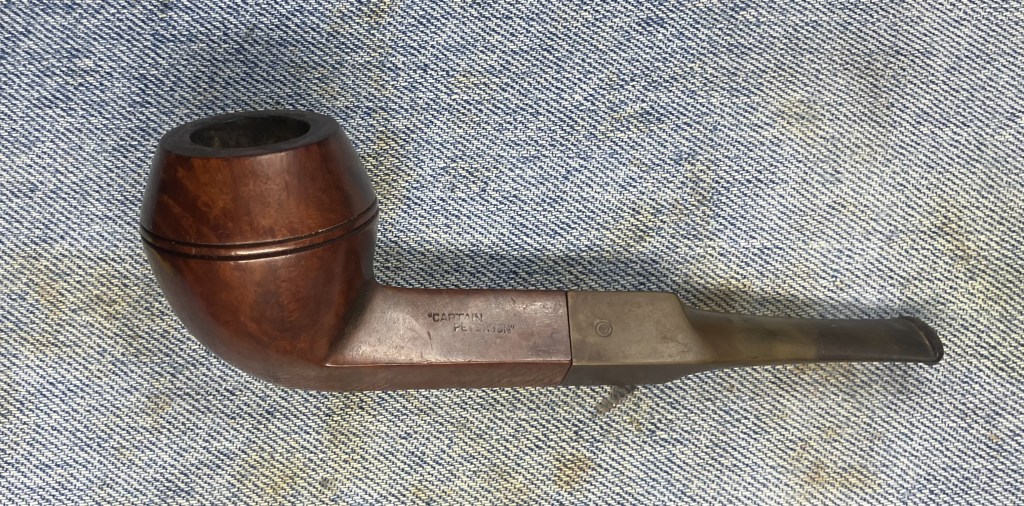
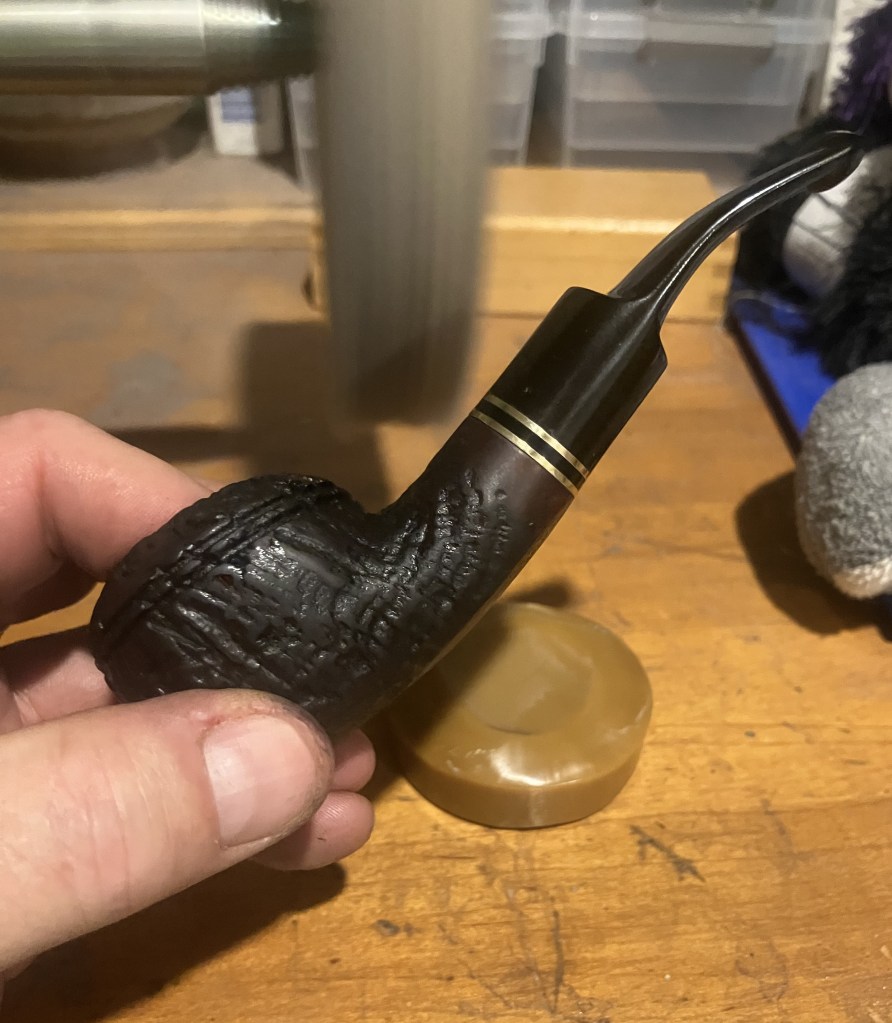
I remember studying the Ancient Greeks in 9th grade. The whole philosophy of Stoicism struck me as great. Relying on rational thought over emotion was somehow appealing, which is funny because having worked with adolescents for a 33 year career as a secondary teacher, I quickly learned that nearly all of their decisions have nothing to do with reason. Come to think of it neither do mine. This pipe for example, a Kaywoodie meerschaum apple which by the seller’s description:

(Kaywoodie Meerschaum Apple/Ball Rusticated Estate Tobacco Pipe Sold As Is | eBay)
What rational thinker would want to deal with a meerschaum pipe that has a hole that ”goes all the way through”? That is the fun part of rationality, one can rationalize just about anything. The pipe called out to me partially because of the uncommonality of Kaywoodie meers but also because of the shape. Yeah I know, two more irrational thoughts. Then there was the whole challenge of, “can I restore it?” That one I could more easily rationalize with, “it would be a good way to practice repairing meerschaum pipes.” Besides, it is cold outside, there is snow on the ground and the lake is becoming covered with hard water, limiting my fishing.
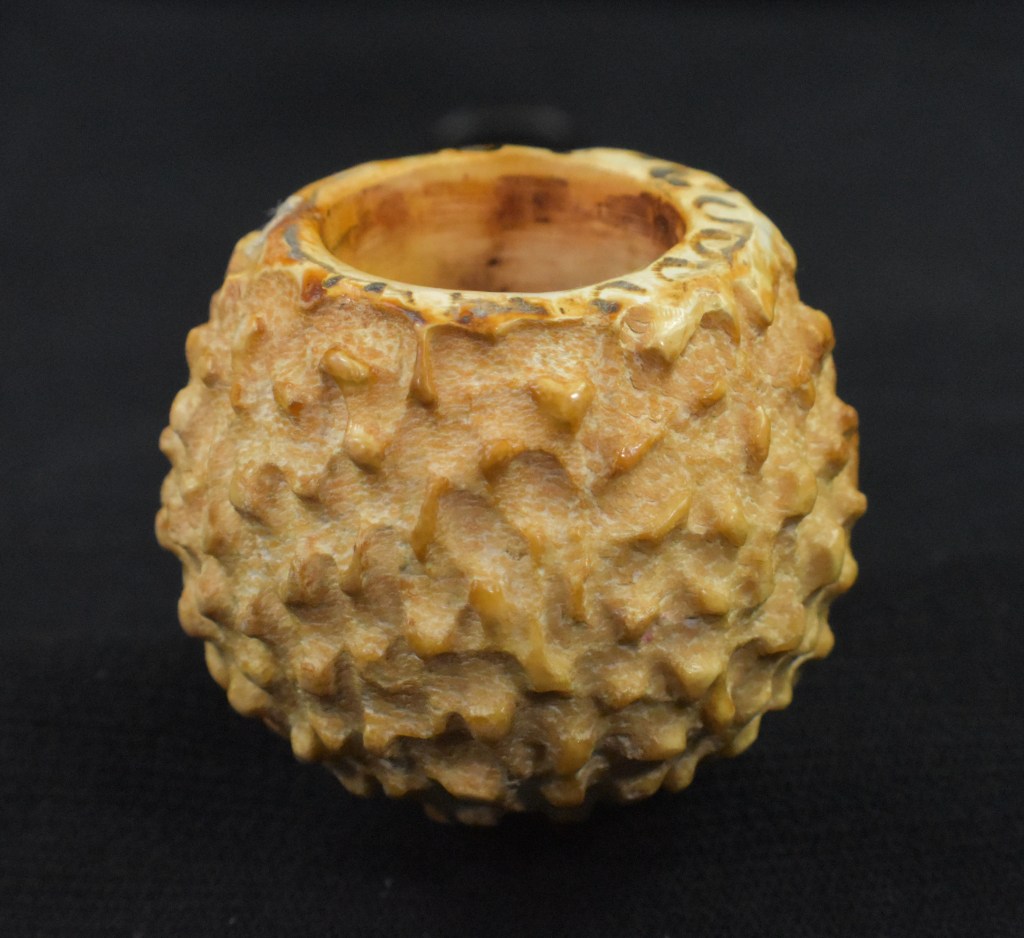
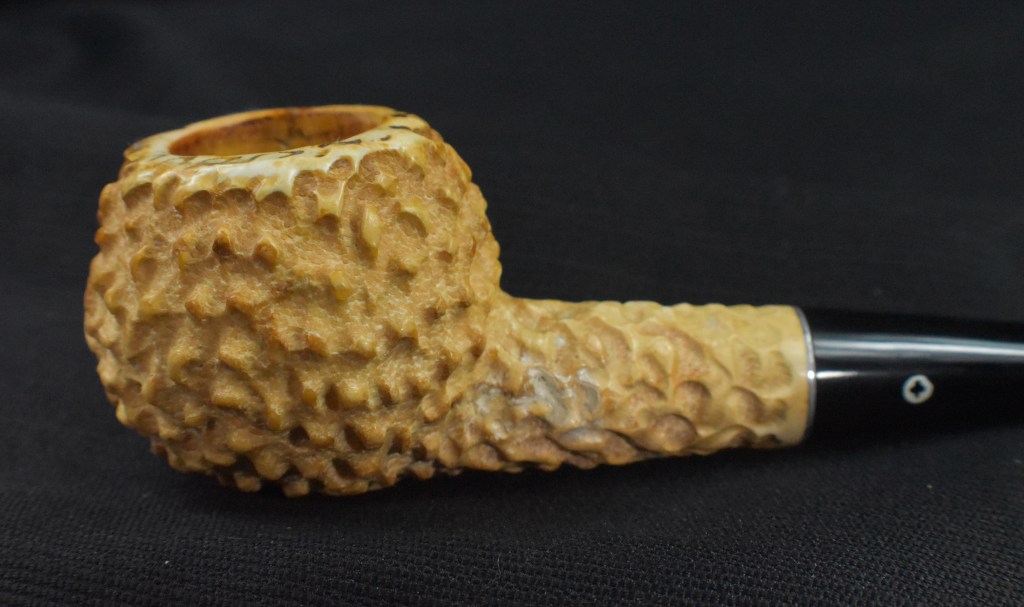
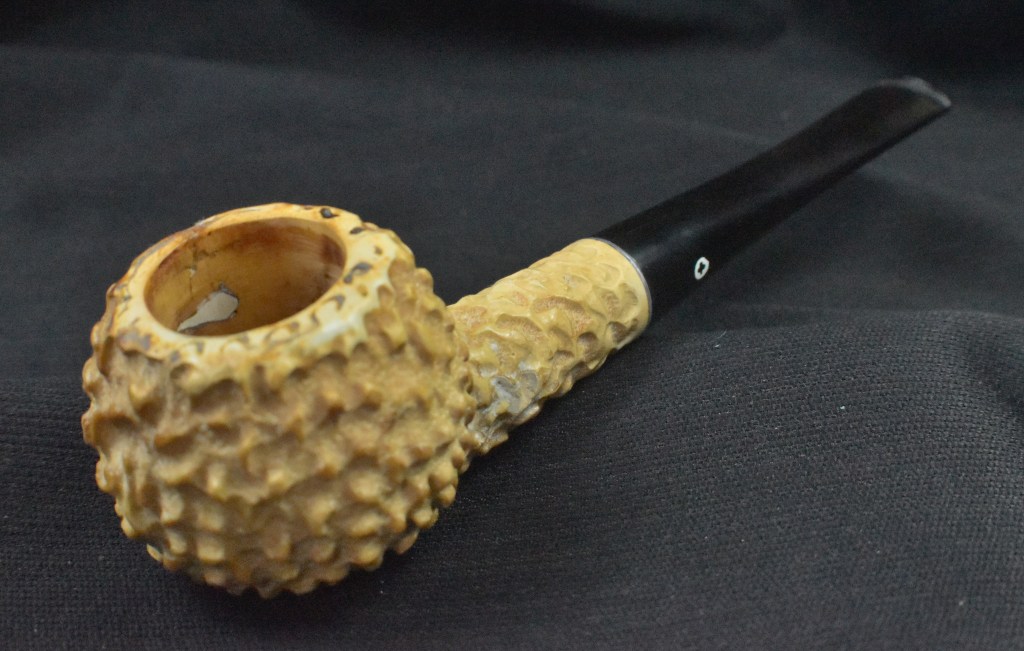
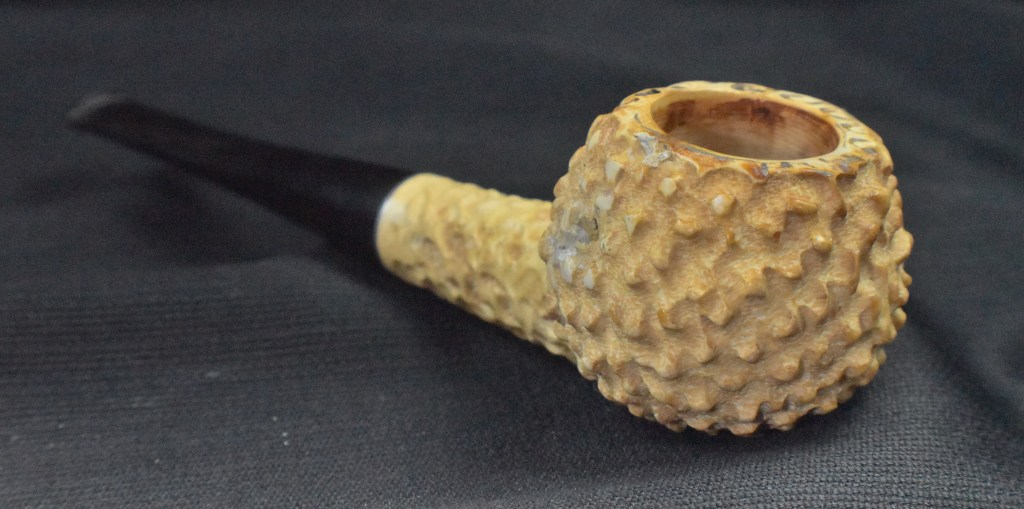
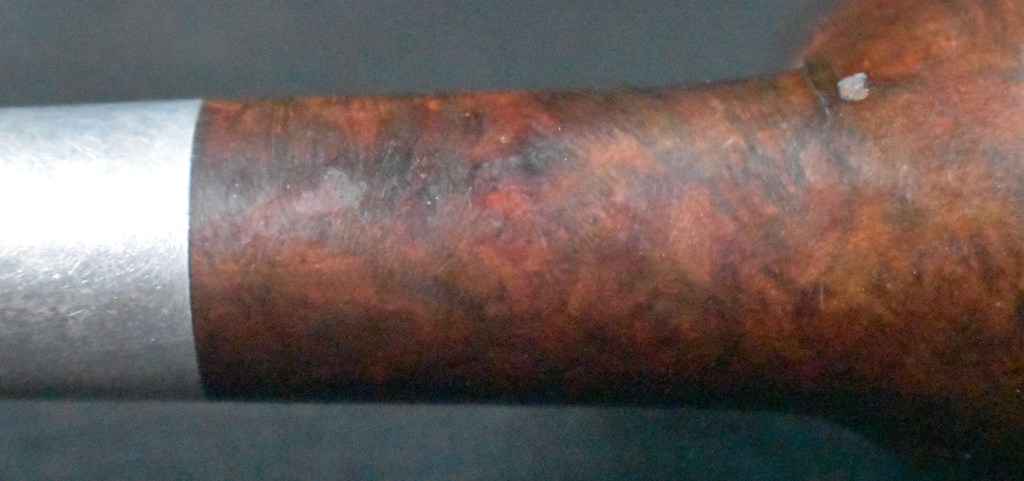
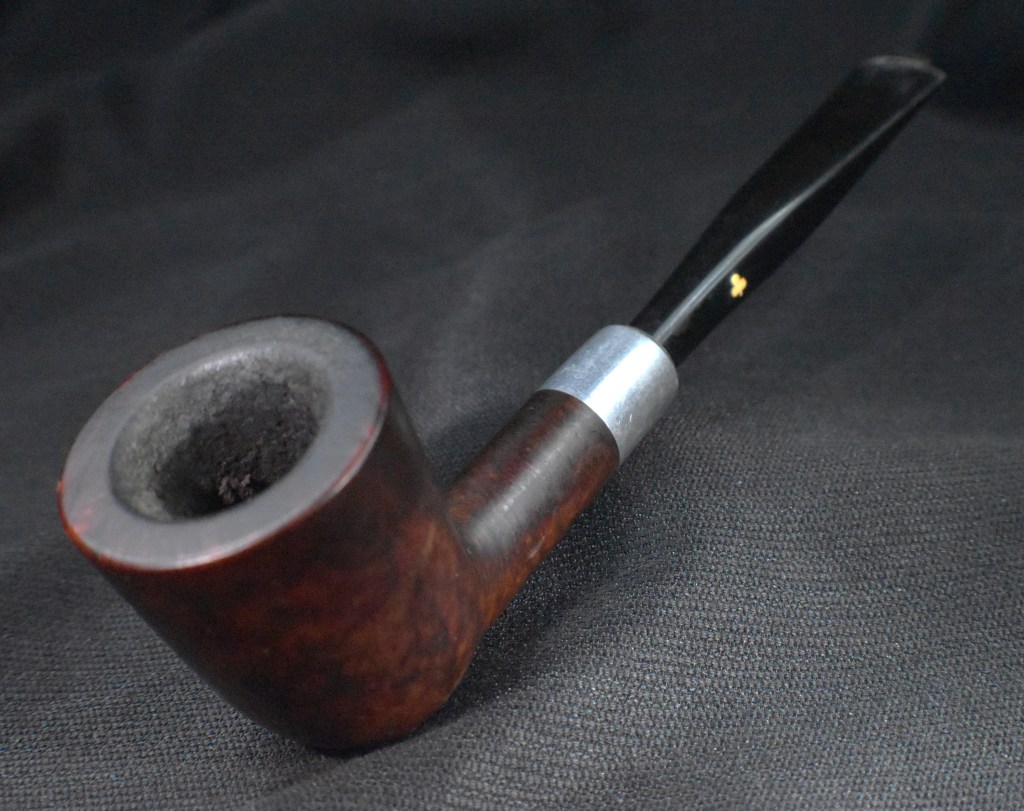
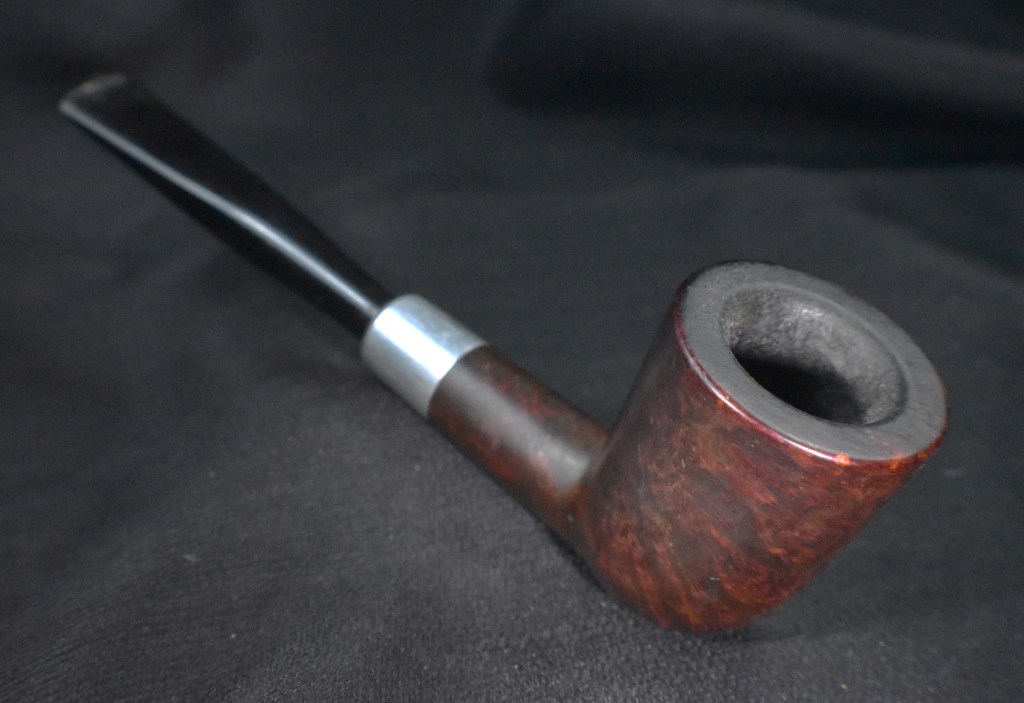
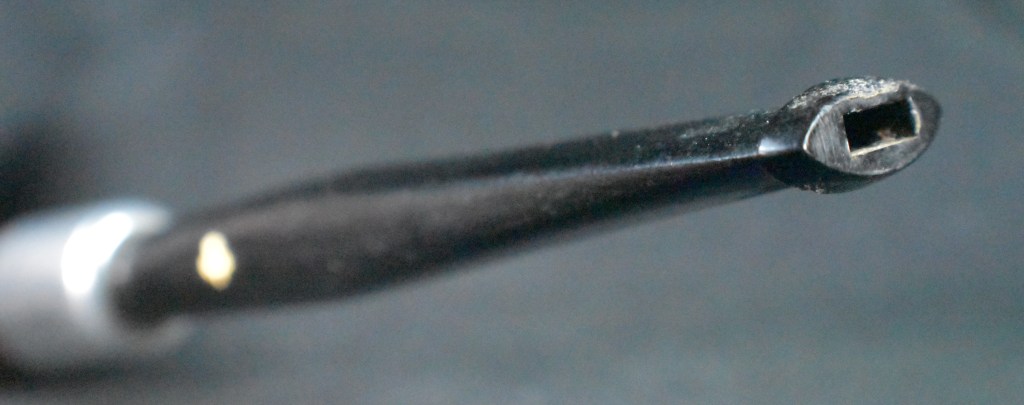
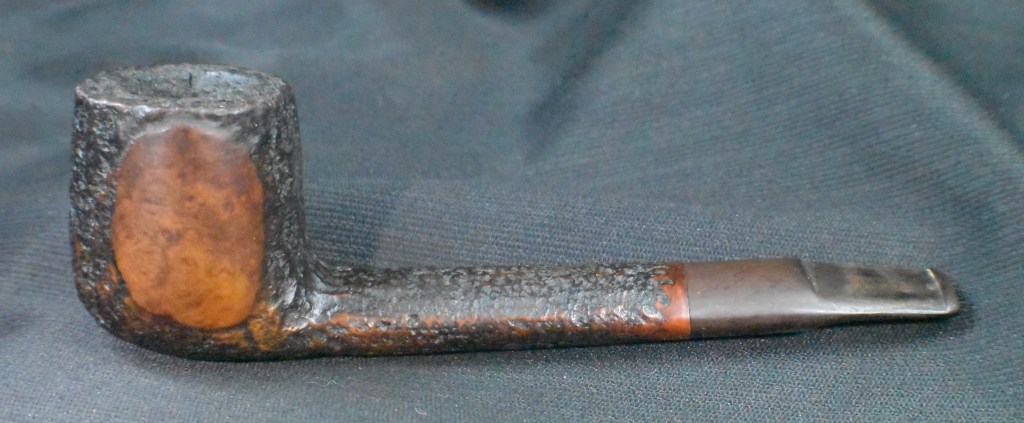
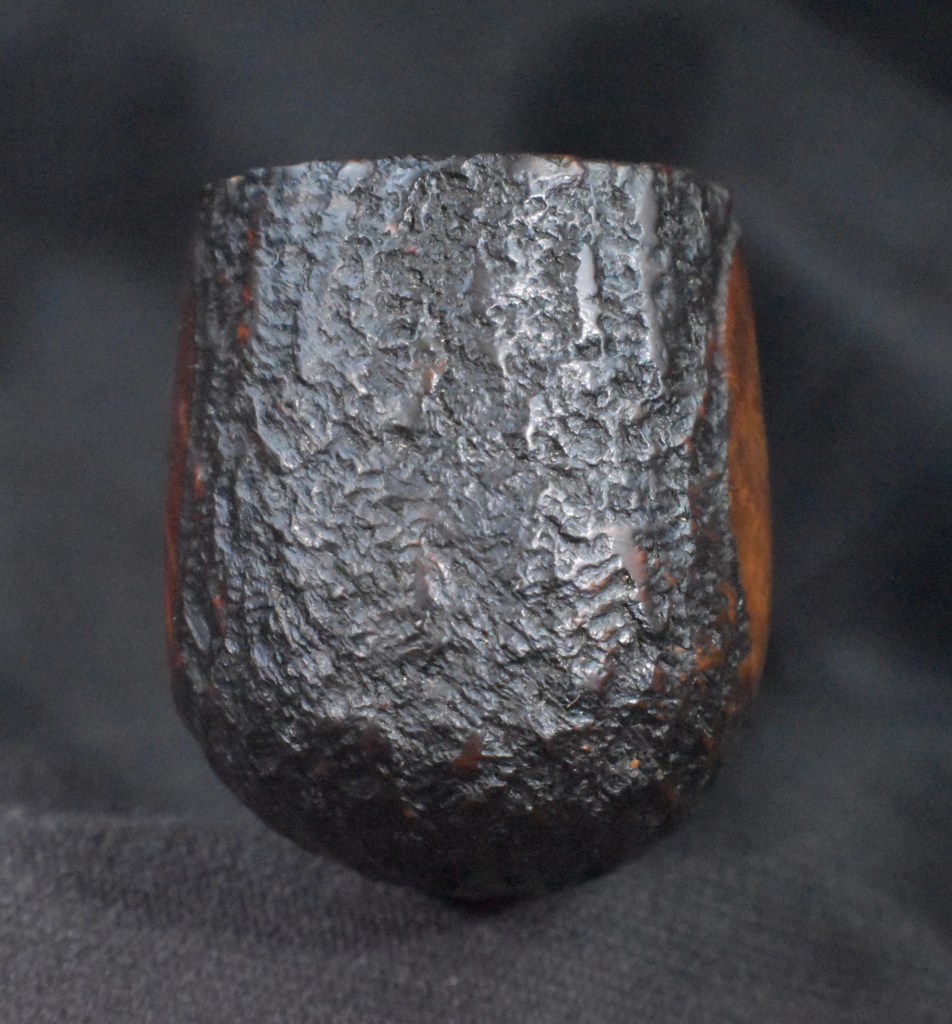
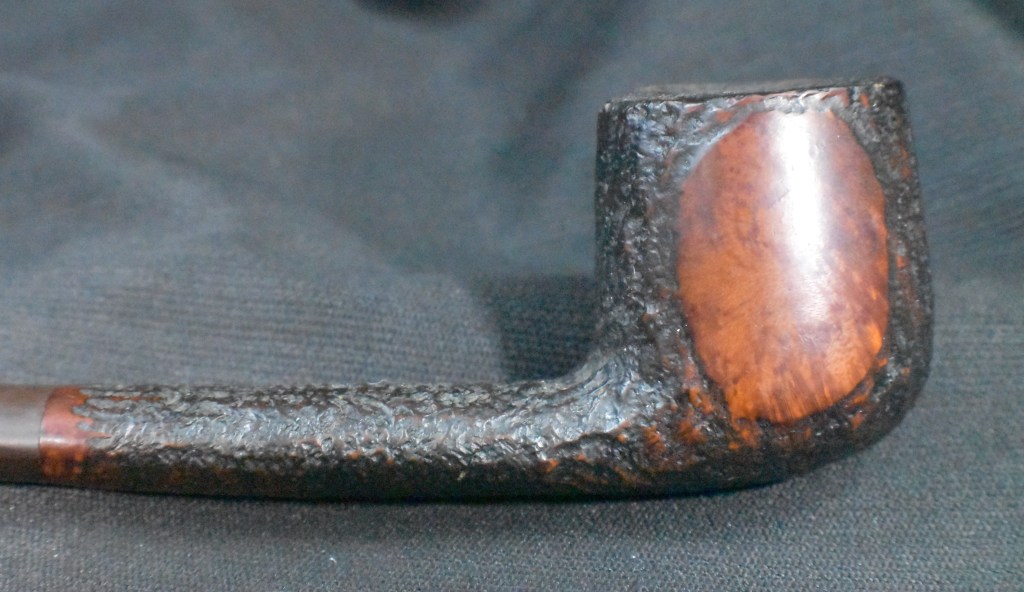
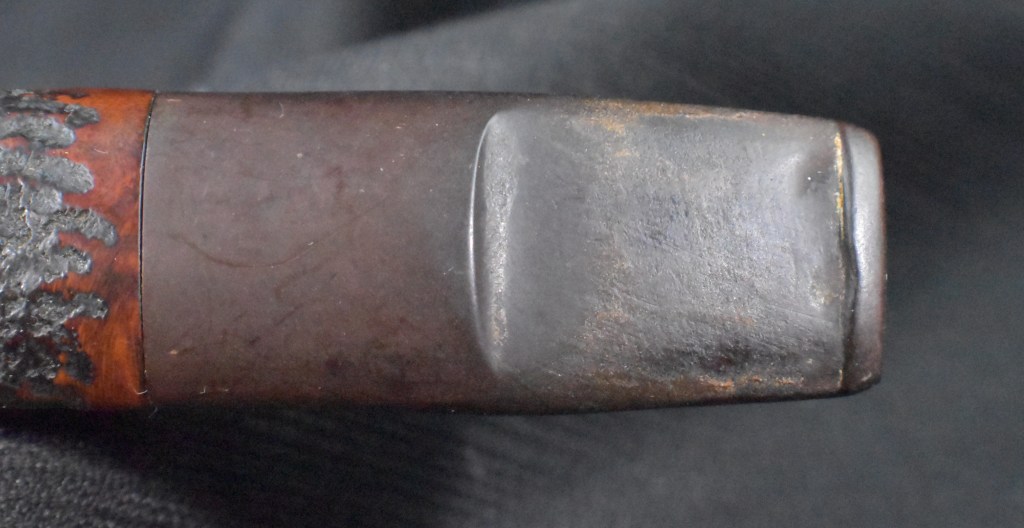
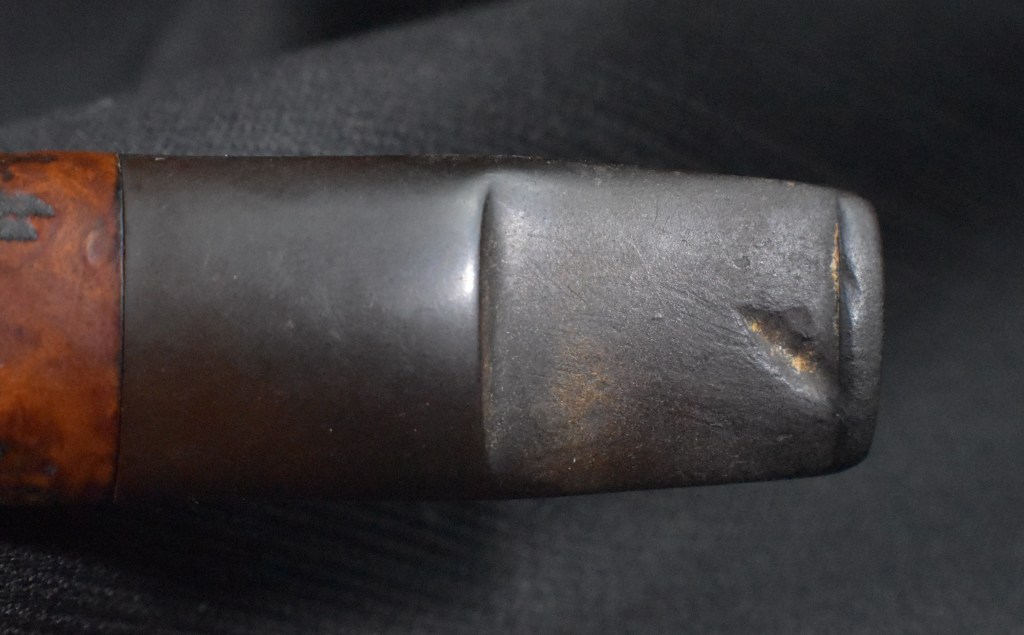
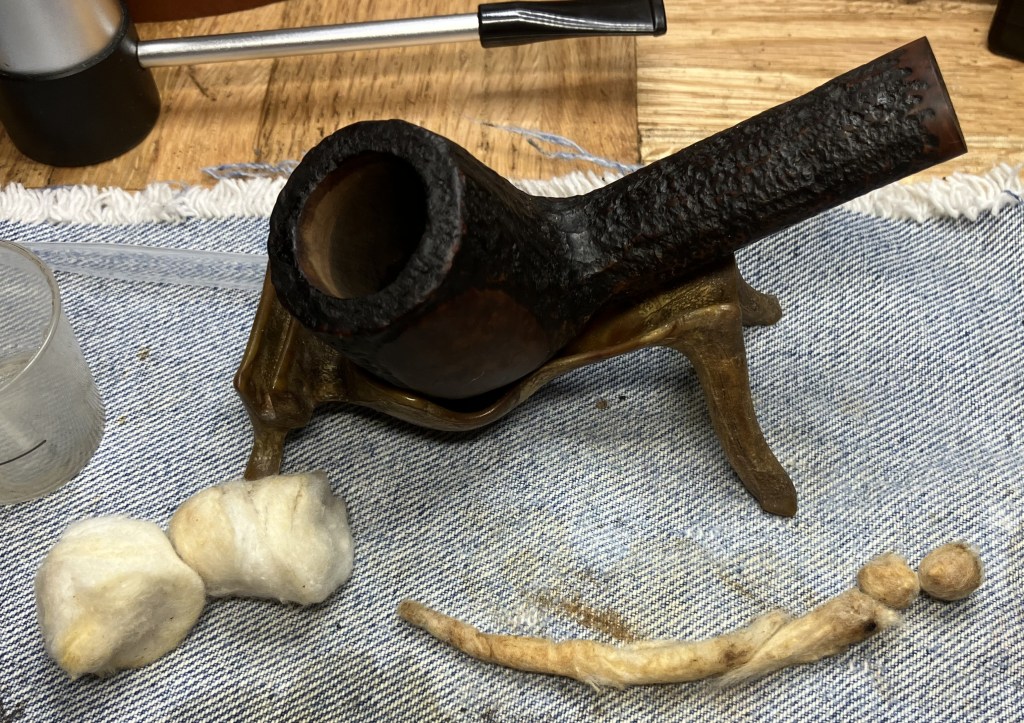
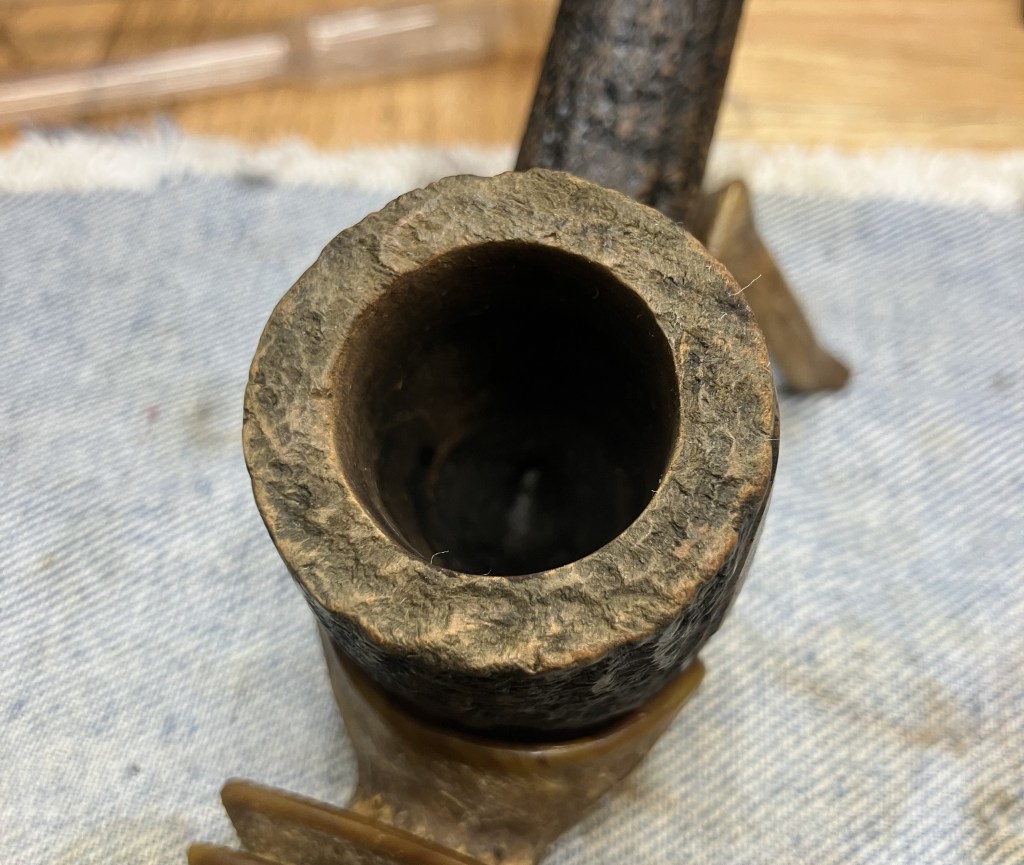
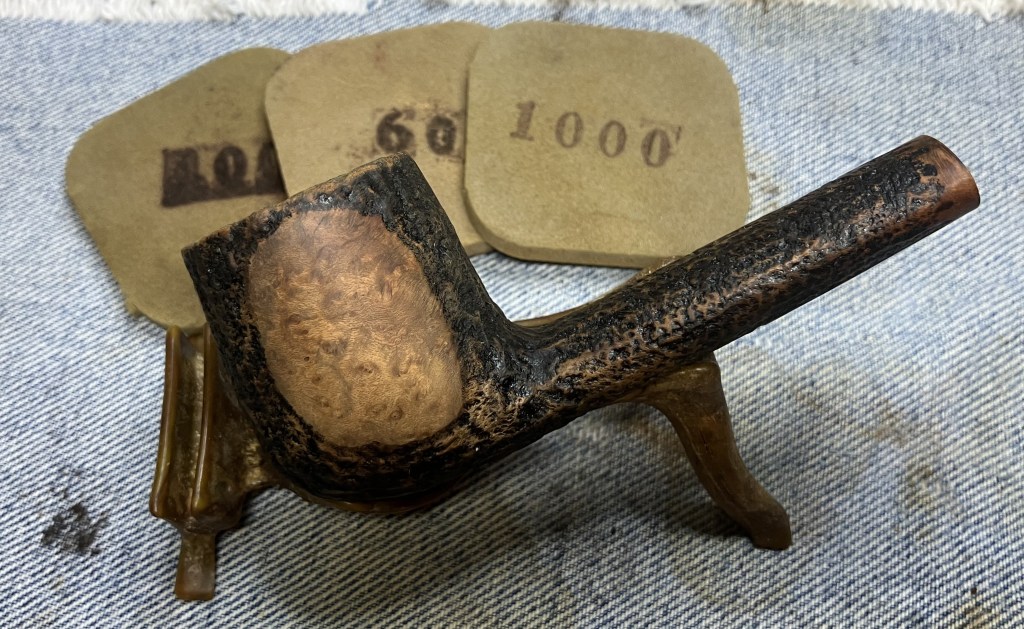
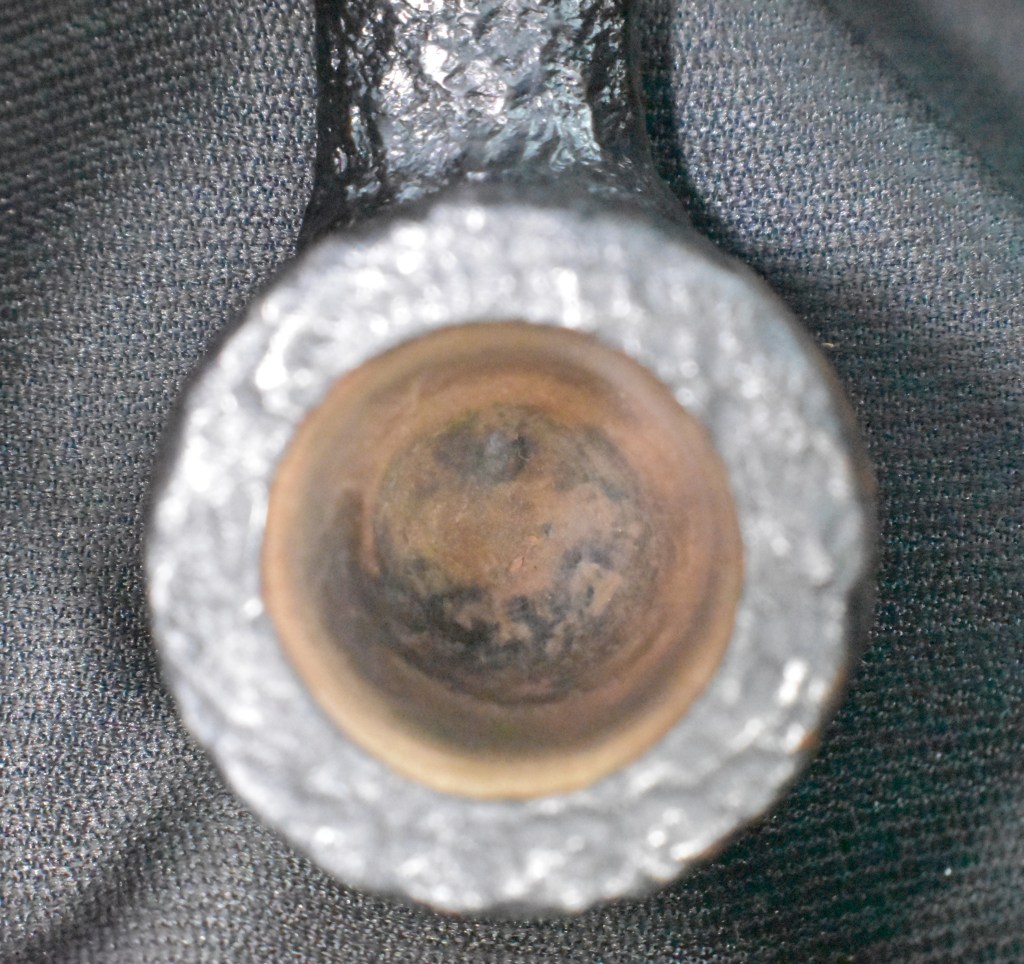
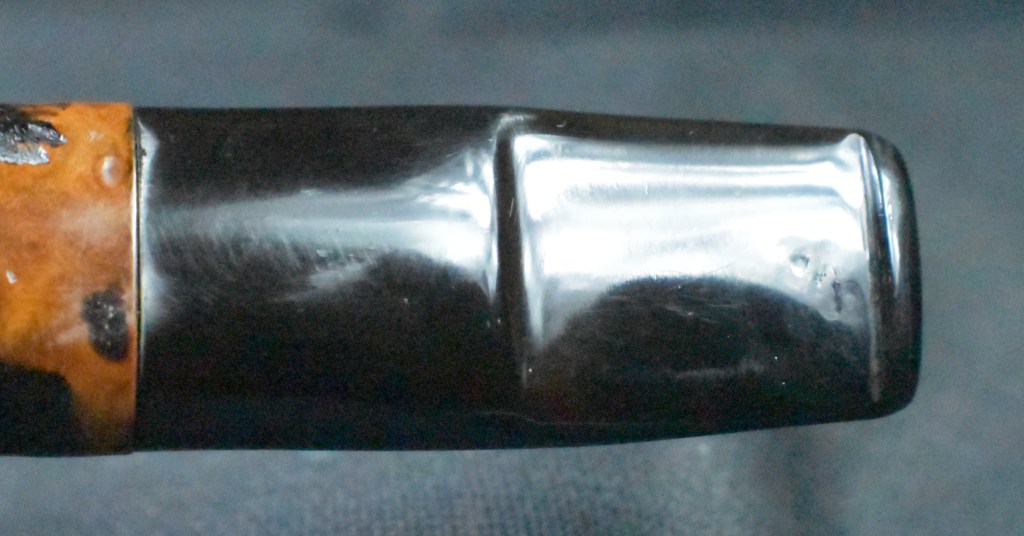
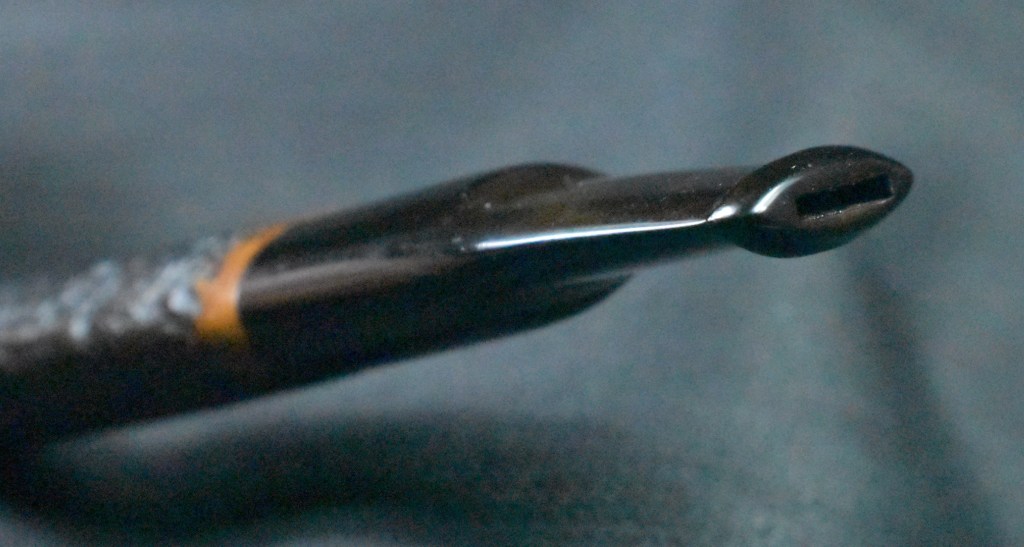
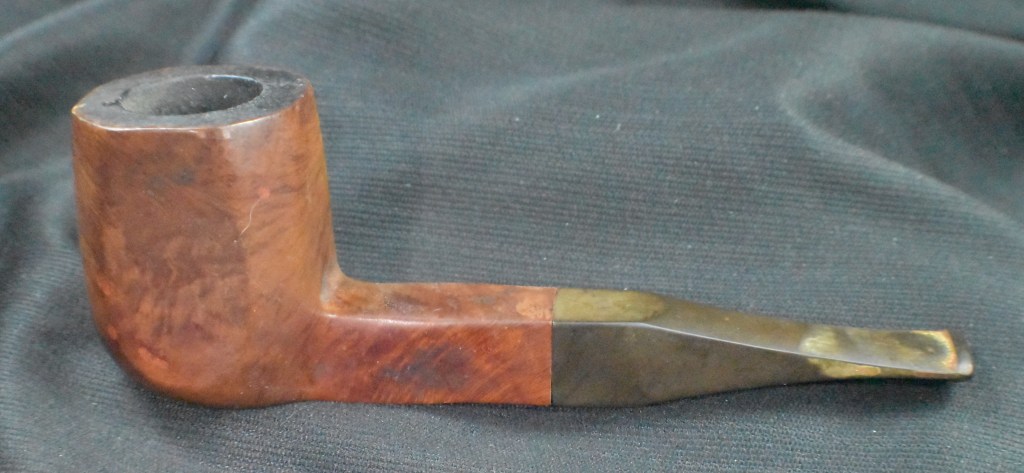
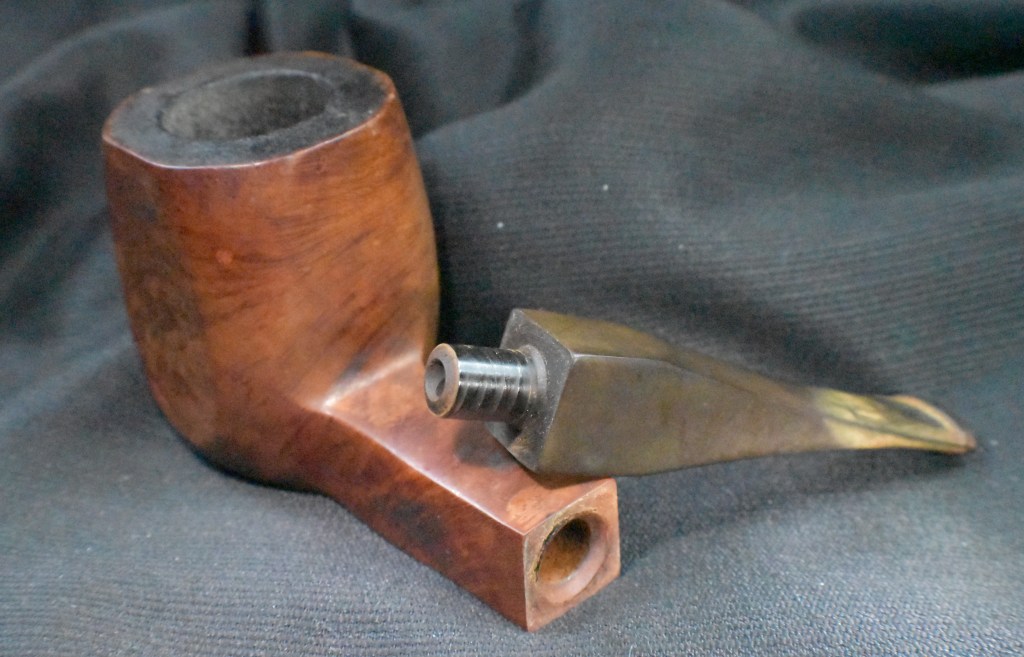
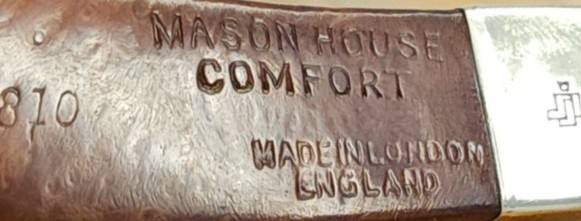
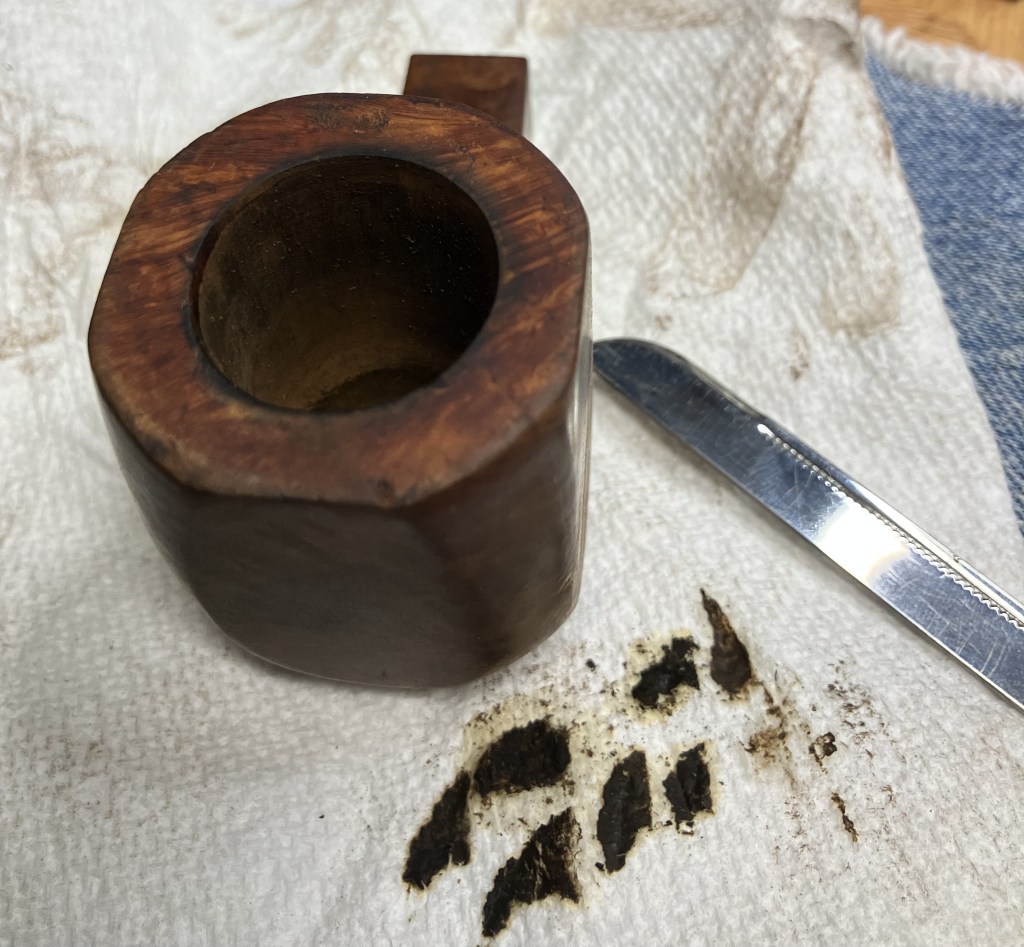
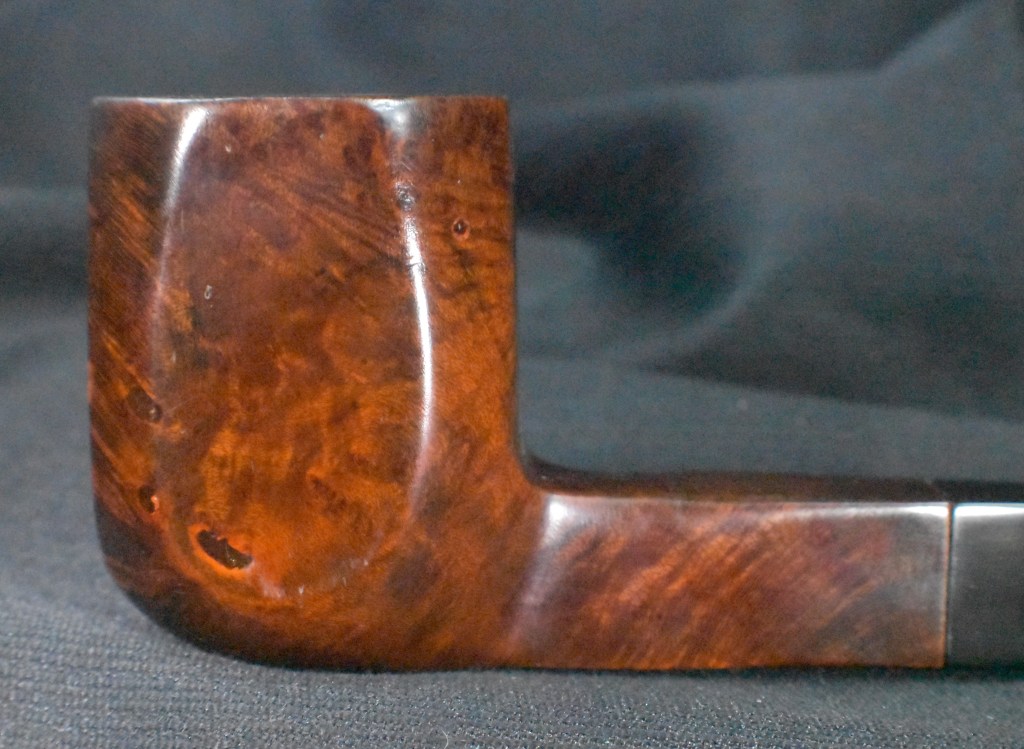
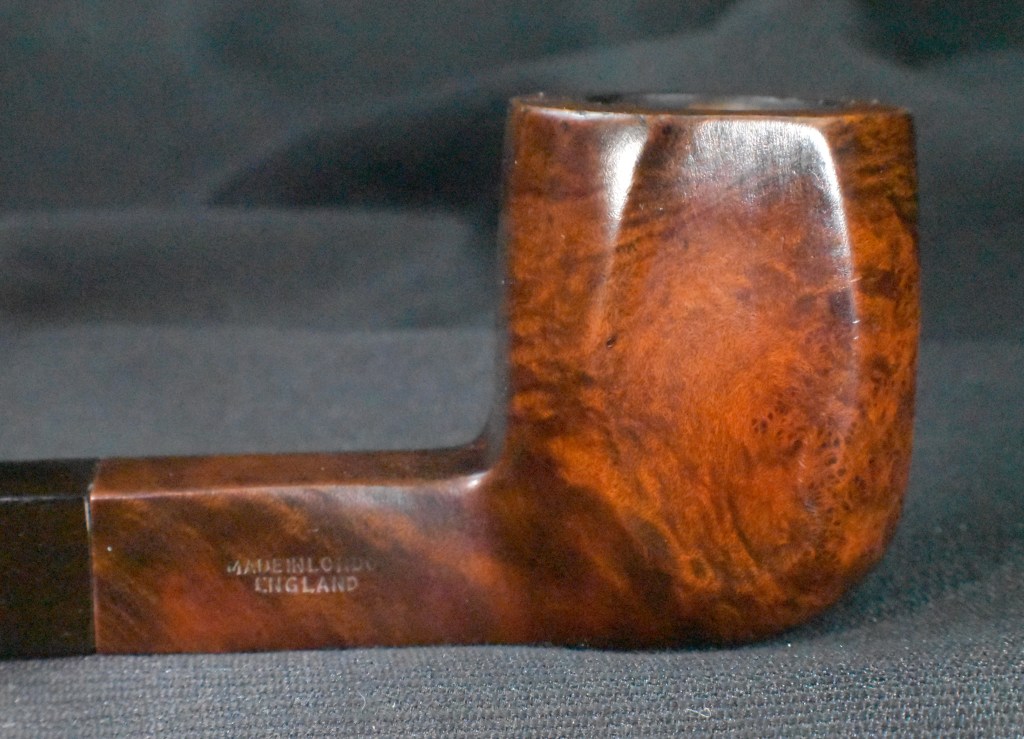
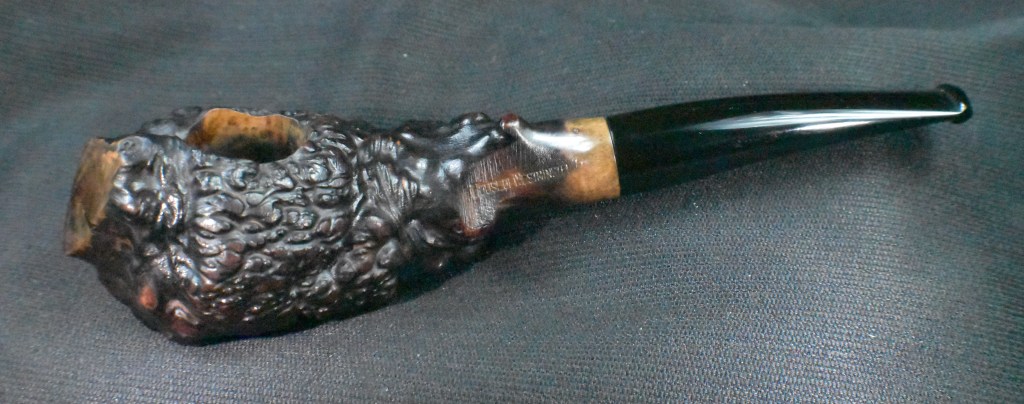
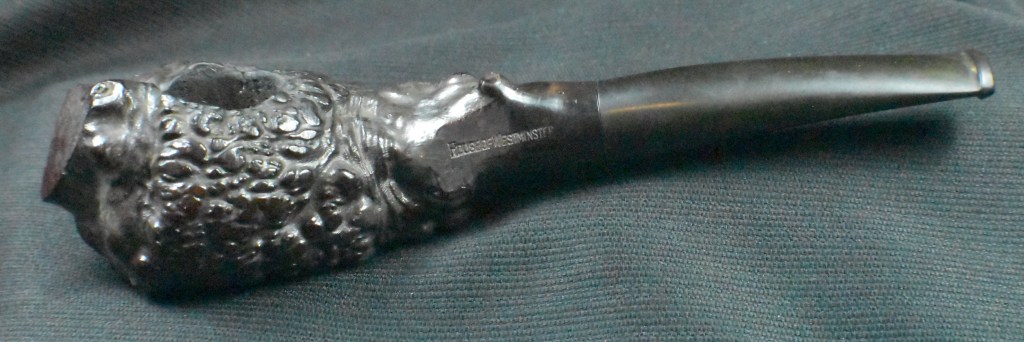
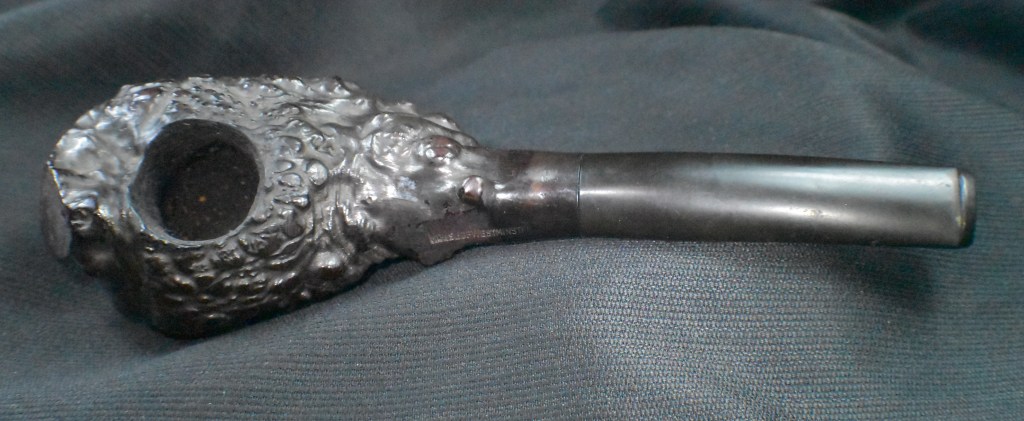
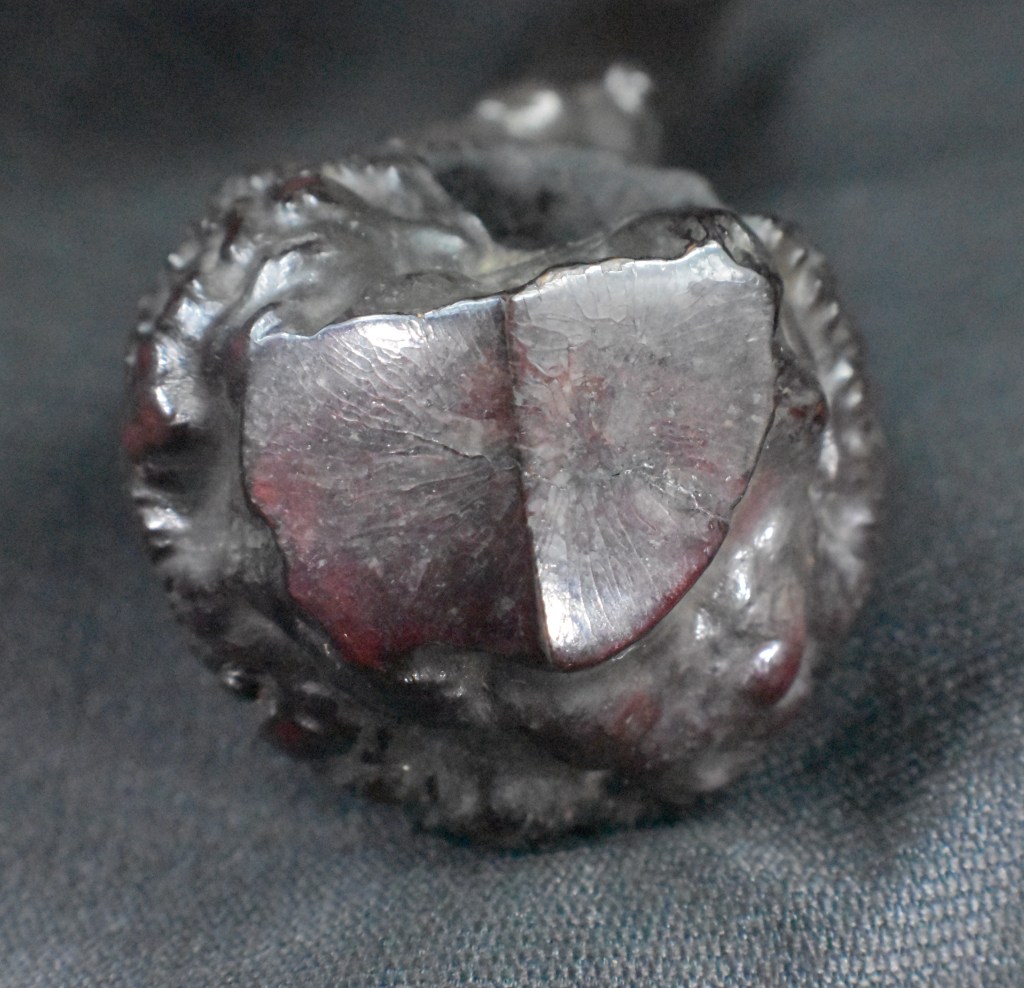
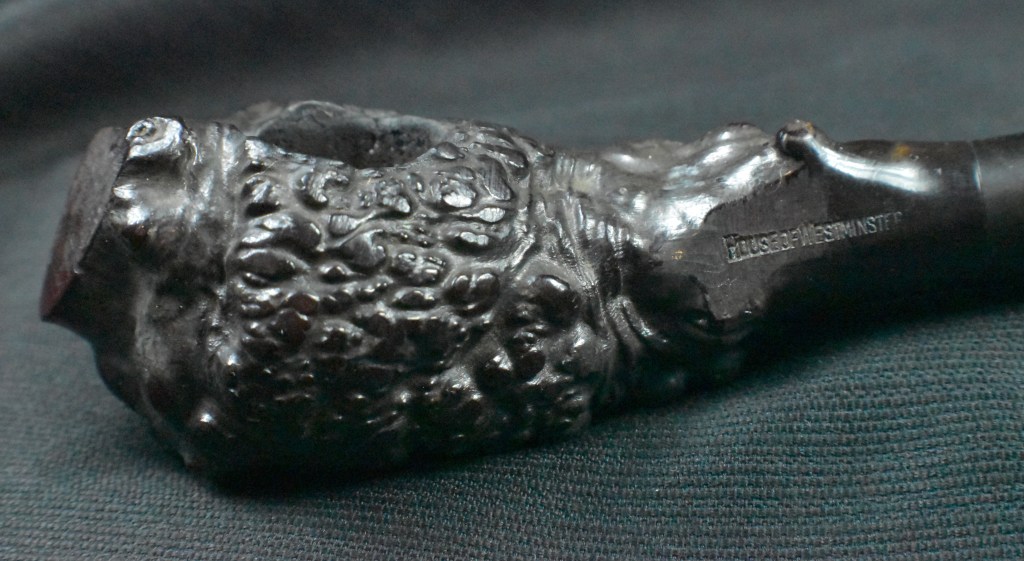
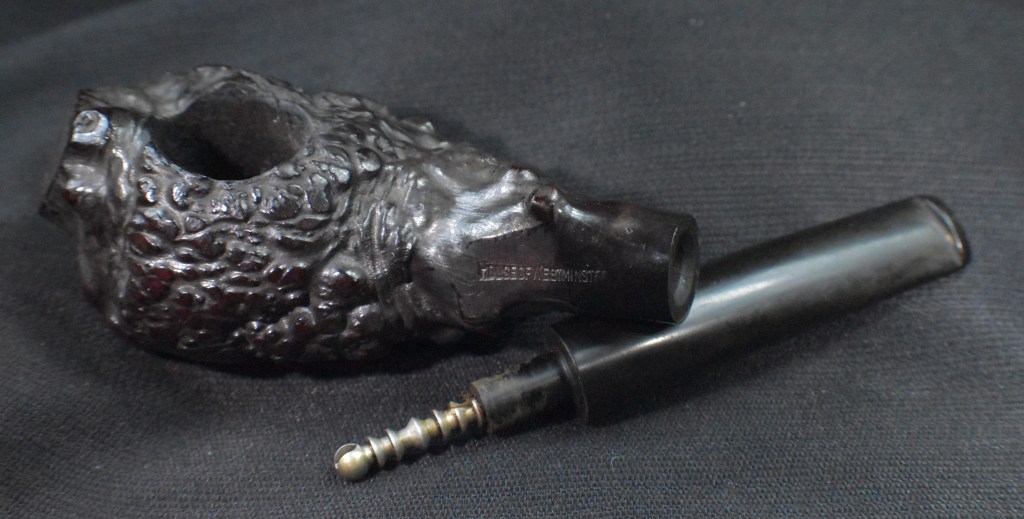
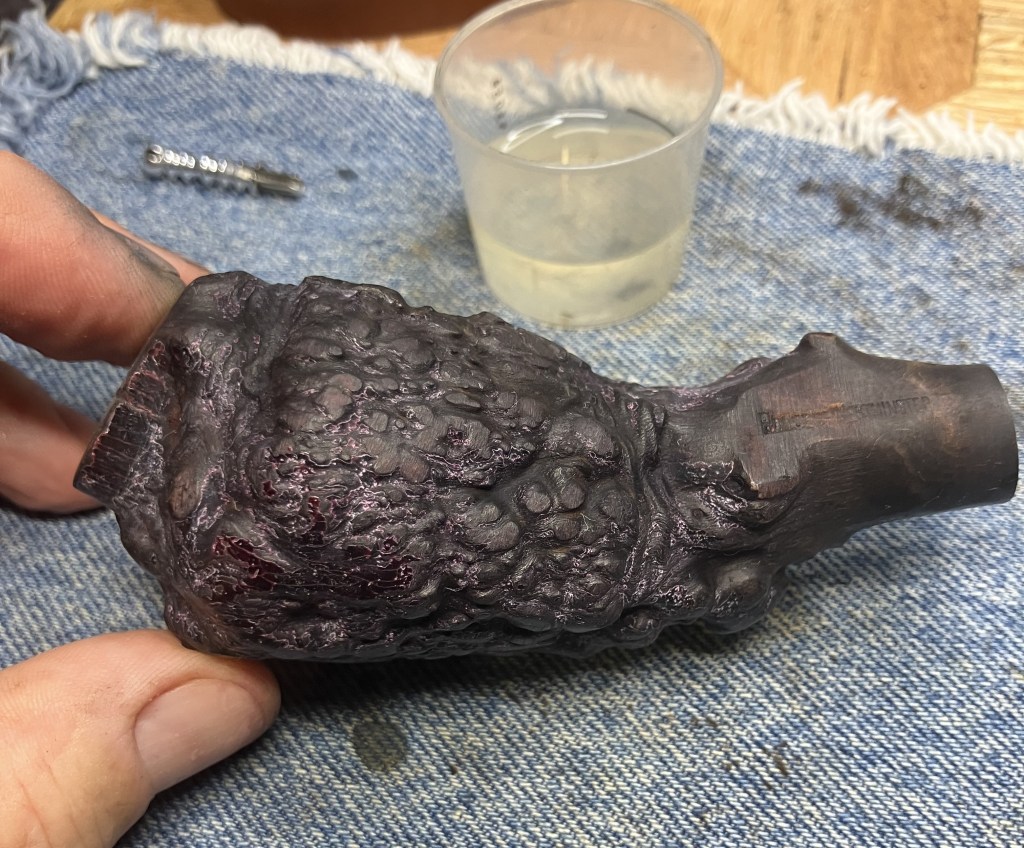
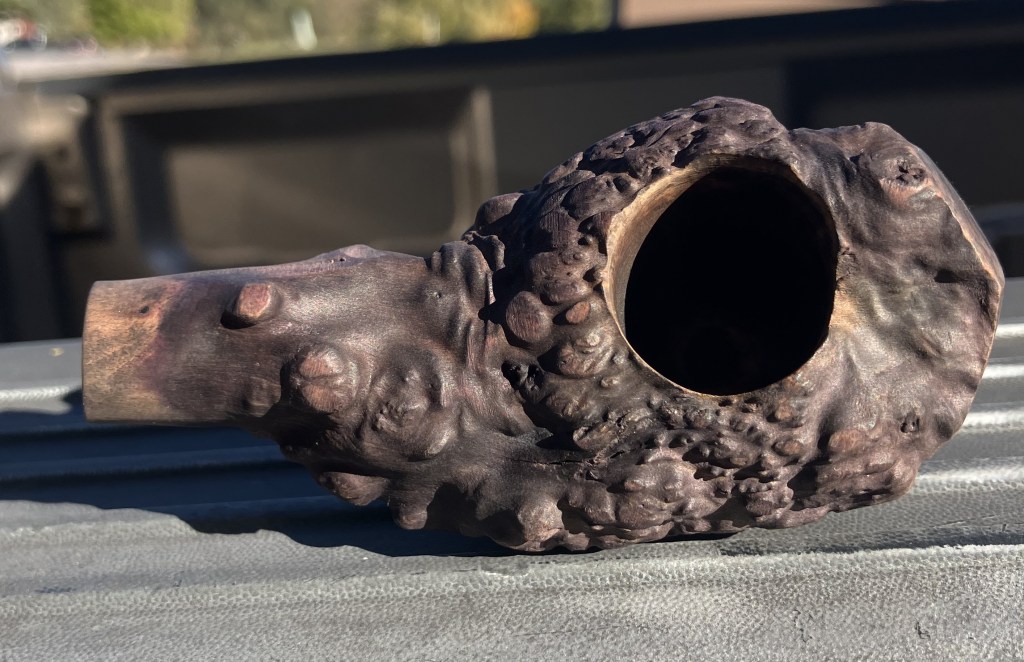
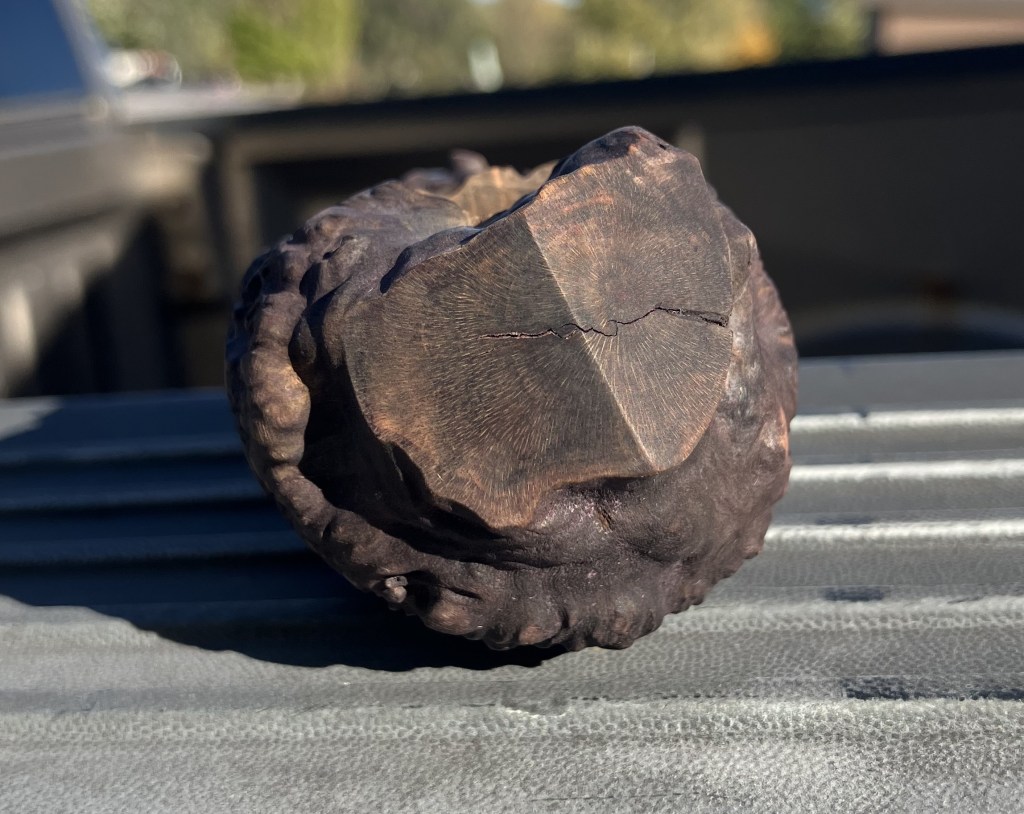
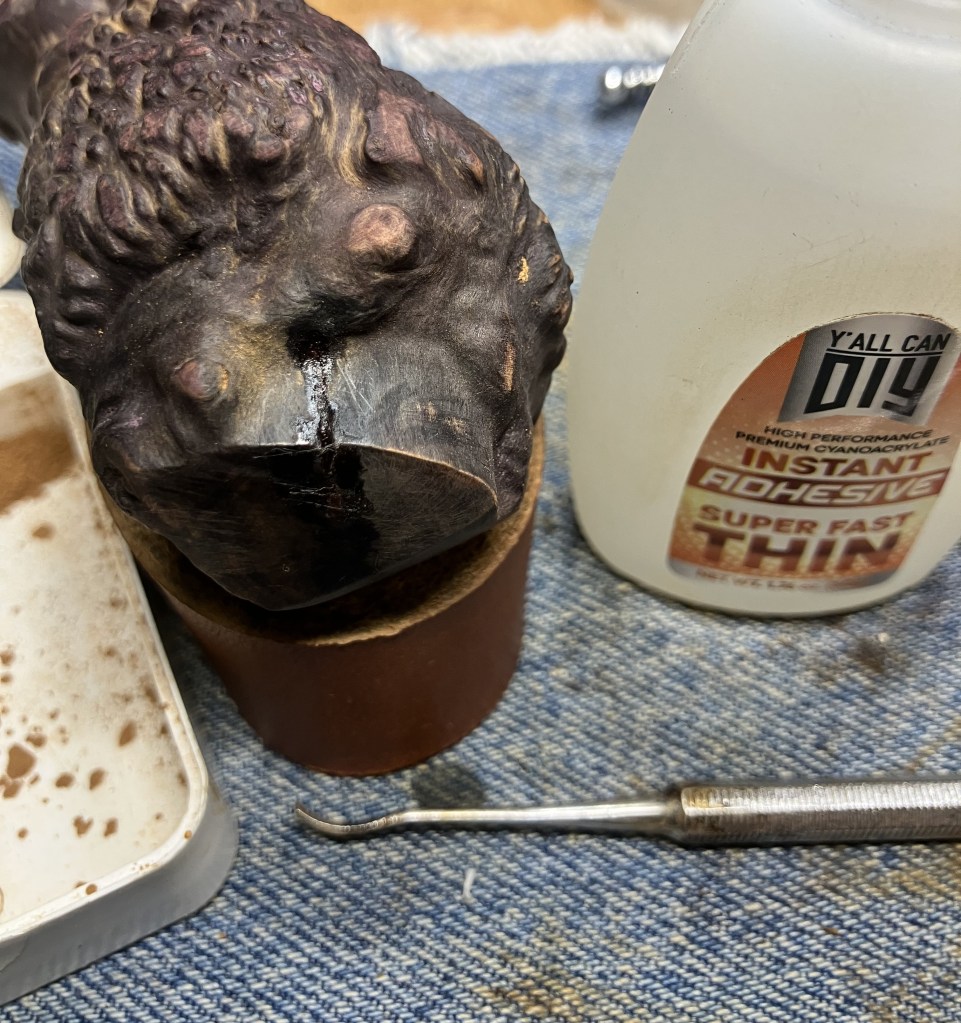
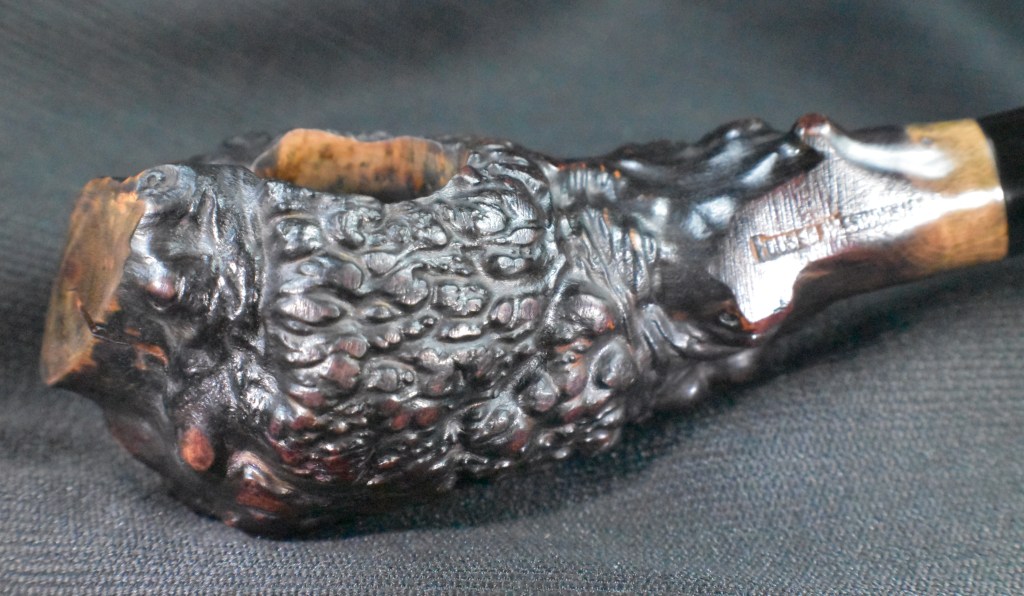
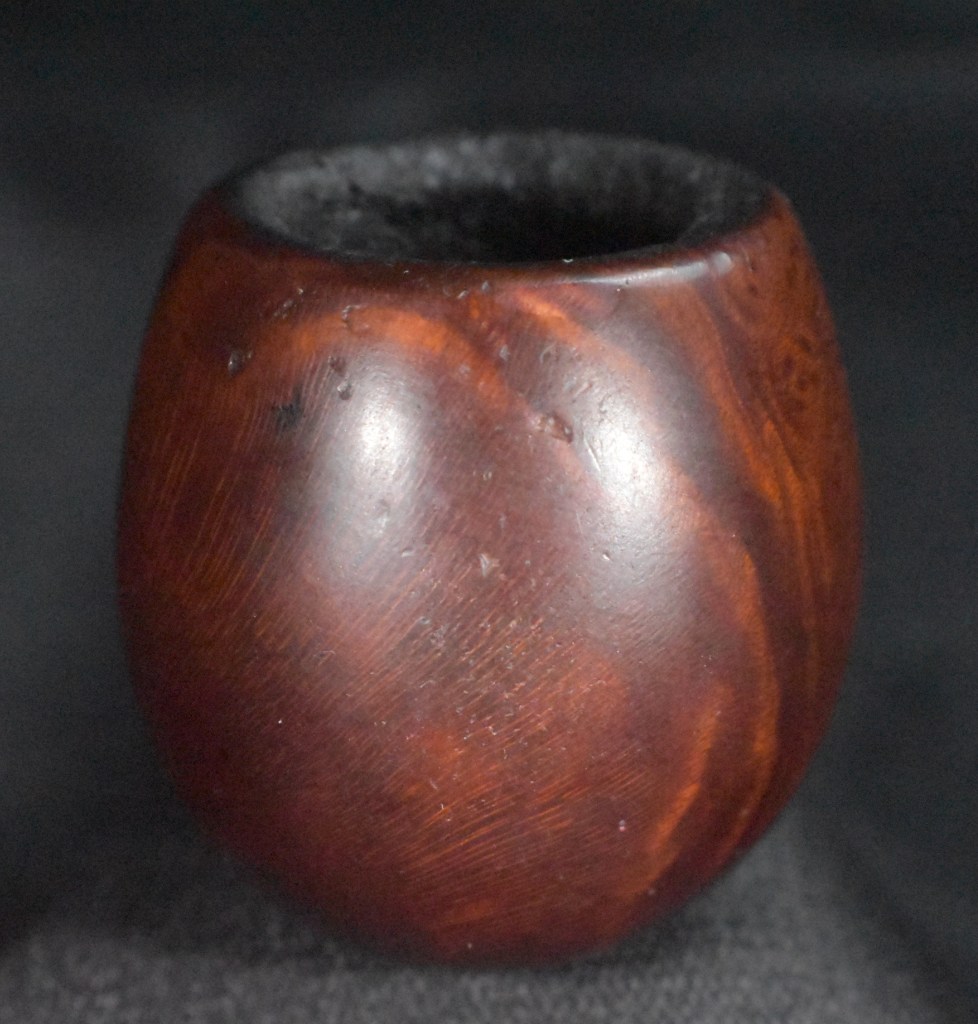
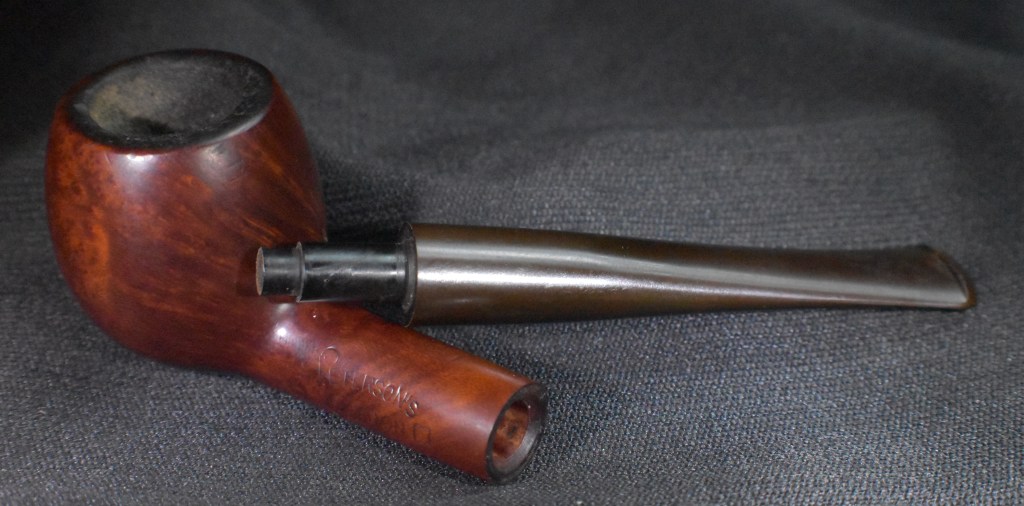
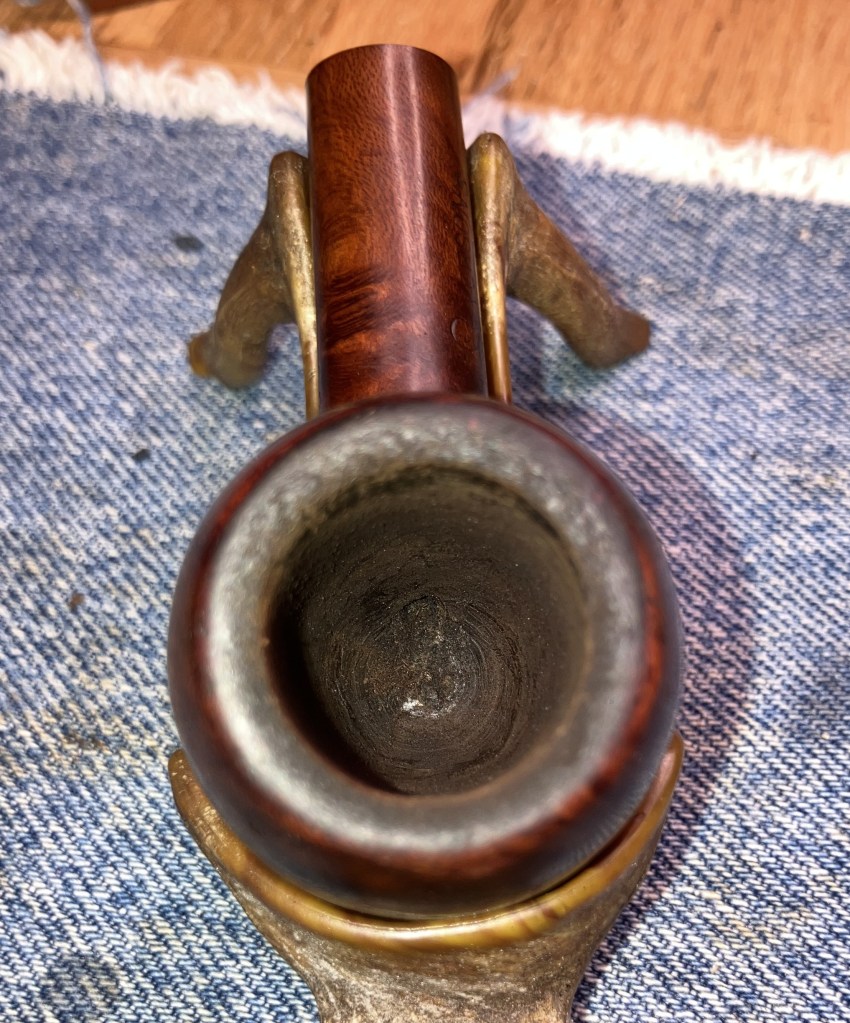
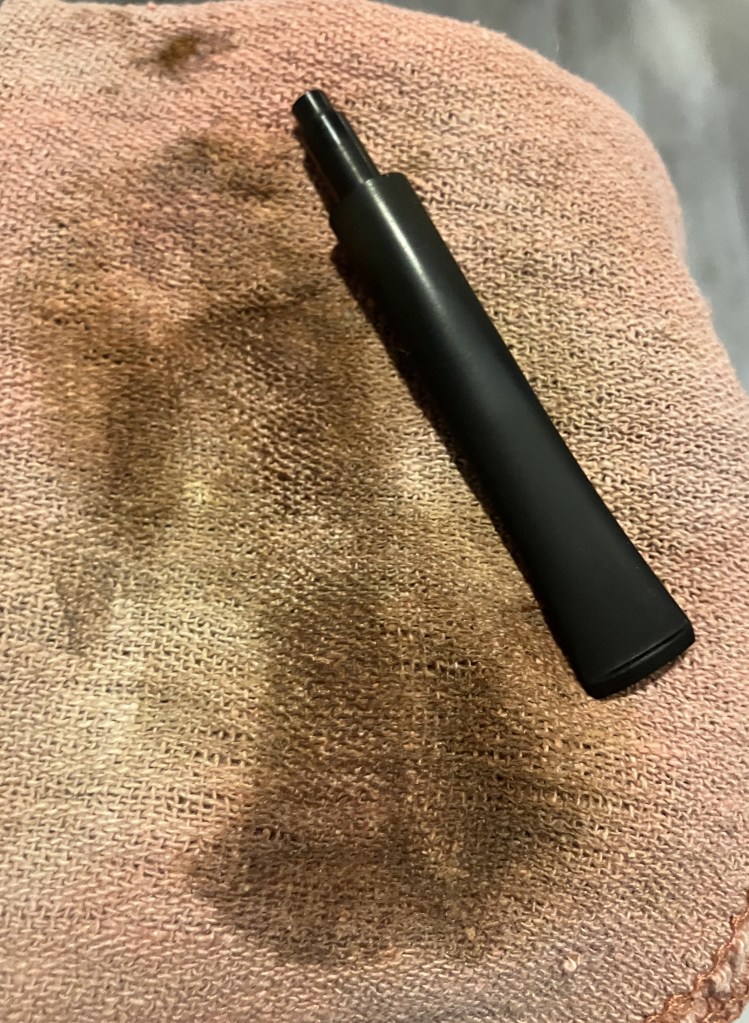
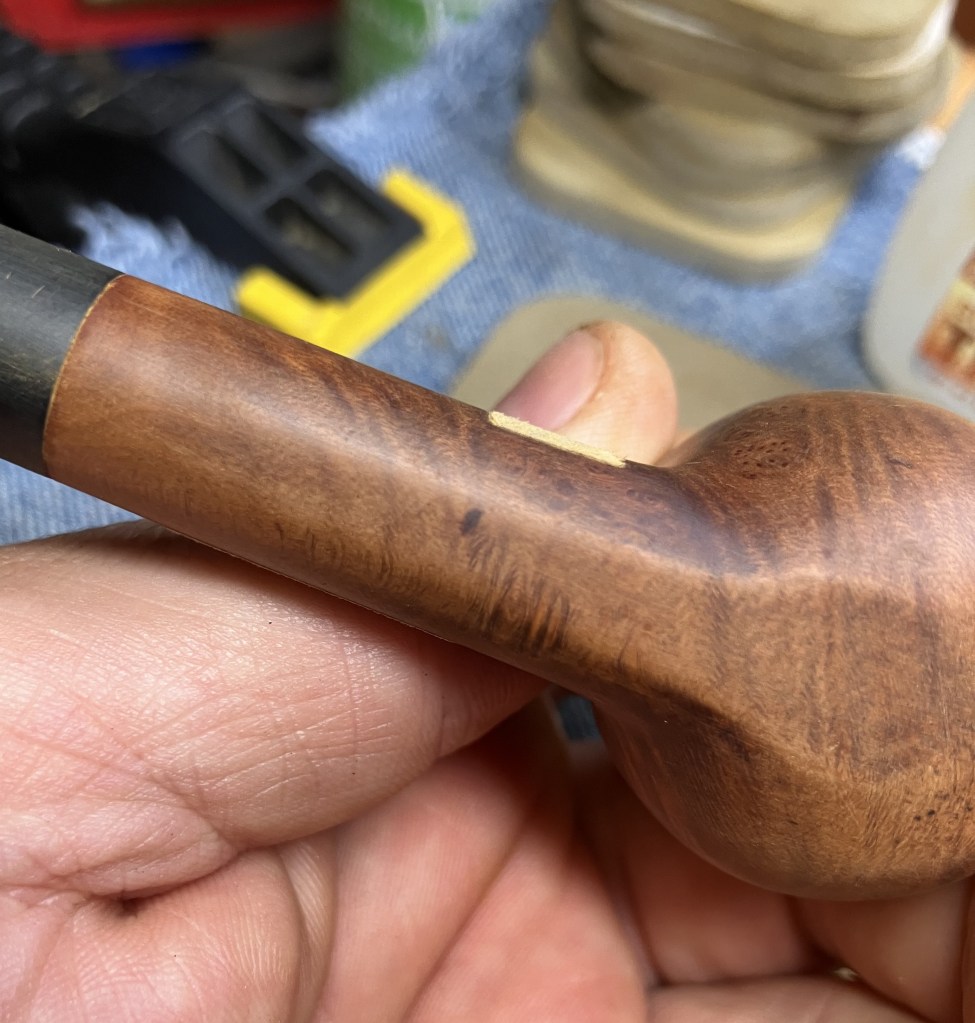
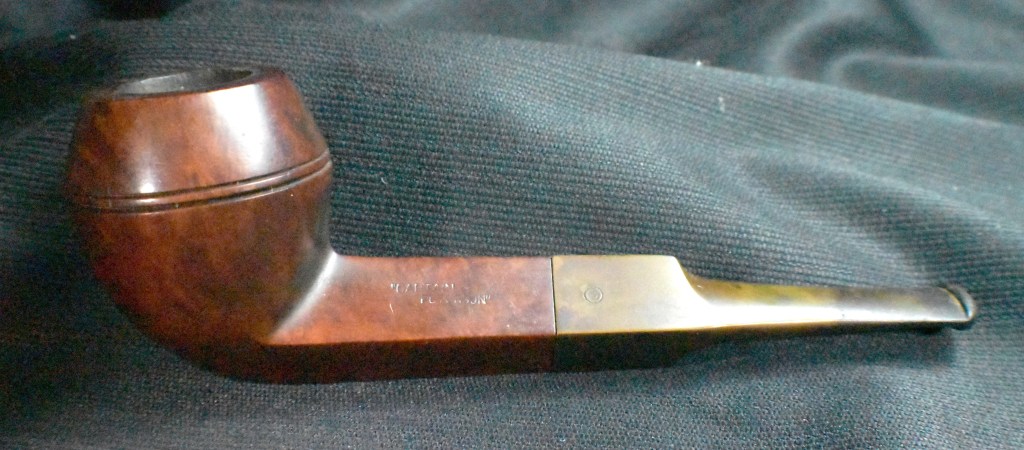
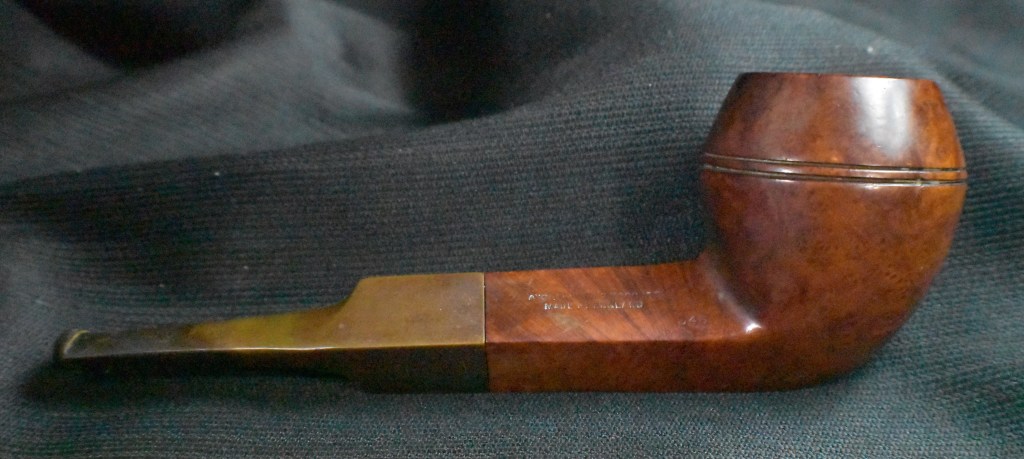
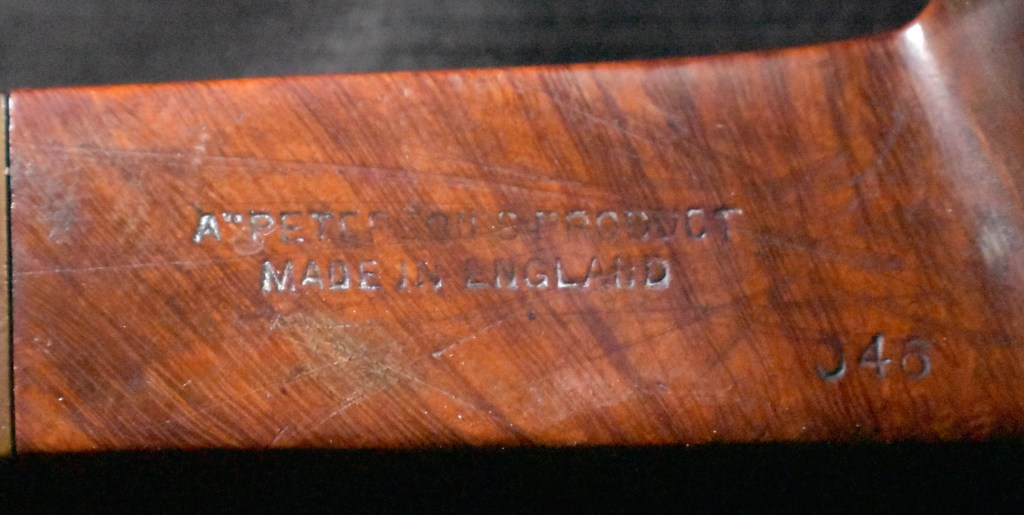
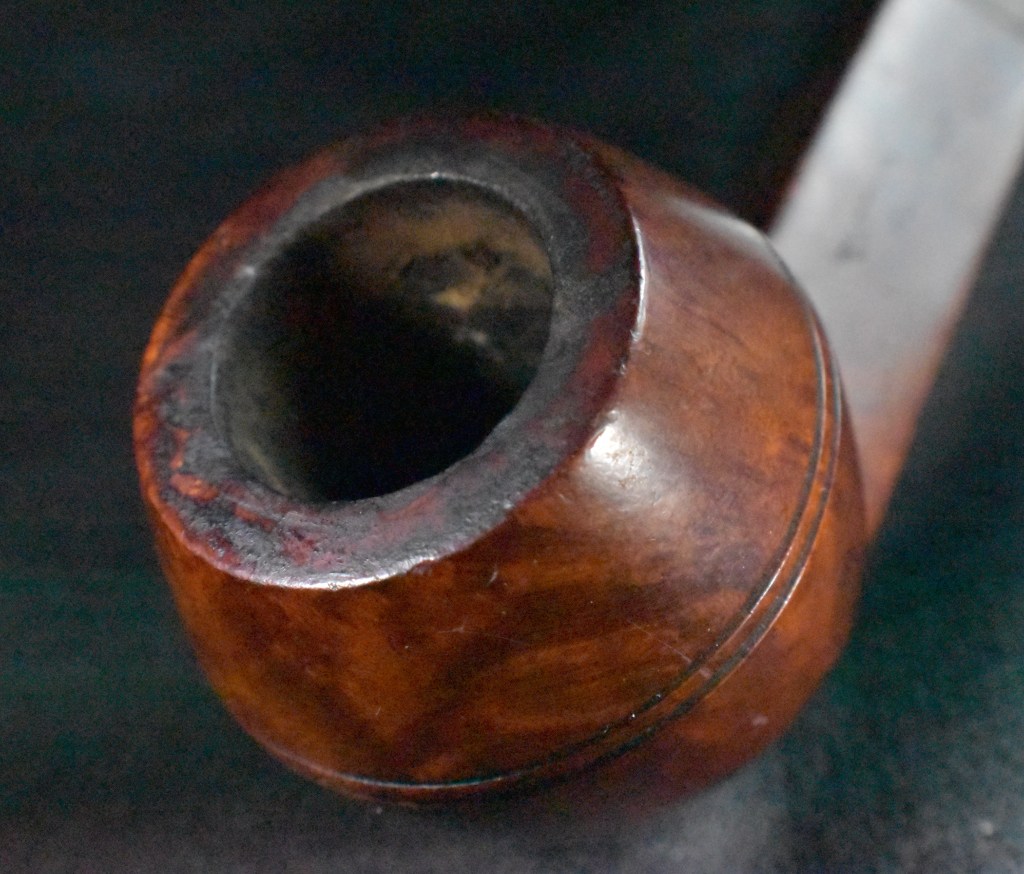
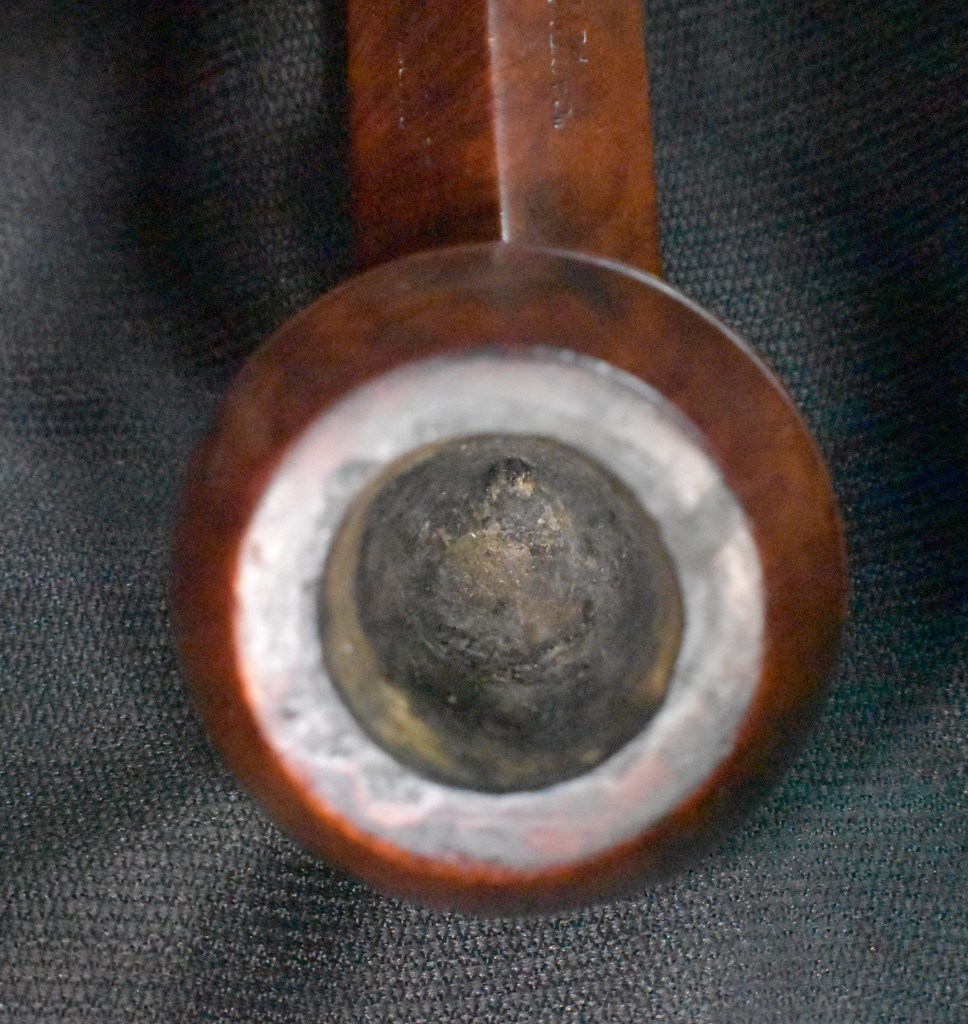
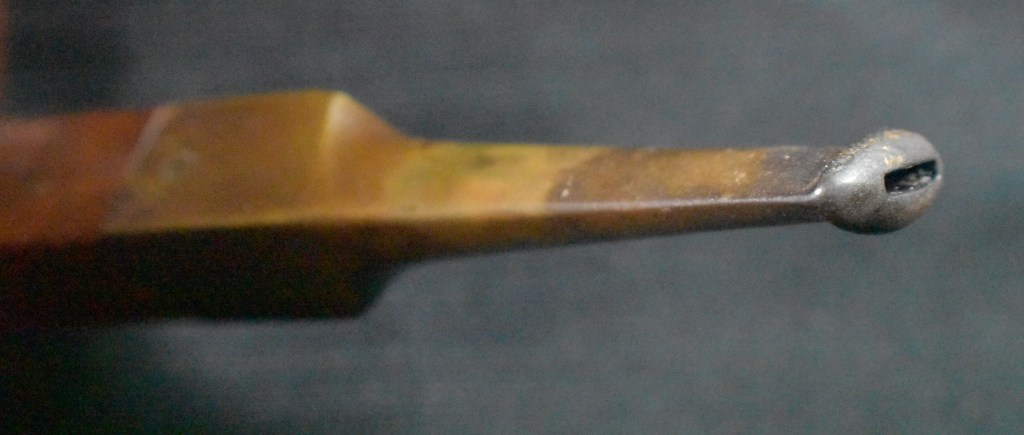
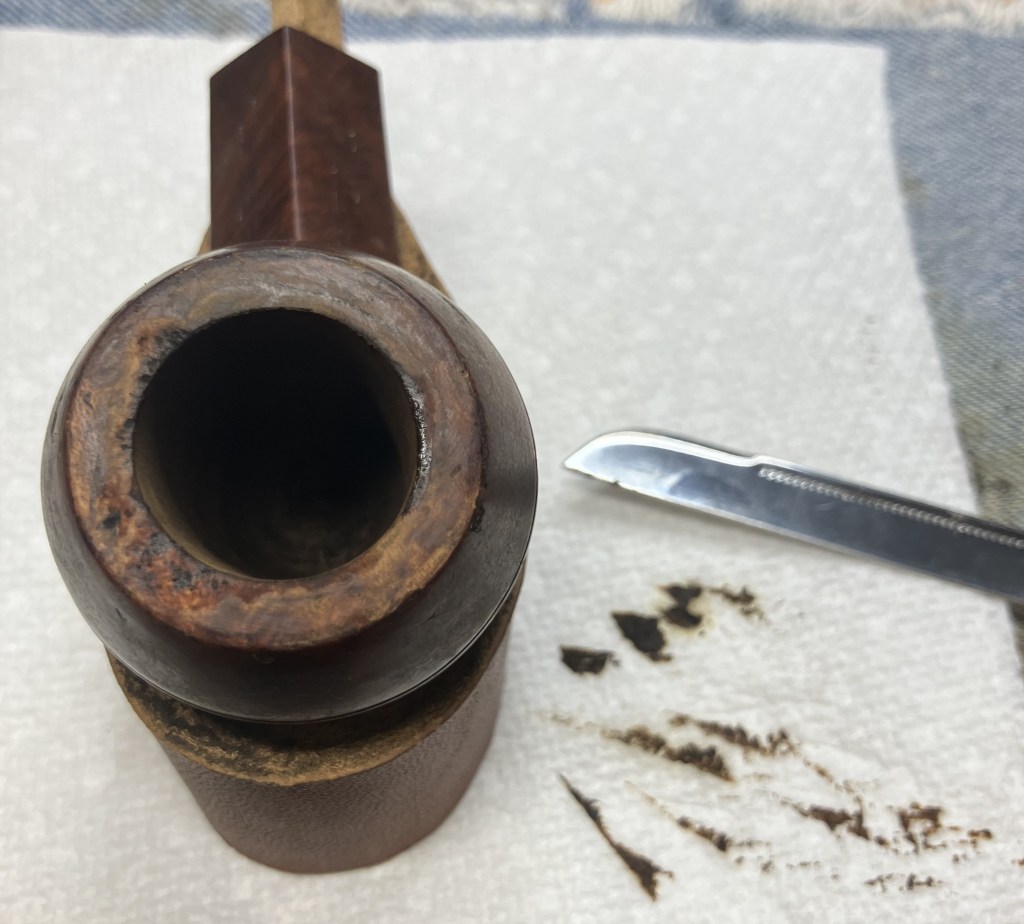
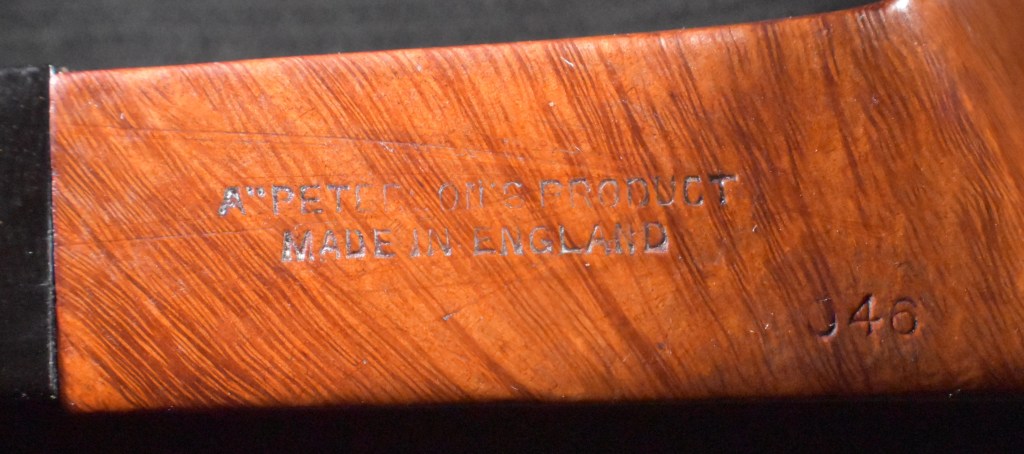
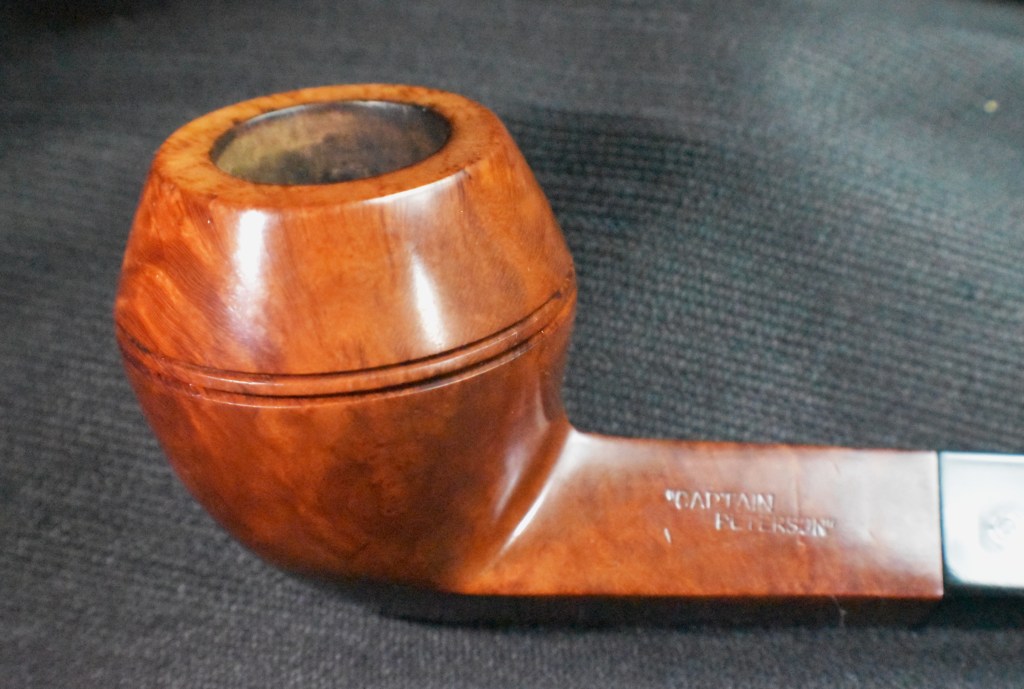
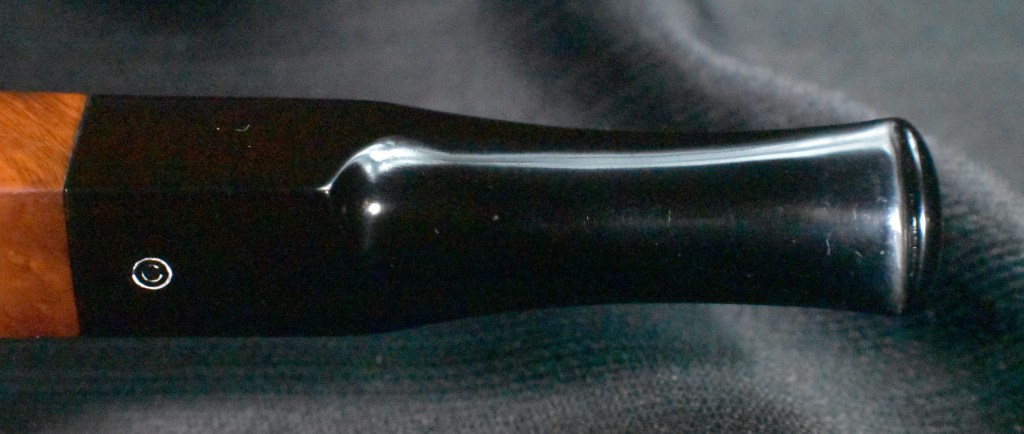
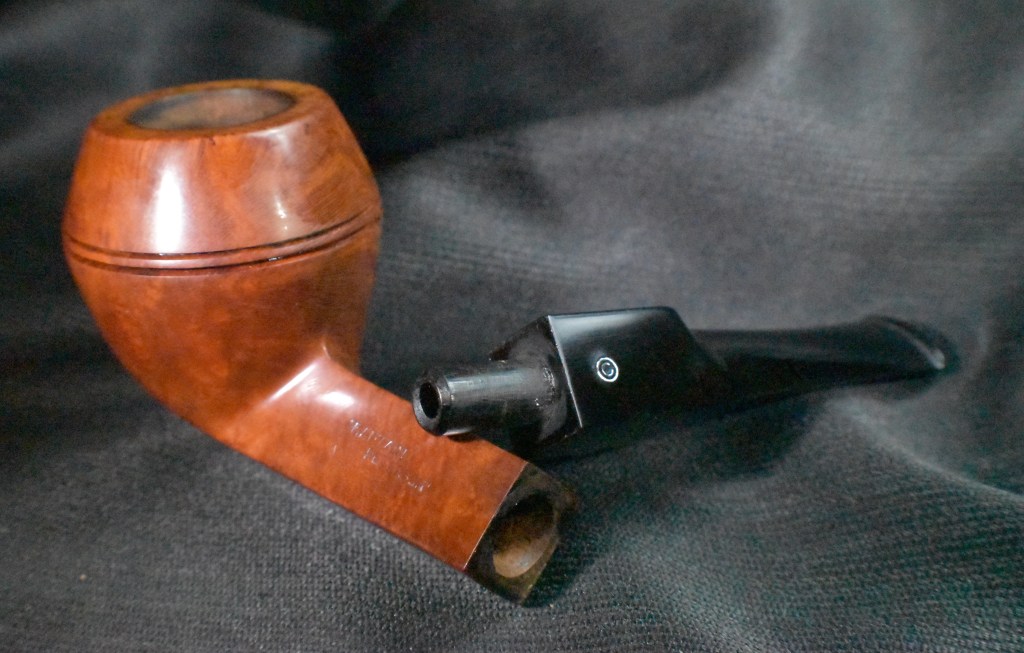
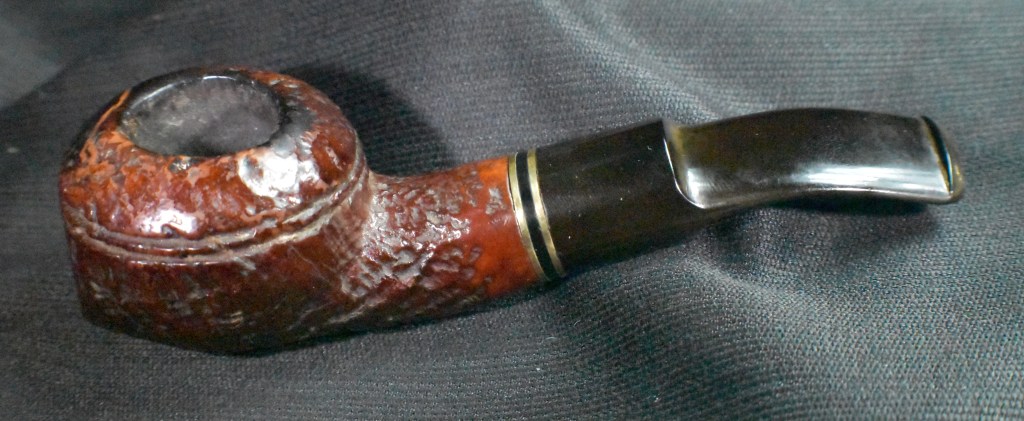
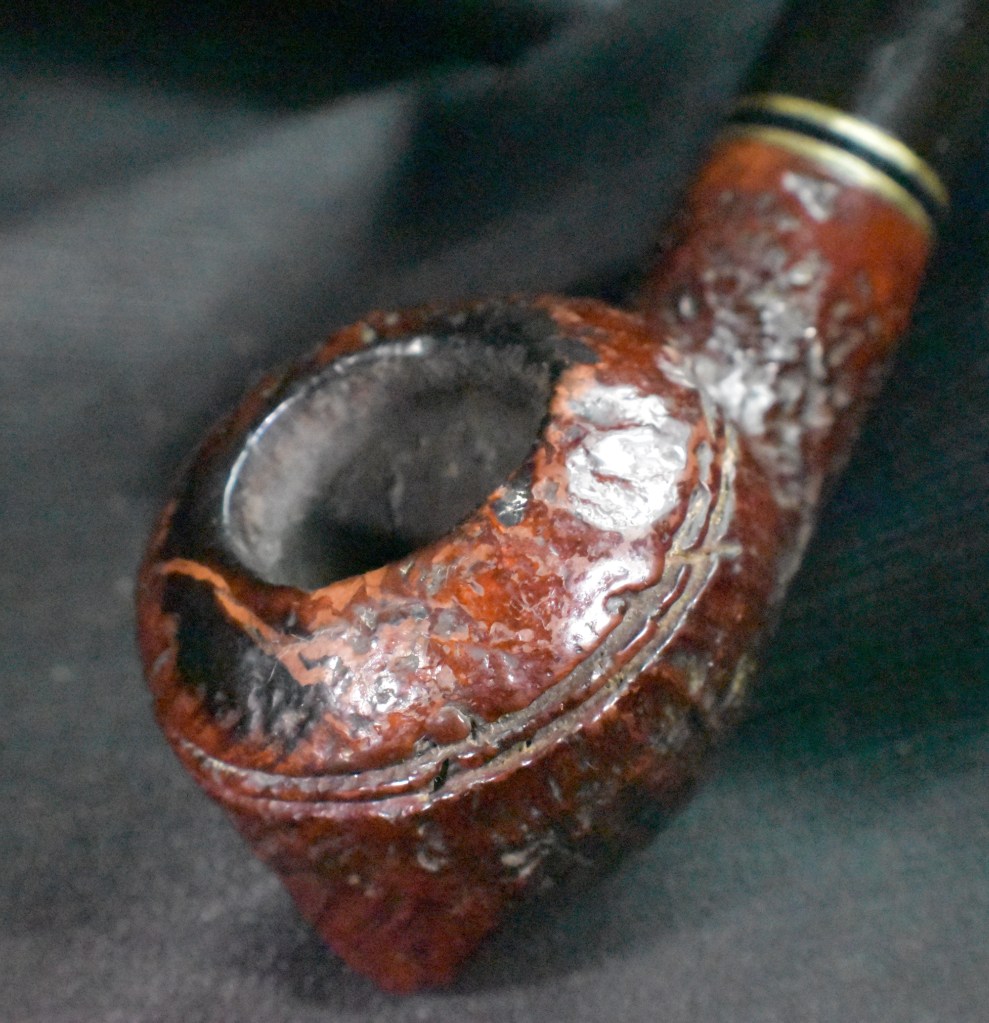
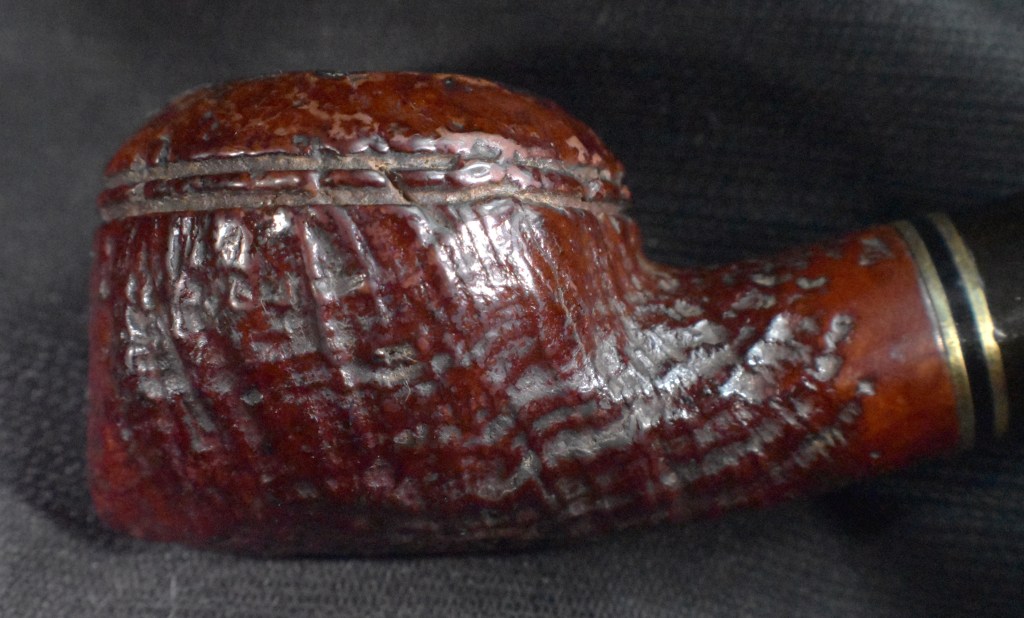
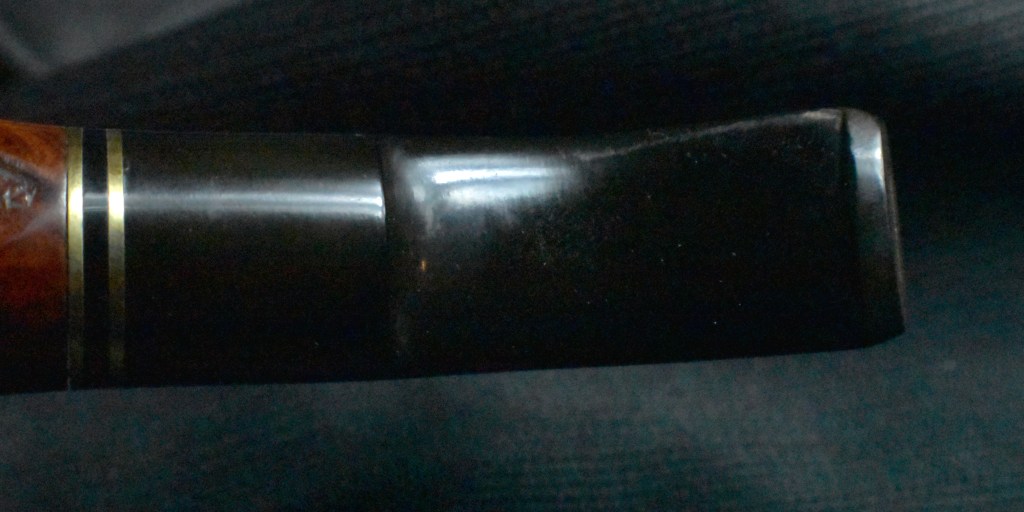
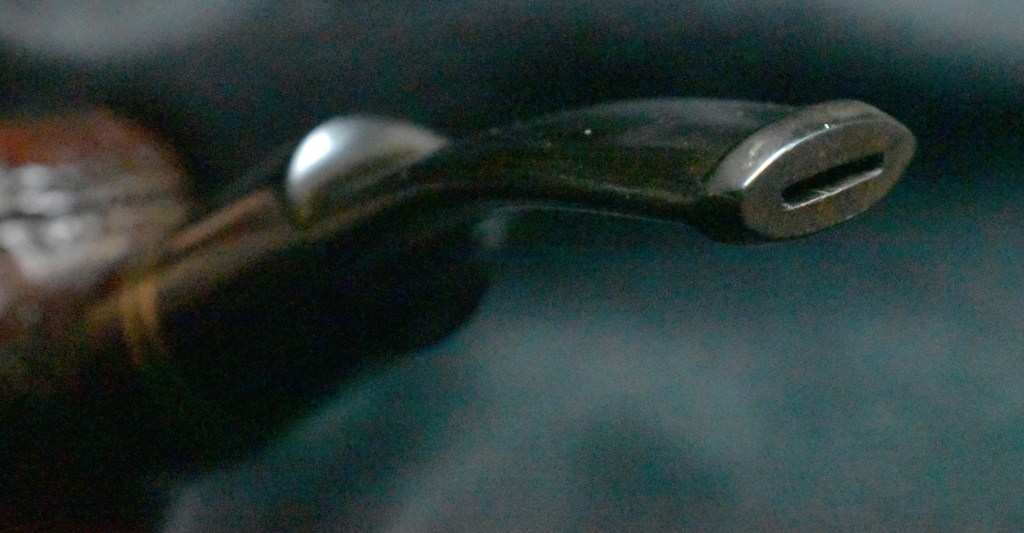
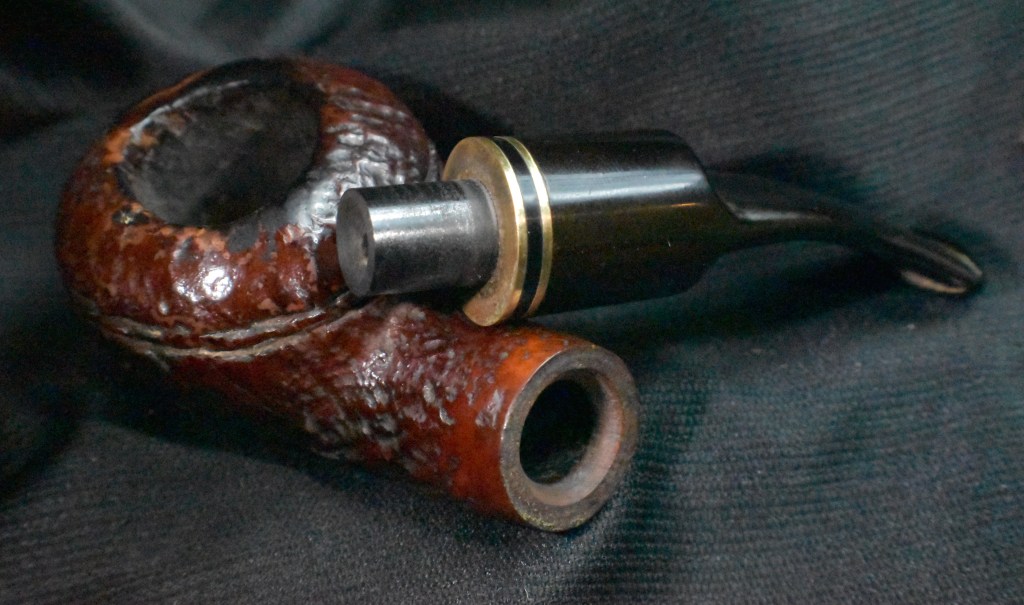
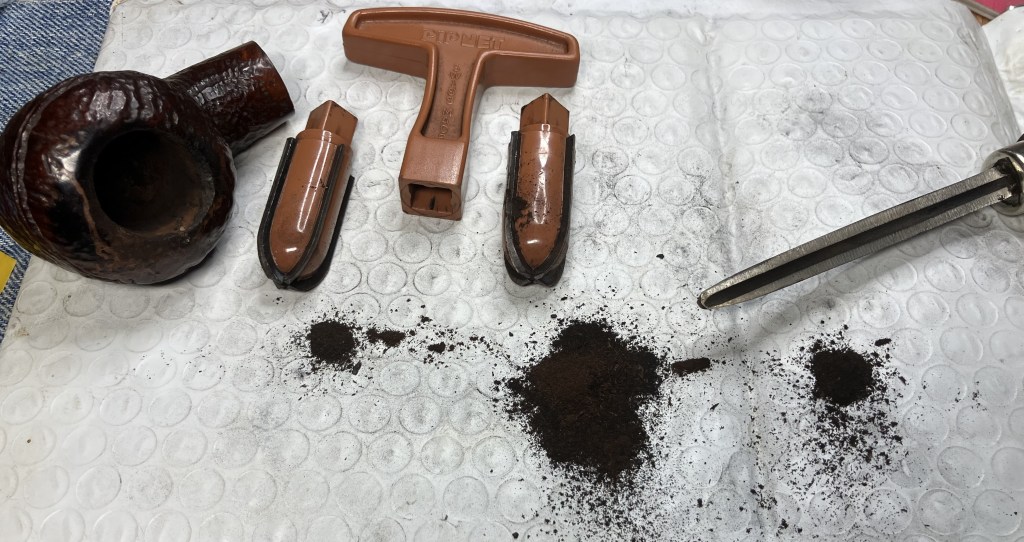
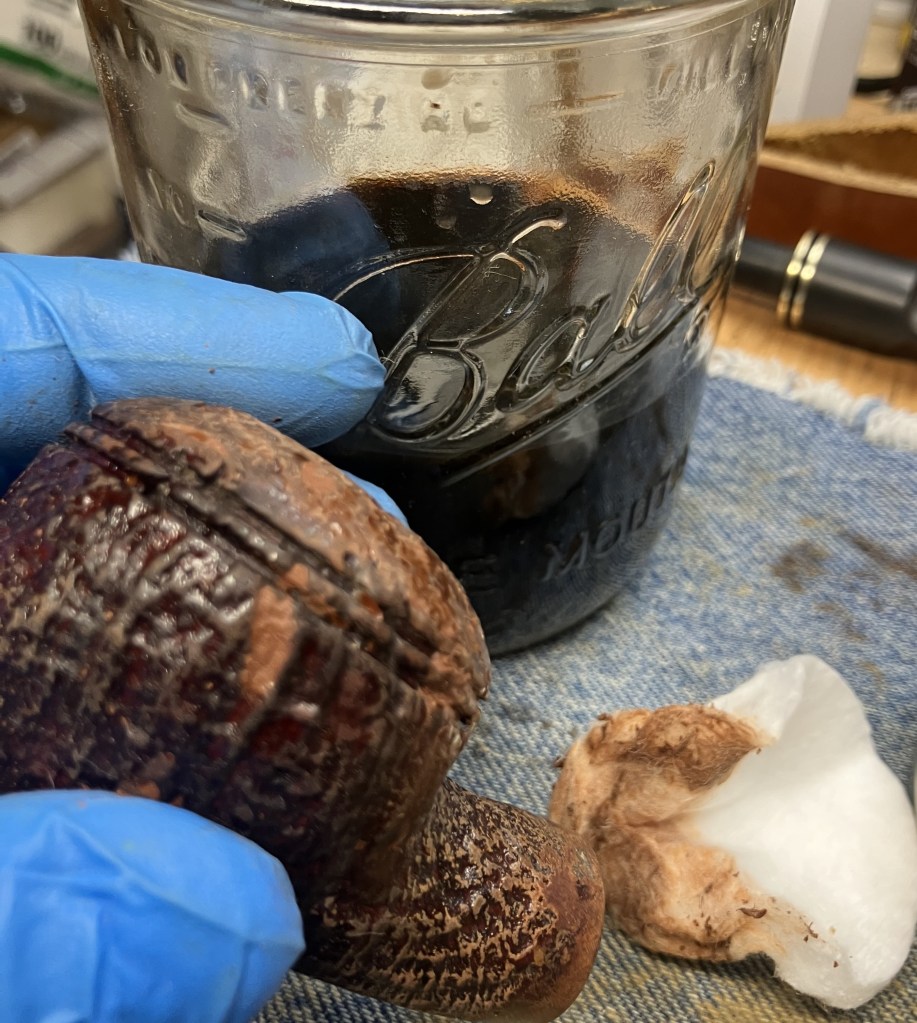
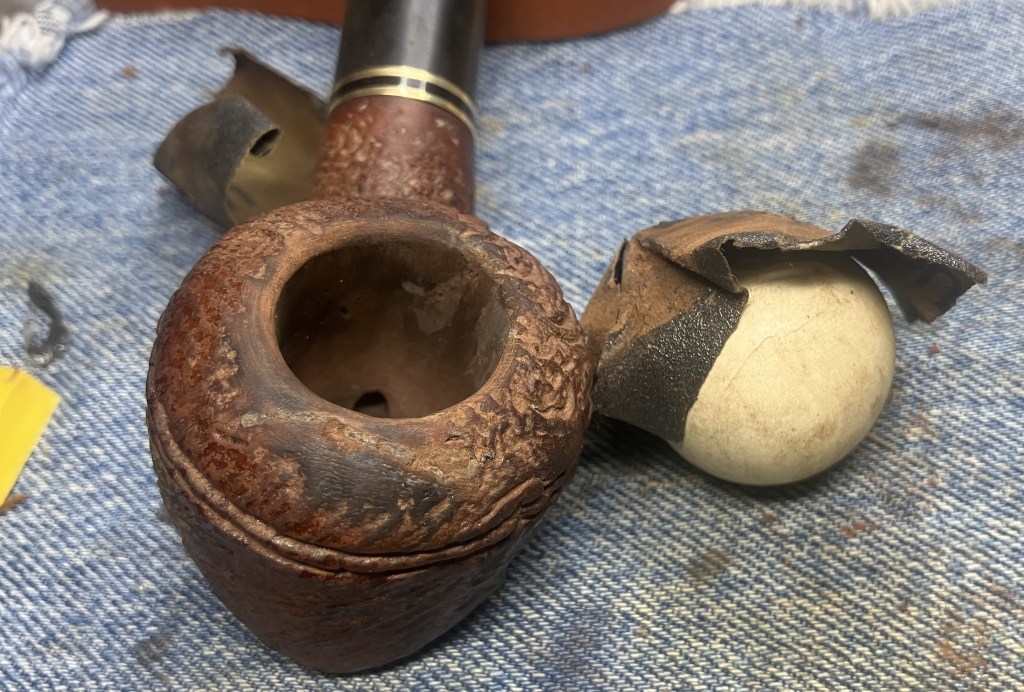
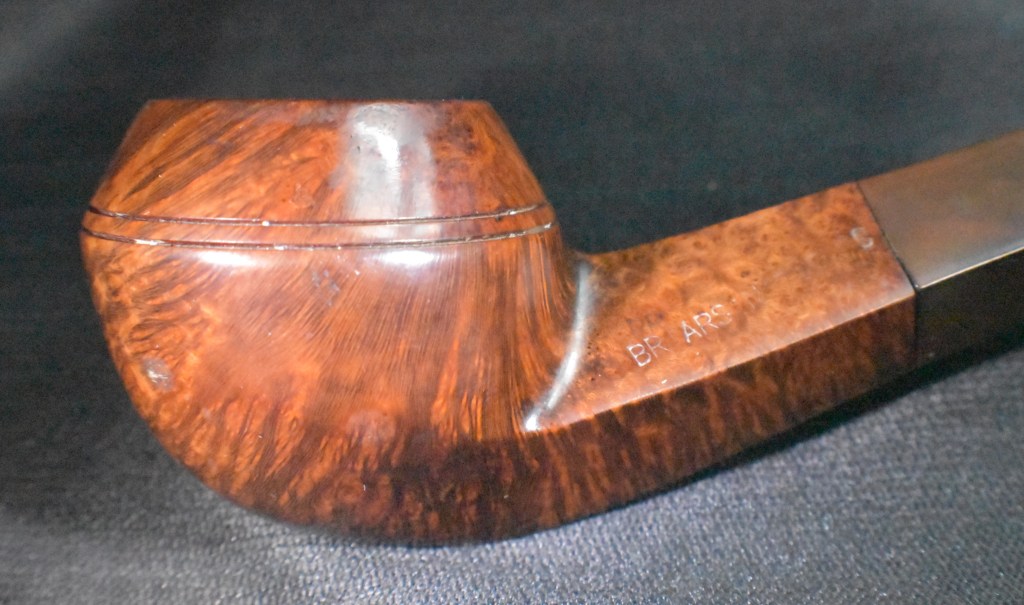
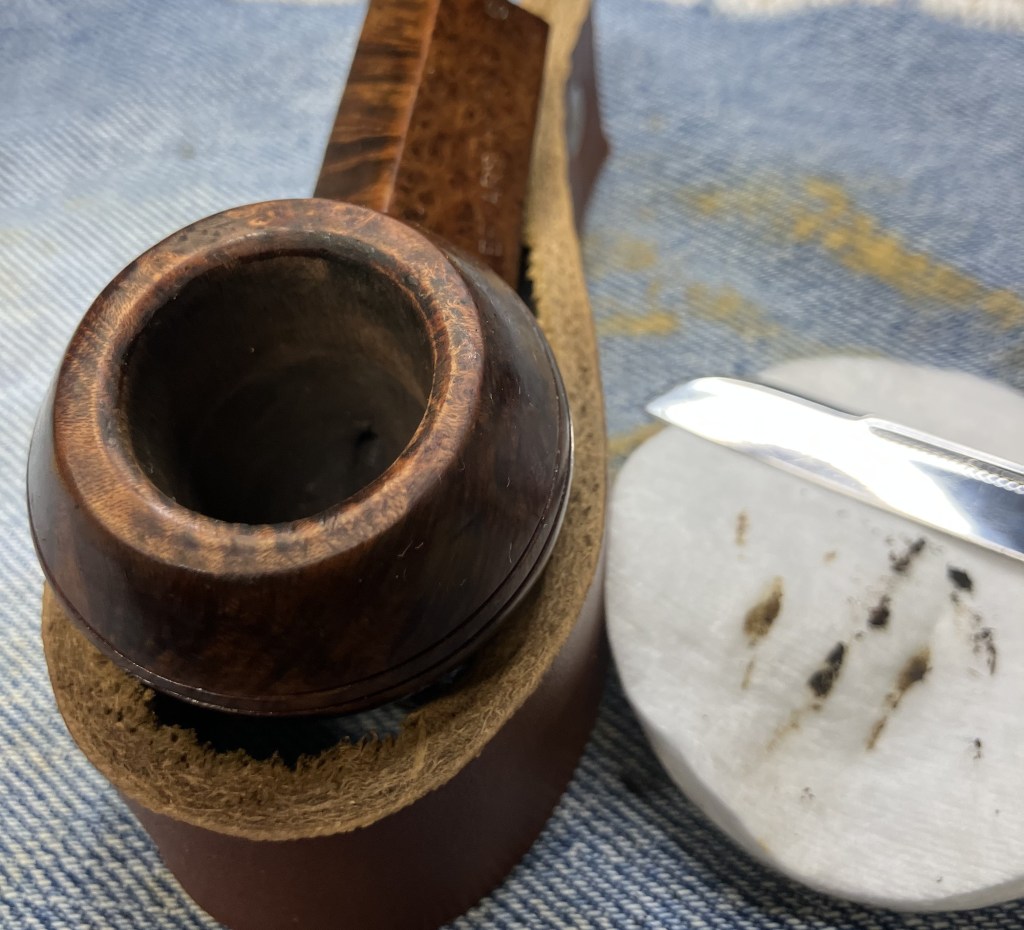
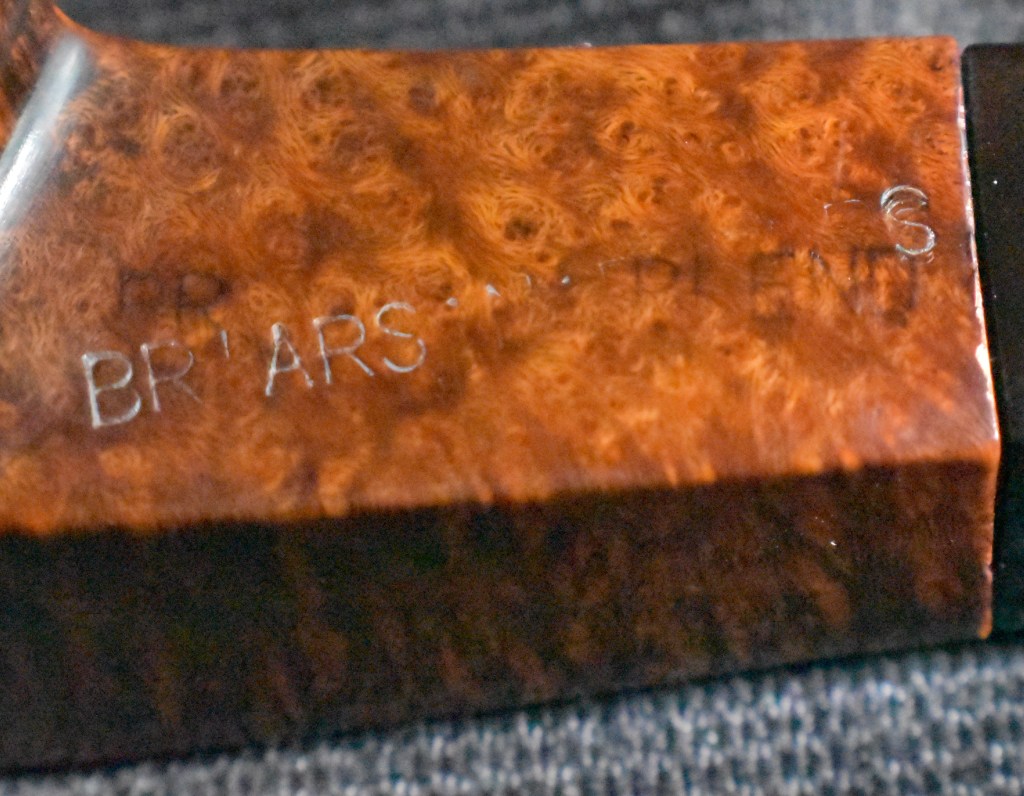
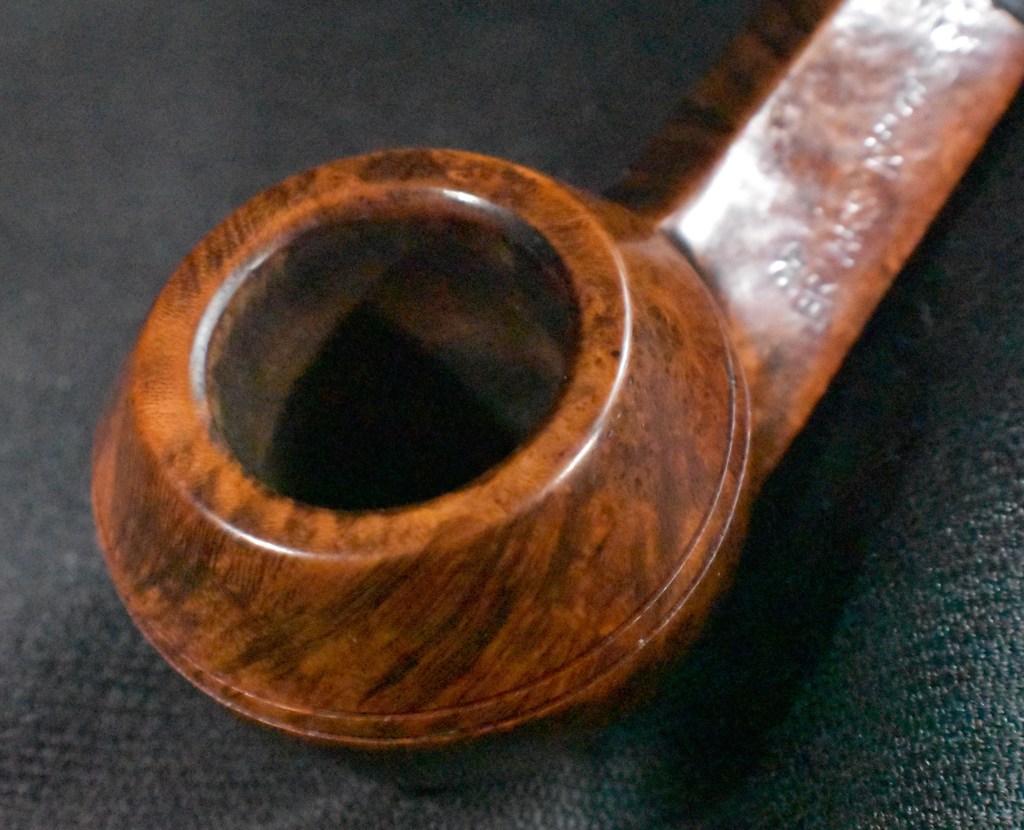
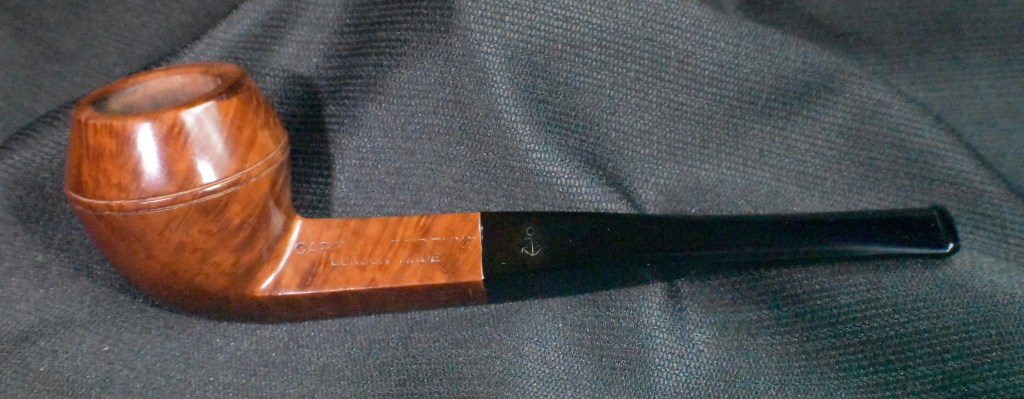
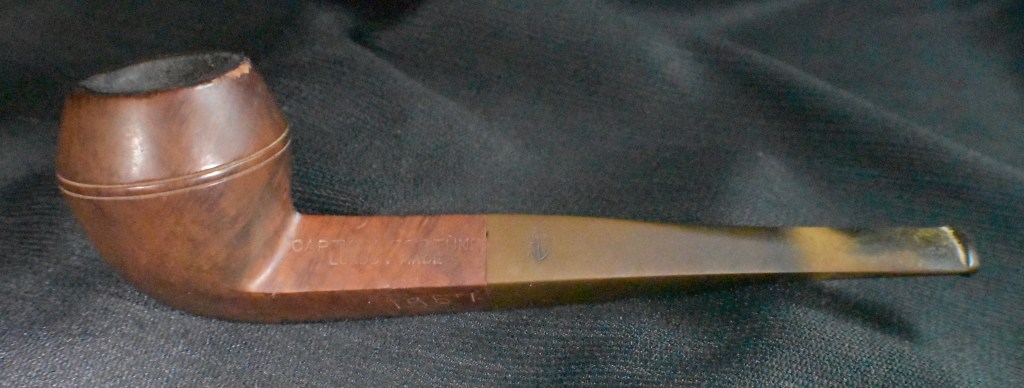
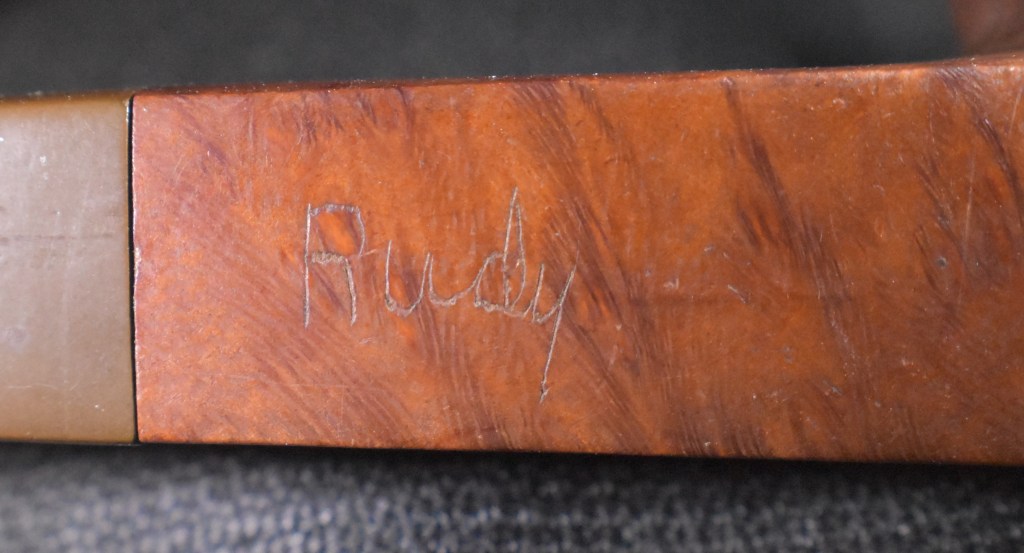
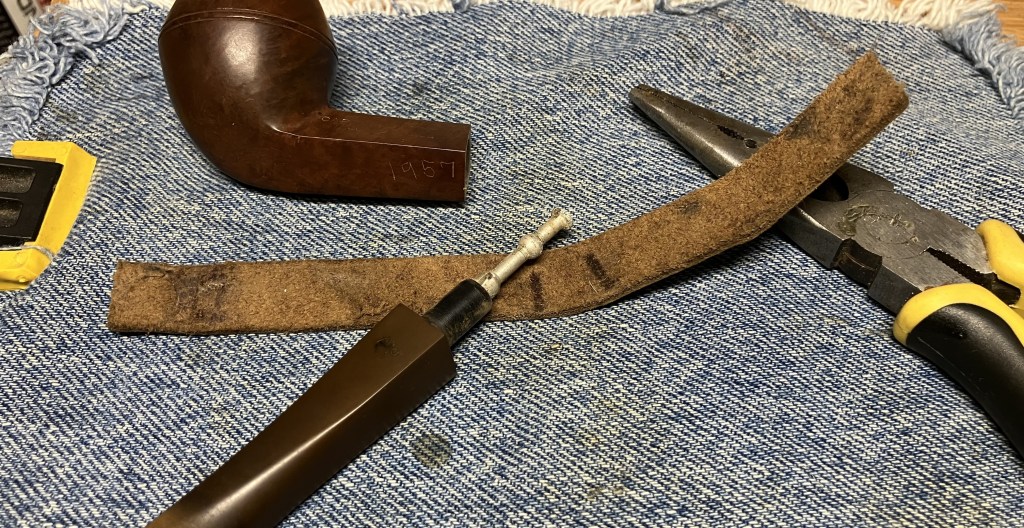
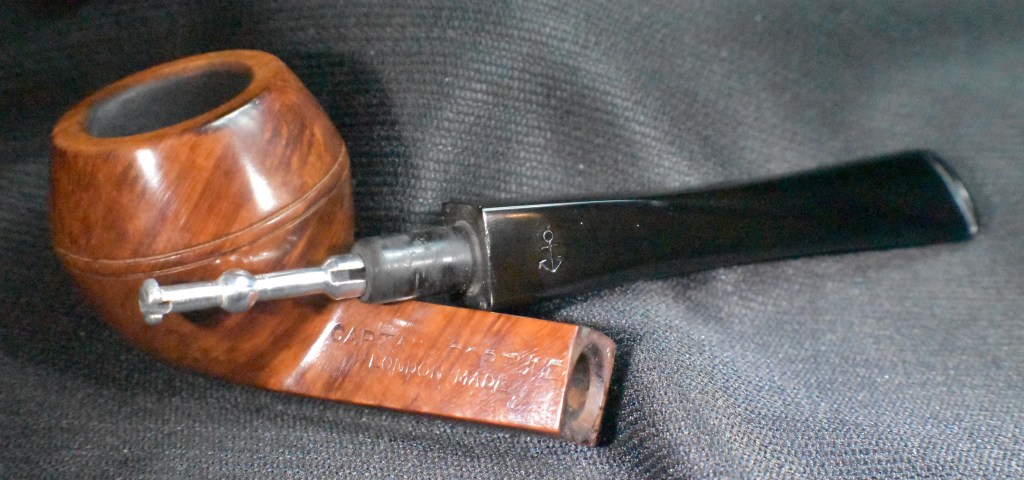
The pipe had no markings or stamps indicating the maker other than the Kaywoodie cloverleaf on the stem and the Kaywoodie 4 hole stinger. My immediate thought was that it was actually a Laxey product. More on that in the background. Normally I would write something like. “Below are some photos of the pipe before work began.” but I actually had picked at the apparent fill on the outside of the pipe a little bit before I took the following photos.


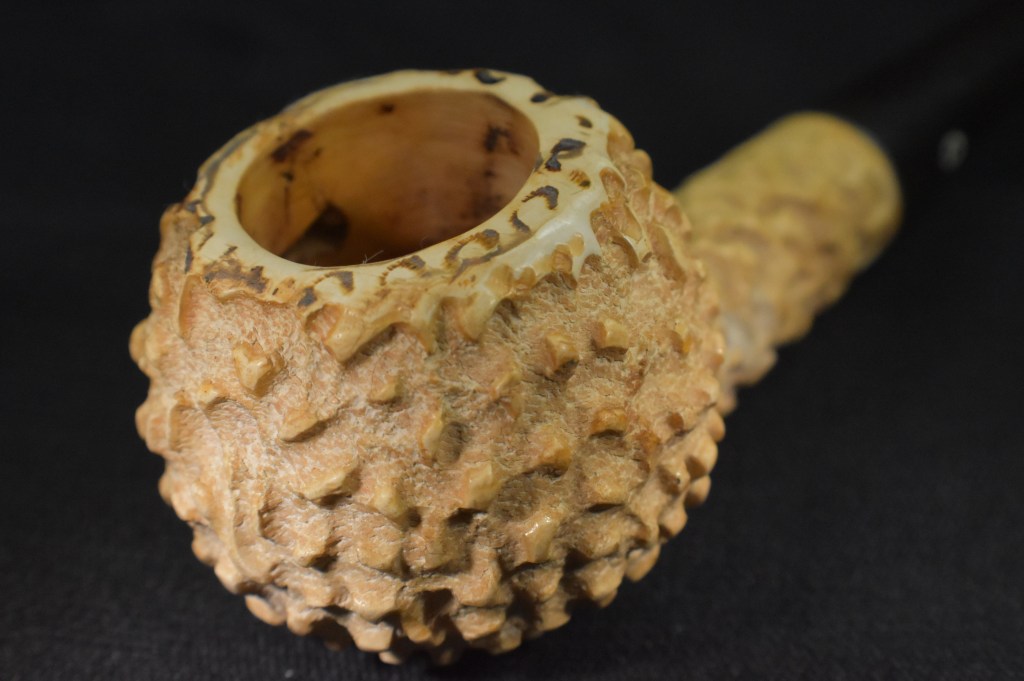
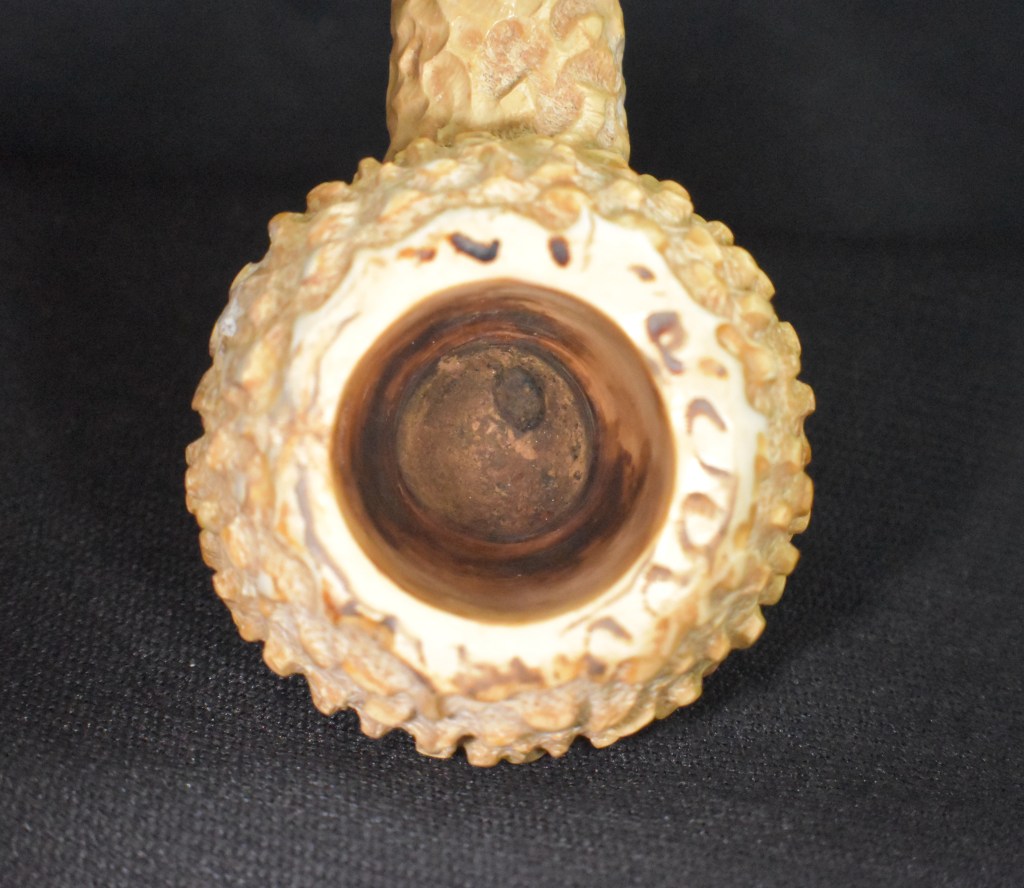
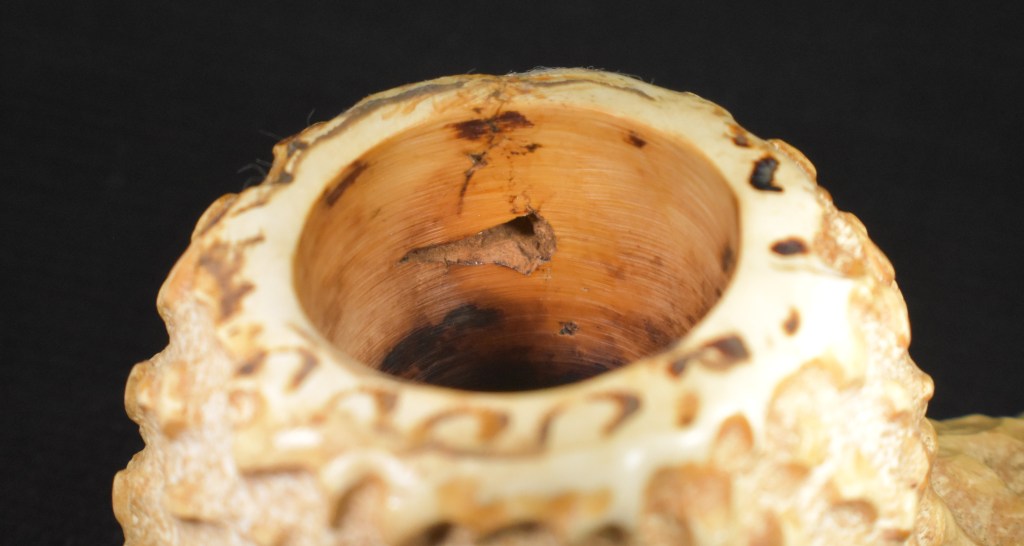
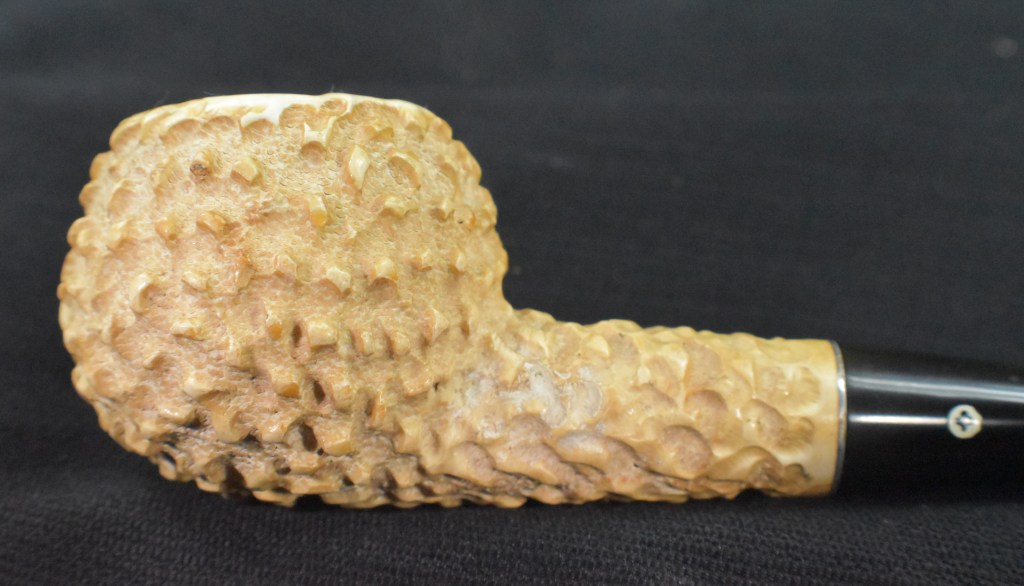
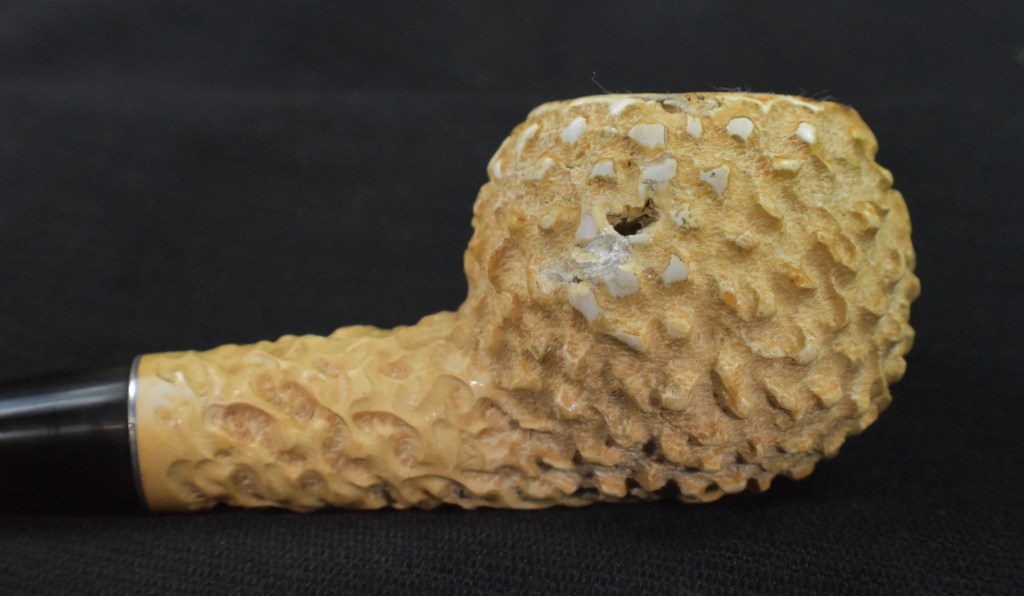


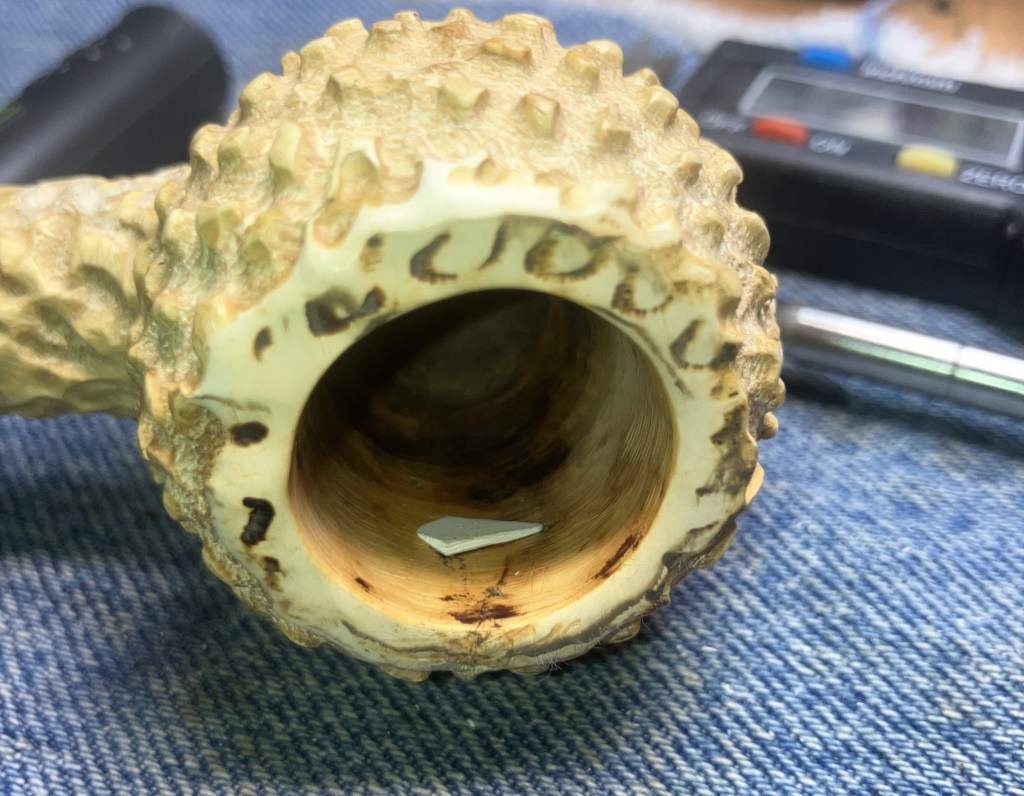
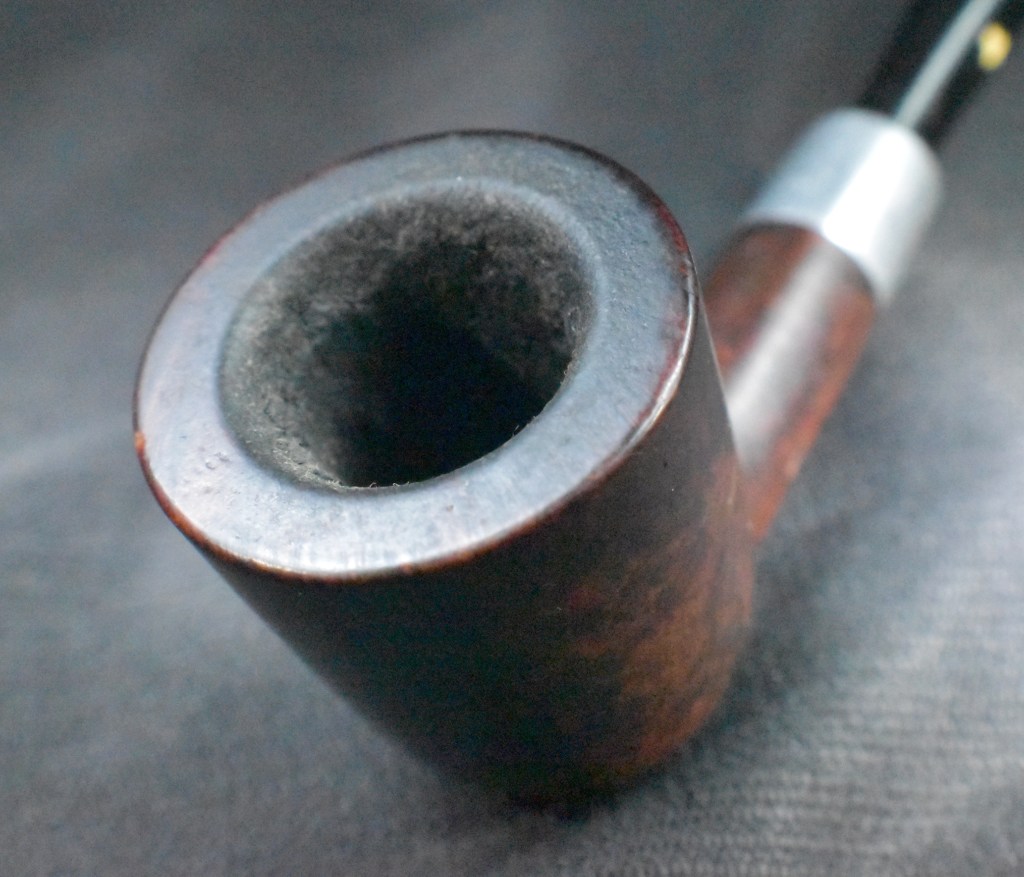
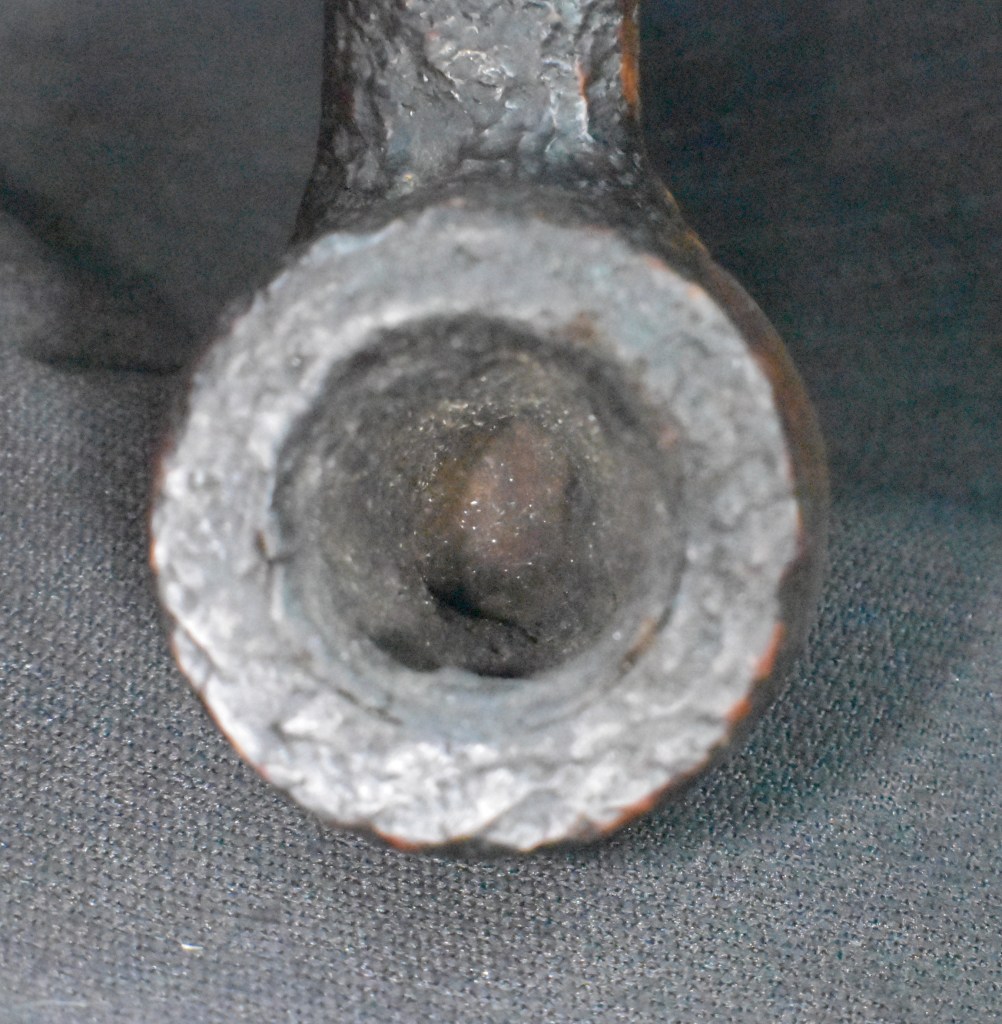
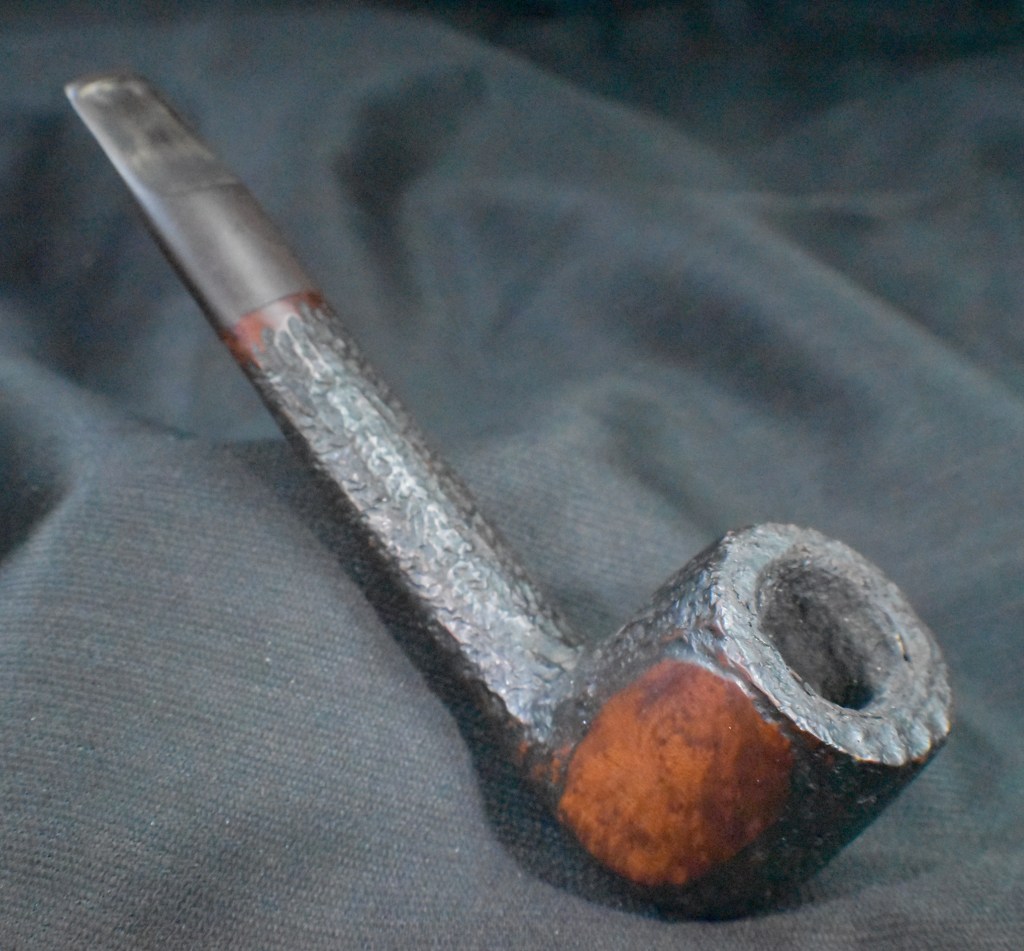
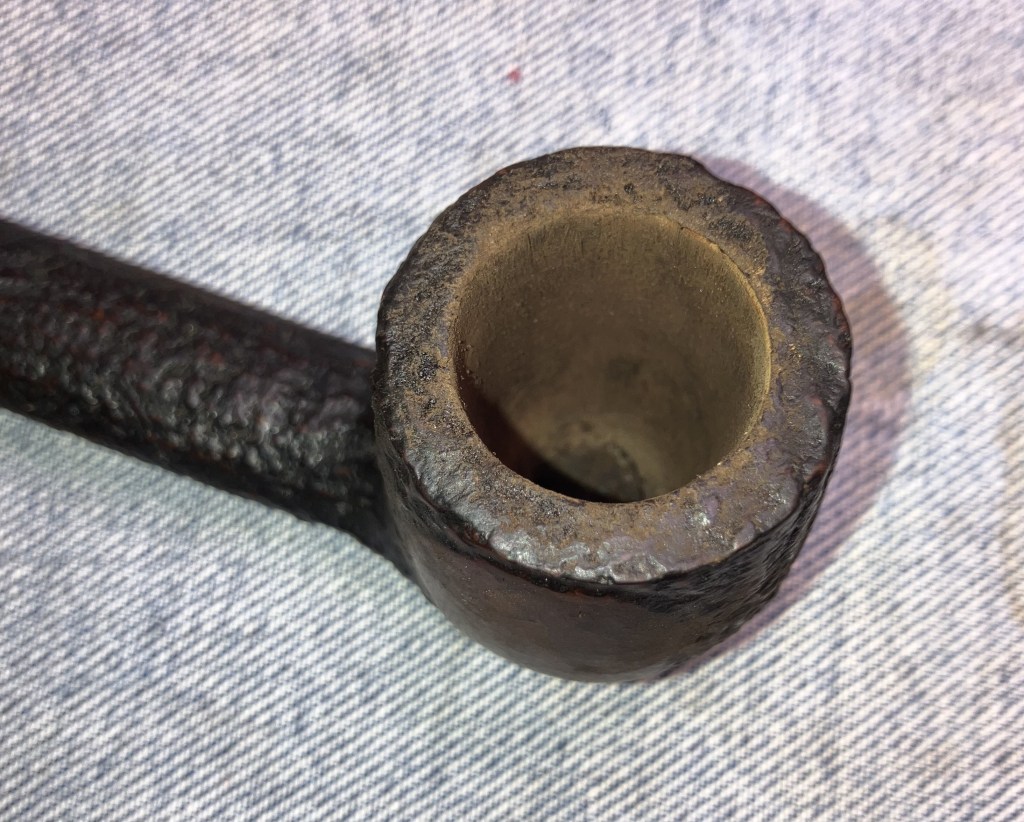
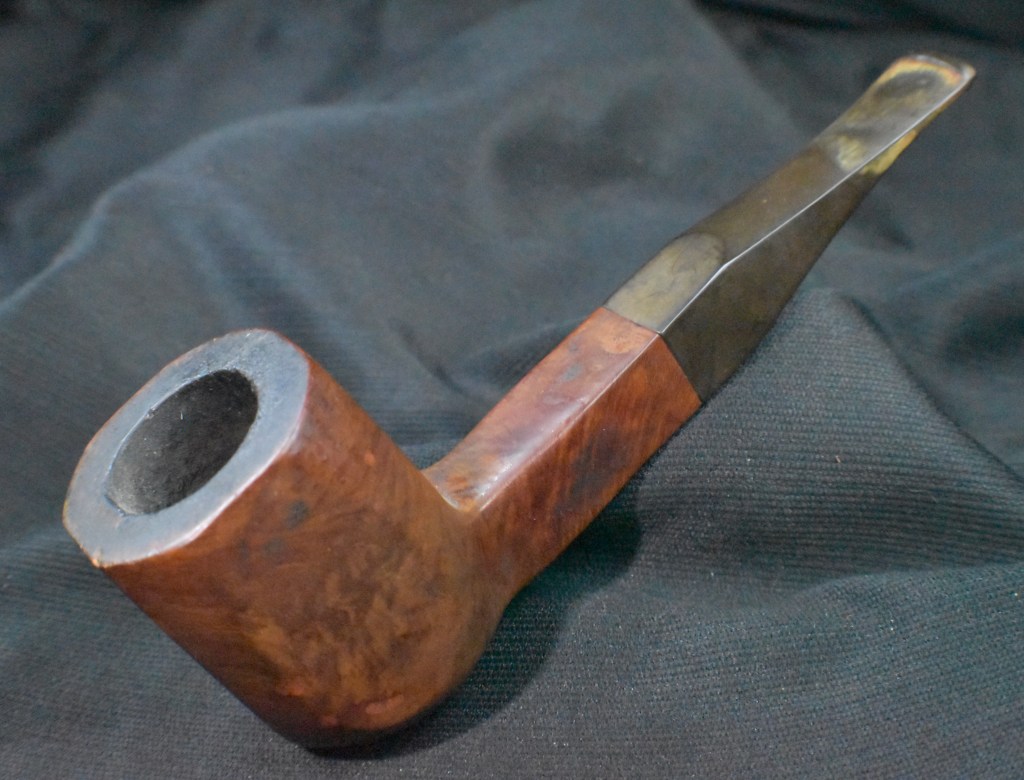
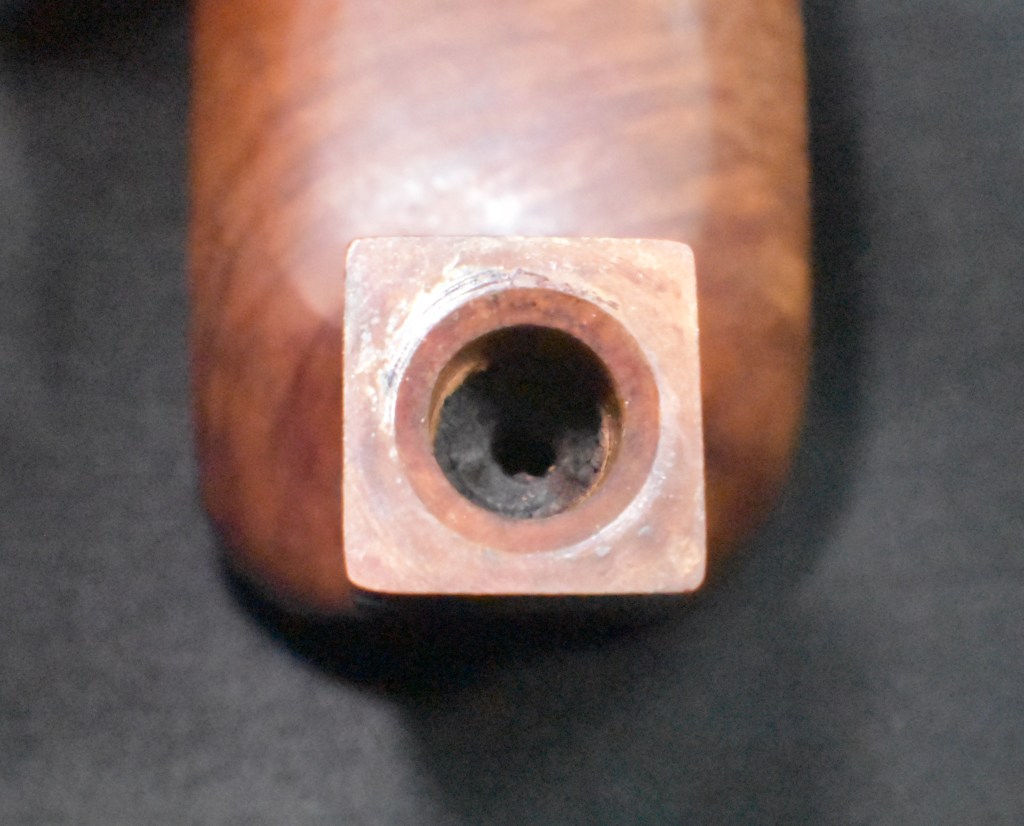
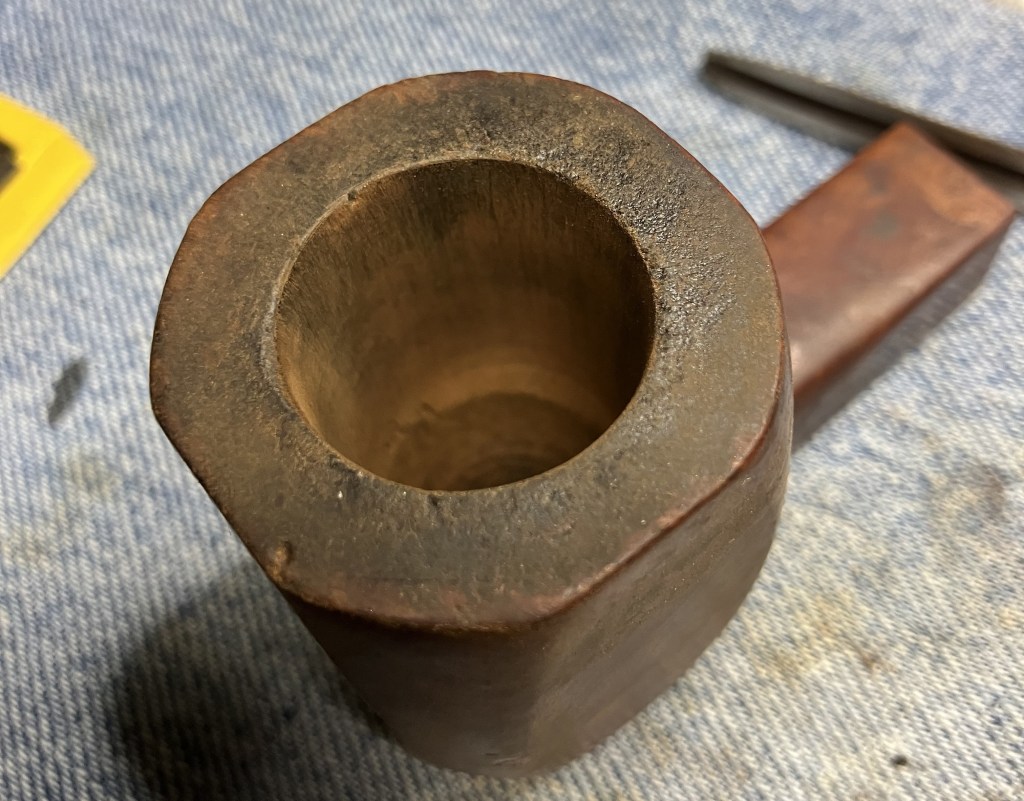
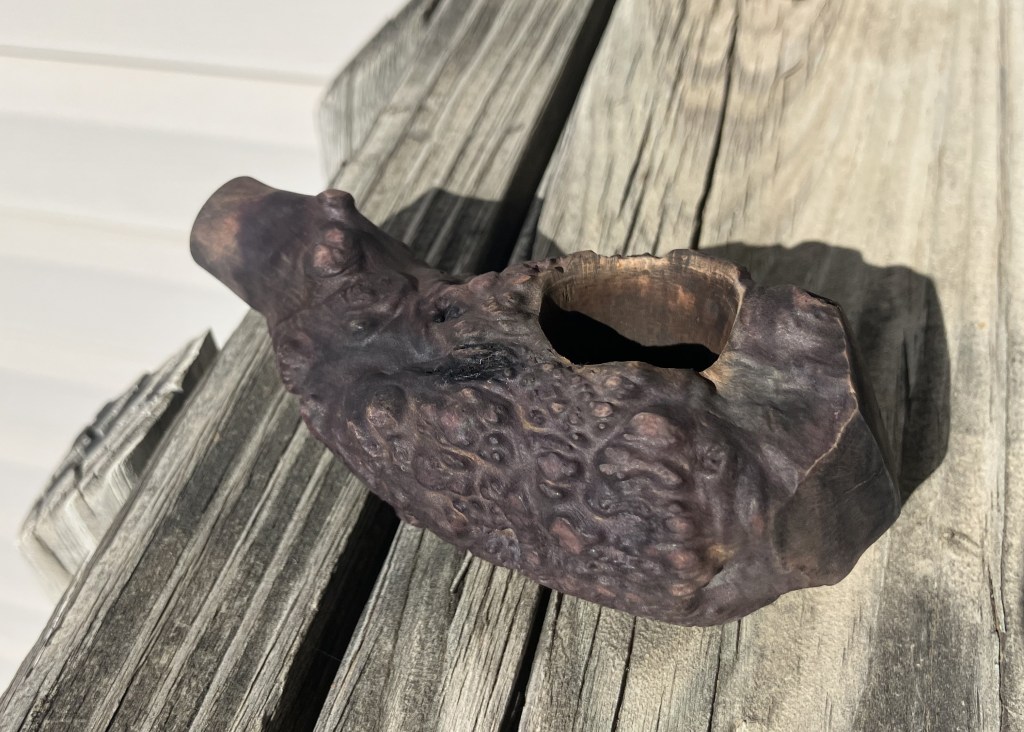
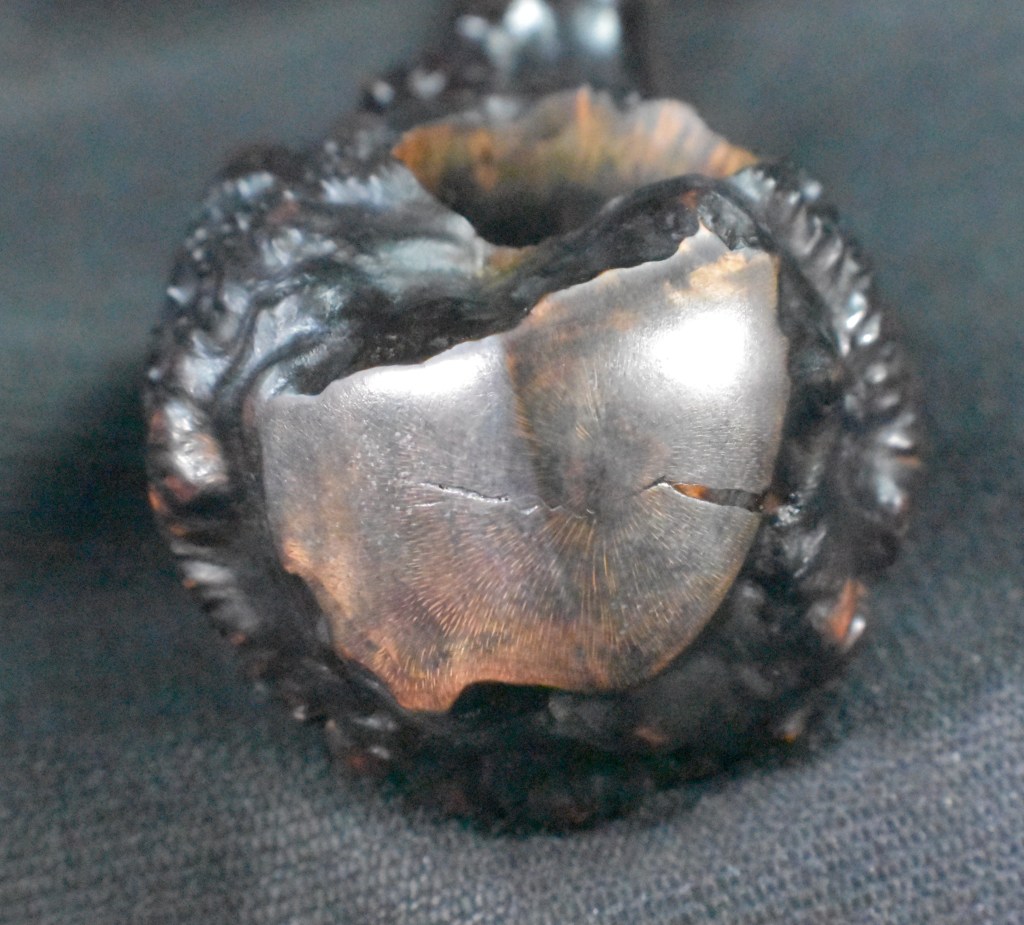
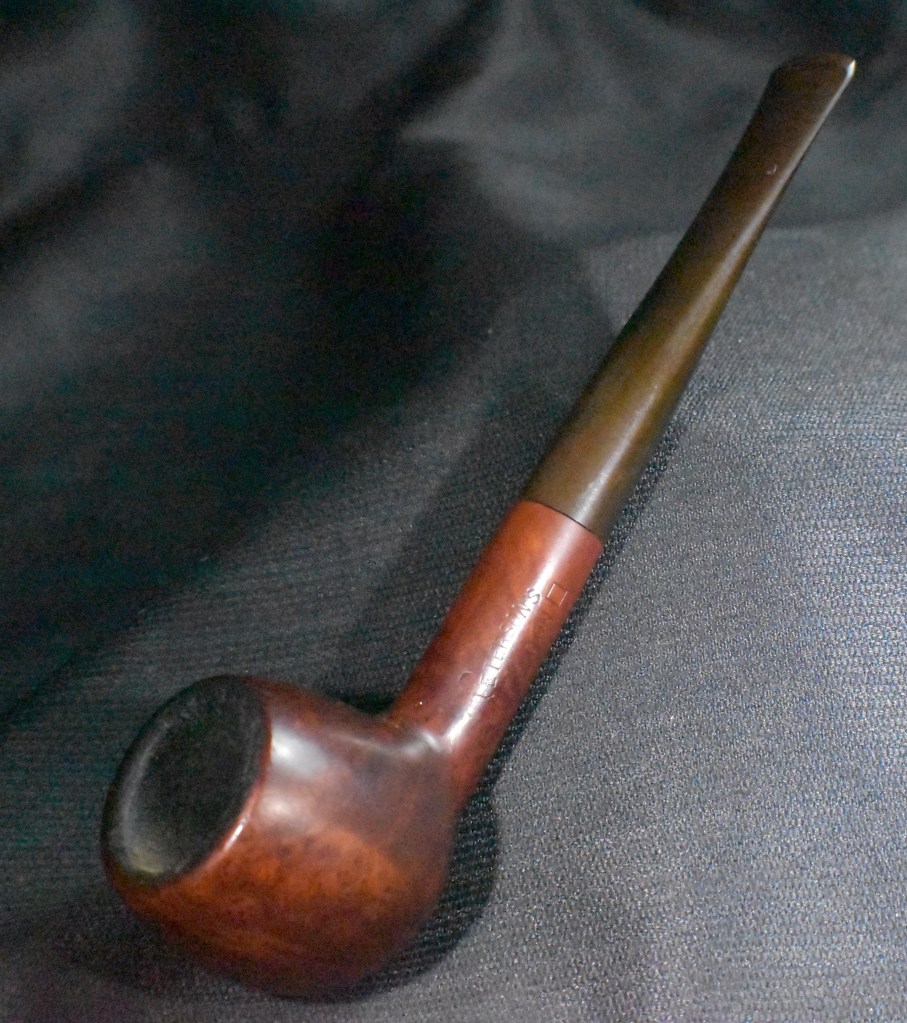
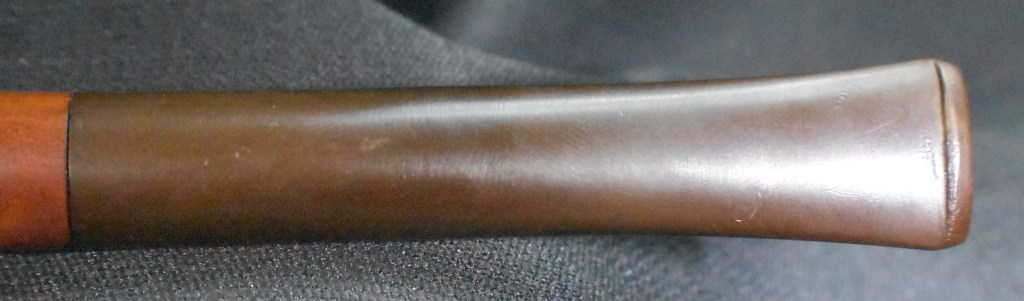
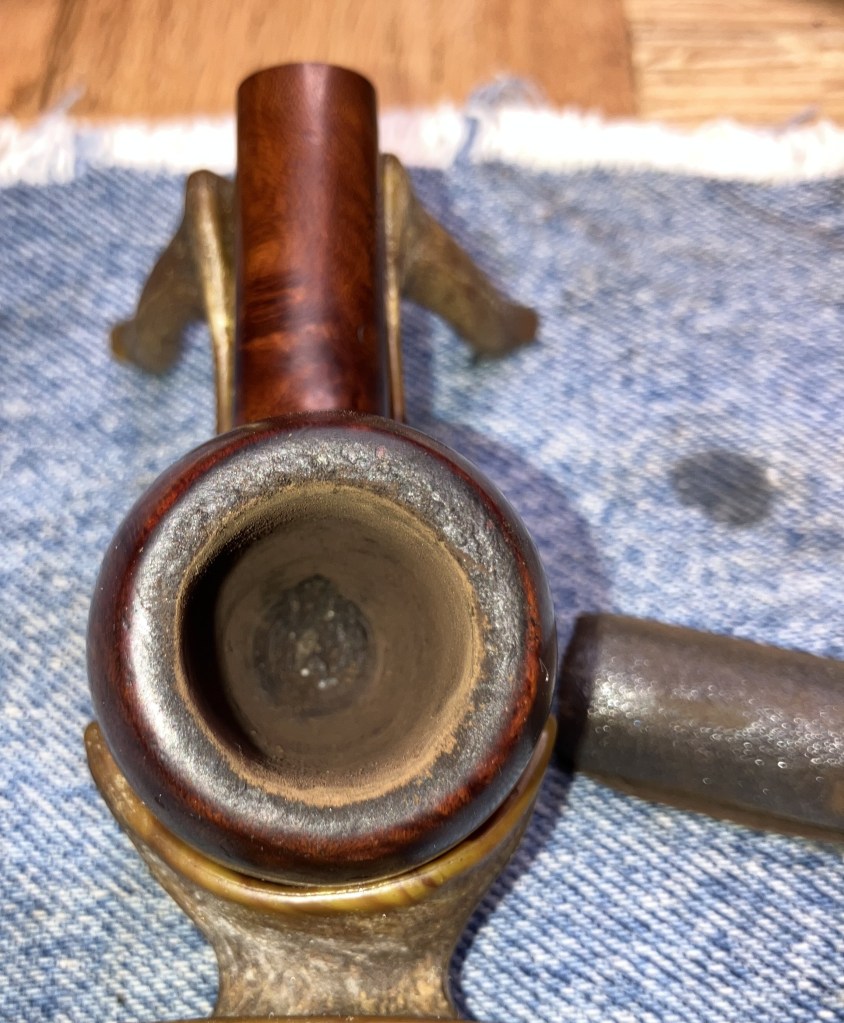
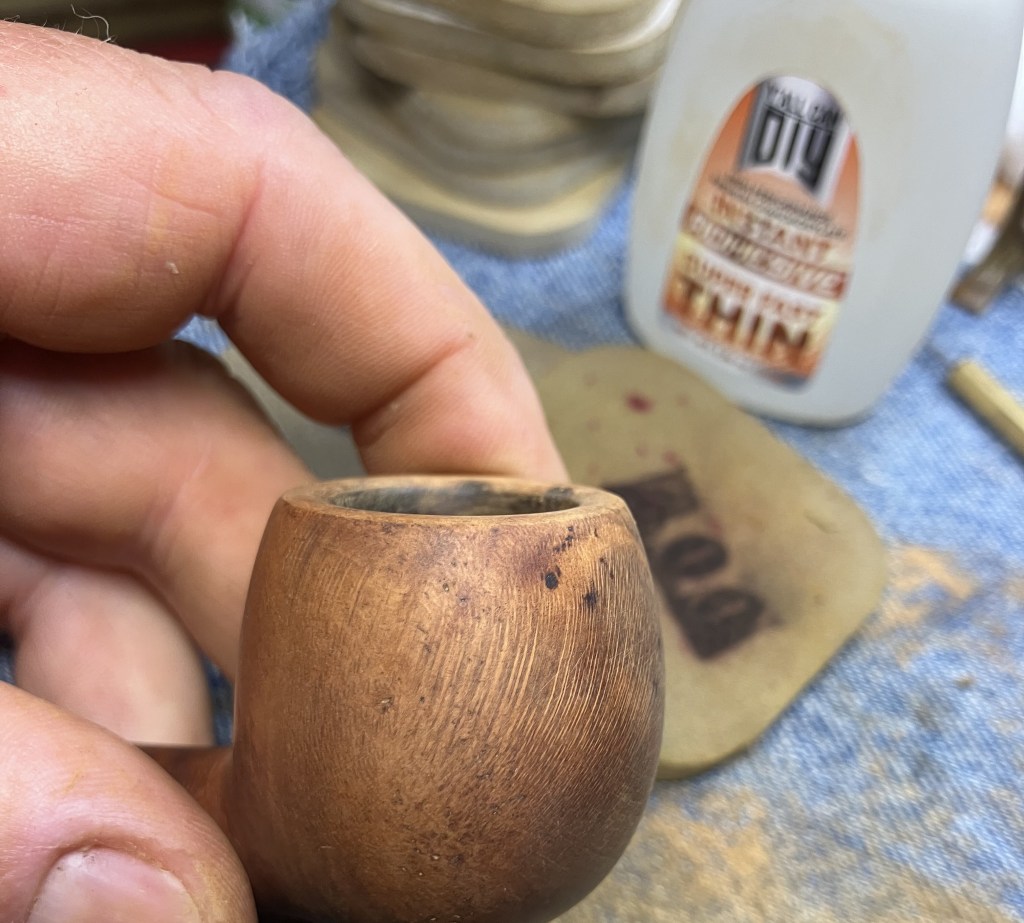
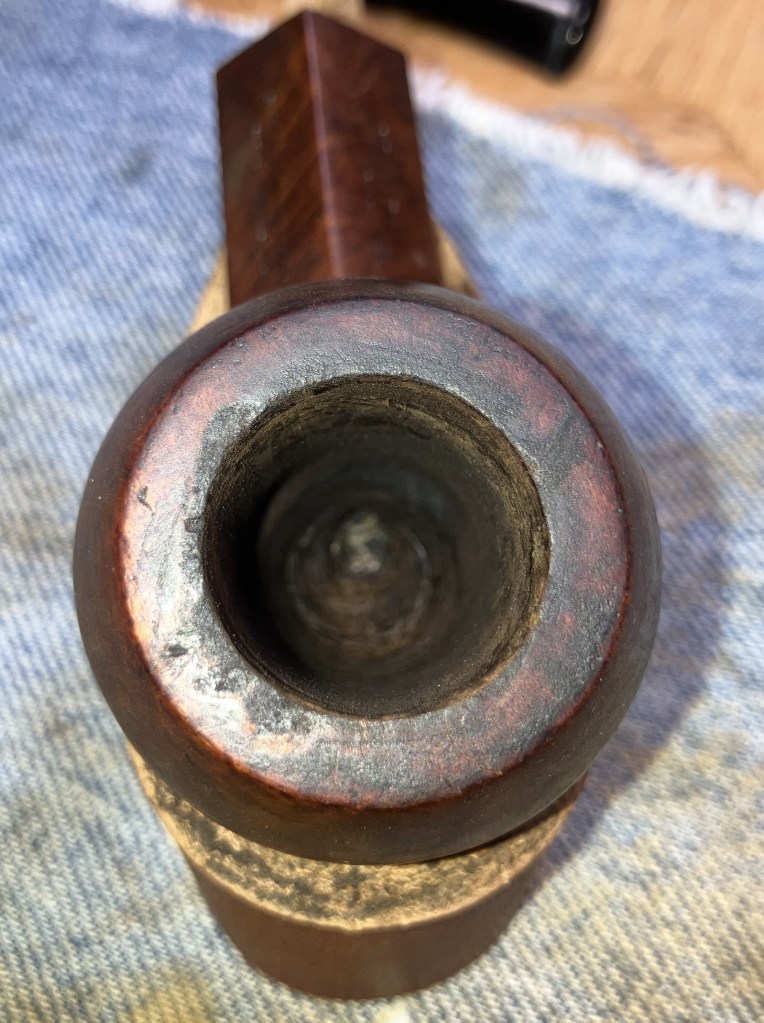
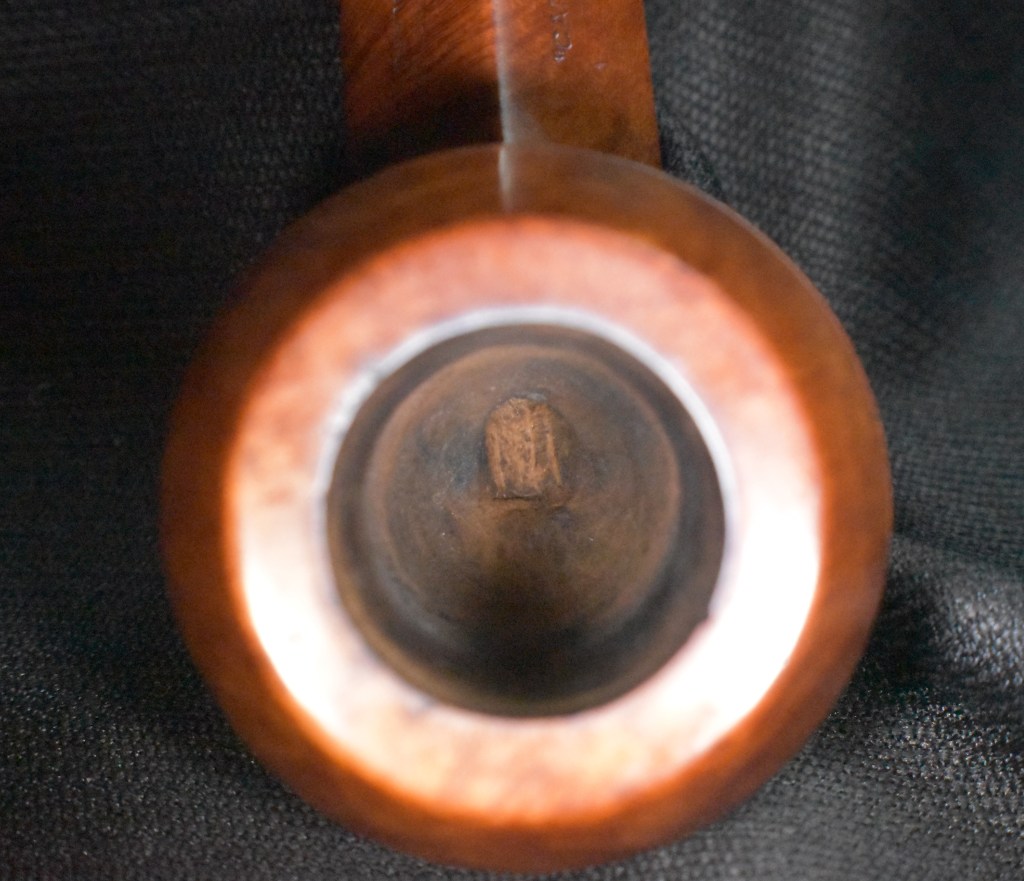
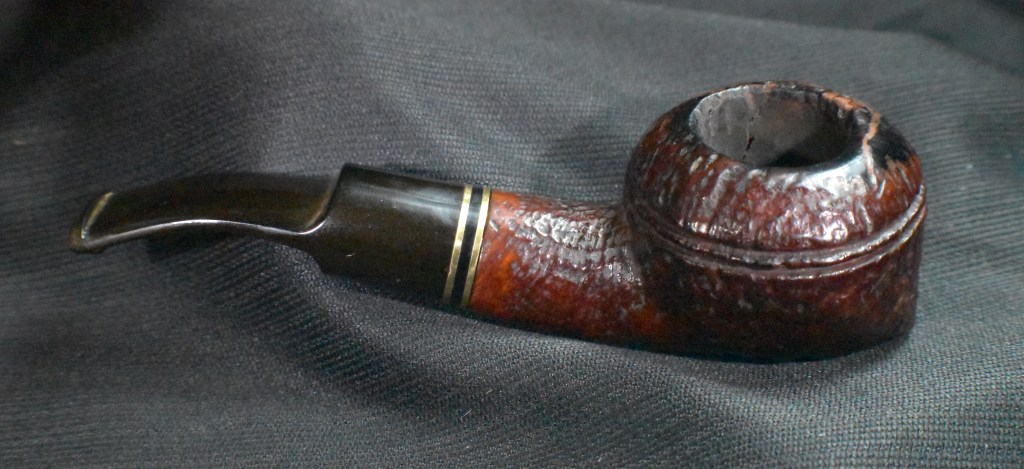
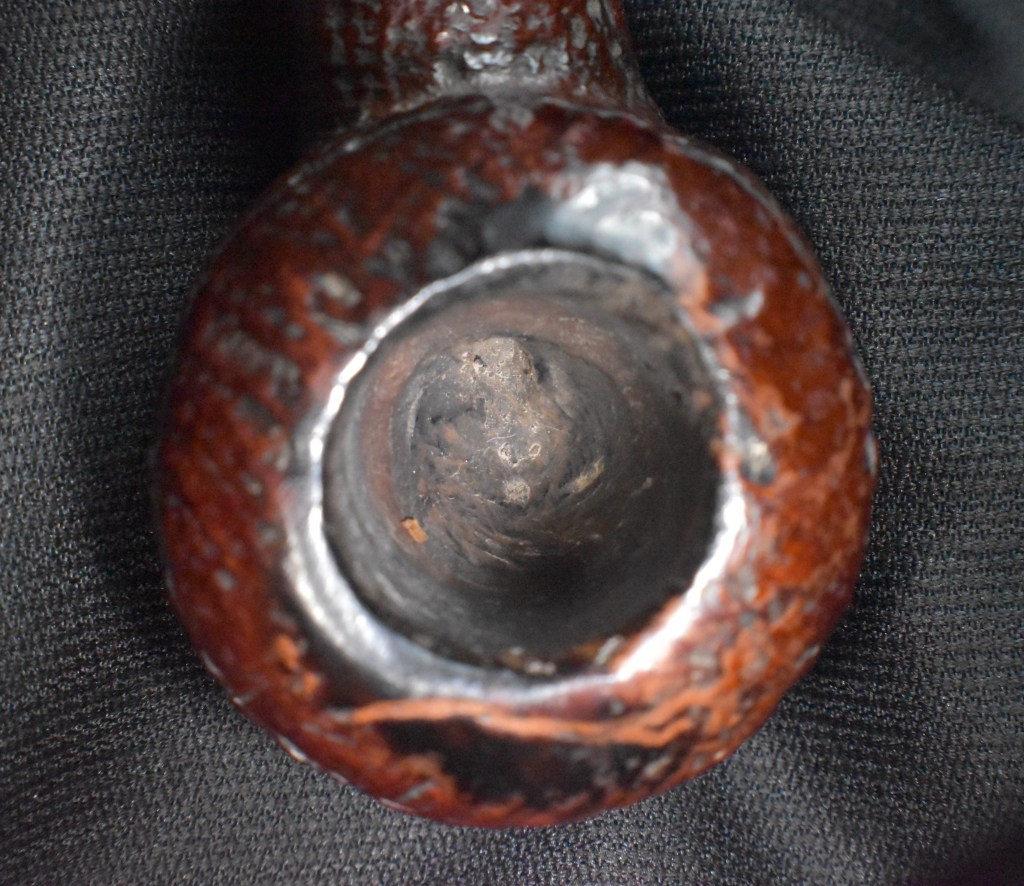
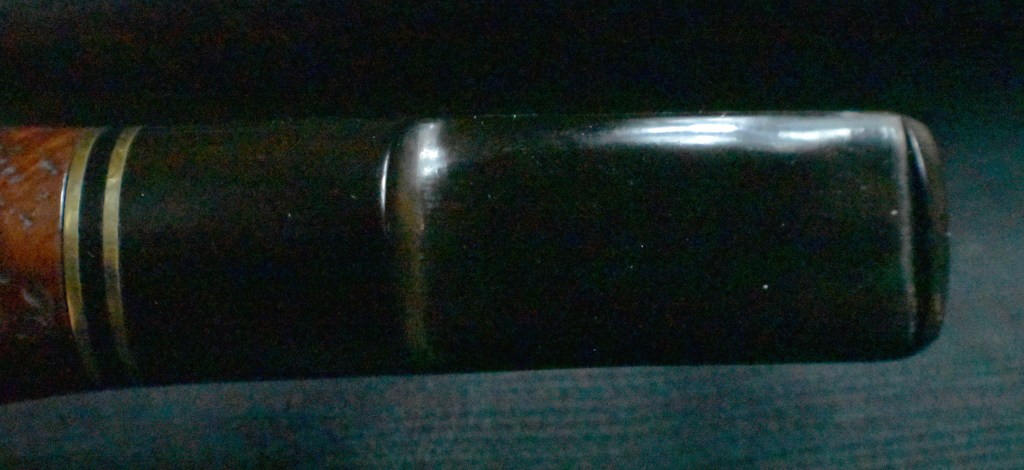
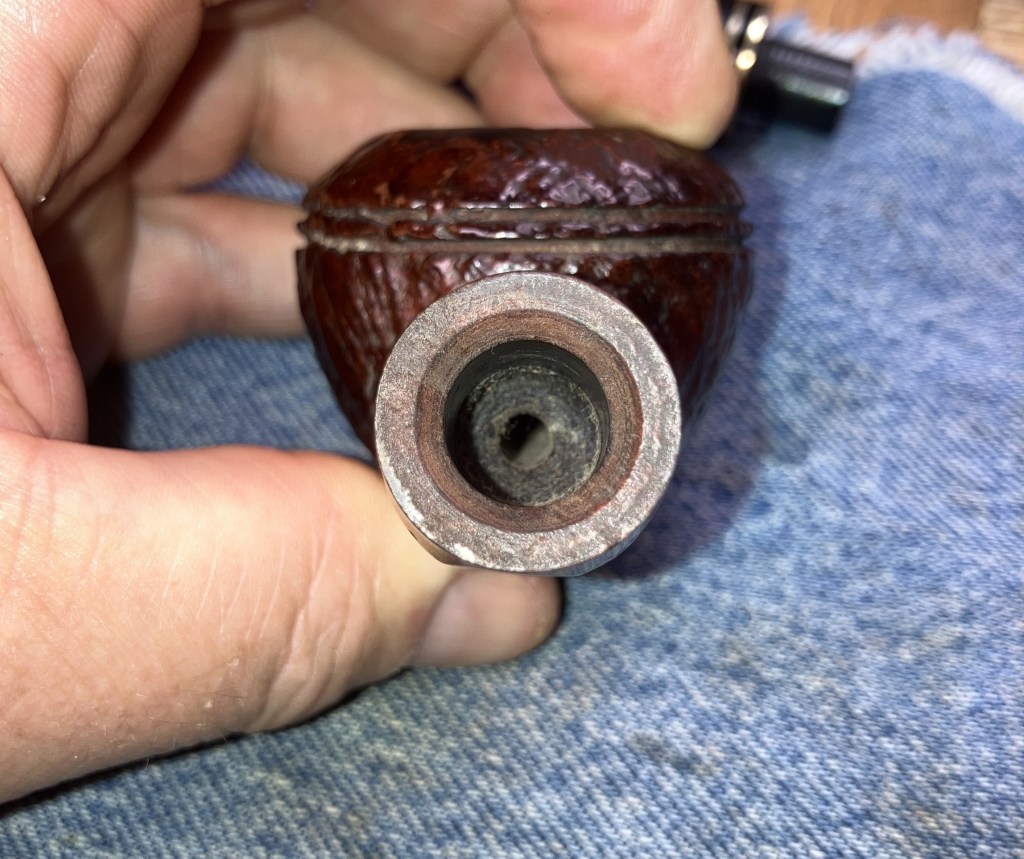
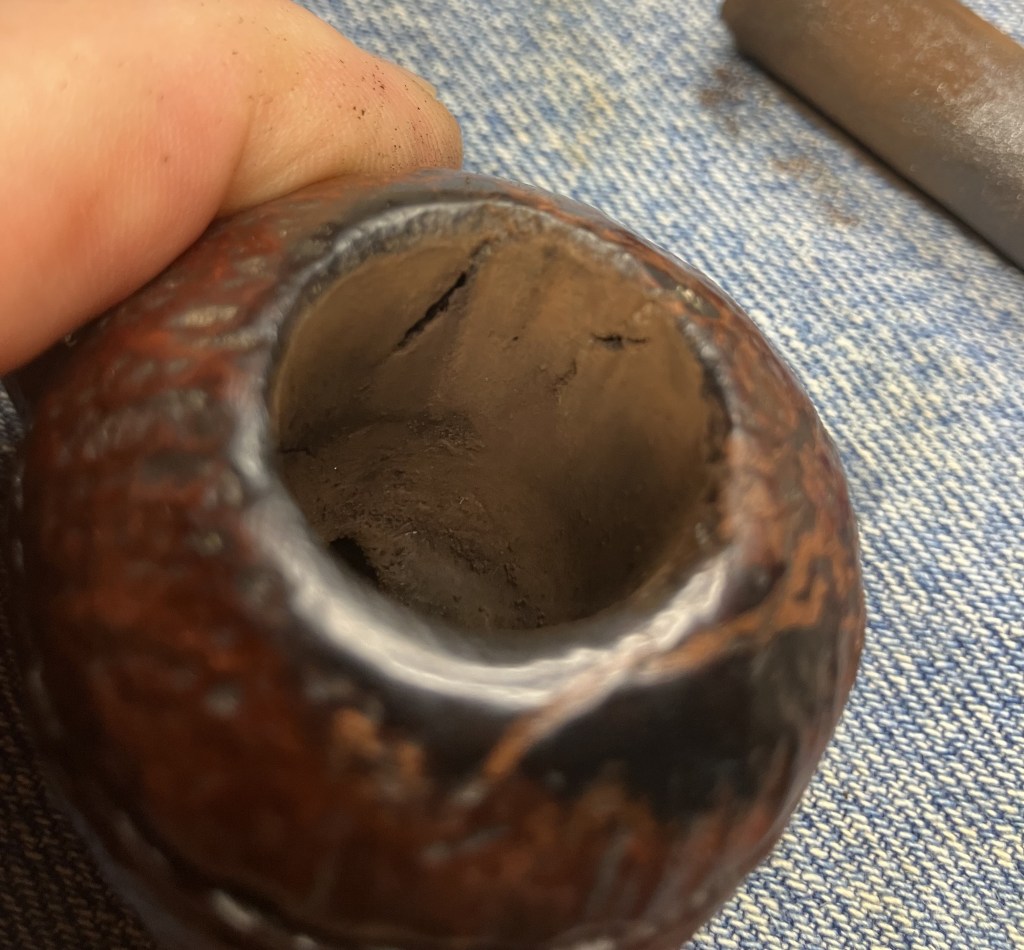
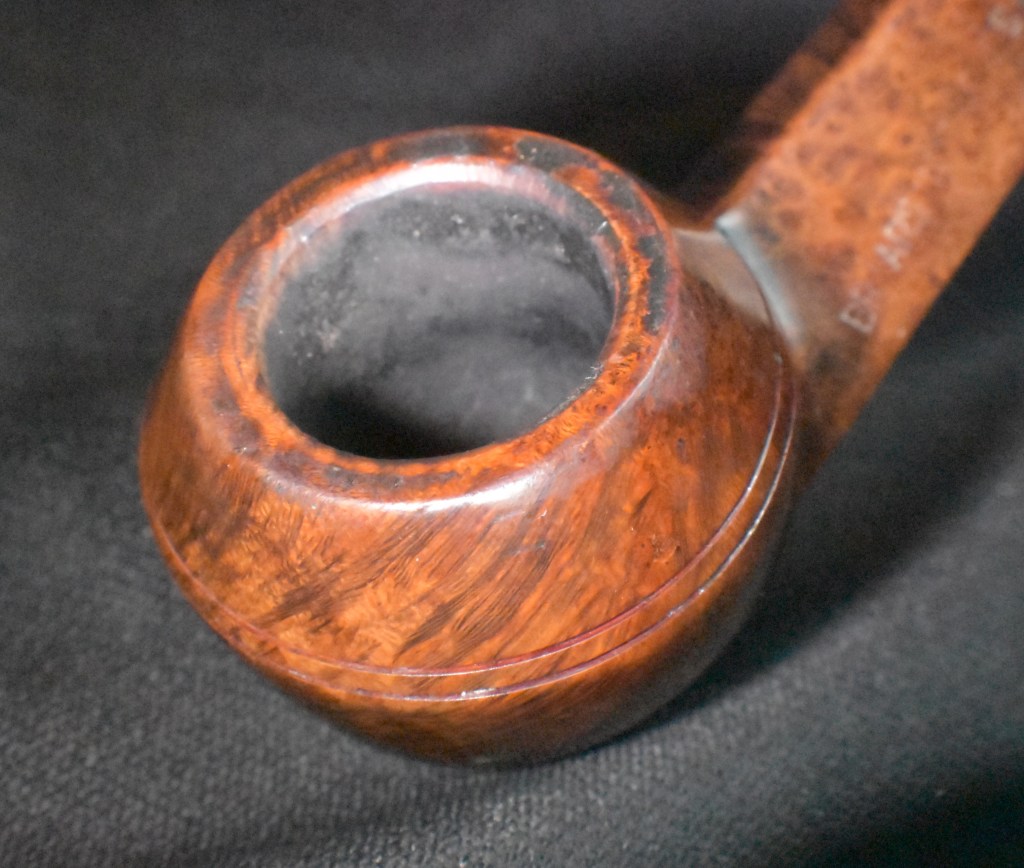
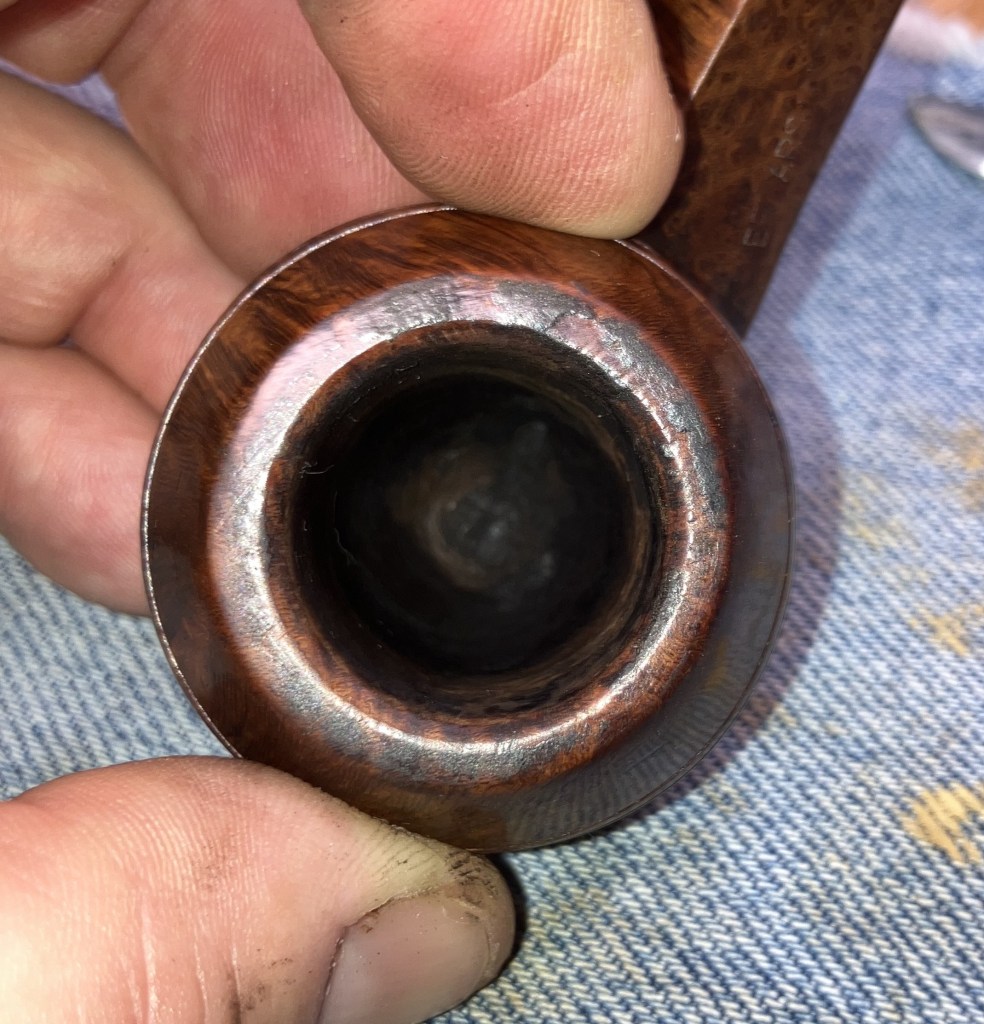
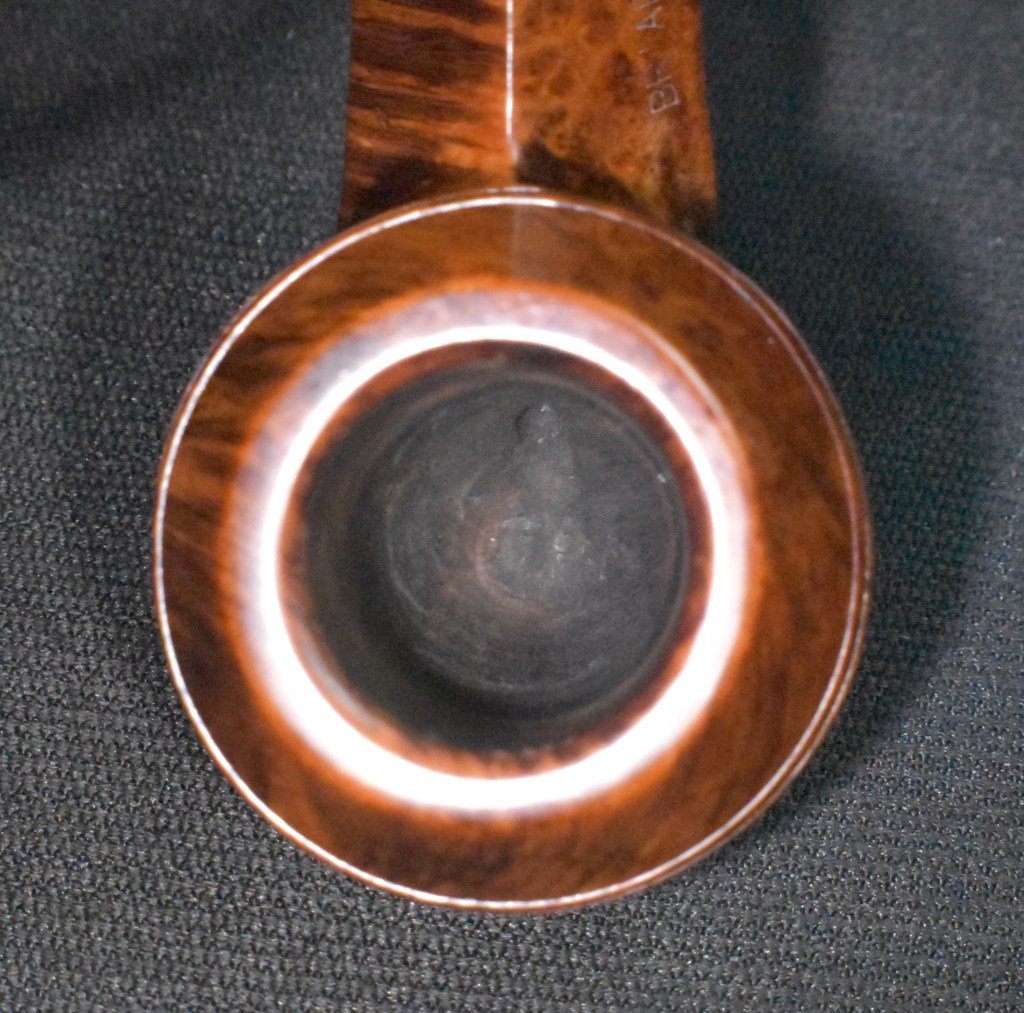
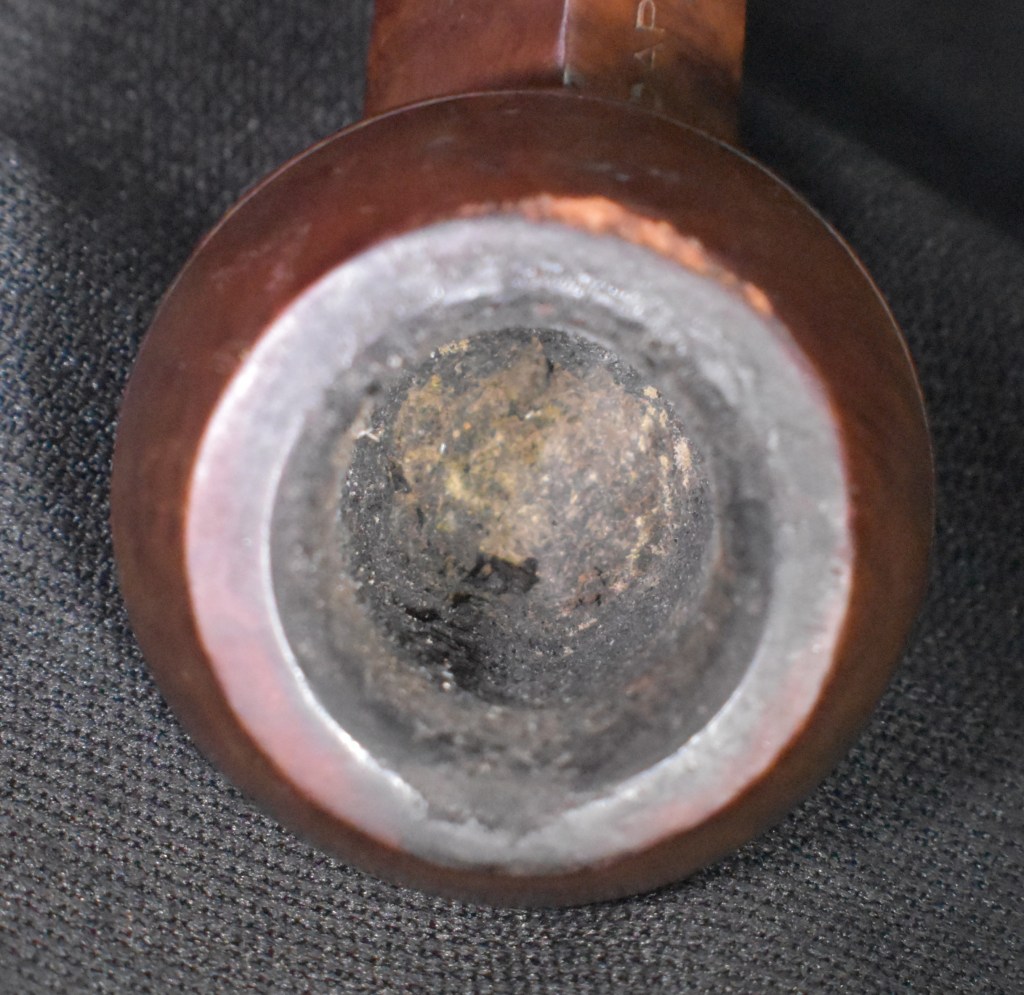
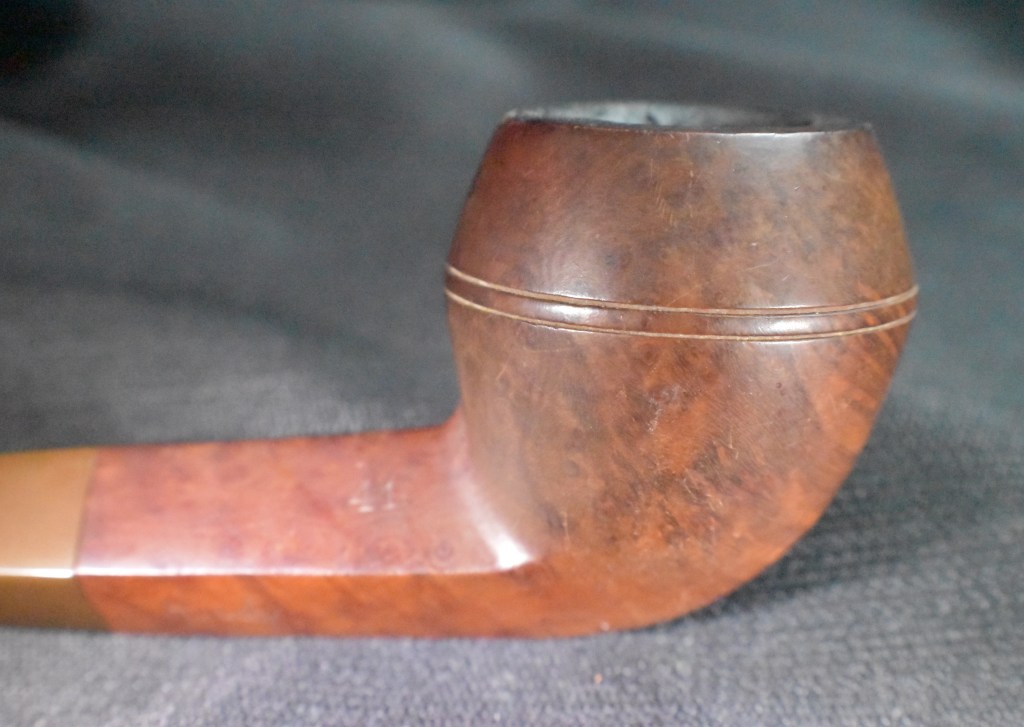
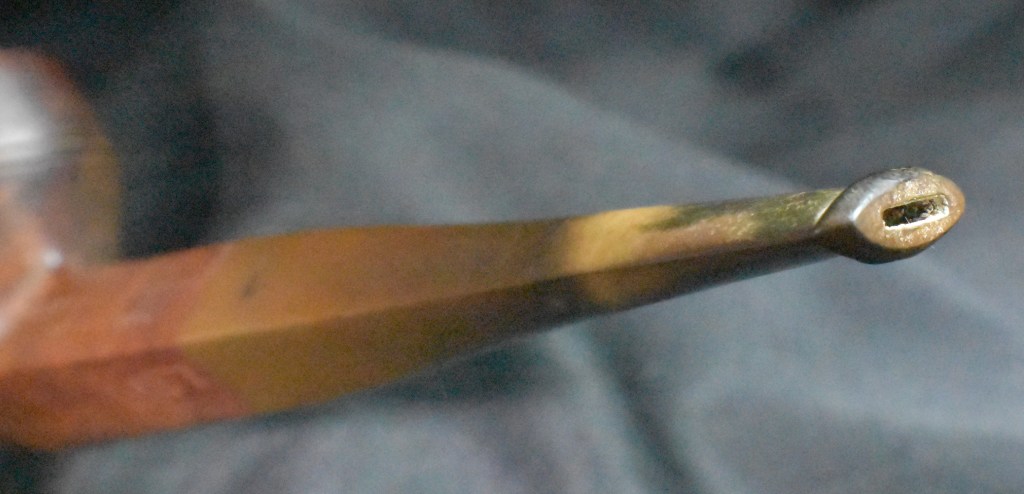
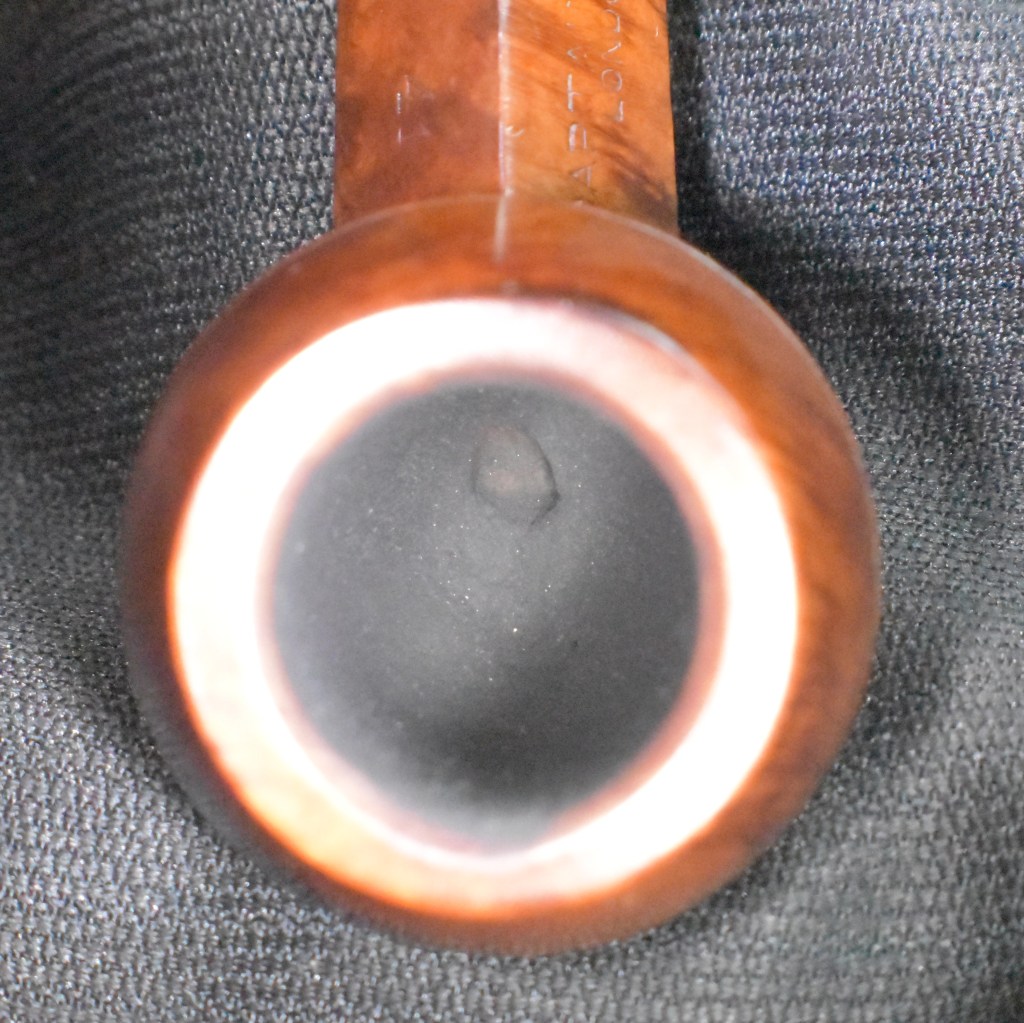
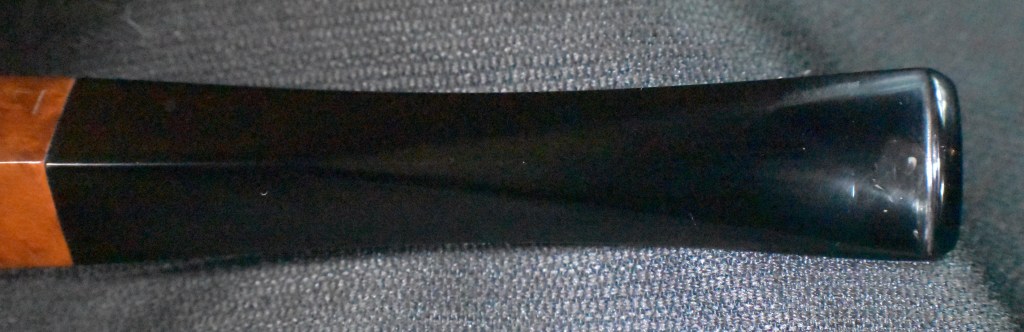
For the most part this looked like a pipe in great condition. The stem was not oxidized, there was no tooth chatter and it aligned correctly when screwed in. The interior of the tobacco chamber had been scraped and sanded and looked good, except for the gaping hole. This hole continued through the side of the stummel. I developed a plan in my mind of how to address this hole:
- Cut a piece of meerschaum, from a piece of scrap meerschaum, that would be fit to the hole on the inside of the tobacco chamber. This would be like an inlay.
- Fill the hole in the side of the pipe with a mixture of epoxy and meerschaum powder from both the tobacco chamber and from the outer-side of the stummel.
- Place the meerschaum inlay onto the epoxy fill and into the hole.
- Allow the epoxy to cure.
- Top the outside fill with meerschaum powder mixed with eggwhite and sand the meerschaum inlay smooth with the tobacco chamber.
- Dye the fill on the outside of the pipe with a strongly brewed tea to match the color of the meerschaum.
- Apply a molten beeswax to the surface of the stummel.
Hmm, it sounded like a reasonable plan but like all of my plans, they tend to have trouble when exposed to reality. You may be wondering, “What the heck is egg white used for?” There is a technique for repairing meerschaum pipes using powdered chalk mixed with eggwhite. I have used this technique previously in the restoration of a Kiko Caveman (Kiko Caveman Restoration – NebraskaPeteGeek). In that blog post there is the original recipe and instructions as well as an exchange between me Dal Stanton and Paresh Deshpande regarding the durability of the repair. I now have a small supply of meerschaum pieces so I planned on replacing the chalk with meerschaum powder.
Background
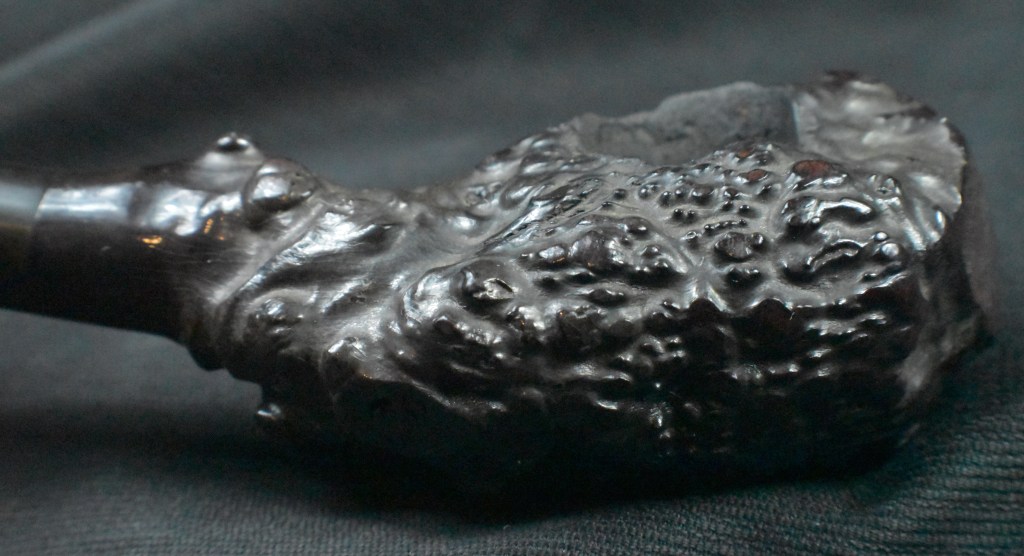
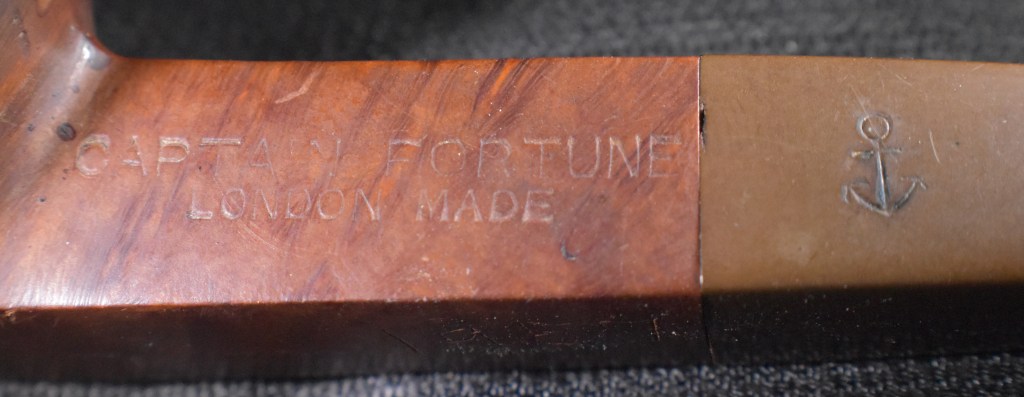
Having restored a few meerschaum pipes, I had a feeling (yeah, not very Stoic) that this was a Laxey. The following reasons were indicators: The color was not the bright white associated with Turkish meerschaum, the lack of any maker marks, the proprietary Kaywoodie stinger and the general lower quality of the meerschaum as seen by the flaws.
Like I mentioned earlier, I thought the pipe was likely a Laxey product. Below is the entry on Laxey Pipes from pipedia.org:
“Laxey Pipes Ltd. resided in a historical 19th century four-storey Man stone building at The Quay, Old Laxey, Isle of Man, which thankfully has been preserved.
The company specialised in the production of meerschaum pipes using the Meerschaum mined by the Tanganyika Meerschaum Corporation in the Amboseli basin in Tanganyika (since 1964 part of the United Republic of Tanzania).
Please note: you may often find names like “Manx Pipes Ltd.”, “Man Pipe Co.” and others more, but there is no indication of another Isle of Man pipe producer other than Laxey Pipe Ltd. at any time!
Laxey Pipes Ltd. marketed own brands like “Manxpipe”, “Manxman”, “Manxland” e.c. Names like “John Bull”, “White Knight” (unwaxed), “Domino” (black, or lined) indicated some shapes / colours of Laxey’s own series. The stems either showed the astronomical sign for “male” or “man” (circle + arrow), or the crest of the Isle of Man, the 3-legged X in a circle. Manxpipes and Laxey’s other brands were available through pipe retailers in general, but also were sold (mainly) to tourists through their own shop in Laxey.
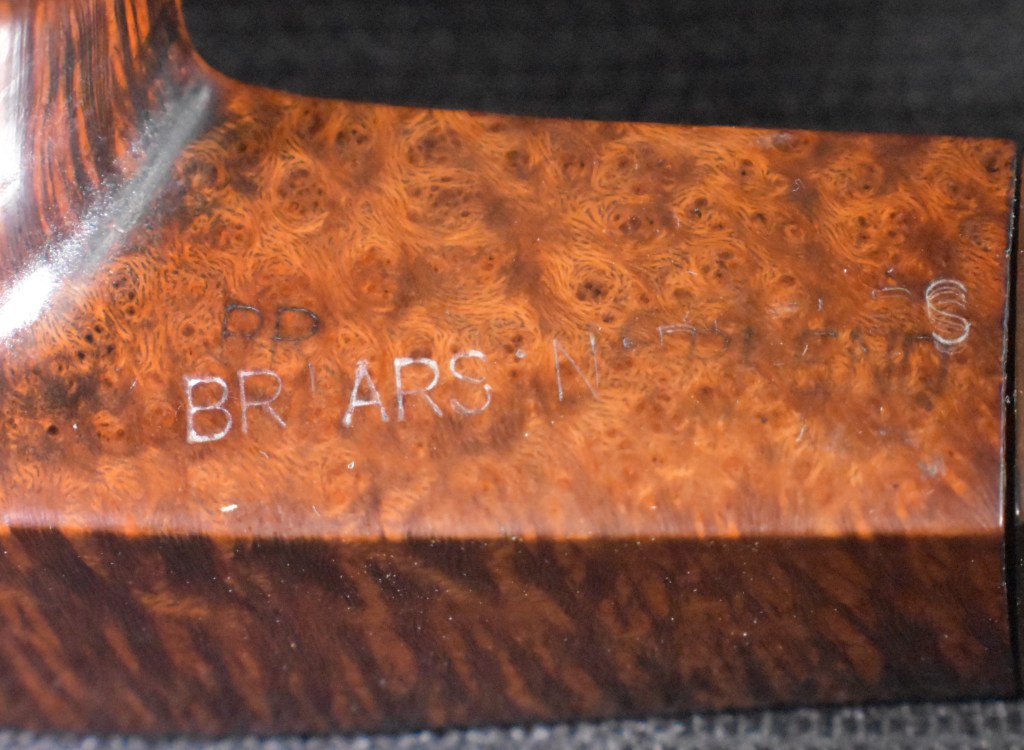
Furthermore Laxey Pipes Ltd. manufactured the meer bowls for Peterson, Barling, Nørding and others from the later 1960’s until 2001. Man Pipe e.g. was a brand distibuted by Comoy’s. The bowls usually showed no nomenclature indicating the orderer. “Genuine Block Meerschaum” was engraved frequently. Often, just the stems were different, while bowls were the same.
Supply of meerschaum from East Africa run out (Kenya / Tanzania exhausted, Somalia inaccessible), and thus the last Laxey meers were supplied to trade in May, 2001. Laxey Pipes Ltd. tried to survive continuing with briar pipes – mainly in the Danish style -, but to no success. It closed down business in July, 2002.” (Laxey Pipes Ltd. – Pipedia)
Side Note
If you are interested, I wrote more extensively about the meerschaum deposits in Tanzania when doing research on a Kiko Caveman pipe. That can be found here: Kiko Caveman Restoration – NebraskaPeteGeek.
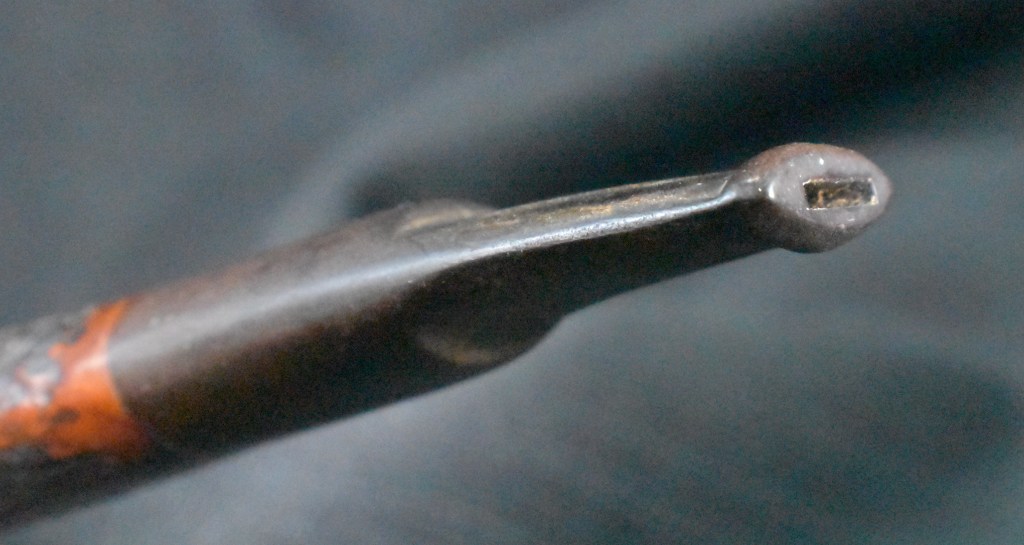
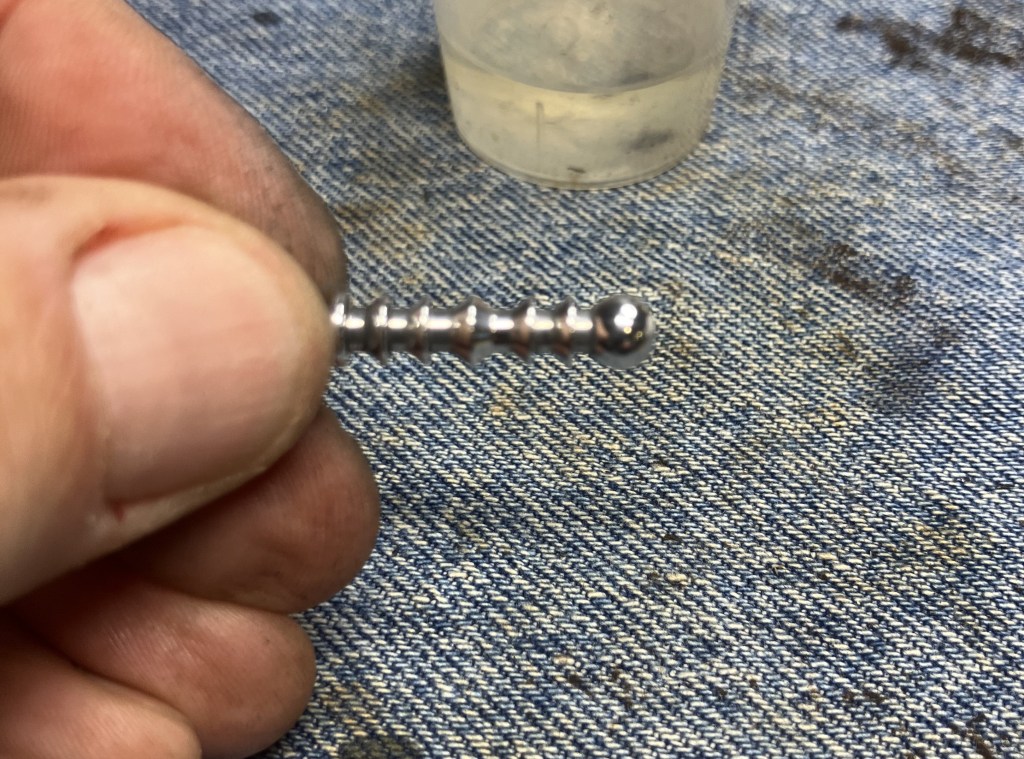
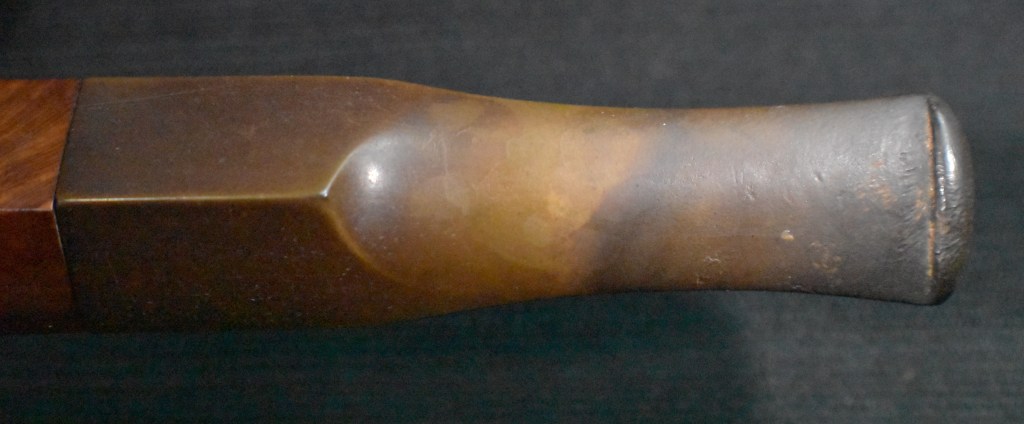
Back to this Kaywoodie. In trying to date this pipe we can use the stinger as a kind of reference. According to pipephil.eu the 4 hole stinger began in 1924. These early stingers were part of a push fit mortis-tenon. In “1931 when the SynchroStem patent was granted” (Document: Kaywoodie’s Drinkless patent — Pipes : Logos & Markings –) Kaywoodie’s screw-in stinger was adopted.
Kaywoodie’s Synchrostempatent can be seen here:(Document: Kaywoodie’s SynchroStem patent — Pipes : Logos & Markings –).
The move to the 3 hole stinger over the 4 hole stinger occurred at an “indeterminant date”. (Document: Kaywoodie’s 3 hole stinger — Pipes : Logos & Markings –)
The pipephil quote, “Four hole stingers may still occur on pipes in the 60’s.” (Document: Kaywoodie’s 3 hole stinger — Pipes : Logos & Markings –) does give a reasonable ending date to the production of this pipe.
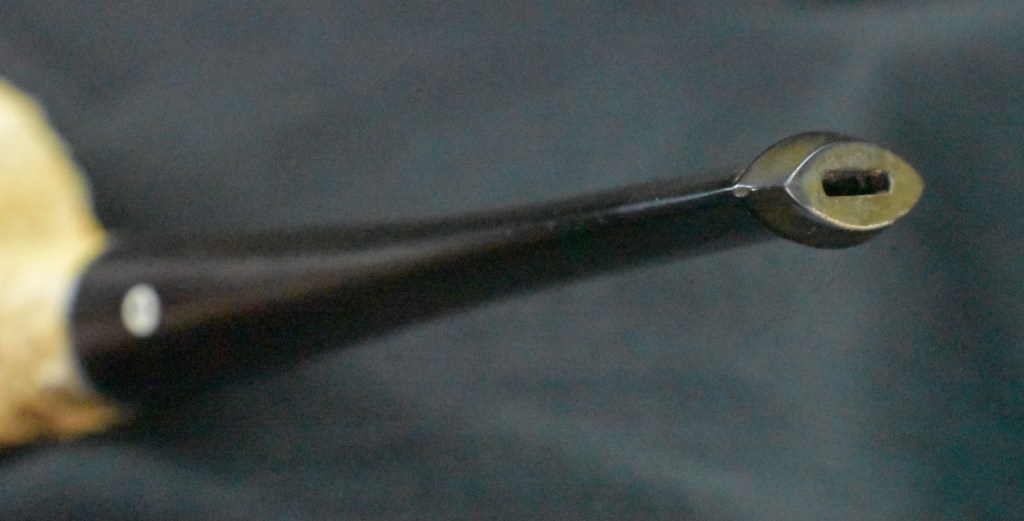
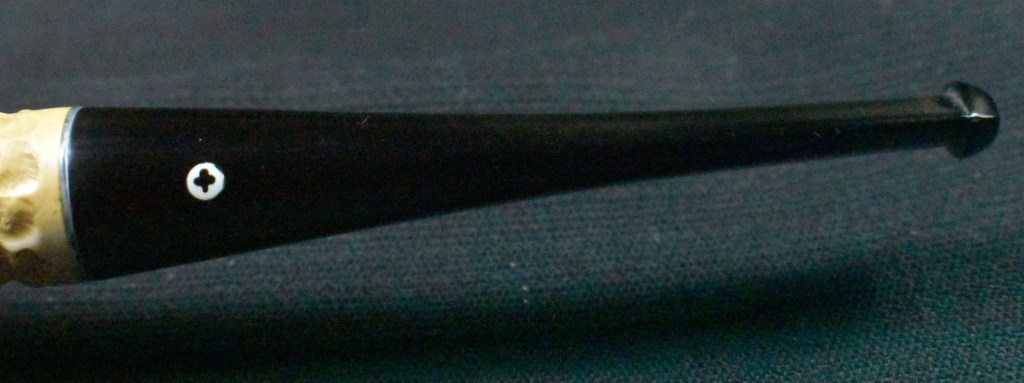
Another clue to the date of this Kaywoodie can be found with the stem logo. According to the Kaywoodie Collector’s Guide from the pipedia.org site, “Early (pre-1936) Kaywoodies had an “elongated” white cloverleaf on the bit, a large fitment, and four-digit shape numbers. The 1936 catalog shows a larger, “fuller” leaf, but lists two-digit shape numbers. Sometime between 1936 and 1947, the better pipes were marked on the bits with a black cloverleaf in a white circle. The white cloverleaf continued on the lesser pipes. However, this was not a consistent convention, as pipes of the same grade could have either type of leaf.” (Collector’s Guide to Kaywoodie Pipes – Pipedia). Again the dates here intricate the 1936-1947 period but show no definitive years.
Using the Synchrostem information from pipephil.eu and the logo information from pipedia.org the dates 1936-1947 overlap from both sources. The issue here is that Laxey produced pipes from the “latter 1960’s until 2001” (Laxey Pipes Ltd. – Pipedia). Okay, I have no actual proof that this was a Laxey carved piece of meerschaum and the latter 1960s are 20 years from the stated time of Kaywoodie’s black cloverleaf in a white circle. This leads to some conjecture on my part. I still believe this pipe to be a piece of African meerschaum, likely manufactured by Laxey perhaps fitted with a stash of older bits provided by Kaywoodie in the late 1960s.
The Restoration
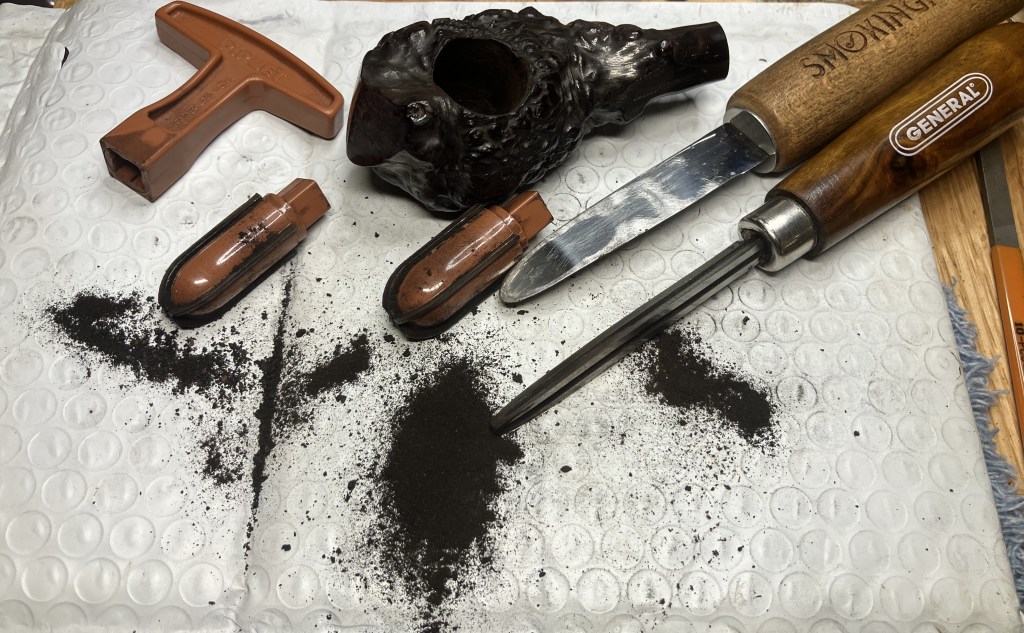
The Kaywoodie made its way to the workbench. Actually, back to the workbench after my earlier exterior picking of the older fill.

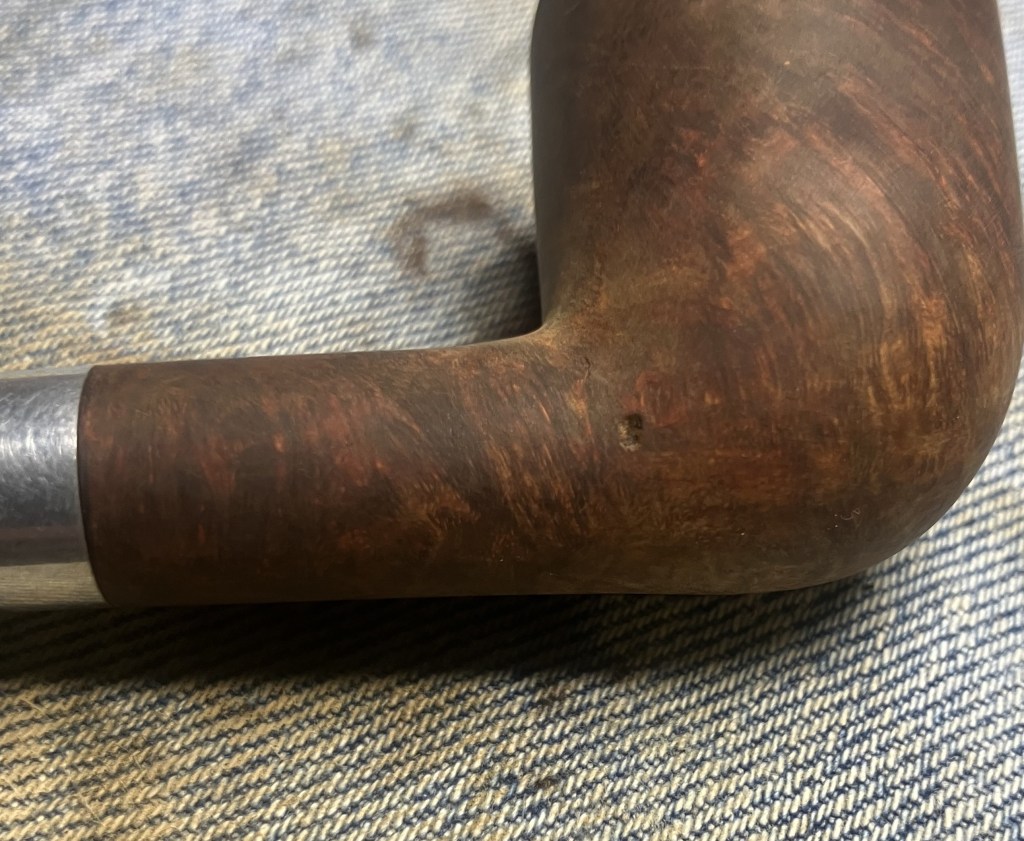
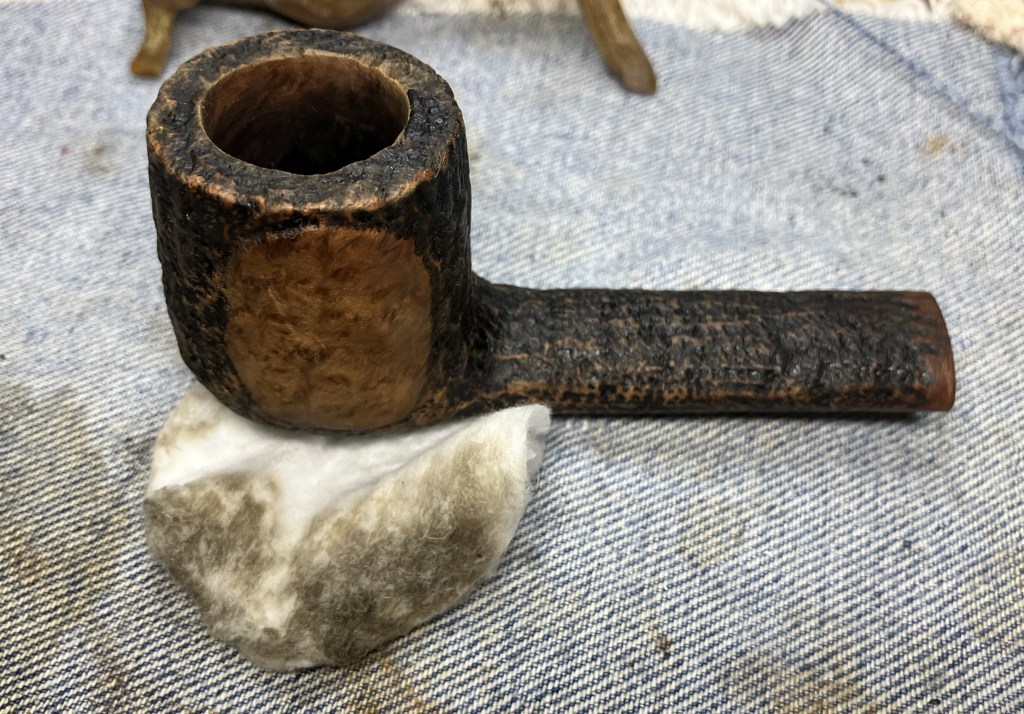
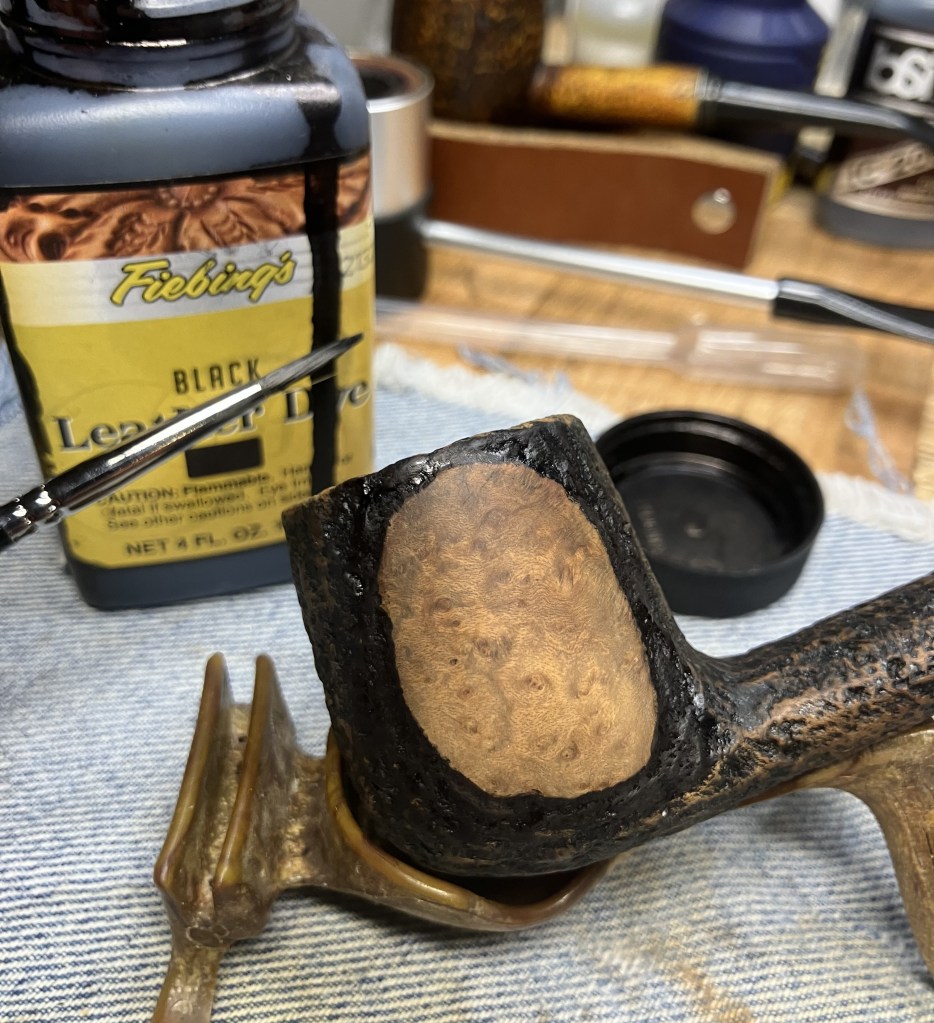
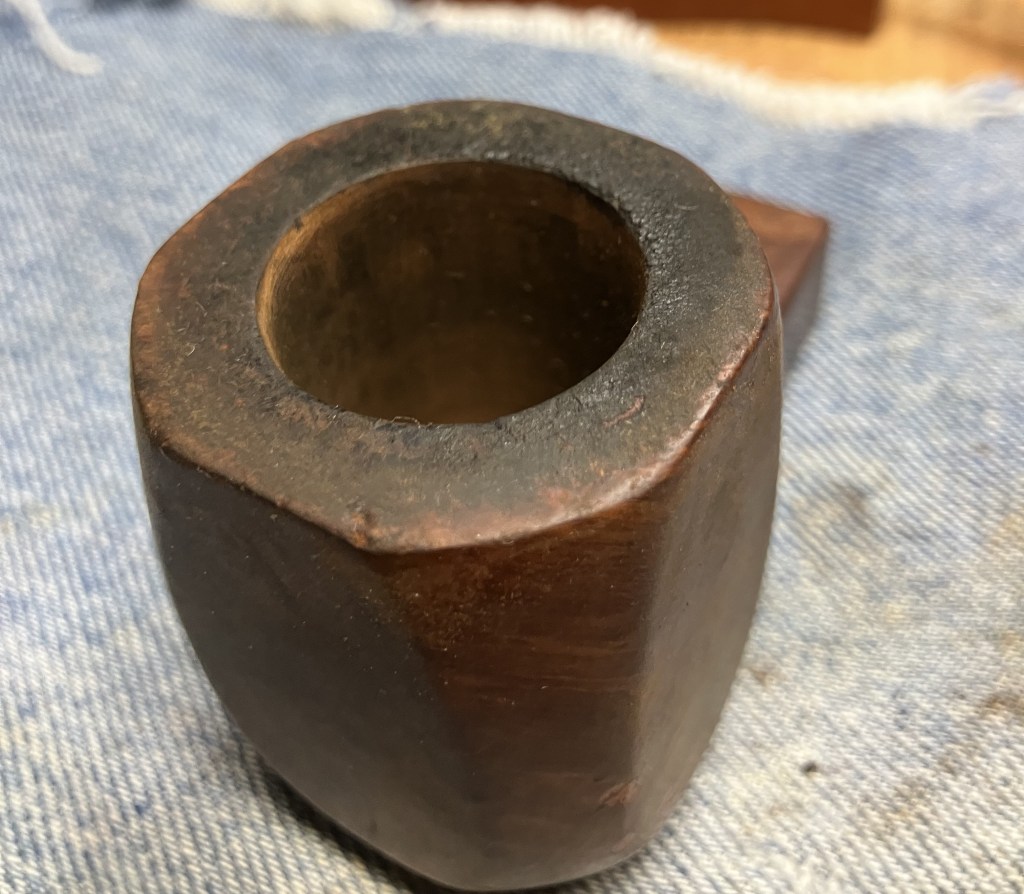
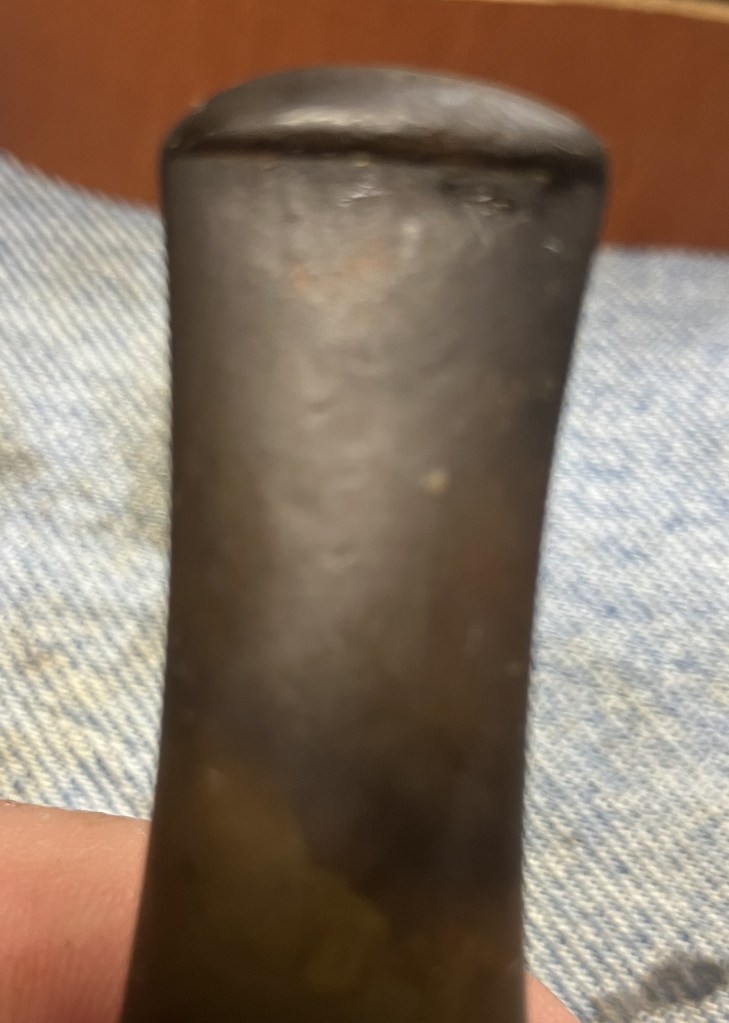
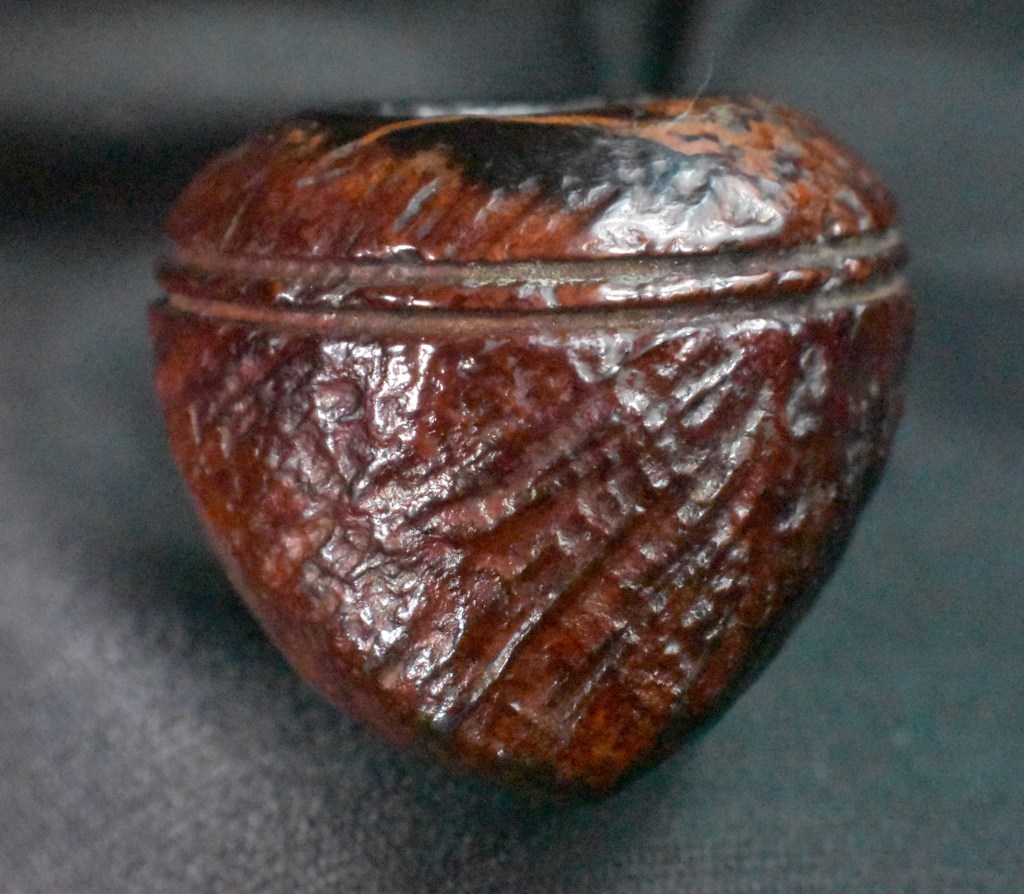
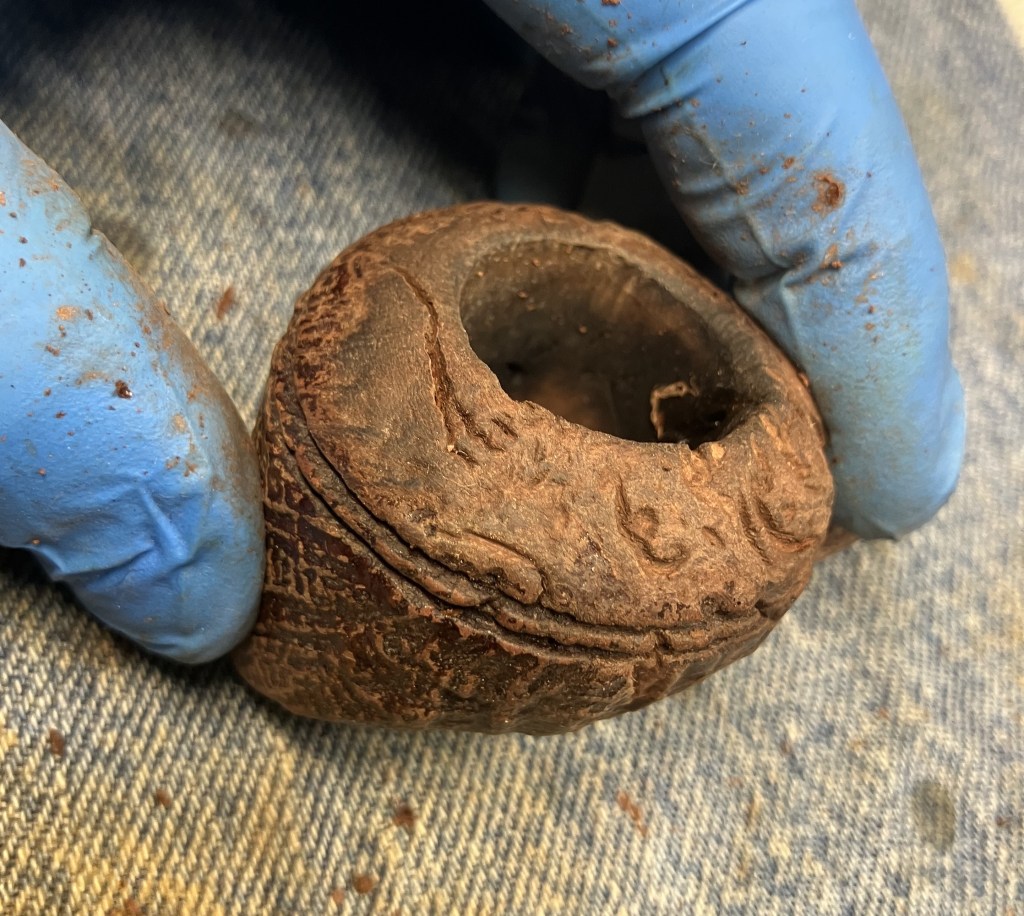
I picked at the pit on the outside edge of the stummel to remove the loose material. I assumed this to be an attempt at filling the pit from the factory. The material was white and much softer than the surrounding meerschaum.
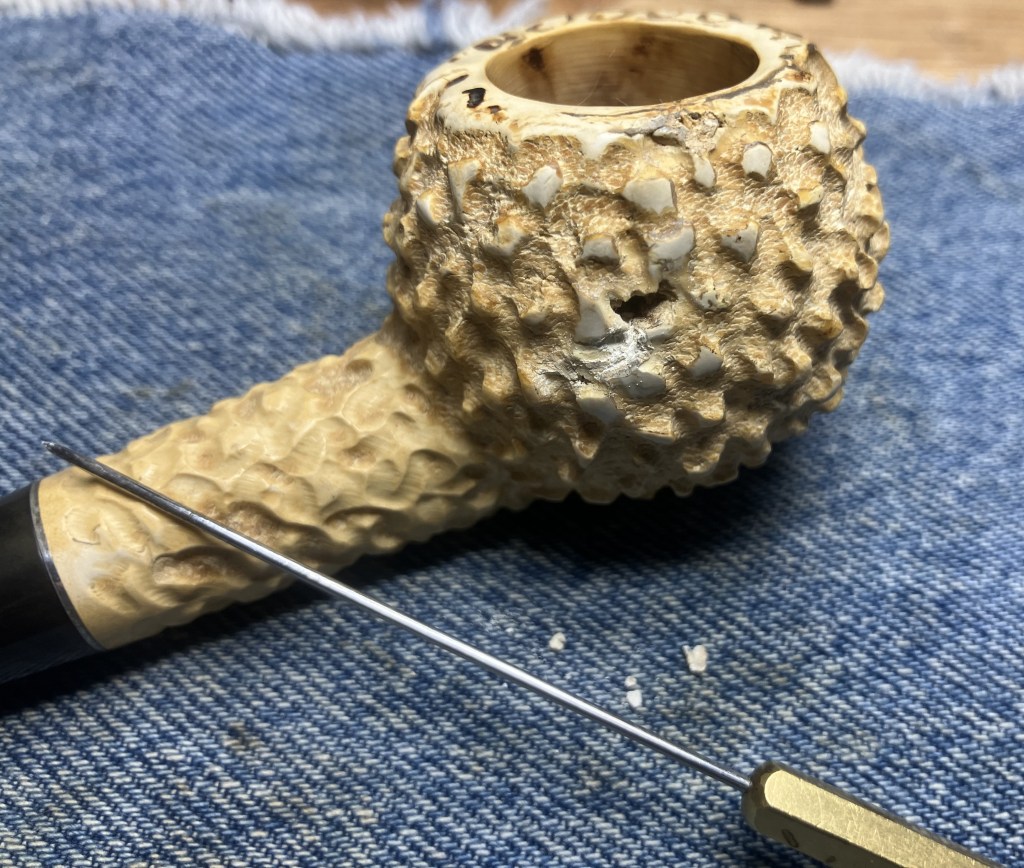
As I was examining the pipe more closely I noticed that the drillings were not very precise. The draft hole was slightly off-center. I did not think this would affect the performance of the pipe significantly.

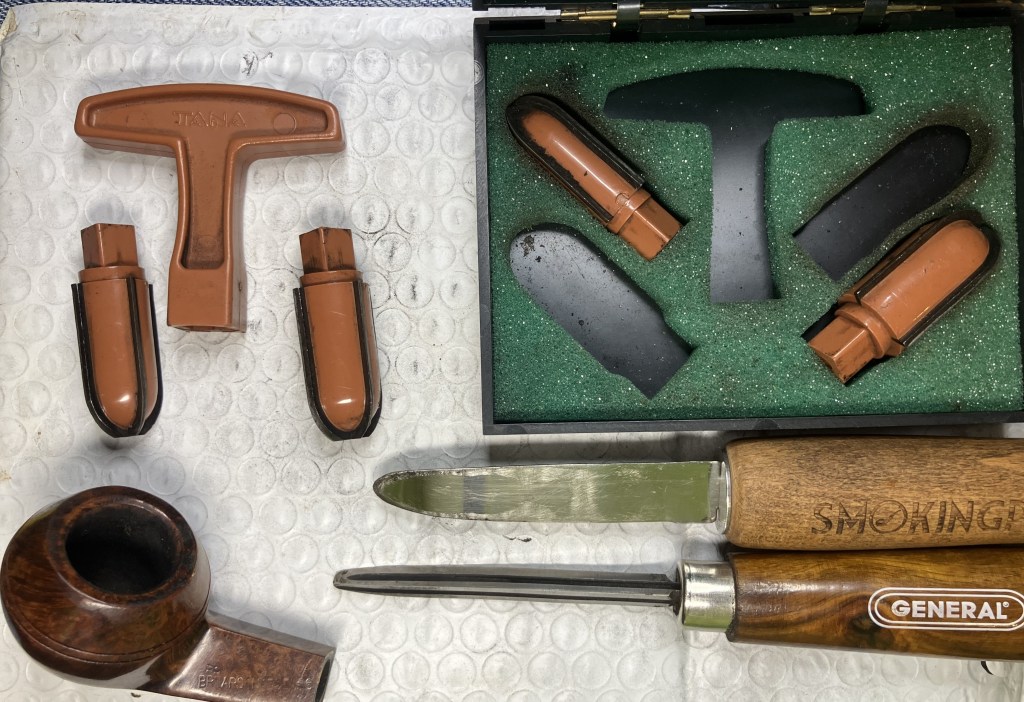
Next I looked at the meerschaum pieces I had on hand. I bought an old “carve your own meerschaum pipe” kit over a year ago as a source of scrap meerschaum to use for projects like this. It had several pieces of the mineral.

These pieces showed many surface flaws. I assumed that these flaws would also likely be found inside the pieces and would only be exposed by drilling or cutting the meerschaum This is what I thought were the source of the “hole” in the Kaywoodie.

Below is another photo of the flaws in a piece of meer.

The piece of meerschaum that I selected to be a donor.

My father, the high school drop-out with a PhD., earned his original teaching degree in wood shop and geography. His accomplishments likely influenced my own interests in life. I remember him saying, “measure twice, cut once” on many occasions when we were doing various projects. I continue using his advice except, I typically measure more than twice.

This piece of meerschaum was selected because it seemed to have far fewer flaws than some of the other pieces.

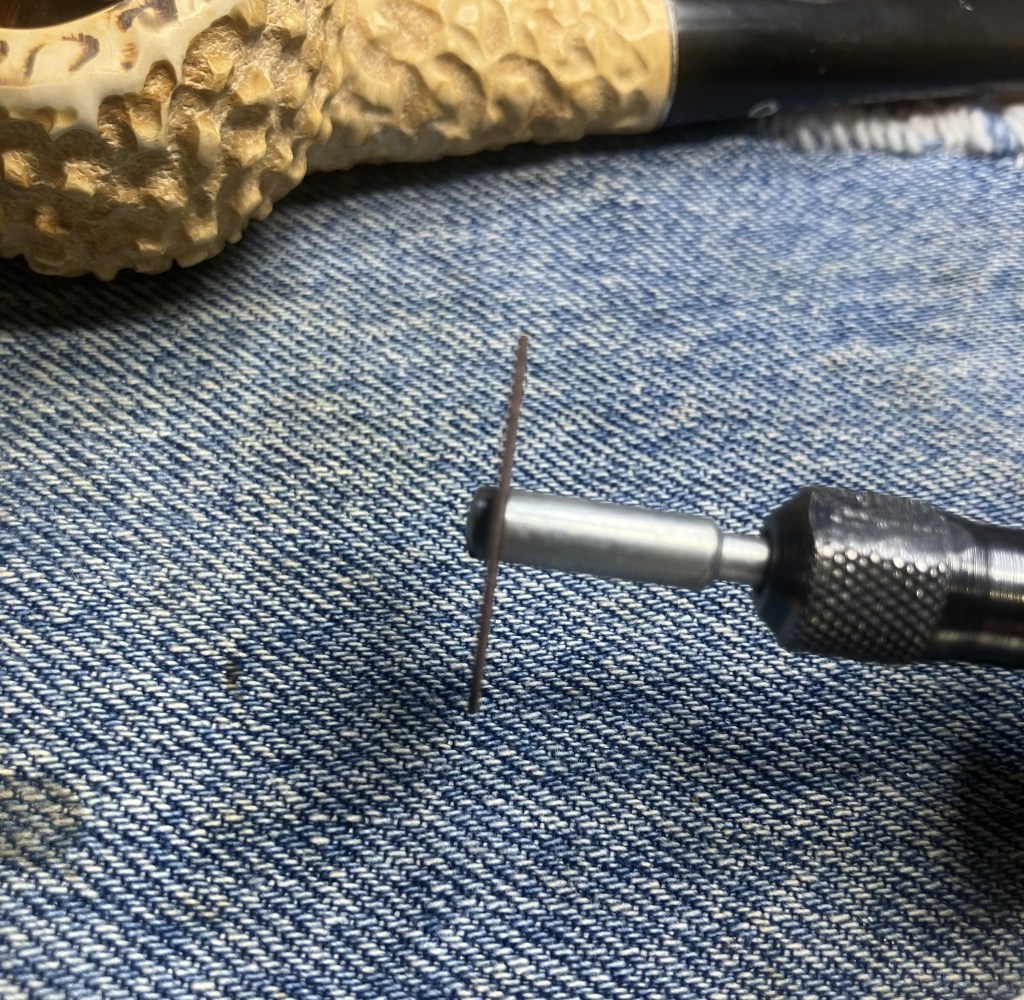
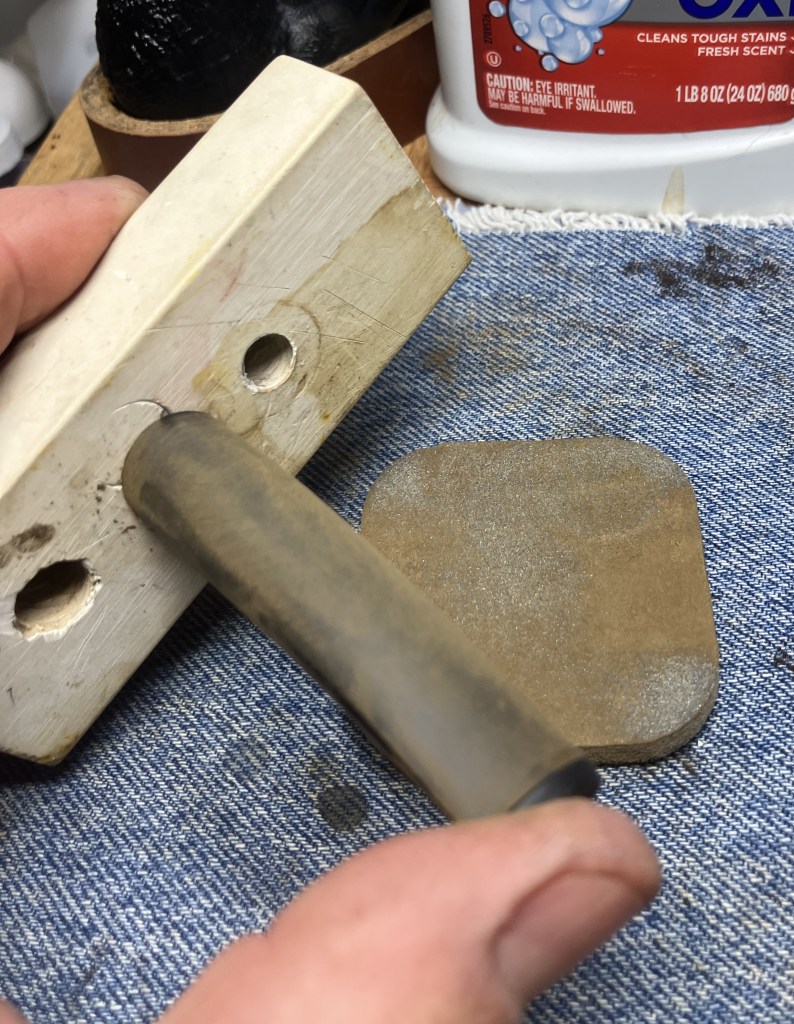
Due to the very brittle nature of meerschaum I opted to do the cutting with a Dremel and a narrow cutoff wheel.

Below is a photo of the cutoff bit.
I tried a sample cut to get a feel for cutting meerschaum with the dremel before cutting the real piece. It worked! I was amazed at how the meerschaum smelled like talcum powder.
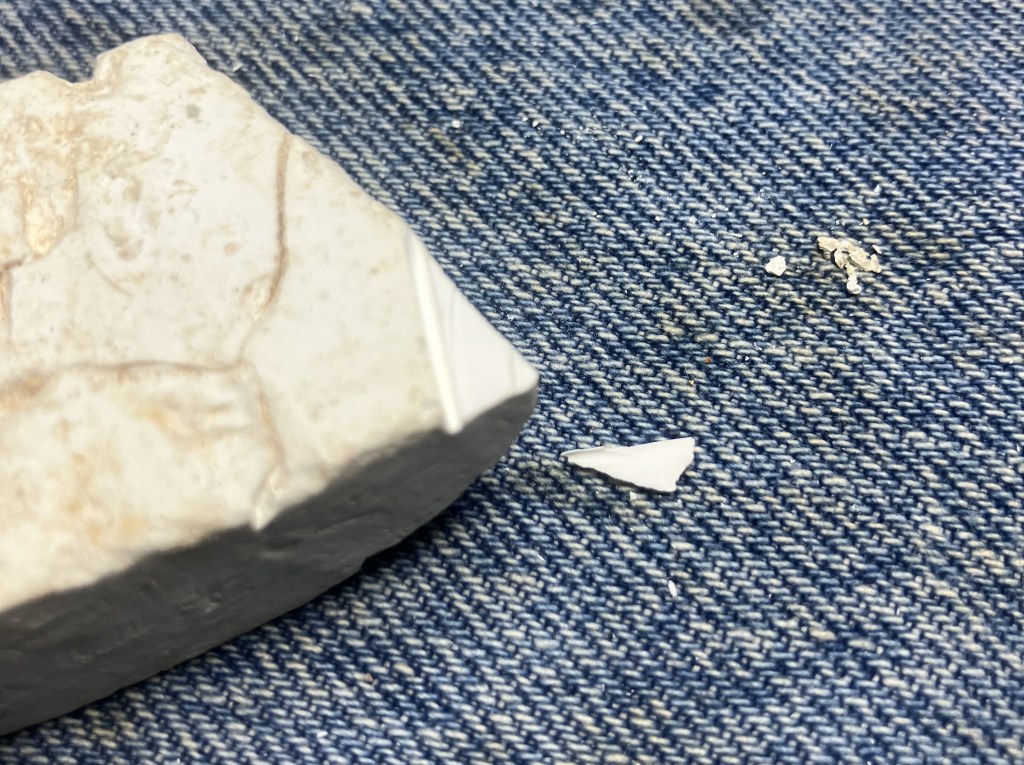
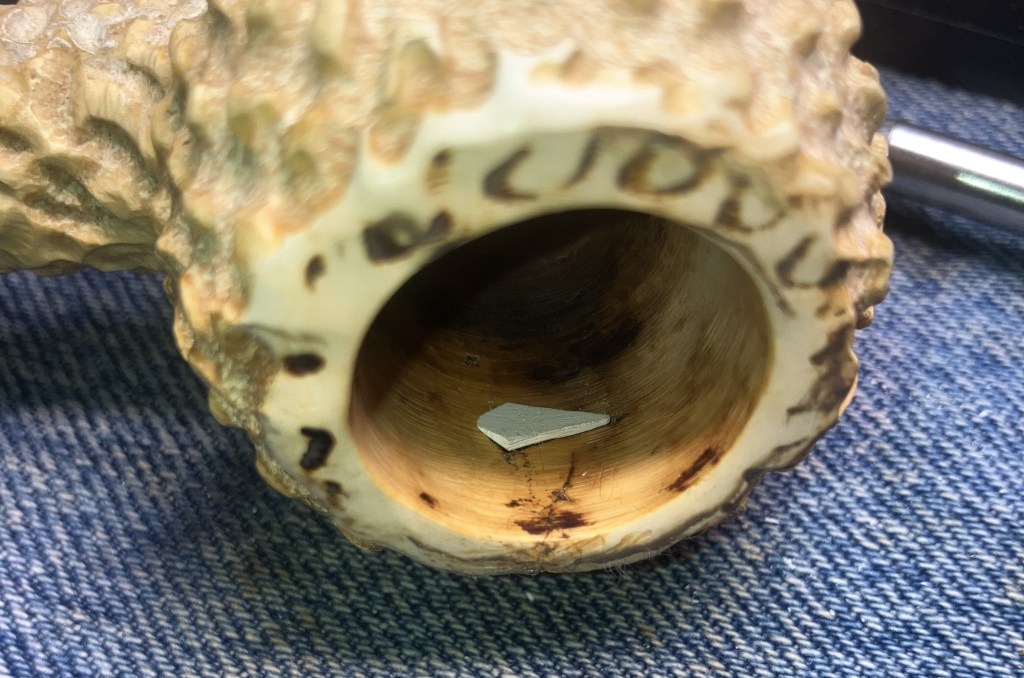
The Dremel was used to cut the rough inlay piece. Below you can see the inlay piece laid on top of the pit.

More measuring and marking to get the inlay to fit the pit was done.
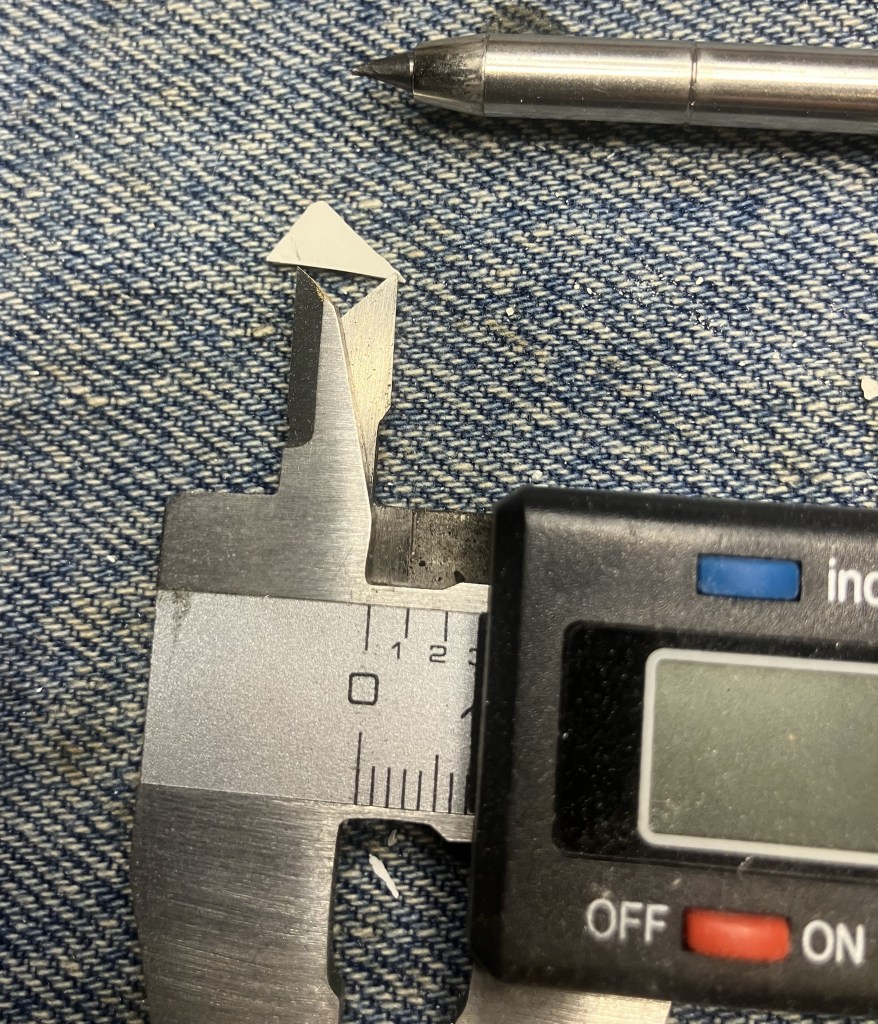
Trimming and fitting to the pit took more time than I would like to discuss. Lets just say it was a long tedious process.
Loooong and teeedious. Eventually I was happy with the shape and fit of the inlay piece of meerschaum.
Next, I need meeschaum powder. I used the same piece of meerschaum and an emery board to generate some powder.

Clear J-B Weld was the epoxy of choice due to its ability to withstand high temperature. The epoxy was mixed as per label instructions then mixed with some meerschaum powder.

This meer-epoxy mix was applied to the pit and worked into the hole.

The inlay piece was then gently pressed onto the meer-epoxy.

From the outside hole, I applied more of the meer-epoxy filling the hole from the outside. I allowed a slight depression here thinking that I would fill this depression with the meer-eggwhite mixture once the epoxy had completely cured.

I did top the still “wet” epoxy with some meerschaum powder, in hopes of giving the meerschaum-eggwhite mixture greater surface area to adhere to.

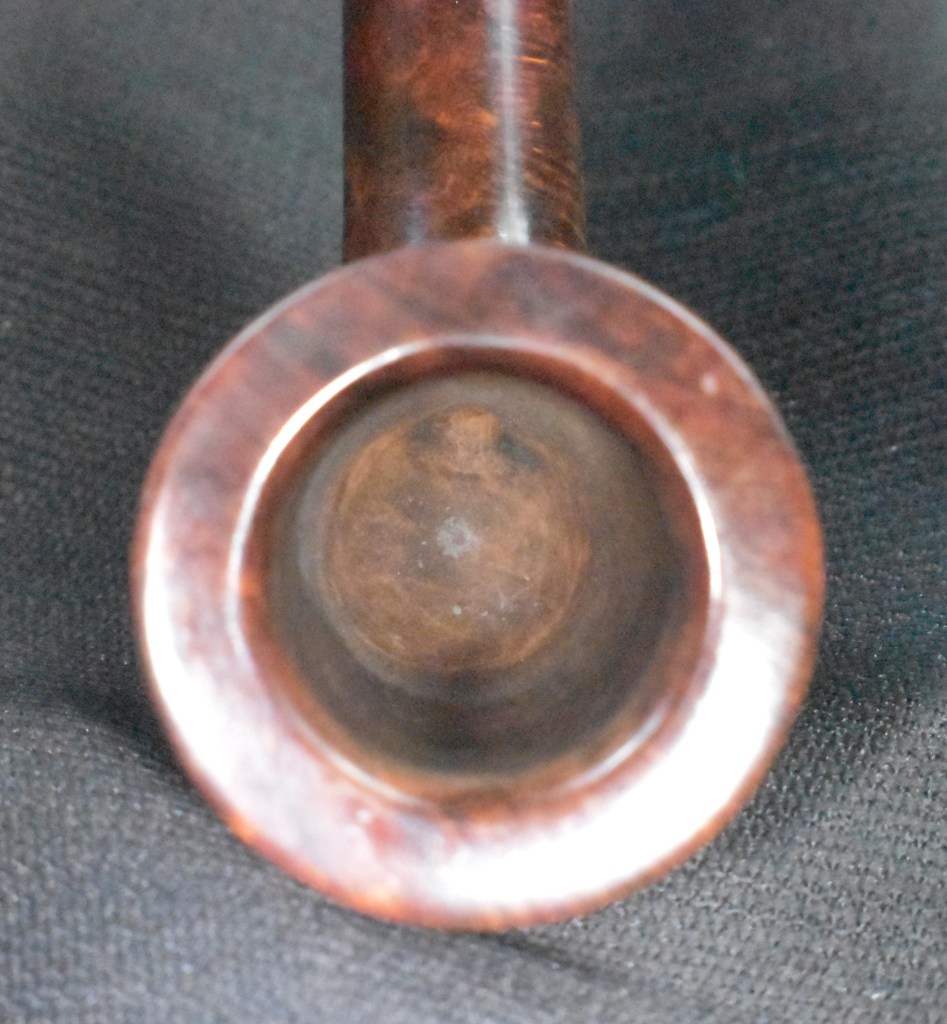
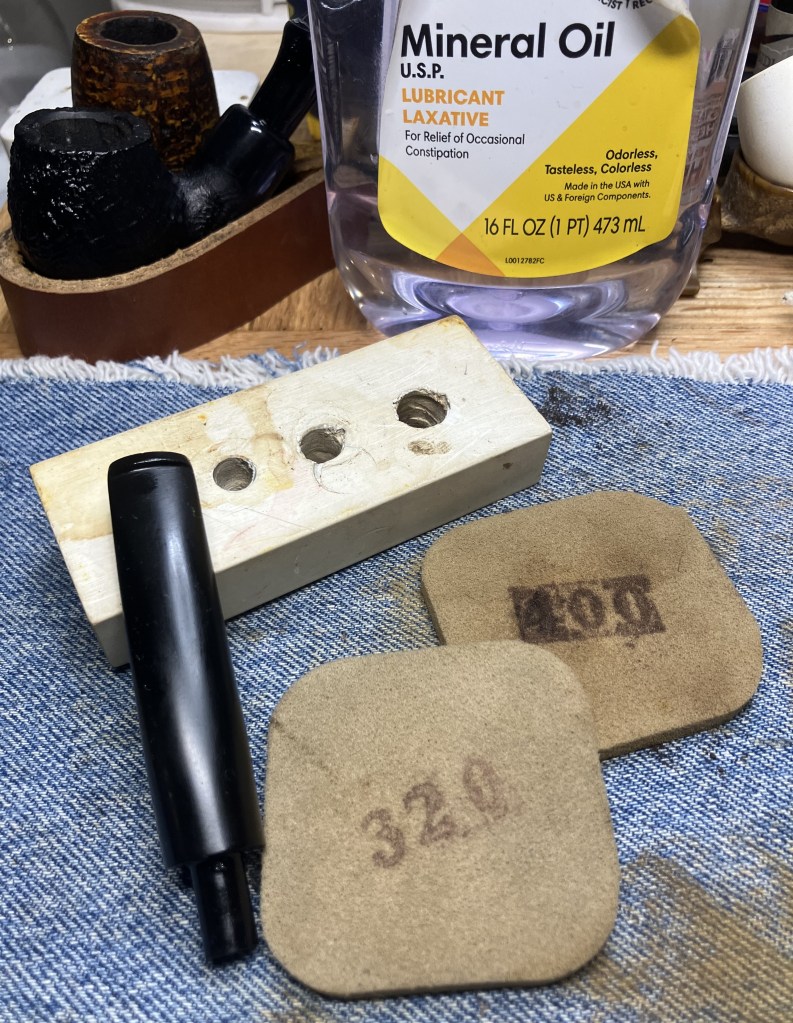
Below is a photo of the outside fill after the epoxy had cured for 8 hours.

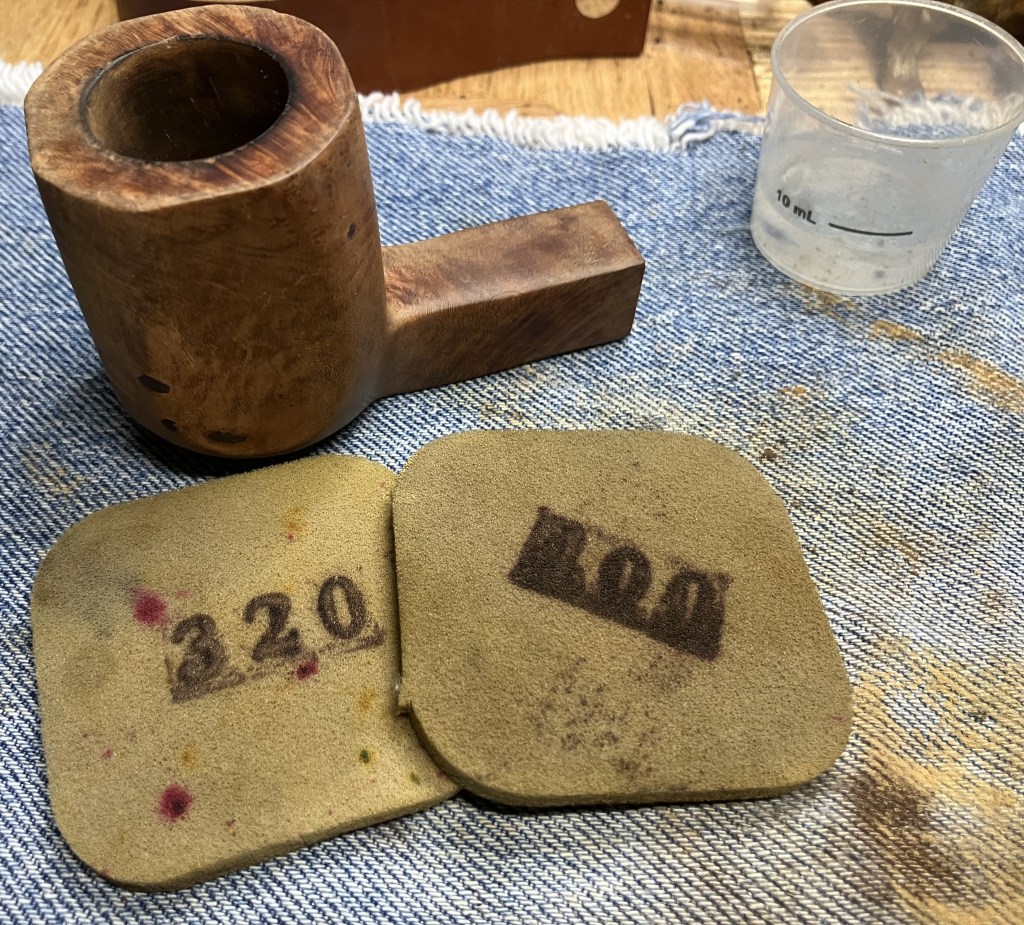
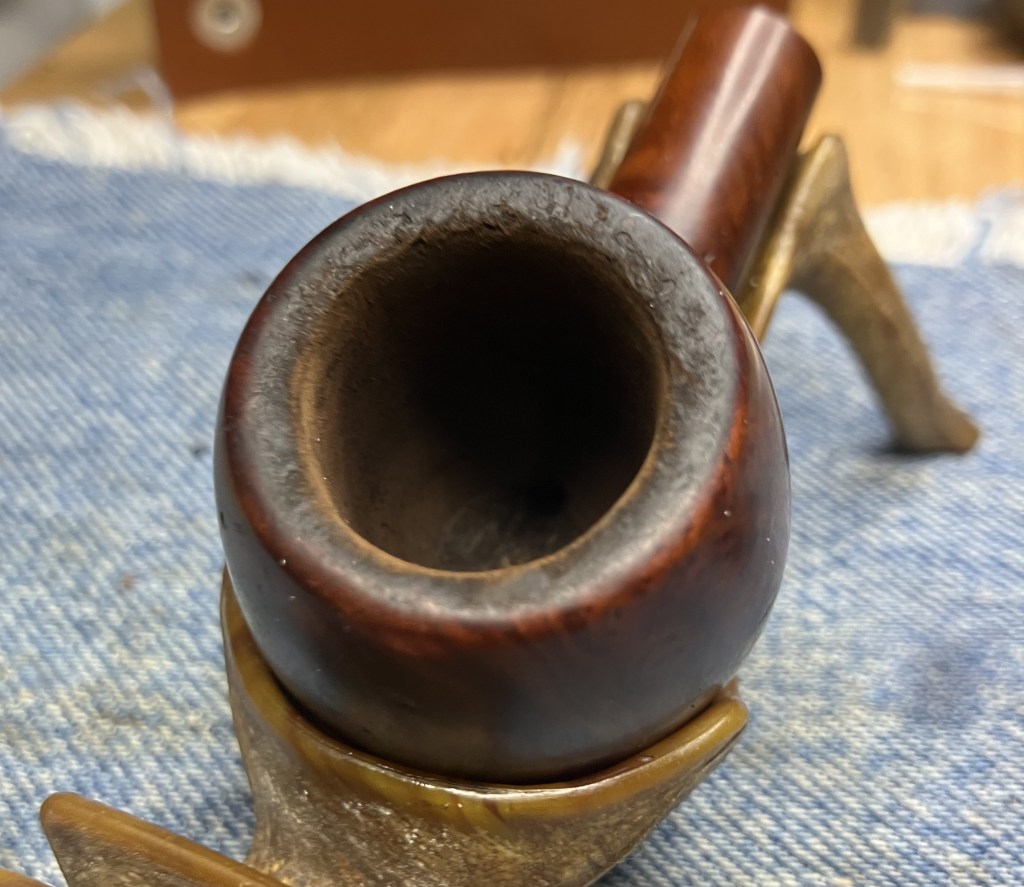
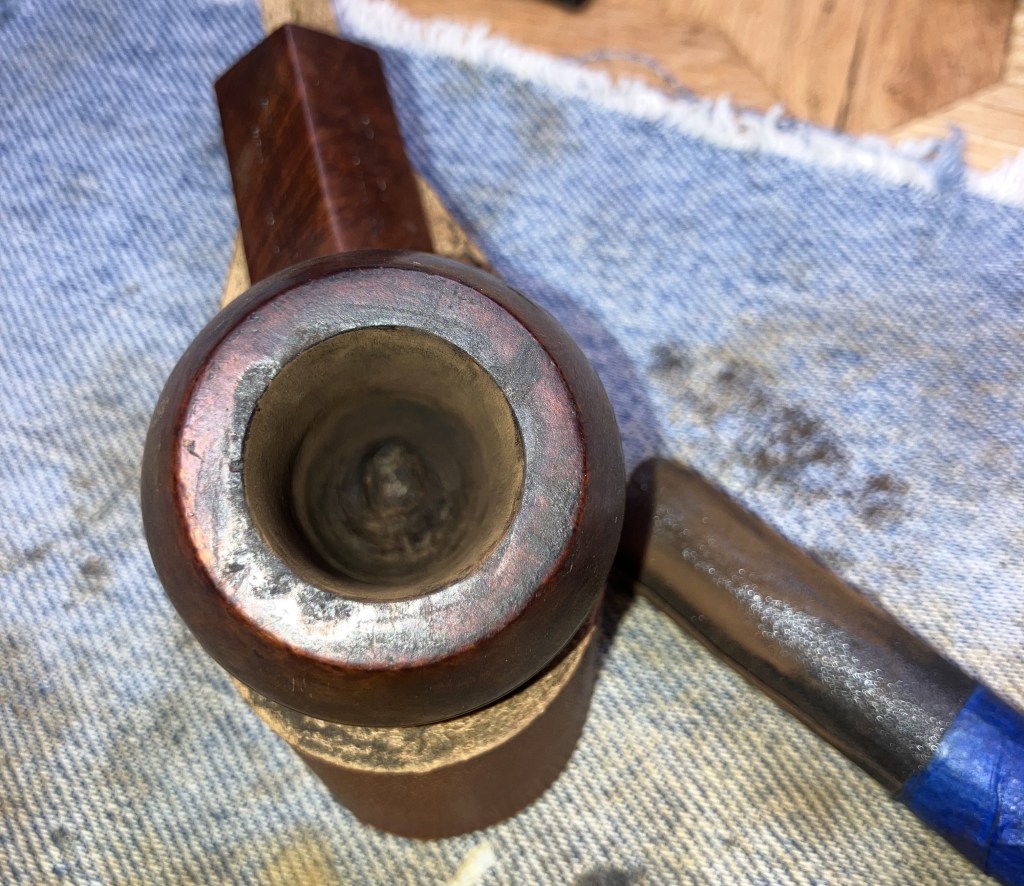
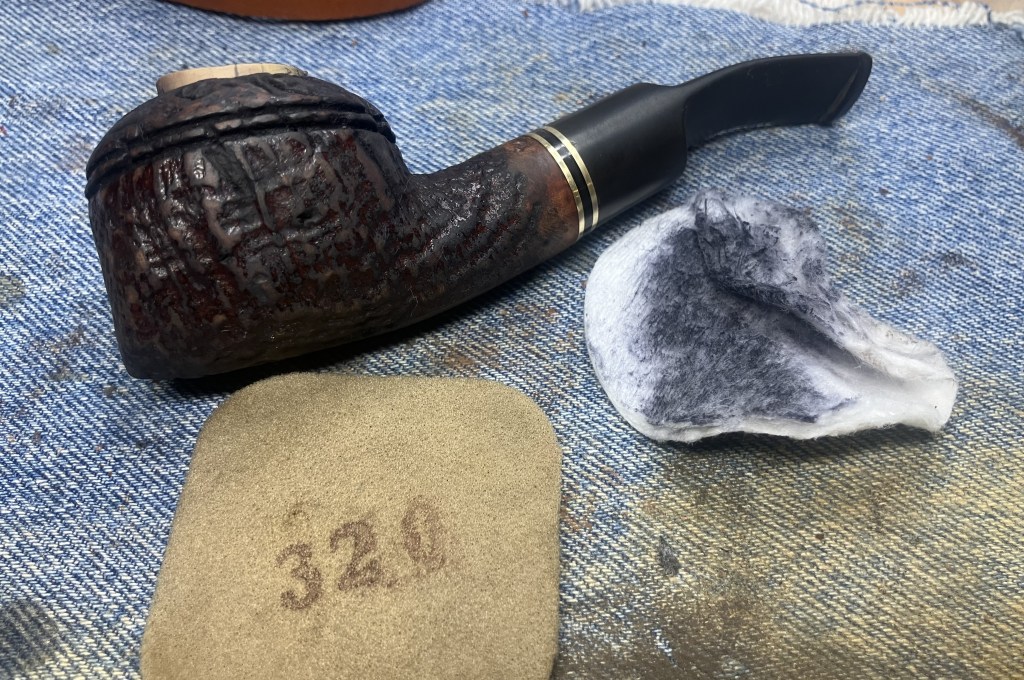
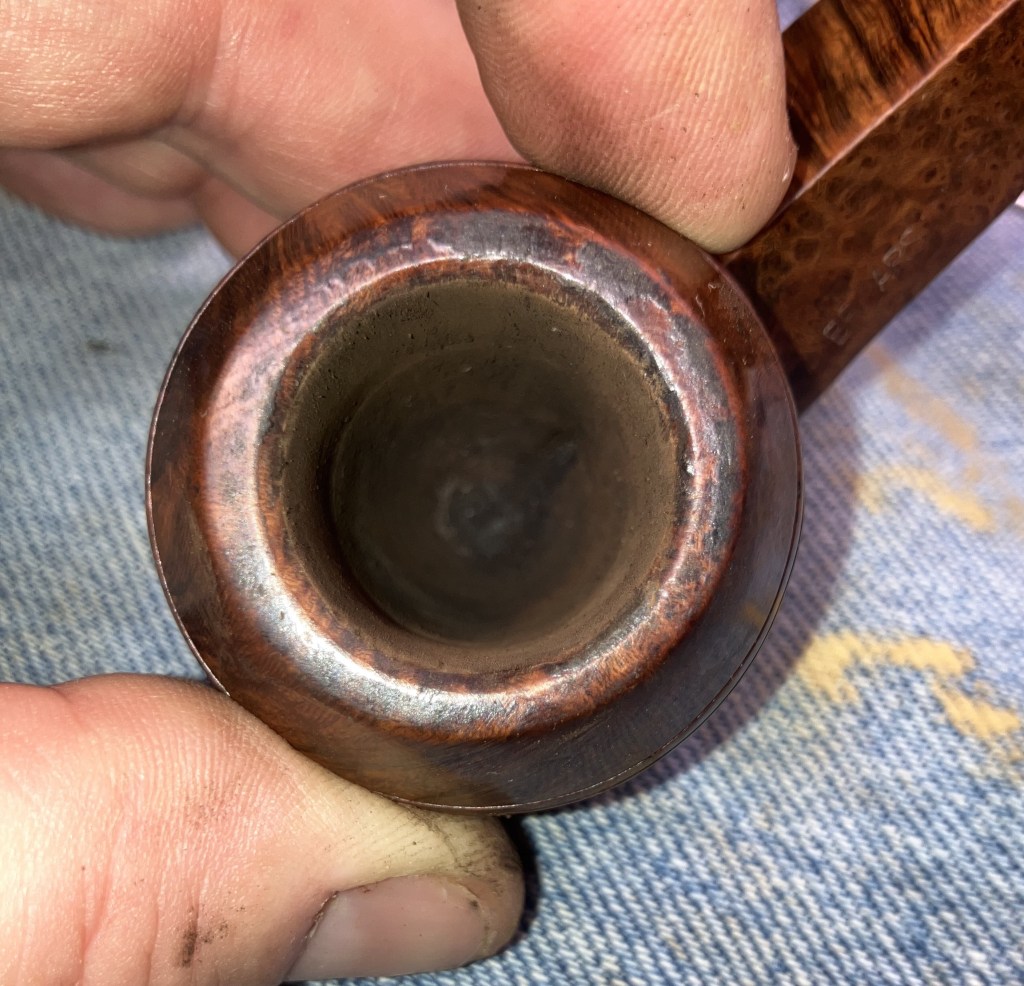
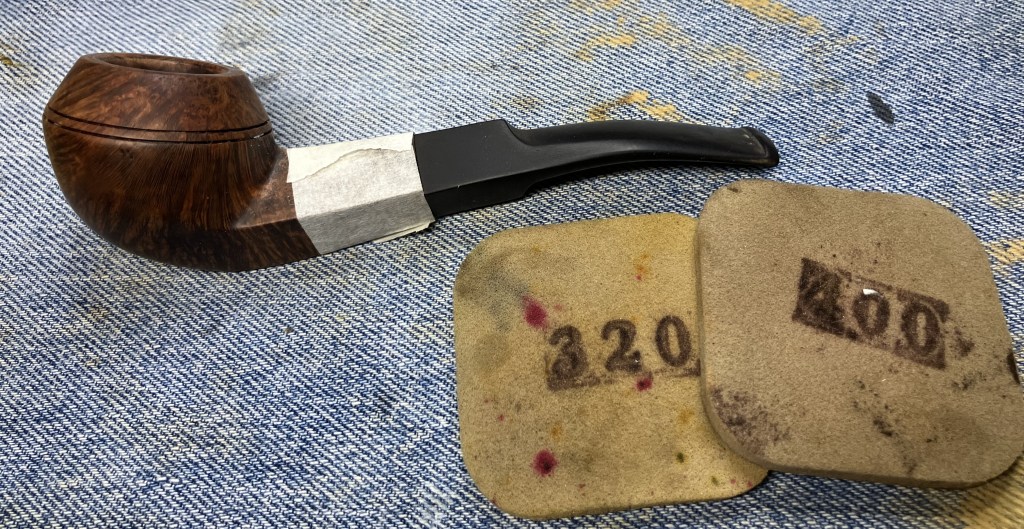
The inlay was sanded smooth to the surface of the tobacco chamber using 320 sandpaper wrapped around a wood dowel then by hand with 400 grit sandpaper.

The next day the epoxy had partially cured and the fill had a slightly transparent look. The topping with the meerschaum powder did not seem to have formed the rough texture I had hoped for.

Dinner that night now had to include some egg mixed with the fried potatoes and Thanksgiving turkey leftovers burritos that was planned. No sense wasting an entire egg for a few ml of eggwhite, eh? The eggwhite was mixed with meerschaum powder.

This mixture was applied to the area I wanted filled. As the eggwhite-meer mixture dried, it contracted, leaving a crack and pulling away from the sides of the fill. While it was still soft I was able to add a tiny bit more of the mixture and work it to repair the cracks. I also tried to give the slightly pliable mixture a bit more texture so it blended with the texture of the surrounding meerschaum.

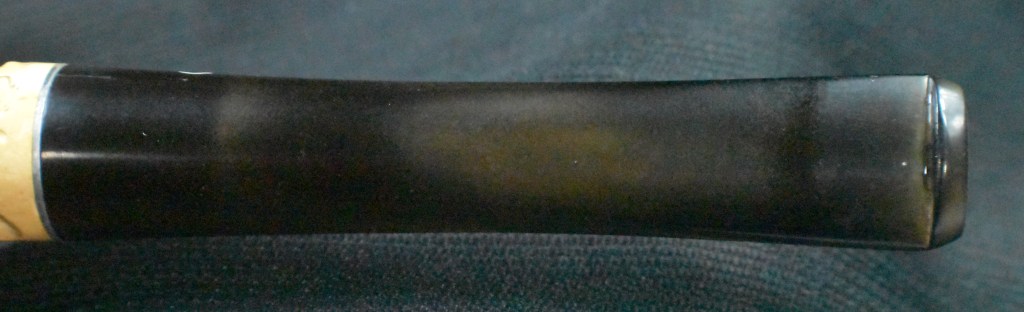
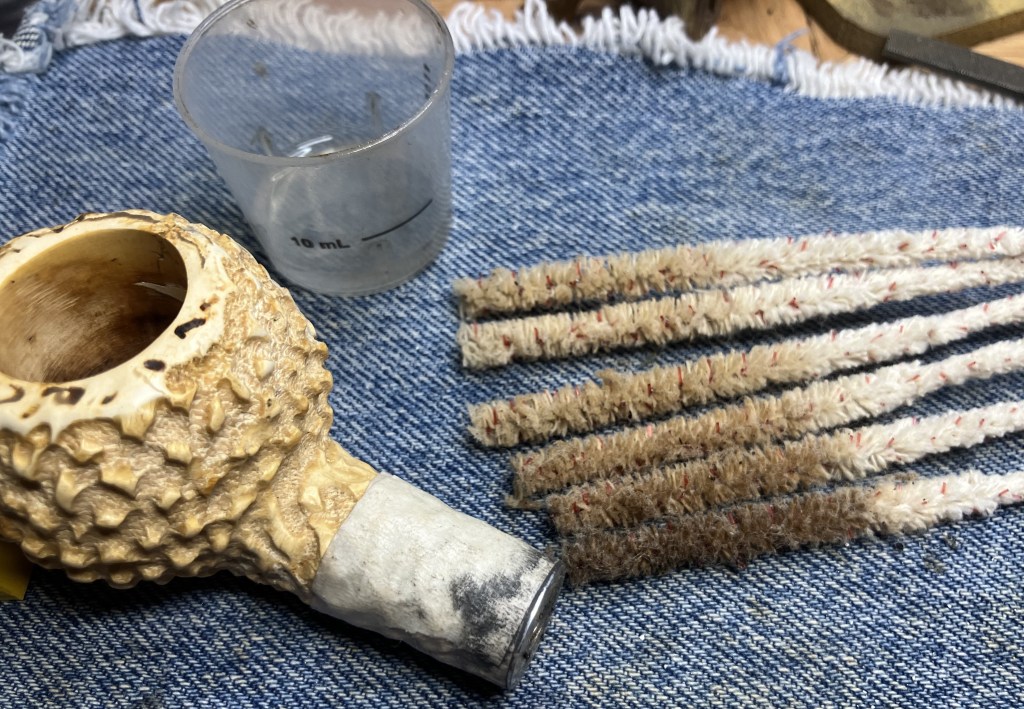
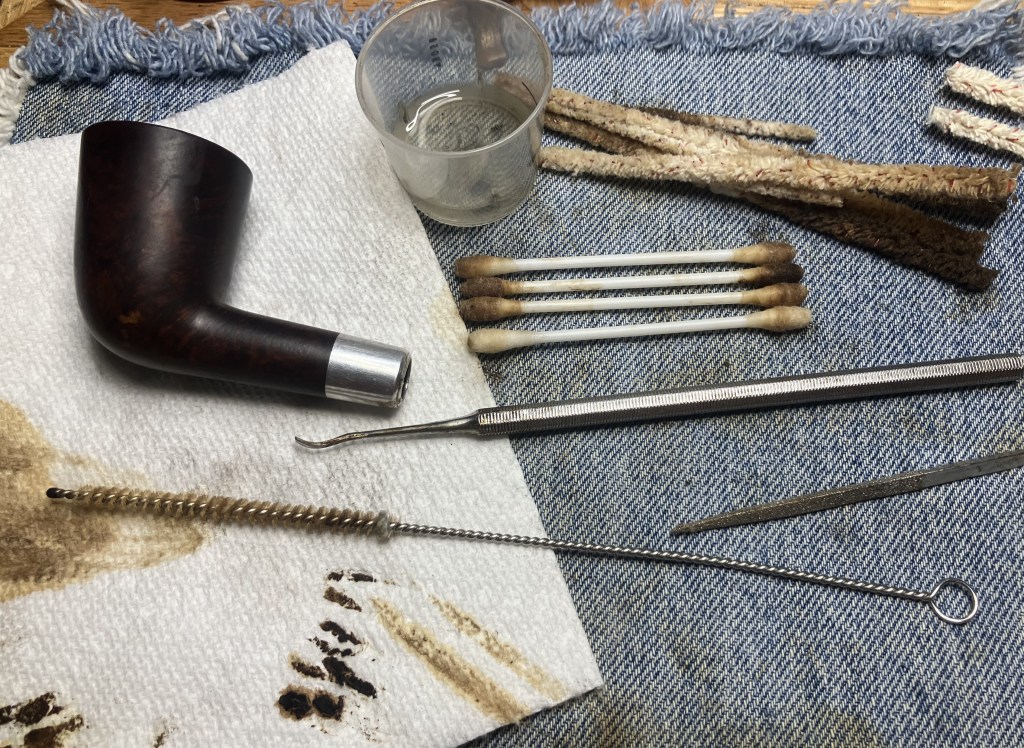
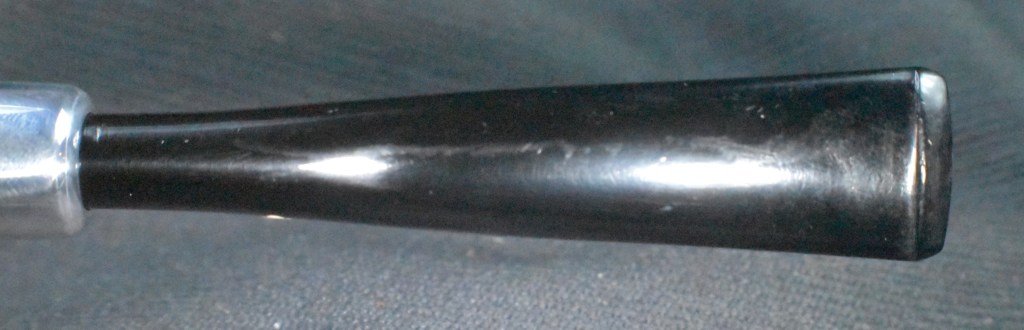
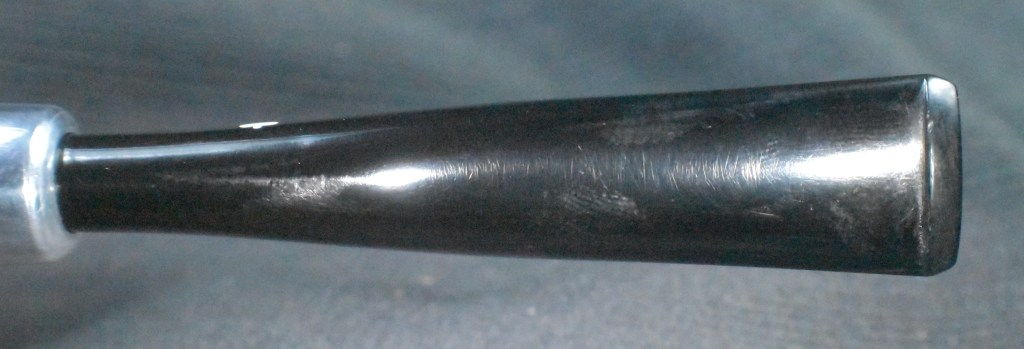
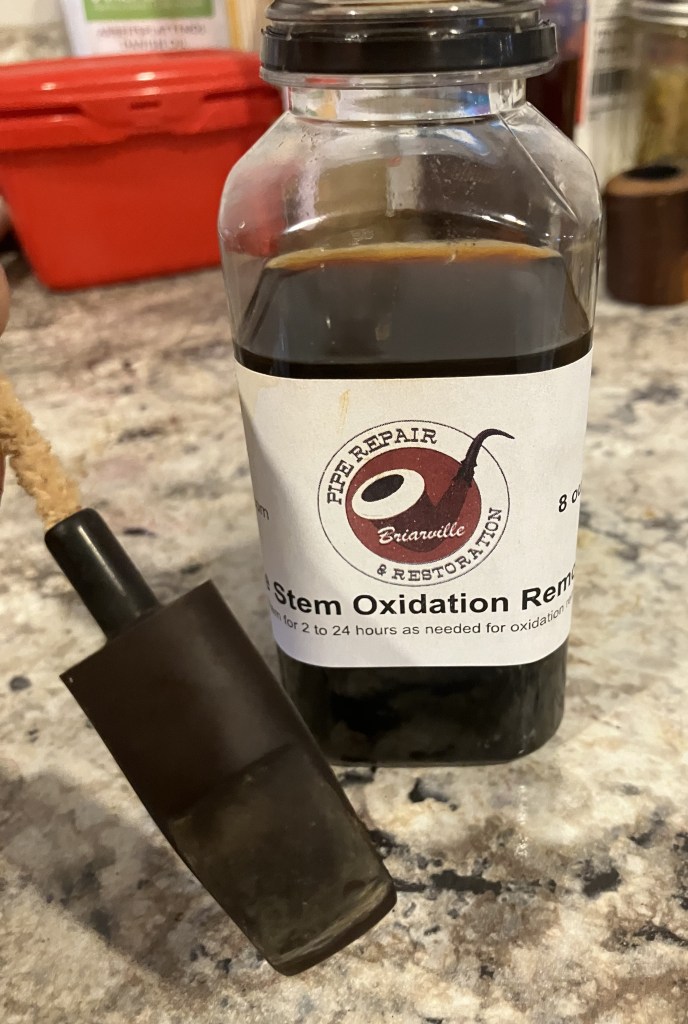
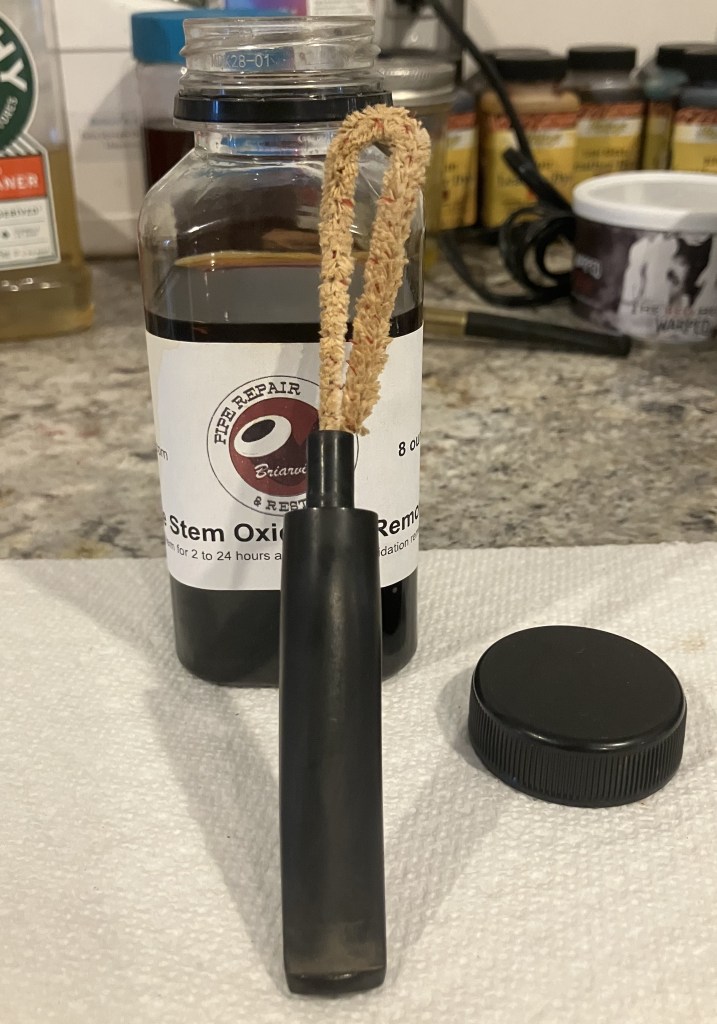
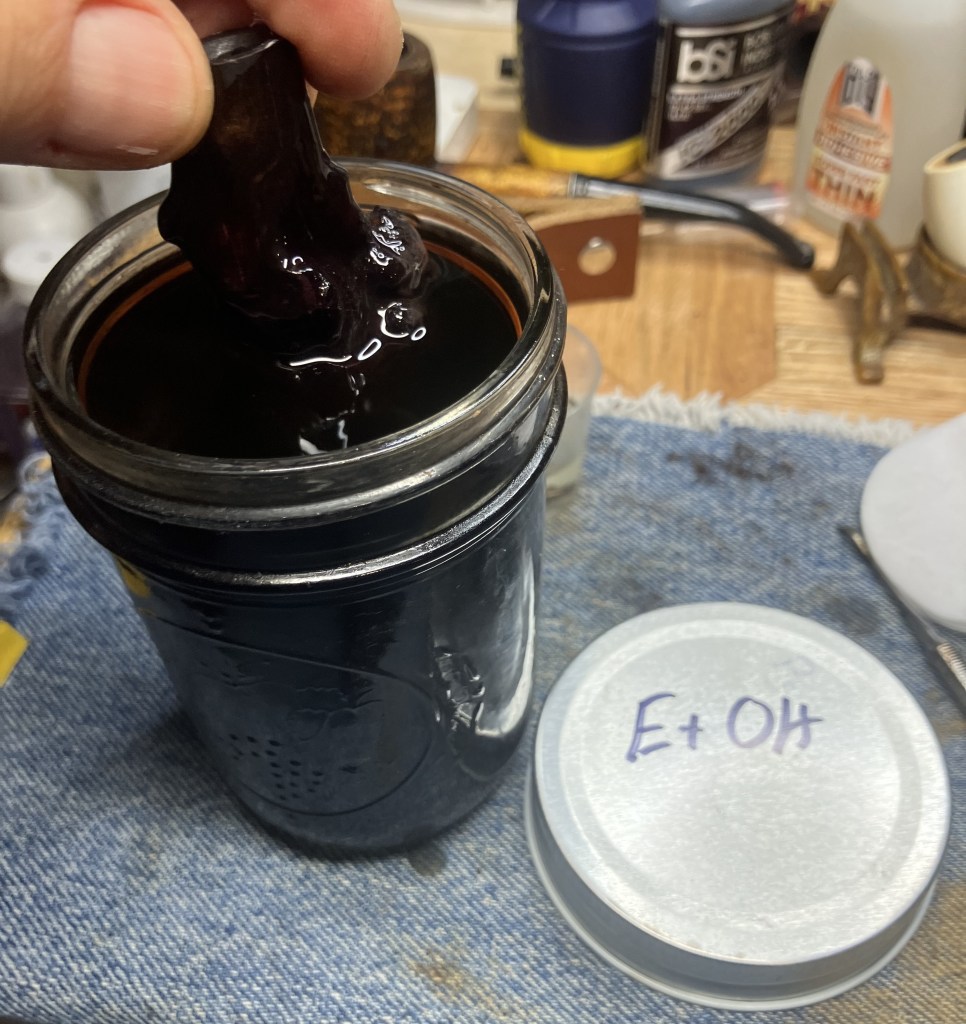
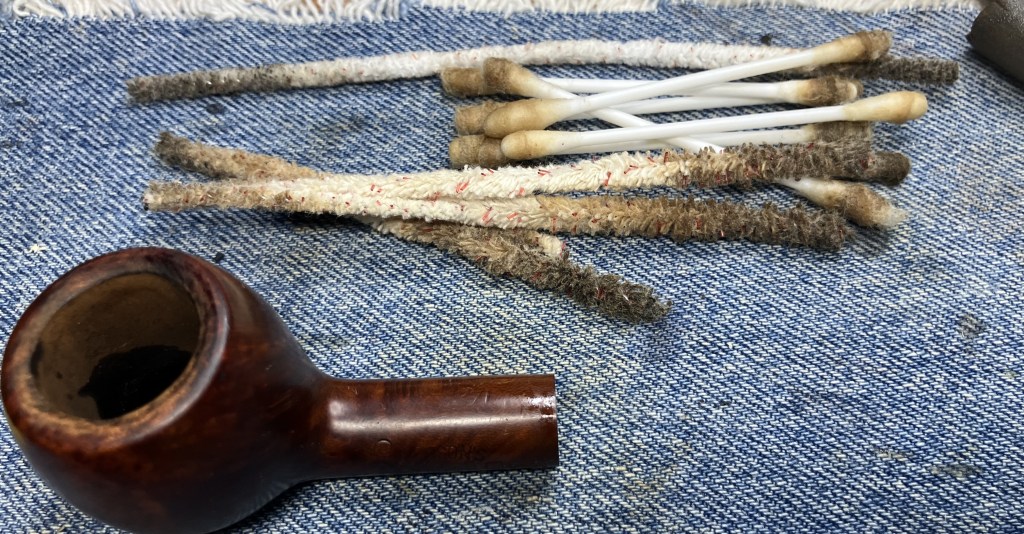
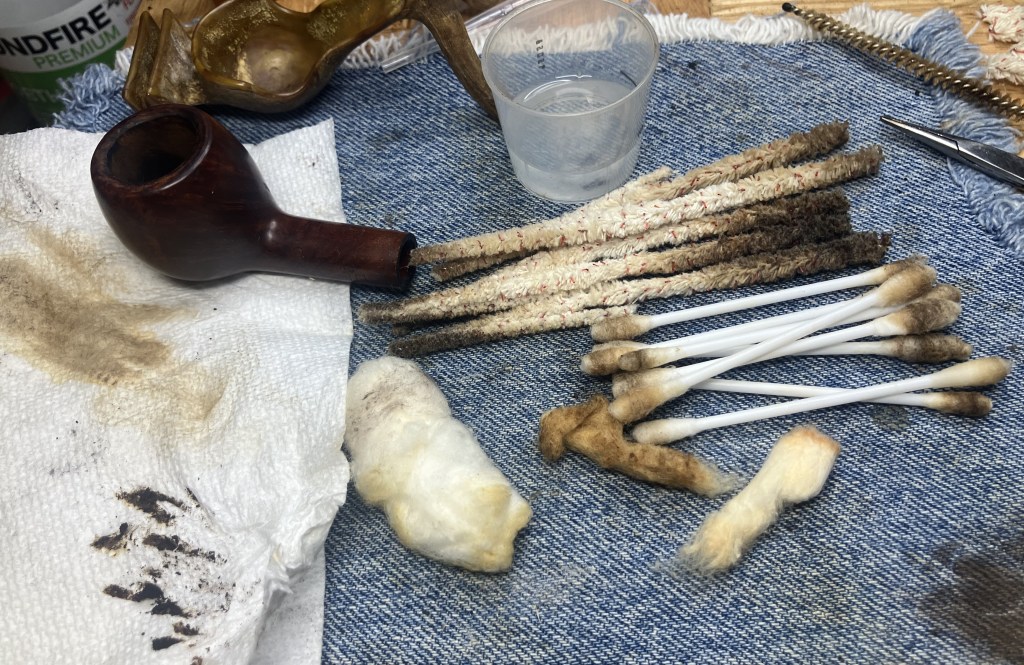
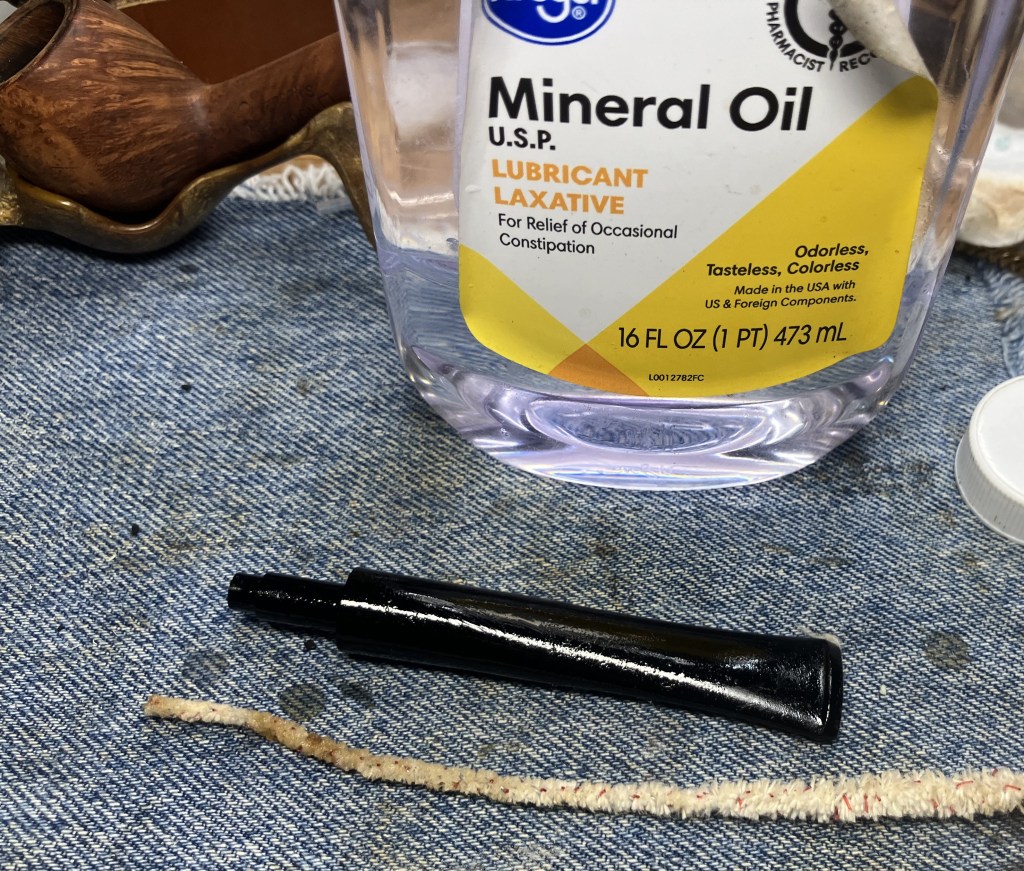
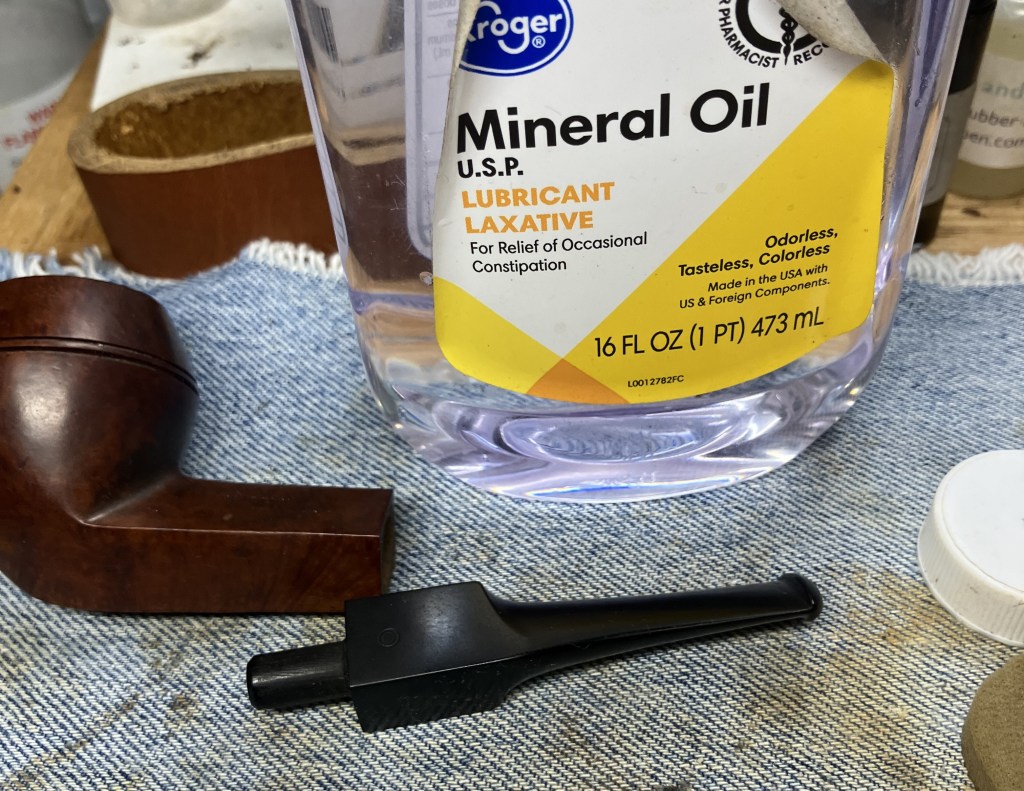
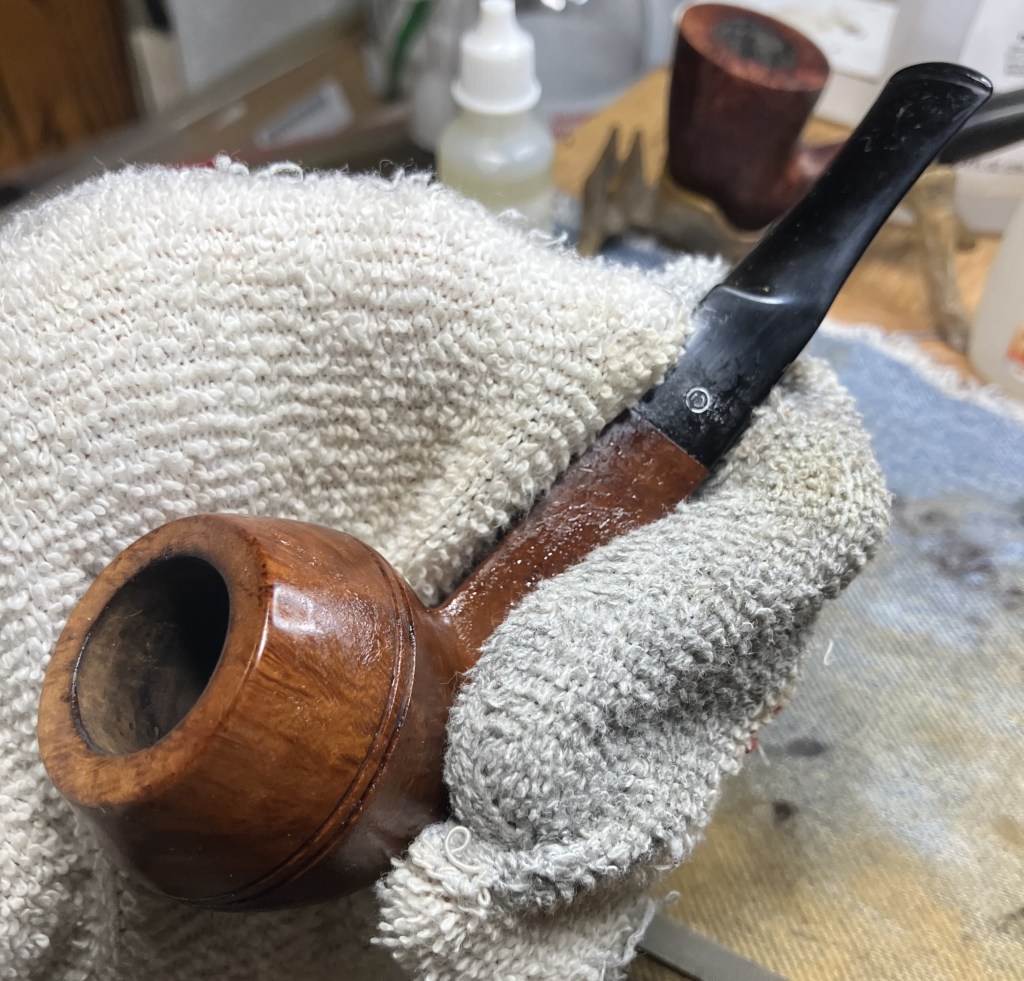
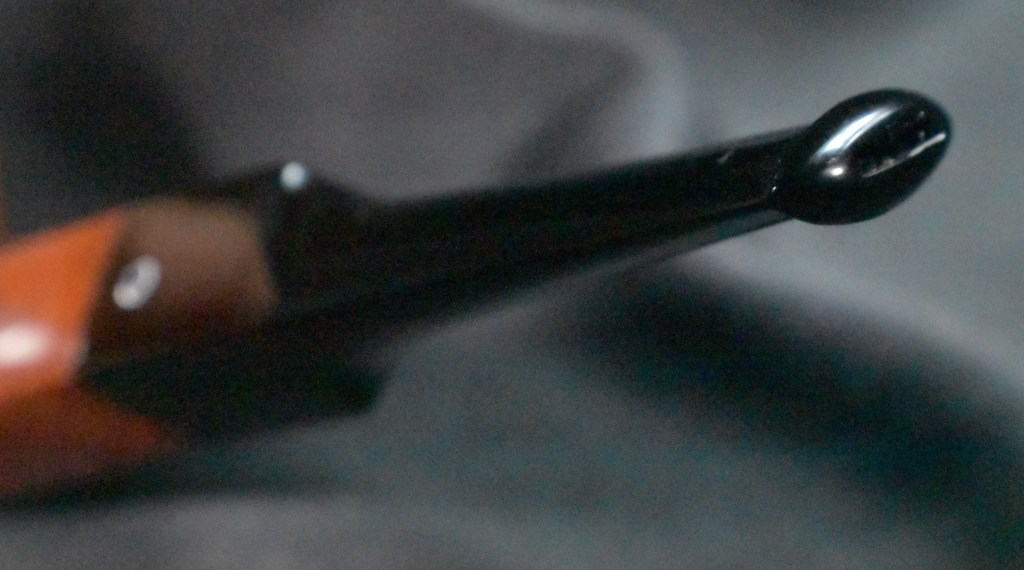
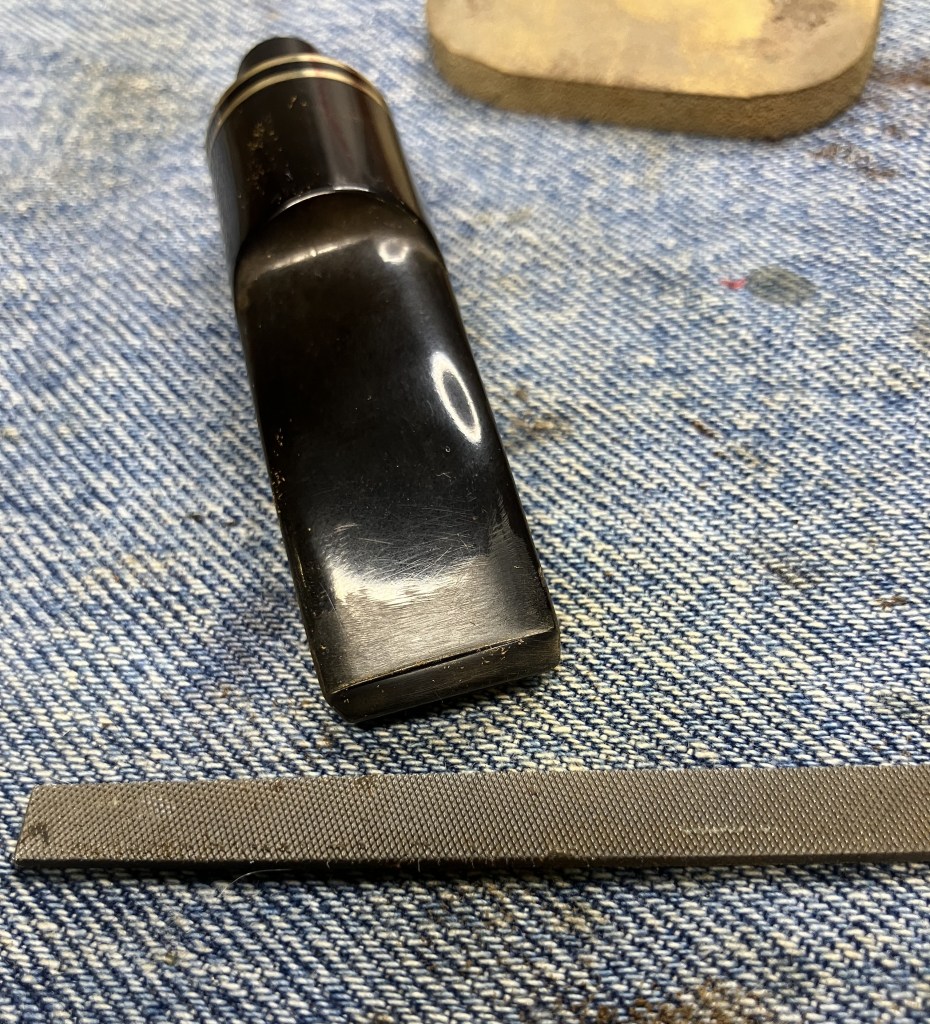
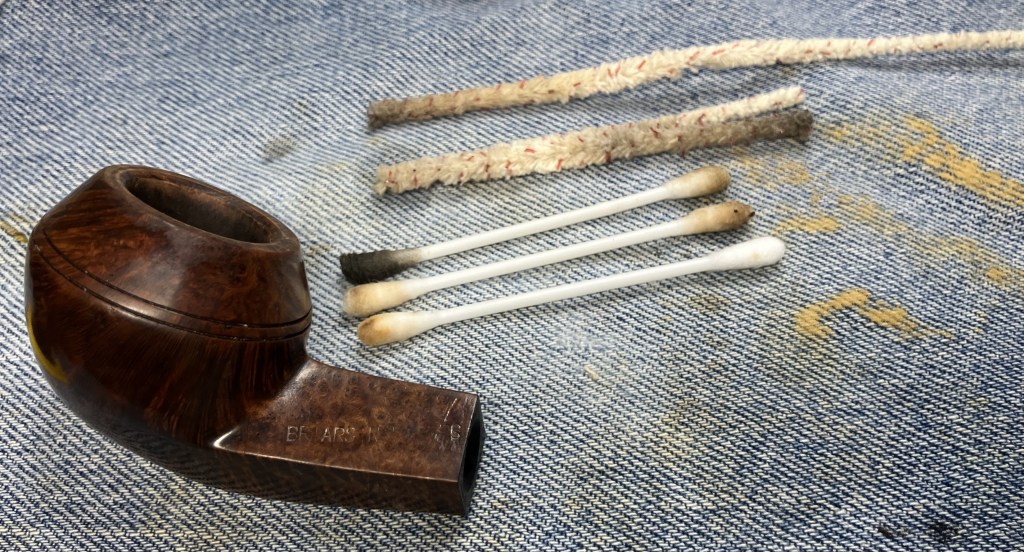
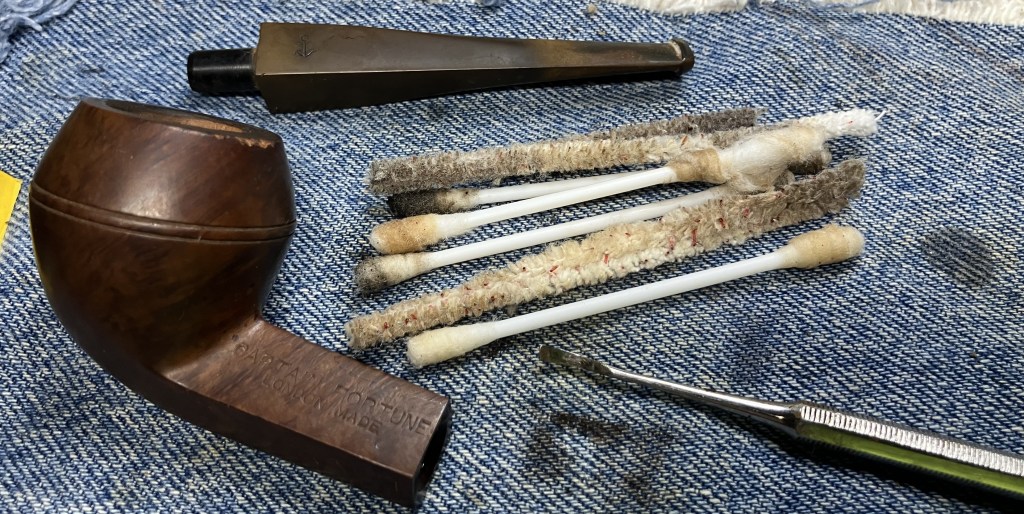
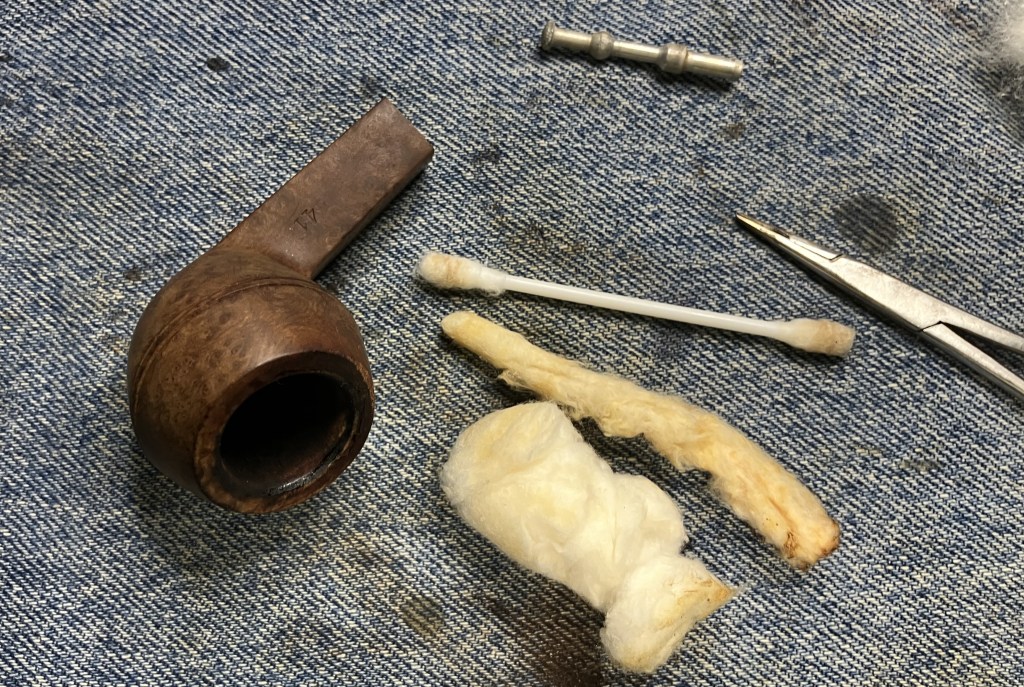
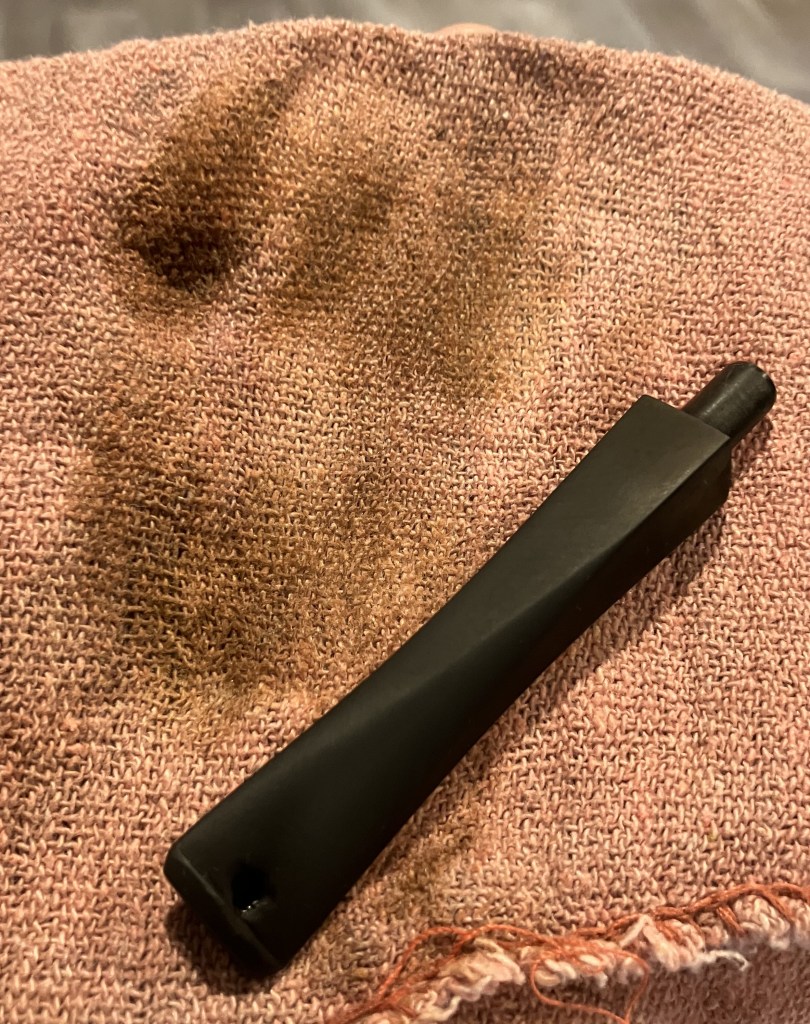
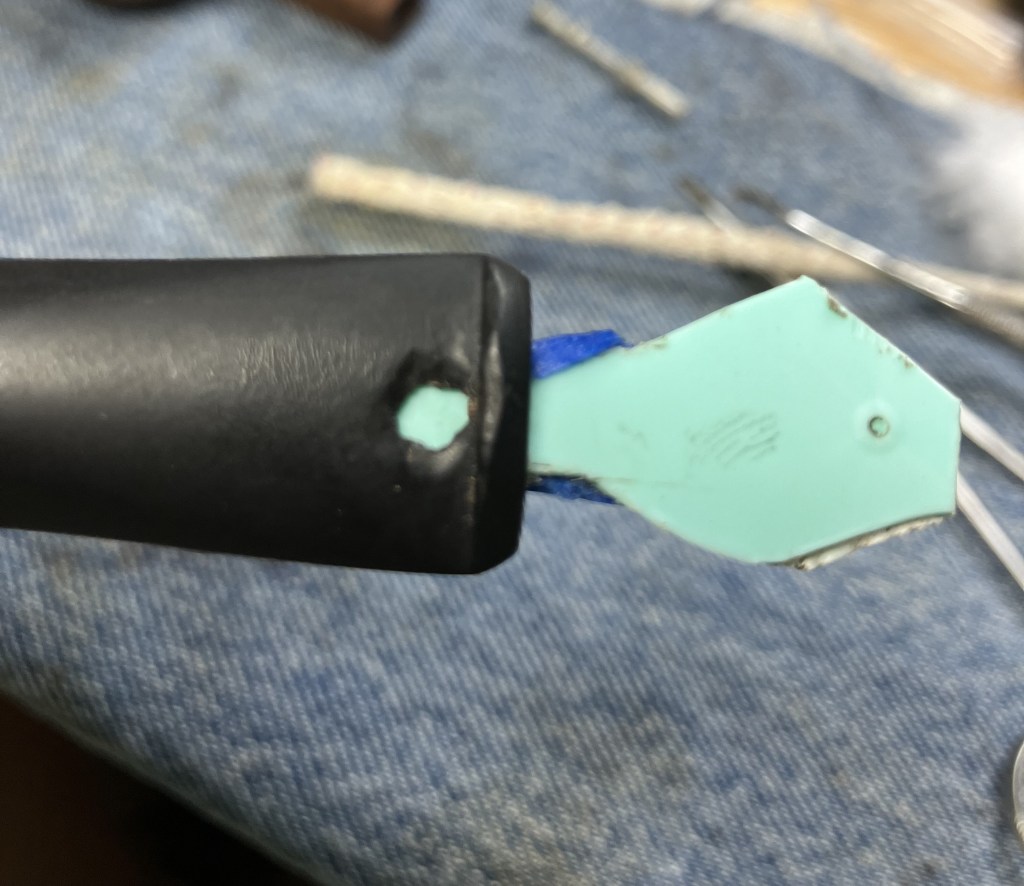
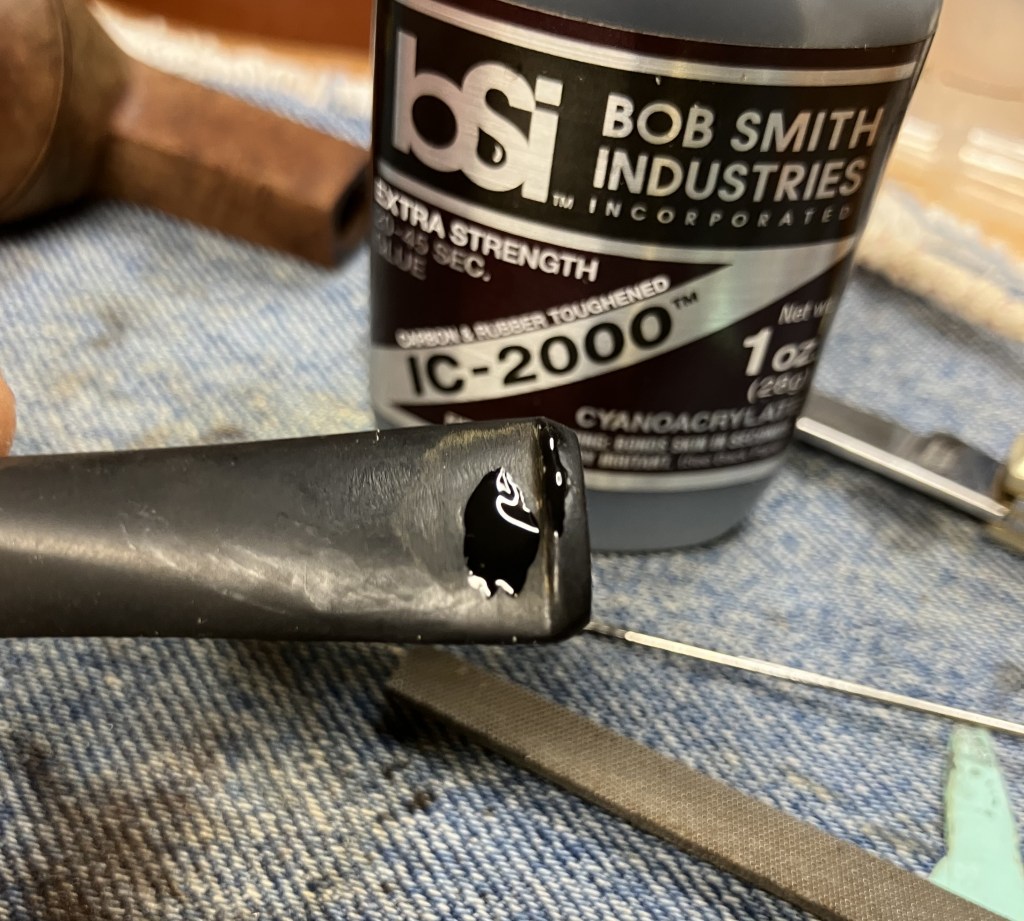
The stummel needed an overnight to fully cure. I turned my attention to the stem. I cleaned it with bristle pipe cleaners and 99% ethyl alcohol.

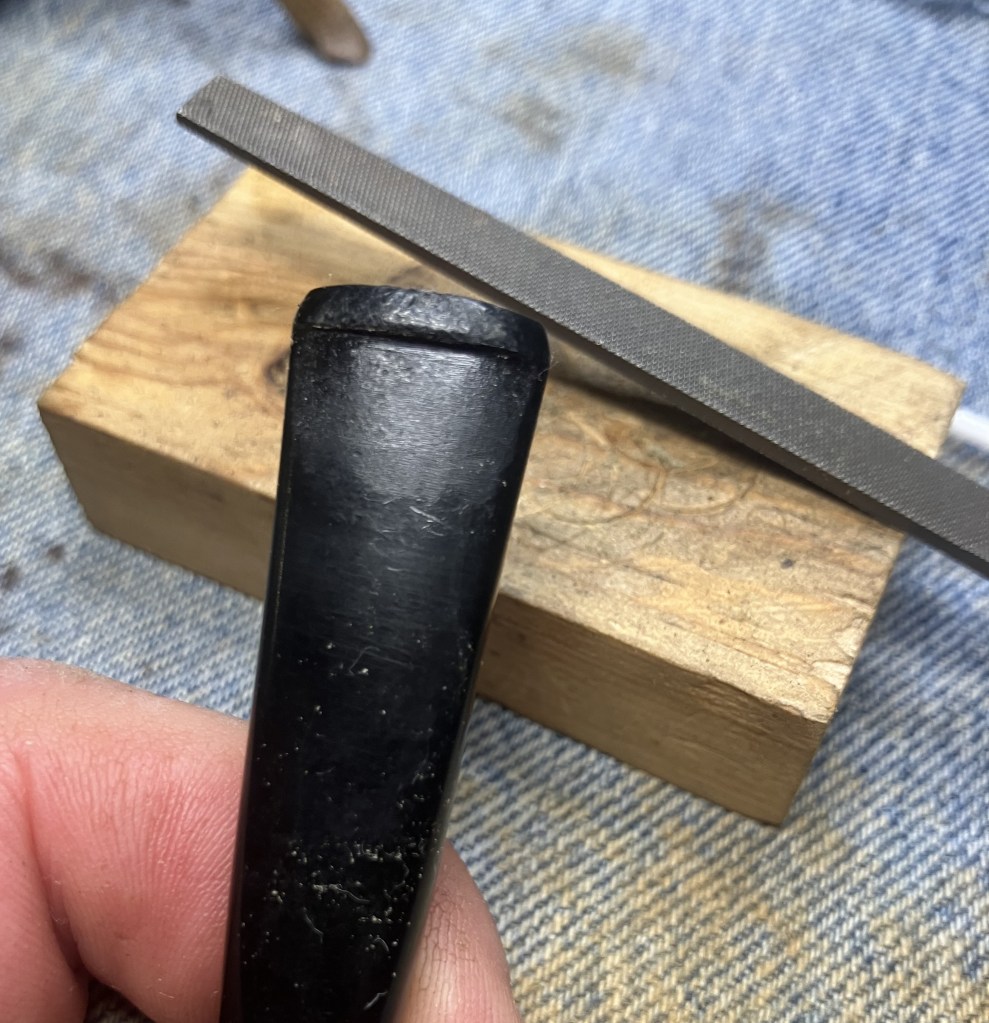
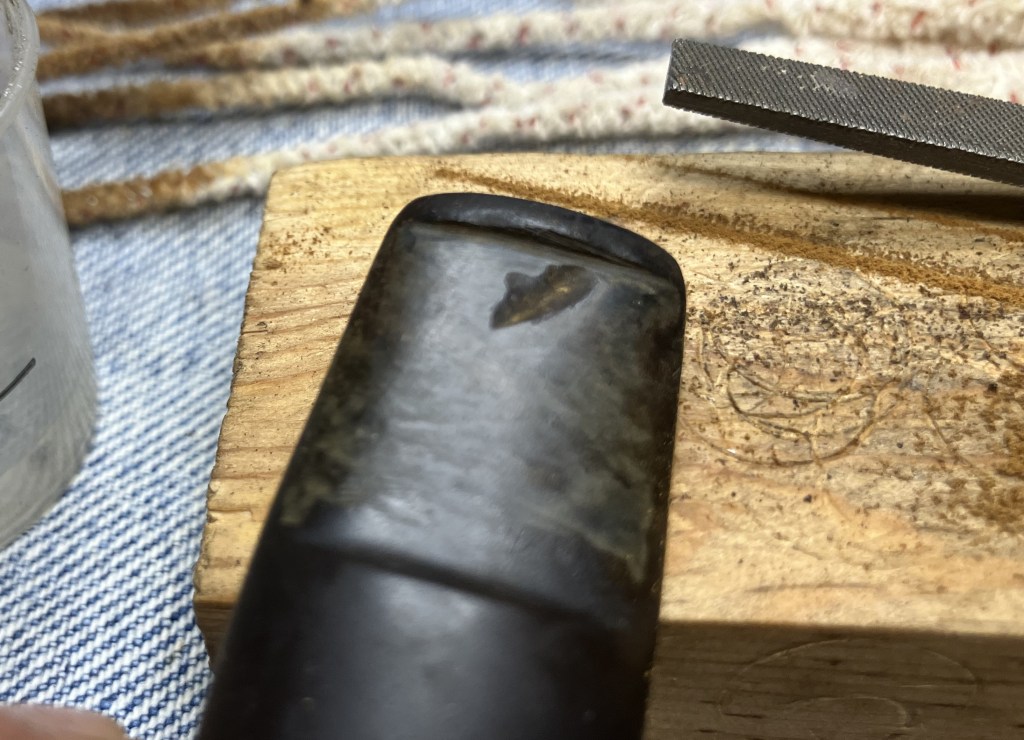
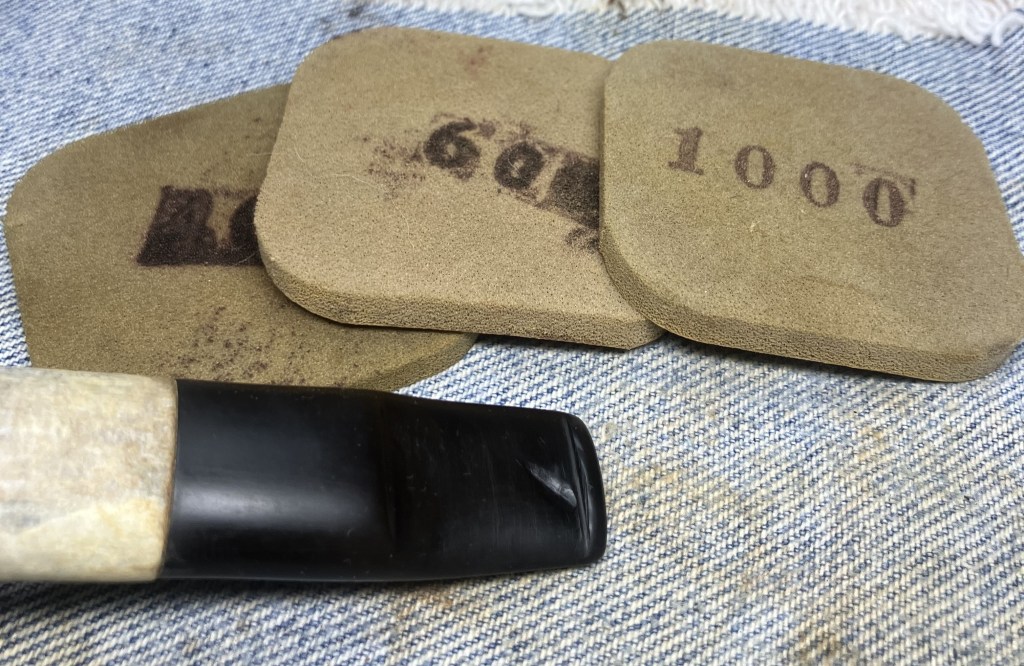
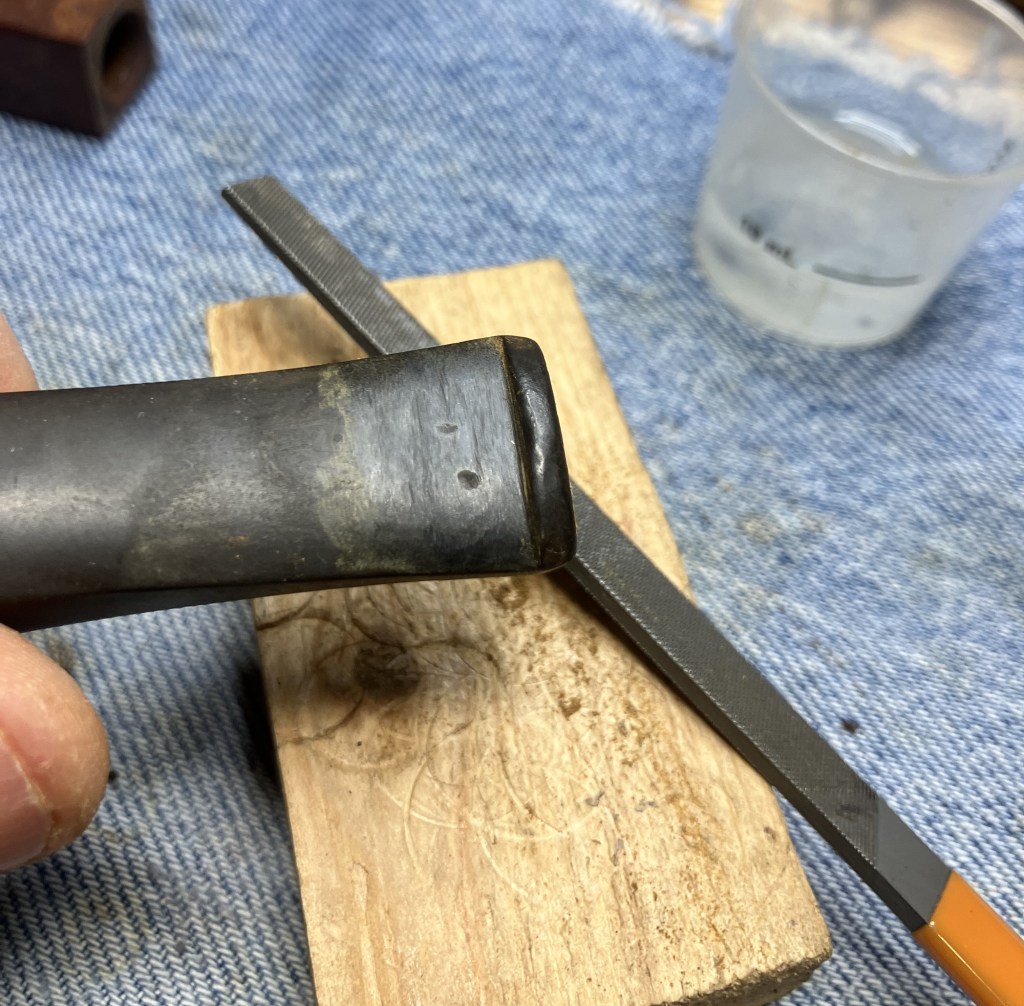
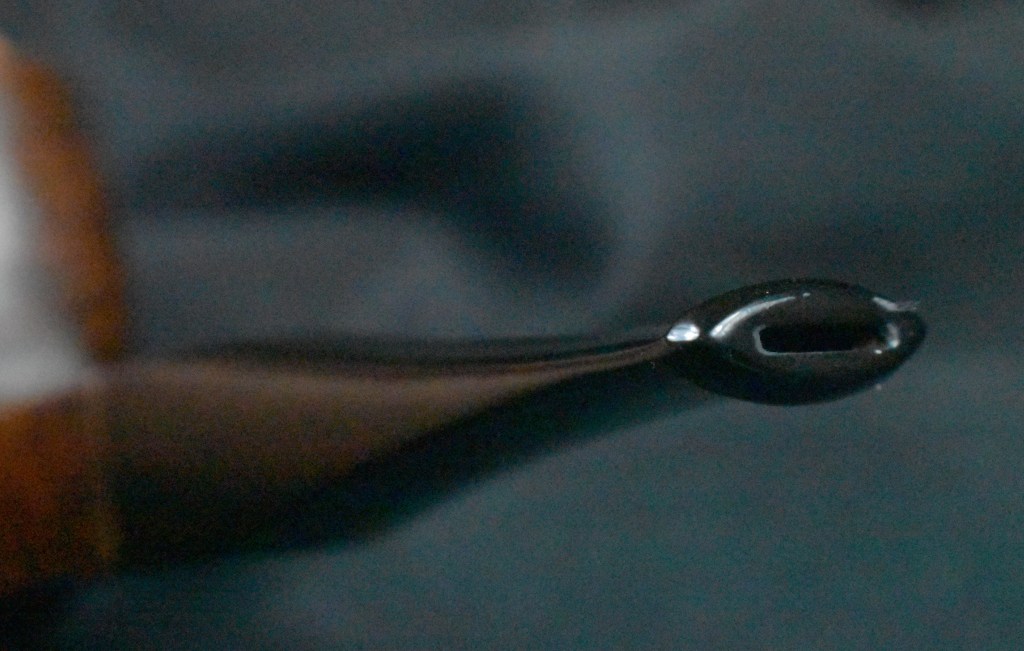
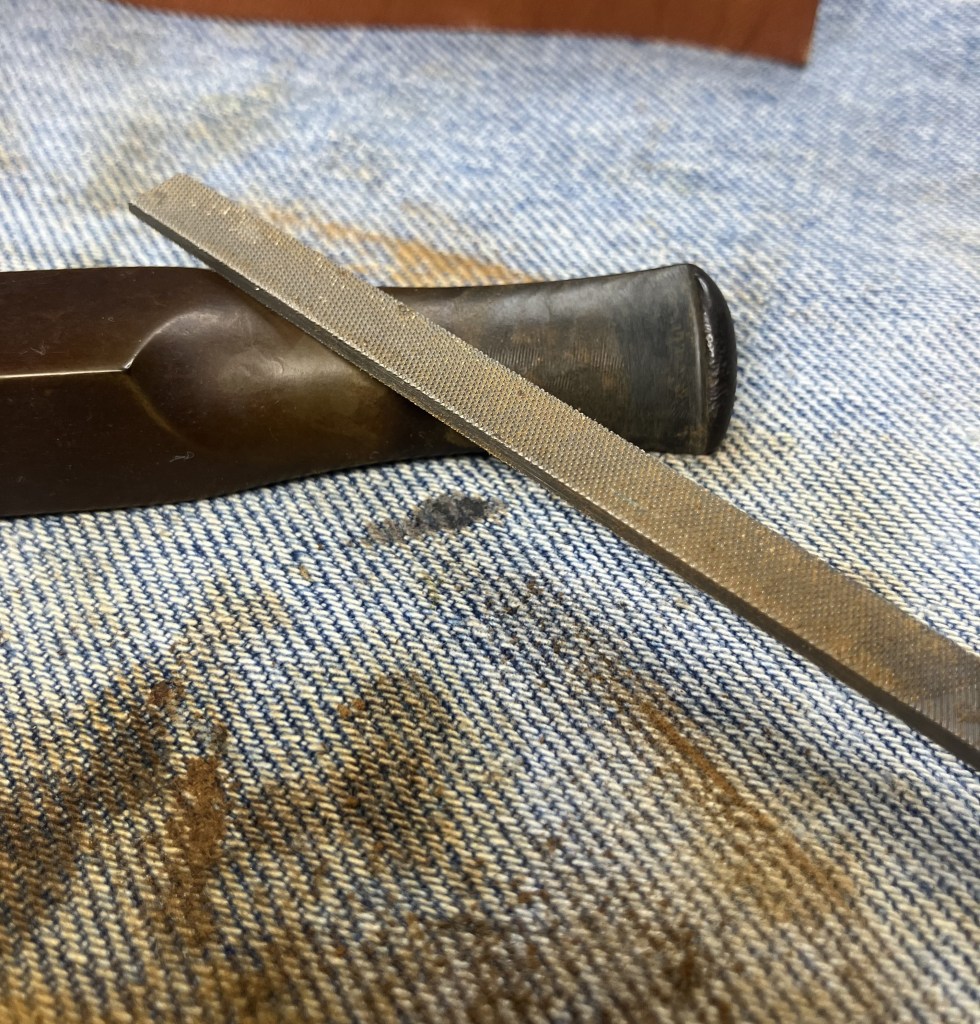
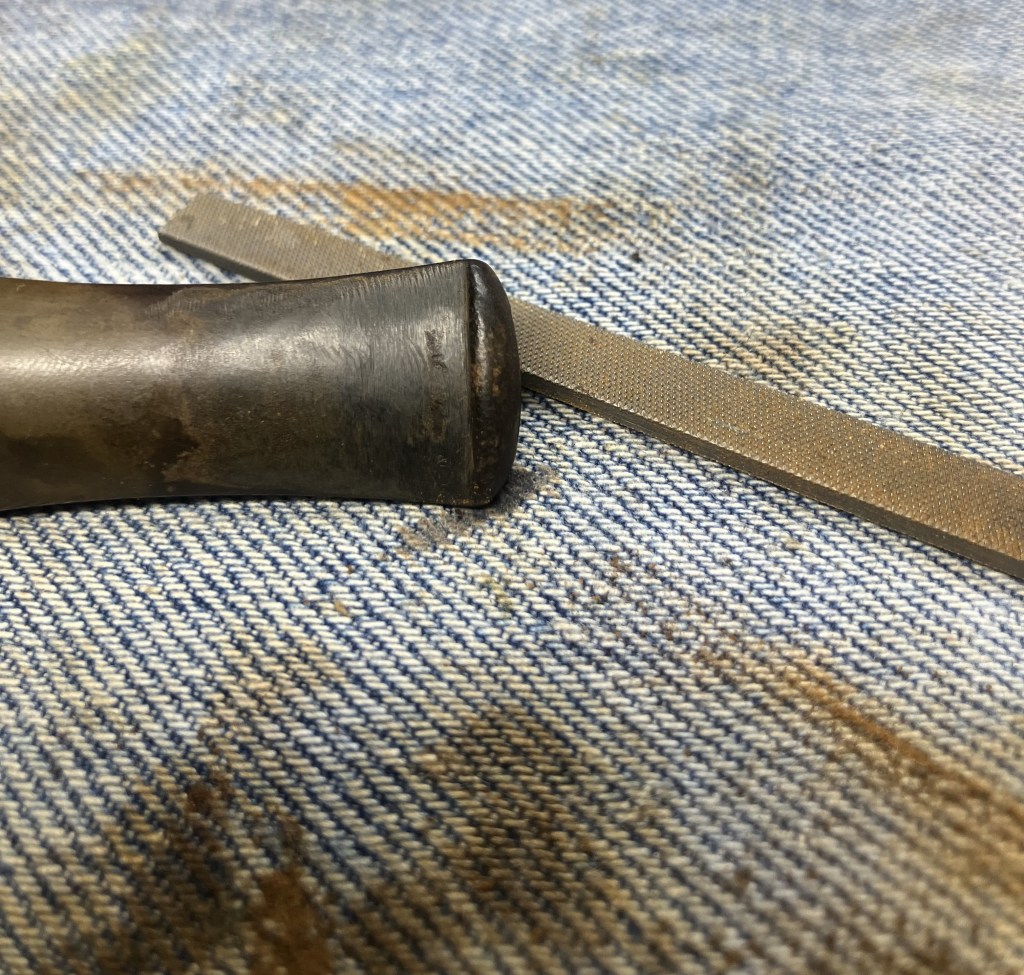
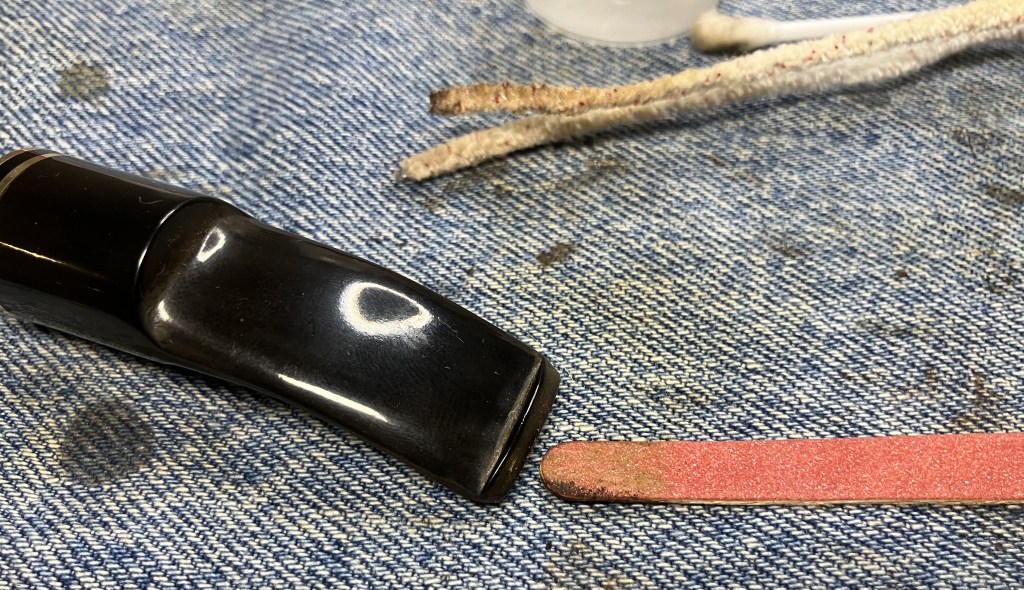
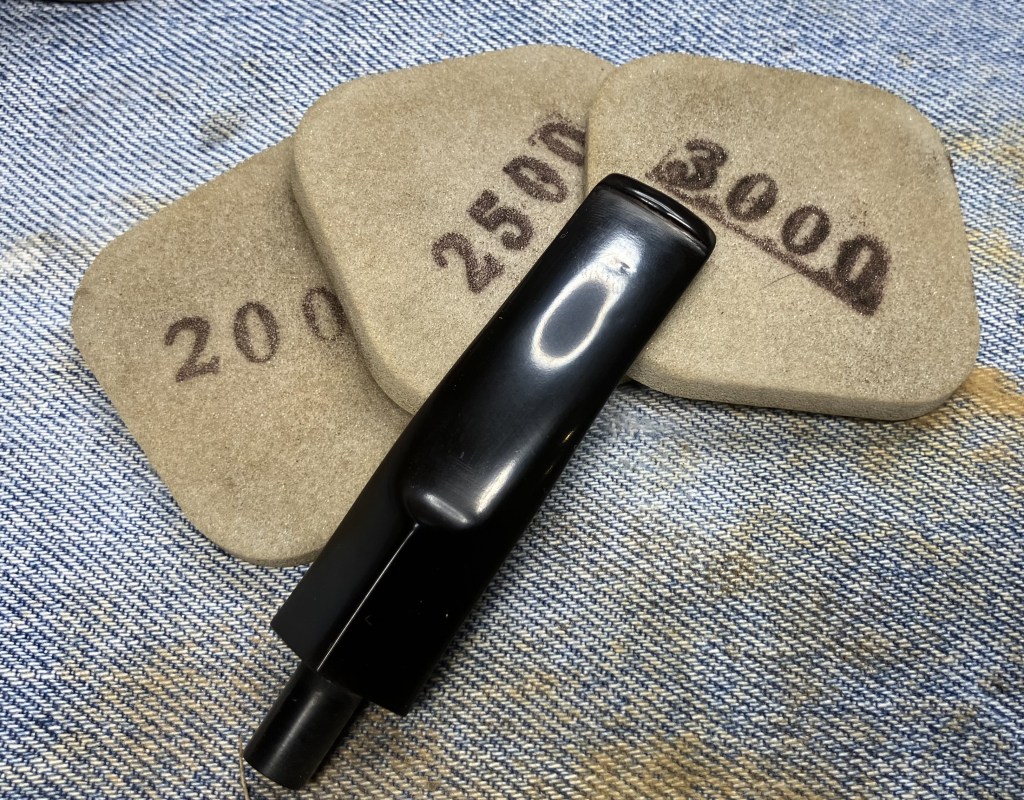
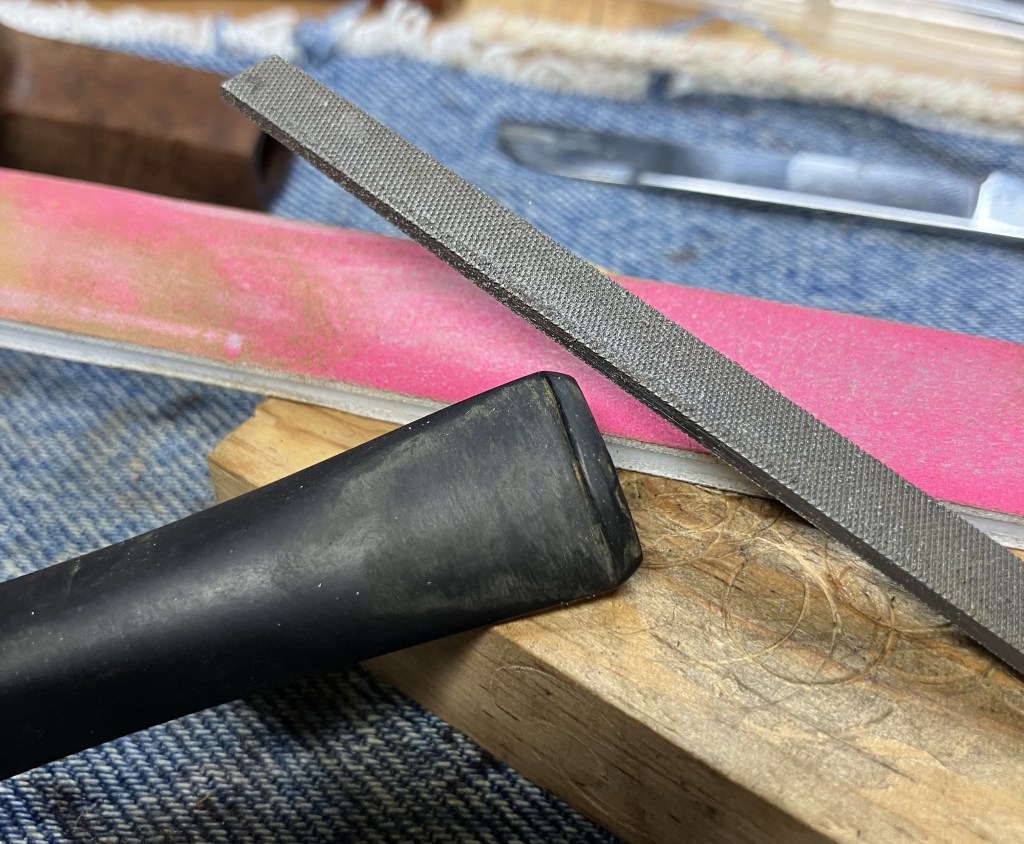
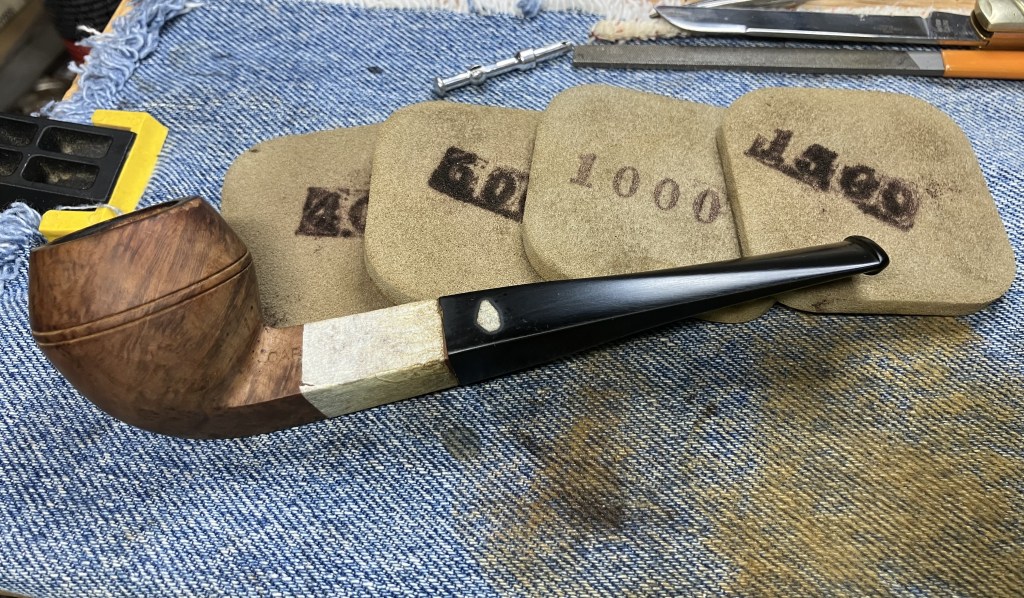
I touched-up the edge of the button with a small flat file and sanded the stem with a 400 grit sanding sponge.

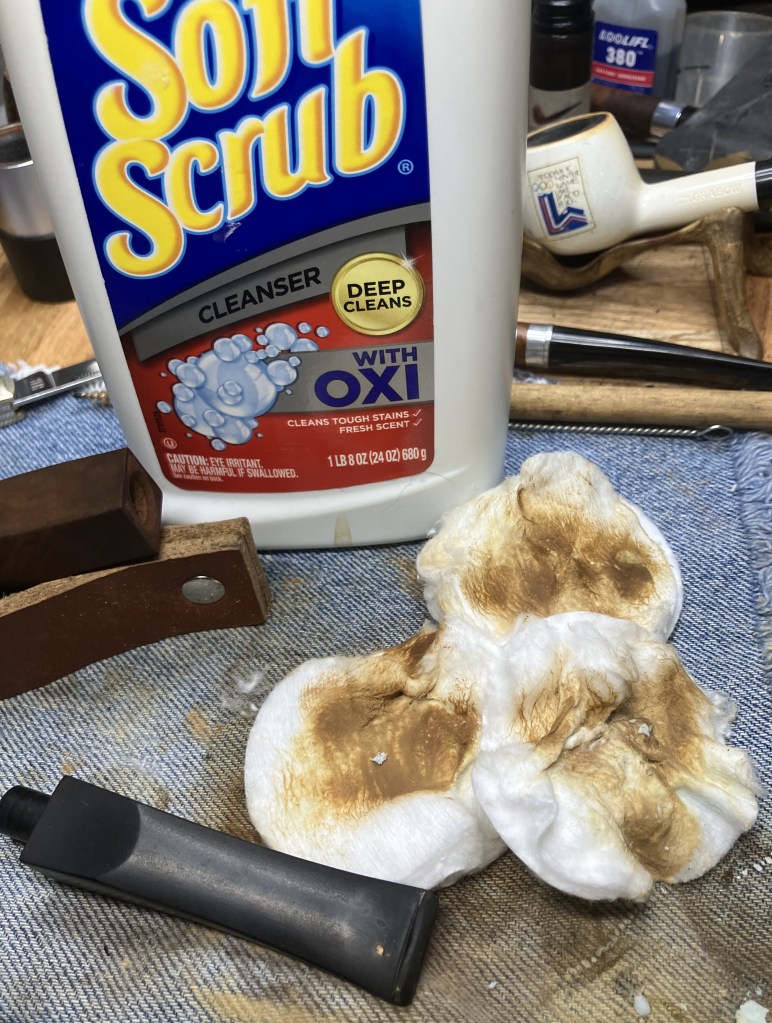
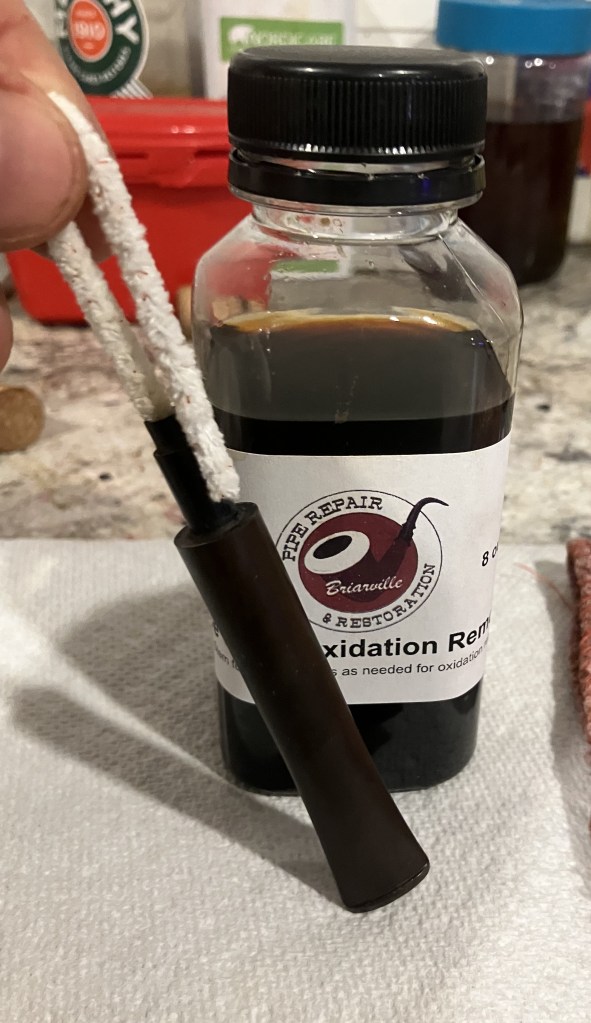
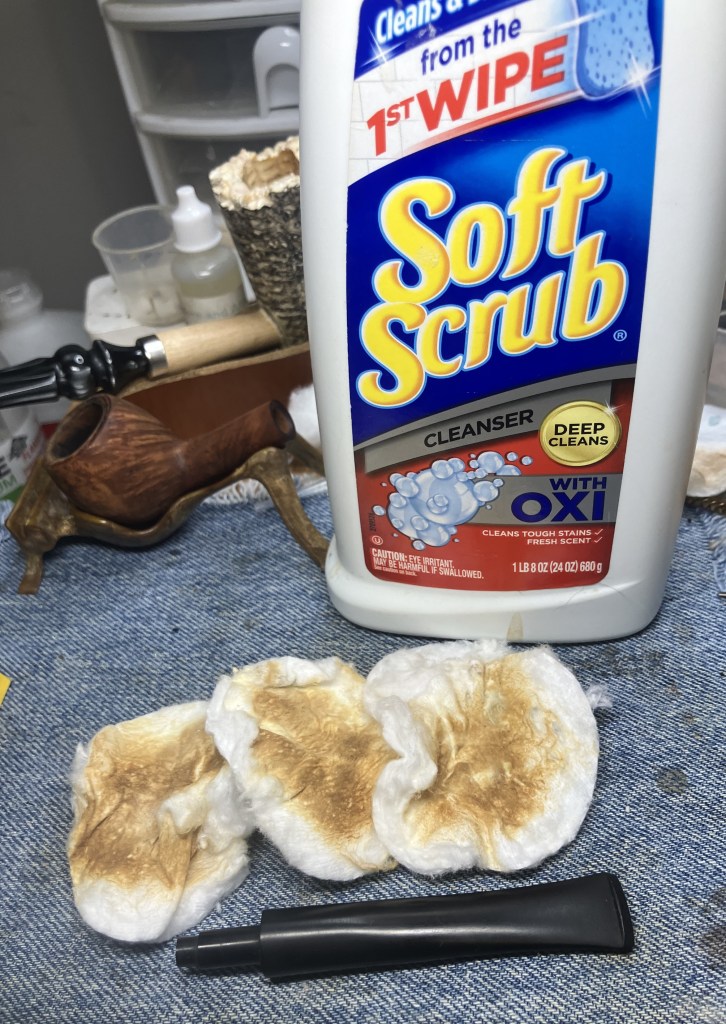
Then I scrubbed the stem with Soft Scrub cleanser to remove the light oxidation.

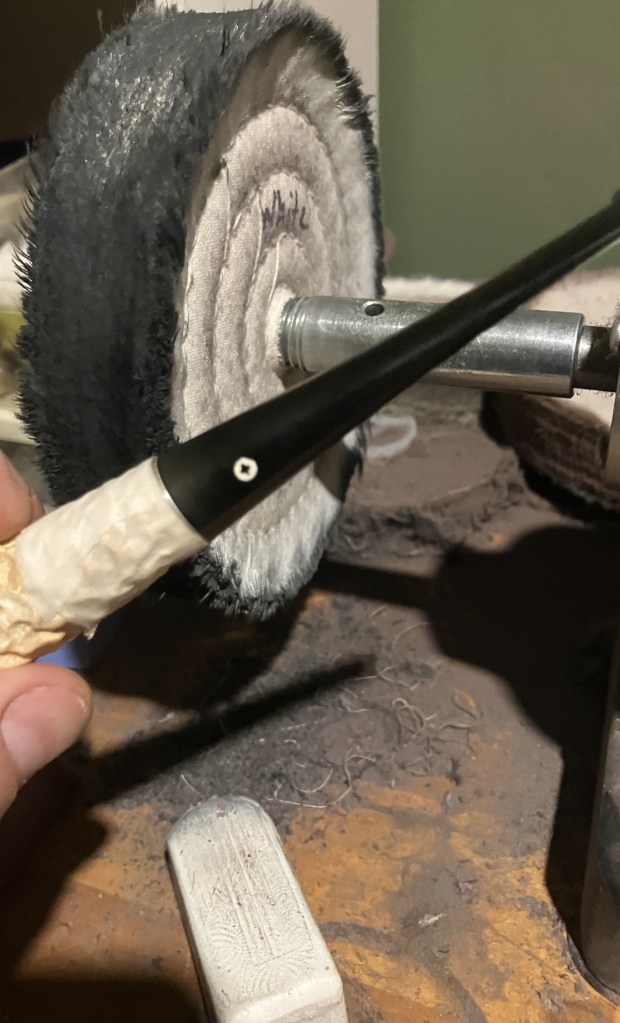
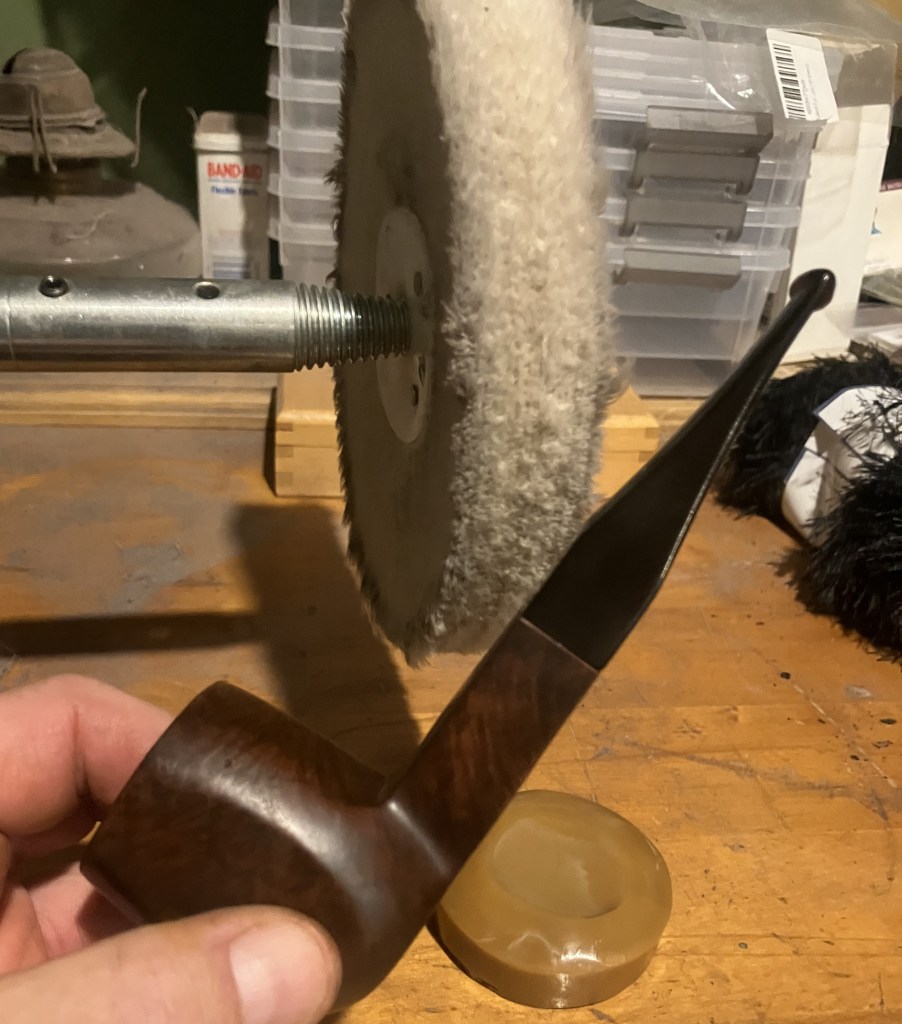
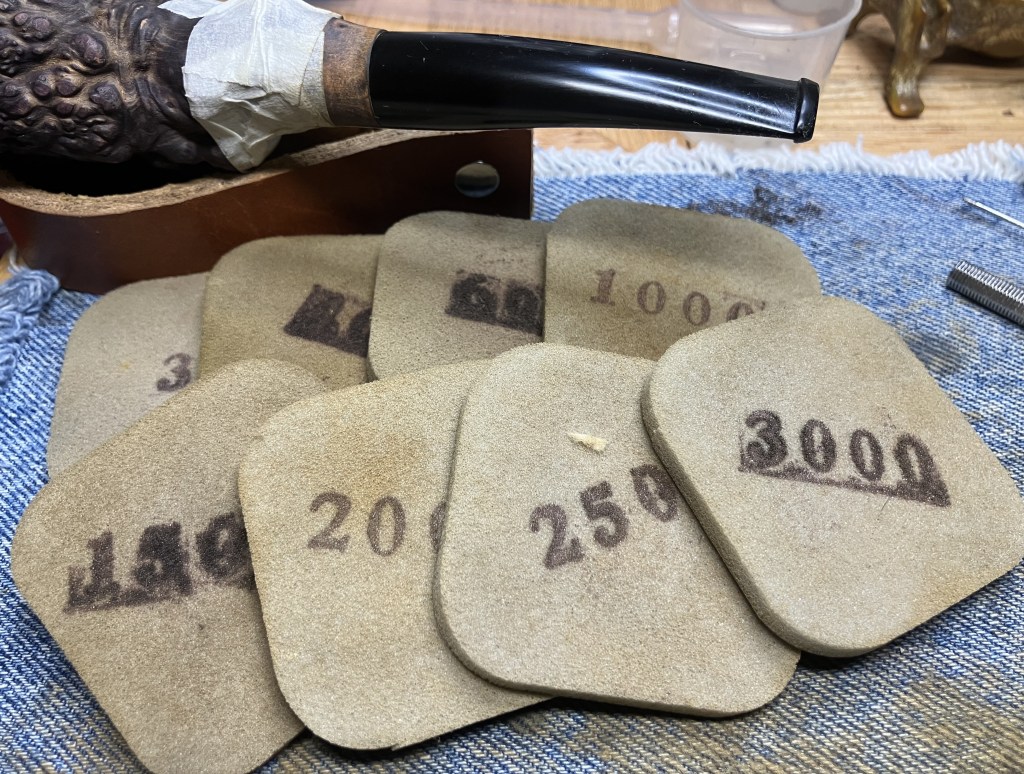
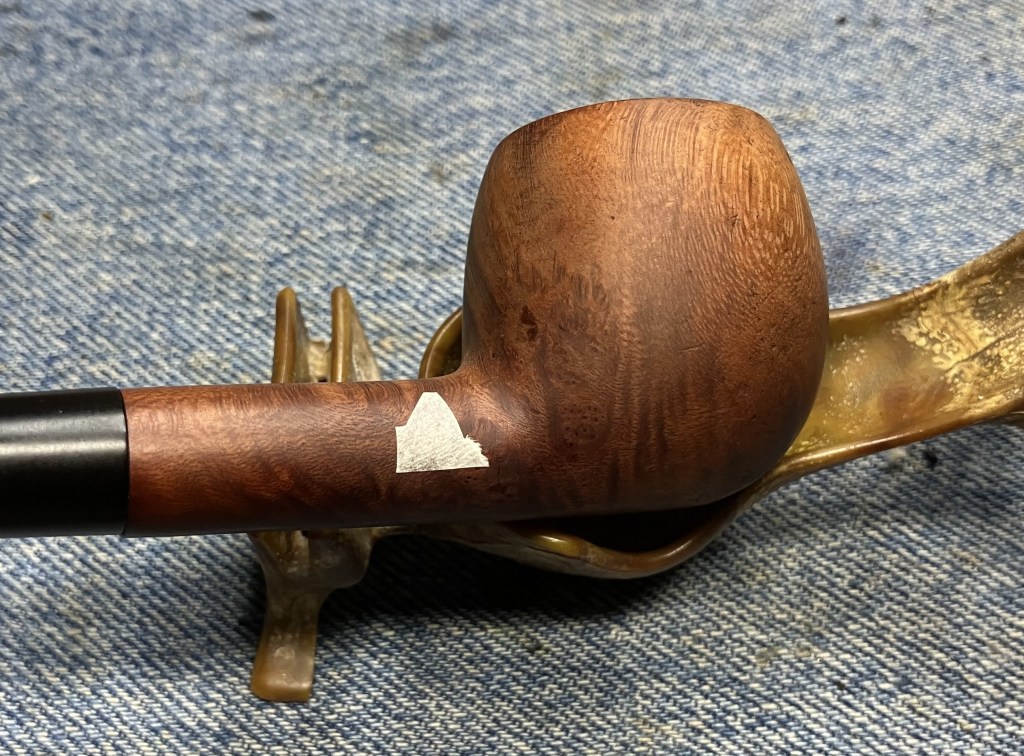
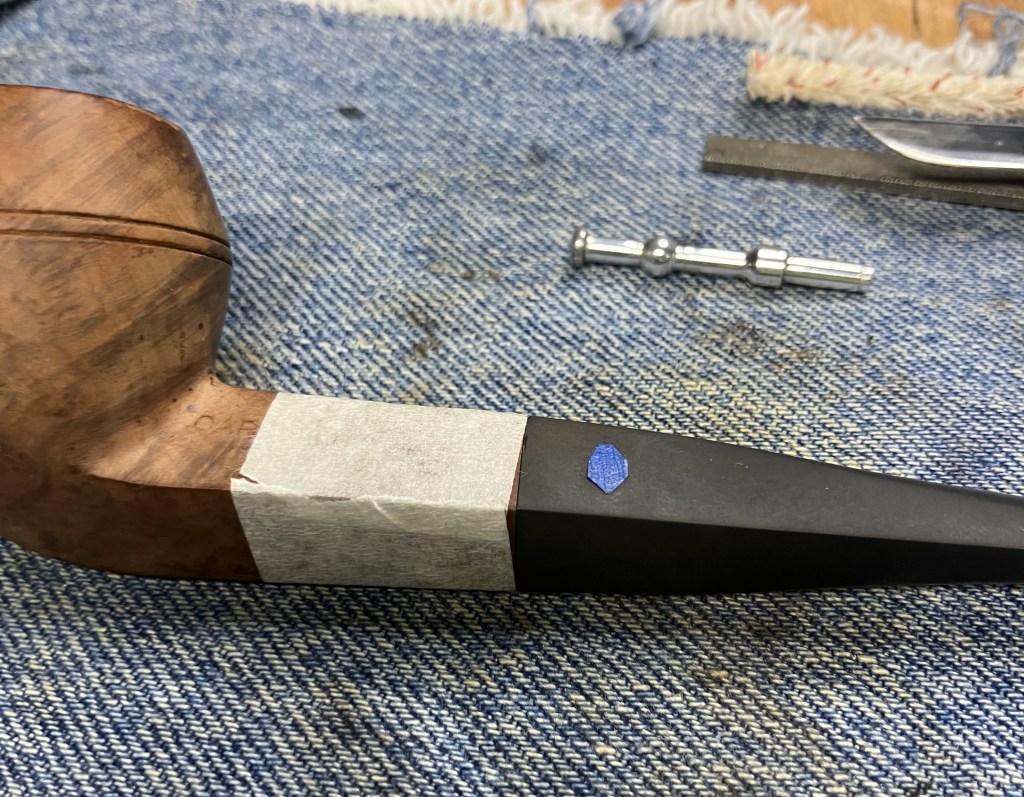
The shank of the pipe was wrapped in masking tape to protect it from the buffing which I wanted to do next.

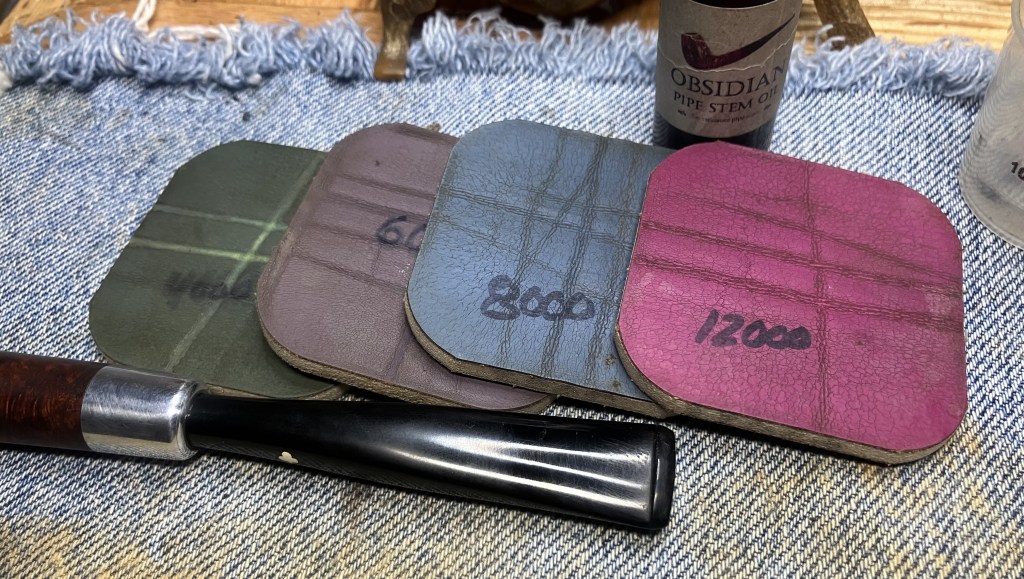
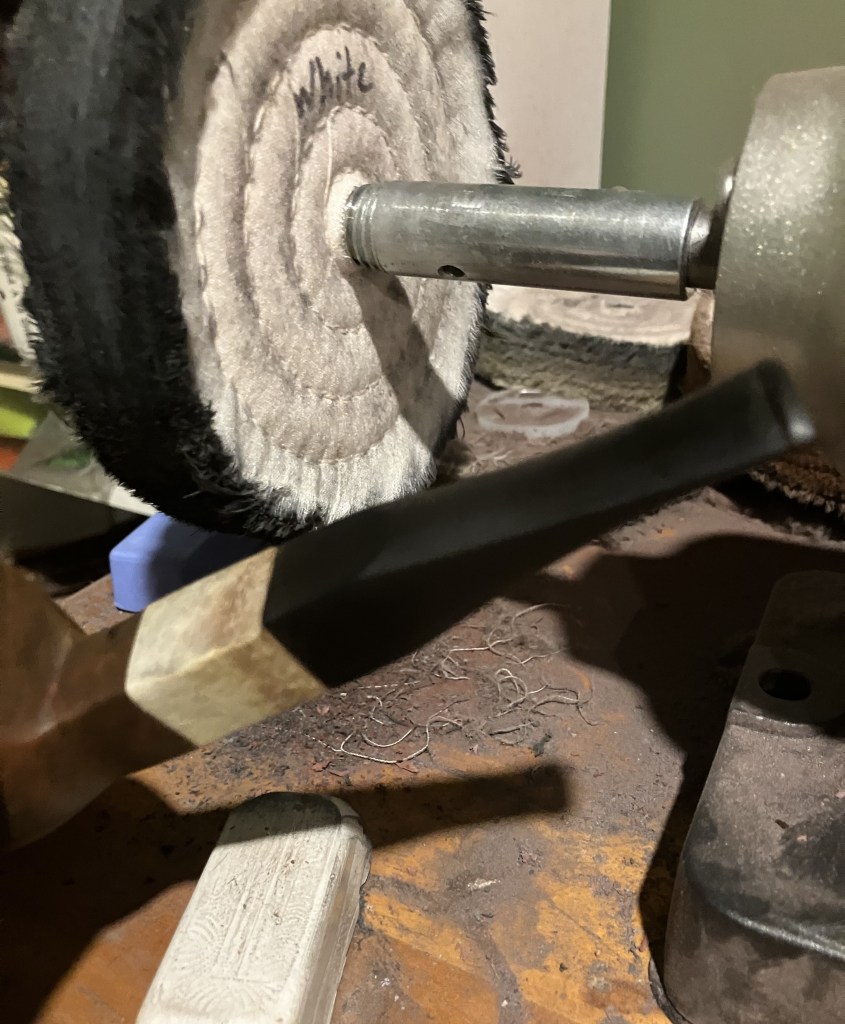
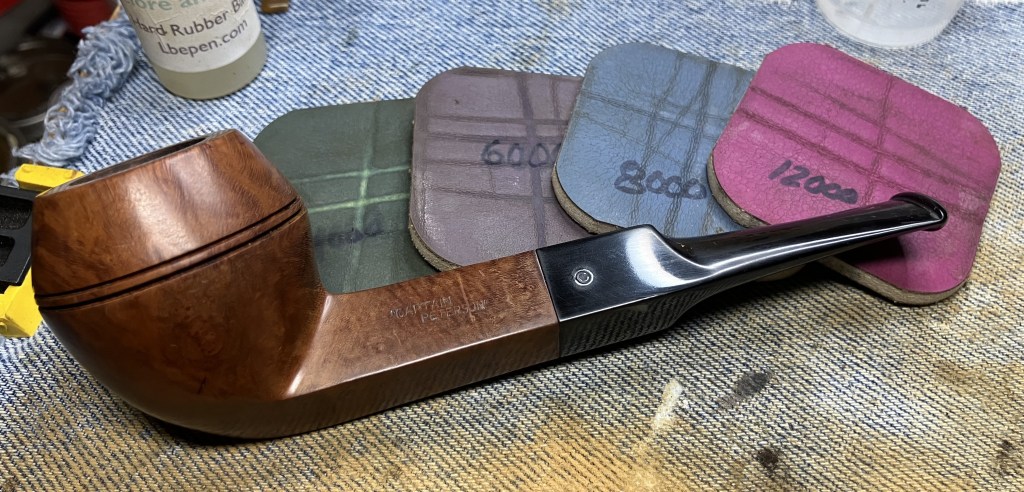
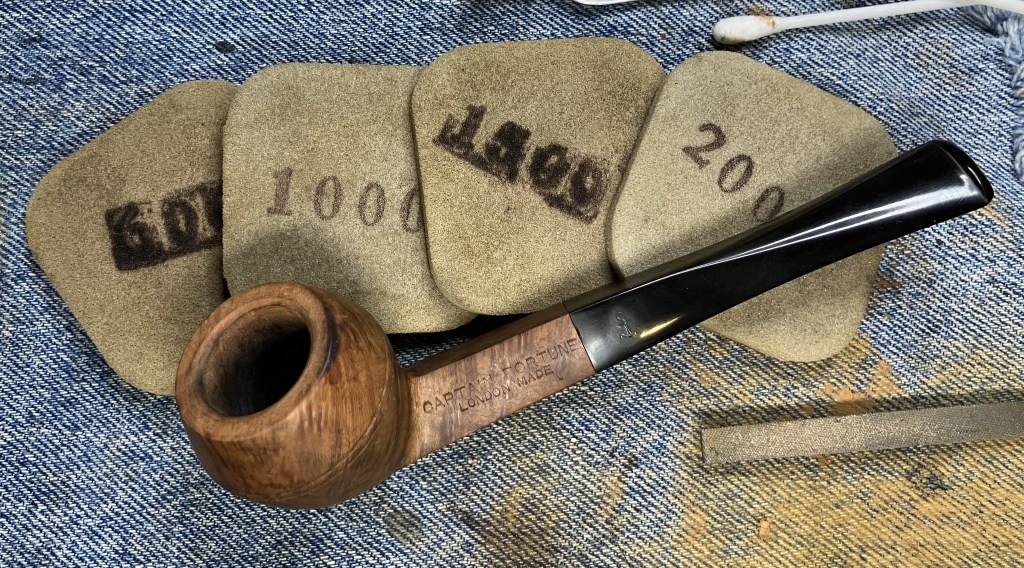
At the buffer I worked the stem with white buffing compound hoping to remove the surface oxidation and restore the shine.
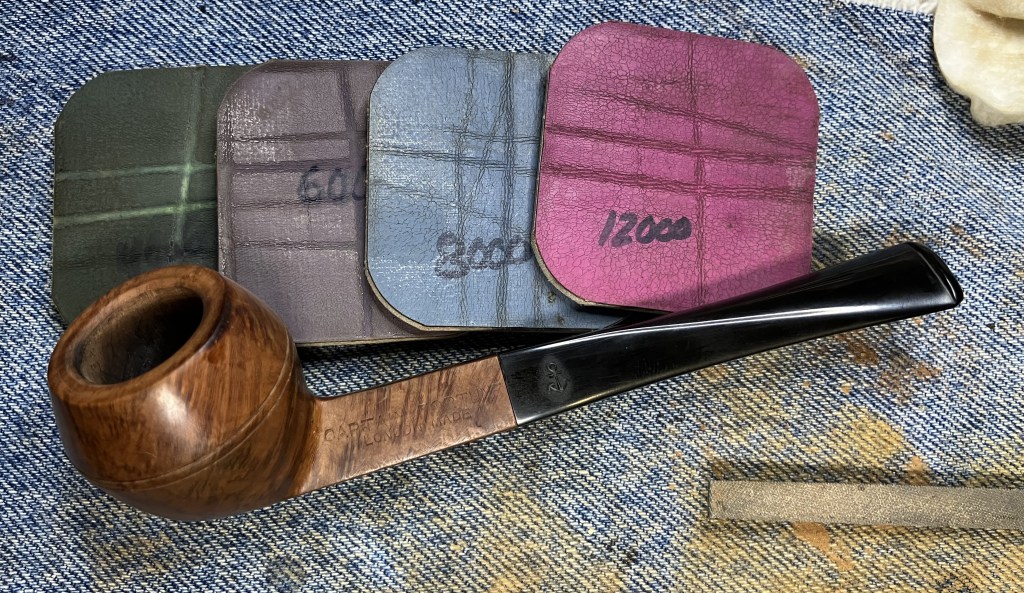
The buffing helped but I thought that my buffing skills could use a bit more work. I used Before and After Fine and Extra Fine Polish on a soft cloth to hand polish the stem.

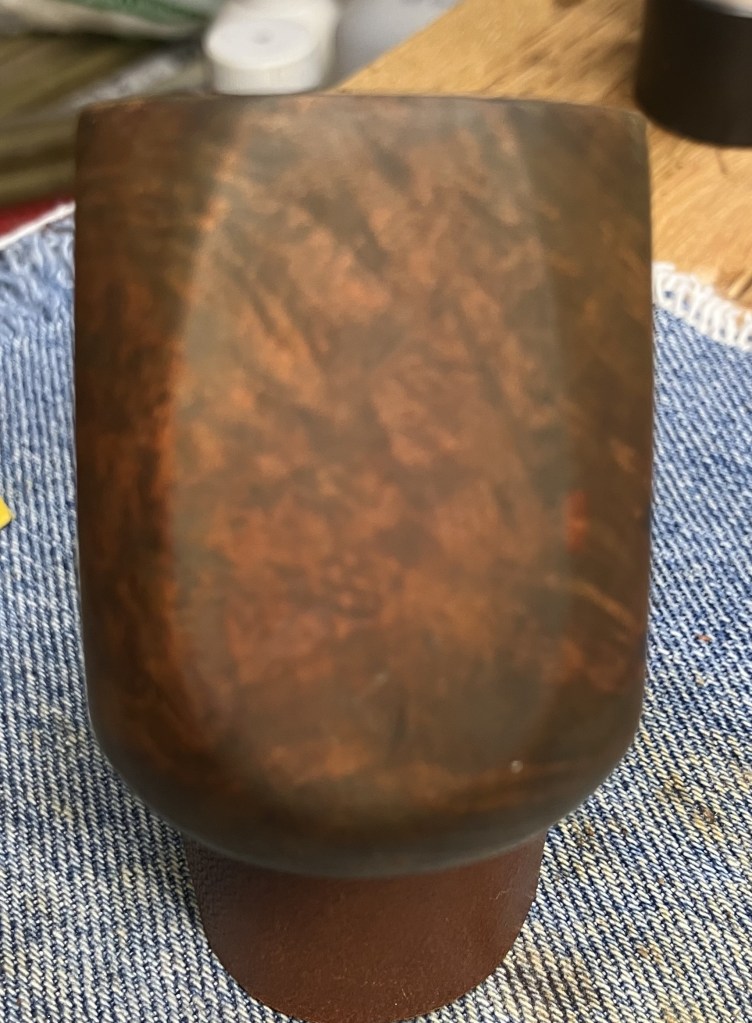
The next day, now 36 hours of cure time for the epoxy and 14 hours of eggwhite-meer drying, this is how the fill looked. Still an ugly scar. Maybe it will look better after the new beeswax?

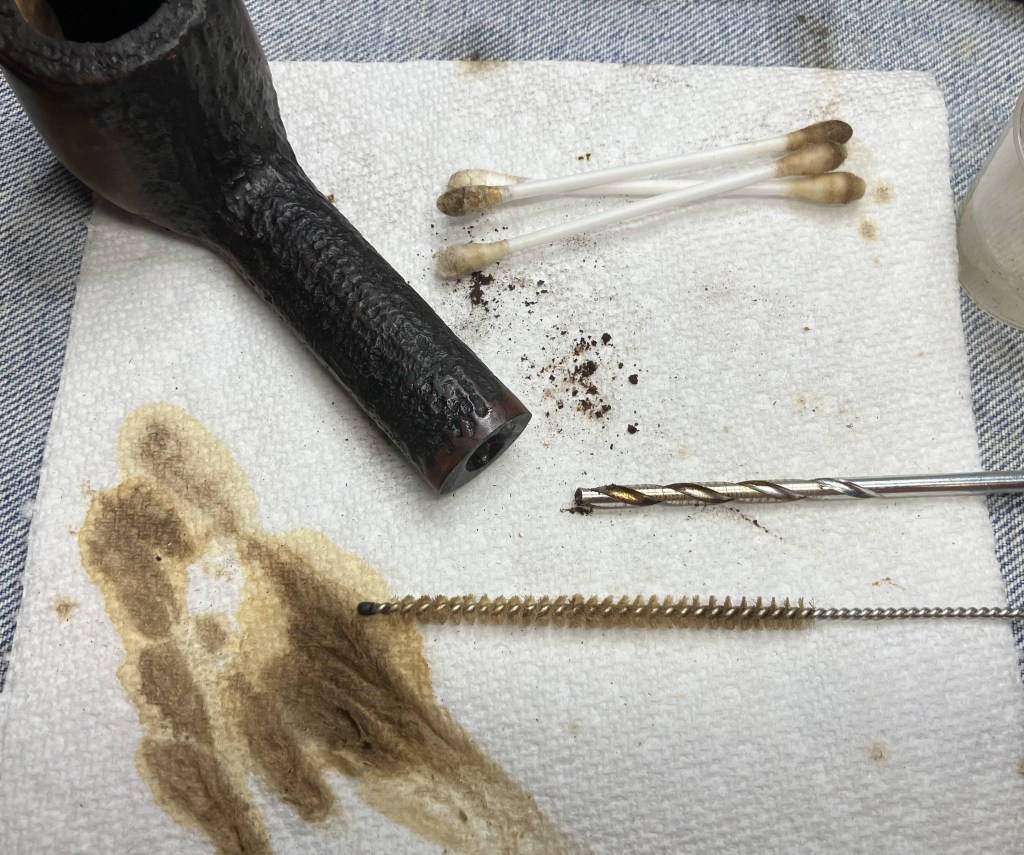
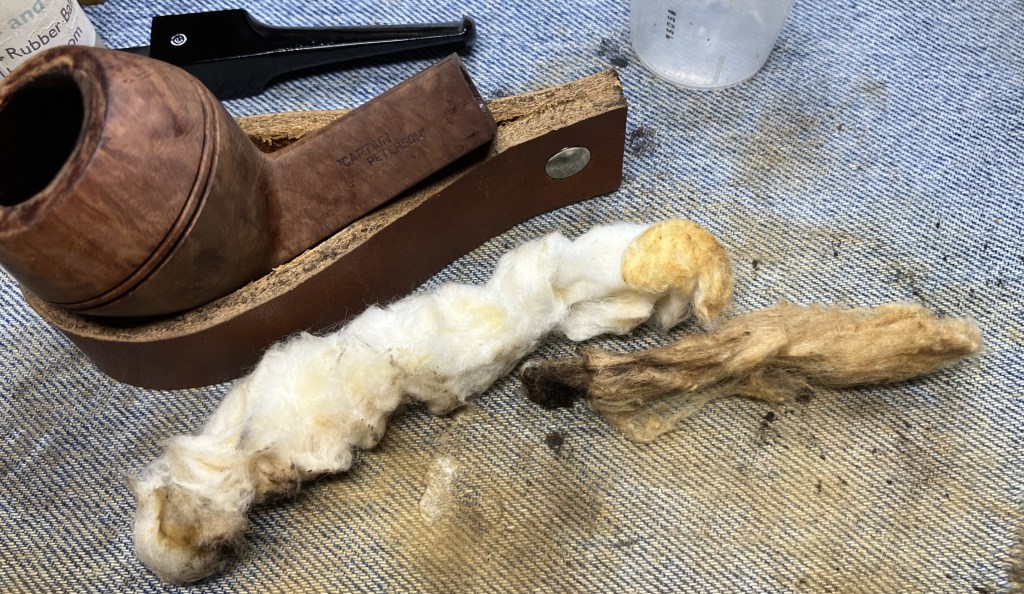
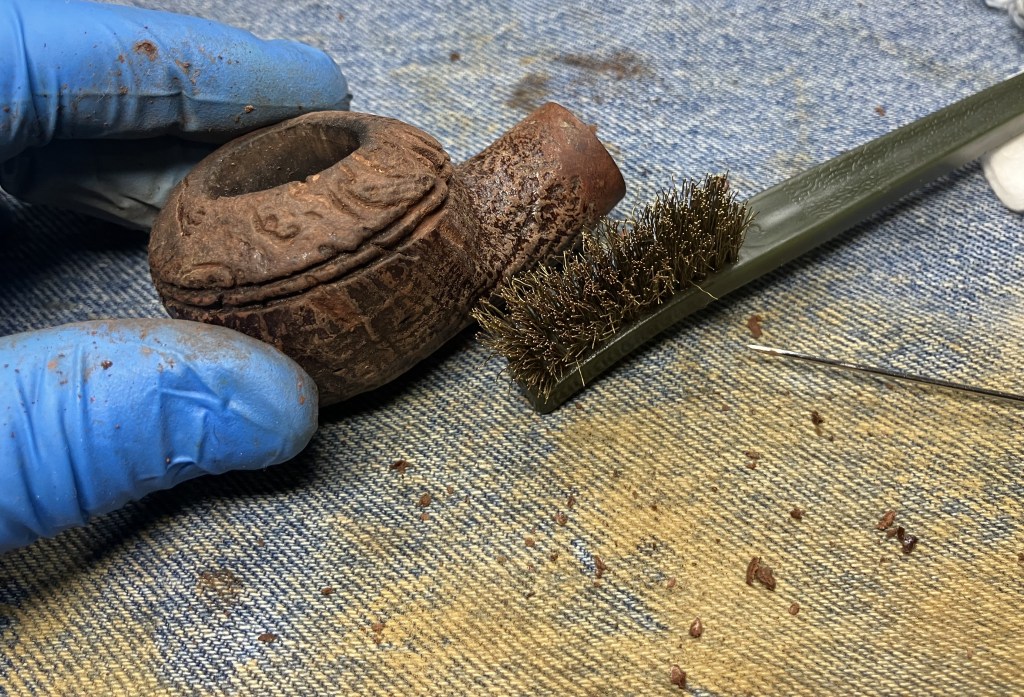
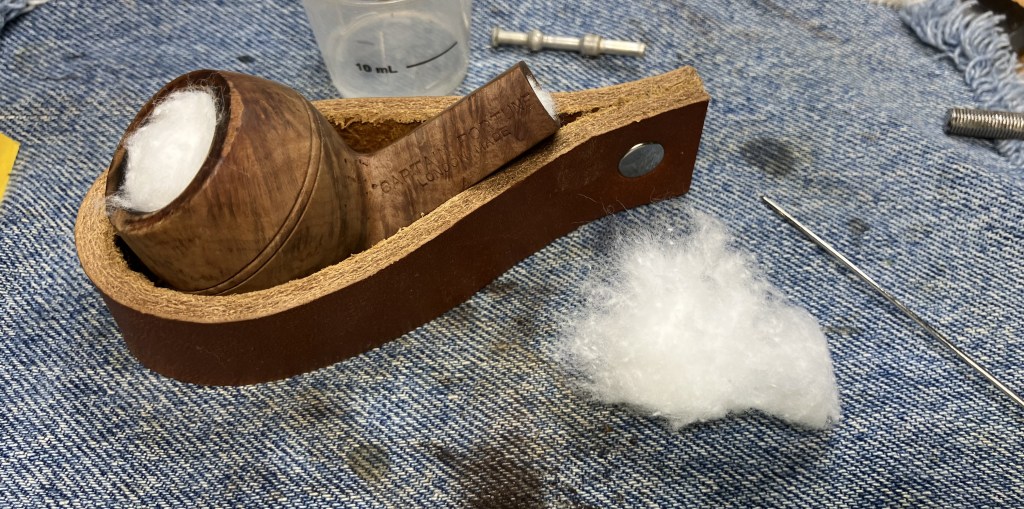
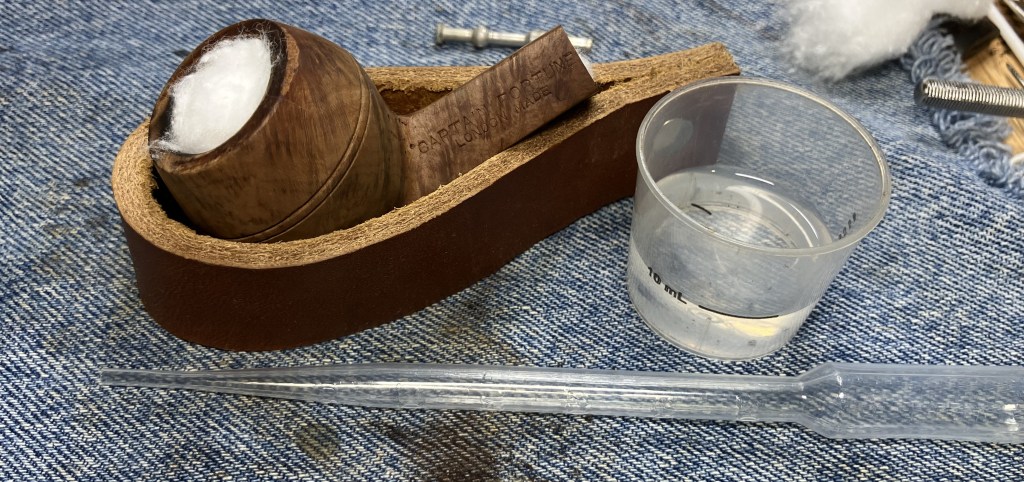
I proceeded with cleaning out the shank with bristle pipe cleaners and 99% ethyl alcohol.
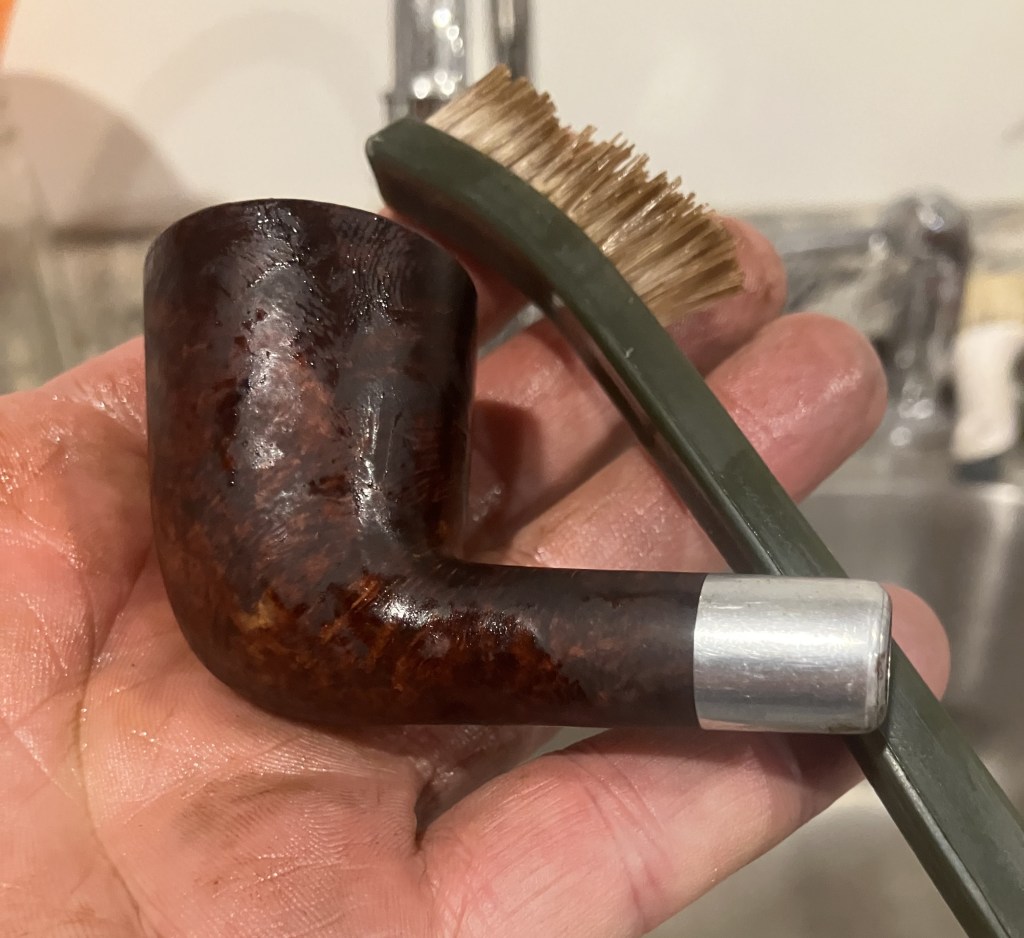
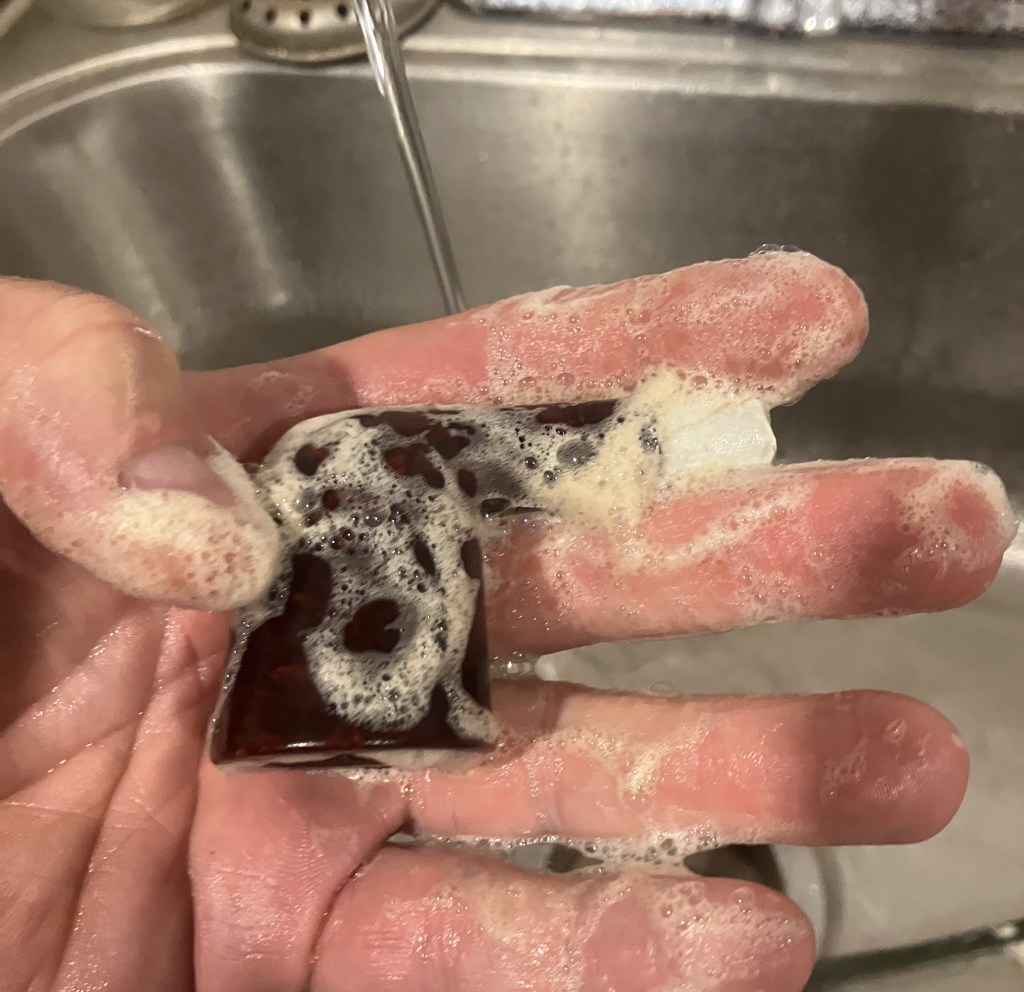
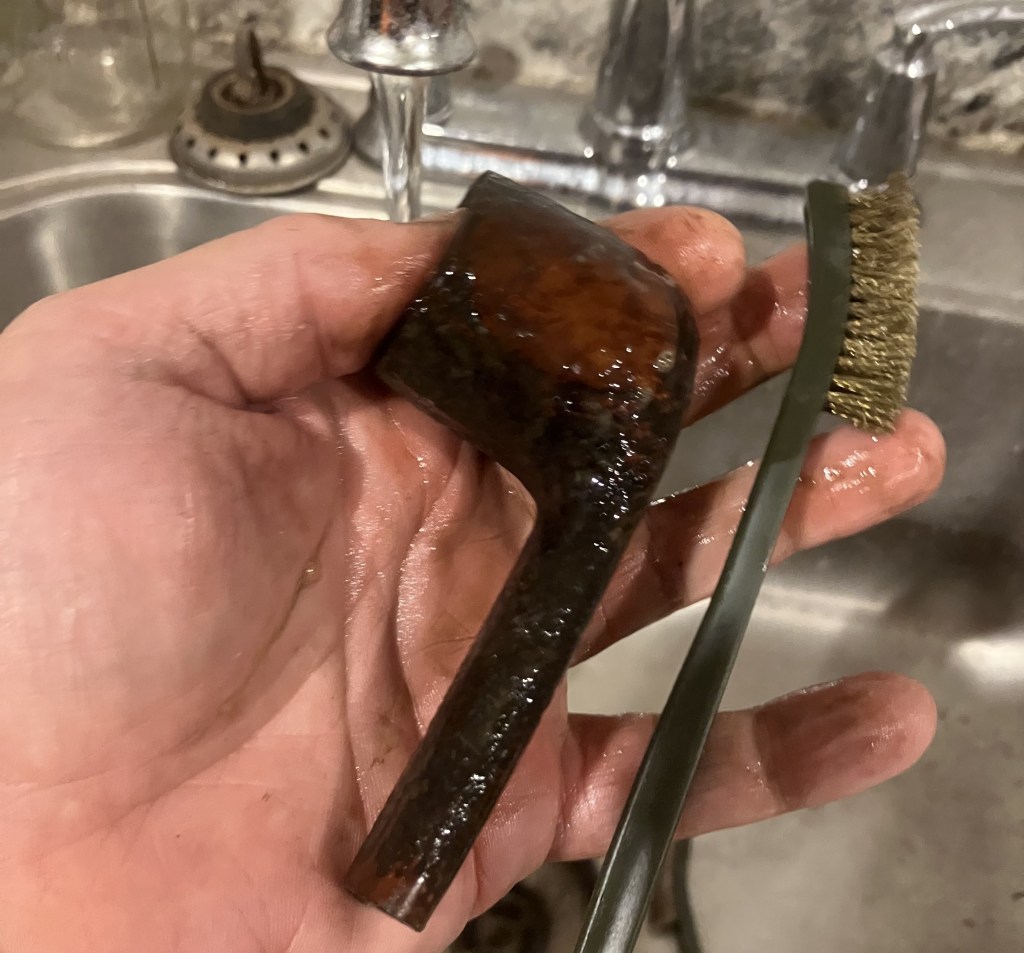
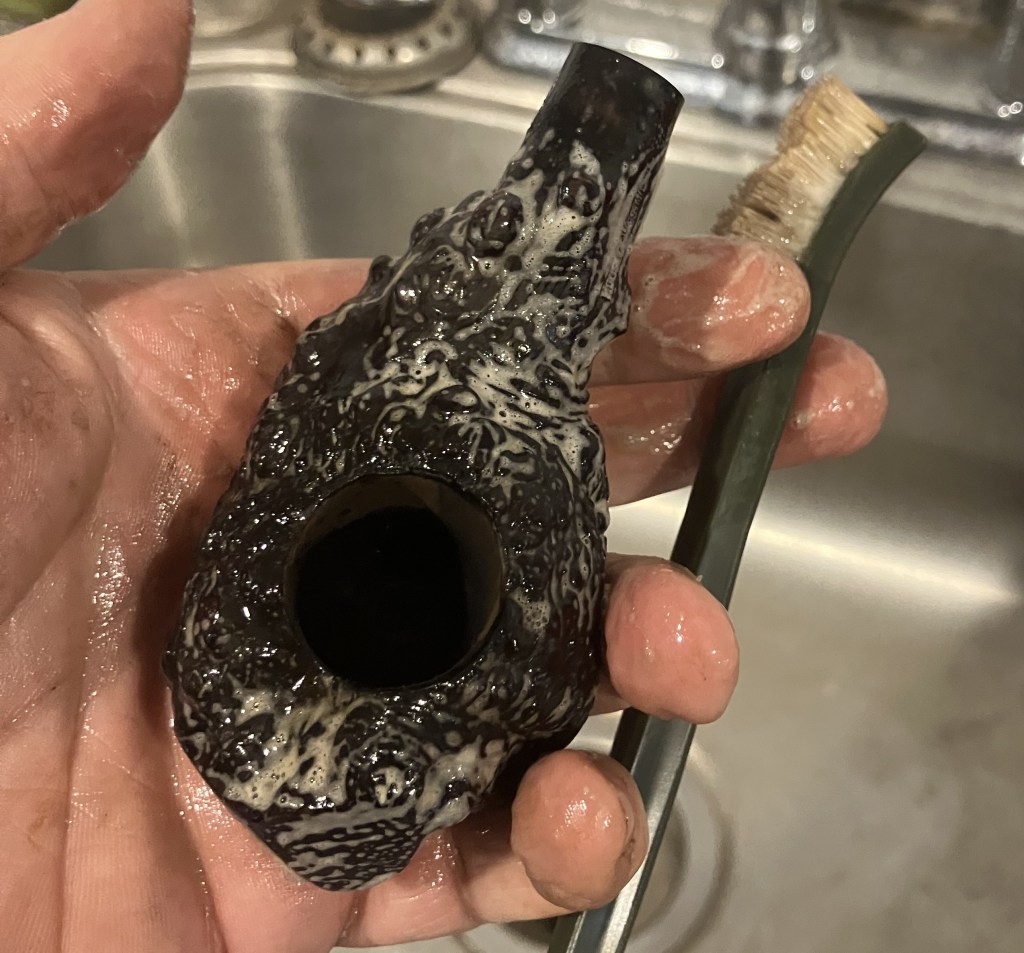
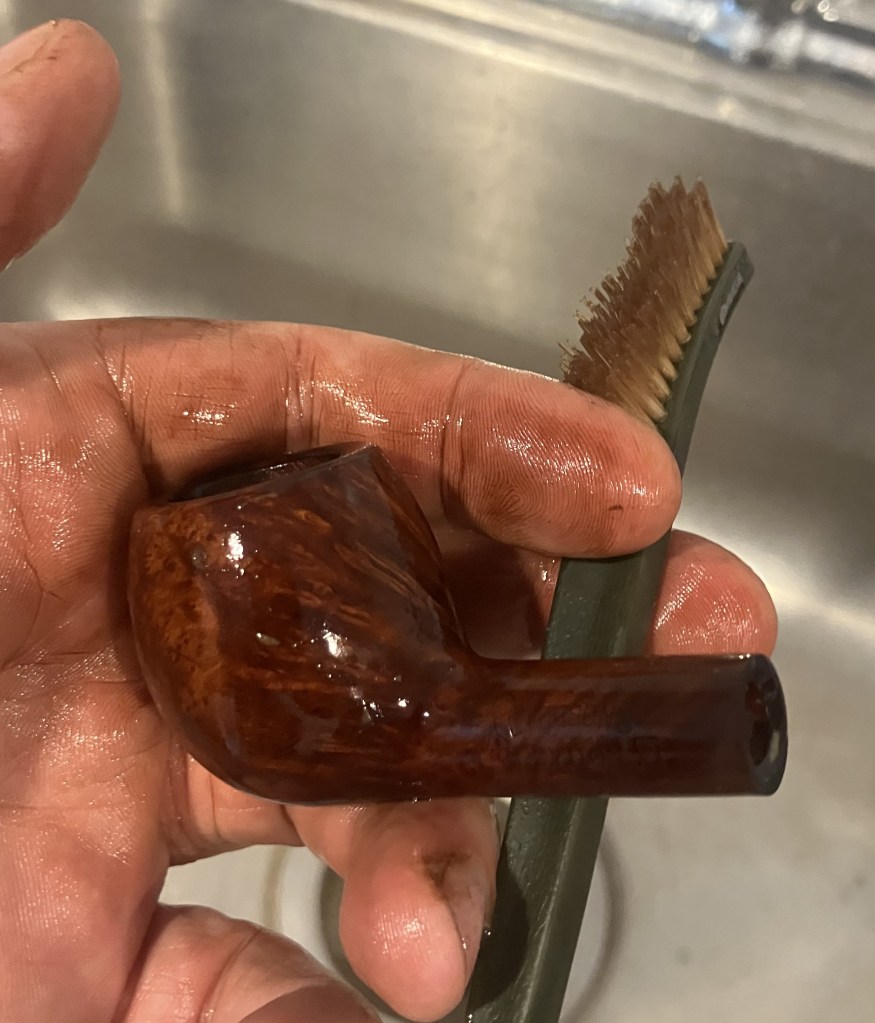
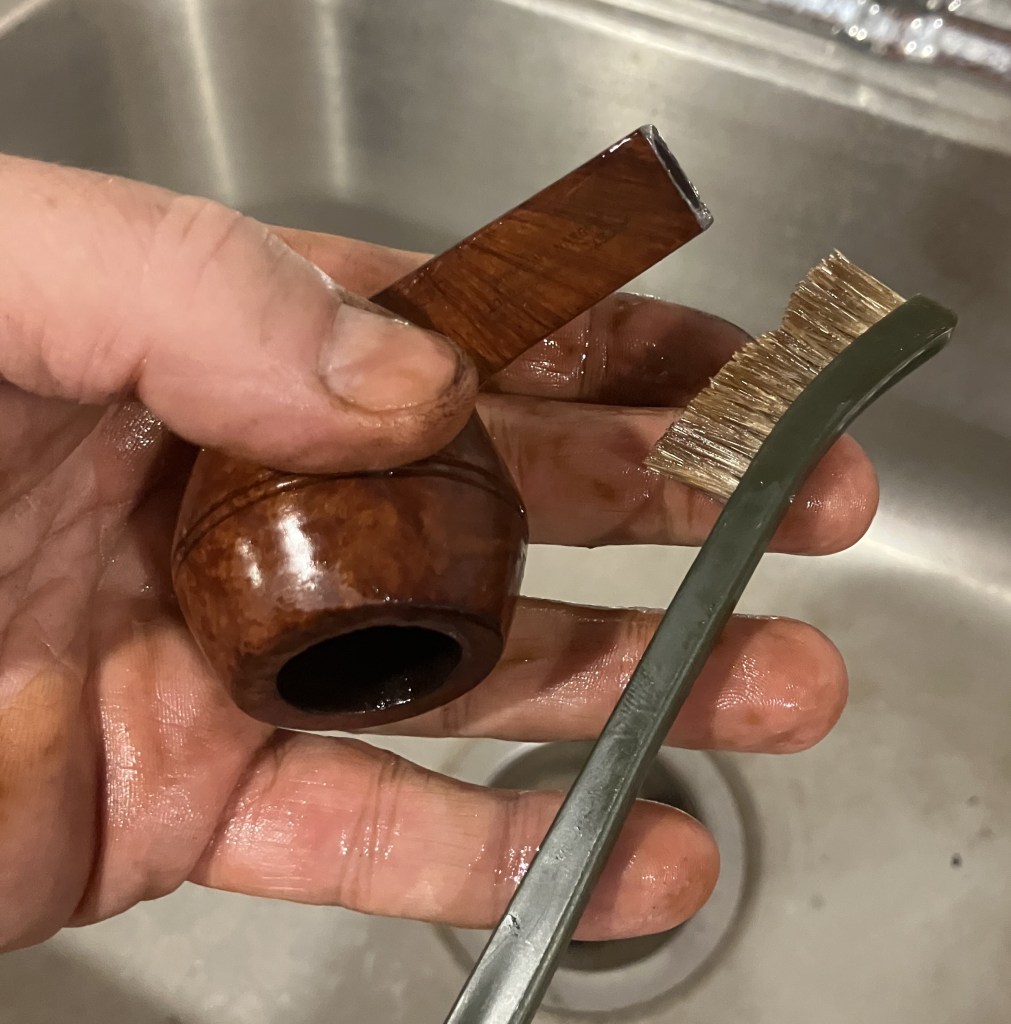
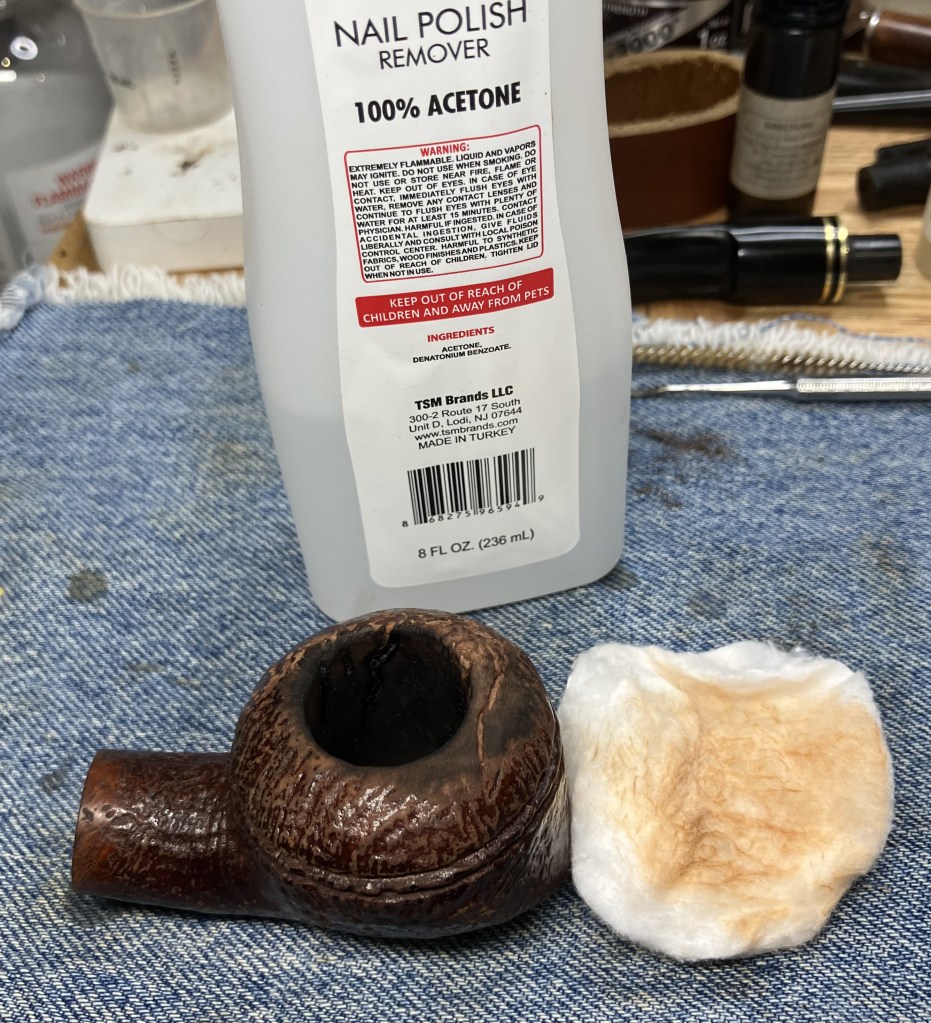
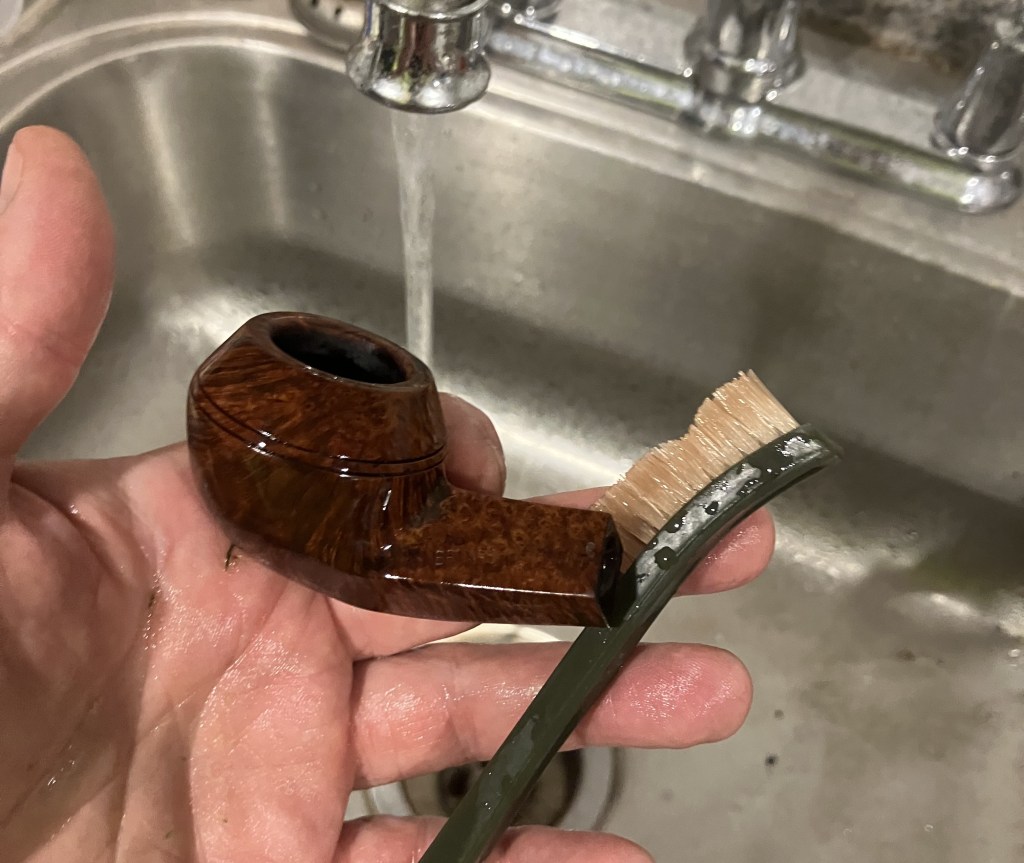
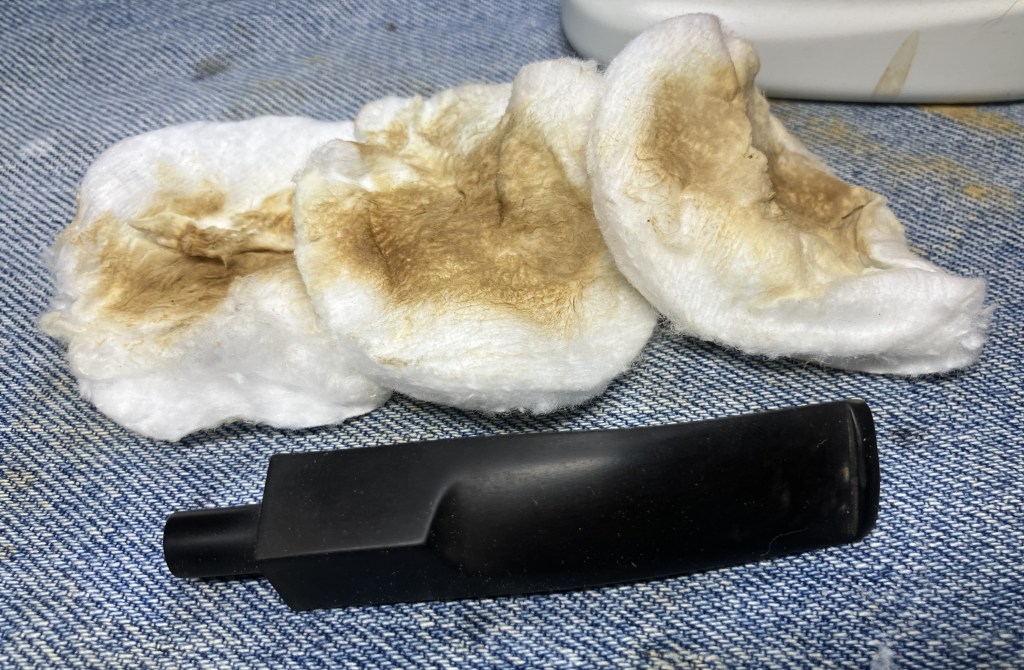
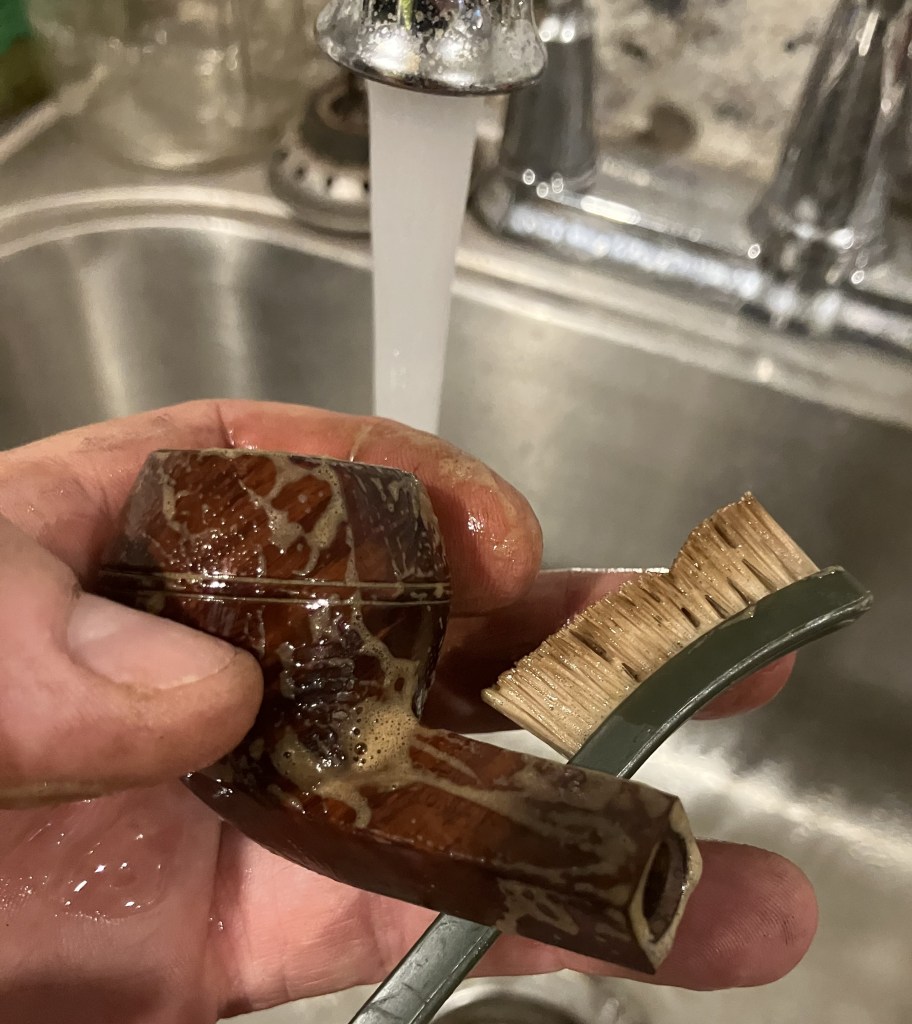
Next, the pipe was taken to the sink for a scrub with warm water and a nylon brush.

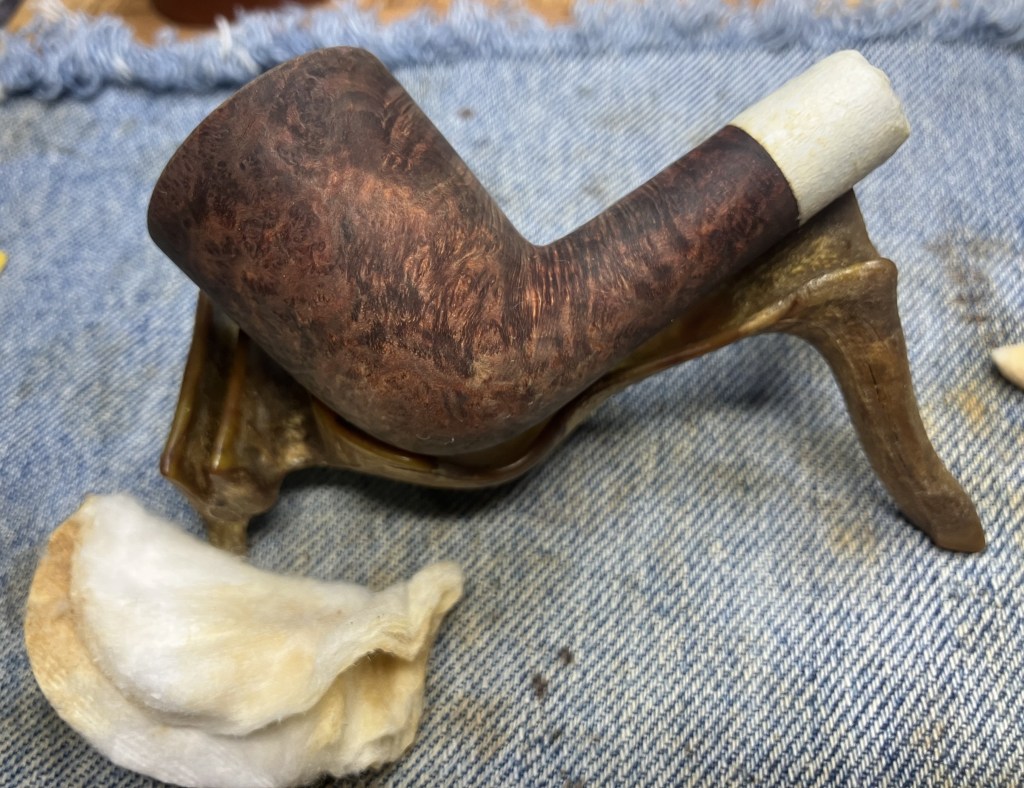
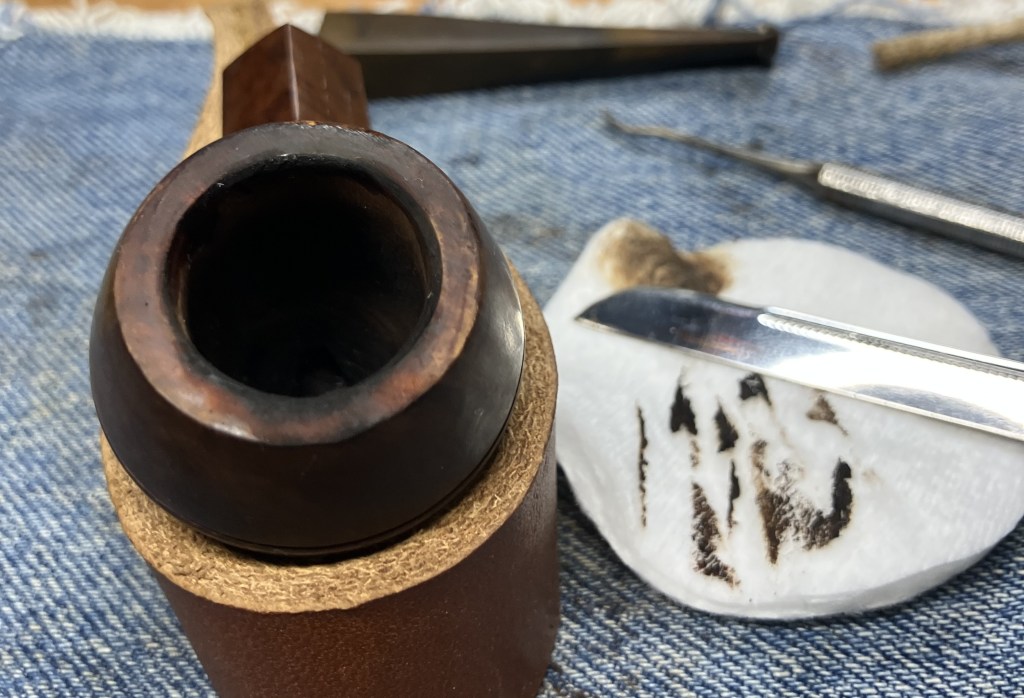
The stummel looked clean but I still didn’t like that scar.

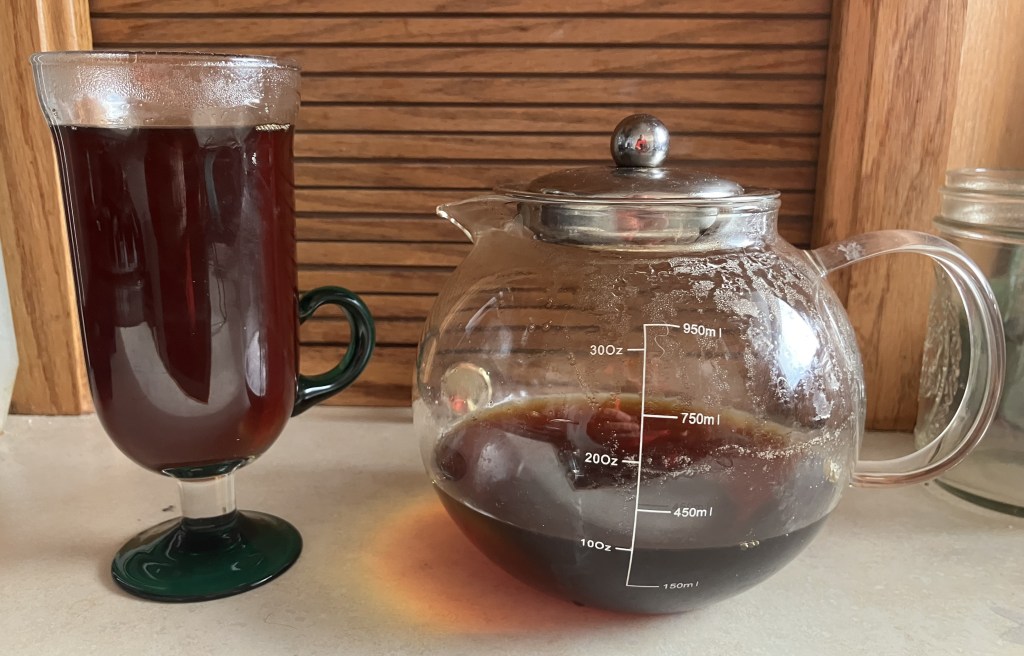
Hmm, tea time for me and the too white meerschaum scar. I brewed a nice strong Irish breakfast tea for me and to stain the meerschaum.
The tea was applied with a paintbrush and it softened the white, slightly.
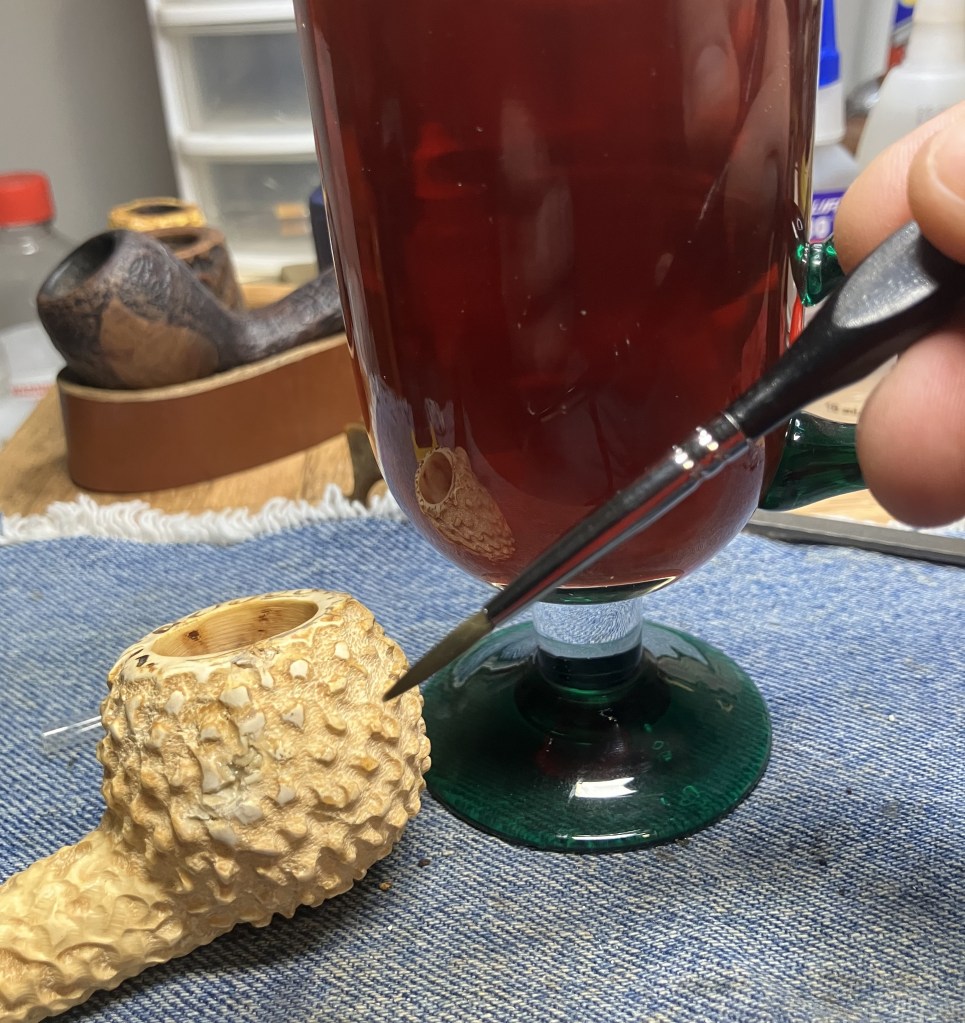
It remained a rather ugly scar.

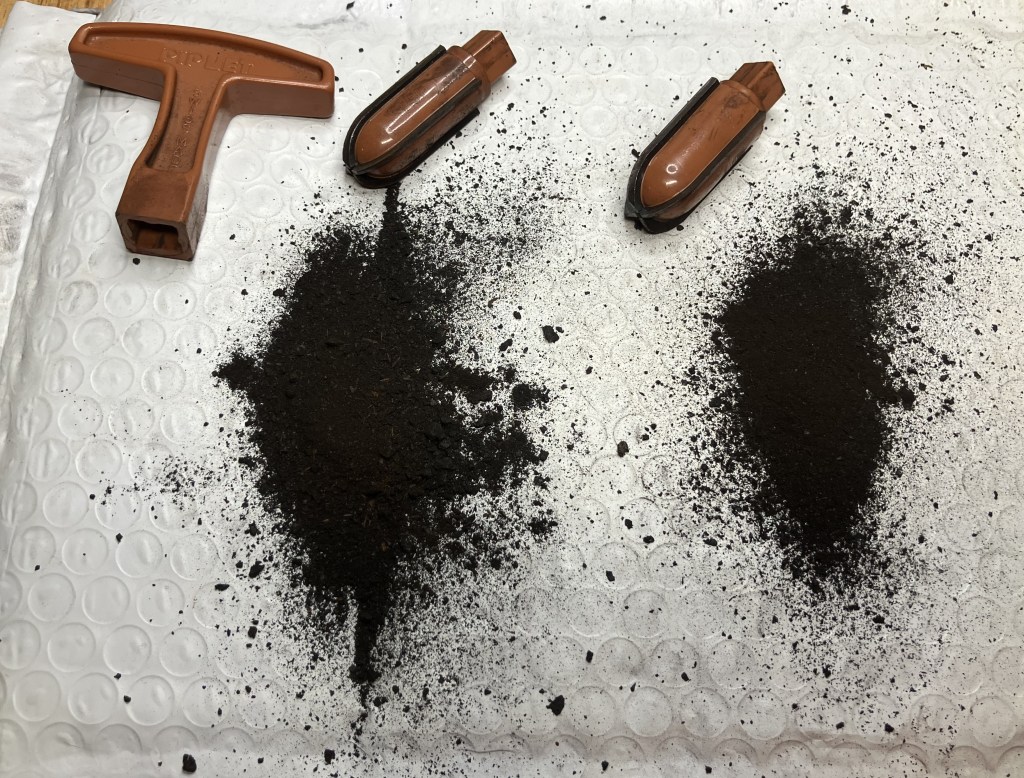
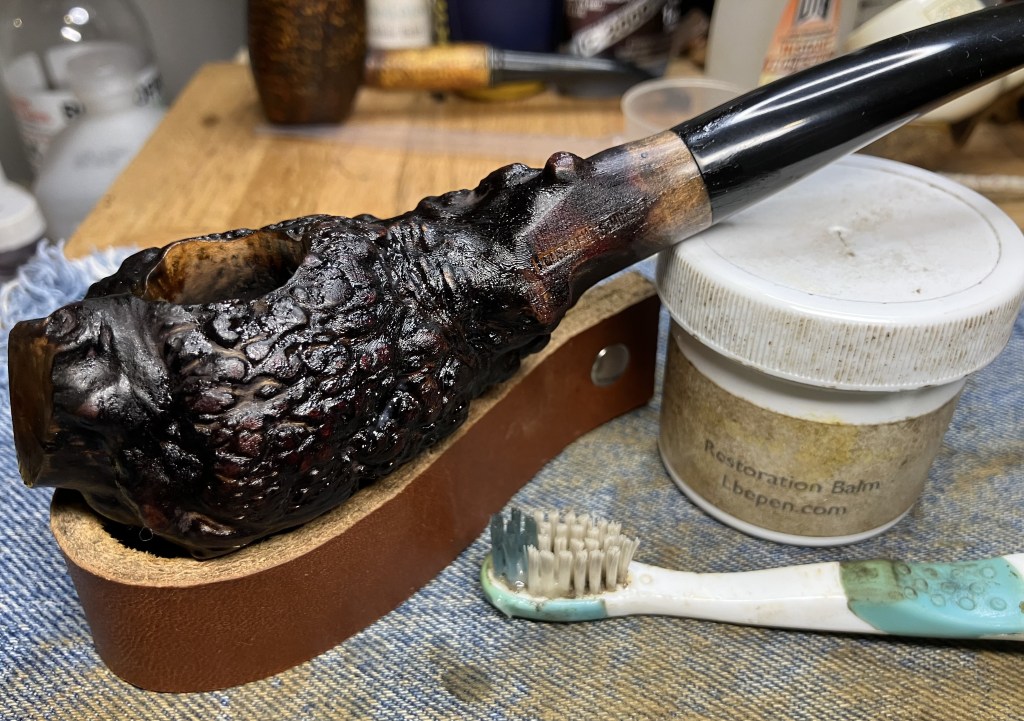
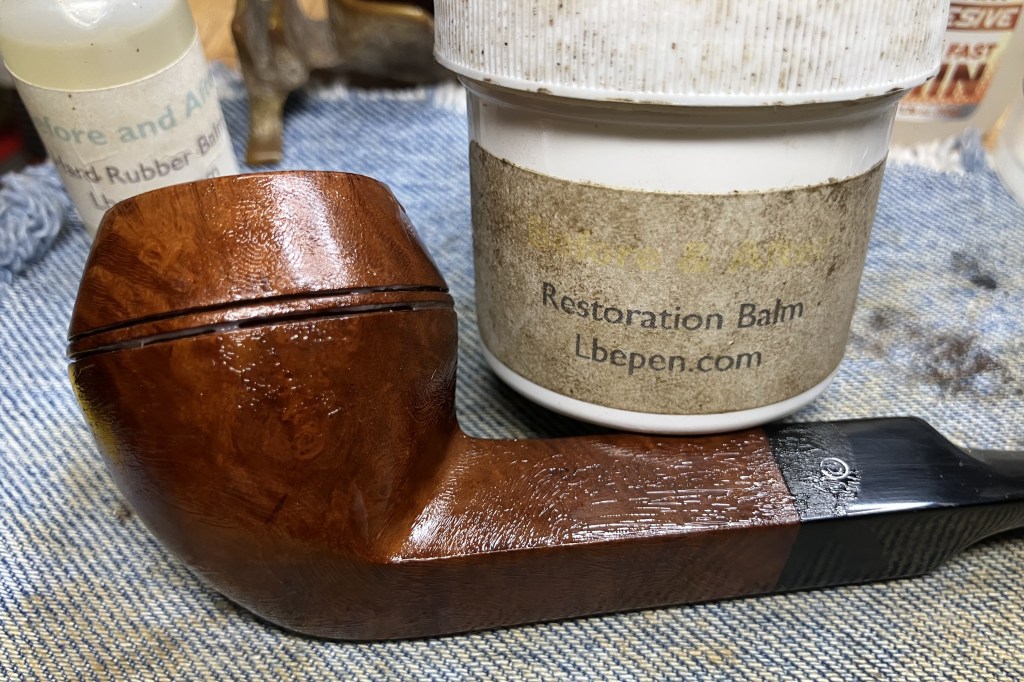
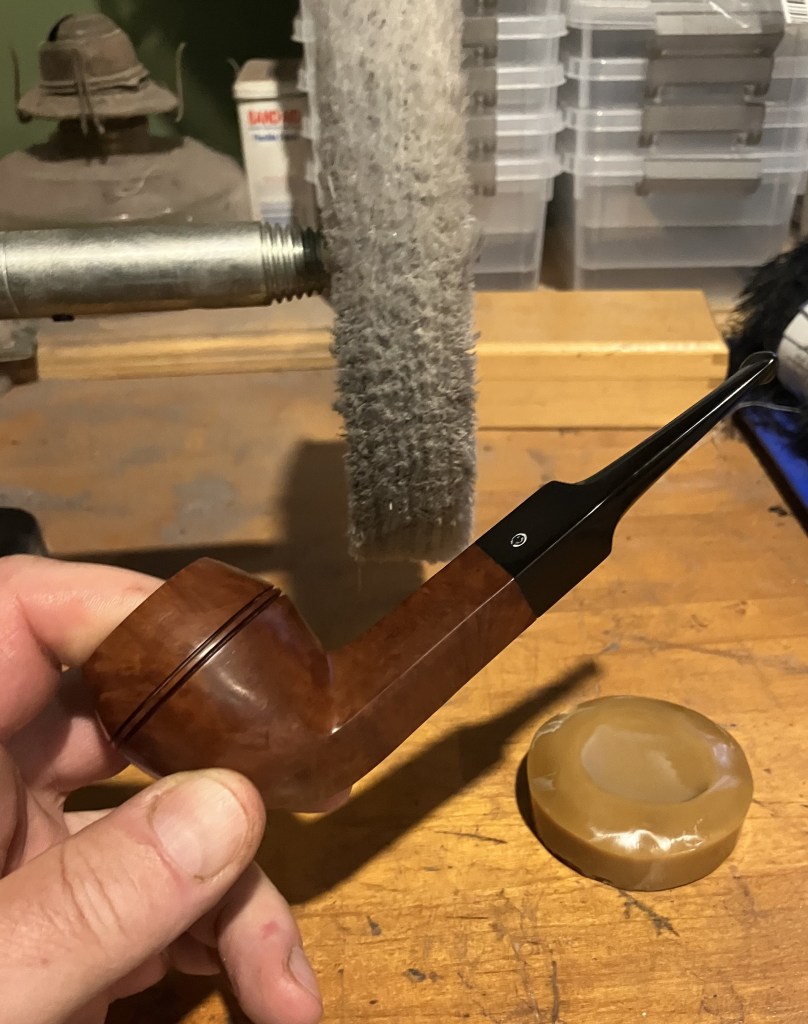
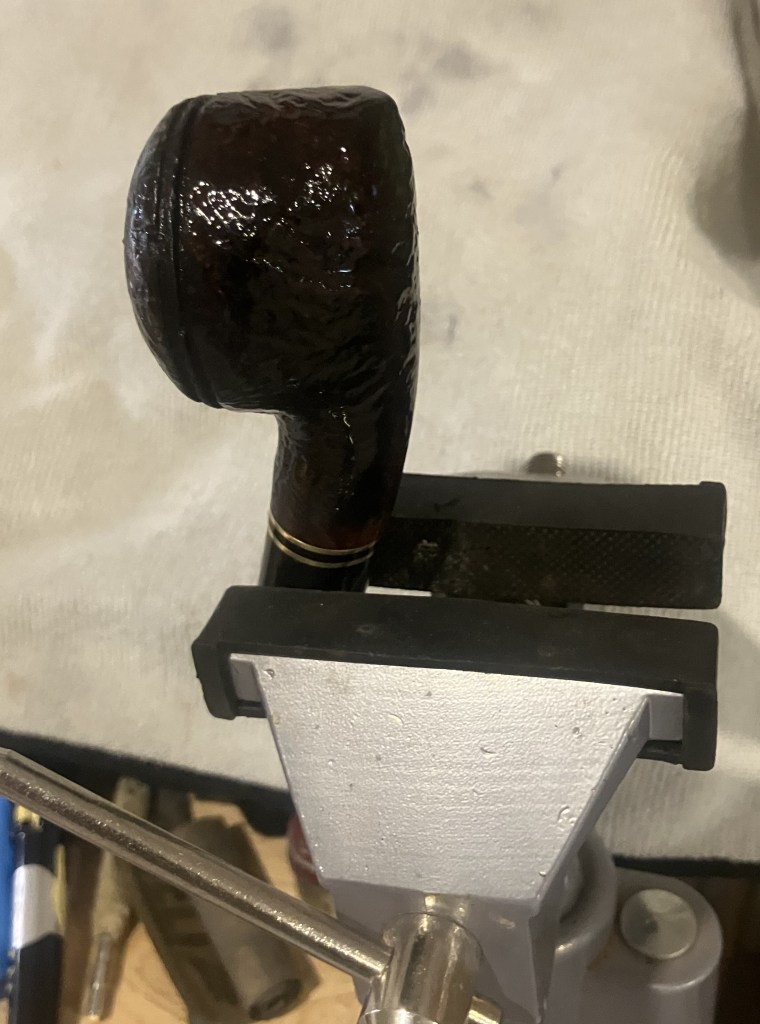
I use a hot water bath to melt the beeswax. A small jelly jar with the beeswax is set in boiling water. The water, once hot, melts the wax and will keep the beeswax liquid for longer amounts of time. The tin is used to catch dripping wax as I brush it onto the meerschaum while the heatgun provides heat to the stummel and to the wax as it is applied.
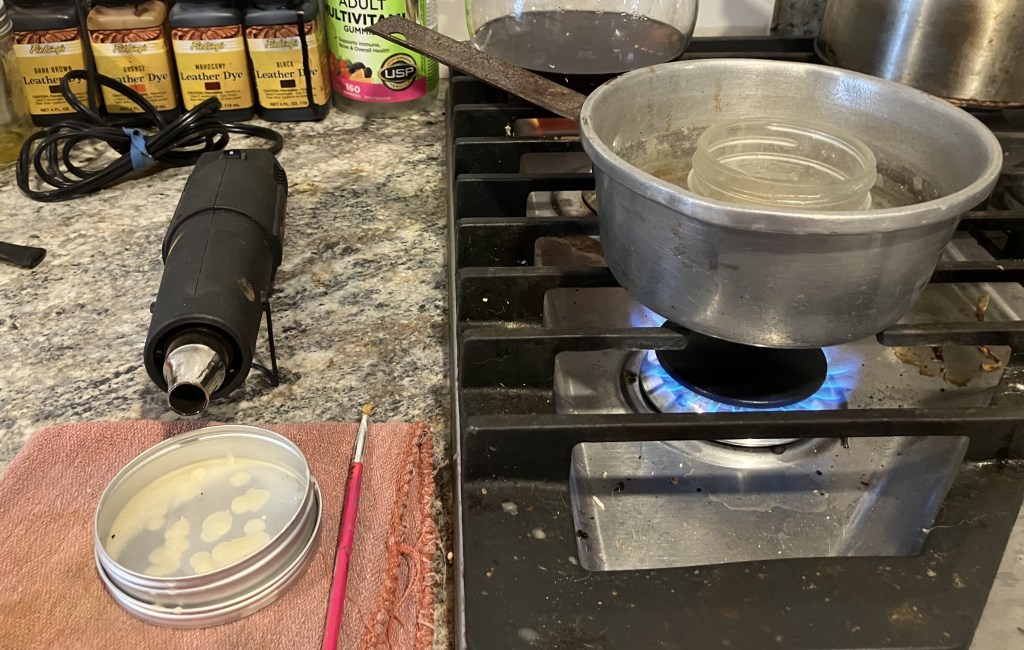
I pre-heated the stummel with the heat gun. A wine bottle cork was used to plug the tobacco chamber and as a handle.

Below you can see the boiling water melting the beeswax.
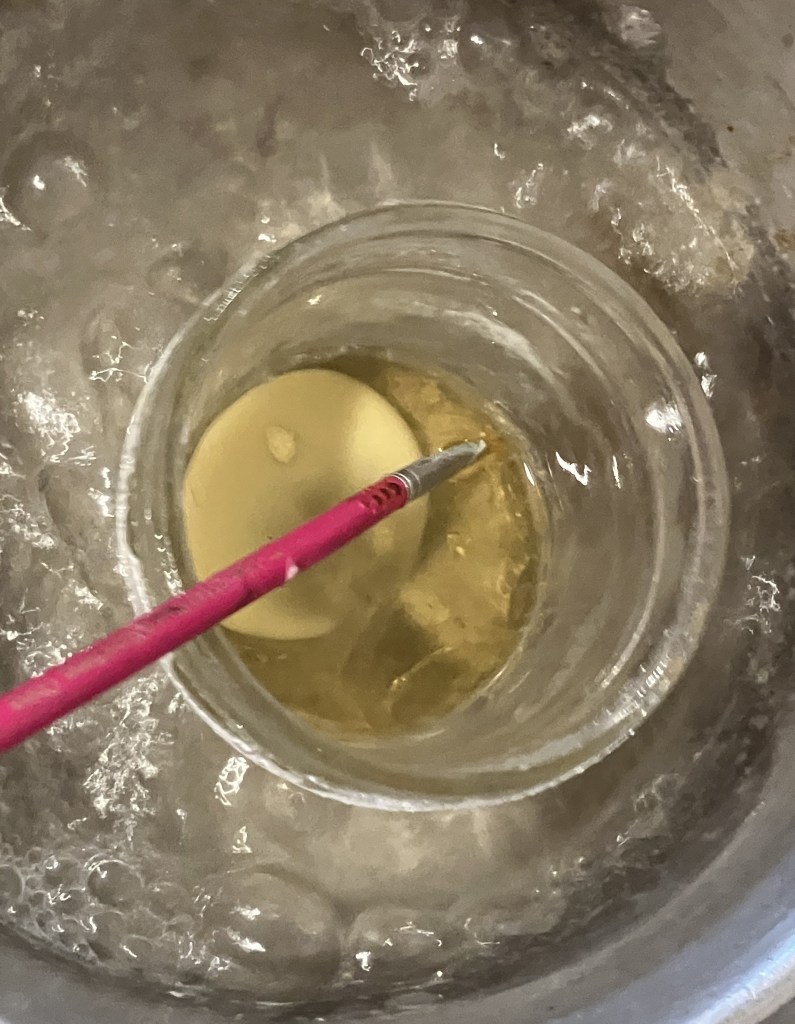
Once melted I turned off the burner and had plenty of time to work with the liquid wax.

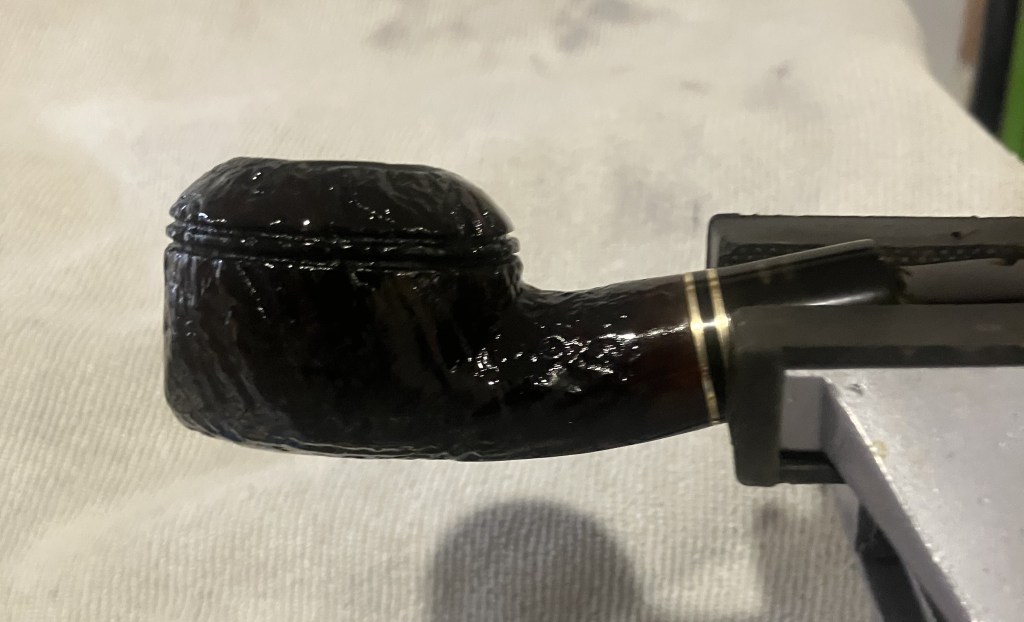
The pipe was returned to the workbench to cool.

The new beeswax application did little to improve the scar. I added additional wax to the repair fill to cover the slight cracks present. This new wax was melted with a lighter to fill the cracks.

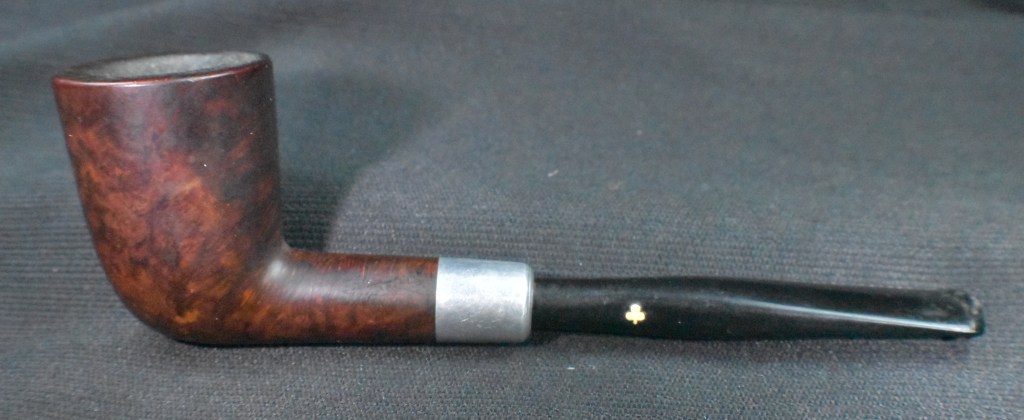
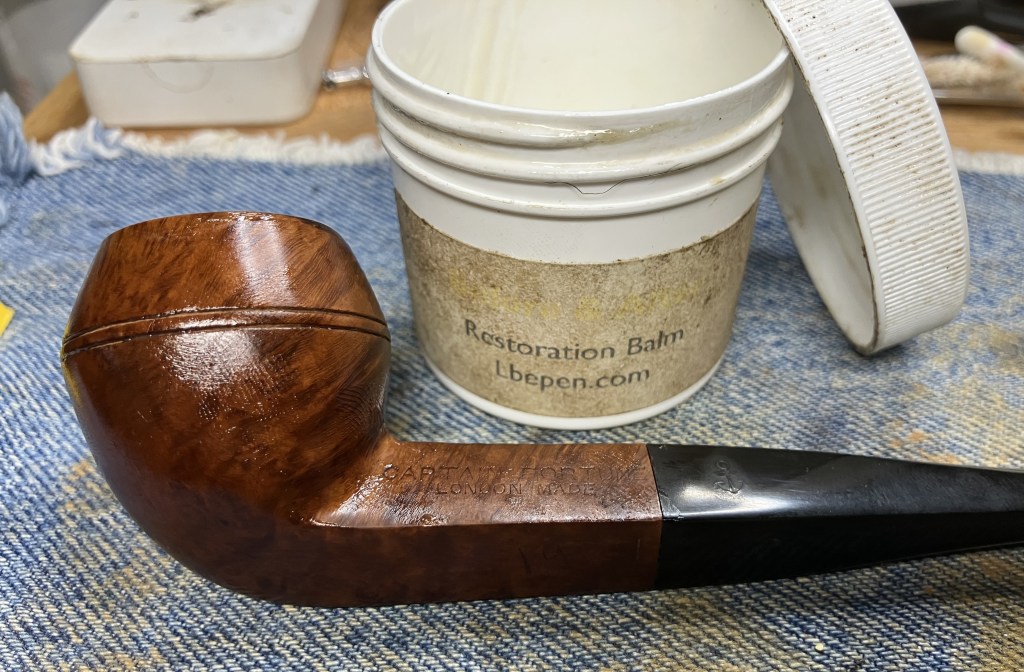
The final step was to hand polish the pipe with a microfiber polishing cloth.
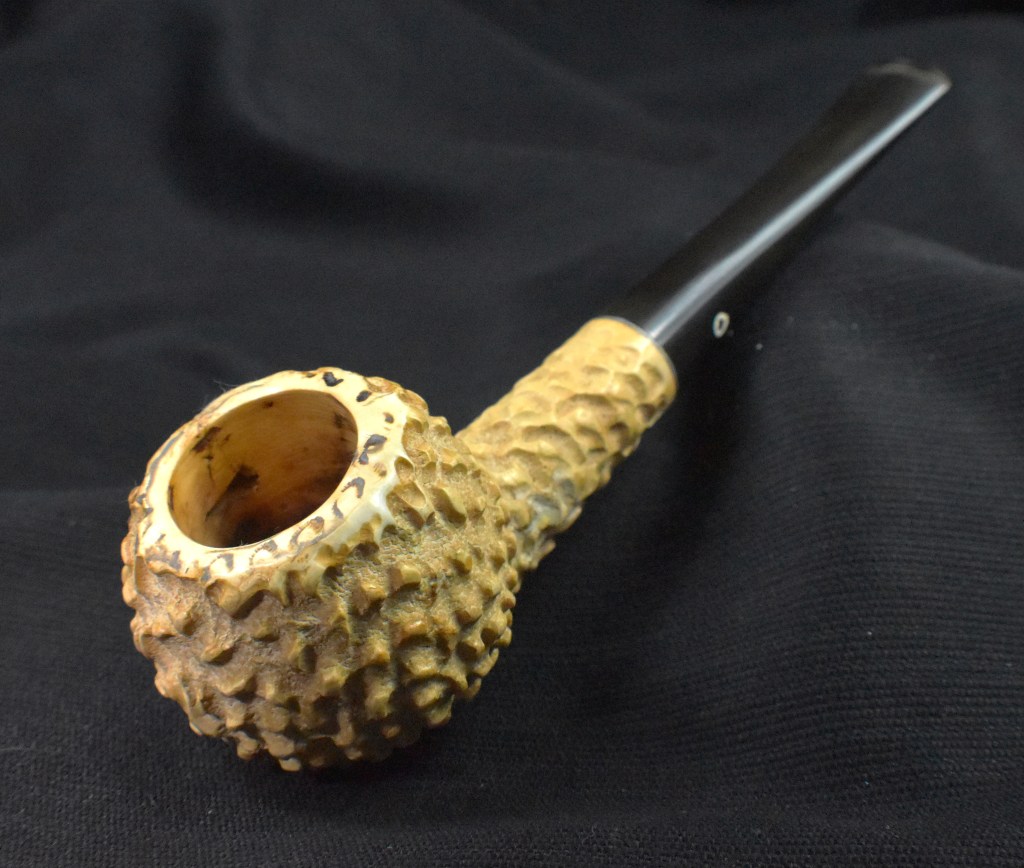
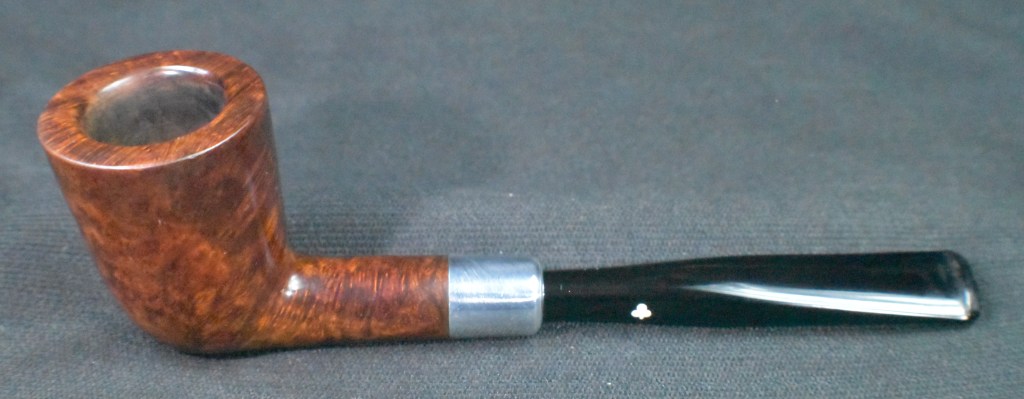
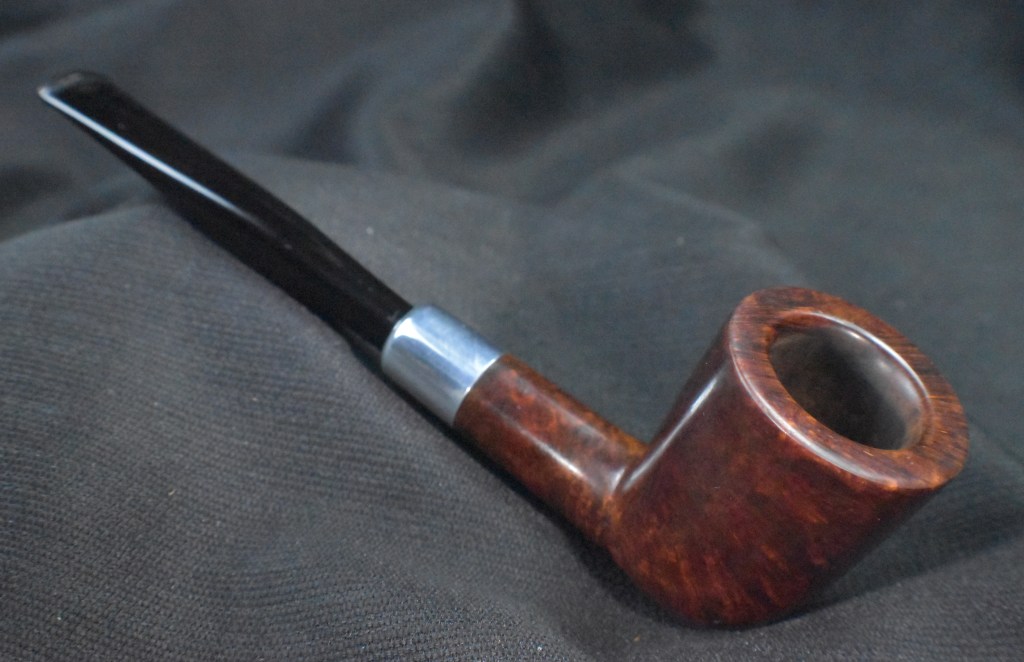
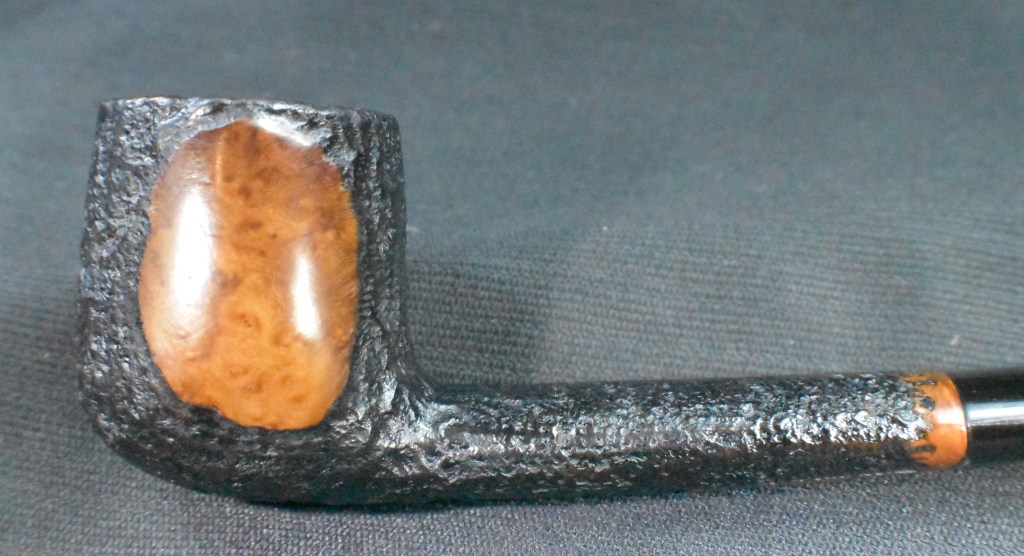
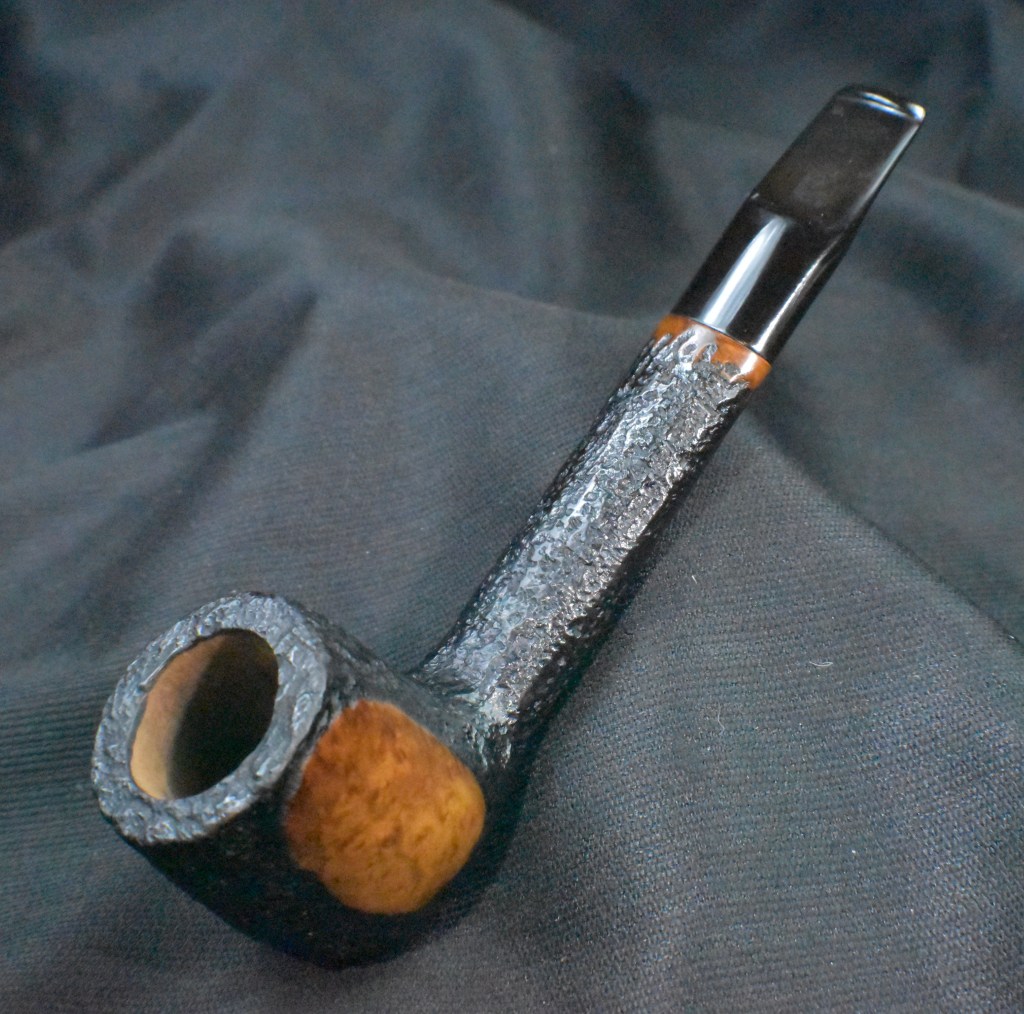
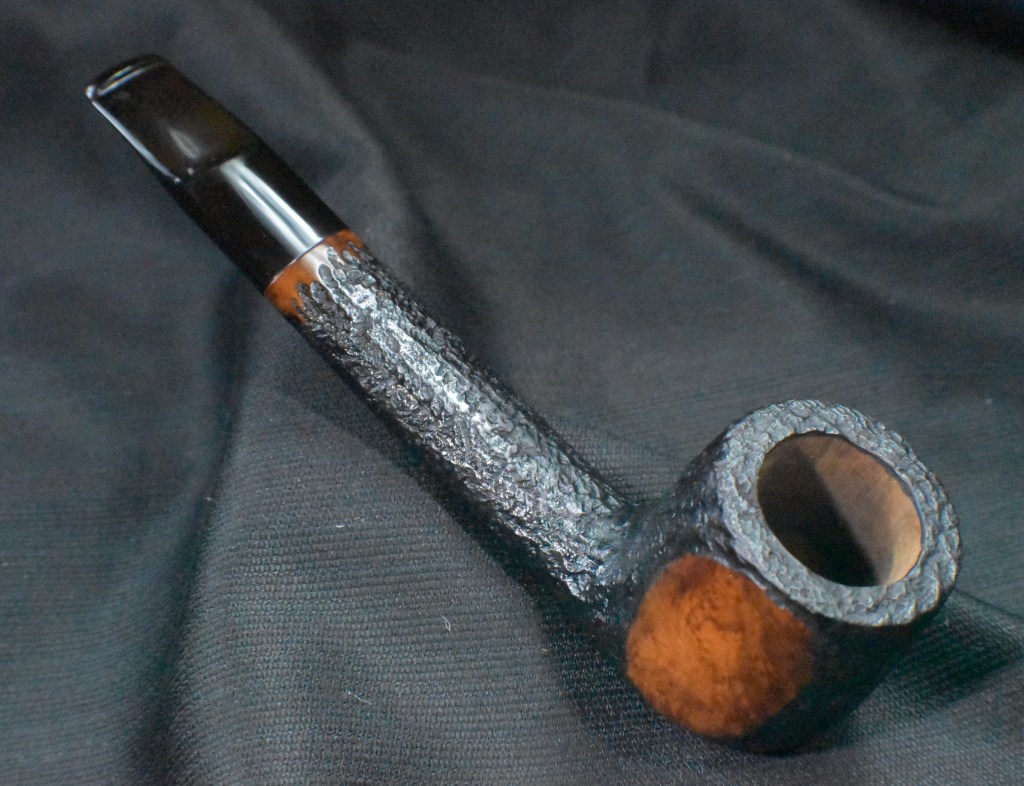
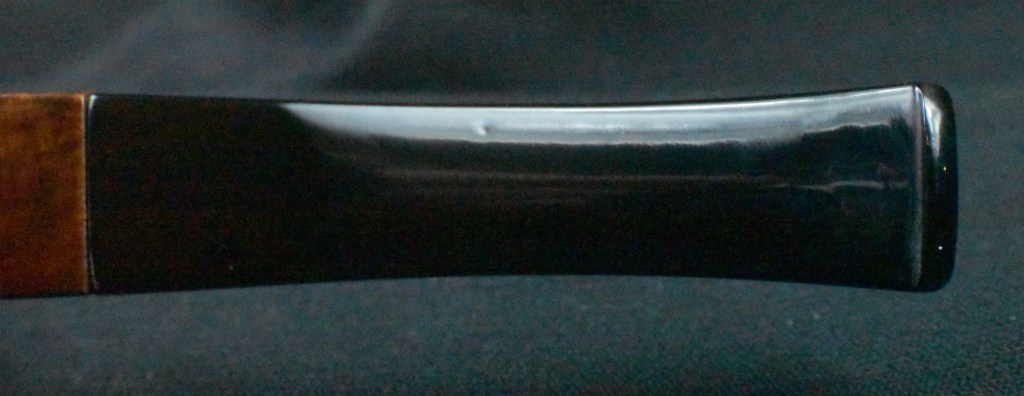
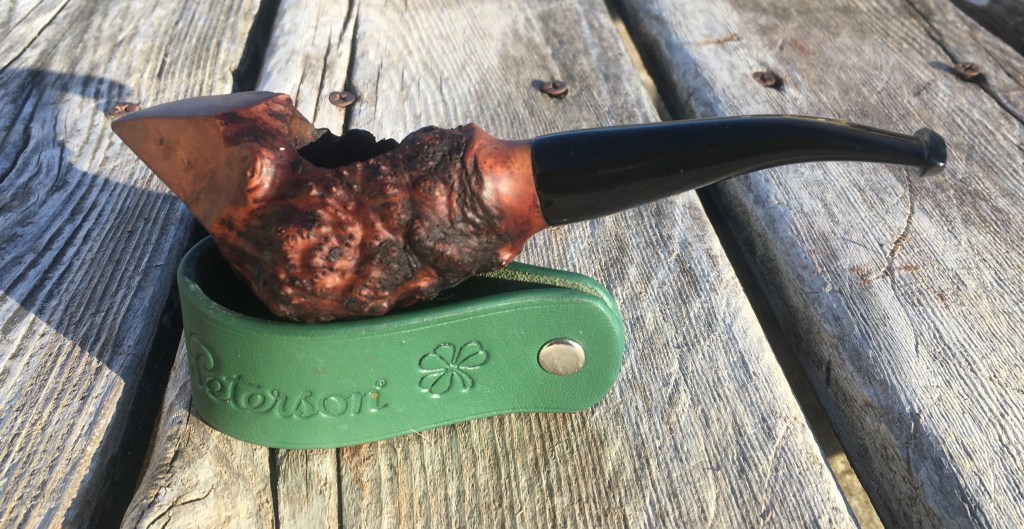
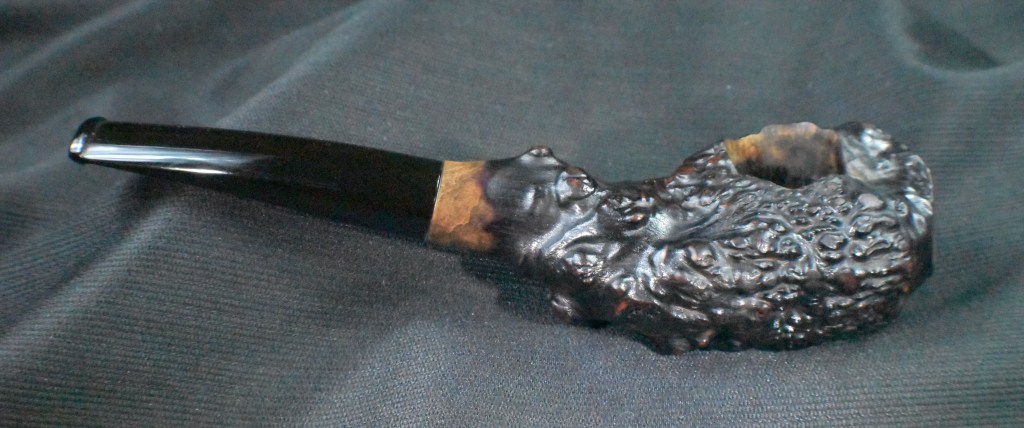
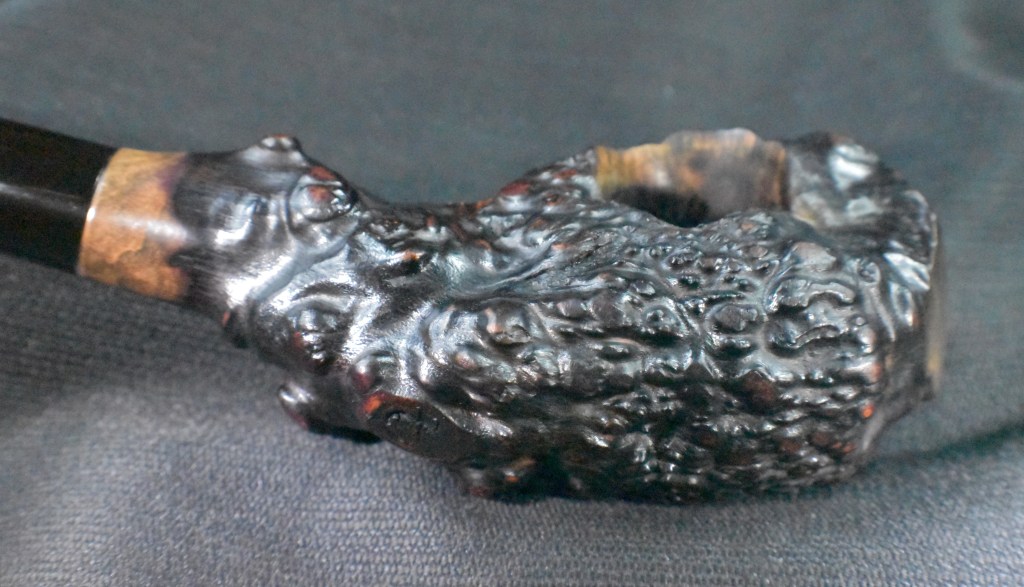
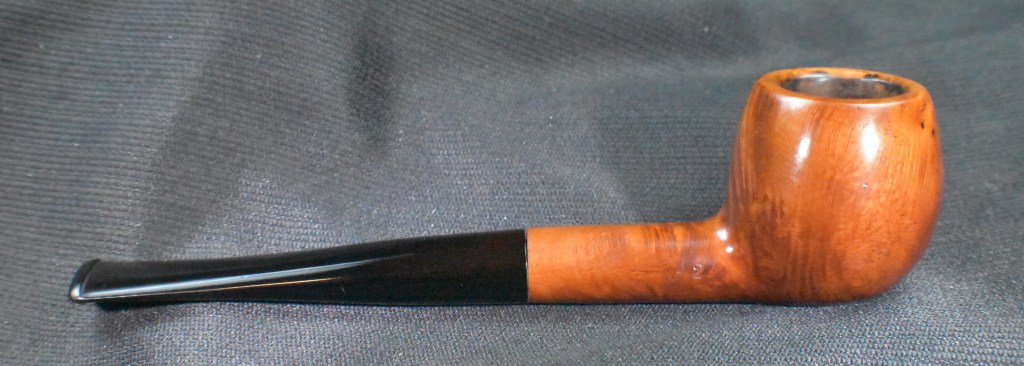
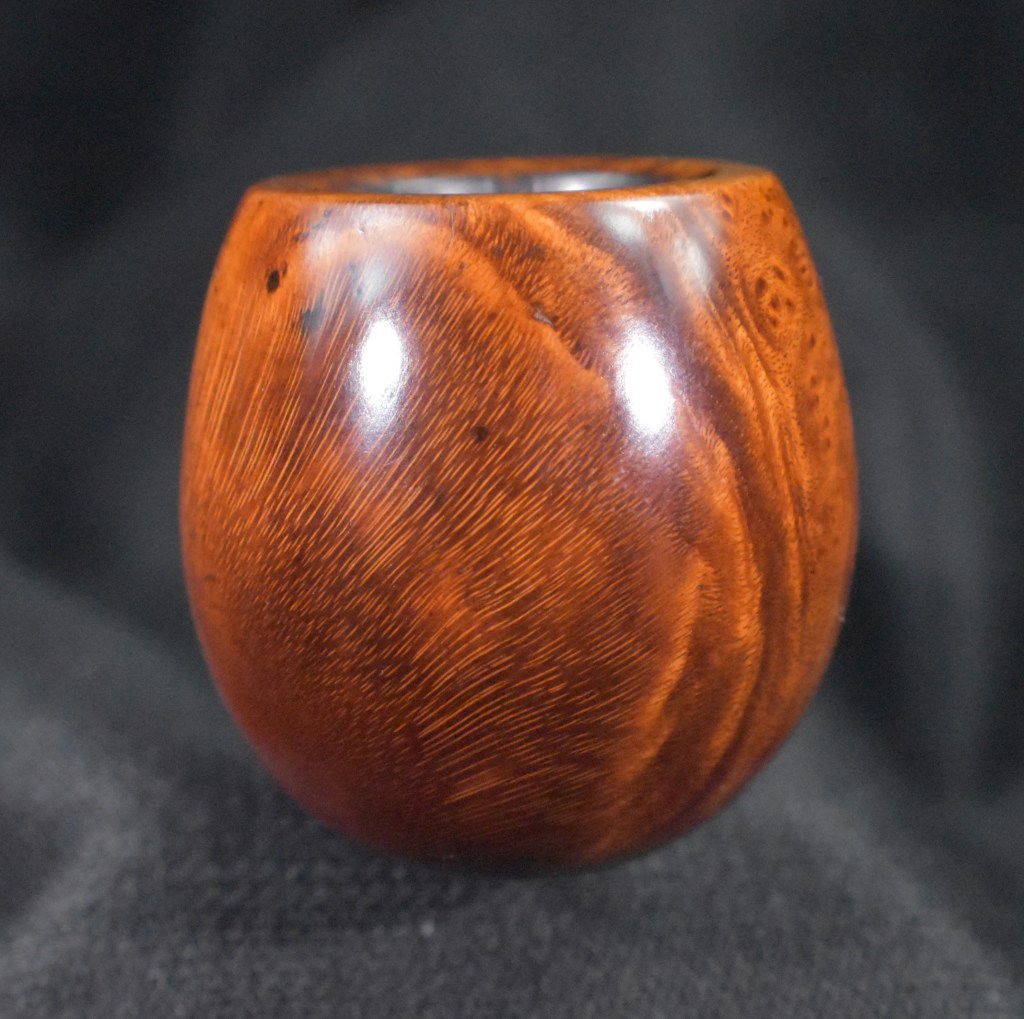
I would like to say that this Kaywoodie Meerschaum Apple turned out beautifully, but that darn scar still bothers me. I was pleased with the hole filling and meerschaum inlay of the tobacco chamber. That part of the plan worked better than I imagined. The stem also turned out very nicely. The glossy black provides a great contrast to the creamy meerschaum. Overall the color of the meerschaum is a warm light yellow and should age and color nicely with use. If nothing else, this pipe allowed me to work with another meerschaum pipe and try a repair which went from a problem to a potential solution to an actual repair. It will be interesting to see how well the repair lasts and how the coloring of the meerschaum develops. The dimensions of this Kaywoodie Meerschaum Apple are:
- Length: 6.10 in./ 154.94 mm.
- Weight: 1.17 oz./ 33.17 g.
- Bowl Height: 1.55 in./ 39.37 mm.
- Chamber Depth: 1.21 in./ 30.73 mm.
- Chamber Diameter: 0.80 in./ 20.32 mm.
- Outside Diameter: 1.74 in./ 44.20 mm.
I do hope that you have found something here useful to your own pipe care, maintenance or restorations. If you like this sort of thing, please click the like and subscribe buttons. Thank you for reading the ramblings of an old pipe lover.
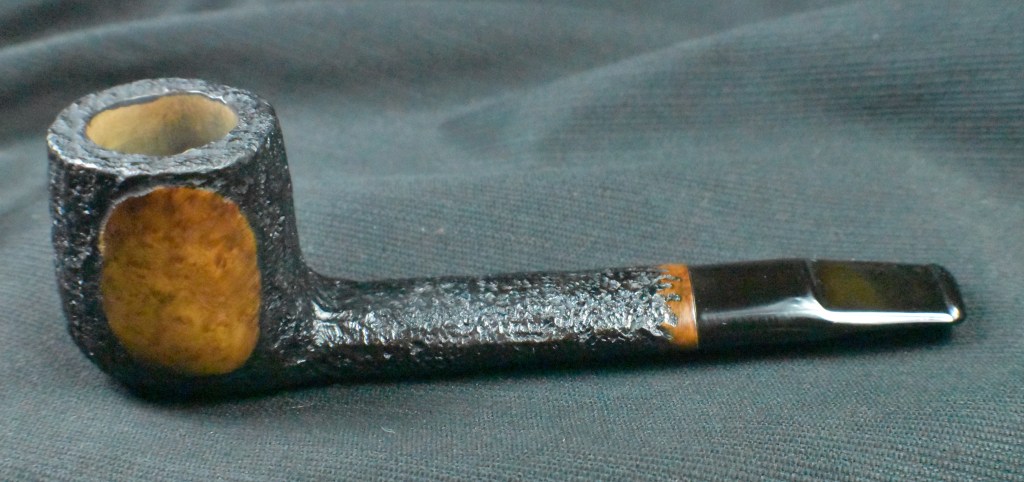
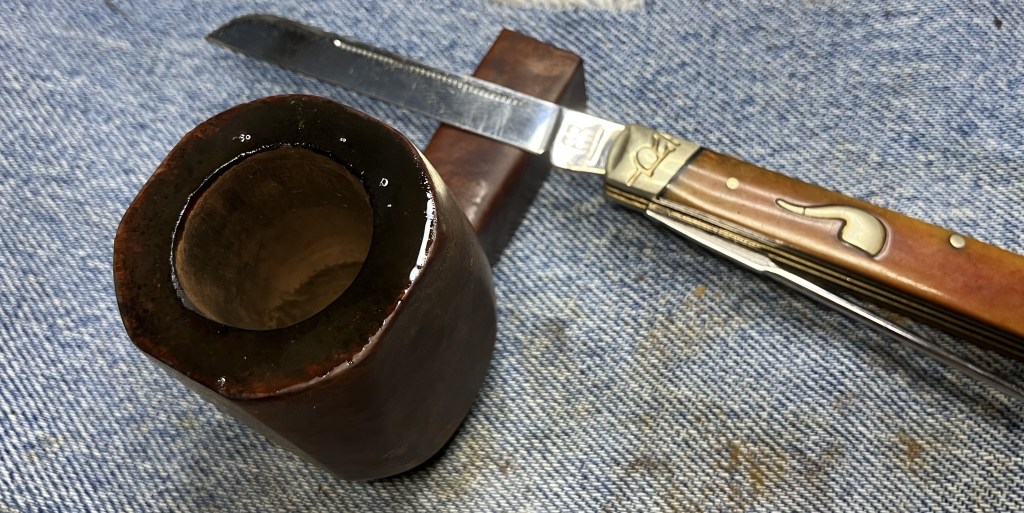
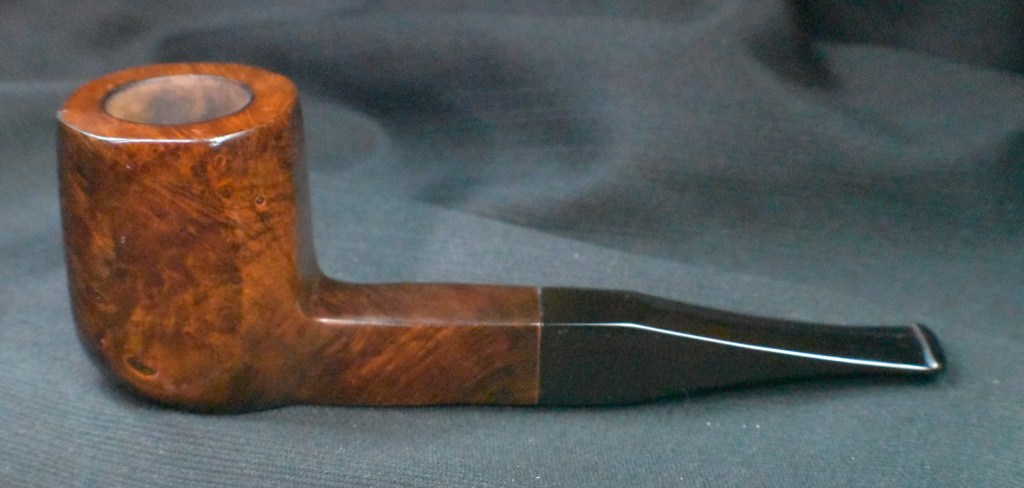
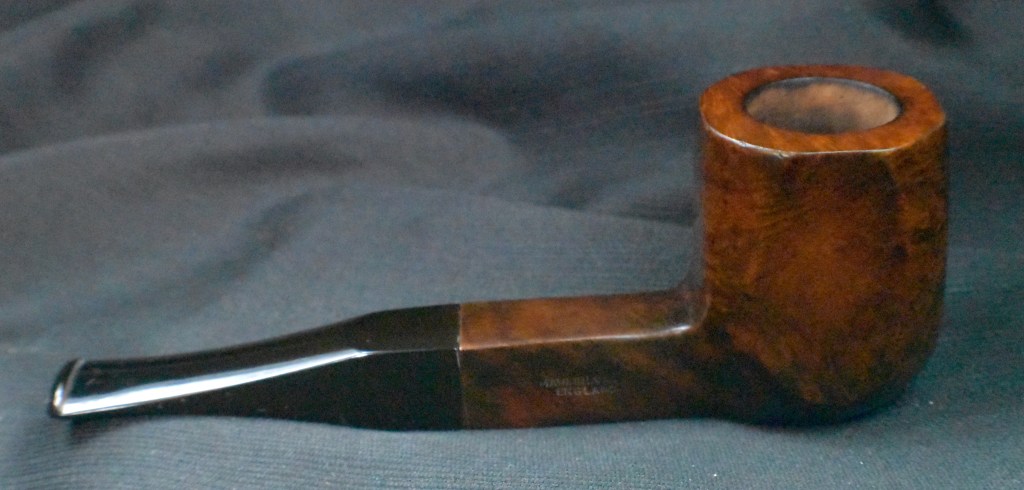
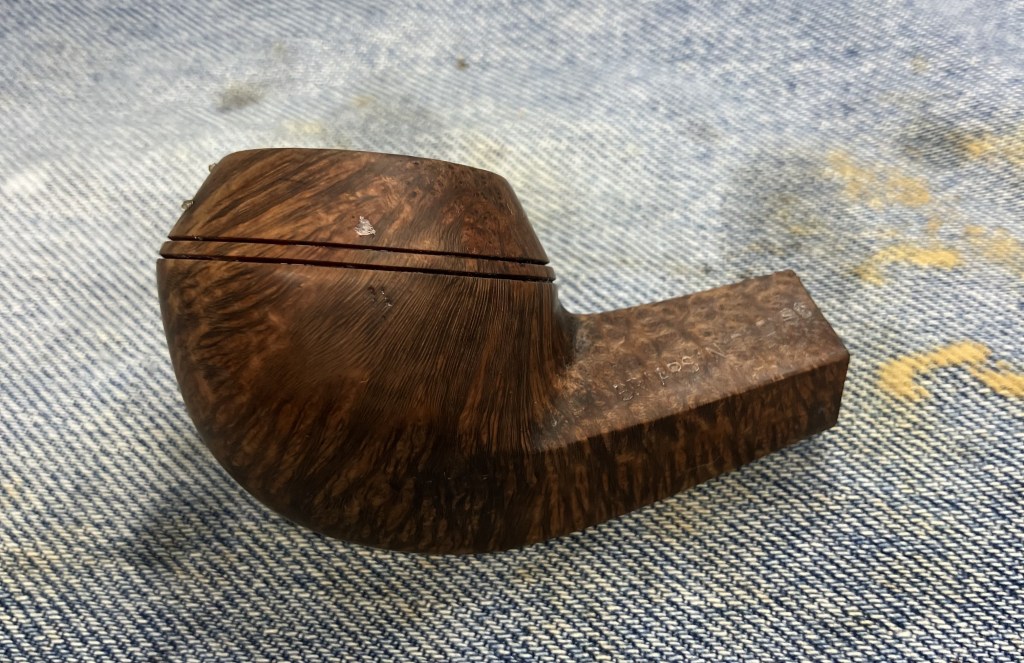
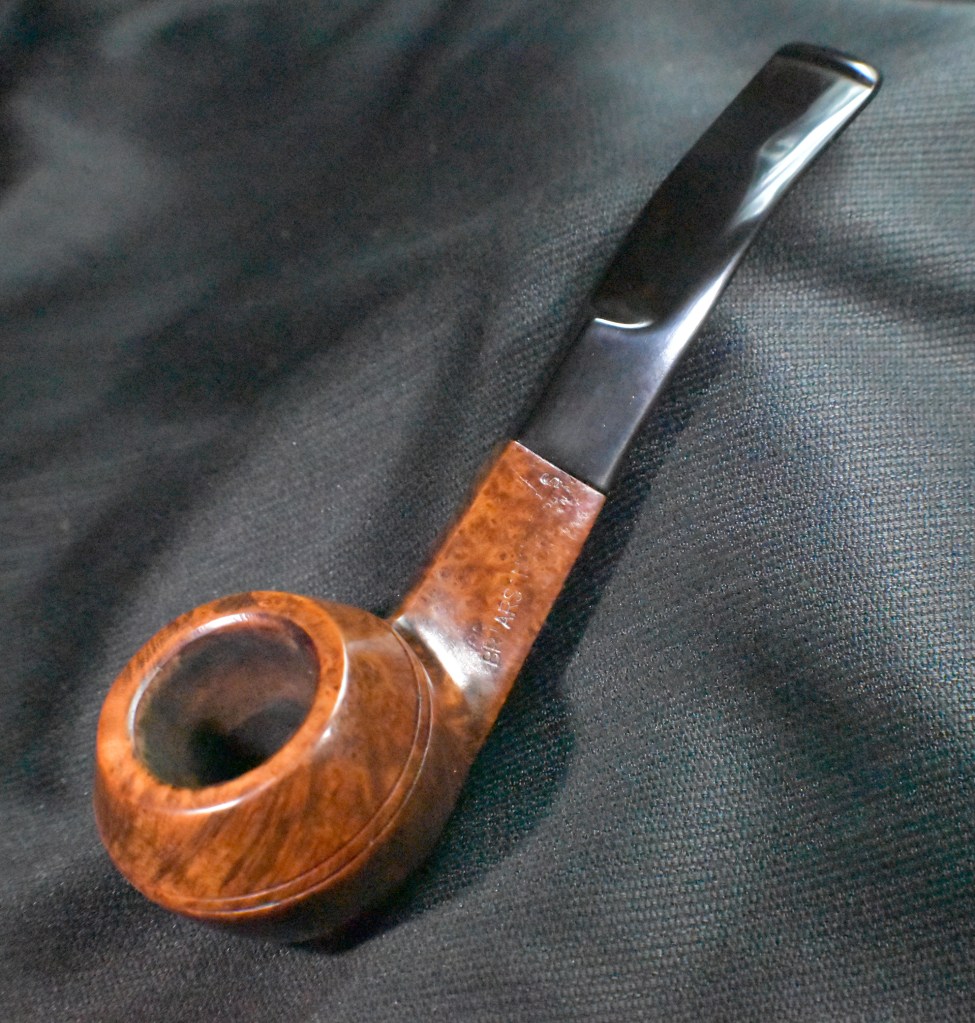
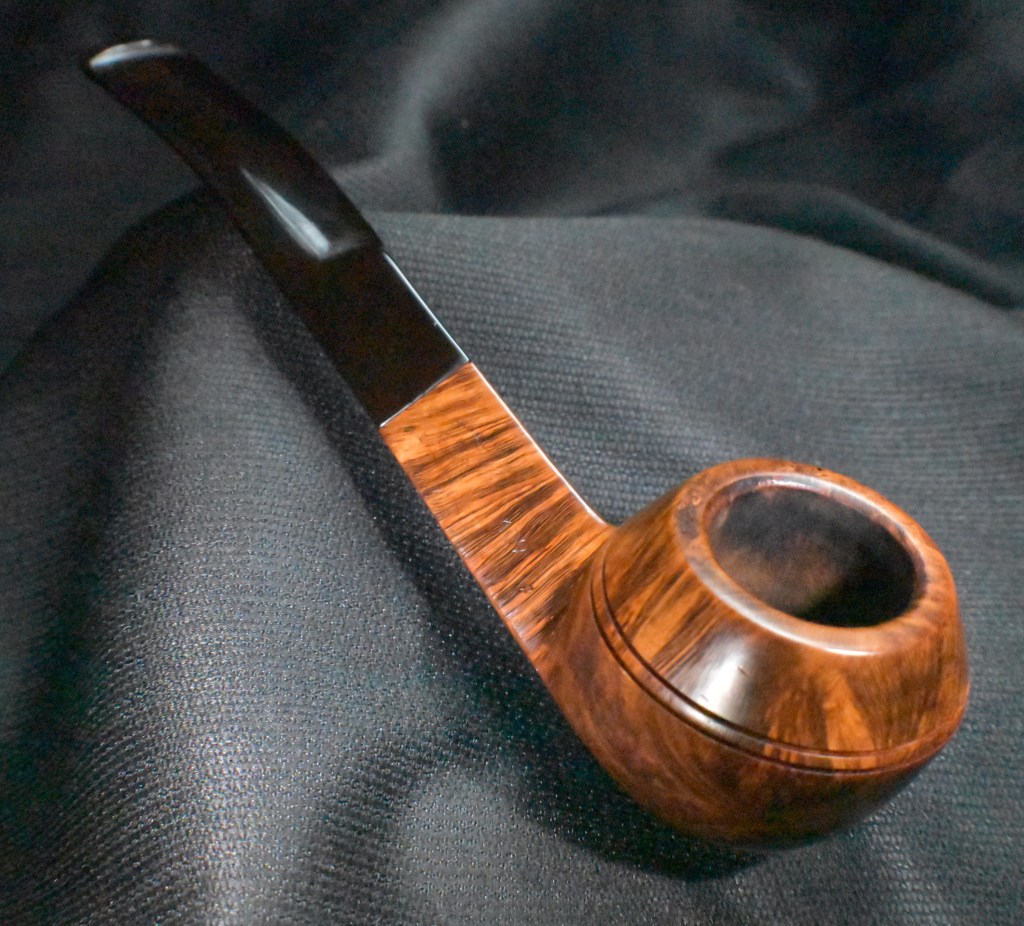
Below are some photos of the finished Kaywoodie Meerschaum Apple.


