
Photographed and written by
John M. Young
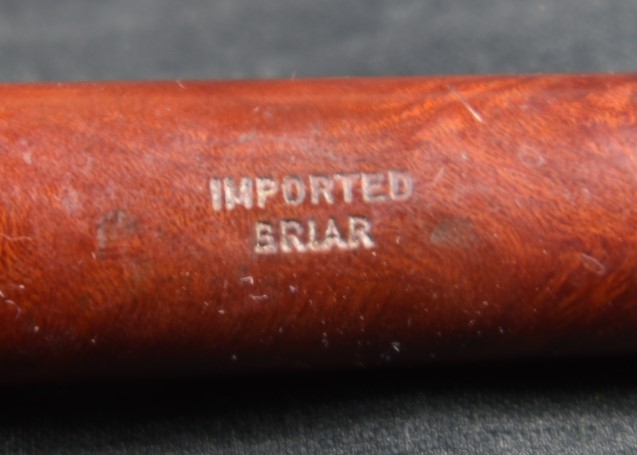
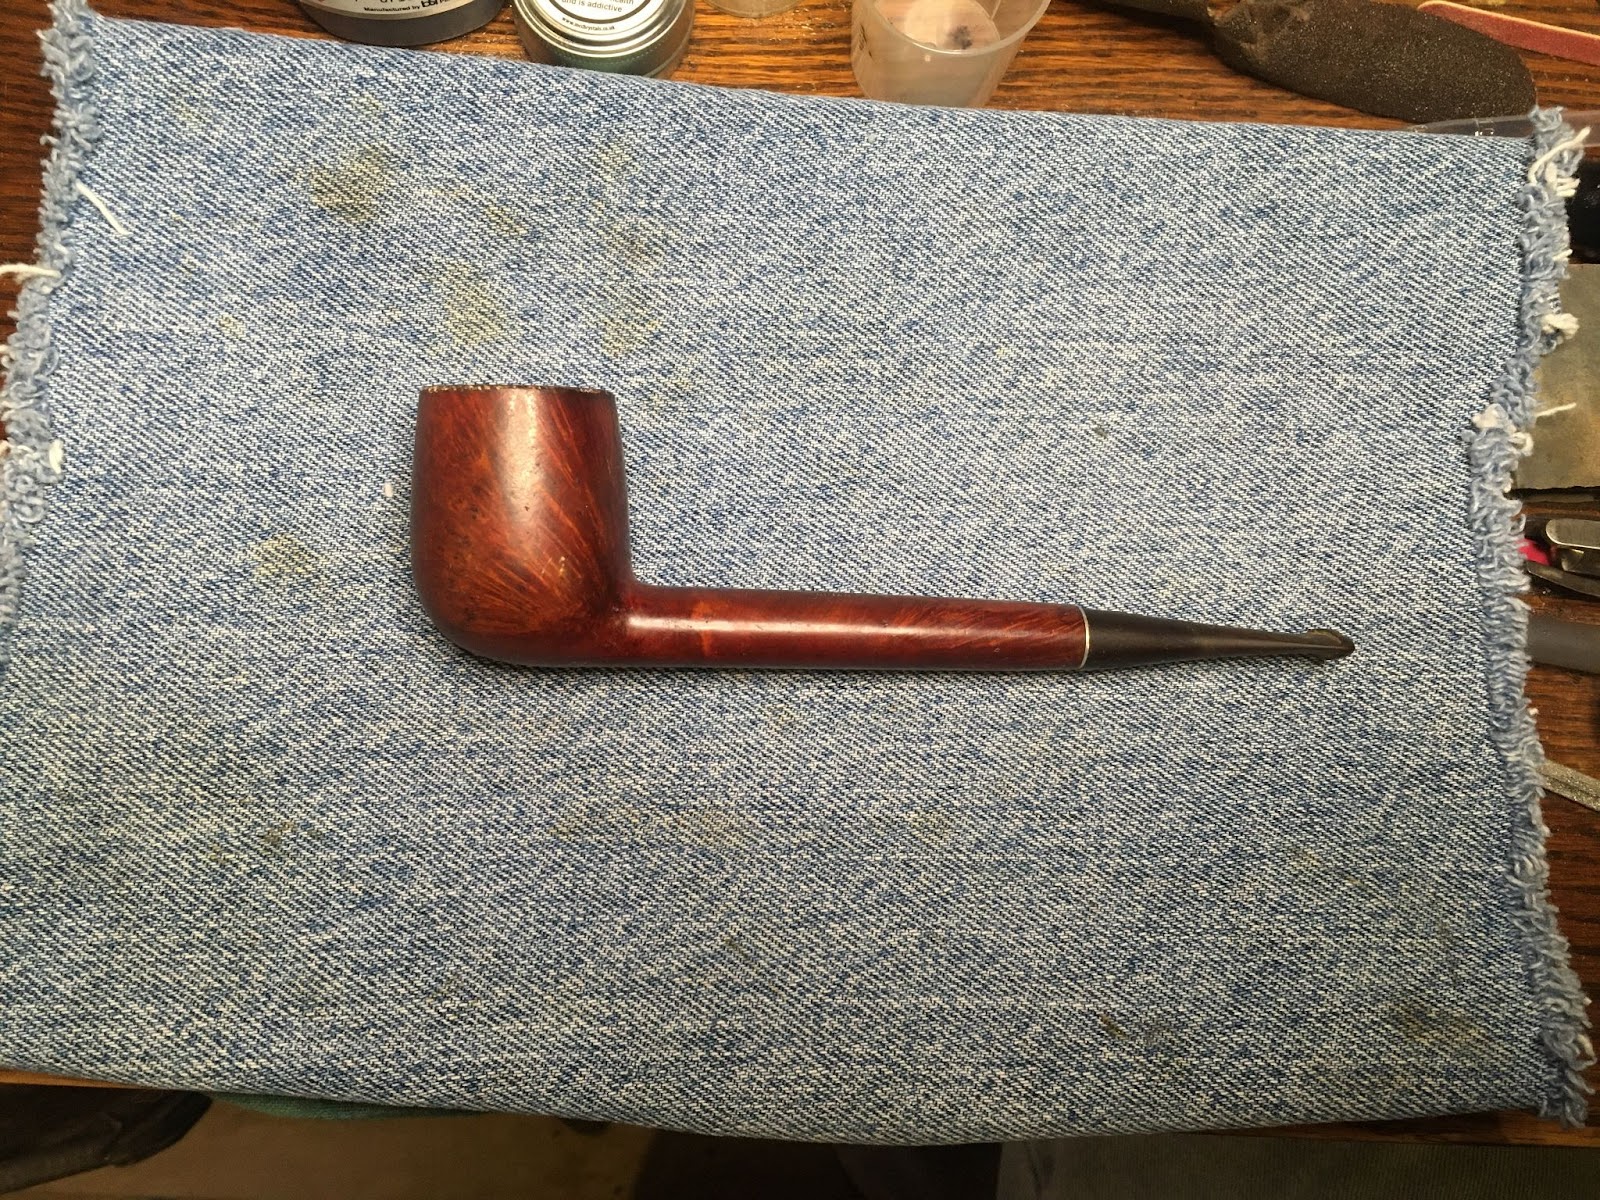
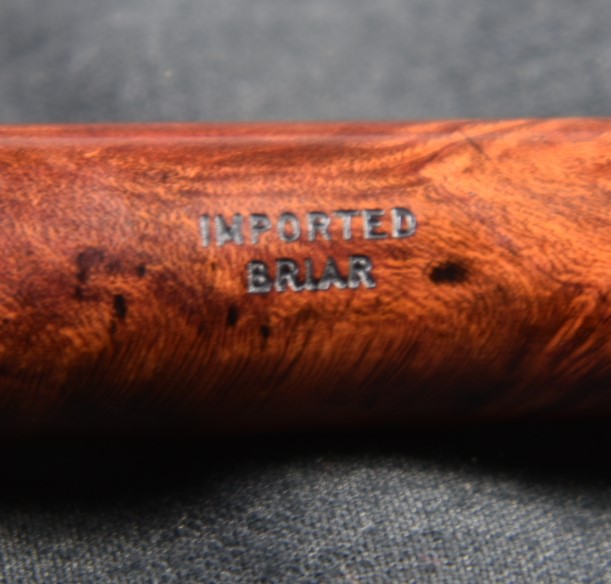
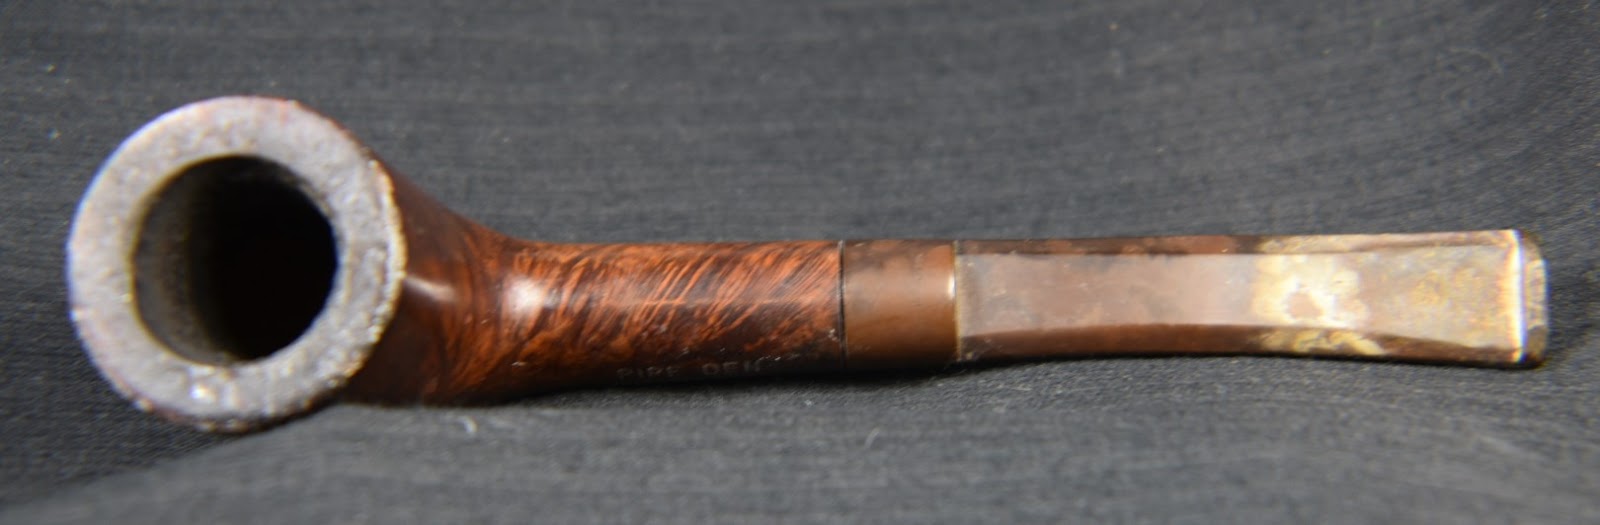
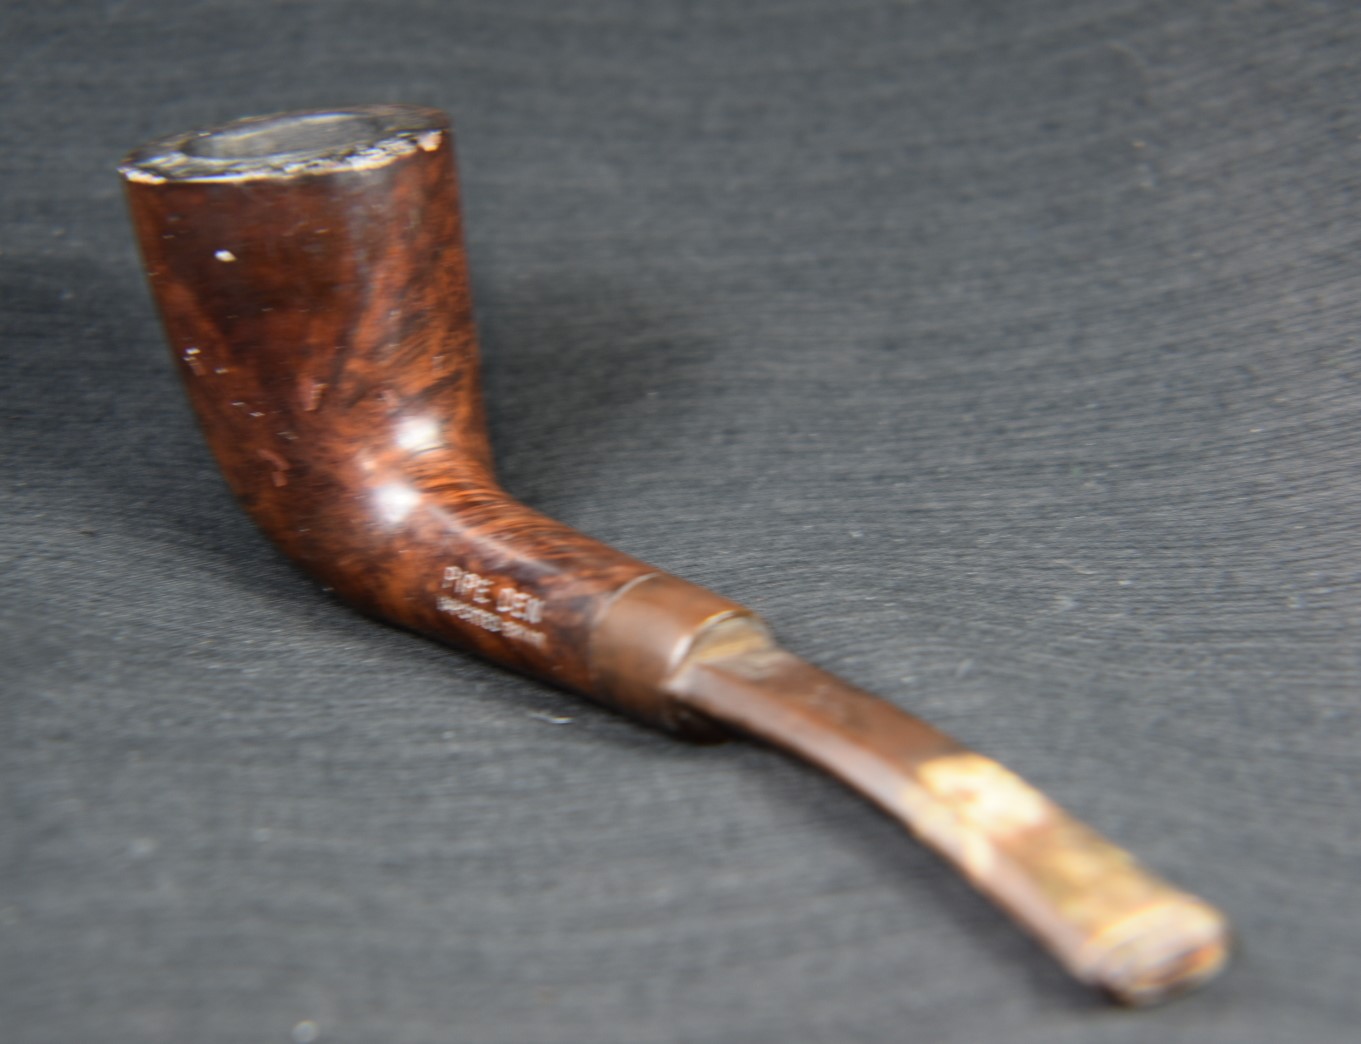
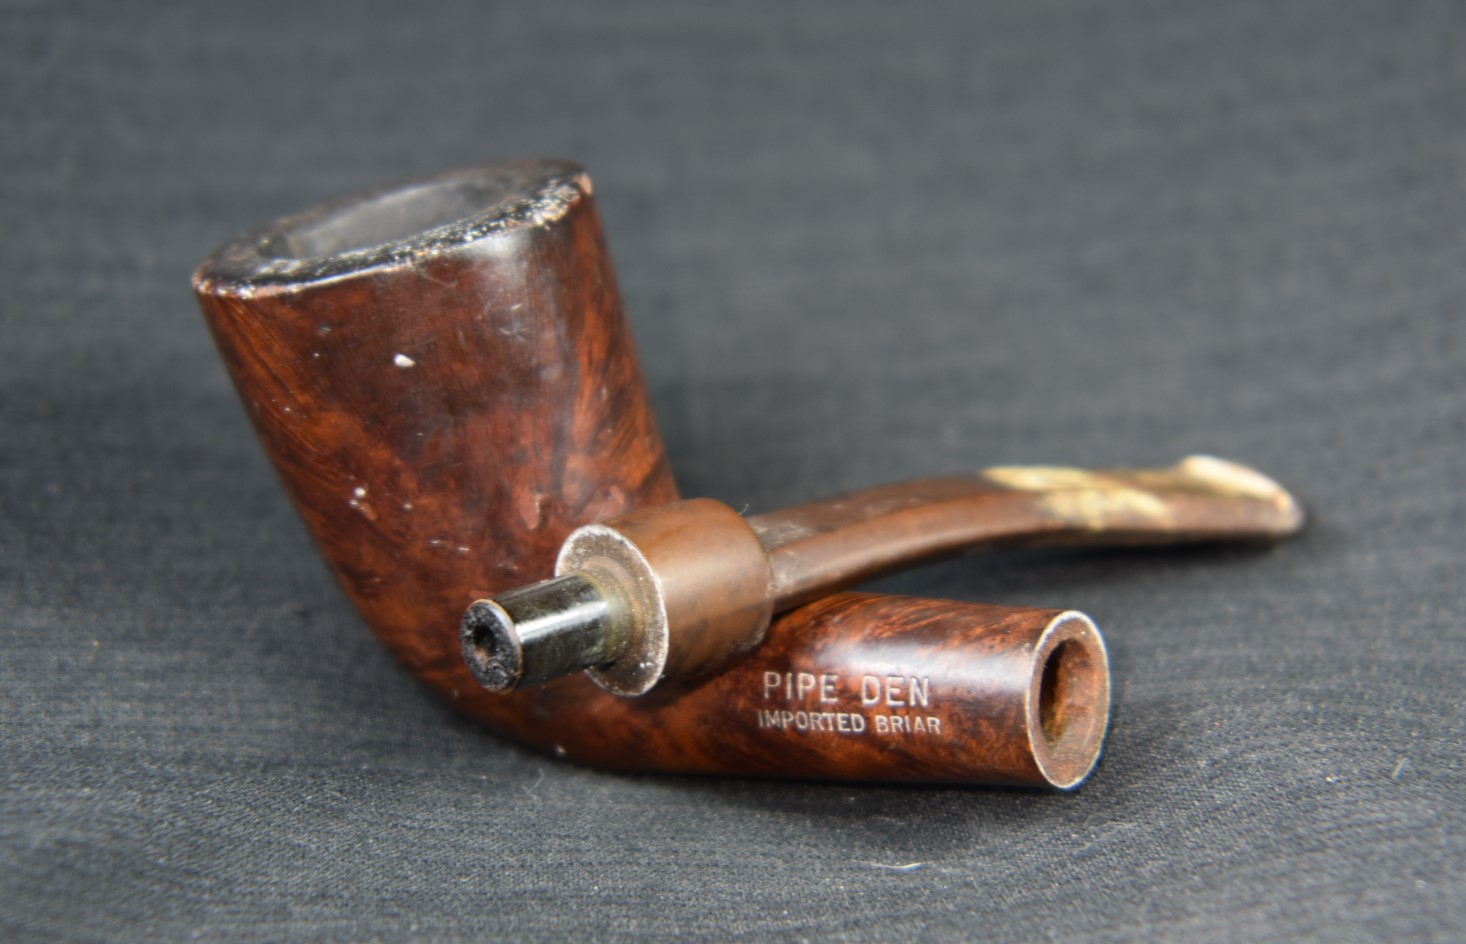
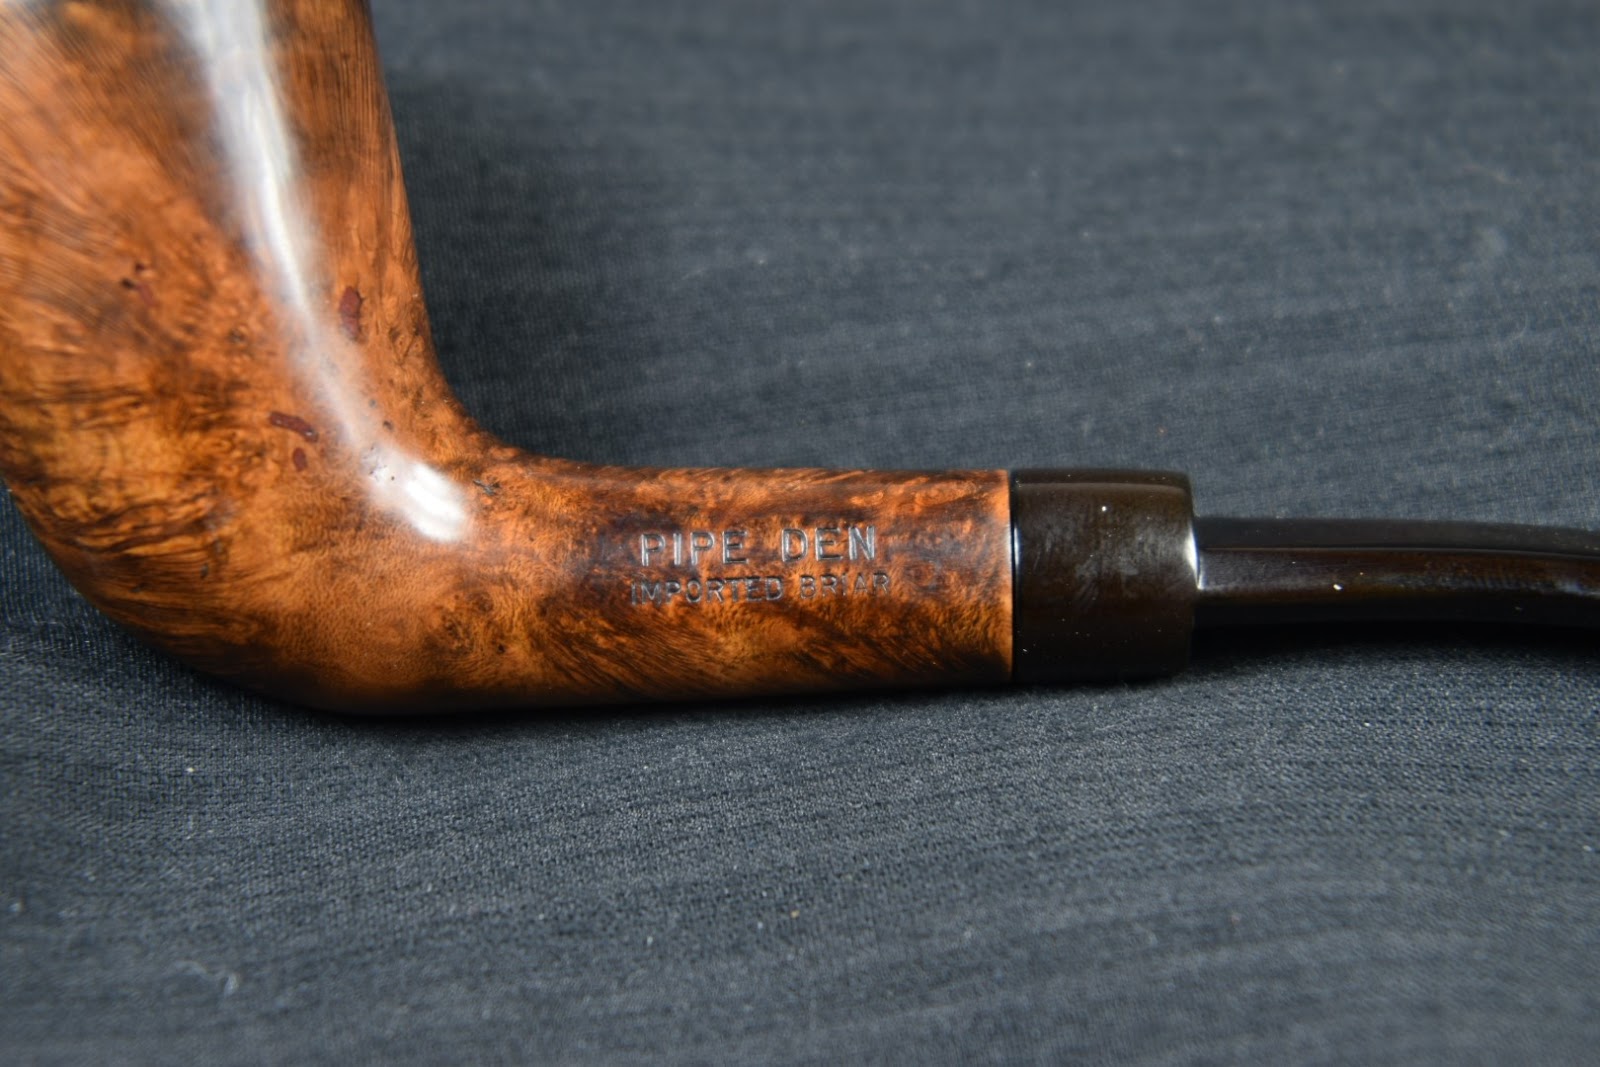
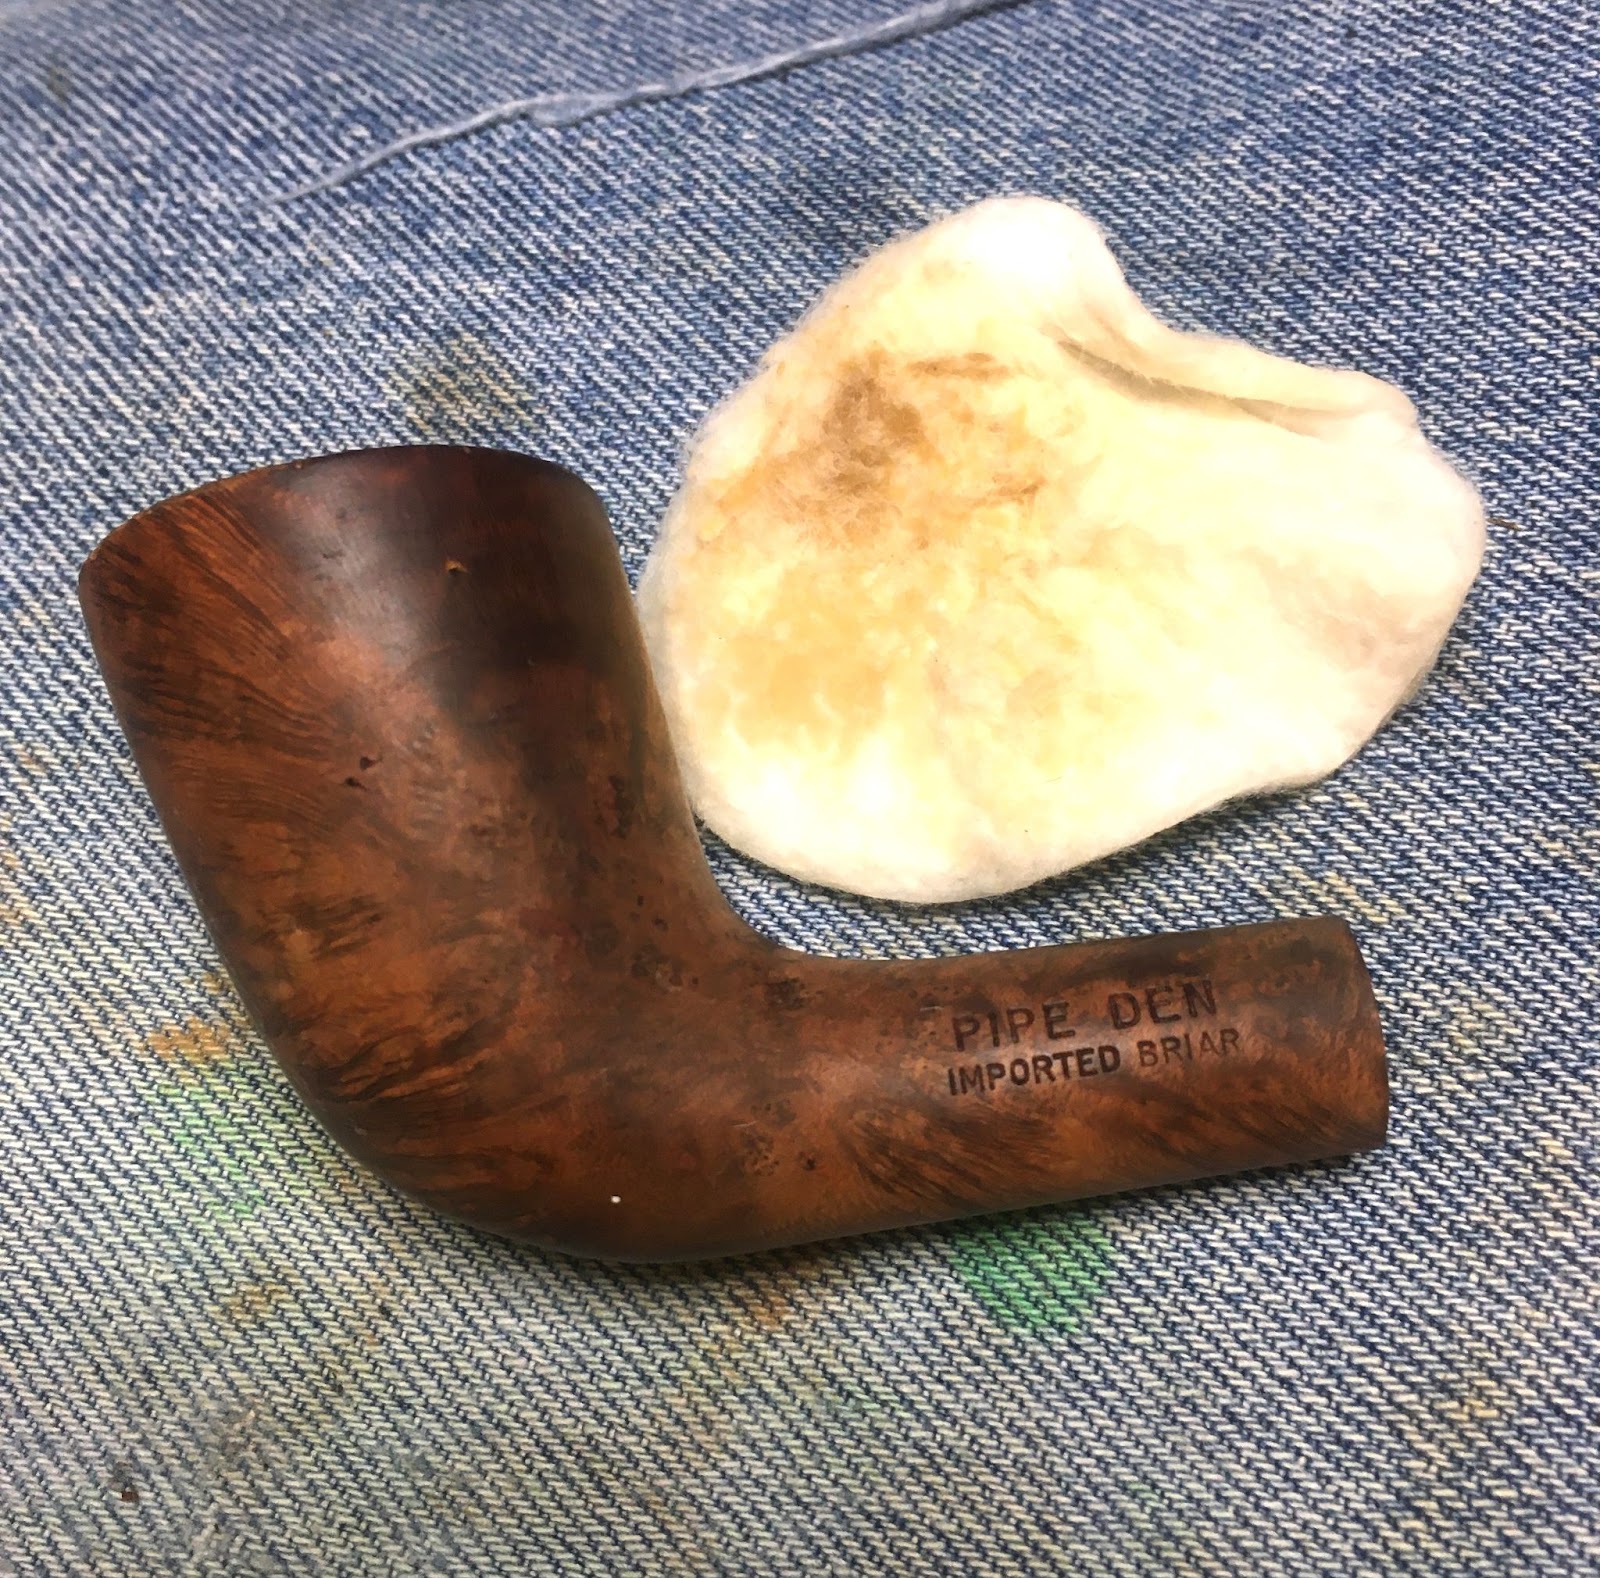
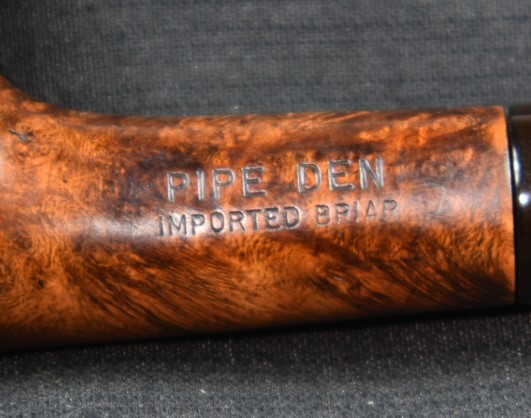
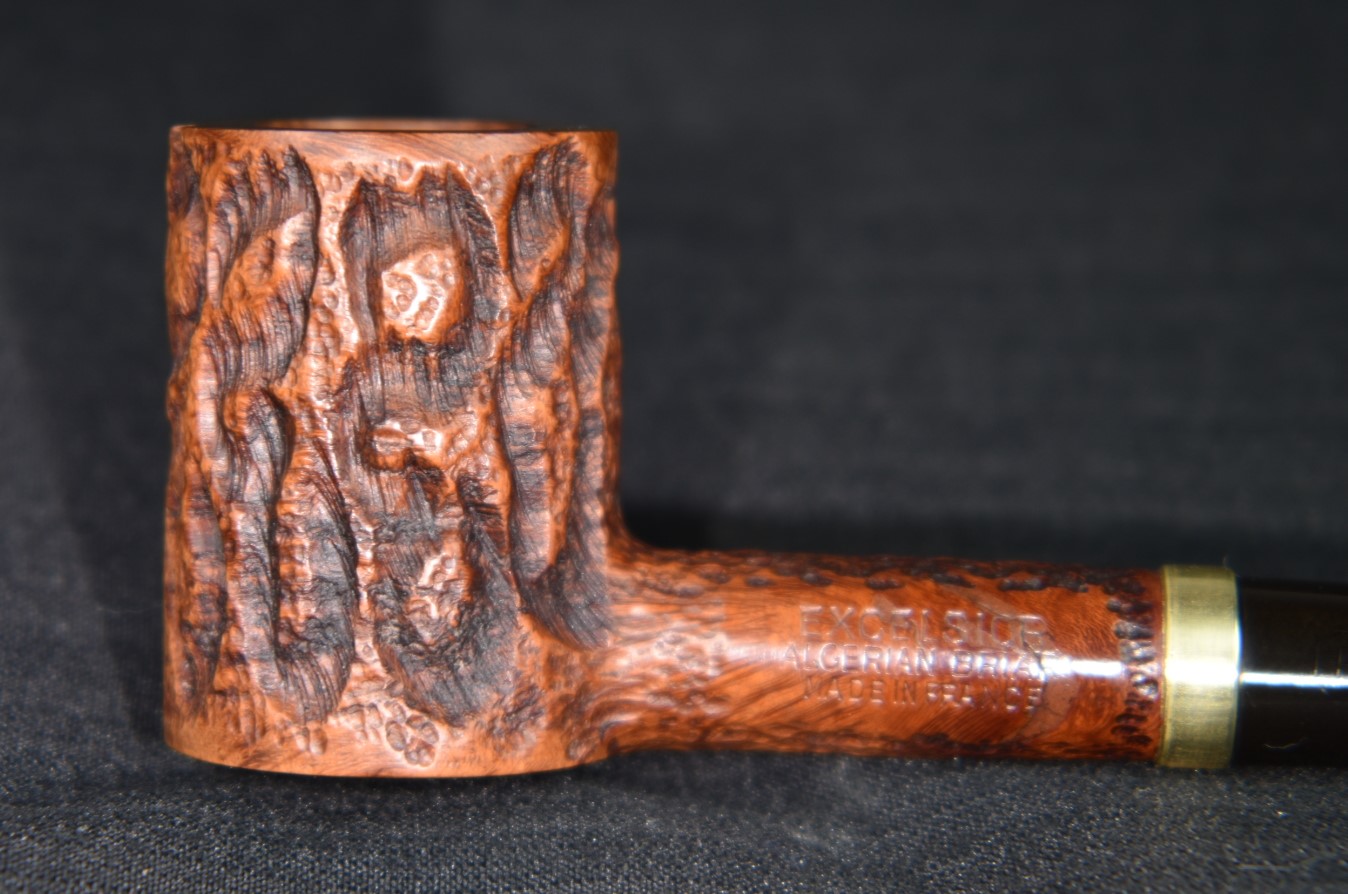
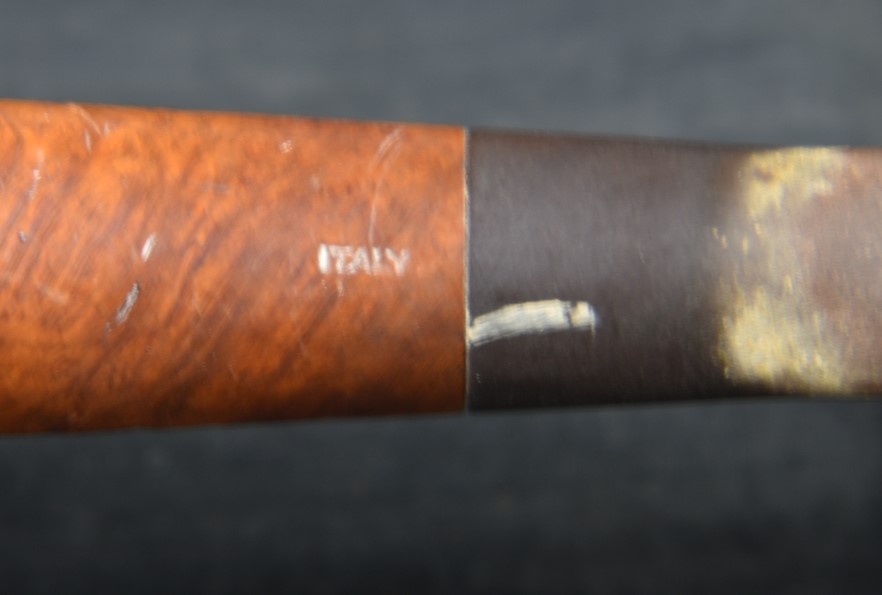
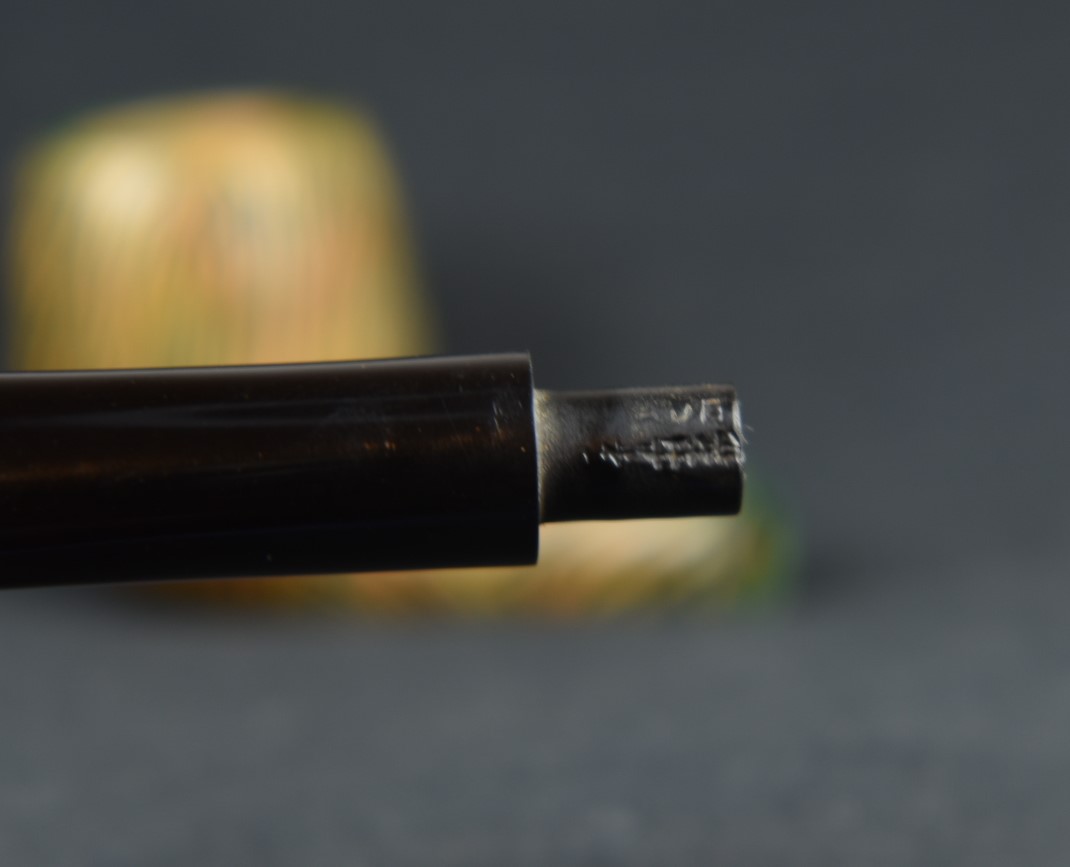
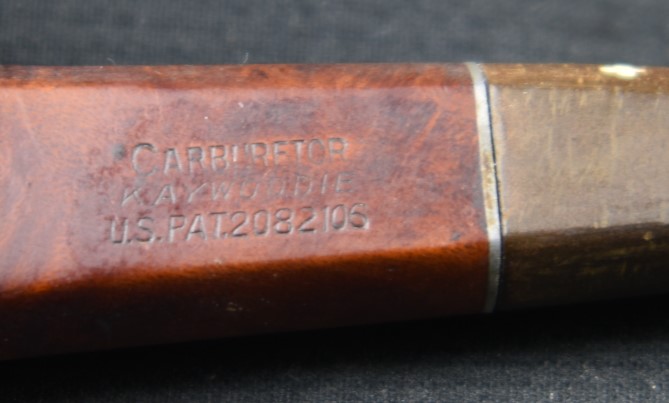
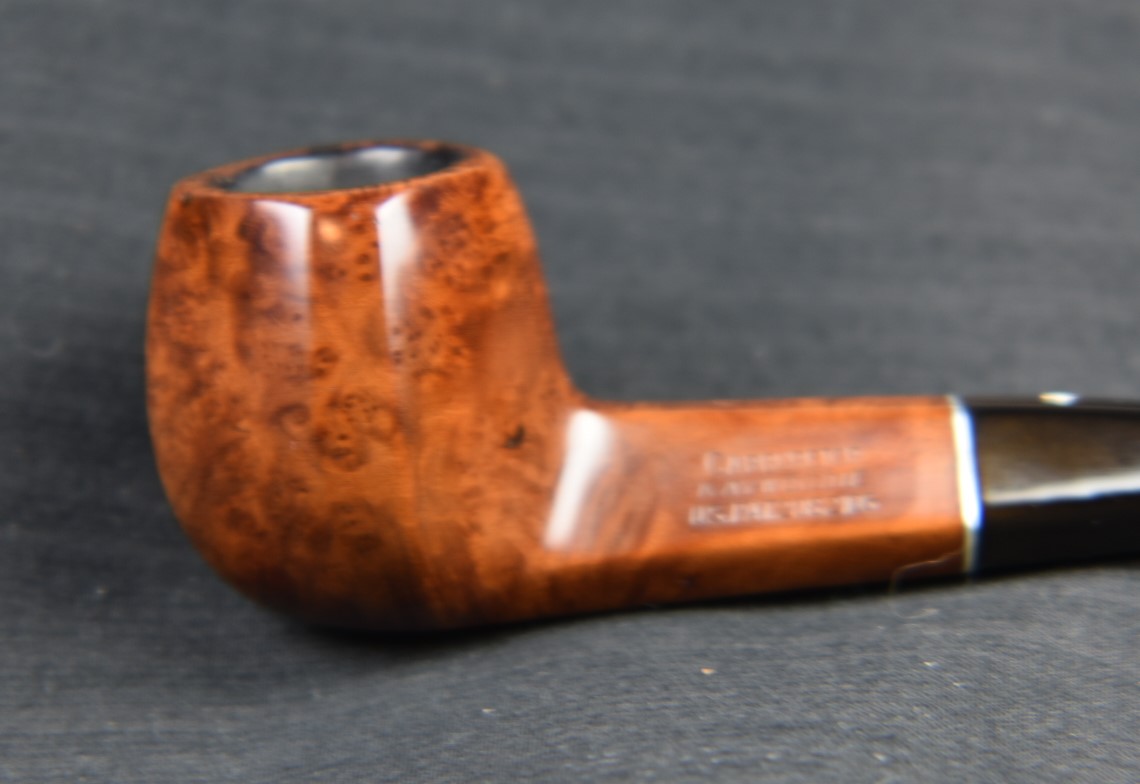
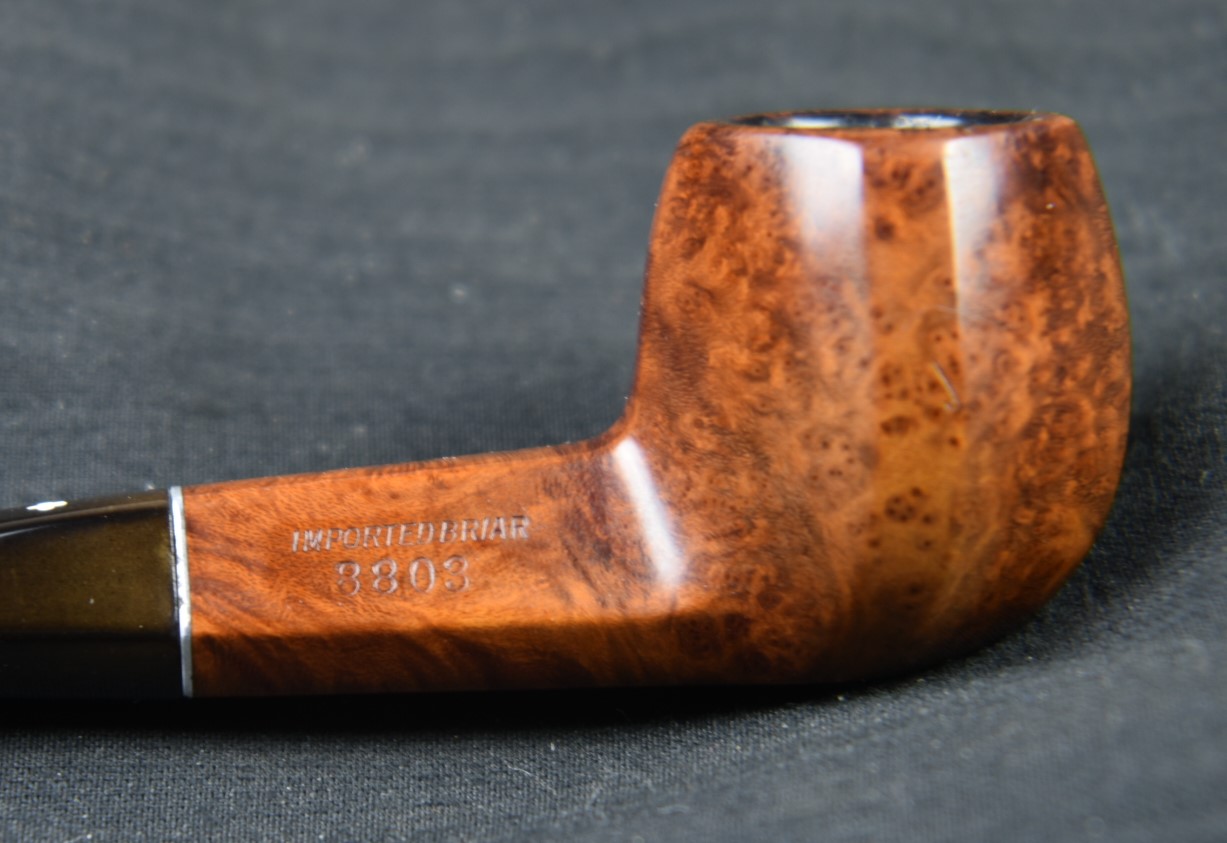
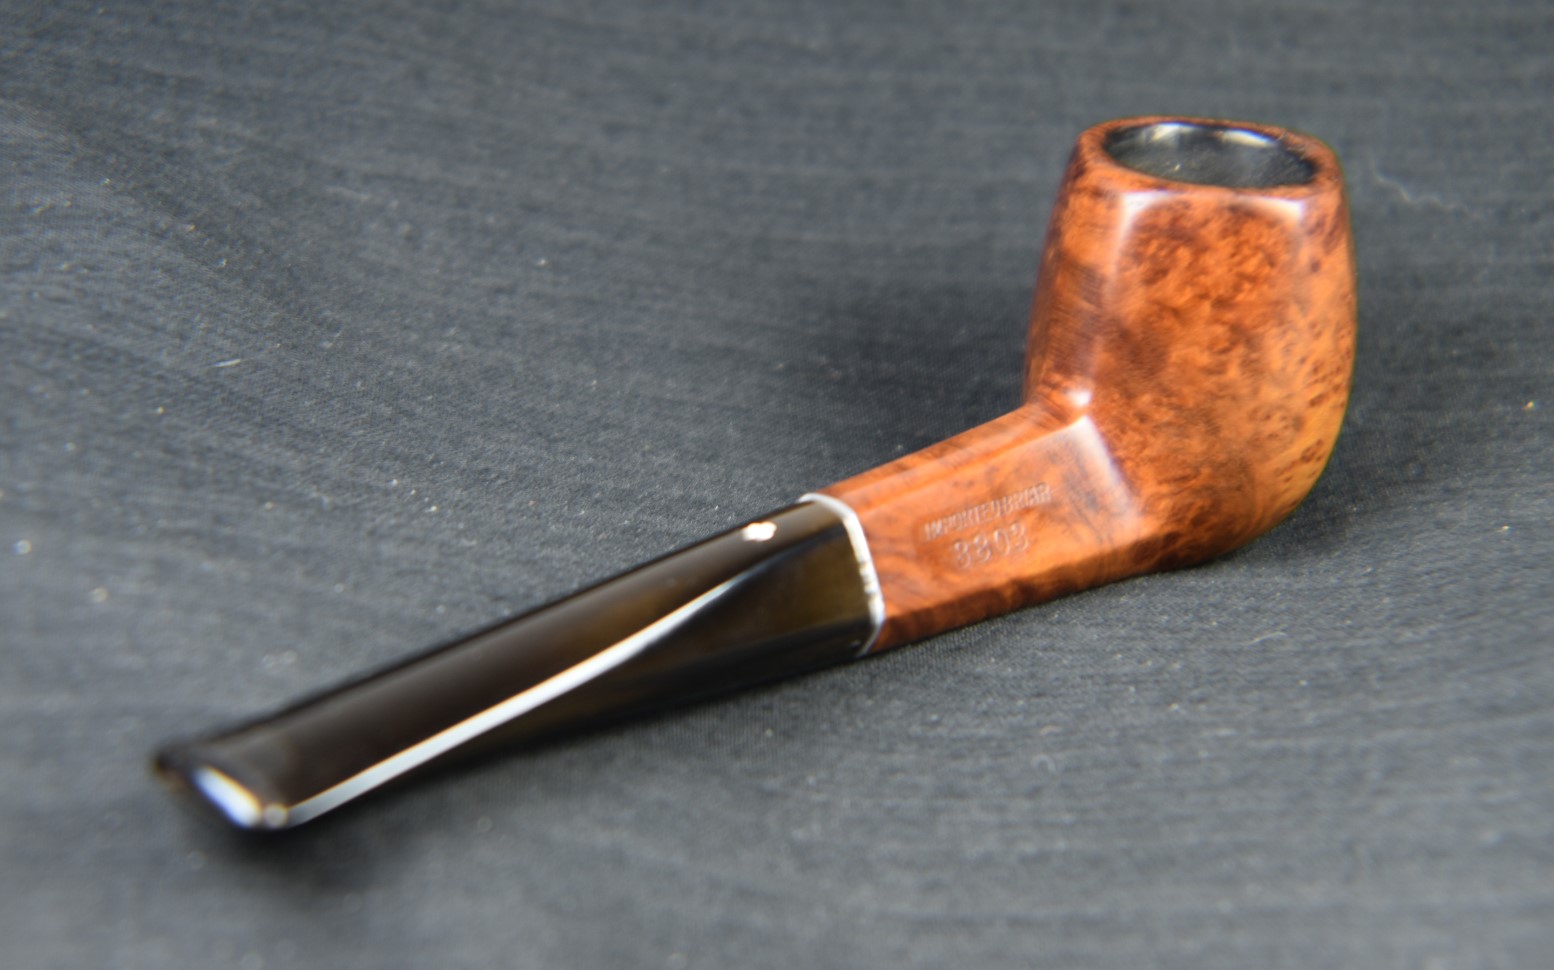
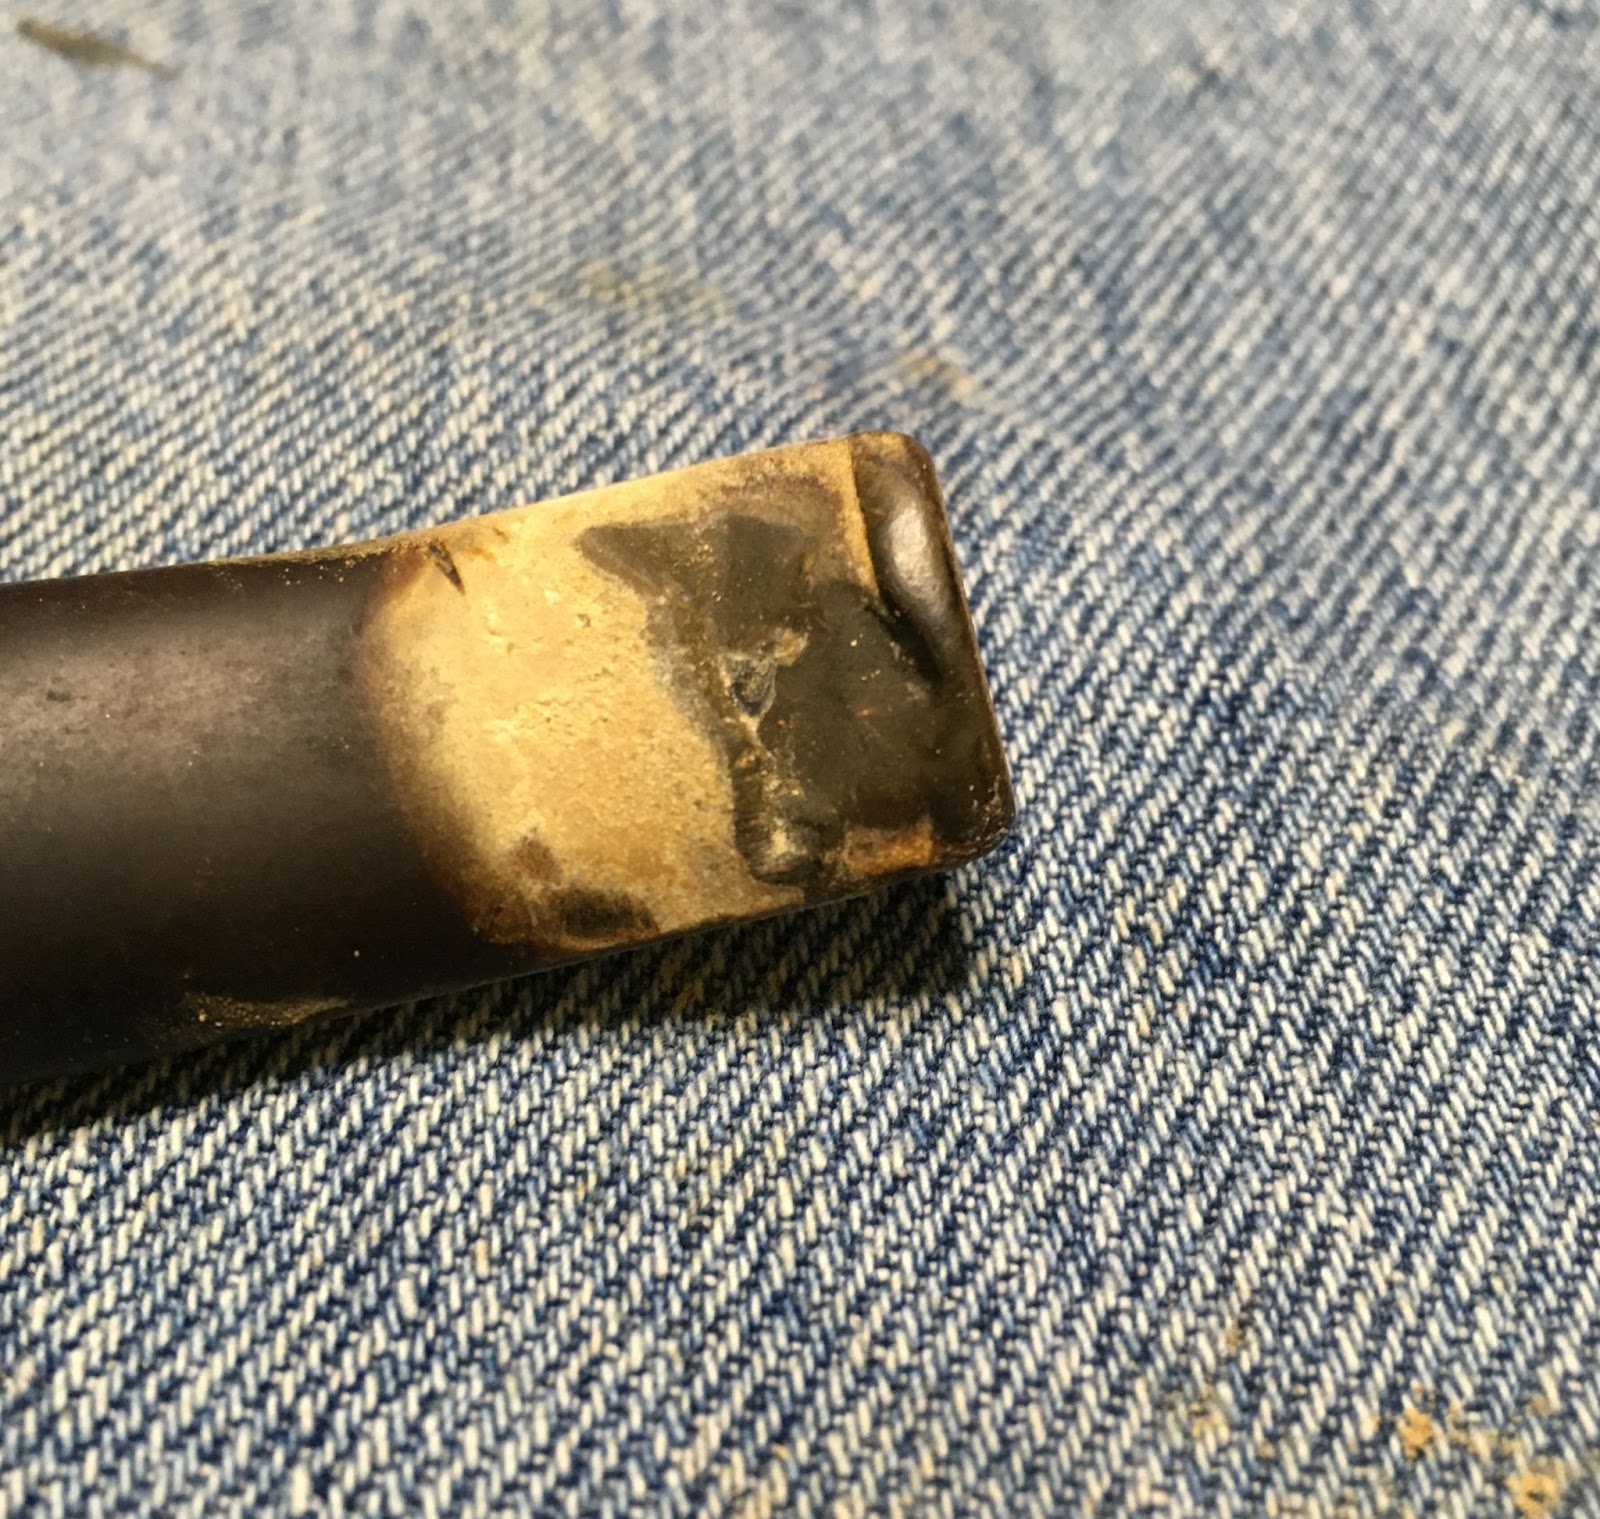
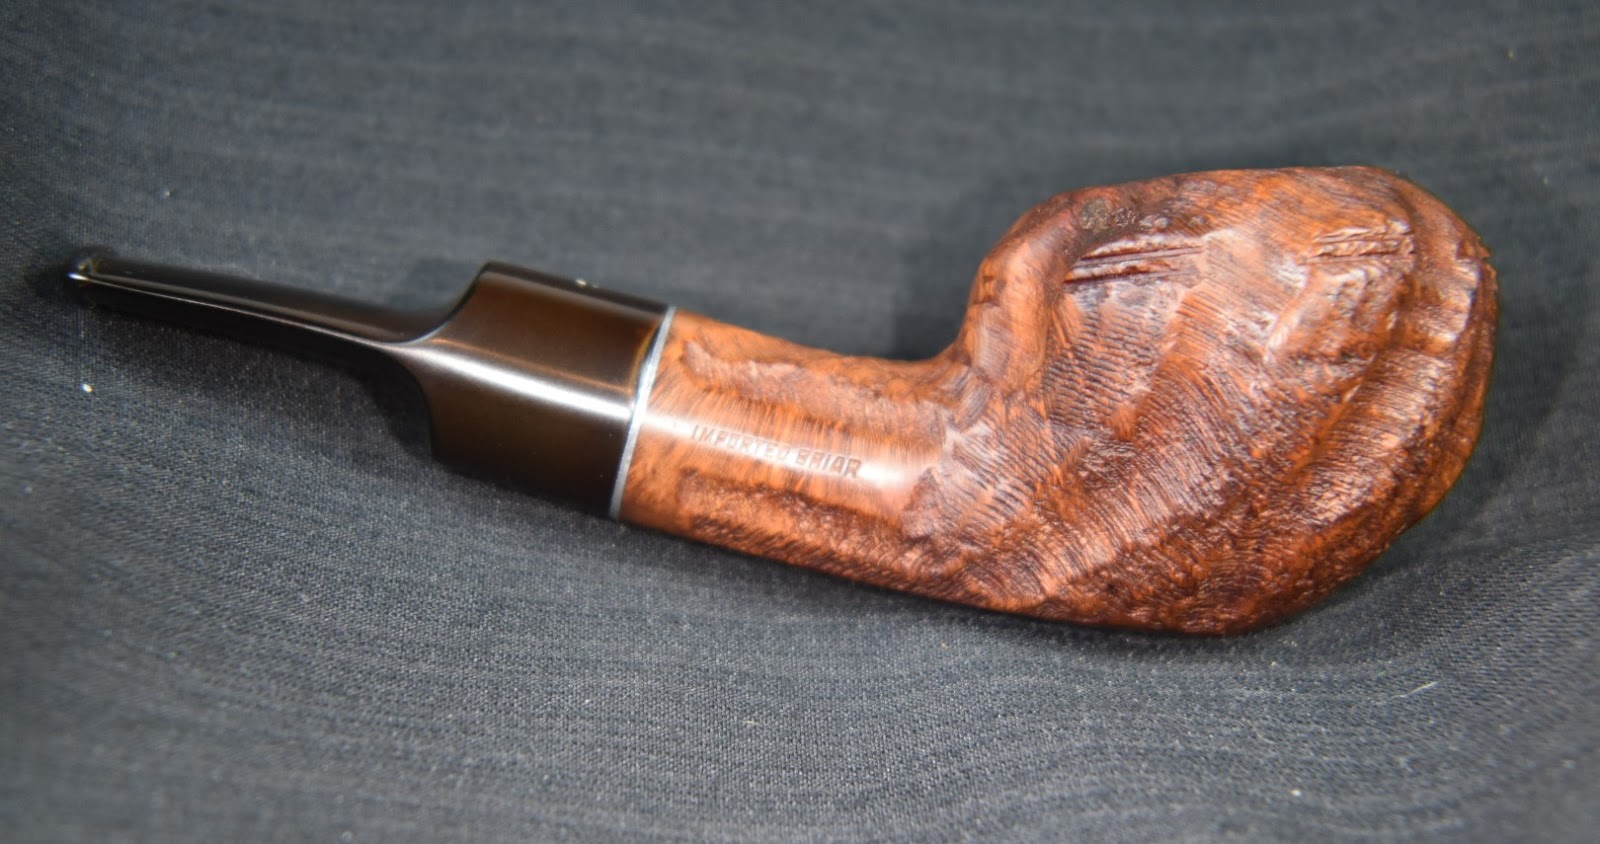
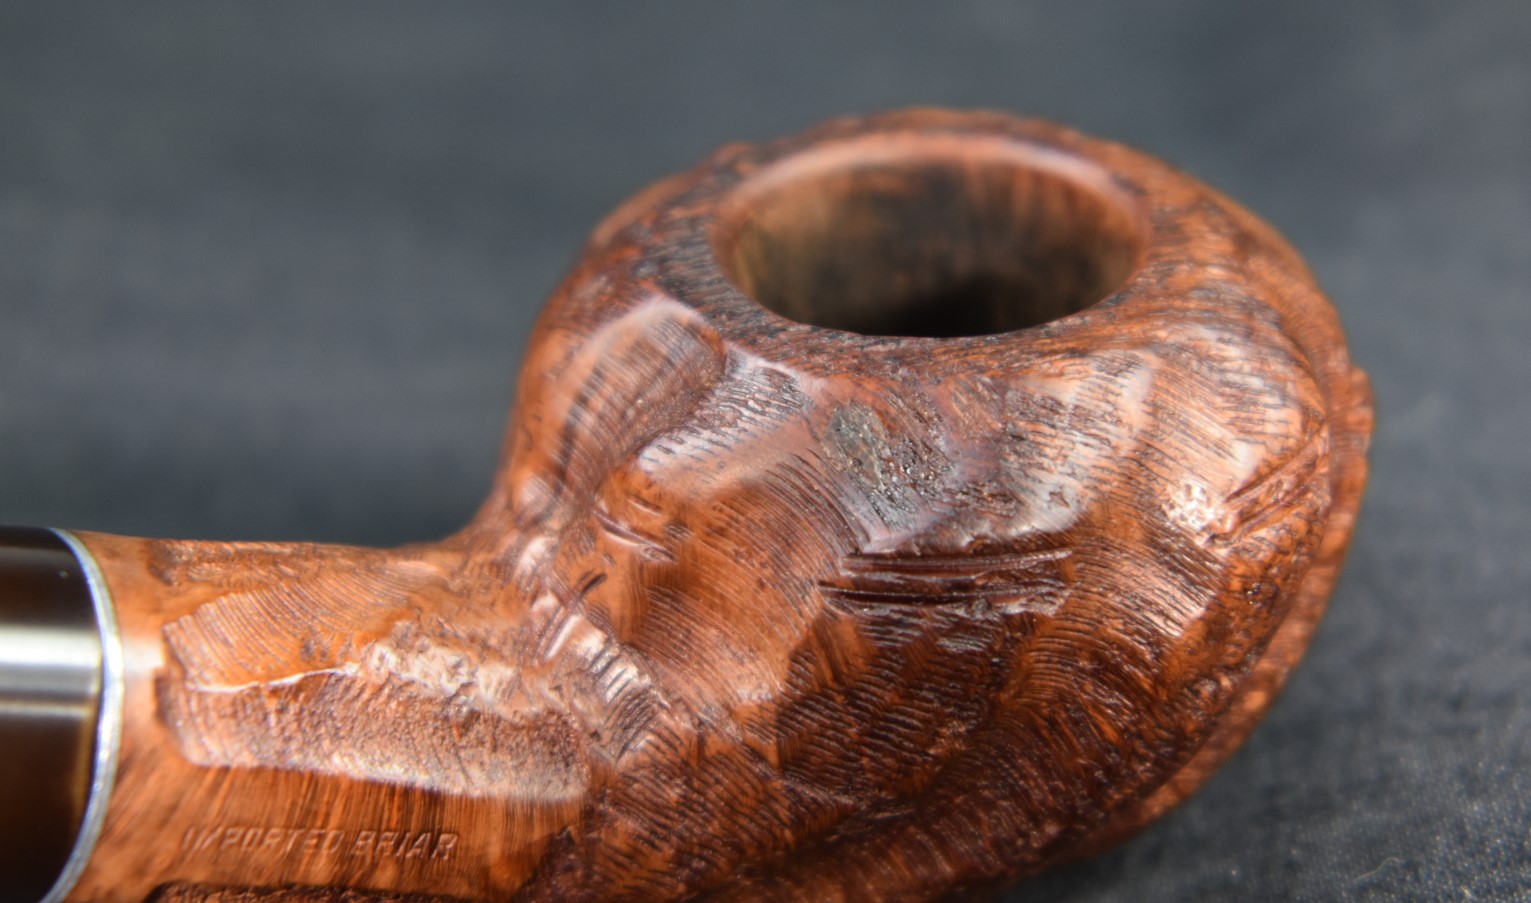
Why is it that some pipes can’t qualify for the maker stamping their name on the pipe? Not to sound like President Biden but, “Come on, man.” IMPORTED BRIAR is not enough of a name to mean anything except that your briar is imported (Duh, isn’t it all imported?) and that the pipe was likely made in the US after World War 2 (WWII).
Fortunately our government is there protecting us from the diabolical domestic terrorist native briar cartels. As can be seen by,
“Section 304 of the Tariff Act of 1930, as amended (19 U.S.C. 1304)
provides that, unless excepted, every article of foreign origin
imported into the U.S. shall be marked in a conspicuous place as
legibly, indelibly, and permanently as the nature of the article (or
container) will permit, in such a manner as to indicate to the ultimate
purchaser in the U.S. the English name of the country of origin of the
article. Congressional intent in enacting 19 U.S.C. 1304 was that the
ultimate purchaser should be able to know by an inspection of the
marking on the imported goods the country of which the goods is the
product.
Part 134, Customs Regulations (19 CFR Part 134), implements the
country of origin marking requirements and exceptions of 19 U.S.C.
1304. As provided in section 134.41, Customs Regulations (19 CFR
134.41), the country of origin marking is considered to be conspicuous
if the ultimate purchaser in the U.S. is able to find the marking
easily and read it without strain.”
(https://www.govinfo.gov/content/pkg/FR-1994-11-15/html/94-28159.htm)
Use your best Yoda impression to read the following, “The sarcasm is strong in this one.”
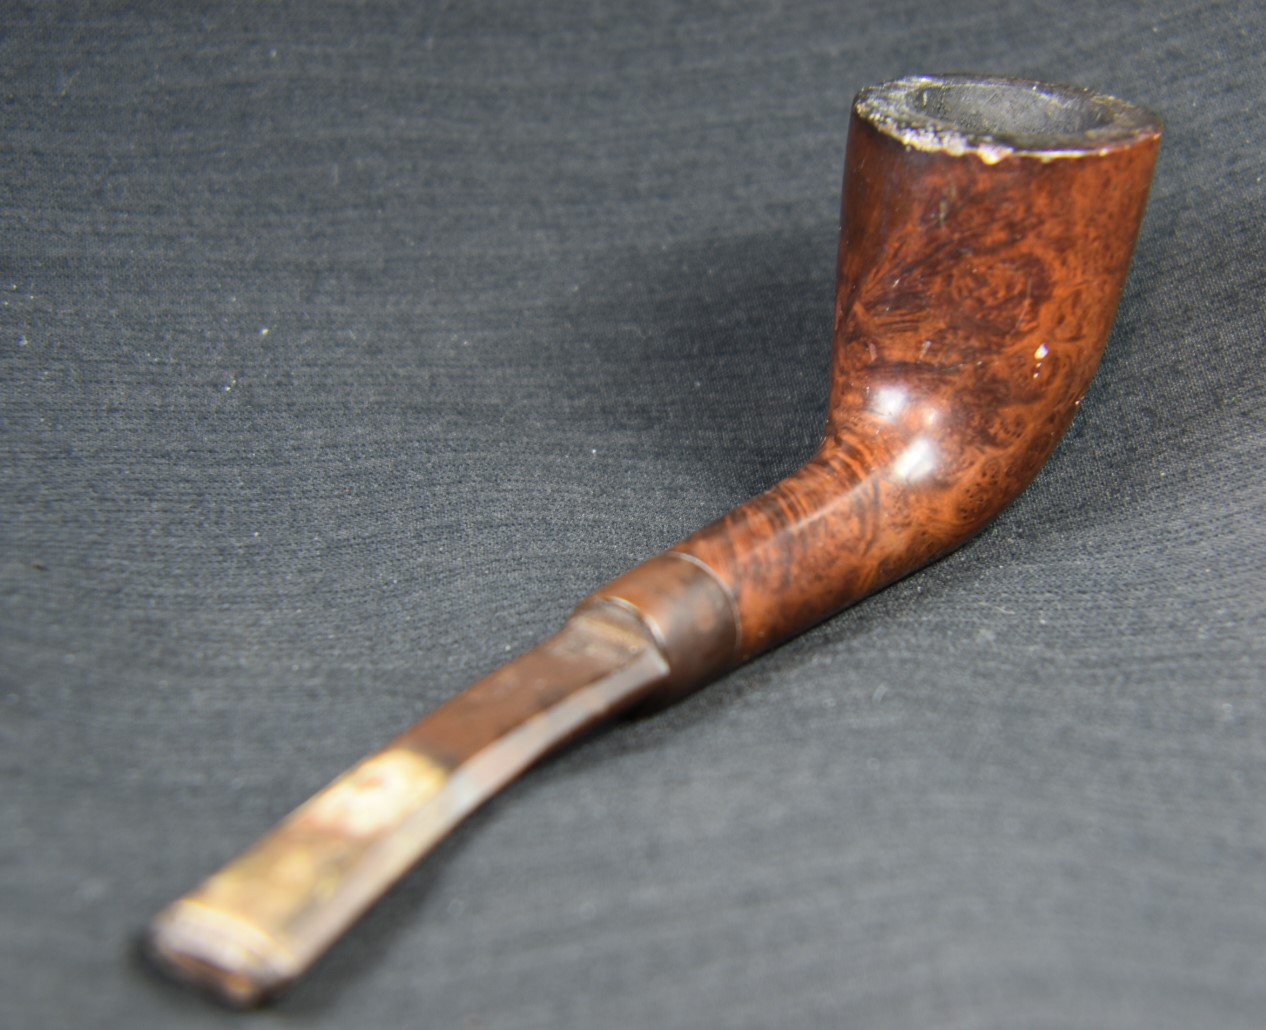
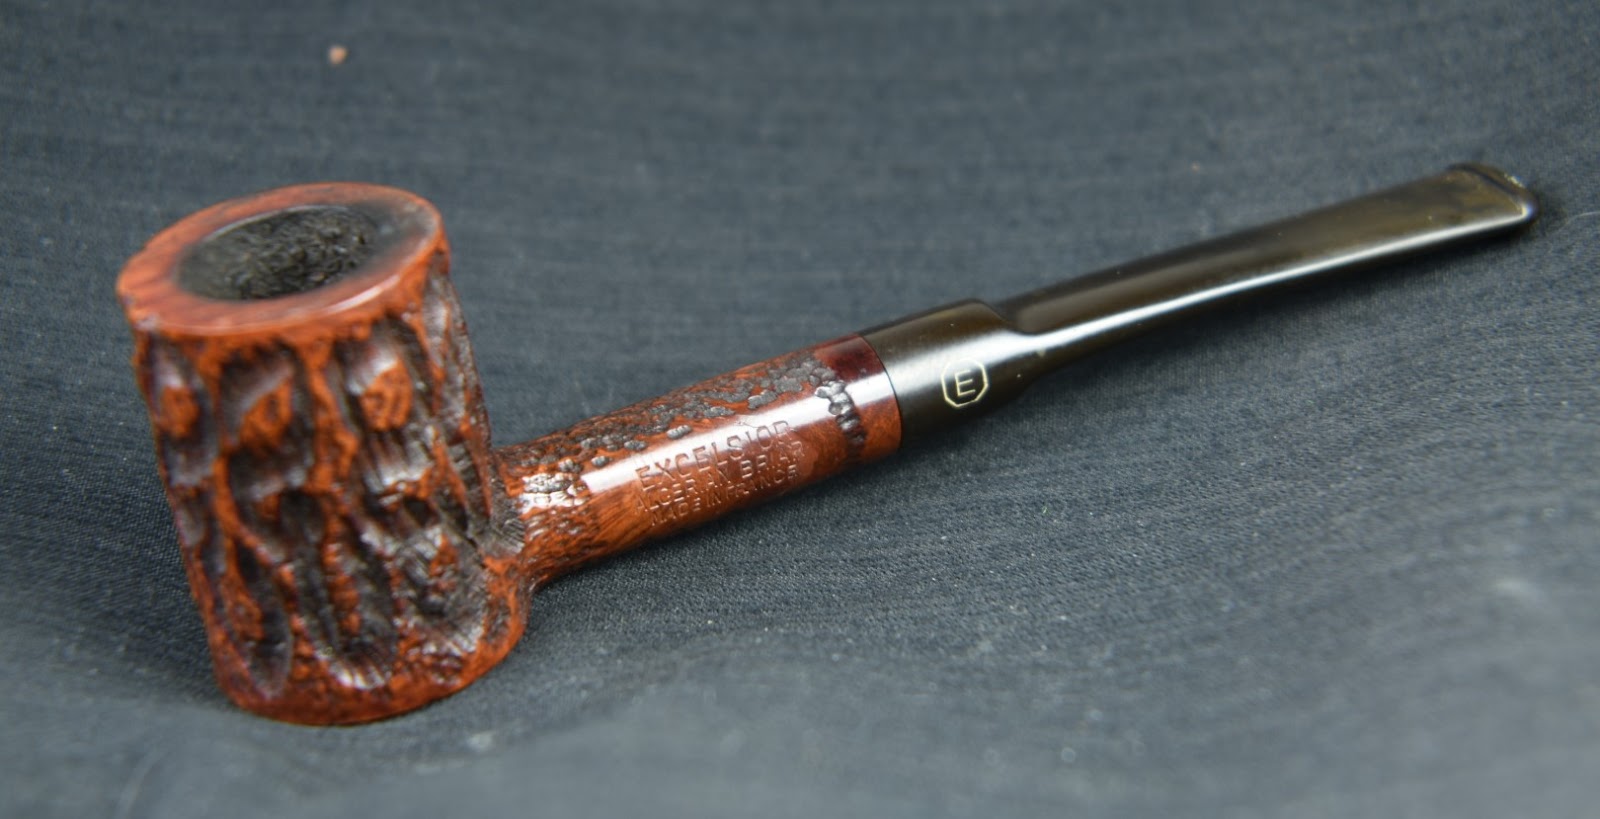
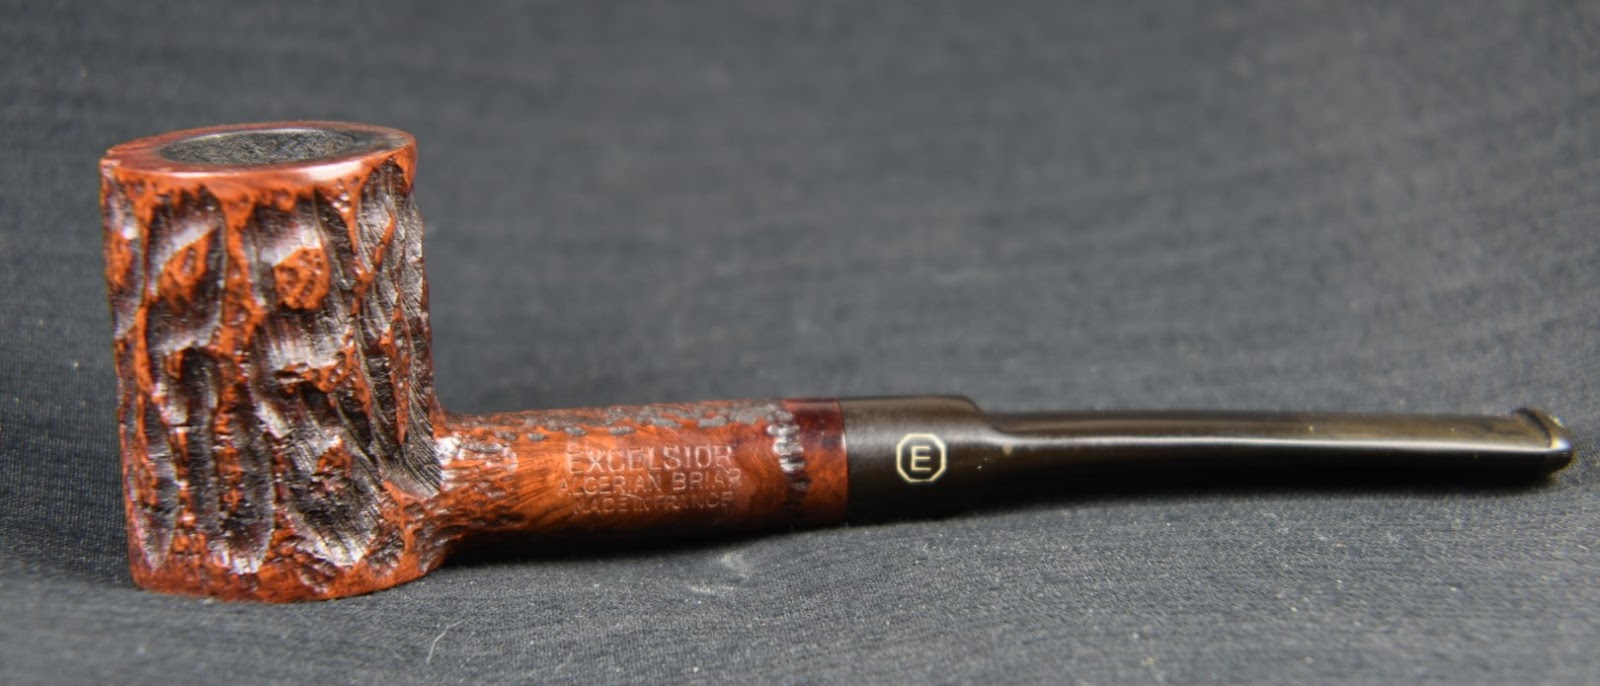
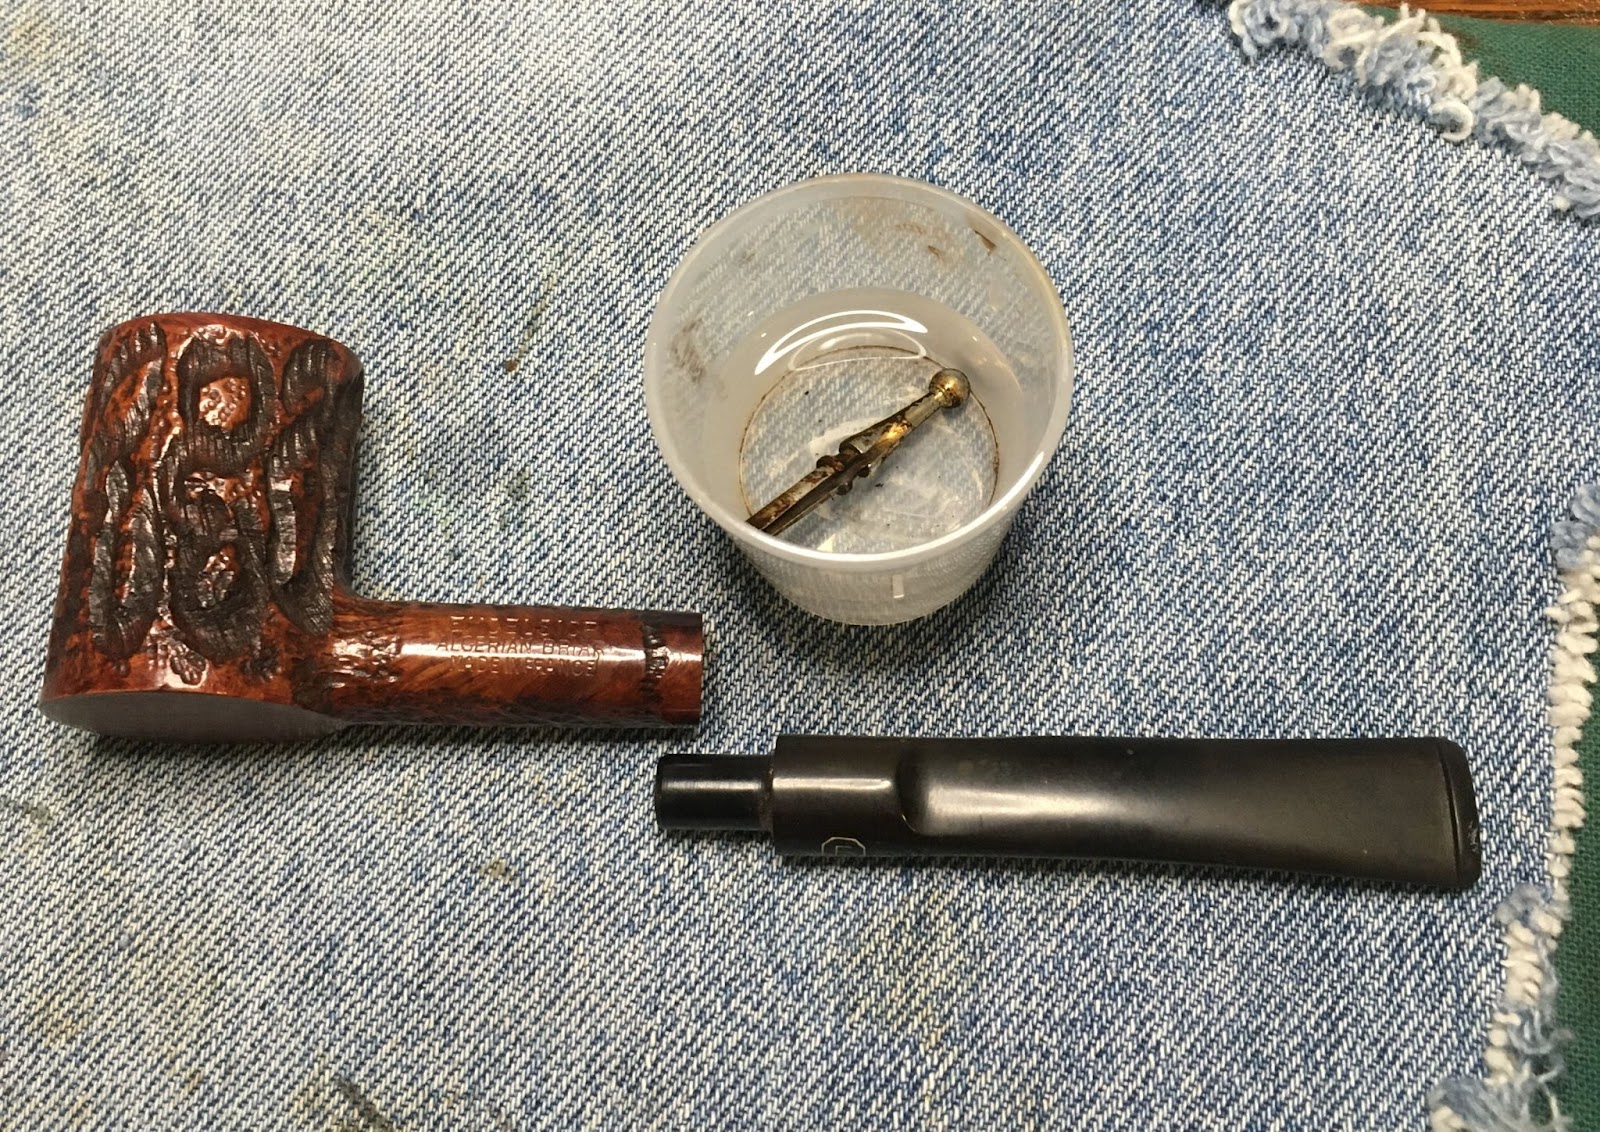
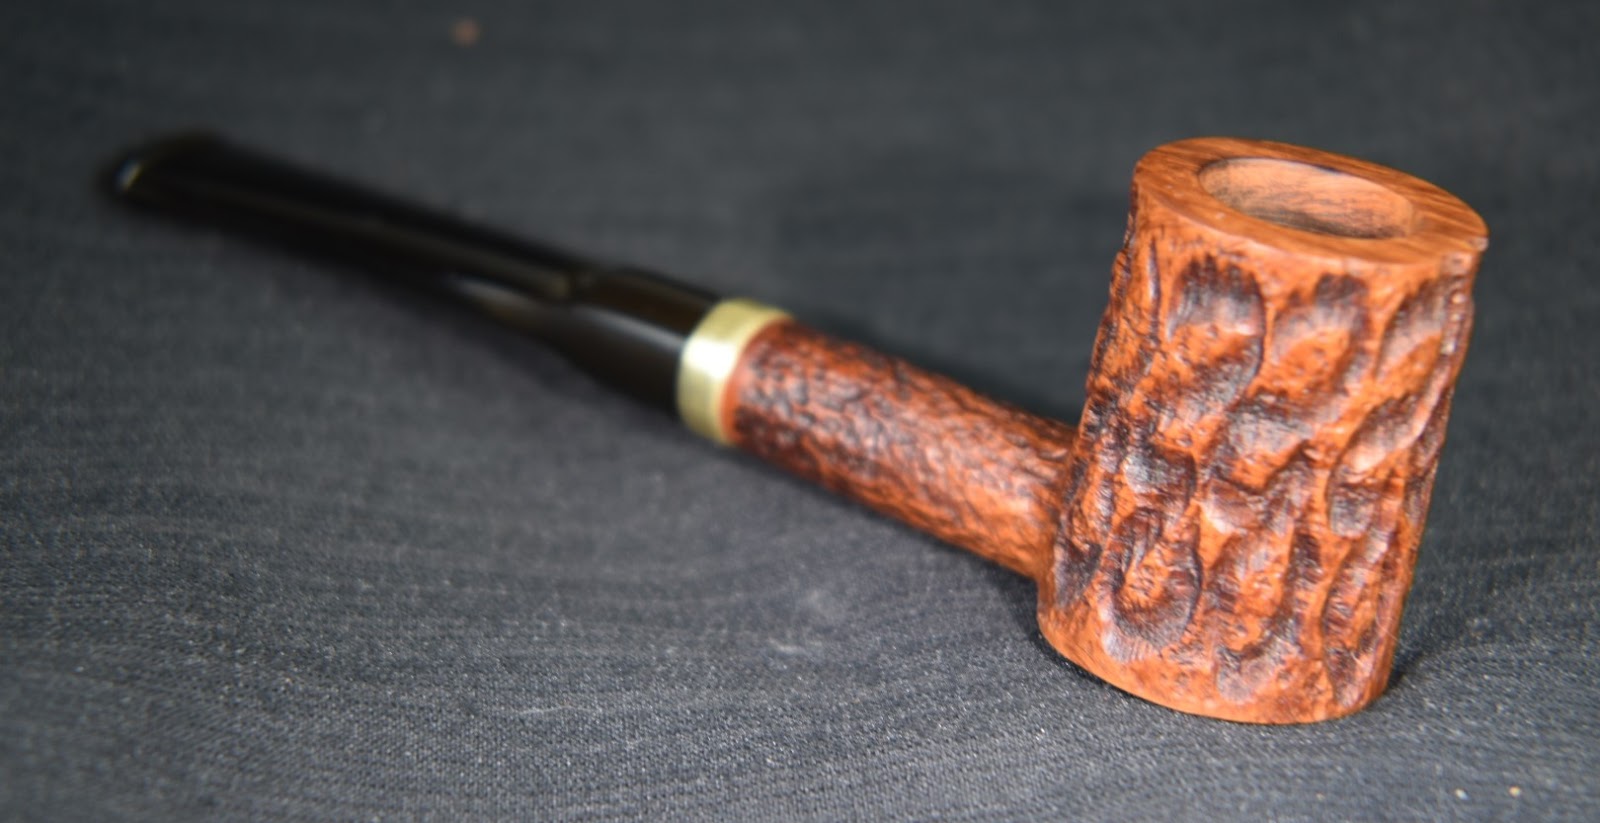
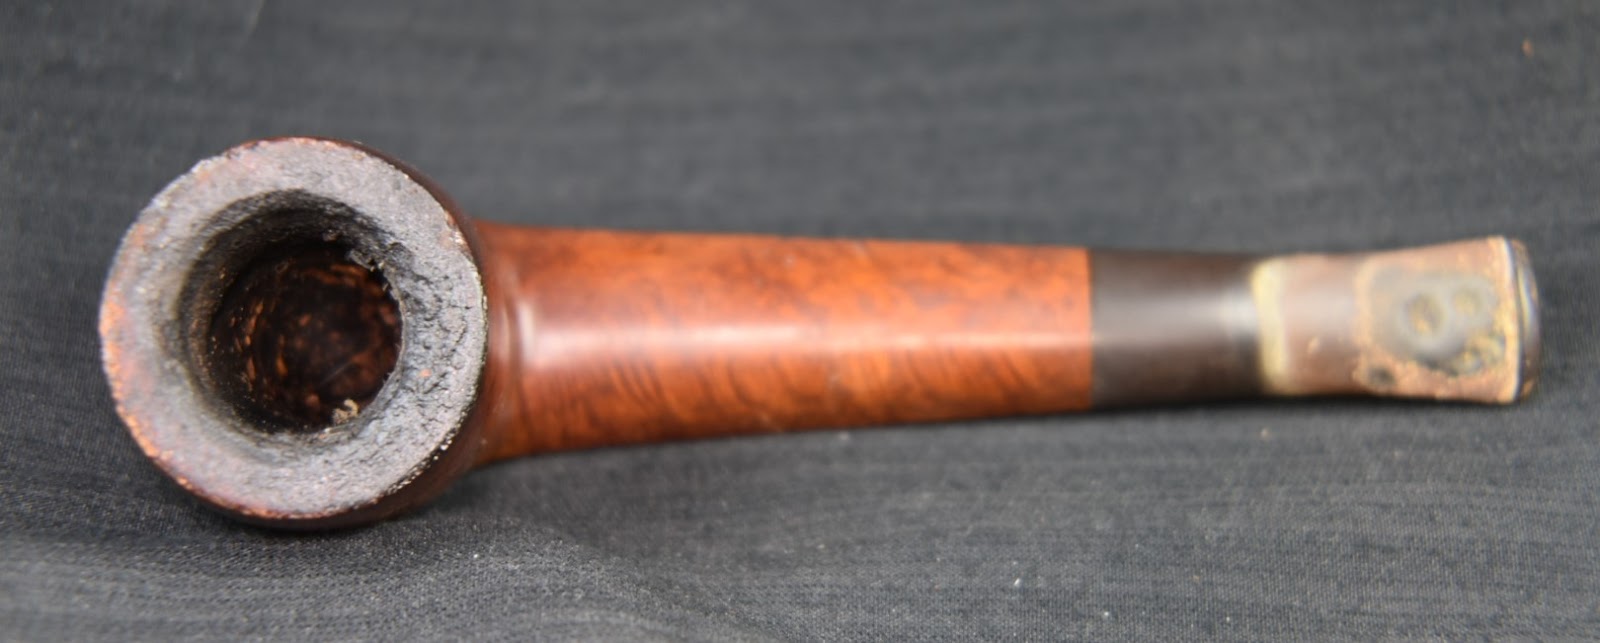
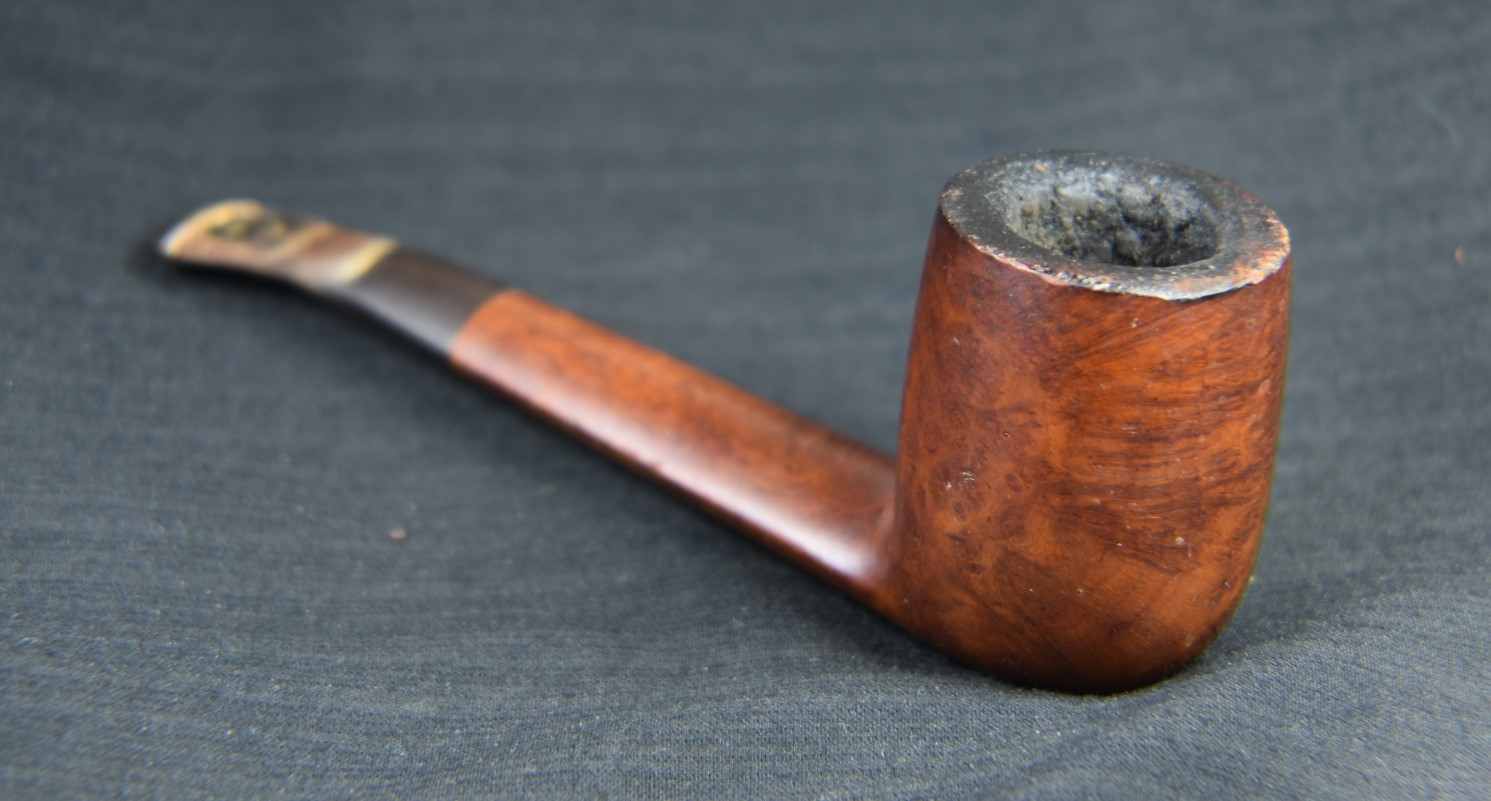
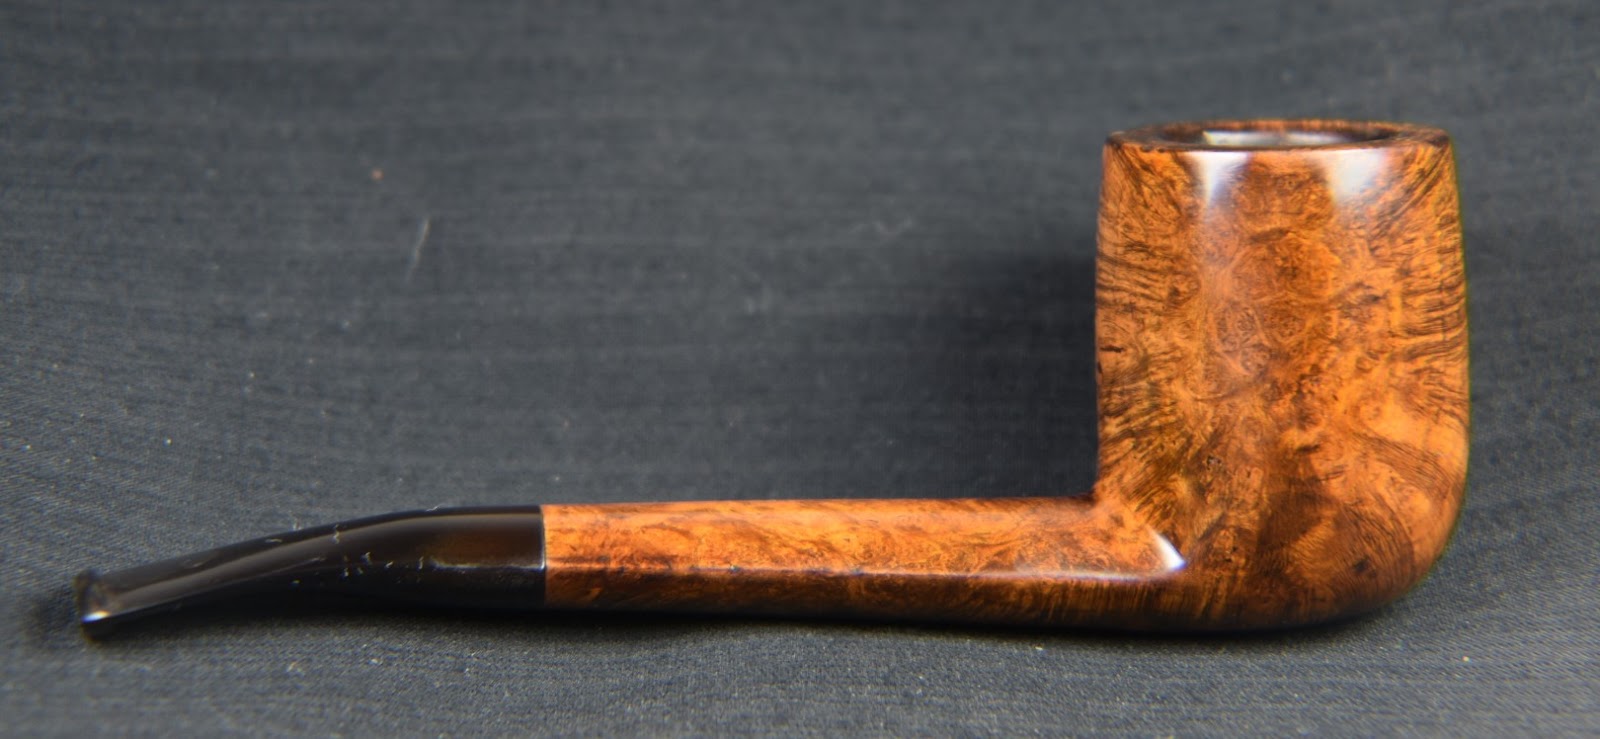
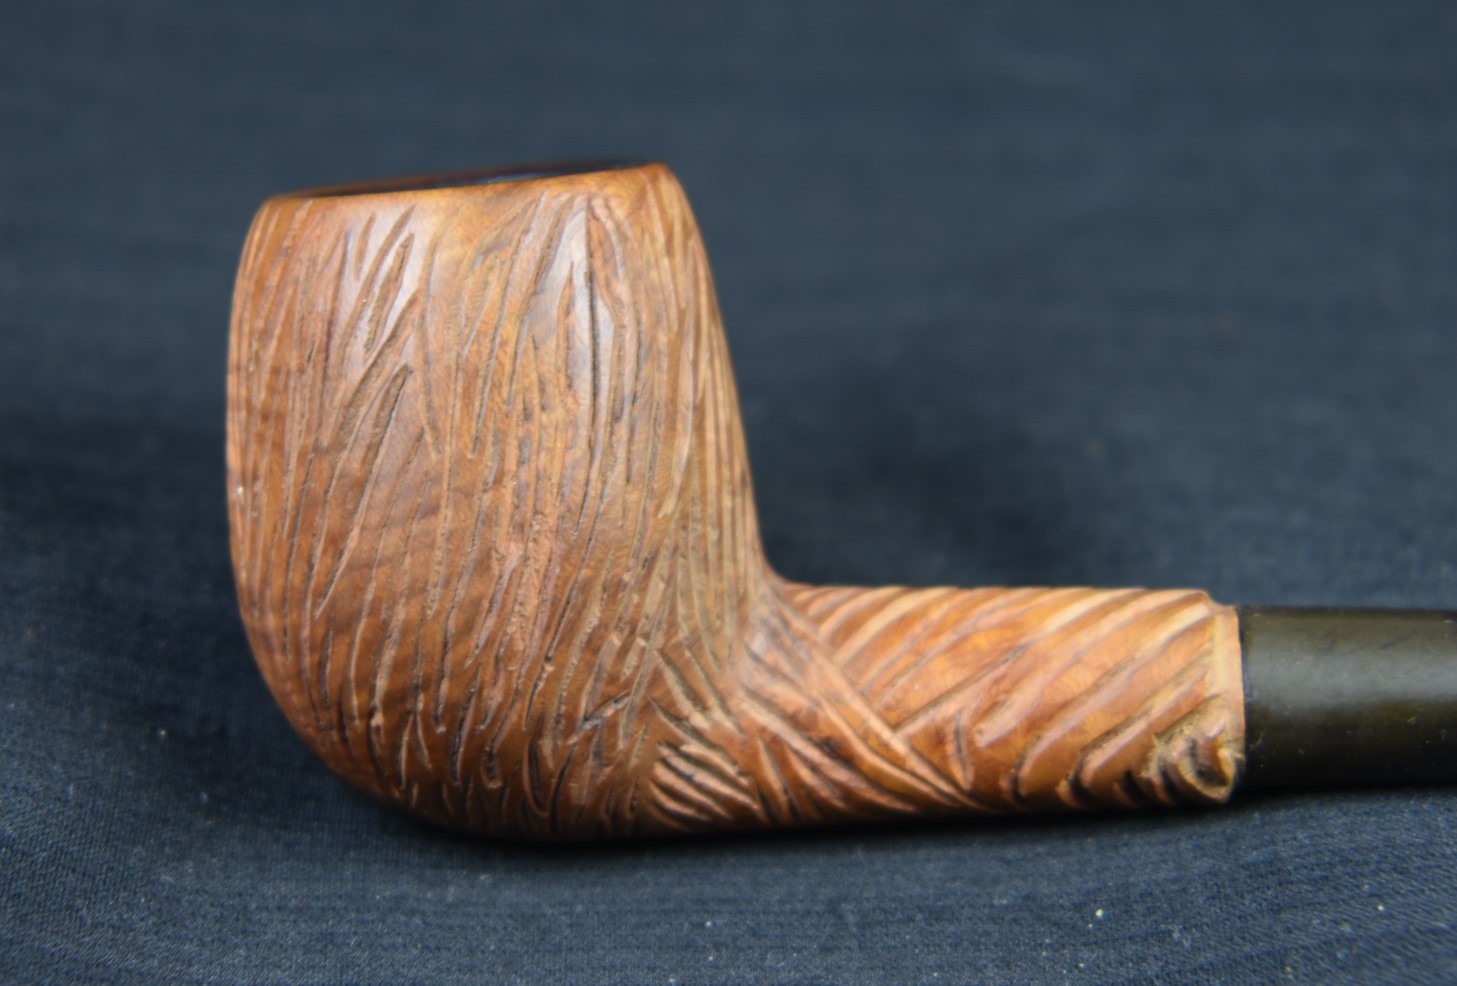
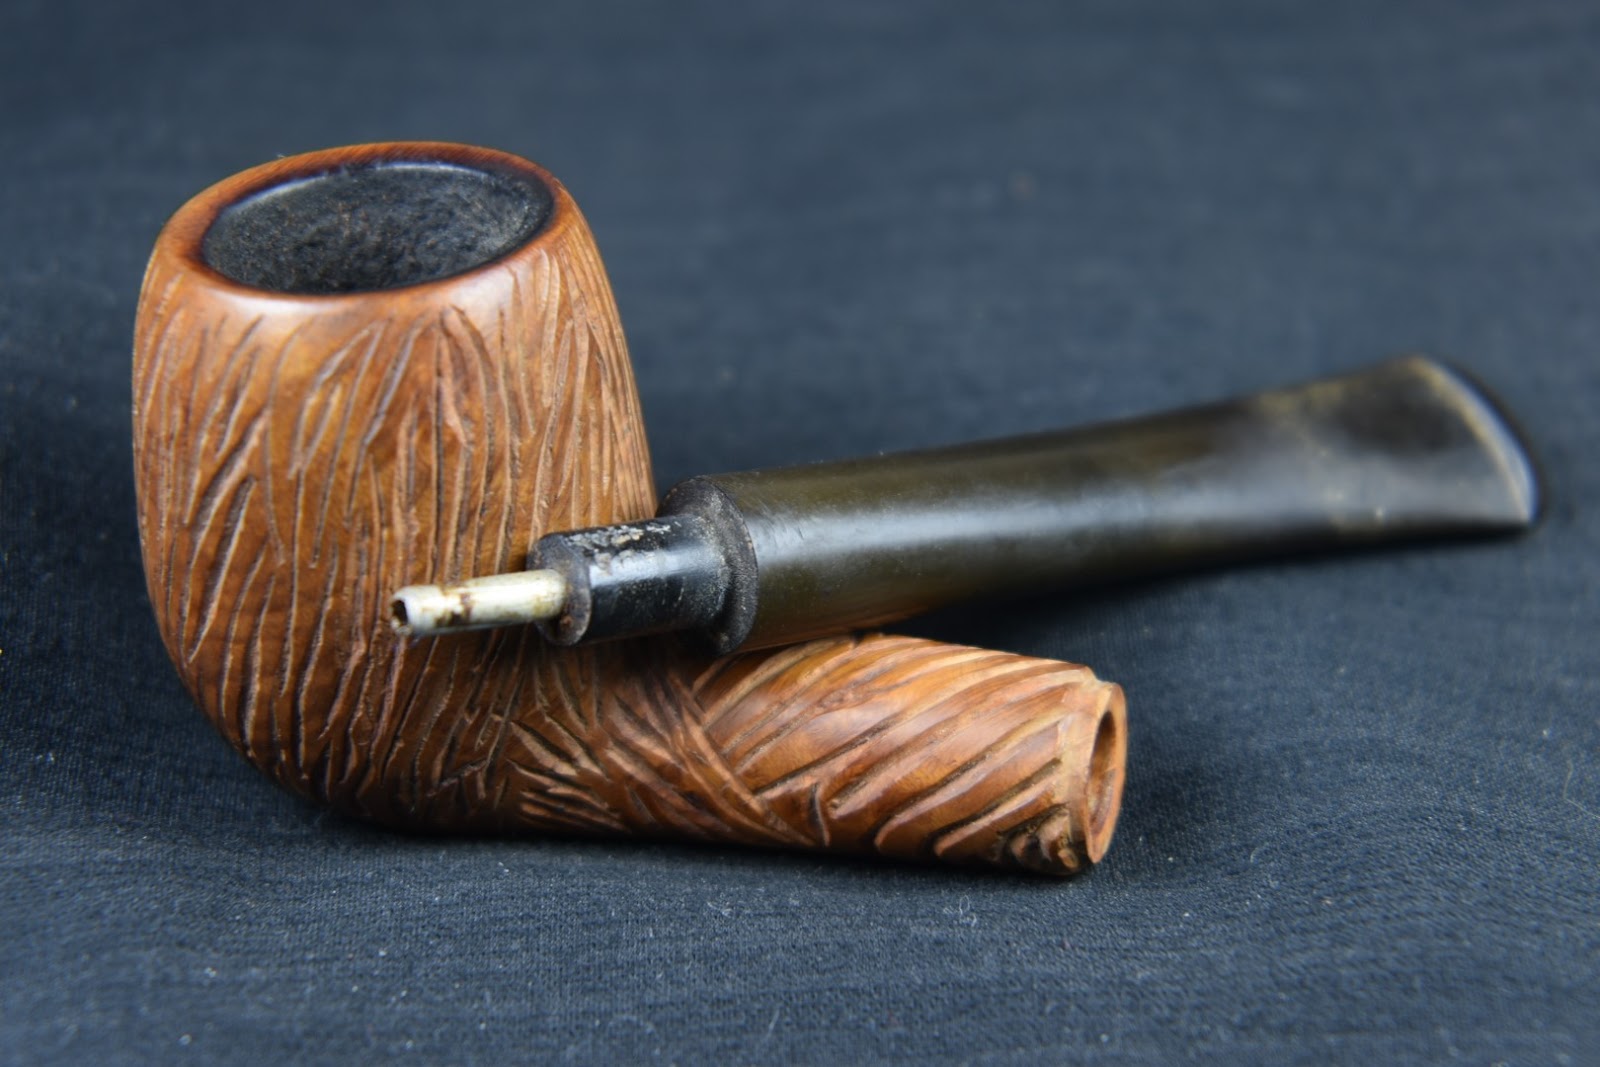
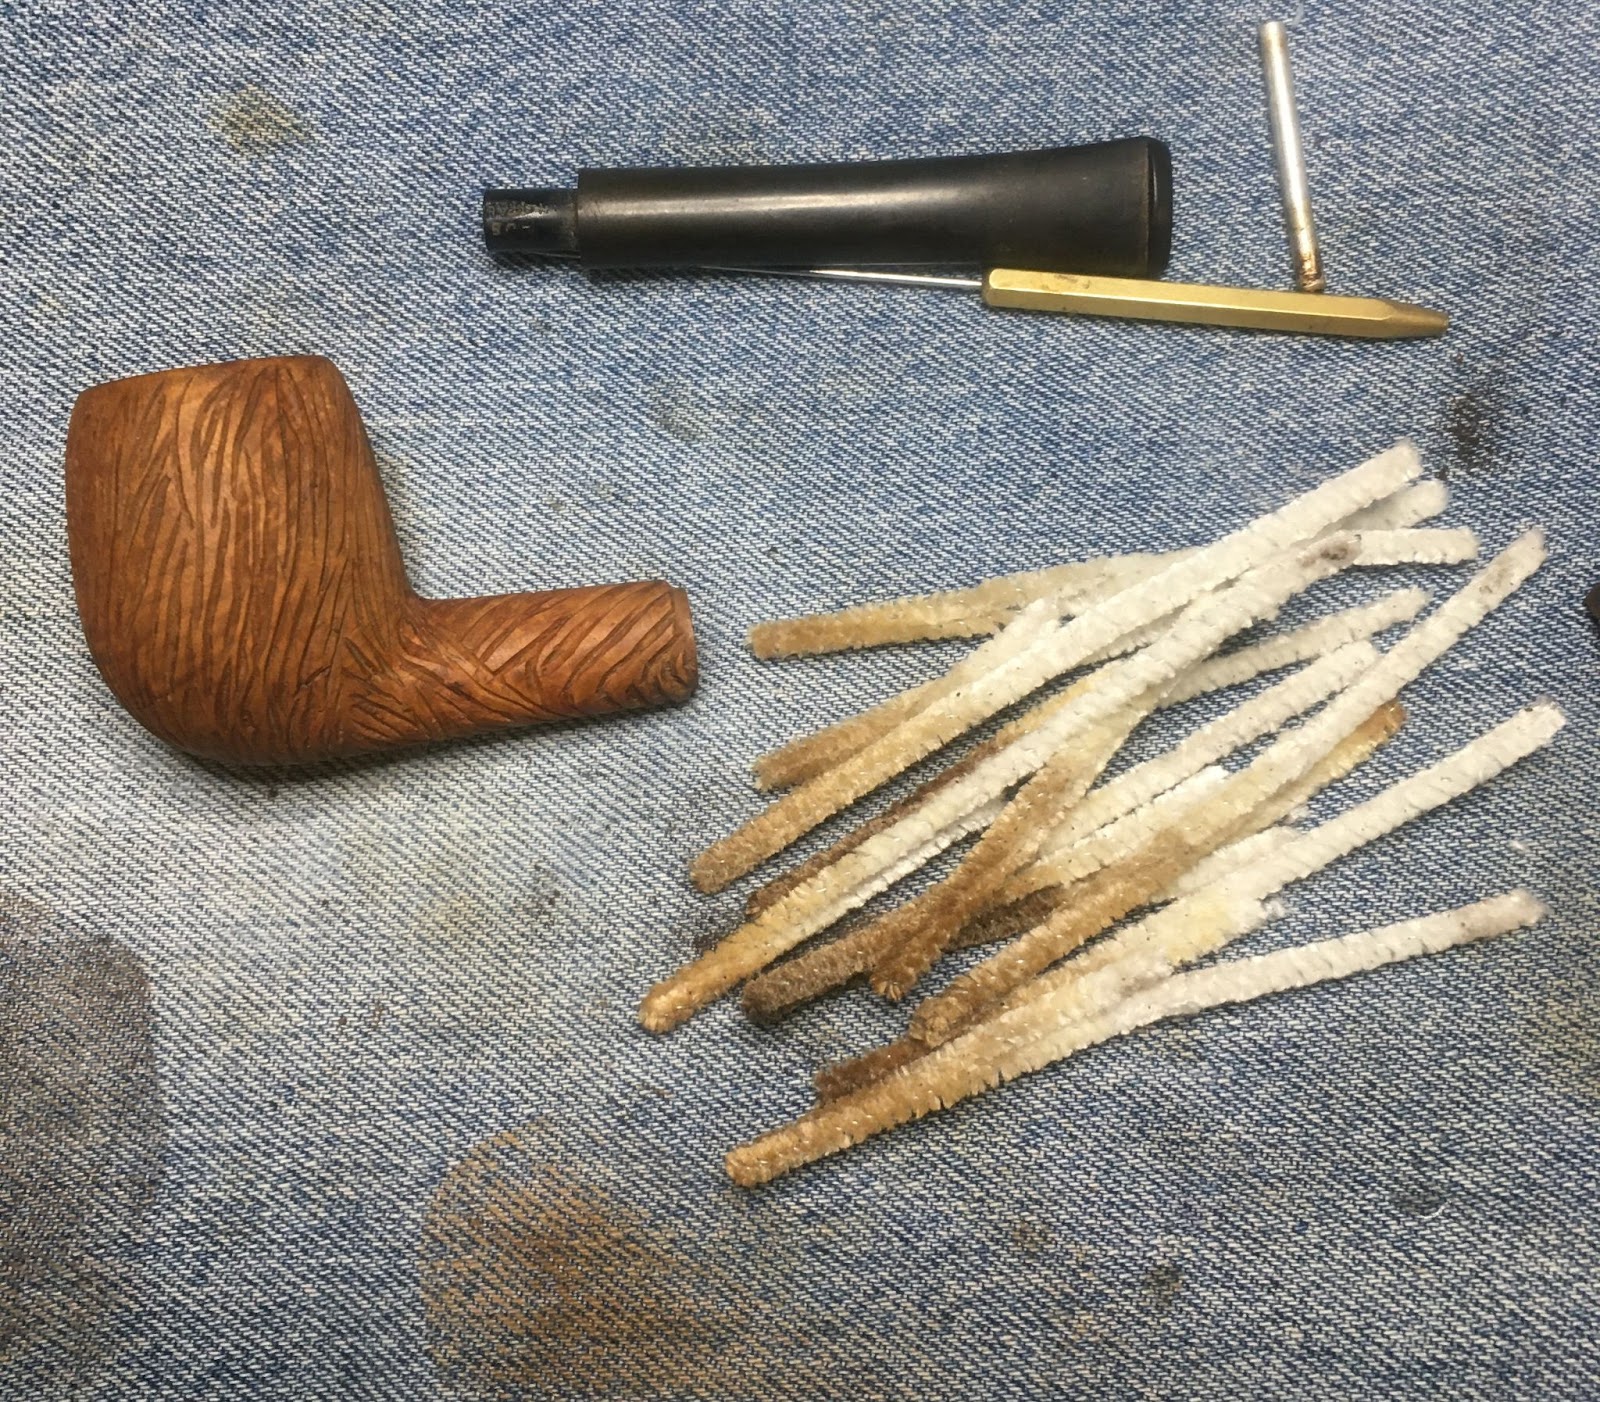
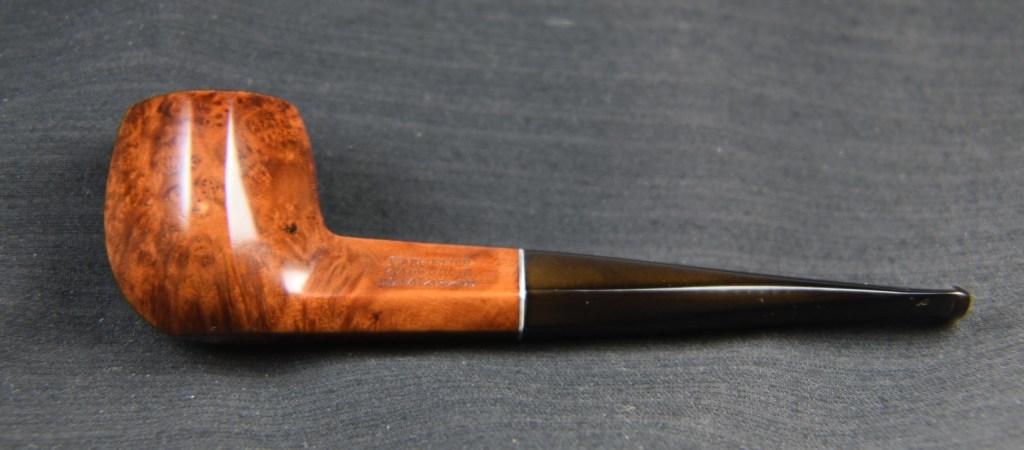
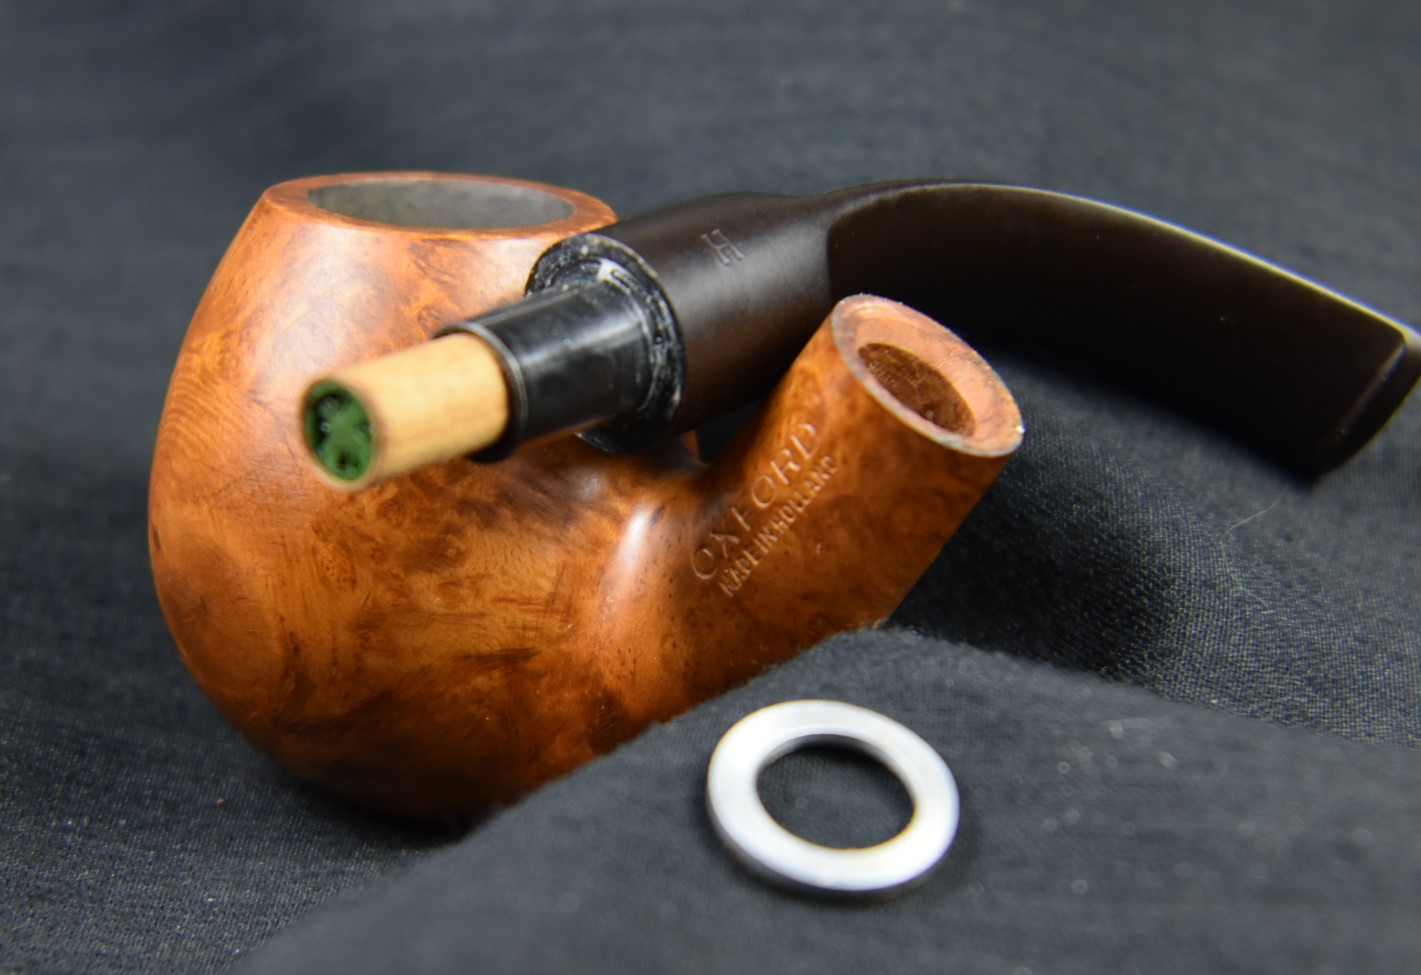
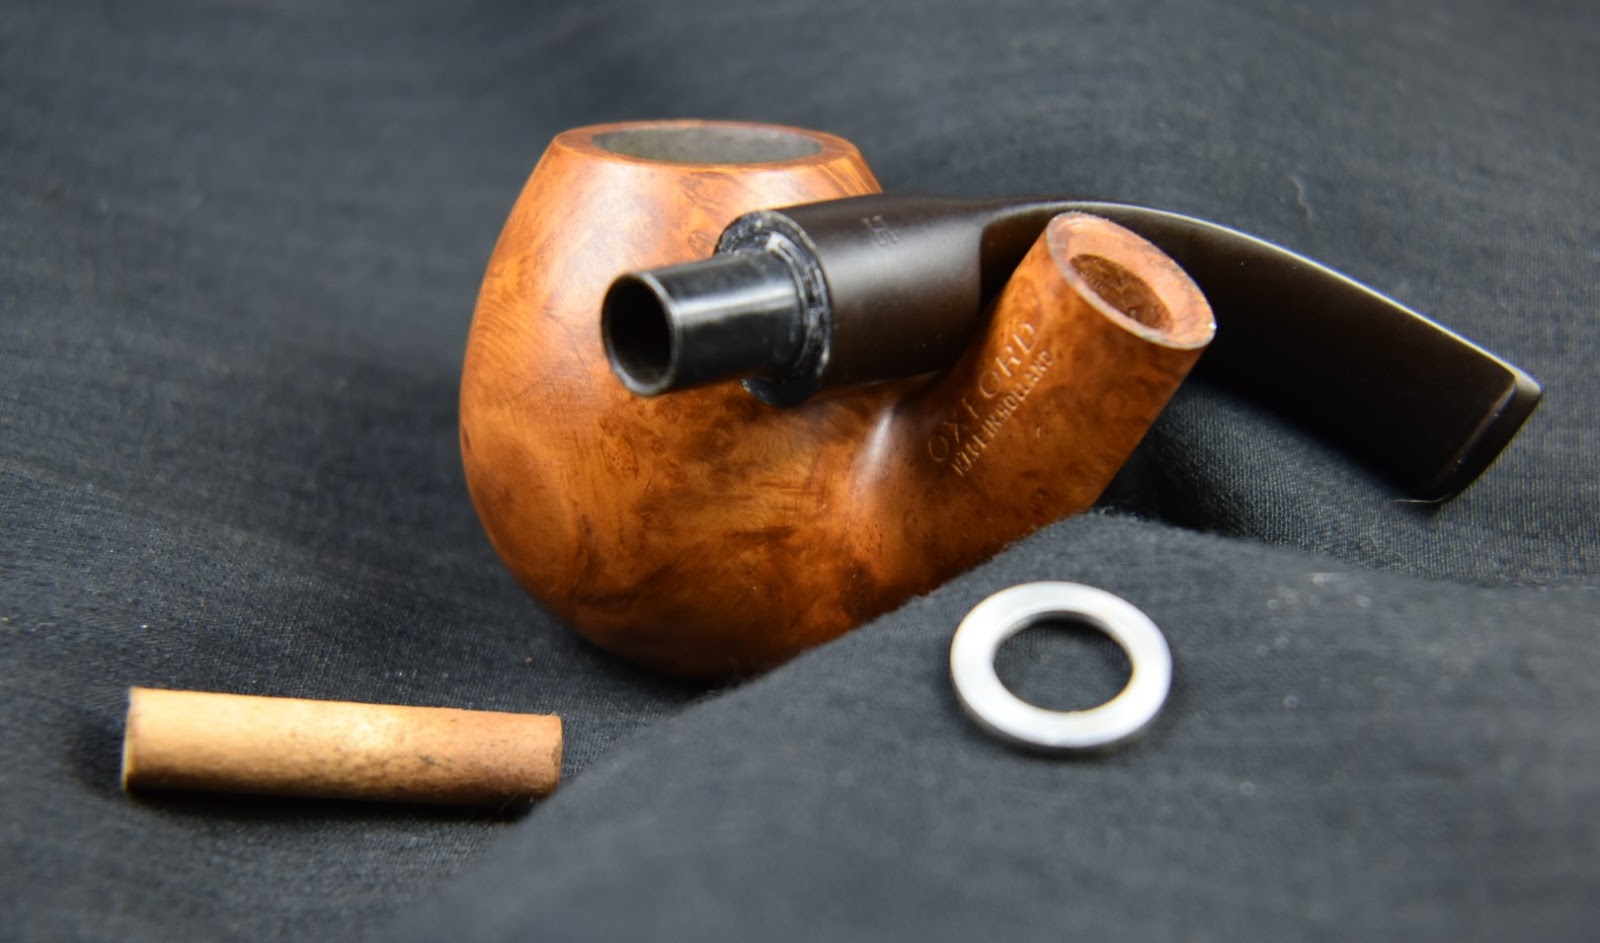
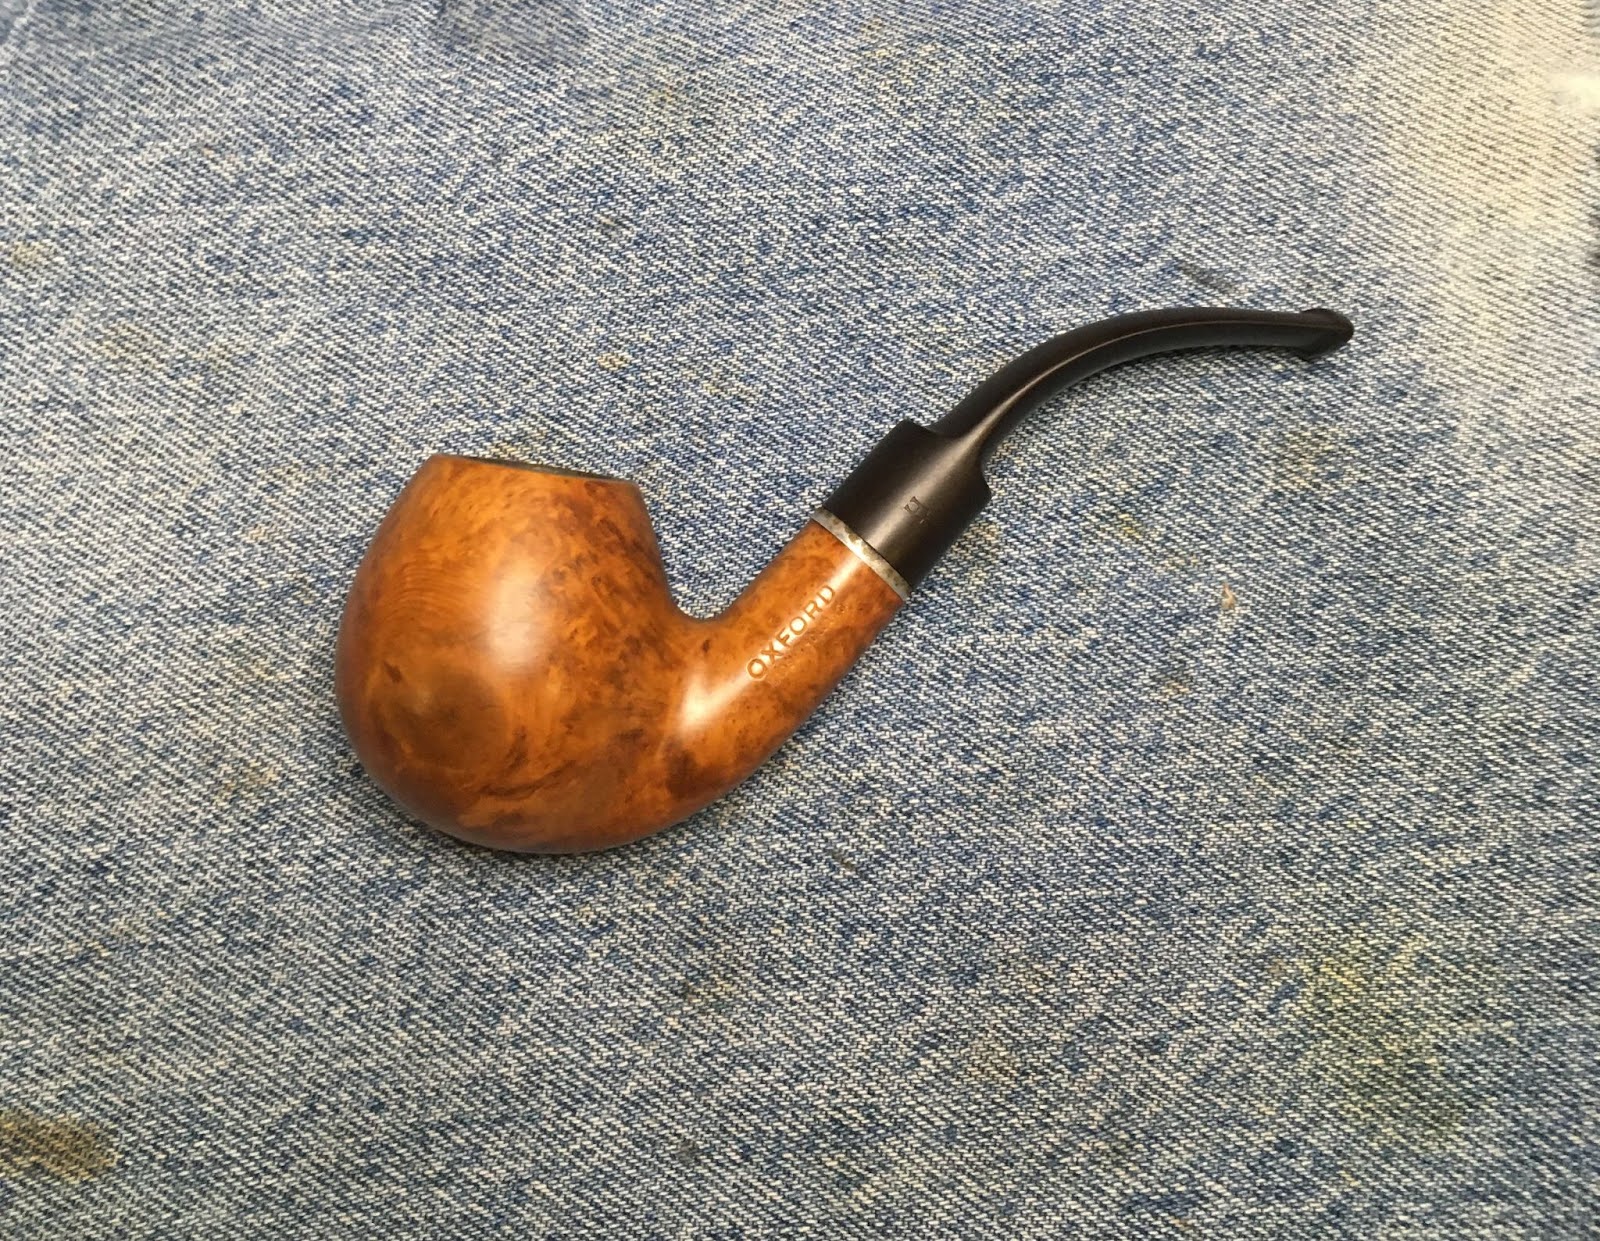
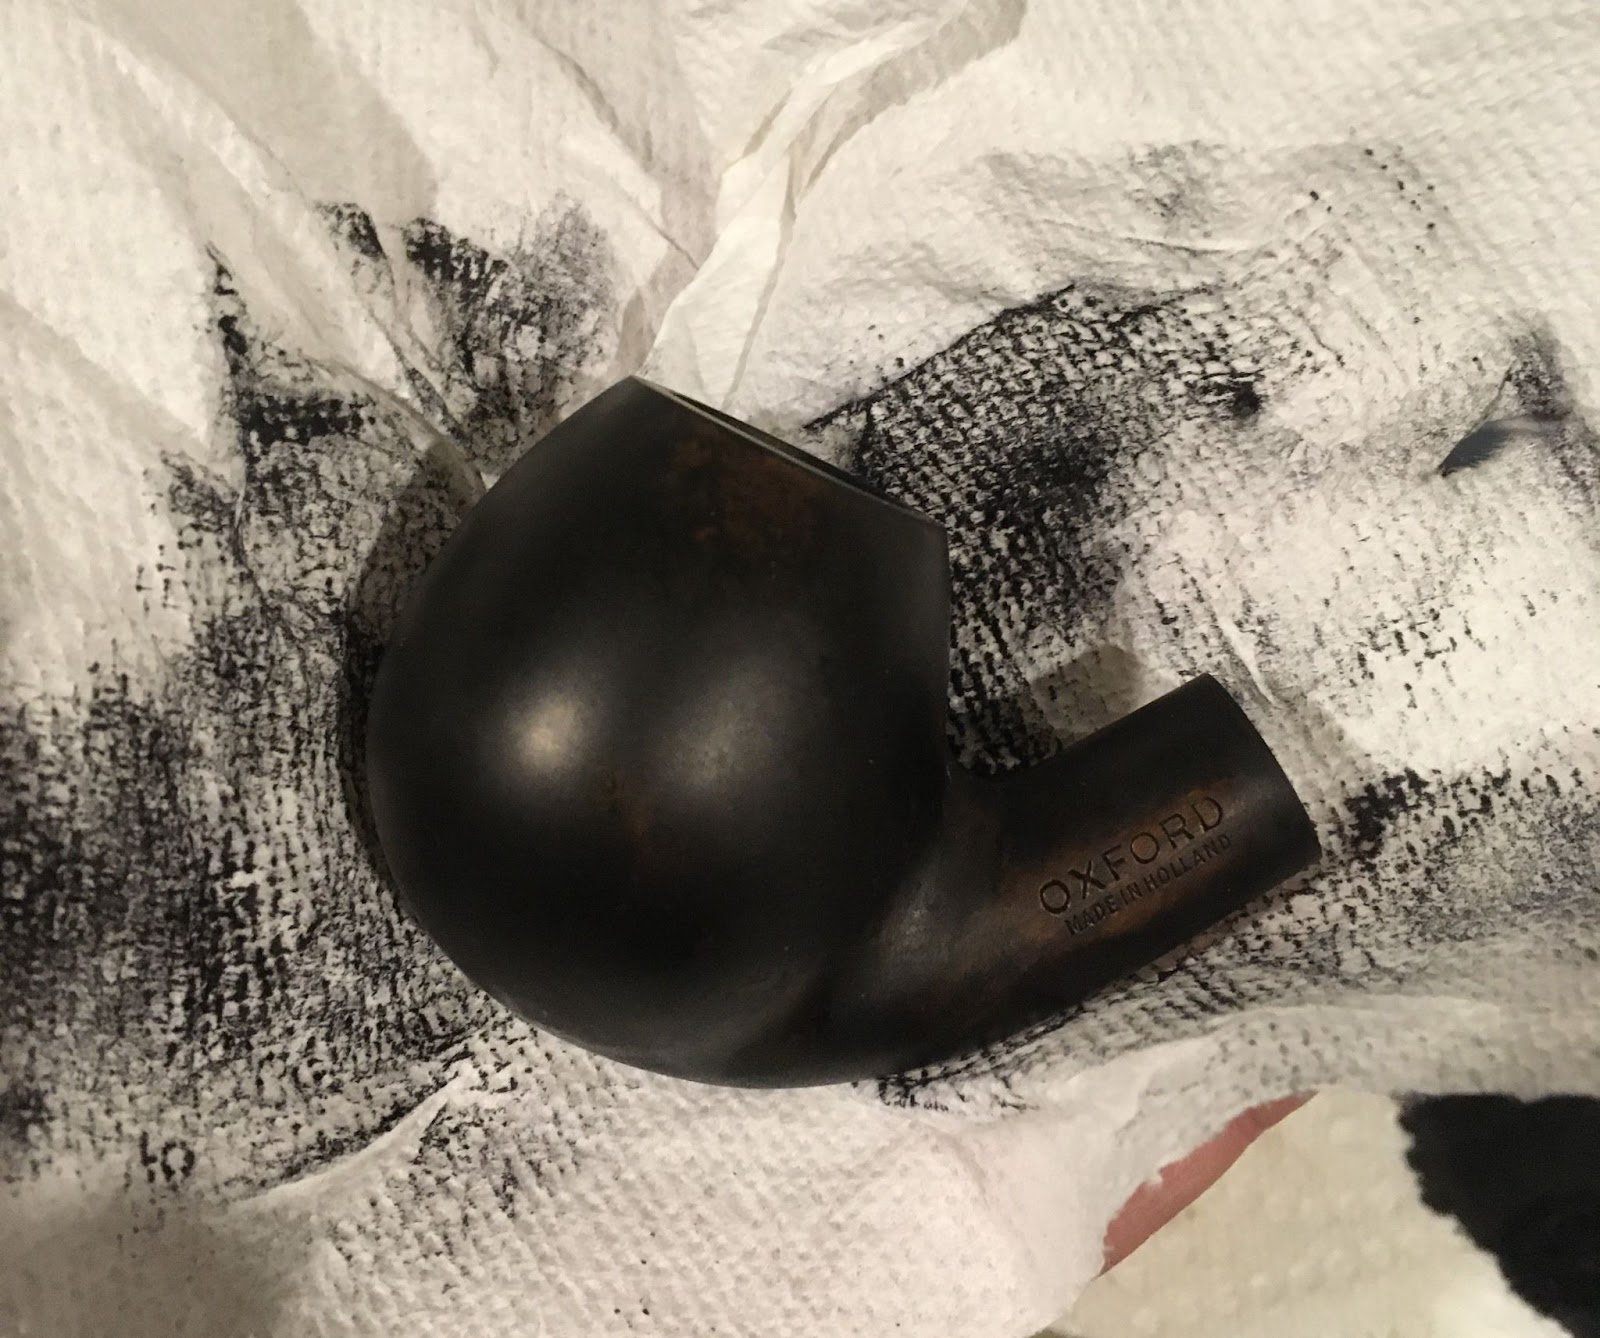
Okay, what are we looking at with this restoration?


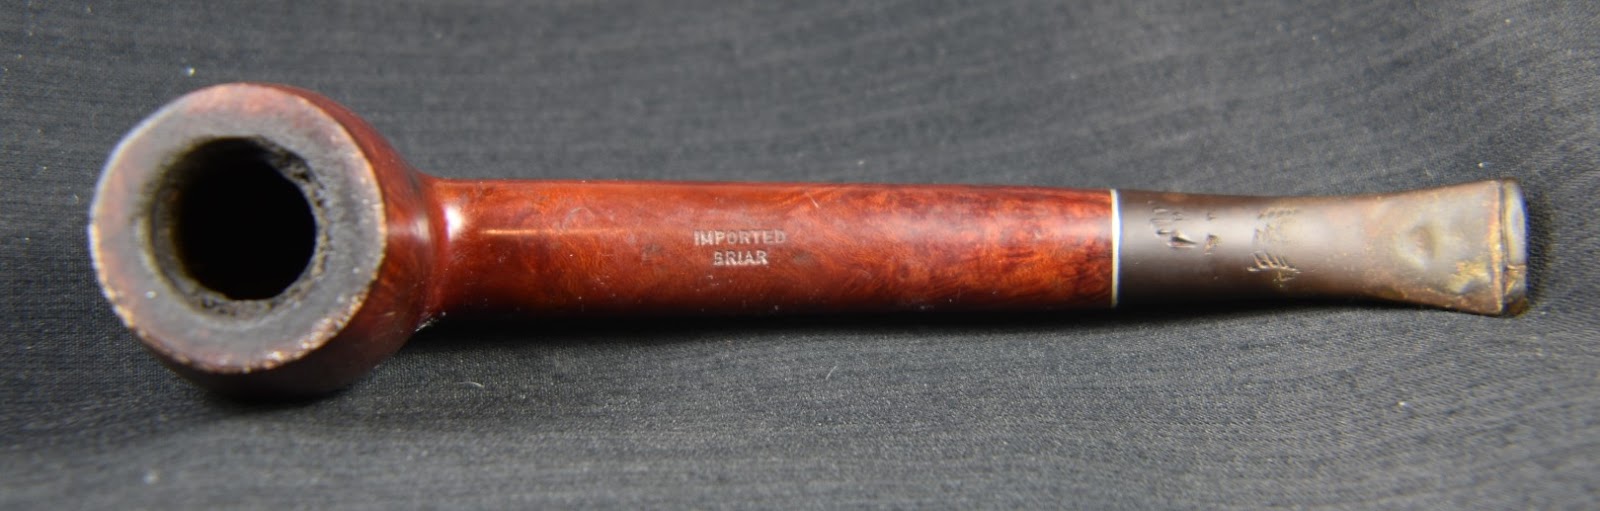


The Restoration
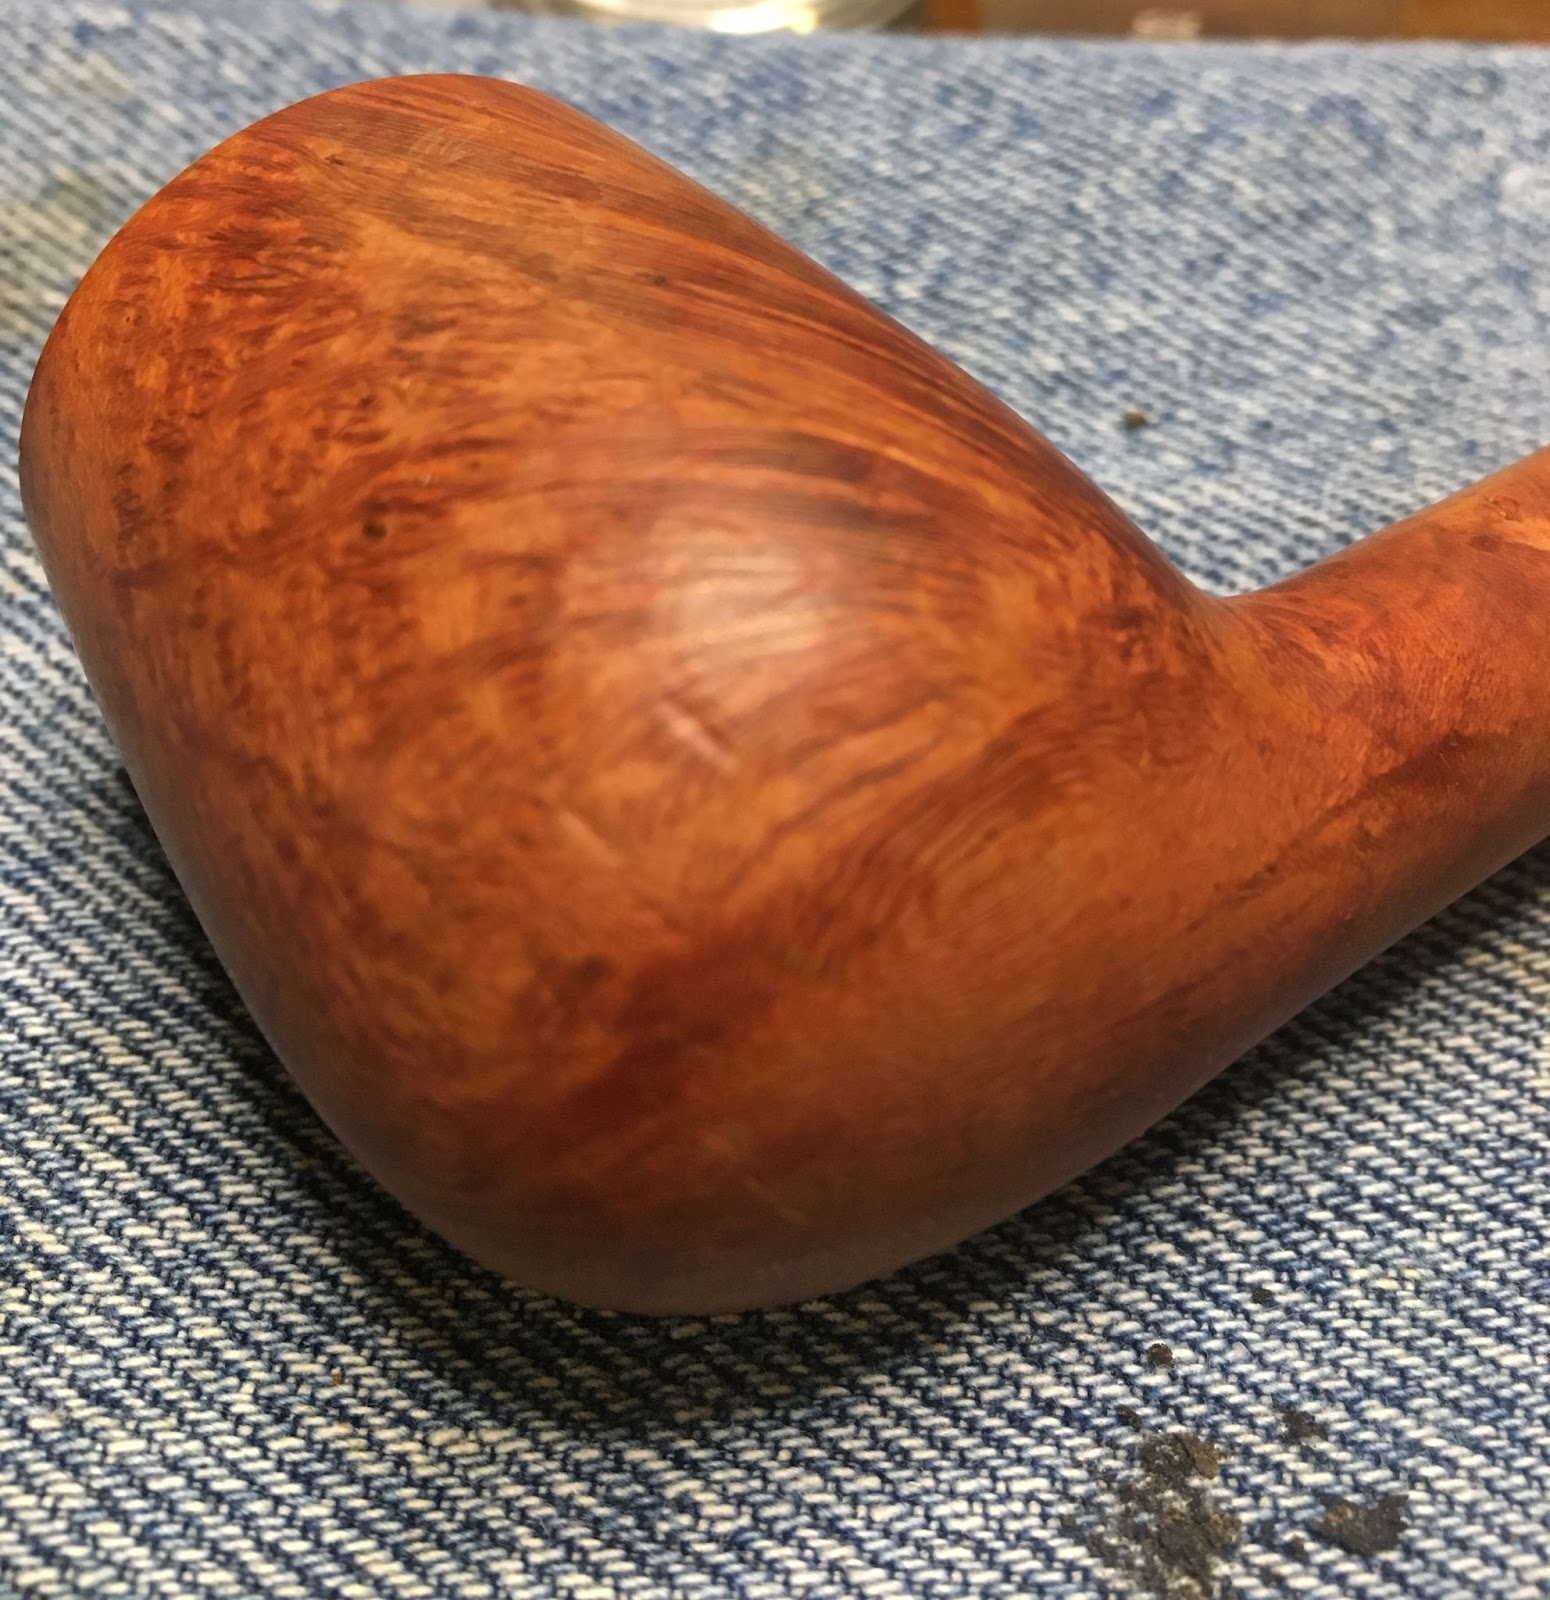
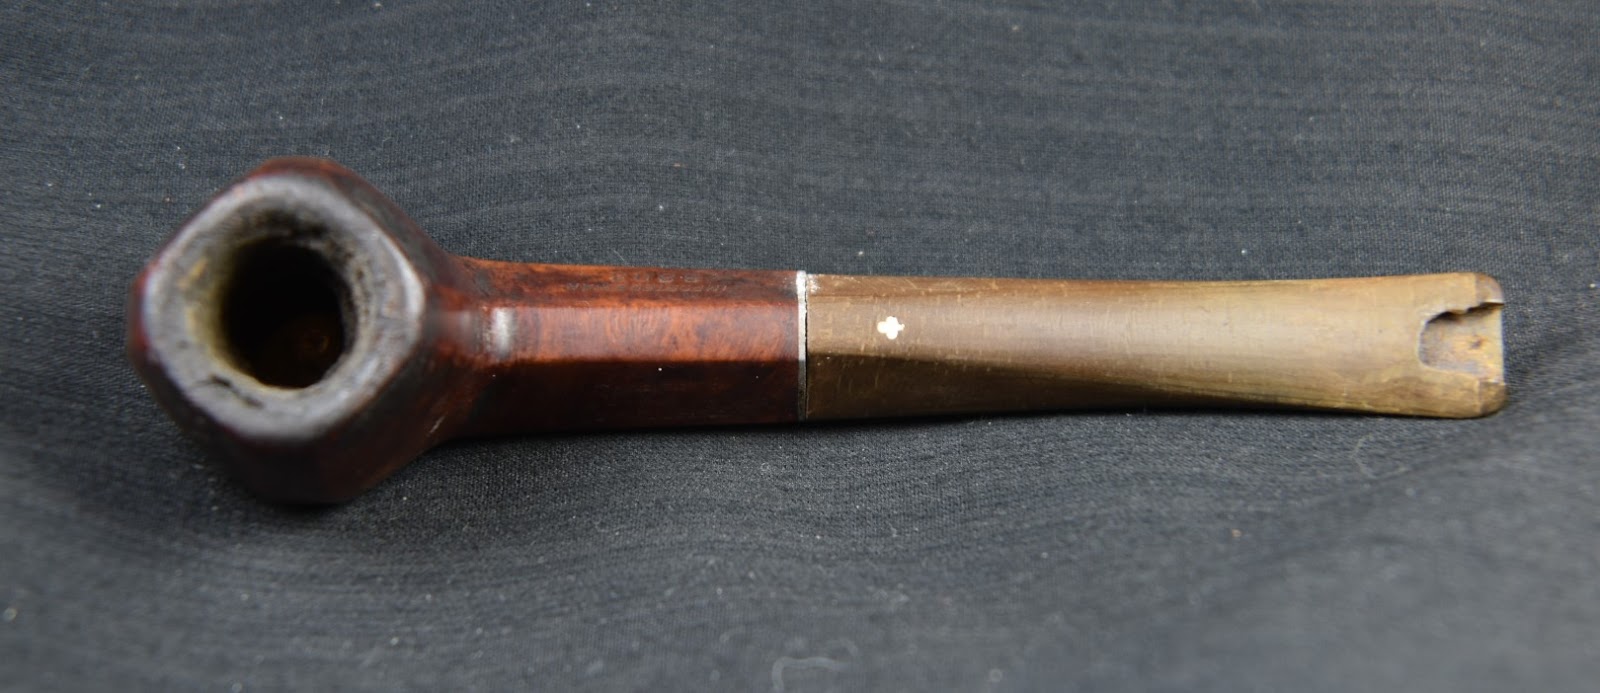
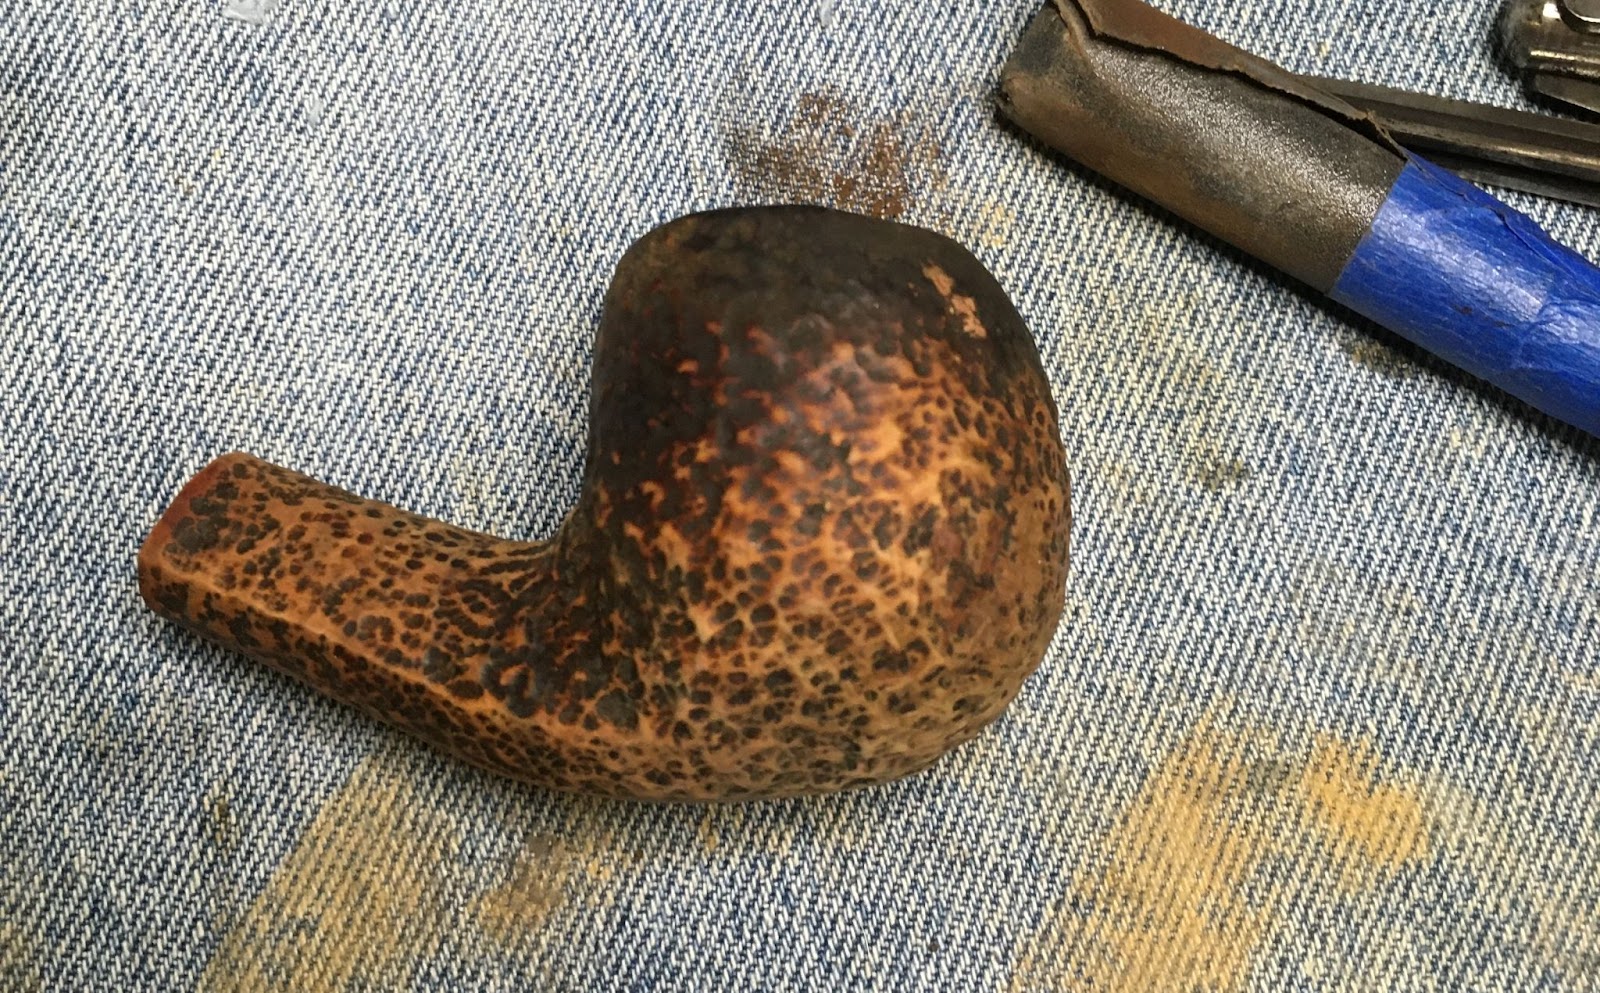
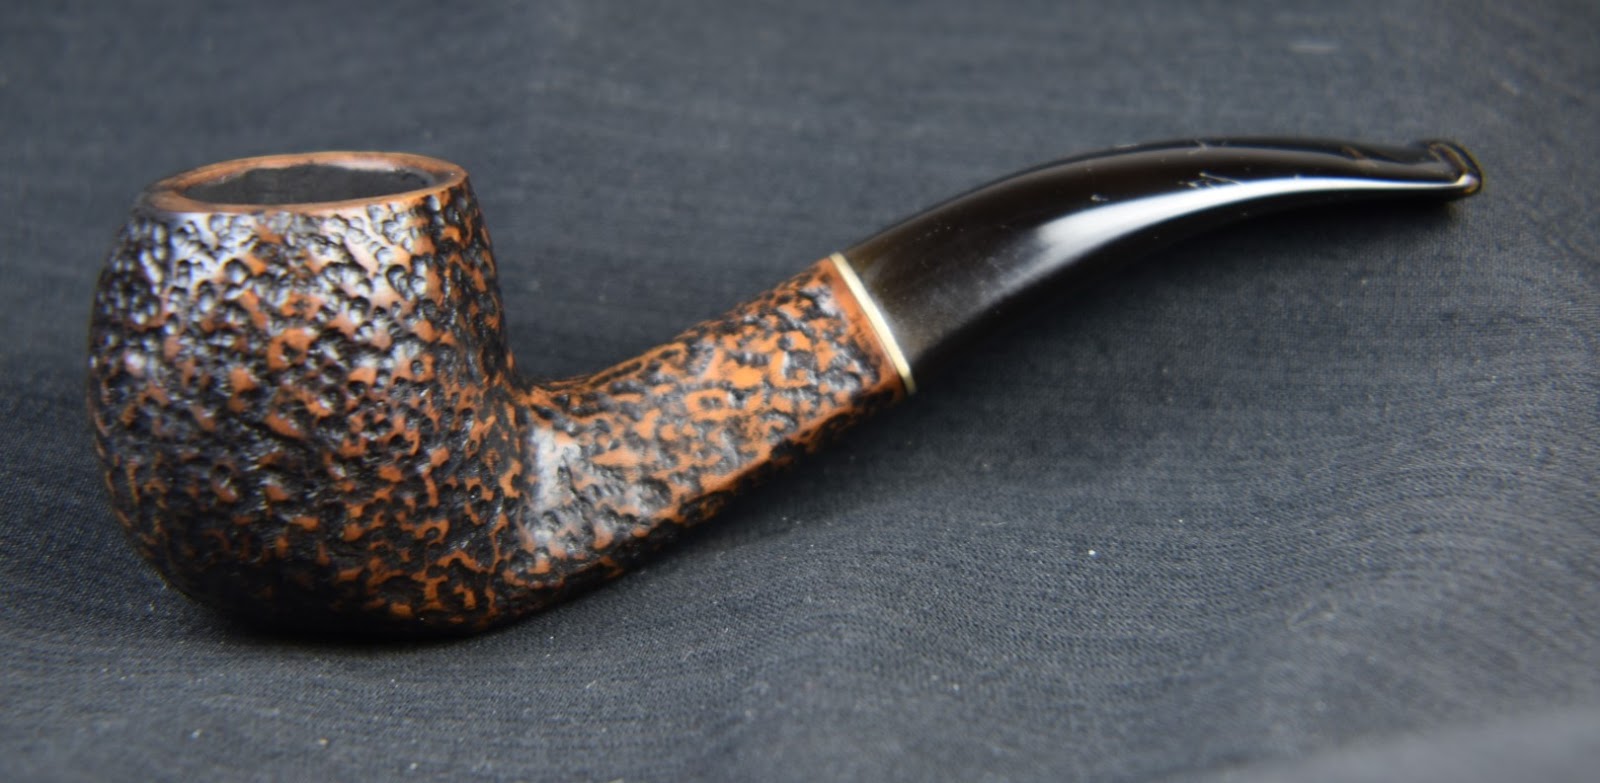
Perhaps it is for the best that little information can be gleaned from the stamping to the heritage of this pipe. All that background and history research would just keep me from addressing the things that need fixing with this pipe. First off there is a clear coat to eliminate. Then there is the standard reaming and cleaning, followed by repairing the damaged rim and stem. I think the briar would benefit from a contrast stain allowing for a highlight red to be accented by black. Stay tuned to see what happens.
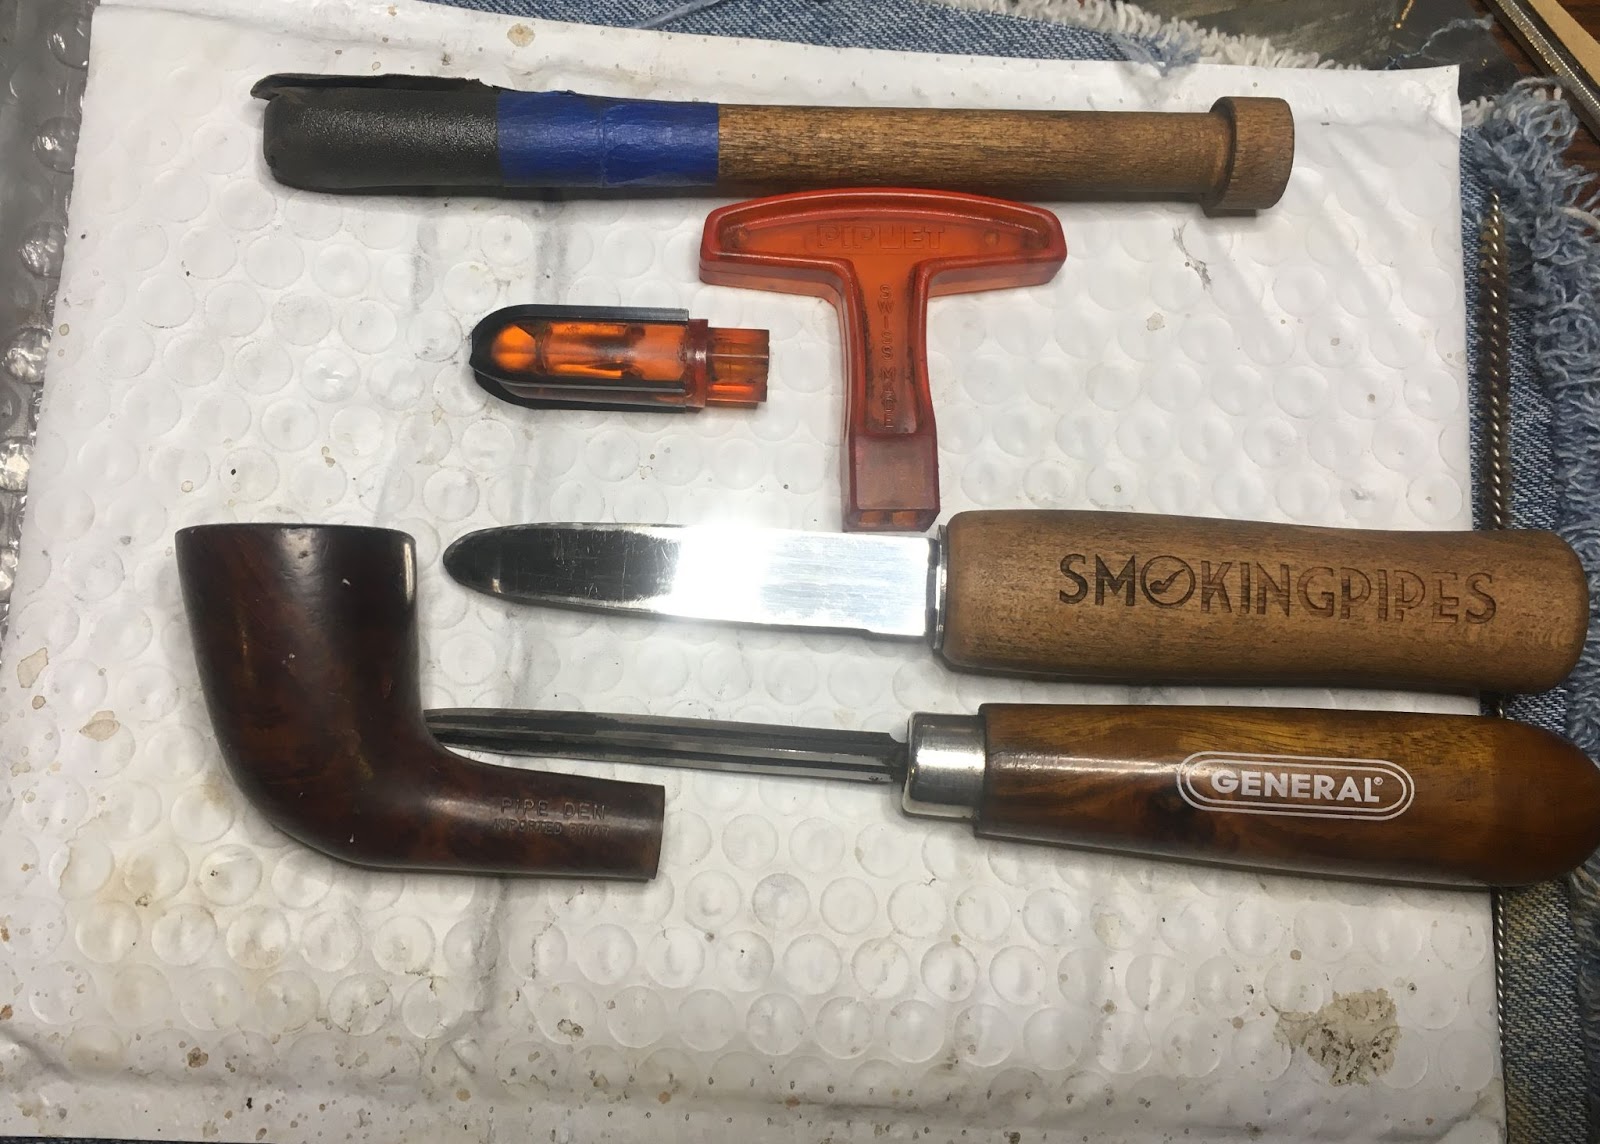
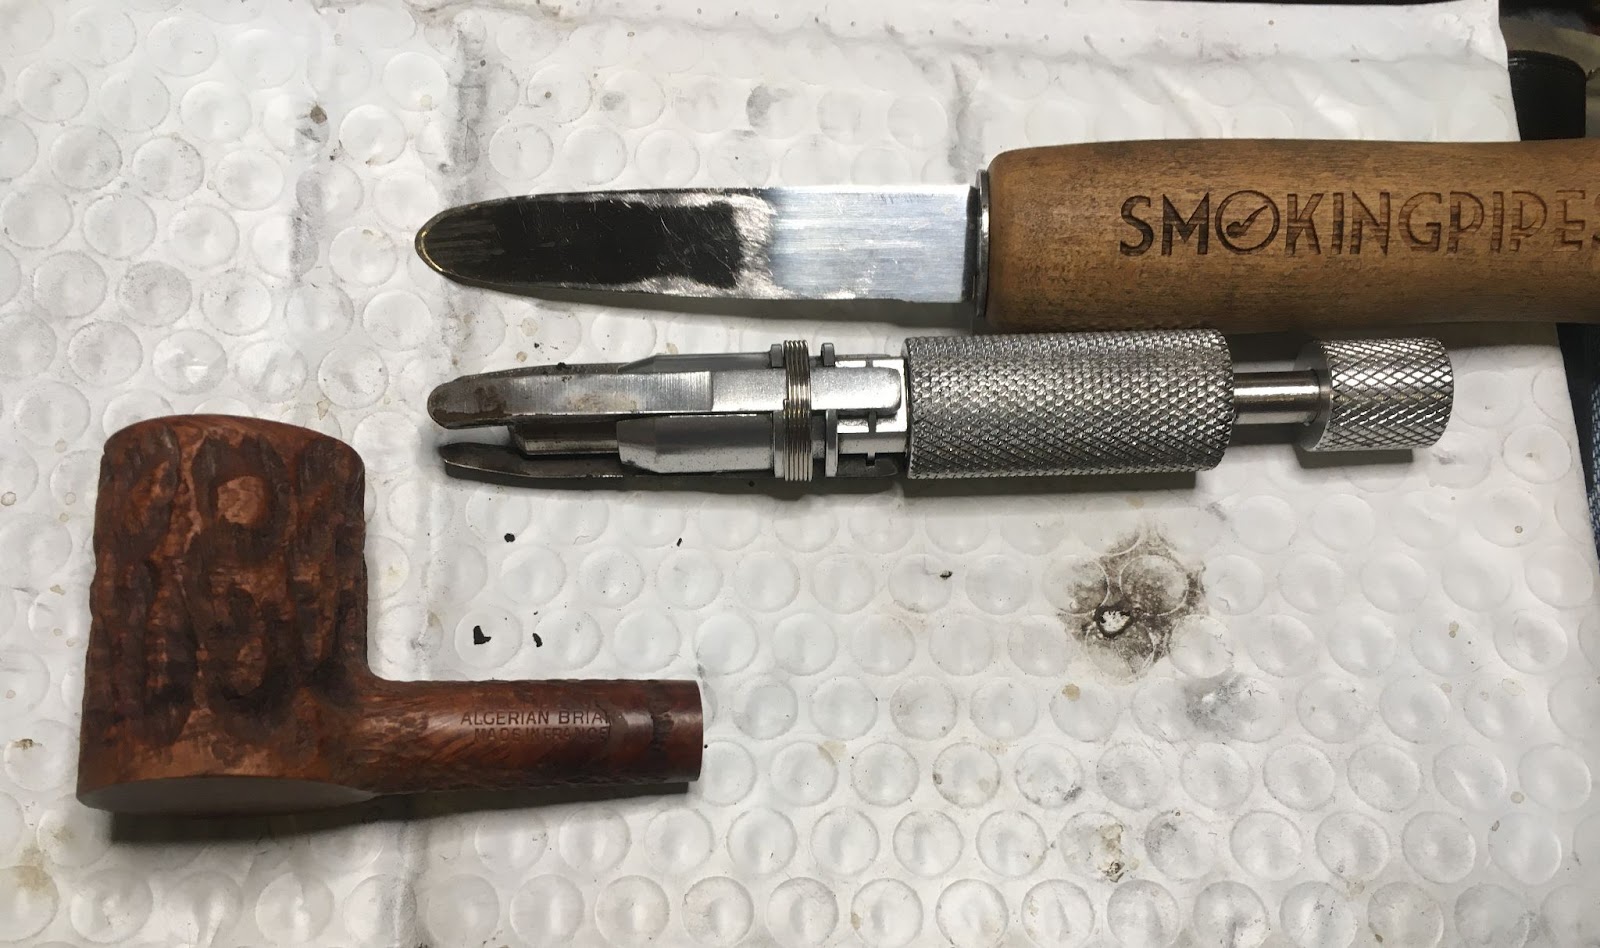
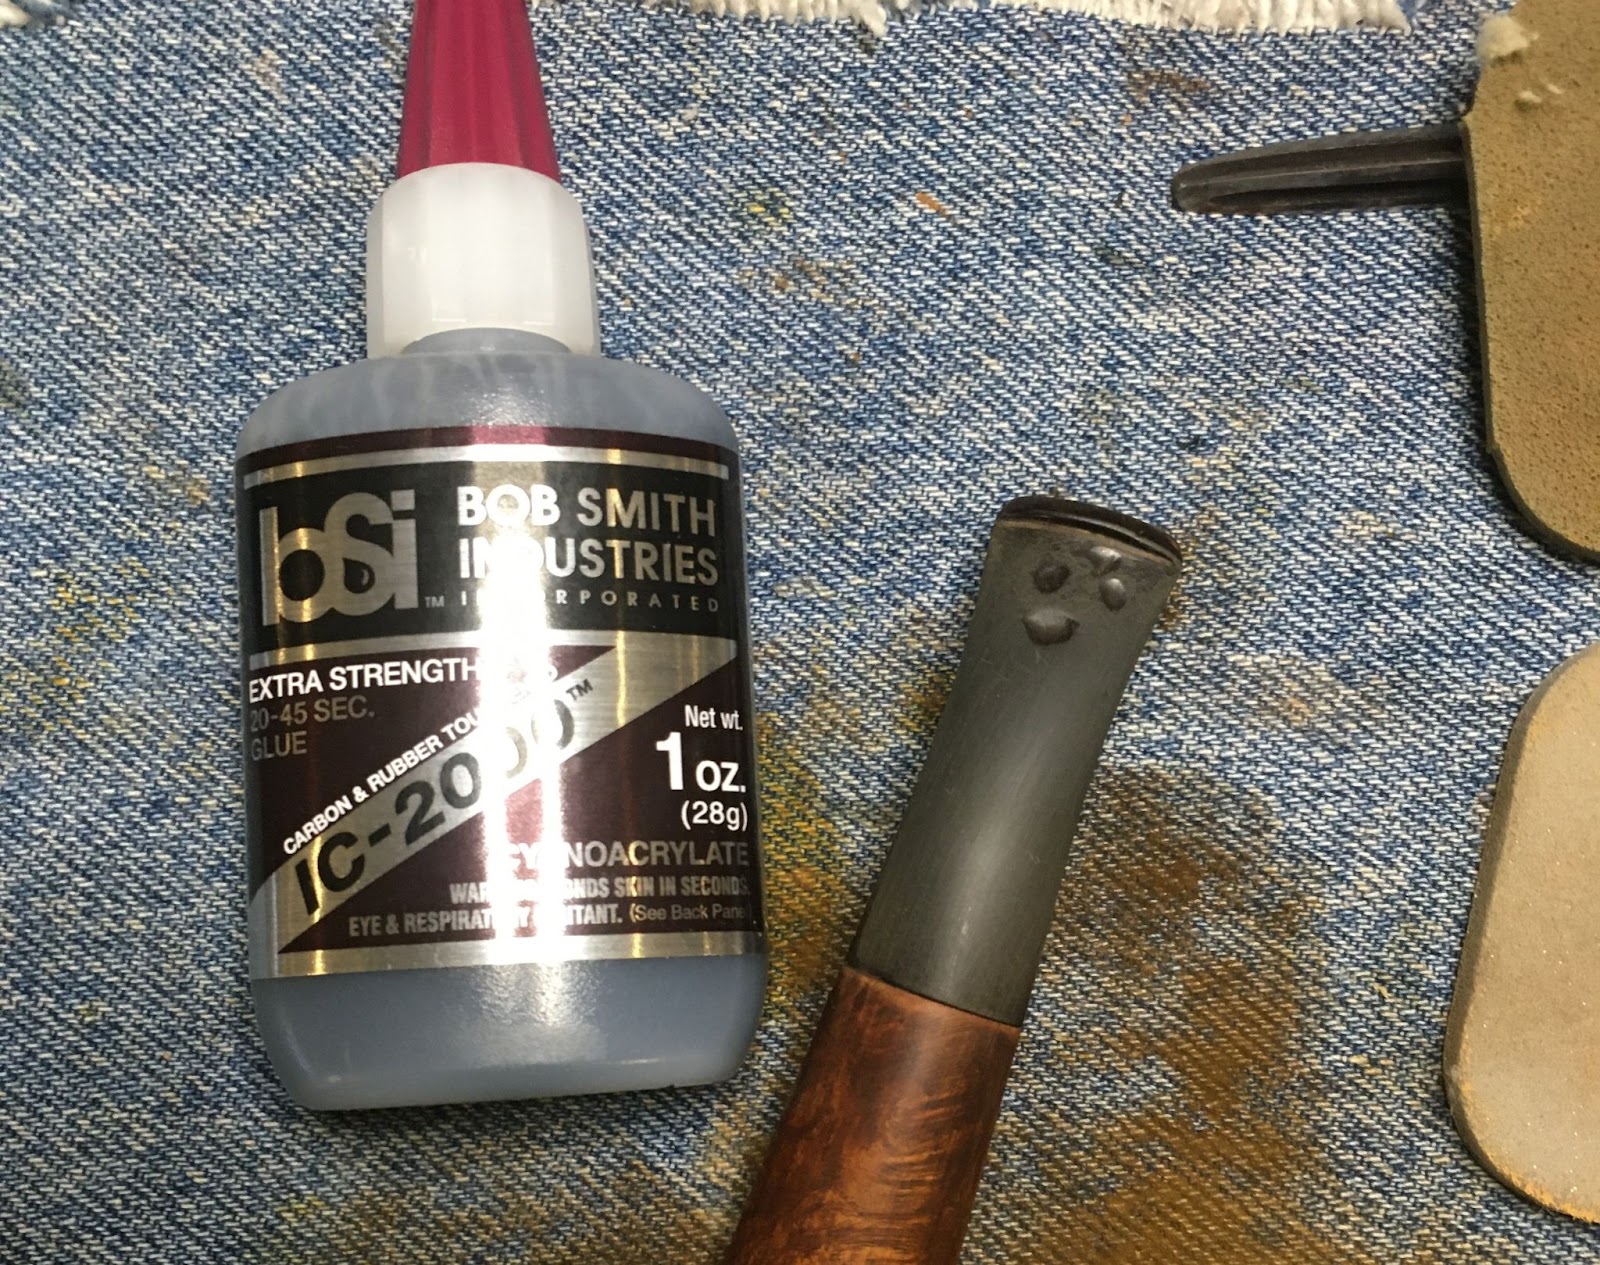
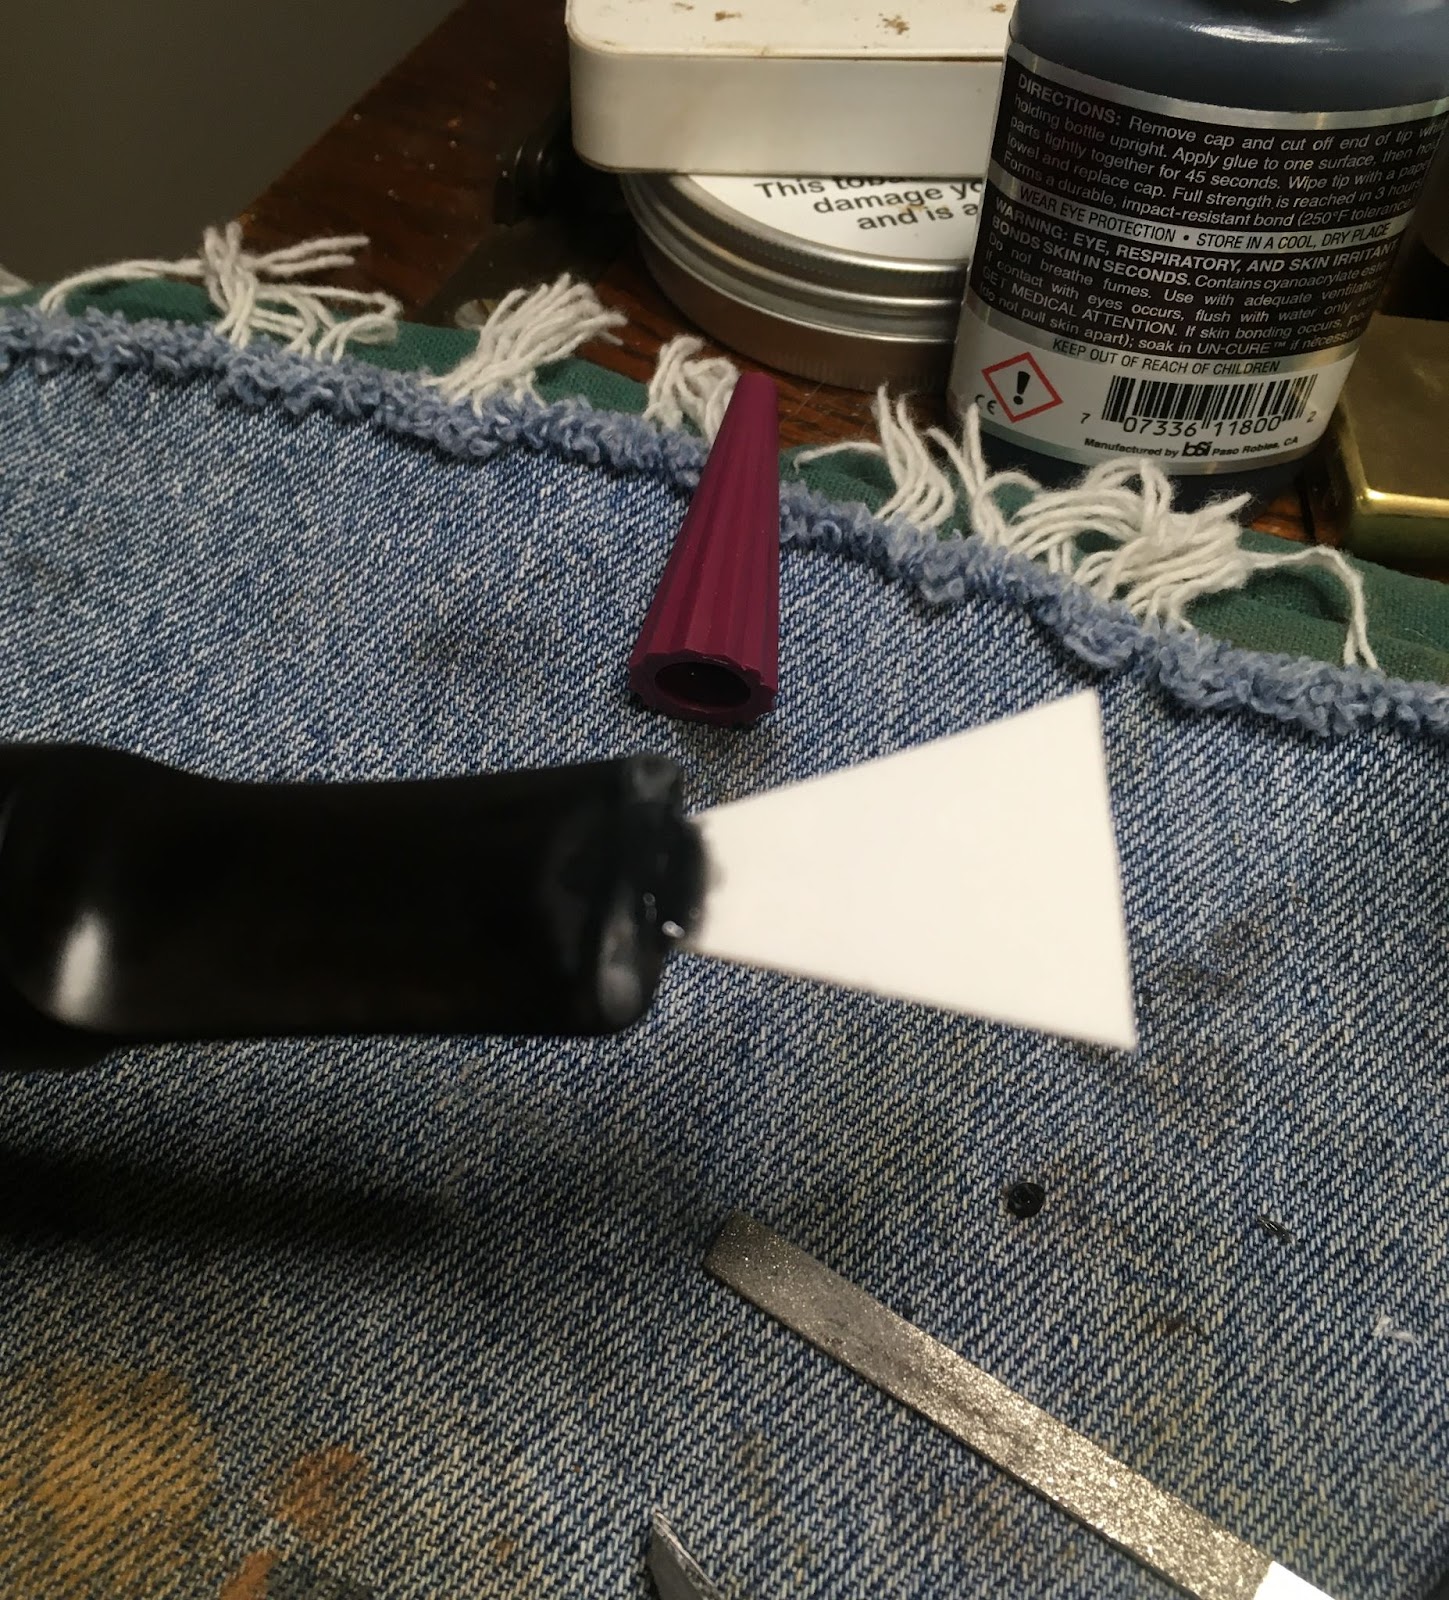
Of course I will begin with a clean denim piece protecting the work surface. Someday I will get around to stripping the finish from this old roll top desk that I use as a workbench. It has a shellac finish that does not agree with spilled alcohol or acetone. A polyurethane would make more sense but it was my grandfather’s desk and I don’t want to alter it too much.
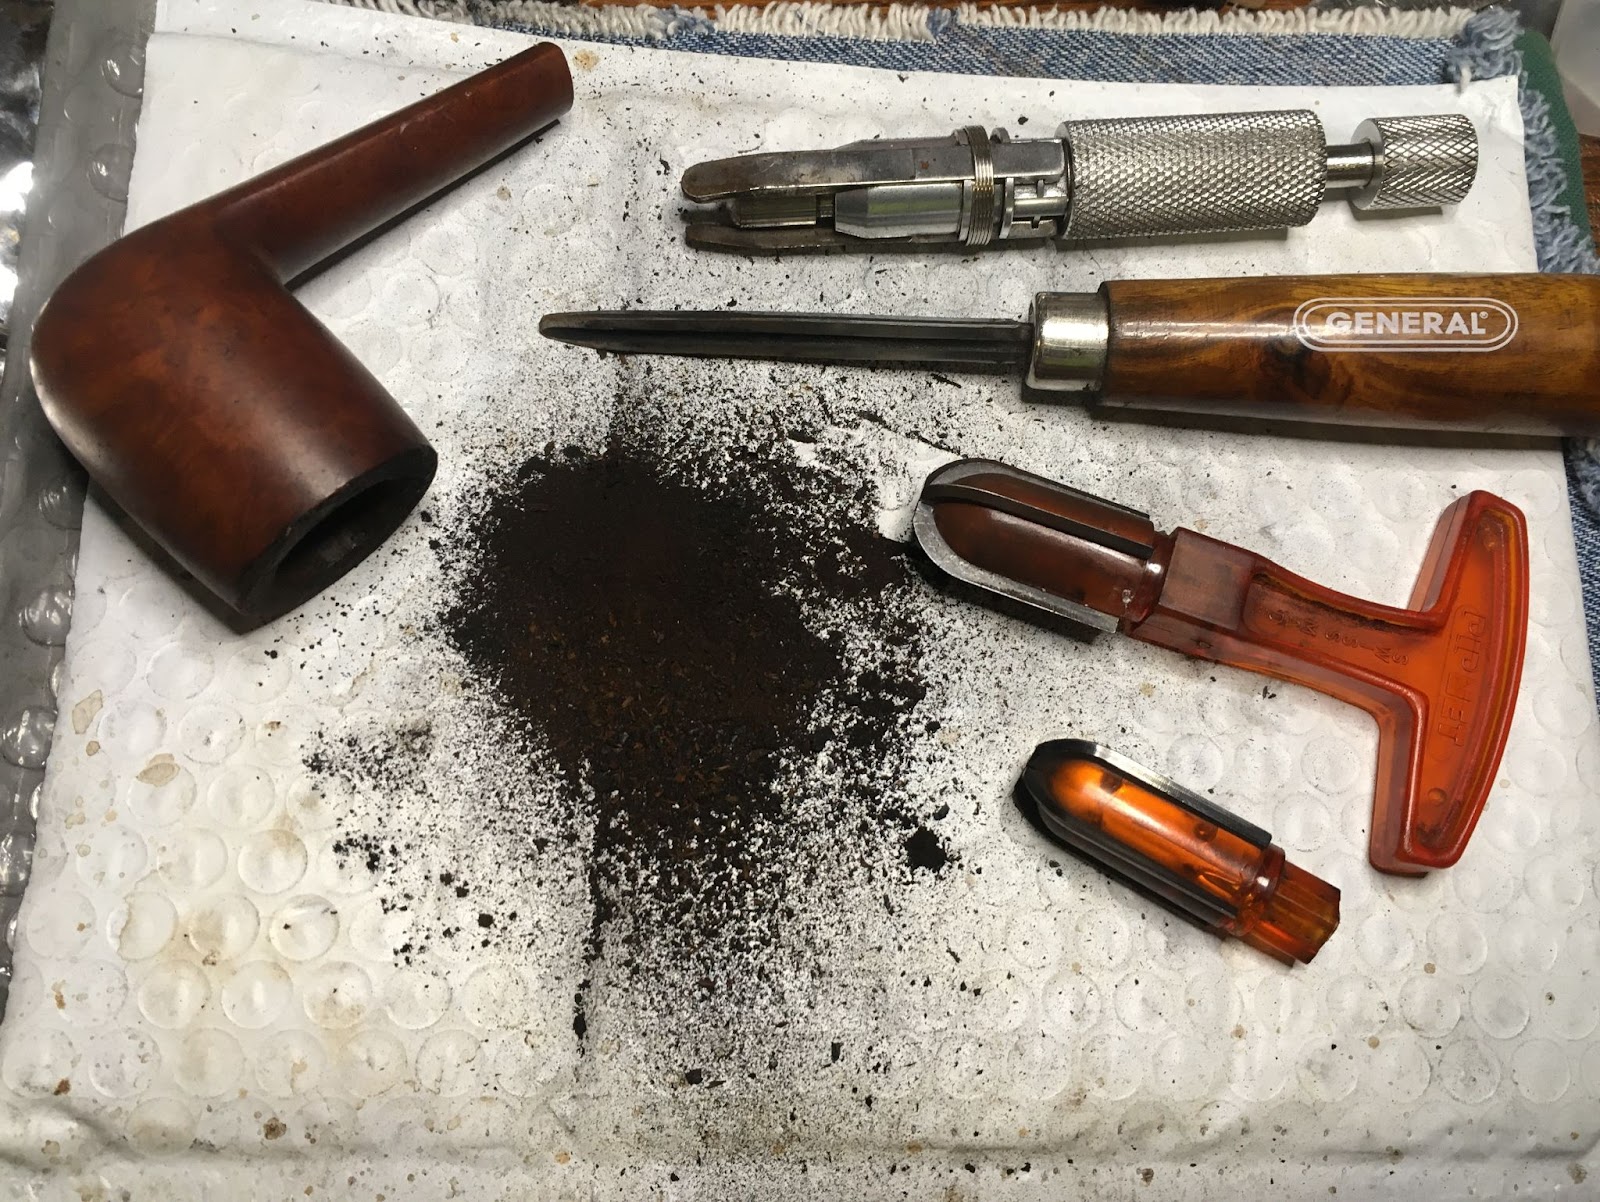
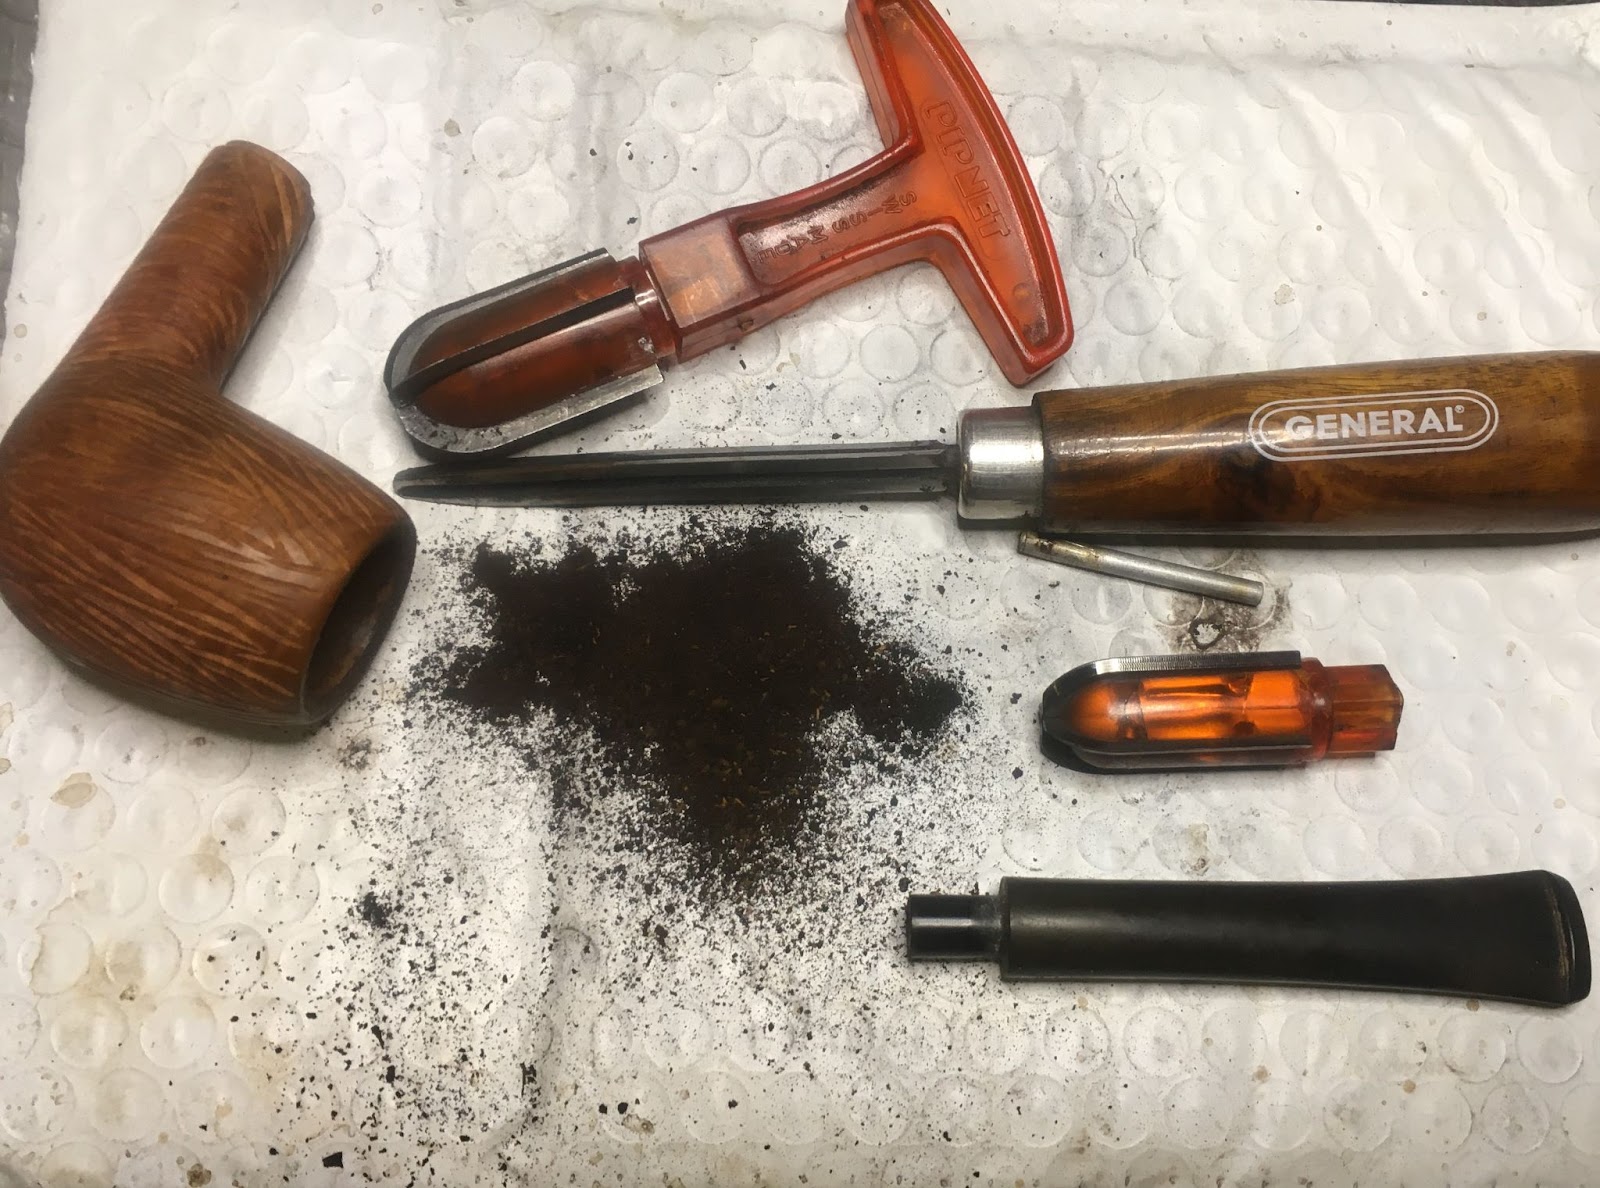
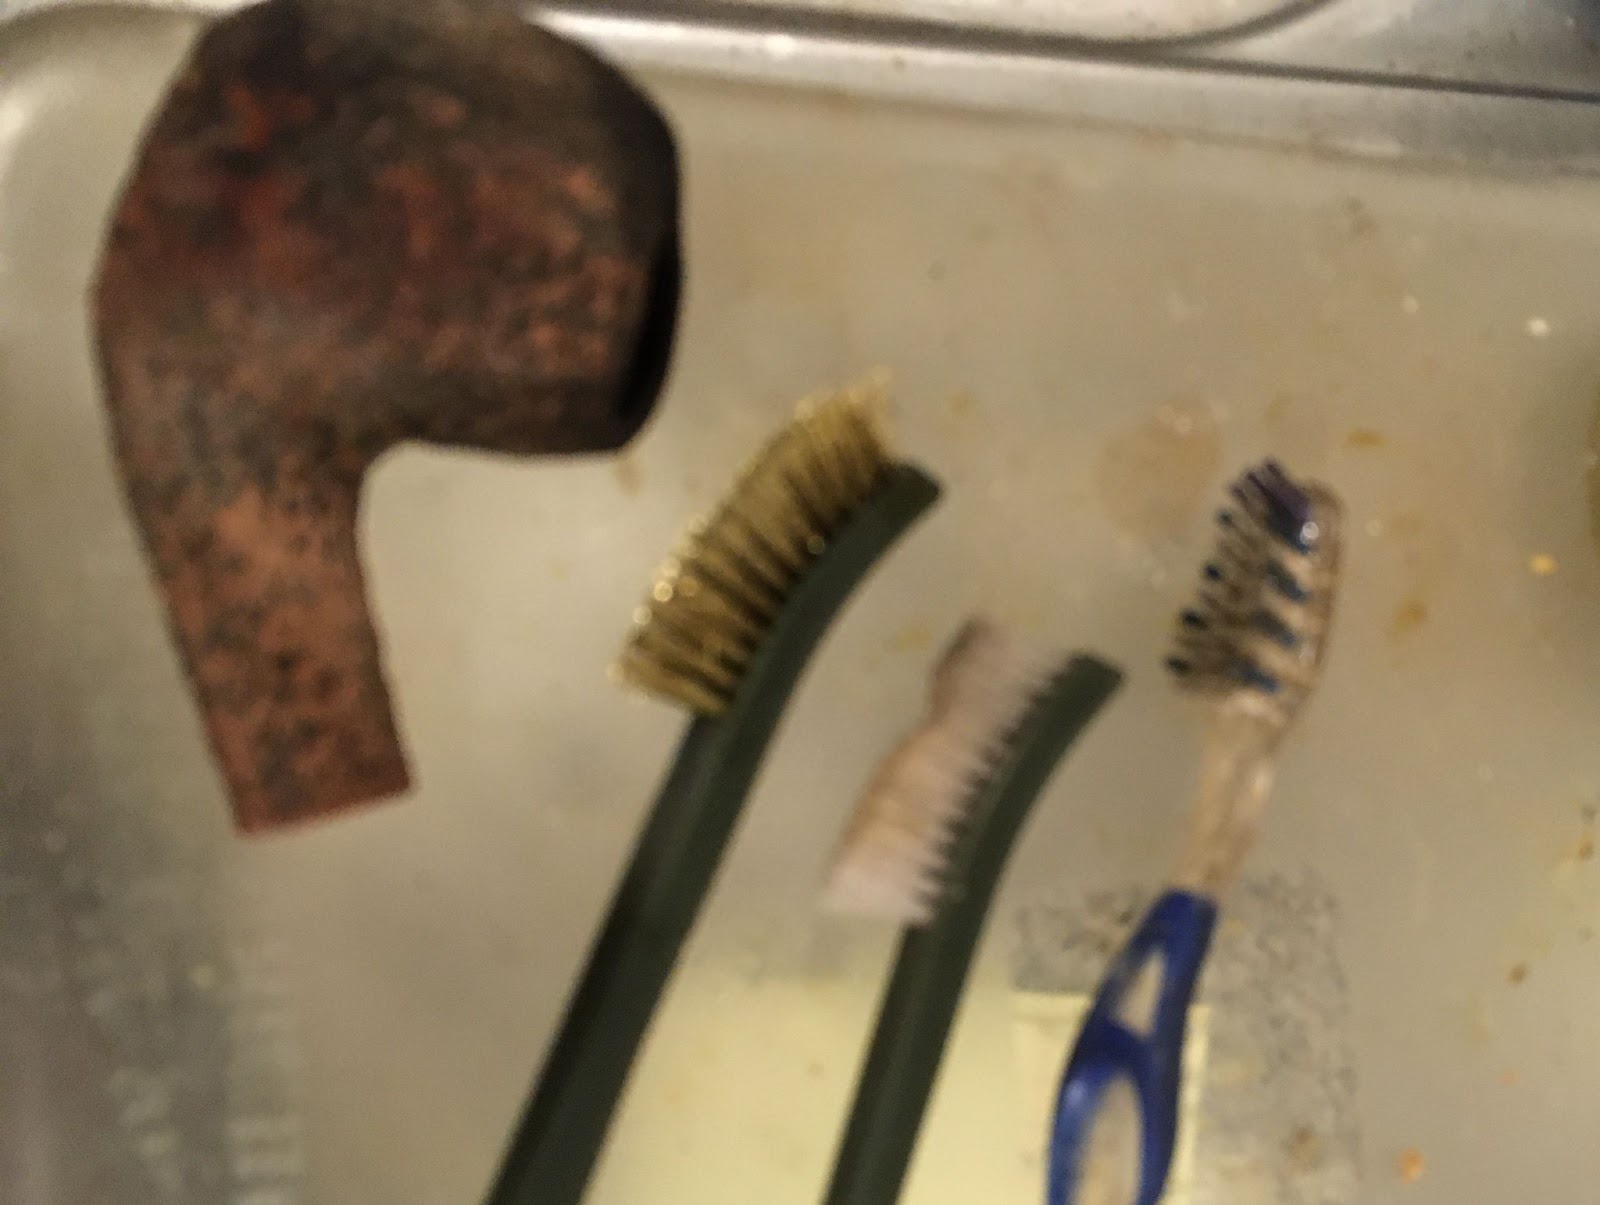
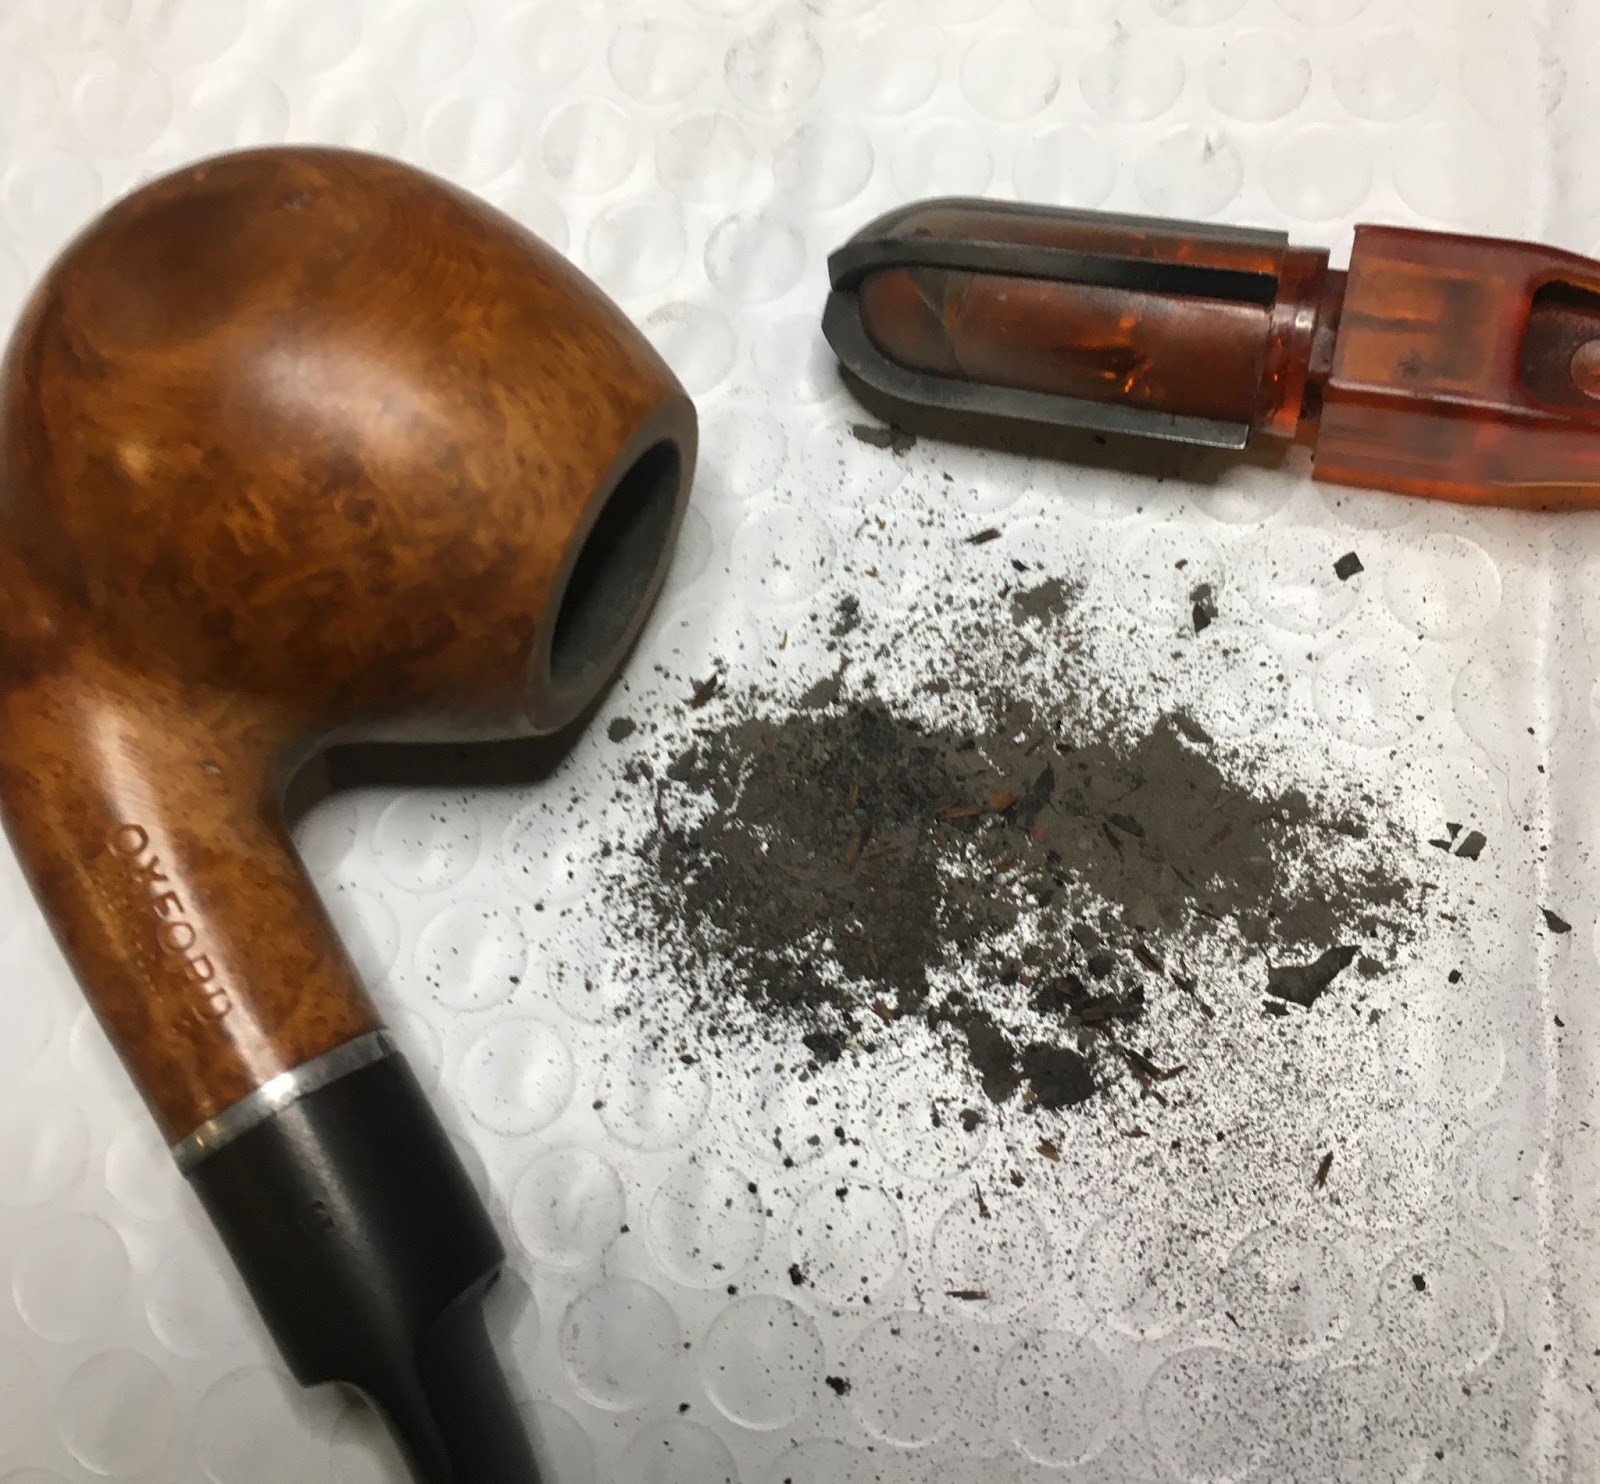
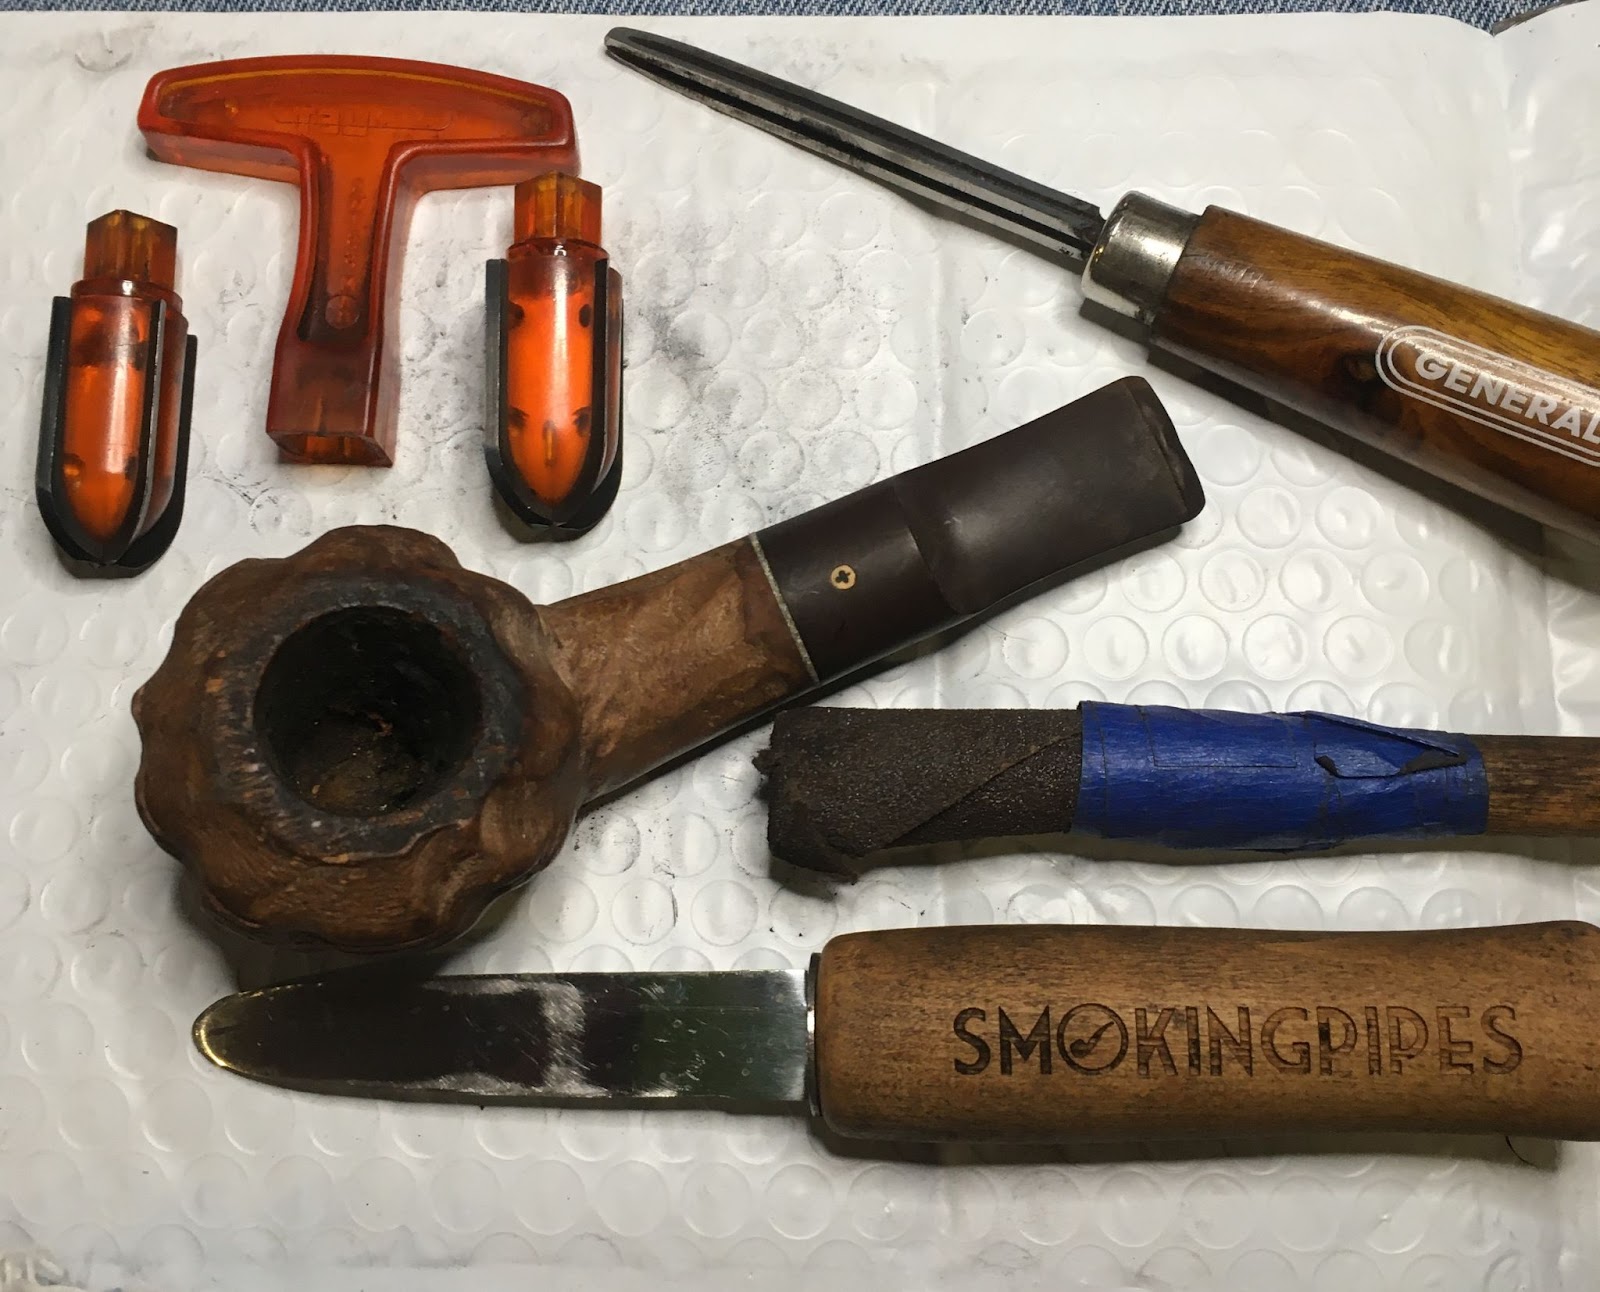
I worked on reaming the tobacco chamber first. The PipNet with a #2 blades after I had scraped the hard dry cake a bit with the General triangular scraper. The problem was that the chamber had a diameter that was a touch too large for the #2 blades and too small for the #3 blades. This meant more scraping.


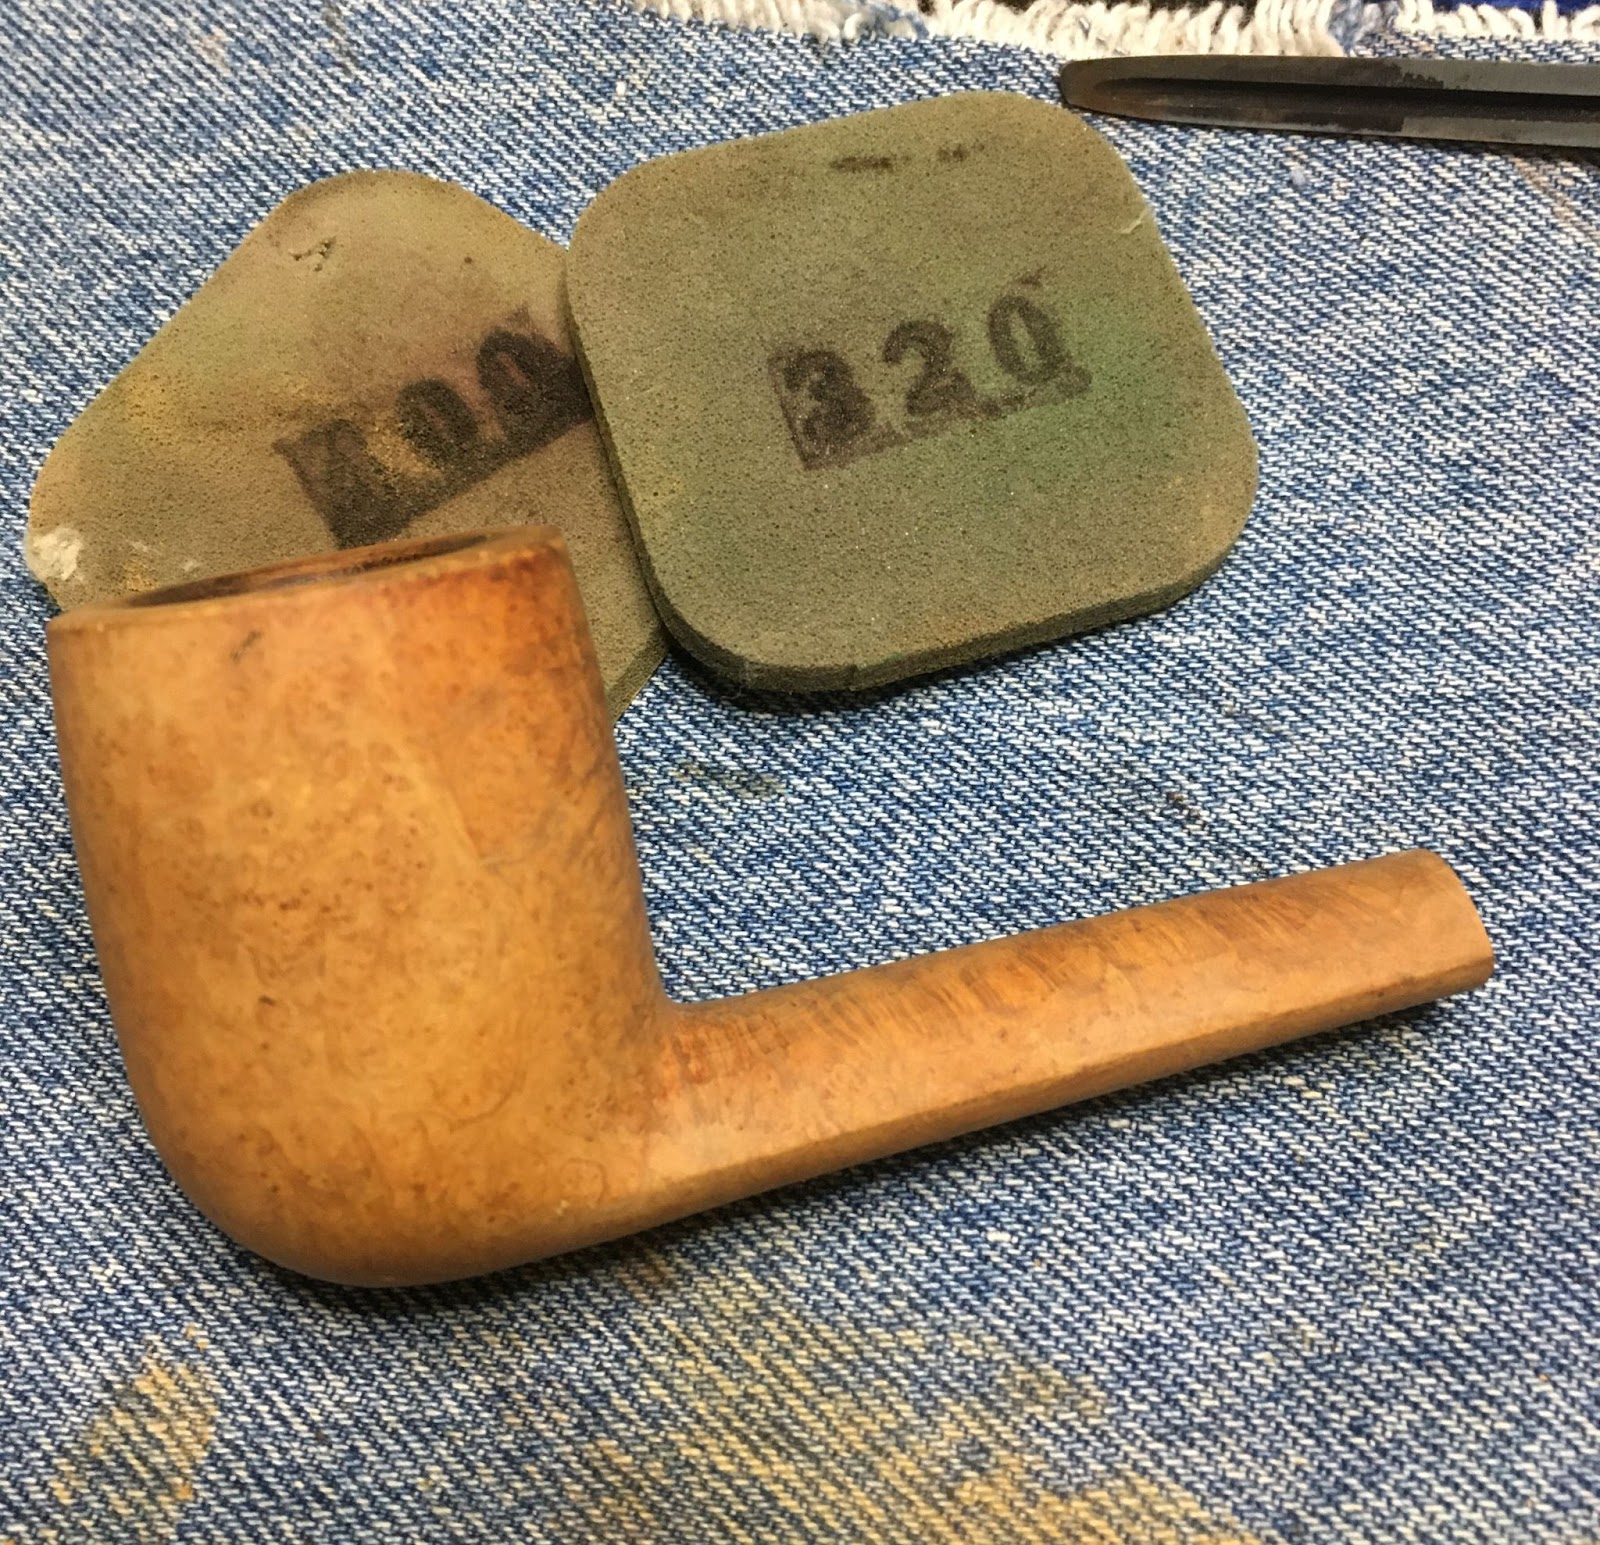
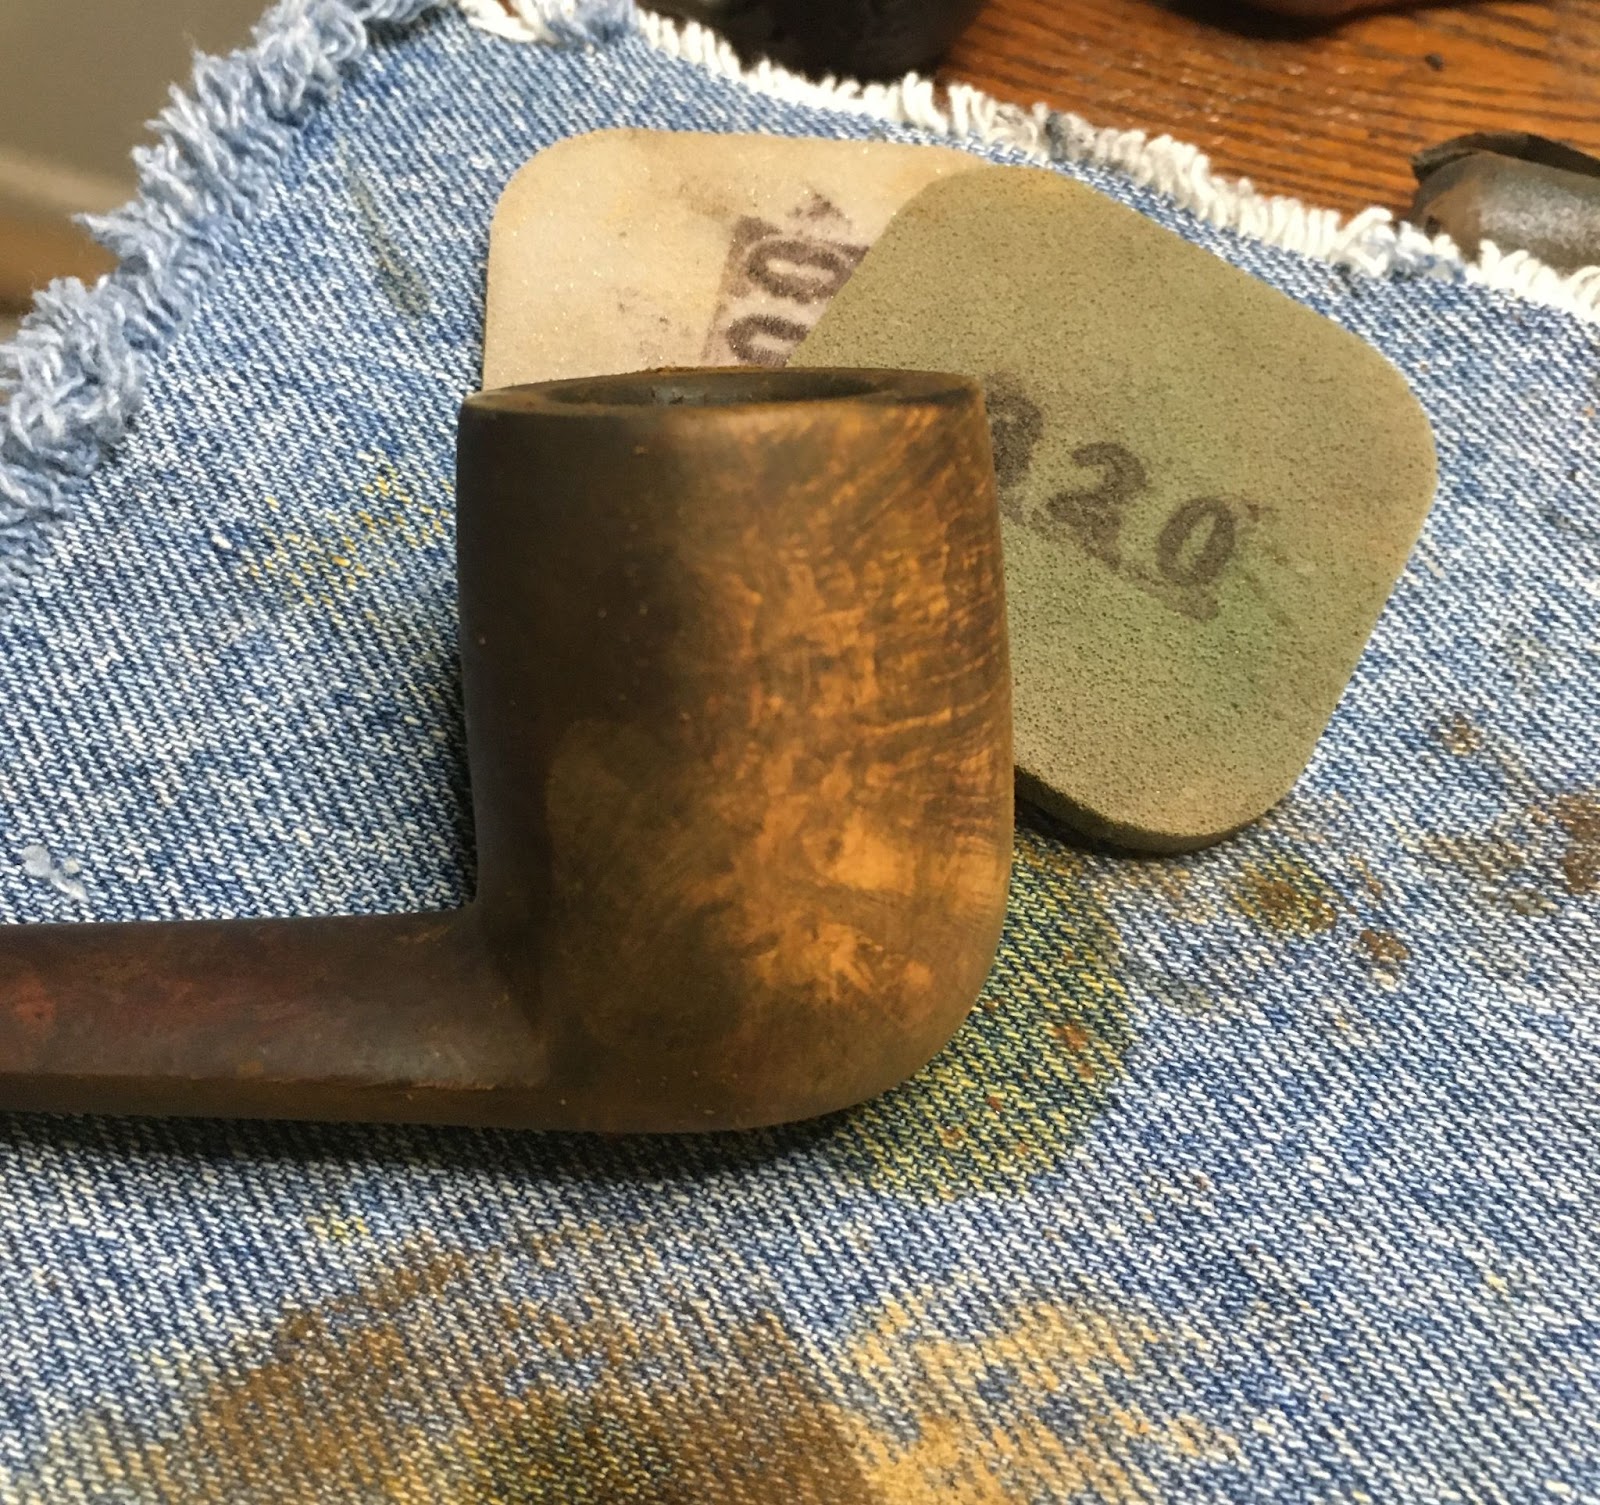
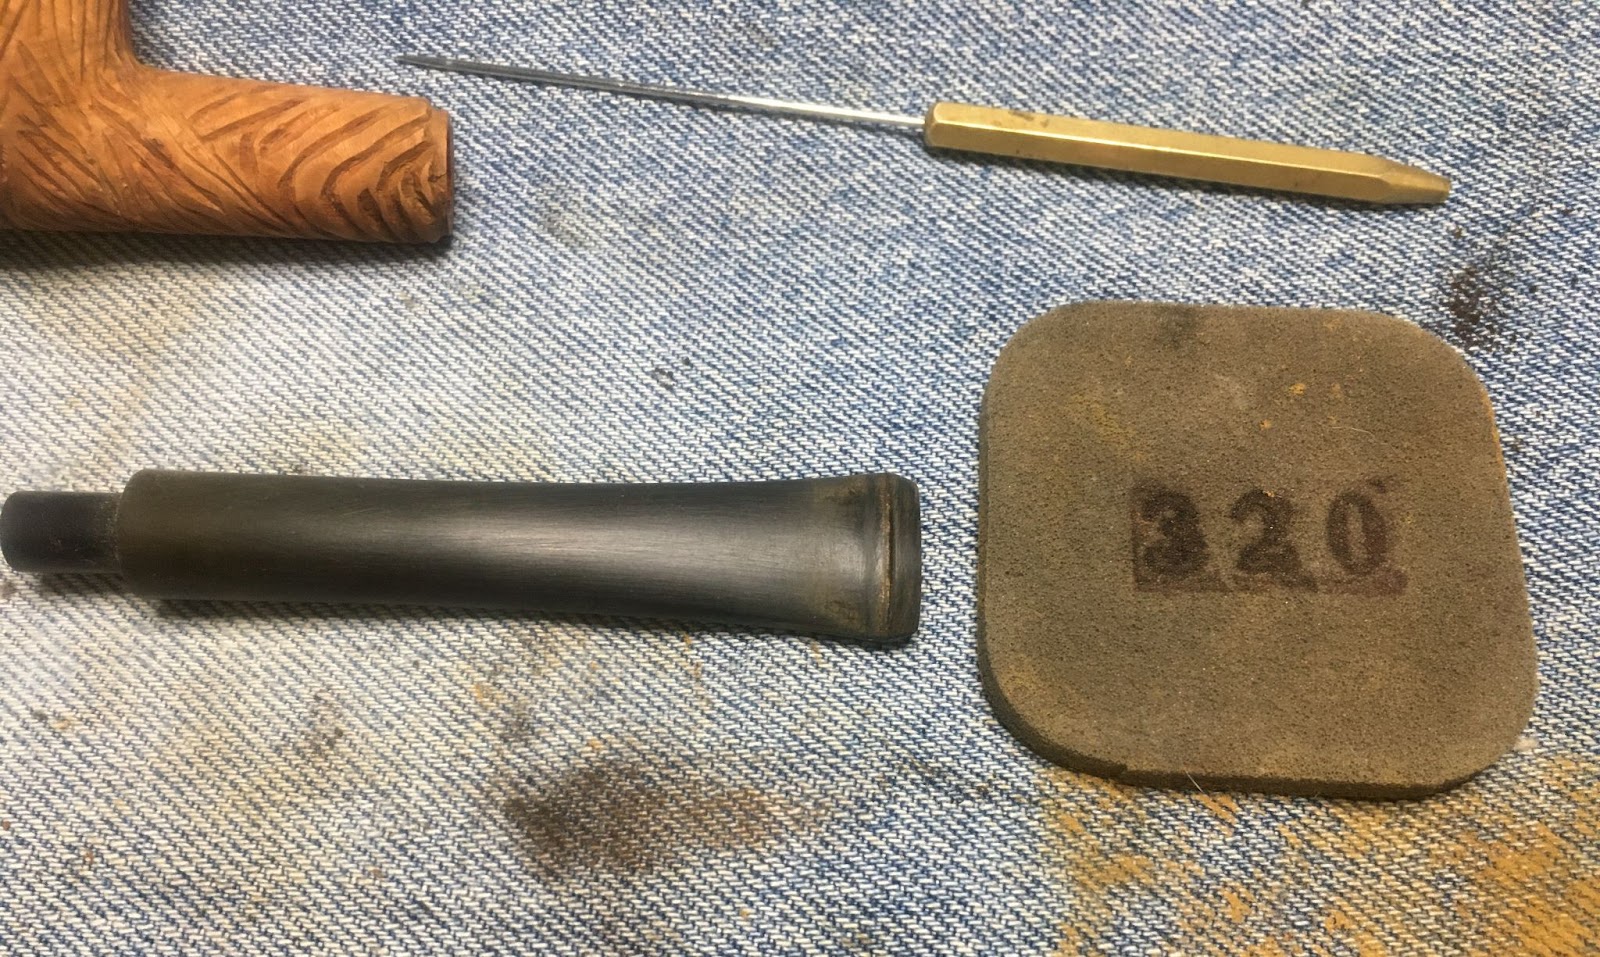
The chamber was sanded with 220 sandpaper to get to clean briar then finish sanded with 320 sandpaper. There was no heat damage observed in the chamber.

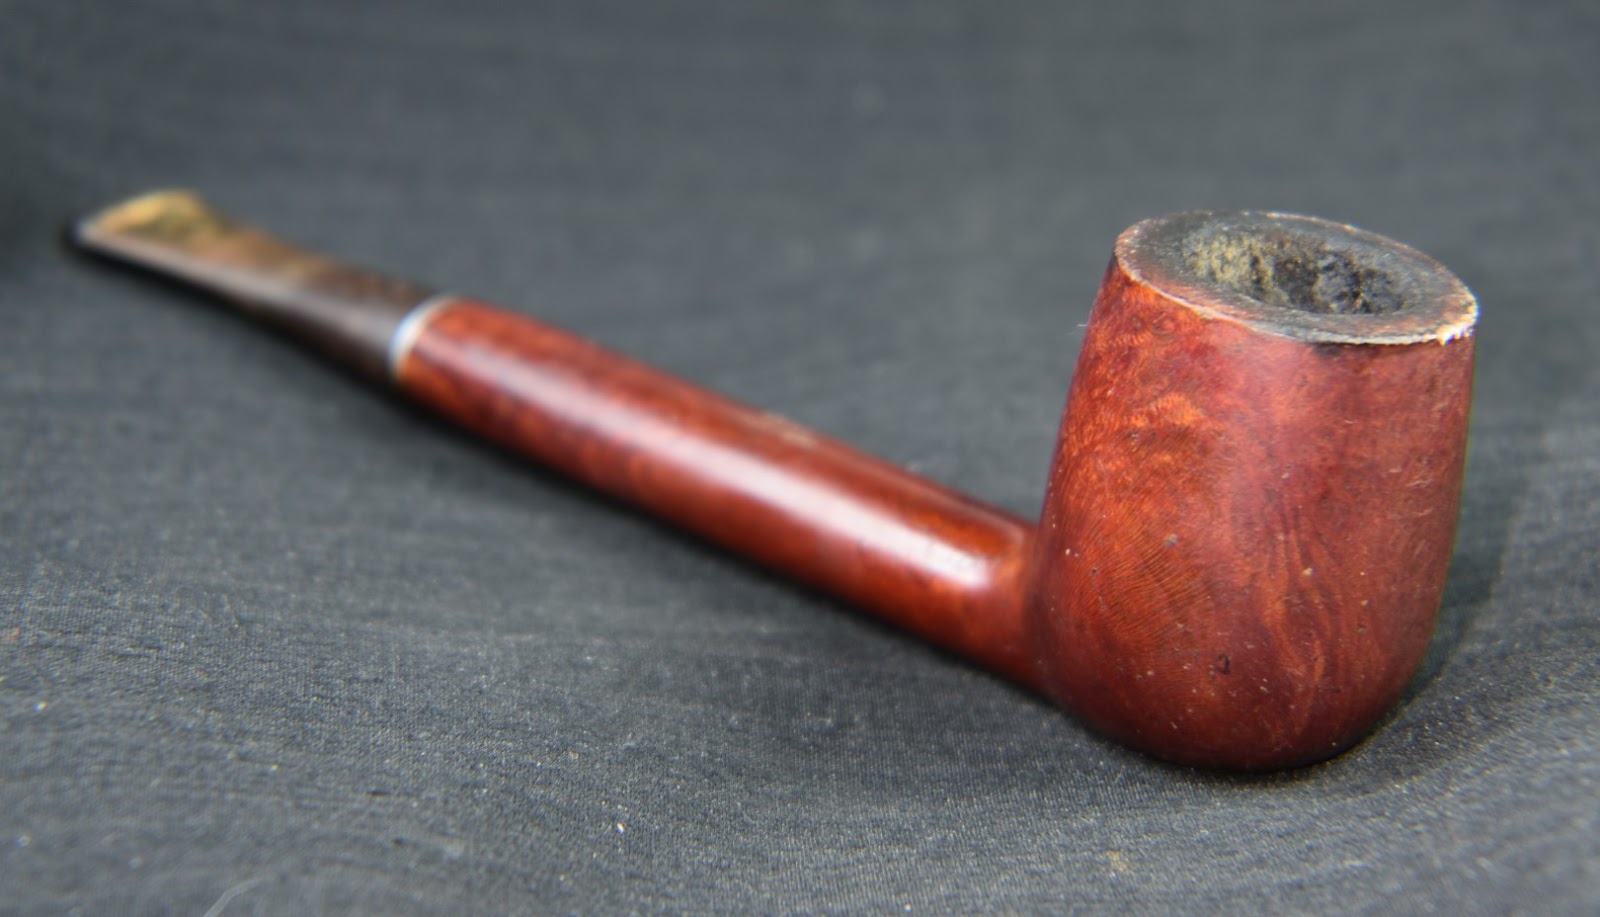
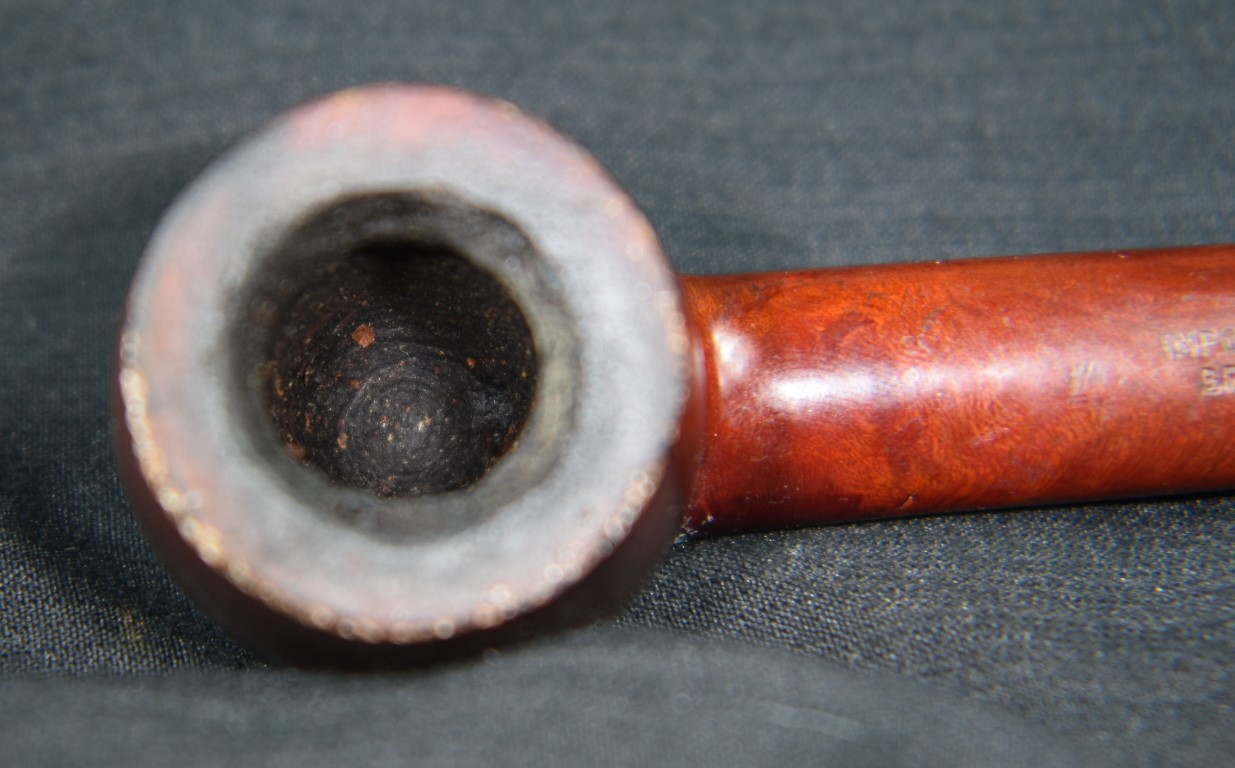
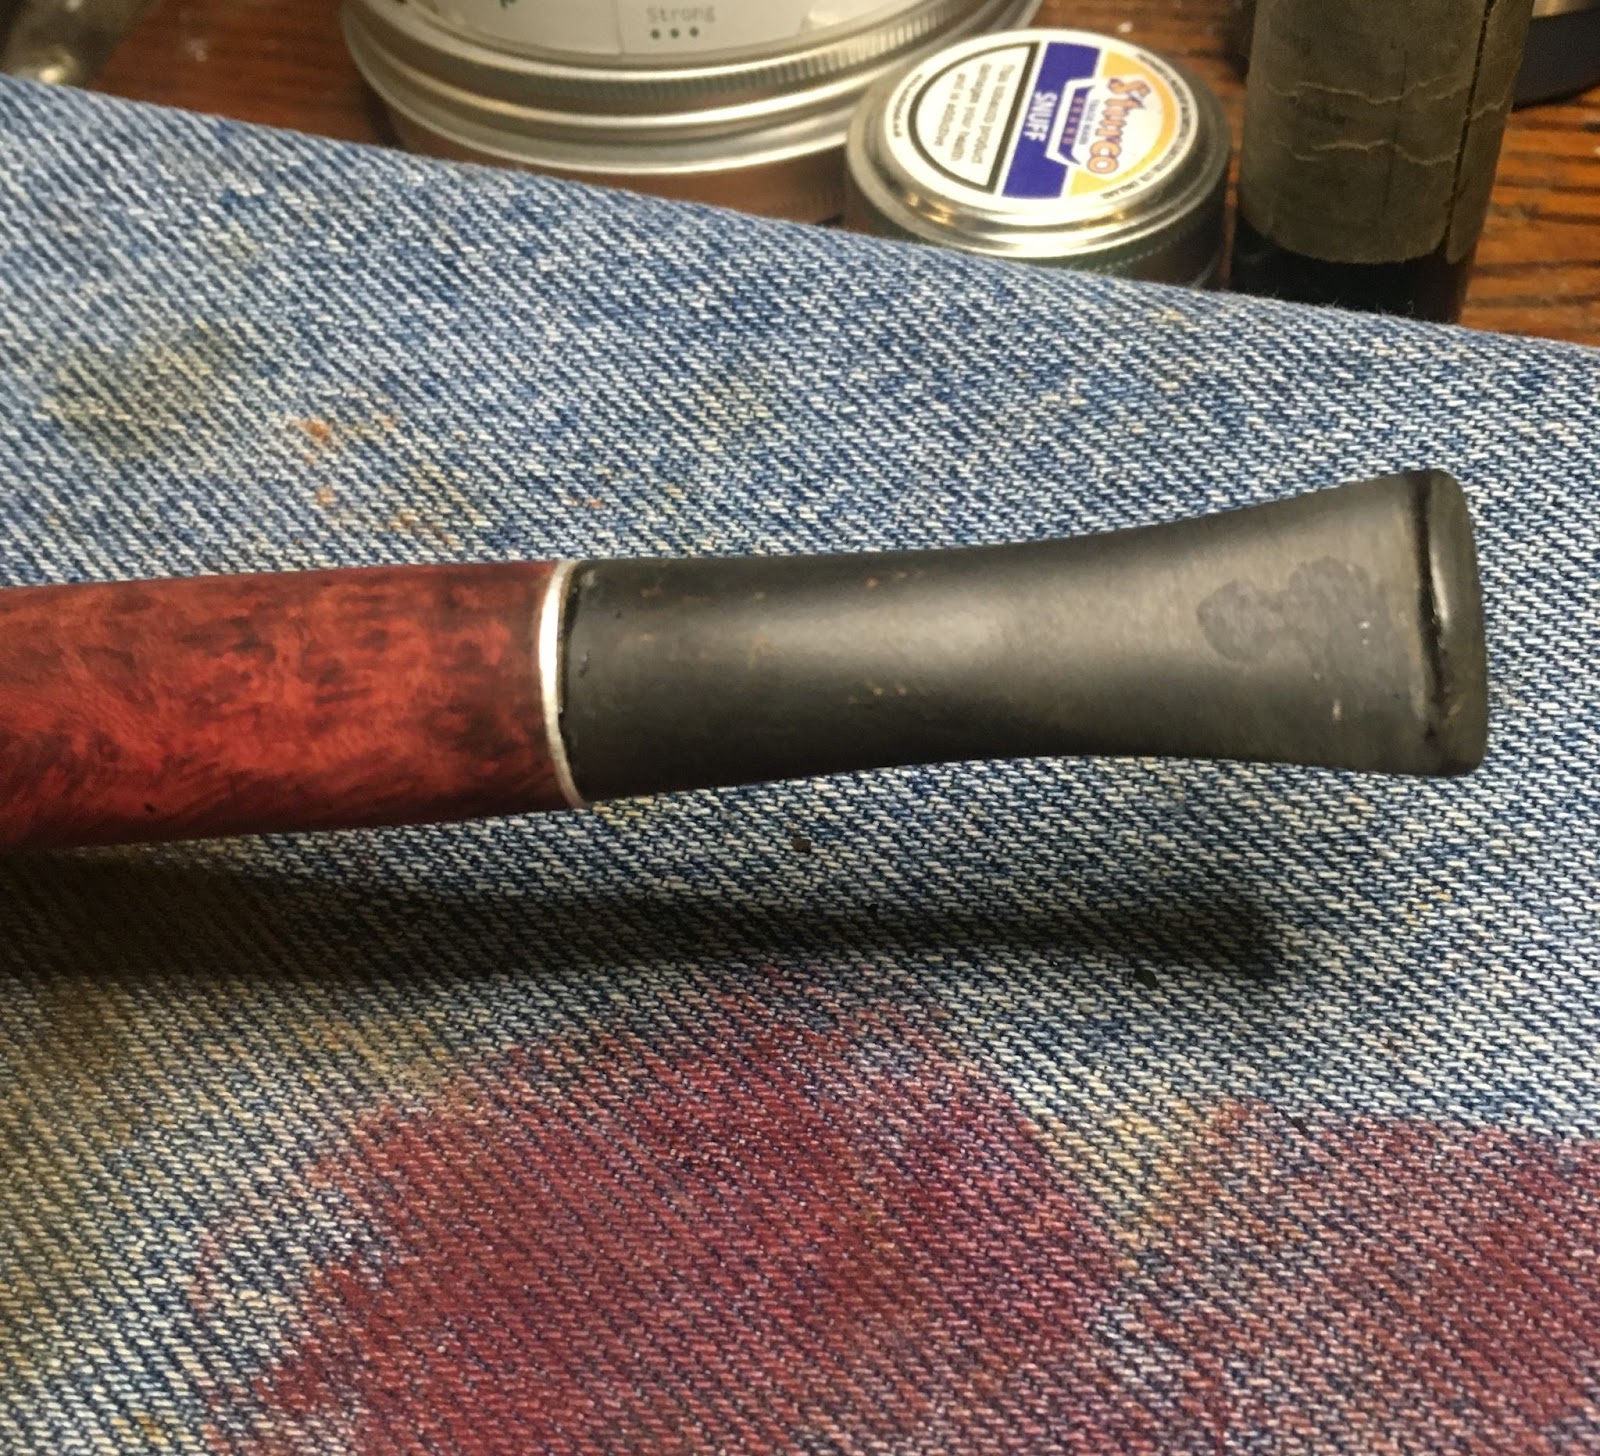
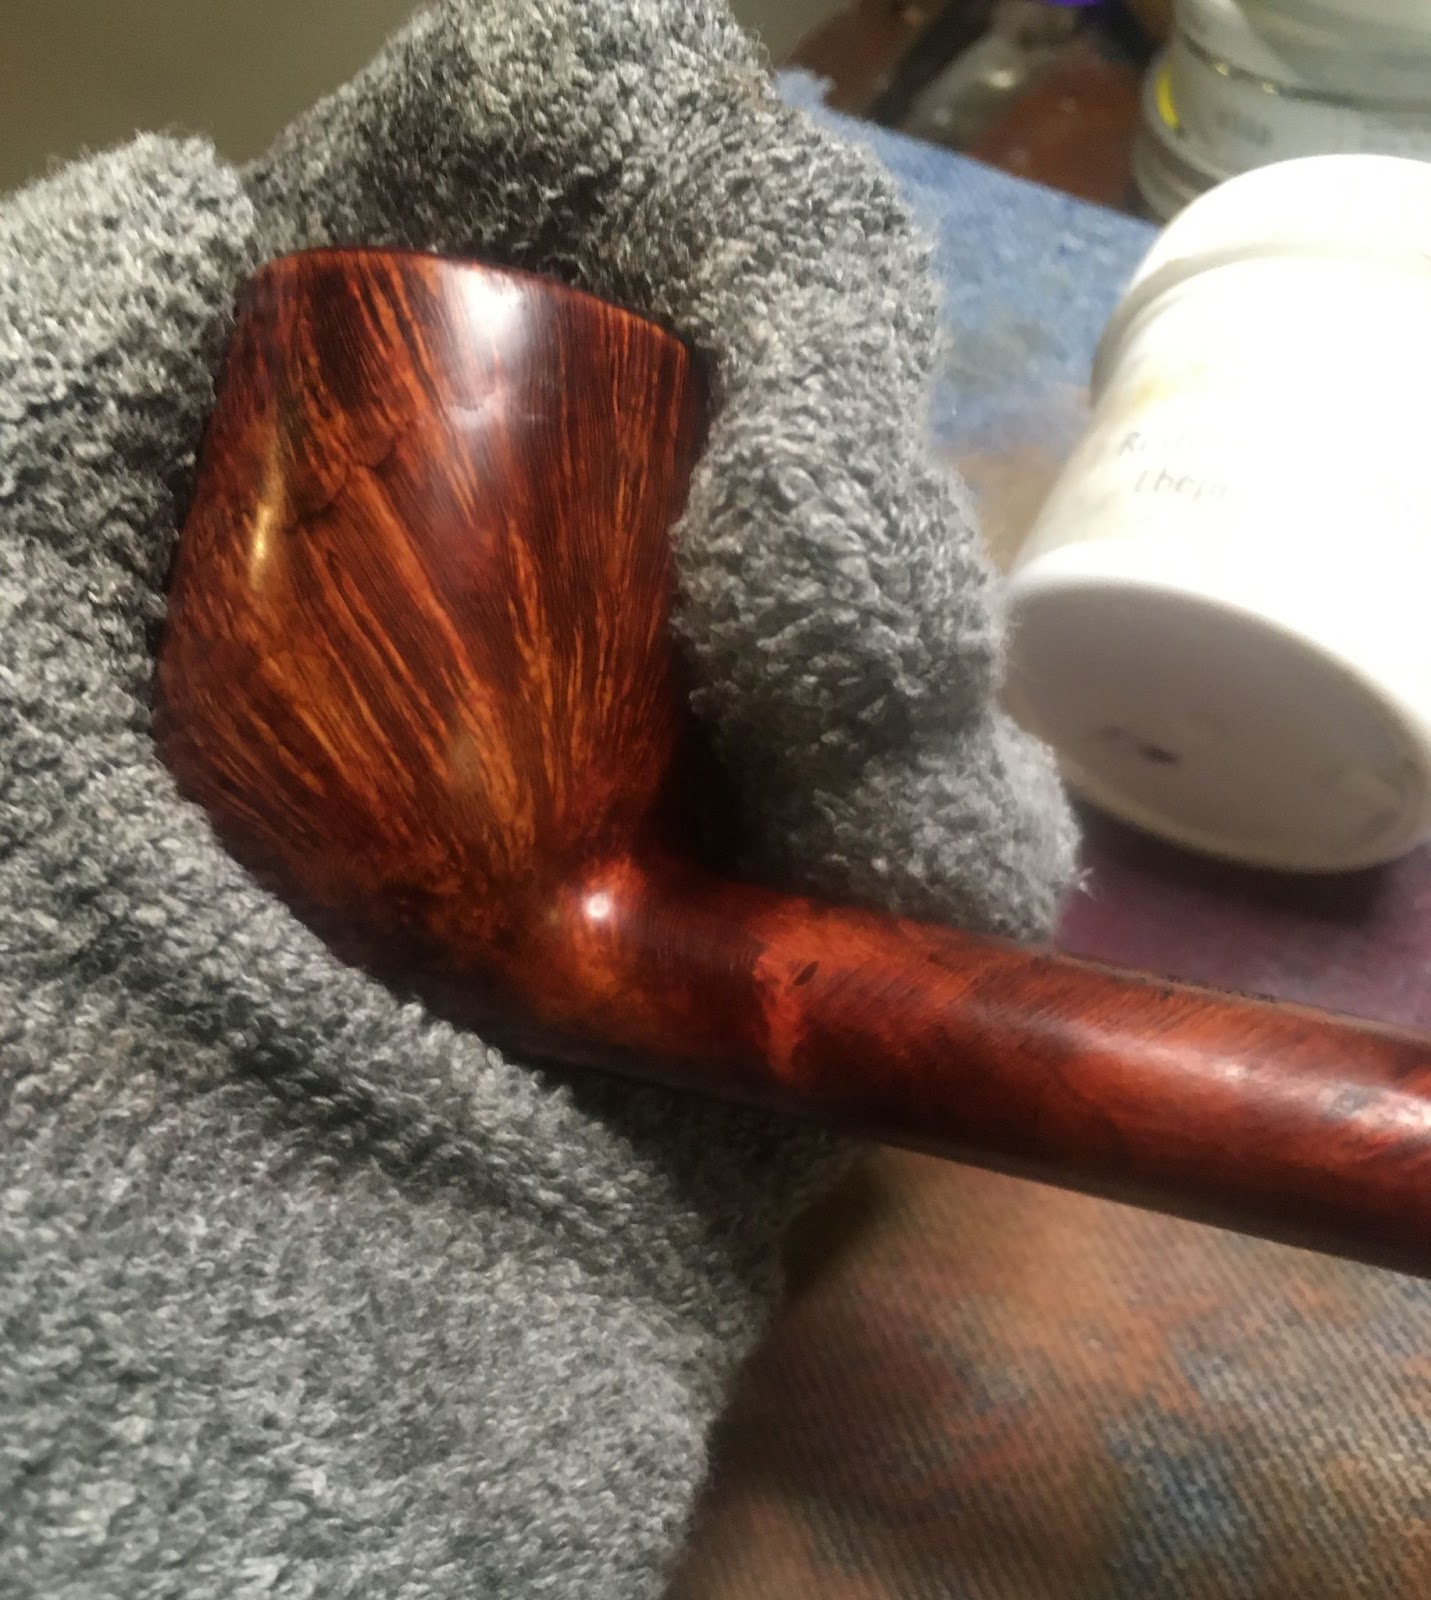
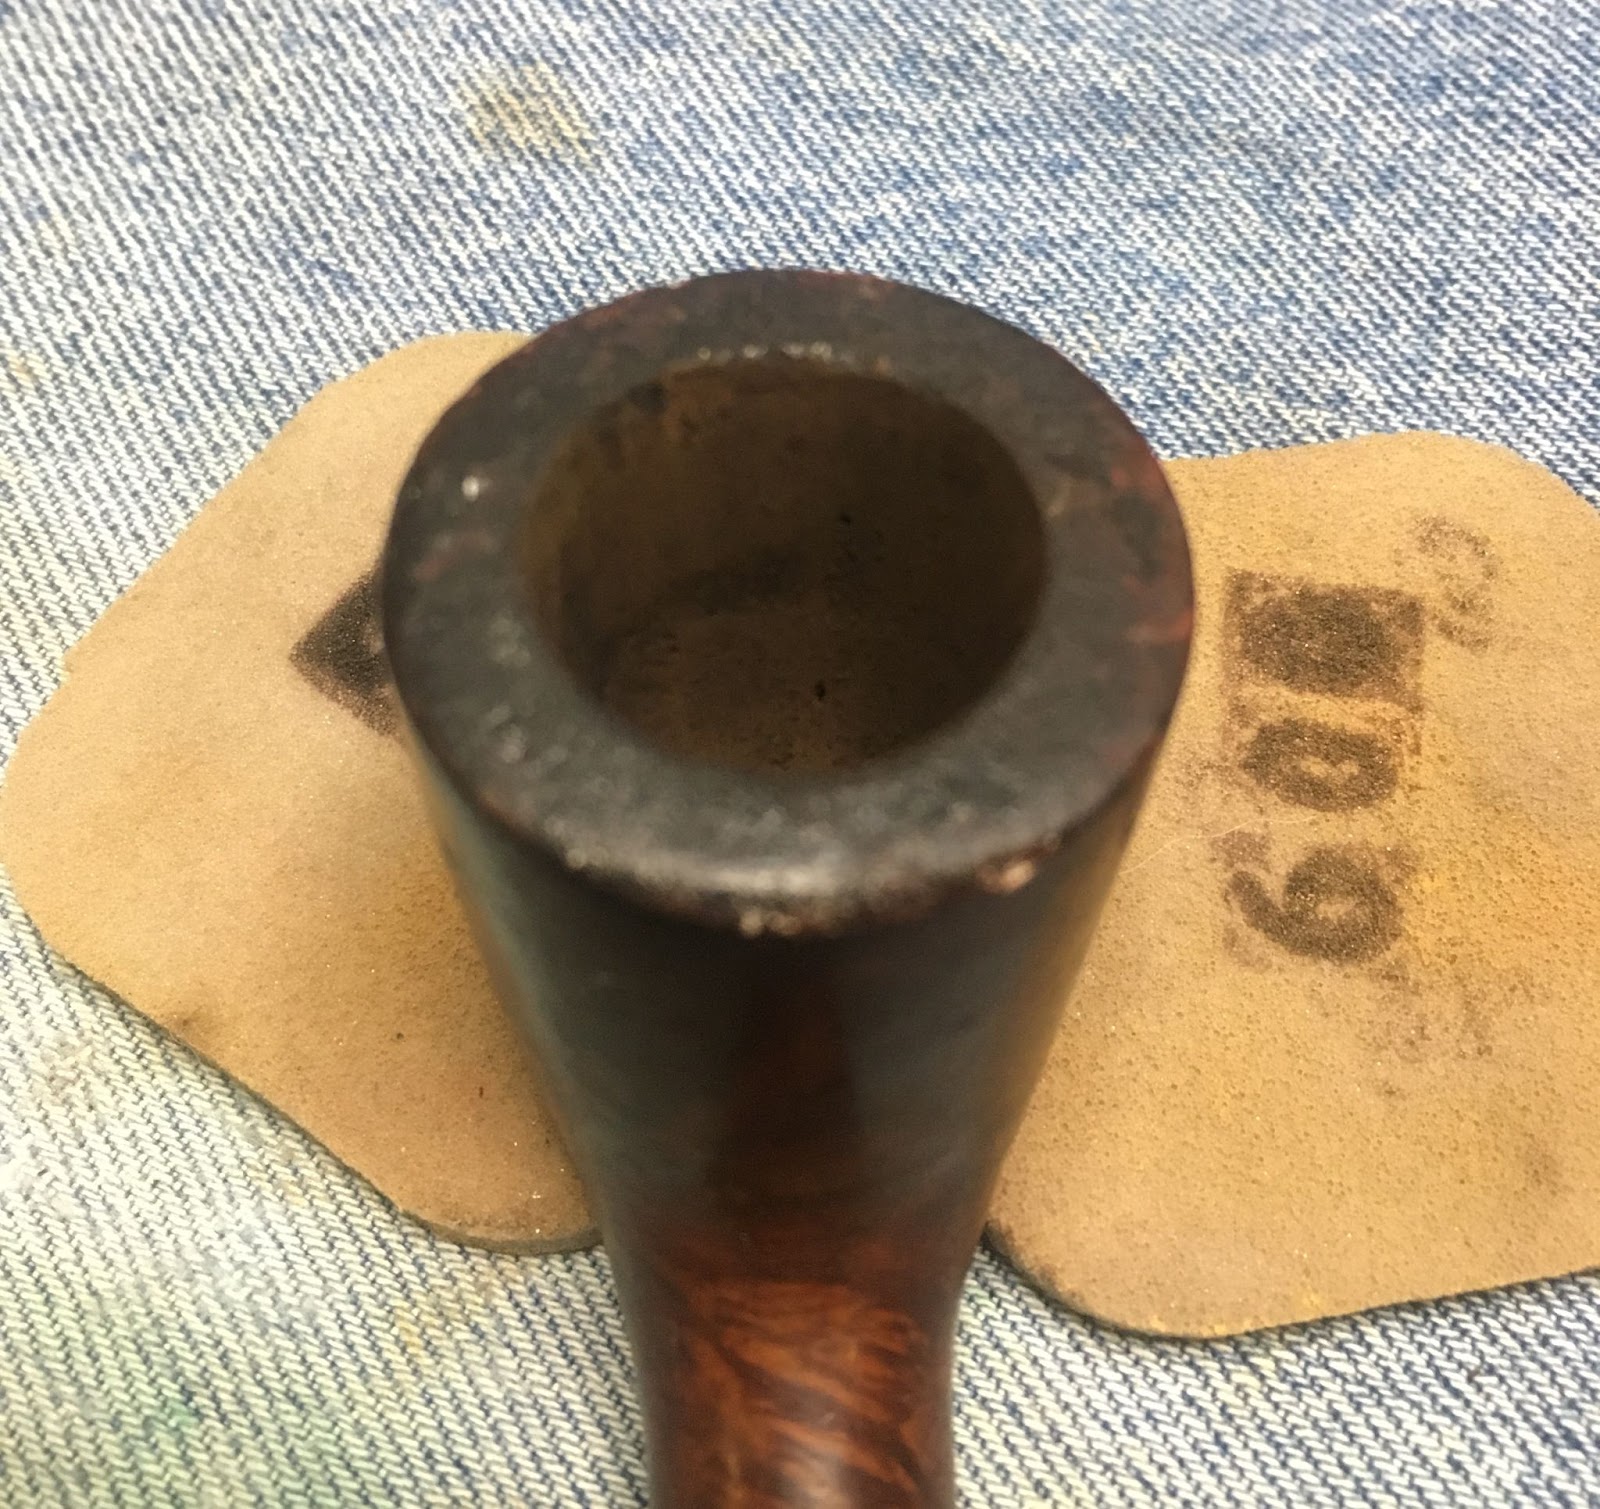
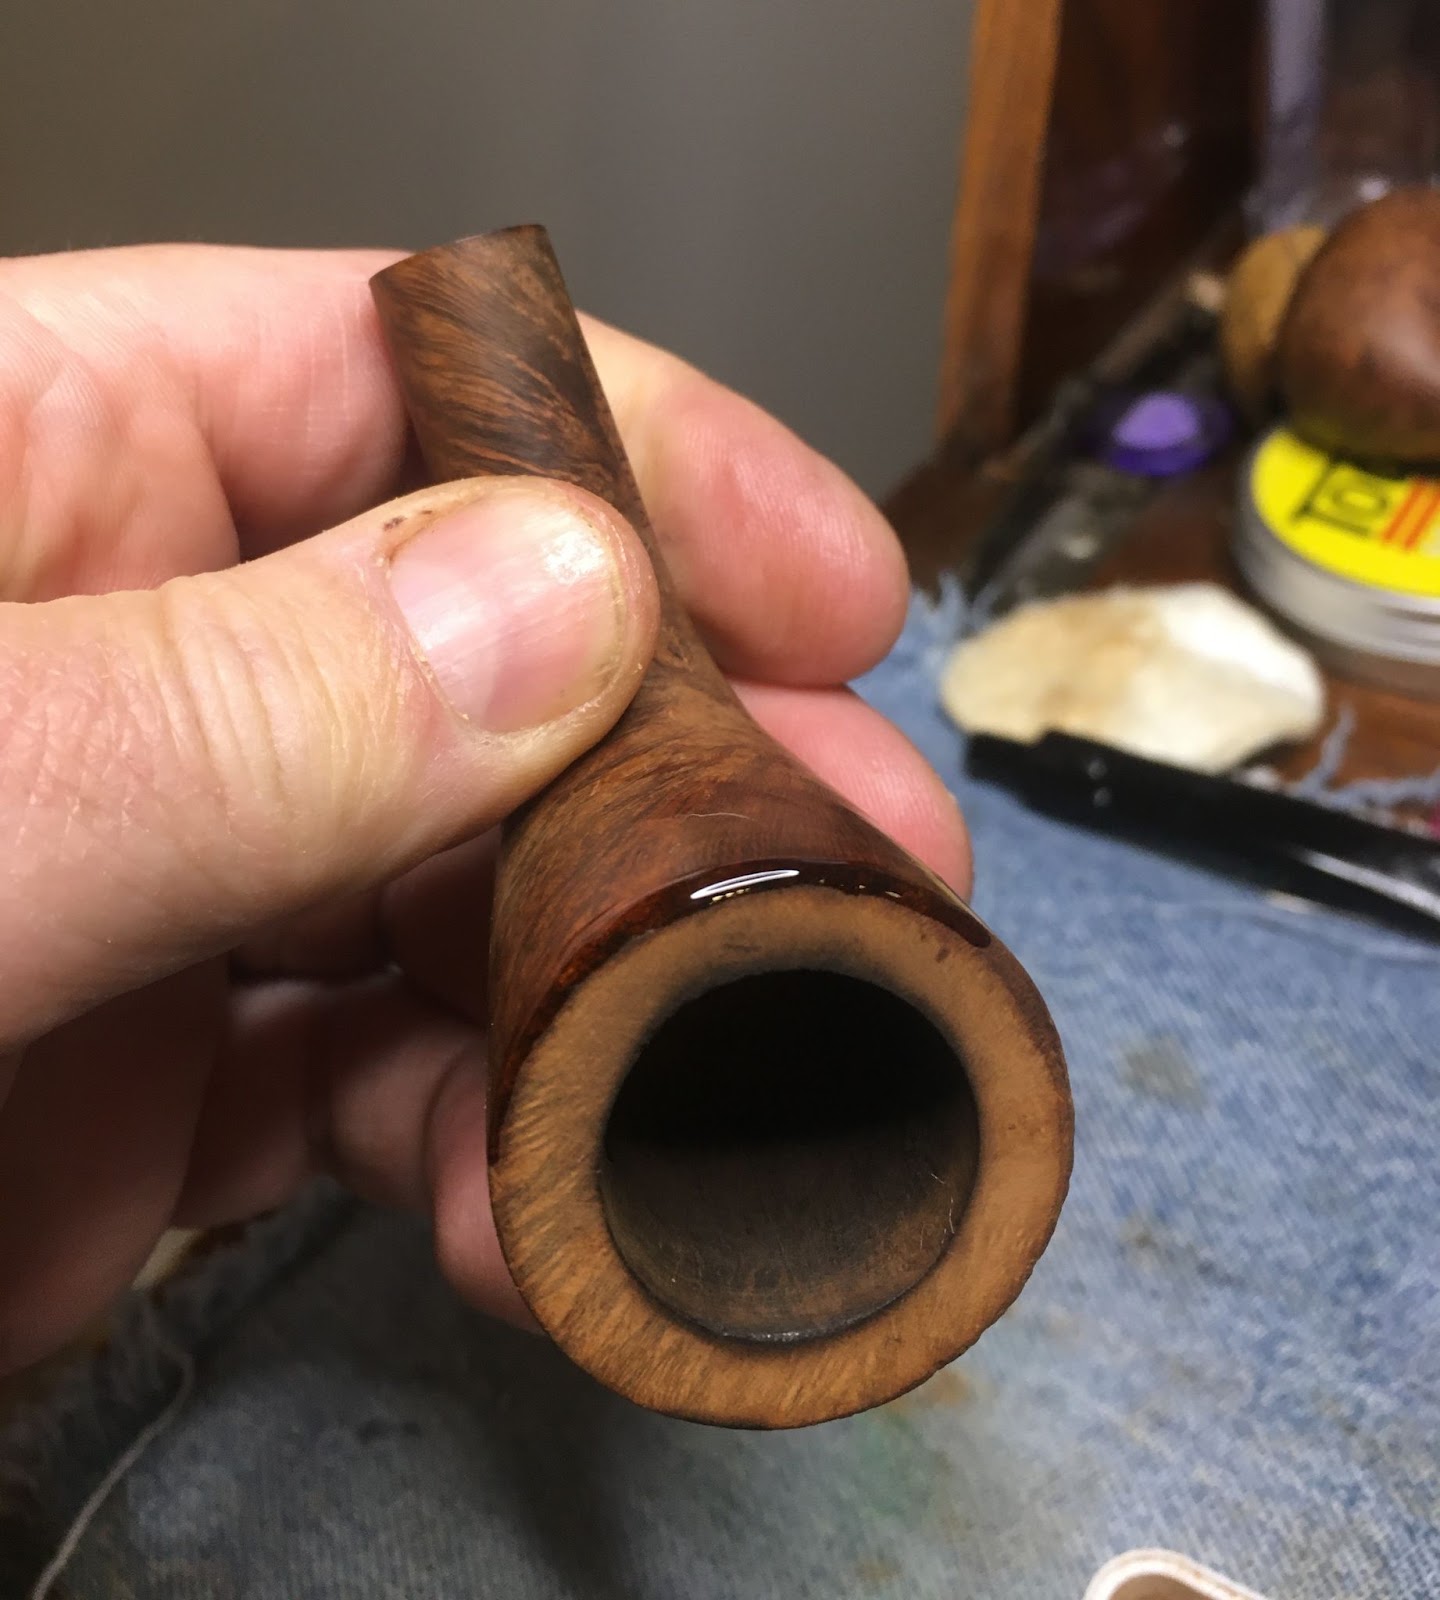
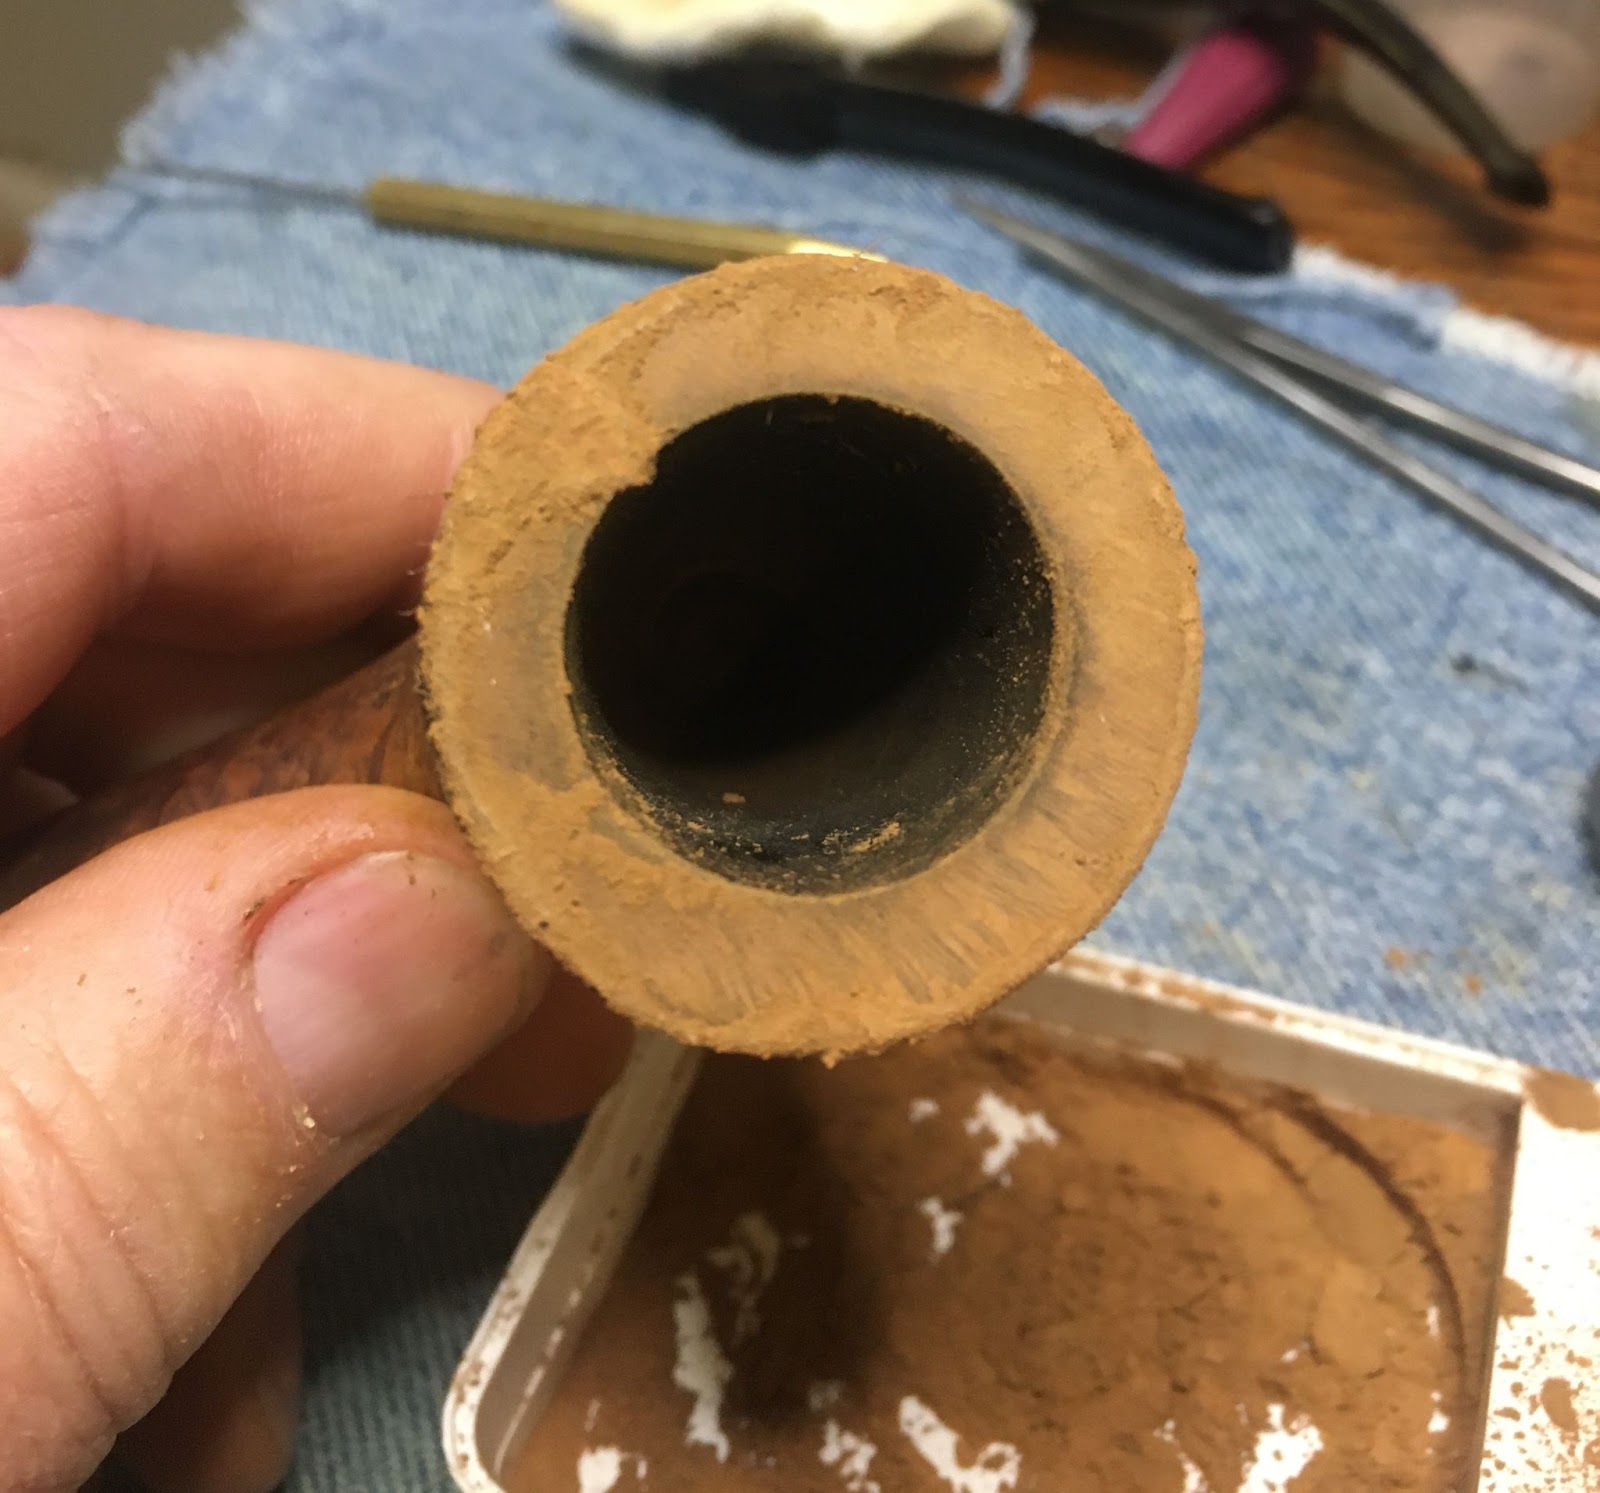
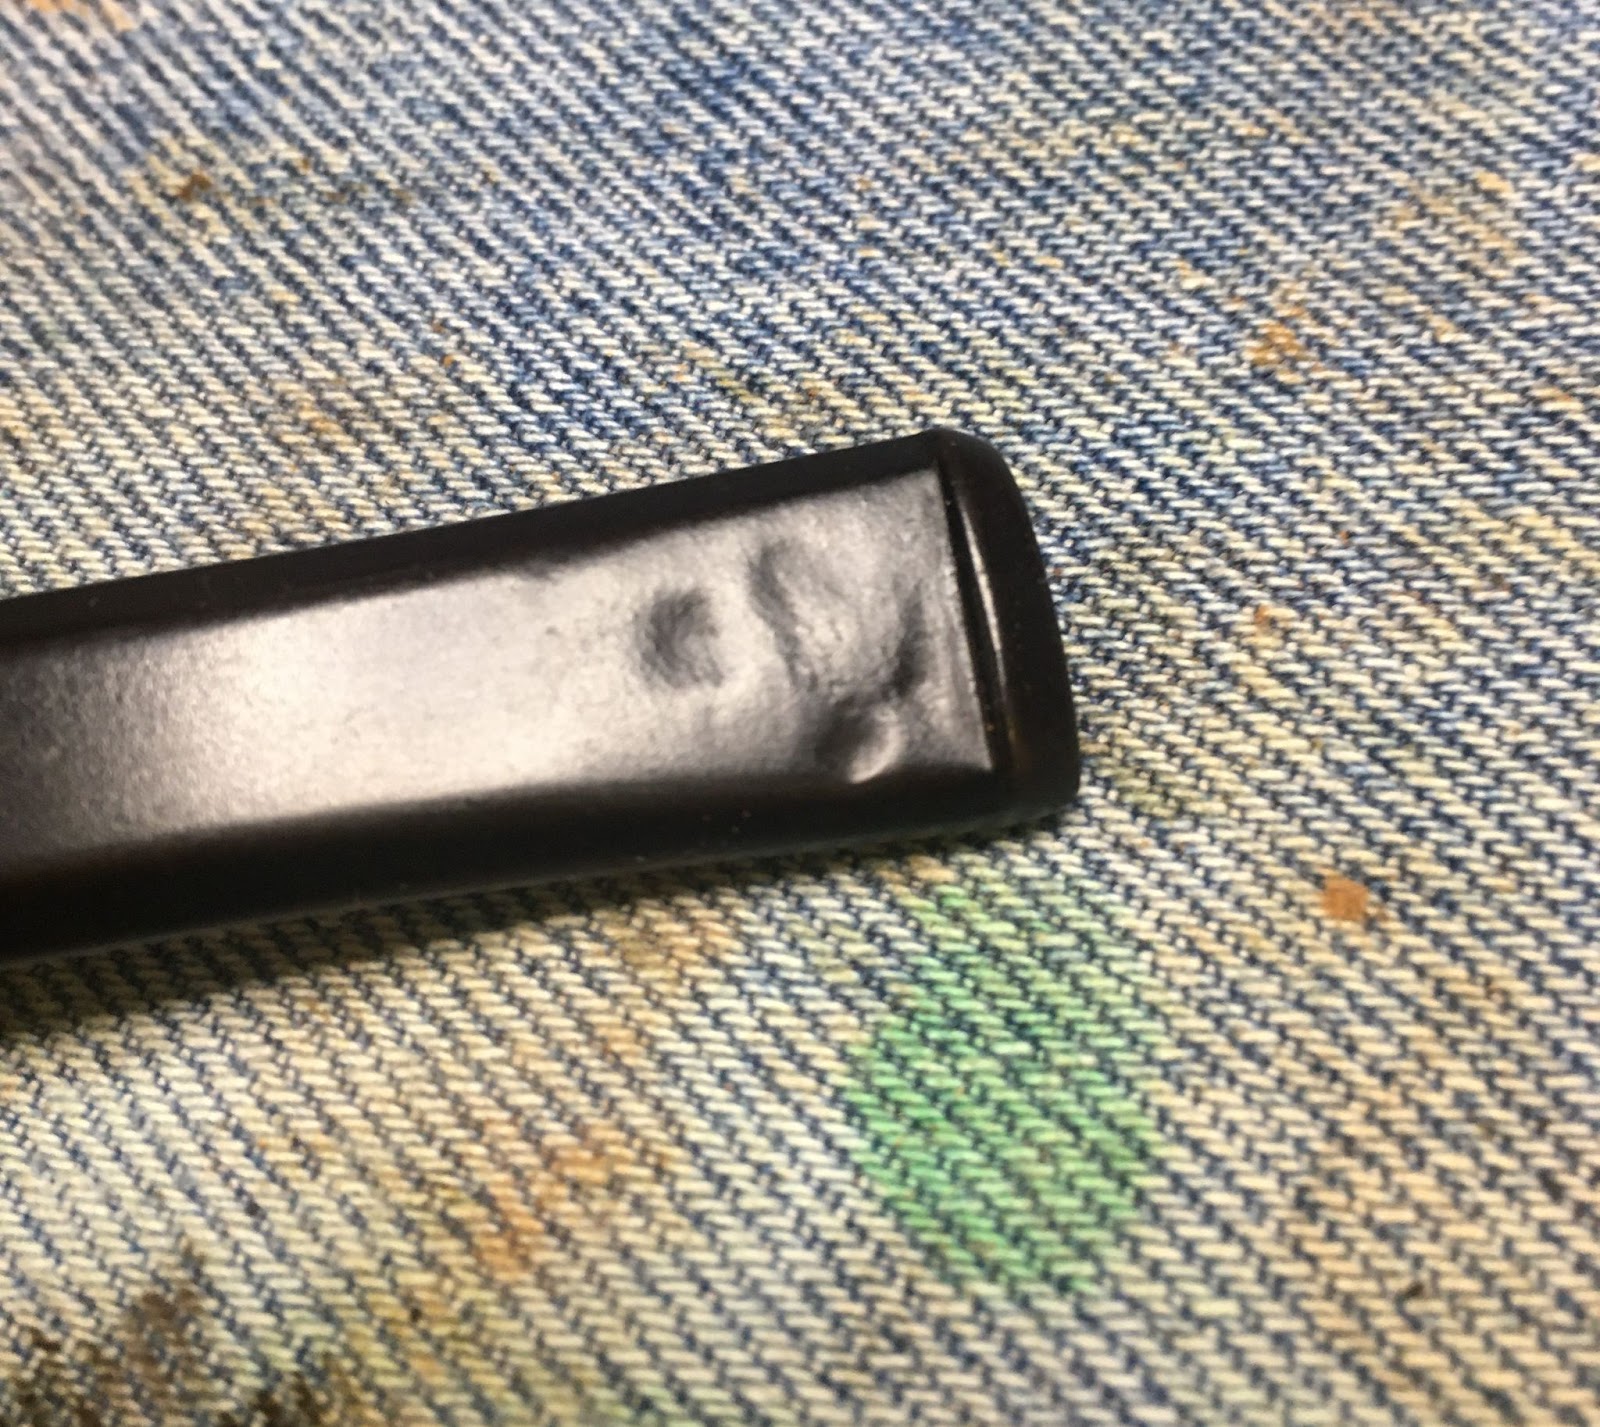
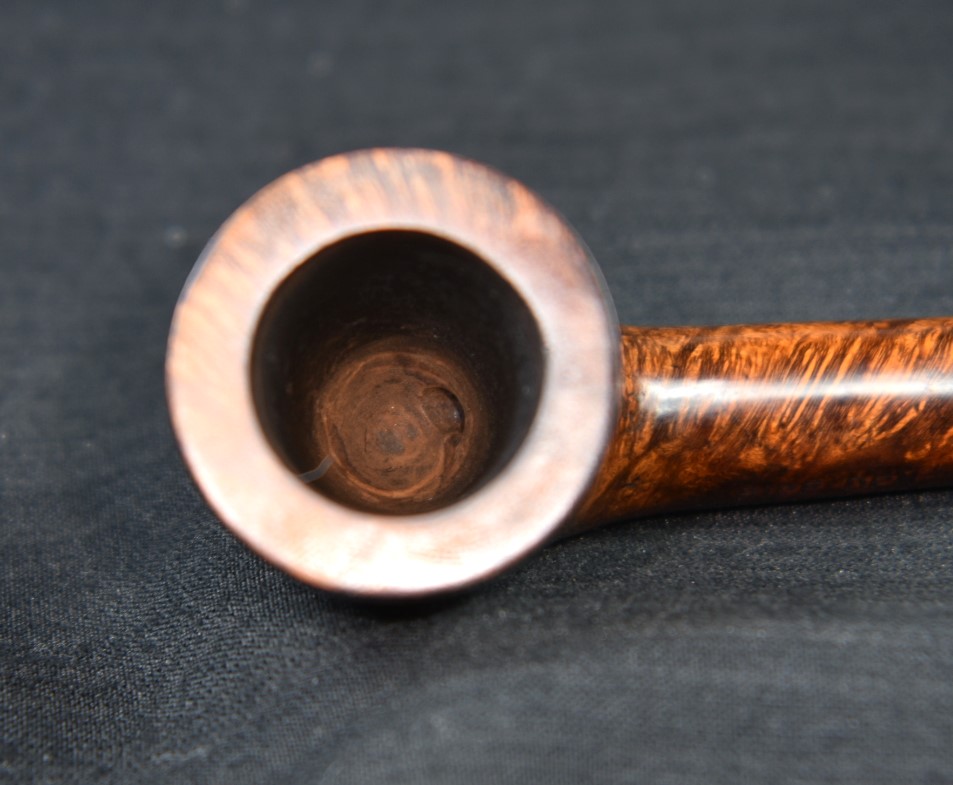
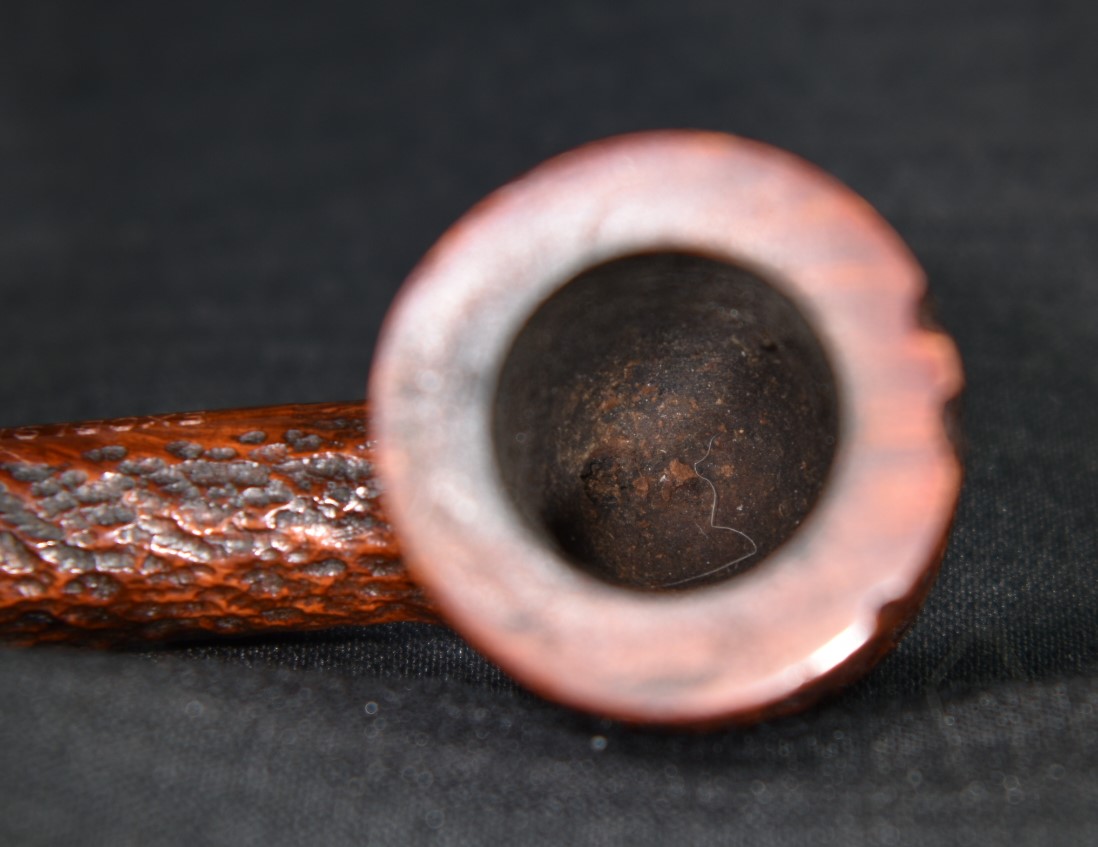
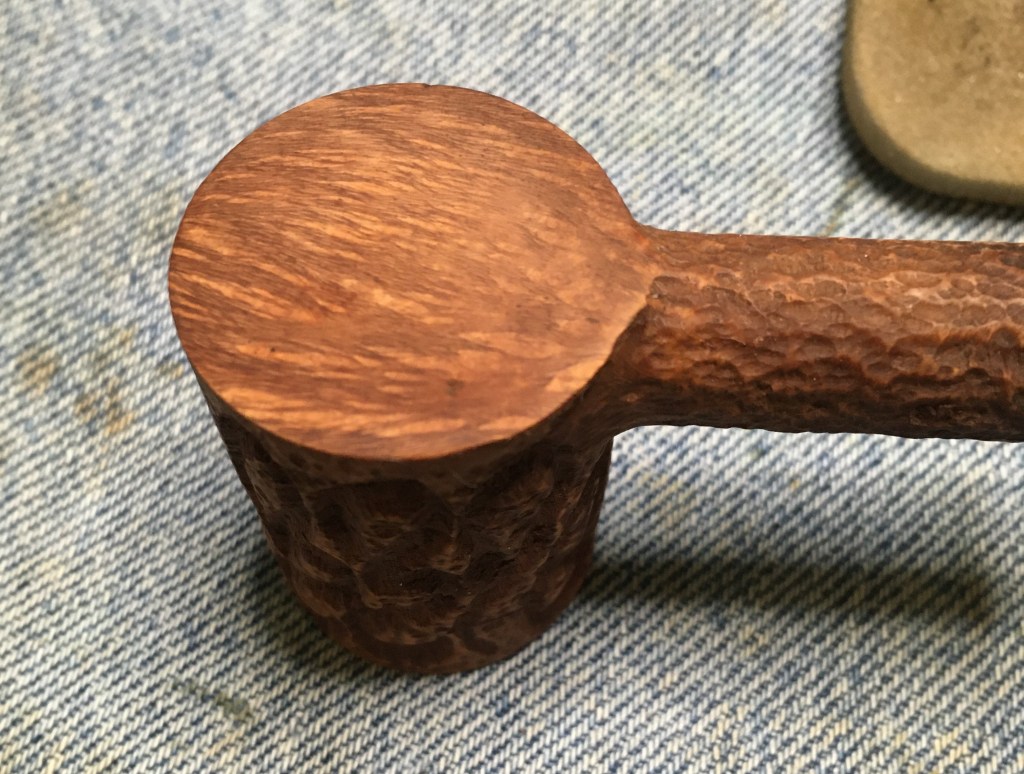
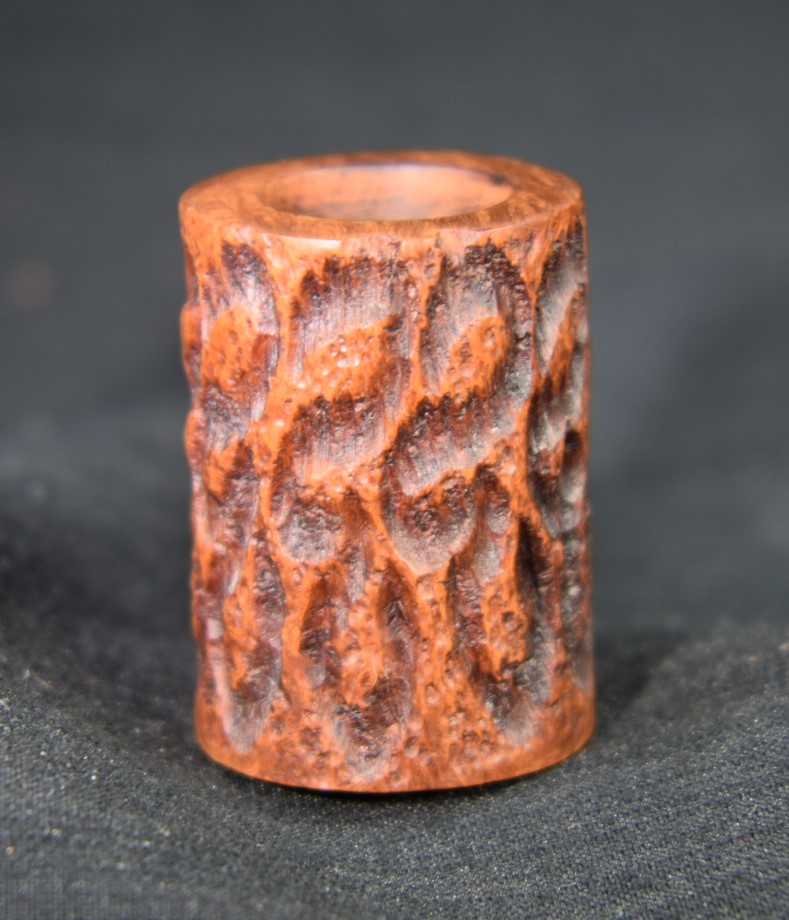
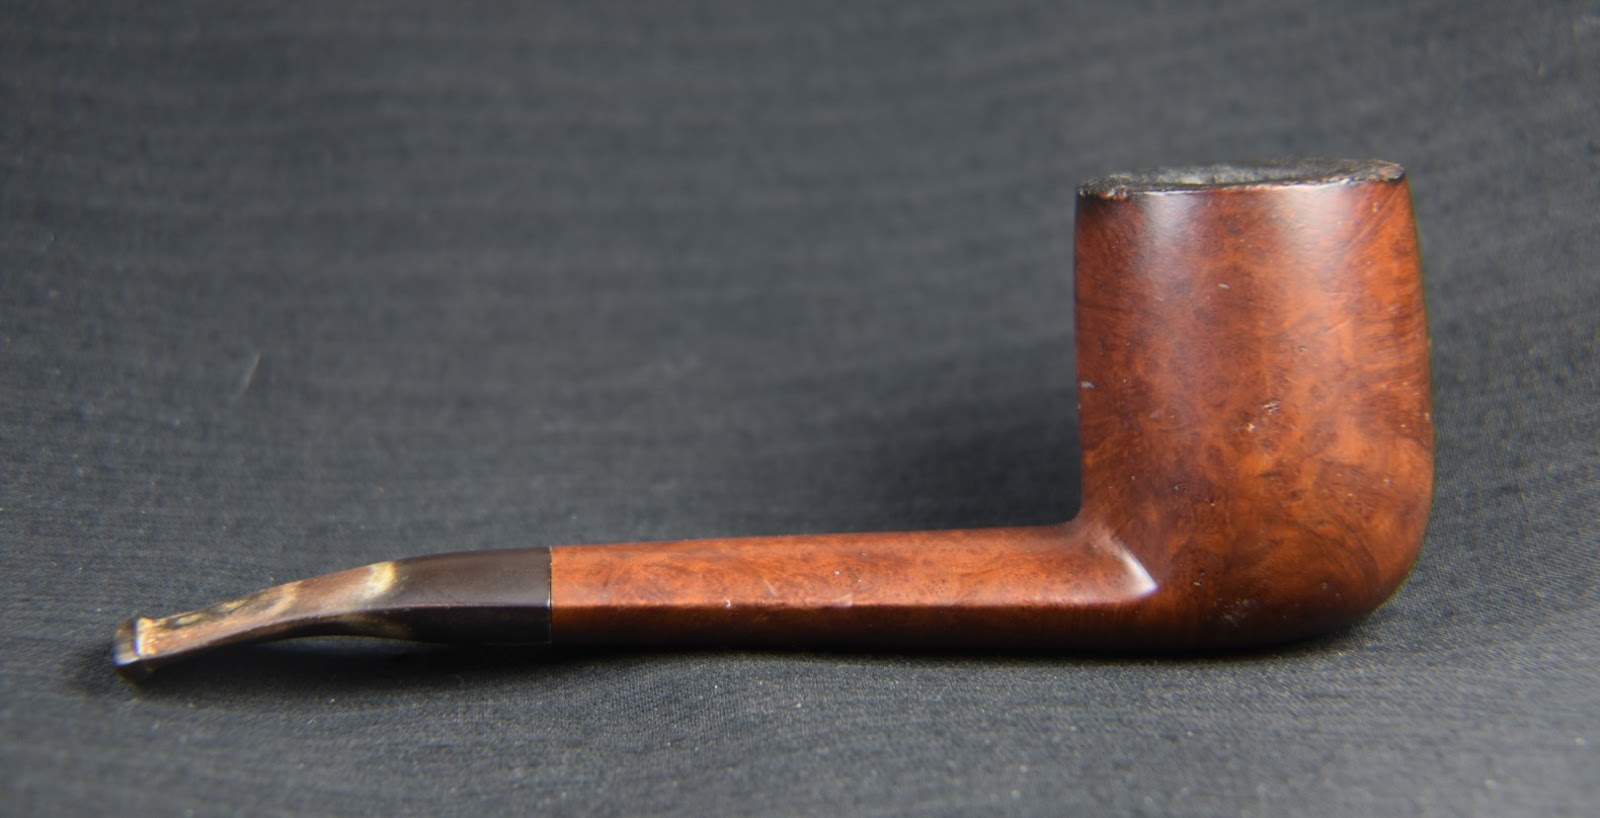
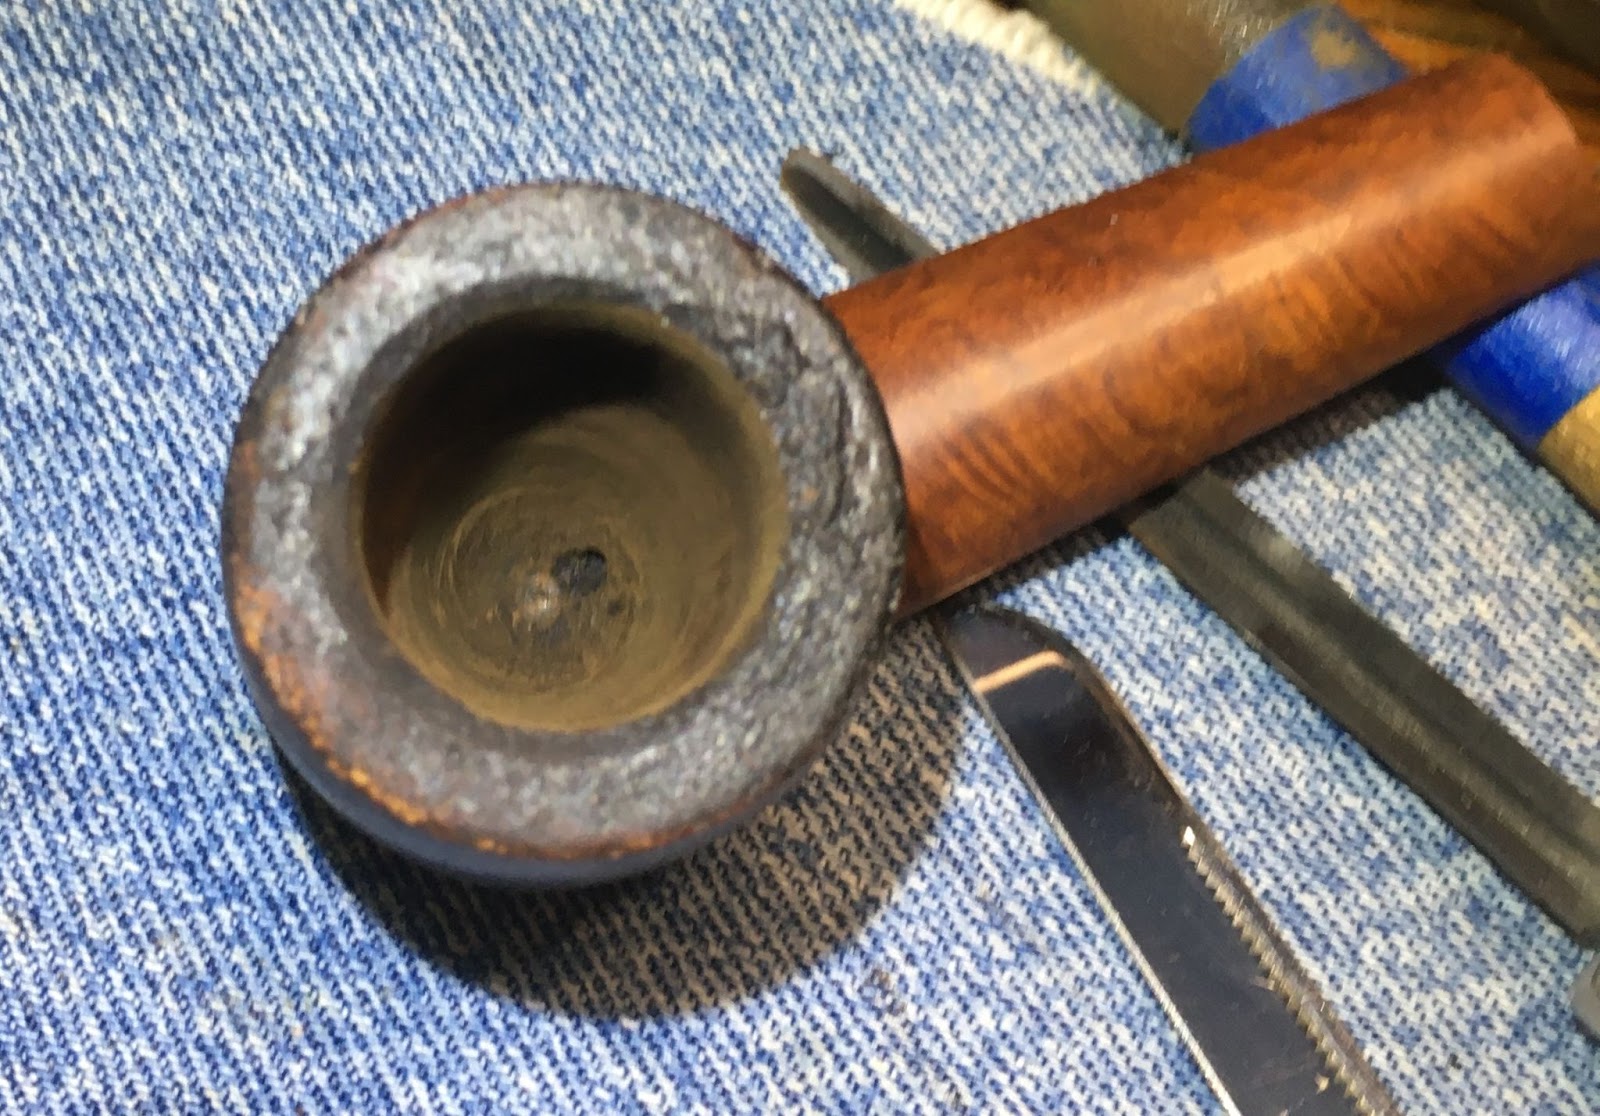
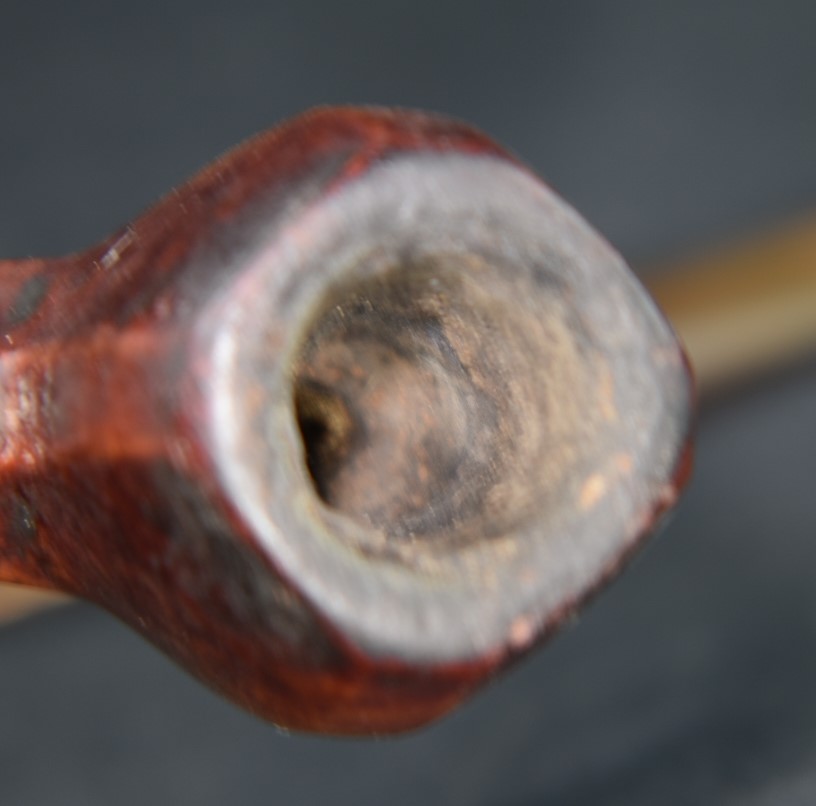
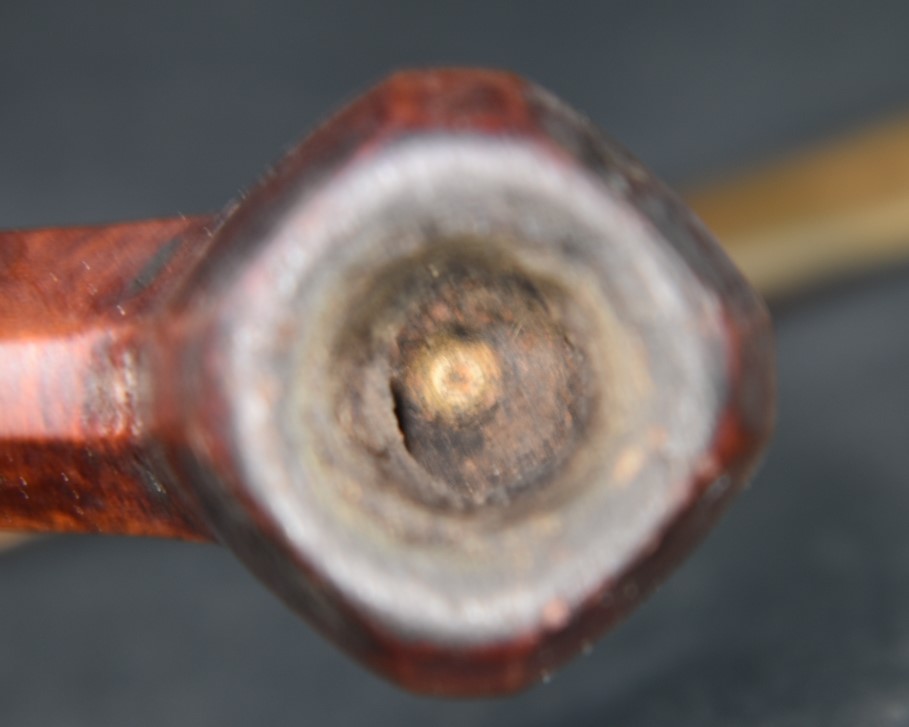
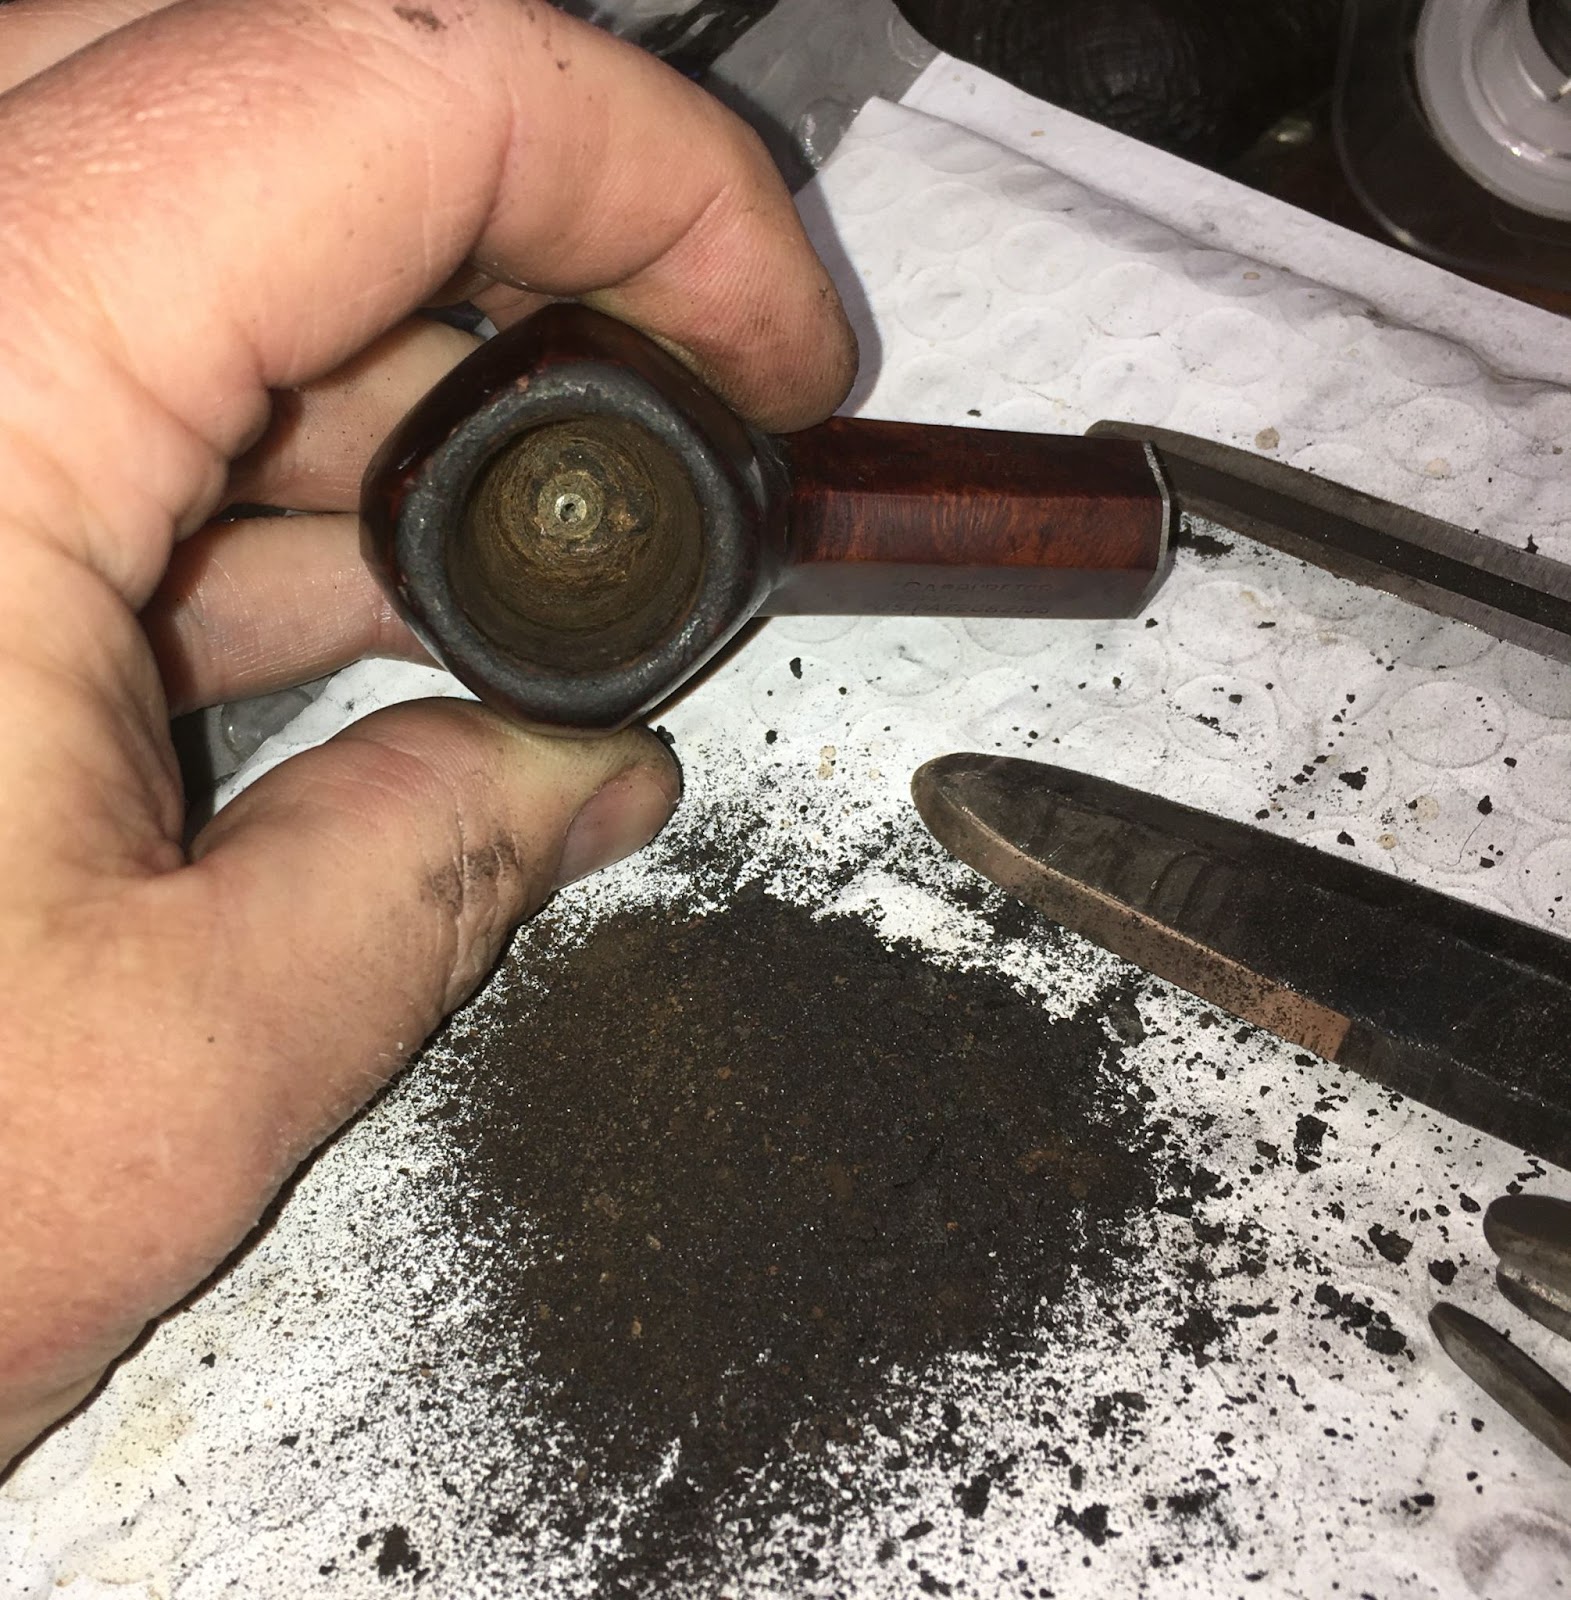
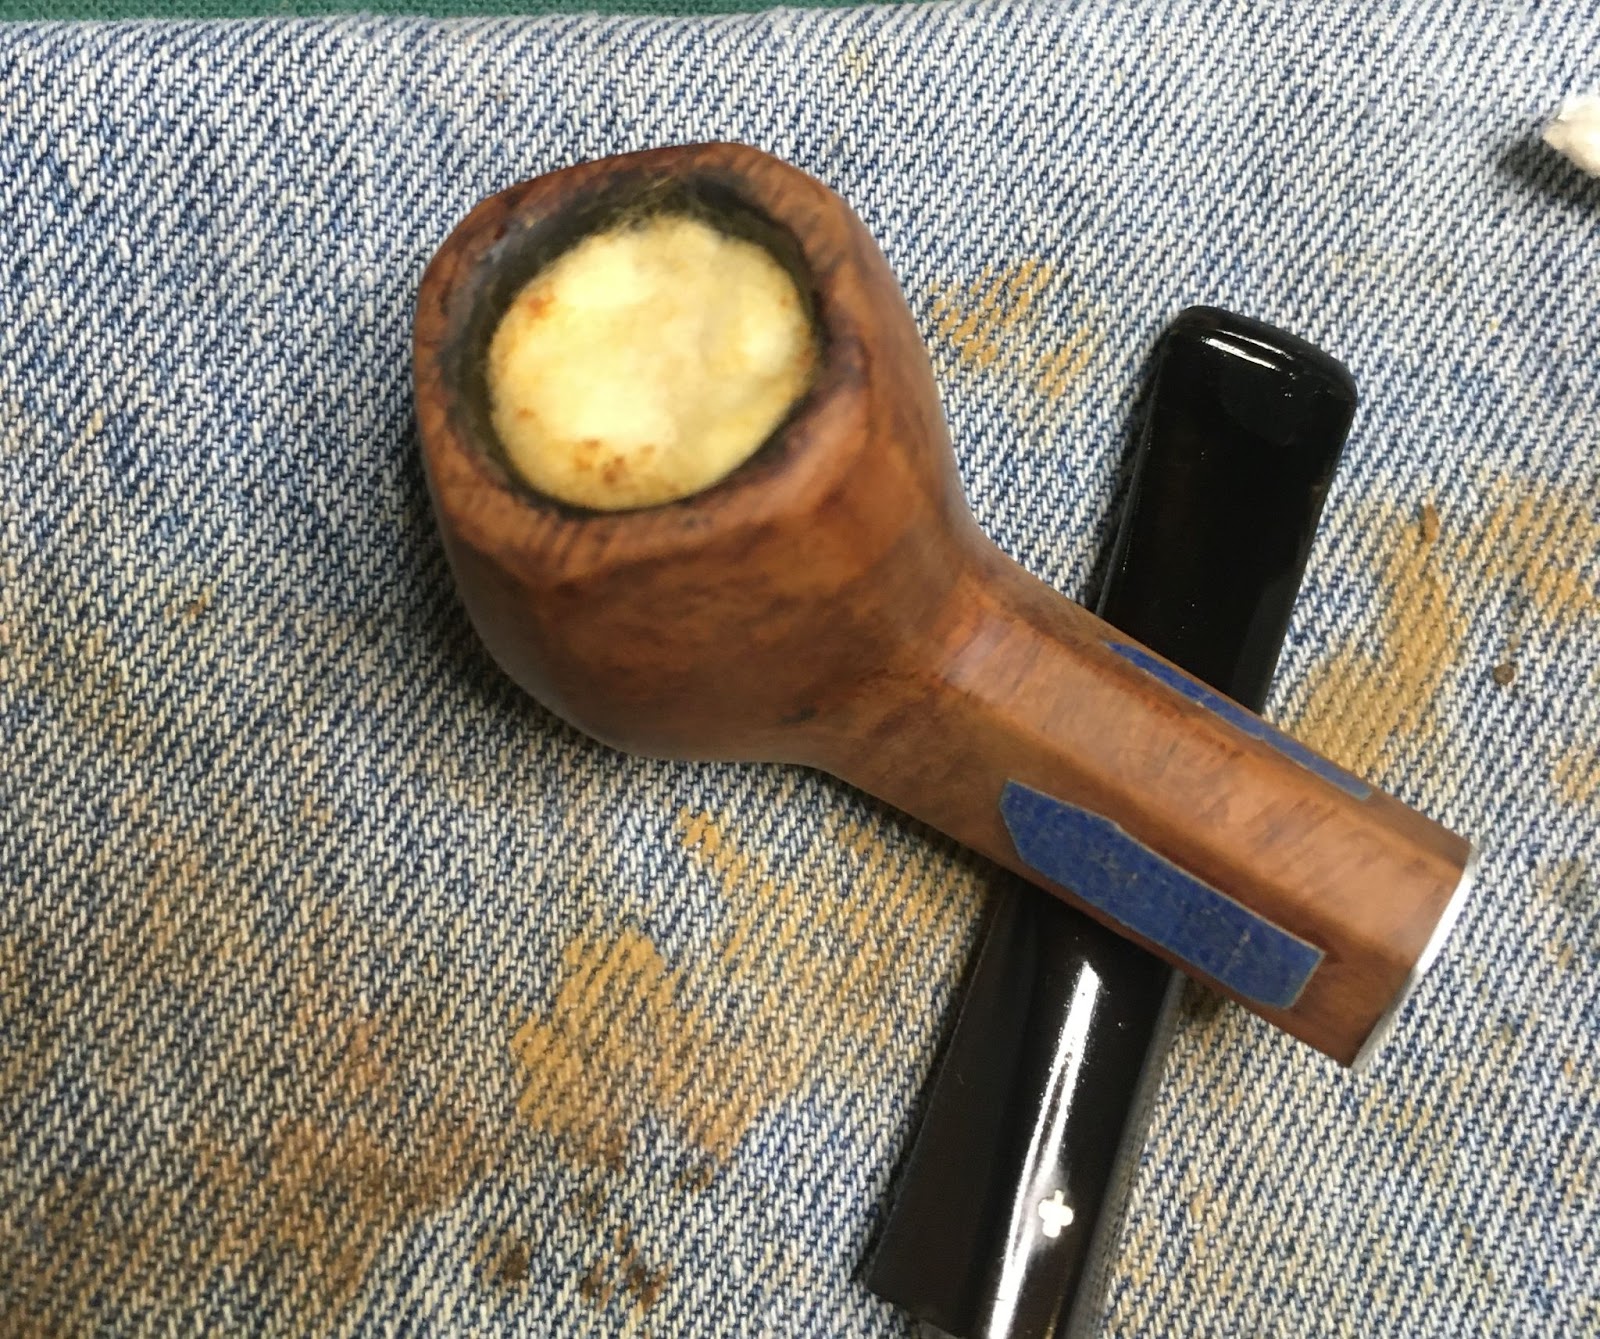
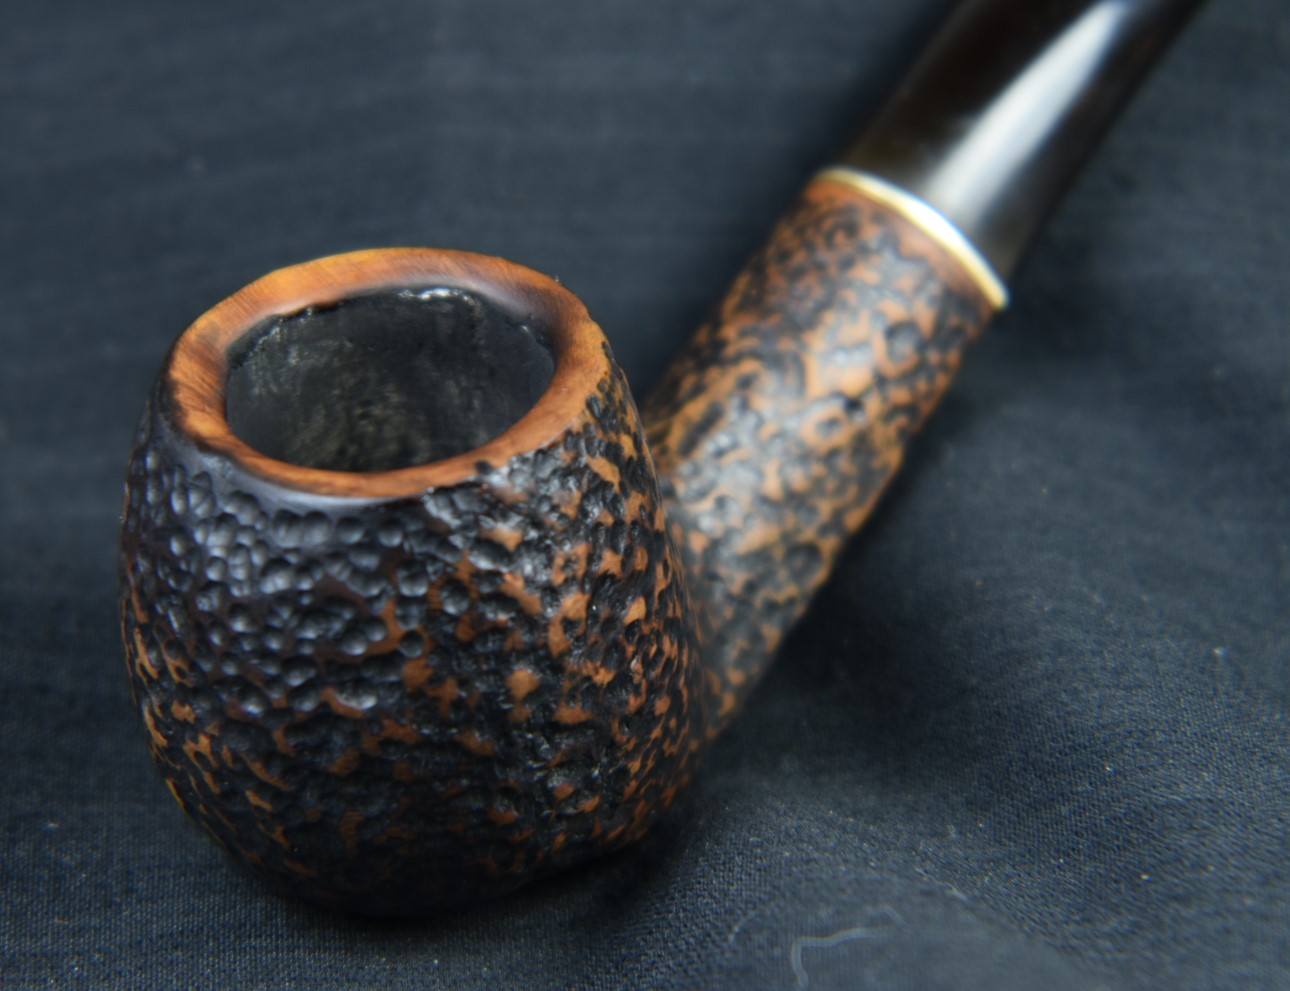
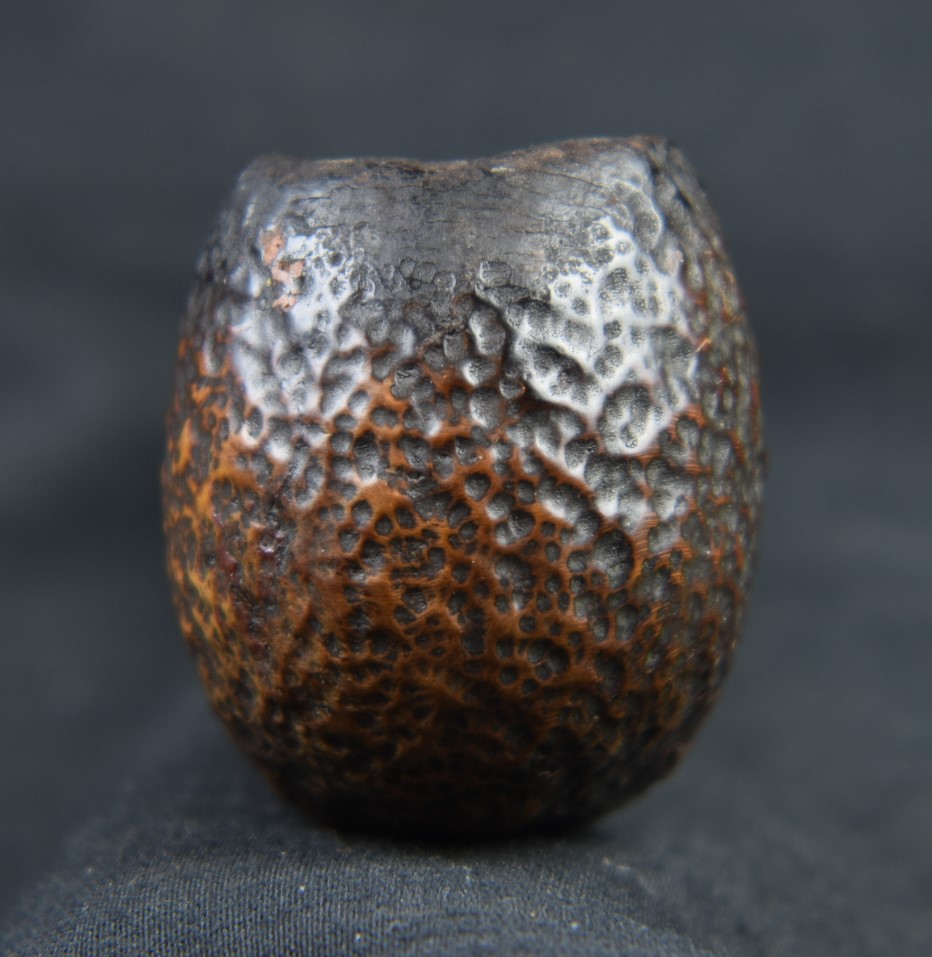
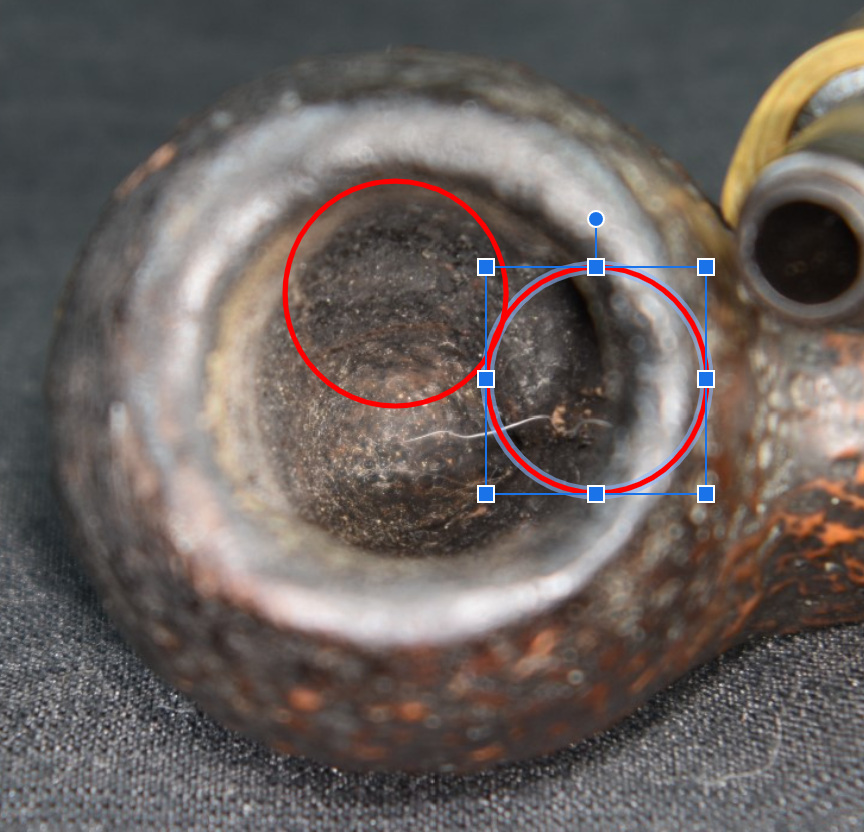
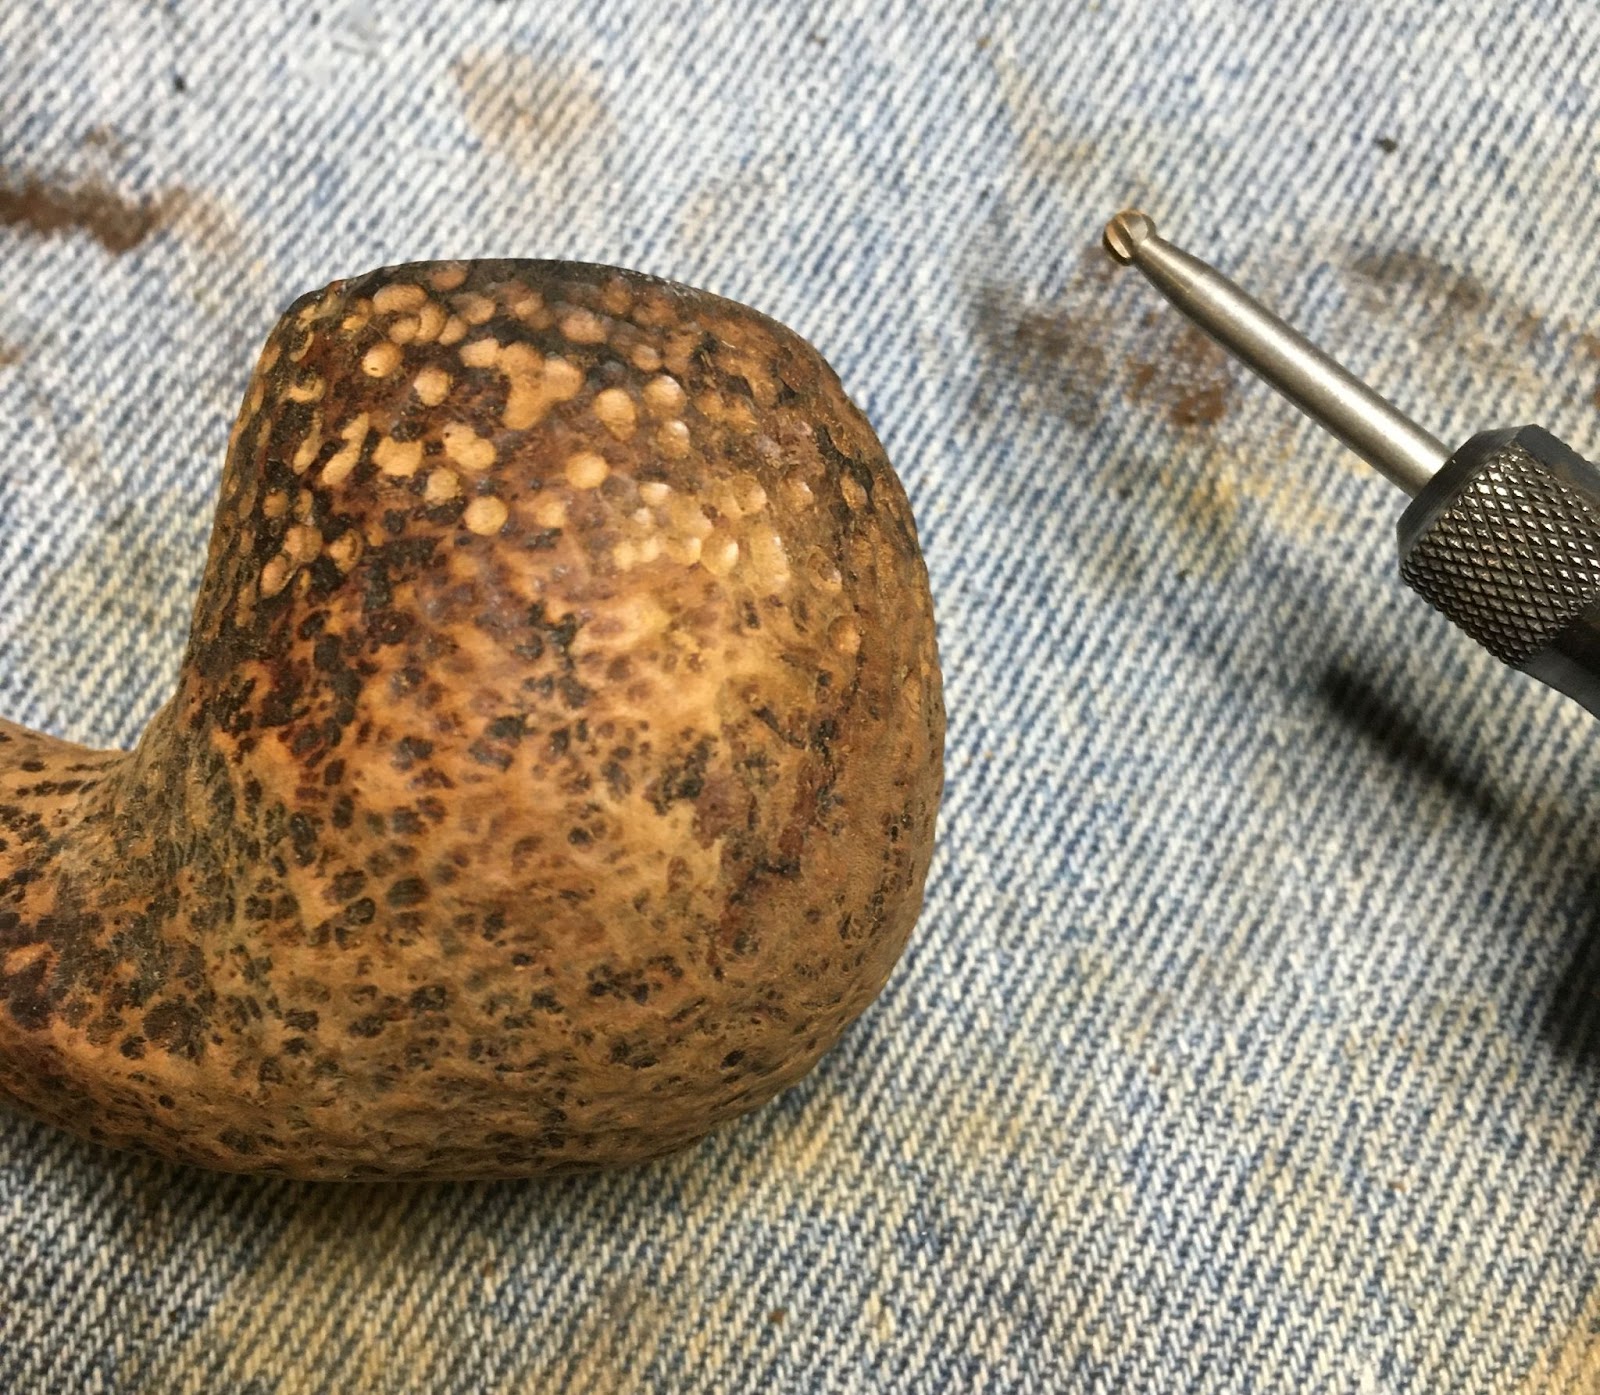
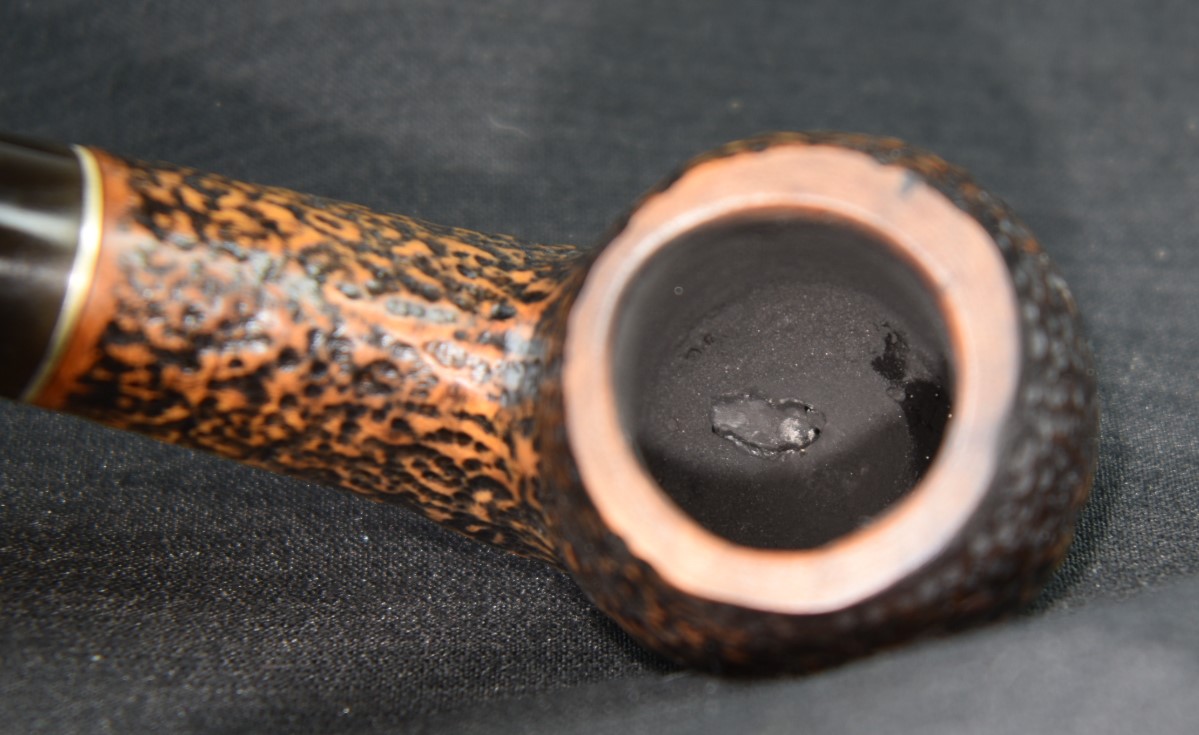
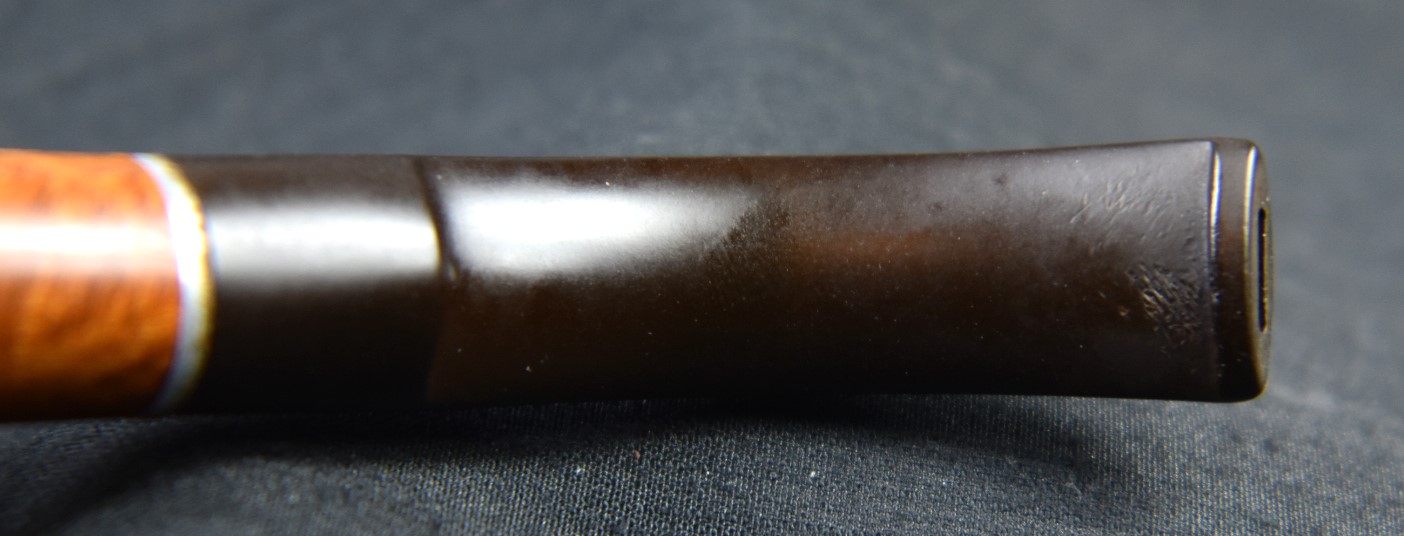
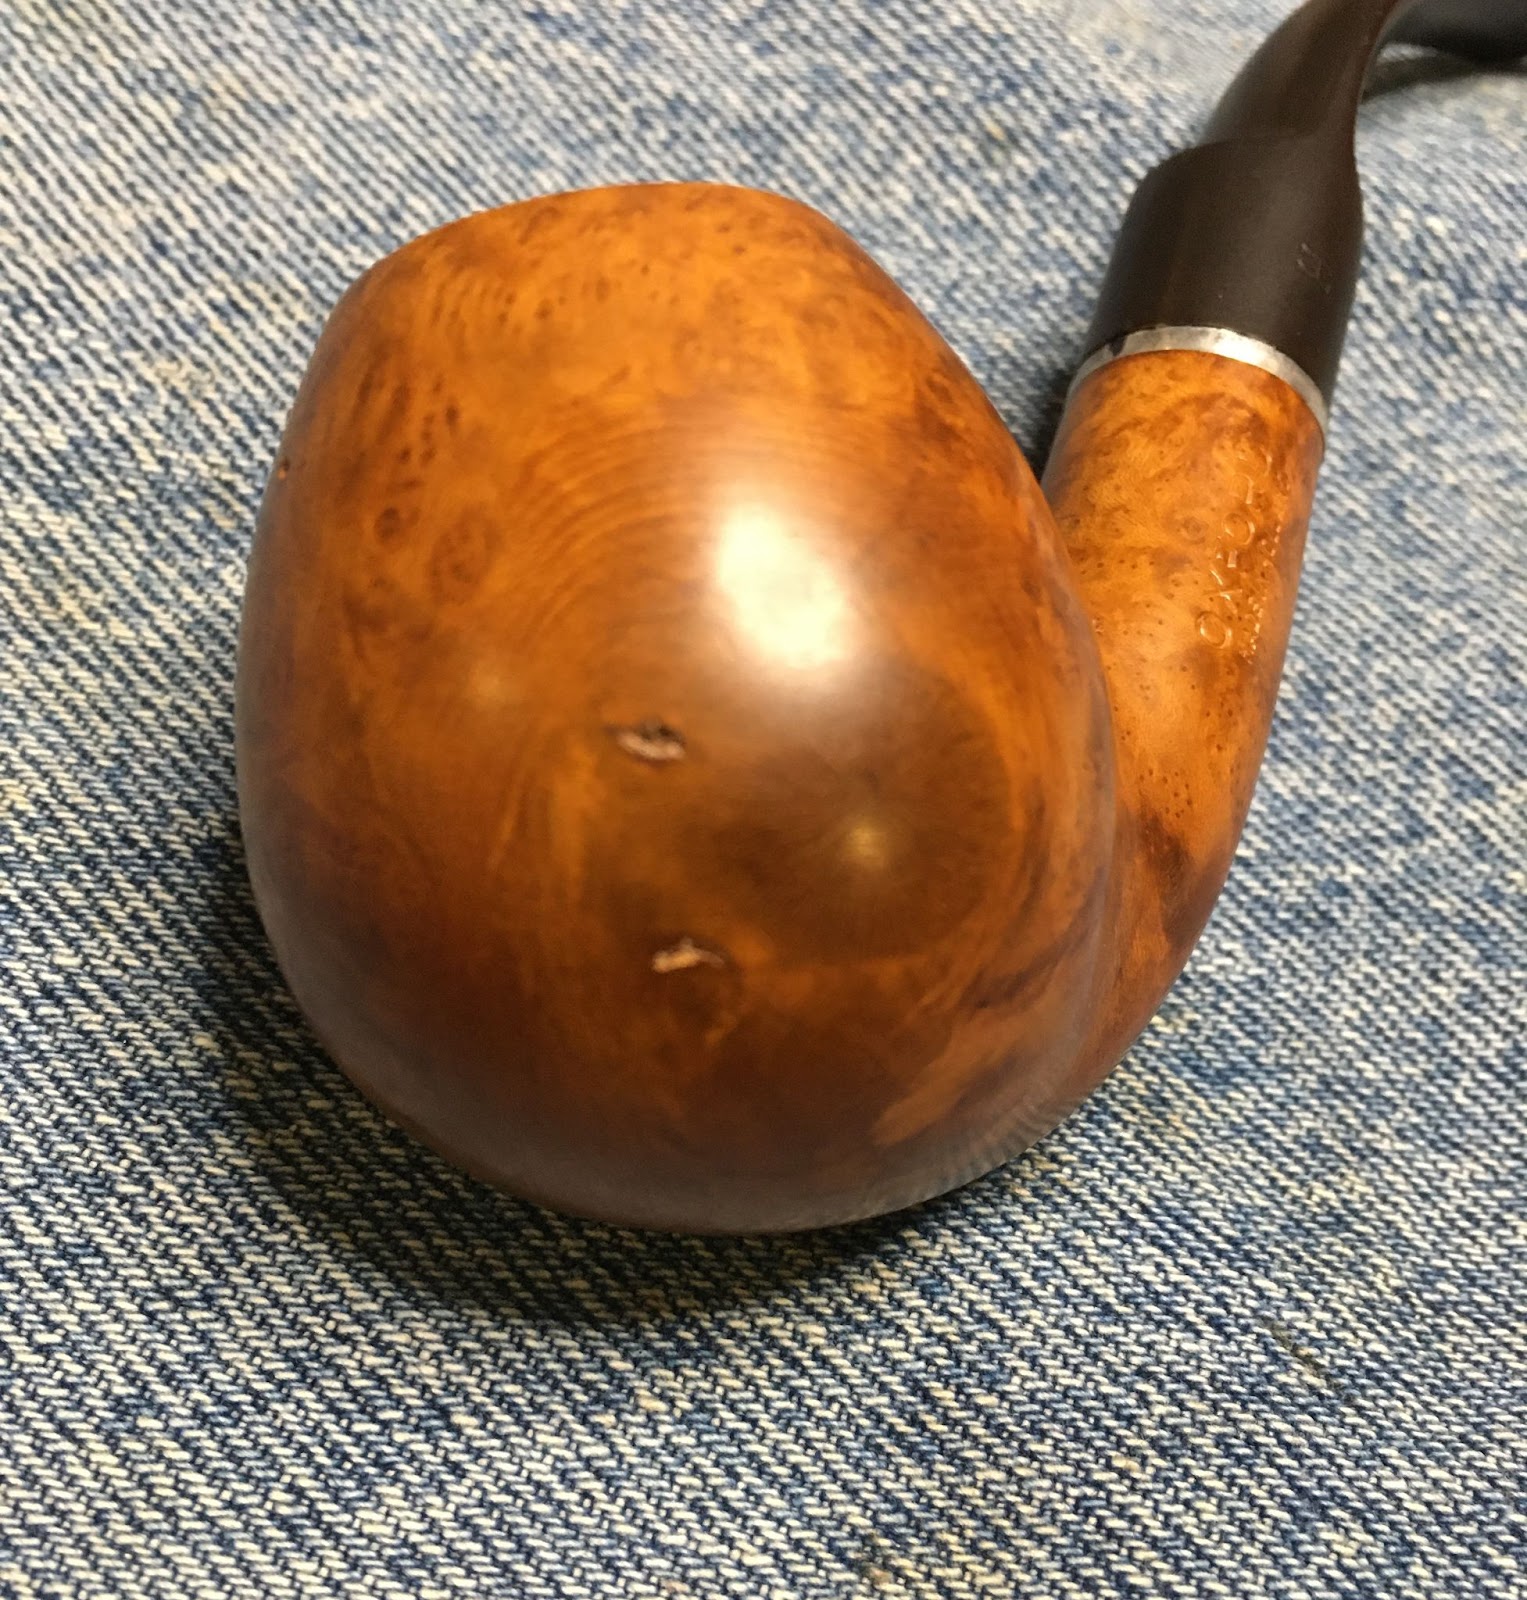
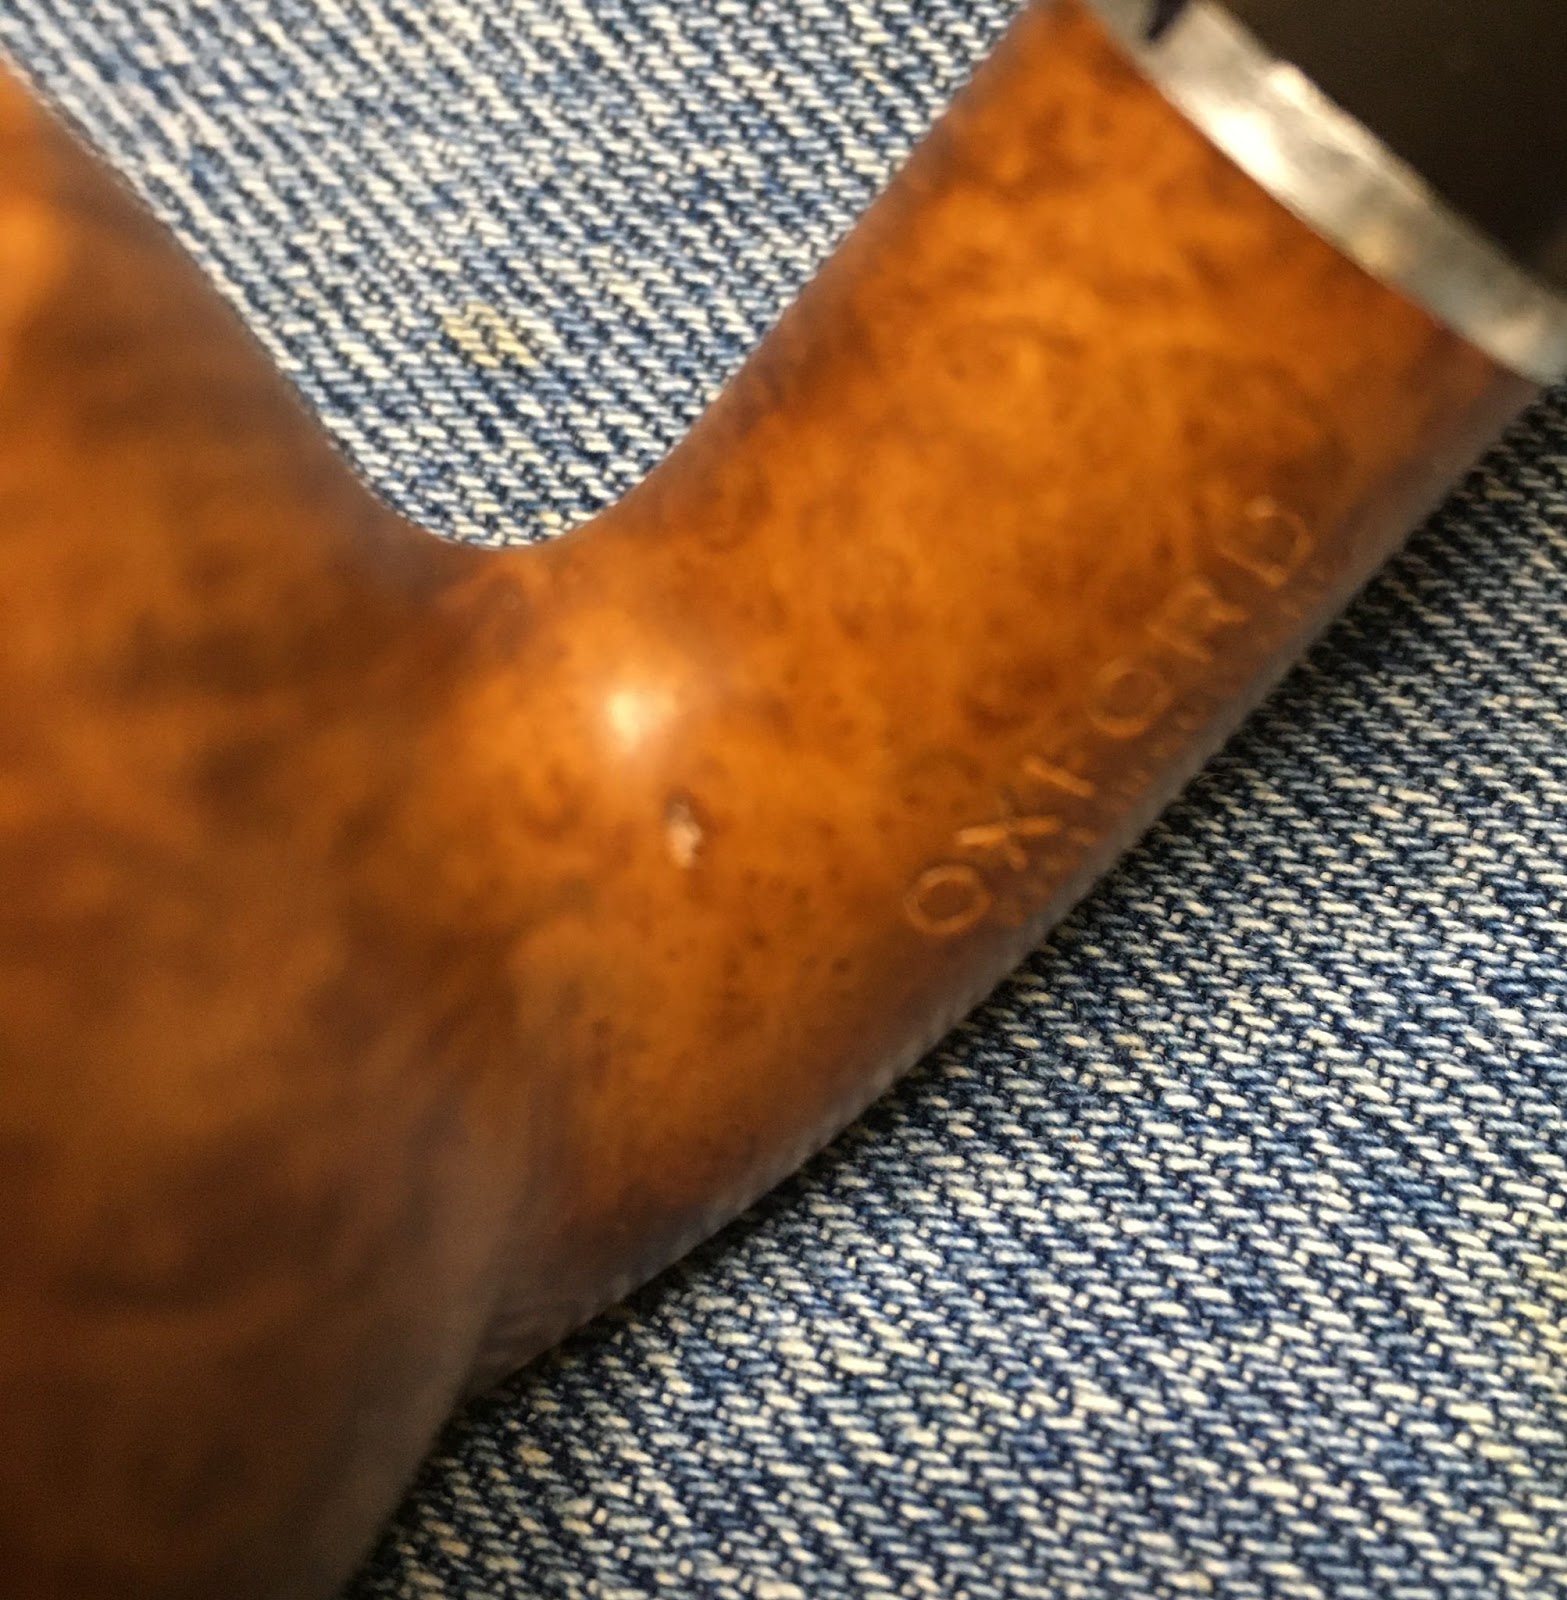
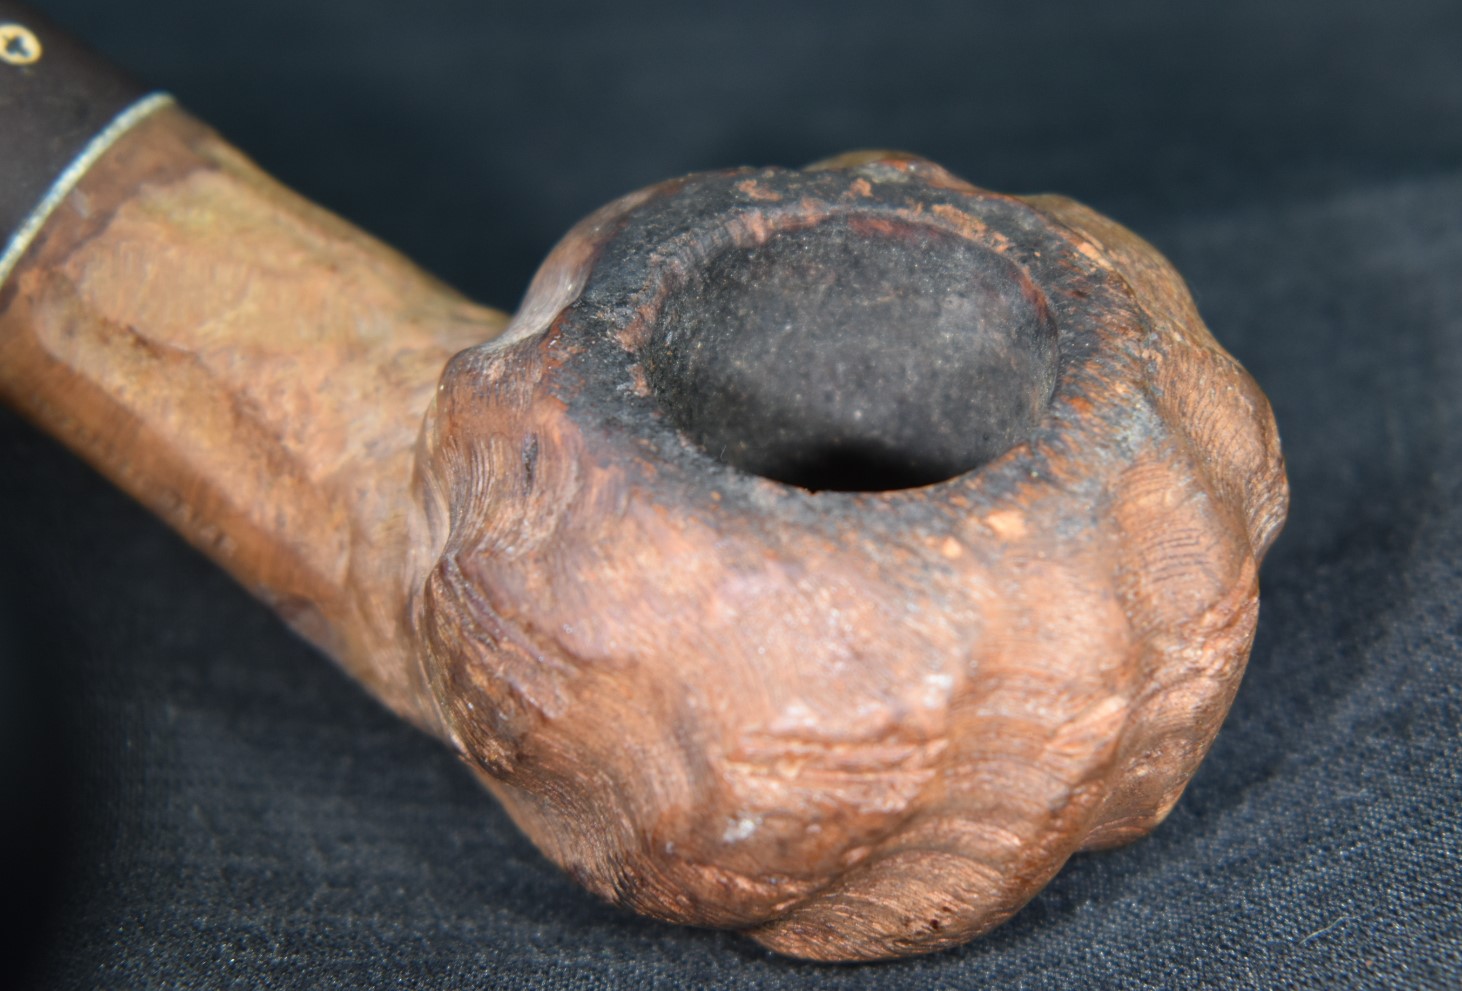
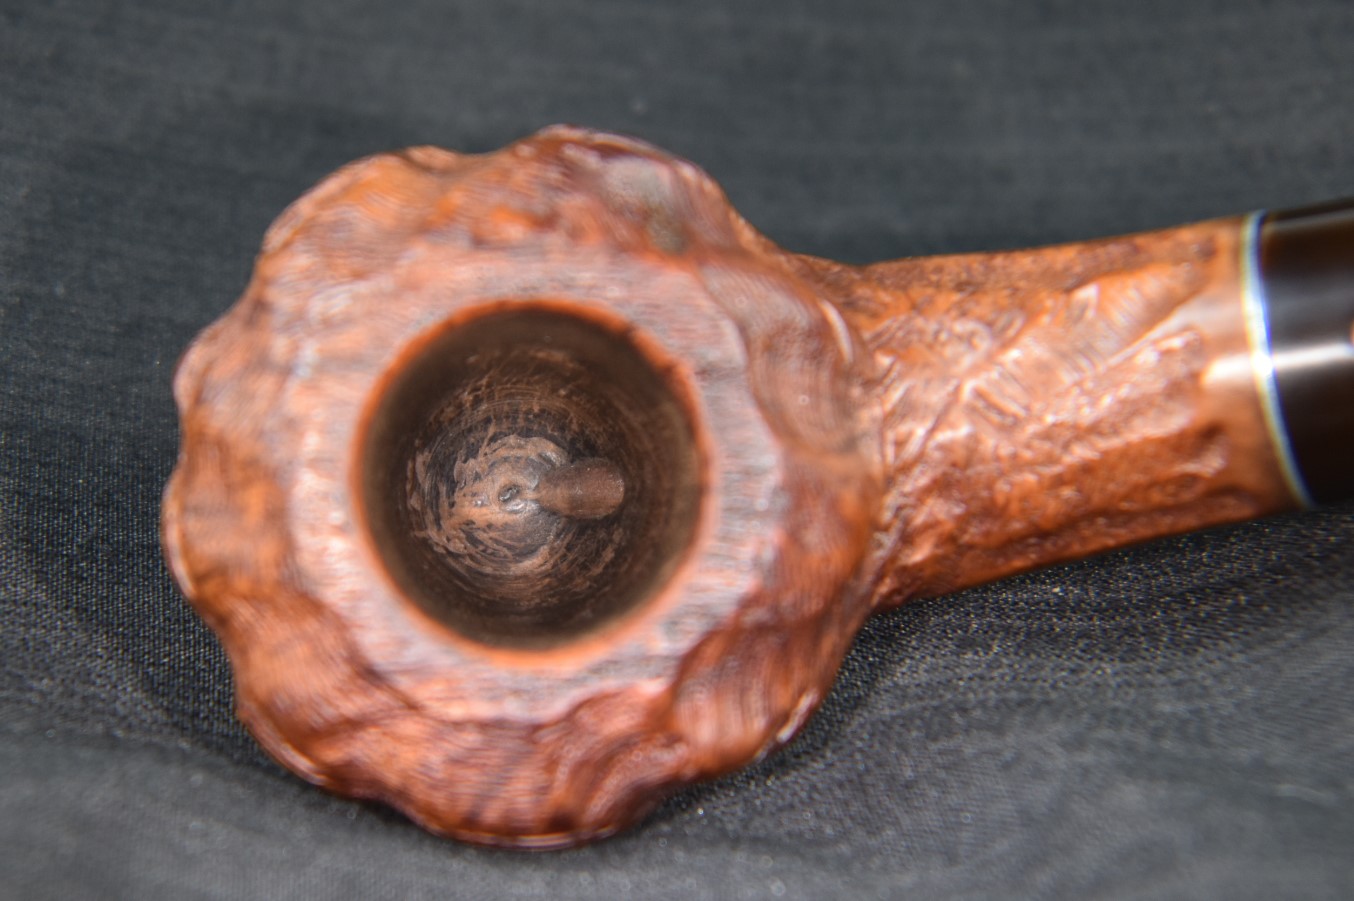
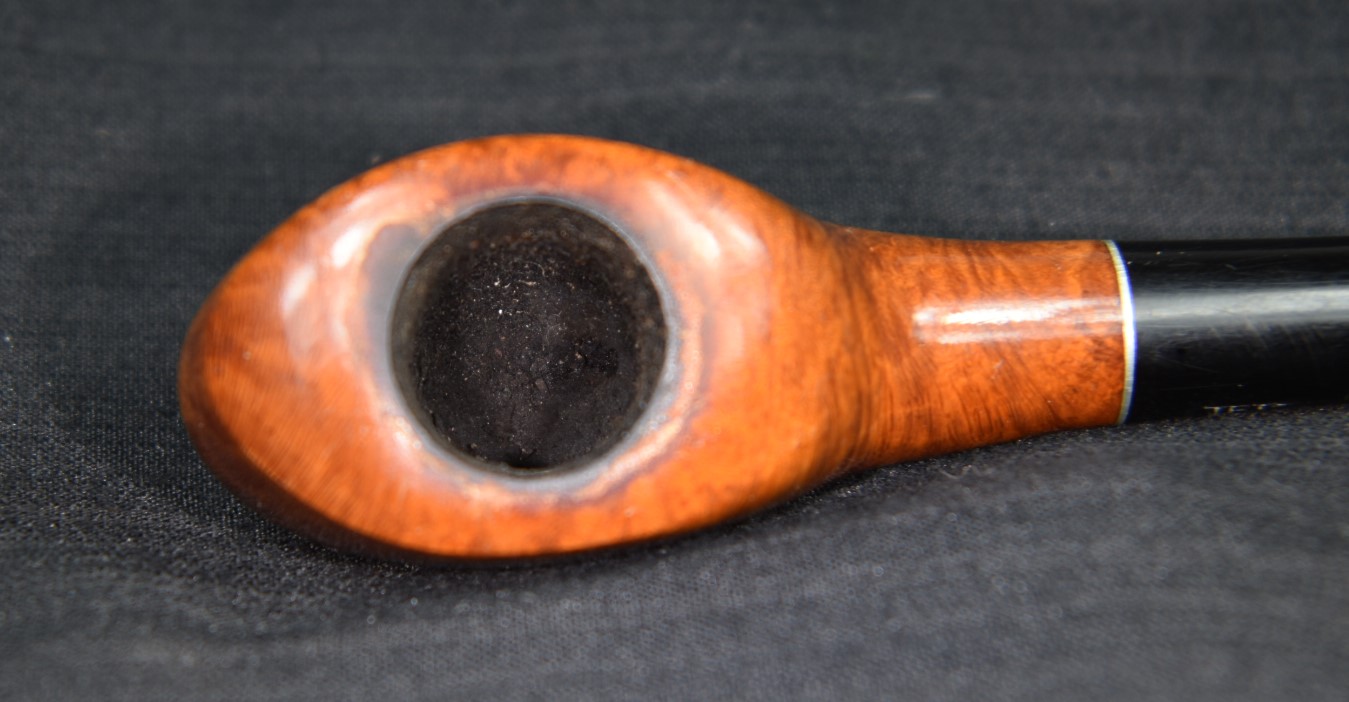
That brings us to the rim. The lava deposits made inspection of the rim difficult. Though there did appear to be charring at the 8 o’clock position of the photo below and around the inside edge of the rim from 3-8 o’clock.
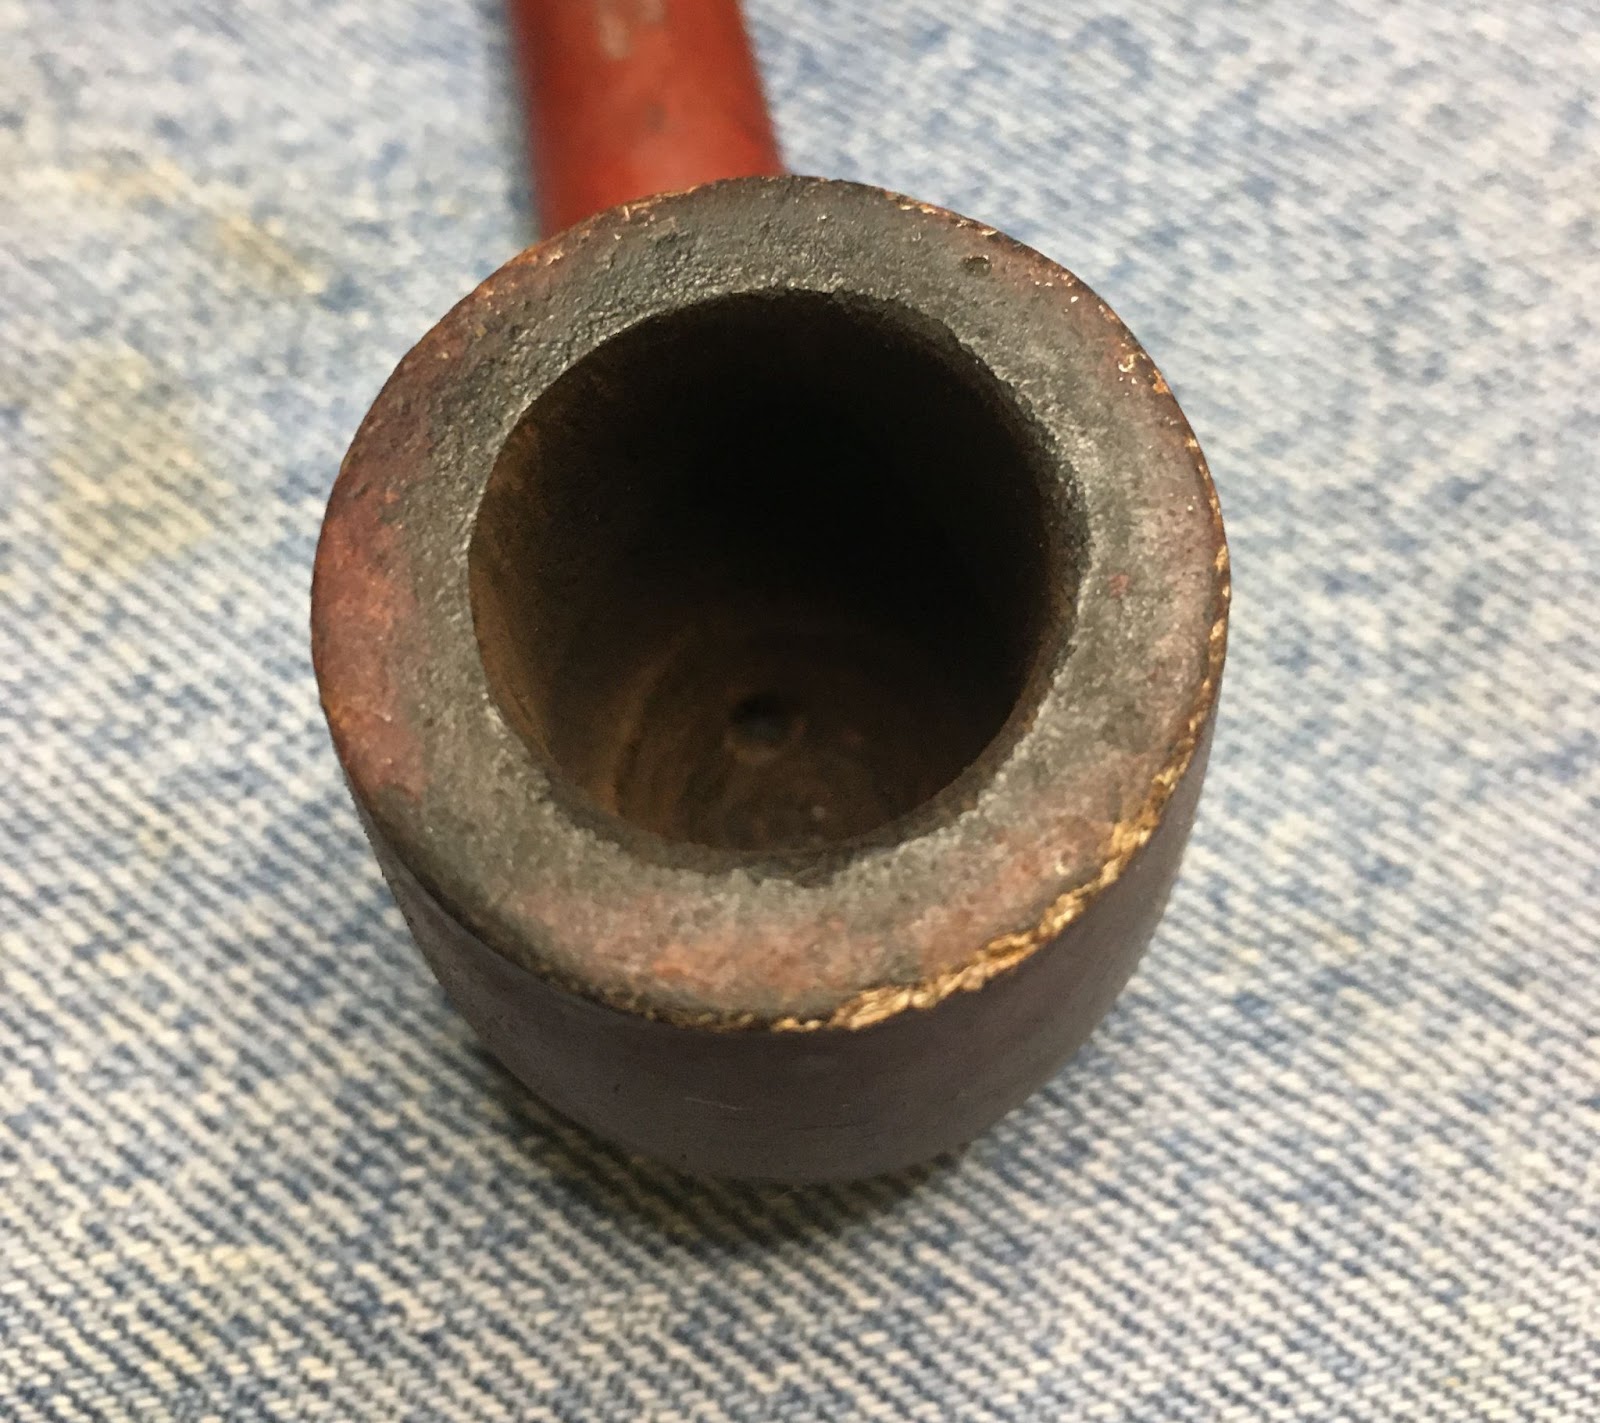
The rim was moistened with saliva then scraped with a shape pocket knife.

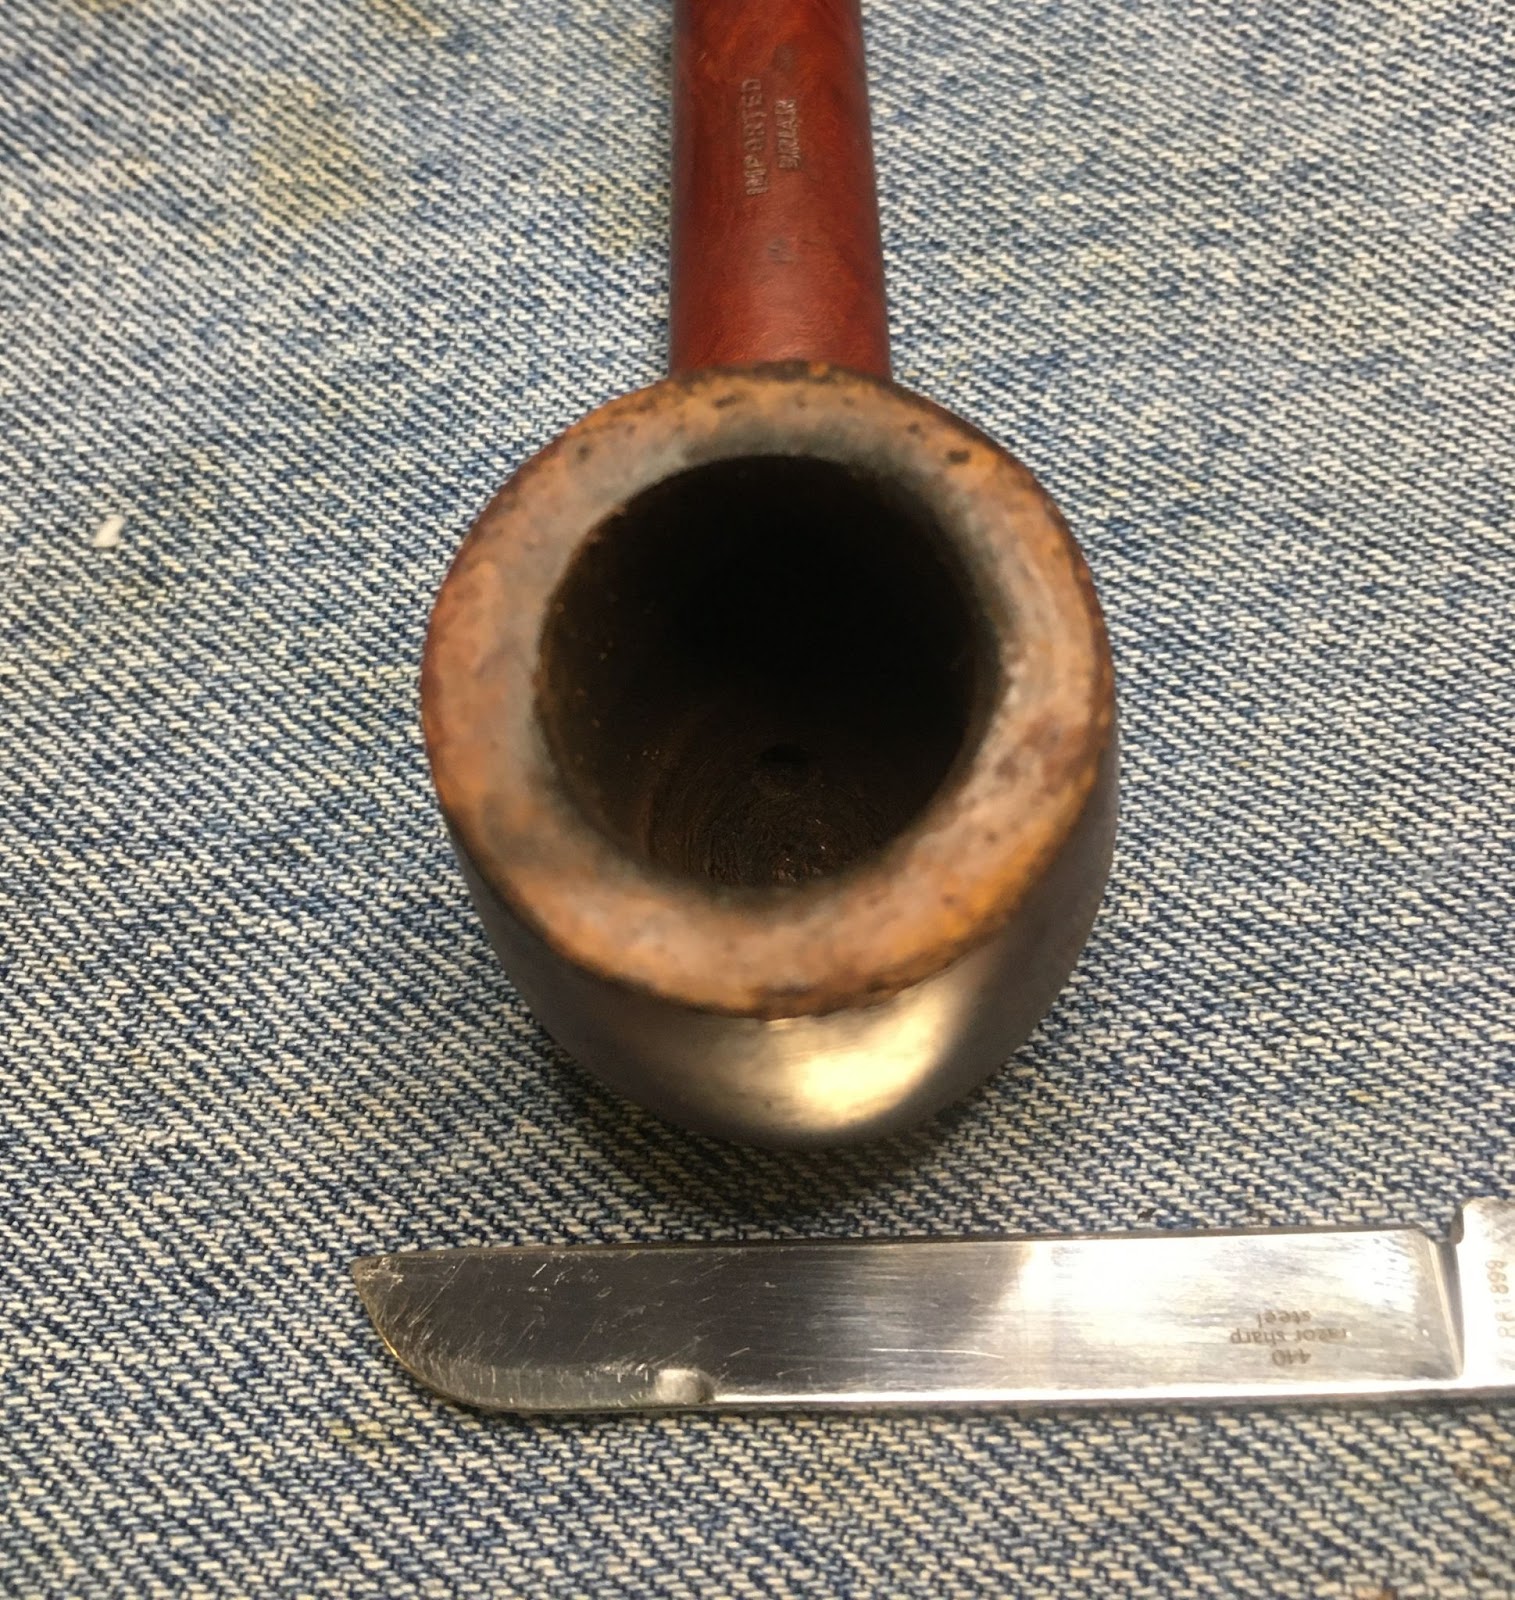
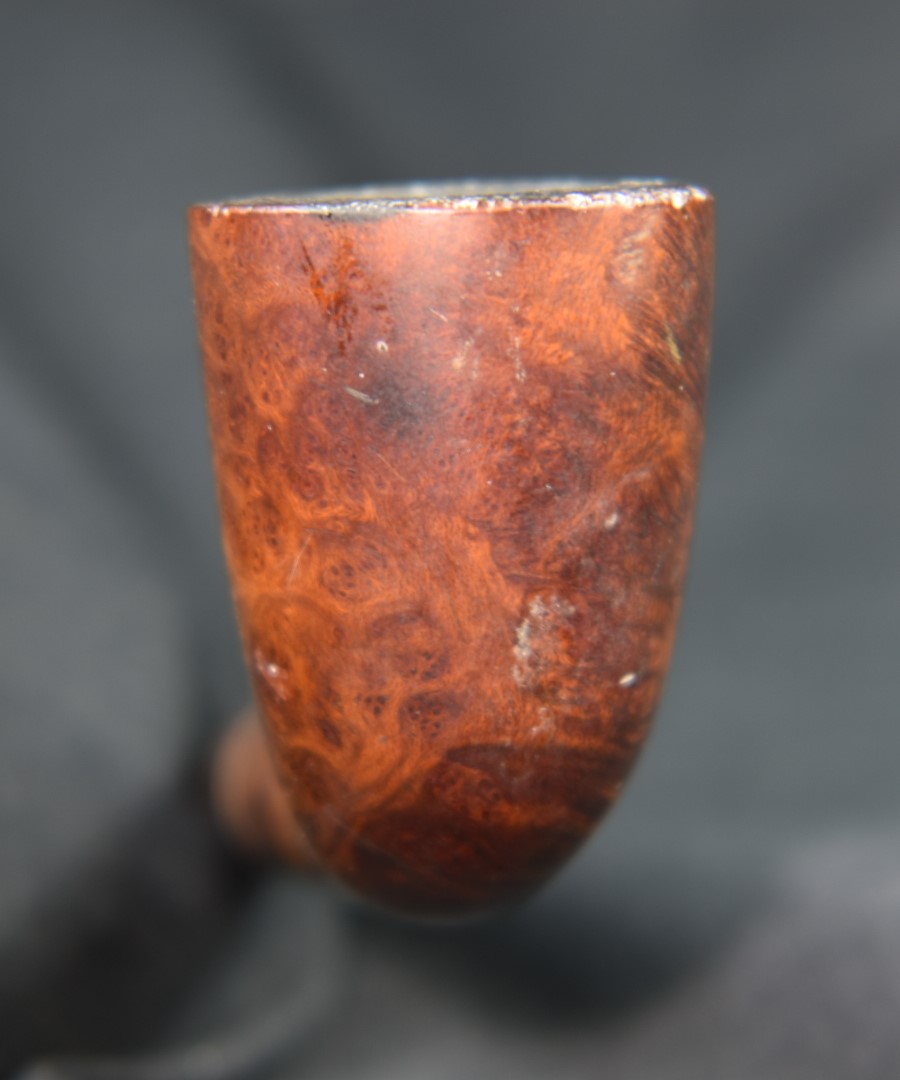
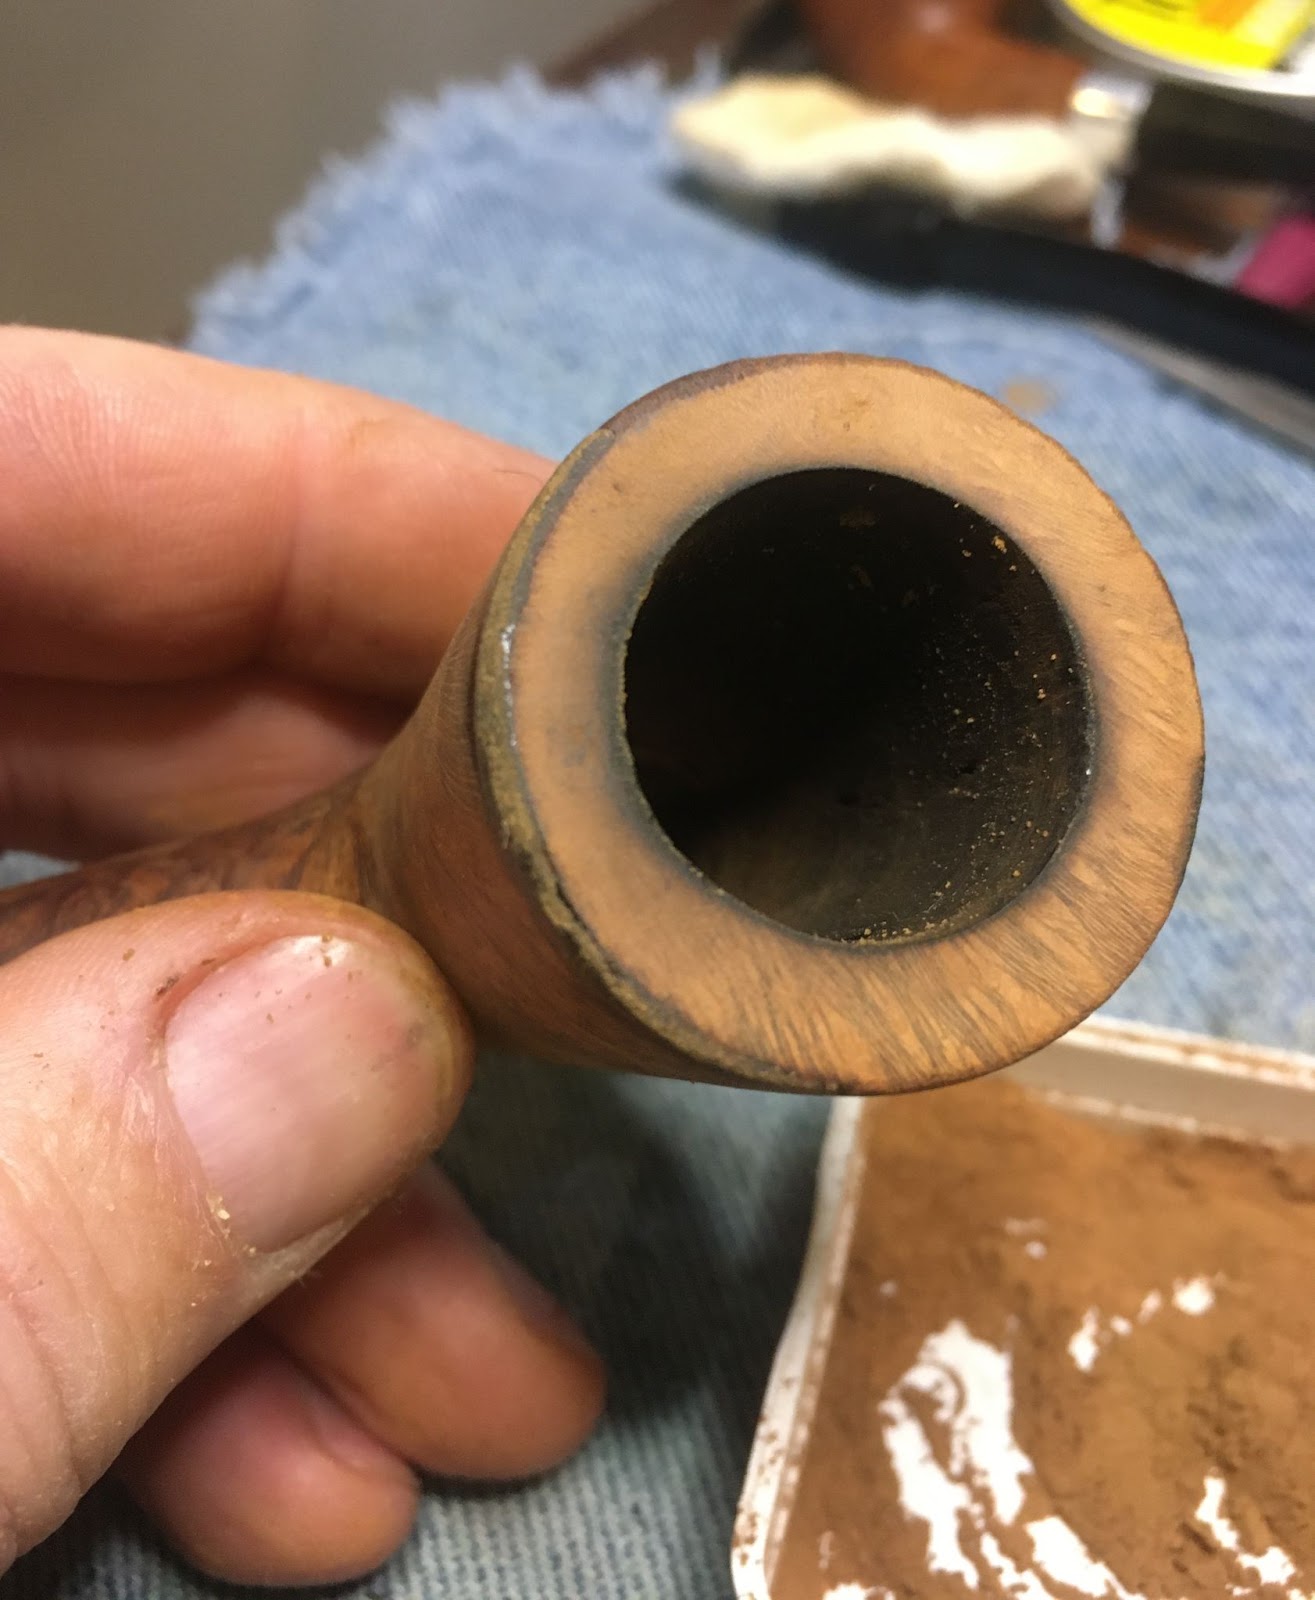
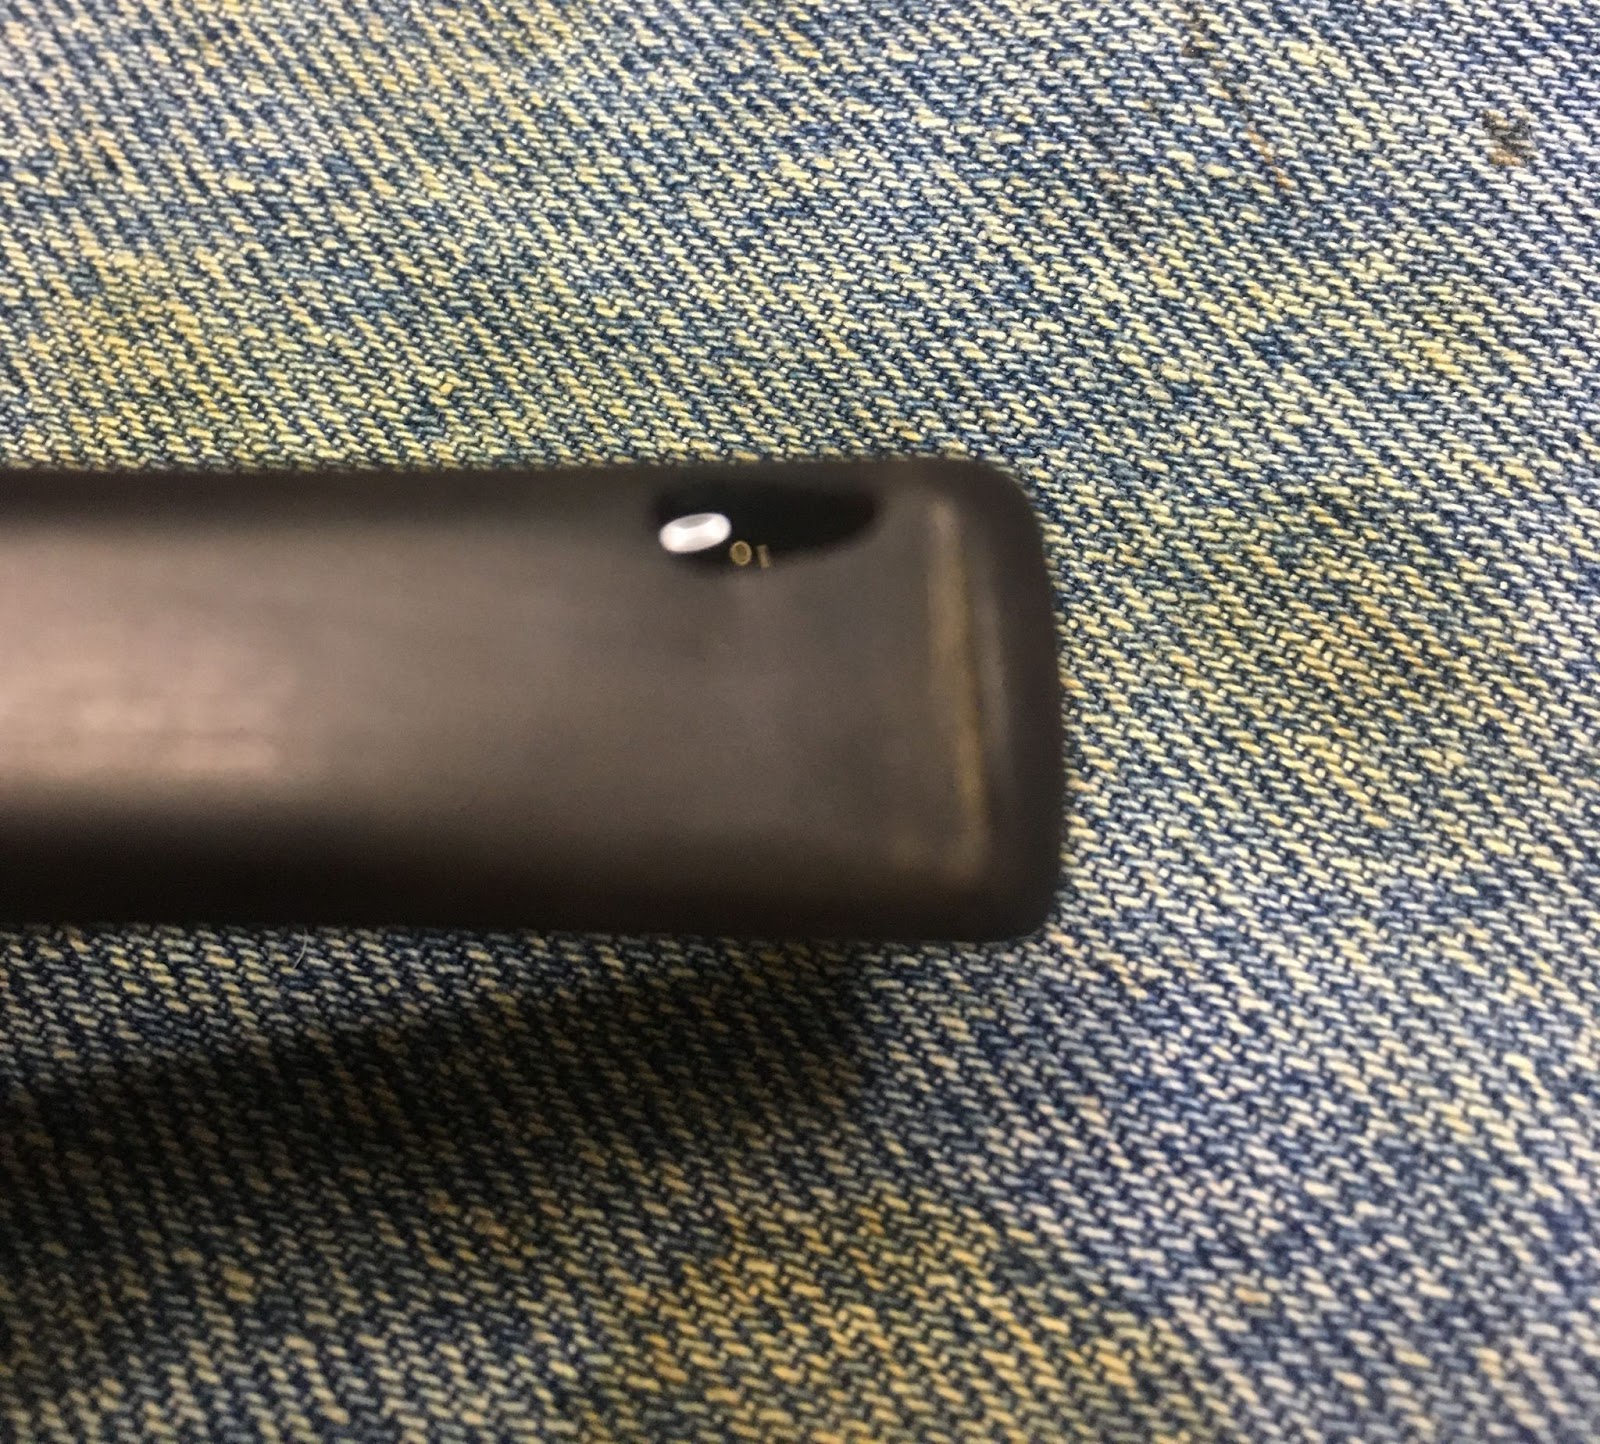
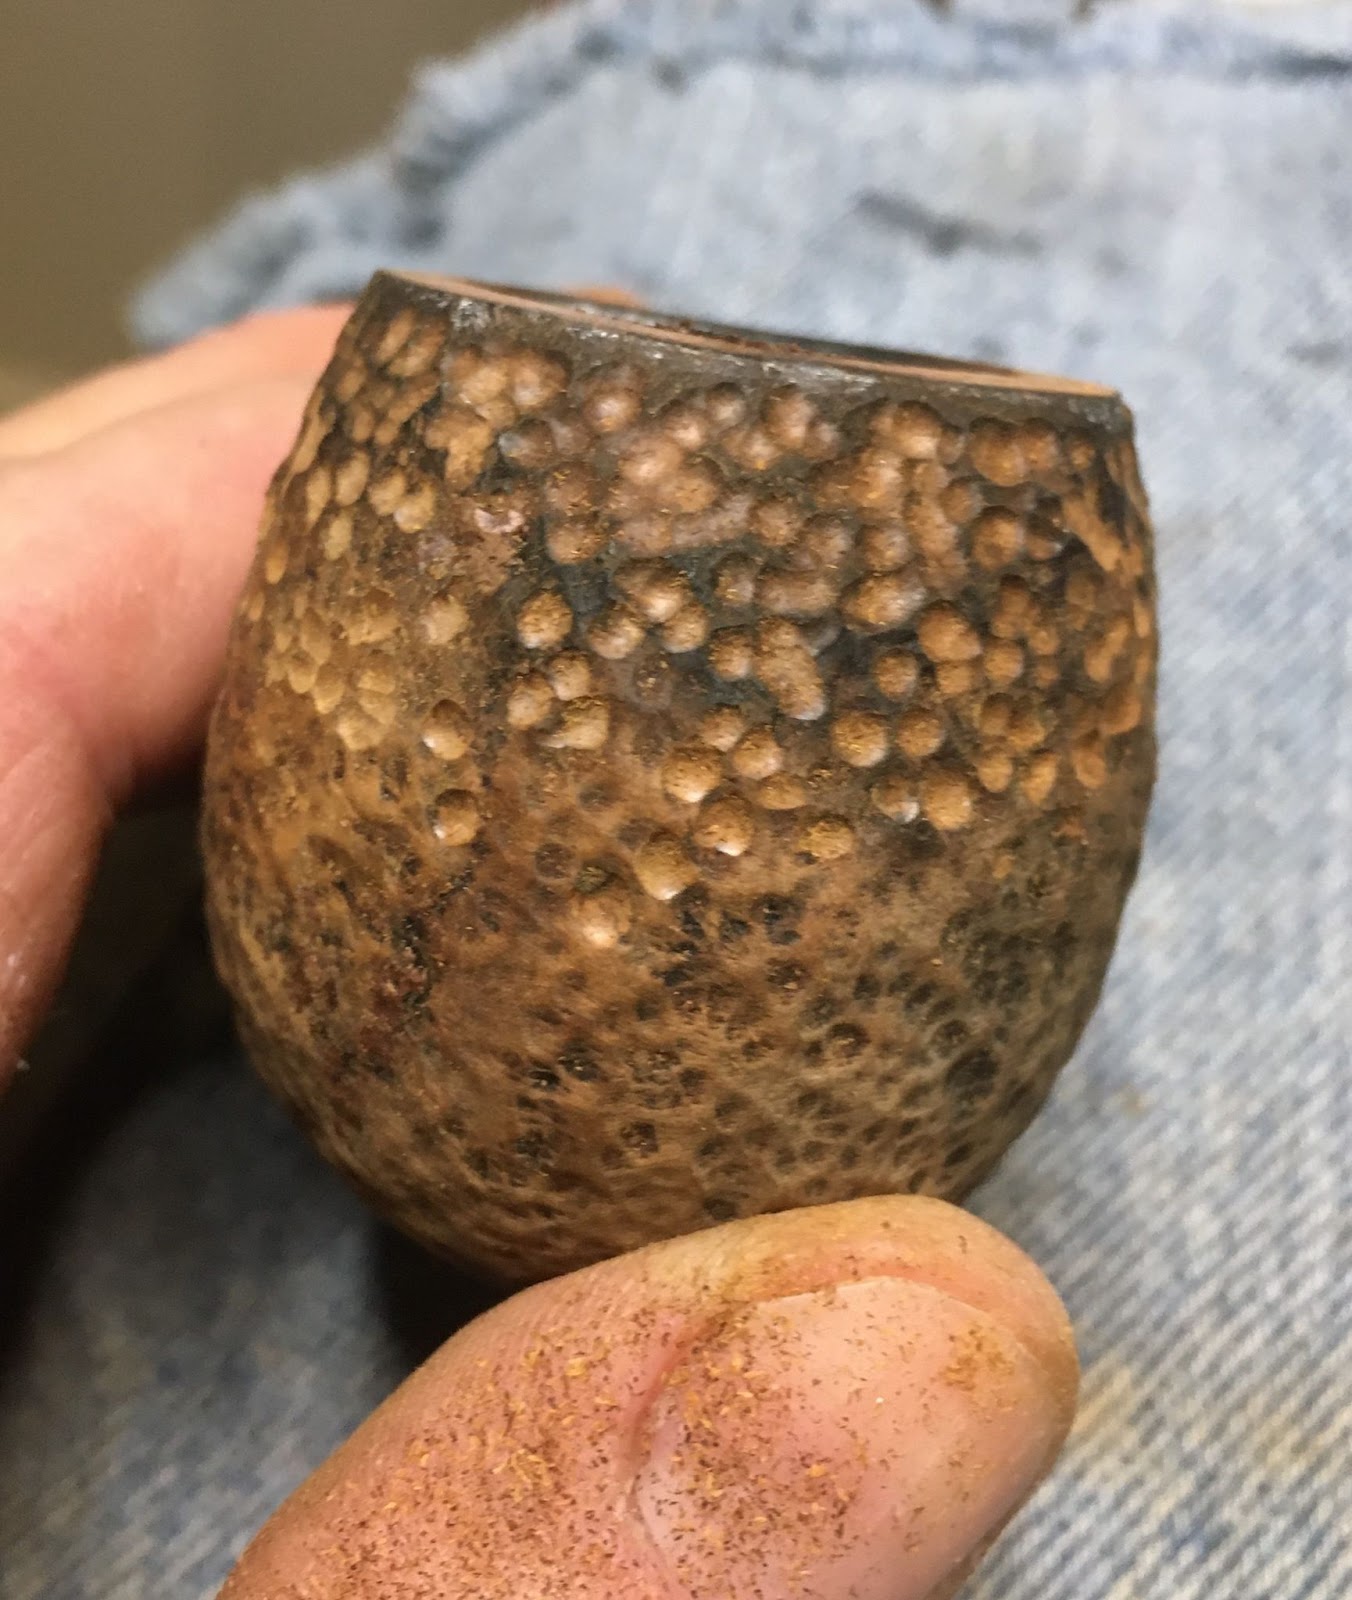
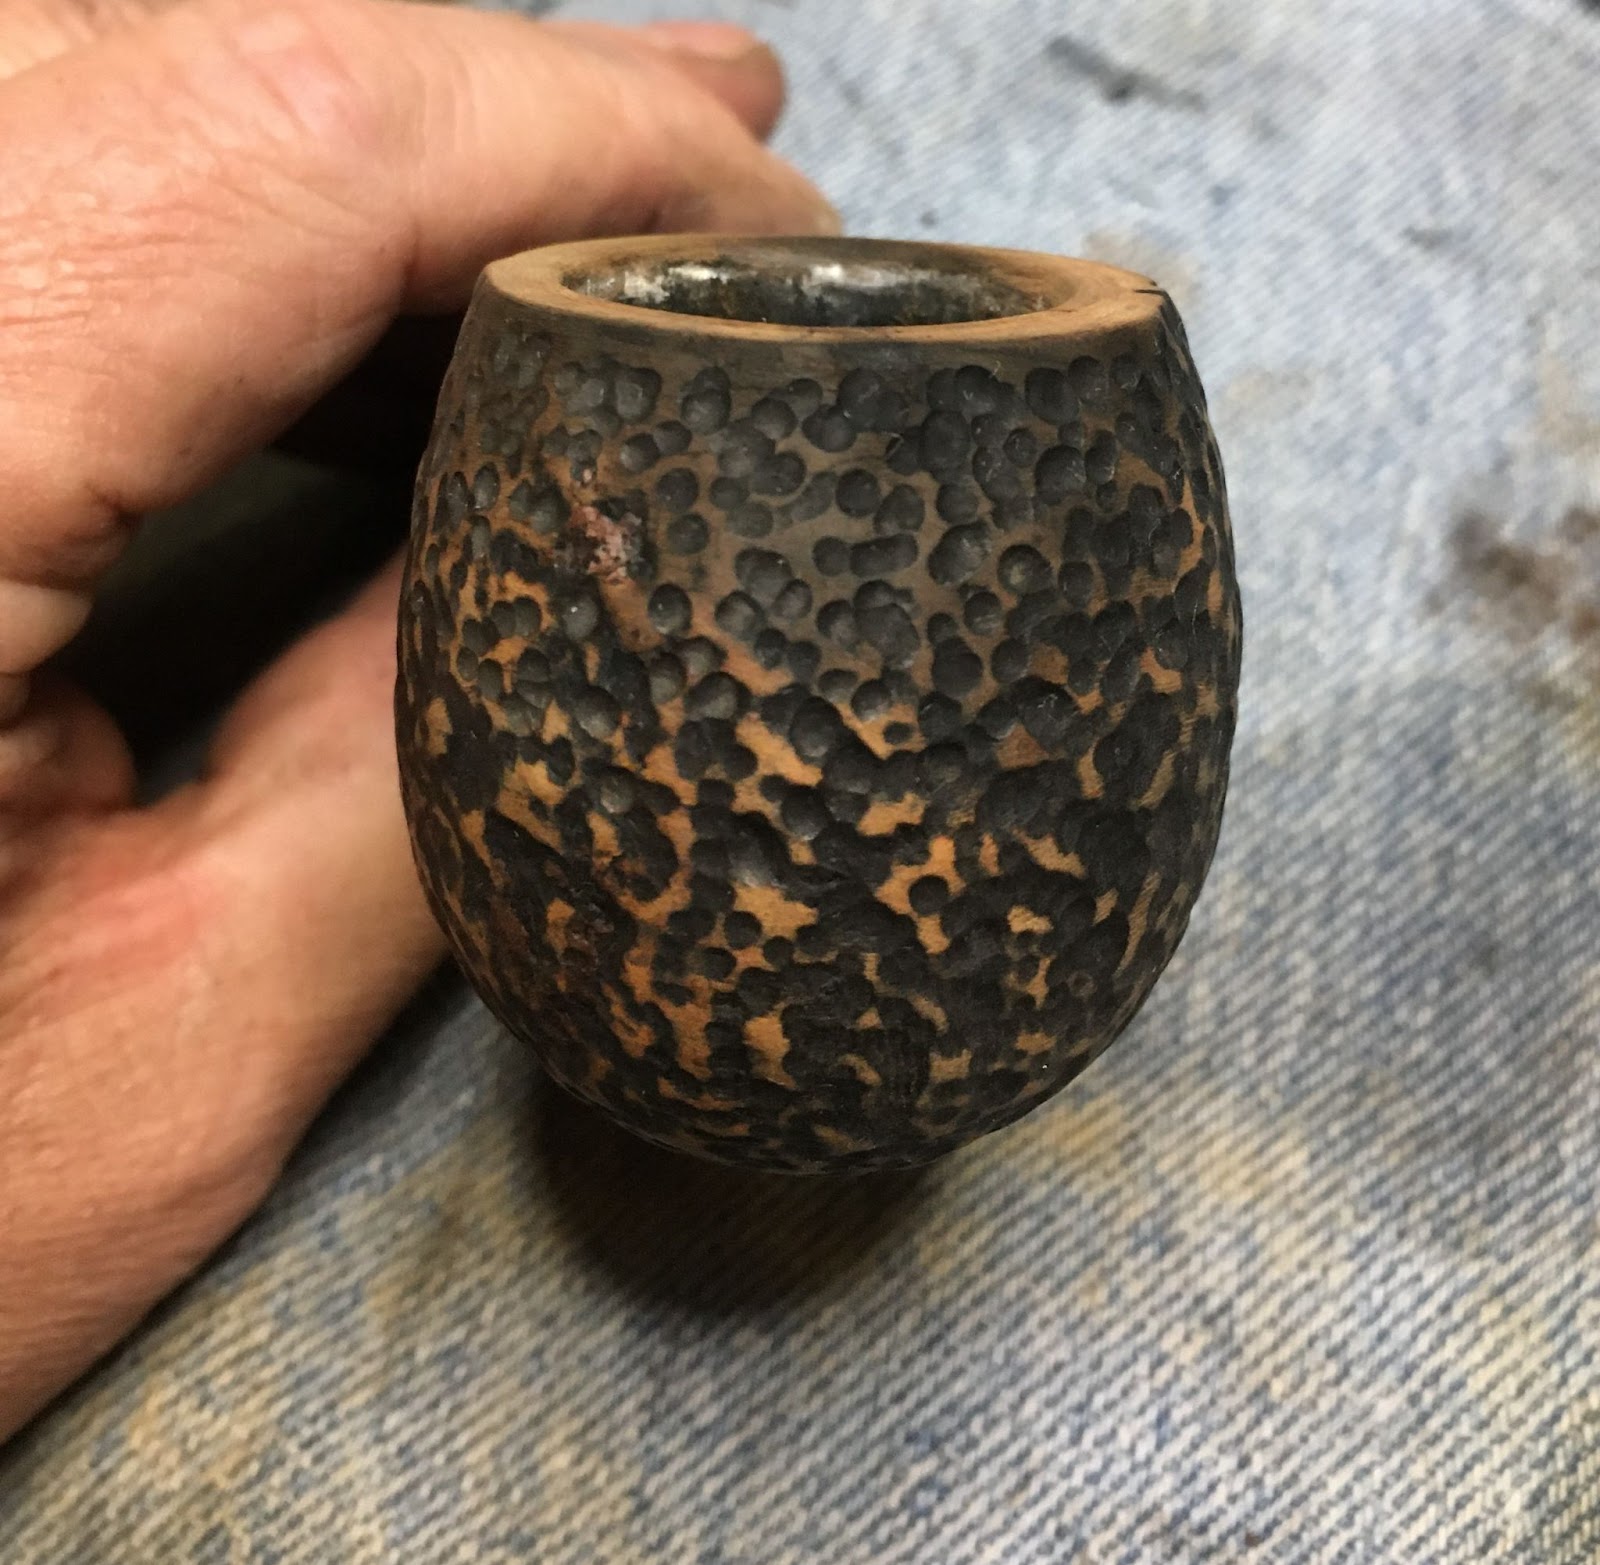
A further scraping revealed that the rim damage was all around the rim. The charing was also around most of the inside edge. Topping this stummel and removing the dents and dings would be required. I was hoping to only remove about 1/16 of an inch, 1-2 mm of briar from the rim. Beveling of both the inside and outside edges would remove the edge damage and keep me from removing even more briar.
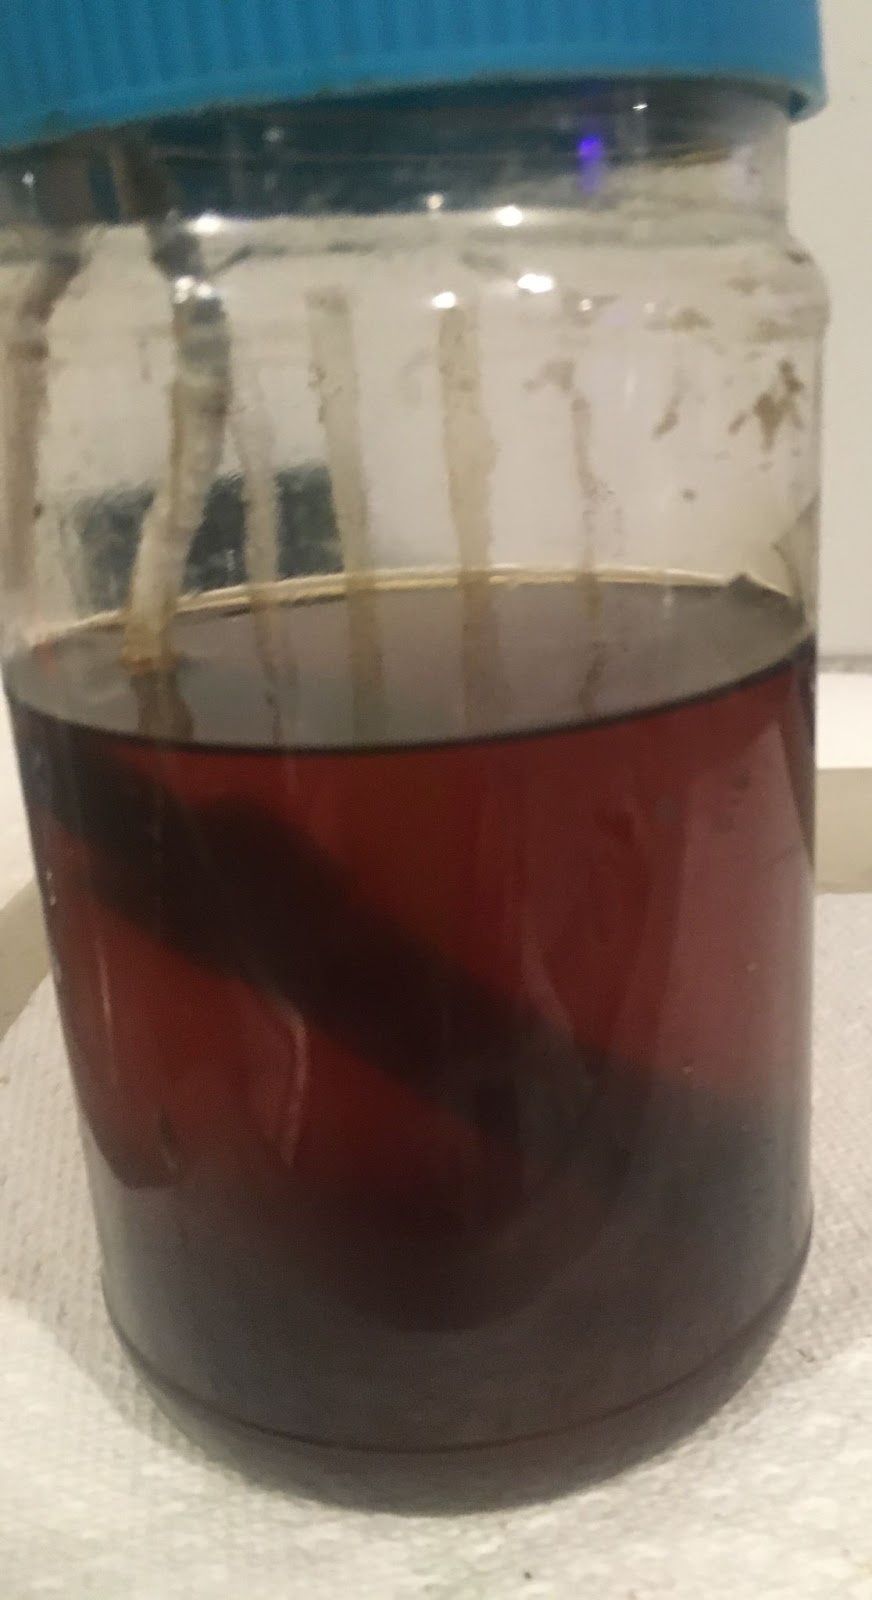
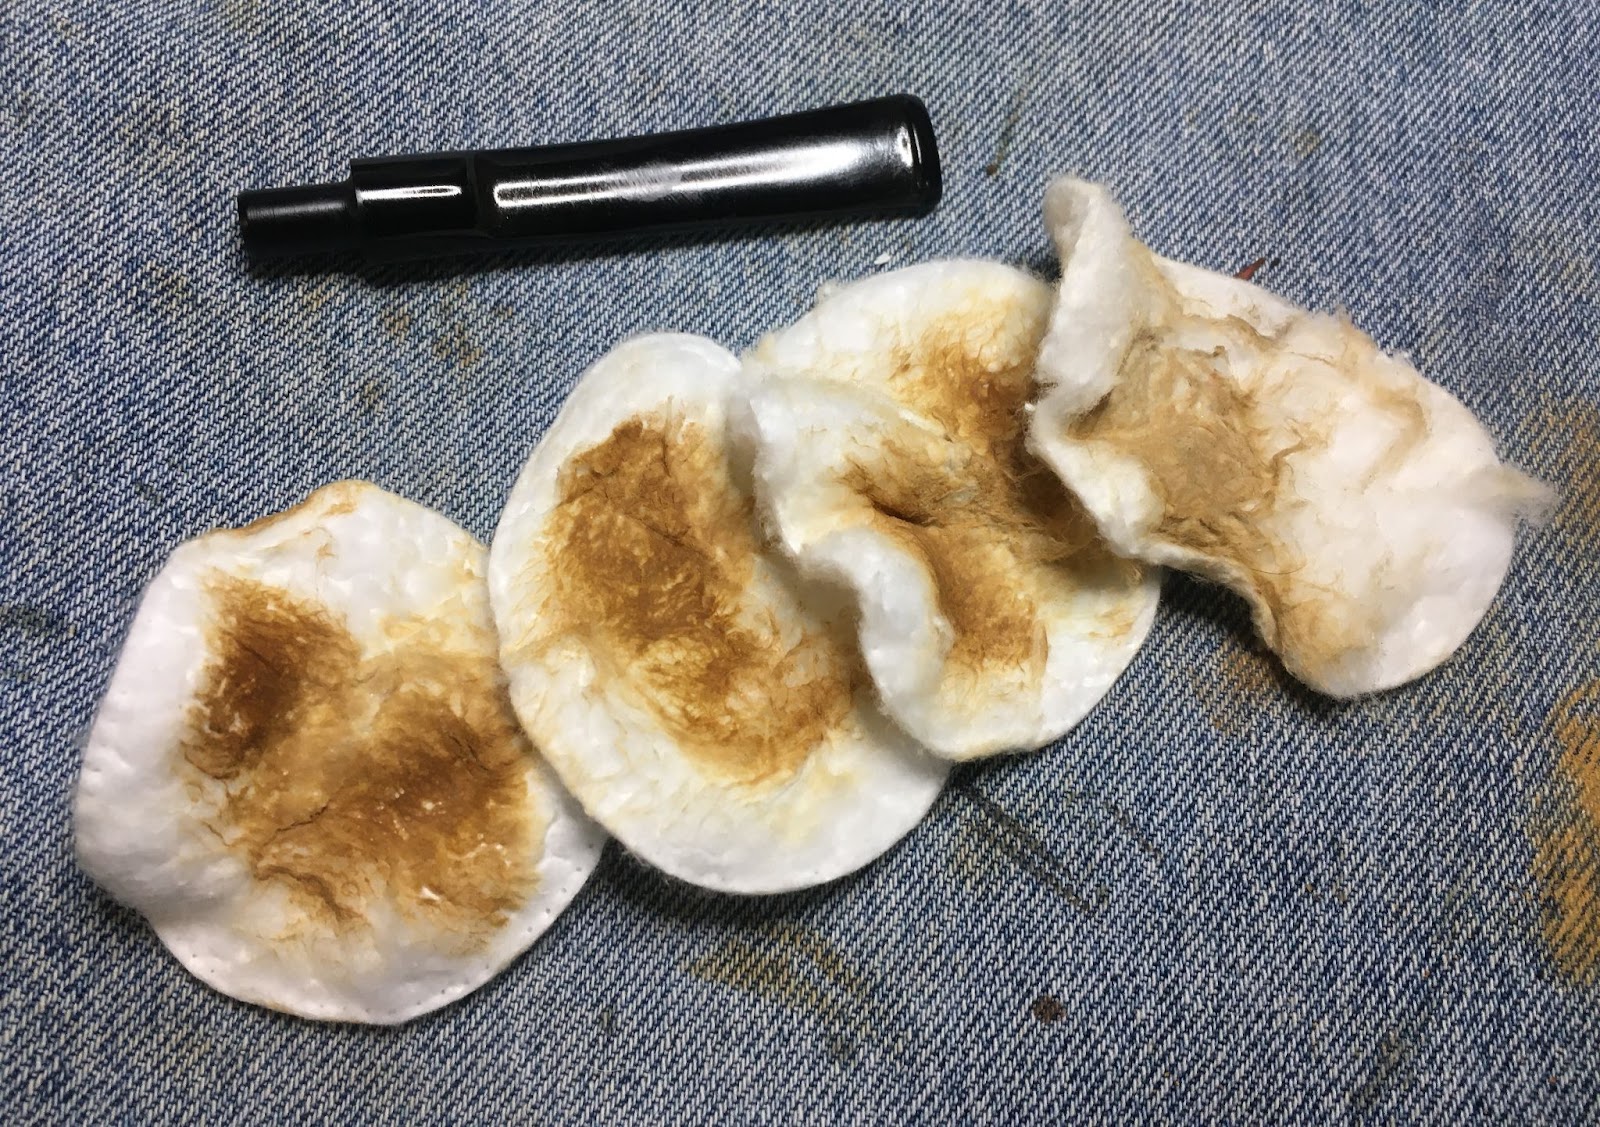
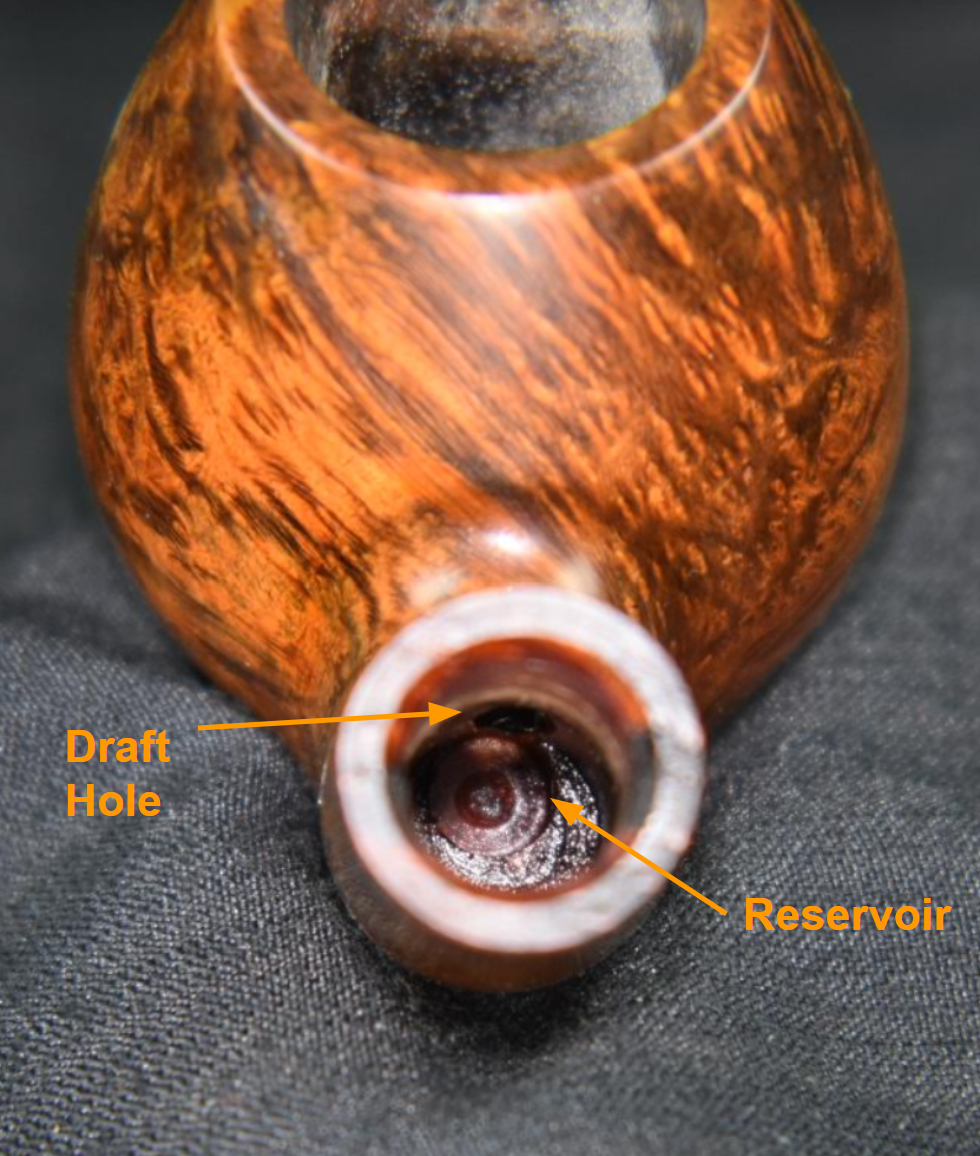
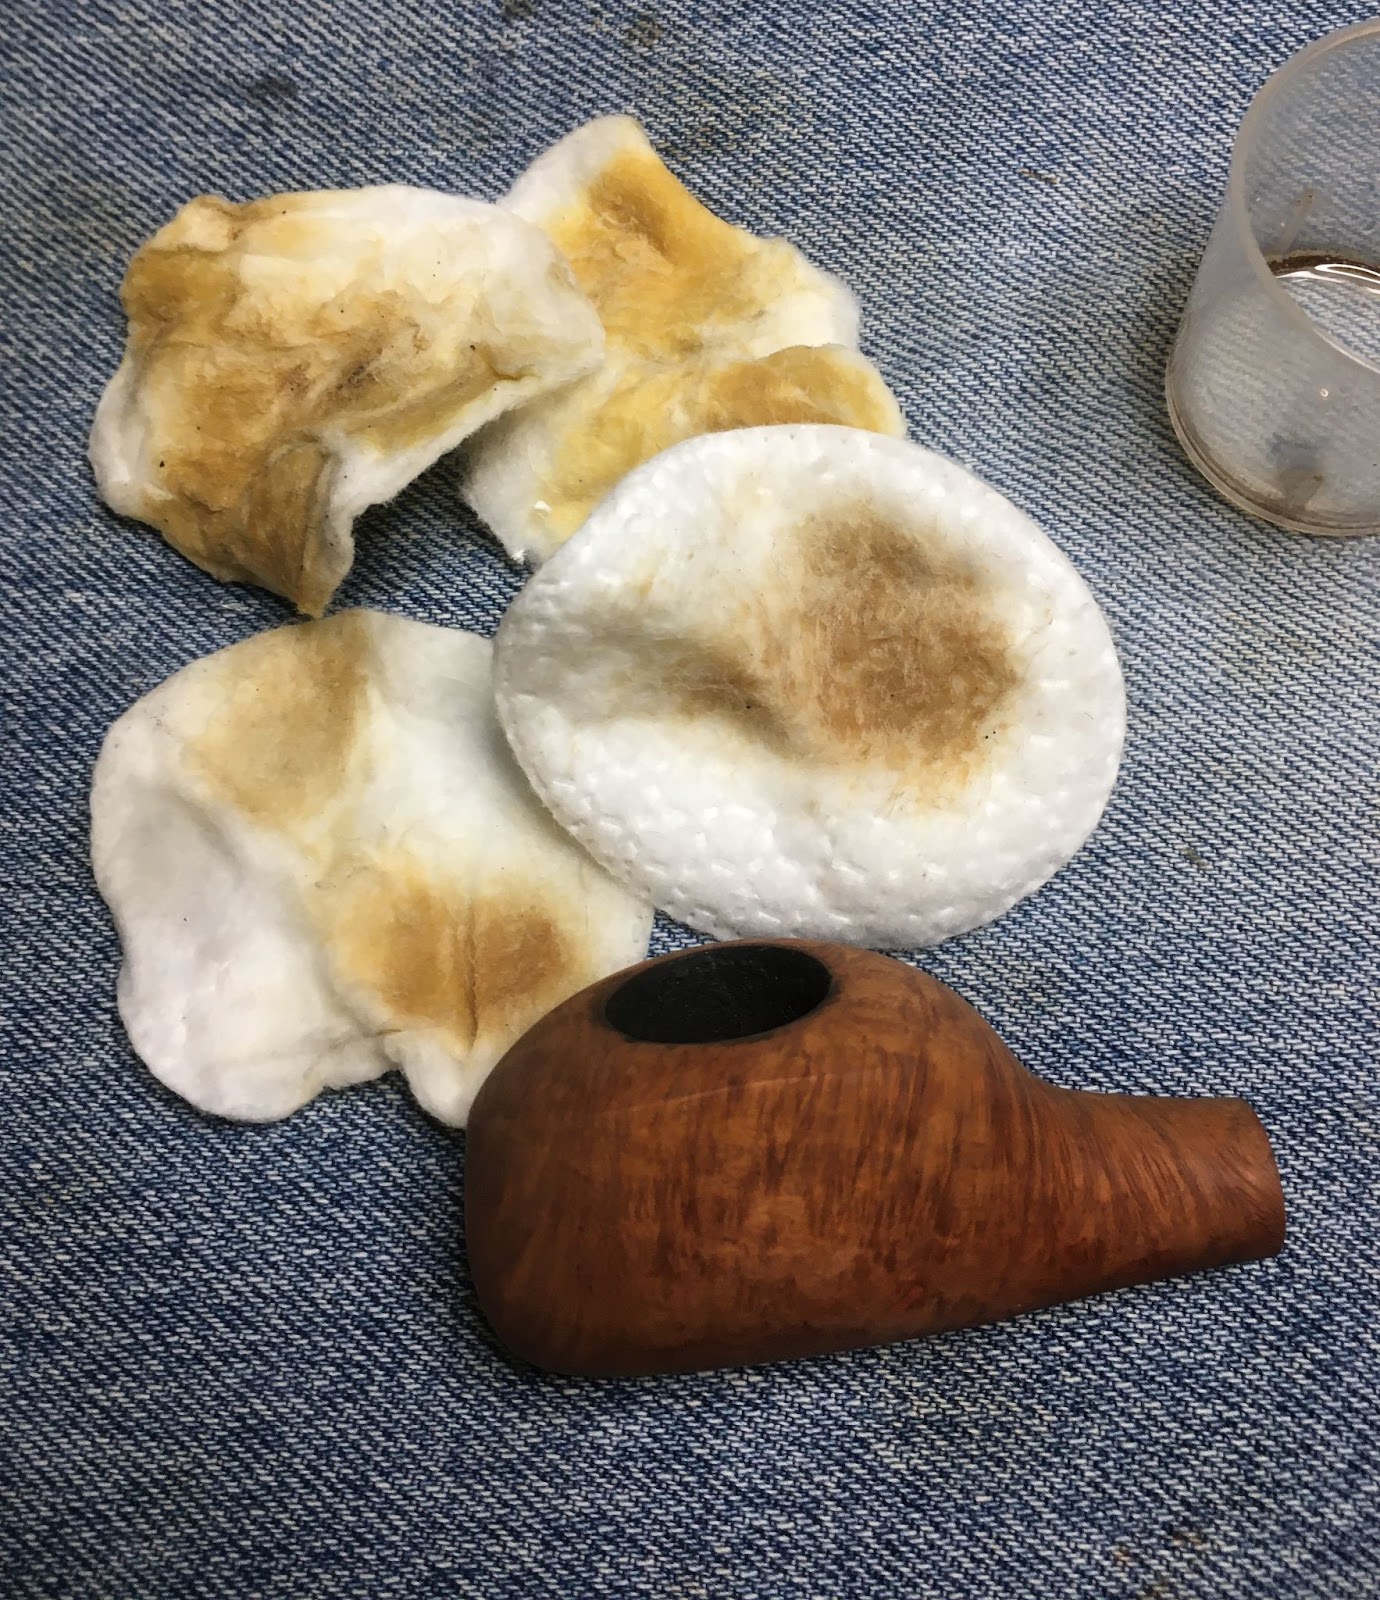
After the reaming of the tobacco chamber, I poured 2-3 ml of 99% isopropyl alcohol into the chamber and allowed the alcohol to flow into the shank. I then used a nylon shank brush to scrub the airway. I poured this alcohol into a clean medicine cup. I was surprised that the alcohol did not have the dark color that I had expected. The long shank would make scraping the airway very difficult.

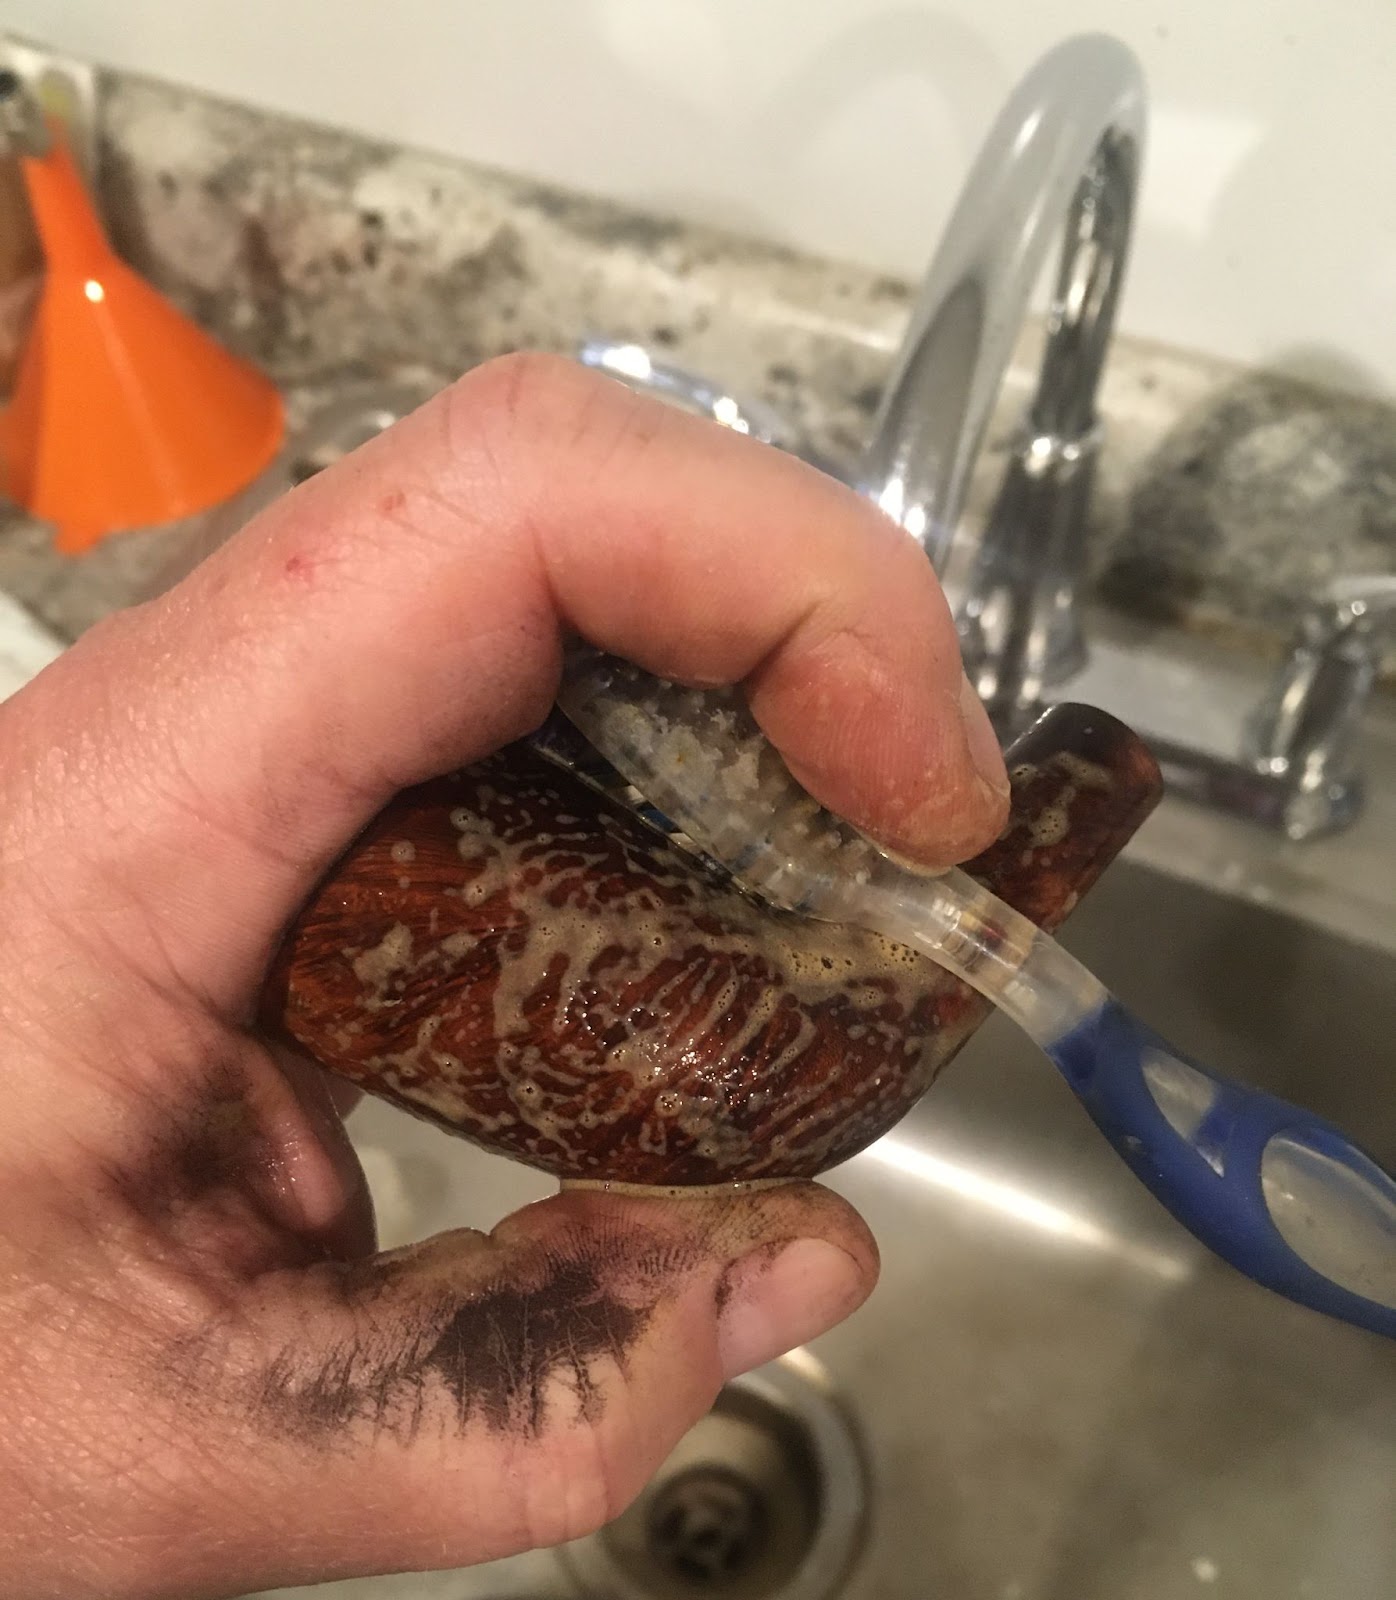
The stummel was taken to the sink. Here I used undiluted Murphy Oil Soap and a medium stiff toothbrush to scrub the exterior of the stummel. The stummel was rinsed with warm water and dried with a cotton washcloth. I then decided to check the shank airway by using the shank brush with a bit of Dawn dish soap. I was still having trouble believing that the airway was as clean as the alcohol led me to believe. The Dawn shank brush scrub did not result in dark lather. Maybe the previous owner did keep the airway clean. The evidence was mounting in his favor but the question lingered, “If the rim was that fouled with lava, why did he keep the airway clean?”

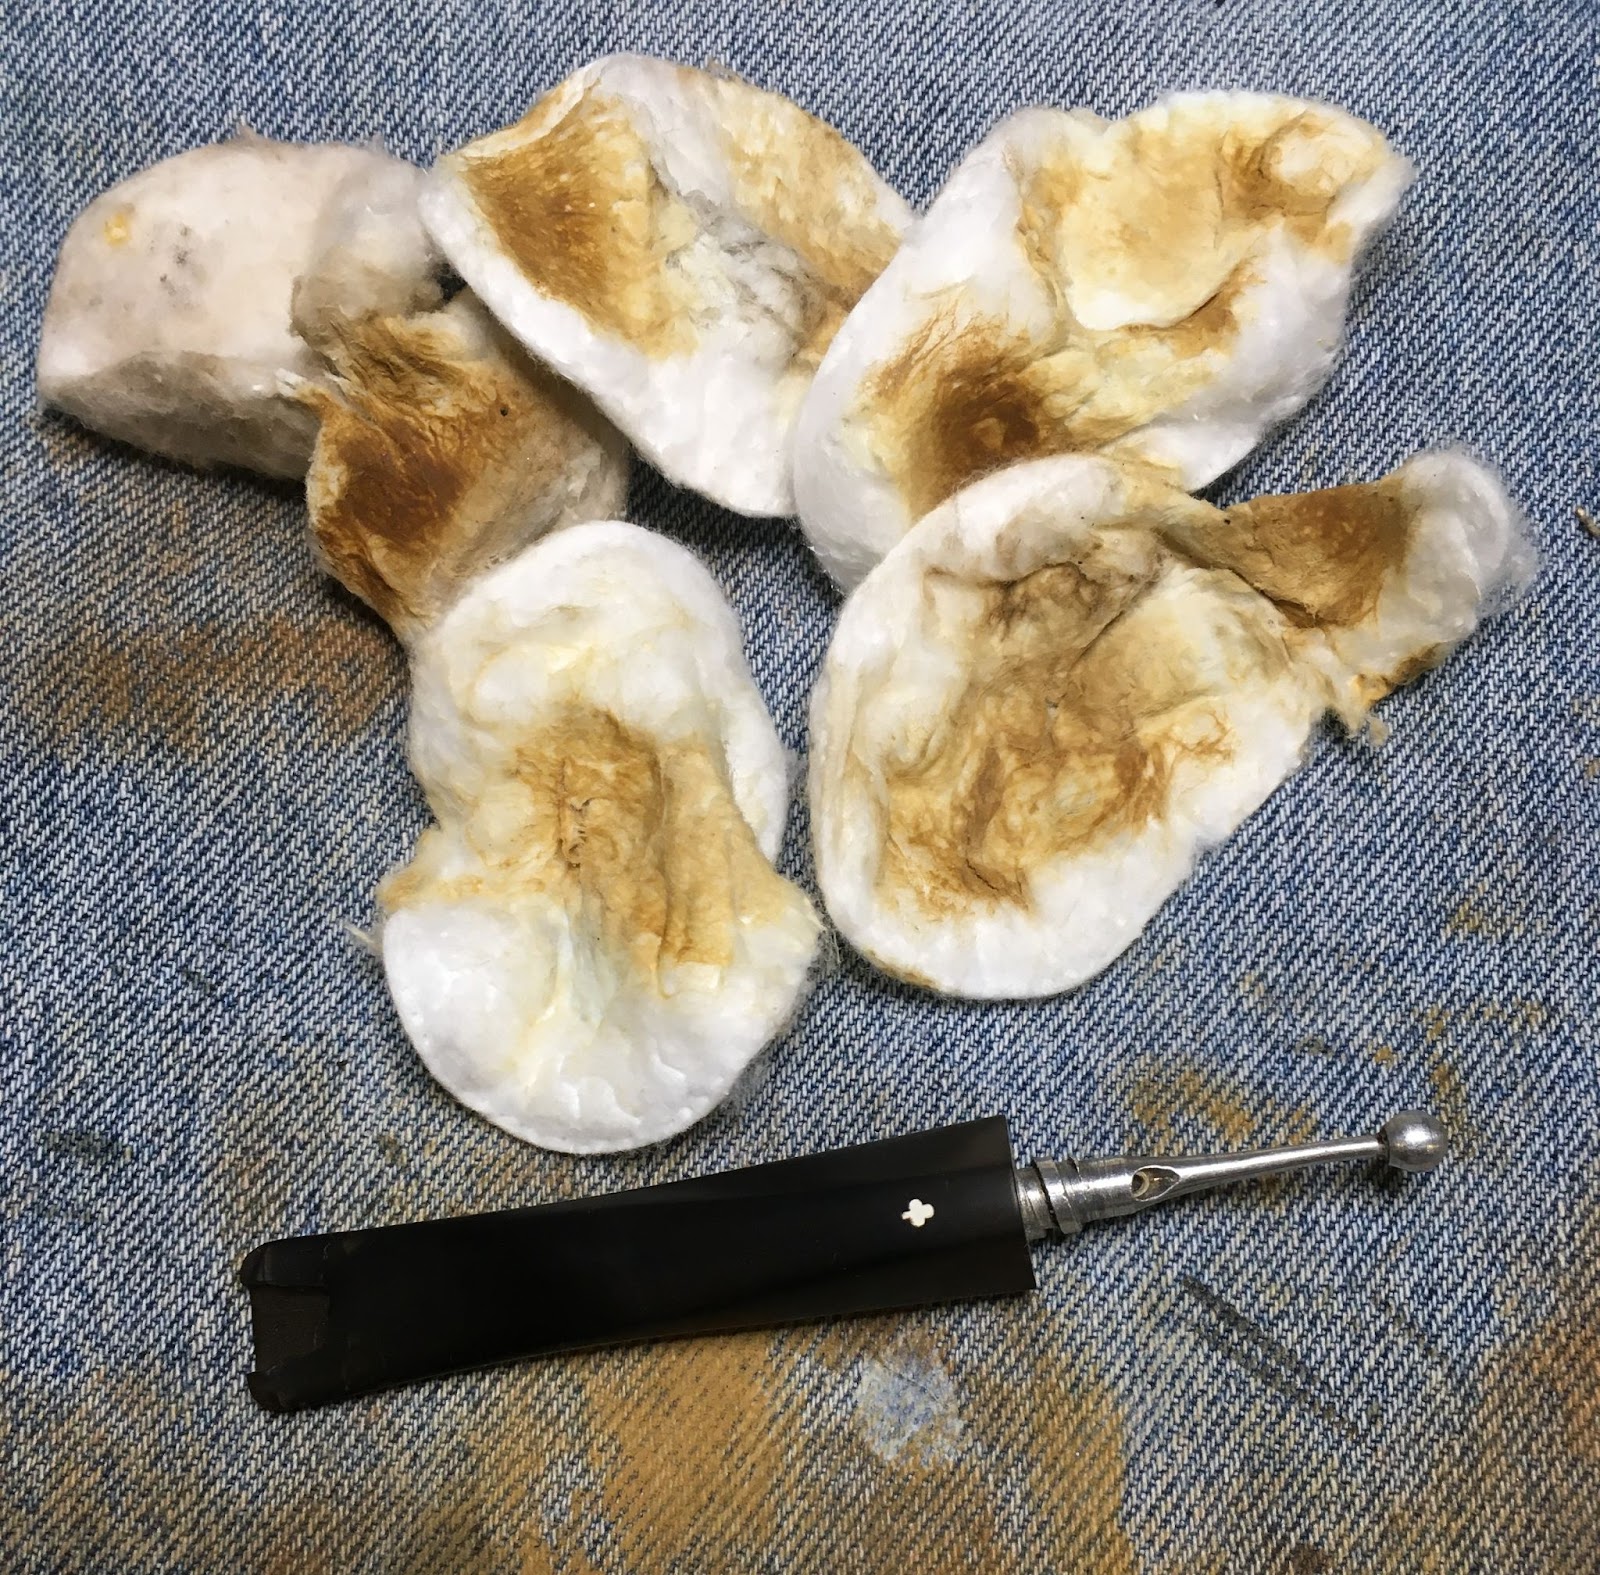
I returned to the workbench for another go at cleaning the airway. About 5 ml of 99% isopropyl alcohol was used this time and scrubbed with the shank brush. When this alcohol was poured out I saw the dark color I had expected. The airway was dirty; it had just taken a bit of scrubbing to soften the yuck (yuck is a highly technical term to describe the smoking residue). It was present, not easily scraped and needed to be removed. This was going to be a long one. I just realized the unintended pun, there – long shank, long cleaning job.

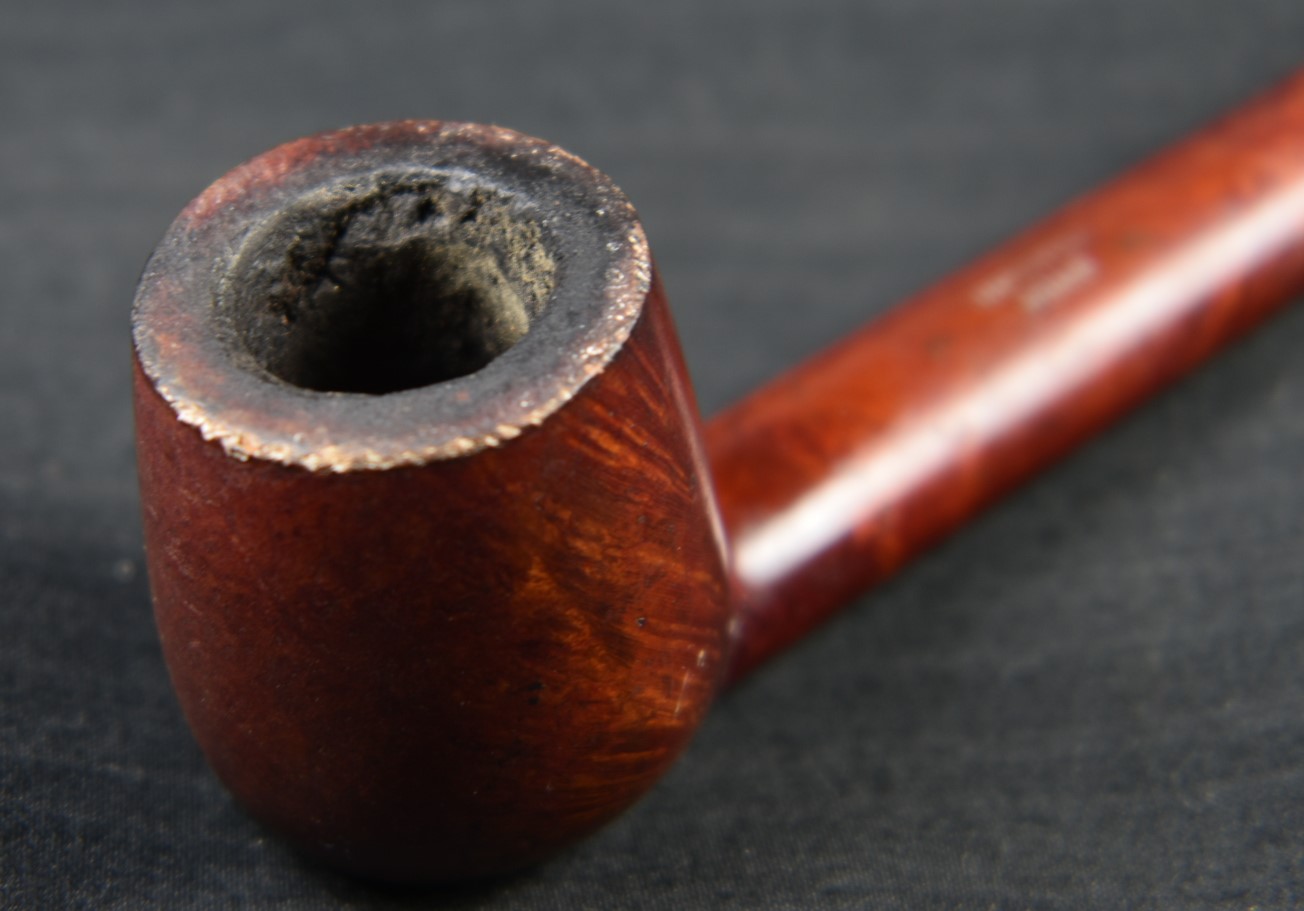
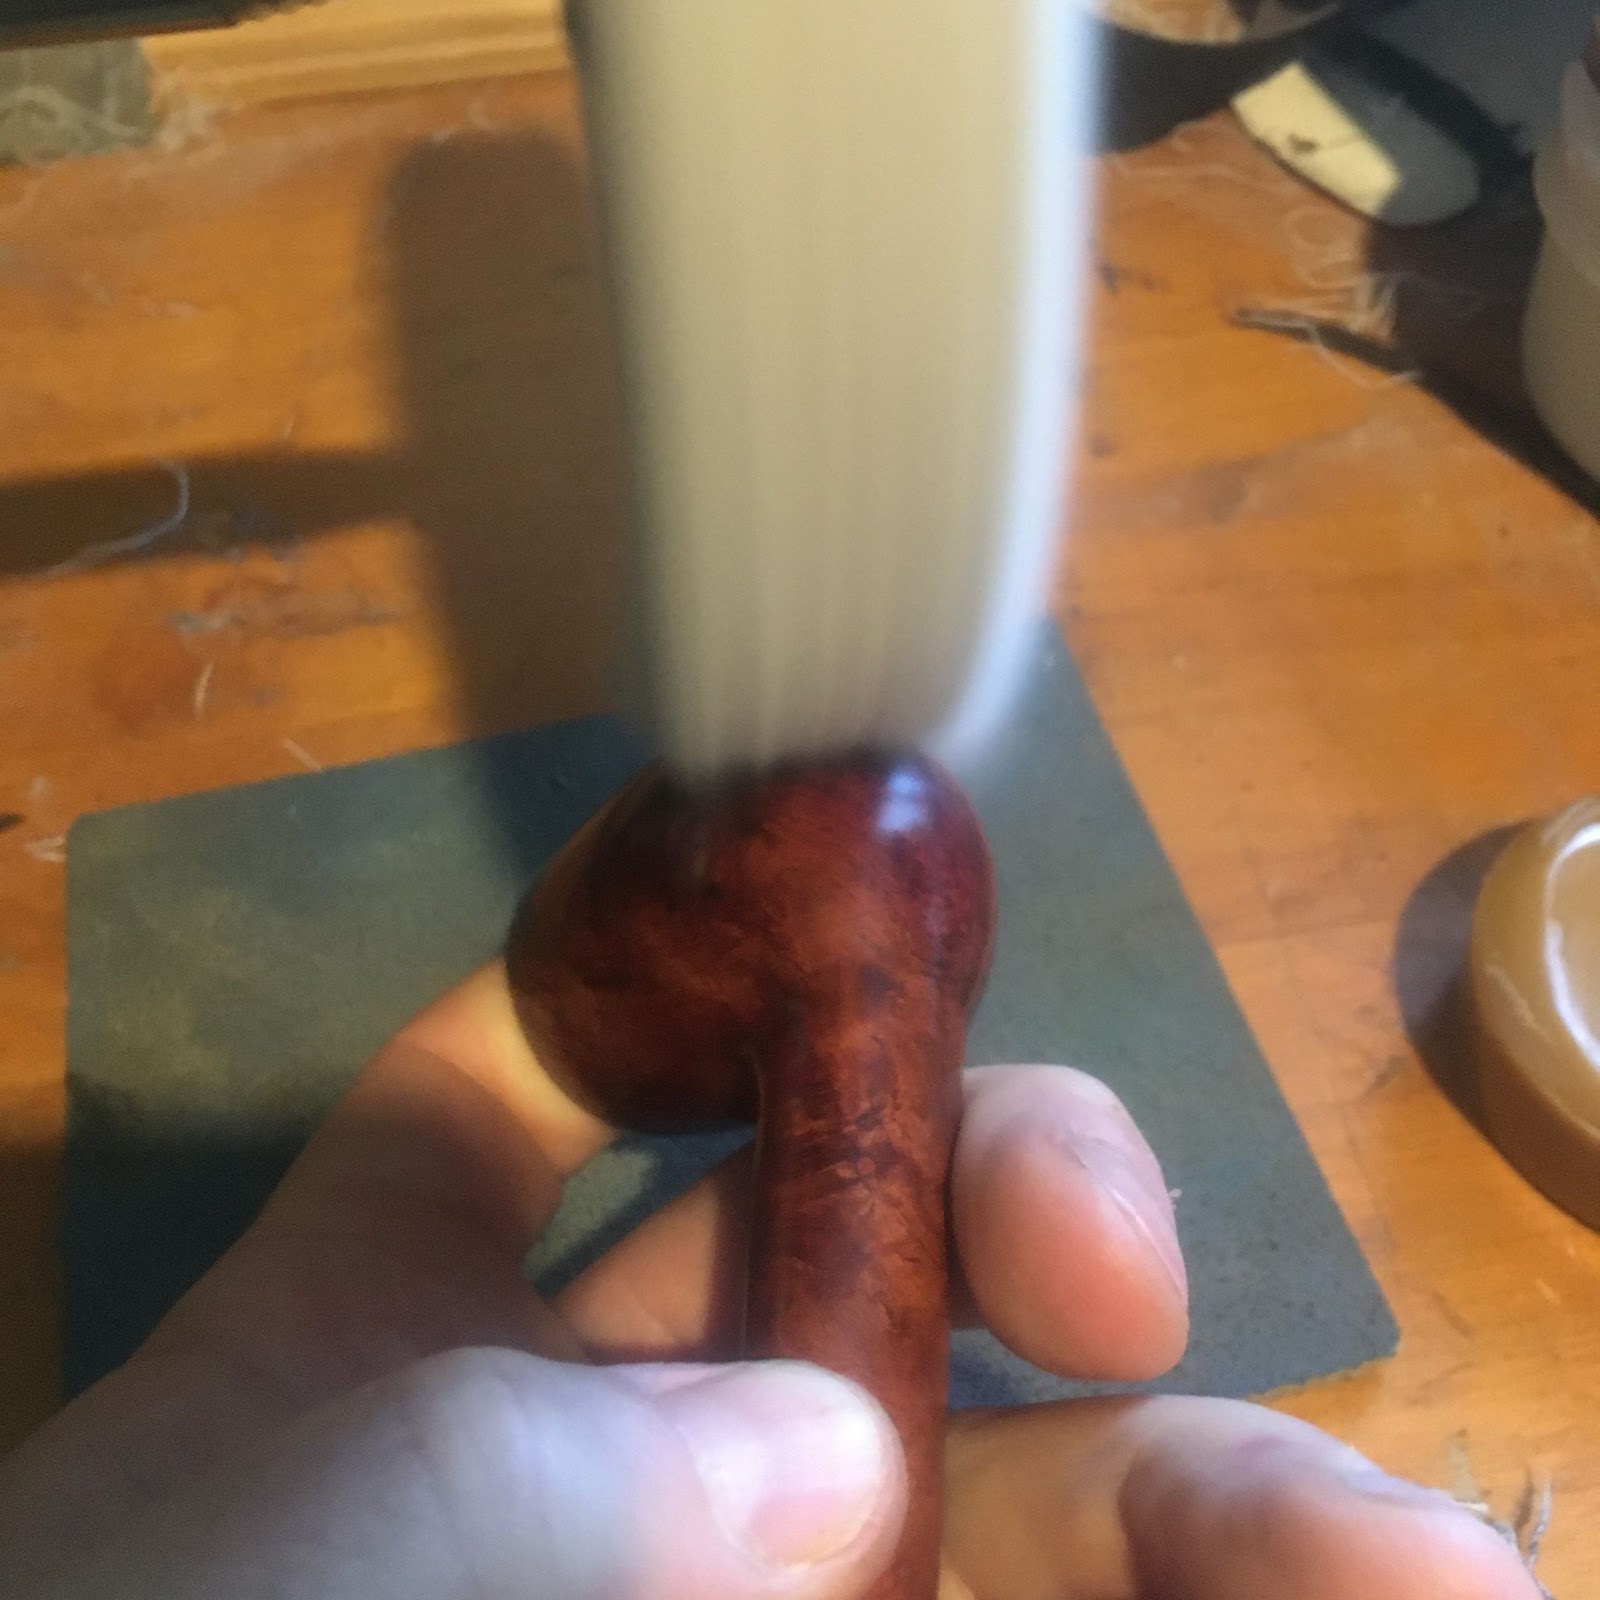
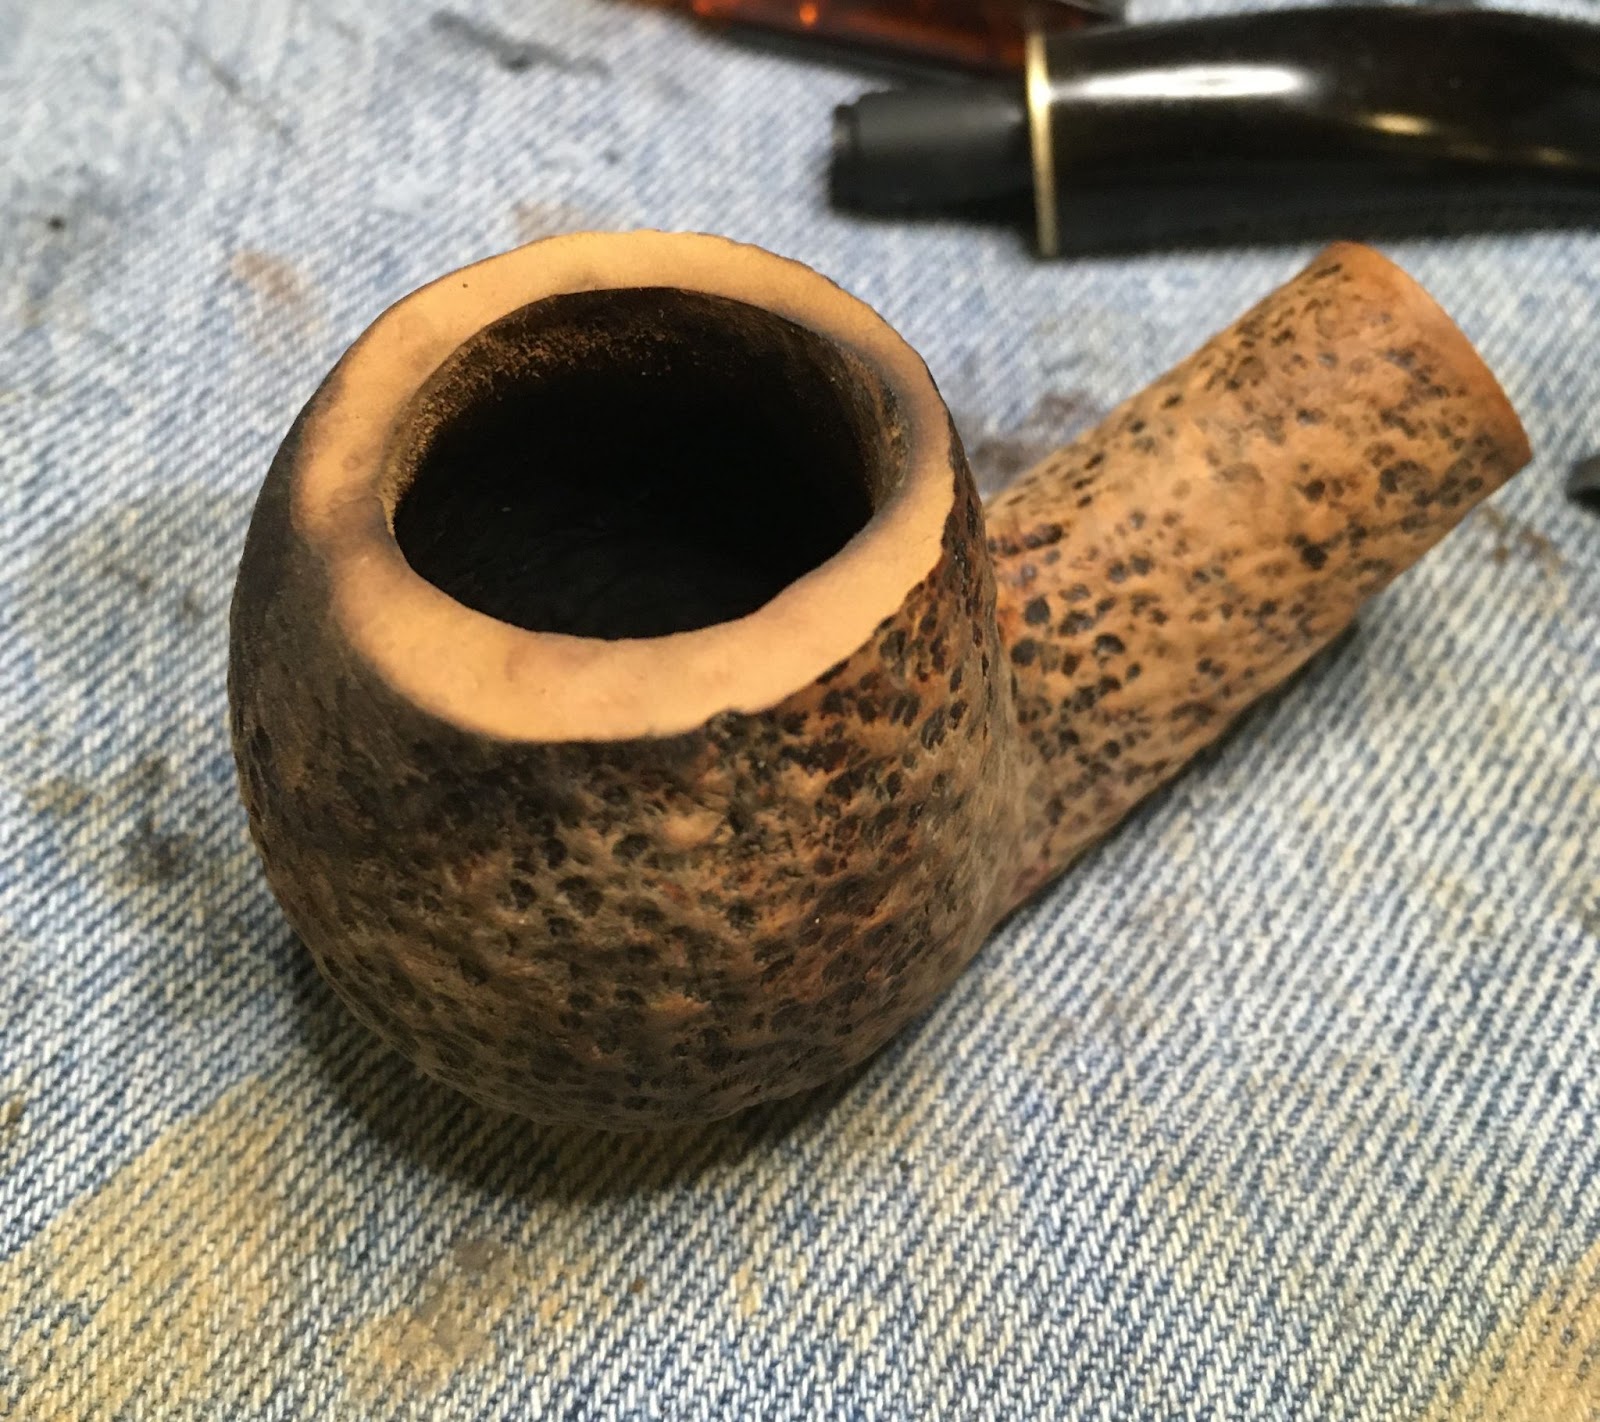
Before I started the shank airway cleaning I wanted to top the stummel and remove the clear coat as it got sticky with the alcohol.
The topping was done by moving the stummel in a circular motion on a clean sheet of 220 sandpaper laid flat on a countertop. Every 3-4 circles I would rotate the stummel in my hand to keep an even pressure of all sides of the stummel. I wanted to remove about 1/16 inch or 2 mm of briar from the rim. This would not be enough to eliminate the rim edge damage but I figured I could remedy that by beveling the outside edge of the rim.

Next, I first tried removing it with 95% ethyl alcohol. That worked albeit slowly.

I then tried wiping it with acetone. This worked better and faster.
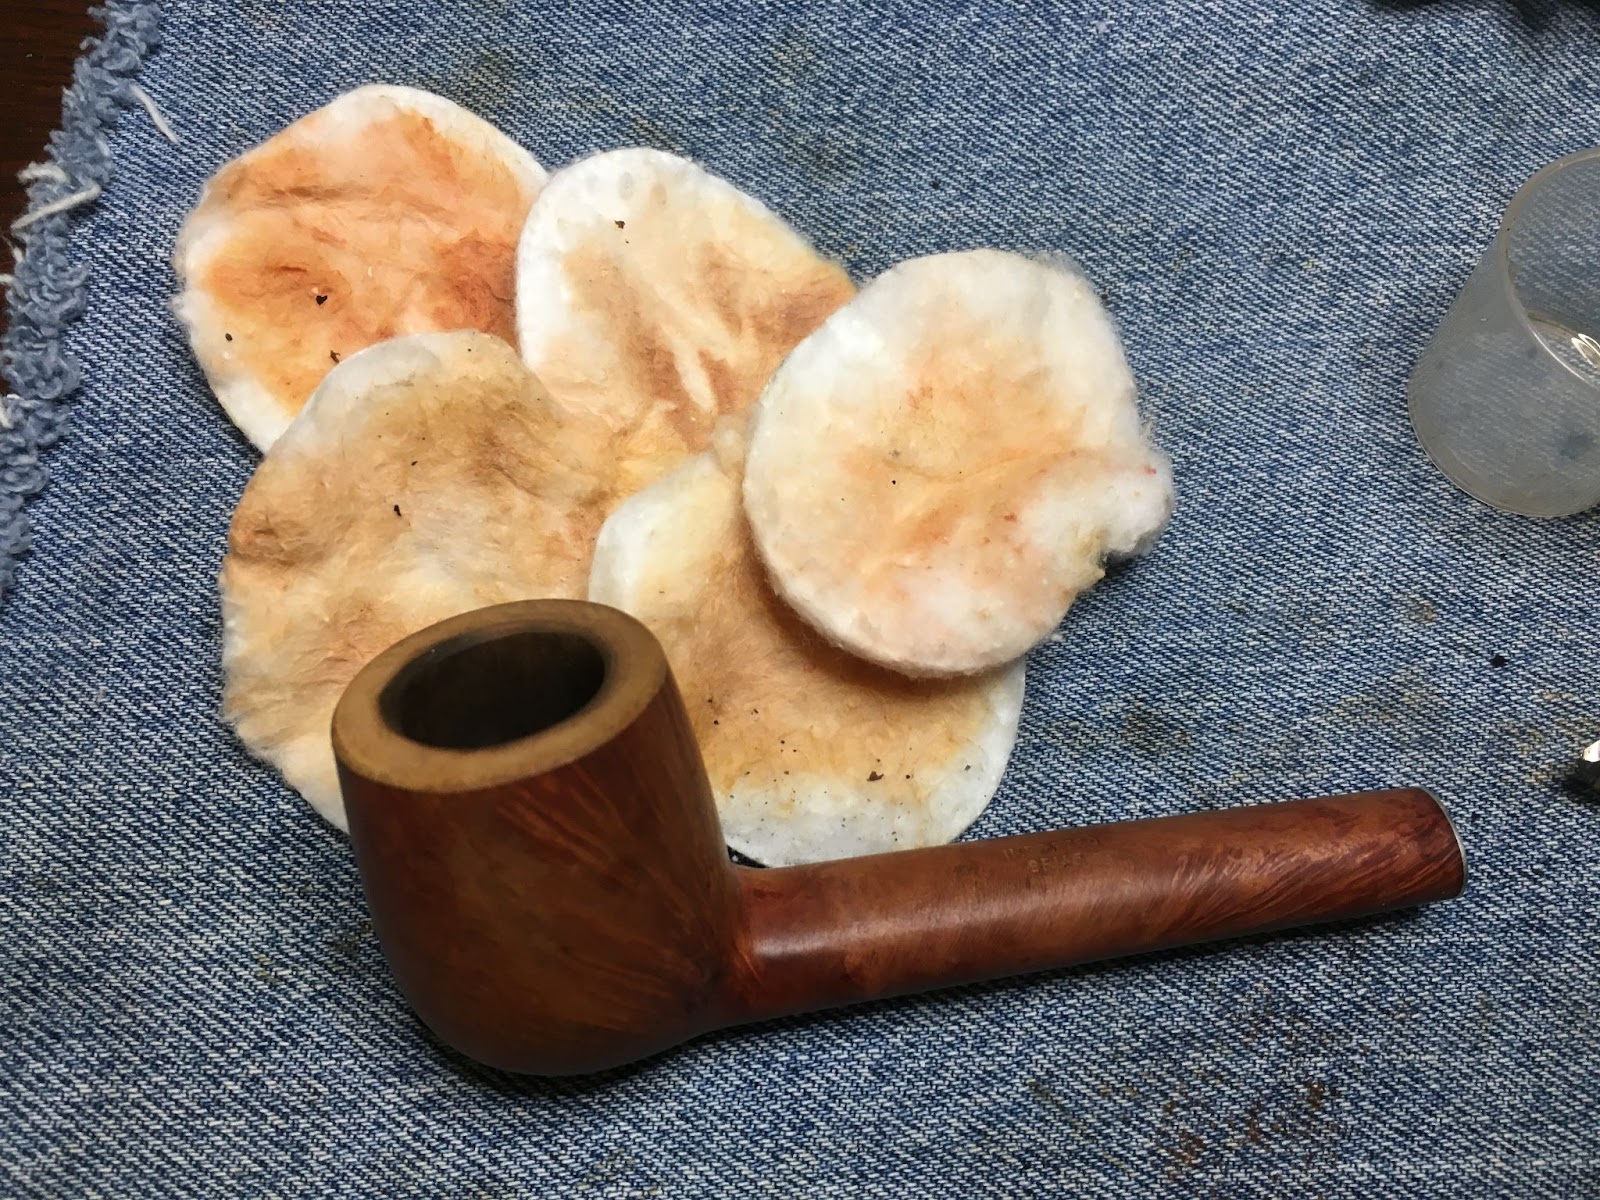
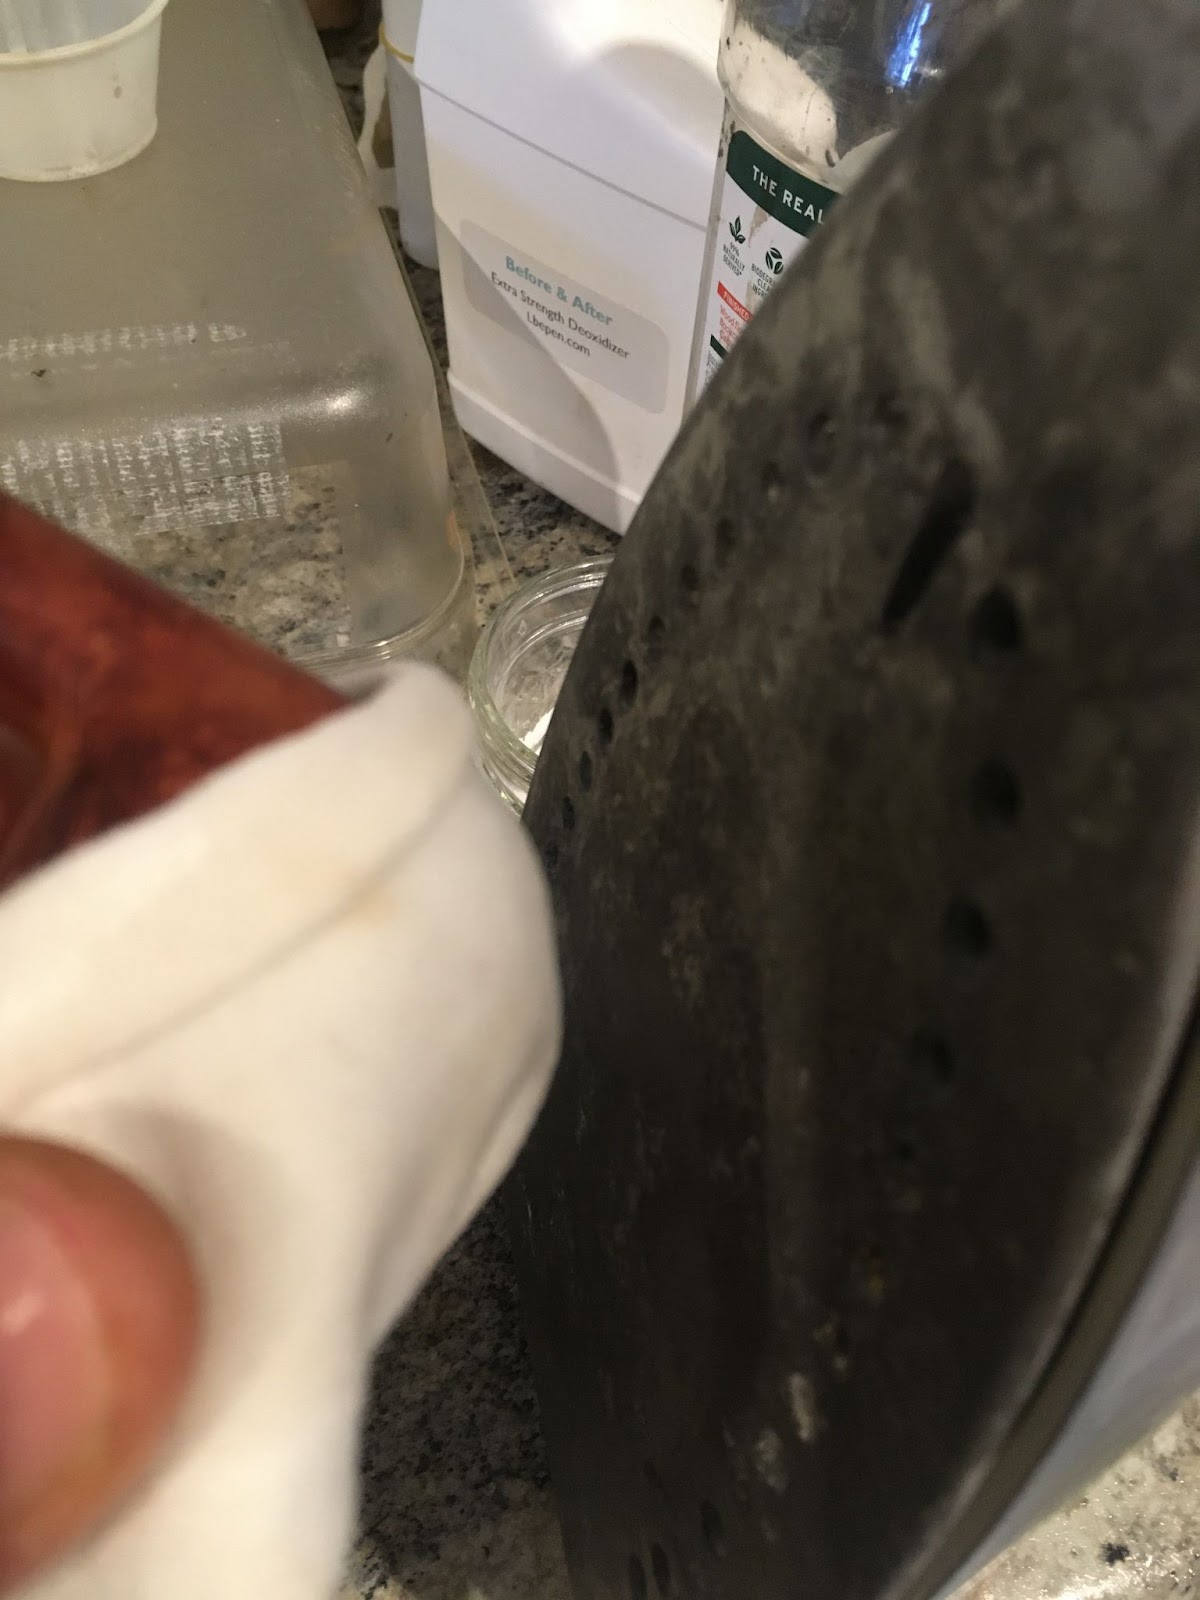
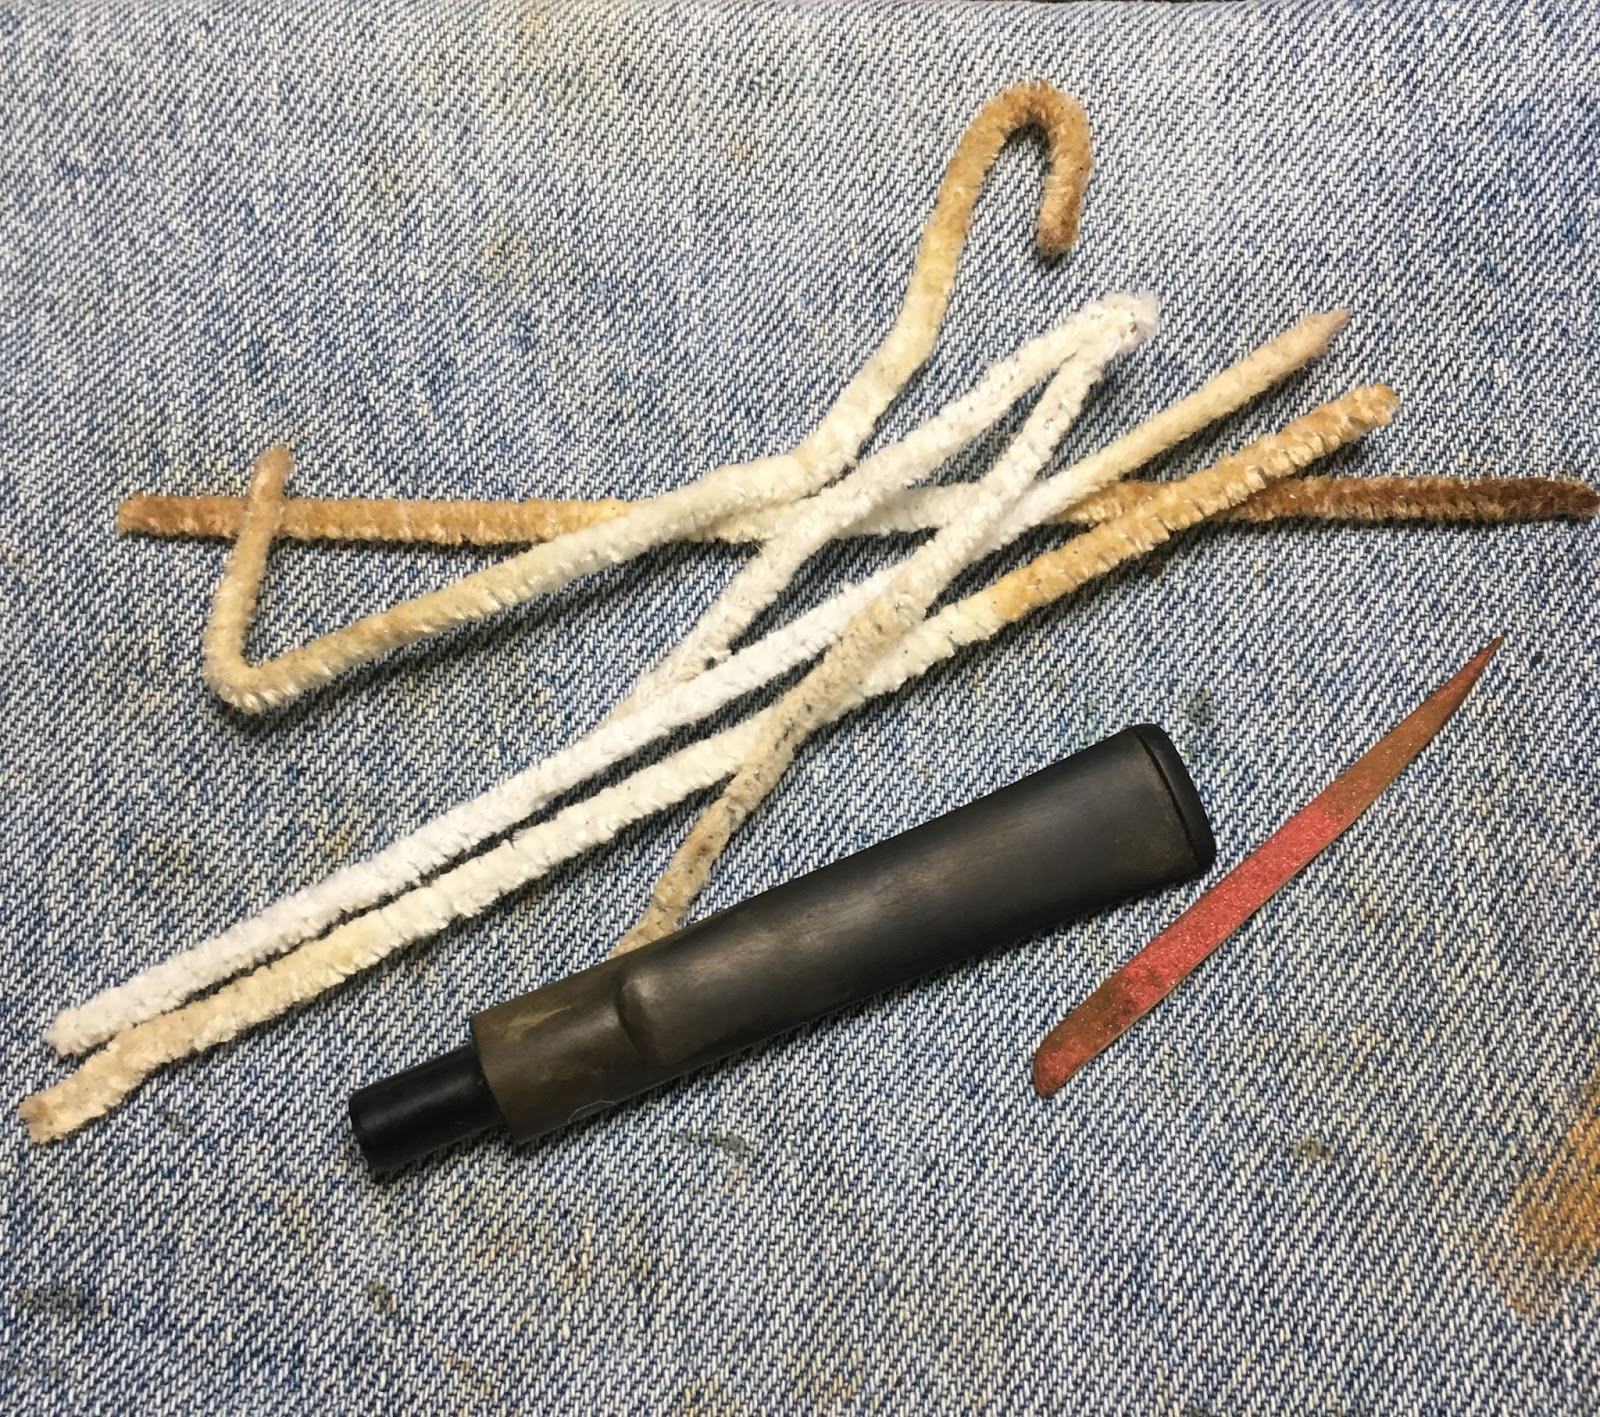
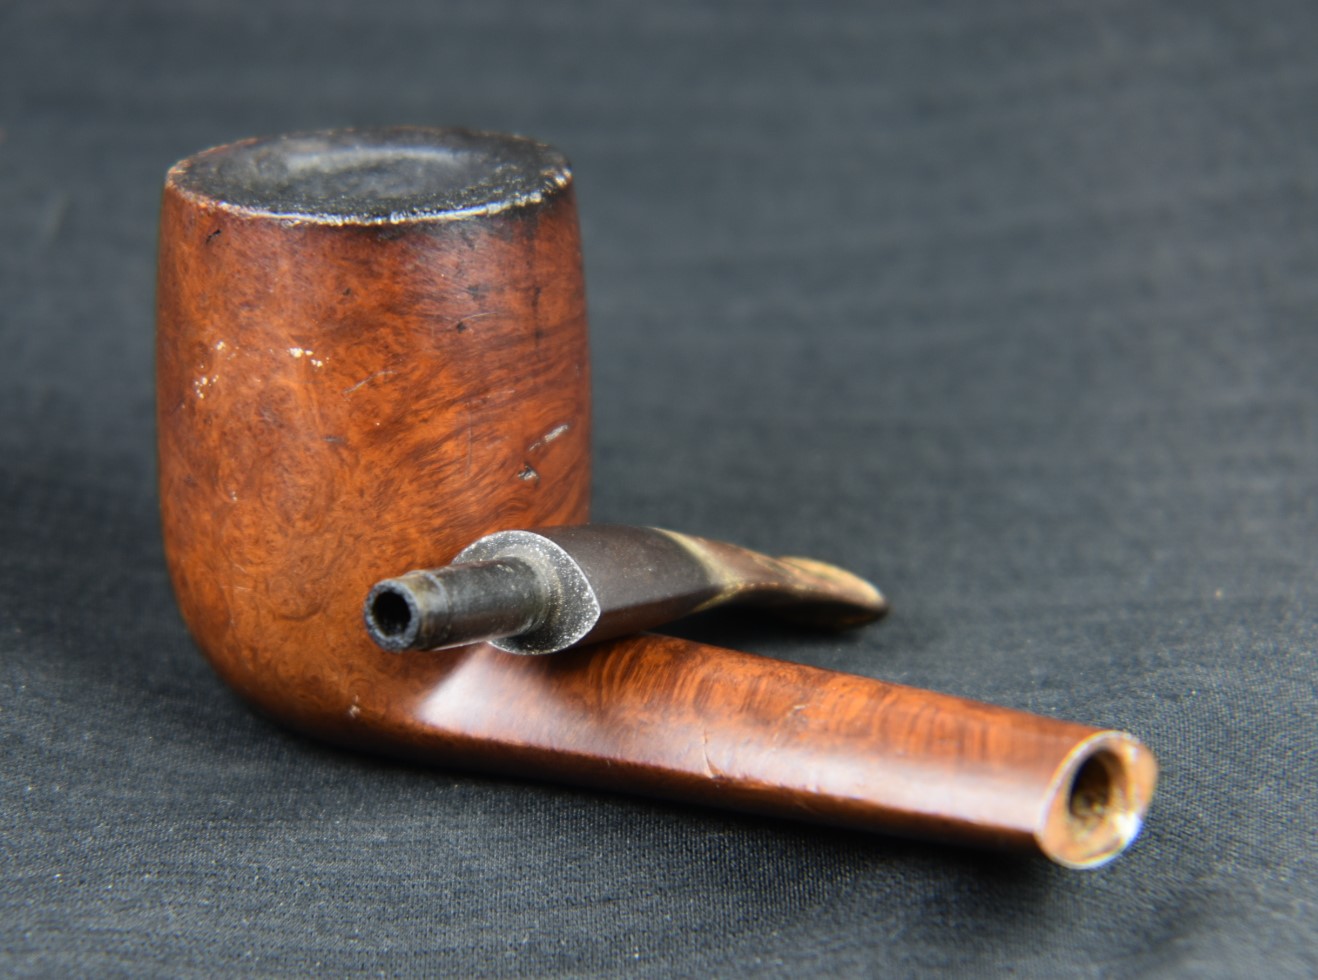
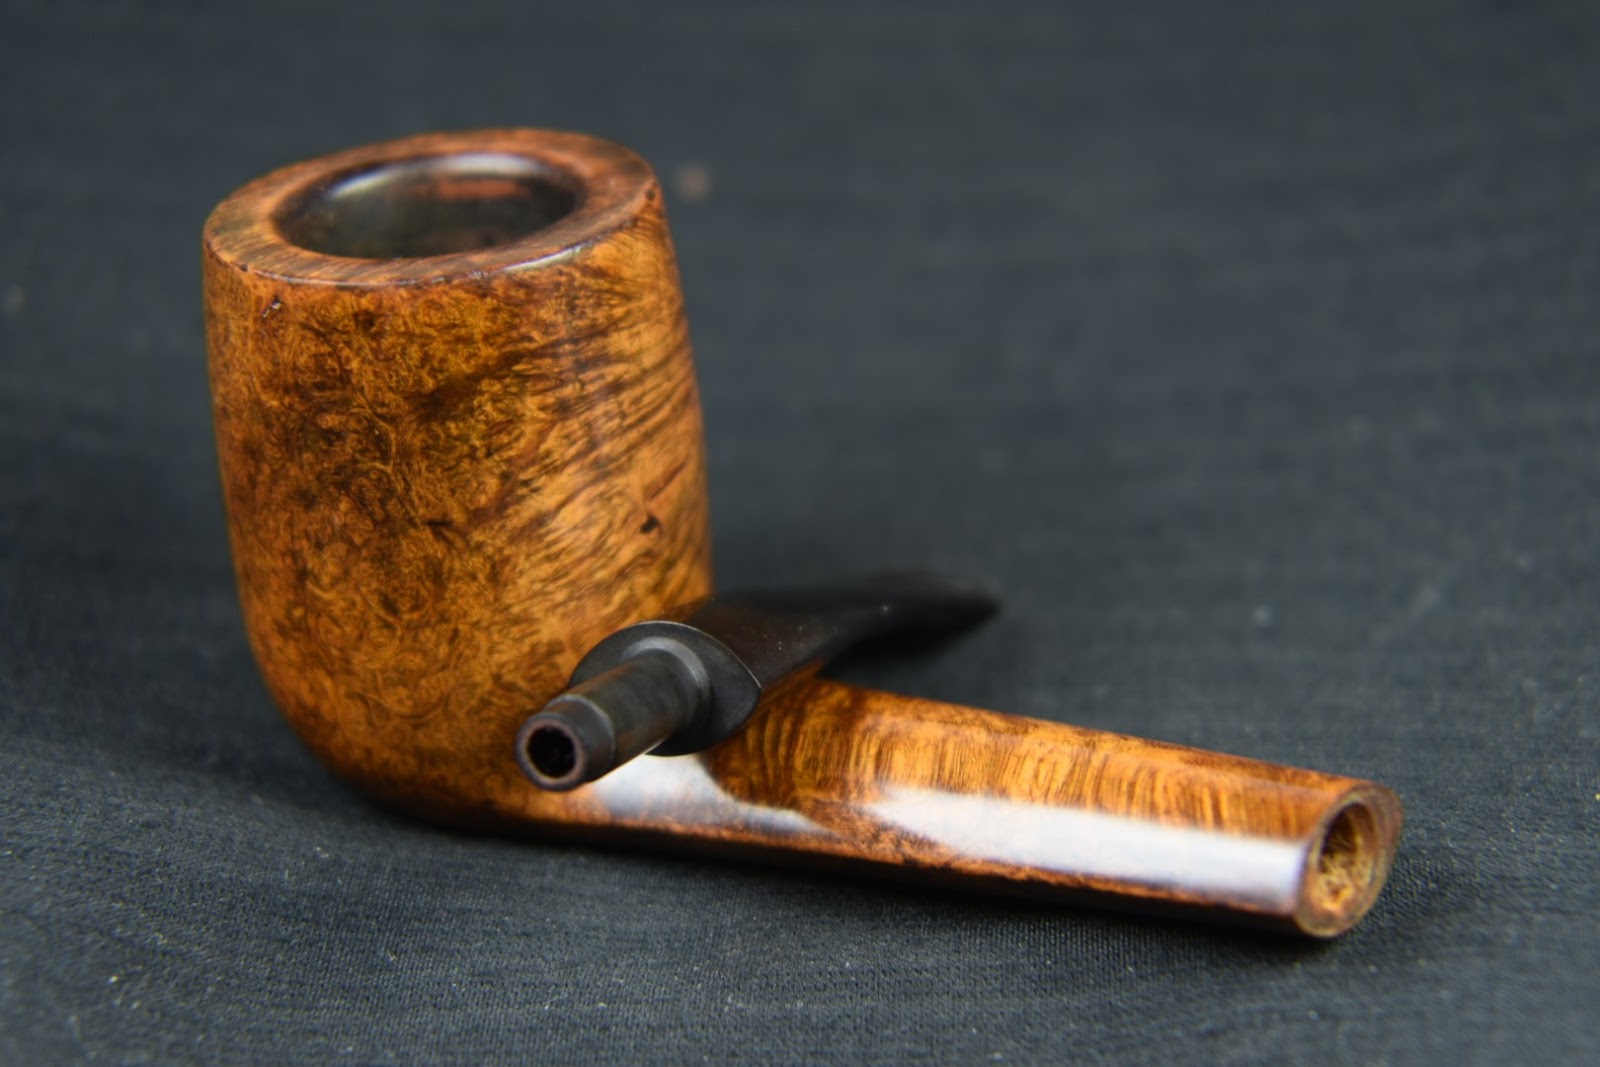
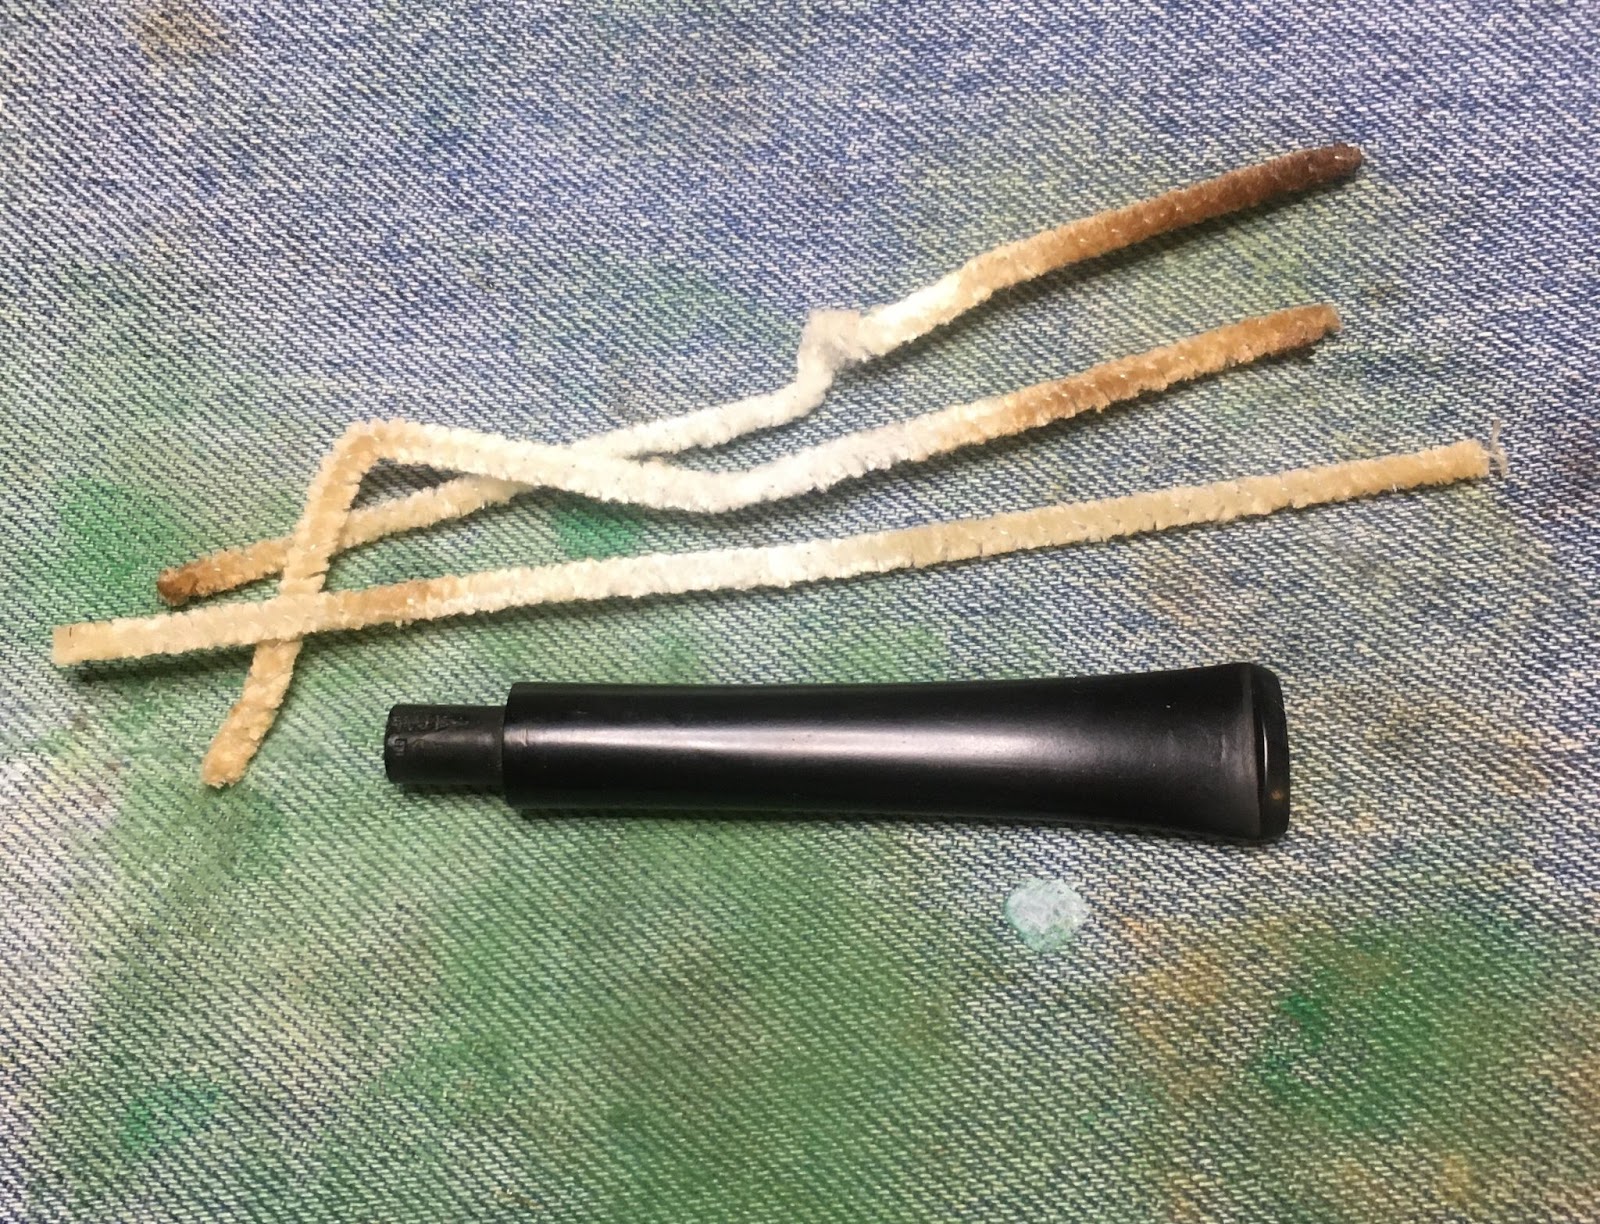
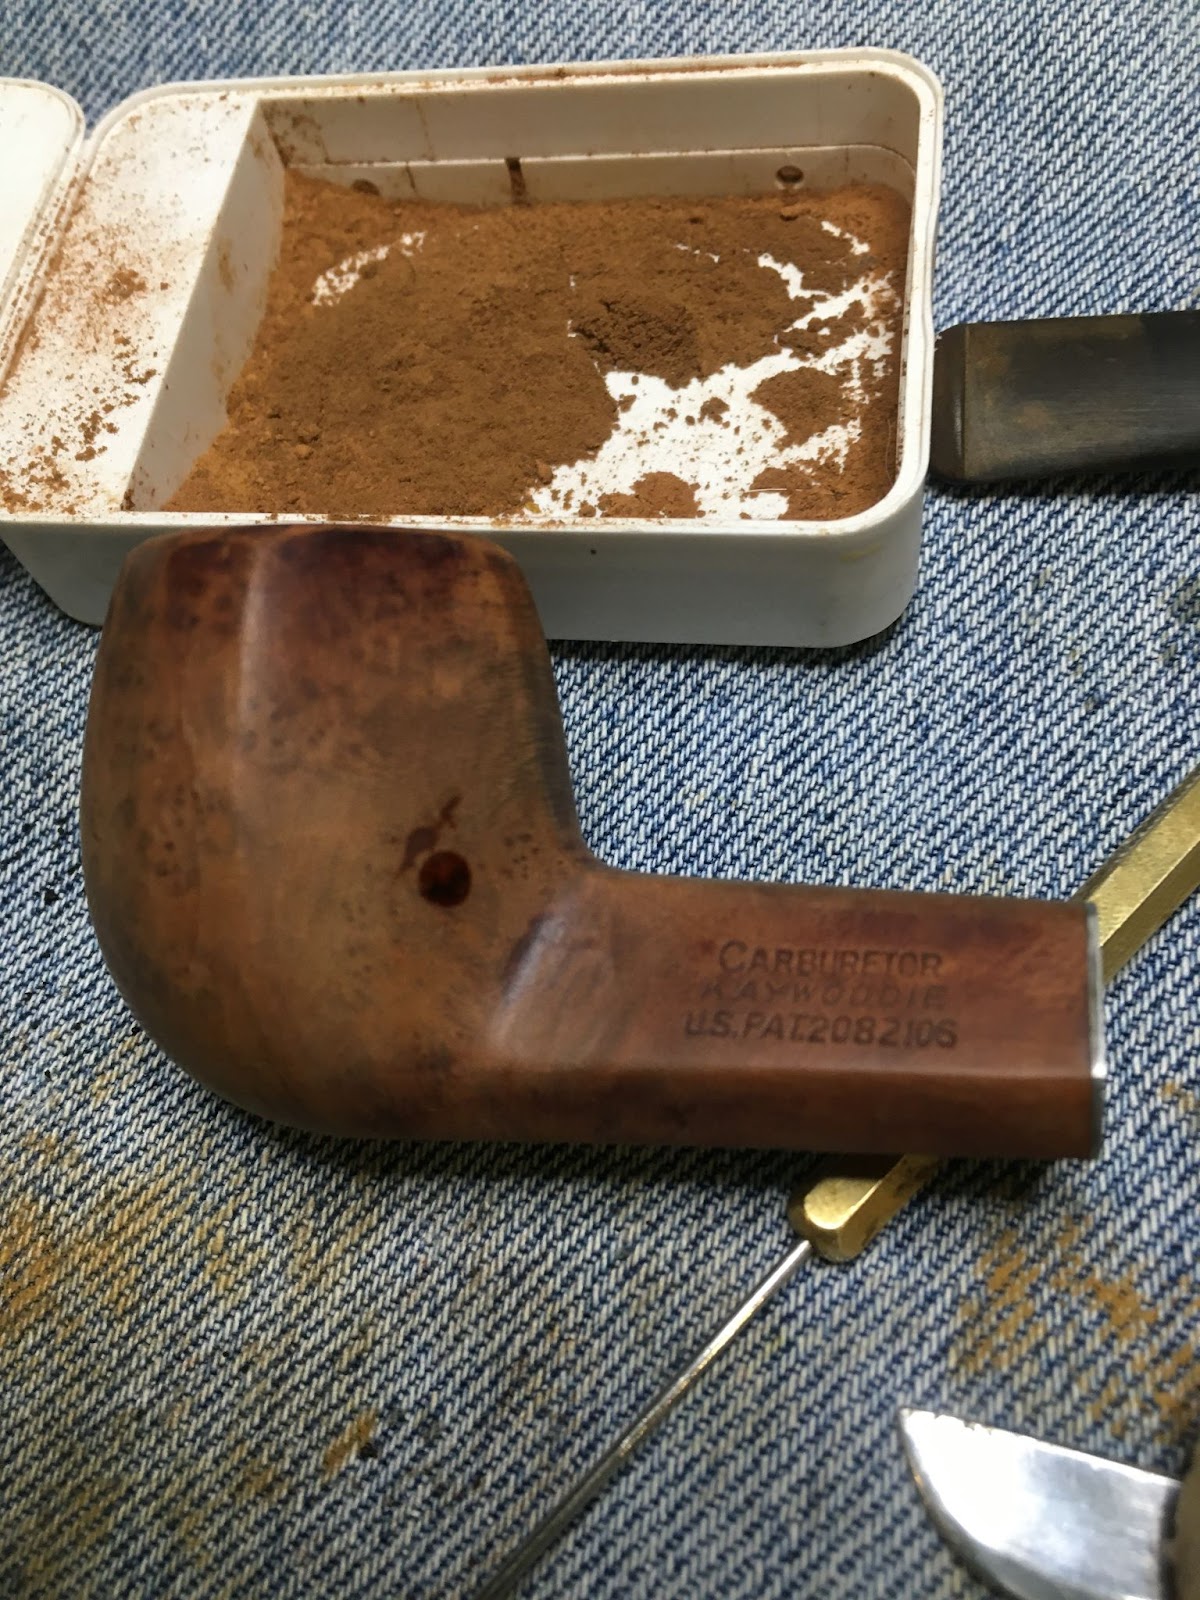
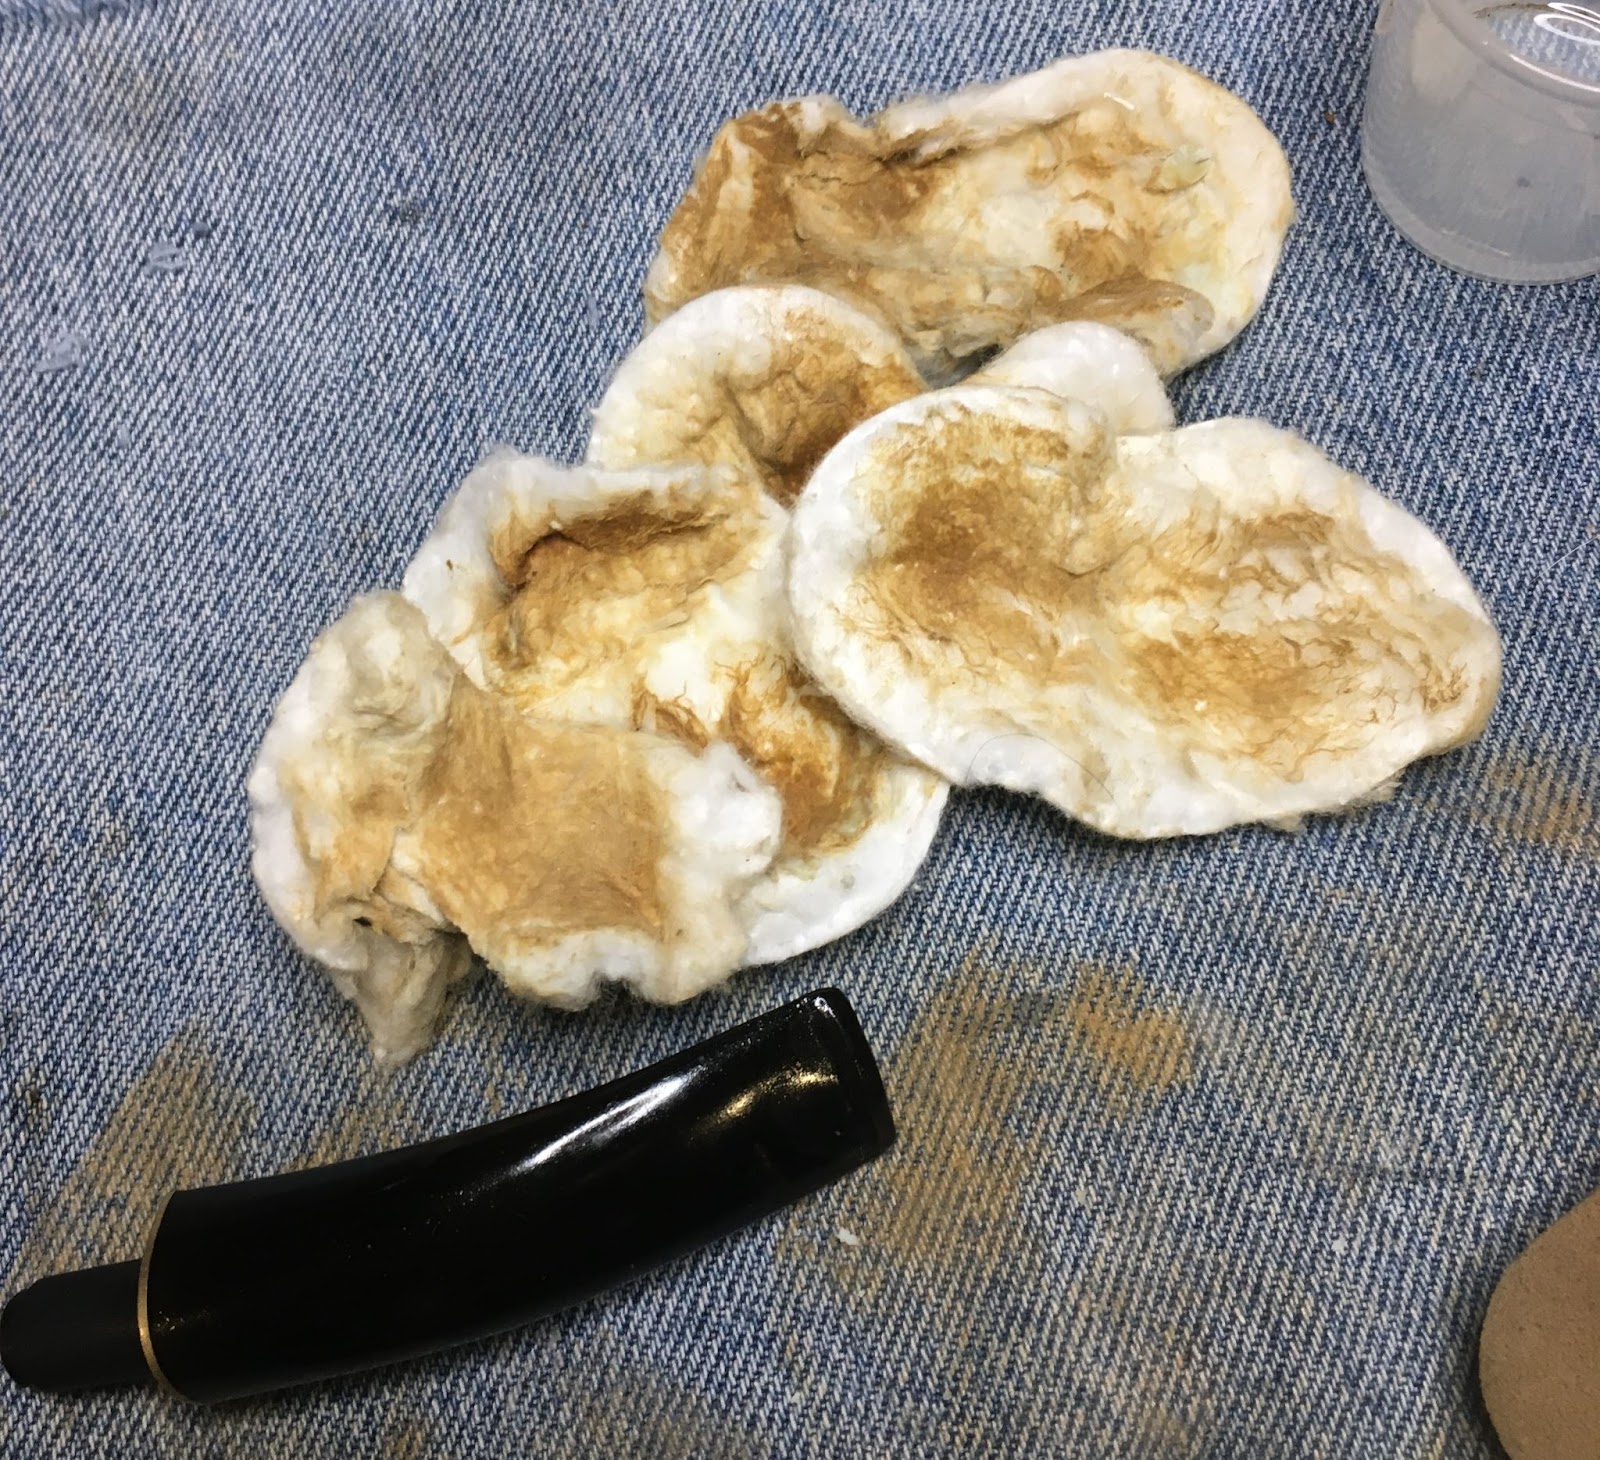
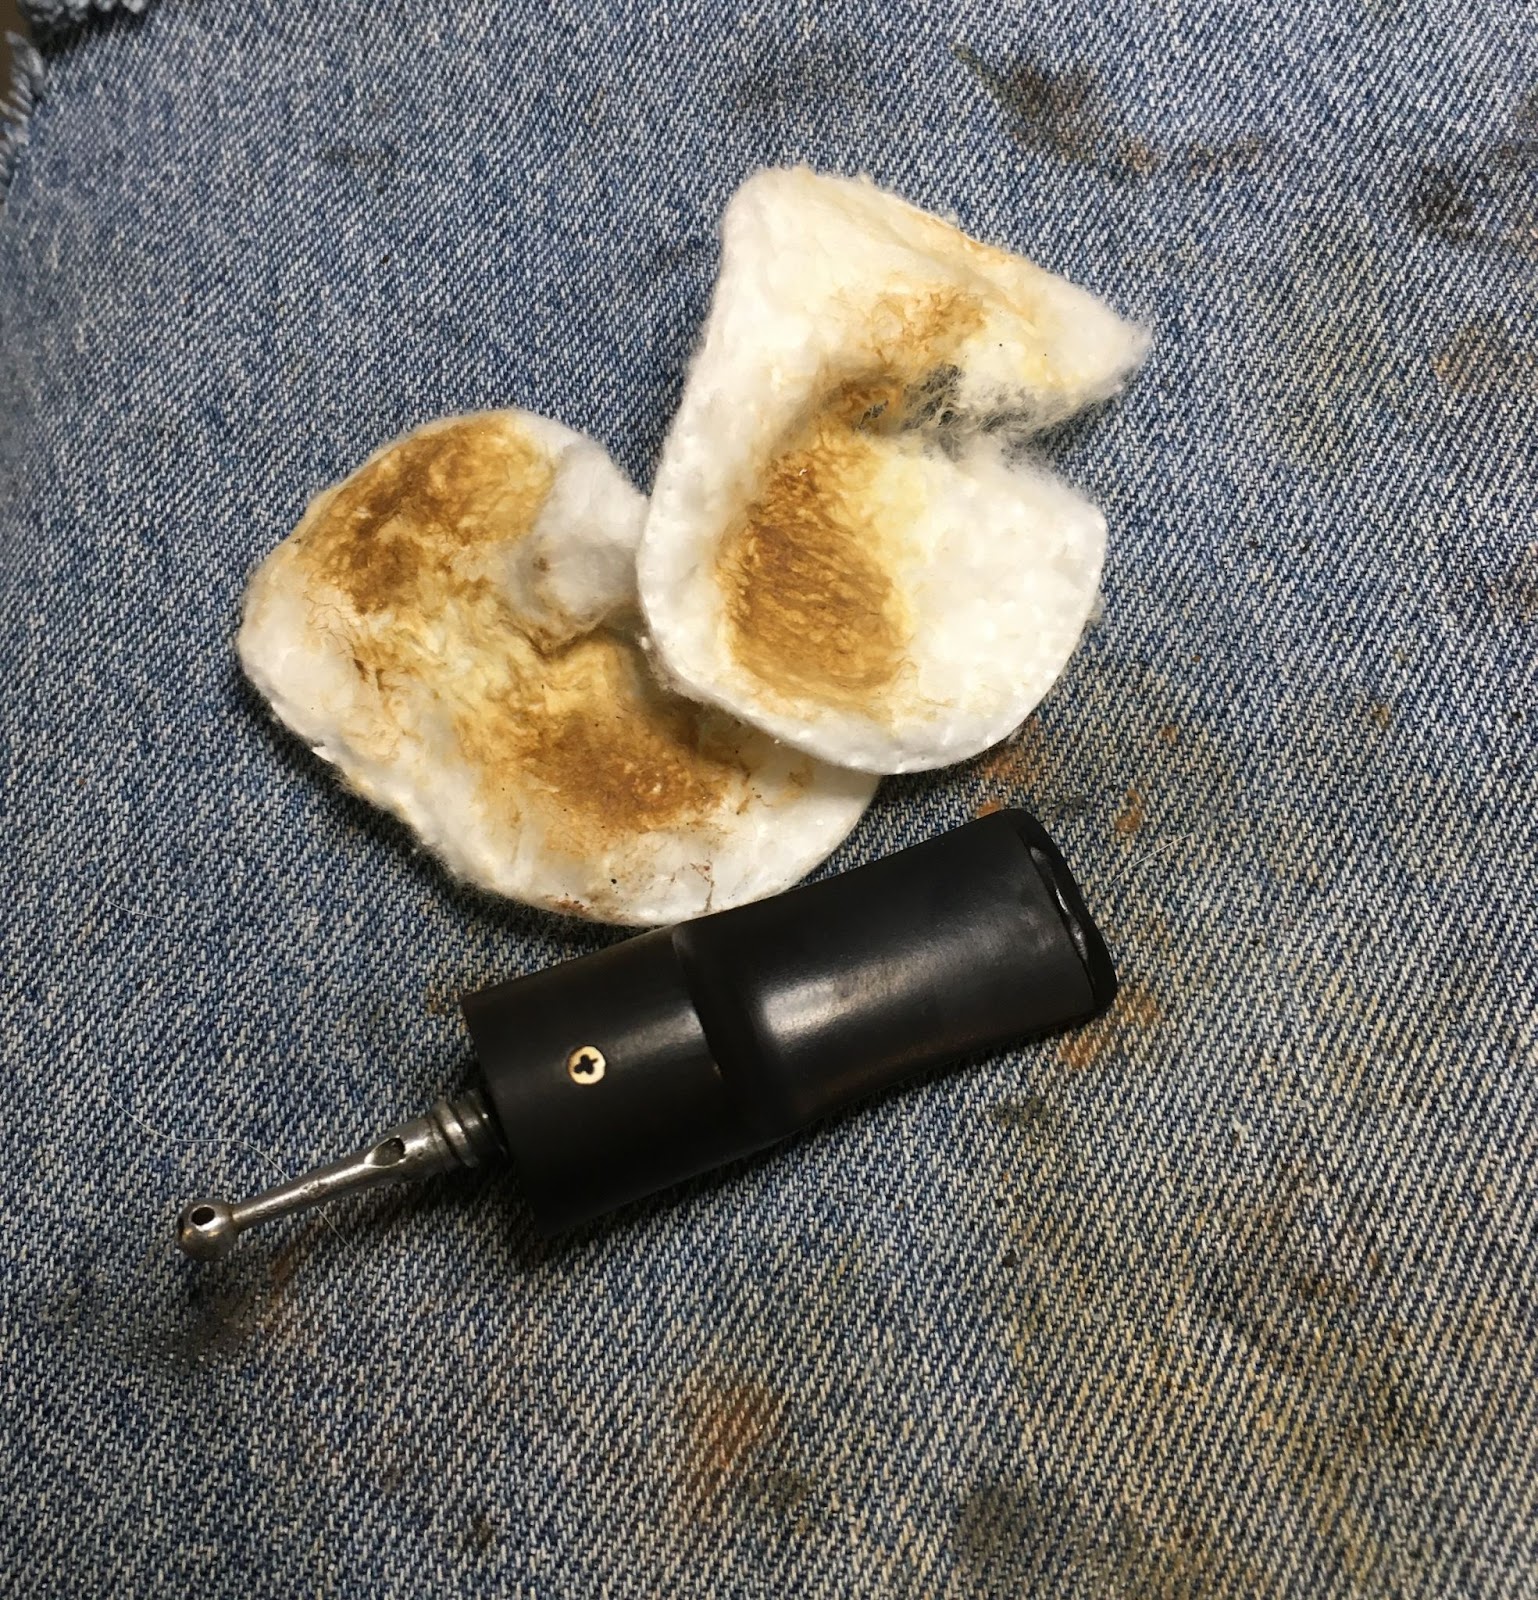
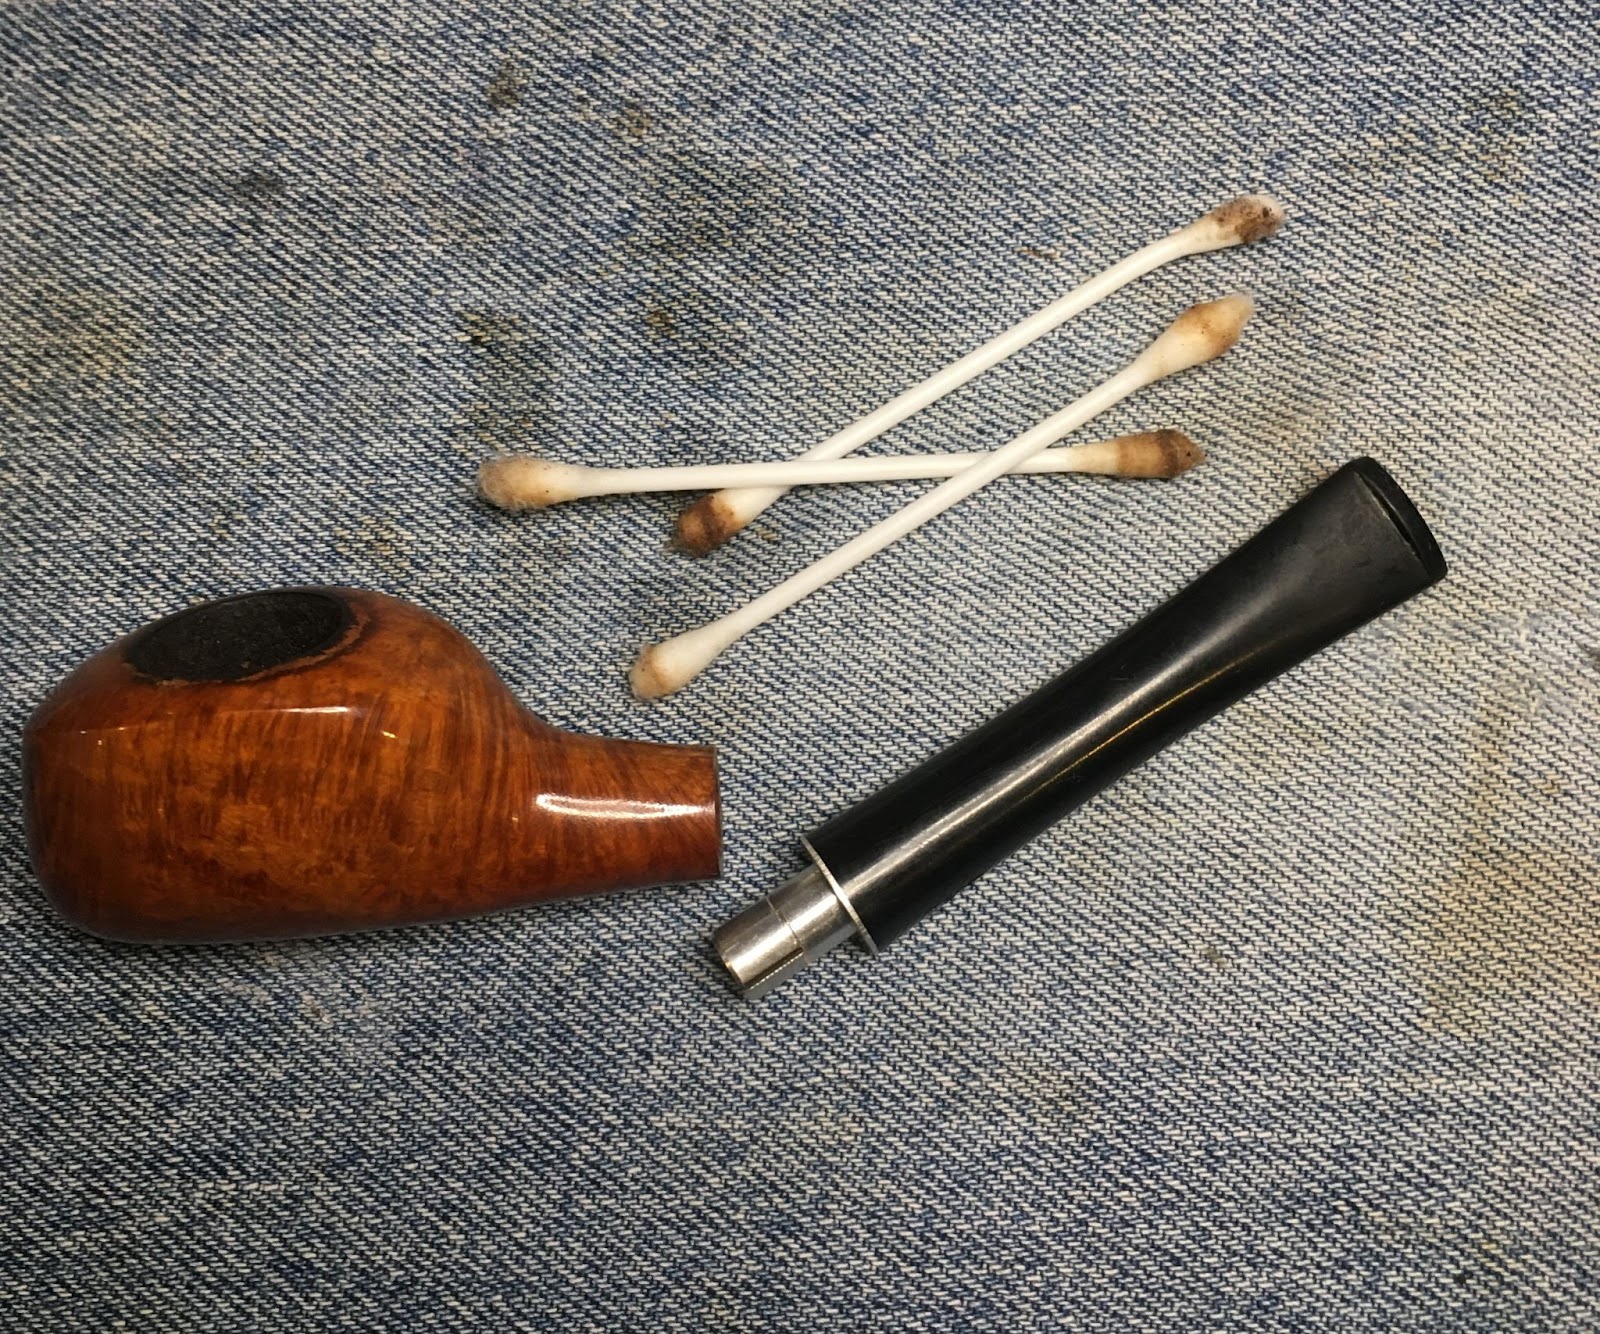
With the finish mostly removedI set to cleaning the stem. The airway was cleaned with bristle pipe cleaners dipped in 99% isopropyl alcohol. The outside was lightly sanded with a 320 grit sanding sponge then with Soft Scrub applied to make-up pads.

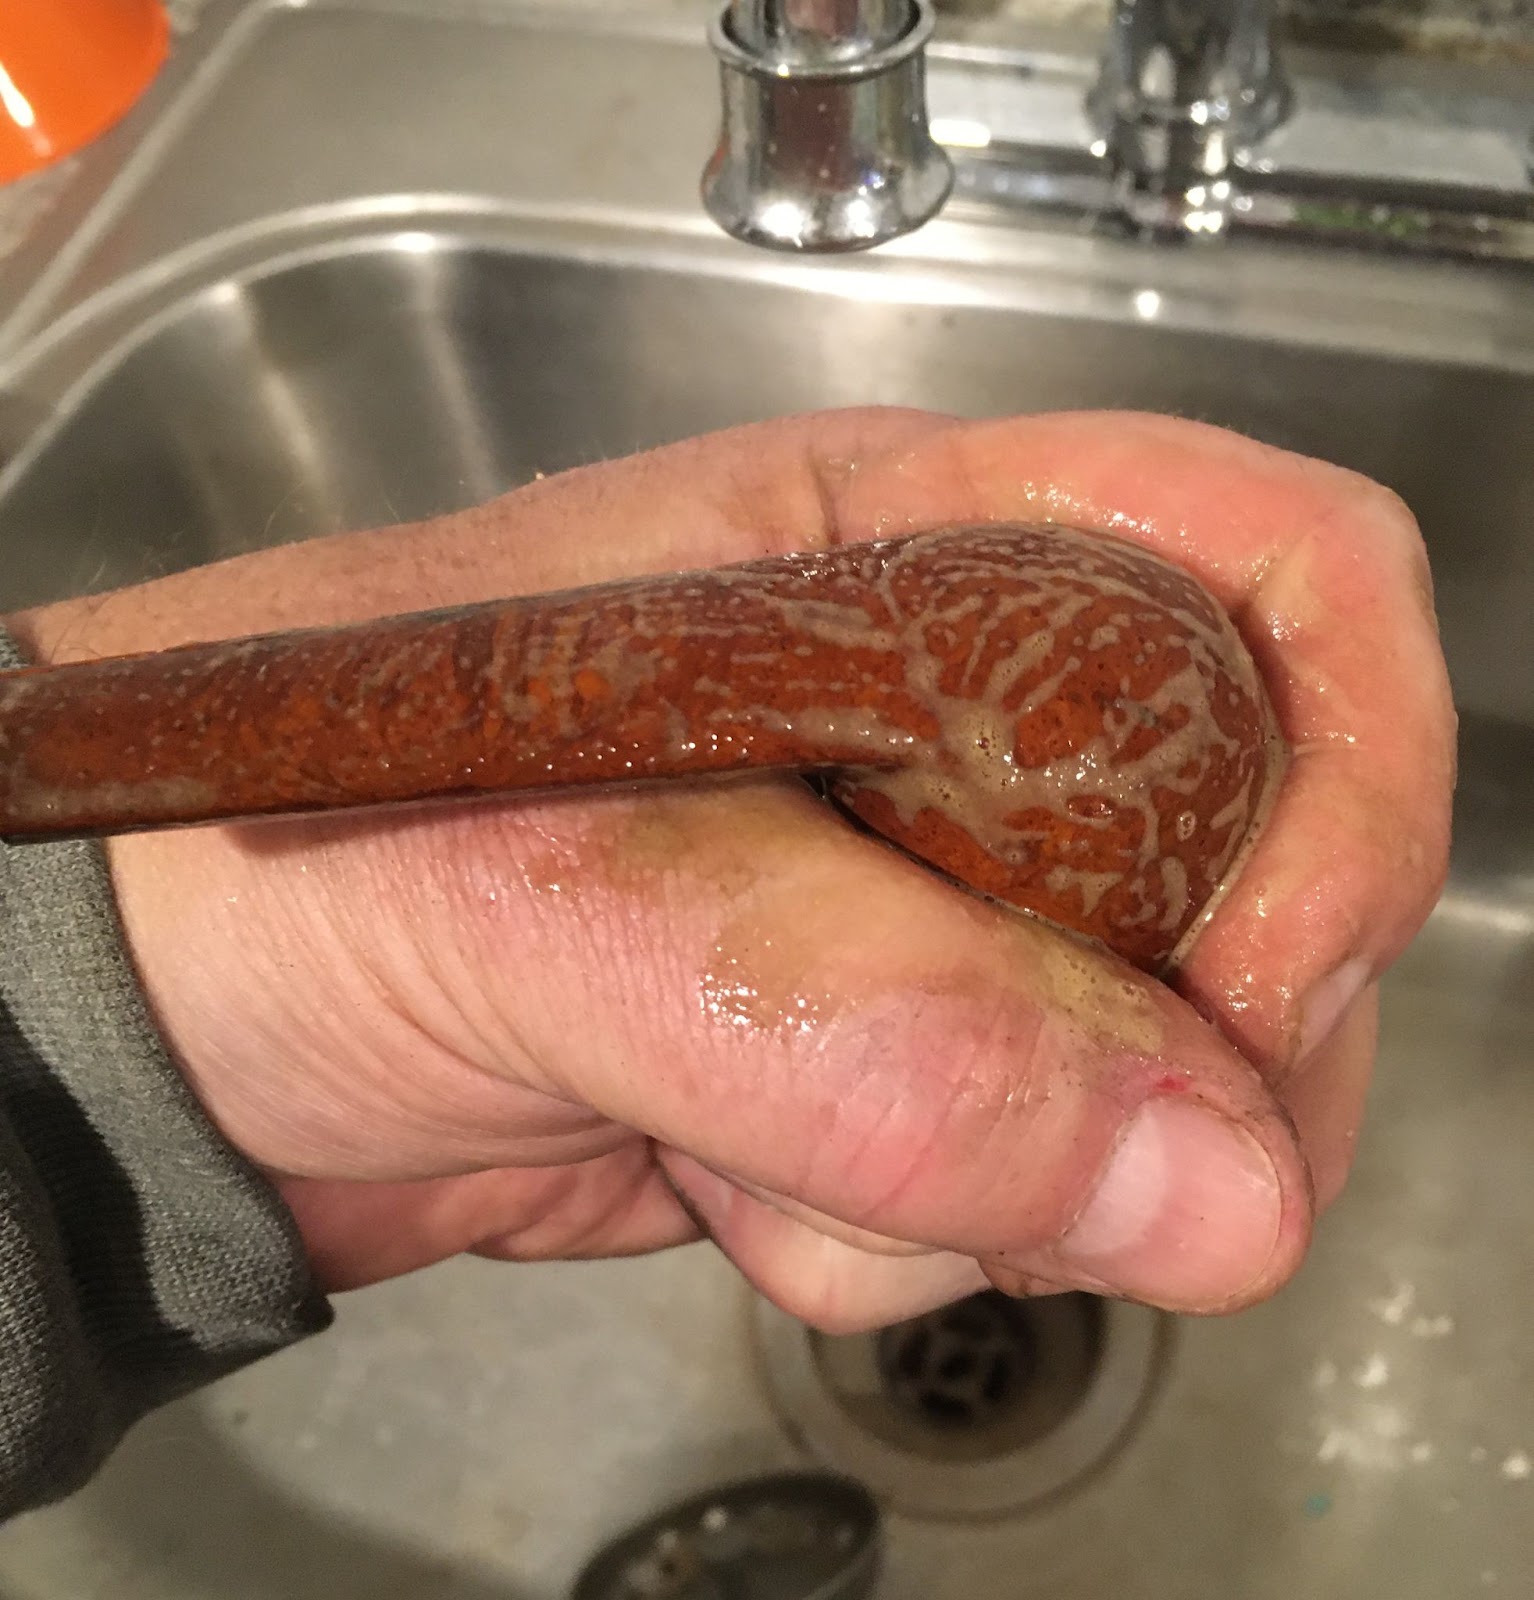
Next came the shank cleaning. The long shank did not allow for effective scraping with a dental scraper. The cleaning did utilize a nylon shank brush with numerous scrubbings of the airway with 5 ml of 95% alcohol poured into the bowl and allowed to flow into the shank. While in the airway the alcohol was scrubbed with the brush. Below you can see the medicine cup use to collect the alcohol after the scrubbing.

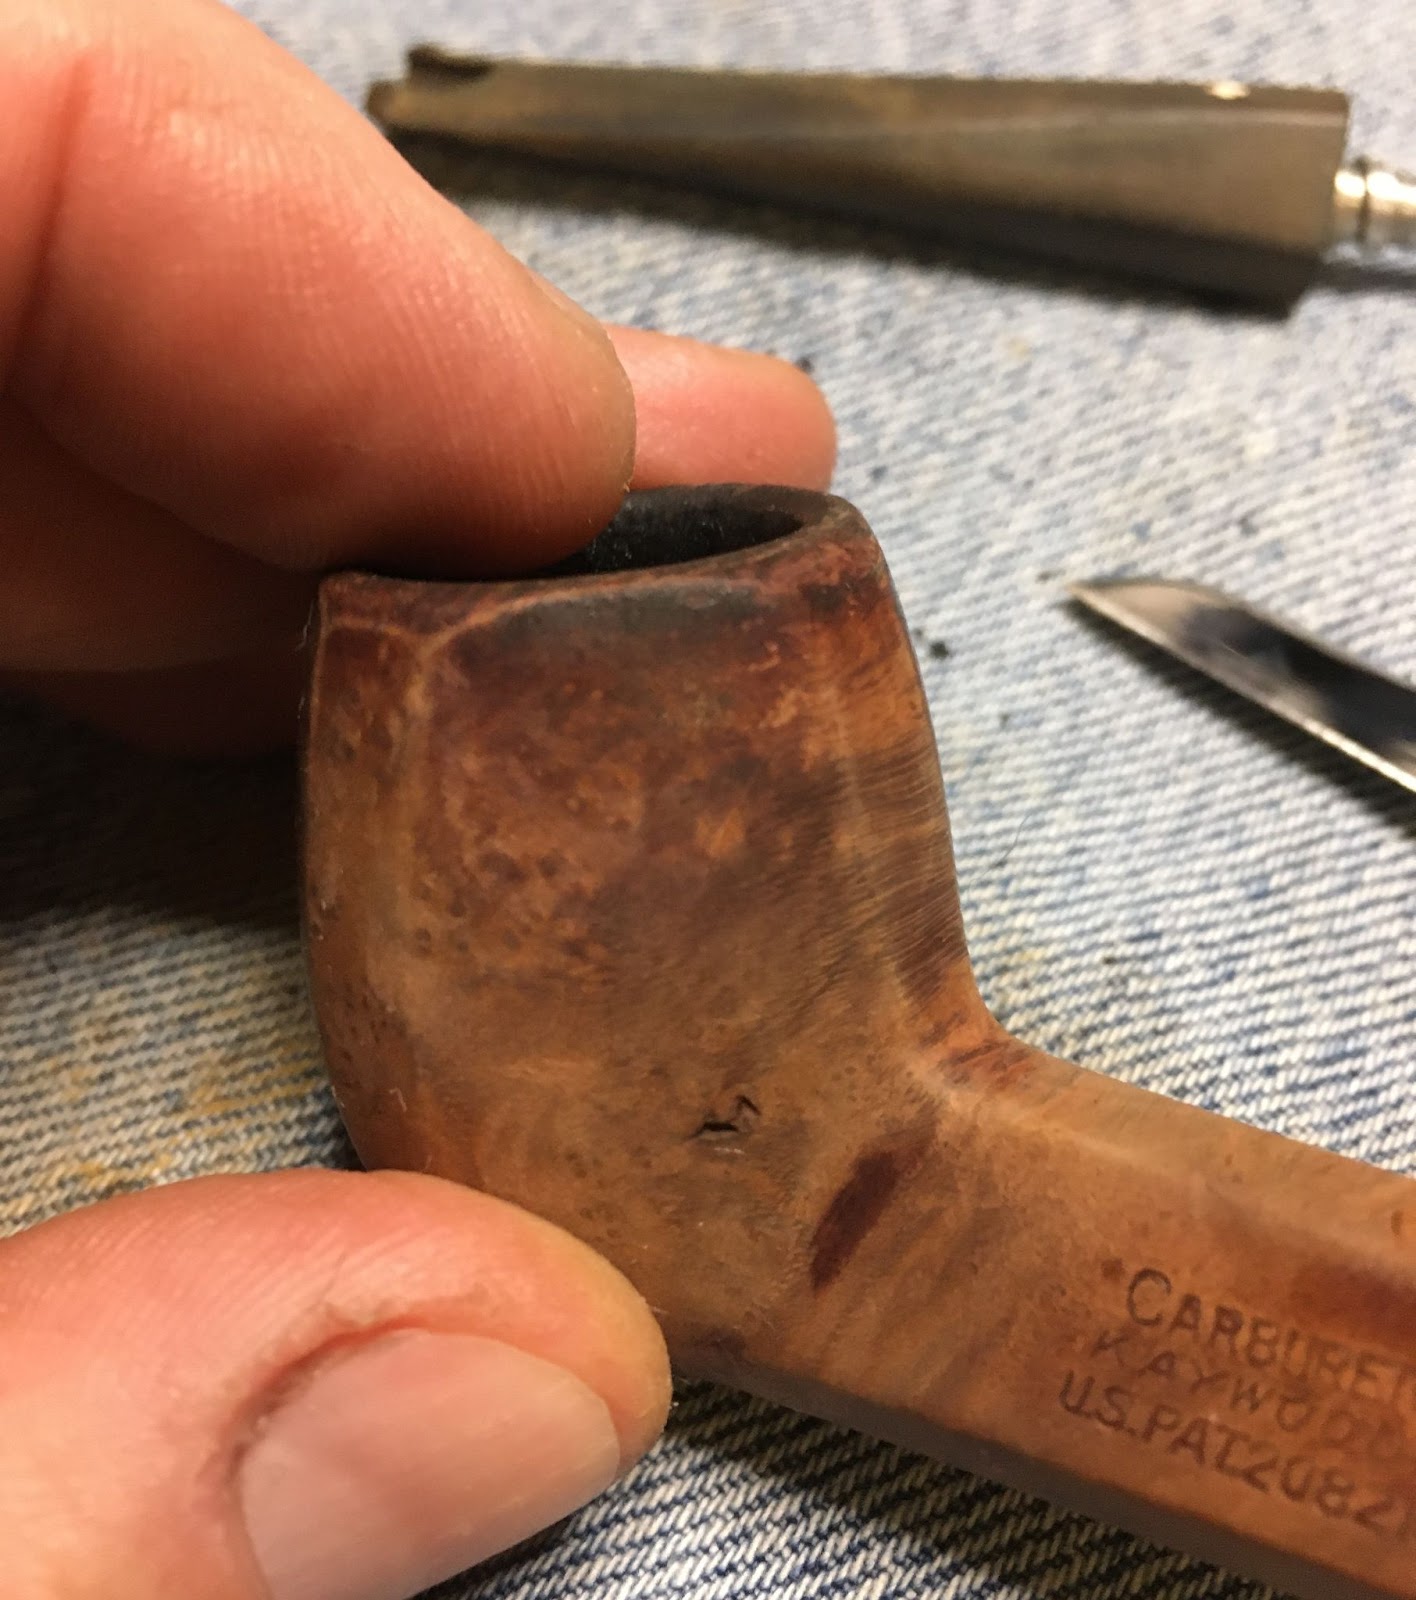
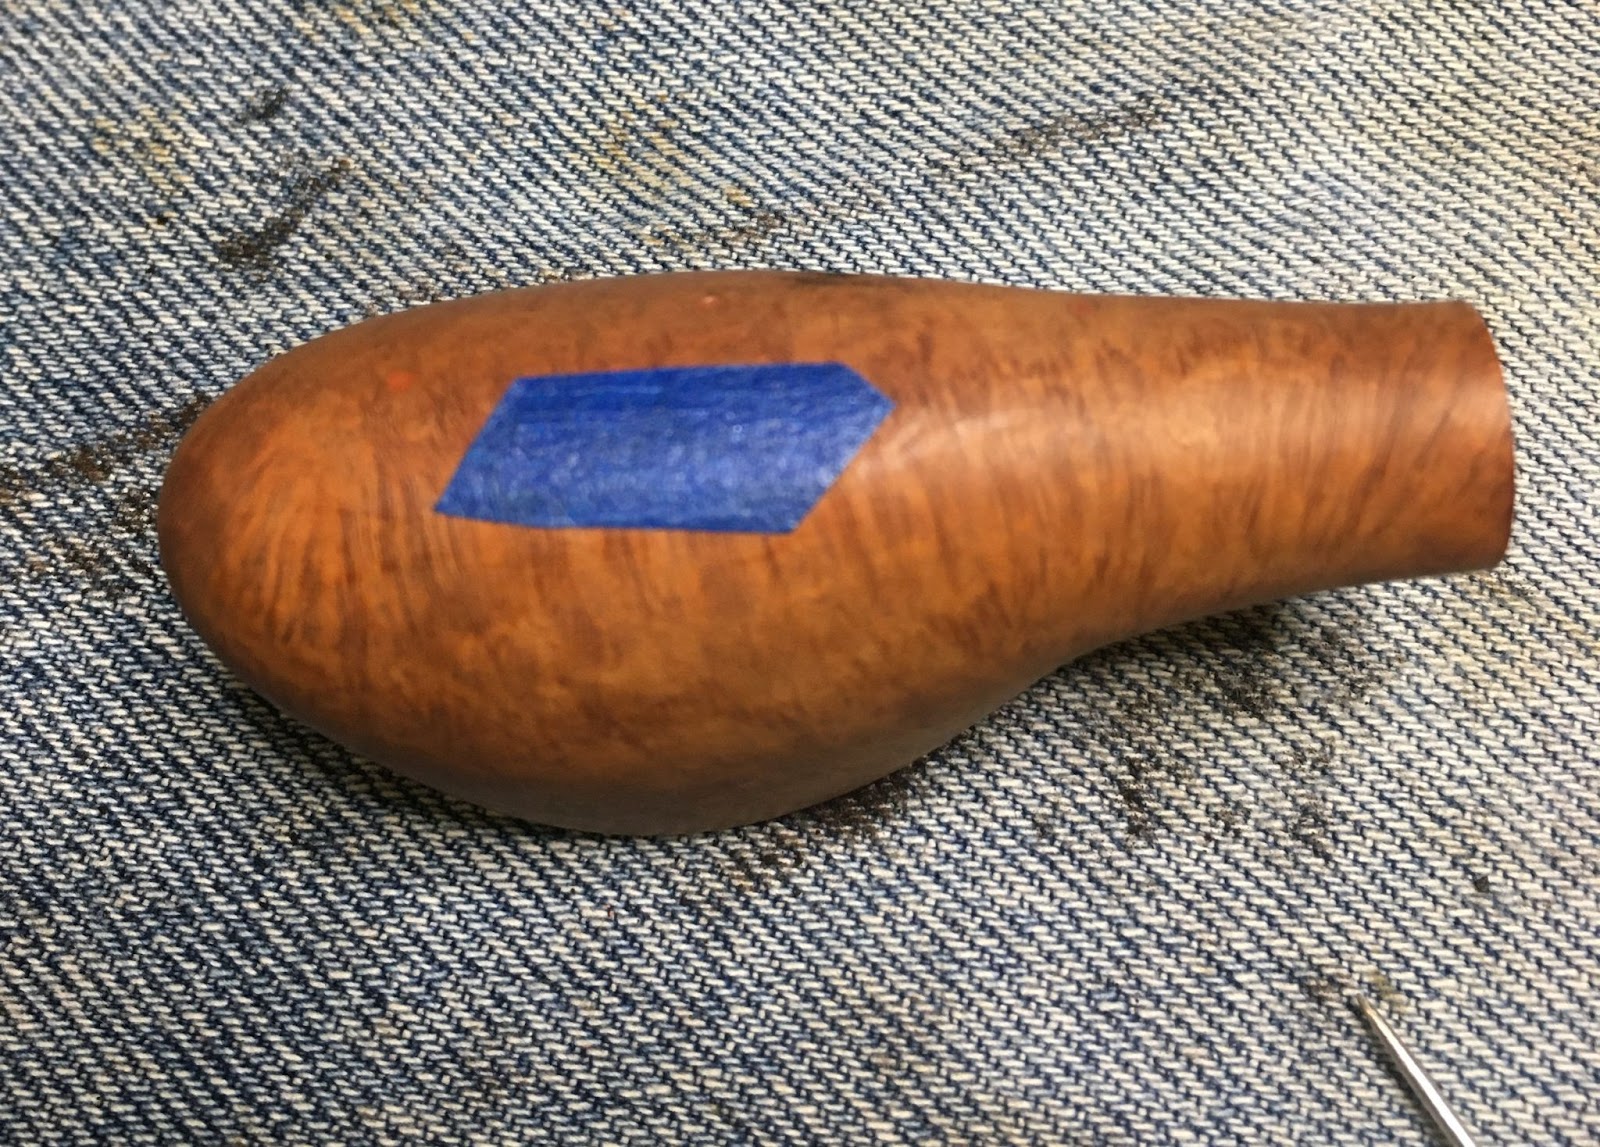
There were a couple of dents in the lower left section of the stummel. I used a hot iron and a damp rag to raise these.
Below is a photo of the stummel partially wrapped in the wetted cotton rag and pressed against the hot clothes iron.
The steam from the iron heated water raised the dents very nicely.
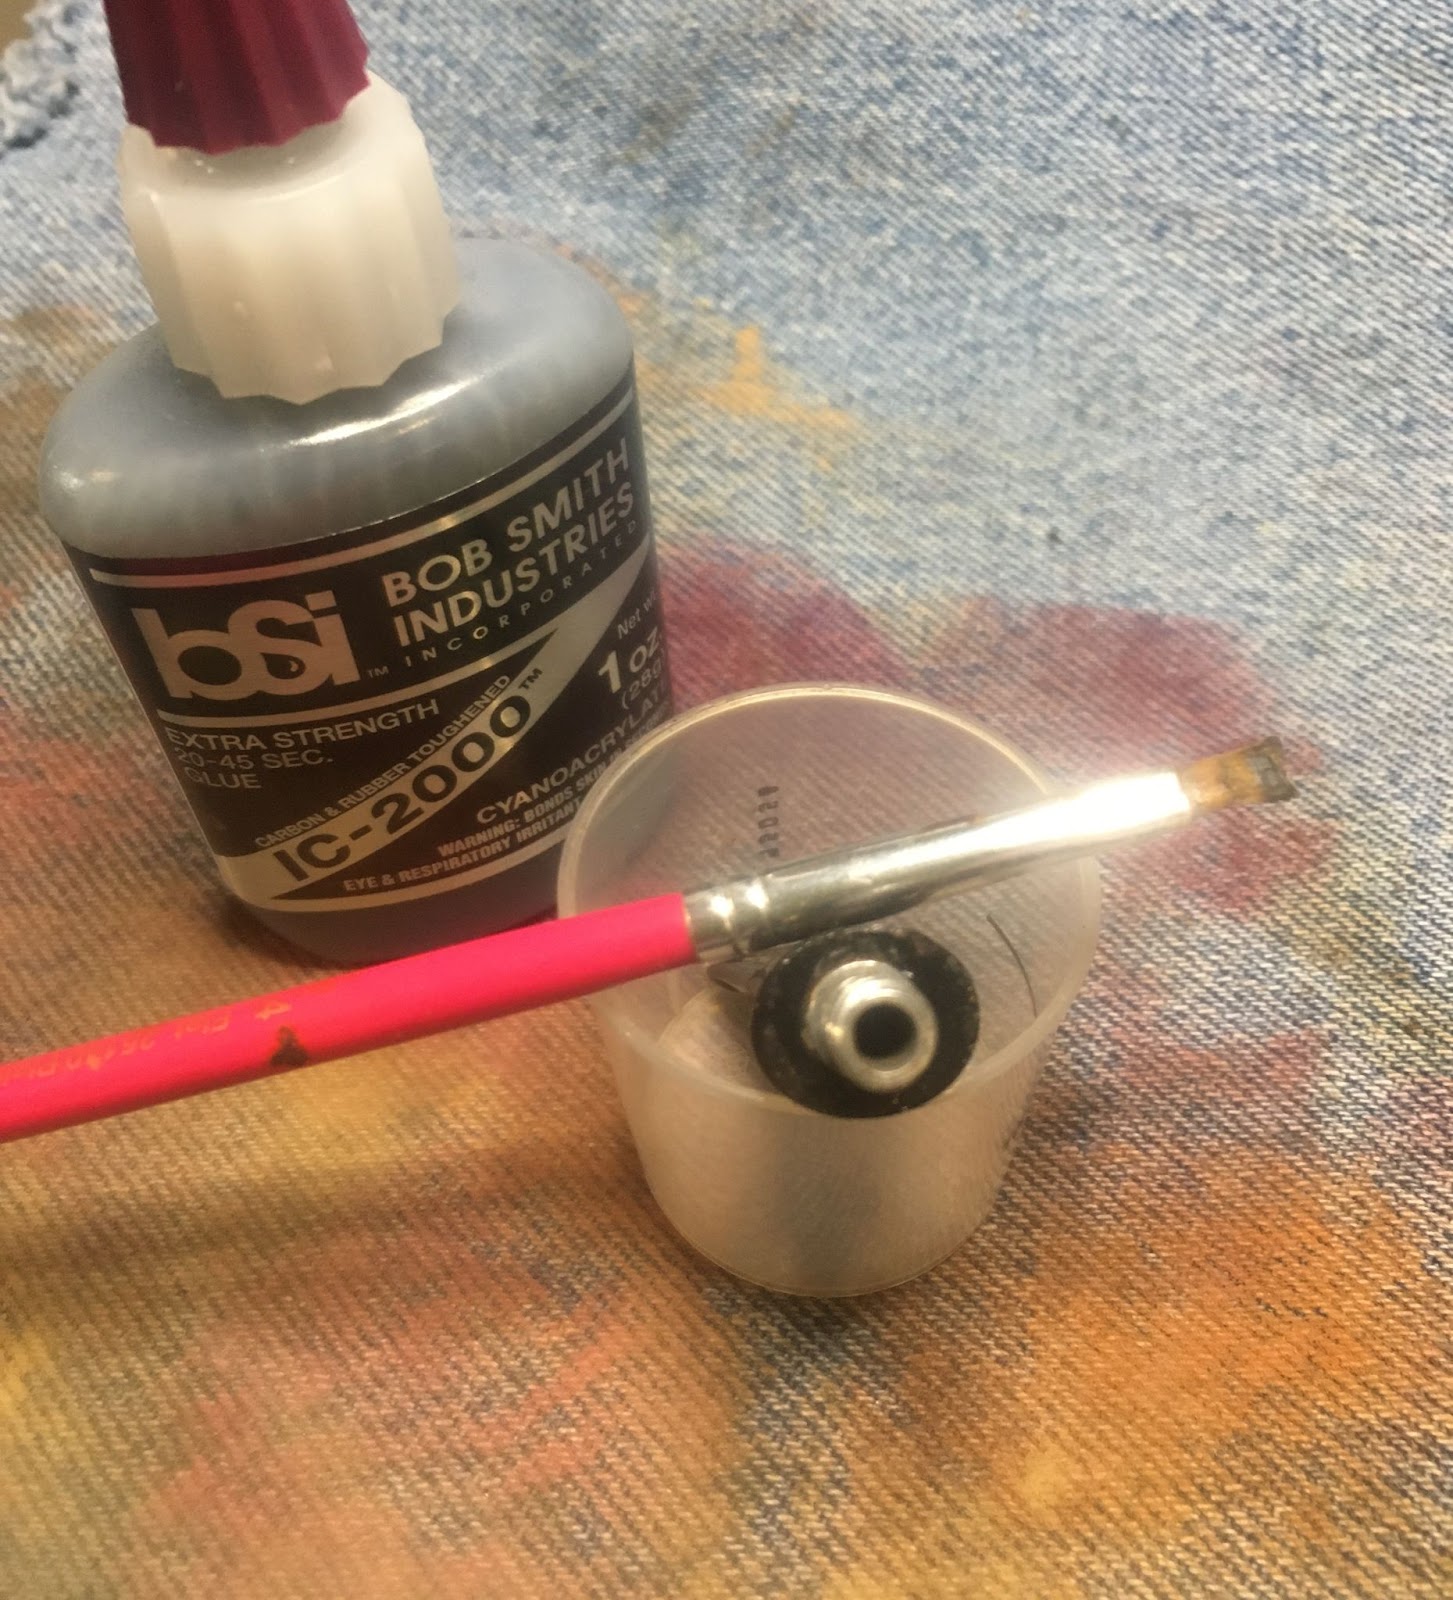
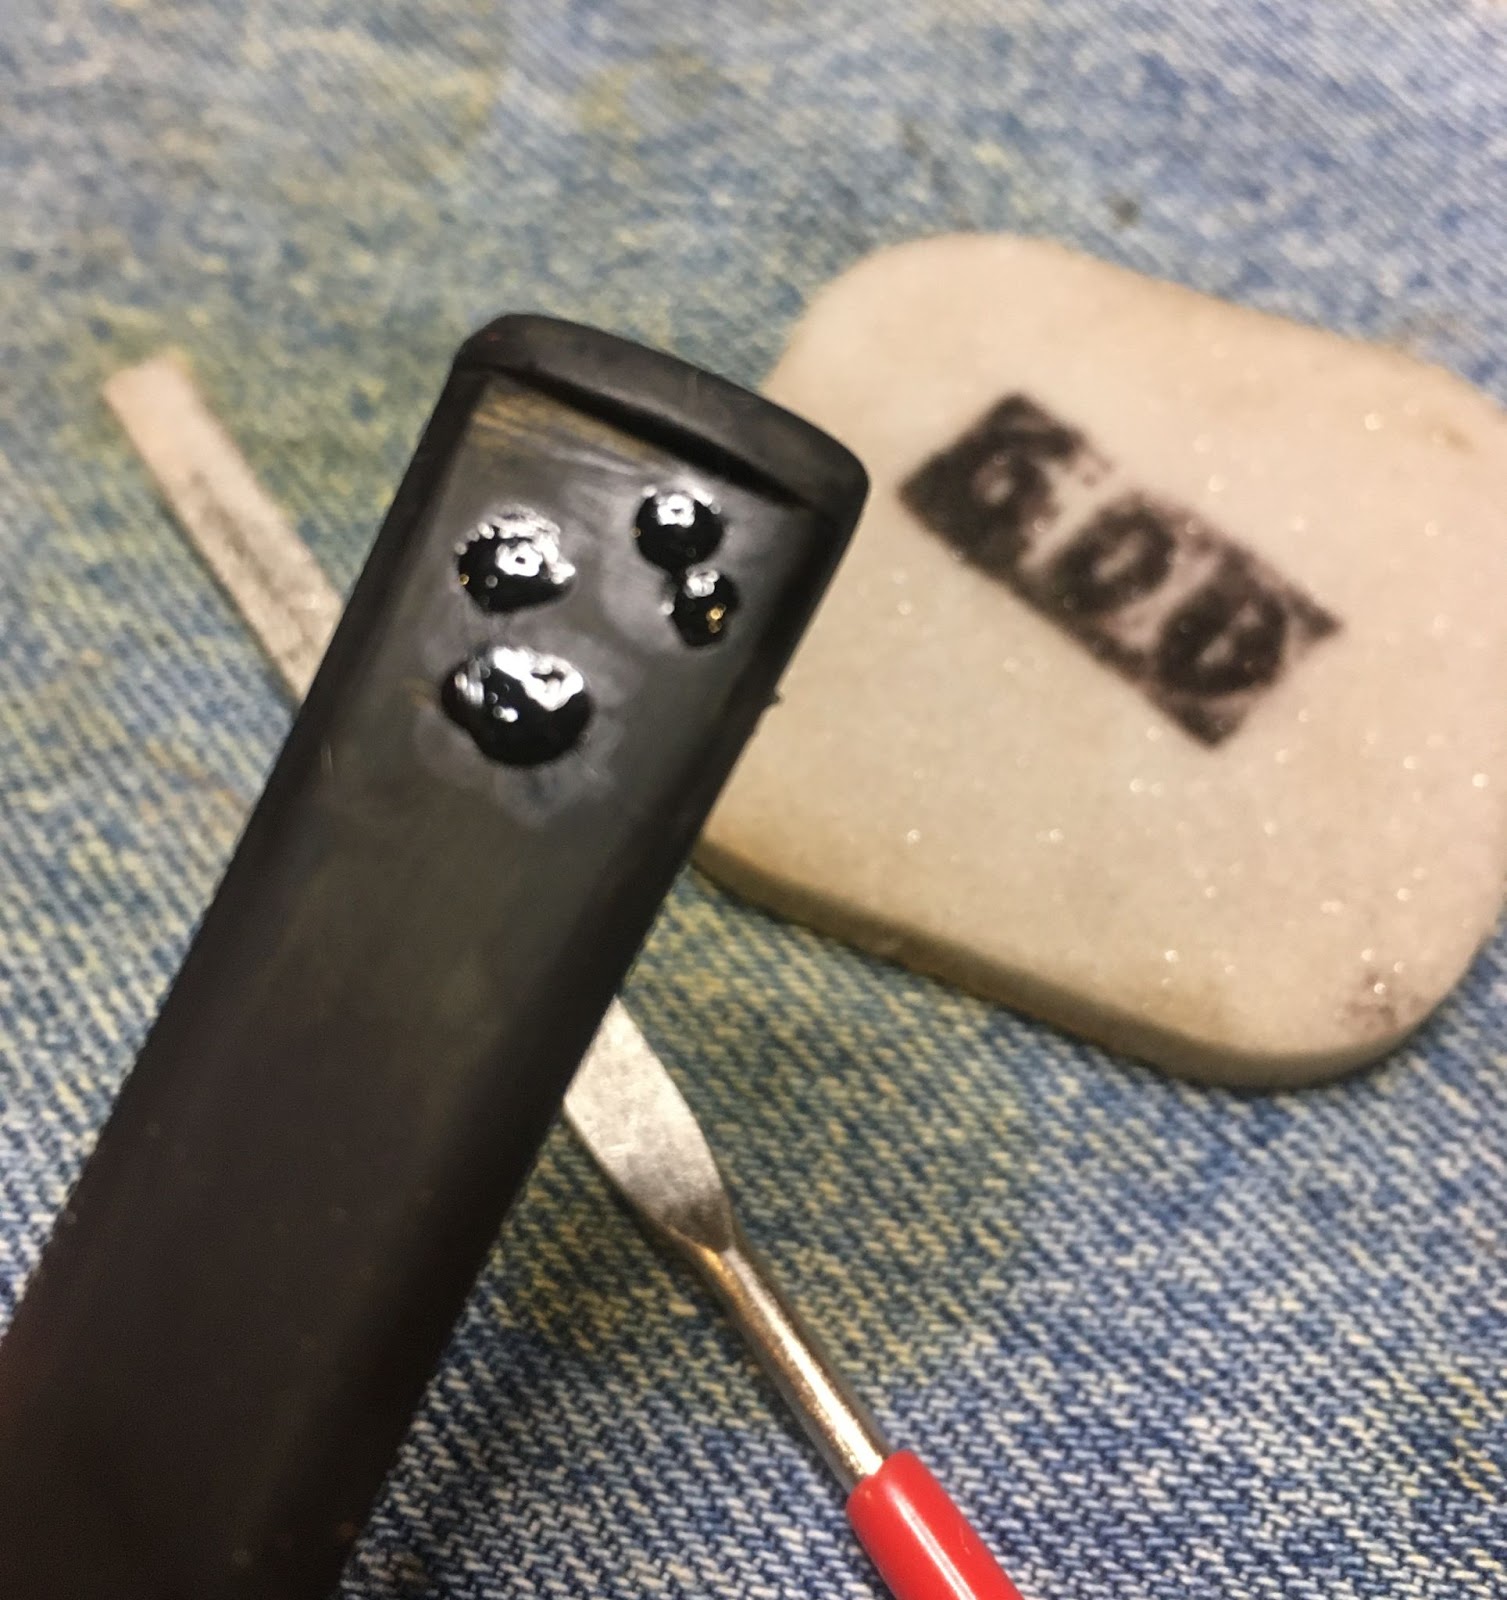
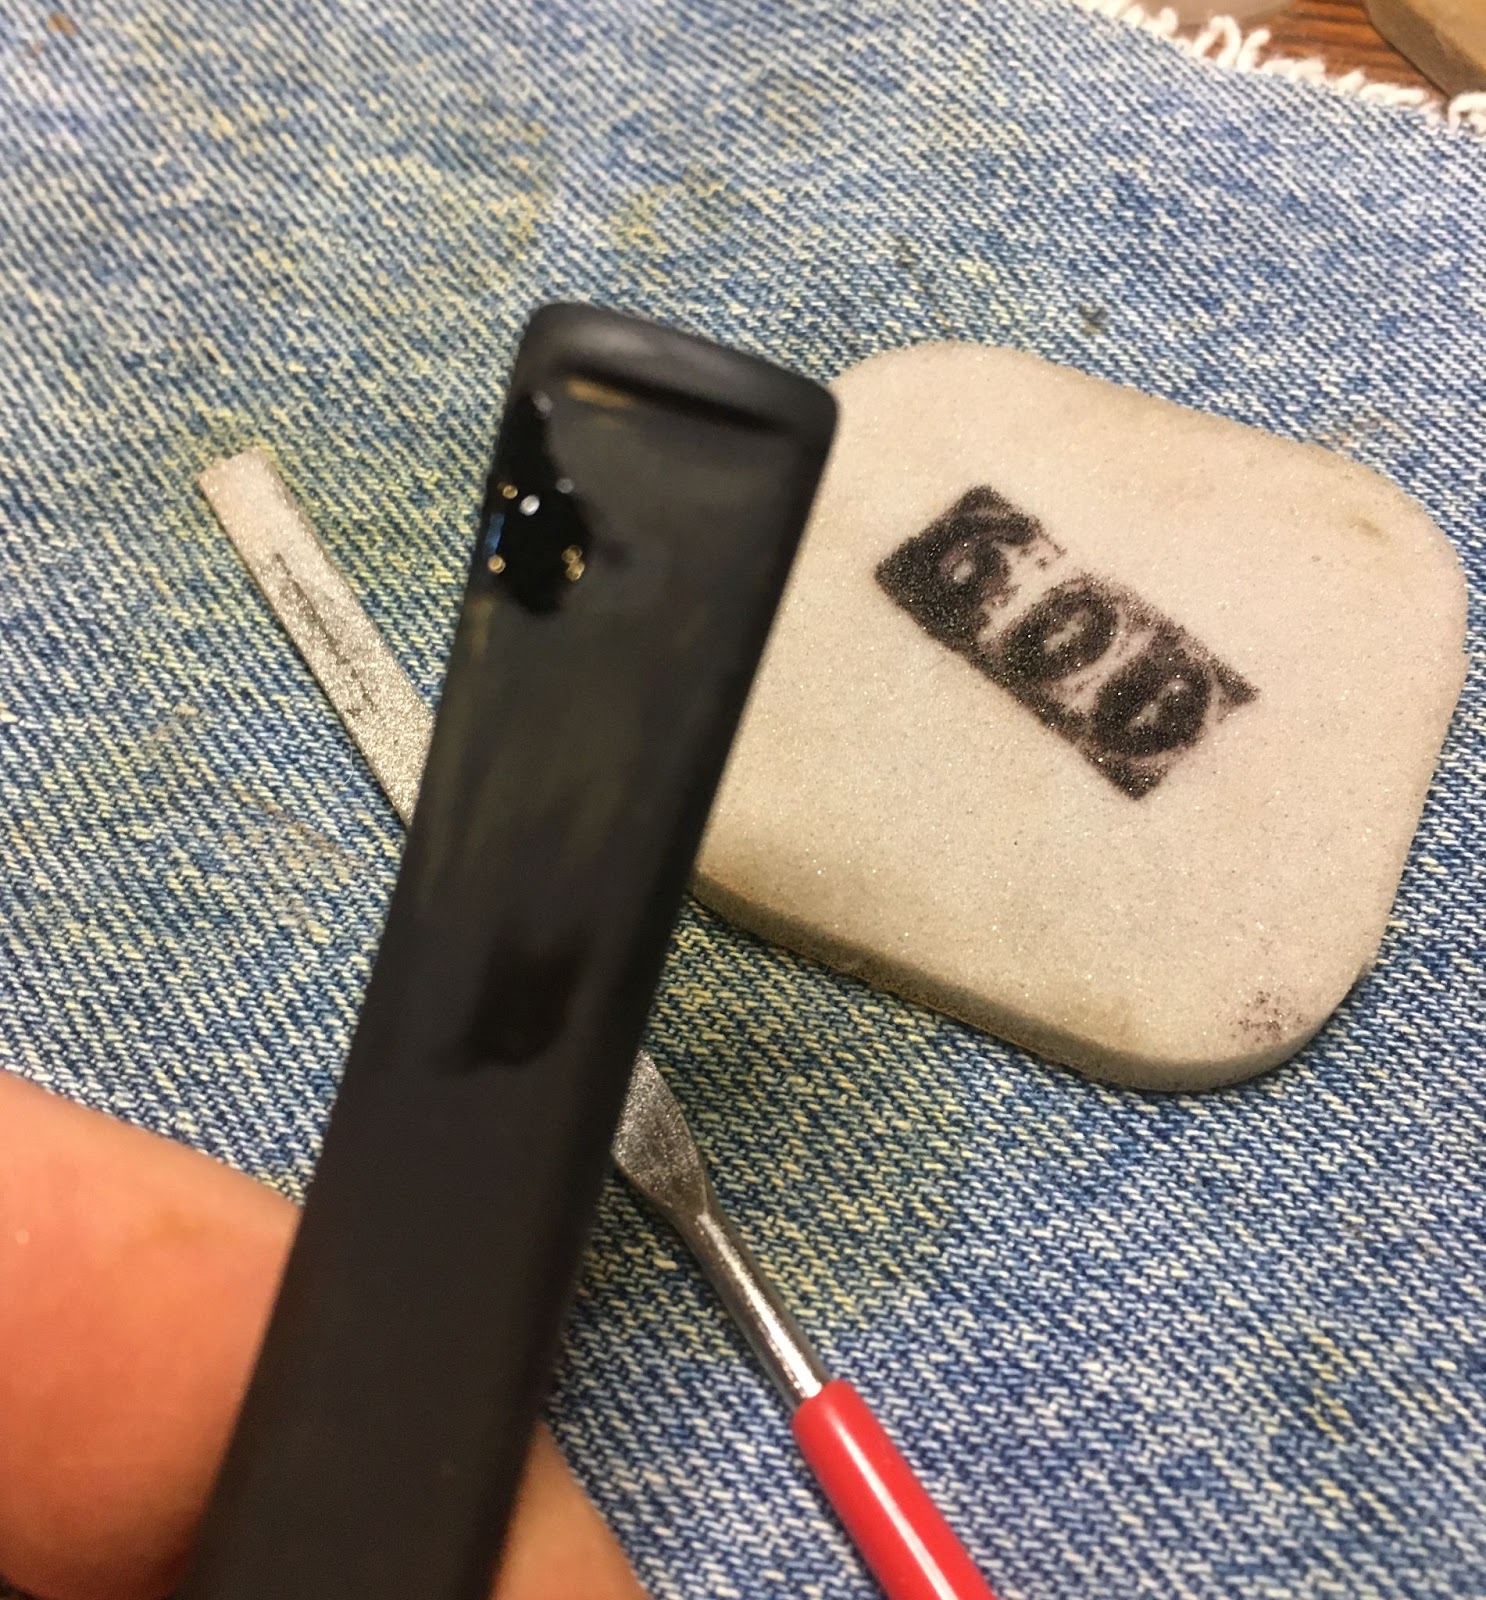
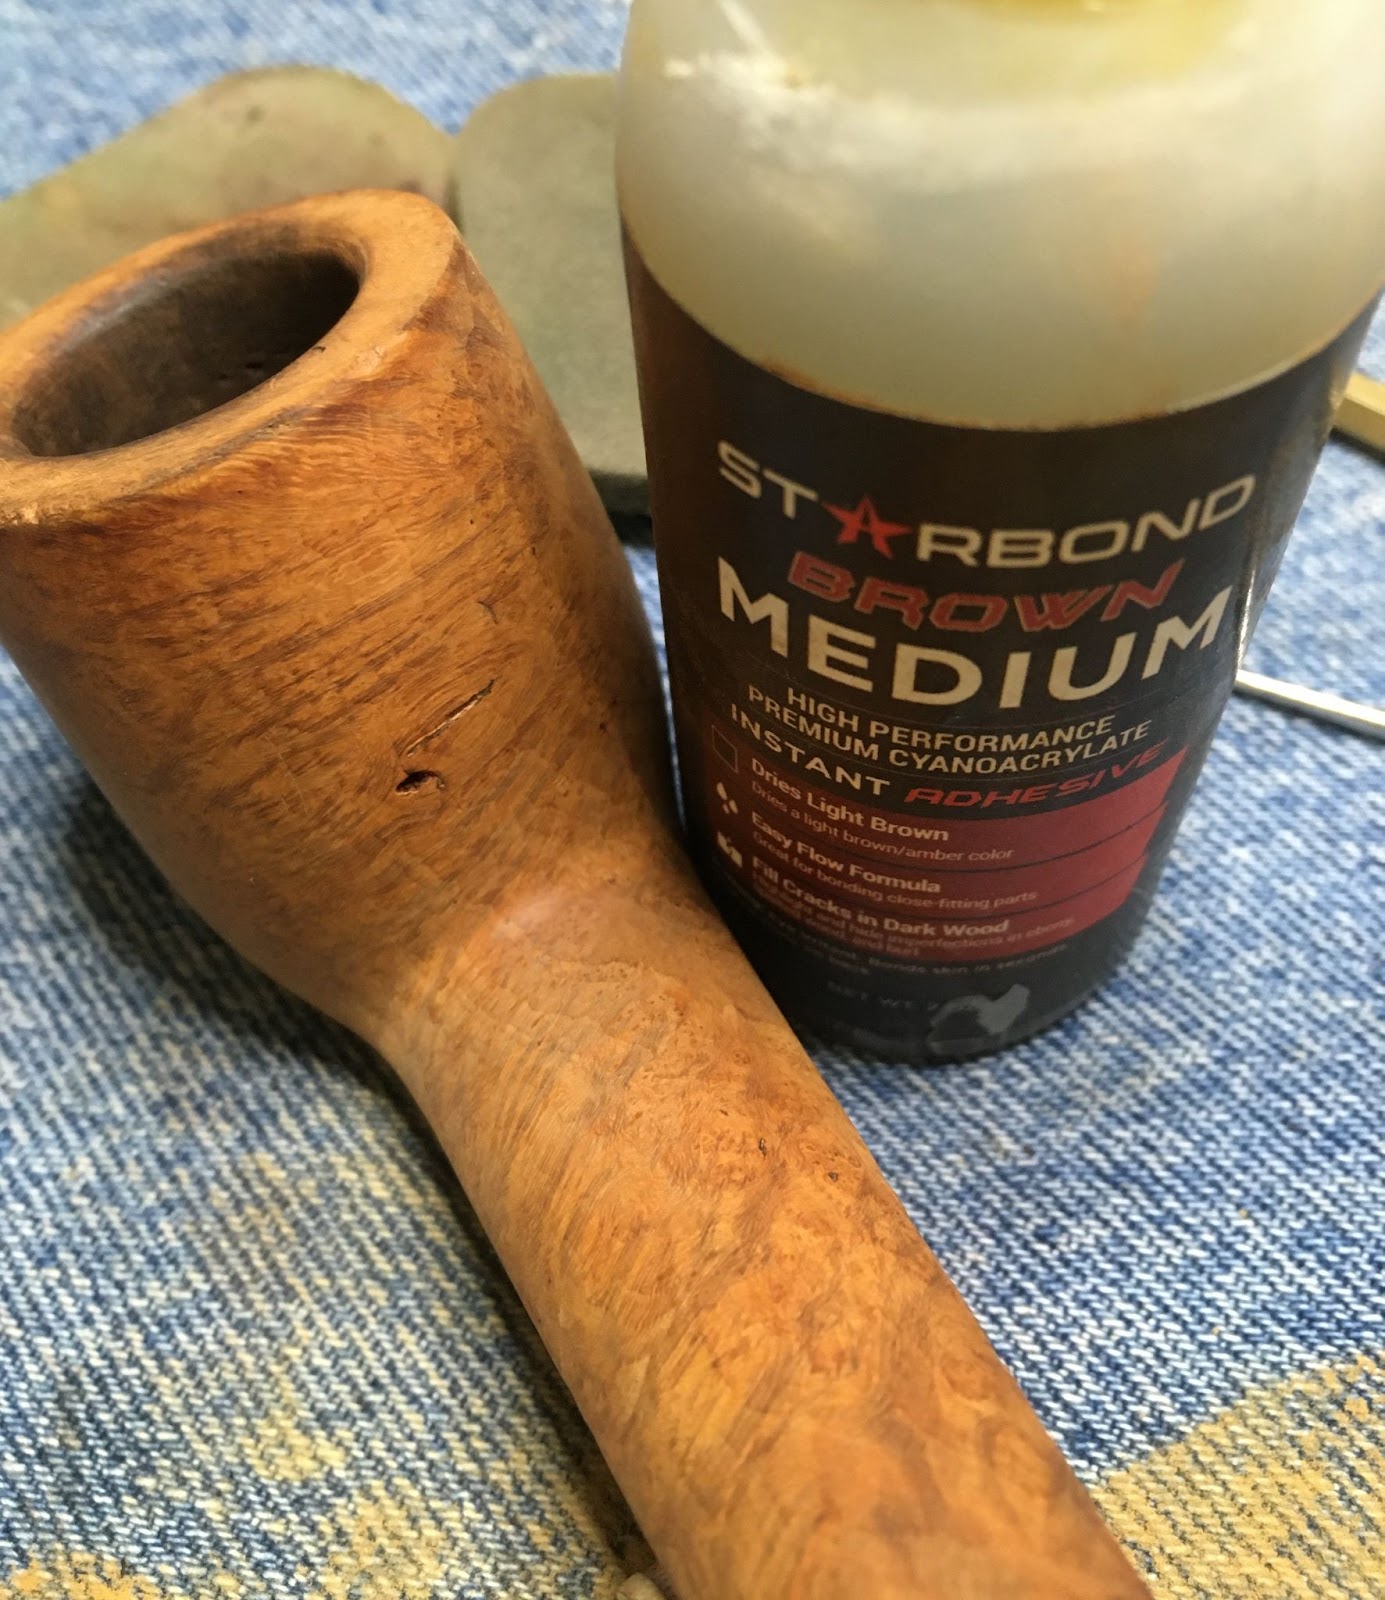
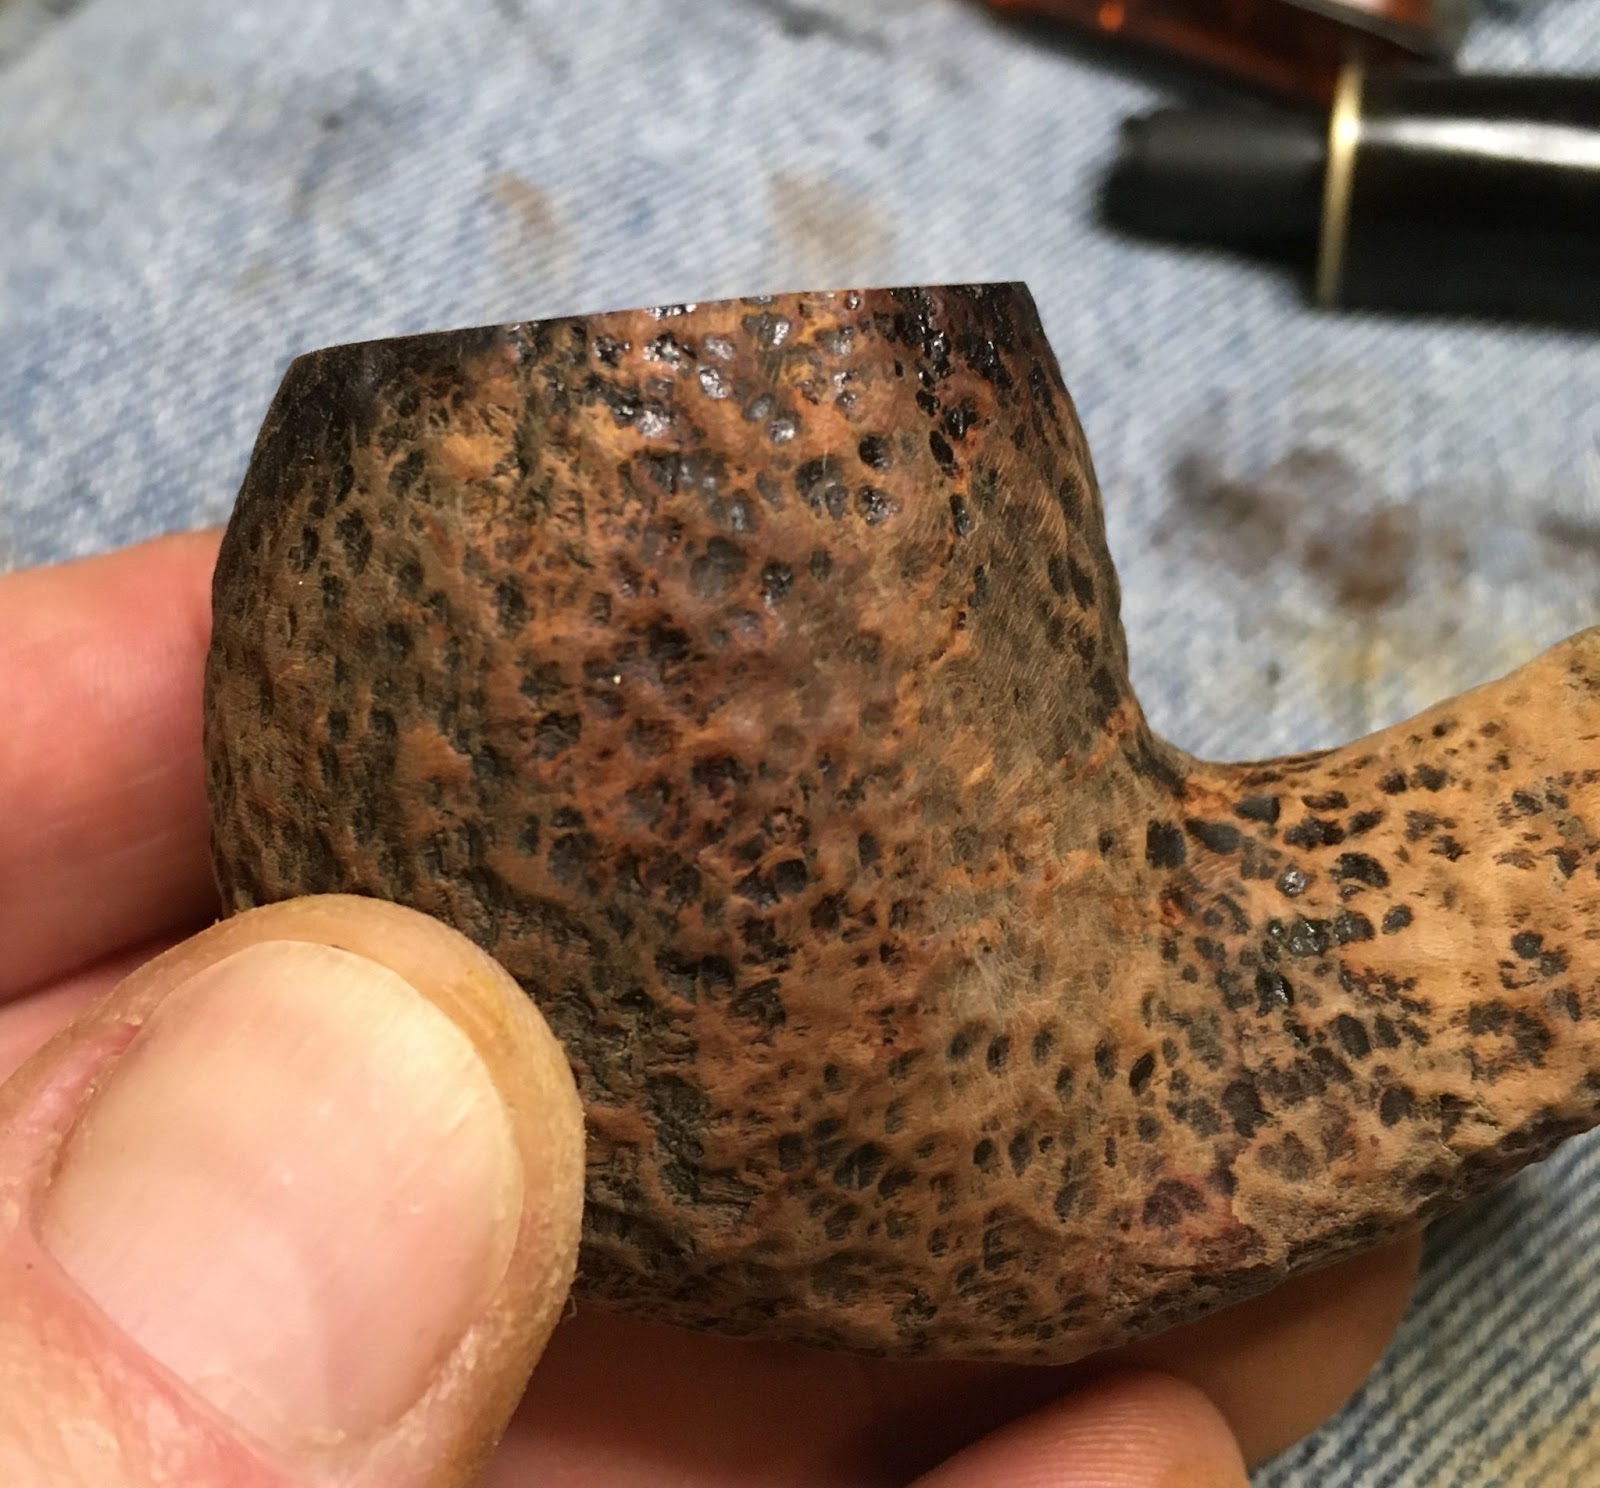
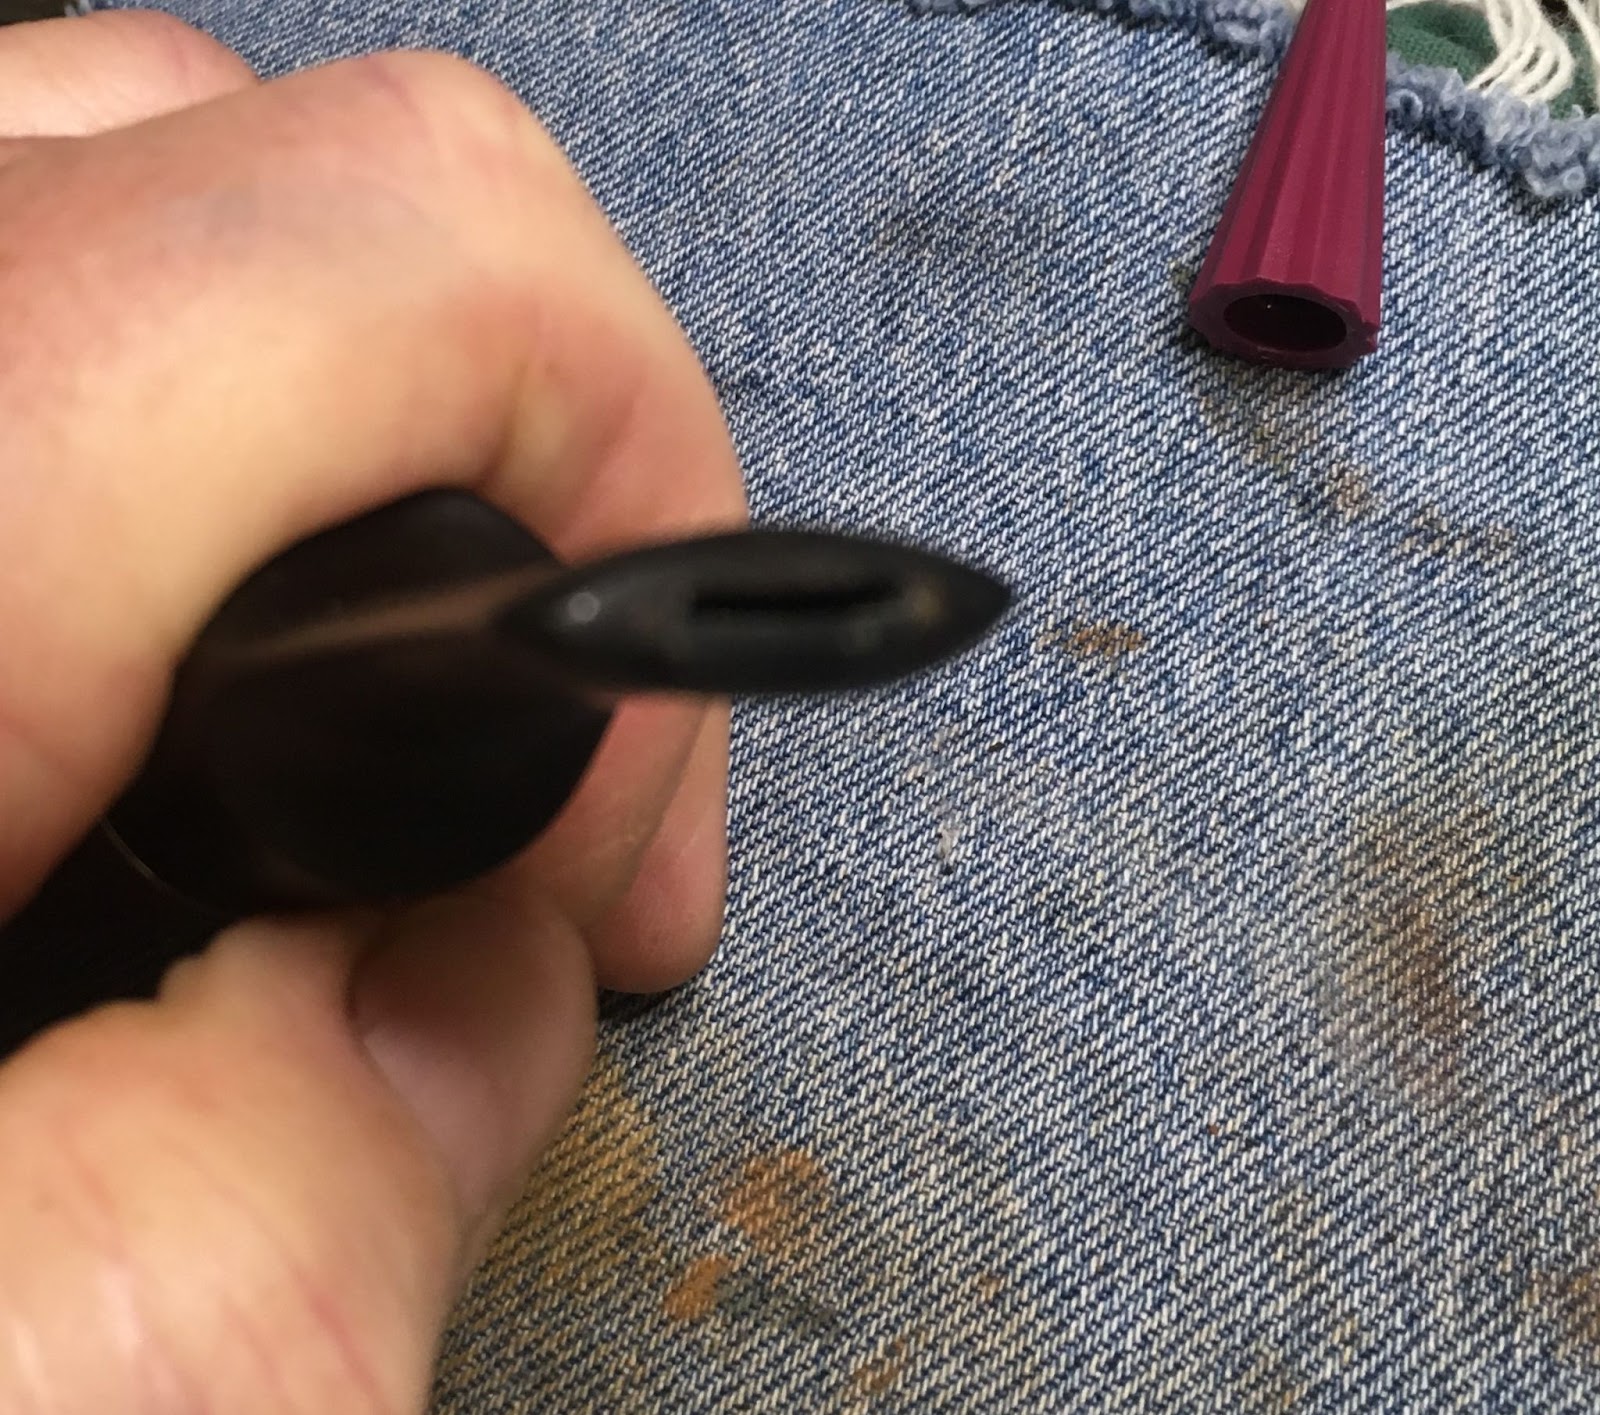
After the shank was cleaned the pits on the stummel were filled using a small drop of cyanoacrylate (CA, super glue) and briar dust. A small drop of CA was applied to the pit then sanded with a 400 sanding sponge. The dust from the sponge combines with the wet CA to fill the pit. Additional applications were used for deeper pits.


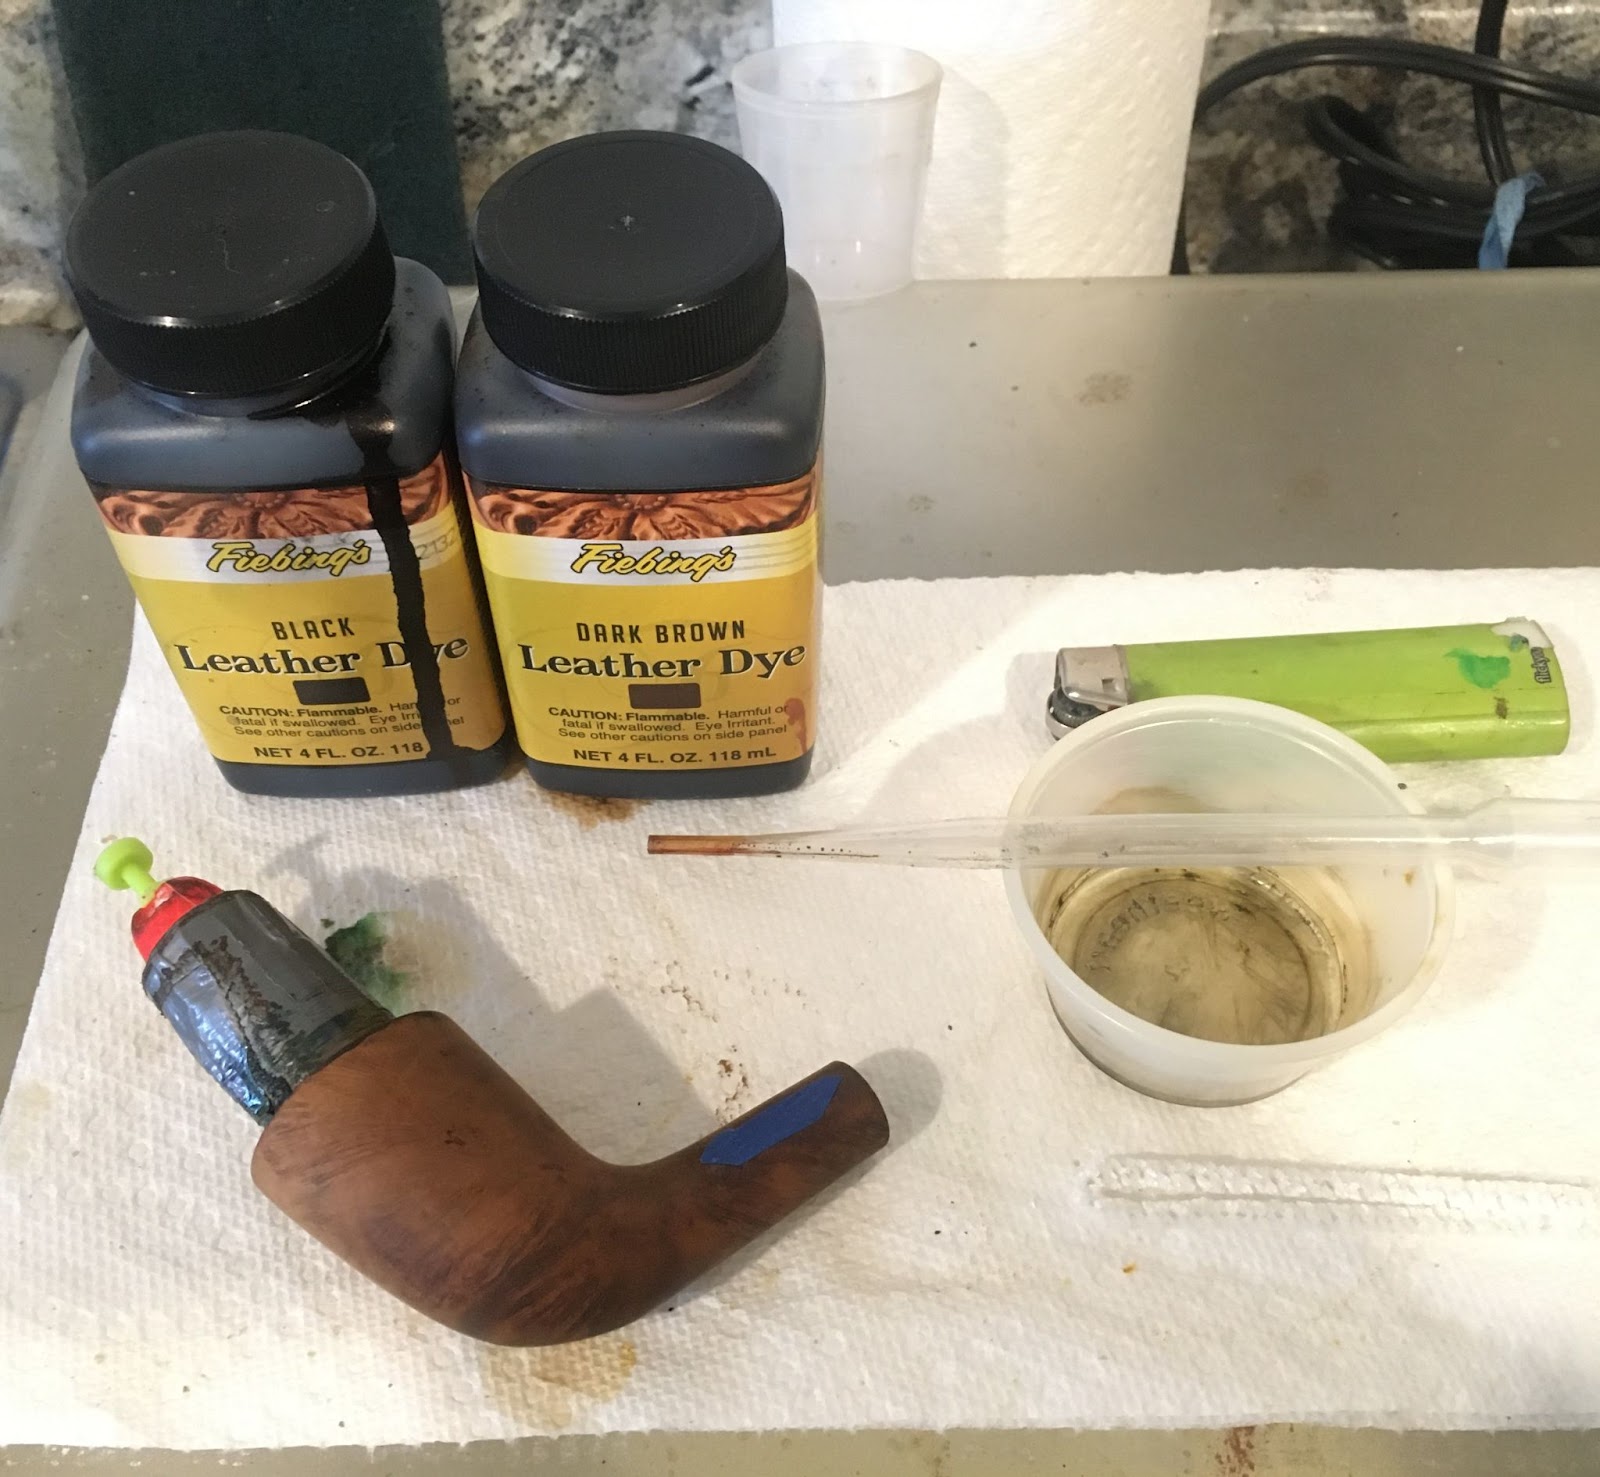
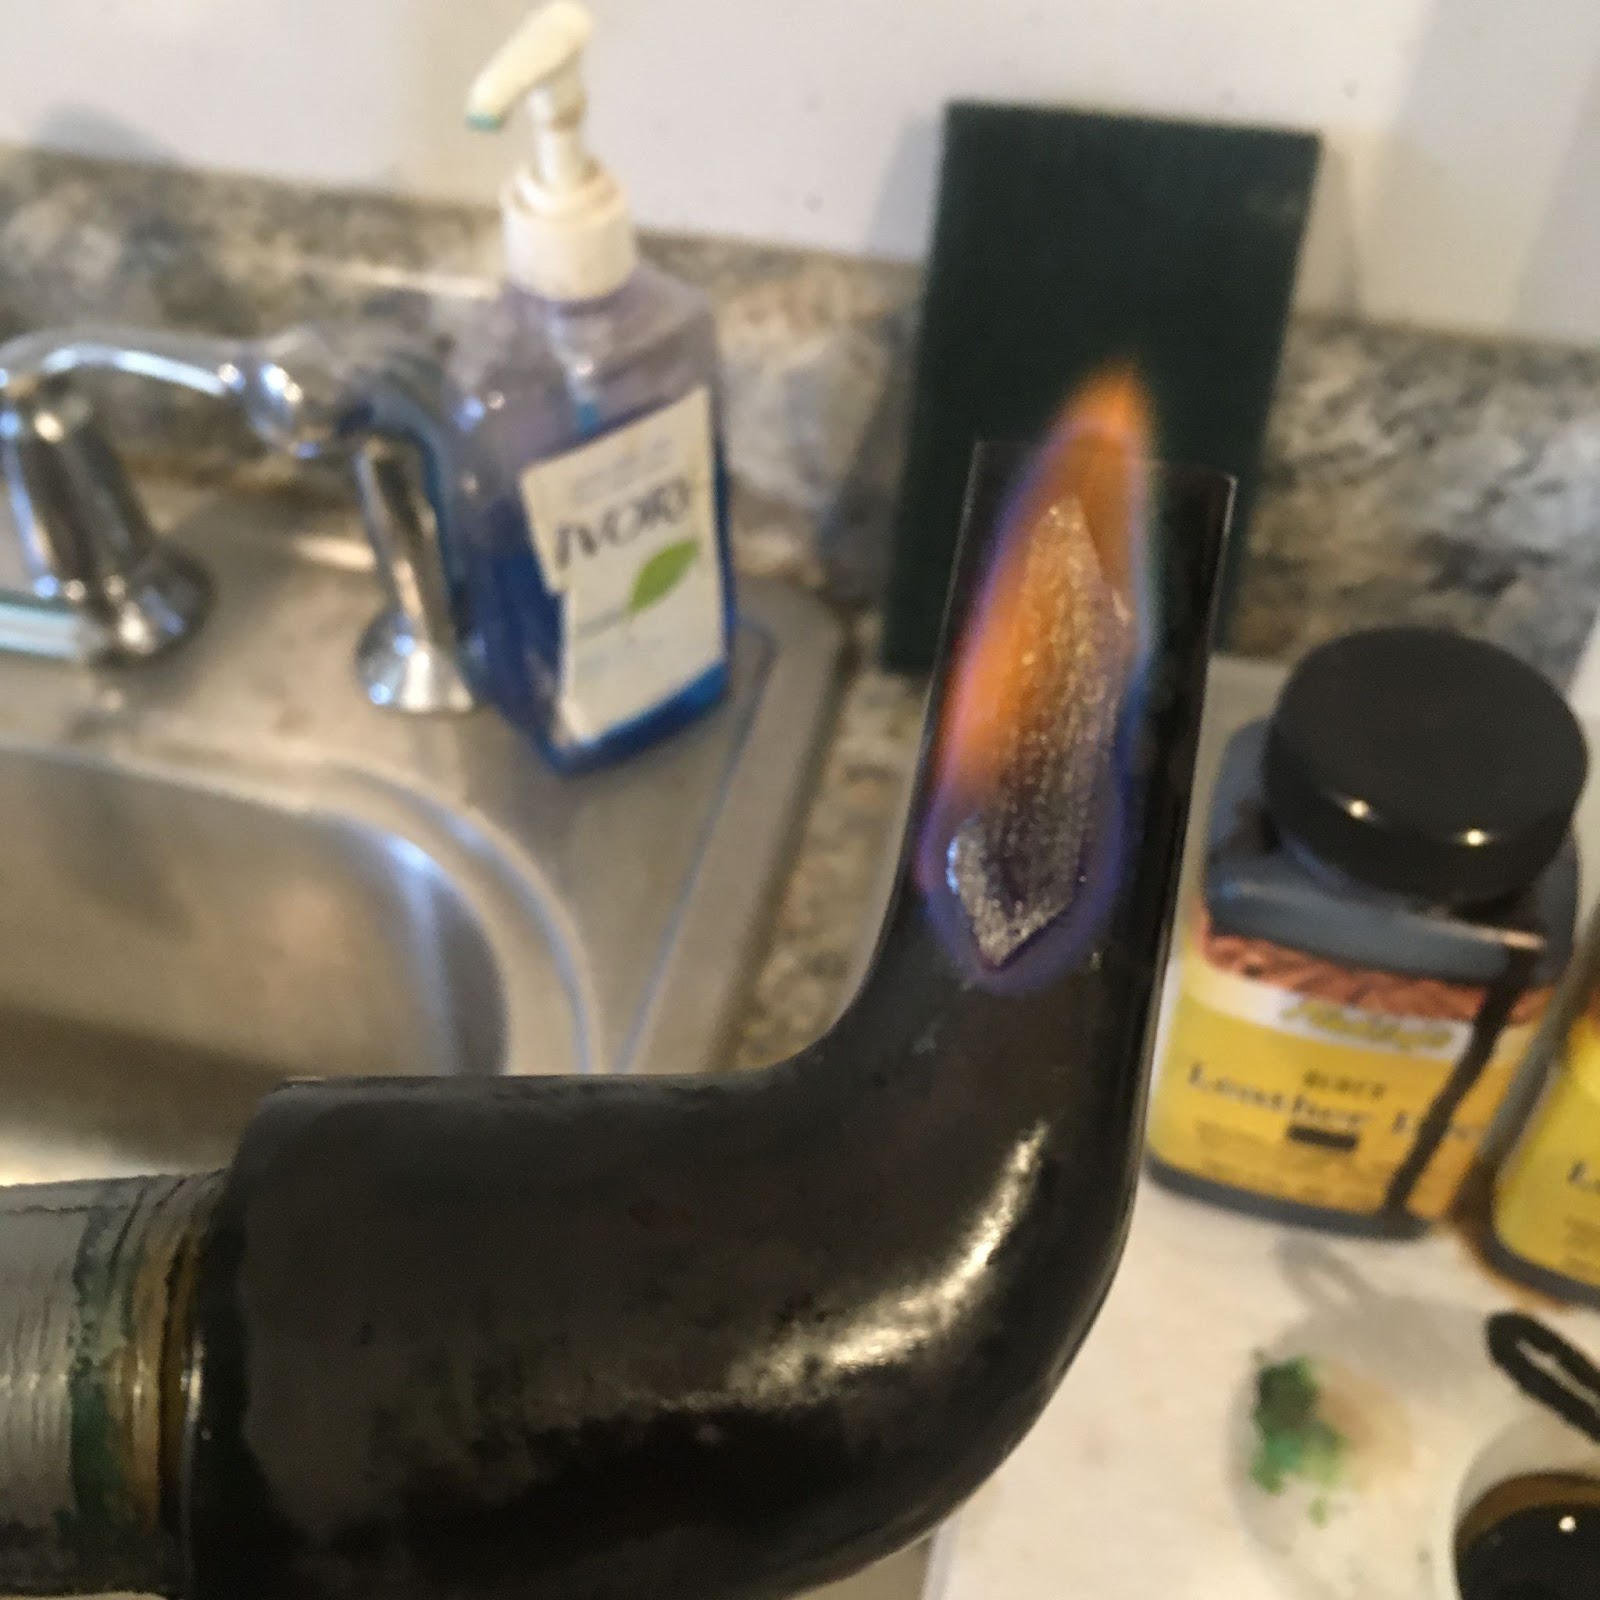
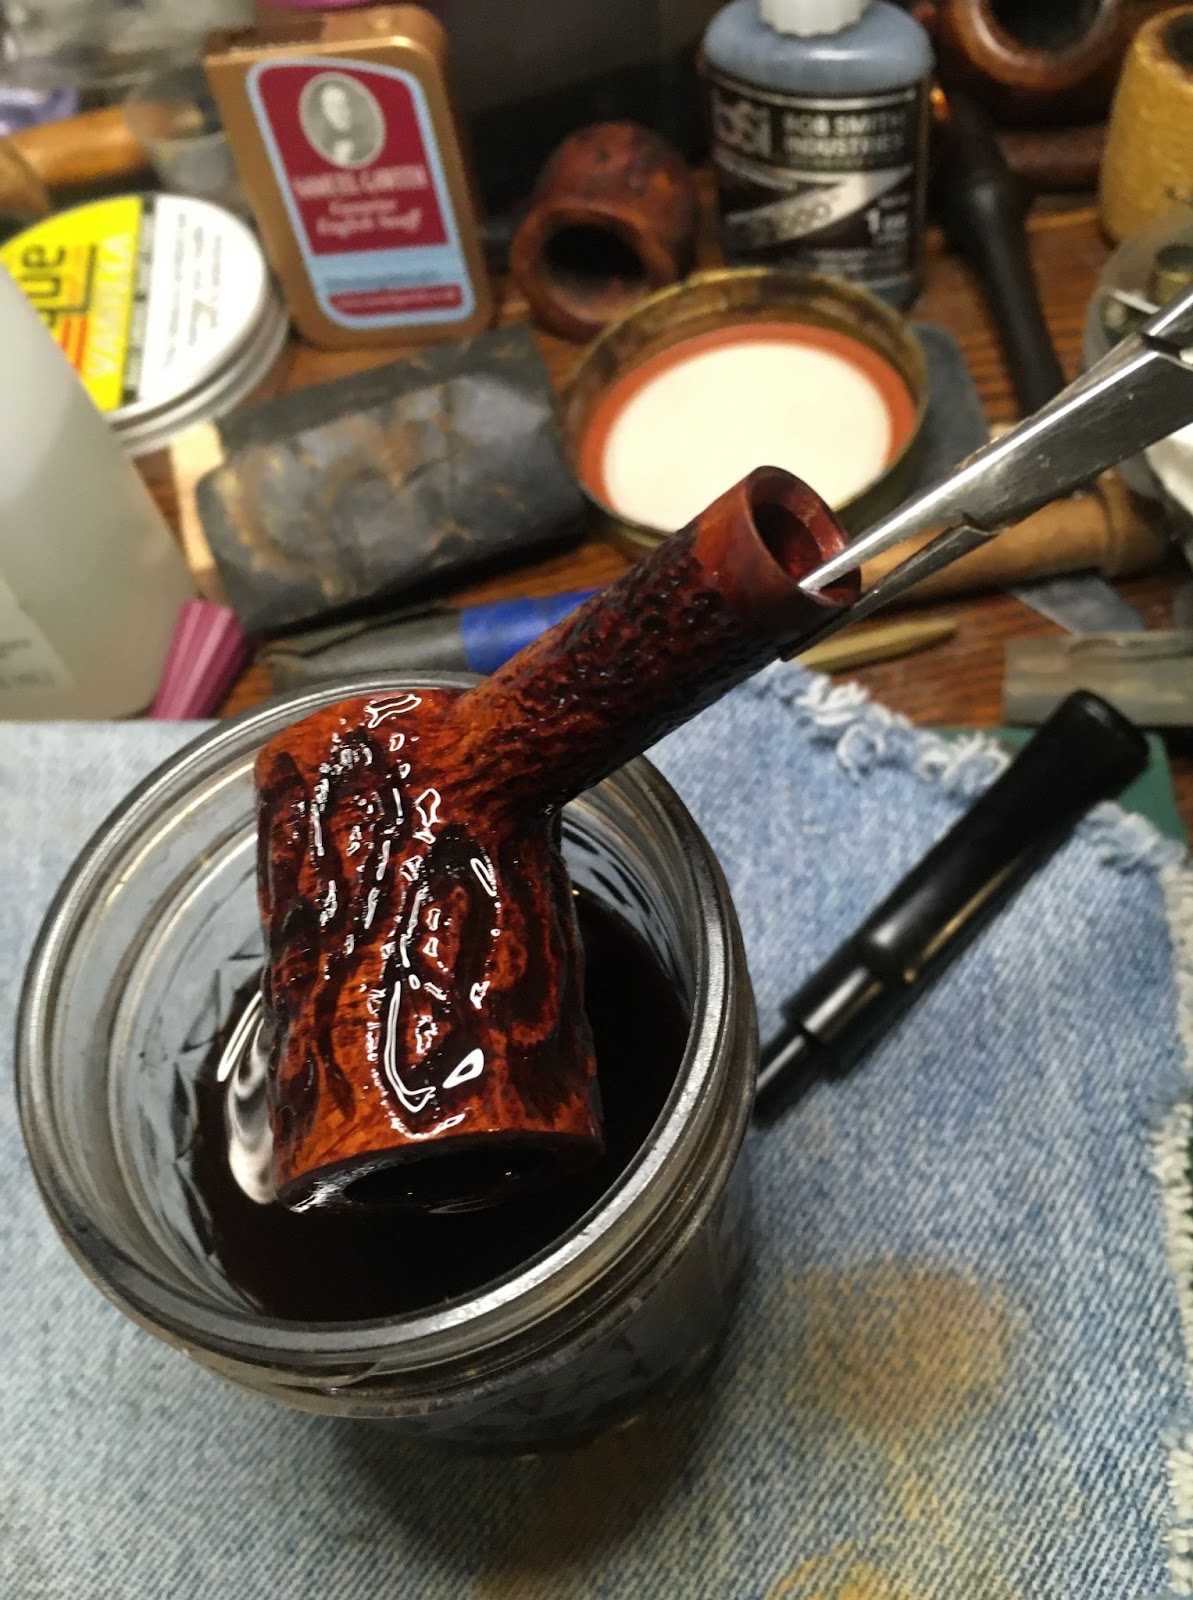
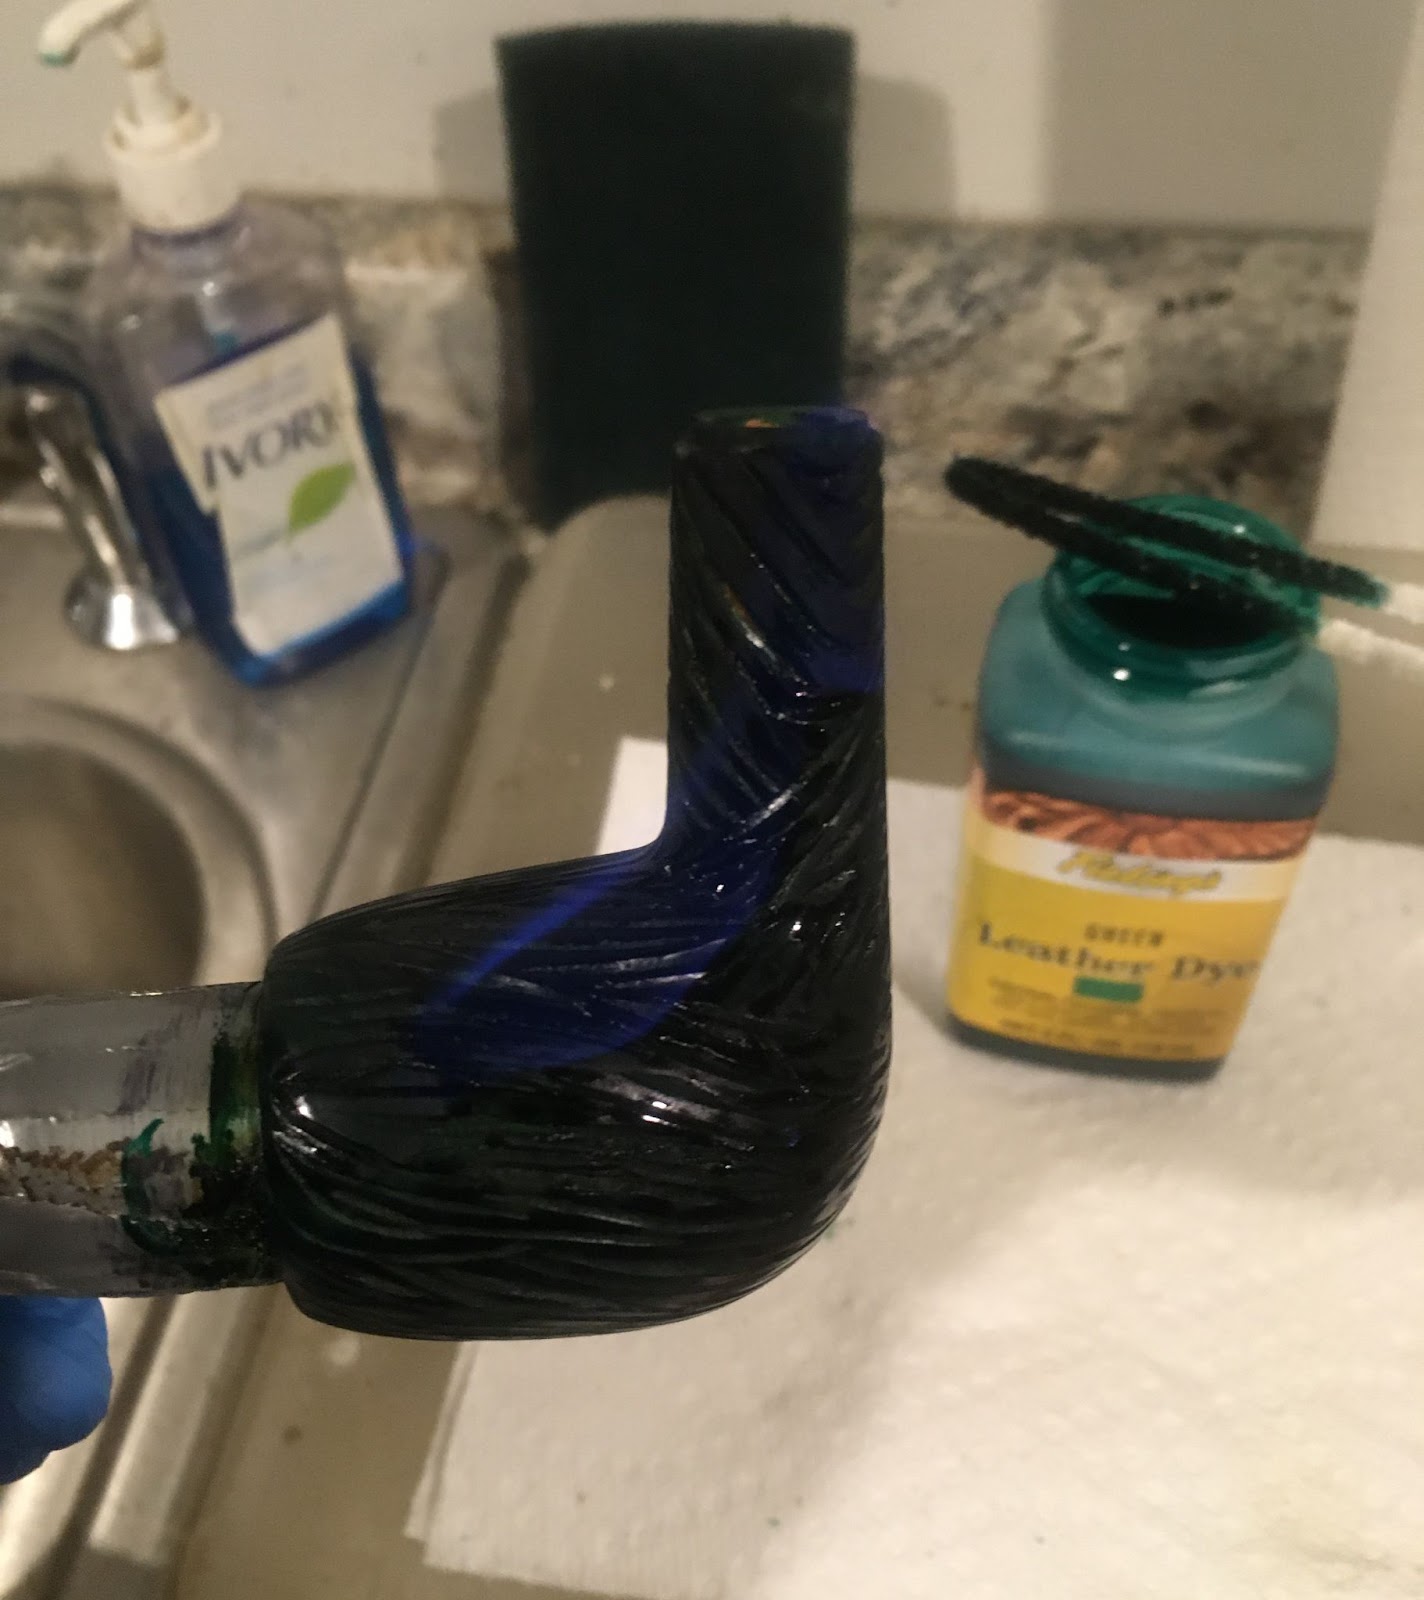
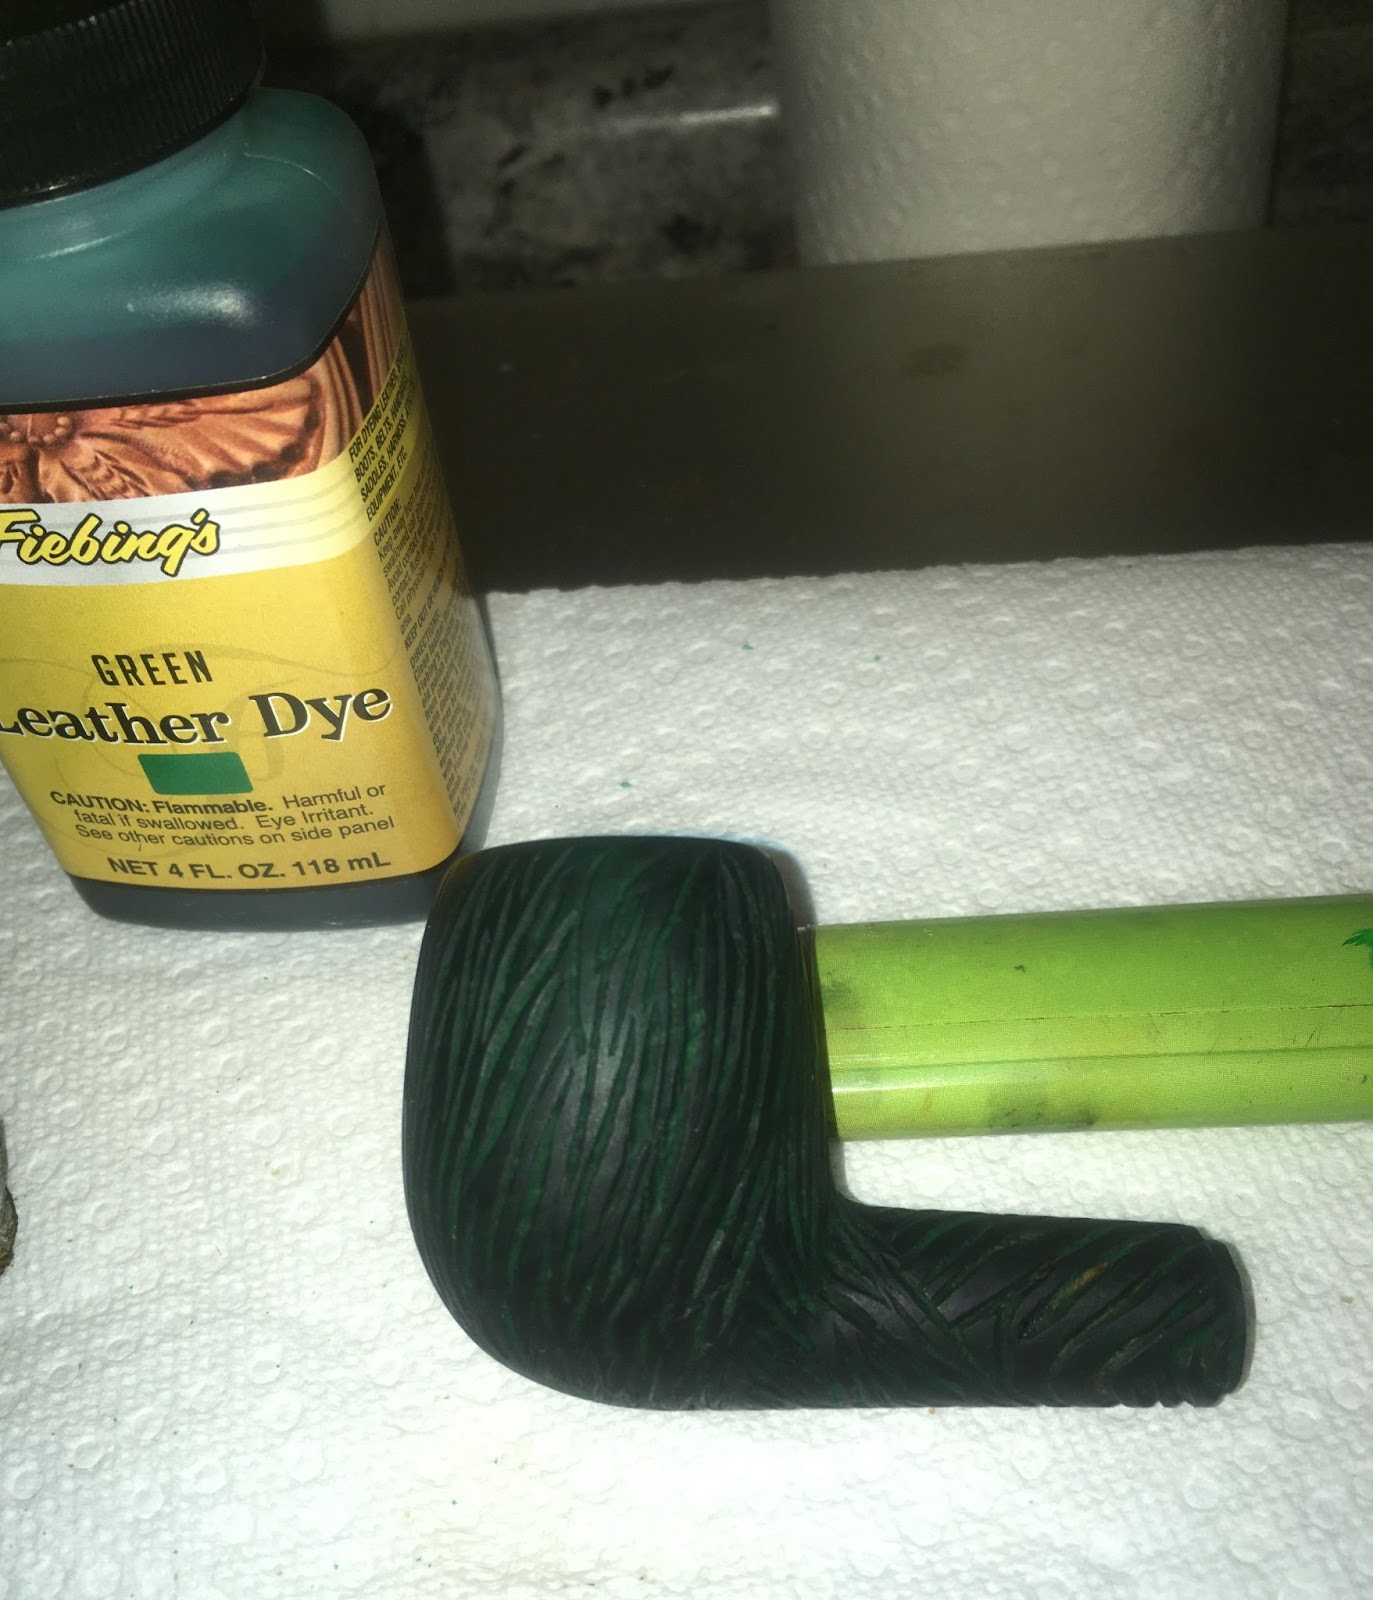
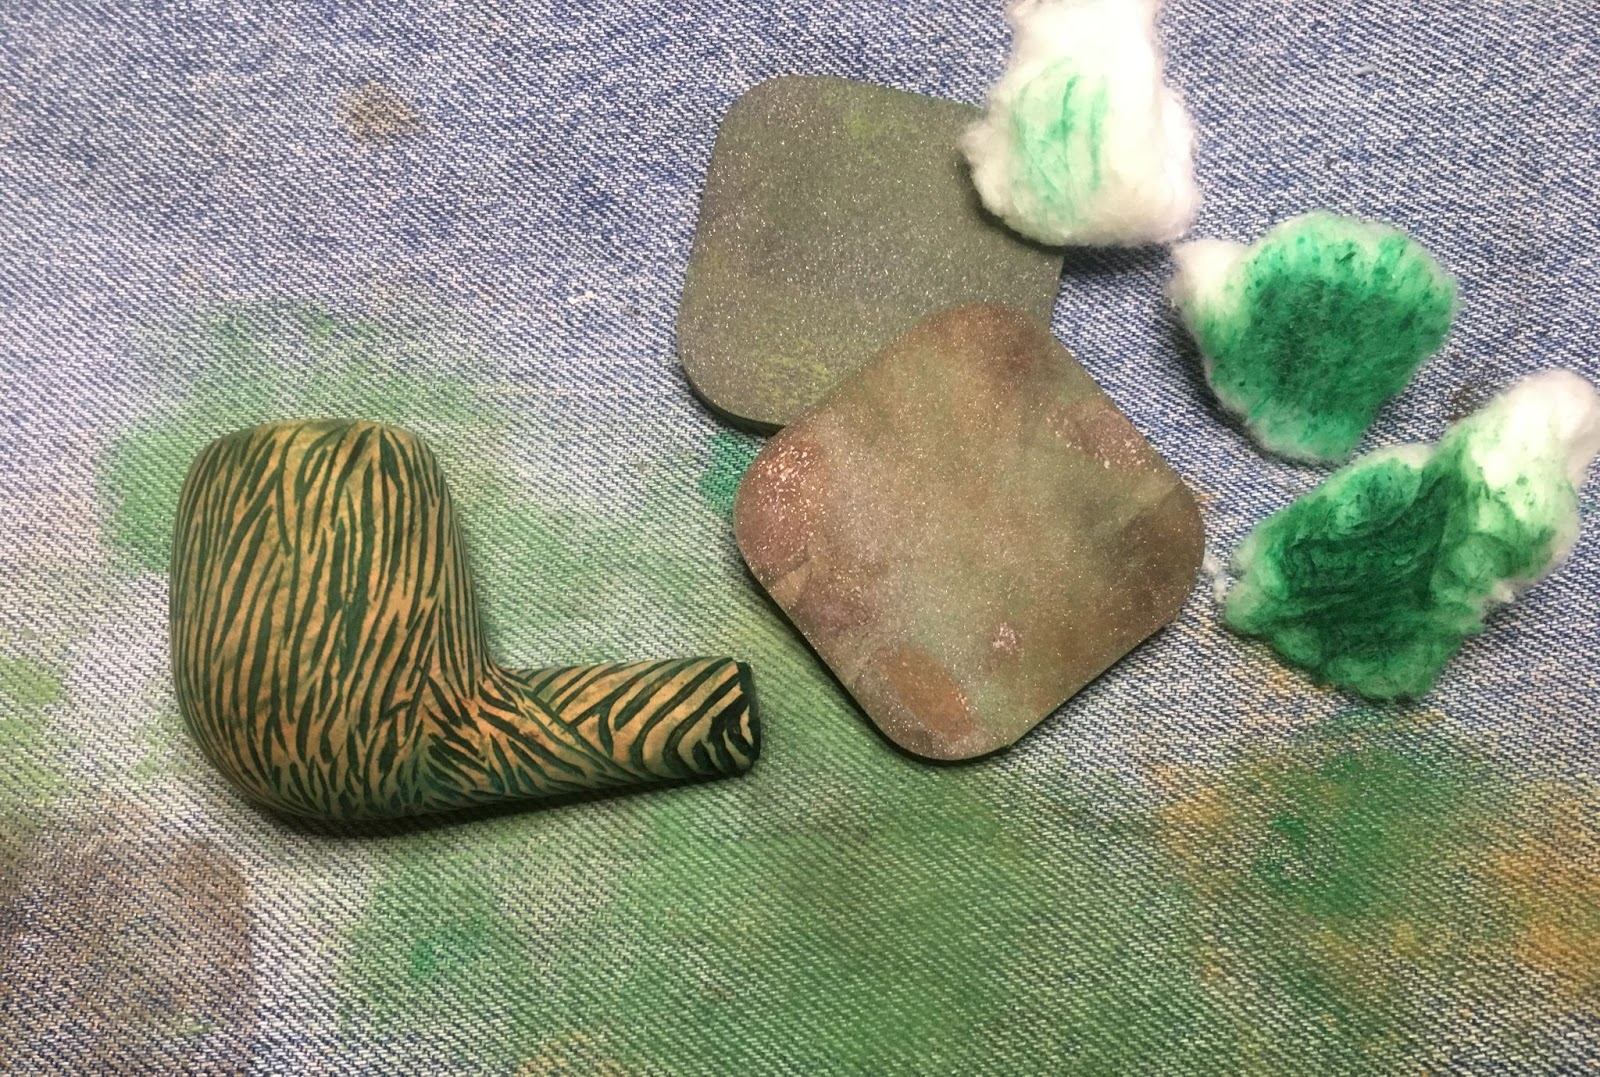
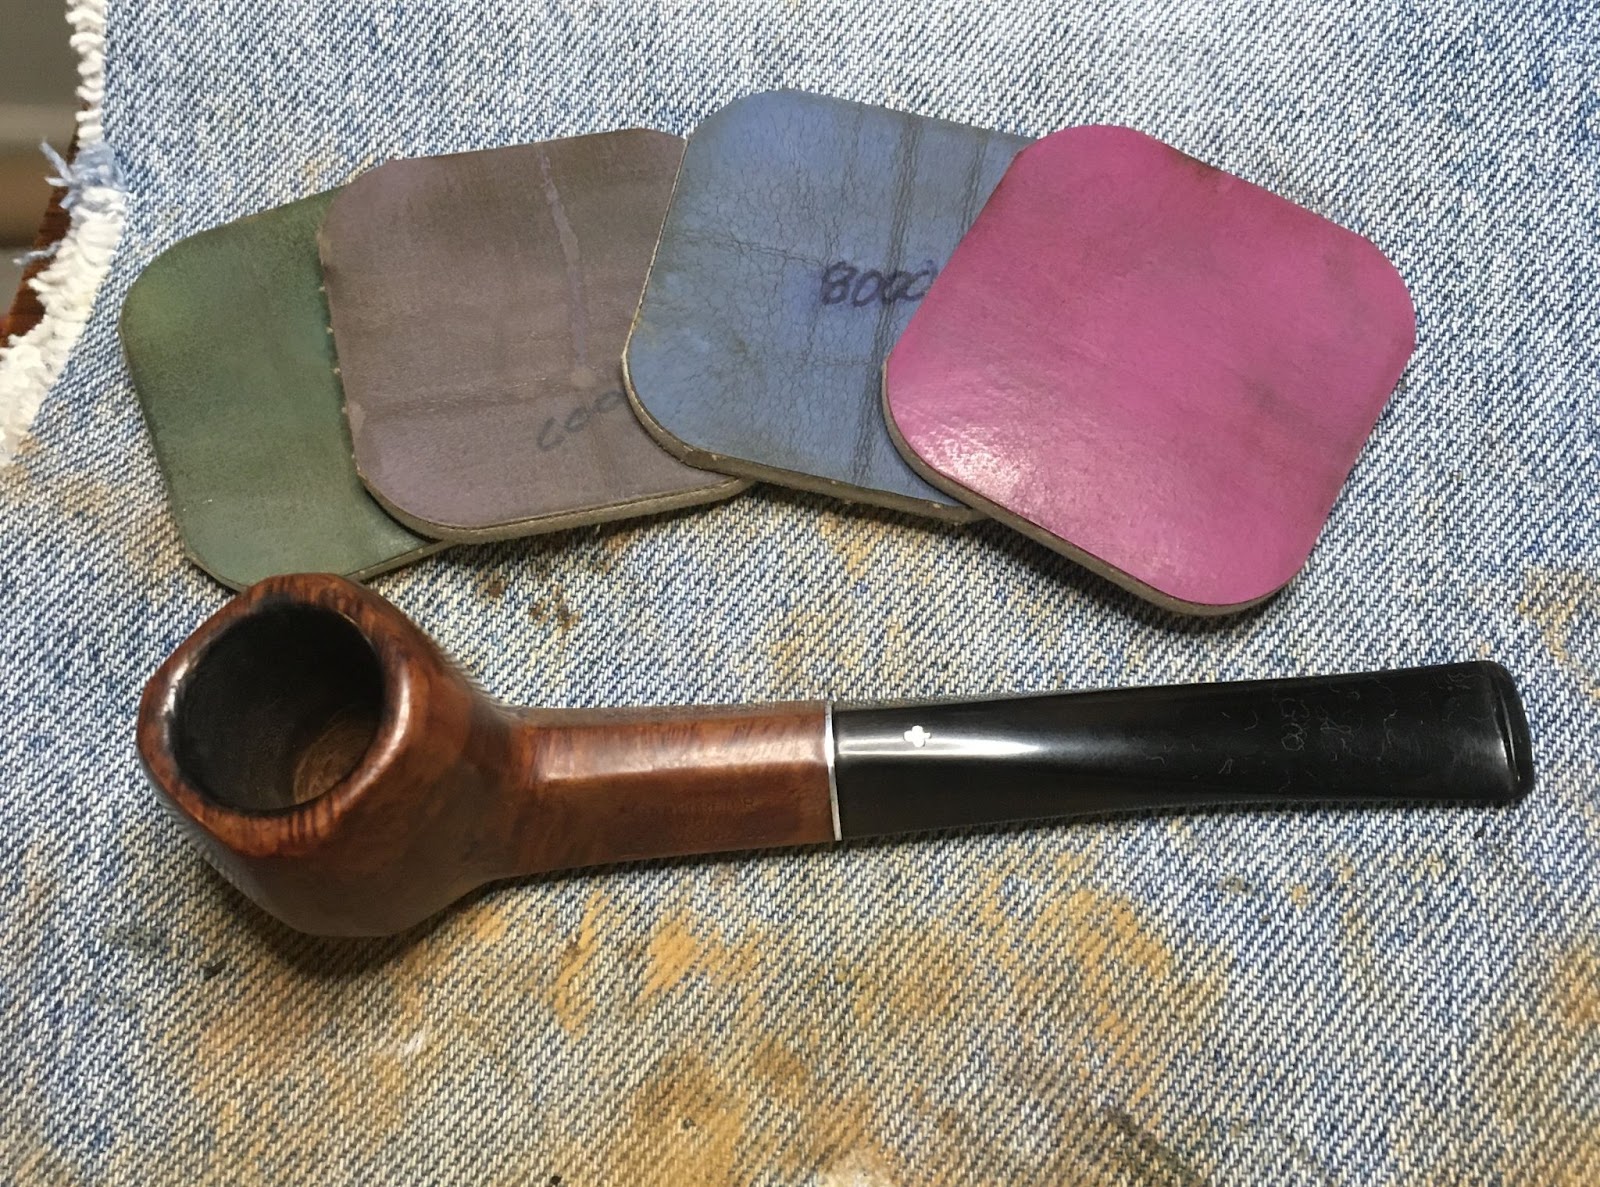
I wanted a contrast dye that had a base of black with a secondary dye of red. I hoped that this would give the pipe an accented grain in black with reddish hued highlights. To achieve this I first dyed the stummel black with Fiebing’s Leather dye. The dye was applied with a folded pipe cleaner and flamed with a disposable lighter.
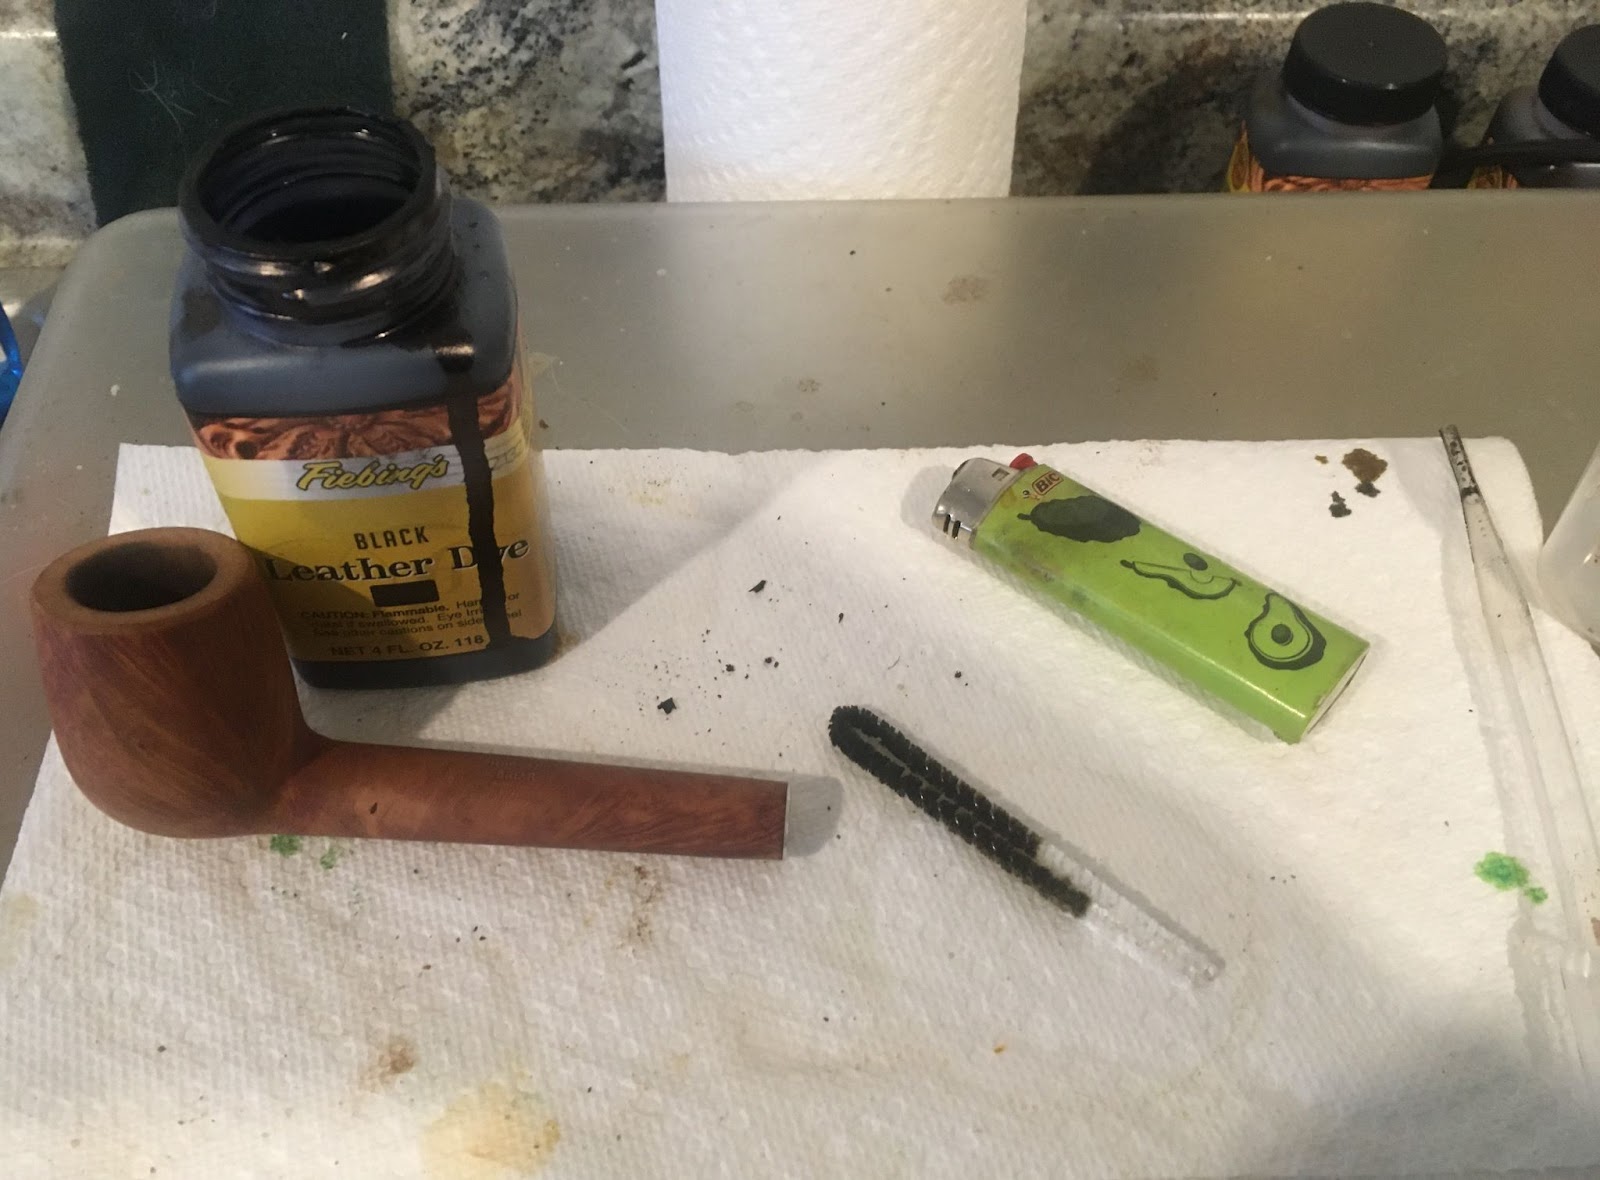
A duct tape wrapped fishing bobber was used to keep dye from the tobacco chamber and to act as a handle.

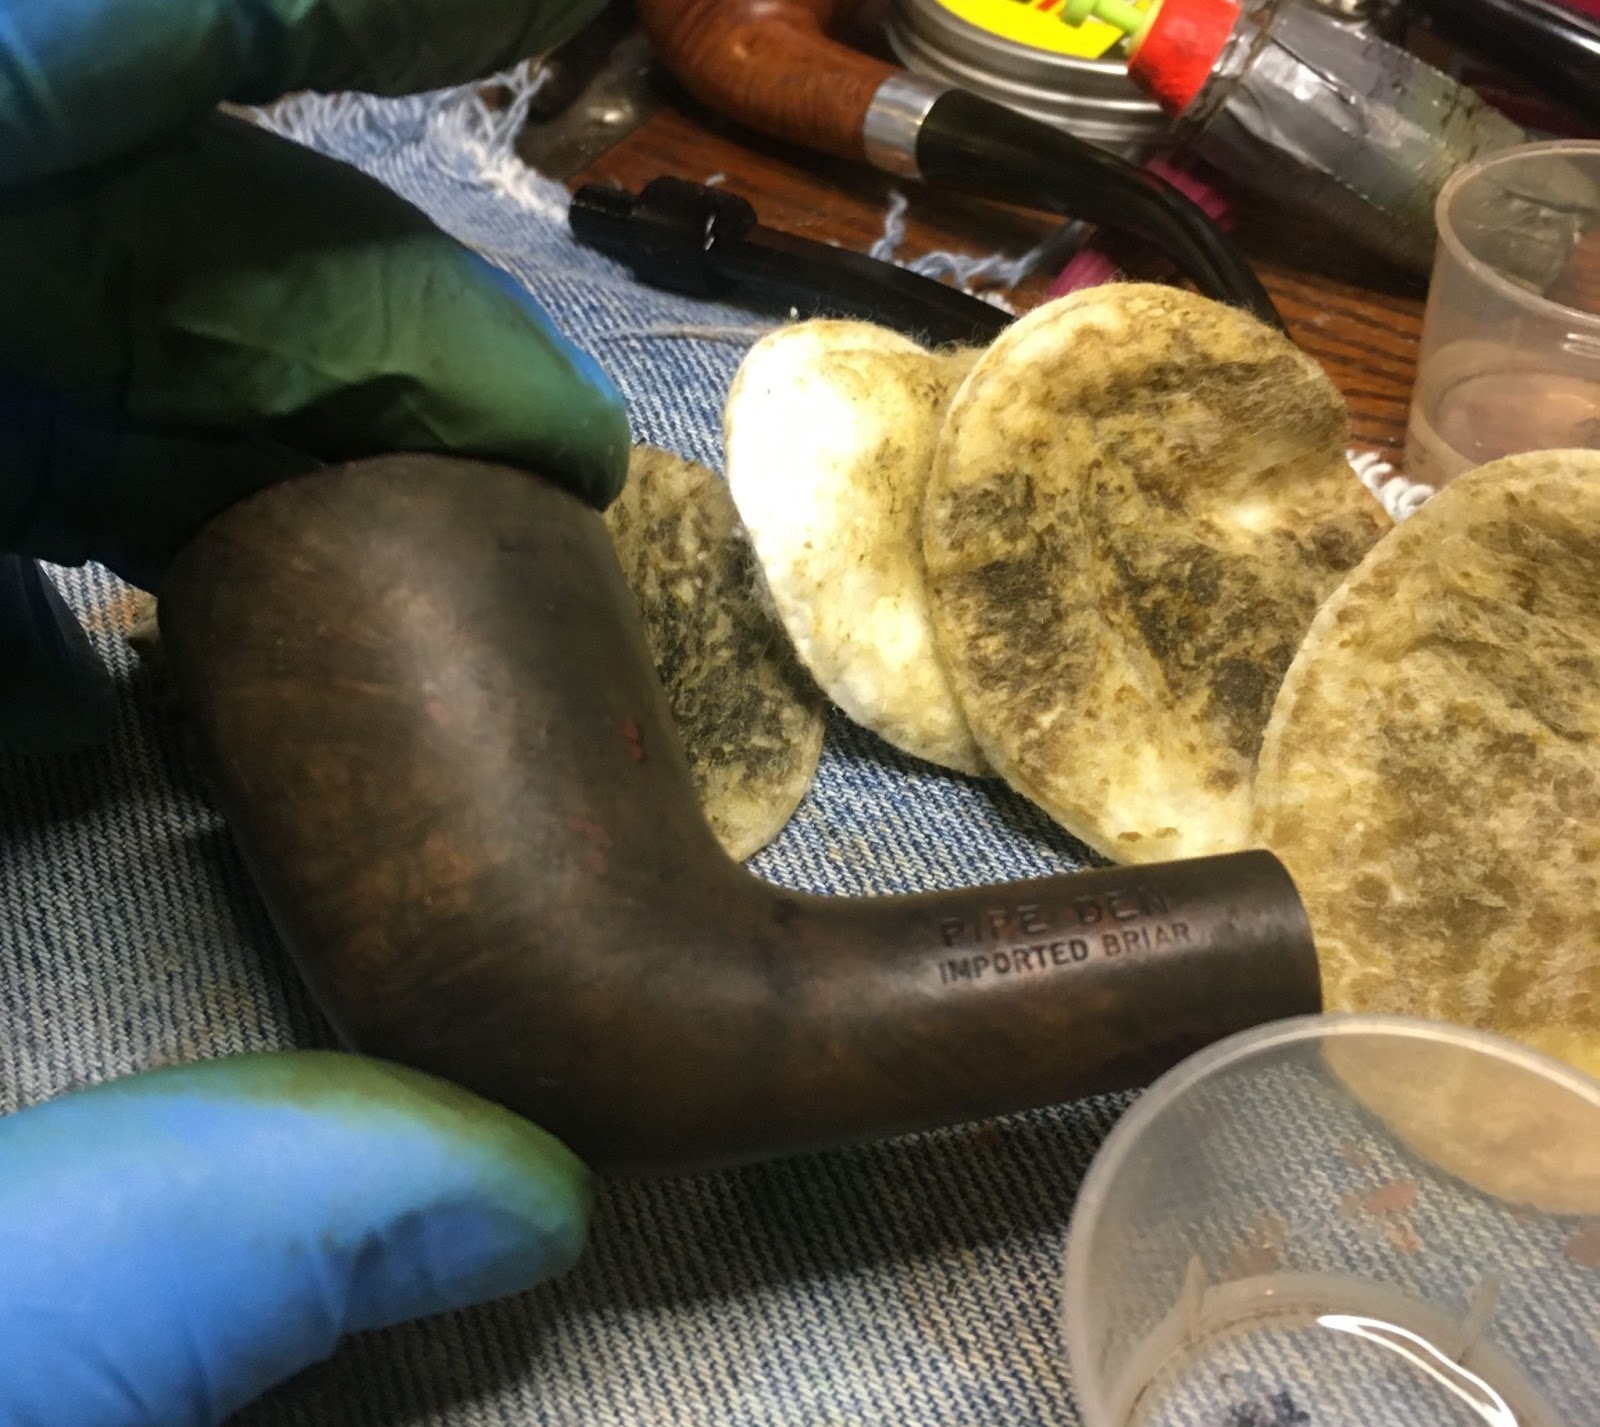
The black dye was then wiped from the stummel using several make-up pads dipped in 95% ethyl alcohol.

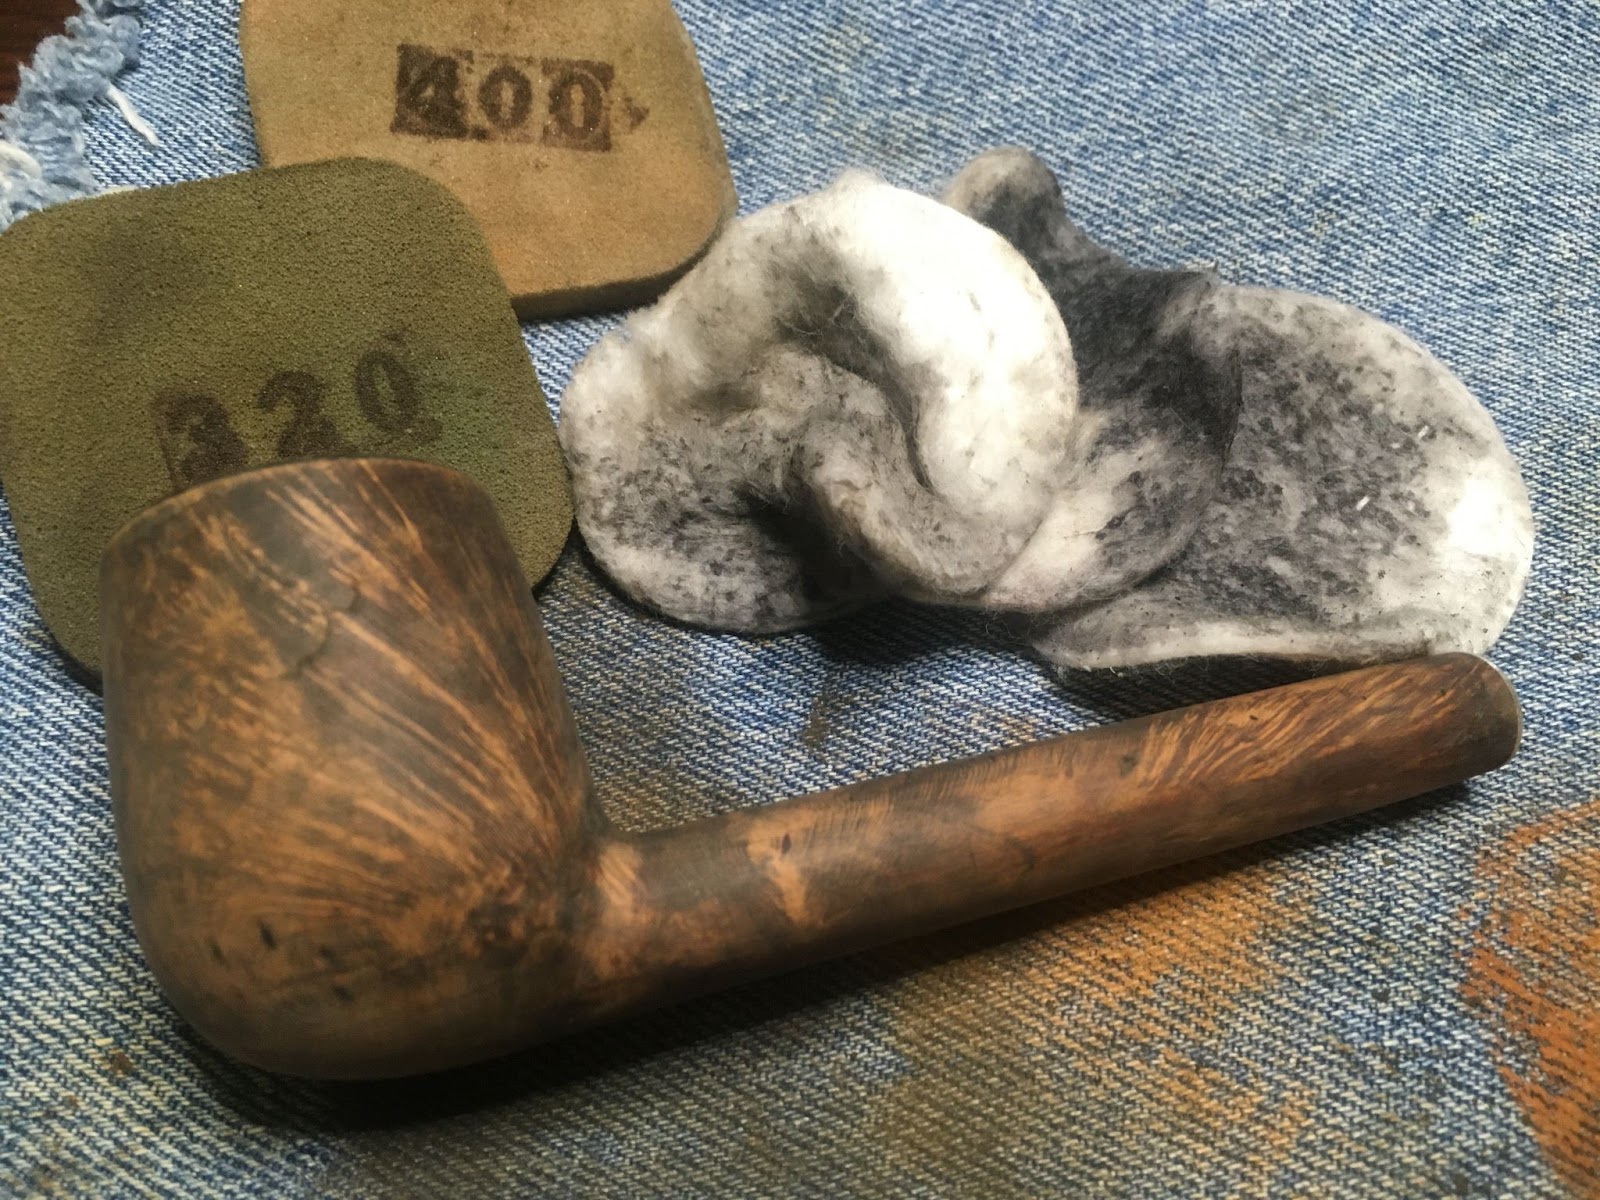
The stummel was then sanded with a 320 sanding sponge to remove the outermost black dyed briar leaving the underlying black dyed briar in place, accentuating the grain.
A second dying of the stummel was then done with Fiebing’s Dark Red Leather Dye.
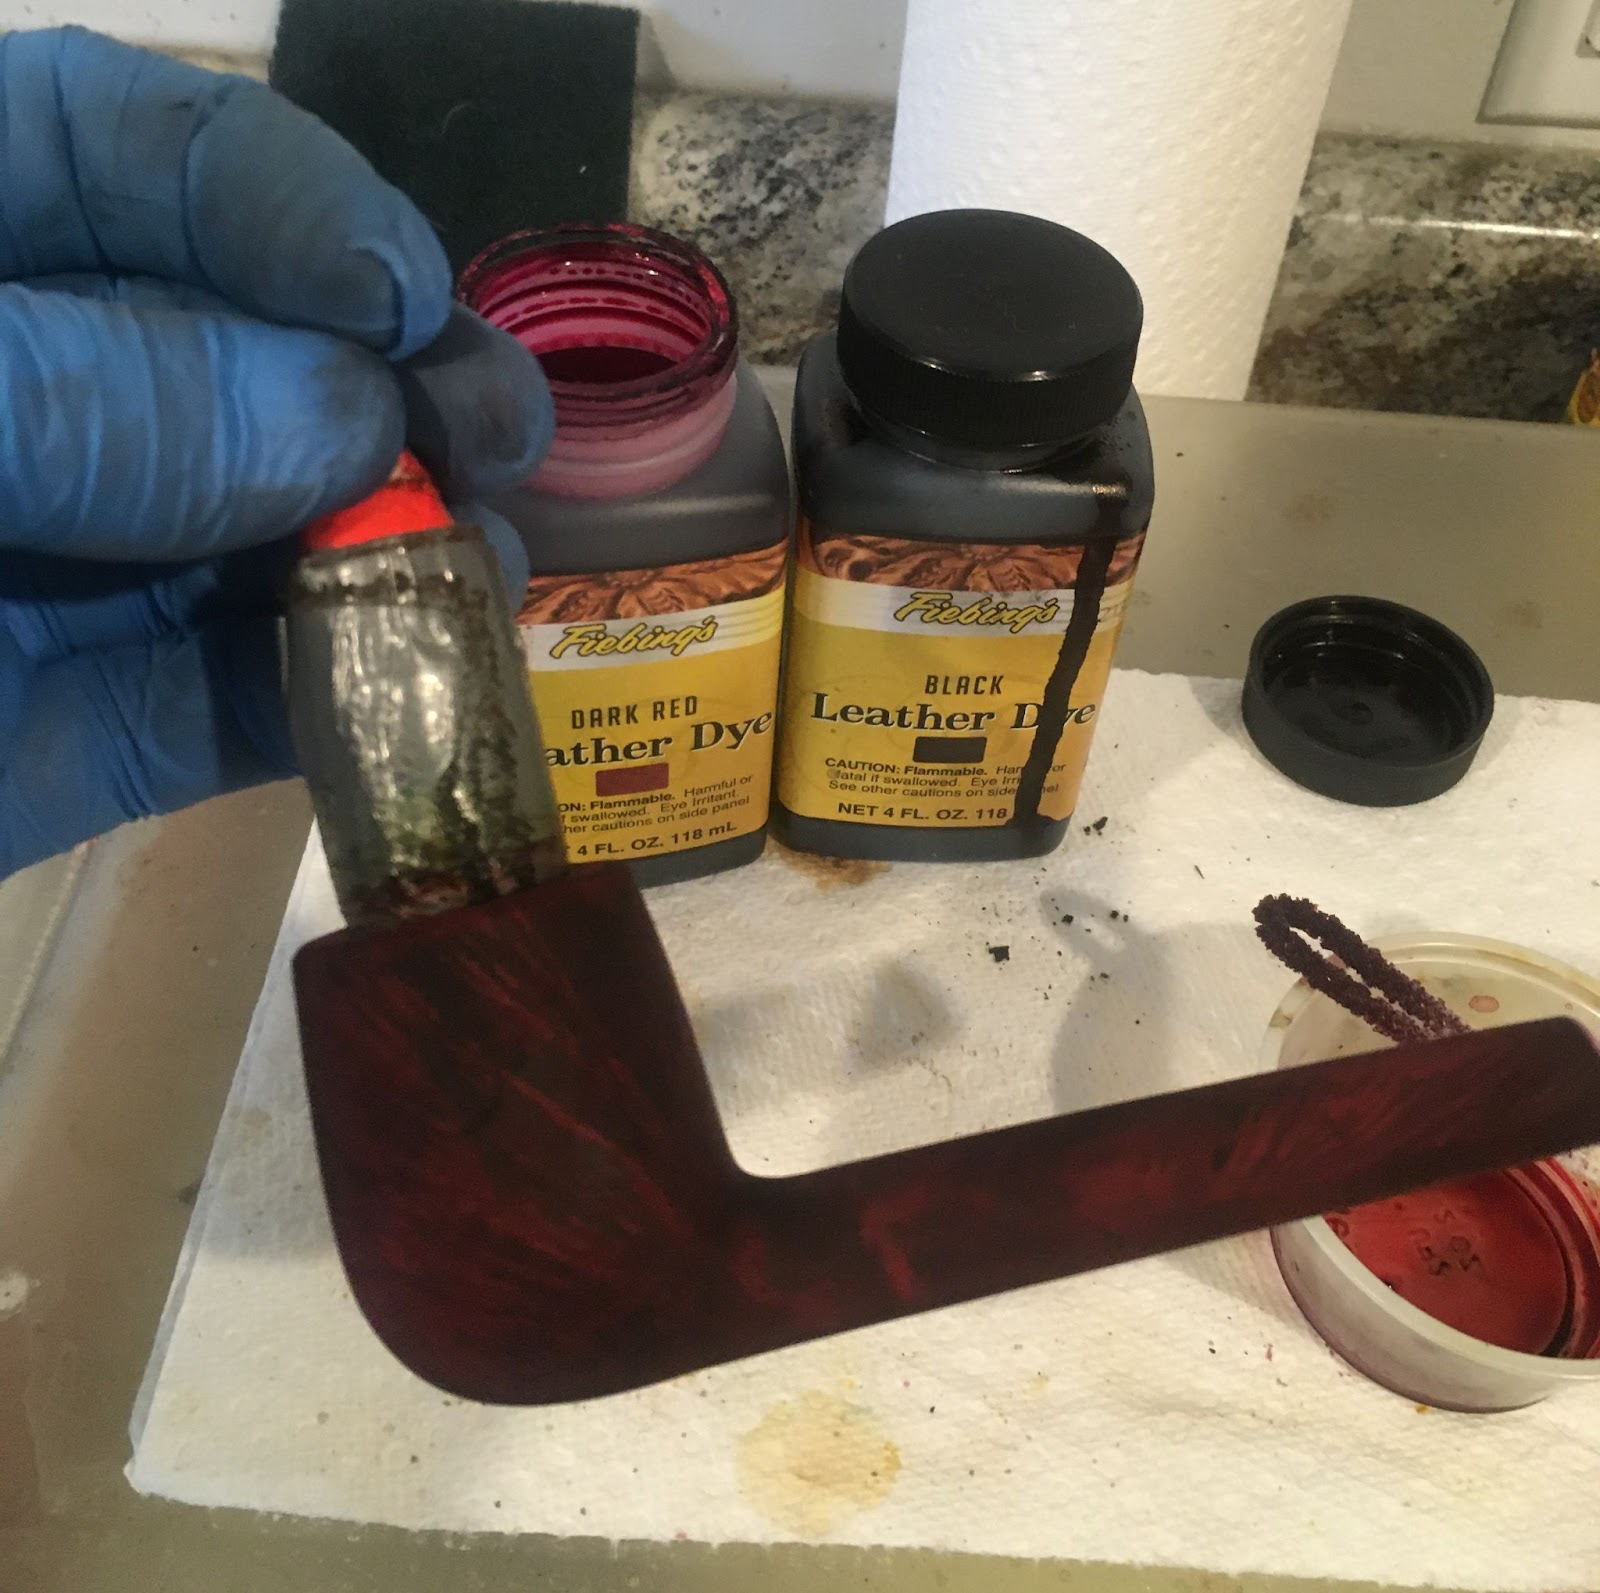
This was then wiped from the stummel using alcohol dipped make-up pads.

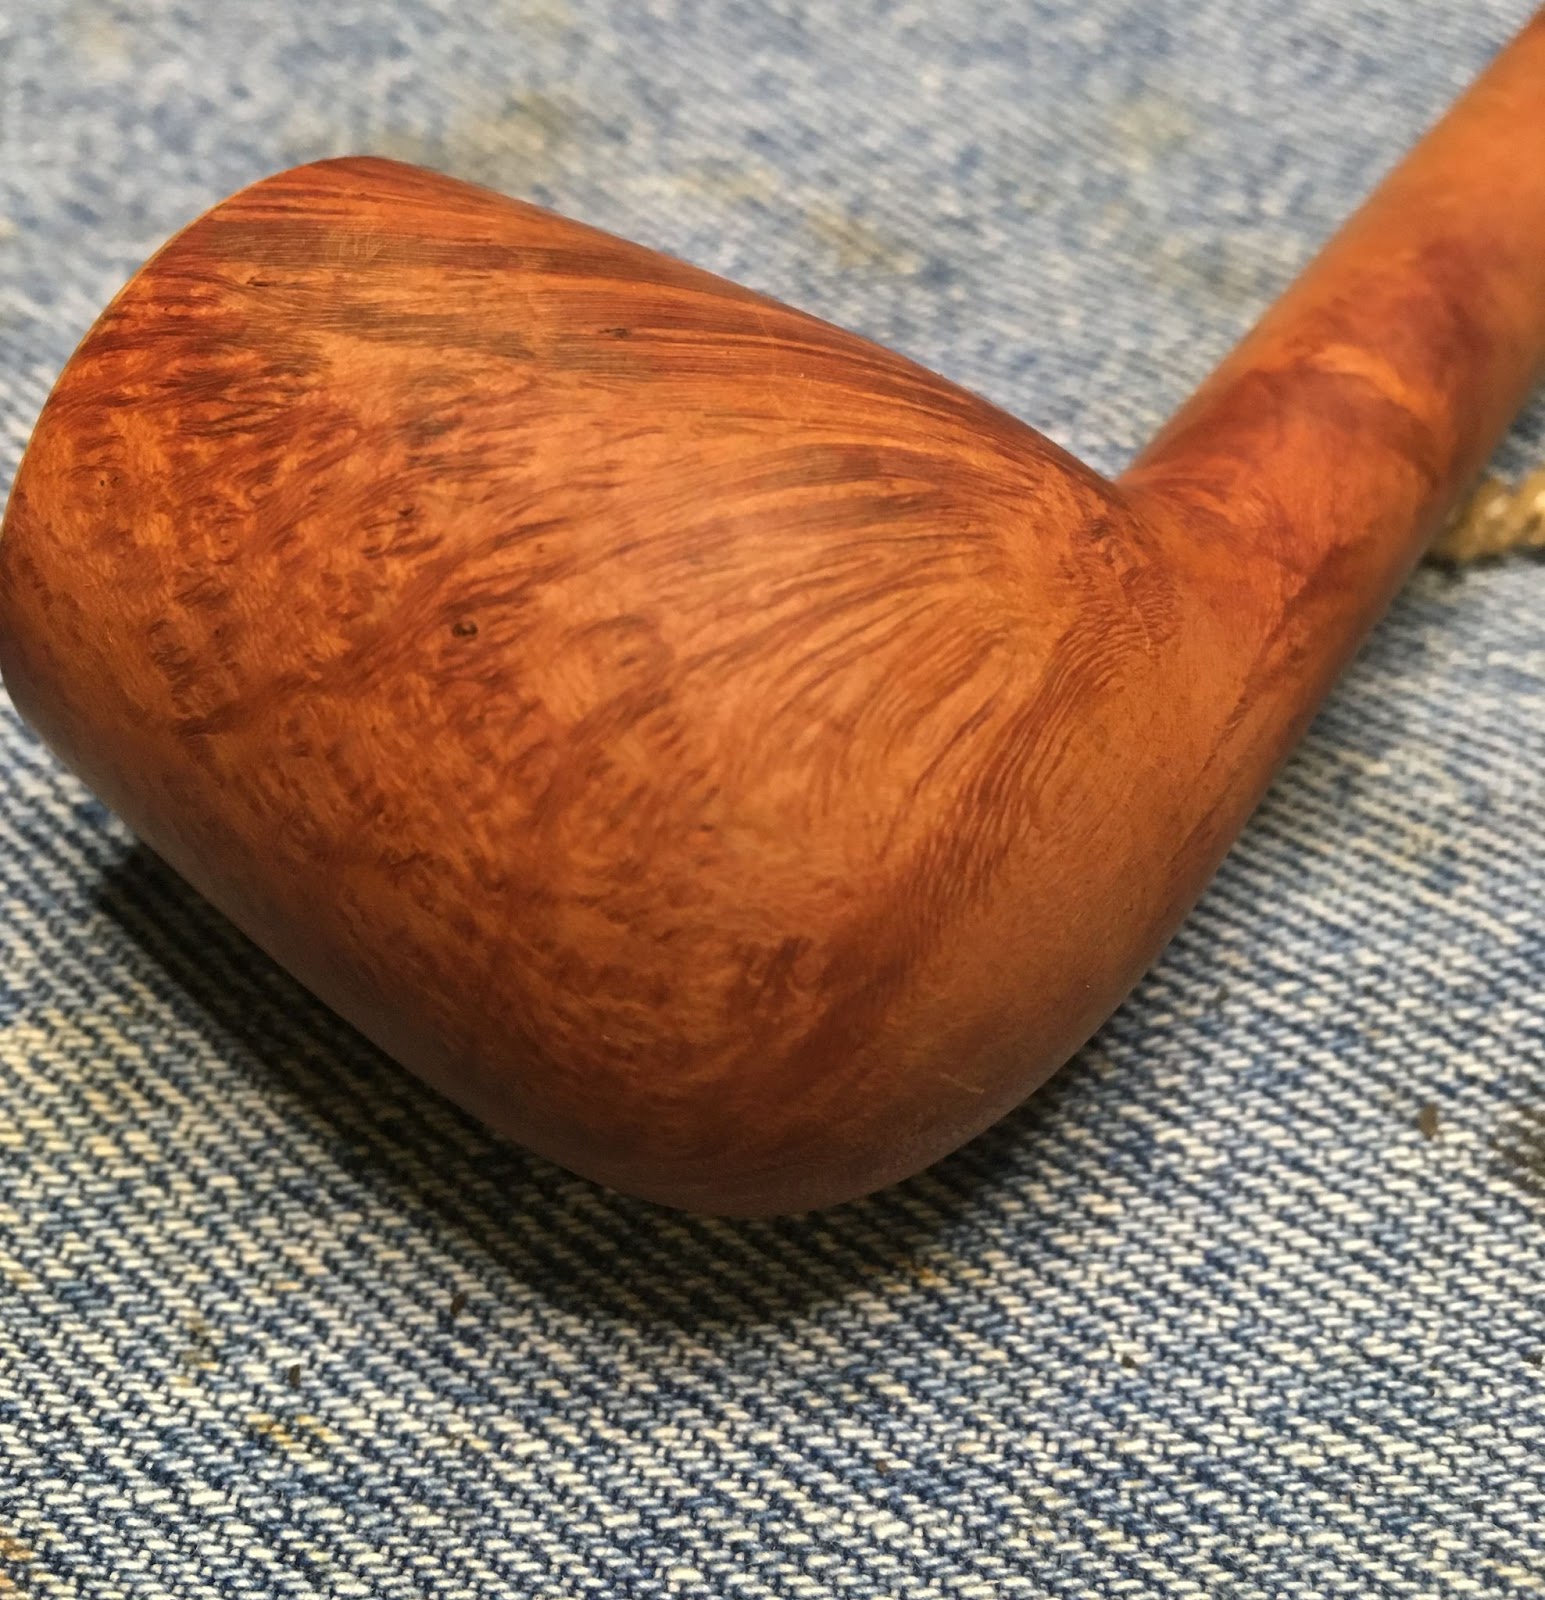
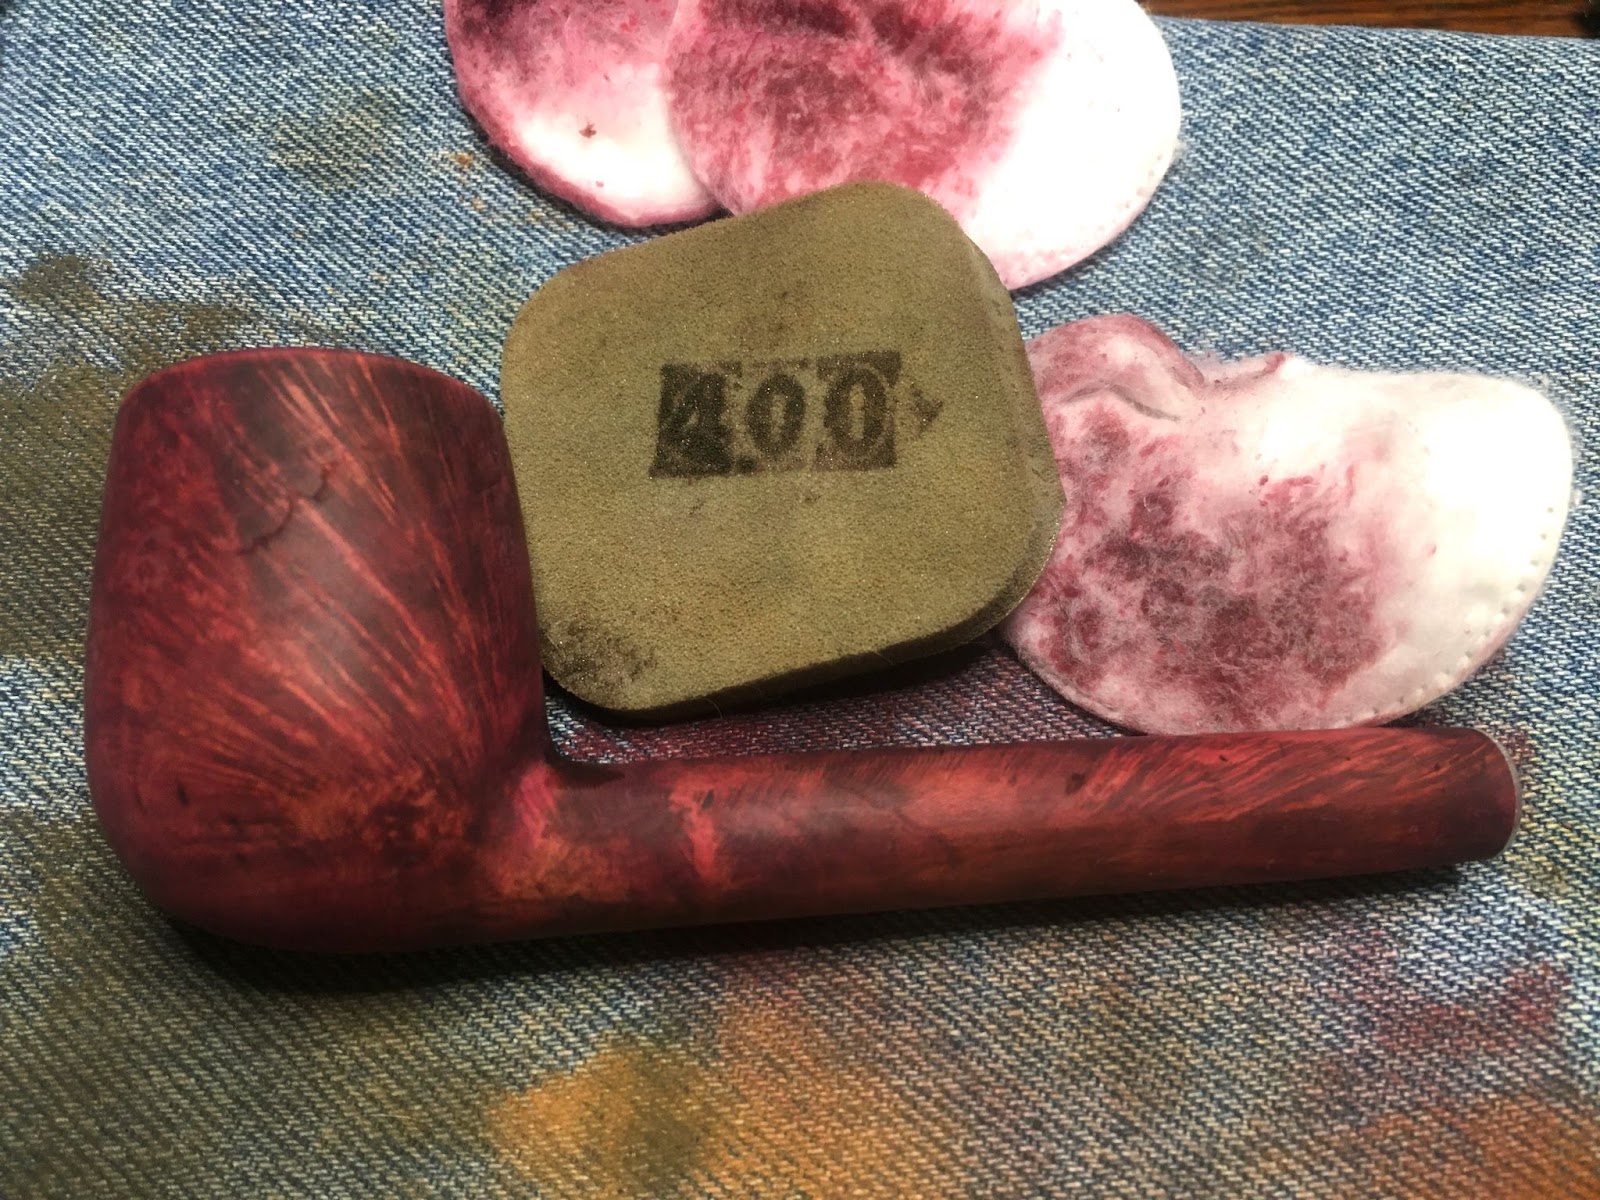
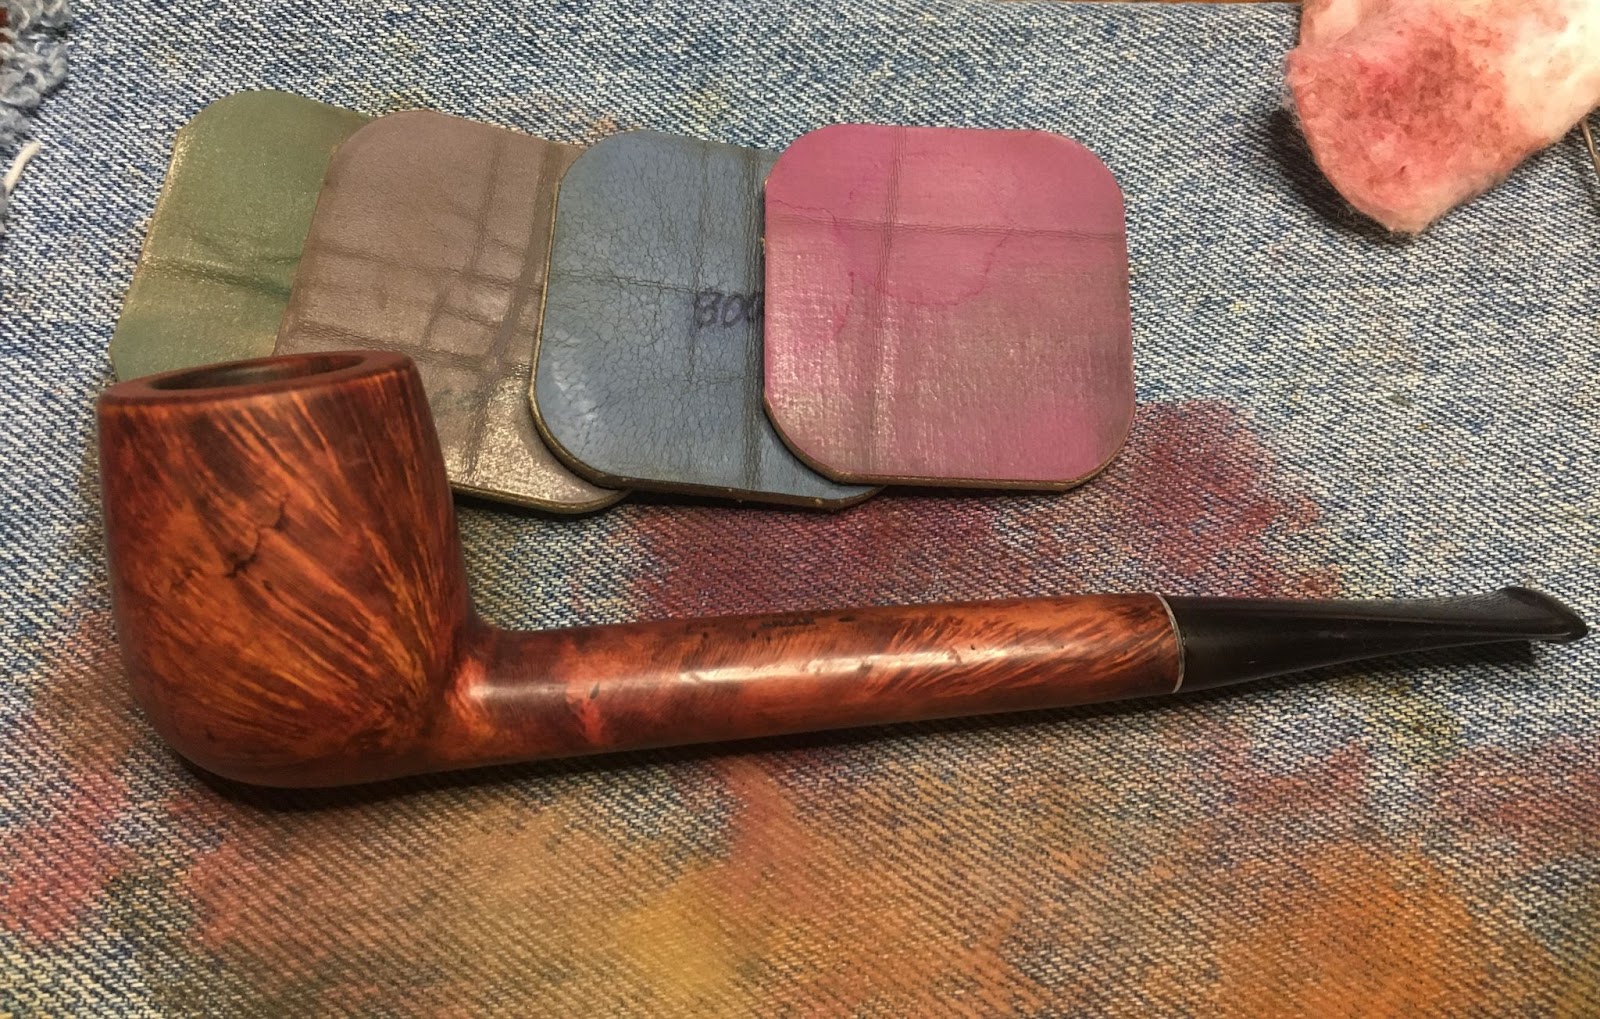
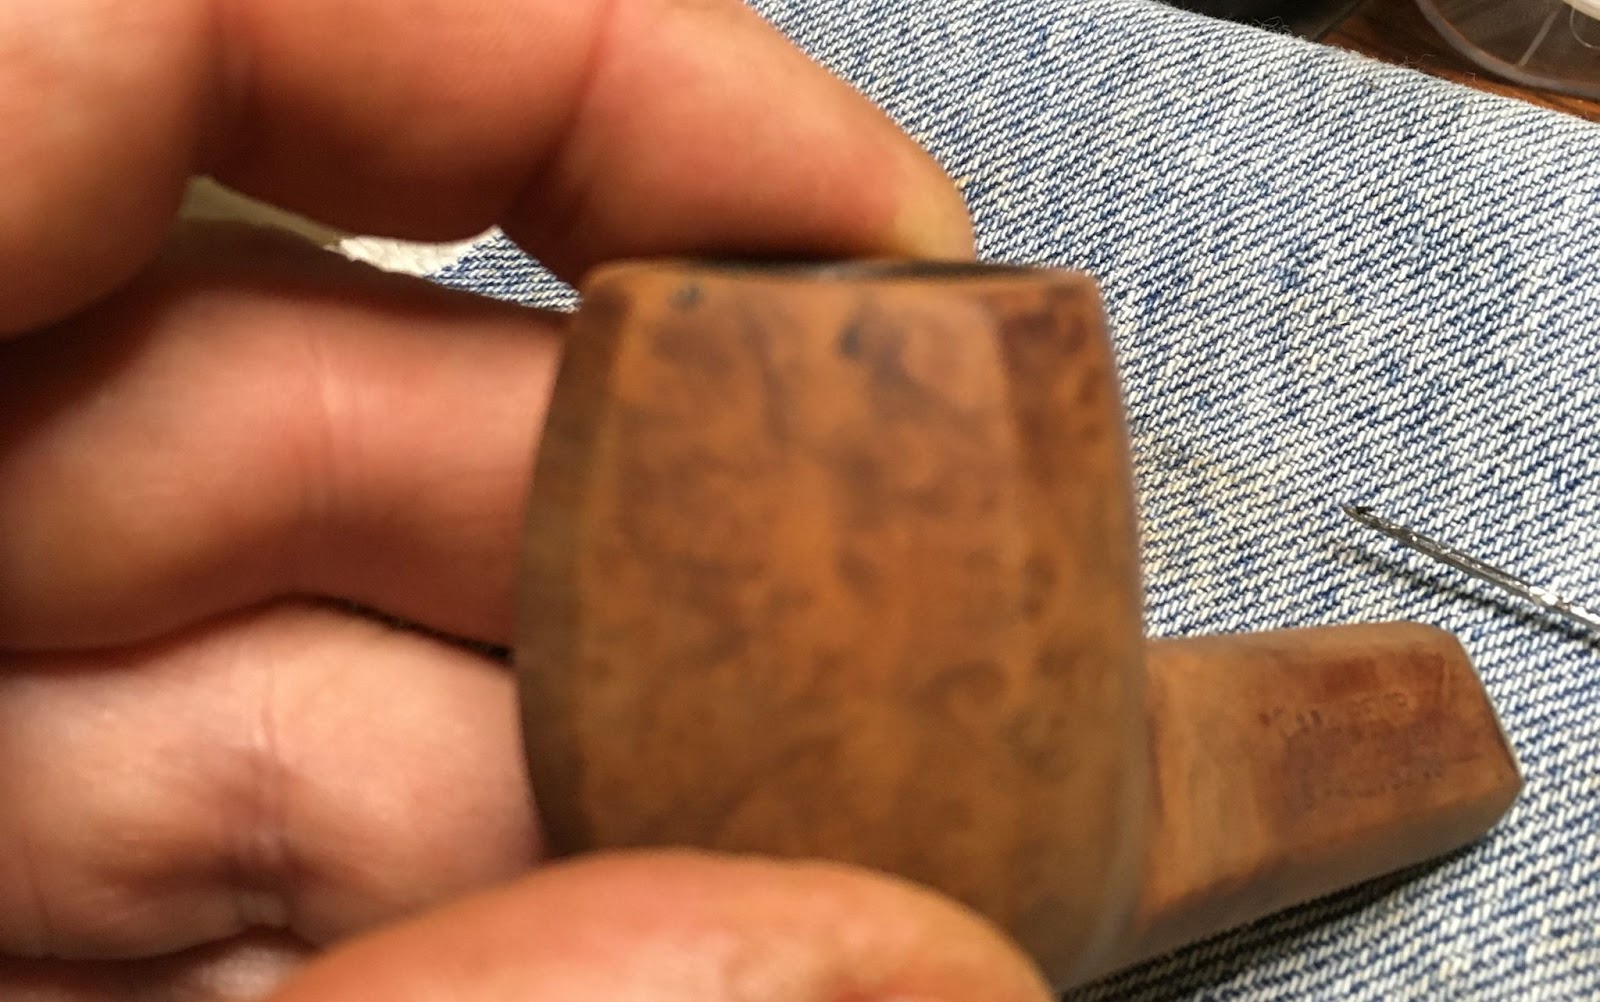
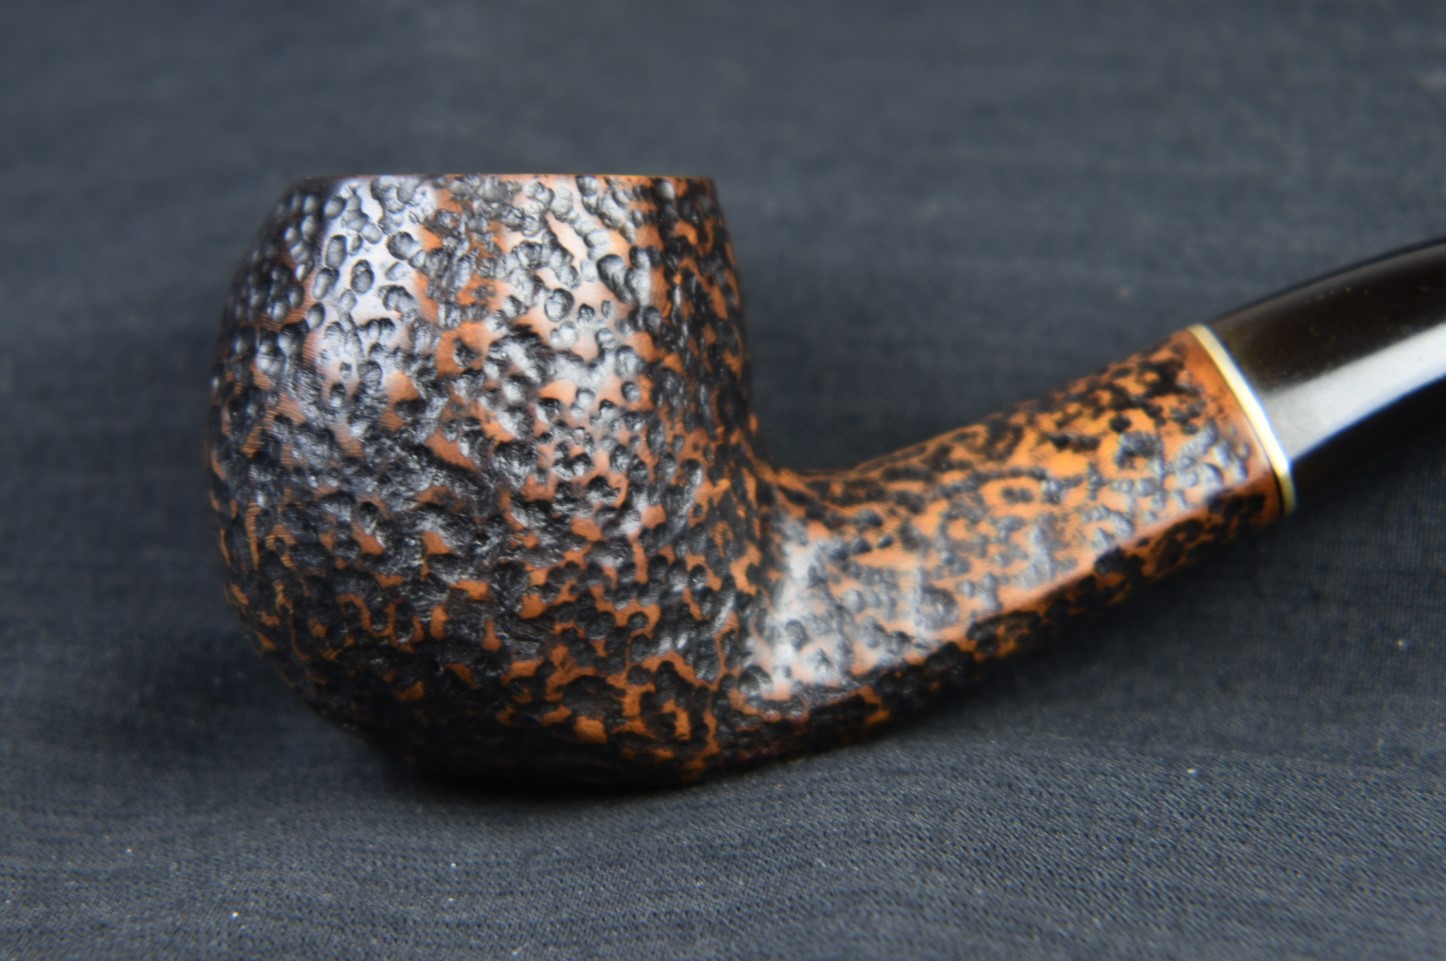
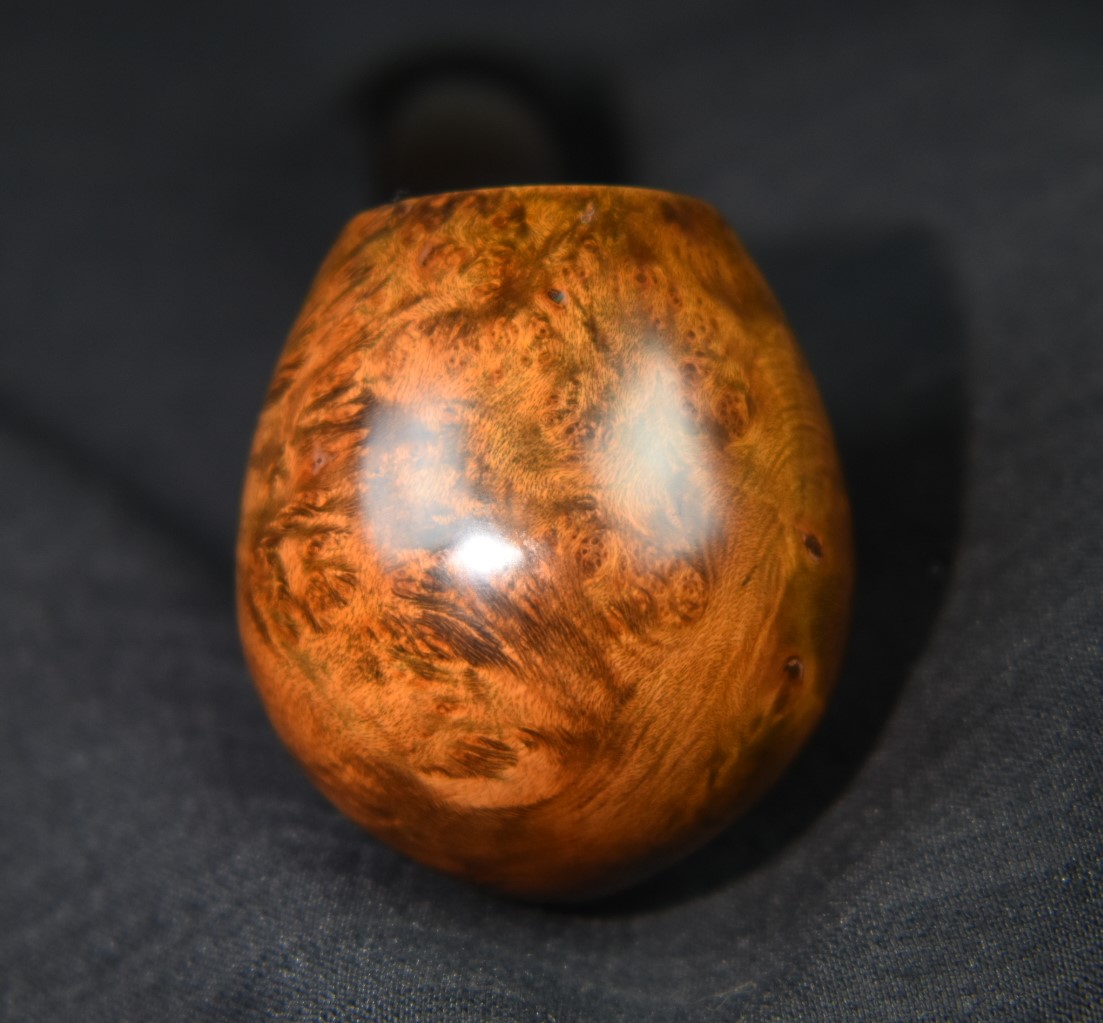
The sanding of the stummel with a 400 grit sanding sponge then wiped with a clean alcohol dipped make-up pad resulted in the stummel looking quite red, below. Notice the strange surface crack just above center – this was filled using thin CA then sanded, with the sanding dust filling the crack.
Below is the contrast dyed stummel before any sanding with finer sanding sponges.

I felt like this pipe was living up to the unofficial Nebraska motto – Go Big Red.
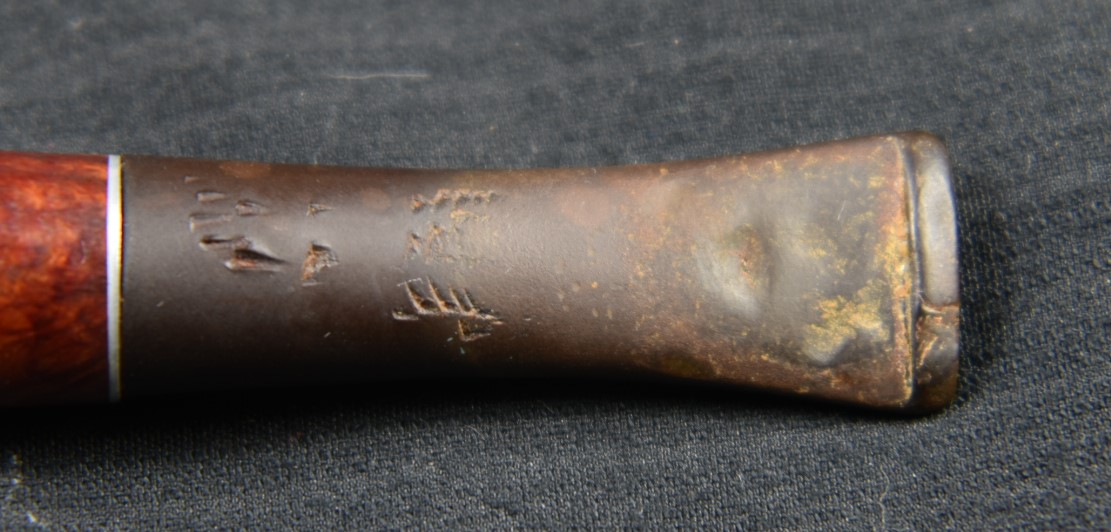
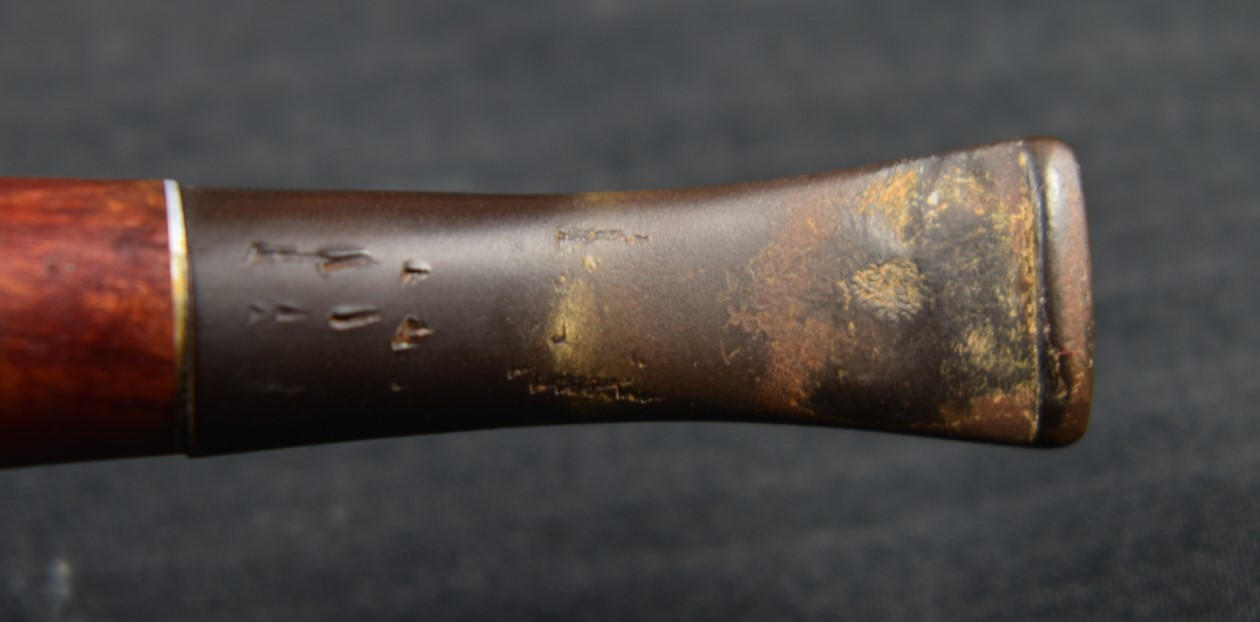
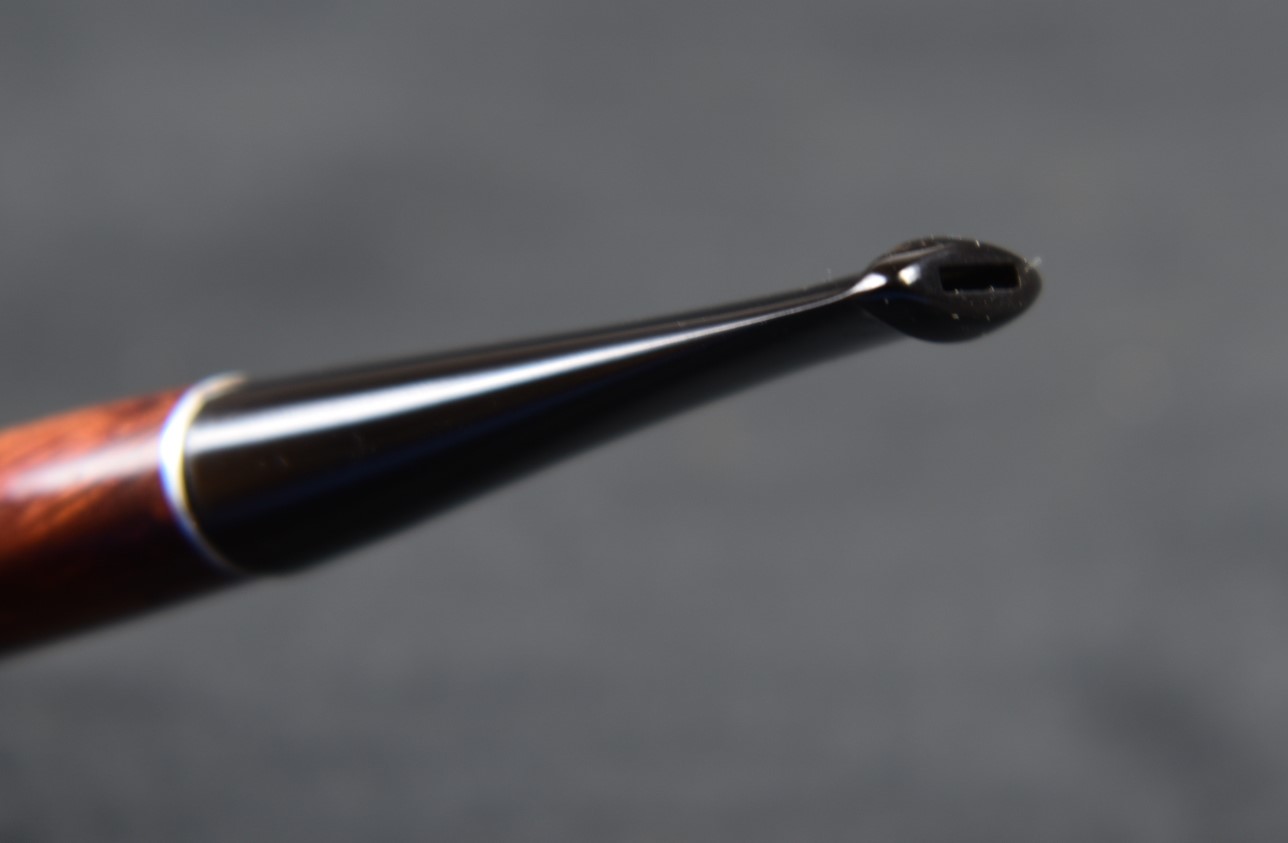
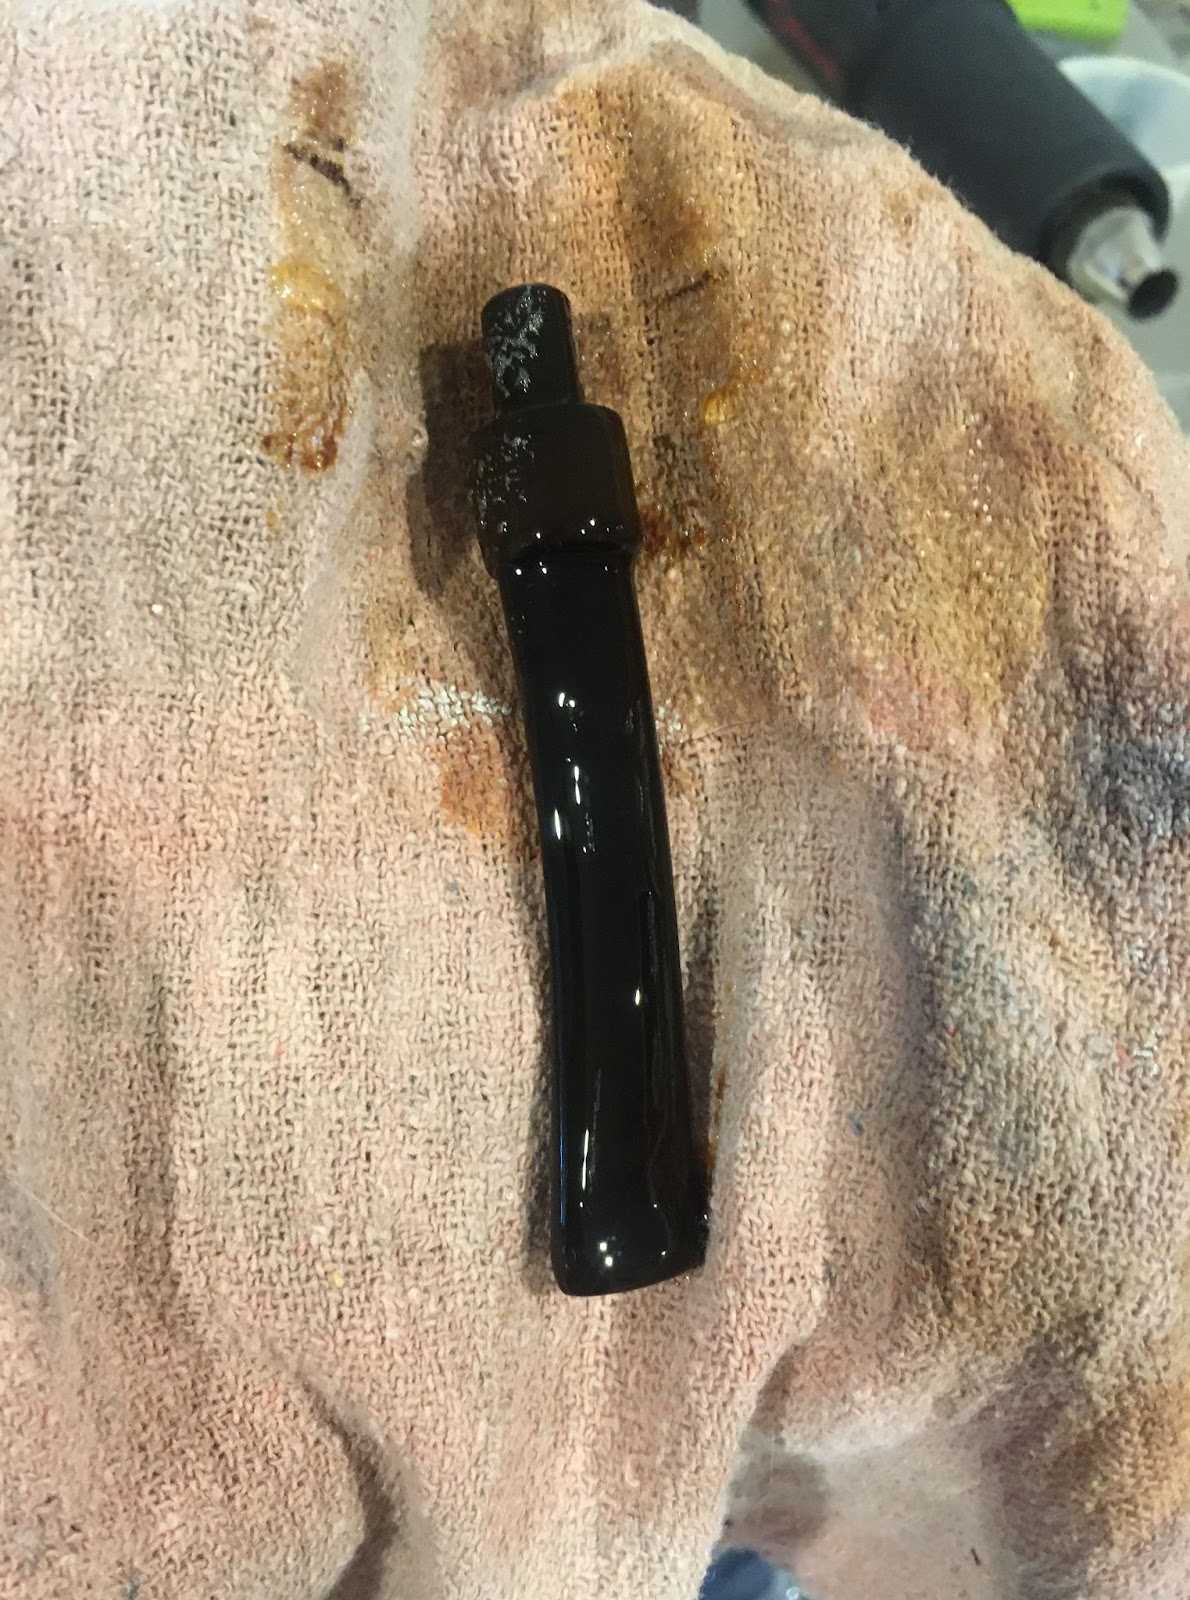
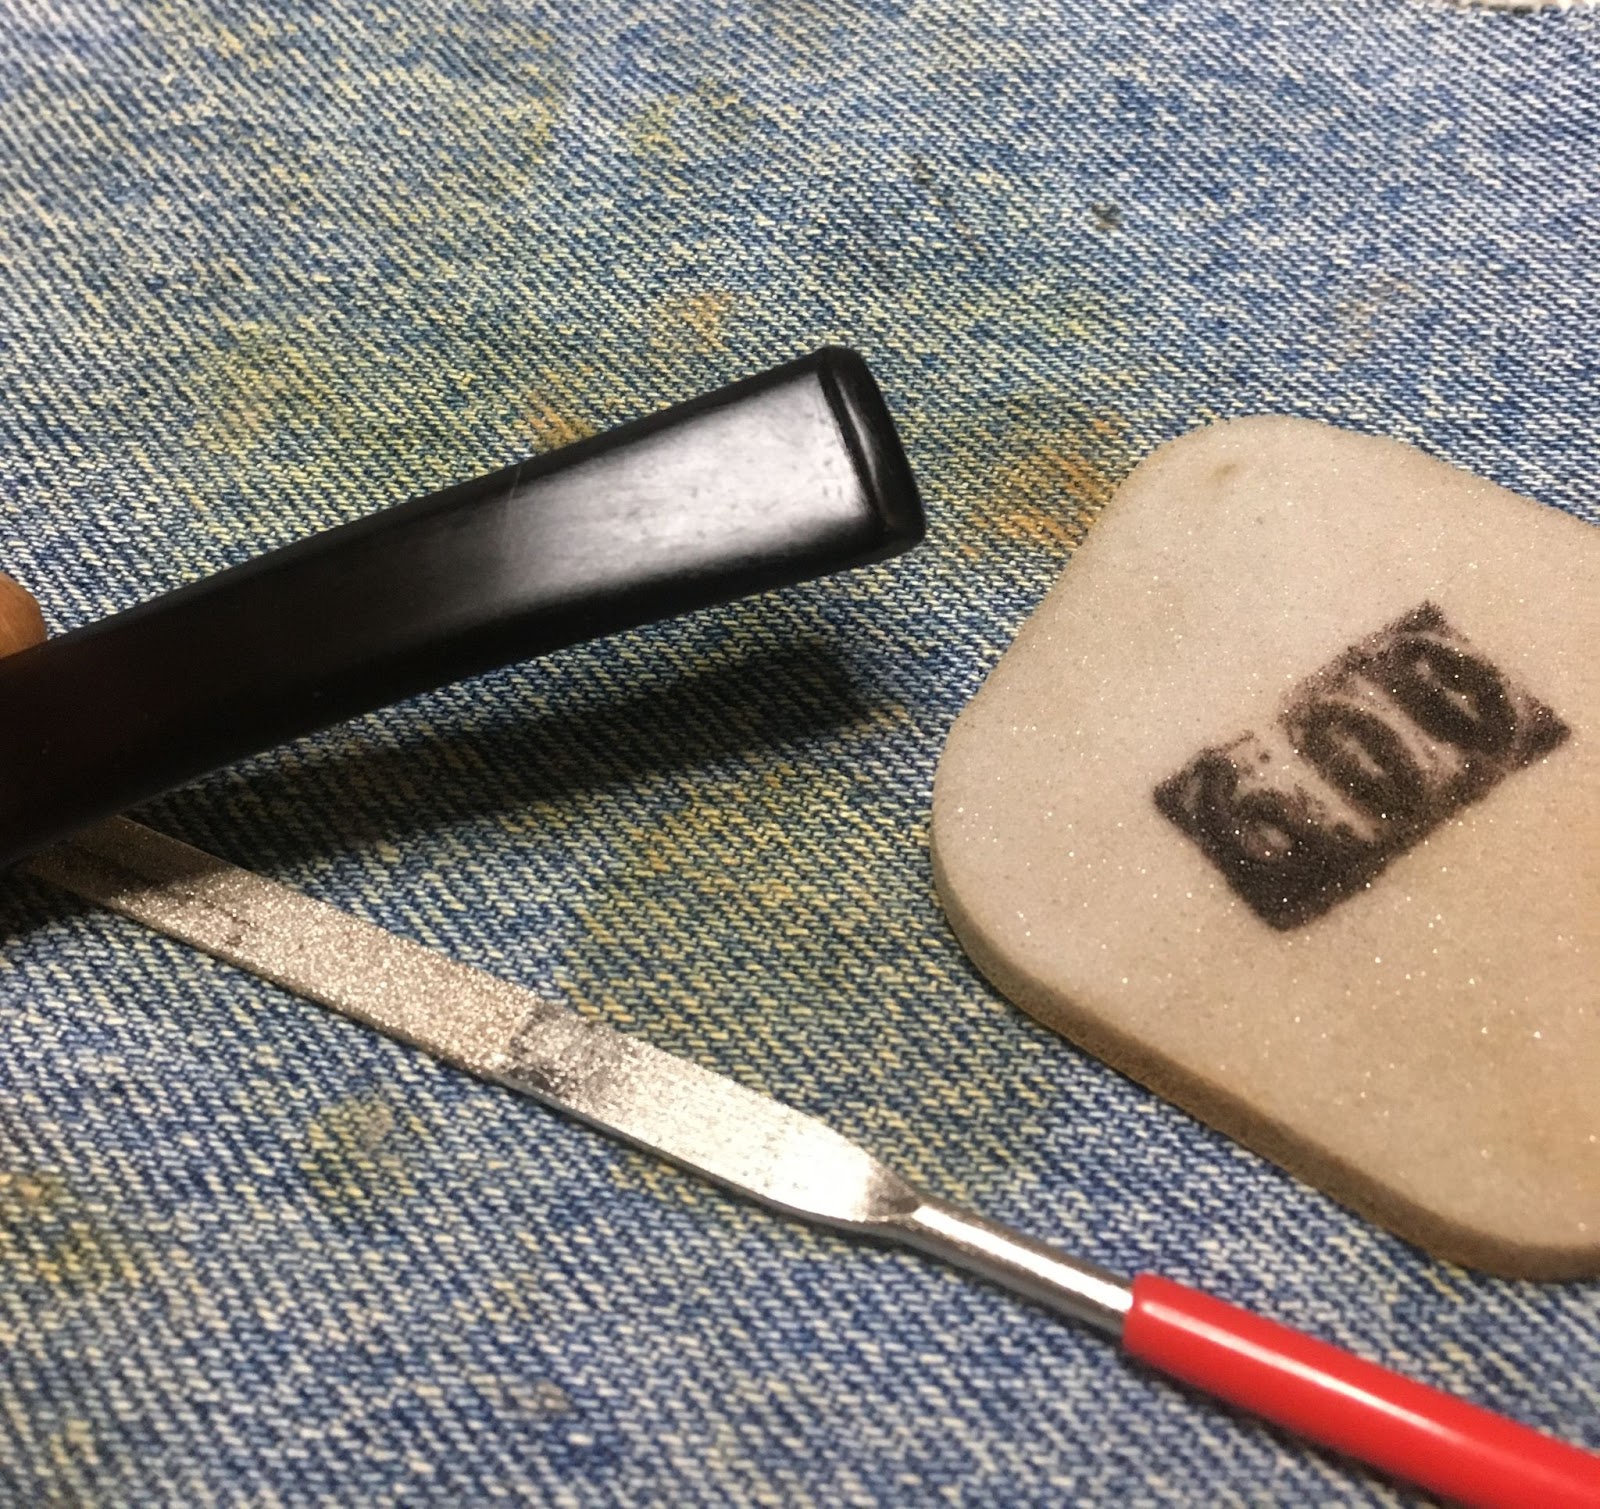
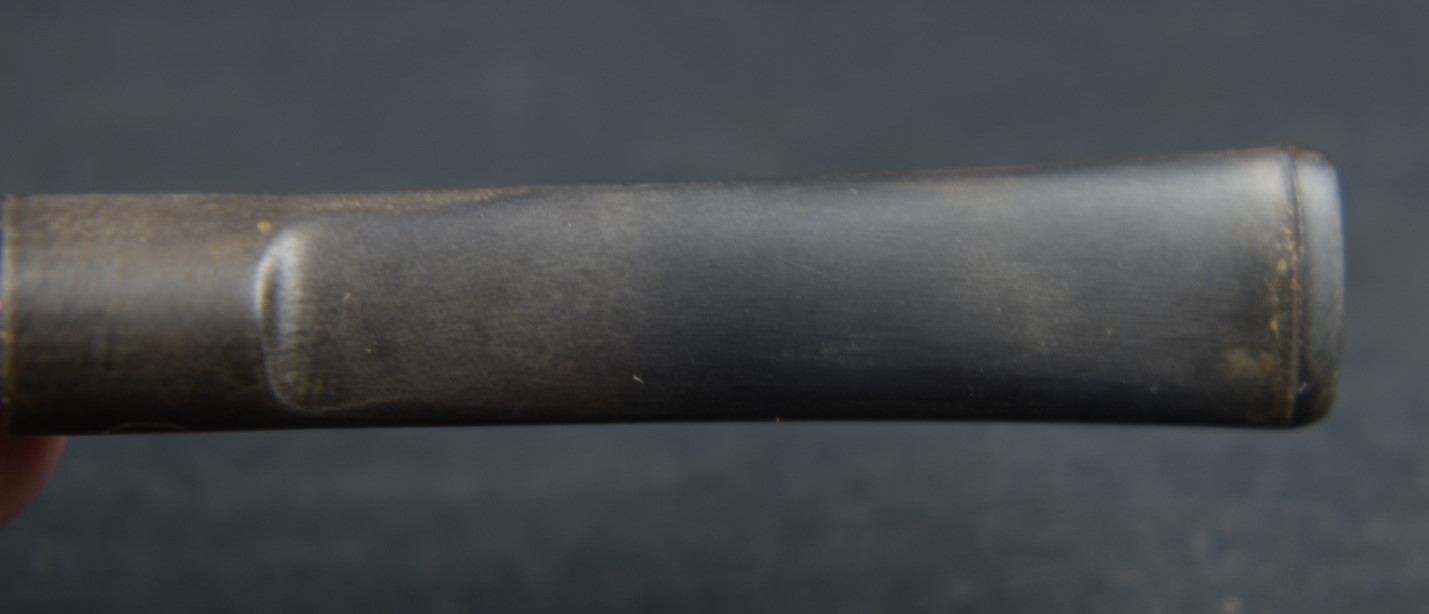
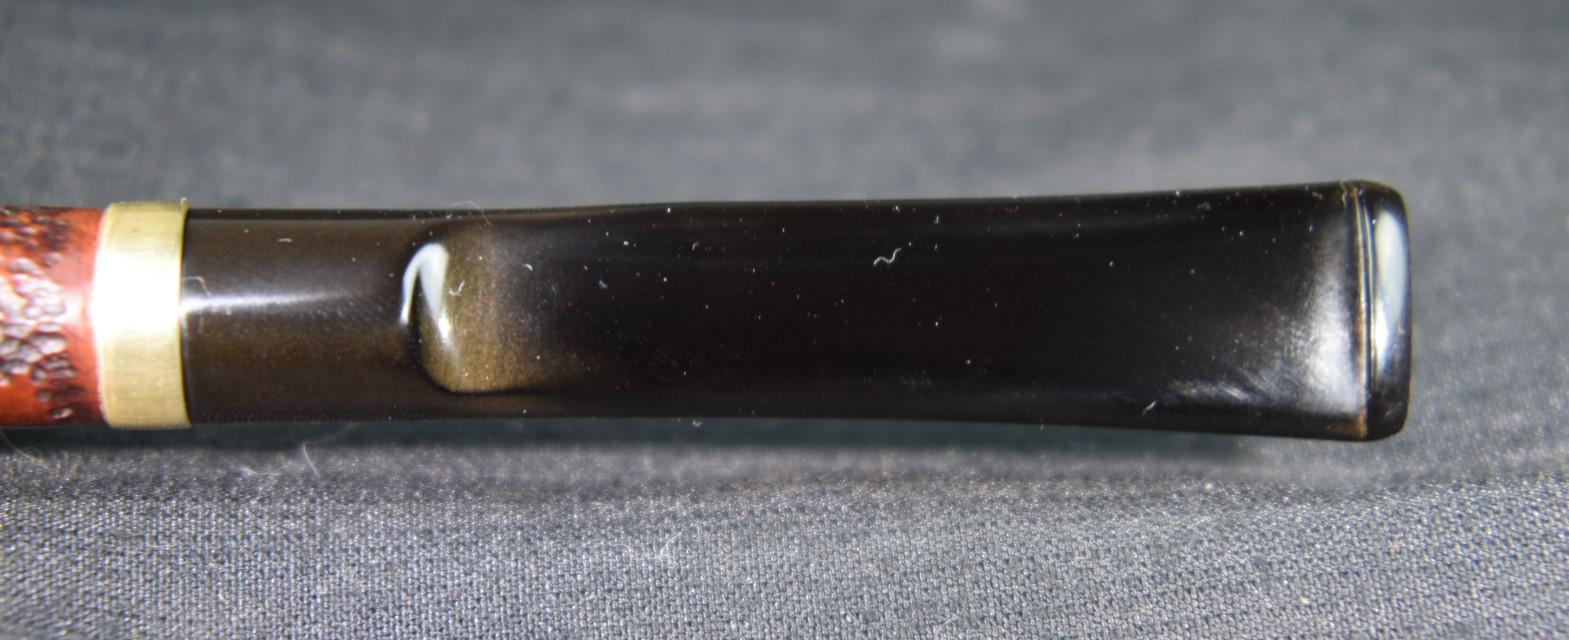
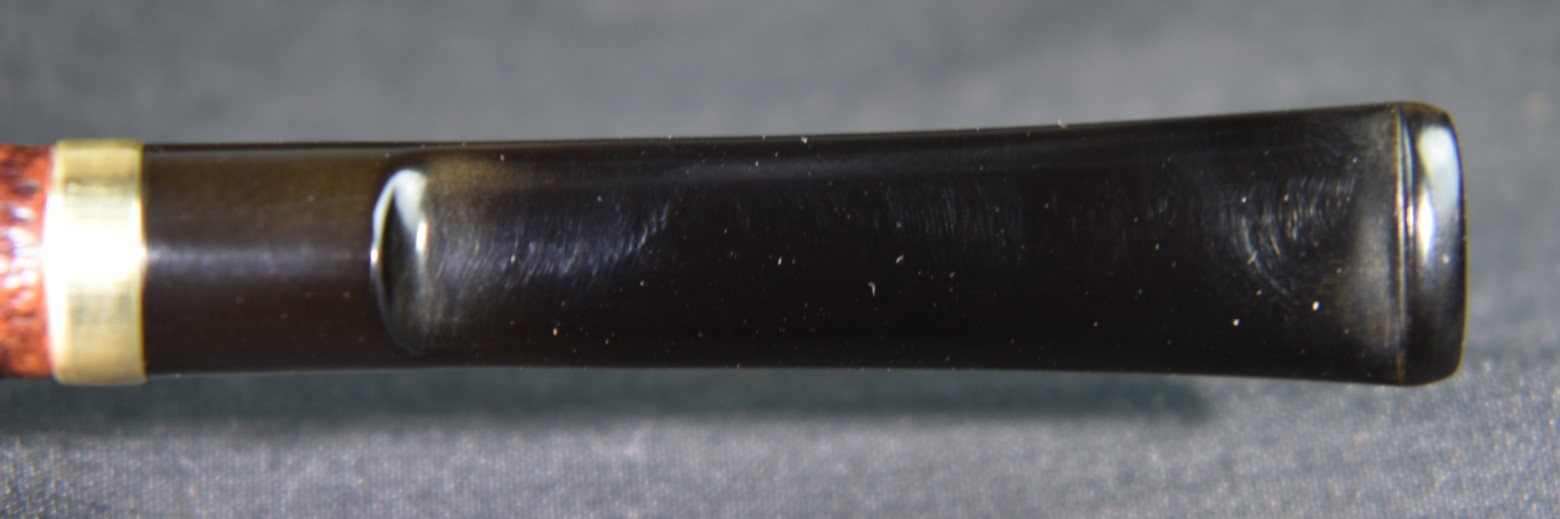
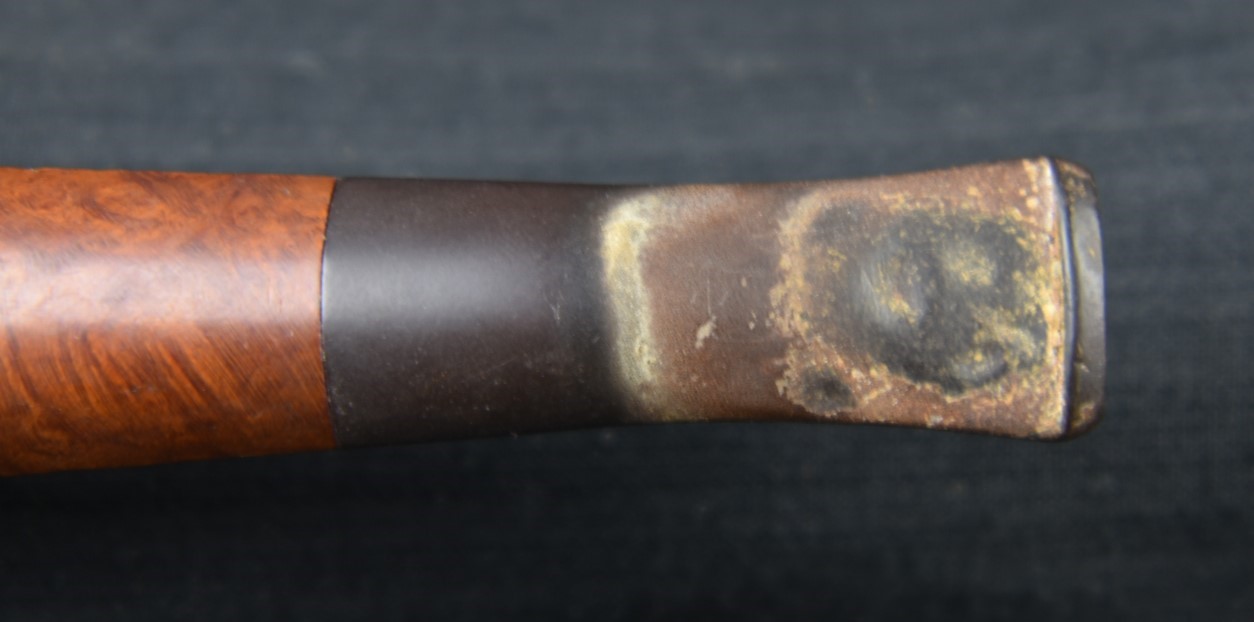
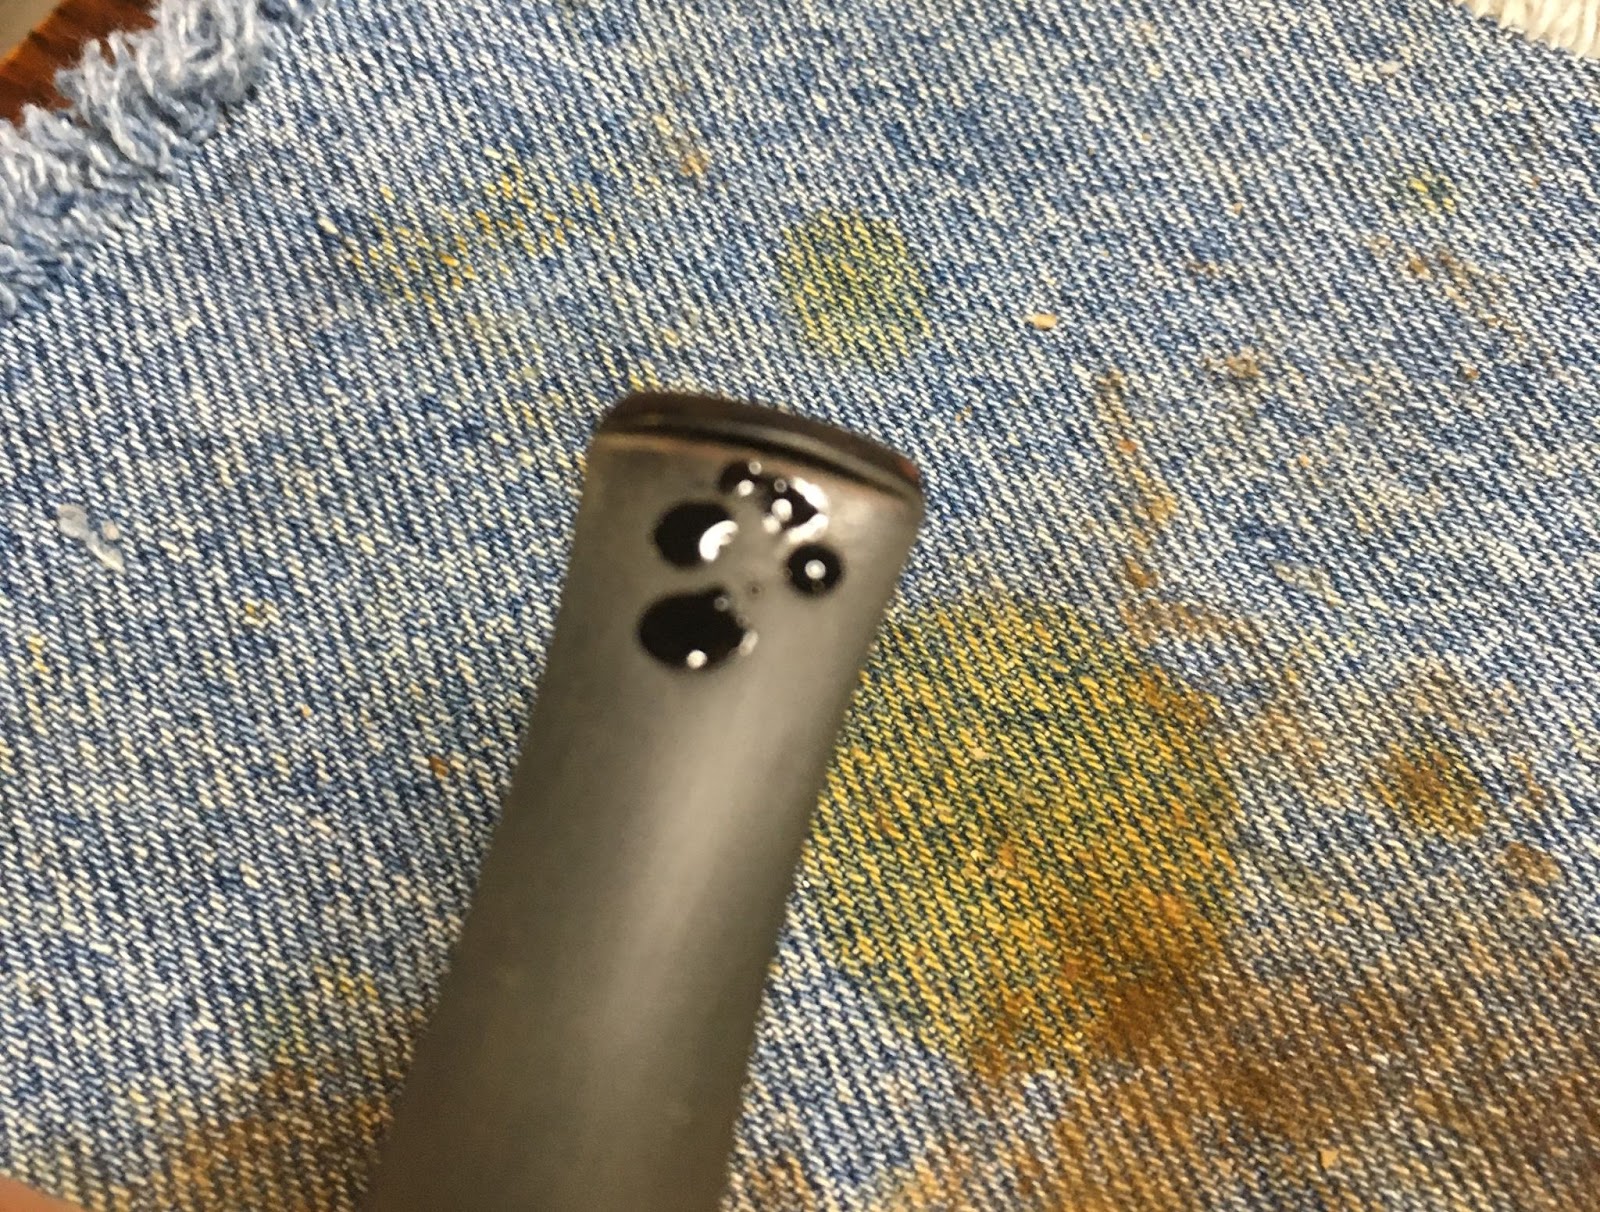
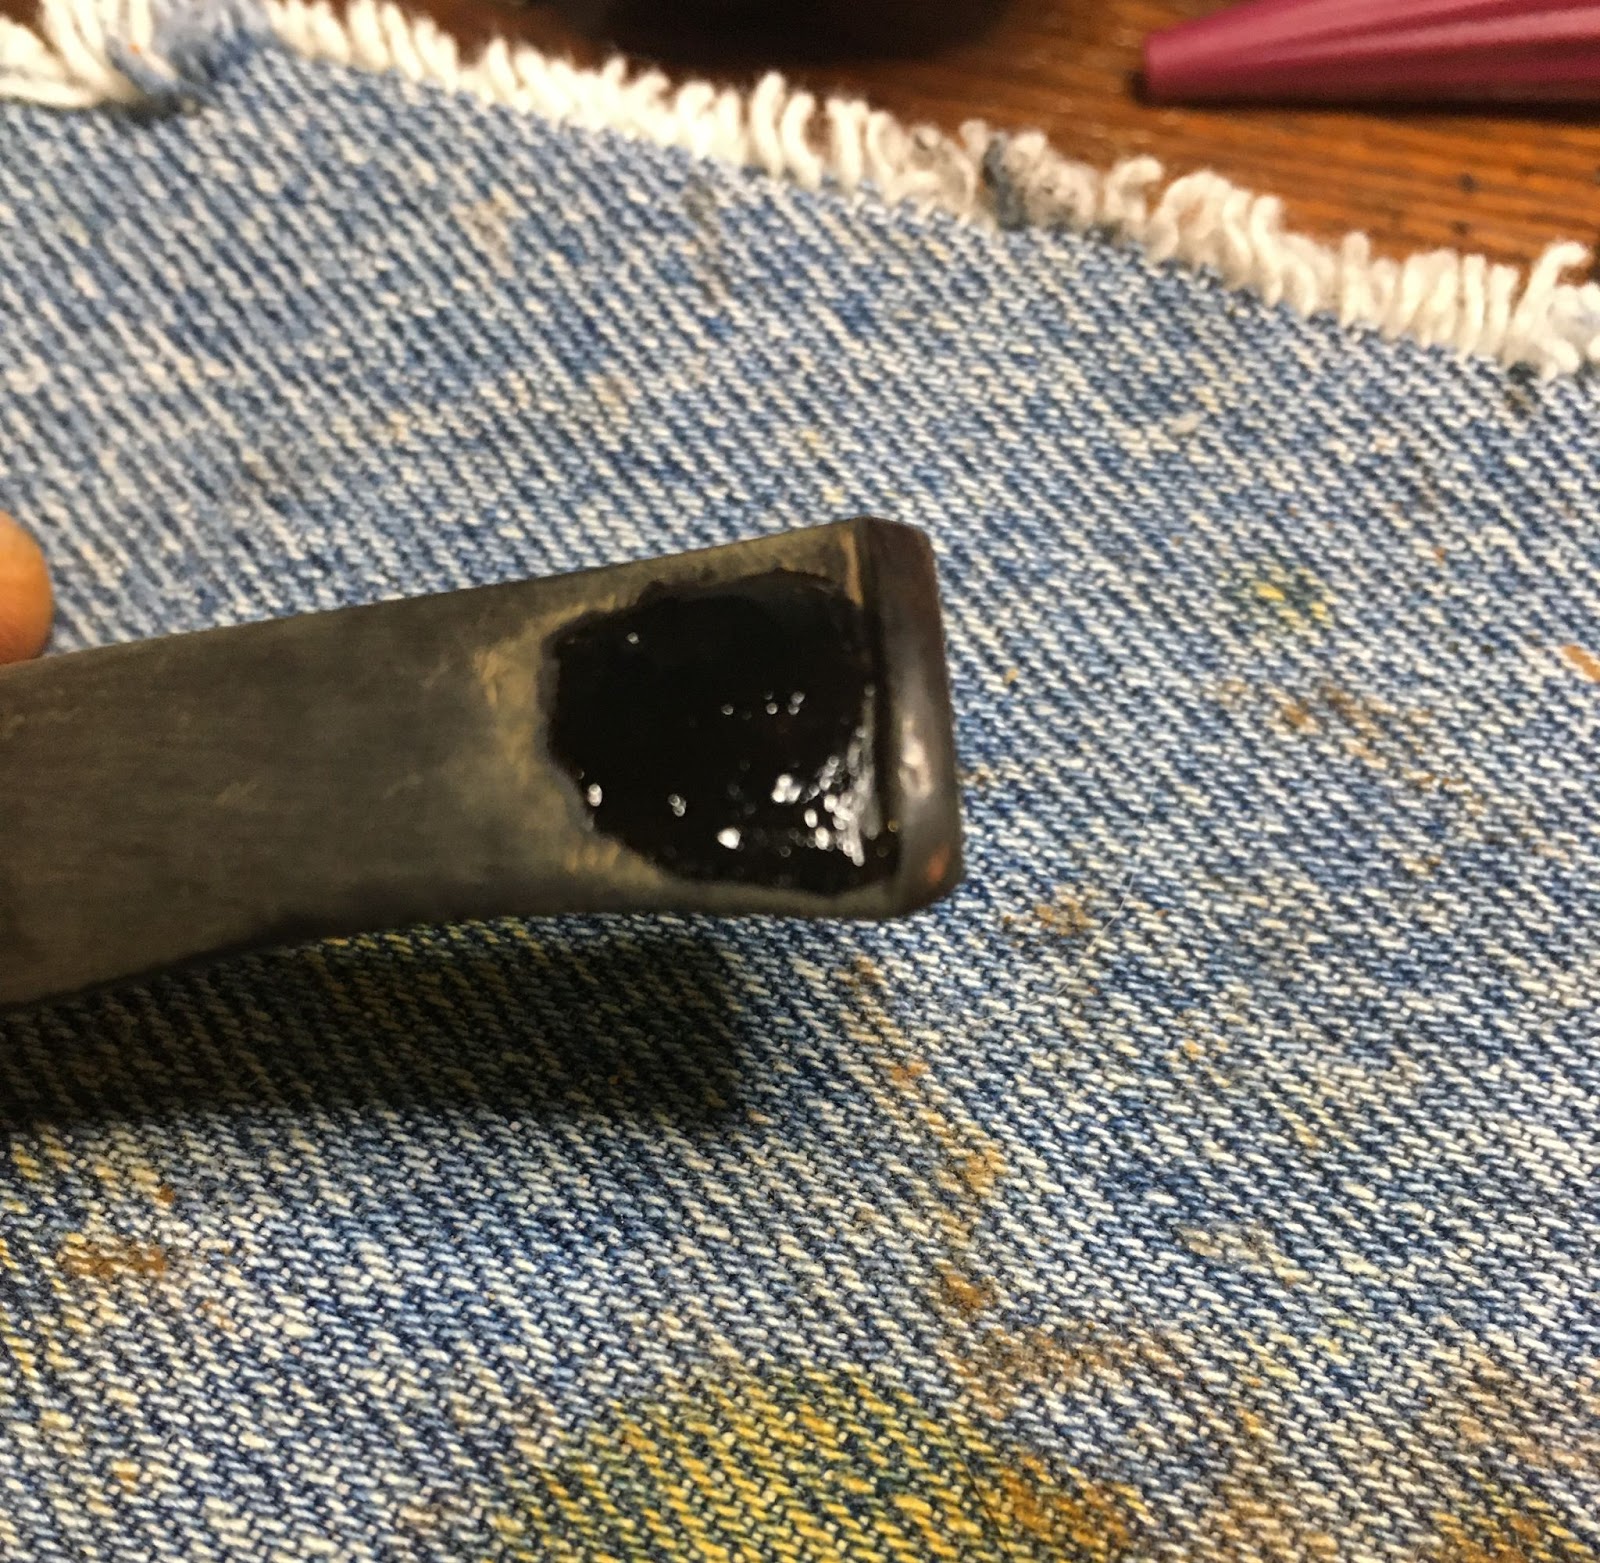
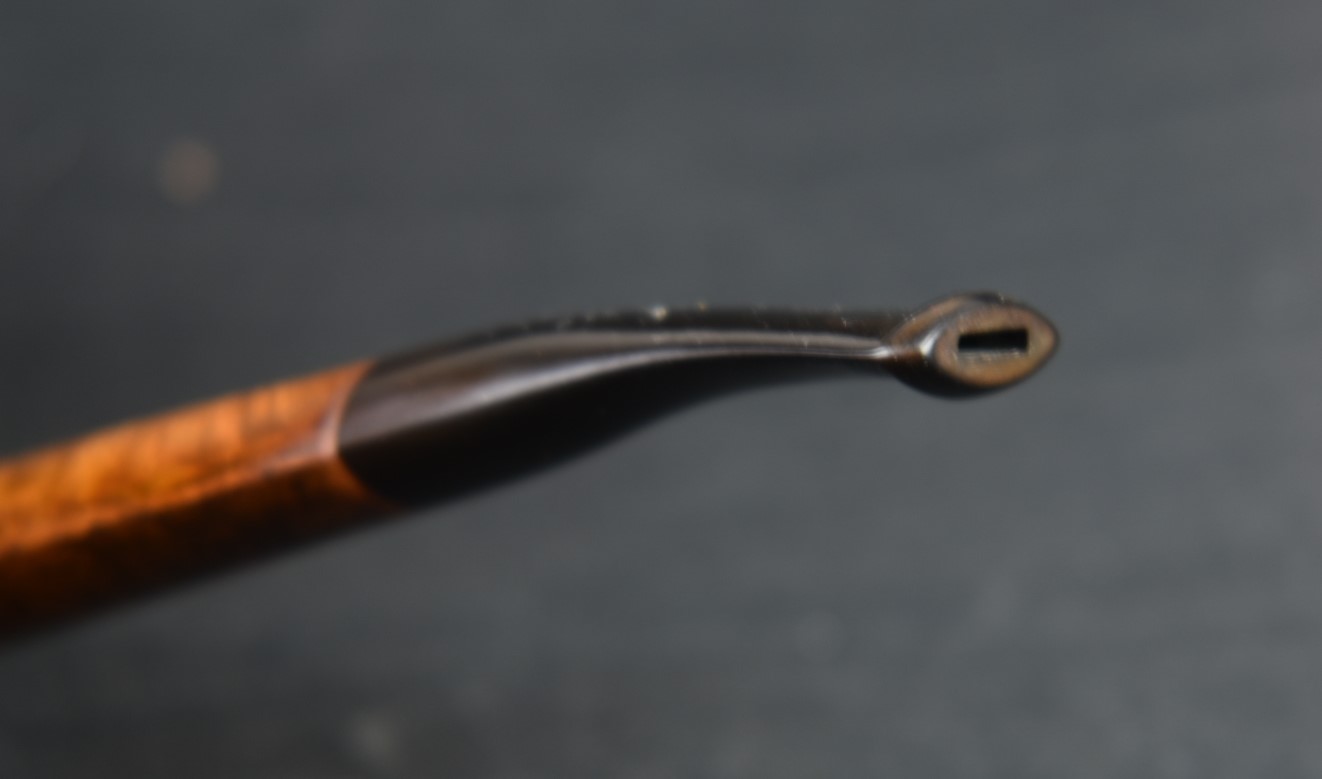
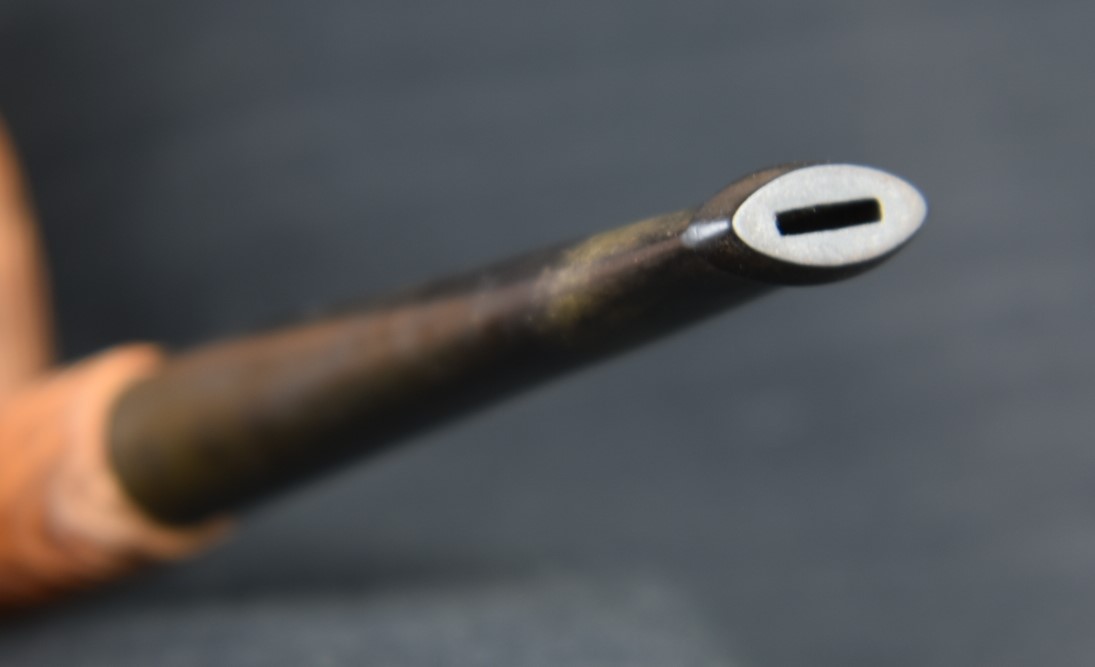
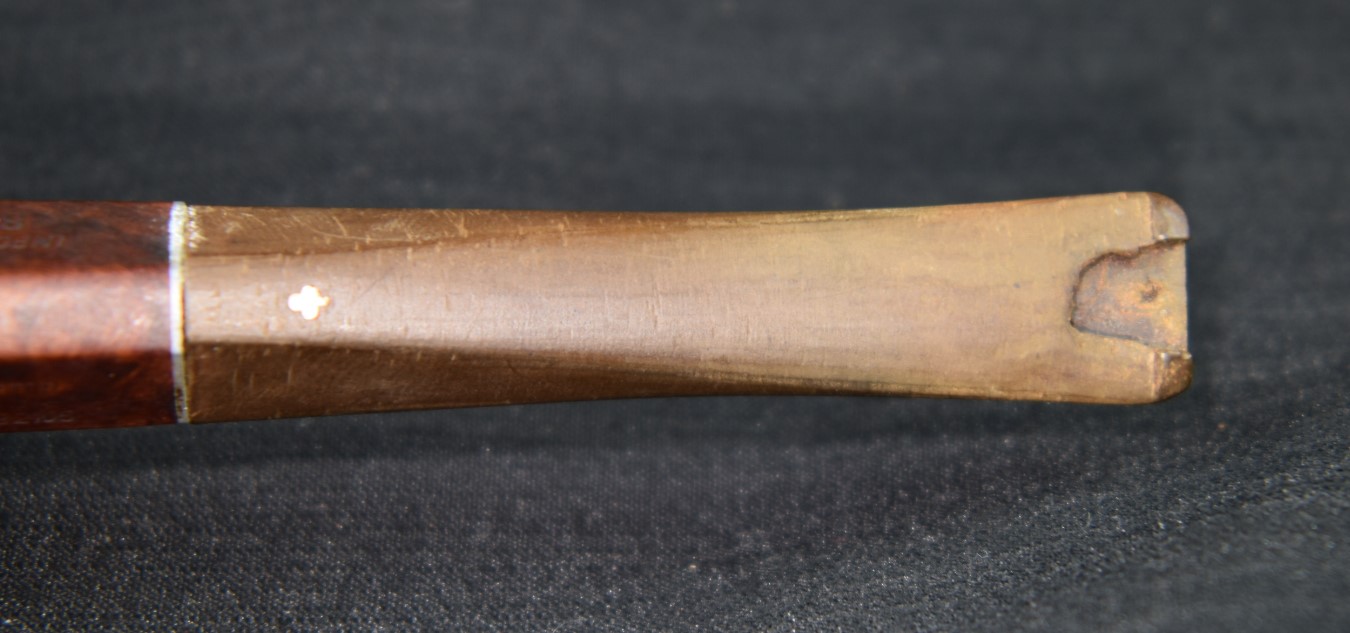
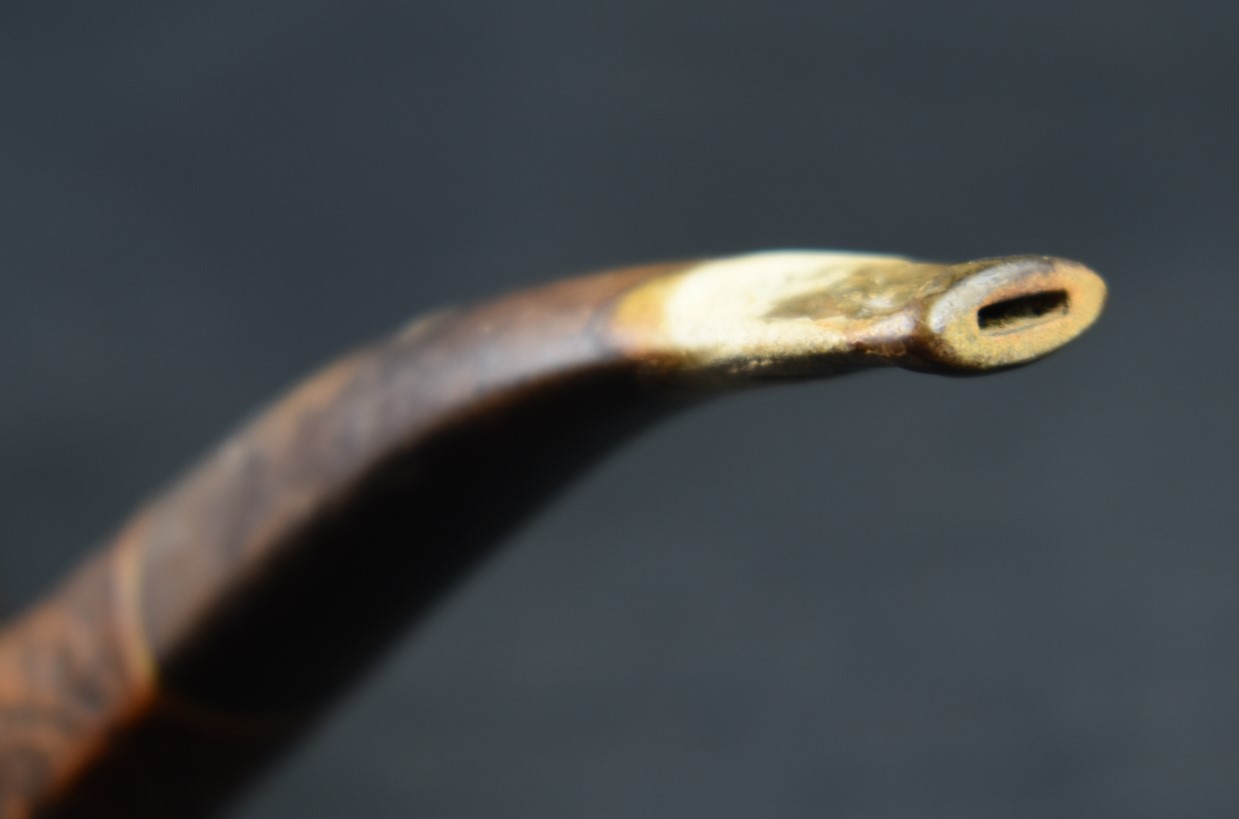
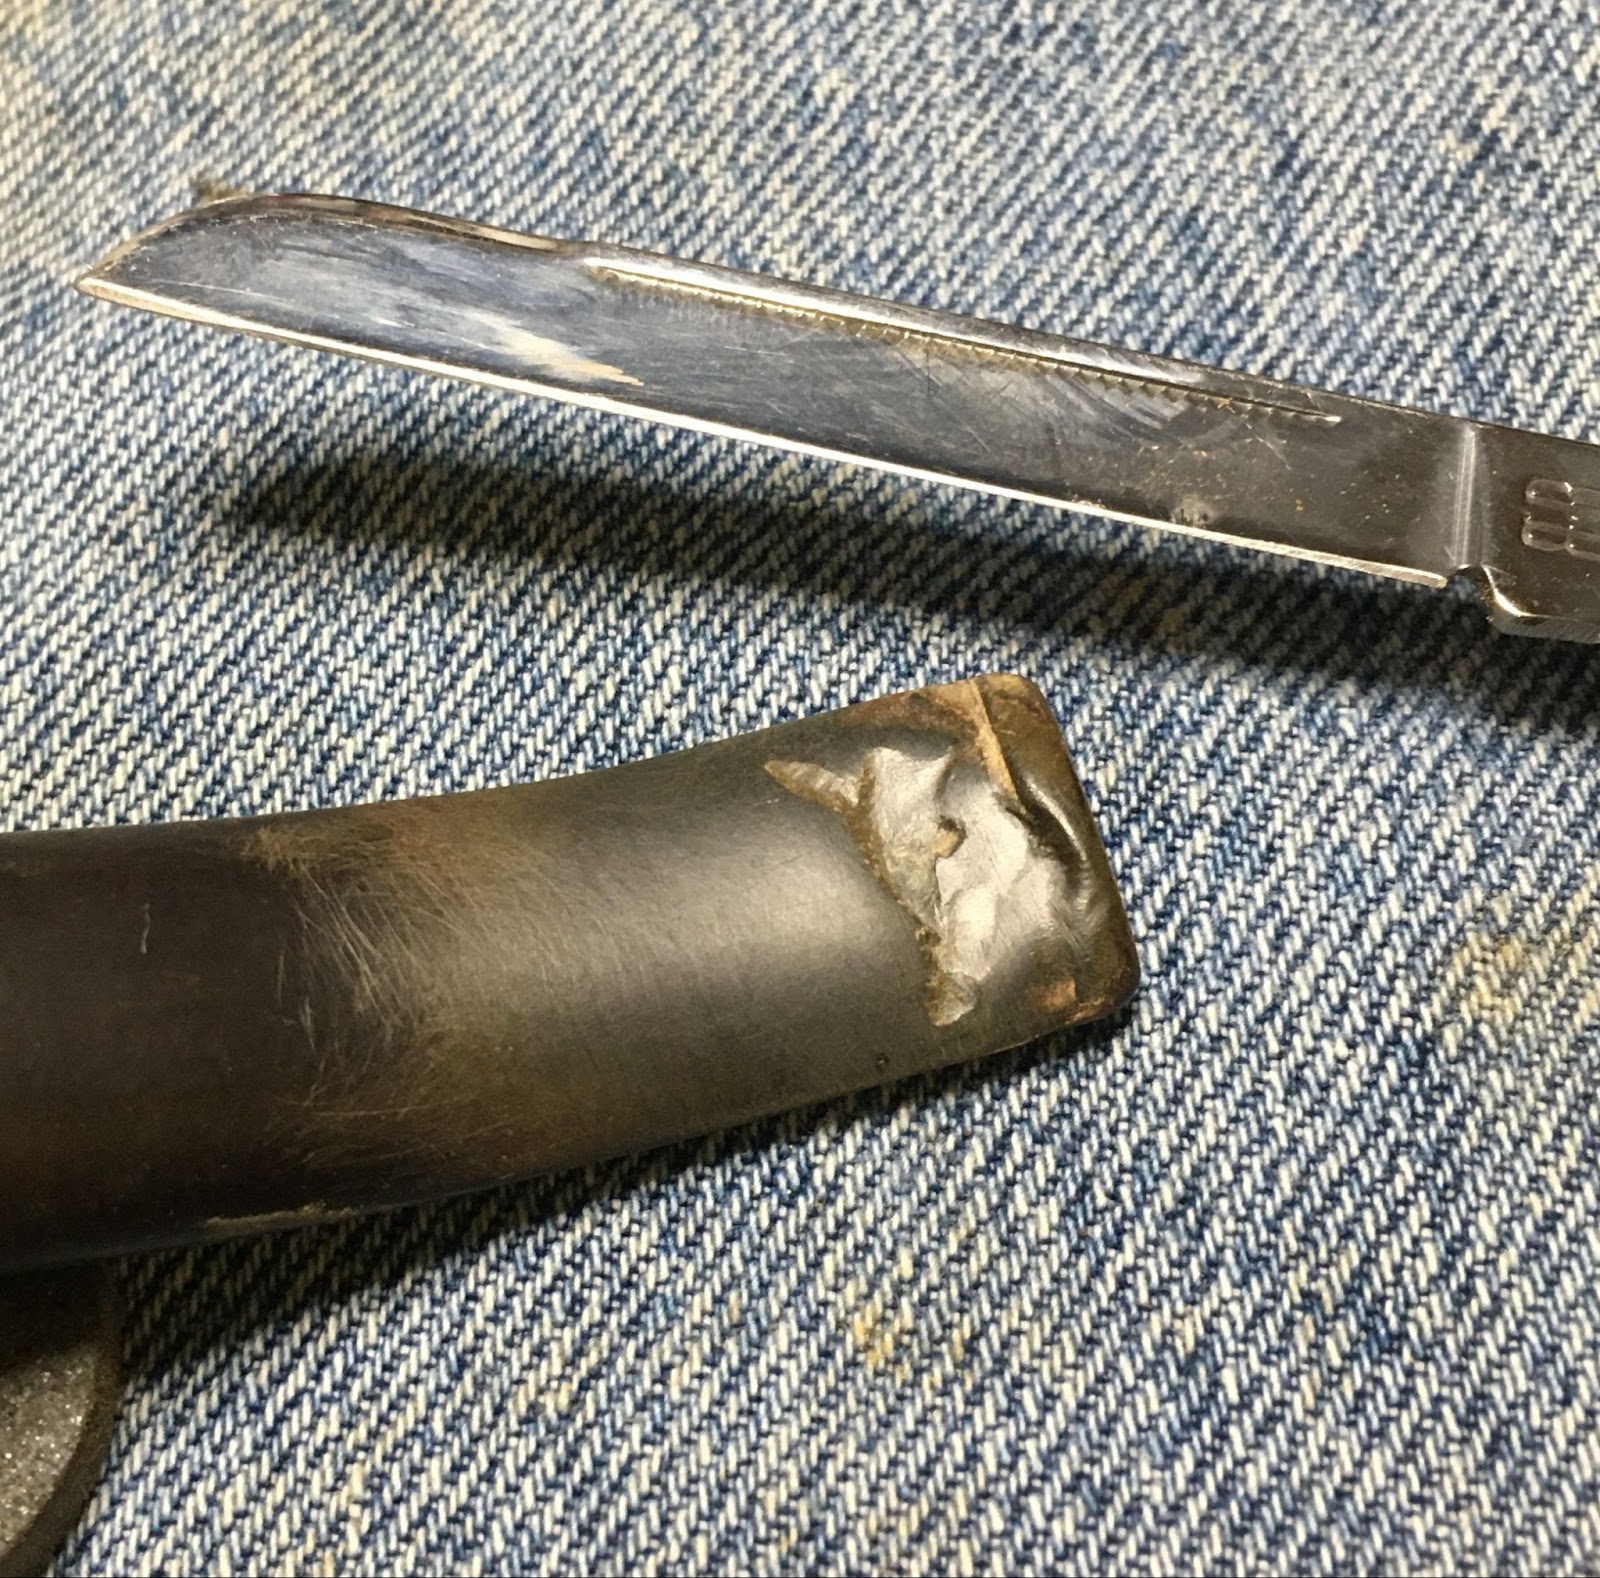
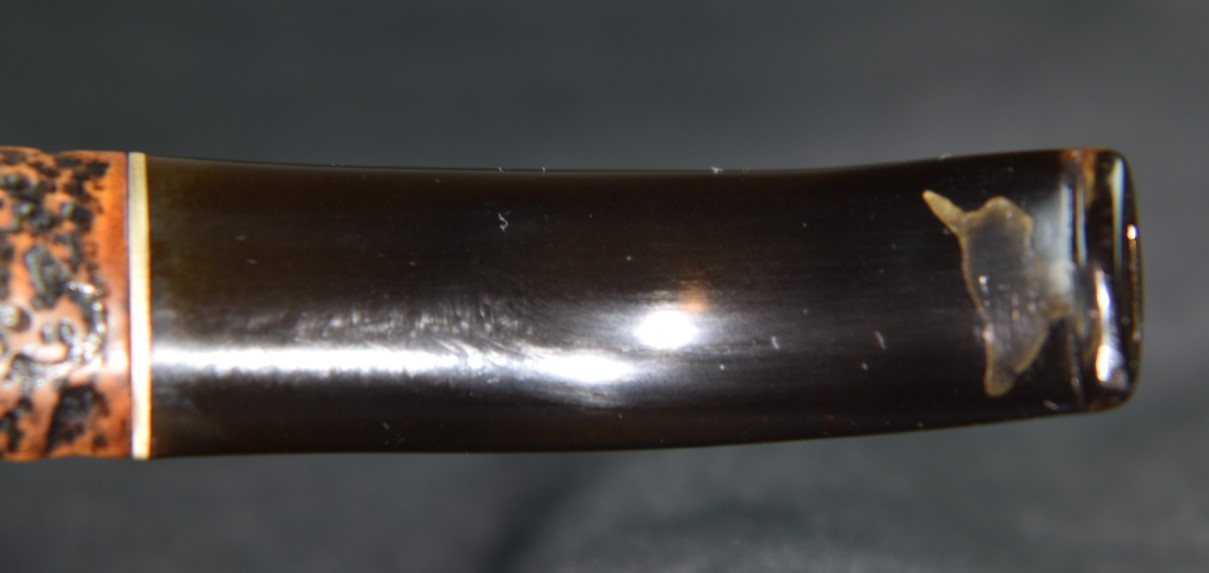
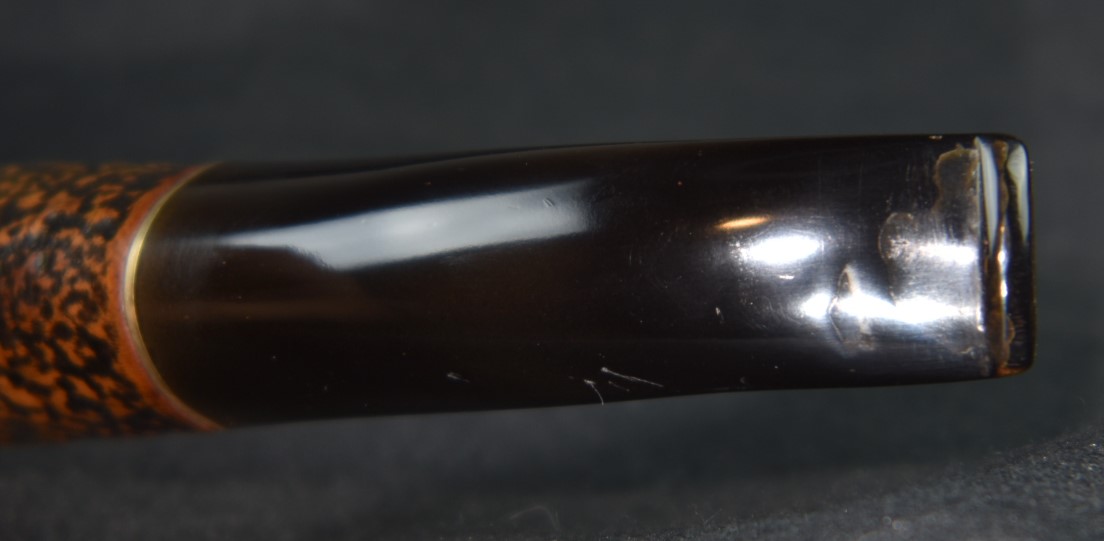
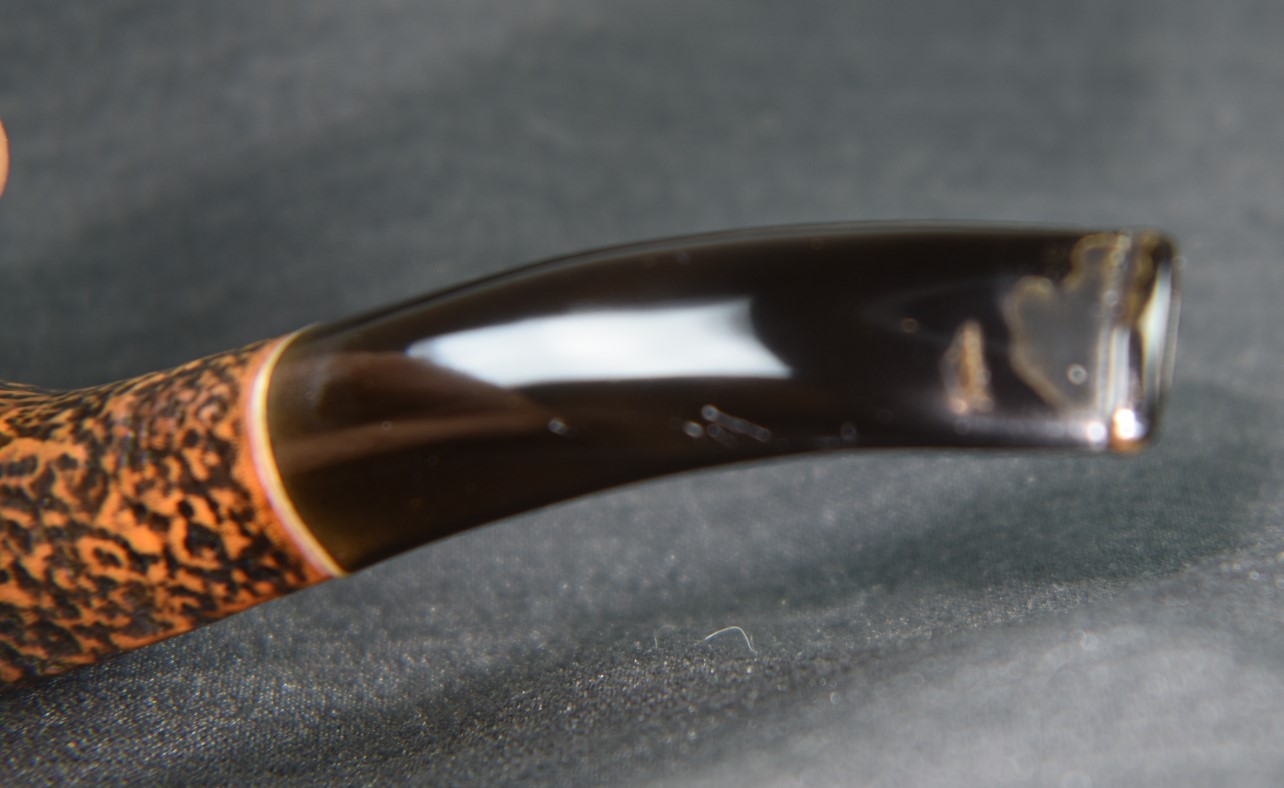
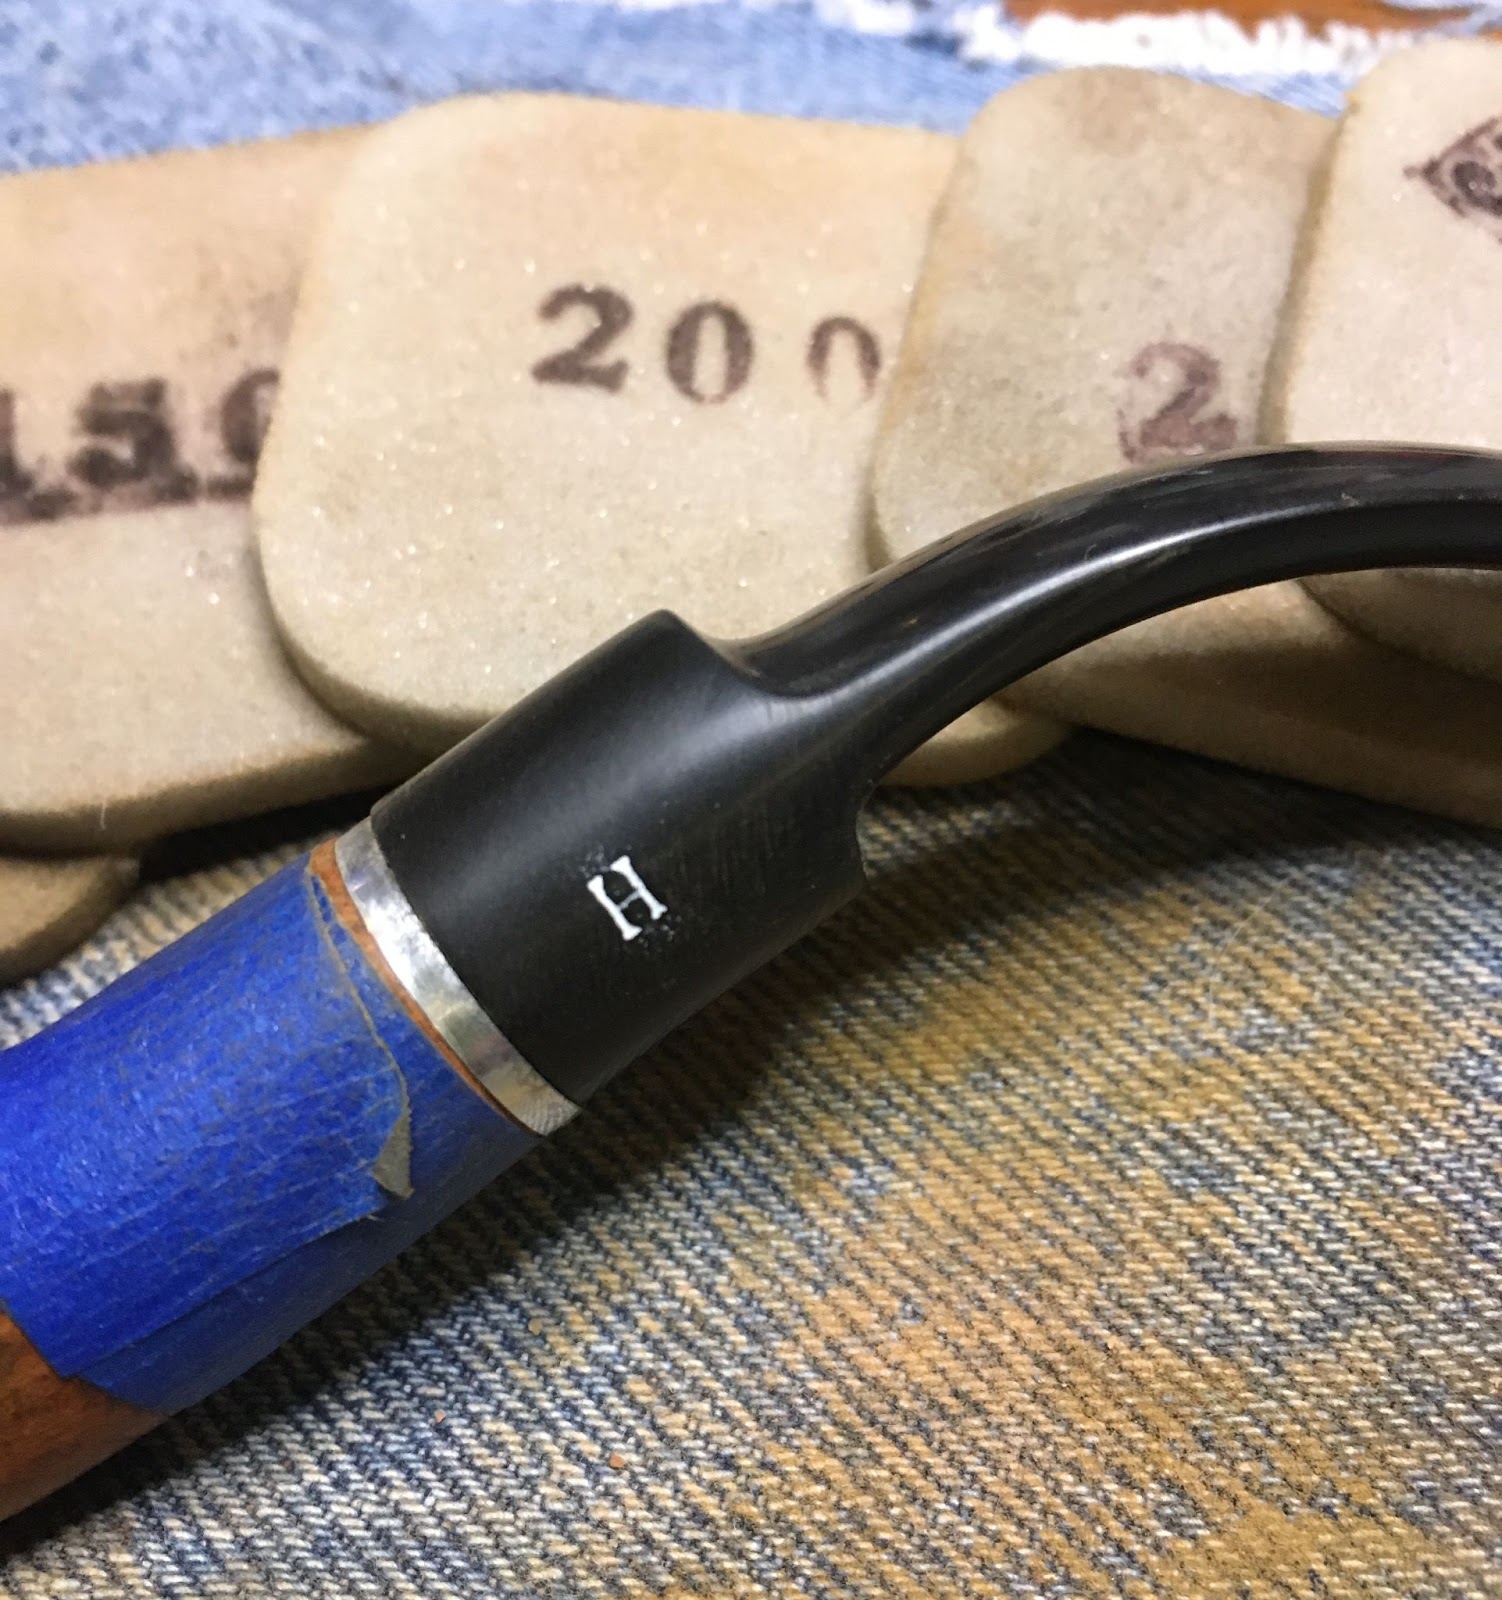
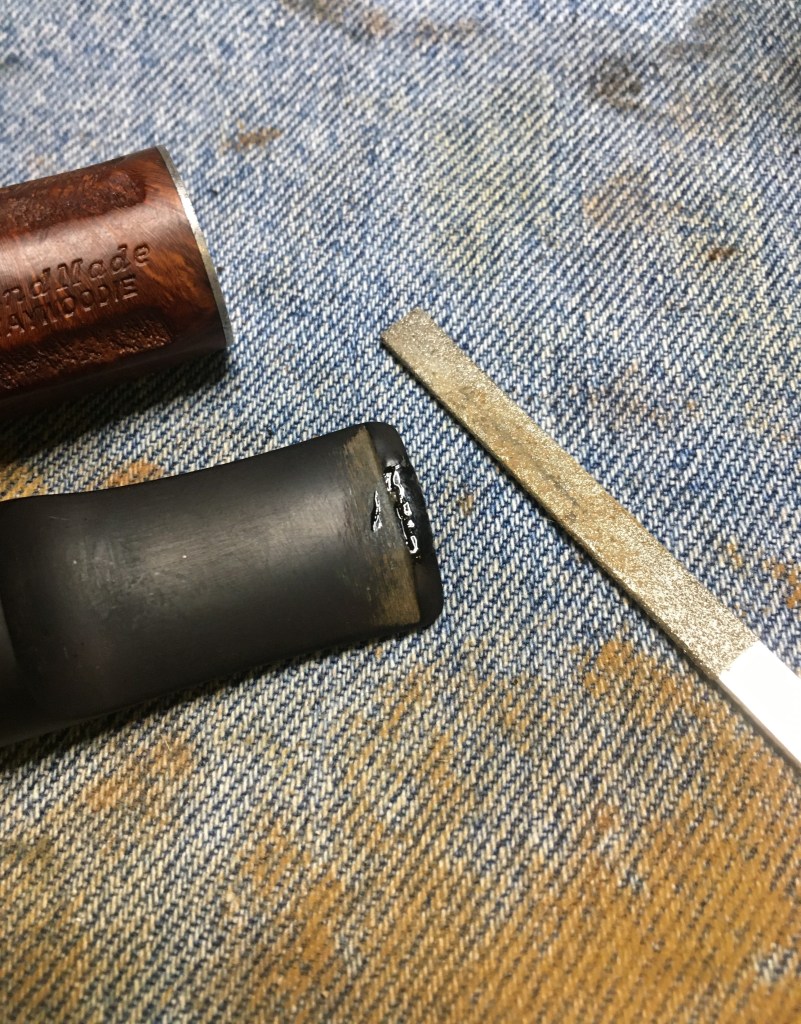
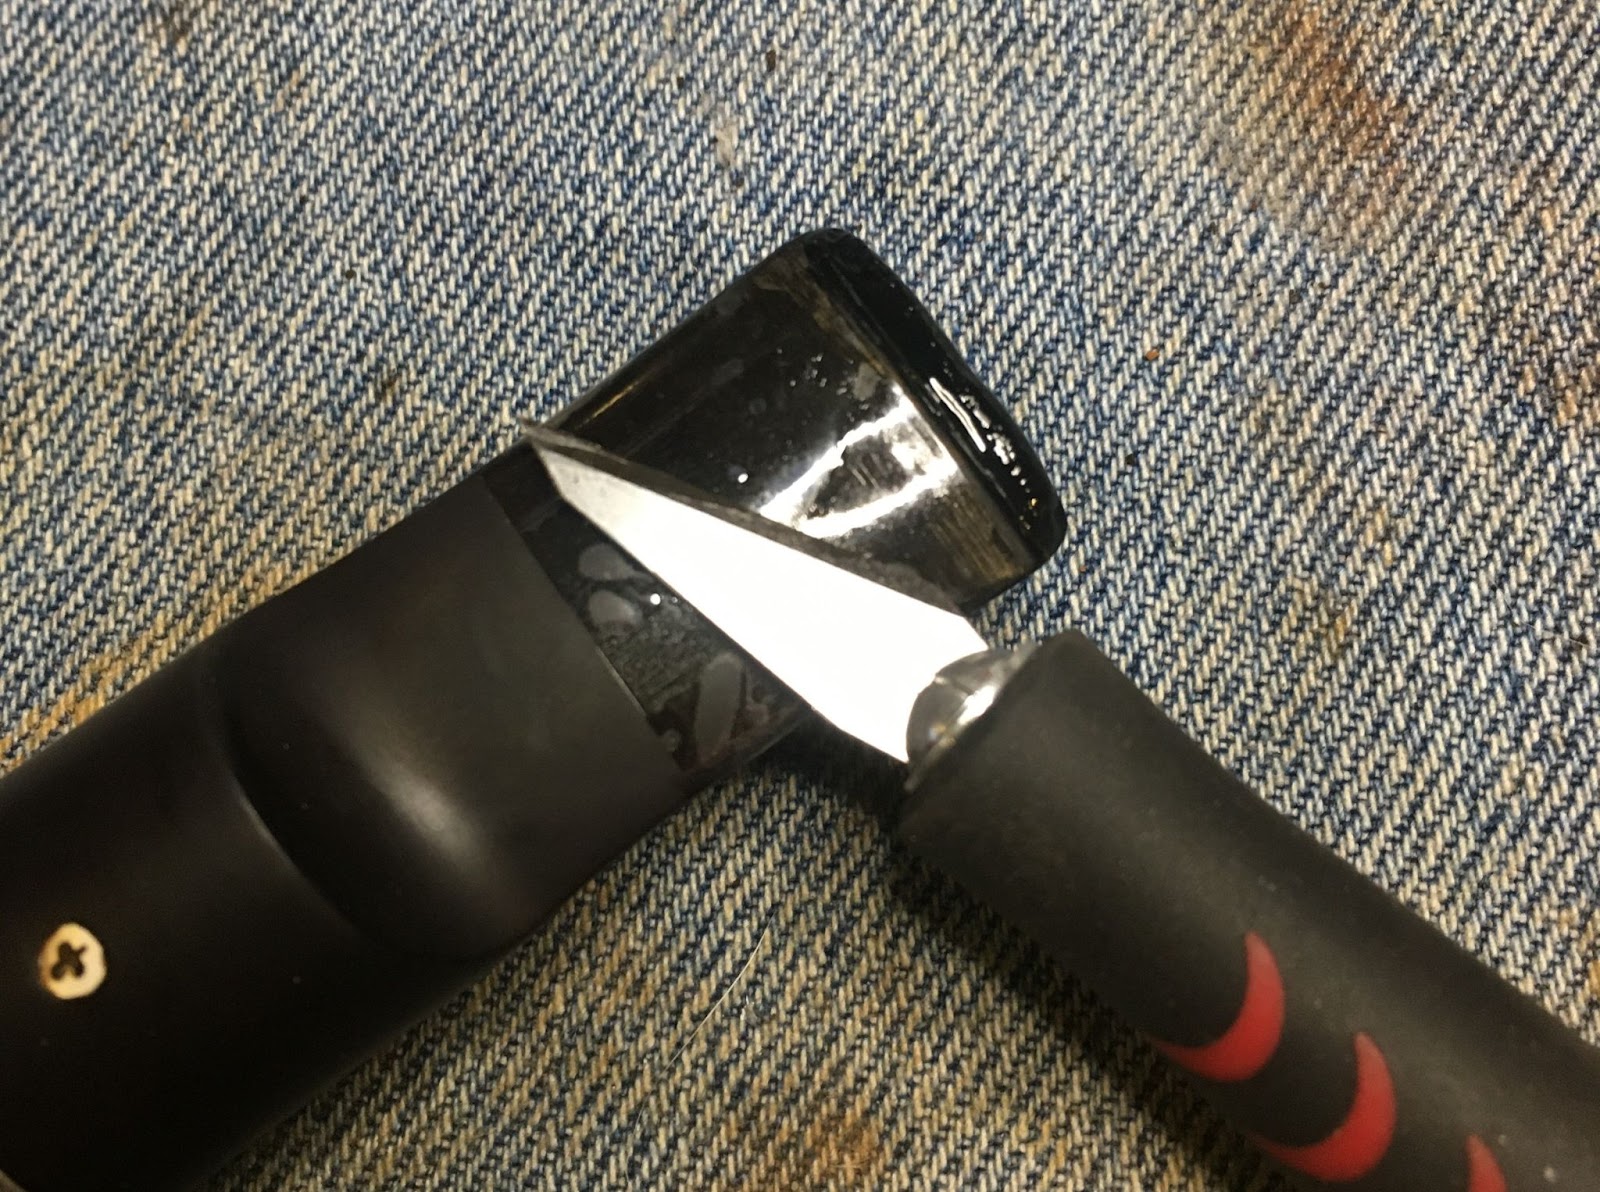
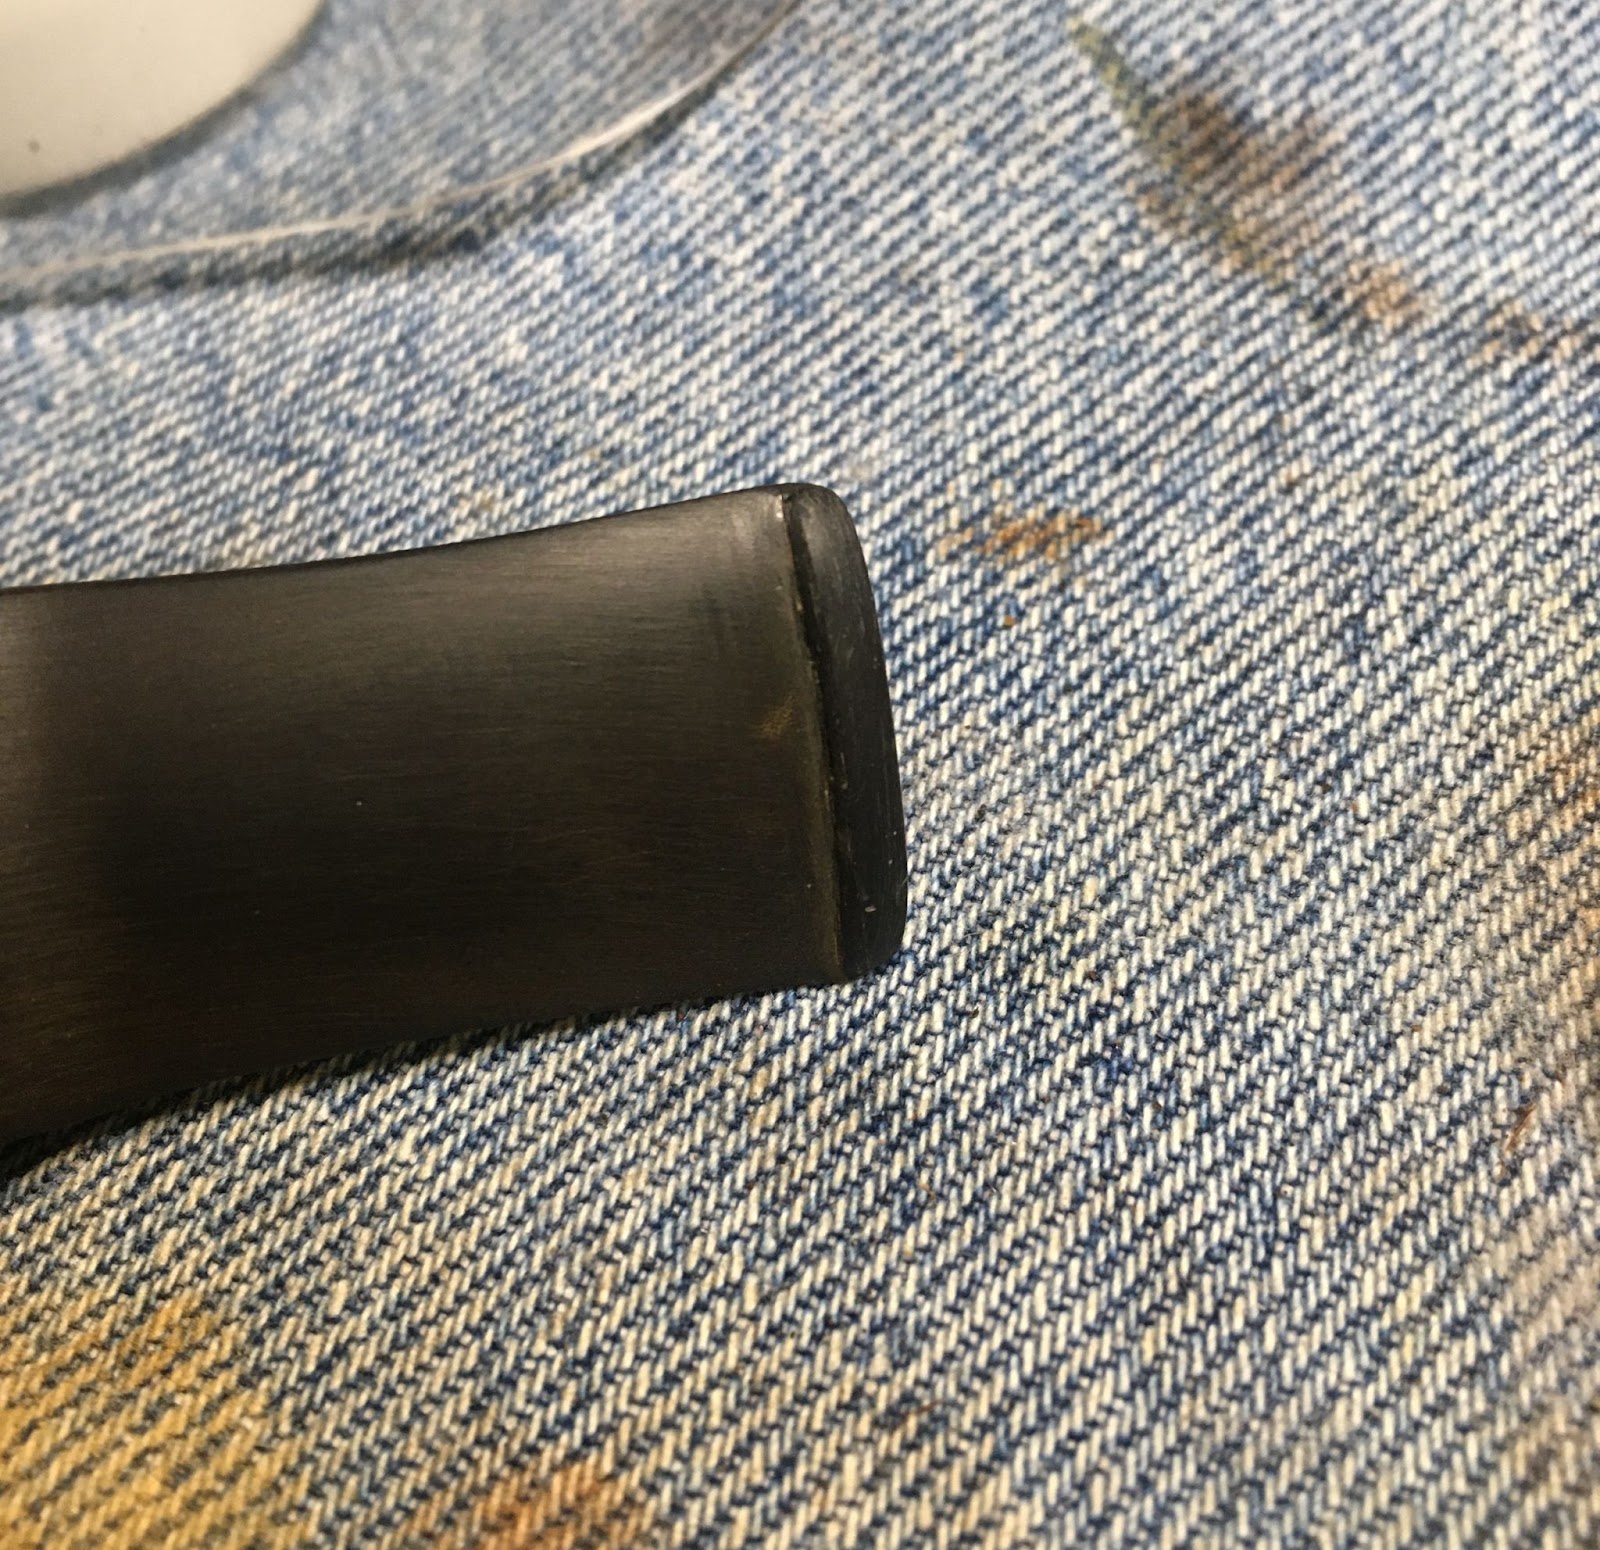
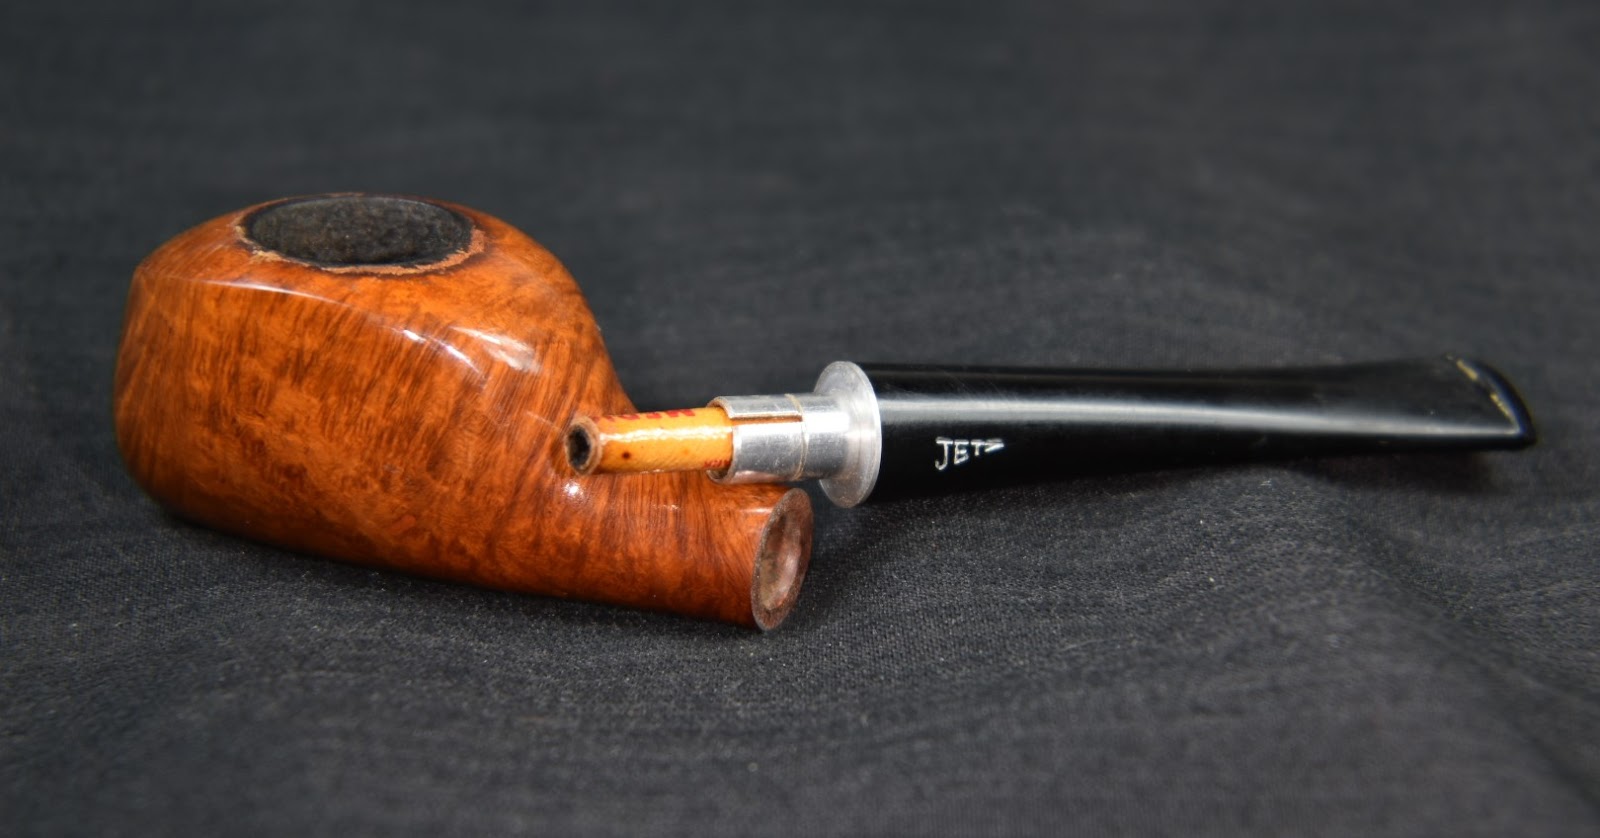
Next on the list was the stem repair. I admit to getting into the “stem repair” mode and losing track of documenting the process. I start by de-oiling the areas to be repaired with an alcohol dipped cotton swab. Then small drops of black CA are placed into the depressions on the stem. The wet CA is spritzed with a CA drying accelerator. Once dry or cured the CA is filed with a flat needle file. If the depression is deep it may take several small drops of CA and subsequent spritzes with an accelerator to fill the depression. That was the case here. When I started photographing, I was already filing the second application.

A third application was applied and spread around to thin over a larger area using the tip of the applicator on the bottle. This was then spritzed, filed and sanded with a 400 grit sanding sponge. The next two photos show the depressions filled and sanded with the 4000 sponge.

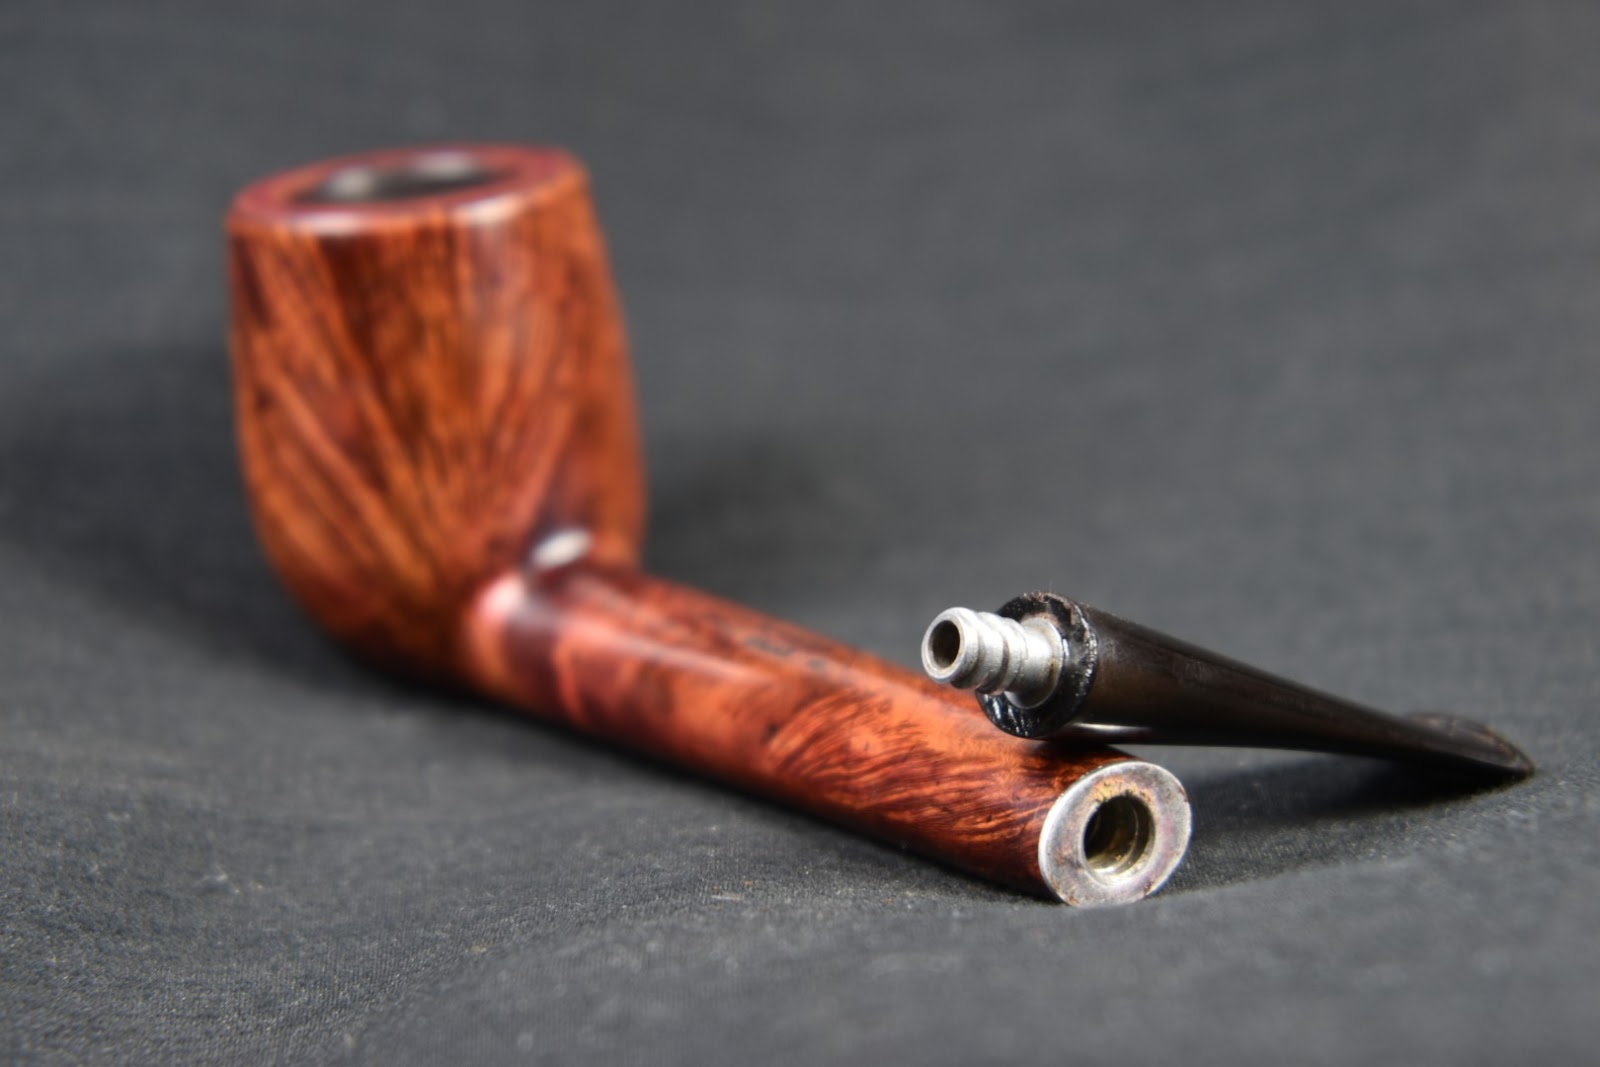
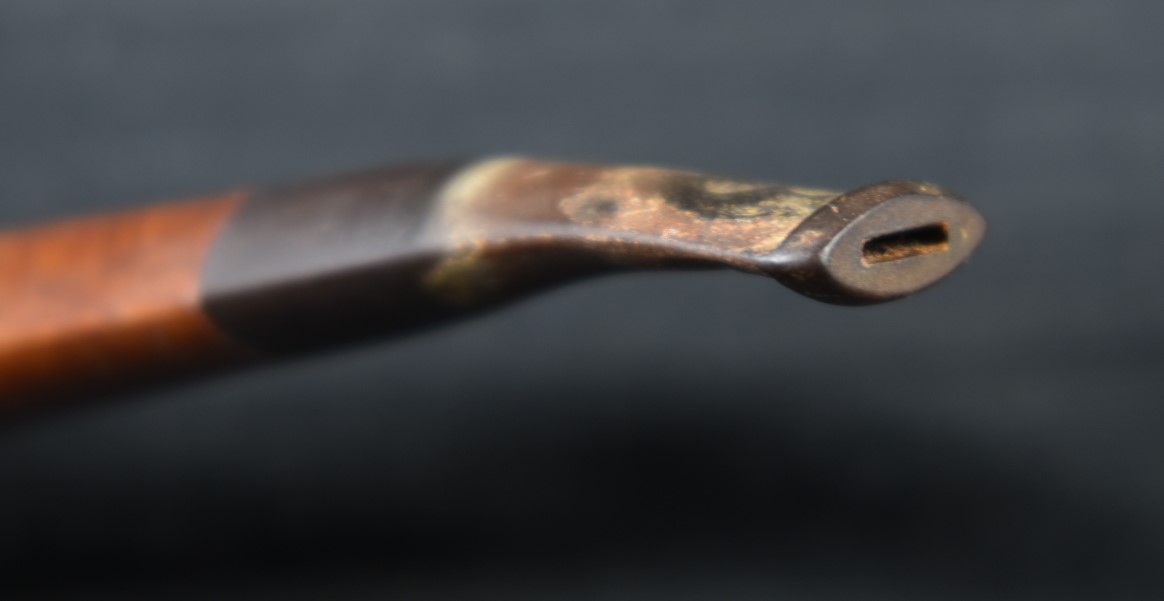
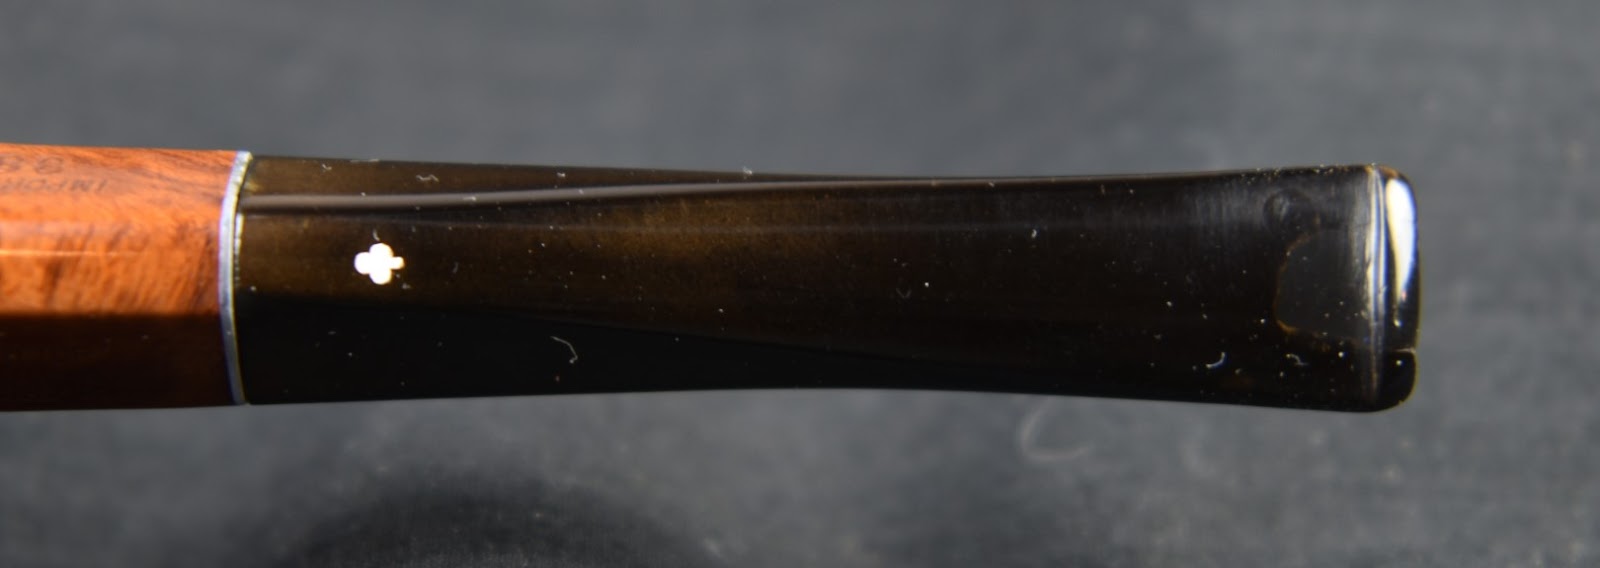
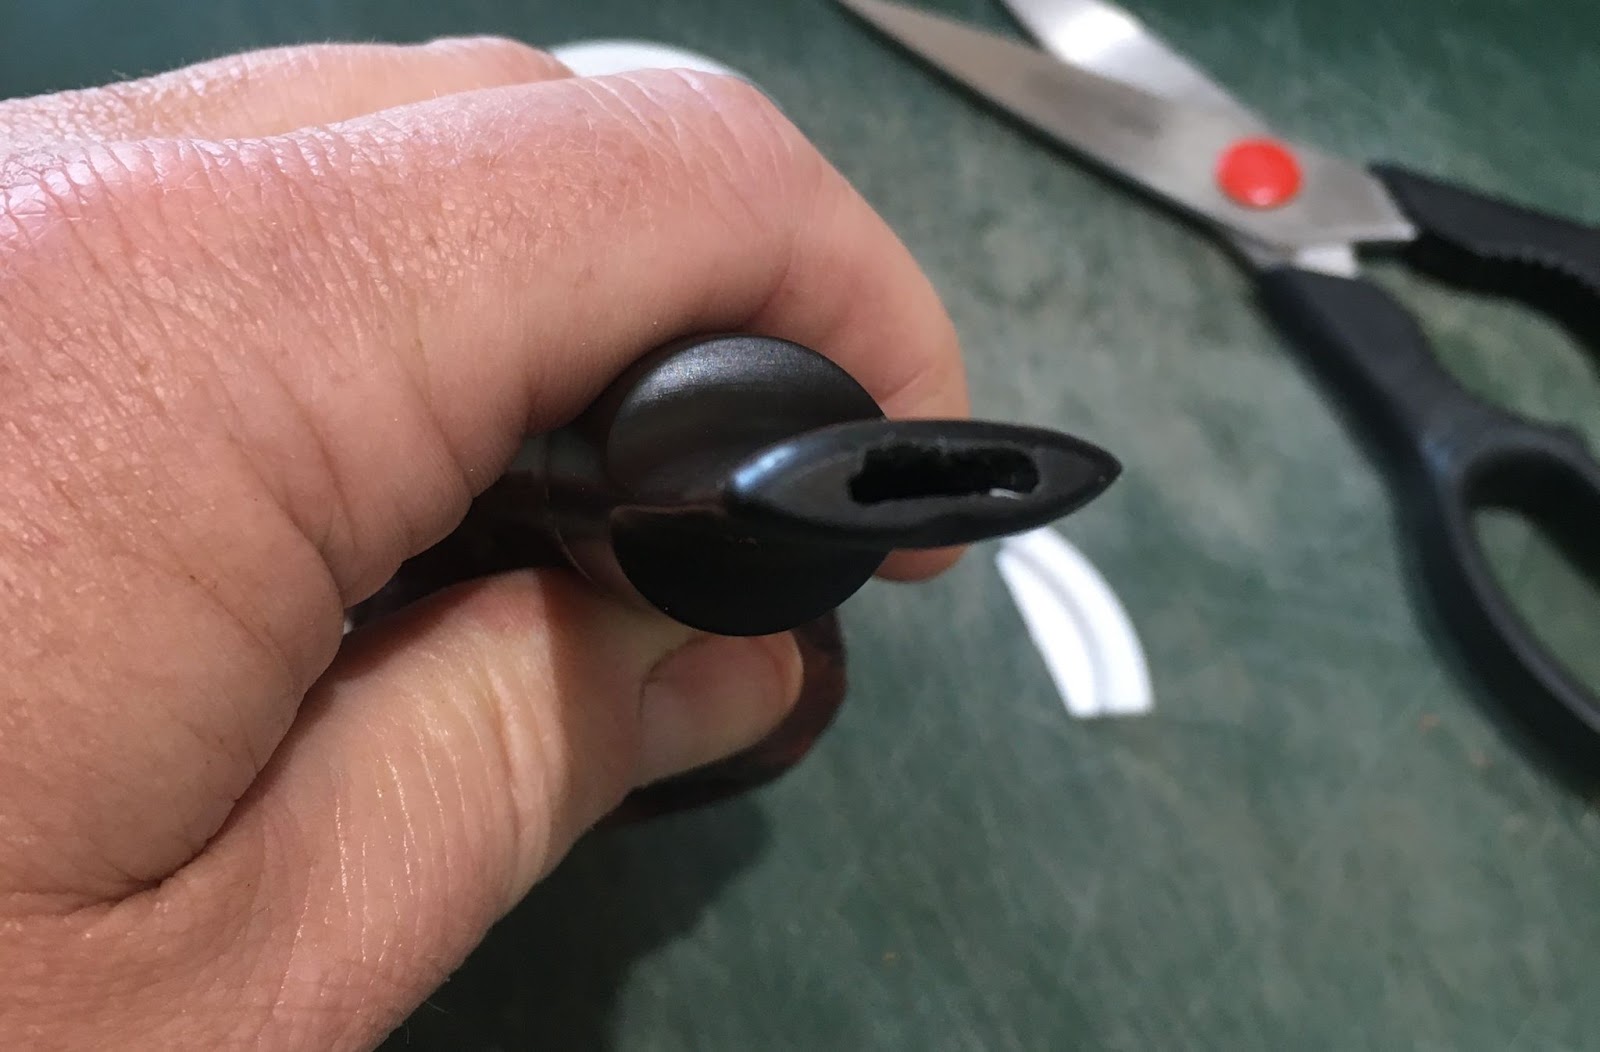
The stem was slightly “over-clocked”. This led to the stem not aligning correctly with the stummel, as it had been over tightened. There are two ways to address this:
1) to heat the aluminum screw-in tenon until the stem is slightly melted, then rotate the aluminum to the correct position and allow it to cool.
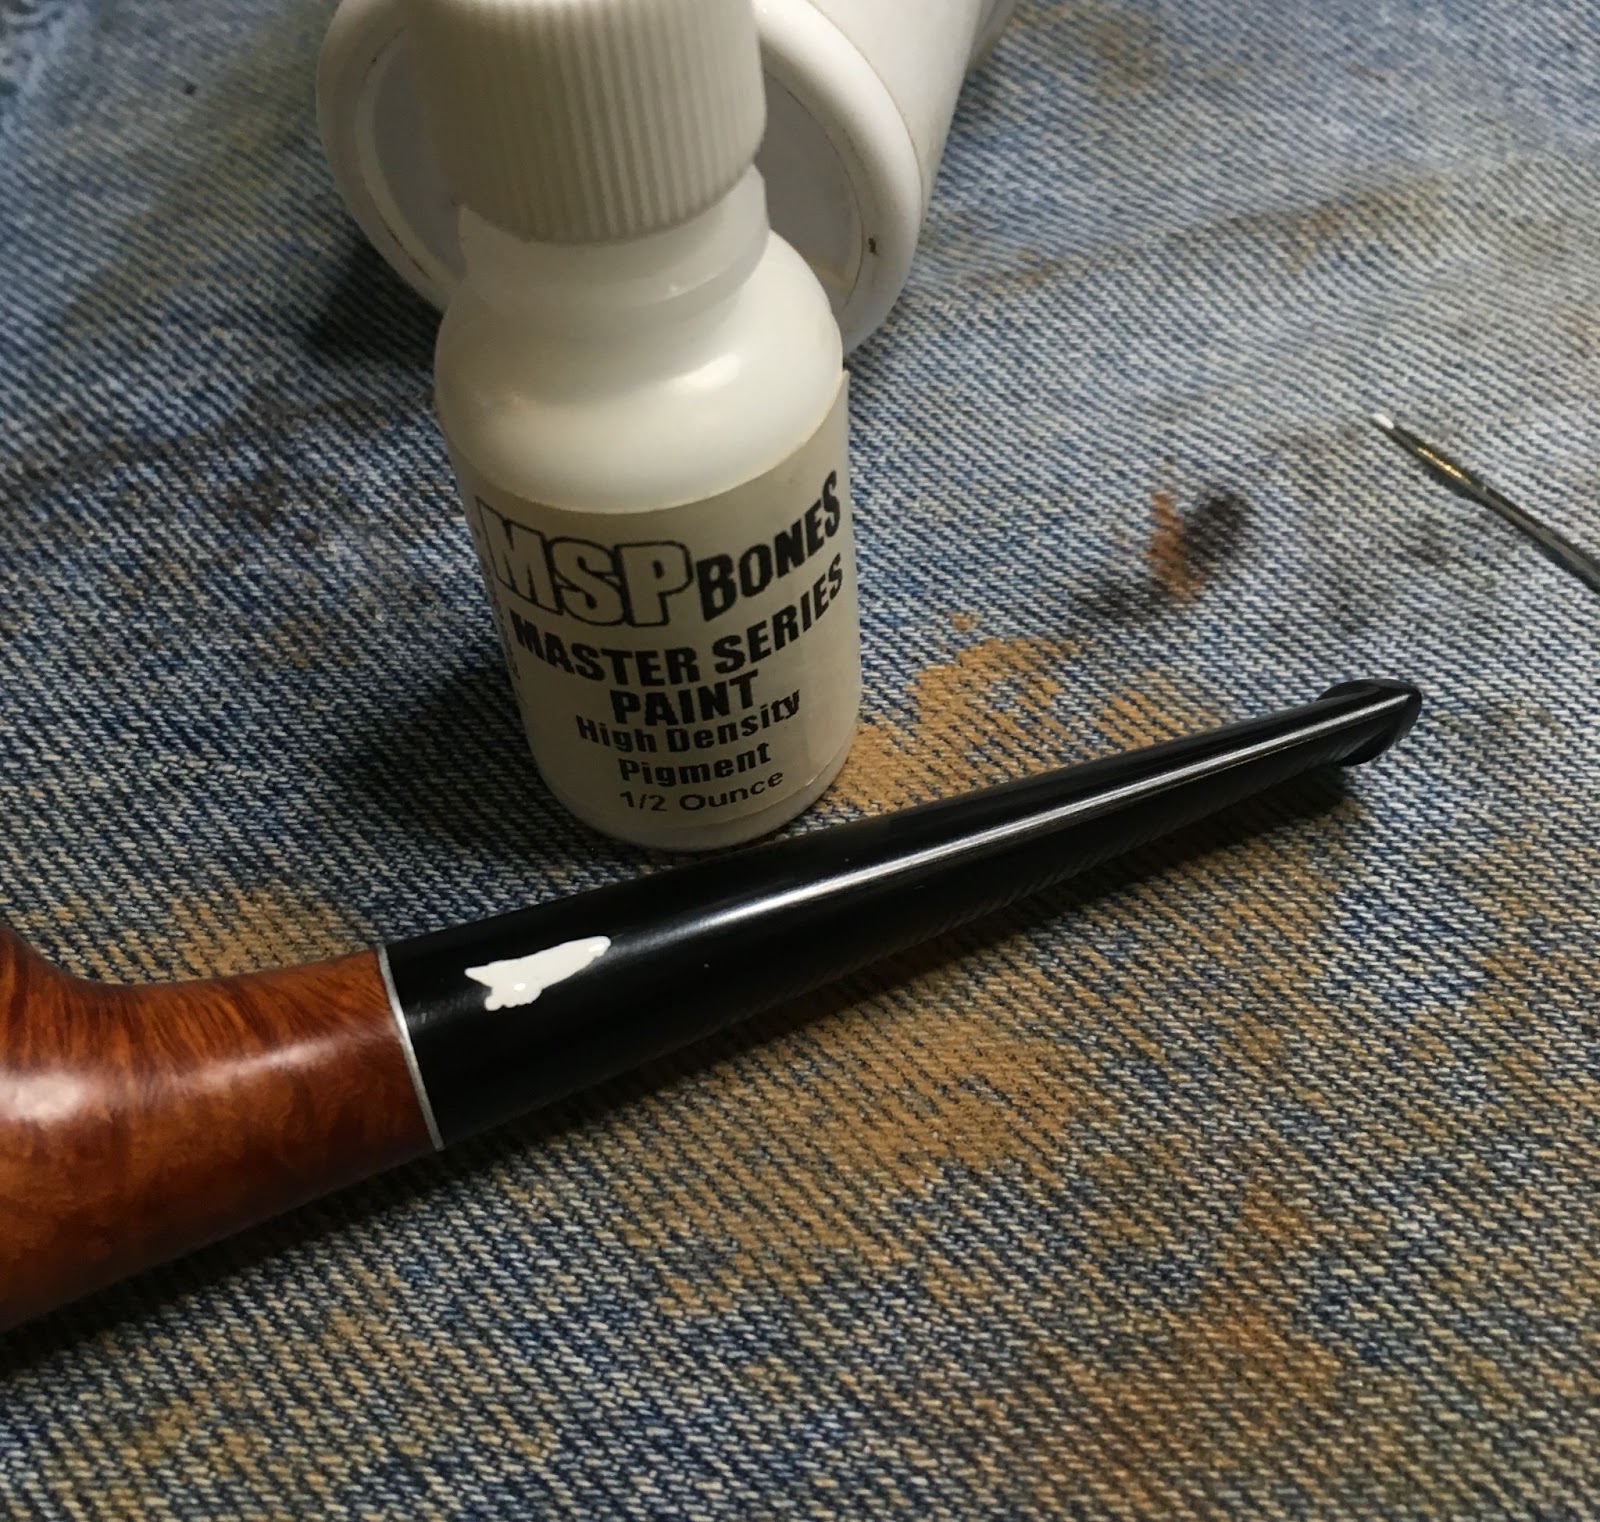
2) Add a light layer of black CA to the edge of the stem and allow it to cure.
Both methods work but come with downsides of being time consuming and tedious. I chose to use the adding of black CA to the stem. Since the alignment was very sligh, only a few degrees I only needed to “paint” or apply a single coat of black CA to the stem.
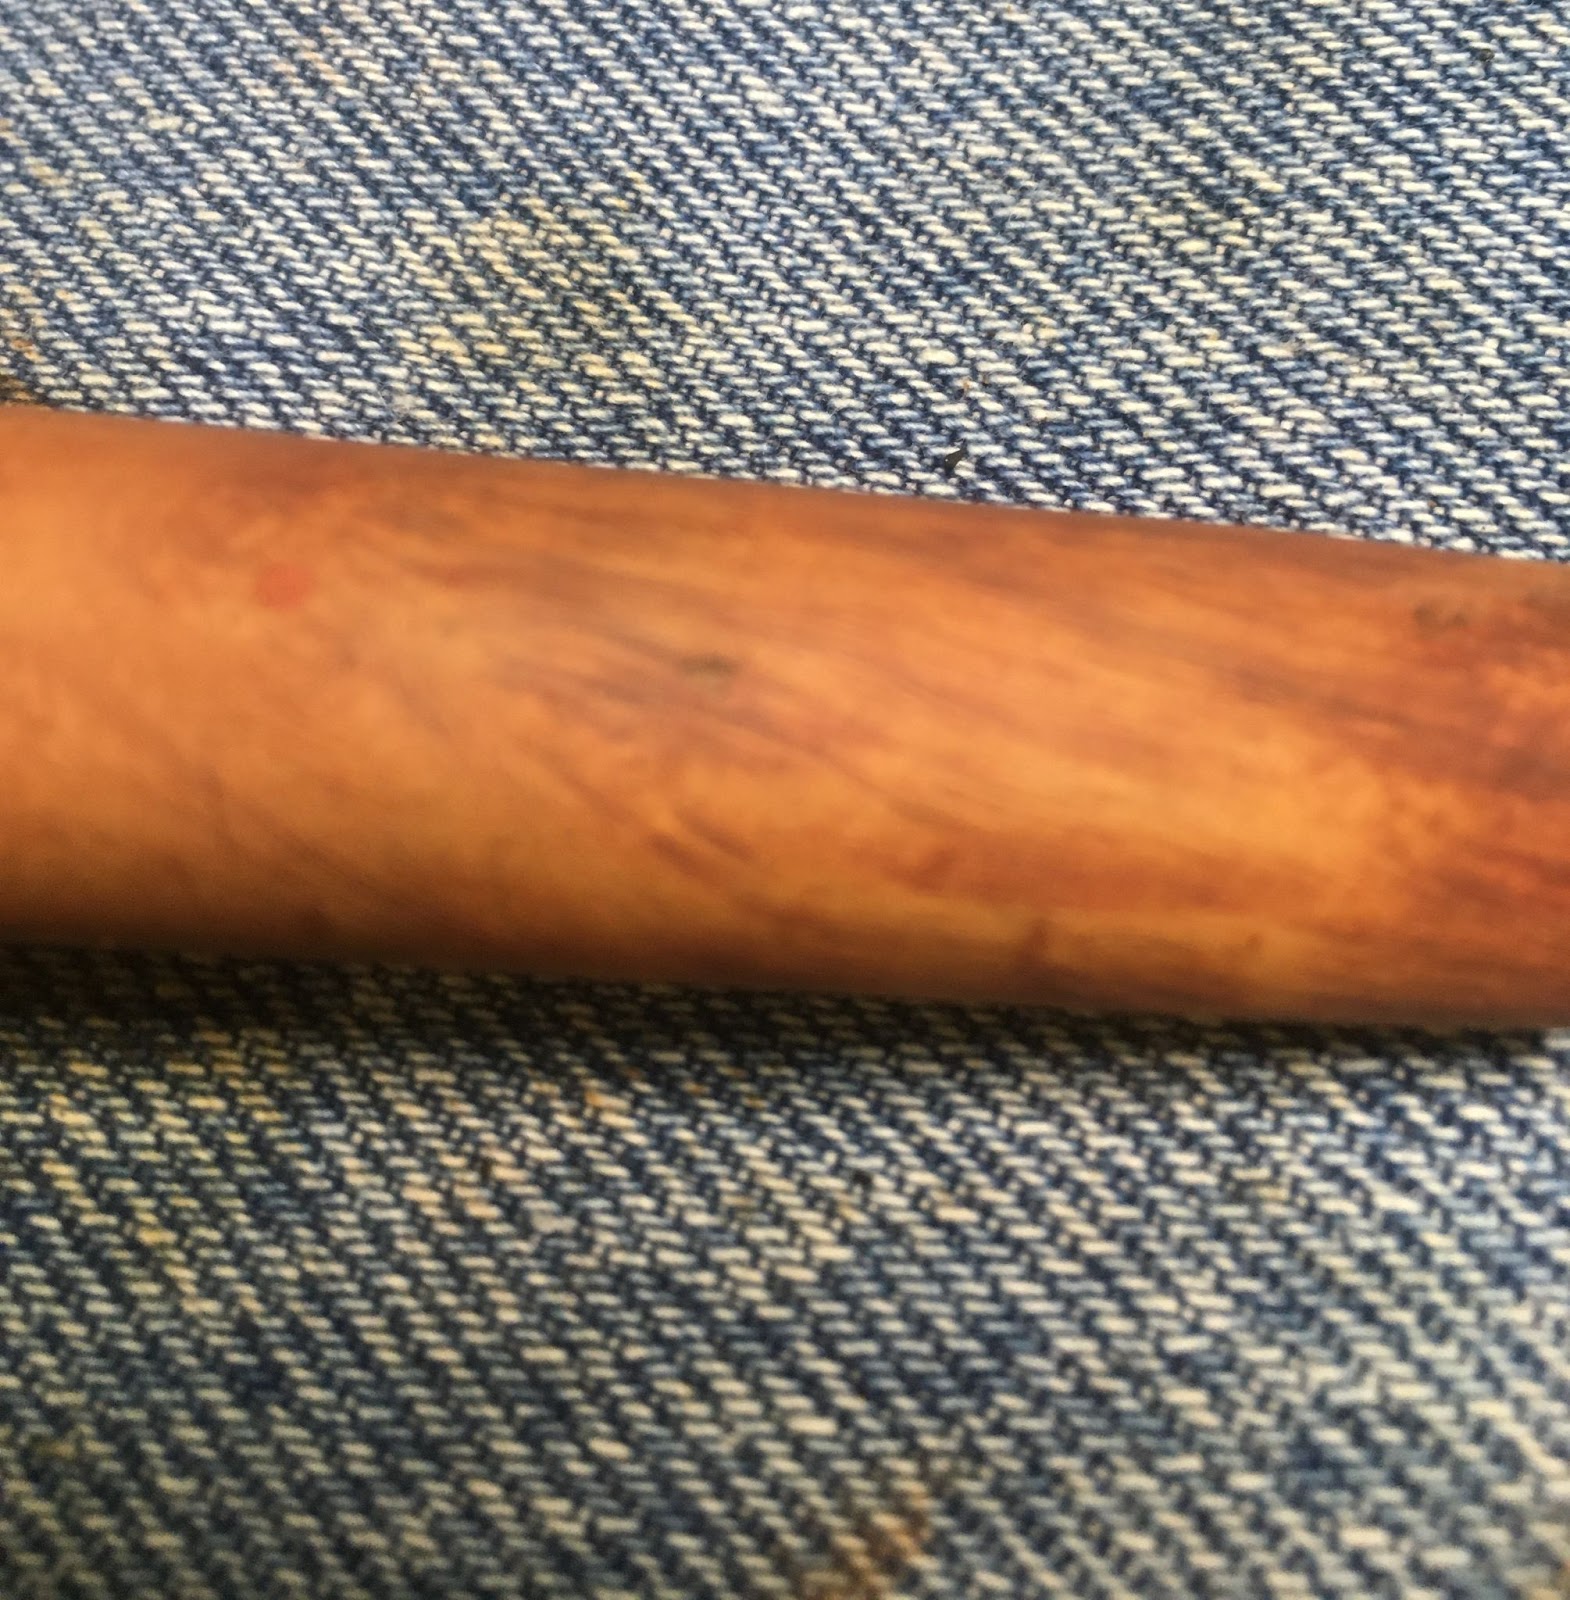
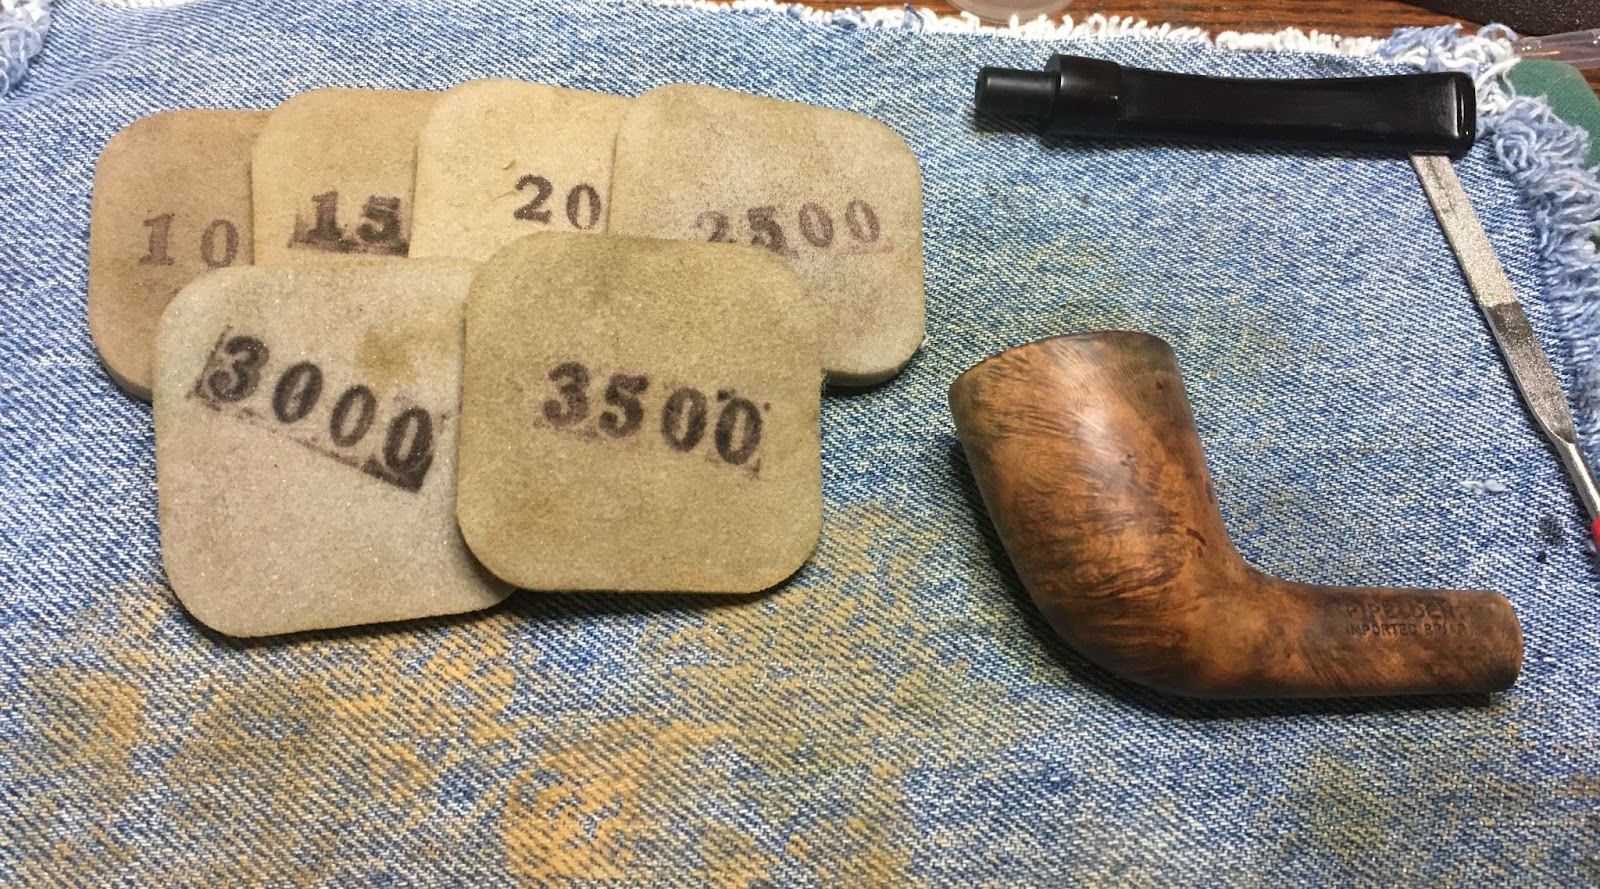
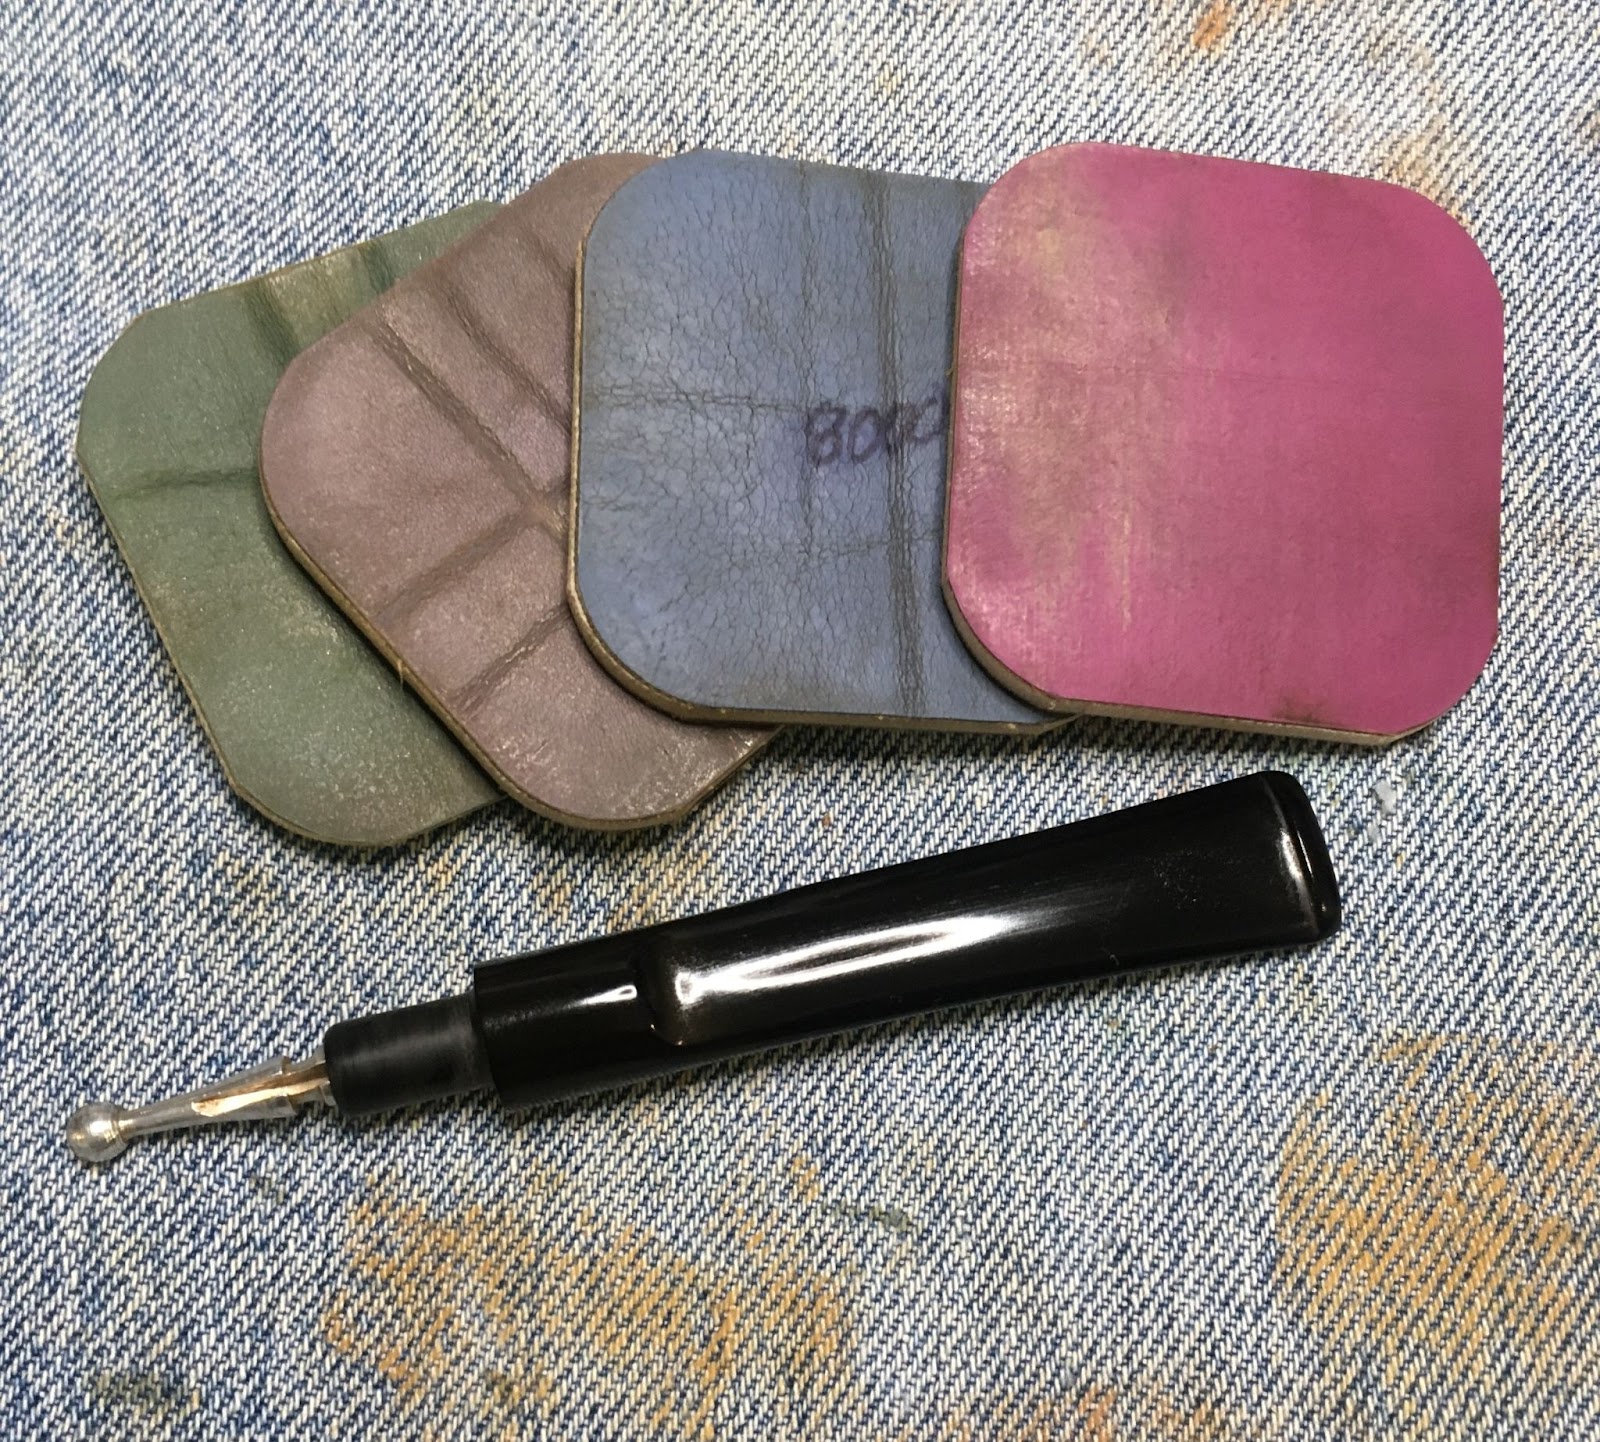
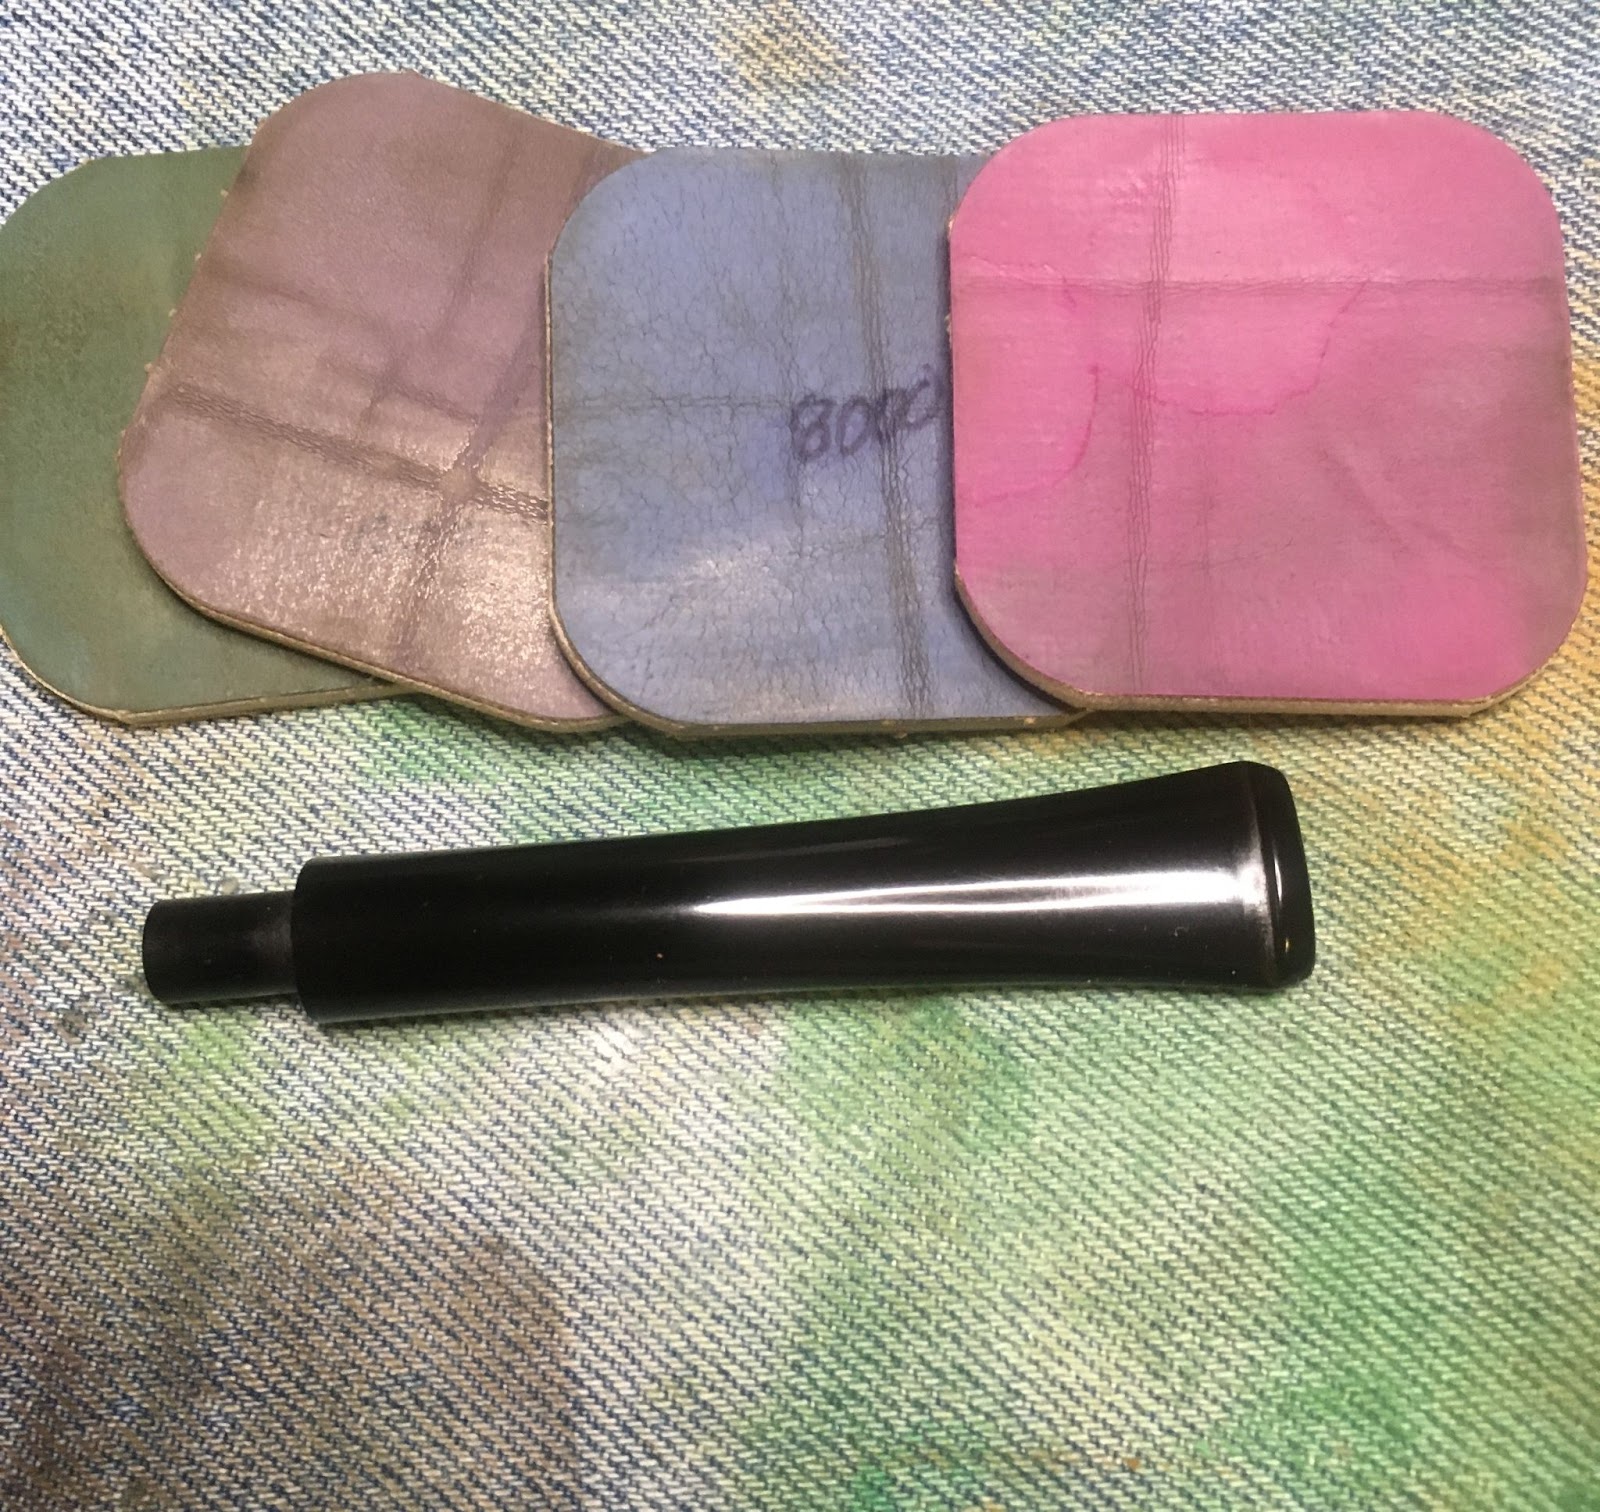
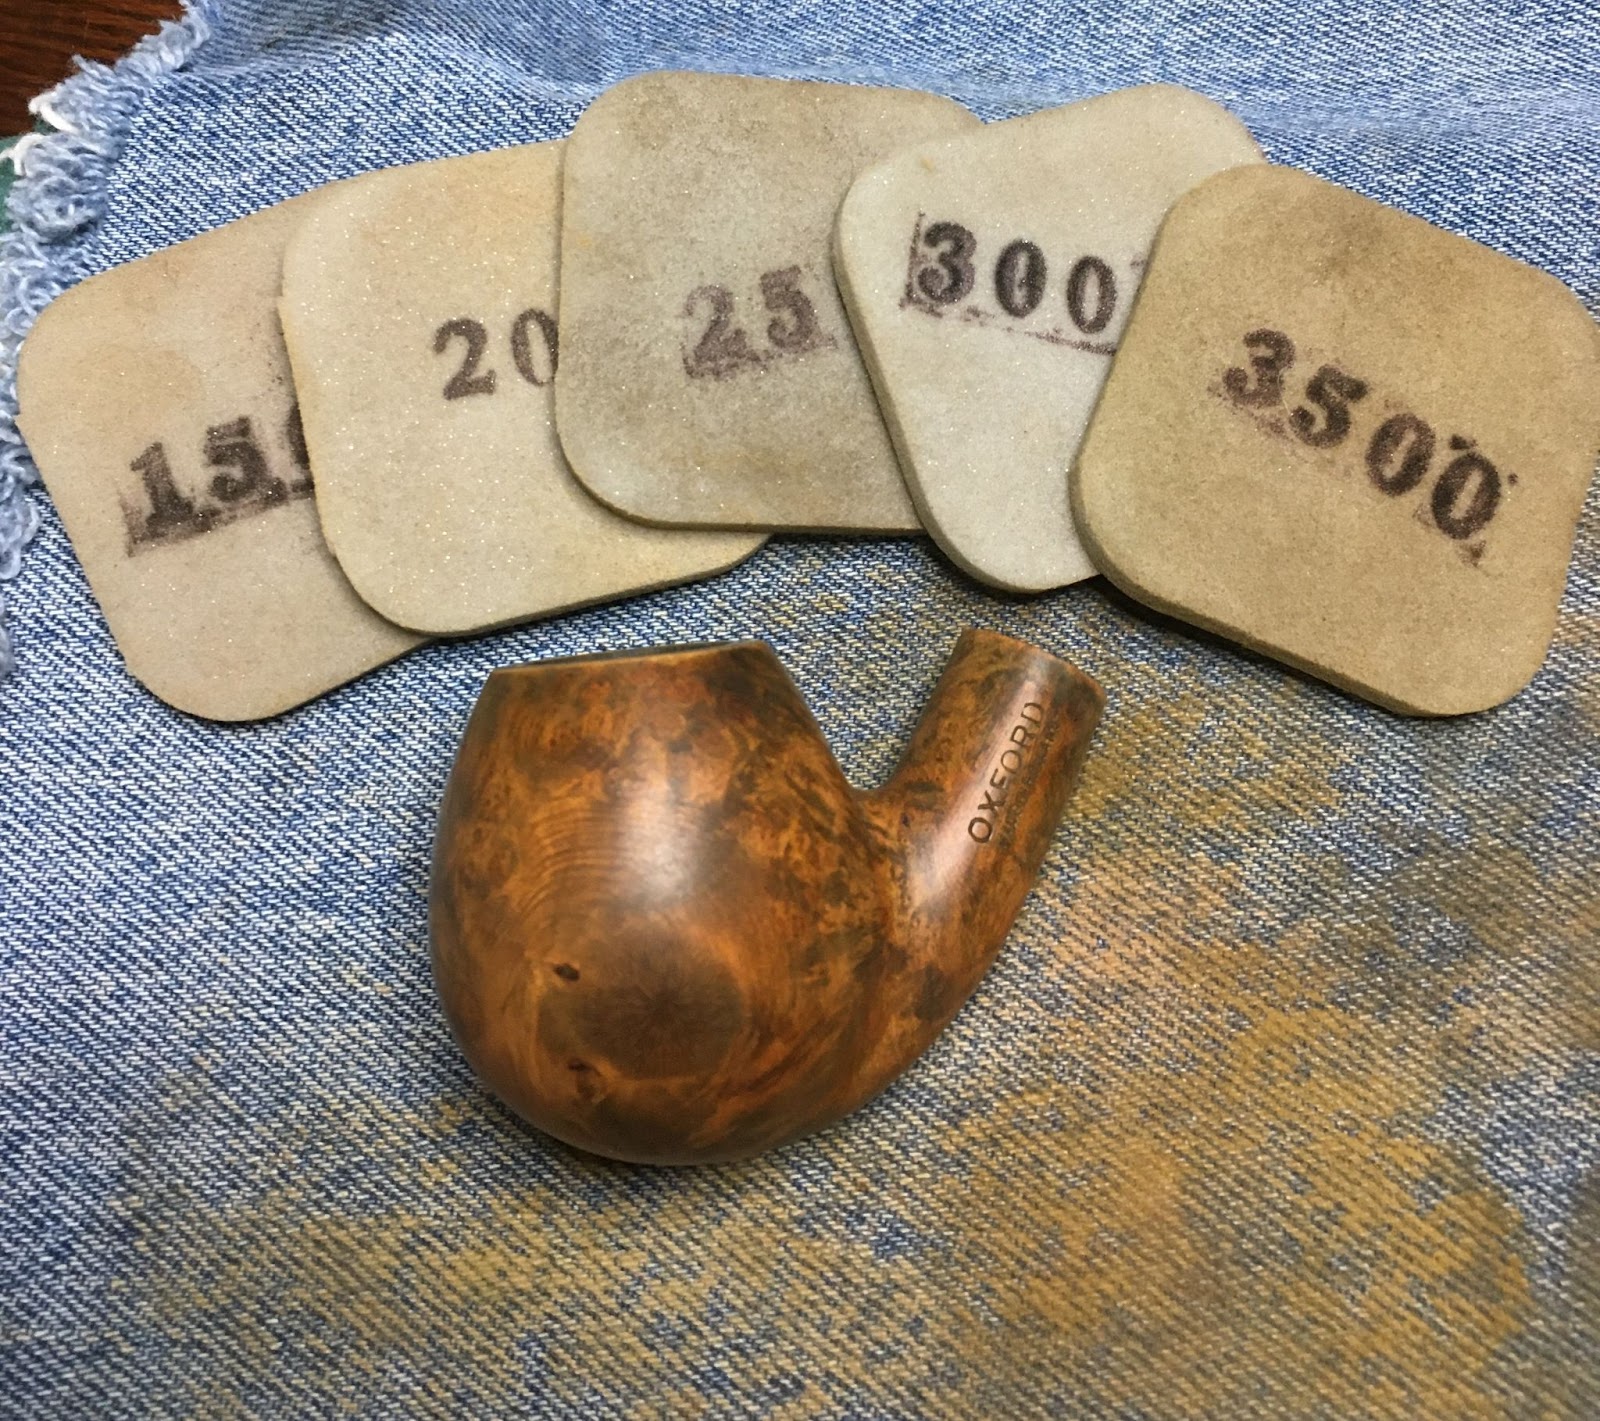
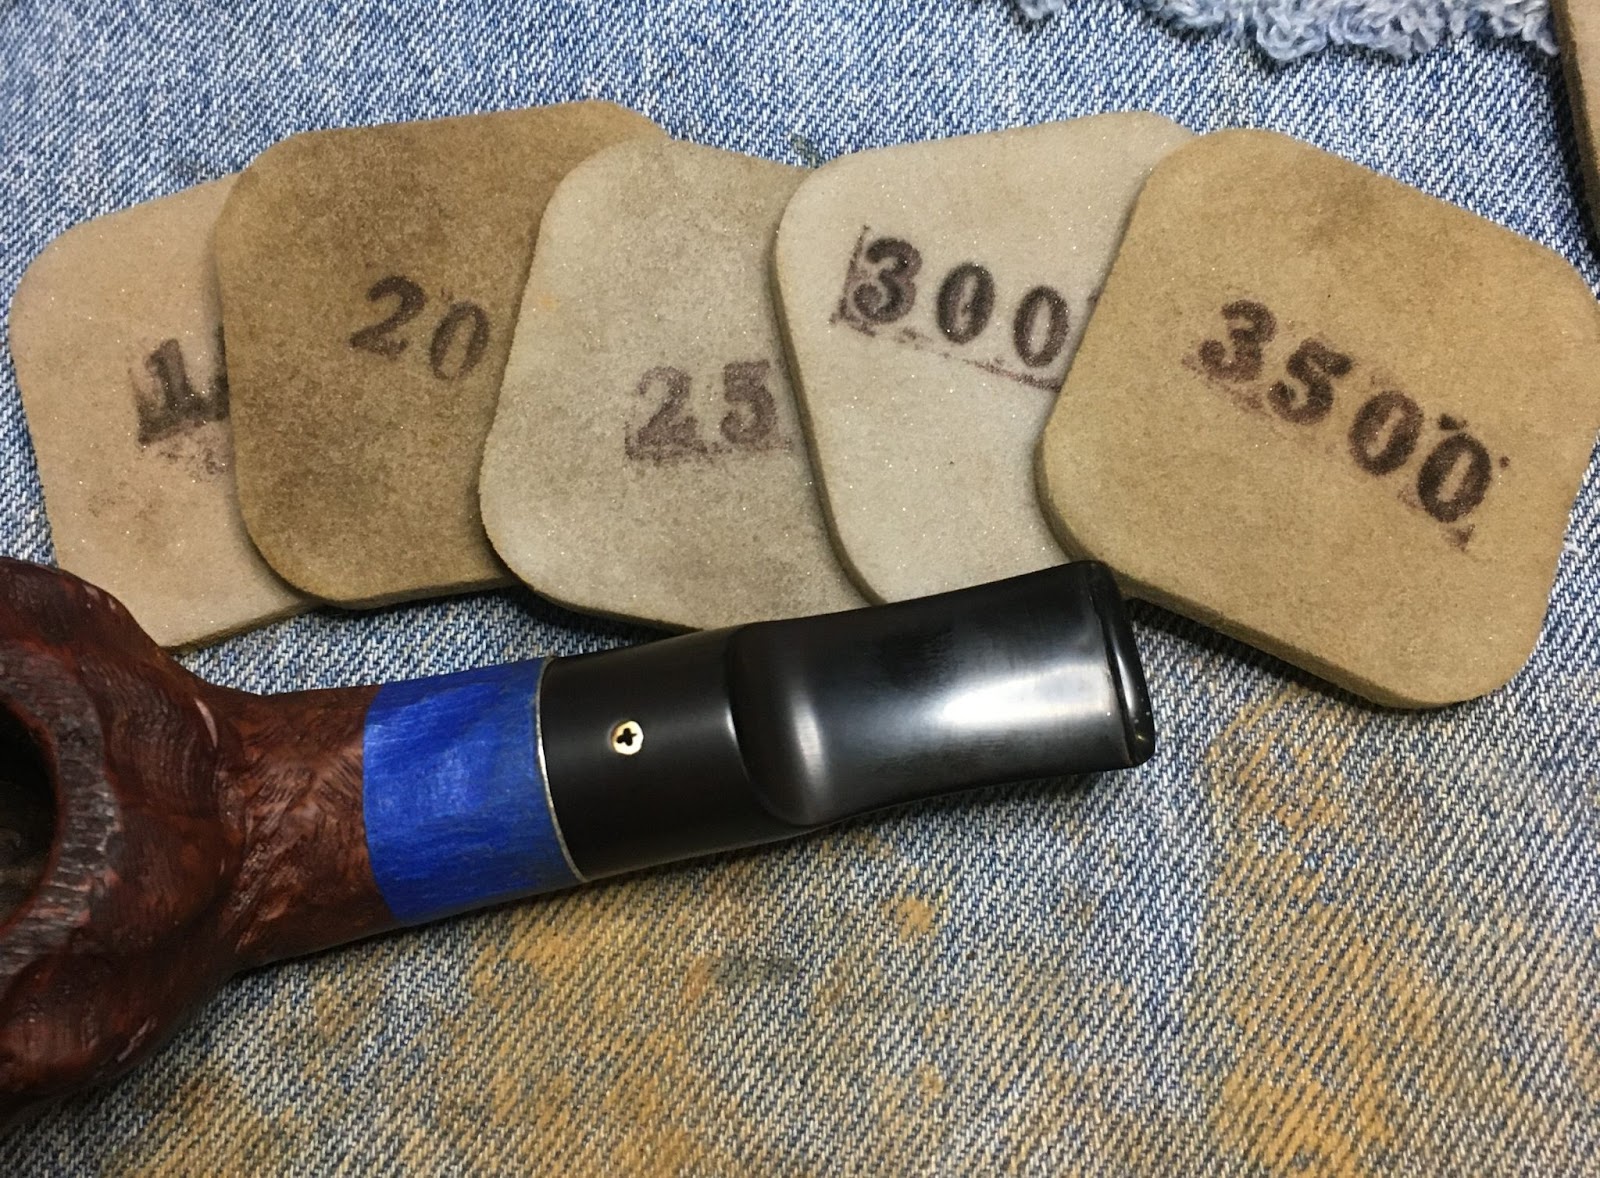
The pipe was sanded intact. I wanted to smooth out the mortise tenon joint as the original fit was less than smooth feeling. I used a series of sanding sponges with grits from 1000-3500, in sequence. Between each sponge the stummel was wiped with a make-up pad wetted with alcohol while the stemI received a bit of mineral oil rubbed in by fingertip then wiped with a paper towel.

After the sanding sponges I used a sequence of micro-mesh pads from 4000-12000. The stummel was wiped between each pad as above. The stem received a drop of Obsidian Oil between pads, rubbed in by fingertip and wiped with a paper towel.
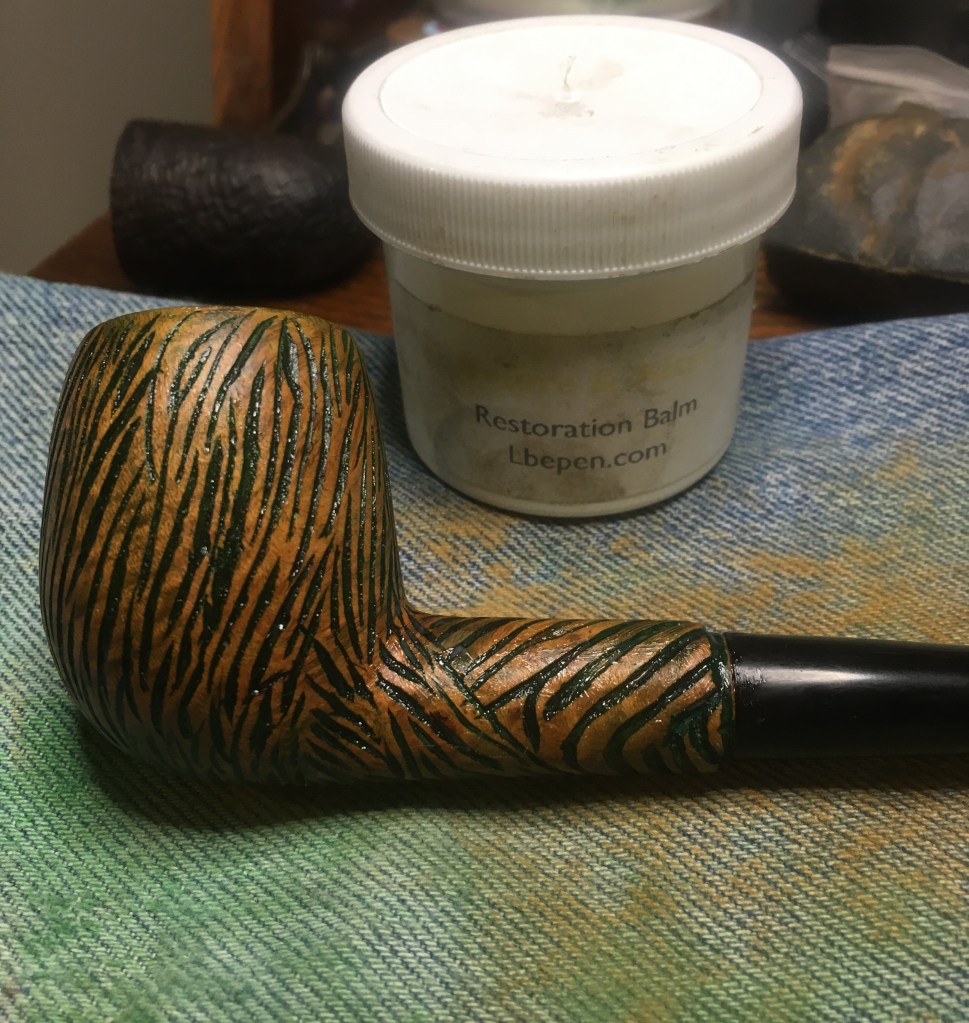
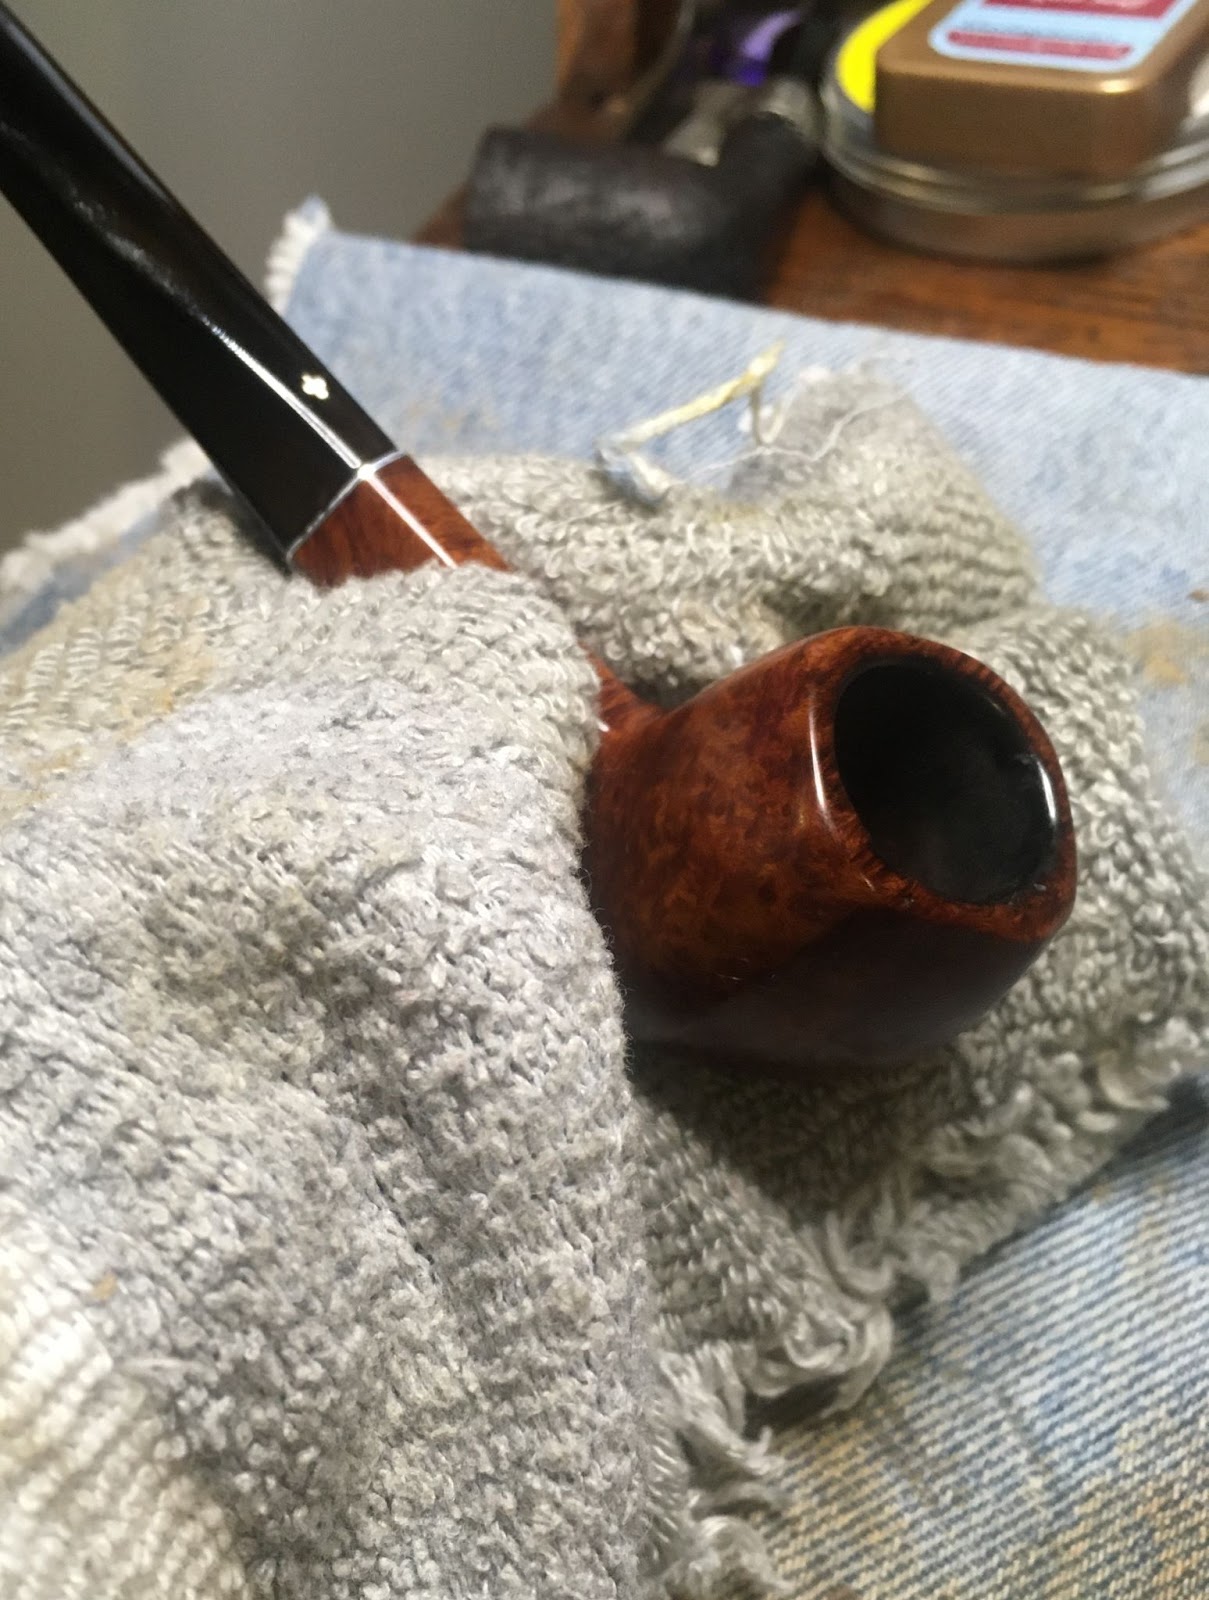
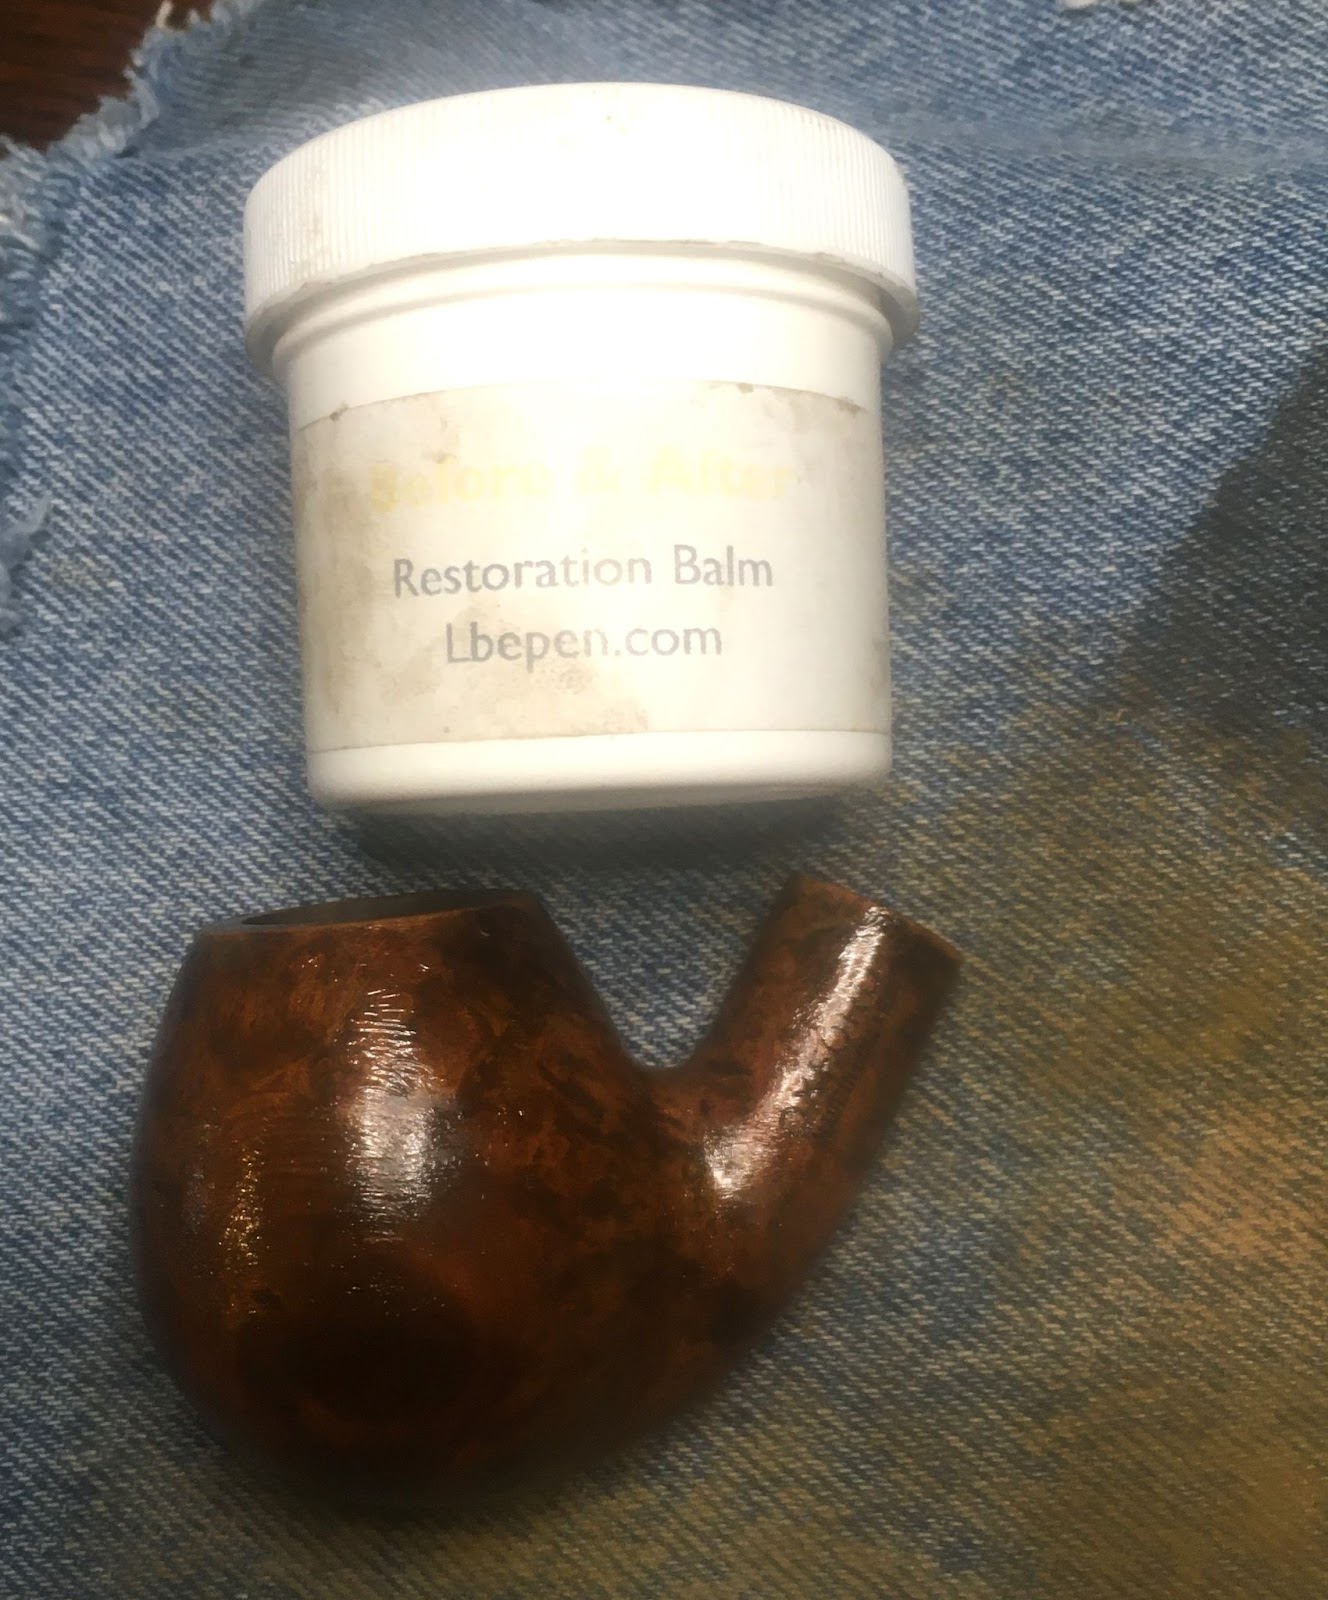
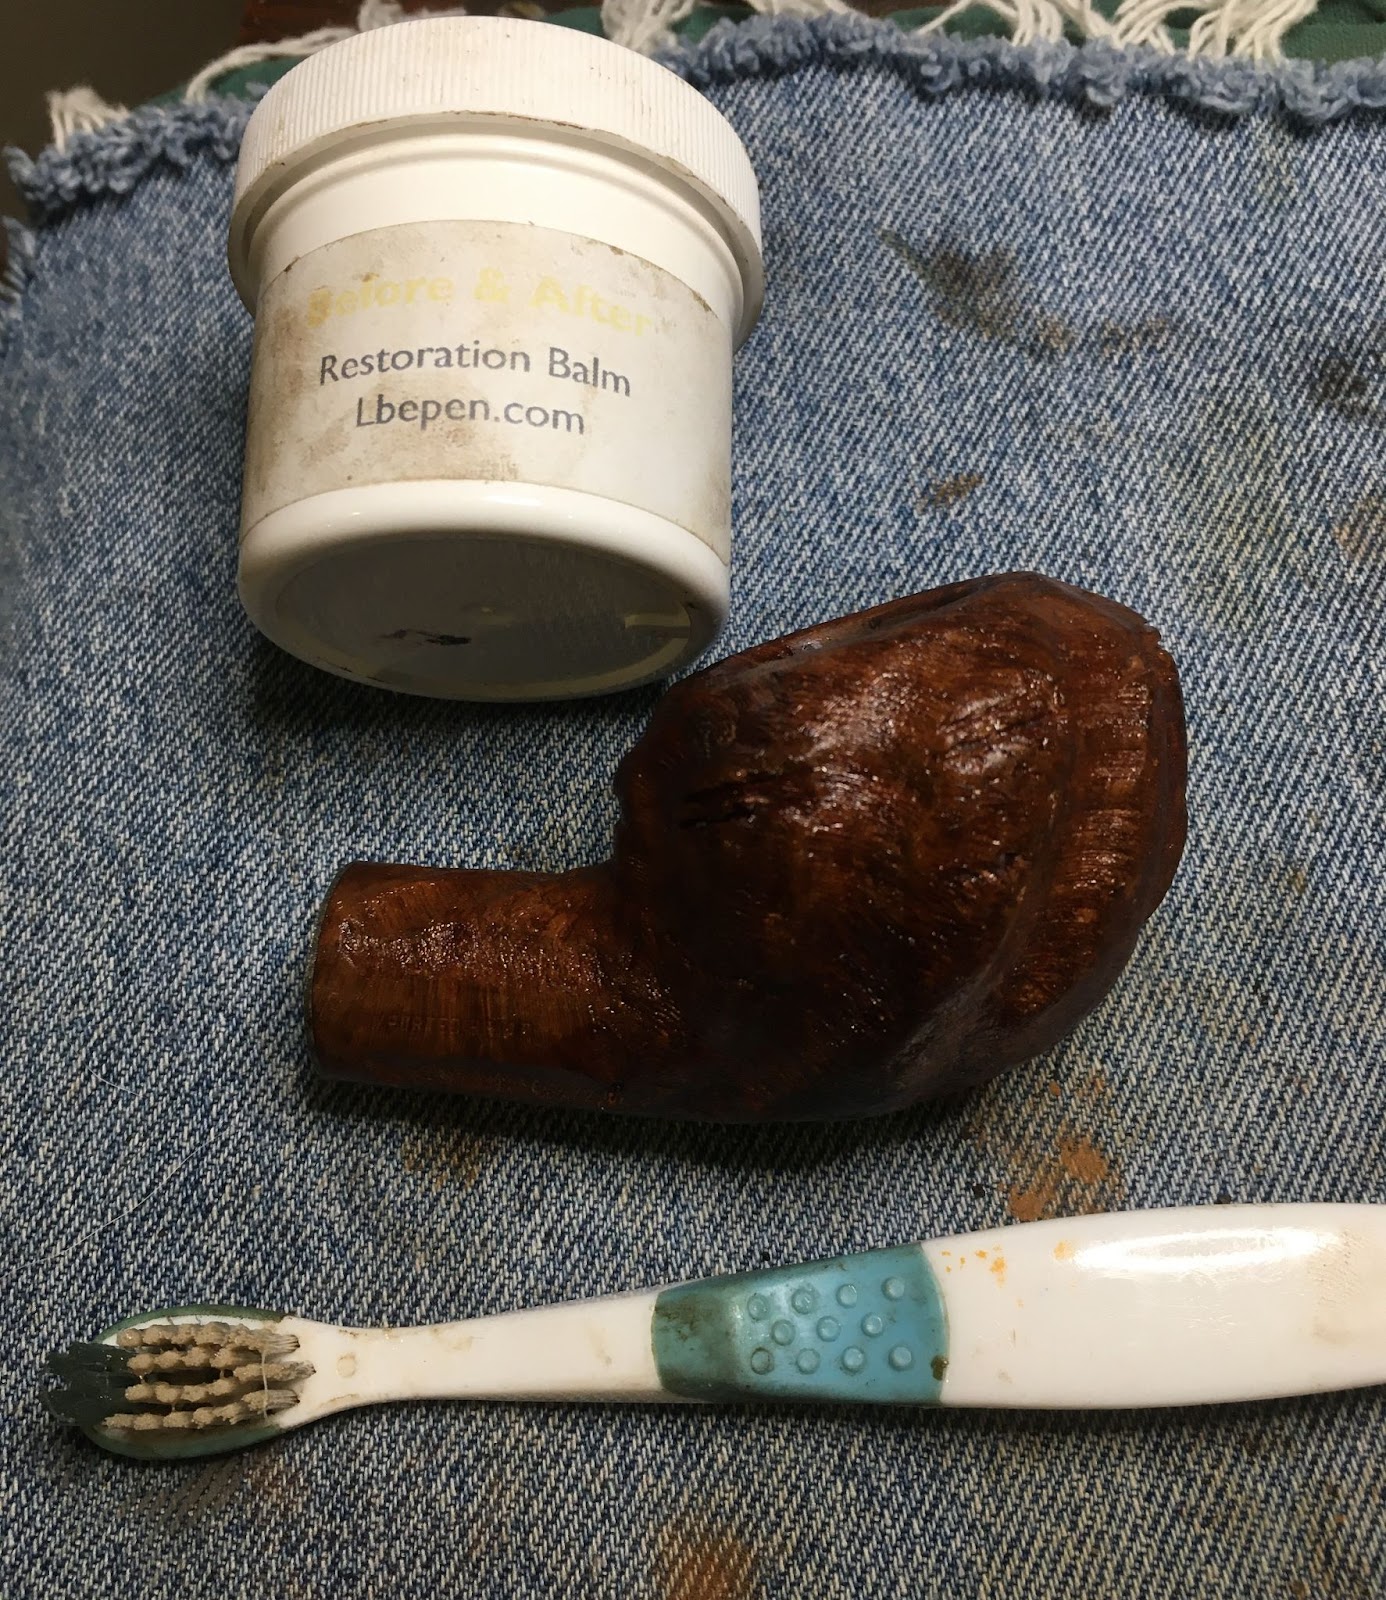
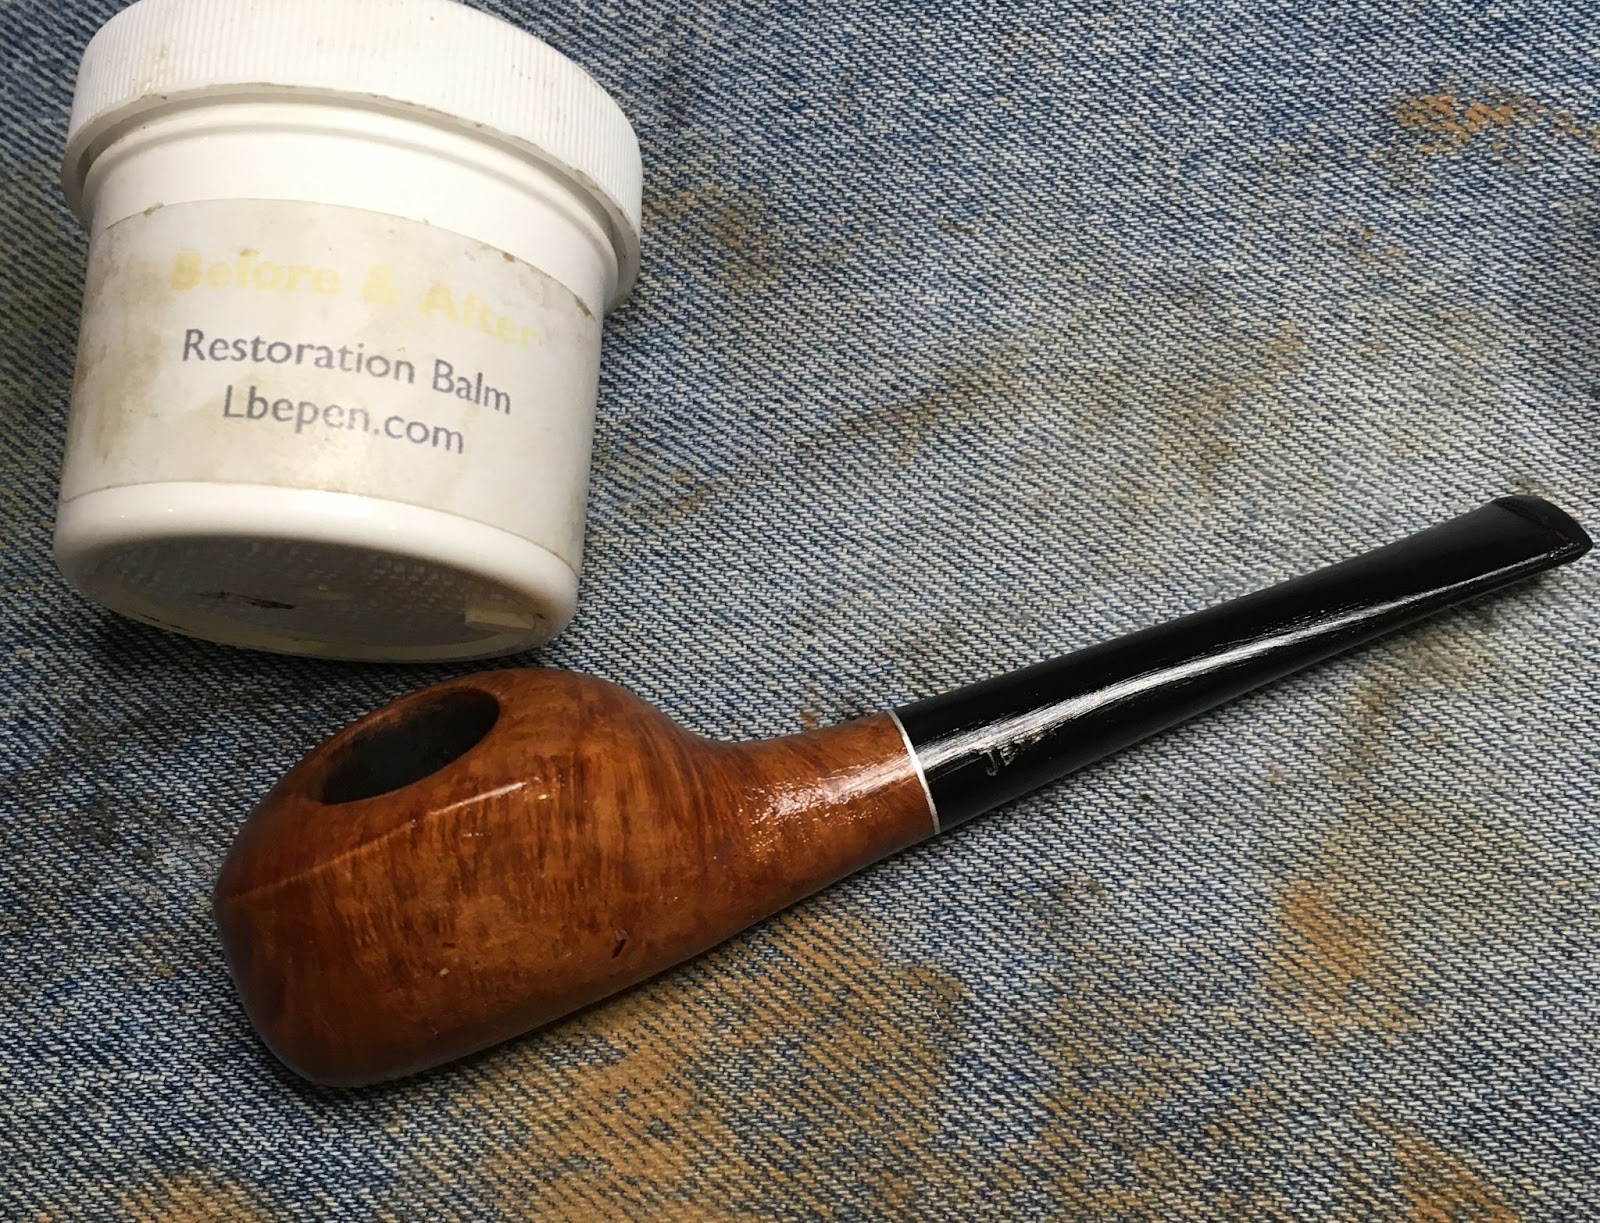
The pipe then was coated with Before and After Restoration Balm. The balm was allowed to sit for 15 minutes.
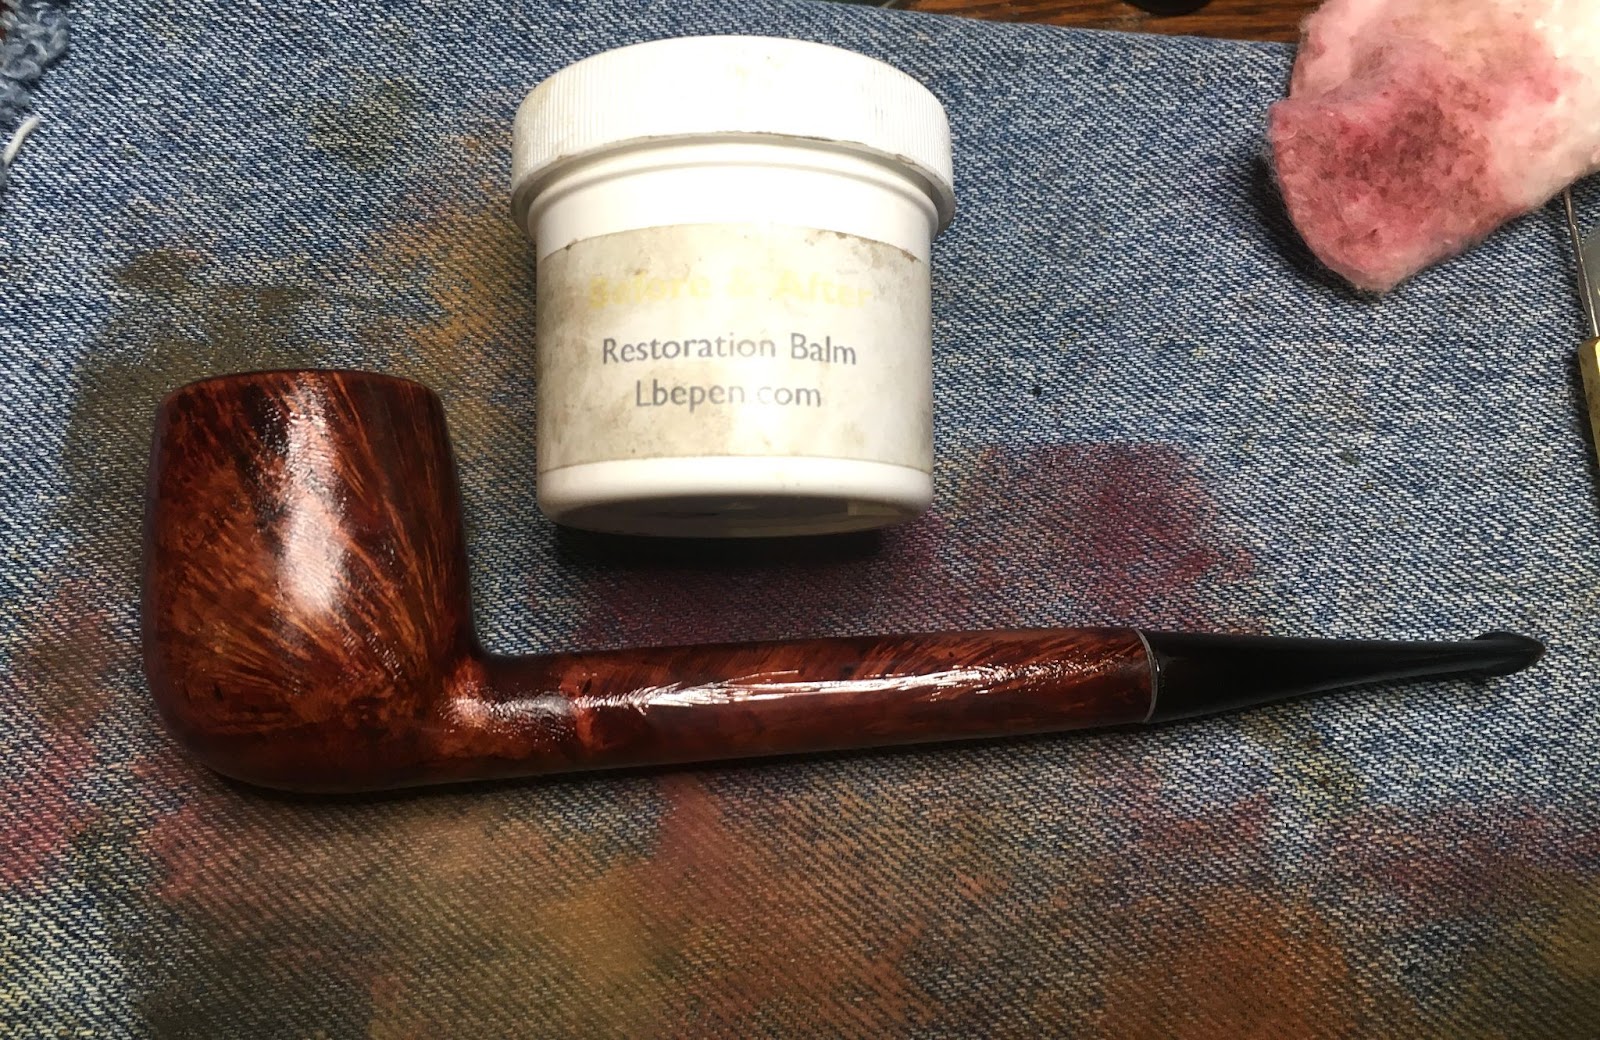
The excess balm was wiped with an inside-out cotton athletic sock to reveal a beautiful rejuvenated contrast dyed briar.
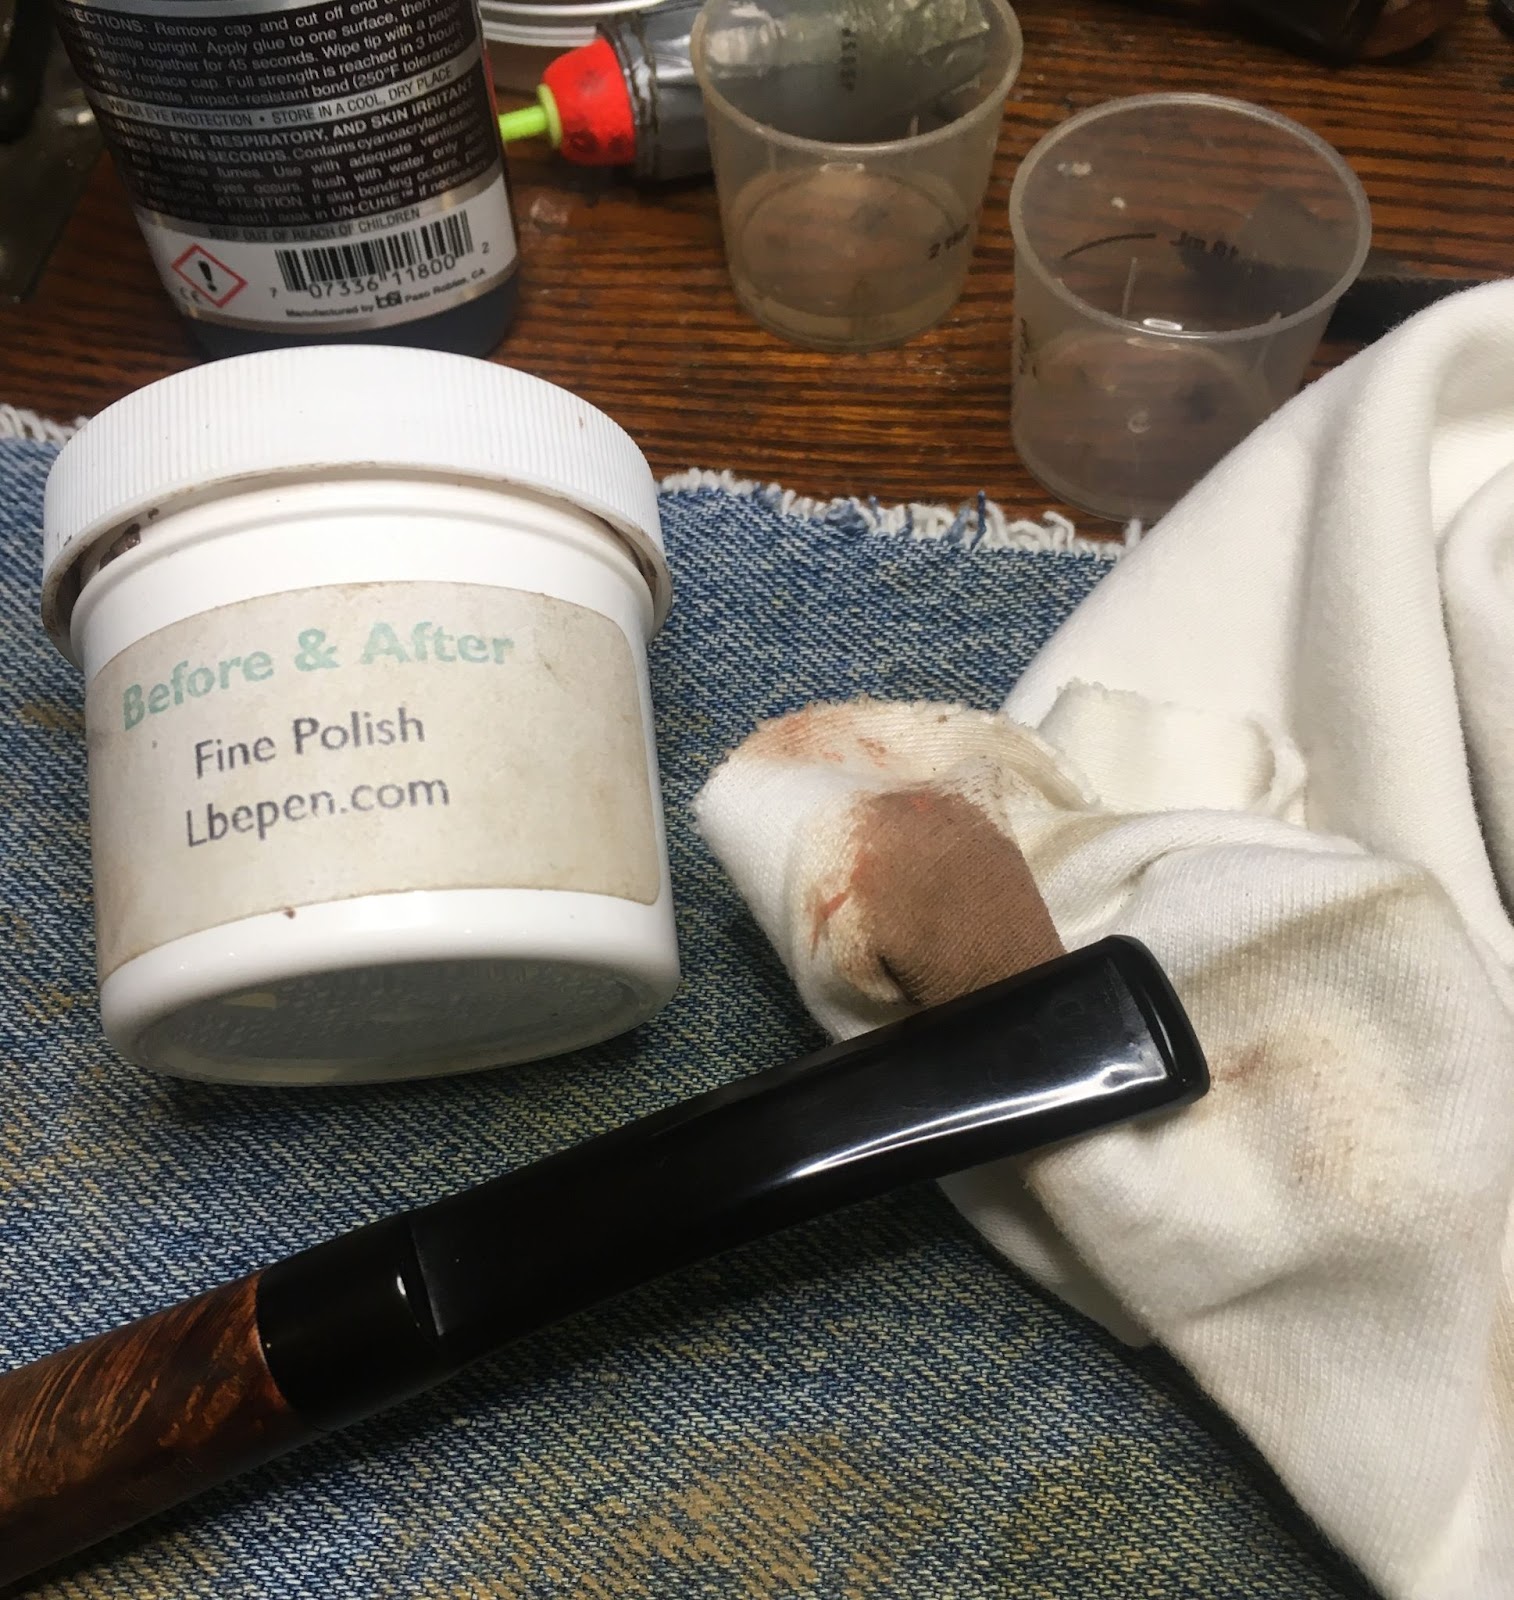
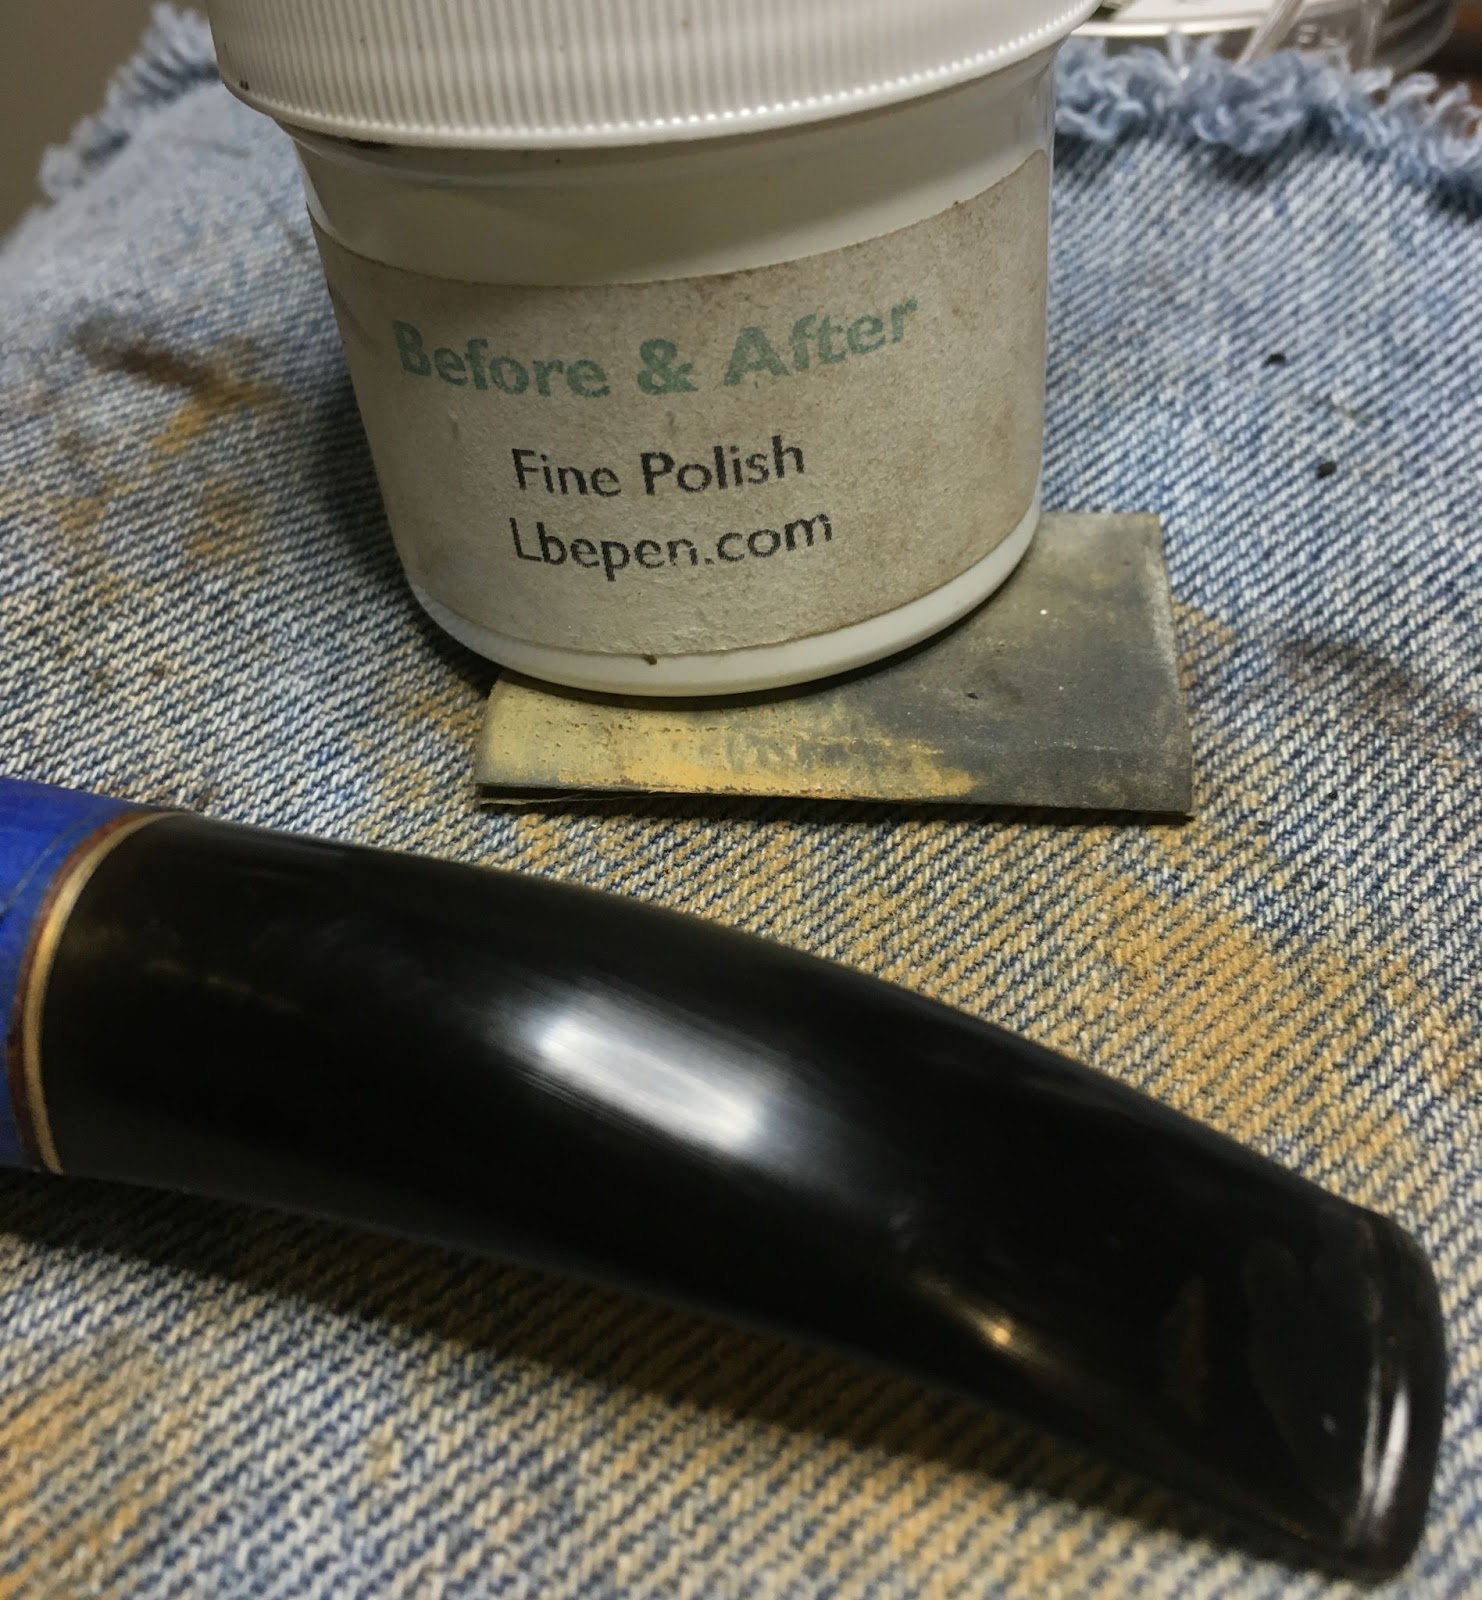
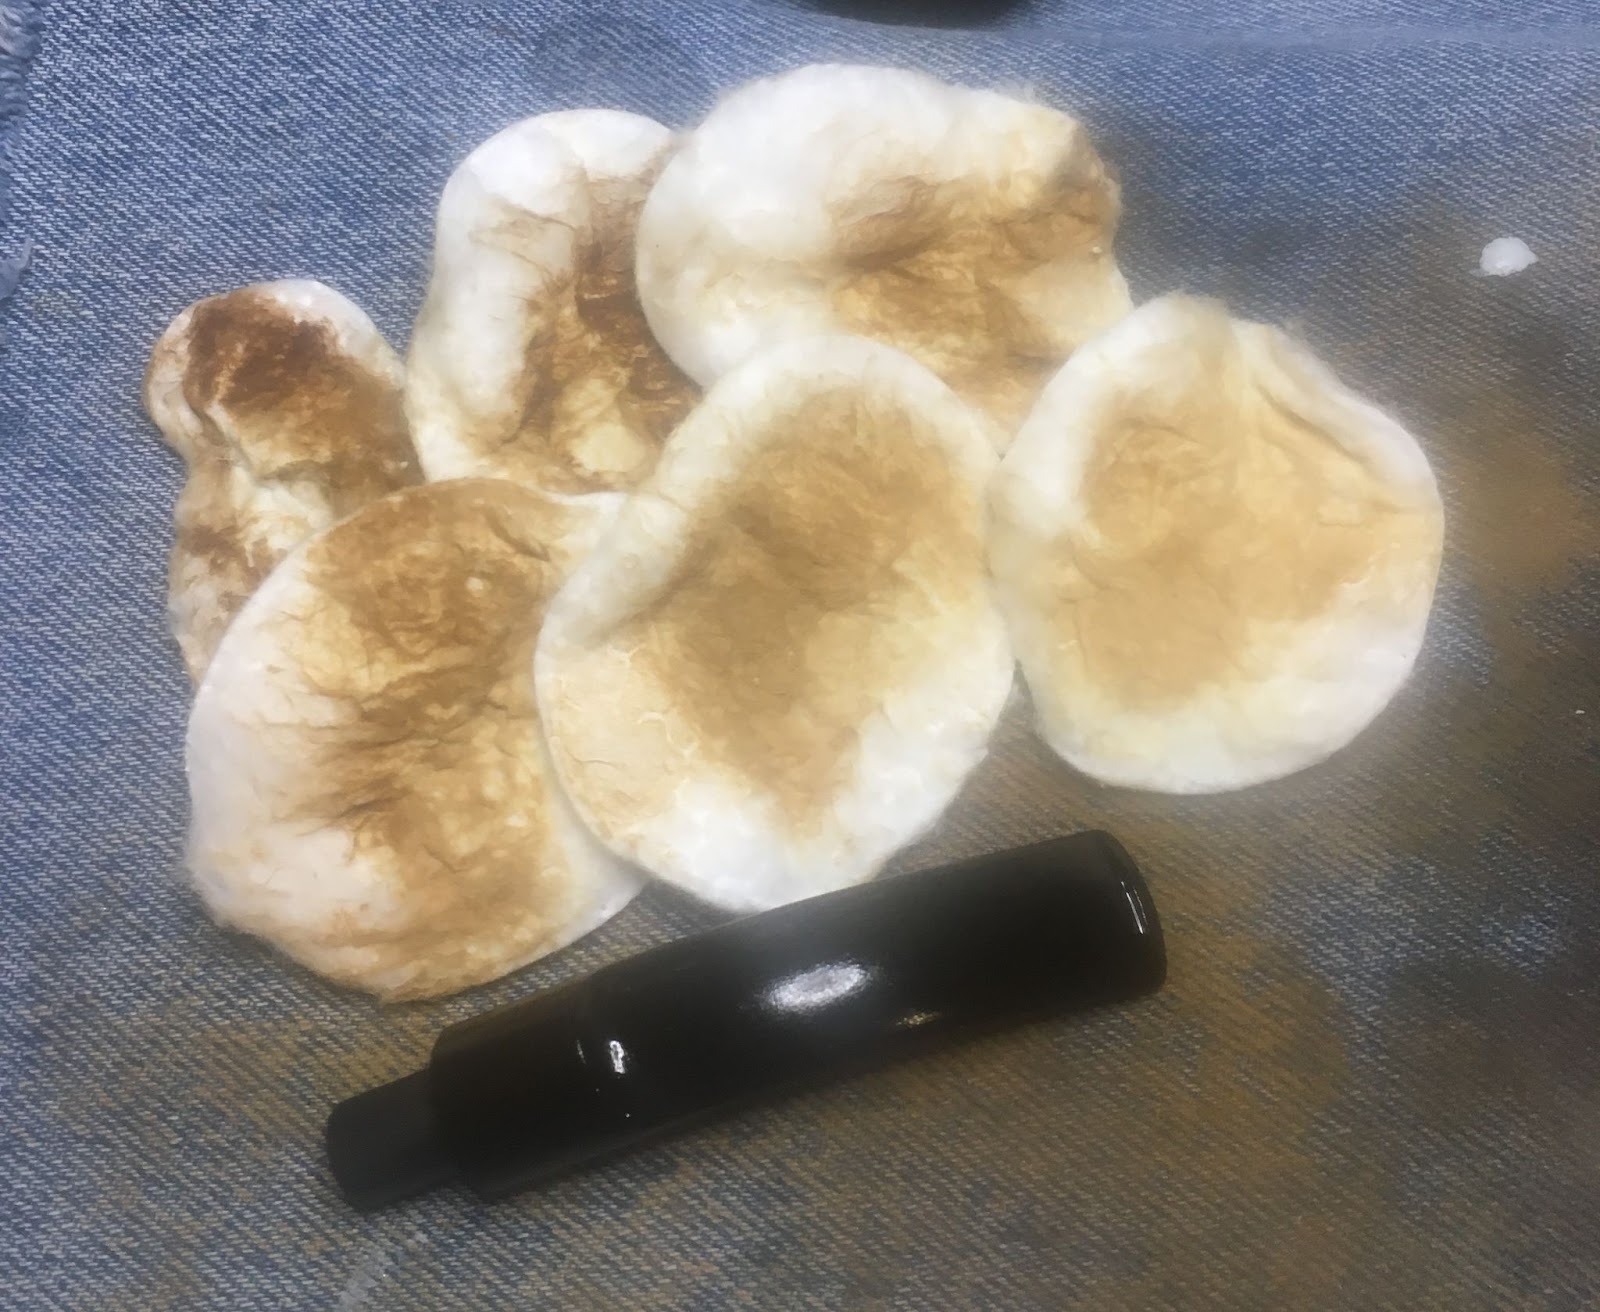
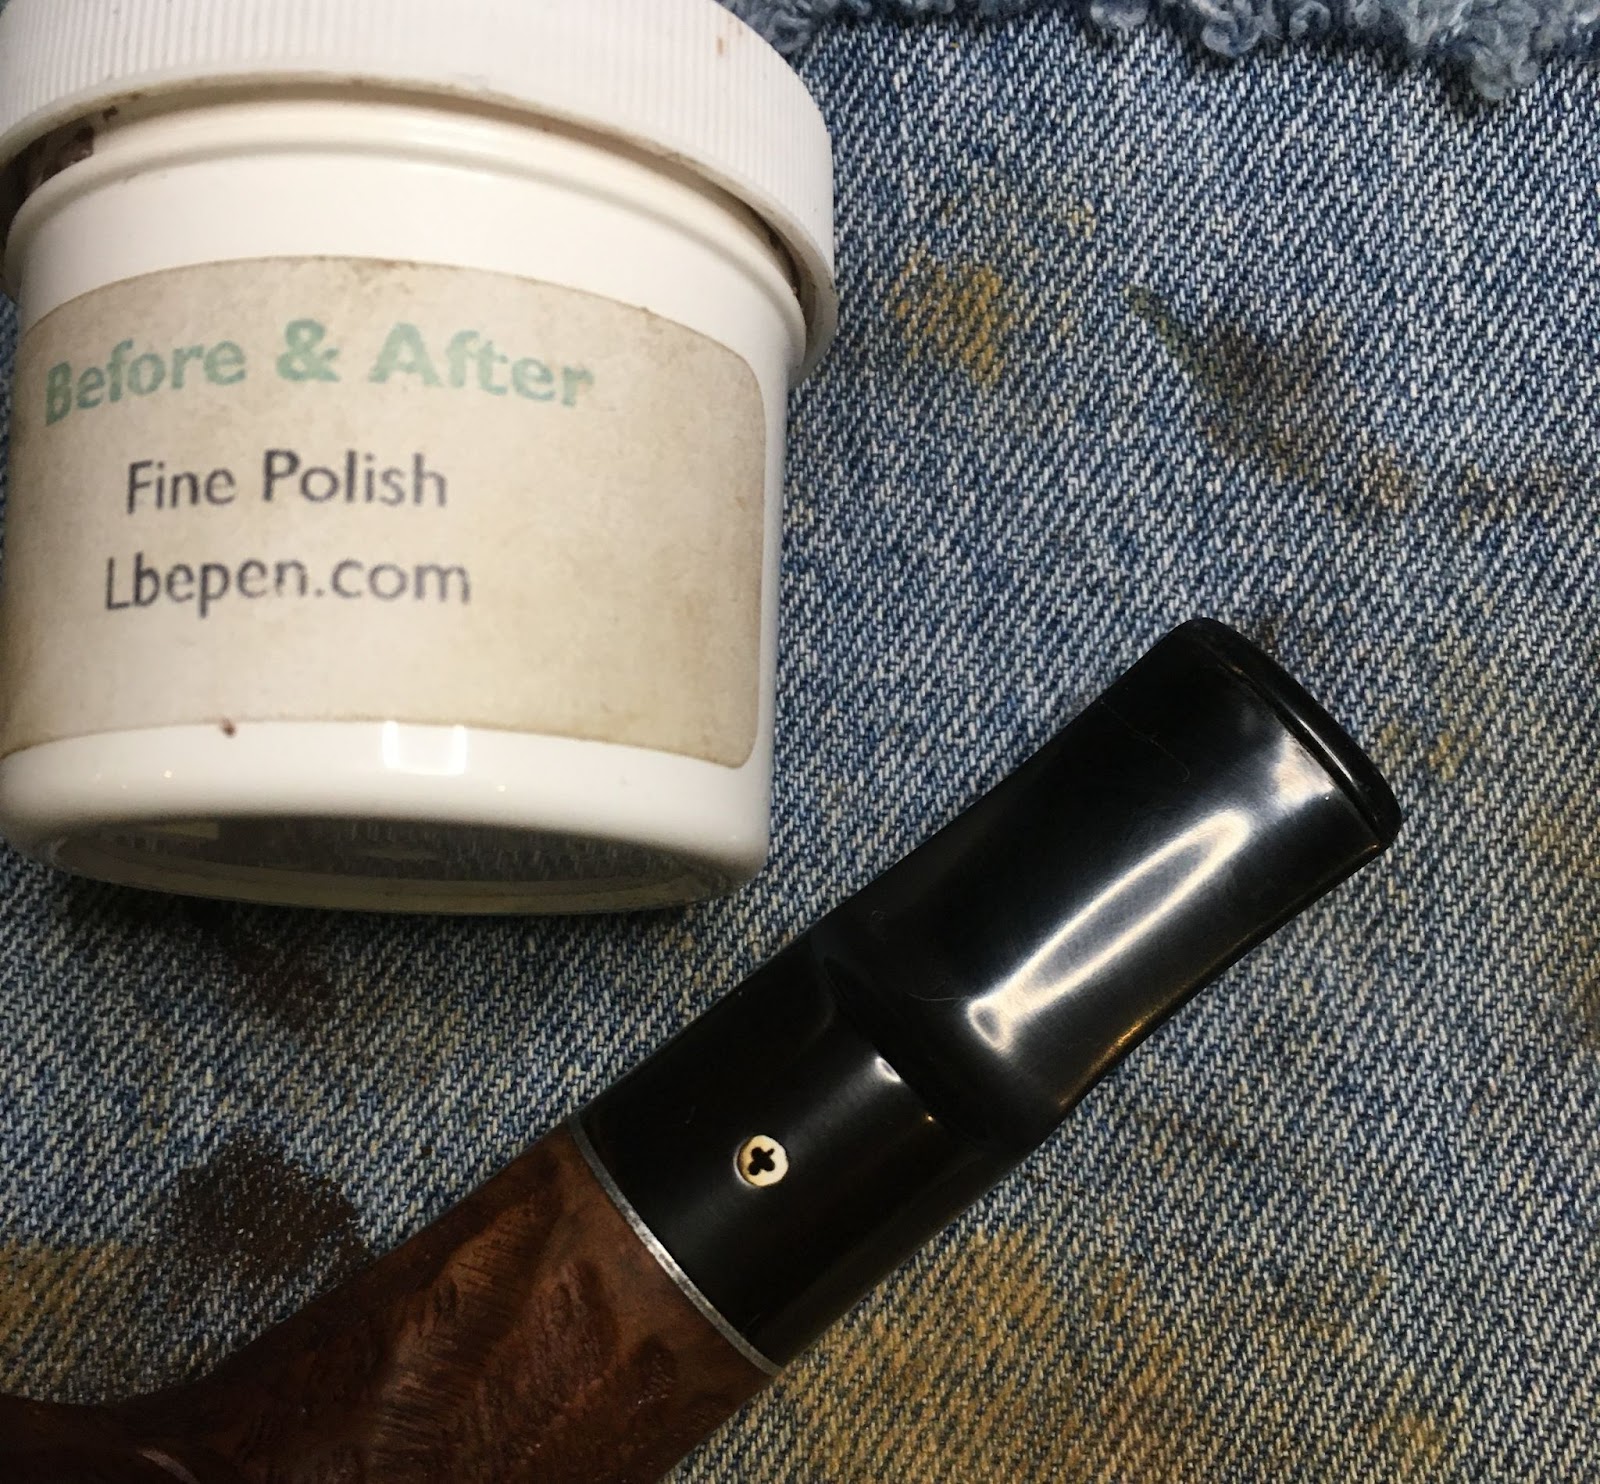
The stem was further polished using Before and After Fine Polish. The polish was applied by fingertip and hand buffed with a soft cotton cloth.

The polishing was finished using the Before and After Extra Fine Polish using the above procedures.

The final step was to apply several coats of carnauba wax using the buffer.
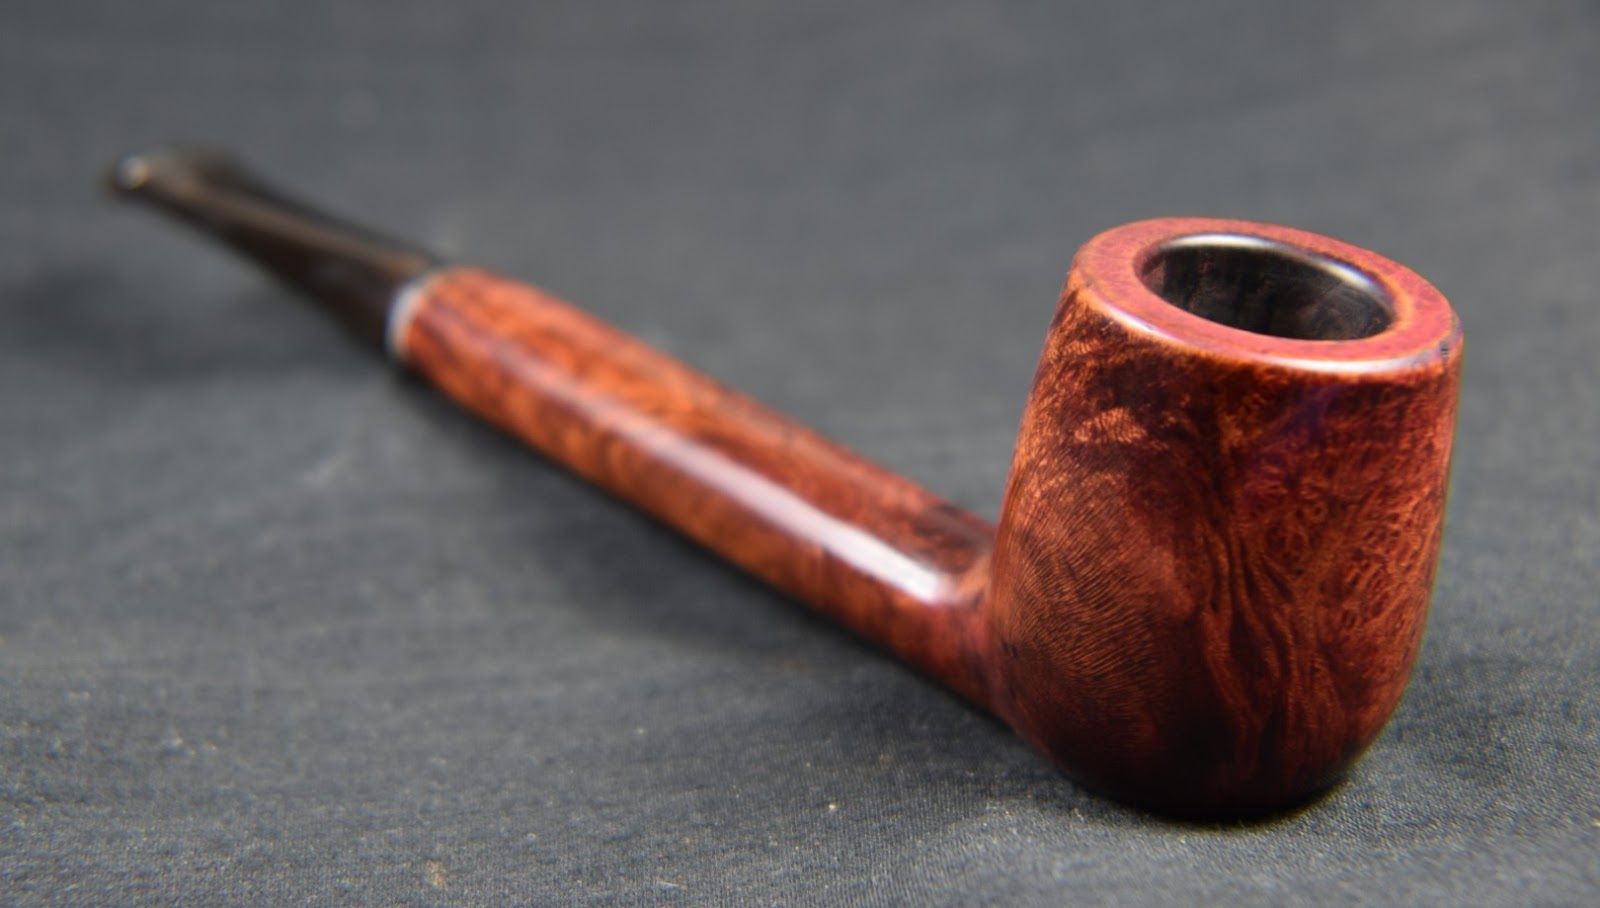
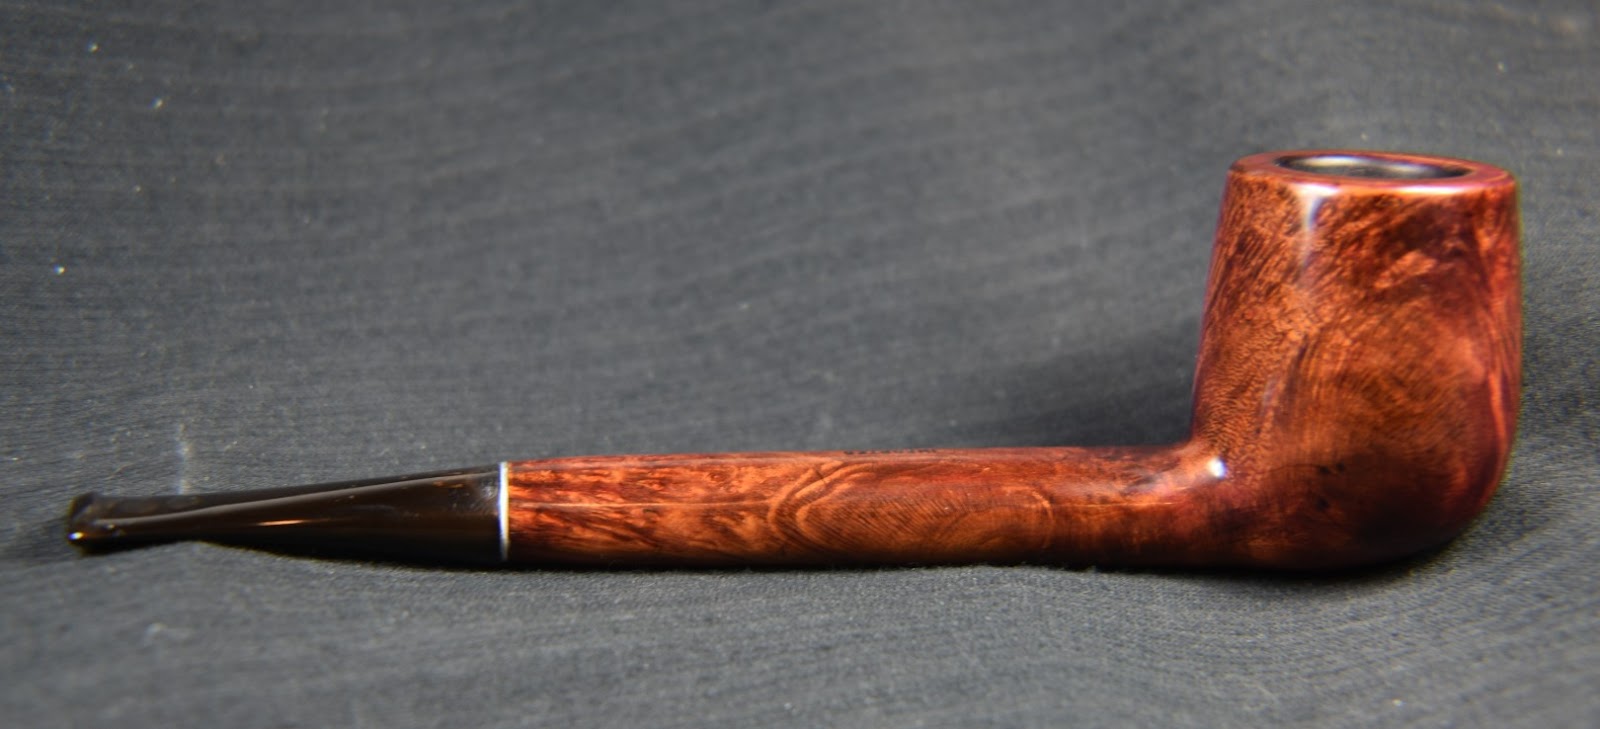
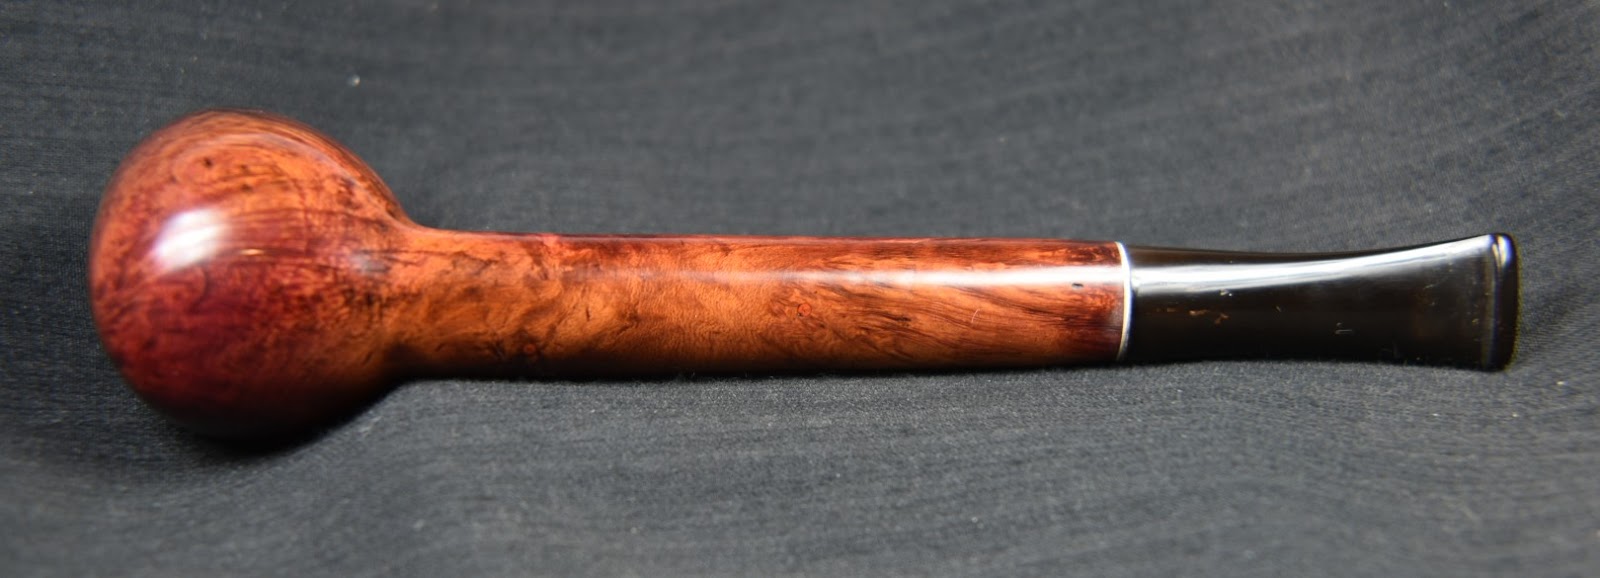
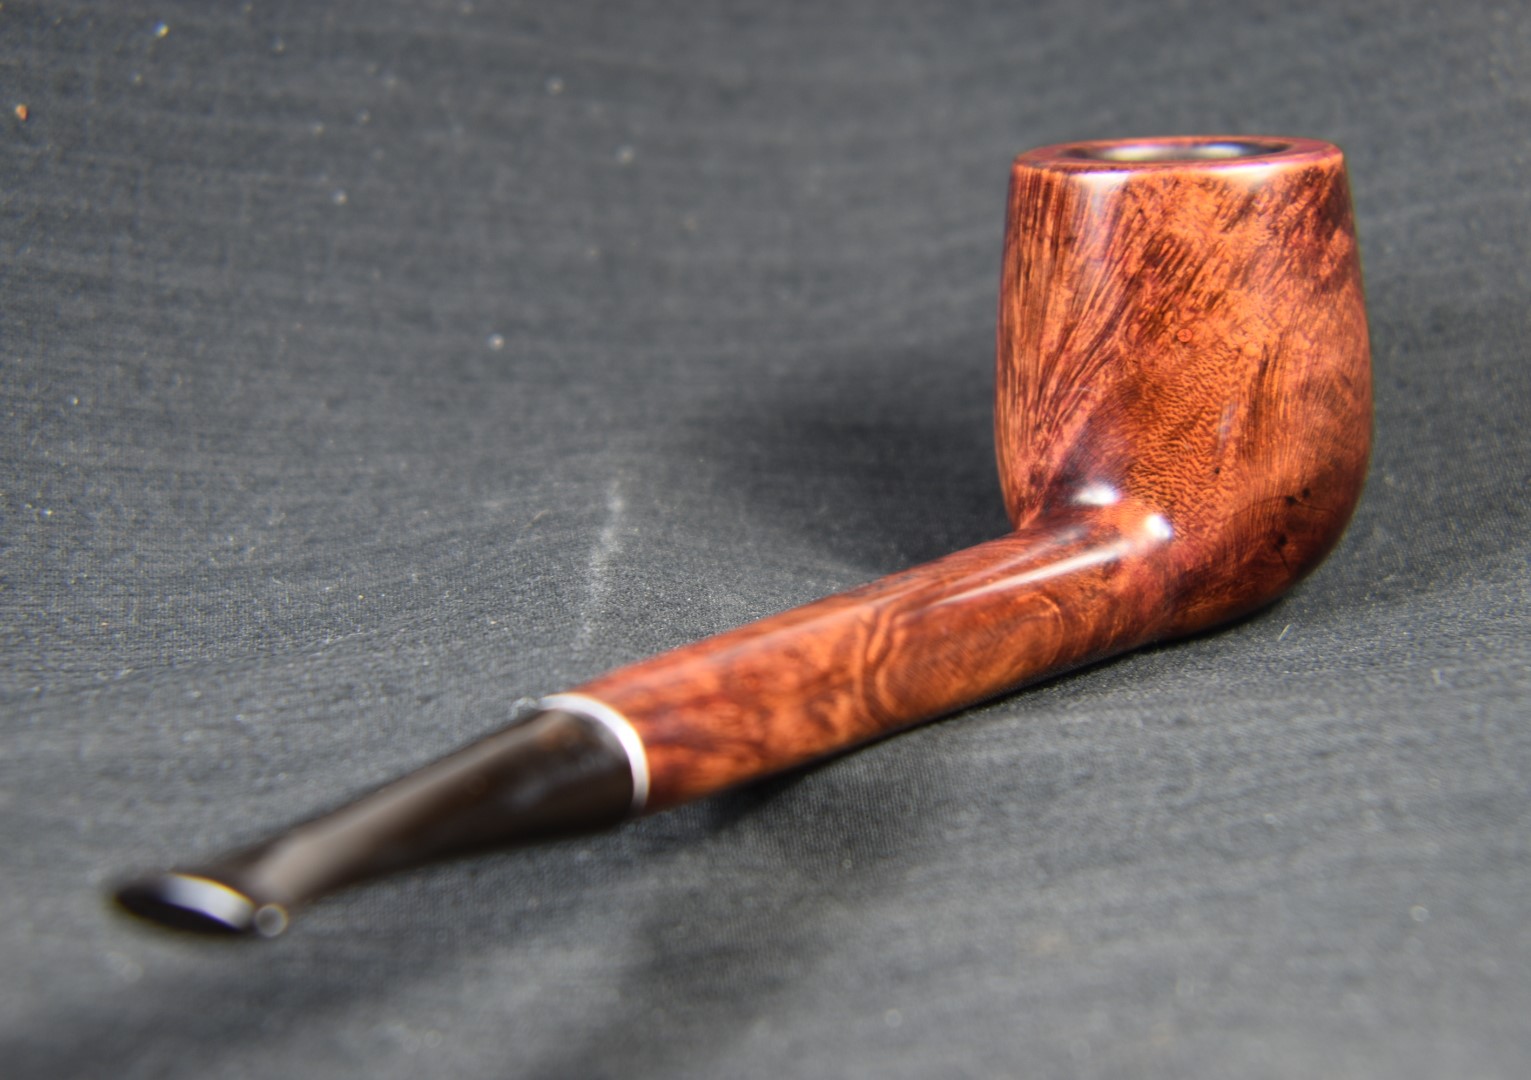
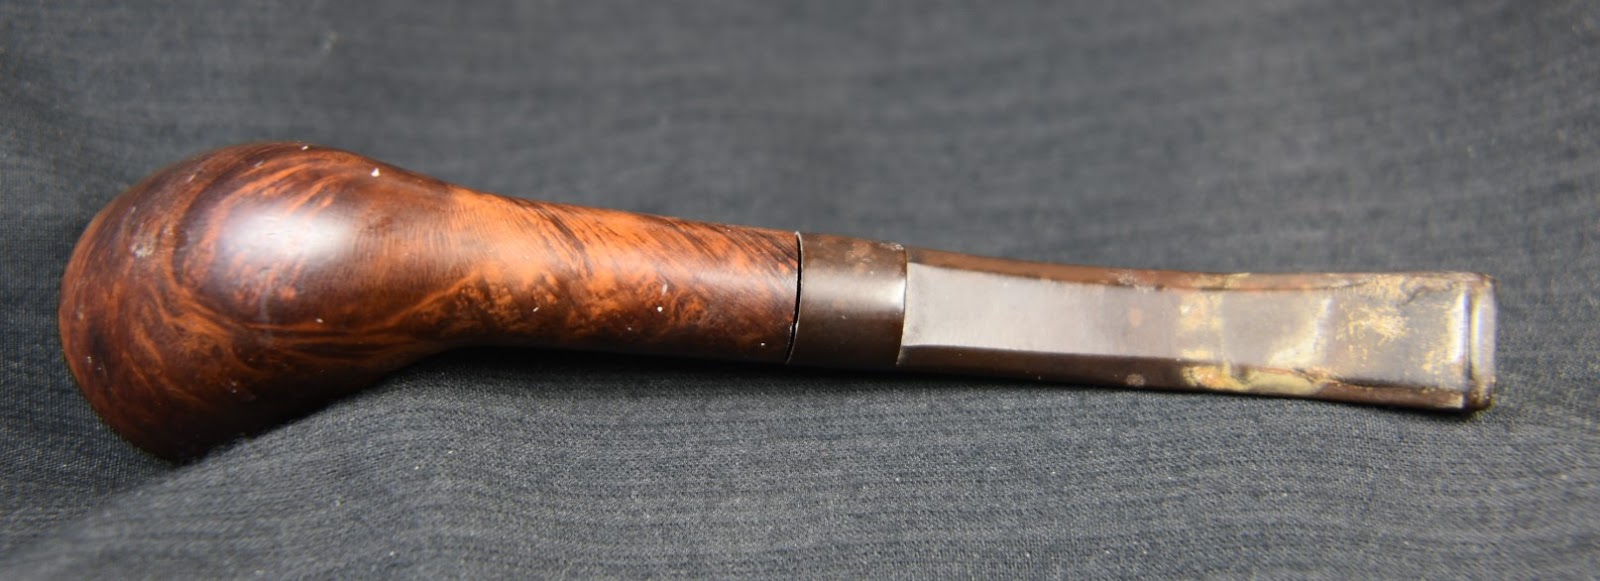
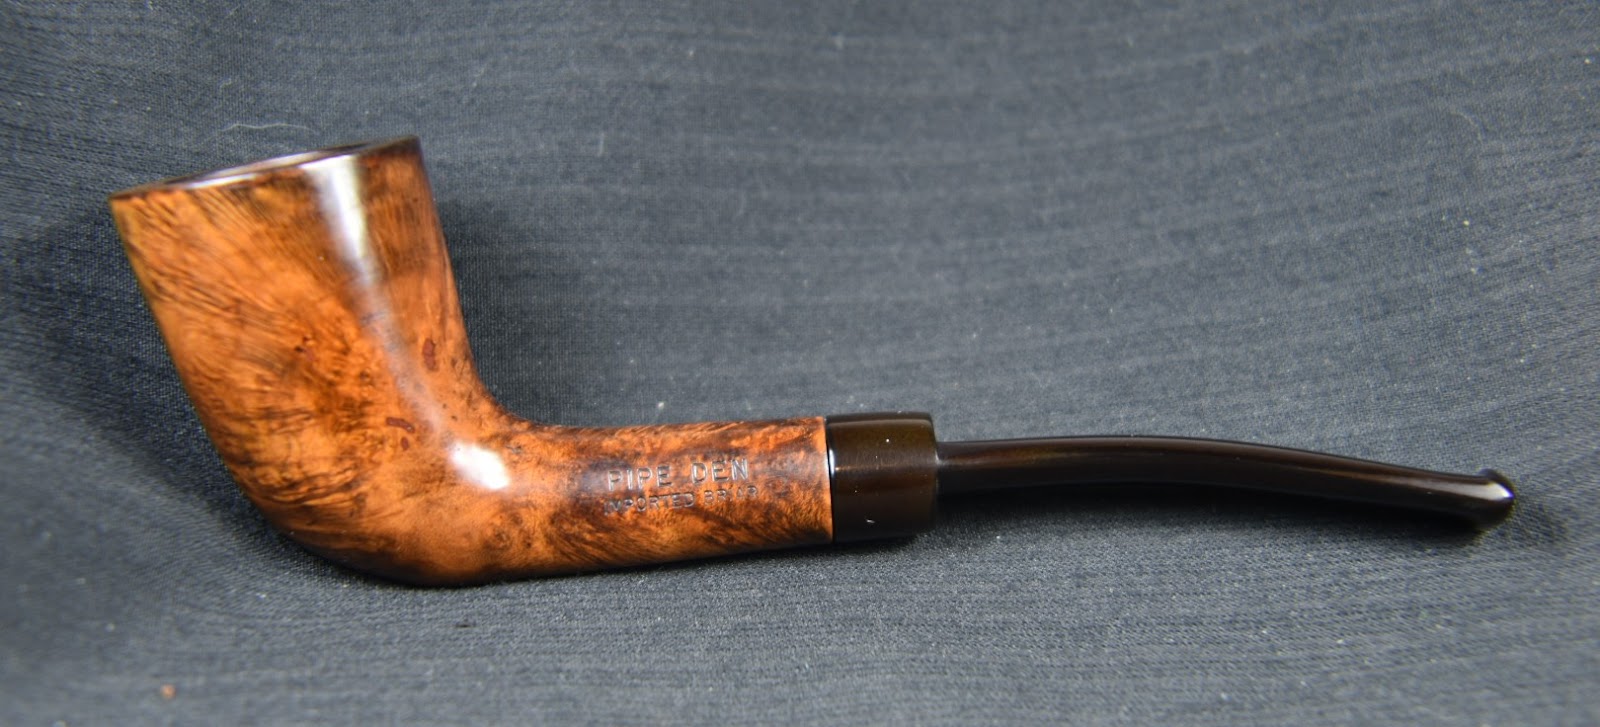
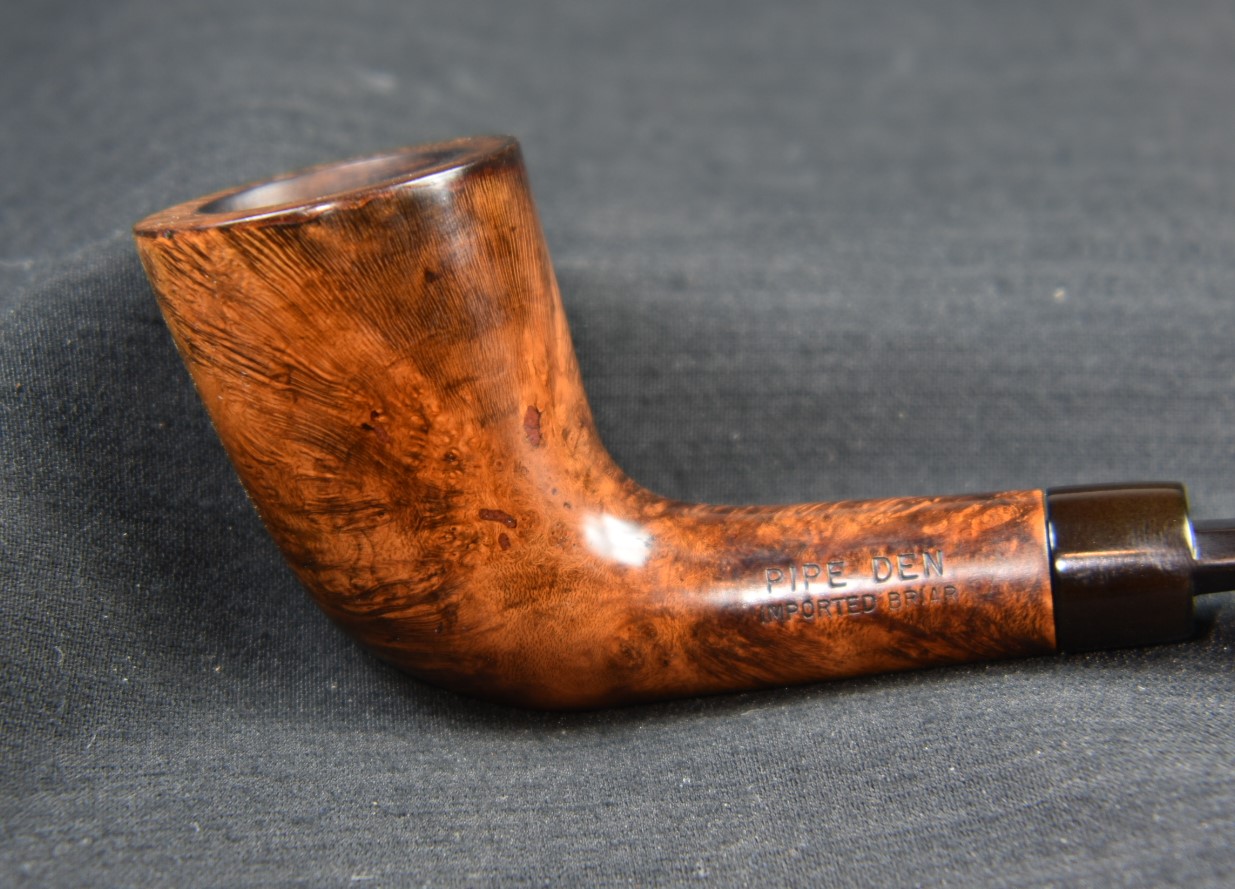
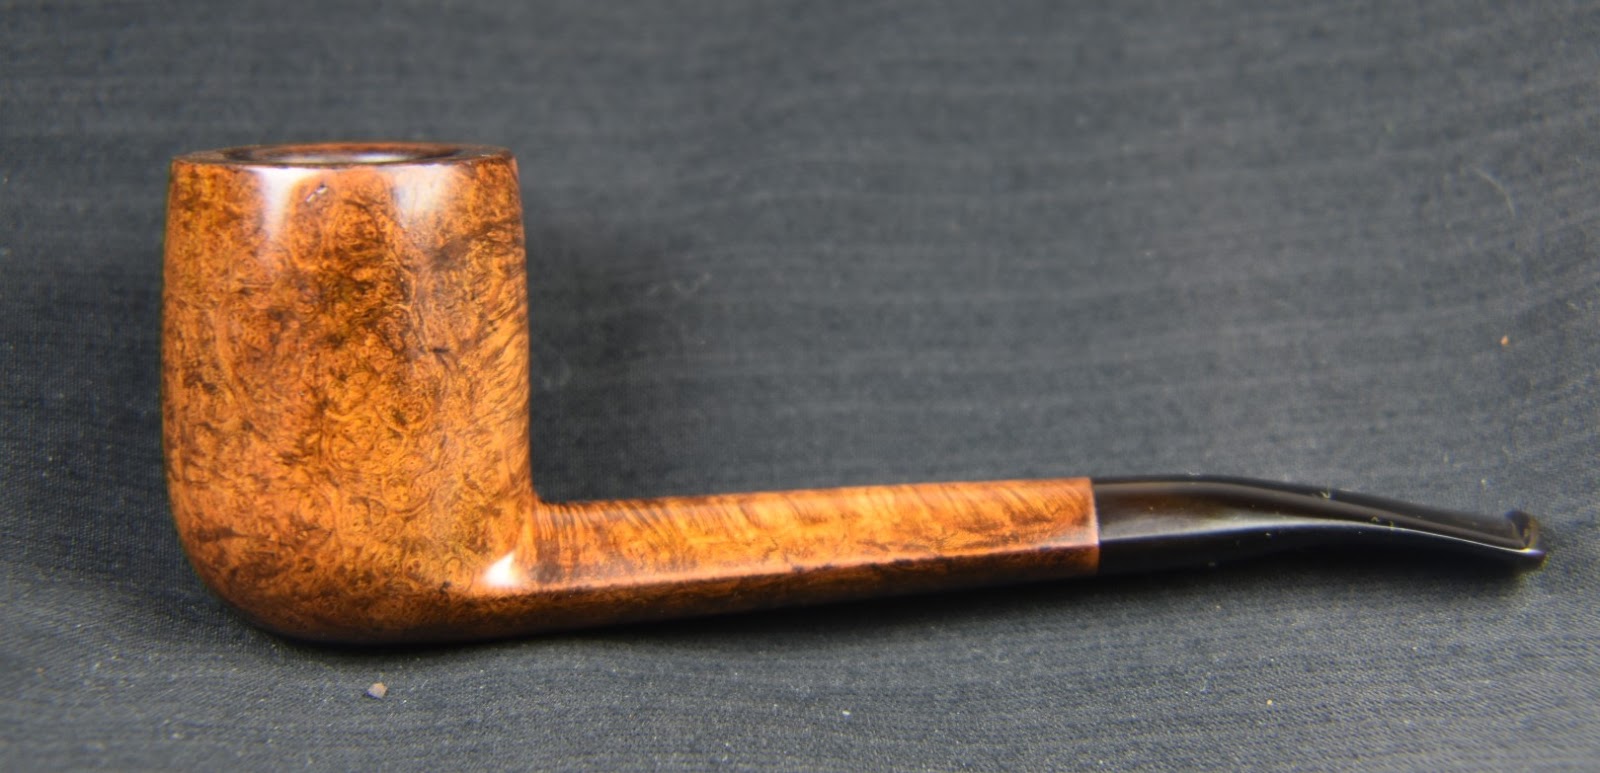
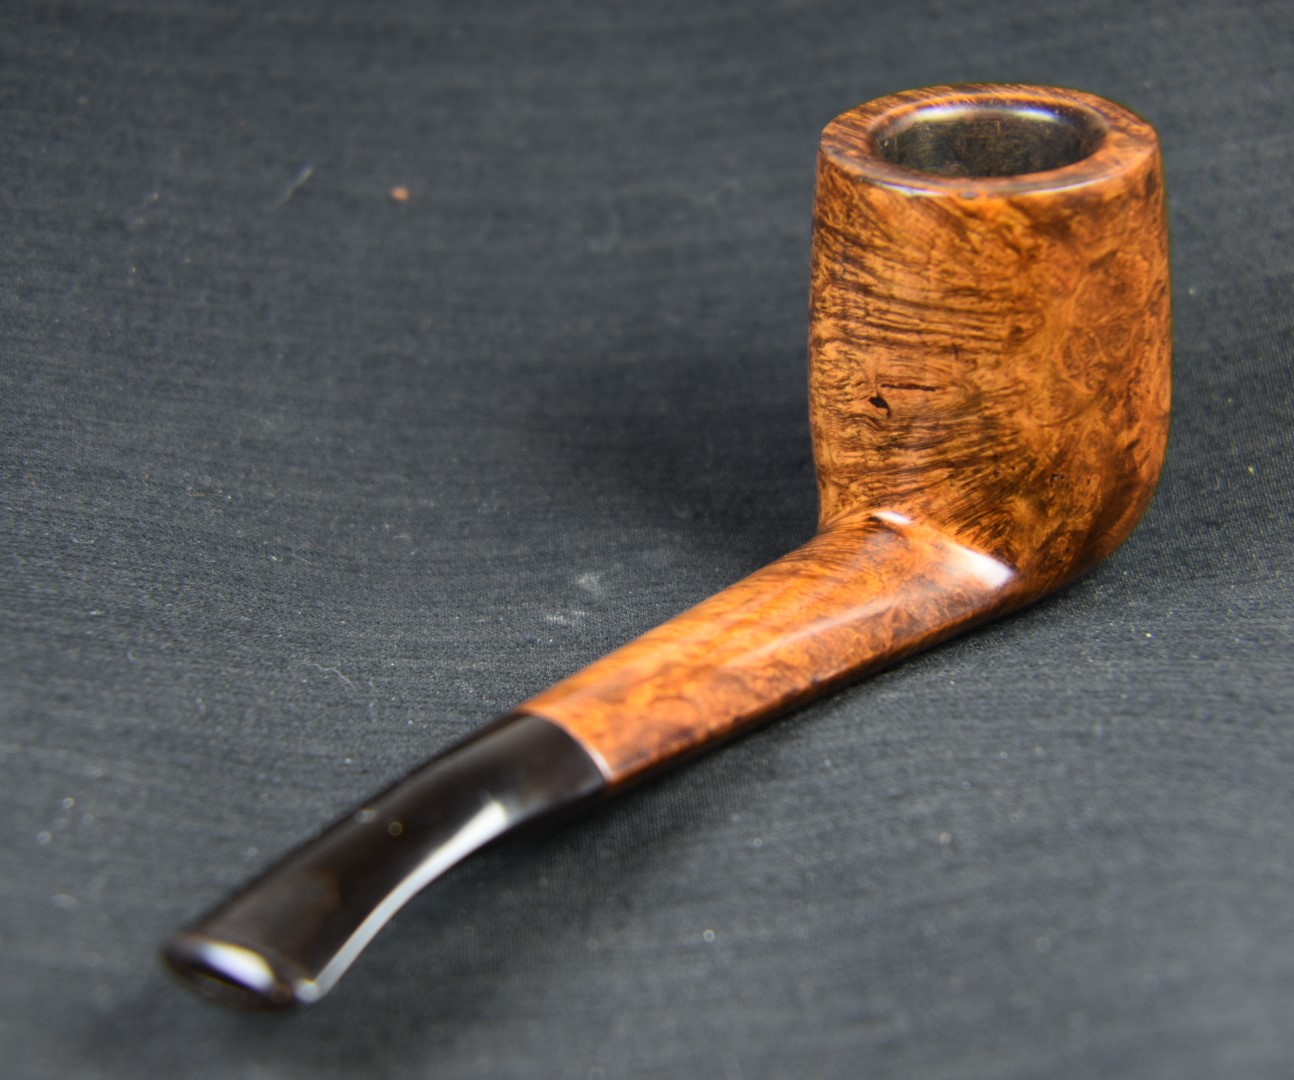
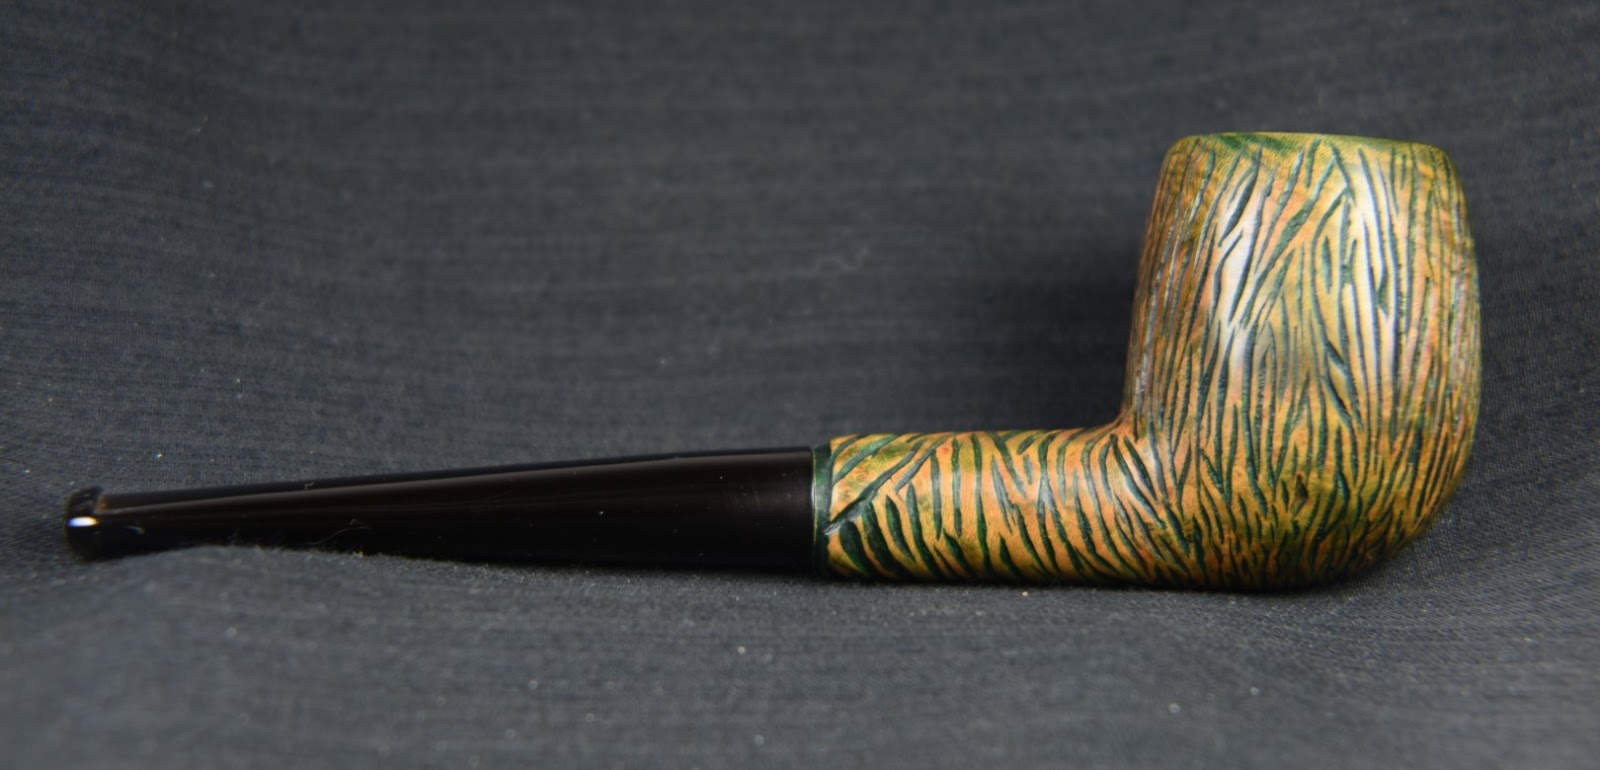
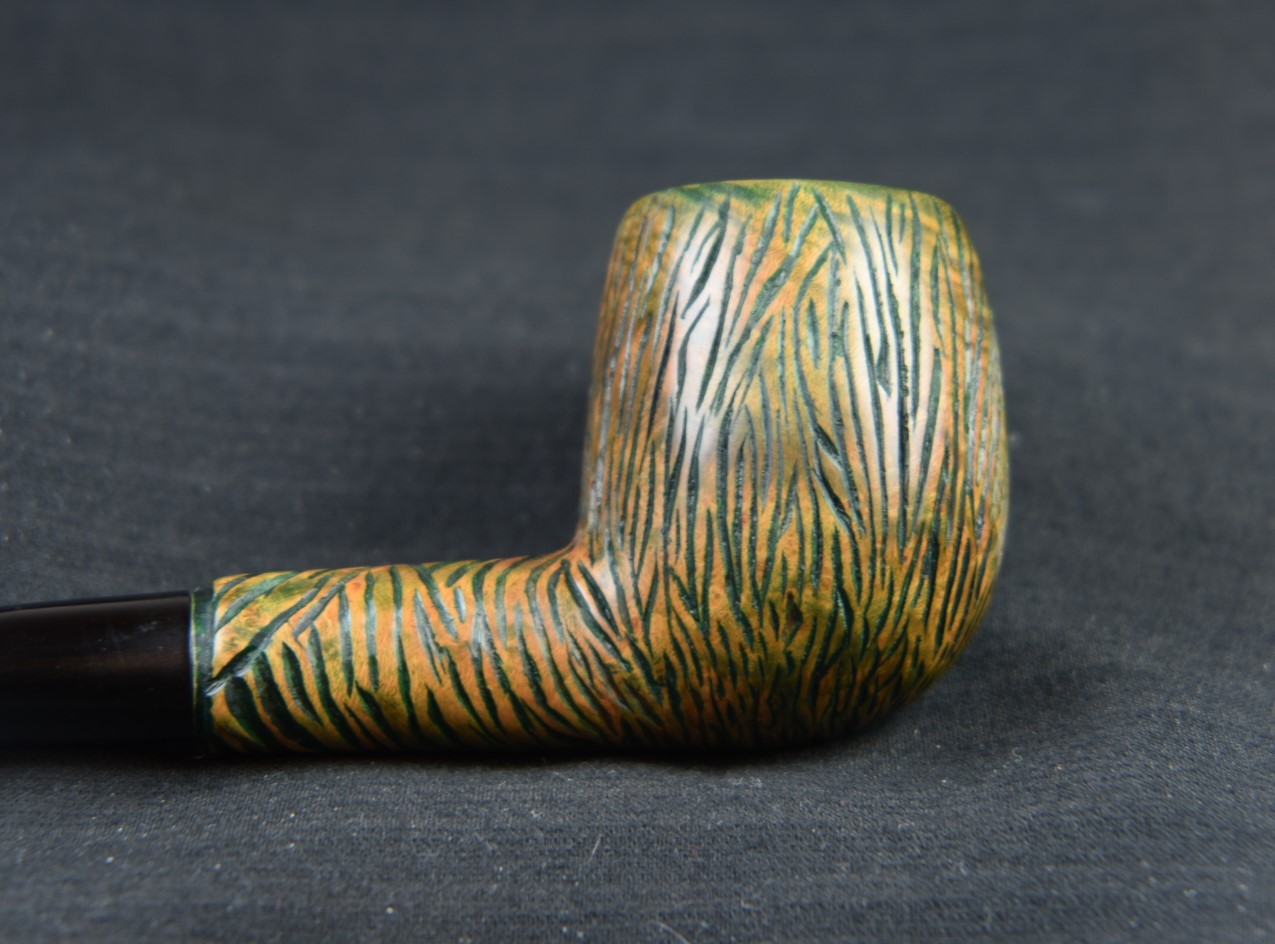
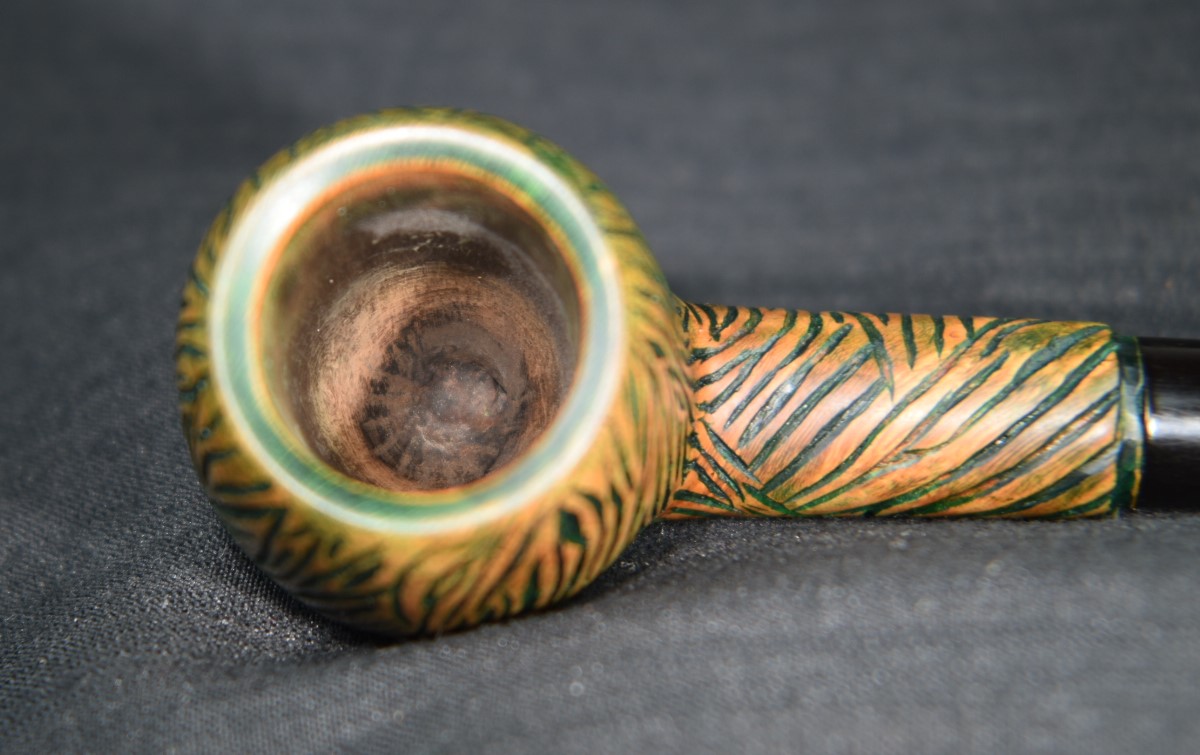
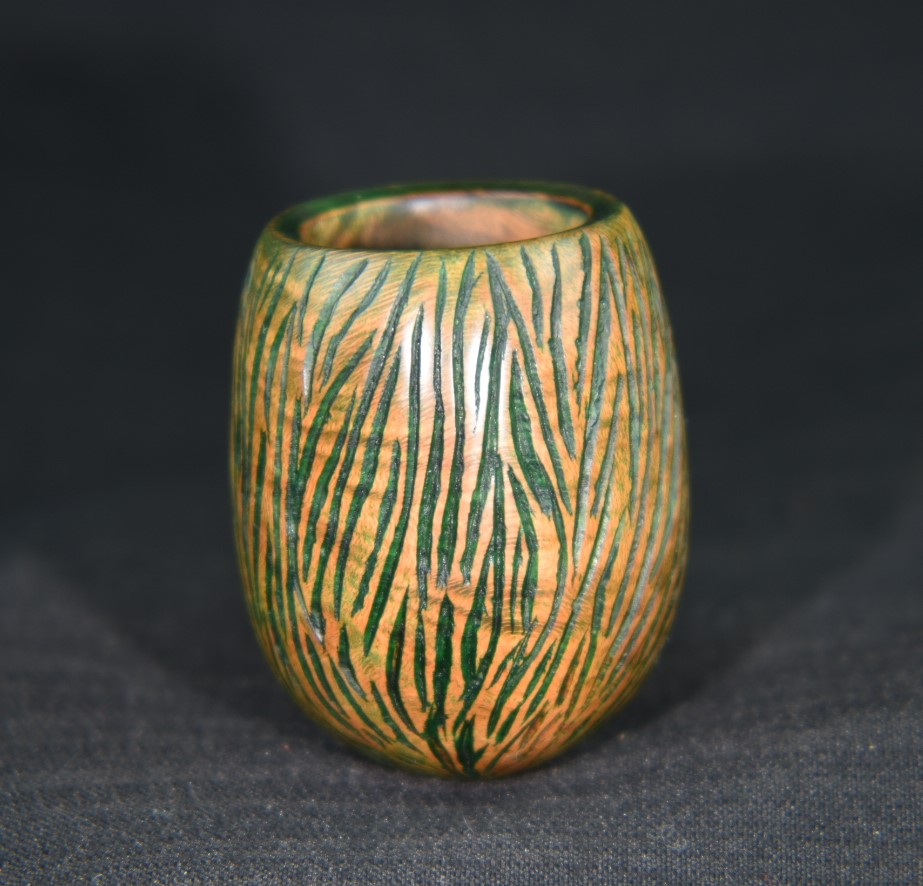
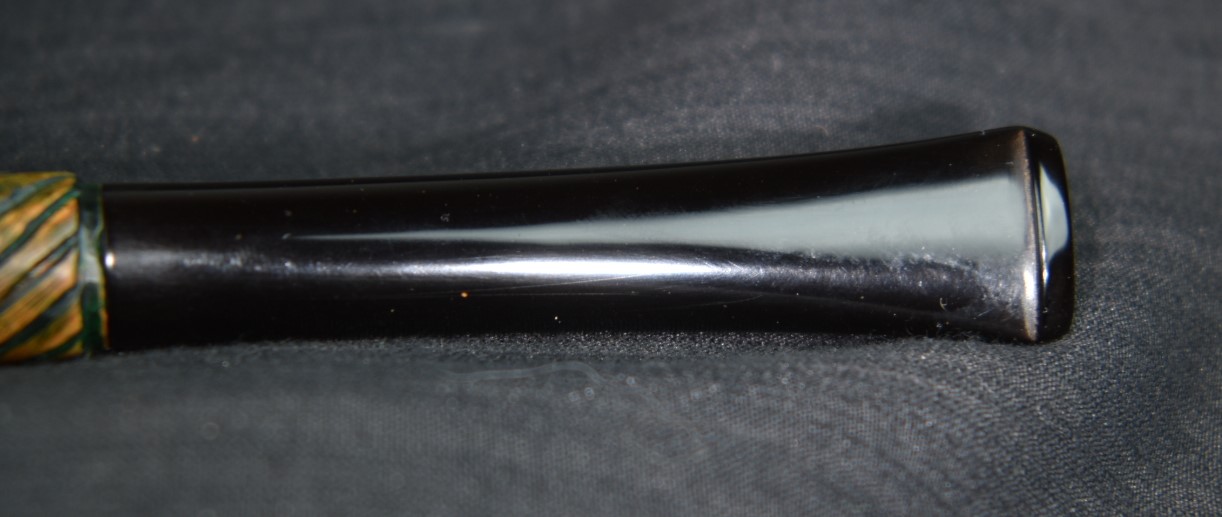
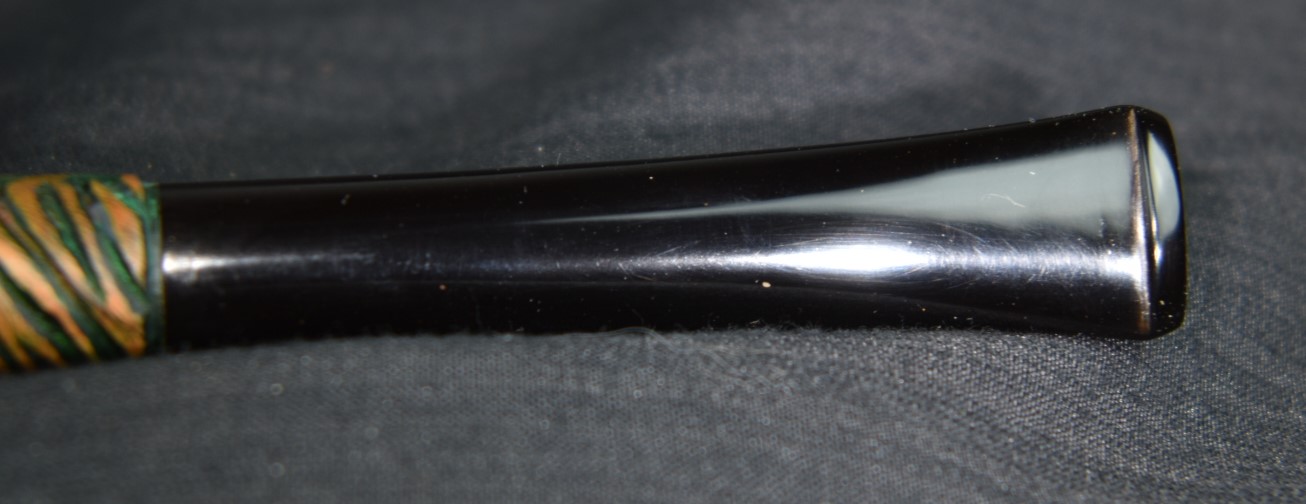
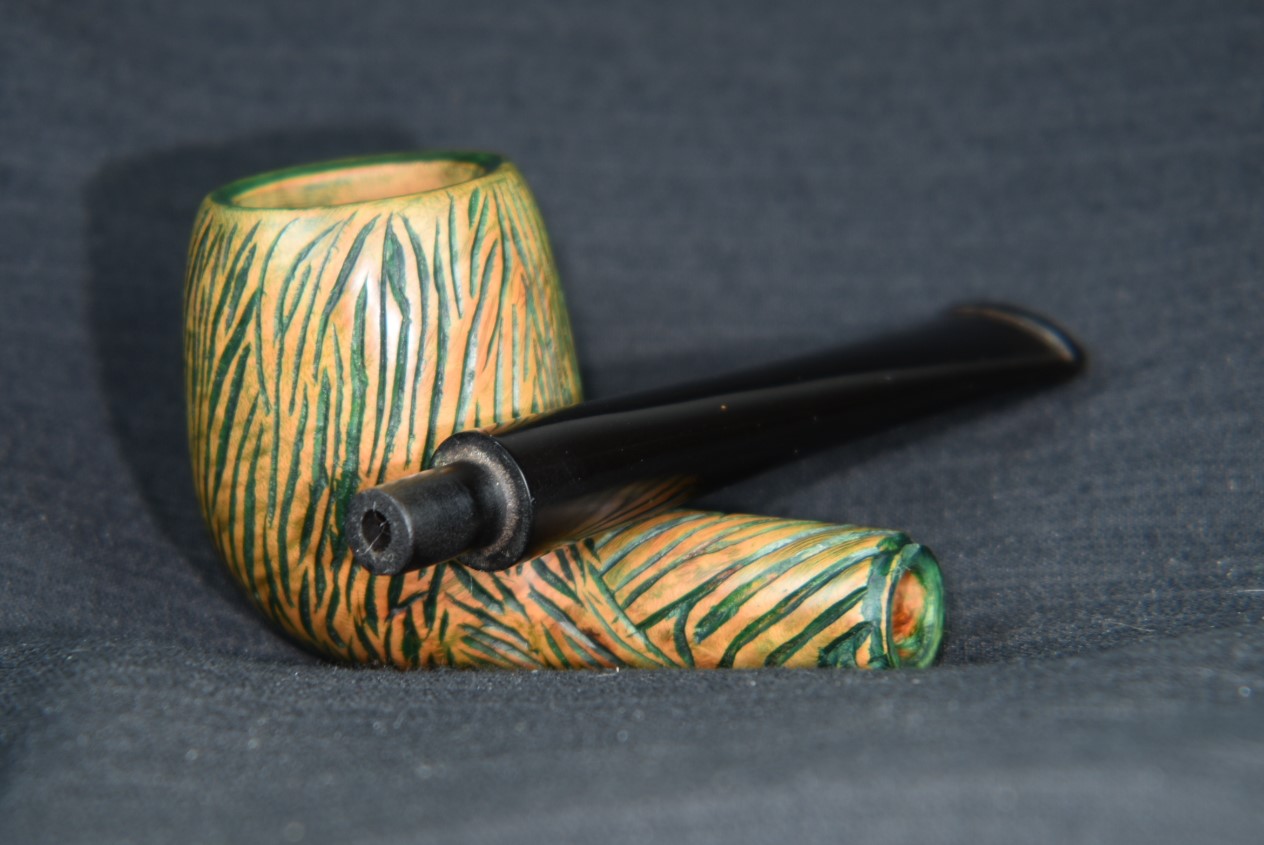
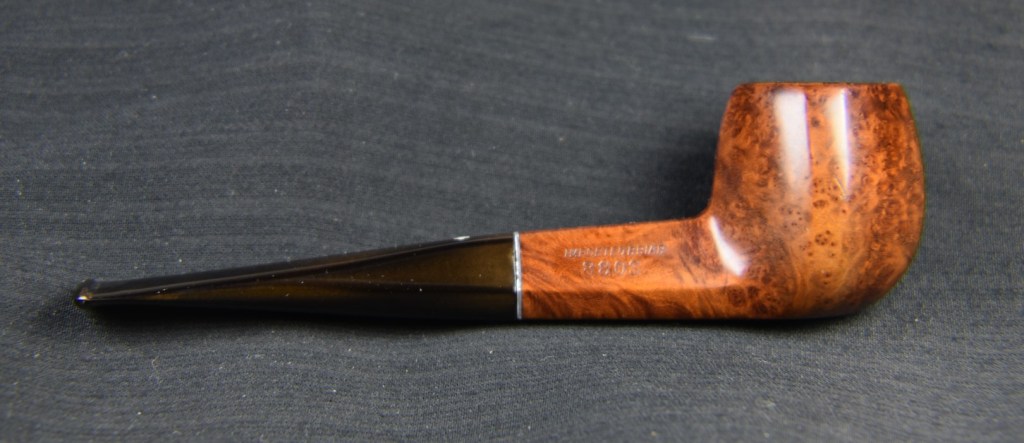
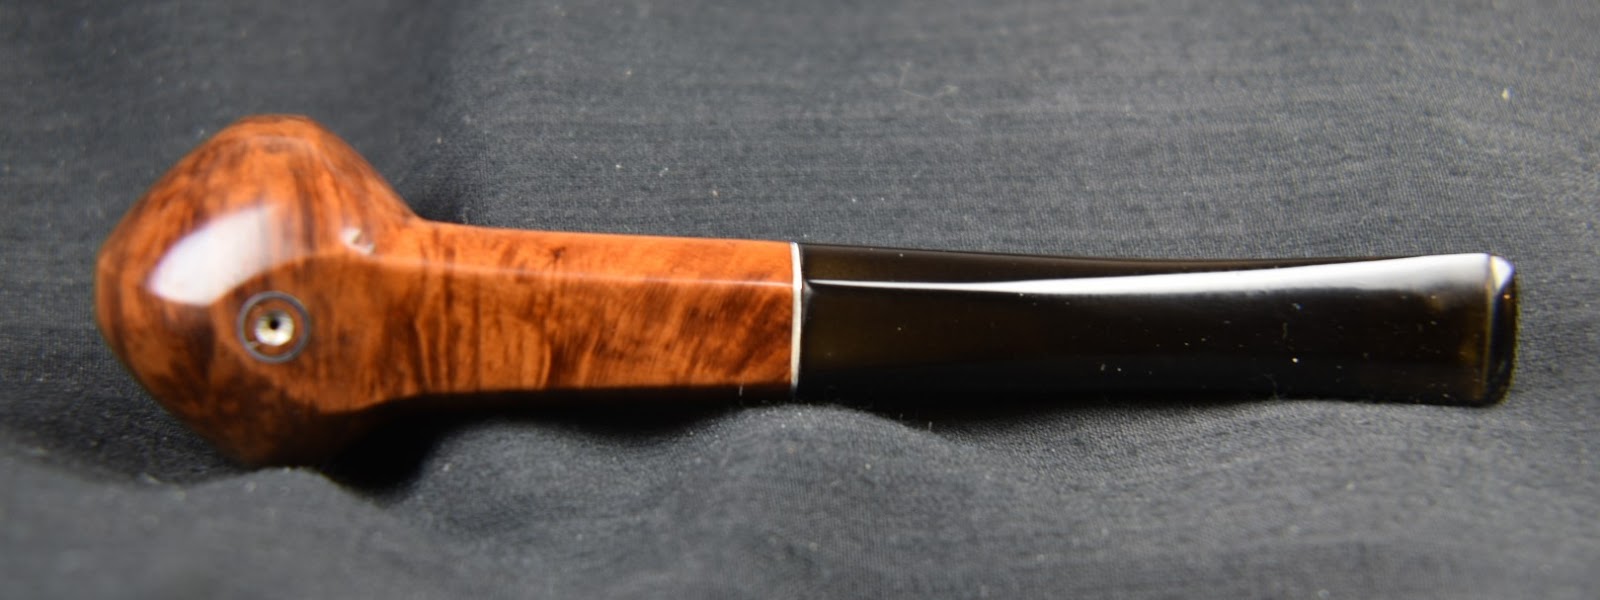
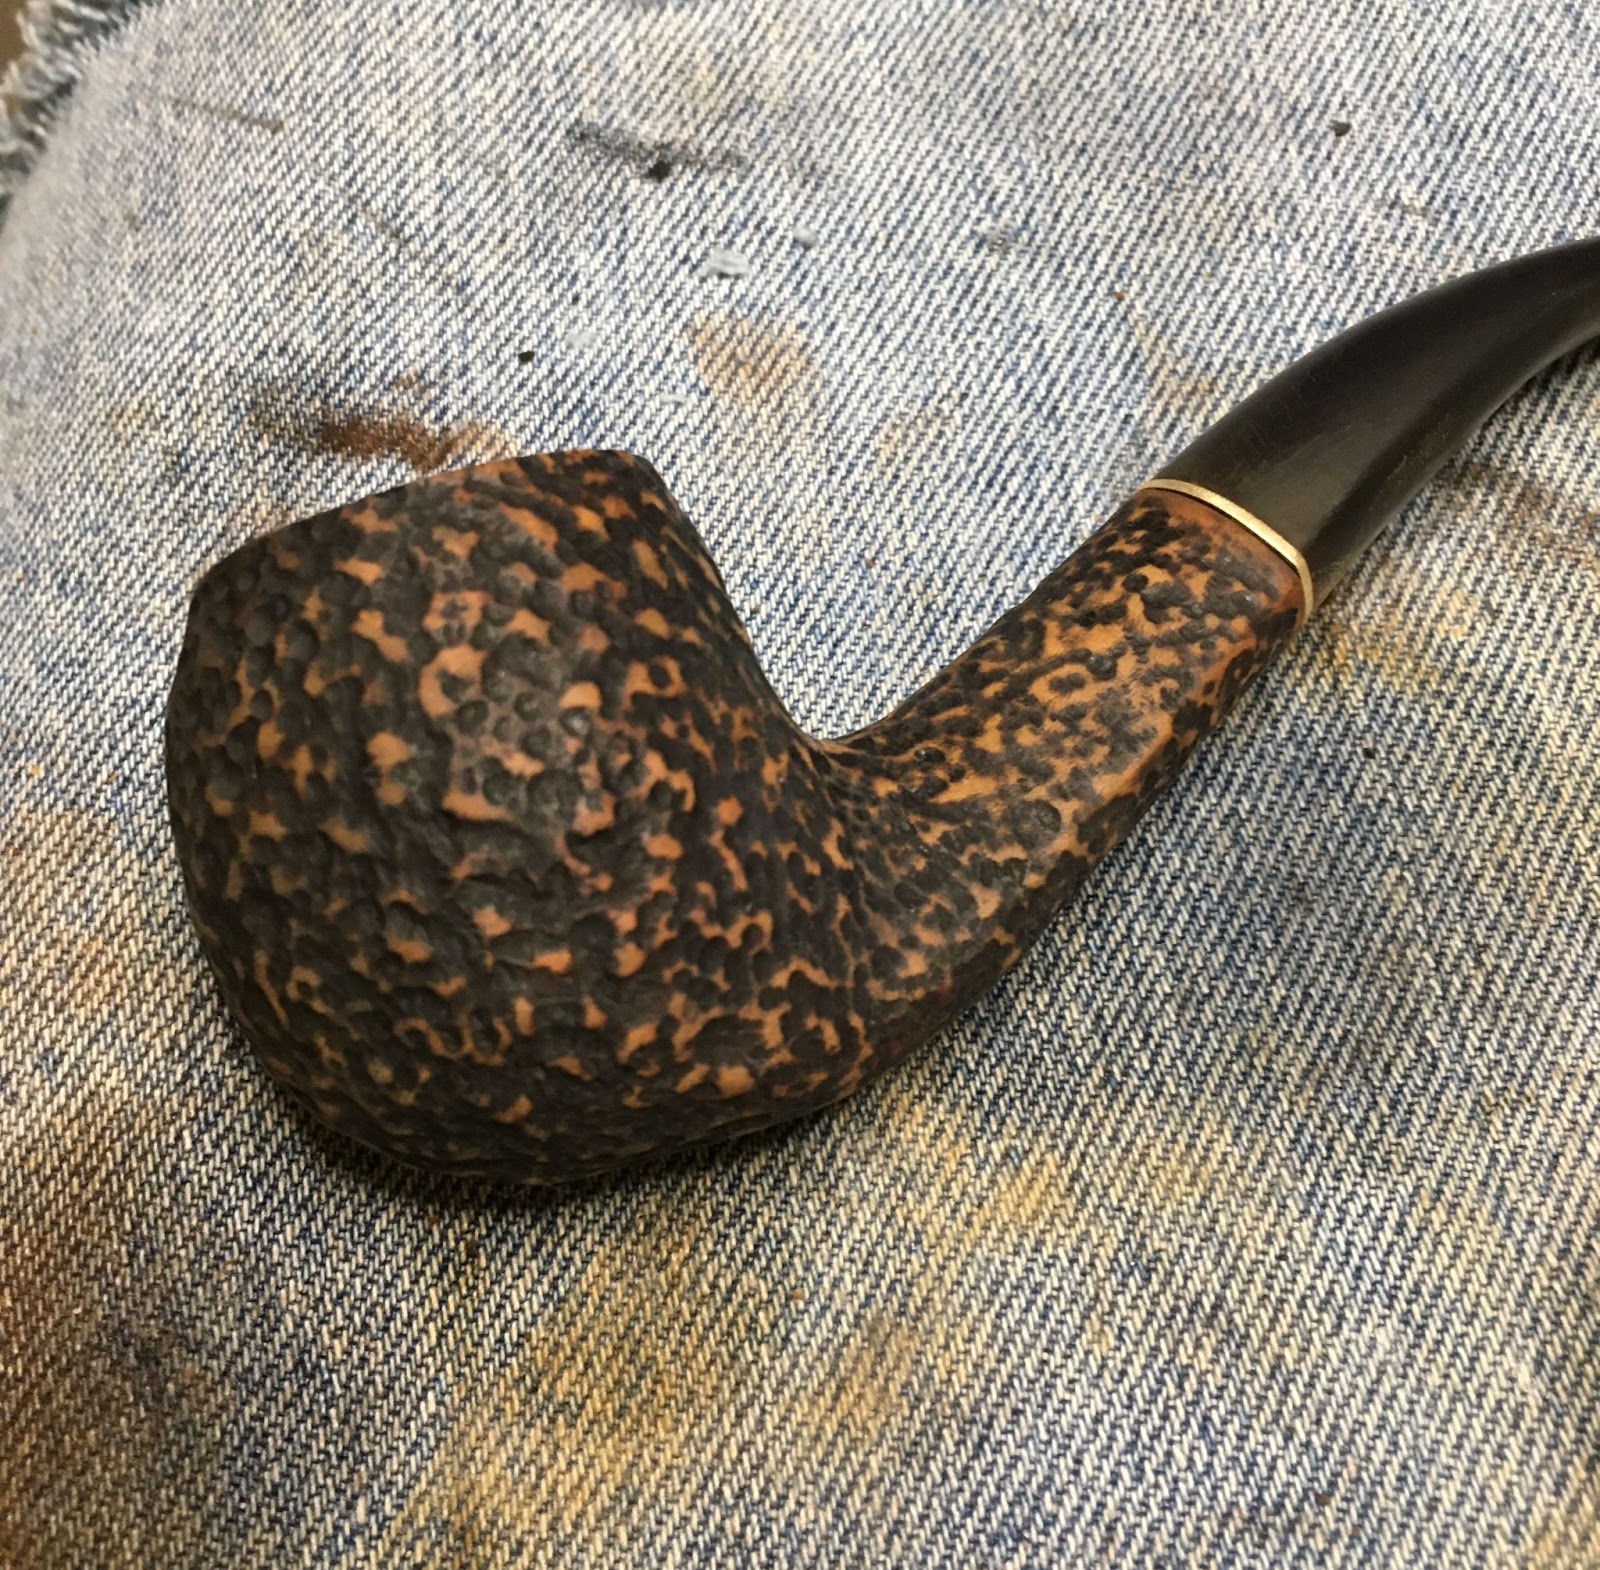
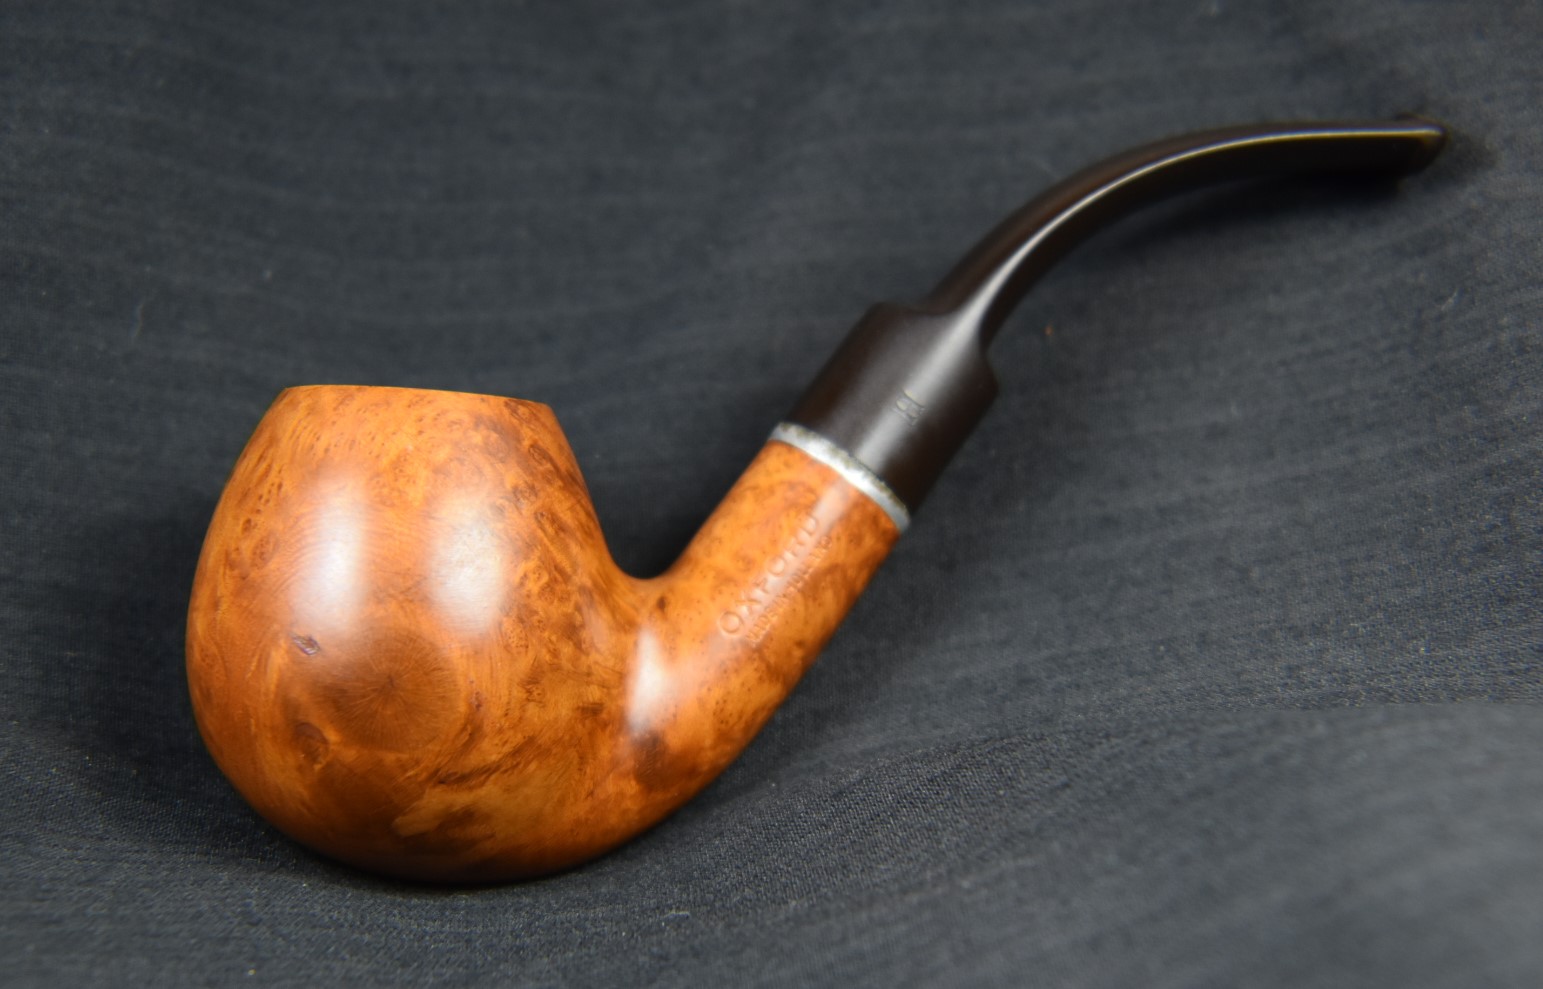
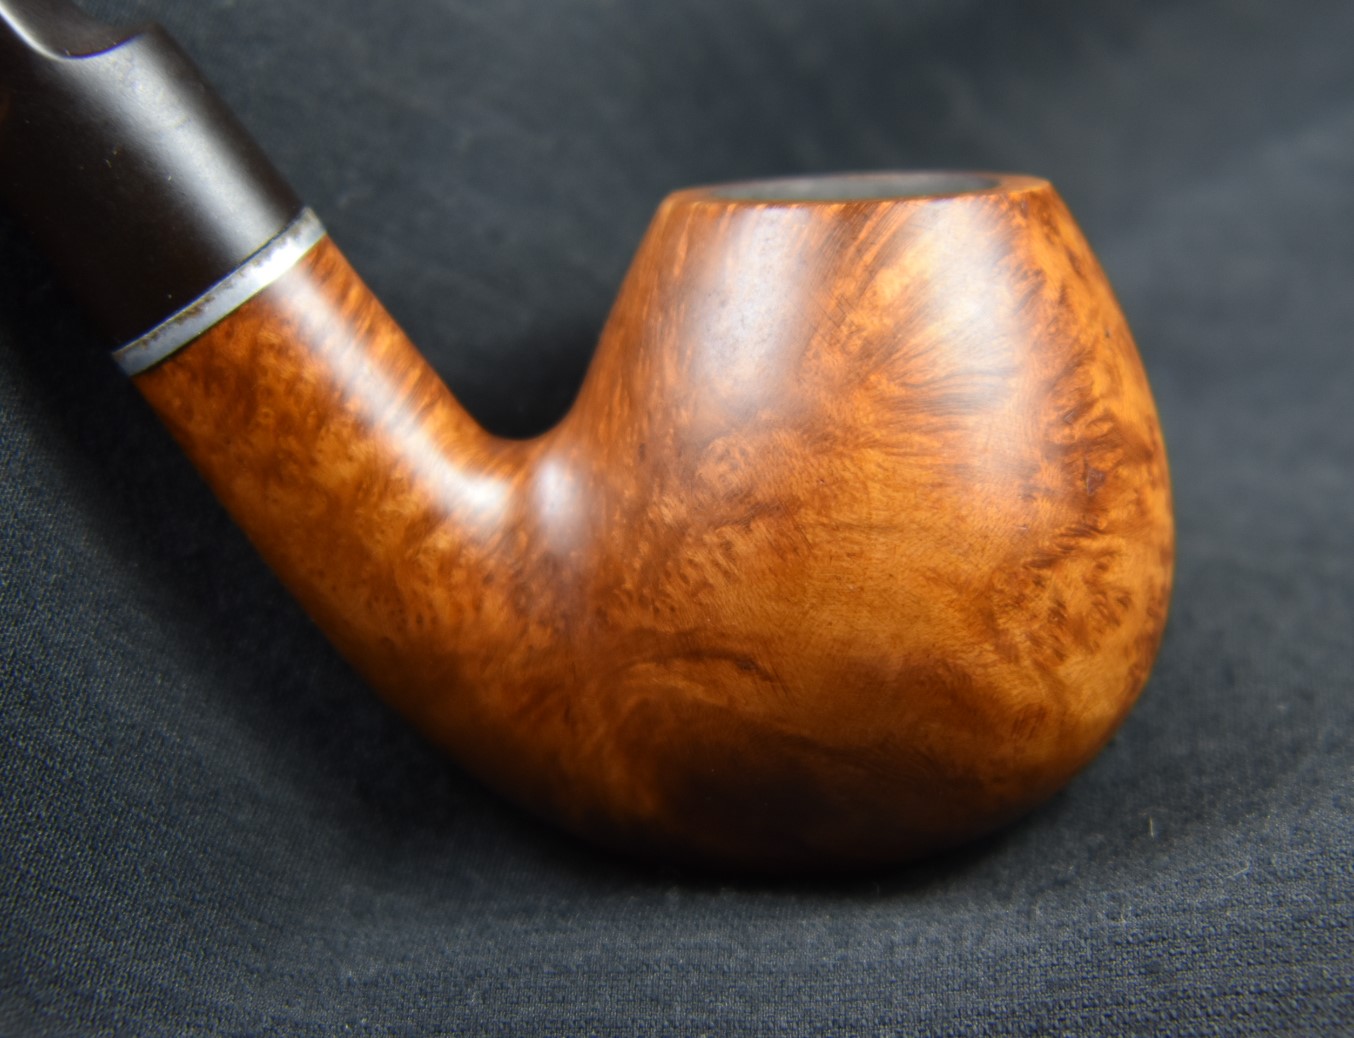
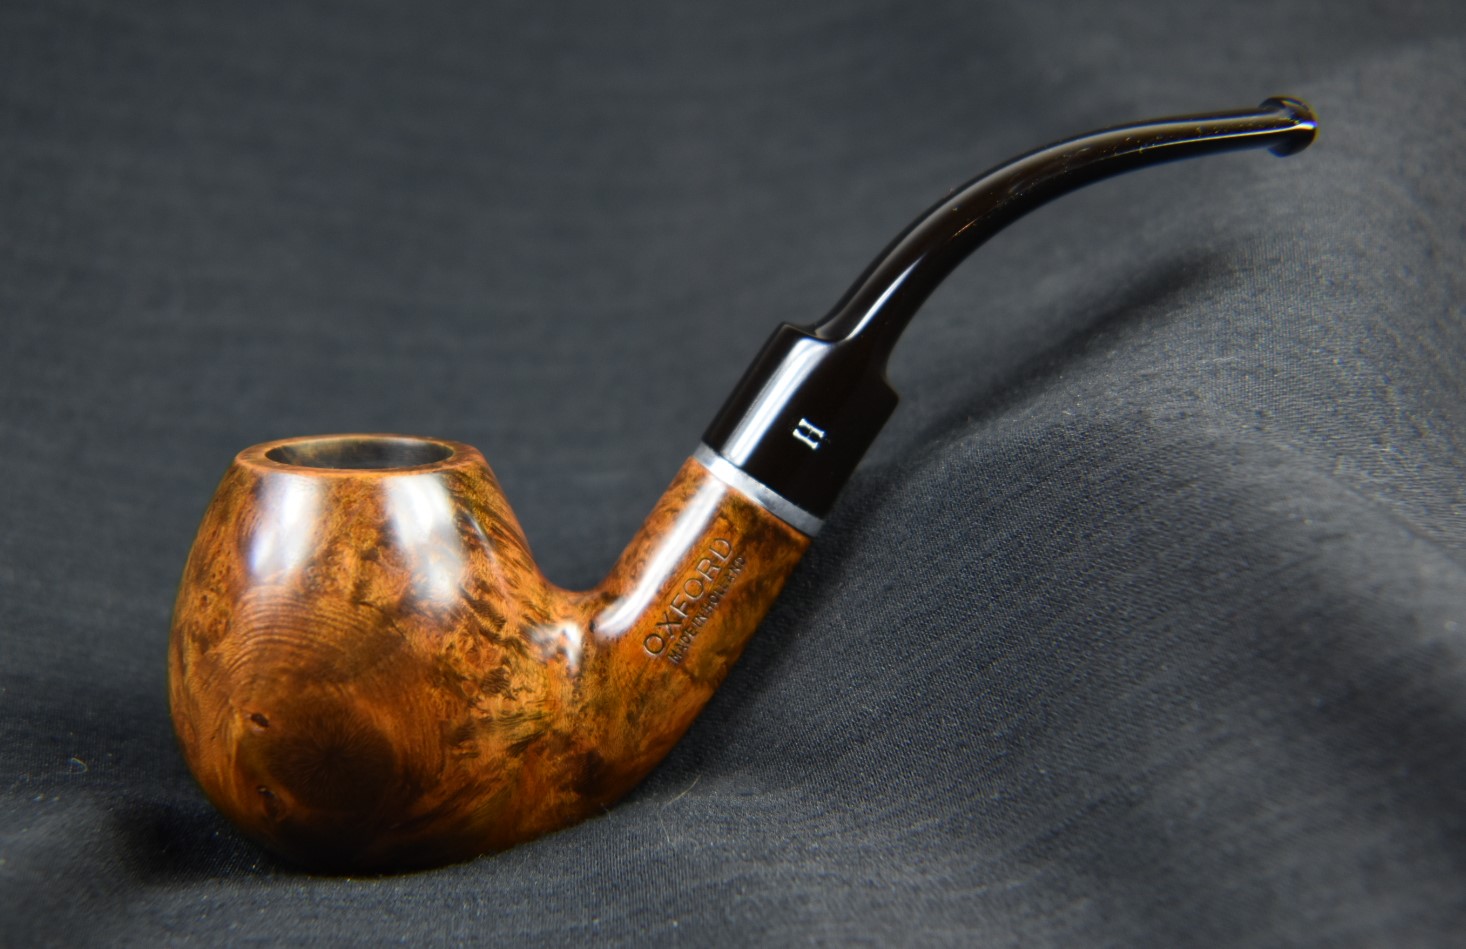
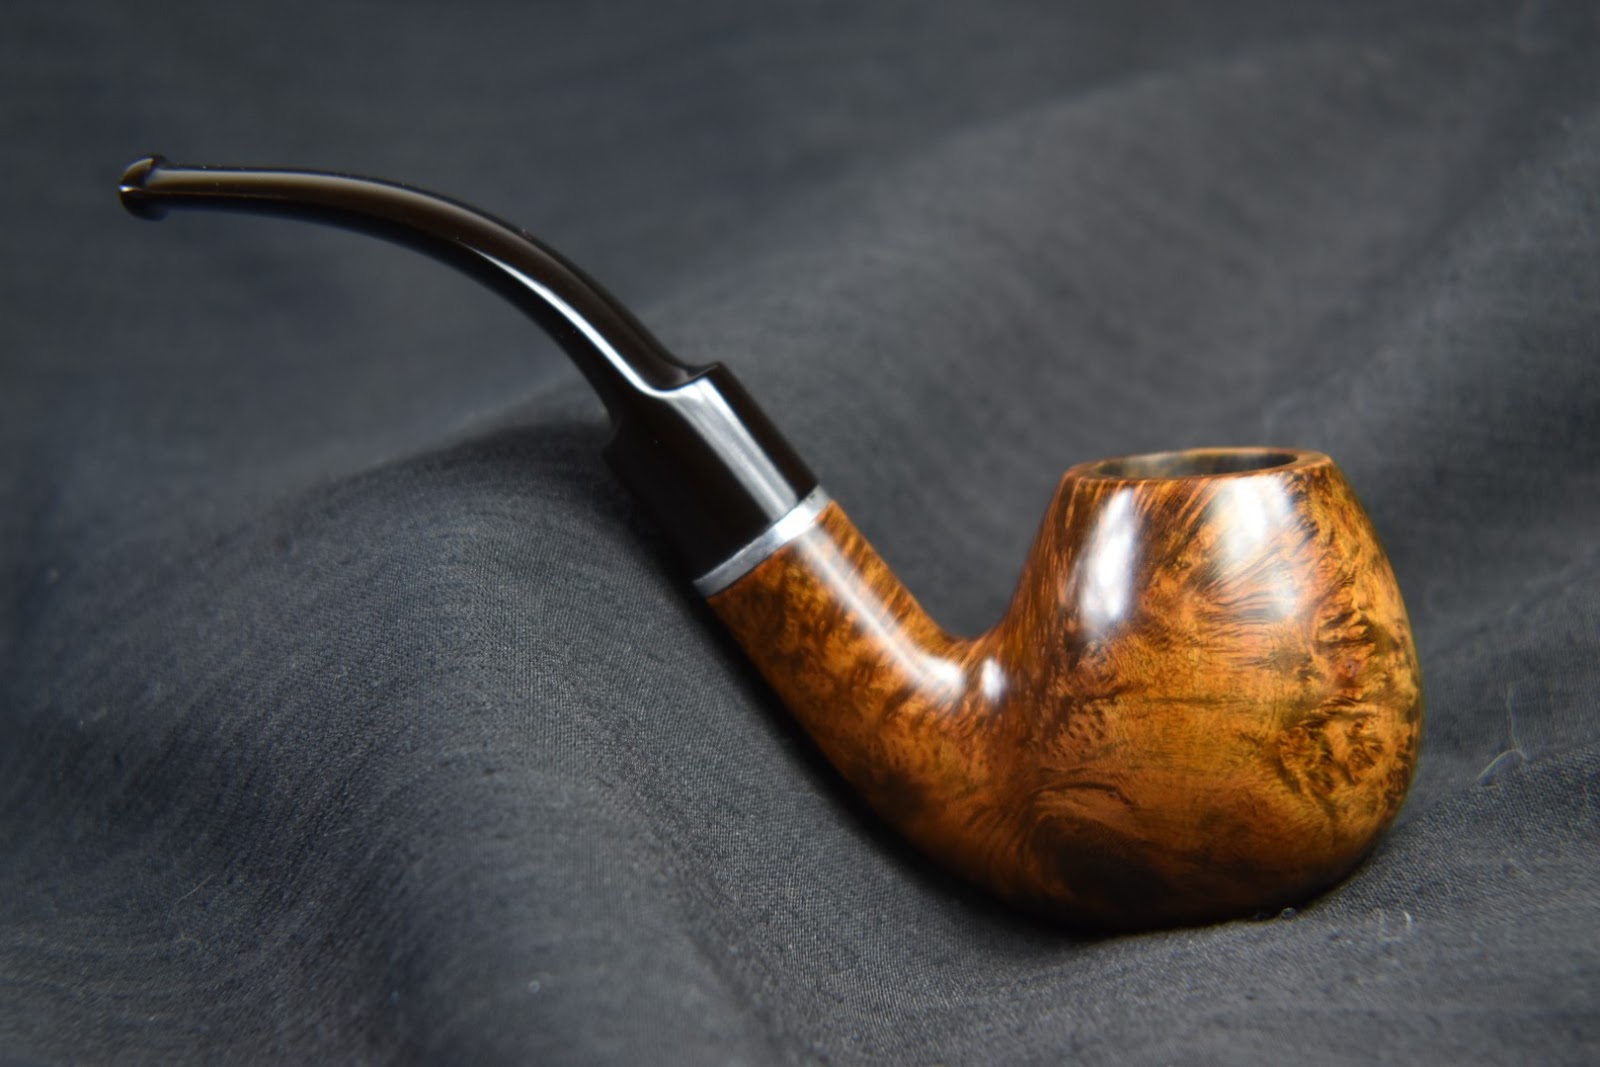
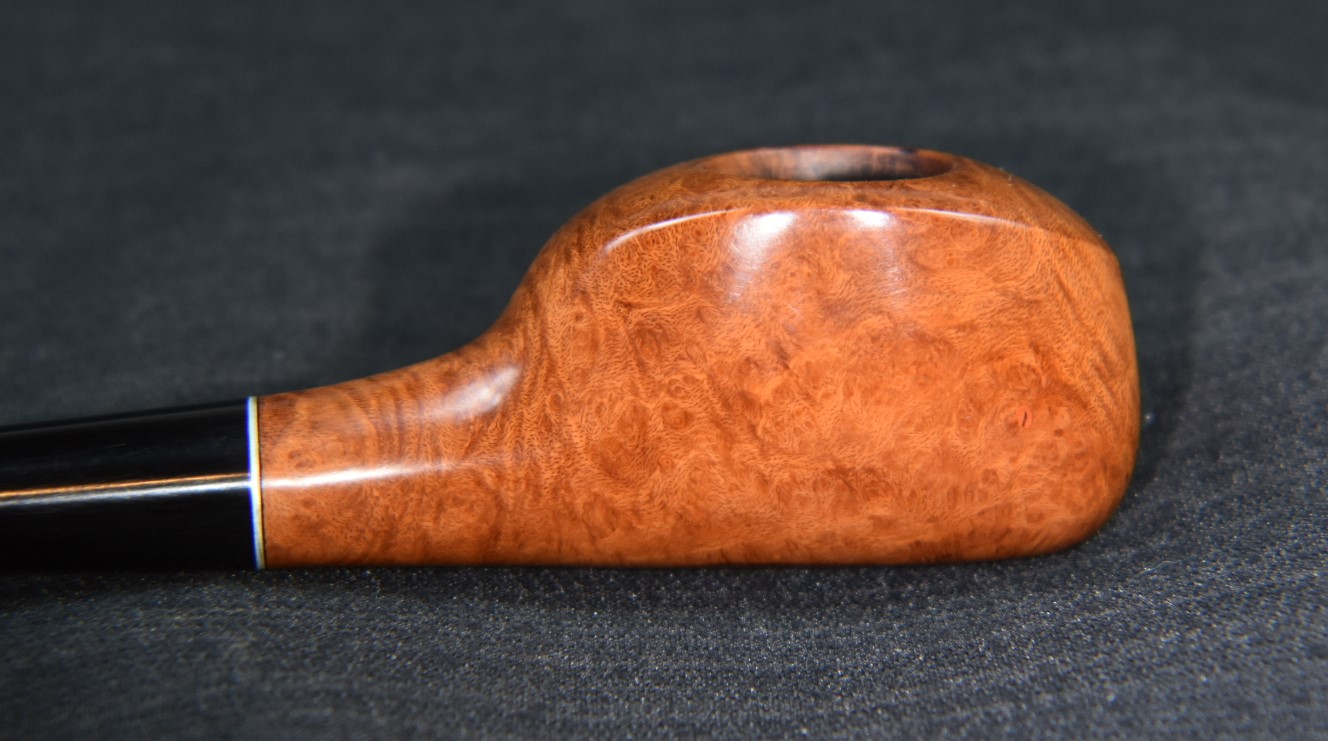
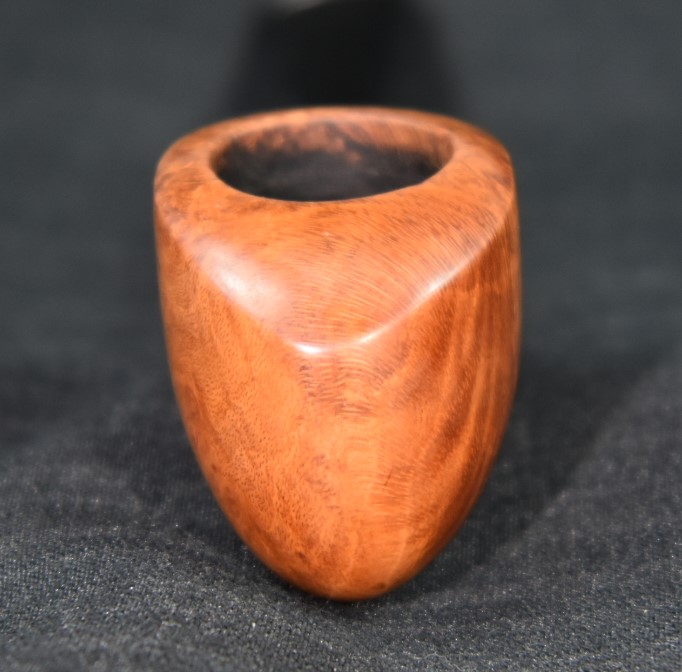
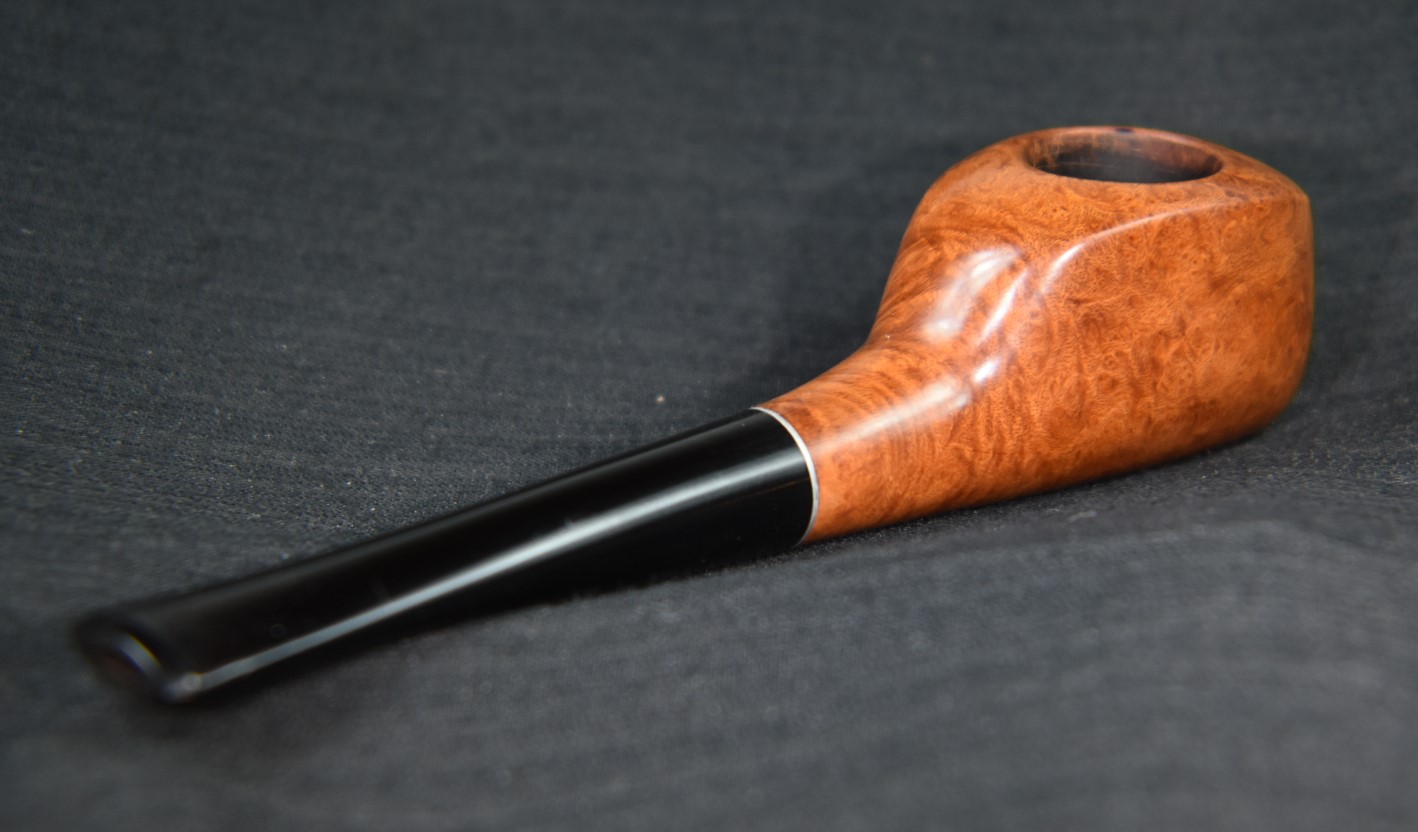
I am quite pleased with how well this Italian Canadian of unknown make turned out. It is a large pipe yet is surprisingly light in hand. The contrast staining yielded the color that I had in my mind as I was imagining how it would look finished. The screw-in tenon fits and aligns well. Though not the most beautiful grain the contrast stain definitely improved the look of the briar and is accentuated by the high gloss black stem. I am certain that this will be a nice smoking pipe even without a maker’s stamp.
The dimensions of this large Canadian are:
- Length: 6.67 in./ 169.42 mm.
- Weight: 1.40 oz./ 39.8 g.
- Bowl Height: 1.88 in./ 47.75 mm.
- Chamber Depth: 1.65 in./ 41.91 mm.
- Chamber Diameter: 0.78 in./ 19.81 mm.
- Outside Diameter: 1.46 in./ 37.08 mm.
I do hope that you have found something here useful to your own pipe care, maintenance or restorations. If you like this sort of thing, please click the like and subscribe buttons. Thank you for reading the ramblings of an old pipe lover.
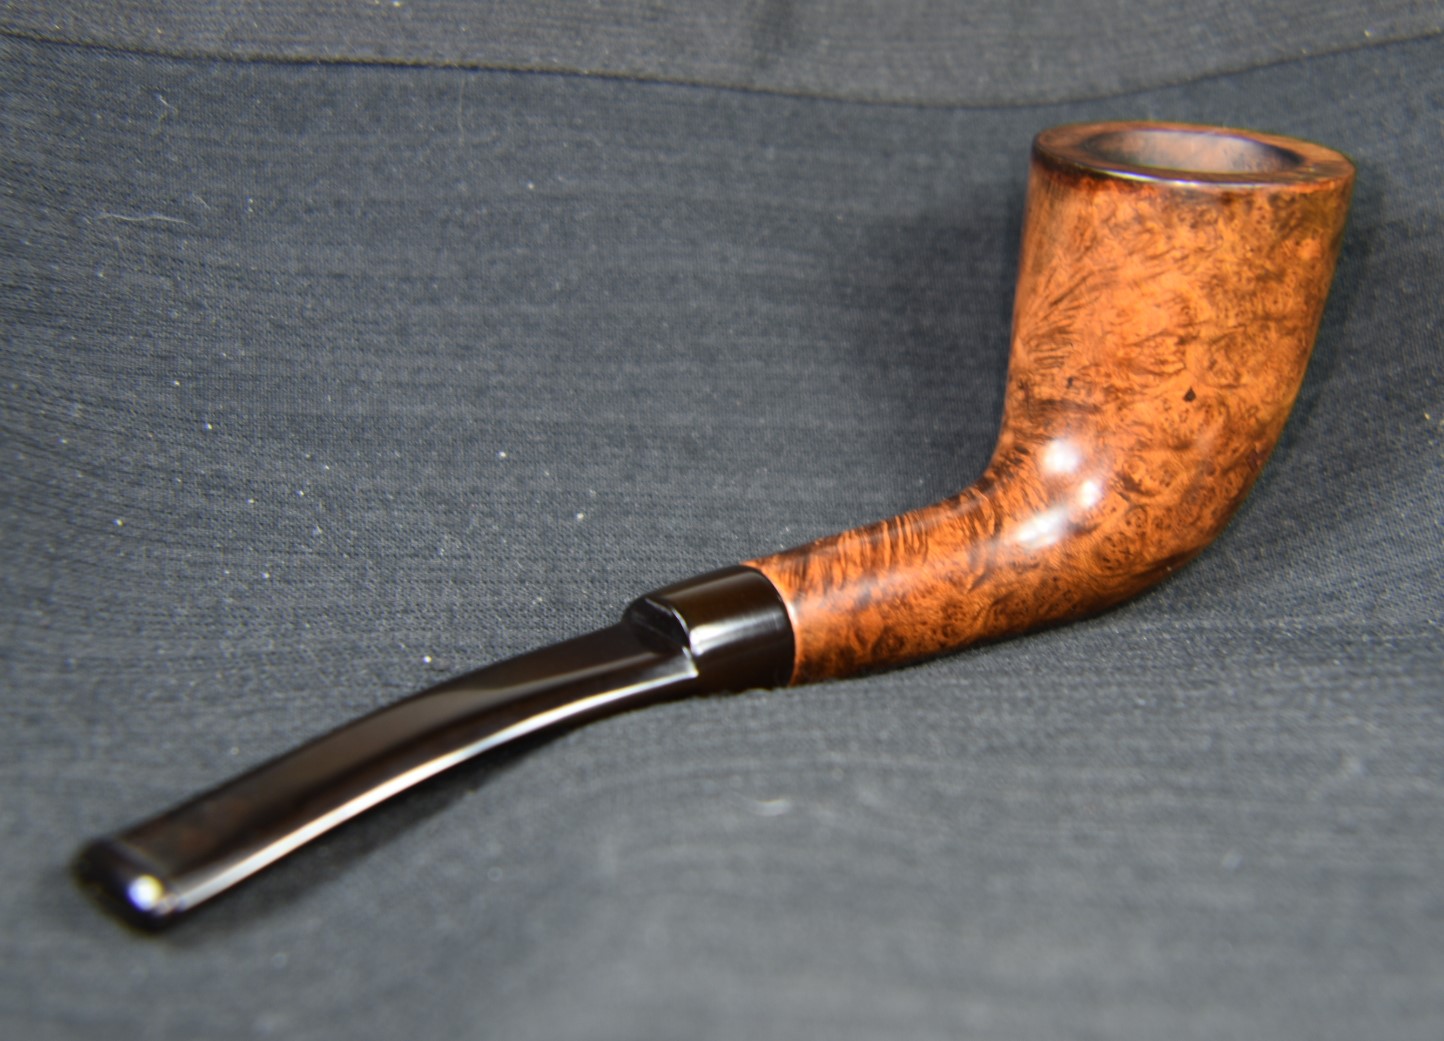
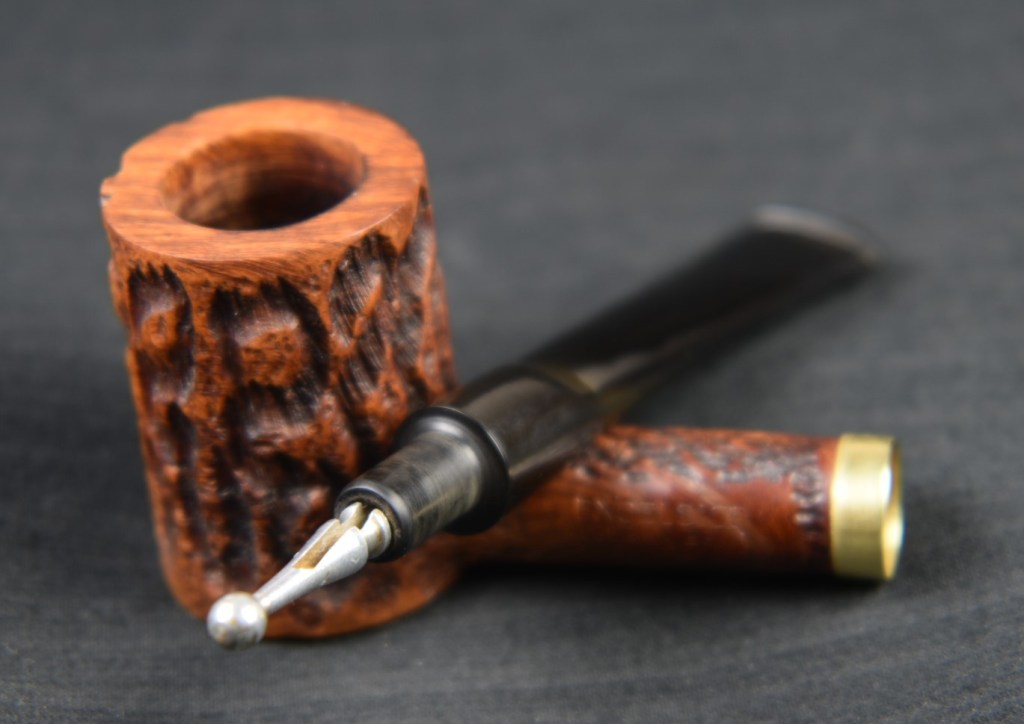
Below are some photos of the finished no name Italian Canadian.


I think I might have to start selling these post restoration denim pieces as wall art.


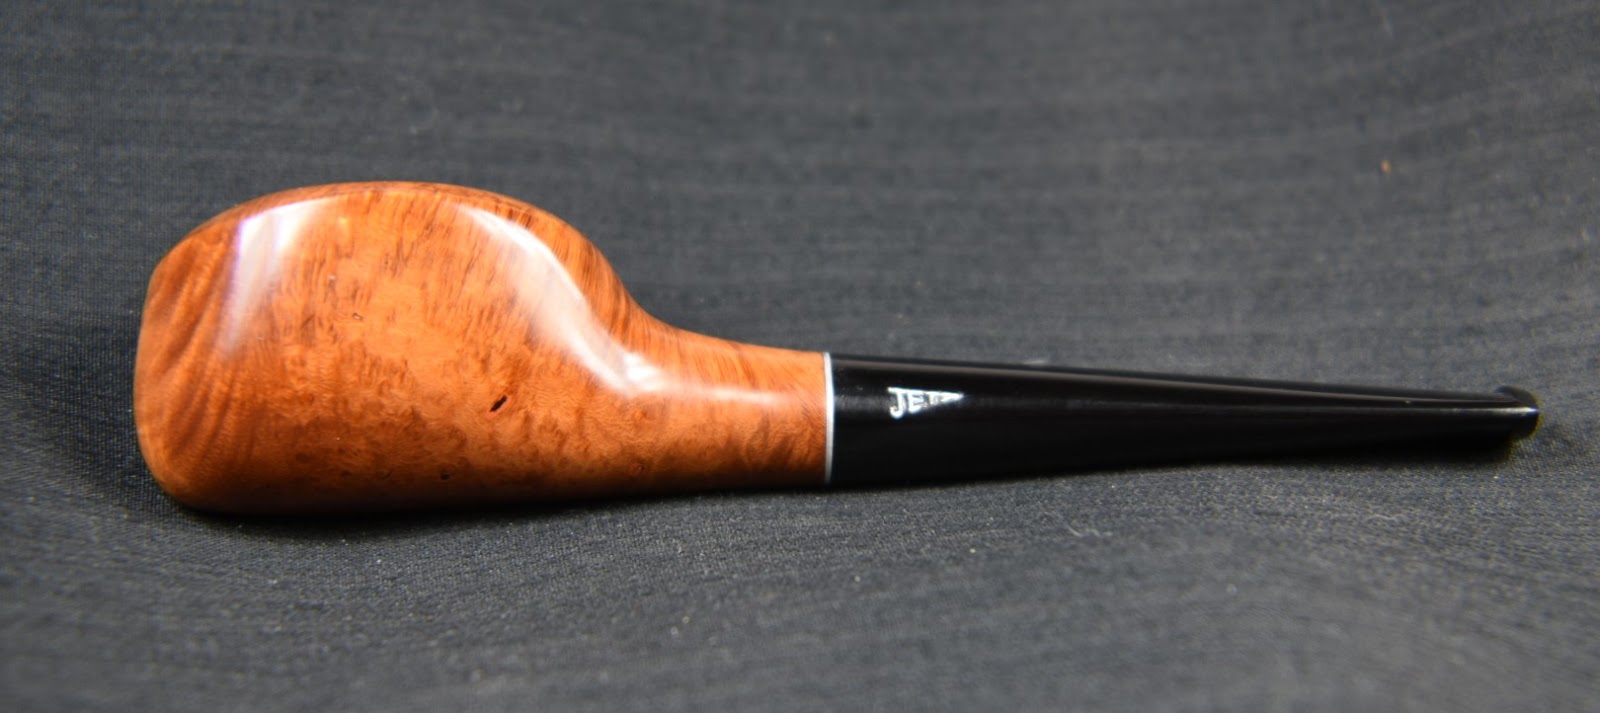
 The quality of briar and the original stain color also match quite well. Given those last two qualities are hardly good indicators of a shared heritage but they do look similar. When looking up Jobey on pipedi.org, the first sentence of the entry says, “English – American – Danish – French… Sadly, solid information about Jobey is scamt…”(


 (
(


 (
(


