I blame or give credit, depending on your view, to Steve Laug of rebornpipes.com for my fascination with Malaga pipes. I remember reading his blogs about the history of the brand and the maker and thought it to be an American success story. Maybe not the empire building story of a Wally Frank but nevertheless a story worthy of a pipeman’s attention. Perhaps fascination is too strong of a word as I have only restored two Malaga pipes so far. Interest, may be a better descriptor. This lovely bulldog came to my attention via a saved search for Malaga pipes on eBay. Those pesky email alerts can be handy on occasion.
The Malaga Bulldog came to southeast Nebraska via Davenport, Iowa. A journey of a mere 325 miles (523 km). The pipe was stamped “MALAGA ” on the top left shank and IMPORTED BRIAR on the adjacent topright. No other stampings were observed. Below are some photos of the pipe upon arrival.
Though not Unfired, the pipe was nearly in a “new – old stock” condition. There was very slight charing around the inside rim or perhaps a light lava deposit. The stem had oxidation and light tooth chatter. The briar was free of flaws, pits or fills. There was virtually no cake accumulated within the tobacco chamber. This looked like more of a clean-up than a restoration.
Background
In a previous blog of a Malaga Apple , I wrote the following:
“Piedia.org has a nice history of Malaga pipes. I will include the text here in its entirety:
“The Malaga Pipe Company was founded circa 1939 by George Khoubesser, (b.1892 d.1971), and located in Royal Oak, Michigan at 1406 East Eleven Mile road. The second generation owner’s name was Emmanuel Khoubesser (b. 1942 d. 1981), who everyone knew him as “Manny”. He was a big jovial man that was easy to converse with, always had a smile and a good joke to tell his very loyal customers. He had the ability to befriend anyone within minutes. The small store was packed with curious customers every Saturday morning looking for the latest design made earlier in the week. He also carried a full line of custom mixed tobaccos that you could sample and an array tobaccos in tins.
I was first introduced to him in 1969. I remember him taking me in the back to show me each step involved in pipe making. He was very serious about the quality of the product he sold and would never sell a flawed pipe, even if it was very minor. My step father purchased several of his pipes and really enjoyed them. He once said he’s never found a better pipe (his words).
Manny passed away in 1981 and his wife and oldest children took over the business. Malaga closed in 1999 after 60 years in business. The building still exists on Eleven mile, looking almost like it did back then, but now houses the Michigan Toy Soldier Company. I would think the pipes Manny produced are now more valuable than ever. If you happen across one of these pipes, you’ll know a little bit more about it’s rich history. Enjoy!”
The Malaga received a laundered denim piece to protect the work surface. I would say clean but, the denim was a bit stained from previous restores.
The reaming gear was gathered.
Then put to work. Well work might be an exaggeration. Put to use, is a better term. The PipNet with the #2 blades did remove some cake from the tobacco chamber, mainly from the bottom of the bowl.
The PipNet’s #3 blades did fit better in the chamber and removed significantly more cake. The scrapers were also used to clear any remaining tobacco residuals then the chamber was sanded with 220 sandpaper wrapped around a wood dowel. The chamber showed no signs of any damage.
Next was a trip to the sink for a scrubbing with undiluted Murphy Oil Soap and a medium stiff toothbrush. The soap was rinsed with warm water and the stummel dried with a cotton hand towel.
Back at the workbench the stummel looked very good. No signs of any finish or wax remained.
The rim had cleaned up nicely as well.
The stummel was wiped off with a make-up pad dipped in 95% ethyl alcohol. The pad showed nearly no color change indicating that the stummel was bare briar inside the chamber and out.
The airway of the shank did have some yuck. Yuck is a very technical term used by pipe restorers to describe the accumulation of tar and smoking residue. Typically yak is dark brown or black in color with an aroma of general yuckiness. This yuckiness can approach vomit inducing levels of perfume sprayed composting flowers in the case of a pipe used for Lakeland blends. Frequently this disgusting perfumy smell is called “Granny purse”. Fortunately there was no Granny purse present with this lovely old Malaga. The airway was scrubbed with a nylon shank brush with 3-4 ml of 95% ethyl alcohol. The alcohol was then poured into a medicine cup.
Repeated alcohol/nylon shank brush scrubbings were followed by cotton swabs and folded bristle pipe cleaners, both dipped in ethyl alcohol. How a pipe that was used relatively little had this much yuck is a bit of a mystery.
The airway of the stem was also cleaned with bristle pipe cleaners and ethyl alcohol and had yuck levels that were more acceptable.
The exterior of the stem was scrubbed with SoftScrub on make-pads to remove the light oxidation. The stem was then coated with mineral oil.
The stummel was prepared for sanding with a couple slivers of painters tape to cover the stamps.
Sanding was done with a series of sanding sponges with grits of 400-3500. The Stem and stummel were connected and sanded together. Thus avoiding any rounding of their edges. Between each sanding sponge I wiped the stummel with a make-up pad wetted with alcohol while the stem received a dab of mineral oil rubbed on by fingertip and wiped away with a dry paper towel.
The pipe was then worked with micro-mesh pads from 4000-12000 grit. Again the stummel was wiped with a make-up pad wetted with alcohol the stem now received a small drop of Obsidian Oil rubbed in and wiped with a paper towel between pads.
The stummel was coated with Before and After Restoration Balm and allowed to sit for 30 minutes while the balm did whatever magic that the balm does.
30 minutes later the Restoration Balm was wiped away with an inside out athletic sock revealing that the magic had occurred. I often wish that I could capture the puff of glitter and the mini-rainbow that accompanies the magic but alas, I keep missing that part.
The stem was hand polished with Before and After Fine Polish and a soft cotton cloth.
The Fine Polish was followed by Before and After Extra Fine Polish hand worked with the same soft cloth.
The pipe was then taken to the buffer where it was given several coats of carnauba wax. After waxing the pipe was hand buffed with a nanofiber polishing cloth which raised the shine a bit more.
This Beautiful Malaga Bulldog turned out well, beautifully. This is now the second Malaga pipe that I have restored. I am very impressed with the briar which Manny Khoubesser selected for his pipes. It was exceptional, not a fill or flaw to be seen. The vulcanite polished up well. The previous owner of the pipe must have buffed the stem and stummel separately causing the very slight rounding of the edges where the two parts meet. The pipe is very light weight and feels wonderful in my hand. It was truly a shame that Mr. Khoubesser left us so young, his pipes are a testament to his character and I hope to discover and restore more of them in the future. The dimensions of this beauty are:
Length: 5.71 in./ 145.03 mm.
Weight: 0.98 oz./ 27.90 g.
Bowl Height: 1.70 in./ 43.18 mm.
Chamber Depth: 1.50 in./ 38.10 mm.
Chamber Diameter: 0.81 in./ 20.57 mm.
Outside Diameter: 1.49 in./ 37.85 mm.
I do hope that you have found something here useful to your own pipe care, maintenance or restorations. If you like this sort of thing, please click the like and subscribe buttons. Thank you for reading the ramblings of an old pipe lover.
Below are some photos of the finished Malaga Bulldog.
As if Majestic wasn’t a good enough name they had to add the SUPER. That made me laugh when I first read the stampings. Here we have a delightful classic billiard pipe that has gained its turn at the workbench. The pipe was purchased as a single from a seller in Green Bay Wisconsin. I was attracted to it by the name and star inlay logo. I had seen neither and thought they looked intriguing. Besides, how can a guy say no to an attractive lass with good briar like this for under $15? The pipe was stamped SUPER (diagonally) Majestic (script) over SYSTEM V.D.. There was no country of manufacture (COM) leading me to think it was an American made product. The stem, as mentioned, had a silver-like 5 pointed star inlay. Below are some photos prior to working on the pipe:
The pipe showed signs of frequent use. There was a definite, though far from excessive cake in the bowl, the stinger had a coating of dried tarlac ( personal term combining tar with shellac). There were some minor tooth chatter dents on the stem and the strange banded oxidation. The oxidation pattern was perhaps due to the darker part being in a pipe rack and slightly protected from light. The stinger contraption was very unique, it looked as if it were machined by a prison inmate car engine fan wanting to make a stinger look like a crankshaft and be able to double as a shank (prison weapon). The final interesting part to note was that the shank had a cork insert acting as the mortise for the aluminum tenon. This struck me as a rather old fashioned connection of the stem and shaft.
Background
As you may expect there is not much information on Majestic pipes. Pipephil.eu led me to a couple deadends.
Catalog Listing similar to the EPC Majestic example
A. Pandevant & Roy Co. of Paris had its beginning in 1884 and disappeared with the commencement of WWII in the late 30s or early 40s. “E.P.C.”, “La Savoyarde”, “MAJESTIC”, “La Parisienne” and “E.P.” were registered trademarks of the company.
Now, let it be known that Dal Stanton is a wonderful restorer of old pipes. Though his skills are very impressive, one of the things that I admire most is his attention to detail when writing up the history of a pipe that he is working on. The above is a perfect example of his diligence. While I was reading about the restoration of the above pipe I came across his description of the mortise of his pipe: “What I see next surprises me. I see the briar shank ringing something else inserted into to the mortise. A lining of some sort. I discover then that it appears to be cork. Cork seats the horn tenon in the mortise much like cork seats the Meerschaum bowl on a Gourd Calabash. I have never seen this before, but it seems to work quite well. I will condition the cork with a little petroleum jelly later. The challenge becomes protecting the cork while I’m cleaning the rest of the stummel internals. I’m not sure that I want the cork saturated with alcohol – I’m not sure that will be the best thing.” (Discovering the History with the Reclamation of this Petite EPC Majestic Bent Horn Stem Billiard | rebornpipes) (italics added by me).
There it is the same cork insert that I am looking at with the Majestic which I am restoring. Coincidence? I think not. I believe that the Super Majestic Billiar is indeed an EPC Majestic produced prior to WWII in France.
I asked Dal Stanton to review this blog prior to publishing. He also saw the similarities that I did. He was unsure about the claim that my Majestic was an EPC product due to the differences in stem material, the star logo and the lack of the three hearts associated with the EPC stamping. He also recommended discussing the pipe with Steve Laug. I reached out to Steve, and sent him a link to this article as well. Steve also thought the link between the two Majestic pipes was reasonable. He commented, “I think you are right in connecting the two. There is a link. The fact that the bone insert is replaced with a metal can help to date it a bit. I am pretty sure that between WW1 and WW2 metal was used for the tenons in replacing the bone ones.” (Steve Laug, personal communication)
I think the Majestic Systeme V.D. Billiard is an EPC made pipe produced several years later than the Majestic pipe which Dal Stanton had restored. Perhaps the Systeme V.D. specimen was one of the latter pipes produced prior to WWII and the demise of the company.
The Restoration
The restoration began with a clean denim piece to protect the workbench
Due to the narrow bore of this pipe and the fact that I had broken my #1 blade of my PipNet, I relied on the Scotte Stainless Steel reamint tool.
The Scotte is more than adequate for the job and was aided by the Smokingpipes Low Country reaming knife and the General triangular scraper. The tobacco chamber was sanded with 220 sandpaper wrapped around a wood dowel.
The chamber was sanded to bare briar and no sign of heat damage was observed. Yes, the resident white German Shepherd is always living up to her better descriptor of German Shedder.
The rim had a respectable layer of lava on it.
This was moistened with saliva and scraped with a sharp pocket knife.
The stummel was taken to the sink where it received a scrubbing with undiluted Murphy Oil Soap and a medium stiff toothbrush. The soap was rinsed with warm water and the stummel dried with a cotton hand towel.
While waiting for the stummel to air dry, I began work on the stem. The sinter was firmly attached to the stem and would not budge. I wasn’t sure if it was just a push fit stinger or if it was threaded. Either way it was stuck. I submerged it in 95% ethyl alcohol for a soak.
While the stinger was soaking I examined the stummel. The briar was of good quality and no pits were observed. The scrubbing had removed most, though not all of the finish. Patches of shiny finish can be seen in the photos below.
Back to the stinger. I scrubbed the stinger with a brass brush frequently dipped in the ethyl alcohol. The shape of the stinker was even more amazing when cleaned. This was a serious piece of millwork.
I started to clean out the shank of the pipe. Attempting to be cautious around the cork insert. A dental scraper was used to clean the tar from the airway as well as a nylon shank brush, numerous cotton swabs and folded bristle pipe cleaners. Eventually the airway was cleaned.
While in the cleaning mode, I cleaned the airway of the stem. This only used bristle pipe cleaners and 95% ethyl alcohol. Oh yeah, I forgot. The stinger was threaded into the stem. I don’t know why I would have expected anything less after seeing the machine work used for its manufacture.
The stem was given a light hand buffing with 0000 steel wool to allow the Before and After Deoxidizer solution access to the oxidized vulcanite.
A pipe cleaner was inserted into the tenon and used as a hanger to suspend the sem into the solution.
This stem was fairly oxidized so I figured at least 2 hours would be needed perhaps overnight.
I returned attention to the stummel. I wiped the surface with a make-up pad wetted with 95% ethyl alcohol. I hoped that the finish was shellac which is soluble in alcohol.
The alcohol seemed to have worked but to be completely sure I wiped the stummel with a make-up pad wetted with acetone.
If a little acetone is good, more must be better. This removed the last of any finish remaining on the stummel.
The briar was nice in that it had no pits of outward flaws; it also did not have much in terms of grain. I thought that a contrast dye would add a bit of depth to the existing grain. I did not want to sand and risk reducing the stamps so I taped over them with painter tape. This should keep the majority of the dye from the stamps and allow me to touch-up dye them later.
The stummel was then lightly sanded with 400 and 600 grit sanding sponges with the white German Shepherd attachments.
I applied a coating of black Fiebing’s Leather Dye to the stummel with a folded pipe cleaner and flamed the wet dye burning off the alcohol solvent.
The pipe was then rinsed with 91% isopropyl alcohol over the sink.
The stummel was then wiped with a paper towel to remove the excess dye. Notice the areas where the tape had been. The briar there is much lighter colored than the surrounding wood.
The stummel was then sanded to remove the outer layer of black dyed briar. The dye penetrated the softer open grain of the briar more than the harder grain. When sanded the area where the dye penetrated deeply is darker than the area where the dye was more on the surface.
I returned attention to the stem. It was removed from the Before and After Deoxidizer and allowed to drip excess solution back into the container. This drip dry device is quite the remarkable feat of engineering, eh?
After the stem drip dried for a few minutes I wiped any remaining solution off with a coarse shop rag. Two pipe cleaners were also run through the airway to clear it of solution as well.
The stem was lightly sanded with a 400 grit sanding sponge.
The stem was then scrubbed with SoftScrub cleanser on make-up pads to remove the oxidized rubber.
To try something different I decided to take the pipe to the buffer and buff the entire pipe with rouge buffing compound. I had seen restorers use the buffer to remove the outer layer of dyed wood. I had tried it in the past and never felt comfortable with the technique. I thought, practice and trying new things is good, right? Below you can see the results.
I liked the way the briar looked but I was not happy with the stem. That would need the old fashioned sanding sponges and micro-mesh pads. Another thing I noticed when buffing the pipe was that the stem was too loose. I thought about ways to refresh the cork. I read how Dal Stanton used petroleum jelly. I thought to myself, wood swells with moisture. Why not try steaming the cork? I put the kettle on and it soon started its annoying whistle. The exiting steam was allowed to flow into the shank. It flowed right through the shank out the tobacco chamber and onto my hand. Hmm, maybe a glove would have been a good idea. The steam worked very nicely at swelling the cork and a the stem was a perfect tight fit afterwards.
The buffing did not produce the finish that I thought this pipe was worthy of. I returned to doin things the way I was used to doing them. The stem was sanded with a sequence of sanding sponges from 400-3500 grit. Between each sponge I dipped my finger tip into mineral oil, rubbed this onto the stem and wiped the stem off with a clean dry paper towel.
I then used the 4000-12000 micro-mesh pads to polish the stem. This time I used a drop of Obsidian Oil between sponges, rubbed in and wiped off with a paper towel.
The stem was then further polished with Before and After Fine Polish on a soft cotton rag.
The Before and After Extra Fine Polish was used with the same cotton cloth.
The entire pipe was given a coating of Before and After Restoration Balm and allowed to sit for 30 minutes to ensure the Balm had enough time to work it’s magic.
The pipe was then wiped, cleaning off the Restoration Balm with an inside out athletic sock.
It was then taken back to the buffer to receive several coats of carnauba wax.
This Majestic turned out quite nicely. It is of a darker finish than I usually strive for but I think it works well with the classic elegant lines of this billiard. The silver tone star inlay on the stem also accentuates a darker finish and looks great surrounded by the glossy black vulcanite. I am not sure how I feel about using the buffer with red polishing compound rather than sanding to achieve a smooth finish. I mean it looks good but still it feels like cheating somehow. Either way, this pipe will make a fine smoker for its next companion. Te dimensions of the Super Majestic are:
Length: 5.98 in./ 151.89 mm.
Weight: 1.00 oz./ 28.40g.
Bowl Height: 1.72 in./ 43.69 mm.
Chamber Depth: 1.42in./ 36.07 mm.
Chamber Diameter: 0.74 in./ 18.80 mm.
Outside Diameter: 1.30 in./ 33.02 mm.
I do hope that you have found something here useful to your own pipe care, maintenance or restorations. If you like this sort of thing, please click the like and subscribe buttons. Thank you for reading the ramblings of an old pipe lover.
PS: If you know anything about the brand or the meaning behind the “V.D. stamping, please leave a comment. Thank you.
Below are some photos of the finished Super Majestic Billiard.
I just can’t stop myself from working on those darn 1940s pipes. This little gem is one of those World War II Mediterranean briar substitutes. Kind of like a substitute teacher, they try but just are not the same as the regular version. I’ll get to more detail on that in the Background section, below. I have restored a handful of Trapwell pipes over the years
and found them to be exceptional smokers. They all share the same system for cooling the smoke and condensing out steam. It is this system that makes them good smokers but also a bit troublesome to clean. The subject of this blog is a large apple that has seen some tough handling. The pipe was purchased through eBay and was not part of an estate lot, just a single pipe. After a journey from Union Dale, Pennsylvania to the wilds of southeast Nebraska the old girl arrived. Below are some photos of this Trapwell as she appeared prior to any work.
I am not all that familiar with pipe care practices in different parts of the country. Apparently in Pennsylvania, pipes are frequently placed into cages with hyperactive irate badgers. I could be wrong on this but it would explain the numerous gouges, scratches, dings, dents and other surface scars that the Trapwell had. There were also signs that the pipe was smoked in between badger treatments and perhaps tumble drying sessions with the previous owner’s rock collection. There was a definite lava accumulation on the rim and some caking within the tobacco chamber. The stem and band had marks along their length that indicated that the badgers of Pennsylvania have acquired the use of pliers. These tool marks indicated to me that the stem was probably quite stuck in the shank (It was). The stem also had a bit of tooth chatter which would have to be repaired. Overall, it looked like a fairly straight forward restoration (It wasn’t).
Background
To have an understanding of Trapwell, we have to look into their origin story. No, there are no radioactive spiders but it is still a good story. “Henry Leonard & Thomas, Inc. (HLT) was founded in Ozone Park, Queens, New York by Henry J. Lavietes and two partners on May 31, 1938. The company patented a stem design for pipes and cigarette holders designed by Henry on March 9, 1943. Henry was the son of David Lavietes, who moved to Sparta, North Carolina in the early 1940s to purchase laurel and rhododendron burl to ship back to his son and HLT. Lavietes decided to stay in Sparta and founded the D&P Pipe Works with his other son Paul, originally as a 15 person operation. David Lavietes was the inventor of the Ajustomatic feature incorporated into Dr. Grabow pipes even today.
In 1944, the trademark for the Royalton filter well was granted to HLT. Soon after, however, Henry Lavietes closed the New York operation with little warning and moved the entire production to Sparta, North Carolina. At this time in addition to the Royalton line, HLT was making many other lines of pipes.
In 1953, HLT acquired all assets and equipment of the Dr. Grabow company of Chicago, Illinois, and began production of Grabow and Hollycourt pipes. At the same time, they acquired the Continental Briar Company, owner of the Royal Duke, Duke of Dundee, and Honeydew pipe brands still evident in the common use of the word “Duke” to name Grabow pipes.
On October 21, 1969, United States Tobacco company, owners of the Mastercraft brand, announced that it had acquired HLT. It still ran as a separate company until 1985, however, when Sparta Pipes, Mastercraft and HLT were merged into Sparta Industries, Inc.
While, even after this time, the HLT brand was sold to Lane, and later, in 2006 to International Pipes & Assessories, the current owners, IPAL continues to make and sell the Royalton pipe with the original HLT logo as part of the Grabow line.” (Henry Leonard & Thomas Inc. – Pipedia) (Italics are mine)
So we have David Levietas and son, Paul, setting up a North American briar harvesting venture in North Carolina. All of this due to the Nazis waging war on Europe and shutting down exportation of the pipemans’ favorite wood – briar. That dynamic duo was D&P Pipeworks.
“Trapwell pipes marked with “World’s best briar” are made of Mountain Laurel (Kalmia latifolia) a species from the Ericaceae family.
The brand was made by D & P Pipe Works, owned by D. P. Levitas and located in Sparta, Alleghany County, North Carolina close to the population of Mountain Laurel in the area. Later, this company changed its name to Sparta Pipe Works and still later to Sparta Industries.
There were at least three pipe brands made from the Mountain Laurel: Trapwell, Breezewood and Custombilt.” (Trapwell – Pipedia)
David Levietas, as previously mentioned was the inventor of the “Ajustomatic”. He also was the inventor of the Trapwell system. The below diagram from the original US patent 2,262,159 was screenshot from the PDF. This PDF can be found here: US2262159A – Smoker’s pipe – Google Patents for those interested in the original.
It is this feature that makes the Trapwell pipe what it is – a fine smoking tool.
The Restoration
This restoration began with me attempting to unscrew the stem from the shank of the pipe. This unscrewing actually removed the aluminum mortise from the shank. This was not an intended part of David Levietas’ design. From the photos above you can see the following images:
The photo on the right is what is supposed to happen when unscrewing the stem. Using a pliers with the jaws wrapped in painters tape, as to not mar the stem nor aluminum, I was able to unscrew the two aluminum threaded parts. I would have to reinsert and glue the mortise section back into the shank. This comes later in the restoration.
I set out cleaning the threads of the tenon by soaking the threads in 95% ethyl alcohol. The threads were then scrubbed with a brass brush dipped in the alcohol. This cleaned any residual tars and removed most of the oxidized aluminum.
The shank piece of aluminum was larger and required a larger medicine cup for soaking. It also required more alcohol. I opted to use 91% isopropyl alcohol for this larger amount. Yeah, I’m cheap. Isopropyl is far less expensive than ethyl. That extra carbon and two hydrogens of the isopropyl must reduce both the effectiveness of it as a solvent and the cost. It still worked to clean the aluminum along with cotton swabs and bristle pipe cleaners.
The stem was cleaned out with 95% ethyl alcohol and bristle pipe cleaners.
With the insides clean it was time to address the exterior. I lightly sanded the stem with a 320 and 400 sanding sponge. I then painted the tooth chatter with a lighter in hopes of raising the dents.
The sanding and flame painting helped with the tooth chatter but were unable to do much to the pliers scars. These would require filling with black cyanoacrylate (CA, super glue).
I switched tasks to the stummel. Yeah, ADHD isn’t just for kids. I gathered the reaming tools and started working on the tobacco chamber. This was a relatively narrow chamber and would not fit my PipNet Reaming tool since I had broken the smallest size blades for it. The Scotte Stainless Steel reamer would suffice.
Looking down into the chamber I couldn’t see any damage from heat. It still needed additional scraping and sanding but still the Mountain Laurel appeared to be heat resistant. Not the badger claw marks through the lava.
Next the stummel was taken to the sink. Here it was scrubbed with undiluted Murphy Oil Soap and a medium toothbrush. The soap was rinsed with warm water and then the stummel was dried with a cotton hand towel.
Back at the workbench you can see the grain of the Mountain Laurel. It is different from briar and lacks the bird’s eyes. I can’t say that it is unattractive, just different.
I wiped the surface with a make-up pad dipped in 95% ethyl alcohol to remove any wax and or finish from the stummel. I got some color on the pad. It looked more like a stain than a finish.
The stummel was then sanded with a 320 and a 400 grit sanding sponge.
The rim needed topping to address the dents and dings on the surface. This was done with a piece of 320 sandpaper laid flat on a countertop. I used a circular pattern with rotations of the stummel in my hand every 3-4 circles. This process was repeated with 400 grit sandpaper.
In preparation of a contrast dye, I taped the stamps to keep them from being as heavily dyed as the stummel. The tape was cut in irregular patterns to avoid the blocky appearance when finished.
I planned to use a mixture of ⅓ black to ⅔ dark brown Fiebing’s Leather Dye.
The dye was measured out with a disposable pipette and mixed in a medicine cup. It was then applied to the stummel using a bent pipe cleaner as an applicator. The wet dye was flamed with a lighter to burn off the alcohol solvent of the dye.
The stummel was then rinsed with 91% isopropyl alcohol over the sink.
Excess dye was wiped from the stummel with a paper towel. The protective tape also came off during the wiping but it had done its job.
Back at the workbench the stummel was wiped with a couple of make-up pads dipped in 95% ethyl alcohol. I was not sure how the Mountain Laurel would take the dye as I had never dyed Mountain Laurel before. The softer portions of the wood absorbed the dye very well while the harder grain seemed to repel the dye to some extent. This looked to give the wood a very interesting pattern.
I then tried to sand off the outermost black dyed layer of wood. It was here that I realized how woefully inadequate my previous sanding had been. The badger claw marks were everywhere. Stupid badger.
After thinking about how to deal with the scratches and dents for what seemed like hours, I thought, “try steaming them out”. I plugged in the iron, set it to high, wetted a washcloth and donned a left glove. I wrapped the washcloth around the stummel and proceeded to roll it over the hot iron. I would have taken pictures of this process had I more than the two hands.
The results of the steaming were better but still required far more sanding. And yes, it’s a kevlar glove, I clean fish down at this sink on occasion.
Okay, back to sanding. Lots of sanding. And then some more sanding.
Finally I was wondering if I had done so much sanding that the contrast dye had been completely removed. Out of curiosity I grabbed the Before and After Restoration Balm and gave the stummel a coating. I waited 15 minutes for the balm to do what it does – magic. Many of the dents and scratches seemed to have disappeared.
There were a couple of dents that were too much for even the wonders of Restoration Balm. These would have to be filled with brown CA and briar dust. Now that I write that I realize I should have used Mountain Laurel dust. I certainly had enough.
The new fills were filed with a flat needle file then smoothed with 400 sandpaper.
I must have left stummel mode and entered CA fill mode. I started filling the tooling and tooth dents on the stem. Here I used black CA and spritzed it with a CA drying accelerator.
These areas were again filed flat with a flat needle file then smoothed using a 400 grit sanding sponge.
For a final finish I applied a light top coat of thin clear CA. This CA flows more easily and filled any small depressions that remained. Once cured the areas were filed and sanded as above.
The wood of the shank was taped with painters tape and the stem was sanded using a series of sanding sponges from 400-1500. Between each sponge I dabbed mineral oil onto the stem, rubbed it in with my fingertip and wiped the stem with a paper towel.
The above was repeated with the 2000-3500 sanding sponges.
The stummel got new tape over the stamps. Then was sanded sith the sanding sponges 1000-3500. Between sponges I wiped the wood with a make-up pad moistened with alcohol.
The tape was removed and the adhesive wiped off with alcohol. The pipe was then polished with the micro-mesh pads 4000-12000. The stummel was wiped with alcohol on a make-up pad between pads. The stem received a drop of Obsidian Oil, rubbed onto the vulcanite and a wipe with a dry paper towel.
Once finished with the micro-meshing I pulled the aluminum shank insert out. Cleaned the hole and the aluminum with a cotton swab dipped in alcohol then applied a light coat of white all purpose glue to the toothed end of the aluminum and reinserted it into the shank. I adjusted the bit while the glue was wet. The joint where the two pieces meet was wiped with a paper towel and a bit of alcohol. The pipe was then taken to the buffer for several coats of carnauba wax.
This Trapwell Apple turned out far better than I thought it would. During the restoration I still had my doubts as to how it would look finished. It is truly a stunning pipe. Some of the scratches are still evident but the Mountain Laurel nearly has a glow to it. In sunlight it is remarkable. The contrast dye did far better than I hoped it would, even after all my post-dye sanding. The stem polished up nicely as well. There remain some deep scratches in the aluminum but removing them would probably alter the straight smooth shank to stem junction. Overall I am very pleased at how this pipe turned out. The dimensions of this beauty are:
Length: 6.11 in./ 155.19 mm.
Weight: 1.34 oz./ 38.00g.
Bowl Height: 1.47 in./ 37.34 mm.
Chamber Depth: 1.26 in./ 32.00 mm.
Chamber Diameter: 0.68 in./ 17.27 mm.
Outside Diameter: 1.56 in./ 39.62 mm.
I do hope that you have found something here useful to your own pipe care, maintenance or restorations. If you like this sort of thing, please click the like and subscribe buttons. Thank you for reading the ramblings of an old pipe lover.
Below are some photos of the finished Trapwell Large Apple.
My Peterson Pipe Acquisition Disorder (PPAD) has come out of remittance and I have experienced an attack. Then again it was fully expected. I can’t run around with a name like NebraskaPeteGeek and not have full blown PPAD at least semiannually. The lovely 606 in the photo above did not arrive like that. It was spotted at an auction on eBay a couple of weeks ago. I couldn’t believe my eyes at first. A Peterson Dunmore with a shape other than the 300 System shape was very interesting. I’ll get more into that in the “Background” below.
This pipe has Peterson’s over “DUNMORE” on the left, the Peterson P on the stem and MADE IN THE over REPUBLIC over OF IRELAND and 606 on the right. There is also a beaded edge at the shank end, a characteristic of the Dunmore line. When the pipe arrived it appeared in the photos below.
Background
As much as I love the history of the Kapp and Peterson company and Peterson pipes, I will not get into that other than give you resources to read the history for yourself. I will delve into the Dunmore, or Dunmoor line of pipes at greater depth.
For a great history Mark Irwin and Gary Marlburg’s book is a must read for a Pete Geek.
Now to the stuff regarding this pipe: A Peterson Dunmore. I refer to Mark Irwin again here and his blog, Peterson Pipe Notes. I can wholeheartedly recommend the free at
I will include the text here in it’s entirety but recommend the link for the photos. This is used with permission of the author (thank you Mark).
“226. Documenting the Dunmore System and Classic Lines
Milos “Mike” Bera at PipesPens&More.com on eBay recently wrote me to say that he’d run across two examples of a Peterson Dunmore Classic line he’d never seen before—a higher-grade line with a briar-in-brass sandwich band. As I thought they were not only gorgeous but undocumented, the time seemed right to take a look back at the history of the Dunmore System and Classic lines.
I’ve been a fan of the Dunmore lines since I first saw them through the case back in the late 1980s and had to have one, a fat-bottom 72 (the 302 equivalent). Like everyone else, I thought there was some kind of mistake—“Where’s the nickel mount?” I remember asking. But the Dunmore System set out to be something a little different, yet within the classic Kapp & Peterson house style.
The line originated in collaboration with Iwan Reis in 1971. How it came about is anyone’s guess at this point. Chuck Levi, the man who more than any other was responsible for bringing the great Danish artisan pipes to the US, was working with the creative minds at K&P to bring something new to the IRC catalog, and this was one of about a dozen K&P lines that debuted as exclusives in the Iwan Reis catalogs of that era.
The concept was to modernize the System pipe by removing what was perceived as the old-fashioned nickel mount. And old-fashioned it was—if you look at pipe catalogs from the 1940s on through most of the rest of the 20th century, nickel ferrules and even bands were almost non-existent. K&P was virtually the only hold out, using sterling bands on the Sterling Silver Classic line and on the Premier & De Luxe Systems. A bead was then carved around the stummel at the mortise end. As you can see from the IRC detail, sometimes the contrast stain made the beads stand out, and sometimes not.
But there were two more ingredients to the original Dunmore aesthetic which can be seen the photo below. Paddy Larrigan, K&P’s master-craftsman, was always striving to push the envelope in pipe engineering, and one of the things he dearly loved was a pipe that would sit, so he shaved off the bottom of the shank to allow the Dunmore System to sit on its shank and button, which gives it its uniqueness in the catalog. The downside of this is that I am not convinced that all the Dunmore reservoirs, being slightly smaller than the traditional System, are quite as effective.
The third distinguishing mark of the original Dunmore lines is the stem. Both the System and Classic versions utilized the wide-shoulder “Comfort Lip,” with a painted gold P on the stem. This doubtless helps the System sit as well as giving it a more muscular visual balance, strength being a long-standing concept in the design language of the company. While it gives the illusion of being an army “push” mount, of course it isn’t, but is a traditional tenon-mortise or “navy mount” as the old hands at K&P used to call it.
The 1971 IRC catalog description reads, “dunmoor briar IRC ’71 modern system without sterling band, natural $12.00.” This intentional misspelling of “Dunmore” would persist through subsequent IRC catalogs, the copy-writer evidently under the spell of e.e. cummings and favoring an English flavor to his pipes. The name, like almost all K&P line names, is taken from the Irish landscape, in this case the town in County Galway famous for Dunmore Castle.
The 1975 Orange Catalog shows the initial Dunmore System release was in only seven shapes:
This was later expanded to include both the original bent dublin shape 5 (75) and XL5 (XL75) and the replacement calabash shape 5 and XL5. The remaining “new” System shapes were also added to the Dunmore lineup, the 01 becoming the Dunmore 73, the 02 the 70 and the 03 the 76. The fact that the 304 and 306 “setters” introduced in 1984 never entered the Dunmore System lineup adds the probability that the line had been discontinued by then.
The smooth Dunmore System features a light brown natural finish, sometimes occurring with broad flames, as can be seen in these photos of an unsmoked 77 System:
The rusticated version of the Dunmore System seems to have been finished in at least two techniques or versions. Neither is as deep as the Pebble Rustic finish but they still feel very therapeutic under thumb and finger.
Even when we were beginning our research on the Peterson book (due out in reprint later this year), most Pete fans had no idea there was also a Dunmore Classics line featuring the same beading at the mortise and wide Comfort Lip mouthpiece. Documentary proof was found in the rare 1978-79 Peterson-Glass catalog:
The Dunmore System and Classic Lines from the 1978-79 Peterson-Glass Catalog
I don’t know whether the Dunmore Classics was a short-lived line or whether it was primarily available in Europe, but it almost never appears on the estate market here in the US. As you can see from the catalog and the 406 pictured above, the same aesthetic was followed for the Classic line—light brown, nearly natural, higher-quality smooth bowl (or dark rustic) and faux army mount with gold-painted P, wide saddle and P-Lip stem. Only the Dunmore System, as far as I have been able to document, had the flattened stummel allowing it to set.
I have always hoped to run across an unsmoked rustic Dunmore System with the dark contrast stains seen in the Peterson-Glass catalog. I wonder if this finish actually went into production, because the ones I’ve seen all look more-or-less like the XL75 shown above.
The original Dunmore lines seemed to have been dropped at about the time the company went through its worst redundancy in 1984, as there are no more traces of it in the company’s ephemera from 1983 on. I remember the proprietor of my B&M, Cavalier Pipe & Tobacco in Barracks Road Shopping Center in Charlottesville, telling me when I bought my shape 73 Dunmore that the line was out of production, so I’d better get it if I wanted it (don’t you miss high-pressure salesmen?)—and that would have been 1986 or ’87.
The second iteration of the Dunmore Classics line is that recently discovered by Mike at PipesPens&More on eBay. I would tentatively date it to c. 1995, well after K&P had gotten on its feet again and was doing some new and fascinating things. It seems to belong with three other briar adornment lines from the same period: Paddy Larrigan’s Briar in a Circle Systems and the Galway and Kapp-Royal higher-grade lines with their wonderful inset briar rings.
Mike’s Dunmore Classics line is certainly on a par, from the two examples he’s found, with the Galway and Kapp Royal briars and maybe better, although probably not as fine as the Briar in a Circle Systems. Take a closer look at this 80S, which Mike sold within 24 hours of posting it on eBay:
The last Dunmore Classics line made a brief appearance in the Dublin era’s second decade, somewhere in the 2000s, probably around 2005 or so. Jim Lilley’s old blog site made a reference to them, and I remember seeing them for sale at internet shops.
I know it appeared well before I got interested in writing the Peterson book, because I don’t have any internet images of it in my files. These photos of the B5 and B11 give a good idea of what the line was like, although it appears to have begun in a higher range and then slipped to a lower.
Updated Identification Guide
Dunmore (1971–c. 1984; c. 1995; 2006–2010) Appeared in 1971 as Iwan Reis & Co. exclusive line “Dunmoor,” Premier-grade unmounted System in smooth natural or rustic dark chocolate contrast in all shapes, with beading at the shank, faux wide-saddle P-Lip with gold paint P. Documented in Associated Imports catalog from 1973. Classic Range line from 1978 with same faux army mount and finishes. Second scarce Classic Range line, c. 1990, higher-grade smooth bowl with brass sandwich and briar band, P-Lip. A third Classic Range line, 2006–2010, mid-grade, featured standard and some B shapes, with beading around bowl instead of shank-face, for European market.
With that information at hand I can date this Peterson Dunmore with a good deal of certainty. The 606 shape is of the “Classic Range line” thus from 1978-1984. A mere 6 year window.
The Restoration
There is a clean denim piece for a work surface so, it must be time to start another project.
The stem was the part of this that needed the most attention and it went into the OxyClean solution first.
The reaming tools were gathered. The PipNet with its #2 and #3 blades for this nice wide chamber would see some action.
The reaming started easy with the PipNet and the #2 blades. The the #3 blades were a tight fit and required some scraping with both scrapers to allow it access to the tobacco chamber. Eventually the chamber was reamed and sanded with 220 sandpaper wrapped around a wood dowel. I finish sanded with 320 sandpaper and my finger. The chamber looked great with no signs of any damage.
The chamber may look good but the rim was lava encrusted.
Saliva and a sharp knife were used to scrape the rim.
The stummel then made its way to the sink for a scrub with undiluted Murphy Oil Soap and a medium bristle toothbrush. The soap was rinsed with warm water and the stummel dried with a cotton hand towel.
Returning to the workbench the stummel looked much better.
A quick wipe with a make-up pad dipped in 95% ethyl alcohol to make sure there was no remaining wax or finish remaining was done. This produced some color on the pad but I think it was just dirty old wax and maybe a bit of stain.
I did see a few pits that would require filling with cyanoacrylate (CA, super glue) and briar dust.
I turned my attention to cleaning out the airway within the shank. I used a couple of alcohol soaked cotton swabs to soften the old smoking residues in the airway. I then poured 3-4 ml of 95% ethyl alcohol into the bowl and allowed it to flow into but not through the shank. I used a nylon shank brush to scrub the airway with the alcohol. The alcohol was poured into a medicine cup to assess the dirtiness of the airway. Not bad but still quite a bit of cleaning and repealed alcohol scrubs. Oh yeah, folded bristle pipe cleaners were also used to scrub with. Numerous more cotton swabs, folded pipe cleaners and a few ml of ethyl alcohol later the shank was clean.
The stem came out of the Oxy bath and was vigorously wiped with a dry make-up pad. The pad was heavily stained with oxidized rubber.
Several more make-up pads with SoftScrub were used to try to remove the stubborn oxidation. Adjectives other than “stubborn” may have been uttered during this process.
I oiled the stem and left it for 24 hours. The next day I returned and used SoftScrub again to remove the oil. Well, more than oil came off.
Back into the Oxy bath went the stem. It was there for another hour.
I turned my attention to filling the pits. A small drop of brown CA was applied to the pit and a small scoop of briar dust was then placed onto the wet CA and pressed into the pit. The excess briar dust was brushed off with a bristle pipe cleaner. This was repeated for each of the fills. The CA and briar dust set-up very quickly and were filed with a flat needle file then sanded with a 400 grit sanding sponge.
The stummel was then sanded with a series of sanding sponges from 600-3500 grit, in sequence. Between each sponge the stummel was wiped with an alcohol moistened make-up pad.
The stummel was then worked with a series of micro-mesh pads 4000-12000 grit. Between each pad the stummel was wiped with a make-up pad dipped in alcohol.
The stummel then was coated with Before and After Restoration Balm and allowed to sit for 30 minutes.
The stem was retrieved from the Oxy bath for the second time. And wiped with a dry make-up pad. This time much less oxidized rubber came off of the stem.
The stem was sanded with a series of sanding sponges from 600-3500. Between sponges I would rub a small drop of mineral oil onto the stem and wipe it with a paper towel. This was followed by the micro-mesh pads 4000-12000. Between the pads I applied a drop of Obsidian Oil to the stem, rubbed it onto the surface and wiped with a paper towel. I failed to photograph any of the stem sanding and micro-meshing, sorry if you were looking forward to that.
The stummel was wiped clean of any remaining Restoration Balm with an inside out athletic sock.
I debated showing this next step as it was a mistake. Since I am rather adept at making mistakes I thought I’d show you what not to do. I thought the Peterson P logo on the stem should be repainted in white. I cleaned the surface with a cotton swab and 95% ethyl alcohol and gave it a coating of white acrylic model paint.
While the paint was still slightly pliable I scraped the high spots of the logo with a plastic card and wiped away any paint from around the logo.
I then proceeded to wax the pipe with the buffer and carnauba wax and do the “finished” photographs. It wasn’t until I was refreshing my memory and writing the background section that I came across the “P-Lip with gold paint P” from Mark Irwin’s Peterson Pipe Notes dunmore description. Well the white P just wouldn’t do. Back to the workbench, I recleaned the white acrylic paint from the logo using the ethyl alcohol and a cotton swab.
I then made an applicator for the gold Rub’nBuff from the plastic tube of a cotton swab. I cut one end from the tube, heated the plastic with a lighter and flattened the hot plastic with a knife blade.
I used scissors to cut the flattened plastic into a micro-spatula type device.
The gold Rub’nBuff was applied with the plastic tool. The excess gold was wiped onto the denim. I let the gold Rub’nBuff dry for a minute of two and used the tool to scrape away the excess gold from around the logo. The area was then hand buffed with a soft cotton cloth.
There, that’s more like it and correct. Living and learning. I hope my mistakes help you to avoid making some of your own.
The pipe went back to the buffer for a touch-up re-waxing with carnauba. Then back to taking the real finished photos.
Overall this Peterson Dunmore 606 Pot turned out pretty well. I have to admit to not being happy with the finish of the stem. The oxidation was deep into the vulcanite. Even after the Oxy baths, SoftScrub and sanding it can still be seen. Given under normal light conditions the stem looks fine, bright light makes the oxidation stand out. I did not want to use the Before and After Deoxidizing solution for fear of losing the logo. That may be the only way to address the issue short of sanding the entire stem and losing the logo to that. This will be a personal pipe for the time being. Unless someone really wants it and makes me an offer I can’t refuse. The briar of the 606 is lovely, showing off Peterson’s Premier-grade and I was able to keep the original stain without altering it. Of the areas that I filled I think only one was a flaw in the briar and the others were dings from use. The very nature of the Dunmore non-System shape is a rarity and a pretty rarity at that. The dimensions of the Peterson Dunmore 606 Pot are:
Length: 6.21 in./ 157.73 mm.
Weight: 1.44 oz./ 41.00 g.
Bowl Height: 1.65 in./ 41.91 mm.
Chamber Depth: 1.36 in./ 34.54 mm.
Chamber Diameter: 0.82 in./ 20.83 mm.
Outside Diameter: 1.58 in./ 40.13 mm.
I do hope that you have found something here useful to your own pipe care, maintenance or restorations. If you like this sort of thing, please click the like and subscribe buttons. Thank you for reading the ramblings of an old pipe lover.
Below are some photos of the finished Peterson Dunmore 606 Pot.
Oops, there is a finished photo showing the white logo. Darn lazy, I say.
There’s another white logo. Why do you keep reading stuff by this guy?
I have restored a few Wally Frank pipes and find them ever-interesting. I suppose they are interesting because there is no archetypal Wally Frank pipe, this is opinion and meant to be taken as such. What I mean is that Wally Frank was an effective businessman and followed the trends and style changes like a master marketer. He seemed to always be searching for a “new” pipe that people would want to buy rather than focus on developing classic pipes which people would return to purchase as “classics”. I’ll stop talking about Wally Frank for a few minutes and just focus on the pipe at hand.
This Wally Frank came from an eBay auction that I just couldn’t ignore. Well, not for the price anyway. It is a carved or rusticated billiard in the fashion of the Custombilts from the 1940s-1950s. The little darling arrived in the middle of May and got bumped up in the restoration queue due to her good looks and to be completely honest, I was looking forward to a stress free restoration. Here is what she looked like upon arrival.
Stress free; some oxidation on the stem, a few decades of grime, minimal sanding, serious reaming and airway cleaning aside, this looks like relaxation therapy to me.
Wally Frank Background
Okay, back to my editorializing about Wally. The huge variety, nearly schizophrenic in nature, of Wally Frank style pipes may be due to his constantly trying to keep his offerings fresh in a competitive pipe market. Frank’s pipes were not what I would consider high end pipes. He was likely going after customers with less disposable income and mimicking a variety of popular styles . He was known to venture throughout Europe searching for less known carvers and small shops where he could purchase quality at lower prices. Wally Frank’s unique pipe offerings may make more sense when you consider the Wally Frank “Pipe of the Month Club”, an early subscription pipe offer. He apparently wanted to keep the customers satisfied with new and unique offerings. Here is the order form from http://www.pipephil.eu/logos/en/logo-w1.html
The date on the form is difficult to make out but, I think it is 1947. $1 in January of 1947 is equivalent to $14.58 in April of 2024 (https://www.bls.gov/data/inflation_calculator.htm). Who wouldn’t jump at the chance to get a new pipe every month for $15 dollars today?
The first paragraph about Wally Frank from Pipedia pretty much sums up Frank’s contributions to our hobby:
Wally Frank, Ltd. was one of America’s oldest and most respected names in pipes and tobaccos, beginning in the early 1930’s. Wally Frank operated a chain of tobacco stores in New York City (the flagship store was in Lexington Avenue) and had a vast catalog business for pipes and pipe tobaccos. Their numerous private-label pipes were made by many makers, includingCharatan,Sasieni,Weber, and many others. Wally Frank, Ltd. also owned thePioneer brand of meerschaum pipes, made from both Turkish and African meerschaum. In addition to importing pipes, he had many pipes made in his own name and also employed pipemakers likePeter Stokkebye,Svend Bang, andEd Burak (who later became the owner ofConnoisseur). As a result, each Wally Frank pipe must be individually evaluated on its own merit. (Wally Frank – Pipedia) Mr. Frank did this for many years, Wordcat.org is a library of print material available via interlibrary loans. They have several Wally Frank catalogs available from 1930-1958 (au:Wally Frank, Ltd. – Search Results (worldcat.org)).
Due to the large number of sources of Wally Frank pipes there is no Wally Frank shape chart to use as with Dunhill, Peterson, Kaywooodie and other manufacturers. I looked through the several Wally Frank pipes that I have kept for personal use and I could find only one with a shape number stamped on the pipe. And that is a Custombilt pipe from the Wally Frank Era of ownership. So, in a sense not really a Wally Frank pipe. The
Above photos are from a restoration I did in February 2024, here is the link for those interested: Custombilt Original 699.
The Restoration
Typical of my restorations I began with a cleanish denim piece on the workbench. Clean is a relative term and my denim pieces are losing family members quickly and few clean relatives remain.
I pulled the stinger from the stem and placed it into a plastic medicine cup with 95% ethyl alcohol.
The reaming tools were assembled.
The only tool that would fit into the tobacco chamber was the General triangular scraper. The scraper did well and eventually opened up a hole in the cake.
Once the hole was large enough the Scotte Stainless Steel reamer could enter the fight. The lava on the rim was so thick that I couldn’t tell where the cake ended and the briar began.
A large pile of cake scrapings had appeared on the plastic envelope, AKA reaming surface. The rim was still lava encrusted. I had to scrape the rim to assess the tobacco chamber reaming.
I was able to see the rim with the lava scraped away and able to get the PipNet into the reaming action.
I was curious about how much cake had been removed. I weighed a larger medicine cup of the electronic scale – 2.1 g (empty).
I brushed all of the reamed cake into the cup and re-weighed it – 5.4 g. I am pretty sure 3.3 grams is what the average kindergartener weighs in at.
On to the scrubbing. The stummel went to the sink where it was scrubbed with undiluted Murphy Oil Soap and a medium bristle toothbrush. A second soap application was used with a stiffer nylon scrub brush due to the years worth of grime and the rusticated surface of the stummel
After the scrubbing the stummel was rinsed with warm water and dried with a cotton hand towel. I returned to the workbench and scrubbed the stummel further with a nylon brush dipped in ethyl alcohol. I had to dip the brush numerous times. I was removing clear finish, which I assumed was shellac and stain from the stummel. The use of shellac made me think that this pipe may have been older than I had thought.
Since my fingers were already covered in alcohol and finish I figured a bit more alcohol would be good. I scrubbed the stinger and freed it from its tar coating. The alcohol and a .30 caliber brass bore brush were used since the regular brass brush was over by the sink and I’m lazy.
The stummel was wiped several times with make-up pads dipped in ethyl alcohol to remove any traces of finish and traitorous stain from the stummel.
With the stummel exterior cleaned I decided to let it dry for a few minutes and get the stem ready for a soak in an OxyClean solution. The stem was lightly sanded using a 320 grit sanding sponge.
Then it went into the solution. I cannot remember what concentration this solution was mixed at but it is less than a saturated solution.
I began cleaning the airway by softening the residues with alcohol wetted cotton swabs then scraped with a dental scraper. A nylon shank brush was used with alcohol poured into the bowl and through the shank. That is the brown liquid in the cup below. Alternating cycles of scraping, scrubbing, swabbing – repeat – were done until the airway was clean.
Finally a doubled over bristle pipe cleaner dipped in alcohol emerged from the airway non-brown.
The rim had seen some hard nocks, literally. Below is a photo with sunlight. This would require a light topping.
I topped the rim with 220 sandpaper (on the right) and 400 sandpaper (left) using small circle motion. I would rotate the stummel in my hand 90 degrees after 4 circles and repeat. This is done to keep even pressure on the entire rim surface.
Below is the rin in sunlight after topping with the 400 grit sandpaper.
I lightly sanded the highspots of the stummel with a 600 grit sanding sponge. I did not want to reduce the rustication but I did want to sand through the stain a little bit to add highlights to the briar.
The rim was sanded using a sequence of sanding sponges 600-3500. In between each sponge the rim was wiped with an alcohol dampened make-up pad.
The rim was then micro-meshed with pads 4000-12000, in sequence. In between each pad the rim was again wiped with an alcohol dampened make-up pad.
The stummel was coated with a thin layer of Before and After Restoration Balm and allowed to sit while I continued working on the stem.
The stem emerged from the OxyClean and was scrubbed with SoftScrub on make-up pads. Below you can see how the pads show a lightening with less oxidation removed from left to right
The interior of the stem was cleaned using bristle pipe cleaners and 95% ethyl alcohol. The stem was then coated with mineral oil and allowed to sit for several minutes.
Returning to the stummel – it was wiped of the Restoration Balm using an inside out athletic sock. The briar looked very nice and rejuvenated.
The stem was then worked with the sequence of sanding sponges from 600-3500. Between each sponge I would wipe a light layer of mineral oil onto the stem and wipe it with a paper towel.
The stem was then micro-meshed with the 4000-12000 pads. In between pads I rubbed in Obsidian Oil with my finger and wiped with a paper towel.
I failed to photograph it but the final polishing of the stem was done with Before and After Fine and Extra Fine Polishes. Each was hand buffed using a soft cotton cloth. Yeah, product placement, bring on the sponsors.
The final steps were to apply several coats of carnauba wax to the shank and stem with the buffer. I very lightly applied carnauba wax to the ridges with the buffer as well.
I think this old Wally Frank Rusticated Billiard turned out very well. I love the color of the original stain and think the rustication is perfect without me doing anything to it. I appreciate the rugged yet classic lines of this shape. The aluminum ring, though far from high class, does add a nice contrast to the glossy black vulcanite and the mahogany stummel. The draw of the pipe is a bit constricted by the stinger for my preference but they are removable and when removed it is quite nice. The dimensions of the Wally Frank Rusticated Billiard are:
Length: 6.09 in./ 154.69 mm.
Weight: 1.24 oz./ 35.3 g.
Bowl Height: 1.77 in./ 44.96 mm.
Chamber Depth: 1.30 in./ 33.02 mm.
Chamber Diameter: 0.77 in./ 19.56 mm.
Outside Diameter: 1.41 in./ 35.81 mm.
I do hope that you have found something here useful to your own pipe care, maintenance or restorations. If you like this sort of thing, please click the like and subscribe buttons. Thank you for reading the ramblings of an old pipe lover.
Below are some photos of the finished Wally Frank Rusticated Billiard.
The question “Why do I do this?” comes to mind with this Nameless pipe. I had written the title and previous sentence before I discovered what this pipe was. With some help and a phone call from Steve Laug this pipe’s Identity has been discerned and a Medico Guardsman. This pipe had been used frequently. The owner must have gained some enjoyment out of it or they would have surely just smoked another pipe. Perhaps it was their only pipe. There was no distinctive aroma other than old tobacco so the blend of choice was probably a common blend like Kentucky Club or Half and Half. The finish on the pipe had long ago faded, cracked and peeled. I couldn’t really see any distinguishing grain. The stem had pretty significant dents from clenching, further proof that this pipe had been someone’s long term companion. It also appeared to have a reverse tenon (more on this later).
Back to the initial question, “Why do I do this?” I could wax philosophically and throw together some word salad of jiberish or I could just say, “because I enjoy it.” Perhaps in the same way that the previous owner enjoyed this pipe. I find peace in working with my hands in a relaxing stress free fashion. There is no timeline, no customer to please upon finishing this pipe, no expectation of having it turn out flawlessly, just me in the cool quiet of my basement with a couple of dogs lounging on the couch and an old pipe. The motions of cleaning, sanding, refinishing are repetitive and require little thought. This is my hobby and I do it because I like to. The product of the hobby may be sold or given away. It doesn’t really matter, either way someone will get a new-to-them pipe that they can enjoy in their future.
Back to the pipe. I kind of have to write this thoughtfully breaking it into two sections:
I had it pretty much finished and ready to write-up when I started chatting with Steve Laug.
Back to the workbench with it in an attempt to fix what we had decided was previous “repair”.
I guess I’ll start with the pipe as it appeared upon arrival.
The word “rough” comes to mind. My dad would have called it “rode hard and put away wet”. Anyway you look at it this one definitely needed some work or a trash can. I went with the first option. With a cursory inspection I immediately thought this pipe to be a Medico due to the tenon with the space for Medico or Dr Grabow filters. I could not make out any definitive stampings though. Usually Medico stamps are good. Even now, knowing what the pipe is, I could not clearly make-out the stamp.
The G on the stem was also worn and didn’t register in my mind. I thought that maybe if I removed the finish the stamp would be more clear. I started a mental list of tasks for this restoration; reaming and cleaning the tobacco chamber, cleaning the airways of the shank and stem, stripping off the old finish and maybe dying the stummel, repairing the bite marks and tooth chatter, sanding, micro-meshing and polishing. It all sounded daily typical.
Now is the time I would normally discuss the background of the pipe. With this pipe I was unsure of it’s name and provenance. I’ll revisit this later.
The Restoration
This restore began like most others with a clean denim on the work surface.
The reaming tools were assembled.
The reaming progressed as normally except that darn grate was in the way.
Eventually the chamber was cleaned. A dental scraper was used to scrape around the aluminum grate.
The rim had some minor lava deposits which required a bit of scraping with a sharp pocket knife.
Below is the scraped rim.
To the sink. Here the stummel was scrubbed with a medium bristle toothbrush and undiluted Murphy Oil Soap. The soap was rinsed with warm water and the stummel was dried with a cotton hand towel.
I returned to the workbench and assessed the stummel. There were remnants of a clear coat finish on the briar, this had to go. Still no clear stamps.
I first tried 95% alcohol on a make-up pad to remove the finish. This did little.
Next I tried acetone on a make-up sponge. This worked well in dissolving the lacquer and removing some stain.
Below you can see the right side of the stummel prior to a wiping with acetone on a make-up pad.
Here is the same side after wiping with the acetone.
Several acetone dipped pads later the finish was removed and the briar was accessible.
The briar was in good shape and showed little signs of old fills or damage. There was an ashtray scar where a cigarette probably charred the briar on the front of the stummel. The stummel was sanded with 400 grit sanding sponges to see if there was damage that I had overlooked. The stummel was then wiped with a make-up pad wetted with 95% ethyl alcohol.
Below you can see the cigarette burn.
I then started scrubbing the airway of the shank. Bristle pipe cleaners, cotton swabs, a .33 caliber brass bore brush and a nylon bore brush were all used with copious amounts of 95% ethyl alcohol. The airway was eventually cleaned but the end of the shank under the grate was difficult to access and continued to return tools stained with tar.
To help conceal the ashtray scar and bring out the briar grain I decided that I would attempt a contrast stain.dye with black Fiebing’s Leather Dye.
The black dye was applied with a folded pipe cleaner and flamed with a disposable lighter.
I returned to the workbench to sand away the outer surface of black stained briar. I hoped that this would leave the softer grained briar which had absorbed more of the black dye. I allowed the black dye to dry for a while and turned my attention to cleaning out the airway of the stem. Again bristle pipe cleaners, cotton swabs, a shank brush and ethyl alcohol were used.
Once the stem was cleaned I returned to sanding the outer surface of the stummel with both a 320 and 400 grit sanding sponge. The stummel was wiped with make-up pads dipped in 95% ethyl alcohol. Below is how the stummel looked after sanding. The dye had defined the grain nicely.
I thought the stummel needed a bit more color so I decided to give it a wash in a diluted red Fiebing’s Leather Dye. I diluted the red dye with about 50% ethyl alcohol and applied it with a cotton swab.
I thought that this combination of dyes looked about right, I also knew that quite a bit of the red would end up being removed by sanding and micro-meshing but it should retain a light reddish hue.
The stummel was then sanded using the sequence of sanding sponges from 600-3500 grit. I very lightly wiped the stummel between pads with a very lightly alcohol dampened make-up pad. I did not want to remove too much of the red dye.
At this point I switched gears and started working on the stem.
Okay, here is where it gets a little weird. I had sent Steve Laug a private message on Facebook asking if his memory about the aluminum grate in the bowl was any better than mine. He replied, “I have seen it in pipes here but also don’t remember the brand . It is a stinger apparatus if I remember right. With the carb it is like a barbecue grate” he then said, “Let me do some digging”. I continued working on another pipe.
He messaged me a few minutes later saying, “Looks like a Medico Guardsman”. He included a link. Below are some photos from the link.
That served as a very definitive identification to me. I still wondered about the slightly different grate in the bowl on my pipe. Perhaps the previous owner lost a couple of holes? I’d heard of losing a button. Why not a buttonhole?
Anyway, the G on the stem also looked like the worn G on the pipe in hand.
I think we are now ready for, dramatic pause, “The Background section. Yay.
Background of Medico
Pipephil.eu has the following photo of Medico Guardsman logos:
A quick search of Medico of pipedia.org supplies the following.
“When you trace the Medico tobacco pipes history, you have to trace it back to the origins of the company that created it. The company that originated the Medico brand is the S.M. Frank & Co. This company dates back to the year 1900. In that year, a man named Sam Frank began selling pipes and related tobacco products. Eventually, the company began making its own line of pipes. With the help of an experienced pipe manufacturer, Ferdinand Feuerbach, the company produced the popular Royal DeMuth and Hesson Guard Milano tobacco pipes. The company continued to grow well into the early part of the 1930s.
By the early 1930s, there were some concerns about the tars and nicotine found in tobacco smoke. In order to mellow out the flavor of hot tobacco smoke as well as to capture the tars and nicotine, the S.M. Frank & Co. introduced the Medico pipe filter. This is an absorbent paper filter that many people still use to this day. In order to accommodate the new filter, the company developed an accompanying brand of pipes known as Medico. That line of pipes continues in production today.
“The company ended up buying some of their main competition in 1955. That year the Kaywoodie brands came under the S.M. Frank Company. The Medico brand continued production through this transition without many changes. The next big change for the brand came in the late 1960s. In 1966, the company developed a synthetic material that combined the traditional briar wood with resins. It is known as Brylon. At that time, all Medico pipes were made from imported briar wood. In order to keep production costs down, the company began offering some lines with Brylon. Today, that is still true.
Today, the Medico brand of pipes is still a top selling one for the S.M Frank & Co. This line of pipes comes in thirteen different finishes with five made of briar wood and the rest from Brylon. All come with the push bit with a filter inside. The filter is easily changed out when the smoker desires. In the briar wood finishes, this line includes the Silver Crest, Premier, Bold Rebel, Kensington, and Windsor. In the Brylon, the line includes the Lancer, Apollo, Standard, Varsity, Conqueror, Medalist, Cavalier, and V.F.Q. As far as price, the briar wood pipes tend to be higher in cost that the Brylon ones. Courtesy TobaccoPipes.com”
The chatting in Facebook was becoming annoying for both Steve and I so a phone call was made and we were able to discuss this pipe. Steve agreed with me in never having seen a Medico pipe with a reverse tenon. He had seen a tenon where a previous owner had removed the aluminum from the stem and glued it into the shank thus making the pipe into a reverse tenon. He thought that this is what may have occurred with this pipe as well. I decided that the pipe needed to be restored to it’s original configuration. This meant that I too would free the reversed tenon from the shank and glue it where it belonged, in the stem. Both Steve and I agreed that the stem’s mortise appeared to have been roughened with sandpaper to allow the adhesive to better hold the aluminum. So I set out to right perceived wrongs.
Our discussion also included using heat to soften the glue holding the aluminum in the shank, where we have lived in the US and Canada, our previous and current jobs, and turtles. Yes, you read that correctly, turtles. And no, there was no mention of using heat to remove a turtle from it’s shell.
Anyway, back to the restoration part two. A new plan was formulating in my mind:
Heat the aluminum to free it from the glue holding the “reversed tenon” in the shank.
Reclean the shank.
Glue the aluminum into the stem, where it belonged.
Polish and wax for the final time.
That sounded like a good plan.
The aluminum was heated with a disposable lighter for a count of 20. I then used a very high tech aluminum tenon extraction device to apply force to the aluminum. Oh, I suppose you are wondering exactly what a “very high tech aluminum tenon extraction device” is. Well you take a smaller size channel lock and wrap the jaws with painters tape, tadah! Your very own very high tech aluminum tenon extraction device. Let’s just call it a VHTATED or pliers from here on out. The heating and pliers seemed to have no effect on the tenon. It probably needed more heat so, another 20 count of flame was applied. At this point I will warn you to keep your fingers away from the little metal carburetor. I have heard that they become very hot when exposed to a couple of 20 counts. Yeah, I burned myself on that. Twice. Maybe three times but who’s counting? Still nothing was moving. Perhaps a change in the direction of applied force was needed. Instead of a twisting motion with the pliers on the tenon maybe a straight line pull would be better. I used a knife blade to press down between the shank end and the aluminum tenon. I figured that the ring was all part of the tenon and it would pull the tenon free. The knife blade slid the aluminum out away from the shank. Victory, I thought!
Then I realized that the aluminum was just a spacer ring. I removed it.
Hmm, change of strategy. Using a disposable pipette I drew up a little bit of acetone in the pipette and applied it around the aluminum/briar contact. It seeped in quickly. I figured that the acetone would certainly help dissolve the heated glue and help free the aluminum. Nope.
Okay, if a little acetone didn’t work more certainly would. I dunked the stummel into my jar of acetone and let it soak for 2 hours. Below you can see the liberated spacer ring lying below the stummel.
Two hours later I removed the stummel and dried it of acetone. The acetone did not appear to have removed my dye. This was welcomed as a small victory. I again tried to wiggle the tenon while gripping in with the pliers and rotating the stummel. It moved. Maybe only a mm but it moved. I wiggled it some more. I could get it to rotate 1-2 mm. Okay, if a two hour soak was good and longer soak might completely free the aluminum from the shank. Back into the acetone jar went the stummel. I went fishing.
The next morning I retrieved the stummel from the jar. I fully expected the rotation to be free and for the aluminum to slide free. Nope. I started thinking that if the aluminum carburetor had gotten hot enough to cause me pain then it had to be in contact with the aluminum of the tenon. What if they were all in contact with each other? That would mean that the grate was not a separate piece, which is what I had assumed. I rotated the tenon back and forth with it’s 1-2 mm rotation and sure enough, the grate was moving 1-2 mm also. They were the same piece of metal. Moving the stummel around I could see light coming through the hole in the carburetor through a hole in the grate. What if I could push the carburetor out with a punch from the top? I got the fly tying bodkin. It was small enough to go through the grate holes but large enough not to pass through the carburetor. I placed the tip through the hole and into the carburetor. Then tapped it with the pliers. At first nothing happened. I tapped harder and the carburetor started to emerge. I grabbed it with a needle nose pliers and removed it. I then gripped the aluminum tenon and sure enough, it rotated and was pulled free.
The case of the Medico reverse tenon was solved. The hole in the aluminum tube, visible in the photo above, was the hole that the carburetor fit into. It had locked the whole aluminum grate-tenon-tube in place. Below is a photo of the carburetor and the aluminum tube.
Here is the tube with the carburetor hole facing up.
Here is the tube with the grate holes facing up.
The end of the tube was plugged completely with tar and yuck.
The tar plug was removed and the whole piece thoroughly cleaned.
With the removal of the grate the tobacco chamber could now be properly cleaned as well.
With all that finished it was time to see if the pipe could be reassembled. The pieces were all gathered.
The aluminum tube was reinserted and tapped into place.
The holes aligned and the carburetor was reinserted and tapped into place.
The spacer was the most difficult piece to reattach. Once it was nearly in place a thin bead of brown CA was applied to the shank using the fly tying bodkin. The spacer was then pressed into position. This was the only glue used during reassembly.
The stummel then received a coating of Before and After Restoration Balm ti try to rejuvenate the briar after the extended time in the acetone.
Even after the restoration balm tha acetone had done some bad things to the briar. IT was dull and no longer smooth. I resanded the stummel with the sanding sponges from the 1000-3500 sponges. Then micro-meshed again with the 4000-12000 micro-mesh pads. I did not bother to photograph this as you have seen it all before and this blog is getting entirely too long. The Before and After Restoration Balm was applied again and allowed to sit for 30 minutes. It was then wiped away with an inside out athletic sock. The pipe was again waxed with several coats of carnauba wax with the buffer.
This restoration proved to take far longer than what I thought it should have. Although to be honest it kind of was two restorations in one. I have to say that I think it turned out pretty nicely. I also have to admit to having learned a great deal from the process. A big thanks to Steve Laug and his extensive experience. I am actually quite impressed with the Medico Guardsman pipe and am considering picking up a couple more to see if this was a common structure in all of them. The dimensions of this Medico Guardsman Apple are:
Length: 5.46 in./ 138.68 mm.
Weight: 1.11 oz./ 31.70 g.
Bowl Height: 1.54 in./ 39.12 mm.
Chamber Depth: 1.06 in./ 26.92 mm.
Chamber Diameter: 0.73 in./ 18.54 mm.
Outside Diameter: 1.44 in./ 36.58 mm.
I do hope that you have found something here useful to your own pipe care, maintenance or restorations. If you like this sort of thing, please click the like and subscribe buttons. Thank you for reading the ramblings of an old pipe lover.
Below are some photos of the finished Medico Guardsman Apple.
I remember the warnings about peer pressure in the 1980s Before that it was just called “running with the wrongs kids”. I think this pipe purchase represents me being affected by peer pressure, although in a good way. I had not heard of Malaga pipes or their founder, George Khoubesser, until reading about them in Steve Laug’s rebornpipes.com. He has restored several of George “Manny” Khoubesser’s Malaga pipes over the years.
It was chatting with Steve that had piqued my interest in Malagas. I later mentioned that I had tried bidding on one listed at eBay. He said that his brother was also bidding on that same pipe. Well rather than run up the bidding and compete against one another we started coordinating on future Malage pipes as they became available. Eventually I saw this one back at the beginning of May. I made an acceptable offer to the seller and had a Malaga of my own to restore.
Below are some photos of the pipe when it arrived here in southeast Nebraska.
Hmm, there appeared to be several ways to go with this restoration and to several levels. The crack in the shank had been successfully repaired with a silver band albeit an oversized silver band that partially covers the stamps. There looked to be a small crack around the rim. I was not sure if it was superficial or structural. The stummel looked great without a single fill, kudos to Mr. Khoubesser for excellent briar selection. The stem would need a good deal of attention to repair the tooth dents.
Malaga Background
Piedia.org has a nice history of Malaga pipes. I will include the text here in its entirety:
“The Malaga Pipe Company was founded circa 1939 by George Khoubesser, (b.1892 d.1971), and located in Royal Oak, Michigan at 1406 East Eleven Mile road. The second generation owner’s name was Emmanuel Khoubesser (b. 1942 d. 1981), who everyone knew him as “Manny”. He was a big jovial man that was easy to converse with, always had a smile and a good joke to tell his very loyal customers. He had the ability to befriend anyone within minutes. The small store was packed with curious customers every Saturday morning looking for the latest design made earlier in the week. He also carried a full line of custom mixed tobaccos that you could sample and an array tobaccos in tins.
I was first introduced to him in 1969. I remember him taking me in the back to show me each step involved in pipe making. He was very serious about the quality of the product he sold and would never sell a flawed pipe, even if it was very minor. My step father purchased several of his pipes and really enjoyed them. He once said he’s never found a better pipe (his words).
Manny passed away in 1981 and his wife and oldest children took over the business. Malaga closed in 1999 after 60 years in business. The building still exists on Eleven mile, looking almost like it did back then, but now houses the Michigan Toy Soldier Company. I would think the pipes Manny produced are now more valuable than ever. If you happen across one of these pipes, you’ll know a little bit more about it’s rich history. Enjoy!”
If your taste for the history of Malag pipes has yet to be satiated I will refer you to Steve Laug’s blog regarding the history of the brand (George Khoubesser and Malaga Pipes | rebornpipes). Steve also received a treasure trove of ephemera from the estate of one of his reader’s fathers (Malaga Pipes Catalogue of Pipes and Tobaccos | rebornpipes). Wonderful information and valuable insights from people who are far more industrious than I with providing you with background information.
The Restoration
In typical fashion this project began with a clean denim piece on the work surface.
The reaming tools were assembled. The PipNets’s #2 and #3 blades could be used in the large Malaga tobacco chamber.
And used they were. After the PipNet the chamber was scraped with the General triangular scraper and sanded with the 220 sandpaper wrapped around a wood dowel. There was no evidence of heat damage to the interior of the chamber.
Nex was a trip to the sink. Here the stummel was scrubbed with undiluted Murphy Oil Soap and a medium stiff toothbrush.
Returning to the workbench the stummel was wiped with a cotton make-up pad wetted with 95% ethyl alcohol. Some further grime, wax and perhaps stain was removed with the pad.
Next, I addressed the calcium deposits on the stem by scraping them with a sharp pocket knife.
The area immediately above the button was filed with a flat needle file and the entire stem was lightly sanded with 320 then 400 grit sanding sponges. I failed to photograph the next step, apologies. After the sanding I scrubbed the stem with make-up pads and Soft Scrub cleanser. The pads were heavily stained with oxidized rubber. Several pads and Soft Scrub applied to a Magic Eraser later, the stem was cleared of oxidized rubber.
The next step was to repair the tooth dents.
I used black cyanoacrylate (CA, super glue) to fill in the dents and rebuild the damaged button. Below are photos of the top and bottom of the stem.
The wet CA was spritzed with a CA drying accelerator. This cures the CA within seconds. The following two photos show the cured CA.
The CA fills were filed with the flat needle file and the button reshaped.
After filing the fills were sanded with the 400 sanding sponge. The improvement was great but additional thin layers of black CA were required to smooth and blend the repairs. The below two photos show the repairs prior to the additional thin layers and further sanding of the CA.
With the stem bite marks repaired it was time to clean the airway. 95% ethyl alcohol and bristle pipe cleaners were used.
The same process was used to clean the airway of the shank. Ethyl alcohol and a nylon shank brush along with some scraping from a dental pick were added to the cleaning here.
Throughout the above cleaning I was thinking about the silver band. I had tried removing it after the murphy’s scrubbing, alcohol wiping, and now again after the alcohol rich shank cleaning. If there had been glue used to fix the band I could not loosen it with water, soap, or alcohol. I tried a bit of acetone to see if that would penetrate under the band and loosen the grip of the band on the shank. Nothing seed to work. Whomever had installed this band fit it very tightly to the shank. I thought about heating it with a heat gun to try to remove it but decided that it really was a pretty well done banding. How might it look if I just polished it? I tried that.
The band polished nicely and I decided to stop worrying about it. This was going to be a personal use pipe and I was okay with having a couple of letters of the stampings covered.
I then taped the stamps and the silver with painters tape to protect them from the sanding which was to occur next.
The stem and stummel were sanded with a sequence of sanding sponges from 400-3500. Between each sponge the stummel was wiped with an alcohol moistened make-up pad while the stem received a bit of mineral oil from my finger and was wiped with a clean paper towel.
Finishing the sanding, I removed the painters tape and vigorously rubbed any remaining adhesive off with a make-up pad and alcohol. I then used the 4000-12000 micro-mesh pads in sequence on both the stummel and stem. As with the sanding sponges, the stummel was wiped with alcohol on a make-up pad between pads. The stem received a small drop of Obsidian Oil, rubbed in and wiped with a paper towel between pads.
The stummel was then coated in Before and After Restoration Balm and allowed to sit for 30 minutes.
30 minutes later the excess Restoration Balm was wiped off with an inside out athletic sock. The balm had worked it’s magic and the stummel looked fantastic.
The final polishing of the stem was done with Before and After Fine Polish. This was applied by a fingertip and hand buffed with a soft cotton cloth.
The Fine Polish was followed by Before and After Extra Fine Polish applied and buffed the same way.
The final step was to take the pipe to the buffer where it received several coats of carnauba wax. After the wax was applied and buffed I hand buffed the pipe with a nanofiber polishing cloth in an attempt to improve on the already exquisite shine.
I am pleased with the restoration of this Malaga Large Apple. I have also filled the ample bowl with tobacco and given this old girl a “test drive”. Steve Laug was quite right, Malaga pipes are fine smokers. The grain of this pipe is beautiful with flame-like patterns especially on the right side. The stem also cleaned up well. I did notice a metal fleck in the rubber. This usually indicated recycled rubber and was typical during the years around the Second World War. Perhaps that gives a clue to the age of this pipe. I do wish that it had not experienced a shank crack but the repair was done well and I think the silver band looks quite acceptable. The only other flaw is the small crack on the rim. I think that is superficial and did not think that it needed any attention. The dimensions of this Malaga Large Apple are:
Length: 6.10 in./ 154.94 mm.
Weight: 1.73 oz./ 49.10 g.
Bowl Height: 1.78 in./ 45.21 mm.
Chamber Depth: 1.42 in./ 36.07 mm.
Chamber Diameter: 0.83 in./ 21.08 mm.
Outside Diameter: 1.61 in./ 40.89 mm.
I do hope that you have found something here useful to your own pipe care, maintenance or restorations. If you like this sort of thing, please click the like and subscribe buttons. Thank you for reading the ramblings of an old pipe lover.
Below are some photos of the finished Malaga Large Apple.
I am a sucker or a couple of shapes and the bulldog is one of them. By sucker, I mean that I am willing to spend more time on restoring a shape that I like than I am with a shape that I do not find as appealing. This little Forecaster fit the “sucker” category in a couple of ways; one, I wanted to restore a forecaster pipe and two, the shape is a favorite. The pipe came to me as a combined purchase with the Yello-Bole Yacht. I linked that restoration if you are interested. The damage to the Forecater was not nearly as evident from the eBay photos as it was in real life.
Below are some photos of the Forecaster upon arrival here at what some consider the pipe clinic.
The crack in the shank was barely evident yet should have been expected by looking at the construction and damage to the pipe. The mortise was threaded which is a design that begs for owners to over tighten or a stem and can lead to cracking. The damage to the stem looked as if it could have been done with pliers, further evidence of excessive pressure put on the mortise and potential cracking. The question was: “Why was so much force needed to screw in a stem?” That was answered by examining the threads of the mortise. Pieces of aluminum could be seen in the wooden threads. They looked like they were embedded into the wood. I am getting ahead of myself. Before we get to the restoration let me give a quick review of Forecaster.
Background
Below are a couple of print ad images from Forecaster.
These two ads give some historical perspective to the brand and pipe. According to the University of Maryland library Archives, “Roger Bower (1903-1979) was active in broadcasting from 1925 to 1974. He joined radio station WOR in New York in 1928 and became a combination producer, director, actor, announcer, and sound effects engineer. During that time, WOR became the flagship station of the Mutual radio network, and Bower directed many prominent programs, including It Pays to be Ignorant, and Can You Top This? In the early 1930s, Bower announced the first Macy’s Thanksgiving
Day Parade, which he continued to describe for many years. He gave one of the first (closed circuit) television demonstrations in 1933, in a Macy’s department store window. Bower remained with WOR for 24 years, until the station was sold in 1952.” (https://archives.lib.umd.edu/repositories/2/resources/524)
Pipedia.org says the following, “Forecaster pipes were made by the National Briar Pipe Co. of Jersey City, N.J.. The pipe boasted an “aluminum winder” threaded through the airway meant to clean and cool the smoke. For more information see National Briar Pipe Co..” (Forecaster – Pipedia). Upon reading the National Briar Co. page I found that, “The National Briar Pipe Co. was homed in Jersey City, New Jersey. Brands produced afak:
Logo on the left side of the stem on Rembrandt branded pipes is a capital “N” in italics. Assume that holds true for other brands produced by National. —Dgillmor 21:55, 10 May 2012 (CDT)” (National Briar Pipe Co. – Pipedia). This explains the N stamped and painted on the Forecaster stem.
As for the time line with this Forecaster bulldog I have nothing to assign it directly. I think it is safe to assume it to be from the late 1940s-1970.
The Restoration
In our last episode we discovered that Jill was pregnant with Roger’s baby, Seymour had been committed to an insane asylum and that strange aluminum flakes were infesting the threads of the Forecaster’s mortise. Okay, I may have taken some liberties with the story there, about Jill and Roger but Syemore is definitely nuts and the aluminum flakes were more than just a rumor.
I used a fly tying bodkin to pry the aluminum out of the threads then a brass shotgun bore brush to further clean the threads of debris. It took me several minutes to get the visible flakes out of the threads.
Below you can see the metal flakes and briar dust from the threads. I think the white German Shepherd hars was deposited post aluminum extraction and was not part of the problem.
Now I got to play detective and construct a situation of how this aluminum got into the wood and why the pipe had been used so little without resorting to aliens or bigfoot. I am guessing that when the aluminum tenon was cut for threads some of the tailing remained on the tenon. These flakes got forced into the briar threads when the pipe was originally assembled. When the original owner first got his or her (yeah, that’s how woke I am) new pipe they had to take it apart. We all know that experience. This would have liberated any remaining tailings from the tenon and placed them on the scene. The new owner, whether they were female, male or of undisclosed orientation then reassembled the pipe. The stem would have been difficult to reassemble due to the debris filled threads. Extra force would have been required, perhaps even a tool. By tightening the stem with a tool the stem was marred. The new owner couldn’t return the pipe as they had damaged it. So they continued using it but they were also someone who liked a clean pipe so after the first use they wanted to clean the pipe out. The stem was even more difficult to remove and upon reassembly could not be threaded in without enough force to further mar the stem and crack the shank. I’d like to think there was a blood curdling scream, “What have I done?” Probably not, in the 1950s-1960s, John Wayne was the role model and he never screamed “What have I done?” The pipe was left with a gap in the fit of the stem to stummel. Not wanting to look like an idiot the new owner stopped using the pipe concealing their idiocy from the world – until now.
I reamed the tobacco chamber with a Triple-Ream tool that came with an estate lot a while back. I couldn’t use my trusty PipNet with its #1 blade due to personal idiocy and breaking the blade. Some of us don’t bother concealing our idiocy, The fact that the pipe had barely been used helped greatly in the reaming process. The chamber was also sanded with 220 sandpaper wrapped around a wood dowel. Guess what – there was no damage to the chamber from excessive heat.
I started formulating a plan for the shank crack. A couple of scenarios played out in my mind. Again not resorting to aliens or bigfoot, I thought that banding would be the easiest solution. The problem with that is that I have no diamond shaped bands. Typically I use cartridge brass from spent shells or brass tubing. Both of those are fairly thick materials and would be difficult to reform to a diamond shape. The second option was something I had read from Charles Lemon. He had repaired a cracked bowl using a 1.2 mm drill bit and 1.2 mm brass rods. Here is the link to Mr. Lemon’s pinning tutorial. If you are unfamiliar with Chrales Lemon’s work he can be found at https://dadspipes.com/. SIdenote: If you are familiar with my blogs and unfamiliar with Chrale’s you may need to join Seymour at the insane asylum.
I figured that if it worked for a bowl it should also work for a shank. Given, a shank is going to be more difficult to work with due to the smaller size but the idea is the same. After initially reading Charle’s tutorial I quickly ordered 1.2 mm drill bits and 1.2 mm brass tubing for the deluge of cracked bowls that I was sure would need my immediate care. Well, the deluge never arrived but the bits and rods did. I have yet to try this on a cracked bowl and was feeling quite sorry for the bits and rods due to their forced early retirement. I decided this pipe could give me practice with the technique as well as justify the enormous capital investment for the 1.2 mm thingies (<$20 at Amazon).
Now as typical for me, I like to think about a project a good deal before actually attempting it. I started working on repairing the damaged stem while I was planning the pinning repair. Some people call this multi-tasking. I call it thinking about a project a good deal while working on repairing a damaged stem. Probably because I am not good at multitasking. Anyway, the stem needed to have new material built up where there were dents in the rubber. I used layers of black cyanoacrylate (CA, super glue) spritzed with a CA drying accelerator.
The new CA was then filed flat with a flat needle file and sanded with a 320 grit sanding sponge.
Additional CA and drying accelerator were used to further fill any tiny depressions. These were again filed and sanded.
I was still thinking about the pinning project when I moved on to the next phase – cleaning the stummel. I was not dirty so I skipped scrubbing it and moved right to wiping it off with acetone moistened make-up pads. There was a light clear coat on the briar that I wanted rid of. The acetone worked well at removing it.
It was finally time. I had thought myself into a plan of action. Drill two holes with the 1.2 mm drill bit in my battery hand drill. Drill a third hole at the end of the crack , also 1.2 mm, to stop further crack enlargement. I wanted the angle to be dissimilar and through the thickest part of the shank. The holes were drilled and the brass rods inserted.
The final hole was a hole for terminating the crack.
The brass pins were cut then roughed with a file to allow more surface area for the epoxy to adhere to. I would recommend roughening the brass rod before the pins are cut to length as they would be easier to hold. A mistake I’ll probably make again…
The aluminum of the tenon was covered with Vaseline petroleum Jelly to avoid CA or epoxy glue from adhering to the aluminum. Sidenote: When drilling the pinning hole to the left, I accidentally made the hole too far into the threads. This meant that I either had to drill the mortise larger cutting into the brass rod or, to file the first 3-4 mm of threads off the tenon. I chose to file the aluminum threads of the tenon. You can see in the photo below the threads had been filed off.
The 2 part epoxy was mixed according to package instructions. I would recommend against accidentally squeezing way too much epoxy resin onto your mixing surface, like I did.
I applied a drop of thin clear CA for the crack. The Vaseline coated aluminum tenon was rethreaded into the mortise. The thin formula allowed the CA to penetrate the crack. A Vaseline coated clamp was used to clamp the crack closed as much as possible.
After the CA had cured, a couple of minutes later, I used a fly tying bodkin to push some of the epoxy into the pinning holes. The roughened brass rods were then pressed into the holes. When doing this make sure the brass rods are a couple of mm shorter than the length of the hole. This was another mistake which I made. I thought I had cut them short enough so that I could fill the holes on either end of the brass rod. I am not sure how I messed this part up. Either I accidentally switched the rods when placing the pins or I cut the rods too close to the same length as the holes. I dipped a cotton swab into acetone and cleaned any epoxy from the surface of the shaft.
The glued pins were set aside allowing the epoxy to cure for 2 hours. After the epoxy had cured, a small drop of brown CA was applied to each end of the hole and a small amount of briar dust was pressed into the CA moistened hole. Once cured this would be the first layer of the fill. The cured CA briar dust fill was then filed slat with a flat needle file and smoothed with a 400 grit sanding sponge.
The filling of the pinning holes was repeated on the adjacent side of the shaft. The below photo shows the brown CA applied to the hole.
Below you can see the briar dust had been pressed into the CA.
The stamps were then taped with painters tape to protect them and the stummel was sanded with the sequence of sanding sponges from 400-3500. Between each sponge the stummel was wiped with an alcohol wetted make-up pad.
The tape protecting the stapes was removed and the stummel was polished with a sequence of 4000-12000 micro-mesh pads. Between each sponge the stummel was wiped with an alcohol wetted make-up pad.
The stummel then received a coating of Before and After Restoration Balm and was allowed to sit for 30 minutes.
30 minutes later the Balm was wiped away with an inside out athletic sock. The pipe was then taken to the buffer where several coats of carnauba wax were applied with the buffer.
I would like to say that I am pleased with the restoration of this Forecaster Bulldog but there were just too many flaws to make me truly happy. Some were my mistakes or “learning experiences” others were just damage to the pipe. Yes, it does look better than it did originally and it is structurally more sound This one was certainly challenging, but to drill and pin the shank crack using hand tools was difficult. Perhaps a darker base coat dye with some contrast would have been a wise move to conceal the repairs. I rack this restoration up as a learning experience for me and I am looking forward to seeing how well the pinning holds up under normal wear and tear. I will be keeping and using this pipe as a “work” pipe for tasks like mowing, truck maintenance, gardening etc, where it will get more rough treatment to better test the pinning fortitude. Also, the stem repairs look far worse in the photos than in normal room lighting. I swear, they do, really. The dimensions of this Forecaster Bulldog are:
Length: 4.66 in./ 118.36 mm.
Weight: 0.90 oz./ 25.51 g.
Bowl Height: 1.31 in./ 33.27 mm.
Chamber Depth: 0.85 in./ 21.59 mm.
Chamber Diameter: 0.67 in./ 17.02 mm.
Outside Diameter: 1.51 in./ 38.35 mm.
I do hope that you have found something here useful to your own pipe care, maintenance or restorations. If you like this sort of thing, please click the like and subscribe buttons. Thank you for reading the ramblings of an old pipe lover.
Below are some photos of the finished Forecaster Bulldog
Well, my Peterson Pipe Acquisition Disorder (PPAD) has once again come out of remission. I didn’t think that self medicating and meditation via fishing would keep it at bay for very long and I was correct. Go me! How could I say no to this little darling when it appeared with a buy now price less than ½ that of a new spigot. As soon as I got the notification I looked and clicked the “hello PPAD button”.
The pipe shipped quickly after an excruciating 3 day long posting time by the seller. I know, they were building anticipation, right? Don’t they realize the importance of immediate gratification to a poor soul suffering a terrible PPAD episode? Within a week the Peterson Spigot made it from North Hollywood, California to the wilds of southeast Nebraska. Below are some photos of the pipe as it appeared prior to any work.
Yeah, it has the potential to be a real looker and another yeah, it has a green tint towards the bottom. I’ve never experienced a Peterson with a clear coat quite like this. It will have to go. There is a lava outcrop on the rim flowing over the edges. The tobacco chamber needs a good reaming and inspection. The shank and stem look disgusting, um, I mean well used. But that grain is gorgeous.
Peterson Background
For a complete history of the Peterson Pipe I cannot even begin to do justice to the subject. Mark Irwin and the late Gary Malmberg have done a wonderful job with this in their book, image and purchase link below.
For the history of this pipe I will start here with a quote from smokingpipes.com describing the 86 Spigot pipe:
“Peterson: Green Spigot (87) Fishtail Tobacco Pipe
Product Number: 002-029-114391
Peterson’s “87” is a straight Apple in classic Peterson style, with a bit of extra heft to its shank relative to the bowl and a tapered stem that keeps things balanced throughout. It’s still a robust, hearty smoker, that has no problem upholding the marque’s characteristically bold style and features a bowl that is capacious enough to thoroughly enjoy your favorite tobacco, yet small enough so that it doesn’t require a major time commitment.
Along with their signature shaping style, Peterson of Dublin is renowned for their silverwork. The journey of becoming a Peterson silversmith requires years of training and personal mentorship from the factory’s senior craftsmen, and the superlative results testify to such a demanding, lengthy process — each worker having engineered his own mandrel to the extent that every metal accoutrement made is imprinted with the subtle, personal style of the one who machined it. Peterson’s Spigot line was created in 1977, after discovering an old Peterson catalog from 1906 that pictured pipes with spigot mounts, and the series is among the best at showcasing the Irish marque’s signature silver treatment, fitting sterling silver around both the shank end and stem base in a spigot-mount arrangement. The construction provides further reinforcement and durability and highlights even more sterling silver than would be used for a standard military mount. Presented here in the Green finish, the flashy, regal metal is paired to Peterson’s signature emerald stain for a unique, distinctly Irish take on the dress pipe aesthetic.
Pipedia.org discussed the spigots in general. “Gold & Silver Spigots: The Peterson Spigot is characterised by a gold or sterling silver covering on the tapered end of the mouthpiece which complements the sterling silver band of the pipe. The Spigot style evolved from the practice of soldiers in earlier centuries who repaired broken pipes by sliding a used cartridge case over the shank and reinserting the mouthpiece. In this unique spigot finished pipe, Peterson craftsmanship perfect the union of finest quality briar and precious metals. The silver or gold is spun to shape and then fitted to the pipe.
These are amongst the most attractive and collectable pipes in the Peterson range of pipe issues. They just ooze quality. Prices start at around $200 and rise to $800 for the Gold versions.” (https://pipedia.org/wiki/Peterson)
The image to the left is a screen clip of the PPN-Hallmark-Chart. While the photo below is the hallmark of this pipe.
This dates the 87 Spigot in the Year of Our Lord 2012.
The Restoration
As usual the work surface received a cleanish denim piece.
I started with a make-up pad dipped in acetone to see if the finish was susceptible to acetone. I hoped so. I was not. The acetone did remove the lava from the rime nicely as can be seen on the pad below.
As I was considering options for removing the clear coat I began working on reaming the tobacco chamber. The tools were assembled; PipNet with #2 blades, General triangular scraper, 320 sandpaper wrapped wood dowel and the 320 sandpaper wrapped Sharpie marker.
The reaming and sanding of the chamber went well and revealed a tobacco chamber with no damage.
Still pondering the finish removal, I started cleaning the airway of the shank. Scraping with a dental scraper, numerous cotton swabs, bristle pipe cleaners and a good amount of 95% ethyl alcohol later the airway was clean.
Still thinking about finish removal, I started cleaning the stem. Again the ethyl alcohol and bristle pipe cleaners came to use.
The acrylic stem needed minimal exterior work. I sanded it with 1000-3500 sanding sponges then polished it with micro-mesh pads 4000-12000.
During the above cleaning I decided to try physical removal of the finish over chemical removal. Great care would have to be taken around the stamps but how hard could this finish really be, right? I started sanding the finish on one side of the stummel. Good Lord the stuff was hard. Impervious, adamantine, diamond coated, were terms that came to mind. I changed my mind after about 20 minutes of sanding and barely making a dent in the finish. This was a job for modern chemistry.
A couple of years ago I purchased a very cool used pipe rack for my son-in-law. It needed to be stripped and refinished. During my college days I spent one summer stripping and refinishing school gym floors. We used methylene chlorine and it would eat its way through polyurethane finish in minutes. It was also highly toxic and probably an environmental menace. I wondered what products had been developed more recently for stripping finishes. I settled on a non-toxic product called Max Strip Paint and Varnish Stripper.
It worked quite well on the pipe rack and seemed to live up to the non-toxic reputation. The pipe rack also turned out amazingly well and was a great Christmas present. I reread the toxicity information and decided that it should be okay for use with pipes.
Application of stripper 1. It seemed much thinner than I remembered it. Hmm, perhaps reading the directions is a good idea.
Oh yeah, shake the container well. That made it much thicker, like I remembered. The stummel was coated with a thick coating of the stripper and set bowl down in a disposable plastic dish.
After 12 hours I wiped the stripper from the stummel using paper towels and rinsed it under a stream of water while scrubbing with a Scotch Brite pad. The side where I had sanded the finish looked better than the rest of the stummel but none of it looked stripped. I took it out into the sunlight for a better look and photos. The scratches that can be seen were from the Scotch Brite pad.
The shiny areas of remaining finish were evident.
The stripper did manage to eat it’s way through the disposable plastic dish.
Read those instructions again. OK, it says to “scrape” the stripper and old finish from the surface. I also used glass this time as a tray to catch the excess stripper.
Application 2.
After 2 hours I scraped the stripper with a sharp kitchen paring knife. This worked much better.
You can see the stripes where my scraping wasn’t well aligned. I tried sanding with a 320 sanding sponge. The stummel still had a layer of the clear coat that the sandpaper would barely touch. The dust came off as a white powder or as a pastel green powder indicative of finish, not the reddish brown of briar.
After the scraping the stummel was again rinsed with copious running water and further Scotch Brite scrubbing.
Application 3. Freshly sharpened knife and dental scraper at the ready. I allowed the stripper to do it’s thing for an hour then scraped the stripper from the stummel. Again I rinsed with water and scrubbed with the Scotch Brite pad.
The stummel looked better but still not free of the clear coat of stain. I decided to try an acetone wipe to see what would happen. To my surprise the make-up pad wetted with acetone came away with a good deal of green. It was as if the stripper had softened the finish and it was now susceptible to acetone. Yay!
I got out the acetone jar and submerged the stummel into the solvent.
The stummel was allowed to soak in the acetone for one hour. I then removed it with nitrile gloved hands. The green was gone along with the finish. I won!
Another make-up pad wetted with clean acetone and very little color came off the stummel.
I lightly sanded the stummel with the 320 sanding sponge. There were still some areas where the sandpaper would not “cut” as with briar but these quickly sanded away. The below two photos are again outside in sunlight.
The beautiful brain was still there but all of the previous dye/stain had been removed. This required a rebuilding of dye to emphasize the grain I’d seen before. I made a difficult decision to not use green. I knew this would violate the “restore” part of restoration but this was going to be a personal use pipe rather than a resale so keeping it original was not as high on the list of priorities. I also feared the fading of the new green requiring another refinishing.
The lack of finish also made several pits very noticeable. These were filled with brown cyanoacrylate (CA, super glue) and briar dust. The old fill material was picked from the stummel using a fly tying bodkin. A small drop of brown CA was then applied to the pits and briar dust was pressed into the wet CA. The new fills were filed with a flat needle file and smoothed with a 320 sandpaper sponge. Where needed a second application of CA was used and sanded allowing the sanding to provide the briar dust.
Additional sanding of the stummel required that the stamps be protected with a layer of painters tape.
The stummel was then sanded with the 400 sanding sponge. The stummel was nor ready to have the briar grain reemphasized. I used a black Fiebing’s Leather dye as a base for contrast dying.
The black dye was applied with a folded pipe cleaner and flamed with a disposable lighter to burn off the alcohol and set the dye to the briar.
I then rinsed the stummel with 70% isopropyl alcohol over the sink to remove some excess dye.
Back at the workbench the stummel was wiped with several make-up pads wetted with 95% ethyl alcohol to remove the black dye from the surface.
Next came the sanding of the stummel to remove the outer layer of dyed briar. The sanding continued from the 400-3500 sanding sponges. Between each sponge the stummel was wiped with a make-up pad wetted with ethyl alcohol.
To restore a bit of the original color to the stummel I used a “wash” of 95% ethyl alcohol with orange Fiebing’s Leather dye mixed at about 3:1 (3 parts alcohol to one part orange).
The stummel was then micro-meshed using the 4000-12000 pads. Between each pad the stummel was wiped with a make-up pad lightly wetted with ethyl alcohol.
The stummel was then coated with Before and After Restoration Balm and allowed to sit for 30 minutes.
30 minutes later the excess Restoration Balm was wiped away using an inside out athletic sock. There’s that grain I had been waiting to see.
The pipe was then taken to the puffer to receive several coats of carnauba wax applied with the buffer.
I am pretty happy with the restoration of this Peterson 87 Spigot. It is a shape that I love and I only have one other spigot. The spigot system is very handy as well as classy looking. This one was certainly challenging to remove the dreaded clear coat. I lament the loss in clarity of the stamps but that is the price paid to be rid of the clear coat. The contrast dying came out well as did the color of the finished Spigot. The minor dents in the silverwork were not repairable by me but it does save me the trouble of having to dent them myself, I guess. I am becoming more and more a fan of acrylic stems. Their ease of maintenance is nice and I really don’t find their hardness to be an issue. The dimensions of this 87 Spigot are:
Length: 6.09 in./ 154.69 mm.
Weight: 1.47 oz./ 41.8 g.
Bowl Height: 1.77 in./ 44.96 mm.
Chamber Depth: 1.42 in./ 36.07 mm.
Chamber Diameter: 0.73 in./ 18.54 mm.
Outside Diameter: 1.47 in./ 37.34 mm.
I do hope that you have found something here useful to your own pipe care, maintenance or restorations. If you like this sort of thing, please click the like and subscribe buttons. Thank you for reading the ramblings of an old pipe lover.
Below are some photos of the finished Peterson 87 Spigot
Yeah, the stampings did take a beating from all the stripper, dying and sanding.
In the past I have written about how I think Yello-Bole pipes are considered the Cinderella of the KB&B line. Kind of like the homely, overworked but trustworthy step-sister from the Disney adaptations. When that ugly clearcoat is removed there is frequently beautiful grain underneath also like the Cinderella story, when the heroine gets all gussied-up she is a beautiful young woman. I guess that makes me the Fairy Godmother or Godfather in this restoration. Now if I could just get some magical forest critters to do the work for me…
I go through phases. For a while I was hunting for estate pipe lots, then I started targeting individual specimens of interest then back to lots. Currently I am in specific targeting mode again. This one was a targeted acquisition from eBay. It made the journey from Fleming Island Florida to the wilds of southeast Nebraska and looked to be in very good condition after the travels. Here are some photos of the Chesterfield before any work had been done.
Bah, they even lacquered the aluminum collar. Stupid clear coat.
Judging by the faded stummel and the heavily oxidized stem this pipe had been stored or displayed out in the light. It had not been used heavily as evidenced by the lack of smoking residue in the reservoir and the still visible yellow bowl coating. The stem also showed minimal tooth chatter. There was still plenty to do to make this old girl into the Belle of the Ball.
Yello-Bole Background
A couple of reasons I was bidding on this pipe were that I had never resotored a Chesterfield and the “Honey Cured Briar” stamp. This is a bit more of a rarity than the usual “Cured with Real Honey”. According to pipedia.org, “Pipes from 1933-1936 they were stamped “Honey Cured Briar” (https://pipedia.org/wiki/Yello-Bole). That provides pretty finite dates for this old pipe.
Back in March I blogged about a Yello-Bole billiard. In this blog I wrote about the history of the company and will include that here. Yello-Bole was started as a processor of briar that did not meet the quality standards for Kaywoodie pipes. I’ll allow pipedia.org to tell the story as a more reputable source than my failing memory.
“In 1932 Kaufmann Bros. & Bondy (KB&B), est. 1851, expanded their programm consisting of KB&B pipes, Reiss-Premier and Kaywoodie as the mainstay brand by introducing the Yello-Bole line. Yello- Bole was designed as an outlet for lower grade briar not used in Kaywoodie production.
At that time KB&B produced their brands in Union City and in West New York, both New Jersey. Deviating from that, Yello-Boles were manufactured by The New England Briar Pipe Company in Penacook, New Hampshire to use this KB&B subsidiary to capacity.1966 Add
As briar was hardly had during World War II, the KB&B Company embarked on a project of domestically grown briar wood, called Mission Briar or manzanita early in 1941. The Pacific Briarwood Company, a subsidiary founded for this purpose, began harvesting the burls growing on the slopes of the Santa Cruz Mountains of California. Though this wood is botanically the same as briar form the Mediterranean countries, the smoking characteristics were not quite as good and the project was abandoned after the war.
Was it for that reason? Advertising from the 1940’s pictures the Yello-Bole “Honey Girl”, who gently urges the pipe smoker to smoke the pipe with “a little honey in every bowl.” In fact, honey was an ingredient of the material used to coat the inside of the bowl. It was said to provide a faster, sweeter break-in of the pipe.
In 1952, 101 years after the Kaufmann brothers had opened a small pipe shop in the Bowery section of New York City, Kaufmann Bros. & Bondy Company with all subsidiaries was purchased by an unknown company strange to pipe industry. (At least, the new owner was economical because the KB&B managers had to leave their luxurious bureaus on 630 Fifth Avenue, New York – the Rockefeller Center – for new rooms in the factory on 6400 Broadway, West New York.) This interlude ended after only 3 years in March of 1955, when S. M. Frank & Co. bought Kaufmann Bros. & Bondy, The Kaywoodie Company, Reiss-Premier Corp., The New England Briar Pipe Co. and – of course – Yello-Bole.
From the time of S.M. Frank’s purchase in 1955 until 1972 Yello-Bole was run as a separate company, as division of the parent. Through this period, Yello-Bole, same as Kaywoodie, had it’s own officers, sales force and maintained the production facilities in West New York. These 17 years were probably the most glorious years in Yello-Bole’s history.” (https://pipedia.org/wiki/Yello-Bole).
“Tips for Dating Yello-Bole Pipes
KBB stamped in the clover leaf indicates it was made in 1955 or earlier as they stopped this stamping after being acquired by S.M. Frank.
Pipes from 1933-1936 they were stamped “Honey Cured Briar”
Post 1936 pipes were stamped “Cured with Real Honey”
Pipe stems stamped with the propeller logo were made in the 1930’s or 1940’s – no propellers were used after the 1940’s.
Yello Bole used a 4 digit code stamped on the pipe in the 1930’s.
Pipes with the Yello-Bole circle stamped on the shank it were made in the 1930’s, this stopped after 1939.
Pipes stamped BRUYERE rather than BRIAR it was made in the 1930’s.”
Using the above guidelines this pipe represents the 1st and 2nd bullet points:
KBB stamped in the clover leaf
“Honey Cured Briar”
The Restoration
With the usual clean denim piece placed, I began with the stem on this restoration. I knew it was going to require a bit of time in the Before and After Deoxidizing solution or, deox, as I like to call it. I cleaned the airway with bristle pipe cleaners dipped in 95% ethyl alcohol. The exterior was rubbed with 0000 steel wool in an attempt to remove the oldest of the oxidation.
The stem then received a pipe cleaner to act as a hanger and handle for lowering it into the deox. I left the stem soaking for 2-2.5 hours.
During the deox time I turned my attention to the stummel. I began with reaming the tobacco chamber with the PiNet and #2 blades. The original yellow bowl coating was still slightly pliable and made reaming difficult. That and the more conical drilling is why the Scotte Stainless Steel Reaming tool was also used to ream the bottom of the chamber. The Generar triangular scraper had no difficulty scraping it away. The chamber was then sanded using 220 sandpaper wrapped around a wood dowel followed by 320 sandpaper wrapped around a Sharpie marker.
No damage from heat was expected nor discovered.
The stummel was then taken to the sink for a scrub. The scrub was done with a medium stiff toothbrush and undiluted Murphy Oil Soap. The soap was rinsed with warm water and the stummel dried with a cotton hand towel.
Back at the workbench the stummel was wiped with numerous make-up pads soaked in acetone. This removed the clear coat and a good deal of the excess red stain from the briar. I used a nylon scrub brush dipped in acetone to free the stampings of the clear coat covering them.
The removal of the clear coat revealed 3 old fills which had softened from the acetone. The old material was picked from the pits and they were refilled using brown cyanoacrylate (CA, super glue) and briar dust.
The new fills were smoothed with a flat needle file, topped with a small drop of brown CA then sanded with a 400 grit sanding sponge.
The stummel received painters tape over the stamps to protect them from sanding or polishing in the case of the aluminum collar.
The collar was taken to the buffer where it was polished with red buffing compound followed by buffing with white compound.
The stummel was sanded with a sequence of sanding sponges from 600-3500 grits. Between each sponge the stummel was wiped with an alcohol wetted make-up pad.
After sanding the stummel, I worked with the 4000-12000 micro-mesh pads. Between each pad the stummel was wiped with an alcohol moistened make-up pad.
The stummel then had a coat of Before and After Restoration Balm applied and was allowed to sit for about 30 minutes.
It was time to work on the stem. I retrieved it from deox and allowed the solution to drip from the stem.
And drip.
And drip.
Finally I used a coarse shop rag to wipe away the remaining excess deox solution. I like the shop rag as it is rough textured and it makes me think it is helping abrade away oxidized rubber while wiping.
Stimm quite a bit of brown.
Many make-up pads with Soft Scrub later the stem was looking better. I took it to the buffer and buffed it with red followed by white buffing compounds to remove more of the stubborn oxidation.
The stummel was wiped clean of the Restoration Balm with an inside out athletic sock. The sock had many white hairs from the local White German Shepherd. I am not sure if this is a necessary part of the restoration but it seems inevitable in this house.
Tha stem was looking far better after the buffing however I worked it over with the 4000-12000 micro-mesh pads anyway. Between each pad I wiped the stem with a drop of Obsidian Oil.
The last step was to apply several coats of carnauba wax with the buffer.
I am very pleased with the restoration of this Yello-Bole Chesterfield and can attest to it being a very good smoking pipe. The time honored and proven Peterson system works well with or without the name “Peterson” stamped on the pipe. The removal of the clear coat allowed the briars grain to be seen and appreciated. The stem still shows some signs of the heavy oxidation but cleaned-up quite well. The drilling of the stem is excellent and would make Charles Peterson proud to be imitated so well. I know Peterson litigated patent infringers early on but am unaware of any litigation against KB&B. Although patent law in the US allows 20 years of protection from the time the original patent is filed. That would have made KB&B free to imitate after 1911.
The dimensions of this Chesterfield are:
Length: 5.31 in./ 134.87 mm.
Weight: 0.96 oz./ 27.4 g.
Bowl Height: 1.71 in./ 43.43 mm.
Chamber Depth: 1.47 in./ 37.37 mm.
Chamber Diameter: 0.66 in./ 16.76 mm.
Outside Diameter: 1.19 in./ 30.23 mm.
I do hope that you have found something here useful to your own pipe care, maintenance or restorations. If you like this sort of thing, please click the like and subscribe buttons. Thank you for reading the ramblings of an old pipe lover.
Below are some photos of the finished Yello-Bole Chesterfield.
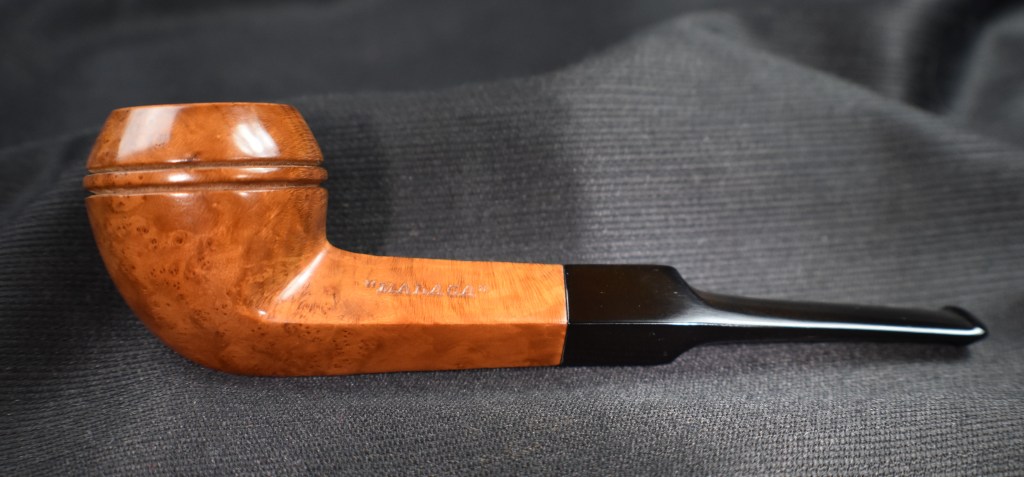


 ” (
” (

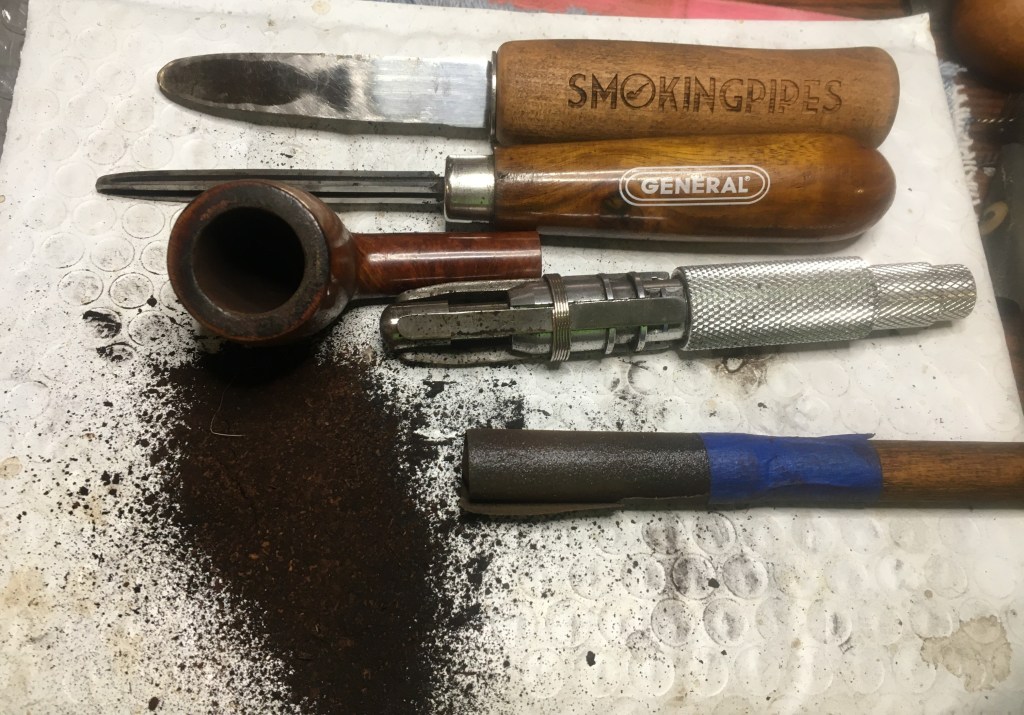


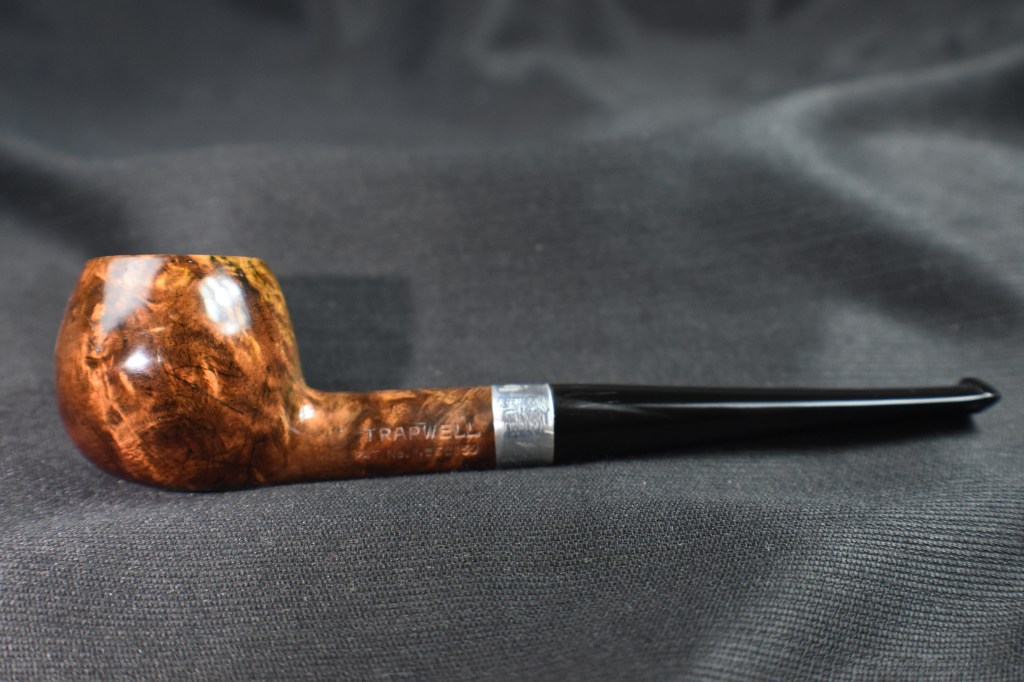


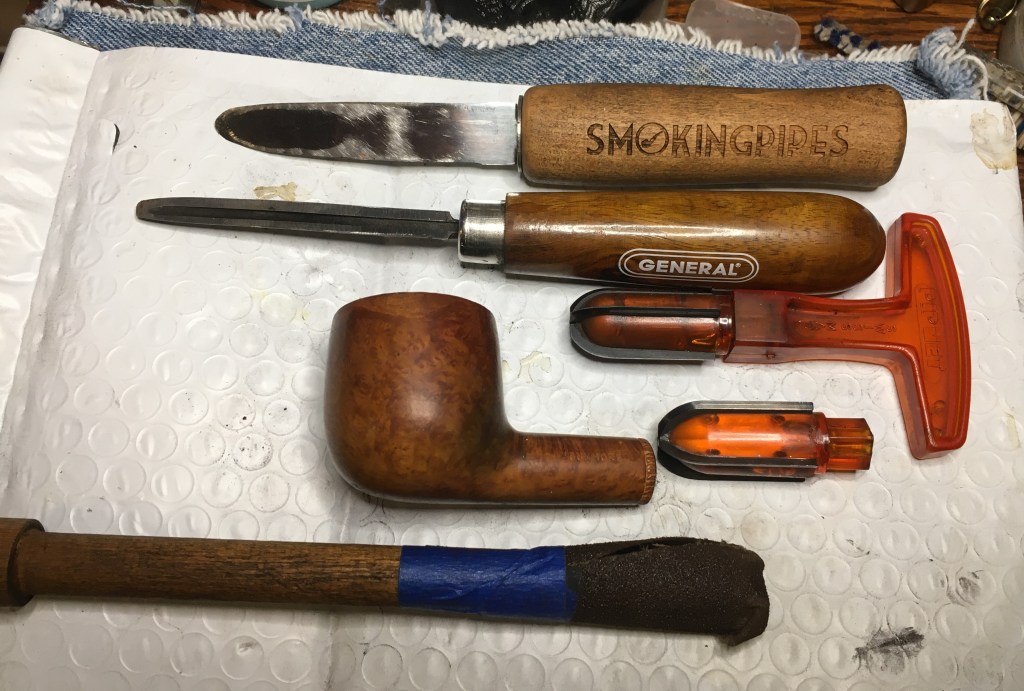


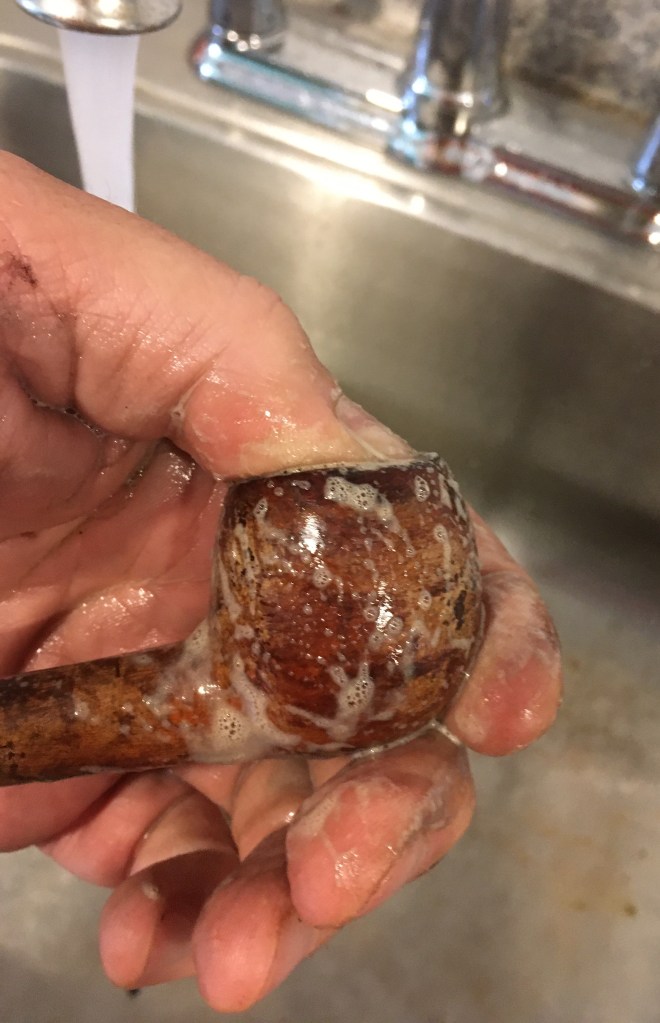


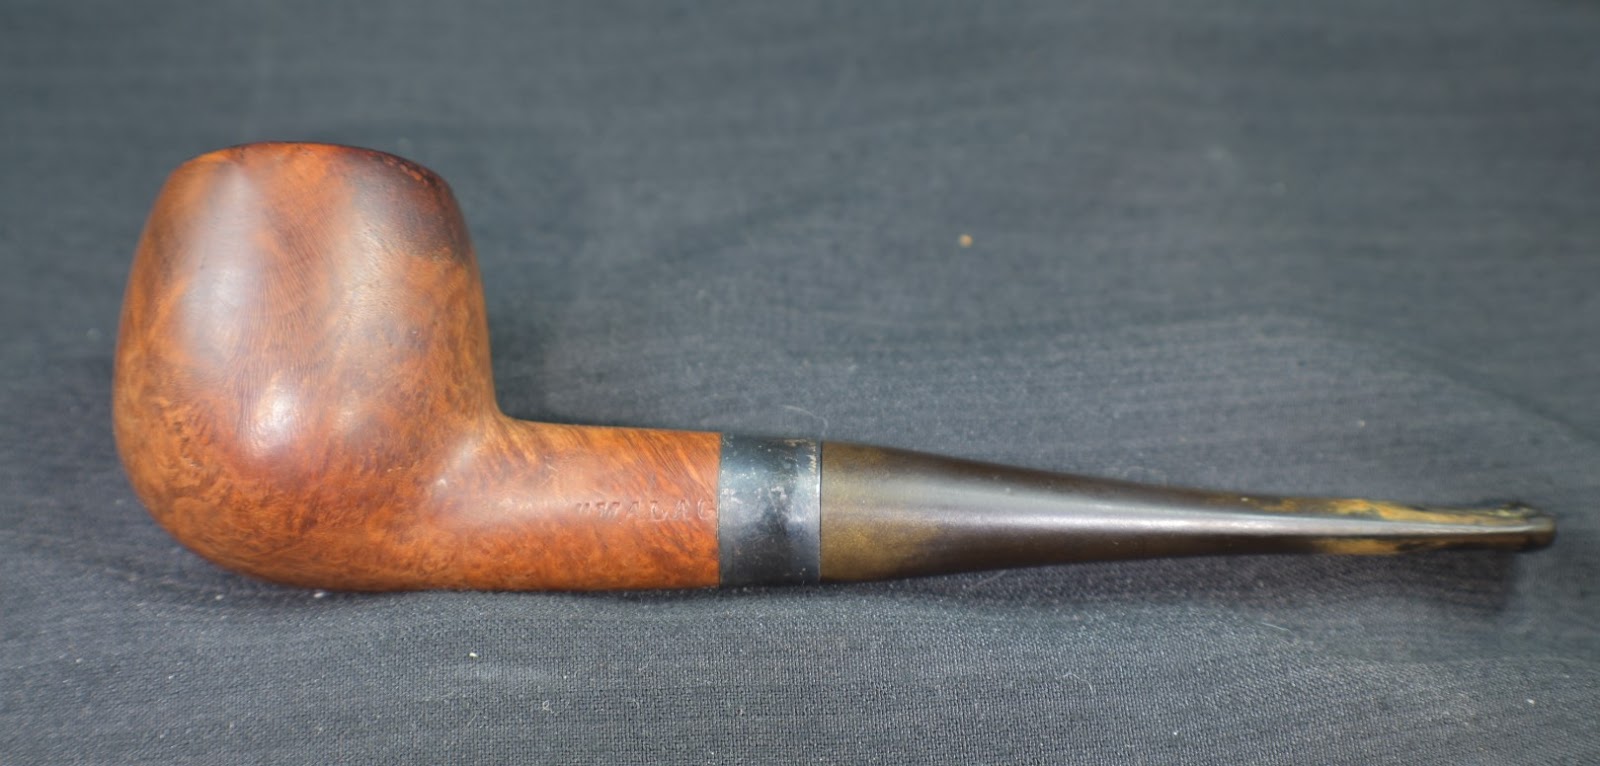


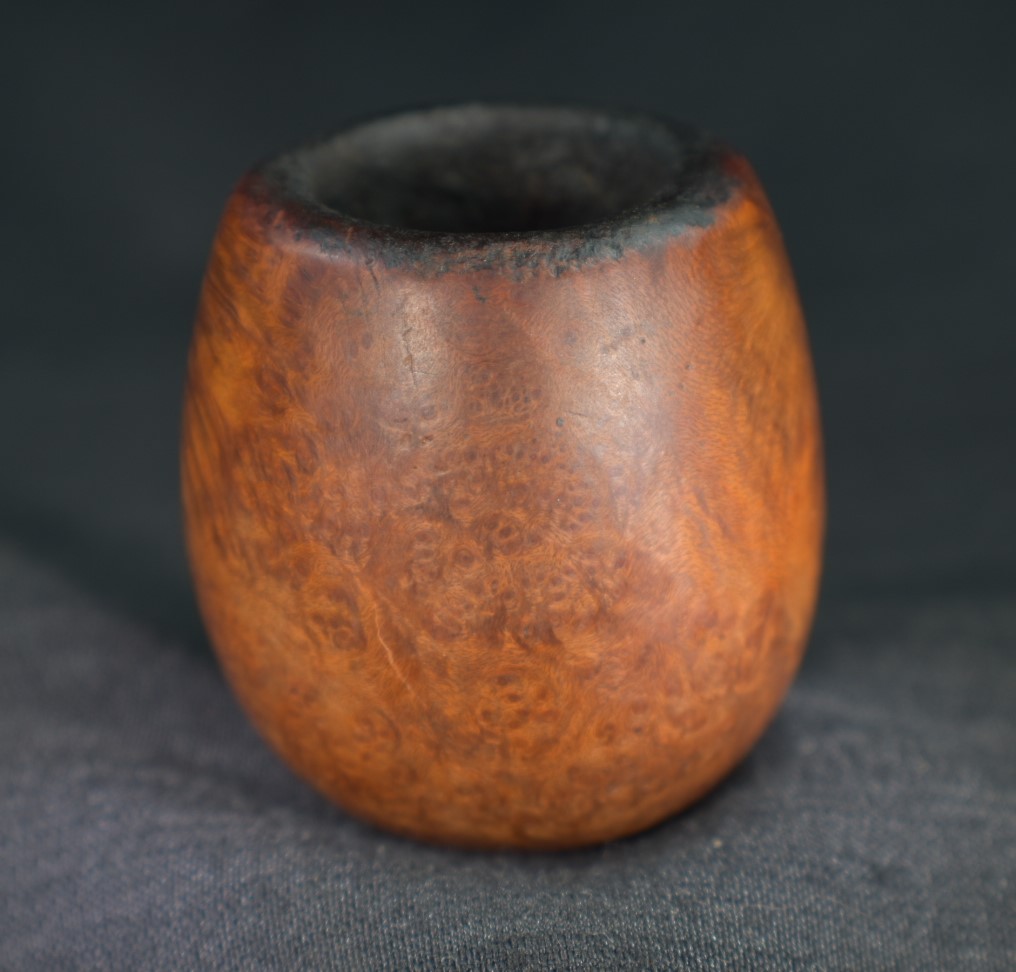
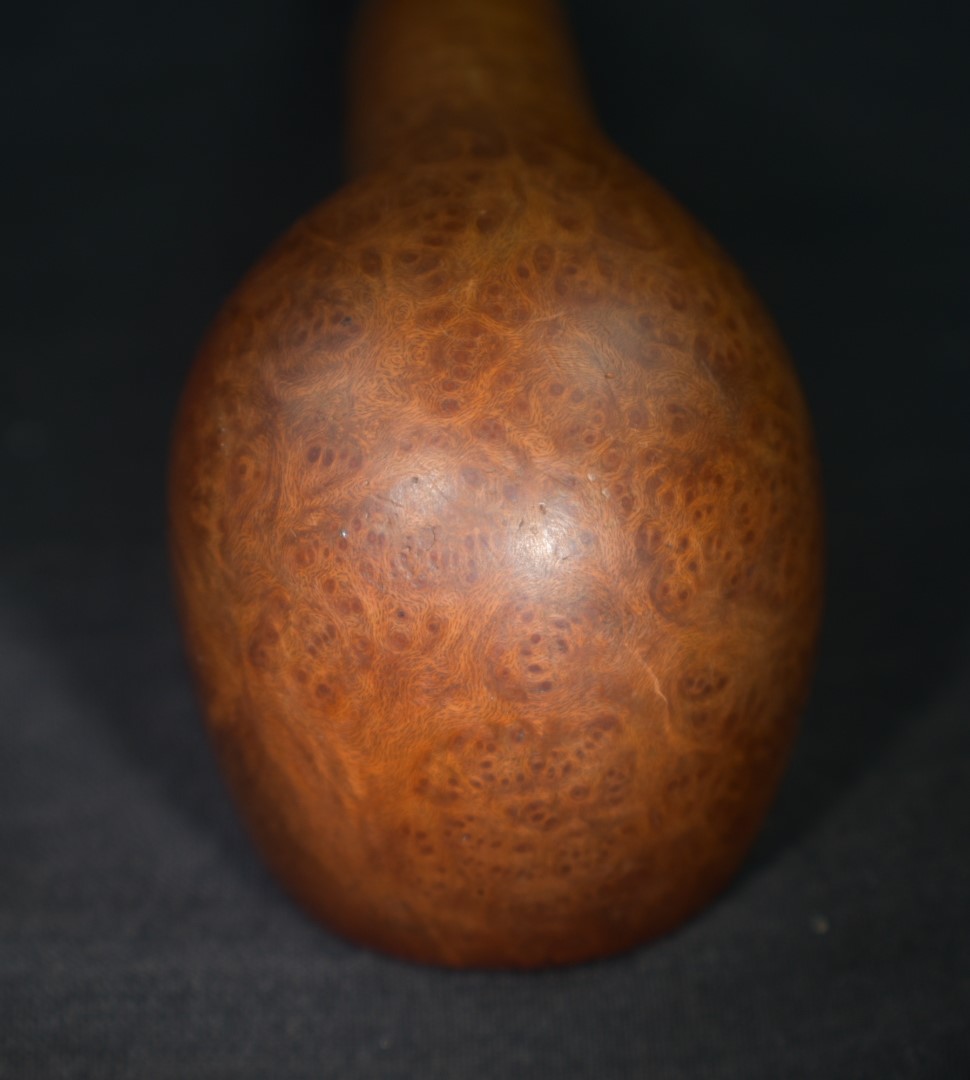

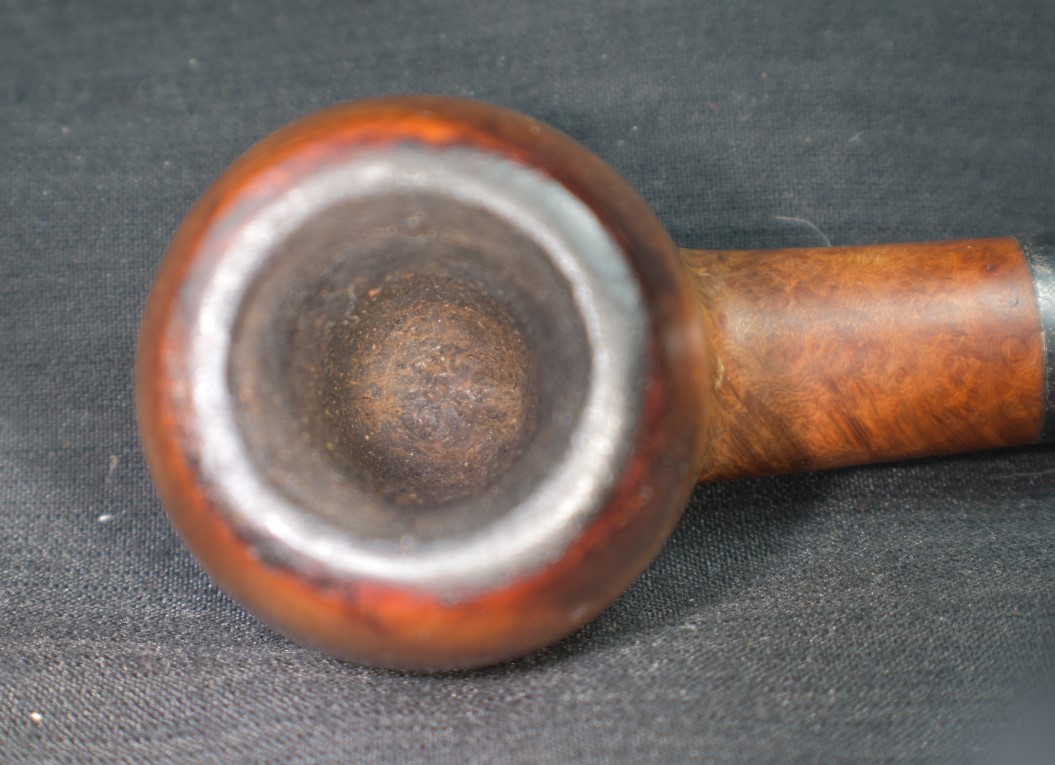


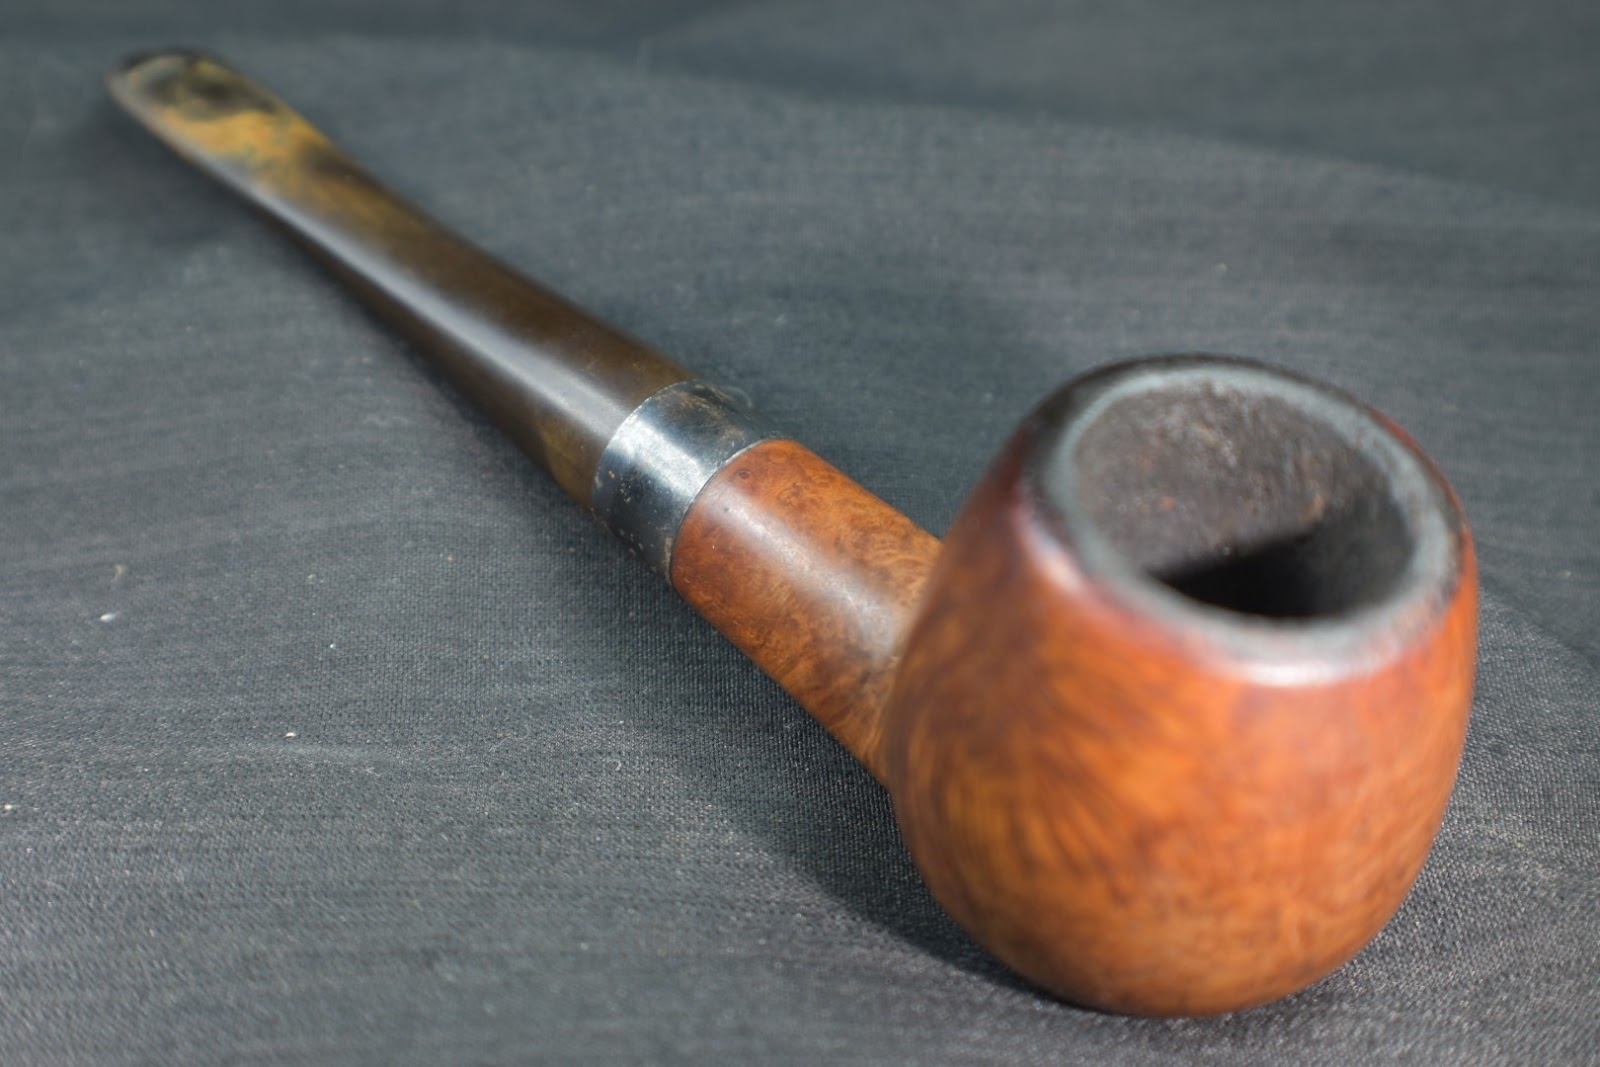


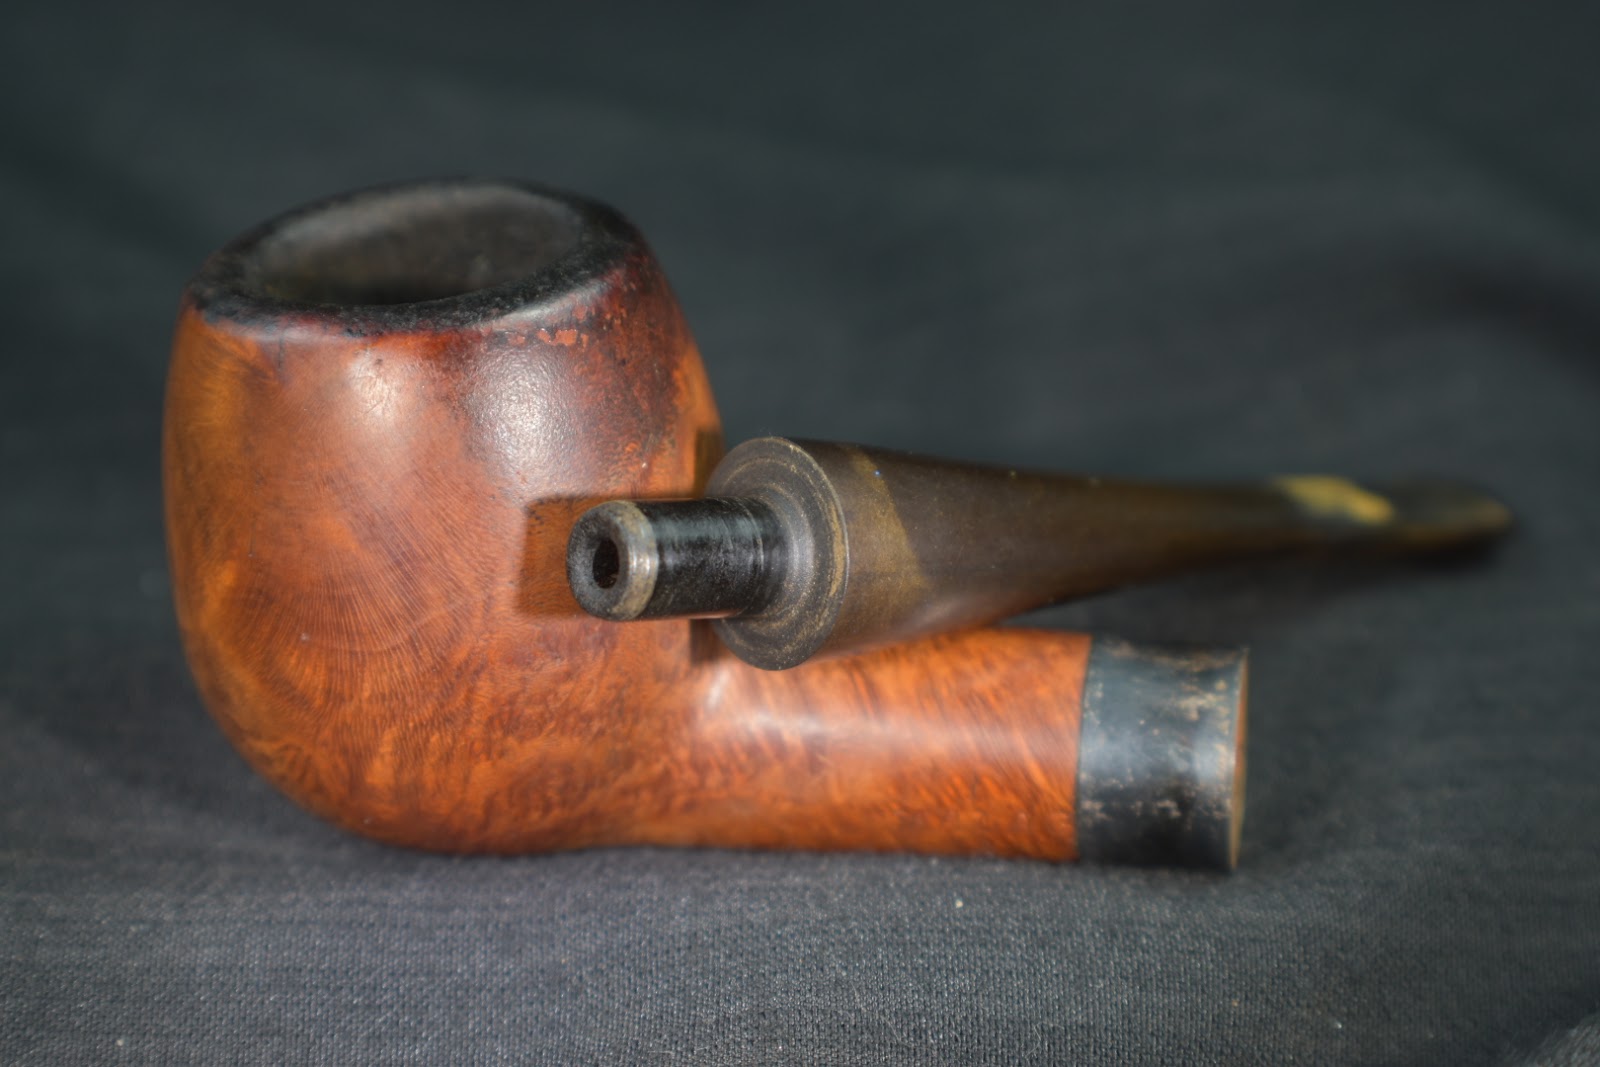

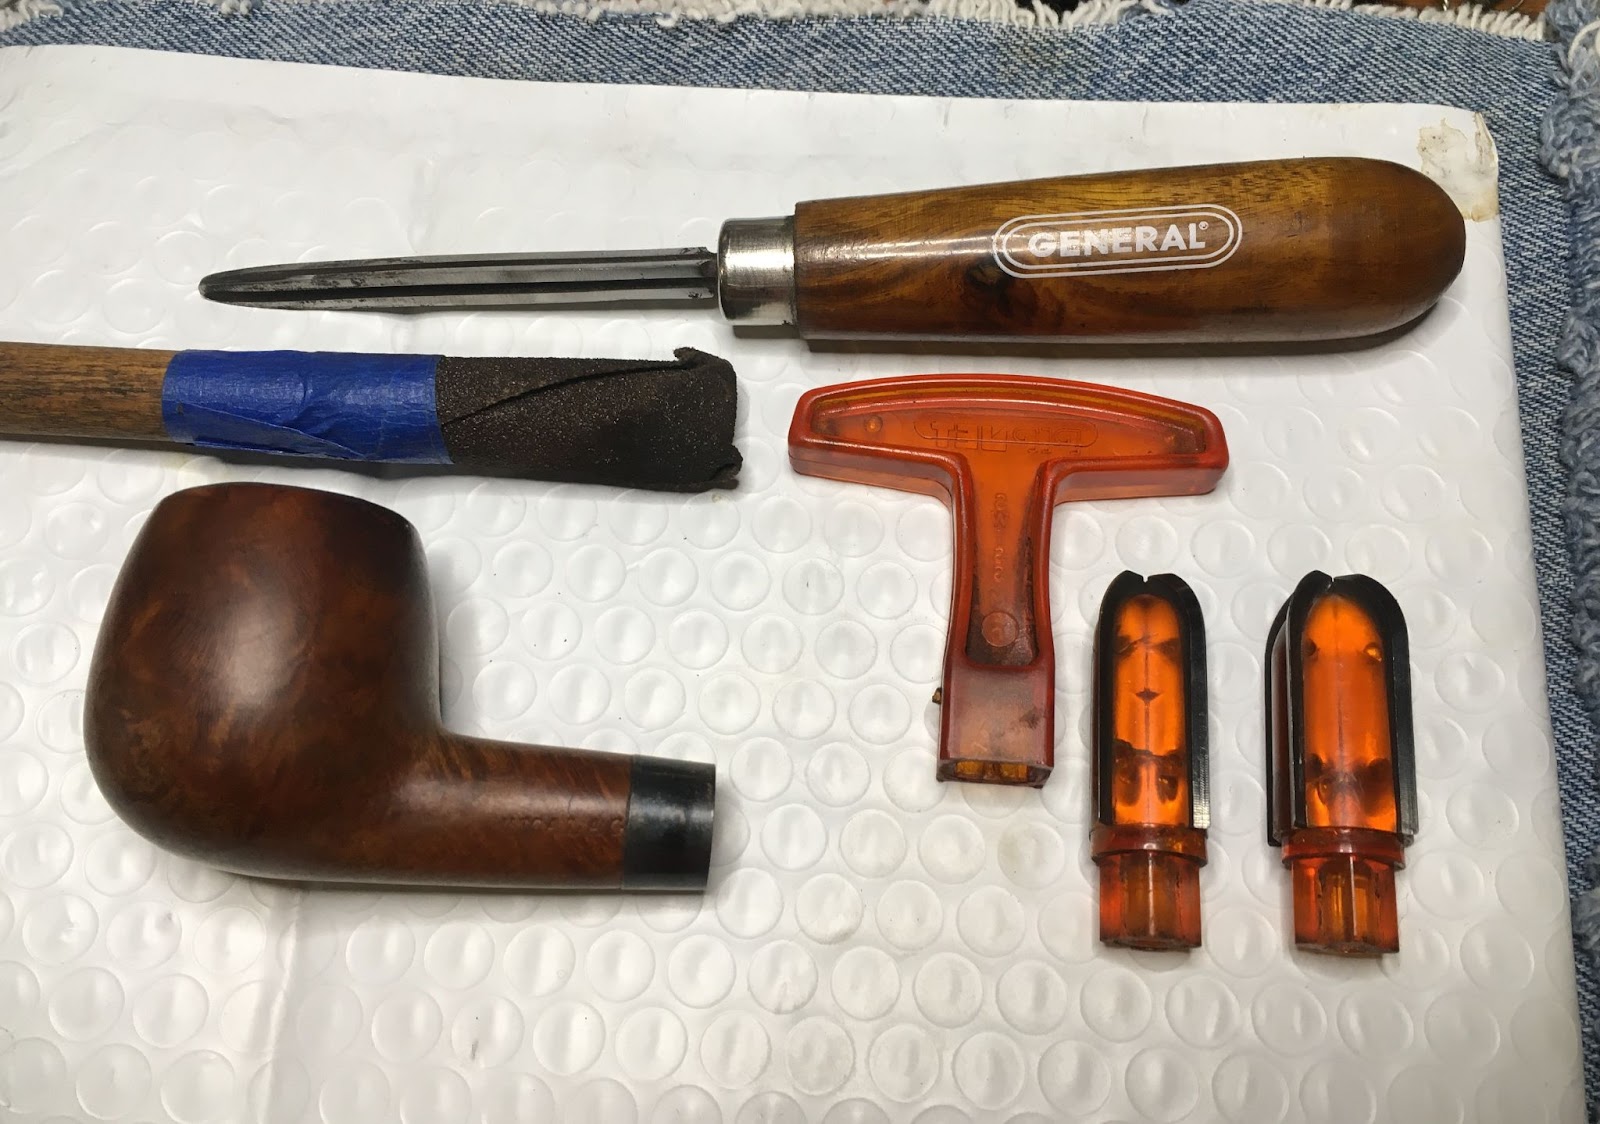


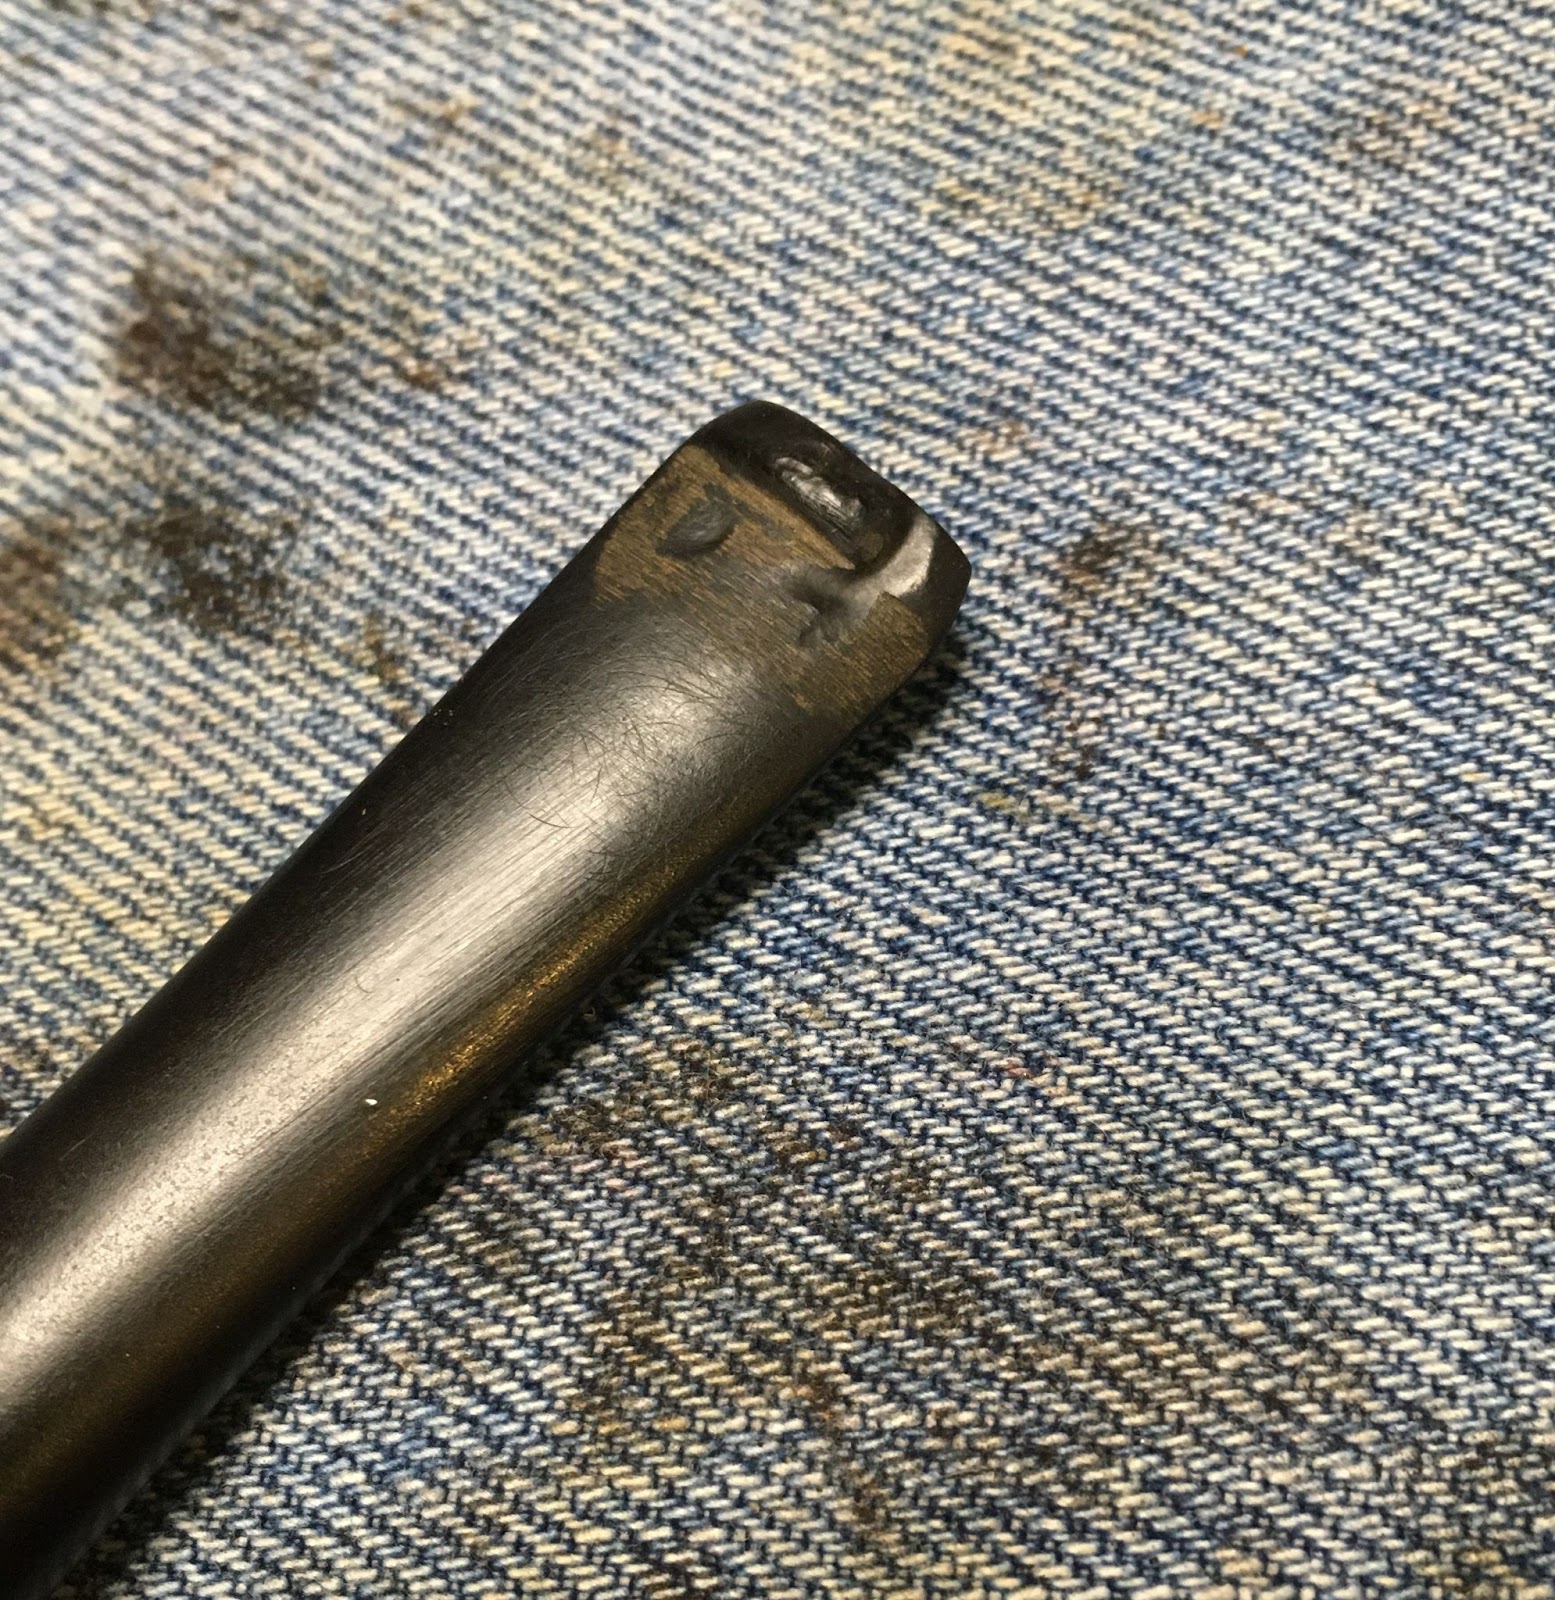


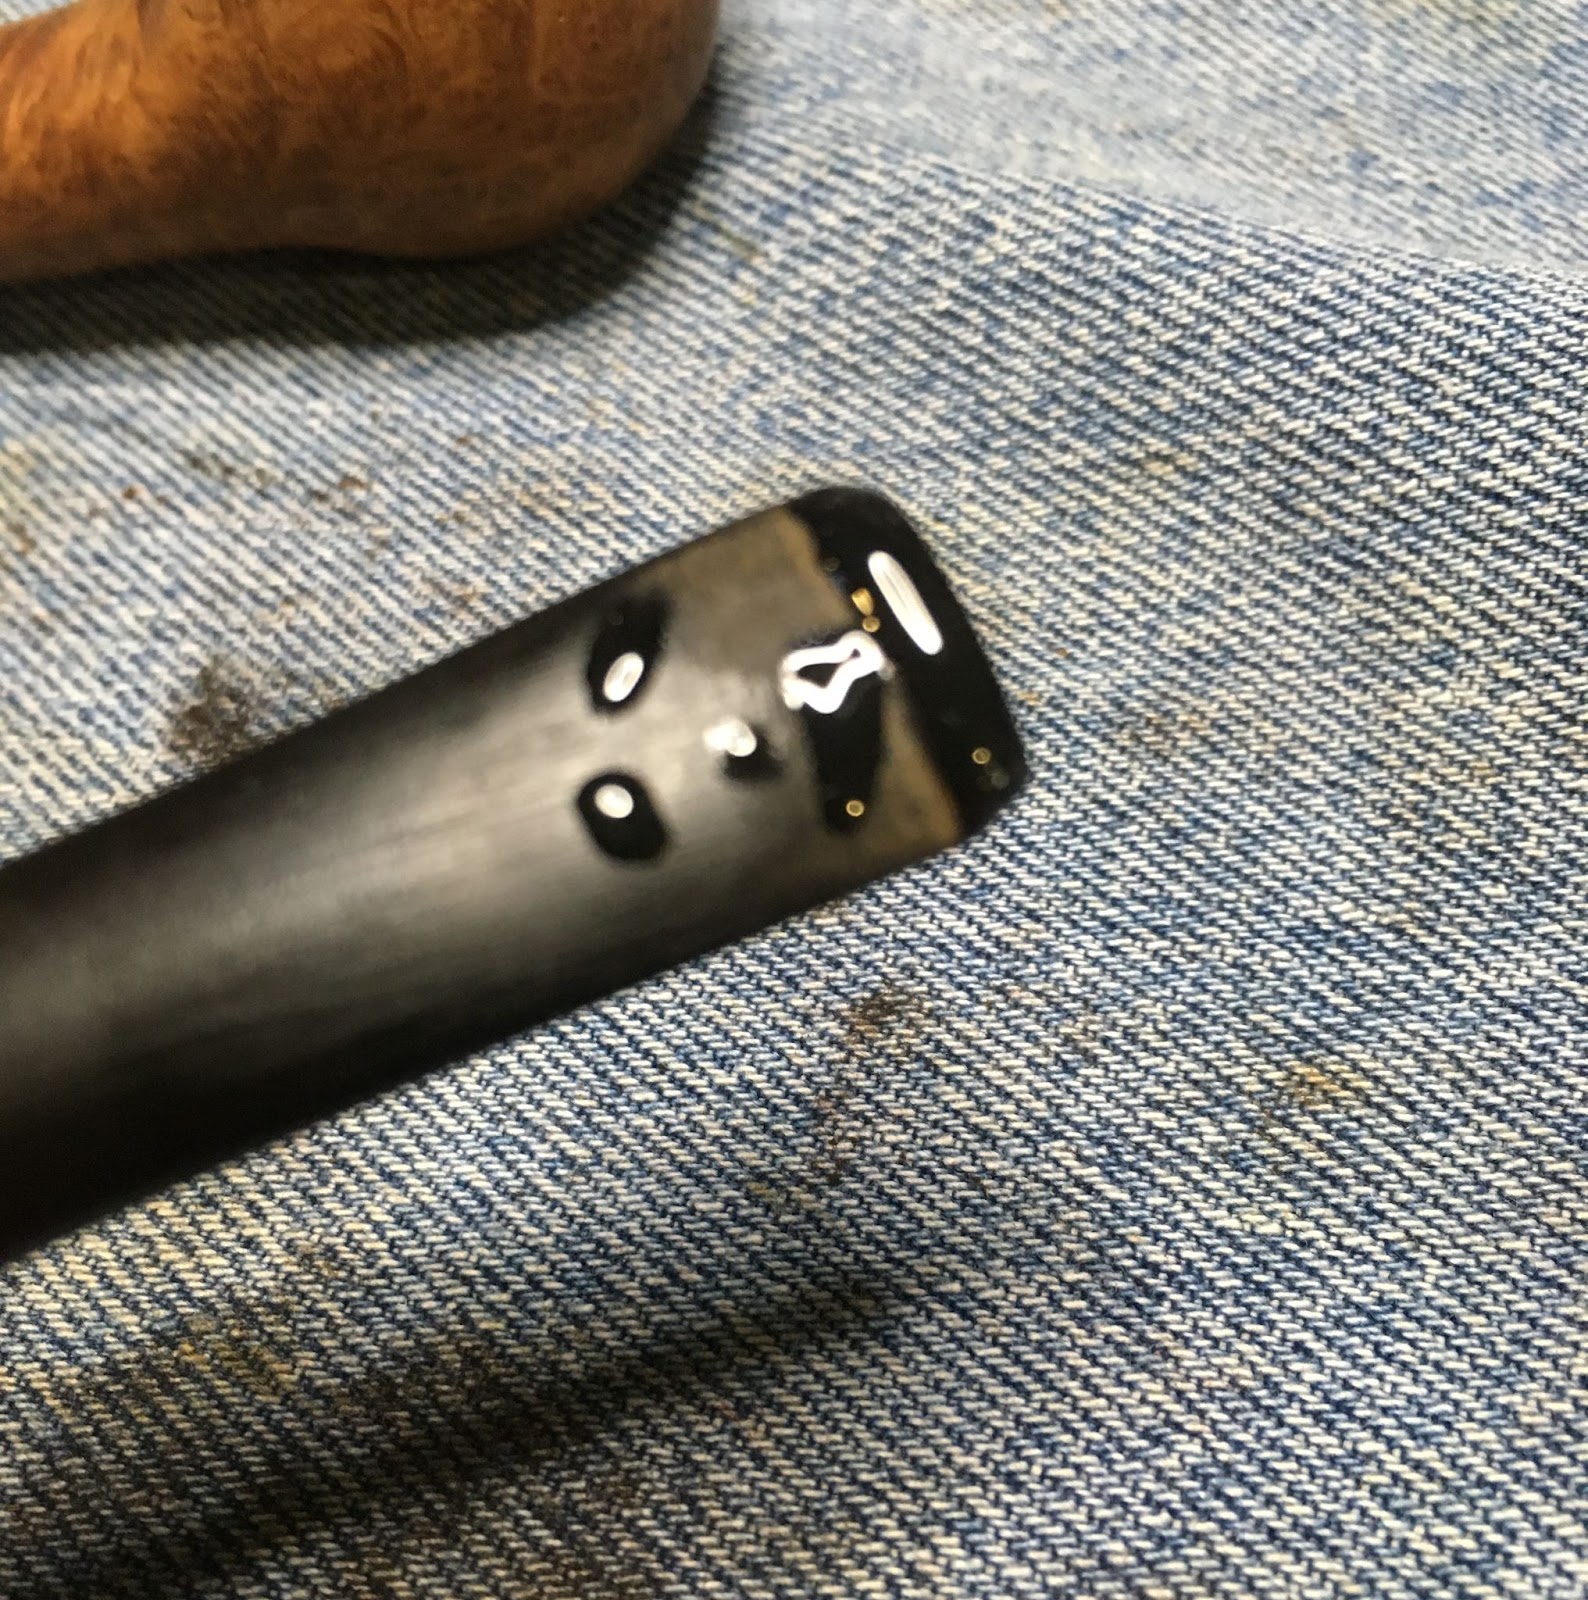


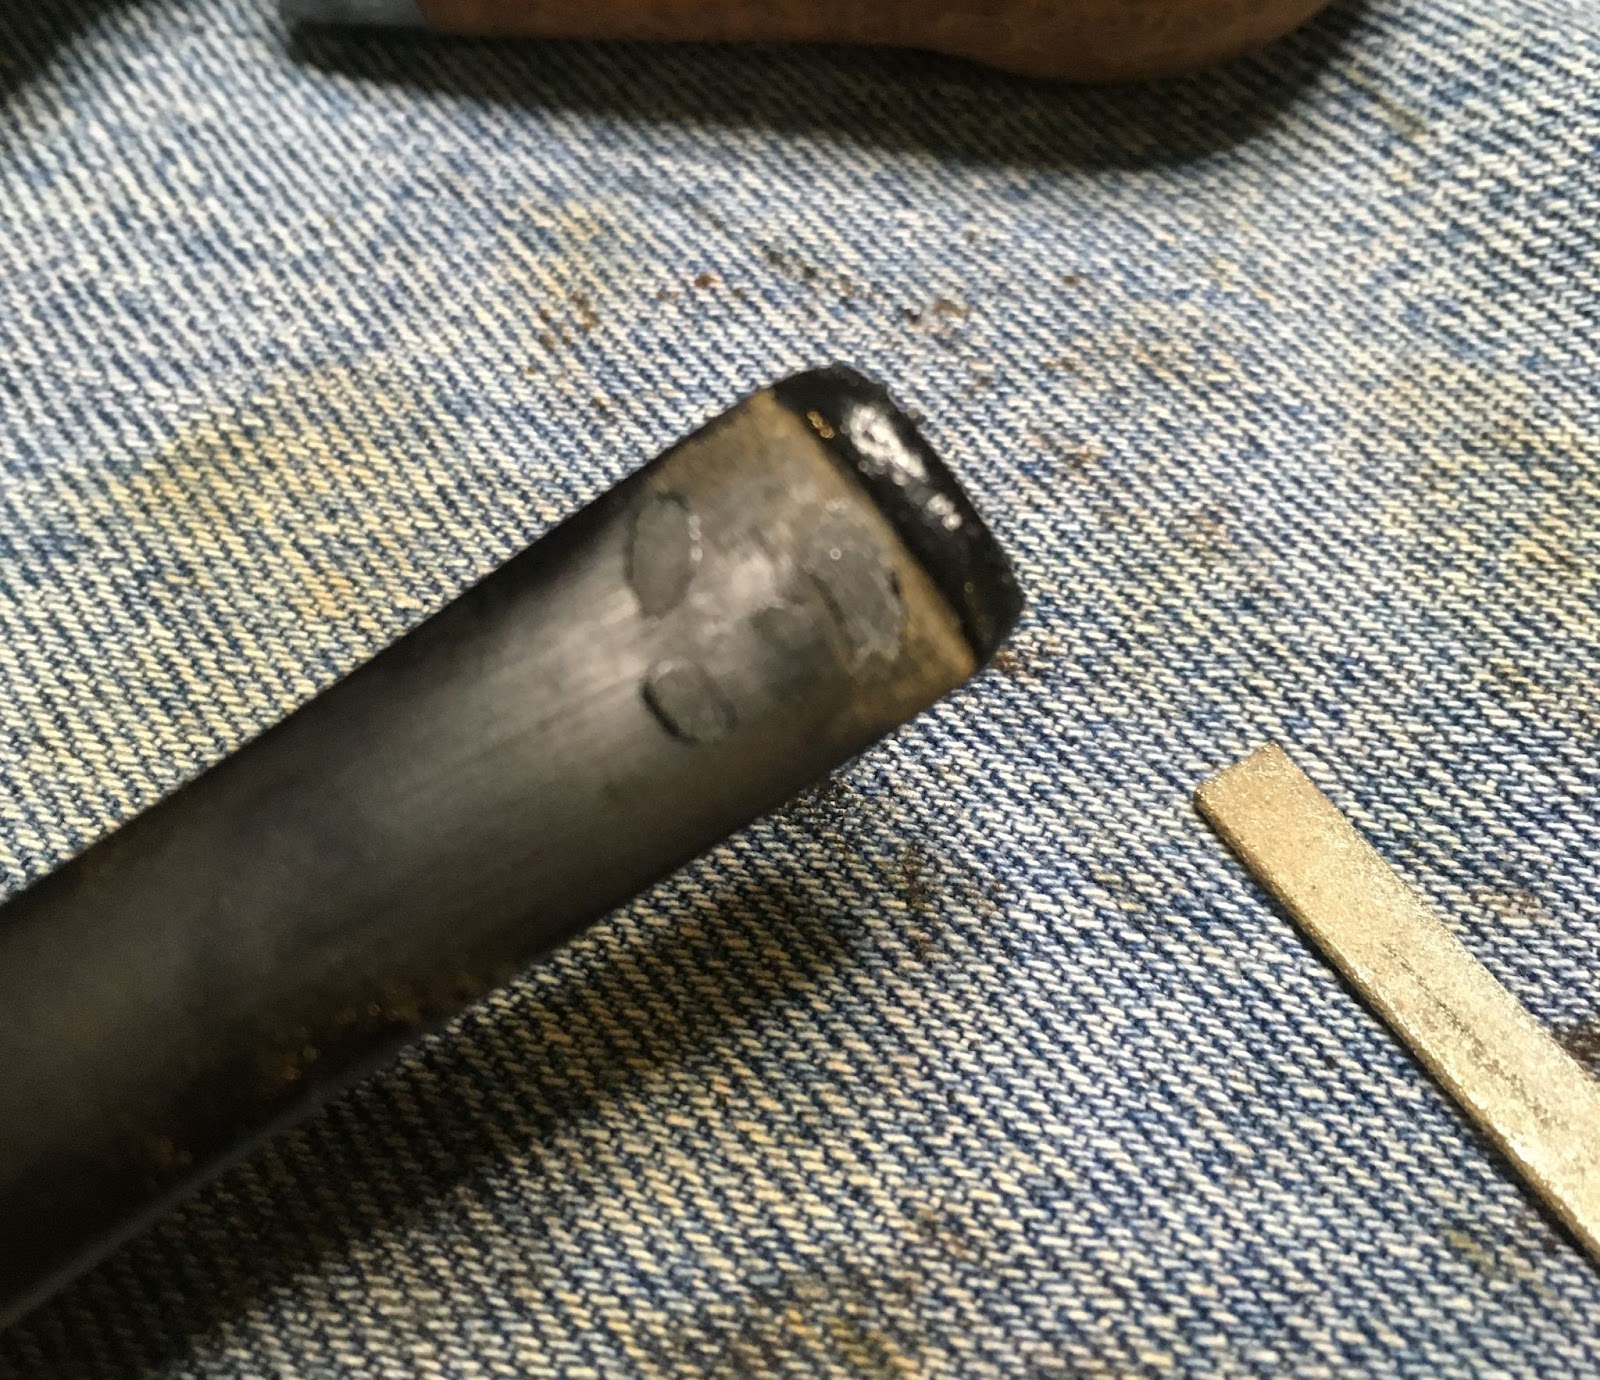


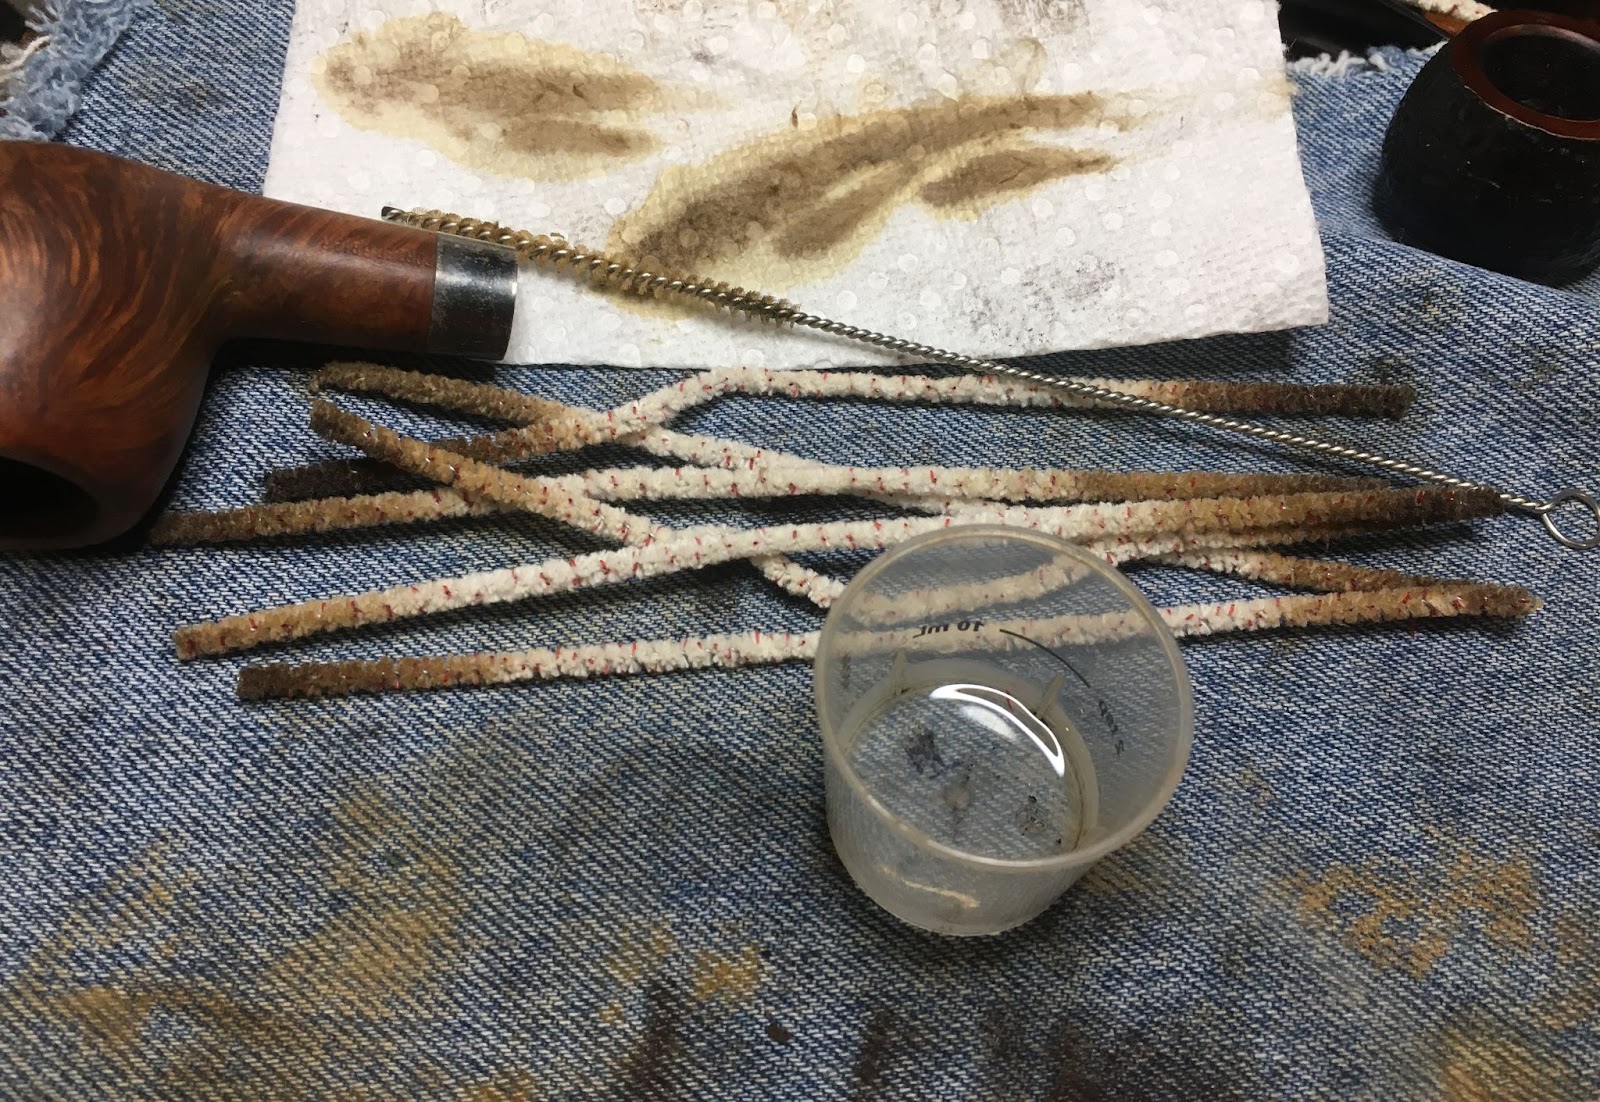

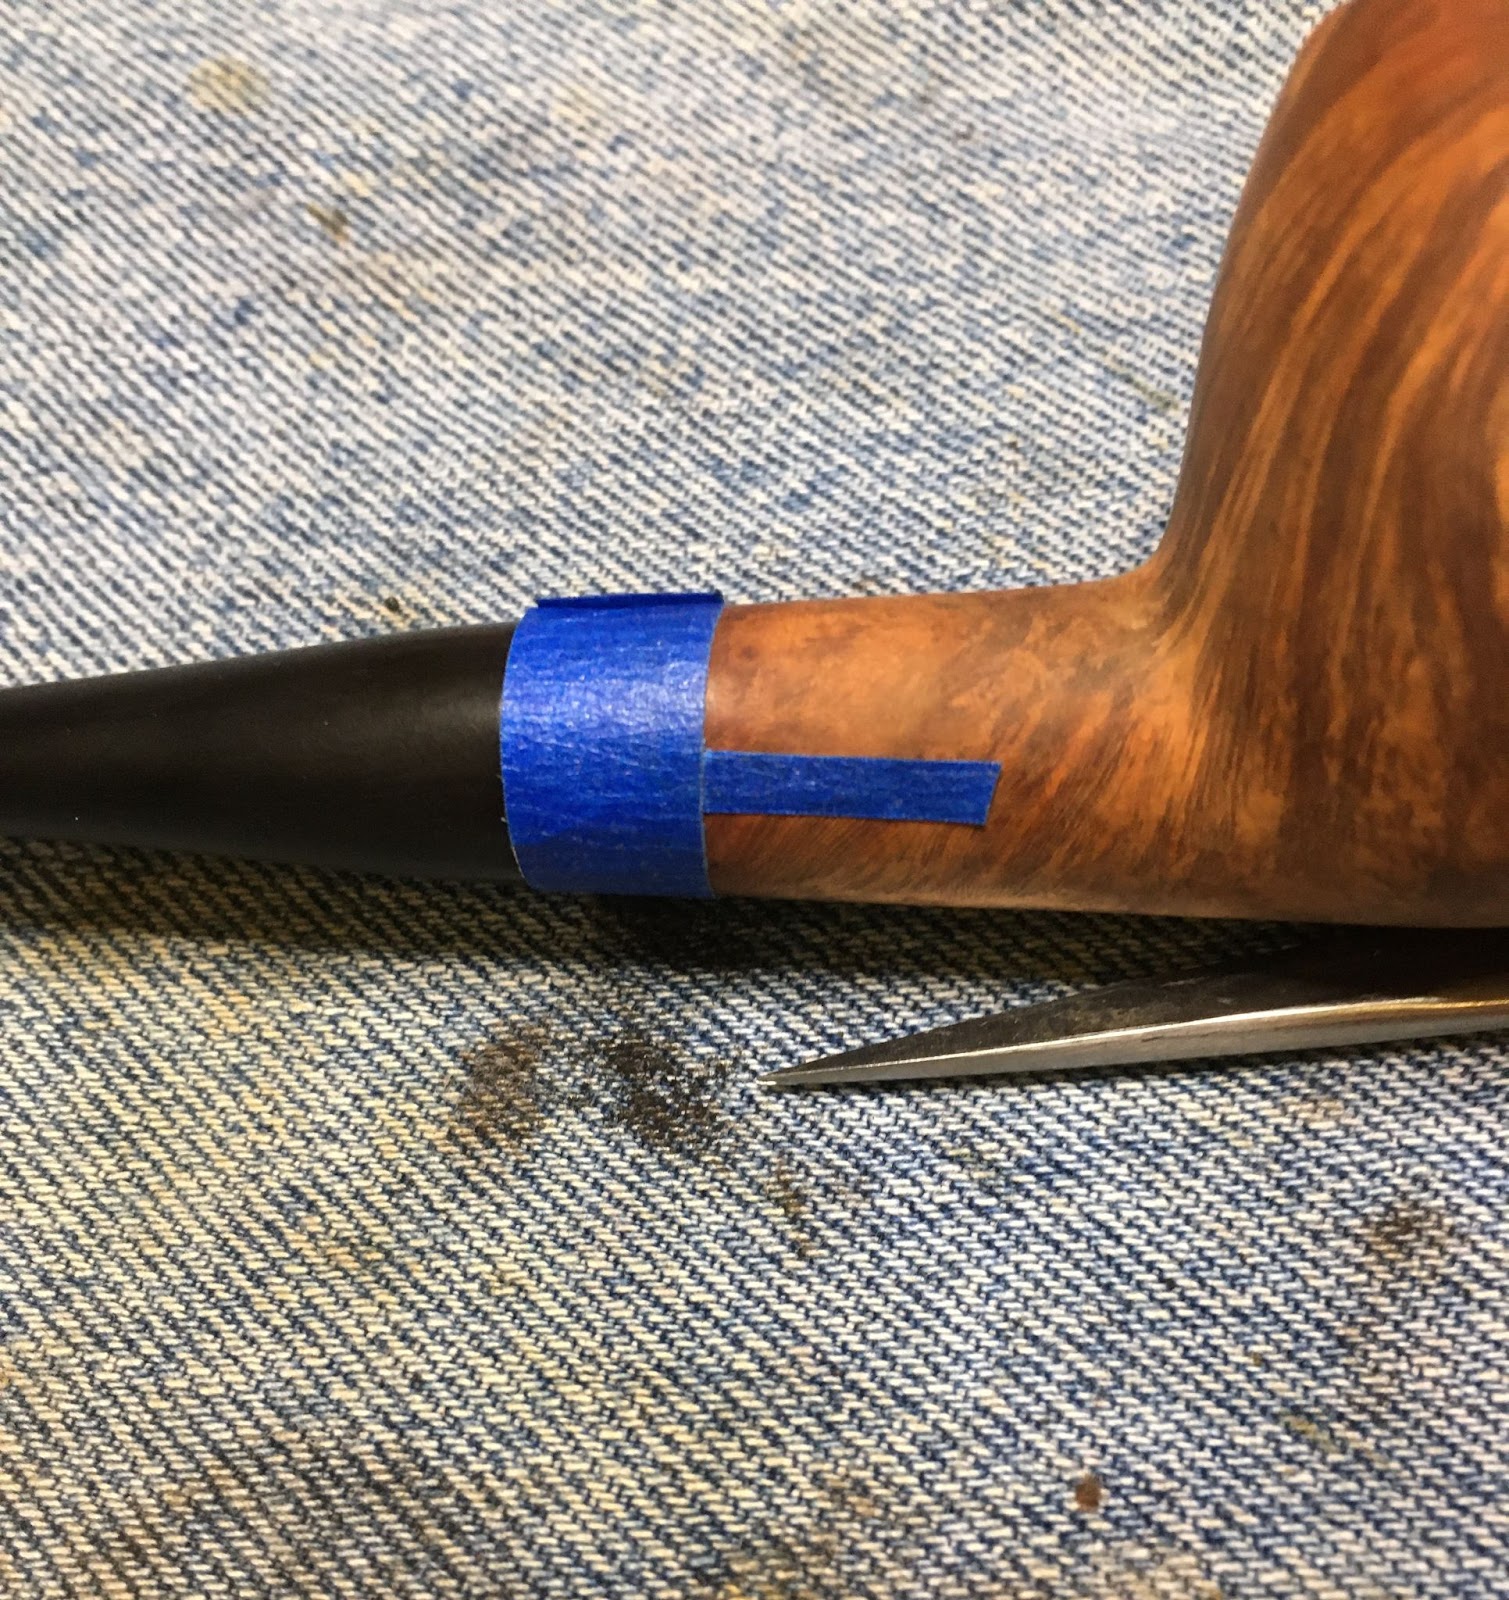

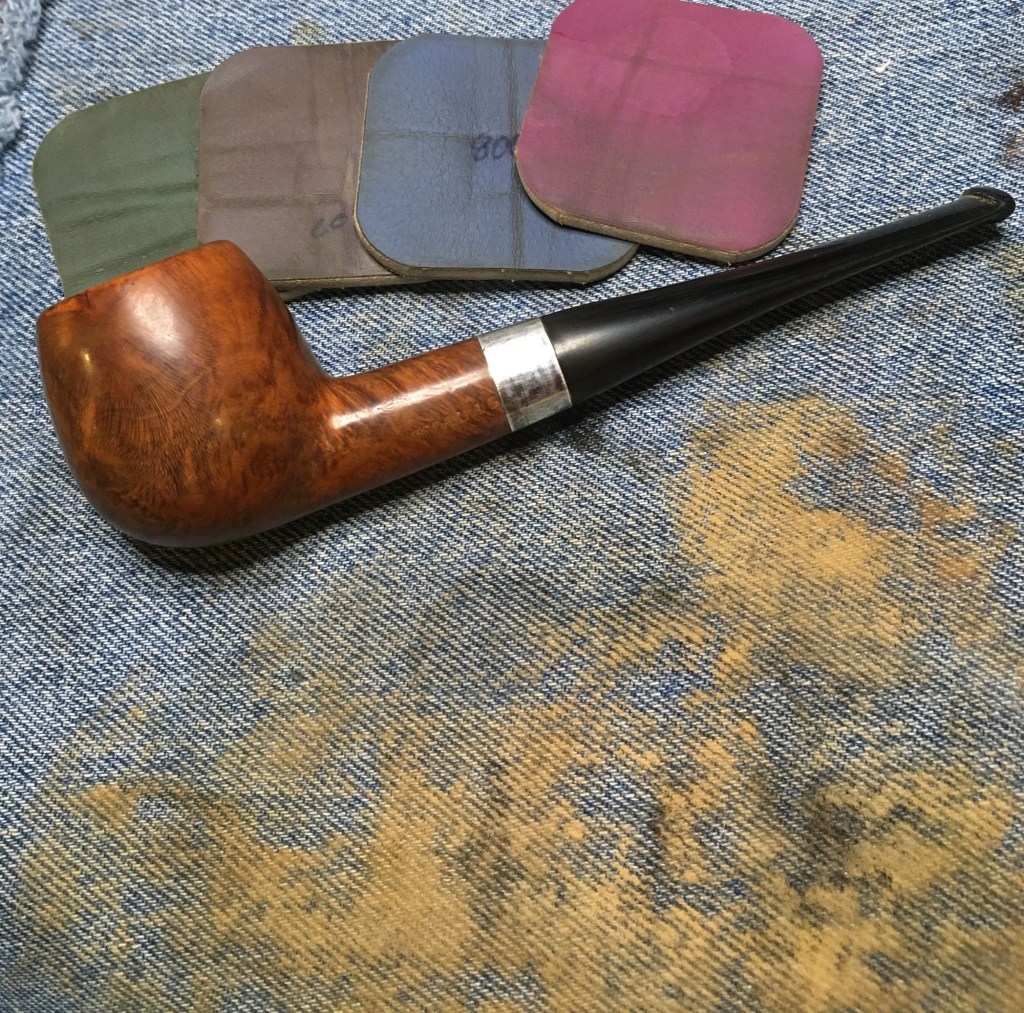

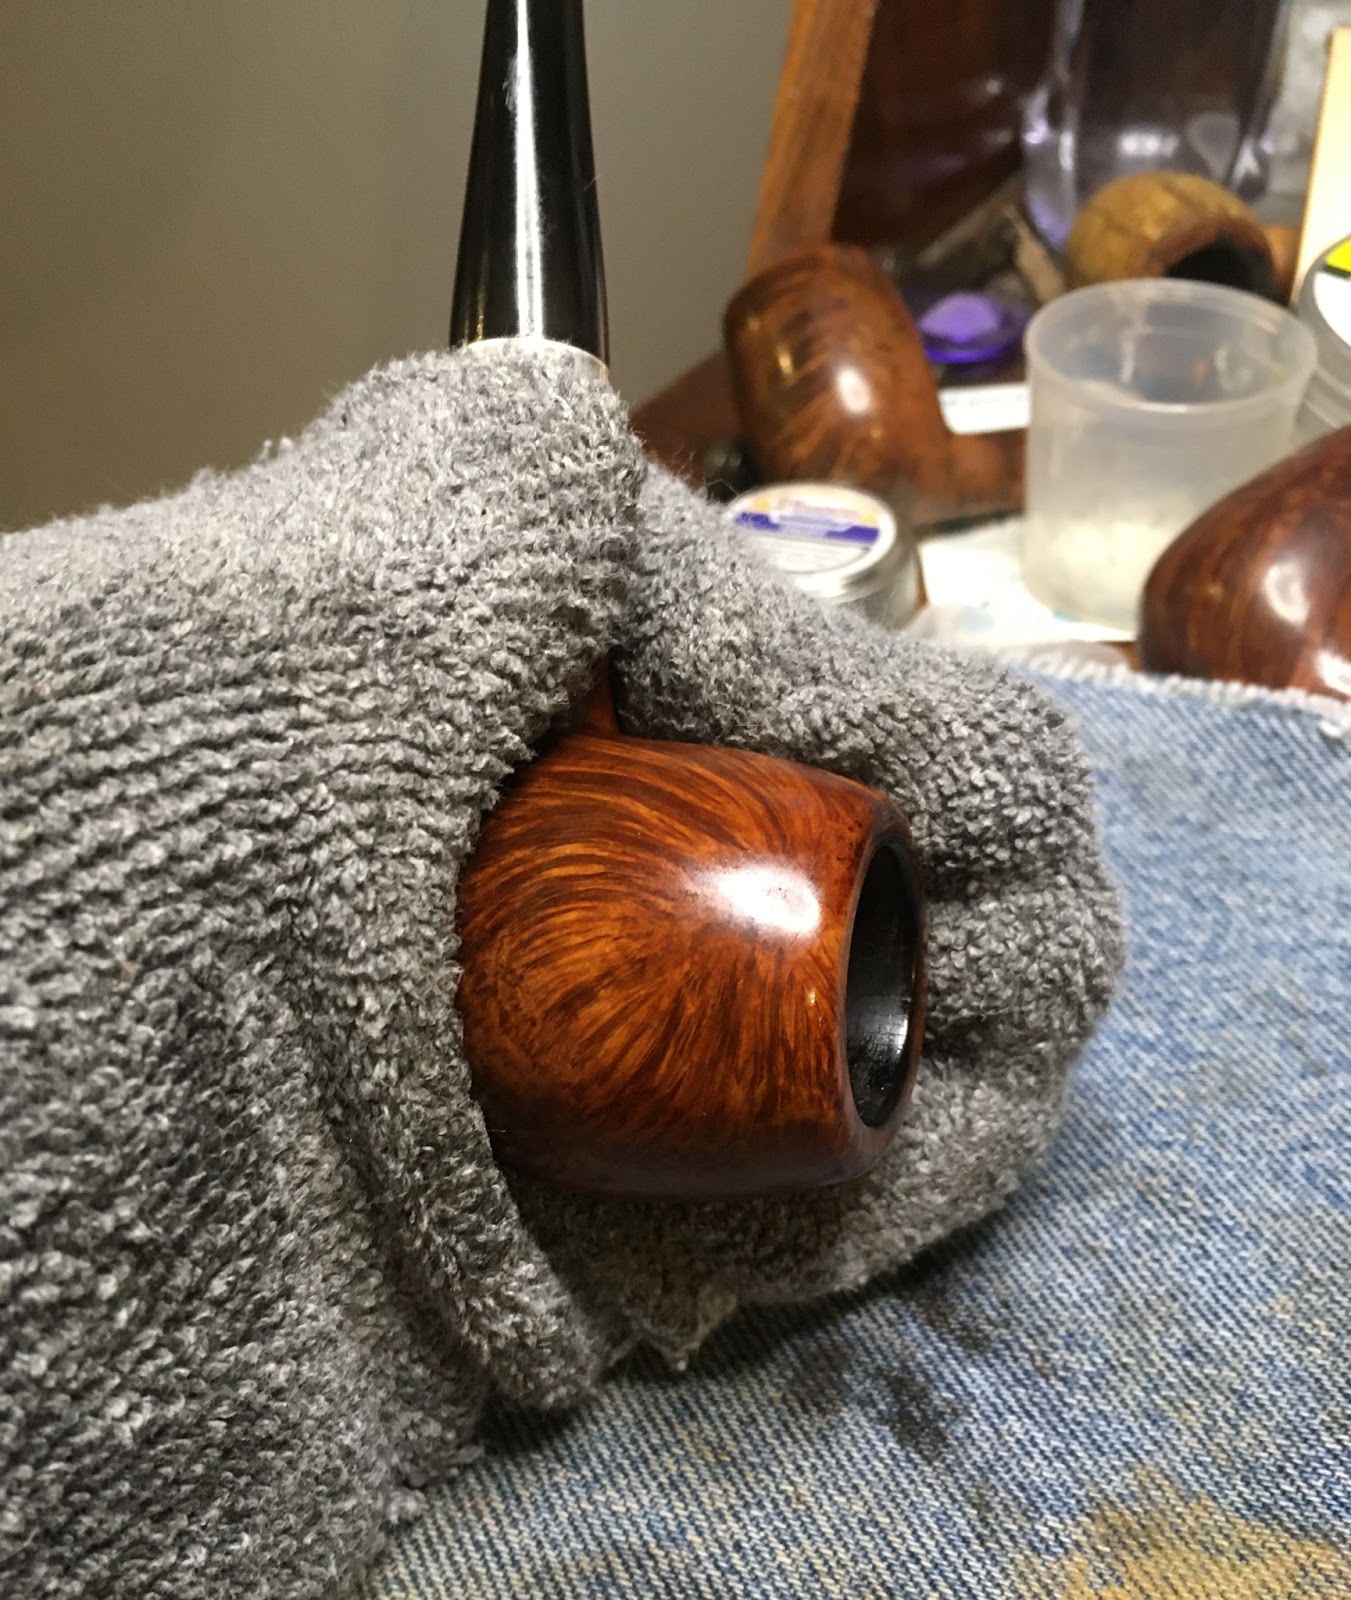


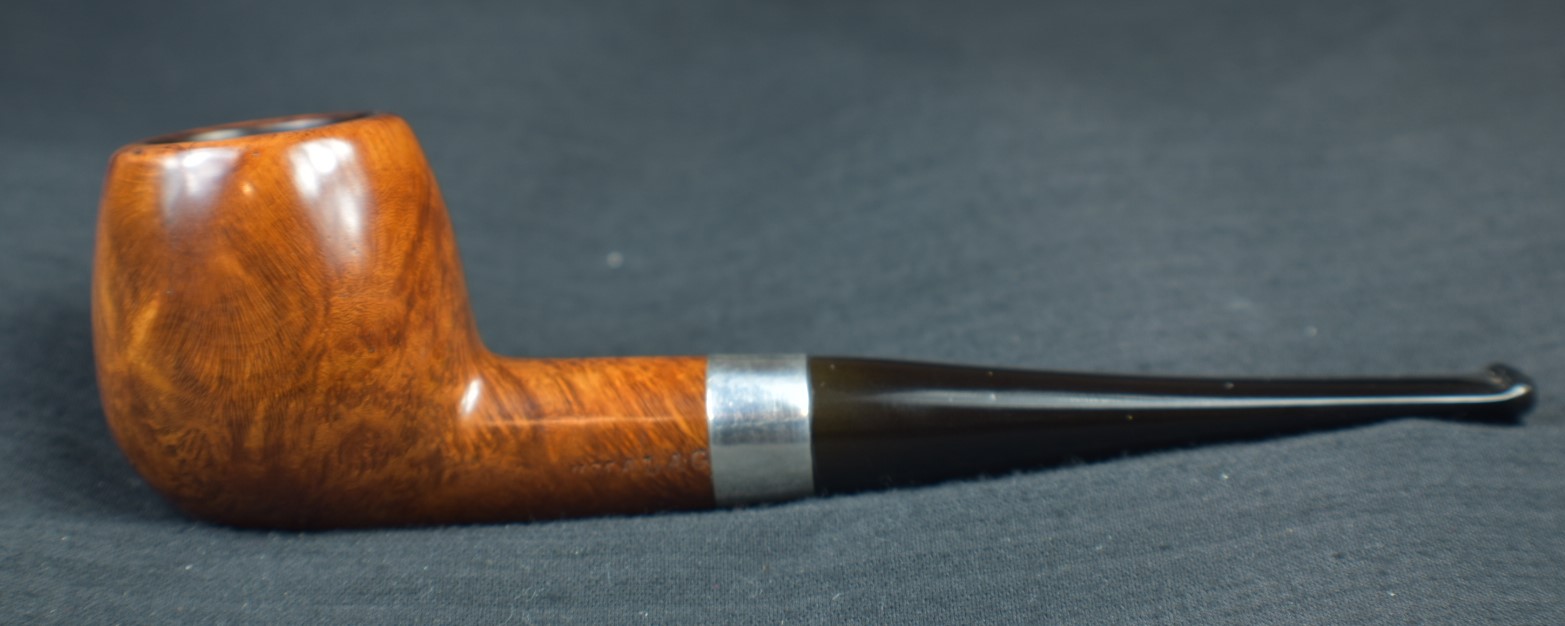

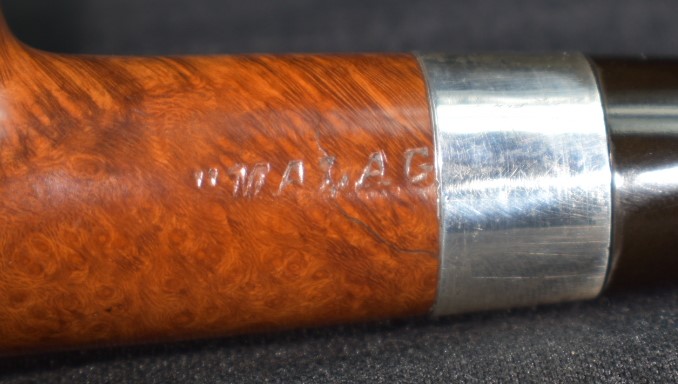


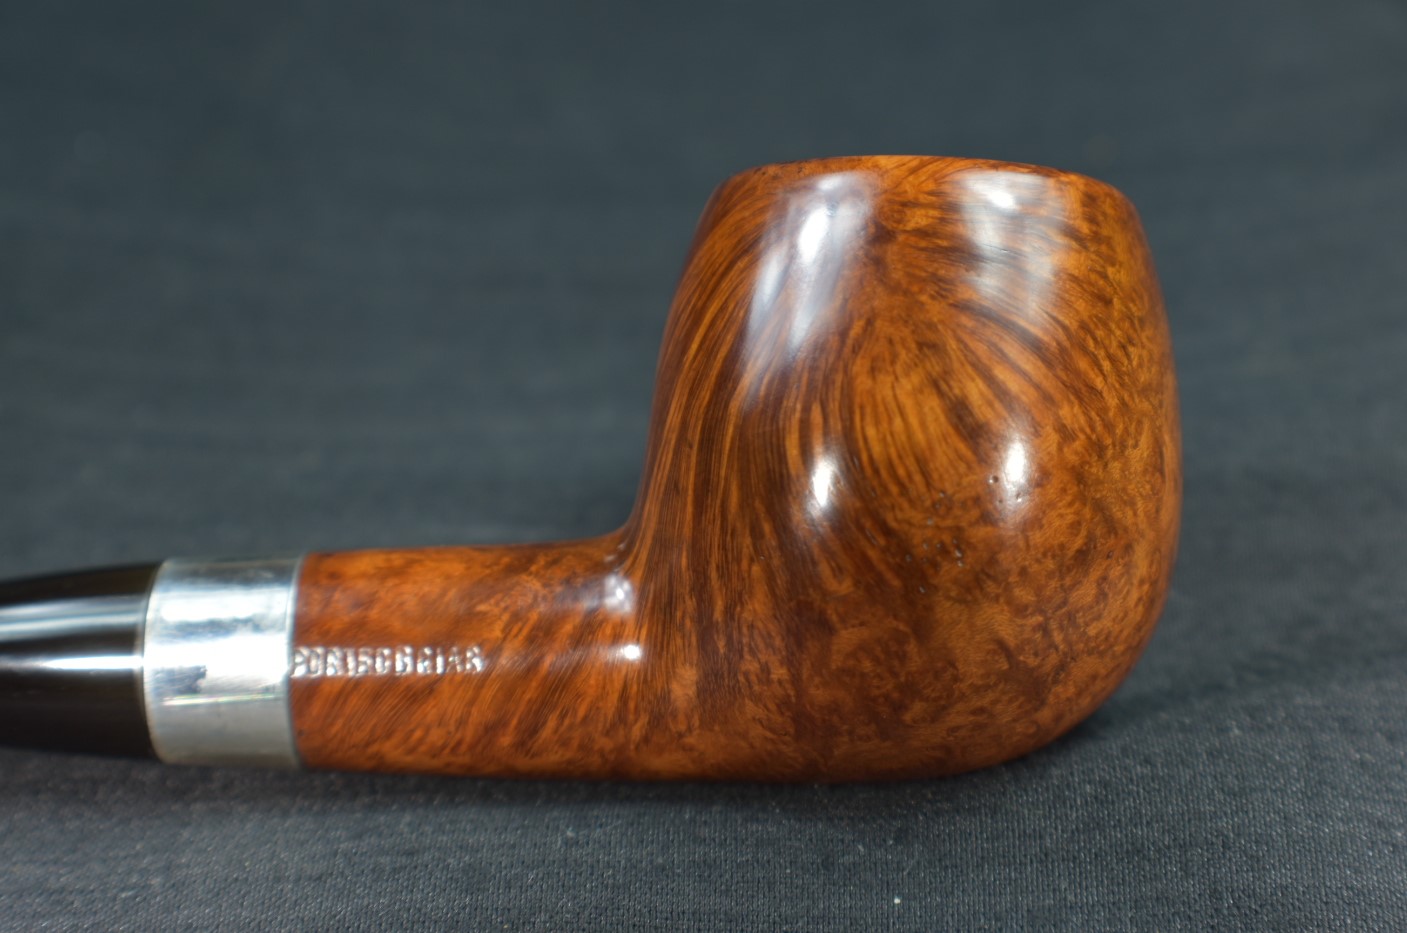




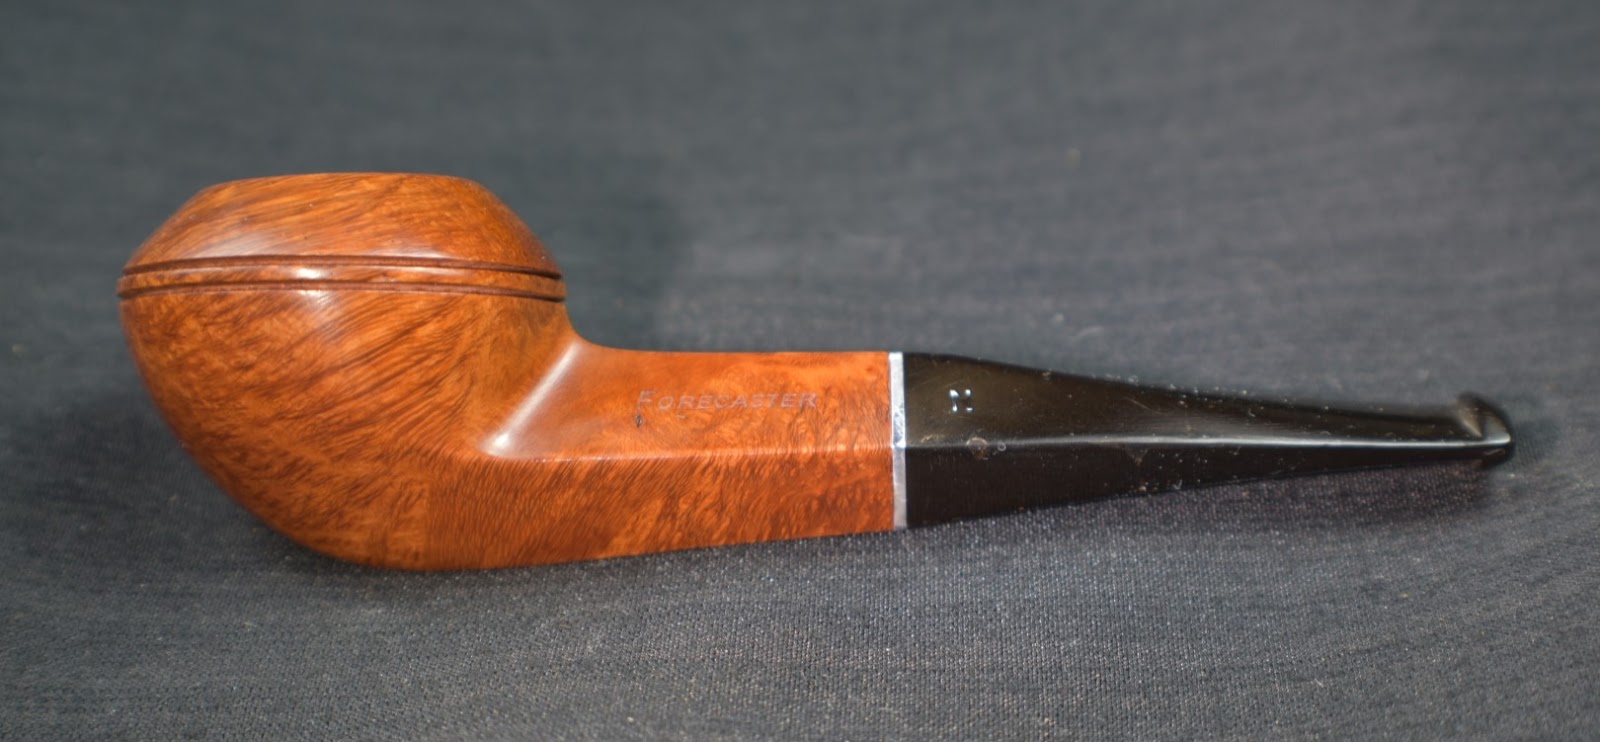




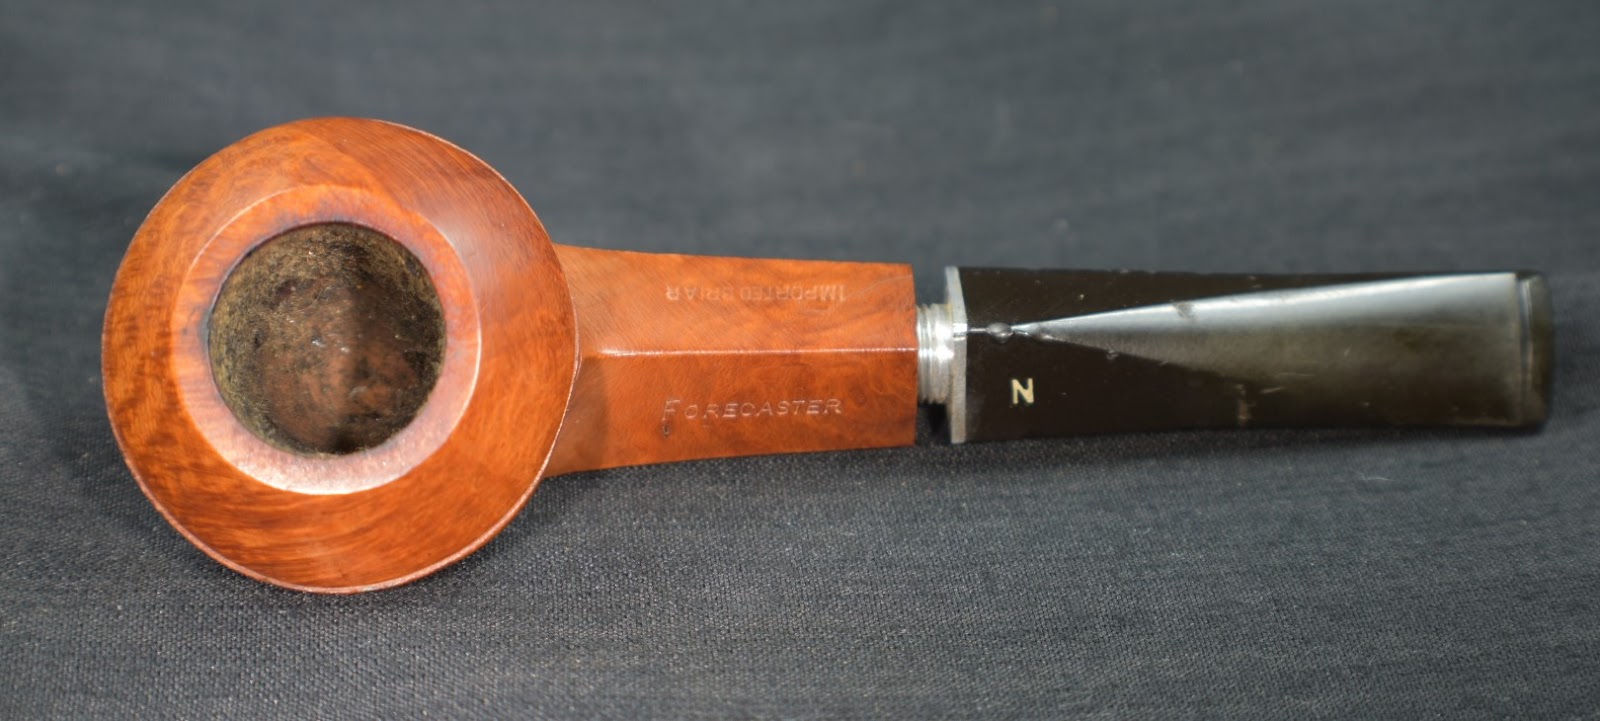


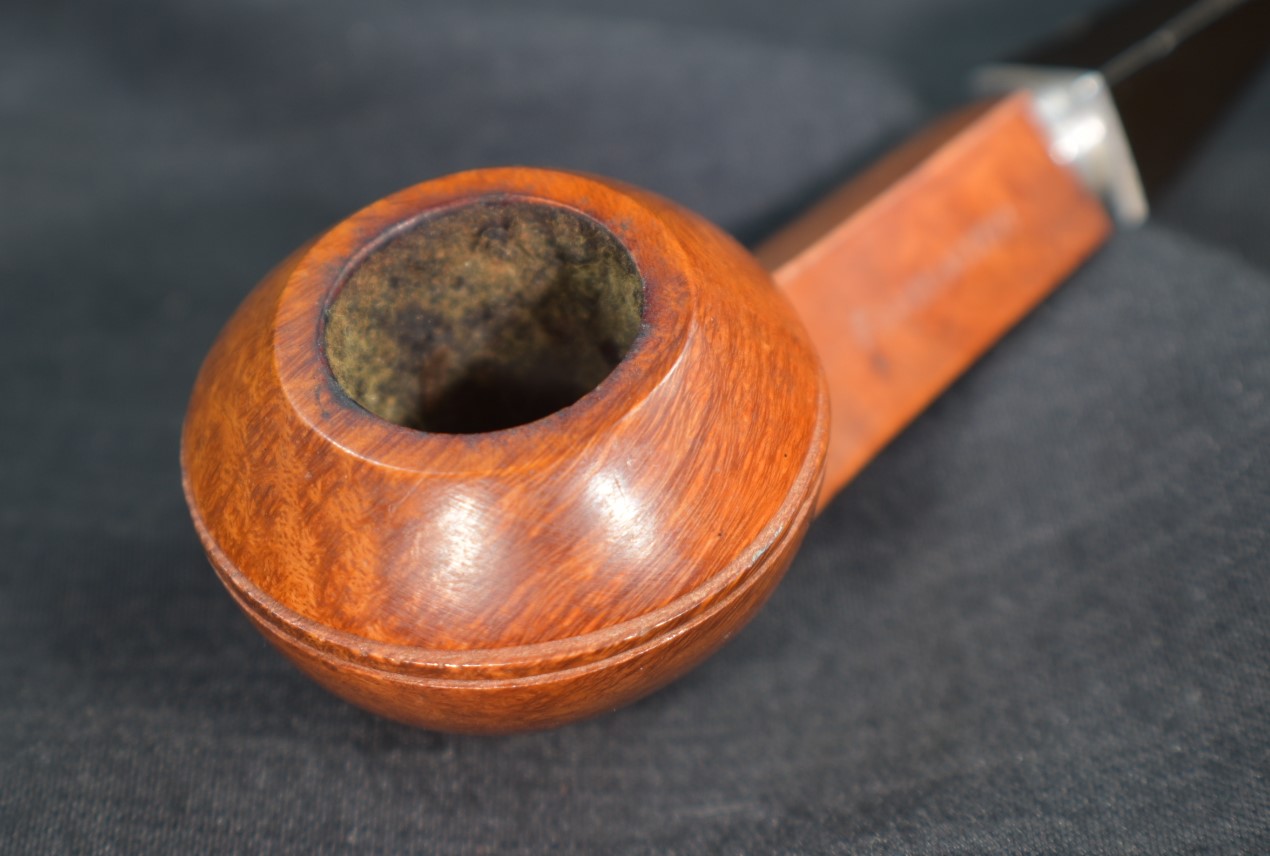

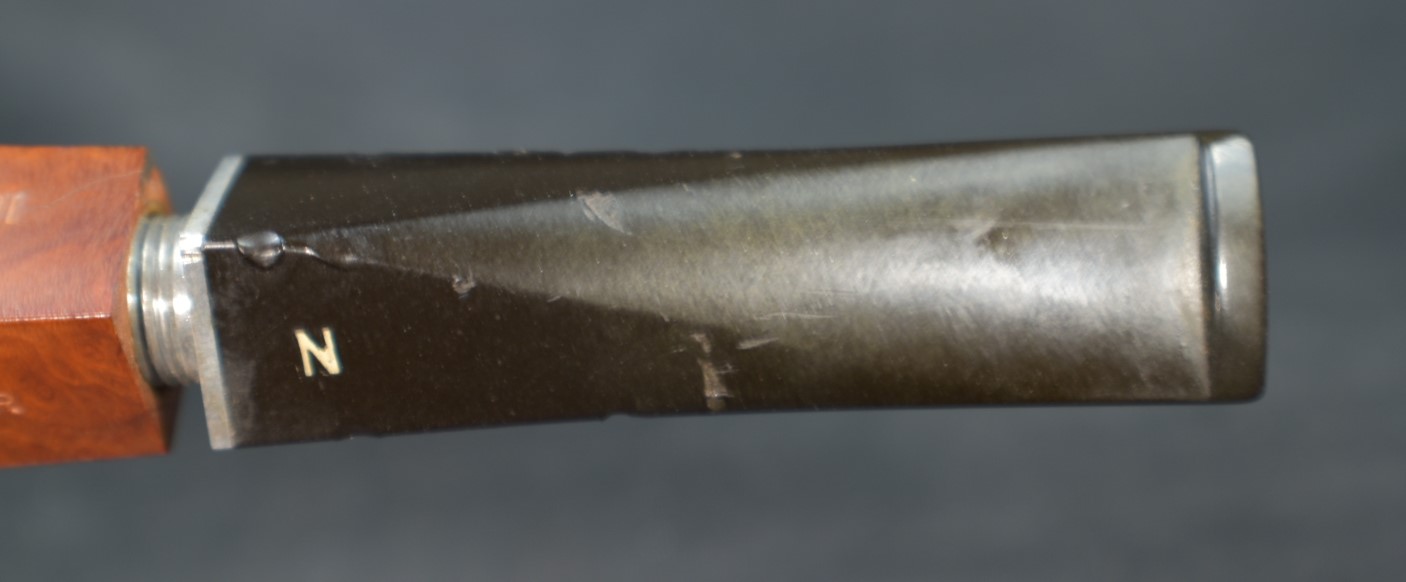


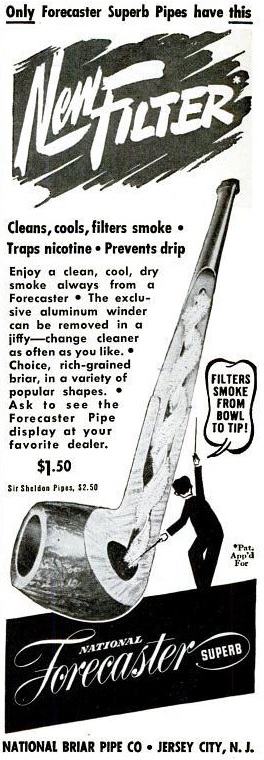
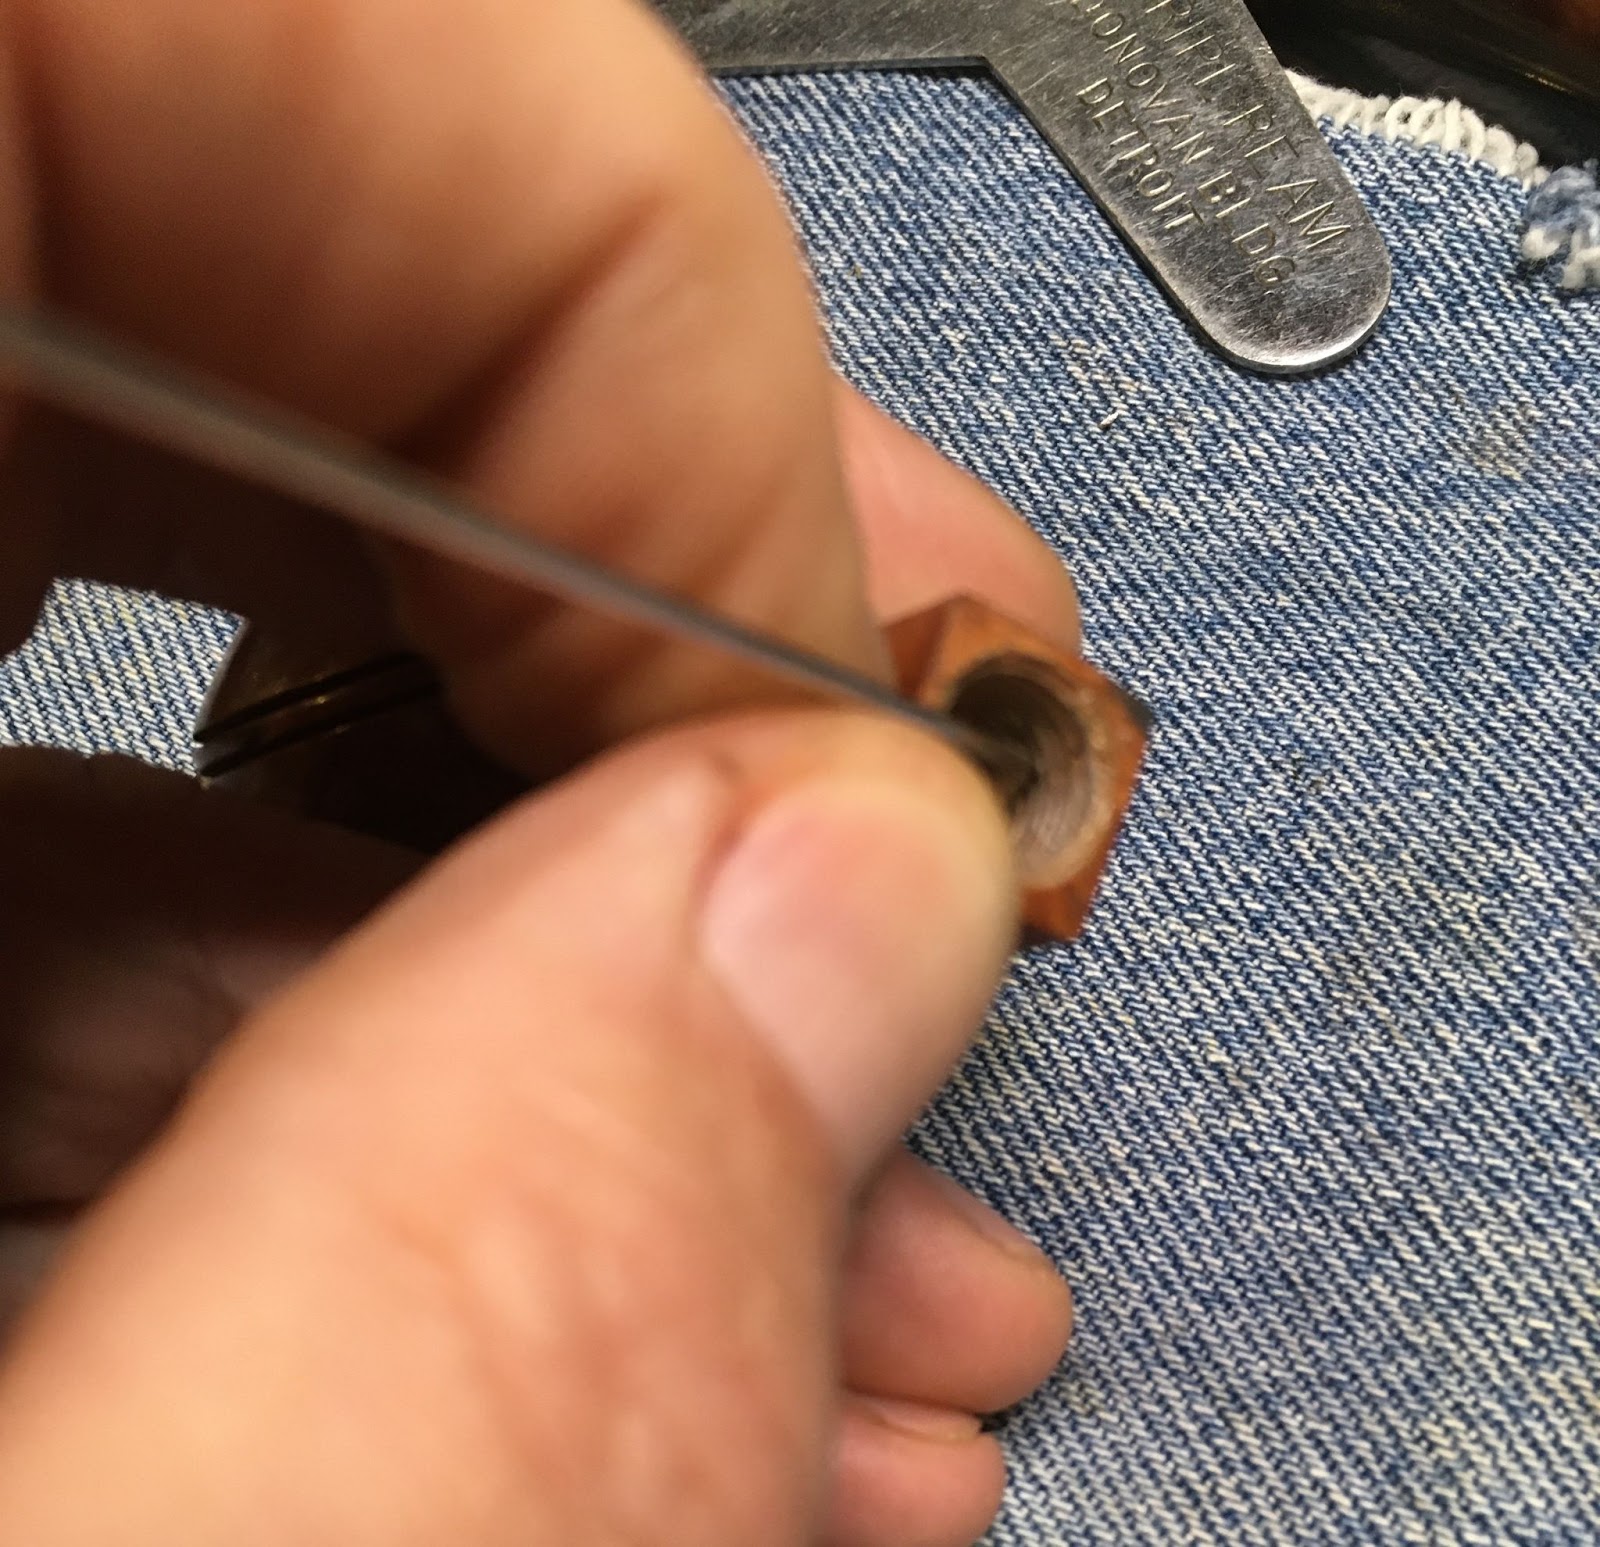


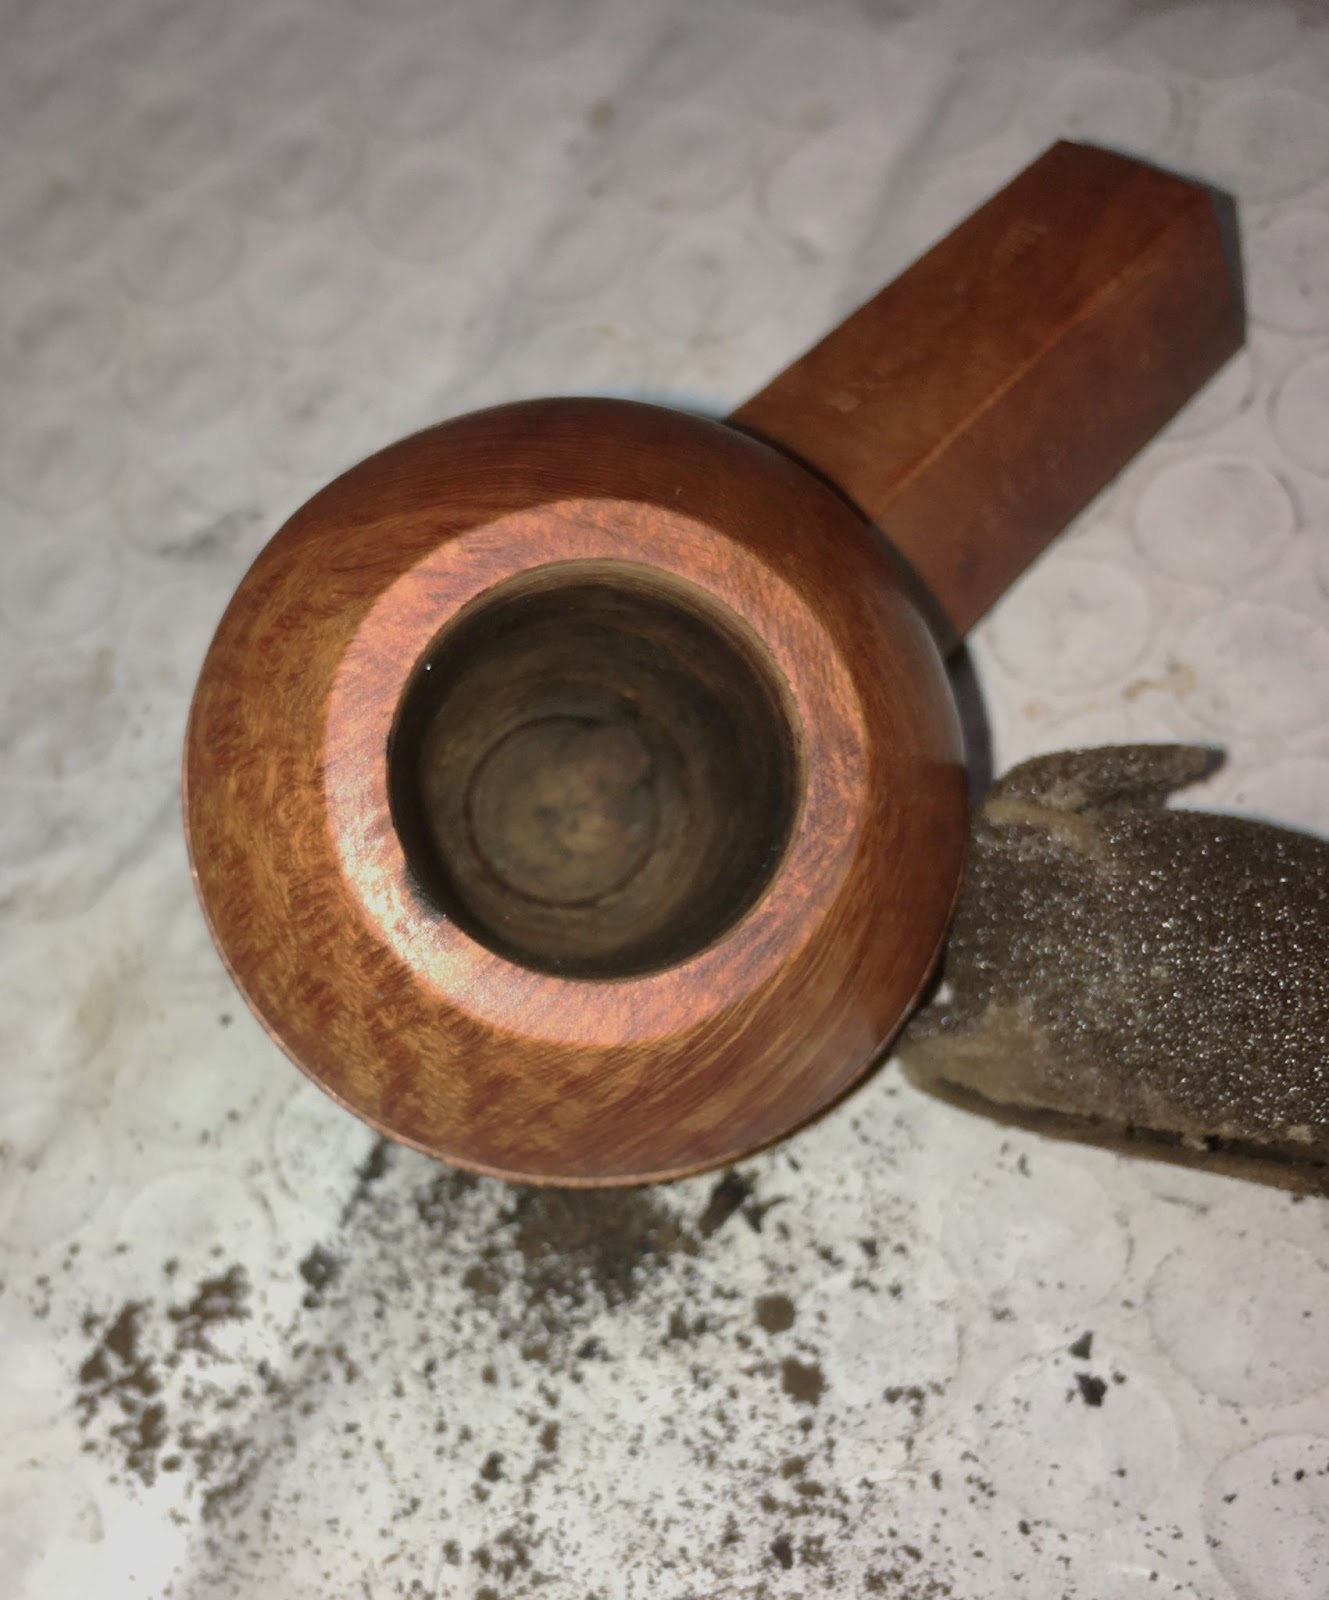

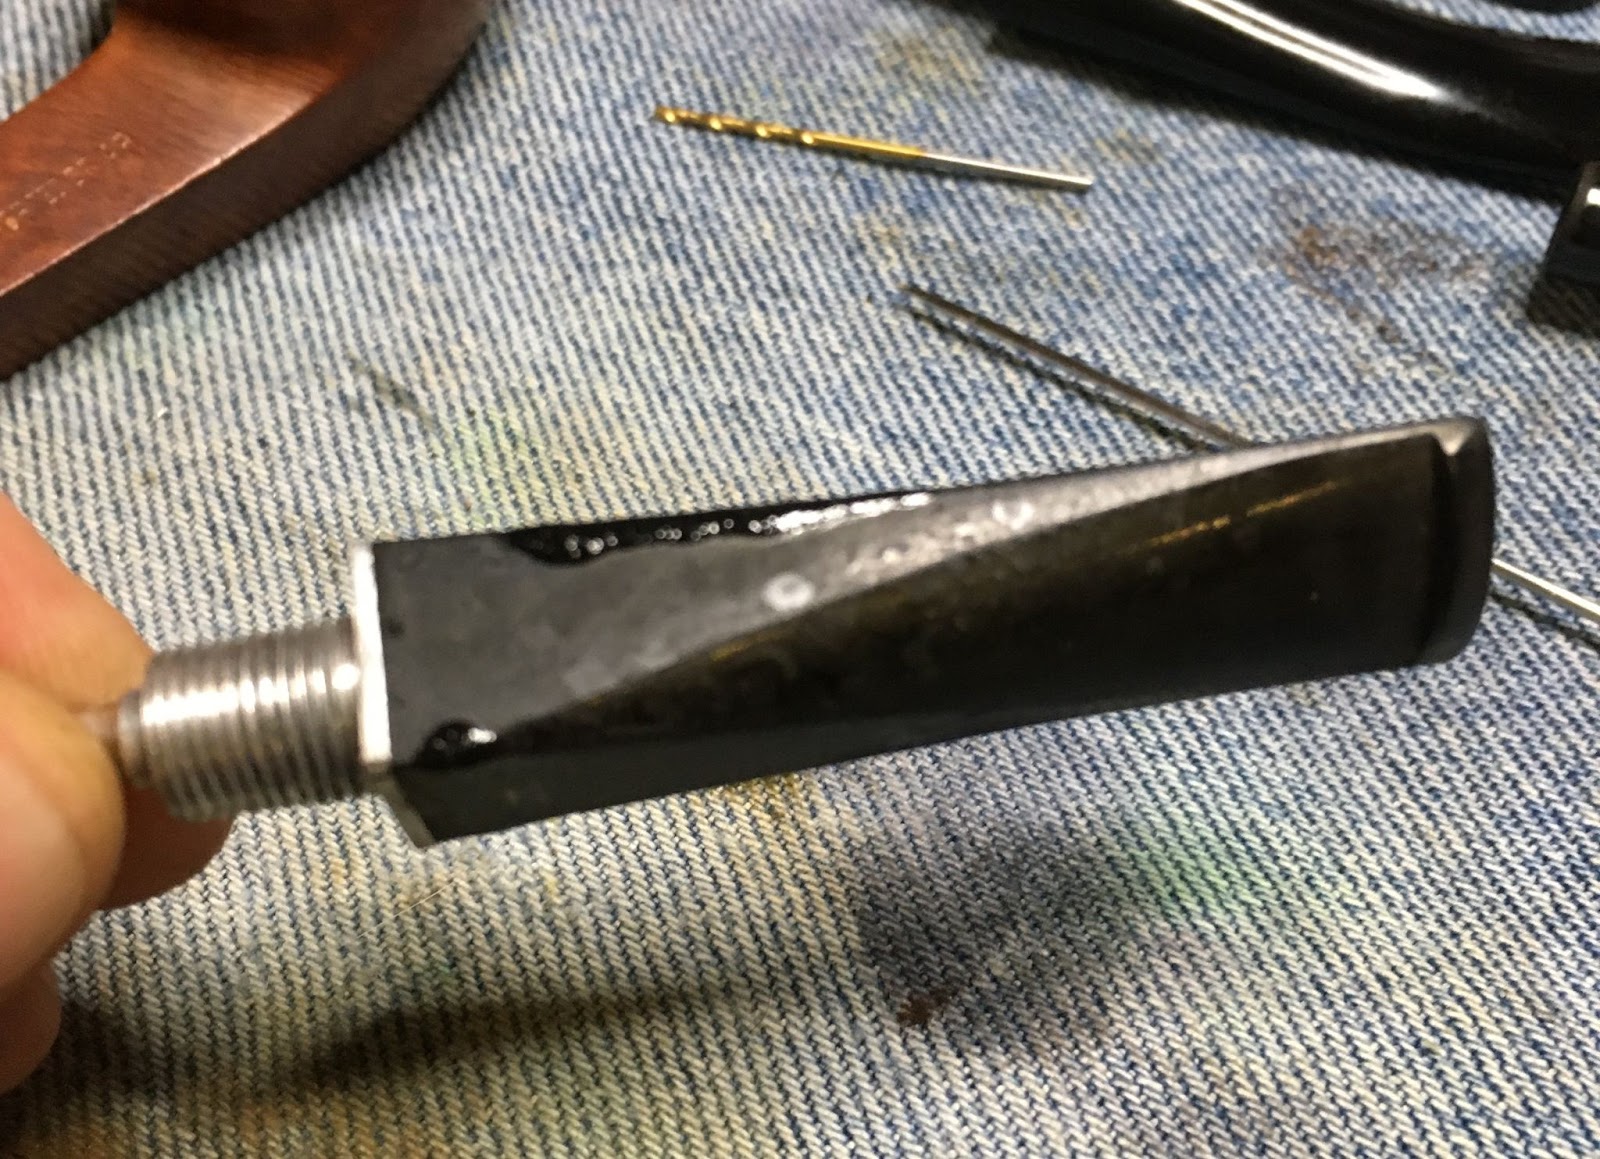

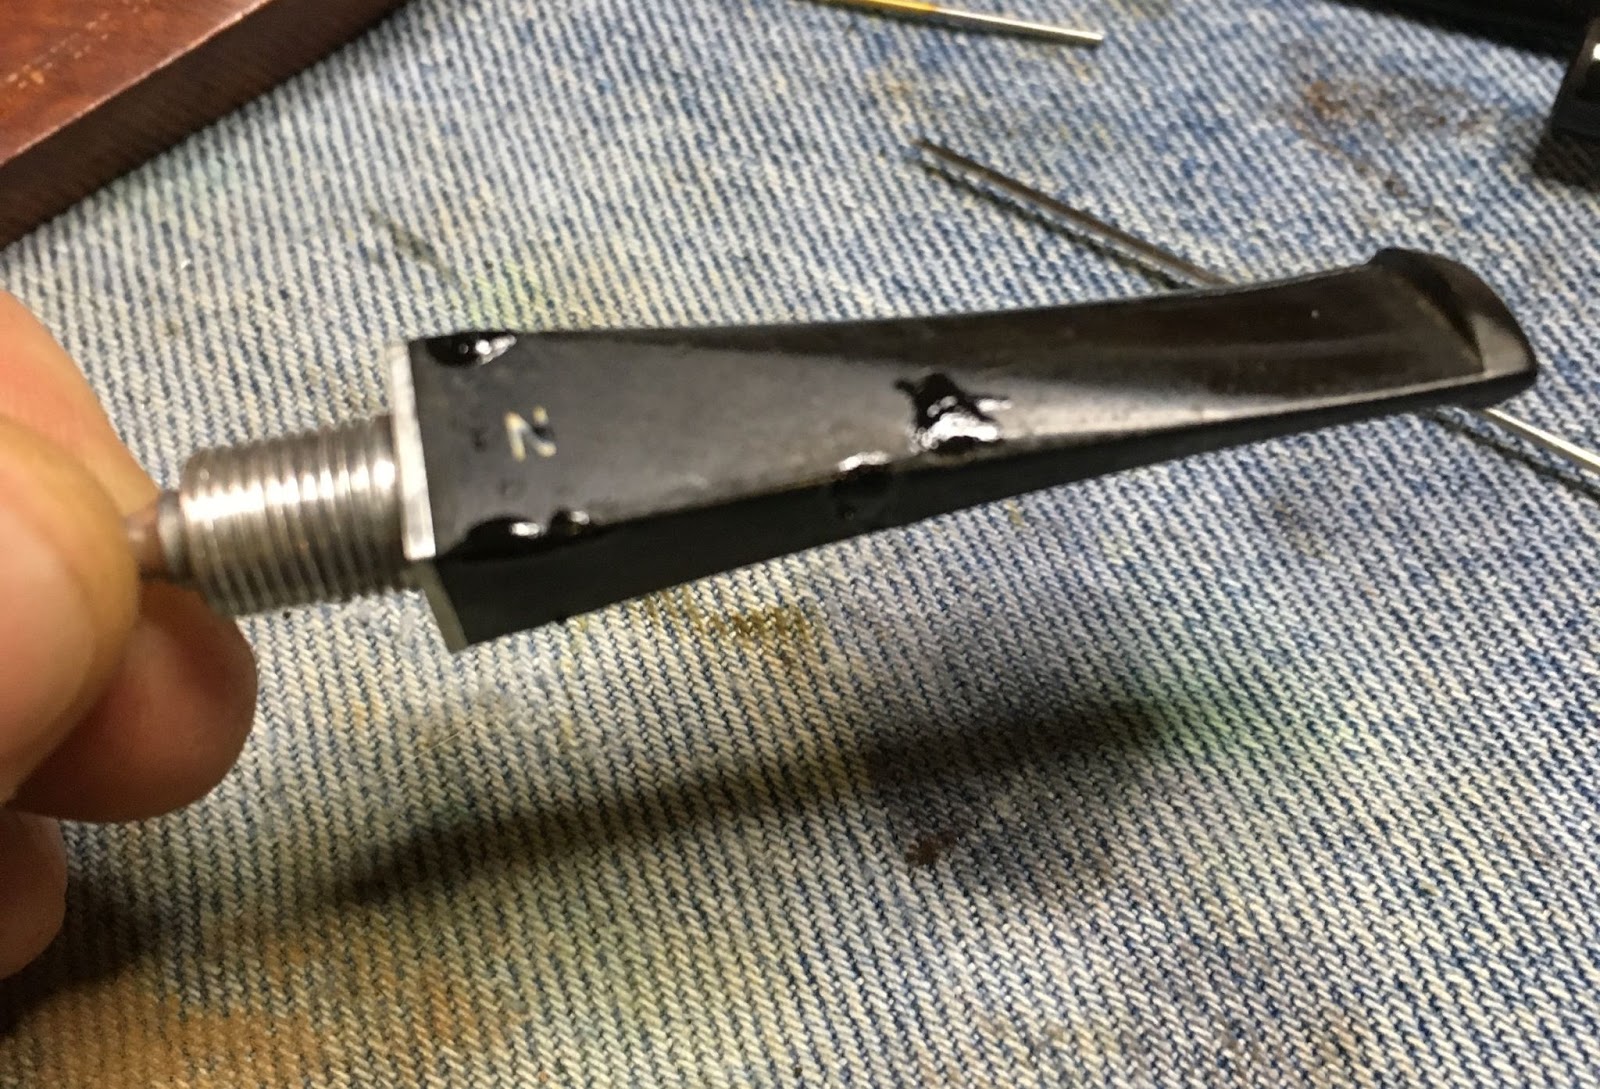
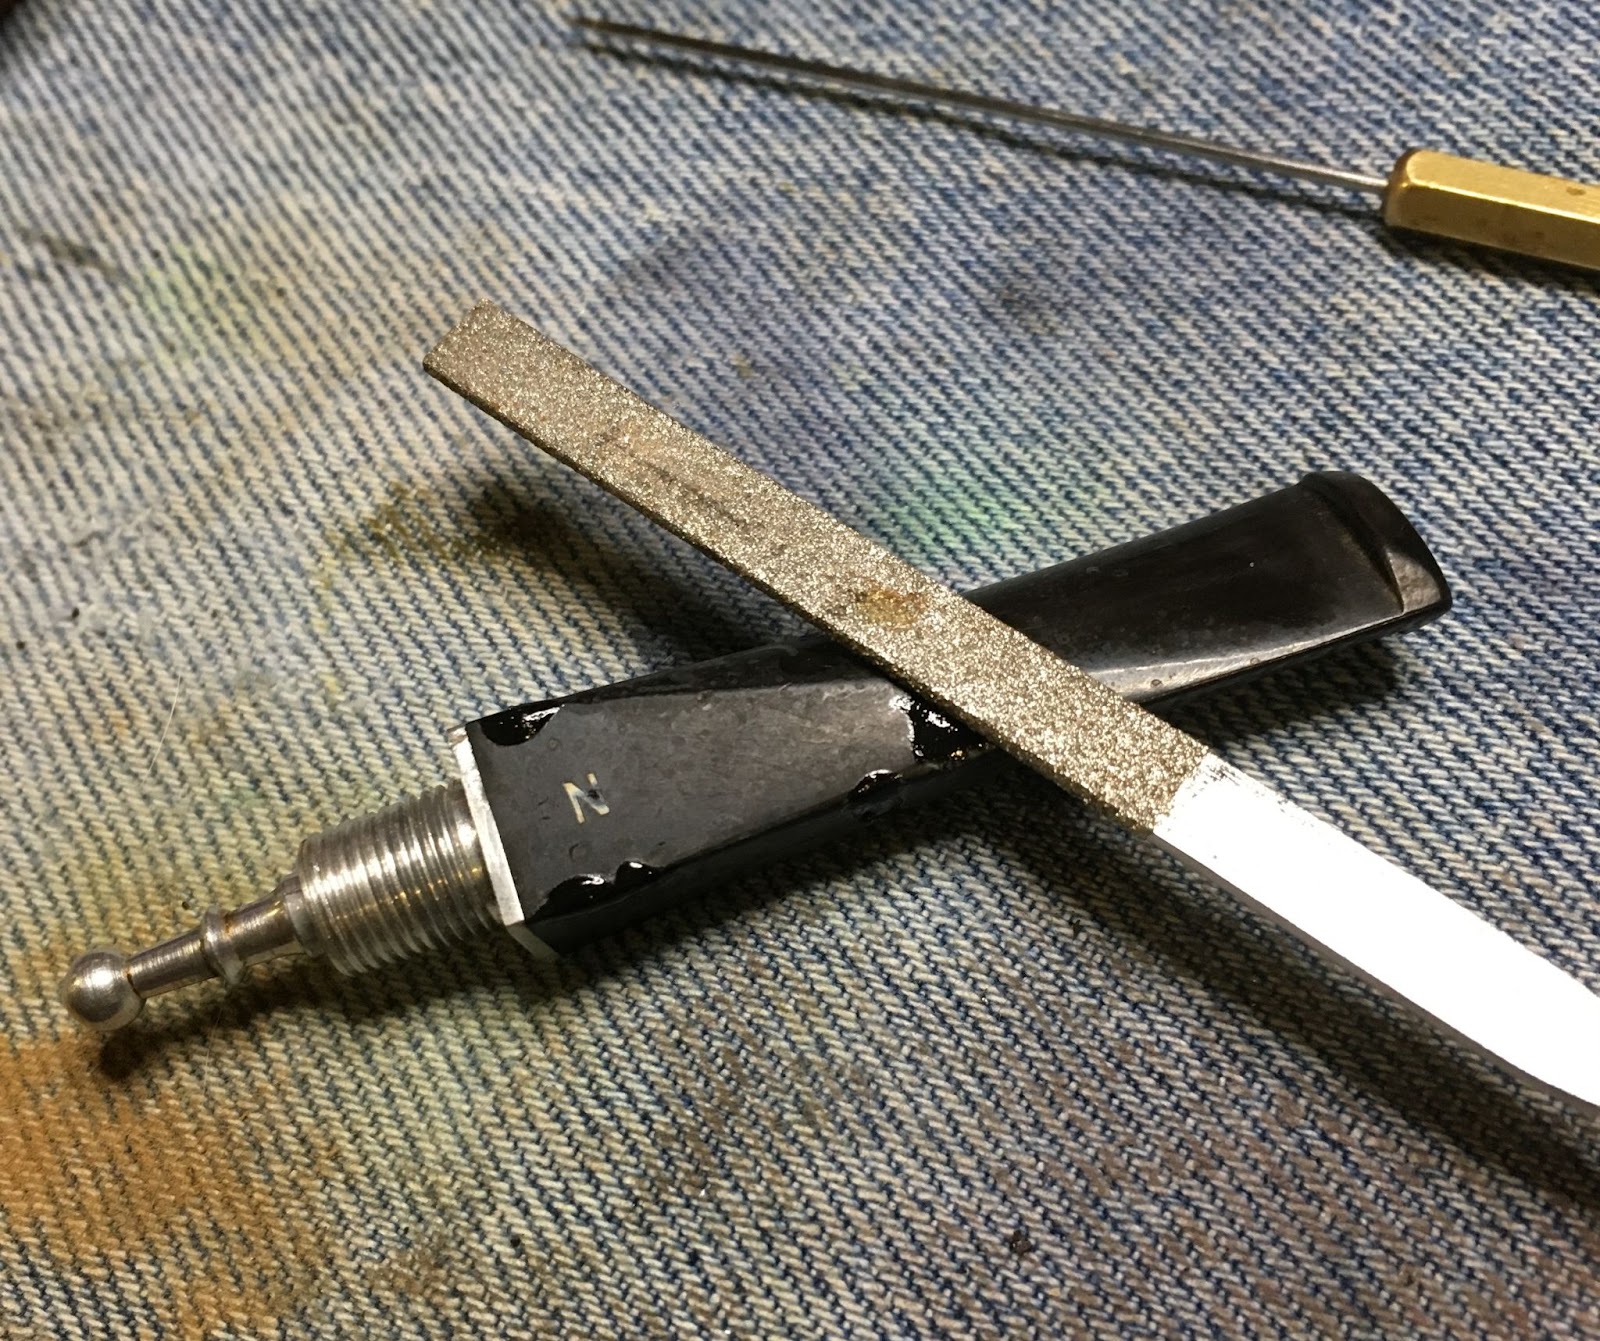


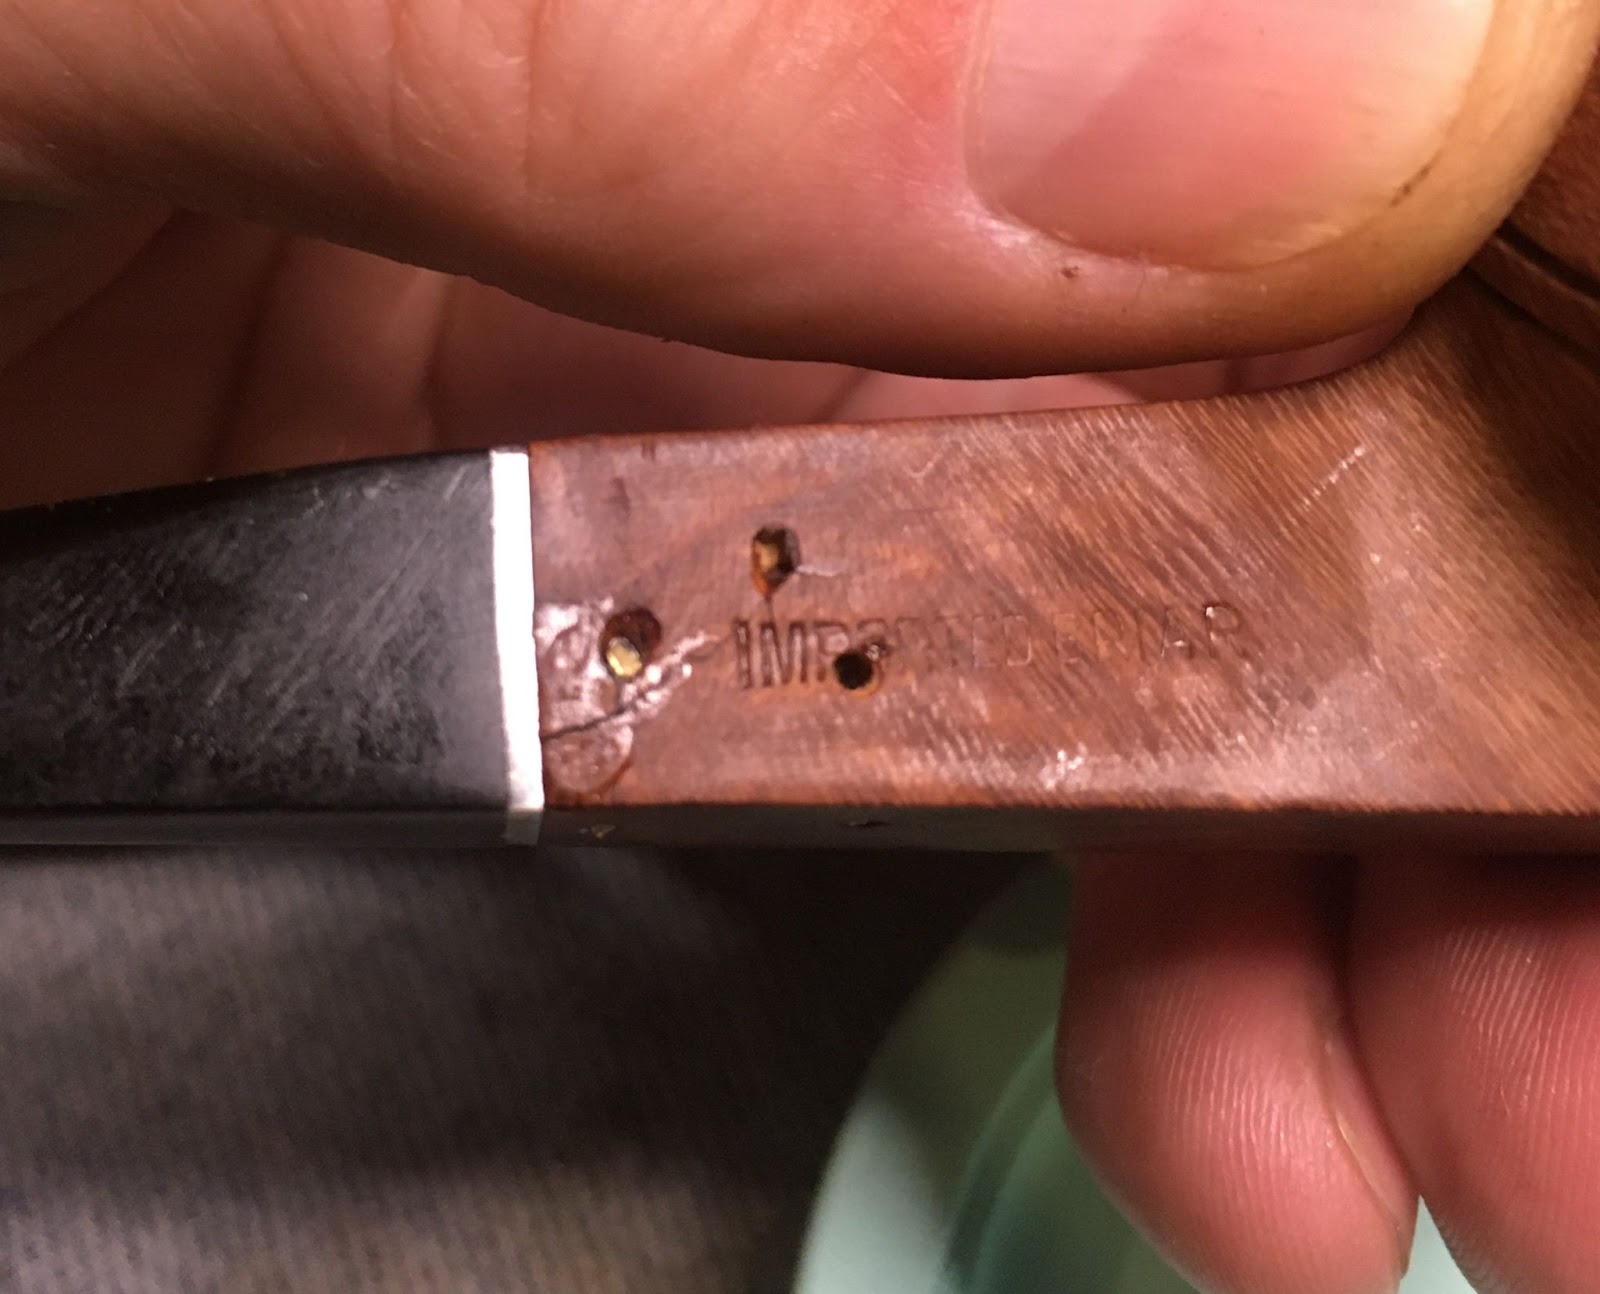
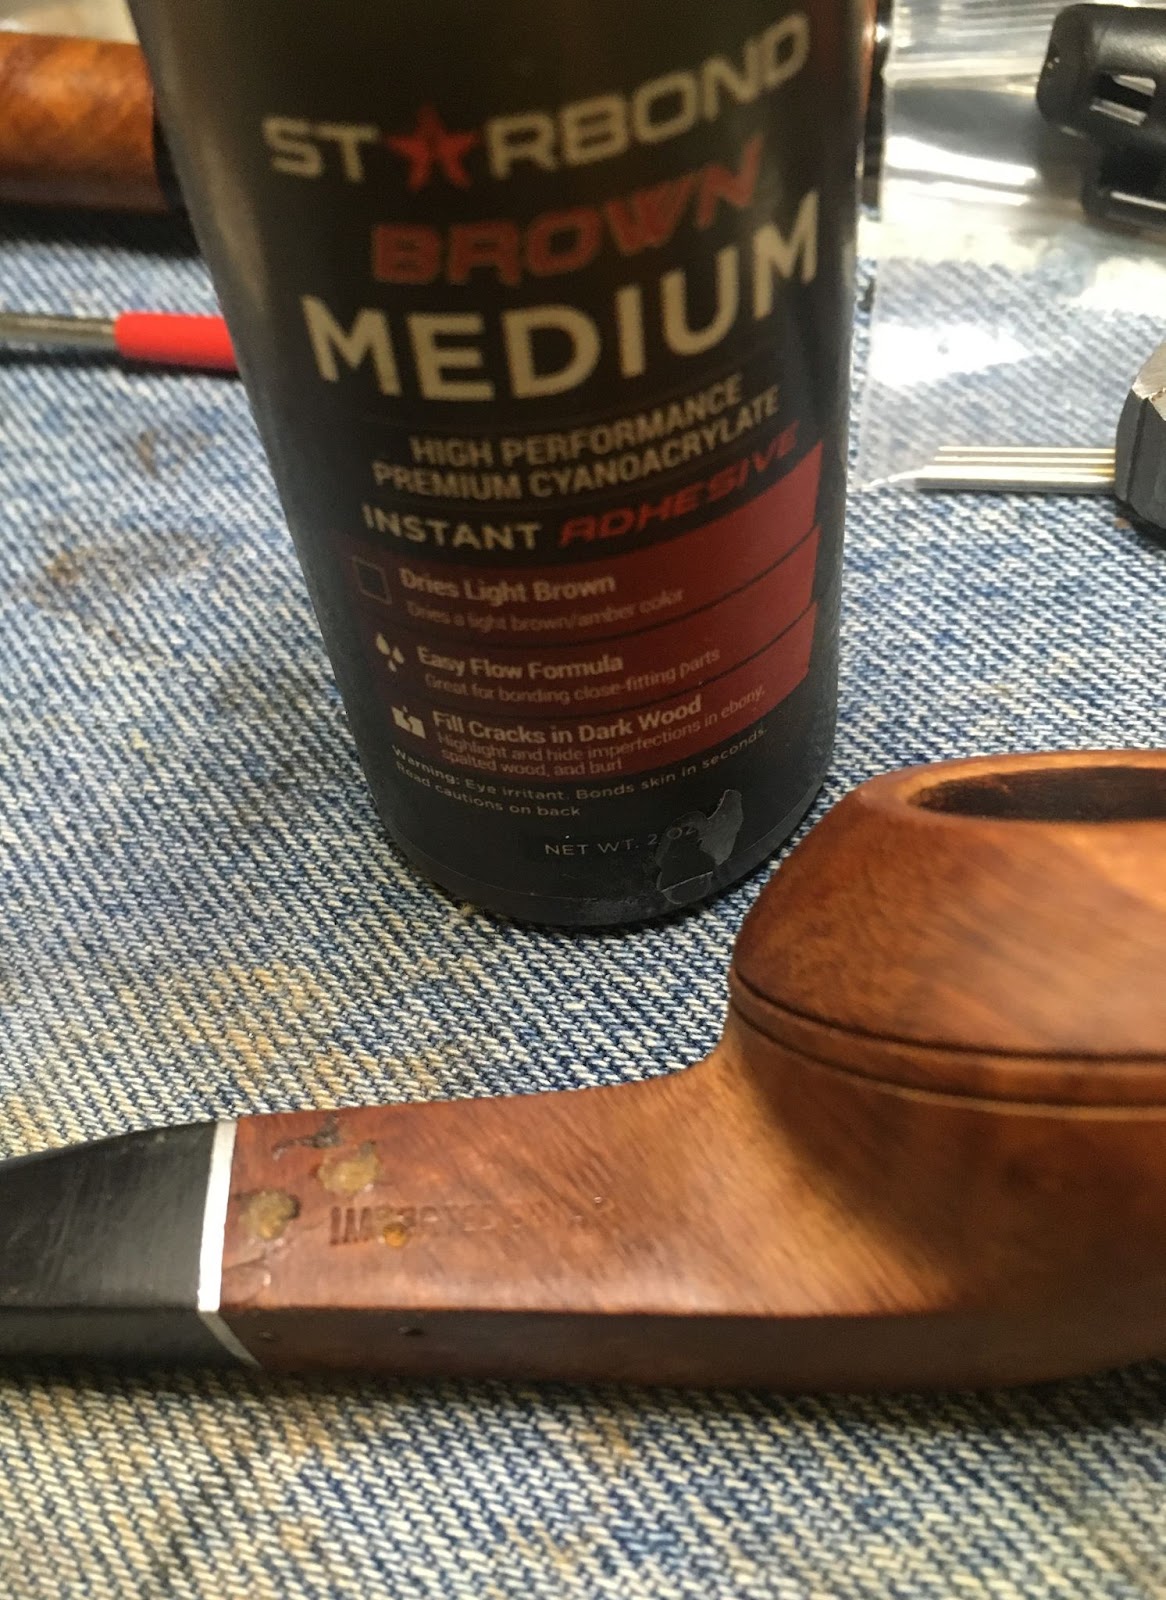


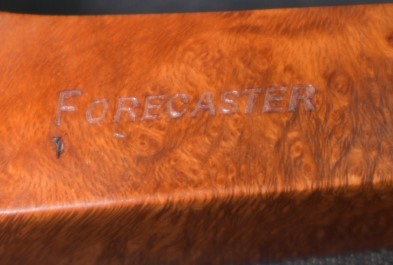

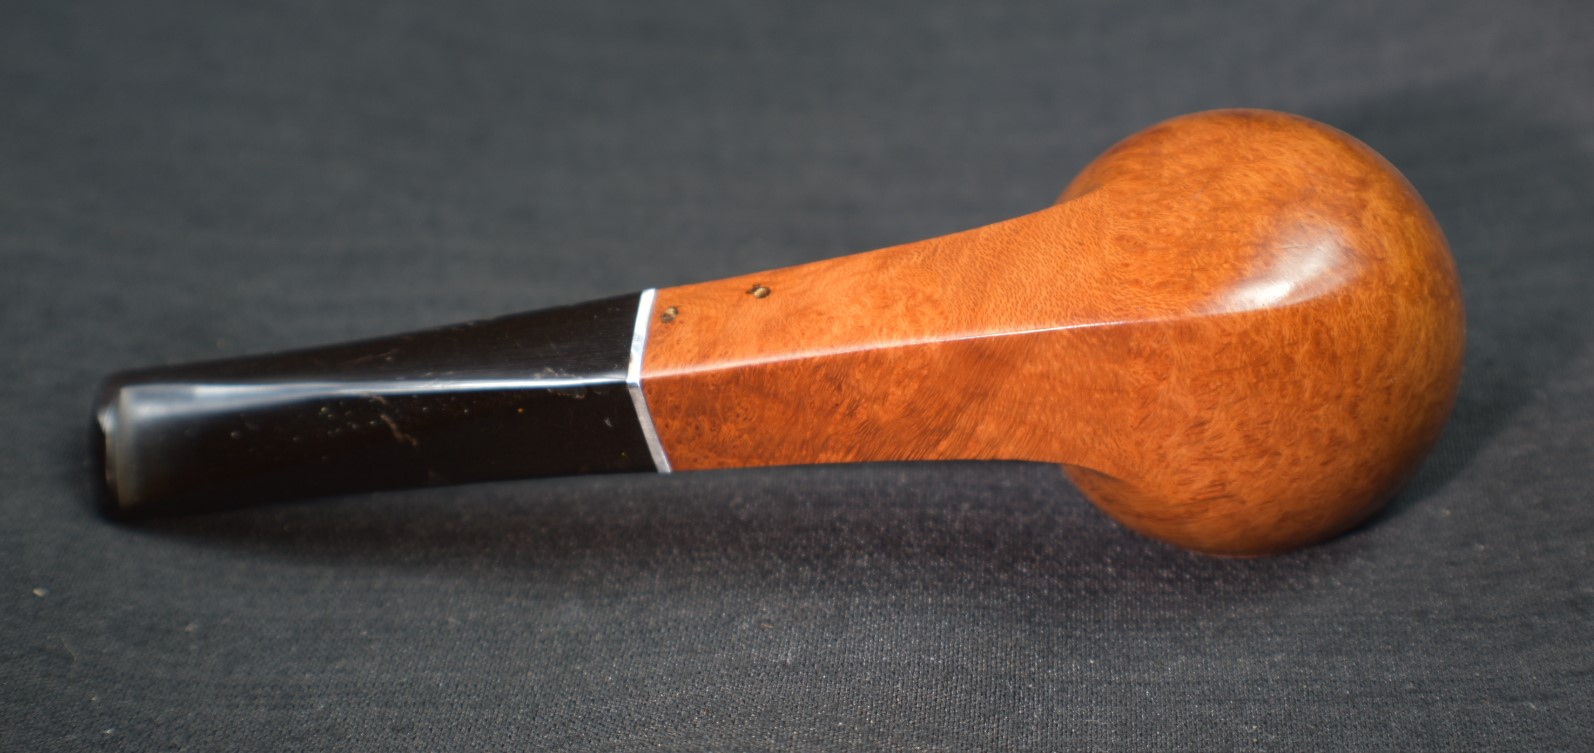

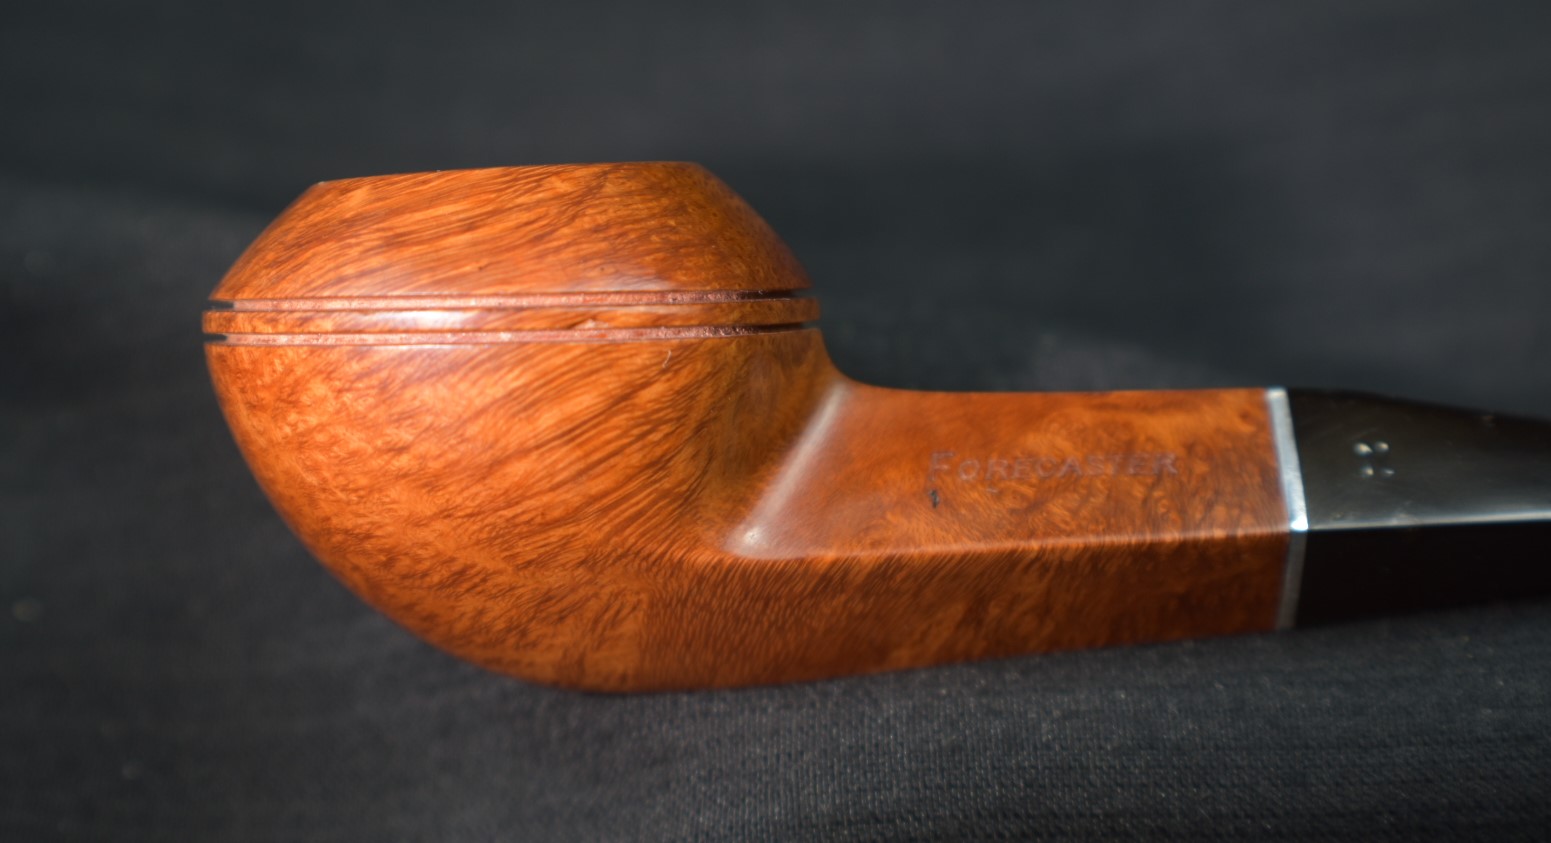


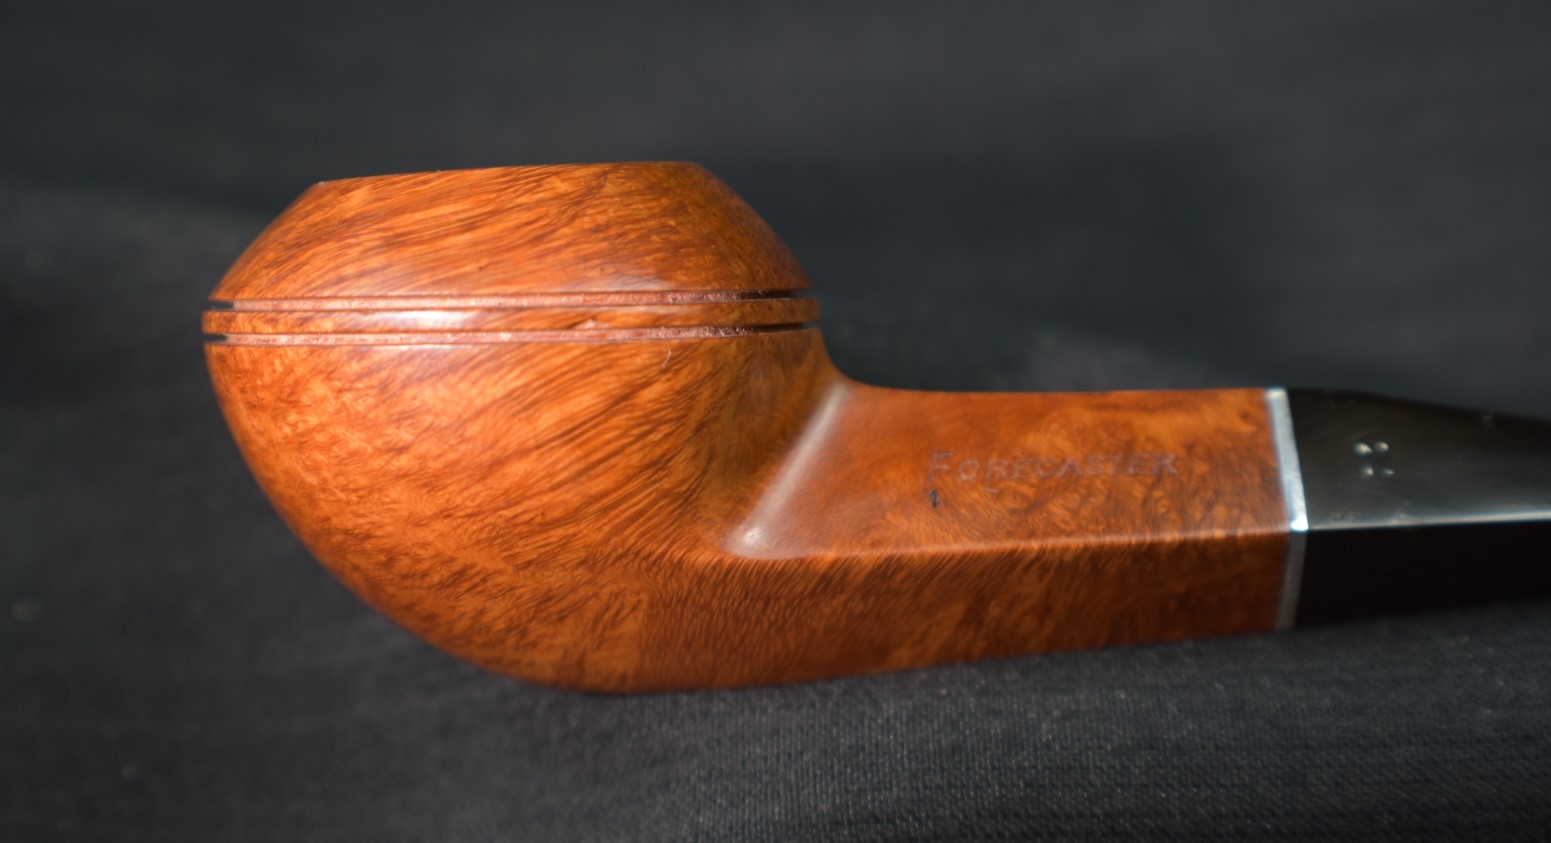


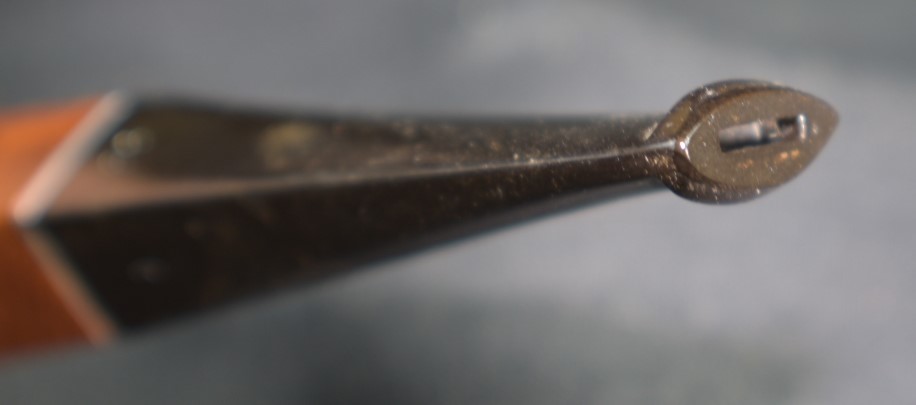







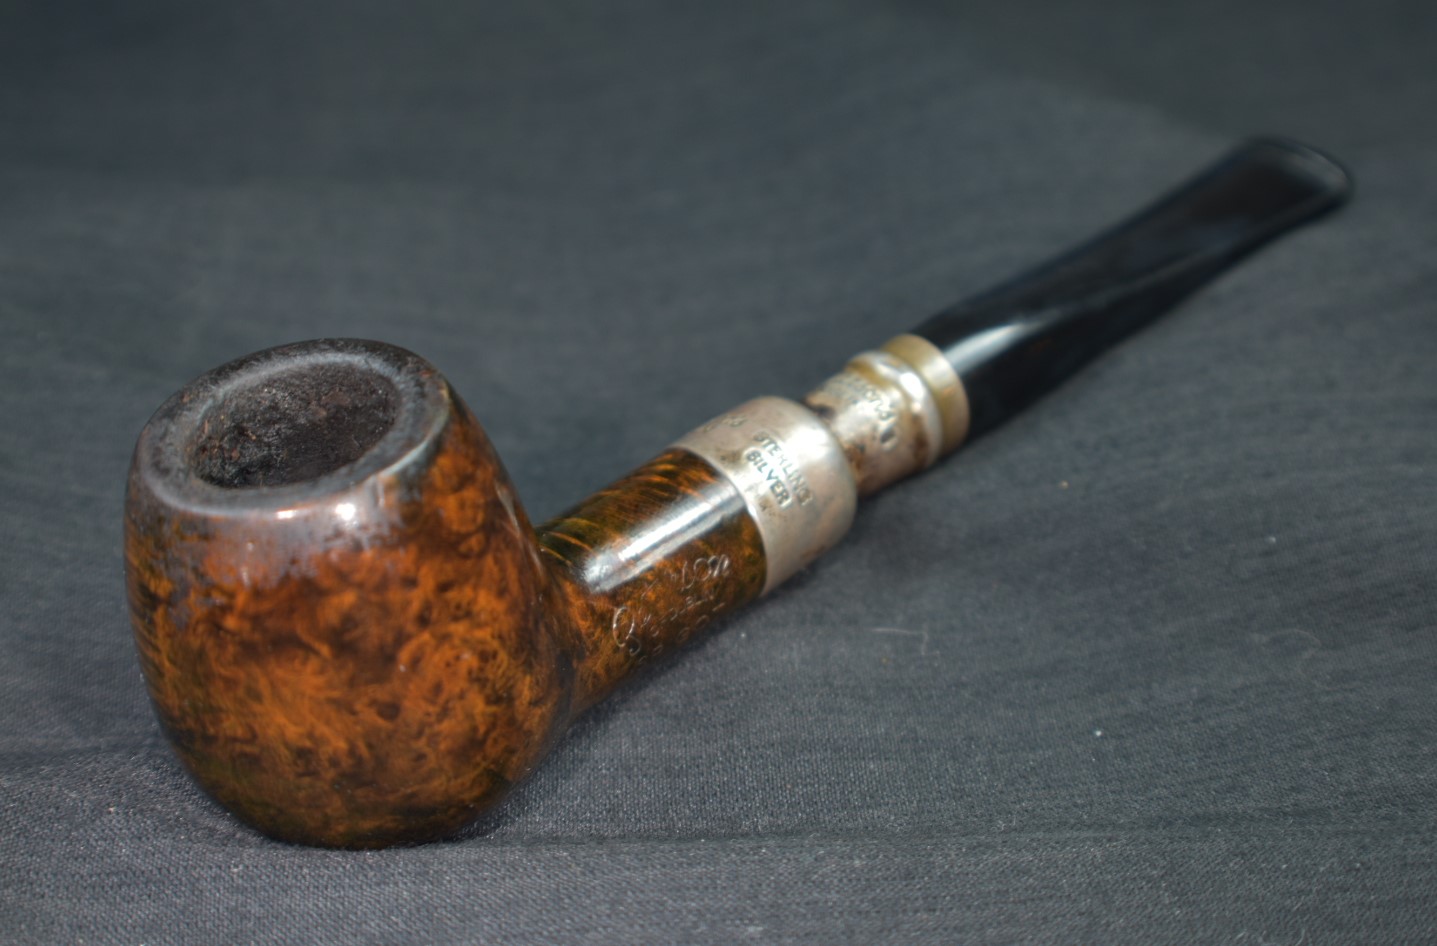

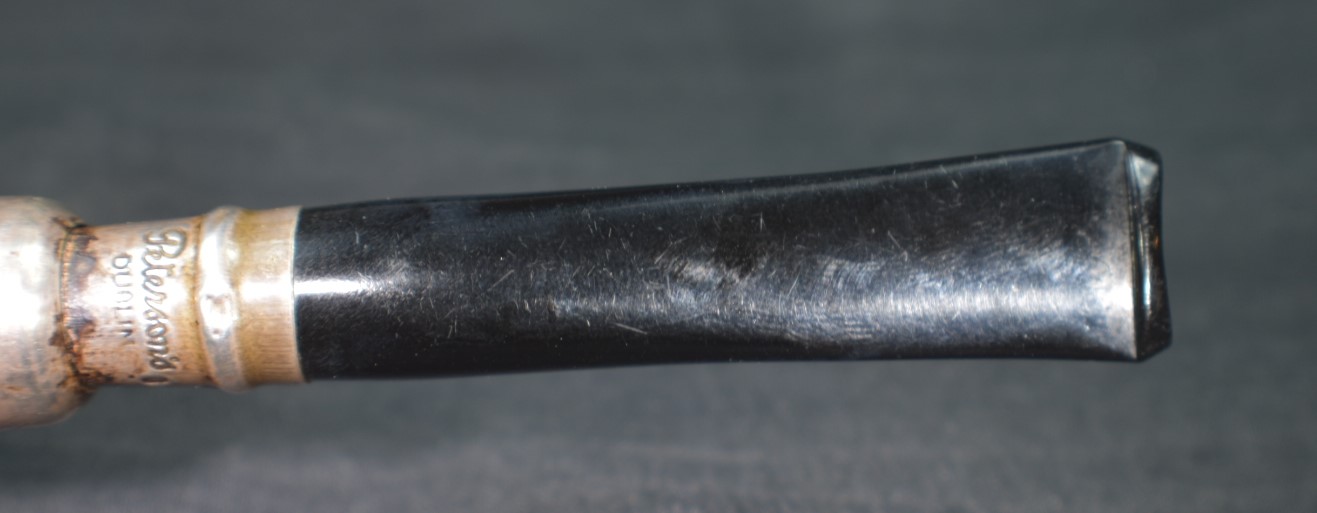



 The image to the left is a screen clip of the PPN-Hallmark-Chart. While the photo below is the hallmark of this pipe.


 (
(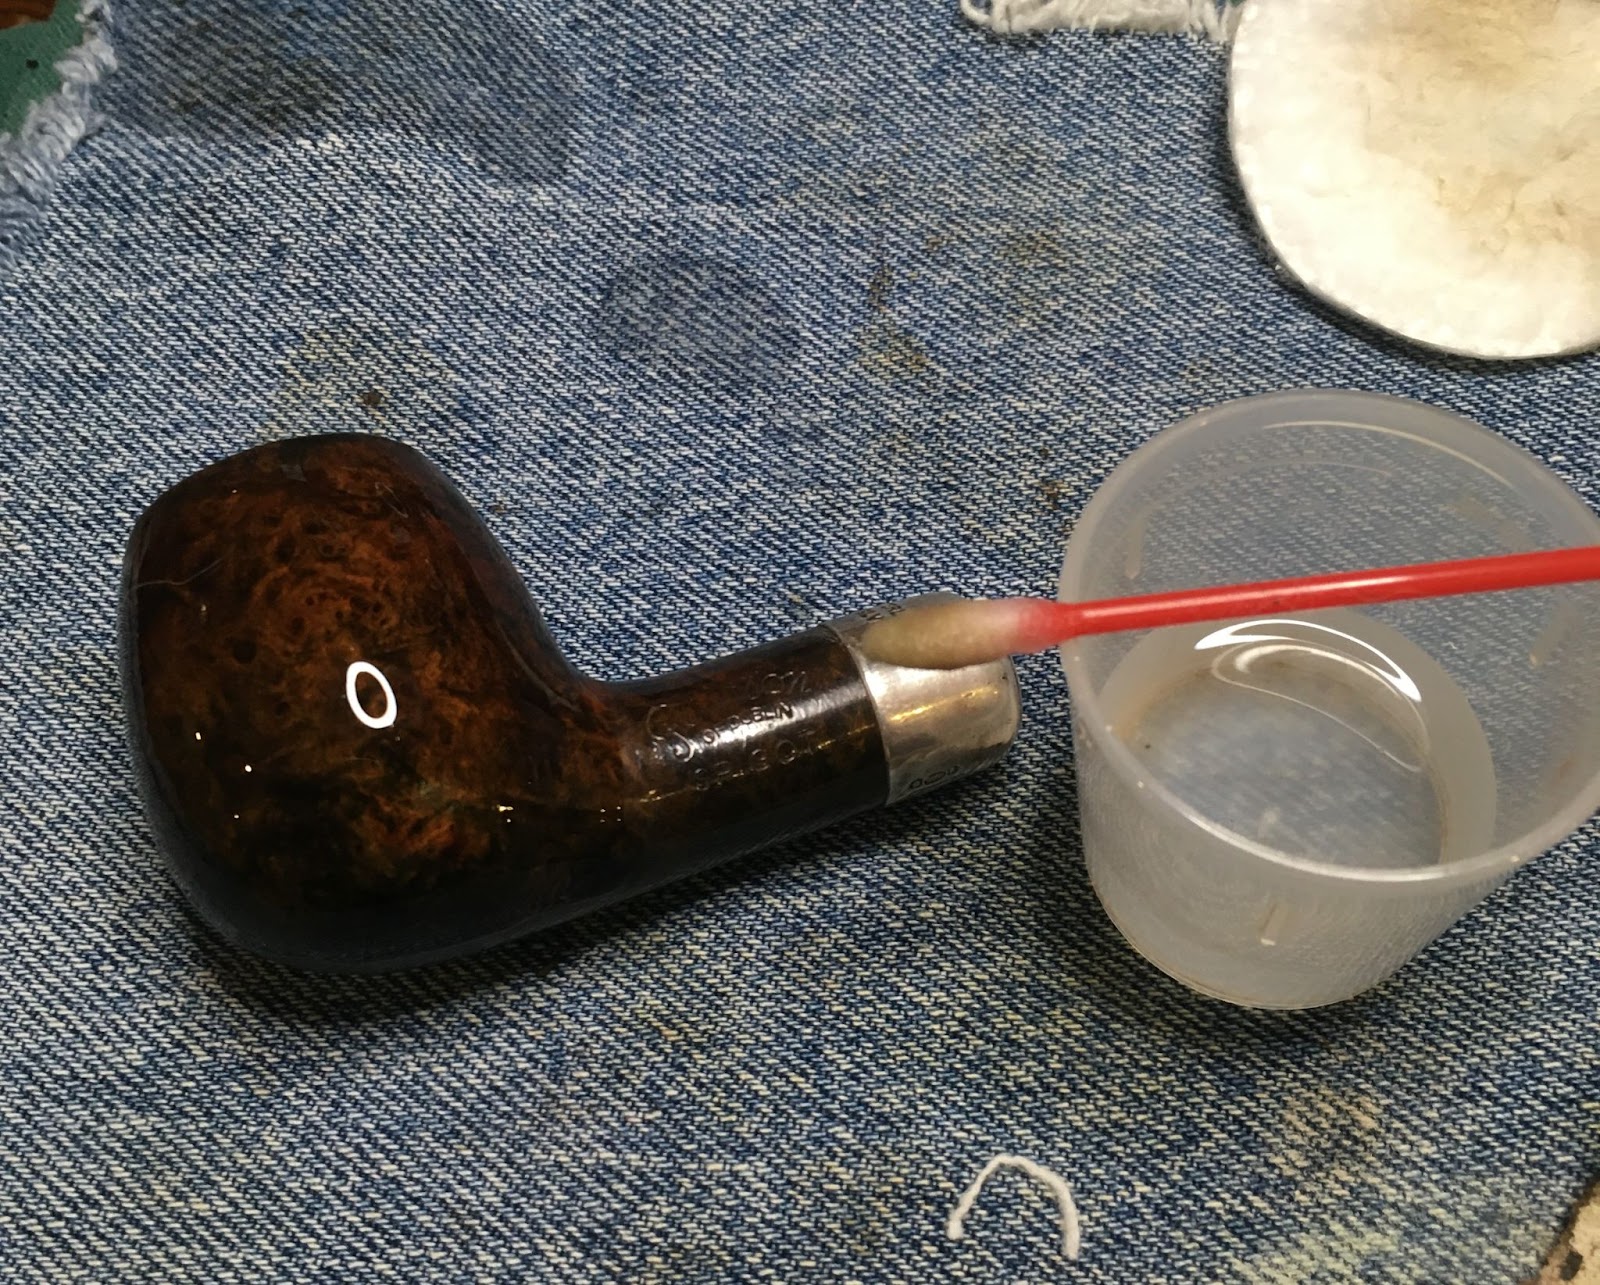


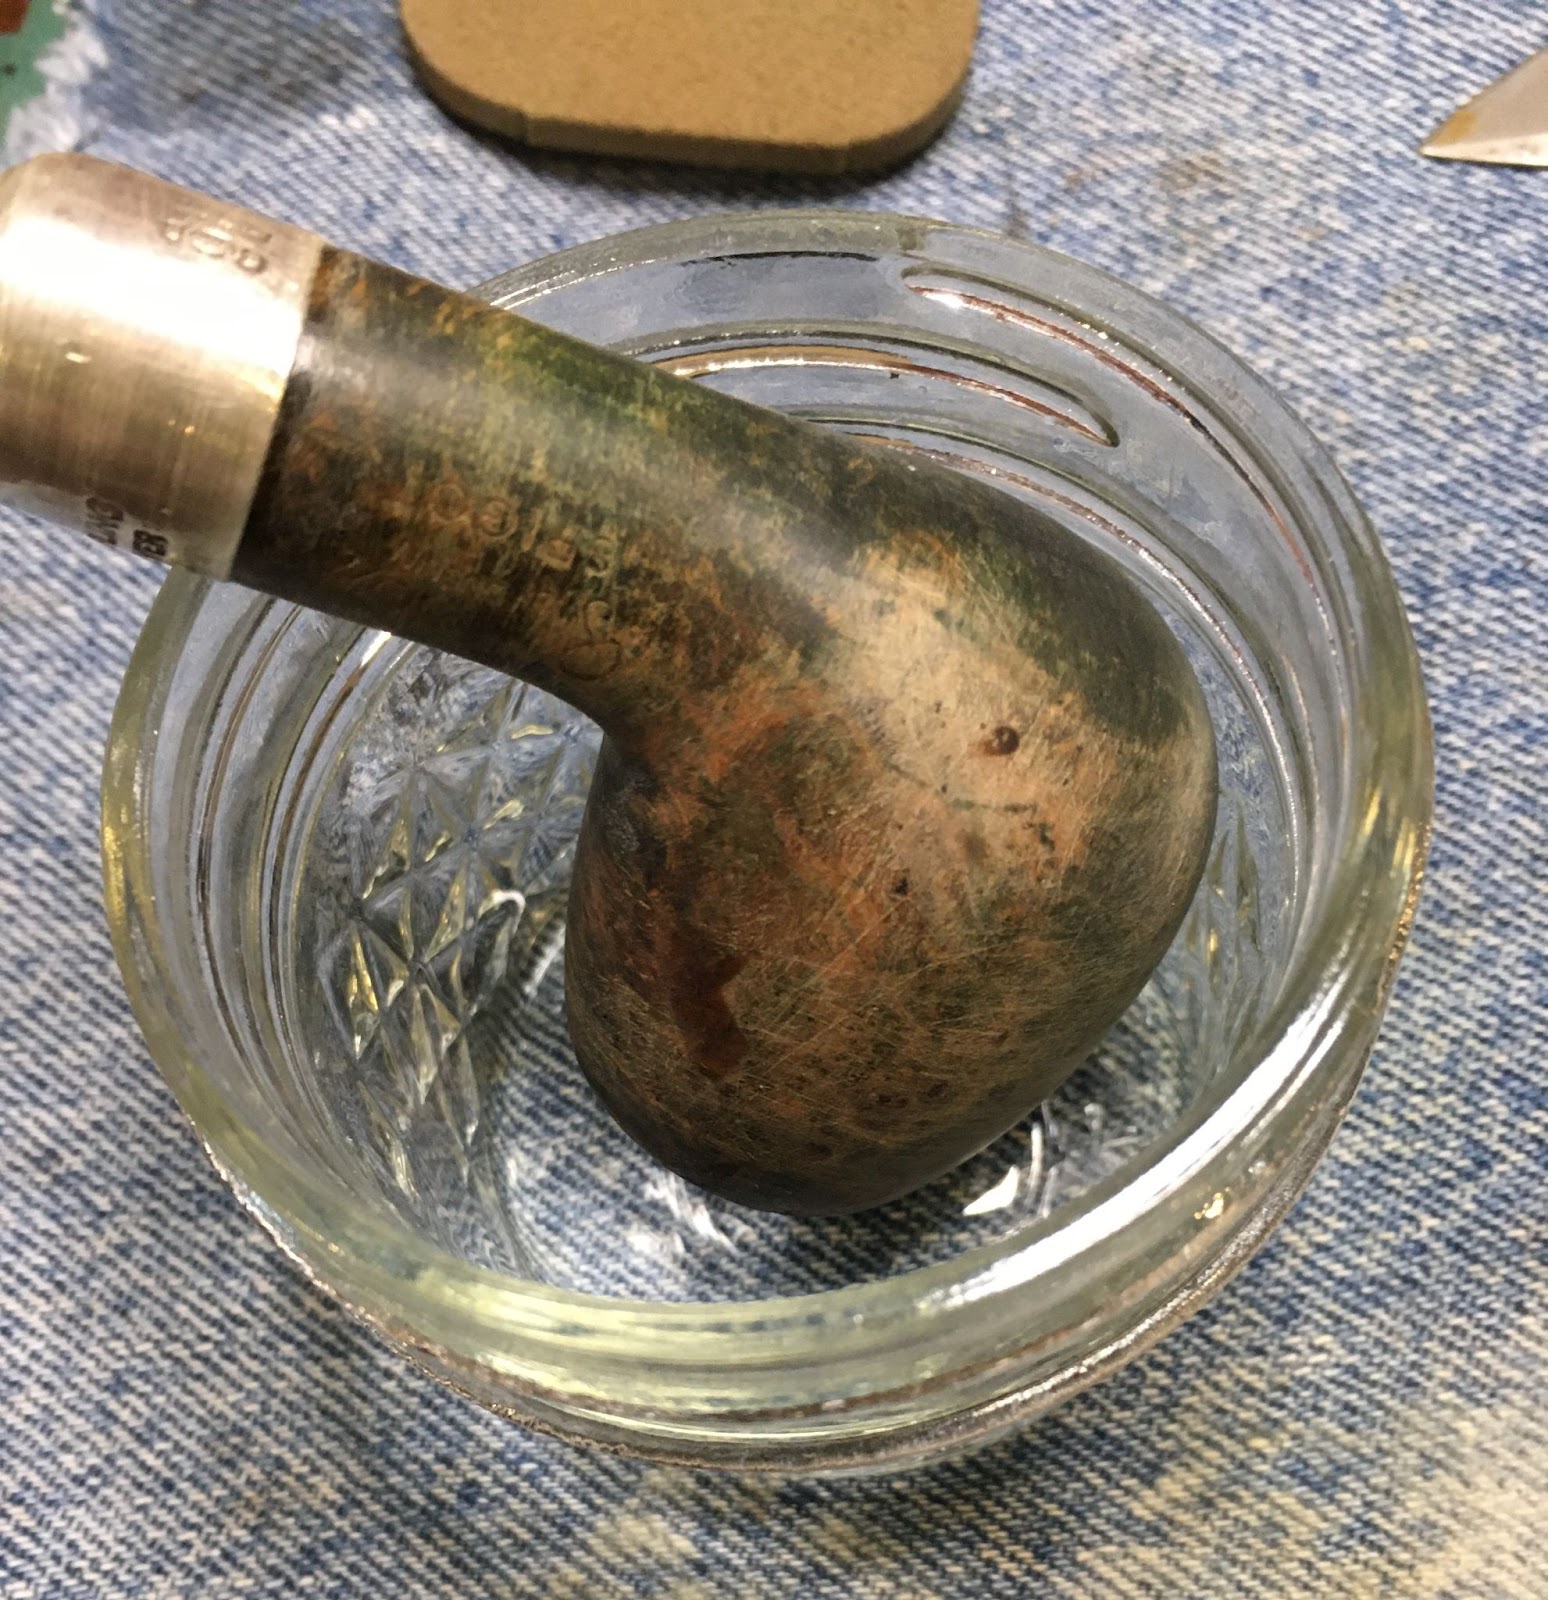


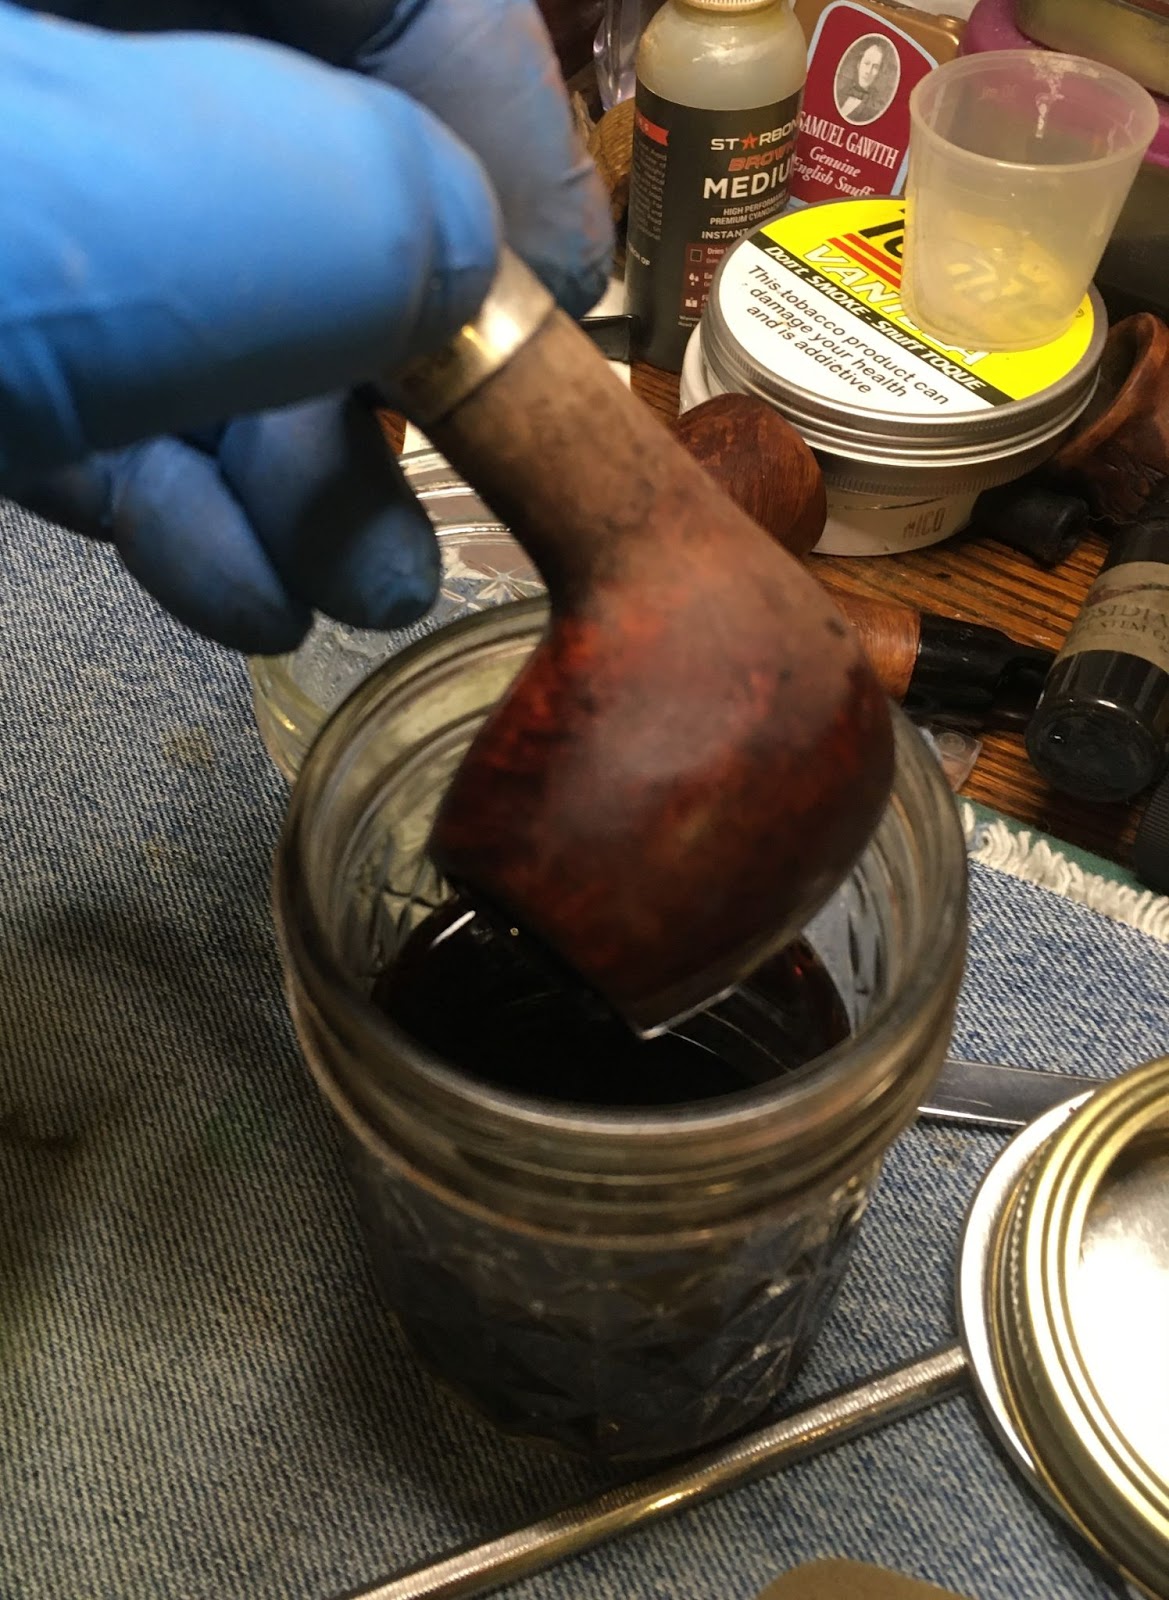
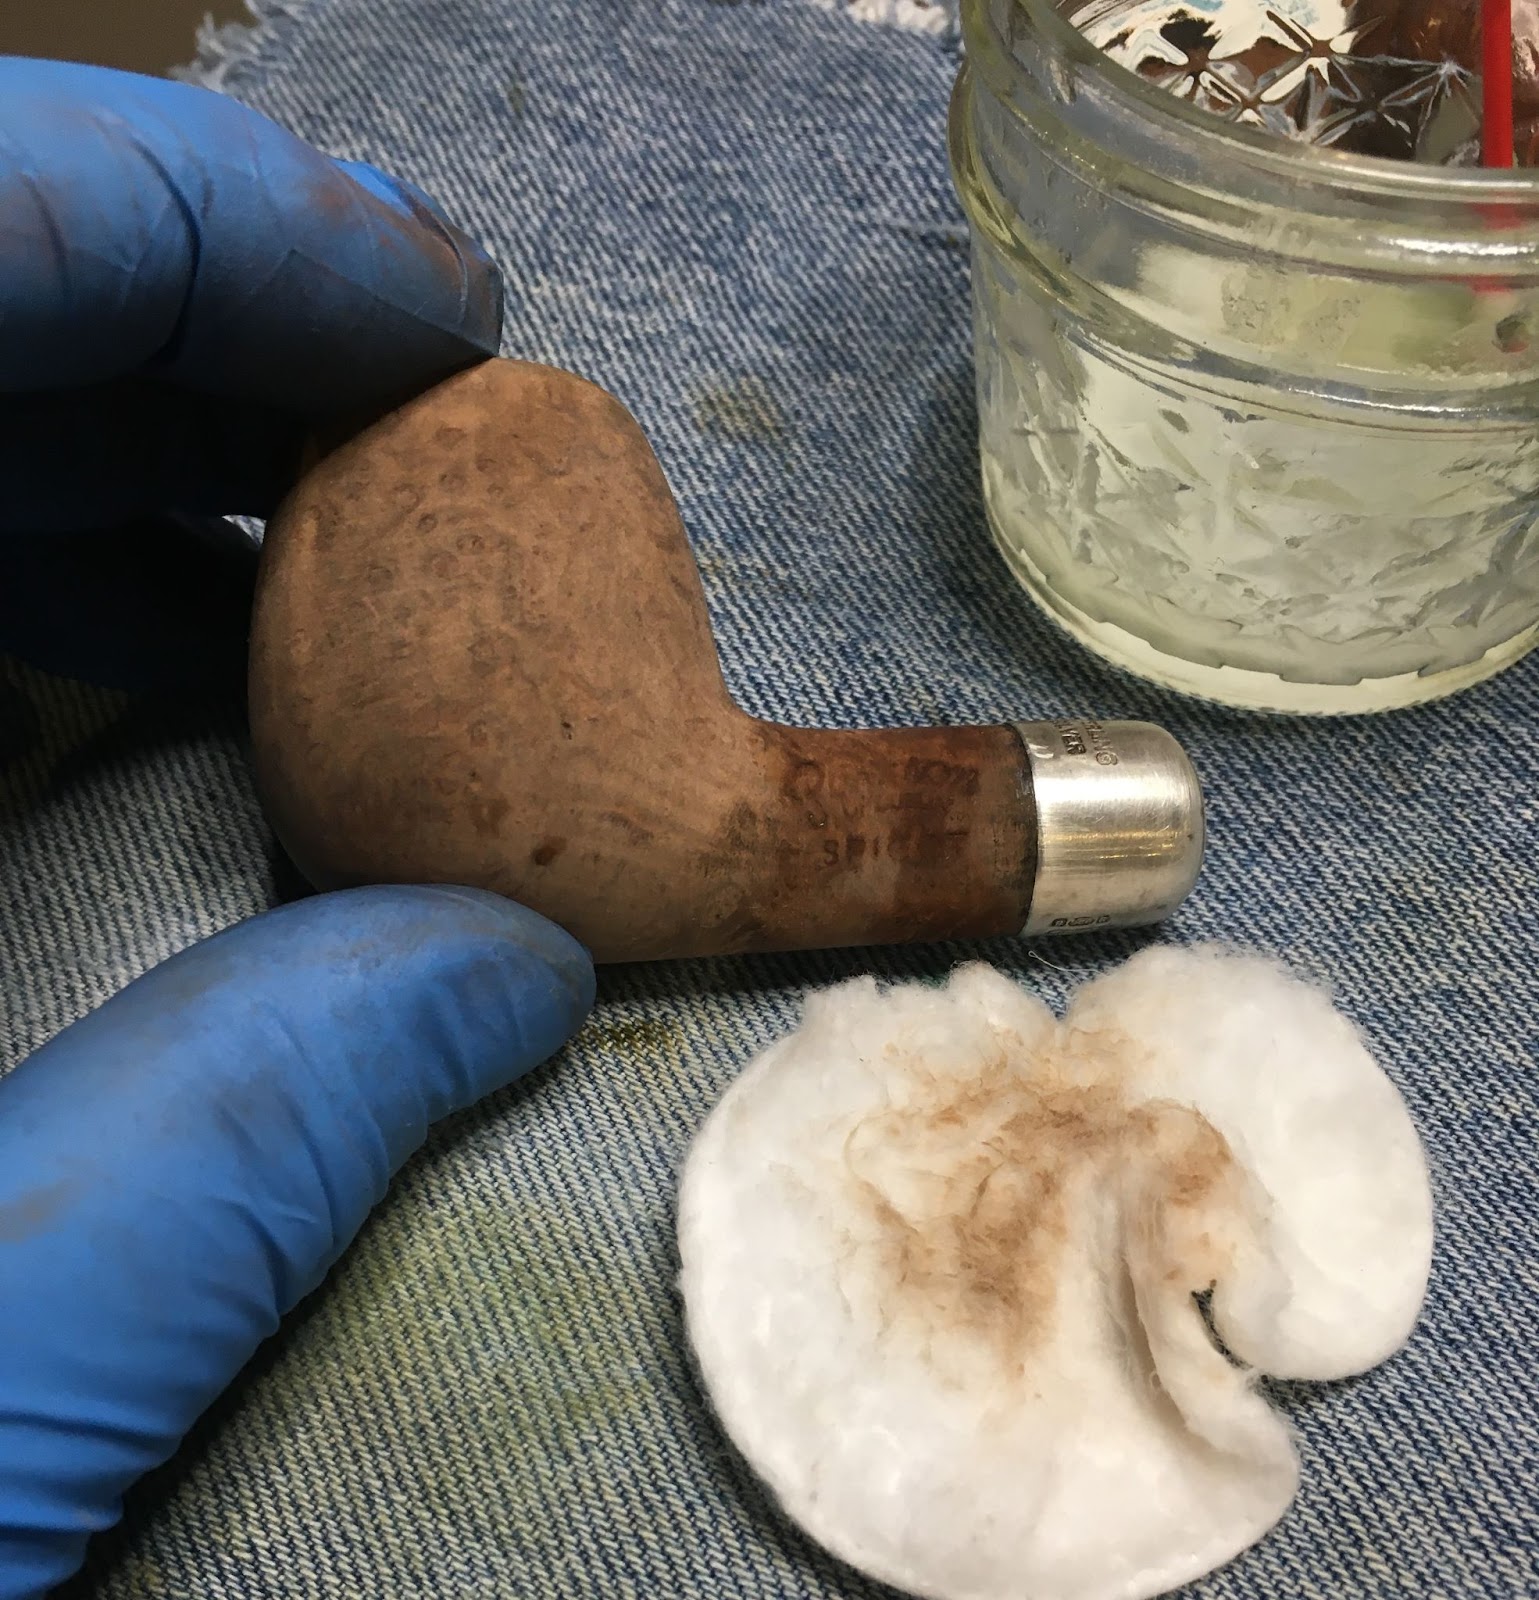

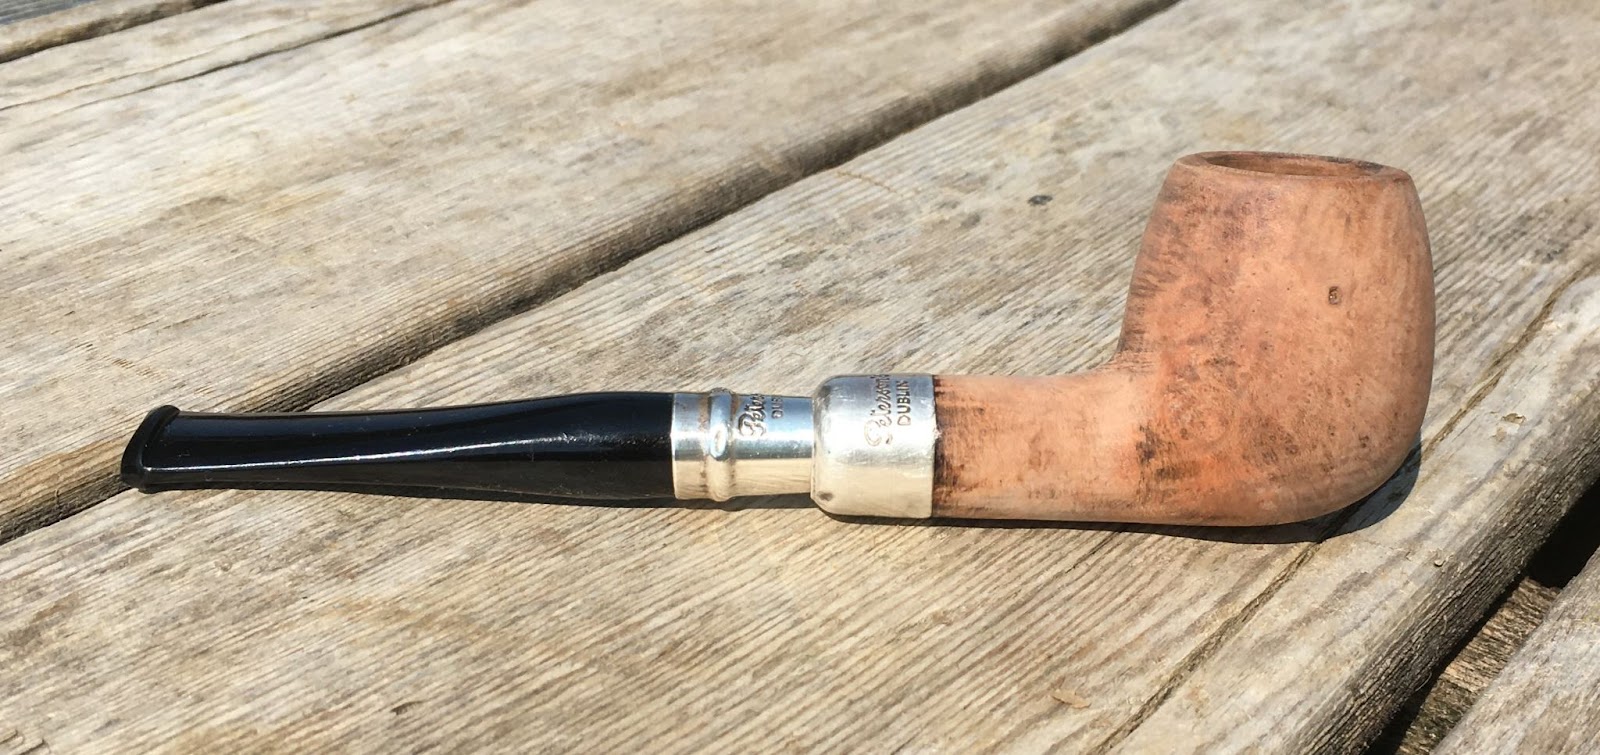


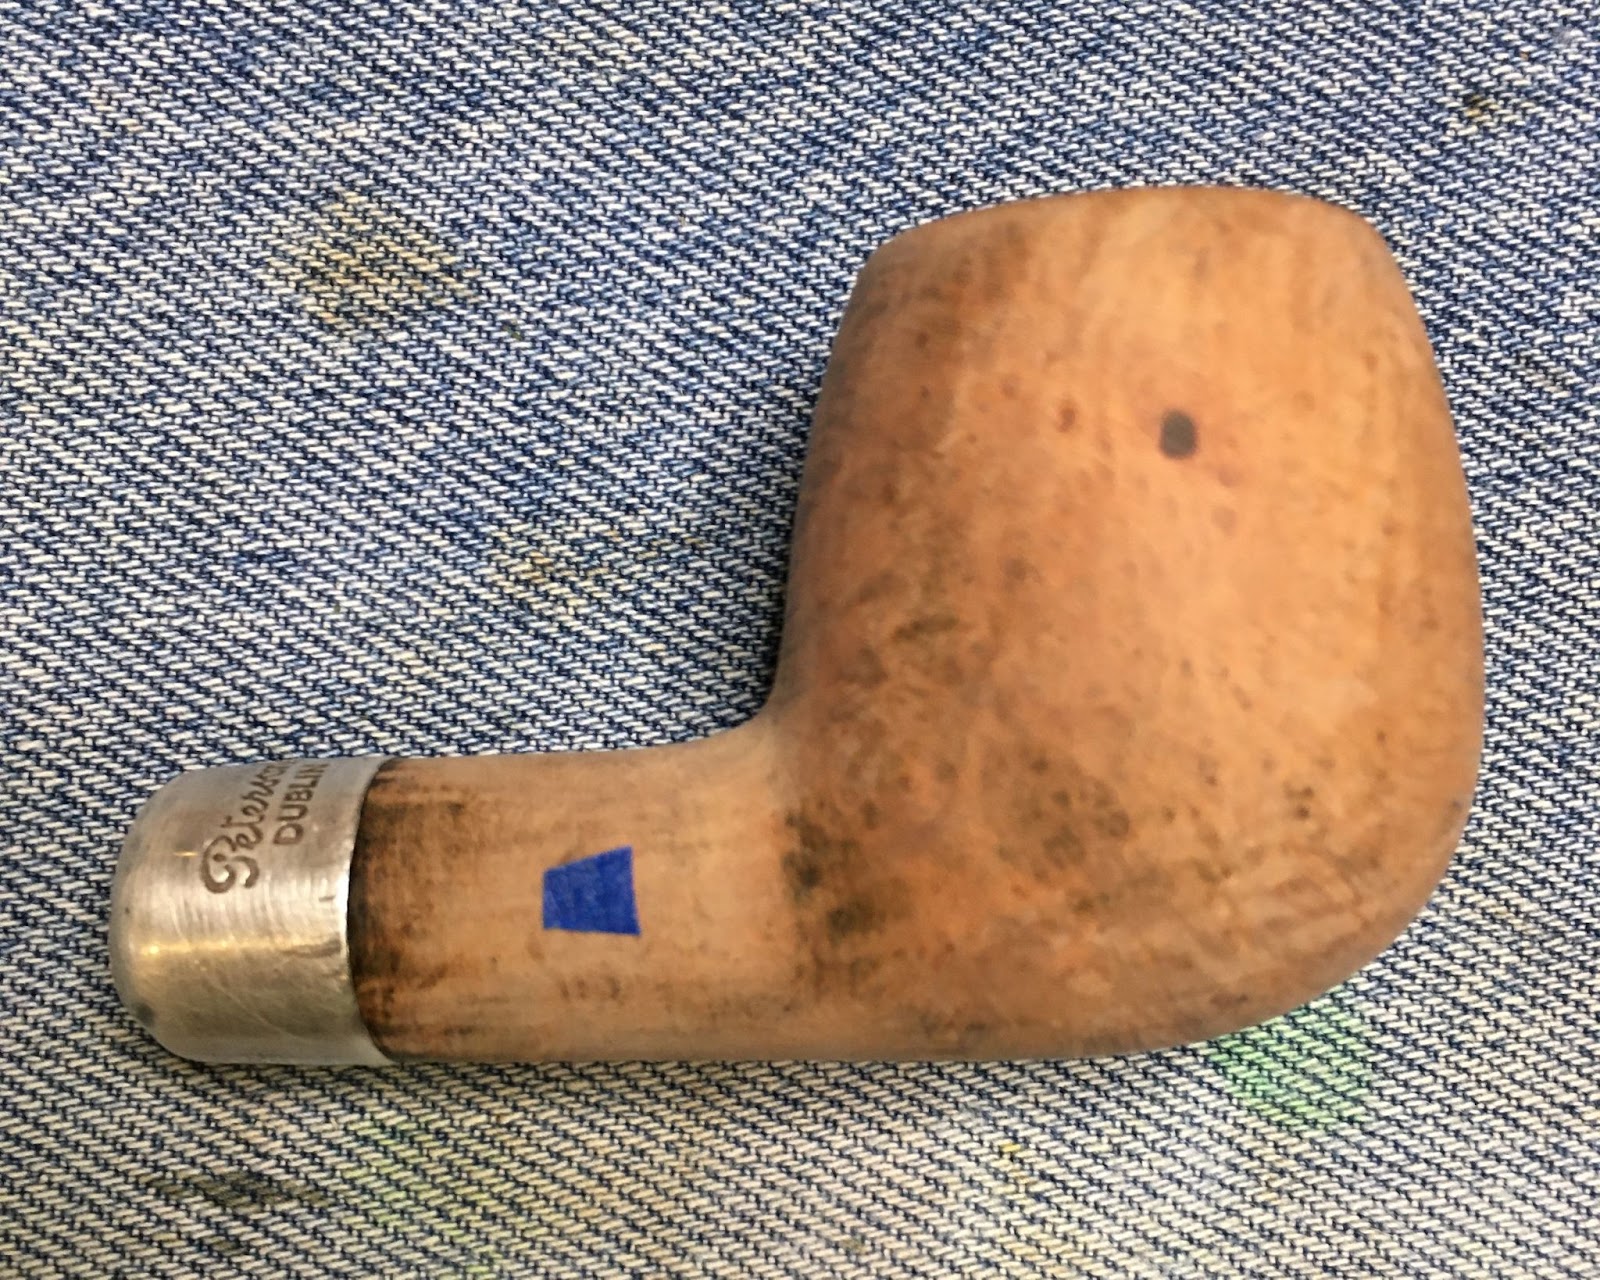

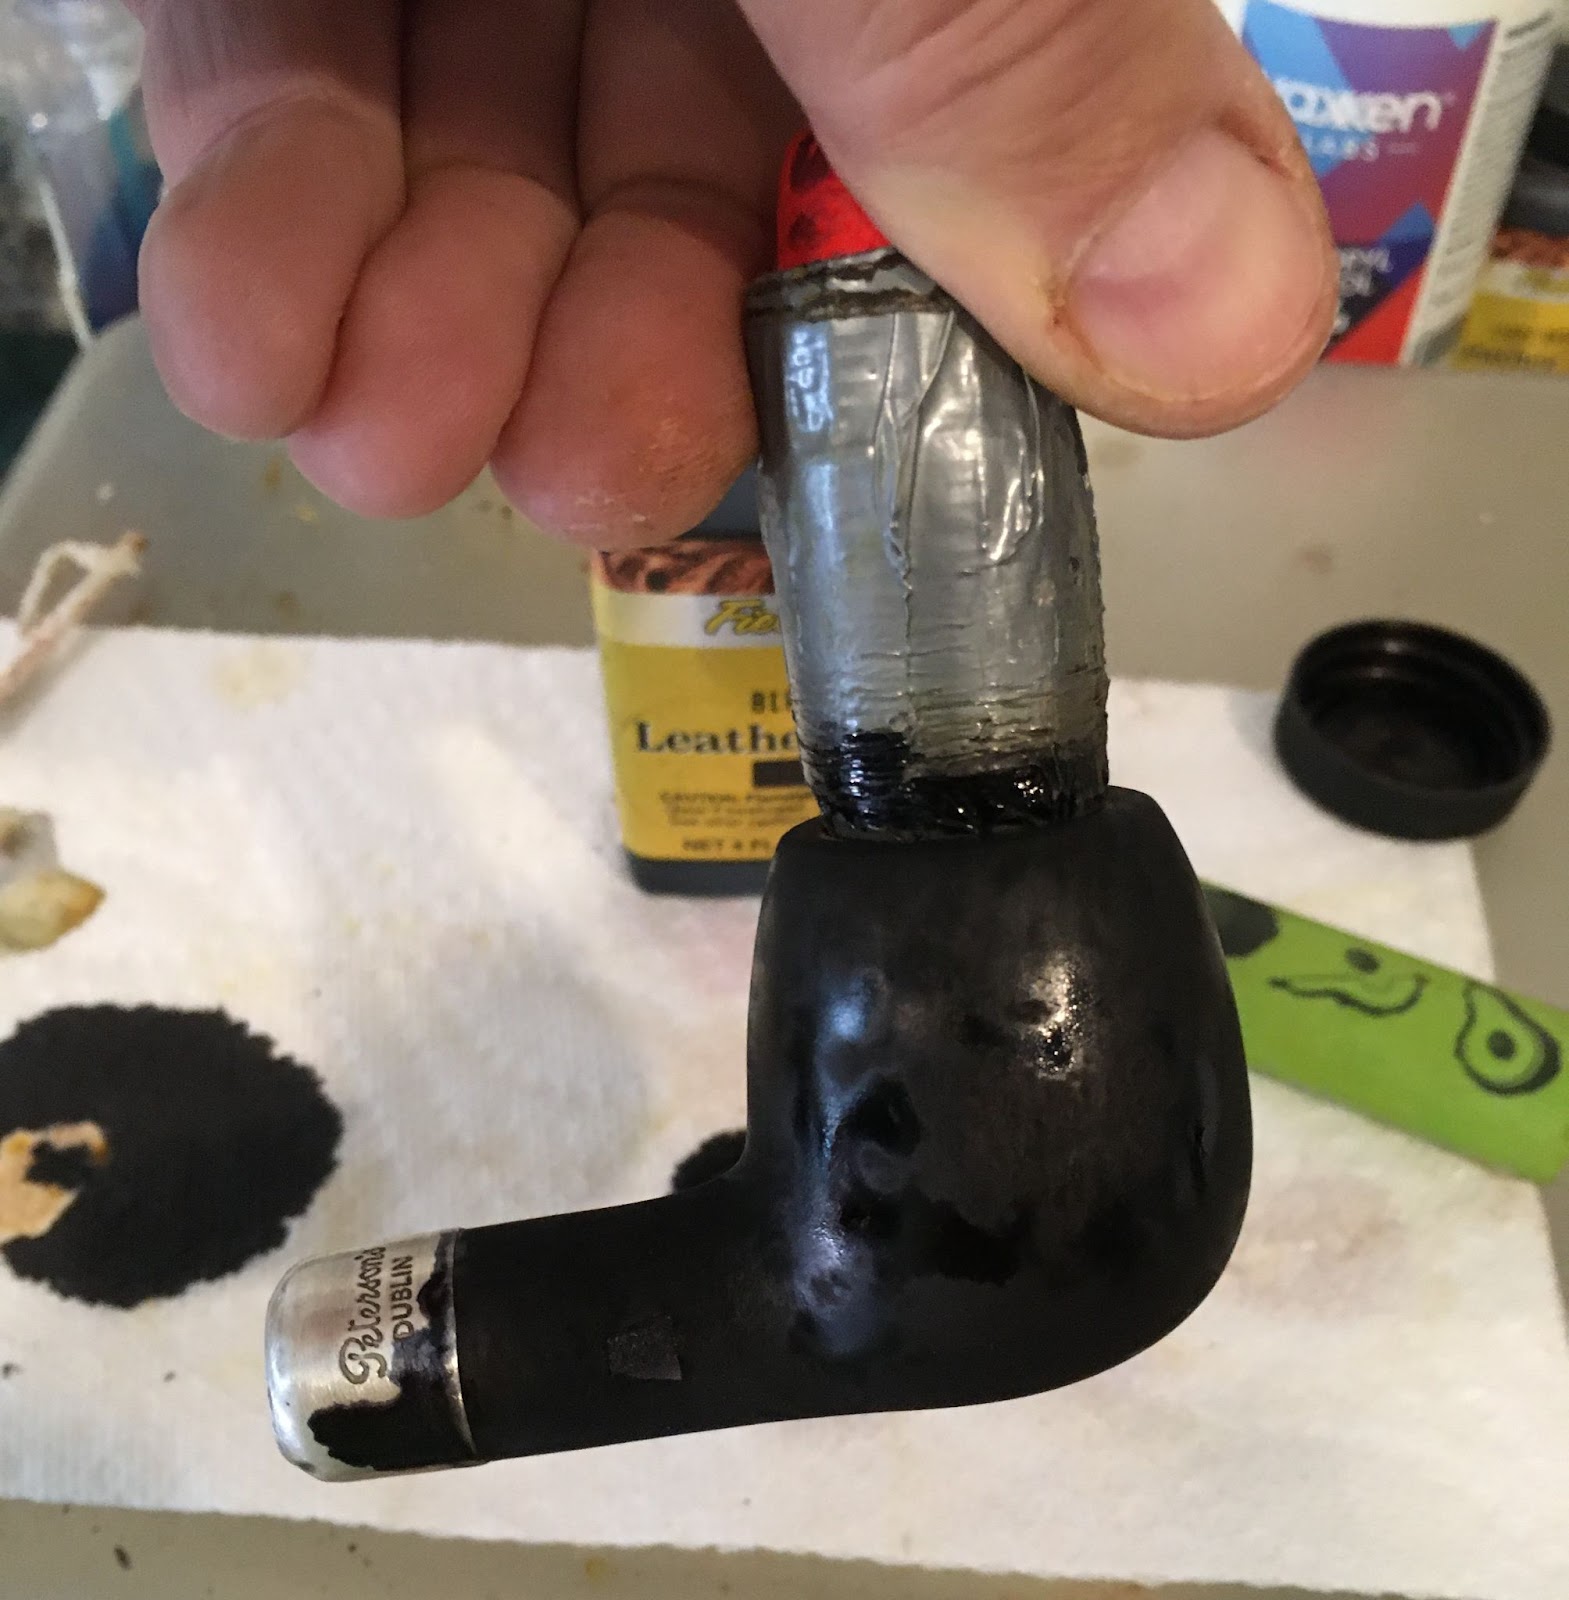


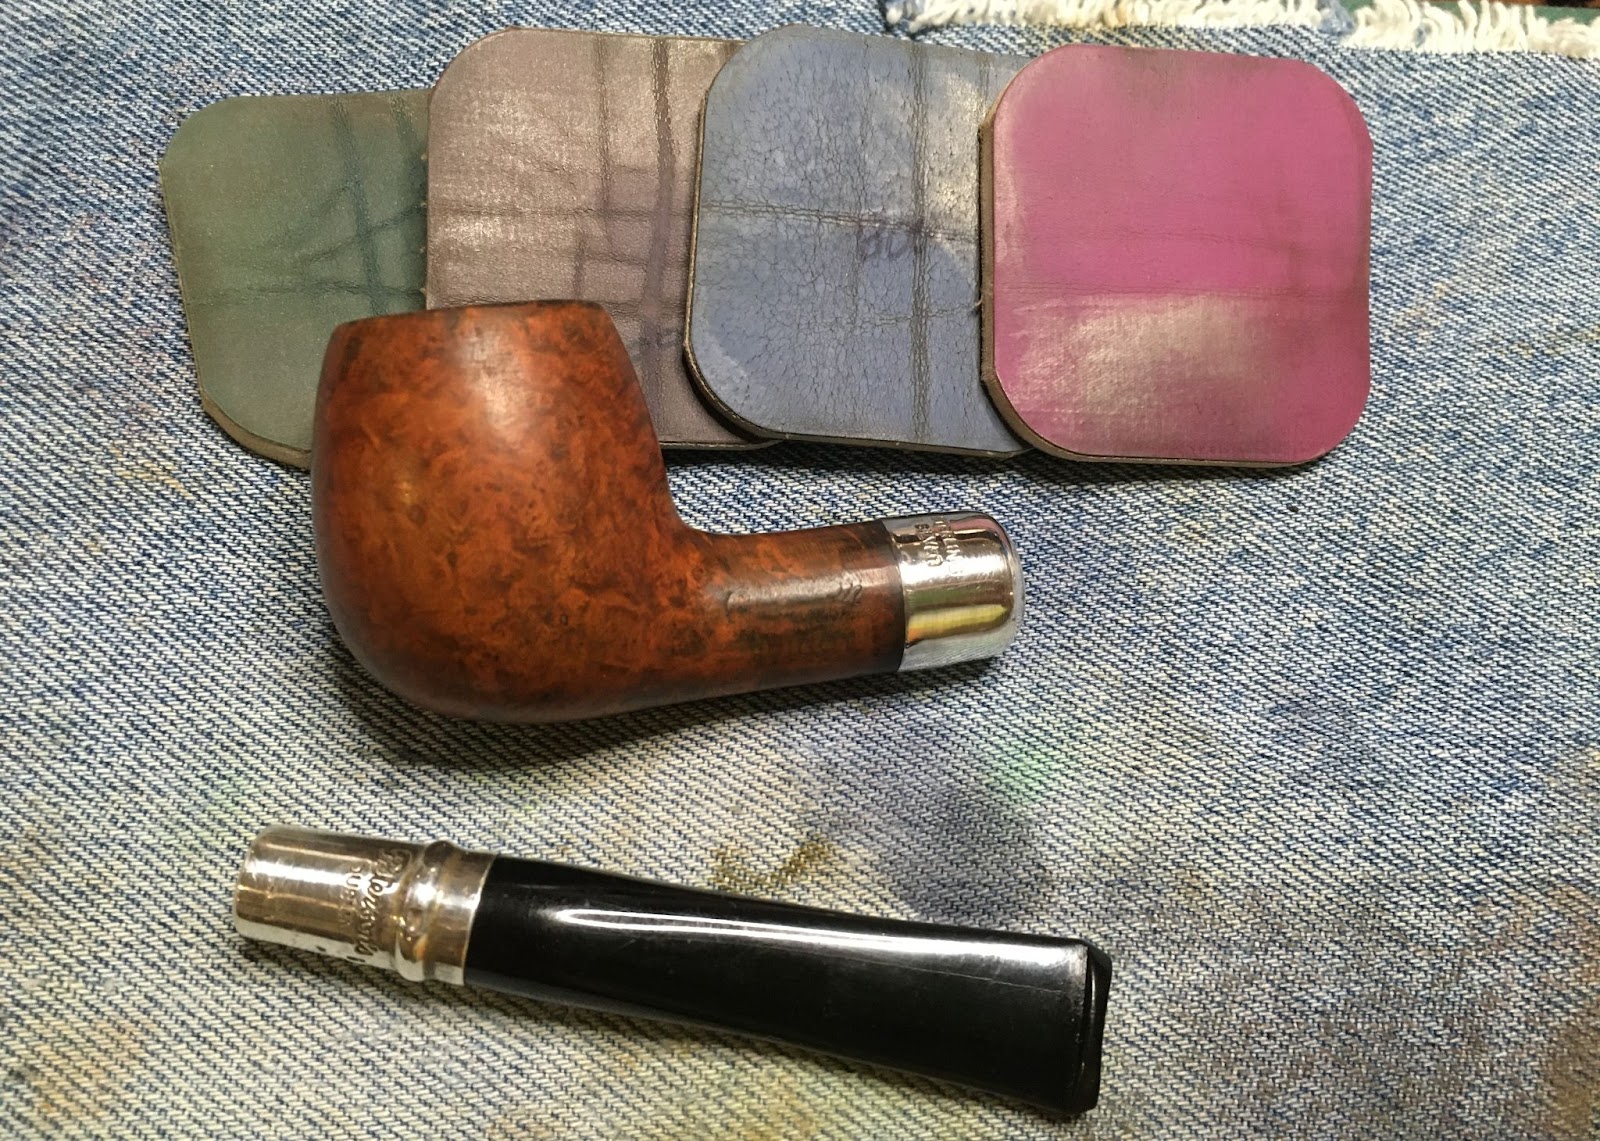
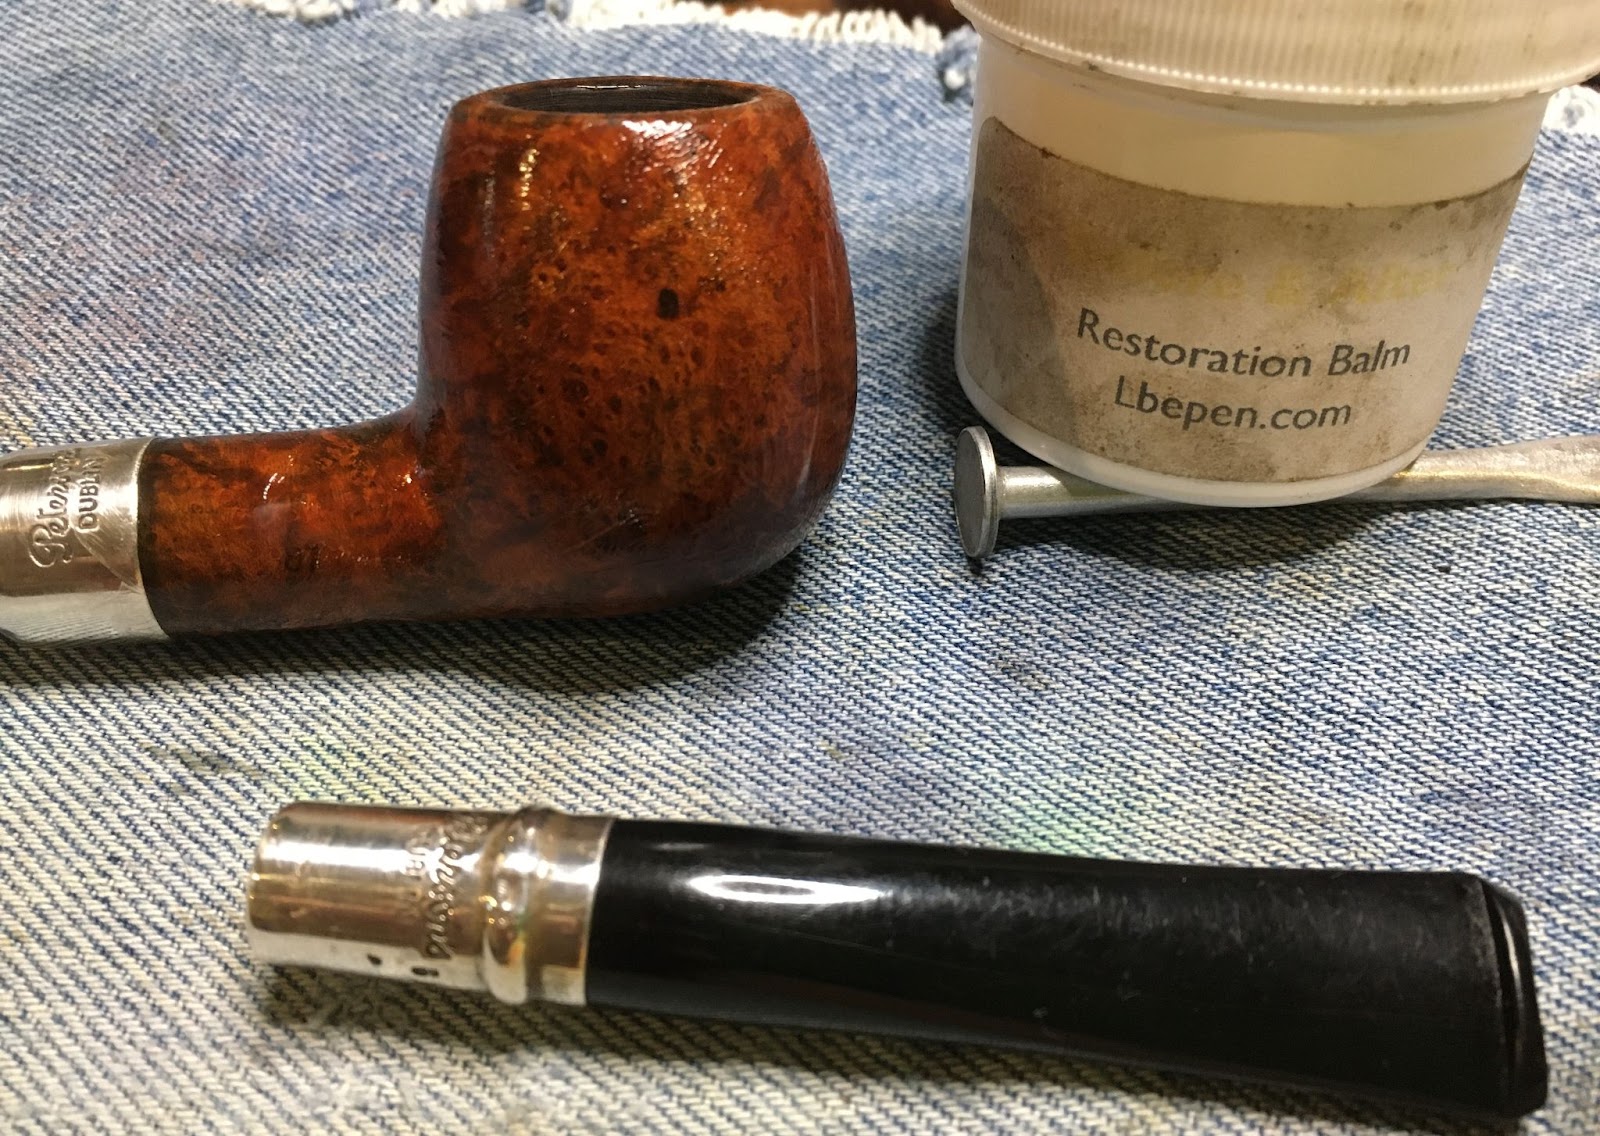


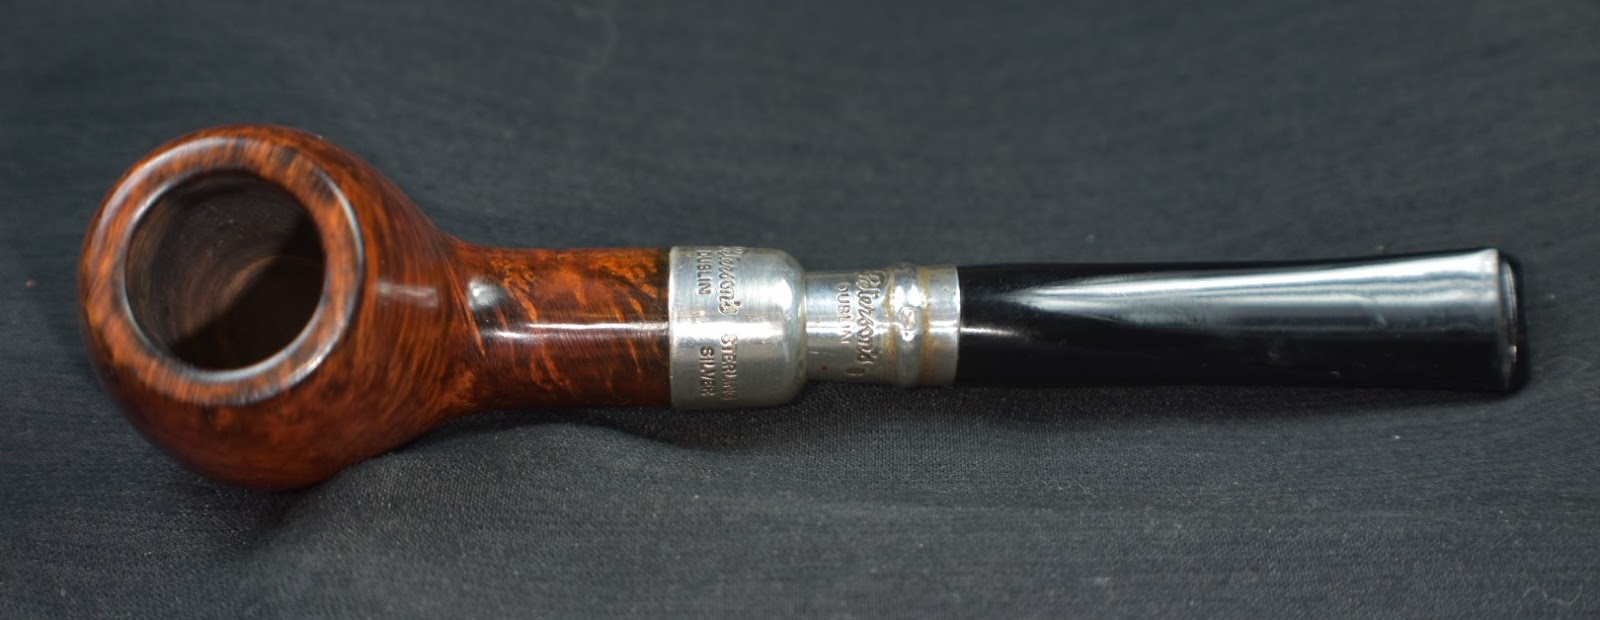


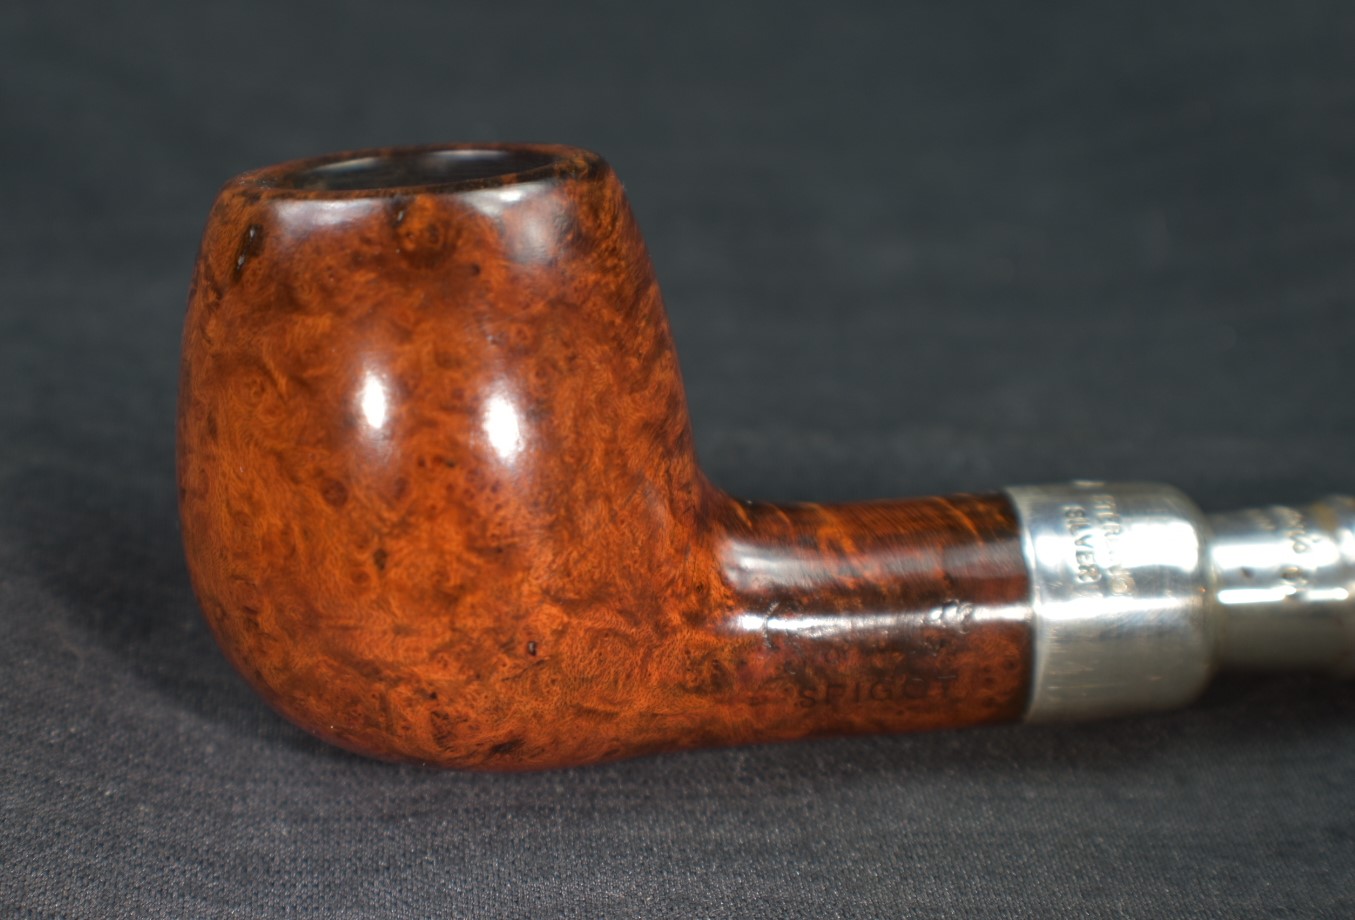
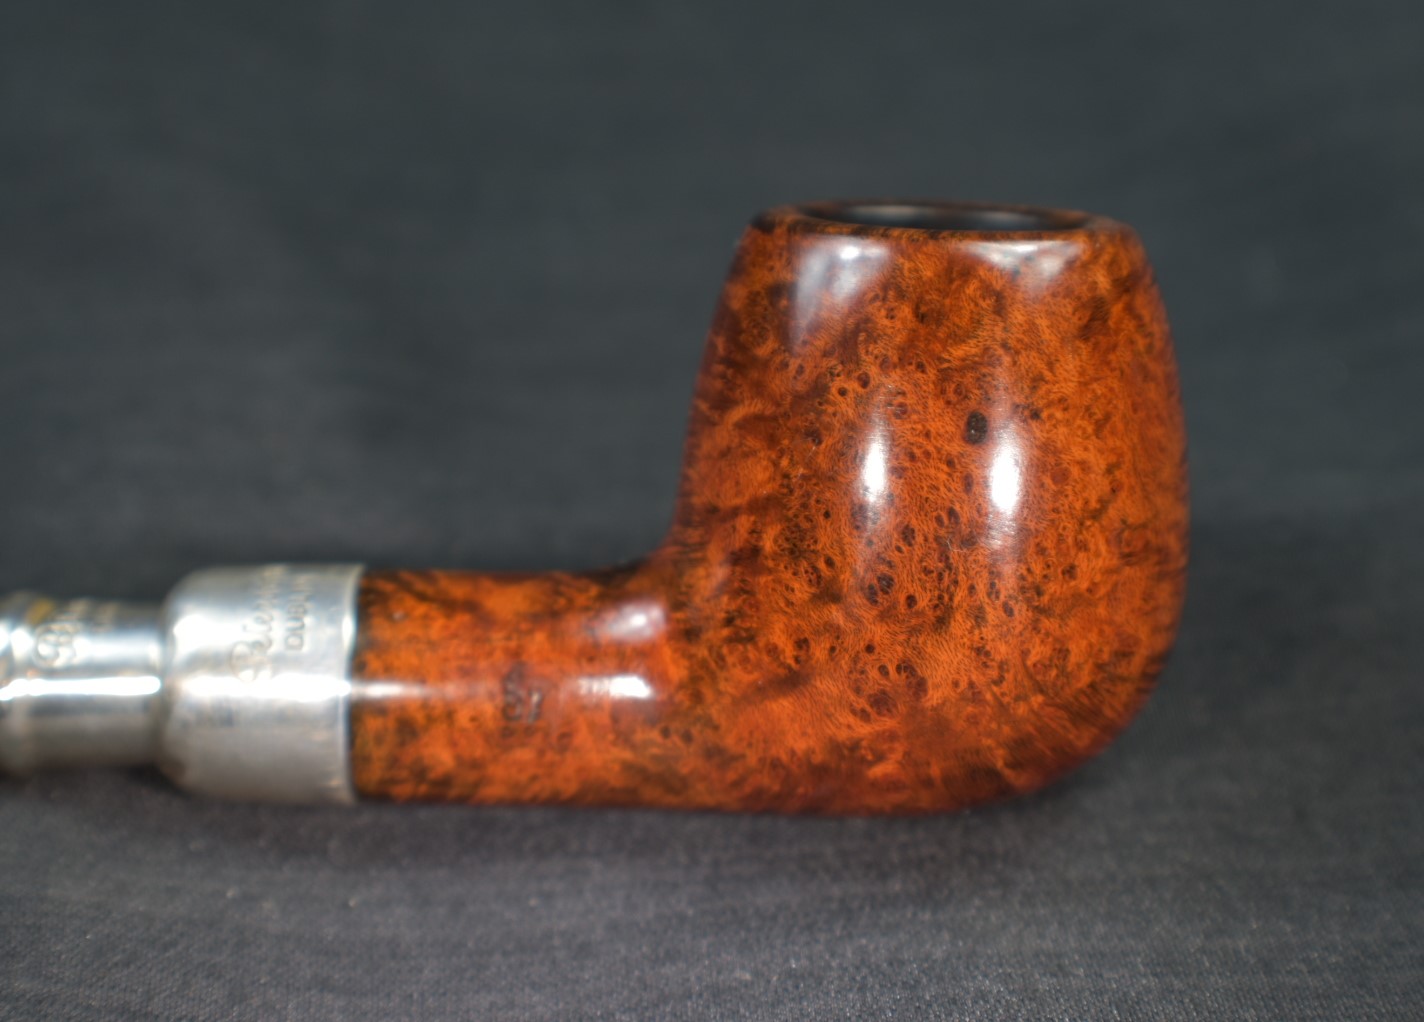
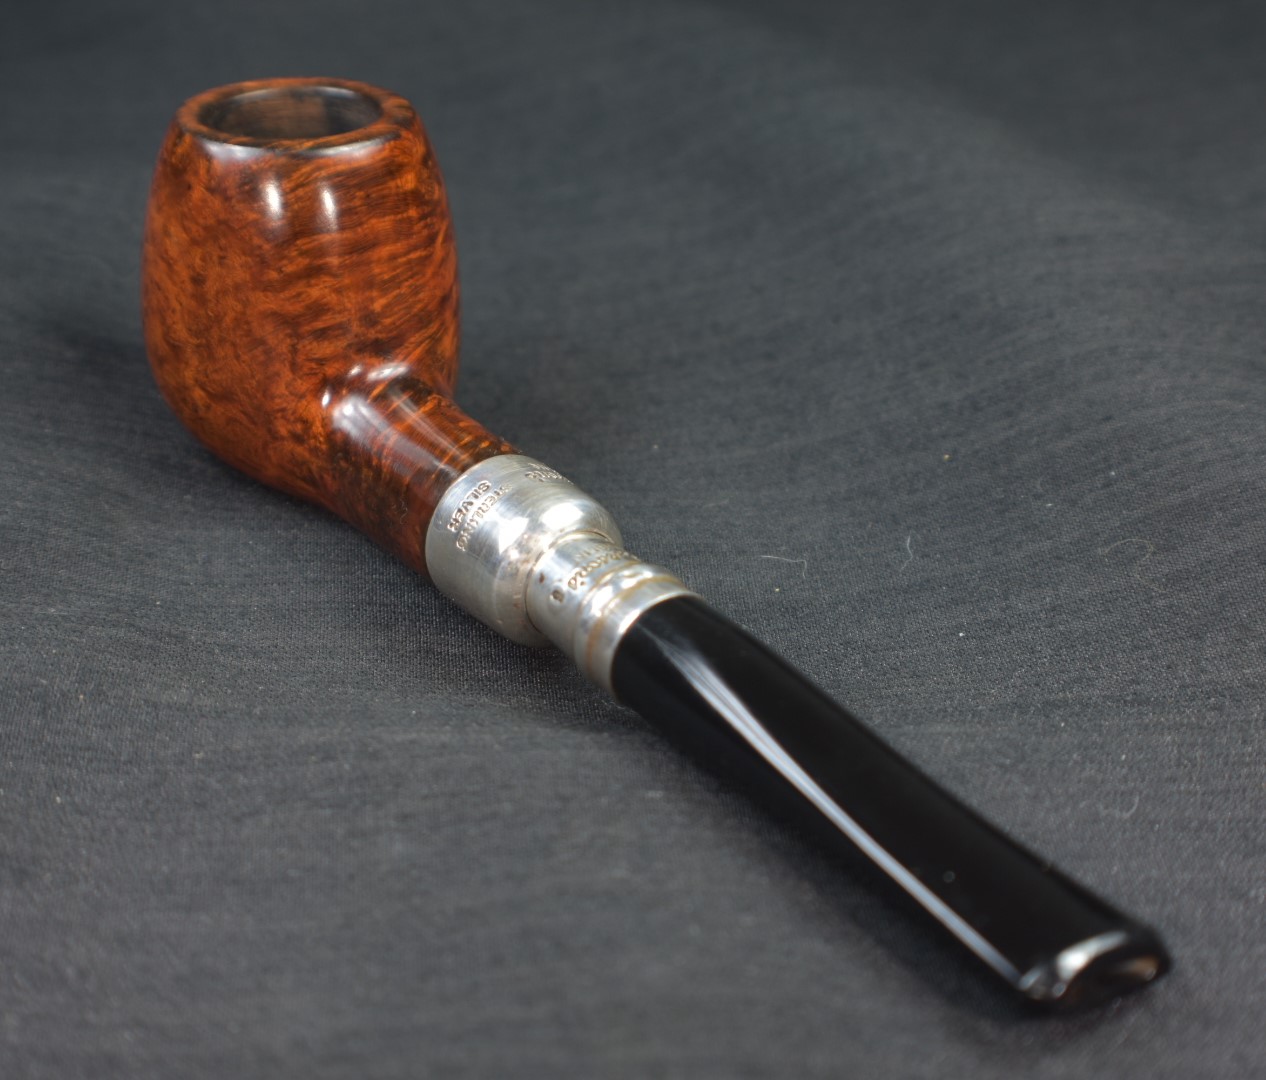


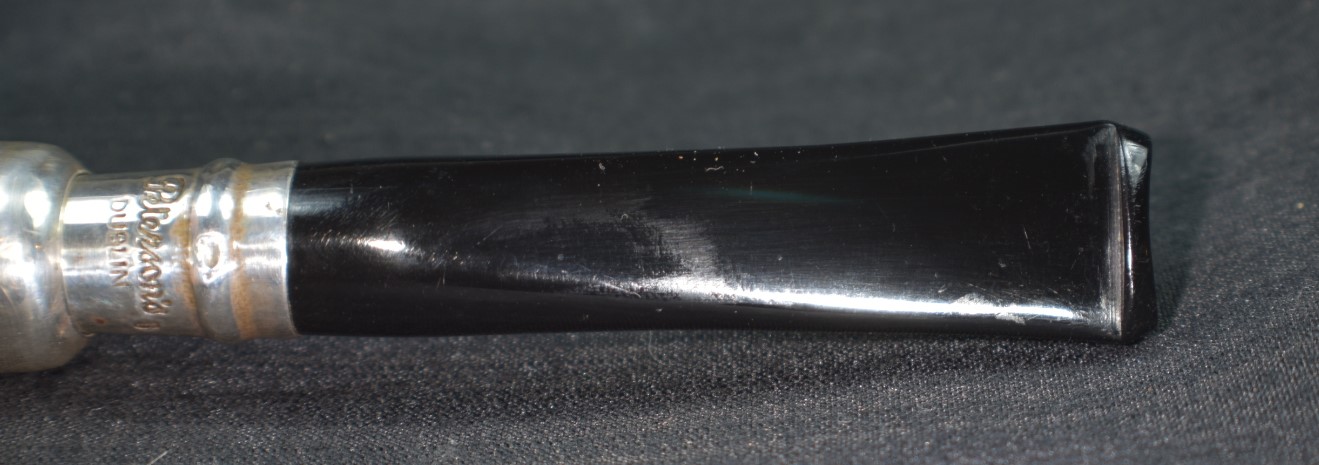


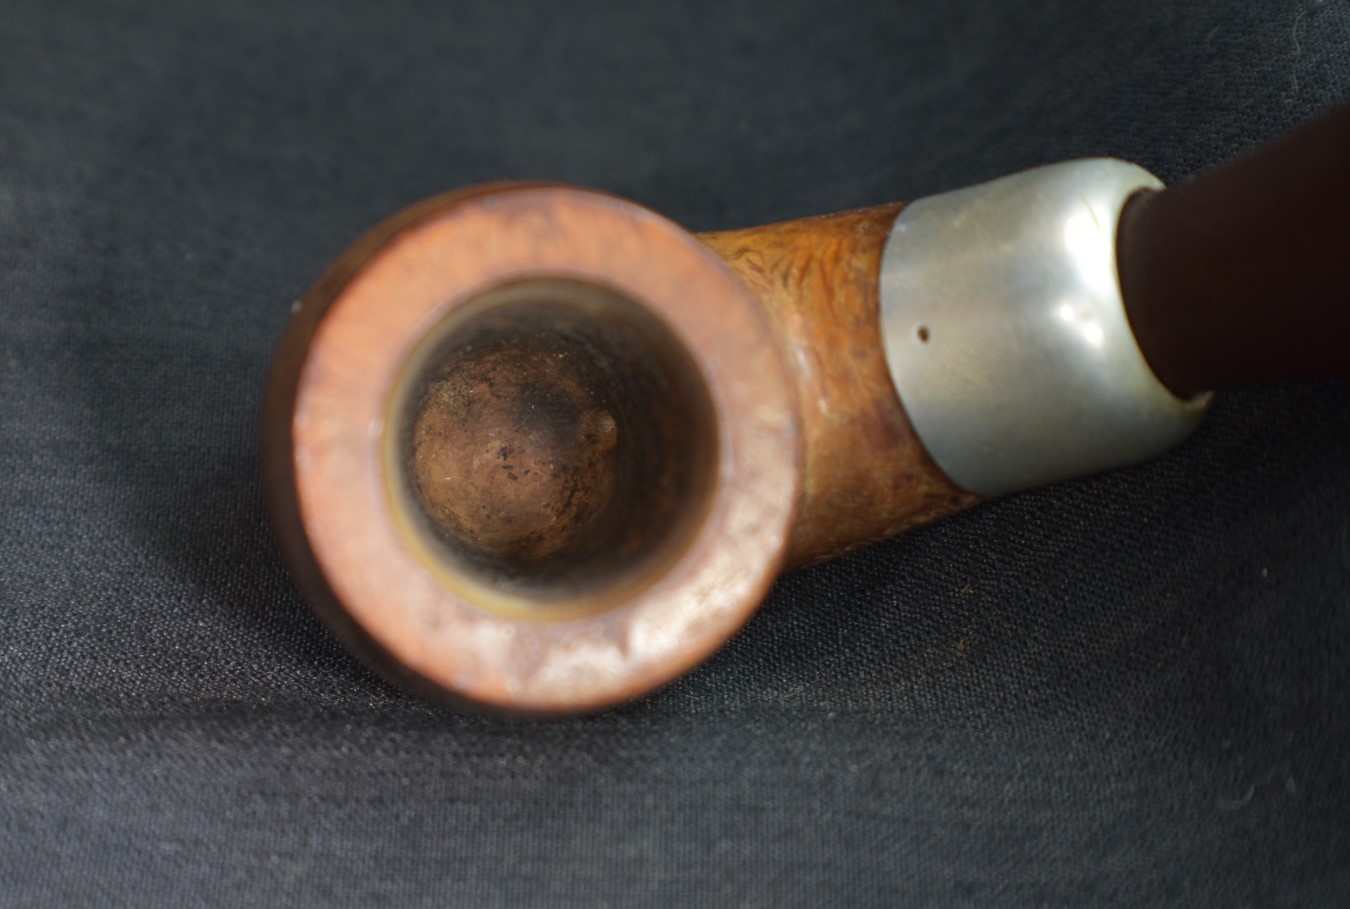

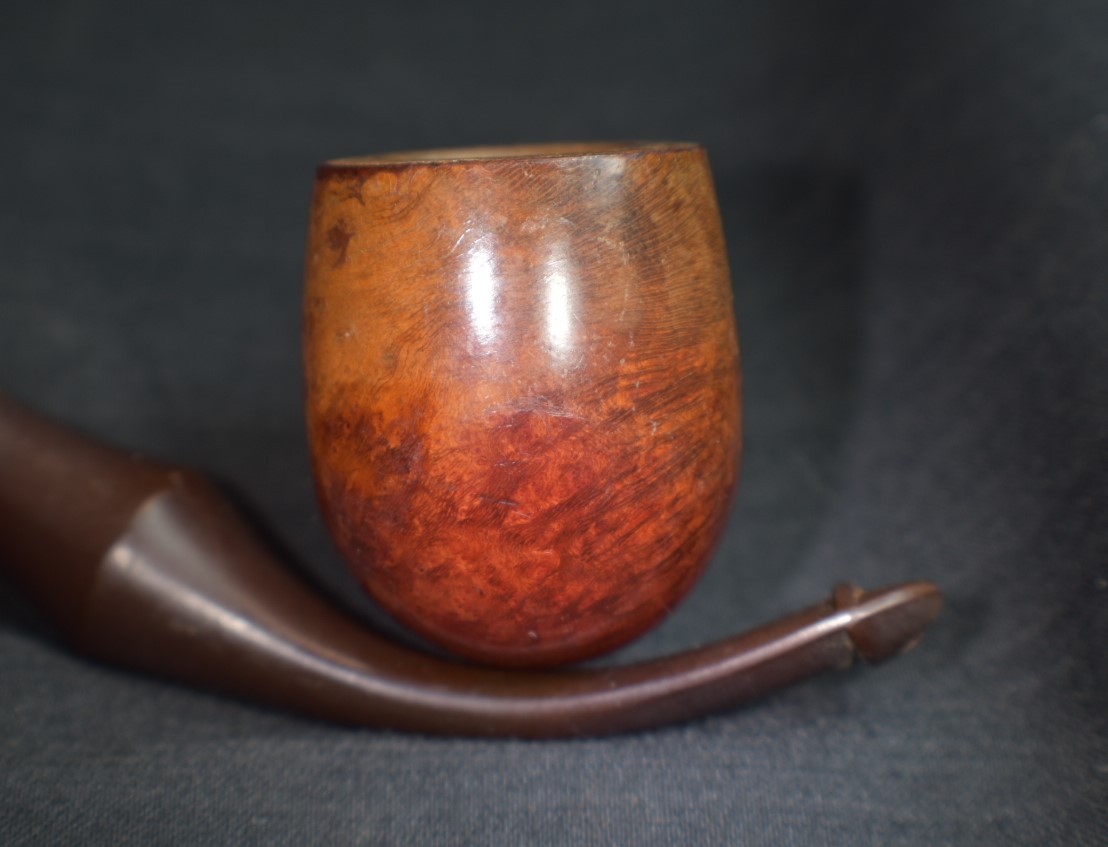

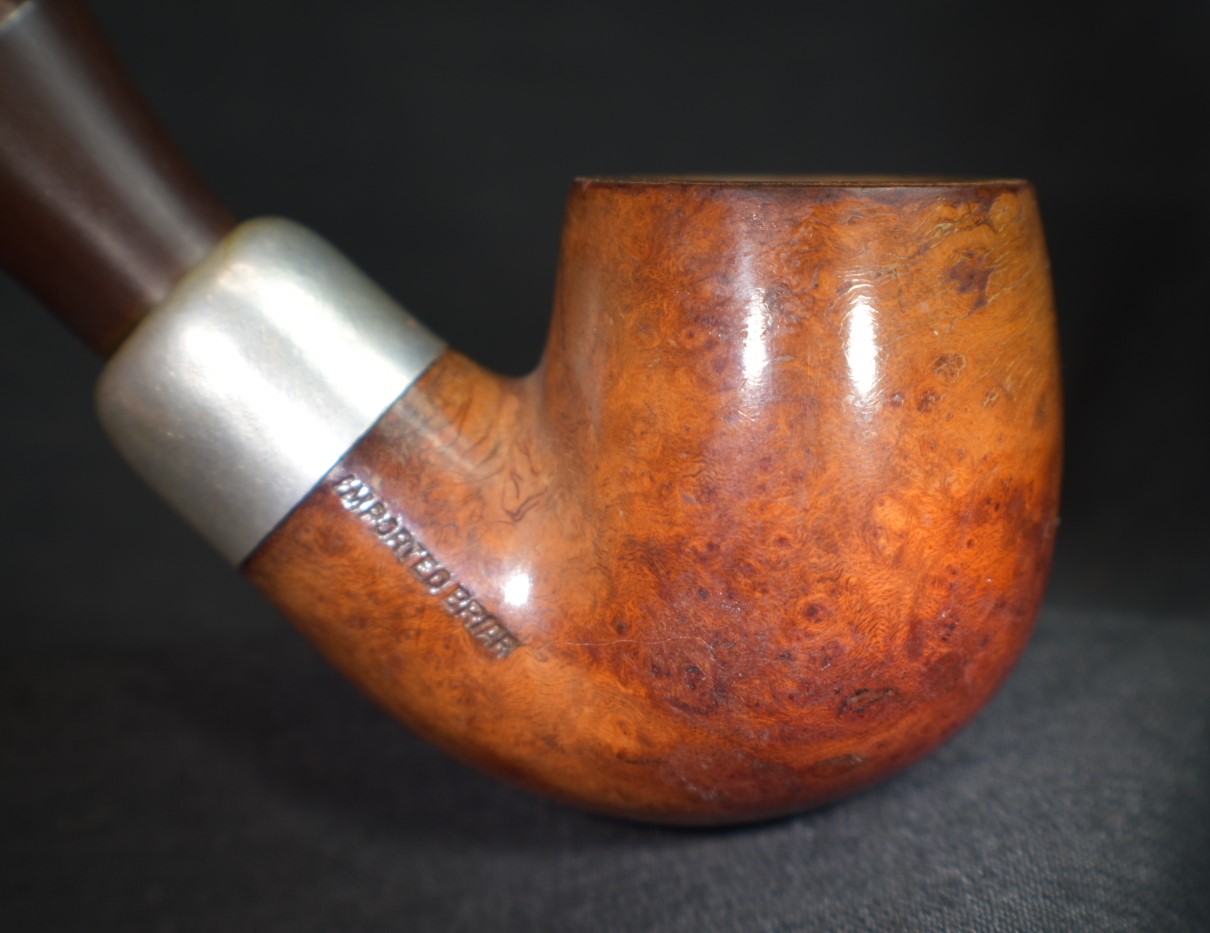


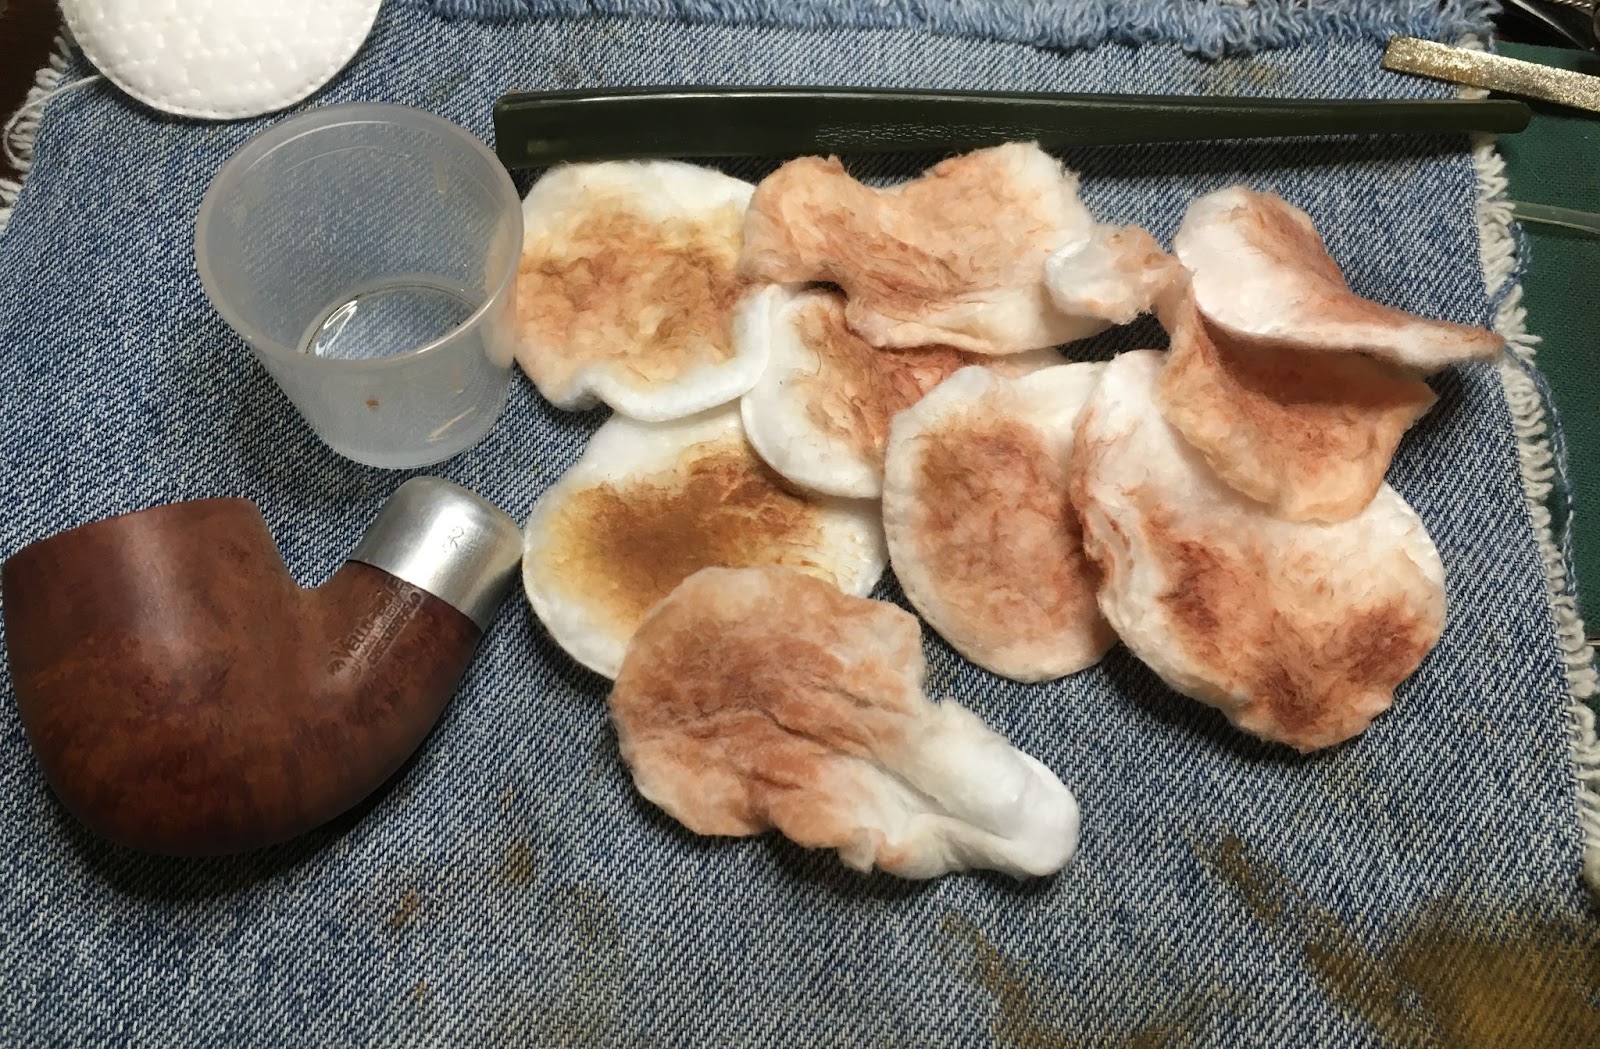
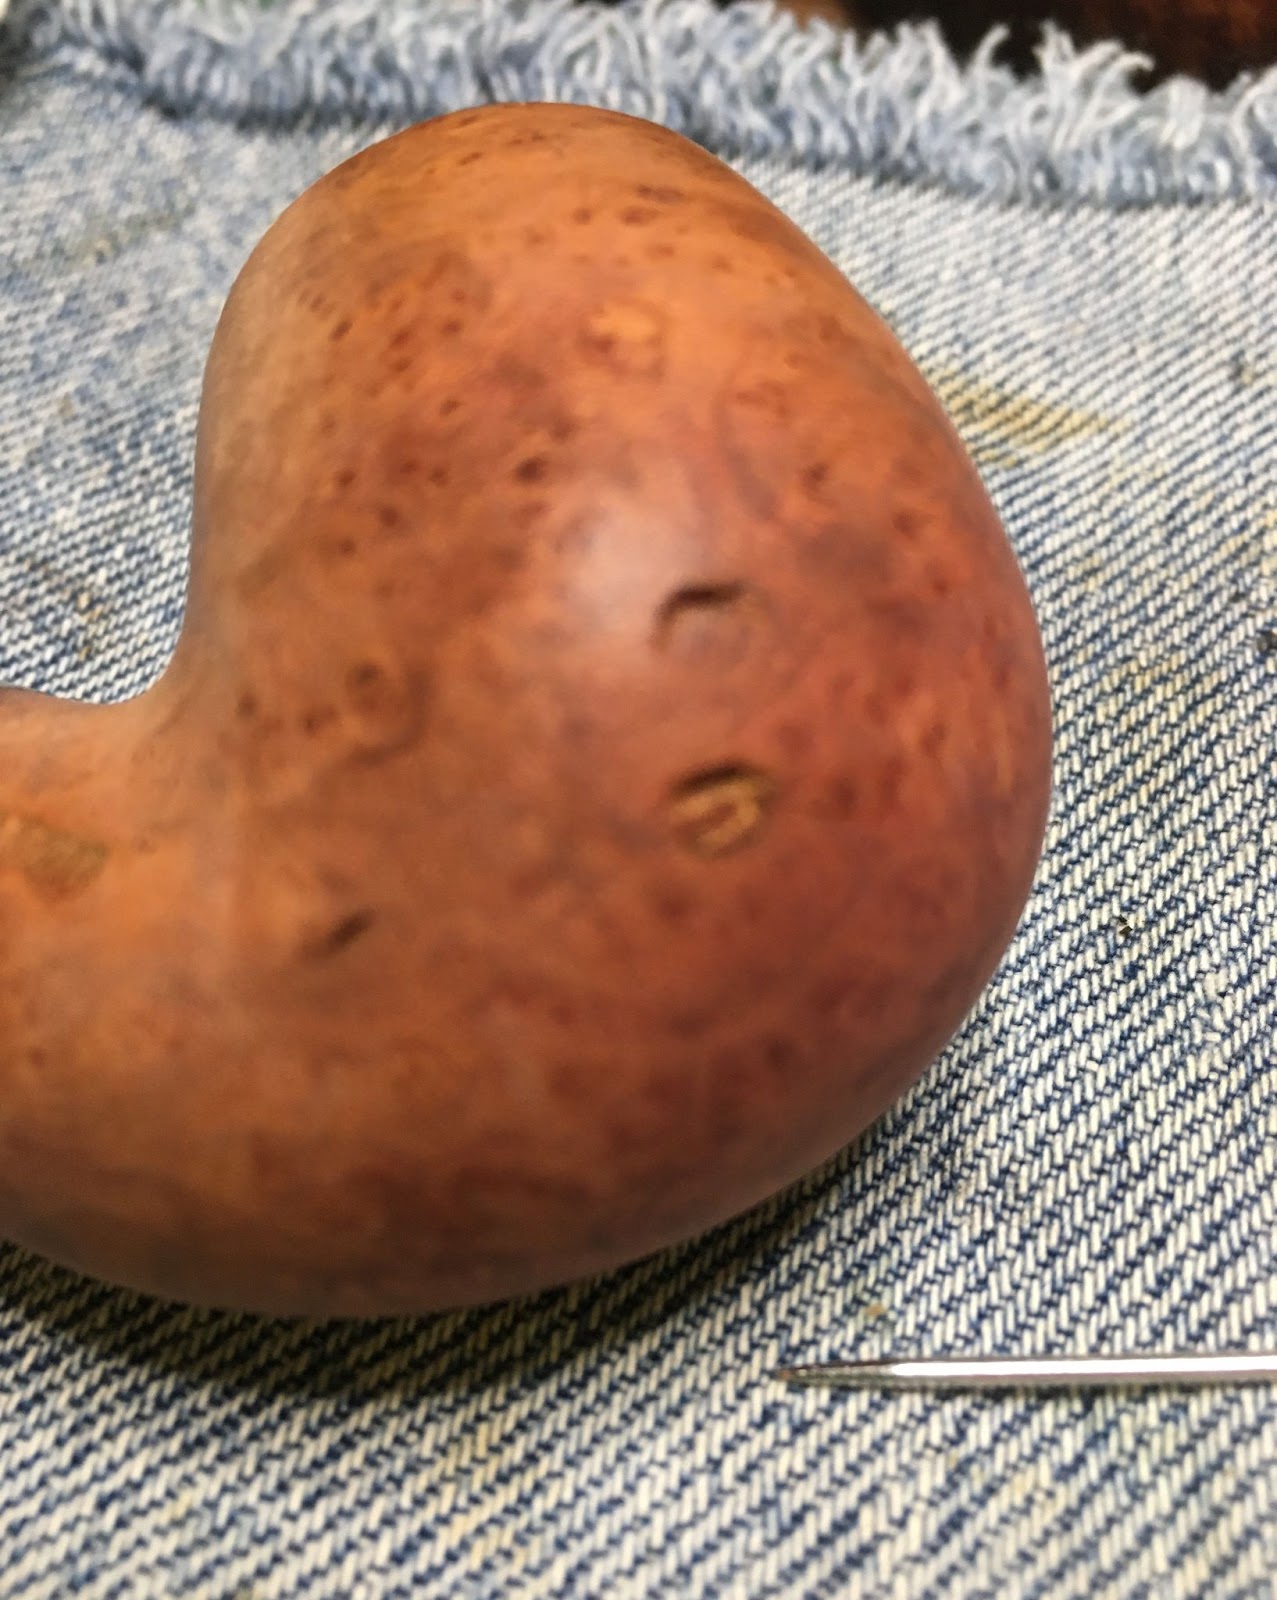
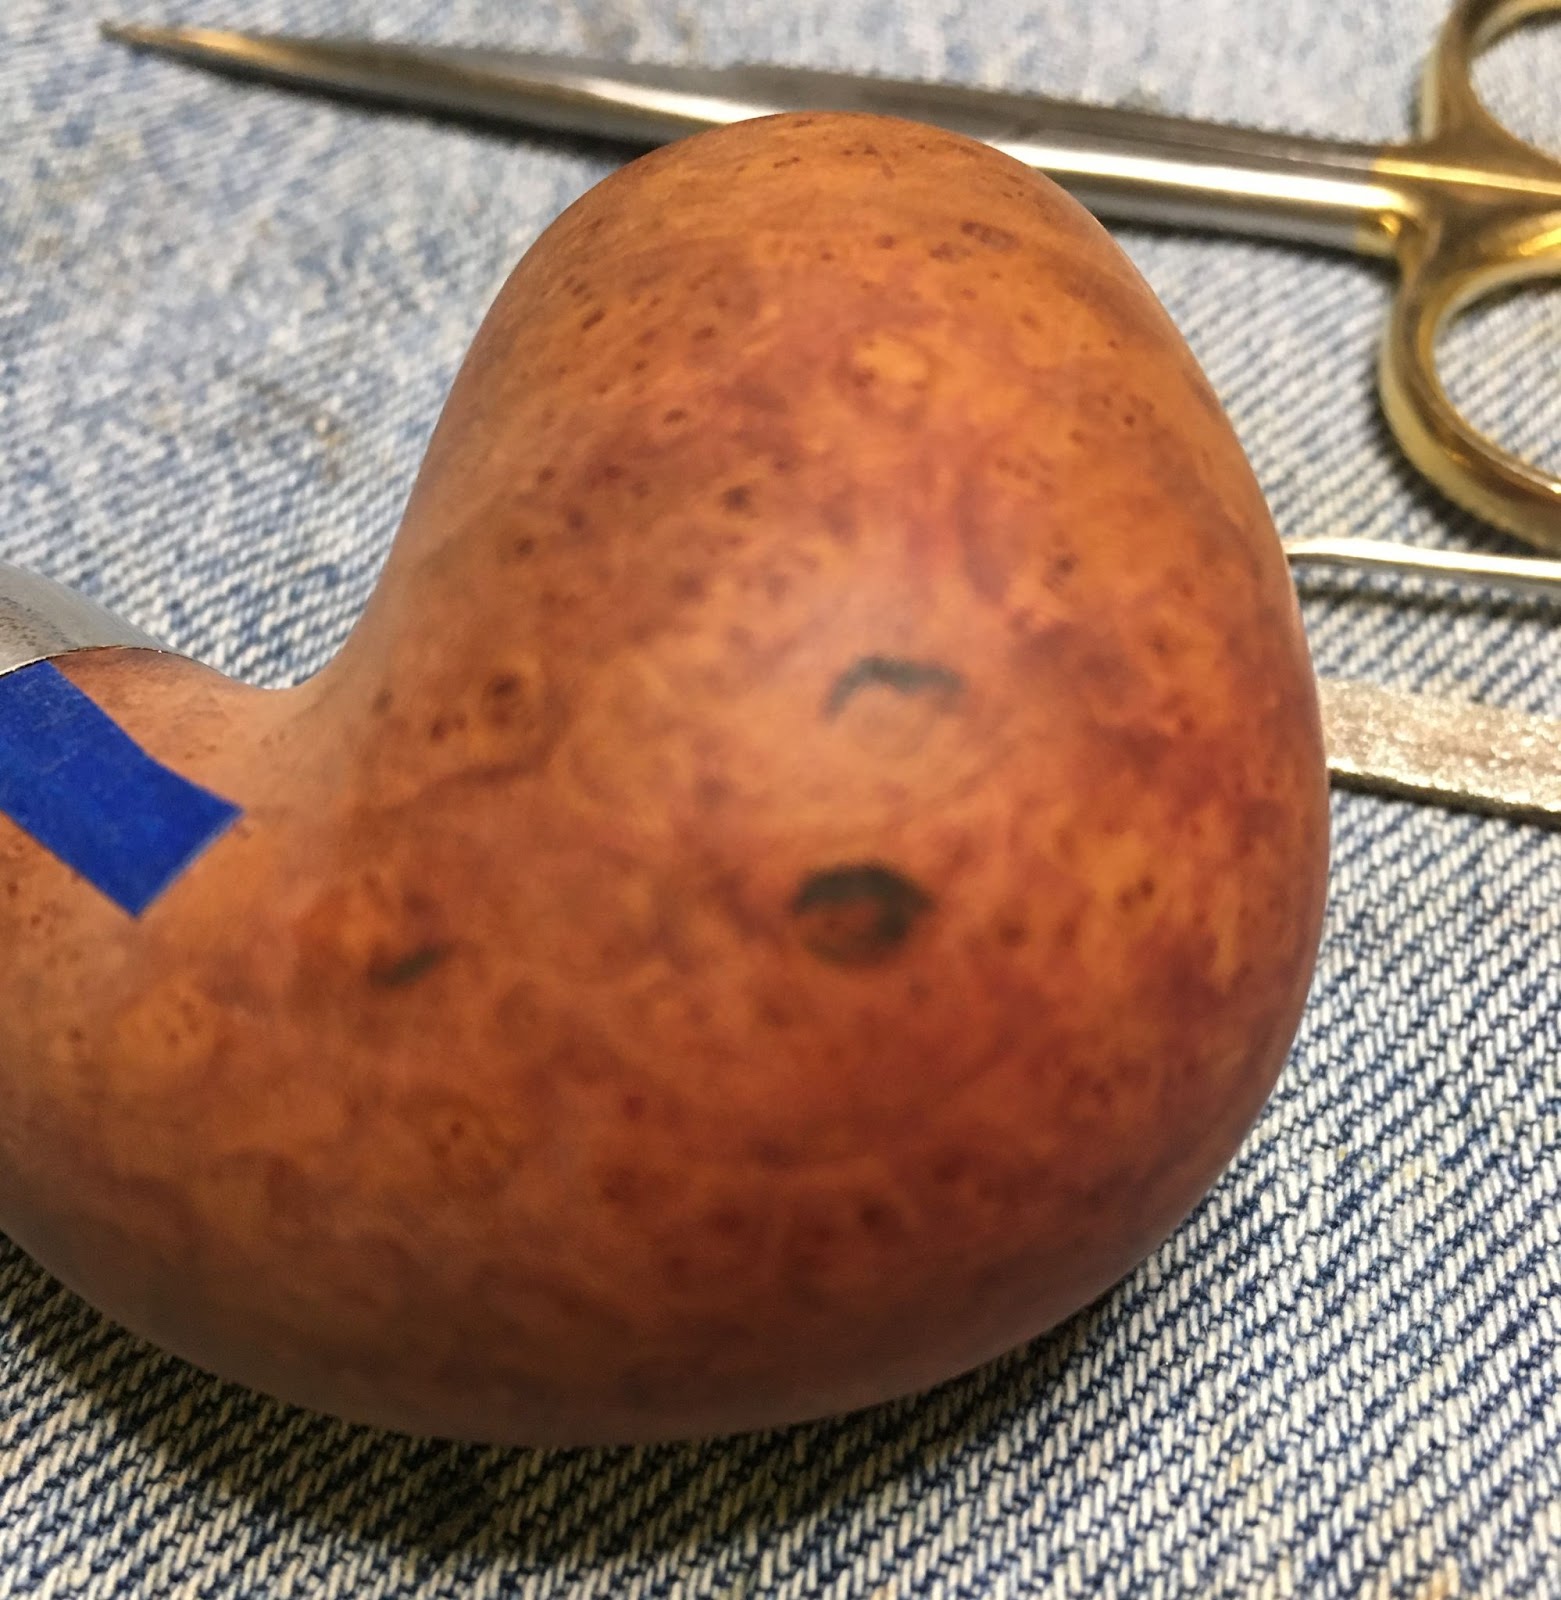

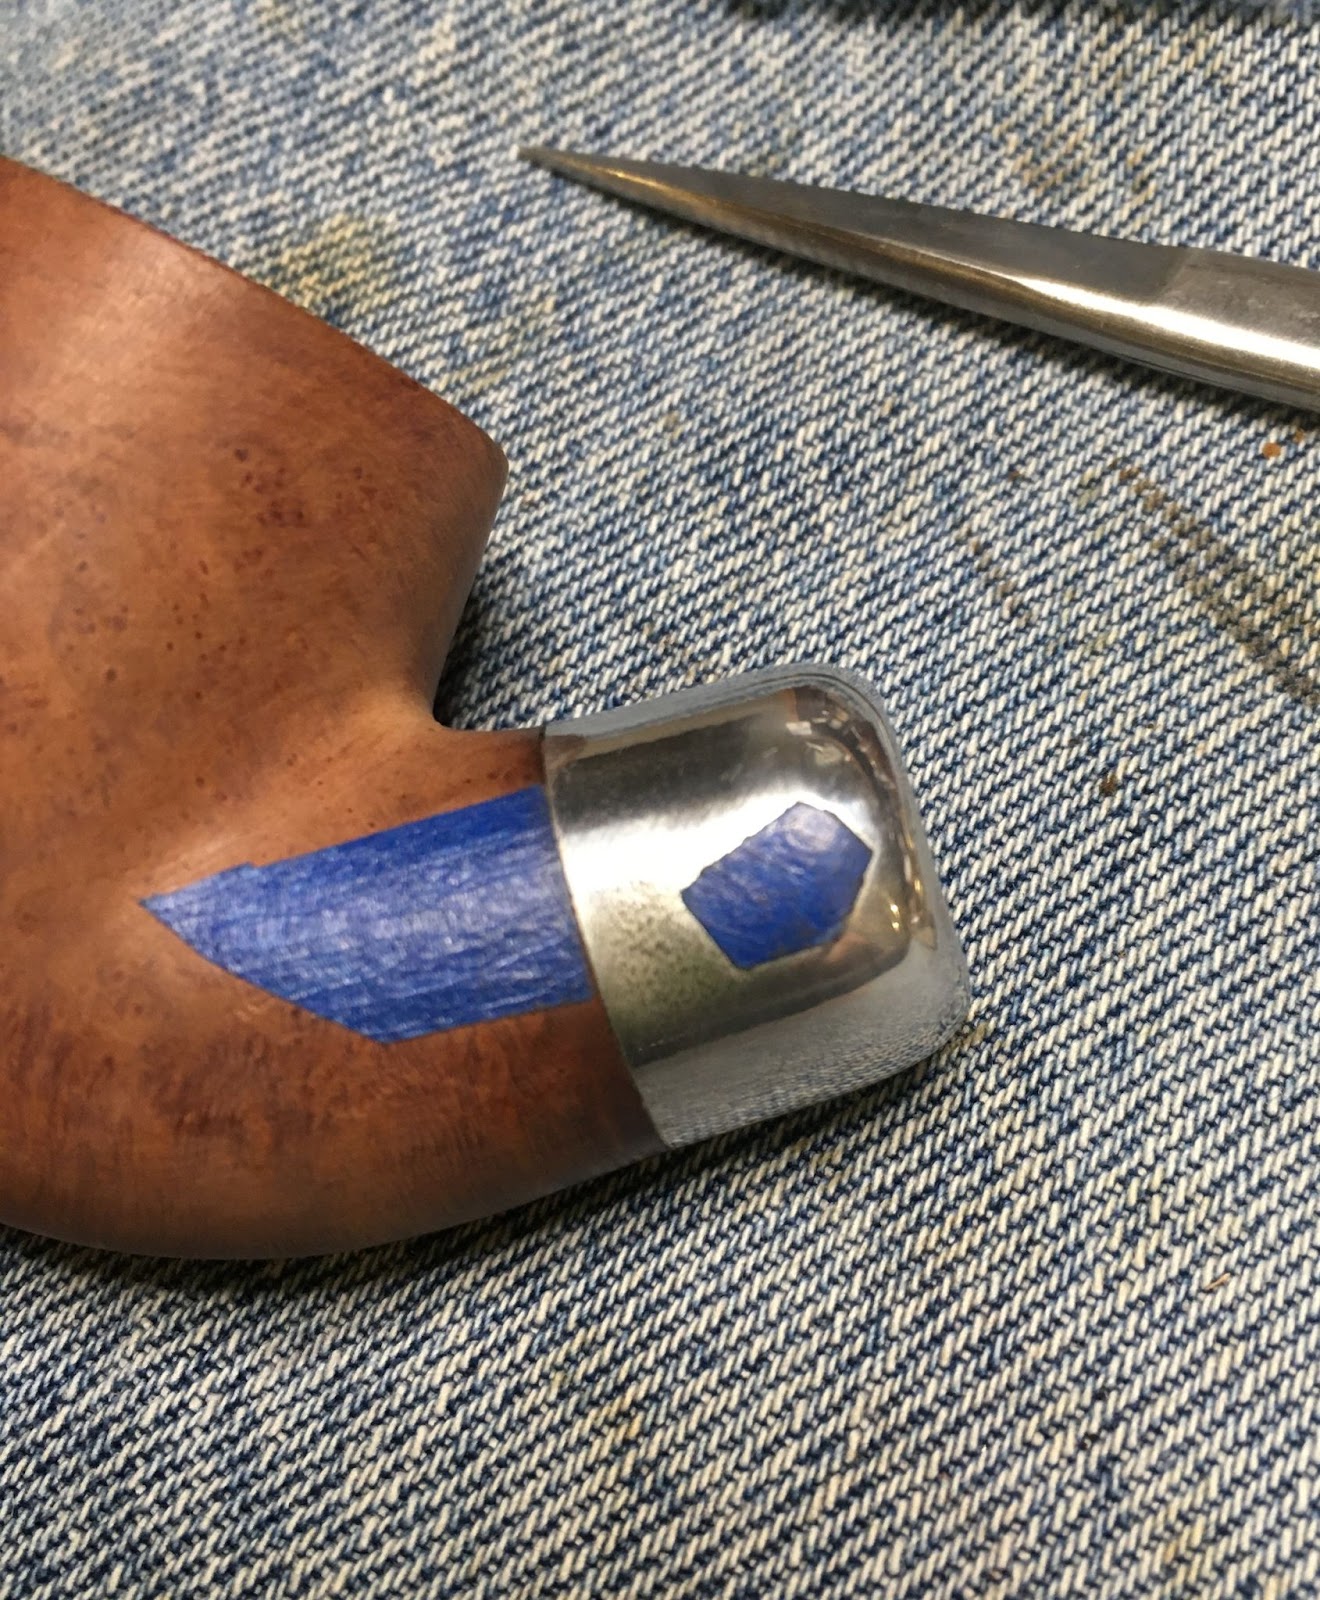
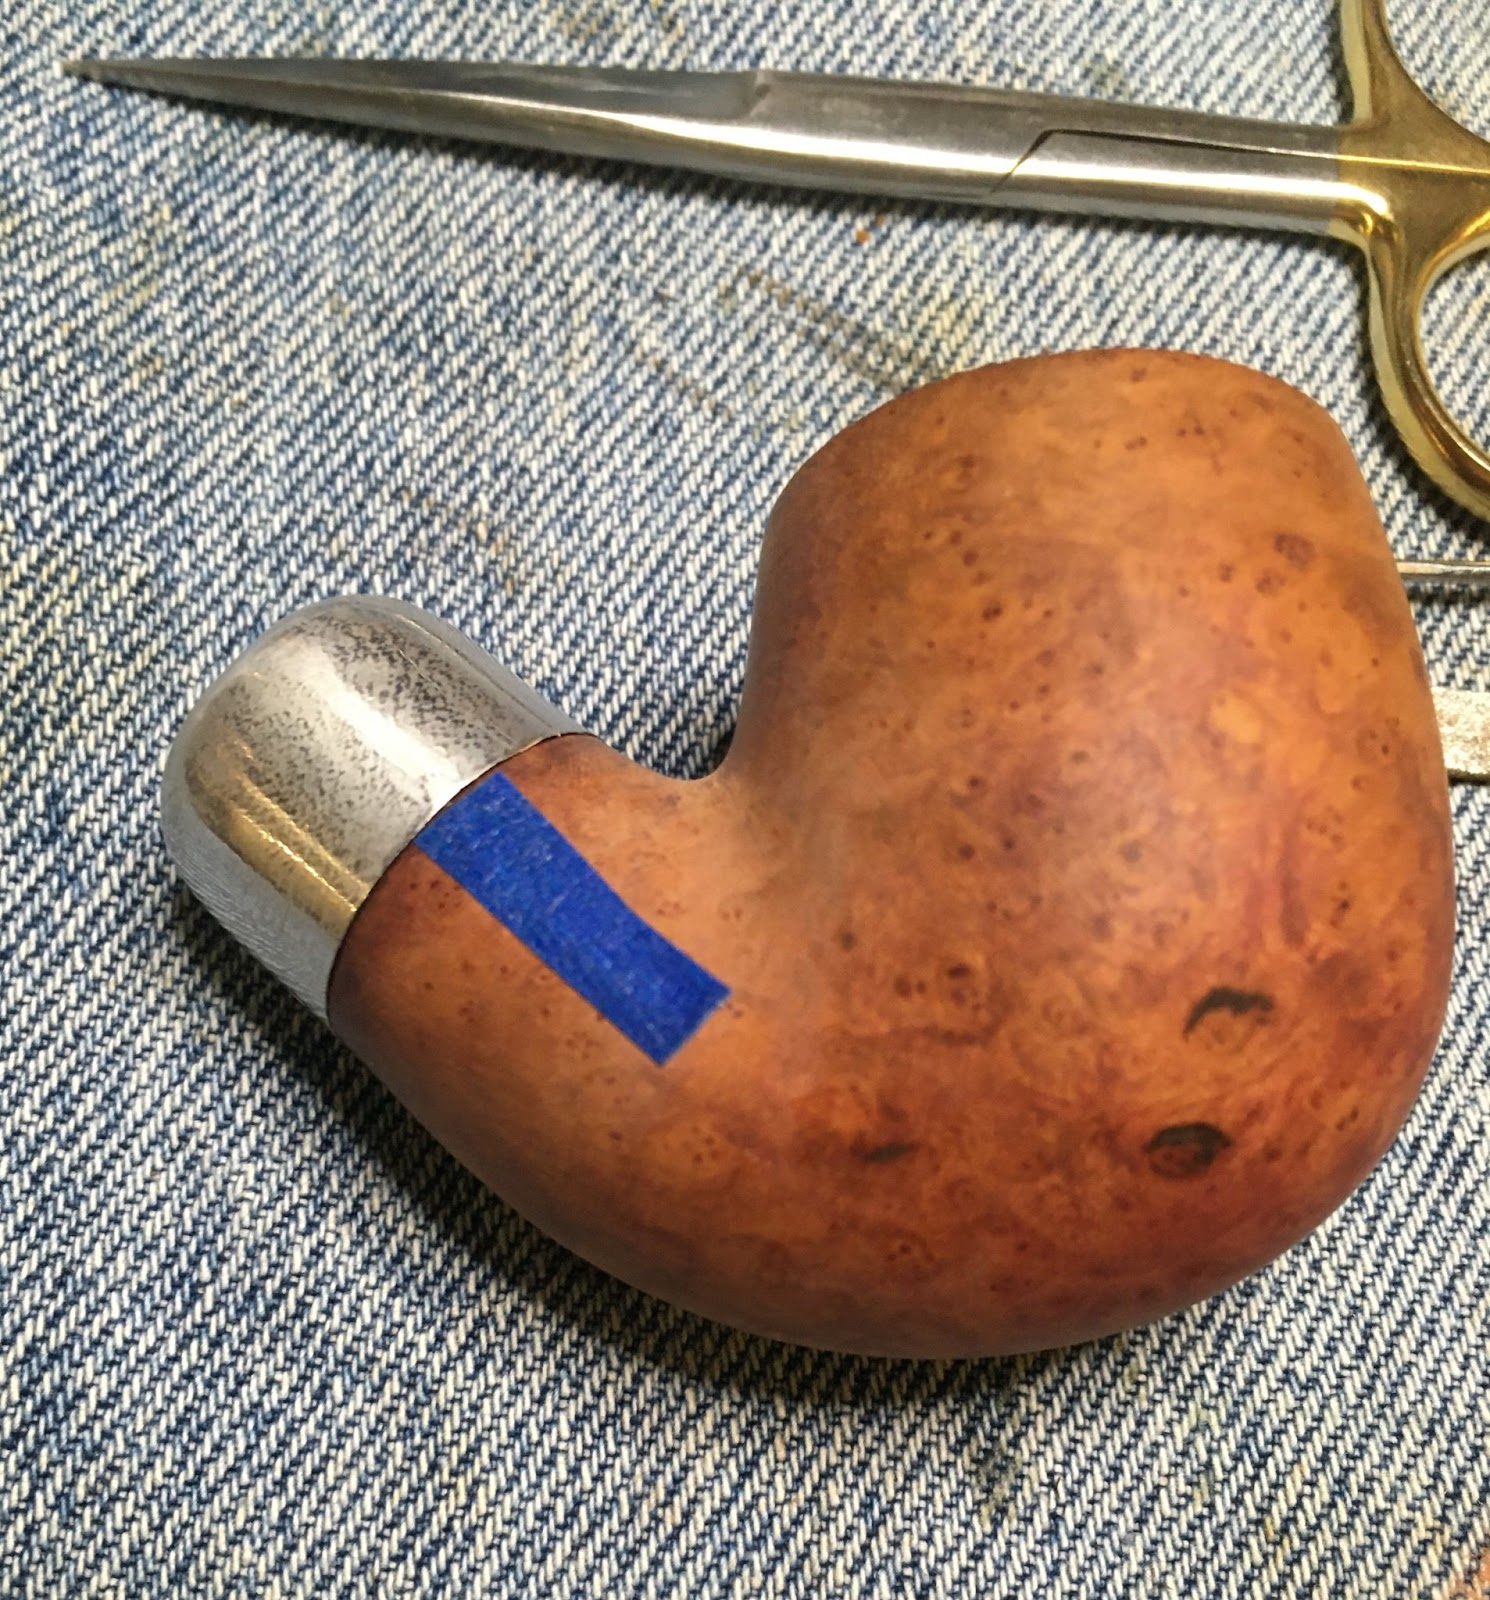
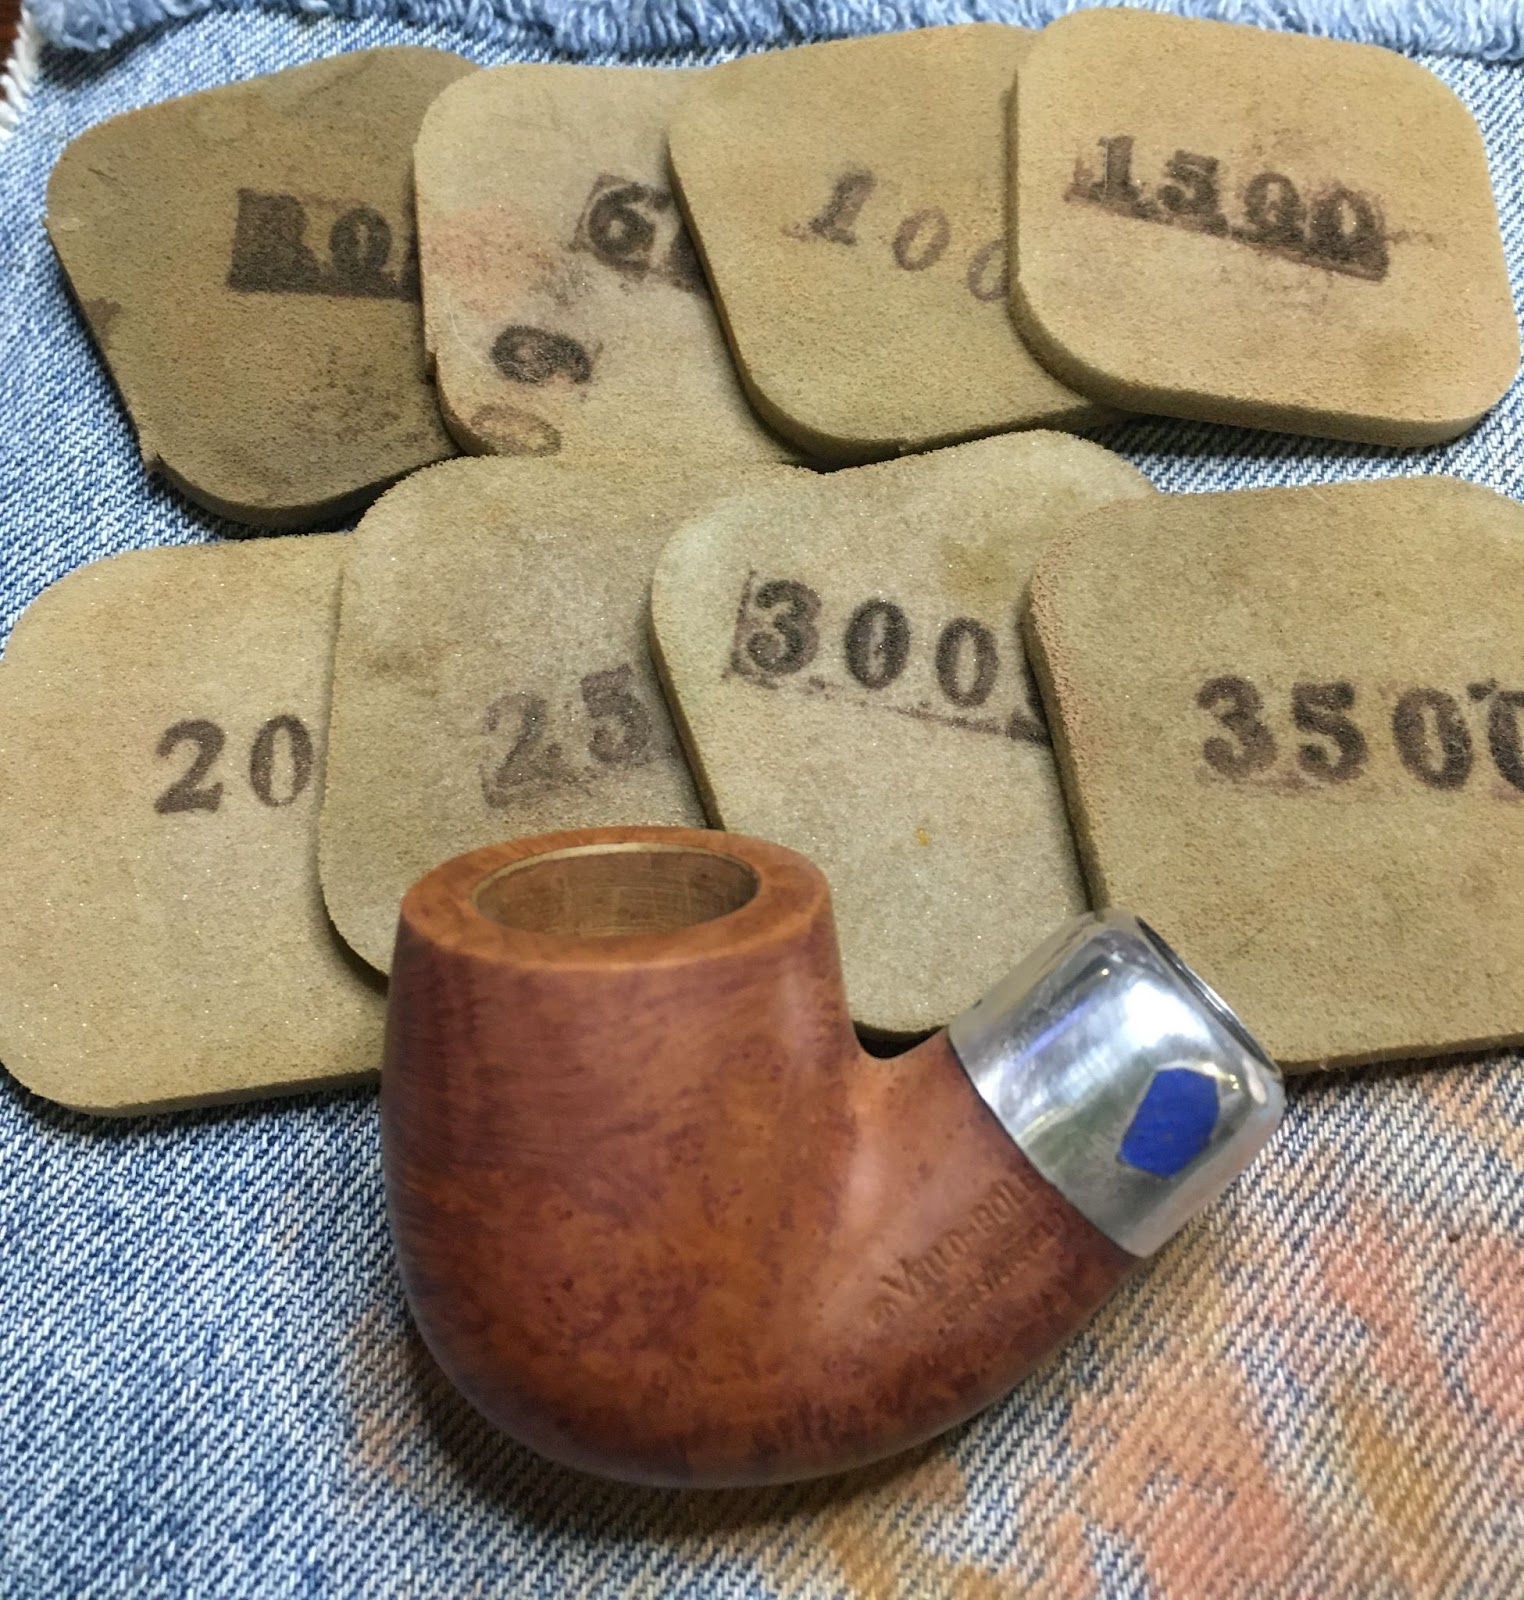


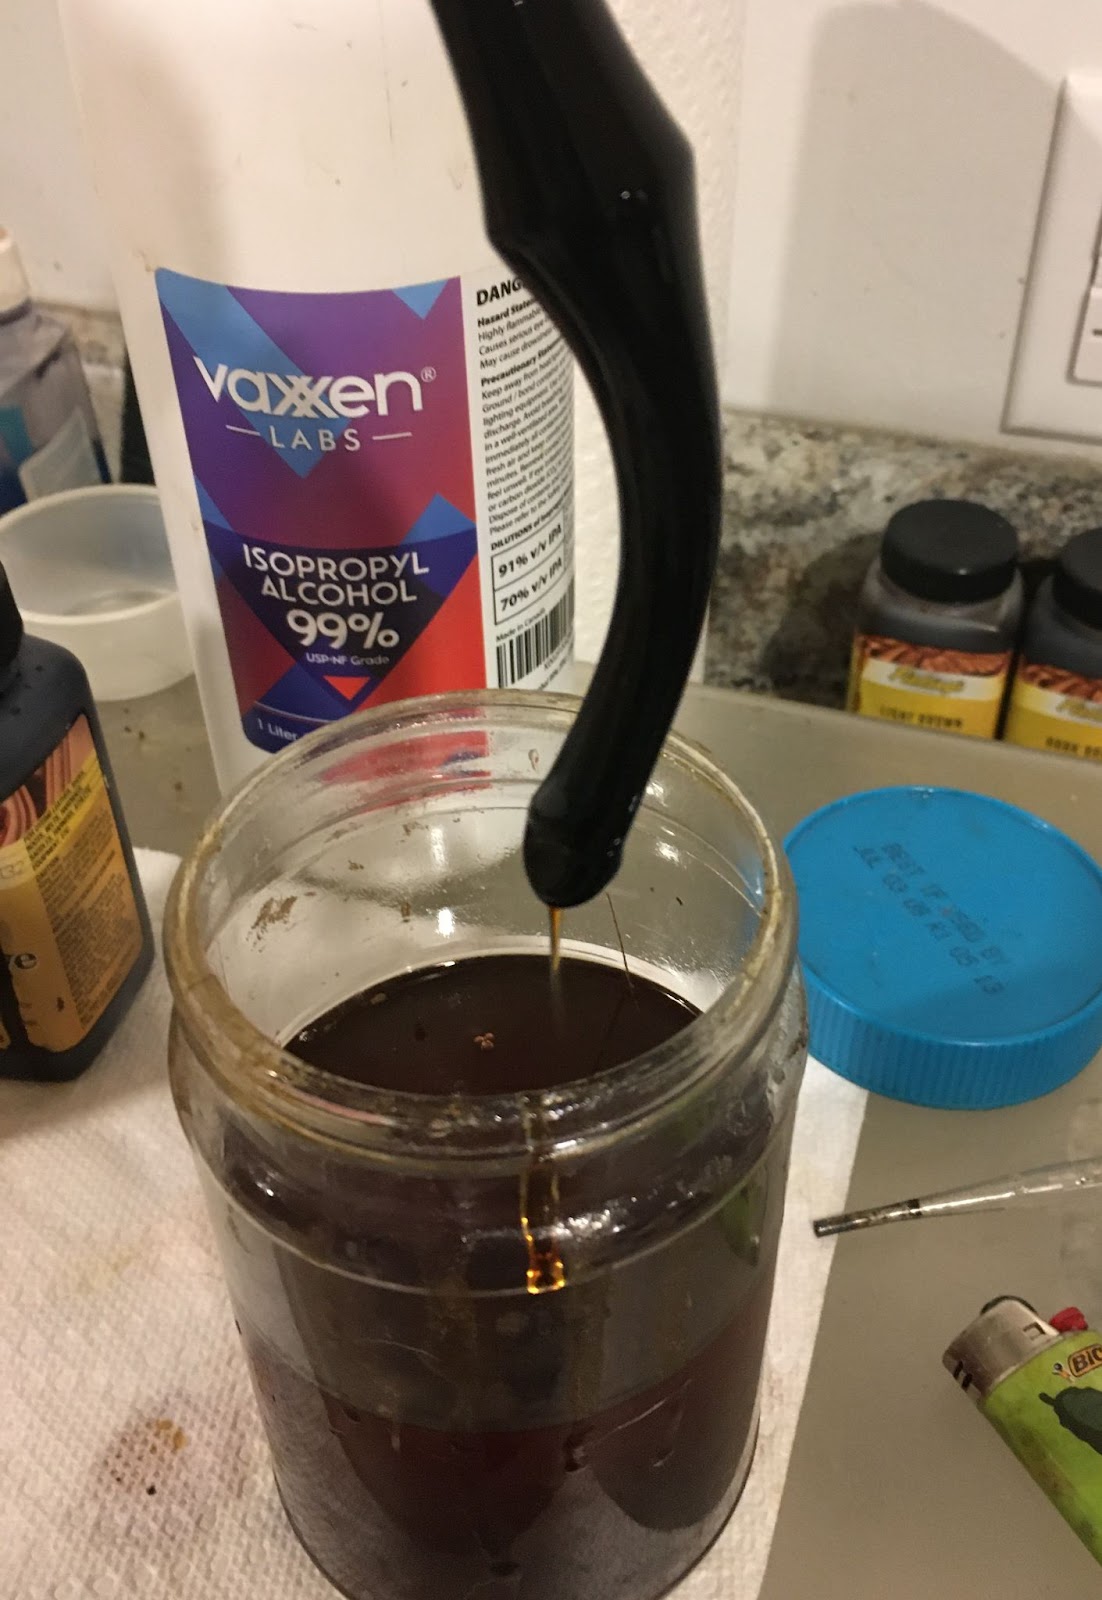

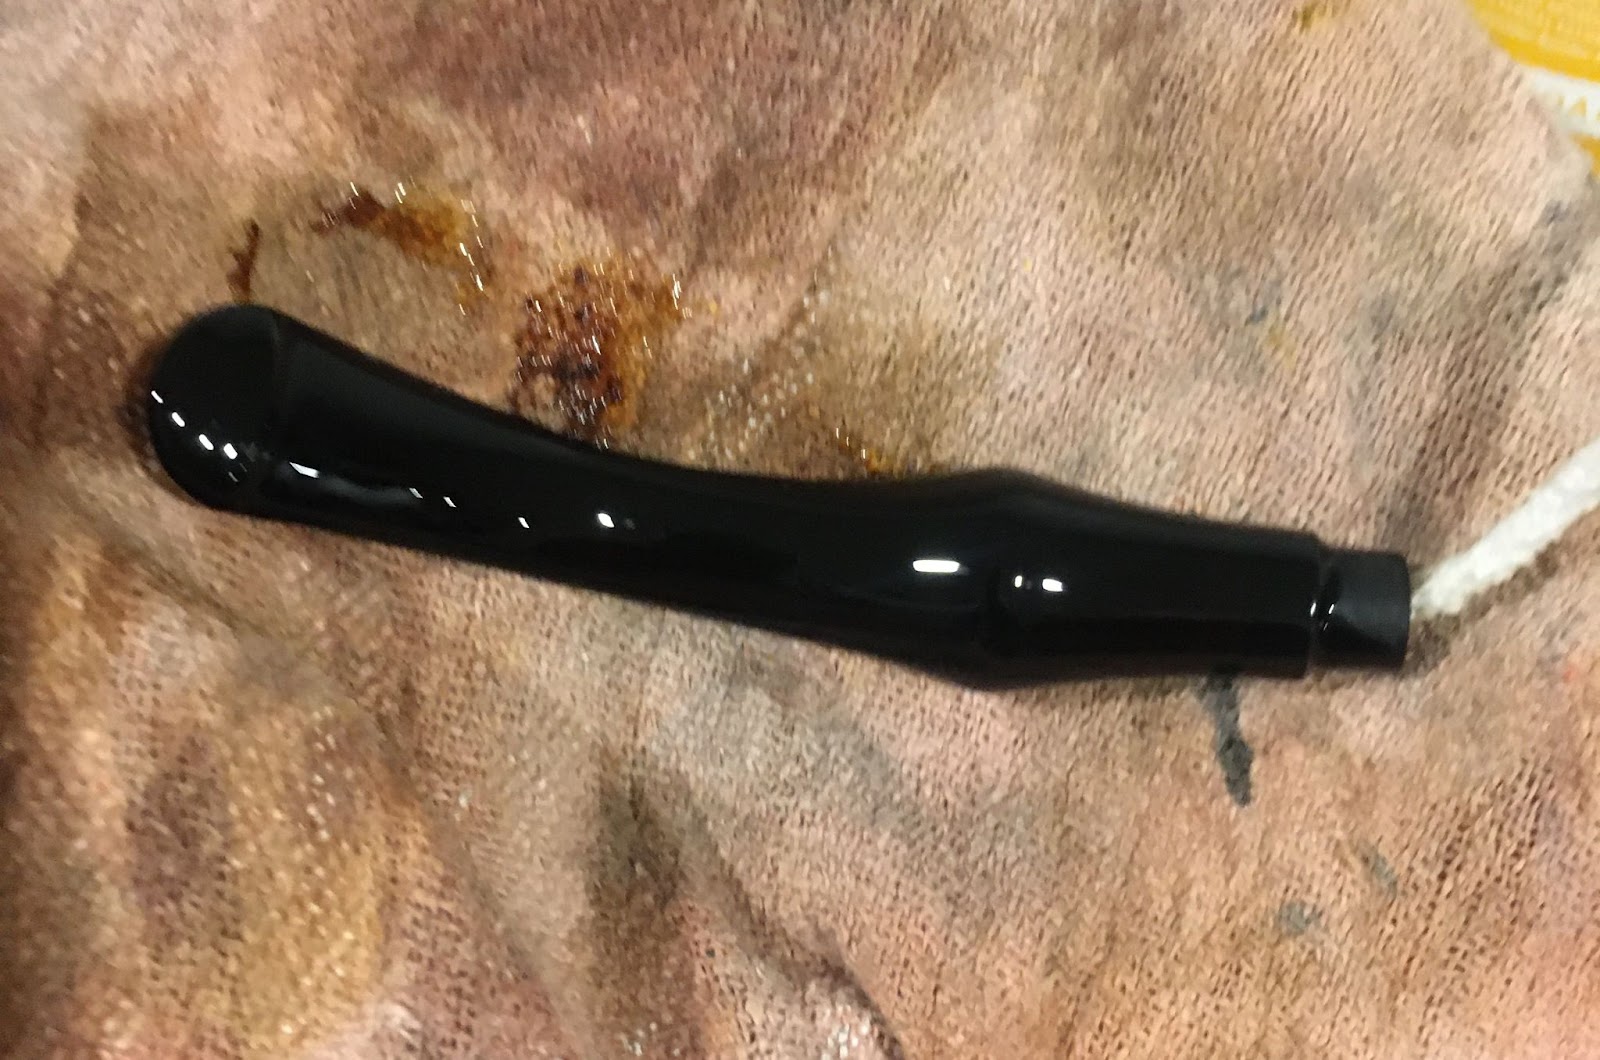
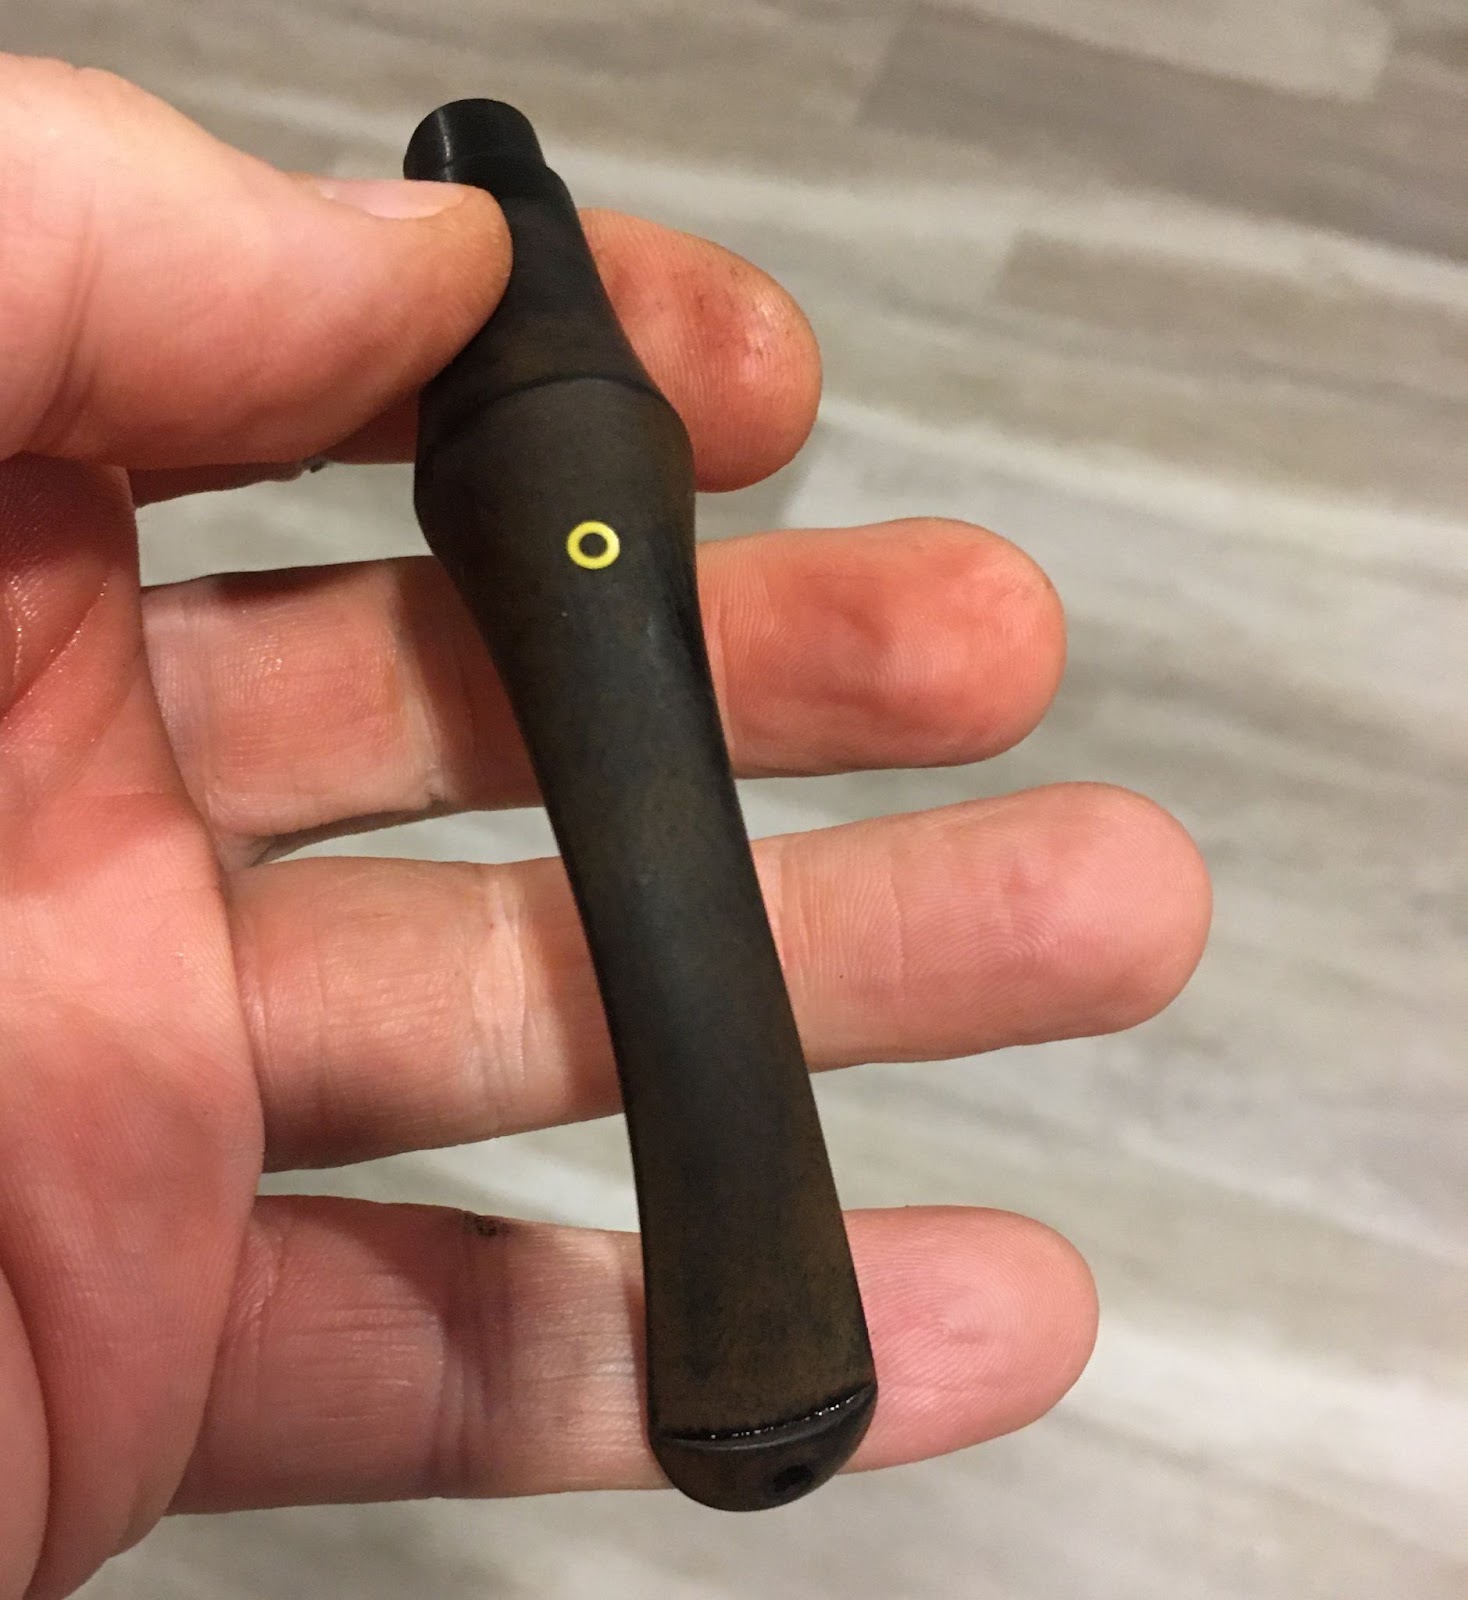

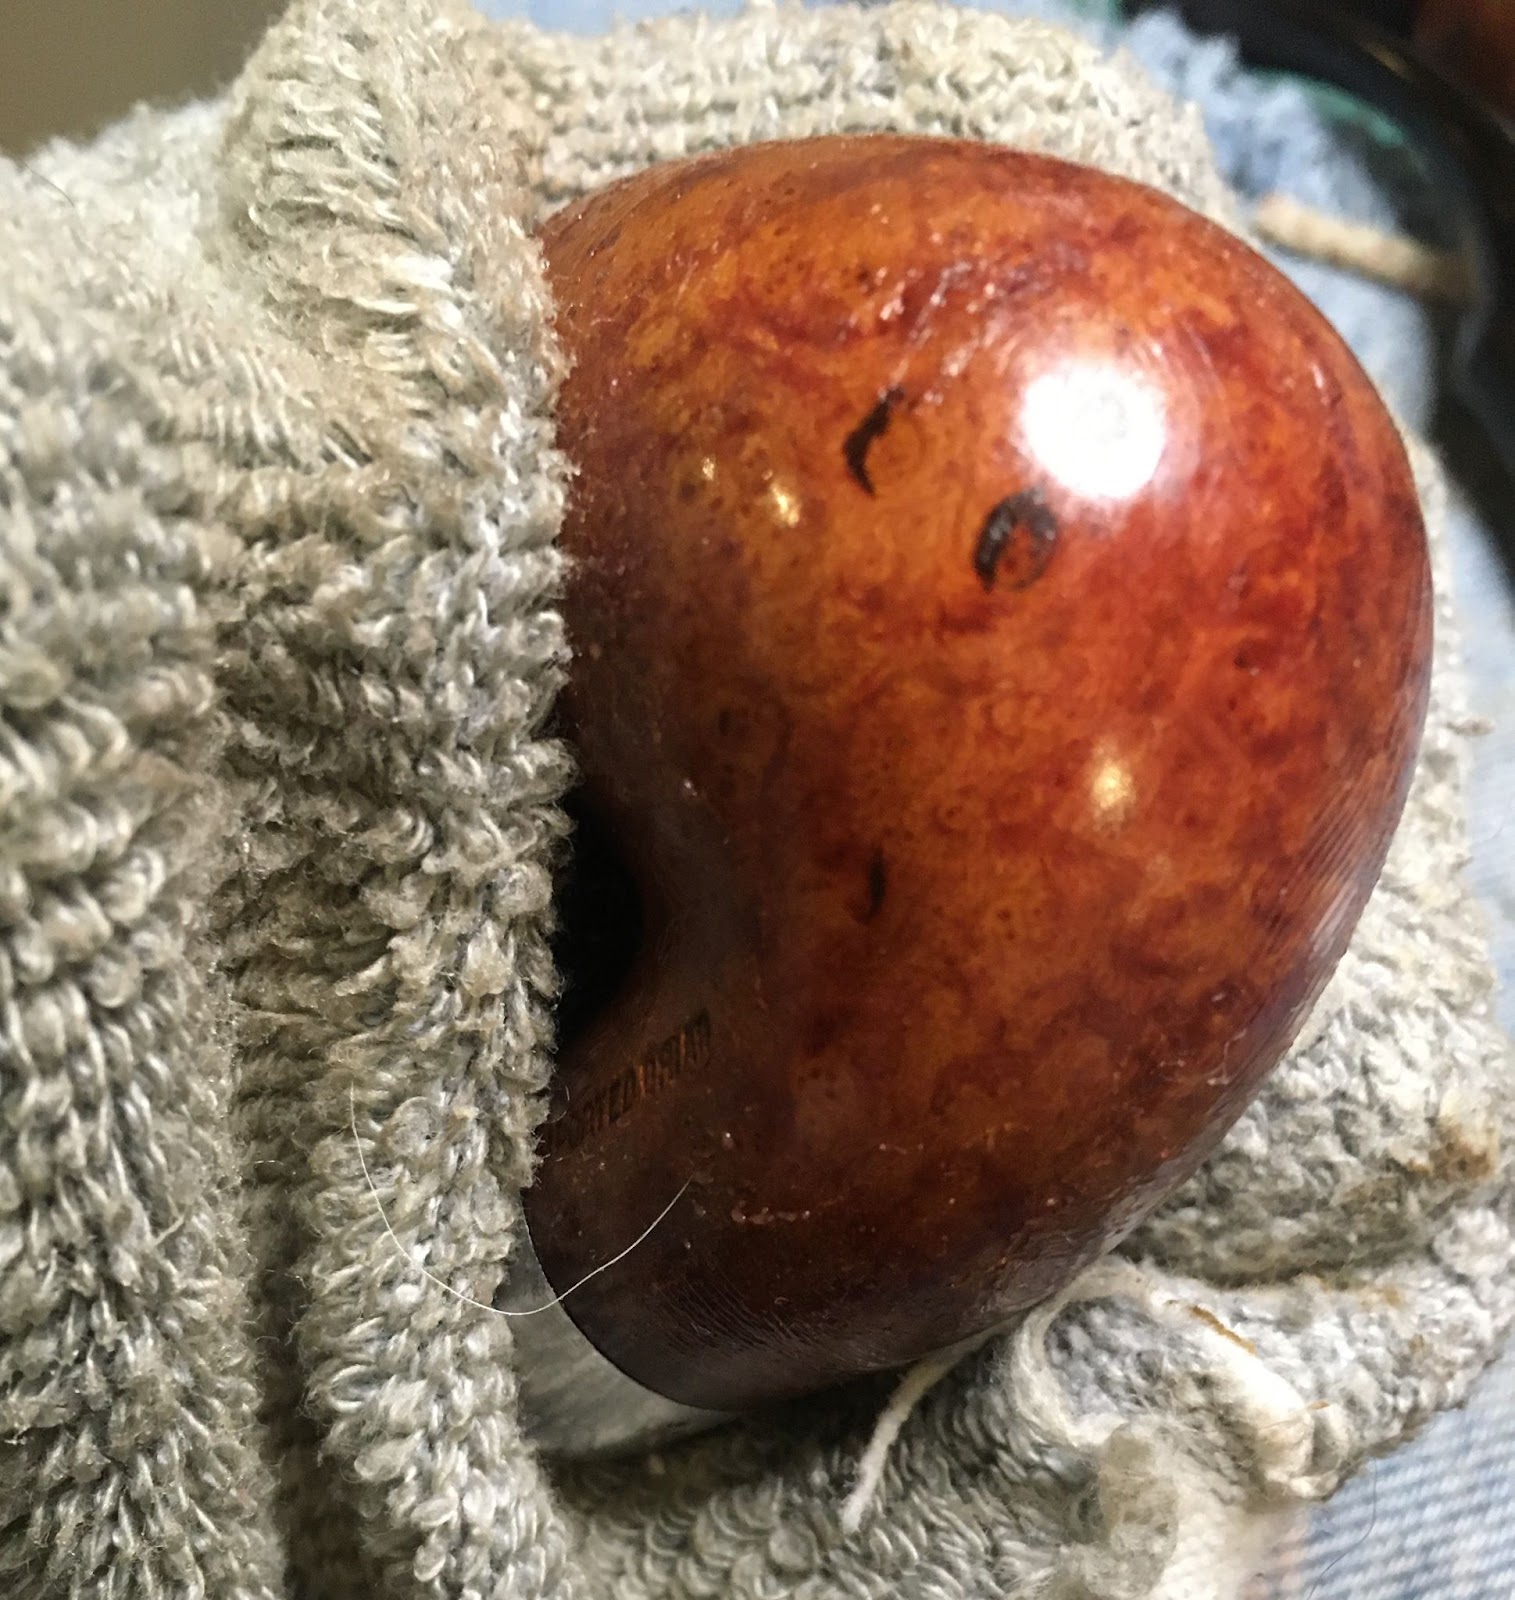
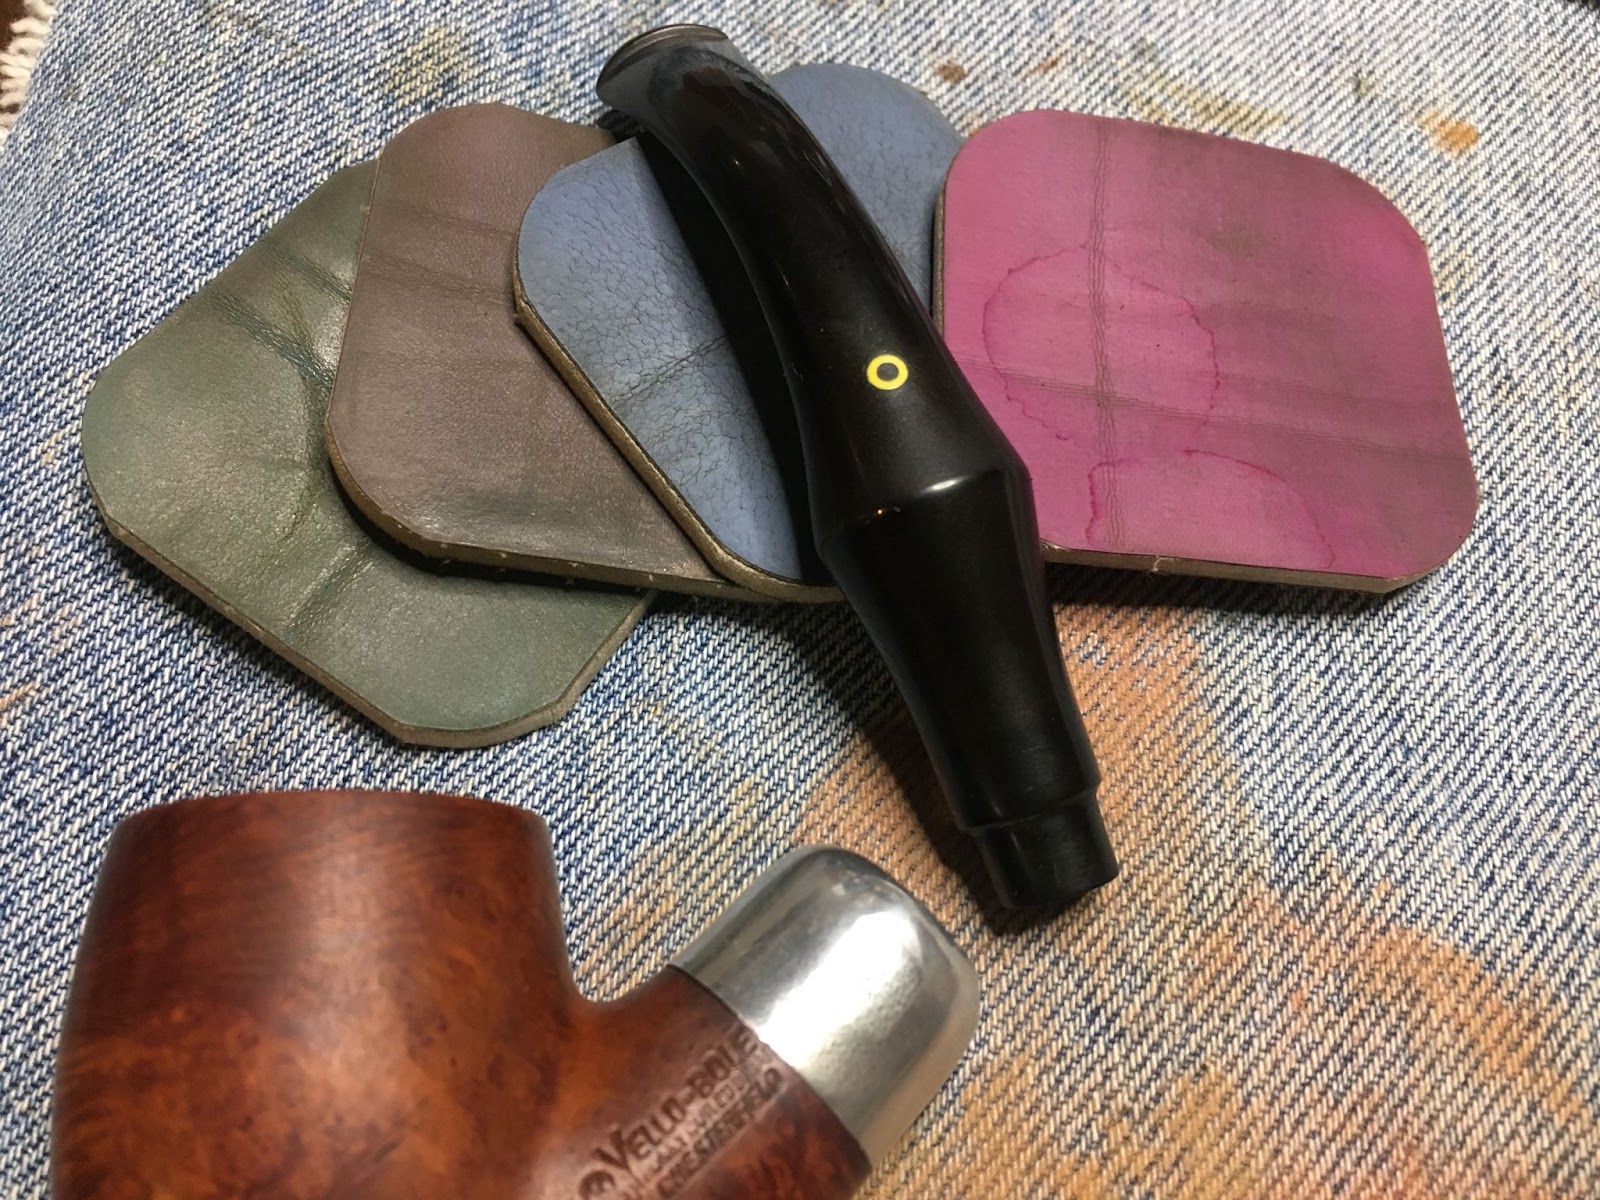


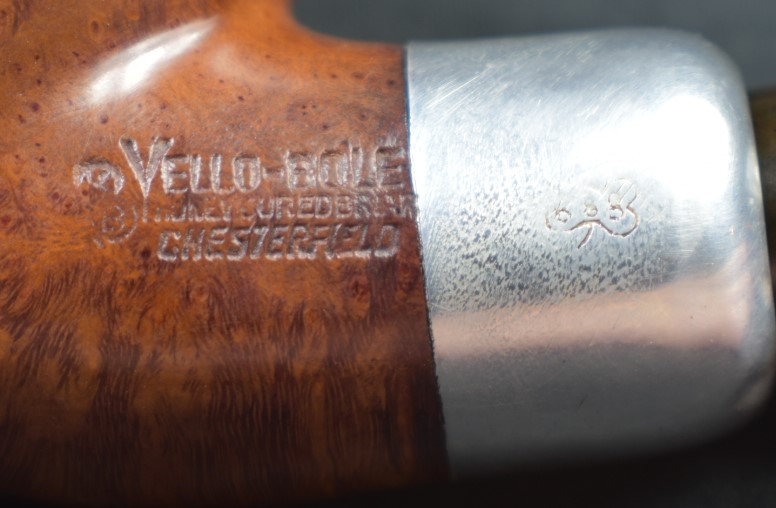
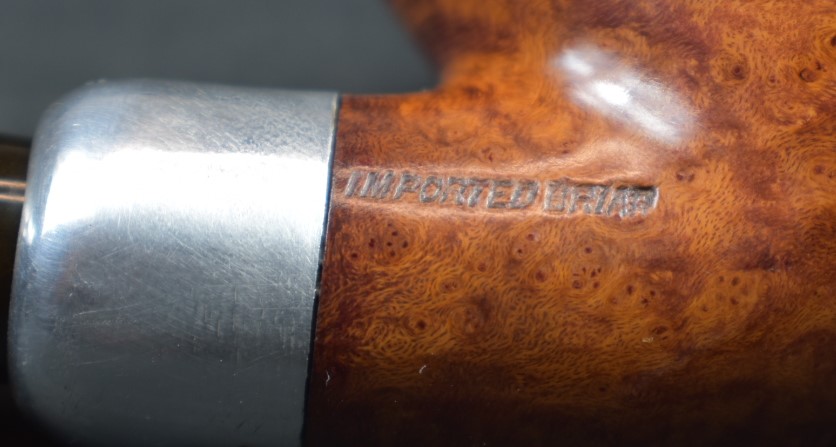

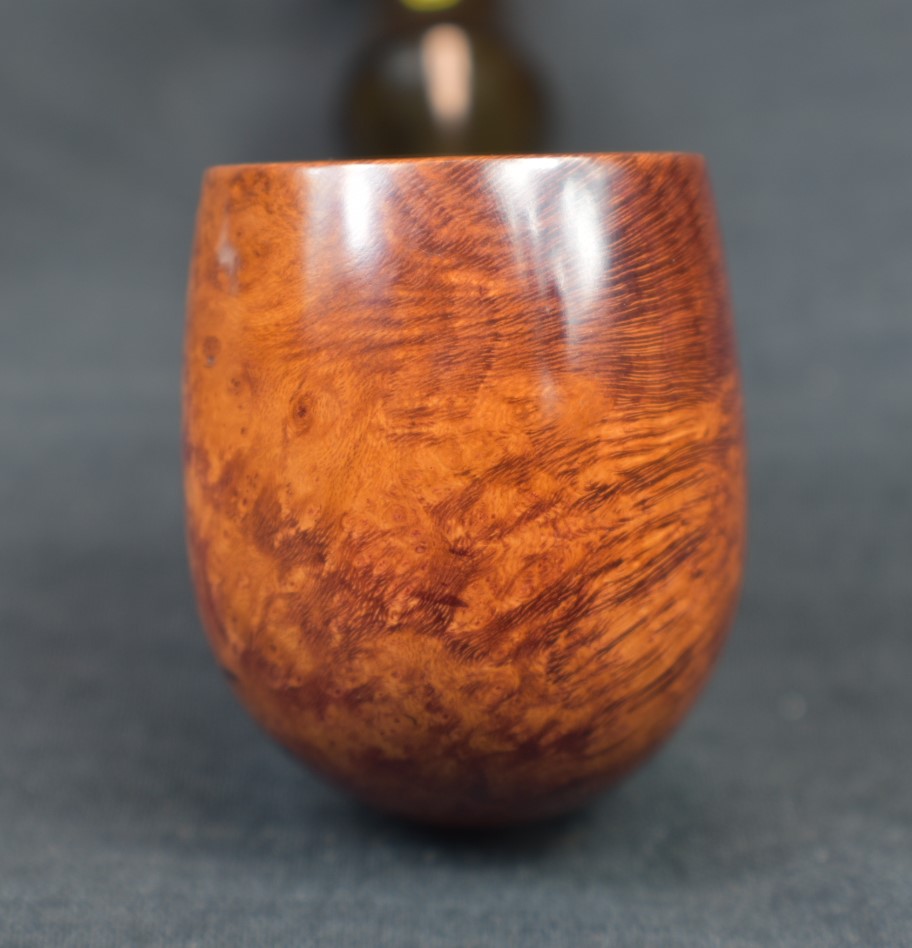




 NebraskaPeteGeek