Expecting perfection from a new corn cob pipe is kind of like expecting a perfect first date. Sure it can happen but more often than not the pipe will have flaws typical of cobs like a first date will undoubtedly have awkward, “damn, I should never have said that” moments. I recently bought three brand new Missouri Meerschaum Riverboat Gamblers with very pale complections, brass collars and white stems.
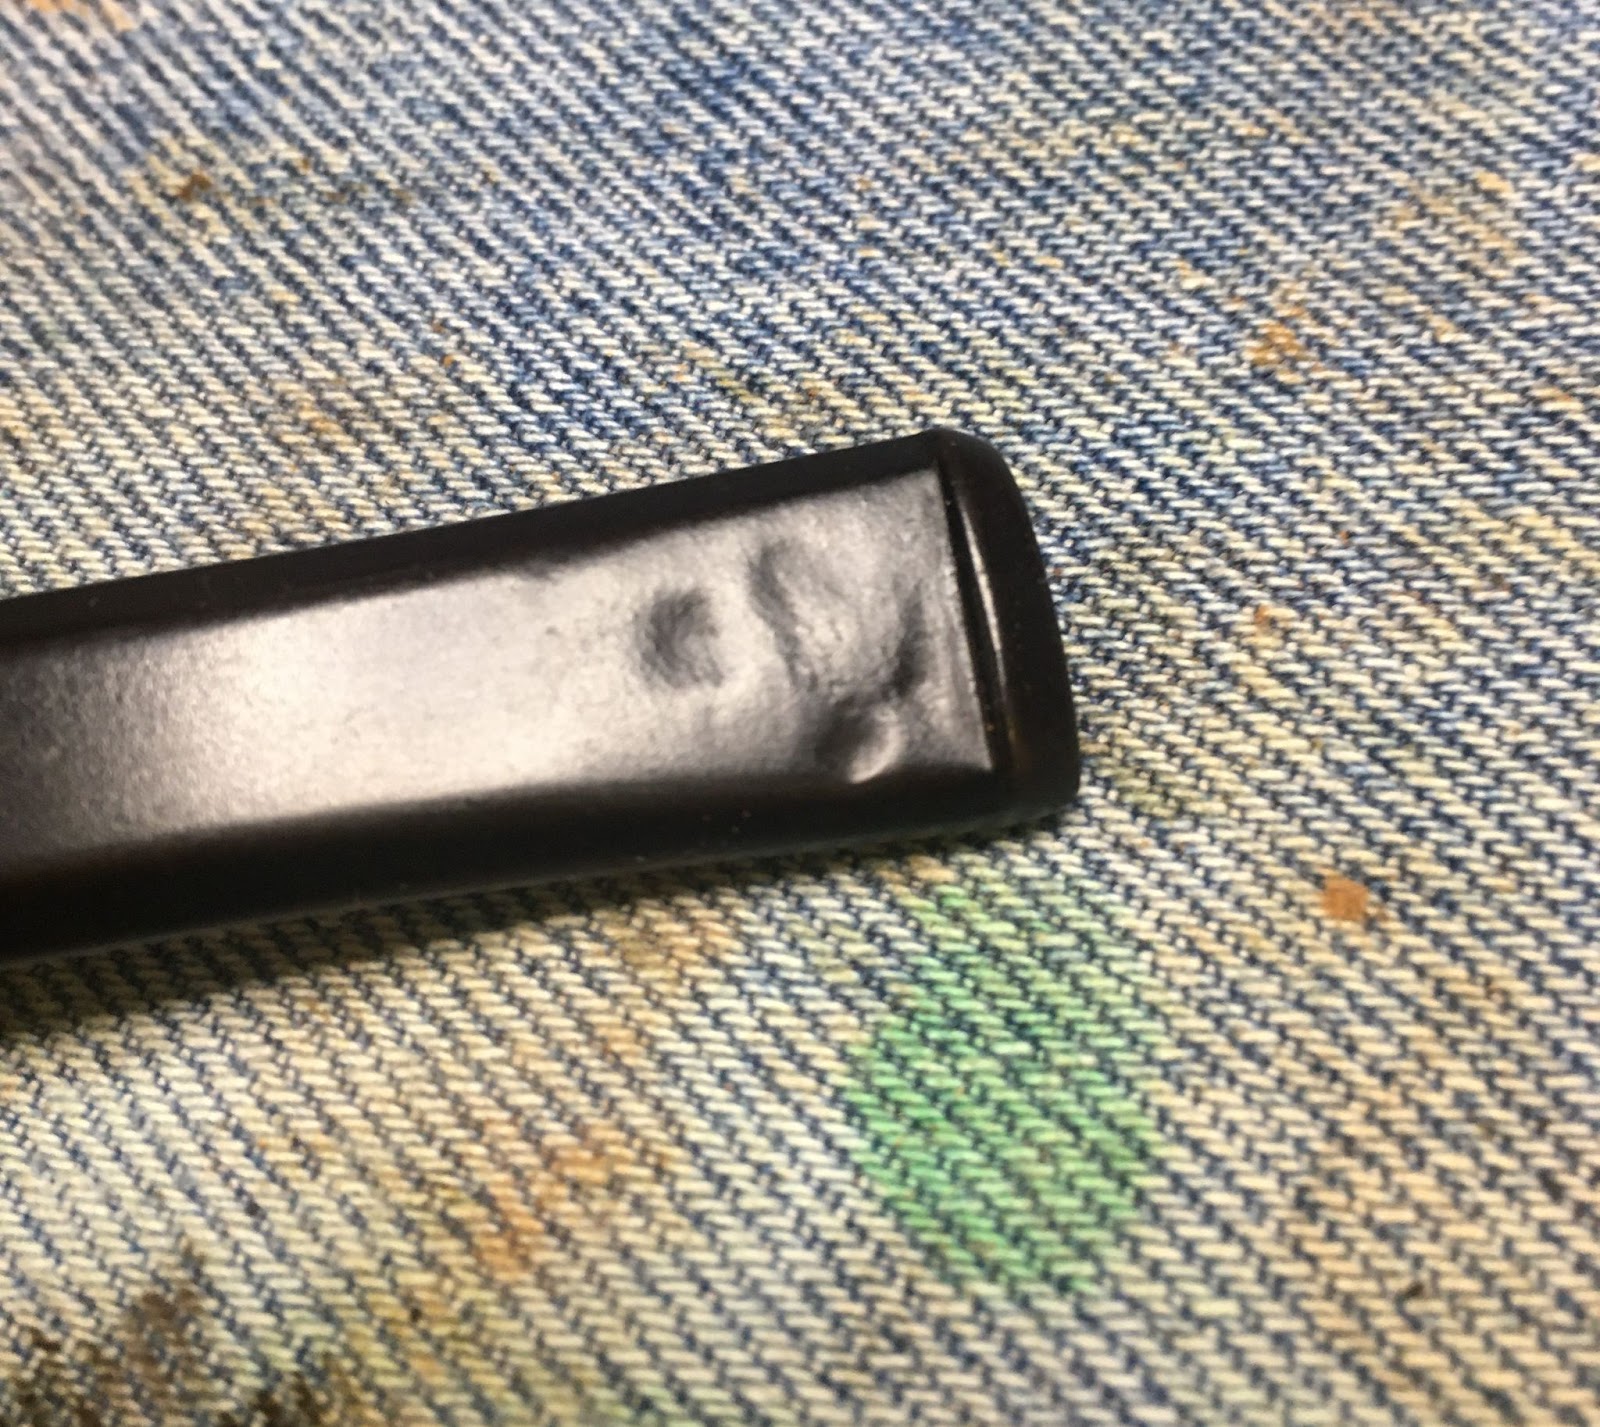
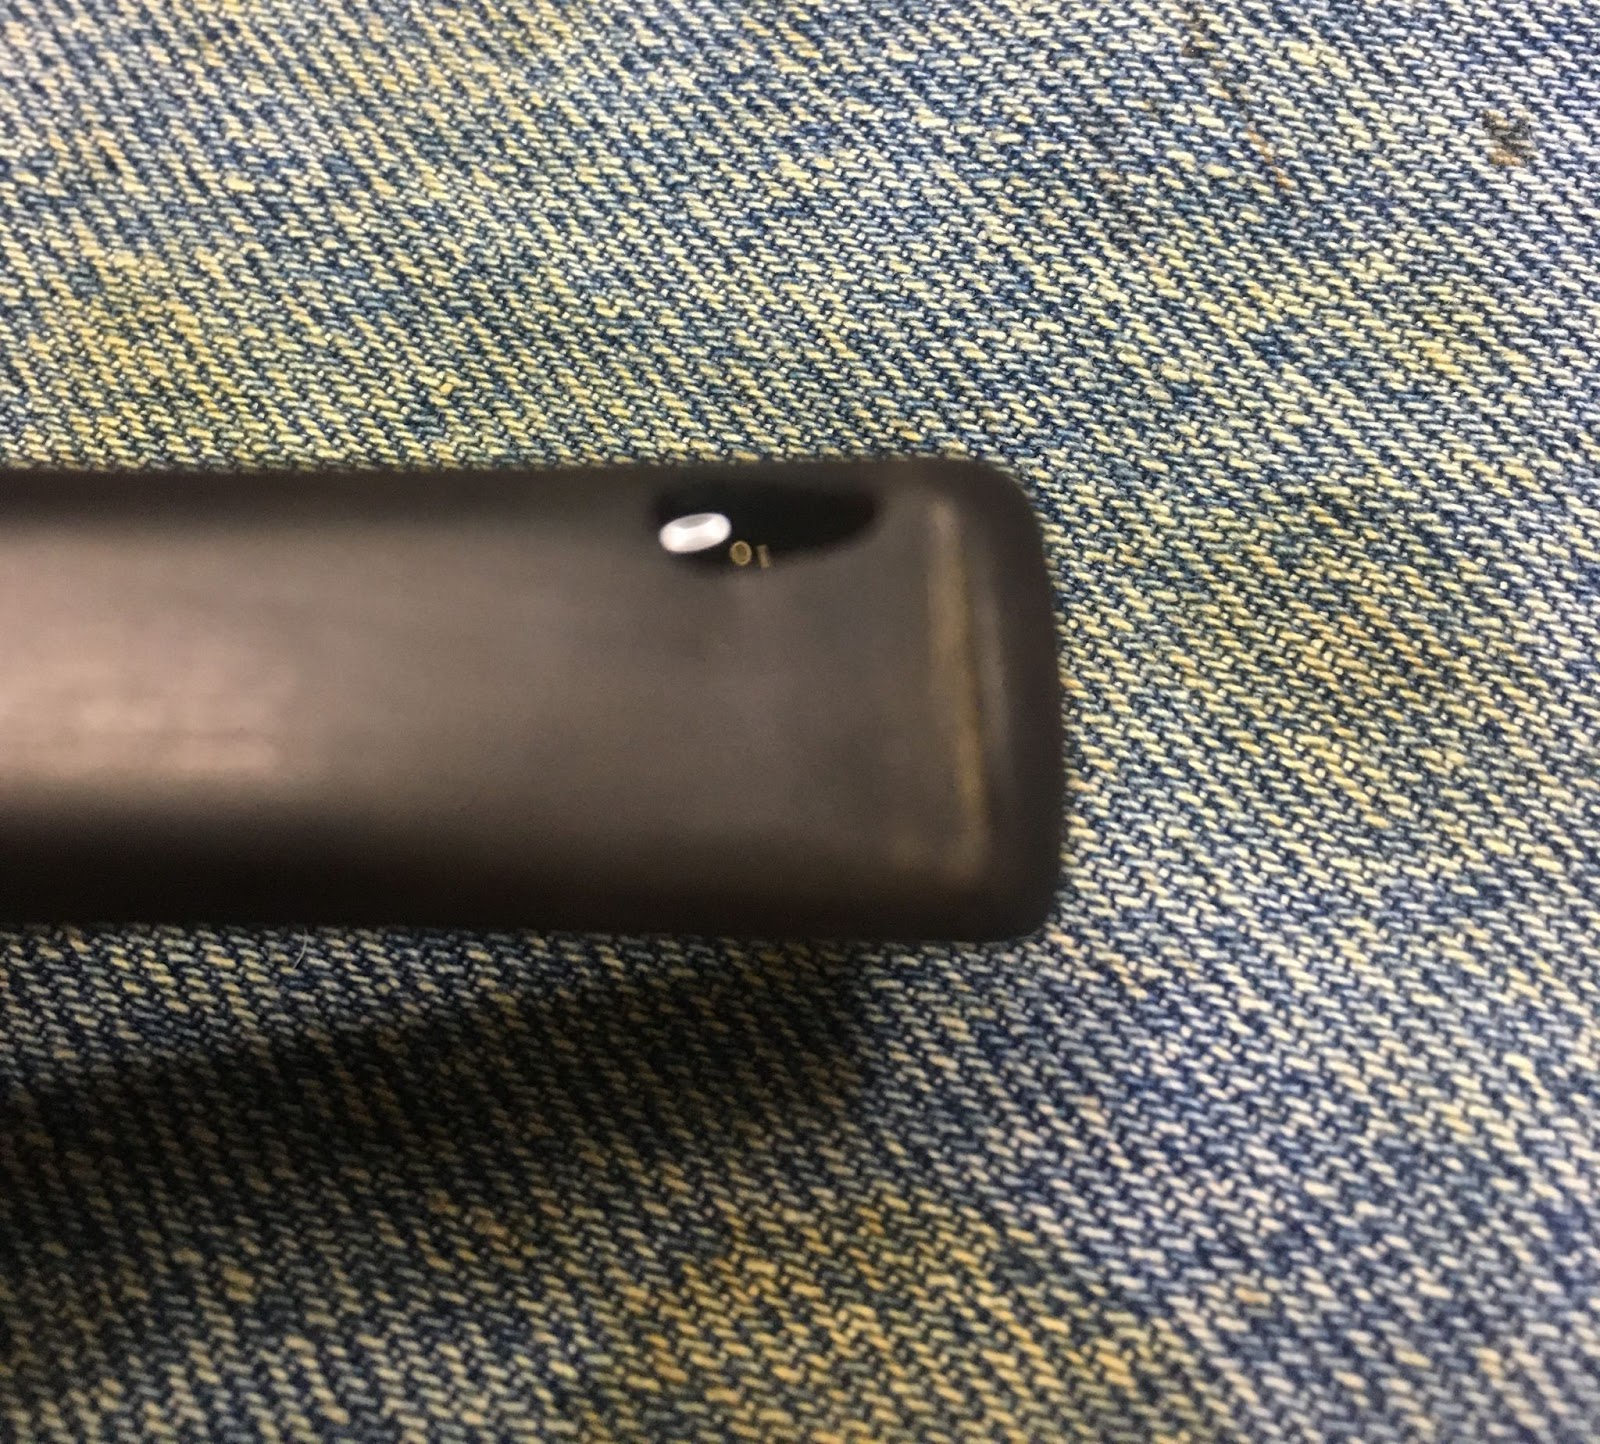
My thought was to dye the stummels black and make some very sharp looking custom cobs. Well the thought worked out well for two of the three pipes. The third pipe had a stem that was cracked at the base of the tenon. This crack led to a break while trying to remove the stem. This is not something that I have had occur with a new pipe but I wasn’t too upset by it thinking that this was an excuse to purchase a Forever Stem from Vermont Freehand for the pipe.
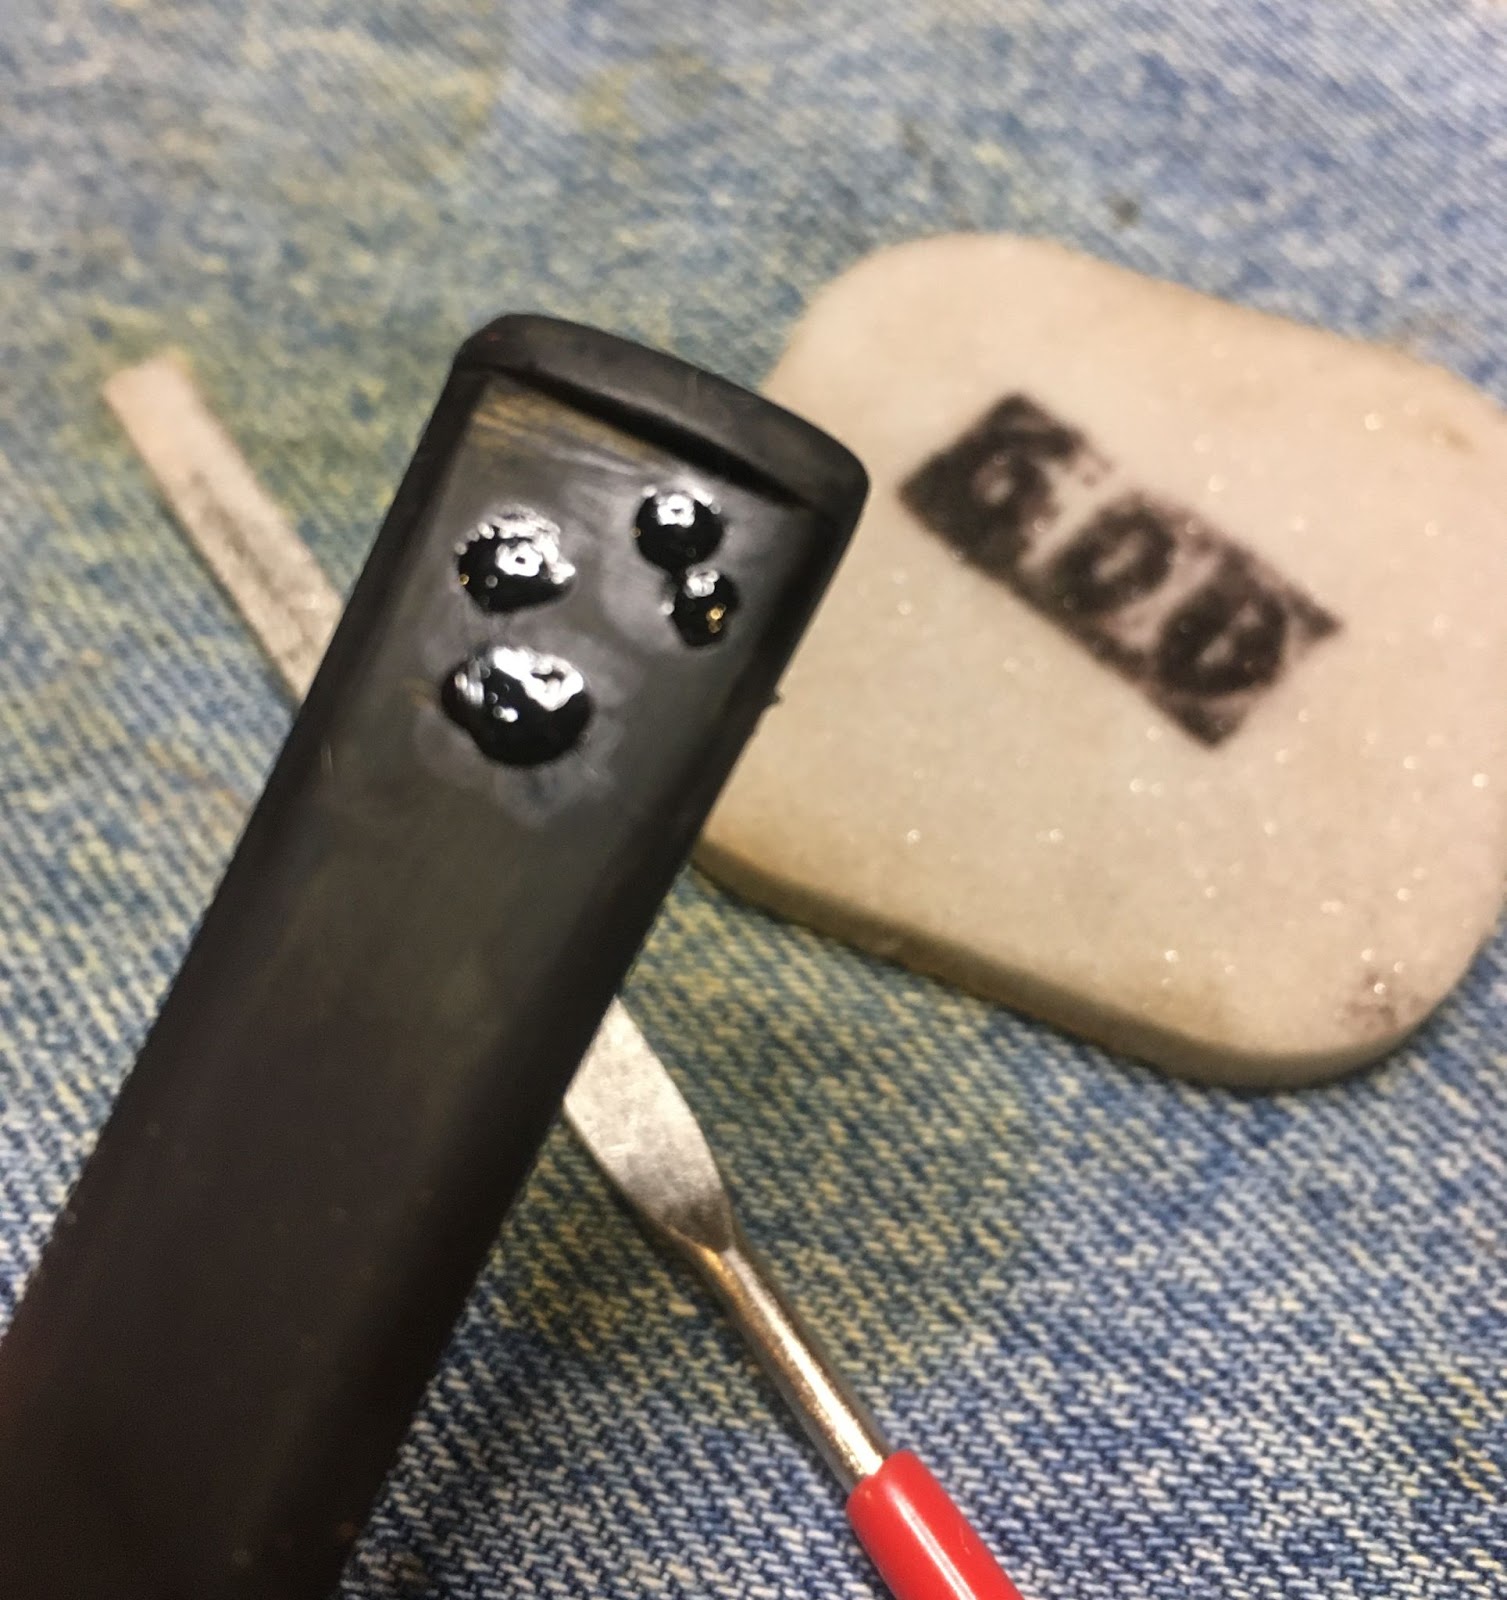
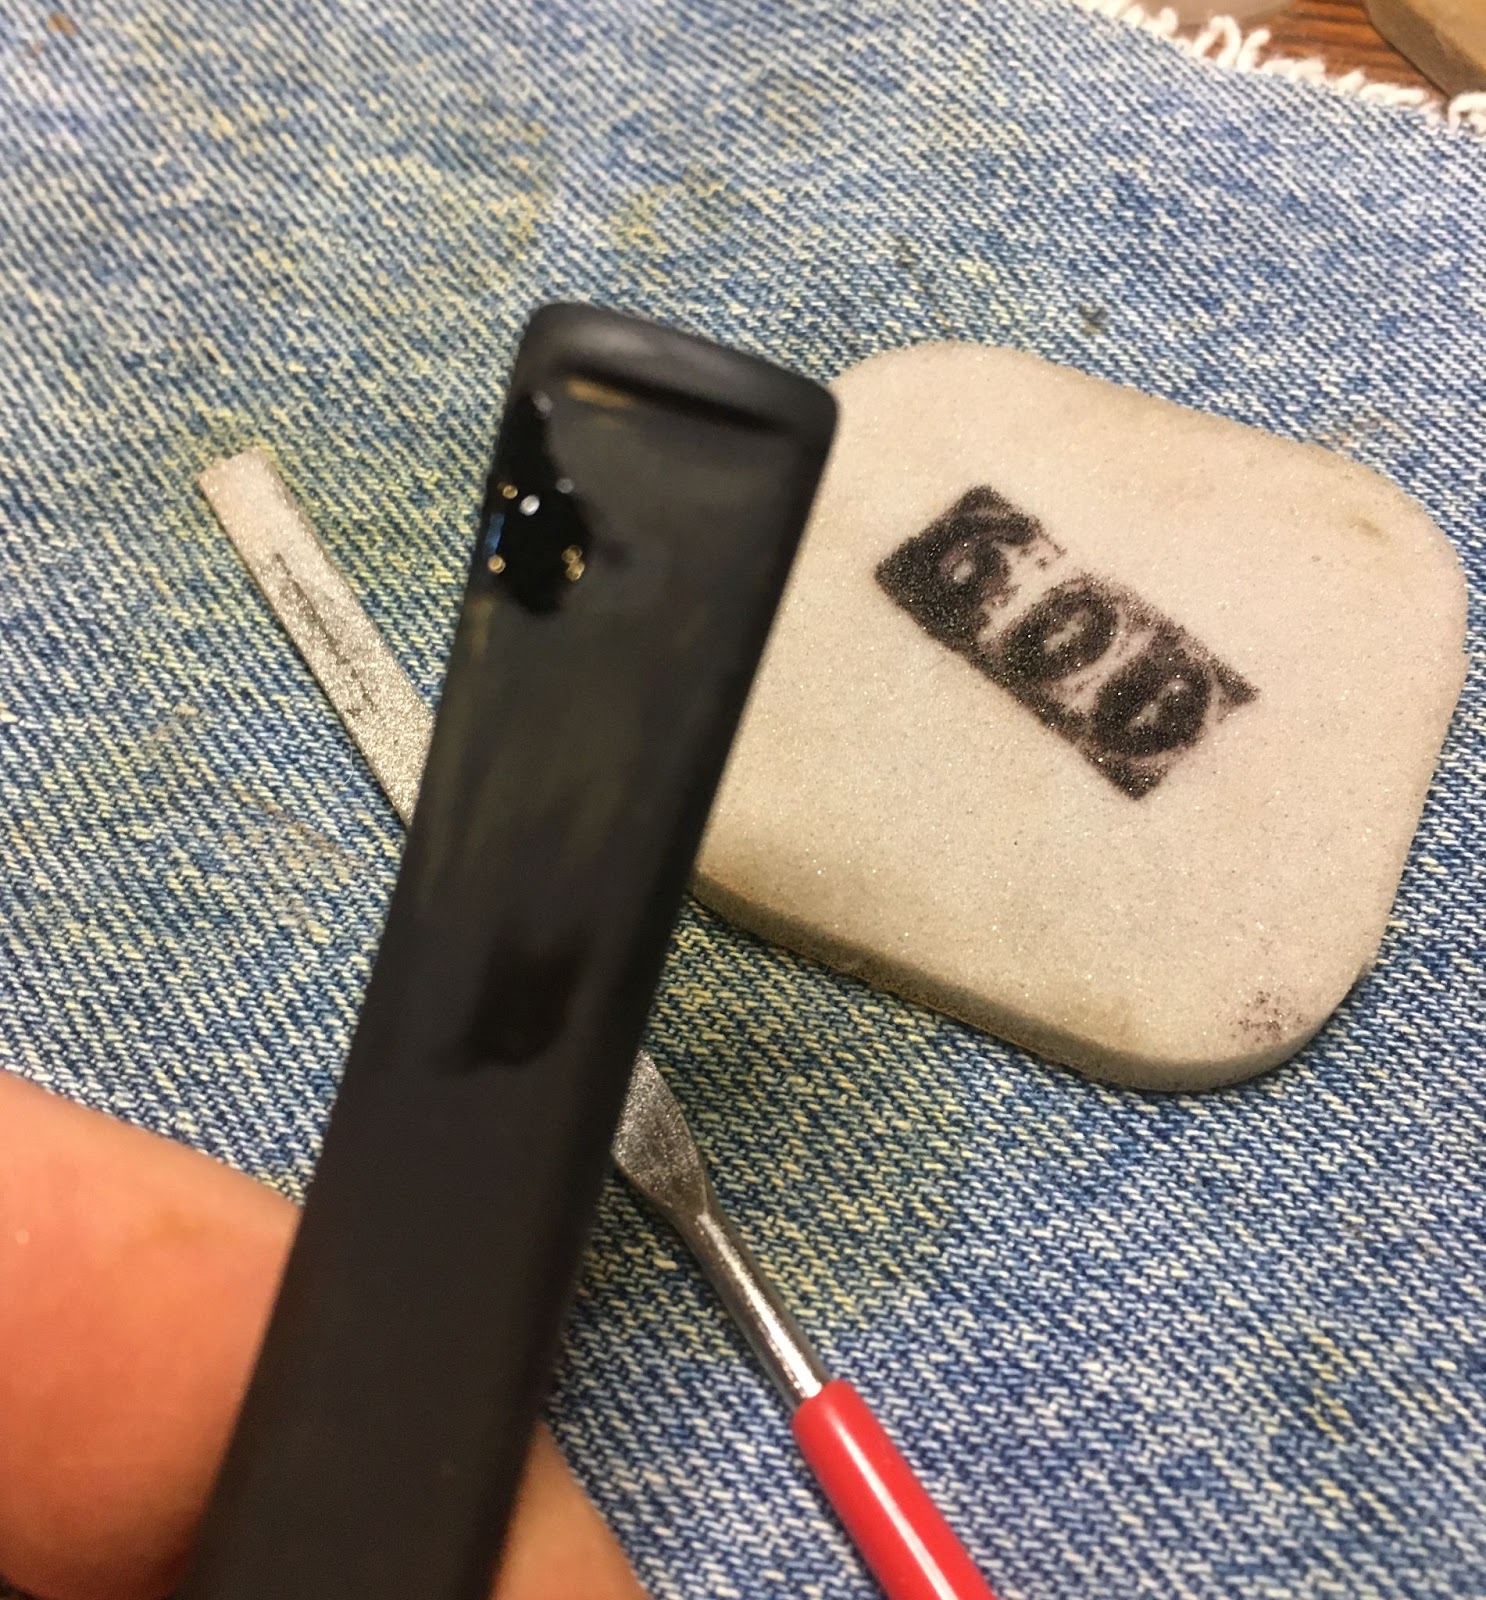
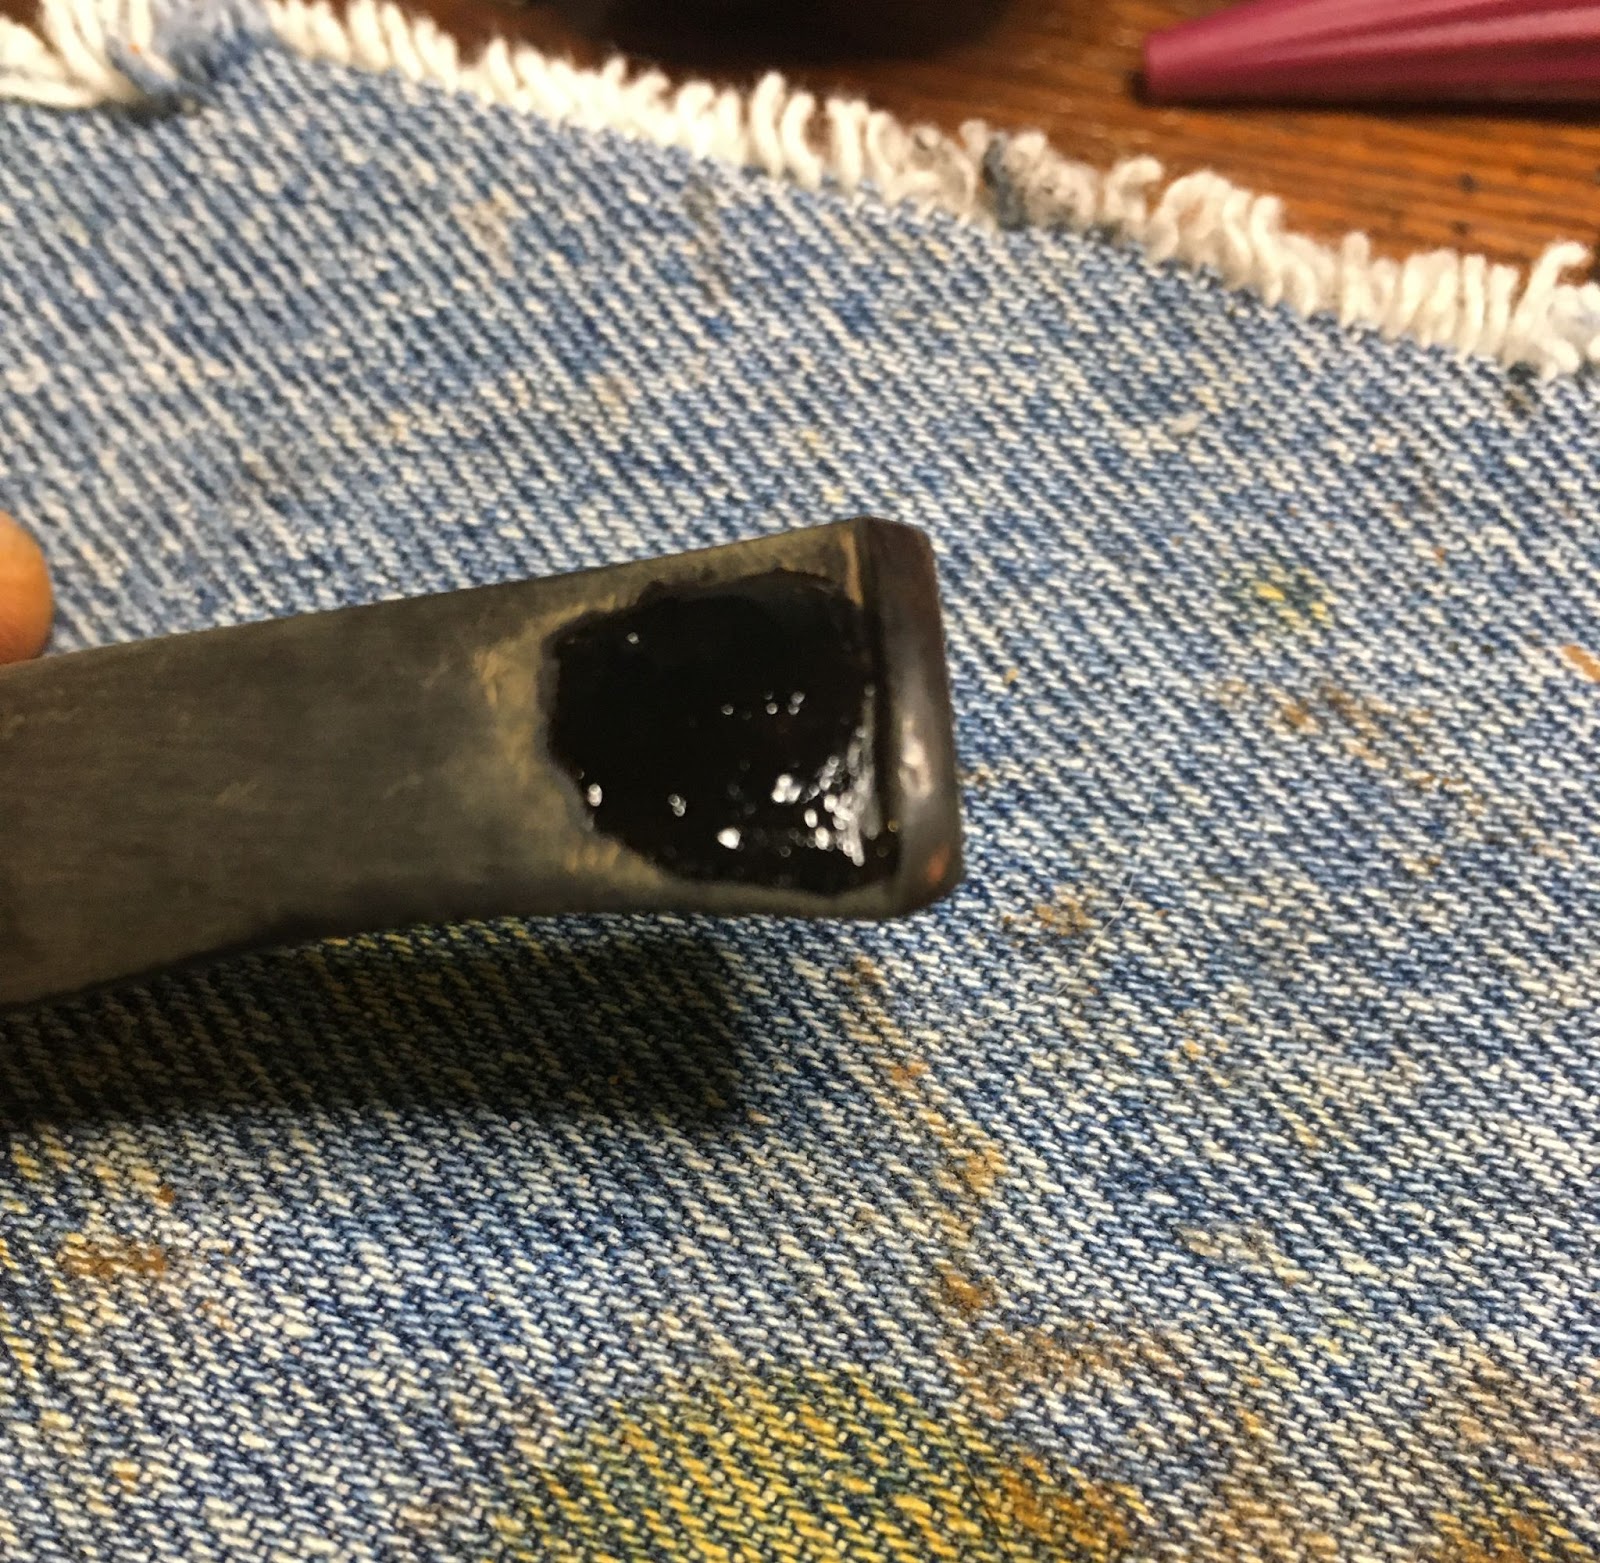
A drywall screw was used to pull the broken tenon from the shank.
“To the Internet!” was the battle cry. I chose and ordered a replacement stem from the great options from Vermont Freehand. The shipping was quick and I soon had a replacement stem. I still wanted to dye the cob and stem black as I was very happy with how the other two Riverboat Gamblers turned out.
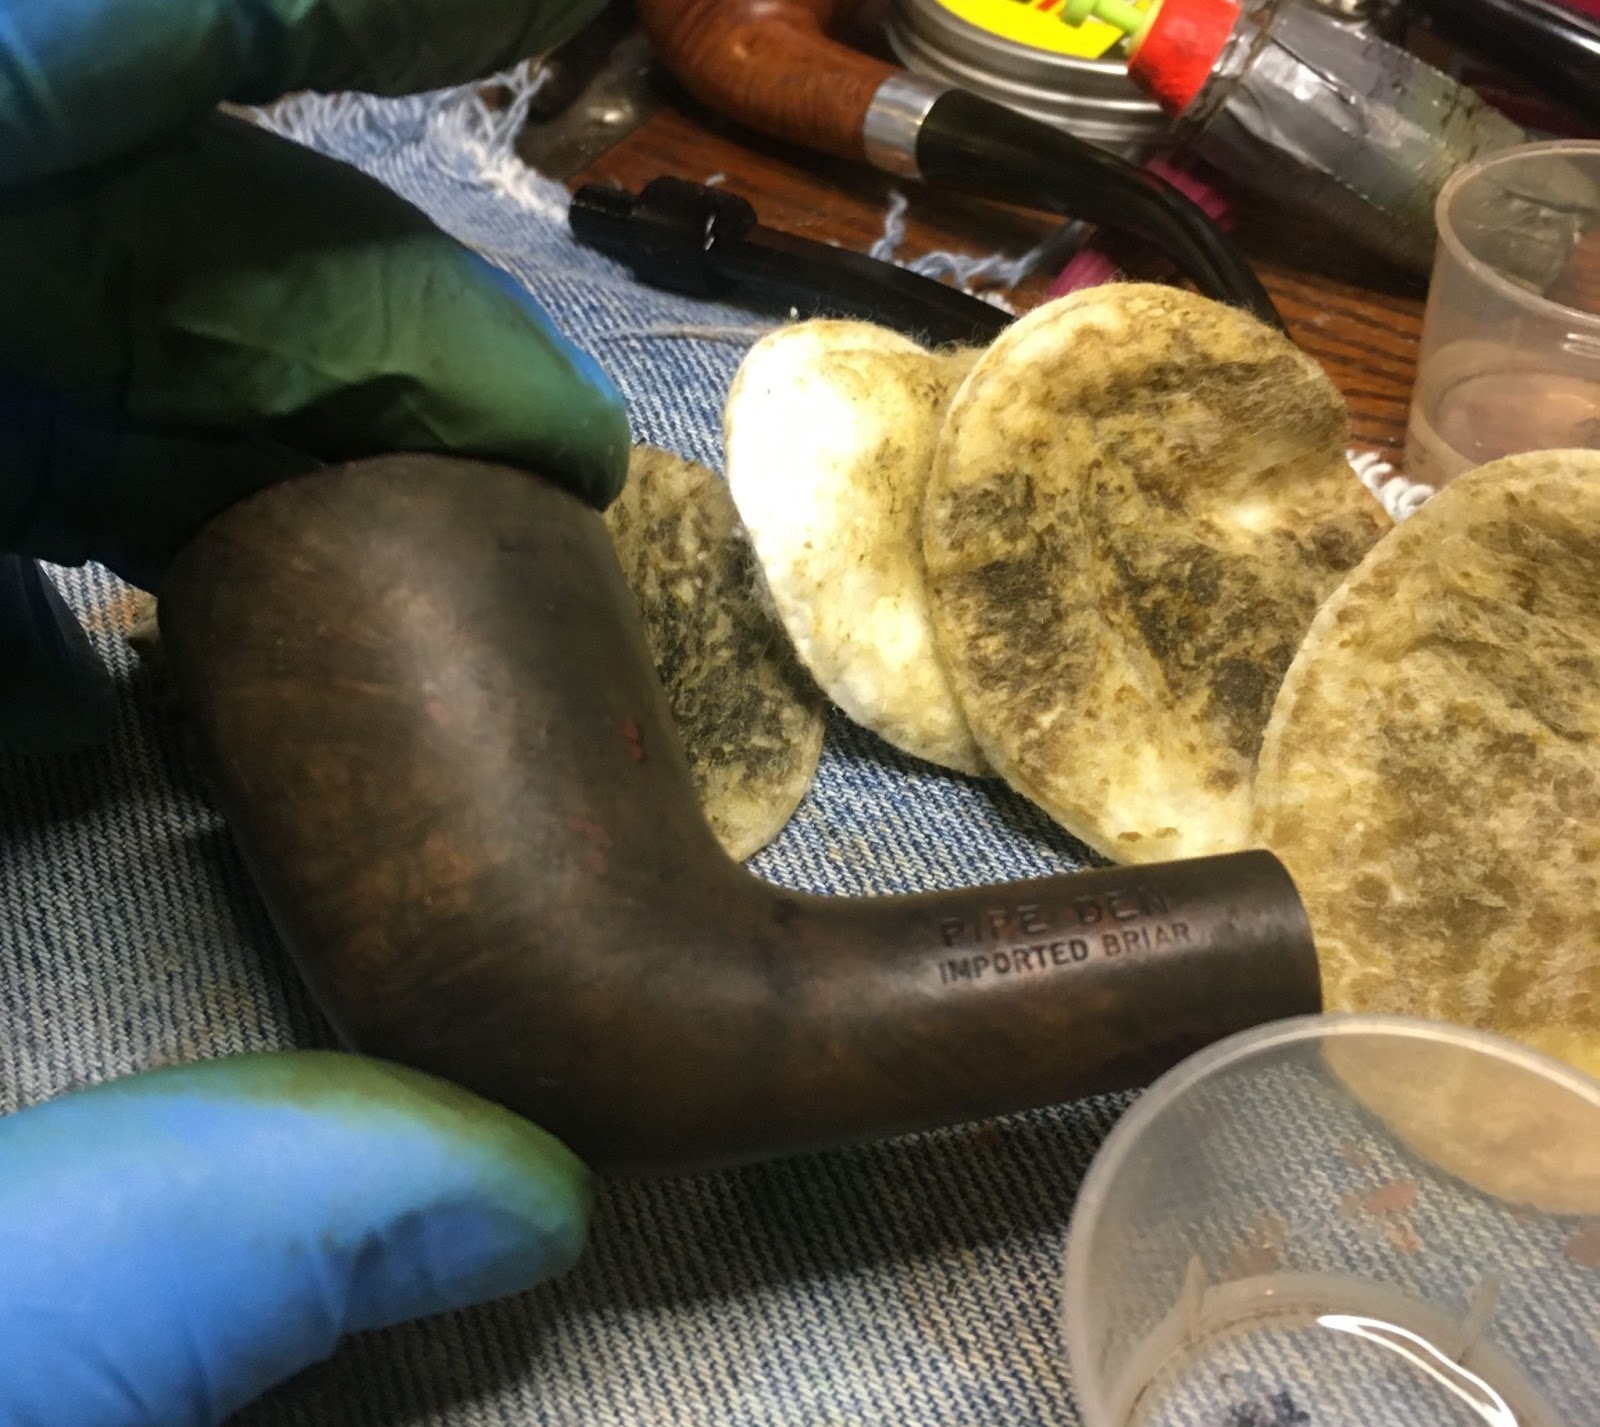
I wanted to maintain the Missouri Meerschaum logo sticker so I covered it with Vallejo Liquid Mask. This is a quick drying latex that is used to keep paint from areas where it is not wanted. Once dried it can be easily peeled off.
The cob and stem were sanded with 320 and 400 grit sanding sponges. I do not like to go finer than that before dying briar due to my thoughts that finer sanding does not allow the dye to penetrate as well into the wood. I was not concerned with masking the band at the end of the shank since the brass collar would completely cover it.
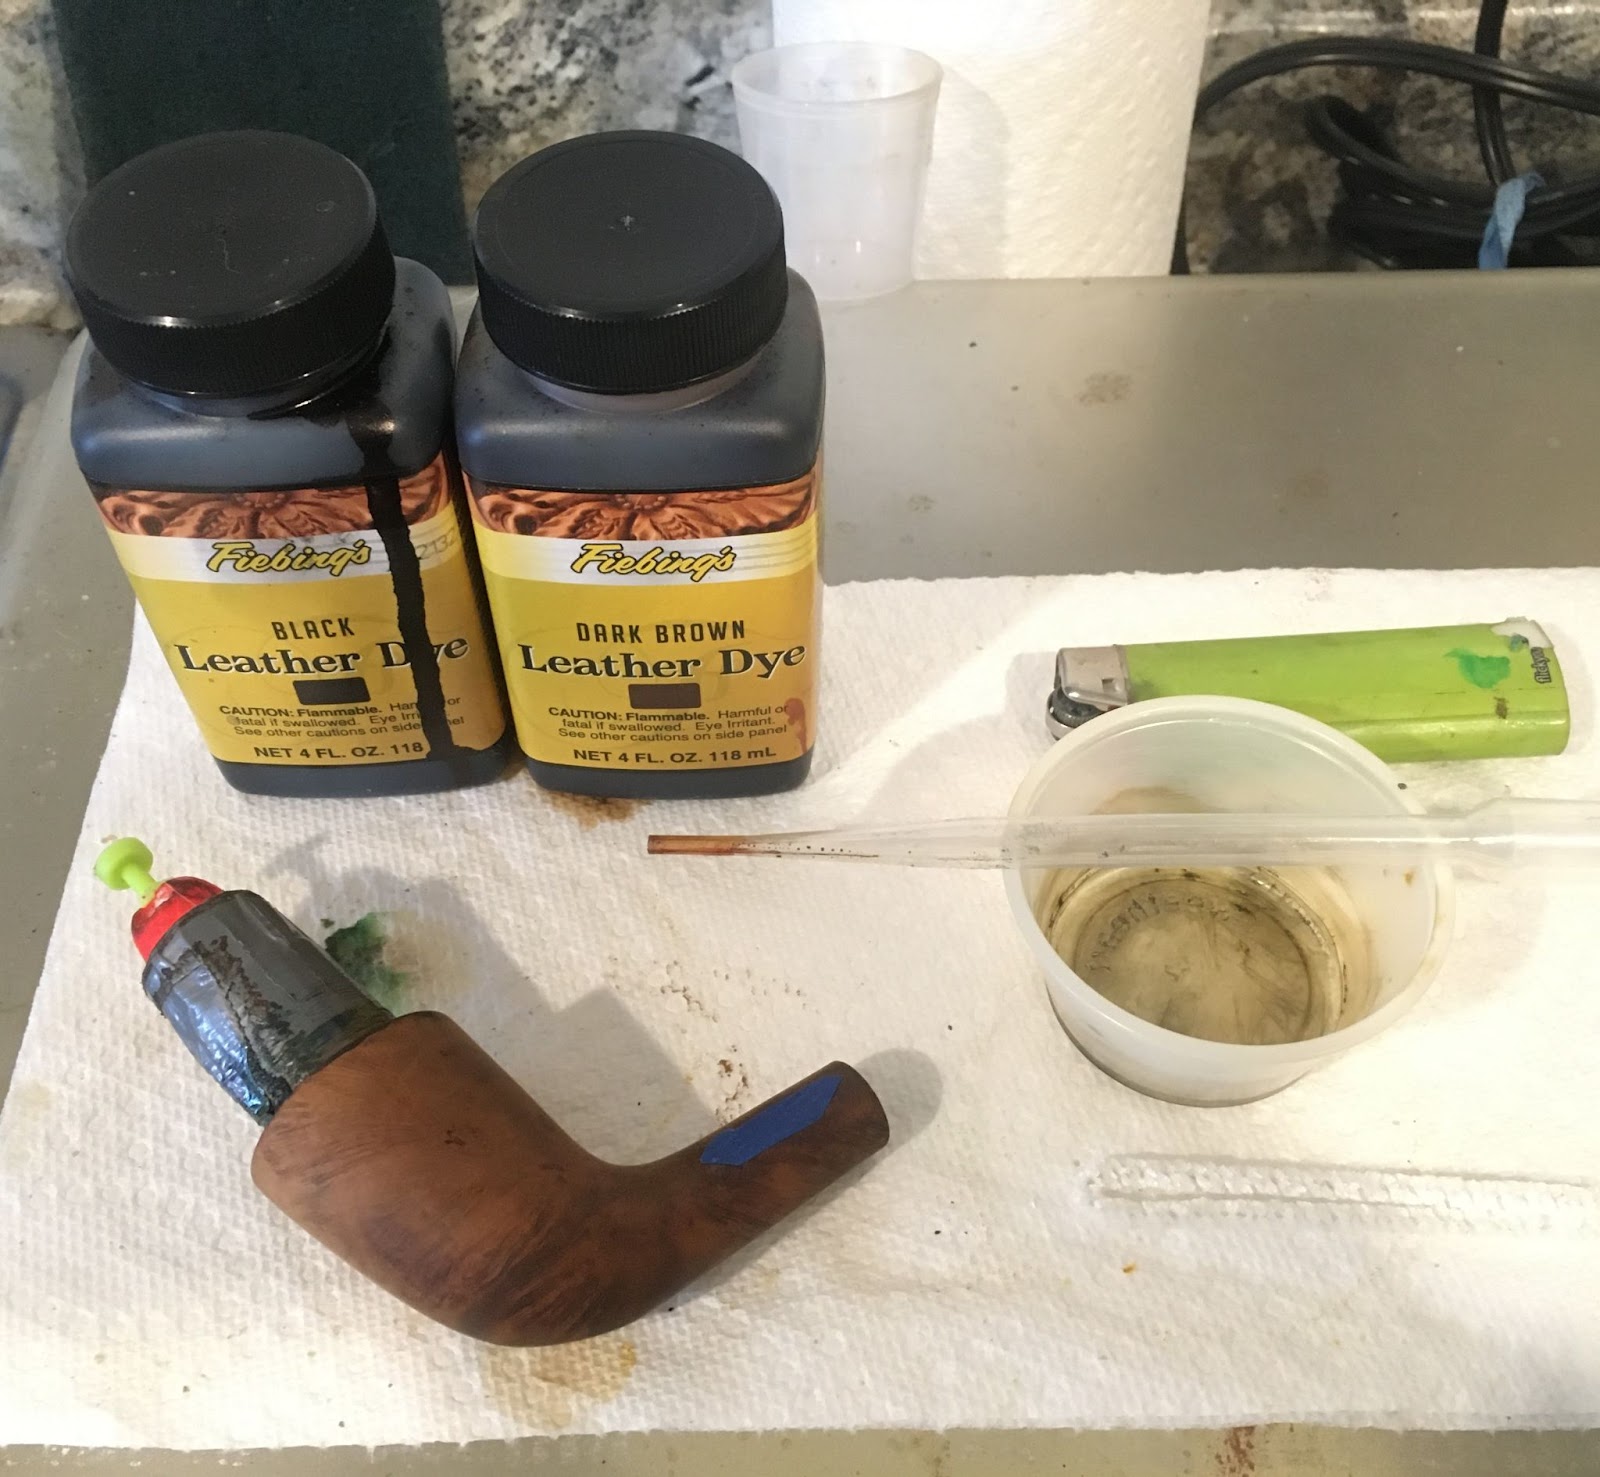
Once the sanding was completed I prepared the dye gear. This included a cork to plug the tobacco chamber and act as a handle, a lighter for flaming the wet dye, a bend pipe cleaner as an applicator, a paper towel surface cover and the Fiebing’s Leather Dye in black. I also had a heat gun to heat the cob before applying the dye.
The cob was briefly heated then painted with the black Fiebing’s Leather Dye. The first coating was applied and quickly absorbed into the cob and stem. I tried to flame the stummel but there was just nothing to burn.
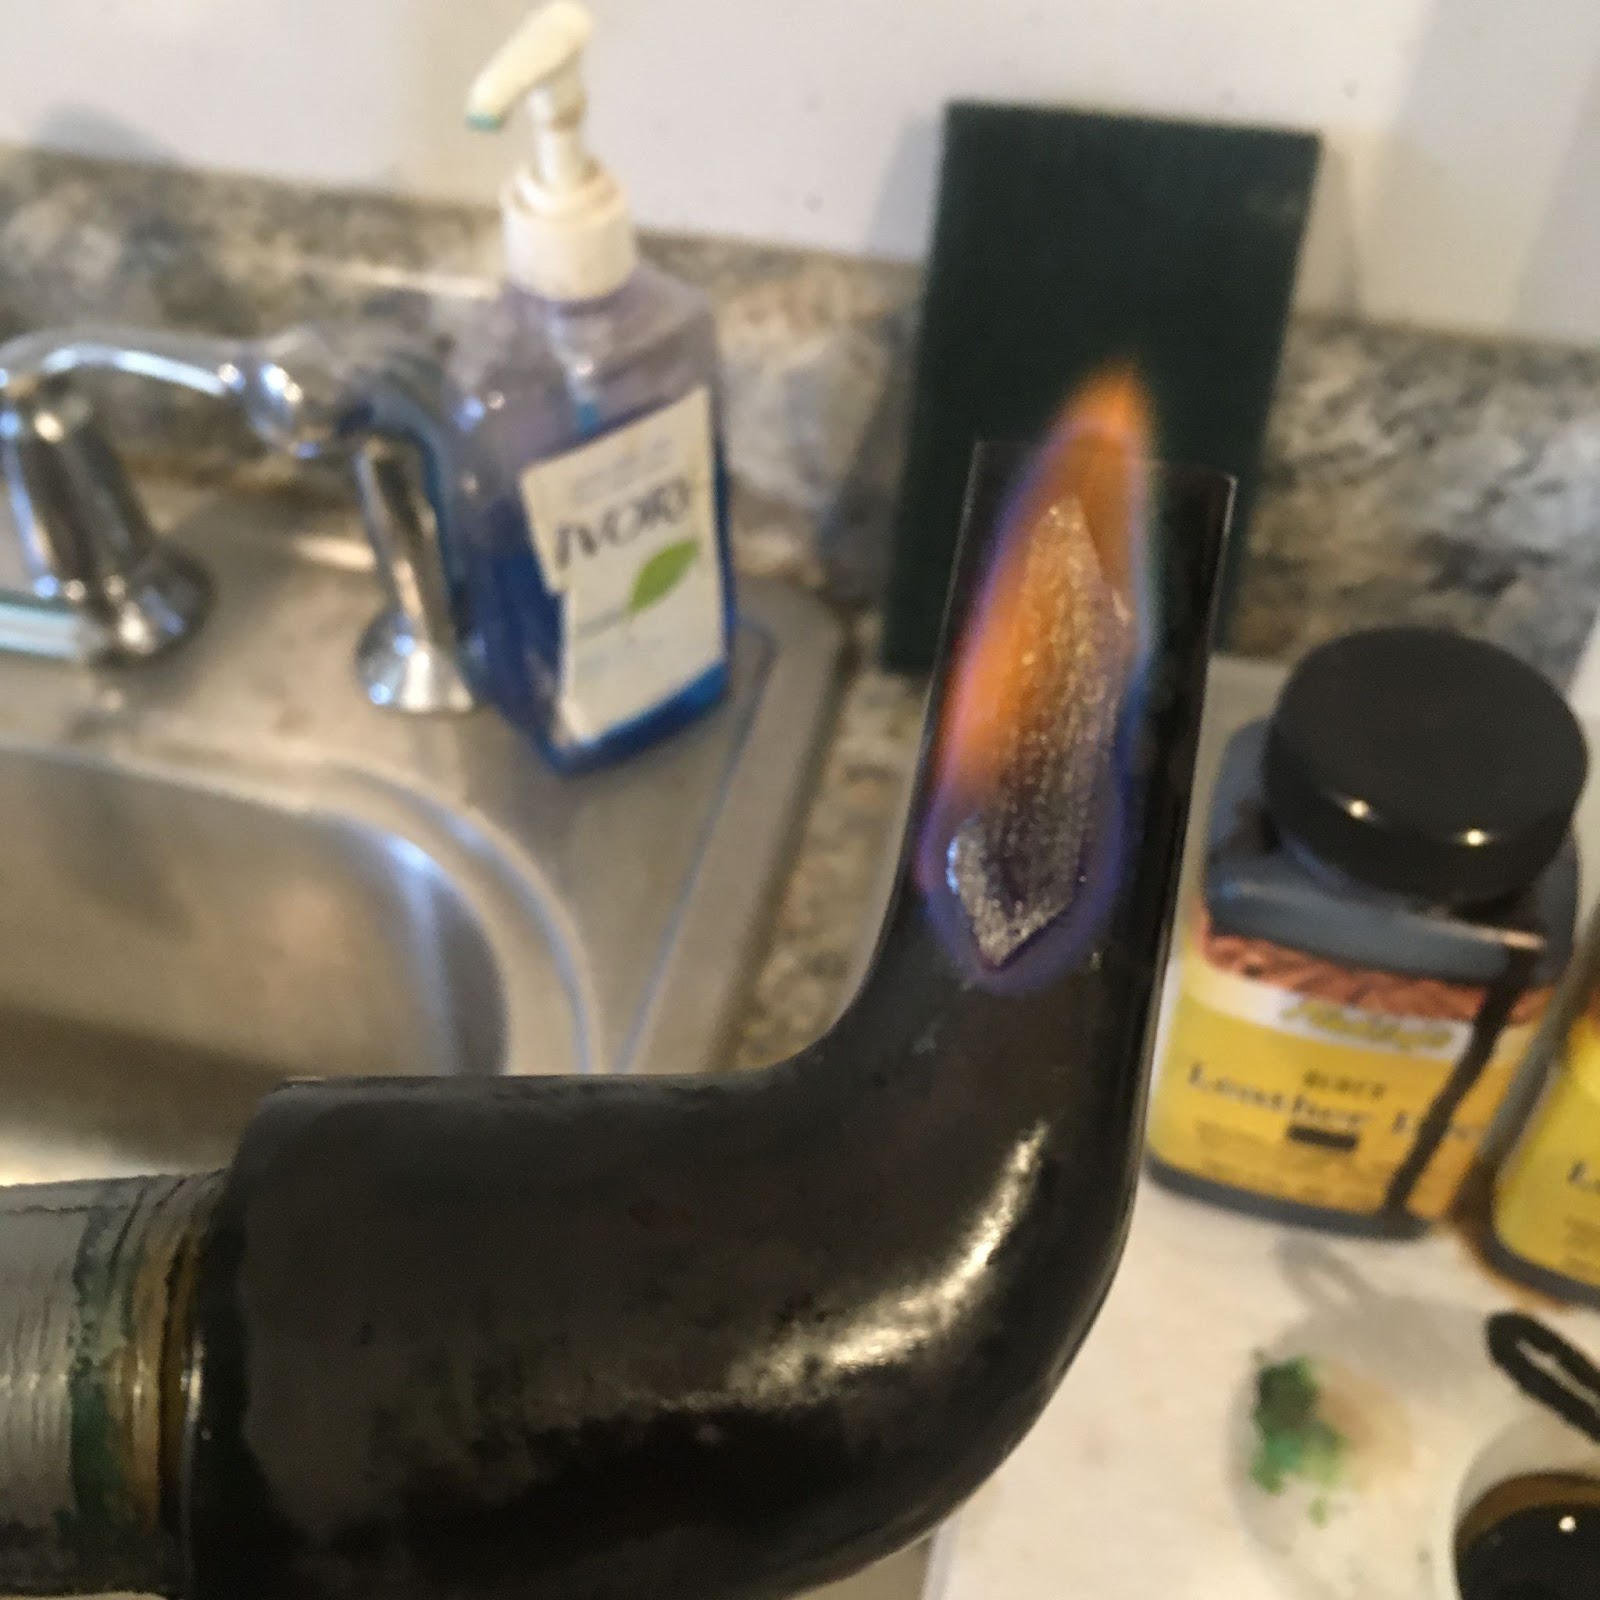
I applied a second coating of Fiebing’s this time the flaming attempt did work but very briefly. The pipe was taken to a vise where I clamped it and allowed it to dry overnight.
The next day I applied a third coating of black dye and set the pipe to dry for two hours. Once completely dry I wiped/rubbed the cob and stem with a paper towel to remove any of the dye that might come off on a person’s hands while handling it. I then proceeded to apply a coating of Danish Oil to the cob and stem. I used a fluffy pipe cleaner to apply the Danish Oil.
I allowed the Danish oil to dry for about an hour and applied a second coat. This one was allowed to dry for another hour.
I peeled the Liquid Mask latex from the logo sticker.
The mask did exactly what it was supposed to do and kept the dye from coloring the sticker.
The last steps included giving the pipe a couple of coats of carnauba wax with the buffer followed by a hand buffing with a microfiber cloth.
I do hope that you have found something here useful to your own pipe care, maintenance, restorations or customizations.If you are interested the two Riverboat Gamblers from the earlier customizations are available. Feel free to message me in the comments if you would like one of them. If you like this sort of thing, please click the like and subscribe buttons. Thank you for reading the ramblings of an old pipe lover.
Loading…
Below are some photos of the finished RIverboat Gambler 2.
How it looks after one bowl of Prince Albert. The light interior of the tobacco chamber is now properly colored, as well.
I am stepping a bit away from a restoration with this blog. These are brand new Missouri Meerschaums that I saw on sale from The Pipe Nook a while back. I was not terribly impressed with the color scheme but I thought that they would look lovely if dyed with black. The gold (brass) collar and the white stem looked amazing in my vivid mental image. Well, I ordered three of them and completely forgot about them until the day they arrived. Below are a couple of photos of the pipes upon arrival.
Background
The three pipes in my vivid mental image reminded me of the Three Amigos movie. Perhaps due to the color scheme of because I found both to be funny.
Corn cob pipes by their very nature make me think of down home utilitarian goodness. Nebraska, my home state, is known as the home of the University of Nebraska Lincoln (UNL) Cornhuskers. Immediately to our southeast is the state of Missouri, home of the Missouri Meerschaum Pipe Company. According to pipedia.org,
“Washington, Missouri has long been known as the “Corn Cob Pipe Capital of the World.” It was the Missouri Meerschaum Company, still the world’s oldest and largest manufacturer of the cool, sweet-smelling corn cob pipes, that began the tradition for which Washington became famous.
In 1869 Henry Tibbe, a Dutch immigrant woodworker, first began production of the corn cob pipe. Legend has it that a local farmer whittled a pipe out of corn cob and liked it so much he asked Henry Tibbe to try turning some on his lathe. The farmer was well-pleased with his pipes so Henry made a few more and put them for sale in his shop. They proved to be such a fast selling item that soon Tibbe spent more time making pipes for his customers than working with wood. Soon Tibbe went into full time production of corn cob pipes. In 1907, the H. Tibbe & Son Co. became the Missouri Meerschaum Company
The word Meerschaum is taken from a German word that means “sea foam”. It is a Turkish clay used in high grade pipes. Tibbe likened his light, porous pipes and their cool smoke to that of the more expensive meerschaum pipes and coined the name “Missouri Meerschaum” for his pipes. Tibbe and a chemist friend devised an innovative system of applying a plaster-based substance to the outside of the corn cob bowls. In 1878, Tibbe patented this process.
A nationwide distribution system was established for the sale of his pipes. Other pipe firms also developed; by 1925 there were as many as a dozen corn cob pipe companies in Franklin County, most of them in Washington. Today, Missouri Meerschaum stands alone as the first and only surviving piece of the living history. These gentle pipes are smoked and loved all over the world as well as being used as souvenirs, often imprinted with the name of the city, business or event.” (Missouri Meerschaum – Pipedia)
These three lovelies are brand new products of Missouri Meerschaum.
The Customization
The three amigos made their way to the workbench and nestled in with a clean denim piece.
I thought the natural rim of these pipes would look interesting if I kept it in it’s natural state. TO do this I planned on applying a coating of Vallejo Liquid Mask to the rim. This product is a liquid latex which dries quickly and will seal off the surface. It is used by model painters to keep paint off surfaces where paint is unwanted. Once dry it can be easily peeled off. I planned on pouring a small amount onto a try and dipping the rim into the Liquid Mask.
Well, the plan came to a quick detour. The liquid was thicker than I remembered it being so a fly tying bodkin was used to stir it and apply a layer to the rim.
As the mask dries it loses the pastel color and becomes more clear.
Below you can see the mask clearing. I sanded the stummel and shank with a 320 sanding sponge and followed that with a 400 grit sponge. The bare wood/cob was wiped with a make-up pad moistened with alcohol to remove sanding debris.
The dye of choice was Fiebing’s Leather Dye in black. I wanted to heat the surfaces to be dyed with a heat gun prior to the dyeing to help the dye penetrate.
The dye was applied with a folded pipe cleaner. I applied two coats and tried to flame the wet dye but most of the alcohol had evaporated. Instead I used the heat gun to apply heat to the stummel.
A third coat of dye was applied. This time it did flame but not much so the heat gun was used again.
Back at the workbench the stummel was allowed to dry for over an hour.
I was happy with how the cob and wood had taken the dye.
I peeled the Liquid Mask from the rim.
The mask worked brilliantly but I Was not sure if I liked the natural rim or not.
Tha base and the logo looked okay.
For pipe number two, I sanded as with number 1.
This time I applied the Vallejo Liquid Mask to the logo on the bottom of the pipe.
Below is the dye kit used for the second pipe.
Number two was dyed black.
A second coat of black on number two.
A third coat of black on number 2.
Both pipe 1 and 2 were set aside for an hour to completely dry. As I looked at the two side by side, I decided that I did not like the natural rim. I used a cotton swab to carefully apply Fiebing’s Leather Dye to the rim of pipe number 1.
I liked that better. Some dye made it past the cork plug and into the tobacco chamber with both pipes. I do not think this will be noticeable when smoked or if it is I’m sure it will be very temporary.
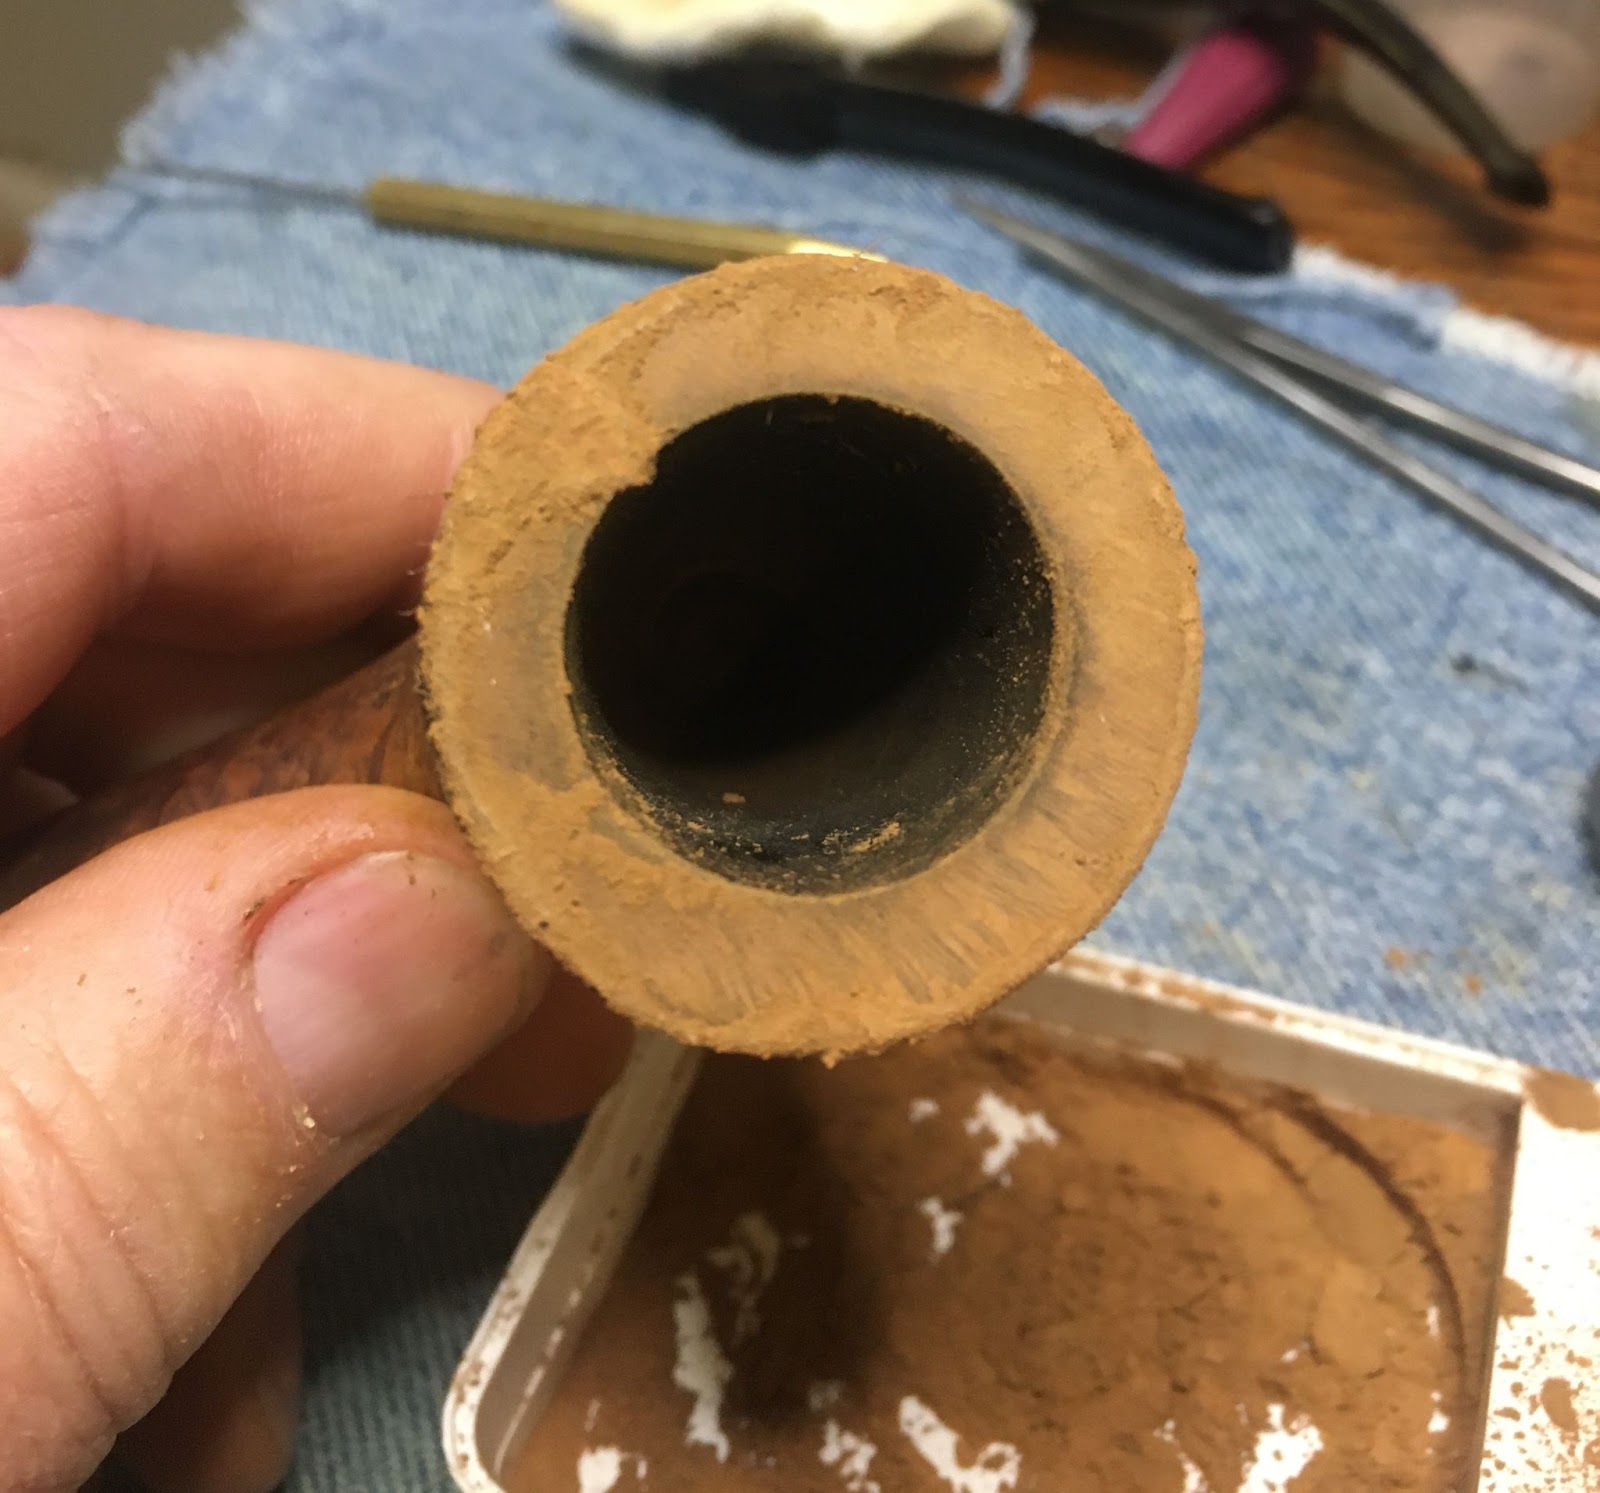
As the first two were dying st started on the third pipe. As I was twisting the stem loseI noticed it was cracking. As I continued it broke completely leaving the broken tenon in the mortise.
I used a drywall screw to remove the broken tenon piece. Hmm, not happy but this will be an excuse to buy a Forever Stem from Vermont Freehand. I think one of the light bone sems would look amazing. Stay tuned for that blog.
The natural and the black backgrounds for the logos both looked good to me so, I left it weil enough.
The next day I applied a coating of Nordicare Danish Oil to the black dyed surfaces. This was allowed to dry for an hour.
A second coating was added and allowed to dry for several hours.
I wrapped the shanks of both pipes with masking tape to protect them while I buffed the collars.
White buffing compound was used on the dedicated white wheel. This did put some smudges on the white stems but wiped clean with a cotton cloth.
The pipes were then lightly waxed using carnauba wax on the buffer.
The final step was a hand buffing with a microfiber polishing cloth.
I think these two corn cob pipes turned out very nicely. They match the vivid mental image I formed in my imagination when I first saw them. The whole process went pretty much as planned. I think the slightly matte finish goes with the whole cob character as does the slightly rough finish of the shank. The white stems are a beautiful contrast to the black dyed stummels and those polished brass collars add a touch of class few expect from a corn cob pipe. These pipes are ready for a classy night at the opera or at least Grand Ole Opry.
These dimensions of these two Missouri Meerschaums should be very similar, being lazy, I only measured one:
Length: 6.30 in./ 160.02 mm.
Weight: 1.31 oz./ 37.13 g.
Bowl Height: 1.80 in./ 45.72 mm.
Chamber Depth: 1.67 in./ 42.42 mm.
Chamber Diameter: 0.69 in./ 17.53 mm.
Outside Diameter: 1.48 in./ 37.59mm.
I do hope that you have found something here useful to your own pipe care, maintenance or restorations. If you like this sort of thing, please click the like and subscribe buttons. Thank you for reading the ramblings of an old pipe lover.
Loading…
Below are some photos of the finished Missouri Meerschaum Riverboat Gamblers.
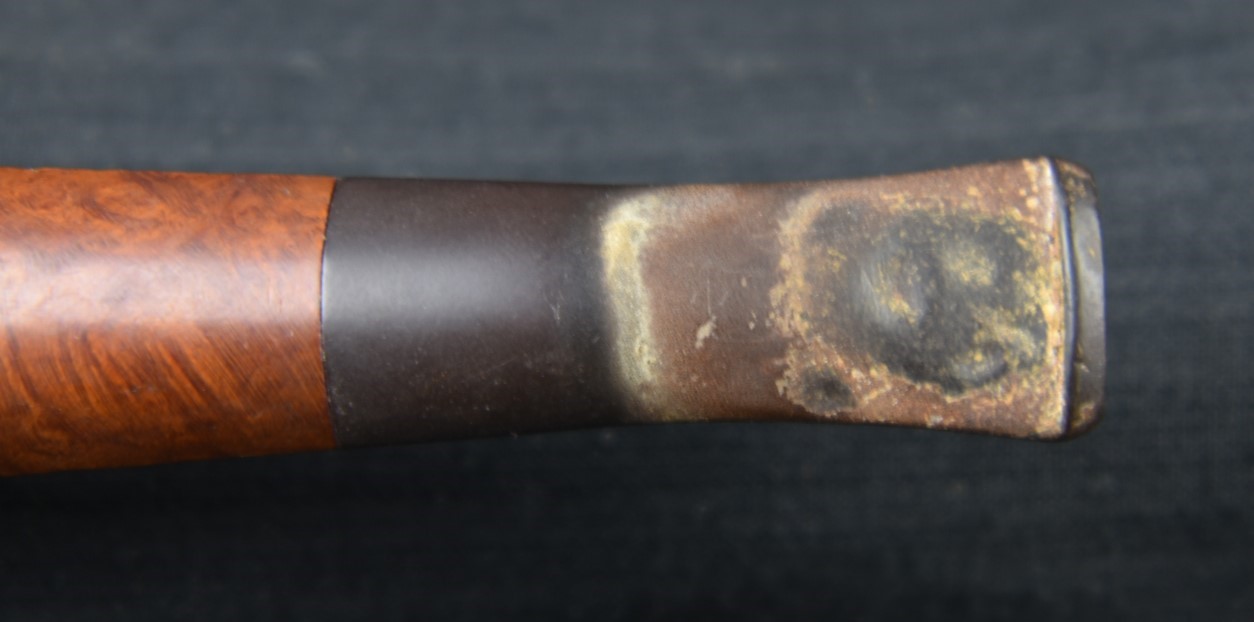
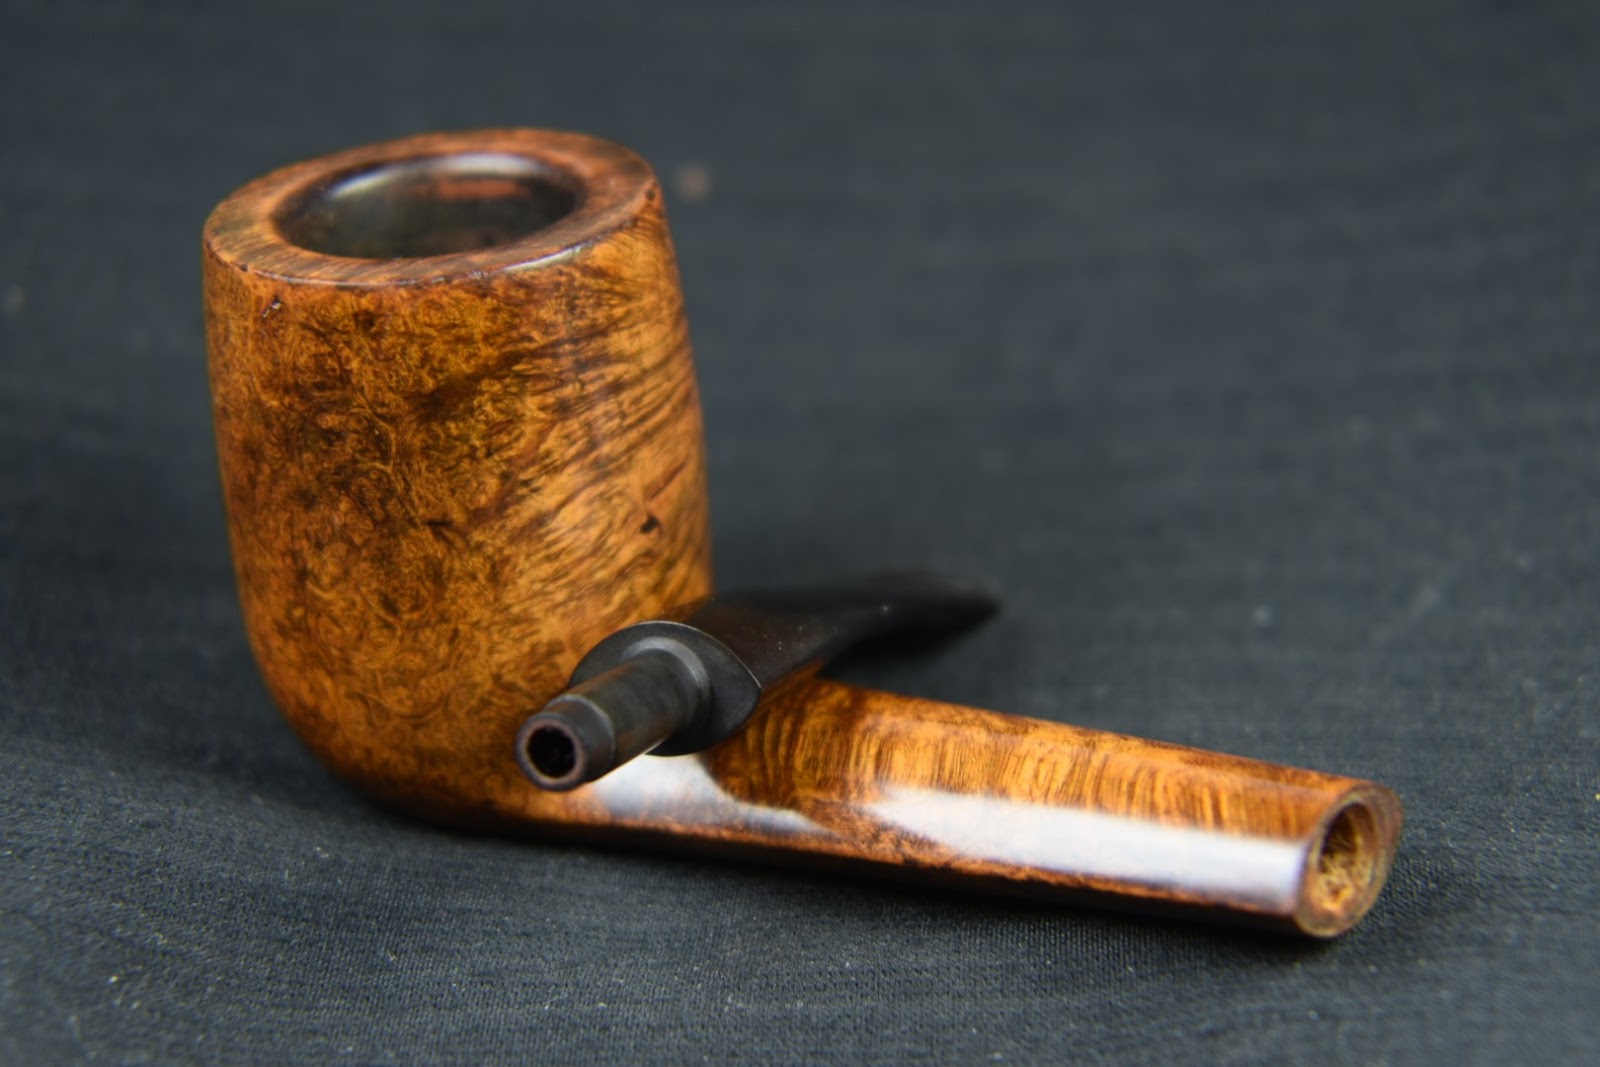
I don’t understand how the red in pipes is so difficult to capture in photographs. The oxidation is easy to capture and this stem had plenty of that. The rim was coated in a layer of lava indicating a fair amount of use but the tobacco chamber was pretty clean. Perhaps the previous owner liked to keep the cake to a minimum but was not concerned about rim maintenance. I did not like the look of the clear coat on the pipe and hoped that would be easily removed. Overall this looked like a straightforward restoration.
Background
I can barely say anything about this pipe. Pipedia.org has nothing on Marseille. Pipephil.eu has the following:
Which, in all honesty, is the same as nothing. The pipe has no country of manufacture (COM) stamp but, if I were a betting man, I’d bet on France. Marseille makes me think of Marsielle Marso but I kind of dislike bringing that up due to the dislike of mimes in general by AMericans. At least in my experience mimes are not appreciated.
Smokingpipes.com has two old estate pipe listings. One by Butz-Choquin
Both Butz-Choquin and Chacom are French pipe makers although the lack of any maker’s stamps or COM on the Marseille at hand opens any conclusion I make to pure speculation.
The Restoration
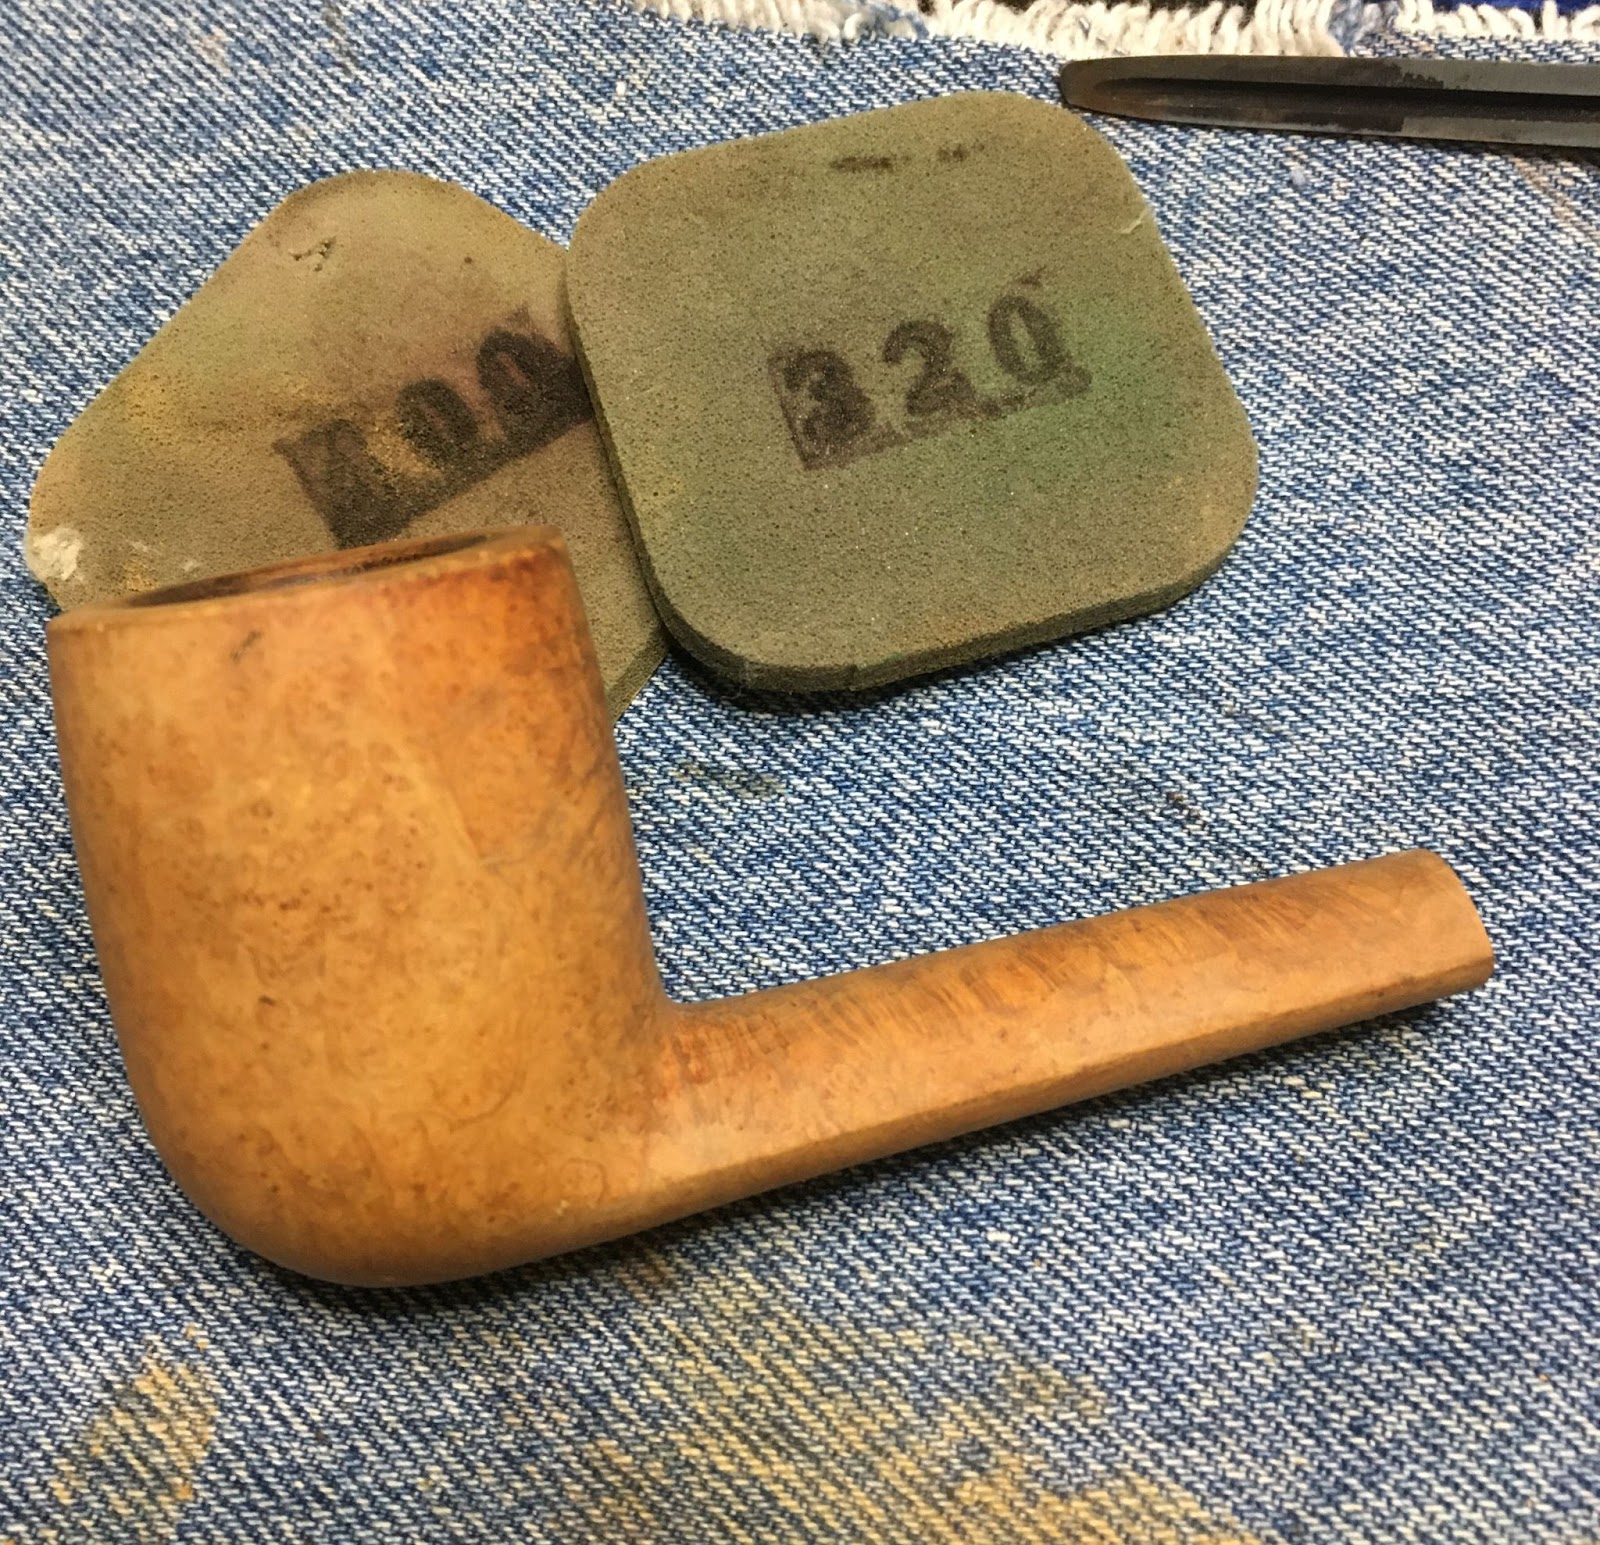
This is the second pipe of the double restoration. The first was the E. Wilke Squashed Apple. If you missed that restoration there is the link. I said in that one that I do not normally like to work on more than one pipe at a time. Anyway, here is the Masrielle situated on a clean denim piece.
I lightly sanded the stem with a 400 grit sanding sponge. I was careful to avoid the stem logo.
Next the tooth marks were filed smooth with a small flat file.
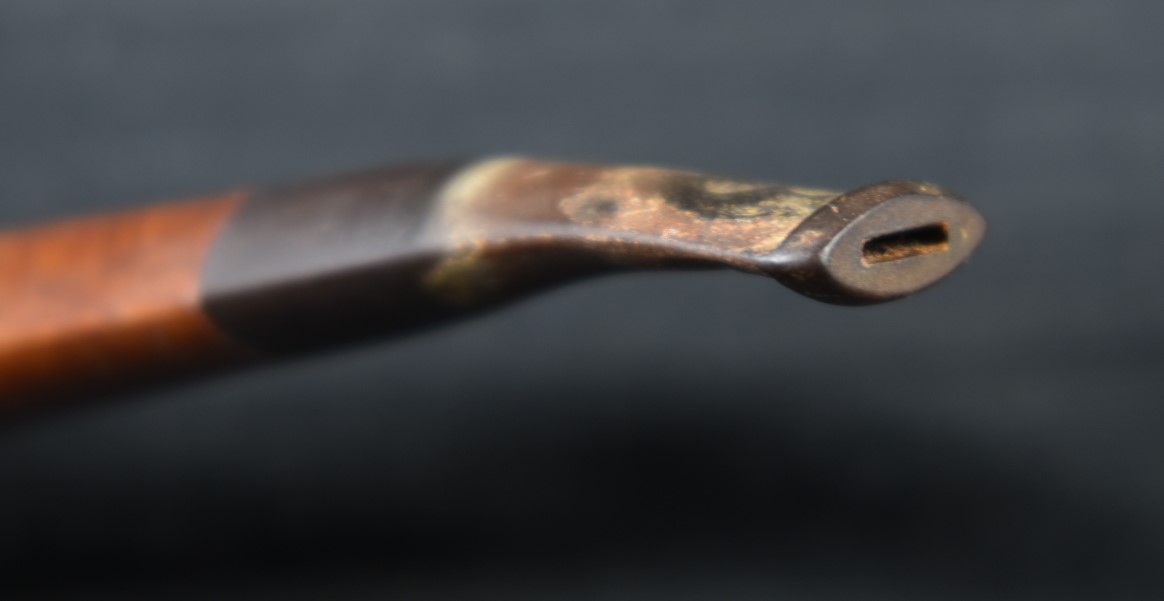
The stemairway was cleaned with 95%ethyl alcohol and pipe cleaners. The button was a little bit constricted so I used a Vermont Freehand Slot Funneling Tool to clean up the slightly off-center drilling. I also used a piece of emery board (fingernail file) to sand the airway at the button.
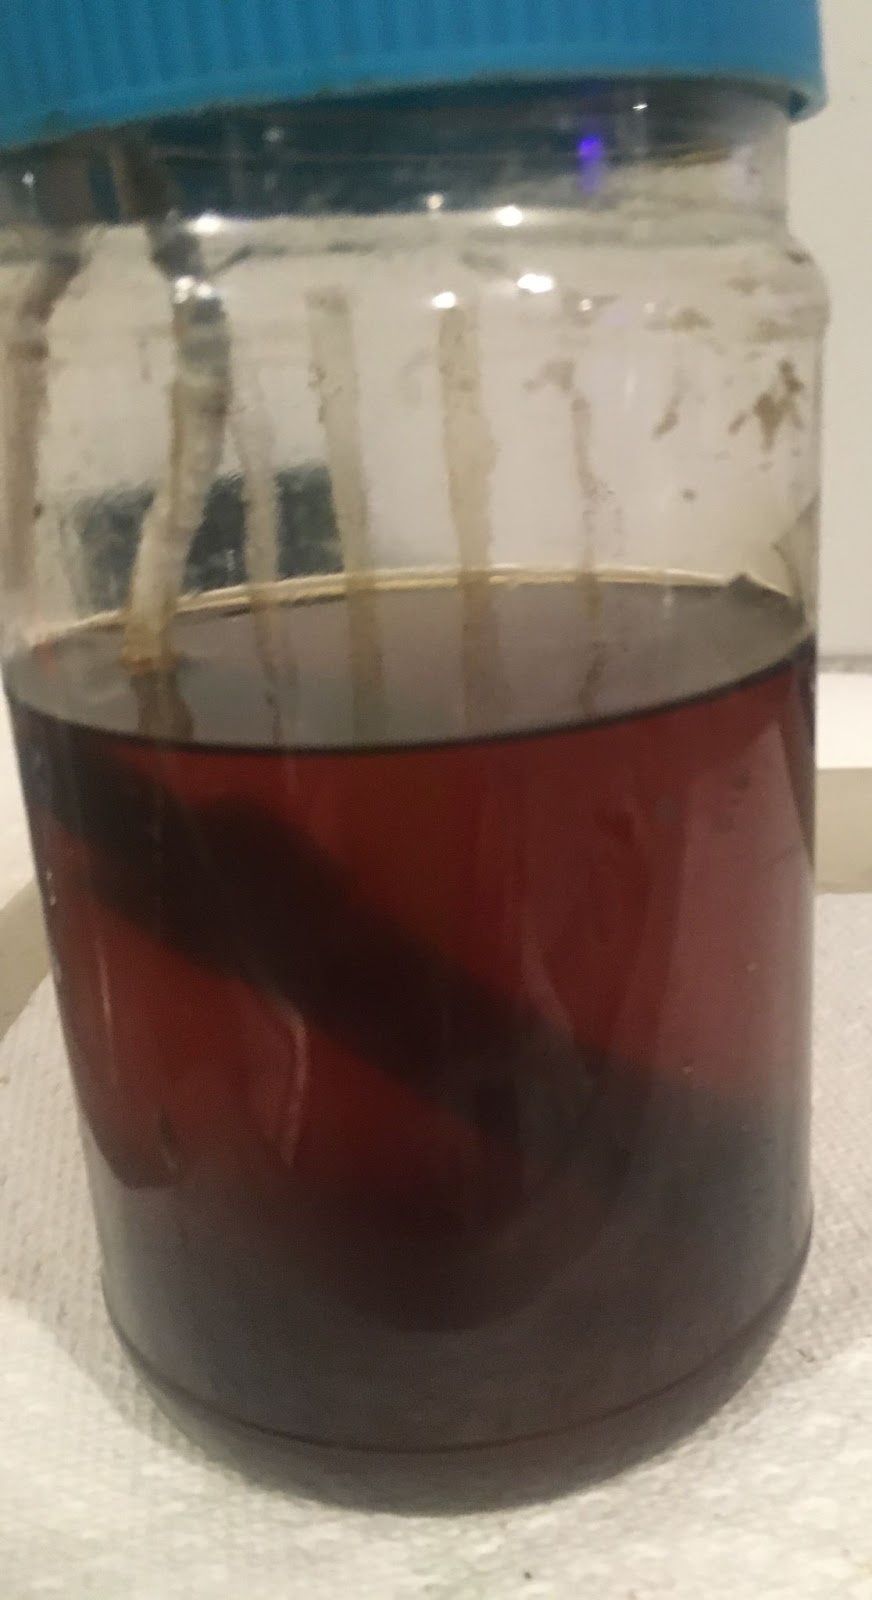
The stems of both project pipes were suspended in Before and After Extra Strength Deoxidizer (deox). The stems were left in the solution for four hours.
I returned to the stummel and cleaned out the airway within the shank. 95% ethyl alcohol with cotton swabs and a nylon shank brush were the tools of choice here.
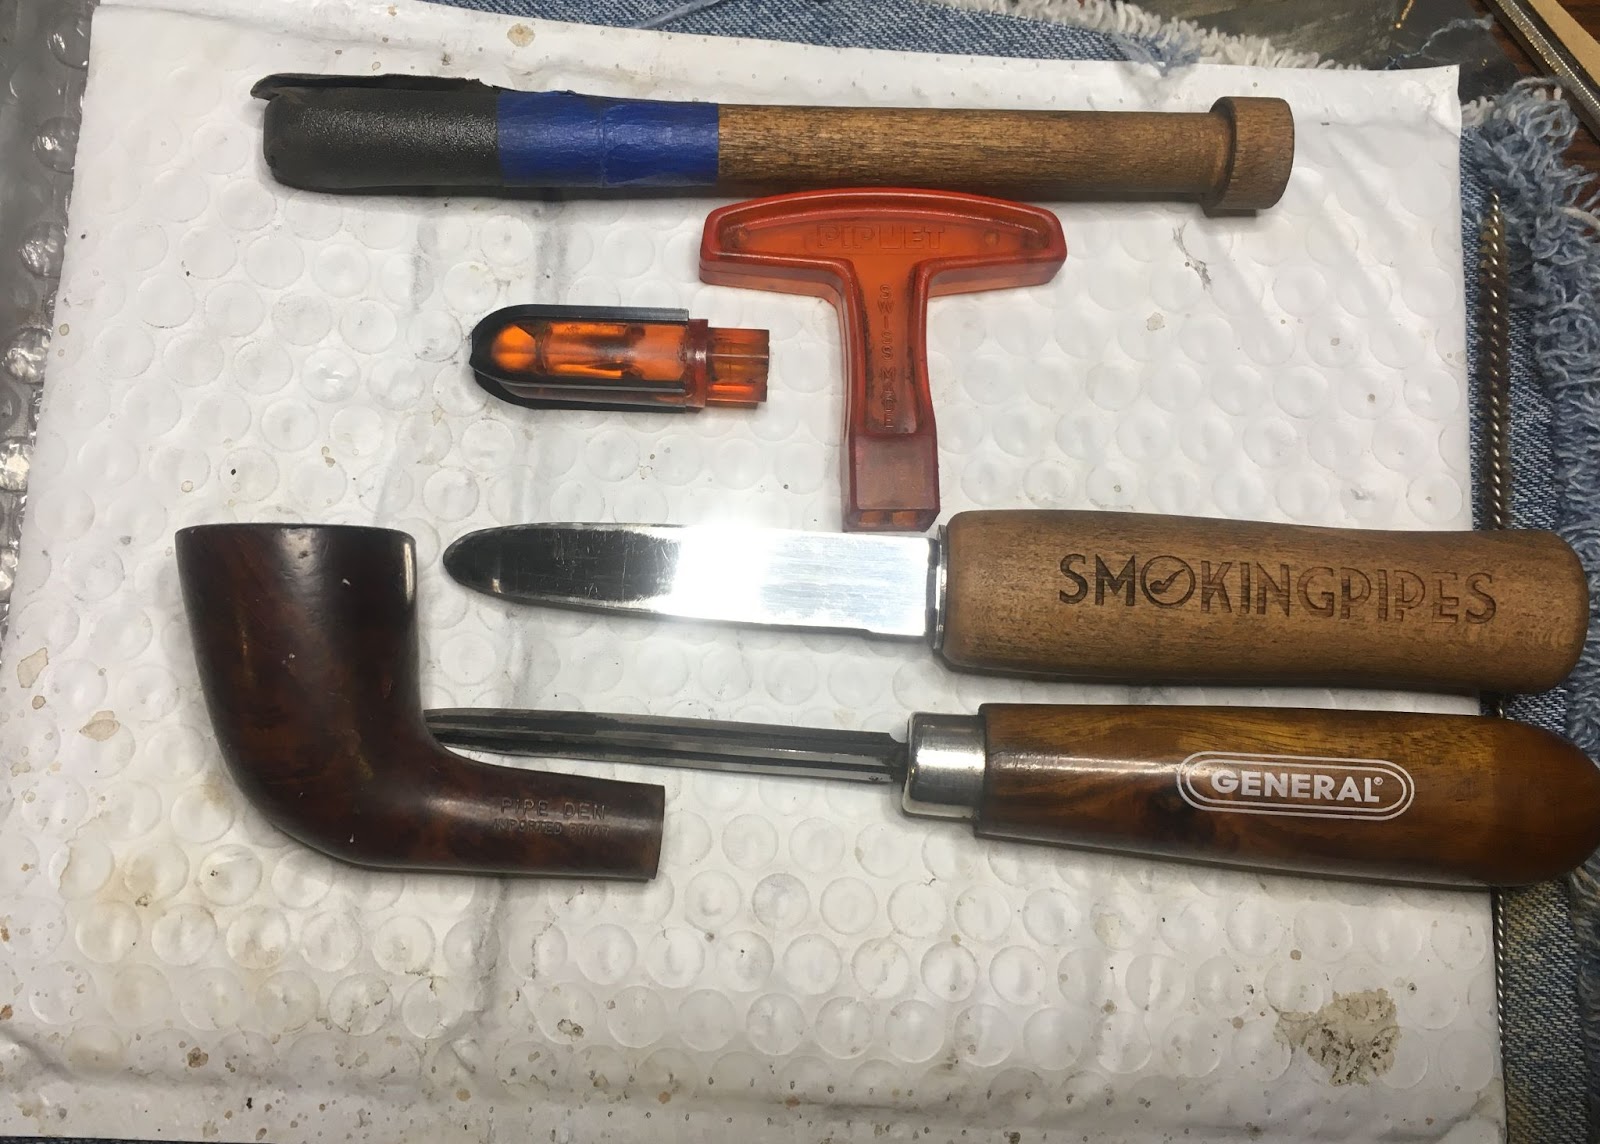
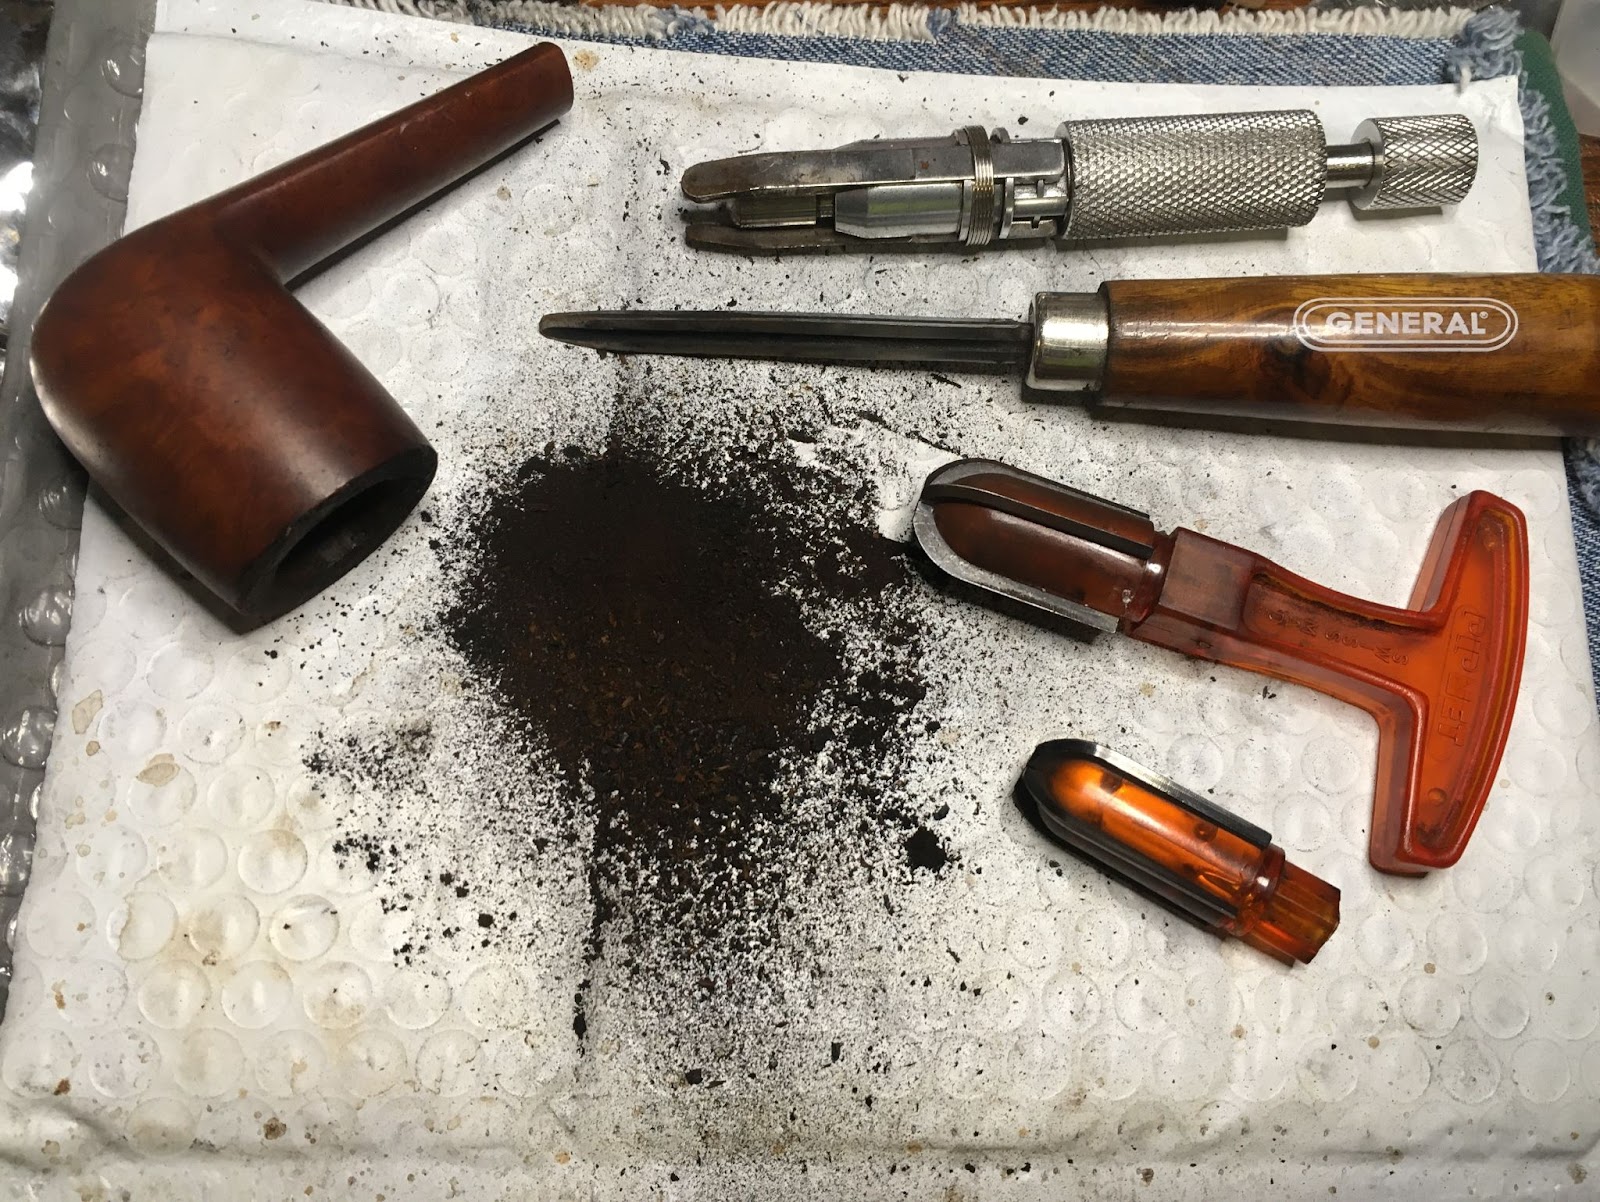
Next came the ream team: The PipNet with #2 blades, the Smokingpipes Low Country Reamer and the General triangular scraper with the tip ground off, round were called up for duty.
They all served valiantly with the PipNet doing the lion’s share of the work.
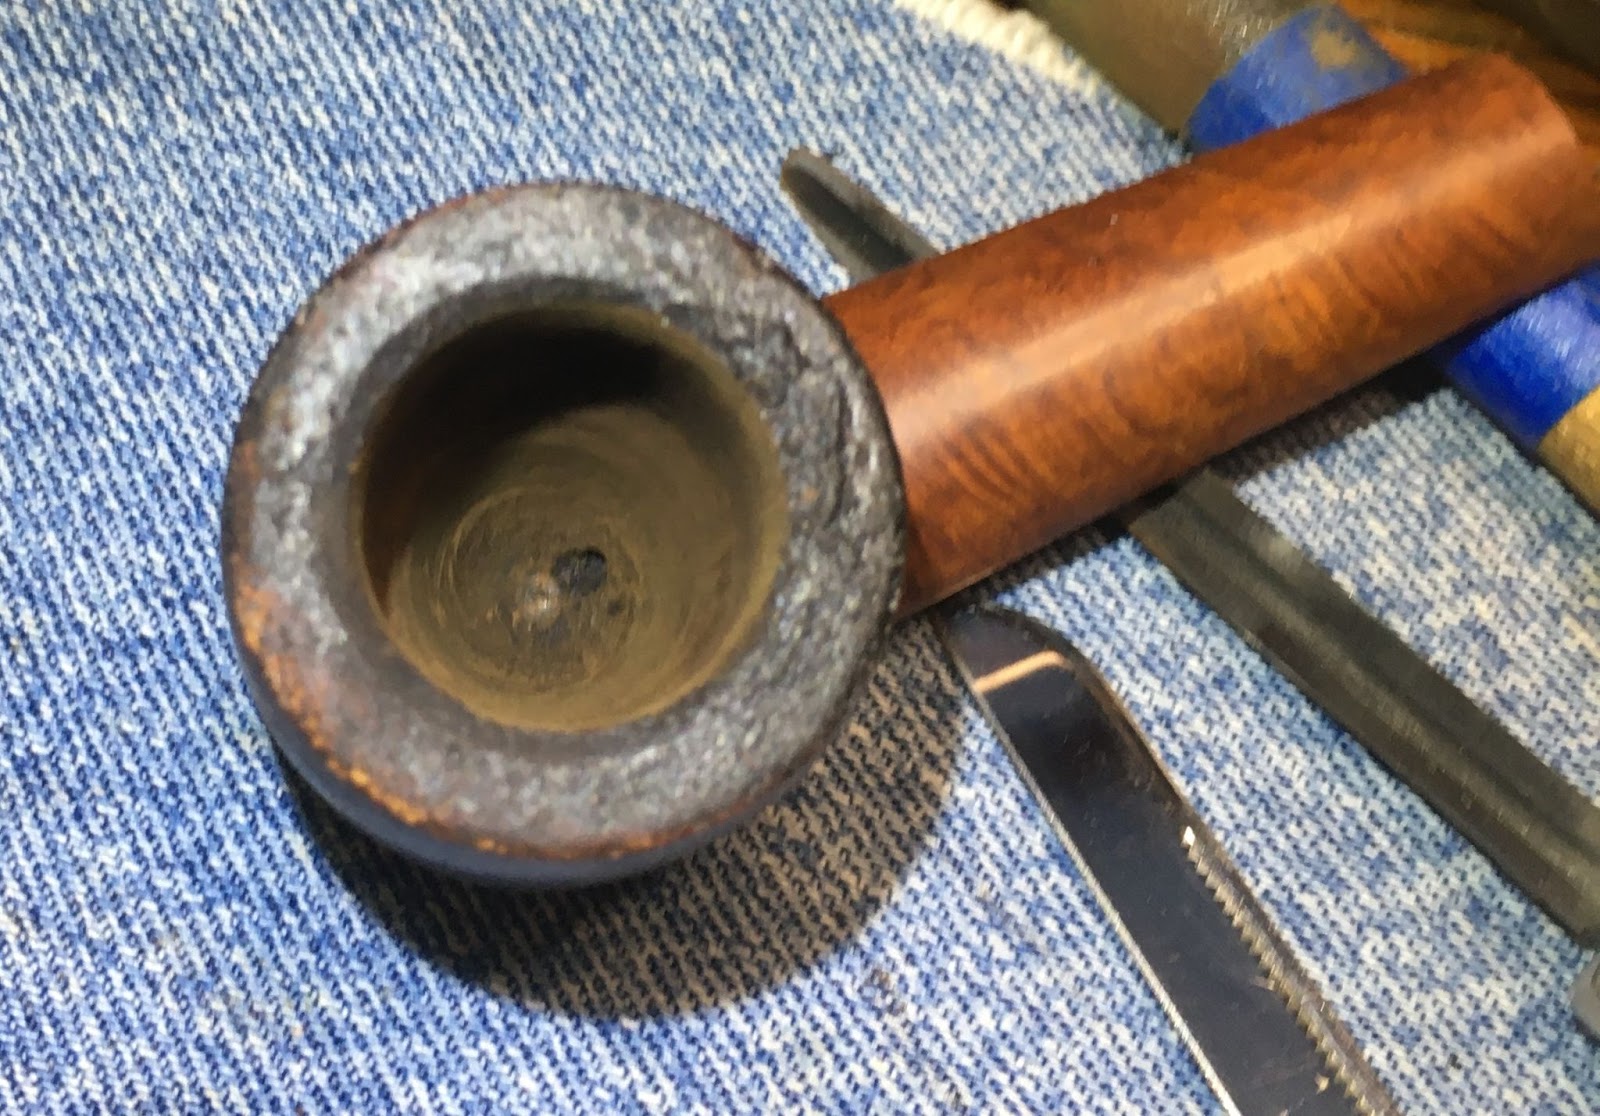
Once sanded Chuck marks within the tobacco chamber could be observed. This told me that the pipe, though used, had not experienced a lot of use.
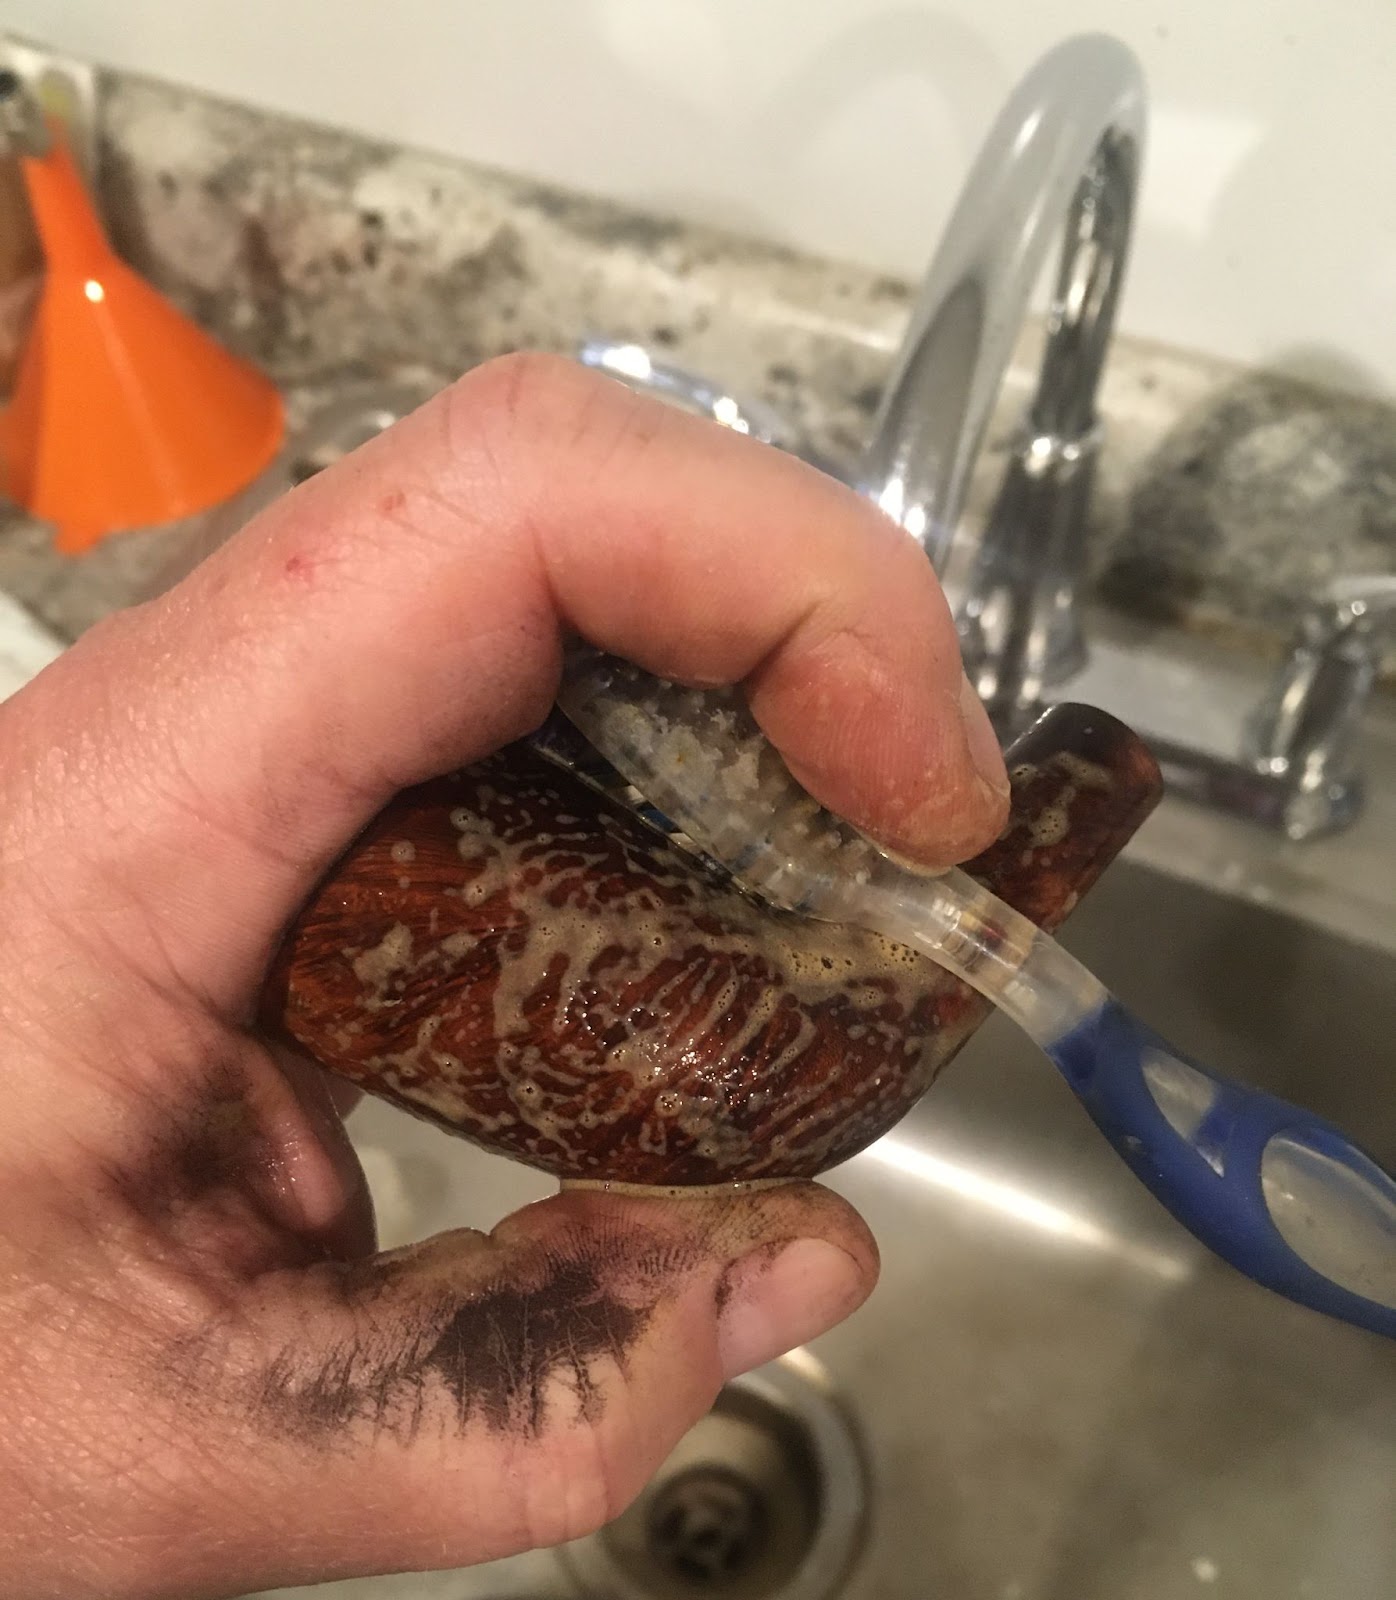
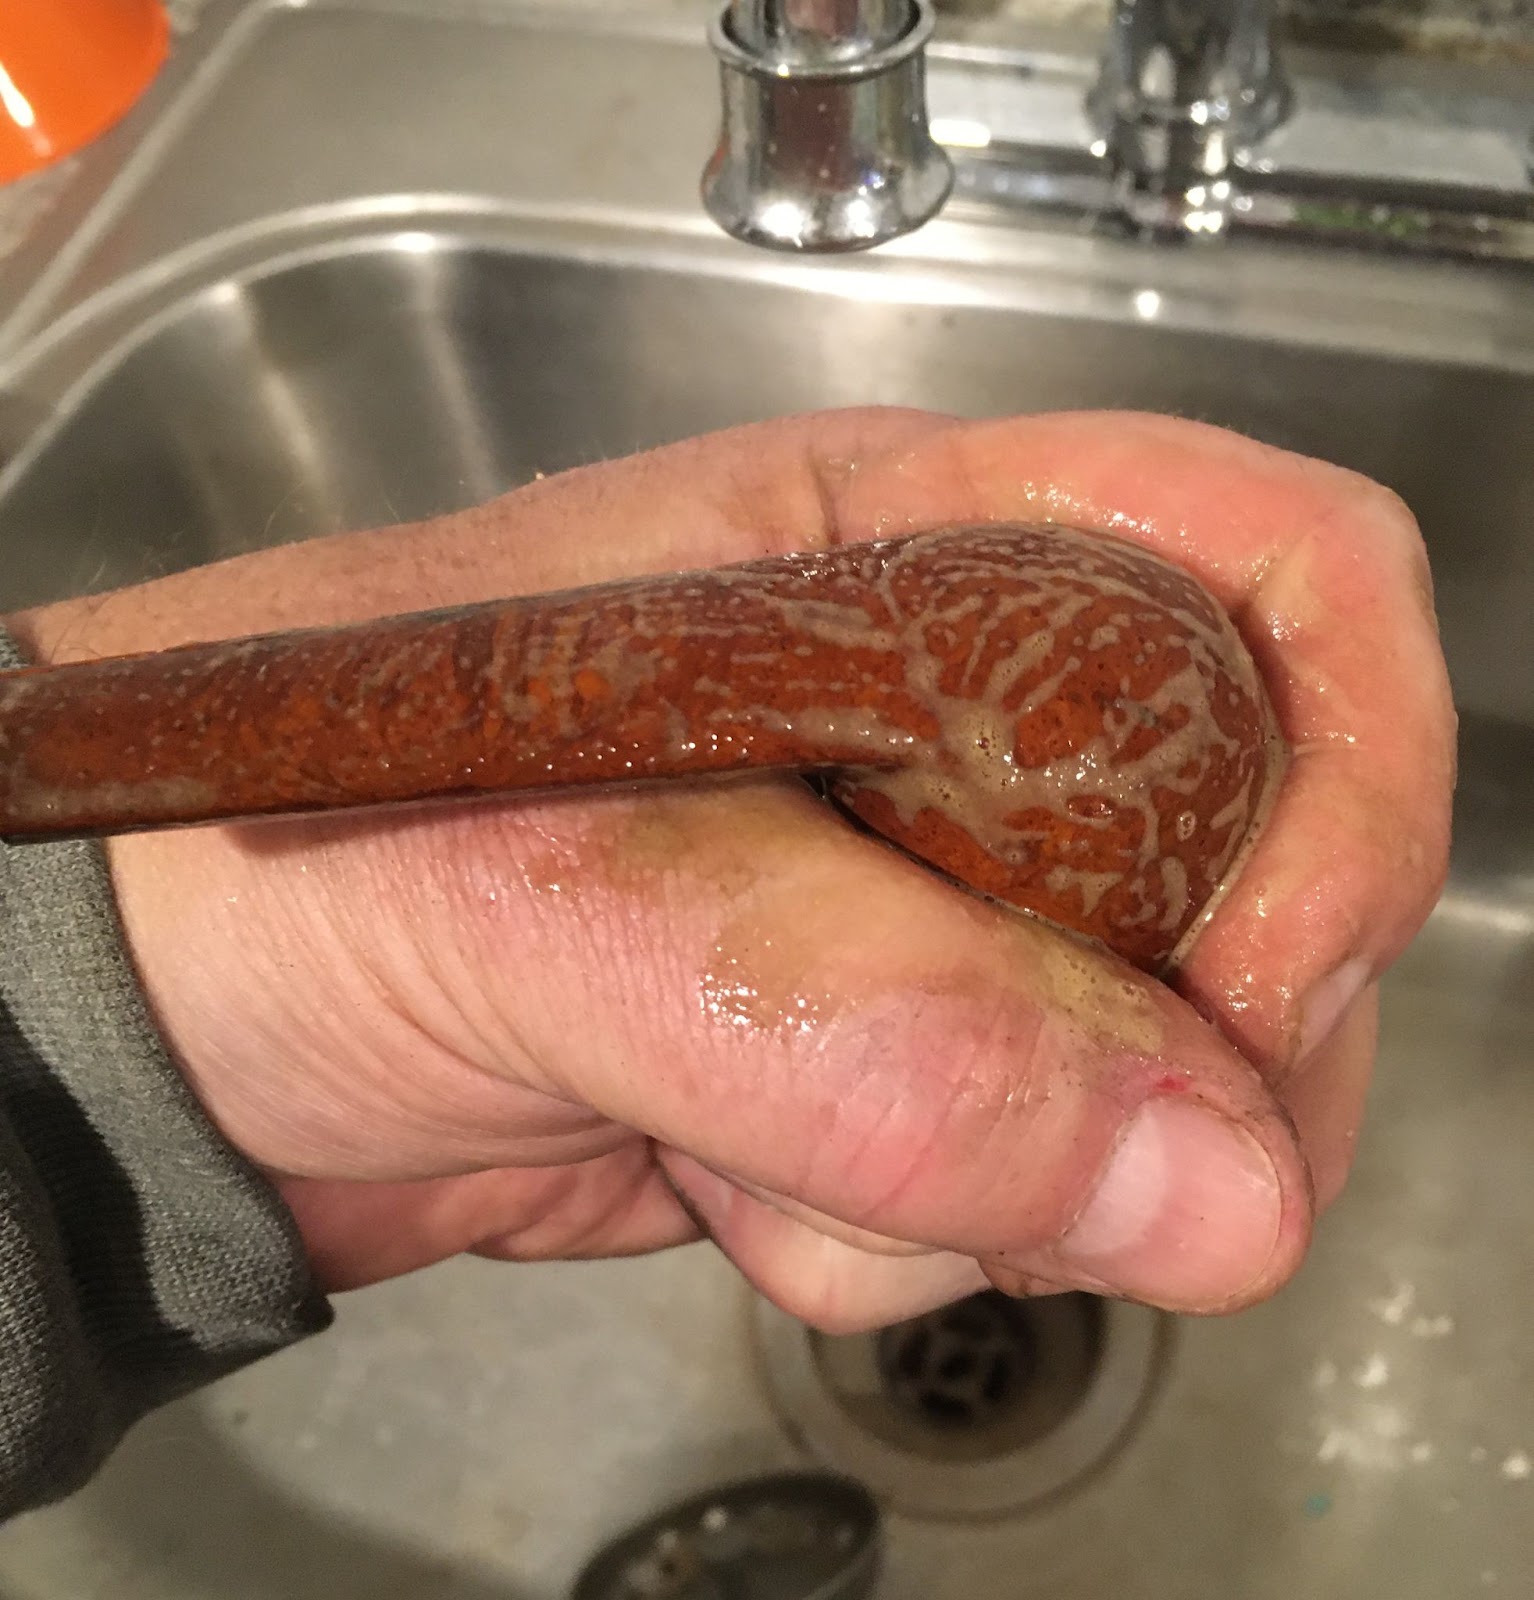
The stummel made her way to the sink for a scrubbing with undiluted Murphy Oil Soap and a nylon brush. The soap was rinsed with warm water and the stummel dried with a cotton hand towel.
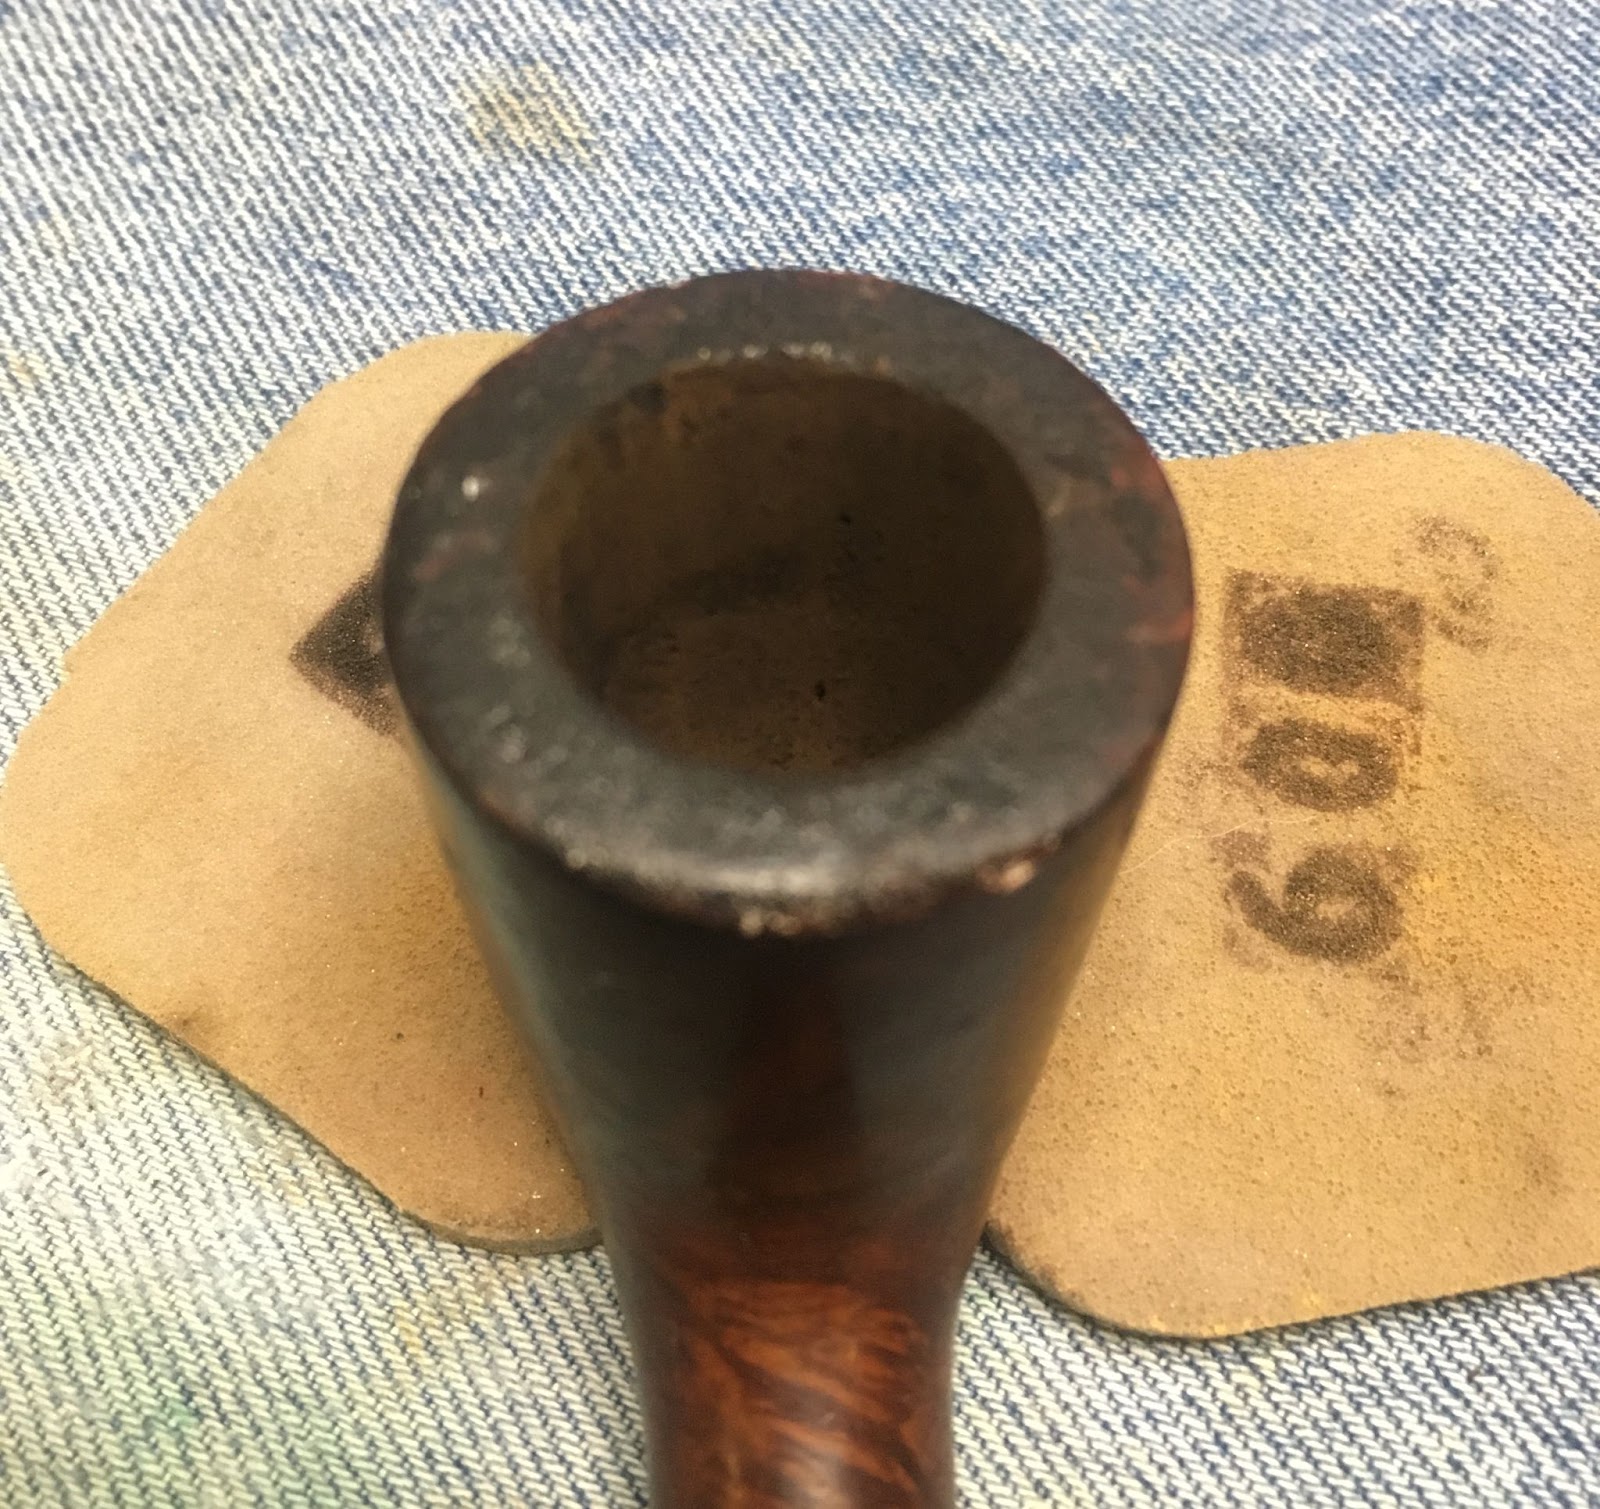
The scrubbing did not remove the lava from the rim as well as I had hoped. Back at the workbench a wipe with ethyl alcohol on a make-up pad barely touched the clear coat and the lava.
The rim required a bit of scraping with a sharp knife. Saliva was applied to soften the deposits on the rim prior to and during the scraping.
It was looking better.
The problem with a good scraping was what it uncovered. The absence of the lava highlighted some dings on the rim. Topping would be my solution to this.
I wondered if wiping the stummel with acetone on a make-up pad would be sufficient to dissolve away the clear coat.
The acetone was working but oh, so slowly.
Light sanding helped etch the coating but it was still a slow process.
I decided to give the stummel a 30 minute bath in acetone.
After 30 minutes the stummel was removed and wiped with another make-up pad.
The shininess of the clear coat was gone and with it most of the red stain.
The four hour deox bath ended and both stems were set up to drip excess deon solution back into the jar.
The Marseille stem was vigorously rubbed with a coarse shop rag to remove both the remaining deox solution and some of the oxidized vulcanite.
The stem was scrubbed with Soft Scrub cleanser on a few make-up pads to remove more of the stubborn oxidized vulcanite.
Both stems were oiled with mineral oil and set aside overnight.
I returned my attention to the stummel. I wanted to try to return it to the reddish brown. I assembled the materials needed to dye the stummel; Dark Red Fiebing’s Leather Dye, a lighter , a wine bottle cork and a pipe cleaner. The cork was to be both a plug, keeping dye out of the tobacco chamber and a handle. The lighter, for flaming the wet dye, allowing the alcohol solvent to burn off and set the dye to the briar and the pipe cleaner as an applicator.
Below is the freshly dyed stummel in red.
The stummel was allowed to air dry another 30 minutes at the workbench.
A second dying was done with mahogany Fiebing’s Leather dye and the same process as with the red dye.
Below is the freshly dyed stummel with mahogany over the red dye.
This too was allowed to dry for 30 minutes before lightly wiping the stummel with a make-up pad wetted with 95% ethyl alcohol.
The stamps were taped with painters tape to protect them during the sanding to come.
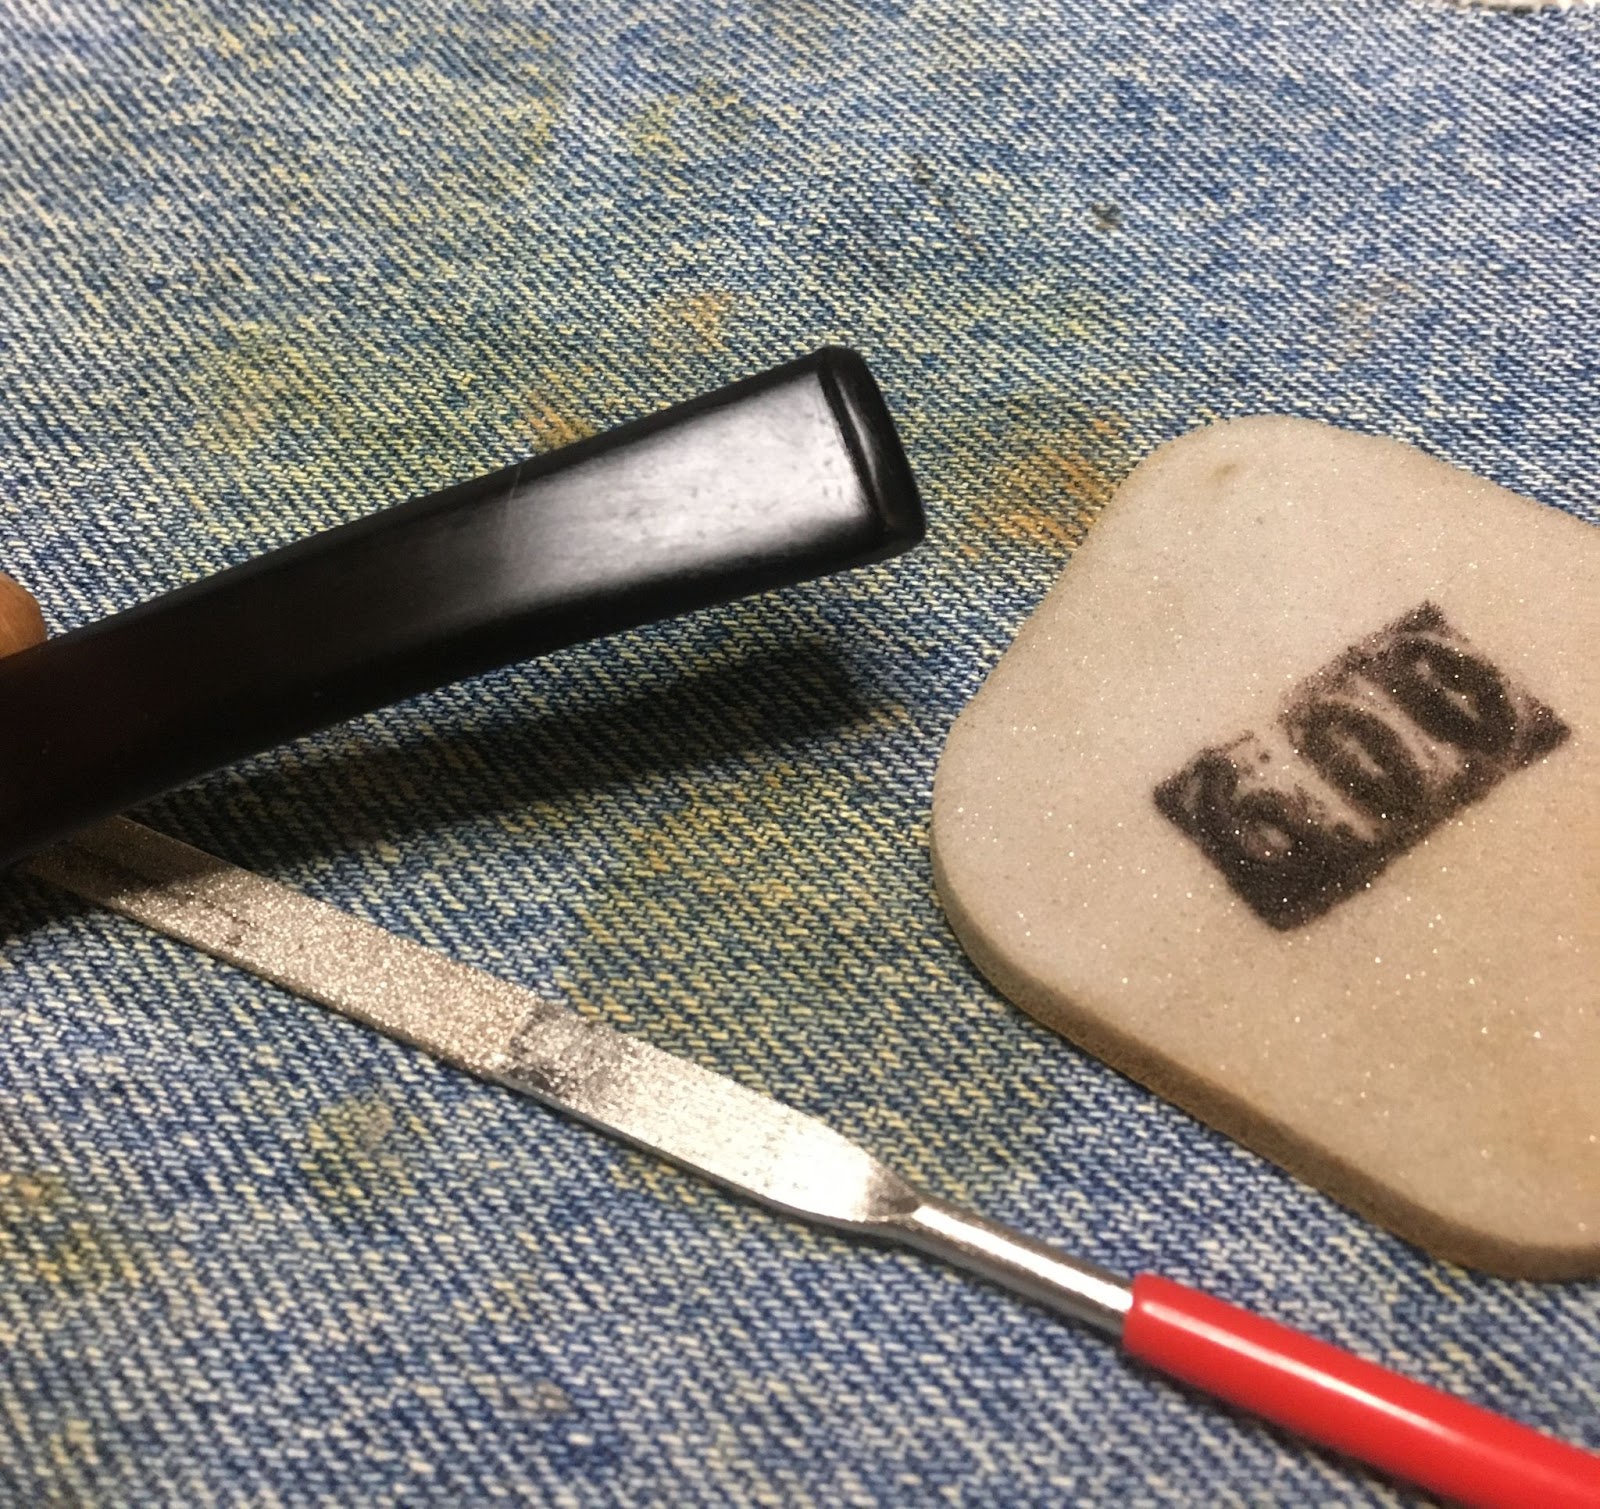
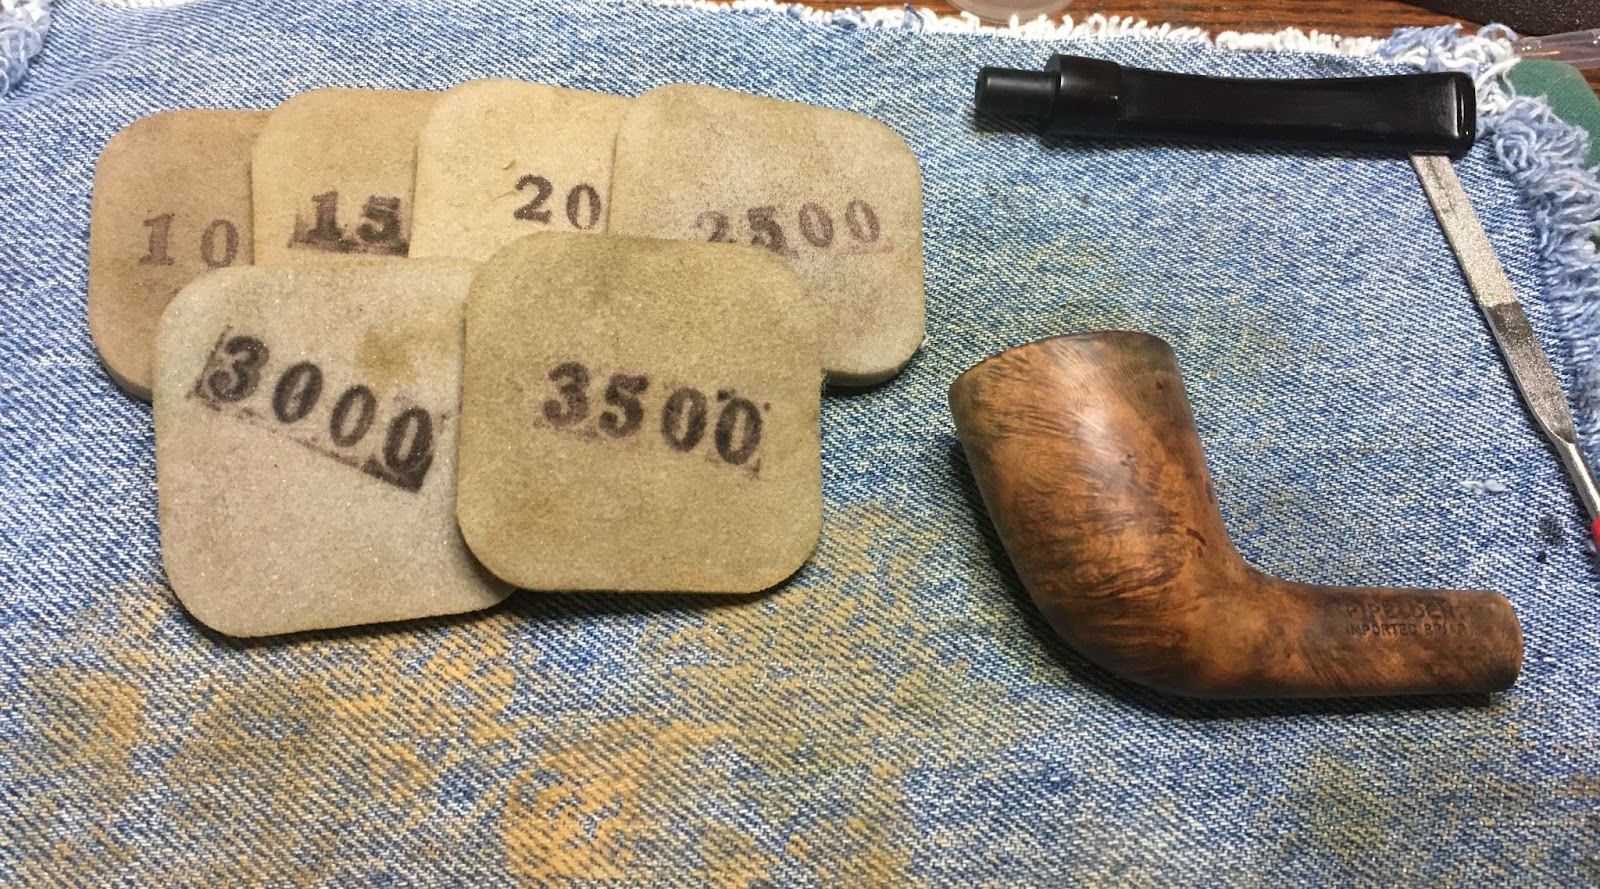
The stem and stummel were reconnected and sanded together. A series of sanding sponges in grits of 600-3500 were used. Between each sponge the stummel was wiped with an alcohol dampened make-up pad to remove sanding debris. The stem was rubbed with a light coating of mineral oil and wiped with a paper towel between sanding sponges. You can see in the photo below where I wiped the sponges off on the denim. It not only protects the workbench surface but is a great place to wipe sanding sponges.
The stummel was then worked with micro-mesh pads 4000-12000. The wiping of the stummel with a make-up pad was repeated as was the oiling and wiping of the stem.
The pipe was taken to the buffer for several coats of carnauba wax. The final step was a hand buffing with a microfiber polishing cloth.
I said it before and I say it again, I am developing an appreciation for the oval shank. It is a feature that provides a more robust feel in the hand while retaining a more elegant contour in profile. I am sure the extra briar also provides additional strength for those who are a bit more hard on pipes. The oval shanked volcano of this Marseille restored beautifully. The dye turned out lovely and the factory staining was fairly well mimicked. The stem oxidation was problematic with the loss of the logo disappointing. I admit that I am not finished with this restoration. I am waiting for another brand of stem deoxidizer which a supplier has sent me to try. I want to try it on this stem and report the findings when I have used the product. Stay tuned for updates. Overall I am very pleased at how well this pipe turned out. The dimensions of the Marseille Oval Shank Volcano are:
Length: 5.05 in./ 128.27 mm.
Weight: 1.47 oz./ 41.67 g.
Bowl Height: 1.84 in./ 46.74 mm.
Chamber Depth: 1.47 in./ 37.34 mm.
Chamber Diameter: 0.76 in./ 19.30 mm.
Outside Diameter: 1.56 in./ 39.62 mm.
I do hope that you have found something here useful to your own pipe care, maintenance or restorations. If you like this sort of thing, please click the like and subscribe buttons. Thank you for reading the ramblings of an old pipe lover.
Loading…
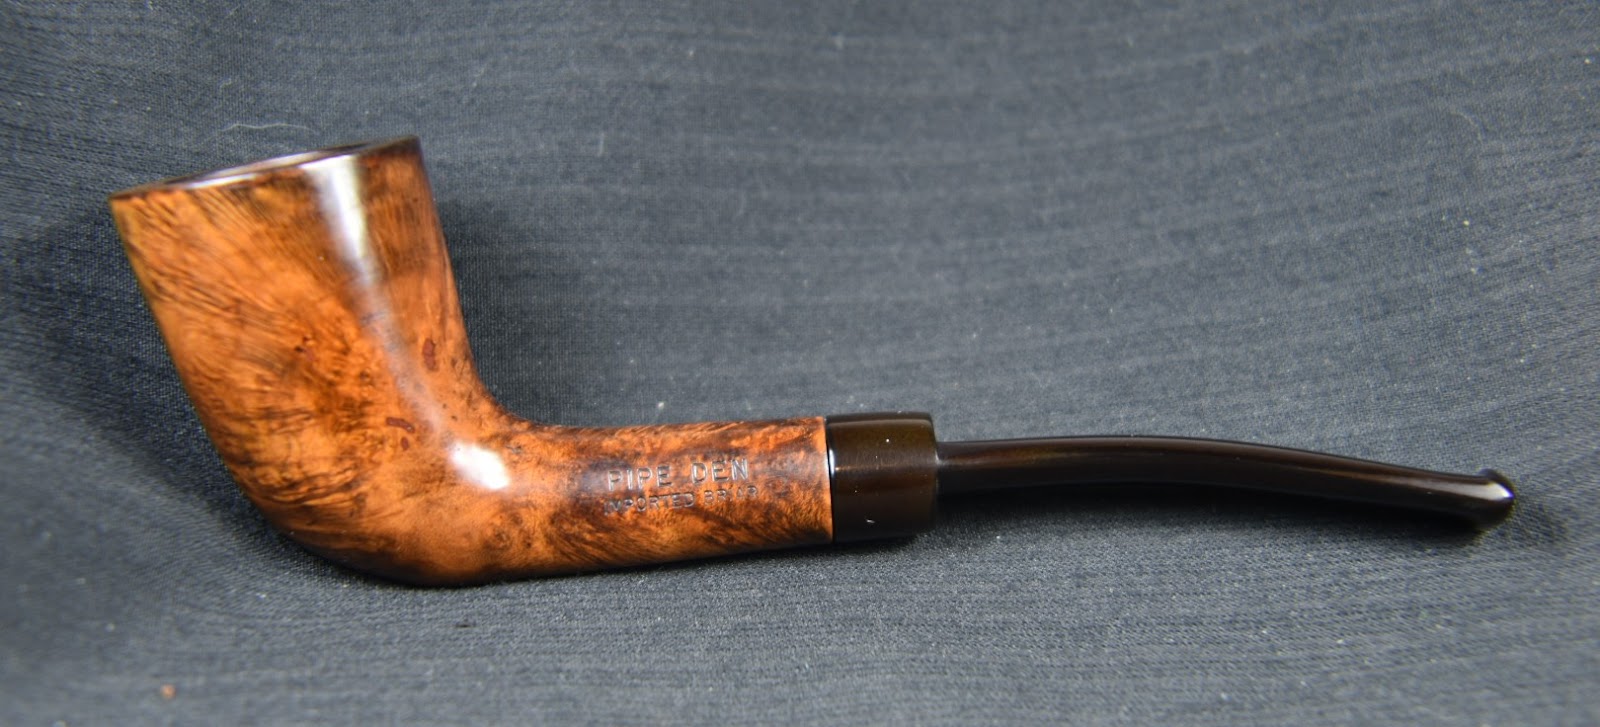
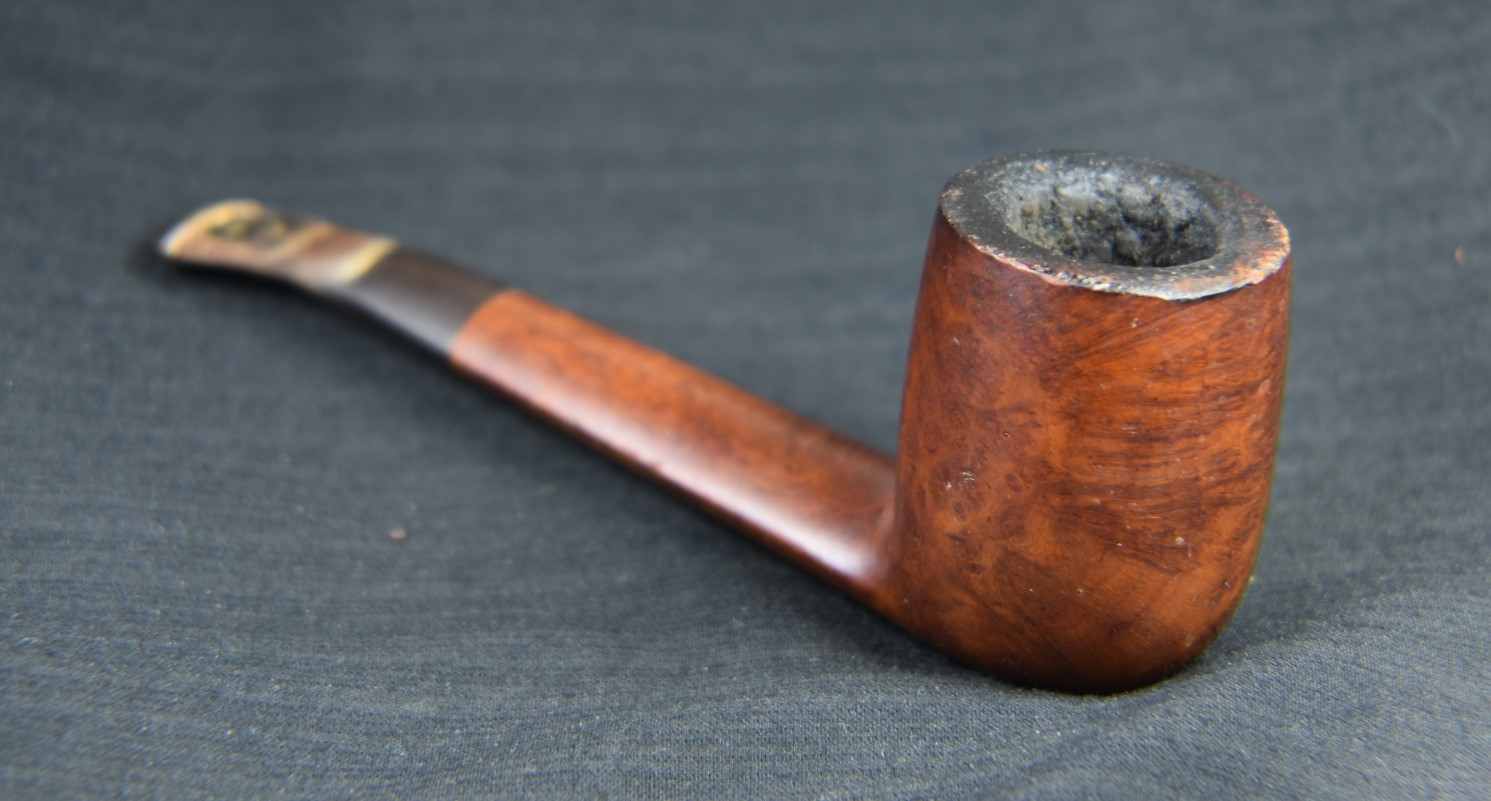
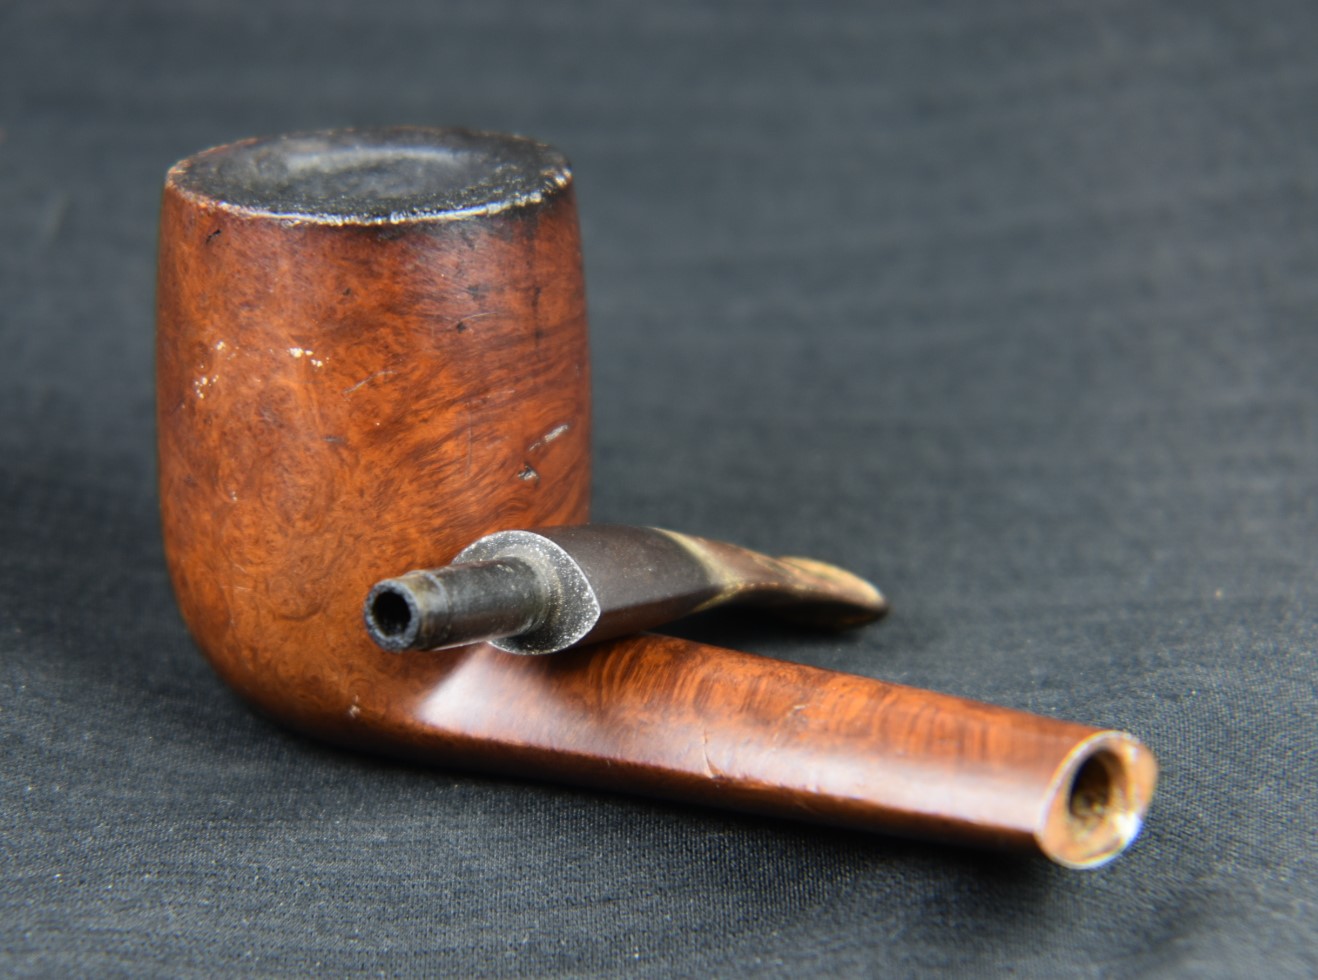
Below are some photos of the finished Marseille Oval Shank Volcano.
I will probably catch grief for calling this a squat apple and be corrected by some saying it is a tomato or an author but to my eye, it looks like an apple and to be specific an Cortland Apple sans the anthocyanins and their red. Sorry, my previous life as a chemistry teacher emerged and demanded recognition. This plump little darling caught my eye along with its long shanked Marxman coconspirator. The eBay listing only had two photos, the below is a screenshot of one of them:
Those adorable chubby cheeks demanded that I buy the pair. There was a little bit of drama but I’ll leave that to the blog about the Marxman but after a few days wait, the E. Wilke and Marxman both arrived.
Below are some photos of the pipe prior to working on it.
Yeah, it had some issues but that shape, that amazingly round bowled shape. I was smitten. The stem looked like a Weber that had been left out in the sun. The pipe had obviously been smoked and showed the signs of moderate use, as shown by the charring and lava on the rim. There was also that strange dark streak of the right shank and that truly dreadful fissure on the bottom of the shank but those chubby cheeks could not be denied. I would reclaim this dilapidated doll and make her mine.
Background
E. Wilke stamped on the shank of this pipe refers to Edwin Wilke. According to pipedia.org,
“Edwin Wilke founded Wilke Tobacco in 1872. As the story goes, according to a 1937 New York World-Telegram article, he had no sons, and so he taught his two daughters, Anna and Louisa Wilke, how to make pipes and blend tobacco, and by his death in 1930 they were well versed in both trades, and adamant about only using quality briar. In 1950, when they were the focus of an article in the Sarasota Herald-Tribune, they were the only women pipe makers in the United States, and had sold pipes to Herbert Hoover, Lord Halifax, John Steinbeck and others. The sisters also blended pipe tobacco and repaired pipes. They did not, however, smoke pipes.
Wilke prided itself on “unpainted pipes”, and promised that only Macedonian briar was used, without paint, varnish, plug, or putty of any kind. As of 1950, some of their pipes were selling for up to $100.00, or just under $1,000.00 dollars today. By the release of a 1970 New York Magazine highlight of the shop, that claim had risen to $500.00, or over $3,000.00 today.
The Wilke Pipe Shop was located for decades at 400 Madison Avenue and 48th, in New York City, and in the 1970s opened a satellite store in the famed Wanamaker’s department store in Philadelphia, selling Wilke pipes made by Steven Johnson. In 1983, the brand was purchased by pipe maker Elliott Nachwalter and his wife, Carole Burns. They continued to operate the Madison Avenue store until the early 1990’s, at which point the couple moved to Vermont and Pipeworks & Wilke was born as a mail-order business.
Carole Burns[1] continued blending tobacco in Montpelier, Vermont till July 2017. Now John Brandt looks to continue blending Wilke’s traditional blends and bringing back some of the older blends from the early days to keep the 145 year old brand alive and growing.[2]“ (Wilke – Pipedia)
Now, this pipe did seem to fit a couple of the characteristics from the pipes.org article; it was unvarnished and it did not seem to have any putty filling imperfections in the briar. I cannot speak to the “Macedonian briar” as there is no stamp indicating the origin of the briar. I still think that the stem of this pipe reminds me of Weber made pipes from the same era. In researching further I found an old Google Groups discussion of E. Wile pipes from 2002. Here the user “” started a thread with the following,
“Can anyone give me a brief history about this manufacturer or brand? I
am curious about… if this was a NY company that made pipes, still in
The interesting part came from another user named “LDaneman”. LDaneman, states the following”
“As a former employee and pipemaker for Edwin Wilke Company, I can give you a
little history. The little shop on Madison Avenue was purchased by a Stanley Becker, a jewish NY lawyer. Some pipes were left over from Wilke’s hey-day, . . . I forget the name of the Italian pipemaker who did extra-large art deco shapes.
Through the 80’s the old (80+) tobacconist still blended up on the 4th Floor and I have fond memories of ‘time-traveling’ with him. The 524 blend was better than Dunhill, and the 400 was pretty good as well. The key was an unflavored golden Cavendish and a dark fine cut Cavendish in the 524.
I started a new pipemaking workshop in Philadelphia for Wilke’s concession shop in John Wanamaker’s department store. Our pipes made national news and we shipped tobaccos to European customers. My pipes sold from $65 to $1000 but our main pipemaker was Stephen Johnson. Last I heard Steve worked for Zino Davidoff.
Steve made some sweet smoking pipes and I smoke a few of my own make with the Wilke stamp, but still own a couple by Steve as well.
I was fired under dubious circumstances. The management of Wanamakers hated me since I successfully marketed Eltron razors when they failed, pens, and really hit the roof when I began blending a men’s fragrance.
Wilke in Philly folded less than a year after my departure into the perfume business and the New York shop was sold soon after that. I heard Wilke finally vanished after the buyer was hit with unpaid employee taxes and was bankrupted, but that is just a rumor to me, . . . I don’t know if that is true or not.
Most the Wilke pipes are not especially good, mass-manufactured by a factory whose name escapes me. Unless made by the old Italian fellow (an indented tenon is usually an indication of his make) or by Steve Johnson, . . . well just forget it.
Now, I have no reason to doubt anything that LDanman writes. The pipeda.org information indicates that the location of the Wanamaker’s in Philadelphia occurred in the 1970s and that LDaneman “Set up a new pipe making shop” on Wanamakers mezzanine. This too would likely be during the 1970s. His knowledge of the company is interesting but his jumping around in time, frustrating. The part about the Weber made pipes was particularly interesting as I thought the stem of this pipe looked like a Weber made stem.
The Weber connection is further supported by information again from pipedia.org,
“The firm grew to be one of the giants of the American pipe industry focusing itself in the middle price and quality zone. Trademark: “Weber” in an oval. Beside that Weber – especially in the years after 1950 – was a most important supplier for private label pipes that went to an immense number of pipe shops. Alone in New York, exactly the same pipes were found at Wilke’s, Barclay Rex, Trinity East, Joe Strano’s Northampton Tobacconist in Ridgewood, Queens, Don-Lou in Bensonhurst, Brooklyn… Nearly all pipes for Wilke were unstained and many models, for example the “Wilke Danish Bent”, could hardly deny originating of Weber.” (Weber Pipe Co. – Pipedia)
So, the question remains, “who made this pipe and when?” I honestly do not know. I feel pretty sure of my original thought that this was a Weber made pipe, likely from the 1970 or later. Produced for the E. Wilke company.
The Restoration
As usual the pipe made its way to the workbench and a clean denim piece. I actually undertook the restoration of two pipes during this project. That is not something I really like to do but my schedule has been filled with essential time sucking activities. Okay, I’ve been doing a bit of fishing and have not been at the workbench as much as I should.
The stem required some work before I could put it into the Before and After Extra Strength Deoxidizer solution (deox). This will be called pre-deox and involved; some scraping of calcium/oxidation, filing tooth dents and light sanding with a 400 grit sanding sponge.
The stem was also cleaning out internally with bristle pipe cleaners dipped in 95% ethyl alcohol.
The stem had trouble passing a pipe cleaner through the button so I did work on opening the airway a little bit. I used a tapered piece of an emery board to sand the interior of the airway.
The resulting airway was much better.
The stems of the two project pipes, the E. Wilke and another oval stemmed piece were suspended in deox with pipe cleaners as hangers. They each spent about four hours in the solution.
During this time I continued work on the E. Wilke stummel. The shank was cleaned out using a dental scraper, nylon shank brush, cotton swabs and pipe cleaners with 95% ethyl alcohol.
Once the shank was clean I turned to the tobacco chamber. The PiNet #1 and #2 blades along with the General triangular scraper and the Smokingpipes Low Country Reamer were used.
The below photo shows the results of each tool.
After reaming the chamber was sanded with 220 sandpaper wrapped around a wood dowel. The tobacco chamber showed no signs of charring or heat damage.
Next, the stummel went to the sink where it was scrubbed with undiluted Murphy Oil Soap and a nylon scrub brush. The soap was rinsed with warm water and the stummel dried with a cotton hand towel.
The scrubbing revealed an unsightly charred rim and a dark stain I thought was accumulated grime.
A second scrubbing of the stummel was done with no effect on the supposed grime.
Back at the workbench I got a good look at the two areas of concern. The charred rim would require topping and then some.
The rest of the stummel looked pretty good.
An alcohol wipe confirmed that there was no finish on the stummel.
I took the stummel to the counter where I laid a piece of 320 sandpaper flat on the counter.
Using a figure 8 motion I topped the rim removing the charred wood.
The results of the topping are shown in the photo below.
The charred area below the rim was lightly filed and I attempted to blend the filing to minimize the noticeability of the filing.
The dark streak on the lower right shank was some strange stain on the briar.
I have had good results using a saturated oxalic acid solution to bleach stains from wood and thought it might be useful for both the rim and the shank.
The oxalic acid was applied to the darkened areas with a cotton swab and allowed to sit for 20 minutes.
After the initial 20 minutes I applied more oxalic acid to the entire stummel. This was allowed to sit for another 30 minutes.
After the stummel was scrubbed a third time using Murphy Oil Soap and a copious amount of rinsing the stummel was dried using the cotton hand towel. Once dry the results of the oxalic acid were observed. The stummel looked better but not as good as I had hoped.
The darkened areas had been lightened but they remained darker than the surrounding briar.
I started repairing the blemish on the bottom of the shank. I know E. Wilke was proud of their “no putty” but that pit was unacceptable to me.
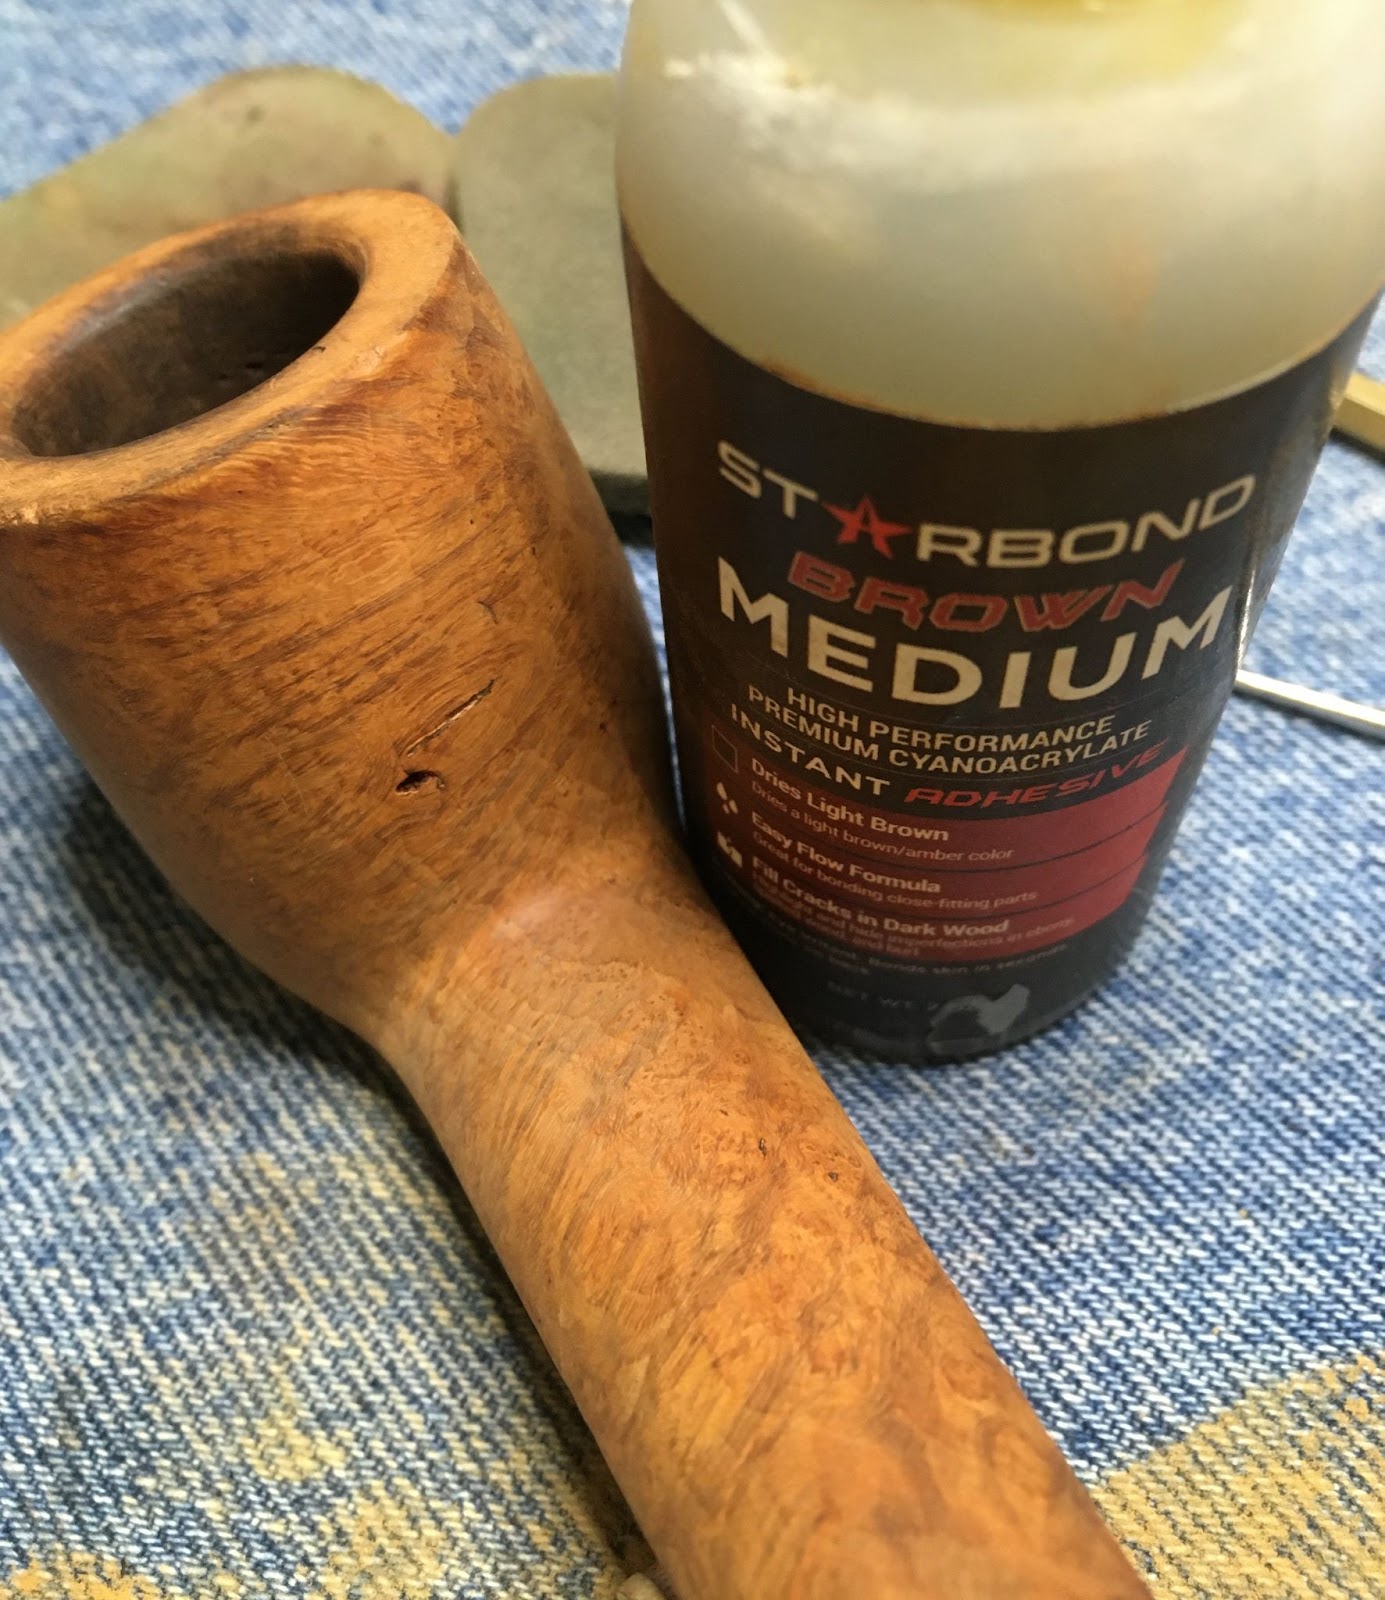
I applied brown cyanoacrylate (CA, super glue) to the pit with a fly tying bodkin.
A dental scraper was used as a spoon to scoop a small amount of briar dust and place it on the wet CA.
The back of the dental scraper was used to press the briar dust into the wet CA in the pit.
Additional brown CA was applied to the pit after the dust had been brushed off.
A second application of brown CA was applied once the first had cured.
After the second application had cured and set up, I filed the fill using a small flat file to remove the new fill material and smooth the surface.
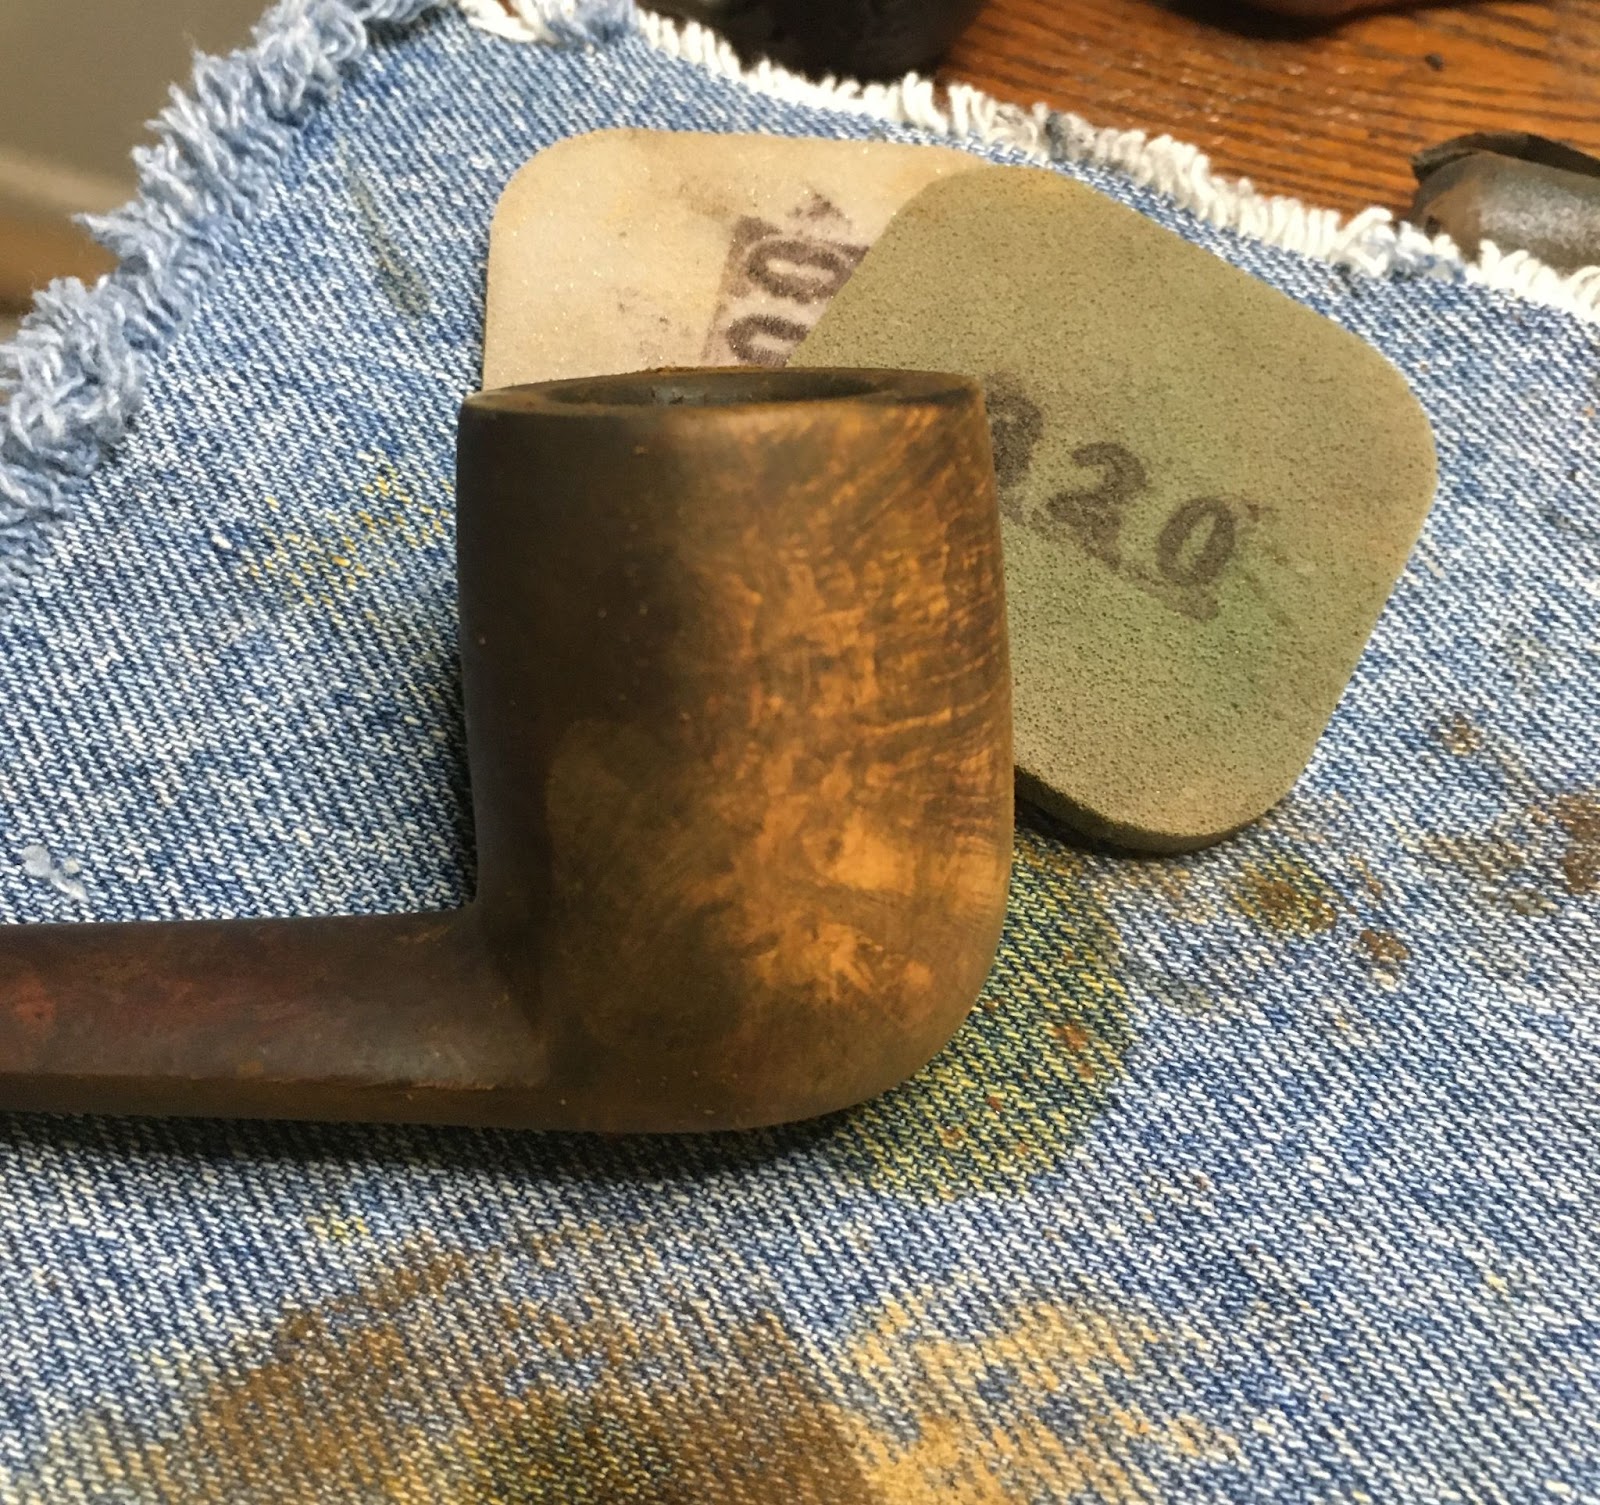
The new fill was then sanded with a 400 grit sanding sponge.
I sanded the entire stummel with a 400 sanding sponge followed by a sanding with a 600 sponge. I was looking for additional spots which might require CA filling. I found none.
I figured the best way to conceal the darker areas caused by the charring or staining was to give the stummel a contrast dye. I thought a black undercoat of dye might be the perfect camouflage. I covered the stamp with painters tape hoping this would prevent the dye from dying the stamp area. It didn’t.
The stems were removed from deox and allowed to drip excess solution back into the jar.
The E. Wilke stem was vigorously rubbed with a coarse shop rag to remove both remaining solution and oxidized vulcanite.
The stem was then scrubbed with Soft Scrub cleanser applied to make-up pads. This removed more oxidized vulcanite.
Below you can see the E. Wilke and the other restoration victim. Both stems had been oiled with mineral oil after their Soft Scrub ordeals.
The dye kit was gathered. It consisted of Fiebing’s Black Leather Dye, a cork to keep dye from the tobacco chamber, a lighter and a pipe cleaner as an applicator.
The Fiebing’s Dye was applied and flamed, burning away the alcohol solvent of the dye and fixing it to the briar.
The stummel was then rinsed with 99% isopropyl alcohol and wiped with a paper towel.
Back at the workbench the results of the black dye can be seen. The dye penetrated the softer grained briar more than the harder grain. A light sanding removed the outermost layer of briar revealing lighter and darker areas due to penetration depth.
Below is a photo of the sanded stummel.
The stem and stummel were then sanded with a series of sanding sponges from 400-3500 grit. The stummel was wiped with an alcohol dampened make-up pad between each sponge while the stem was rubbed with mineral oil and wiped with a paper towel between sanding sponges.
The stem and stummel were then worked with micro-mesh pads from 4000-12000. Again stummel wiping with an alcohol make-up pad between micro-mesh pads was done. Between pads the stem was runned with Obsidian Oil and wiped with a paper towel.
The pipe was then taken to the buffer where it received several coats of carnauba wax.
The final step was a hand buffing with a microfiber polishing cloth.
Overall, I am very pleased at how well this E. Wilke pipe turned out. Though it is likely not an example of the highest quality E. Wilke pipe of the company’s heyday, still is a lovely little piece. The contrast stain did a good job of concealing the blemishes that the pipe accumulated over the years of use. The stem polished up nicely and the glossy black accentuated the light and dark grain from the contrast dye. The thick walls and the cheekiness that they provide are even more pronounced with the finished pipe than they were when it arrived and I think it is far more attractive now. The dimensions of the Carlyle Oval Shank Dublin are:
Length: 5.00 in./ 127.00 mm.
Weight: 1.08 oz./ 30.62 g.
Bowl Height: 1.42 in./ 36.07 mm.
Chamber Depth: 1.06 in./ 26.92 mm.
Chamber Diameter: 0.72 in./ 18.29 mm.
Outside Diameter: 1.58 in./ 40.13 mm.
I do hope that you have found something here useful to your own pipe care, maintenance or restorations. If you like this sort of thing, please click the like and subscribe buttons. Thank you for reading the ramblings of an old pipe lover.
Loading…
Below are some photos of the finished E Wilke Squat Apple.
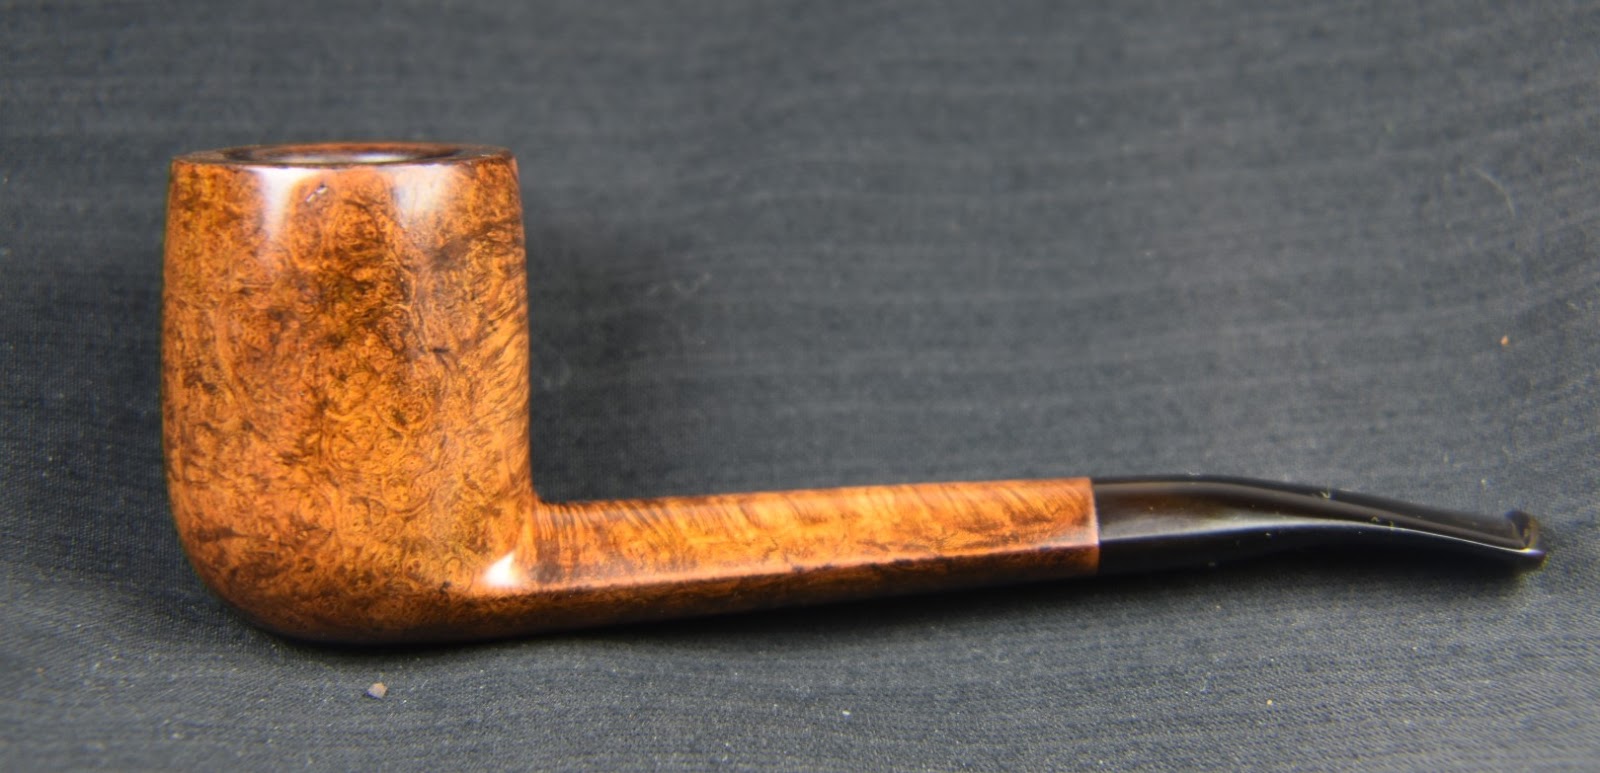
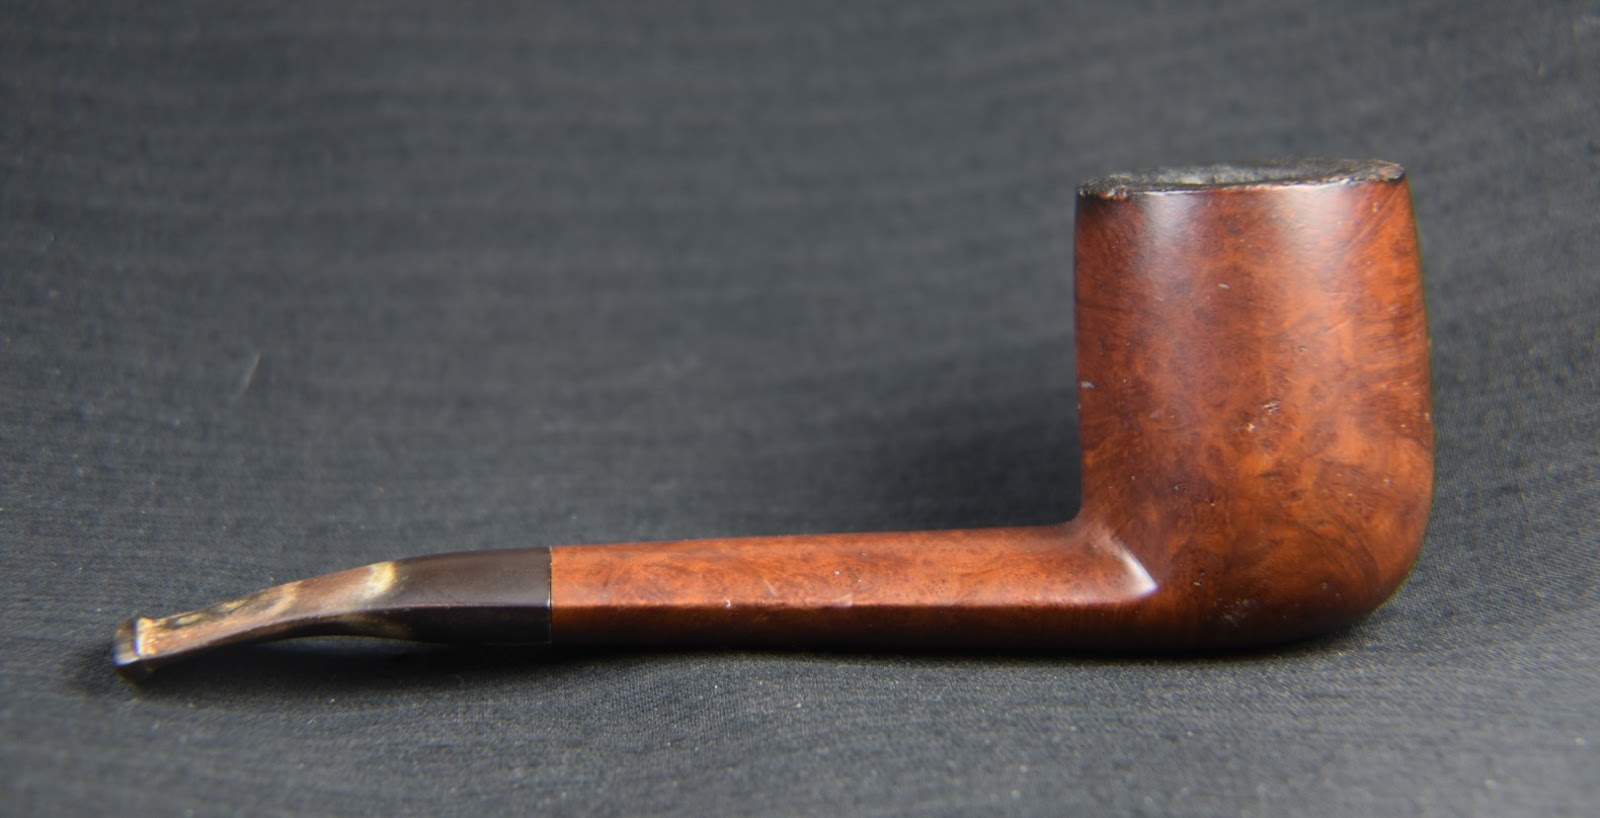
SilverKing a name that everyone has heard of and associates with … Umm, what? Haven’t heard of em, eh? Well neither had I but it is still a darn fine looking piece of briar. And it’s made in France, maybe. Okay, I am reaching for some enthusiasm . This lovely old billiard was one of six pipes that I won from ebay back in June of this year from Hollywood, Florida. The target of my desire was the Peterson meerschaum (2nd from the right) which was hiding amongst these pipes as seen in the photo below. I have restored all but one of the lot. As a matter of fact, the Barclay Rex was sold right after the restoration blog was published. I will add links to the restorations of the others for those who might be interested: Canted Dublin, Barclay Rex, Telford’s Canadian, Peterson meerschaum. The finished pipes look far better than their below photo.
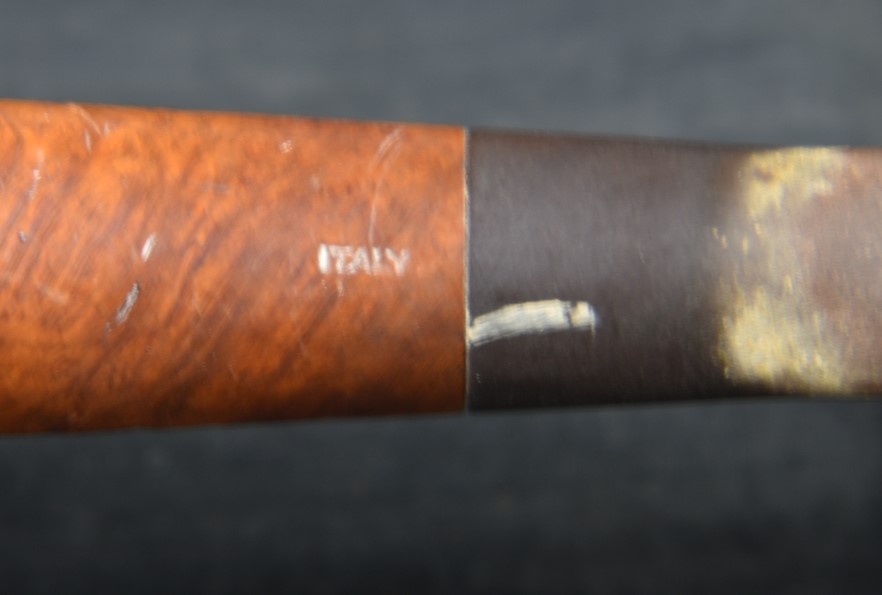
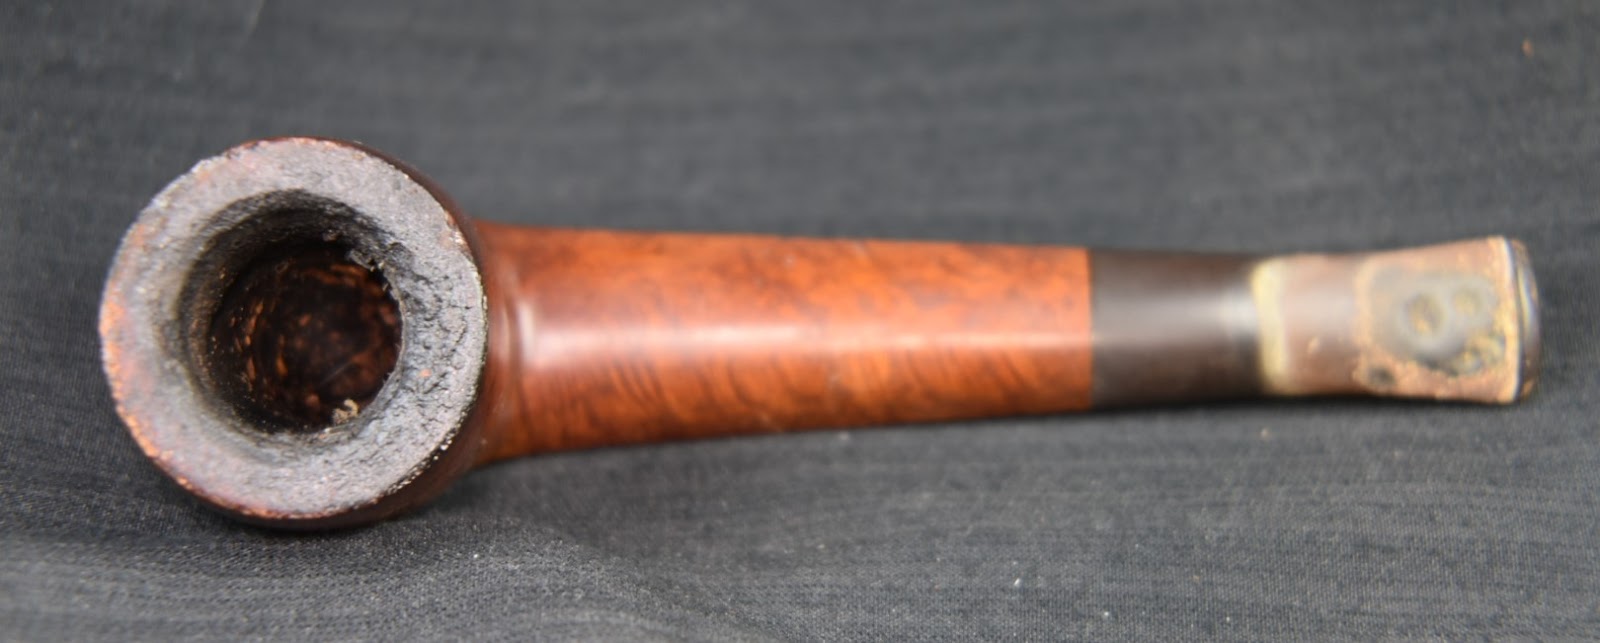
Back to the subject at hand, this lovely Silverking billiard. The pipe was stamped with SILVERKING over SYNCHROMATIC on the left shank and ALGERIAN BRIAR over FRANCE on the right shank. The stem has a crown stamped logo and the silver band is stamped EP within a diamond and three Hallmarks (middle and stem-ward worn to illegible). Below are photos of the Silverking billiard prior to working on it.
This looked to be a straightforward restoration with no glaring difficulties. There were a few deep fills to be made to the briar, a slightly overclocked stem and the missing stinger but other than that a nice relaxing afternoon in the basement avoiding the heat of mid-summer.
Background
I would love to be able to tell a good story about the trials and tribulations of the Silverking pipe factory but alas, there is scant information concerning this maker. If you have any additional information, please feel free to leave it or links in the comments. All I could find is the following from pipephil.eu:
(Si-Siq — Pipes: Logos & Markings (pipephil.eu)). Referring to the “?” at the top right of the screenshot below, I am not sure why there is a question about the country of manufacture (COM) of this pipe as it is clearly stamped MADE IN FRANCE or in the case of my Silverking FRANCE. “Made in France” is also stated in the text above.
I looked at the “Otherline from this factory” links and they are included here:
Not much to work with. A quick search on pipdedia.org resulted in the following quote,
“This is probably not a brand but rather the name of a line of an unknown french factory.
Other line from this factory: Big Ben Reputation , Gold King”(Silverking – Pipedia).
It looked like pipedia.org got their information from pipephil.eu as well.
Now we can assume a bit of information about the date of production. Algeria had been a source of briar from the mid to late 1800s and into the early 1900s. During the years of World War Two briar production was severely limited. After the war briar production returned. Algeria was a French colony and like many colonies during the mid 20th Century, experienced a wave of anticolonialism. The French attempted to squelt this anticolonialism leading to the Algerian war of independence from 1954-1962. During this time Briar production from Algeria was greatly reduced. According to the Wikipedia.com article fatalities of the conflict were, “between 400,000 and 1,500,000 Algerians,[40][24][22] 25,600 French soldiers,[15]: 538 and 6,000 Europeans.” (https://en.wikipedia.org/wiki/Algerian_War).
Well that about sums up all I know about this old pipe. It was made in France of Algerian Briar. Most likely between the second world war and 1954.
The Restoration
As typical this restoration began with a relatively clean denim piece as a work surface.
The reaming tools were gathered and included the Scotte Stainless Steel reamer rather than the traditional PiNet reamer due to the narrow tobacco chamber and the fact that my PiNet #1 blade suffered a catastrophic failure. The Scotte did a fine job and only required a small amount of scraping with the Smokingpipes Low Country Reaming knife and the General triangular scraper.
After the reaming the chamber was sanded with 320 sandpaper wrapped around a wood dowel. No heat damage was observed in the chamber.
The shank cleaning was done with 95% ethyl alcohol, a nylon shank brush, bristle pipe cleaners and cotton swabs.
After the shank was cleaned I turned my attention to the stem. Here the ethyl alcohol and bristle pipe cleaners were used to clean the airway of the stem.
The rim of this old French billiard had definite lava accumulations. This was softened with saliva and scraped with a sharp pocket knife.
The scraped rim looked better but would require a good scrubbing.
Seque to the scrubbing. The stummel was taken to the sink for a scrubbing with undiluted Murphy Oil Soap and a medium toothbrush. The soap was rinsed with warm water and the stummel was dried with a cotton dish towel.
Back at the workbench the stummel appeared to have most of the finish removed during the scrubbing. The briar looked dull and flat except in a few areas where some finish remained.
An 95% ethyl alcohol wetted make-up pad was used to scrub the stummel. A good deal of color came off the stummel. This indicated that wax, finish and stain were being removed.
A second alcohol wipe yielded more color.
To make sure no coatings remained a wipe with a make-up pad with acetone was used. This time only a little bit of stain was present on the pad.
All of the scrubbing and wiping allowed me to see the pits and damage to the stummel. These would require a fill of brown cyanoacrylate (CA, super glue) and briar dust.
The gouges received a small drop of CA applied with a fly tying bodkin. While the CA was still wet I scooped a small amount of briar dust with a dental scraper and placed the dust on the wet CA. This was then pressed into the wet CA in the depressions..
The briar dust causes the CA to cure almost instantly so once the dust is placed, pressing had to occur immediately. The excess dust was brushed off with a brass brush.
The new fill was filed with a flat diamond needle file to remove and smooth the fill then was sanded with a 400 grit sanding sponge.
In deeper fills this process was repeated until the fill was complete. The completed fills appear much darker than the surrounding briar. The light spots seen below are slight depressions with dry briar dust from sanding in them. A final coat of clear thin CA was applied to the dry spots and they were sanded with a dusty 400 grit sanding sponge. The dust was incorporated into the slight depression with the clear thin CA to fill the last of the low spots.
The above procedure was used to fill pits of the shank.
And the heel of the stummel.
To conceal the fills and to add contrast to the briar grain, I decided to contrast dye this stummel. Black Fiebing’s Leather Dye was chosen for this. The duct tape wrapped fishing bobber acts as a plug to keep dye out of the tobacco chamber and as a handle. The folded pipe cleaner is the applicator for the dye while the lighter provides a flame when burning off the alcohol solvent of the dye fixing it to the briar. Notice that I used painters tape to cover the stamps. This is done to keep the dye from penetrating the briar on the stamp. Were that area to become darkly dyed, extra sanding/buffing would have reduced the stamps.
Below is the black dyed stummel, still wet with Fiebing’s Leather Dye.
I wiped off the remaining damp dye with a paper towel. This also removed my painters tape stamp protectors. Here you can see that the stamped area received less dye thus reducing the amount of sanding/buffing that the stamp will be exposed to.
The blackened stummel was taken to the buffer where rouge buffing compound was used to buff away the router black dyed briar. The results looked good but I wanted the stummel to be lighter overall in color.
To further lighten the briar I lightly sanded the stummel with 320 and 400 grit sanding sponges. This removed more of the black dyed briar. When I was happy with the shade, I sanded the stummel with a series of sanding sponges 600-3500 grits and wiped the stummel with an alcohol dampened make-up pad between each sponge..
I turned my attention to the stem. The slightly over-clocked stem could have been adjusted a couple of different ways; by heating the aluminum threads until the rubber softened and then turning the aluminum slightly or to add a bead of black cyanoacrylate to the end of the stem. I chose the later as the overclocking was so slight. Here I sanded the stem from about its middle to the button with 320 and 400 grit sanding sponges.
I then used Soft Scrub cleanser on make-up pads to scrub the entire stem. The pads became very dark with oxidized stem material. I was uncertain as to the material used with this stem. Normally oxidized vulcanite yields a brown color on the make-up pad. This was nearly black. I coated the stem with mineral oil and allowed it to sit for 30 minutes. After the sitting, the stem looked black with no signs of a brown oxidized stem.
The stem was then sanded with a sequence of sanding sponges from 600-3500 grit. I did cover the stem logo with a small piece of painters tape to protect it from the sanding. Between each sponge I rubbed mineral oil onto the stem with my fingertip and wiped the stem with a paper towel.
After the sanding sponges the stem was polished with 4000-12000 micro-mesh pads. Between each pad I applied a drop of Obsidian Oil to the stem, rubbed it in with a fingertip and wiped the stem with a paper towel.
After micro-meshing the stem, I cleaned the logo area with a cotton swab dipped in alcohol to remove any oil.
I then used Silver Leaf Rub’nBuff on the logo. The silver was worked into the stamped logo, allowed to dry for a couple minutes and buffed with a paper towel to remove the excess. I know, the pipephil.eu information said that the Silverking used white on the logo but I thought that silver would look a touch more classy.
The stummel was micro-meshed in a similar fashion except without the Obsidian oil. Here I wiped the stummel with an alcohol dampened make-up pad between pads.
The stummel was given a coat of Before and After Restoration Balm and allowed to sit for 20 minutes. I failed to photo this step. After 20 minutes the Restoration Balm was wiped off with an inside out athletic sock. I failed to photo that as well. The final step was to take the pipe to the buffer for several coats of carnauba wax.
This pipe turned out very well. I really like how the contrast staining brought out the differences in the grain. It made the bird’s eyes stand out much better than I hoped it would. The stem polished up well. I still do not know exactly what the stem material is but it looks good and didn’t turn my lips black when I sampled the draw of the pipe. I do wish the stinger was intact though the draw is very nice without it. I am sure this will be a nice smoking pipe for someone who loves a long billiards. With it’s relatively tall and narrow tobacco chamber I expect it would make a fine Virginia or Virginia Perique blend pipe. The dimensions of this French beauty are:
Length: 6.34 in./ 161.04 mm.
Weight: 1.38 oz./ 39.30 g.
Bowl Height: 1.83 in./ 46.48 mm.
Chamber Depth: 1.53 in./ 38.86 mm.
Chamber Diameter: 0.69 in./ 17.53 mm.
Outside Diameter: 1.46 in./ 37.08 mm.
I do hope that you have found something here useful to your own pipe care, maintenance or restorations. If you like this sort of thing, please click the like and subscribe buttons. Thank you for reading the ramblings of an old pipe lover.
Below are some photos of the finished Silverking Synchromatic billiard.
As if Majestic wasn’t a good enough name they had to add the SUPER. That made me laugh when I first read the stampings. Here we have a delightful classic billiard pipe that has gained its turn at the workbench. The pipe was purchased as a single from a seller in Green Bay Wisconsin. I was attracted to it by the name and star inlay logo. I had seen neither and thought they looked intriguing. Besides, how can a guy say no to an attractive lass with good briar like this for under $15? The pipe was stamped SUPER (diagonally) Majestic (script) over SYSTEM V.D.. There was no country of manufacture (COM) leading me to think it was an American made product. The stem, as mentioned, had a silver-like 5 pointed star inlay. Below are some photos prior to working on the pipe:
The pipe showed signs of frequent use. There was a definite, though far from excessive cake in the bowl, the stinger had a coating of dried tarlac ( personal term combining tar with shellac). There were some minor tooth chatter dents on the stem and the strange banded oxidation. The oxidation pattern was perhaps due to the darker part being in a pipe rack and slightly protected from light. The stinger contraption was very unique, it looked as if it were machined by a prison inmate car engine fan wanting to make a stinger look like a crankshaft and be able to double as a shank (prison weapon). The final interesting part to note was that the shank had a cork insert acting as the mortise for the aluminum tenon. This struck me as a rather old fashioned connection of the stem and shaft.
Background
As you may expect there is not much information on Majestic pipes. Pipephil.eu led me to a couple deadends.
Catalog Listing similar to the EPC Majestic example
A. Pandevant & Roy Co. of Paris had its beginning in 1884 and disappeared with the commencement of WWII in the late 30s or early 40s. “E.P.C.”, “La Savoyarde”, “MAJESTIC”, “La Parisienne” and “E.P.” were registered trademarks of the company.
Now, let it be known that Dal Stanton is a wonderful restorer of old pipes. Though his skills are very impressive, one of the things that I admire most is his attention to detail when writing up the history of a pipe that he is working on. The above is a perfect example of his diligence. While I was reading about the restoration of the above pipe I came across his description of the mortise of his pipe: “What I see next surprises me. I see the briar shank ringing something else inserted into to the mortise. A lining of some sort. I discover then that it appears to be cork. Cork seats the horn tenon in the mortise much like cork seats the Meerschaum bowl on a Gourd Calabash. I have never seen this before, but it seems to work quite well. I will condition the cork with a little petroleum jelly later. The challenge becomes protecting the cork while I’m cleaning the rest of the stummel internals. I’m not sure that I want the cork saturated with alcohol – I’m not sure that will be the best thing.” (Discovering the History with the Reclamation of this Petite EPC Majestic Bent Horn Stem Billiard | rebornpipes) (italics added by me).
There it is the same cork insert that I am looking at with the Majestic which I am restoring. Coincidence? I think not. I believe that the Super Majestic Billiar is indeed an EPC Majestic produced prior to WWII in France.
I asked Dal Stanton to review this blog prior to publishing. He also saw the similarities that I did. He was unsure about the claim that my Majestic was an EPC product due to the differences in stem material, the star logo and the lack of the three hearts associated with the EPC stamping. He also recommended discussing the pipe with Steve Laug. I reached out to Steve, and sent him a link to this article as well. Steve also thought the link between the two Majestic pipes was reasonable. He commented, “I think you are right in connecting the two. There is a link. The fact that the bone insert is replaced with a metal can help to date it a bit. I am pretty sure that between WW1 and WW2 metal was used for the tenons in replacing the bone ones.” (Steve Laug, personal communication)
I think the Majestic Systeme V.D. Billiard is an EPC made pipe produced several years later than the Majestic pipe which Dal Stanton had restored. Perhaps the Systeme V.D. specimen was one of the latter pipes produced prior to WWII and the demise of the company.
The Restoration
The restoration began with a clean denim piece to protect the workbench
Due to the narrow bore of this pipe and the fact that I had broken my #1 blade of my PipNet, I relied on the Scotte Stainless Steel reamint tool.
The Scotte is more than adequate for the job and was aided by the Smokingpipes Low Country reaming knife and the General triangular scraper. The tobacco chamber was sanded with 220 sandpaper wrapped around a wood dowel.
The chamber was sanded to bare briar and no sign of heat damage was observed. Yes, the resident white German Shepherd is always living up to her better descriptor of German Shedder.
The rim had a respectable layer of lava on it.
This was moistened with saliva and scraped with a sharp pocket knife.
The stummel was taken to the sink where it received a scrubbing with undiluted Murphy Oil Soap and a medium stiff toothbrush. The soap was rinsed with warm water and the stummel dried with a cotton hand towel.
While waiting for the stummel to air dry, I began work on the stem. The sinter was firmly attached to the stem and would not budge. I wasn’t sure if it was just a push fit stinger or if it was threaded. Either way it was stuck. I submerged it in 95% ethyl alcohol for a soak.
While the stinger was soaking I examined the stummel. The briar was of good quality and no pits were observed. The scrubbing had removed most, though not all of the finish. Patches of shiny finish can be seen in the photos below.
Back to the stinger. I scrubbed the stinger with a brass brush frequently dipped in the ethyl alcohol. The shape of the stinker was even more amazing when cleaned. This was a serious piece of millwork.
I started to clean out the shank of the pipe. Attempting to be cautious around the cork insert. A dental scraper was used to clean the tar from the airway as well as a nylon shank brush, numerous cotton swabs and folded bristle pipe cleaners. Eventually the airway was cleaned.
While in the cleaning mode, I cleaned the airway of the stem. This only used bristle pipe cleaners and 95% ethyl alcohol. Oh yeah, I forgot. The stinger was threaded into the stem. I don’t know why I would have expected anything less after seeing the machine work used for its manufacture.
The stem was given a light hand buffing with 0000 steel wool to allow the Before and After Deoxidizer solution access to the oxidized vulcanite.
A pipe cleaner was inserted into the tenon and used as a hanger to suspend the sem into the solution.
This stem was fairly oxidized so I figured at least 2 hours would be needed perhaps overnight.
I returned attention to the stummel. I wiped the surface with a make-up pad wetted with 95% ethyl alcohol. I hoped that the finish was shellac which is soluble in alcohol.
The alcohol seemed to have worked but to be completely sure I wiped the stummel with a make-up pad wetted with acetone.
If a little acetone is good, more must be better. This removed the last of any finish remaining on the stummel.
The briar was nice in that it had no pits of outward flaws; it also did not have much in terms of grain. I thought that a contrast dye would add a bit of depth to the existing grain. I did not want to sand and risk reducing the stamps so I taped over them with painter tape. This should keep the majority of the dye from the stamps and allow me to touch-up dye them later.
The stummel was then lightly sanded with 400 and 600 grit sanding sponges with the white German Shepherd attachments.
I applied a coating of black Fiebing’s Leather Dye to the stummel with a folded pipe cleaner and flamed the wet dye burning off the alcohol solvent.
The pipe was then rinsed with 91% isopropyl alcohol over the sink.
The stummel was then wiped with a paper towel to remove the excess dye. Notice the areas where the tape had been. The briar there is much lighter colored than the surrounding wood.
The stummel was then sanded to remove the outer layer of black dyed briar. The dye penetrated the softer open grain of the briar more than the harder grain. When sanded the area where the dye penetrated deeply is darker than the area where the dye was more on the surface.
I returned attention to the stem. It was removed from the Before and After Deoxidizer and allowed to drip excess solution back into the container. This drip dry device is quite the remarkable feat of engineering, eh?
After the stem drip dried for a few minutes I wiped any remaining solution off with a coarse shop rag. Two pipe cleaners were also run through the airway to clear it of solution as well.
The stem was lightly sanded with a 400 grit sanding sponge.
The stem was then scrubbed with SoftScrub cleanser on make-up pads to remove the oxidized rubber.
To try something different I decided to take the pipe to the buffer and buff the entire pipe with rouge buffing compound. I had seen restorers use the buffer to remove the outer layer of dyed wood. I had tried it in the past and never felt comfortable with the technique. I thought, practice and trying new things is good, right? Below you can see the results.
I liked the way the briar looked but I was not happy with the stem. That would need the old fashioned sanding sponges and micro-mesh pads. Another thing I noticed when buffing the pipe was that the stem was too loose. I thought about ways to refresh the cork. I read how Dal Stanton used petroleum jelly. I thought to myself, wood swells with moisture. Why not try steaming the cork? I put the kettle on and it soon started its annoying whistle. The exiting steam was allowed to flow into the shank. It flowed right through the shank out the tobacco chamber and onto my hand. Hmm, maybe a glove would have been a good idea. The steam worked very nicely at swelling the cork and a the stem was a perfect tight fit afterwards.
The buffing did not produce the finish that I thought this pipe was worthy of. I returned to doin things the way I was used to doing them. The stem was sanded with a sequence of sanding sponges from 400-3500 grit. Between each sponge I dipped my finger tip into mineral oil, rubbed this onto the stem and wiped the stem off with a clean dry paper towel.
I then used the 4000-12000 micro-mesh pads to polish the stem. This time I used a drop of Obsidian Oil between sponges, rubbed in and wiped off with a paper towel.
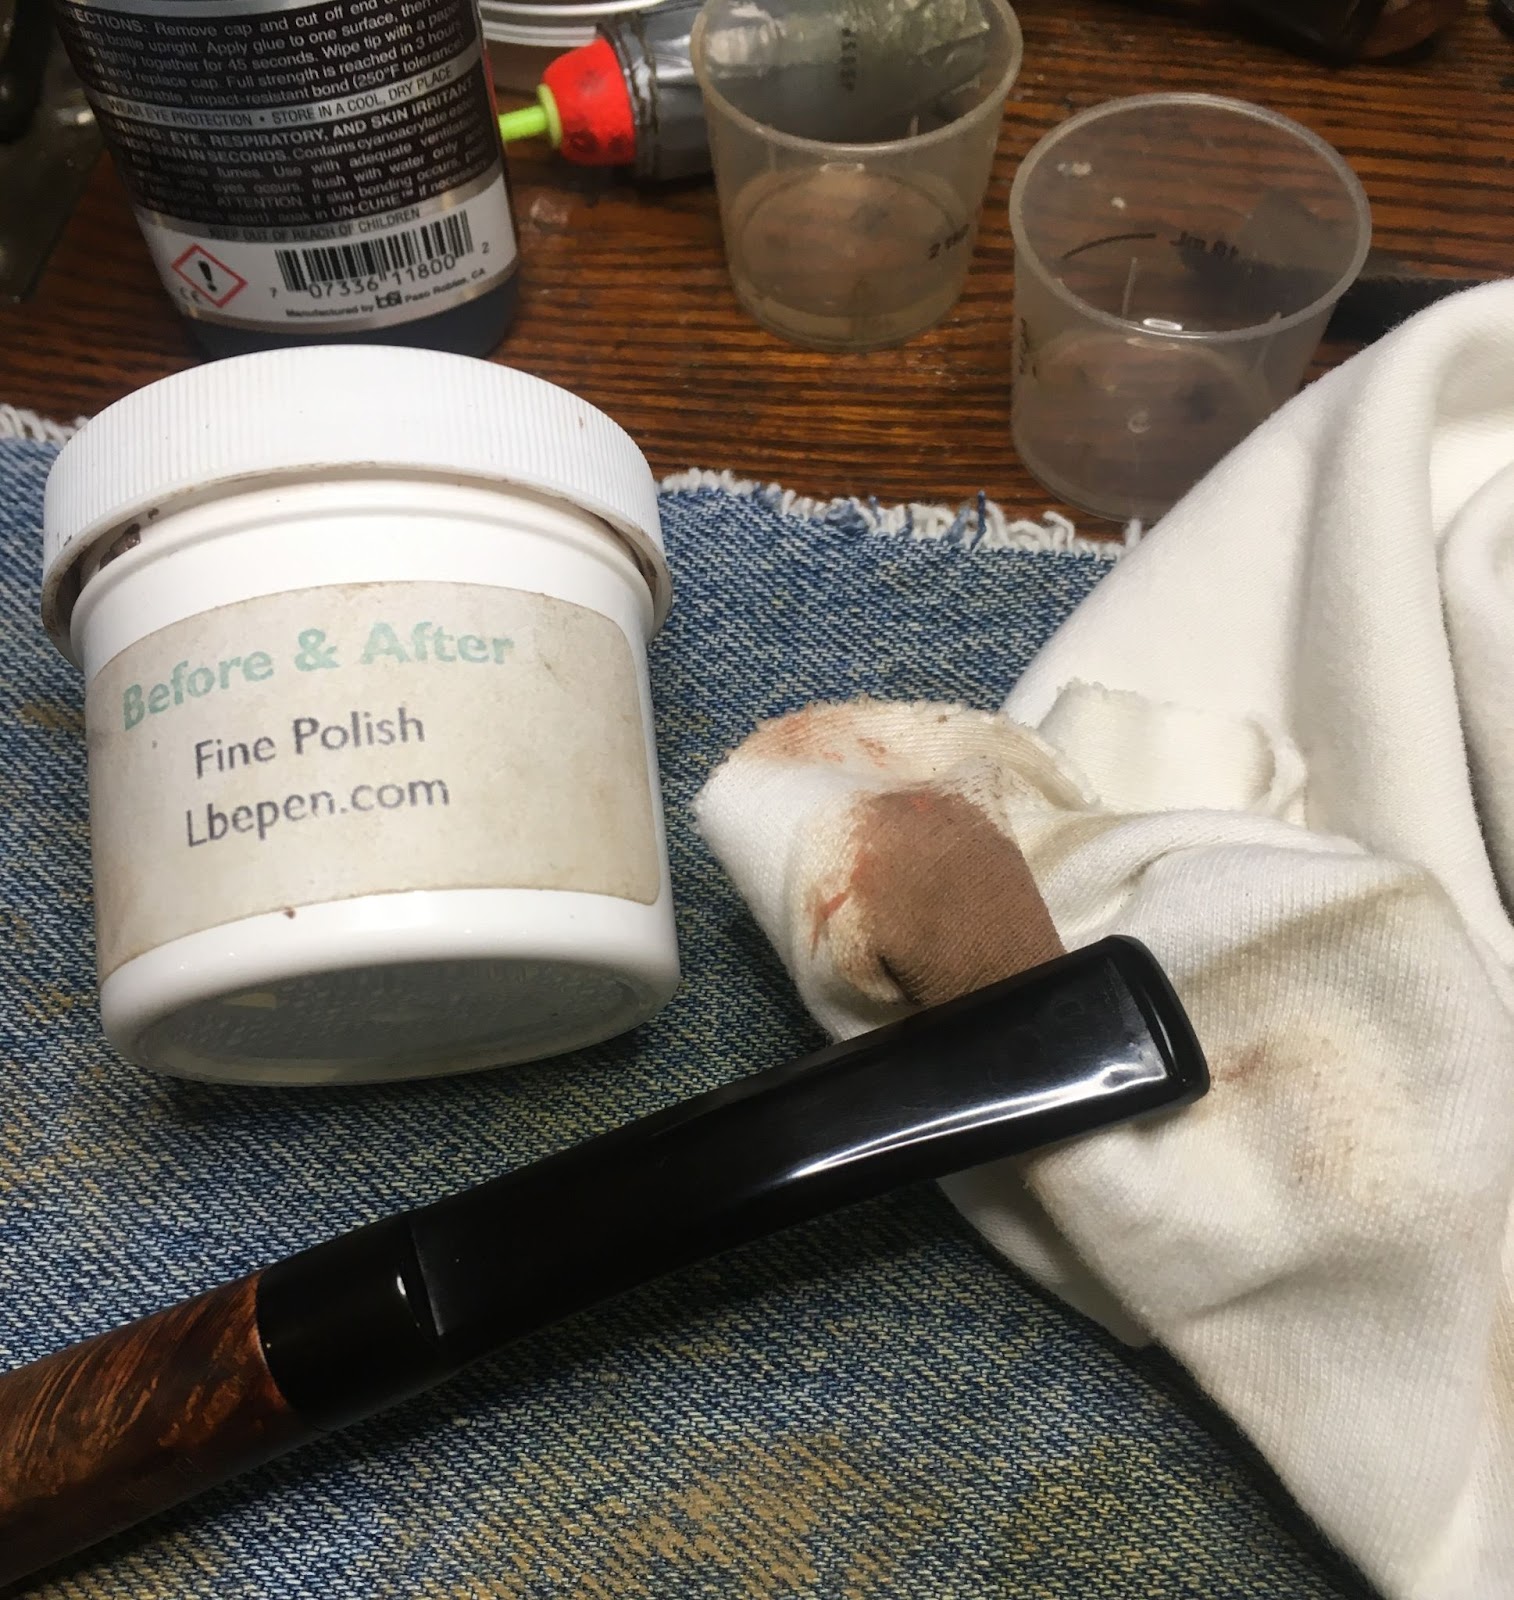
The stem was then further polished with Before and After Fine Polish on a soft cotton rag.
The Before and After Extra Fine Polish was used with the same cotton cloth.
The entire pipe was given a coating of Before and After Restoration Balm and allowed to sit for 30 minutes to ensure the Balm had enough time to work it’s magic.
The pipe was then wiped, cleaning off the Restoration Balm with an inside out athletic sock.
It was then taken back to the buffer to receive several coats of carnauba wax.
This Majestic turned out quite nicely. It is of a darker finish than I usually strive for but I think it works well with the classic elegant lines of this billiard. The silver tone star inlay on the stem also accentuates a darker finish and looks great surrounded by the glossy black vulcanite. I am not sure how I feel about using the buffer with red polishing compound rather than sanding to achieve a smooth finish. I mean it looks good but still it feels like cheating somehow. Either way, this pipe will make a fine smoker for its next companion. Te dimensions of the Super Majestic are:
Length: 5.98 in./ 151.89 mm.
Weight: 1.00 oz./ 28.40g.
Bowl Height: 1.72 in./ 43.69 mm.
Chamber Depth: 1.42in./ 36.07 mm.
Chamber Diameter: 0.74 in./ 18.80 mm.
Outside Diameter: 1.30 in./ 33.02 mm.
I do hope that you have found something here useful to your own pipe care, maintenance or restorations. If you like this sort of thing, please click the like and subscribe buttons. Thank you for reading the ramblings of an old pipe lover.
PS: If you know anything about the brand or the meaning behind the “V.D. stamping, please leave a comment. Thank you.
Below are some photos of the finished Super Majestic Billiard.
The next pipe in que for the workbench is this cute little Bentley Lovat. Once again I have chosen a pipe to restore that appears old, beat up, dirty and has little information concerning its origin story. Yay ( feel free to read with extra sarcasm). The pipe itself is good looking, well good looking if you use your “imagination”. Structurally it was sound with well centered drillings and nice proportions. The stamps are BENTLEY on the left shank and ALGERIAN BRIAR over FRANCE on the right.
Below are some photos taken of the Bently prior to working on it.
Trust me, there is a pretty little pipe there. In planning the restoration in my mind, I saw the usual cleaning and stem oxidation removal. I also say the filling of pits and blemishes and a contrast staining to bring out the naturally occurring grain. I will be sad to see the stem logo disappear but it was only painted on, not stamped and will not make it through a deoxidation process.
Background on Bently pipes
I turned first to pipedia.org for a search of Bentley. There is a short article on Bentley, “This is the production Brand of Hans Jonny “Former” Nielsen. When the U. S. pipe demand for quality handmade “freehand” pipes diminished, W.Ø. Larsen in Copenhagen sent their several workshop pipemakers home to work out of their house. Former who was the Larsen foreman at the time, eventually went to Germany and started the Bentley line of production pipes made on frasing machines, several at a time. Some years ago he returned to Denmark with this type of equipment and continues to make these production pipes in his current workshop in between making his famous handmade pipes.
The last sentence of the quote is most applicable to the Bentley that I have in hand. The aforementioned Bentleys sound like much higher quality pipes than this little lovat. Next I turned to a search of Kaywoodie, again in pipedia.org. I could find no mention of Bentley in a search of any Kaywoodie pages. Things that make you say “Hmmm.”
I then went to pipephile.eu to look for logos. This pipe had a circle logo containing a “B”. of the several circle B logos none of them matched. Search for Bently did meet with several suspects.
Very unlikely.
2. This one has potential. The BENTLEY stamping looks very similar to the stamp on the lovat but the stem logo is completely different.
3. Very unlikely.
4. Stamping here is lower case except for the “B”and the stem logo is missing the circle.
5. Unlikely. Country of manufacture (COM) is England. The Bentley lovat is france.
6. OK, so maybe it is a Kaywoodie second but, does Kaywoodie have any ties to French made pipes? According to the below, yes. They are both stamped Kaywoodie. This might not be the case if a pipe were a true second as “KAYWOODIE” would not necessarily be present on a second.
Conclusions: This Bently lovat is stamped BENTLEY, ALGERIAN BRIAR over FRANCE and it is a pipe. Thank you Captain Obvious. Seriously that is all I can say with certainty. It is a pipe, made in France from Algerian briar.
The Restoration
This restoration started with a clean denim piece then reaming of the tobacco chamber.
The reaming went well except that the chamber is drilled with a size that is just a smidge too tight for the PipNet #2 blade. The General triangular scraper was used then followed by the sanding with 220 sandpaper wrapped around a wood dowel.
The tobacco chamber was in great condition with no sign of any heat damage or careless scraping with sharp pointy knives. The rim on the other hand needed some attention from a sharp knife. I moistened it with saliva and scraped it with a sharp pocket knife.
After the scraping it looked much better and only showed a bit of rim darkening.
The stummel was taken to the sink for a scrubbing with undiluted Murphy’s Oil Soap and a medium stiff toothbrush. The soap was rinsed with warm water and the stummel dried with a cotton hand towel. Back at the workbench, I started picking the old fill material out of the pits.
Before repairing the pits I started cleaning the shank airway. The draft hole from the tobacco chamber was normal size then it widened considerably in the shank. My nylon shank brush was too thin to be very effective. I had to use two doubled over bristle pipe cleaners bent together to fashion a scrubbing tool. I poured 3-4 ml of ethyl alcohol into the chamber and allowed it to flow into the shank. I then used the two doubled over pipe cleaners to scrub the airway with the alcohol. Cotton swabs were then used to remove the remaining alcohol. This was repeated several times until the cotton swabs returned clean.
After the shank was cleaned I turned my attention to the stem. For such a short piece of rubber it certainly was dirty. Bristle pipe cleaners dipped in 95% ethyl alcohol were used to clean the airway of the stem.
The exterior of the stem was lightly sanded with a 400 grit sanding sponge then it was submerged into the Before and After Deoxidizing solution. I planned on leaving it in the solution for 2-4 hours.
This allowed plenty of time to fill the newly excavated pits. I used a fly tying bodkin to apply a small drop of brown cyanoacrylate (CA, super glue) to the pit. I then took a pinch of briar dust and pressed it into the CA filled pit. The briar dust combined with the CA and cured almost instantly. The new fill was then filed with a flat needle file flush with the surface of the stummel. A second small drop of CA was applied with the bodkin. While the CA was wet I sanded the area with a 400 grit sanding sponge. The briar dust from the sanding and the dust on the sponge combined with the CA to fill any remaining rough spots or slight depressions. The new fills appeared dark brown.
Oh yeah, I forgot to say that I covered the stamps with painters tape to protect the stamps from sanding.
The stummel was ready to have its grain accentuated. Due to budget cuts the same paper towels have remained on the dying station for a few restorations. Okay, maybe I’m just too lazy to lay down fresh clean ones. The plan was to use Fiebing’s Leather Dye to dye the stummel black. Sand away the dyed surface leaving the black dye on the softer grain where it had penetrated deeper. Then apply a light brown dye over the black adding a more yellow color to the non-blackened briar. The taped stamps would hopefully keep the black from giving the stamps an “Censored” bar appearance.
The black was wiped with cotton balls soaked in 99% isopropyl alcohol to remove the black dye from the surface.
The stummel was then taken to the workbench and sanded with a 320 sanding sponge to remove the outer layer of black dyed briar. After the sanding the stummel was again dyed but this time with light brown Fiebing’s Leather Dye.
After the light brown had dried I lightly sanded with a 400 sanding sponge. Below you can see the effect that I was hoping to achieve compared to the original surface.
The stummel was then sanded using the sequence of sanding sponges 600-3500. Between each sponge the stummel was wiped with a make-up pad wetted with alcohol. Oh yeah, I forgot to say that I reapplied the painters tape to protect the stamps.
Then the stummel was polished with micro-mesh pads from 4000-12000. Again between pads the stummel was wiped with a make-up pad wetted with alcohol.
The stummel then was coated in Before and After Restoration Balm and allowed to sit for 30 minutes.
I retrieved the stem from the deox, that is my term for the Before and After Deoxidizing solution. The excess solution was allowed to drip back into the jar. The stem was then rubbed vigorously with a coarse shop rab to remove remaining solution and help abrade oxidized vulcanite. A pipe cleaner was used to clear any deox solution from the airway. I then scrubbed the stem with Soft Scrub applied to make-up pads. Energetic scrubbing with the Soft Scrub removed the oxidized material.
Since this stem is so short there was very little room to work with the sanding sponges or the micro-mesh pads. I took the stem to the buffer and tried to polish it with a flannel wheel and red buffing compound. This worked but did not have the finish that the sponges and pads would have achieved.
30 minutes later the Restoration Balm was wiped from the stummel using an inside out cotton athletic sock.
All that remained was to give the pipe several coats of carnauba wax with the buffer.
This little Bentley lovat of unknown origins is nevertheless an adorable pipe. The briar took the dye as I hoped it would and now sports a lovely contrast dye that accentuates the grain. The stem, though short, cleaned up well and works well with the dark contrast of the briar. The draw is smooth and promises to be a delight to smoke.
The dimensions of this Bentley Lovat are:
Length: 4.95 in./ 125.73 mm.
Weight: 0.94 oz./ 27.00 g.
Bowl Height: 1.71 in./ 43.43 mm.
Chamber Depth: 1.50 in./ 38.10 mm.
Chamber Diameter: 0.79 in./ 20.01mm.
Outside Diameter: 1.17 in./ 29.72 mm.
I do hope that you have found something here useful to your own pipe care, maintenance or restorations. If you like this sort of thing, please click the like and subscribe buttons. Thank you for reading the ramblings of an old pipe lover.
Below are some photos of the finished Bentley Lovat.
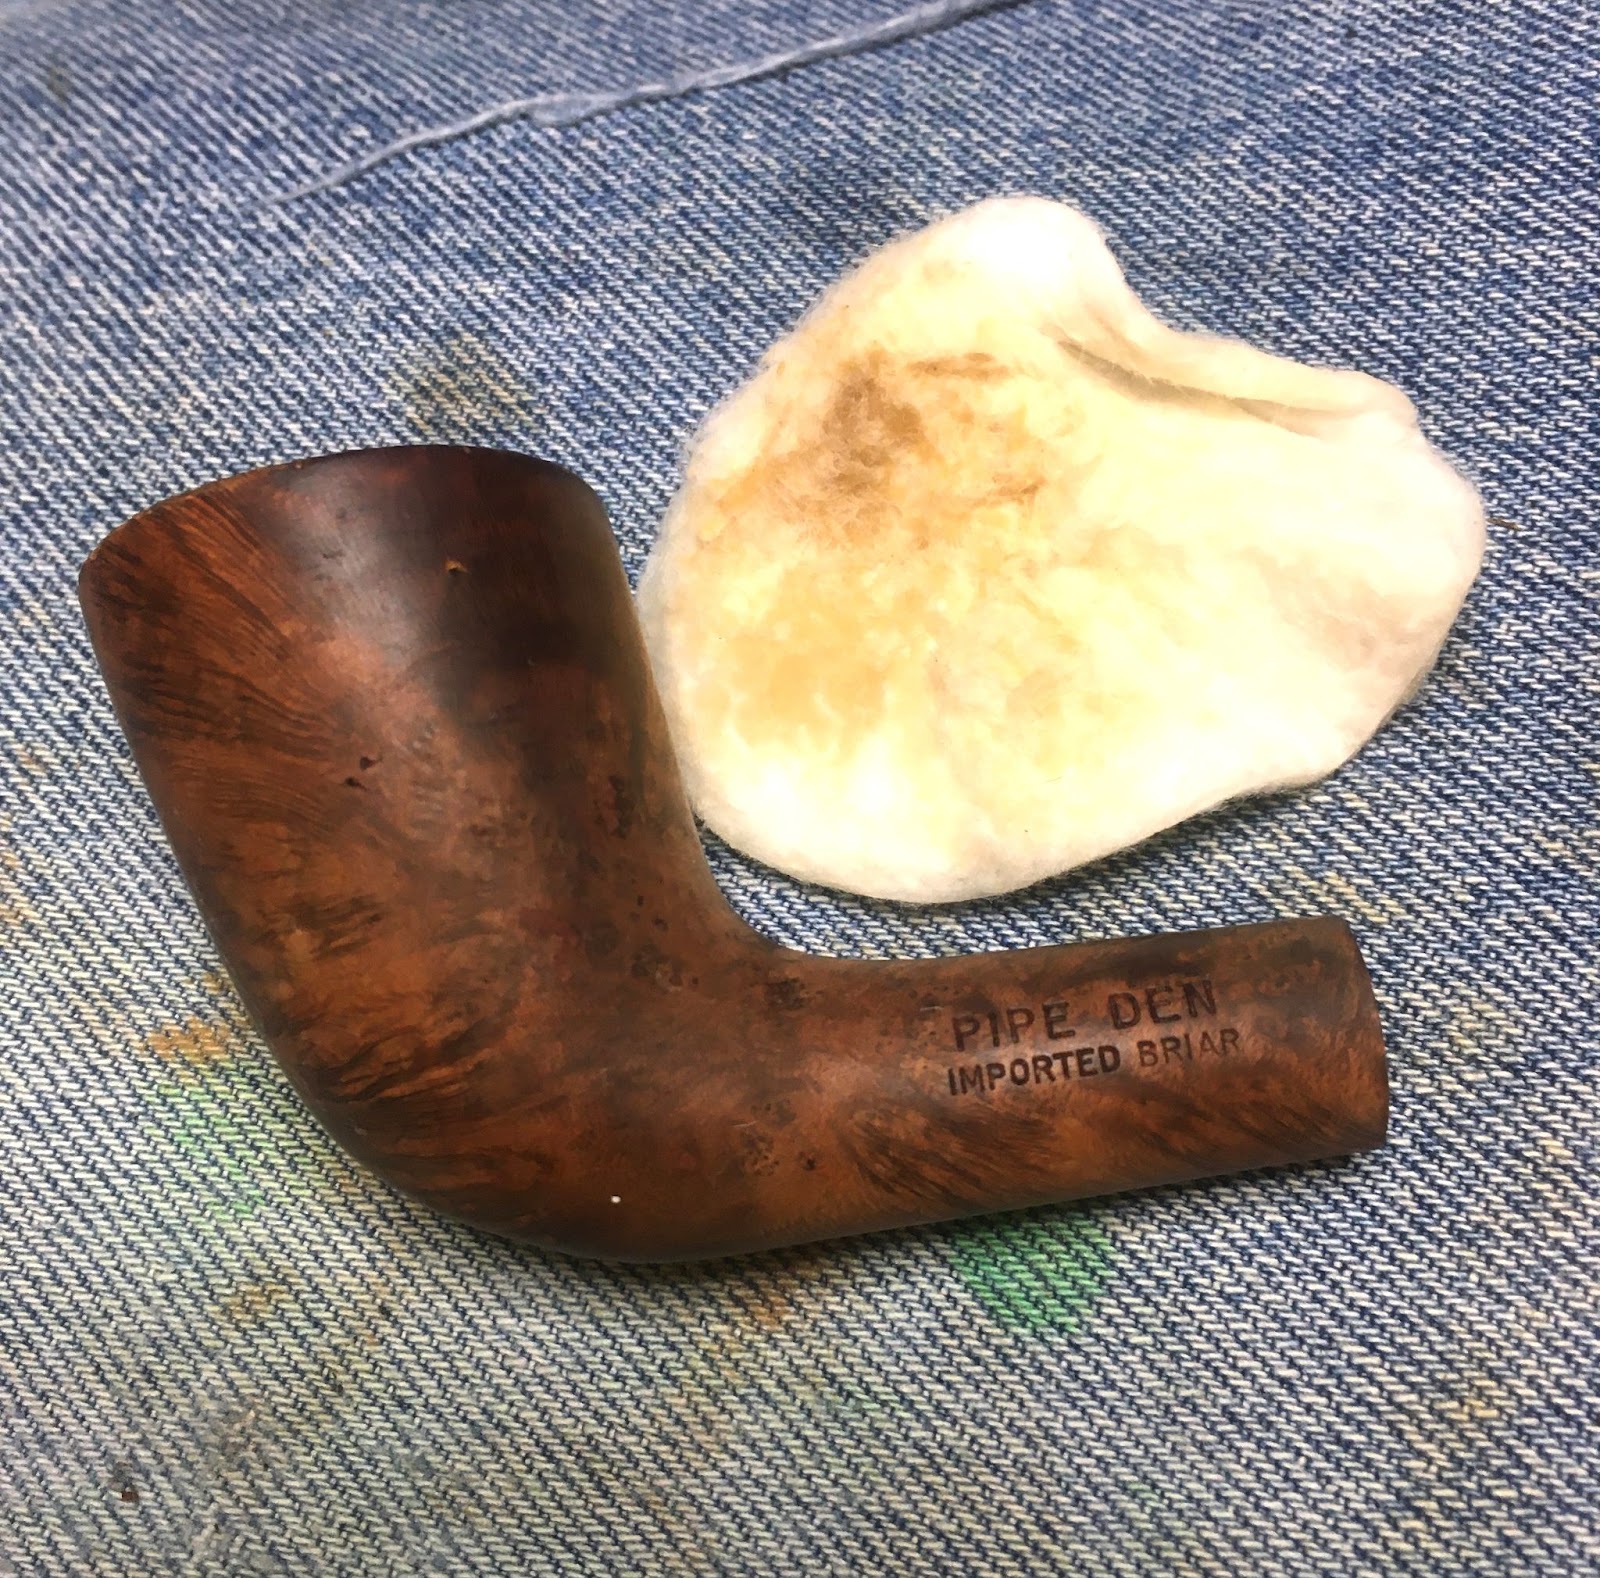
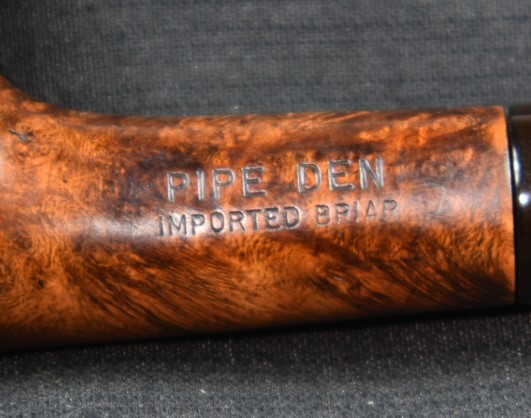
Why is it that some pipes can’t qualify for the maker stamping their name on the pipe? Not to sound like President Biden but, “Come on, man.” IMPORTED BRIAR is not enough of a name to mean anything except that your briar is imported (Duh, isn’t it all imported?) and that the pipe was likely made in the US after World War 2 (WWII).
Fortunately our government is there protecting us from the diabolical domestic terrorist native briar cartels. As can be seen by,
“Section 304 of the Tariff Act of 1930, as amended (19 U.S.C. 1304)
provides that, unless excepted, every article of foreign origin
imported into the U.S. shall be marked in a conspicuous place as
legibly, indelibly, and permanently as the nature of the article (or
container) will permit, in such a manner as to indicate to the ultimate
purchaser in the U.S. the English name of the country of origin of the
article. Congressional intent in enacting 19 U.S.C. 1304 was that the
ultimate purchaser should be able to know by an inspection of the
marking on the imported goods the country of which the goods is the
product.
Part 134, Customs Regulations (19 CFR Part 134), implements the
country of origin marking requirements and exceptions of 19 U.S.C.
1304. As provided in section 134.41, Customs Regulations (19 CFR
134.41), the country of origin marking is considered to be conspicuous
if the ultimate purchaser in the U.S. is able to find the marking
Use your best Yoda impression to read the following, “The sarcasm is strong in this one.”
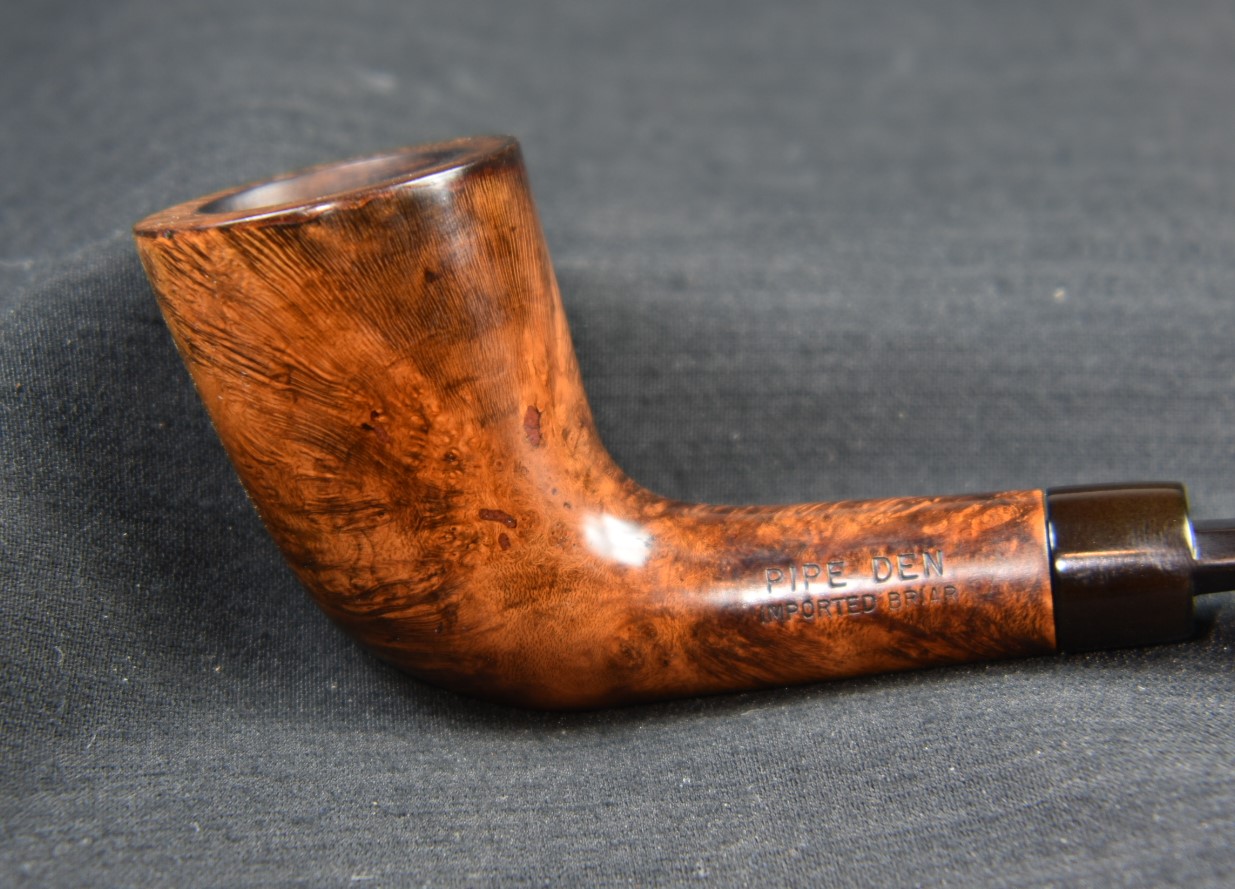
Okay, what are we looking at with this restoration?
The Restoration
Perhaps it is for the best that little information can be gleaned from the stamping to the heritage of this pipe. All that background and history research would just keep me from addressing the things that need fixing with this pipe. First off there is a clear coat to eliminate. Then there is the standard reaming and cleaning, followed by repairing the damaged rim and stem. I think the briar would benefit from a contrast stain allowing for a highlight red to be accented by black. Stay tuned to see what happens.
Of course I will begin with a clean denim piece protecting the work surface. Someday I will get around to stripping the finish from this old roll top desk that I use as a workbench. It has a shellac finish that does not agree with spilled alcohol or acetone. A polyurethane would make more sense but it was my grandfather’s desk and I don’t want to alter it too much.
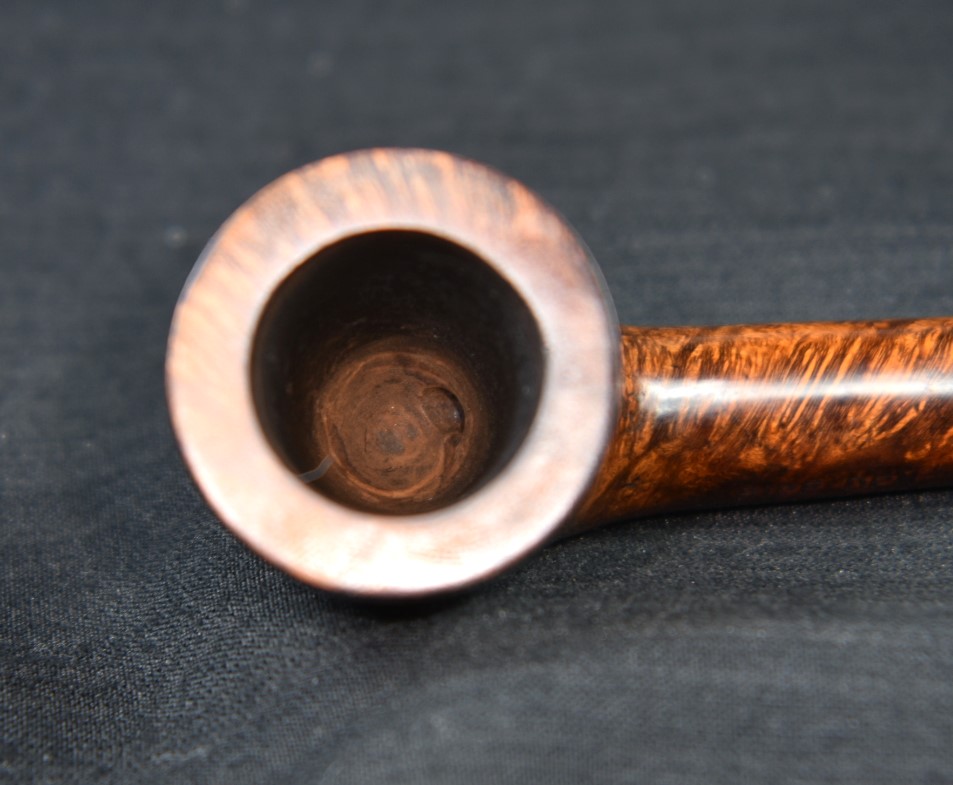
I worked on reaming the tobacco chamber first. The PipNet with a #2 blades after I had scraped the hard dry cake a bit with the General triangular scraper. The problem was that the chamber had a diameter that was a touch too large for the #2 blades and too small for the #3 blades. This meant more scraping.
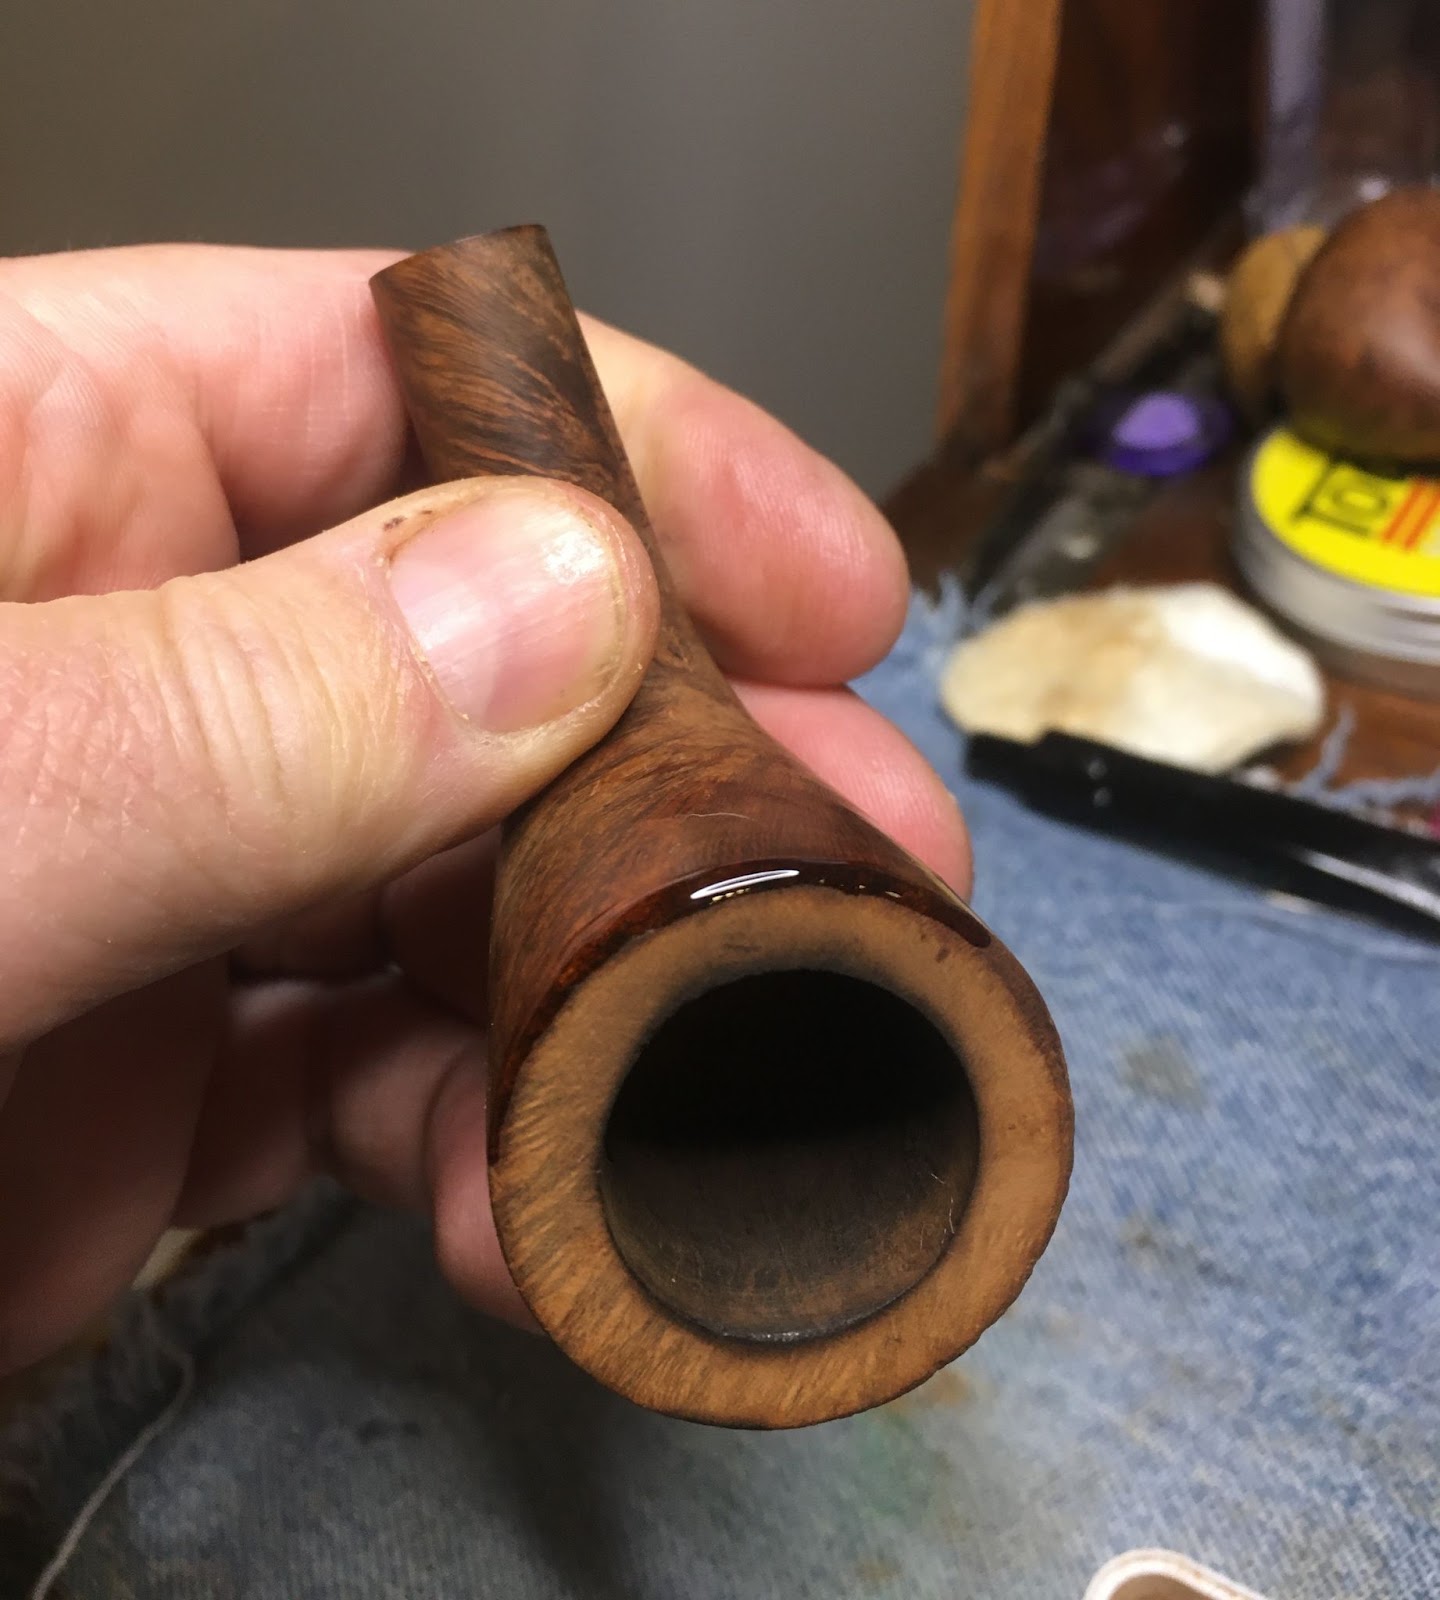
The chamber was sanded with 220 sandpaper to get to clean briar then finish sanded with 320 sandpaper. There was no heat damage observed in the chamber.
That brings us to the rim. The lava deposits made inspection of the rim difficult. Though there did appear to be charring at the 8 o’clock position of the photo below and around the inside edge of the rim from 3-8 o’clock.
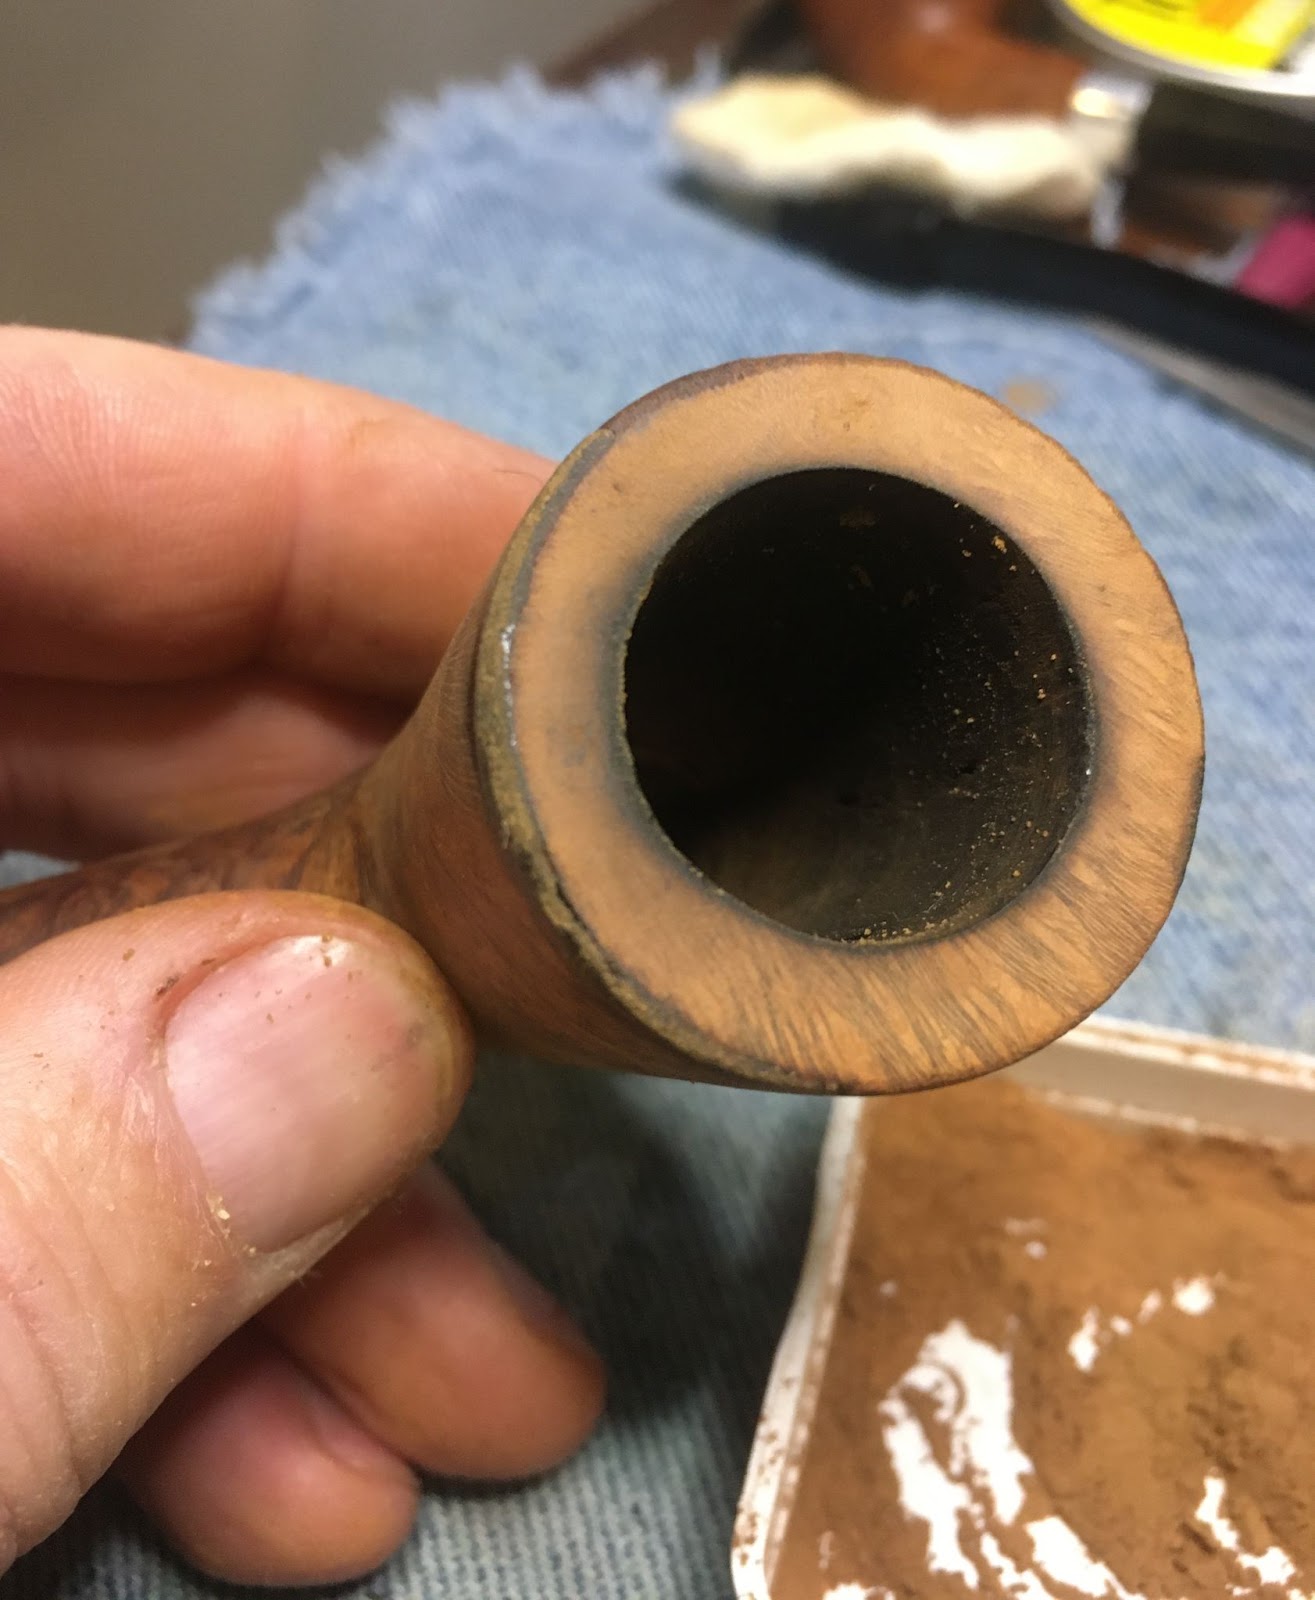
The rim was moistened with saliva then scraped with a shape pocket knife.
A further scraping revealed that the rim damage was all around the rim. The charing was also around most of the inside edge. Topping this stummel and removing the dents and dings would be required. I was hoping to only remove about 1/16 of an inch, 1-2 mm of briar from the rim. Beveling of both the inside and outside edges would remove the edge damage and keep me from removing even more briar.
After the reaming of the tobacco chamber, I poured 2-3 ml of 99% isopropyl alcohol into the chamber and allowed the alcohol to flow into the shank. I then used a nylon shank brush to scrub the airway. I poured this alcohol into a clean medicine cup. I was surprised that the alcohol did not have the dark color that I had expected. The long shank would make scraping the airway very difficult.
The stummel was taken to the sink. Here I used undiluted Murphy Oil Soap and a medium stiff toothbrush to scrub the exterior of the stummel. The stummel was rinsed with warm water and dried with a cotton washcloth. I then decided to check the shank airway by using the shank brush with a bit of Dawn dish soap. I was still having trouble believing that the airway was as clean as the alcohol led me to believe. The Dawn shank brush scrub did not result in dark lather. Maybe the previous owner did keep the airway clean. The evidence was mounting in his favor but the question lingered, “If the rim was that fouled with lava, why did he keep the airway clean?”
I returned to the workbench for another go at cleaning the airway. About 5 ml of 99% isopropyl alcohol was used this time and scrubbed with the shank brush. When this alcohol was poured out I saw the dark color I had expected. The airway was dirty; it had just taken a bit of scrubbing to soften the yuck (yuck is a highly technical term to describe the smoking residue). It was present, not easily scraped and needed to be removed. This was going to be a long one. I just realized the unintended pun, there – long shank, long cleaning job.
Before I started the shank airway cleaning I wanted to top the stummel and remove the clear coat as it got sticky with the alcohol.
The topping was done by moving the stummel in a circular motion on a clean sheet of 220 sandpaper laid flat on a countertop. Every 3-4 circles I would rotate the stummel in my hand to keep an even pressure of all sides of the stummel. I wanted to remove about 1/16 inch or 2 mm of briar from the rim. This would not be enough to eliminate the rim edge damage but I figured I could remedy that by beveling the outside edge of the rim.
Next, I first tried removing it with 95% ethyl alcohol. That worked albeit slowly.
I then tried wiping it with acetone. This worked better and faster.
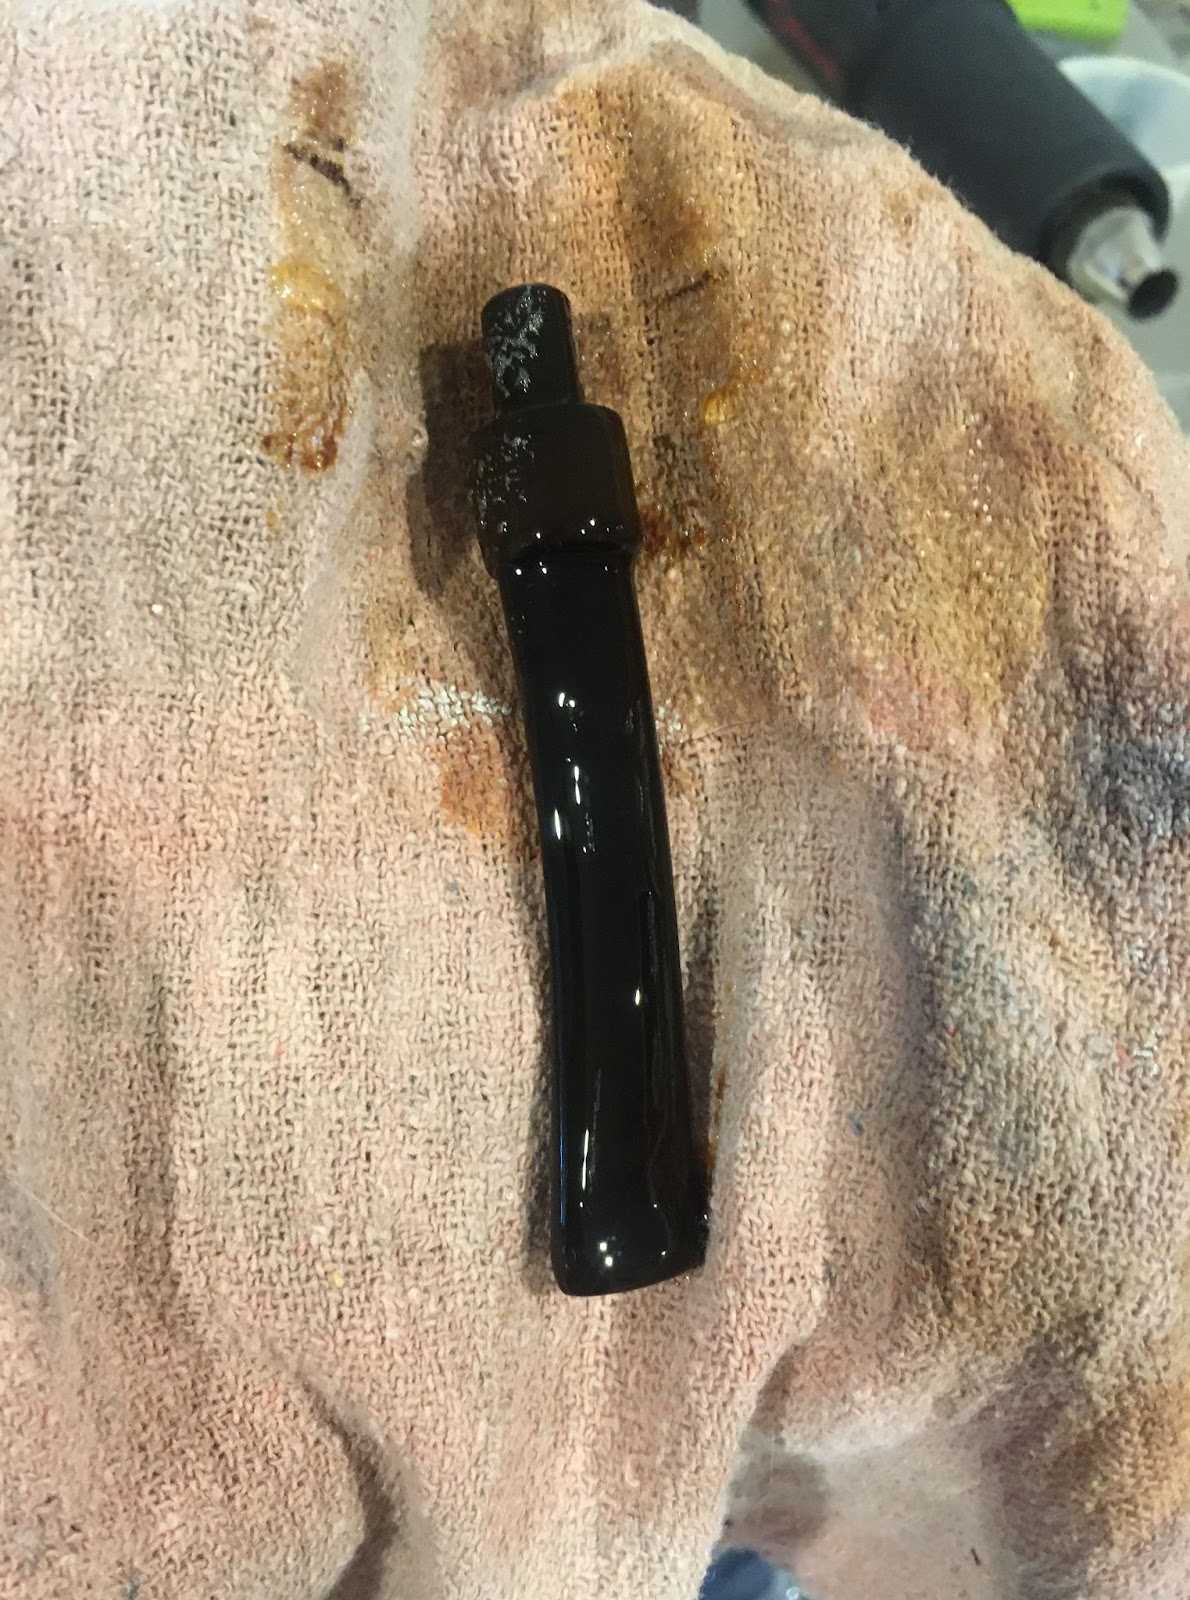
With the finish mostly removedI set to cleaning the stem. The airway was cleaned with bristle pipe cleaners dipped in 99% isopropyl alcohol. The outside was lightly sanded with a 320 grit sanding sponge then with Soft Scrub applied to make-up pads.
Next came the shank cleaning. The long shank did not allow for effective scraping with a dental scraper. The cleaning did utilize a nylon shank brush with numerous scrubbings of the airway with 5 ml of 95% alcohol poured into the bowl and allowed to flow into the shank. While in the airway the alcohol was scrubbed with the brush. Below you can see the medicine cup use to collect the alcohol after the scrubbing.
There were a couple of dents in the lower left section of the stummel. I used a hot iron and a damp rag to raise these.
Below is a photo of the stummel partially wrapped in the wetted cotton rag and pressed against the hot clothes iron.
The steam from the iron heated water raised the dents very nicely.
After the shank was cleaned the pits on the stummel were filled using a small drop of cyanoacrylate (CA, super glue) and briar dust. A small drop of CA was applied to the pit then sanded with a 400 sanding sponge. The dust from the sponge combines with the wet CA to fill the pit. Additional applications were used for deeper pits.
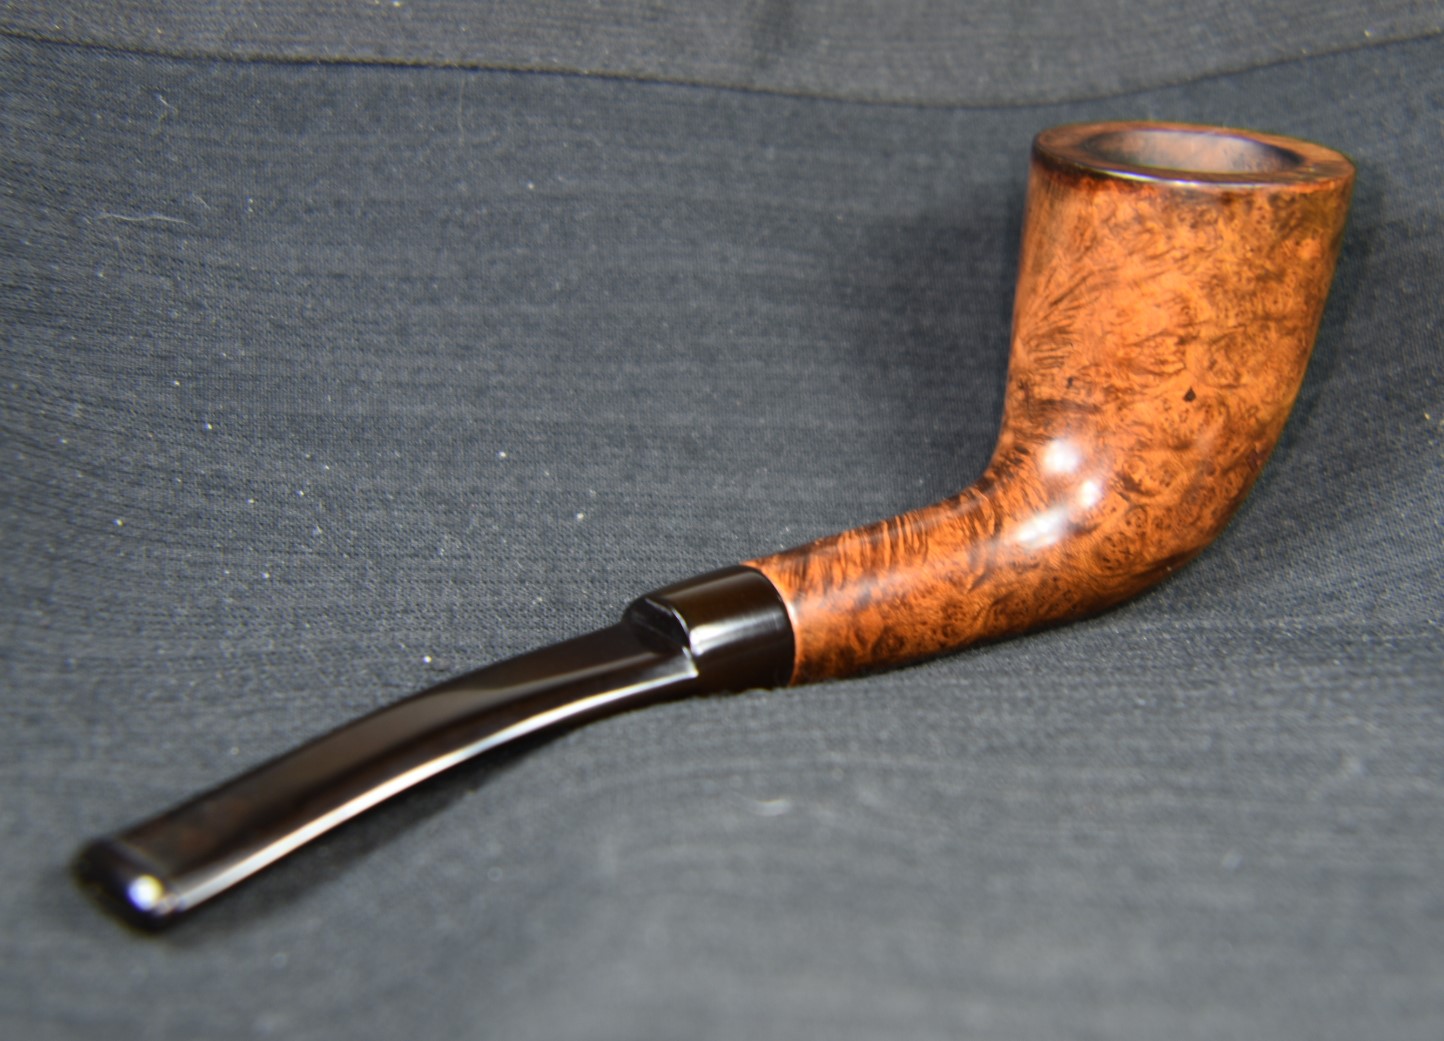
I wanted a contrast dye that had a base of black with a secondary dye of red. I hoped that this would give the pipe an accented grain in black with reddish hued highlights. To achieve this I first dyed the stummel black with Fiebing’s Leather dye. The dye was applied with a folded pipe cleaner and flamed with a disposable lighter.
A duct tape wrapped fishing bobber was used to keep dye from the tobacco chamber and to act as a handle.
The black dye was then wiped from the stummel using several make-up pads dipped in 95% ethyl alcohol.
The stummel was then sanded with a 320 sanding sponge to remove the outermost black dyed briar leaving the underlying black dyed briar in place, accentuating the grain.
A second dying of the stummel was then done with Fiebing’s Dark Red Leather Dye.
This was then wiped from the stummel using alcohol dipped make-up pads.
The sanding of the stummel with a 400 grit sanding sponge then wiped with a clean alcohol dipped make-up pad resulted in the stummel looking quite red, below. Notice the strange surface crack just above center – this was filled using thin CA then sanded, with the sanding dust filling the crack.
Below is the contrast dyed stummel before any sanding with finer sanding sponges.
I felt like this pipe was living up to the unofficial Nebraska motto – Go Big Red.
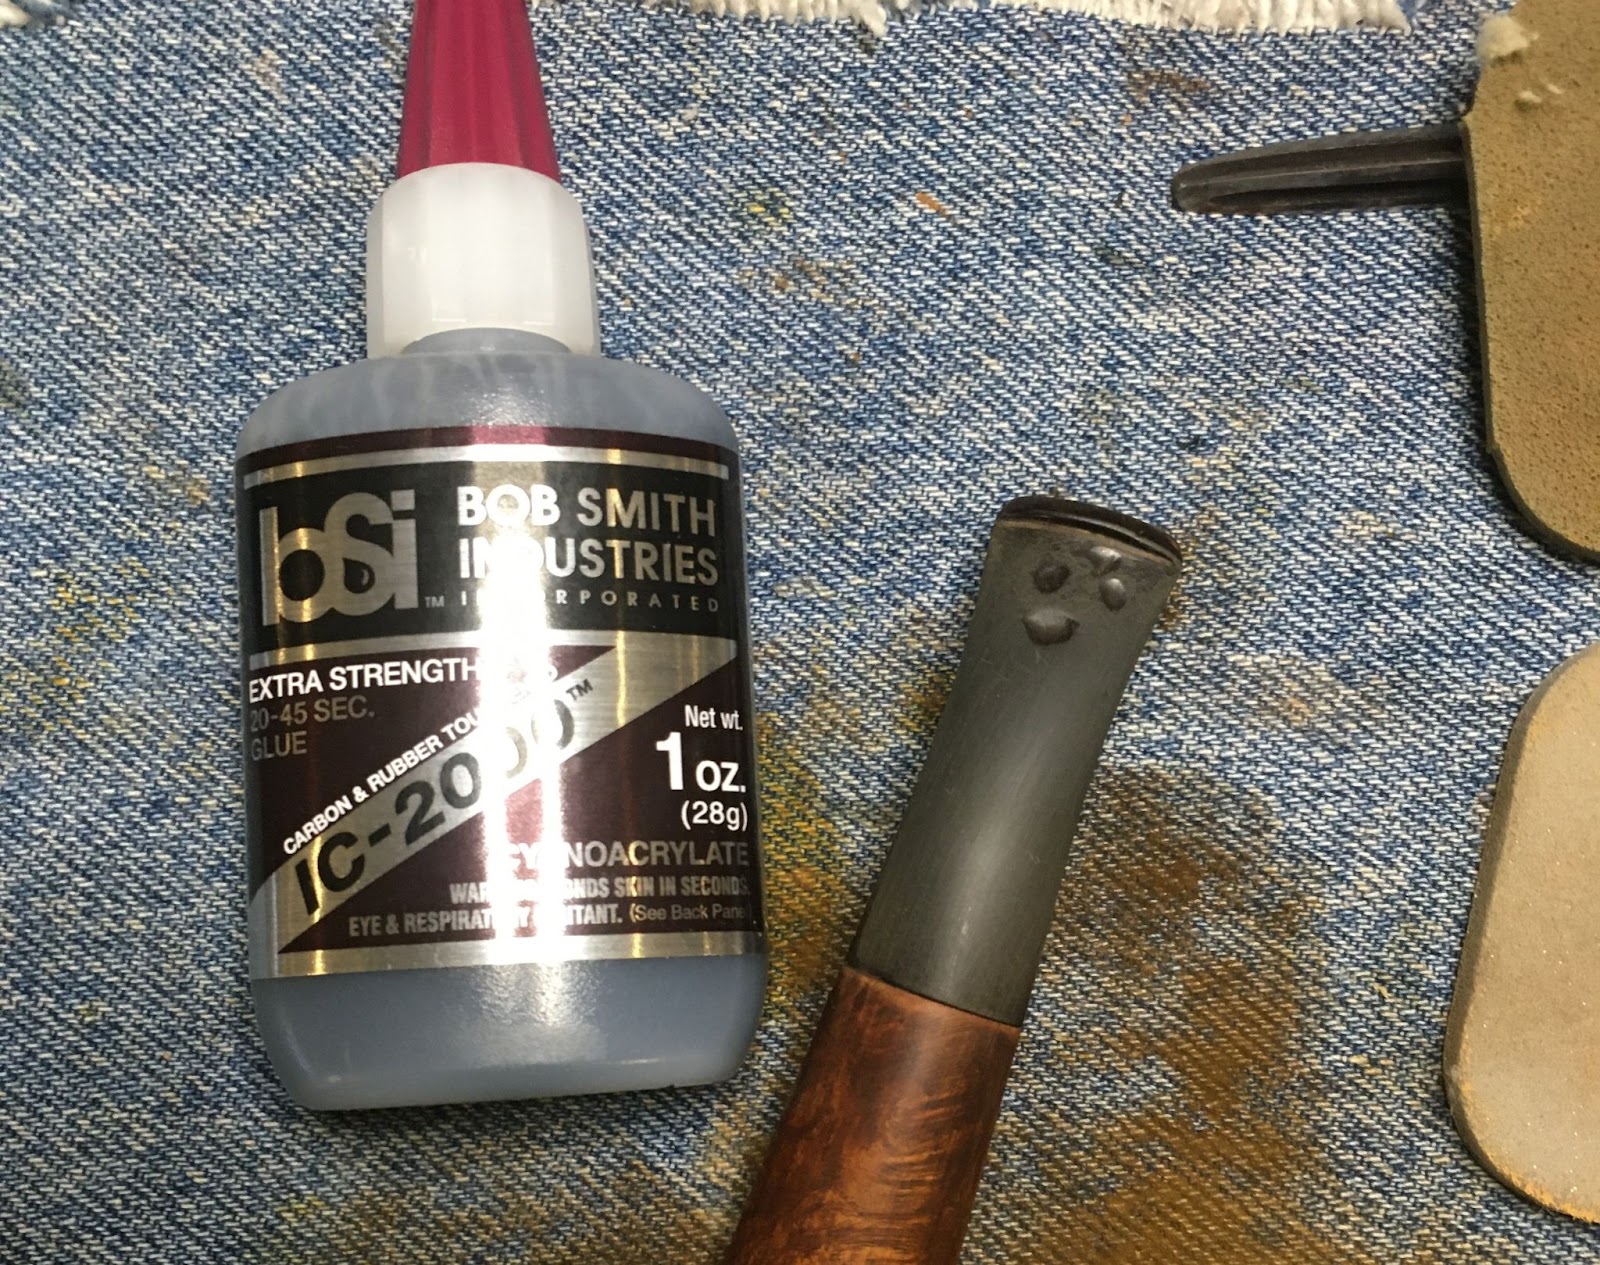
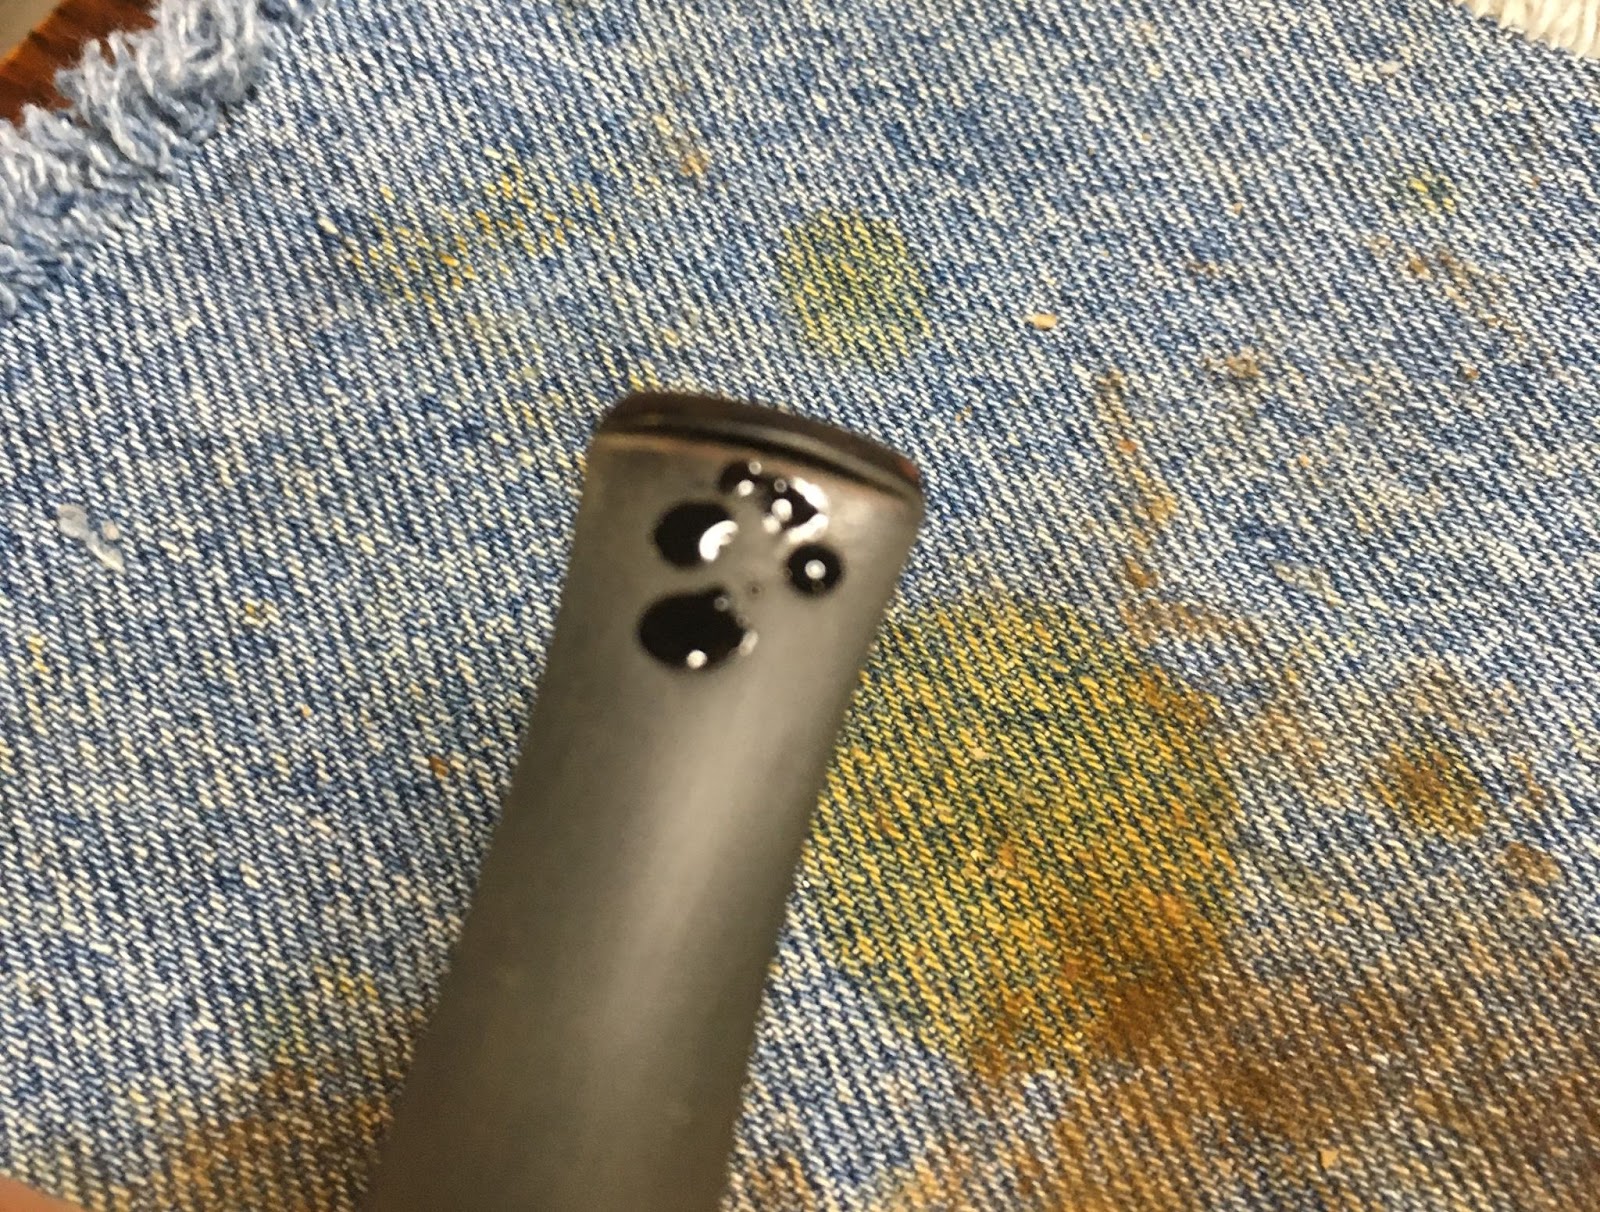
Next on the list was the stem repair. I admit to getting into the “stem repair” mode and losing track of documenting the process. I start by de-oiling the areas to be repaired with an alcohol dipped cotton swab. Then small drops of black CA are placed into the depressions on the stem. The wet CA is spritzed with a CA drying accelerator. Once dry or cured the CA is filed with a flat needle file. If the depression is deep it may take several small drops of CA and subsequent spritzes with an accelerator to fill the depression. That was the case here. When I started photographing, I was already filing the second application.
A third application was applied and spread around to thin over a larger area using the tip of the applicator on the bottle. This was then spritzed, filed and sanded with a 400 grit sanding sponge. The next two photos show the depressions filled and sanded with the 4000 sponge.
The stem was slightly “over-clocked”. This led to the stem not aligning correctly with the stummel, as it had been over tightened. There are two ways to address this:
1) to heat the aluminum screw-in tenon until the stem is slightly melted, then rotate the aluminum to the correct position and allow it to cool.
2) Add a light layer of black CA to the edge of the stem and allow it to cure.
Both methods work but come with downsides of being time consuming and tedious. I chose to use the adding of black CA to the stem. Since the alignment was very sligh, only a few degrees I only needed to “paint” or apply a single coat of black CA to the stem.
The pipe was sanded intact. I wanted to smooth out the mortise tenon joint as the original fit was less than smooth feeling. I used a series of sanding sponges with grits from 1000-3500, in sequence. Between each sponge the stummel was wiped with a make-up pad wetted with alcohol while the stemI received a bit of mineral oil rubbed in by fingertip then wiped with a paper towel.
After the sanding sponges I used a sequence of micro-mesh pads from 4000-12000. The stummel was wiped between each pad as above. The stem received a drop of Obsidian Oil between pads, rubbed in by fingertip and wiped with a paper towel.
The pipe then was coated with Before and After Restoration Balm. The balm was allowed to sit for 15 minutes.
The excess balm was wiped with an inside-out cotton athletic sock to reveal a beautiful rejuvenated contrast dyed briar.
The stem was further polished using Before and After Fine Polish. The polish was applied by fingertip and hand buffed with a soft cotton cloth.
The polishing was finished using the Before and After Extra Fine Polish using the above procedures.
The final step was to apply several coats of carnauba wax using the buffer.
I am quite pleased with how well this Italian Canadian of unknown make turned out. It is a large pipe yet is surprisingly light in hand. The contrast staining yielded the color that I had in my mind as I was imagining how it would look finished. The screw-in tenon fits and aligns well. Though not the most beautiful grain the contrast stain definitely improved the look of the briar and is accentuated by the high gloss black stem. I am certain that this will be a nice smoking pipe even without a maker’s stamp.
The dimensions of this large Canadian are:
Length: 6.67 in./ 169.42 mm.
Weight: 1.40 oz./ 39.8 g.
Bowl Height: 1.88 in./ 47.75 mm.
Chamber Depth: 1.65 in./ 41.91 mm.
Chamber Diameter: 0.78 in./ 19.81 mm.
Outside Diameter: 1.46 in./ 37.08 mm.
I do hope that you have found something here useful to your own pipe care, maintenance or restorations. If you like this sort of thing, please click the like and subscribe buttons. Thank you for reading the ramblings of an old pipe lover.
Below are some photos of the finished no name Italian Canadian.
I think I might have to start selling these post restoration denim pieces as wall art.
The Pipe Den, the name harkens back to a day of local pipe and tobacco shops which our world appears to have mostly left in the past. Many pipe smokers love our local brick and mortar shops and it warms our hearts to hear the success stories of the local shop that is surviving in the world of big internet retailers. I live within an hour drive of one such shop and I admit to visiting it about once a year to stock up on a local blend assembled there. The place has a cigar lounge and will infuse your clothing with cigar aroma at no cost. I have been the only pipe smoker present on my last two visits. The world I live in enables me to have pipe tobacco from all over the world available with the convenience of no 60 minute drive in city traffic and the thrill of opening the aromatic box, freeing the imprisoned contents and allowing them to join their tobacco blend brethren in glass jars upon a shelf.
I warmly remember the smell of David’s Briar Shop in a local mall Westroads in the 1970’s and 80’s. That smell is firmly locked into the vault and I have to admit to wishing to experience it again. It is a nostalgic smell that when reminiscing with others about the mall, has never met with someone saying “I hate that smell”. To the contrary, it seems to only incite fond memories. These are the memories that stir when I work on a pipe stamped with the name of a pipe shop.
This Zulu came to me as part of an estate lot. Let me show you what I was looking at with this Pipe Den Zulu.
Background on the Pipe Den
The Pipe Den is a shop from Vero Beach Florida. According to the internet, source of only honest, truthful and accurate information, the Pipe Den still operates today. According to their website, Bob Marshbanks has been, “Serving pipe and cigar enthusiasts since 1977. We are your premier cigar, pipe and tobacco shop” (https://pipedenvero.com/). The website does not offer any online shopping yet invites patrons to the actual store to see what they have to offer. There is no mention of specific pipes but they do state the following:
“We offer a large selection of top quality pipes made by the world’s best pipe makers. I personally guarantee all my pipes, even “starter” pipes. Many “production” made pipes are manufactured of “Green” briar, heavily stained, varnished to cover poor grain and imperfections and smoke “hot”. To order a pipe, select your shape preference and let me know the price range you have in mind. Choose natural, dark or sandblast finishes. This will allow me flexibility in my efforts to ensure that you will get the very finest pipe available from my selection.
Even easier, just call, we can discuss your preferences and we can be more sure of the selection. I also have a selection of one-of-a-kind and freehand, hand carved Meershaum and Estate pipes.
The relaxed atmosphere at The Pipe Den is there for everyone. You are welcome anytime to come by, sit and enjoy a good cigar, fill your pipe bowl and get away from the hassles. I specialize in friendly old fashioned service.” (https://pipedenvero.com/pipes-%E2%80%A2-hints-%26-tips)
The question of who made this pipe for Pipe Den remains. In looking at the stem I see similarities to a couple of other pipes that I own. I have two Jobey pipes that appear to have very similar identical stems. They are saddle stems with a near 90 degree shoulder.
The quality of briar and the original stain color also match quite well. Given those last two qualities are hardly good indicators of a shared heritage but they do look similar. When looking up Jobey on pipedi.org, the first sentence of the entry says, “English – American – Danish – French… Sadly, solid information about Jobey is scamt…”(Jobey – Pipedia) Even misspelling scant. This should tell me something, what, I am not sure. The pipedia.org article goes on to discuss possible origins of the Jobey company. The most likely hypothesis, to me, is that Jobey was an American company and a subsidiary of the Norwalk Pipe Corporation (Norwalk Pipe Co. – Pipedia) and later sold to Weber. There is also another discussion mentioning that, “Weber Pipe Co. owned and manufactured Jobey pipes – when mainly sold in the USA by the Tinder Box from 1970’s – 80’s. In addition Jobey / Weber bought Danish freehands from Karl Erik (Ottendahl). These pipes were offered as Jobey Dansk. Ottendahl discontinued exports to the United States in 1987 and in the very same year – obviously only as a ghost brand – Jobey was transferred to Saint-Claude, France to be manufactured by Butz-Choquin.”(Weber Pipe Co. – Pipedia). This I believe is the most likely suspect. The Pipe Den Zulu has a Jobey/Weber feel to it. I can’t explain that other than the word “feel”. The age would fit for the Pipe Den history, according to their website the Pipe Den opened in 1977. I am of the opinion that this Pipe Den Zule was a Weber made pipe likely from the late 1970’s – 1980’s.
The Restoration
In the beginning… No, that sounds too biblical. How about, this restoration began with a clean piece of denim laid out on the workbench? Much better.
The fit of the stem was too tight and was left partially inserted to avoid dressing the mortise. The stem was also in dire need of oxidized vulcanite removal. That is where I began.
I sanded the stem with a 600 grit sanding sponge to remove the calcium deposits, surface oxidation and light tooth chatter. You can see that I used the denim to clean the sponge.
Next the interior of the stem was cleaned using bristle pipe cleaners and a nylon brush dipped in 95% ethyl alcohol.
With the stem cleaned inside and out, It was time to go into the Before and After Deoxidizing solution. A pipe cleaner was used as a hanger to suspend the stem in the solution.
I refer to this as the deox tank or deox, as a play on words with detoxification or detox for alcoholics and drug addicts.
With the stem in deox, I turned my attention to the reaming of the tobacco chamber. The below tools were assembled.
The chamber was bored with a very conical bit and did not fit the PipNet reamer at the bottom. This required more scraping with the Smokingpipes Low Country Reamer and the General triangular scraper.
The interior of the chamber was sanded to bare briar and no evidence of heat damage could be observed. The rim was the next target of restoration. I could see damage around the outer edge from tapping out dottle on surfaces not meant for tapping. There was also a thick coating of lava.
The lava was scraped with care and a sharp pocket knife after being moistened with saliva.
The stummel was then taken to the sink. Here it was scrubbed using a medium stiff toothbrush and undiluted Murphy Oil Soap. The soap was rinsed with warm water. At this point I decided to scrub the airway of the shank with a nylon shank brush and a bit of Dawn dish soap. The airwar was rinsed with warm water and the stummel was dried with a cotton washcloth.
Back at the workbench the stummel was wiped with a make-up pad dipped in 95% ethyl alcohol to remove any remaining wax or finish. The pad came back with reddish brown, indicating that I was removing some of the original stain. No finish could be observed.
The cleaning of the shank was next on the list. I poured about 4 ml of 95% ethyl alcohol into the bowl and allowed it to flow into but not out of the shank. I used a nylon shank brush to scrub the airway with the alcohol present. I then poured this alcohol into a medicine cup to be used until it was too blackened from dissolved tar. After the alcohol scrub I returned to the sink and scrubbed the airway with undiluted Castile soap. Then abc to the workbench for an alcohol scrub. This rotation continued until my nylon brush was no longer turning black with tar.
Between scrubbing rotations I would scrape the airway with a dental scraper and scrub with cotton swabs. Eventually the airway was cleaned.
14 hours later, I retrieved the stem from the Before and After Deoxidizing solution. I allowed it to drip off excess solution for a few minutes.
Below the stem is on my preferred coarse cotton shop rag. I like this rag for buffing a stem after the solution as it absorbs the remaining solution and abbrades some of the loosened oxidized vulcanite.
Below is the stem after the buffing with the rag.
After the hand buffing I used several make-up pads with Soft Scrub to further remove oxidized material from the stem. I could have sworn that I photographed the pads but failed to find the photos. Further proof than getting old is not for the… What was I saying?
The stem was then coated with mineral oil both inside and out.
There were a few small pits which needed to be filled prior to taking on the damaged rim. The small fills were repaired by placing a small drop of cyanoacrylate (CA, super glue) into the pit then sanding immediately over the pit. The dust from the sanding and sanding sponge combined with the CA to fill the pit. Two applications were sometimes needed for slightly larger pits. Now to deal with that damaged rim I did not want to top the rim and remove an ⅛+ inch or 3-4 mm of briar thus changing the shape of the stummel. I lightly topped the pipe to restore sharp edges on the undamaged rim. My plan was to apply a bead of brown CA to the damaged outside edge of the rim then press it into a container of briar dust. The briar dust would then be combined with the CA to make a hard briar incorporated fill which could be sanded smooth.
Below is the bead of CA around the damaged areas
Below is after the first dip of the wet CA into the briar dust. The excess dust was scraped off with a pocket knife.
Below is a photo of the new edge. It would require a couple more beads of CA and dust dips but it was working.
Below is dust dip number two.
After filing and sanding the edge was restored. The fill did appear darker than the supporting briar but that would be addressed with a contrast dye (more on that later).
Now, to conceal the darker edge, I figured a darker stain or dye with the surface sanded away would provide a nice contrast showing off the grain of the briar and concealing the repairs. In preparation for this dye job, I wanted to keep the dye from the stamp if possible. I covered the stamp with a slightly irregularly cut piece of painters tape. I wanted it irregular to avoid the “CENSORED” block look.
I mixed equal volumes of both black and dark brown Fiebing’s Leather dye and added a couple of ml of 95% ethyl alcohol to allow them to mix thoroughly. The dye was applied with a folded pipe cleaner and flamed with a disposable lighter to burn off excess alcohol in the dye and set the dye to the briar.
Below you can see the tape had ignited during the flaming. Oops.
Back at the workbench, the stem appeared black.
I wiped the excess dye from the stummel. Several alcohol dipped make-up pads later the stummel can be seen to have a very dark brown color. Oh yeah, I actually remembered the nitrile gloves this time. I bet you didn’t see that coming?
The stummel was then sanded with a 400 grit sanding sponge to remove the outer layer of dark dyed briar.
Next the damaged stem needed to be repaired. Below are the top and bottom surfaces of the stem.
Black CA was applied to the depressions on both the top and bottom of the stem. The CA was then spritzed with a CA drying accelerator.
These were then filed with a flat needle file until flush with the surrounding stem. Both top and bottom required a second application of CA. I prefer to use several light coats compared to a single large coat of the CA.
Additional filing and sanding eventually led to the below photos of the top and bottom of the stem.
The stem was then sanded using a sequence of sanding sponges in grits 1000-3500. Between each sponge I applied a bit of mineral oil then wiped with a paper towel.
After the sanding sponges I used a sequence of 4000-12000 micro-mesh pads. Between each pad I rubbed in a small drop of Obsidian Oil and wiped the stem with a paper towel.
On to sanding the stummel. It was sanded with the sanding sponges 1000-3500. Between each sponge the stummel was wiped with an alcohol dampened make-up pad.
The stummel was then worked with a sequence of 4000-12000 micro-mesh pads. Between each pad the stummel was wiped as with the sanding sponges.
The stem then received polishing with Before and After fine then Extra Fine polish. Both were applied by finger and hand buffed using a soft cotton cloth.
The stummel then was given a coating of Before and After Restoration Balm and allowed to sit for 20 minutes.
The excess Restoration Balm was removed with an inside out cotton athletic sock to reveal a lovely grained briar.
The pipe then received several coats of carnauba wax from the buffer.
Overall I am pleased with how well this Pipe Den Zulu turned out. I love the shape though I would appreciate a slightly larger size. The repairs of the rim and stem came out better than anticipated. The briar grain was accentuated by the contrast dye and shows itself far better now than when it was buried by years of grime. Though the make of this very nice little pipe may never be known I am sure that it can find a new stewart who will get years of enjoyment from it.
The dimensions of this little beauty are:
Length: 6.06 in./ 153.92 mm.
Weight: 1.05 oz./ 29.7 g.
Bowl Height: 1.94 in./ 49.27 mm.
Chamber Depth: 1.59 in./ 40.39 mm.
Chamber Diameter: 0.77 in./ 19.56 mm.
Outside Diameter: 1.31 in./ 30.28 mm.
I do hope that you have found something here useful to your own pipe care, maintenance or restorations. If you like this sort of thing, please click the like and subscribe buttons. Thank you for reading the ramblings of an old pipe lover.
Below are some photos of the finished Pipe Den Zulu.
Well, I have good news and bad news. Or maybe, it’s good news and good news. I have an Italian oval shank billiard, here. The bad news is that I can’t do much about the history of a pipe when the only stamp on it is “ITALY”. Now, if you find my histories or background sections annoying this is good news. The other good news is how well this pipe turned out. She is a very attractive no name.
The pipe came to me as part of an estate lot purchased in March of 2024. It was not the target of the lot. After looking over the pipes I found the shank shape very interesting. It was kind of an oval but with points on the ends and it was tapered from wide at the bowl to narrower at the stem. I thought that it was more like a Canadian shape but Canadian shanks are not tapered. The grain of the briar looked pretty uninteresting, at first glance, and there were no identifying markings so, it went back into the box of future projects. Several weeks later I was looking through the box again and the stem drew me back to the pipe. Here is what I was seeing:
Just another old pipe, right? But that shank was cool. I thought, “wait, there is some interesting grain under the grime and crappy stain. This old girl will clean up nice.” Well, spoiler alert – A contrast stain would really show off the grain. Yeah, the stem was a mess, she was dirty, there were pits to fill, and who knows what lies under that lava covered rim?
The Restoration
As usual a clean denim piece was added to the workbench. I knew this piece of denim was not going to look clean for very long.
I began with the stem. I figured that it was going to be in the Before and After Deoxidizing solution for several hours so, best to get it in there first. I sanded the worst of the oxidation and calcium from the stem with a 320 grit sanding sponge.
Yep, so much for the clean denim.
Next I cleaned out the inside of the stem with bristle pipe cleaners dipped in 95% ethyl alcohol. Ignore the aluminum stinger soaking in the alcohol, that’s part of another project. After the cleaning the stem went into deox (my term for the Before and After Deoxidizing solution).
With the stem in deox, I turned to reaming the stummel. The pipe had a large diameter bowl and was drilled with a tapered tobacco chamber. This required using the PipNet with the #2, #3 and the Scotte reaming tools.
The reaming was finished with the General triangular scraper and sanded with 220 sandpaper wrapped around a wood dowel. The tobacco chamber showed no signs of any heat damage. The rim on the other hand was still doing it’s impression of a Hawian island with it’s lava flows.
The lava was softened with saliva and scraped from the rim using a sharp pocket knife.
After the reaming and rim scraping the stummel was taken to the sink. Here it was scrubbed with undiluted Murphy’s Oil Soap and a medium stiff toothbrush. The soap was rinsed with warm water and the stummel dried with a cotton dish towel.
After the scrub, I sanded the stummelwith 320 and 400 grit sanding sponges searching for pits, dents and dings to fill.
Several were found a couple had to have the old fill or dirt picked from them. ALl were filled using brown cyanoacrylate (CA, super glue) and briar dust.
The next day, I returned to the deox tank. The stem had been soaking for 12-14 hours. I removed the stem and let the excess solution drip back into the jar.
The stem was then hand buffed with a coarse shop rag.
Returning to the workbench I started scrubbing the stem with Soft Scrub on make-up pads.
I progressed to using the Soft Scrub with the remnants of my Magic Eraser.
Once the pads started to provide a significantly less color change the step was coated with mineral oil and allowed to sit.
I thought that a contrast stain would allow the grain of the briar to be more apparent. I chose Dark Brown mixed with Black Fiebing’s Leather Dye. I mixed the brown to black at a 2:1 ratio. Prior to applying the dye I heated the stummel with the heat gun, shown below. The dye was applied with a folded pipe cleaner and flamed with the lighter. Two coats were applied and flamed.
Returning to the workbench, I dipped make-up pads into 95% ethyl alcohol and wiped the stummel. I wanted to get as much of the dye off of the stummel as possible.
Once the dye had been wiped from the stummel I started sanding the surface with a 320 sanding sponge. The sponge needed to be wiped off on the denim frequently to free it from the accumulated briar dust. Below shows the stummel ½ sanded illustrating the accentuation of the grain.
When finished with the 320 sanding sponge I sanded with a 400 sponge. Between the sandings I wiped the stummel with a make-up pad dipped in alcohol.
I wanted to sand the stem and the stummel together to avoid rounding the edges of each piece. This meant that I needed to finish the stem. I wiped the mineral oil from the stem and used a cotton swab dipped in alcohol to clean the oil from the area I would be working on. I used black CA to fill the tooth dents.
I applied the black CA into the dents and spritzed the stem with a CA drying accelerator.
The cured CA was then filed smooth with a flat needle file.
Additional coats of CA were added to further smooth and blend the repaired areas.
I prefer to work with several light coats rather than a single heavy coat of CA. Below the dark spots are areas where another application is needed to fill a depression.
Below is after filing and sanding to 400 grit.
The same process was done for the bottom side of the stem.
Once the stem had been sanded with the 600 grit sanding sponge the two pieces were reattached and the pipe was sanded together. The 1000-3500 sanding sponges were used in series with care not to sand the ITALY stamp. Between each sponge the stummel was wiped off with an alcohol moistened make-up pad. The stem had a bit of mineral oil rubbed inby fingertip and then wiped with a paper towel.
The pipe was then polished with a series of micro-mesh pads from 4000-12000. Between each pad the stummel was wiped off with an alcohol moistened make-up pad. The stem had a small drop of Obsidian Oil rubbed in by fingertip and then wiped with a paper towel.
The stummel received a coating of Before and After Restoration Balm and was allowed to sit for 20 minutes.
20 minutes later the Restoration Balm was wiped from the stummel using an inside-out athletic sock.
The final step of the restoration was to apply several coats of carnauba wax to the pipe using a buffer.
This lovely Italian oval shank billiard may not have a stamp indicating a maker and will thus be considered a “less than” pipe but looking at the before and after photo below, I dare you to call her “less than”. She is more than average in quality of briar, workmanship and quality of finish. I am quite pleased at how well this billiard turned out. The stem had me a bit
worried but after the repair it polished up nicely. The Contrast stain did indeed make the briar grain shine. This old girl will be a grand smoker and will hopefully bring someone many years of enjoyment.
The dimensions of this little beauty are:
Length: 5.50 in./ 139.7 mm.
Weight: 1.34 oz./ 37.80 g.
Bowl Height: 1.97 in./ 50.04 mm.
Chamber Depth: 1.72 in./ 43.69 mm.
Chamber Diameter: .82 in./ 20.83 mm.
Outside Diameter: 1.47 in./ 37.39 mm.
I do hope that you have found something here useful to your own pipe care, maintenance or restorations. If you like this sort of thing, please click the like and subscribe buttons. Thank you for reading the ramblings of an old pipe lover.
Below are some photos of the finished Italian No Name Oval Shank Billiard.
Wow, I have to work on that button. The bright light makes it look oxidized.


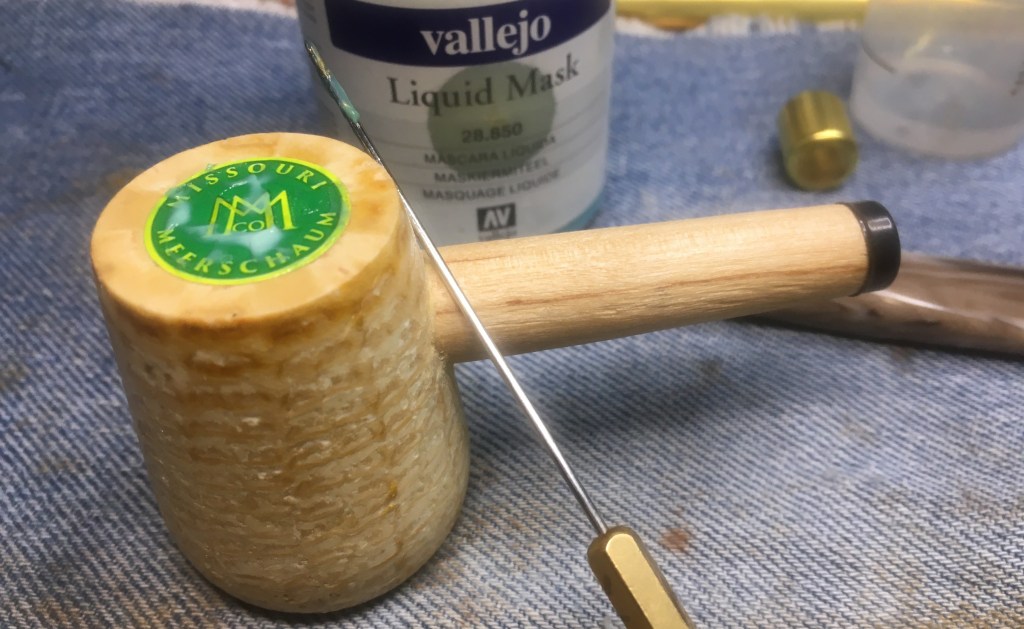


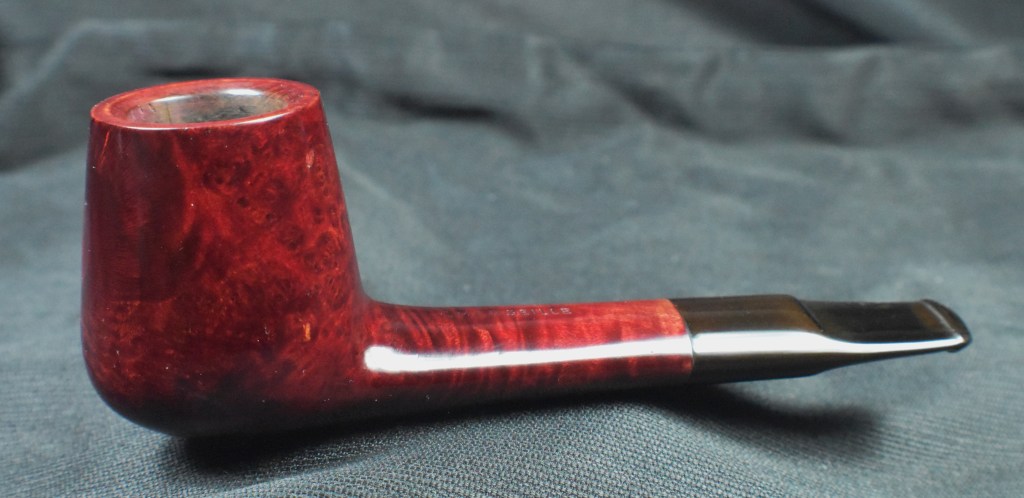


 Which, in all honesty, is the same as nothing. The pipe has no country of manufacture (COM) stamp but, if I were a betting man, I’d bet on France. Marseille makes me think of Marsielle Marso but I kind of dislike bringing that up due to the dislike of mimes in general by AMericans. At least in my experience mimes are not appreciated.


 .
.


 ” (
” (


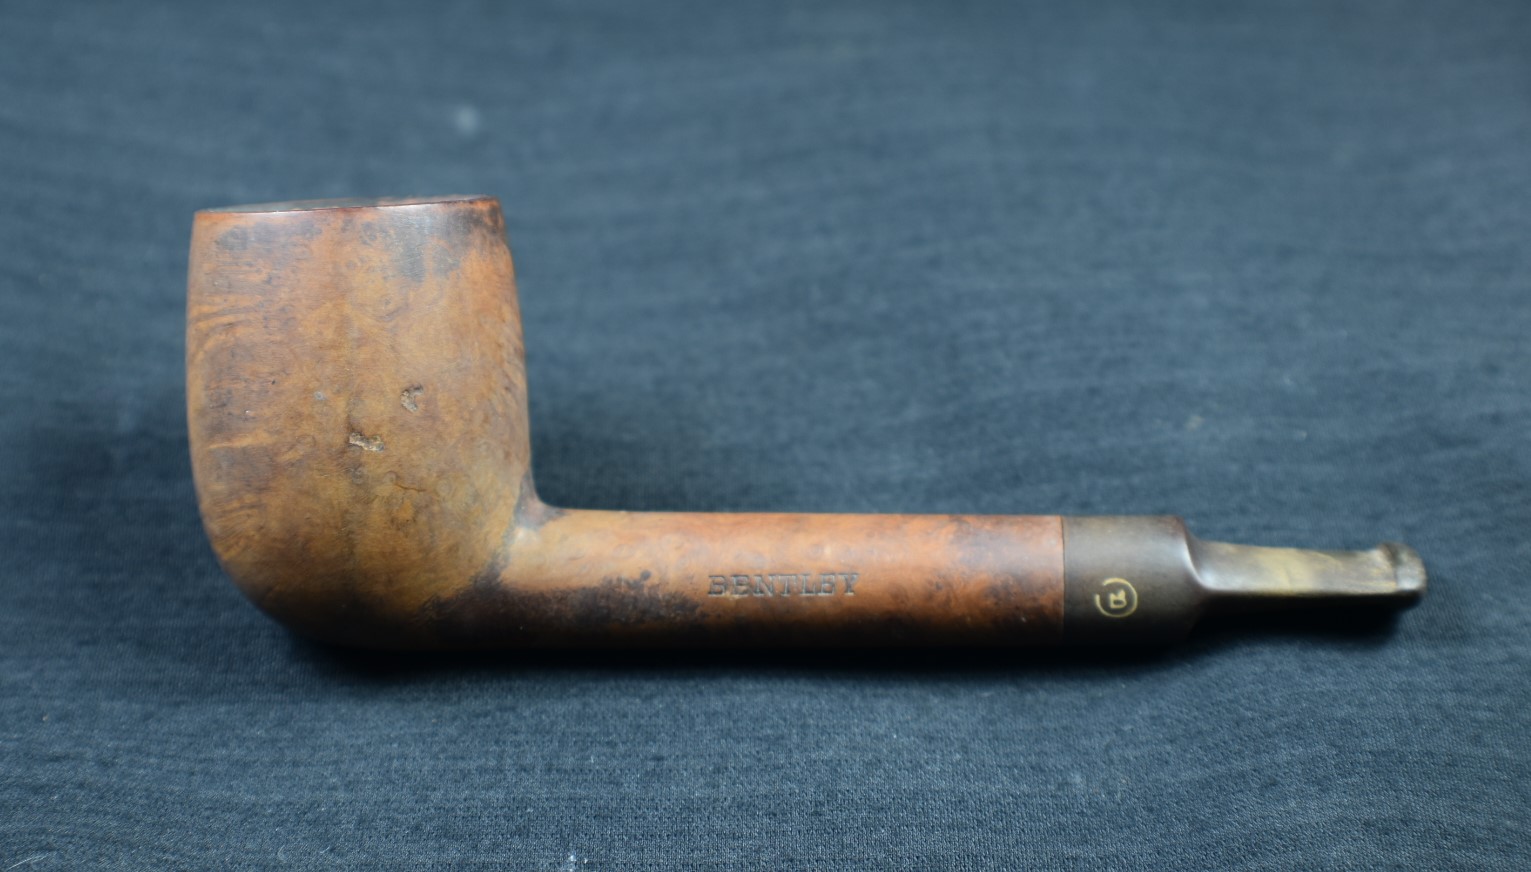

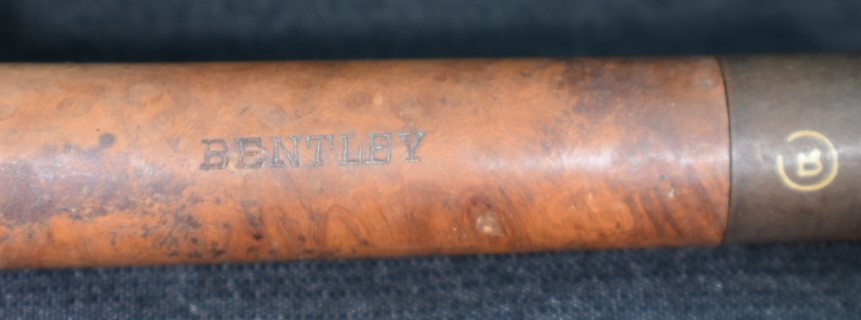


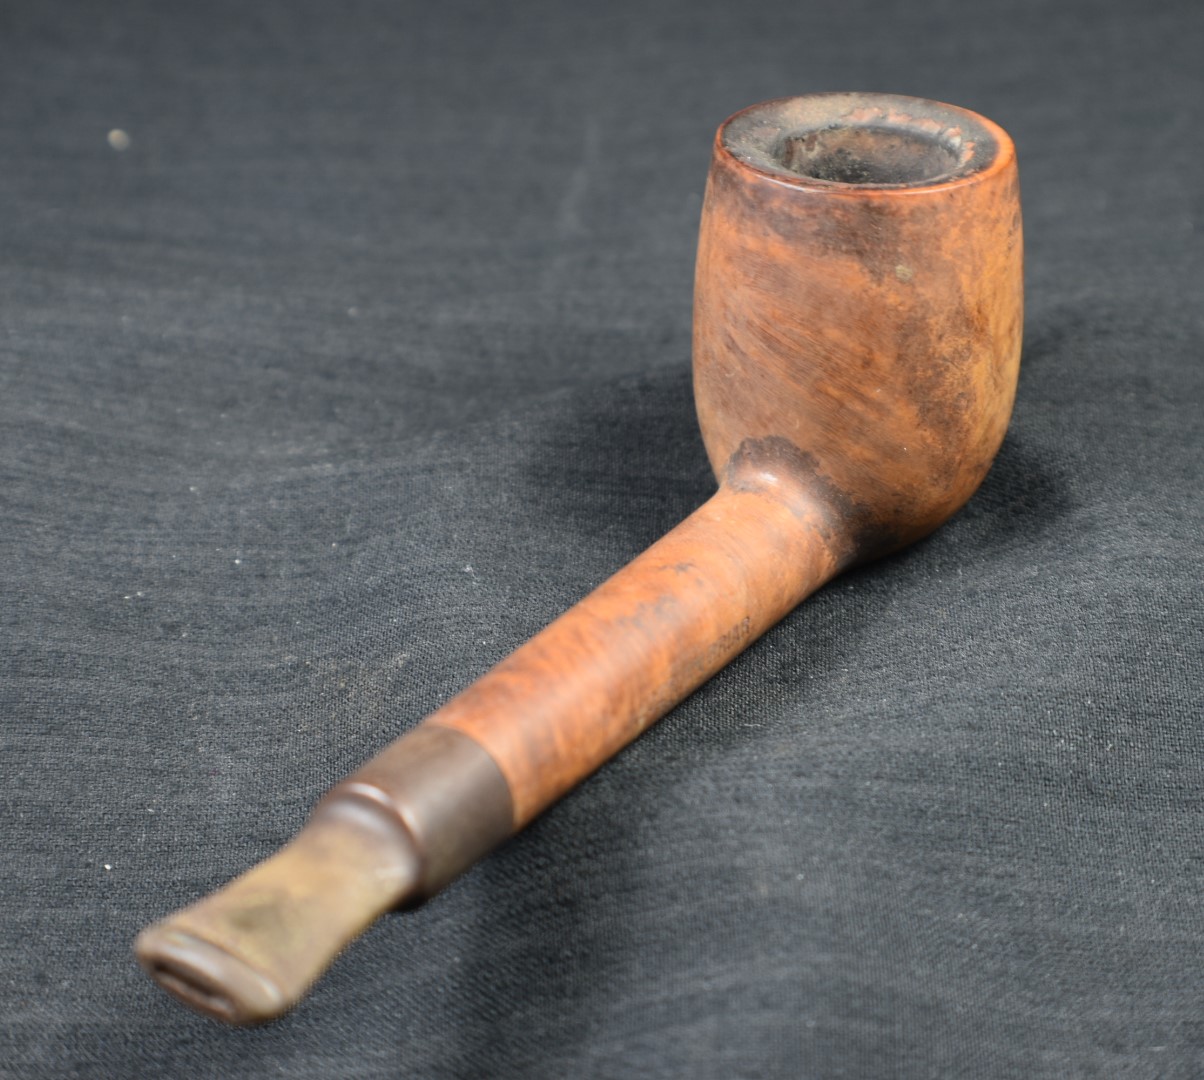
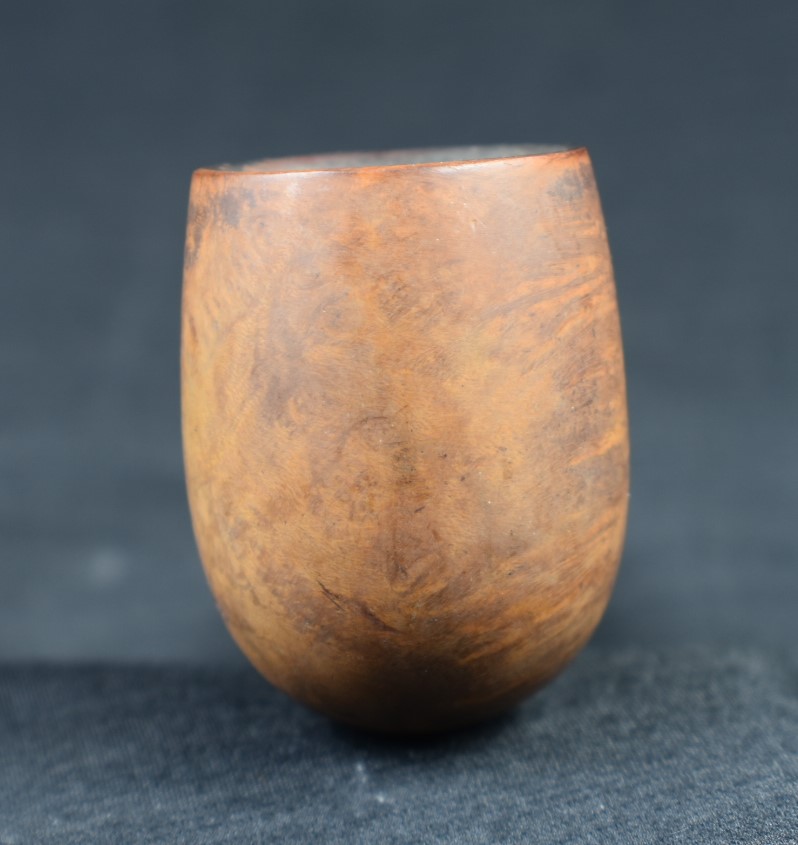


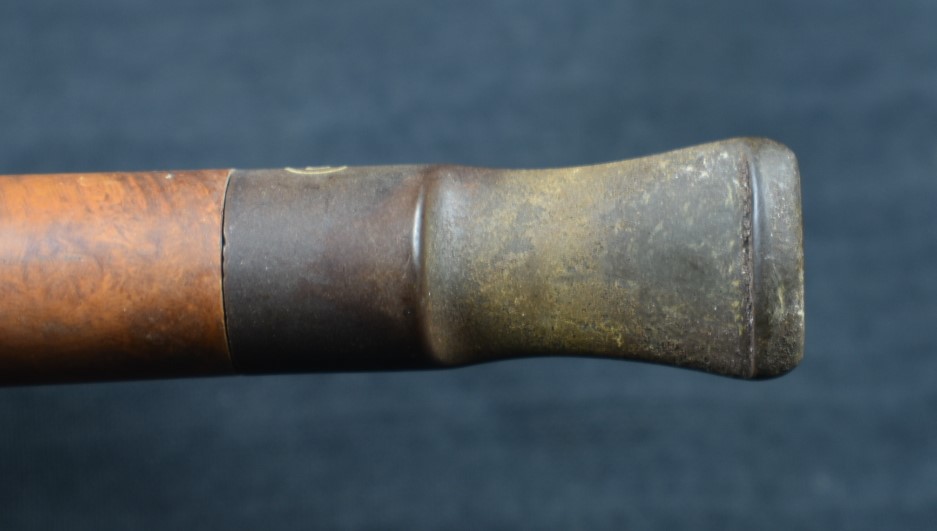


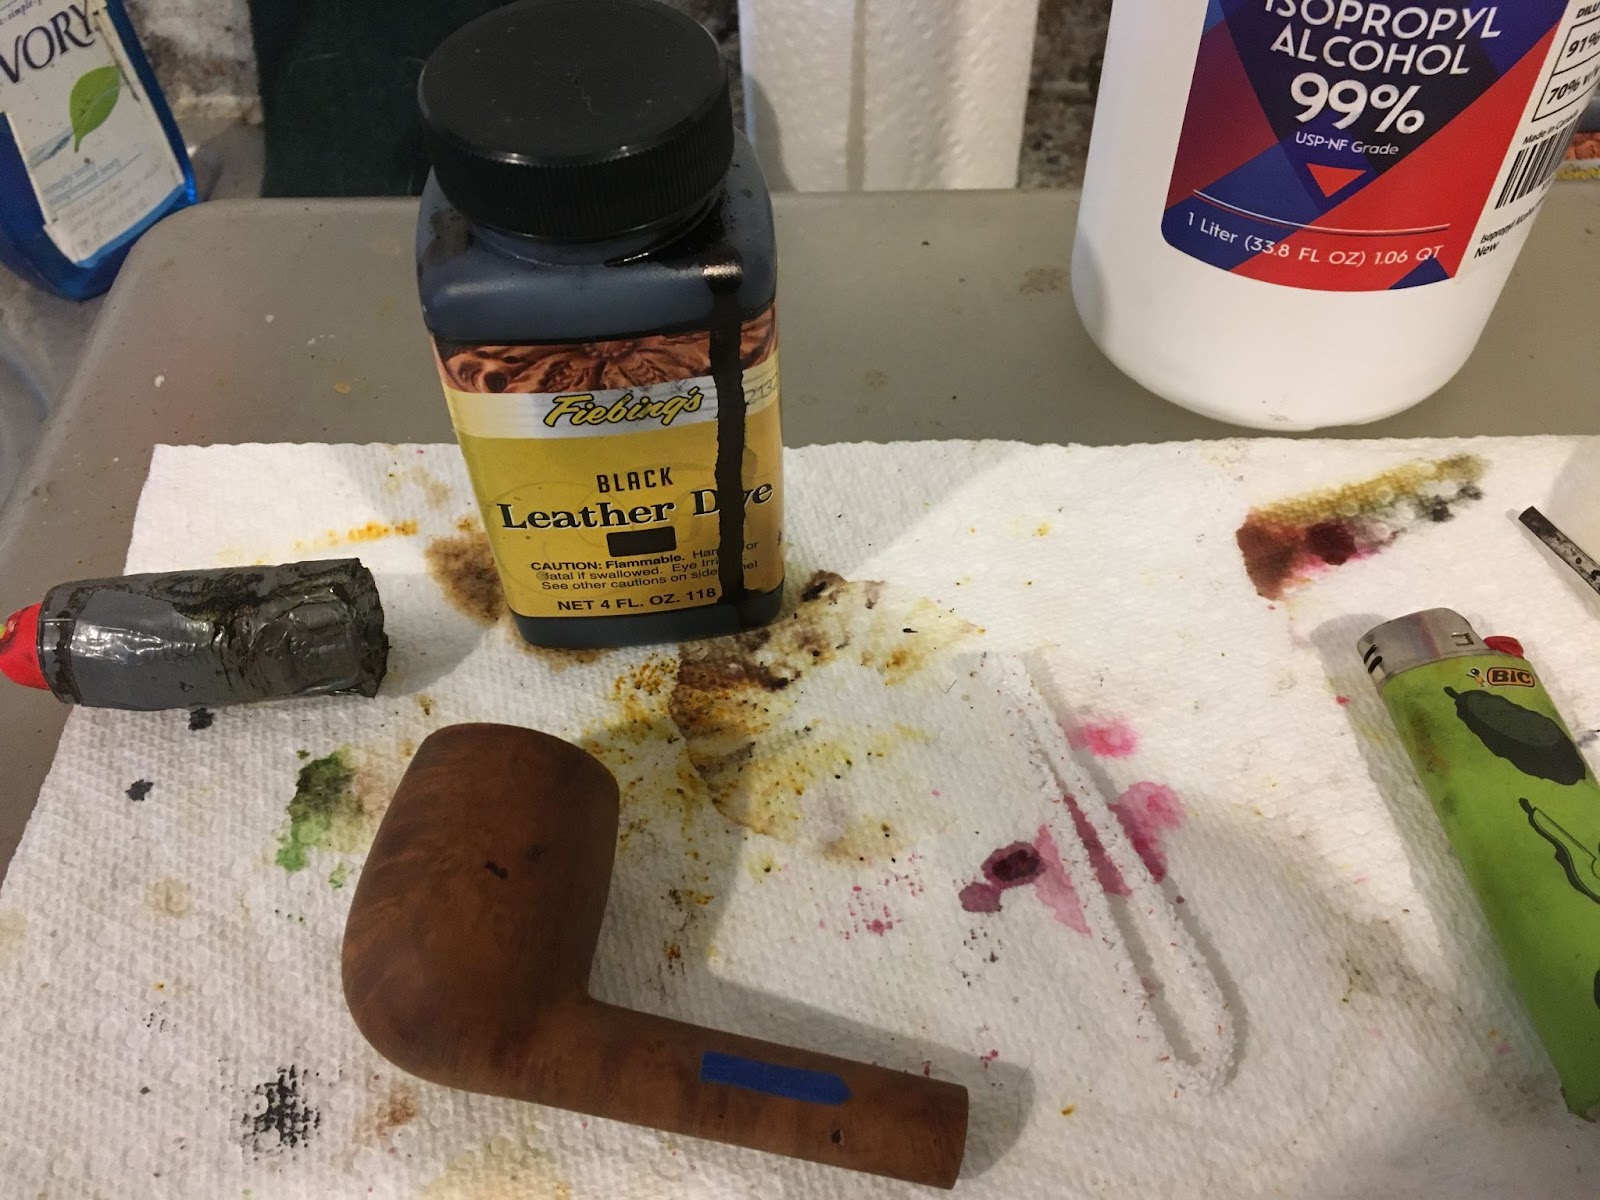
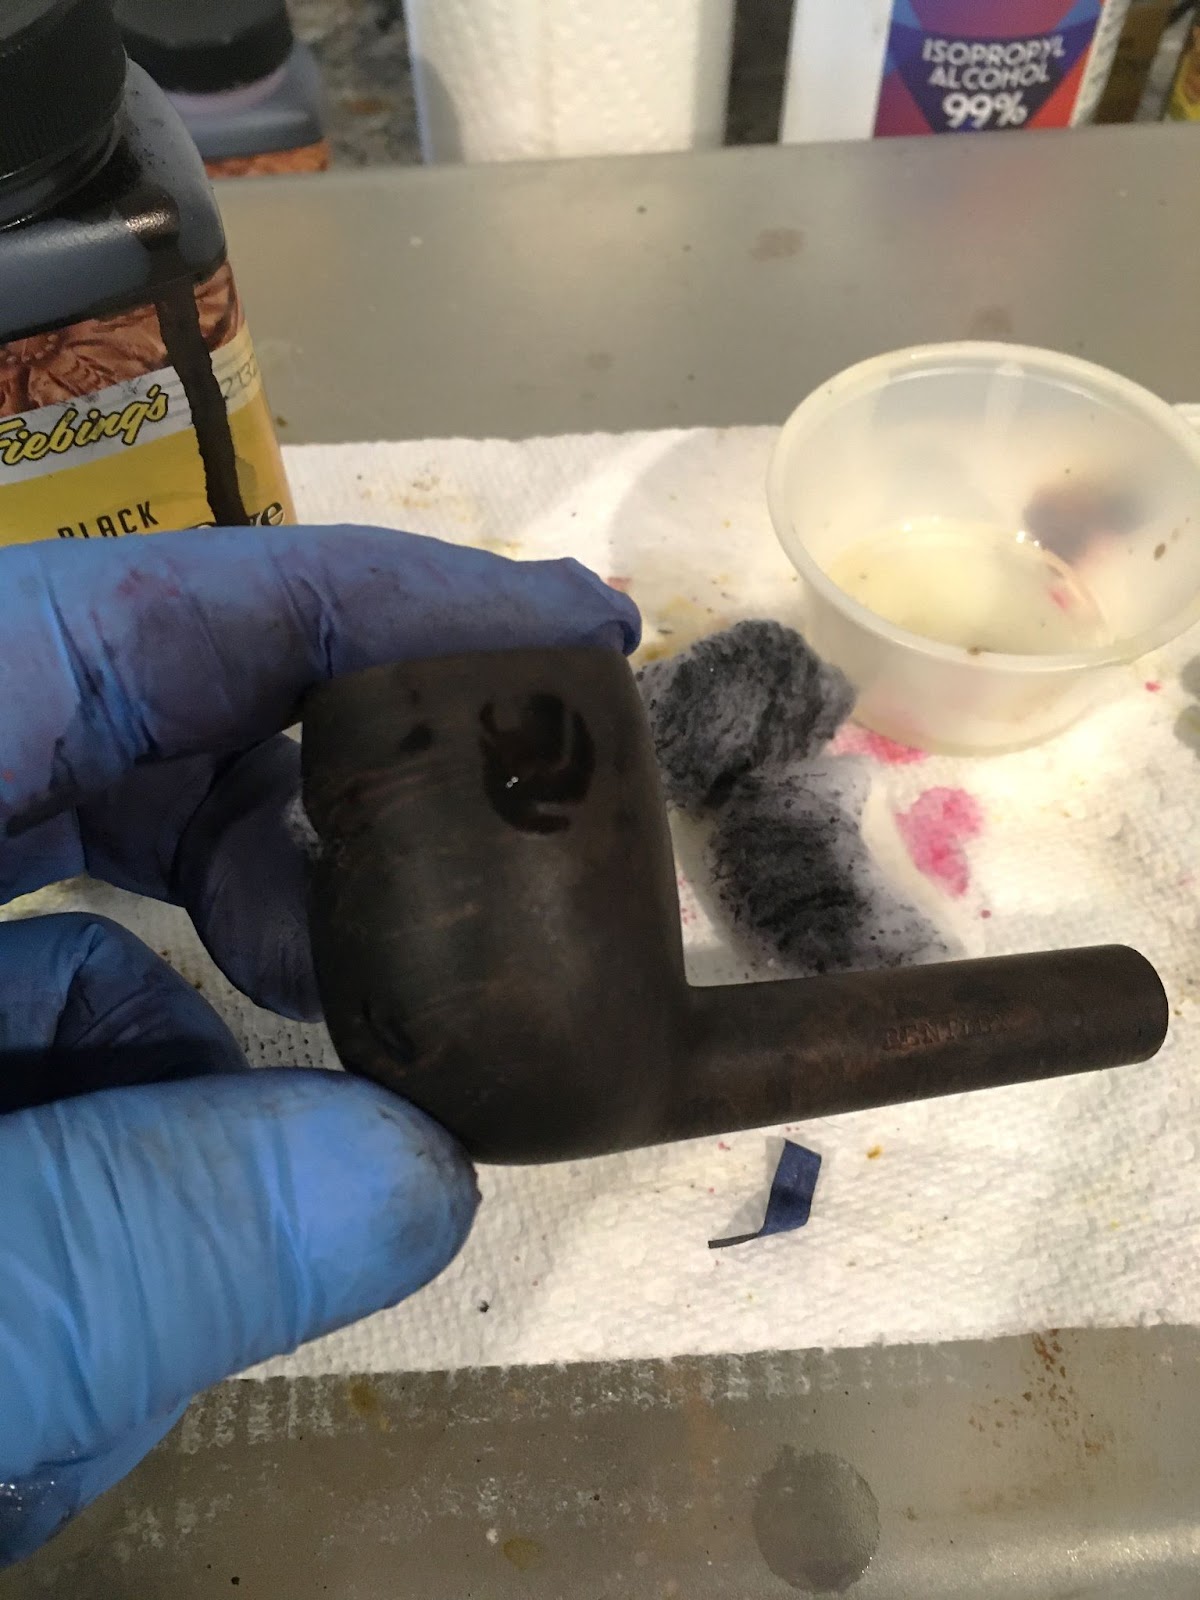
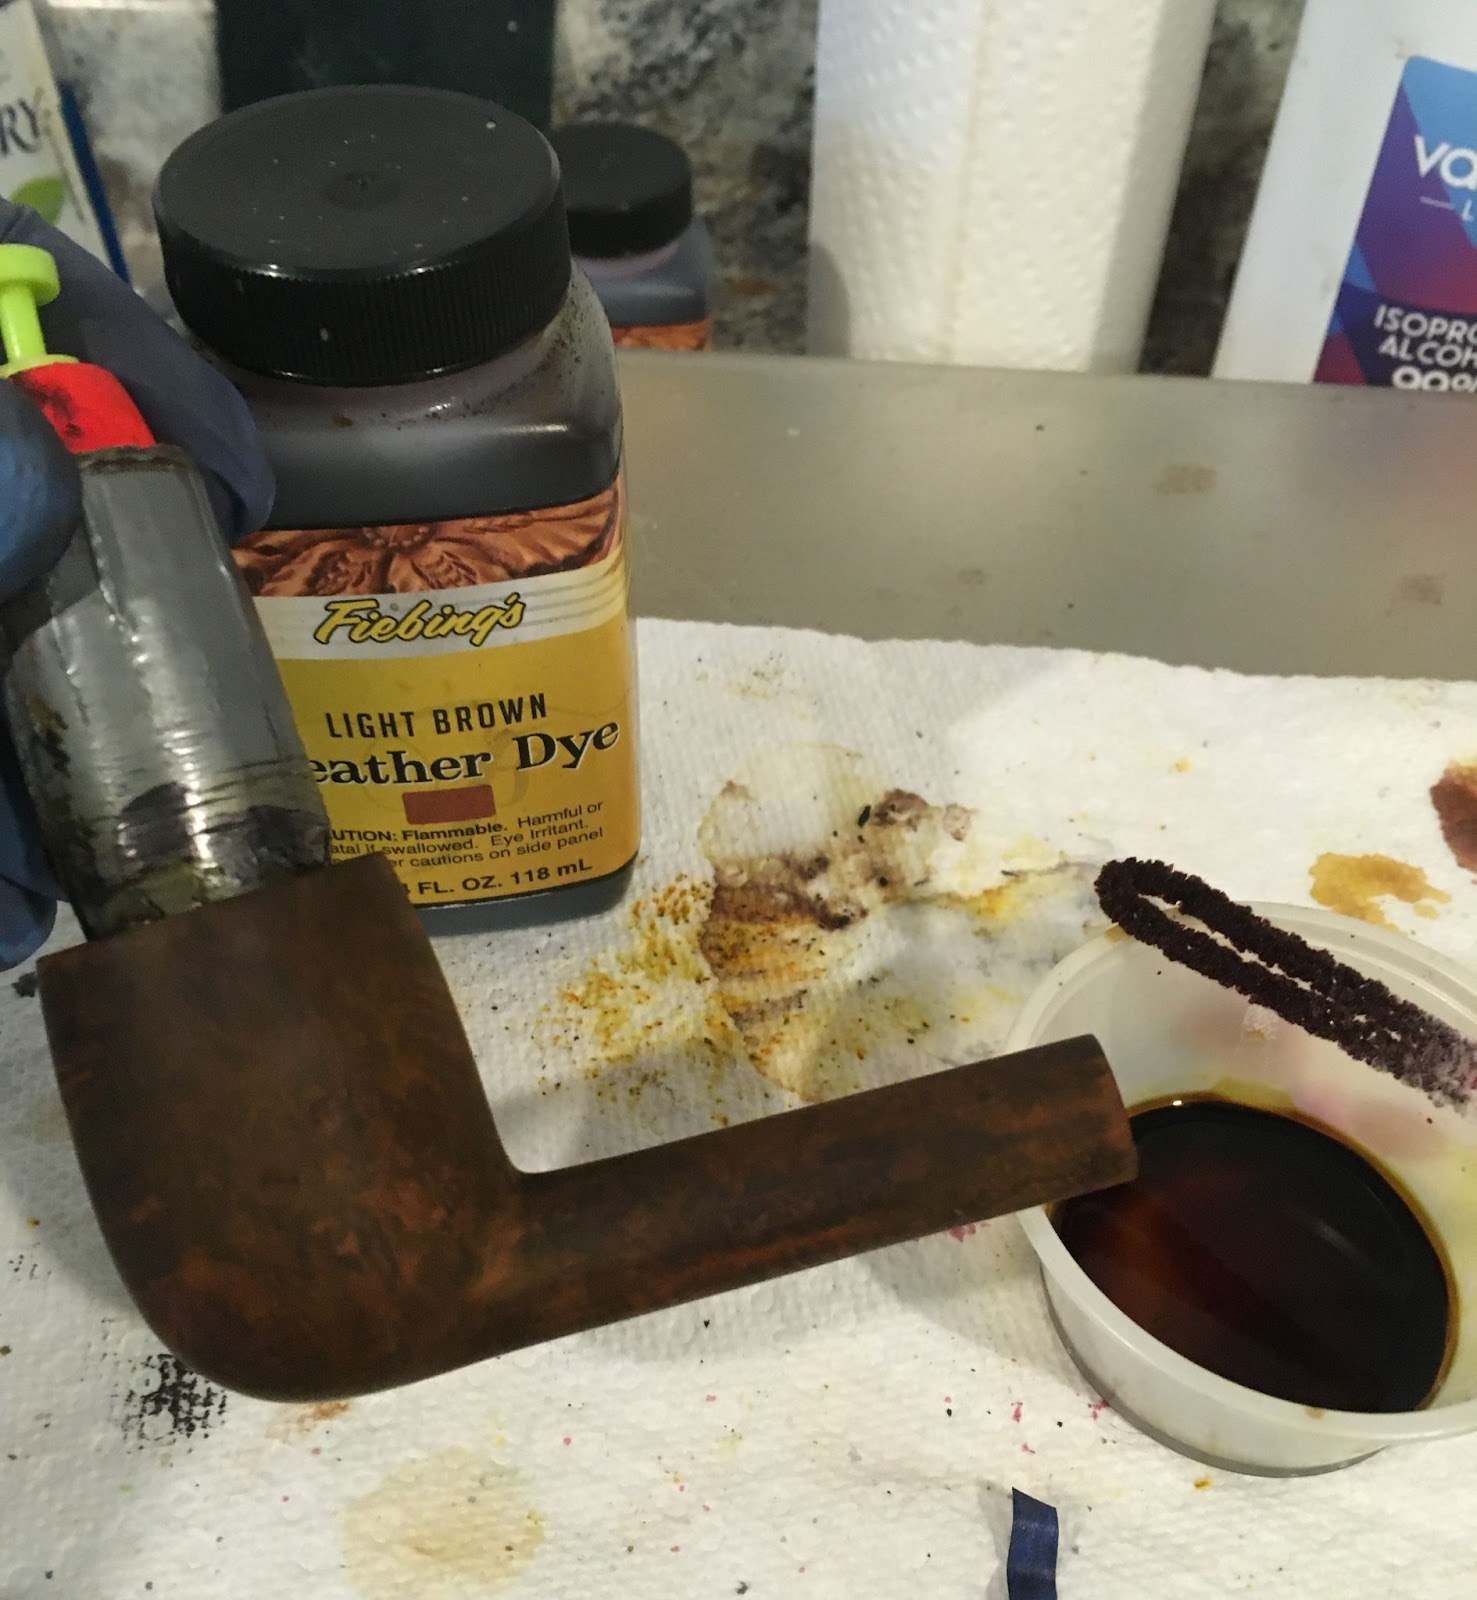


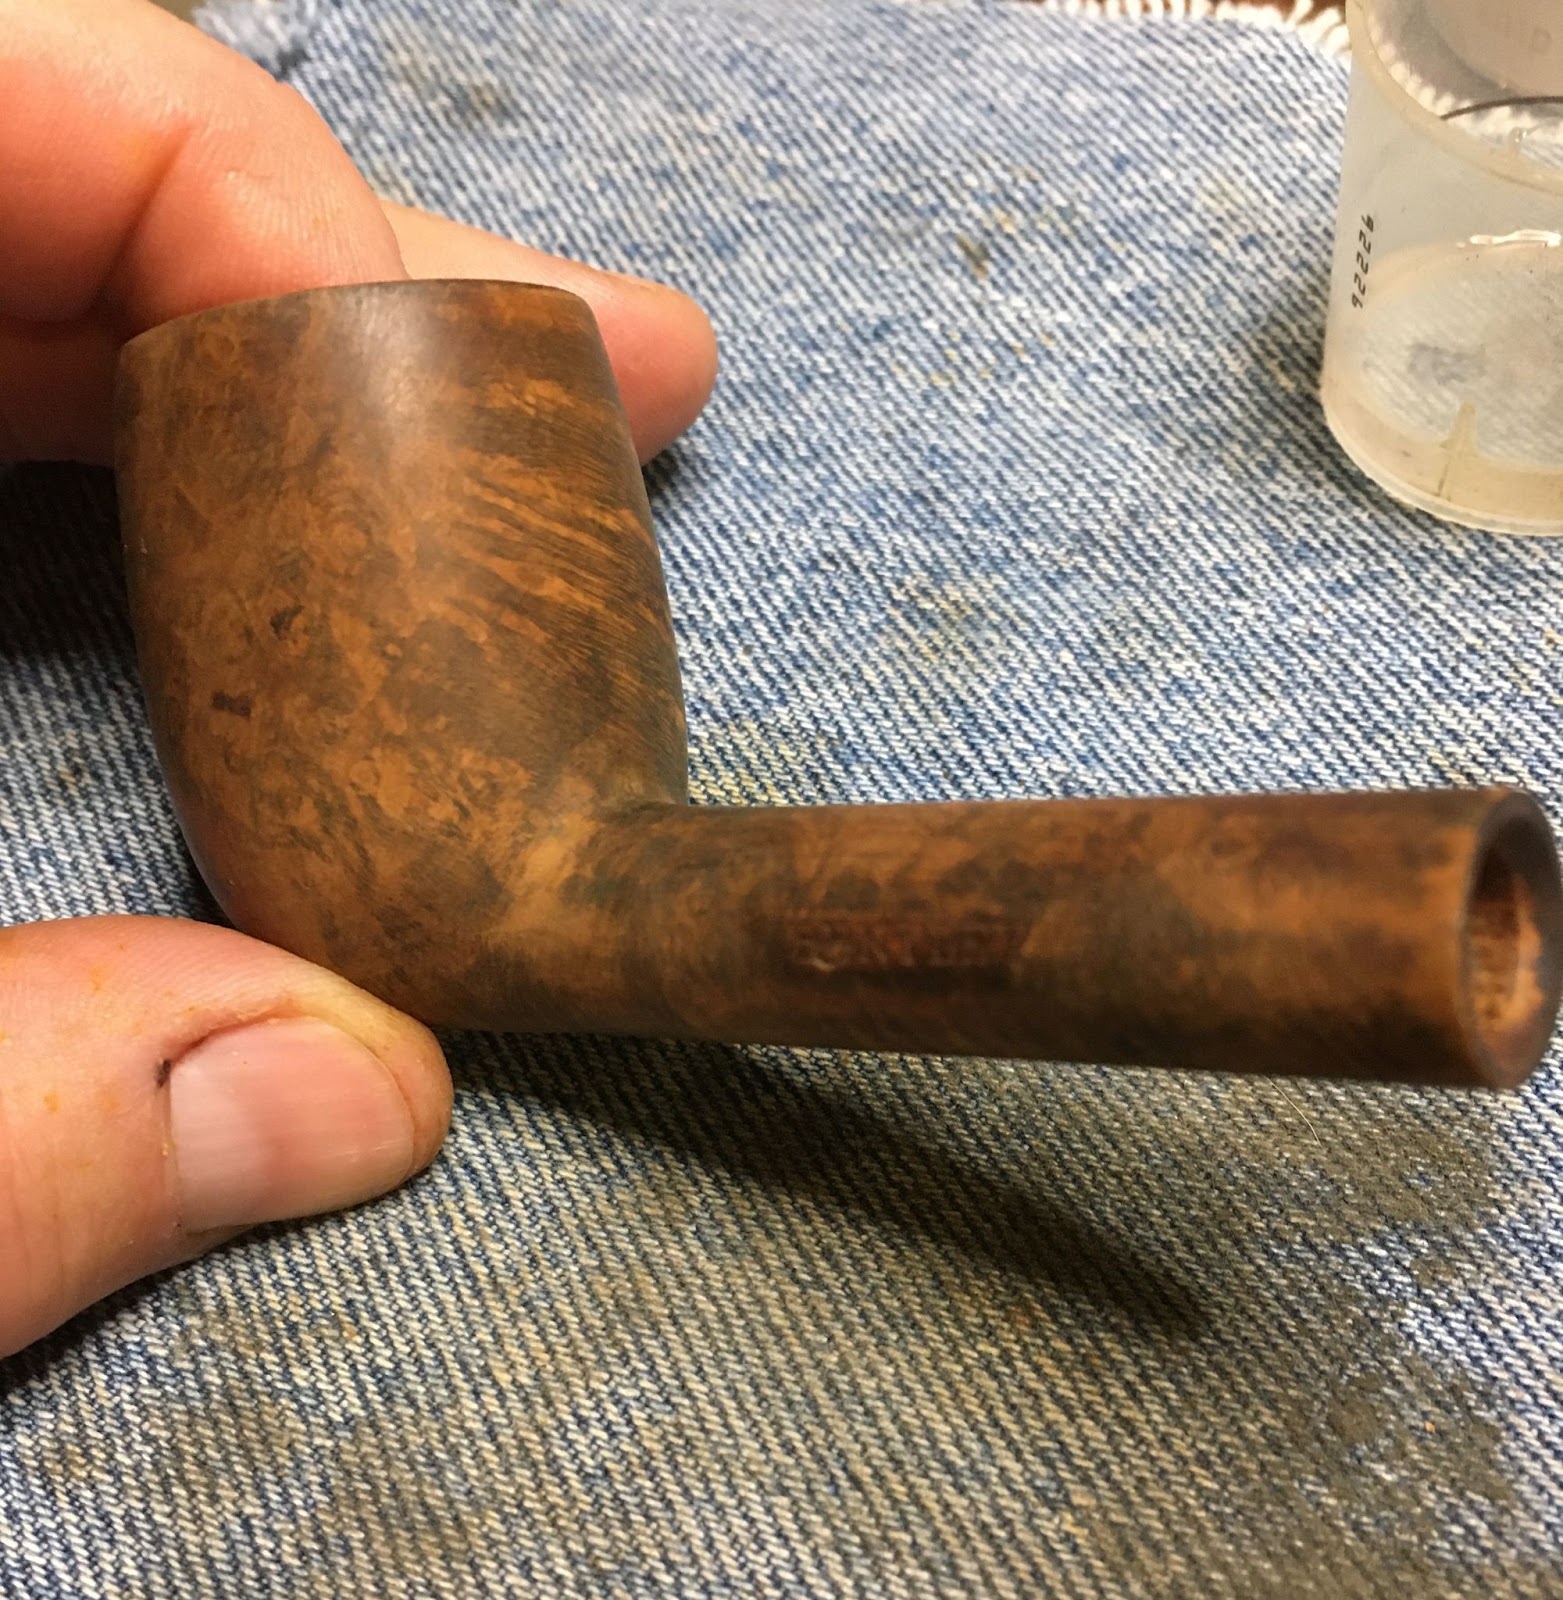
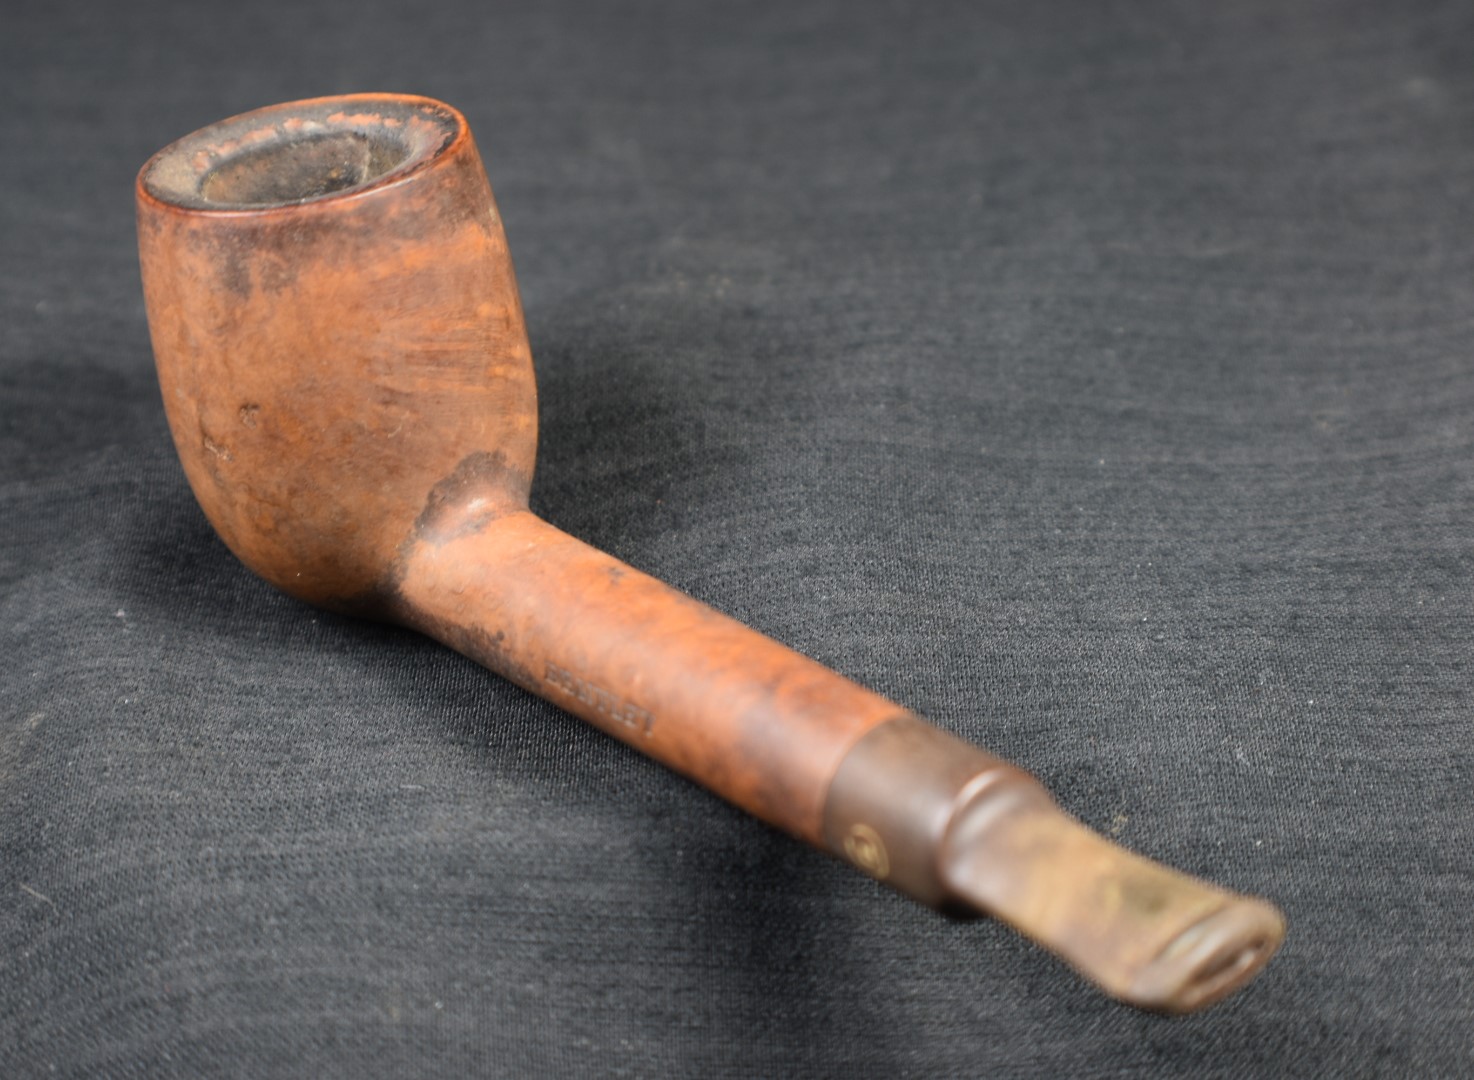
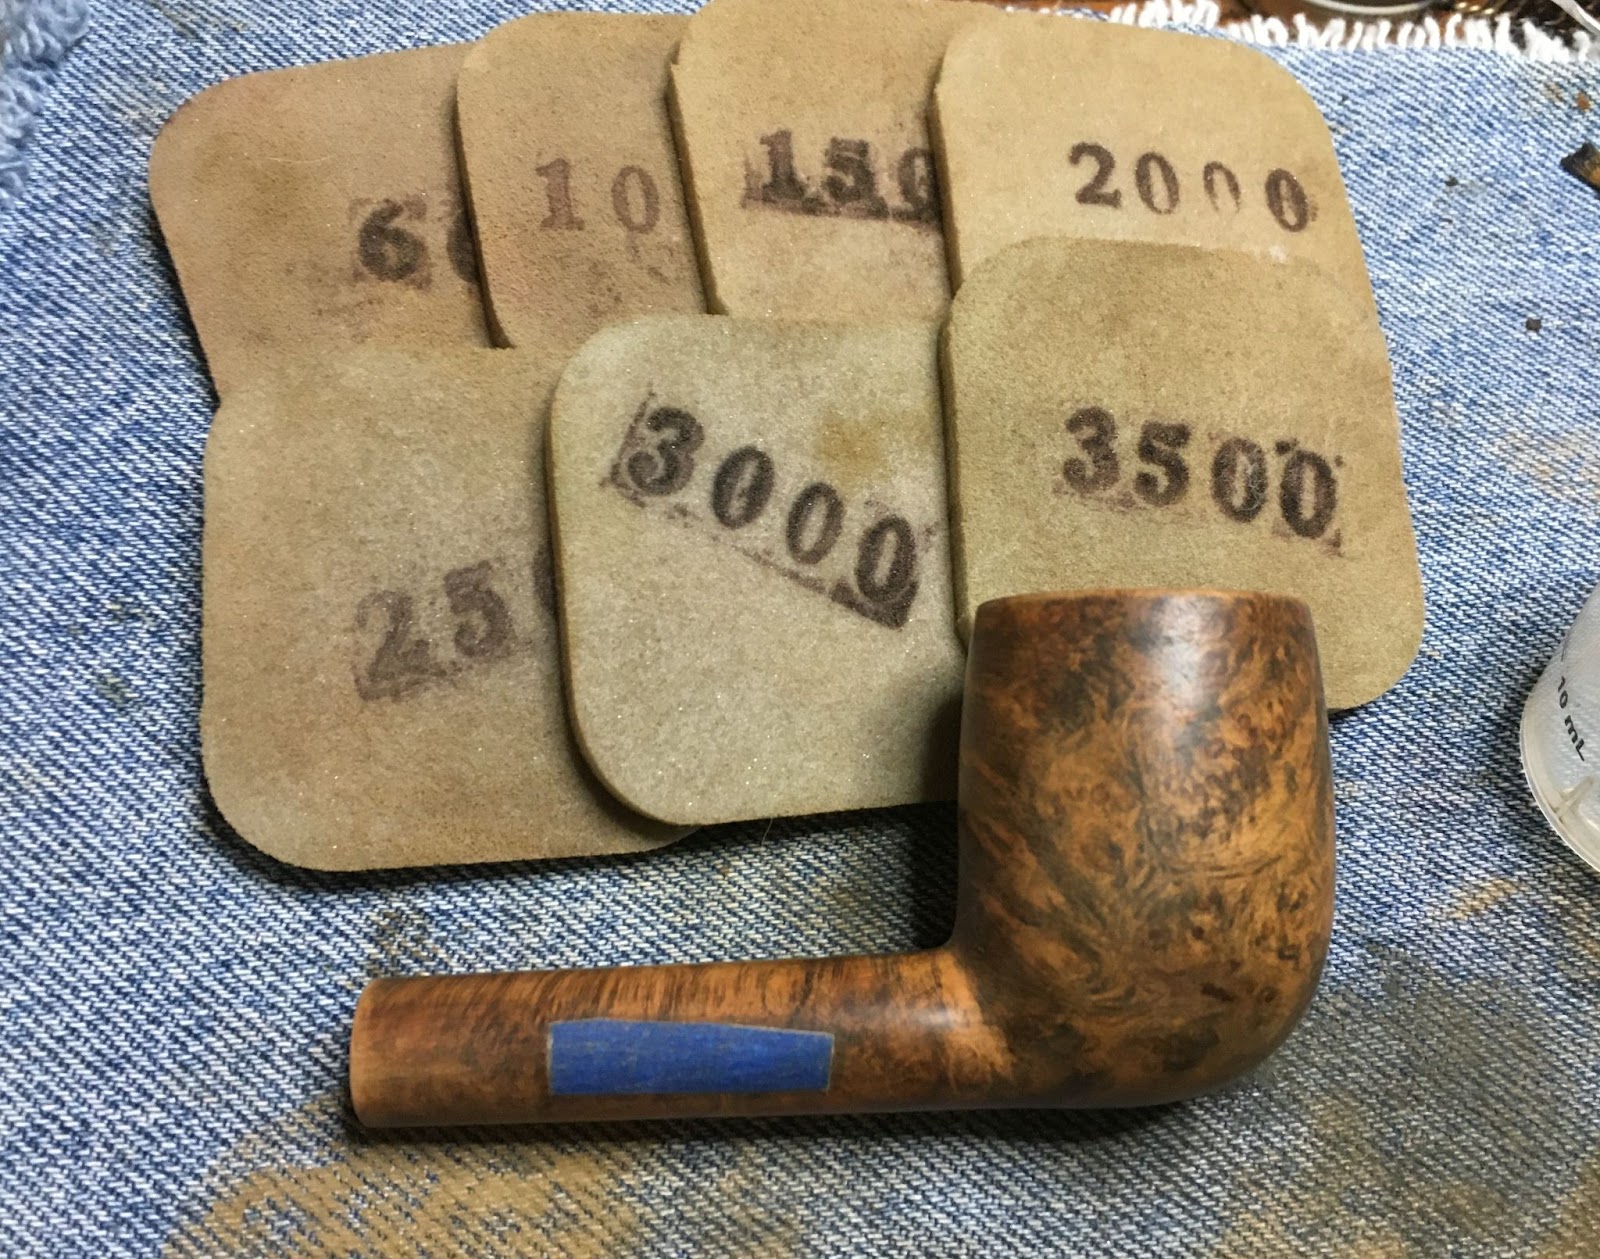
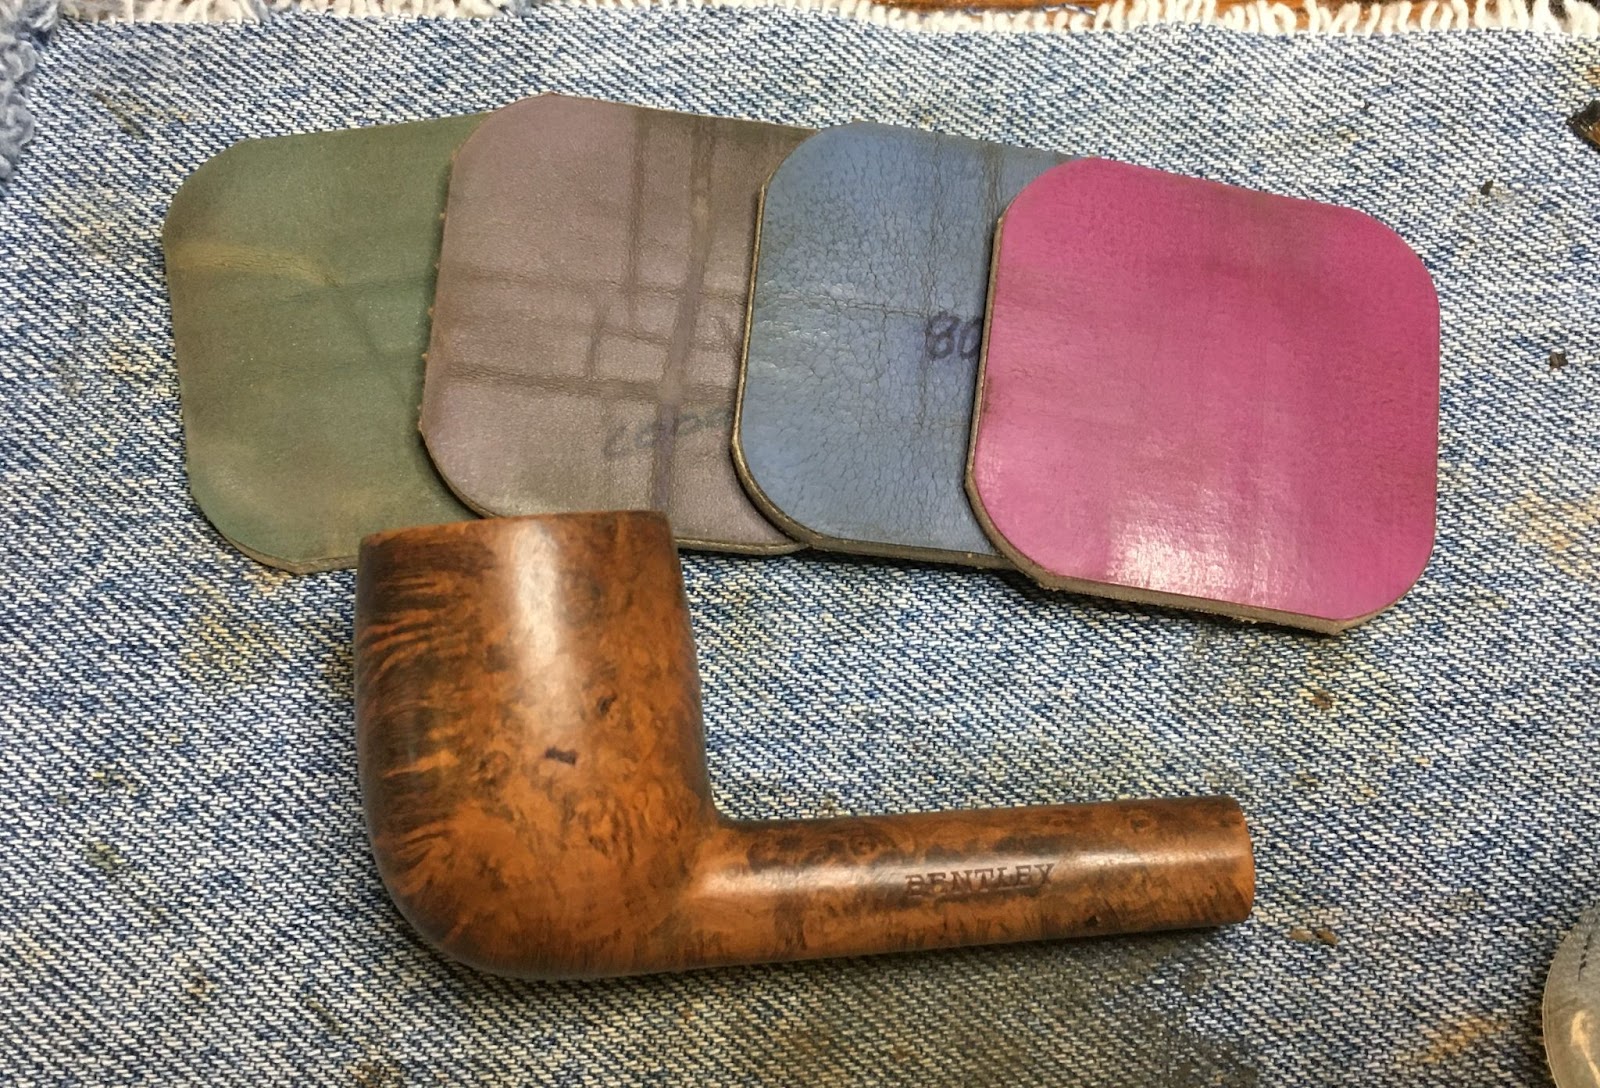
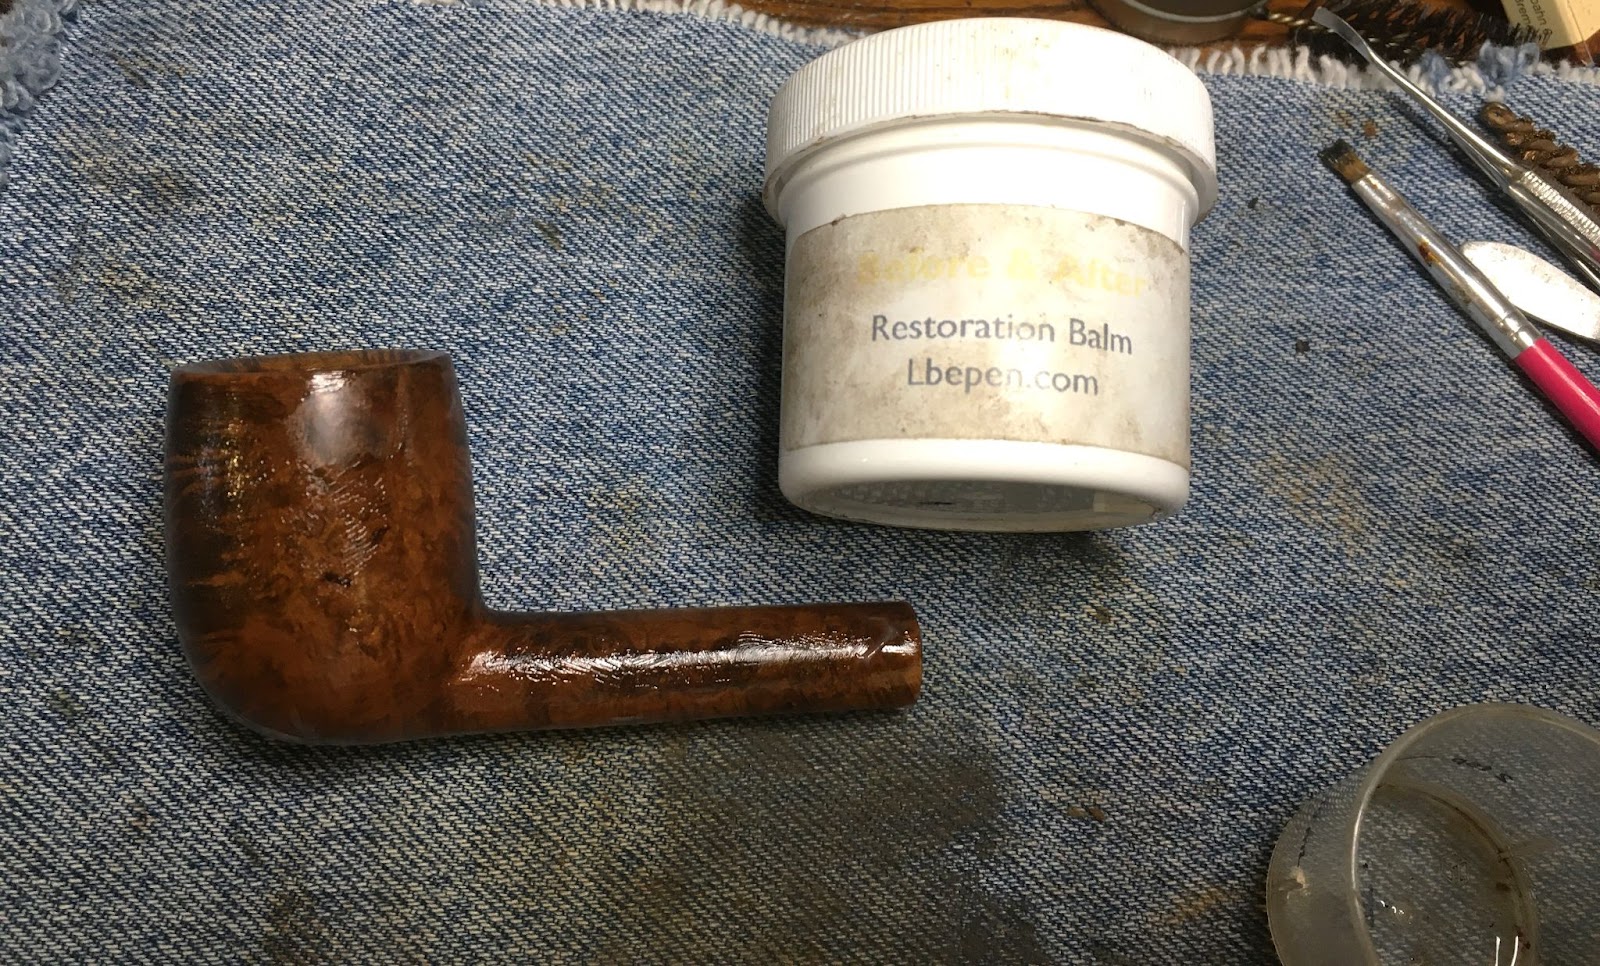
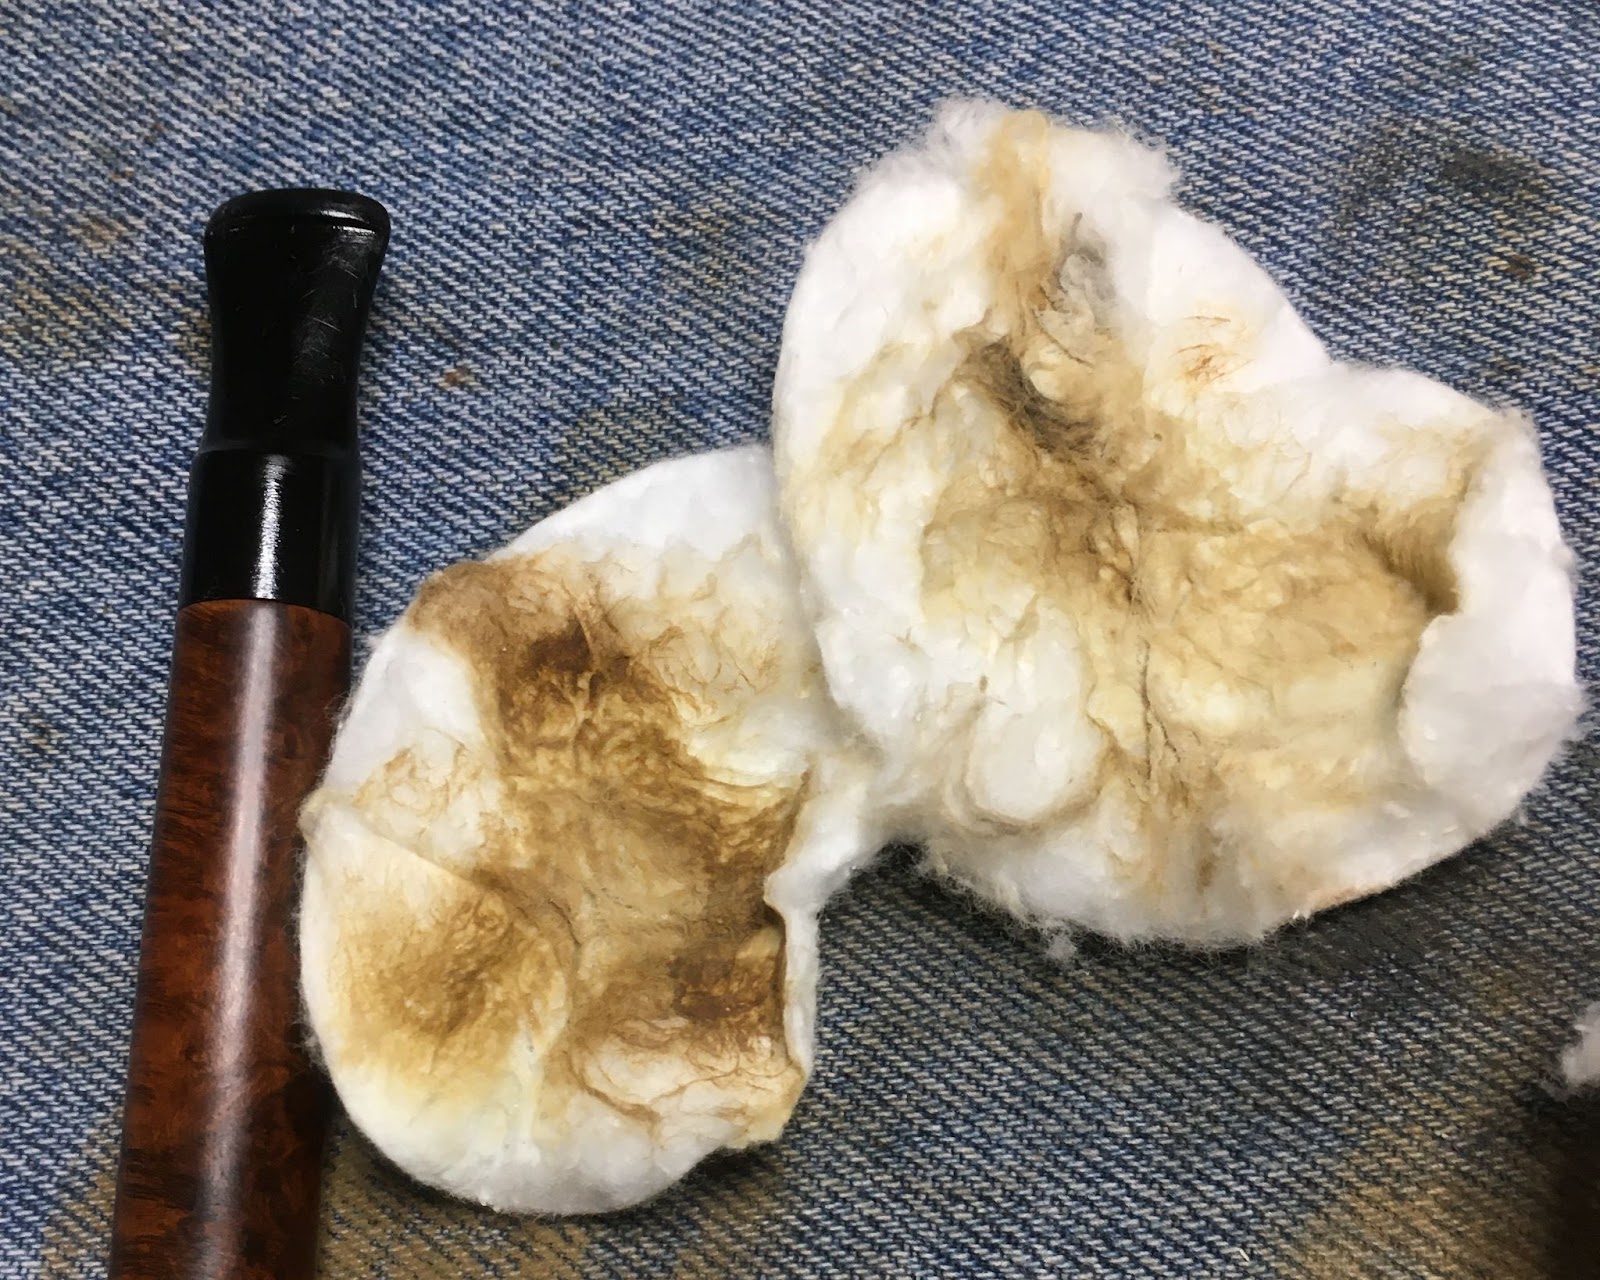


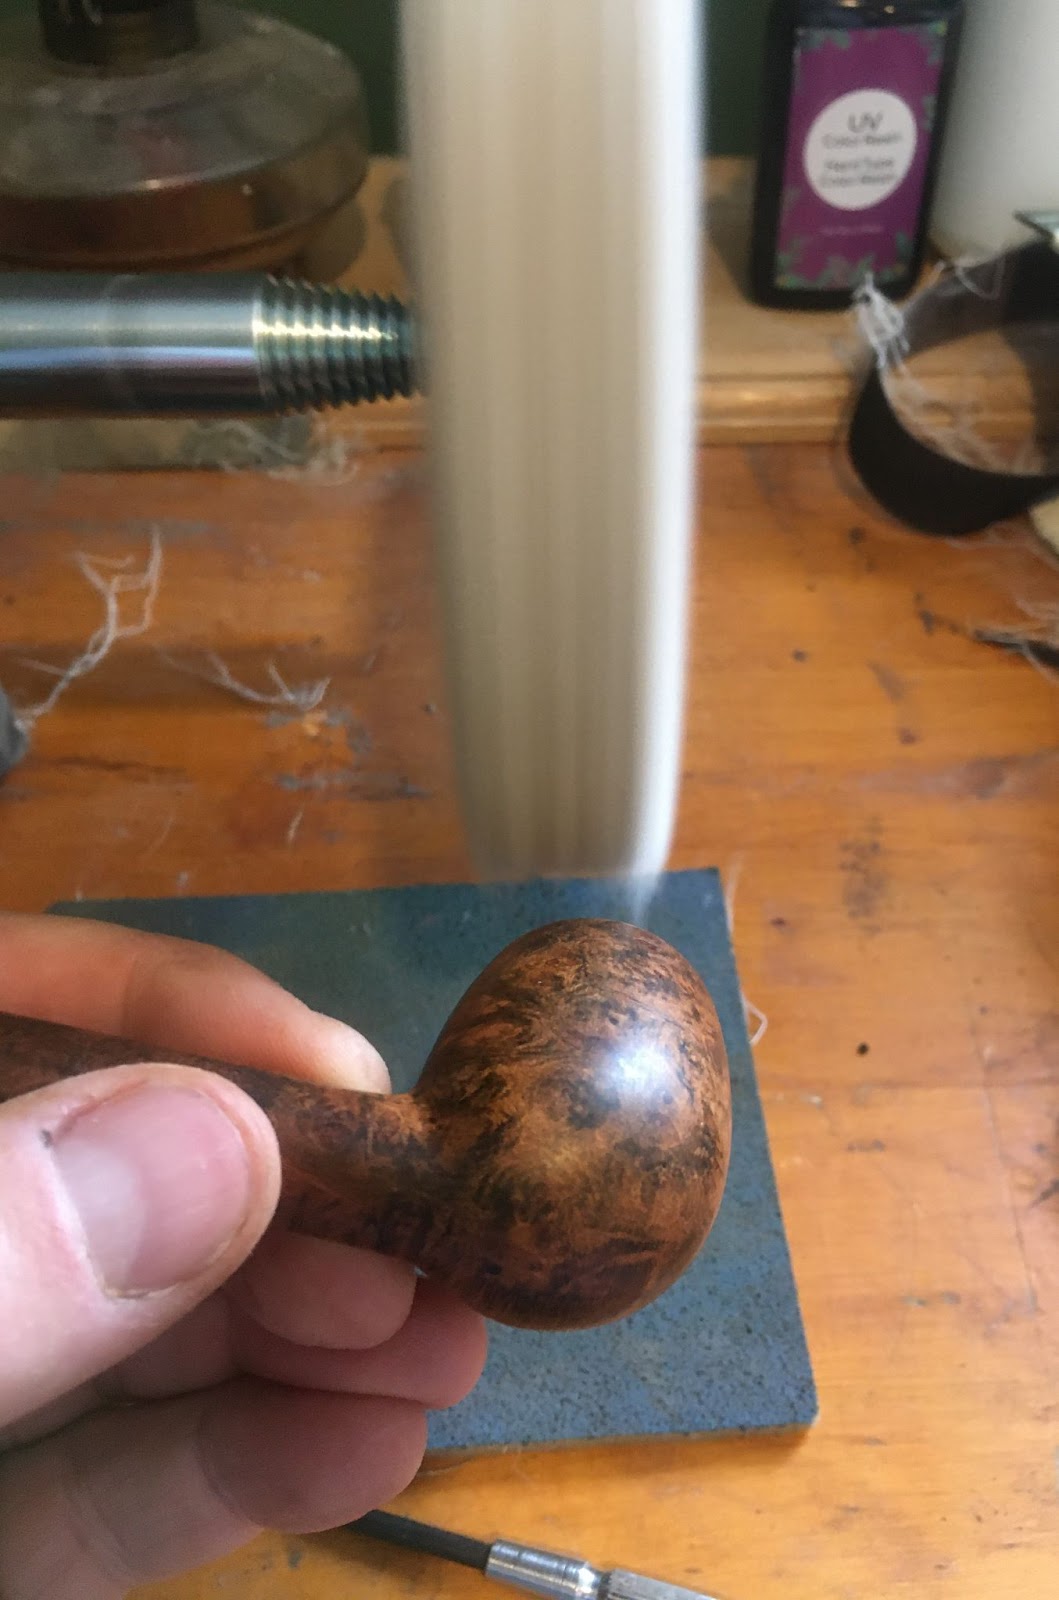


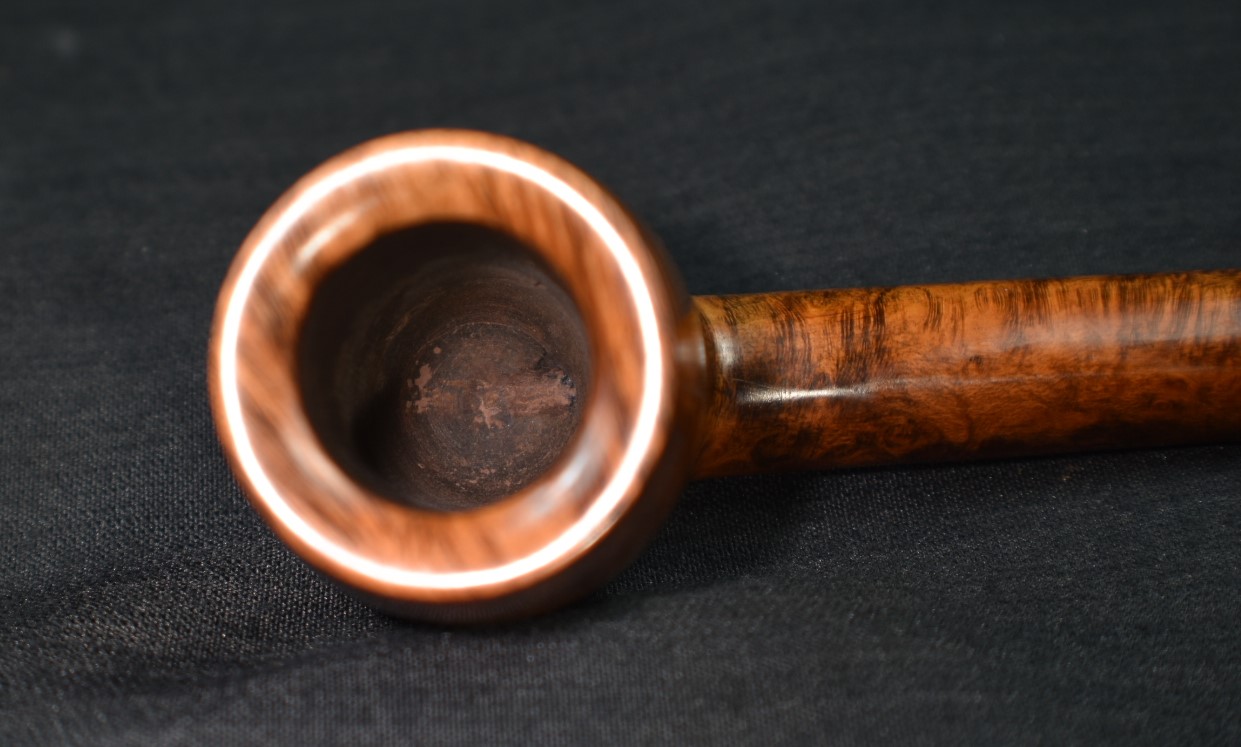


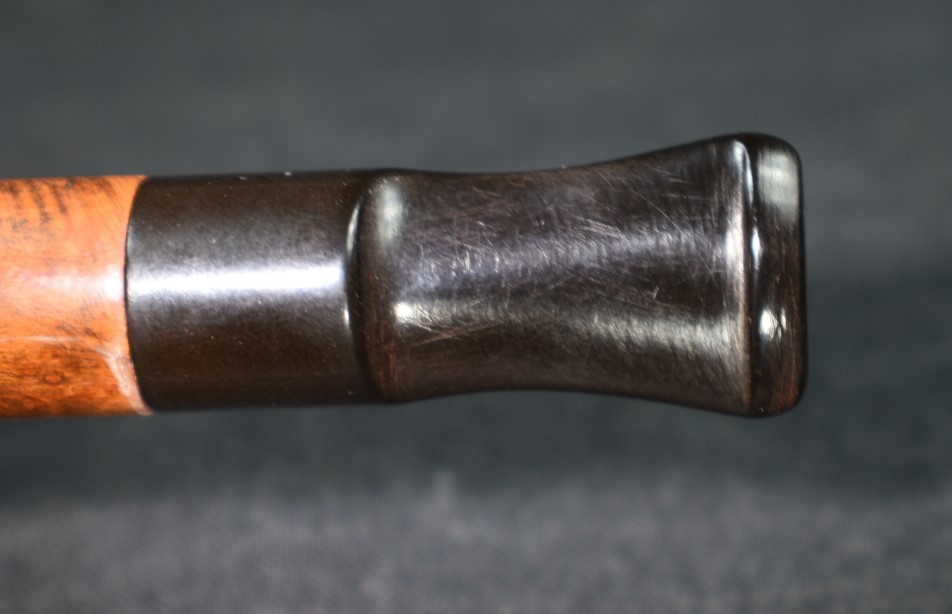
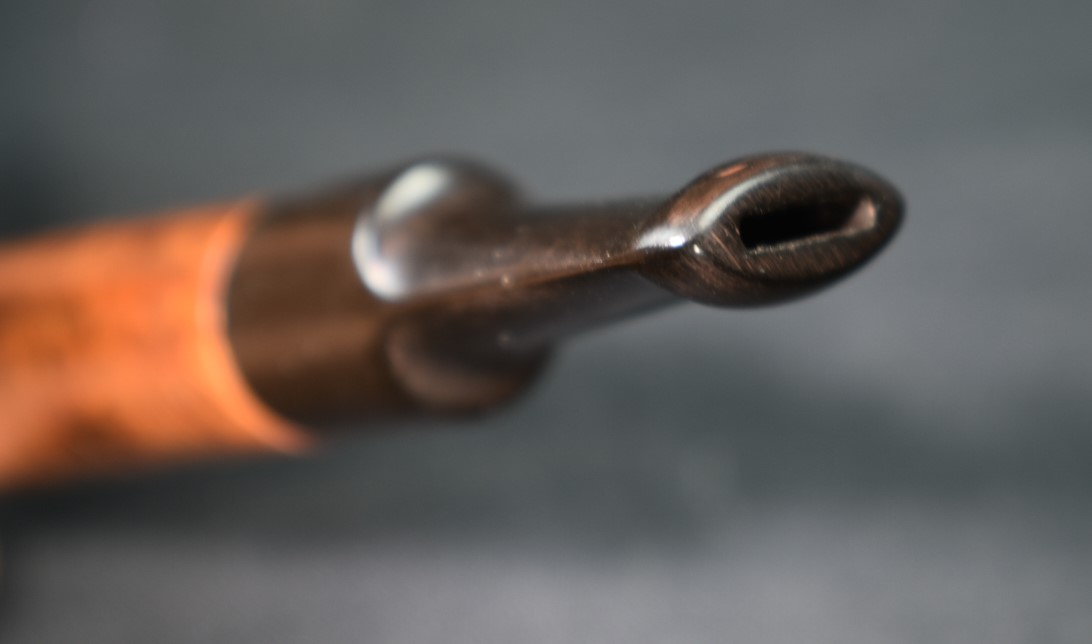

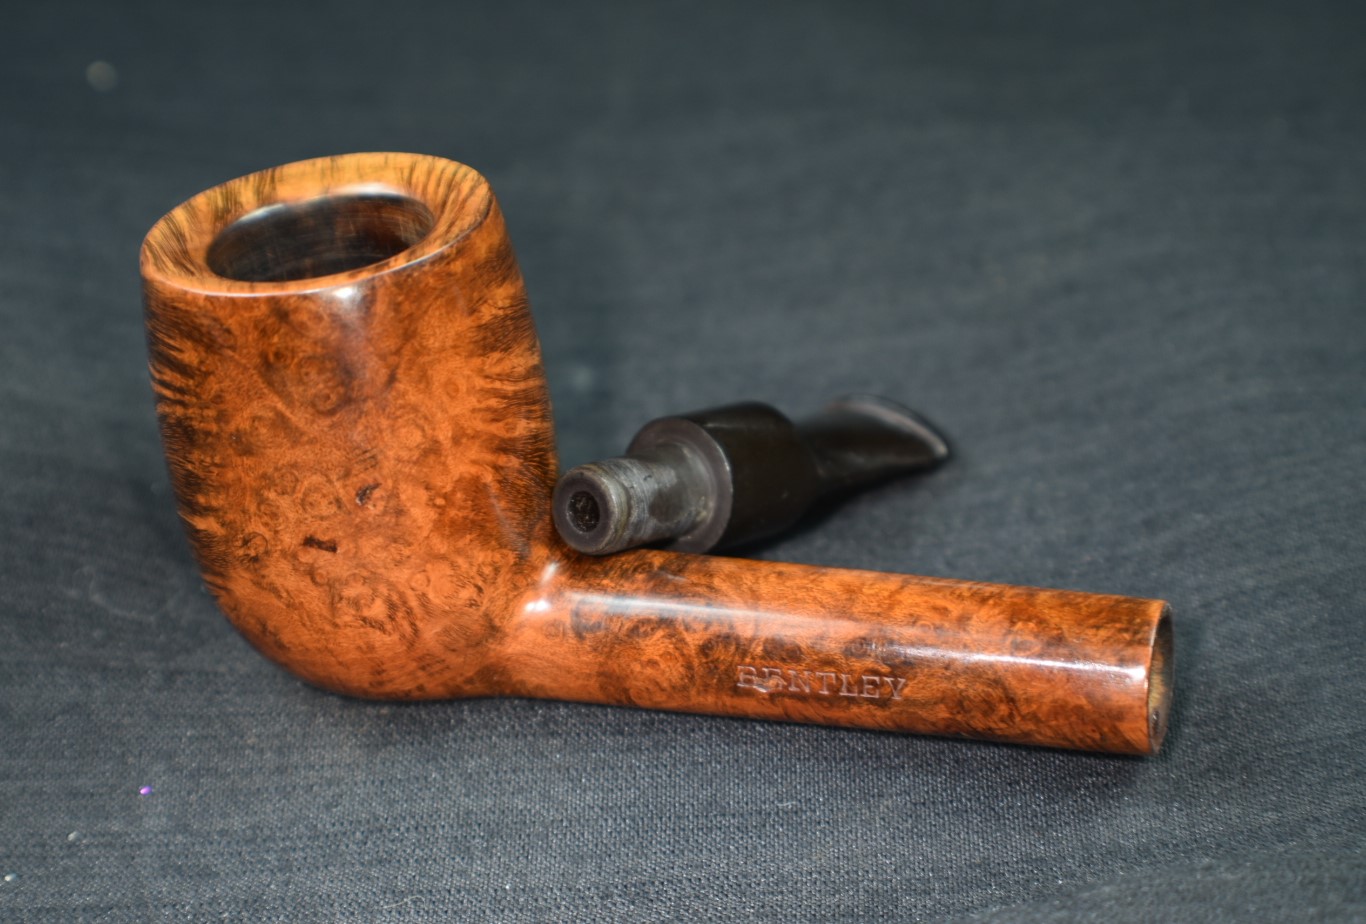

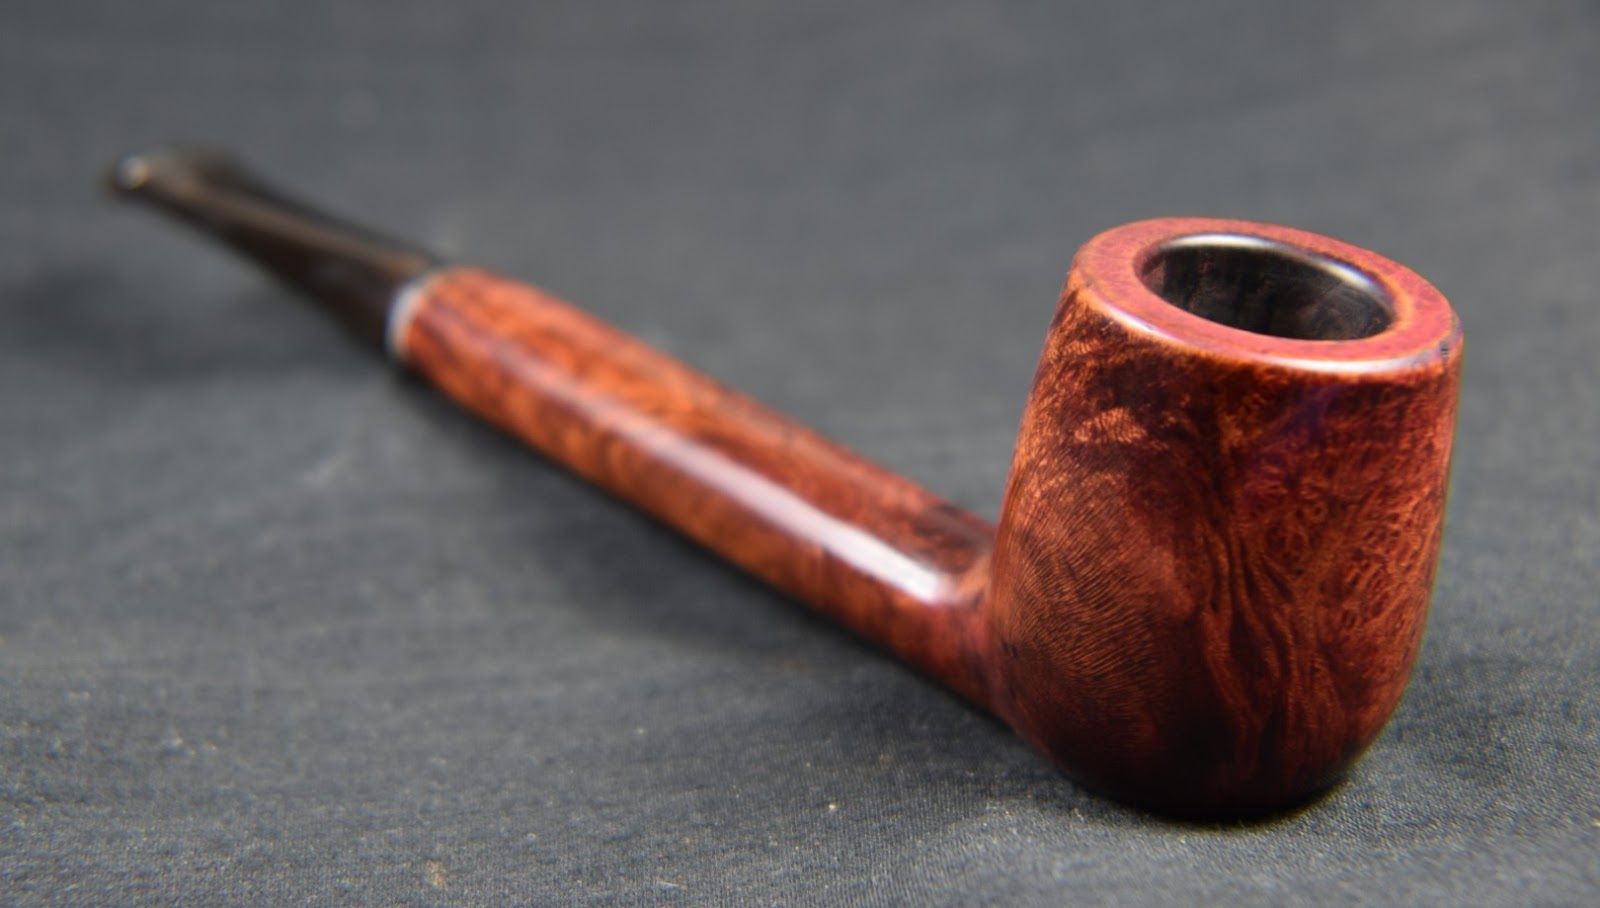
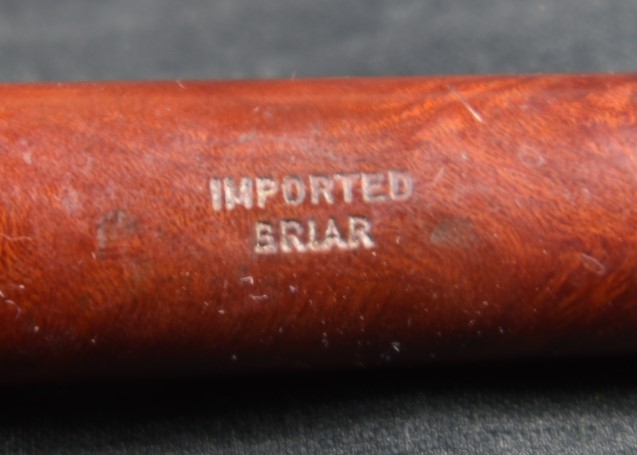


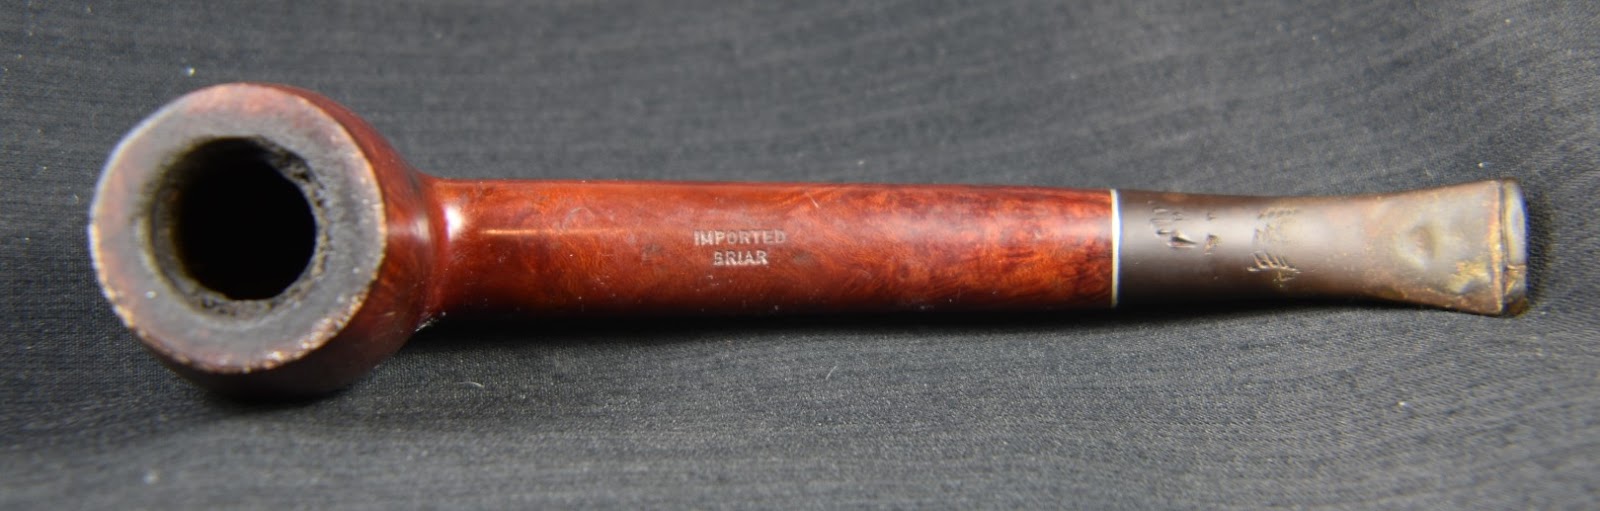


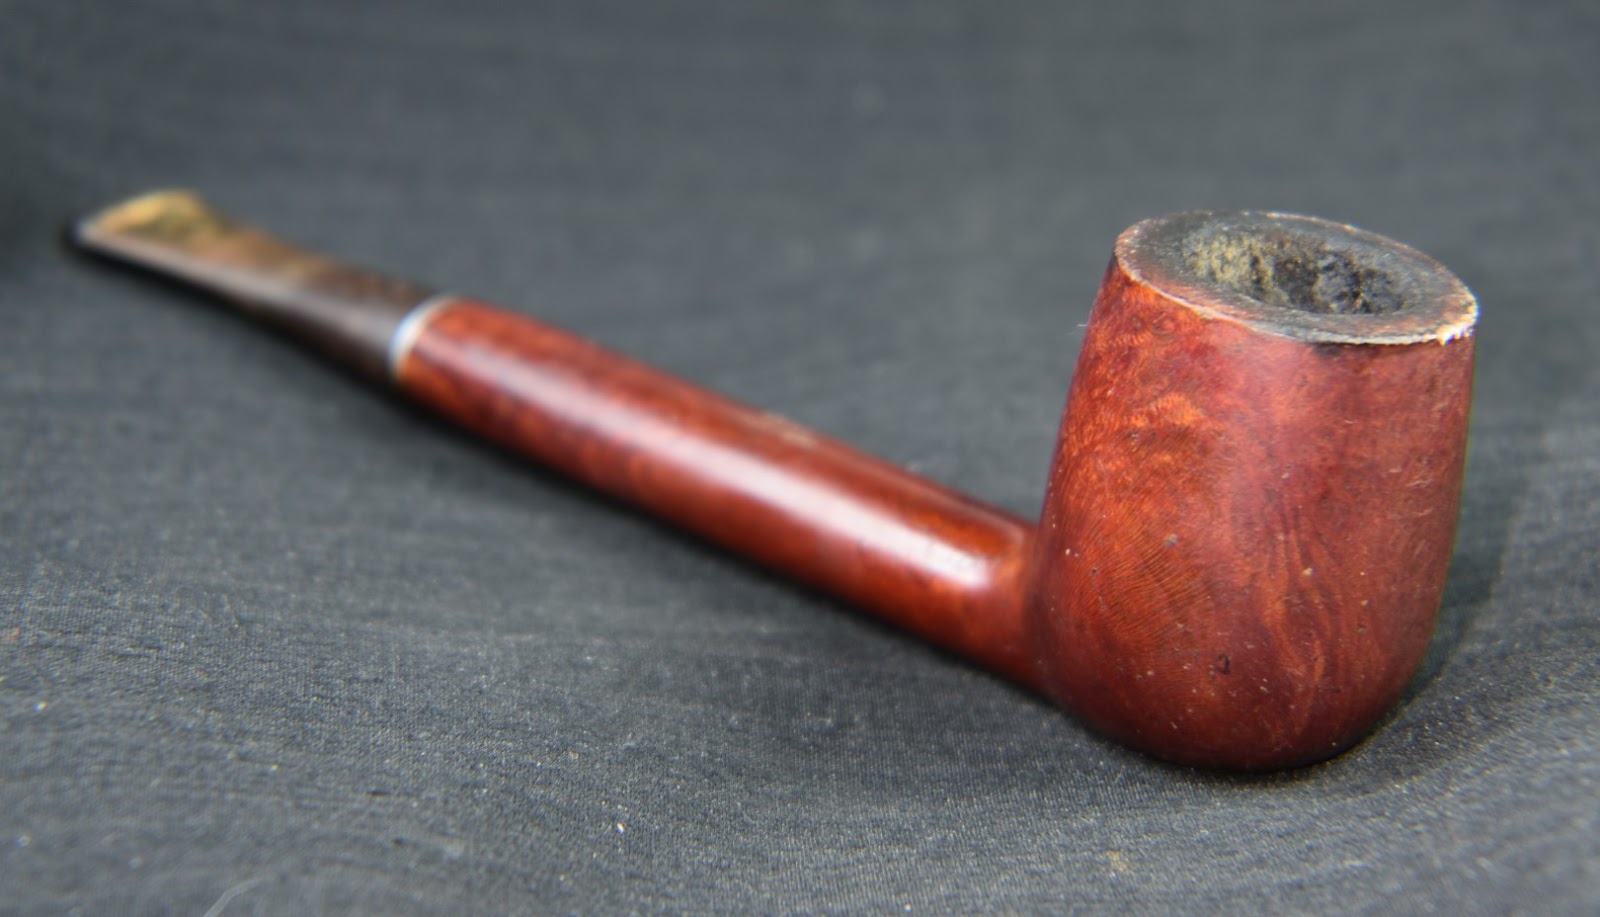

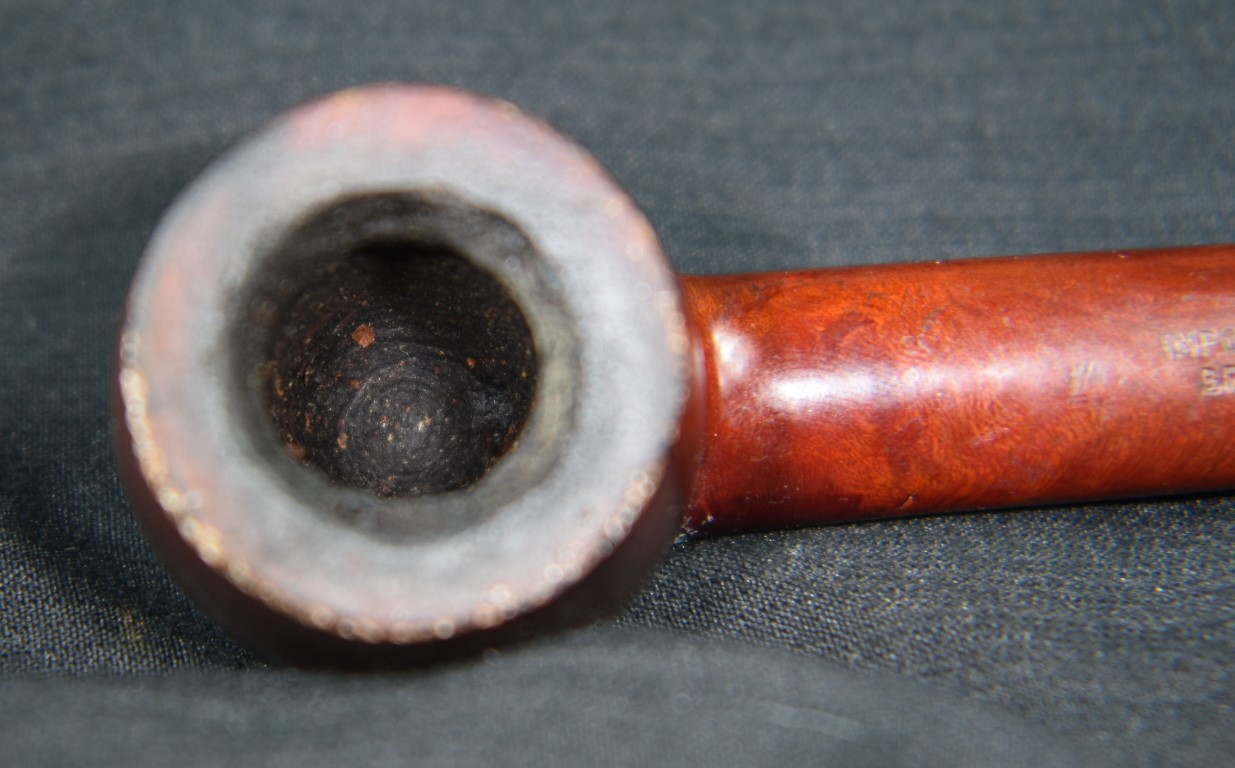
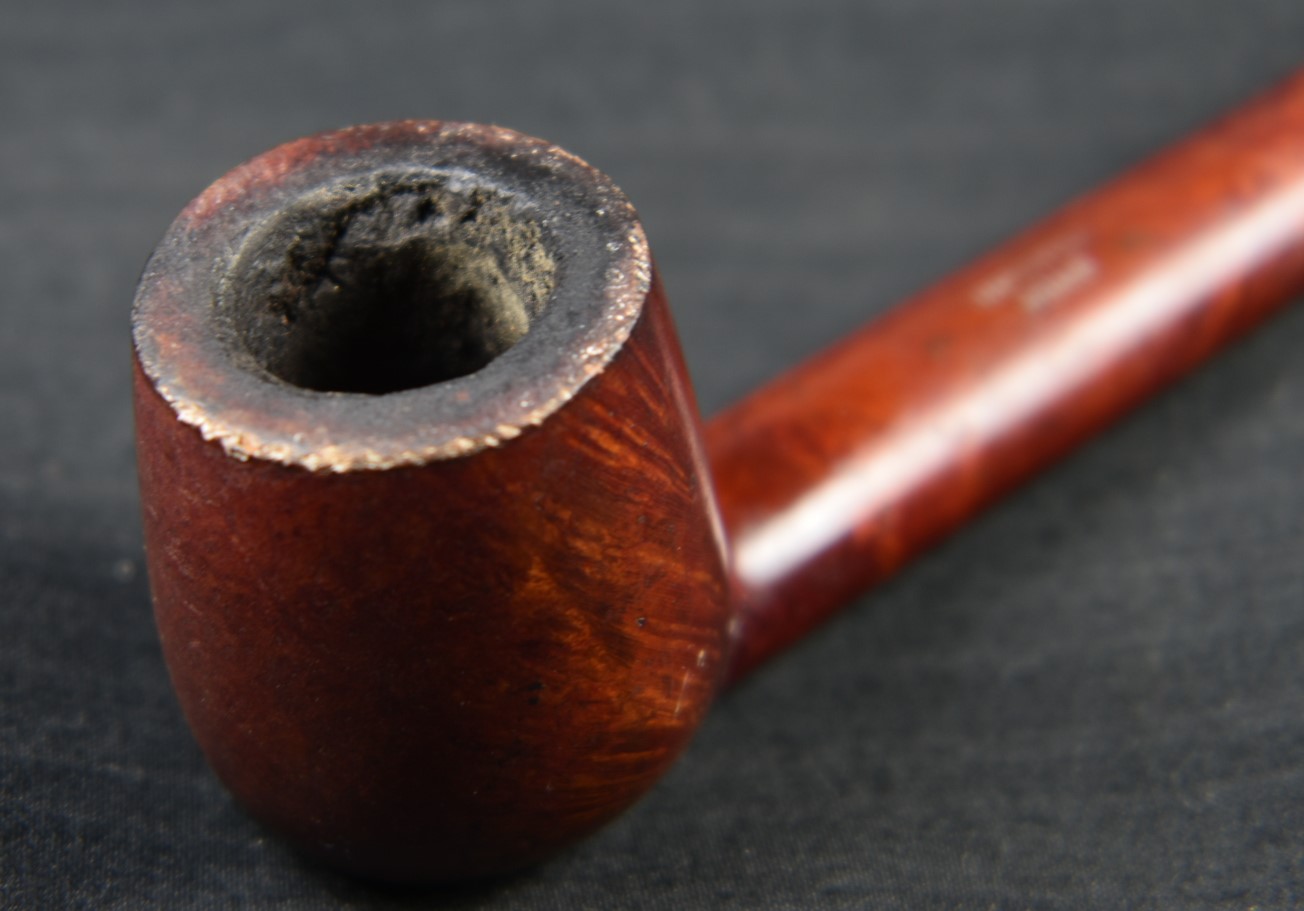
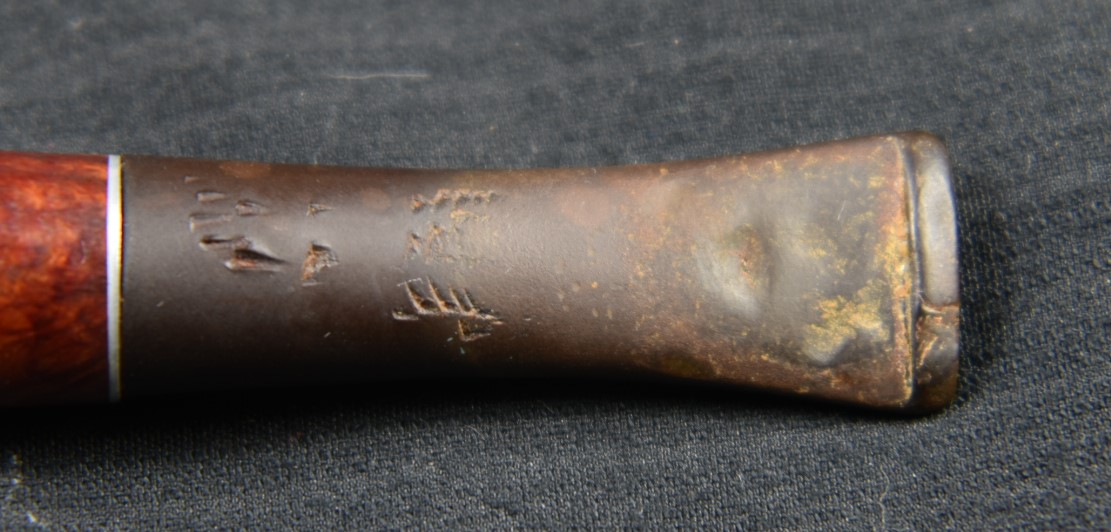

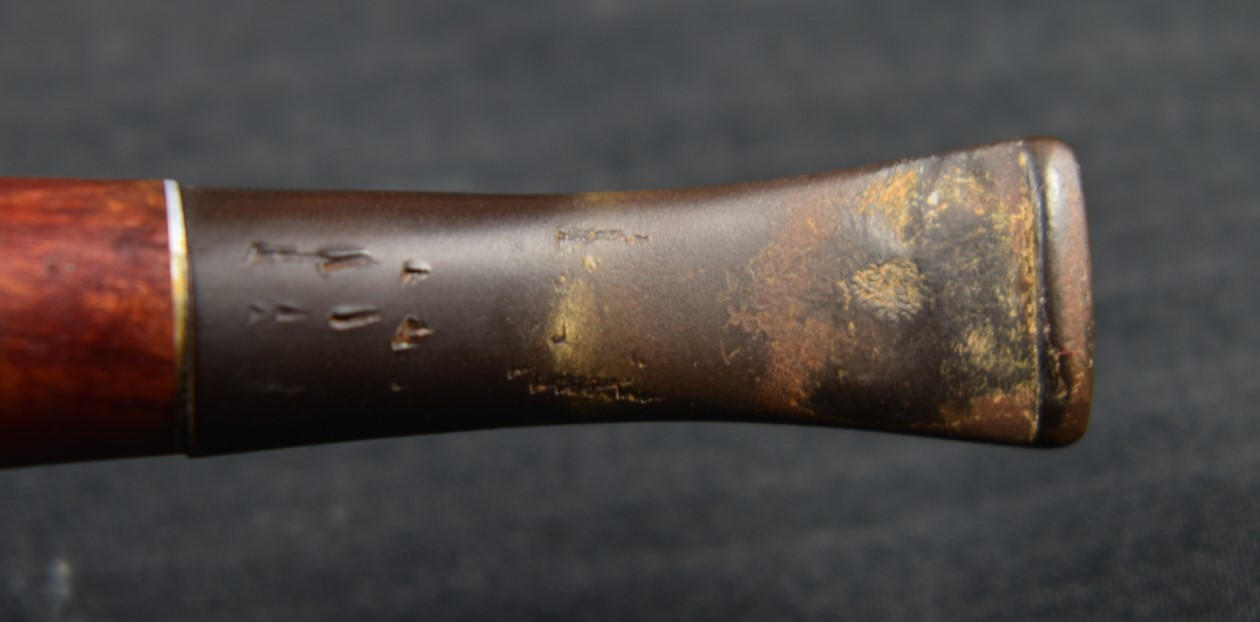

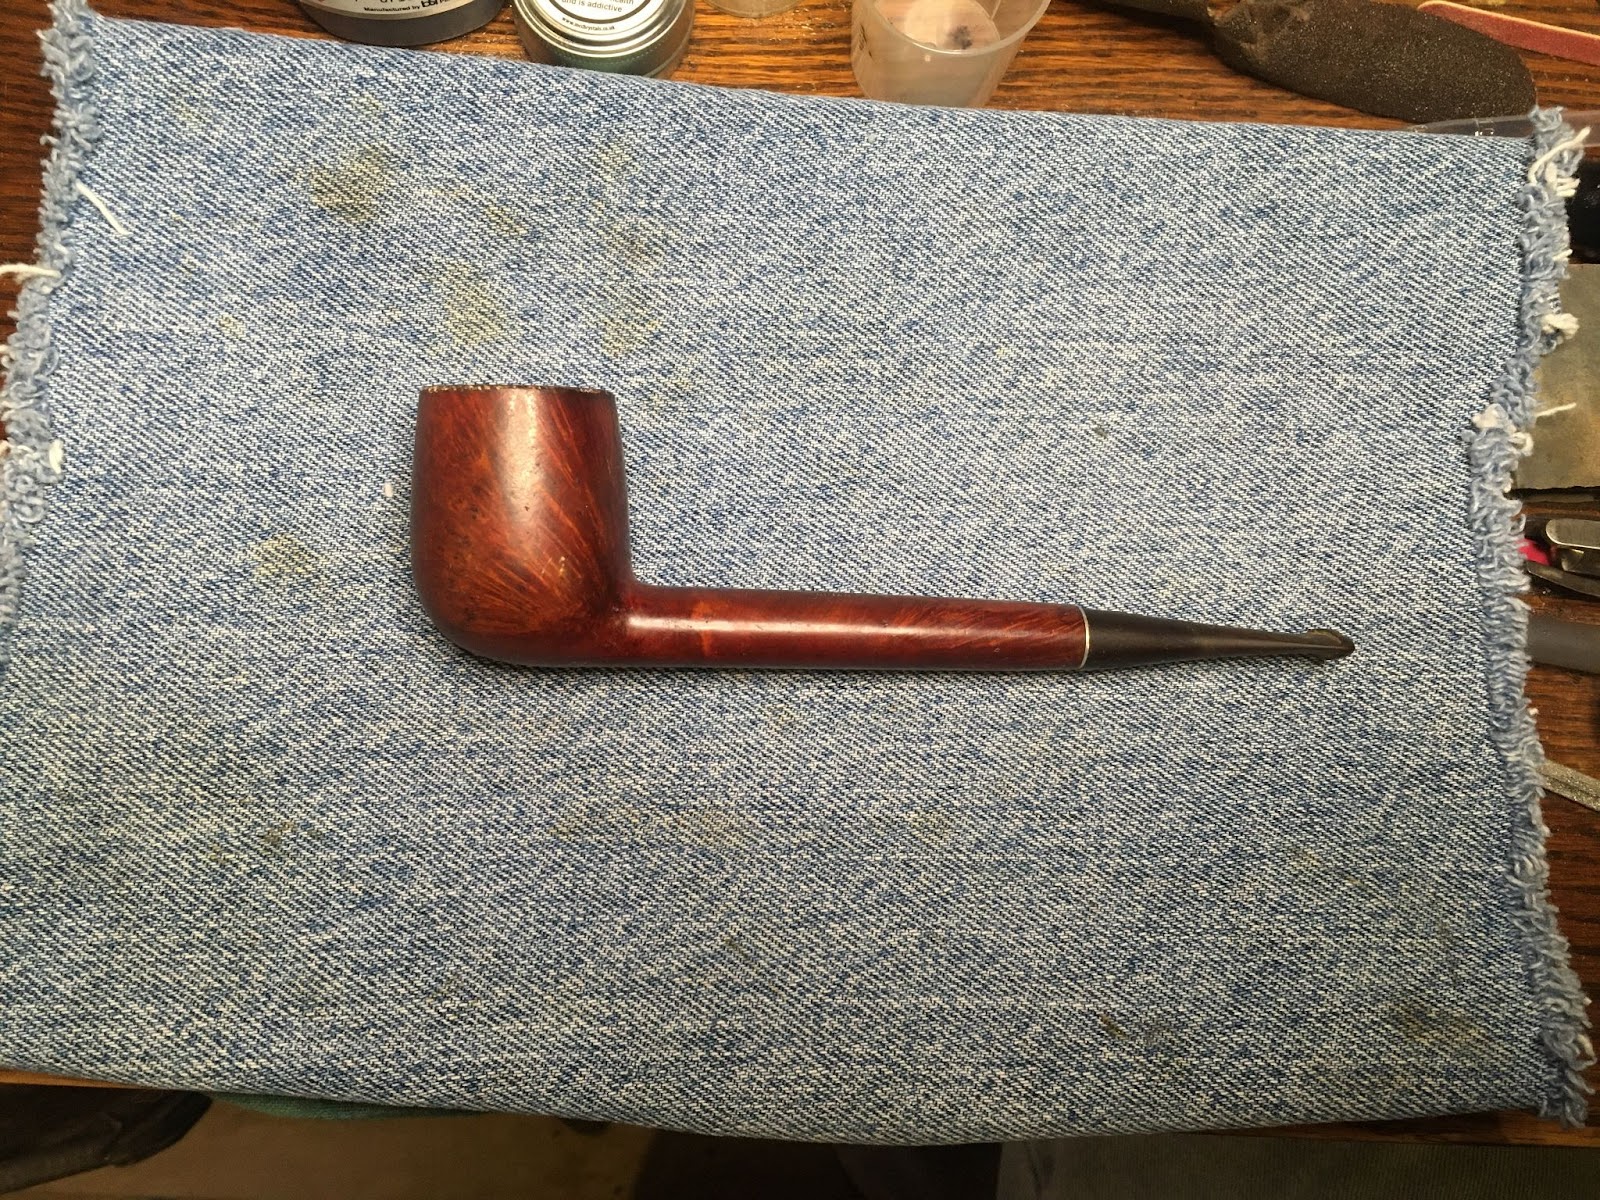


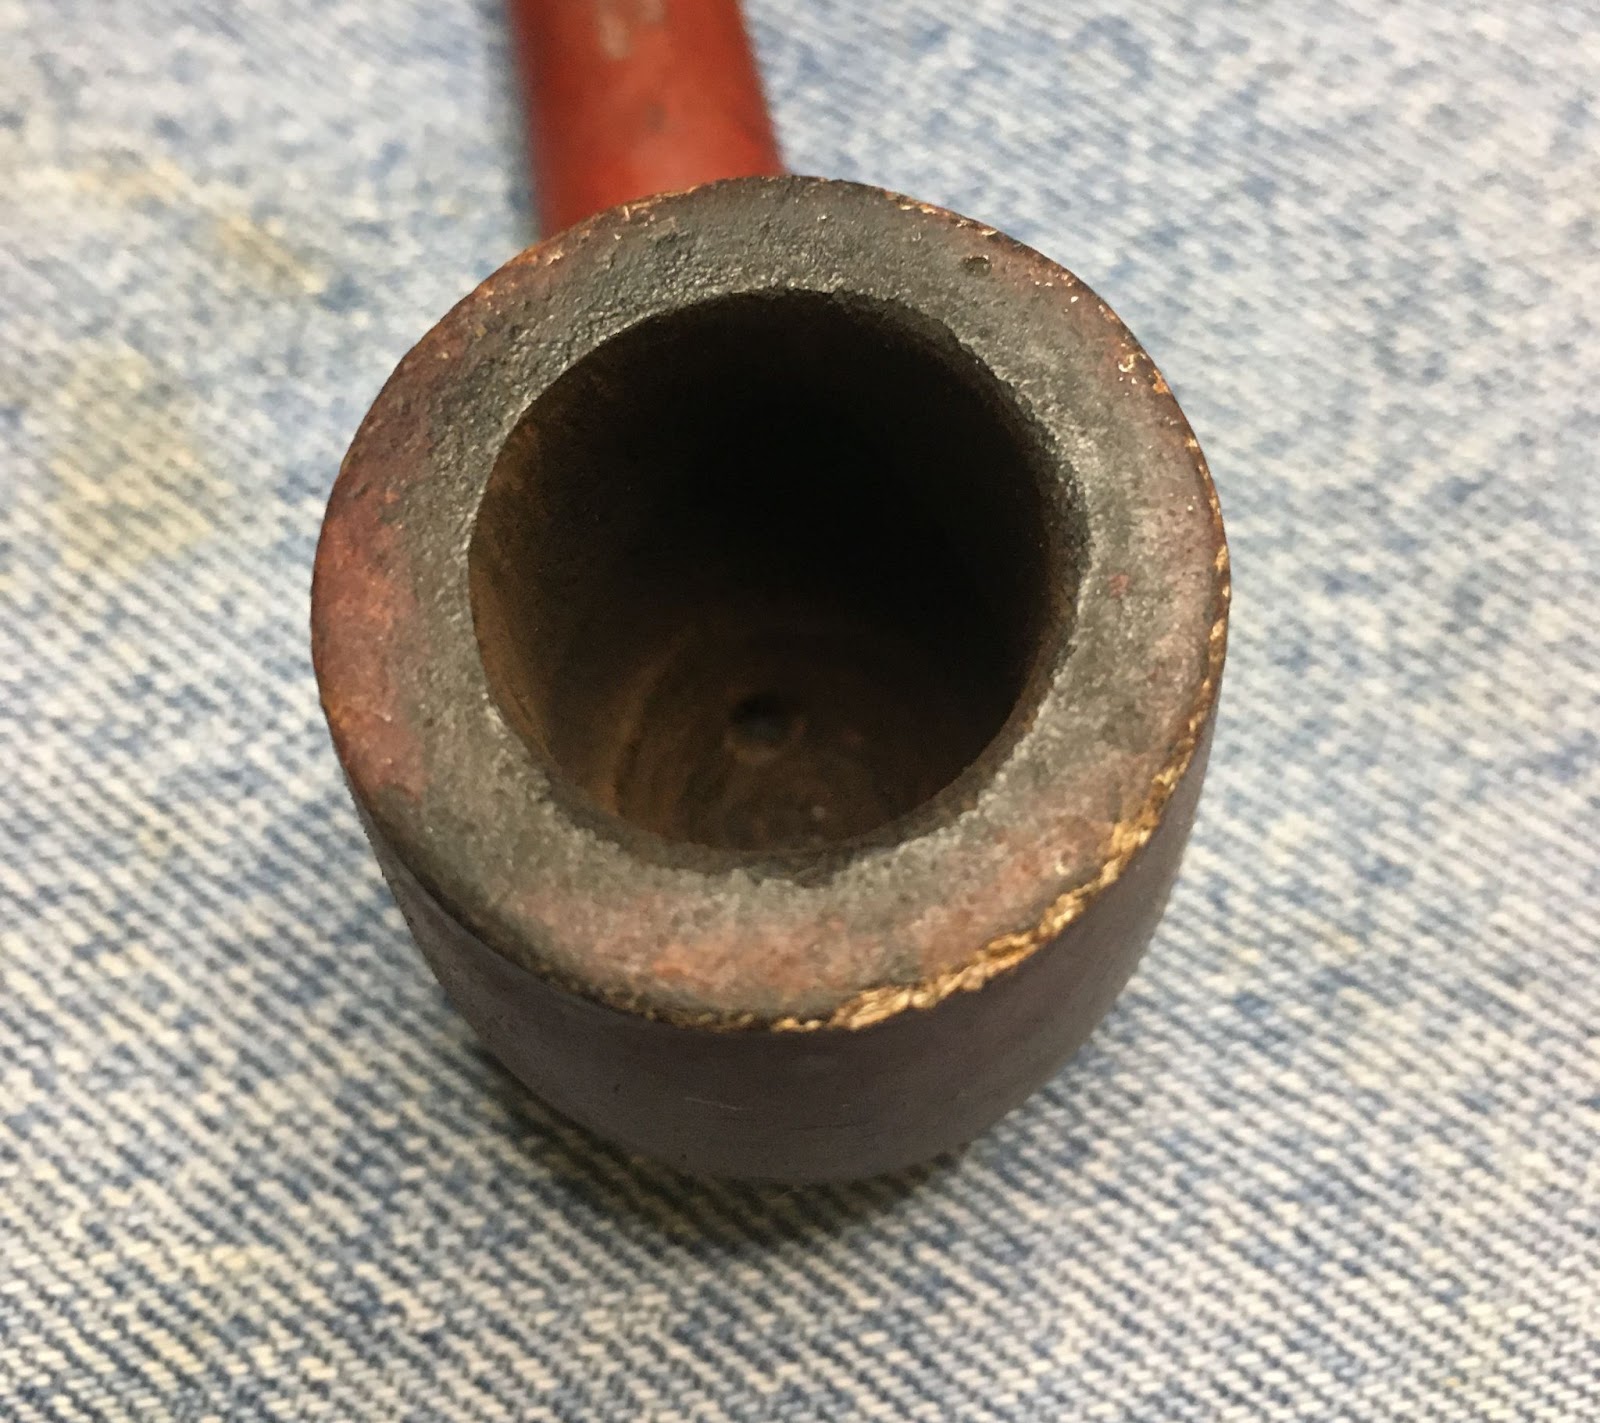

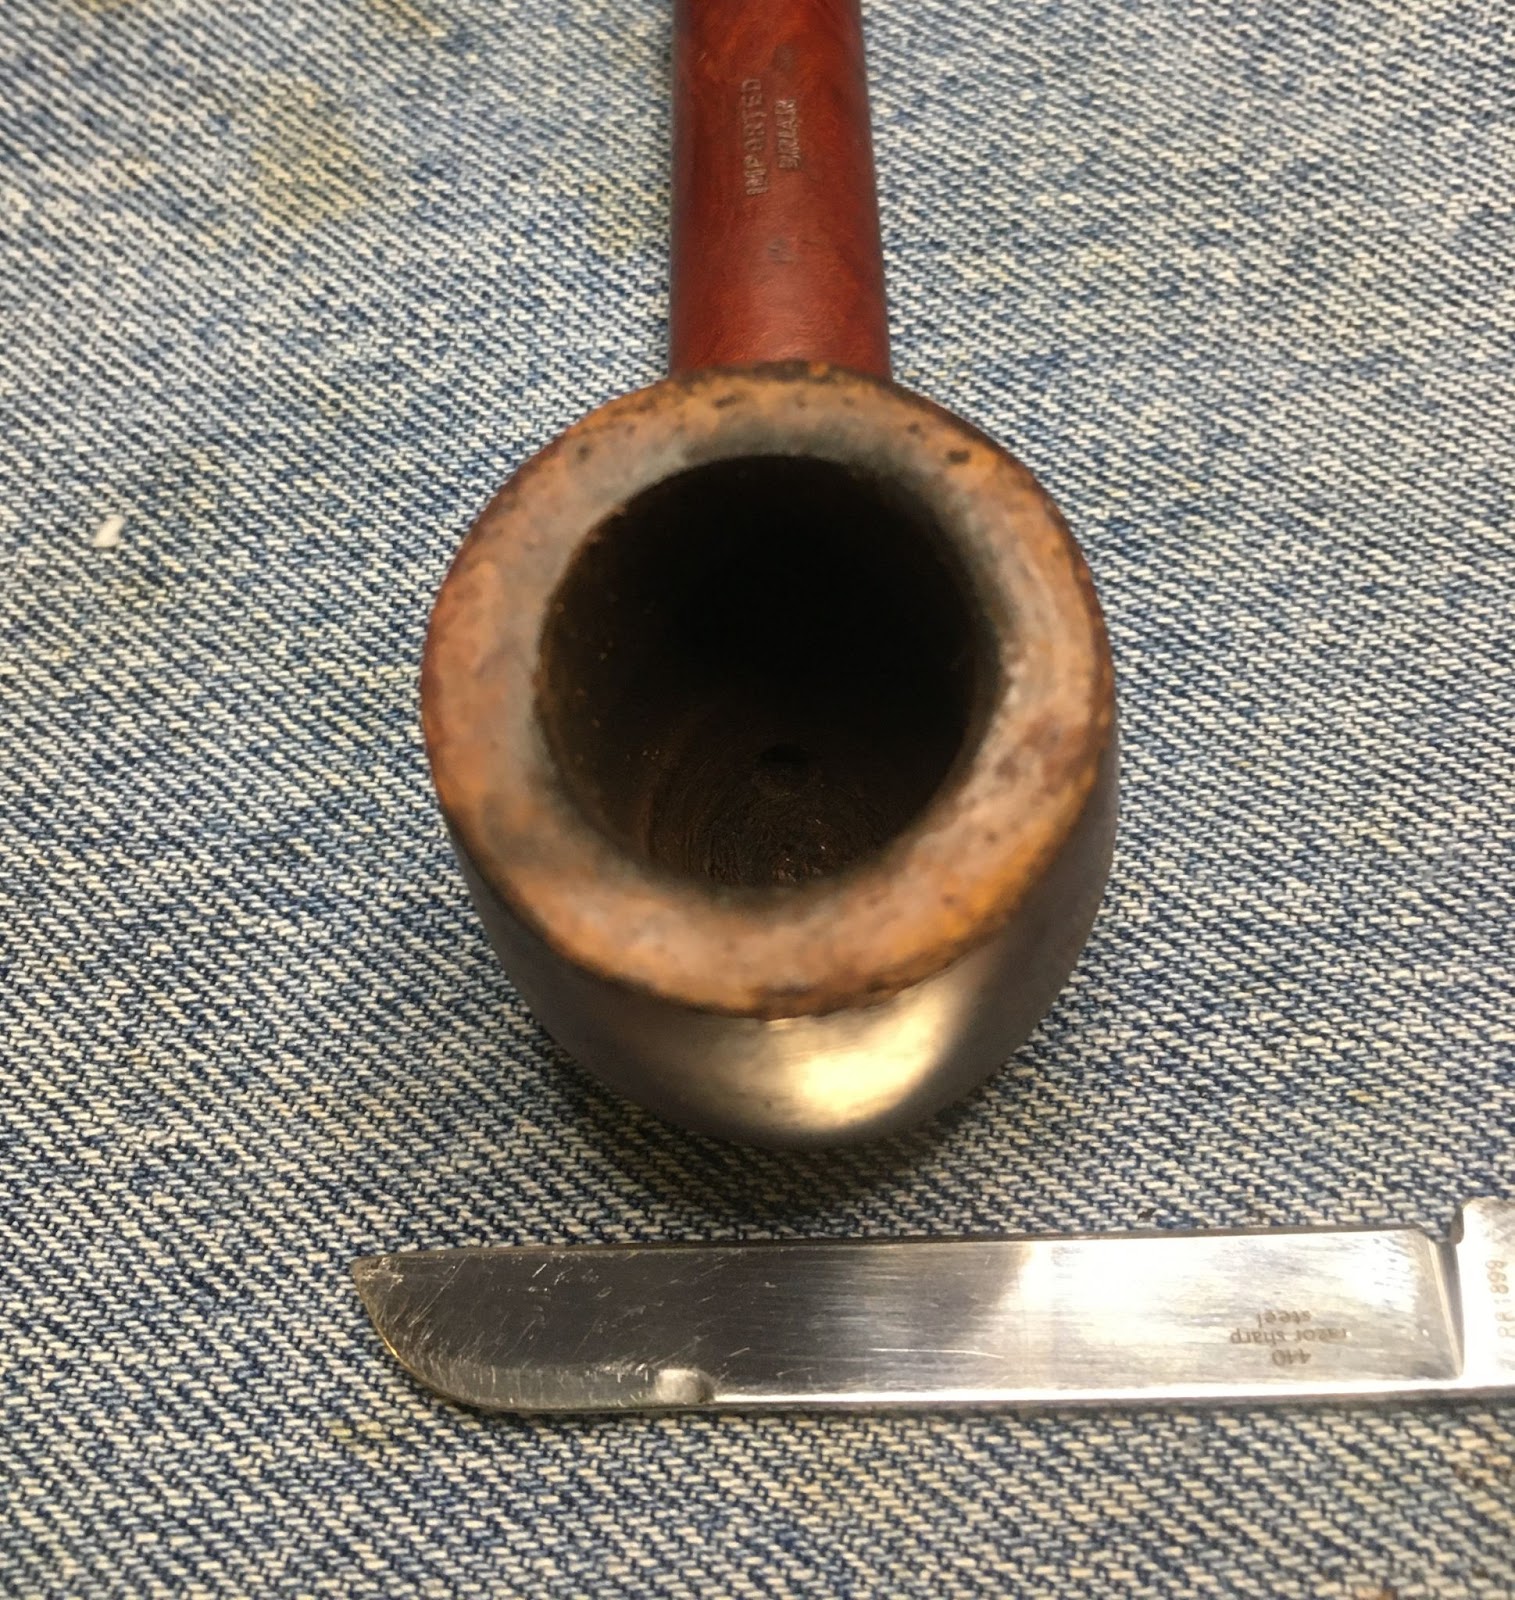


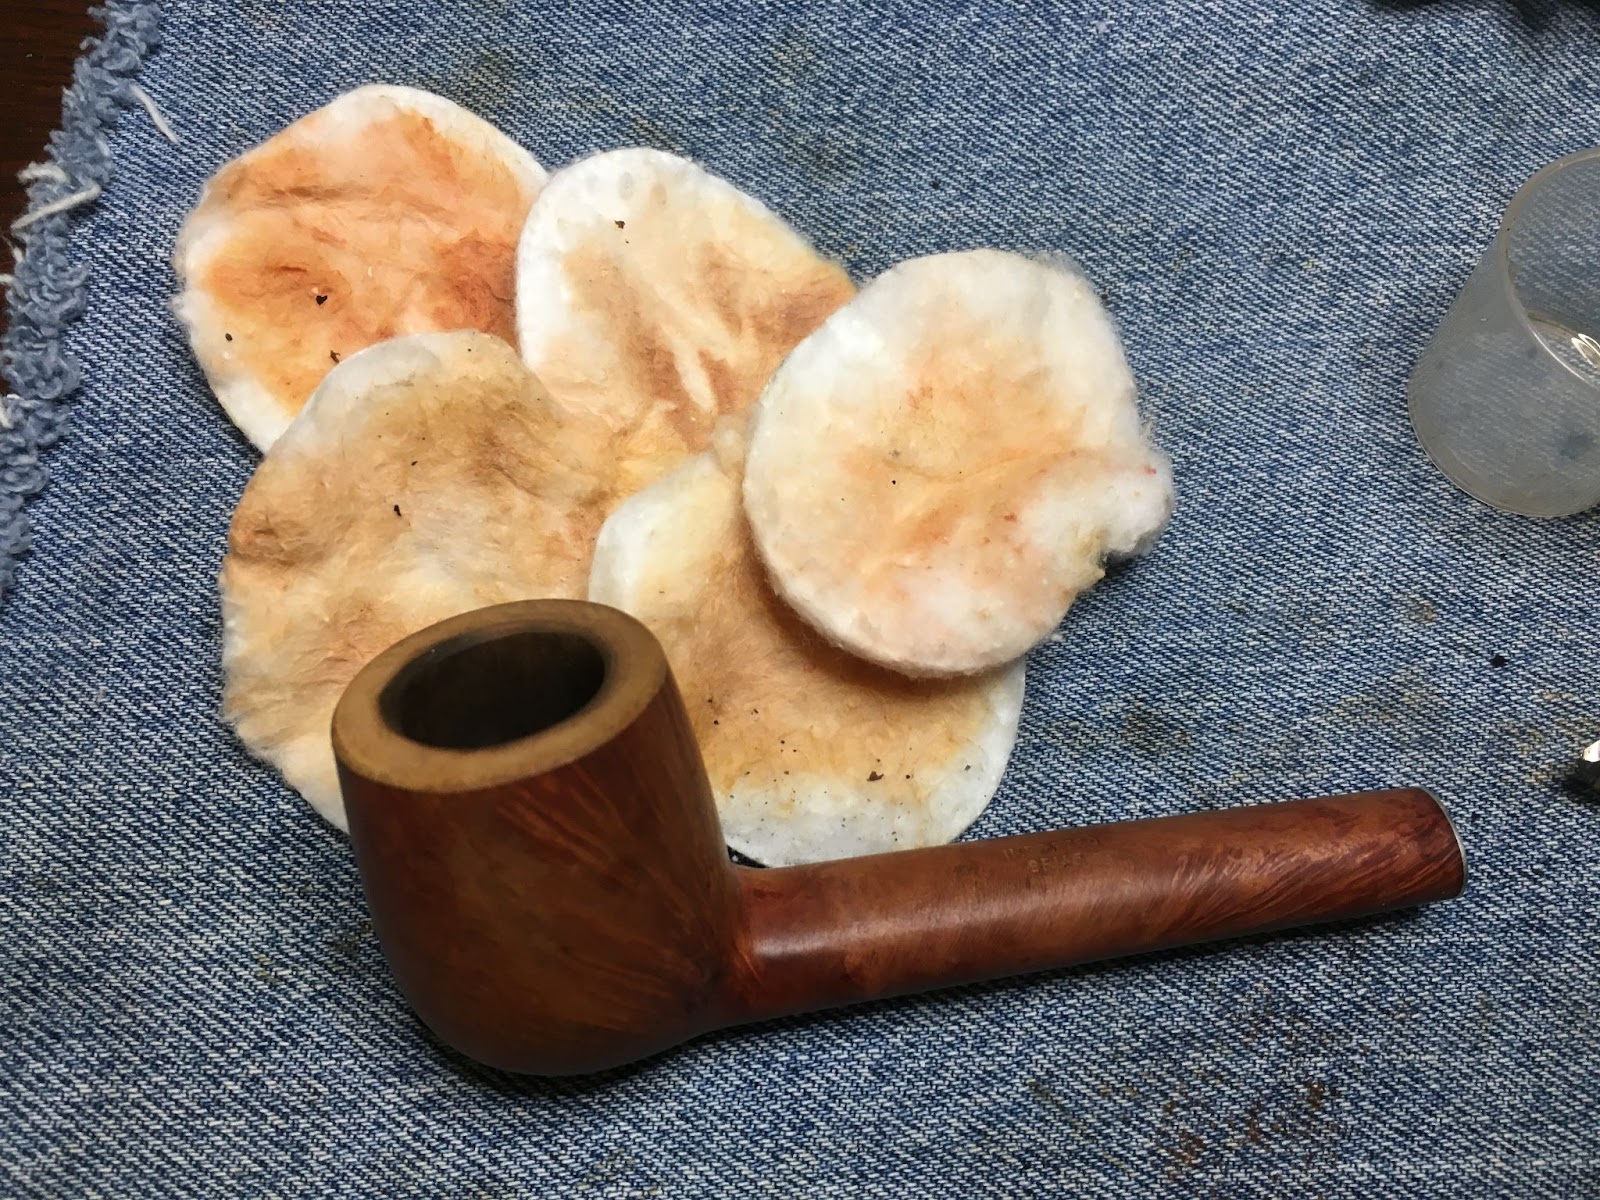


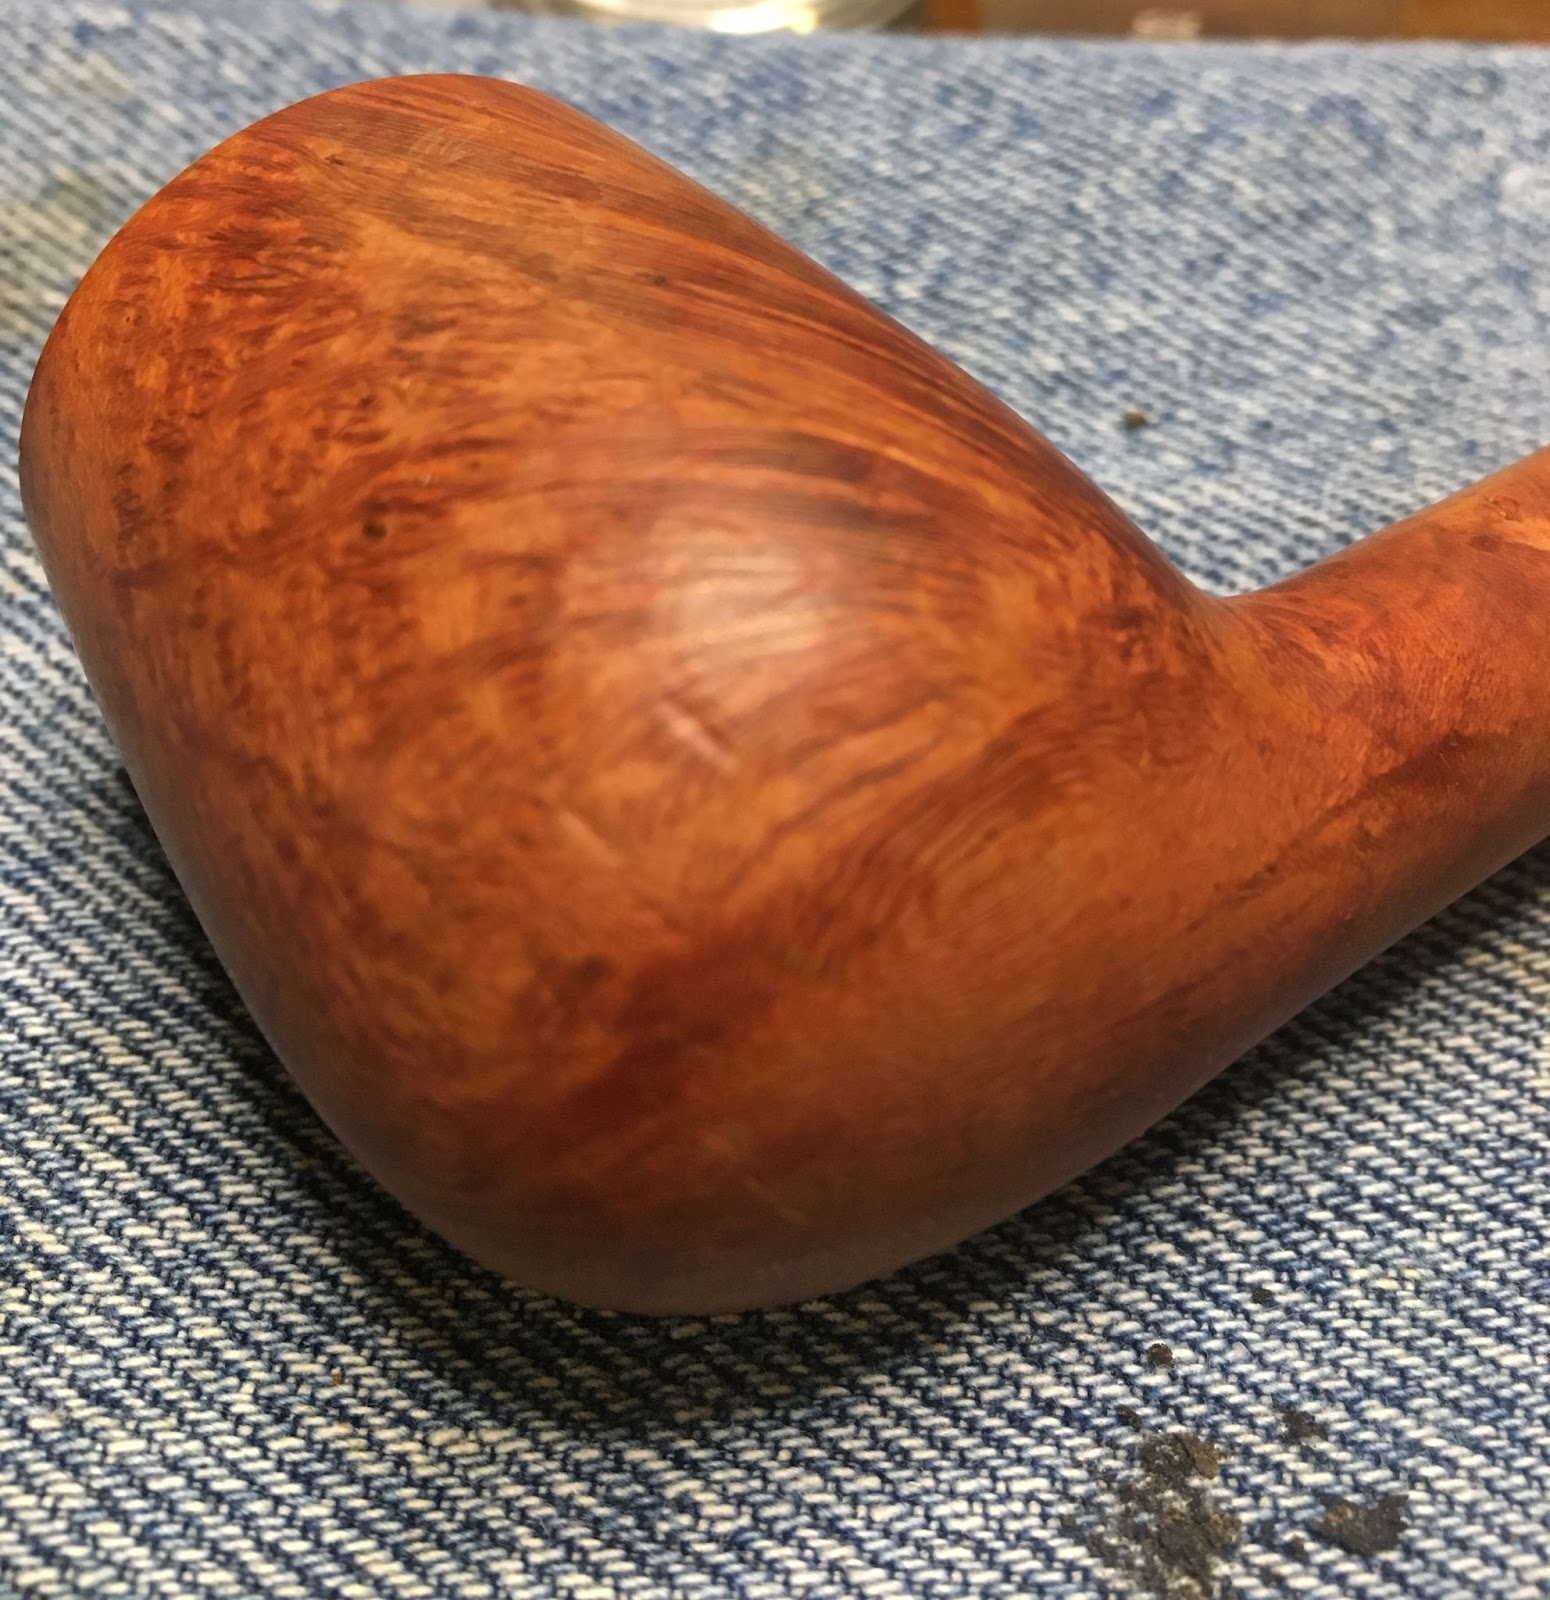
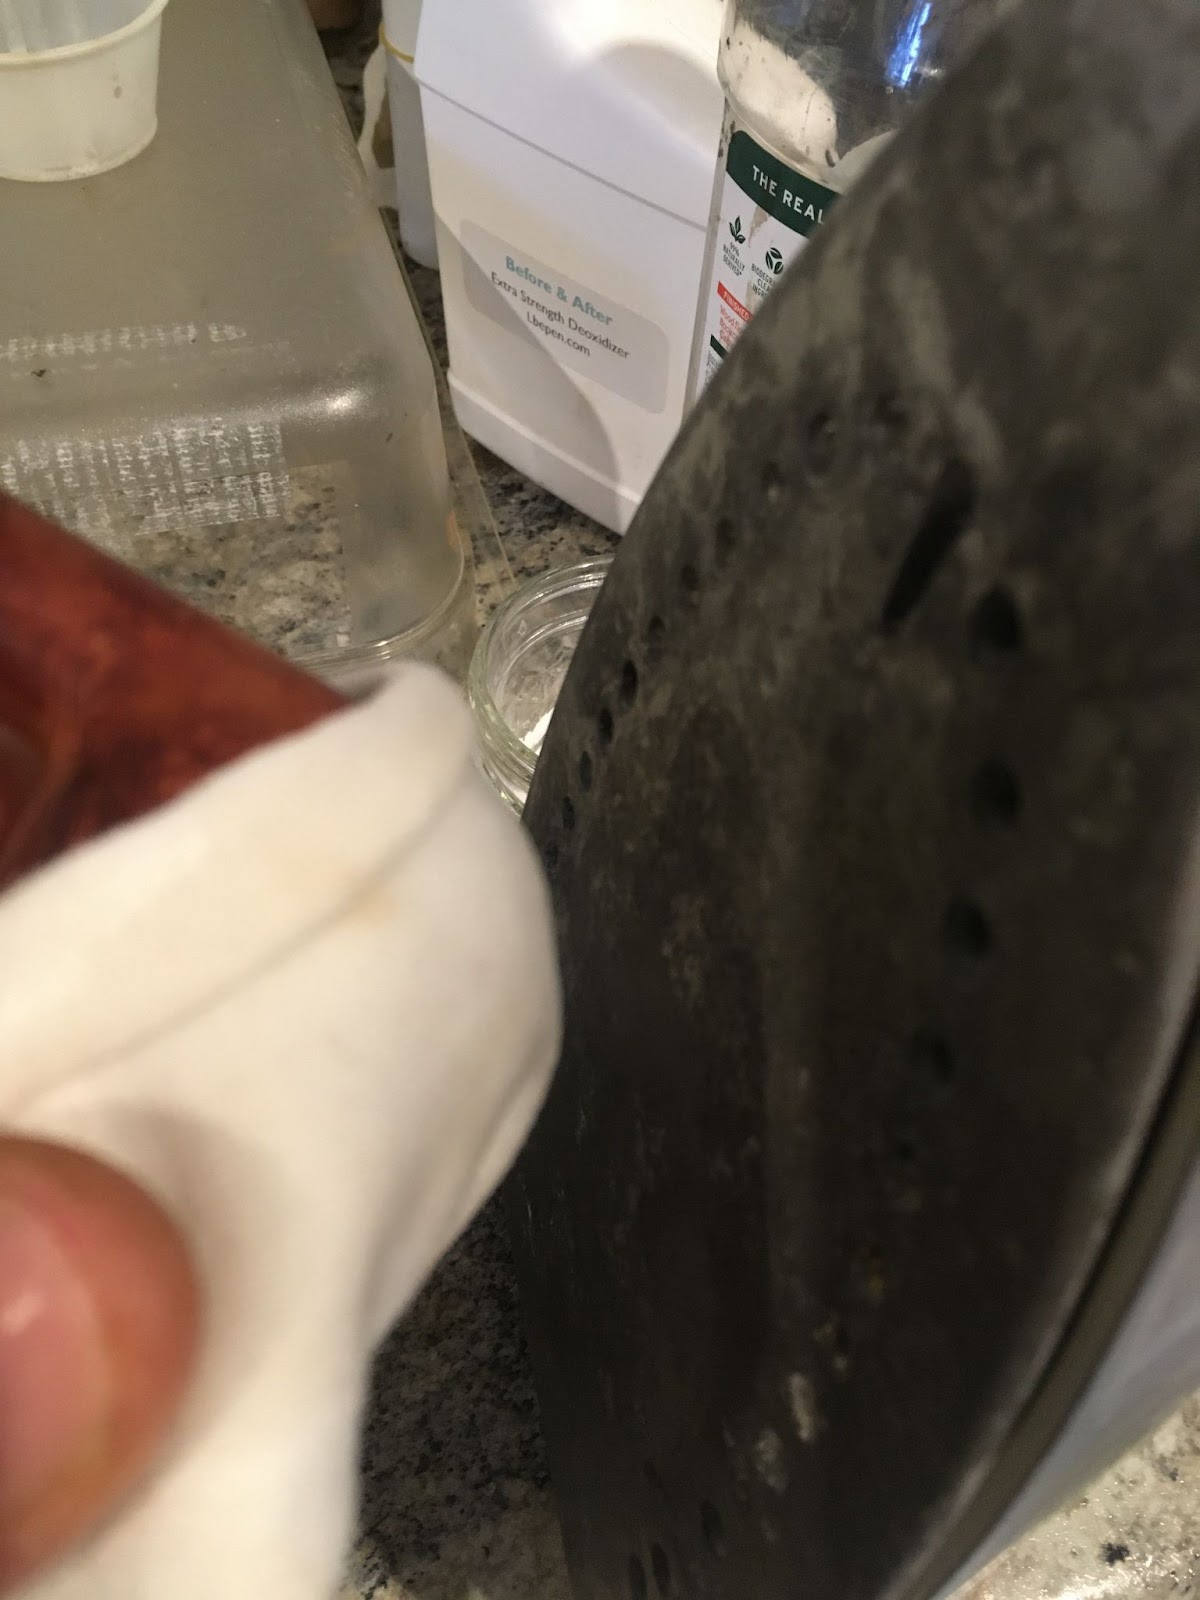
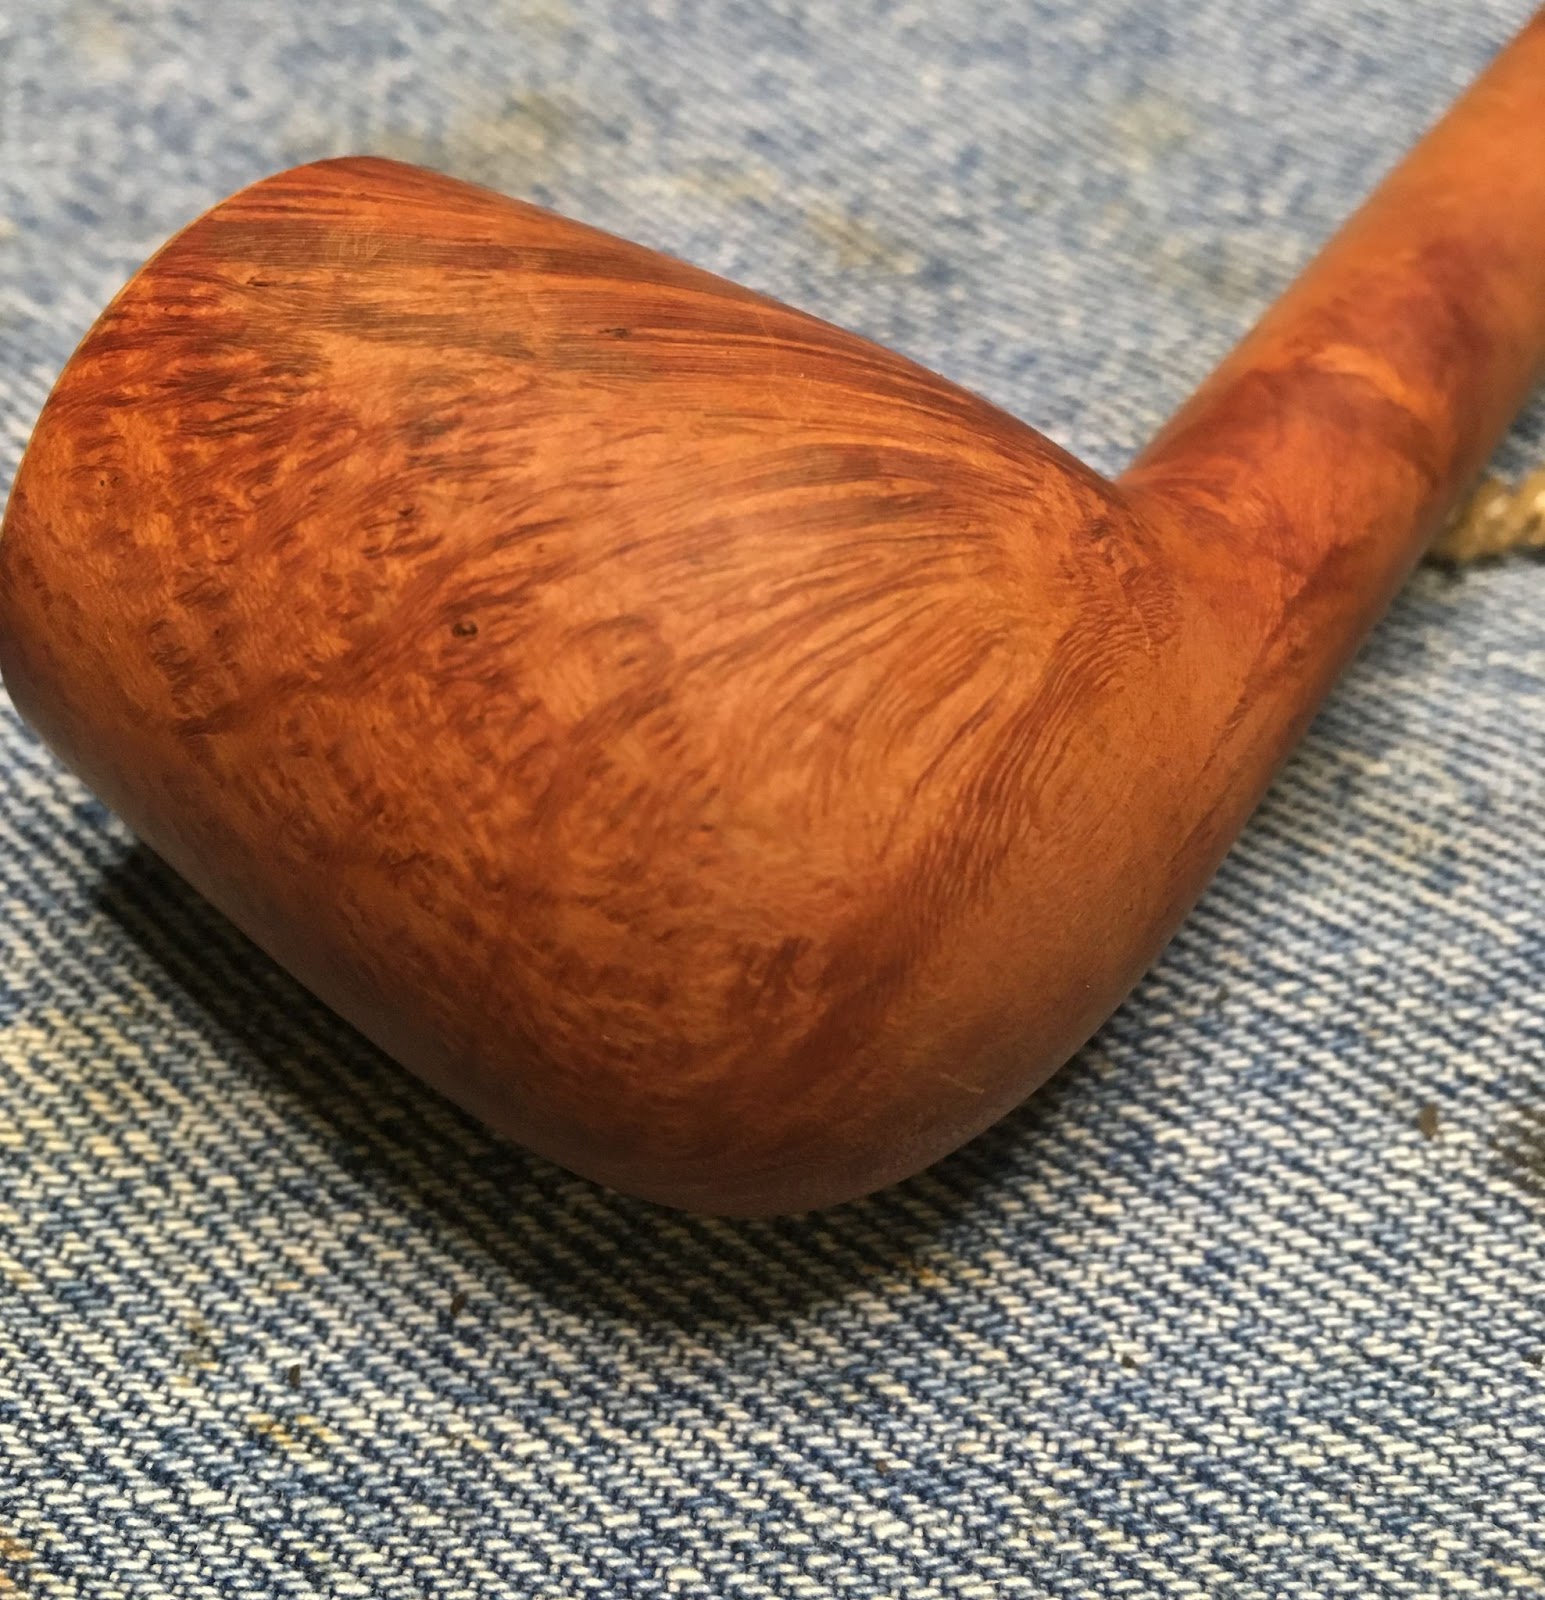


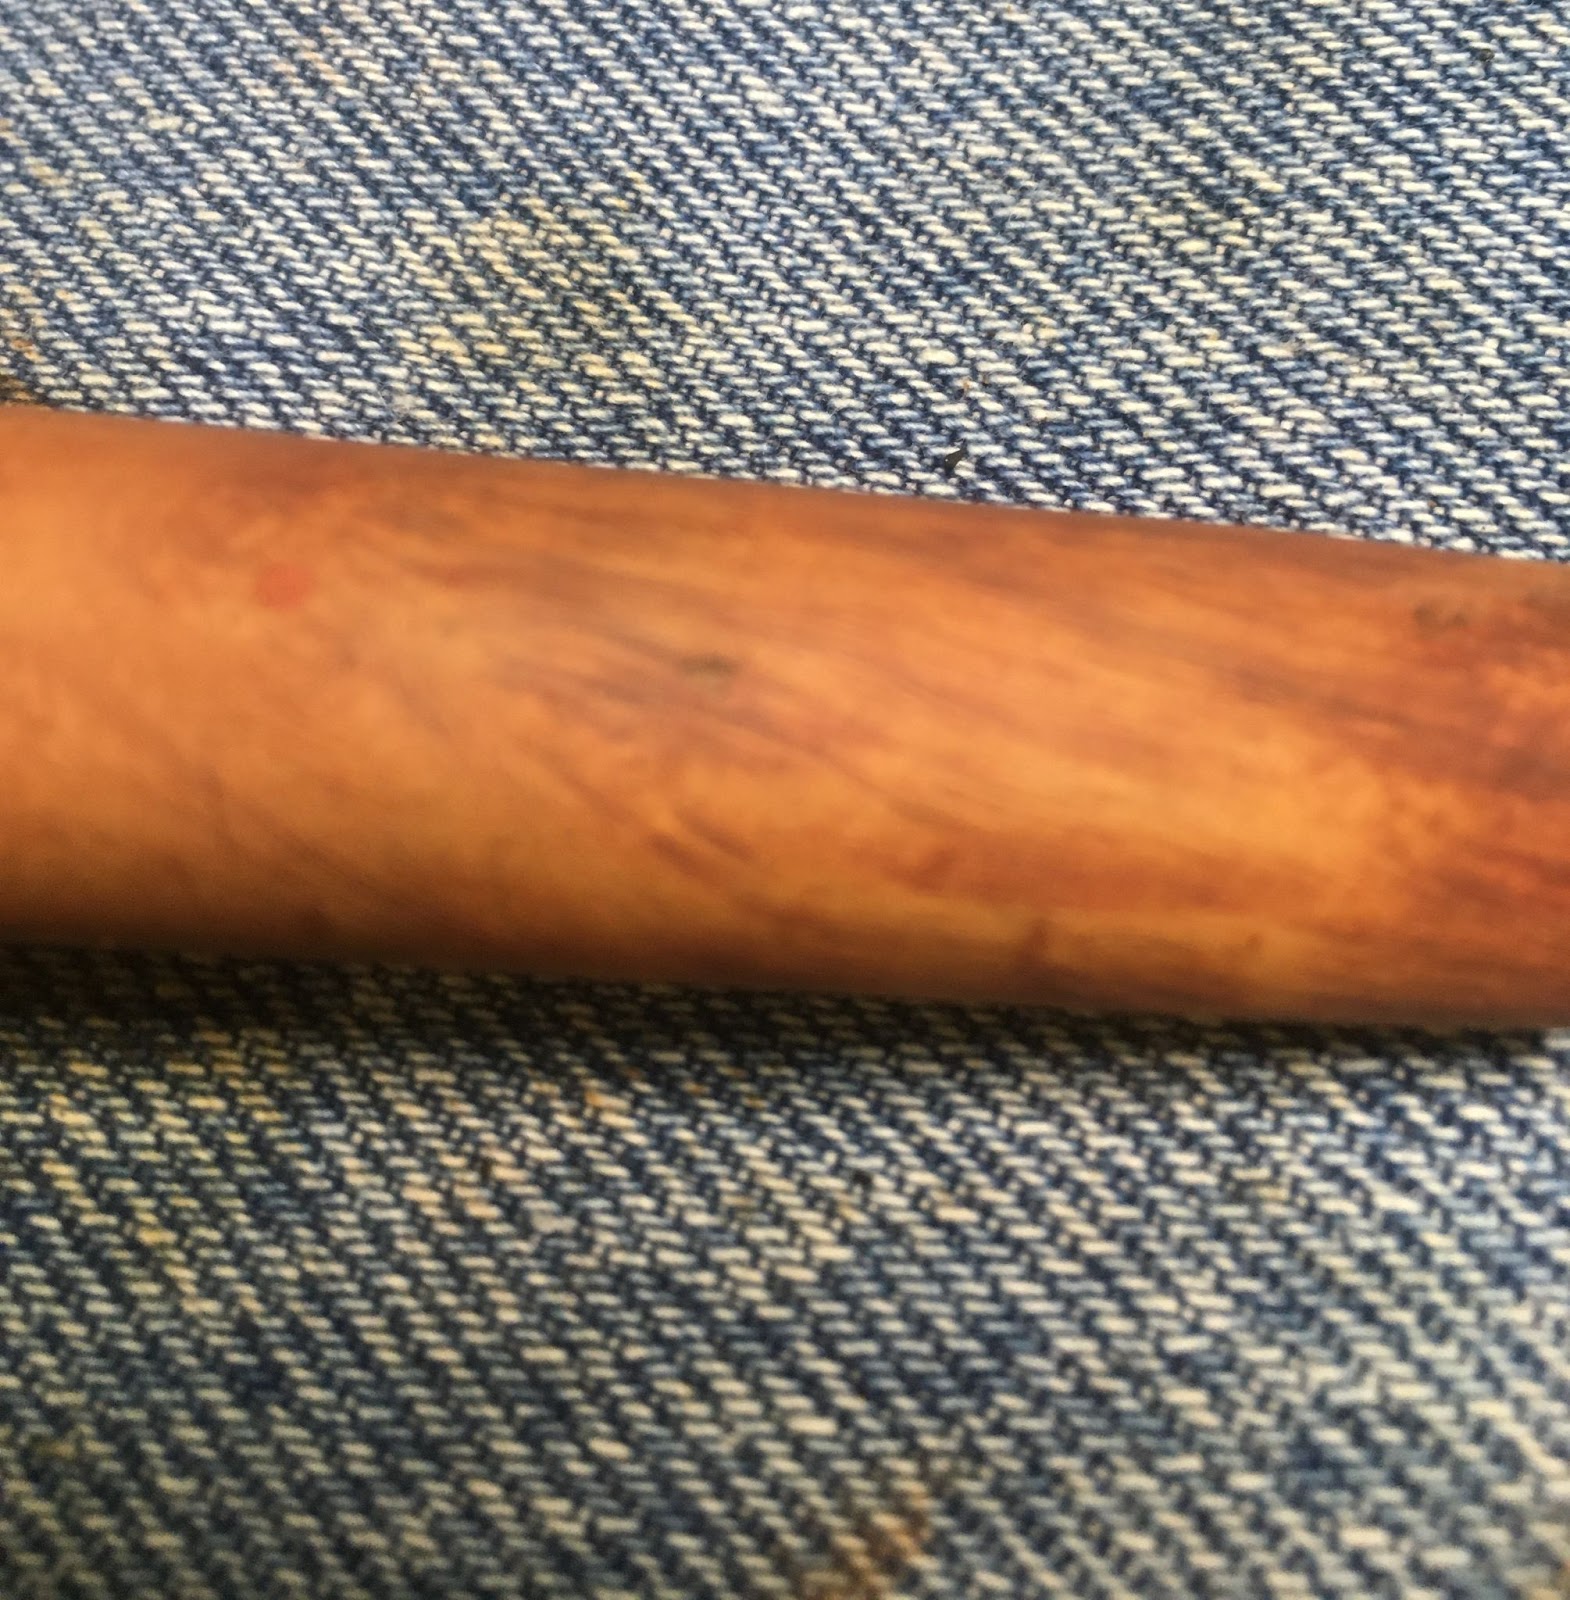
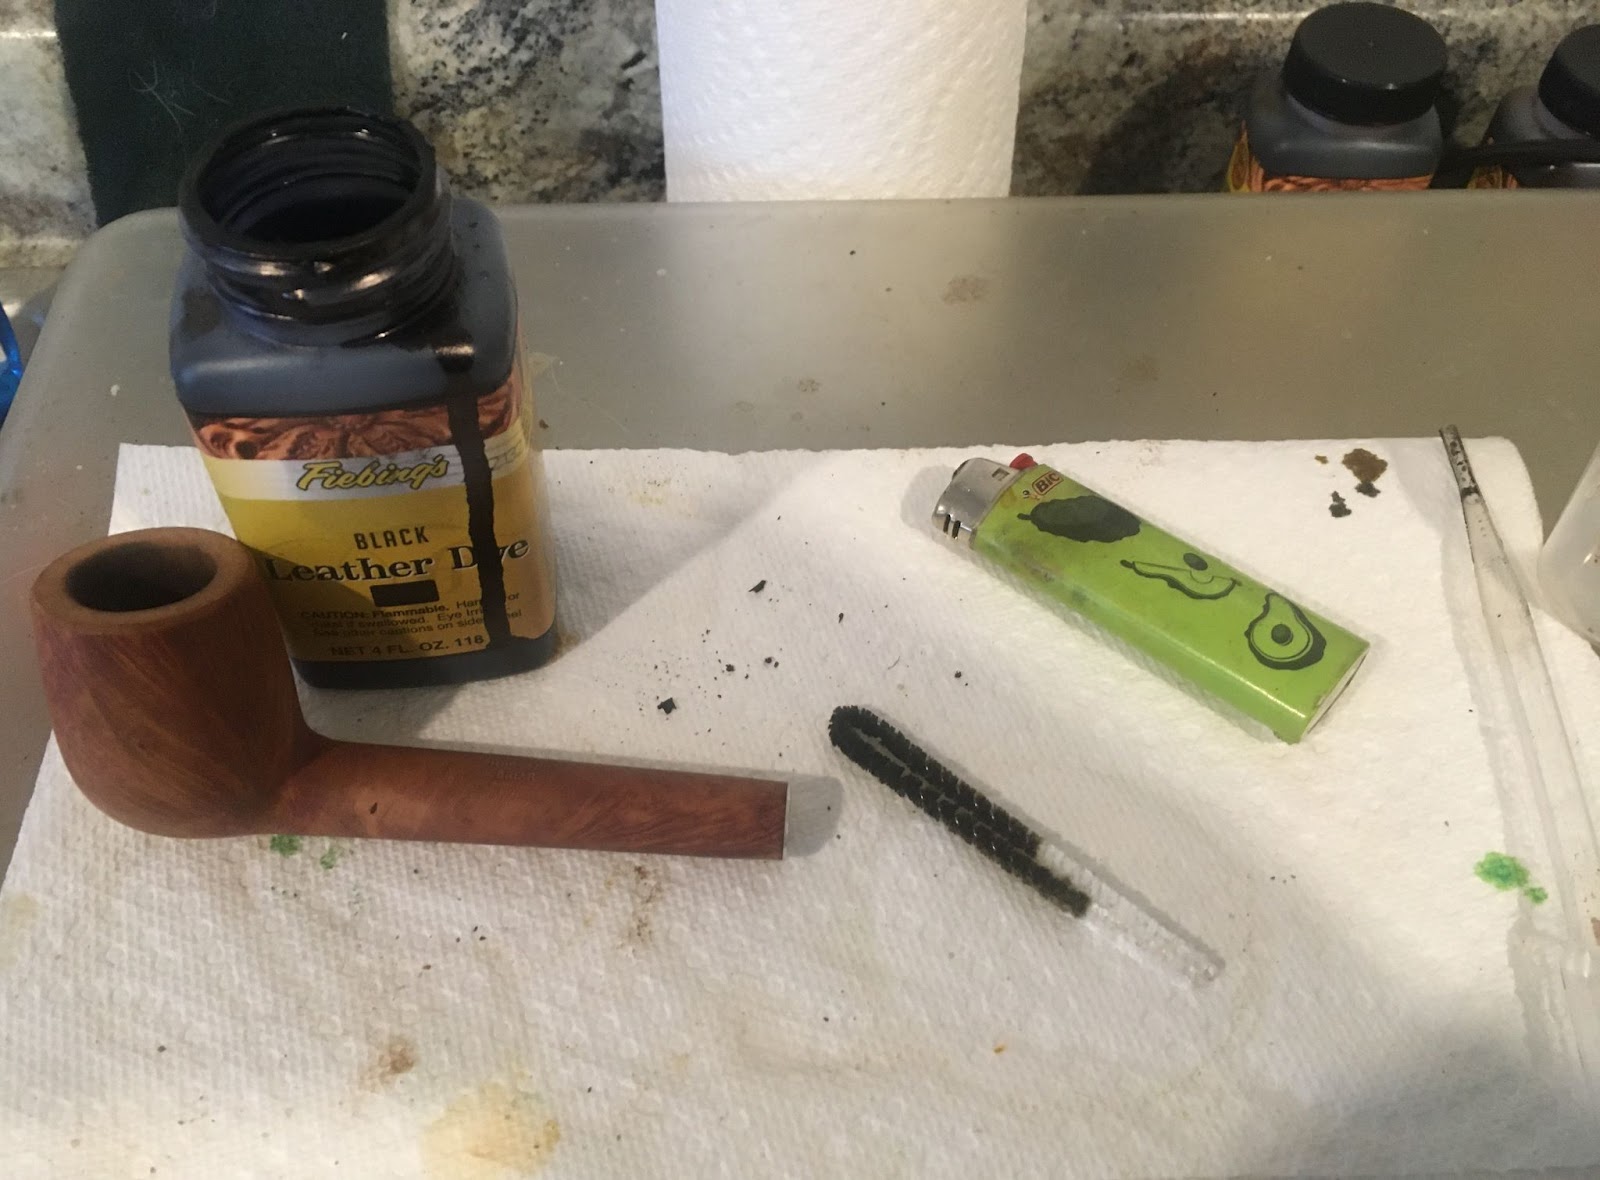


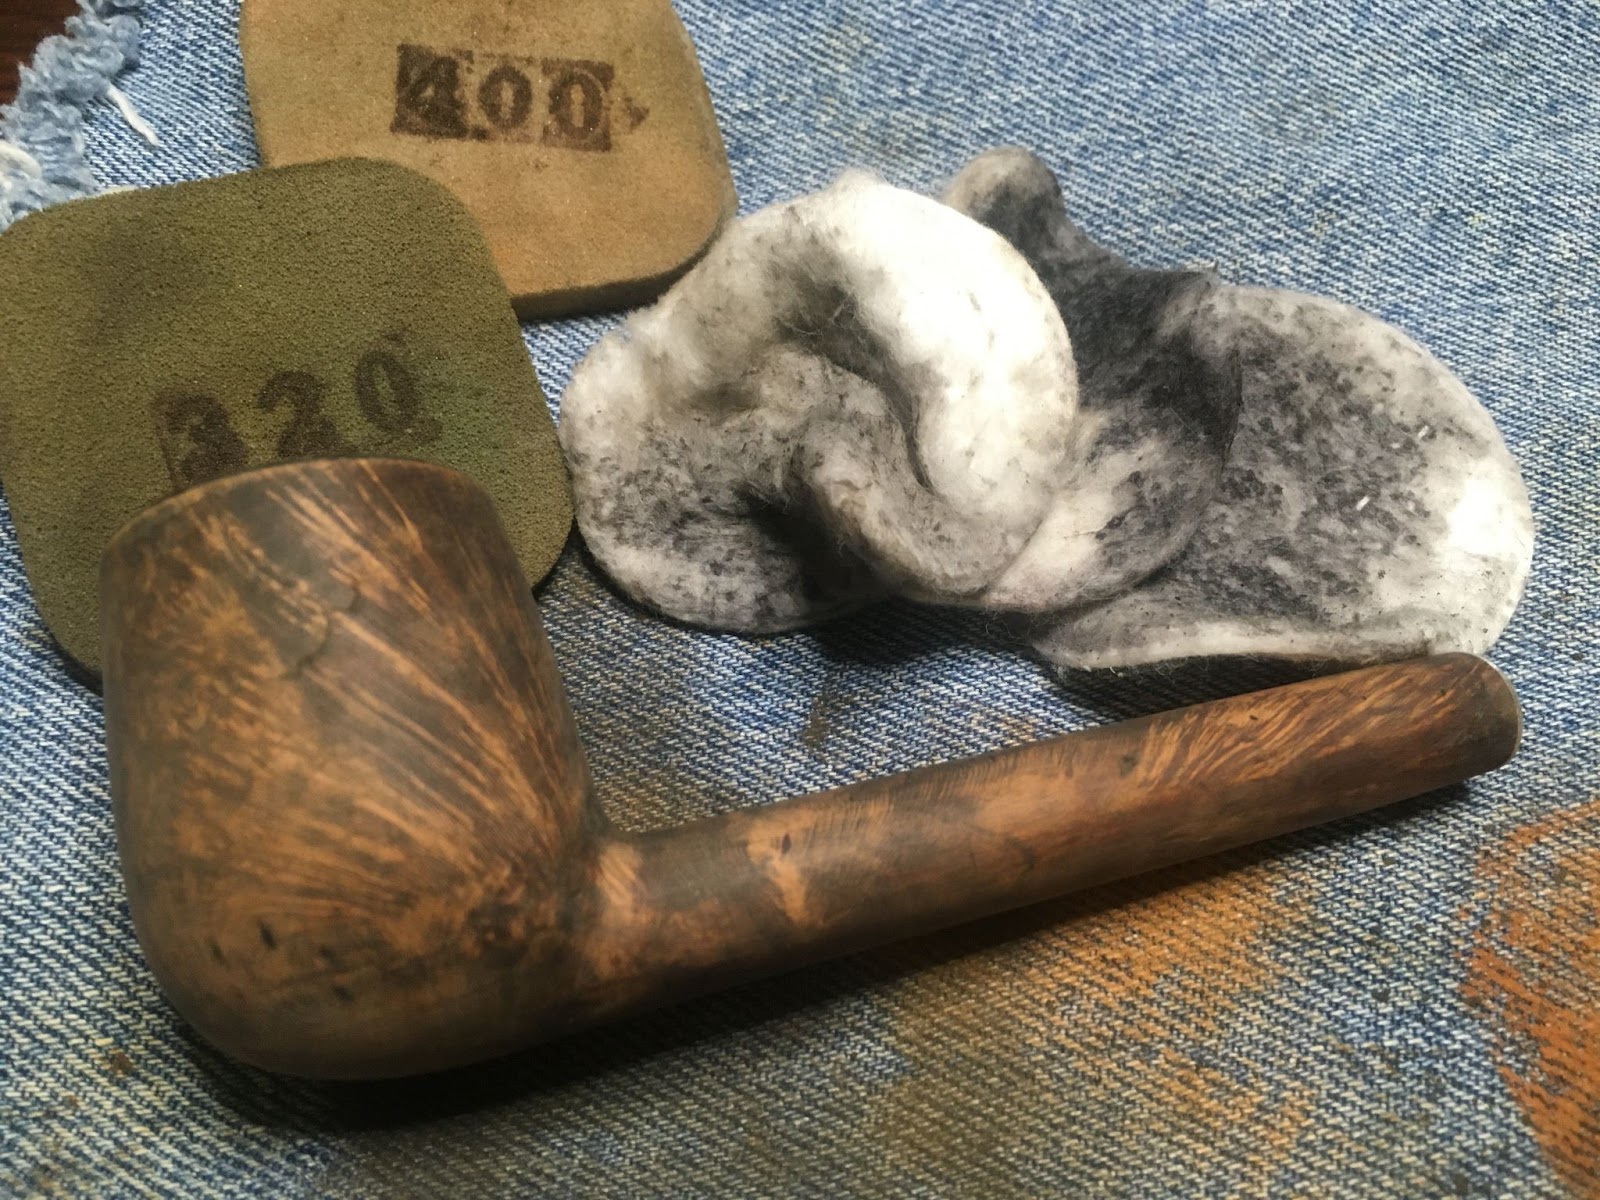
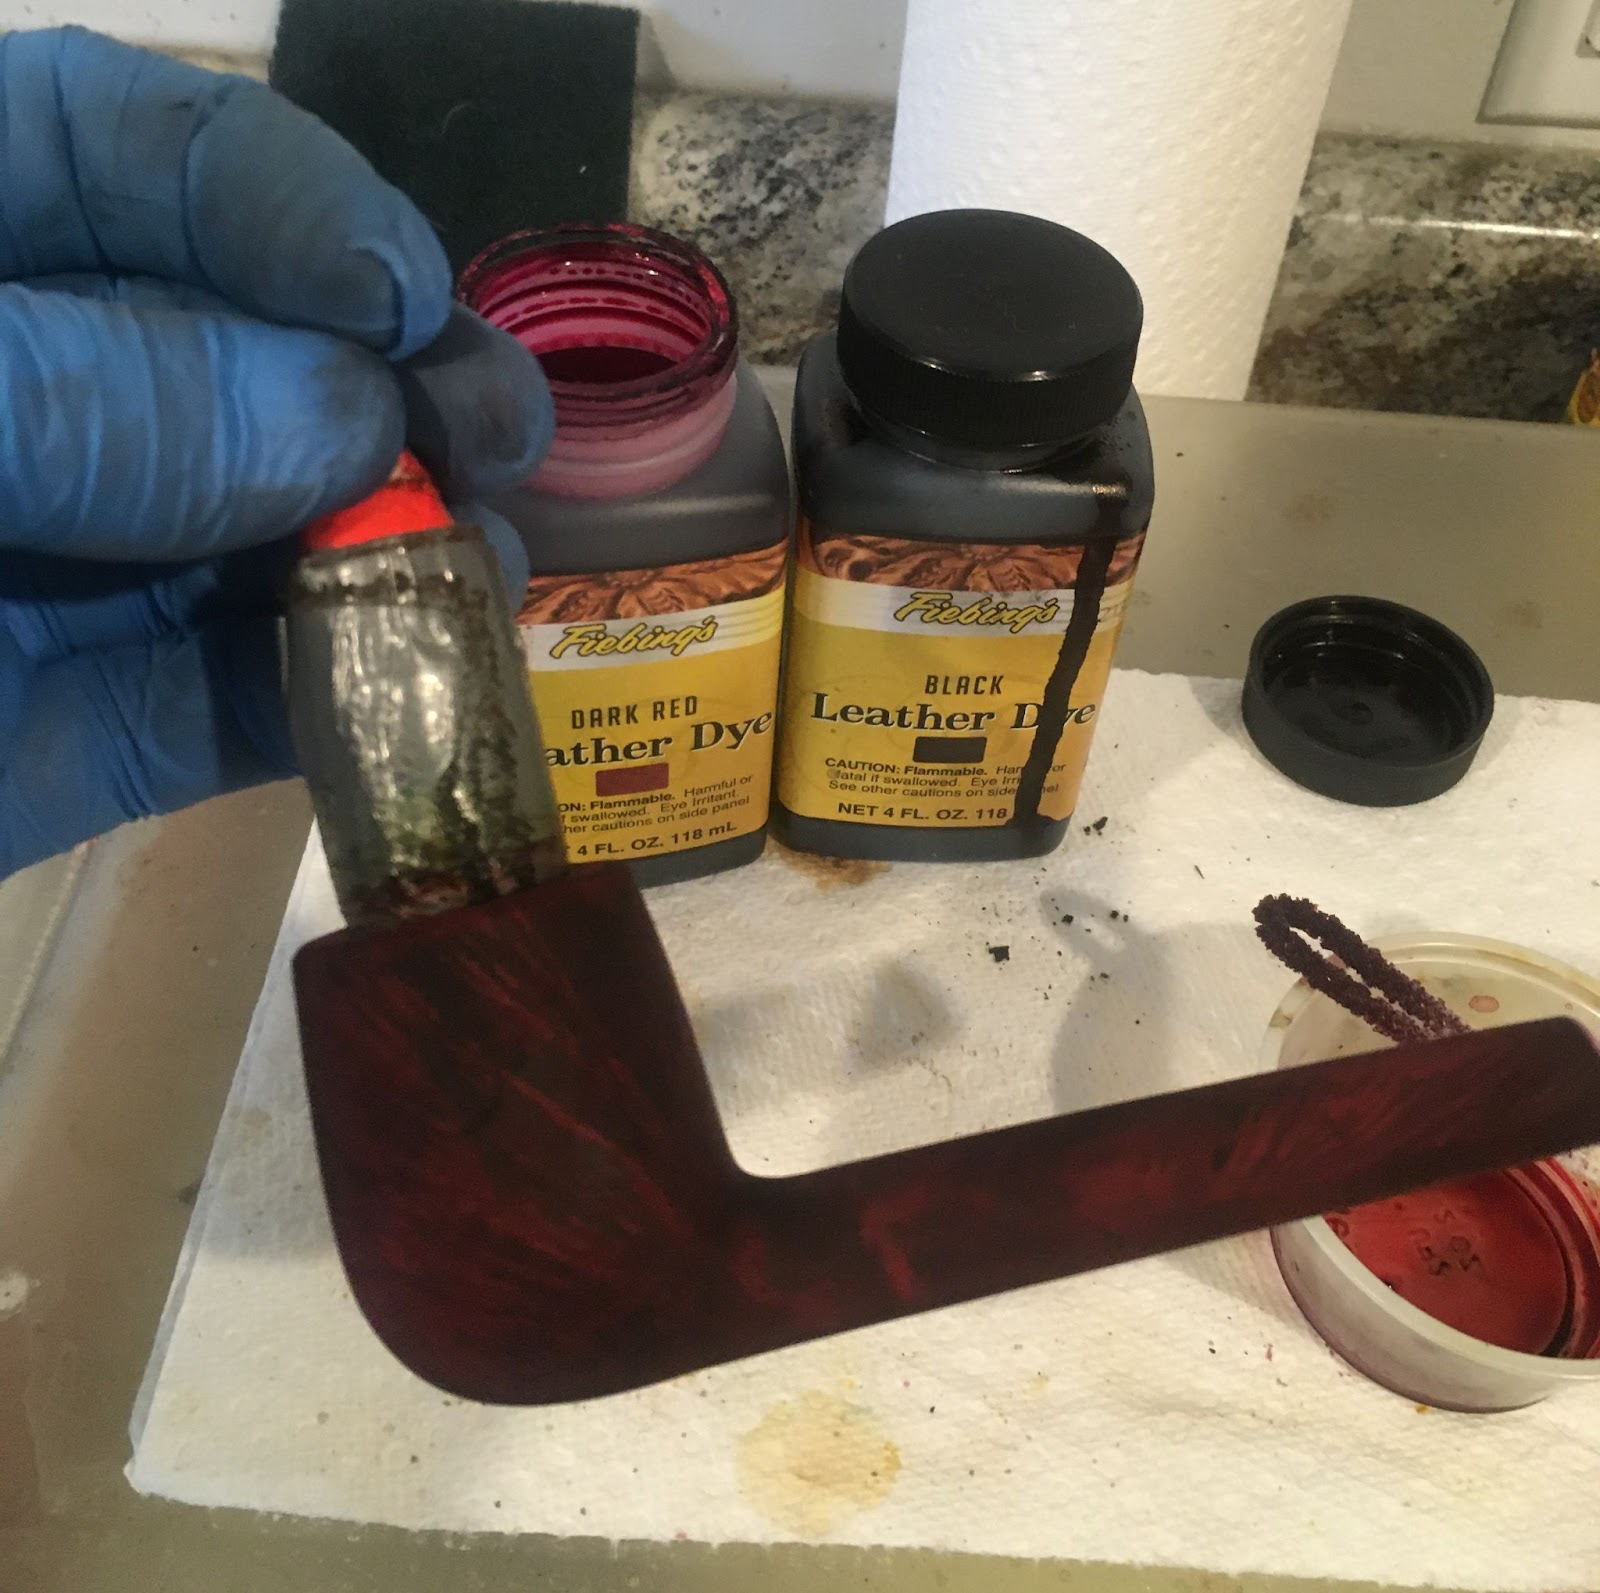

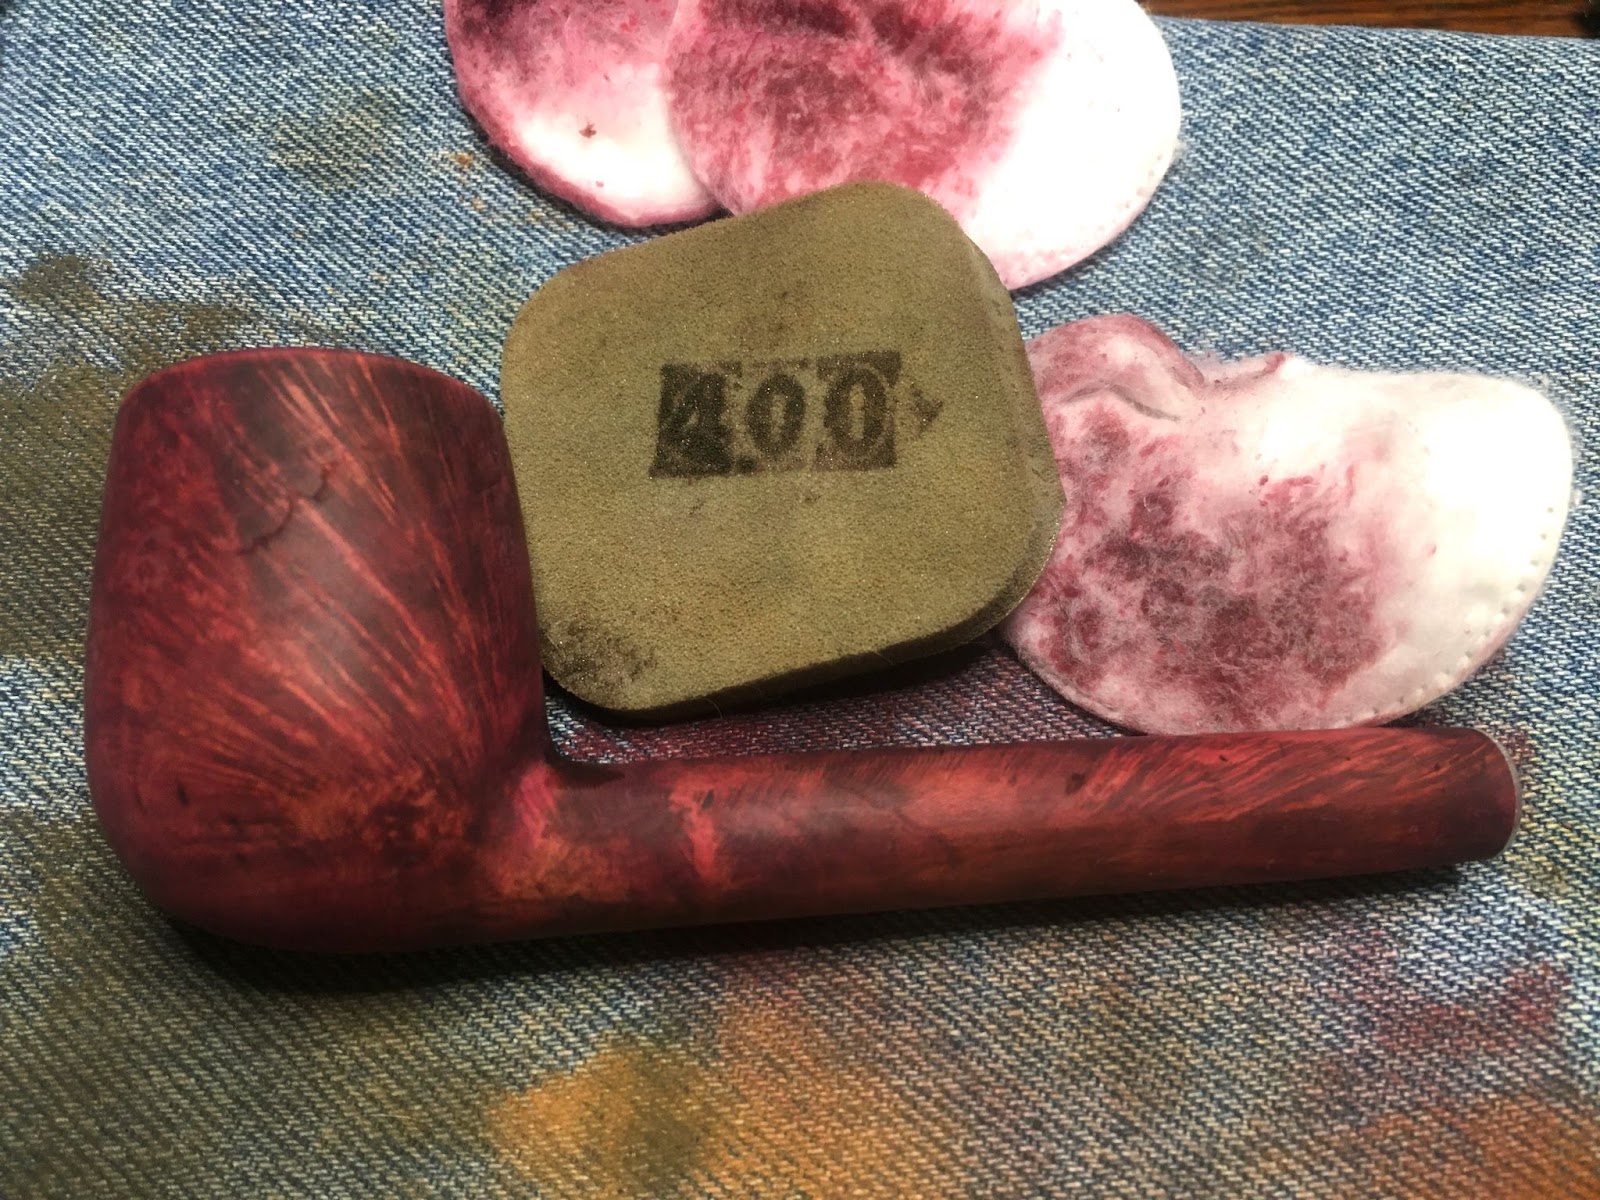


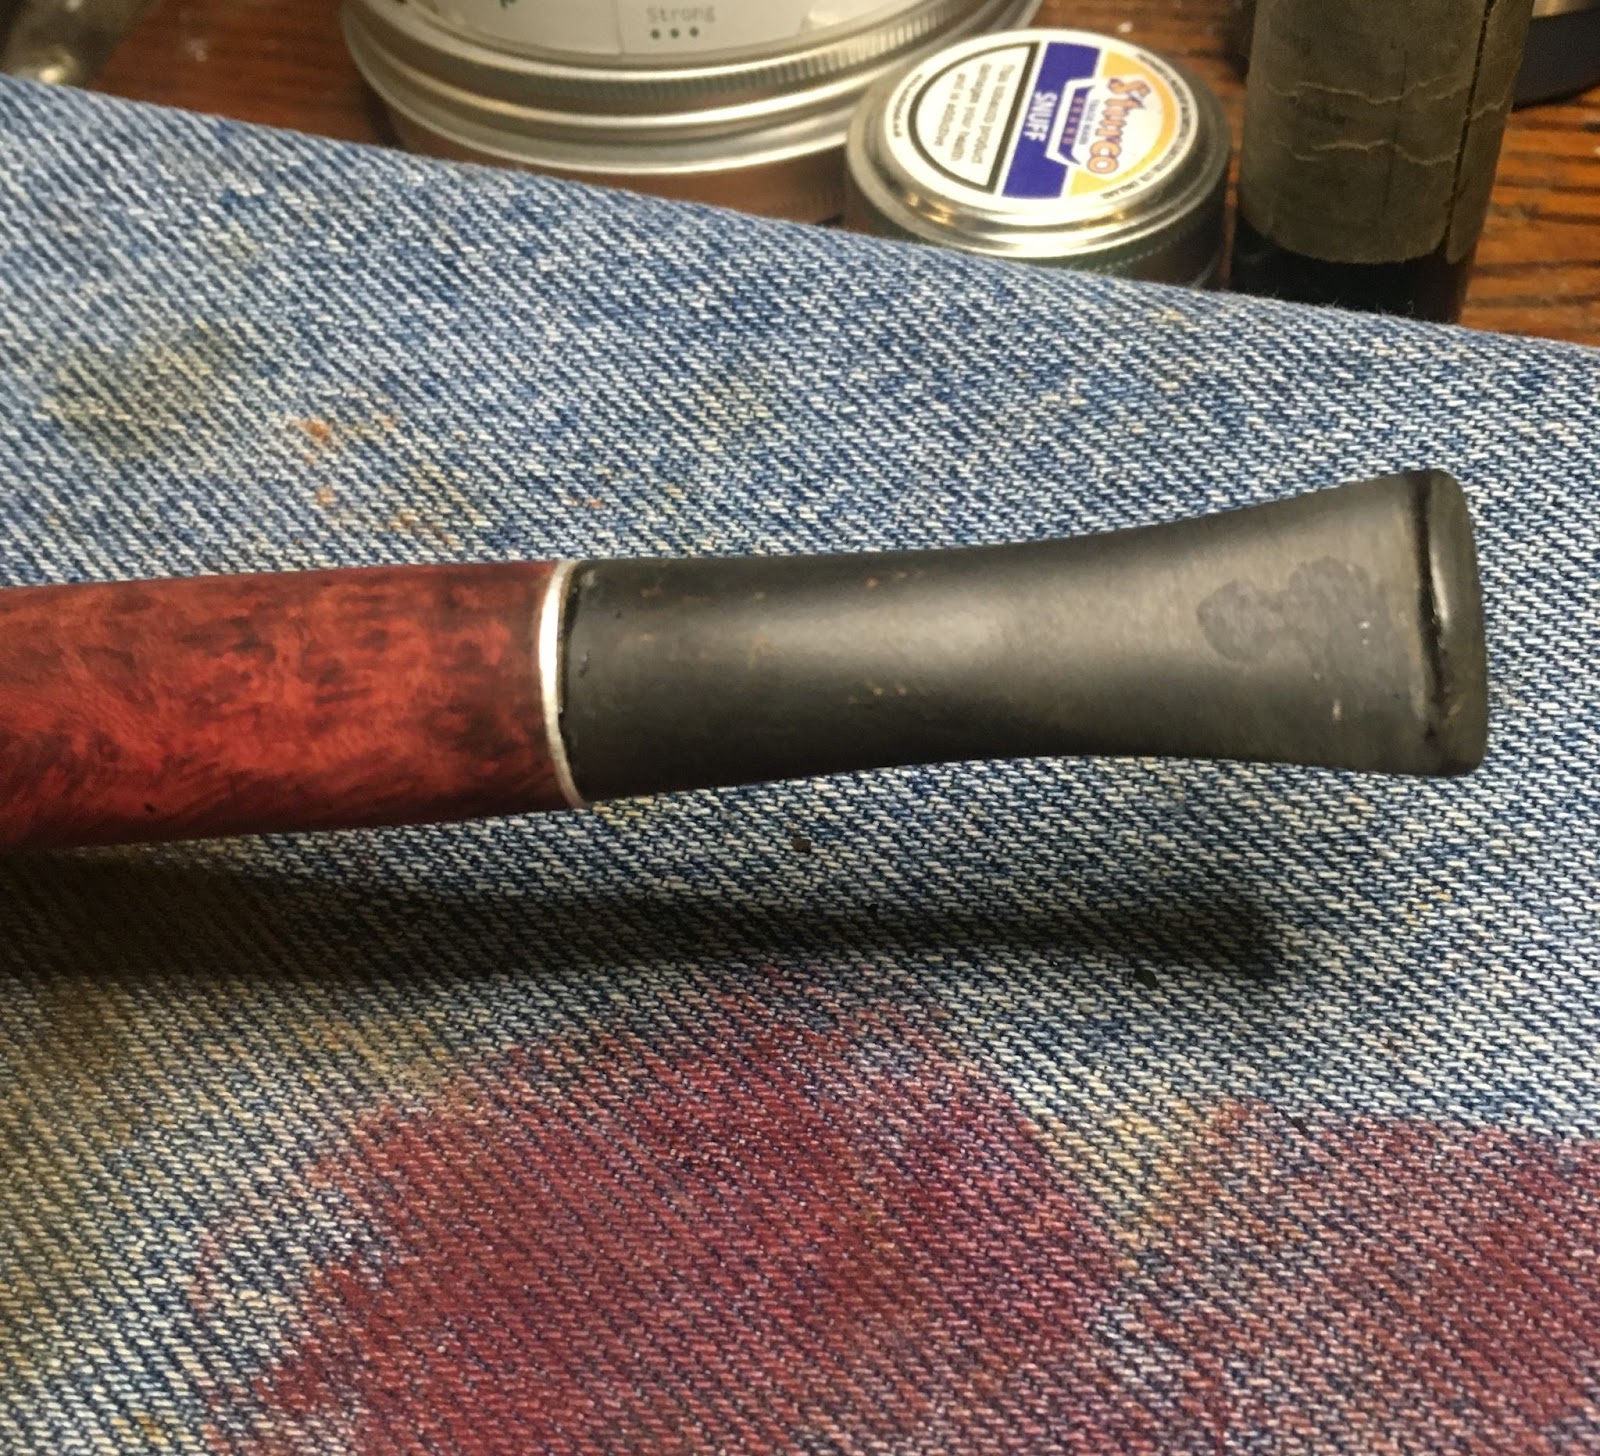

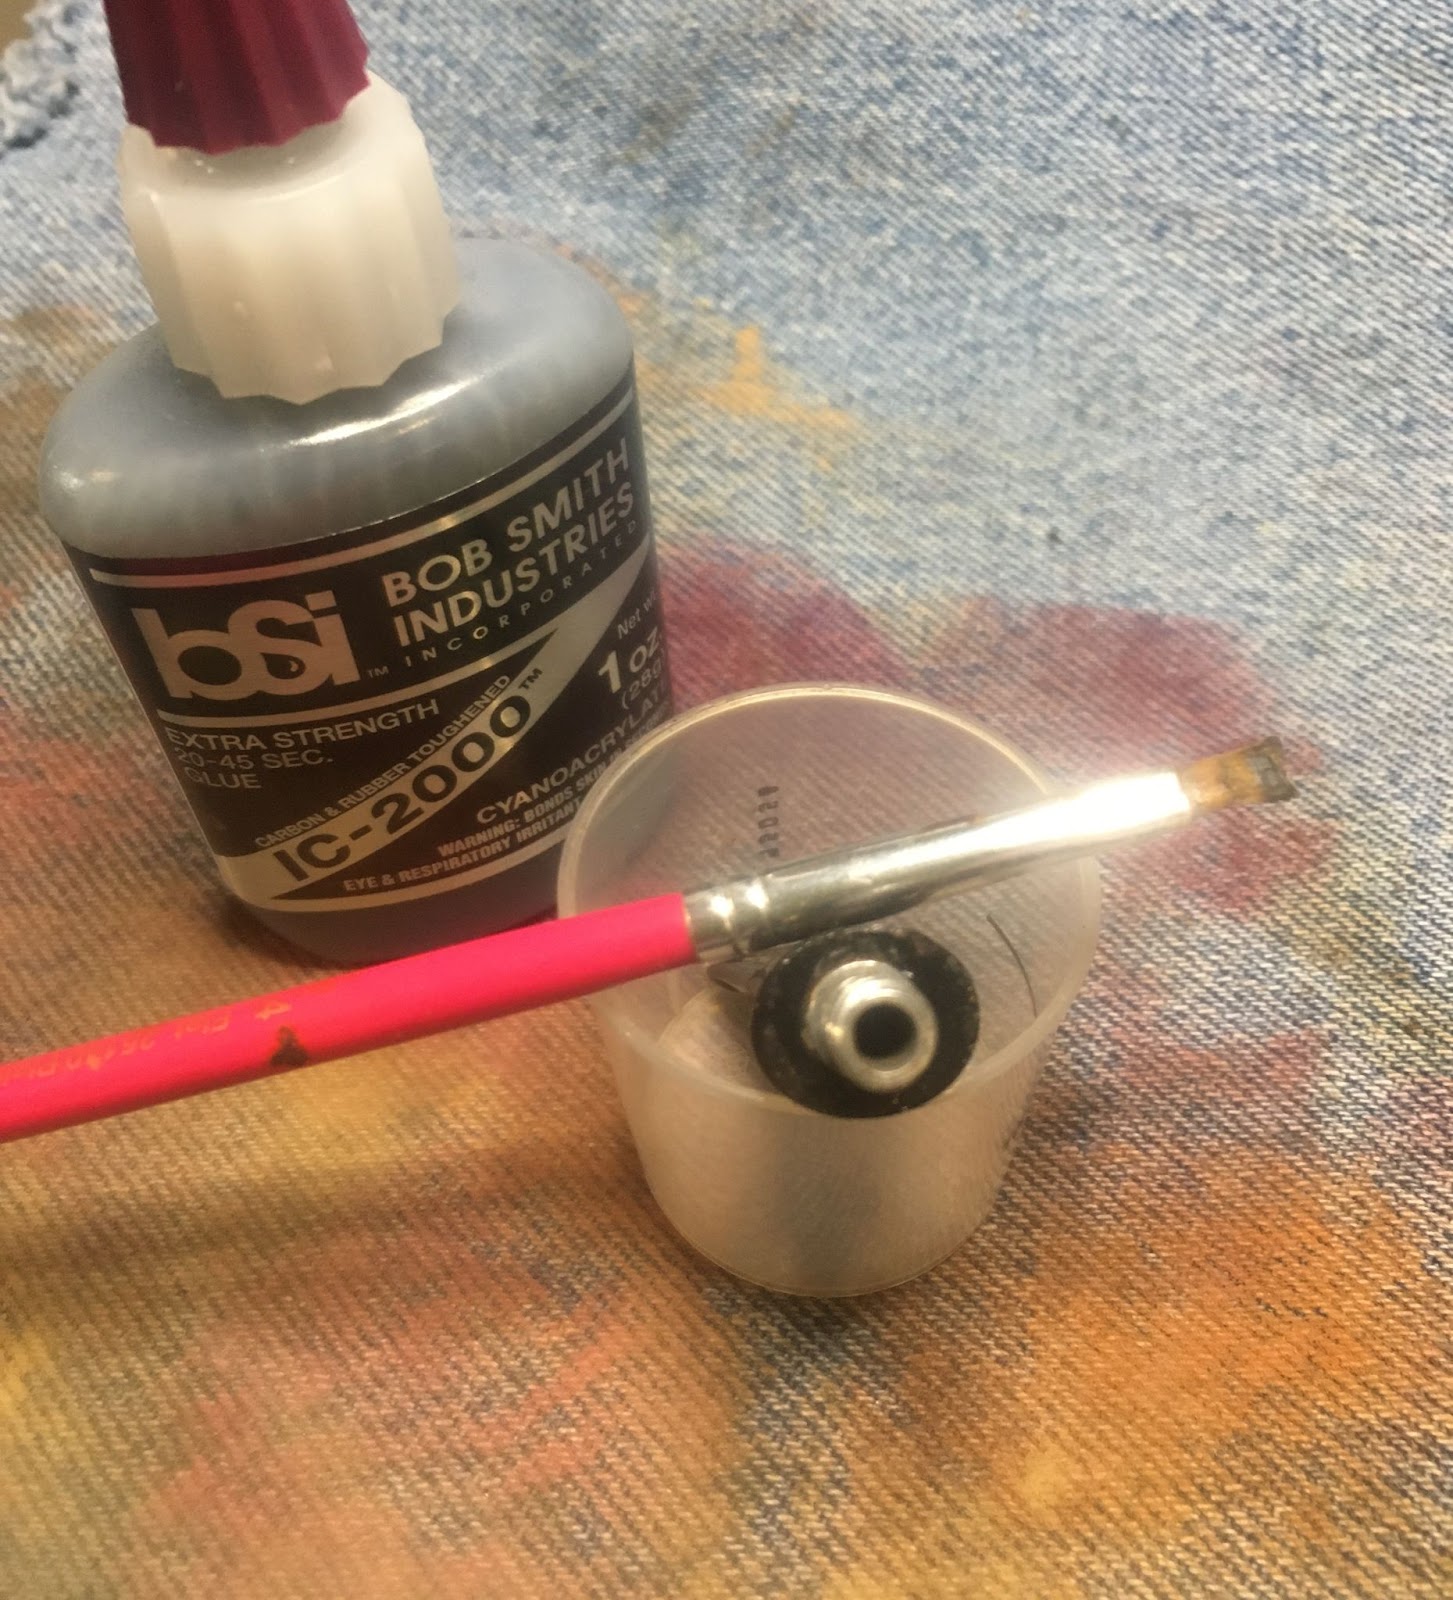

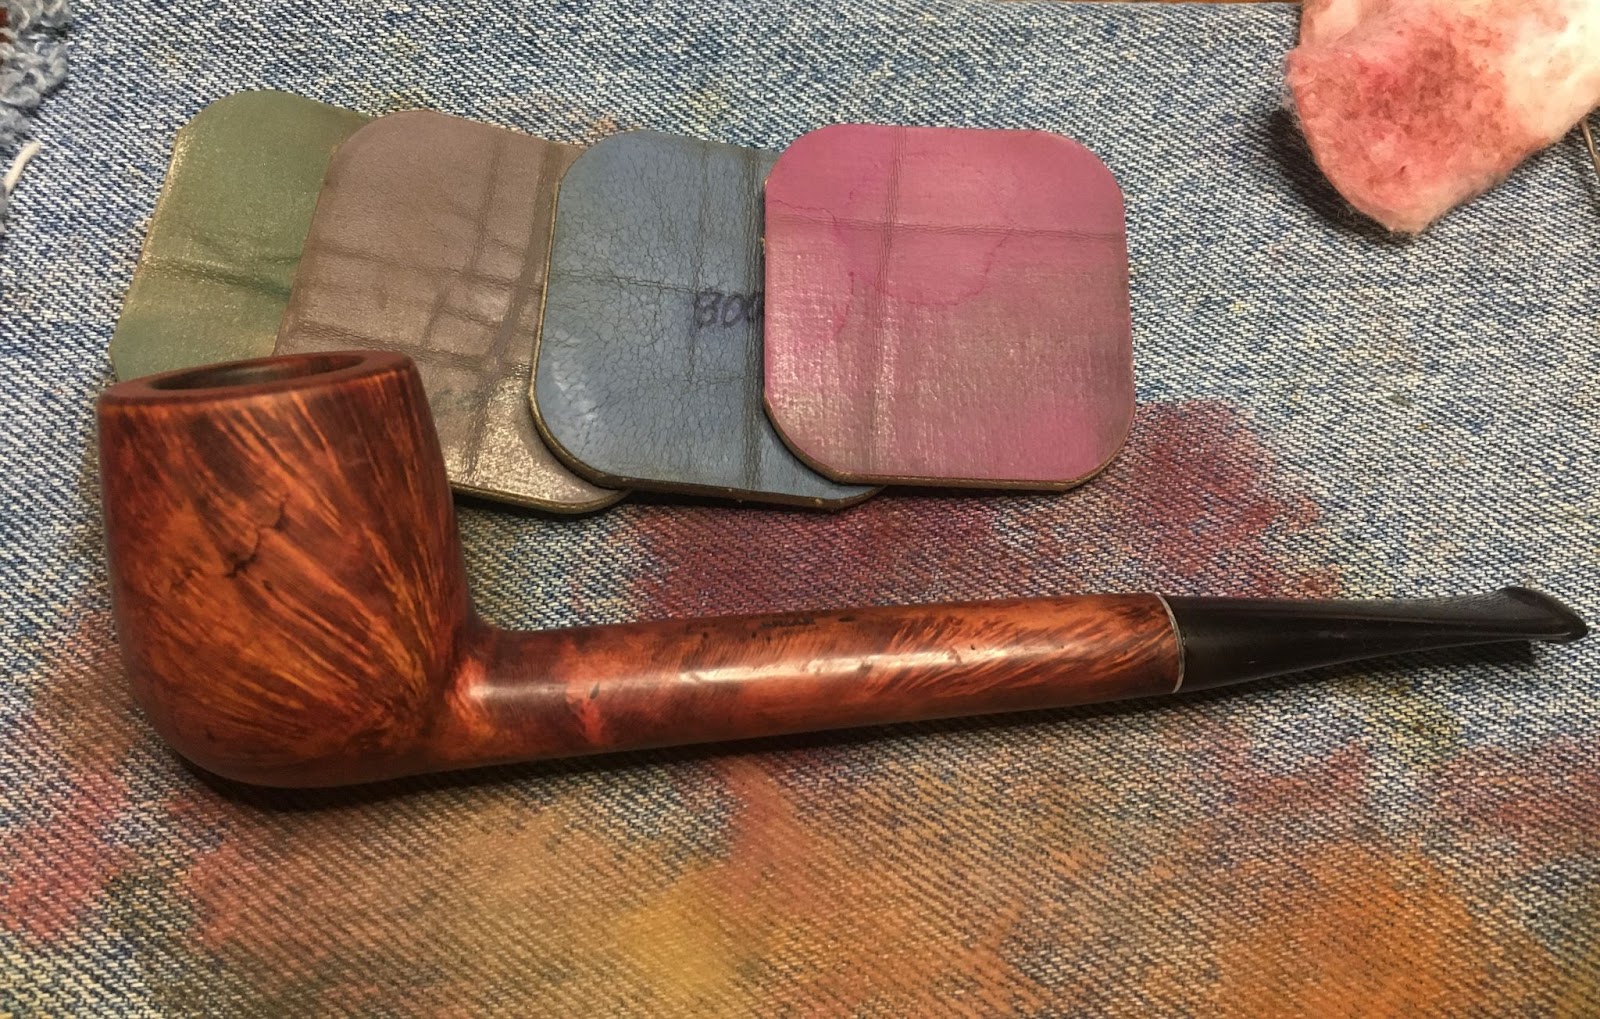
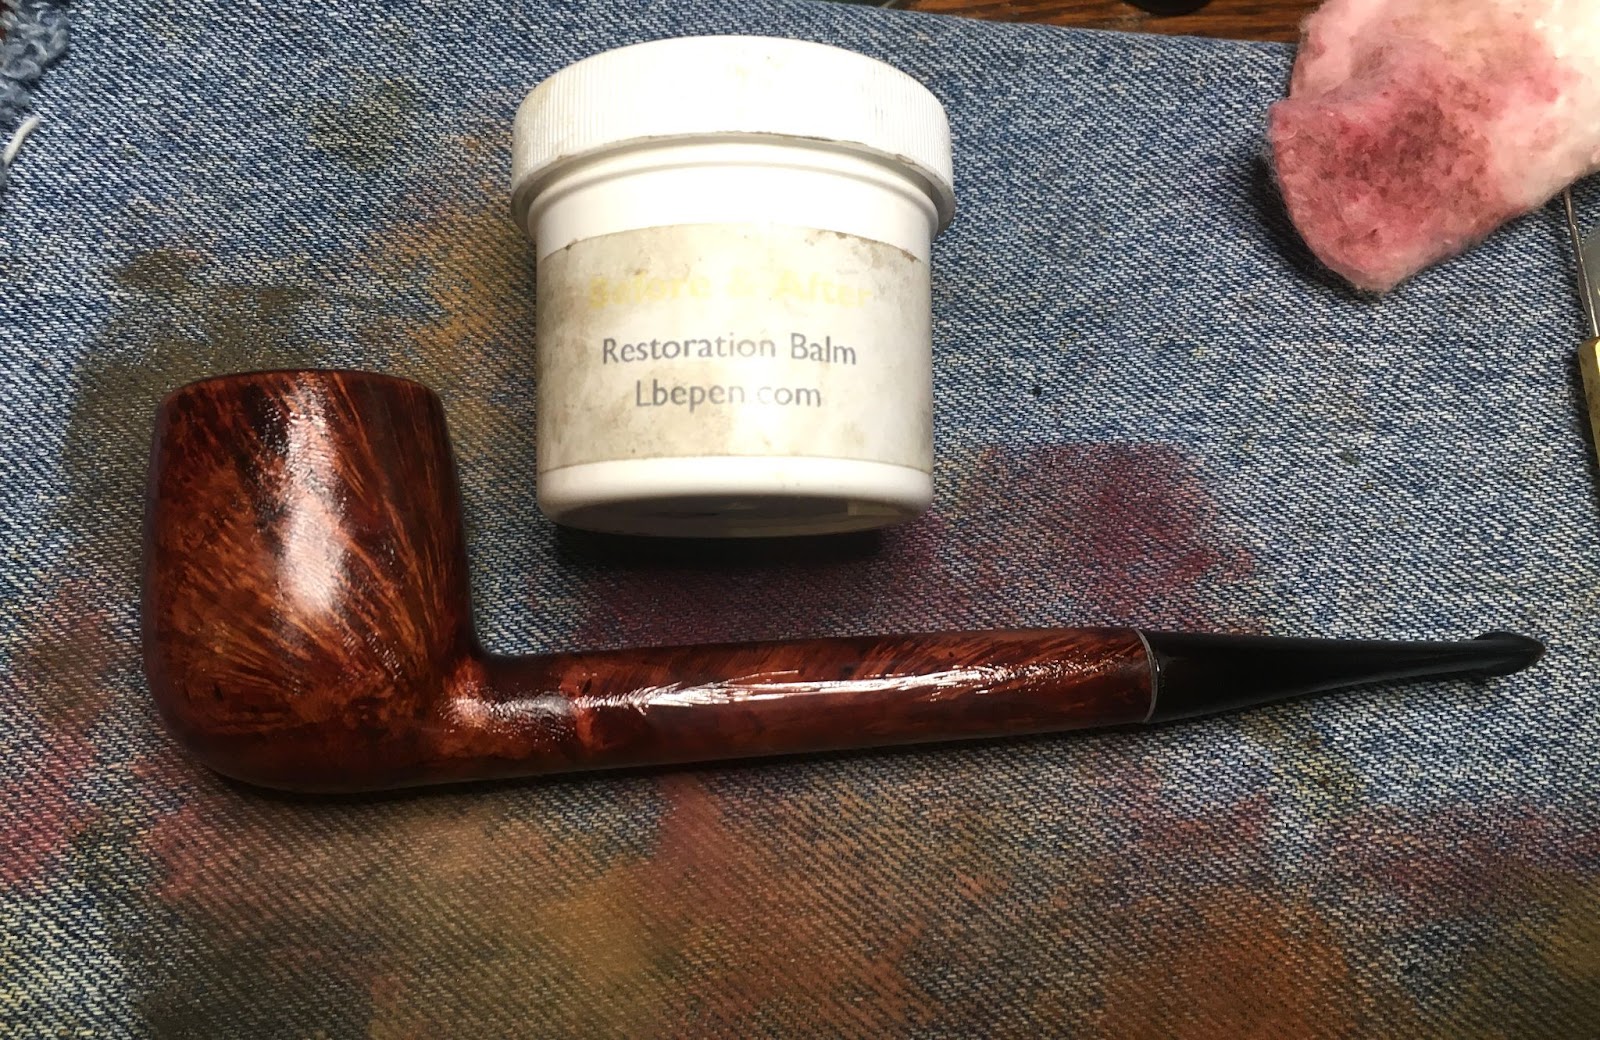
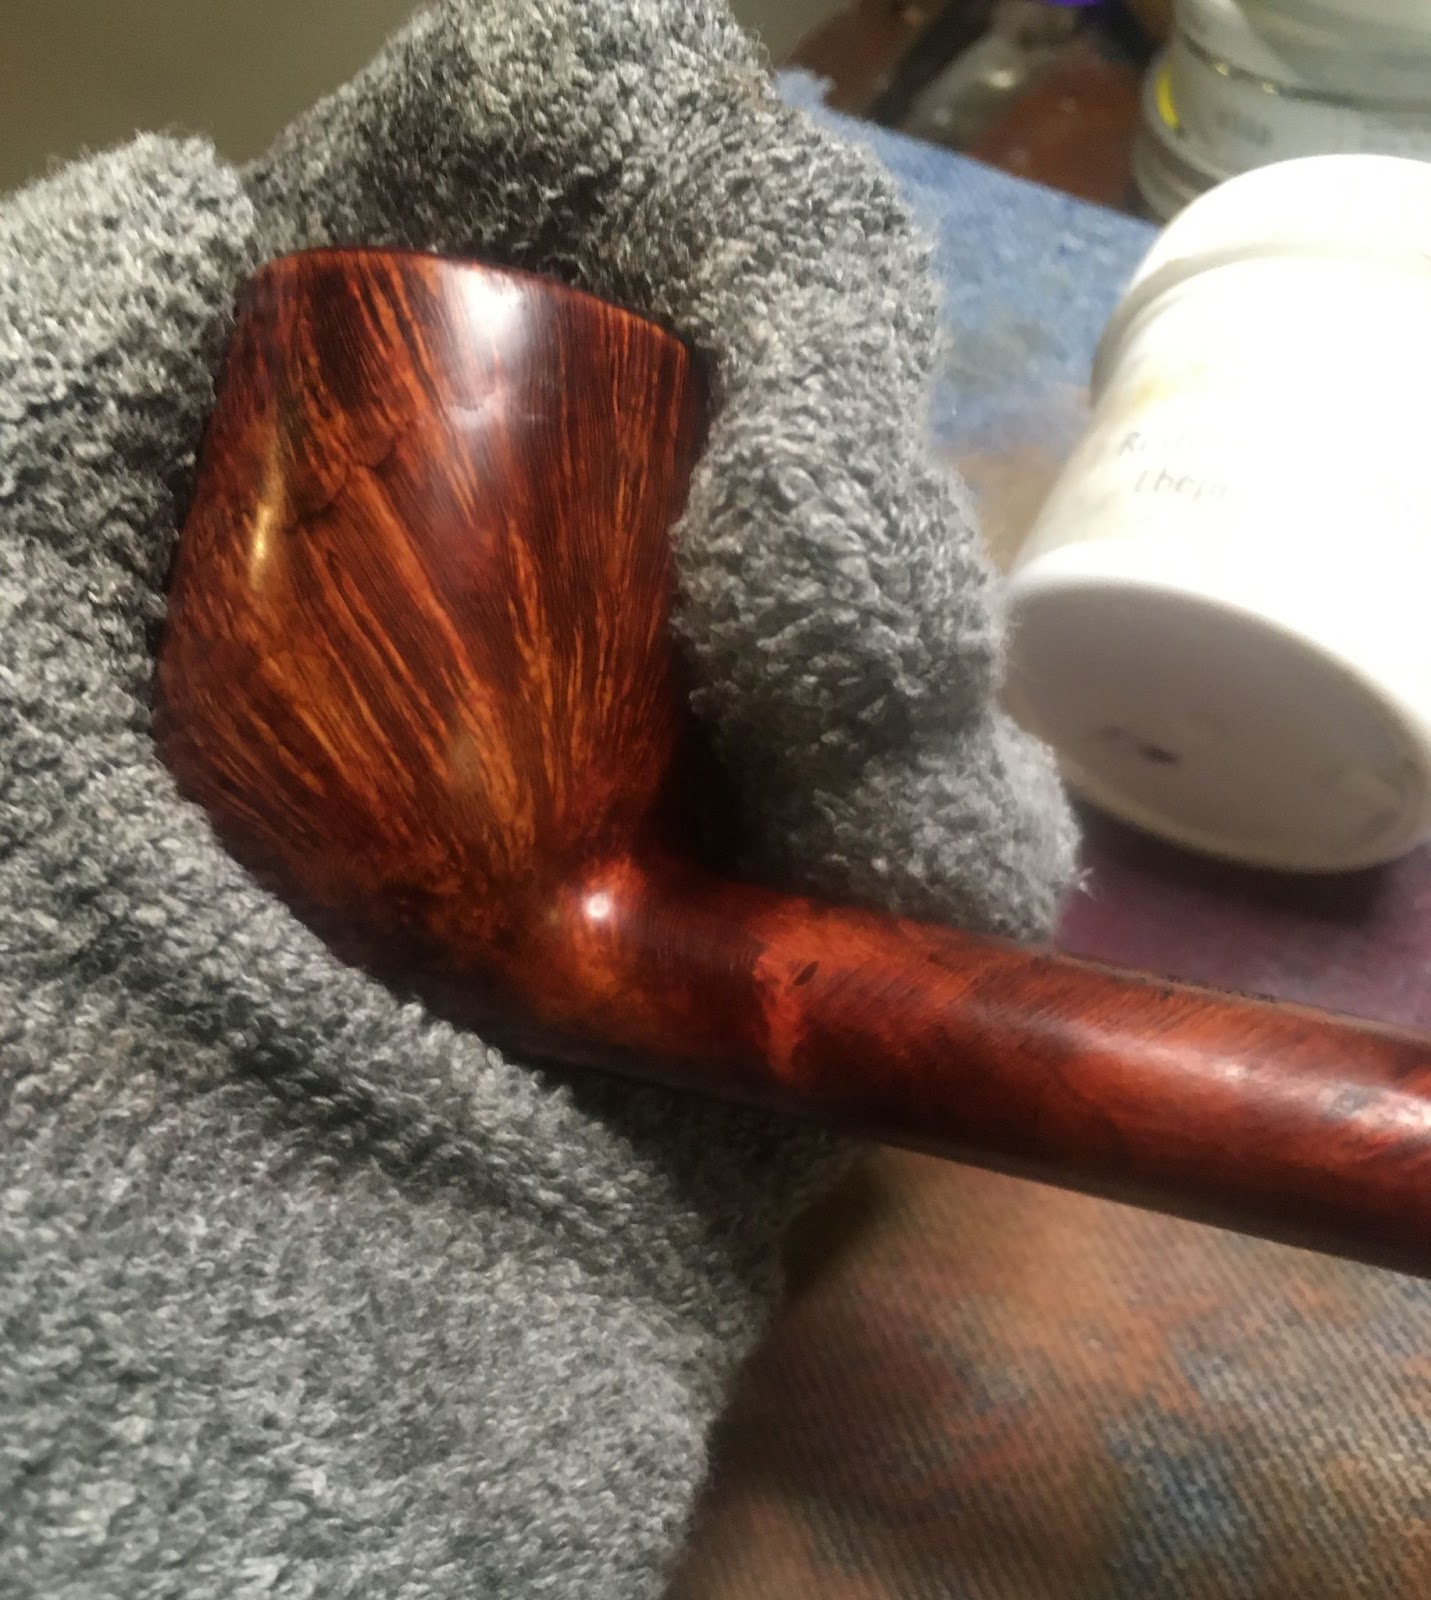


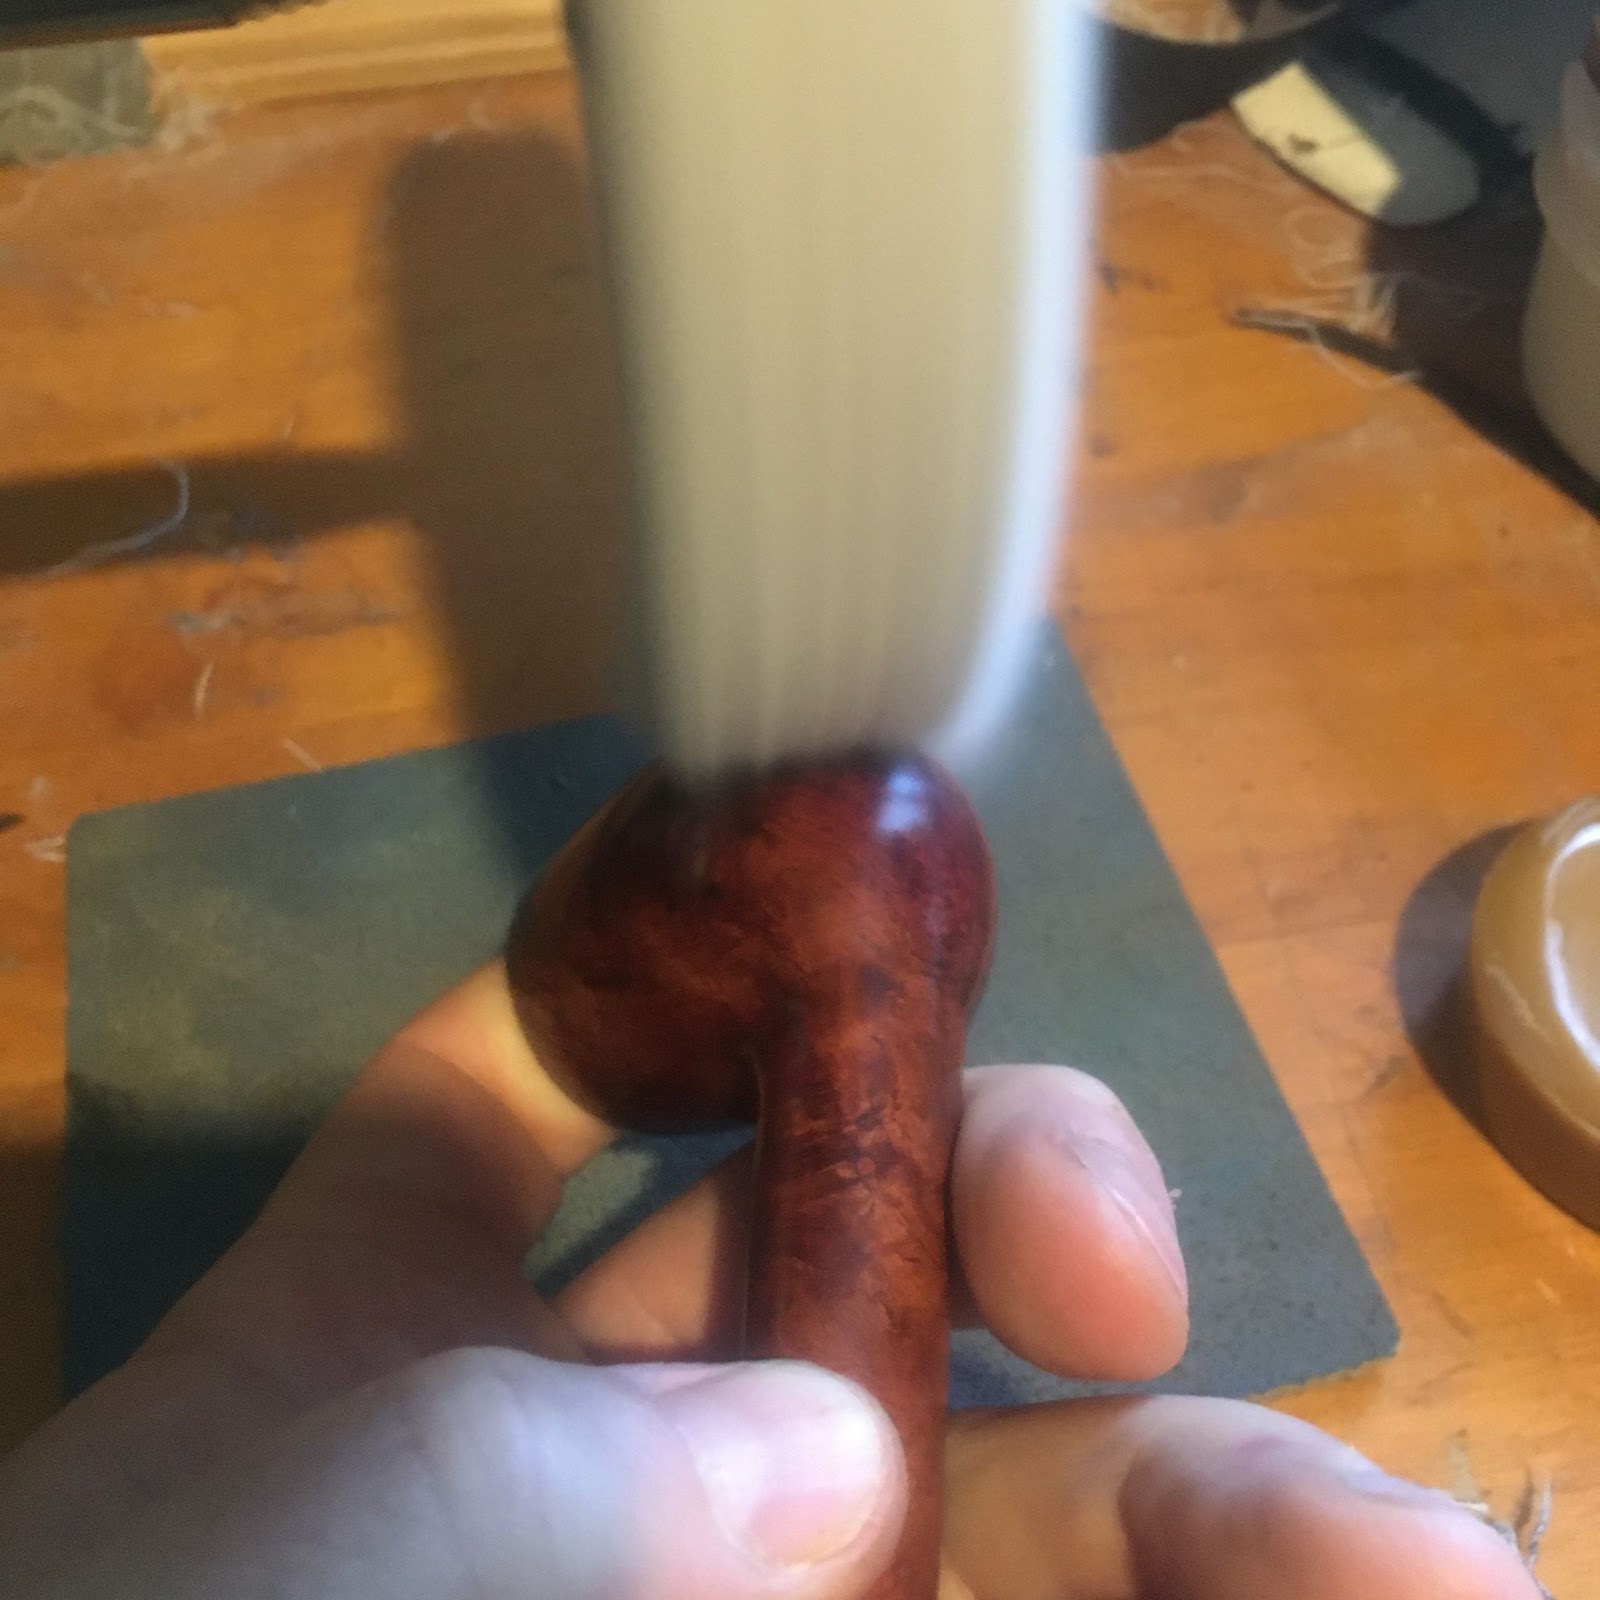

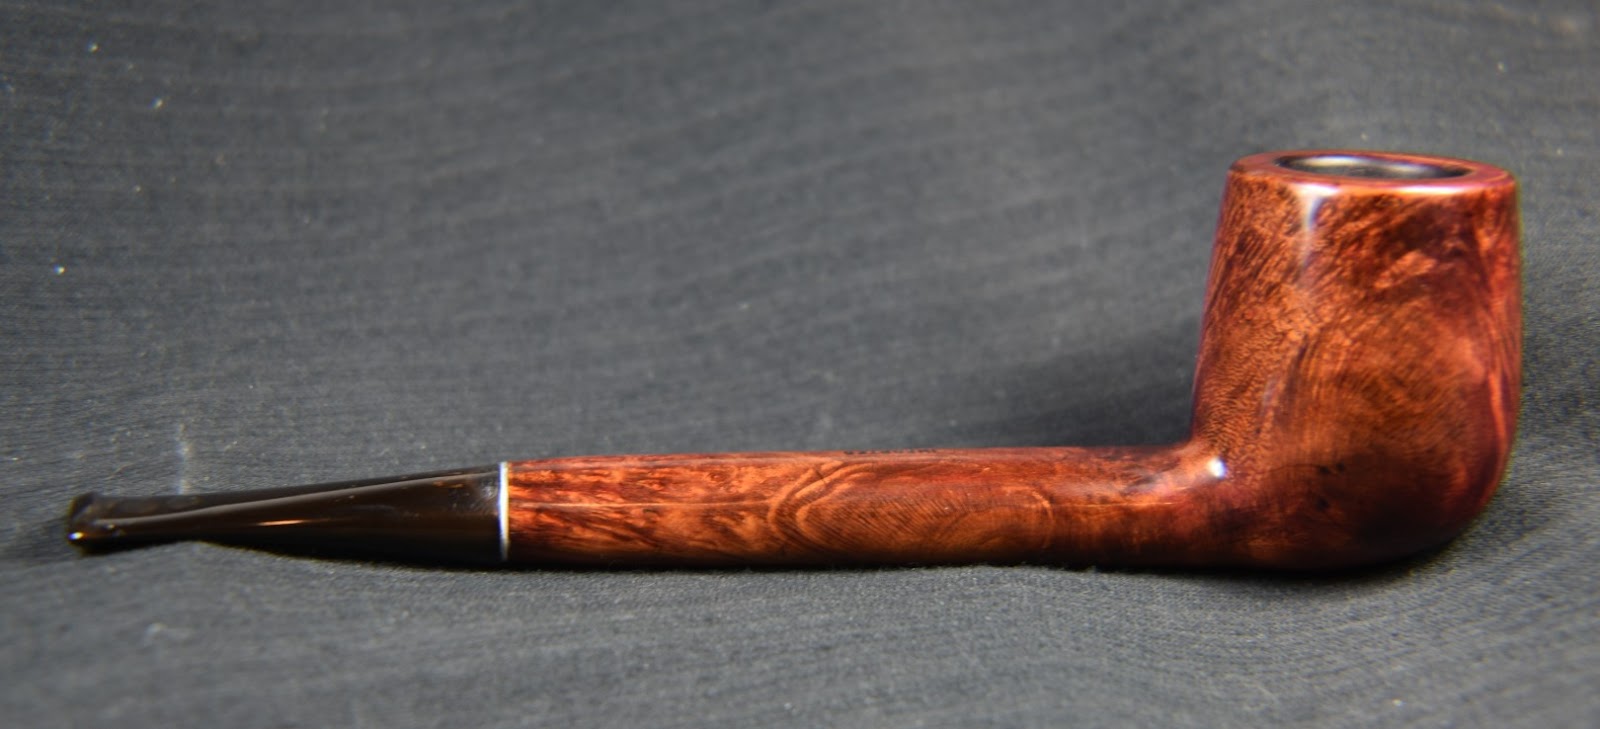
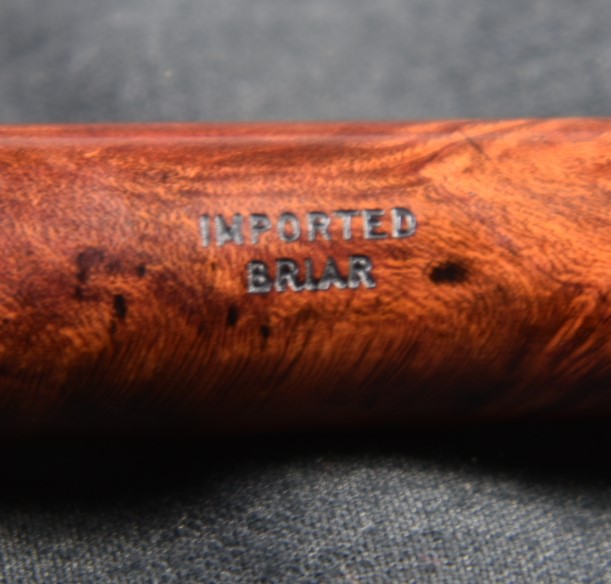
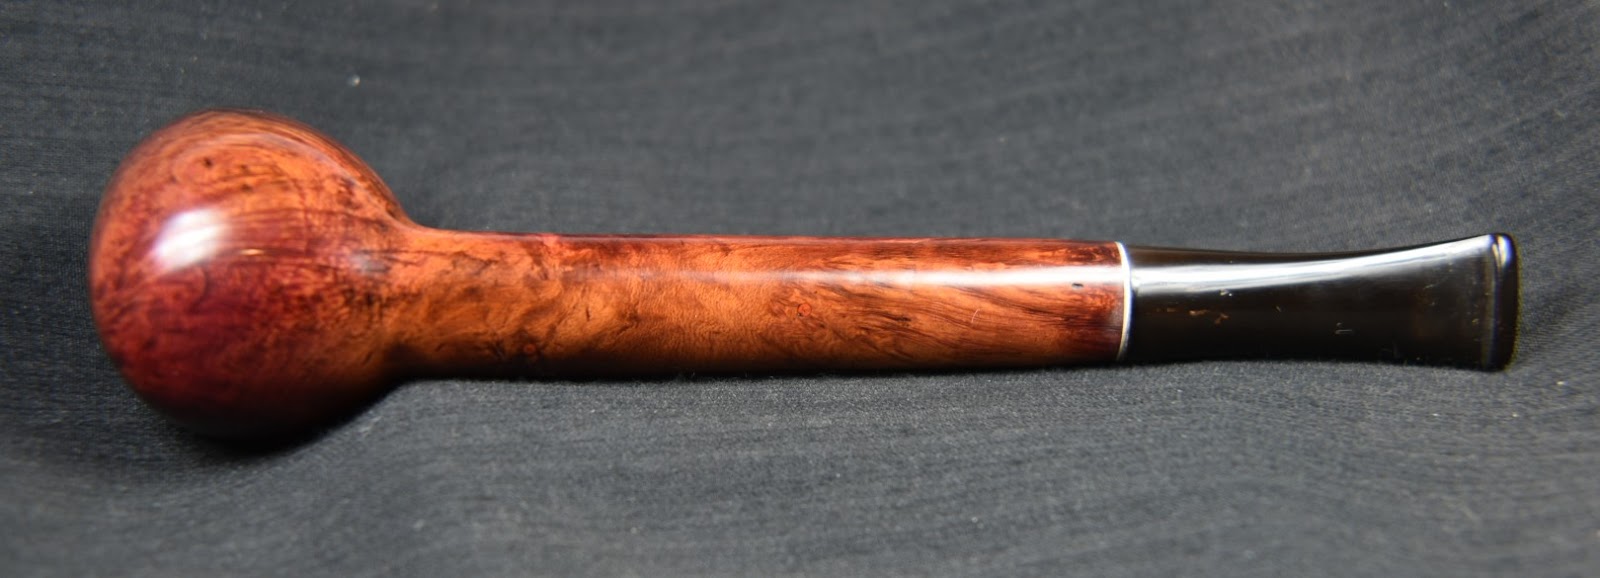


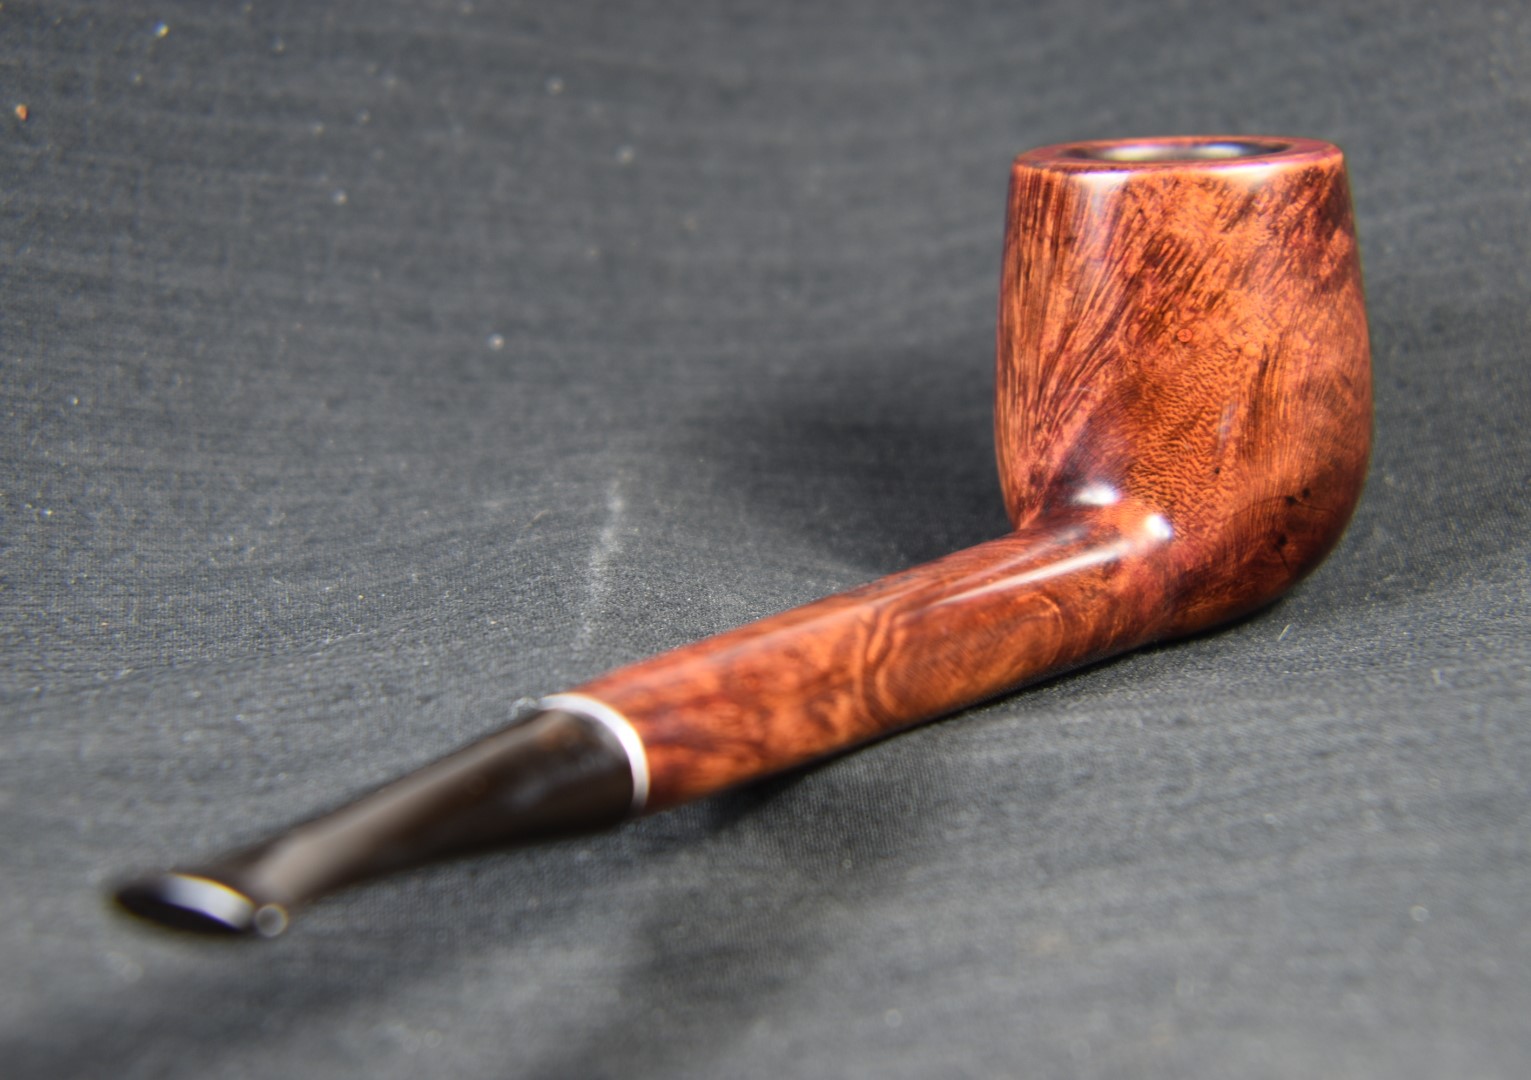


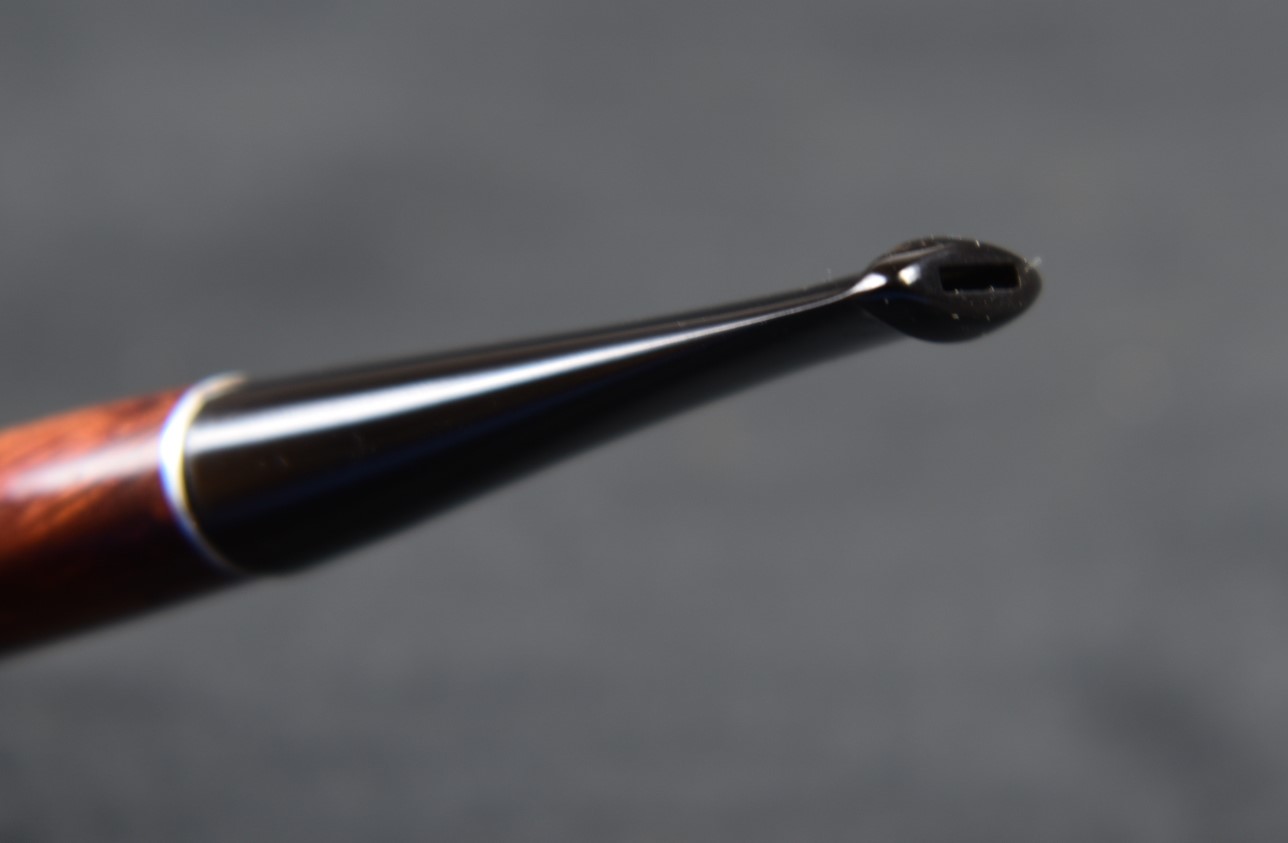
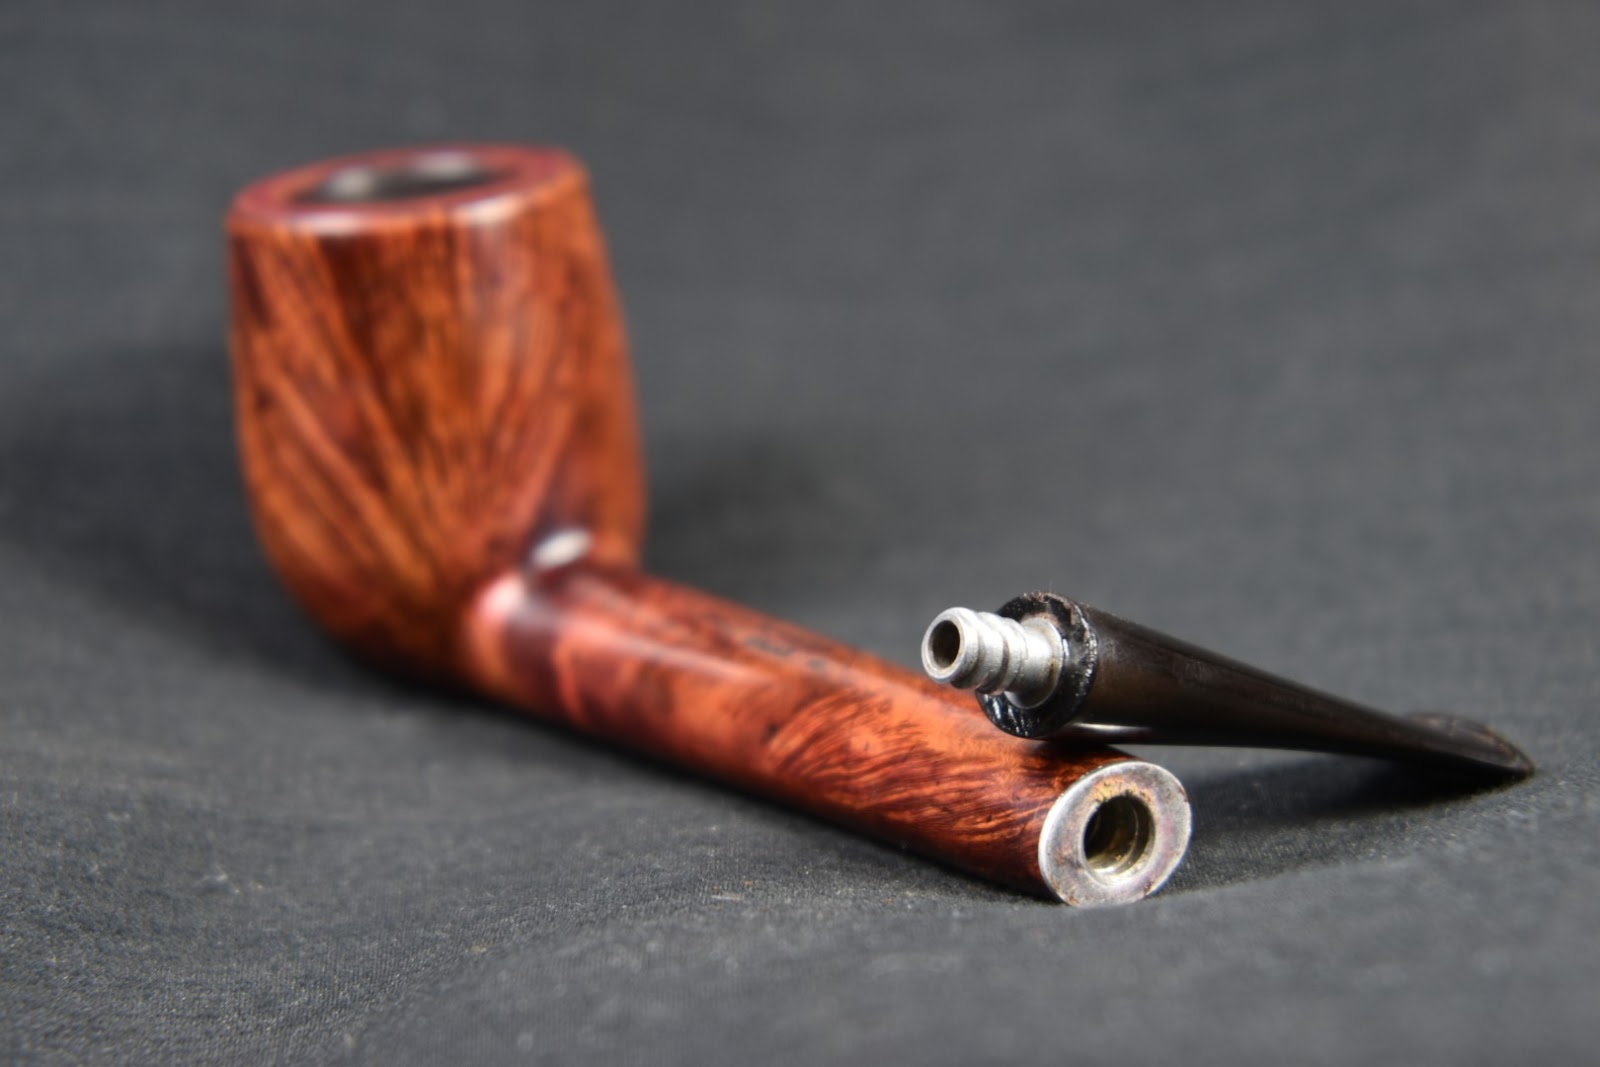


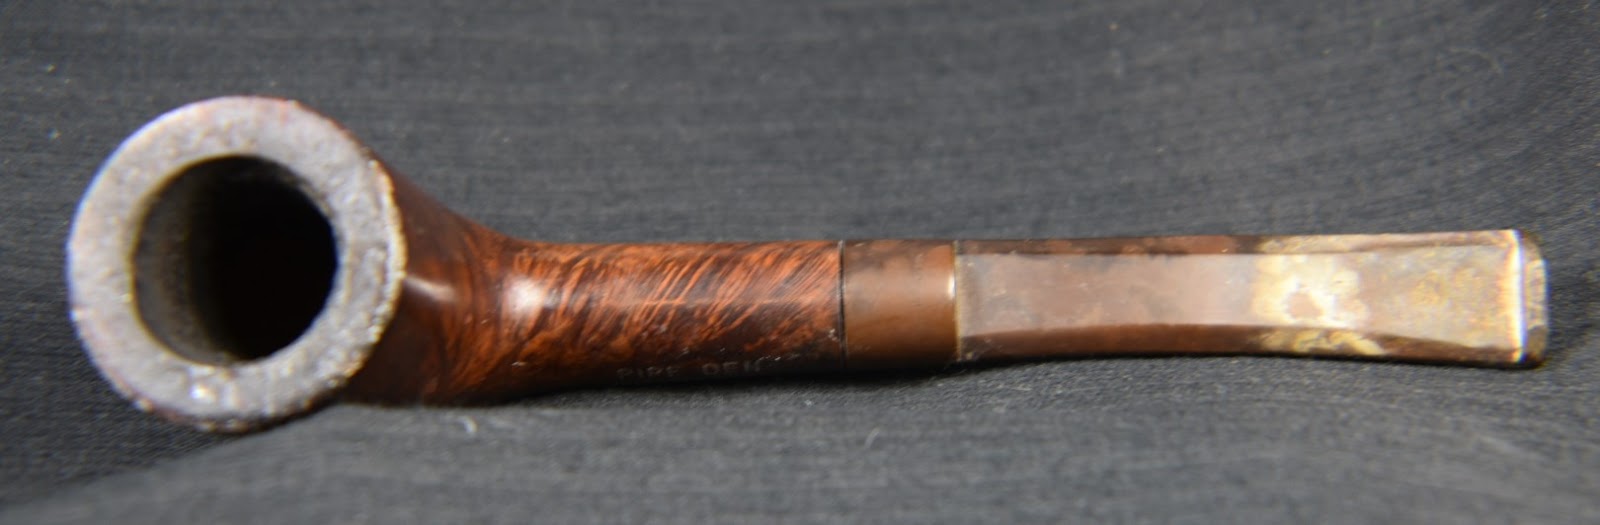

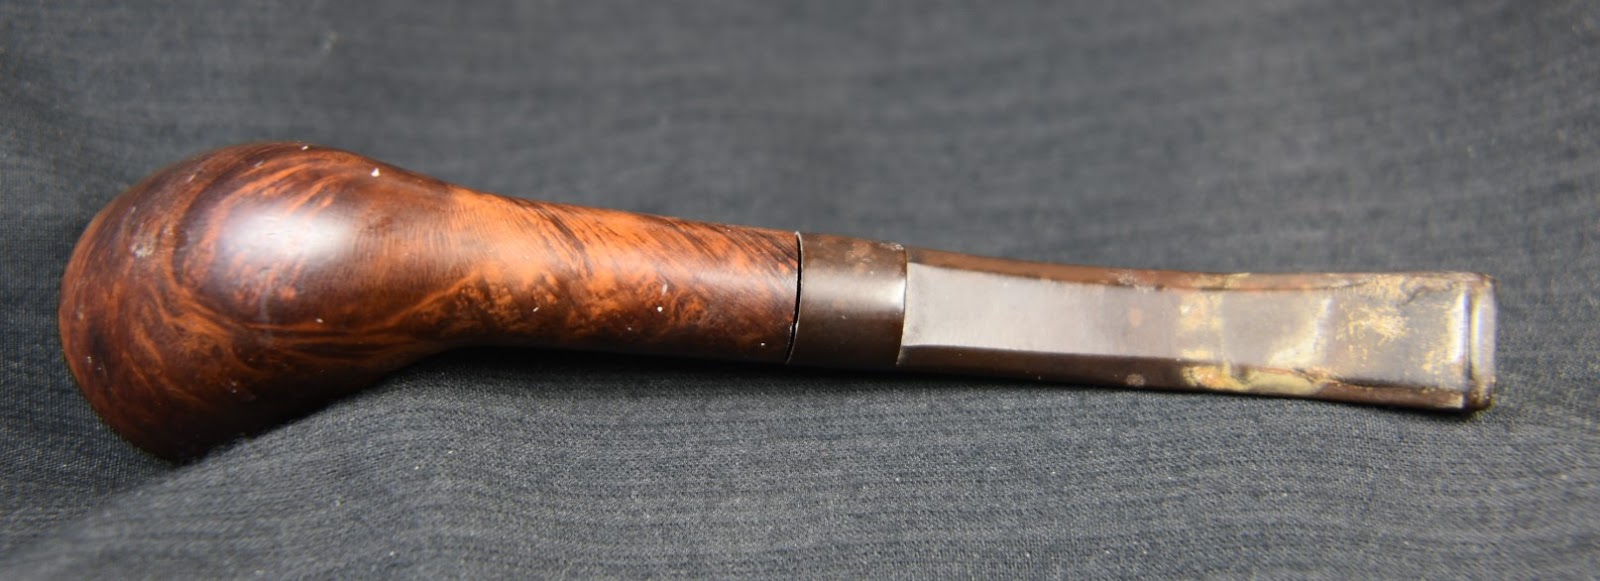
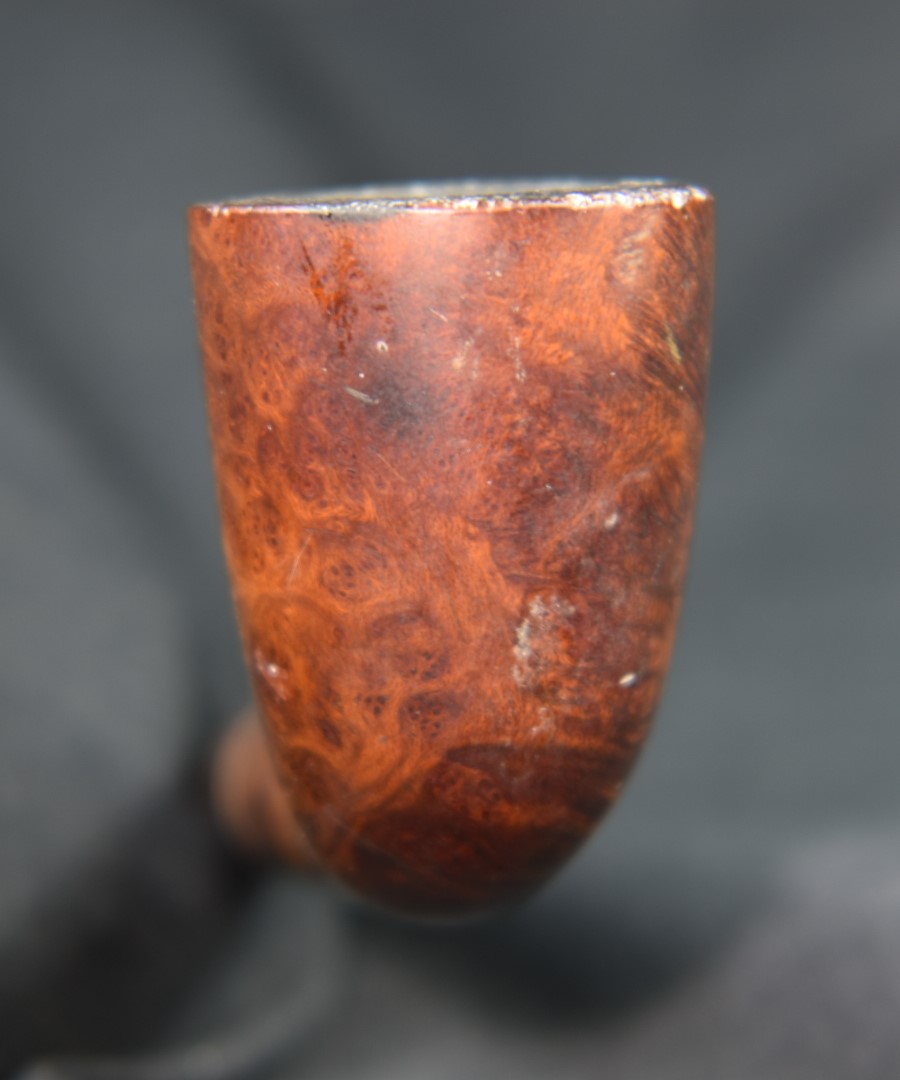


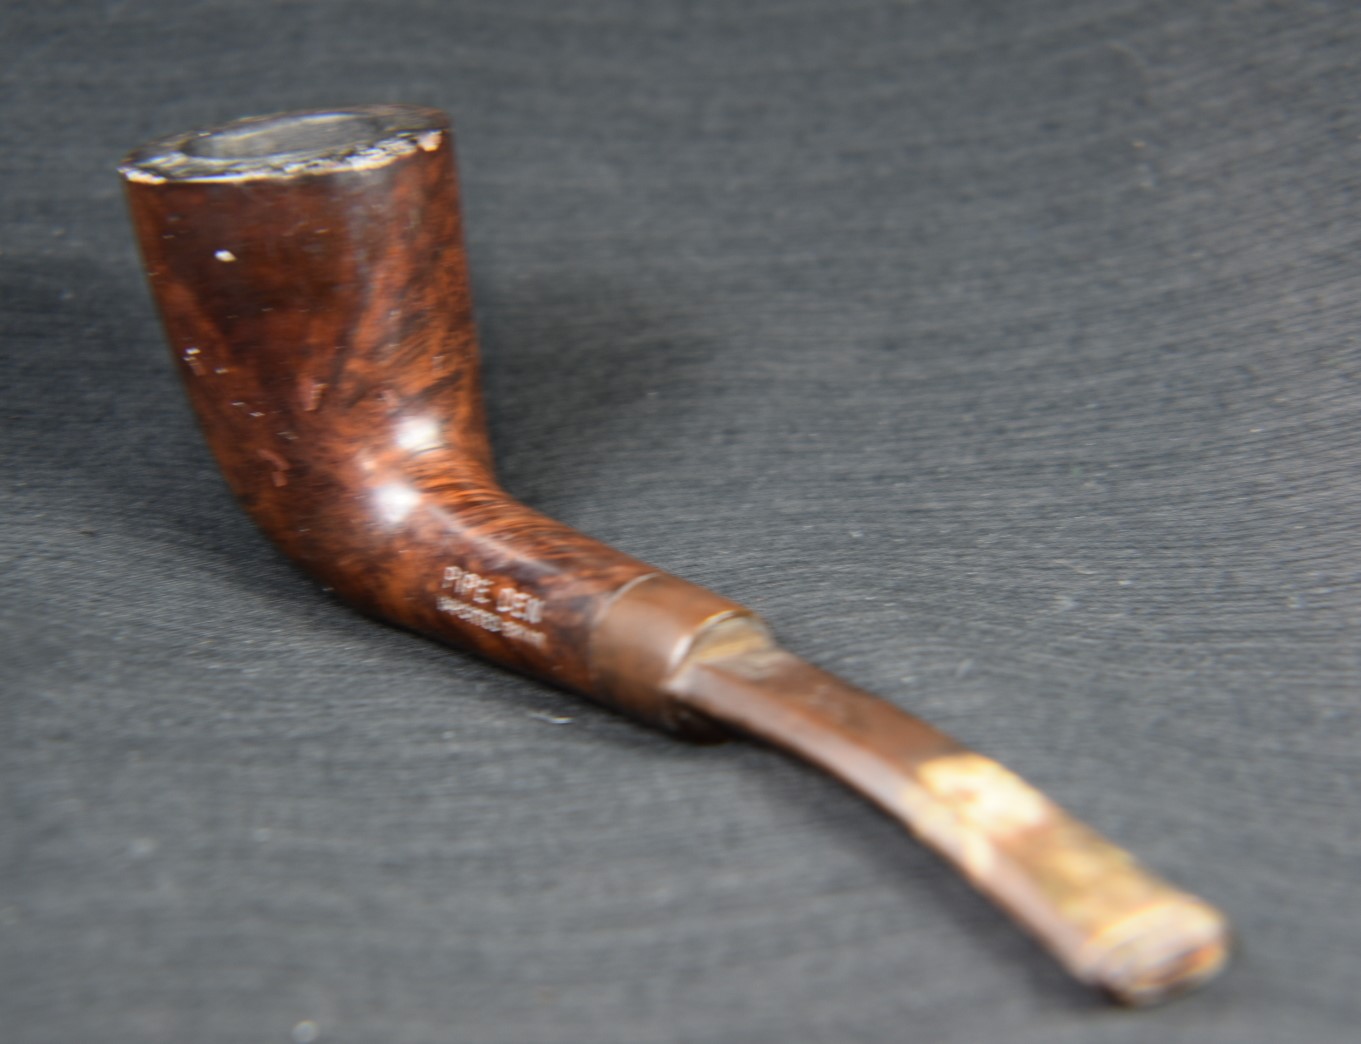
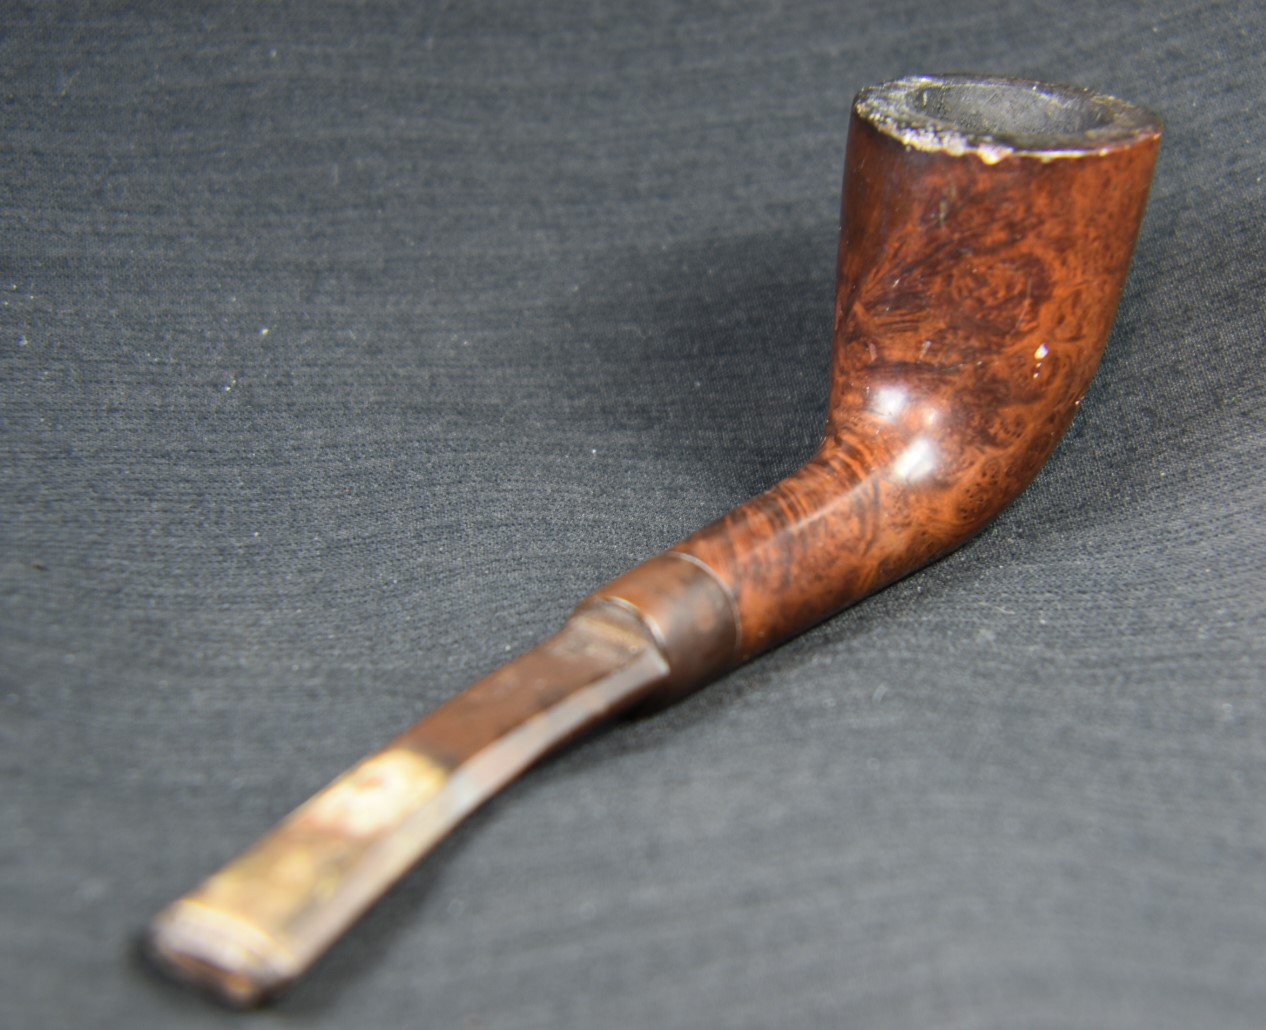


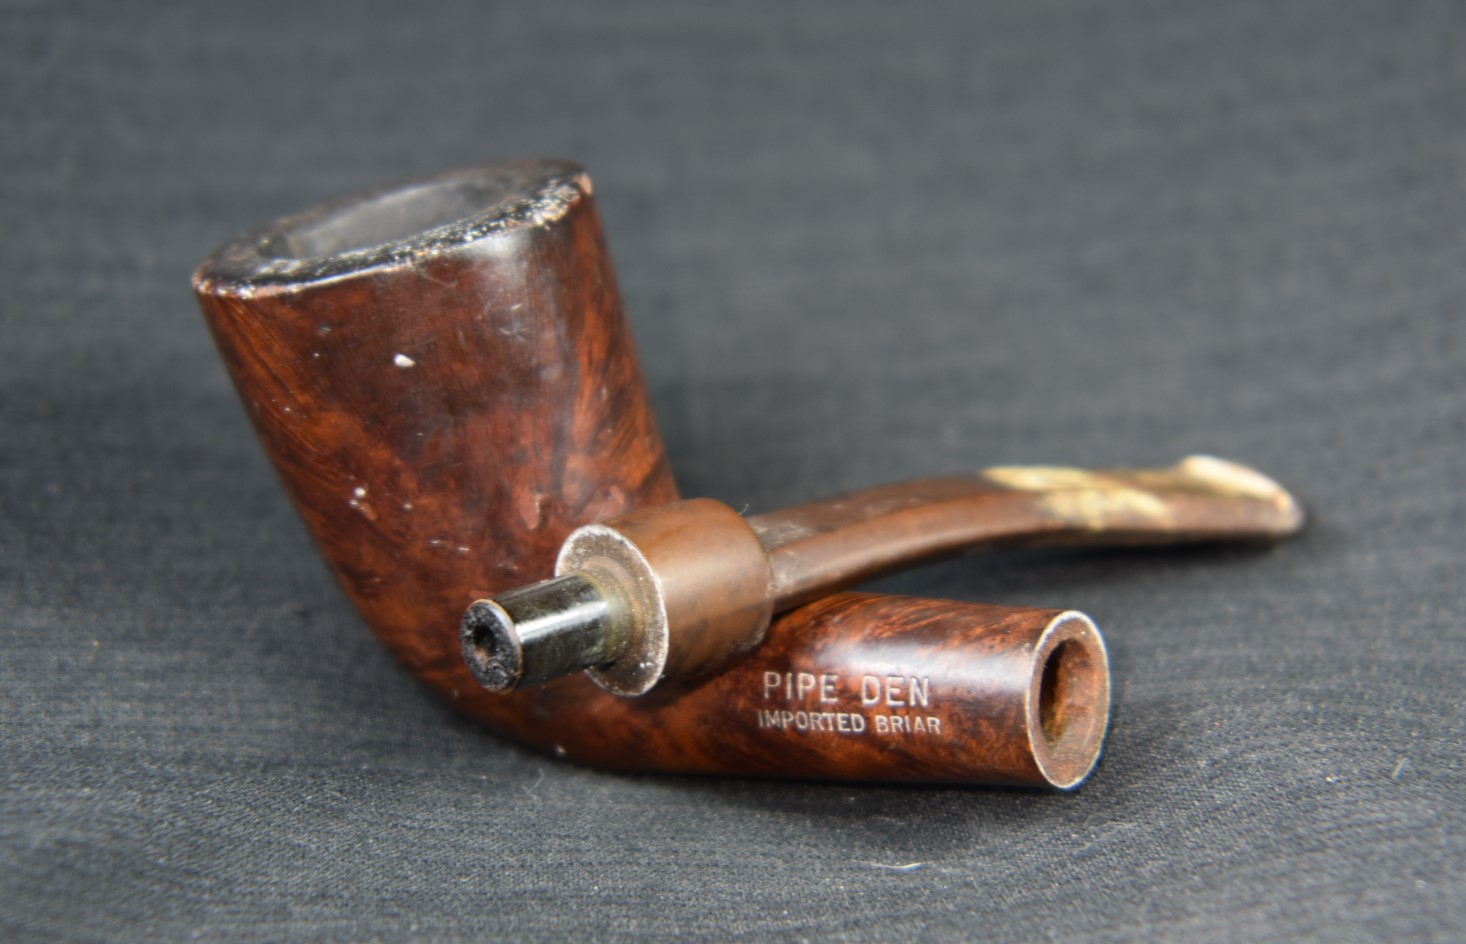
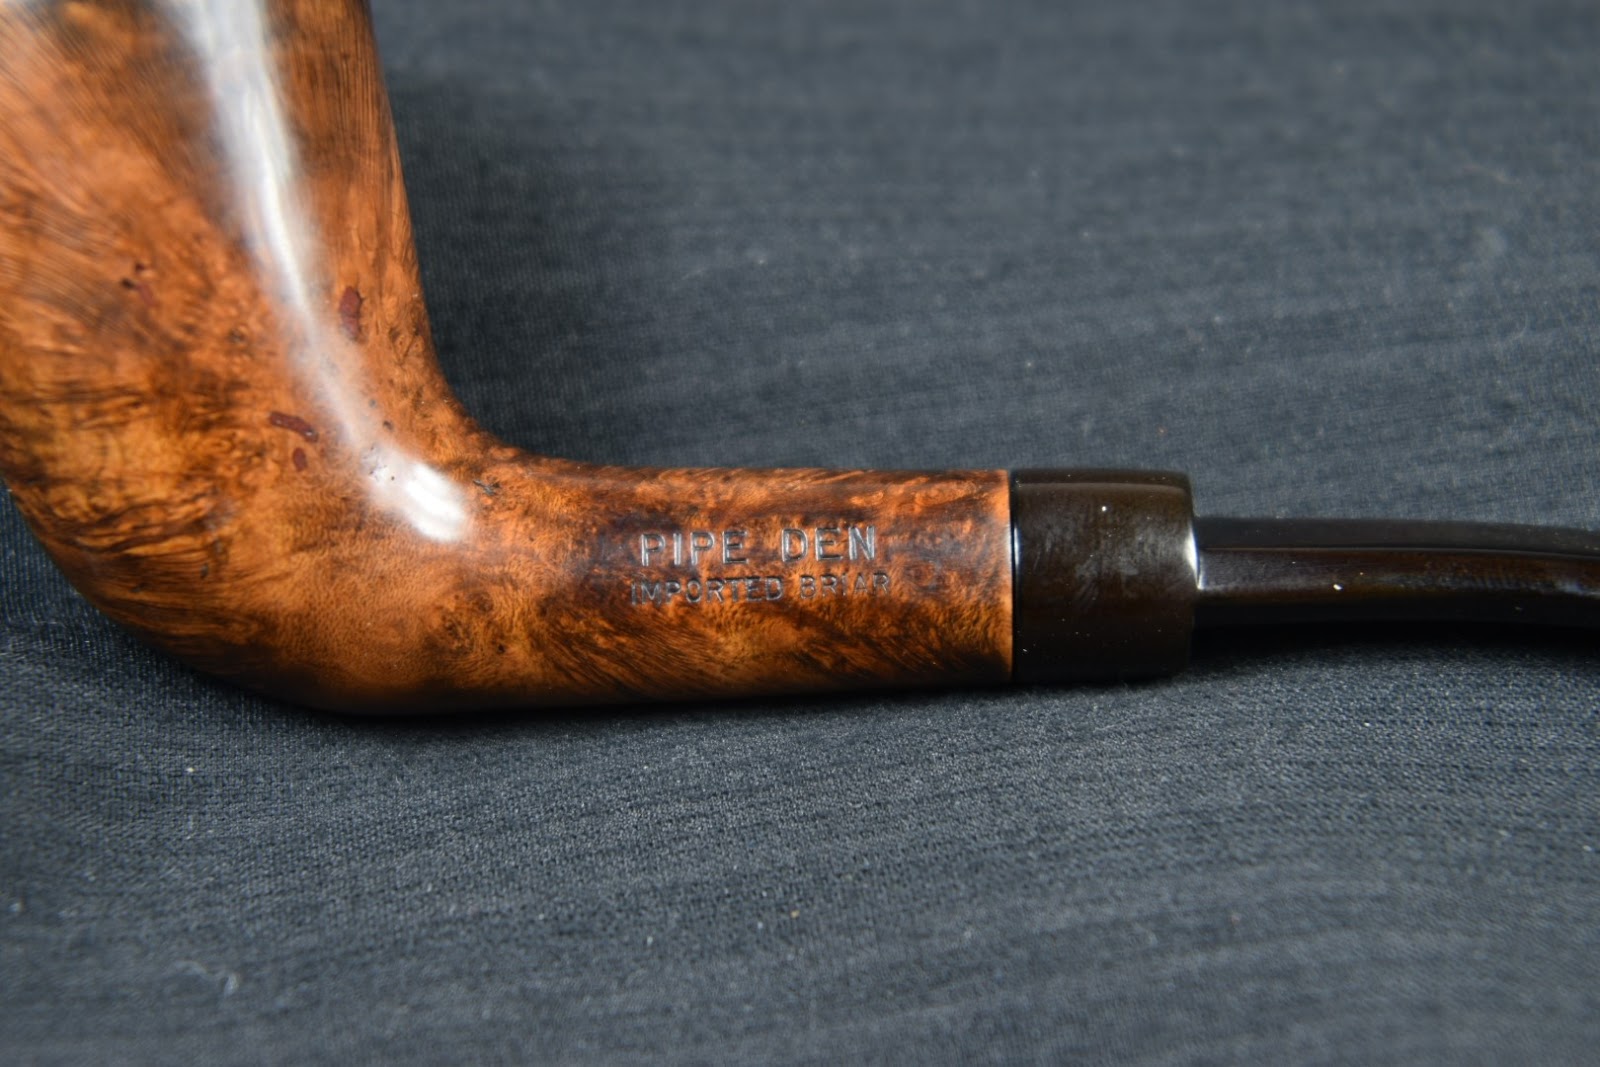

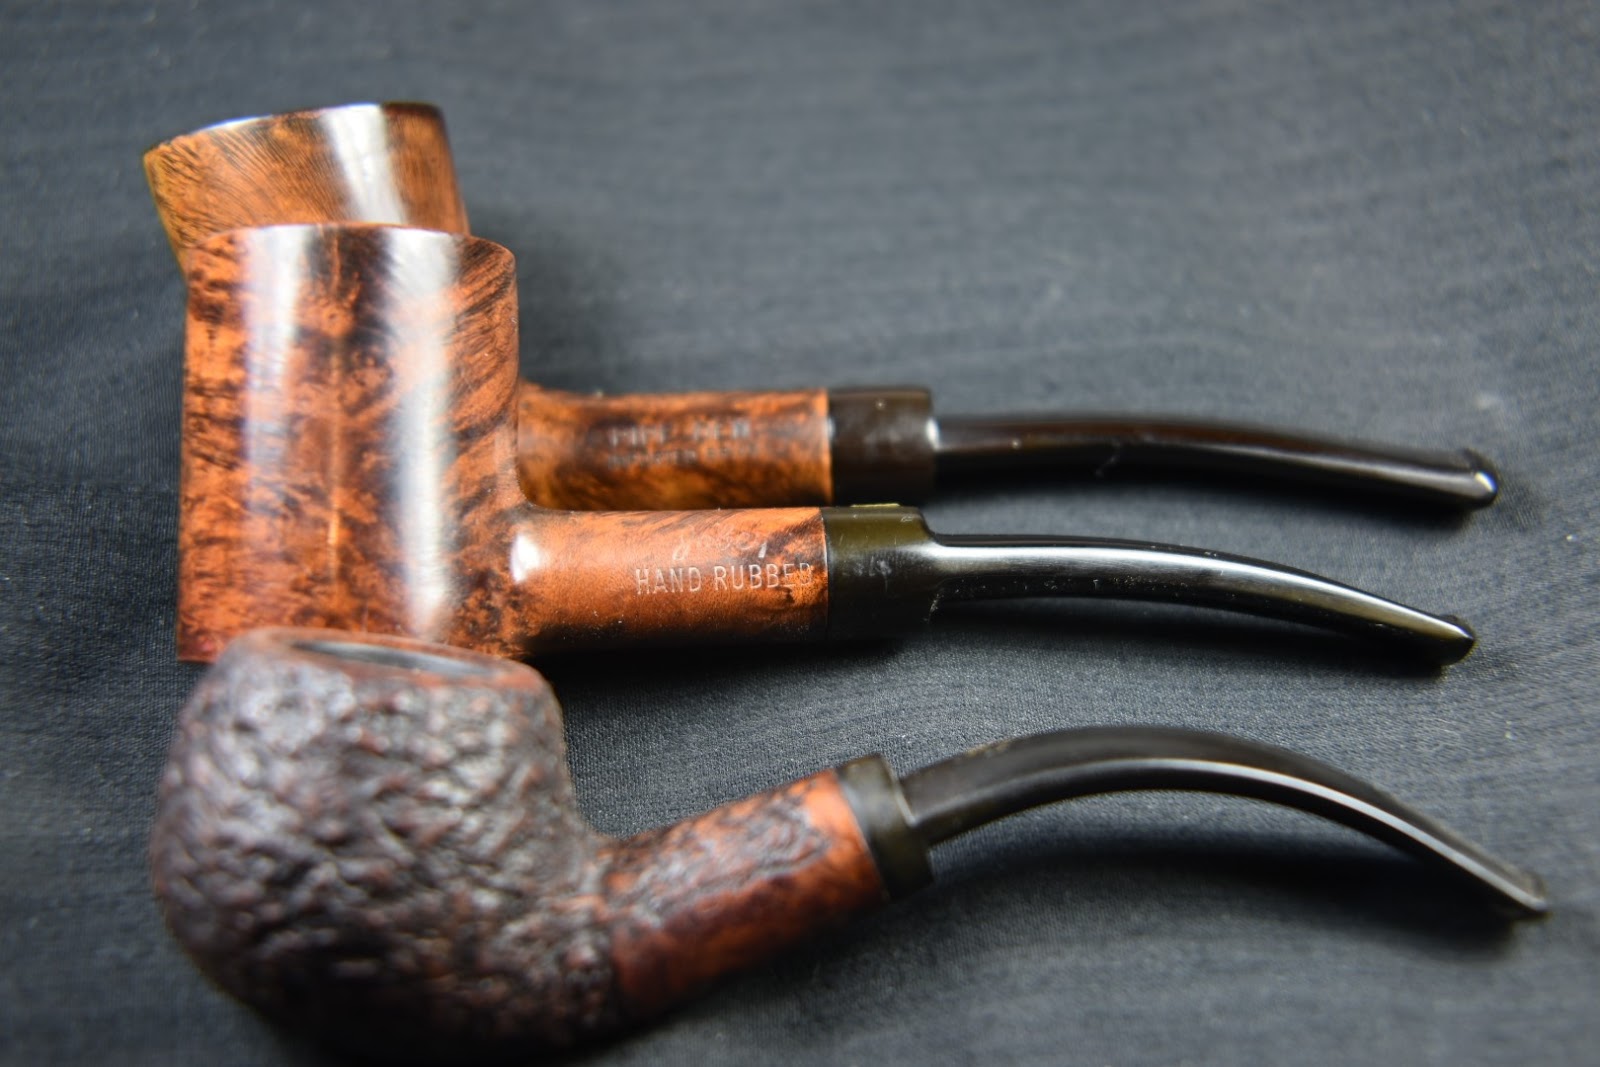 The quality of briar and the original stain color also match quite well. Given those last two qualities are hardly good indicators of a shared heritage but they do look similar. When looking up Jobey on pipedi.org, the first sentence of the entry says, “English – American – Danish – French… Sadly, solid information about Jobey is scamt…”(