
Photographed and written by
John M. Young
It has been a while since I restored a metal pipe. Not because I have an aversion to metal pipes, I actually find them quite interesting. I had seen photos of Duncan Delta pipes and thought they looked more refined than some of the American made aluminum pipes. The aluminum showed greater machining than the more tubular Falcon, finer finish than a Dr Grabow Viking and more elegance than the Yello-Bole Airograte. I decided that I wanted to work on one of these English aluminum pipes.
They appeared with some regularity on eBay but were almost always located in the United Kingdom. This meant that shipping would likely double the price of the pipe. To make matters worse eBay’s global shipping from England has led several pipes I had purchased to be confiscated as “nonpermitted”. My purchase price was always refunded but several desirable pipes were lost. England’s Royal Mail has proven to be reliable but not every seller will use that. This led me to keep an active search for Duncan Deltas and hope that price, shipper and shipping cost could all come together for a positive find. After over a year of waiting, the confluence of positives was achieved and I won a Duncan Delta from Saffron Walden, United Kingdom.
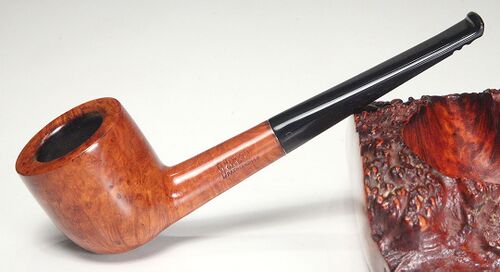
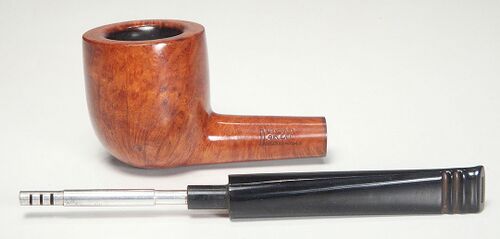
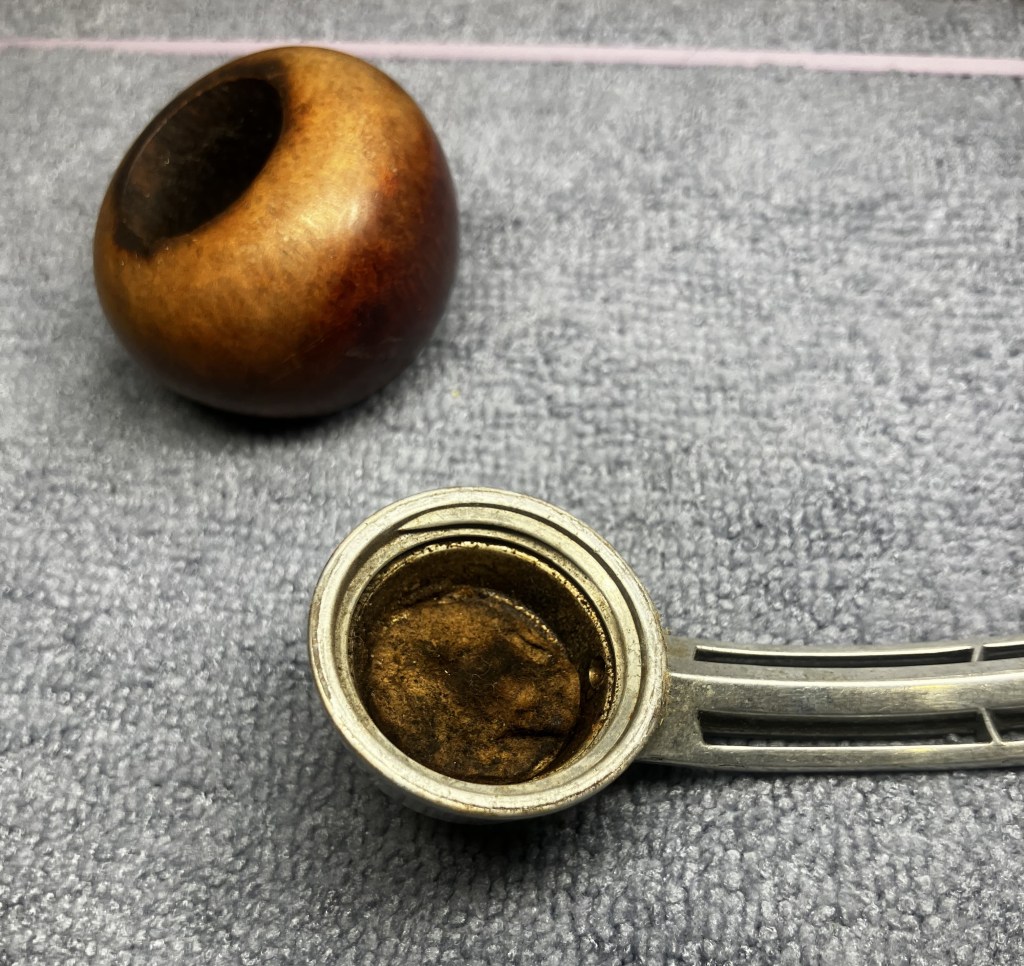
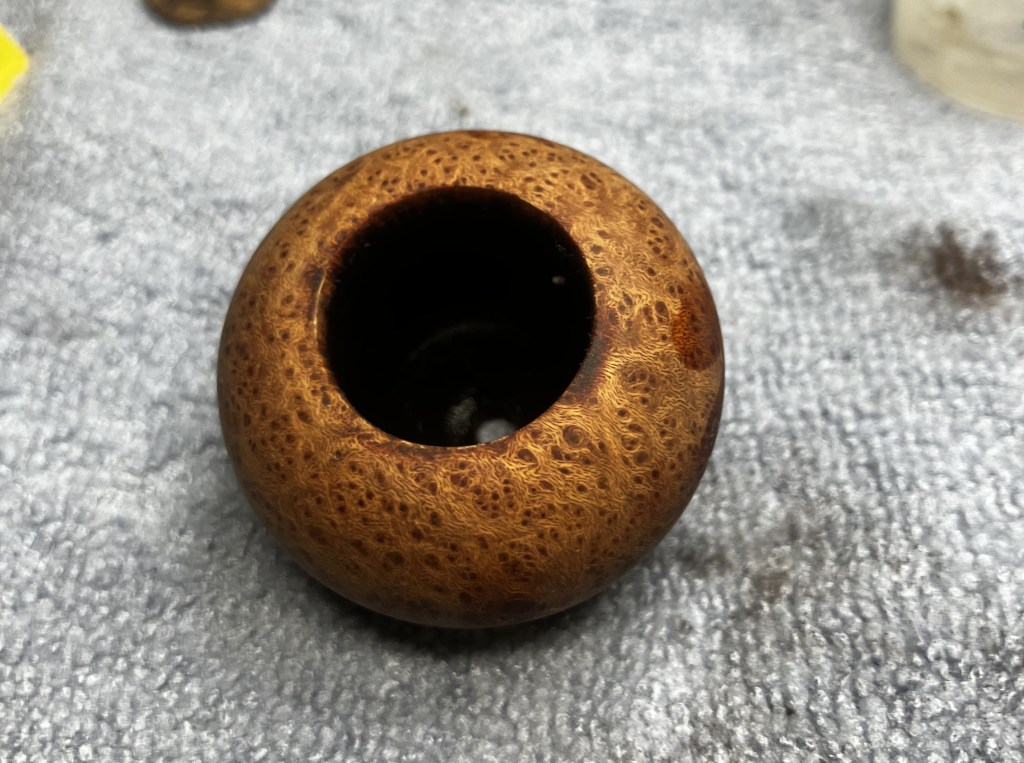
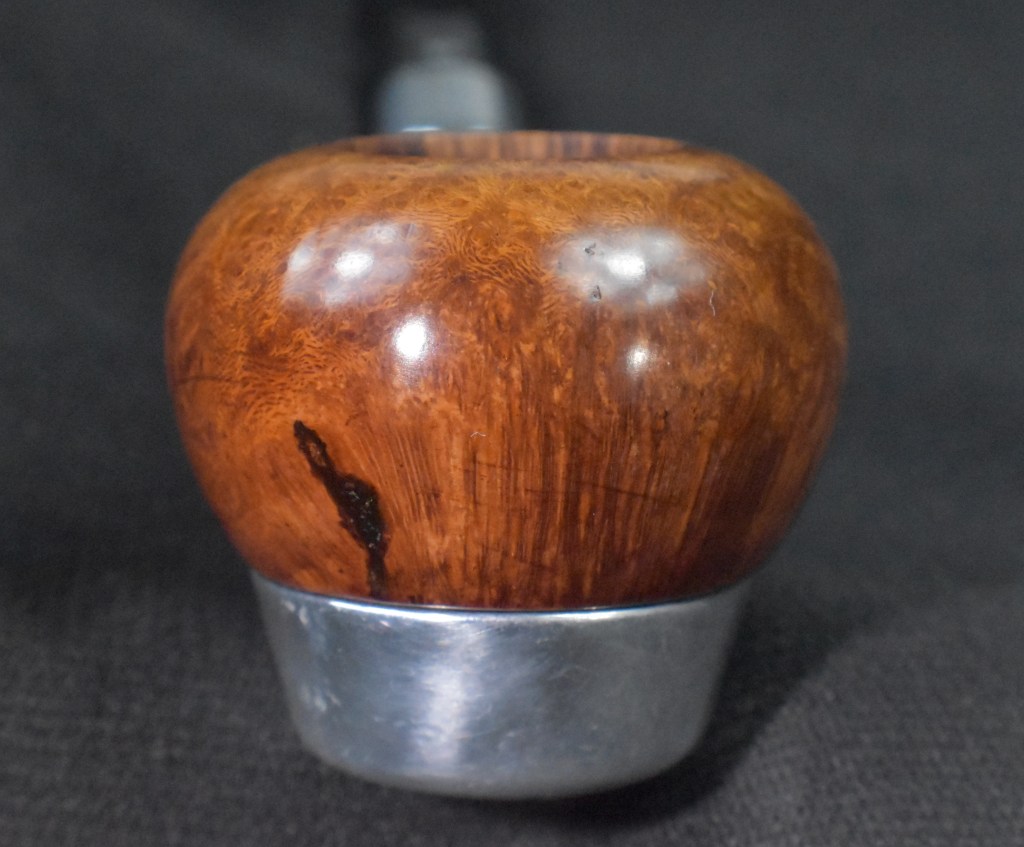
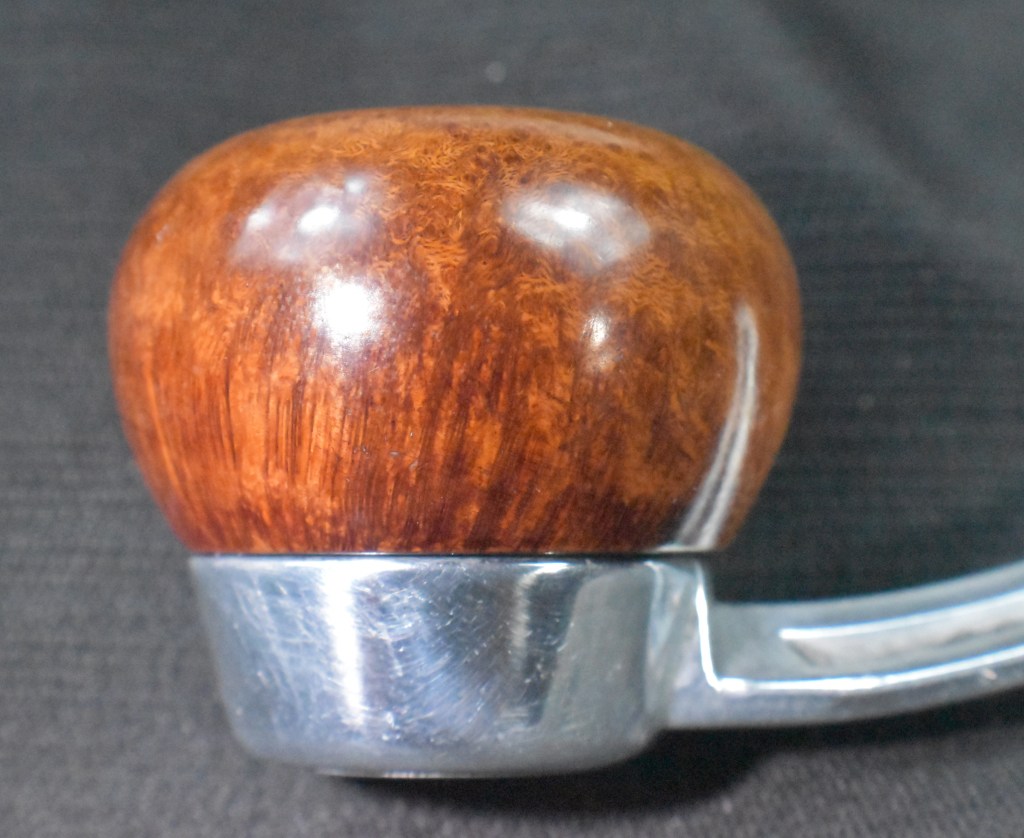
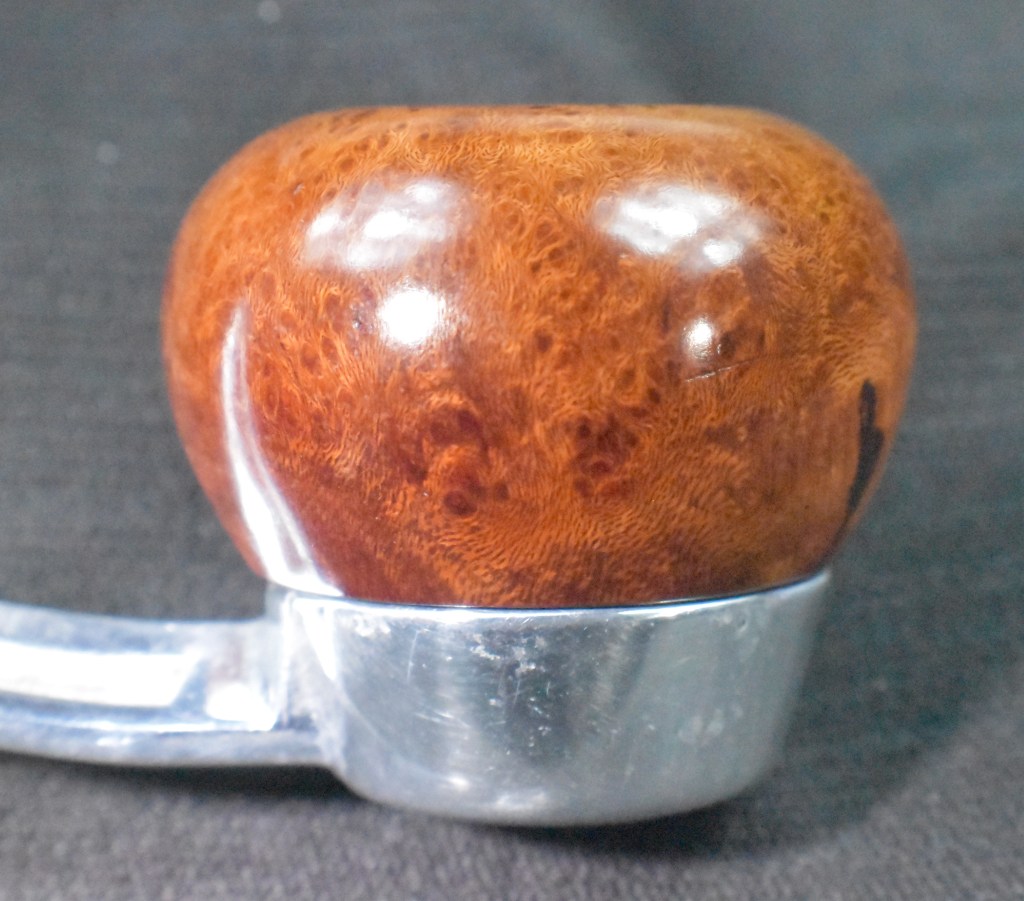
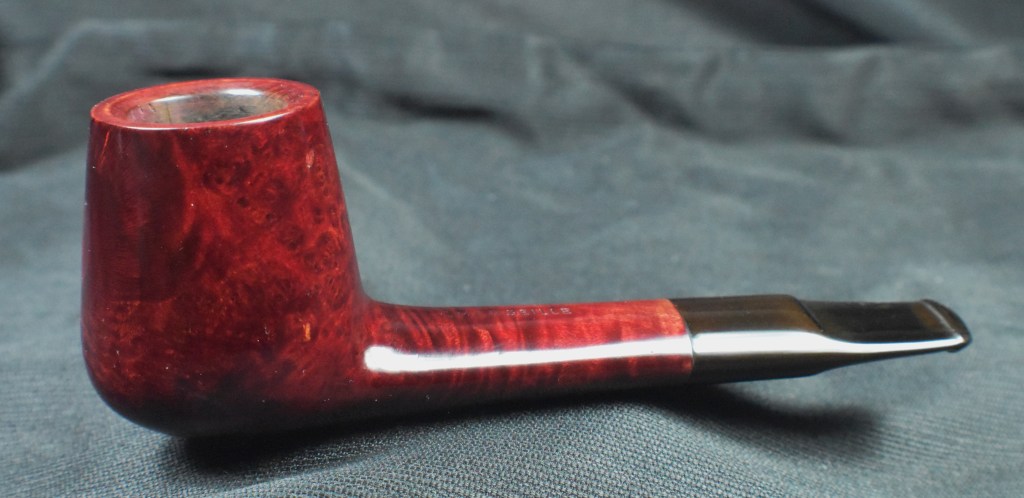
The Duncan Delta made its way across the Atlantic, then half way across North America to the wilds of southeast Nebraska. Upon arrival the pipe appeared as below.
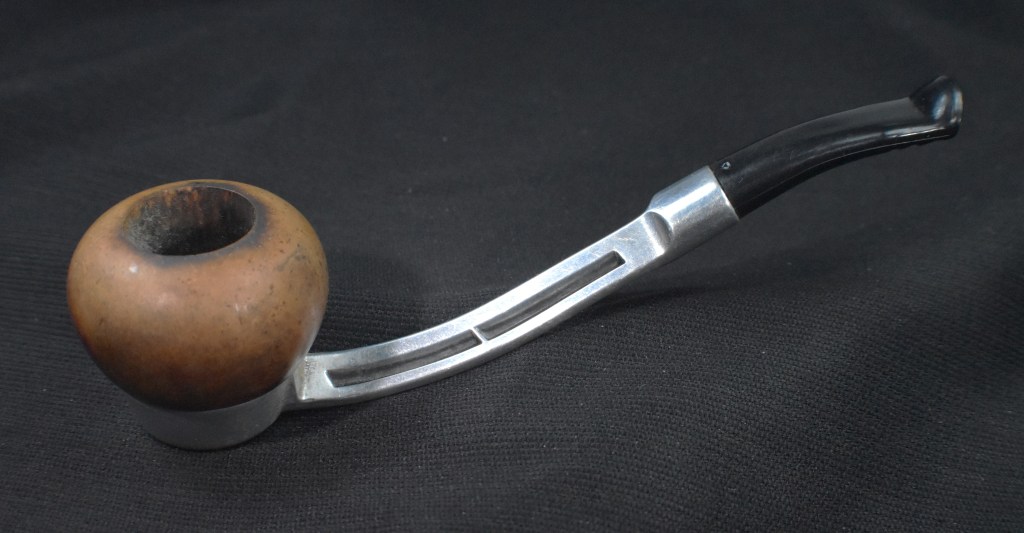
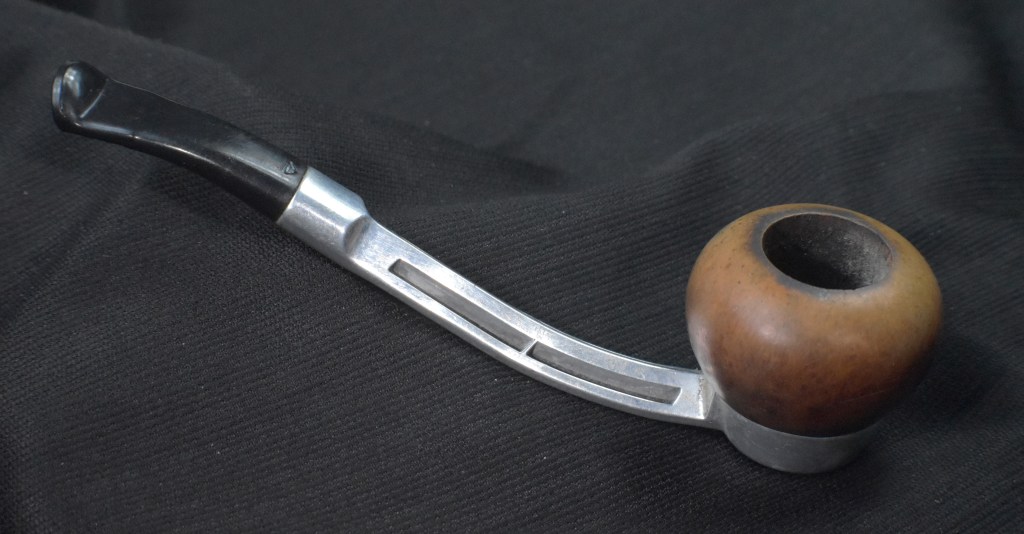
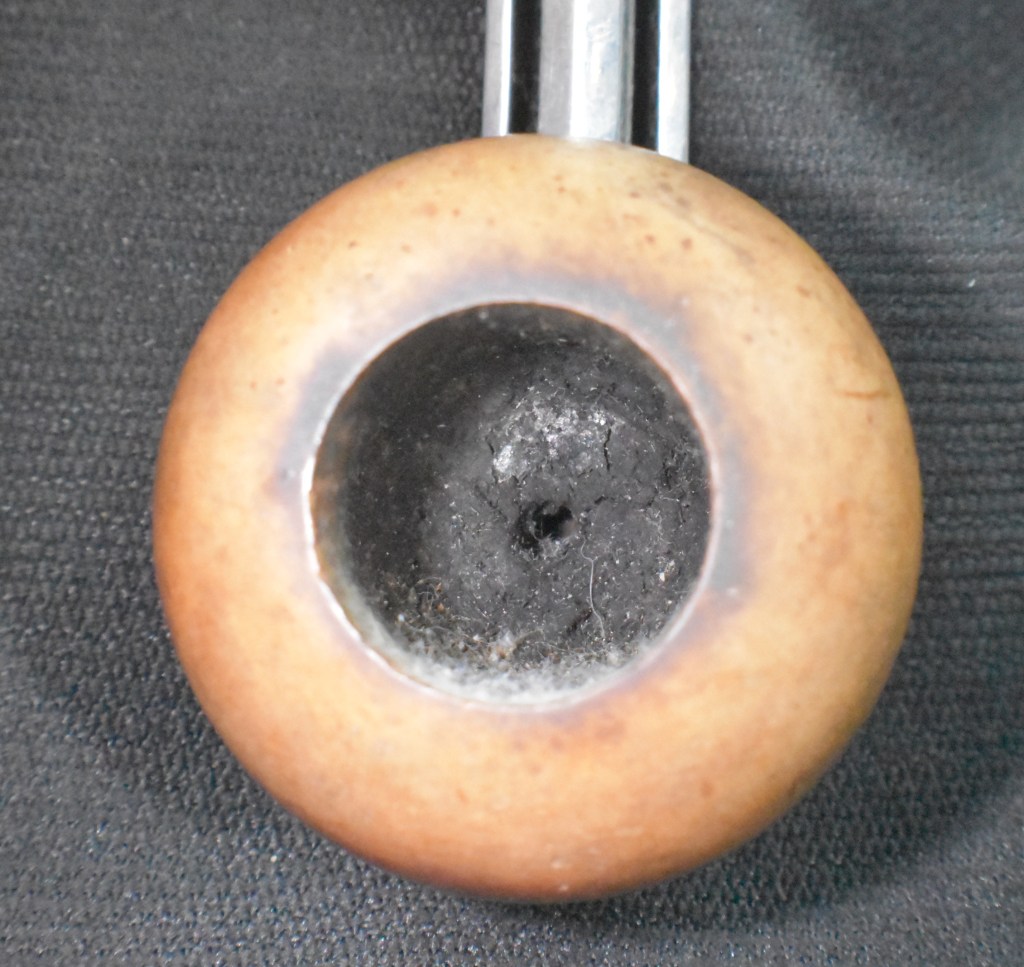
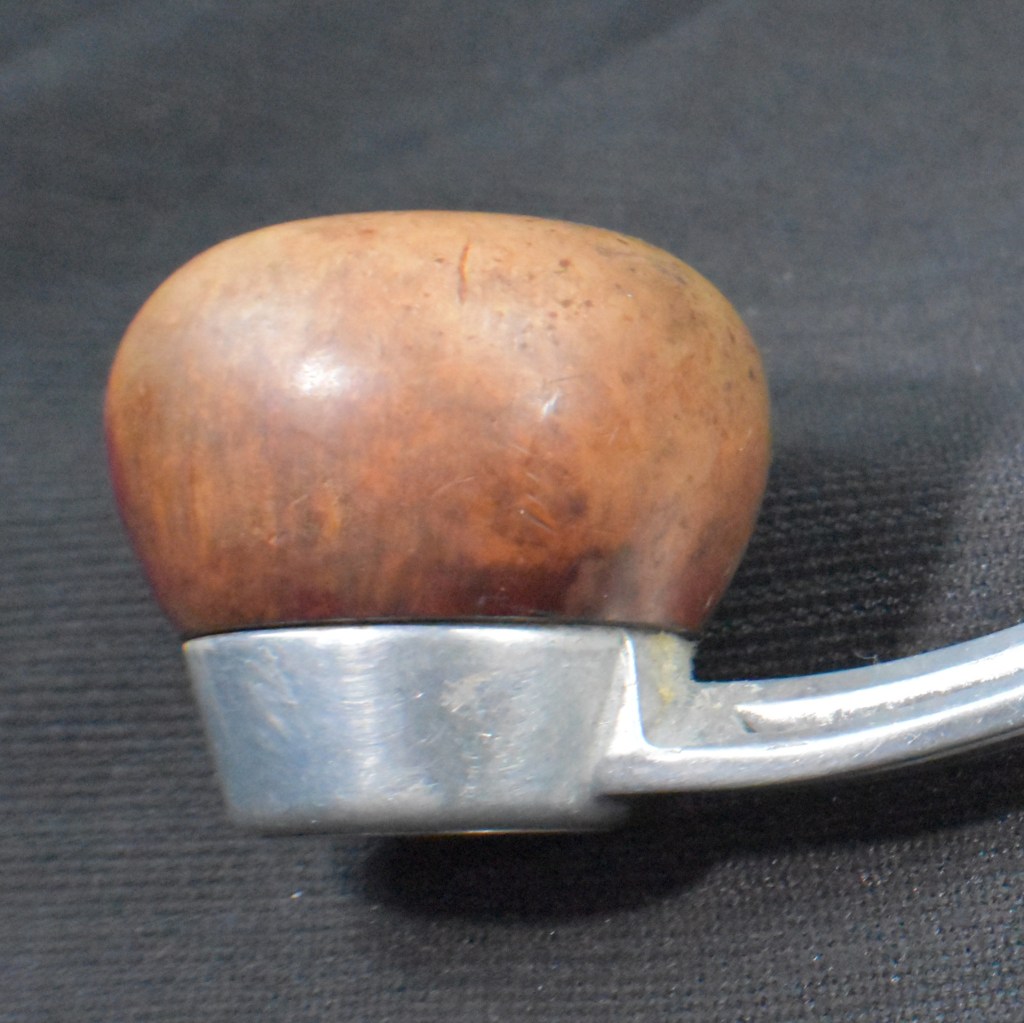
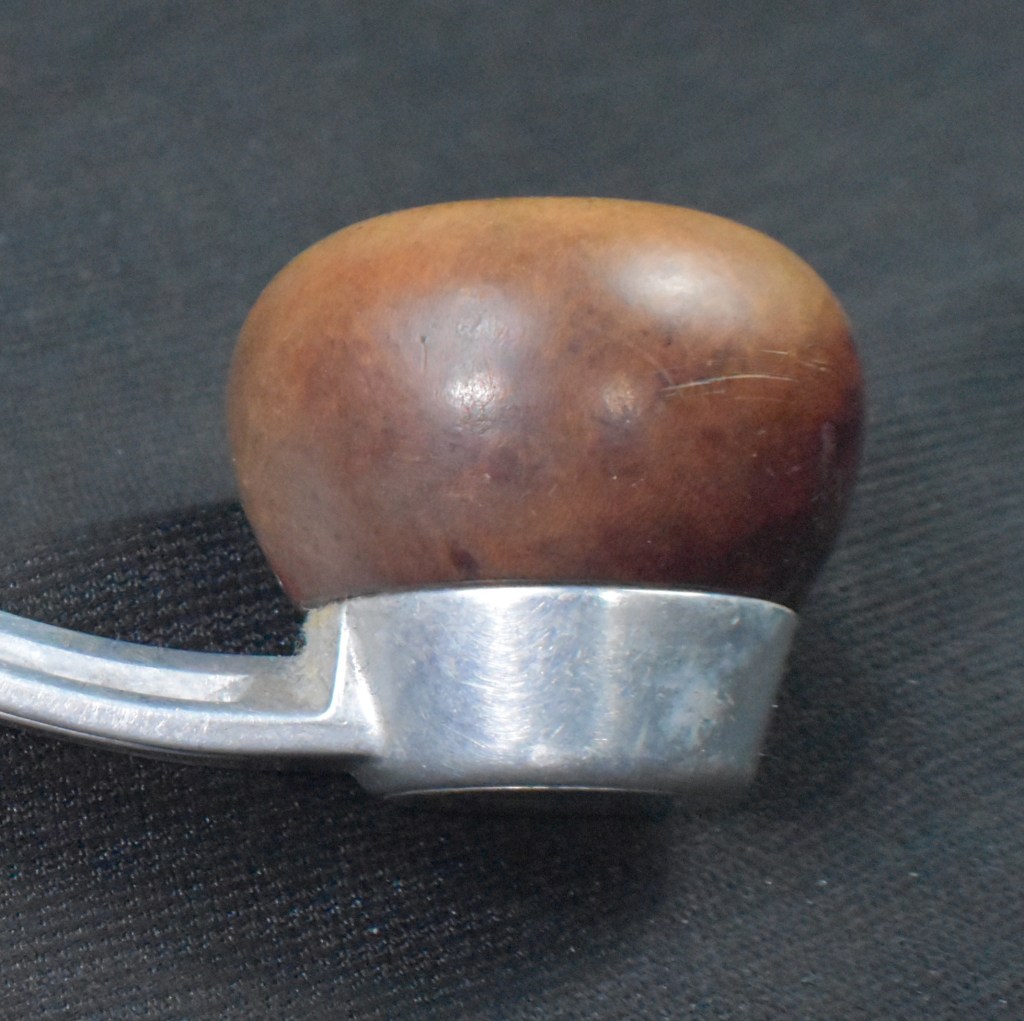
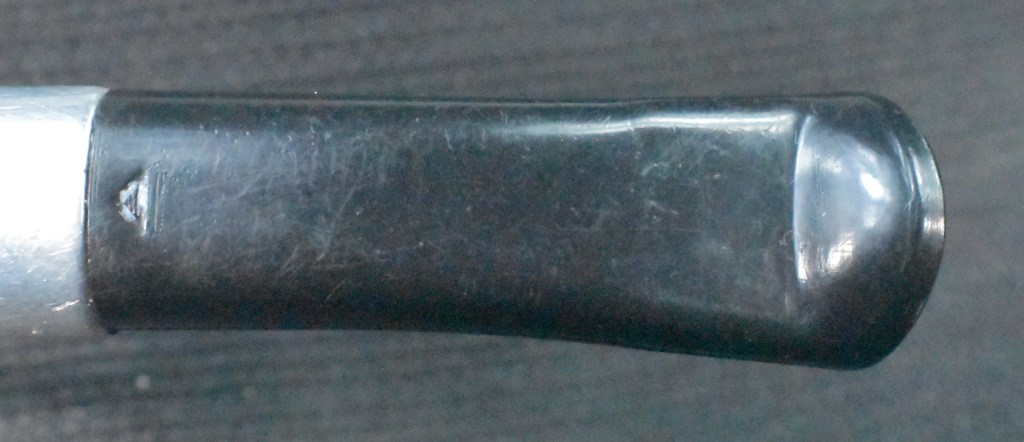
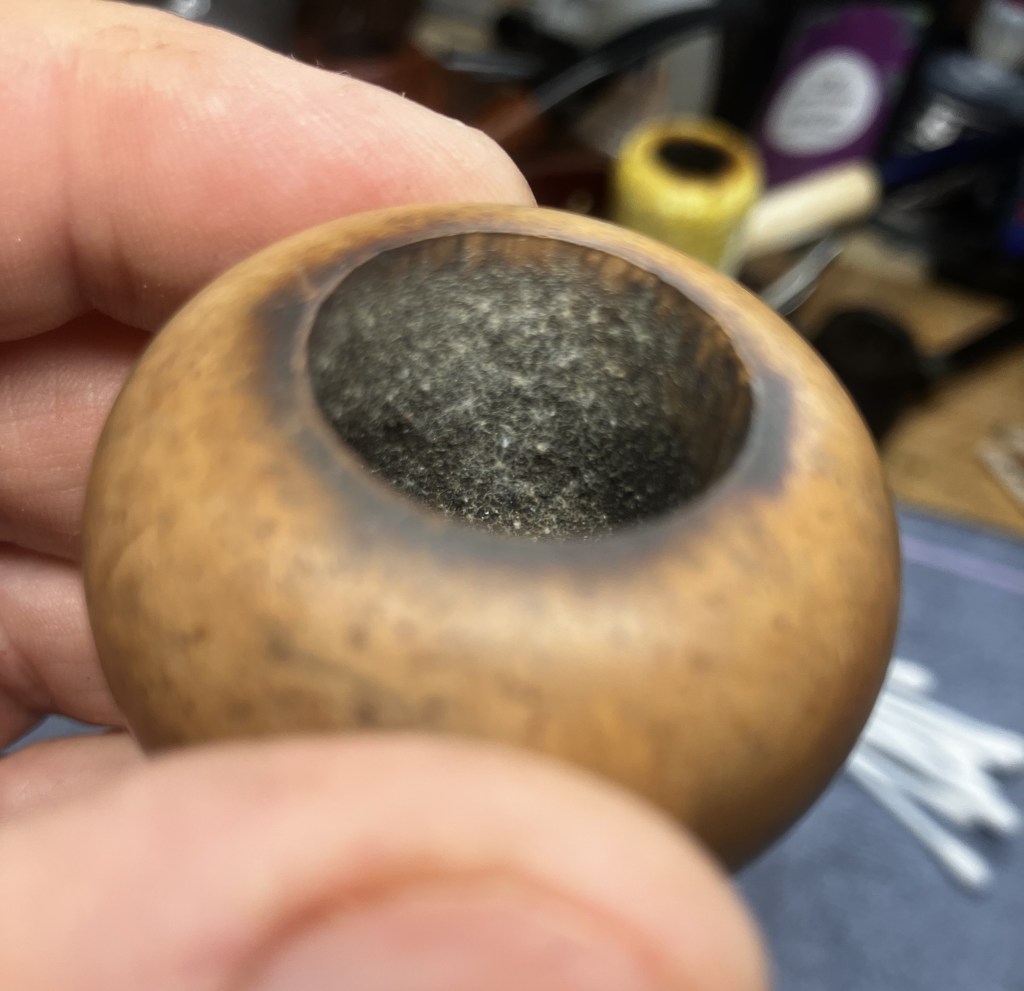
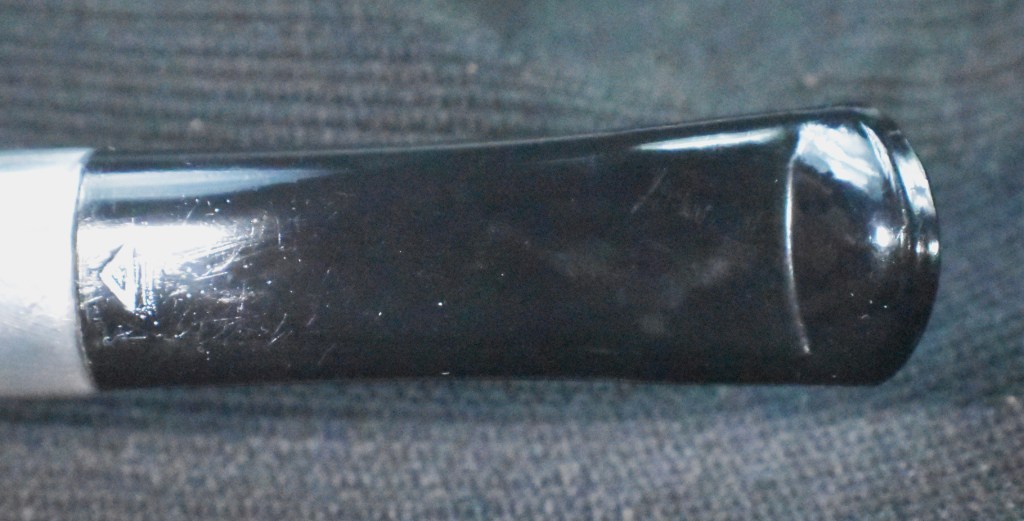
The Dencan Delta had been used, not abused, just used. The bowl showed signs of cake development especially towards the bottom of the bowl. The top of the bowl looks like it had been reamed or scraped with more frequency. There was a light lava deposit on the rim. I hoped this did not conceal underlying charring. The dental mouthpiece was in great condition, as was the aluminum. The bowl looked faded but not dented or scratched. Overall this looked like it would be an interesting project.
Background
For a very nice history of Duncan Briars, I recommend giving the Duncan Briars – Pipedia a read. It is a bit lengthy to include here though I will include a couple of pieces pertaining to this pipe. Duncan’s history spanned over 100 years from 1889-1994, when the family sold Duncans Briars Limited.
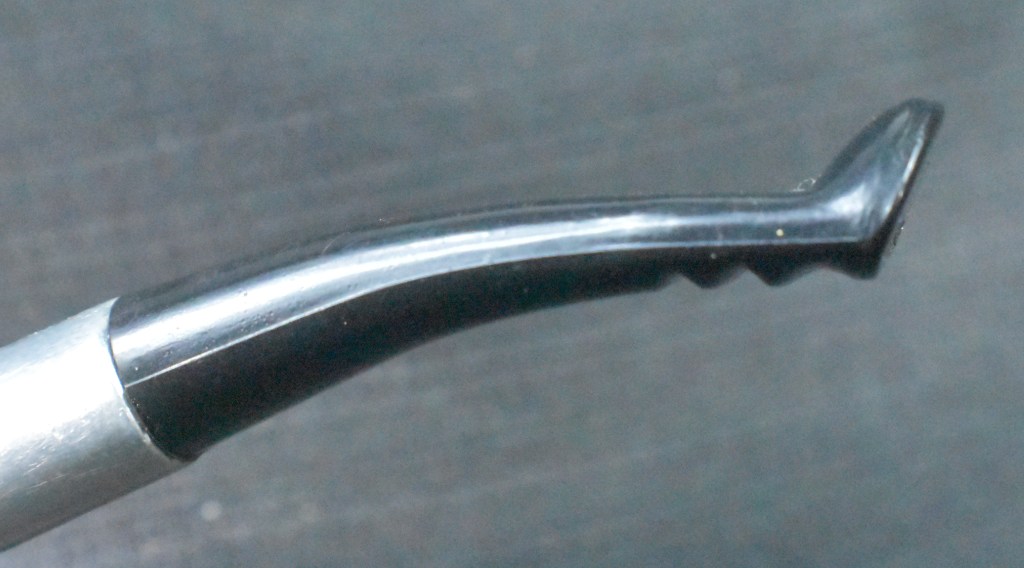
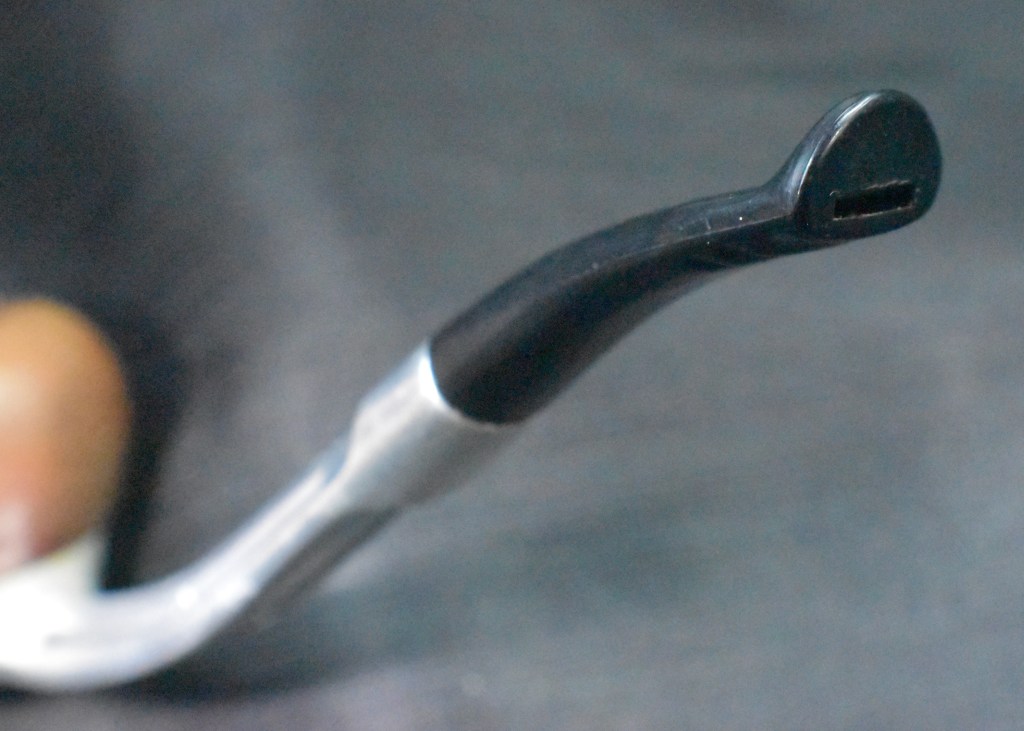
An interesting detail of this pipe is the dental mouthpiece. This was first patented prior to World War Two and according to the pipedia.org entry,
“For many years he had been conscious of the need for a pipe that could be held in comfort by the pipesmoker with dentures. When this became his own misfortune, he was more determined than ever that this need be fulfilled.
Many hours were spent developing a mouthpiece with a lip that could be held by leverage, and finally he perfected, and patented, The Original Duncan Dental Pipe, the first of its kind in the trade.
Although the pipe retailers were very skeptical, perseverance on the part of John Louis finally convinced them that the Duncan Dental was worth a try, and the response by the pipe smoking public meant that the Duncan Dental would quickly establish itself as a milestone in the history of pipe making” (Duncan Briars – Pipedia)
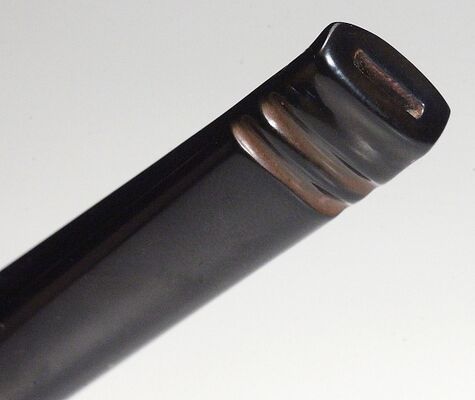
I am not a denture wearer, but I can attest to the comfort of this mouthpiece.
Returning to Duncan Briars – Pipedia,
“40’s to 60’s
Pipe smokers are normally slaves of convention, yet in the late fifties the metal stem pipe wave swept Great Britain, and ‘Duncan’ was well to the forefront with their Delta Dri-Fashion Pipe. The pipe was a massive hit at home and overseas, and even though production has stopped many devout Delta smokers are still on the lookout for rare ‘spare’ bowls.” (Duncan Briars – Pipedia)
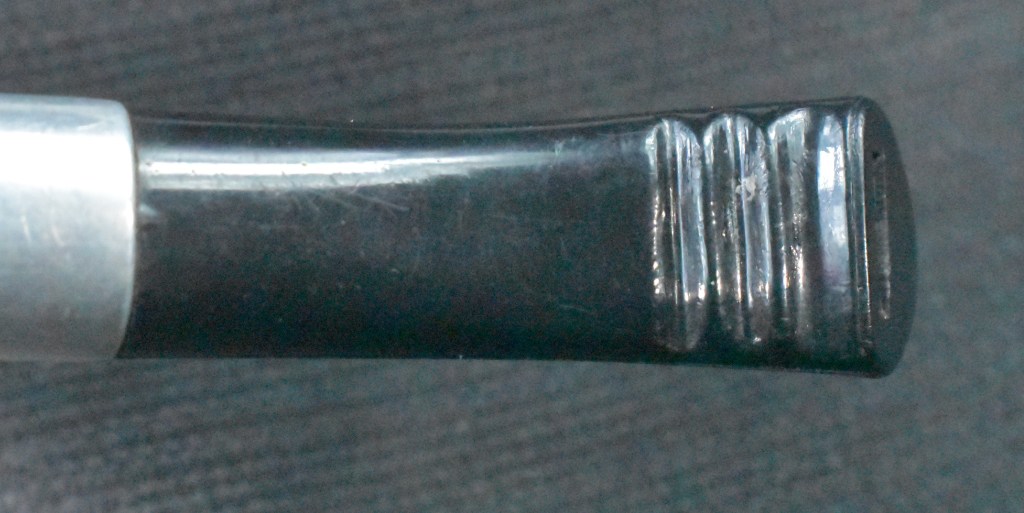
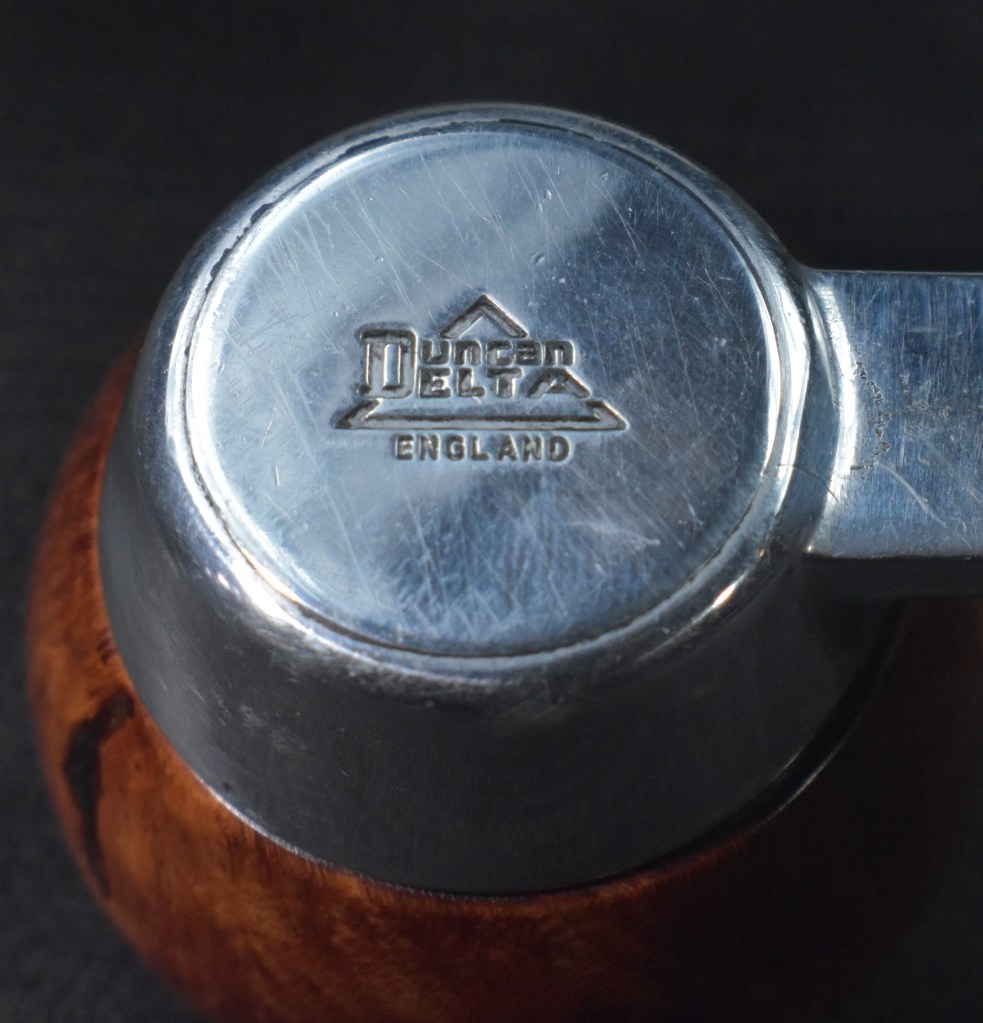
With that history of Duncan and the Delta line, I went to pipephil.eu, not for confirmation of the stampings or logos but more to see what the original stem logo may have looked like. The state of the current logo was rather beat-up.
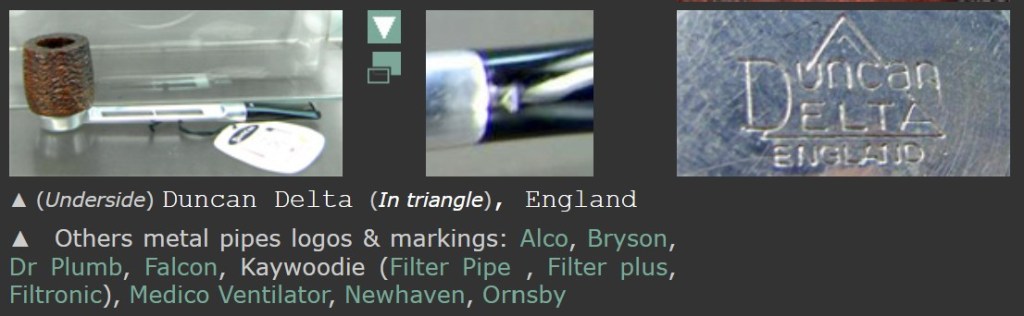
Dul-Dz — Pipes : Logos & Markings The logo in the photos above showed that the stem logo appeared to have been painted in a silver. I could certainly add that detail to the restoration.
The last site I wanted to read through was http://smokingmetal.co.uk . This site has an extensive listing of metal pipes, photographs and some information which pipedia.org often does not contain. The site did not disappoint.
“DUNCAN DELTA
| Department : METAL STEM & Threaded bowl |
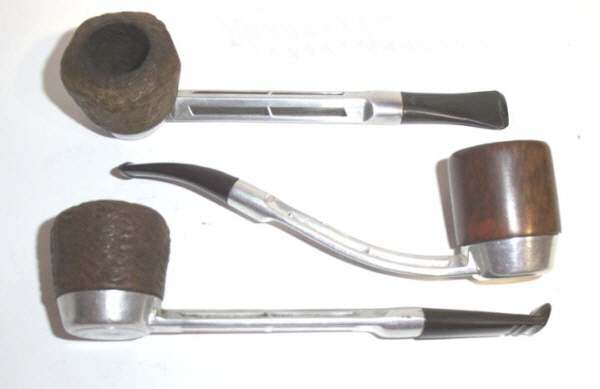
| The Duncan Delta pipe, made in England, an aluminium cast stem with interchangeable briar bowls. A fibre disc in the sump acts as an absorbent medium, Pipes come in straight or bent form with semi bent, straight or dental bites. Bowls come in various shapes, smooth or rustic finish. There are 2 types of bowl, with one central hole or with a central air hole surrounded by 4 smaller holes. There are at least nine shapes of bowl.. named Billiard, Golf, Caddy, Rugby,(standard size) and ‘mini size’ Keg, Whisky, Brandy, Cocktail all available in smooth or rustic, and shown here a large freehand” |
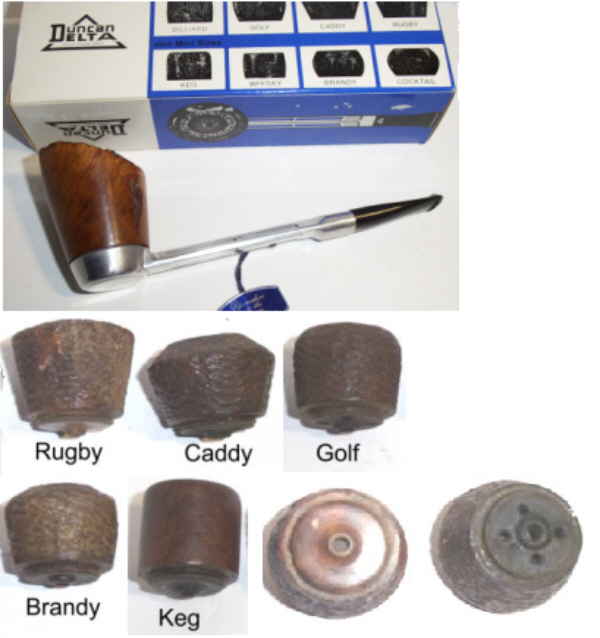
(DUNCAN DELTA) An interesting bit from this entry can be gleamed from the photograph of the Duncan Delta box, above. Though the shape of this bowl is not illustrated by photographs, it is on the box (lower left) and is called the “cocktail”. It is slightly difficult to make out but it does seem to match this pipe.
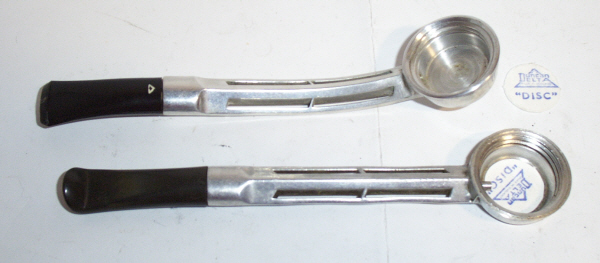
The smokingpipes.co.uk site also mentioned, “A fibre disc in the sump acts as an absorbent medium”. I searched eBay and found the following:
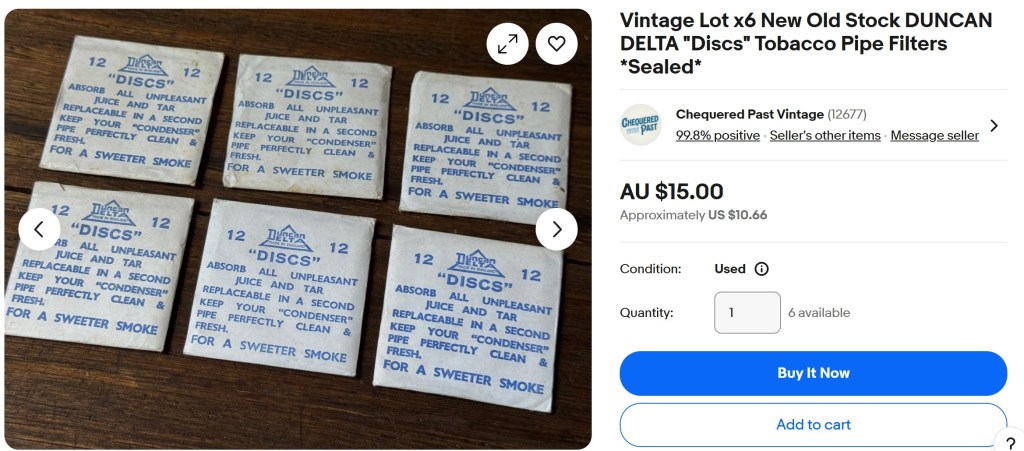
The price of the 6 discs was only around $10 but they were located in Australia and would require an additional $21 shipping. Though not in the budget for this experiment, it is good to know that they are still available for the collector who may want a pristine Duncan Delta.
The Restoration
After the before photos were taken the Dencan made its way to the workbench.
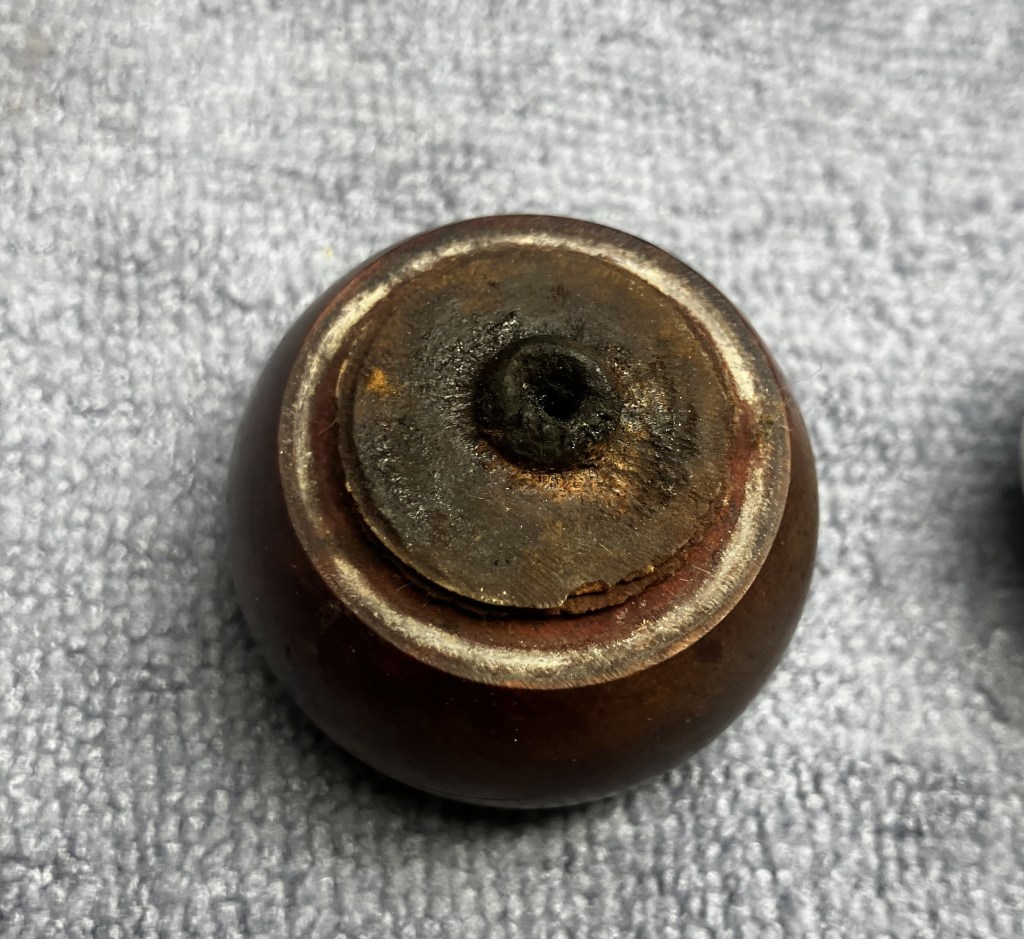
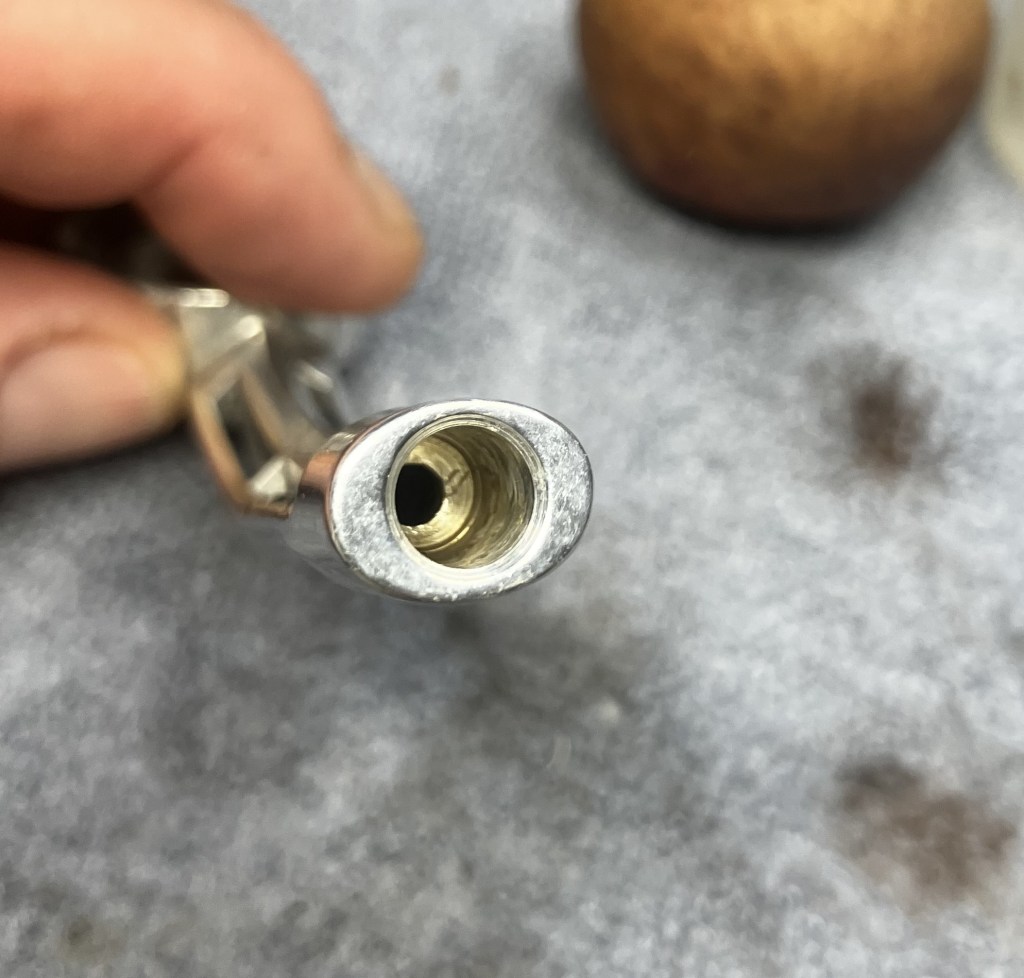
I began with disassembling the pipe. The bowl unscrewed from the aluminum body. There appeared to be a disc of some material in the base of the aluminum body. I later discovered this chamber was called the “sump”. A rather unbecoming term, but I will continue using it. The disc was heavily soiled.
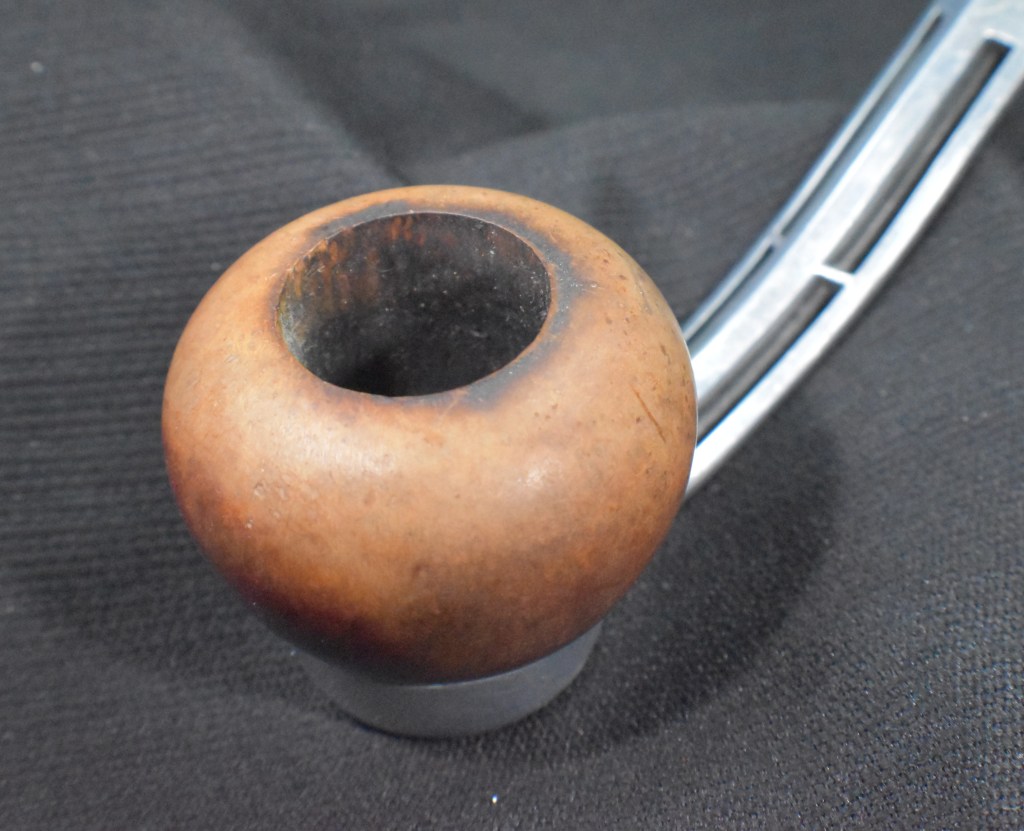
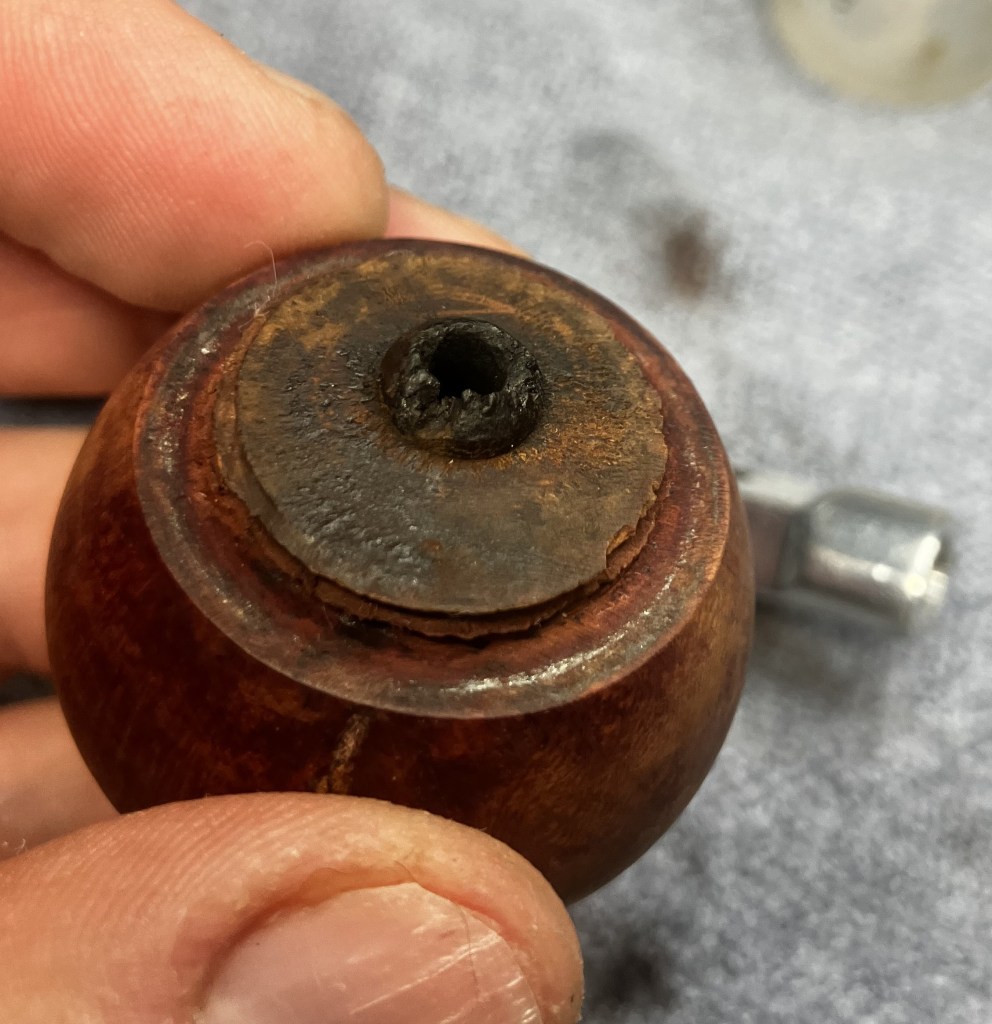
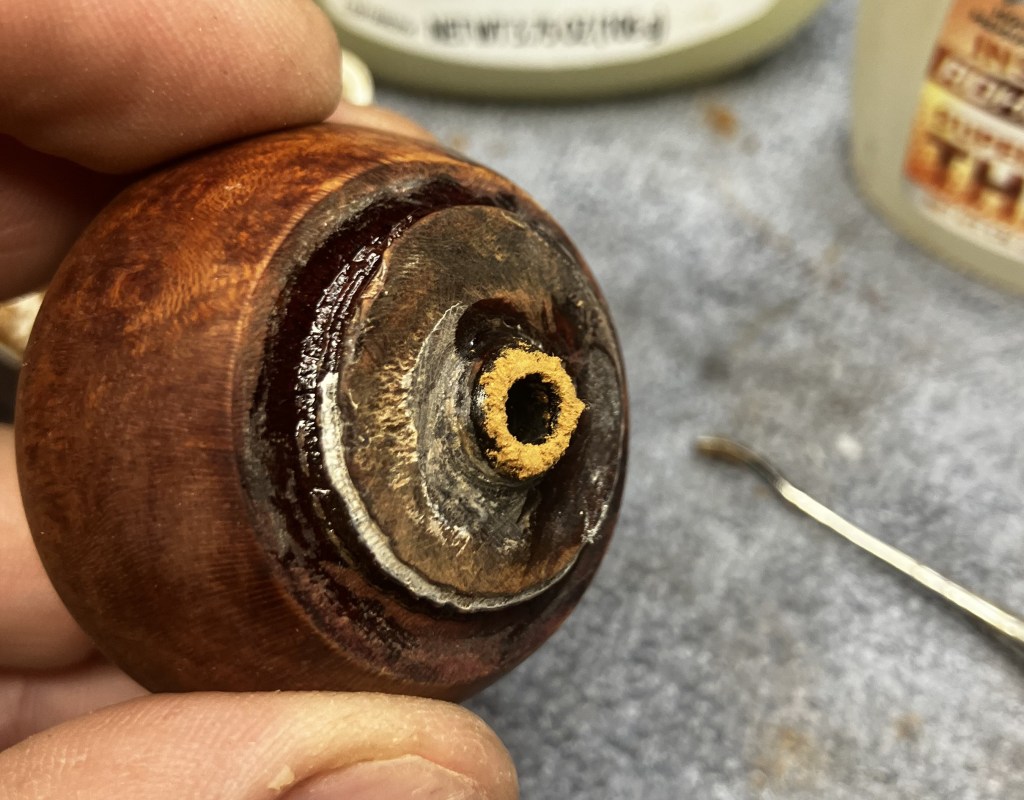
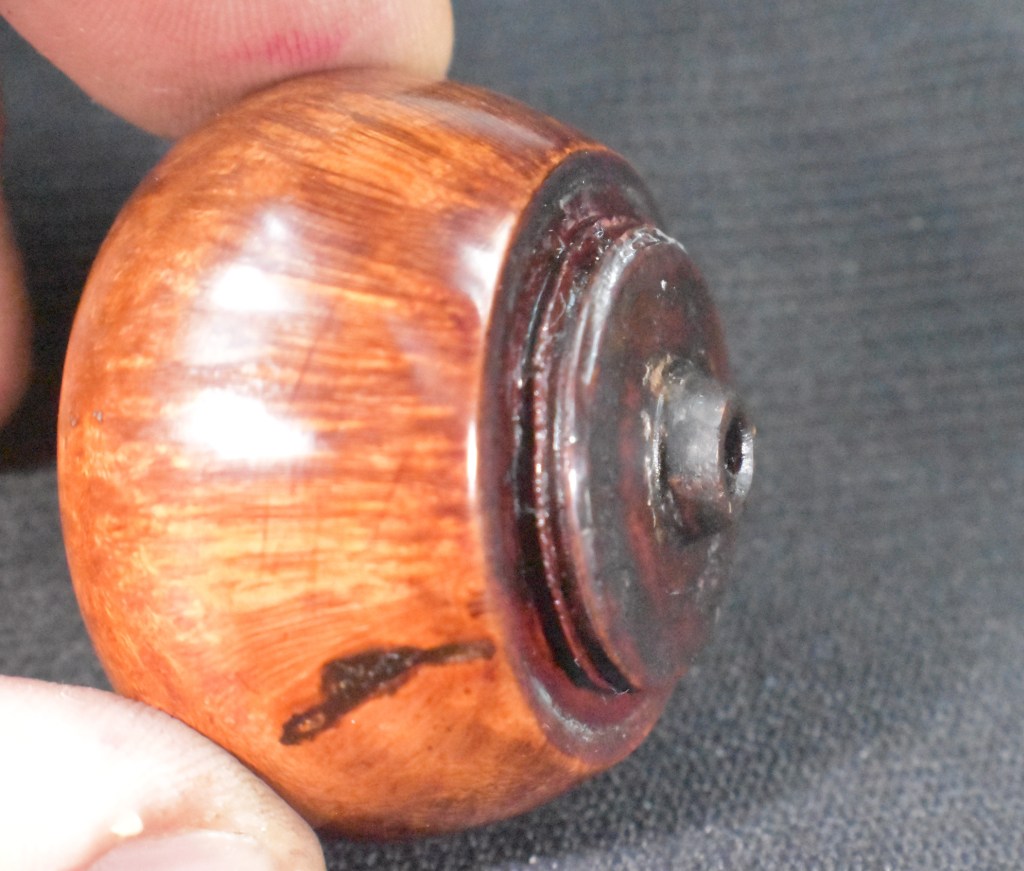
The bowl appeared equally soiled. It also appeared to be chipped around its edges. There was a raised nipple that contained the airway. This nipple was also chipped and rough.
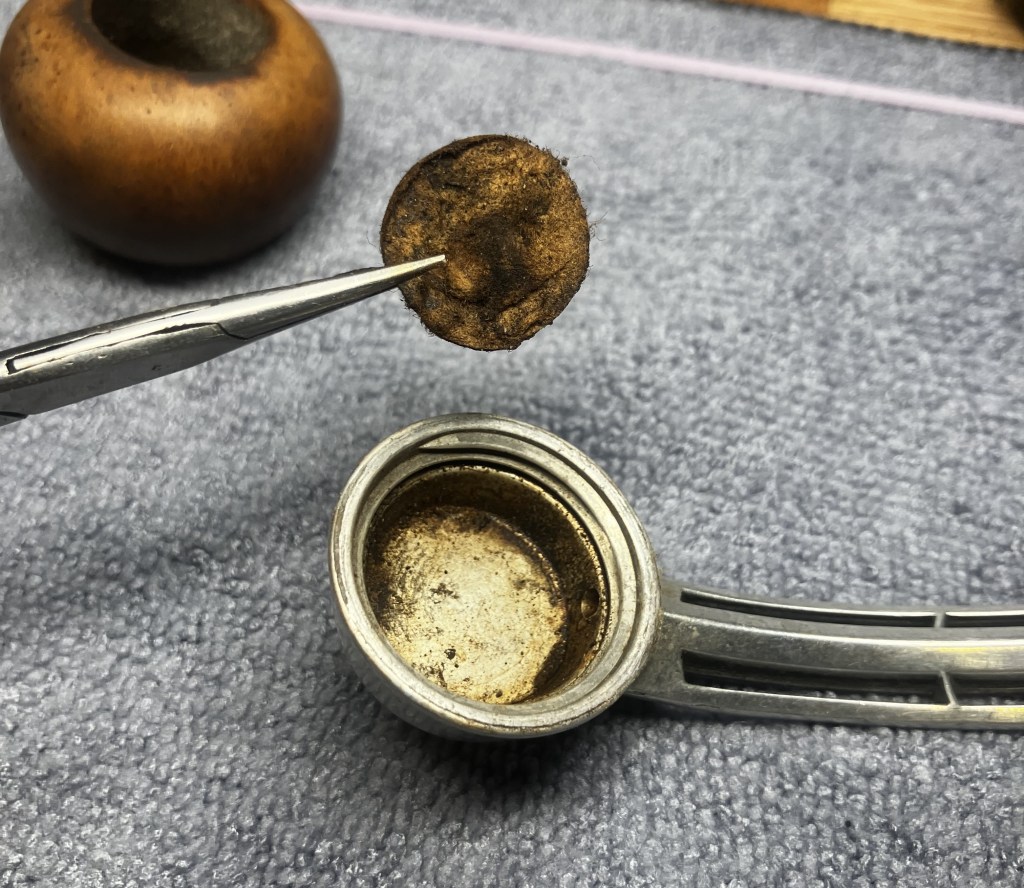
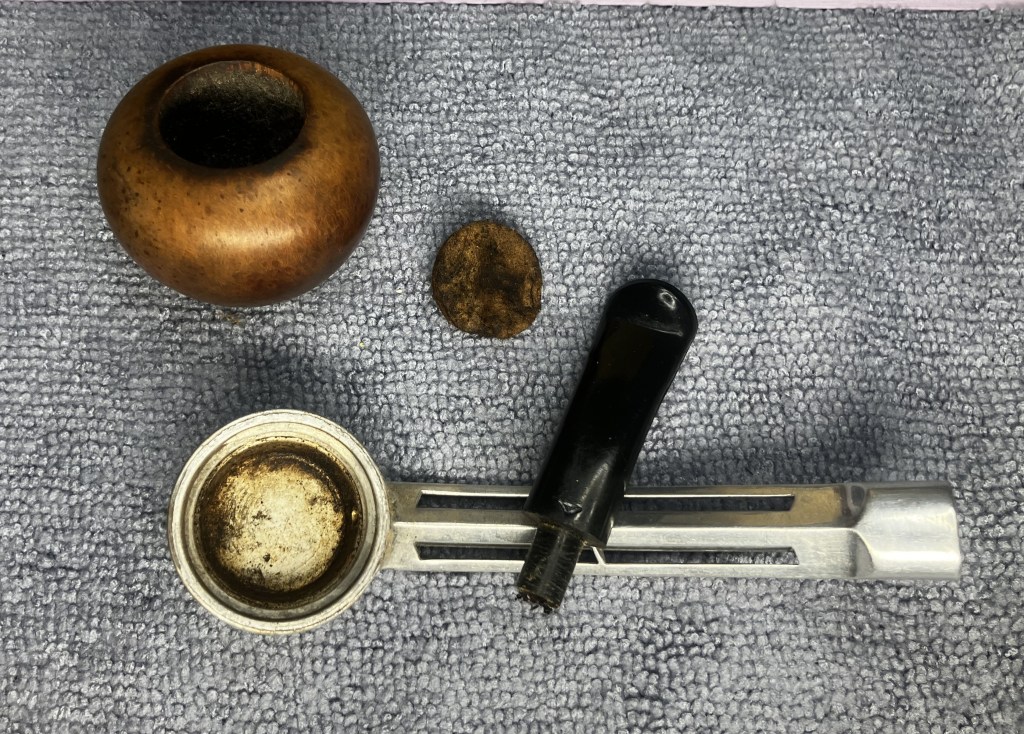
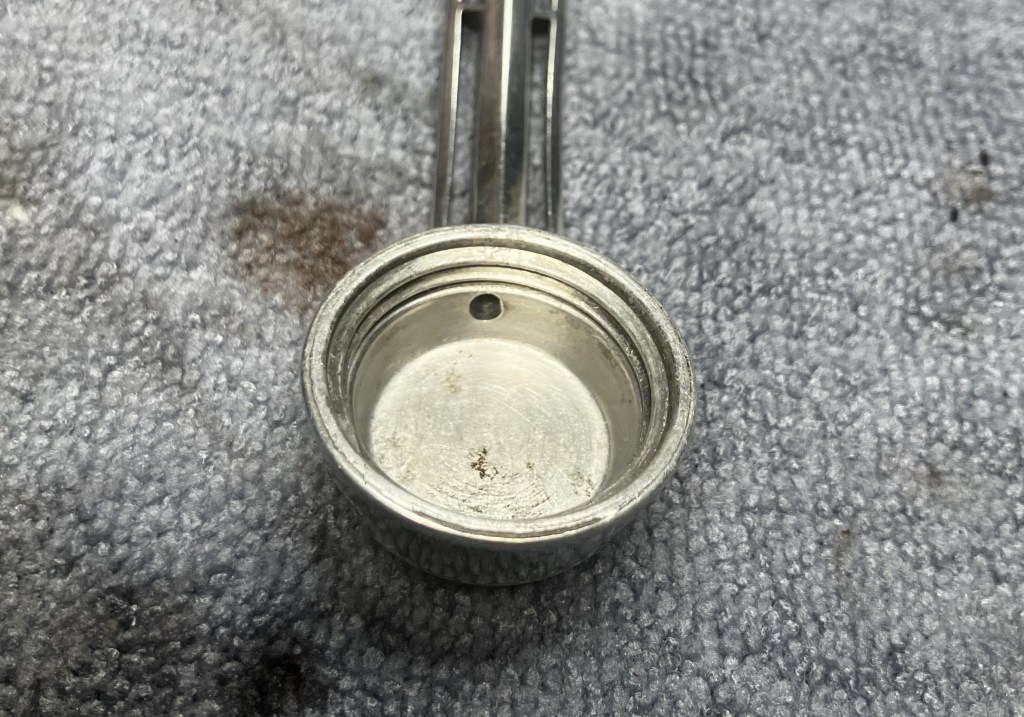
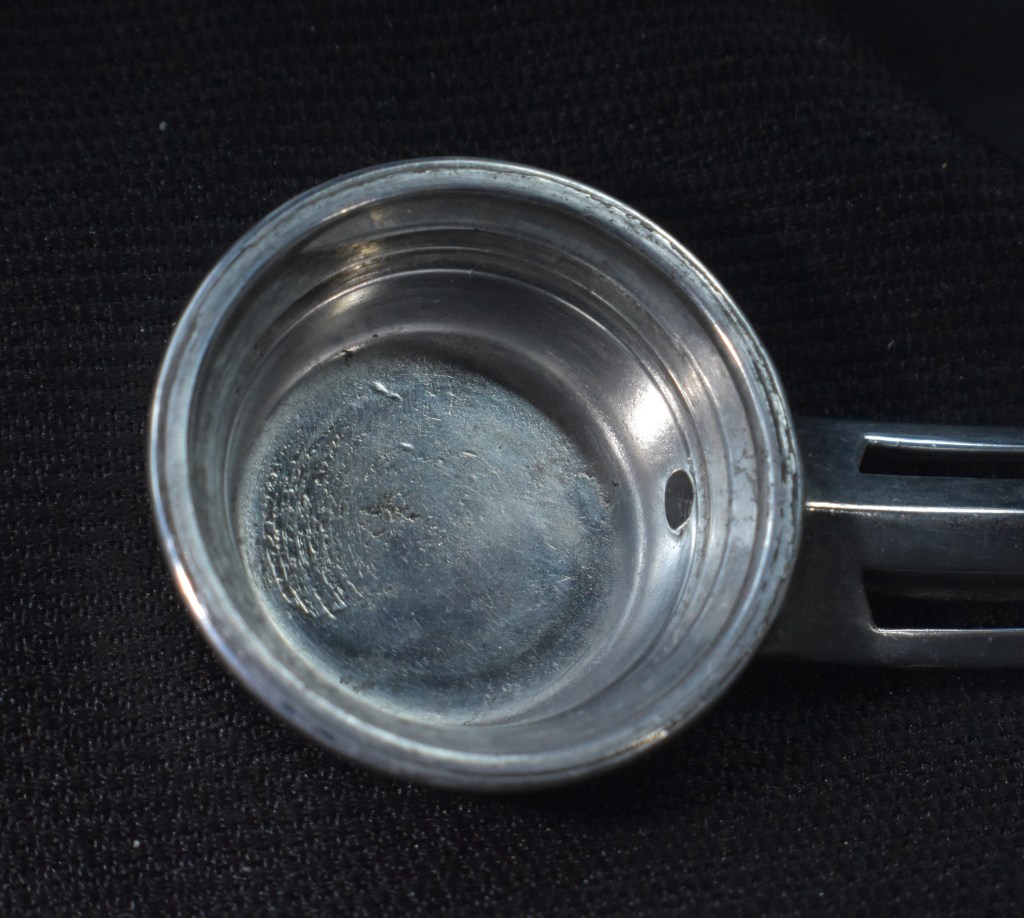
I removed the “fibre disc” with a fercept. Below the disc was a soiled sump.
I found that the mouthpiece was also detachable.
I cleaned the mouthpiece with bristle pipe cleaners dipped in 99% ethyl alcohol.

To remove the dried smoking residues in the sump, I propped the aluminum up with the mouthpiece and filled the sump with 99% alcohol.
The bowl was covered with dust indicating that the pipe had stood in a stand for many years.
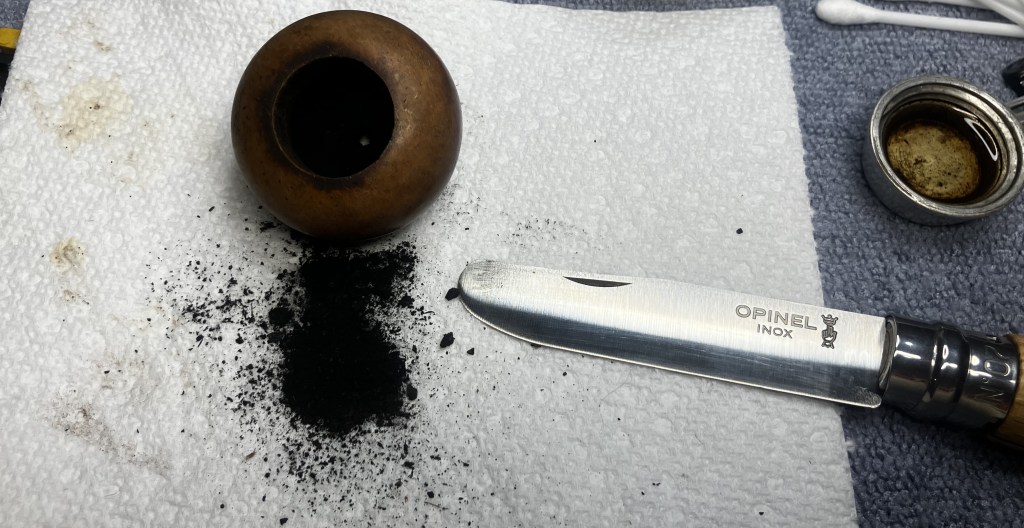
The tobacco chamber was of a size that did not fit a PipNet blade very well. This led me to do most of the reaming with an Openel knife.
The PipNet #2 blades were used to scrape the bottom of the tobacco chamber.
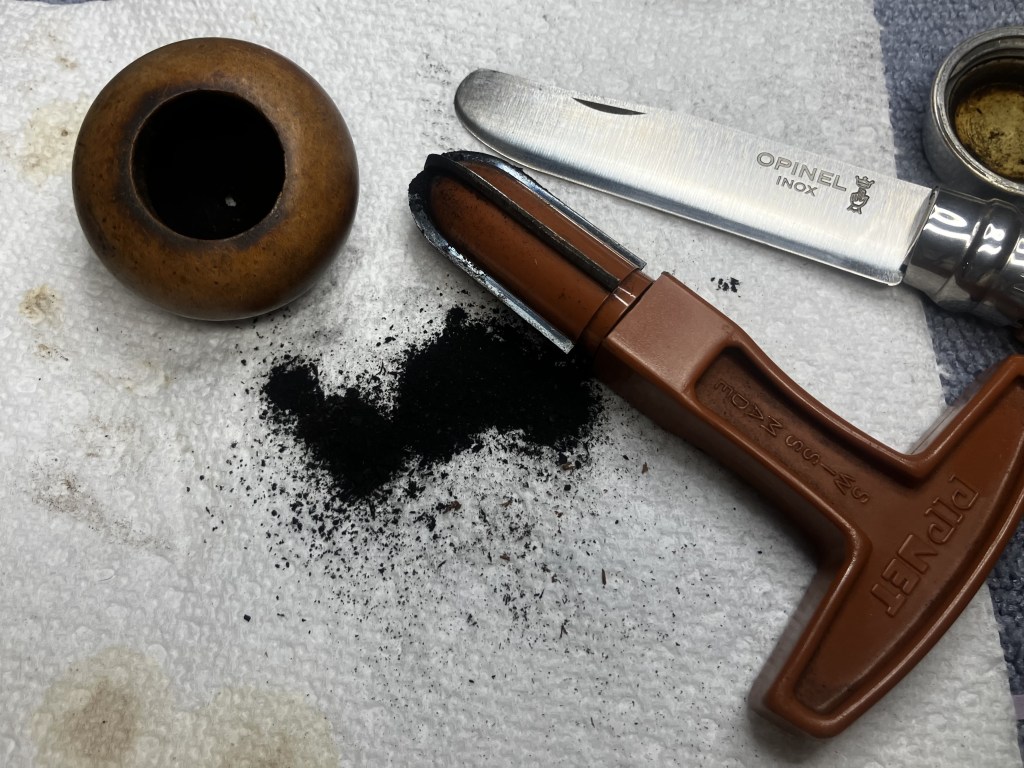
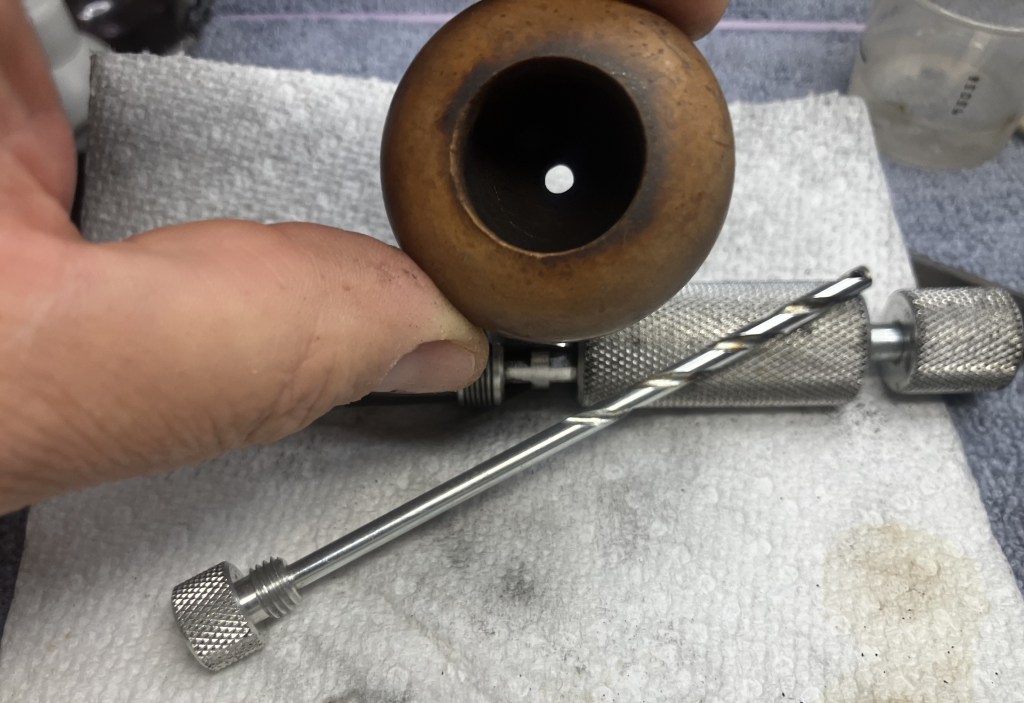
The hole at the bottom of the bowl was cleaned using the shank drill from the Kleen-Reem tool. This drill was the perfect size for the hole.
The rim’s lava deposits were light and I thought they would succumb to scrubbing.

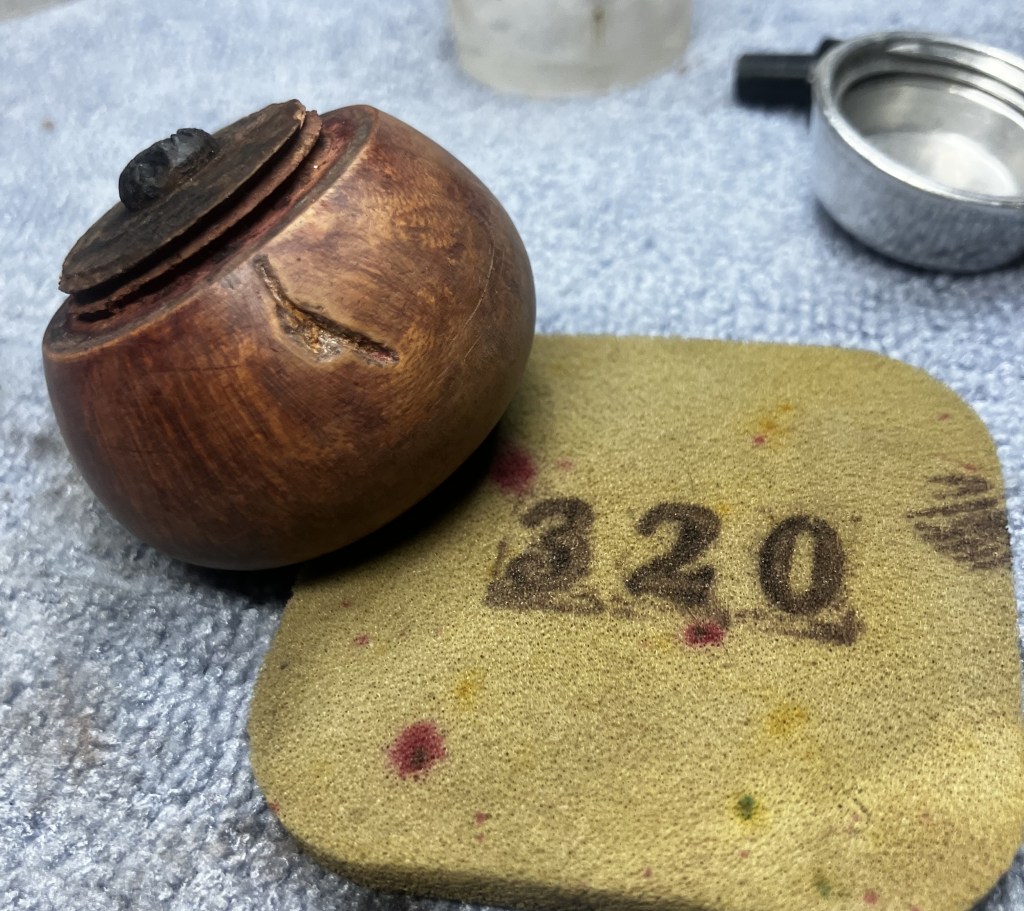
The tobacco chamber was sanded using 320 sand paper both by finger and sandpaper wrapped around a wood dowel.
The bare briar showed no damage from heat.
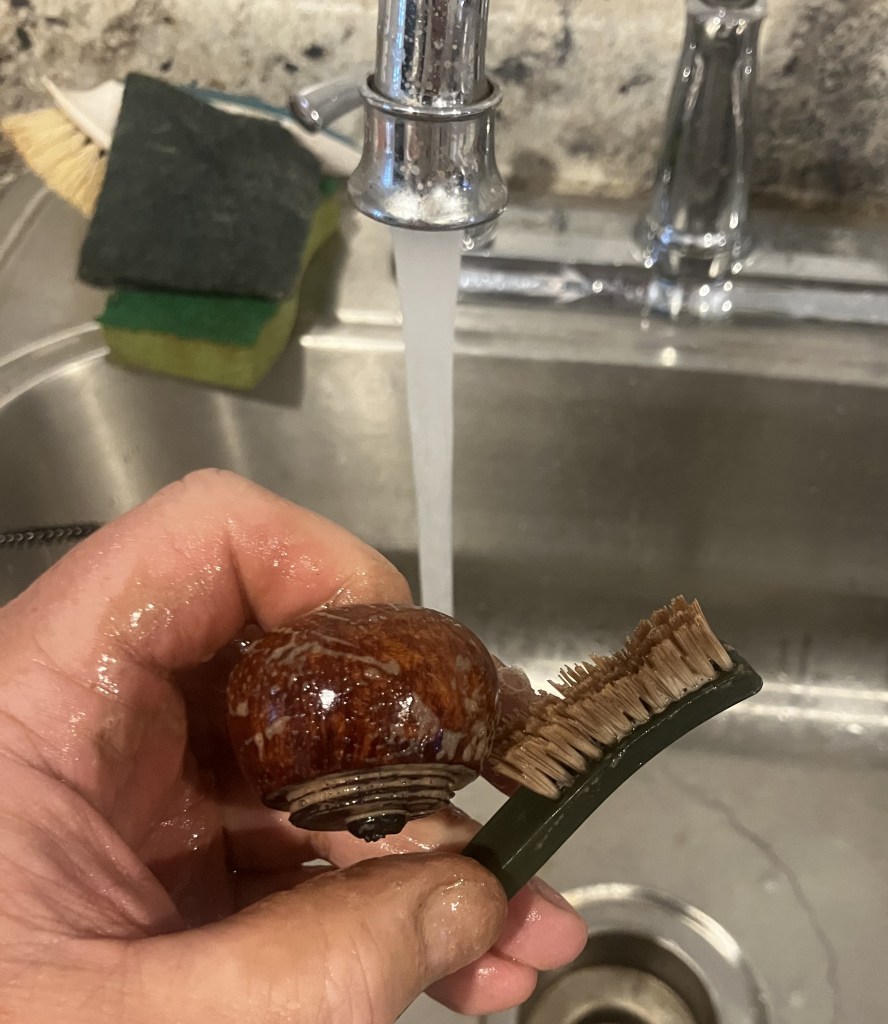
To the sink! The briar bowl was scrubbed with undiluted Murphy Oil Soap and a nylon brush. The soap was rinsed with warm water and dried with a cotton hand towel.
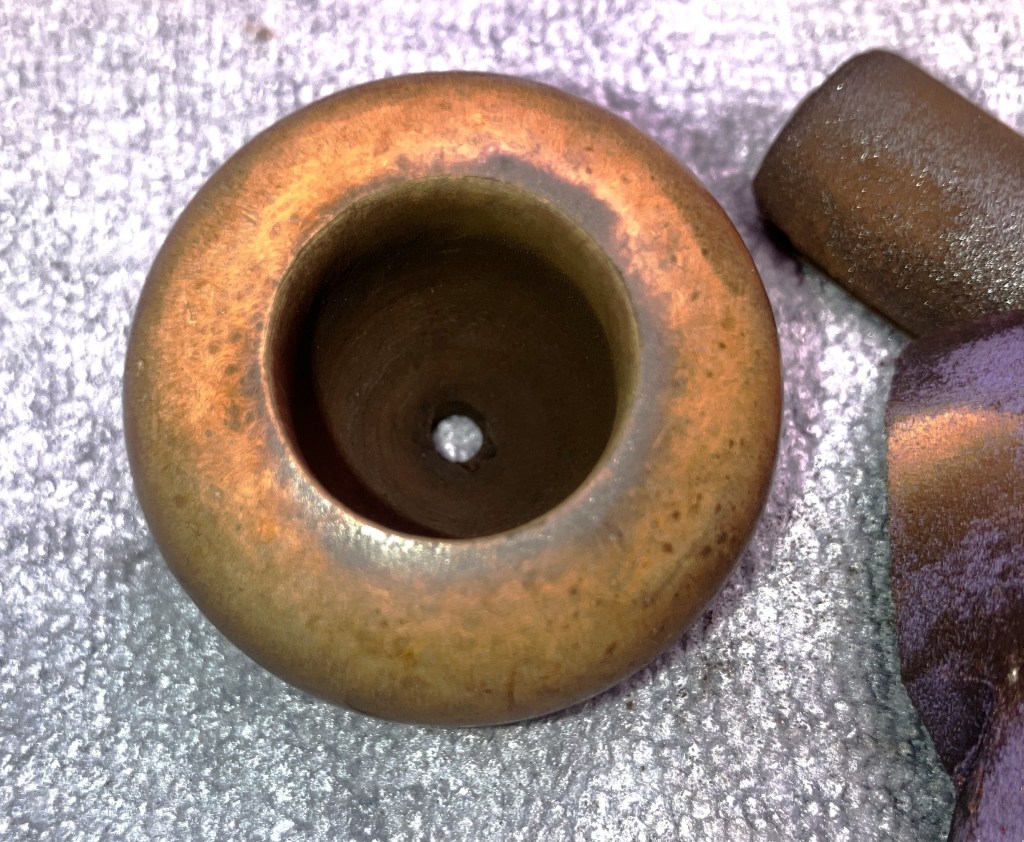
As the bowl was drying on the workbench I was able to see the myriad of bir’s eyes. There were a couple of places on the rim where there remained a slight bit of charring or lava.
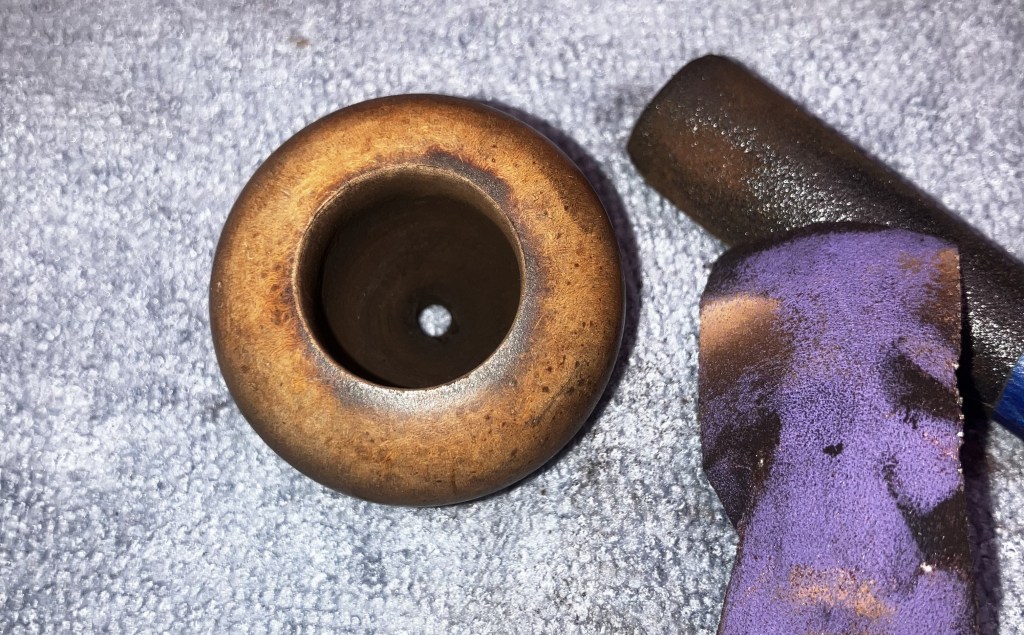
The bowl was wiped with 99% ethyl alcohol on a make-up pad. Notice some of a pinkish stain or dye was removed. Most of this dye was along the base of the bowl.
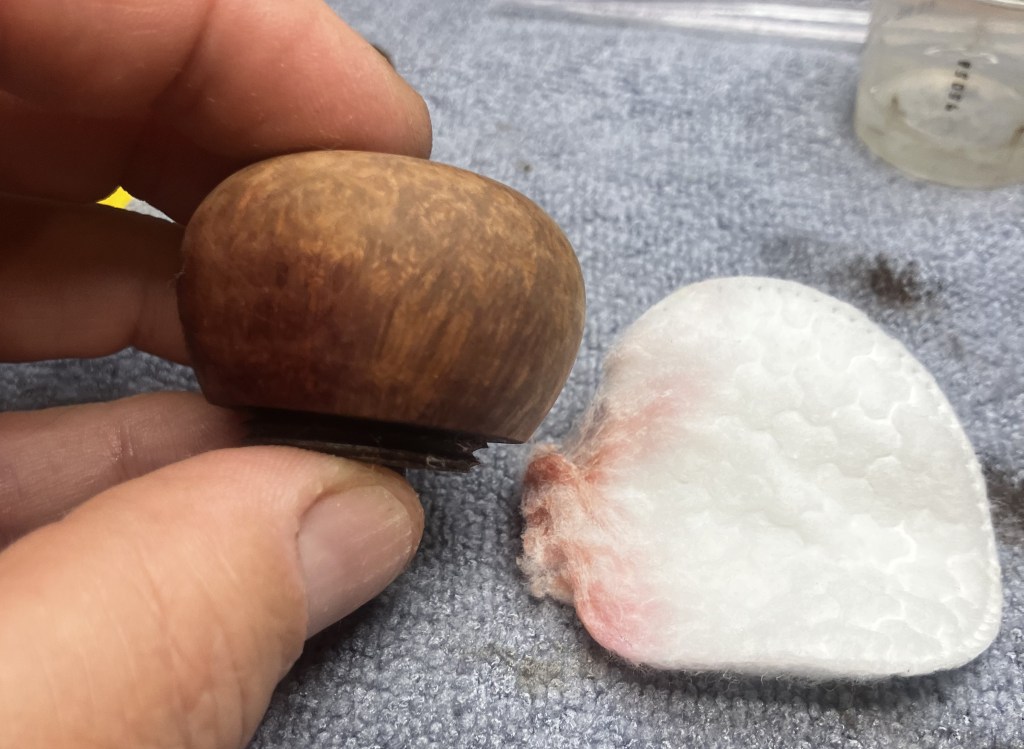
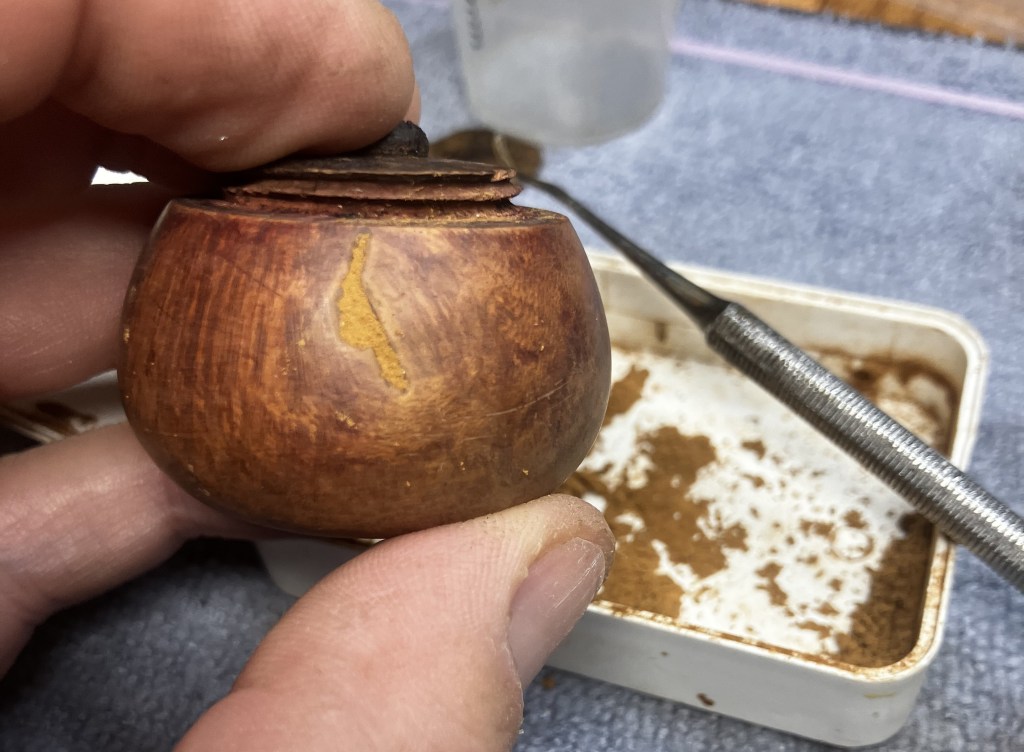
All of the scrubbing and alcohol revealed a large fill. I think the fill area received an extra heavy coating of dye in an attempt to conceal this fill.

I picked the old fill material from the bowl. I had to soften the fill with 99% ethyl a few times.
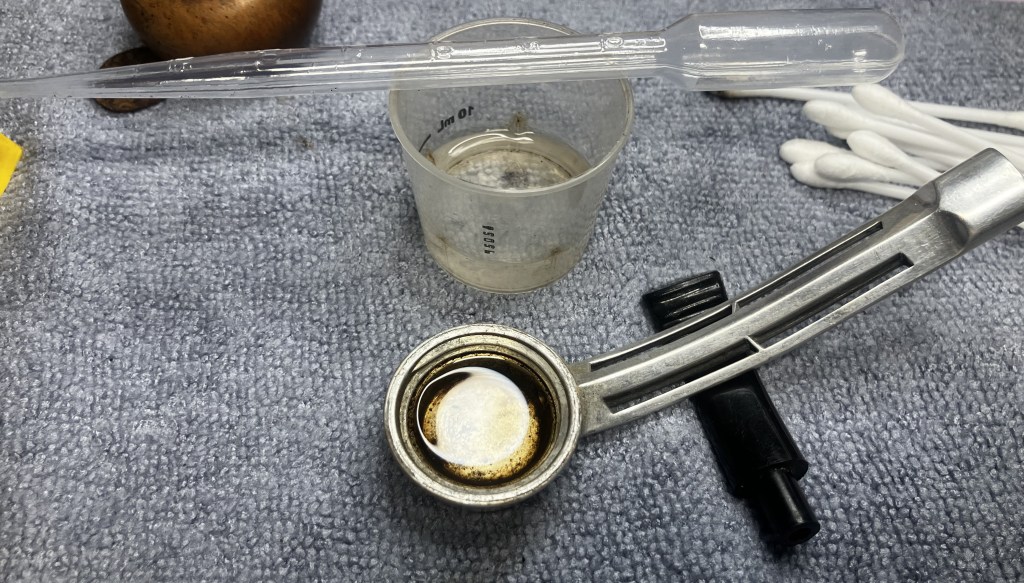
The alcohol was poured from the sump into a medicine cup and was cleaned with cotton swabs and a baby toothbrush. The threads of the aluminum were scraped using a fly tying bodkin to free those grooves.
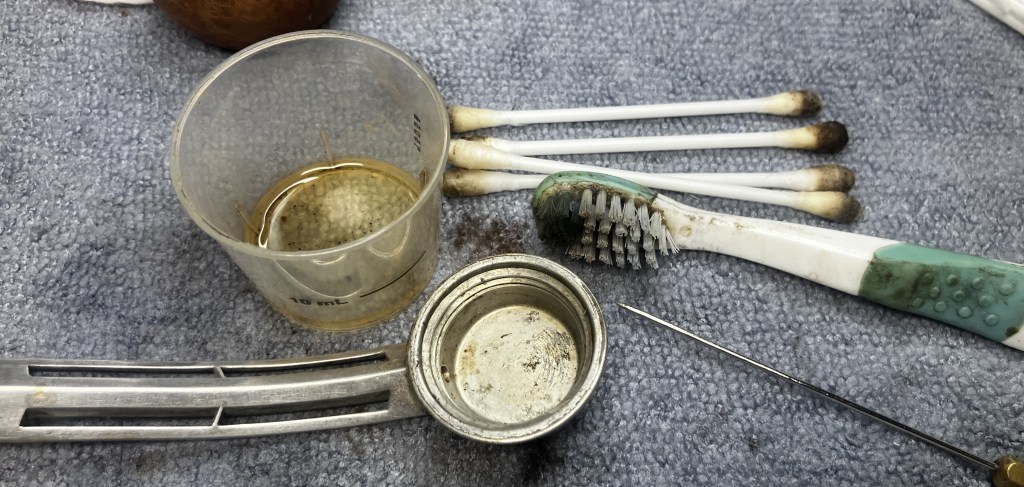
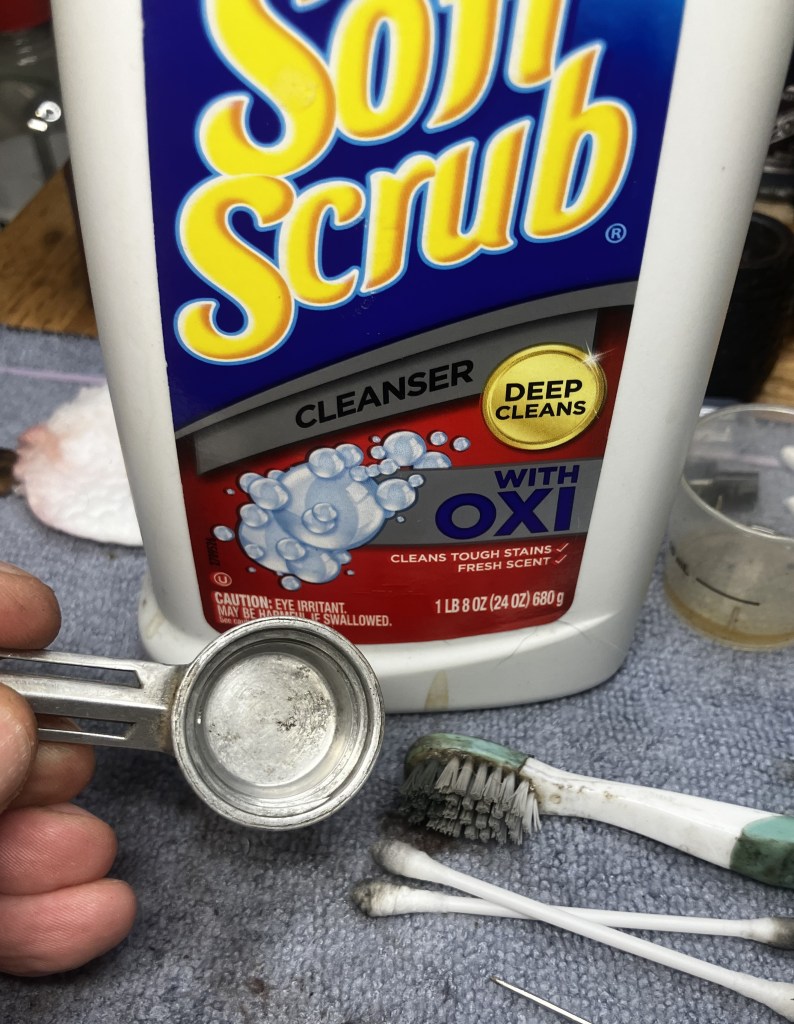
I then applied some Soft Scrub cleanse to the baby toothbrush to further clean the threads and sump.
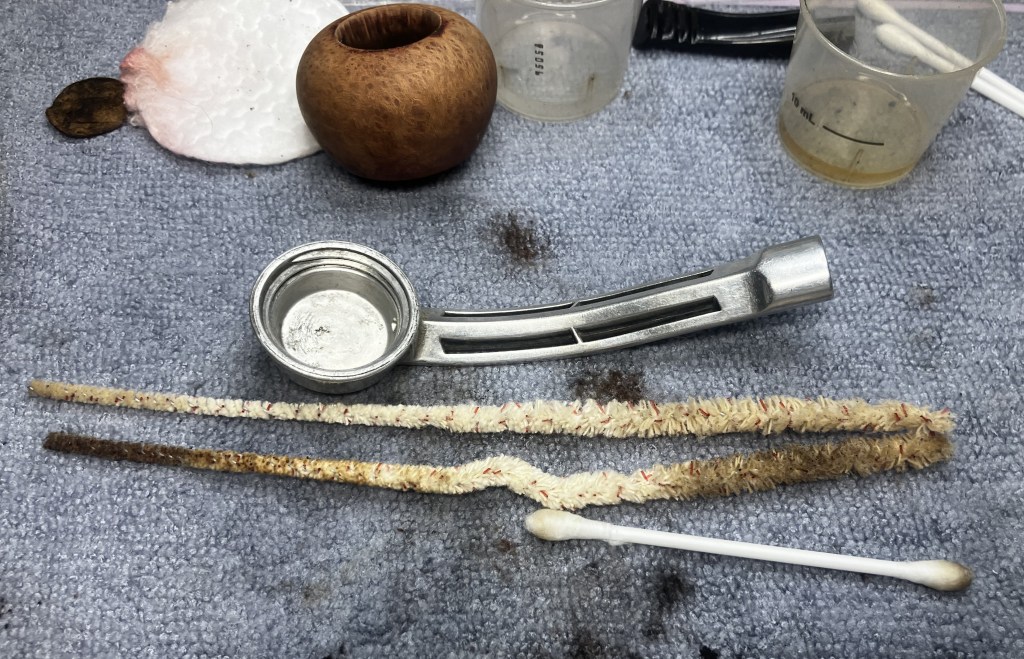
I used bristle pipe cleaners dipped in ethyl alcohol to clean the airway.
To the sink! Oh fun, I got to say that again. The aluminum was scrubbed with Dawn dish soap and a nylon brush and shank brush. The soap was rinsed with copious warm water.
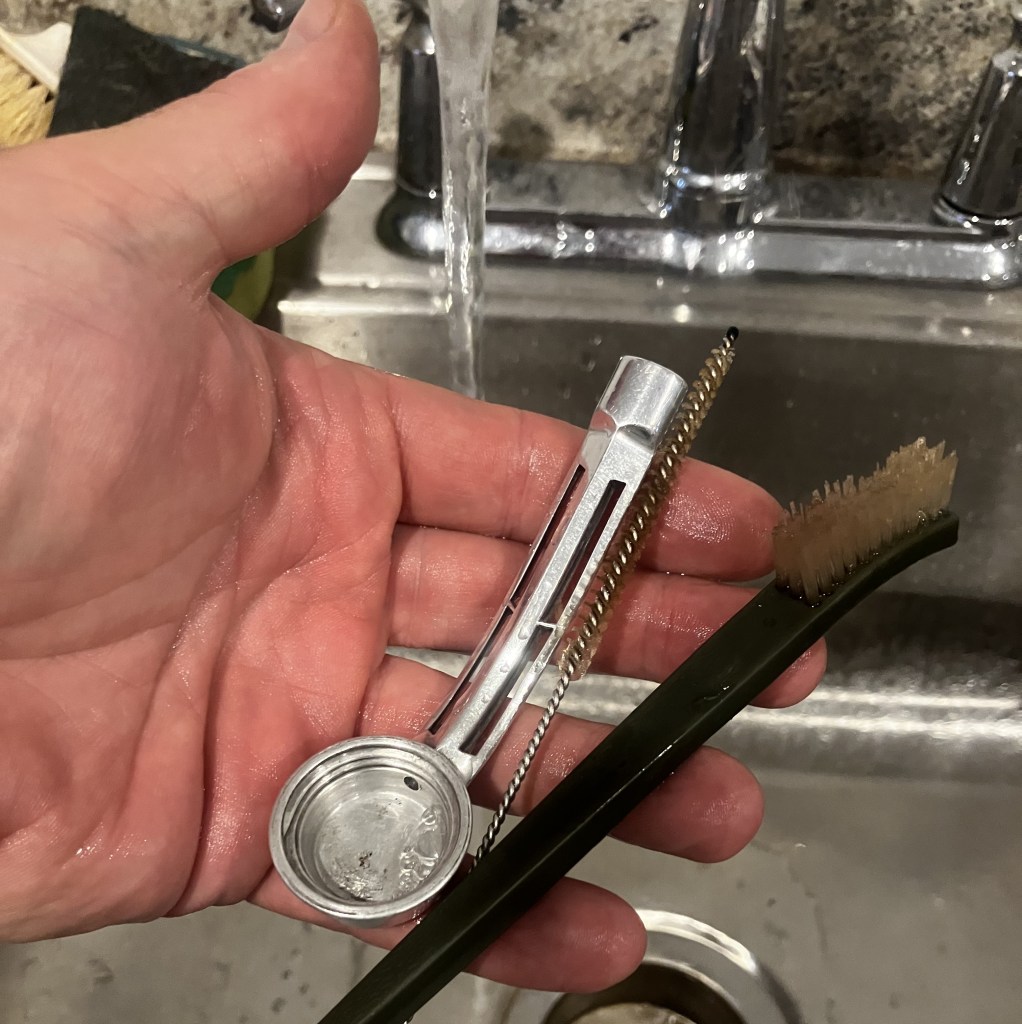
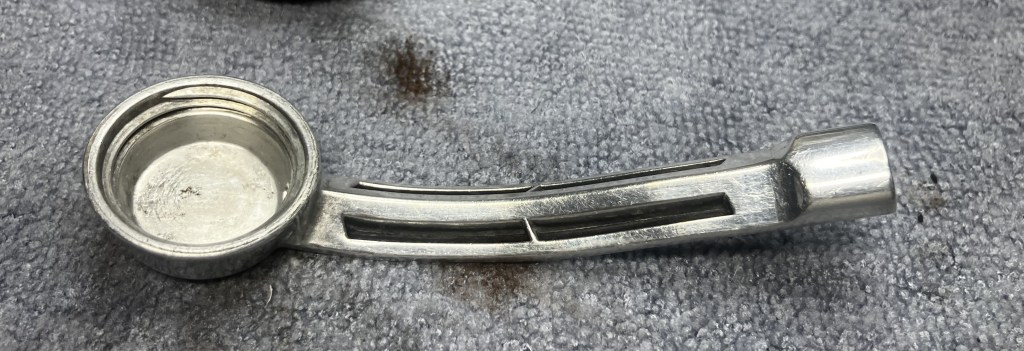
The aluminum body of the pipe now looked much better.
Even the mortise was nearly spotless.
And the sump, clean enough to use as a soup spoon. Though why you’d do that is quite questionable.
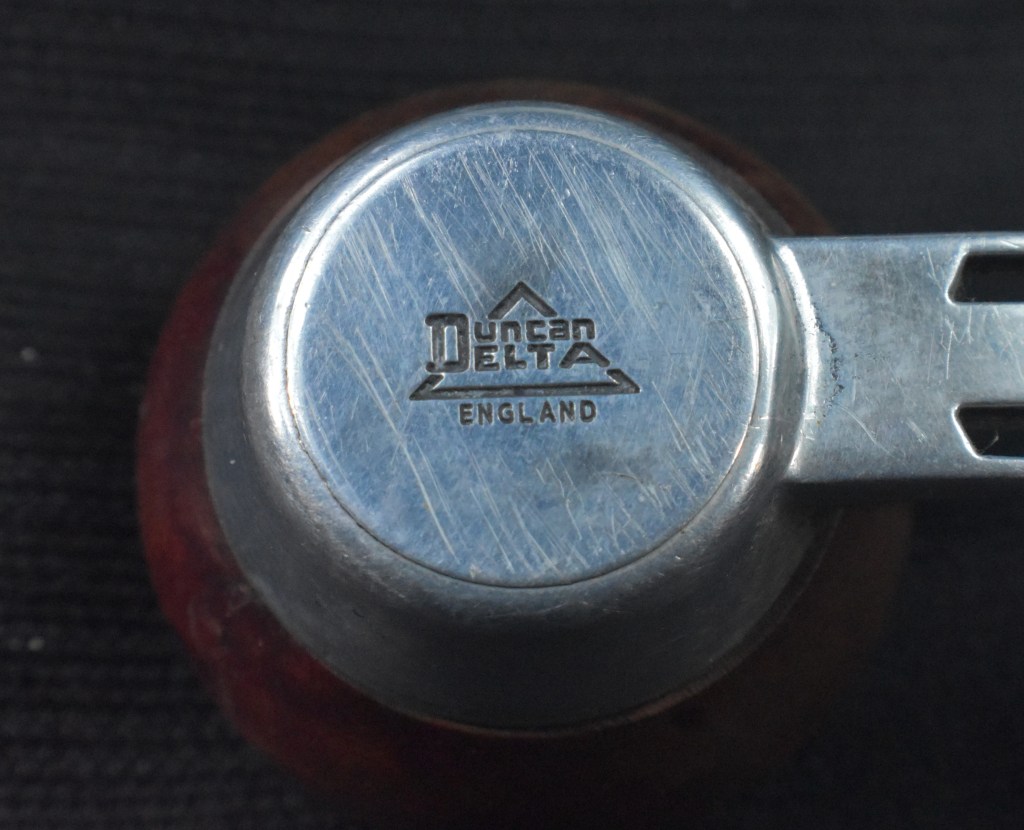
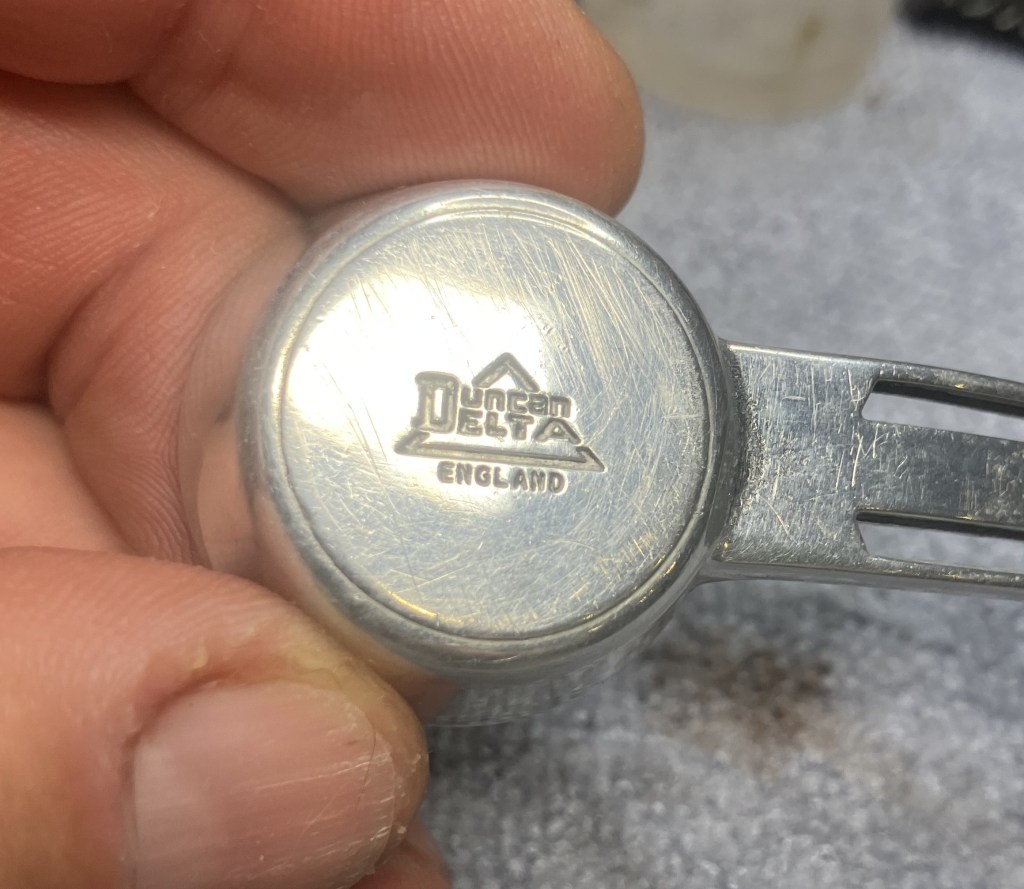
The embedded grime in the factory stampings was a thing of the past.
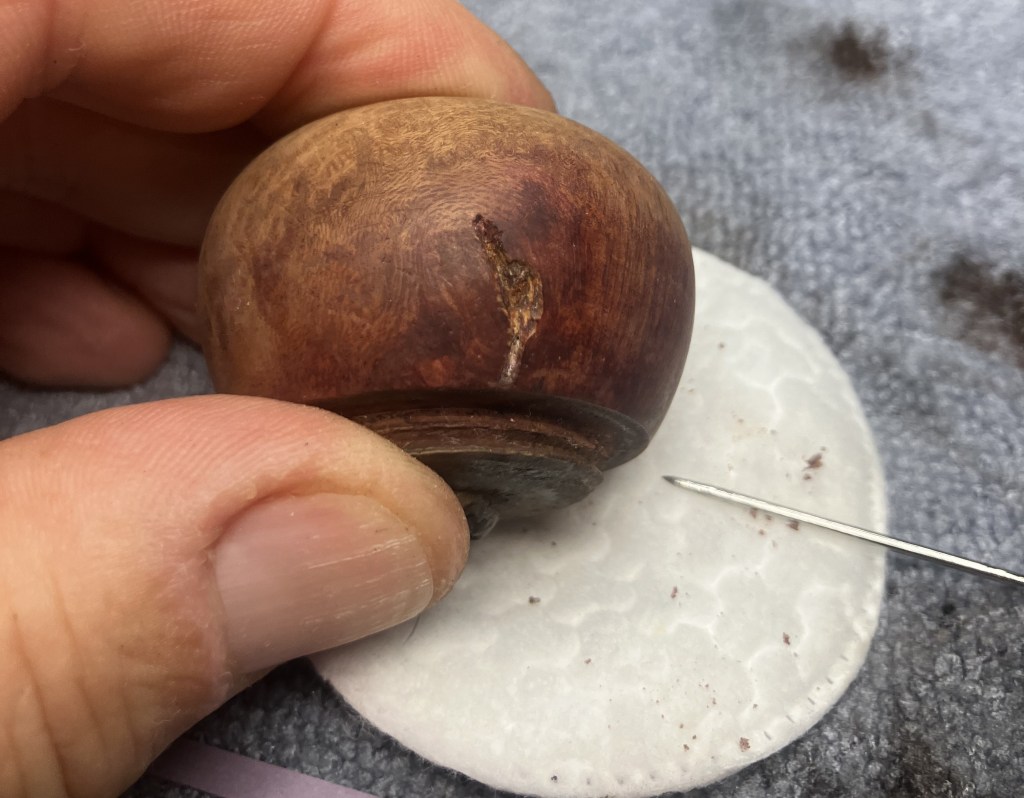
Turning my attention to the wooden nipple at the bottom of the bowl. This little bit showed ware and chips. I wanted to restore it to a more smooth and functional part. This would require some thought.
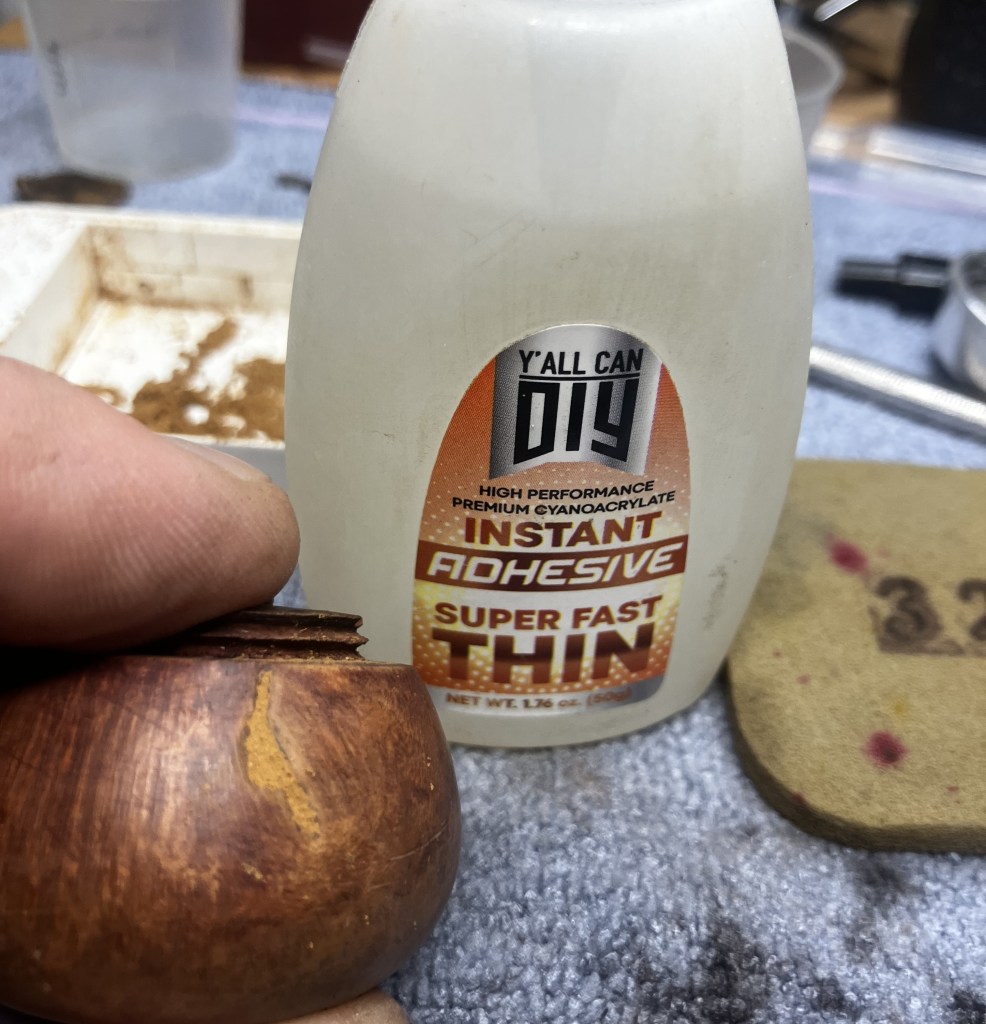
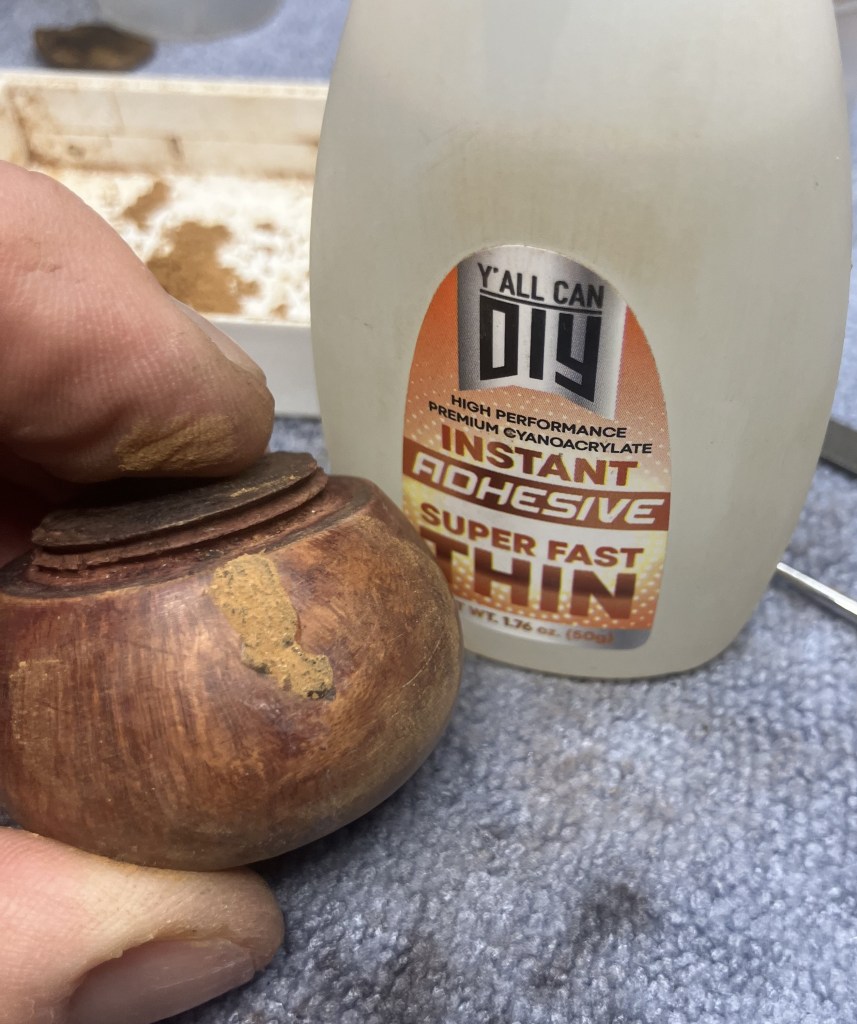
The fill repair, nipple rebuilding and strengthening of the wooden threads all would be done with cyanoacrylate (CA, super glue) and briar dust.
The old fill had been removed and the pit was packed with briar dust.
Thin CA was applied to the dust. This would penetrate the dust and bond it to the sides of the pit.
The subsequent new fill was filed with a small flat file. The results were still rough and required a second application.
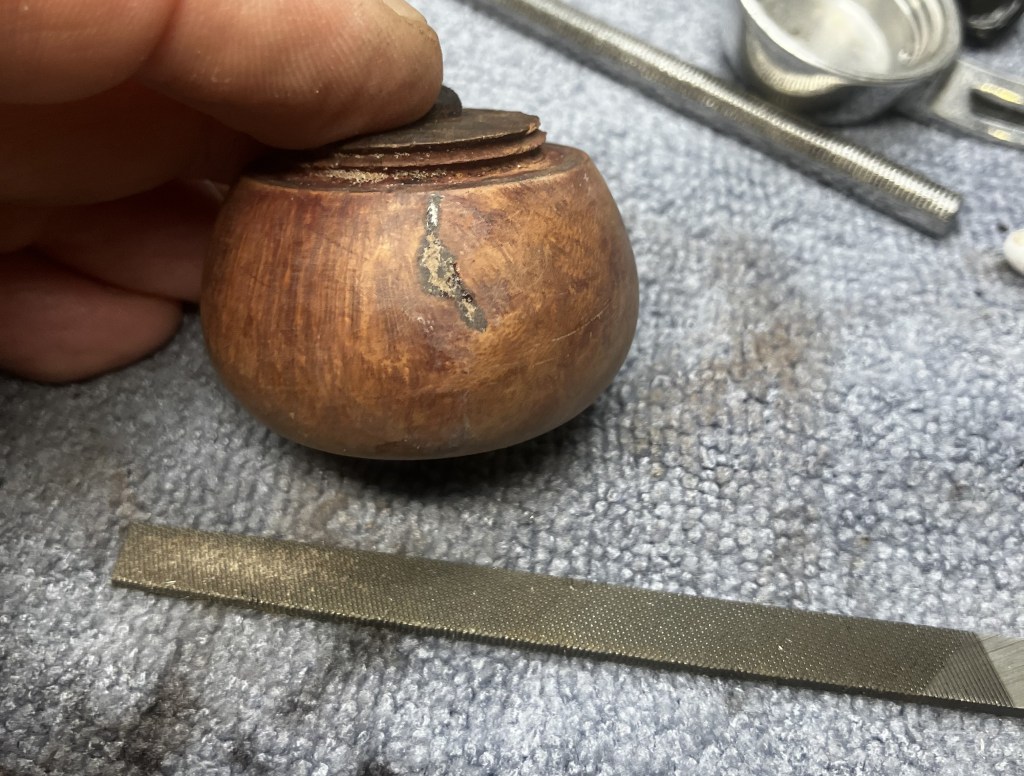
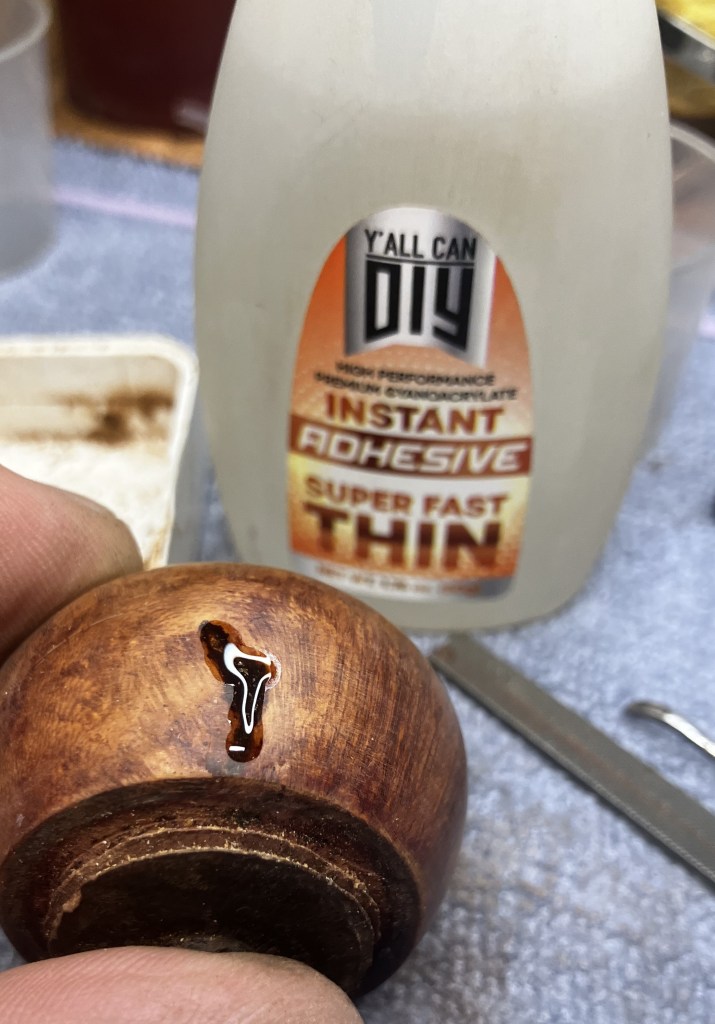
The second application was reversed with the Thin CA going on first then briar dust pressed into the wet CA.
The dust combined with the wet CA and cured almost instantly. This was then filed smooth.

A final coat of Thin CA was applied to the fill and allowed to cure on its own.
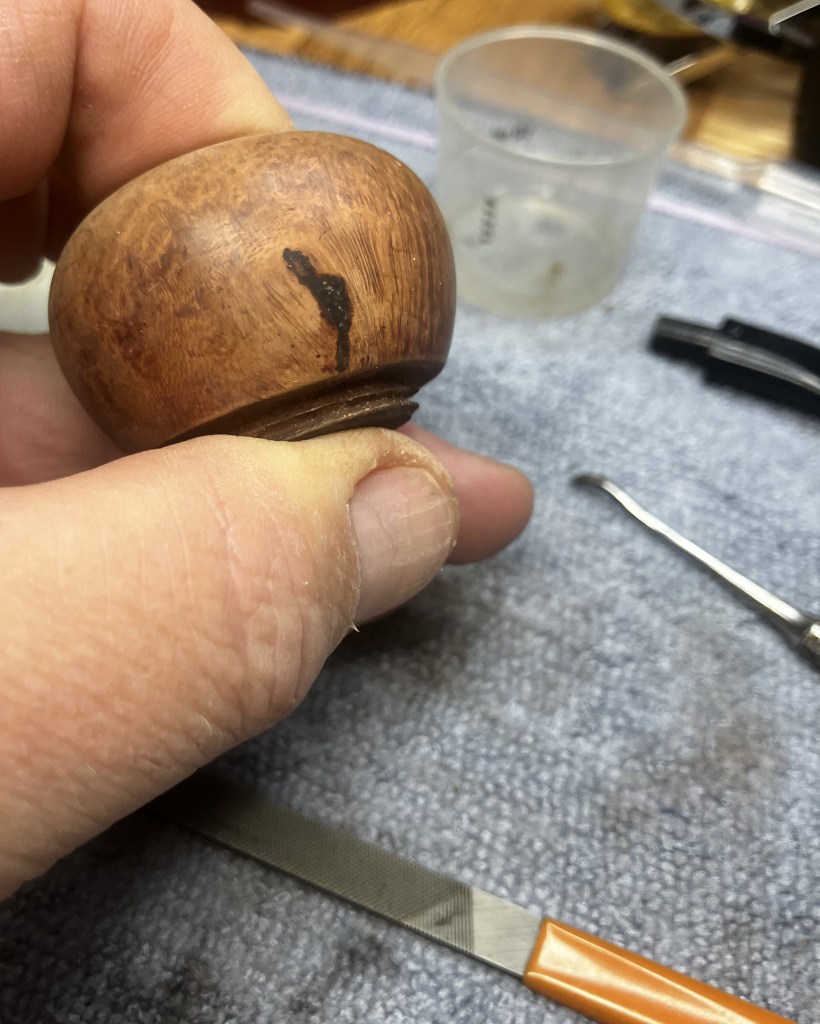
The cured CA was again filed smooth and sanded.
To strengthen the wood threads I carefully applied This CA to them. The CA penetrated the briar and would hopefully strengthen the wood, making it much tougher.
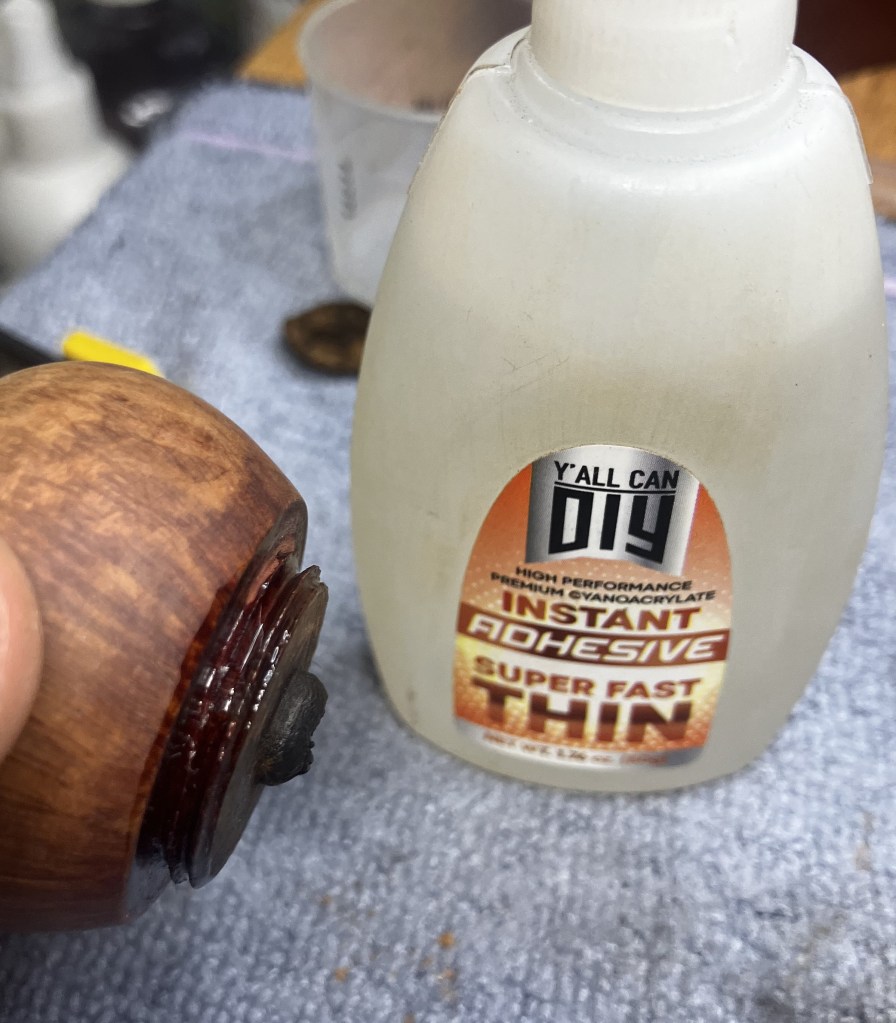
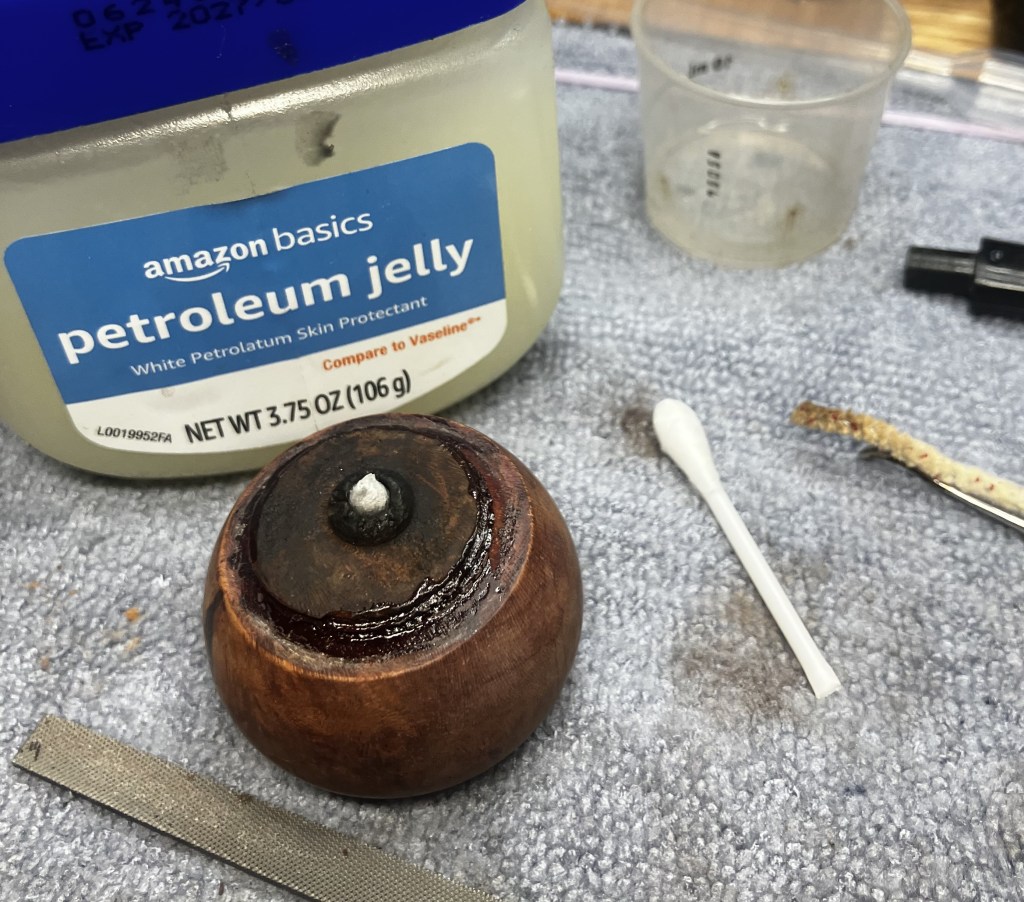
To rebuild the nipple, I decided to retain as much of the original as possible. To do this I cut a cotton swab off and literally coated the cotton with petroleum jelly to keep the CA from adhering to the cotton. This would be inserted into the hole.
The cracks and crevasses would then be packed with briar dust and topped with Thin CA. This would be repeated until the nipple had been reestablished.
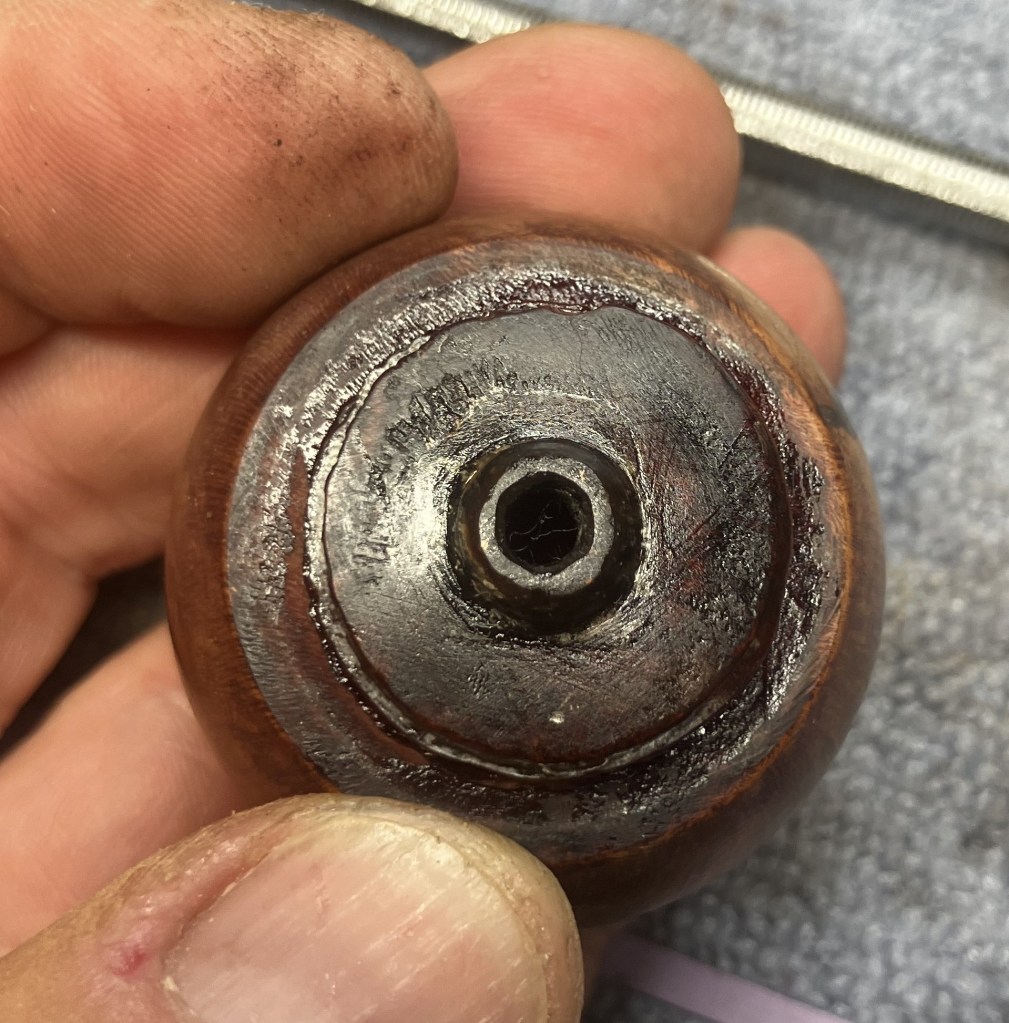
The newly reestablished nipple was then shaped with a small flat file.
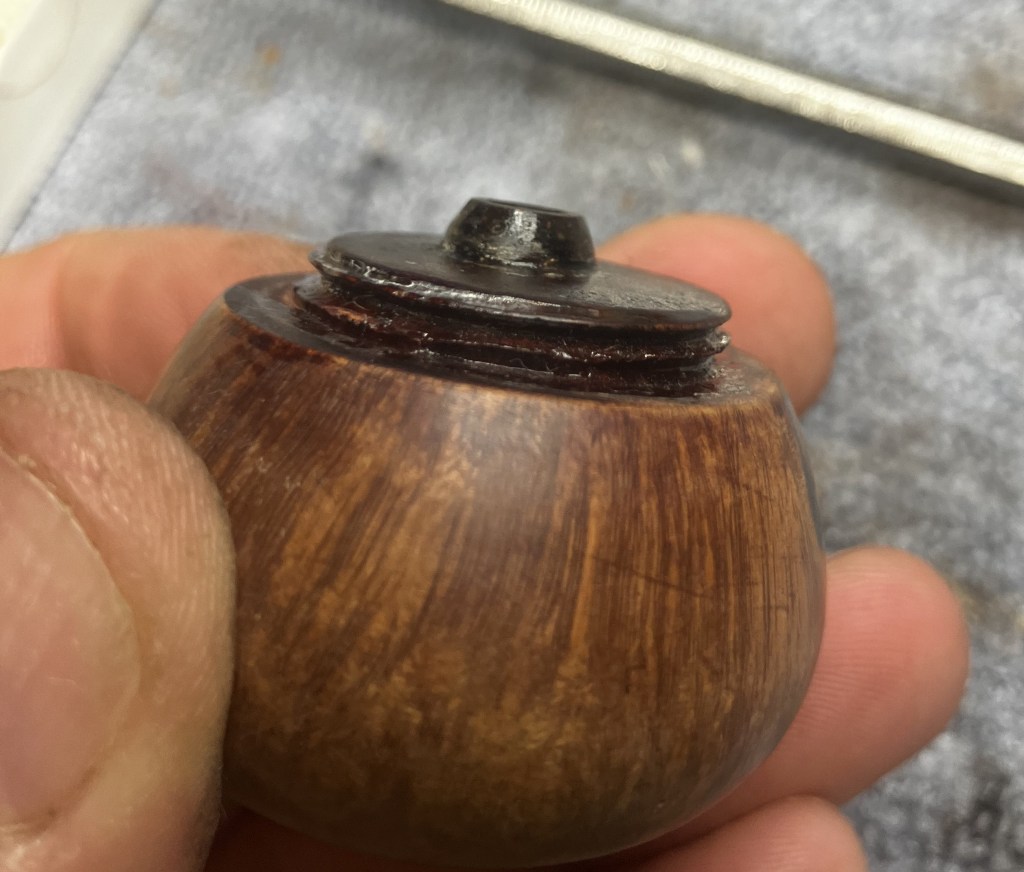
The results were good and were also much tougher than the original briar. The chipping of the threads should also be reduced with the CA impregnated briar.
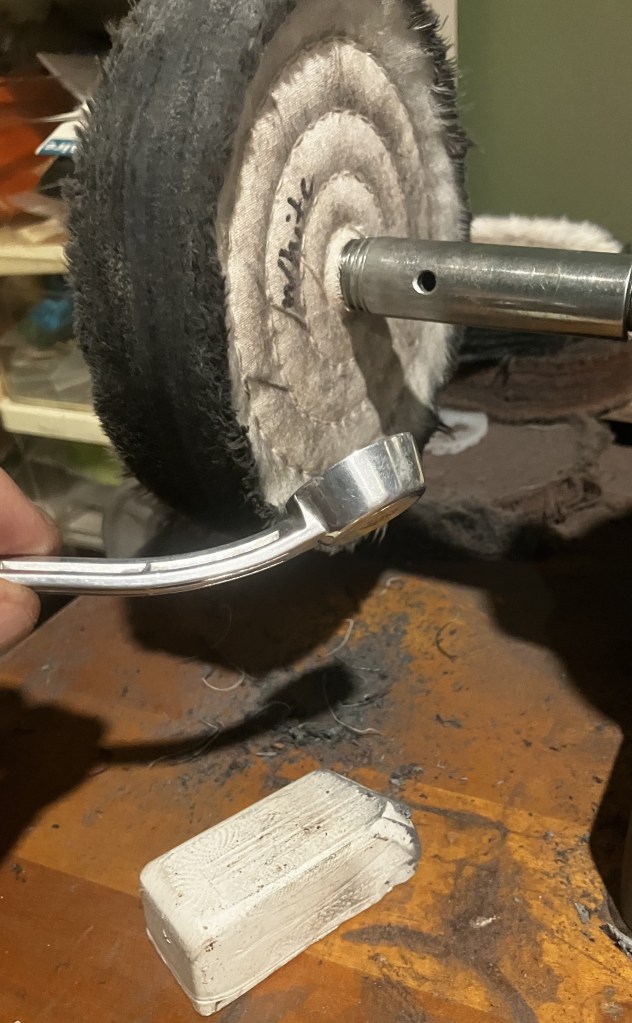
It was time to work on my metal polishing skills. This is one of those things that requires extended practice and experience, both of which I lack. I used white buffing compound on the dedicated wheel at the buffer. The aluminum and mouthpiece were buffed until I was pleased with their appearance.
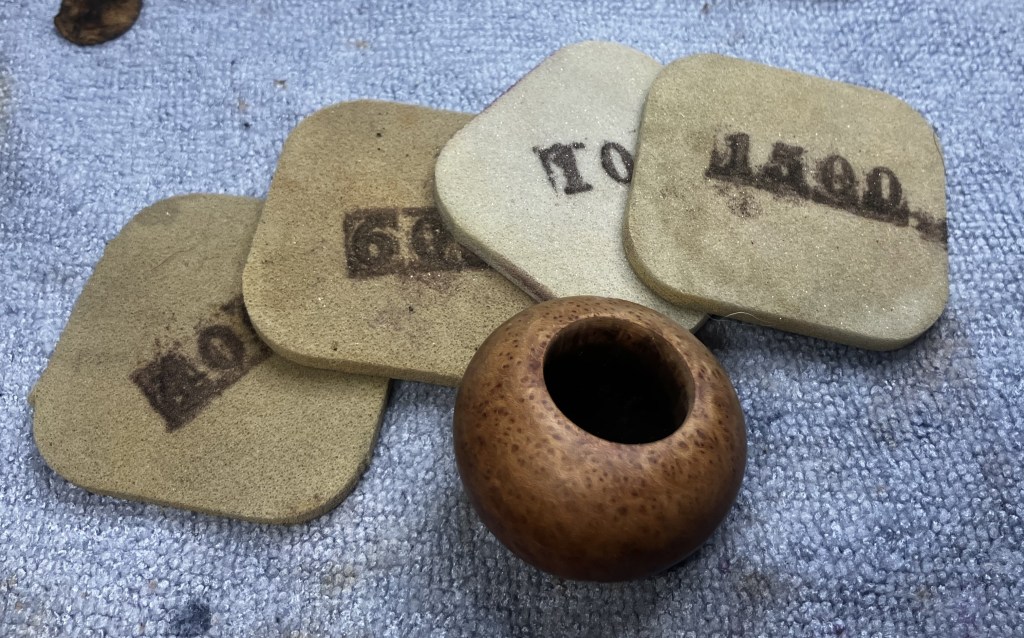
The bowl was sanded using a series of sanding sponges, starting with 400-1500 grits. The bowl was wiped with a make-up sponge wetted with alcohol between each sanding sponge to remove sanding debris.
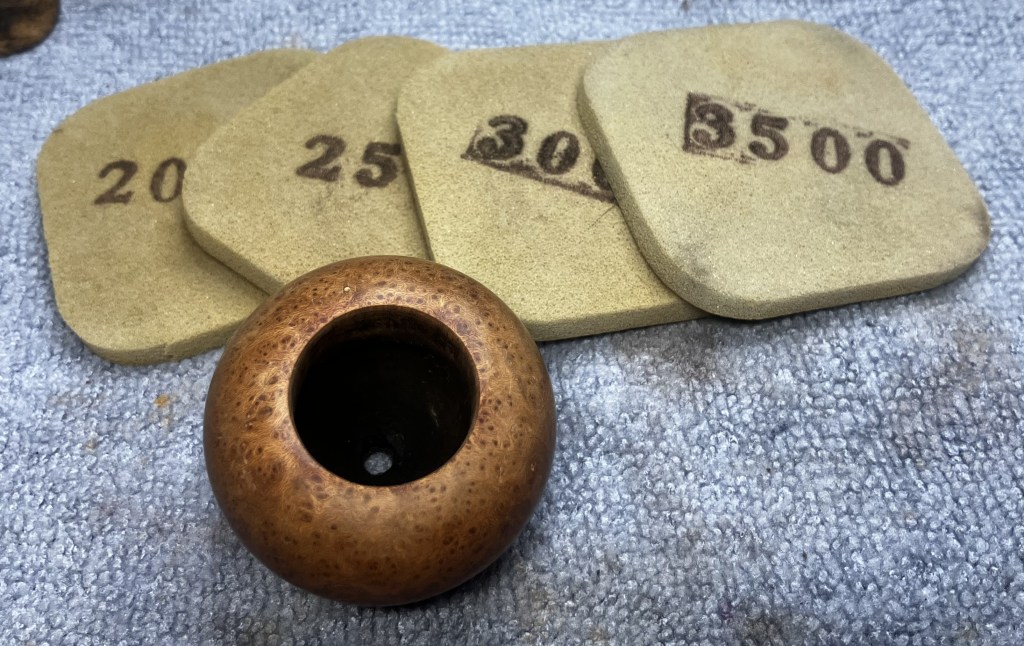
The sanding and wiping continued through the series of sponges in grits of 2000-3500.
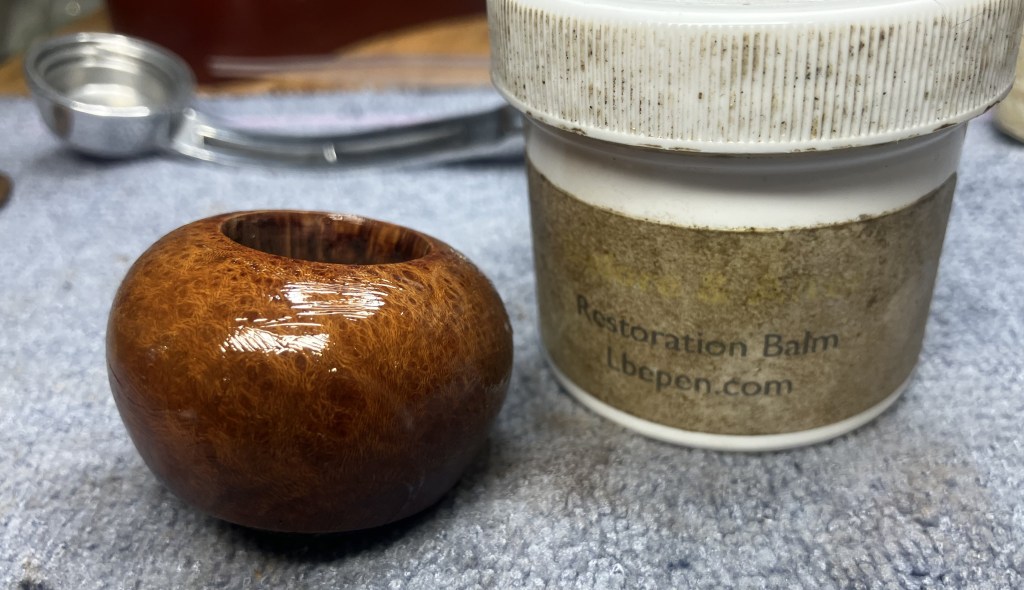
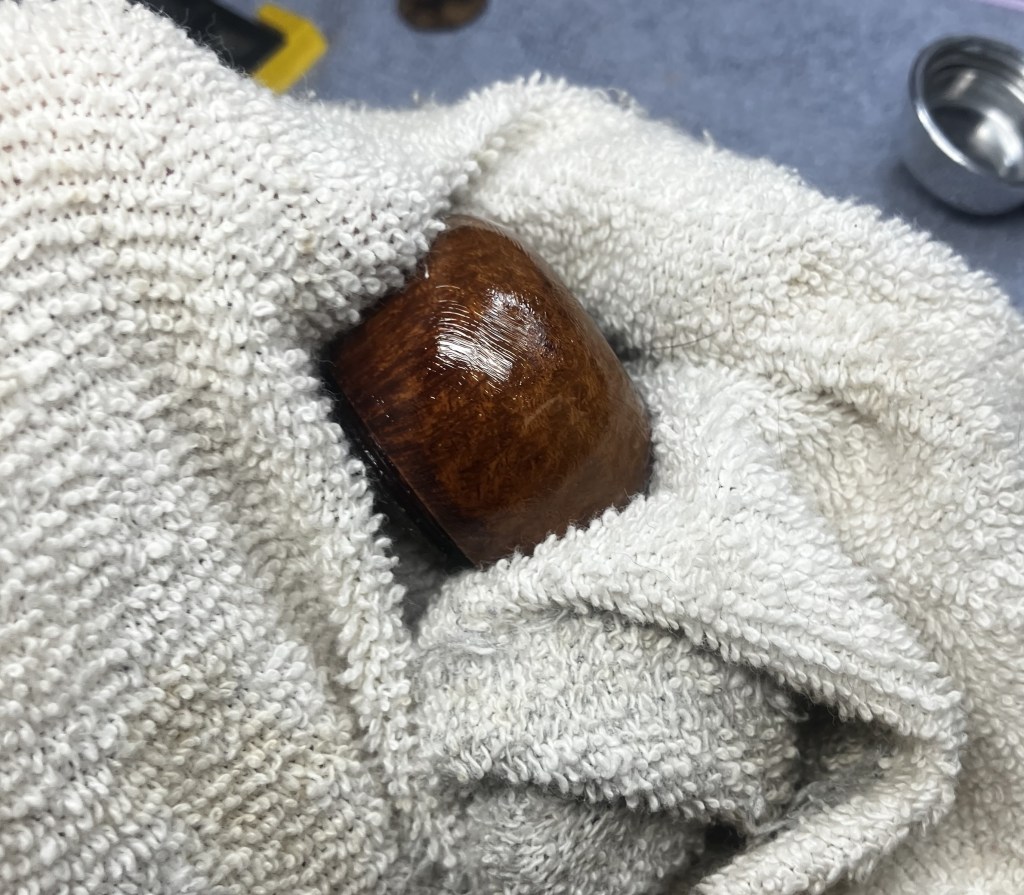
The bowl then received a coating of Before and After Restoration Balm and was allowed to sit for about an hour.
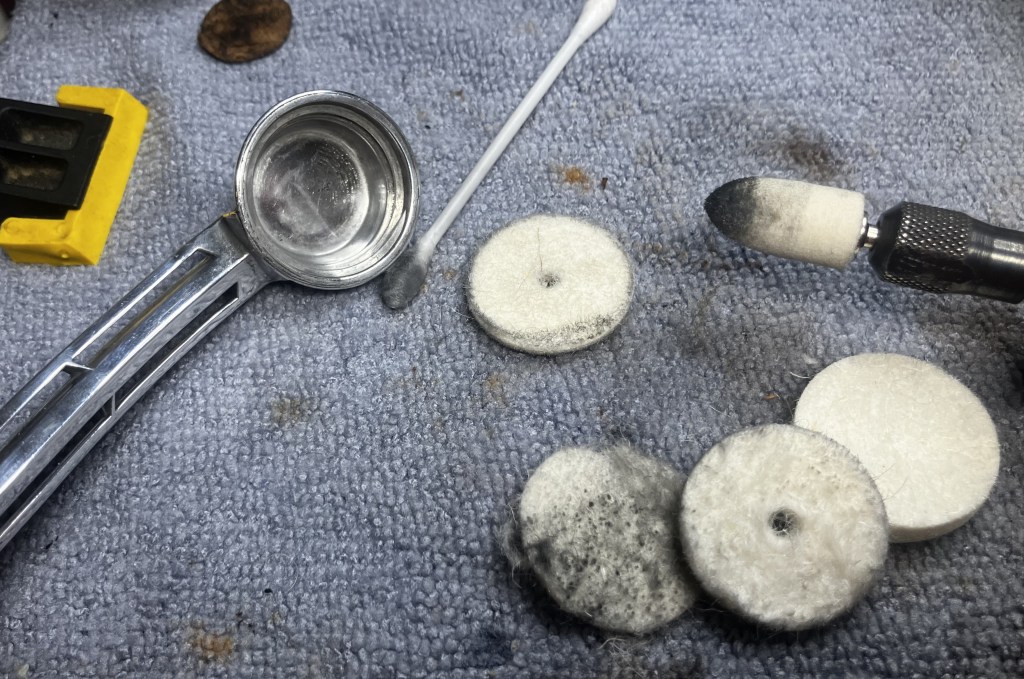
The polishing of the aluminum went well but buffing compound remained in the spaces along the shank of the pipe. To address this I thought that I could slice felt buffing discs for the Dremel tool thinner. The original discs were far too thick to fit into the spaces along the Duncan’s shank.

This idea was a good one but proved to be ineffective. The slimmed-down discs did not have the strength to hold onto the Demel bit and they would stop spinning while the bit continued to spin. I ended up using the thinned discs to rub the spaces by hand.
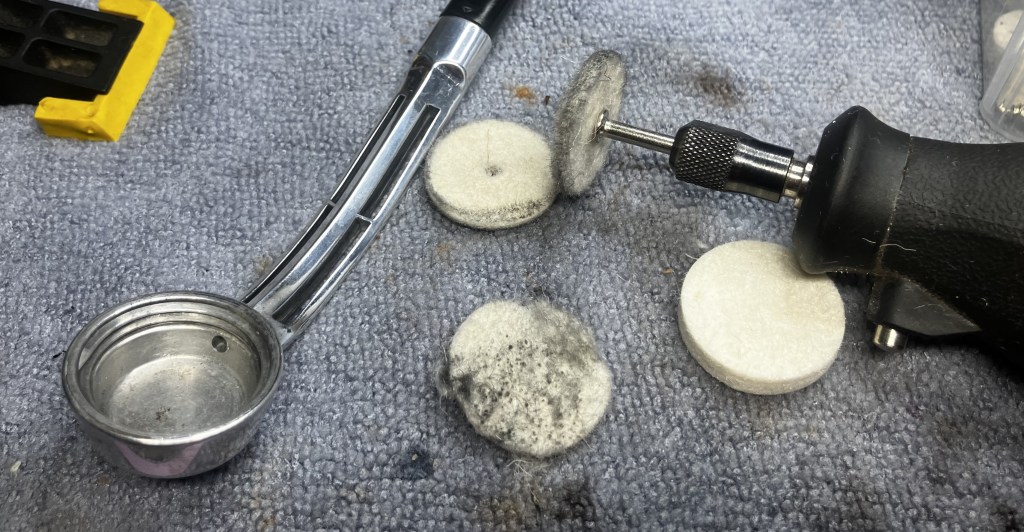
I did use the dremel with a conical felt tip and white buffing compound to further polish the sump.
After all the aluminum polishing, I wiped the excess Restoration Balm from the bowl using an inside out athletic sock.
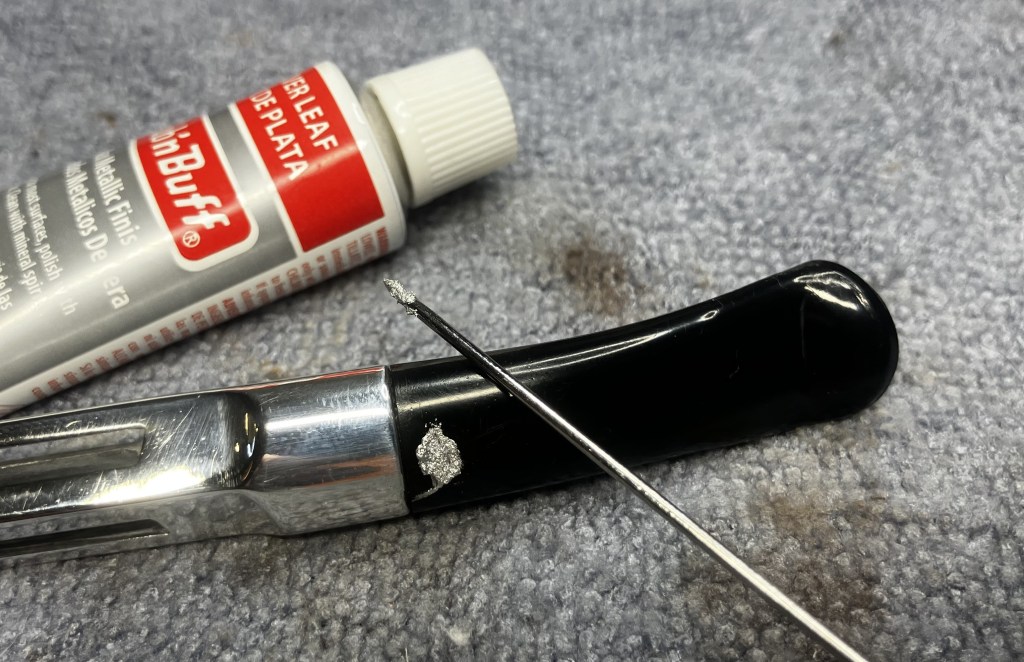
The aluminum, briar and mouthpiece were looking great. I did fail to photograph the buffing of the mouthpiece, apologies for that. Next came the restoration of the stem logo. The pipephil.eu photos showed the delta logo as silver. To match this detail, I used Rub’nBuff Silver Leaf.
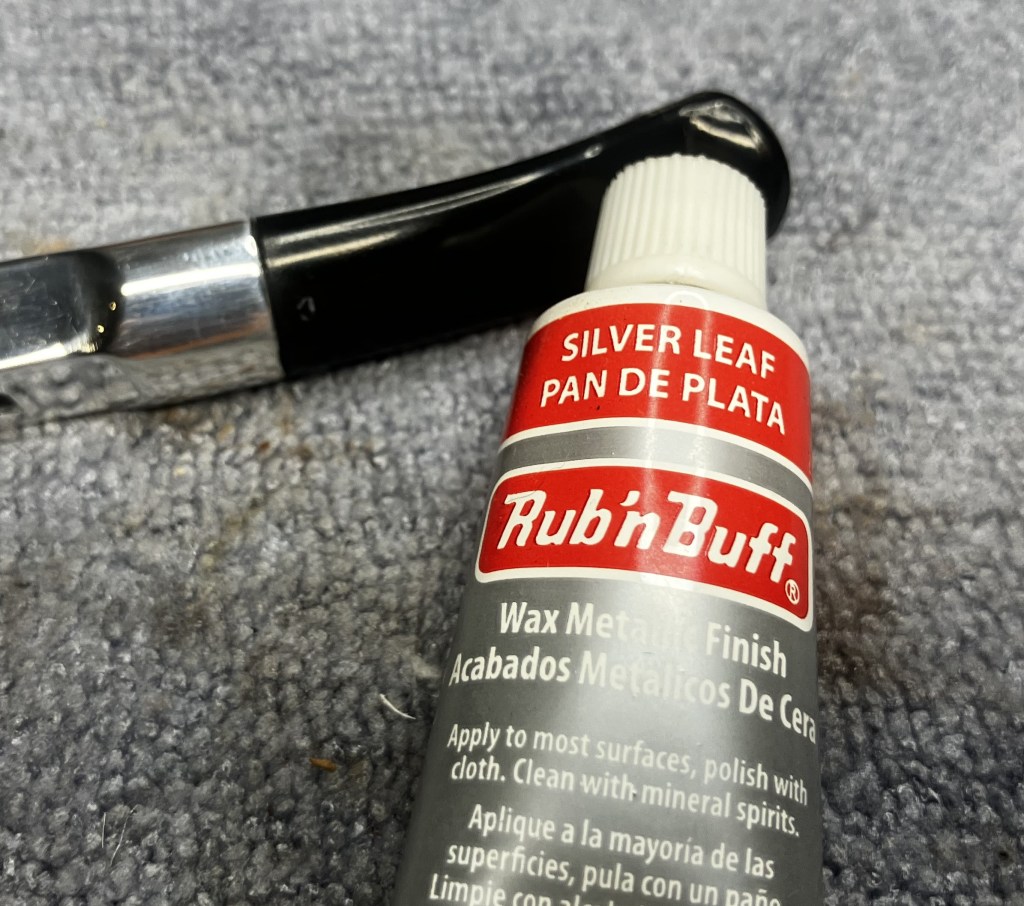
The paste was applied using a fly tying bodkin to work the paste into the depressions of the logo.
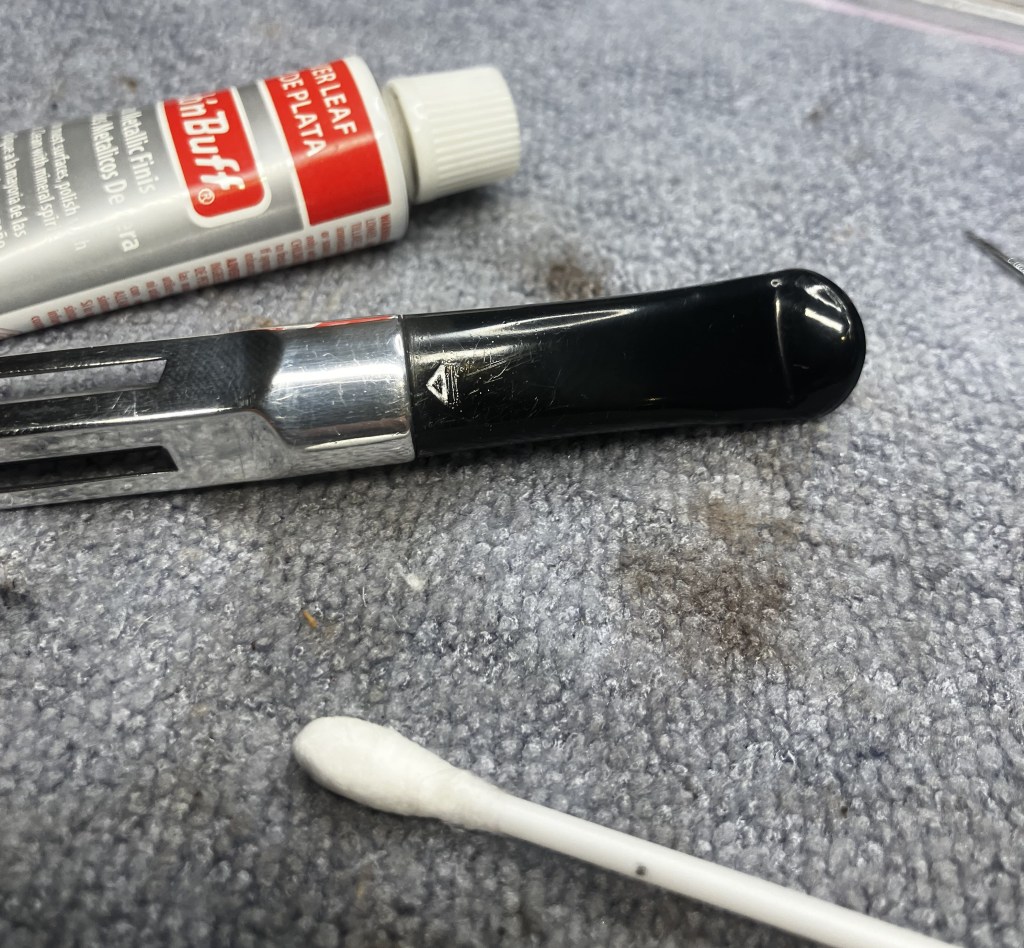
The excess was hand buffed with a soft cloth then cleaned up with an alcohol dipped cotton swab.
The reassembled pipe was then taken to the buffer for several coats of carnauba wax.

The final step was a hand polishing of the pipe with a microfiber polishing cloth.
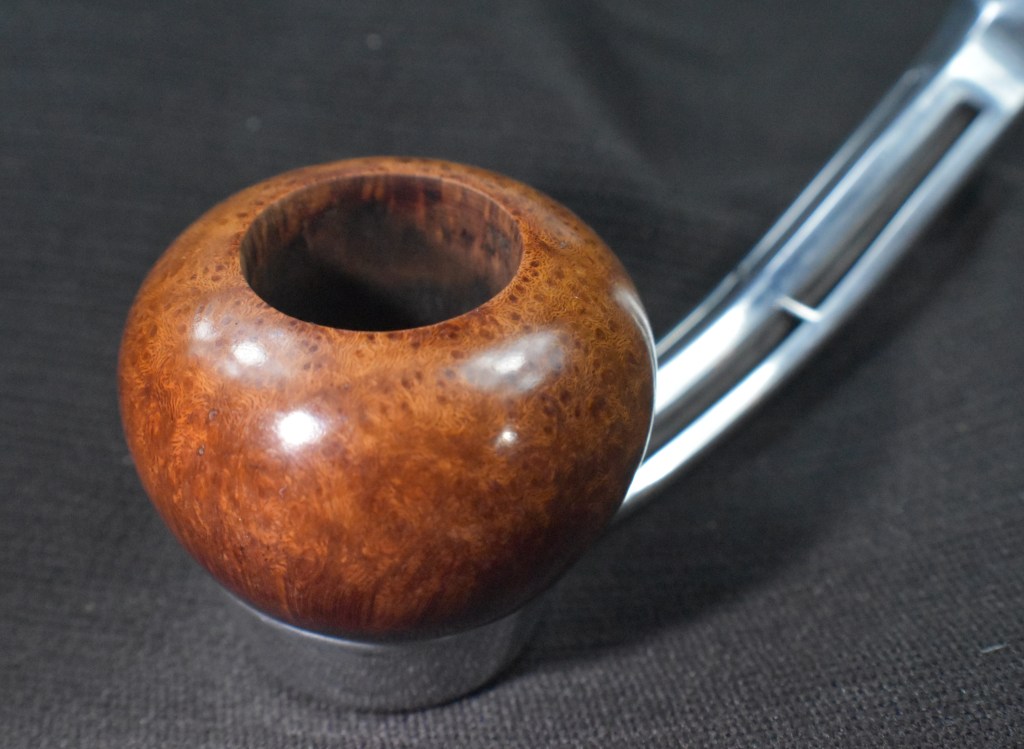
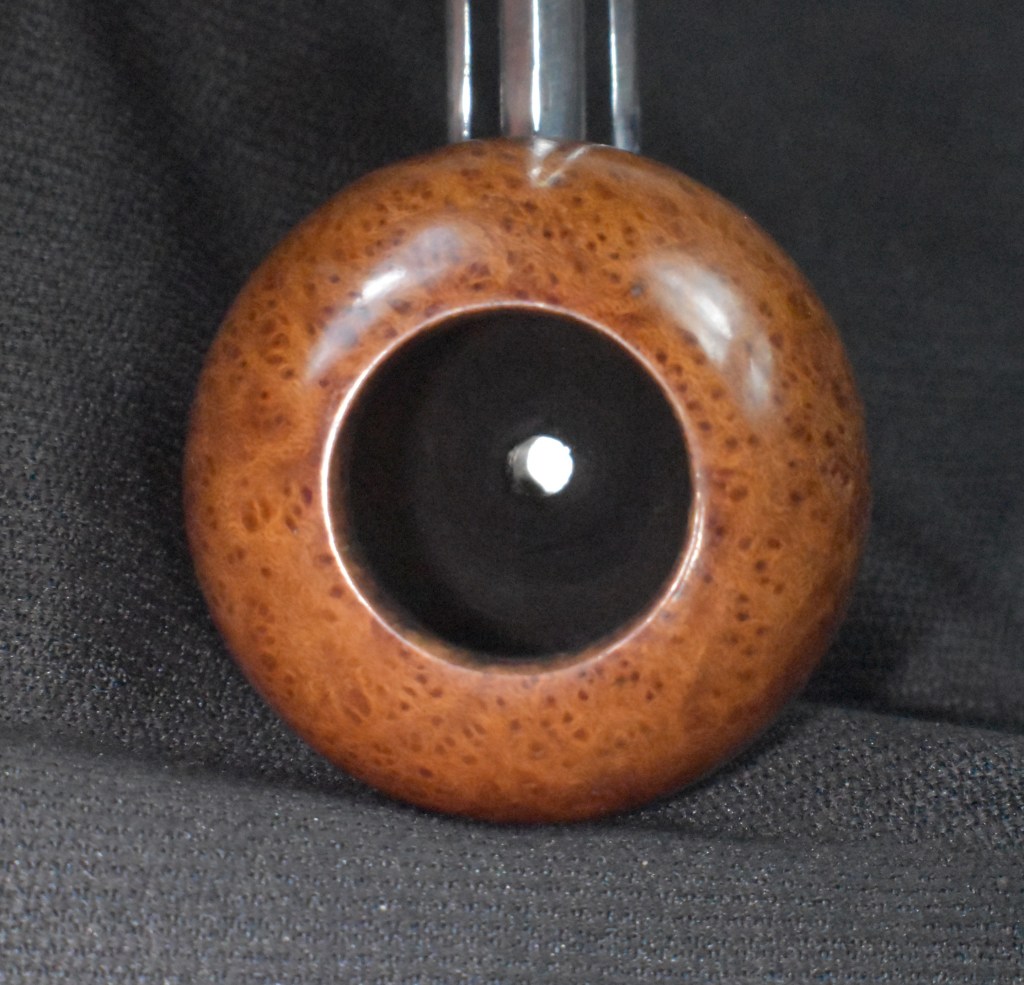
Yay, I can check off another pipe from my list of pipes that I wanted to work on. This Duncan Delta was fun to have in hand. The elegance of the shape is wonderful. I really appreciate how the entire pipe came apart for cleaning. The aluminum polished-up nicely though those voids along the shank surely radiate heat effectively are a bit of a challenge to clean. The plastic of the stem also took well to the buffer and now appears factory fresh. The grain of the briar bowl is lovely with a great number of bird’s eyes. Though the large fill on the front of the bowl may be a detraction from the beauty, the smoothness of the finished fill and its lasting strength add character to the piece. I have not smoked this pipe but I am certain it will perform admirably. I did try the denture bit for comfort and can attest that it is quite nice. I am sure that this Duncan Delta will provide years of service to its next pipe steward.
The dimensions of the Duncan Delta are:
Length: 5.58 in./ 141.73 mm.
Weight: 1.22 oz./ 34.59 g. (with band)
Bowl Height: 1.44 in./ 36.58 mm.
Chamber Depth: 0.99 in./ 25.15 mm.
Chamber Diameter: 0.77 in./ 19.56 mm.
Outside Diameter: 1.58 in./ 40.13 mm.
I do hope that you have found something here useful to your own pipe care, maintenance or restorations. If you like this sort of thing, please click the like and subscribe buttons. Thank you for reading the ramblings of an old pipe lover.
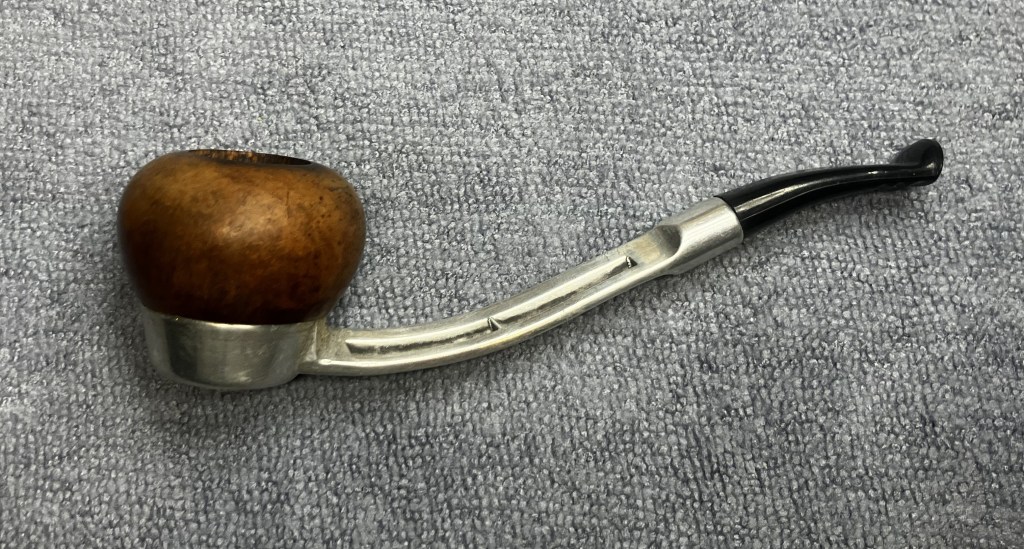
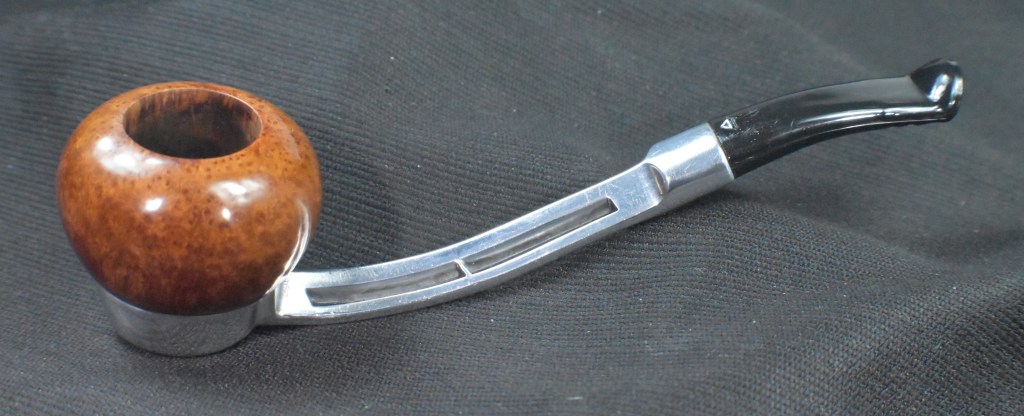
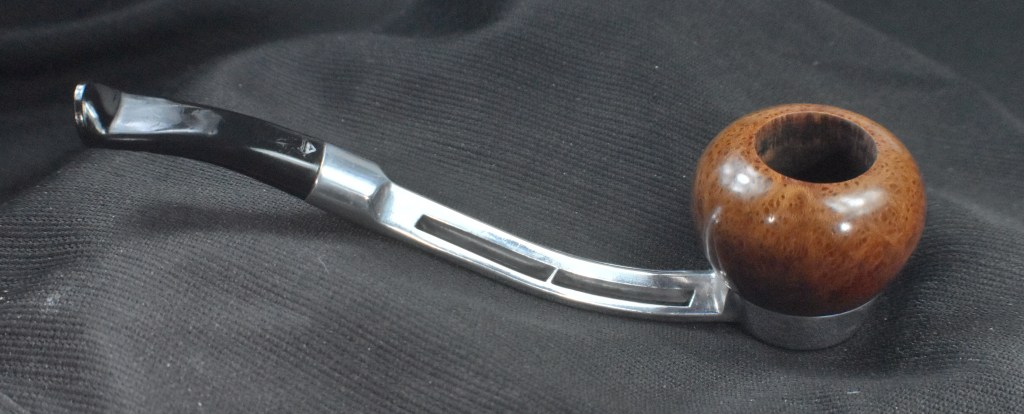
Below are some photos of the finished Duncan Delta:


 Which, in all honesty, is the same as nothing. The pipe has no country of manufacture (COM) stamp but, if I were a betting man, I’d bet on France. Marseille makes me think of Marsielle Marso but I kind of dislike bringing that up due to the dislike of mimes in general by AMericans. At least in my experience mimes are not appreciated.


