
Photographed and written by
John M. Young
Here we have another Denicotea. I know what you are thinking, “Young, you chose that one so you wouldn’t have to do a bunch of research for the background section”. Wow, you guys are a tough crowd who are a bit cynical of my motives. True there is little information about Denicotea pipes but that is hardly the reasoning behind restoring this curvaceous cutie. I like a black sandblast and am drawn to the elegant curves of this old pipe. Besides, if I restore a couple of Denicoteas per year it makes my German friend Sascha Mertens happy.
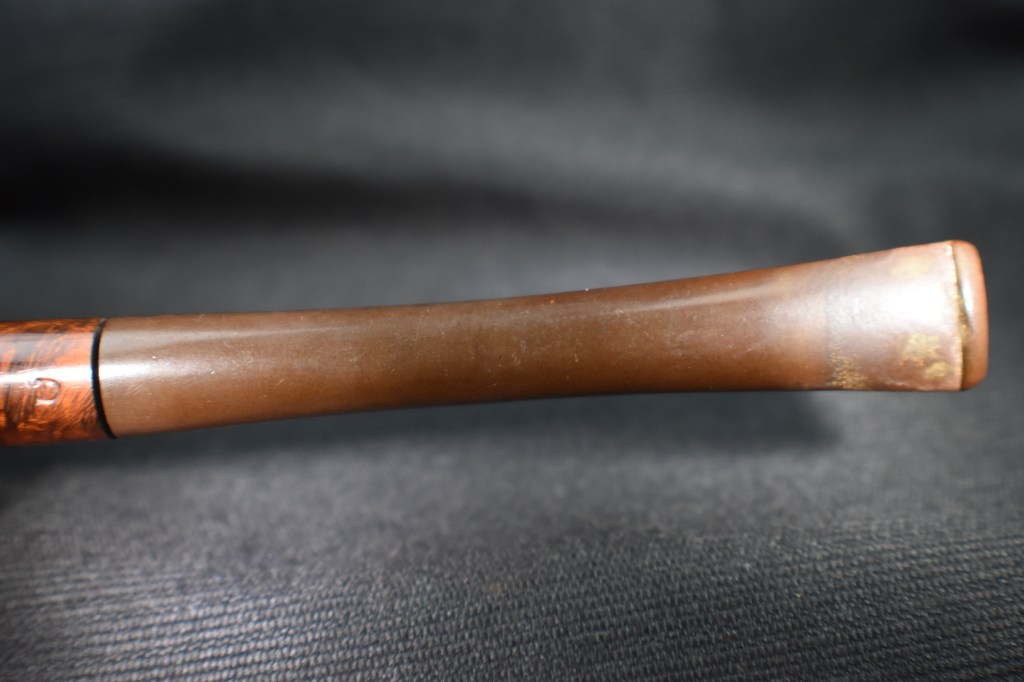
This bent beauty came as part of an estate lot from Norman Park, Georgia earlier this summer. It was not the object of desire from the lot. The real target was a 2020 Dr Grabow Collector but this pipe trumped the Collector in the queue due to its intriguing shape and my desire to see how the Denicotea P-lip compared to that of my beloved Peterson pipes. The pipe has a full bend with the robust Denicotea shank/stem fitting for a pipe which takes a 9mm filter. The stampings are “denicotea” over “jolle” with a 0823 shape number to their right all on the bottom of the shank. The stem has a D within a circle. The stamps are well formed and sharp while the logo is much lighter. Below are some photos of the Denicotea as it appeared on arrival.


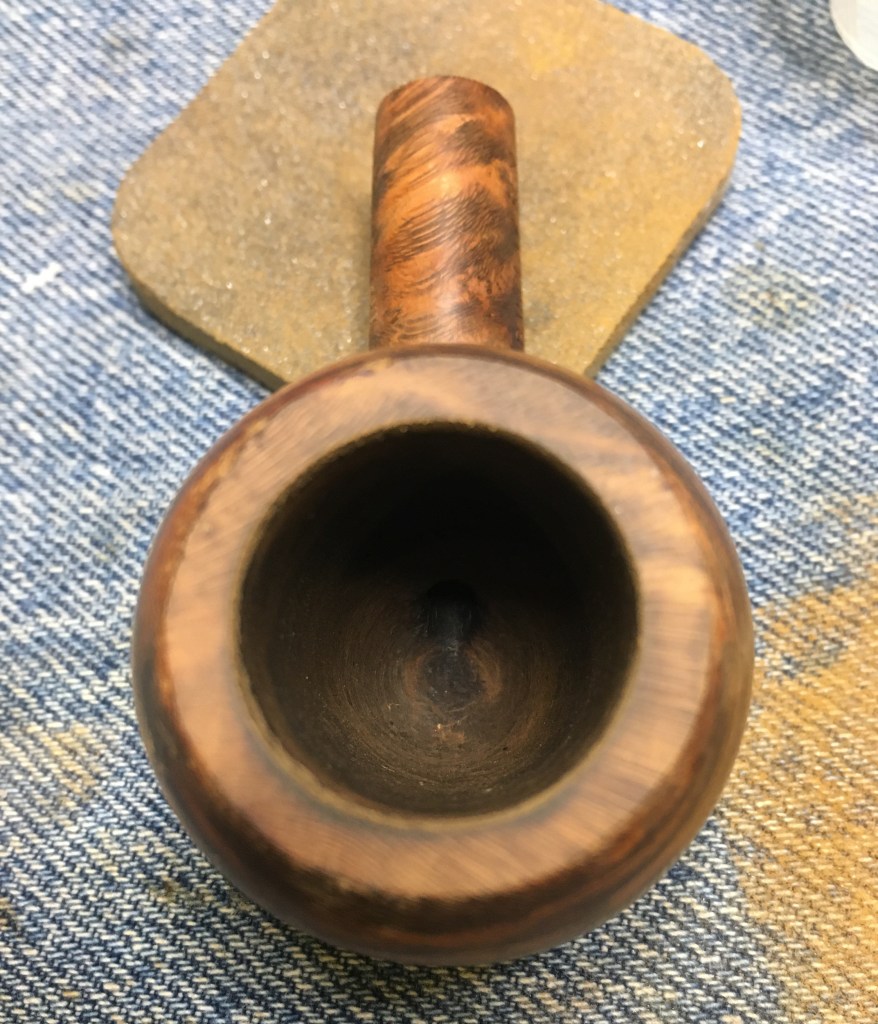
The black finish showered overall signs of wear with numerous spots of briar showing through the black. The stem surface was oxidized but free of tooth chatter or dents. The bowl needed a reaming and the rim a good scrubbing but all told this looked to be a straightforward restoration.
Background
As alluded to in the beginning, Denicotea pipes are rather lacking in the documentation of their carving, manufacture and business. As stated in my previous blog regarding a Deicotea billiard (linked), ““Willy Heineberg founded the company Denicotea in 1932 and began manufacturing and selling smoking accessories such as filters, filter inserts, cigarette holders and pipes.[1] The company headquarters was initially in Cologne, but was relocated to Bergisch Gladbach after the Second World War.[2]
Denicotea is actually the name of a silica gel filter, cigarette holders and care products for pipes and cigarette holders.
I still find it a bit confusing as Denicotea seems to be a company[3] and a brand as well which is operated by COMPOSING-STUDIO GmbH[4].” (Denicotea – Pipedia).
I cannot find anything pertaining to the shape numbers of Denicotea pipes yet in the photos that I have seen online there are almost always shape numbers stamped on the pipes. The company itself is registered as a German firm as an be seen from the pipephil.eu entry for Denicotea:

(Den-Dh — Pipes : Logos & Markings (pipephil.eu)). Anyone with any experience with German products knows that the Germans are exceptional and meticulous craftsmen. This can also be seen in their business and record keeping. Below is just a clip of the German registration of Denicotea:

(DPMAregister | Marken – Registerauskunft)(translated by Microsoft Edge). I show this because I think it is funny. According to the pipedi.org site Aldo Mollini is, “is a fictional name. The brand Aldo Morelli has been registered for Denicotea on February 26th, 1992.”(Denicotea – Pipedia). I find the fact that a fictional Italian appears to be the signatory for a German company. Yeah, I know it is just a brand and not the executive officer but it makes me think of Hamlet, “Something is rotten in the state of Denmark.” Or in this case northern Germany.
In conclusion we have a Denicotea Jolle made somewhere and at sometime by a German company with brands named after fictional characters.
The Restoration
Fortunately the restoration was more clear than that of the background. I began with a cleaned denim piece for the work surface.

The reaming tools were assembled. The cake was not very thick and little overflow lava was noticed.

The cake was hard and dry but the PipNet with the #2 blades made short work of it. The interior of the tobacco chamber was scraped with the two reaming knives then was sanded with the 320 sandpaper wrapped around a wood dowel. There was no indication of any heat damage to the briar within the chamber.


Next came the cleaning of the shank airway. This was a repetitive process of scrubbing the airway with an alcohol dipped nylon shank brush, followed by alcohol dipped bristle pipe cleaners and cotton swabs. Eventually the pipe cleaners and swabs emerged nearly the same color as when they entered.

The stem was cleaned in a similar fashion but without the use of the shank brush.

Once cleaned inside the stem was submerged in an OxyClean solution and set aside to soak for an hour or so.

The stummel was taken to the sink for a scrub. Here, undiluted Murphy Oil Soap was used with a nylon scrub brush. The soap was rinsed with warm water and the stummel dried with a cotton dish towel.

Returning to the workbench the stummel was wiped with a cotton make-up pad wetted with 95% ethyl alcohol. Some color came off though this was mainly from the rim.

The scrubbing and alcohol wipe revealed the numerous scuff marks which had worn away the black stain from the briar.


I thought that a fresh dye application of black Fiebing’s Leather Dye would restore the overall color of the stummel. The Fiebing’s dye gear was gathered and included the dye, a folded pipe cleaner (as an applicator) , a duct tape wrapped fishing bobber (most folks use a wine bottle cork), and lighter.

Using the fishing bobber as a handle and to keep dye out of the tobacco chamber, I applied a couple of coats of the Fiebing’s Dye to the stummel. After each coat I flamed the wet dye burning off the alcohol solvent and fixing the dye to the briar. The excess dye was wiped from the stummel with a paper towel. Back at the workbench the stummel looked much better with a fresh coat of black dye.

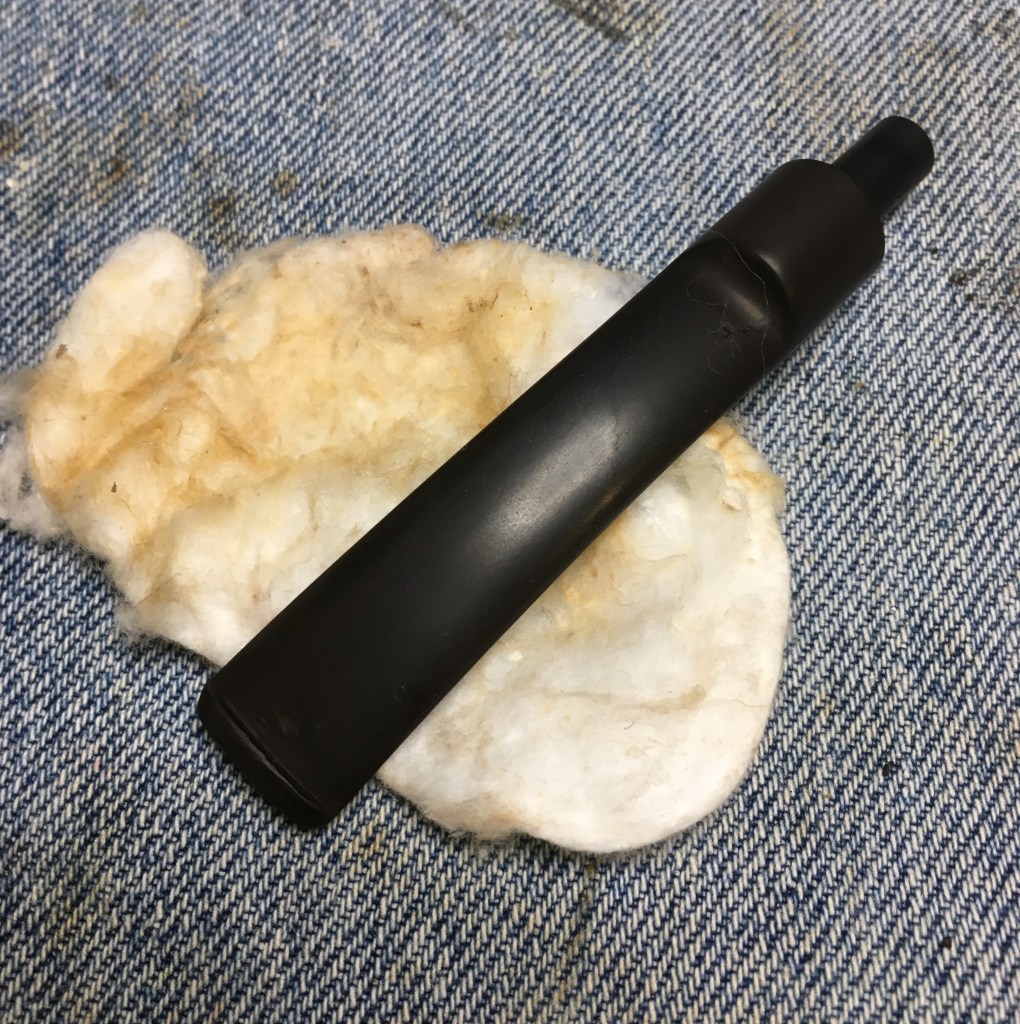
The stem was retrieved from the OxyClean and wiped with a dry make-up pad. Some oxidation had been softened and lifted by this.

The stem was then scrubbed with Soft Scrub cleanser applied to make-up pads. The first pads became darkly covered with brown oxidized rubber. I did not want to get too aggressive with scrubbing the shank-ward end of the stem as the logo was not particularly deep and I feared the abrasive cleanser would remove it.

The stem was reattached to the stummel for easier holding. The shank was then covered with painters tape to protect it from sanding.

The stem logo was also taped for its protection.

The stem was sanded with a series of sanding sponges from 400-3500 grit. Between each sponge I dipped my finger tip into mineral oil, rubbed this onto the stem and wiped it with a dry paper towel.

The stem was then worked with 4000-12000 micro-mesh pads further polishing the vulcanite. Between each pad I rubbed in a small drop of Obsidian Oil and wiped the stem with a paper towel.

The now slightly fainter logo was given a fresh Rub’nBuff gold leaf application. I did not know what the original logo looked like but I thought the gold would look appropriate with the all black pipe.

All that remained was to apply several coats of carnauba wax with the buffer.
Overall I was very pleased with the restoration of this Denicotea Jolle 0823. The draw is very open and feels like it is meant to have a filter, when I placed a Stanwell 9mm filter into the stem the pipe retained a good comfortable draw. The pattern of the blast shows a nice ring grain on the left and interesting bird’s eyes on the right. The stem polished up fairly well but does still show a tinge of oxidation around the shank. I did not want to get too aggressive with the removal and diminish the stem logo.
The dimensions of this Denicotea Jolle 0823 are:
- Length: 5.95 in./ 151.13 mm.
- Weight: 1.86 oz./ 52.90 g.
- Bowl Height: 1.80 in./ 45.72 mm.
- Chamber Depth: 1.56 in./ 39.62 mm.
- Chamber Diameter: 0.72 in./ 18.29 mm.
- Outside Diameter: 1.46 in./ 37.08 mm.
I do hope that you have found something here useful to your own pipe care, maintenance or restorations. If you like this sort of thing, please click the like and subscribe buttons. Thank you for reading the ramblings of an old pipe lover.
Below are some photos of the finished Denicotea Jolle 0823.


 ” (
” (


