Photographed and written by
John M. Young
I decided that I wanted to expand my horizons the other day. I have only purchased pipes from US and UK sources. I saw a lot of 6 pipes from Greece and decided to take a gamble at getting something from the other side of a couple of ponds, one Atlantic and the other Mediterranean. After a 19 day voyage of international shipping the lot arrived and required a signature. Of course one should be away from home when an unexpected and unplanned package arrives. The dejected postal worker left a note saying the package could be picked up in town after 8:00 the following morning. I needed groceries anyway so off to town I went.
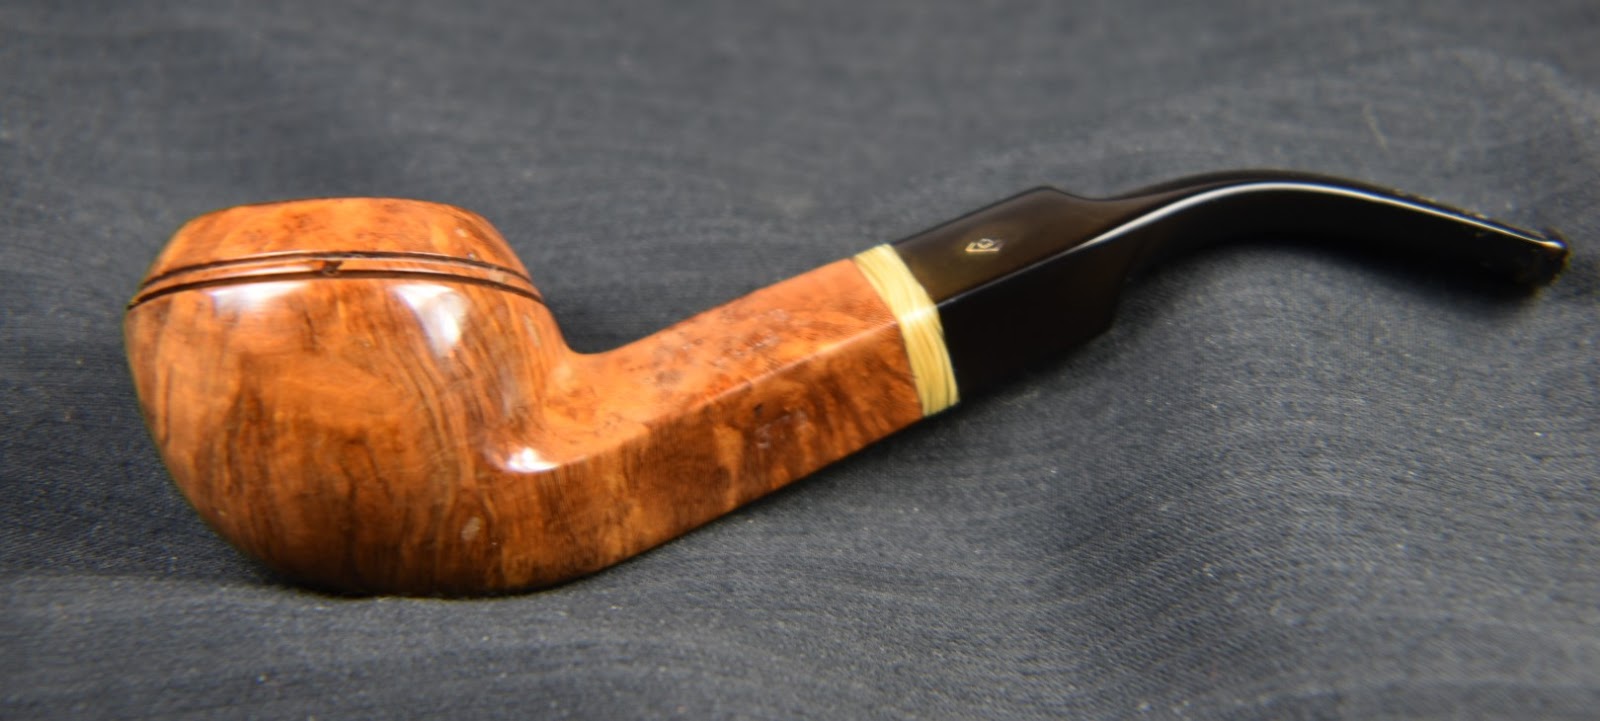
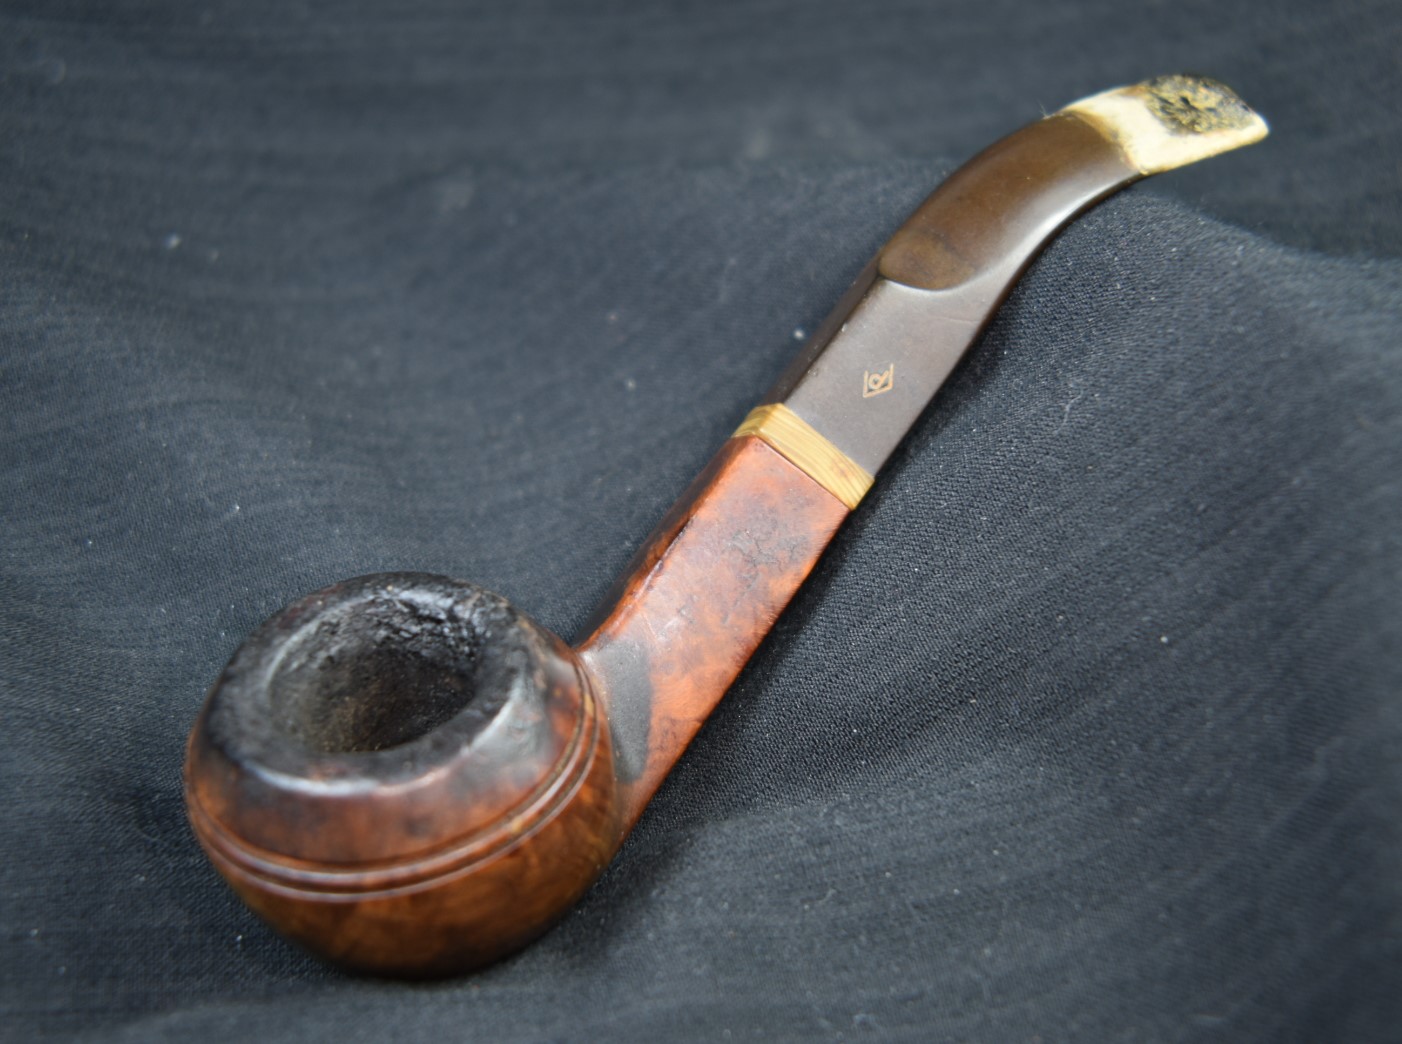
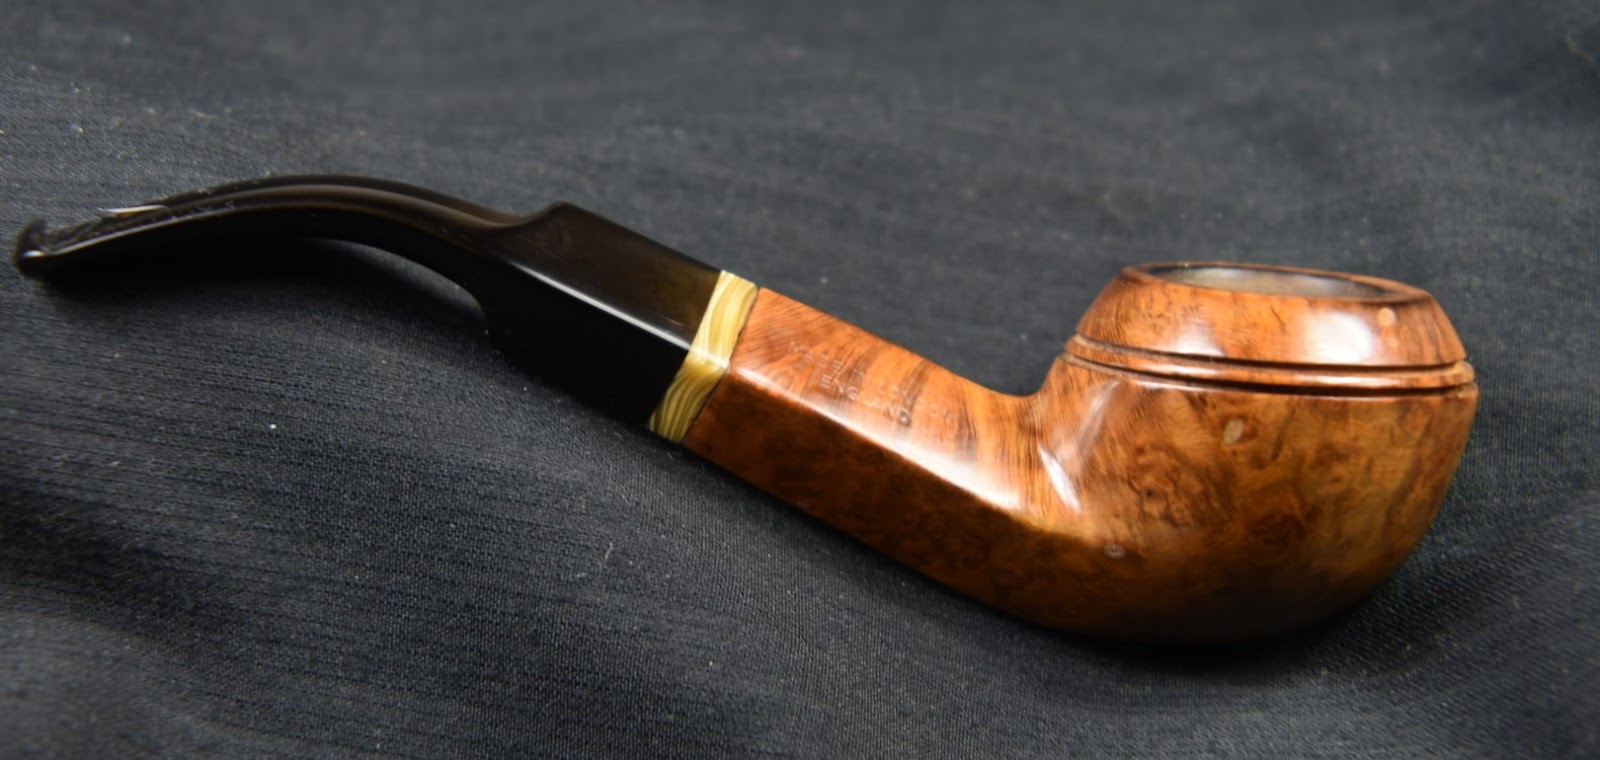
Dirty old pipes from Greece look remarkably like dirty old pipes from the US. One of these dirty darlings caught my eye more than the others. What can I say, when the muse beckons, I can’t help but follow. The pipe that drew me to it appeared as follows.


I know what you are probably saying, “Haha, a fool and his money are easily parted.” Or perhaps, “Yikes!” You would be correct with both or either statement. I saw something in this pipe that I can’t easily define, the cool shape and the hint of pretty grained briar under the filth. Maybe? Whatever it was, I wanted to restore this one first. I had never restored a Parker before. Heck, I barely knew that they were a second of Dunhill. I needed a Parker history lesson.
Looking at my go-to source, pipedia.org, I found that, “In 1922 the Parker Pipe Co Limited was formed by Alfred Dunhill to finish and market what Dunhill called its “failings” or what has come to be called by collectors as seconds. Previous to that time, Dunhill marketed its own “failings”, often designated by a large “X” over the typical Dunhill stamping or “Damaged Price” with the reduced price actually stamped on the pipe.” (https://pipedia.org/wiki/Parker). Hmm, an entire brand based on failings. That was an interesting concept. I envisioned a surgeon in a business relationship with his mortician brother. Or, a teacher sending failing students to their sister at her tutoring company. Waste not want not.
The Parker story continued,
“While the timing and exact nature of the early relationship remains a bit of mystery, Parker was destined to eventually merge with Hardcastle when in 1935 Dunhill opened a new pipe factory next door to Hardcastle, and purchased 49% of the company shares in 1936. In 1946, the remaining shares of Hardcastle were obtained, but it was not until 1967 when Parker-Hardcastle Limited was formed.
It is evident through the Dunhill factory stamp logs that Parker and Dunhill were closely linked at the factory level through the 1950s, yet it was much more than a few minor flaws that distinguishing the two brands. Most Dunhill “failings” would have been graded out after the bowl turning process exposed unacceptable flaws. This was prior to stoving, curing, carving, bit work and finishing. In other words, very few Parkers would be subjected to the same rigorous processes and care as pipes destined to become Dunhills. Only those that somehow made it to the end finishing process before becoming “failings” enjoy significant Dunhill characteristics, and this likely represents very few Parker pipes.
After the war, and especially after the mid 1950s the differences between Parker and Dunhill became even more evident, and with the merger of Parker with Hardcastle Pipe Ltd, in 1967 the Parker pipe must be considered as an independent product. There is no record of Parker ever being marketed by Dunhill either in it’s retail catalog or stores.
Parker was a successful pipe in the US market during the 1930s up through the 1950s, at which point it faded from view in the US, while continuing to be popular in the UK. It was re-introduced into the US market in 1991 and is also sold in Europe.
John Loring states in “The Dunhill Briar Pipe – ‘the patent years and after’” that while he has seen several pre-war Parkers and some from the 1950s that appear to be Dunhill “failings” during the finishing process, briar was also obtained from sources other than Dunhill. Loring knows of no way to distinguish the briar source when looking at either Hardcastle, Parker, or Parker-Hardcastle pipes. And that aside from a very few Parkers from the 1950s and before, and a few ODA shapes, we should not expect to find any actual Dunhill production in these lines. While one might be there, it is doubtful we will ever be able to determine it.” (https://pipedia.org/wiki/Parker)
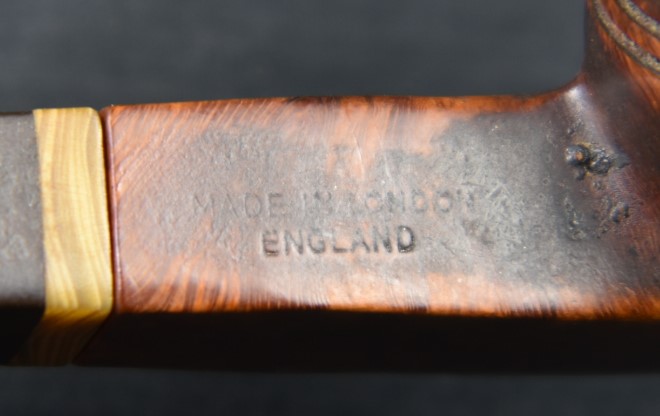
This Parker has none of the stamping described above. This indicates that it was made much more recently. Actually the pipedia.org author asks for assistance from readers regarding pipes made after 1957.
“A little help here from anyone with date code information beyond 1957 would be most appreciated.
After 1957 on pipes Parker ceased to put patent number and the code with definition of date.” (https://pipedia.org/wiki/Parker)
Looking to pipehil.eu for any clues regarding the stampings led to similar conclusions. There was a wealth of information from the earlier pipes and then very little for anything after the late 1950s.

(http://www.pipephil.eu/logos/en/logo-parker.html)
Although the pipe pictured below is very similar in shape to the Parker in hand, there is no shape number listed below.

(http://www.pipephil.eu/logos/en/logo-parker.html)
Back to pipedia.org, maybe I can at least find the shape number or name. There is a 1958 Parker brochure pictured. Once again, thank you Doug Valitchka.


(Brochure photos from https://pipedia.org/wiki/Parker)
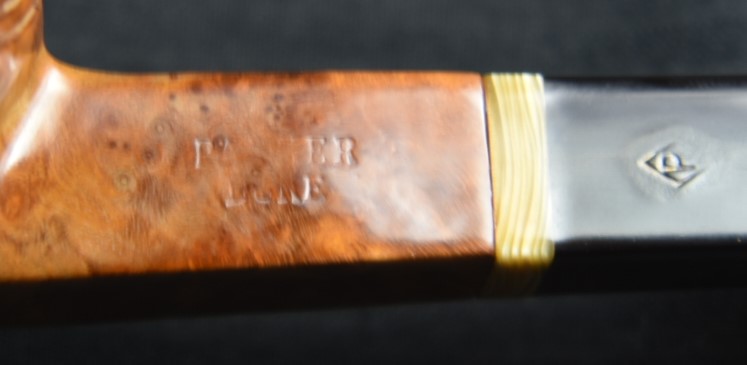
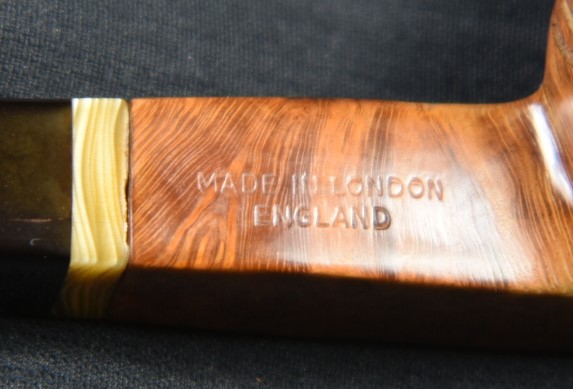
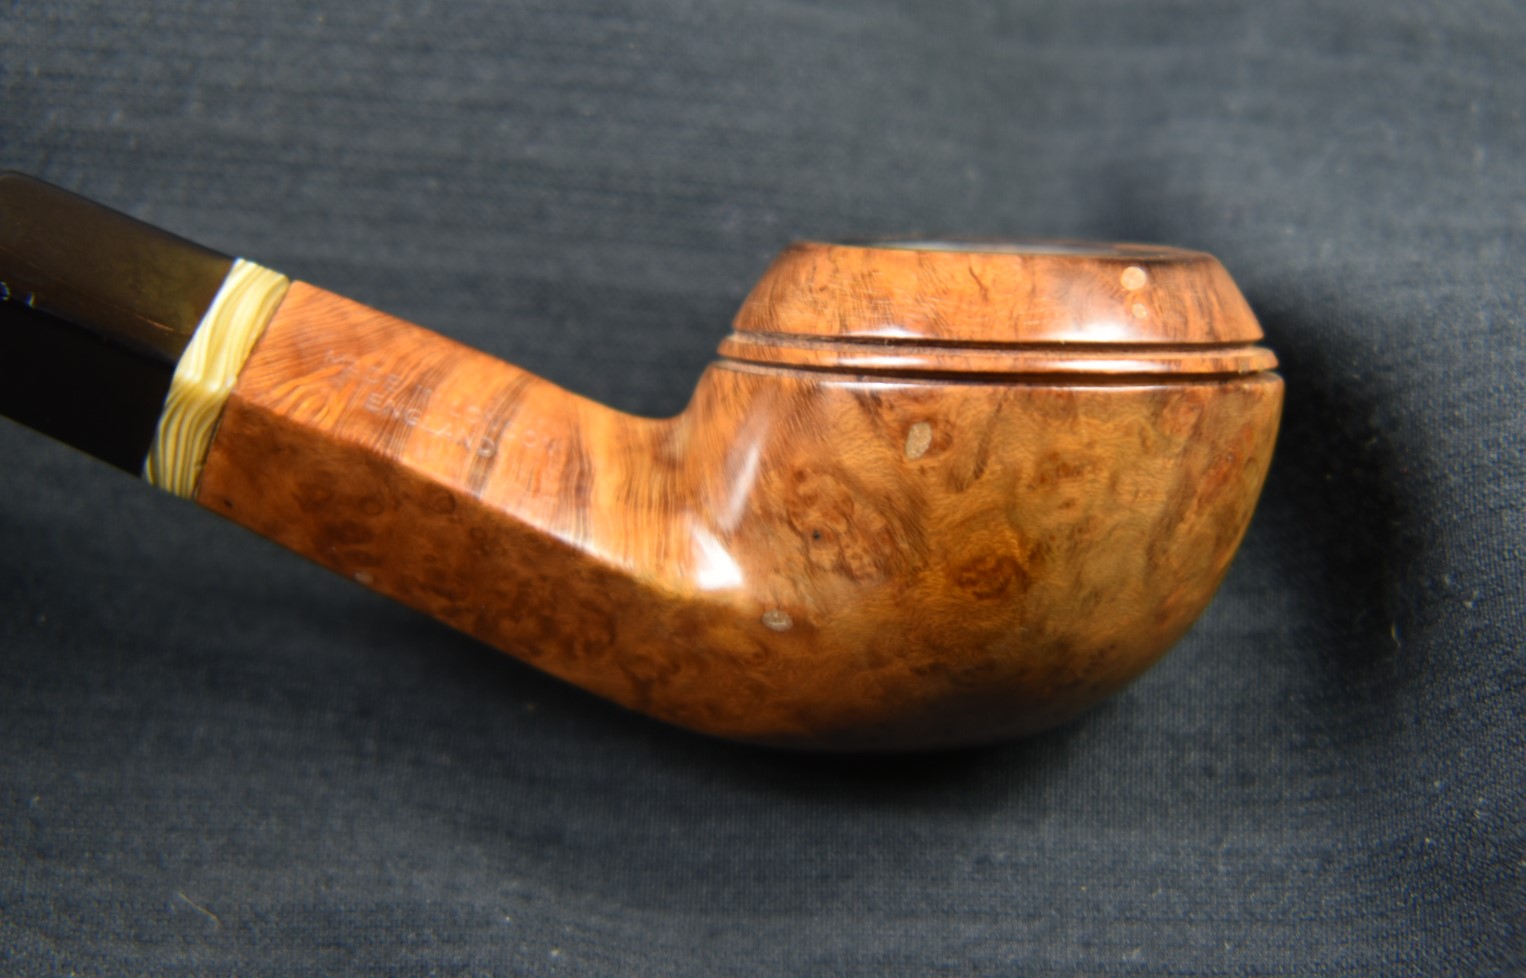
Alright, I now have an official name for her. I guess what I can tell you about this Parker Bent Rhodesian Square Stem is that it was made in London, England after 1957 and whoever owned it before smoked the bejeebers and a lot of tobacco out of it.
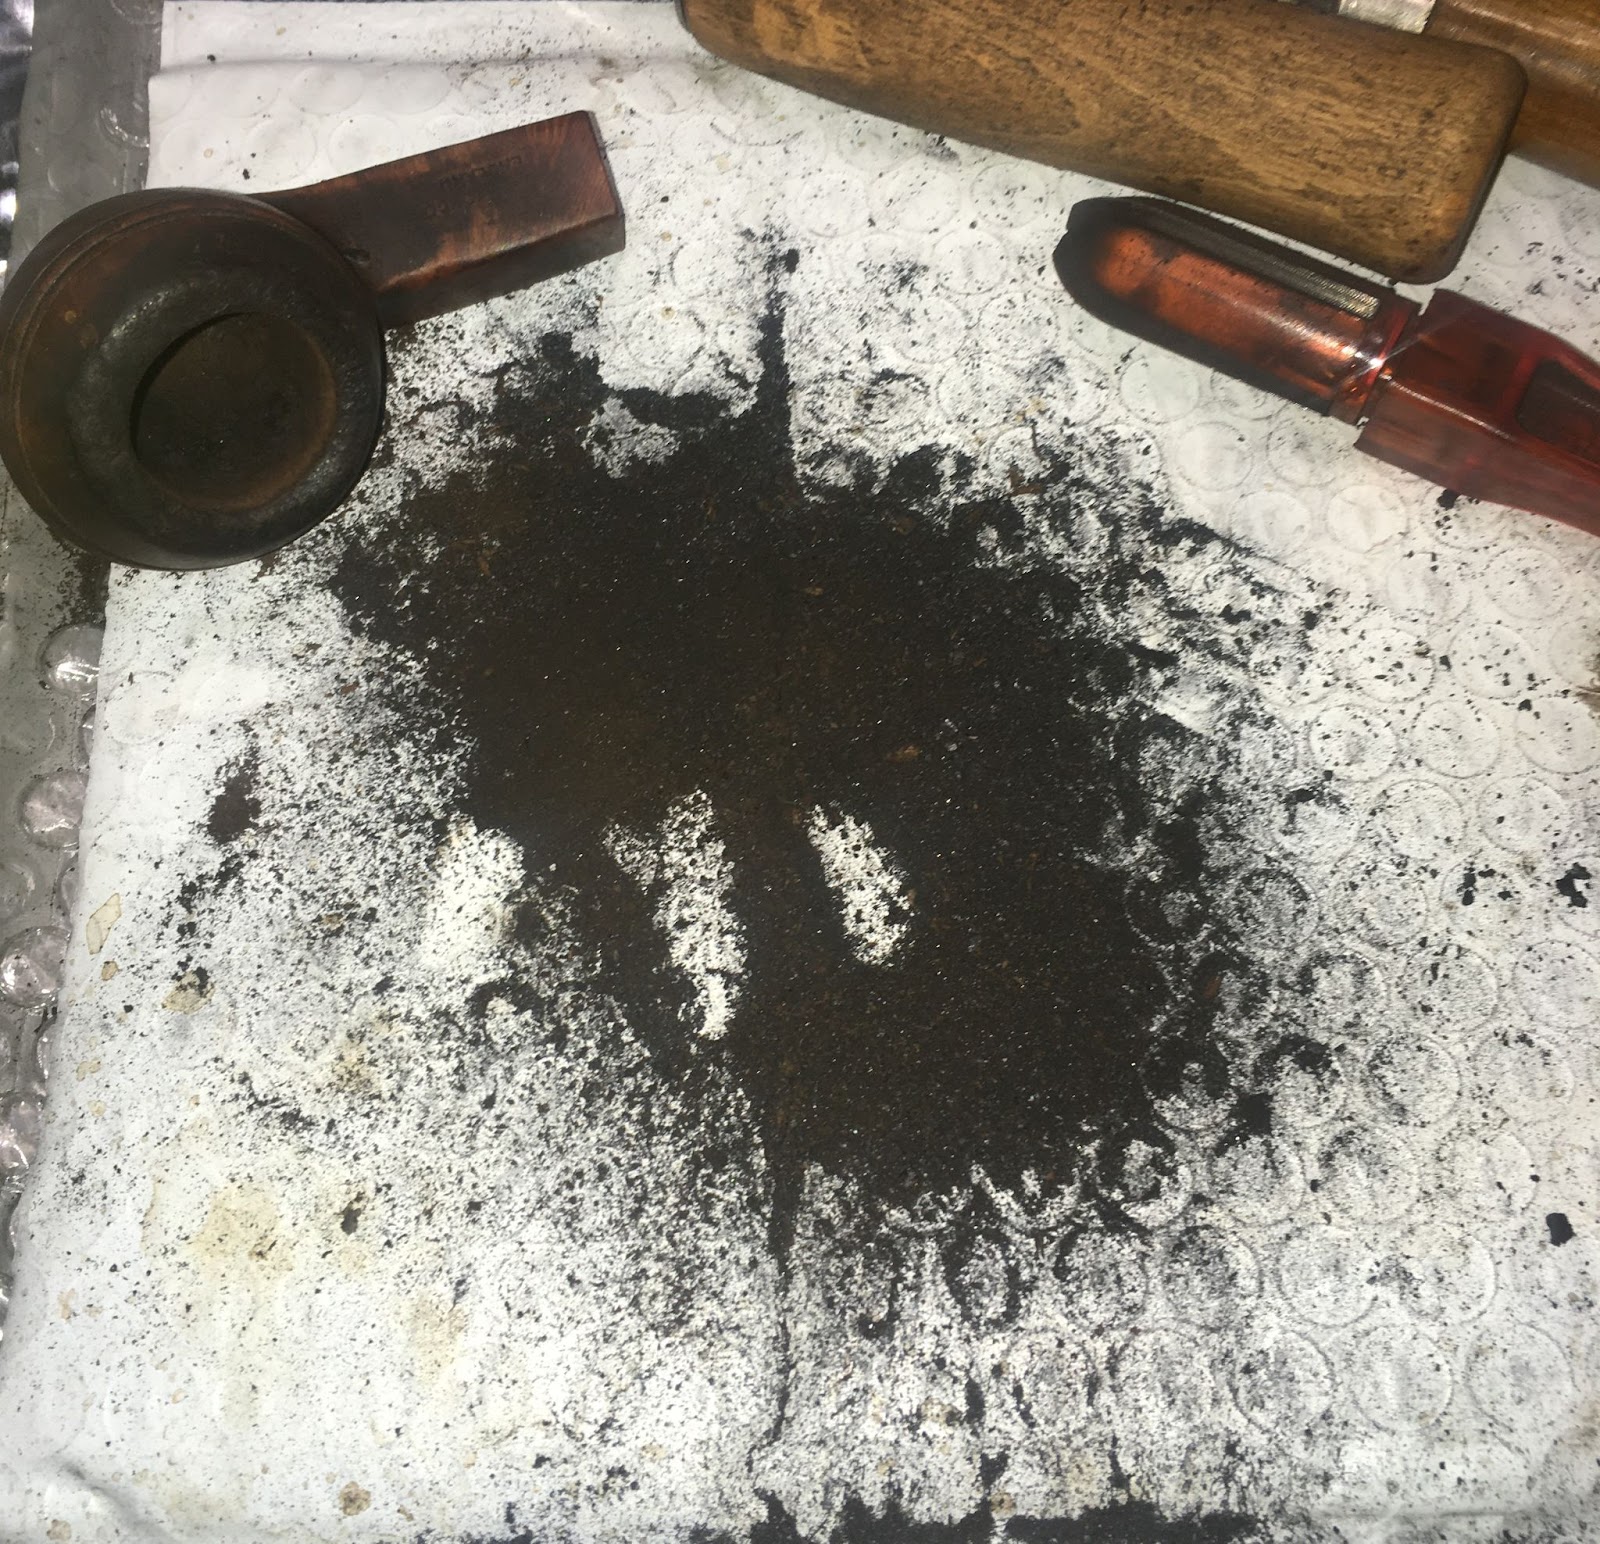
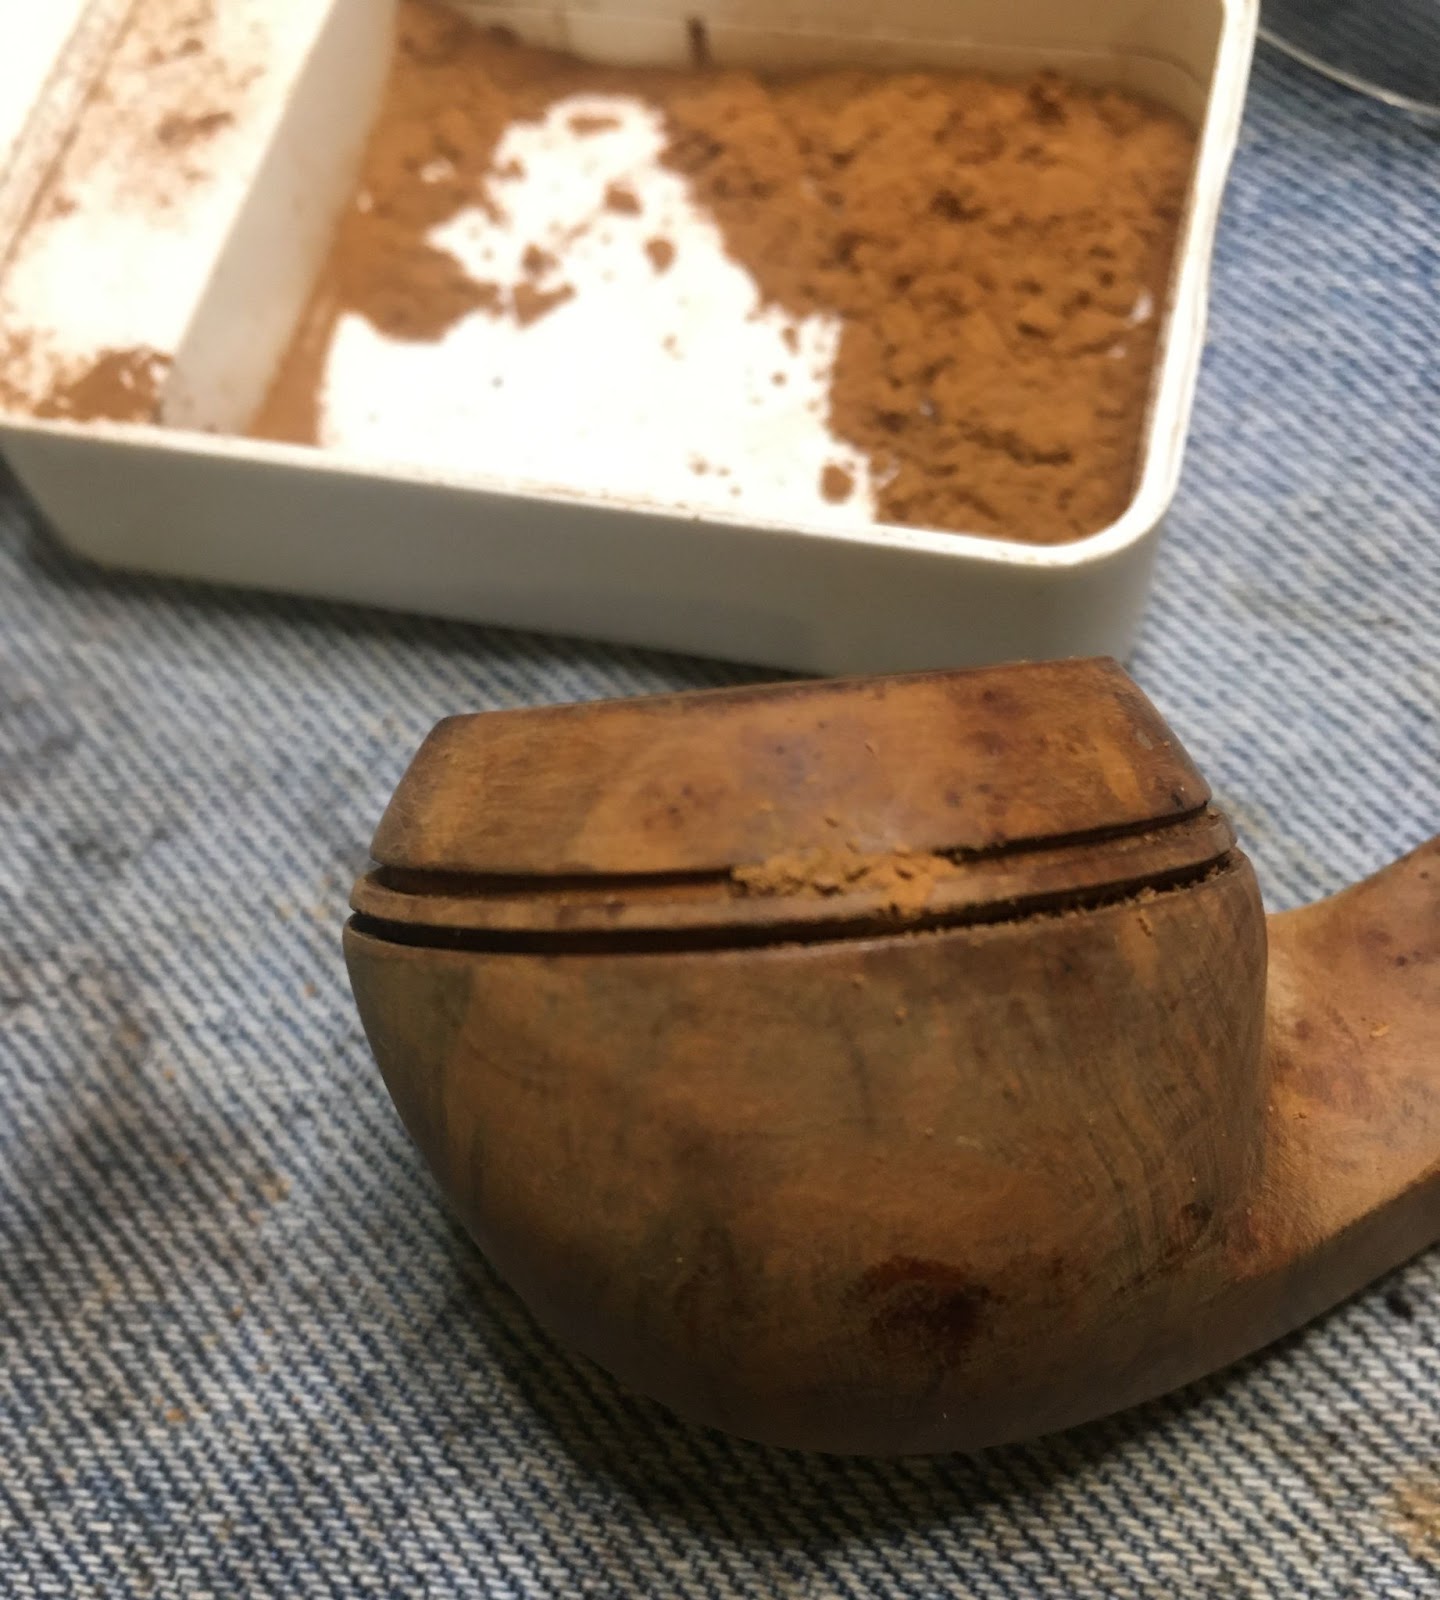
This restoration began like most others with a clean denim piece for the work surface. This pipe was in need of a lot of work. I started by assembling the reaming gear.

The tools were the PipNet with the #2 blades, Smokingpipes Low Country knife, General triangular scraper (with the tip ground round), 220 sandpaper wrapped around a wood dowel and 320 sandpaper wrapped around a Sharpie marker, all on top of a white plastic mylar envelope. I have to keep that denim pristine.

In very short order the word pristine left my vocabulary and was replaced by other less savory terms. The cake in the tobacco chamber was very hard. I had to stop using the PipNet for fear of breaking the reamer and scrape with the knife or the scraper then return to the PipNet several times.
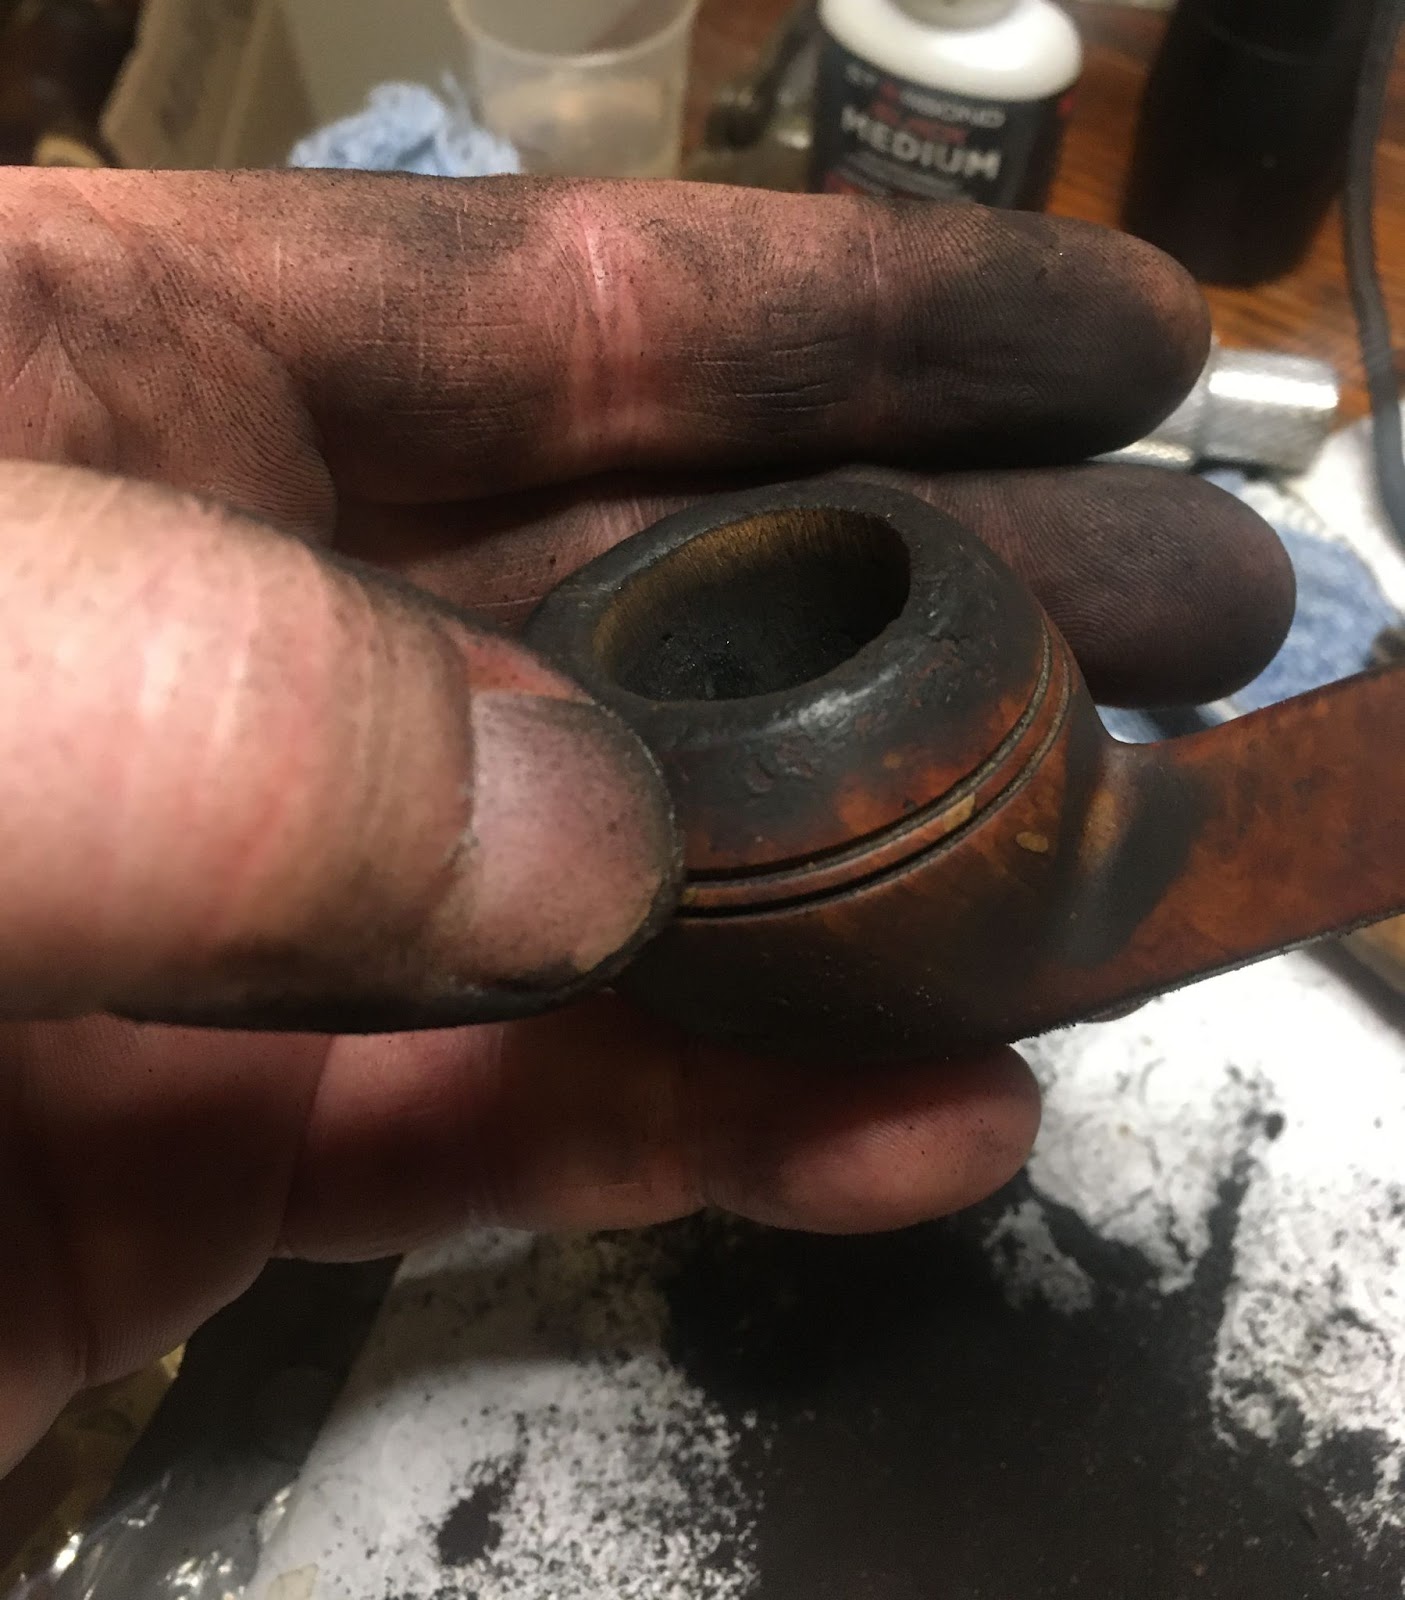
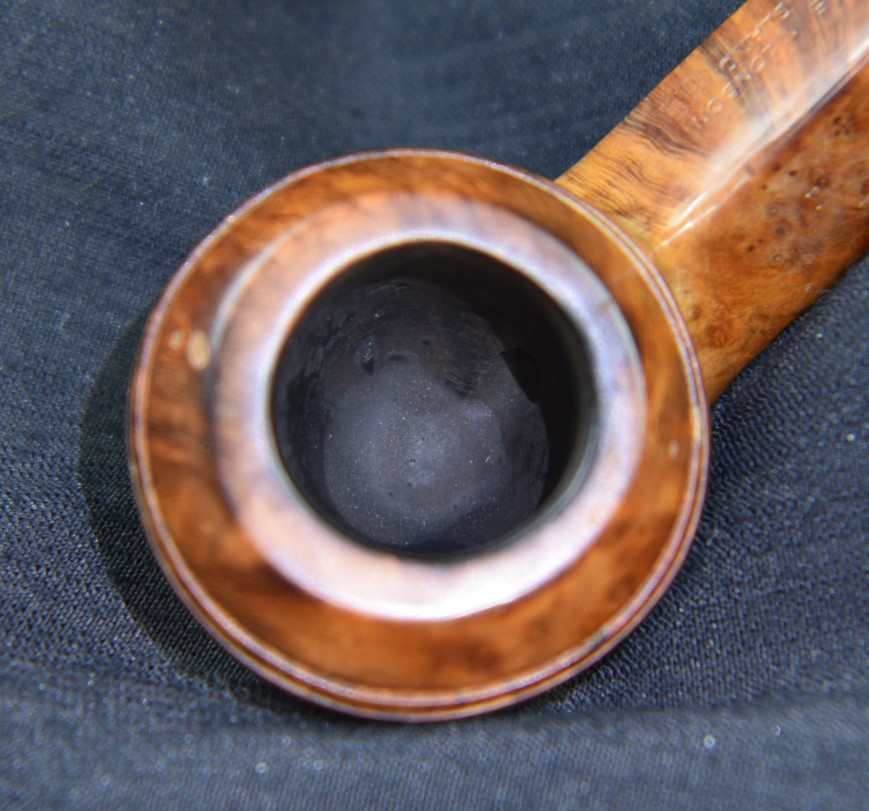
Eventually the chamber was reamed out and then sanded. The chamber appeared to be out of round. I couldn’t tell exactly how due to the lava that was encrusting the entire rim.

With the reaming done I scraped the lava from the rim using a very sharp pocket knife. This was another dirty job, where is Mike Rowe when you need him? I took the stummel to the sink for a good long scrub. The scrub was done with Murphy’s Oil Soap used undiluted and a medium bristle toothbrush. A normal scrub uses one application of soap. A dirty pipe scrub will require a second application of soap. This poor stummel received three applications and I retrieved a stiffer nylon brush to get rid of the grime on the top of the shank. I neglected to photograph the scrubbing as my hands were so fouled with carbon and cake I was afraid for the wellbeing of the phone. Maybe an exaggeration but not much of one.
Returning to the workbench with the freshly scrubbed stummel, I wetted a make-up pad with 95% ethyl alcohol and wiped off the exterior of the stummel – three times. The stummel was still shedding grime. After all the scrubbing I thought I had it clean. Nope.

The make-up pads finally stopped discoloring. The next step was to clean the airway within the shank. As usual I neglected to photograph this process. I can describe it though. I poured about 3 ml of 95% ethyl alcohol into the bowl. A nylon shank brush was then used to scrub the airway while keeping the stummel held at an angle allowing the alcohol in the chamber to dissolve the tars and keep the brush wet. I then poured the alcohol into a medicine cup and swabbed out the loosened residue with cotton swabs. This was repeated until the cotton swab emerged clean. In this case it was repeated many times.
That finished, I examined the stummel for the next task to take on. There were several fills on the pipe. They appeared lighter and remained solid after all the scrubbing and alcohol. I figured I would leave them alone, staining them to match later. The rim was charred under all of that lava. Charred nearly all the way around. Apparently the previous abuser was ambidextrous as well and wielded a lighter in both hands.

The scrubbing also revealed a piece of beading that was broken.

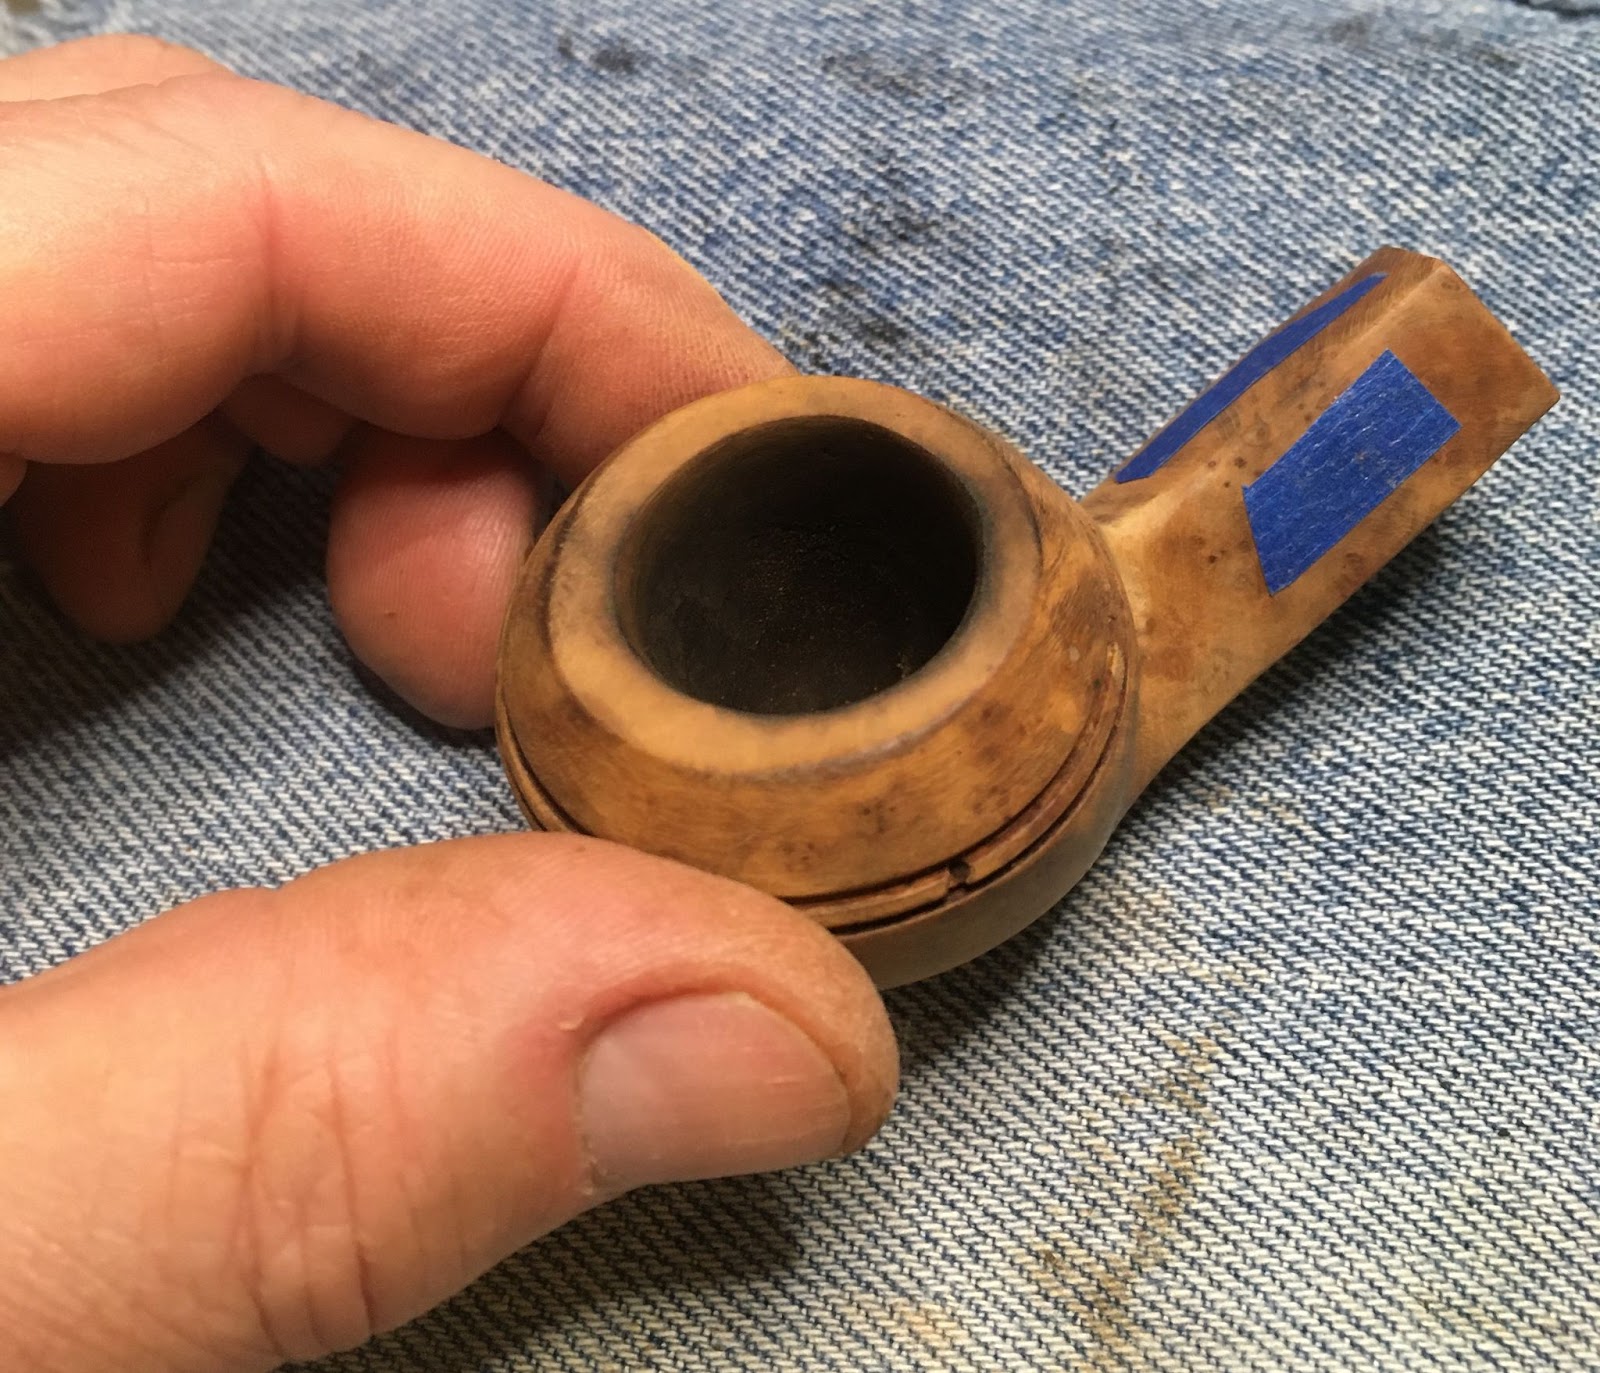
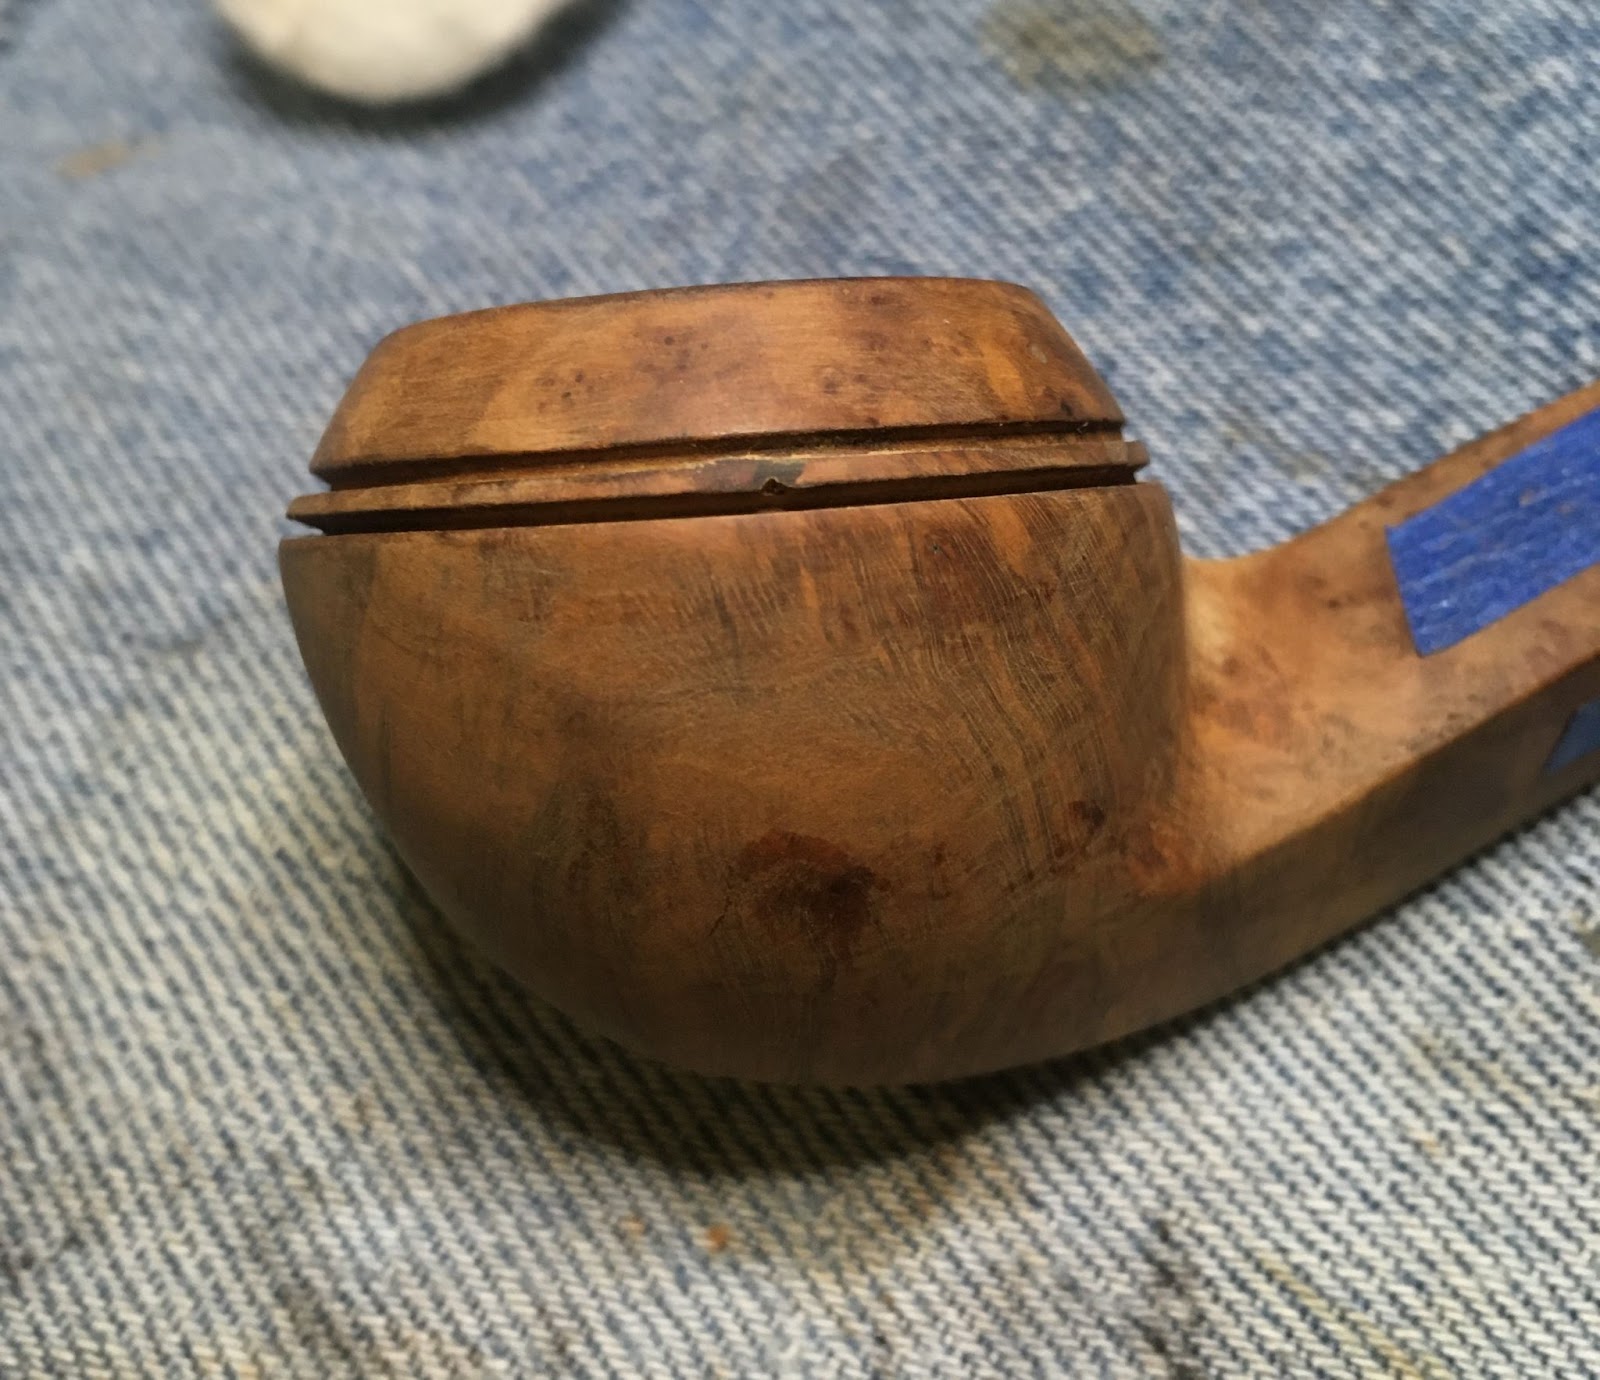
I figured that a little bit of sanding might reveal some more issues to deal with so I taped the stampings to protect them from any sanding.

I sanded the exterior around the rim. The charring was not as deep as I feared and sanding removed most of it.

The rim would require topping to rid it of the charred briar.
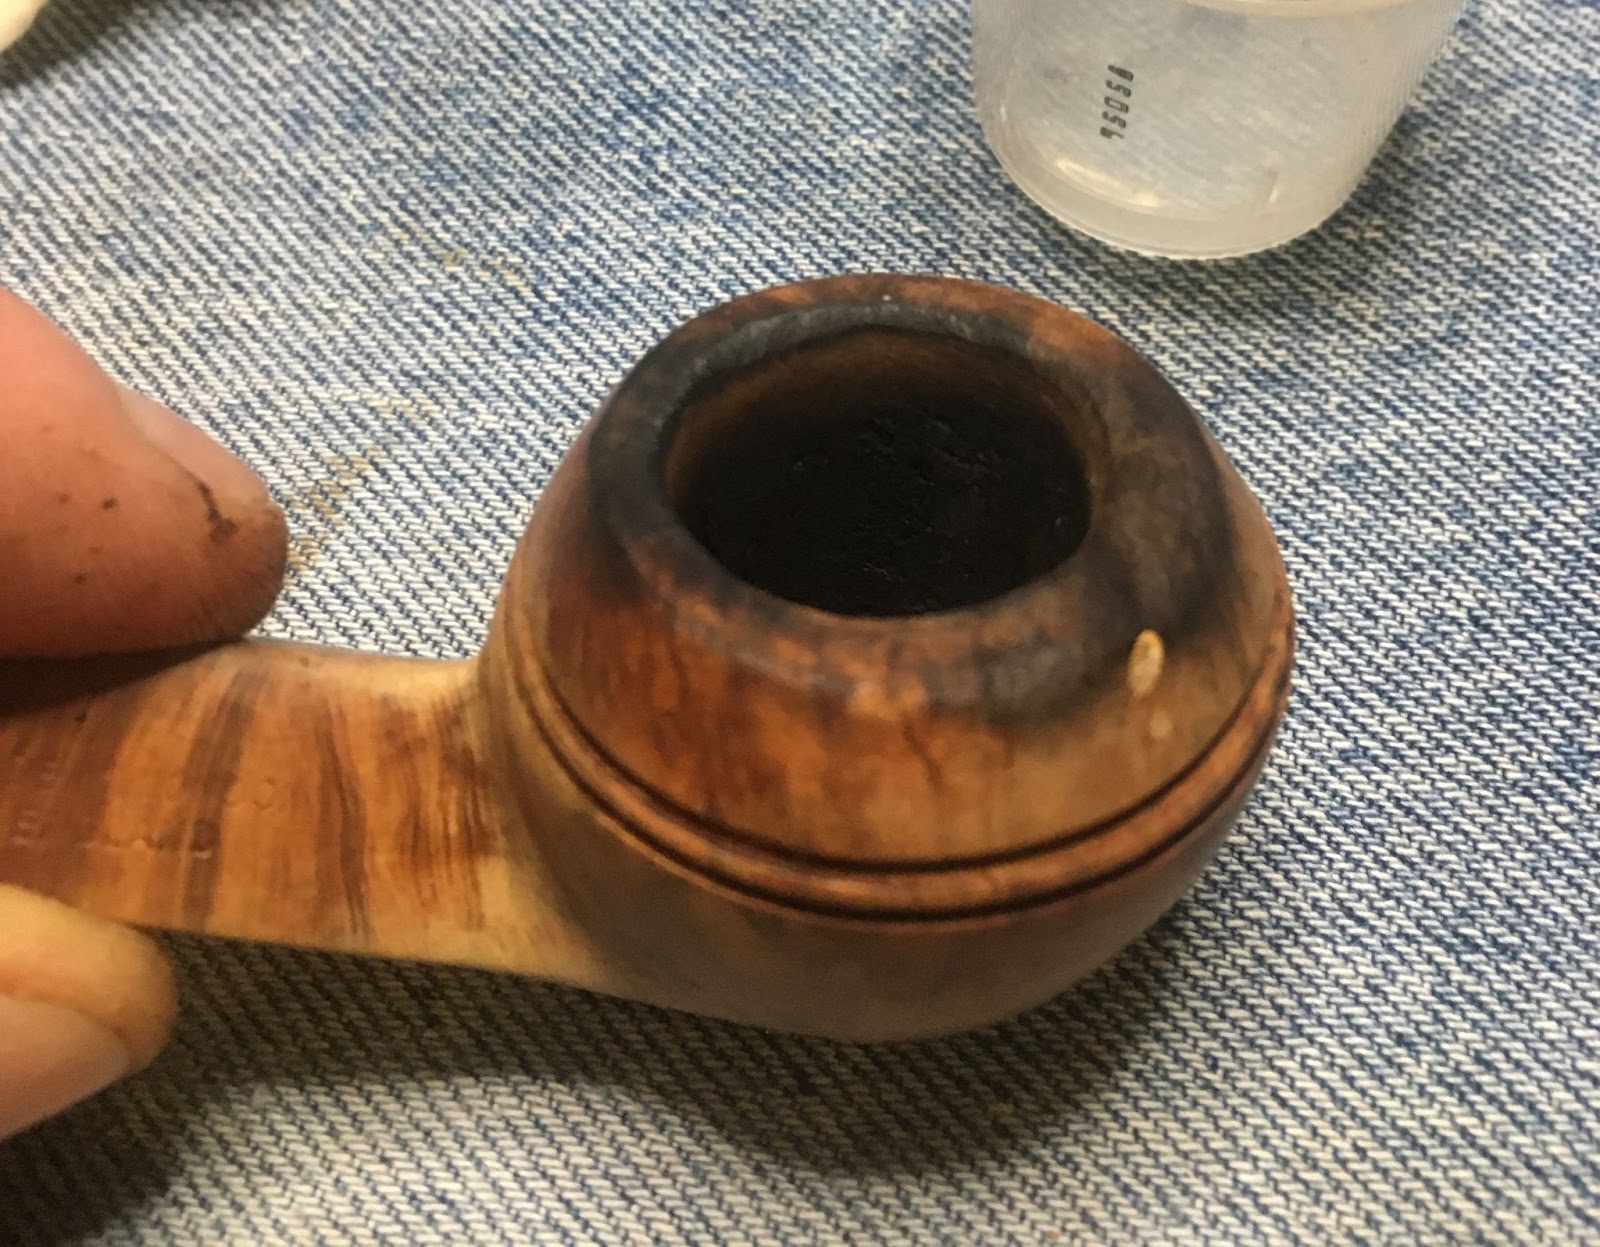
The rim was topped using 22- sandpaper on a countertop. A circular motion was used while rotating the stummel in hand every couple of circles. This was done to keep equal pressure on the stummel and even sanding of the rim. Below you can see the results of the topping. I hoped that the charring that remained would be removed during the normal sanding.
The next task was to fill in the break in the beading. I figured that this could be done with careful application of briar dust then a bit of cyanoacrylate (CA, super glue). The goal would be to have the CA bond the briar dust together in the void and provide me a surface that I could then sand smooth with the existing briar. I pushed the briar dust into the hole. WIth a fly tying bodkin I carefully removed the bust from the groove. below
The briar dust removal was repeated with the groove above the “hole”.

CA was then applied to the briar dust with the fly tying bodkin. THe CA soaked into the dust and set-up almost immediately. The result was sanded smooth with the contours of the stummel below. I then used a folded piece of 220 sandpaper to sand the groove. There is a better photo of the finished fill in the “finished” section at the end.
I did not want to sand the stummel separate from the stem. The stem had a wood accent at the tenon and I wanted these to be together during the sanding to avoid any rounding of the contact seam.
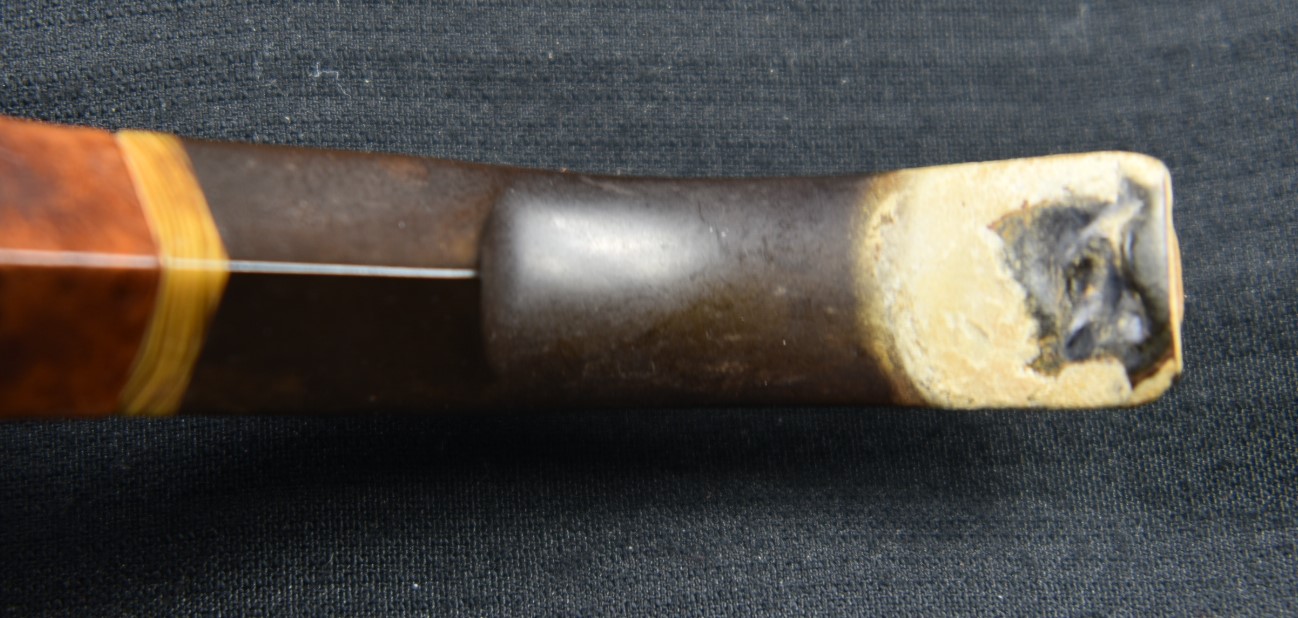
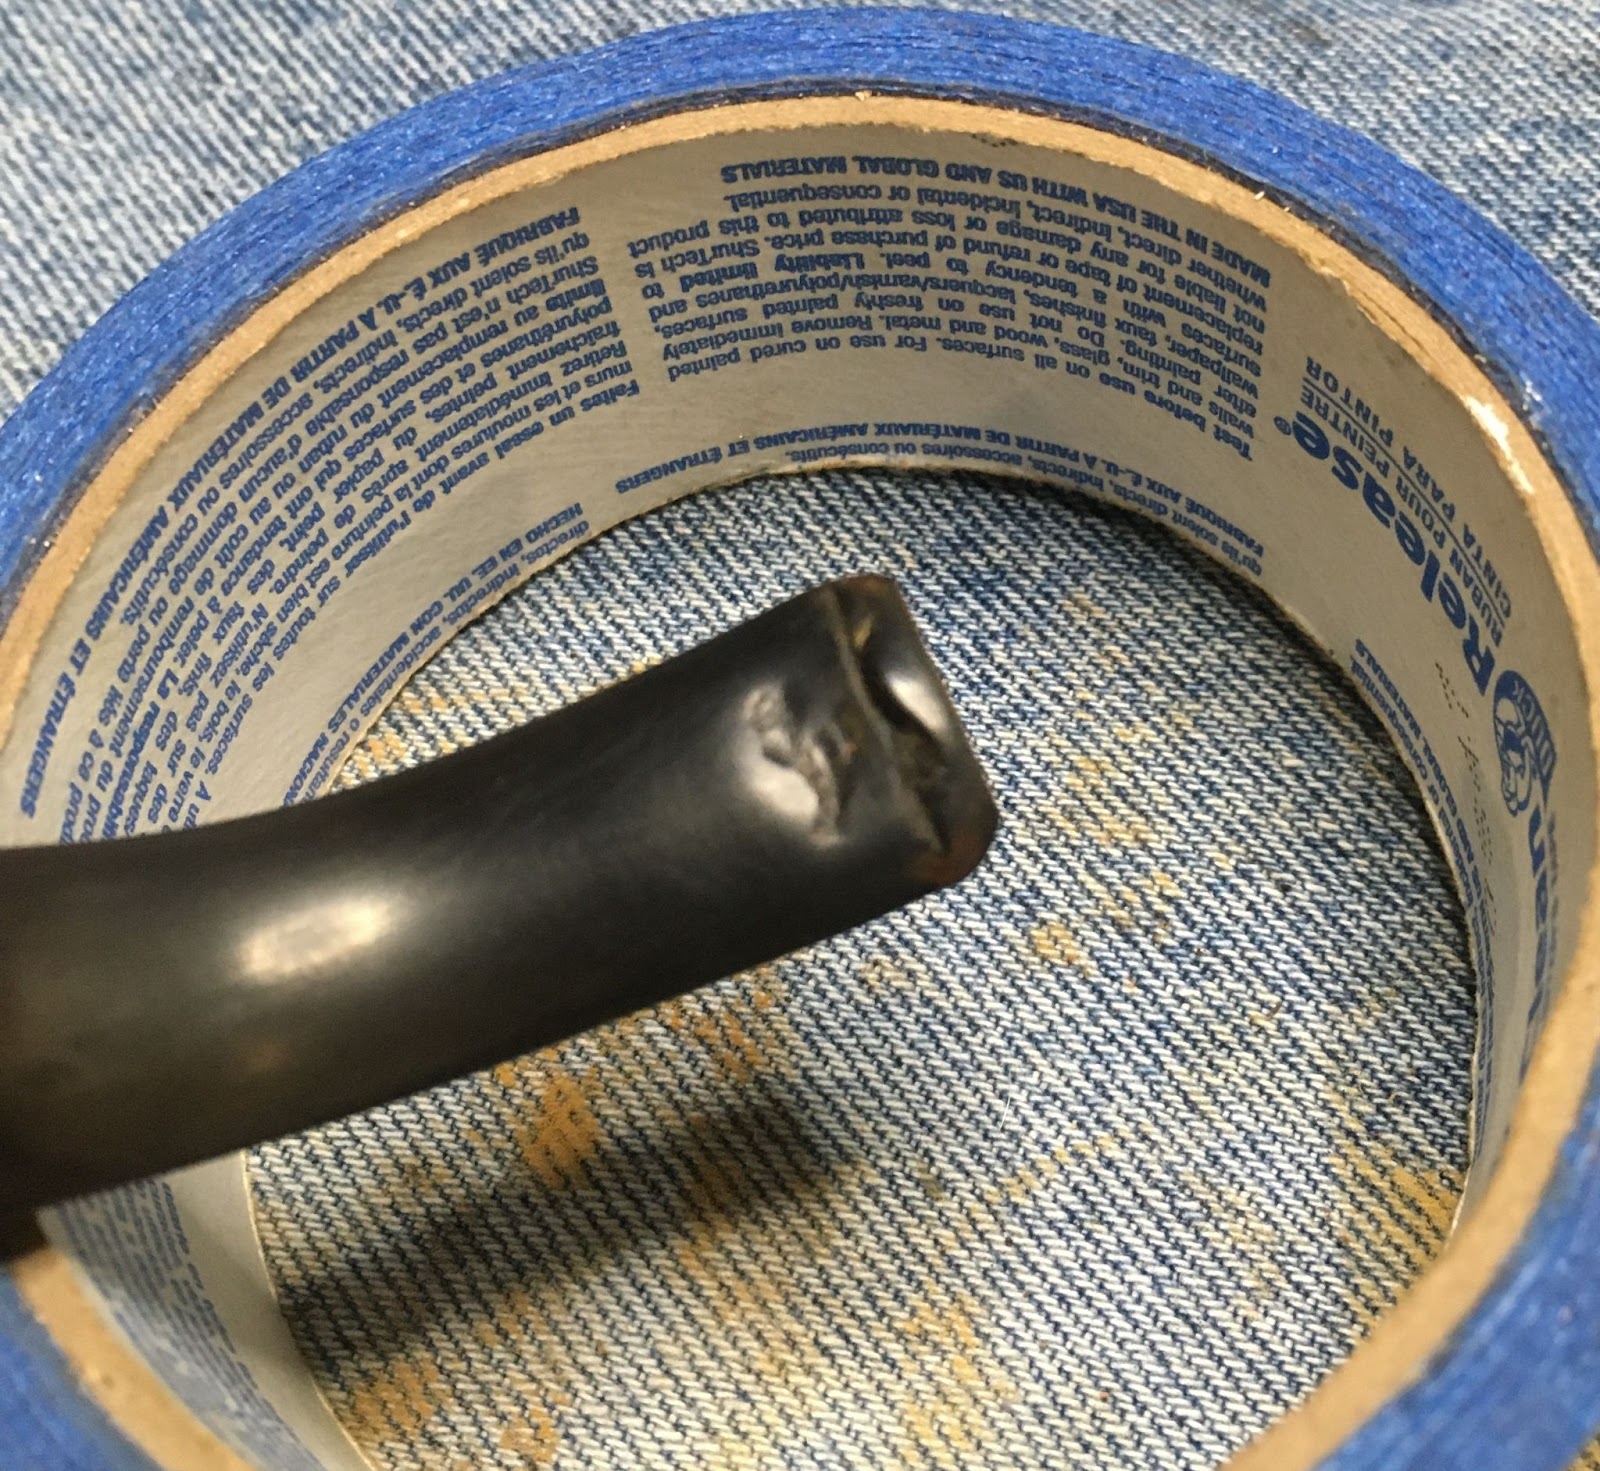
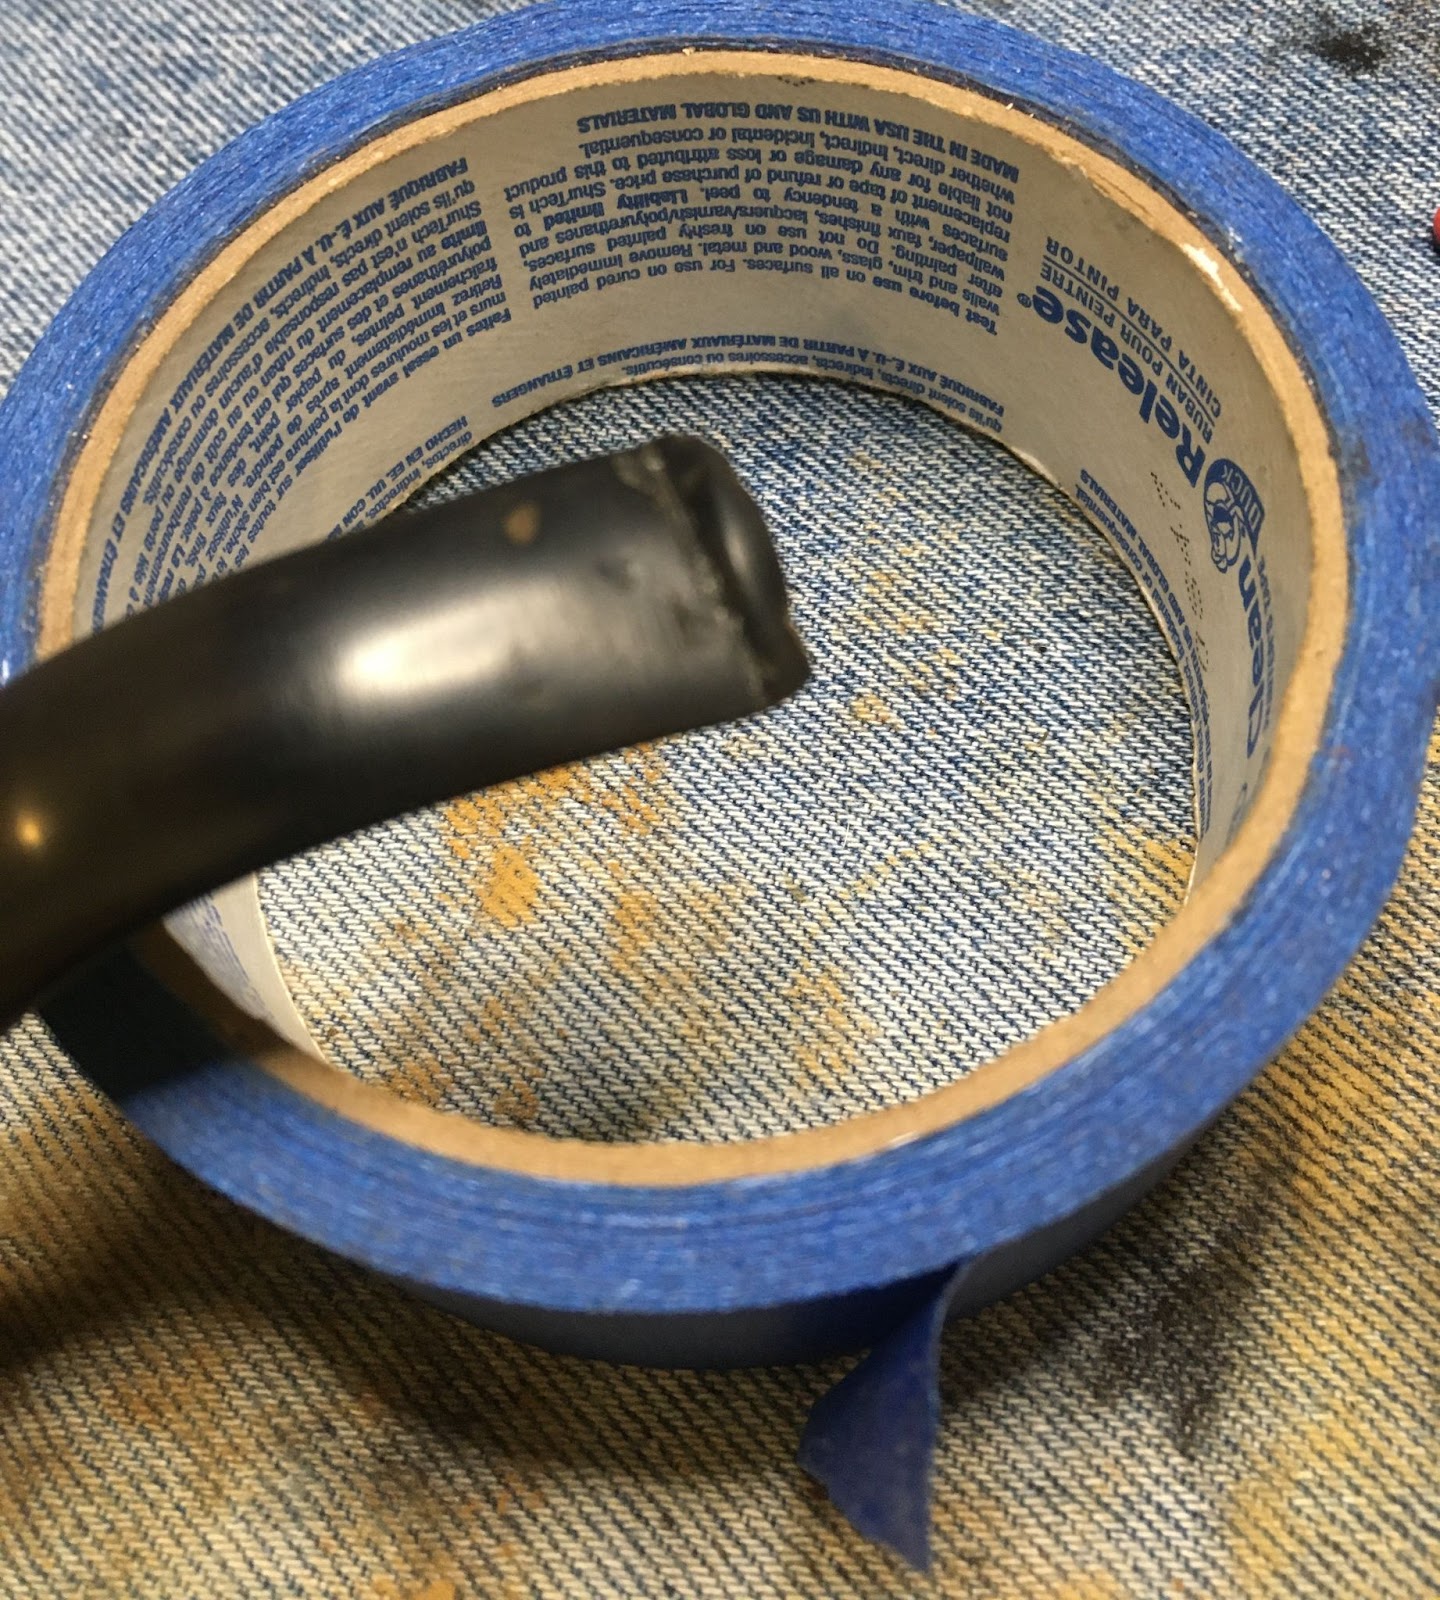
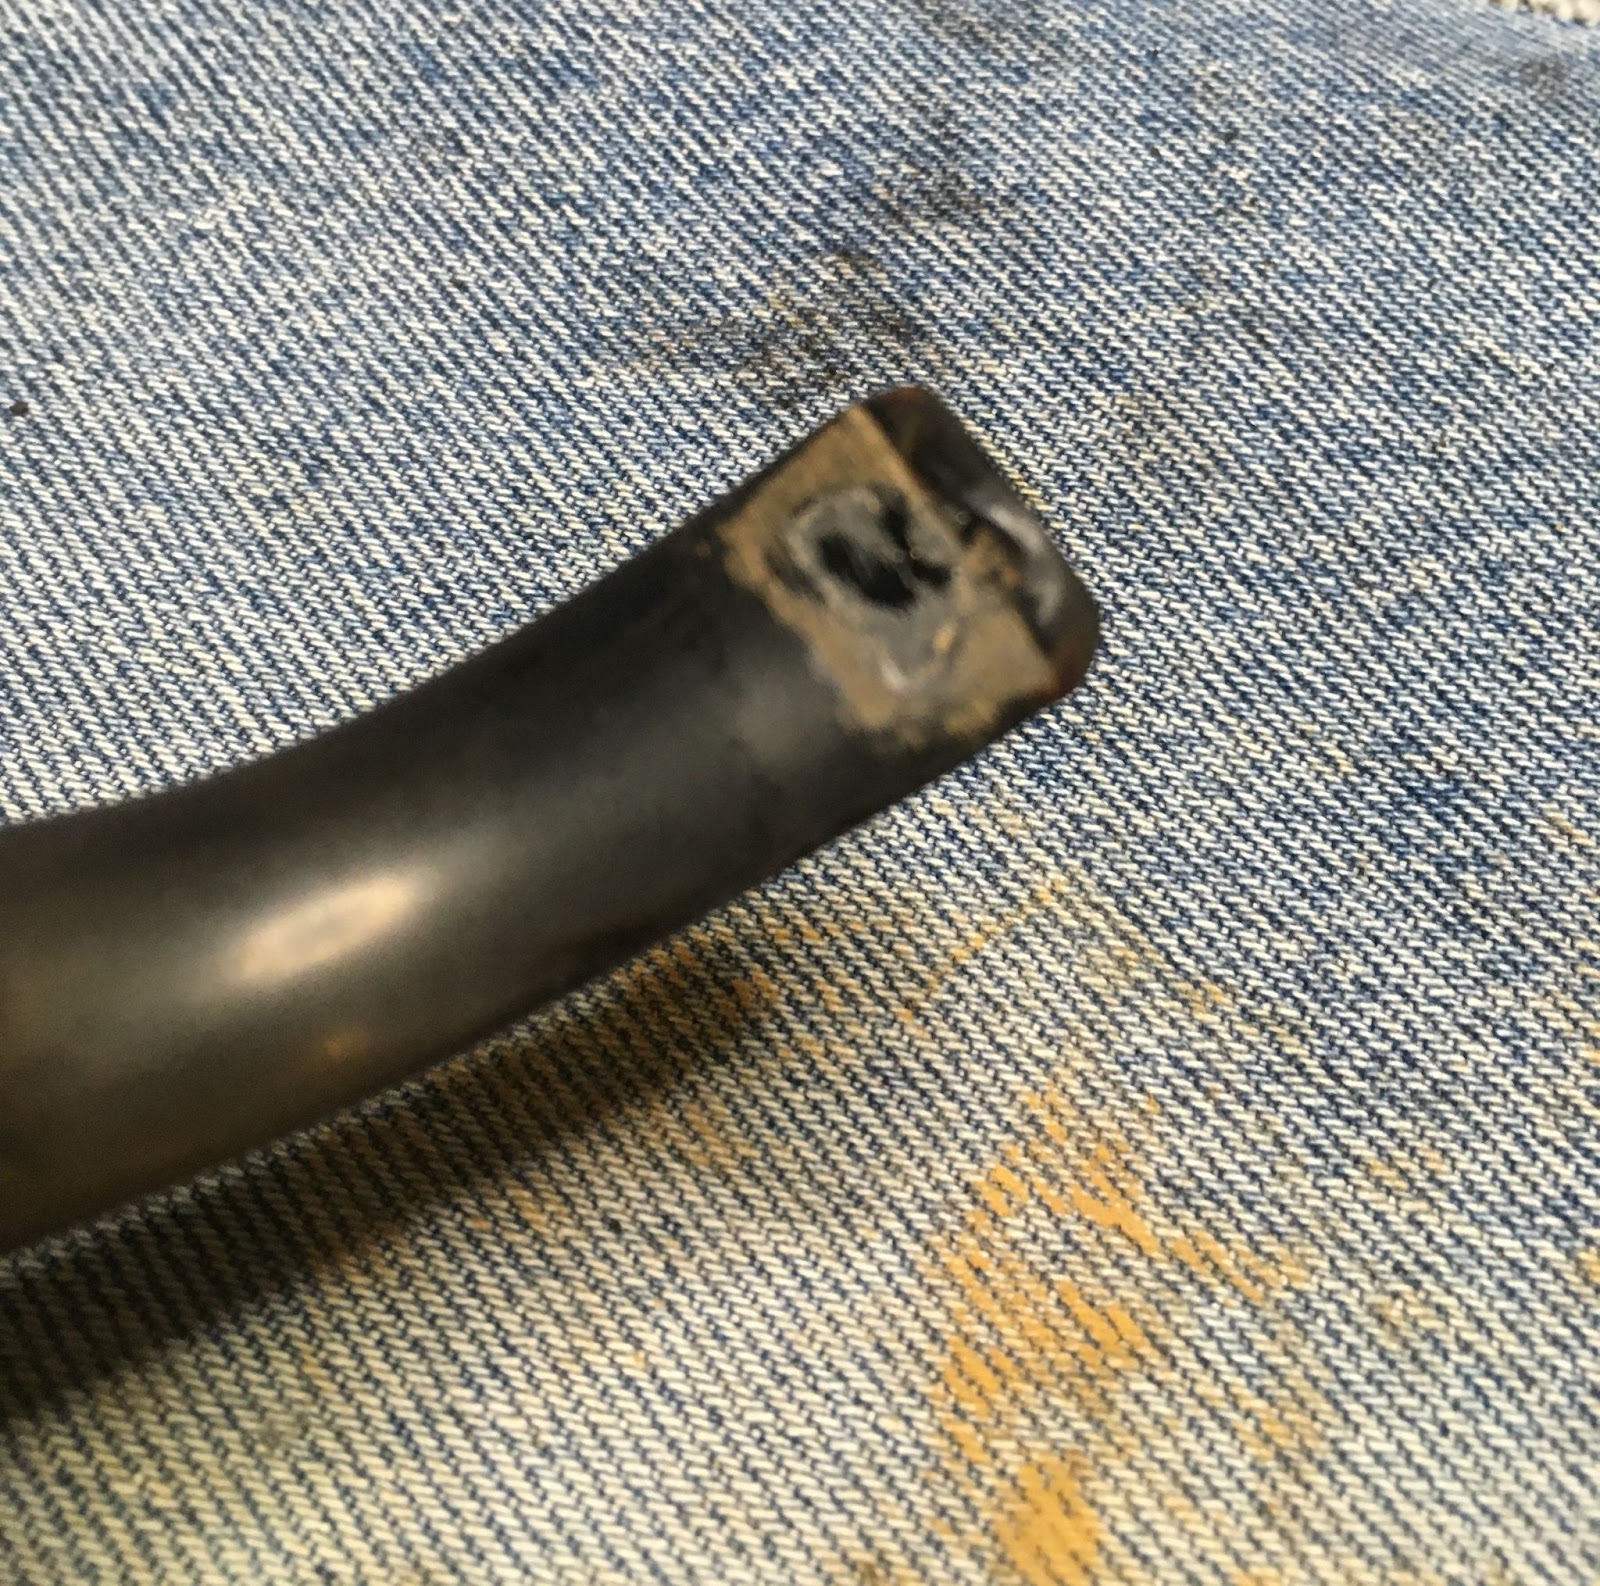
This meant that it was time to address the stem. This stem had several issues to be dealt with. Here are the before photos of the stem, in case you forgot. There was a thick calcium deposit and beneath that deep tooth dents on the top and bottom surfaces. Along with oxidation with a mangled button. To make matters a bit more precipitous, the logo was already worn and the wood accent made me scared to give this stem a soak in the Before and After Deoxidizing solution.

I took off my aluminum foil hat and put on the thinking cap to come up with a plan. The plan was as follows:
- Insert the stem, the stummel would provide a better handhold
- Scrape and sand the calcium deposits
- Assess the severity of the tooth dents
- Sand the worst of the oxidation avoiding the logo
- Soft Scrub the oxidation into oblivion
- Fill the dents with black CA, file, refill, file
- Rebuild the button with black CA
- Tape the logo
- Sand, micro-mesh and polish the stem and the stummel together
That sounded like a good plan. It’s always the implementation that provides the difficulties though.
Following my incredible, well throughout, detailed, perfect plan I proceeded to step #1. Dramatic pause. The stem was too loose. I had forgotten that when I was initially assessing this restoration I noticed that the tenon had what appeared to be beeswax, or something like it, spread on the tenon. I had scraped this off. I photographed it too and completely forgot about it.
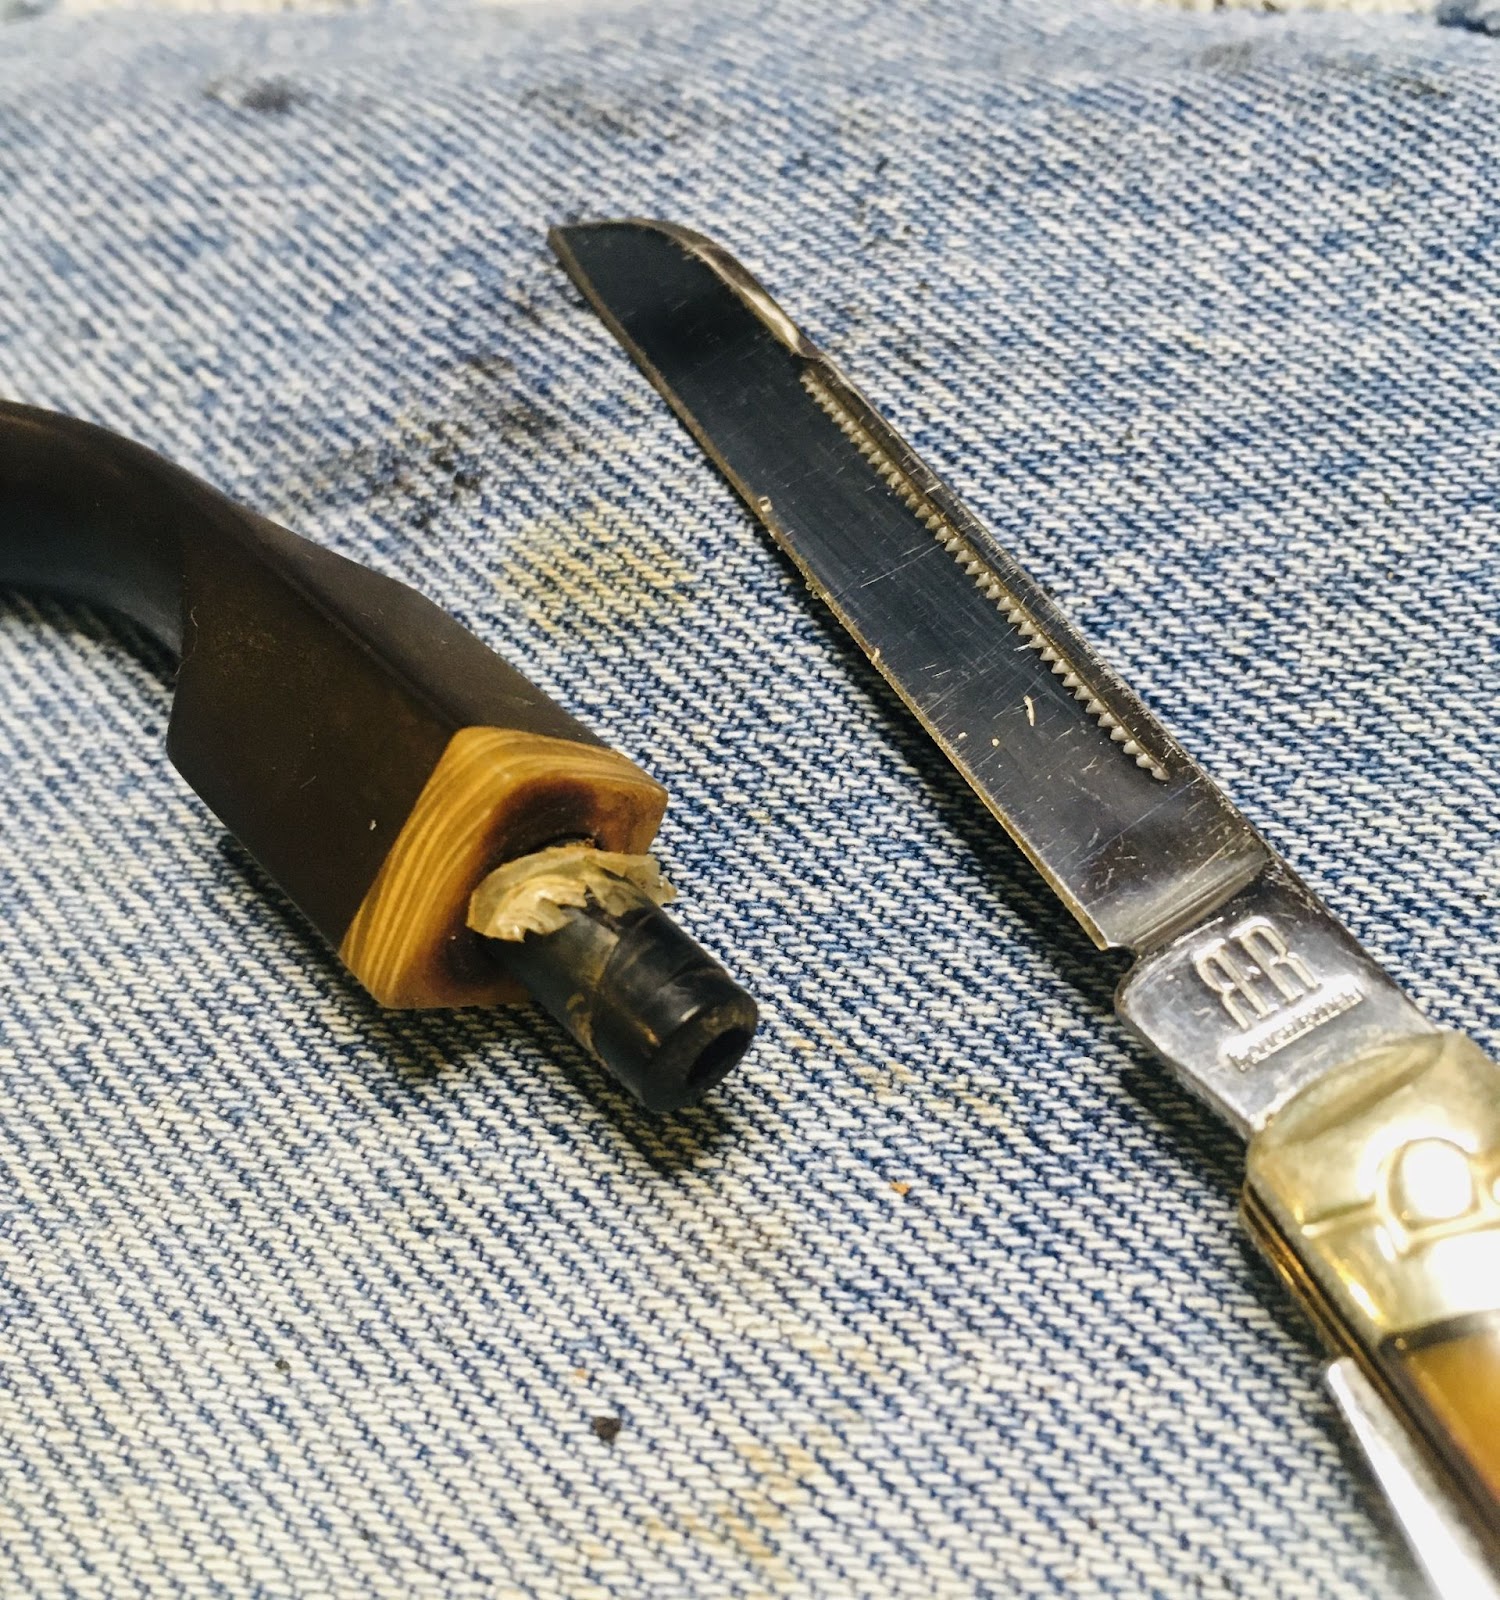
Well, poop, there goes an incredible, well throughout, detailed, perfect plan. Wait, I can still salvage the plan. All I need to do is make the tenon fit as step Pre-1. Then proceed as planned.
Okay, tenon tightening using black CA – step pre-1. I cleaned the tenon with 95% ethyl alcohol. The tenon was then sanded with the 400 grit sanding sponge to roughen the surface. I used a short flat “dry brush” paint brush to smoothly and evenly coat the tenon with black CA. I constantly rotated the stem as I worked. The tenon was then spritzed with a cyanoacrylate drying accelerator. The hardened CA was then sanded with the 1500 grit sanding sponge to smooth it and check for fit. I had to apply a second very light coat of CA and repeat the drying/sanding to get the desired snugness. Oh, make sure you put your brush into a medicine cup with a couple ml of acetone and let it soak. They clean up almost like new.

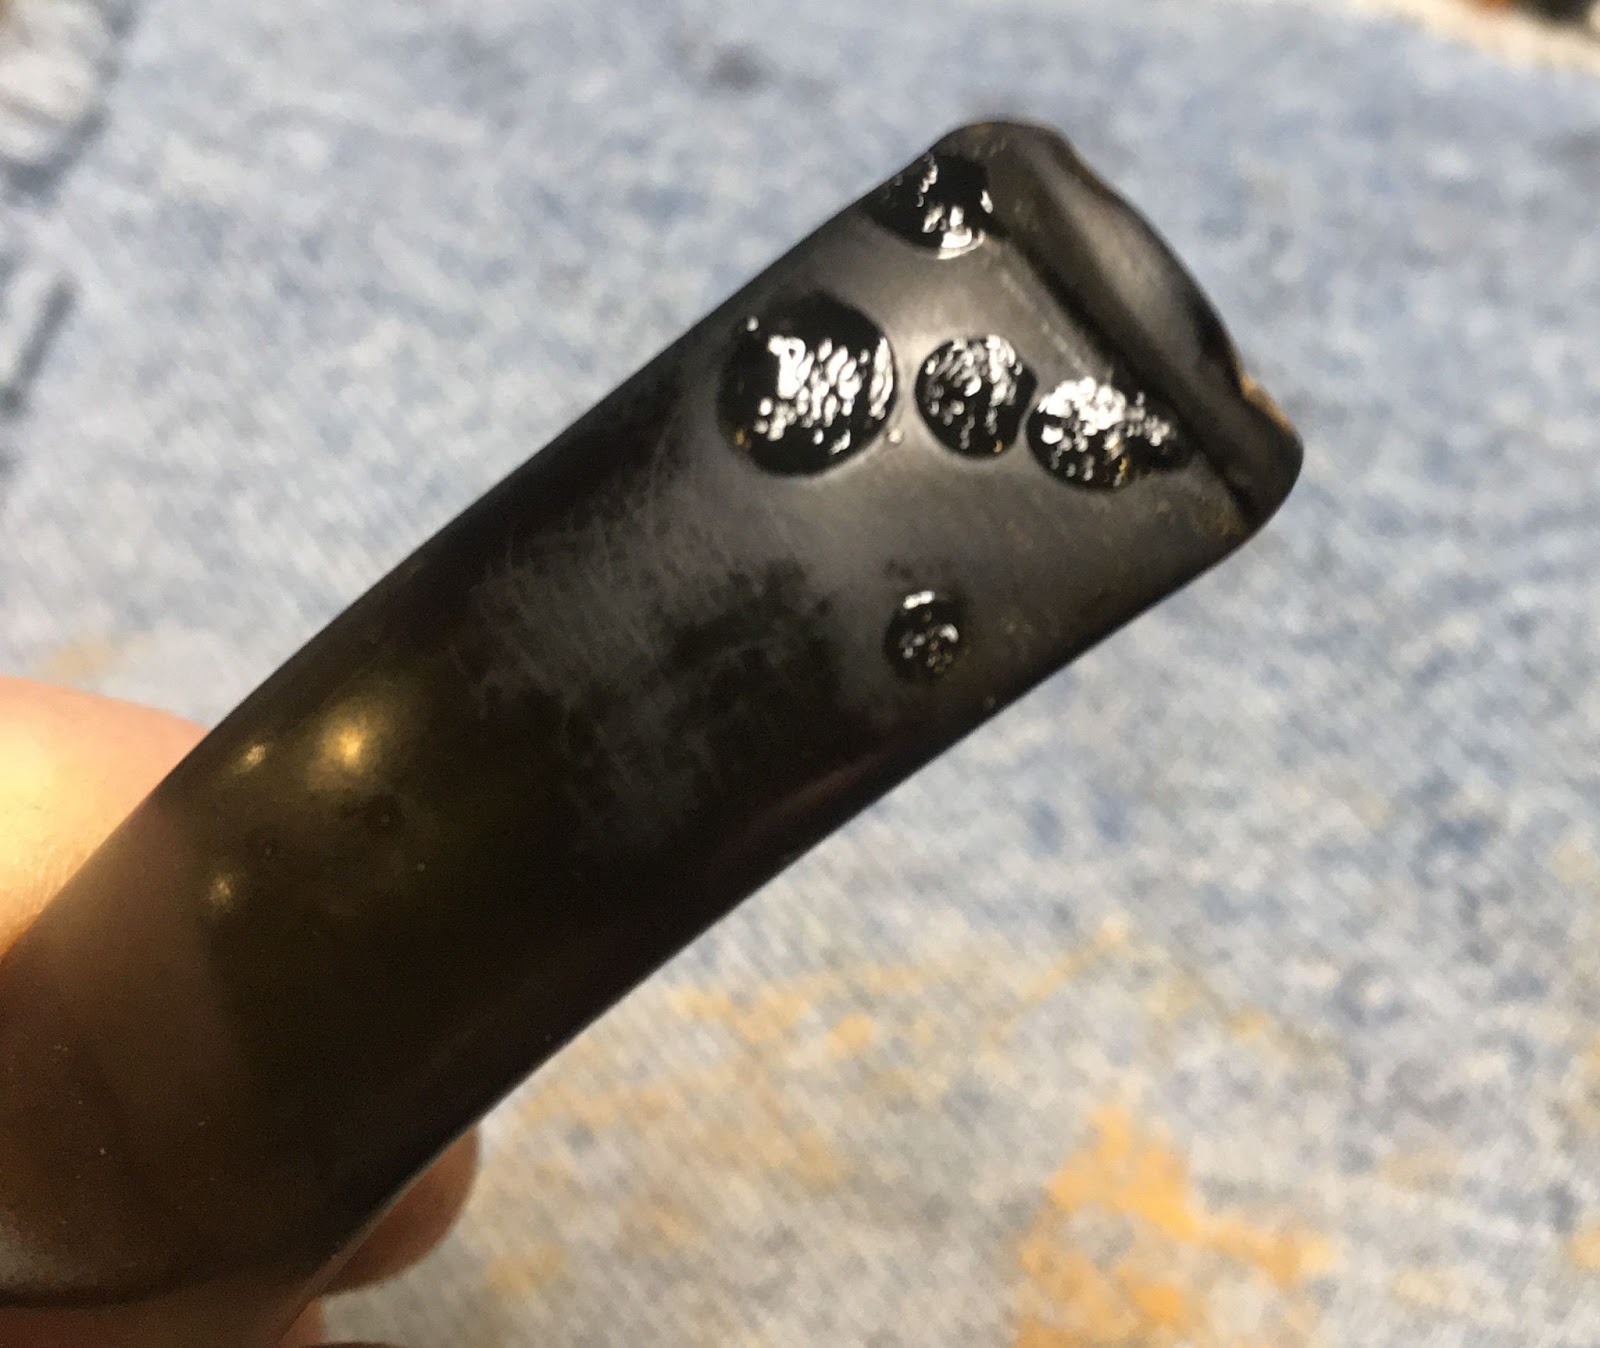
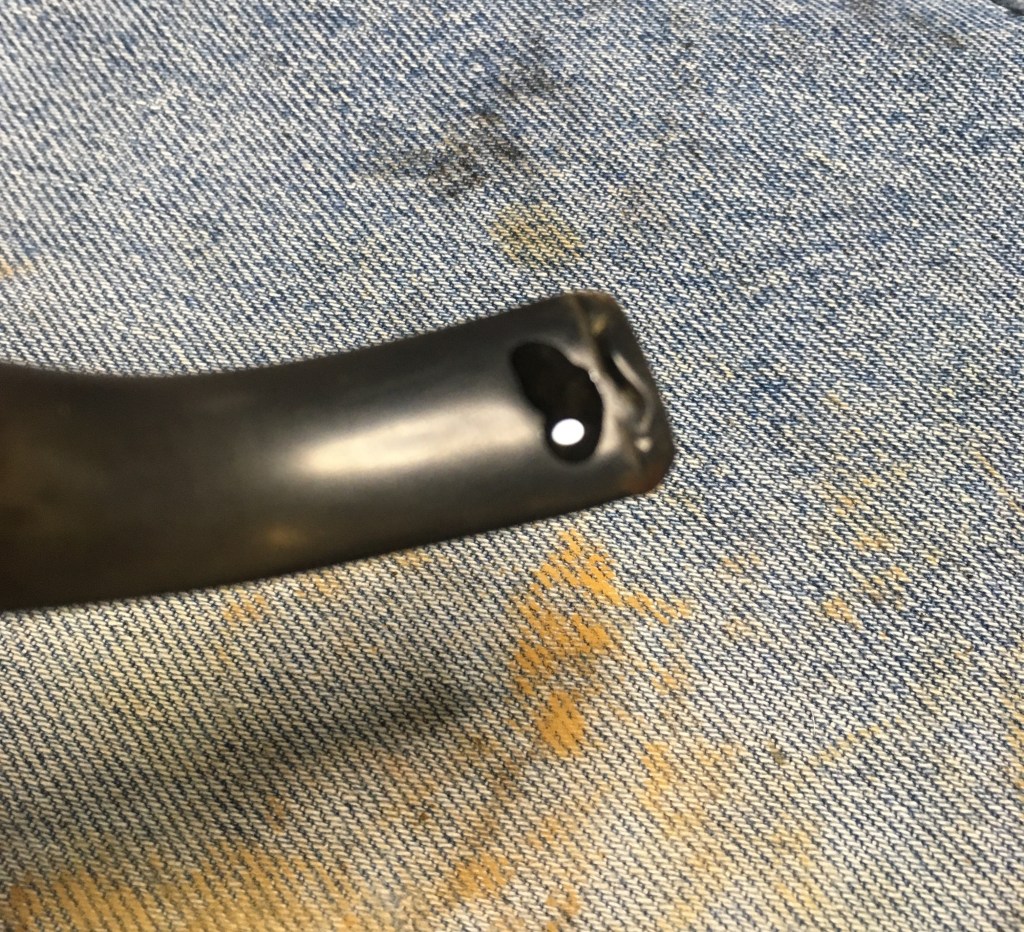
Now I was ready to start that incredible, well throughout, detailed, perfect plan. The newly tightened tenon fit very nicely into the stummel and allowed for a complete step 1. Next, I scraped and sanded the calcium deposits revealing a frightening looking stem and button.
The stem was sanded with the 400 and 600 grit sanding sponges to remove a good deal of the oxidation. I was very careful to avoid the logo. I then used Soft Scrub on a make-up pad to scrub the stem. This took many pads. I apparently also neglected to photograph this. Again, trust me, there were at least 6 pads all with gross brown spots of oxidized vulcanite.
That brings me to step 6 – filling the dents and rebuilding the button. The dents were too deep to fill with a single application of black CA. Several smaller applications were used. Filing with a flat needle file and smoothing with a 400 sanding sponge were done between applications. Pardon the less than stellar photographs. Some day I’ll use the real camera rather than trying to do this one handed with a phone camera.
First application of CA on dents.

After the accelerator spritz.
CA filed. I am not concerned with smoothness at this point.

Covering the “blending area” with CA.

Now the smoothing becomes important. There was still one depression, the shiney spot, that needed more CA.

Bad photo but I hope you get the main idea.

Then repeat for the bottom of the stem. Initial CA application.
Filing of the initial. Followed by subsequent applications.
Smoothing of a larger area.

With the dents filled and fairly smoothed it was time to rebuild the button. To do this I wrap the newly smoothed area in scotch tape. I don’t want to have to redo any work that I had just done. The tape also projects the surface from the file and sanding sponges for the work to be done.

With the scotch tape applied, I started layering the new black CA. I must have been getting tired and stopped photographing. For me, rebuilding a button is almost the same as filling the dents. Several layers of CA are added with filing and sanding between each layer to assess where additional material is needed. There is one important addition: Immediately after the accelerator is spritzed I take a sharp knife and cut through the CA while it is still soft. I only have a few seconds until is sets-up. The cut is made along the stem-ward side of the button; the cutoff material will come off when the scotch tape is removed. This cutting saves you the time and trouble of shaping the button where it meets the stem. The rebuilding occurred on the top and bottom of the button and was shaped with the flat needle file and sanding sponges.
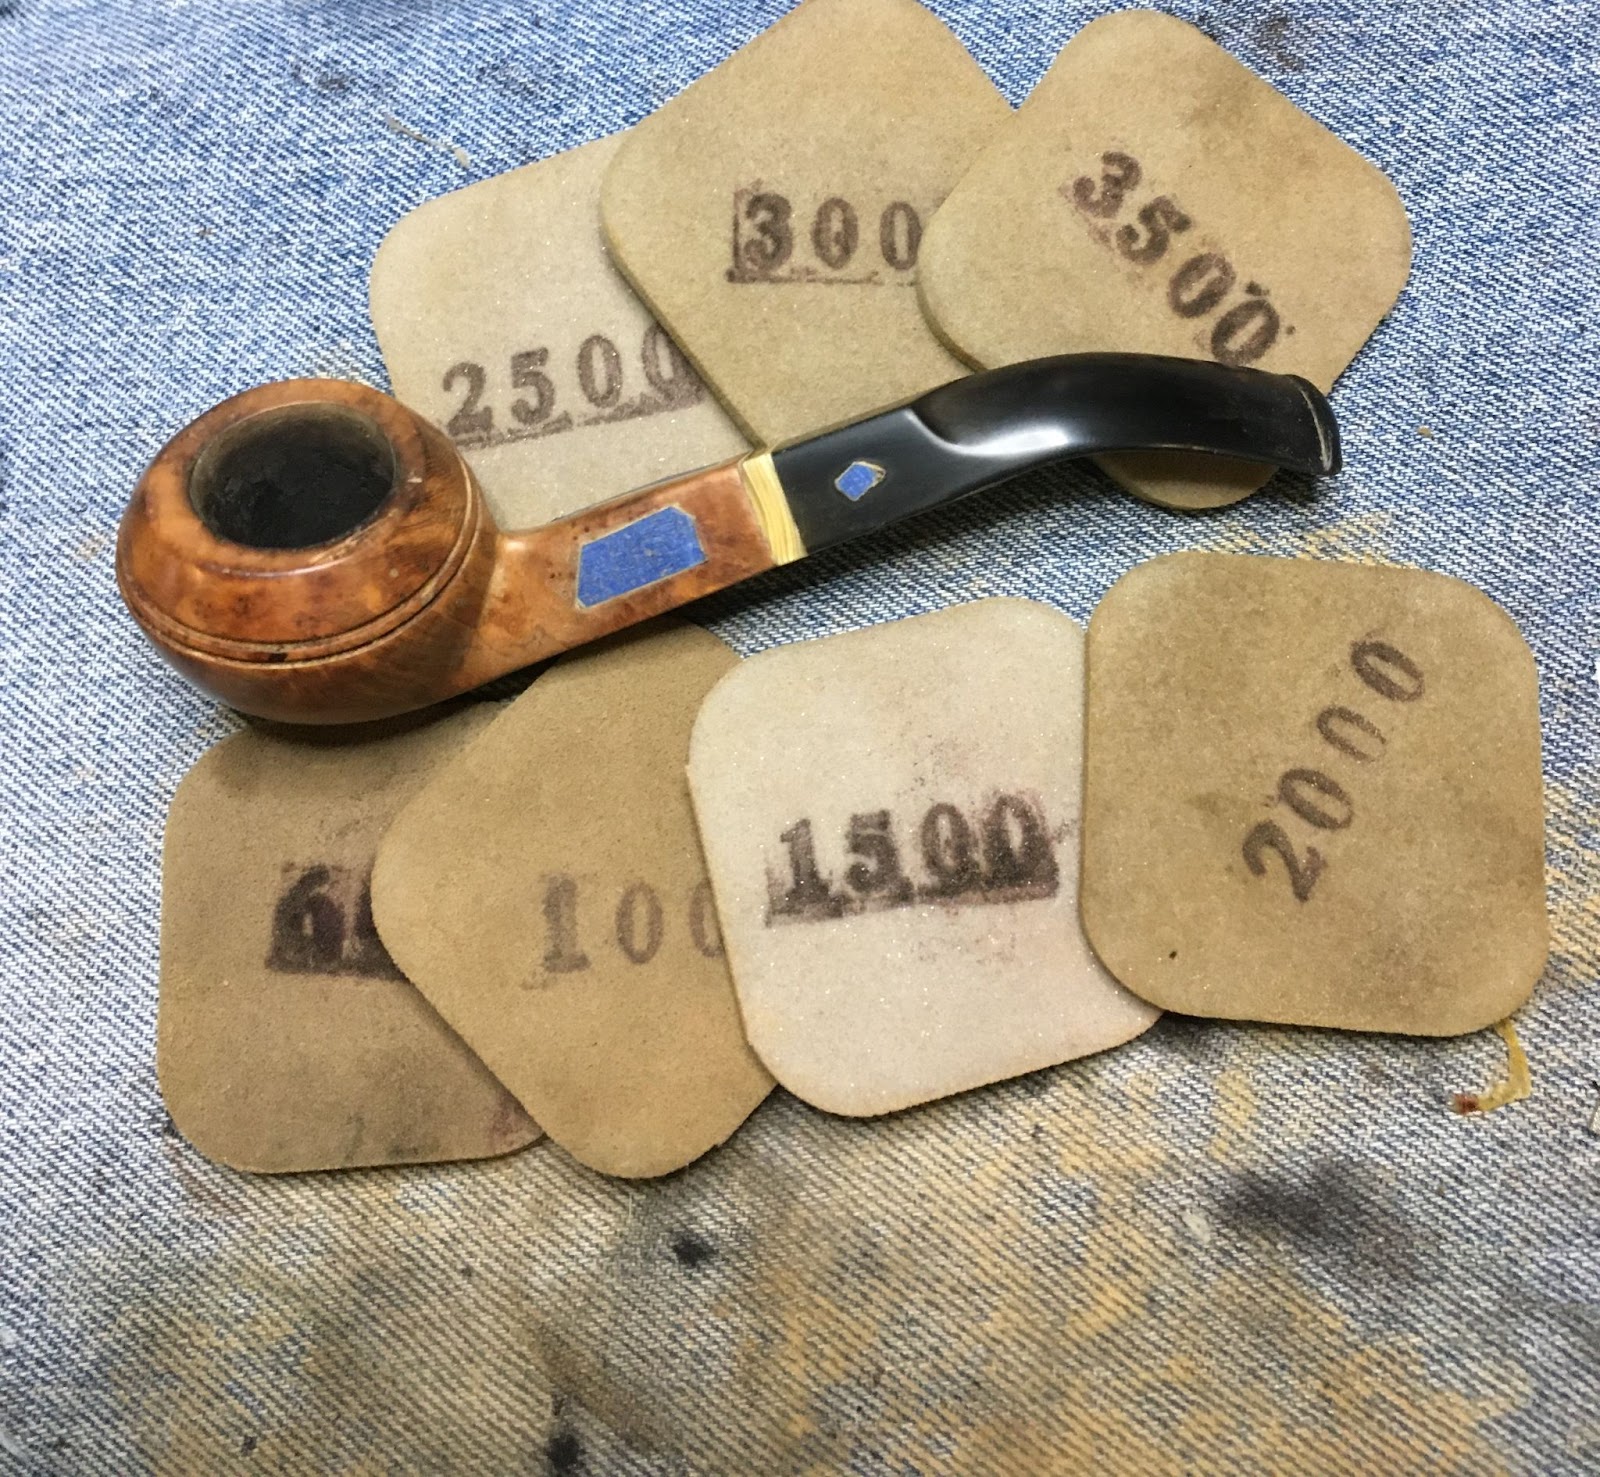
That brings us to the last two steps of the incredible, well throughout, detailed, perfect plan. The taping of the logo and the sanding and micro-meshing of the pipe. The sanding went smoothly, no pun intended. The sanding sponges were used in sequence from the 600-3500. Between spongers I would wipe the stummel with an alcohol wetted make-up pad. The stem was wiped off with a dry paper towel and every couple of sponges I would apply a coating of mineral oil and wipe that off before going to the next sponge.
Just when I think the thing is about finished I notice something else that I just can’t ignore. OK, two things: The non-round tobacco chamber and the bottom of the chamber had a depression that was far below the draft hole. It looked like years of scraping had deepened the bowl. It is hard to see in the photos but you might be able to make it out.


I could not stand the thought of the gouged bowl bottom. I mixed some J.B. Weld as per product instructions. This is a two part epoxy that can be exposed to 550 degrees Fahrenheit, according to product details. I used a disposable syringe with the tip cut off to draw up and apply the epoxy to the bottom of the bowl. The photo below shows the epoxy pooling in the gouge in the bowl.

After the epoxy had started to set-up, after 30 minutes, I covered the epoxy surface with carbon powder and pressed it into the still tacky surface of the epoxy. The epoxy sets-up within minutes but I left it to cure overnight.
THe next morning, I continued on with the micro-meshing using the 4000-12000 pads. Between each I would apply a drop of Obsidian Oil to the stem, rub it in with my finger then wipe off the excess with a paper towel. The stummel was wiped with an alcohol dampened make-up pad.

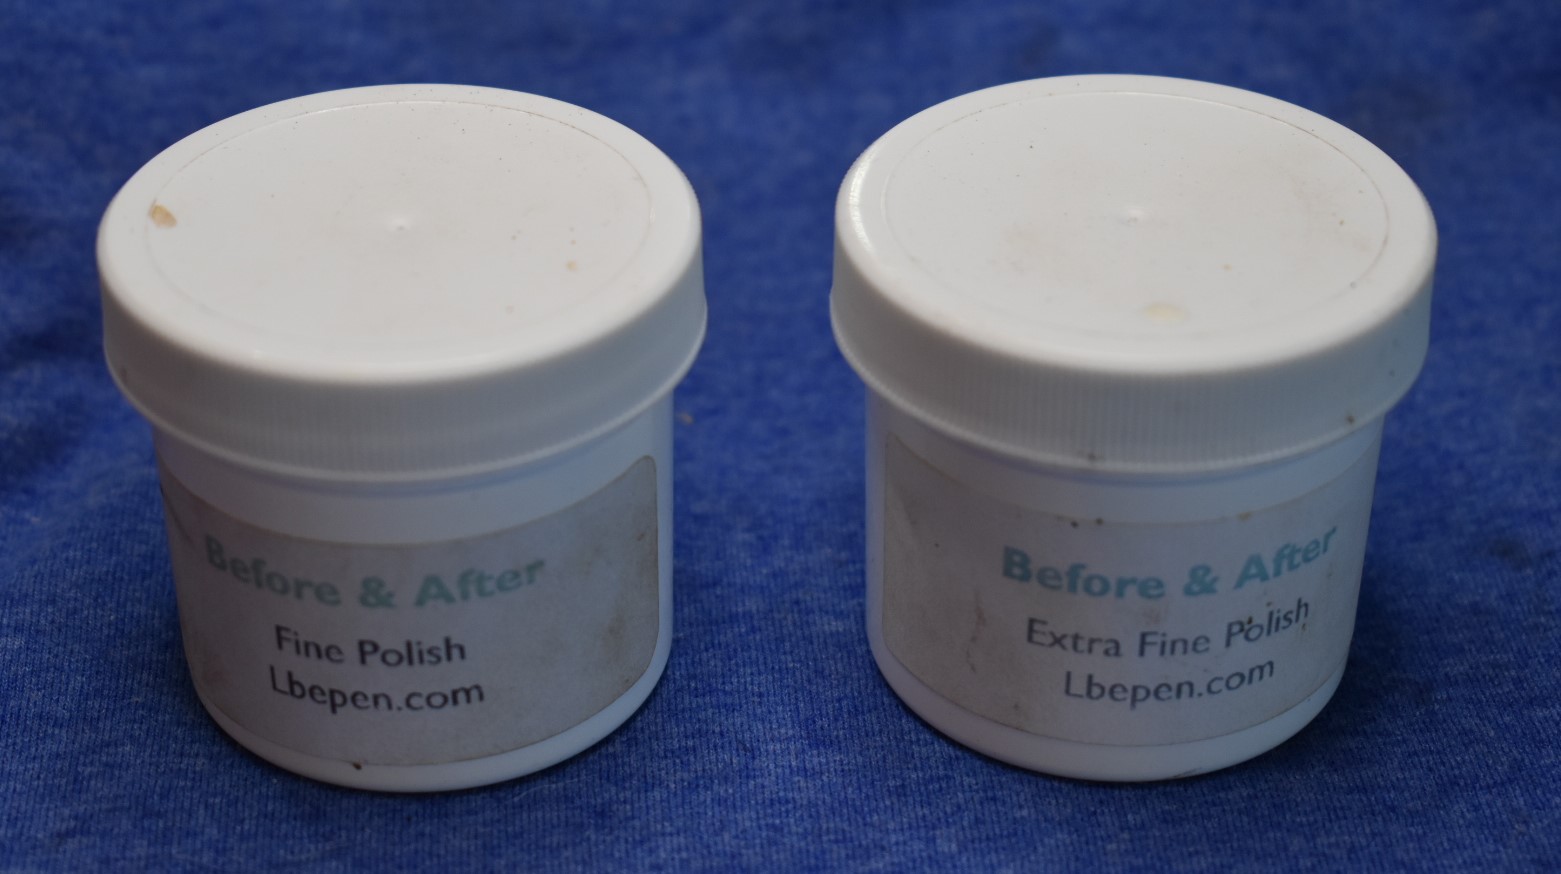
The stem was then polished with the Before and After Fine Polish followed by a polish with the Extra Fine Polish. Both the fine and the Extra fine were applied with my finger then hand rubbed with a soft cotton cloth.
The final step was to take the pipe to the buff and apply several coats of carnauba wax.
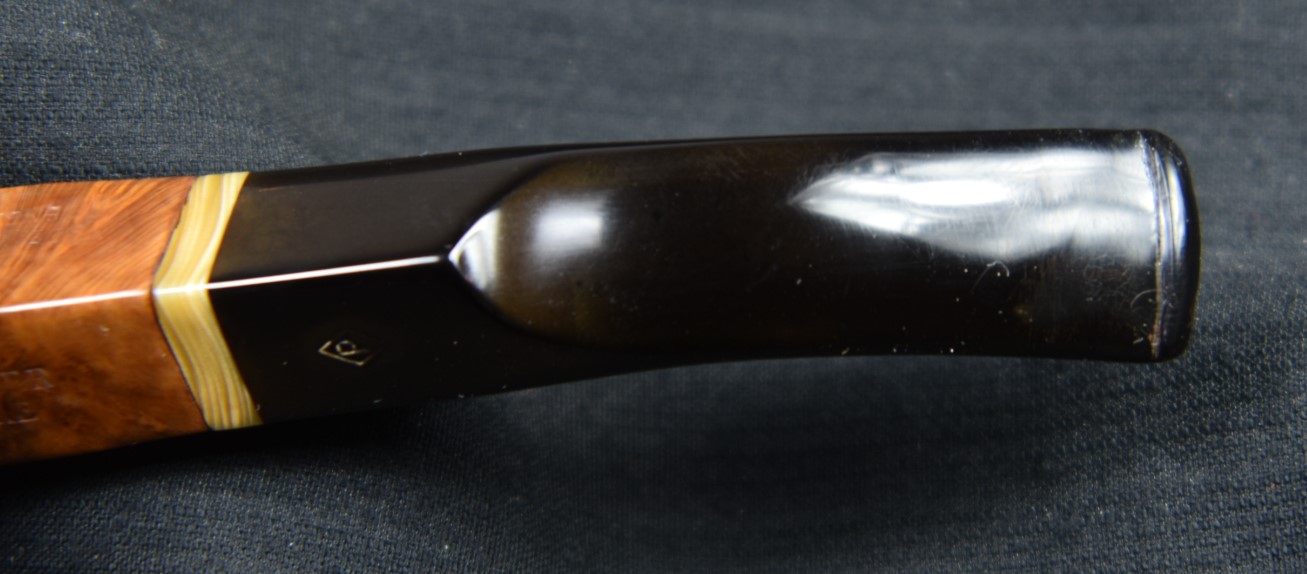
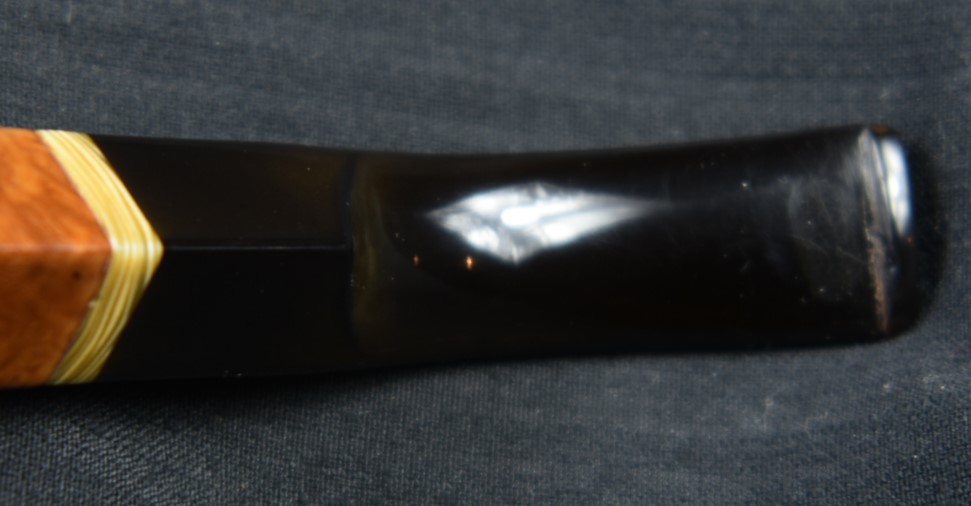
Overall I am very happy to add this Parker to my personal collection of pipes. The briar does have several fills but they are only evident with close observation. I guess the pipe had to live up to its “Dunhill’s failings” reputation. The grain is lovely and is accentuated by the exotic wood stem accent. The stem polished up nicely with the black vulcanite contrasting the woods nicely. The pipe feels great in hand and the bent Rhodesian is a favorite shape of mine. I do hope that you have found something here useful to your restorations. If you like this sort of thing, please click the like and subscribe. I thank you for reading the ramblings of an old pipe lover.
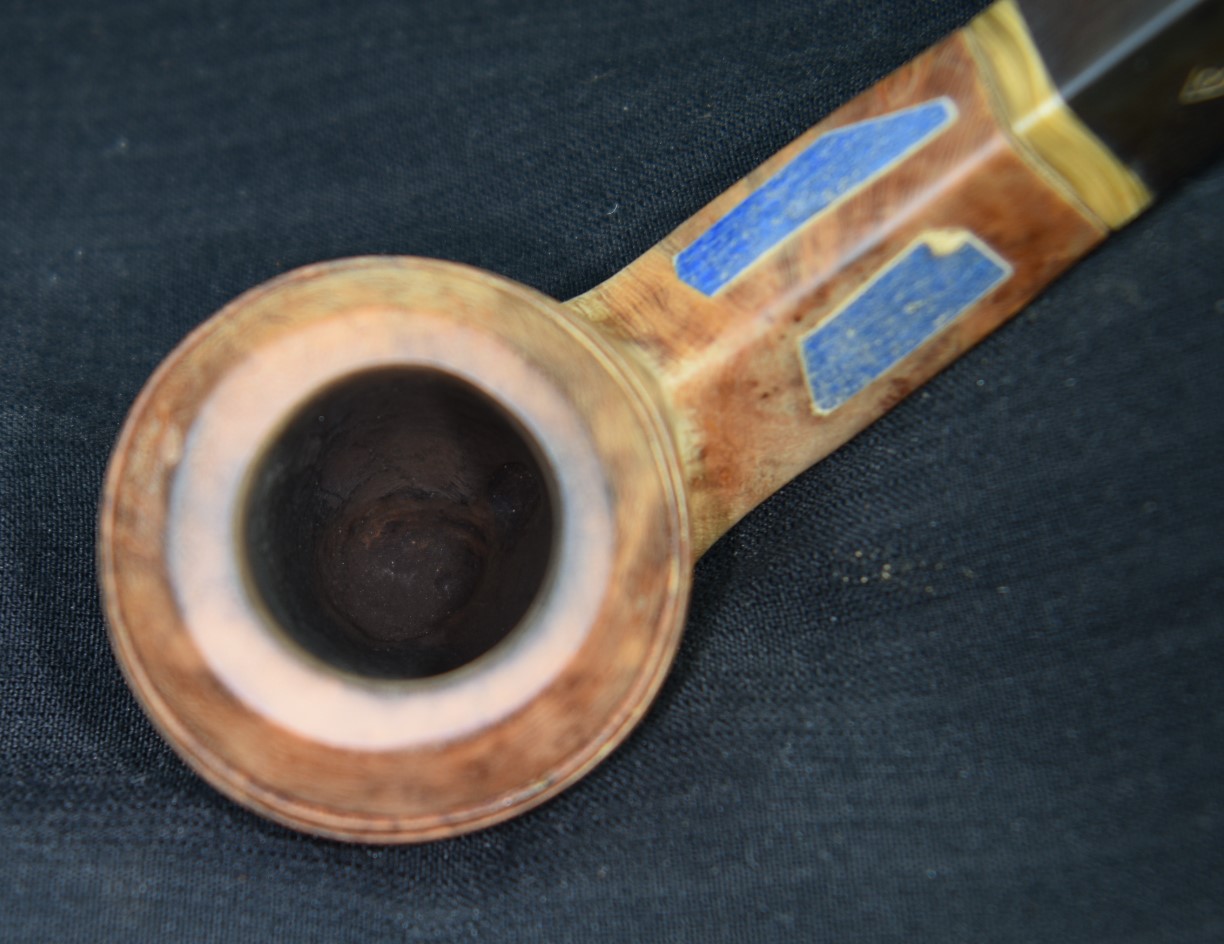
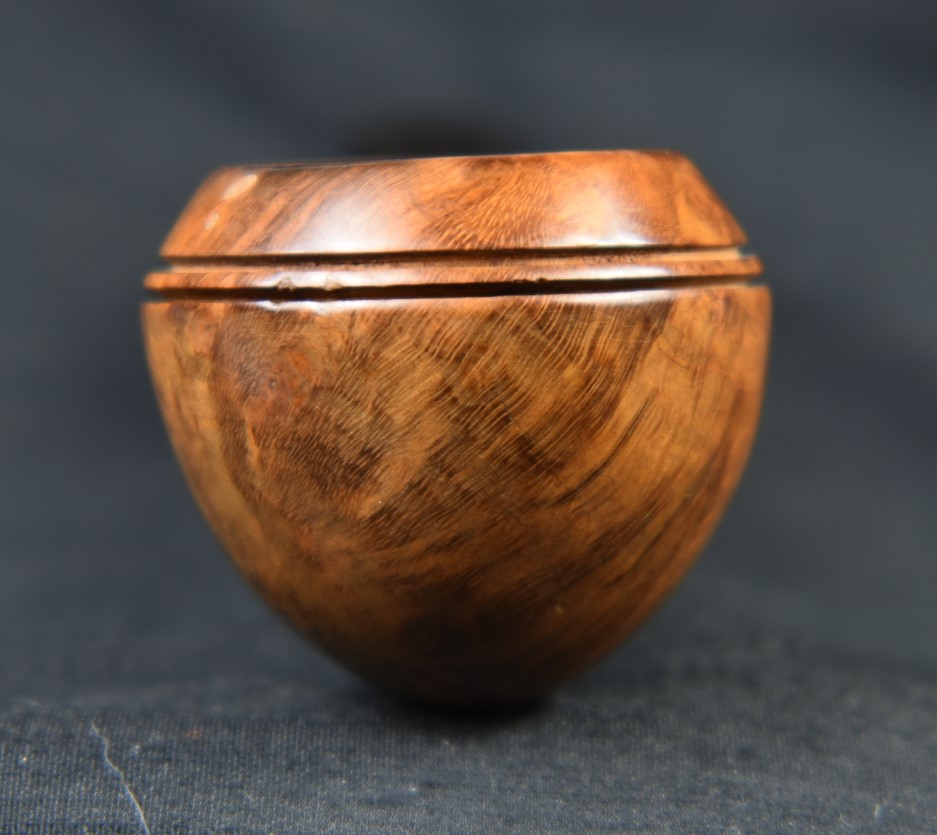
Below are some photos of the finished Parker Bent Rhodesian Square Stem.


Here is a close-up of the repair of the bead.


And finally the finished bowl fill.