Photographed and written by
John M. Young
The Dunwich Horror is one of H. P. Lovecraft’s best known works from 1928. The name of this pipe has little to nothing in common with that story other than sharing most of the letters in Dunwich. The Dulwich Supreme was far from an eldritch abomination of cosmic proportion and it most likely is more recent than 1928. Rather it appears to be a fine piece of briar with an intact meerschaum bowl and good quality vulcanite for a stem.
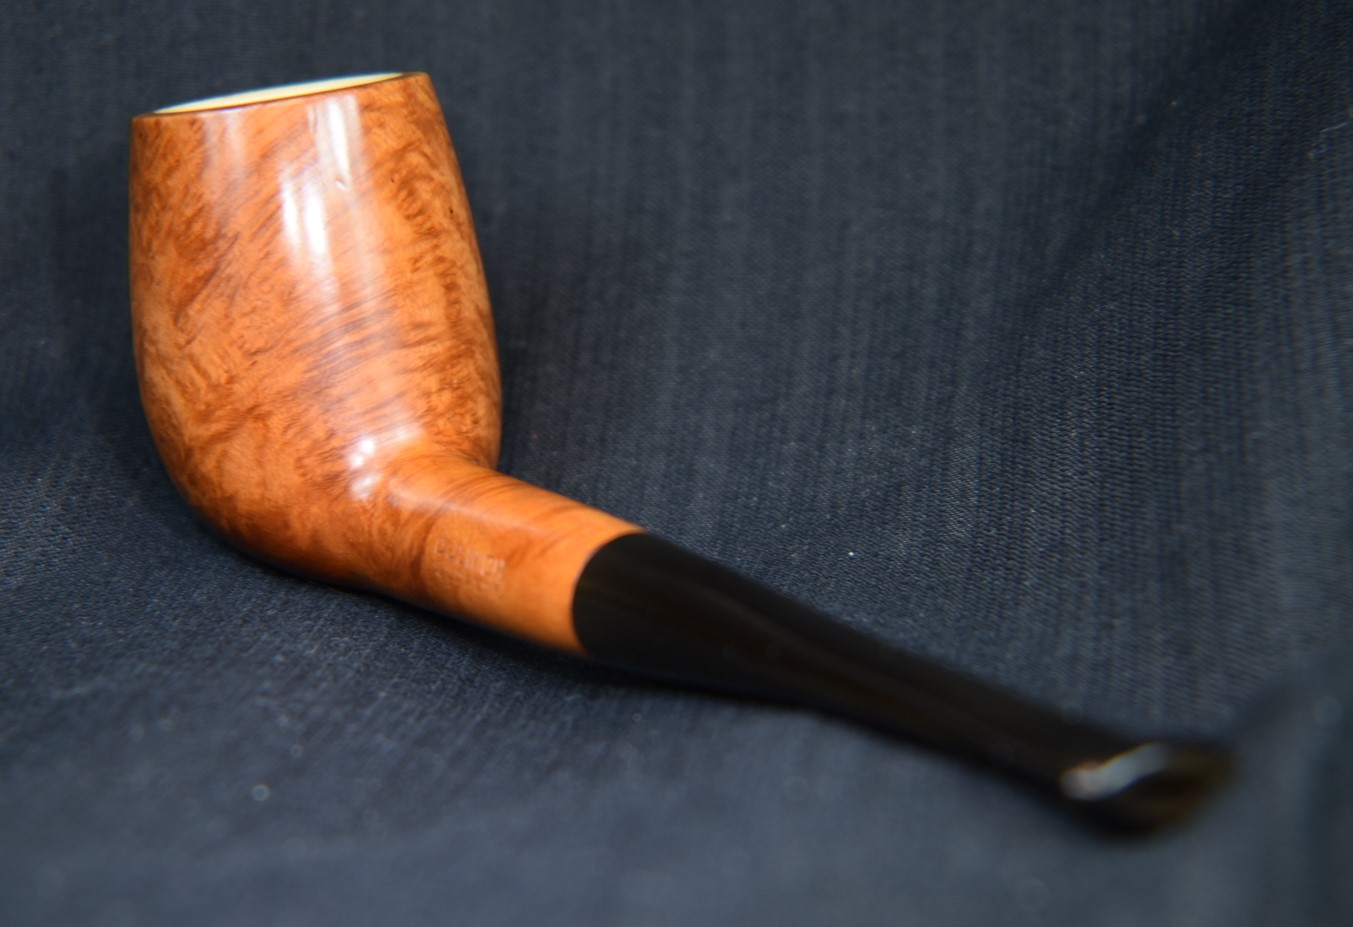
This pipe was part of an estate lot that contained the 3 Senlar pipes from earlier restorations (Senlar Canadian, A Second Senlar Canadian and Senlar Billiard). This pipe caught my eye with its light colored briar and forward

canted bowl, both features I find attractive. And, of course, the Lovecraft-esque name. I had restored several meerschaum lined pipes though not a favorite. I had kept a couple of them for use on windy days when I was working on an outdoor project. I considered the small bowl size as a detractor from frequent use. Although the cleaning with soap and water was always a feature that I liked.
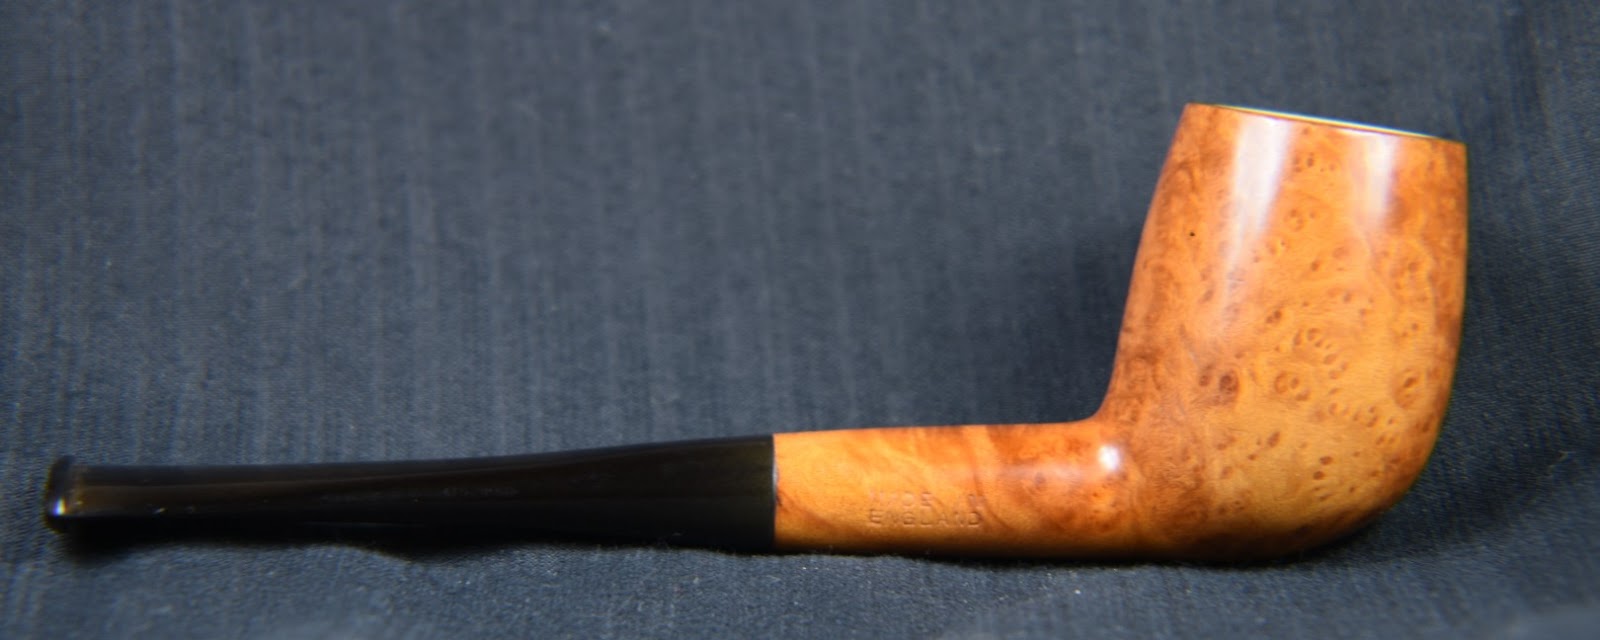
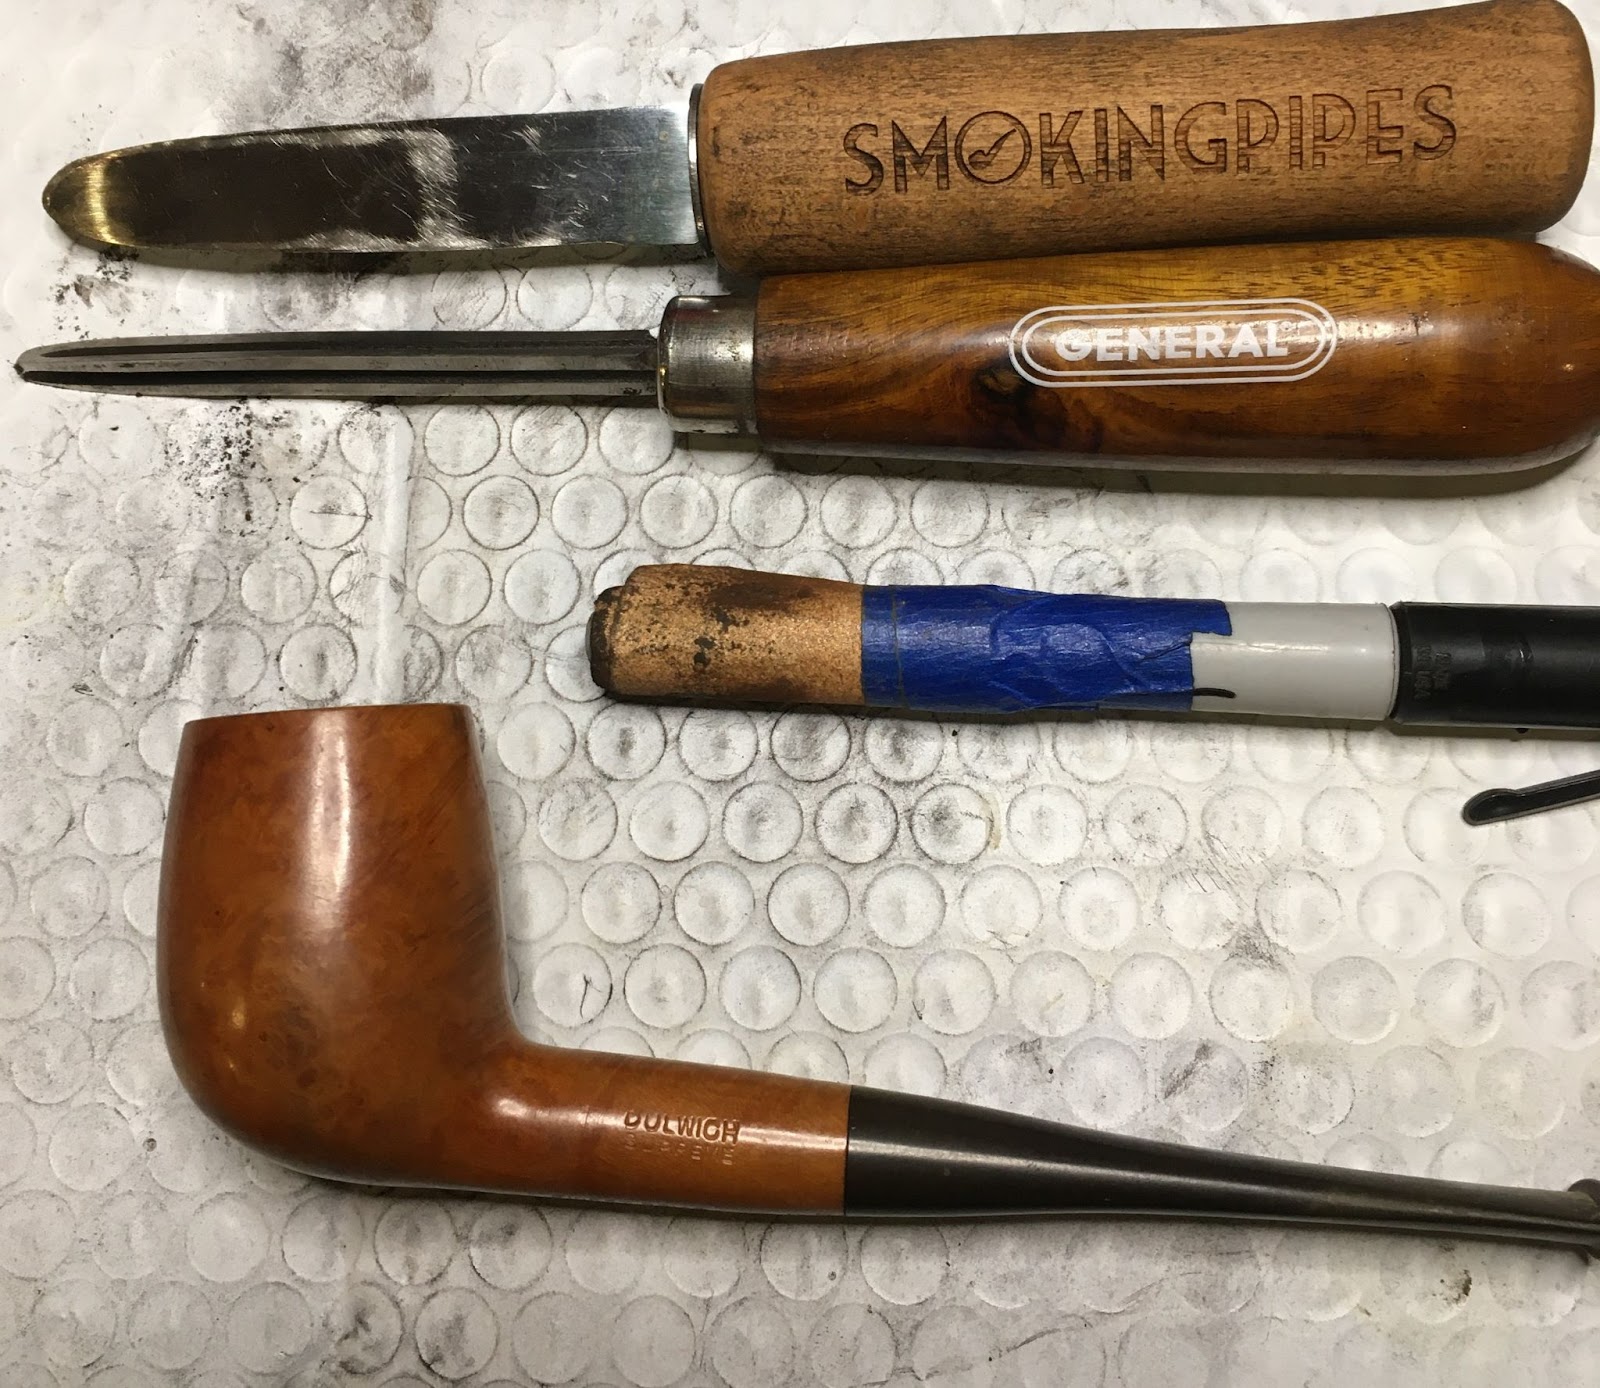
Here is what I was looking at.


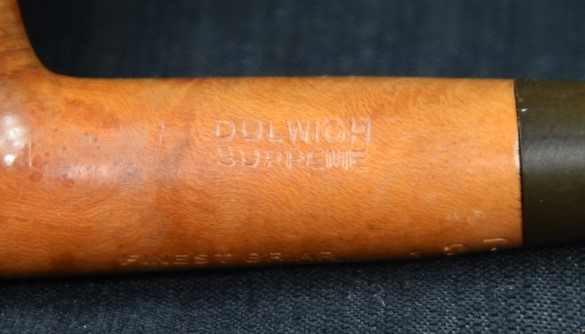


I failed to photograph the third stamp, along the bottom of the shank. They read, DULWICH over SUPREME (left), MADE IN over ENGLAND (right) and FINEST BRIAR over EXTRA and a shape number 127 (bottom). I could find very little information on Dulwich pipes. The information from pipedia.org is a single line, “|”'[[Dulwich]]”’||brand that often has Meerschaum lined bowls” (Search results for “Dulwich” – Pipedia). Pipehil.eu had nothing. I turned to Steve Laug’s rebornpipes blog and his extensive list of pipes that he had restored and found that he had restored 3 Dulwich pipes on two separate blog posts: Refurbishing a Dulwich Quaint Oom Paul 64 and A Rare Find – A Pair of Fieldcraft Dulwich Quaints. In both of Steve’s posts he too could find little information on the Dulwich brand. Also of note is that none of the three Dulwhich pipes that Steve restored had the meerschaum liner. With little information to go on and no idea of a date for this all I can do is make a guess – made in England in the 1970s.
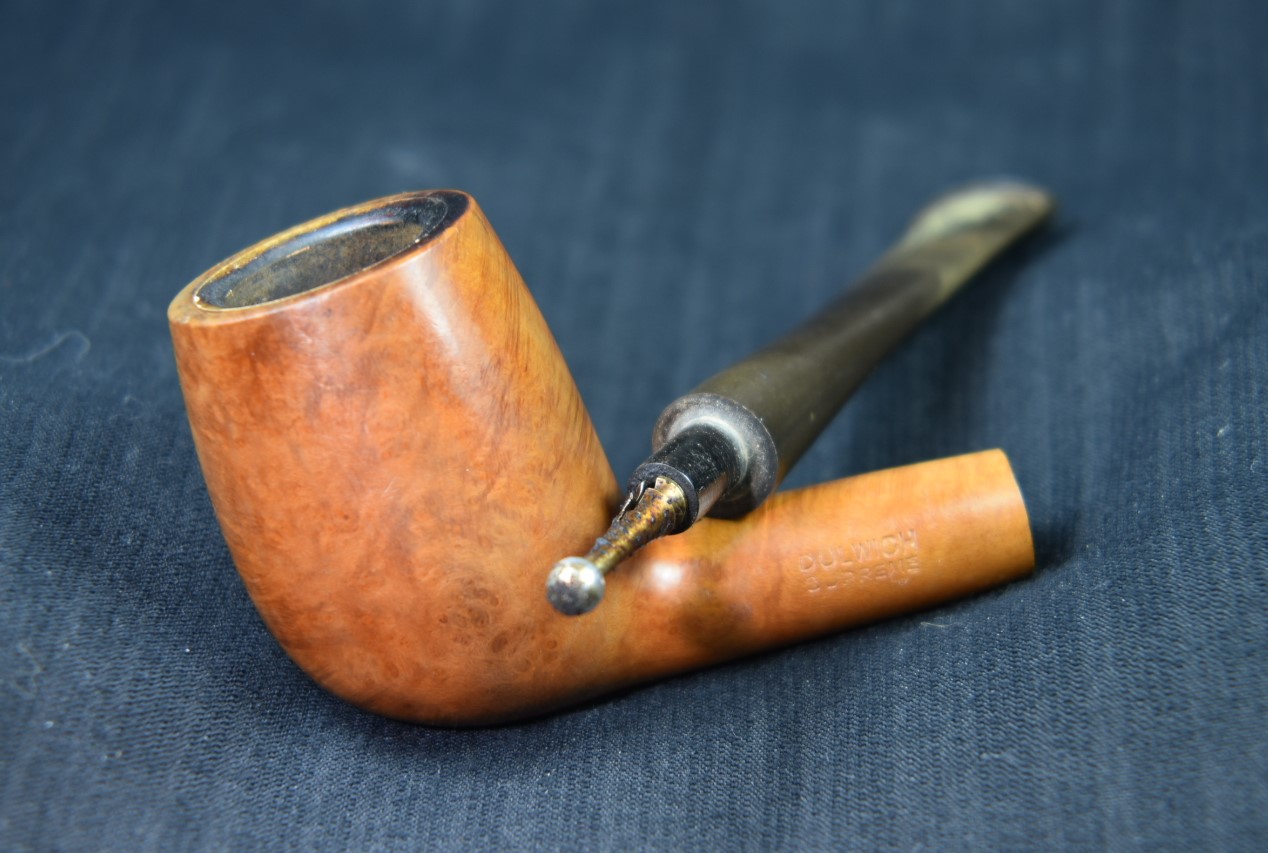
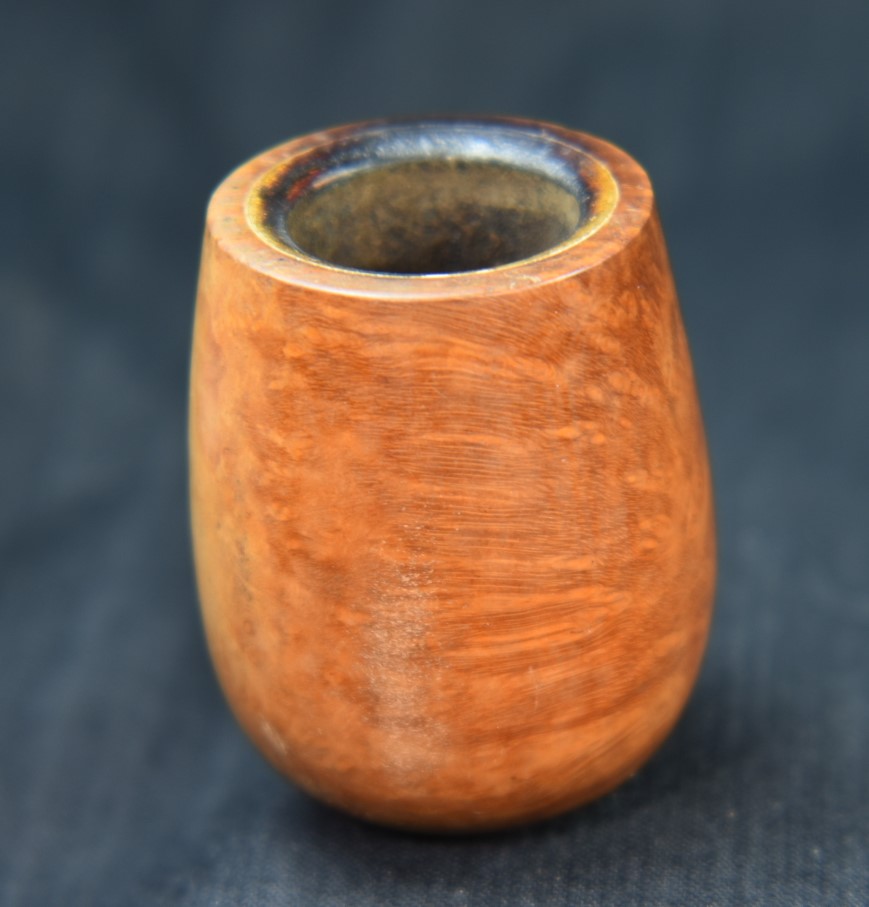
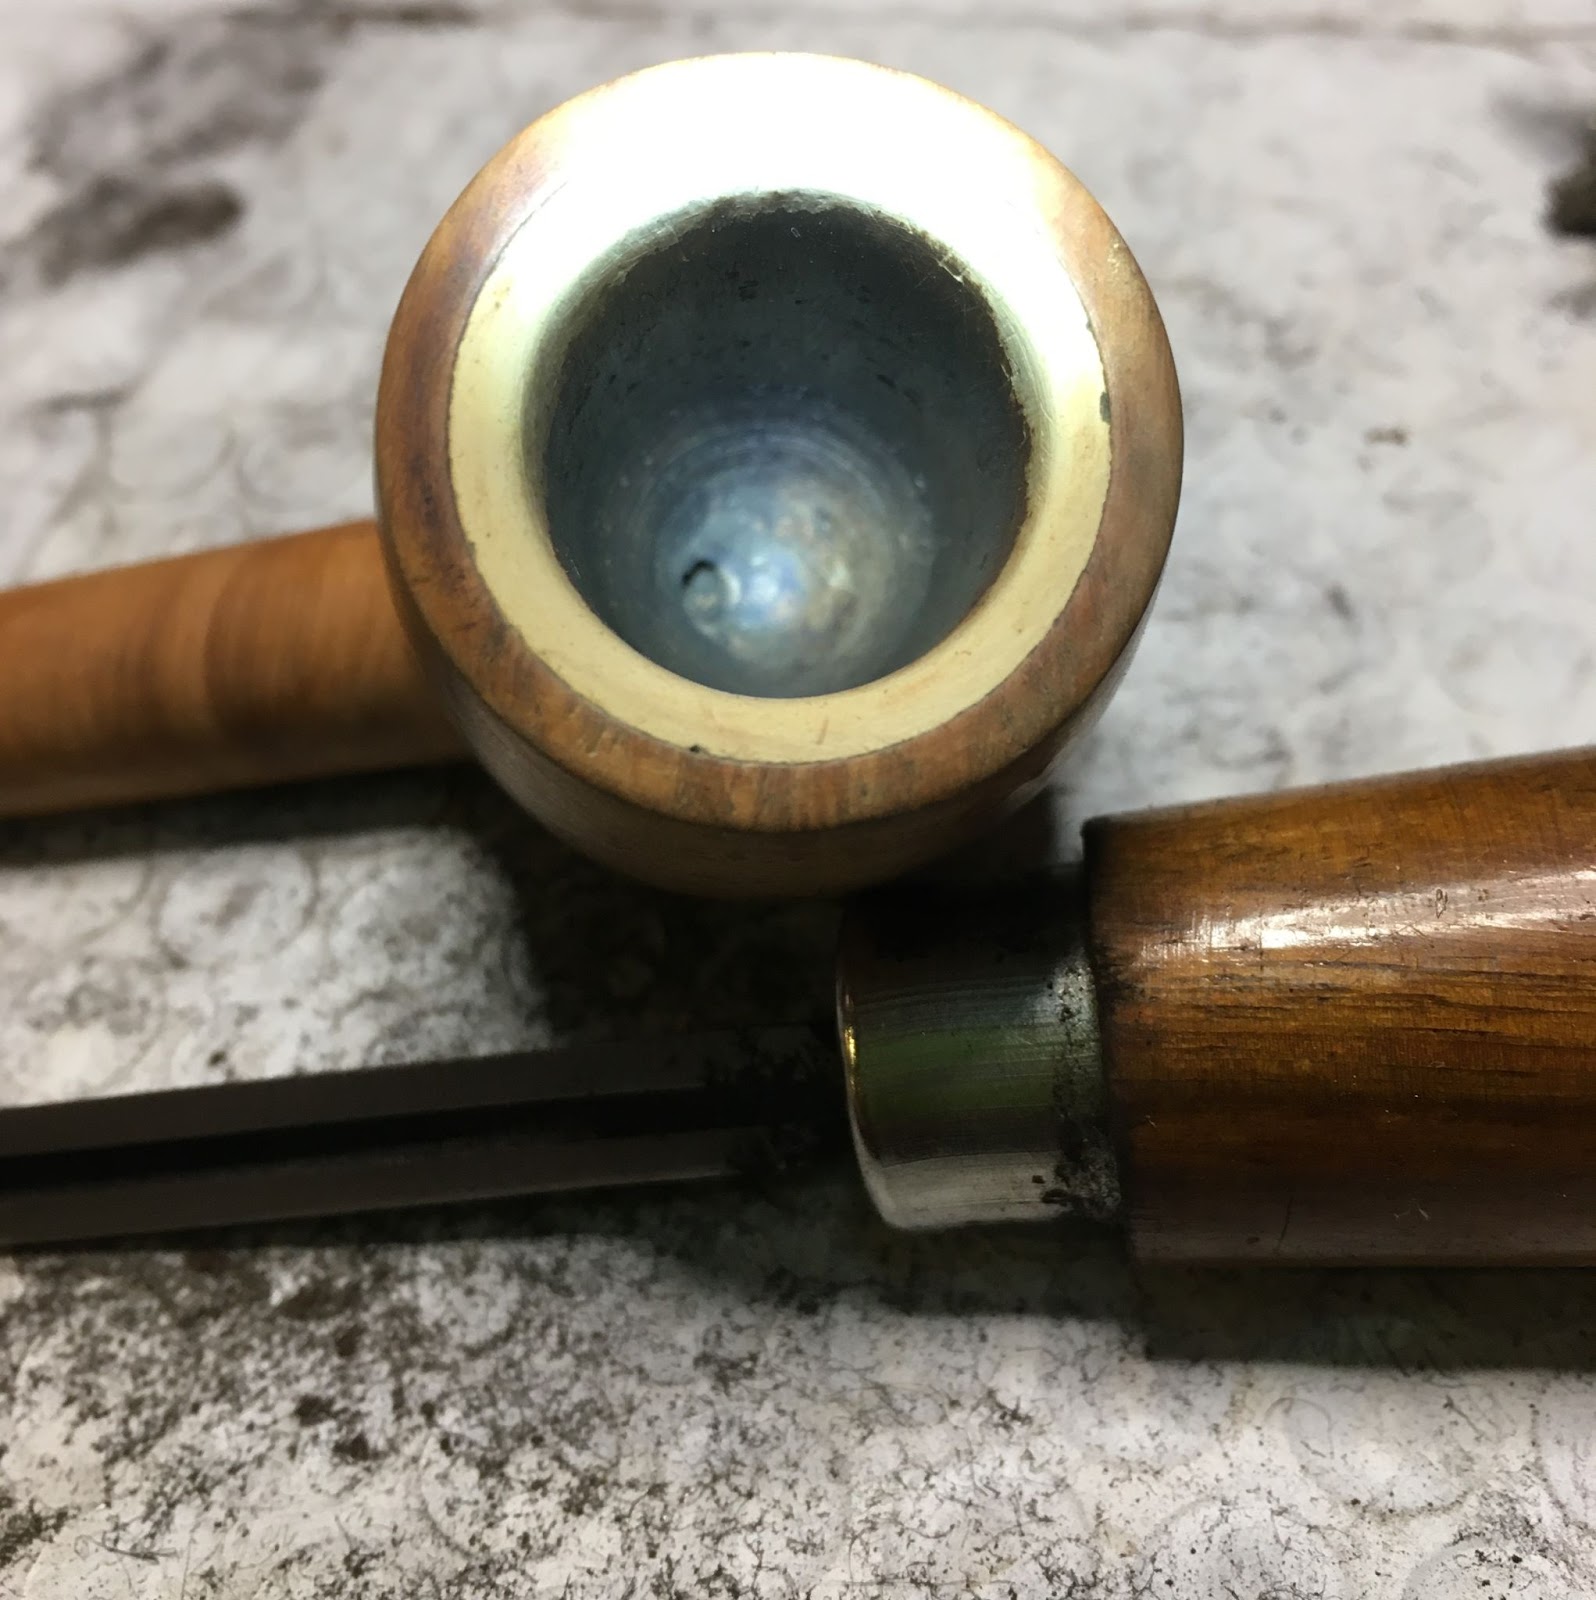
After the initial photos were taken the Dulwich received a clean piece of denim at the workbench. I did not want to use the PipNet for reaming for fear of the torque that my massive forearms would deliver to the fragile meerschaum liner. Okay, that was an exaggeration although, I am pretty sure that my forearms do have some mass. In my previous restorations of meerschaum lined pipes I have found that the meerschaum is usually chipped, has breaks and/or missing pieces. This Dulwich was dirty but intact. I opted to only use scraping tools and sandpaper to ream the tobacco chamber.

The scraping went well and was followed by sanding with 320 sandpaper. The interior of the tobacco chamber felt smooth yet remained discolored. I feared being too aggressive with it and stopped sanding when the walls were smooth and cake free.

I cleaned the rim by gently scrubbing with Castille soap and a Scotch-brite type dish cleaning sponge. The lava on the rim came free with minimal scrubbing. The exterior of the Dunwich was scrubbed using Murphy’s Oil Soap undiluted and a medium bristle toothbrush. The soap was rinsed with warm water and dried with a cotton dish towel. After the scrubbing I wiped the surface of the briar with a make-up pad moistened with 95% ethyl alcohol. The pad showed some color as it removed some of the remaining finish from the stummel. I do not think that this briar was stained so the pad removed a bit of shellac or wax.

Next, I removed the stinger from the stem and placed it in a medicine cup with 99% isopropyl alcohol to soften the lacquer-like tar. As the stinger soaked I started sanding the stummel. There were numerous scratches, dents and dings on the surface of the stummel. I thought that most of these were minor and would sand out easily. I began with the 400 sanding sponge followed by a wipe from an alcohol wetted make-up pad. I was examining the stummel for pits that might need filling. I only found one. This was indeed “supreme” briar. The one small pit was treated by placing a small drop of thin
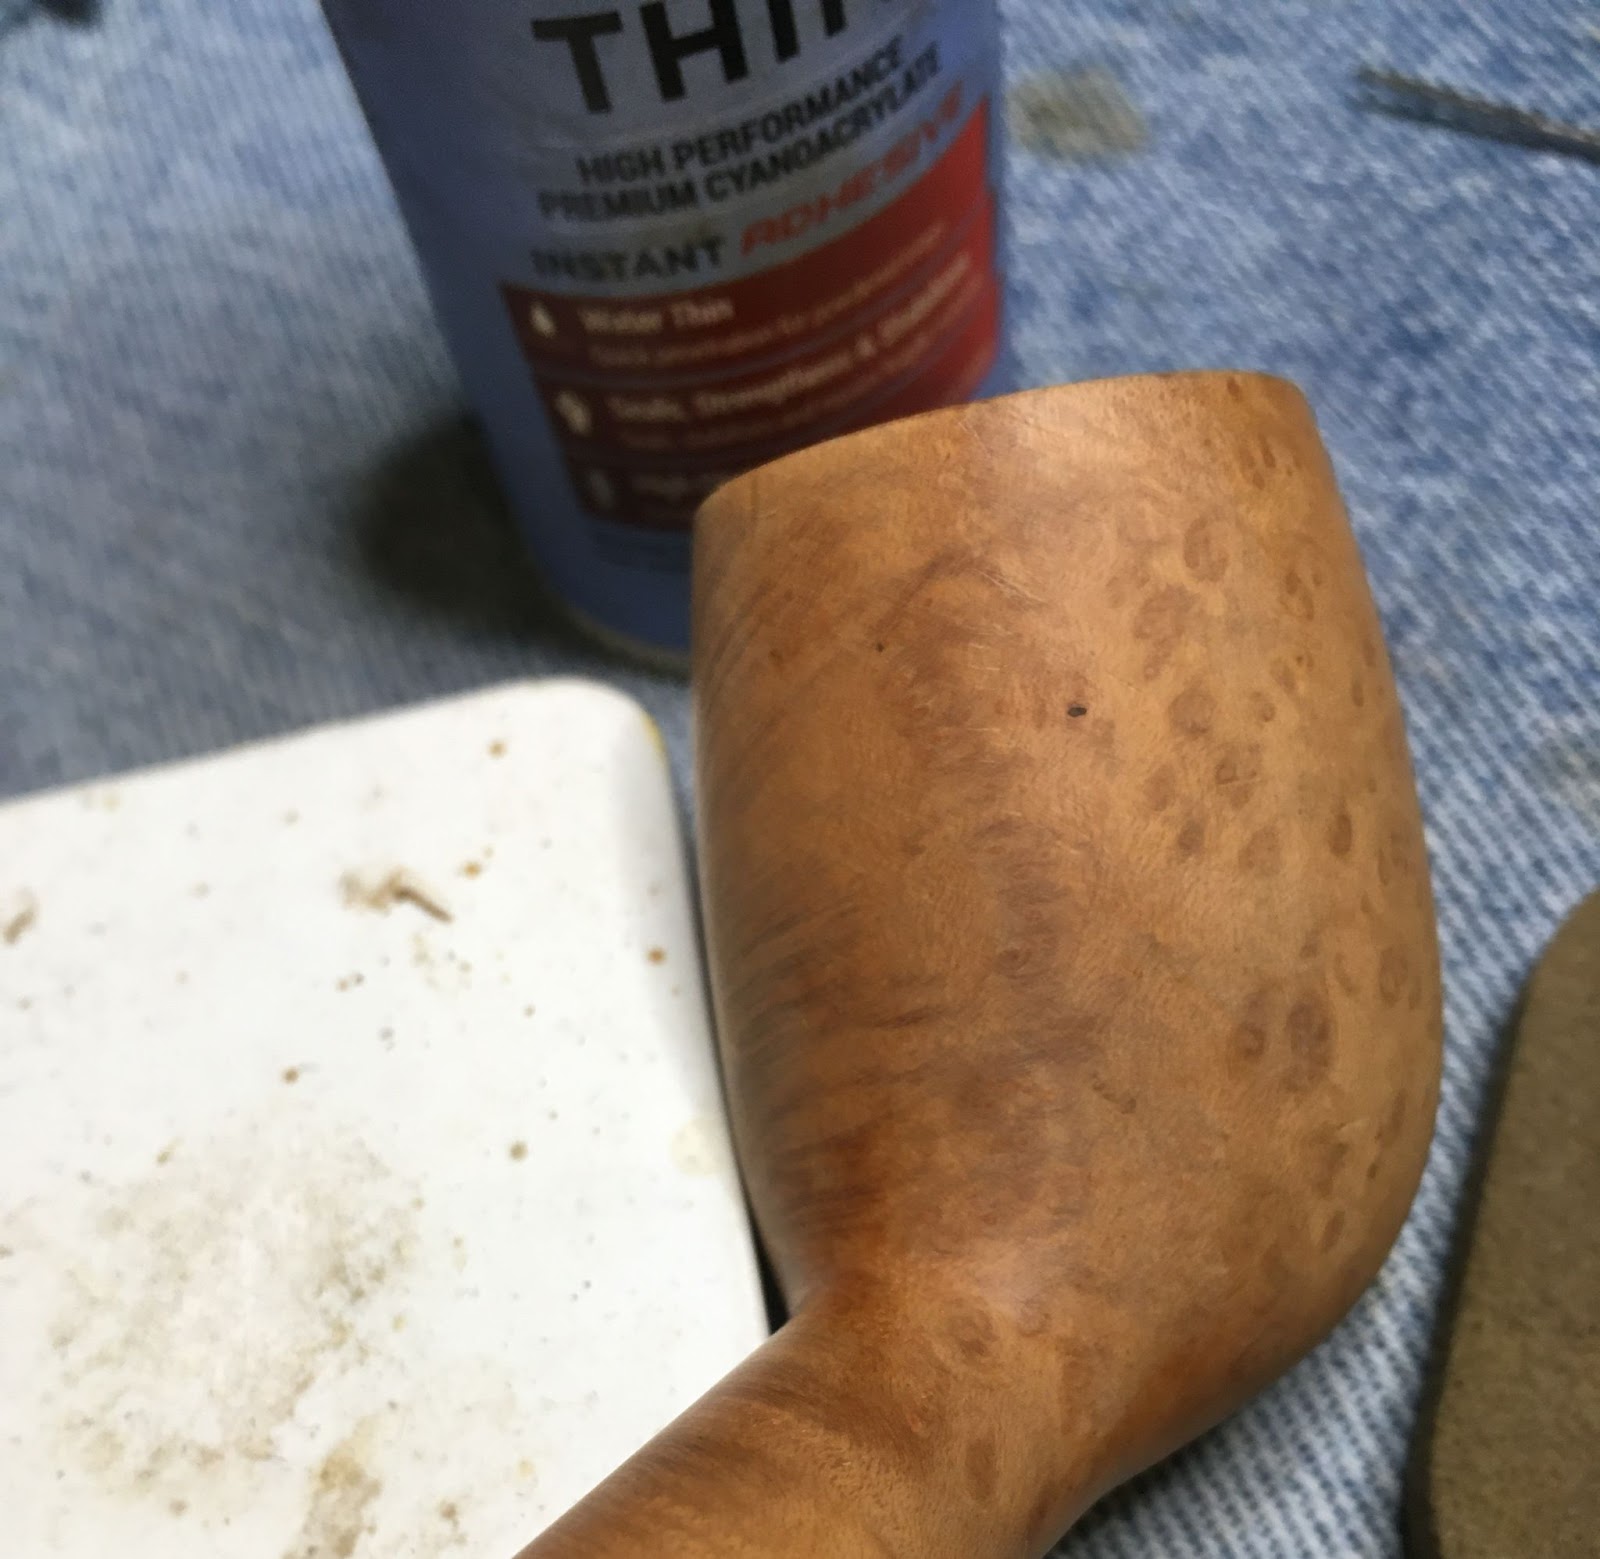
cyanoacrylate (CA, super glue) in the pit and sanding over it with the 400 sanding sponge. The briar dust from the sponge combined with the CA in the pit to make a barely noticeable fill. I continued sanding the stummel with the sequence of 1000-3500 sanding sponges. I did not tape over the stampings, rather was very careful to avoid them and the edge of the mortise.

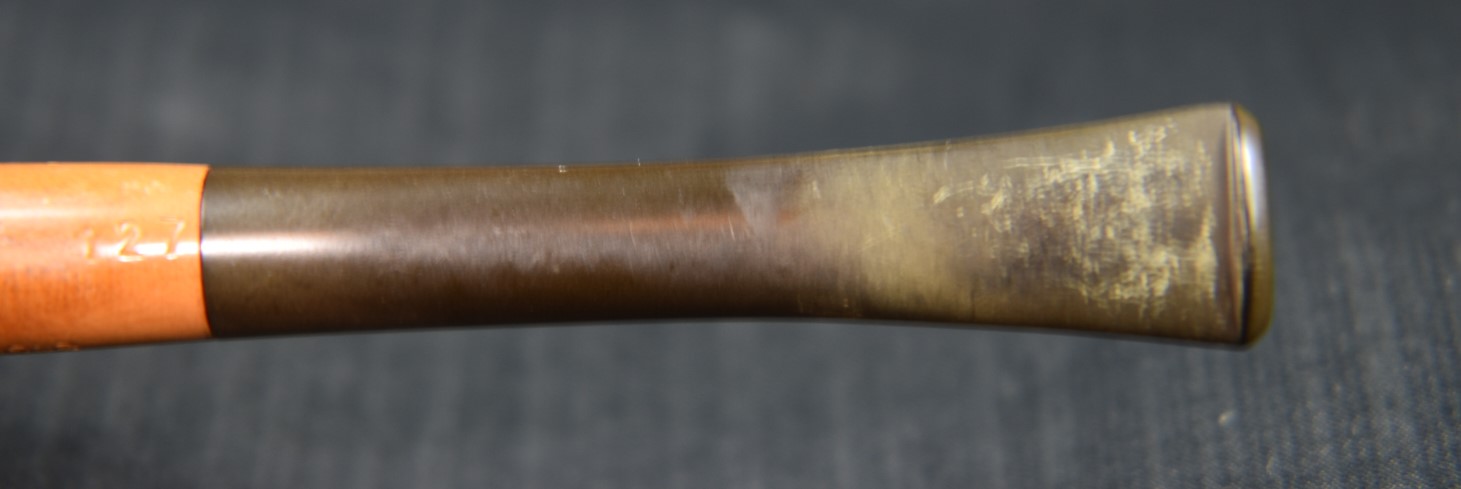
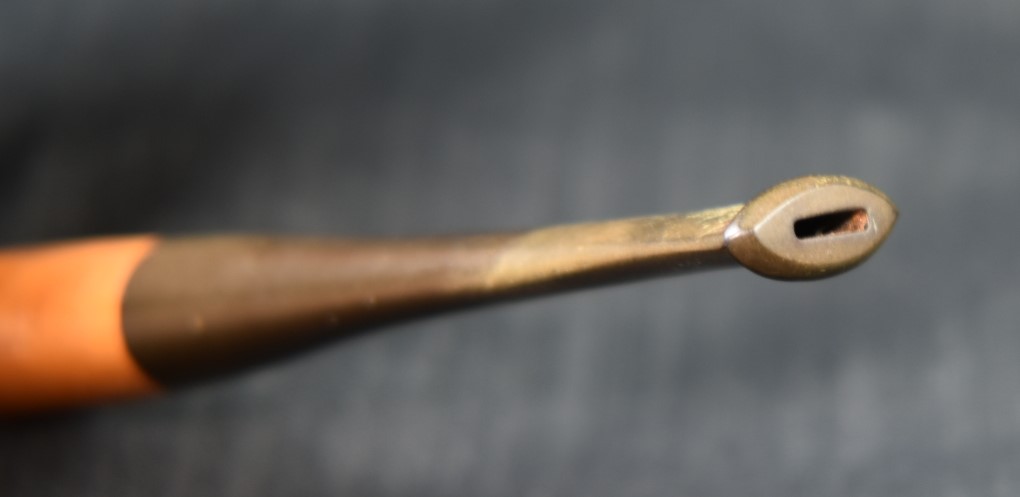
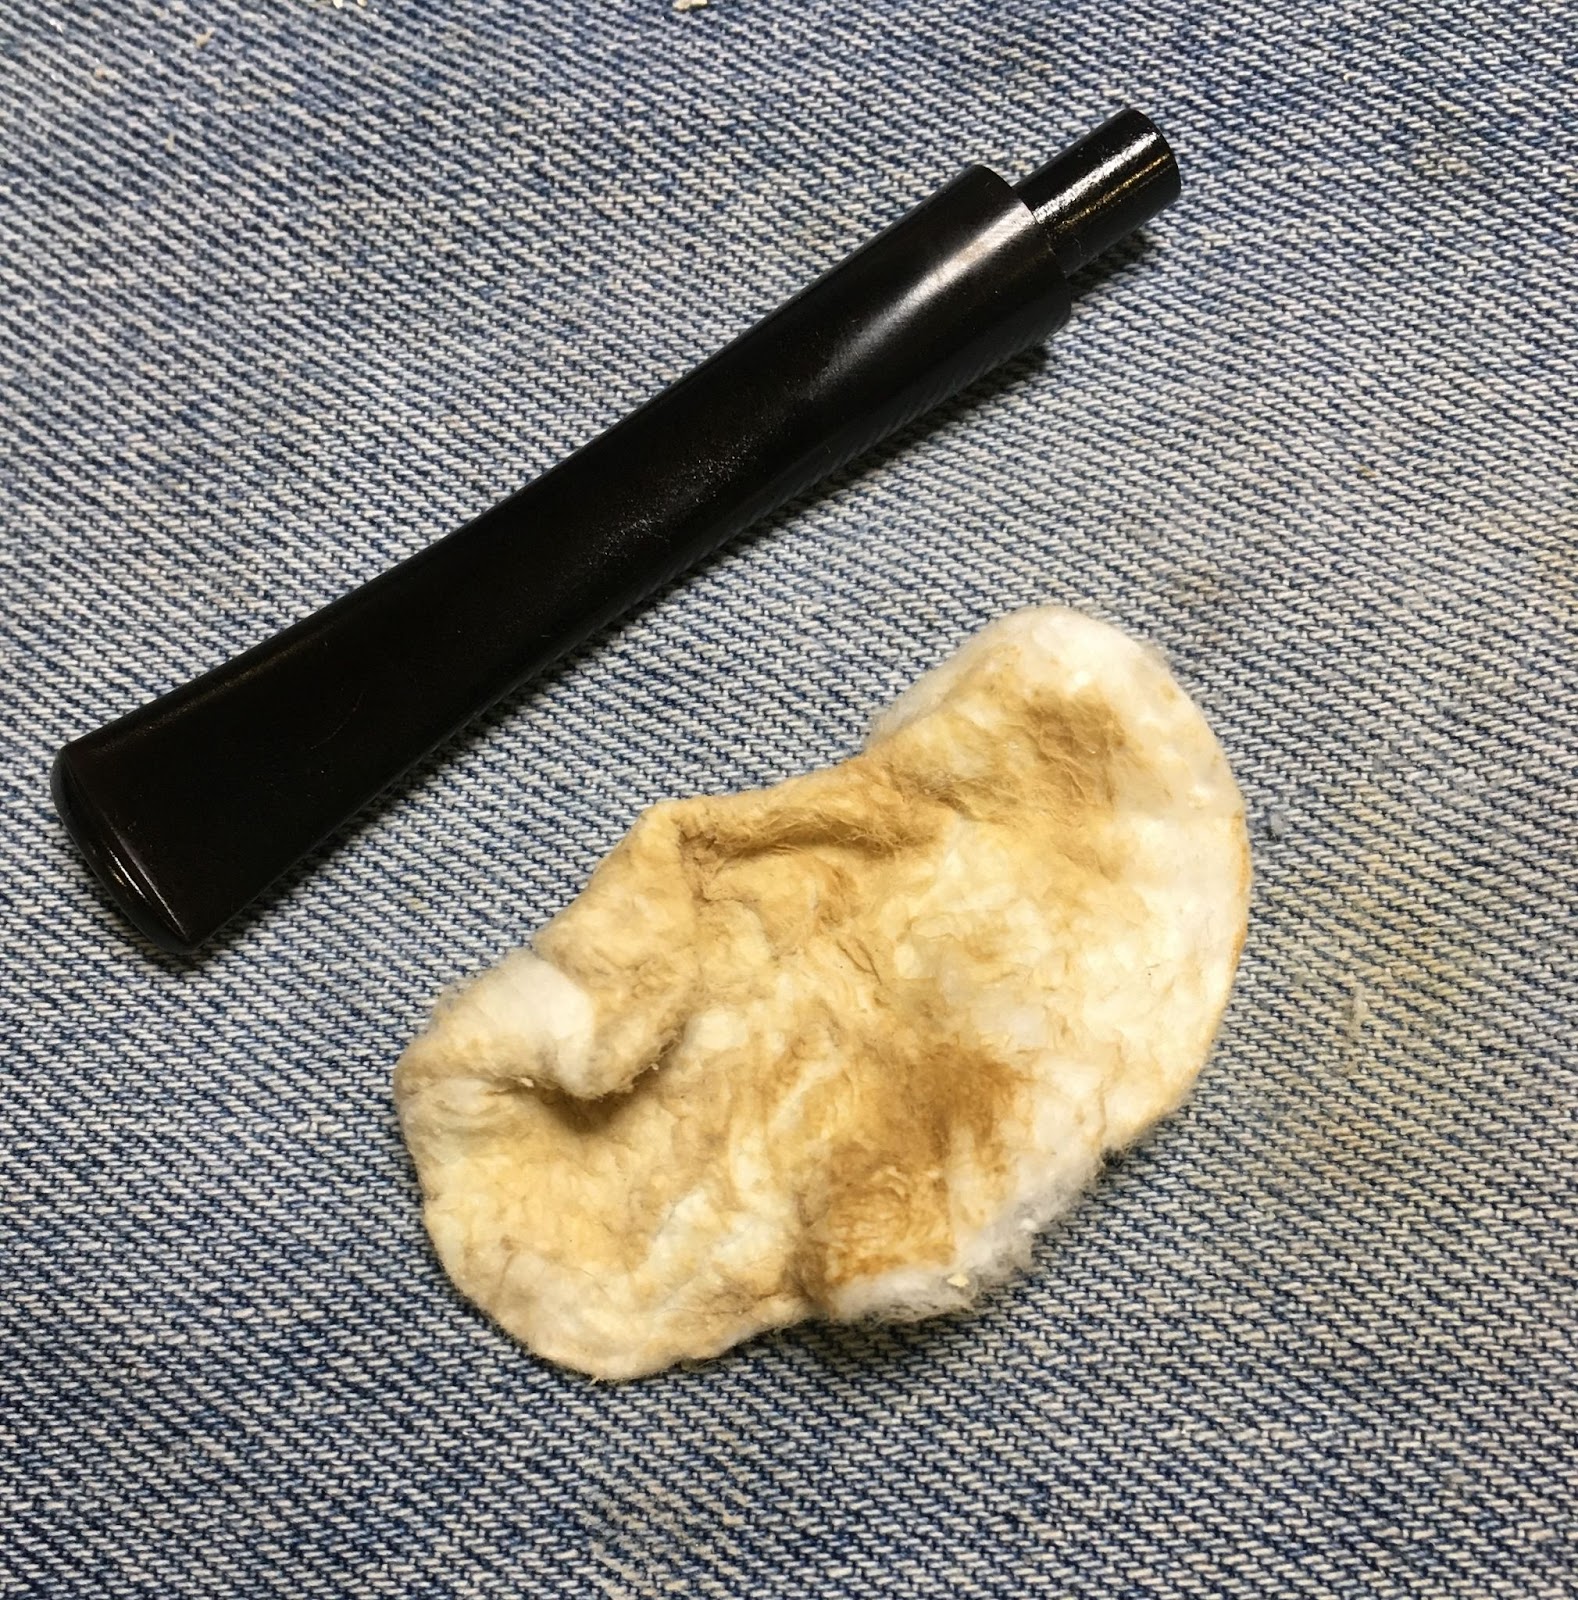
With the stummel sanded I turned my attention to the stem. The tooth chatter looked far worse than it actually was. None of the bite marks were deep enough to require filling with black CA. the surface was scratched and there was oxidation on the surface. I sanded the stem with the 400 and 600 grit sanding sponges. I then placed the stem into a bath of Oxy-Clean and let it soak for an hour. After the soak I ran several pipe cleaners through the stem to clean it out. I then used Soft Scrub on a make-up pad to scrub the stem. The pad quickly became discolored with the oxidized vulcanite that the stem was shedding. The cleaning left the stem a nice black with no signs of brown. It was then coated with mineral oil and allowed to sit for another 30 minutes.
I used a piece of alcohol wetted 0000 steel wool to remove the tar from the stinger and inserted it back into the stem. I then taped the shank with painters tape and reinserted the stem into the stummel and sanded the stem with the 1000-3500 sanding sponges. Between each sponge I applied a drop of mineral oil with my fingertips and wiped with a paper towel.
The whole pipe was micro-meshed intact. I worked with the 4000-12000 micro-mesh pads in series. Between each pad the stummel received a wipe with an alcohol dampened make-up pad while the stem received a drop of Obsidian Oil rubbed in by finger and wiped with a paper towel. After the micro-meshing the stem was further polished with Before and After Fine Polish followed by the Extra Fine Polish.

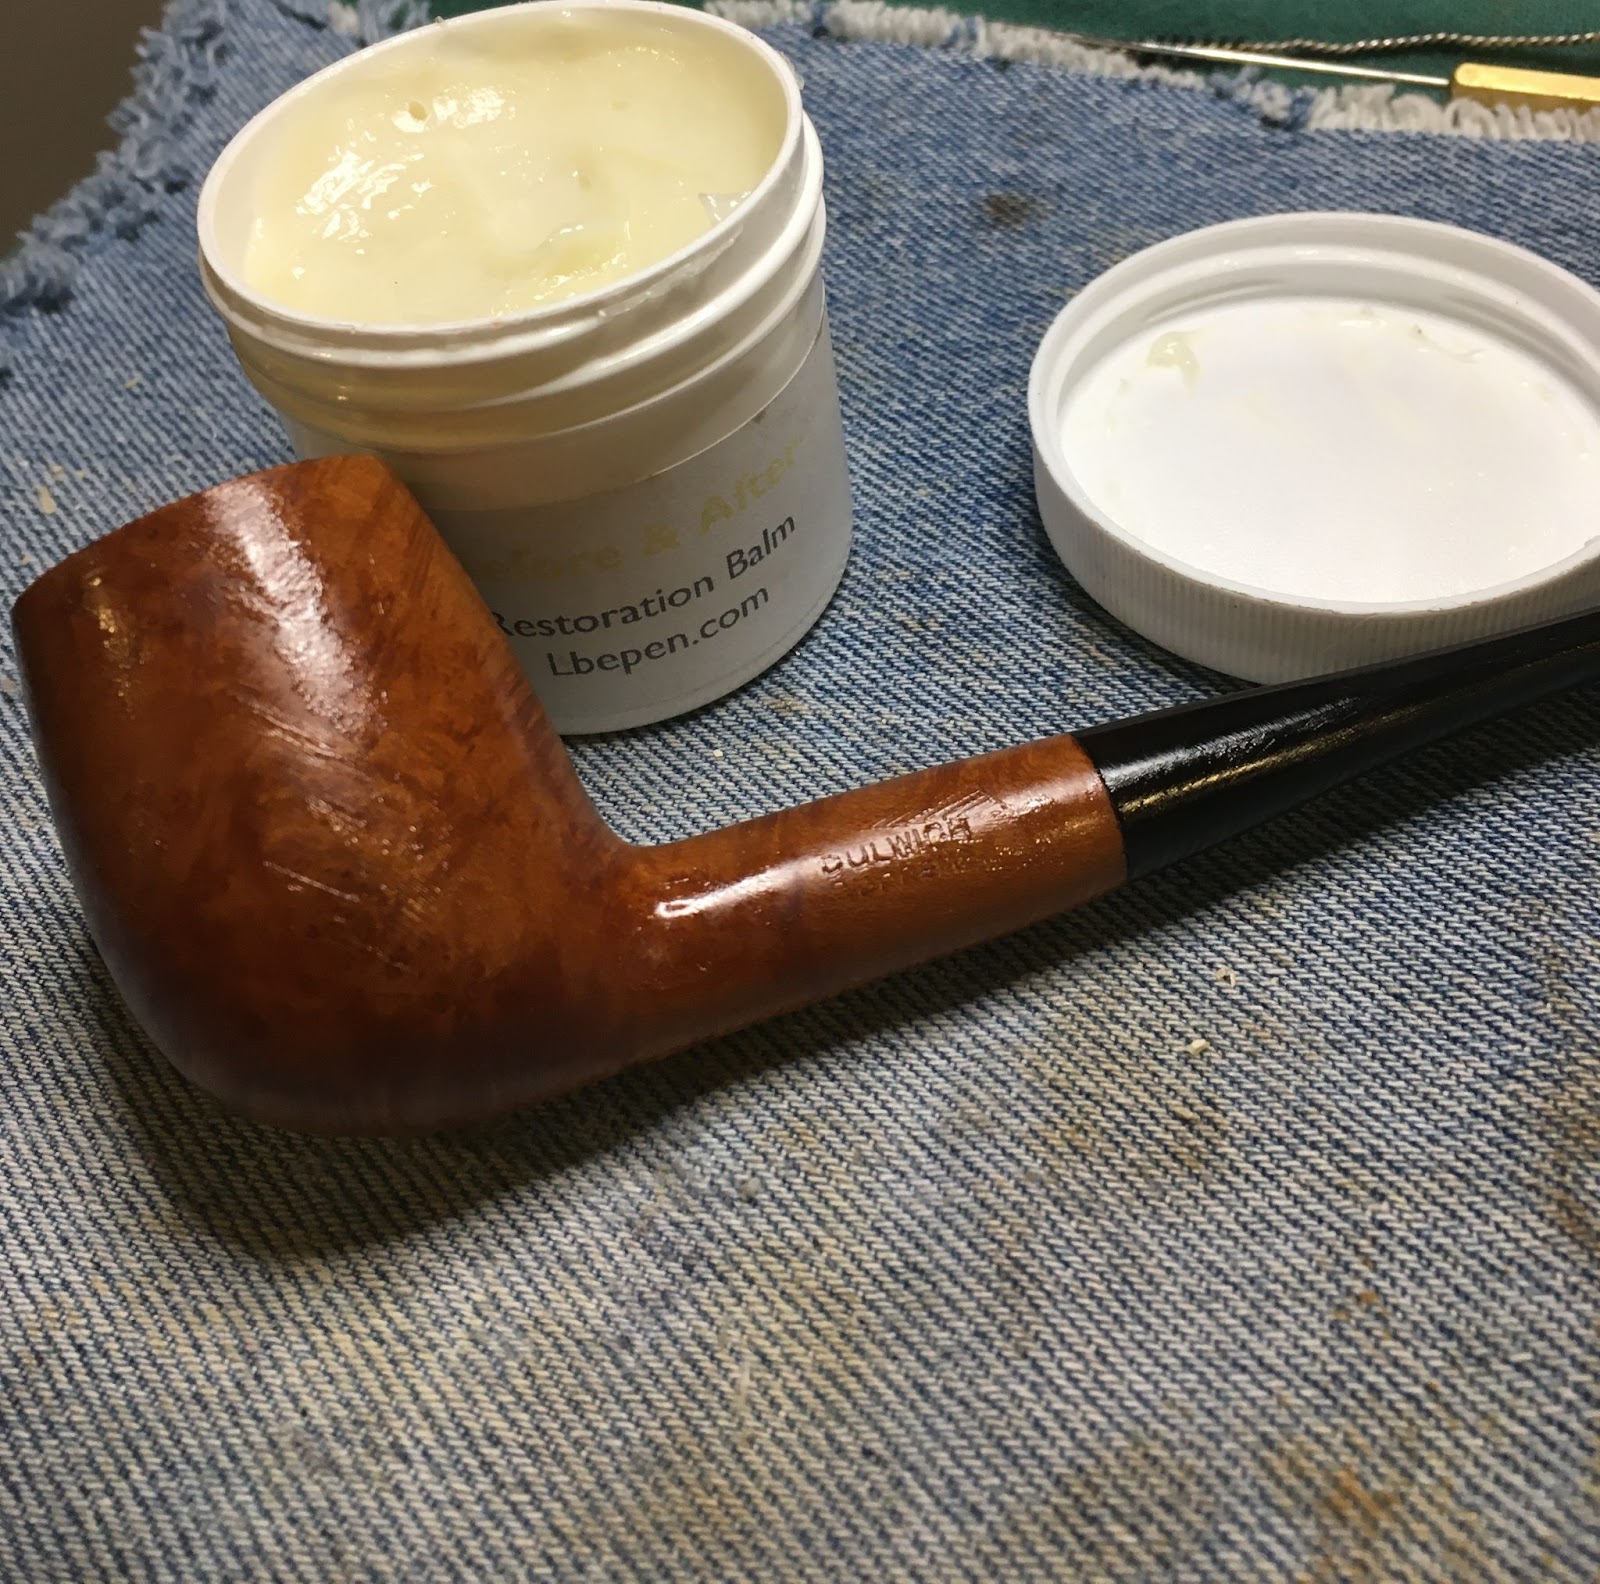
After the stem was polished the stummel was given a coating of Before and After Restoration Balm. I planned to allow it to sit for 30 minutes then wipe it off. When I checked on it after 15 minutes the briar had absorbed much of the balm and appeared dry in places. I then applied a second coating of the Restoration Balm and allowed it to sit an additional 30 minutes.
After the final 30 minutes, I wiped the remaining Restoration Balm from the stummel with the inside of an athletic sock.

All that remained was to apply a few coats of carnauba wax to the pipe with the buffer.
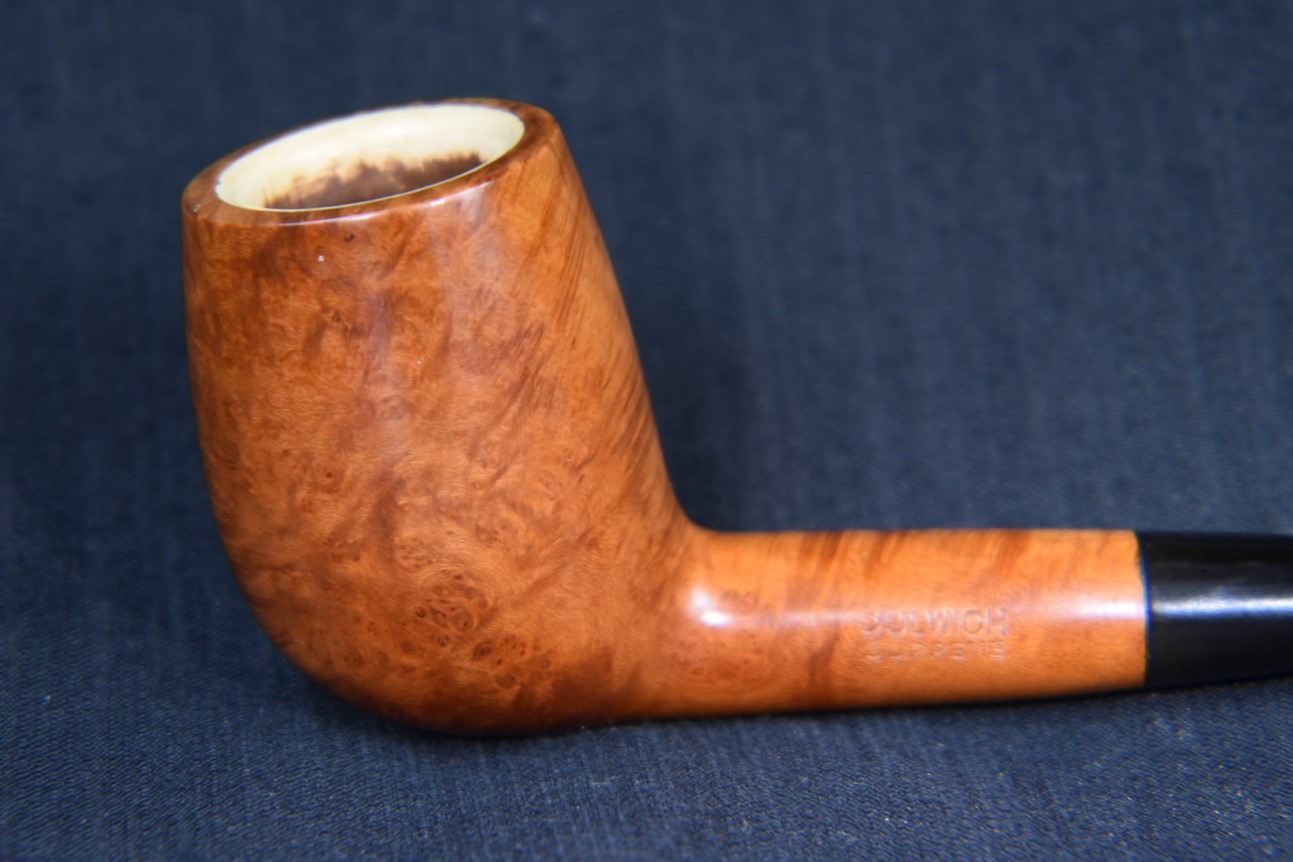
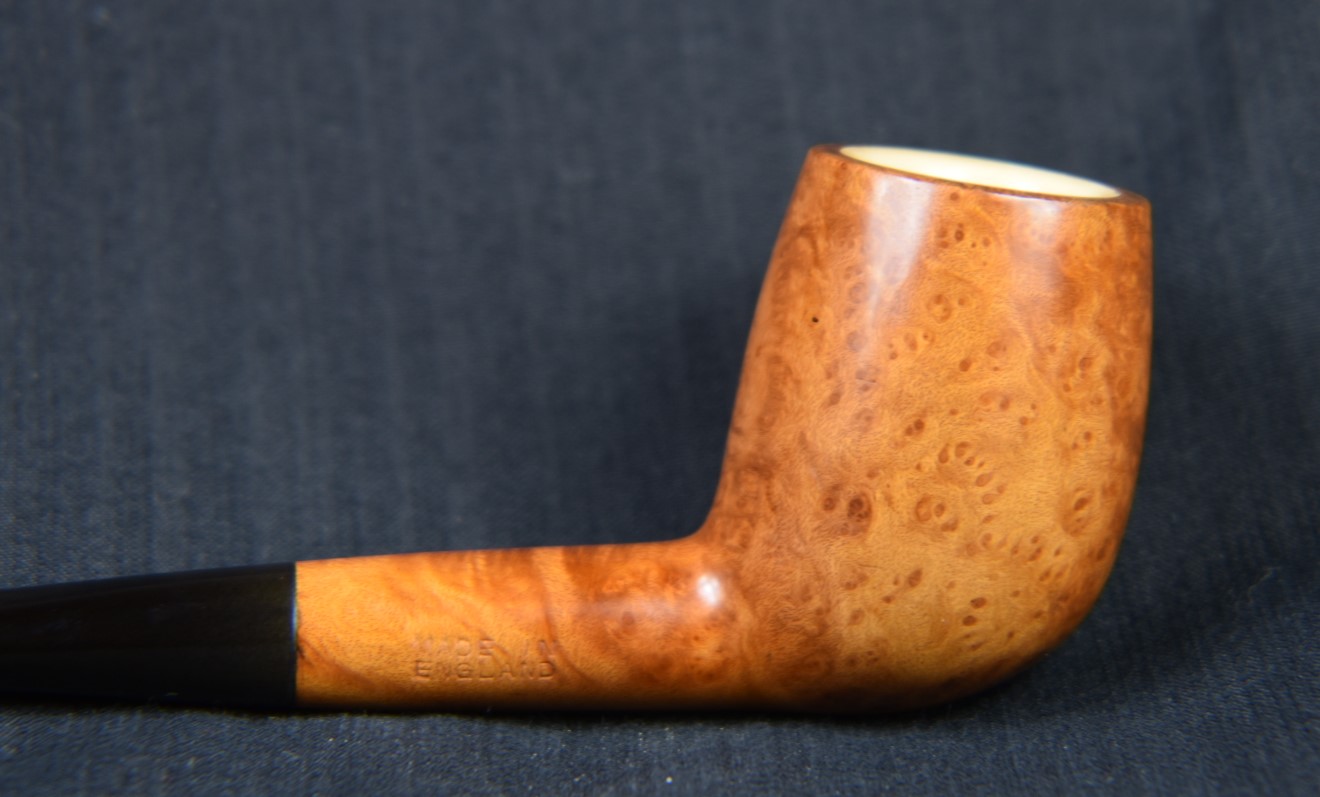
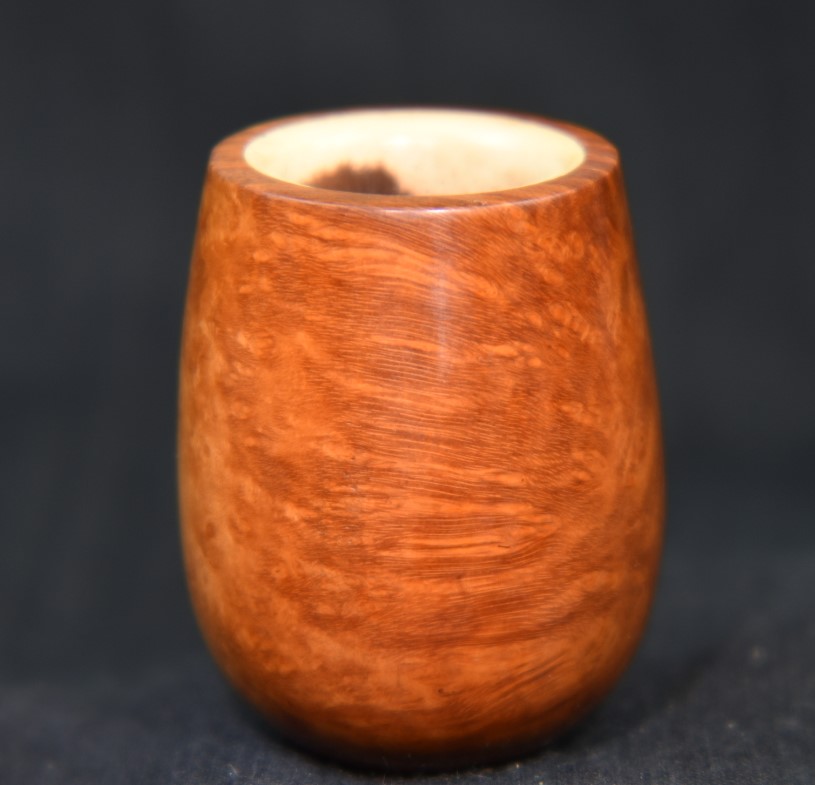
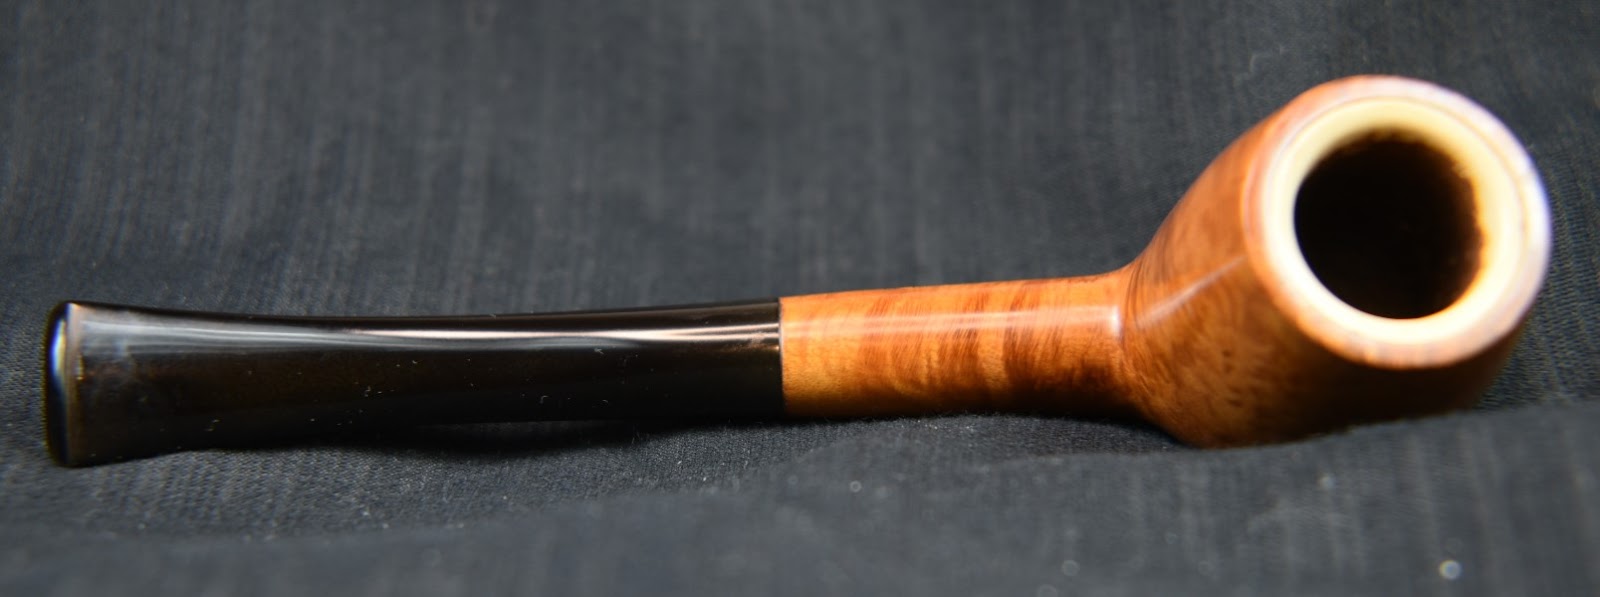
This was by far the best looking meerschaum lined pipe that I had ever worked on. It quite literally puts the others that I have to shame. The quality of the briar is very fine and after being waxed the briar looked fantastic. The vulcanite stem cleaned-up well and has a brilliant glossy black which accentuates the briar even more. This Dulwich is a fine looking pipe and I am sure it will be a great smoking pipe as well. I really like the forward cant of the bowl and how the white of the meerschaum peeks out at an observer from the front. This pipe is larger than any of my other meerschaum lined pipes which allows it to have a larger bowl capacity. I am very pleased by how this pipe turned out. I do hope that you have found something here useful. If you like this sort of thing please click the like and subscribe buttons. I thank for reading the ramblings of an old pipe lover.
Below are some photos of the finished Dulwich Supreme Billiard.