Written and Photographed by
John M. Young
Here we are again with a second Senlar Canadian pipe. After the last restoration, The Manhattan Billiard, I am looking forward to a less stressful and more straightforward restore. This is a lovely Canadian with rustication running the opposite direction compared to the first Senlar Canadian. The first Senlar Canadian resembled the bark from an Ash tree, this one reminds me more of a Birch. I am getting ahead of myself a little bit. Let me review the Senlar history and then the tree bark references will make more sense.
Senlar is a very interesting though not terribly common pipe. They hail from St. Paul Minnesota, twin city to Minneapolis Minnesota. Thus the colloquial name, the Twin Cities. I will let the pipedia.org entry summarize further:
“”Senlar” – Pipes were made in Minnesota by pipe maker Wally Larsen who inverted his last name LAR SEN to come up with SEN LAR. The Saint Paul Pioneer Press nicknamed Larsen “The Great Dane Of The Pipe World” in 1973. Larsen’s pipes were made in the basement of his Minnetonka home, with pipes selling in 1973 for as much as $75. Larsen learned the pipe making craft in the 1940’s when an established pipe maker moved into the home next door. After observing this craftsman work for three years Larsen decided to make a pipe for himself. That first pipe got him some attention from fellow smokers and he sold his next nine before being able to keep another for himself.
Senlar pipes were apparently primarally sold in only three shops, St. Marie’s and the Tobak Shop in St. Paul, and Tobaccoland in Rosedale. Larsen expressed difficulty keeping up with the demand of just these three outlets.
Larsen sought to make Senlar pipes “Look like a tree.” Which he accomplished by using a whirling drill to carve a distinctive bark like finish on the pipe. It is a finish seen on most Senlars and Larsen regarded it as a sort of trademark.
He died in approximately 1988.” (https://pipedia.org/wiki/Senlar)
I find it interesting that there are several references to starting a pipe crafting business in the 1946 of Pipe Lovers Magazine. A few Examples from 1946 issues:
Disabled Veterans Learn Art of Pipe Making (Pipe Lovers Magazine 1946 vol. 1, pp. 13)
HIS HOBBY BECOMES HIS PROFESSION (Pipe Lovers Magazine 1946 vol. 4, pp. 128-129)
PIPE MAKING AT HOME (Pipe Lovers Magazine 1946 vol. 6, pp. 193-195 and 212)
PIPE MAKERS Electrical Employees Learn Art From Parents; Now Have Their Own Business (Pipe Lovers Magazine 1946 vol. 6, p. 211)
(Each of the volumes for 1946 can be found here: https://archive.org/details/pipe-lovers-magazine-1946-7/Pipe%20Lovers%20Magazine%201946-1/)
Taking the a piece of information from the pipedia.org entry, “selling in 1973 for as much as $75.” (https://pipedia.org/wiki/Senlar) and using an inflation calculator to convert to 2023 dollars, that would equate to approximately $515, today. Mr. Larsen wouldn’t have to make but 10-15 pipes per month to have a middle-class income. Well, at least an income on par with a public school teacher.
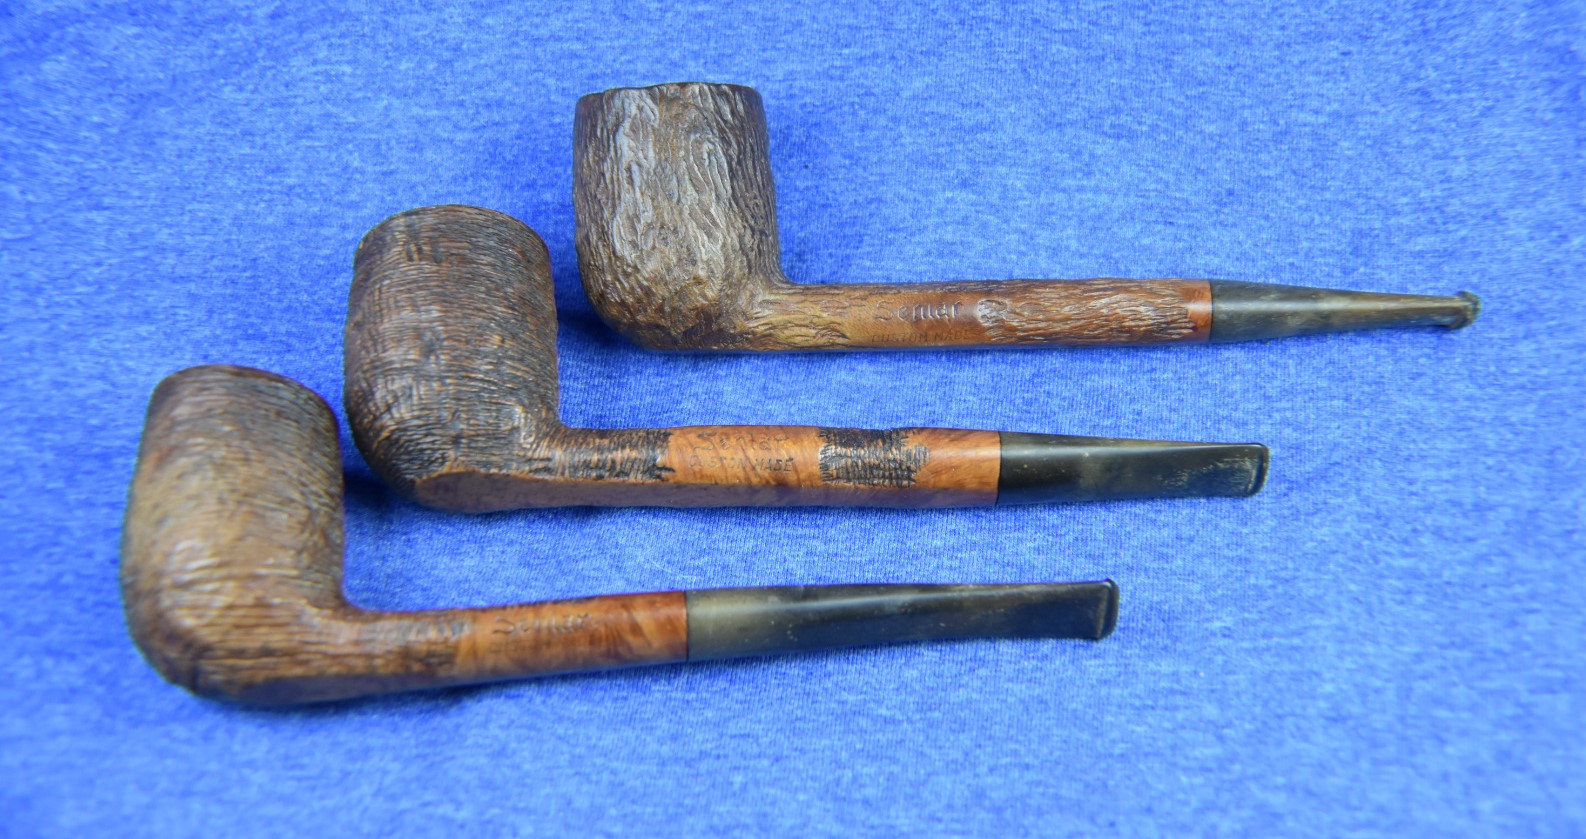
Back to the Senlar pipe at hand. I received 3 Senlars in an estate lot I purchased on eBay. The 3 Senlars were the objects of desire from that lot
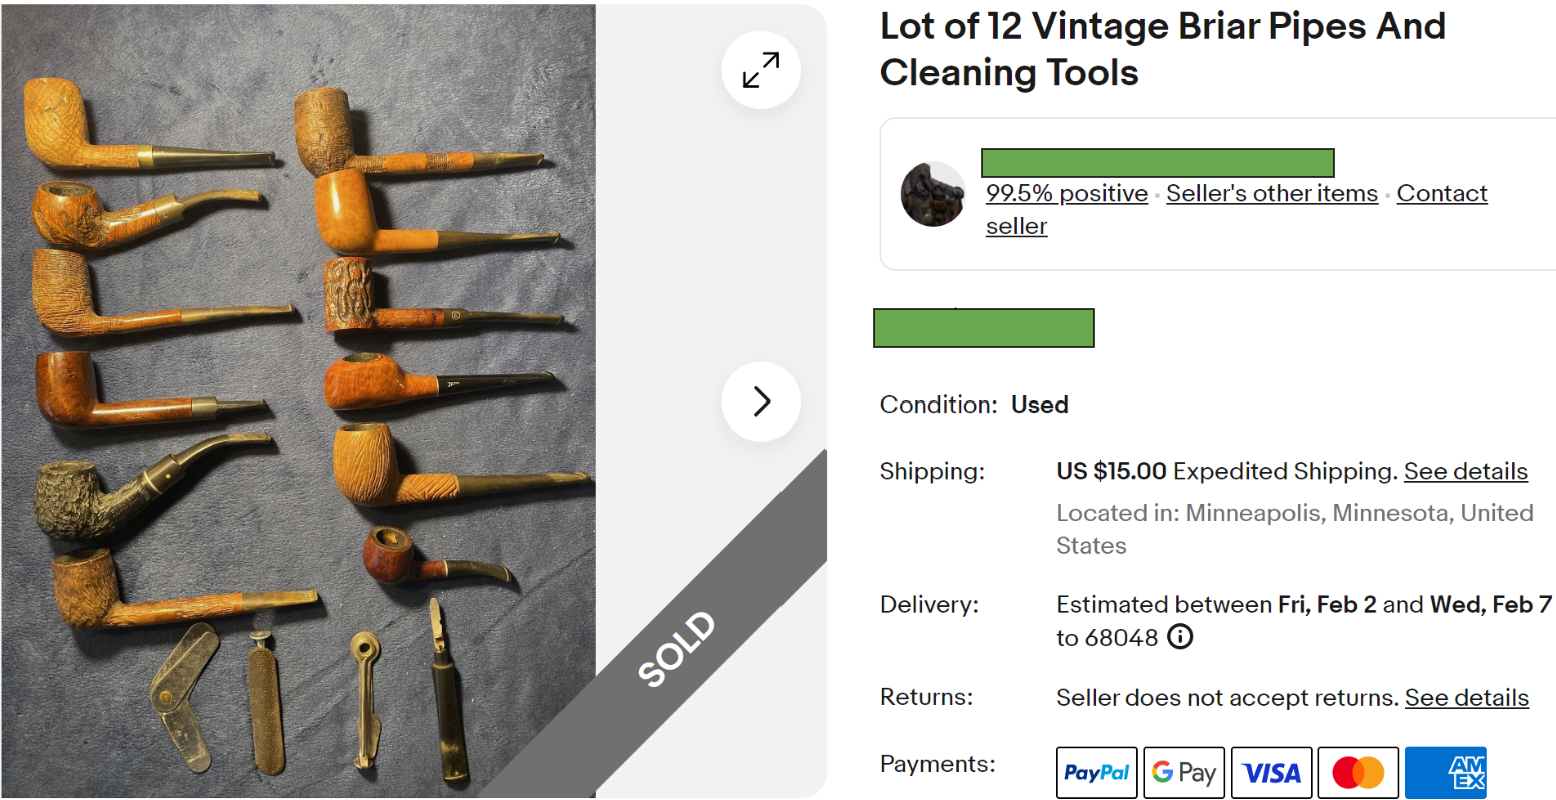
while there were a few others which will probably be restoration blog subjects in the future. The three Senlars appear below as they looked upon arrival. I wrote a blog about the top Canadian pipe earlier this month. Of the three I think I like the rustication of the middle pipe, the subject of this blog, the best. Although the bottom pipe has a shape that I am more partial to.
I called the photographs of this Canadian “Canadian 2” as I was saving and organizing them on the computer. I will be referring to it as the Canadian or the Senlar Canadian from here out. I hope this doesn’t cause confusion with the previously restored Senlar Canadian. Below are the photos I took of the Canadian before I started to do any work on it.
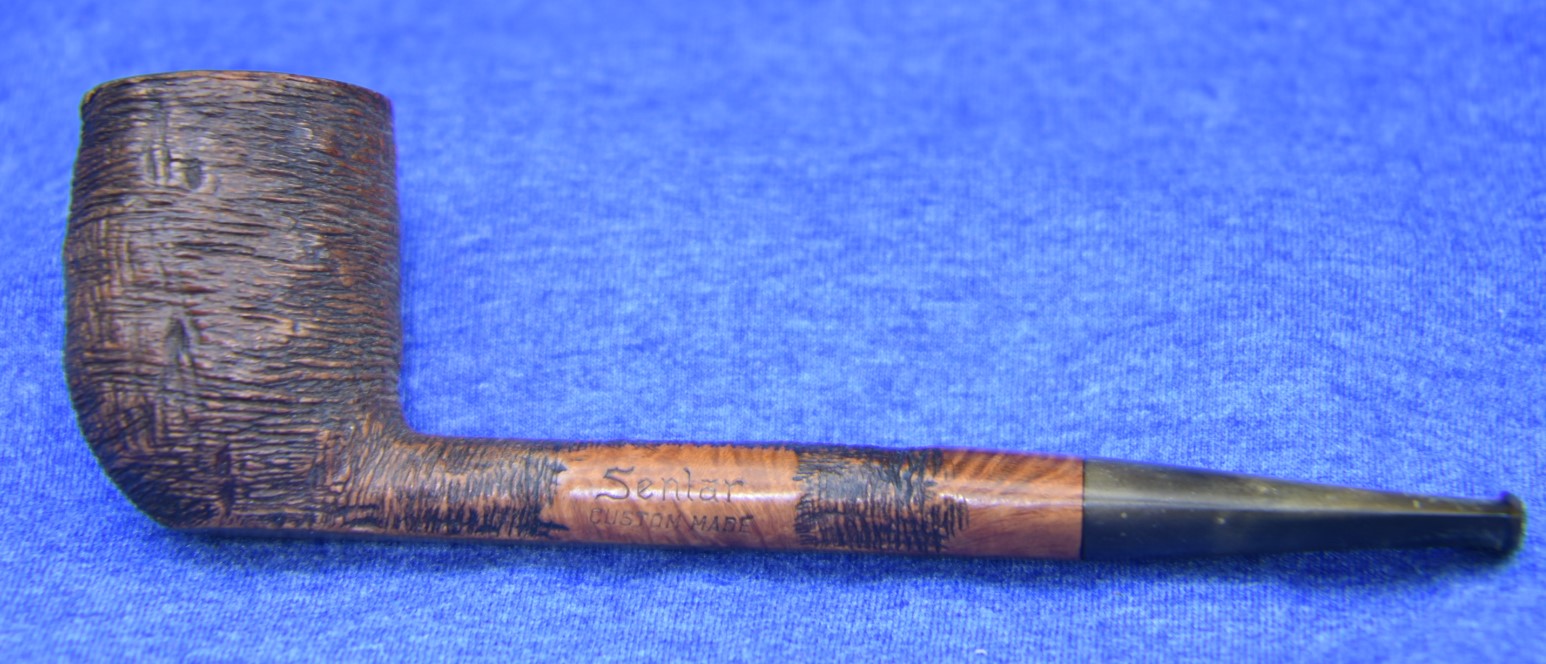


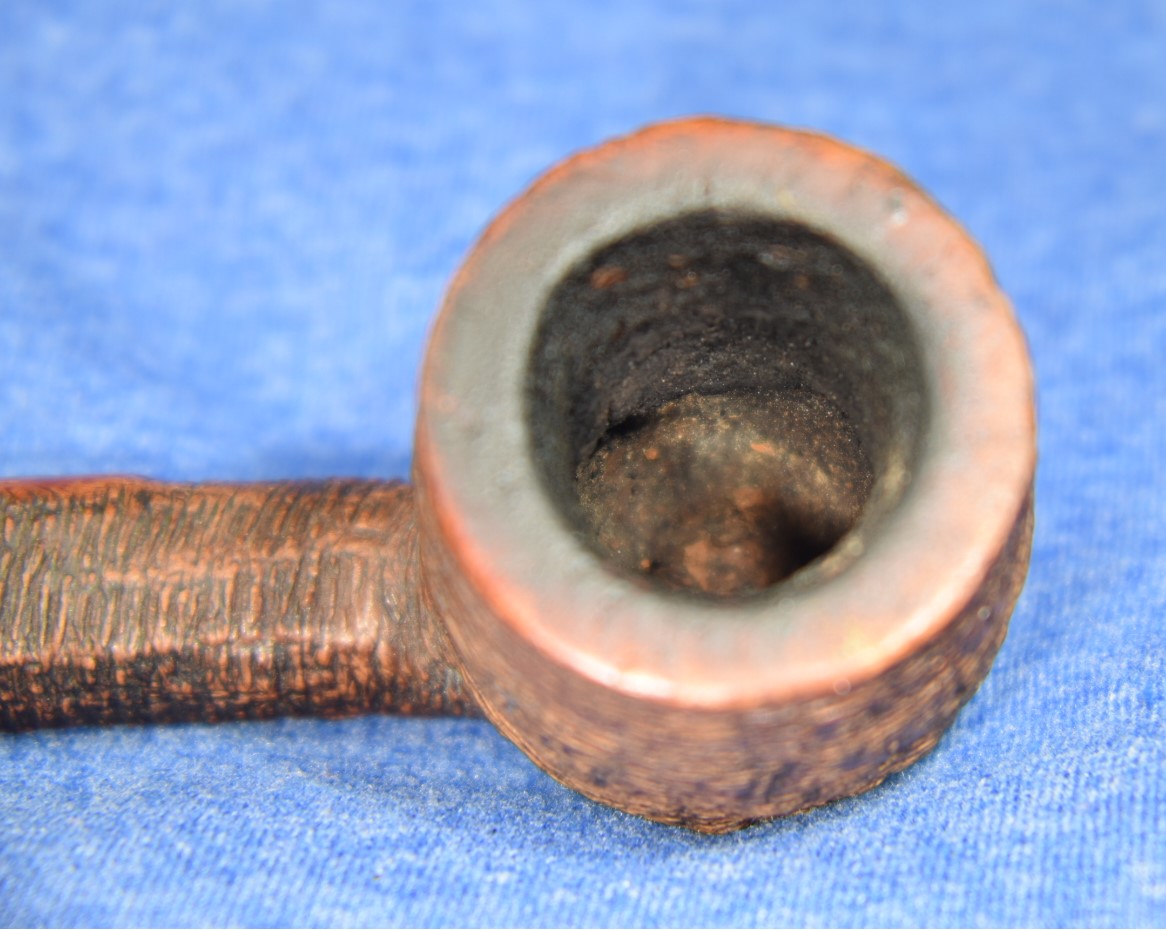


This Canadian looked to be in good shape. It would need a tobacco chamber reaming, rim scraping/scrubbing, exterior scrubbing, airway cleaning and some deoxidizing and sanding/polishing of the stem. Overall, this should be a nice relaxing restoration.
I started by placing a clean piece of denim on the workbench surface then assembled the reaming gear. I use a white plastic envelope on top of the denim for reaming. This allows me to just dump the carbonized yuck into the trash can without fouling my clean denim. Below you can see the PipNet reaming tool with the #2 blade, Smokingpipes Low Country knife, General triangular scraper and the two sanding devices. There is 220 sandpaper on the wood dowel (actually a shotgun magazine plug) and 320 sandpaper on the Sharpie marker.

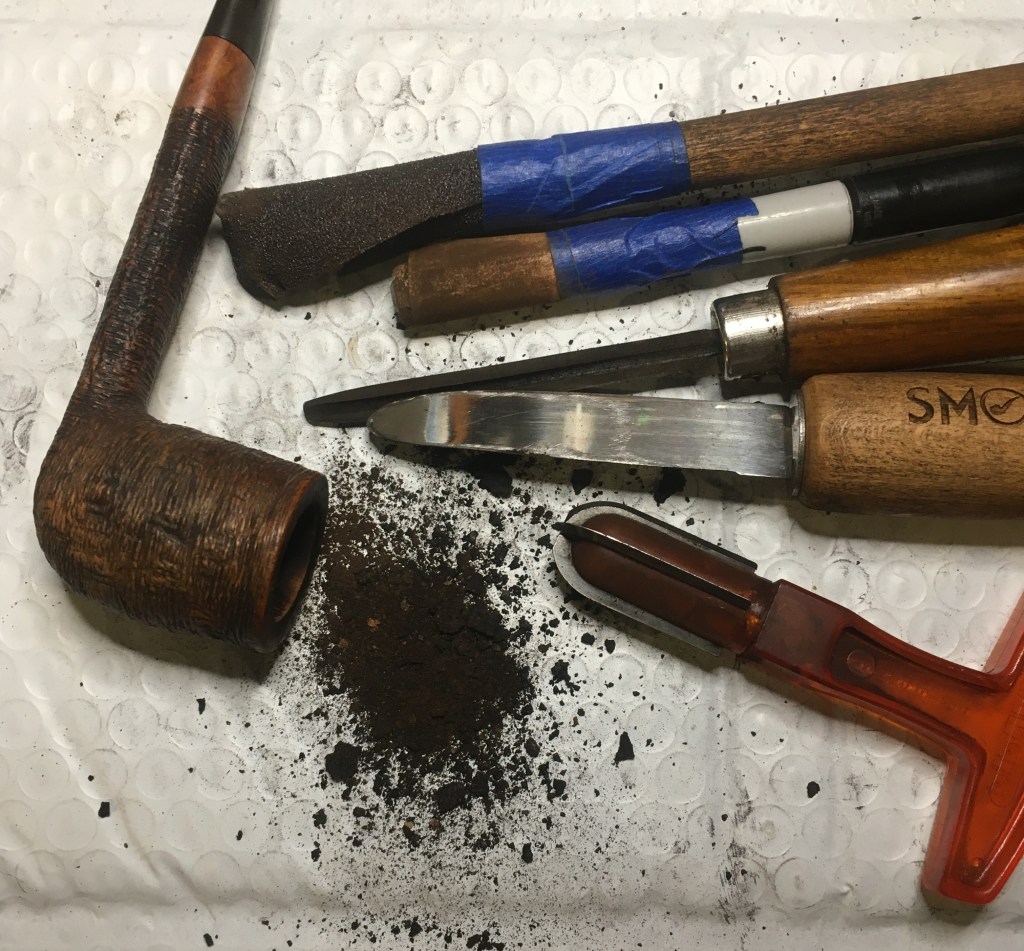
The PipeNet did the job of removing the cake very well. The cake came out in surprisingly large pieces and came free of the chamber easily. This required minimal scraping with the knife and scarper. Sanding the chamber to the briar, revealed no heat damage to the interior.
At this point, I moistened the lava on the rim with saliva and scraped the rim with a sharp pocket knife. The remaining lava would hopefully come off when the stummel was scrubbed.

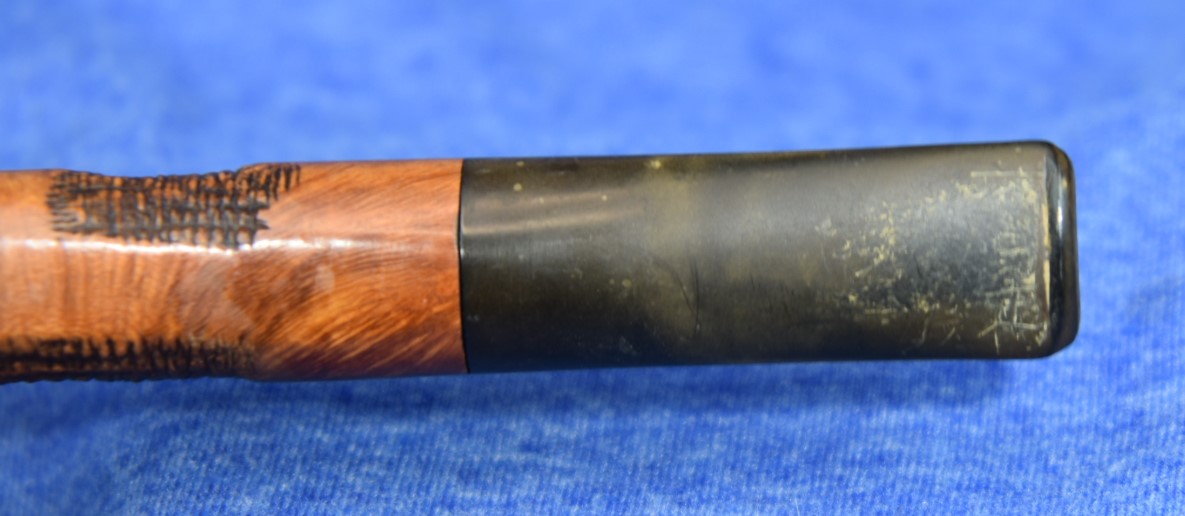
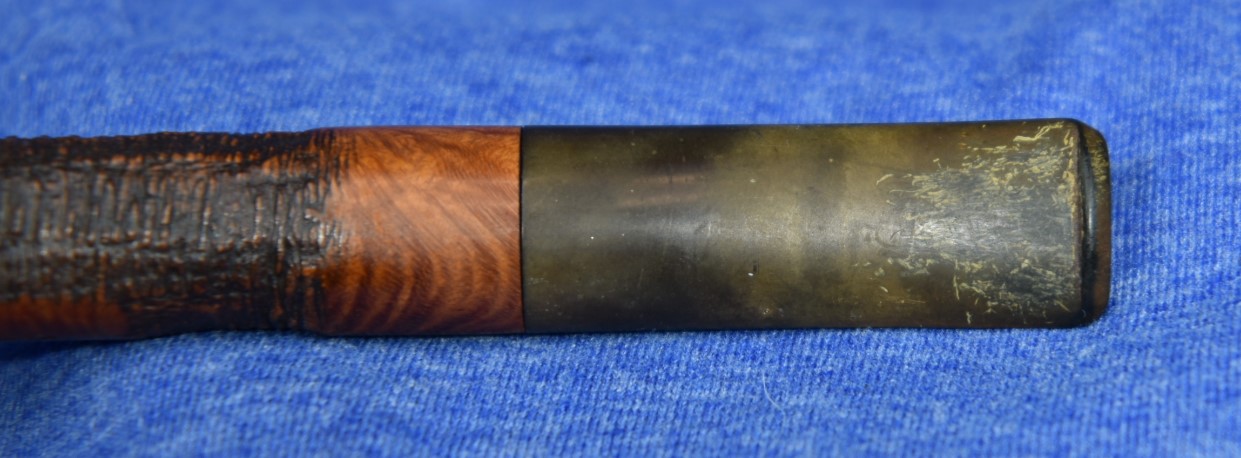
Next, I scraped the stem with the edge of a sharp pocket knife, held at a 90 degree angle to the stem and sanded the stem with the 400 grit sanding
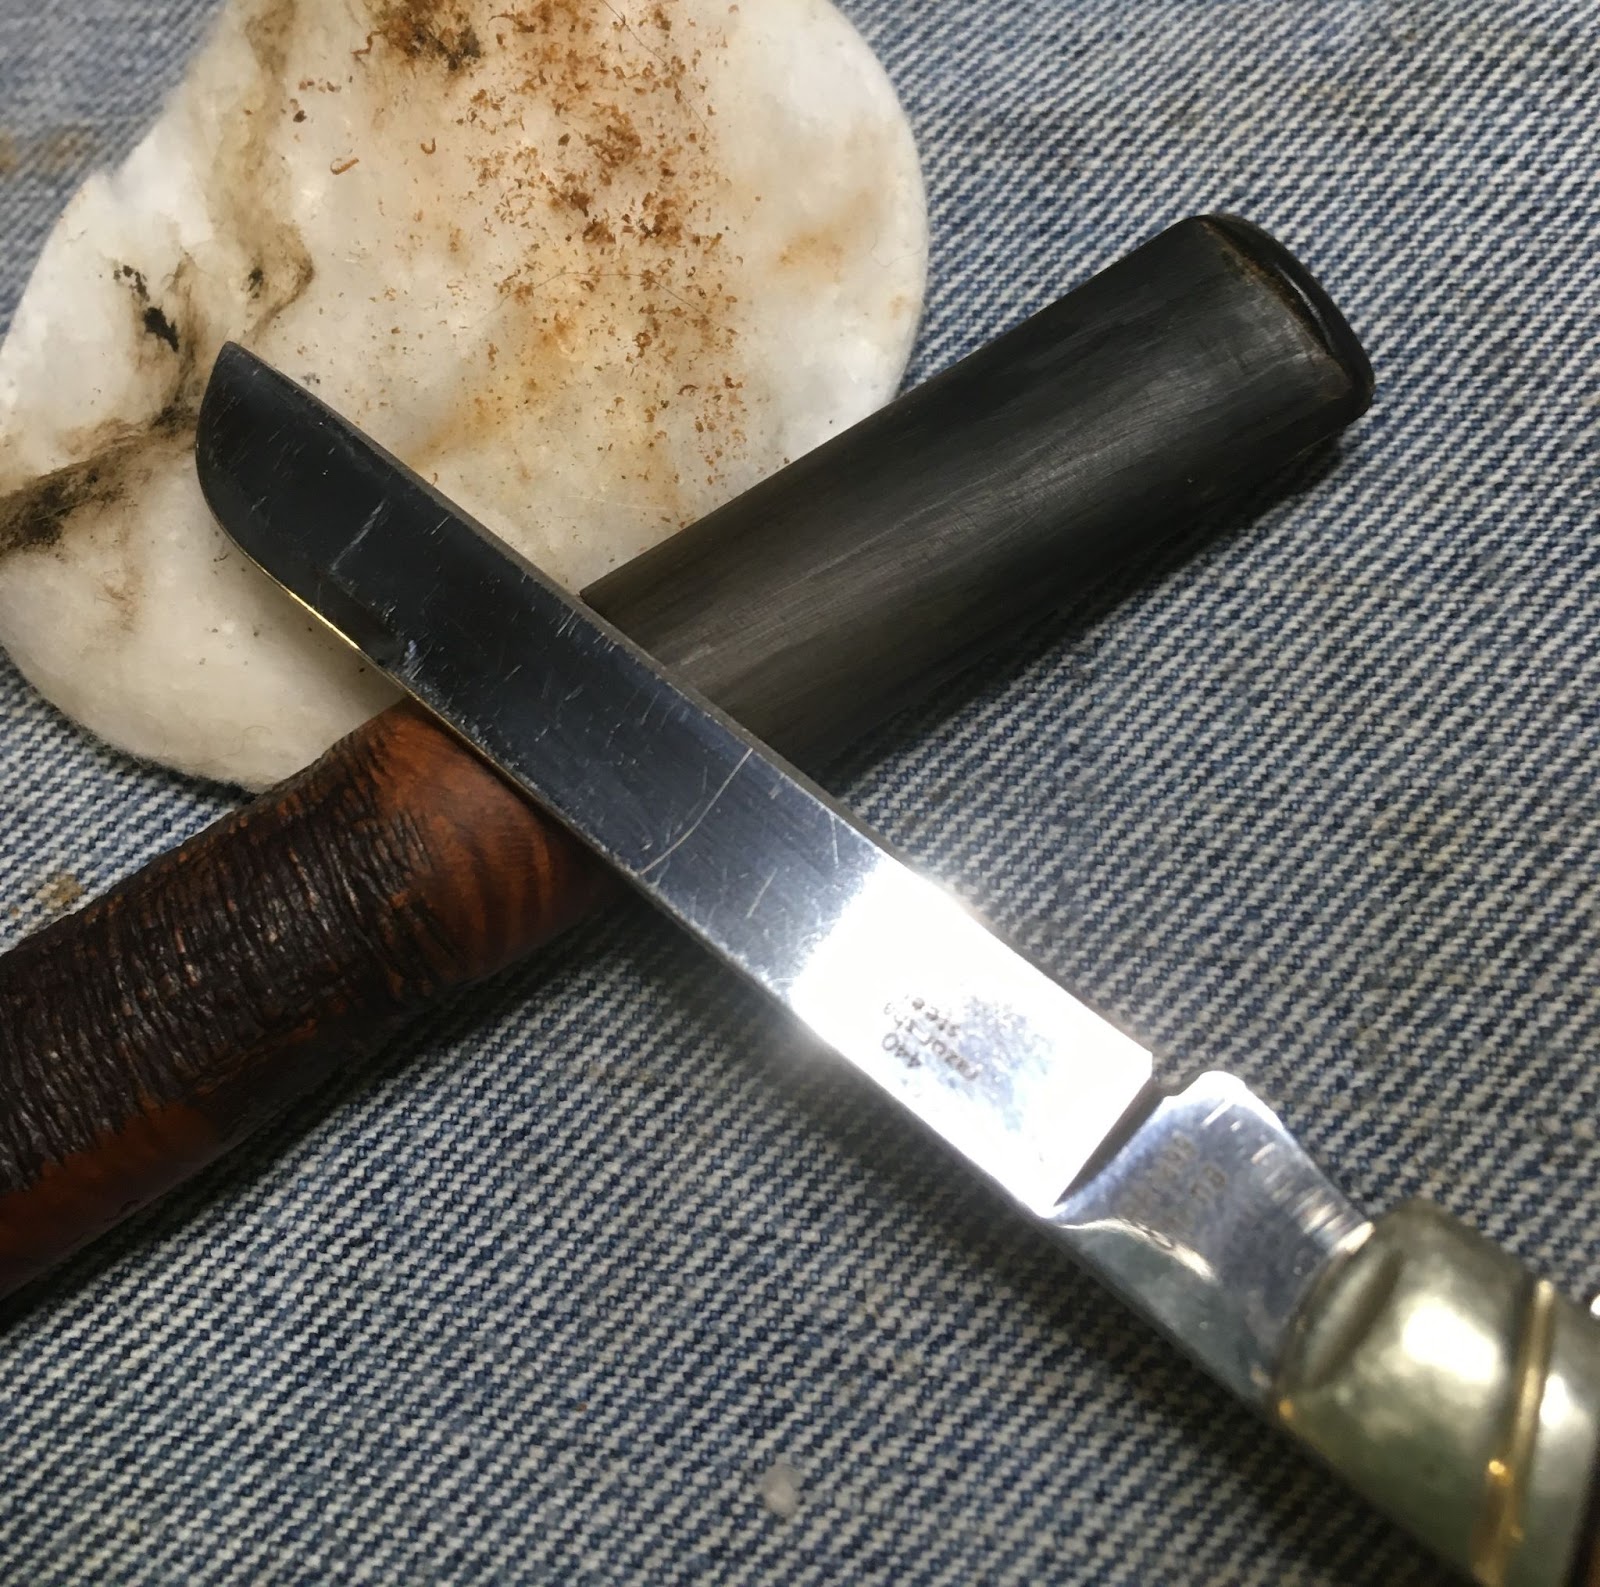

sponge to assess what would be needed for its restoration. The tooth chatter and oxidation came off easily. There did remain a slight brown color of oxidized rubber.
I took the stummel to the sink for its introduction to the wonders of Murphy’s Oil Soap. The Murphy’s was used undiluted and was scrubbed with a medium bristle toothbrush.

Liberal use of Murphy’s was applied. The rim did lose the remaining lava during this scrub. The soap was rinsed with warm water and the stummel dried with a cotton dish towel. While I was at the sink, I poured about 3 ml of 95% ethyl alcohol into the tobacco chamber and allowed the alcohol to flow into the shank but not pour out. I used a nylon shank brush to scrub the airway with the alcohol. The alcohol was then poured into a medicine cup. I looked at the color of the scrubbing alcohol, it was a light brown. I used a couple of cotton swabs to further scrub the inside of the shank. They also came back brown but not dark brown. This indicated that the airway was not terribly fouled with tar.

I poured the alcohol back into the chamber and scrubbed with the nylon brush again, thus reusing the alcohol. It did appear darker than the first time but not as dark as I would have predicted.
I returned to the workbench and started cleaning the airway with bristle pipe cleaners and cotton swabs dipped in 99% isopropyl alcohol. THe cleaning went quite quickly and was returning clean pipe cleaners.

I returned my attention to the stem. I thought that a little work with Soft Scrub on a make-up pad would eliminate the remaining oxidation. I was rewarded with a stained make-up pad and shiny black stem in short order.

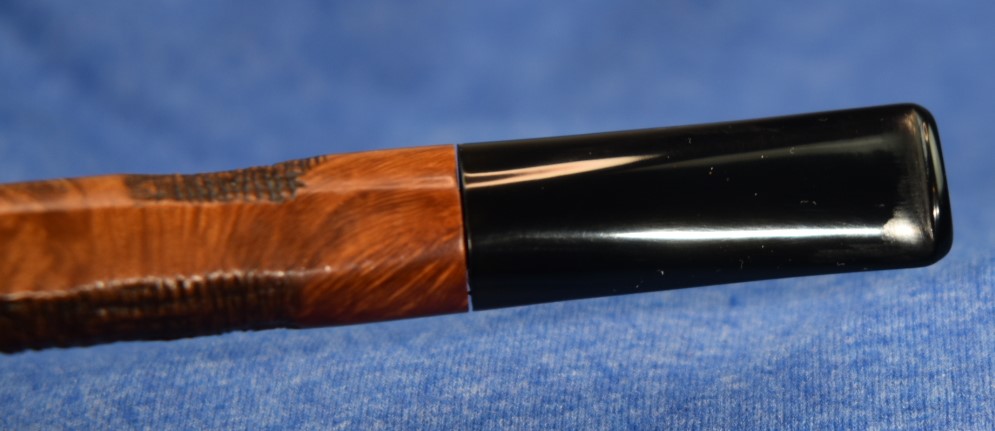
The stem cleaned up inside and outside nicely. It was now time to put them back together and sand them. This Canadian has a smooth area next to the stem so I was able to carefully sand the pieces together without a protective tape covering. I sanded with the sponges from the 600-3500 sponges. Between each sponge I wiped the dust off with a paper towel, oiled the stem with mineral oil and wiped off again with the paper towel.

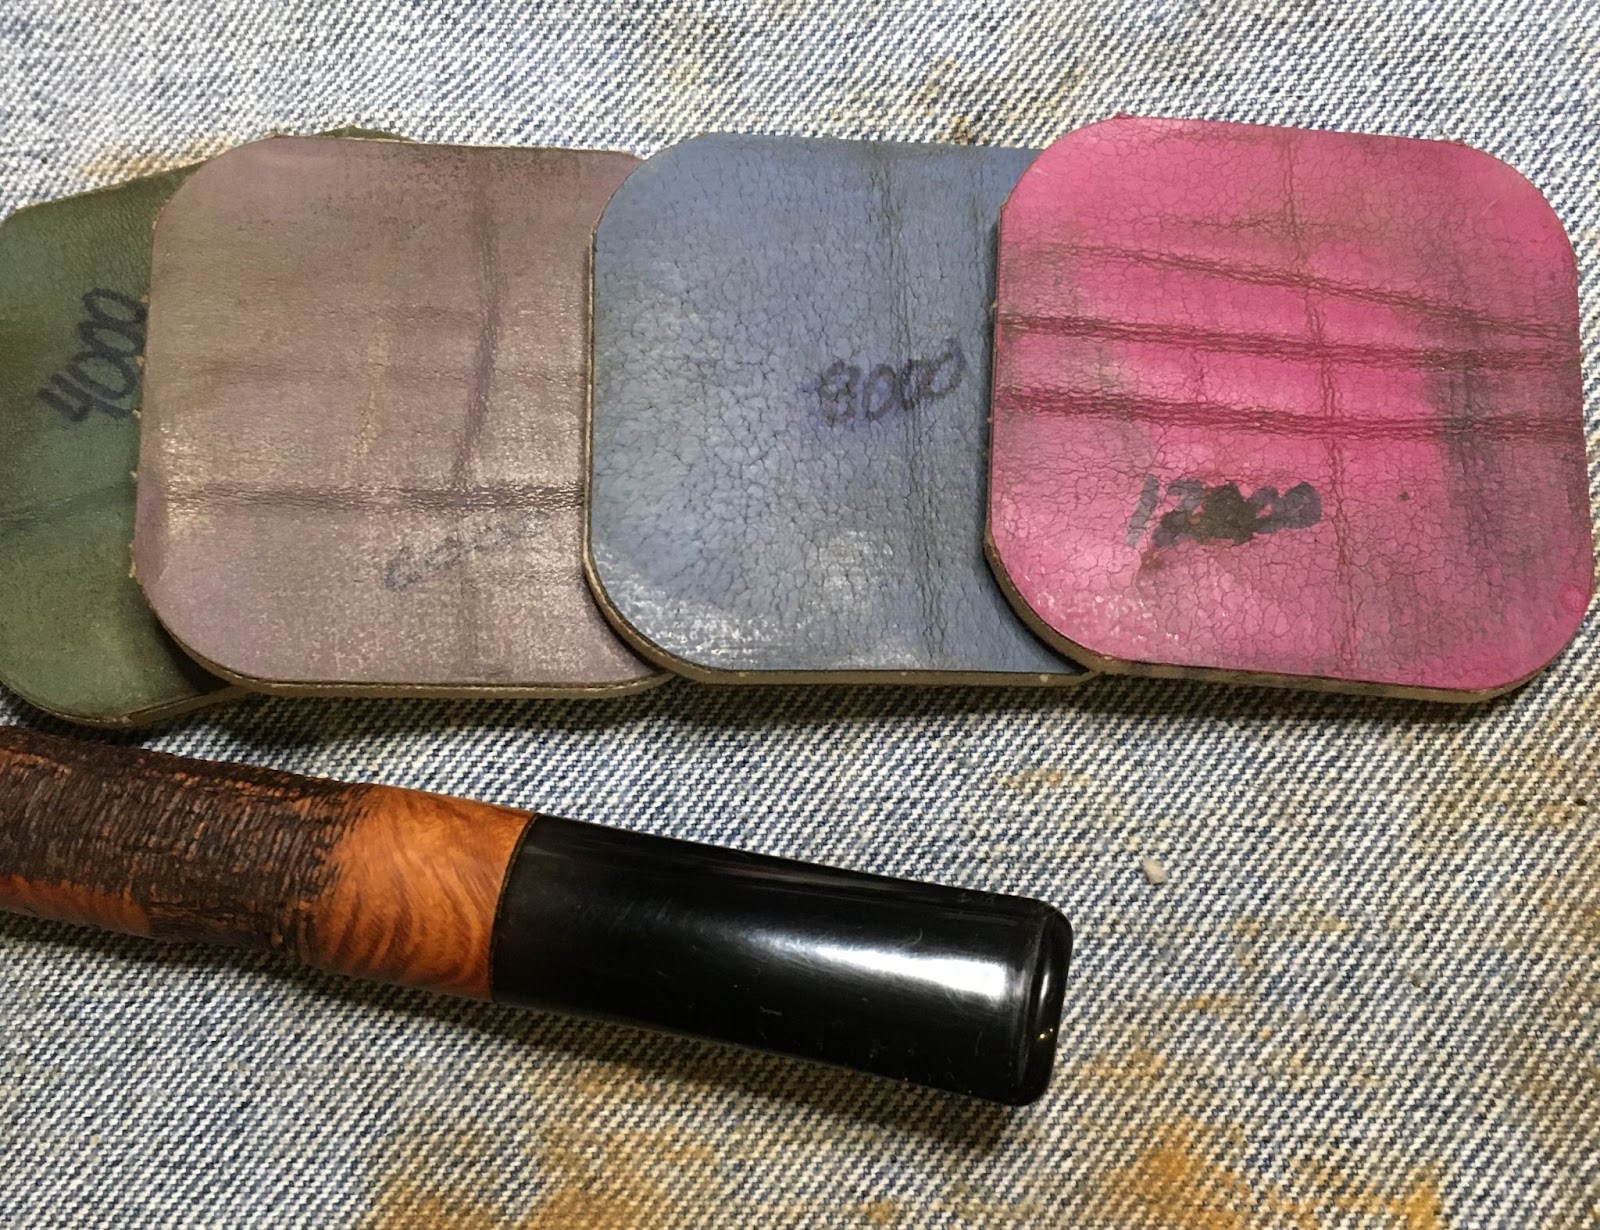
With the sanding done Micro-meshing with the 4000-12000 micro-mesh pads came next. Again I Oiled the stem, now with Obsidian Oil and wiped with a paper towel, between each pad.
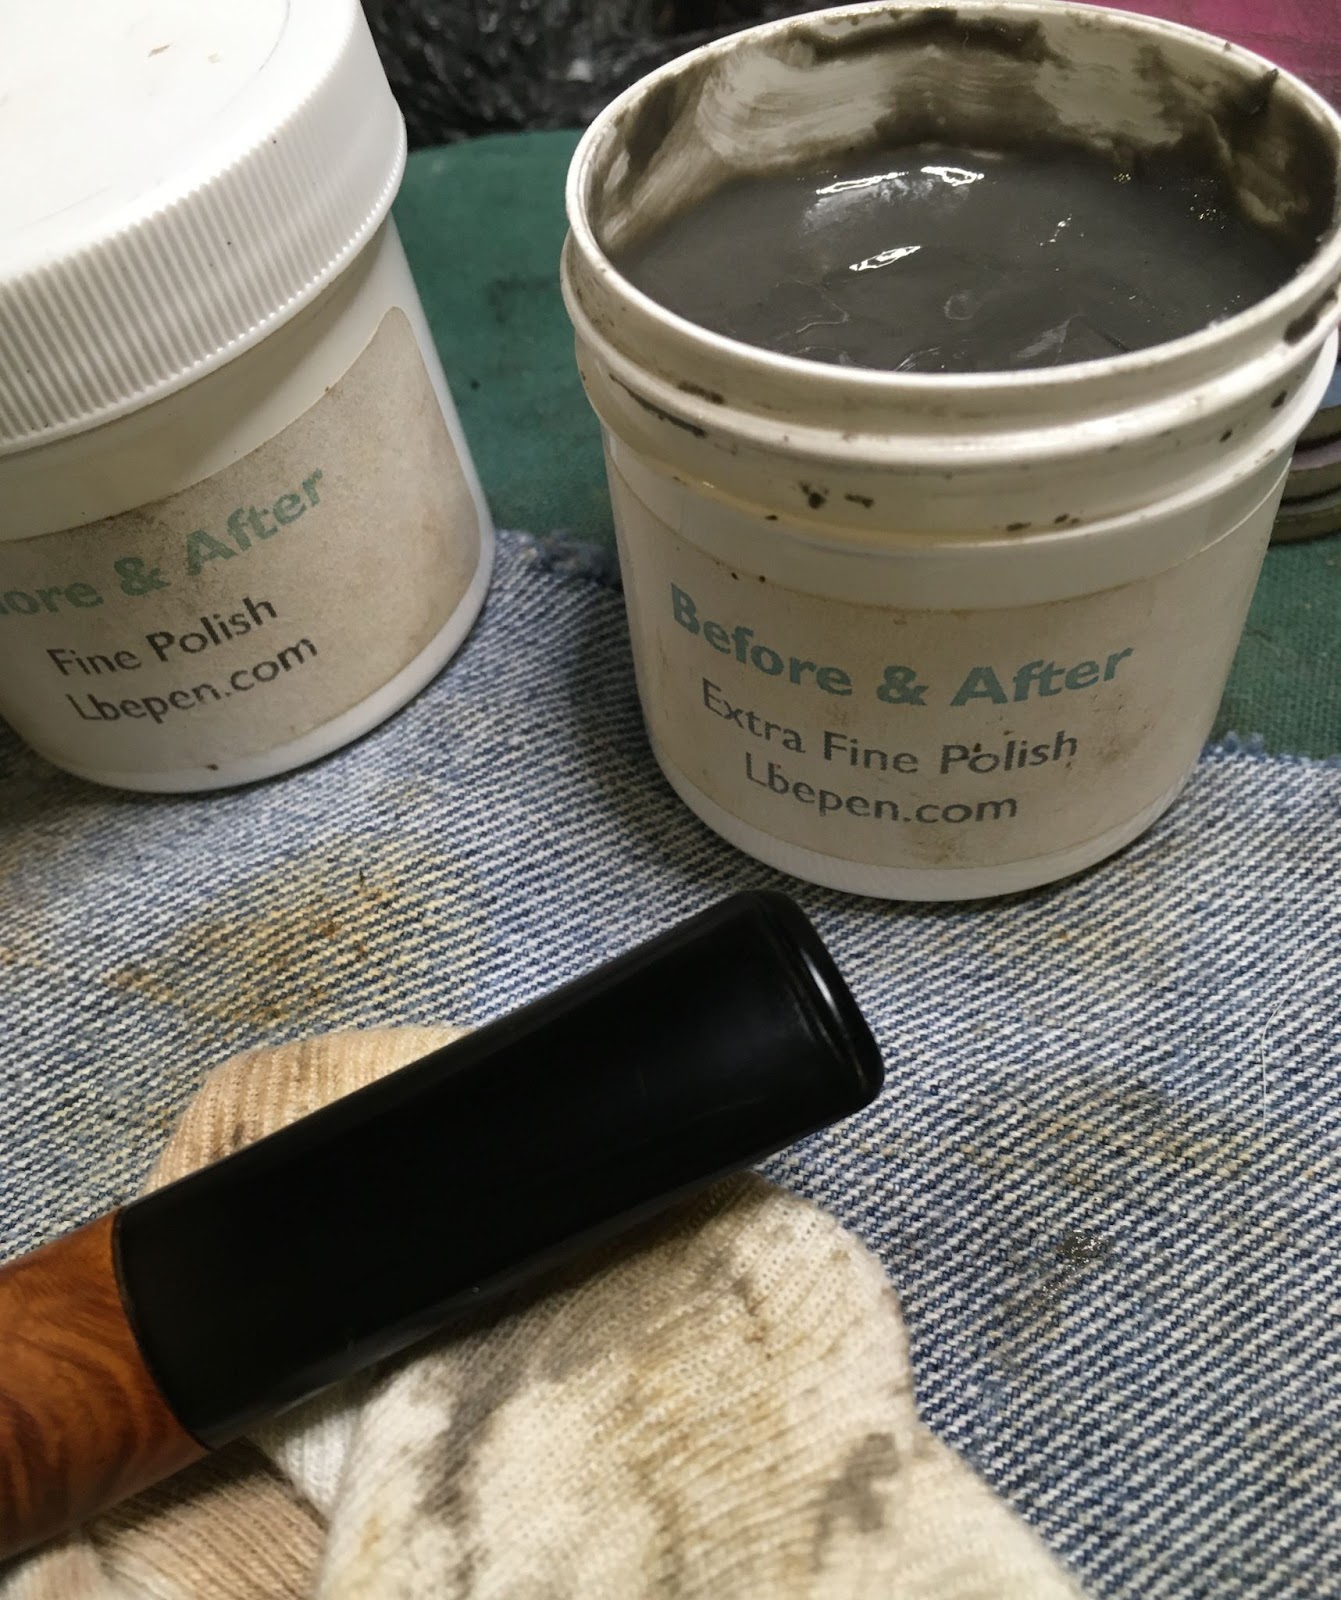
The final steps to finishing the stem was to polish it with Before and After Fine then the Extra Fine Polish. This was applied by finger and hand rubbed with a soft cotton rag.

The stummel received a coating of Before and After Restoration Balm applied with finger and rubbed in with a baby toothbrush. This was allowed to sit for 30 minutes to give the balm time to work it’s magic on the rusticated briar.

After 30 minutes, I wiped away the remaining balm with the inside of an athletic sock then further hand buffed it with a soft cotton rag.

With the rustication running all the same direction, I thought that I could successfully use the buffer to apply carnauba wax to the pipe. I normally do not use carnauba with a rusticated finish but thought that it might work with this one. The briar seemed to take to the wax well. After I used the soft flannel wheel, I swapped it out for a new clean wheel and buffed it again with the clean wheel.
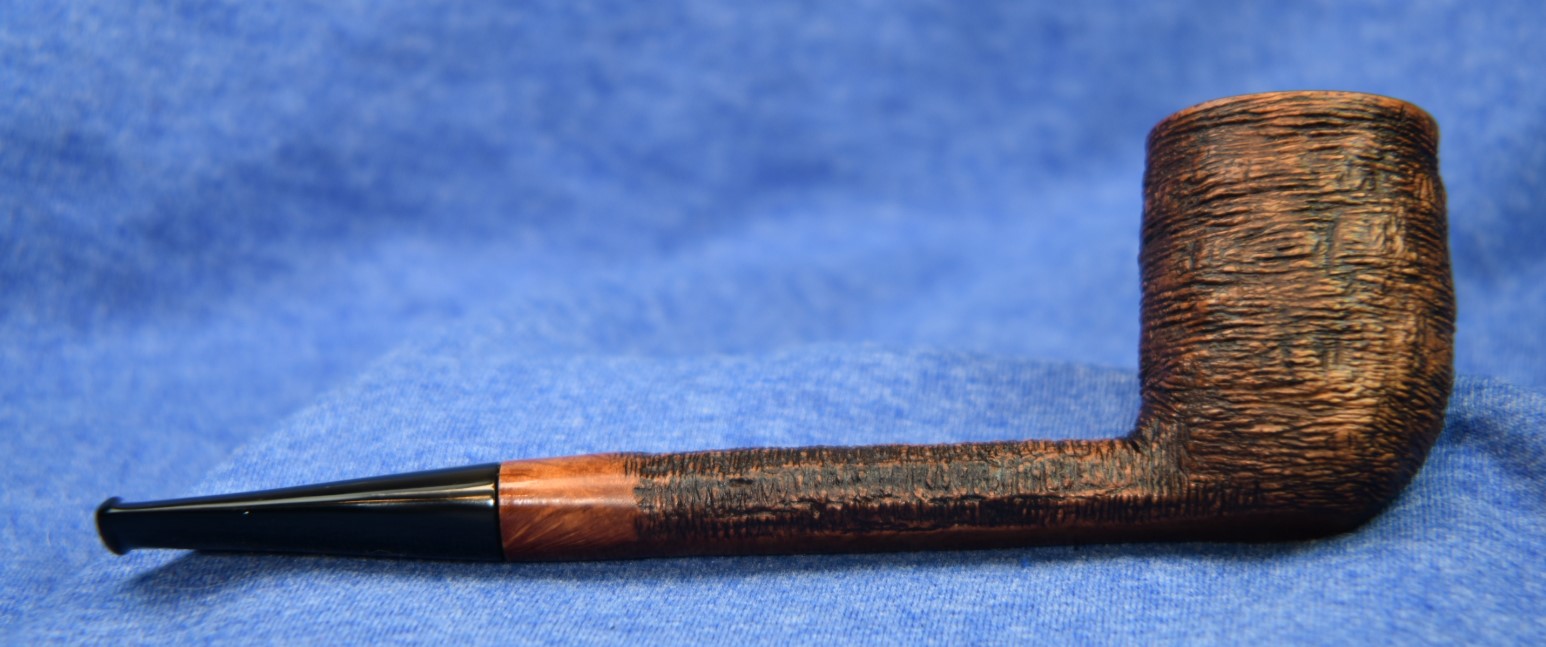
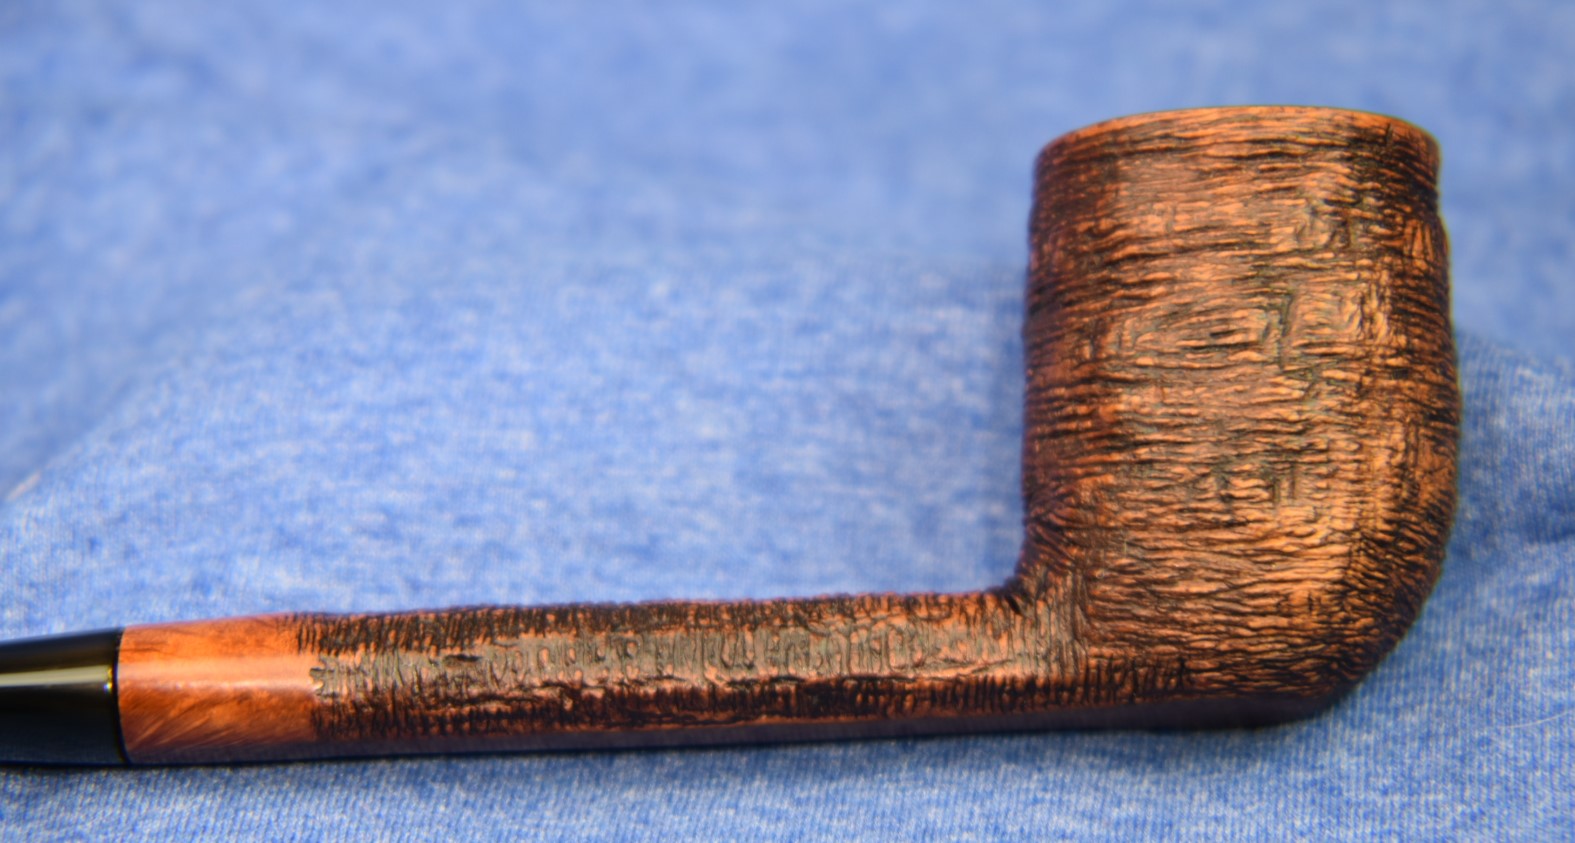
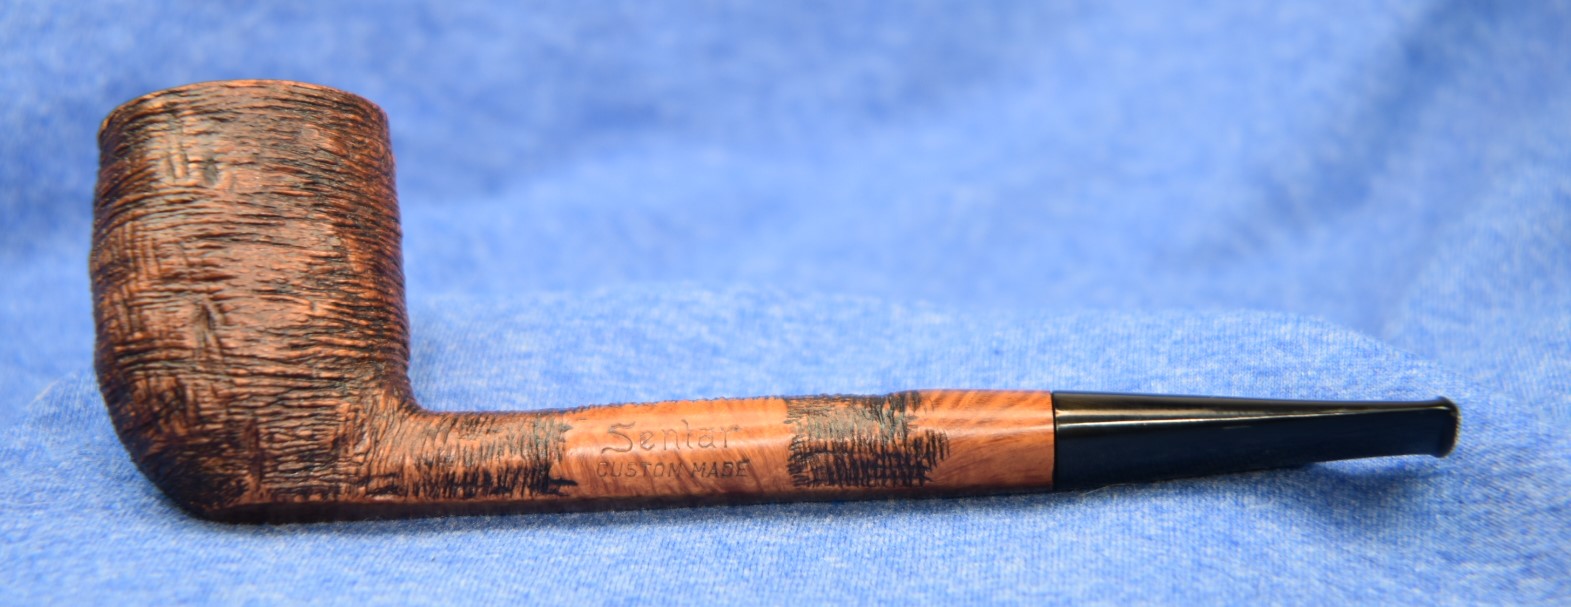
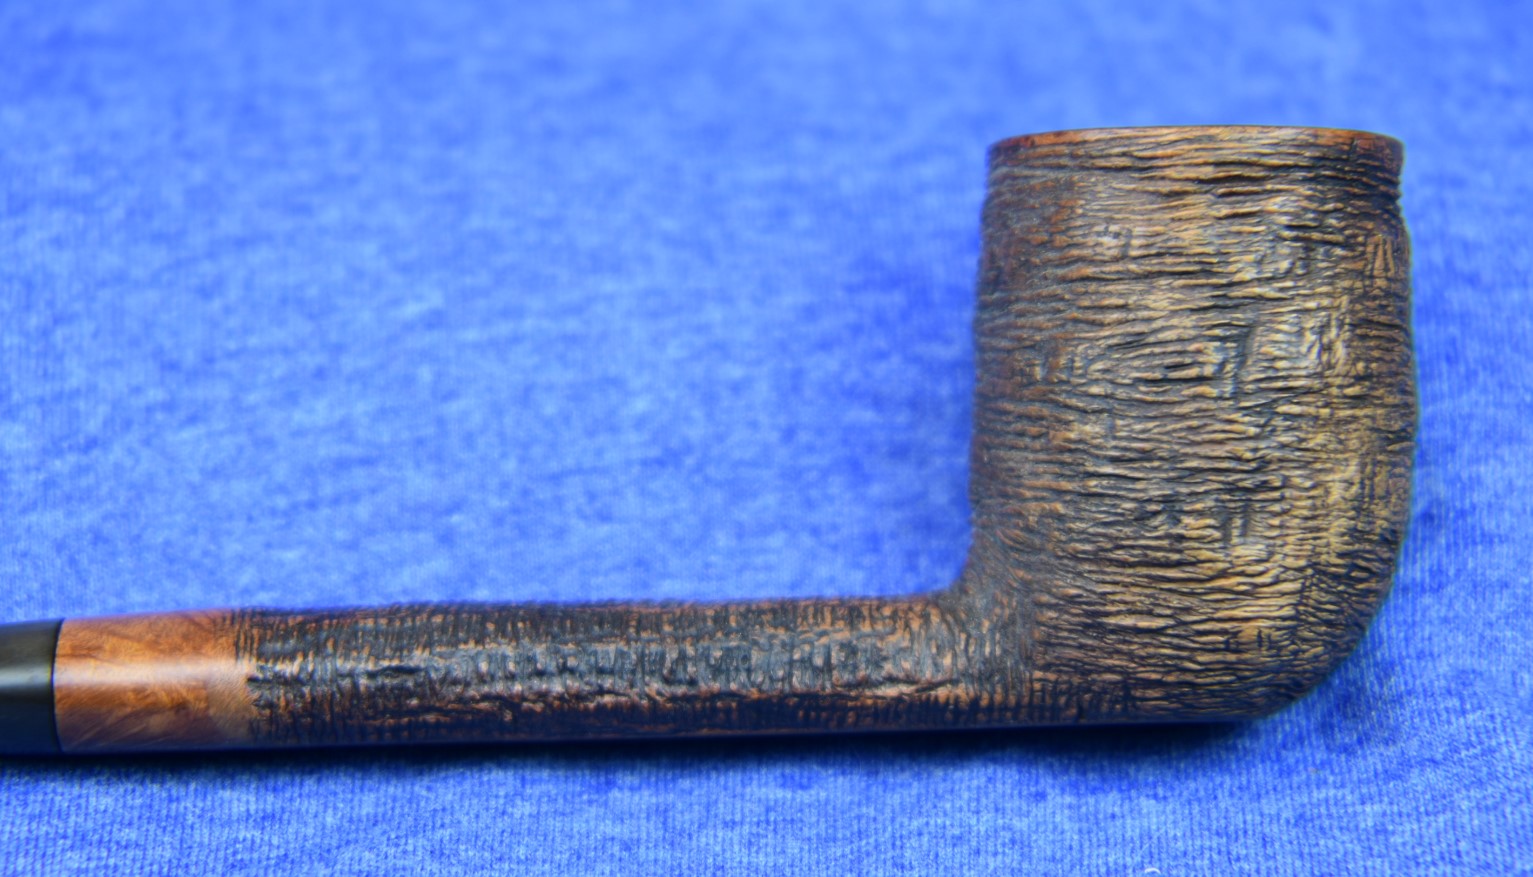
This Senlar Canadian turned out better than the previous Senlar Canadian. I think it is because either, I like the rustication better or that the contrast stain of this pipe lends itself to a more attractive finished look. Whatever the reason. This pipe is a knockout. The little bit of grain visible on the shank is pretty, and is contrasted beautifully with the black of the stem and the rustication. I can’t imagine that this pipe looked any better the day that Mr. Larsen finished it in his basement shop. I hope that there was something here that you found useful or were entertained. If you like this sort of thing please, click the like and subscribe buttons. Thank you very much for reading the ramblings of an old pipe lover.
Below are some photos of the finished Senlar Canadian, the second.