
Written and photographed by
John M. Young
The 1940s pipe restoration marathon continues. This time with another lesser known maker that found to be interesting. Though the name of the line was continued long after the original company was bought up by the Big Boys. Once again Pipe Lovers Magazine led me to this little cutie.

(Pipe Lovers Magazine 1947 all numbers : Free Download, Borrow, and Streaming : Internet Archive p. 186)
Now this is historically interesting for a few reasons: One, briar pipe manufacture is returning to normal after WWII, two, mention of the Van Roy Ajustomatic stem (more on that later) and three, the stem repair done by pipe repair shops nationally. I really need to research the pipe repair business of the 1940-present. Today there are a handful of pipe repair shops, I wonder how many there were in the Golden Era of pipe smoking?
Back to reasons one and two, This article is from June, 1947. It makes sense that briar availability is returning to the world. Harvesting, drying and curing took a year or more and the transportation, without worry of German U-boats, was also normalized. Two mentions the Ajustomatic stem. This is a Van Roy invention.
Turning to pipedia.org for clarification:
“The VanRoy Pipe Company, originally located in the Empire State Building in New York City, began as its own pipe company, and the originator of the Ajustomatic feature better known from its later use in Dr. Grabow pipes. No evidence can be found of their existence prior to October, 1944. When Henry Leonard & Thomas Inc. moved to Sparta, North Carolina in 1953, in addition to purchasing the rights to the Dr. Grabow line, they also purchased other New York pipe firms, including the VanRoy company. After moving to Sparta, HL&T at some point revived the VanRoy name for a cheaper line of pipes, but the later pipes did not have the ajustomatic feature, and instead a push tenon.
The stem logo for VanRoy was a fleur de lis, originally filled, and the pipes were marked as patent pending for the early ajustomatics. In 1949 the pipes began to carry a patented stamp, with the 2461905 patent number representing the 1949 patenting of the ajustomatic feature, as well as a stamp stating “Magic Cake”, but no fleur de lis was on the stems. After 1953, pipes have been seen with a fleur de lis again on the stem, but an open design, not a filled one.
According to the 1944 ad there were 4 models offered, as follows:
- ARISTA… 3.50
- BARD… 5.00
- COURIER… 7.50
- DUMONT… 10.00”
Here is a great myth-busting gem, the Ajustomatic was not a Dr. Grabow thing. It was a Van Roy invention. I also find it strange that there is no mention of Van Roy prior to 1944. One does not simply open a shop in the Empire State Building, undoubtedly one of the most expensive locations in the world, to start a business. Also, look at this advertisement from 1944:

That ad does not have the look of a small start-up company. It shows polish, flair and quality. This ad does mention the Ajustomatic stem nor do the pipes appear to have any metal screw-in tenon.
The next ad, from 1945, again does not mention the Adjustomatic stem.

The final advertisement, from 1949, makes full mention of the Ajustomatic stem and is illustrated with the aluminum screw-in tenon.

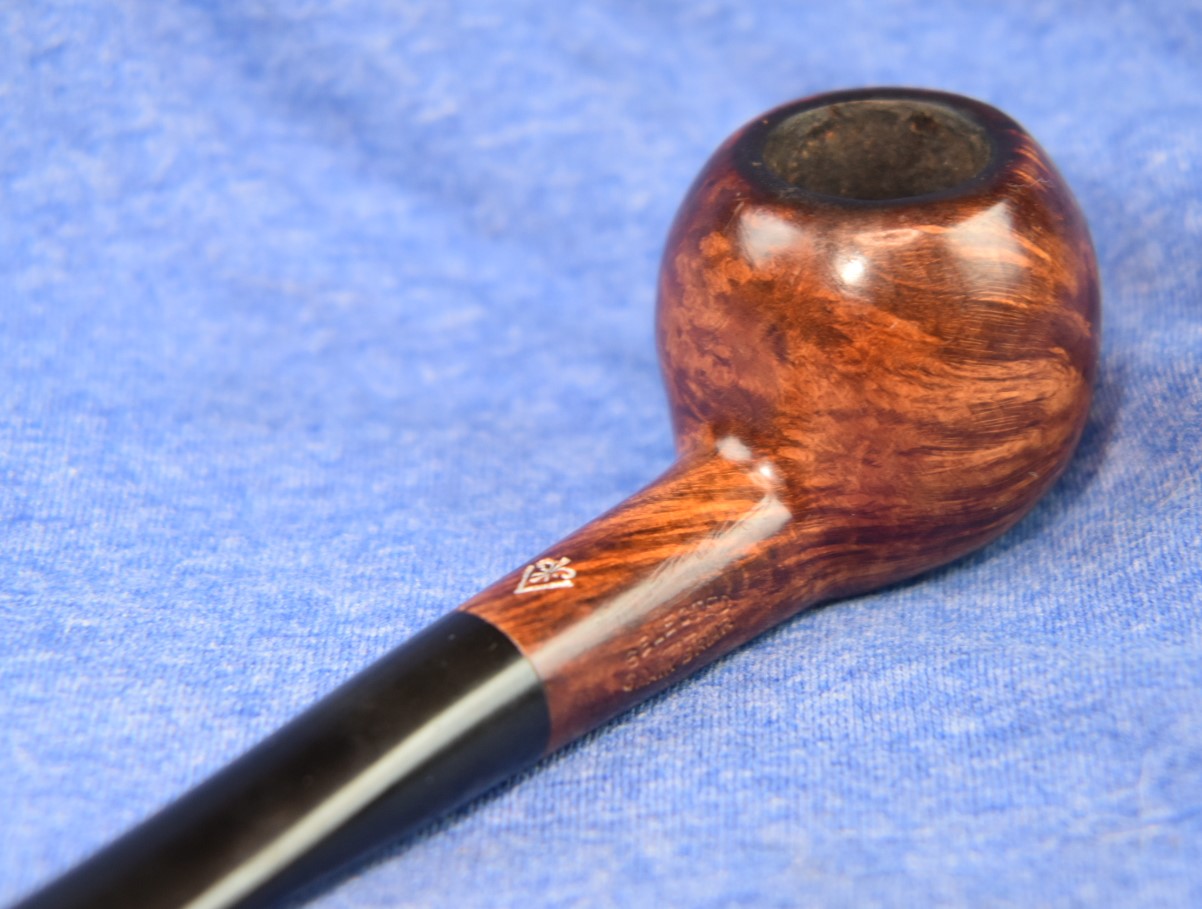
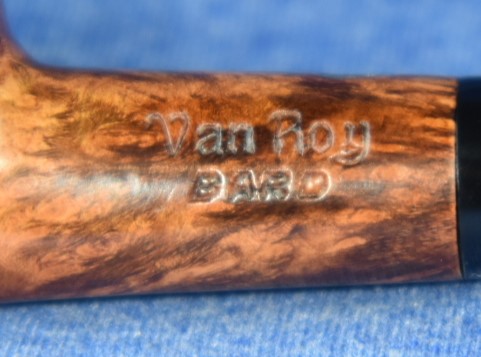
I am assuming that the Van Roy Bard sitting here next to me is an early, pre-Ajustomatic pipe. Further evidence of this is the logo stamped on the pipe shank. None of the illustrations nor descriptions show/discuss shank stamps. They all refer to stamps of the stem. Several other makers stamped logos on the shanks of their early pipes. KB&B within their clover and Linkman can both dated by their early use of logos stamped on the shank. These were later dropped.
There is a photo of a stem stamped with the fleur-de-lis on pipehil.eu. Notice the logo is lacking the chevron below the fleur-de-lis. The below image is also associated with Dr. Grabow Ajustomatic on pipehil.eu, indicating a post-HTL buy-out(1953). On all of the ads above and on the Van Roy Bard sitting next to me there is a chevron below the Fleur-de-lis.

(Ae-Ak — Pipes : Logos & Markings (pipephil.eu))
By the above reckoning, I am going with the idea that this is a 1944?-1949 Van Roy Bard.
On to the restoration. Upon arrival this little cutie looked like this:
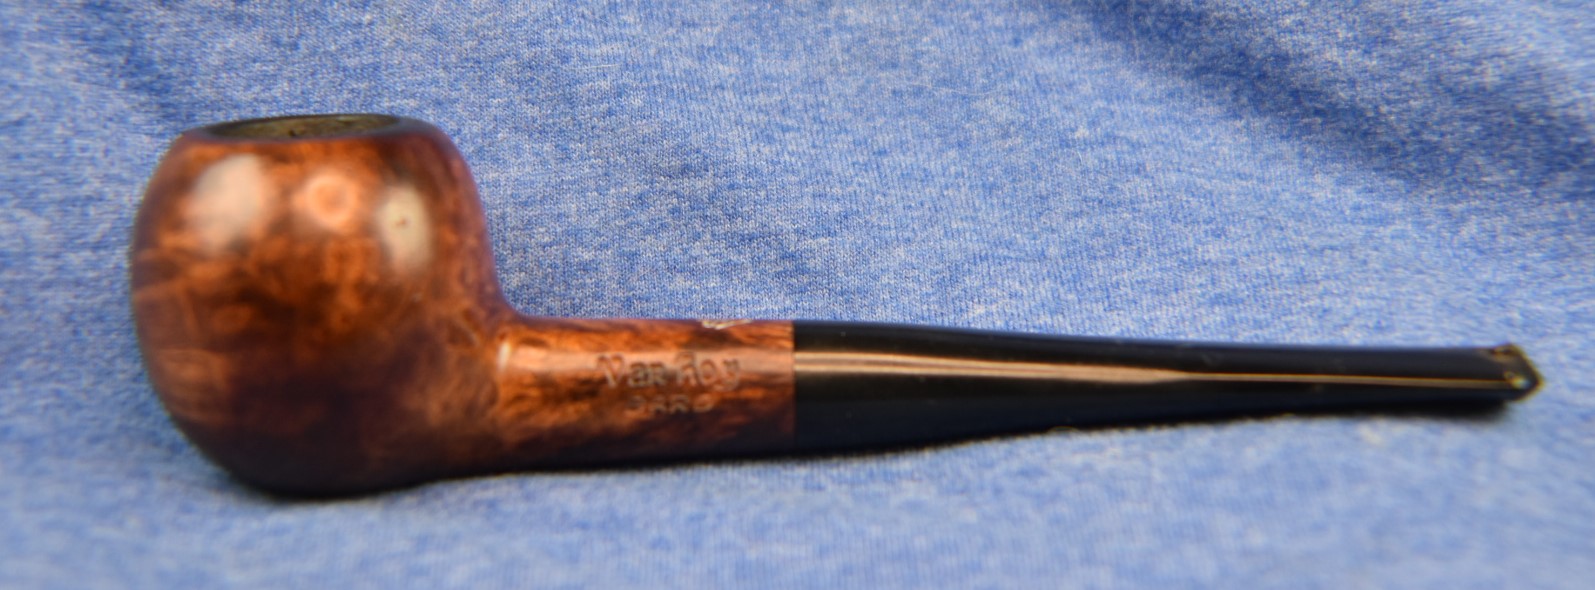


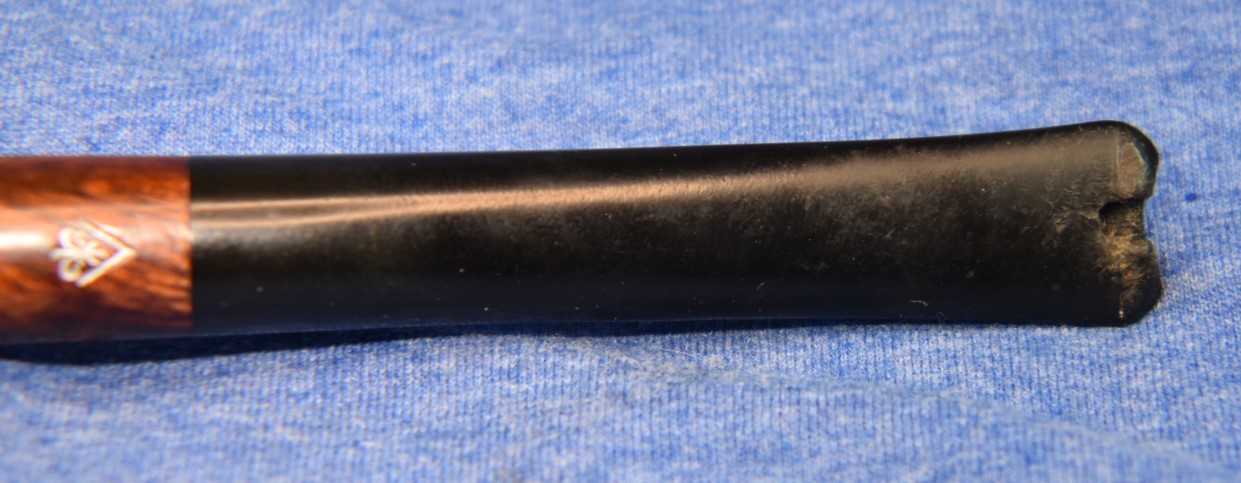
The Bard looked to be in very good condition, minus the chewed through button. Once again, I was worried that a pipe that had been so much used, that the stem was bitten through, would probably have filthy internals.
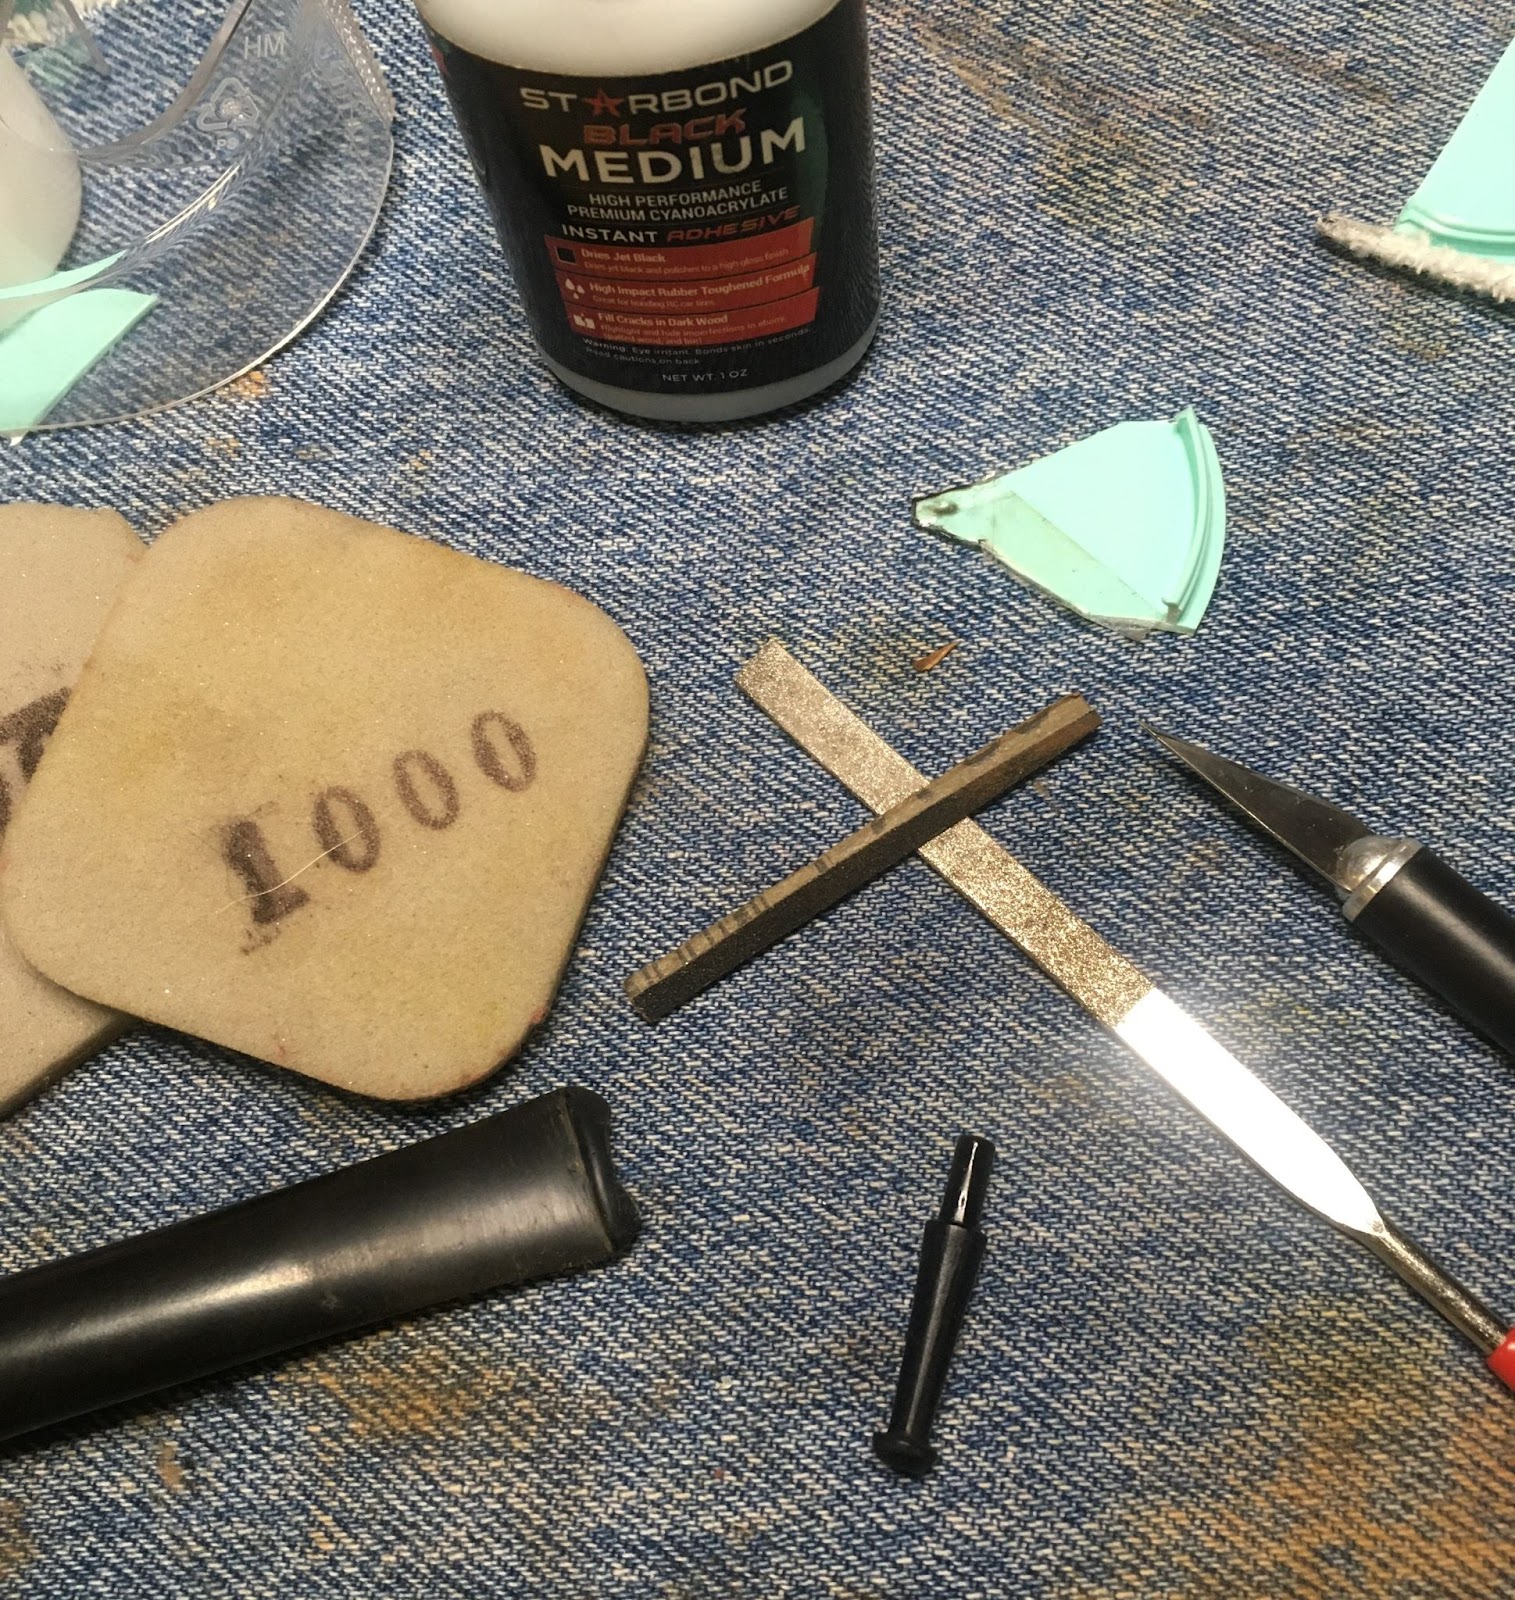
In celebration of the laundry machines only eating one dryer ball while cleaning the shop rags, I rewarded the worktop with a new clean denim piece. I began with the reaming of the tobacco chamber. The usual tools were used to make short work of the cake deposits: PipNet with #2 blade, Smokingpipes Low Country knife and the General triangular scraper.


After the reaming, the chamber was sanded with 220 sandpaper wrapped around a Sharpie marker.
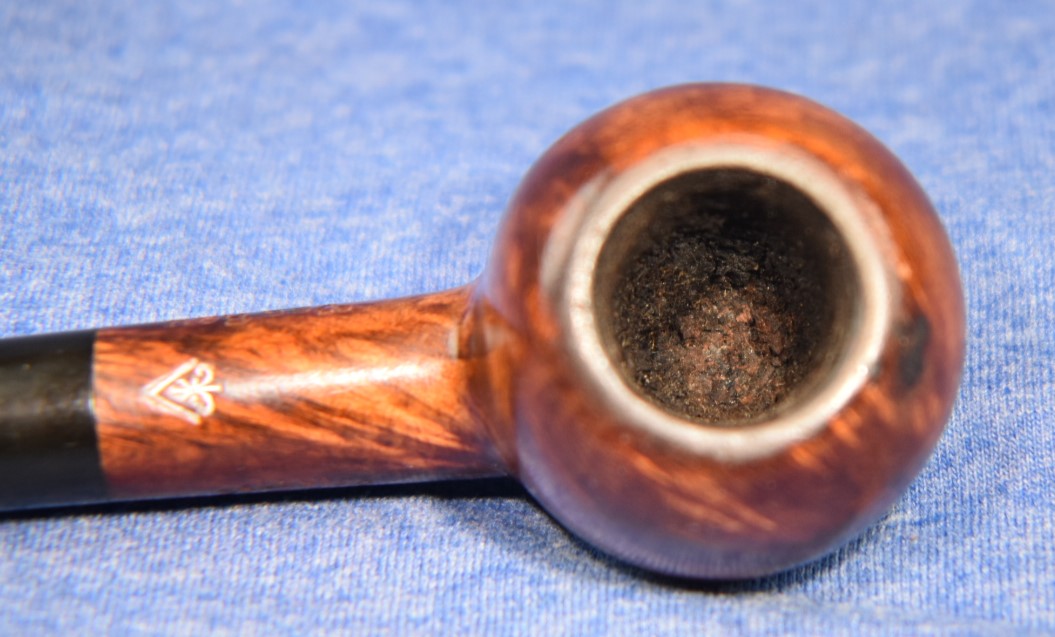
Next was the shank cleaning and rim scraping. I was pleasantly surprised by how clean the air war of the Bard was. It only required a few cotton swabs dipped in 99% isopropyl alcohol to clean. The rim was scraped with a sharp pocket knife. I softened the lava on the rim with saliva prior to the scraping. Yeah, kind of gross but it works.

The next task was to scrub the externals of the stummel. I took it to the sink and used a medium stiff toothbrush and undiluted Murphy’s Oil Soap to scrub the stummel. I rinsed with warm water and dried it with a cotton dish towel.
Returning to the workbench I wanted to remove the finish from the stummel. I first tried 99% isopropyl alcohol on a make-up removal pad. It worked. This indicated shellac as the clear coat. Yay, easy to remove, especially with 95% ethyl alcohol. I supposed that I could have saved myself labor by dunking into the ethyl alcohol (EtOH) jar and letting it sit for 30 minutes but easy wasn’t on the menu. I used several EtOH wetted pads and removed the shellac from the stummel

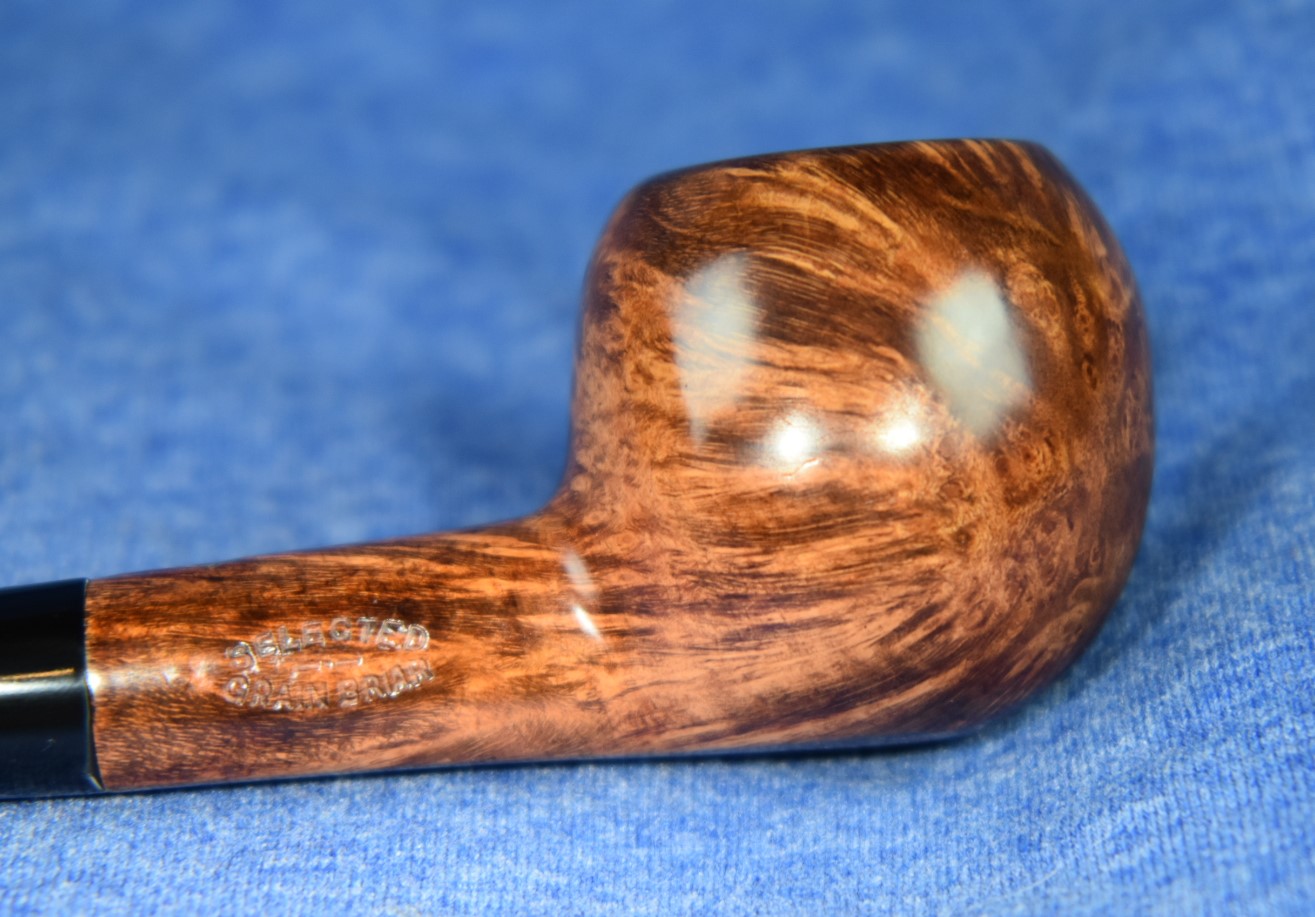
Next was the taping of the stamps on the stummel and a light sanding to look for spots to fill. I used the 1000 sanding sponge followed by the 1500 and the 2000 sponges. I am not sure why, the “selected grain briar” from the stamp really meant selected, I guess. The stummel required no fills.
Maybe I was just putting off the stem repair with that extra sanding. It was time to address that bite-through. I began with using a flat needle file to smooth the stem of any large bumps created by the chewing of the stem. It sounds weird but the “smoothing” also roughens the surface allowing a better surface for the cyanoacrylate (CA, super glue) to adhere to. I then started making a new dam to keep the black CA from entering the airway. I used a piece of flat plastic from a snus can although any 1-2 mm thick plastic would work.
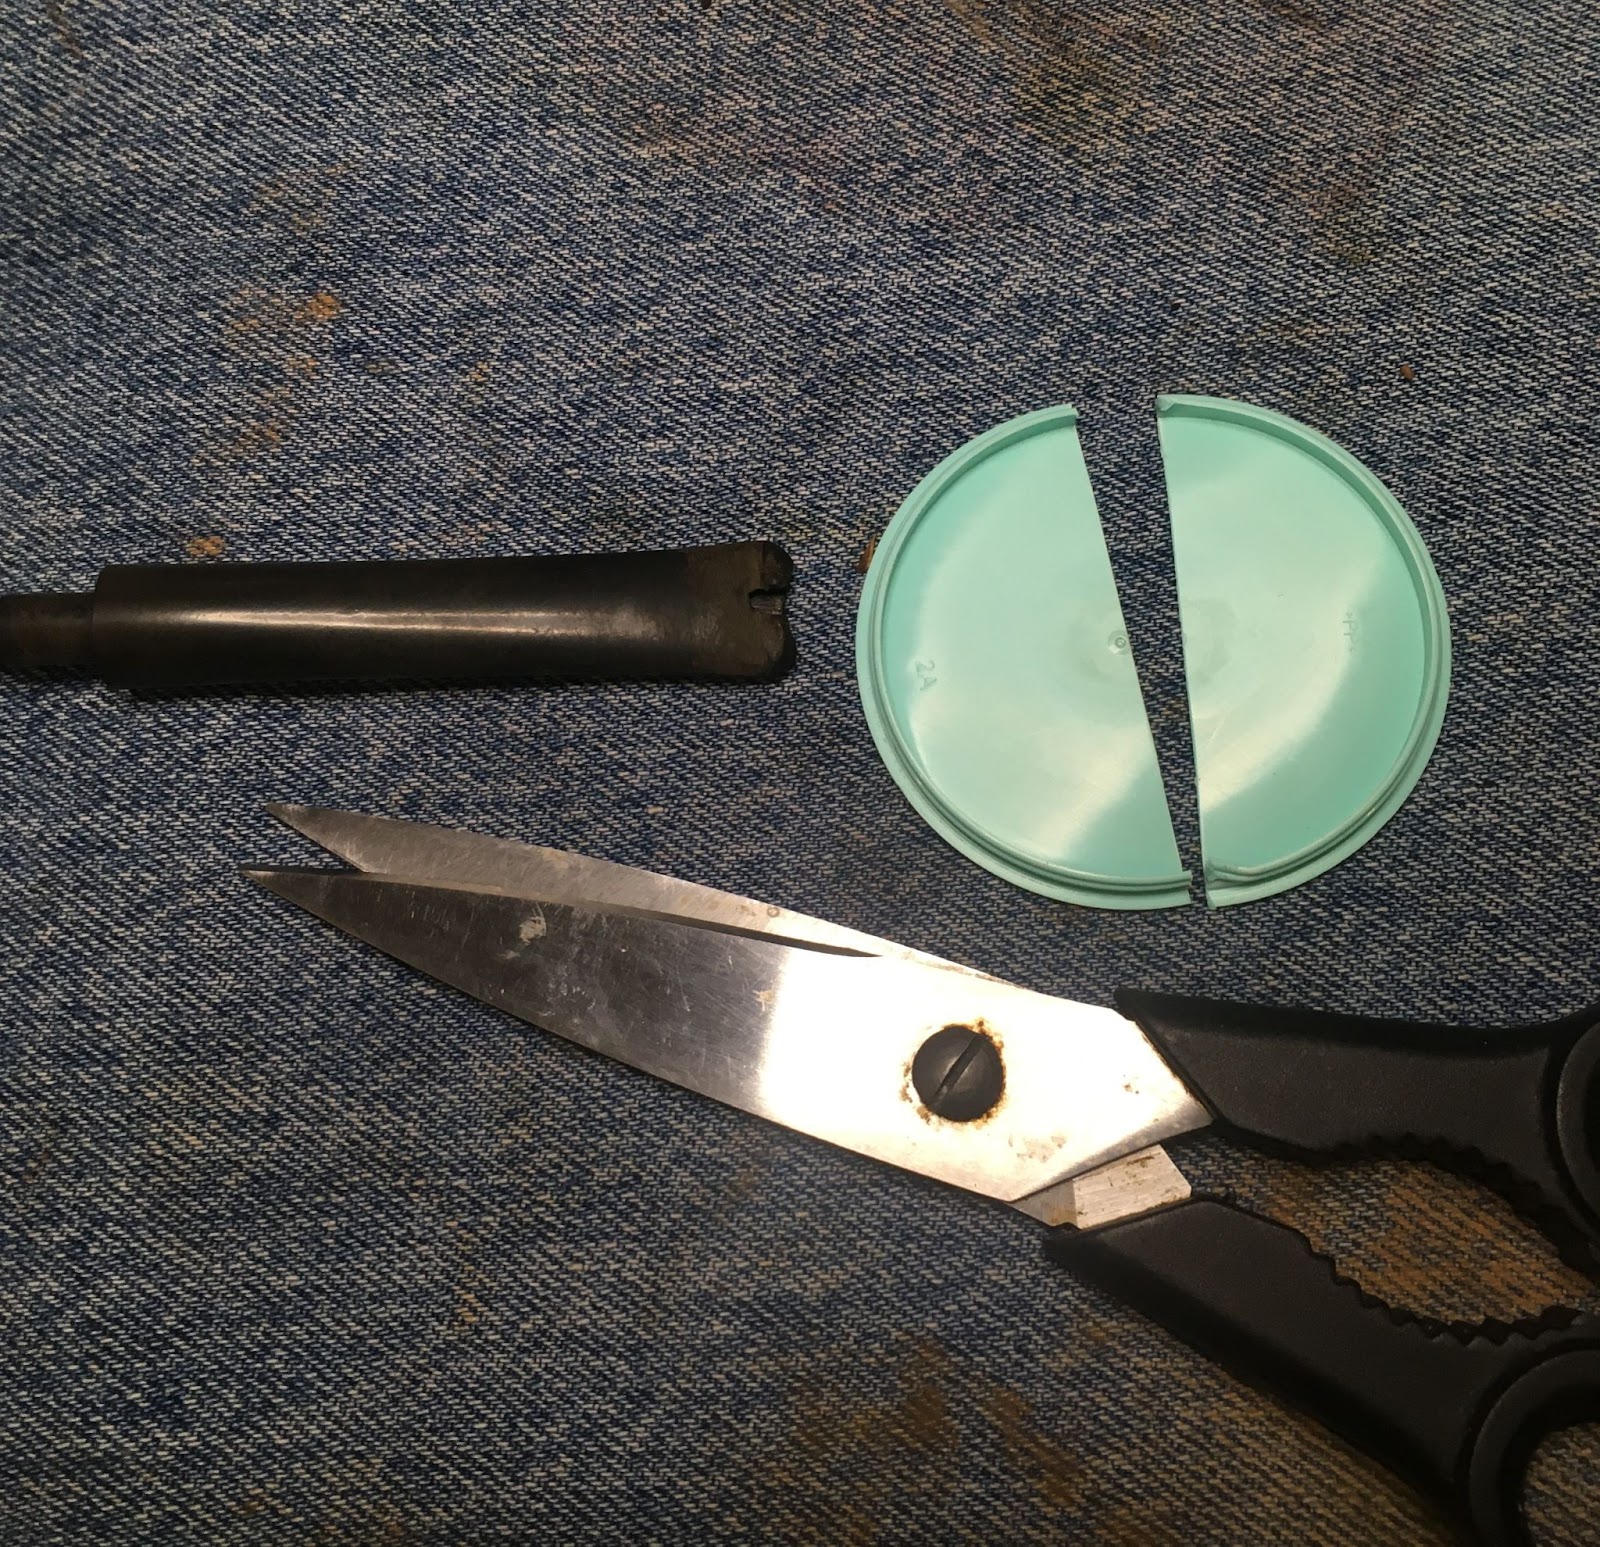
The plastic was trimmed to fit this particular airway. On the previous restoration, I used a folded pipe cleaner wrapped in scotch tape. For this restoration I wanted a very flat surface for the CA to sit on so I chose this plastic lid method. I did have to wrap a couple of layers of scotch tape onto the dam to get the thickness I wanted.

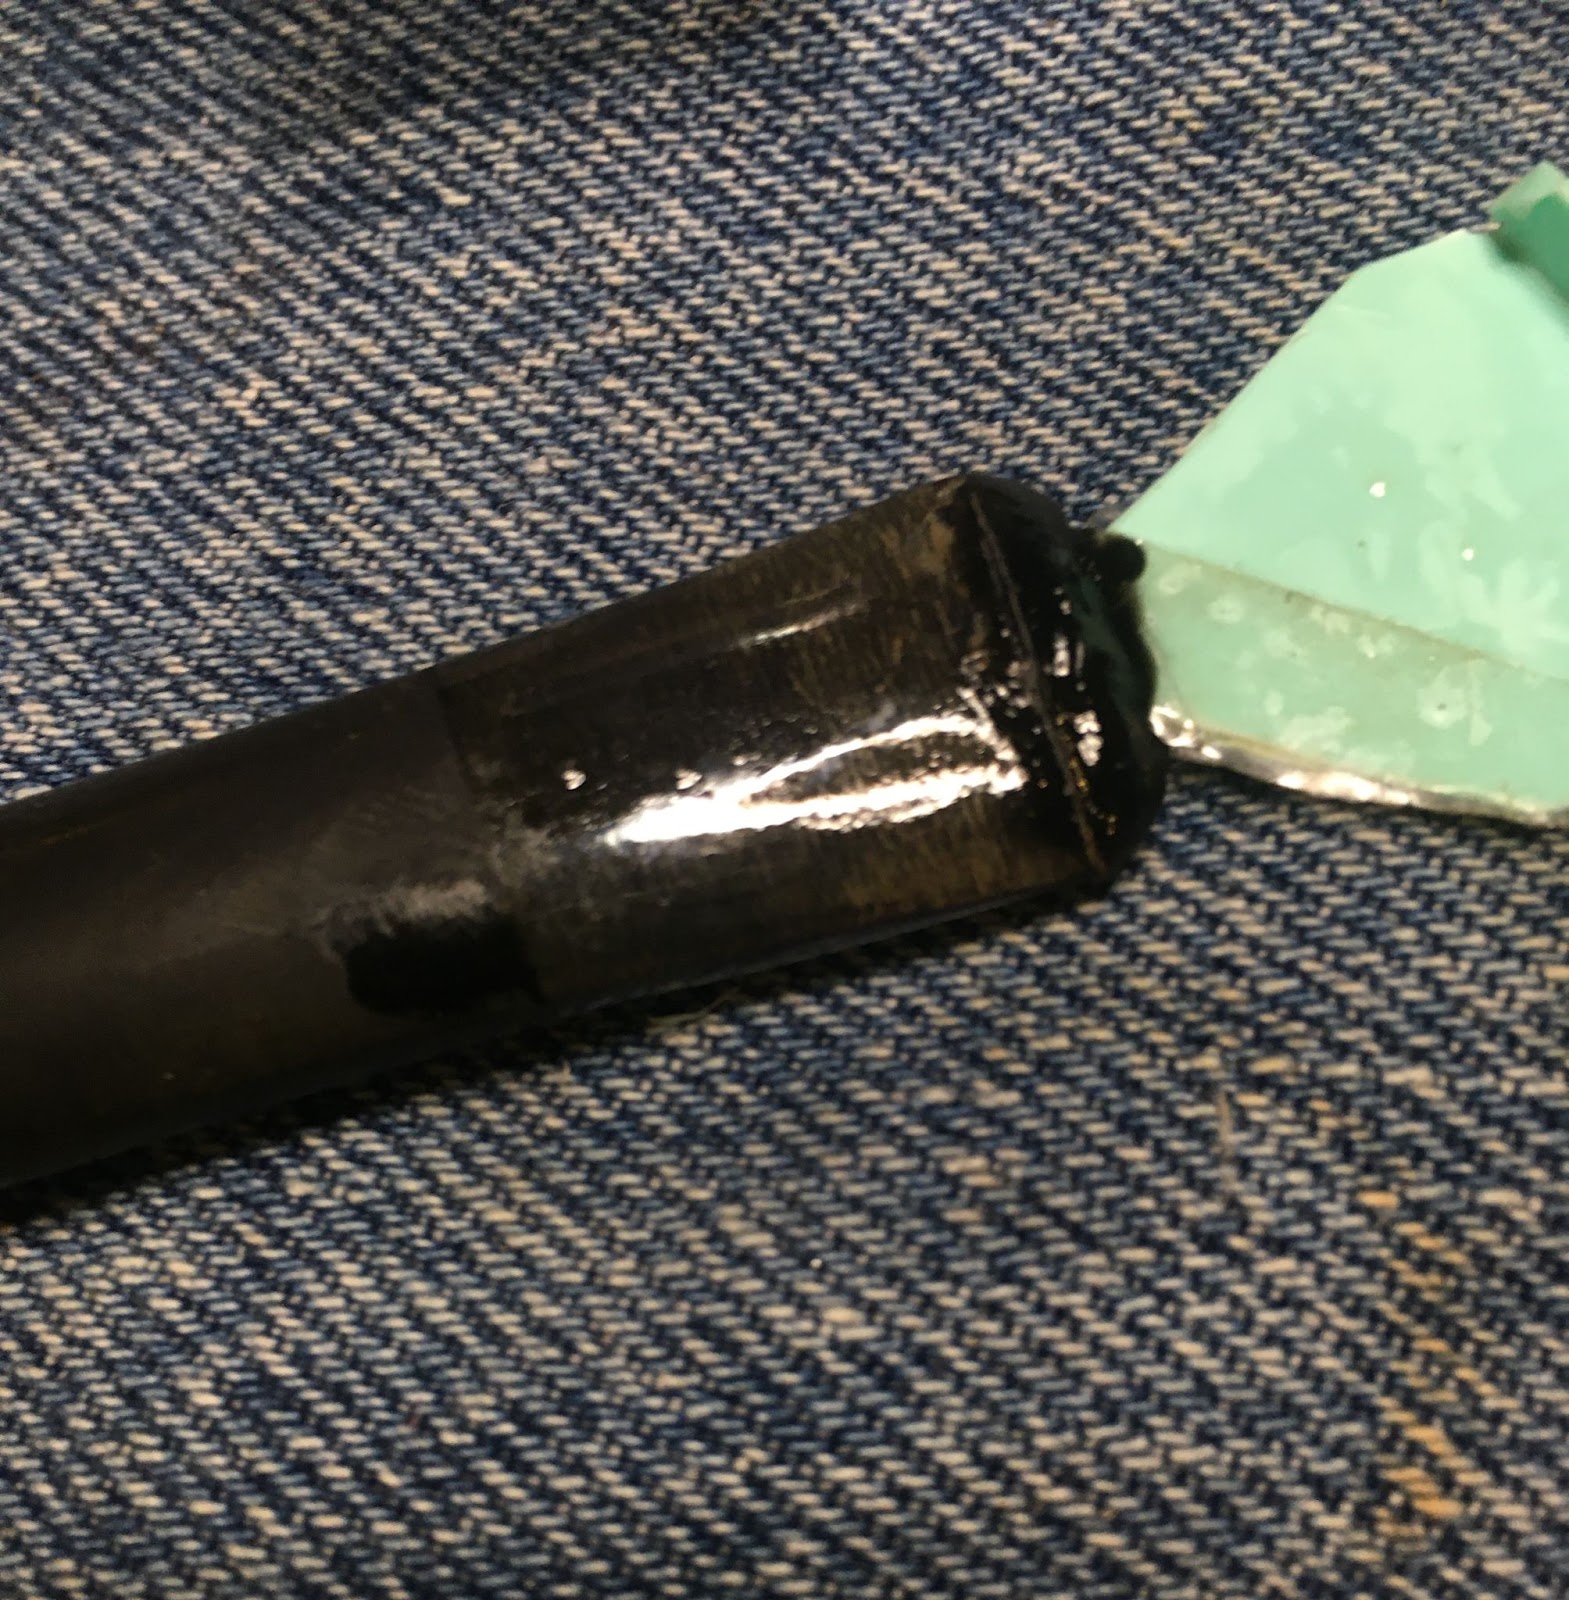
The CA needs to be applied in thin coats to allow the CA accelerator to cure all of the CA. It is very important to be holding the stem upside down when the accelerator is spritzed onto the CA. Gravity is your friend and will pull down, thus keeping the CA from flowing into the airway. I would show this with photos but having only two hands makes it too difficult.

After that first drop was cured I filed the area behind the button flat again. This flat area and the “hole” received another layer of black CA. I again inverted the stem and spritzed with the accelerator.

In the photo above, I had two coats of CA cured. I filed the CA flat up to the button then sanded it with the 400 sanding sponge. This smooth surface was taped over with scotch tape right up against the rise of the button. THe next coat of black CA was then placed, building up the button and flowing a bit onto the tape.
It takes a few seconds for the accelerator to cure the CA. In this time I quickly use an Exato knife to cut down through the, still soft, CA. This reduces the filing and sanding of the button. It is not necessary if you miss the “soft” window or like to shape a button. The tape is removed along with the CA that was on top of the tape. Notice the dam is still in place. I did not remove this until I had built up both sides of the button. After the bite-through was filled with new CA, I flipped the stem over and built up CA on the slightly deformed button of the opposite side.

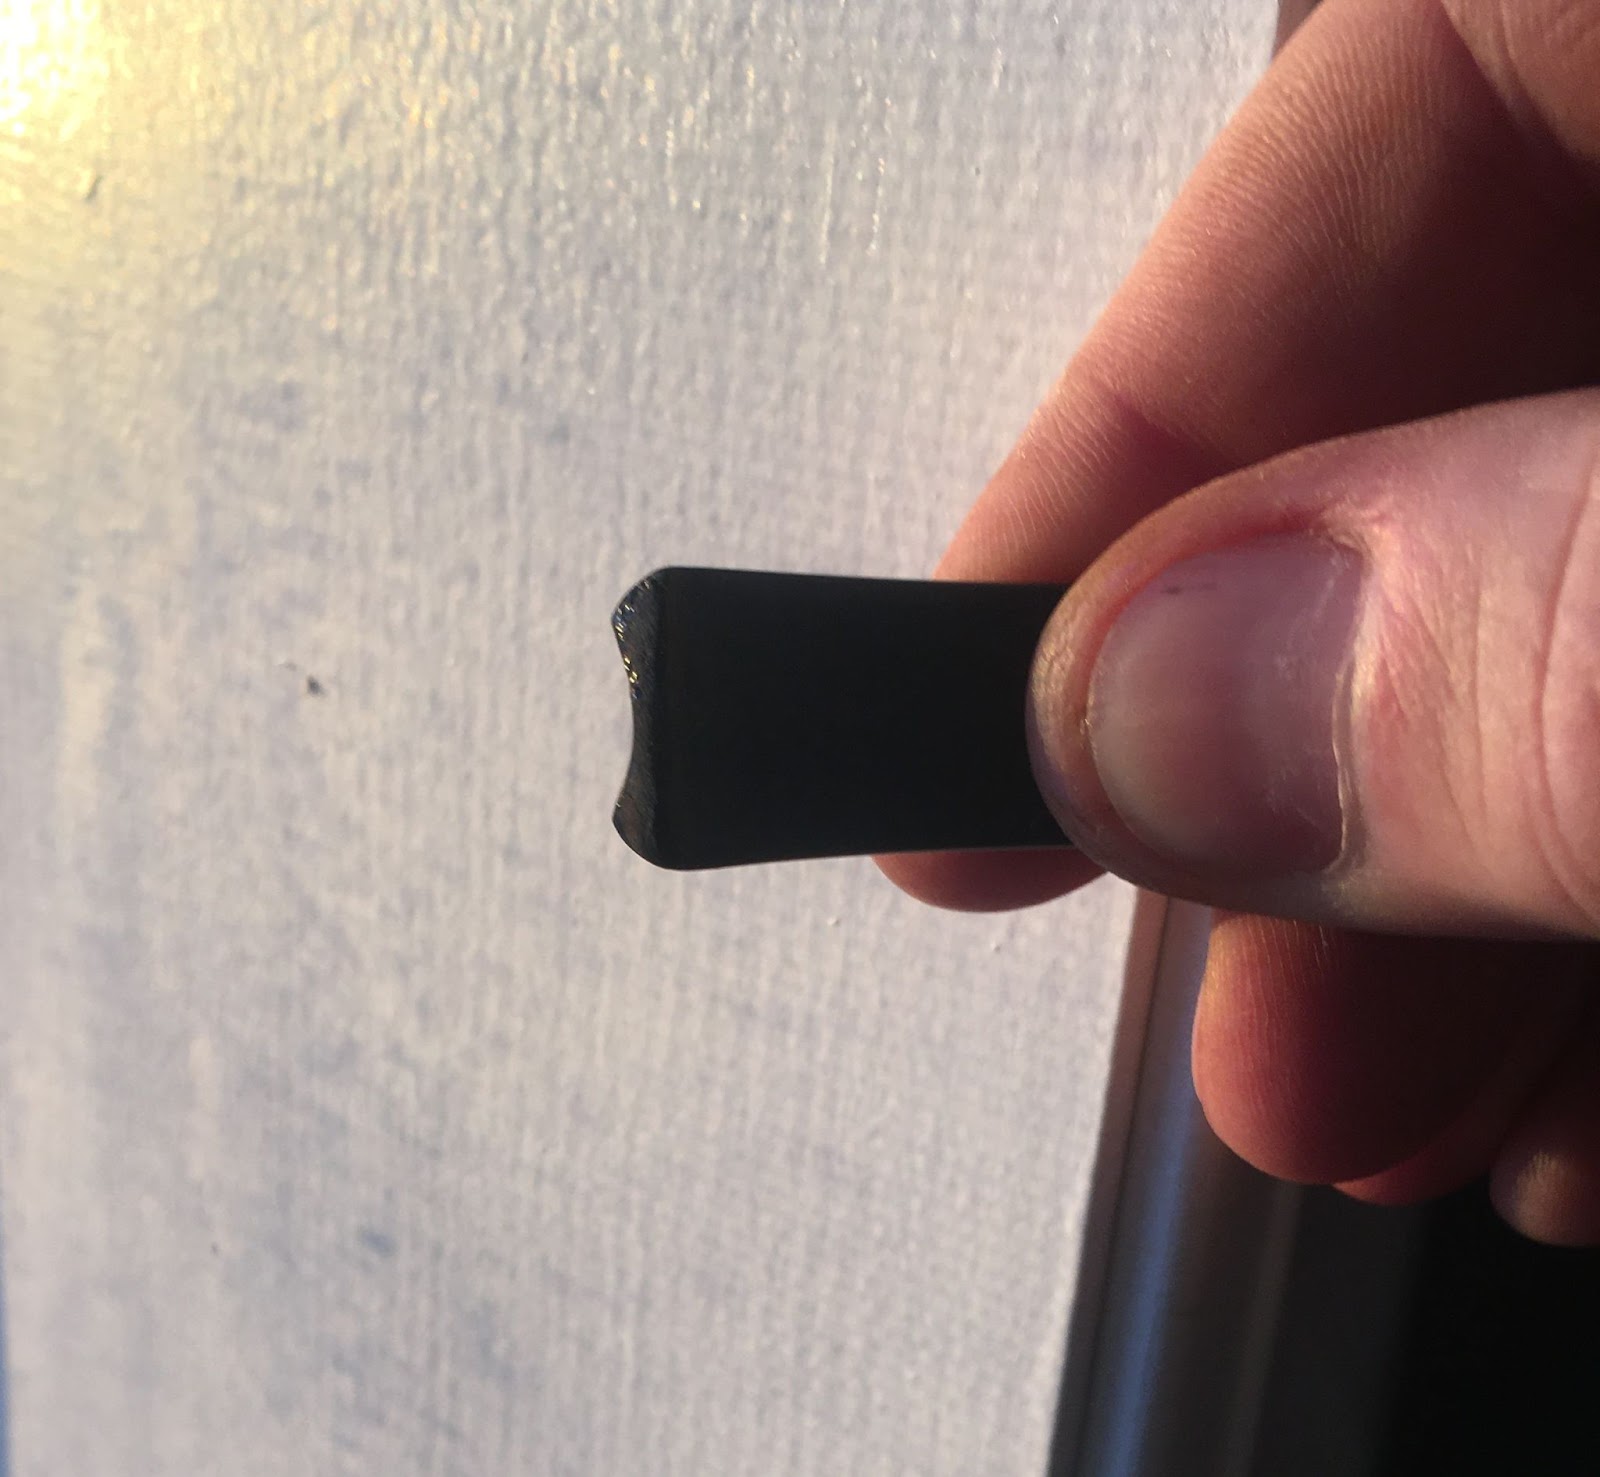
Once both sides had been cured I filed the stem to shape. The next two photos show the top and bottom. Noting the end of the button remains rough. This stem had a semi circular button end. To retain that feature with the restore I used the round sanding drum of the Dremel tool.


I clamped my Dremel into a portable vise above the quite messy fly tying bench. Yeah, my fly tying bench is by the window so I can tie with natural light. I’m not sure if the fish care but I prefer it.


With the Dremel clamped down I had access to two, partially functional hands. I used the sanding drum to shape the button end.
Returning to the workbench, I used the flat needle file and sandpaper to shape the button then to smooth it.

Lots of little scratches but, that’s what sanding sponges are for.
Wow, that was a great segue, to the sanding of the whole pipe. The painters tape still remained on the stummel so I interested the stem into the stummel and sanded them together. I used the sanding sponges 1000-3500 in sequence. Between each sponge I wiped the stummel with an alcohol wetted make-up pad. The stem was rubbed with mineral oil applied from my finger then wiped with a paper towel. The below photo shows the 400 and 600 sponges because I used them on the stem. Remember those scratches? I’m not sure when the 3500 sponge didn’t make the photo. Perhaps they thought they were too fine for this dirty workbench (sorry, Dad jokes are sneaky).

After the sanding sponges and the removal of the painters tape the Van Roy Bard was micro-meshed with the 4000-12000 pads. Between each pad I wiped the stummel with an alcohol wetted make-up pad. The stem was rubbed with Obsidian oil applied from my finger then wiped with a paper towel. All the alcohol wipes took a toll on the silver paint of the shank logo. The stamp was cleaned of remaining paint with a cotton swab dipped in
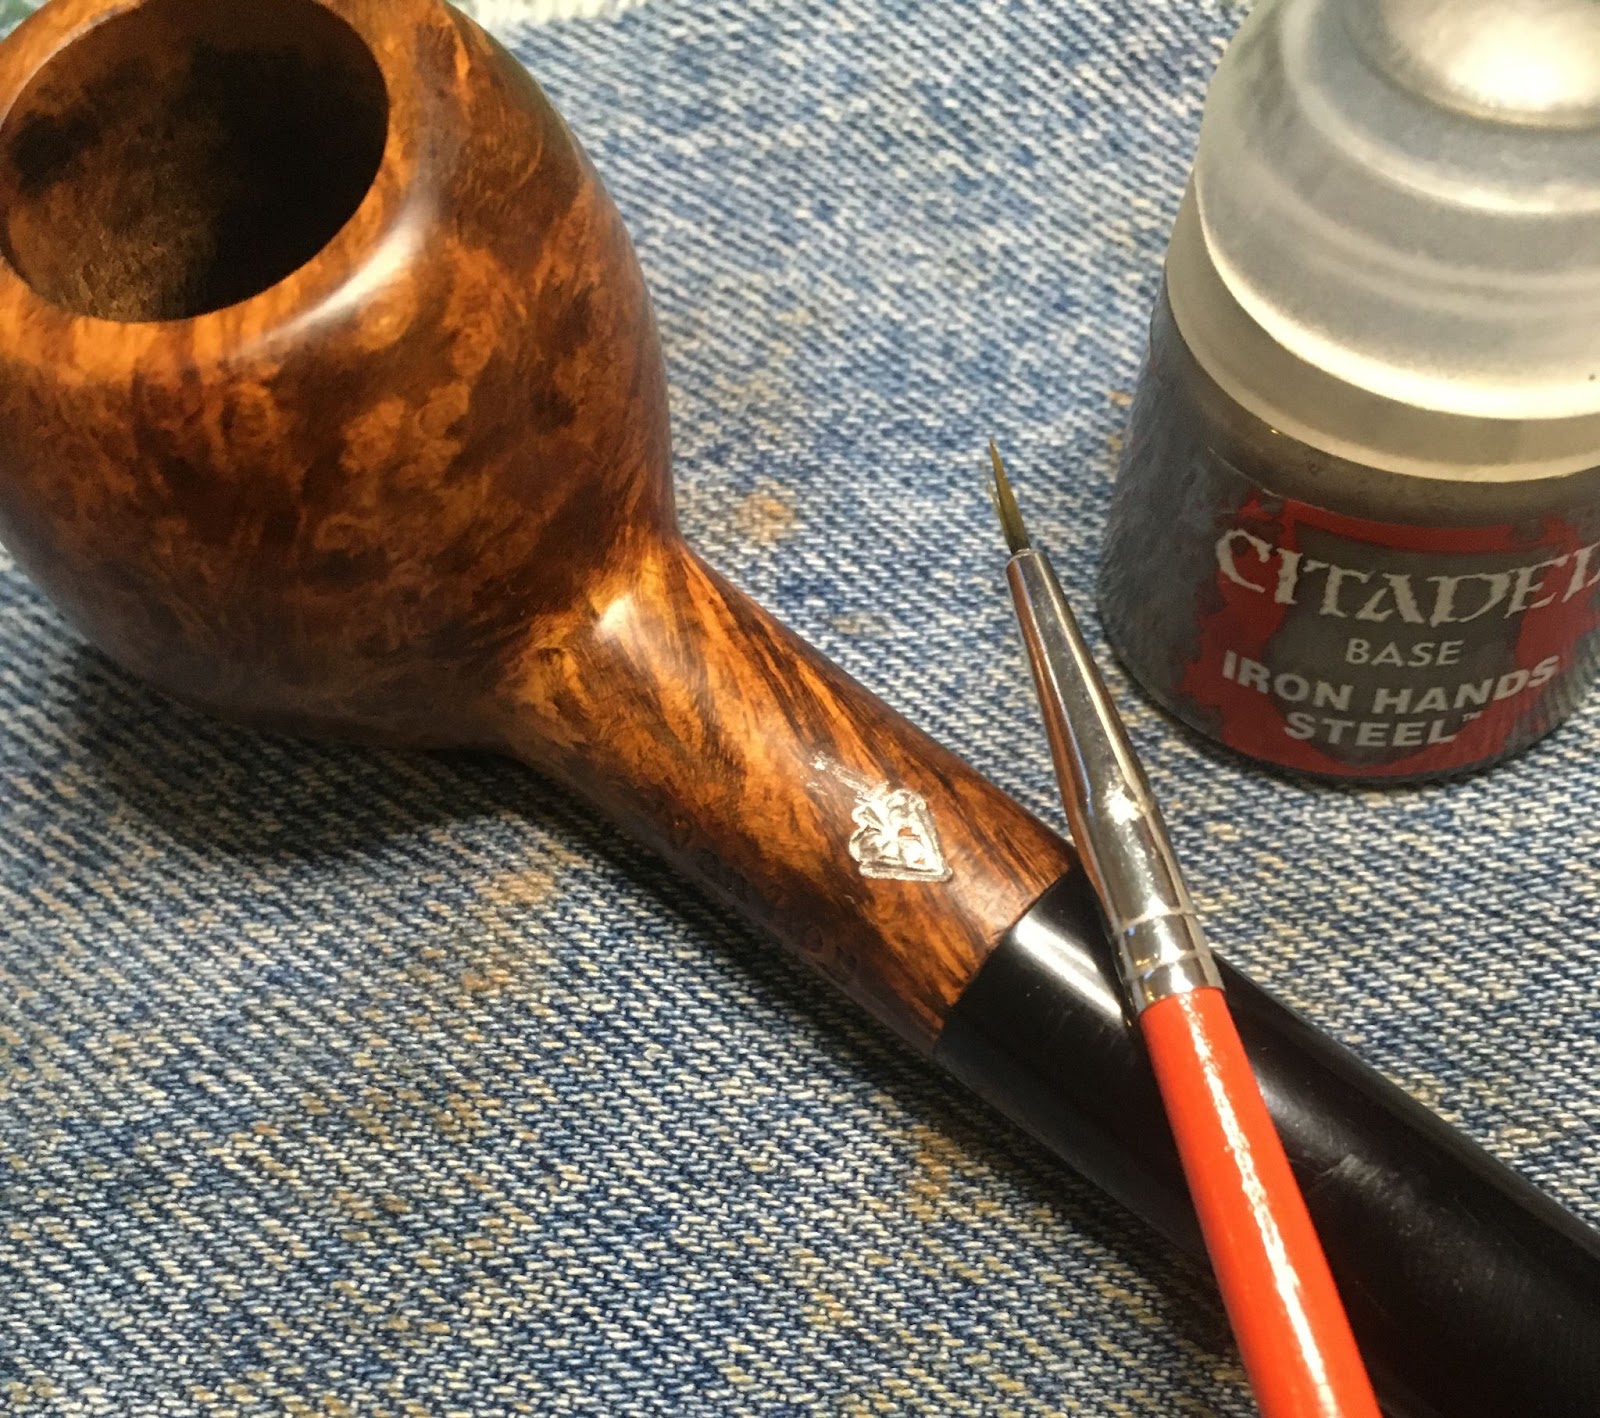
alcohol. I then used an acrylic silverish paint (Iron Hands Steel) applied with a fine brush. The paint was allowed to dry for a few minutes and the excess was removed with a fine emery board. The stummel was then coated with Before and After Restoration Balm and allowed to sit for 30 minutes.

During this time I used the Before and After Fine followed by the Extra Fine polish on the stem.
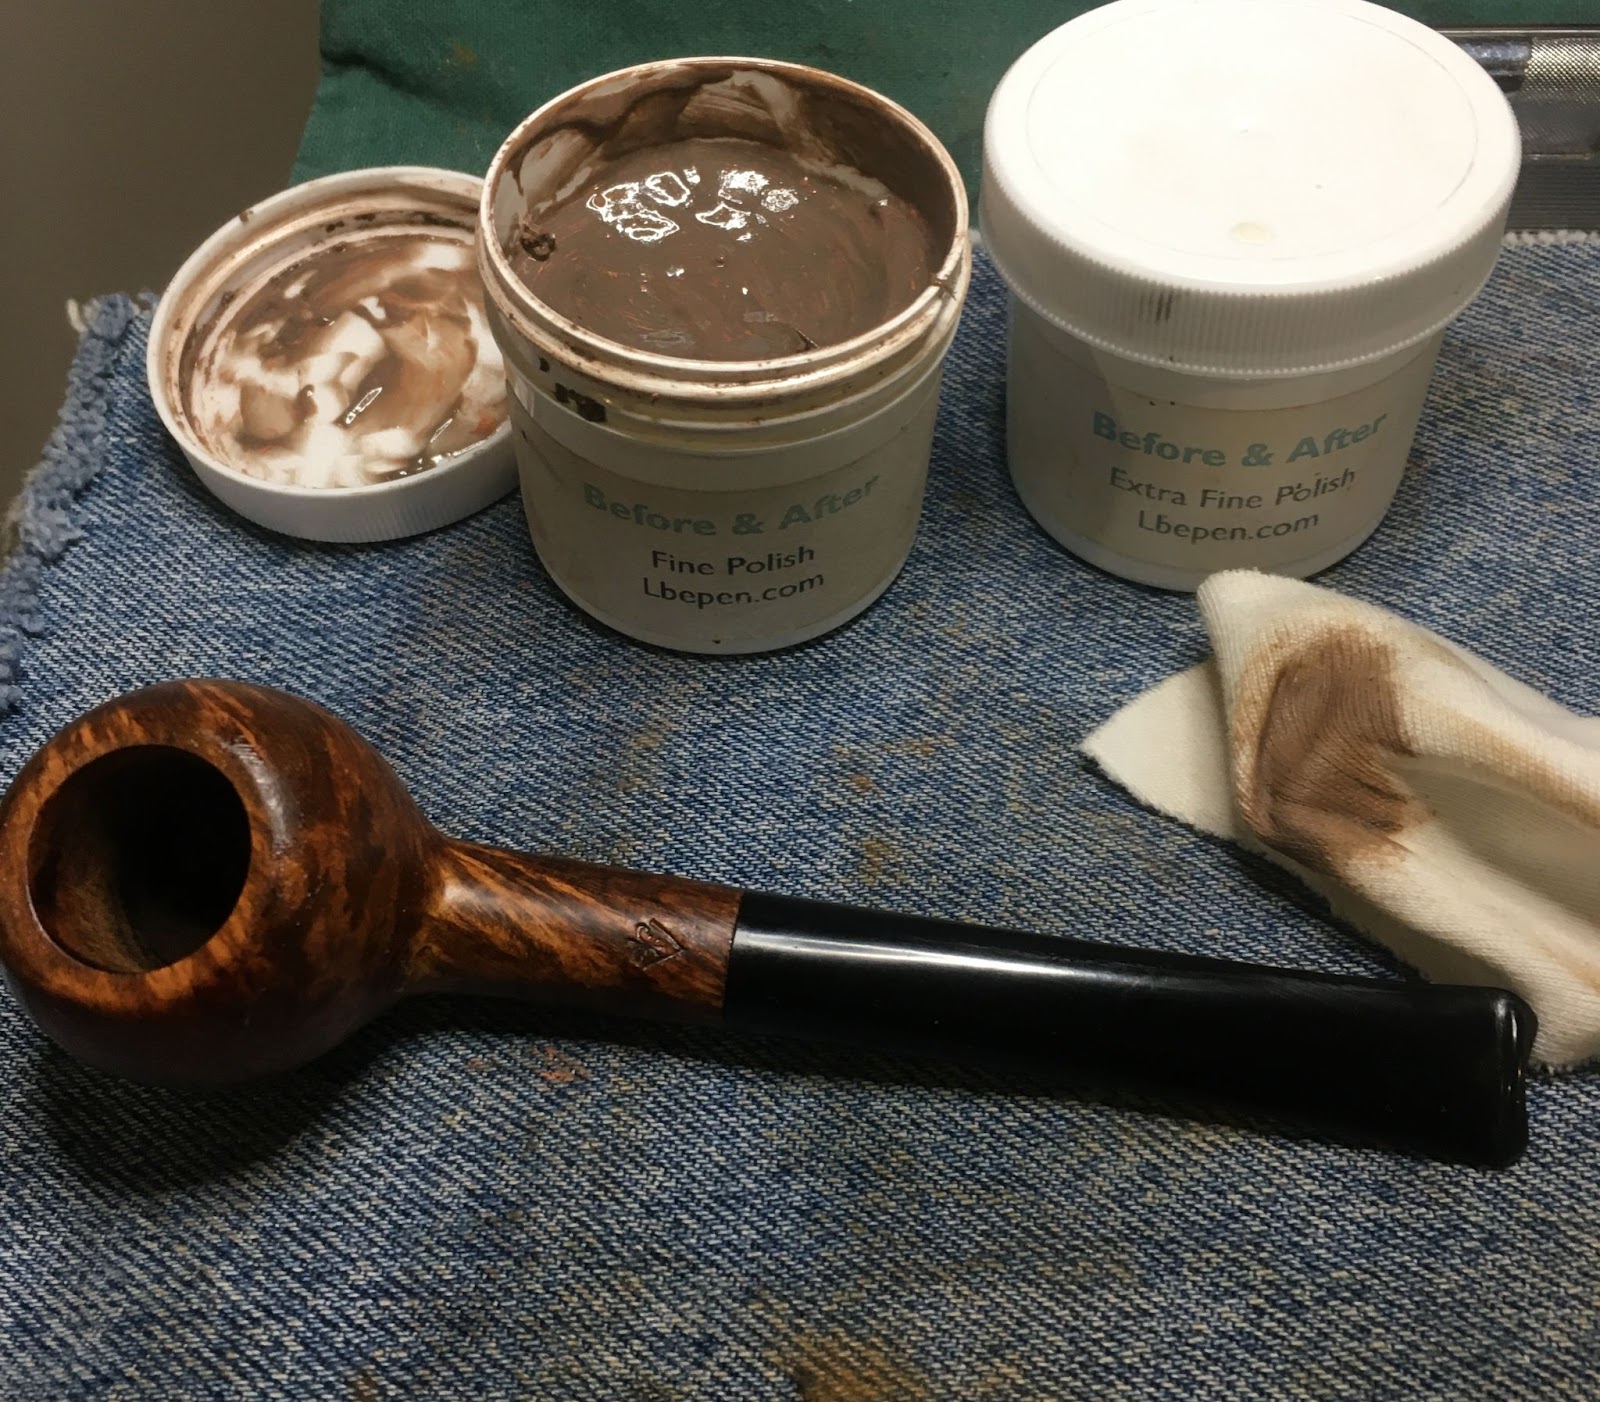

The remaining balm was wiped from the stem using the inside on a just cleaned athletic sock. All that remained was a couple of coats of carnauba wax from the buffer.
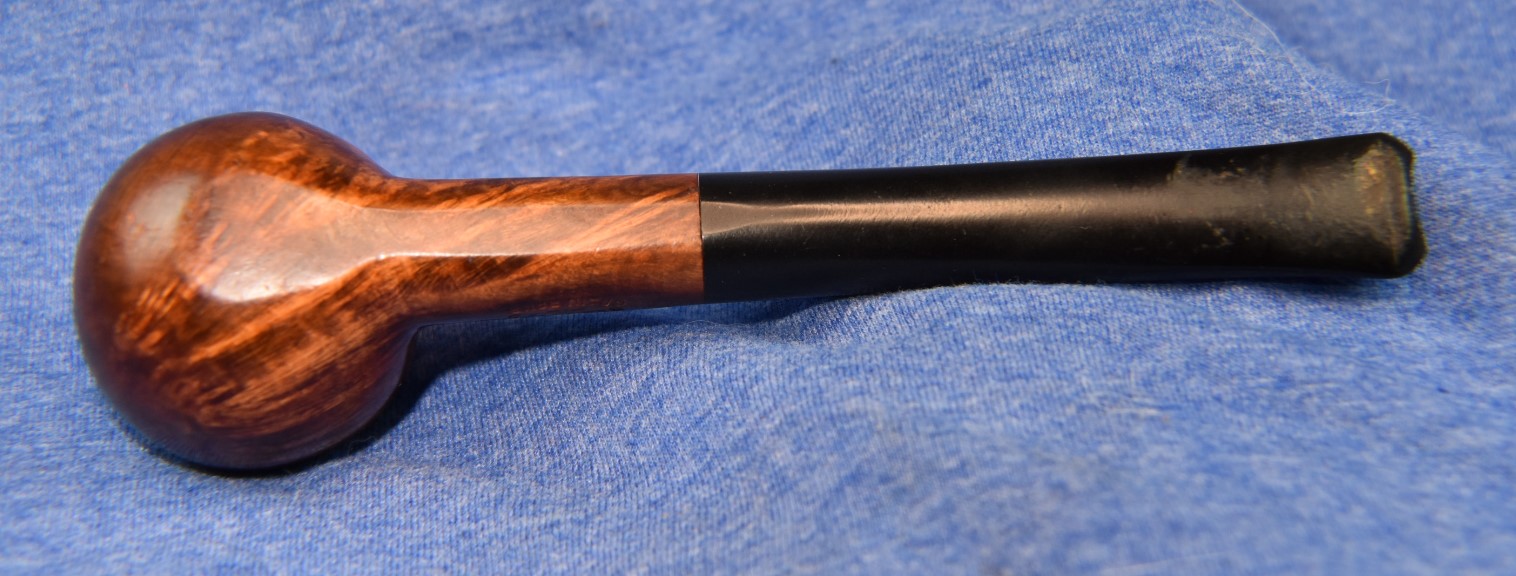
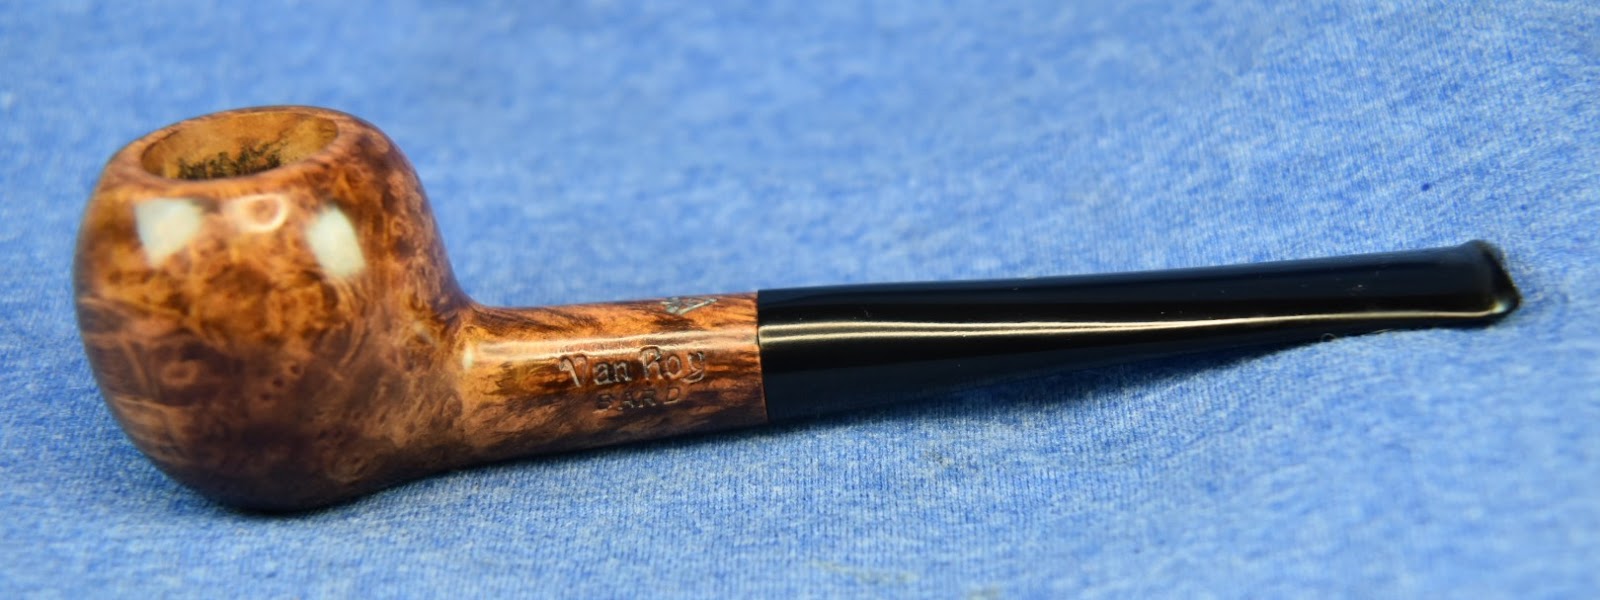
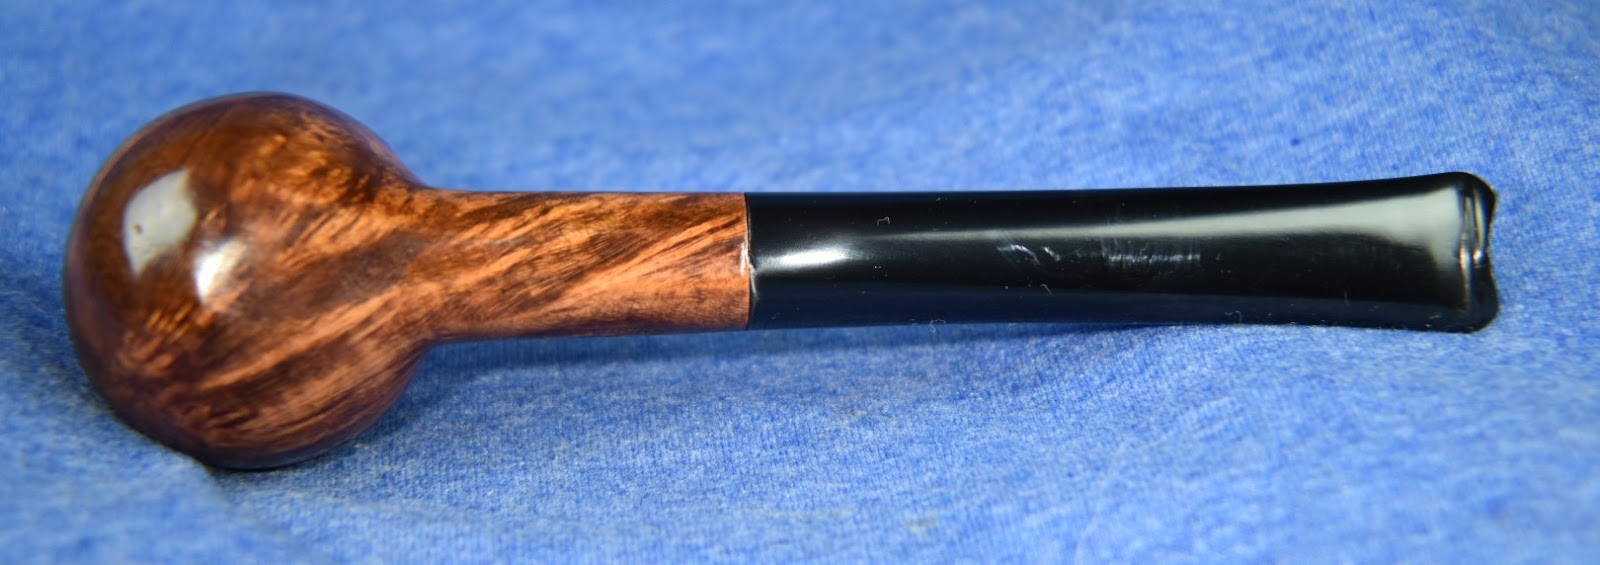
This little Van Roy Bard with the “Select Grain Briar” is a beautiful pipe. The contrast stain of the original briar was preserved during the restoration and brought back to vivid life with the removal of the old finish. The repaired stem is almost undetectable with the polished black setting off the briar grain very nicely. Overall I am very pleased with this restoration, another 1940s pipe returning to us nearly 80 after it was made to help with the enjoyment of pipe tobacco from one century to the next. I hope that you have found something here useful to your own restorations or were entertained. If you enjoy this sort of thing please click the like and subscribe. Thank you for reading the ramblings of an old pipe lover.
Here are some photos of the finished Van Roy Select Grain Bard.


One response to “A Van Roy Bard Selected Grain Restoration ”
[…] A Van Roy Bard Selected Grain Restoration […]
LikeLike