Written and photographed by John M. Young

Pipe by Lee is an interesting brand of pipe made in the 1940 and 1950s. According to the the go-to-information source, Pipedia.org,
“This brand was distributed by Stewart-Allen Co., Inc., NY. Grading (ascending): 1 to 5 stars. Early pipes have seven pointed stars, middle run have five points and later pipes are stamped with coloured gold stars. Lee seconds are: Briarlee, Gold Coast.” (Lee – Pipedia)
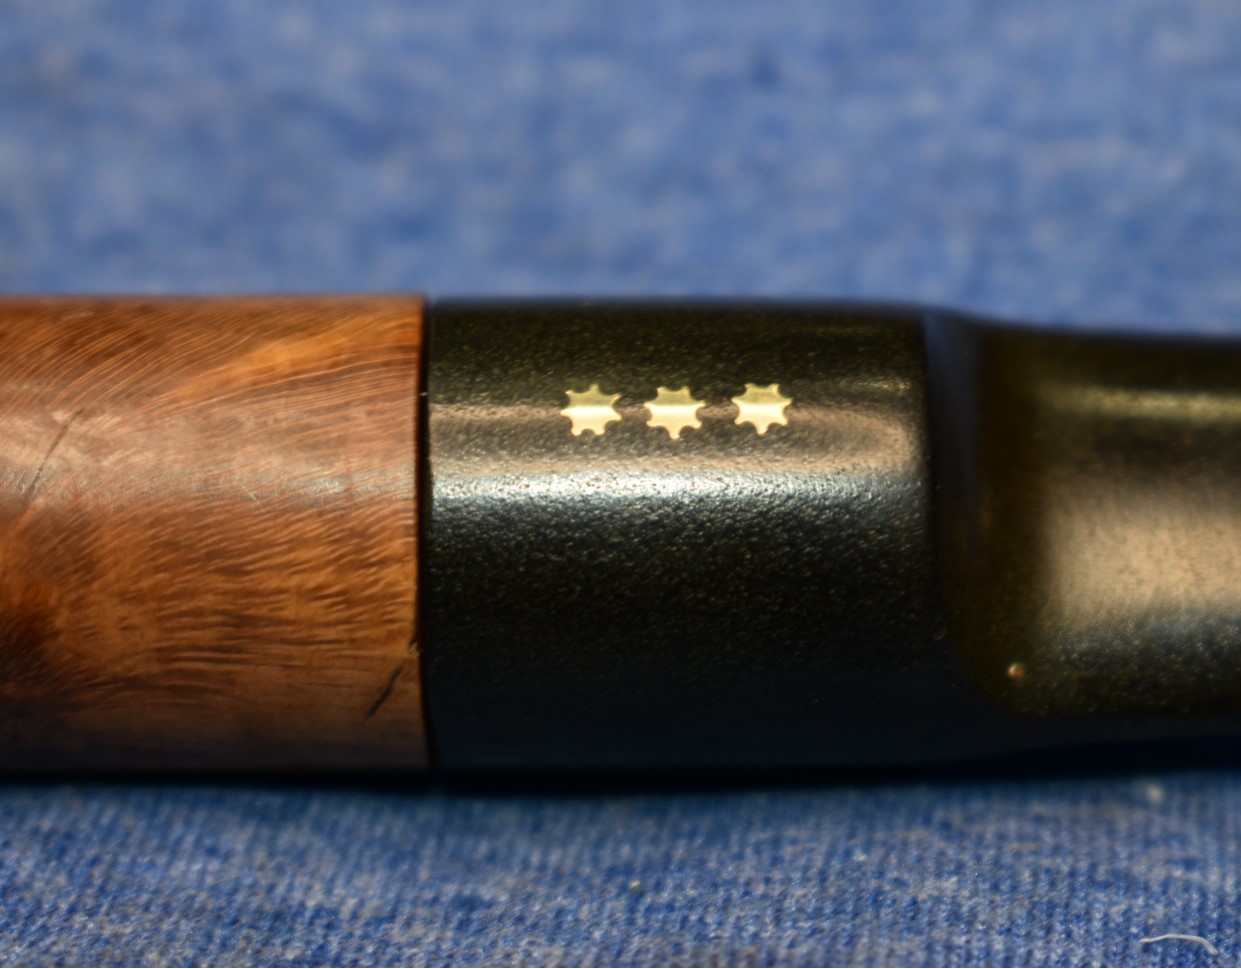
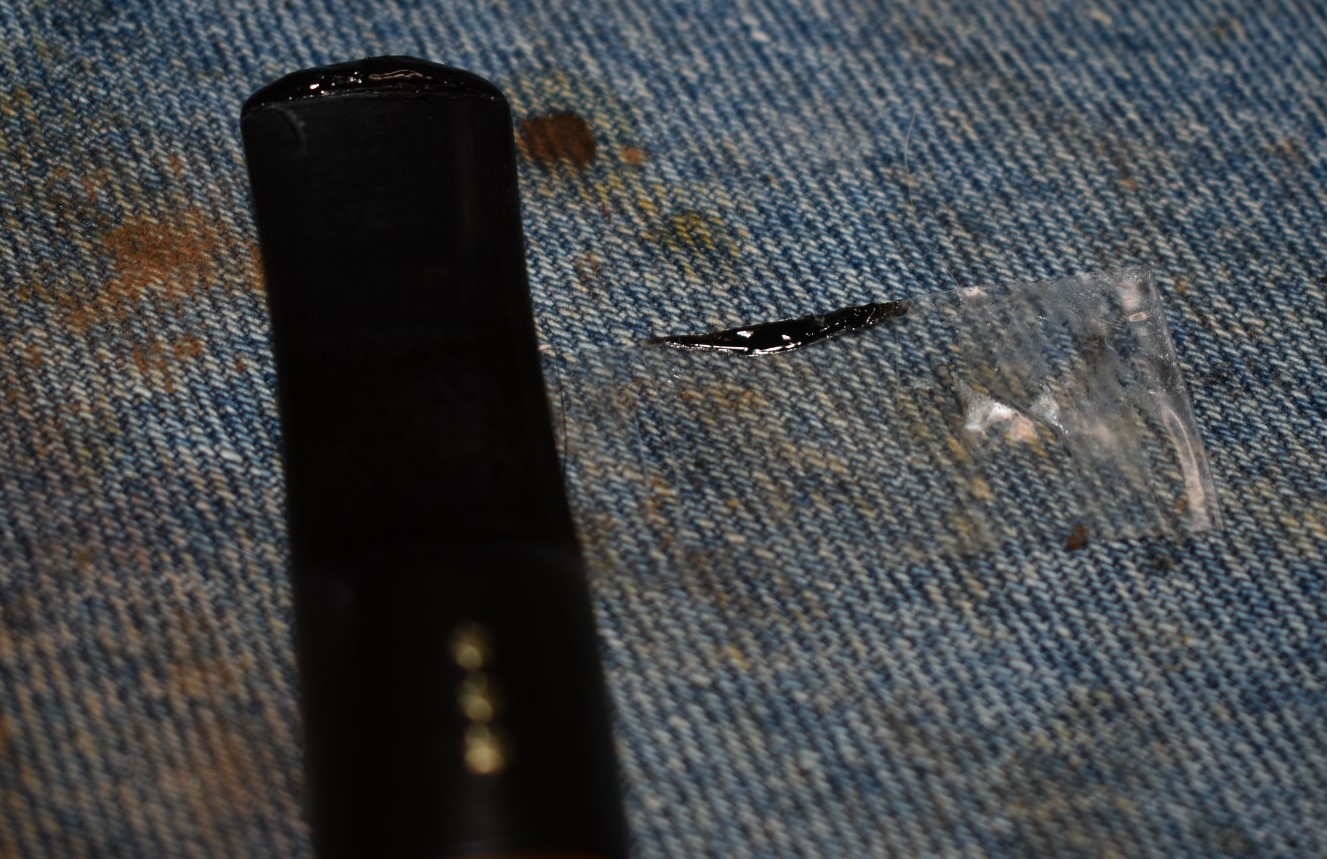
Examples of the stars from my own collection:


The first two photos are of brass stars inlaid into the stem. The third photo shows imprinted stars which were then painted. Notice the rubber of the stems on all three look rather porous.
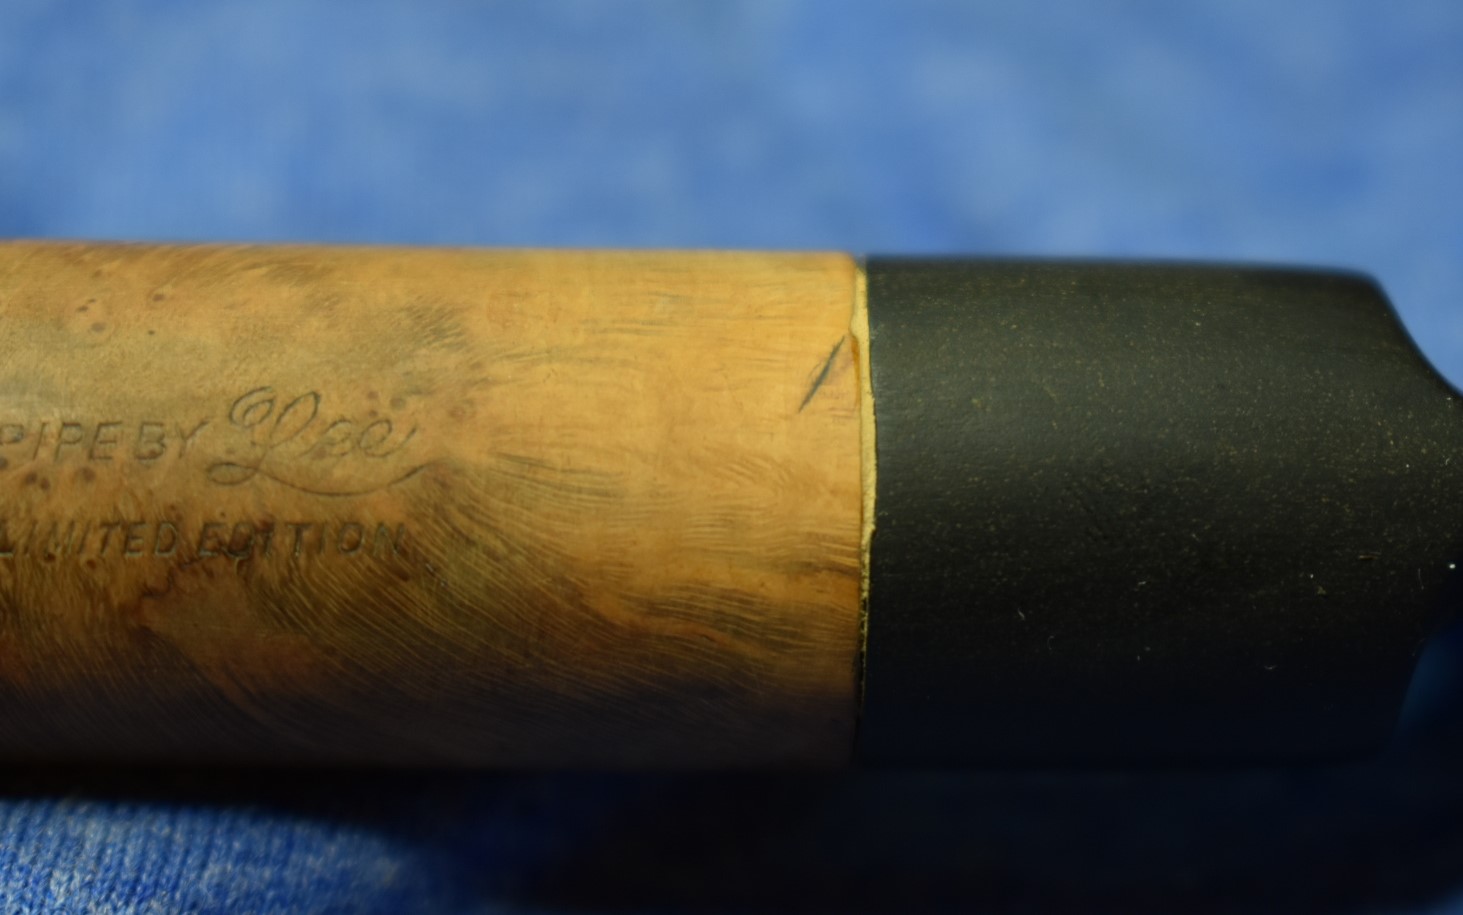
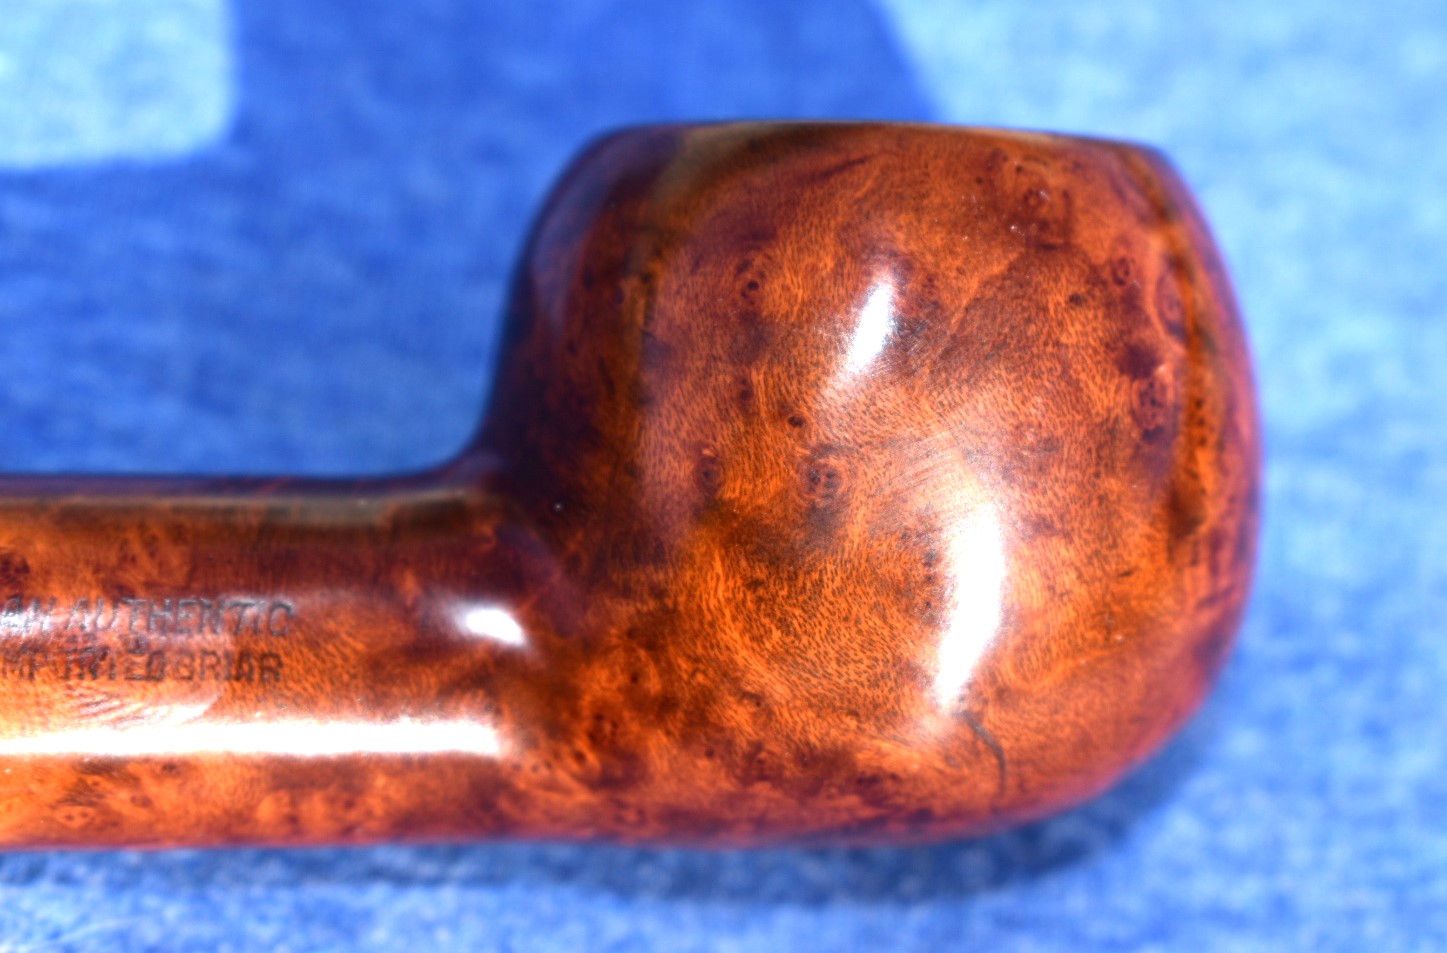
The stampings one the shank of this pipe match the stampings from the pipehil.eu website.
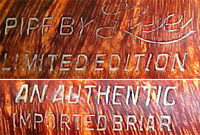
(http://www.pipephil.eu/logos/en/logo-l3.html#lee)
The shape of this pipe looks very much like the Large Bull Moose from page 7 of the 1947 Pipe by Lee catalog. If you would like to see the entire 10 page catalog here is that link – Pipes by Lee Catalog – Pipedia.

(File:PipesByLeeCatalog-p7.jpg – Pipedia)
For those interested in the history of Pipe by Lee I recommend the following blog article by Steve Laug “A Pipe by Lee Limited Edition 2 Star Rhodesian worth restoring”
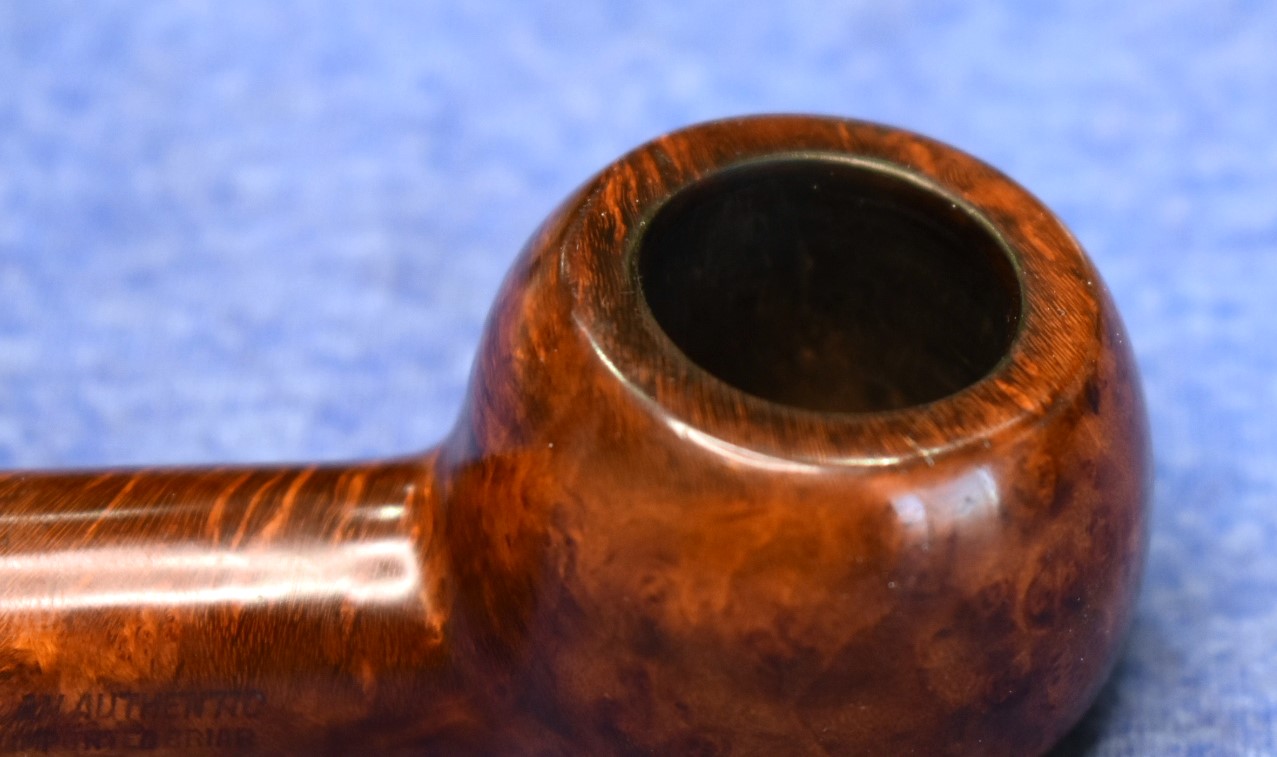
The pipe before me today is a first run Pipe by Lee Lage Bull Moose from around 1947 Below are photos of this pipe upon it’s arrival:

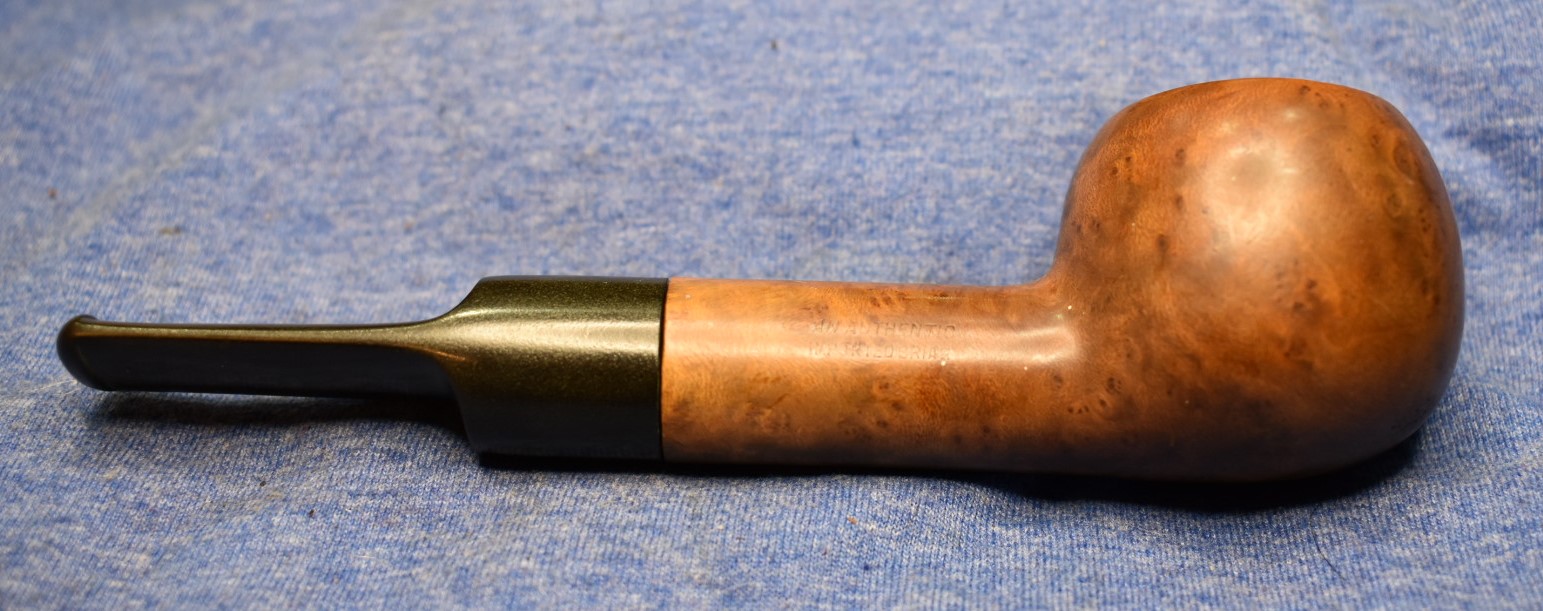
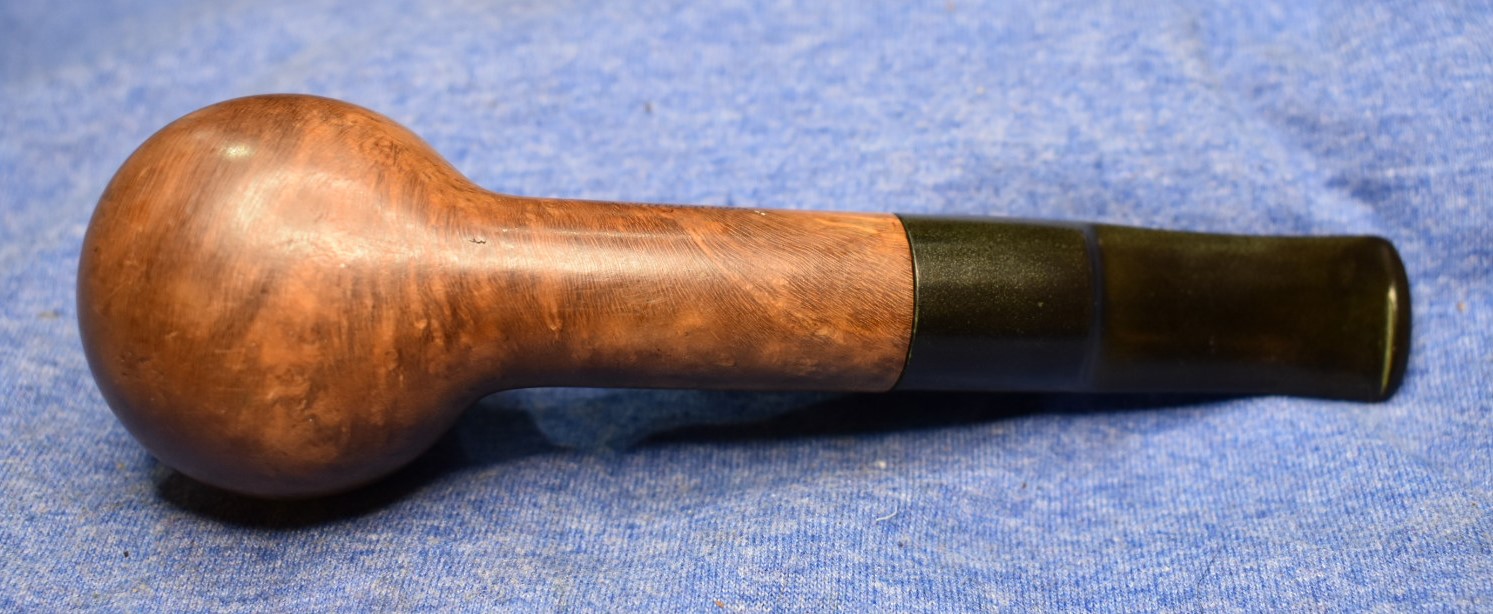


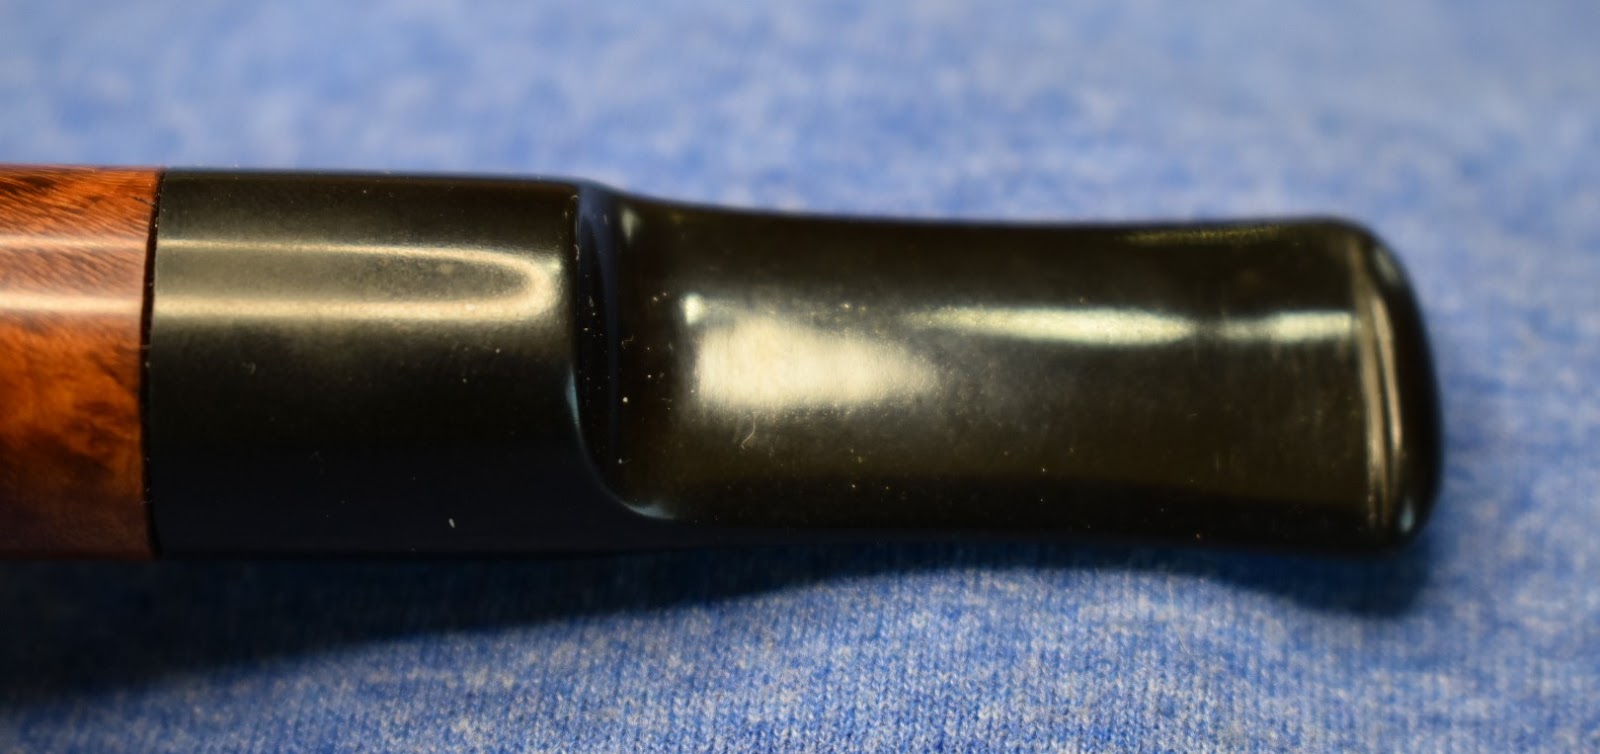
This pipe was in relatively good condition upon arrival. There was minimal cake build-up in the tobacco chamber. The briar had some dents and dings with one spot on the heel that looked like it had been dropped onto concrete. The stem had the look of a porous old rubber of vulcanite. The end of the shank appeared to have a clear epoxy where either the threaded aluminum mortise was originally installed or a later repair was made. Overall this looked like just a clean-up and refinish restoration.
I started with the tobacco chamber reaming. The PipNet reaming tool made quick work of the hard cake. The Smokingpipes Low Country reaming knife and the General triangular scraper were used to scrape the remaining cake from the chamber. This was followed by a sanding of the chamber with 220 sandpaper on a wood dowel.

After the reaming I started cleaning the interior of the shank. The chamber had very little cake so, I was hopeful that the airway would be equally as easy – WRONG. The shank proved to be very tar encrusted. The first couple of cotton swabs dipped in 99% isopropyl alcohol came back very dark and began to soften the tarred airway. I then would repeat the following:
- Pour about 3 ml of 99% isopropyl alcohol into the bowl. Allow the alcohol to slosh in the shank.
- Use a dental scraper to scrape the walls of the airway, wiping off tar onto a make-up pad.
- Use a nylon shank brush to scrub the newly scraped walls of the airway with the 3 ml of alcohol.
- Remove alcohol using cotton swaps to further scrub the airway.
- Repeat.
I did not keep track of the number of times I repeated this process but it was many. Eventually the airway was clean and the cotton swabs emerged non-tarified (pretty sure that needs to be a word).

Next was the scrubbing of the stummel with Murphy’s Oil Soap. This was done over a sink with a medium stiff bristle toothbrush. The scrub worked nicely to remove the accumulated dirt and grime from the briar. The stummel was rinsed with warm water and dried with a cotton dish towel. I then returned to the workbench and wiped the stummel with a make-up pad soaked in 99% isopropyl alcohol. I also poured a couple of ml of the alcohol into the bowl allowing it to slosh around the bowl and airway to pull some of the water from that briar. I prefer to use 95% ethanol for this step as I think it pulls the water from the briar more effectively than does the isopropyl but, I was nearly out of ethyl. The make-up pad showed some sign of removing something from the briar perhaps a little bit of stain or just the last of some old dirty wax. At this point I set the stummel aside to dry. Below are photos of the scrubbed stummel.


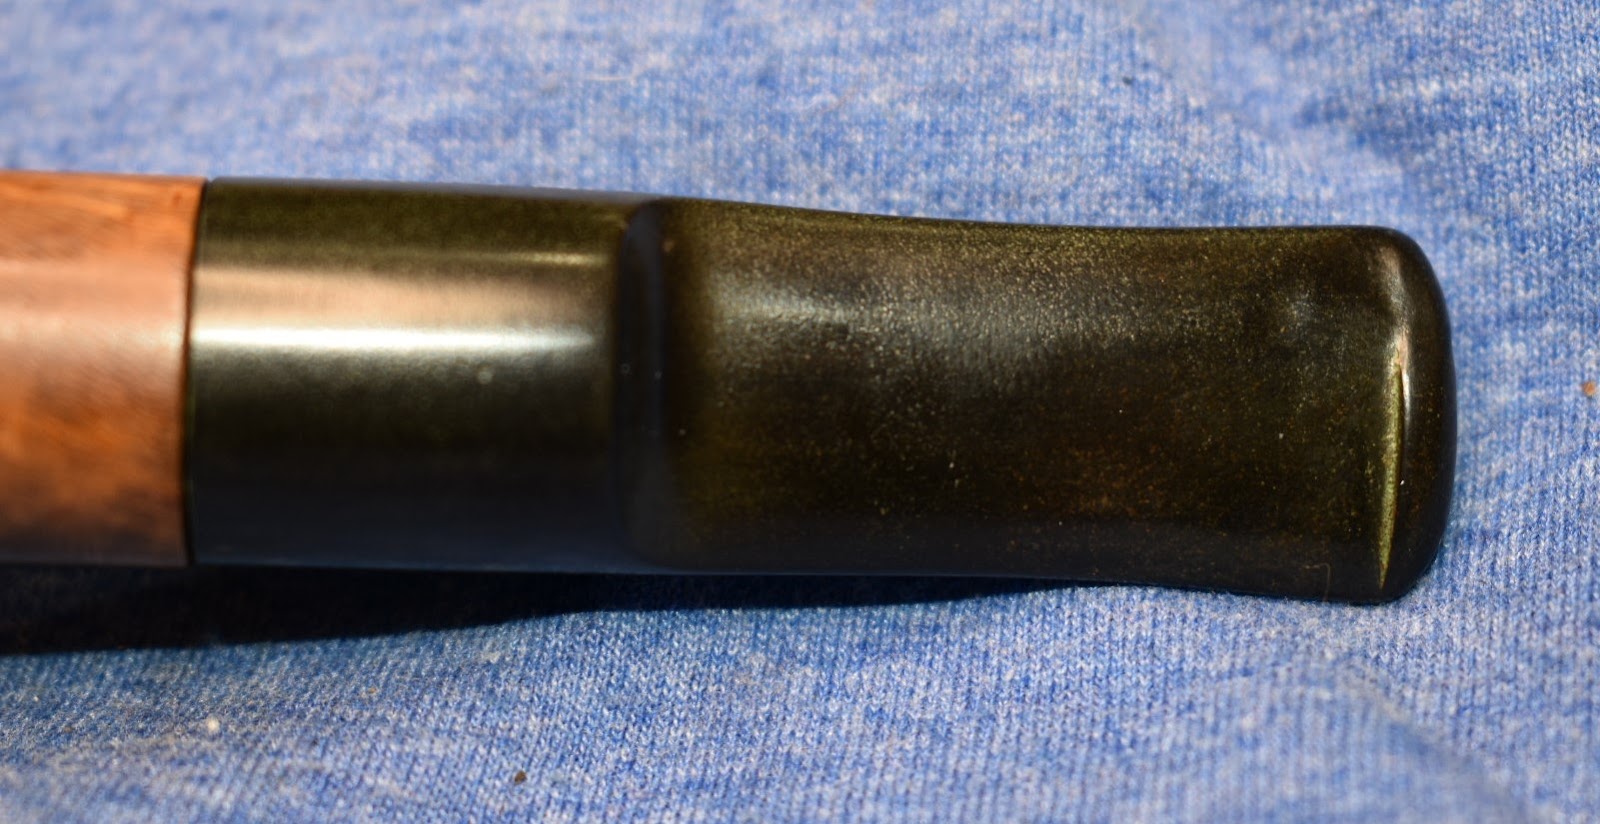
I turned my attention to the stem. The stem had the appearance of a rough porous rubber. I have seen this before with pipe from this era. I think it may be from the use of recycled rubber from war time rubber shortages. I used Soft Scrub with Oxy-clean on a make-up pad to scrub the stem. I repeated with a clean pad when the pad became discolored with oxidized rubber.

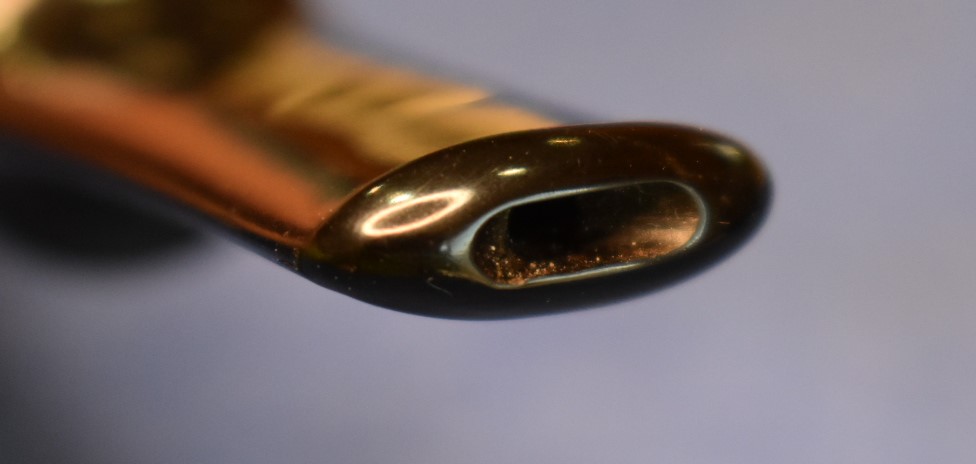
At this point I also wanted to address the tooth chatter near the button. I tried to paint the area with a disposable light in an attempt to raise the dents. This slightly helped but the areas still required some file work.


Once the oxidized surface had been scrubbed and the chatter filed, I returned to the workbench and liberally coated the stem with mineral oil. This old rubber seems to absorb oil.
With the stem sucking up oil I returned to the stummel. I gave the stummel a quick sanding with a 600 grit sanding sponge and wiped it with a make-up pad dampened with 99% isopropyl alcohol. I then examined the stummel for areas that needed to be filled. There appeared to be four areas which had been damaged and no old fills from the factory. This speaks rather well as to the quality of briar selected by Pipe by Lee carvers for this 3 star pipe. The damaged spots were all filled with cyanoacrylate (CA, super glue) and briar dust. In the deep dent by the rim the dent wall filled with briar dust pressed into the dent and This Clear CA was added to the dust. The other 3 areas I placed a small drop of Thin CA to the briar and sanded over the top of it with the 600 sponge. The dust was provided by the sanding sponge. After smoothing the fill I then looked to see if additional applications of CA and dust were required to fill the spot. Below are photos of the four fills.

The above photo shows what I think was evidence of a drop onto concrete.


With the fills taken care of it was time to give the pipe a sanding/micro-meshing. I cut two pieces of painters tape and placed them over the stamps for protection. I began the sanding with a 600 grit sanding sponge with a wiping the stummel with an alcohol dampened make-up pad afterward and wiping the stem with a dry paper towel and applying a drop of mineral oil with my fingers and wiping it again with a paper towel.. I repeated this with the 1500-3500 sanding sponges.

After the sanding sponges I moved to the micro-mesh pads starting with the 4000. I used the pads in the same way that I used the sponges, wiping the stummel and stem after each pad. I proceeded to use the pads from 4000-12000. Below are photos of the stummel after the sanding.


The stem was looking much better but I was still unsatisfied with the button. The years of use and clenching had flattened the button on both top and bottom. To address this damage I use scotch tape to mask the newly smoothed area above the button.

I then apply a drop of two of black CA. I immediately invert the stem so the drop hangs down but remains on the button with surface tension. I can then rotate the stem allowing the drop to hang lower on the portion of the button which requires more material. I then spritz the black CA with cyanoacrylate drying accelerant. This quickly sets and cures the CA. I does leave a more coarse surface than allowing it to cure slowly. While the CA is curing I quickly use a sharp knife to cut the edge of the button while the CA is still soft. You only have a few seconds to do this so the knife has to be readied before the spritz.

A few second after the cut the accelerant evaporates completely and the CA is cured. It’s a good idea to wipe the knife blade quickly to remove any CA that is on the blade. Acetone will dissolve CA especially prior to the complete curing. The tape is then removed. This leaves a nice straight edge with minimal filing and/or sanding required.
At this point I apply a new piece of scotch tape to the stem immediately above the button to protect it from filing and sanding. I then used a flat needle file to shape the button.

Once filed to shape the button was then sanded with the sponges and micro-meshed to the highly polished surface that I wanted.

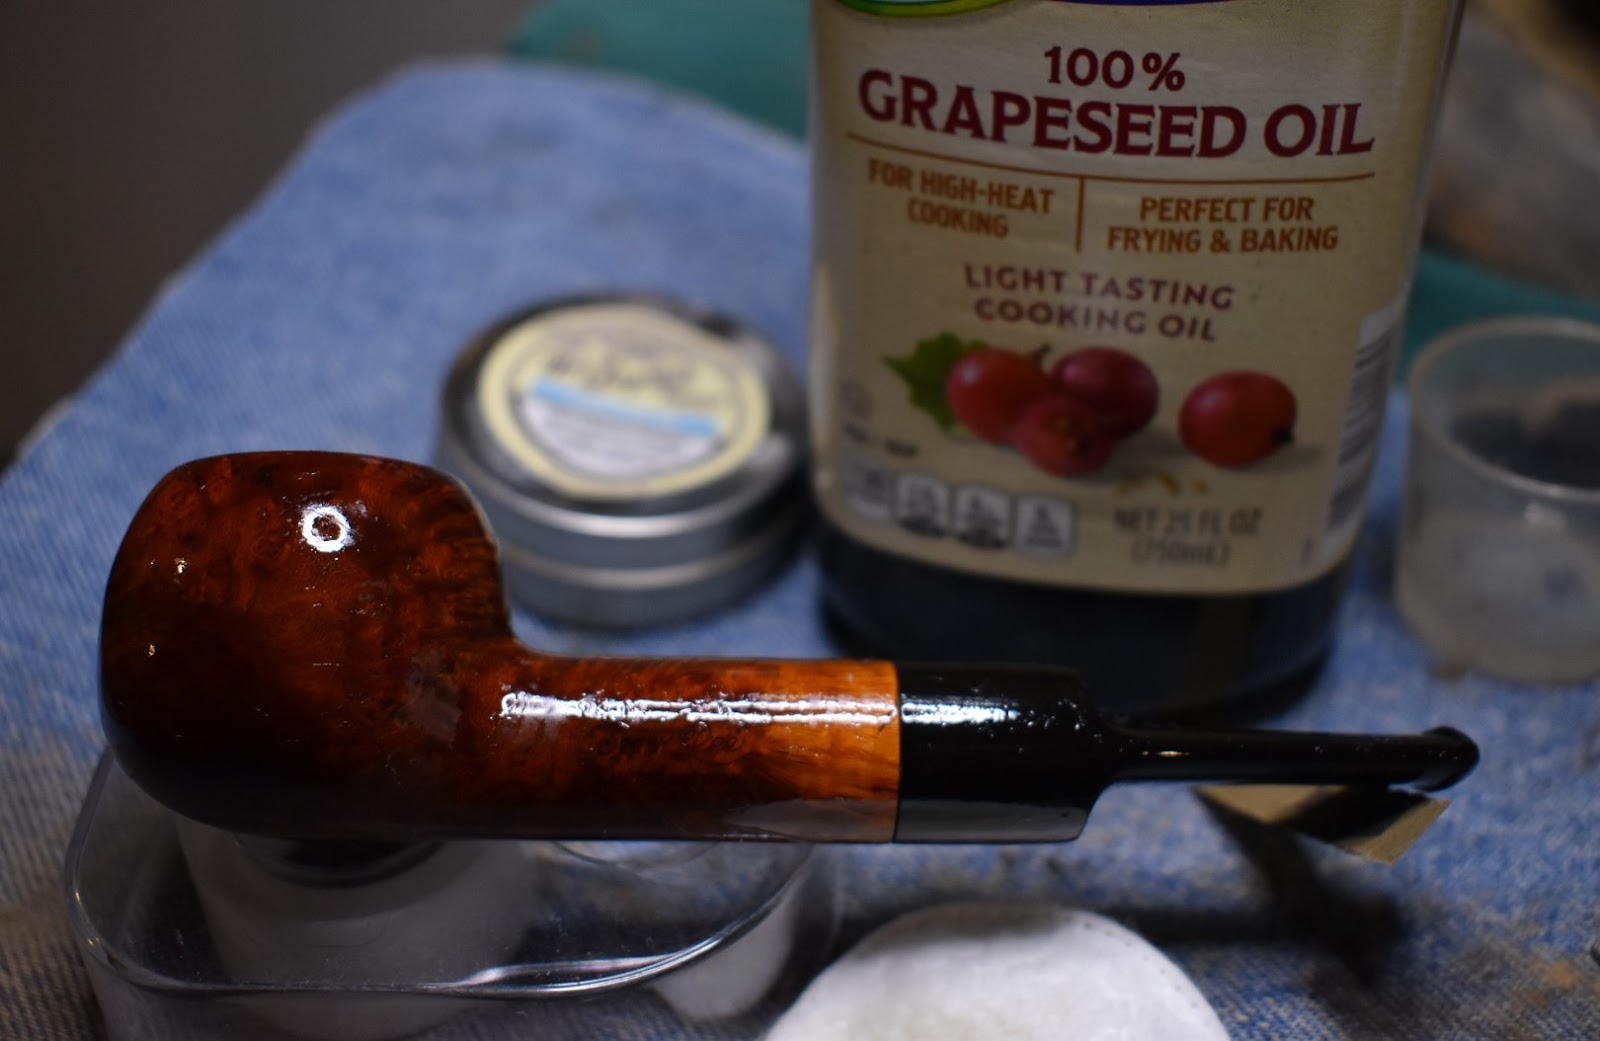
At this point I figured that I would try something new. Well, new for me anyway. Briar Lee (his handle on the forums at PipesMagazine.com) said to me in a personal message, “PS Lees love grapeseed oil.” I decided to try this advice. The first phot below is the before photo. The second is a well grapeseed oil saturated pipe and the third photo is about an hour after the soaking. As you can see the briar proved quite absorbent to the oil. I added a second coating of oil and waited another hour. It too was absorbed with more in some areas than others. After the second hour, I wiped the pipe off with a clean dry cotton rag (piece of t-shirt).

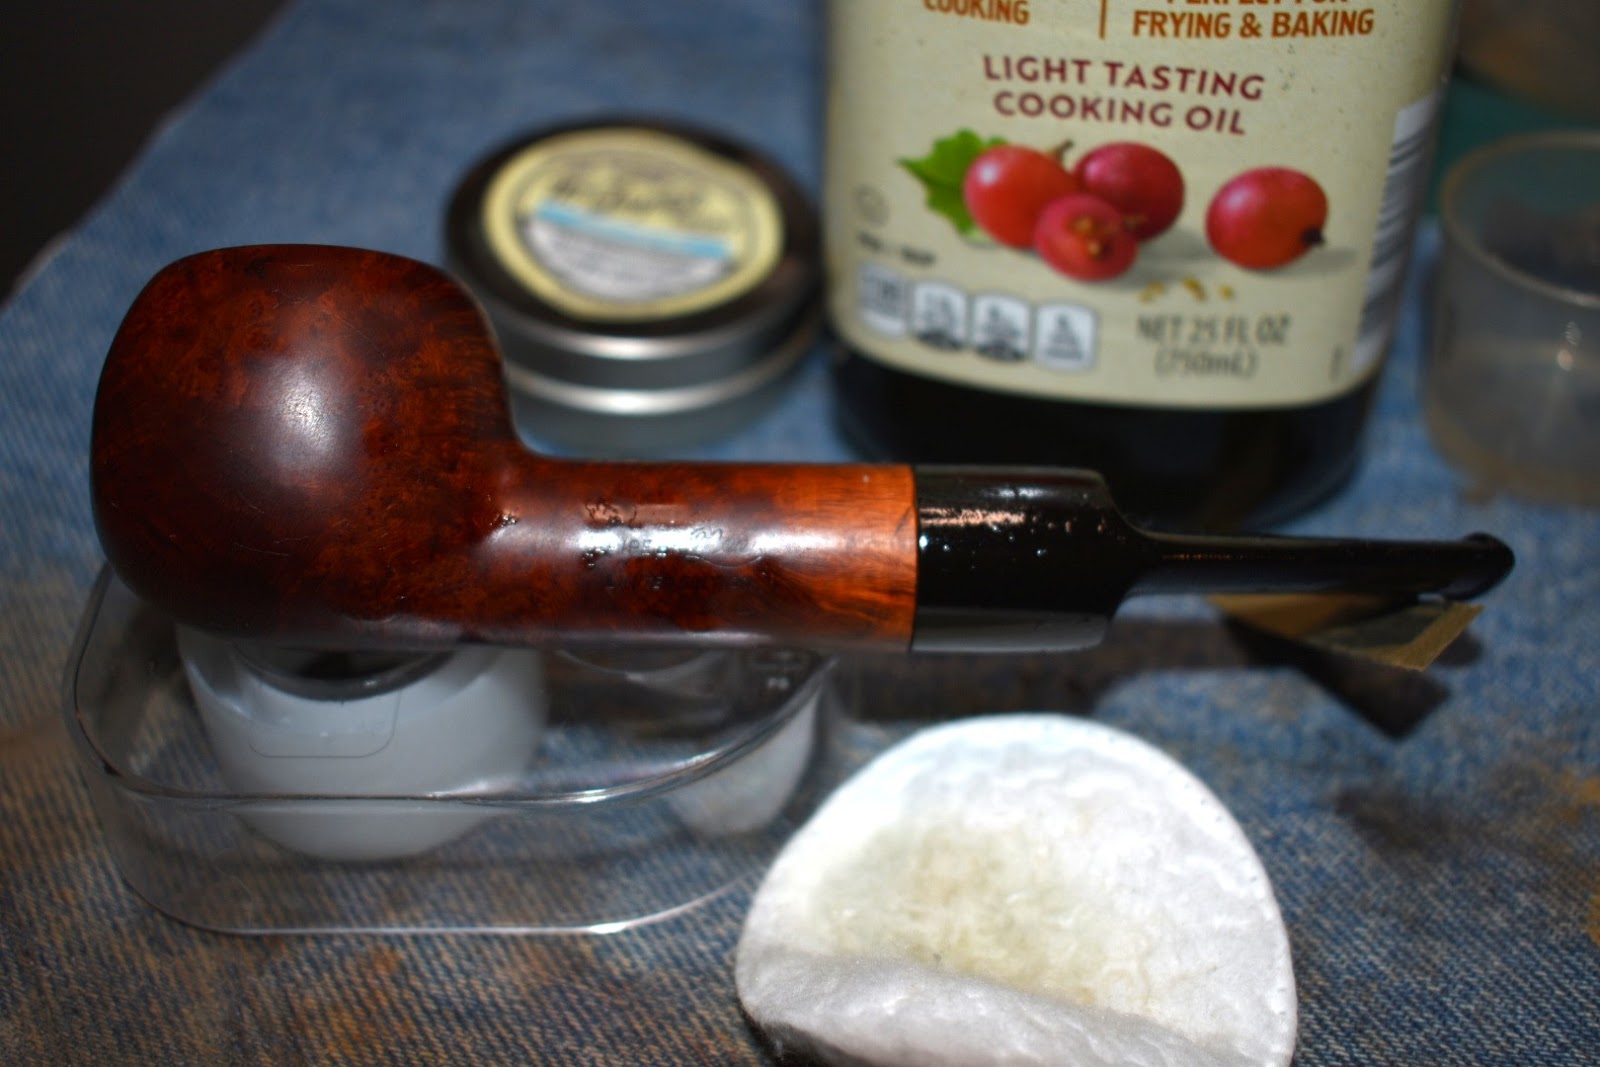
Below are additional photos of the oiled and wiped off pipe. Notice that the briar does not look as if it has been micro-meshed to a high polish.


After a few minutes some of the surface became more oily so I wiped it again. The surface of the pipe did not look as if it had been micro-meshed at all. It seemed almost porous. I thought back to restorations of other Lee and Marxman pipes with a very similar briar. I recalled that they too seemed to have a softness of briar that was more porous. Perhaps that is why they smoke so well.
I took the pipe to the buffer to apply the carnauba wax. I applied several coats of wax. The pipe looked good but not what I would call great. I decided to let it sit and wait until morning to see if I was seeing things, too tired or a combination of the two. Old eyes late at night do make things appear differently.
In the morning I looked at the pipe again. It seemed as though it had been waxed but then hand buffed with a rough rag. I returned to the buffer and gave the pipe another couple of coats of carnauba wax. This time the finish looked much better. I hand buffed it with a microfiber cloth and took it upstairs for some photos. Under the lights it again appeared slightly dull. I decided to take it outside and see how it looked with natural light. That is apparently what it really needed. The sunlight really made the briar glow.
This pipe was purchased for my personal use. I really do love the way the old Lees and Marxman pipes smoke. And the thought of them being 80+ years old and still doing what they were intended to do warms my heart and hand. I am hopeful that in another 80 years someone, preferably a grandchild, will be able to continue appreciating this pipe. I do hope that you have found something here helpful to your own restorations or were entertained. If you enjoy this sort of thing please click the like and/or subscribe. Thank you for reading the ramblings of an old pipe lover.
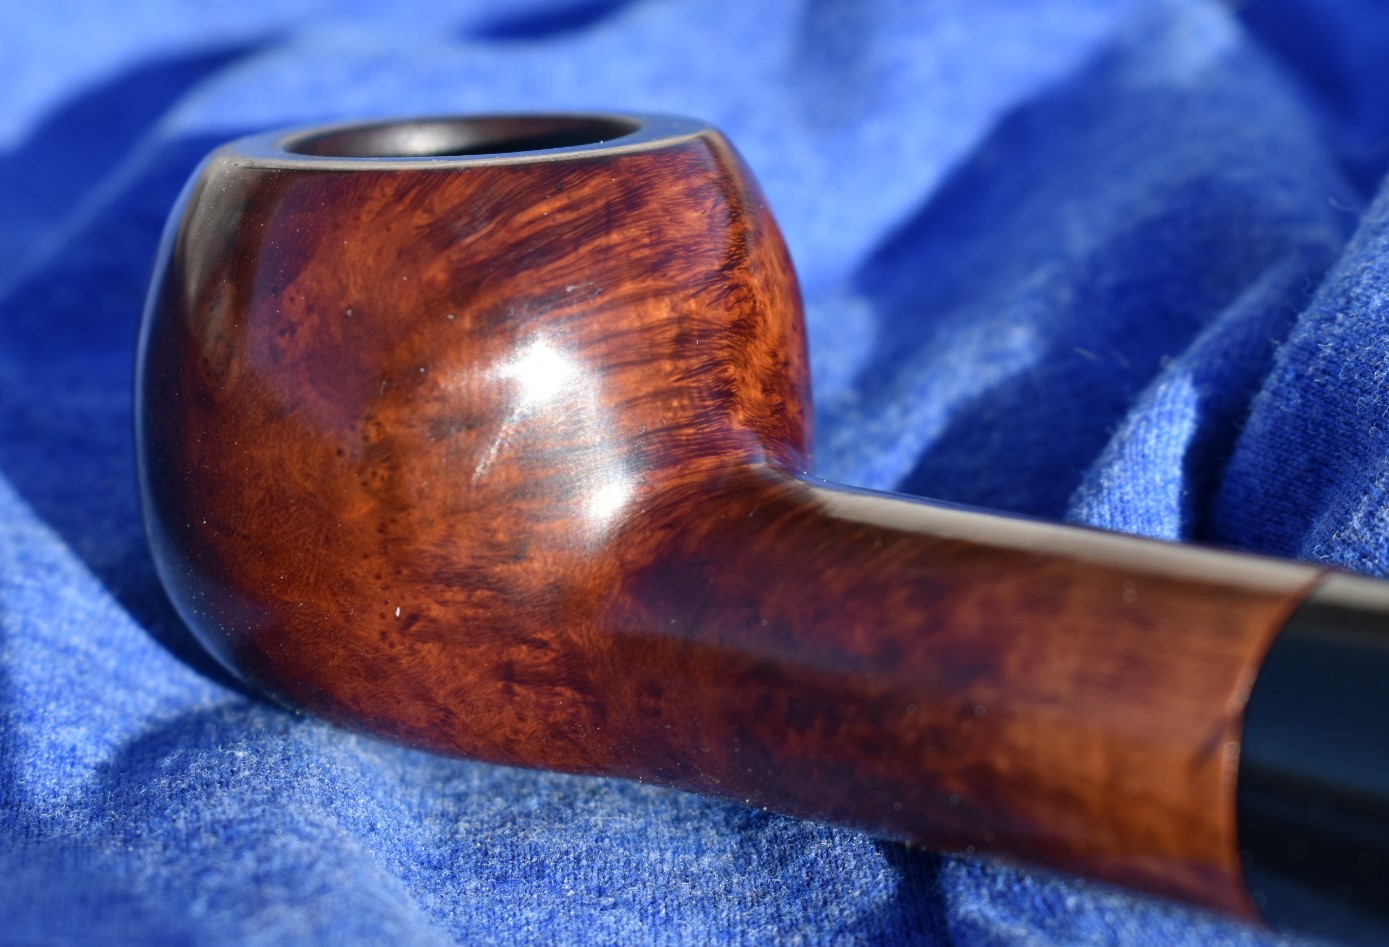
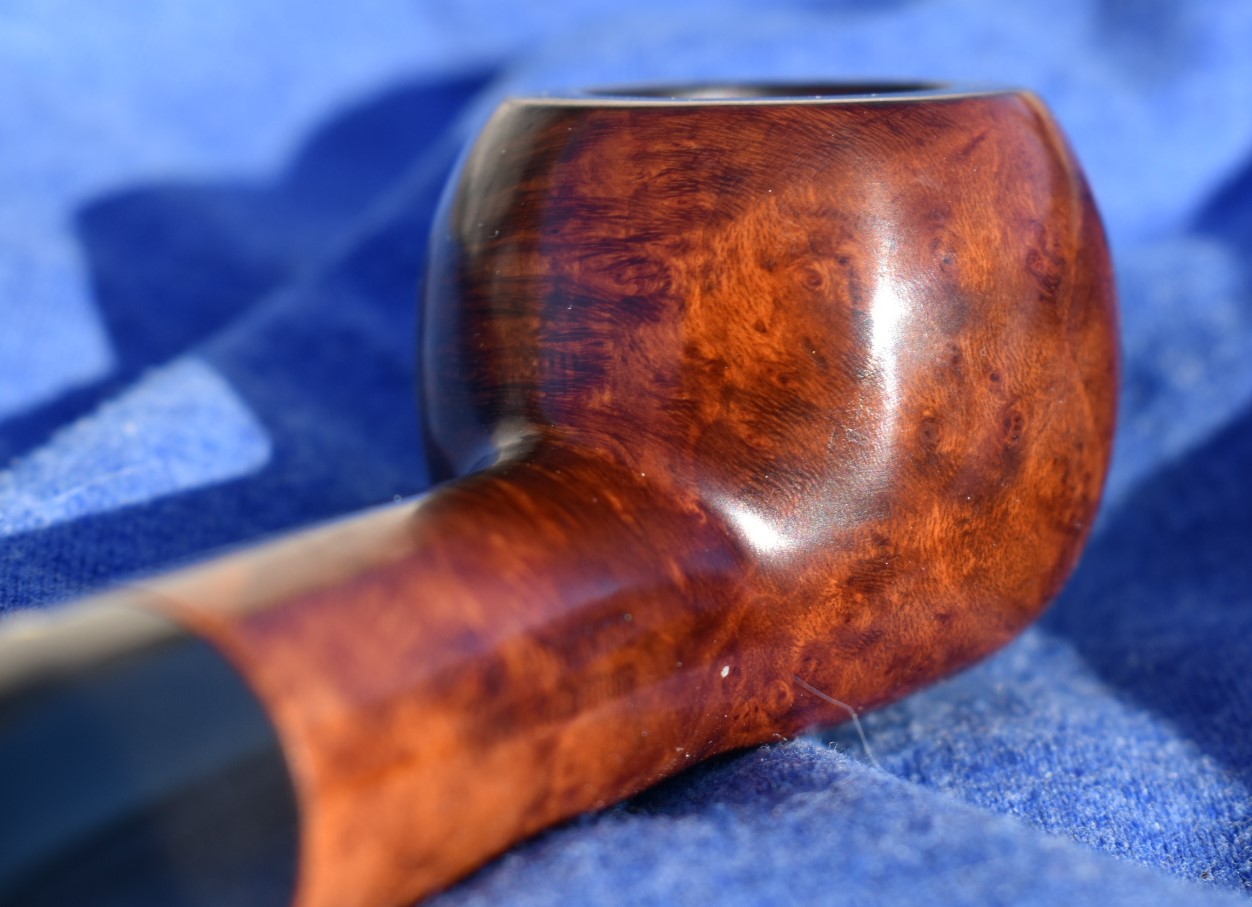
Below are some photos of the finished Pipe by Lee Large Bull Moose.


One response to “A Pipe by Lee Large Bull Moose Restoration”
[…] A Pipe by Lee Large Bull Moose Restoration […]
LikeLike