Written and photographed by John M. Young

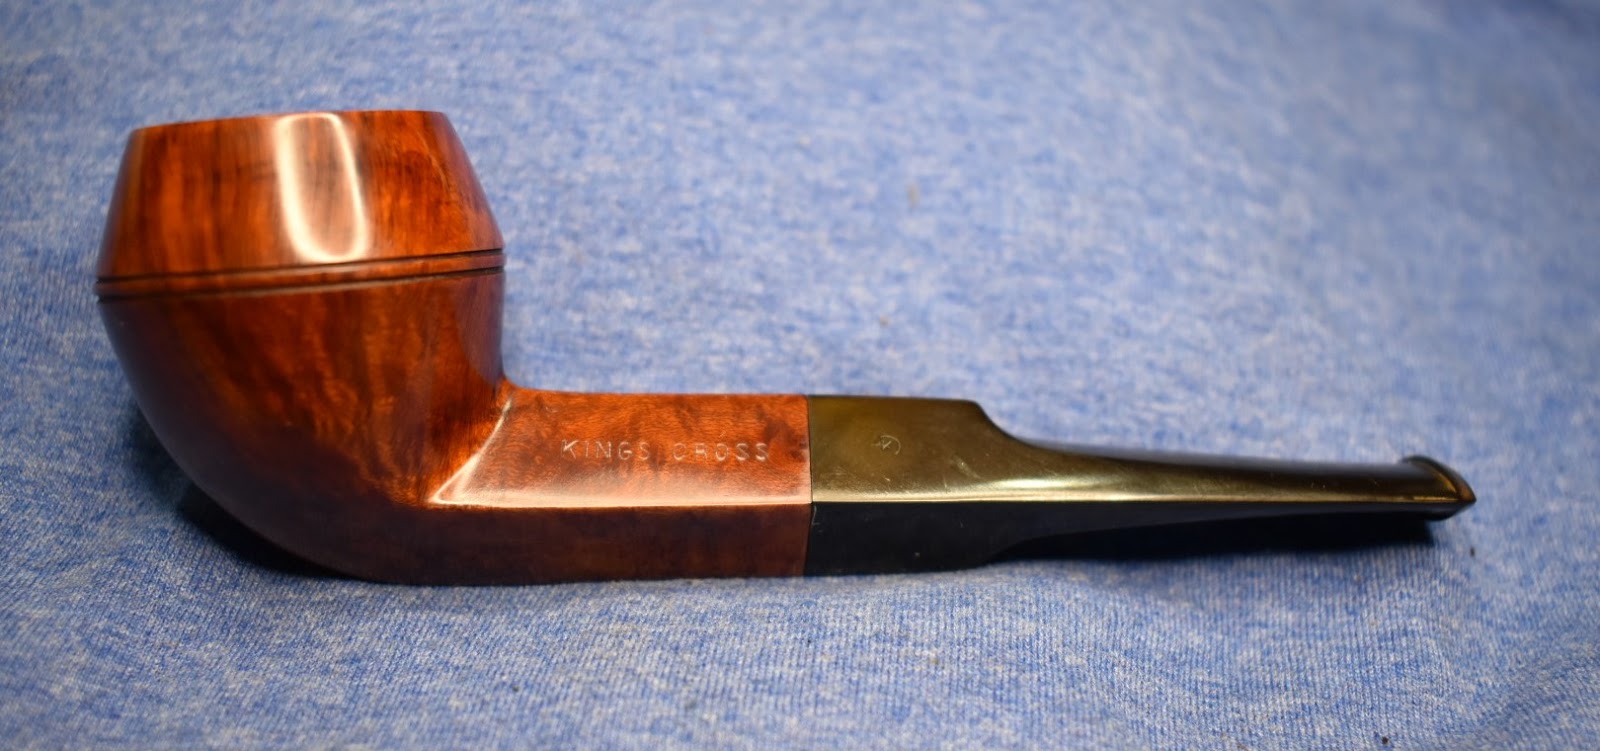
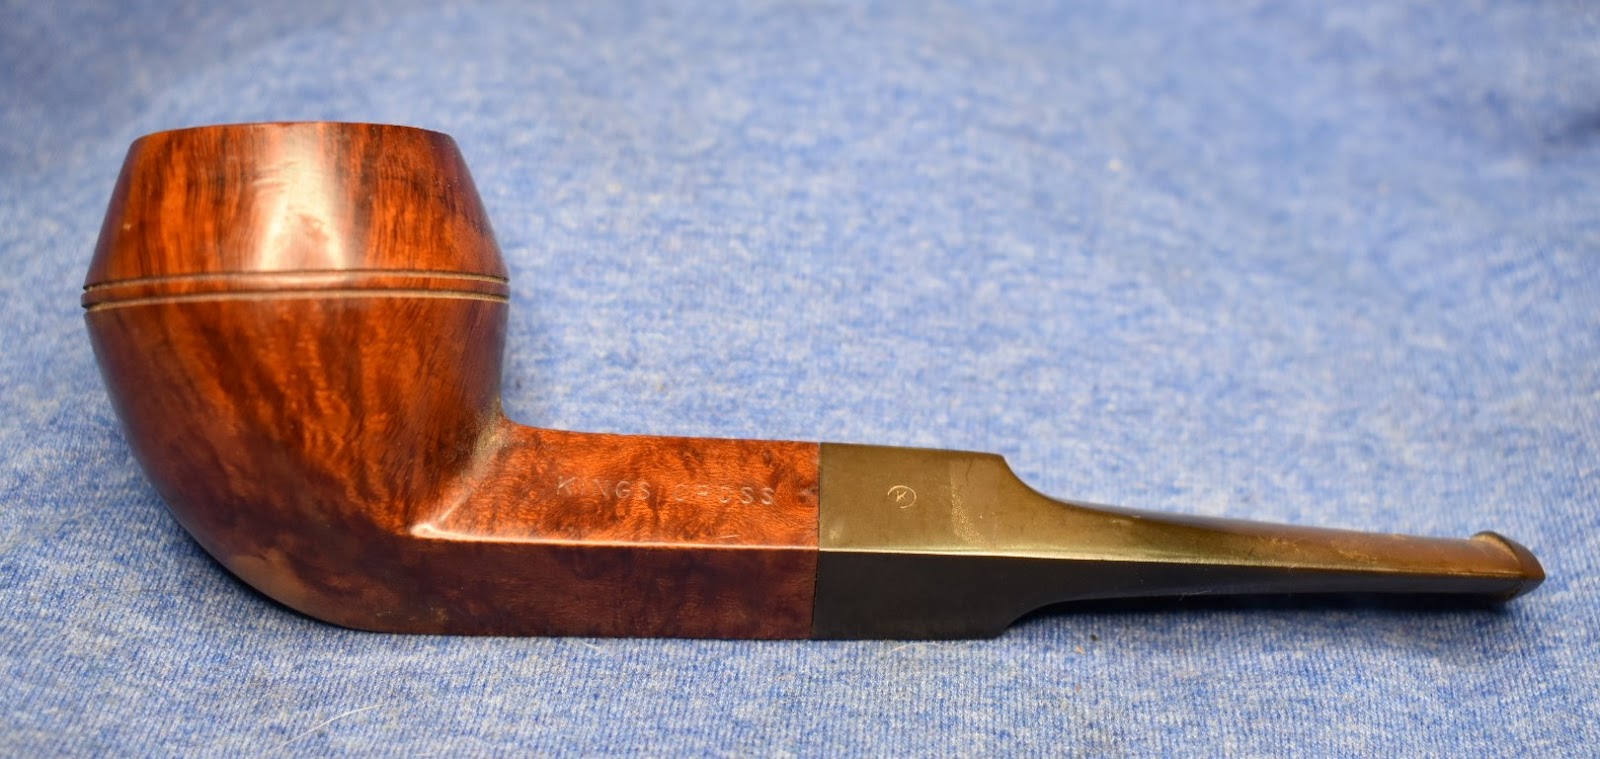
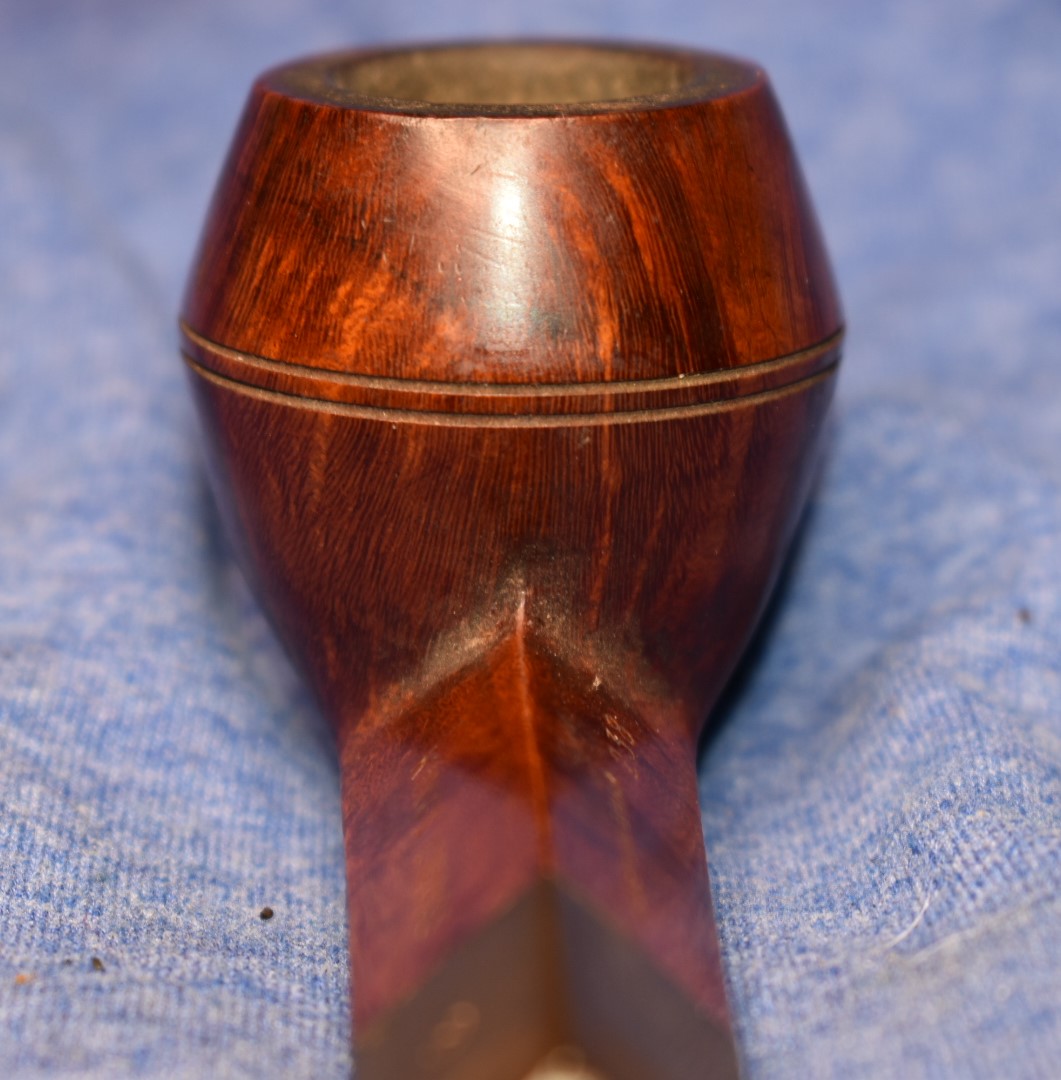
The return of the Kings Cross collection. Back at the end of November, I had won an auction for a lot of 6 Kings Cross pipes. I have restored the 3 Square, Kruger and a Billiard from that lot. The next victim, umm, I mean subject, was this bulldog. It had very classic lines with a slightly forward cant to the bowl, very fine beading and a saddle stem. A very attractive traditional bulldog design. When it arrived here in south east Nebraska from Rutherfordton, North Carolina, it looked to be in good condition.


The bulldog would need the normal restoration attention including: Finish removal, tobacco chamber reaming/sanding/inspection, rim topping, airway cleaning, stem revitalizing with teeth chatter removal, refilling of fills, filling of pits, stummel sanding/micro-meshing, re-staining, and carnauba wax to finish. Plus any new issues which typically arise with closer inspection. In other words, this is an easy one.
A little bit about the history of the Kings Cross line. These pipes were manufactured by the Chapuis-Comoys company.
“Kings Cross is a brand made by both Chapuis-Comoy in France using Algerian Briar. Kings Cross is also a brand name used by Savinelli, which is more commonly seen in the U.S. market. Those pipes are made using Italian Briar” (Kings Cross – Pipedia)
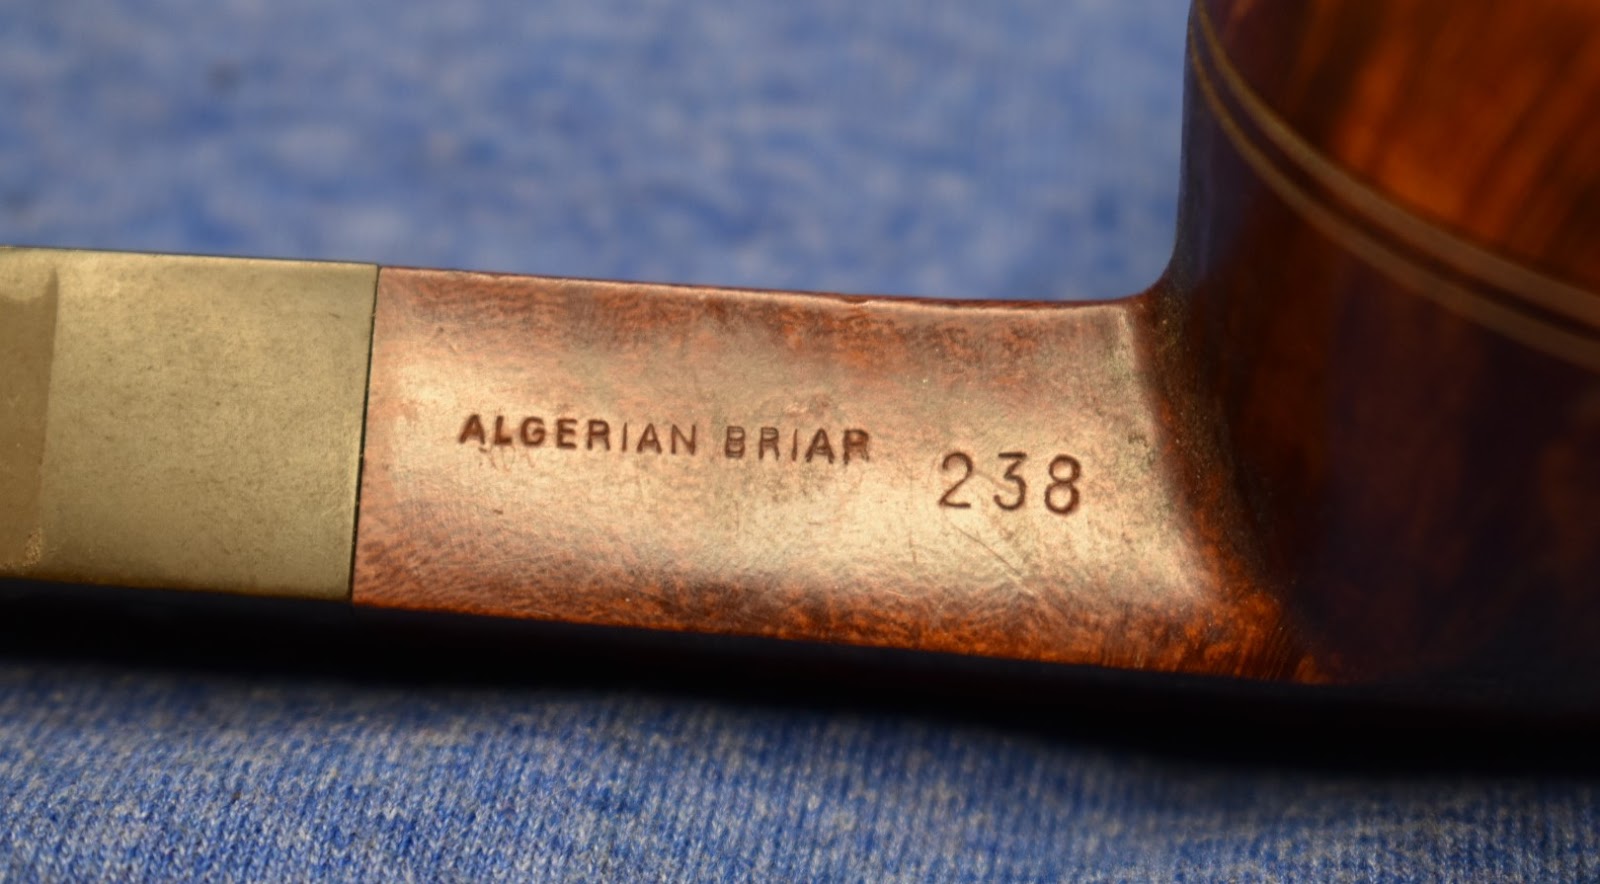
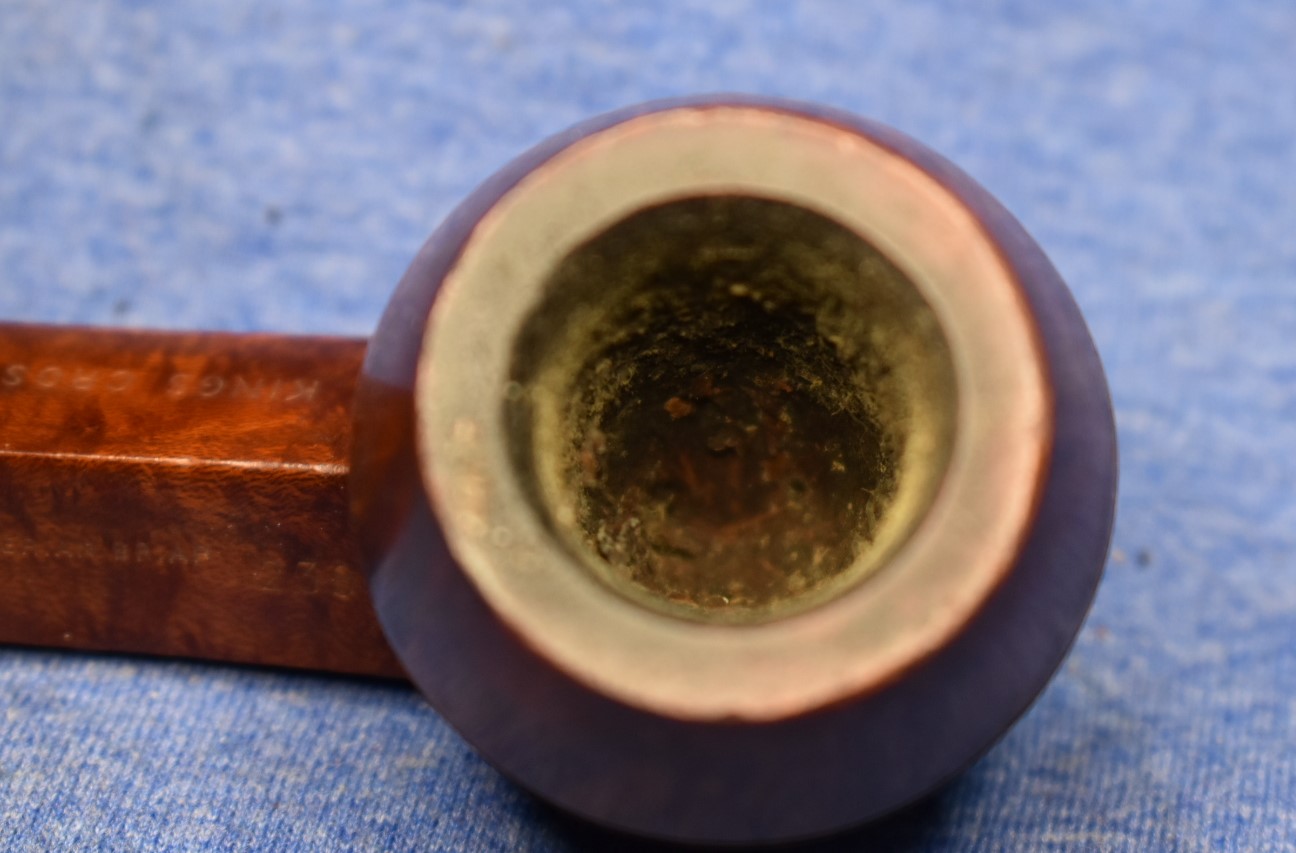
Chapuis is the French factory while Comoy’s’ is the English factory. The pipe has the stamp showing it is ALGERIAN BRIAR and 238 shape. This fits with the above quote from pipedia.org concerning Algerian briar. The shape number Coincides with the Comoy shape chart

(Comoy’s Shape Number Chart – Pipedia) with the “str” referring to a straight pipe, “M” medium size and “(S)” for a saddle stem.


Briar, Erica arborea, grows throughout the Mediterranean. It survives on the rocky slopes where most plants would succumb to the dry windy conditions of the Mediterranean climate’s dry season. During the wet season, fall and winter, is the growing season. “Evergreen roots descend deep into the soil to retrieve water to sustain life in an area that varies in precipitation (Tett 2003). Little land is able to be used for agriculture. Only three percent of Algeria is deemed fit for agricultural use” (https://meteor.geol.iastate.edu/~kuballc/portfolio/406%20Version%202.pdf)
The history of Algerian briar is one of Imperialism, wild species harvesting, and war. There is an amazing article about Algerian briar found in the scanned copy of November 1948 Pipe Lovers magazine.
“As is well known, the ideal pipe wood is one which is fine-grained, tough, slow burning and sweet tasting Pipes made of briar root have been the preference of the majority of smokers for over a hundred years.
Of the many kinds of briar root, that grown in Algeria is considered today as being the finest for pipe making and pipe smoking. Although opinions among pipe experts differ, the best is still said to come from this French colony in Africa.
The primary reason isn’t because the country is named Algeria, or because the French own the land. It is simply because the terrain and climatic conditions are such that the wood grown in this section of the earth is most suitable for the creation of briar which comes closest to meeting the pipe smoker s exacting demands. (https://pipedia.org/images/7/7f/PL_NOV_48smaller-file.pdf, p. 327).
In the article the history of French imperialism coincides with the production of the briar for pipemaking, “The use of briar in pipe making began just prior to 1830, the year that the French first occupied Algeria”*. The timing of this article is interesting. The Second World War had ended in 1945. This article would have seen the drought of Mediterranean briar brought on by the War years ending. It would also include the curing time required for the first post war briar. So, this article heralds the reemergence of Mediterranean briar availability for European and American pipe makers. This boon of supply would come abruptly to an end for Algeria, as that country’s war of independence from France was just around the corner. 1954-1962 brought a brutal war with France to Algeria, followed by more years of internal civil conflict. All of these political instabilities further reduced the availability of this “worlds greatest briar” from the pipe makers of the world. *(https://pipedia.org/images/7/7f/PL_NOV_48smaller-file.pdf, pp. 327-328 & 346).
A manufacture date for this pipe remains elusive. I would hypothesize that it was made with Algerian briar harvested between the late 1940s to early 1950s and was produced in France after 1971. “In 1971, the London factory (see Comoy’s) became independent, and Yves Grenard, second cousin to Pierre, took over Saint-Claude” (Chapuis-Comoy – Pipedia). I added the bold blue to 1971.
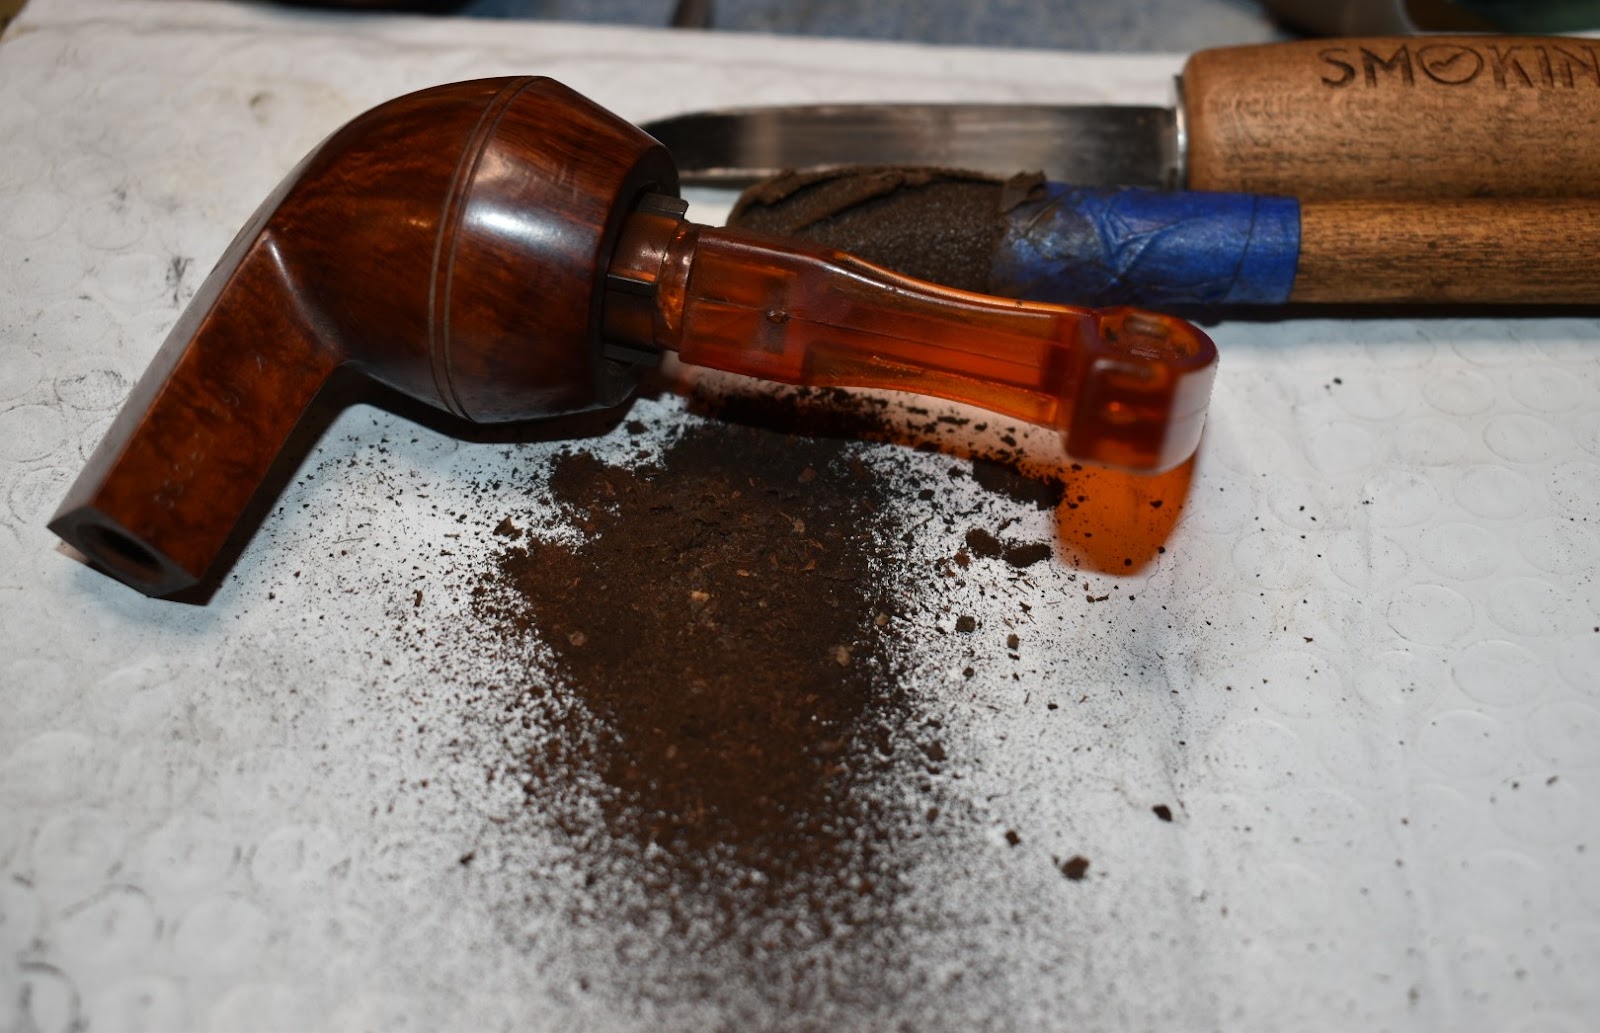
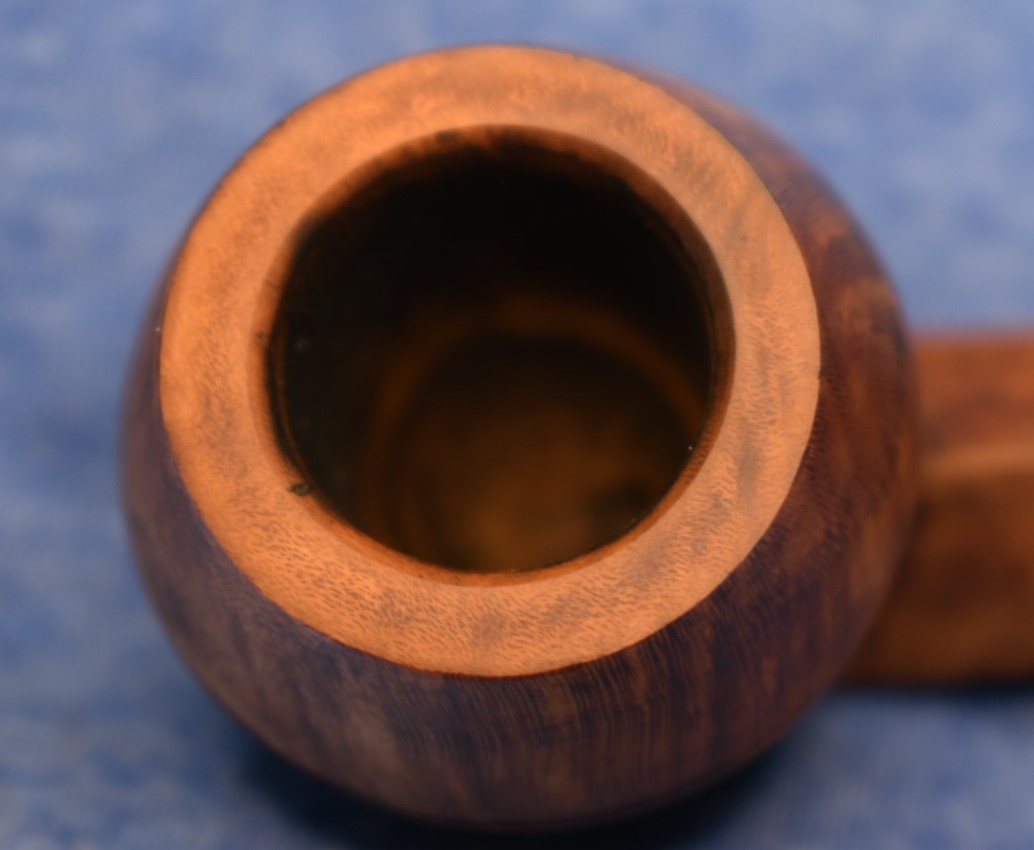
On to the restoration. I began with the tobacco chamber. This bulldog had a well developed cake with some minimal lava deposits on the rim. The chamber was reamed with a PipNet reaming tool and it’s size 2 blade. It was further scraped with the Smokingpipes Low Country reaming knife and sanded with 220 sandpaper wrapped around a wood dowel. The inside of the tobacco chamber showed no signs of heat damage.
The rim was moistened with saliva and lightly scraped with the edge of a pocket knife. After these scrapings the stummel was taken to the sink for a scrub with Murphy’s Oil Soap and a medium bristle toothbrush.
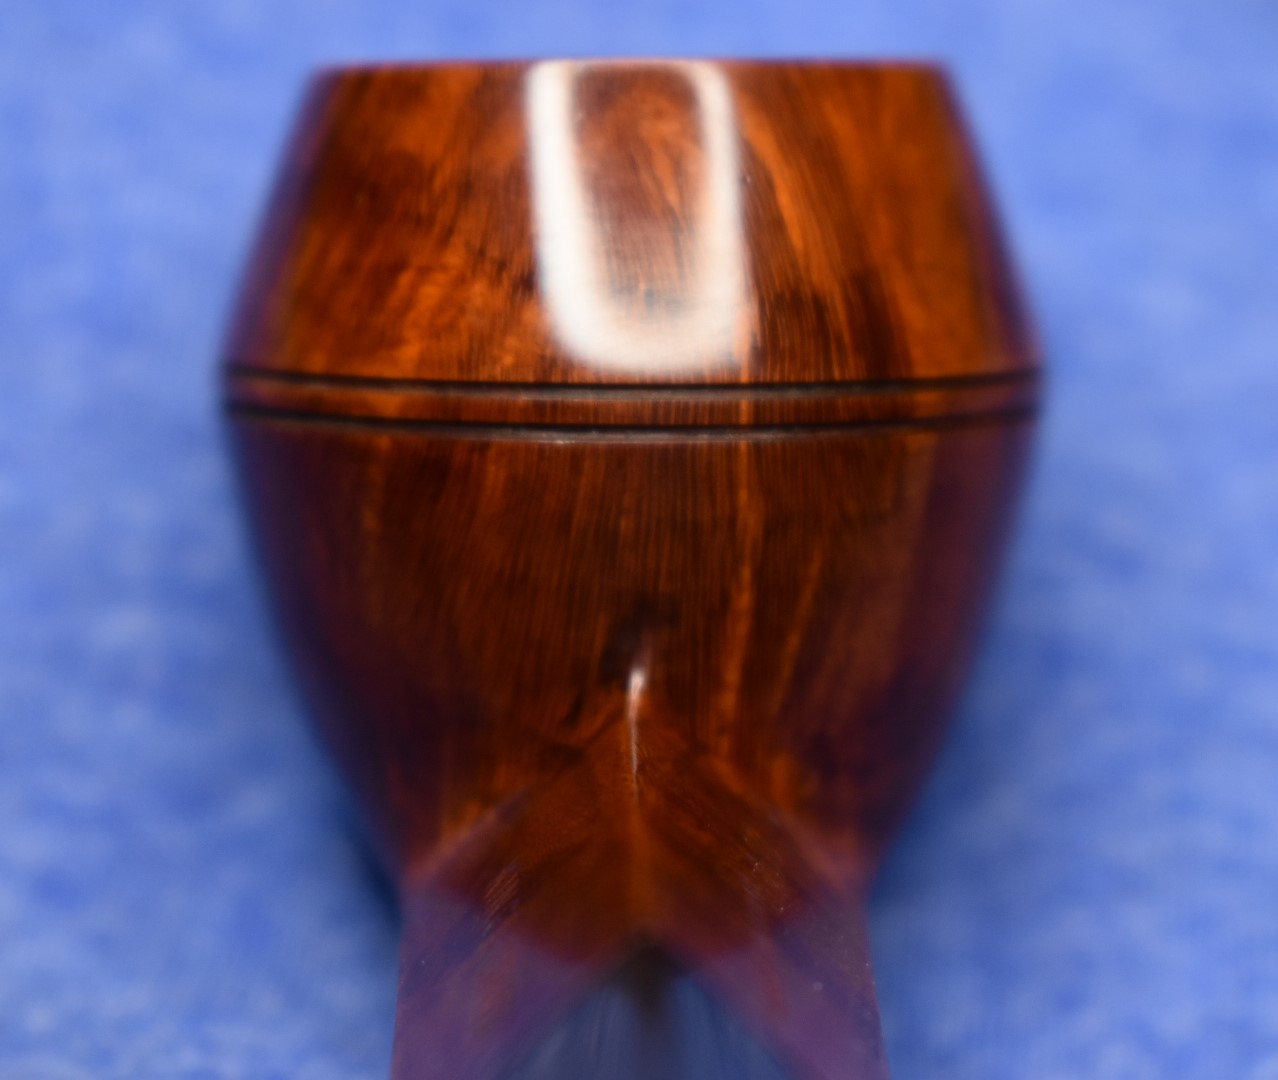
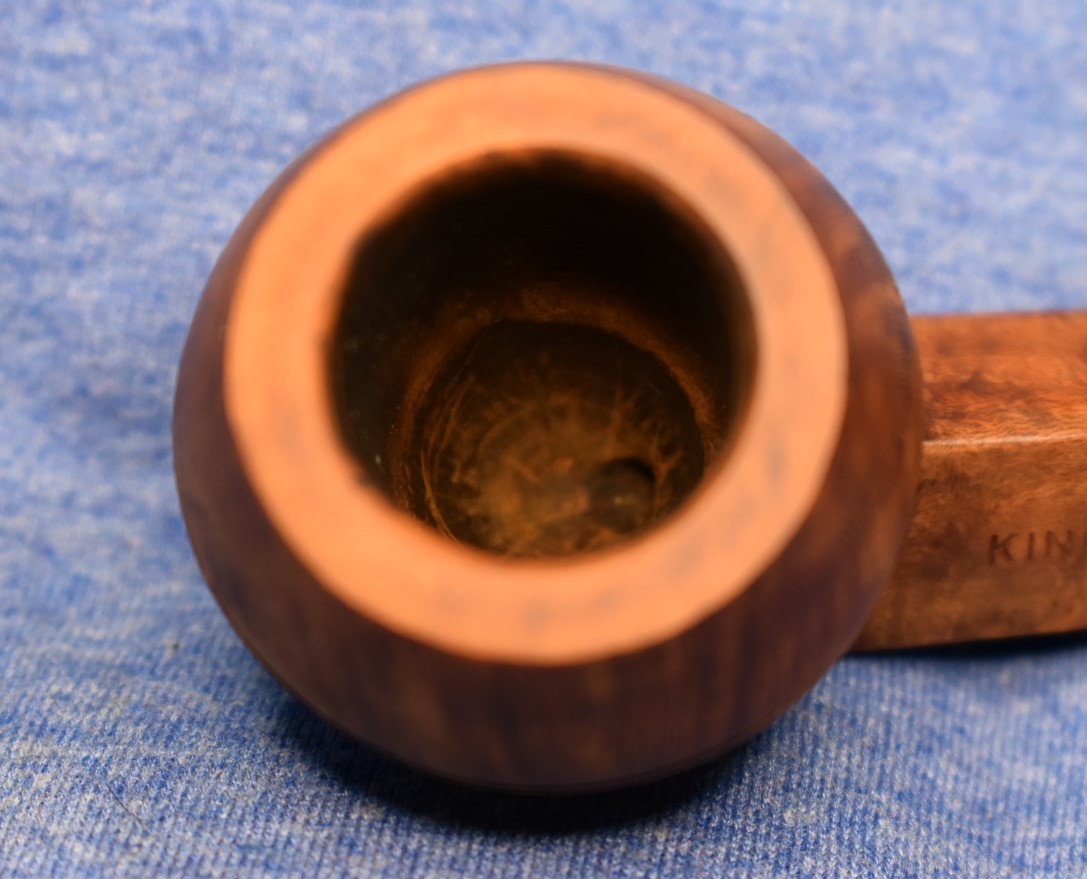
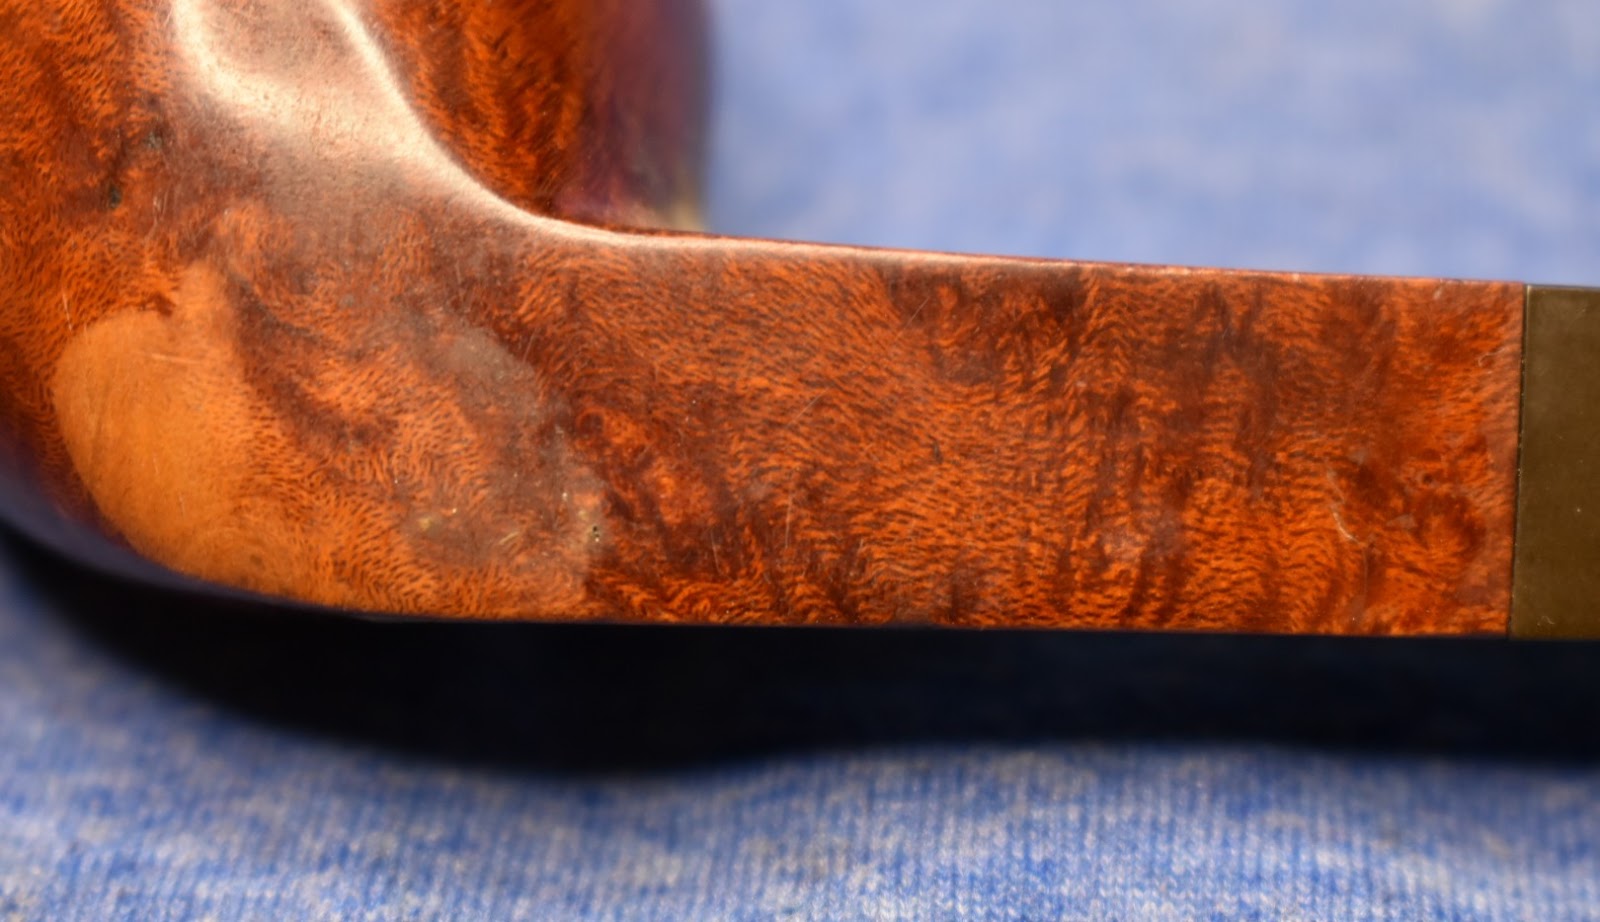
For the shank cleaning I first turned on Roku and Netflix and brought up season four of The Last Kingdom. Though not a necessary part of the restoration, Saxons and Vikings, like a good black cavendish, make most things better. I began cleaning the interior of the shank with cotton swabs dipped in 99% isopropyl alcohol. The airway was dirty at what I would call an appropriate level. Several swabs and bristle pipe cleaners later, and a few more Saxons and Danes, the stummel was cleaned. Next, I lightly topped the rim with 400 sandpaper. Below you can see the sanded tobacco chamber and the topped rim.
Now for the part that I figured would be more difficult – removing the finish. This pipe had a healthy clear coat. I first tried 95% ethyl alcohol on a make-up removal pad to dissolve the finish. It was mostly ineffective. Next I tried acetone on a make-up pad – success. The acetone removed the clear coat. I blame Uhtred of Bebbanburg for me not photo documenting the removal of the finish with numerous make-up pads and more dips into acetone. Yes, I could have just dropped the stummel into the jar of acetone and let it soak for a couple of hours but, what would I have done while watching Uhtred? It took the better part of one episode and part of another to remove the finish.
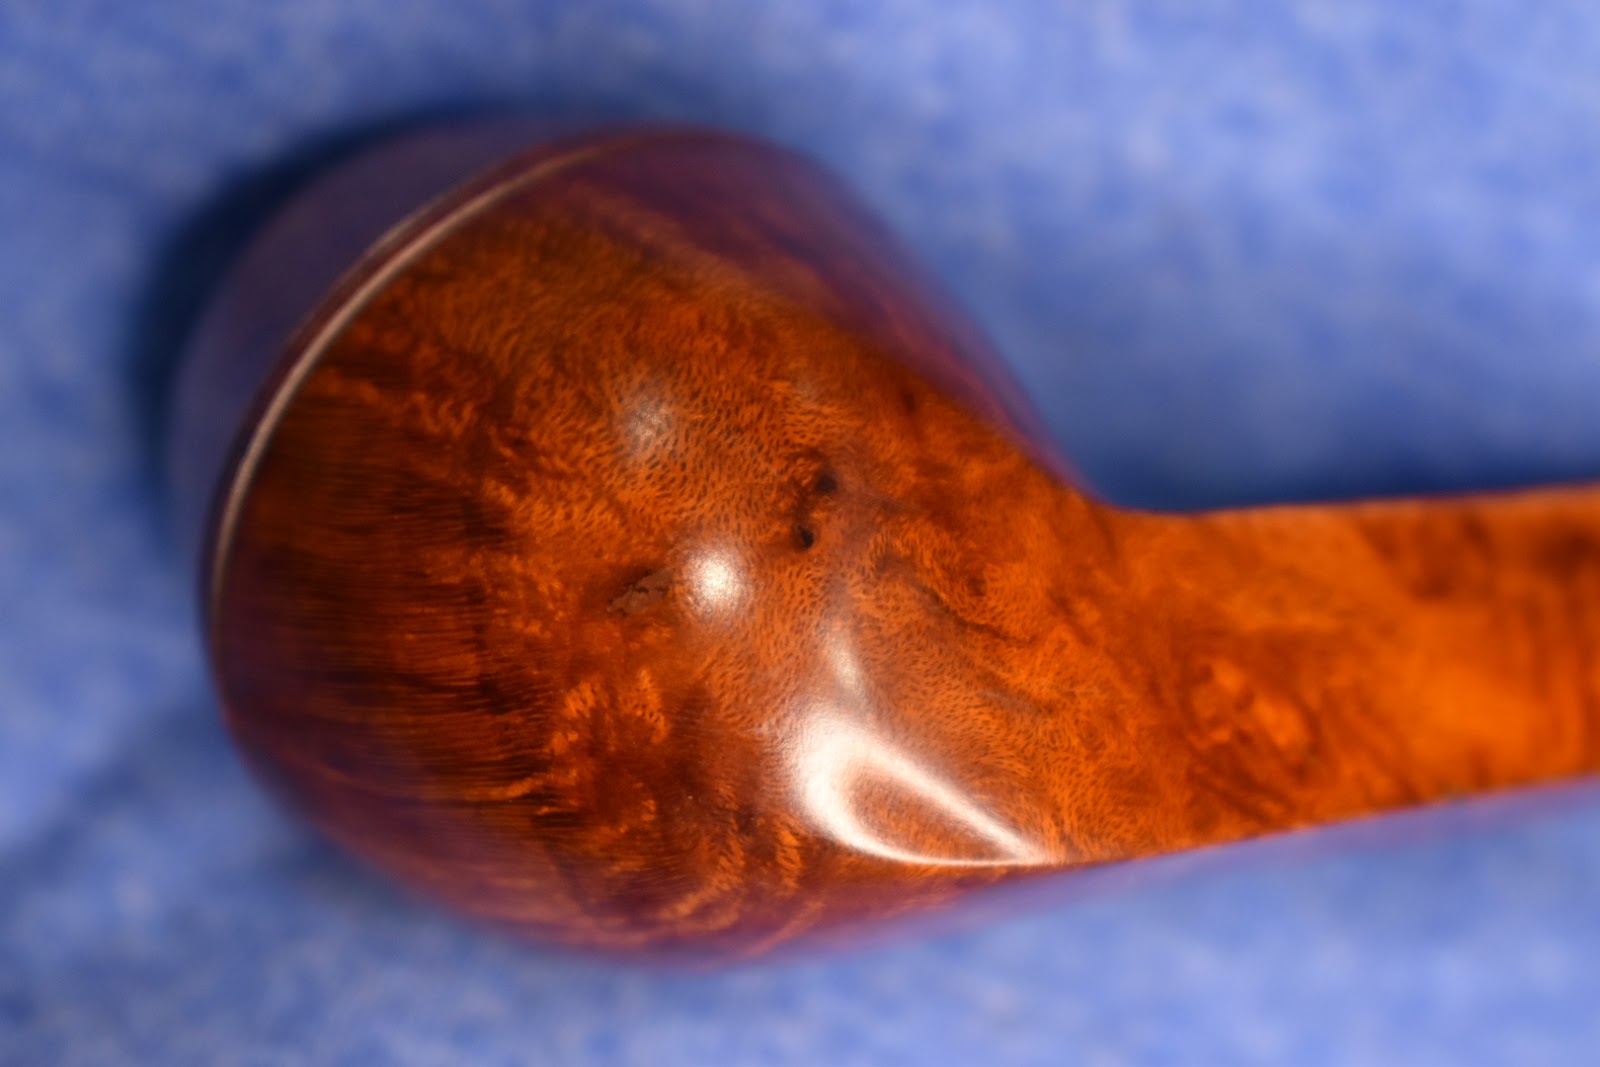
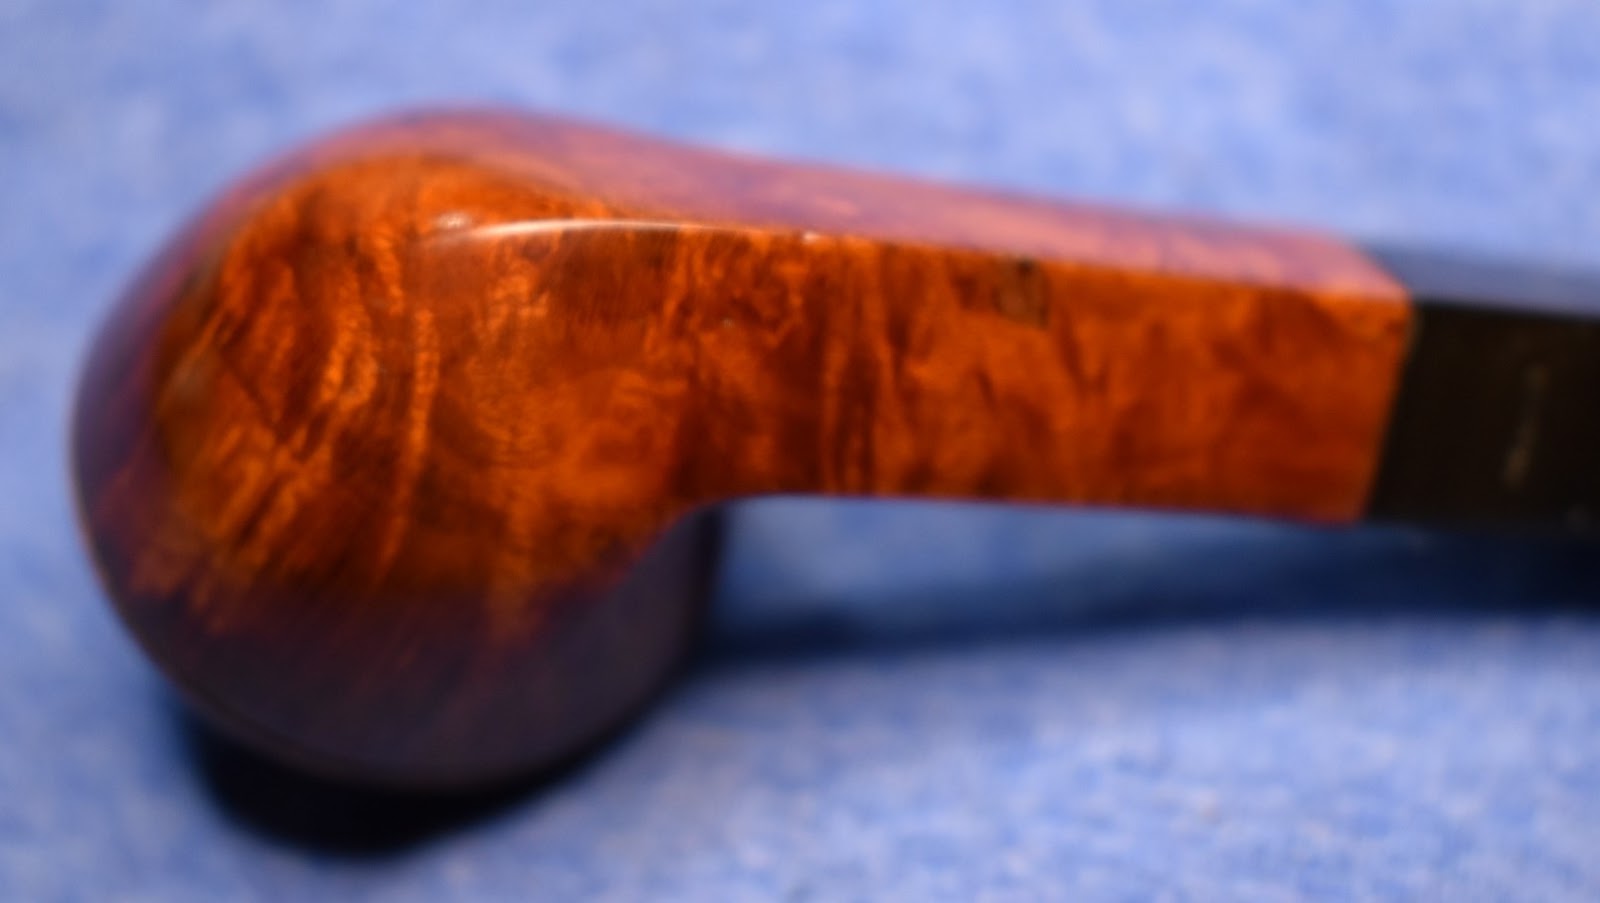
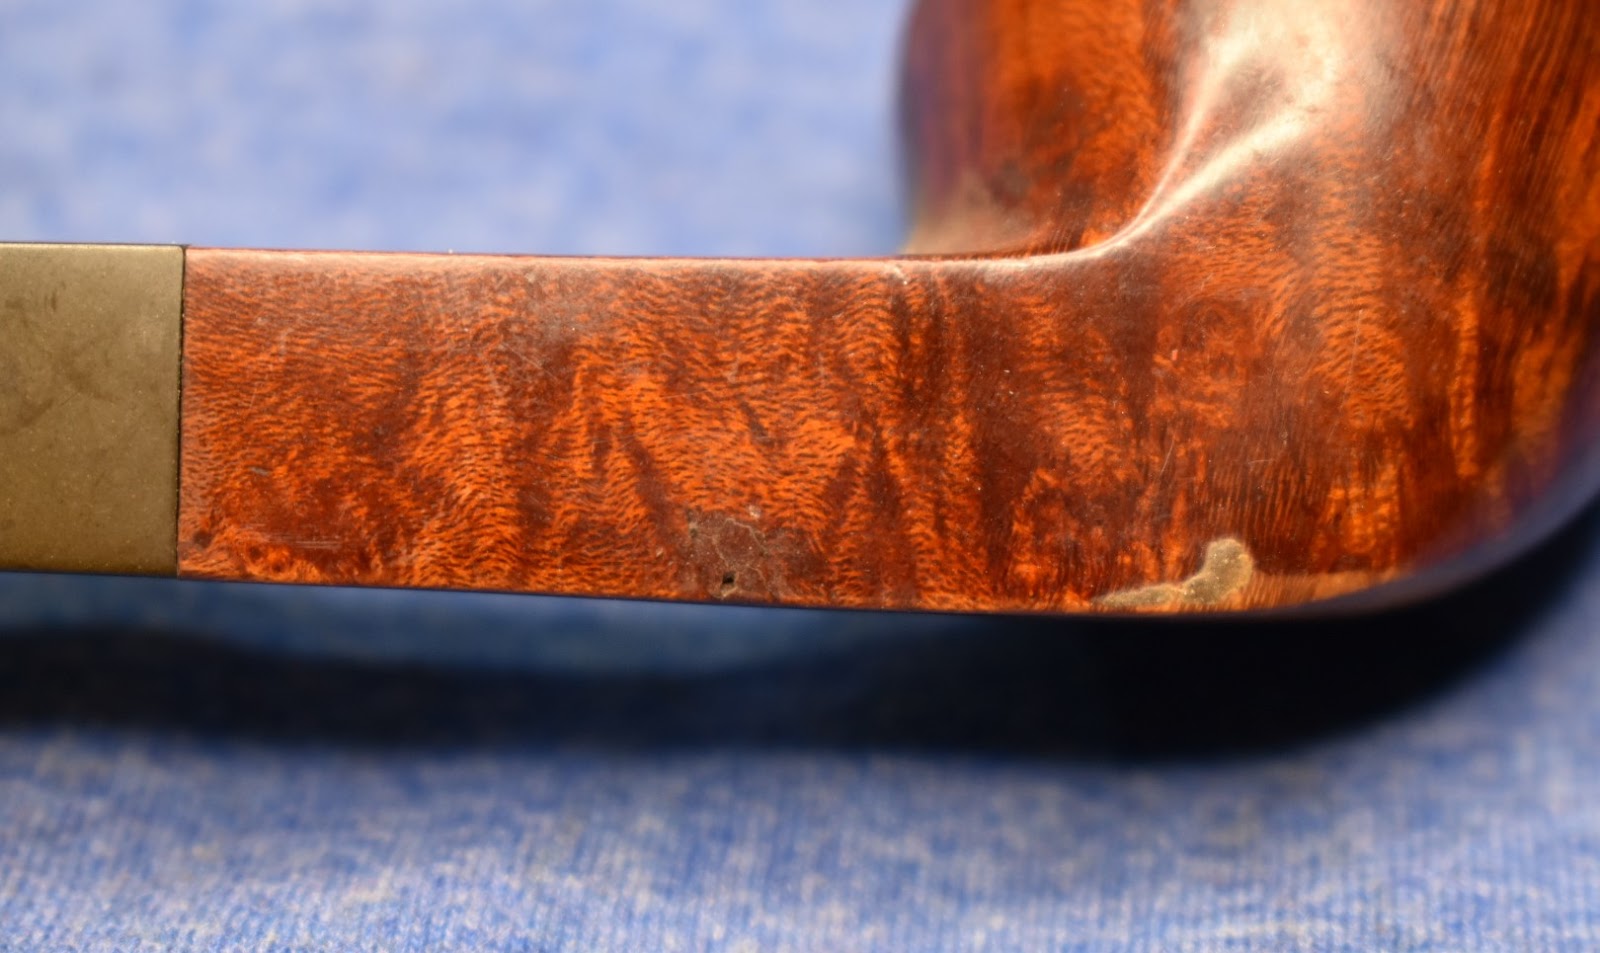
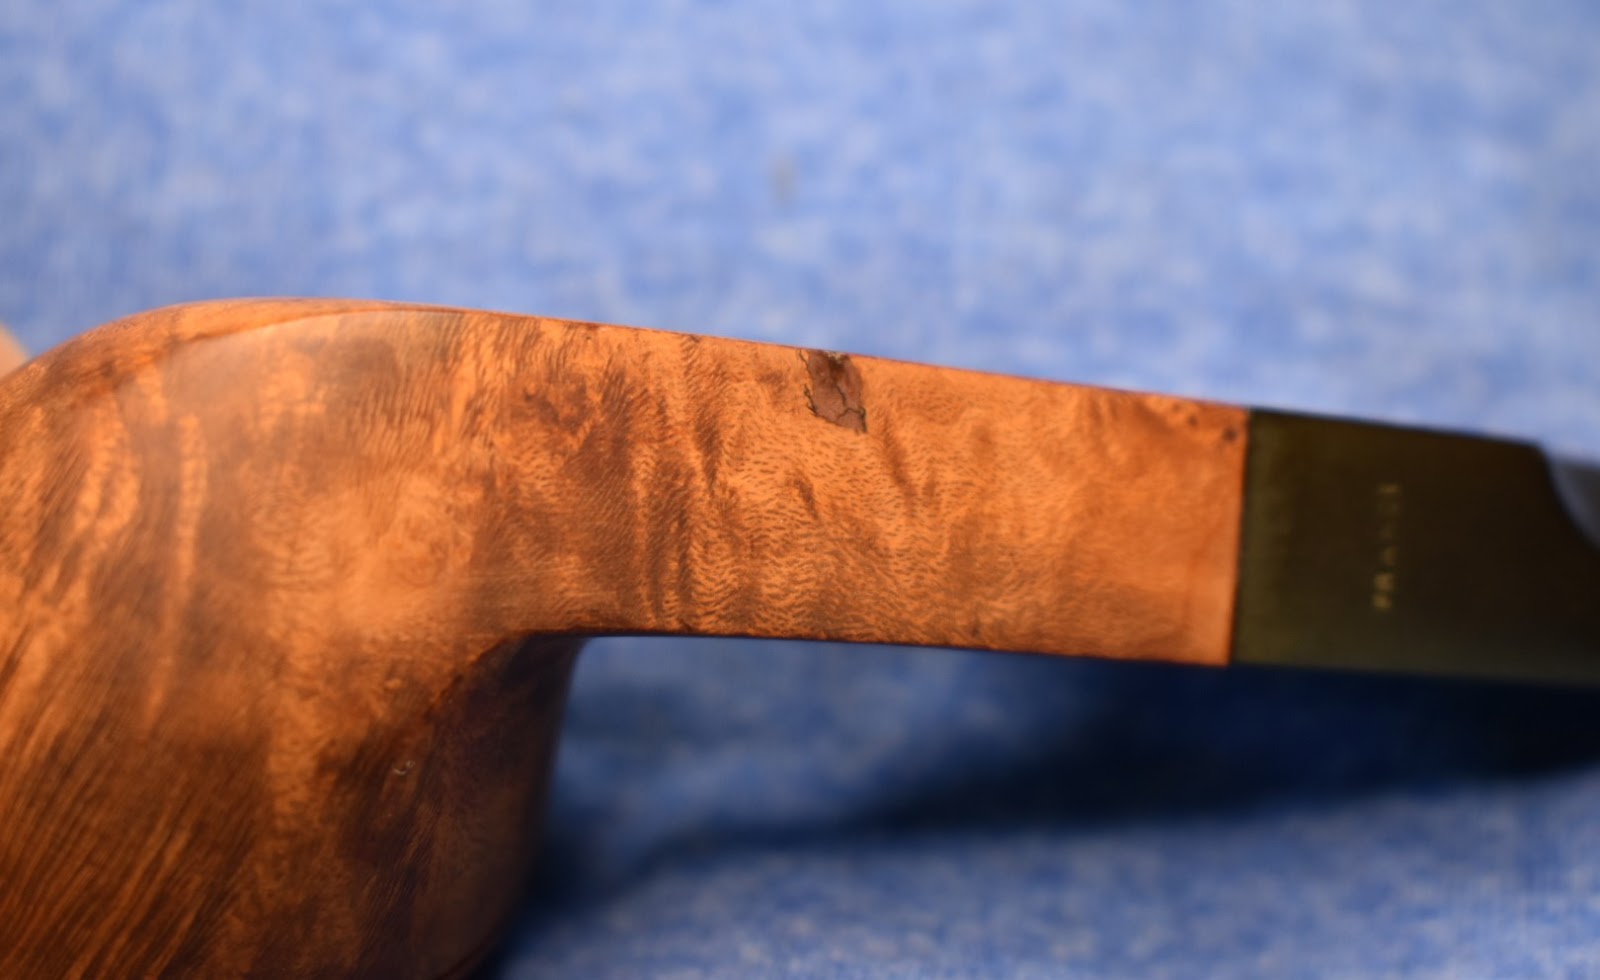
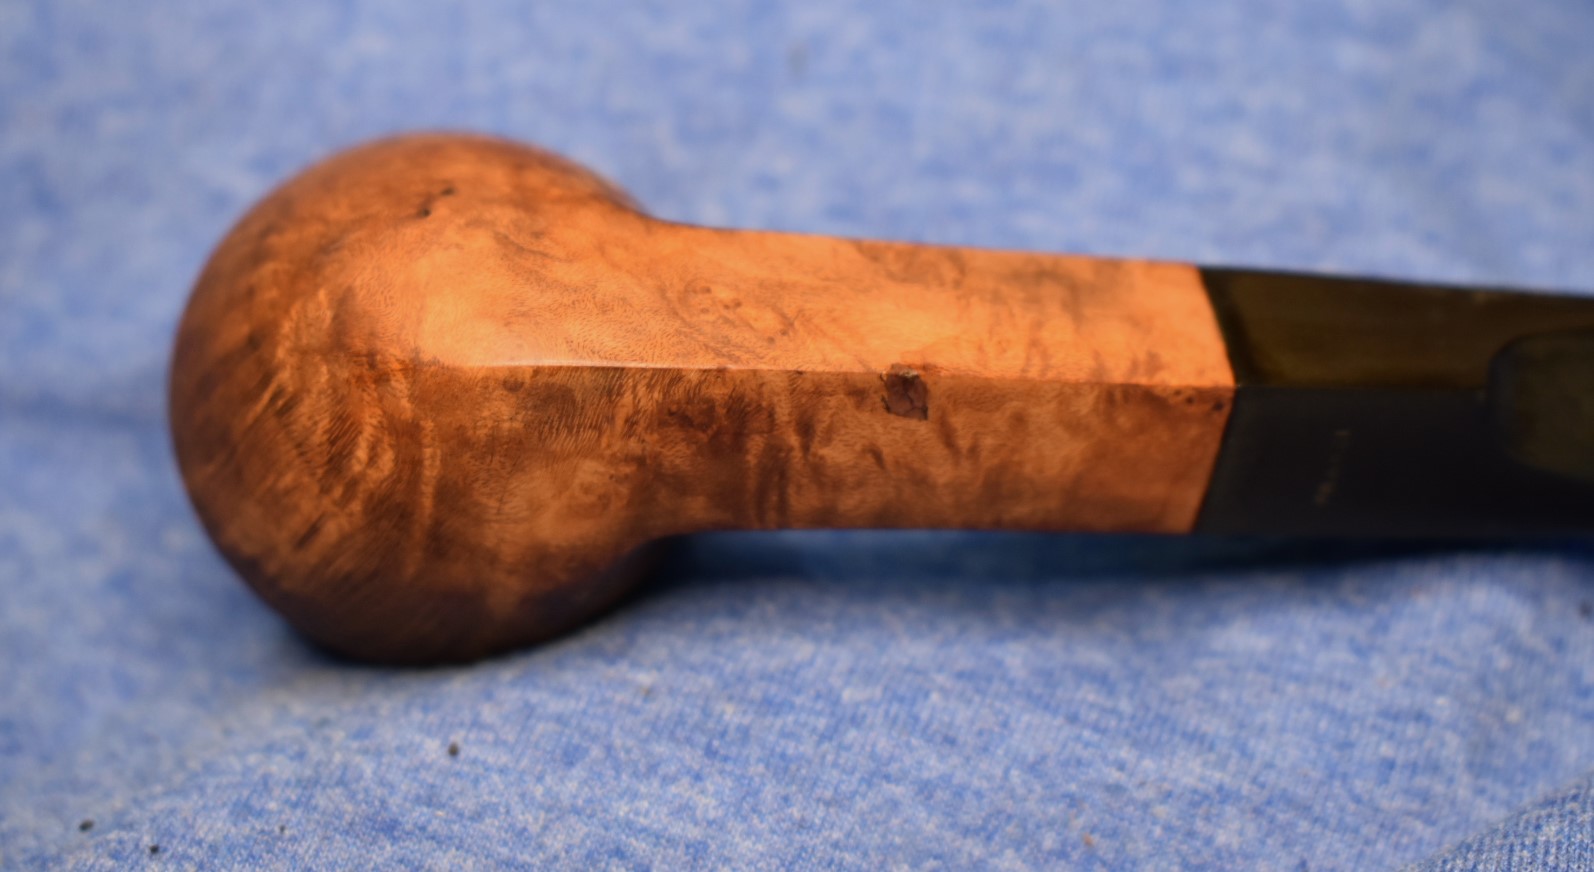
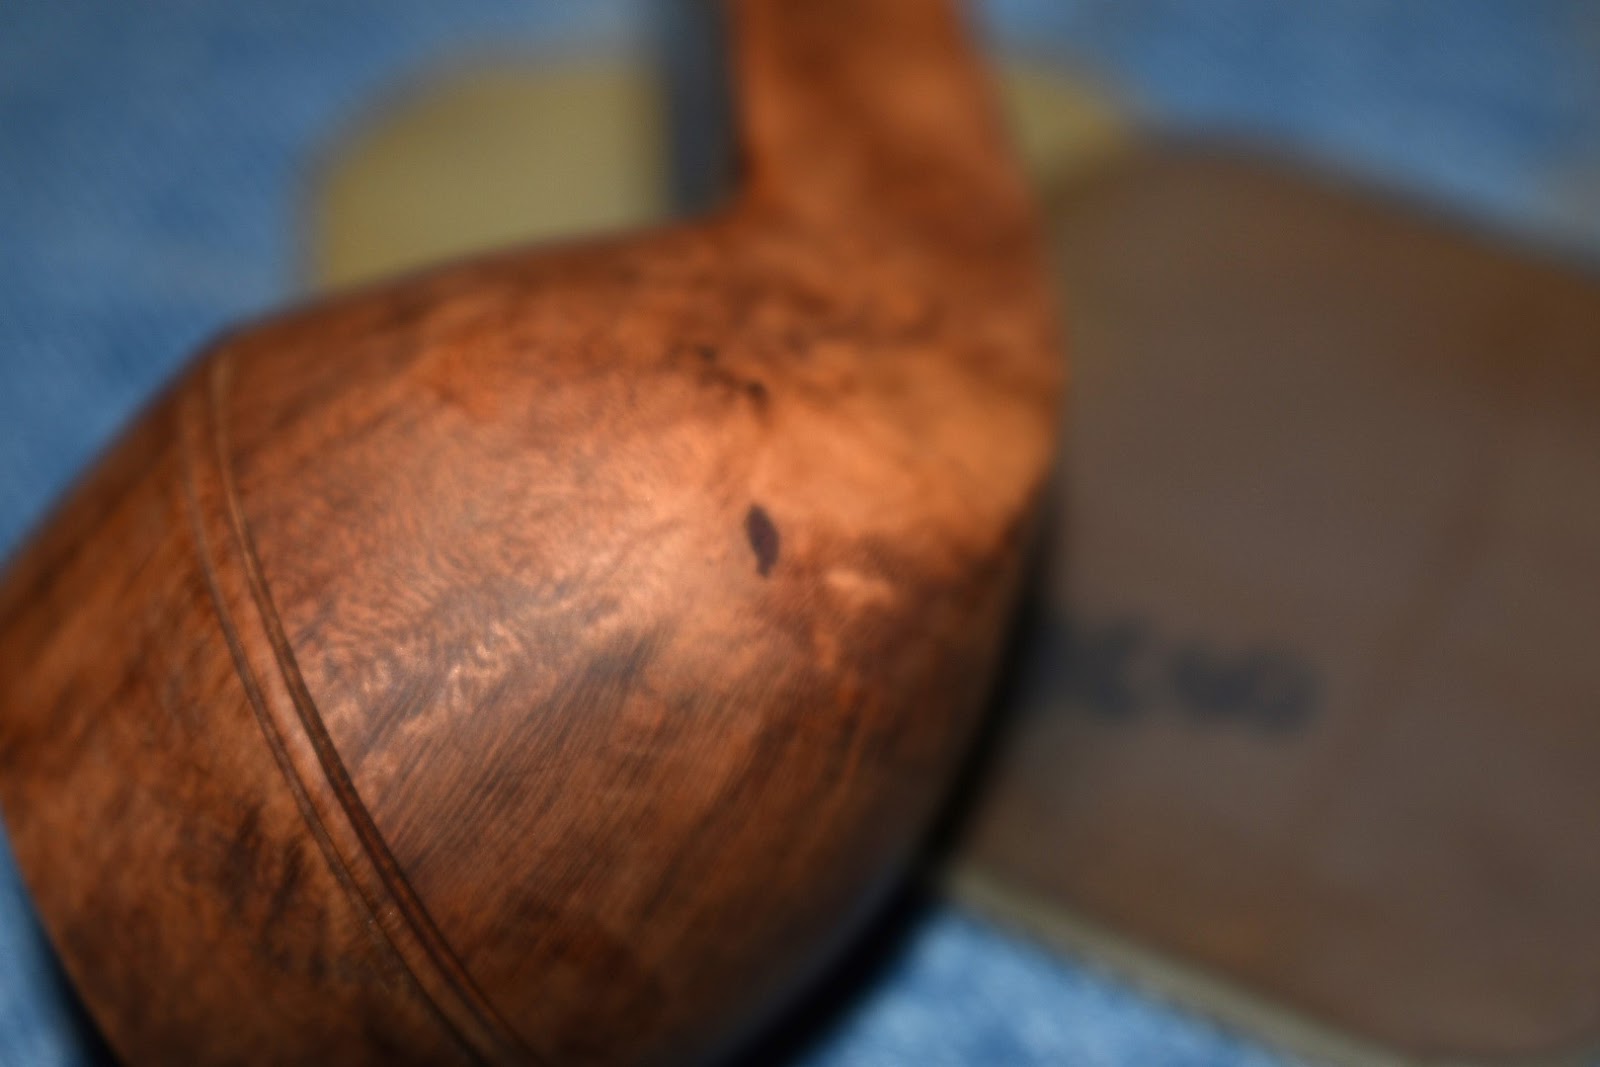
With the finish removed I lightly sanded the stummel, avoiding the stampings, to look for areas that would need to be filled. There was a large existing fill along the bottom of the shank. I was mostly solid and I did not see any reason to try removing it completely. It had a small spot where some of the fill had gotten chipped out so I used cyanoacrylate (CA, super glue) and briar dust to fill that. I repeated this for the two other areas that I thought warranted filling.


Before sanding the entire stummel with the 400 sandpaper and micro-mesh pads I wanted to get the stem ready for sanding and micro-meshing as well. I wanted them attached when I sanded them to avoid rounding their adjacent contact edges.
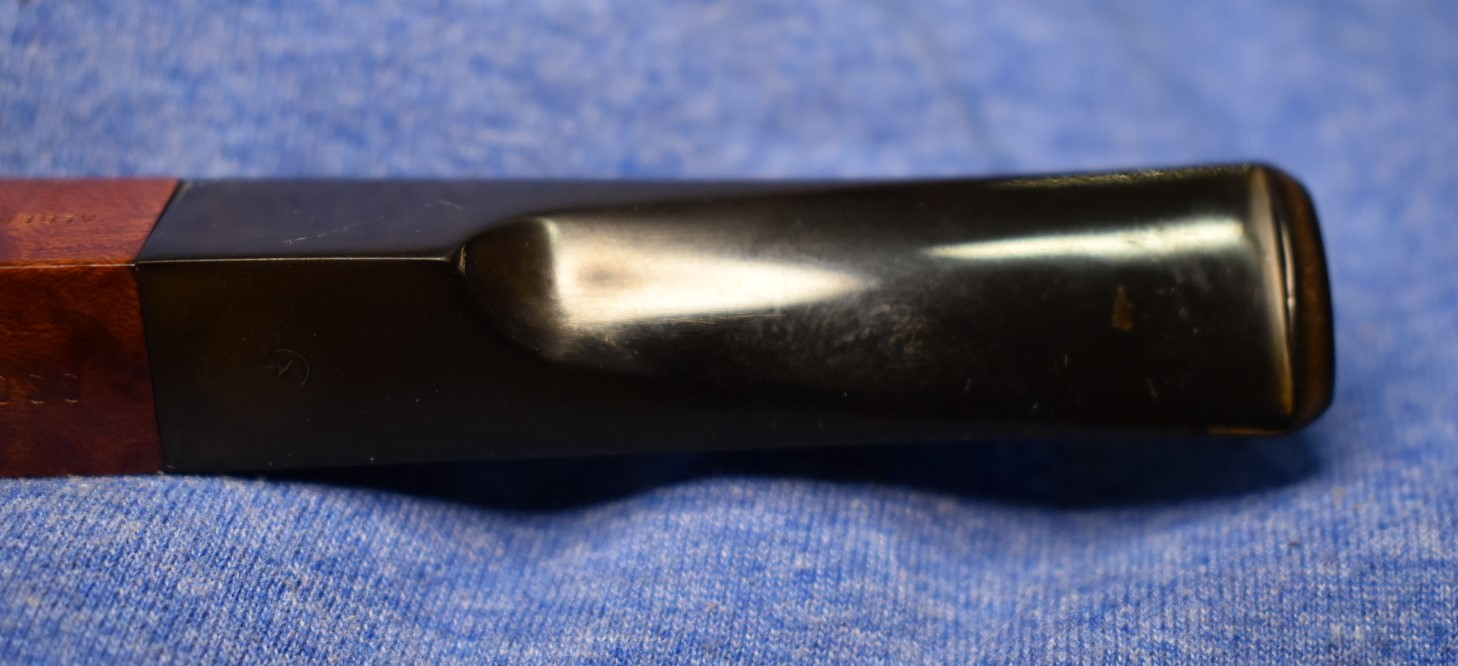
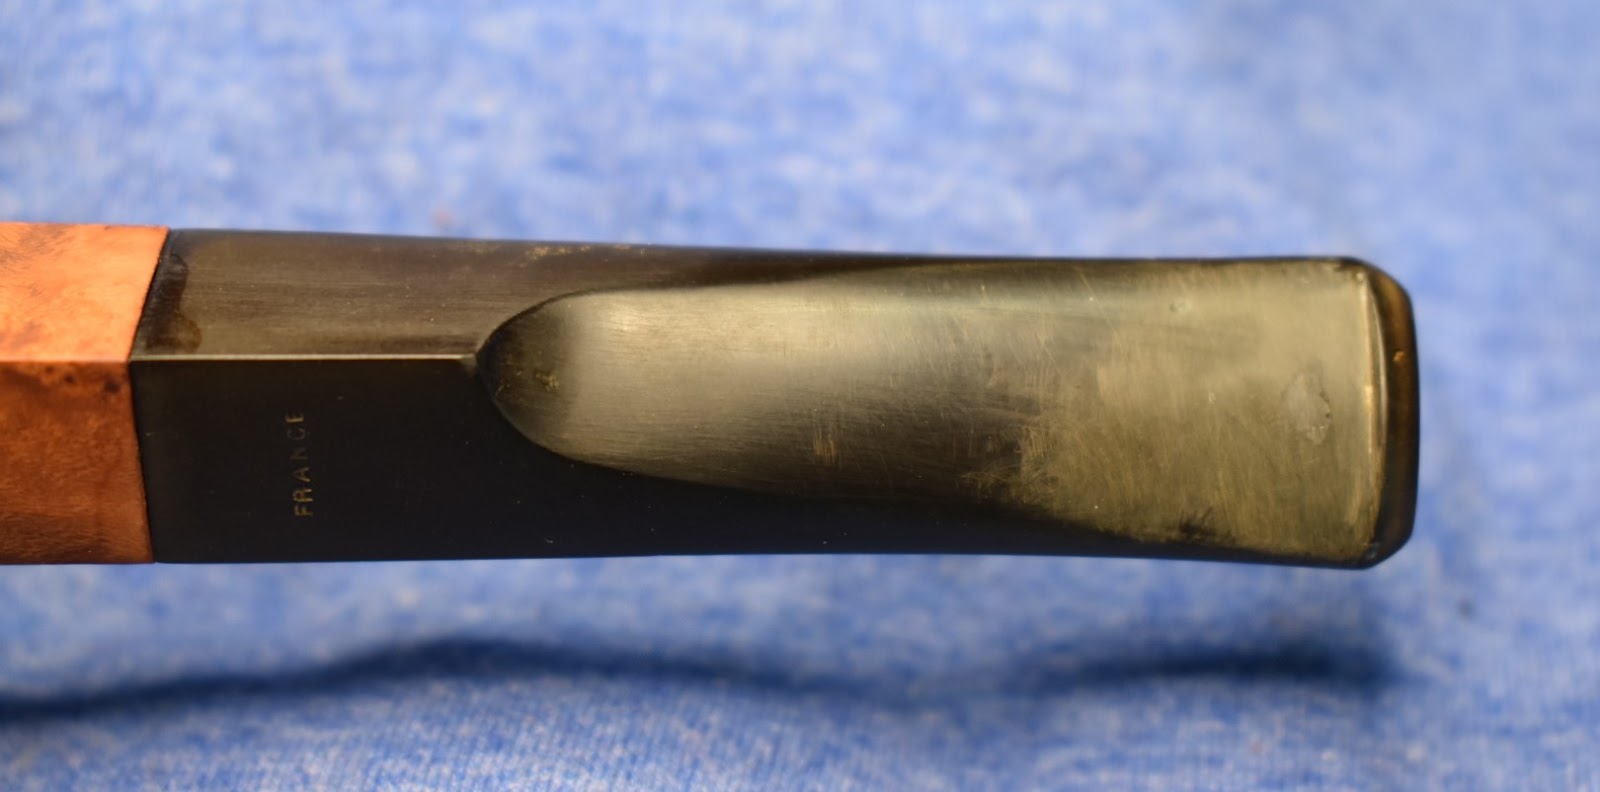
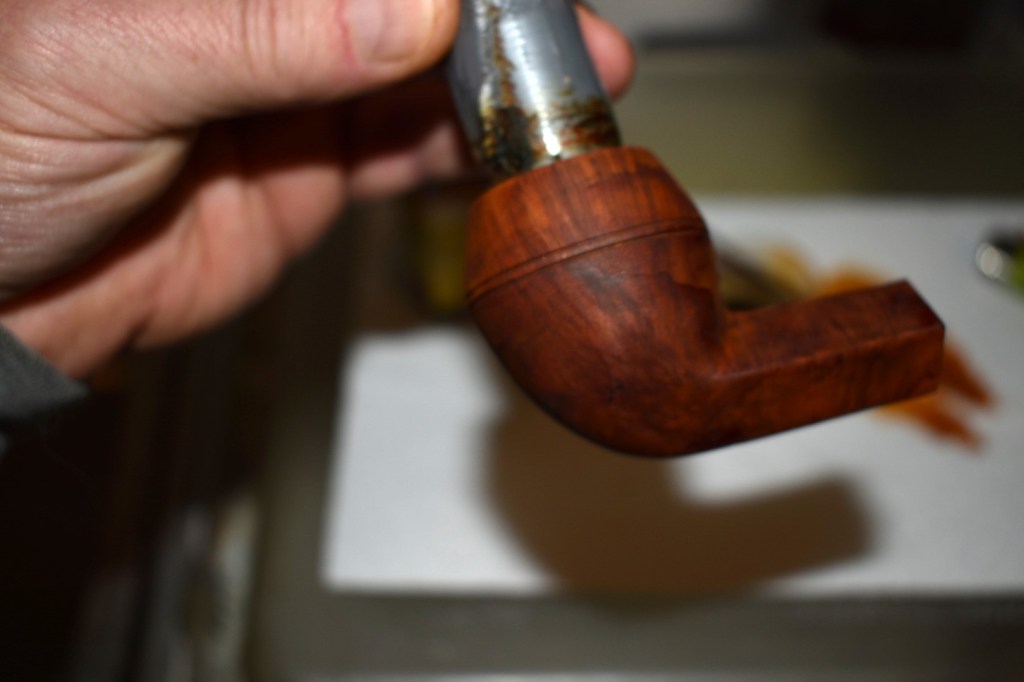
I also wanted to retain the stampings, FRANCE and K within a circle, on the stem. This meant that I was only going to use Soft Scrub with Oxy-clean on a make-up pad. The scrubbing of the stem also required the death of a few Saxons and Danes, I mean the scrubbing of the stem occurred during the slaying of a few Saxons and Danes. No Danes or Saxons were harmed during the restoration of this Kings Cross Bulldog. I would scrub with the make-up pad until it was heavily discolored with oxidized vulcanite, reapply additional Soft Scrub and continue. Eventually the pads ceased to be discolored, brown. The area around the button needed to be sanded to remove the teeth chatter. I used 400 sandpaper wrapped around and an emery board to provide a stiffness. There were two spots that required black CA fills. A drop of black CA was placed on the depression and then it was spritzed with CA drying accelerant. Photos below before.


After the CA had set-up I filed the CA smooth with a flat needle file and smoothed it with 400 sandpaper. Photos below after.

With the stem’s oxidation removed and both the stem and stummel fills smoothed with 400 sandpaper I masked the stampings on the stem and stummel.

The entire pipe was then lightly sanded with the 400 sandpaper. Once finished I wiped the stummel with a make-up pad moistened with 99% isopropyl alcohol. I worked a drop of Obsidian Oil onto the stem and wiped away the excess with a paper towel. I then worked my way through the micro-mesh pads 1500-3600 with wiping of the stem and stummel as above.

After the 3600 pad I thought that I needed to give the stummel a little bit of dye. Along the keel at the front of the pipe there was an area that was strangely lighter and the fill at the front of the bowl, both could use some additional color.
I assembled the staining gear: Fiebing’s Light Brown Leather Dye, a medicine cup with 3 ml of 95% ethyl alcohol, a clean pipe cleaner, and a lighter (left photo). I dipped the pipe cleaner into the dye and transferred it to the 3 ml of alcohol. This was stirred to dilute the dye (right photo)
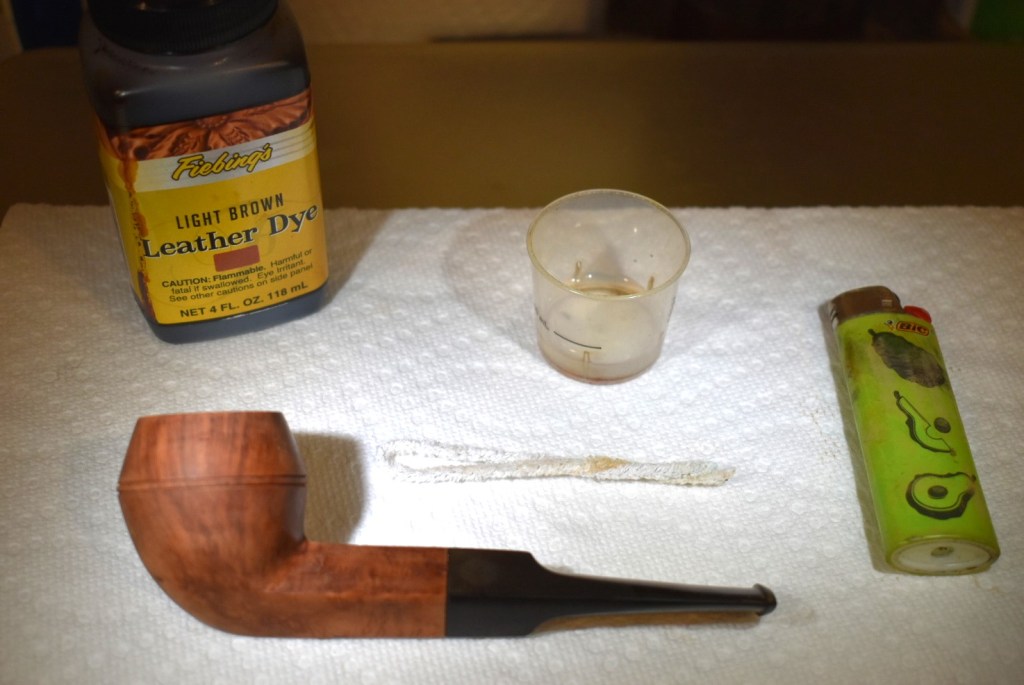

I didn’t want to darken the whole pipe, just to darken the light spots and blend it with the existing stain. I applied the diluted dye to the stummel. It took a couple of complete applications before the dye was pooling on the surface of the stummel. I then flamed the stummel with the lighter. I then went over the lighter area again.

After the dye I allowed the stummel to dry for about an hour. After the dry time I moistened a make-up pad in 95% ethyl alcohol and wiped the stummel. The pad was stained with dye it was removing from the briar. I repeated this two additional times. The stummel now looked uniform in color and shade.
I continued on with the micro-mesh pads 4000-12000 and repeated the wiping of the stem and stummel as described above between each pad. With the final wipe done I slathered the entire pipe with a coating of Before and After Restoration Balm.

After 30 minutes of letting the balm do the magic that it does I wiped the remaining balm from the pipe using the inside of an athletic sock. Yes, it was a clean one. The final stretch. The pipe looked very nice. The wood grain stands out from the glossy black stem. The stamps remained visible. All that remained was to apply several coats of carnauba wax with the buffer. After this was done I hand buffed the pipe with a microfiber polishing cloth and took it upstairs to photograph.
I hope that you readers are not getting tired of Kings Cross pipes. There are still 2 to be restored. Actually they are both the same shape so I will probably not do blogs on both of them. Although I could just say “See previous blog” for the second blog. This one was fun and not just because of Uhtred. I do love the bulldog shape and this one has some very nice grain. It also allowed me practice at stamp avoidance which is a necessary skill to hone and use. I do hope that you found some of the techniques used were helpful or at least entertaining. Thank you for reading the ramblings of an old pipe lover. I also hope you had a wonderful Christmas and wish you all a very happy New Year.
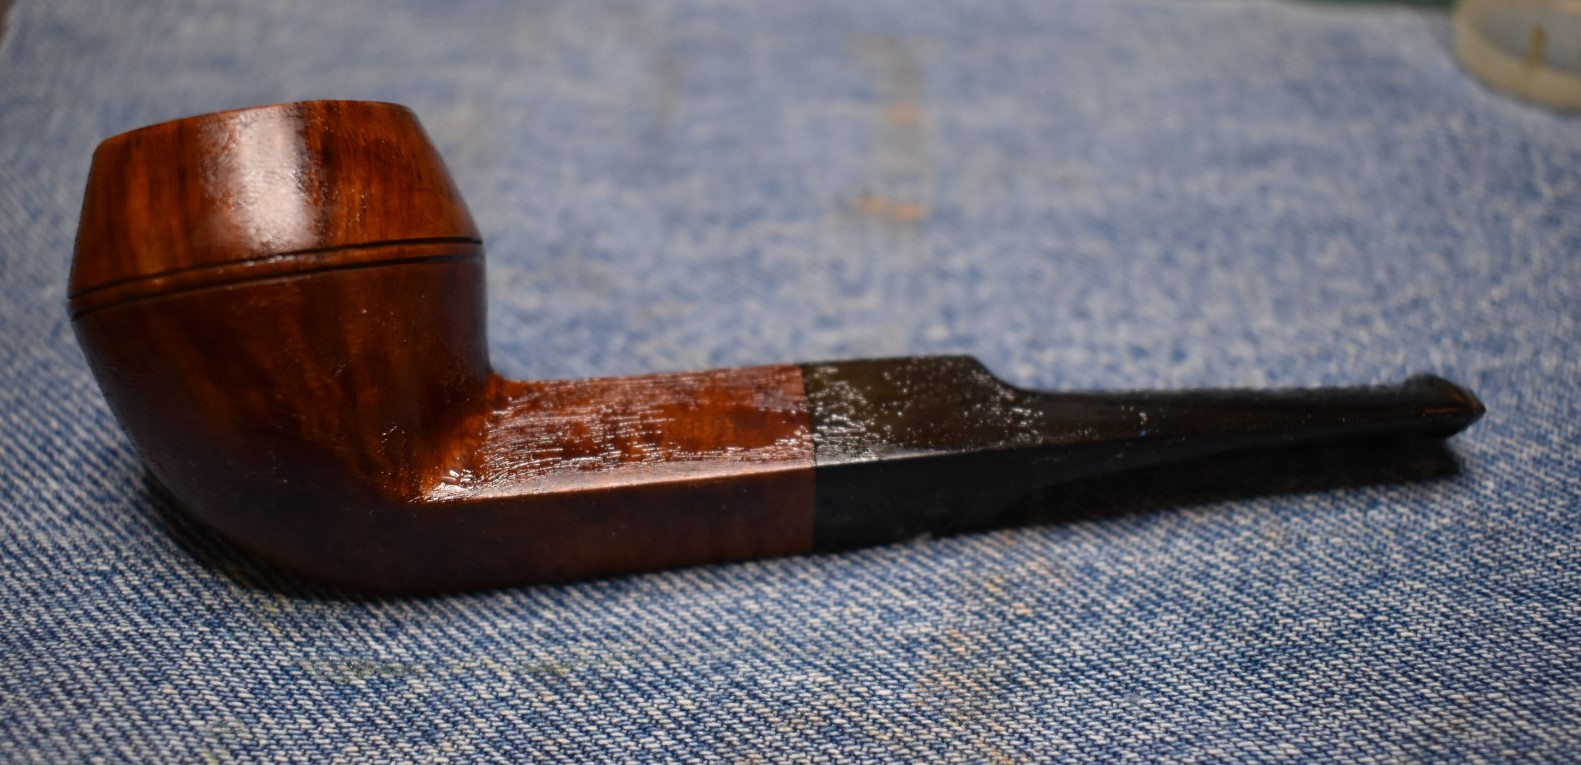
Below are some photos of the finished Kings Cross Bulldog.