Written and photographed by John M. Young

During the 1950s-1970s many popular tobacco companies would include offers for pipes in the packages of their tobacco. These coupon pipes include some of my favorites like the Dr. Grabow Westbrooks. These were pipes that were only available by redeeming the coupon through the mail. Amphora did the same. Below is the text from pipedia.org in reference to Amphora pipes:
“Amphora pipes are made in Holland by the Jos. Gubbels organization, the same company which makes the very well known and loved Amphora Pipe Tobaccos. The pipes are produced in relatively small numbers to a high standard and not commonly found. They were used primarily in promotions and incentives for Amphora tobacco.
The Royal Dutch Pipe Factory Elbert Gubbels & Sons B.V. is the only manufacturer of briarroot tobacco pipes in the Benelux countries where pipes of high quality are made under the brands Big Ben, Hilson, Royal Dutch and Amphora. They also supply numerous smokers’ accessories of high quality.“ (Amphora – Pipedia)
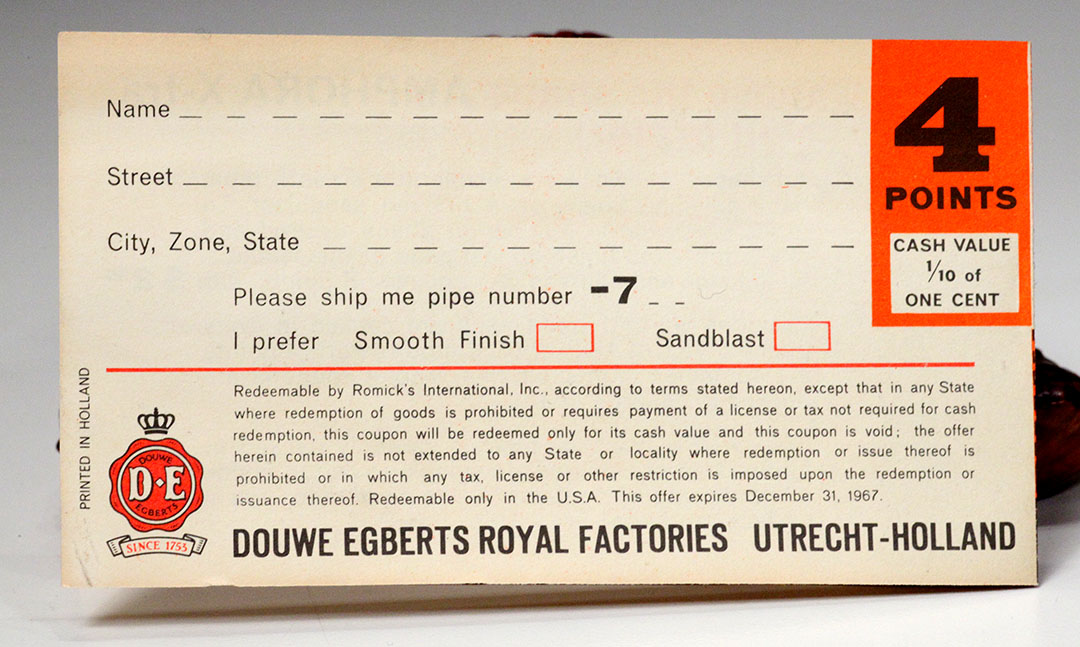
And of course one needed a coupon for the pipe.
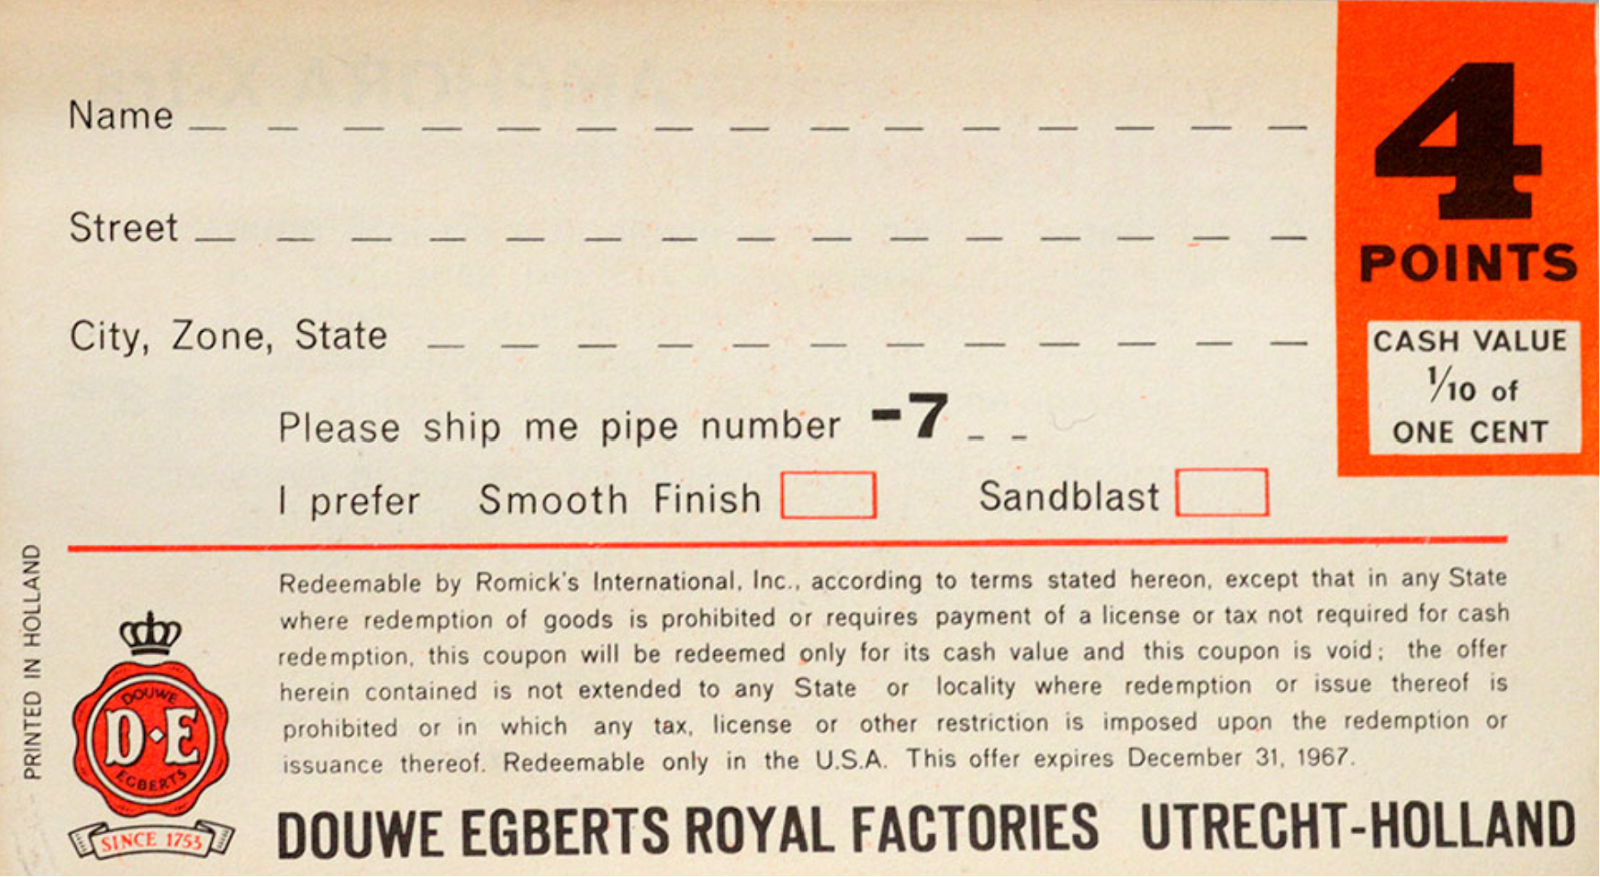
(Amphora_Info_1967.jpg (1080×647) (pipedia.org))
And here we see the shapes available and their subsequent pipe number to enter onto your coupon.
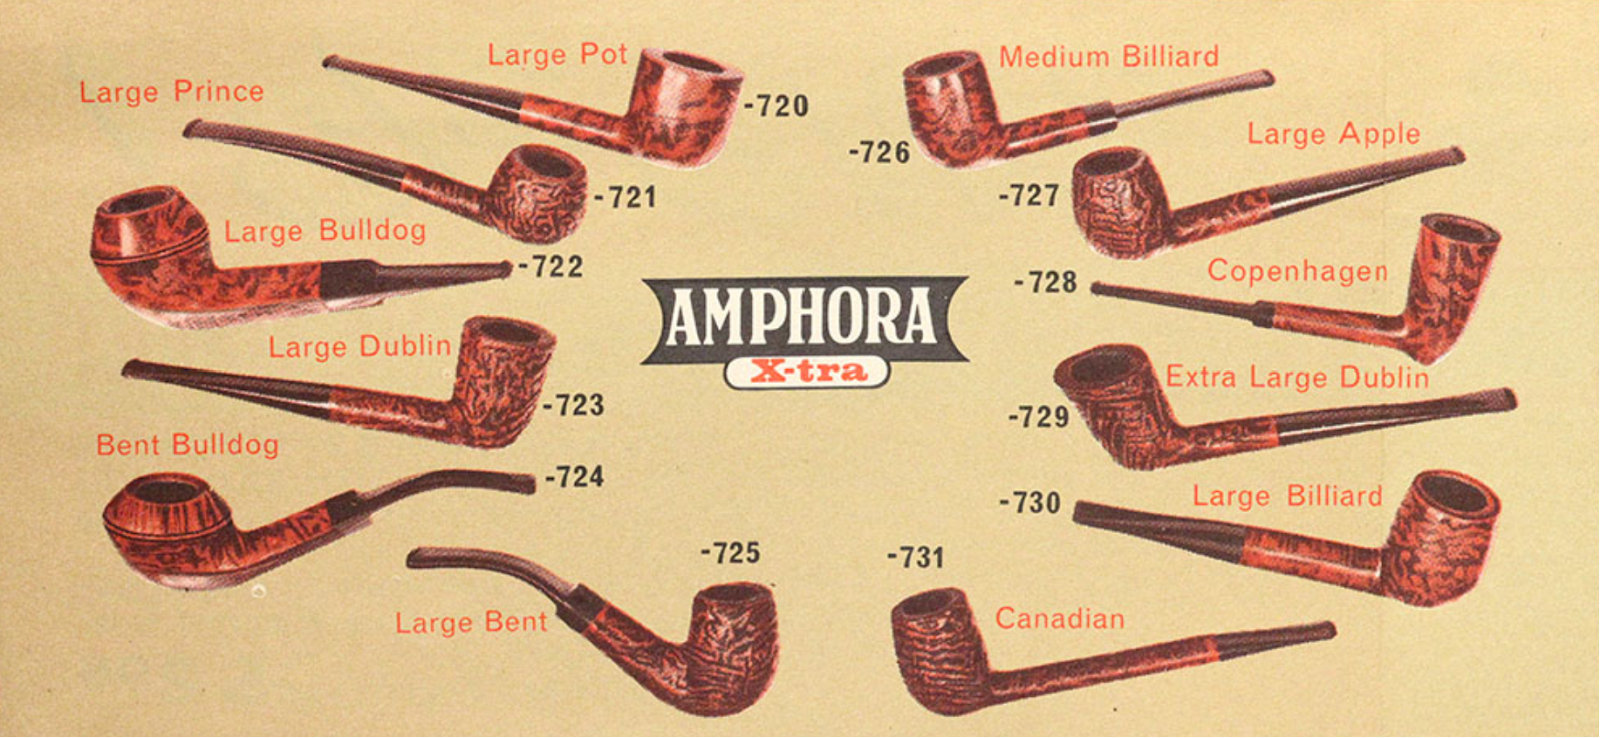
(https://pipedia.org/wiki/File:Amphora_Chart.jpg)

(File:Amphora1970.jpg – Pipedia)
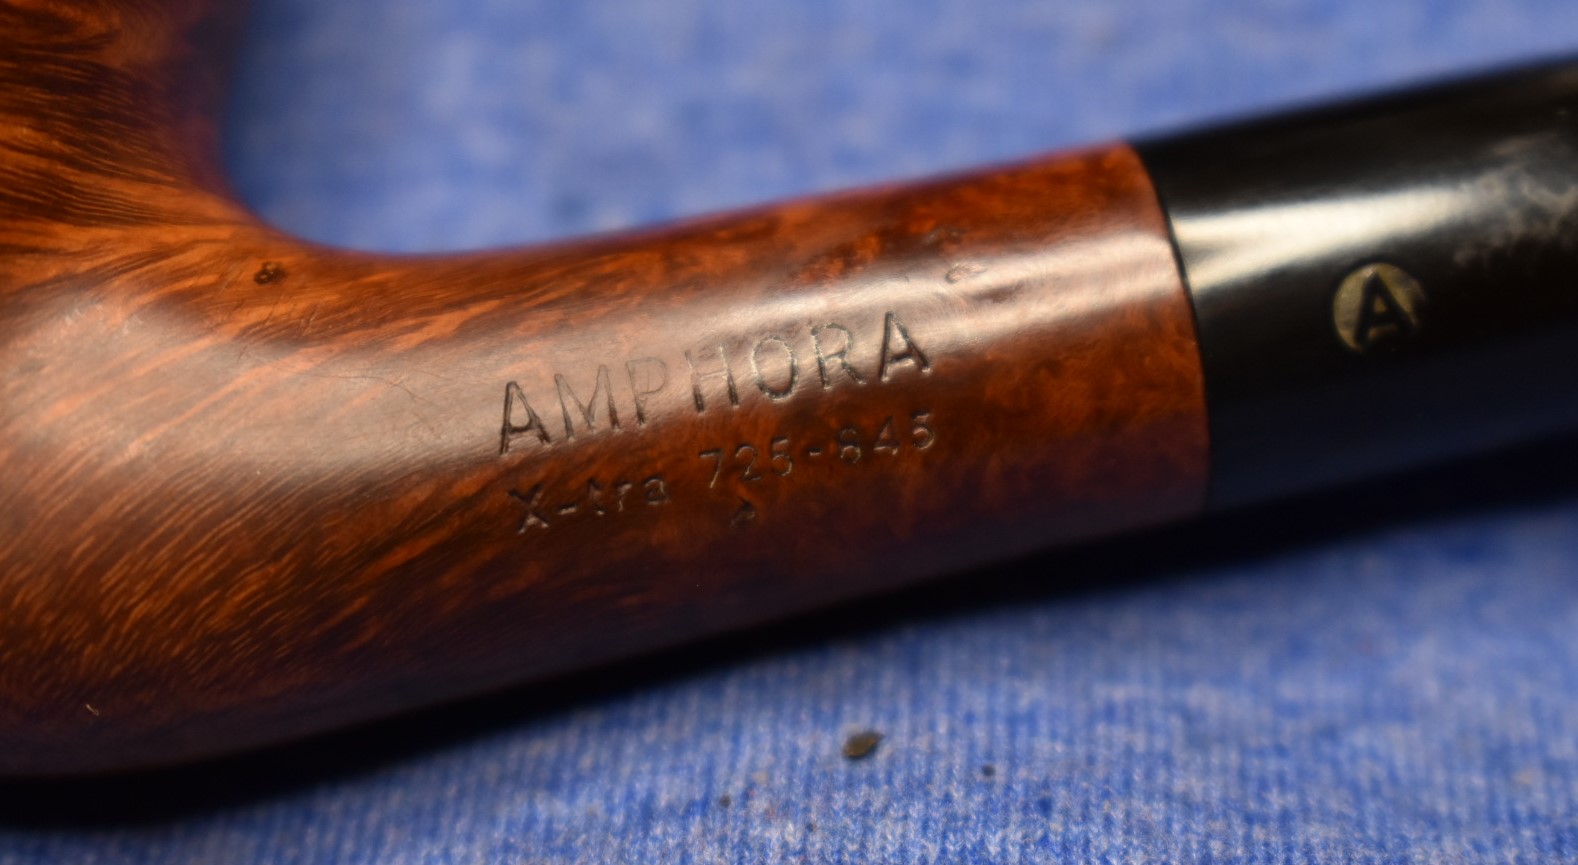
To think that someone around 1970 picked-up a pack of Amphora pipe tobacco, discovered inside a coupon/order form, filled it out and waited (8-14 weeks, most likely) for their prize. I can imagine the joy and anticipation when they opened the box to find the above Amphora 725 smooth finish bent billiard. They probably felt that this was a pipe made specifically for them as they got to choose the specific shape and finish.
Enough imaginative silliness. Let’s get to the restoration of this darling that came to me as part of an estate lot purchase from eBay. Shen the lot arrived this Amphora was not in factory fresh condition. It appeared as the photos below show.
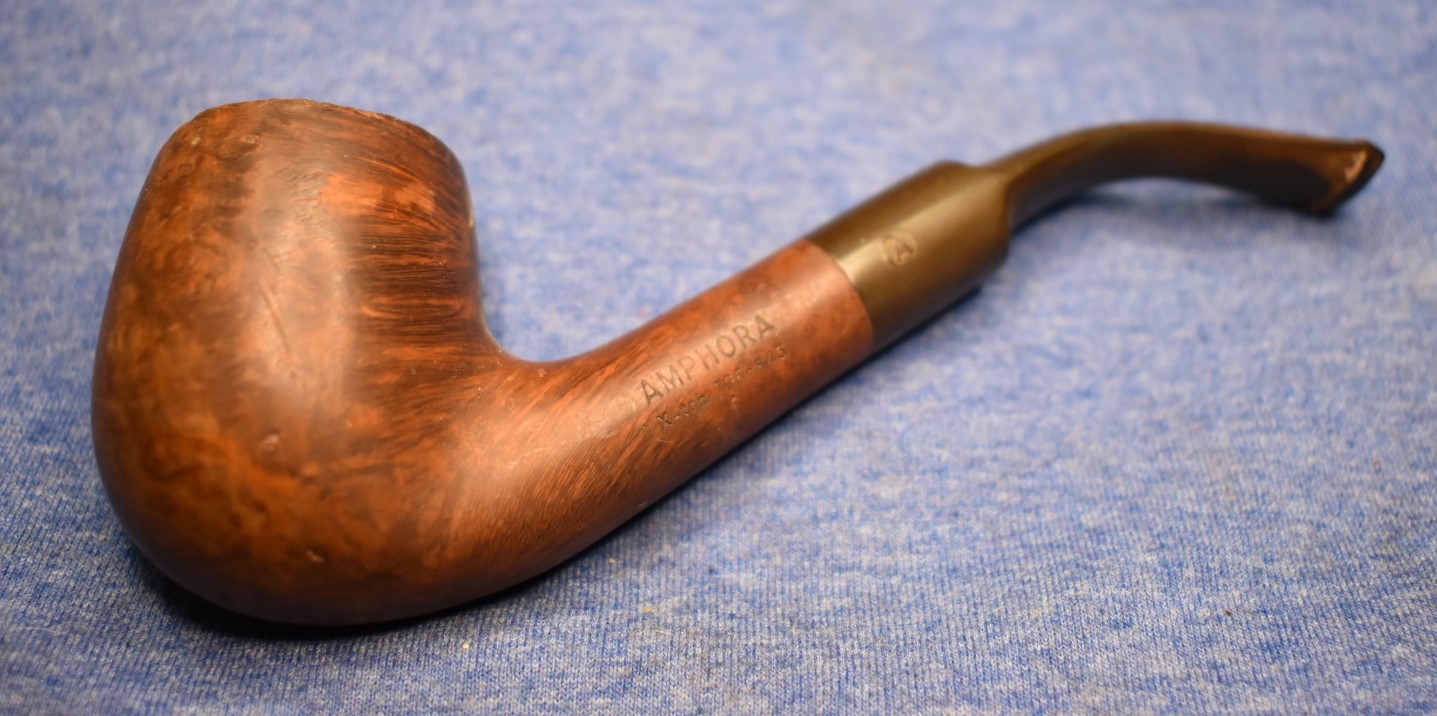


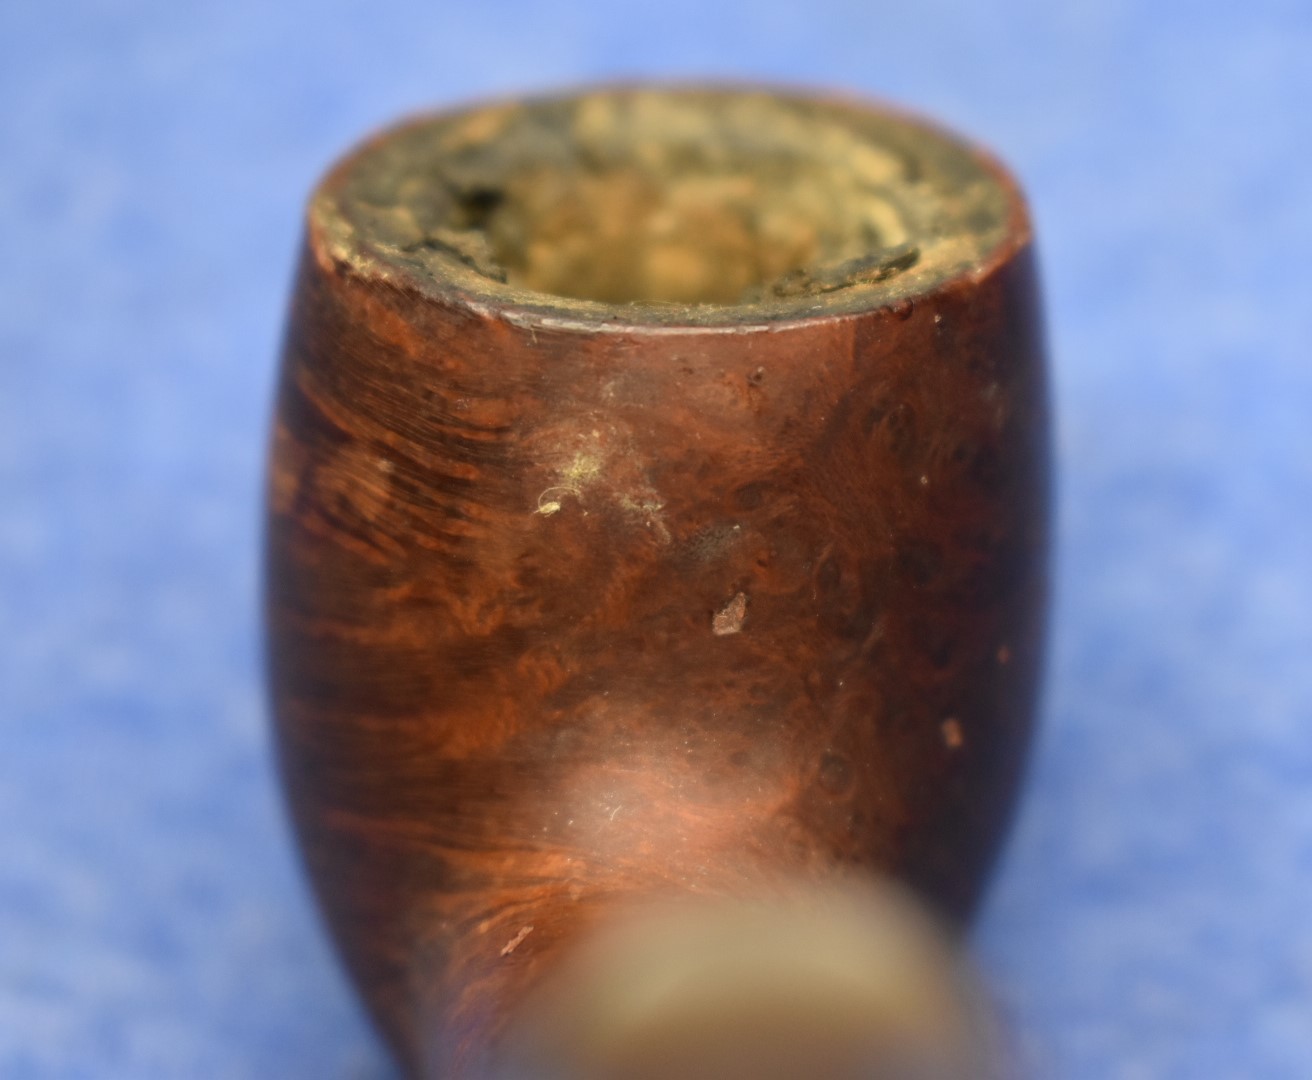


The term ”well used” came to mind. I also wondered about the pipedia.org quote about “The pipes are produced in relatively small numbers to a high standard and not commonly found.“ (Amphora – Pipedia). Wondered about the 8 fills that I would have to deal with, that is. The inner voice chimed in, “Oh well, you were the one who always wanted to work on an Amphora.” “Yes, I do”, was my reply to myself.
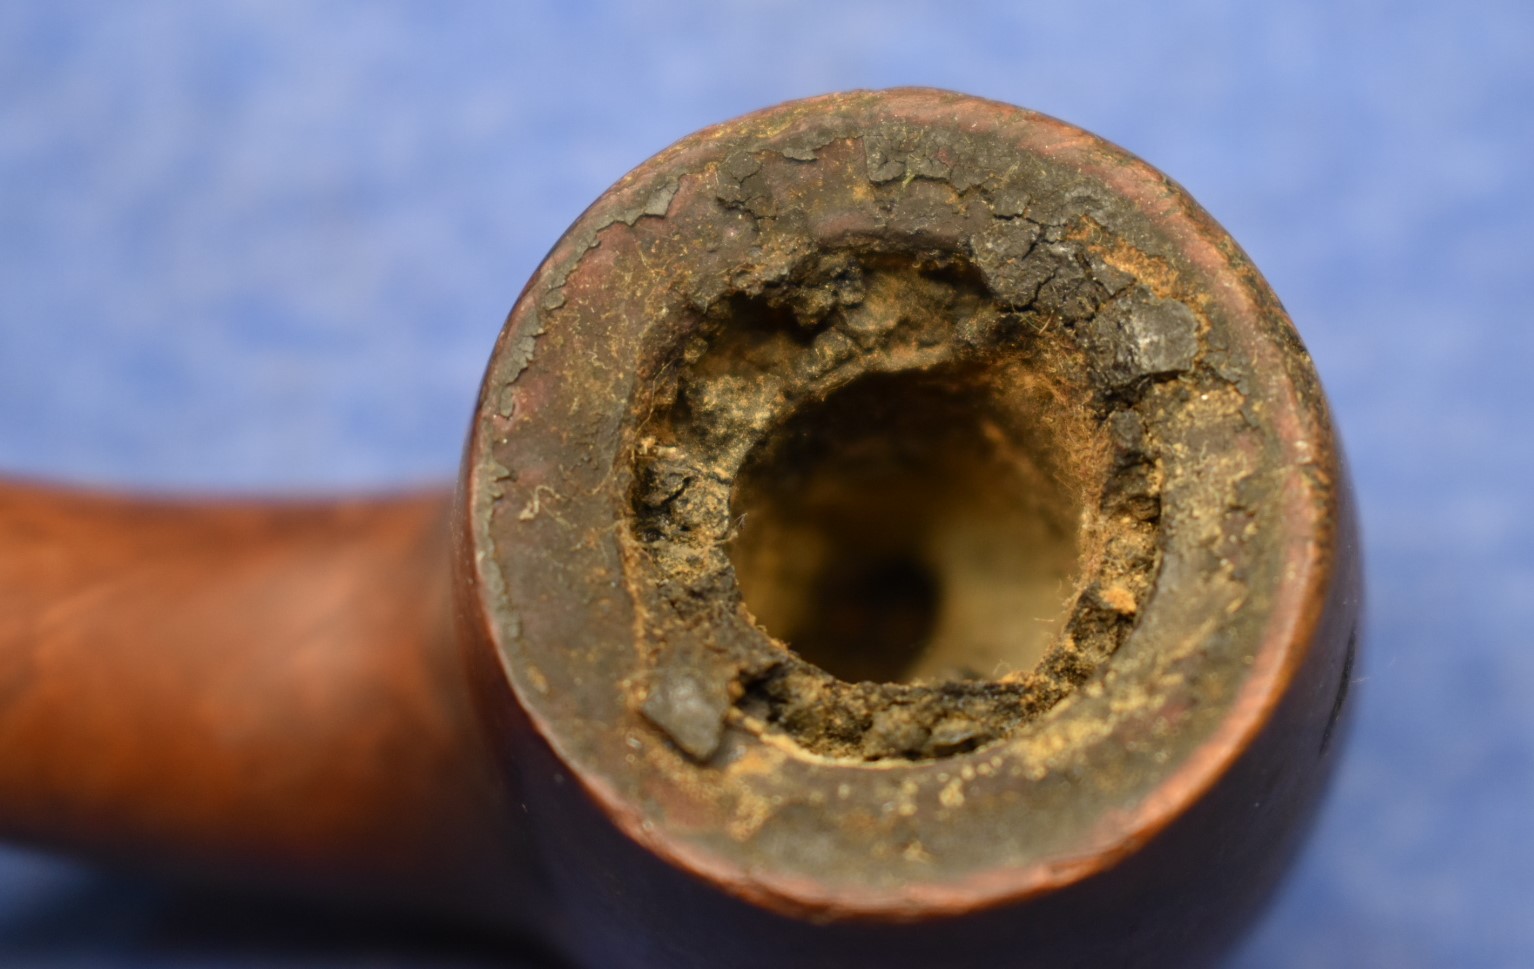
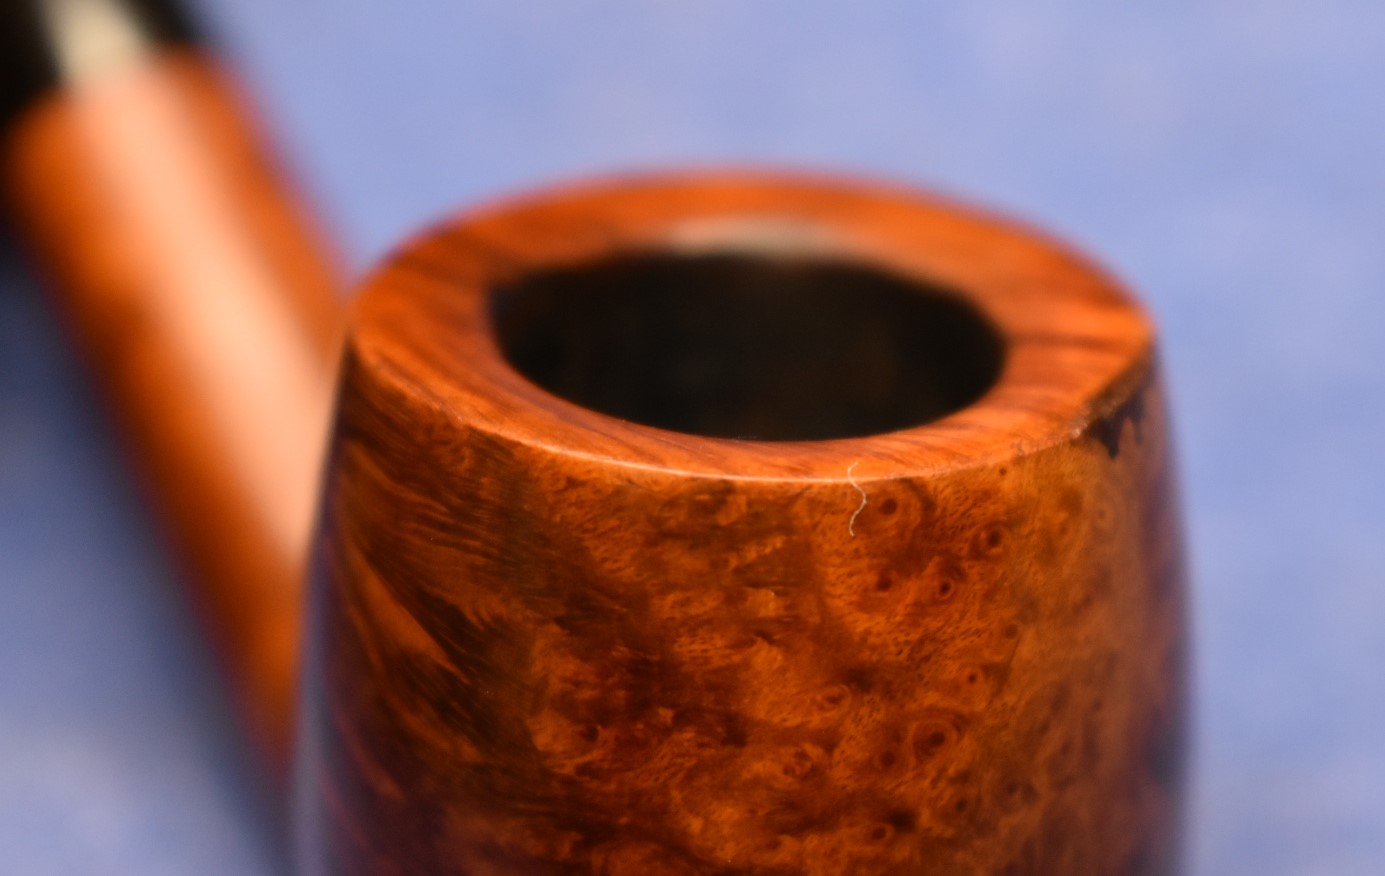
I figured that I would start with the usual tobacco chamber reaming. This “usual” proved to be slightly less usual. Part of the material to be removed from the chamber was of spider origin. 

The rim was also scraped of some of its lava before heading to the sink for the Murphy’s Oil Soap scrub.


The Murphy’s was used undiluted and scrubbed with a medium bristle toothbrush. Particular attention was paid to the rim in an attempt at removing all of the lava. After the scrub the stummel was rinsed with warm water and dried with a cotton dish towel.
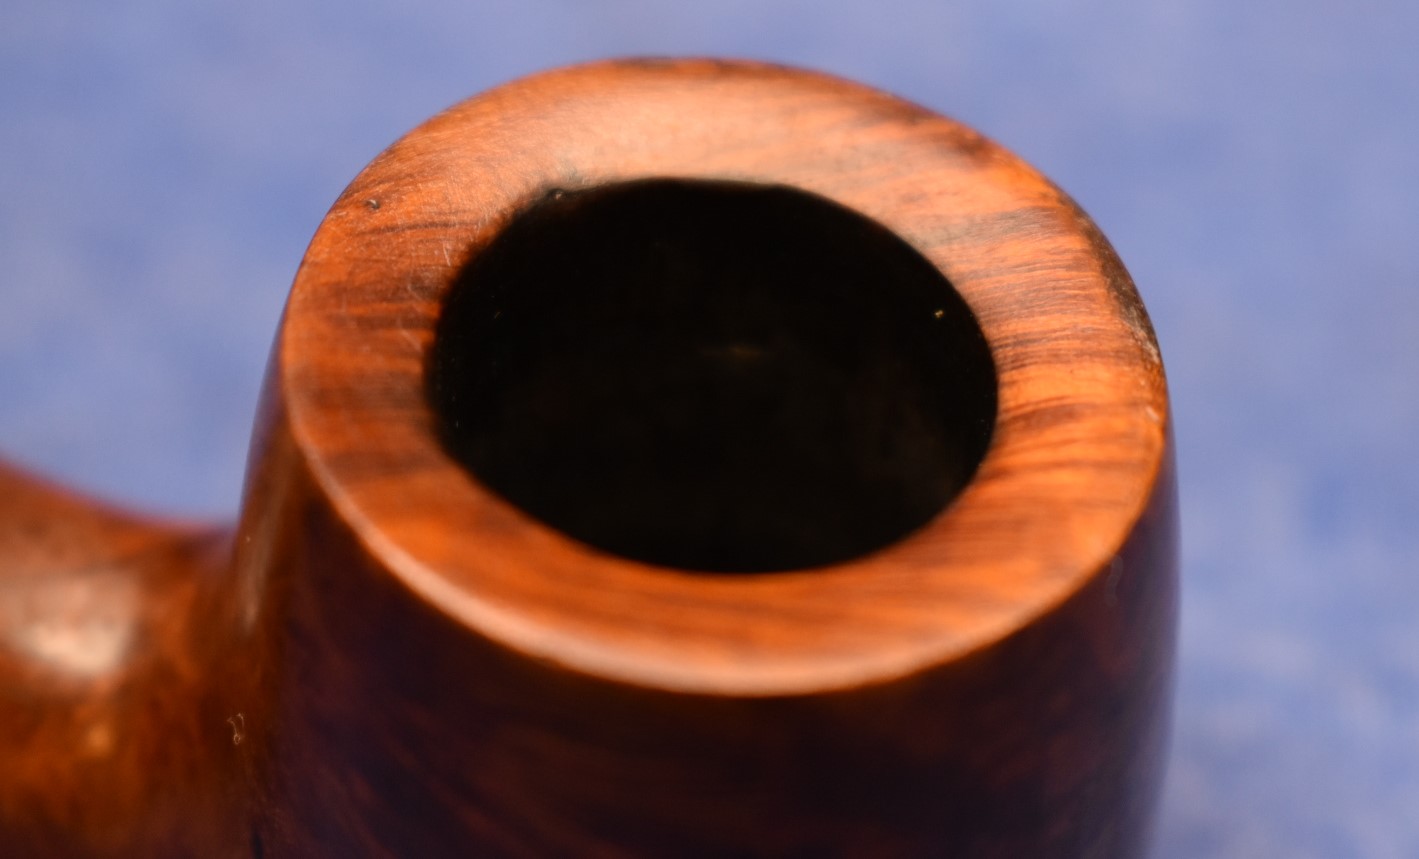
Returning to the workbench I could now see the damage done to the rim. Hmm, topping this rim would take at least an ⅛ inch or 3–4 mm off the top. I decided to give the rim a slightly “canted” appearance by filing the front off the stummel then reestablishing the beveled rim by sanding with a 1 ½ in PVC pipe cap topped with sandpaper. The newly sanded rim was then stained with Maple colored furniture repair stain pen. This was blended in with an alcohol soaked make-up pad.


I failed to take any photos of how well this worked at this stage of the restoration. You can jump down to the finished photos of the rim if you can’t wait. I don’t want to spoil the surprise for those with patience.
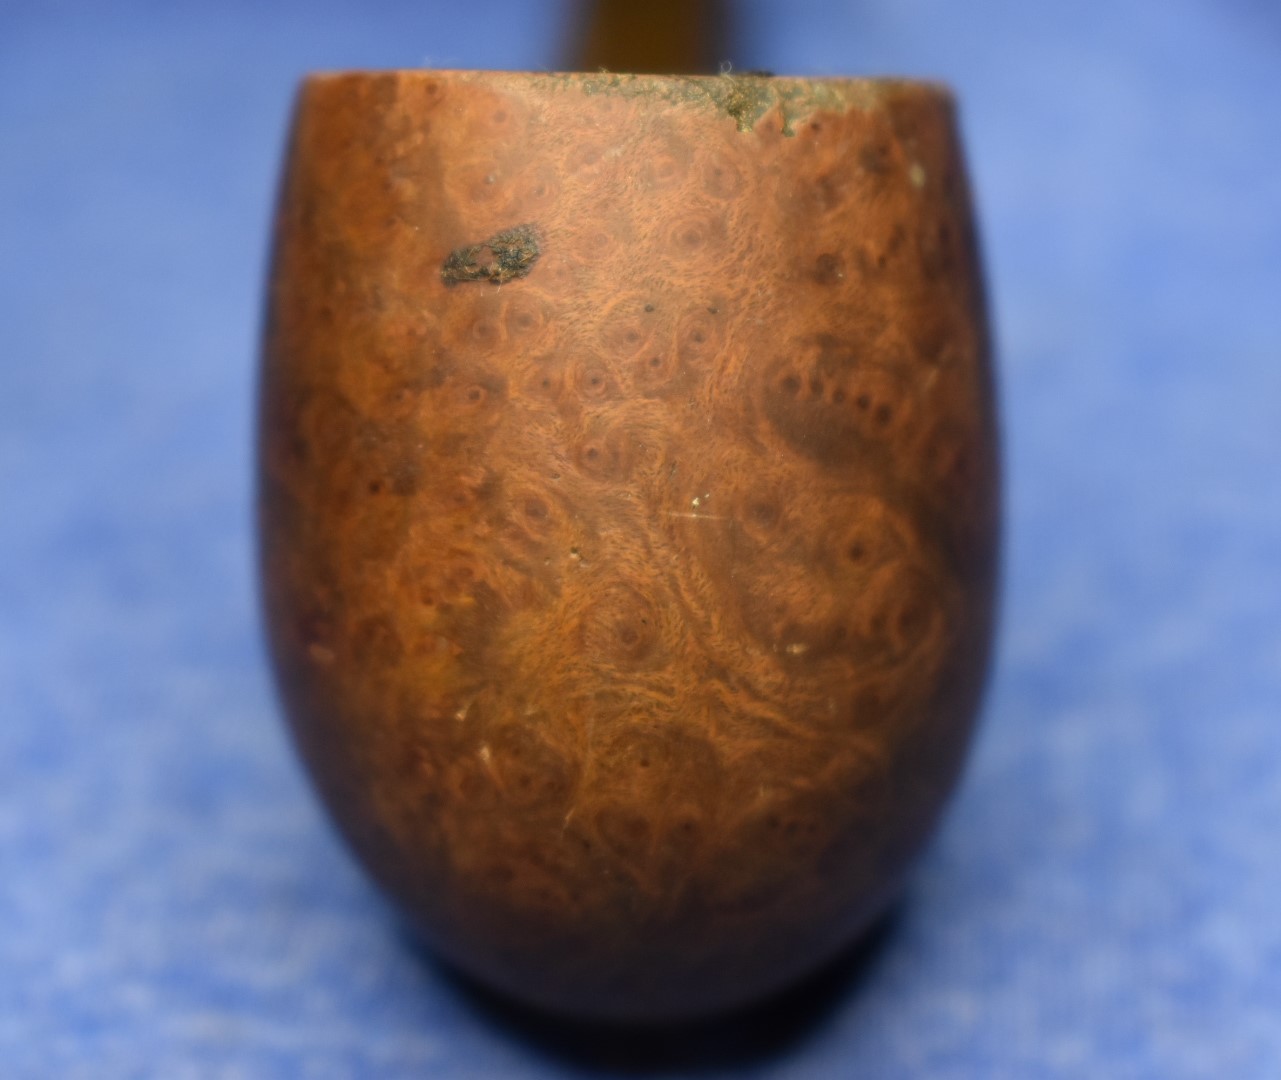
Next was dealing with the fills. I used a fly tying bodkin to pick out any fill material or to clean out the pits. None of them were really large fills, just little sand pits that I found annoying.


The easiest way to deal with them was to forcefully press briar dust into the pit and place a small drop of cyanoacrylate (CA, super glue) onto the briar dust filled pit.

Immediately after the CA was added I would press additional briar dust down onto the CA. There was still a small damaged area at the front rim which I also placed a dab of CA and then applied a pinch of briar dust. After all of these fills had cured I smoothed the CA off with a needle file then sanded with 400 sandpaper.
Next I started cleaning out the airway. This proved to be more troublesome than I initially thought. I don’t know why, I had seen the cake in the tobacco chamber and knew this pipe had seen heavy use. I guess “de nile” isn’t only for African geography students. The shank was heavily tarred. The short

version is; many alcohol soaked cotton swabs, a few visits to the sink with alcohol poured into the bowl and scrubbed with a nylon shank brush and more cotton swabs later the airway was cleaned.
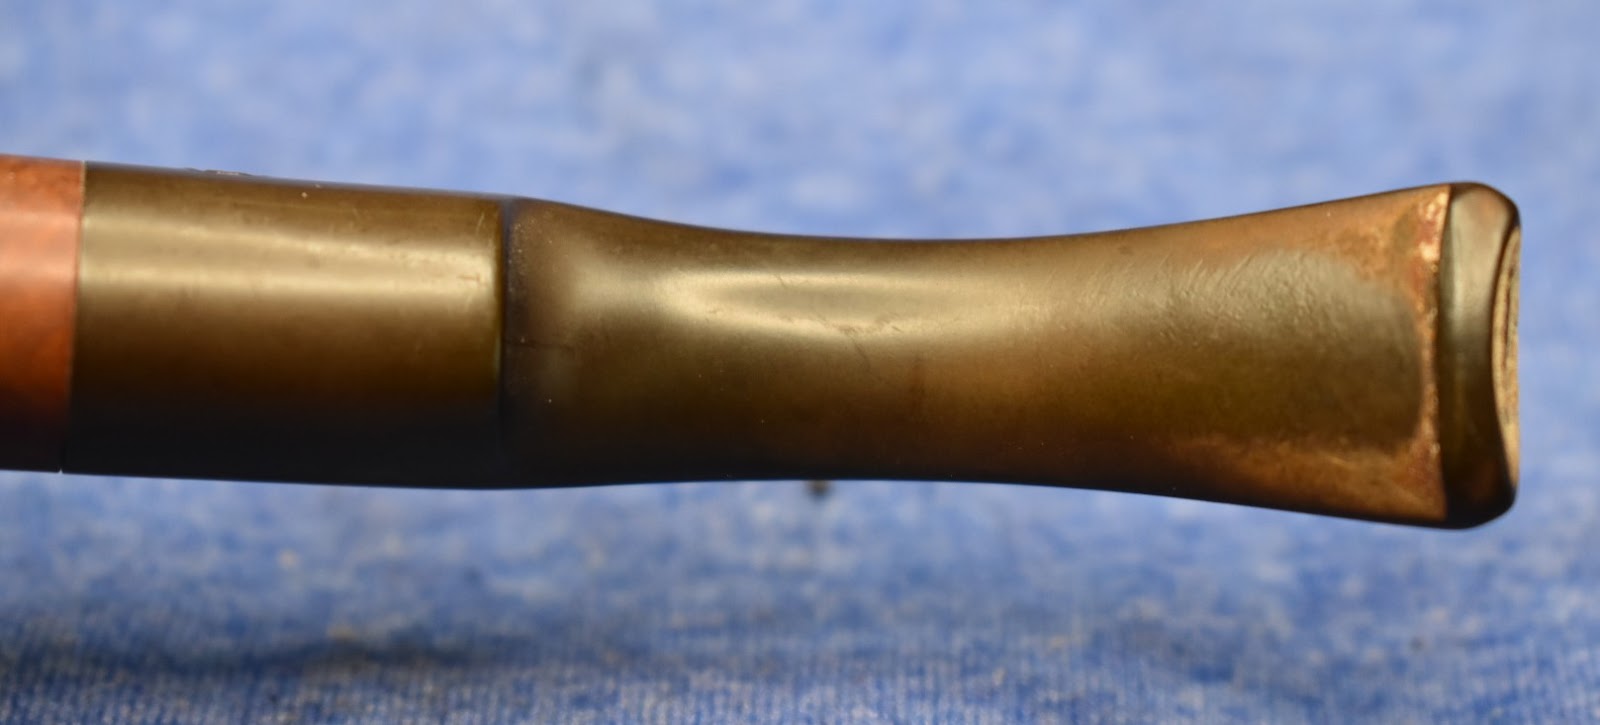
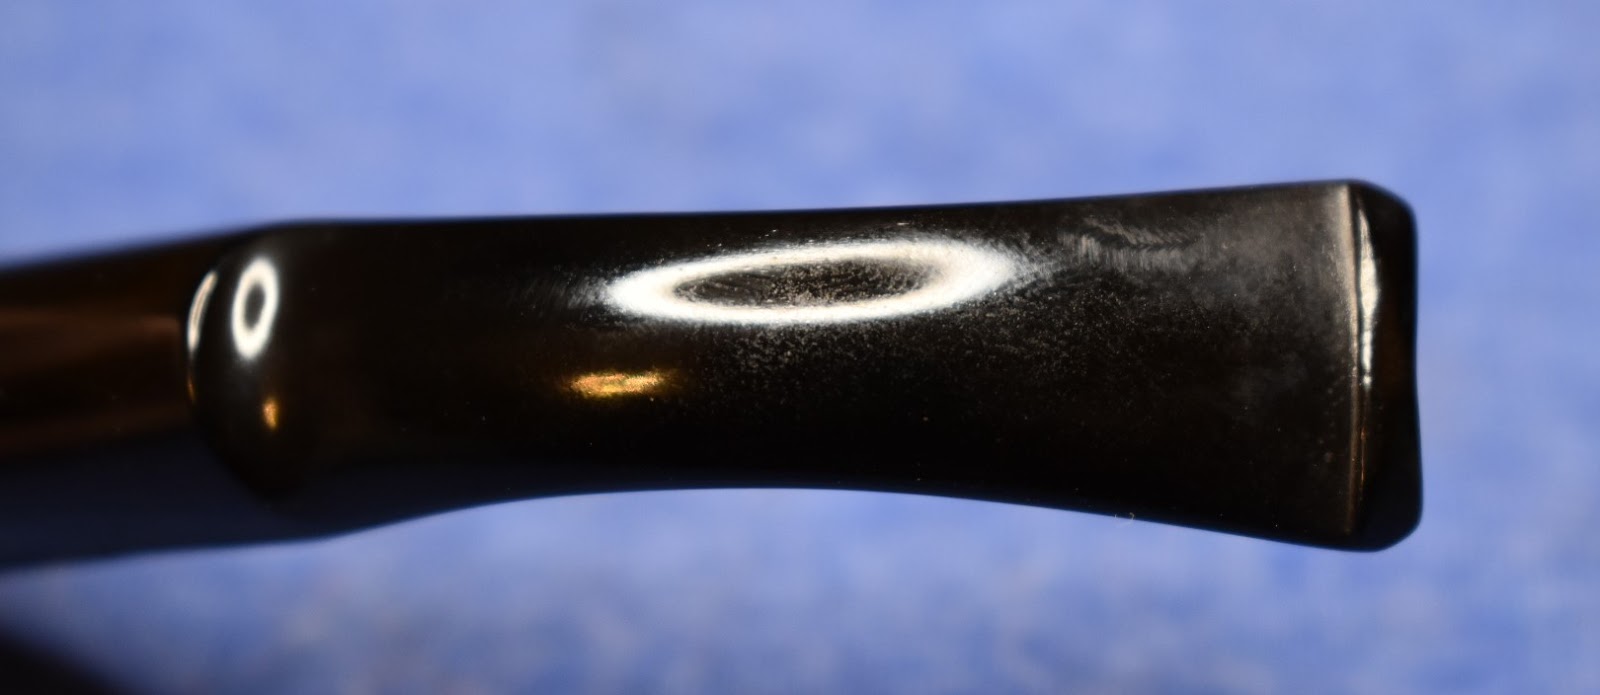
The stummel was ready for finish sanding but the stem needed to be attached for that. This meant that the stem needed to be the next focus. There were no deep dents from clenching nor any significant tooth chatter. Oxidation


and calcium deposits were the only issues. I started by scraping the button edges with a sharp knife. Then gave the stem an energetic rub with 0000 steel wool to remove the calcium and outer oxidation. After the steel wool, I started rubbing the stem with Soft Scrub with Oxy-Clean on make-up remover pads. These came back with the dark golden brown indicating that they were removing oxidized vulcanite. I continued this until I was satisfied with the color of the stem. Since there were no dents requiring sanding I thought that I’d just use white diamond buffing compound and the buffer to polish the stem. It looked good so I gave it a drop of Obsidian Oil rubbed in with my fingers.
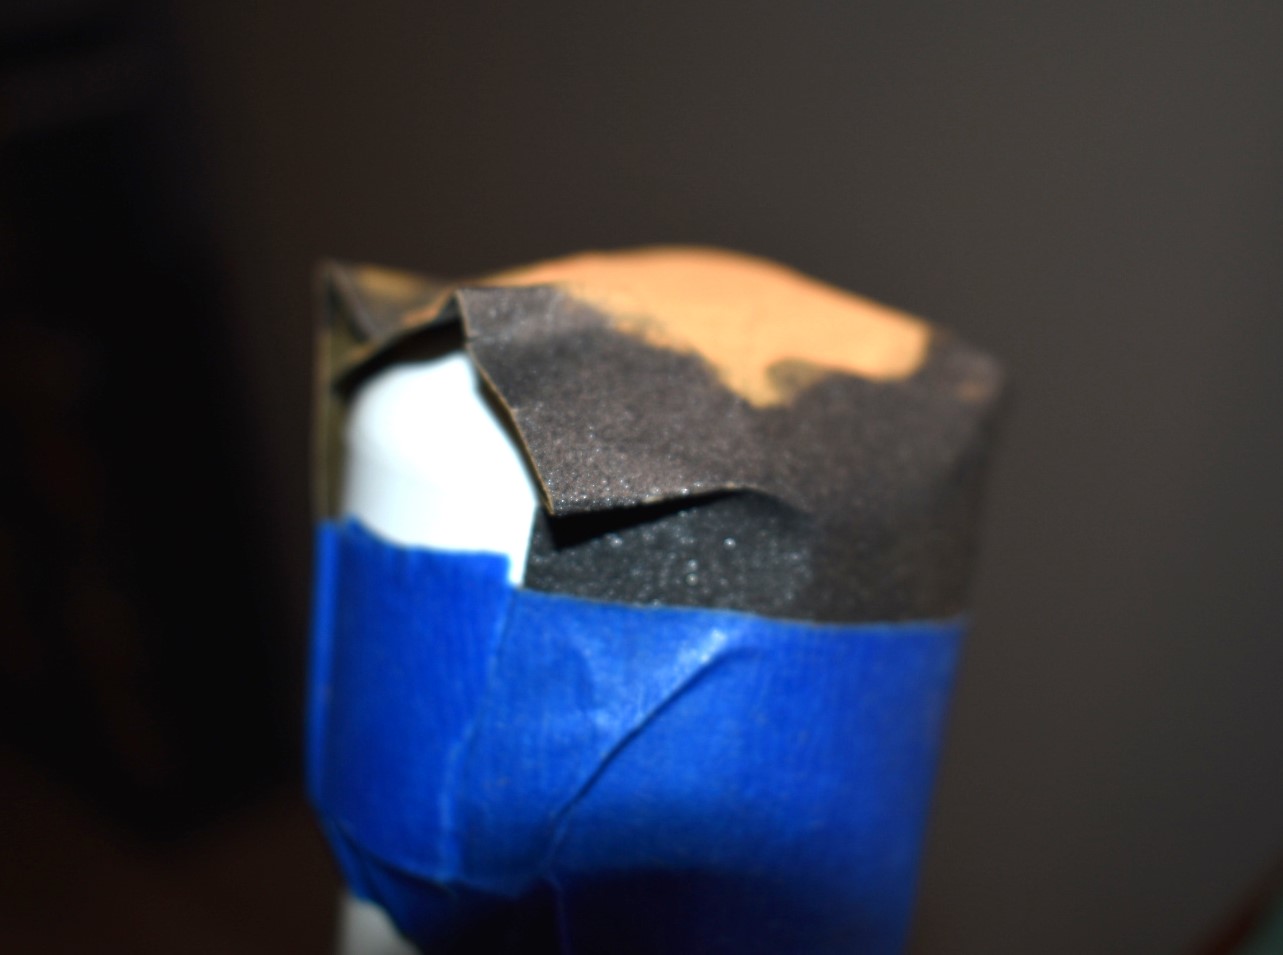
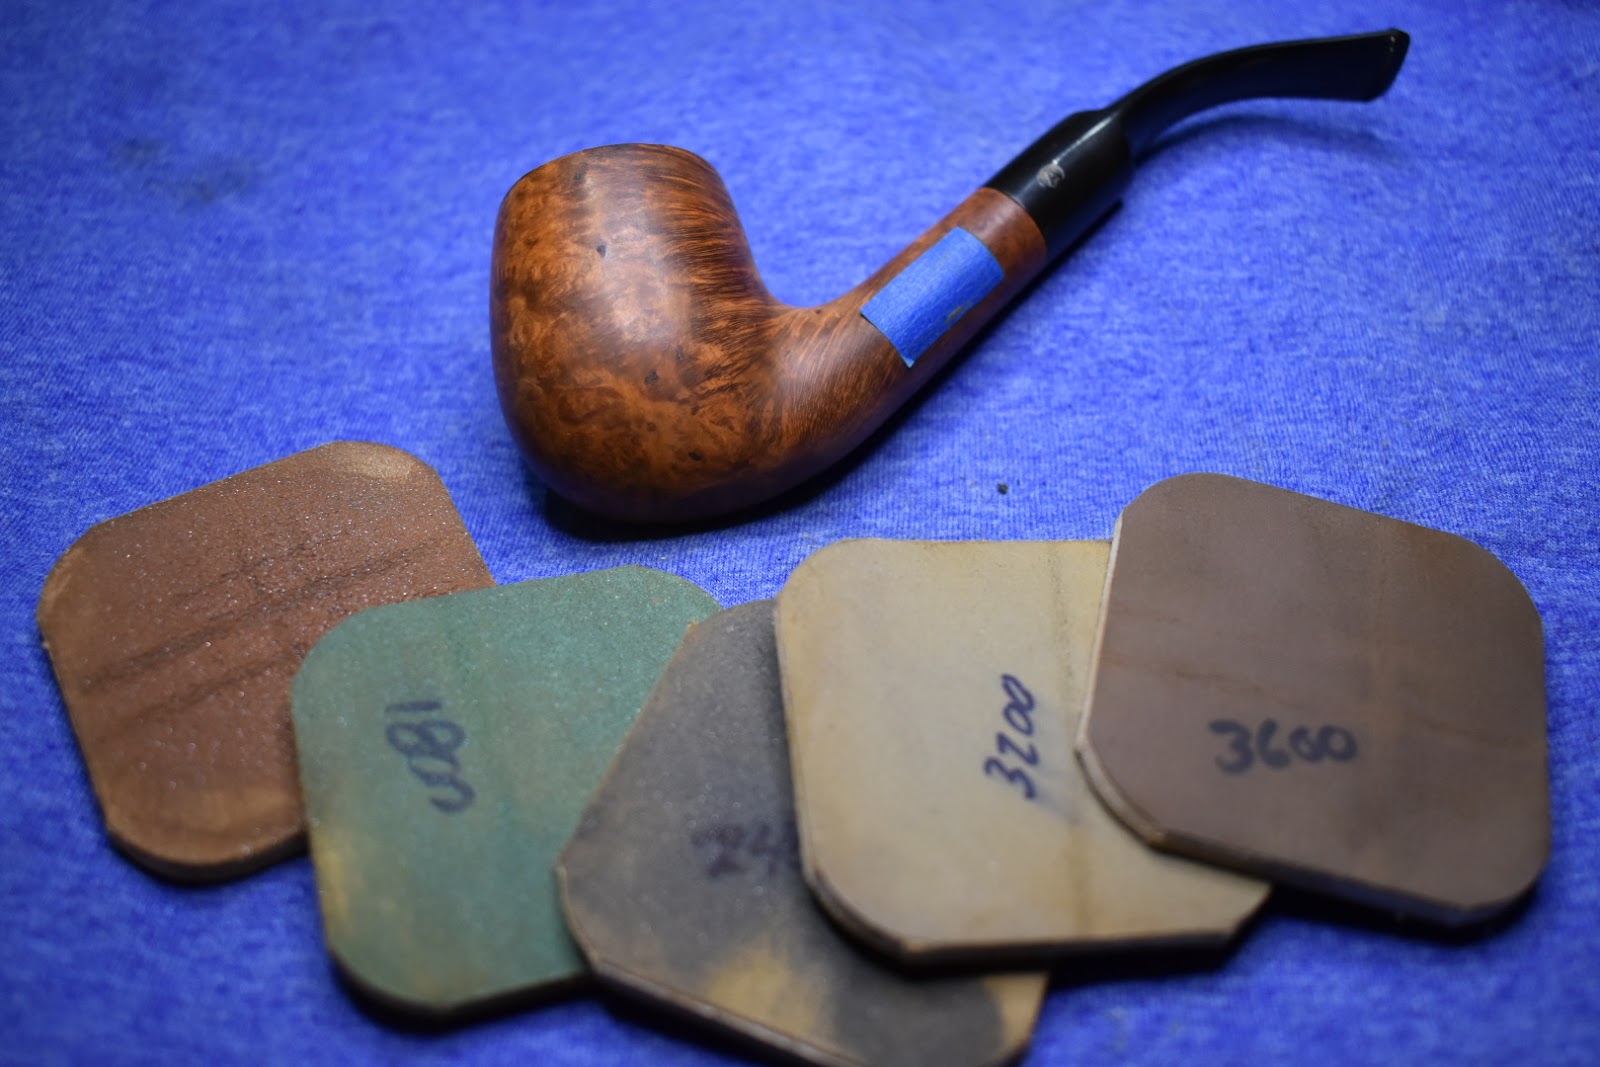
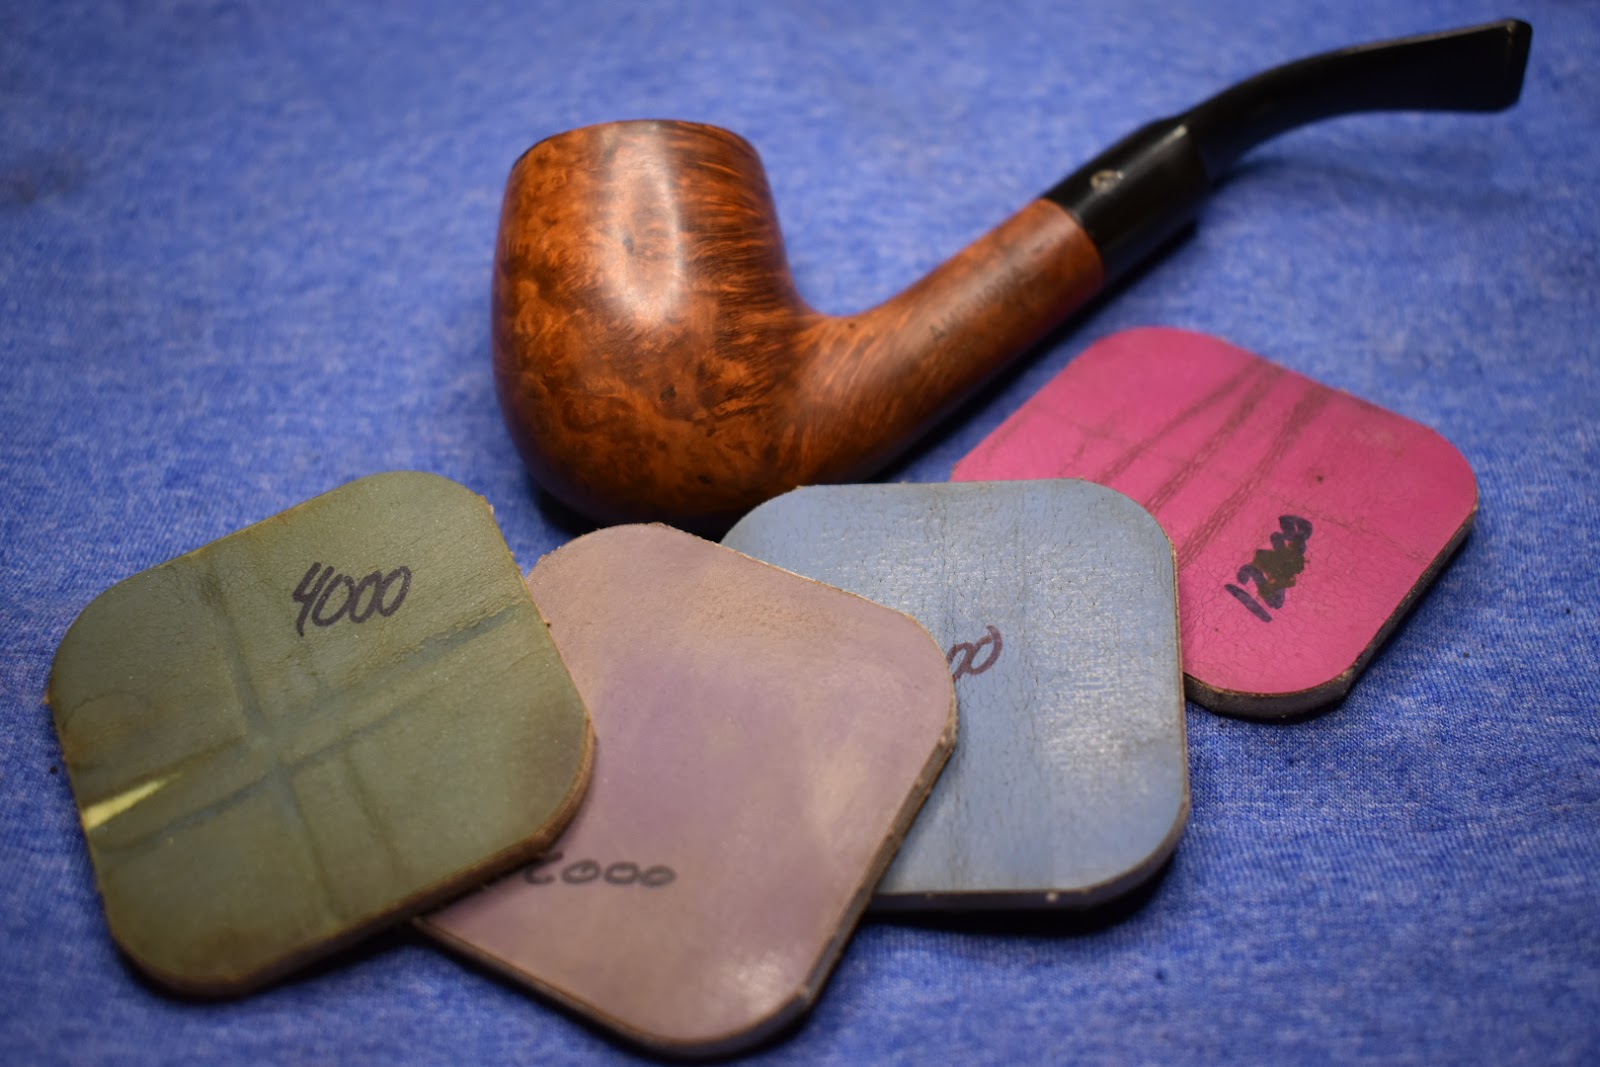
The stem was reunited with the pipe. I knew that I would probably scratch the just polished surface of the stem with the micro-mesh pads but was not concerned since the shank and stem would be smoothed evenly in the process. I masked off the shank stampings with painter tape and began with the 1500 micro-mesh pad. I used the pads dry in succession through the 3600. Between each pad I would wipe the stummel with an alcohol moistened make-up pad and the stem with a drop of Obsidian Oil followed by a paper towel. After the 3600 micro-mesh pad I removed the painters tape and cleaned off any adhesive residue with alcohol. I continued with the 4000-12000 micro-mesh pads again wiping with alcohol pads and Obsidian oil, as before.
At this stage I had what appeared to be a few spots of uneven color due to the sanding of the CA fills. The light spots were not very noticeable with the photos. Trust me, they were there. To address this I poured about 5 ml of 95% ethyl alcohol into a medicine cup. I then made a dye applicator from a pipe cleaner. I dipped the pipe cleaner into Fiebing’s Light Brown Leather Dye. I then stirred the 5 ml of alcohol with the dye soaked pipe cleaner. This acted to dilute the dye significantly. After stirring I applied the dye onto the stummel. I used two coats, flamed after the second coat. This was then wiped with an alcohol dampened make-up pad to blend the dye. It worked as planned, unfortunately I did not photograph this part. Apparently it was late and I blame sleepiness for my neglect.
When finished with the micro-mesh pads I slathered on a healthy coat of Before and After Restoration Balm and let it dry overnight. Bed time.
The next morning I wiped off the pipe with the inside of an athletic sock. I am beginning to think this may be the purpose for the terry cloth inside of socks. The pipe was really looking good. I took it to the buffer for several coats of carnauba wax on both the stummel and stem.
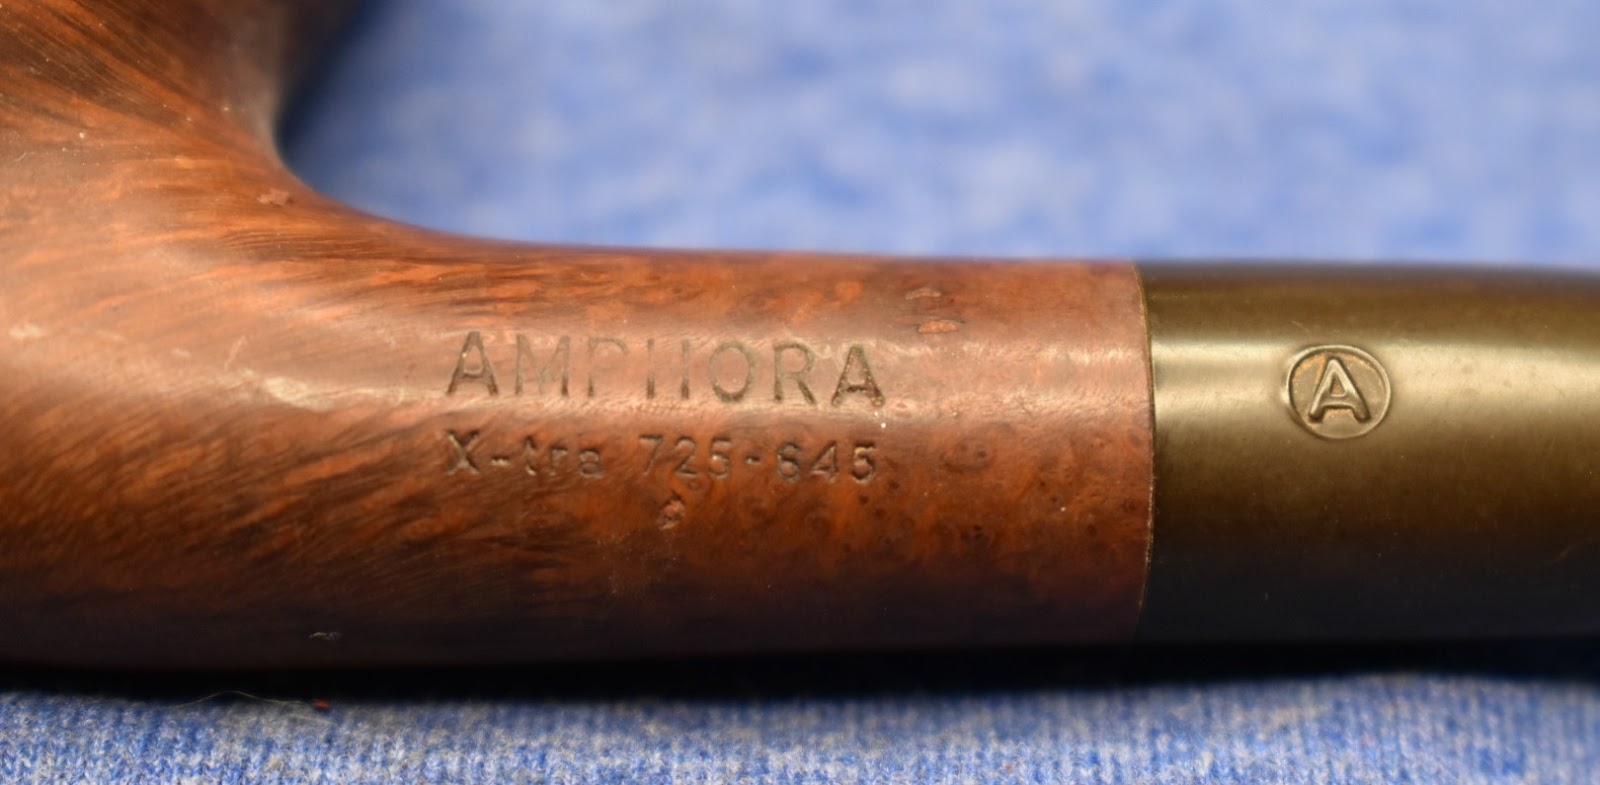
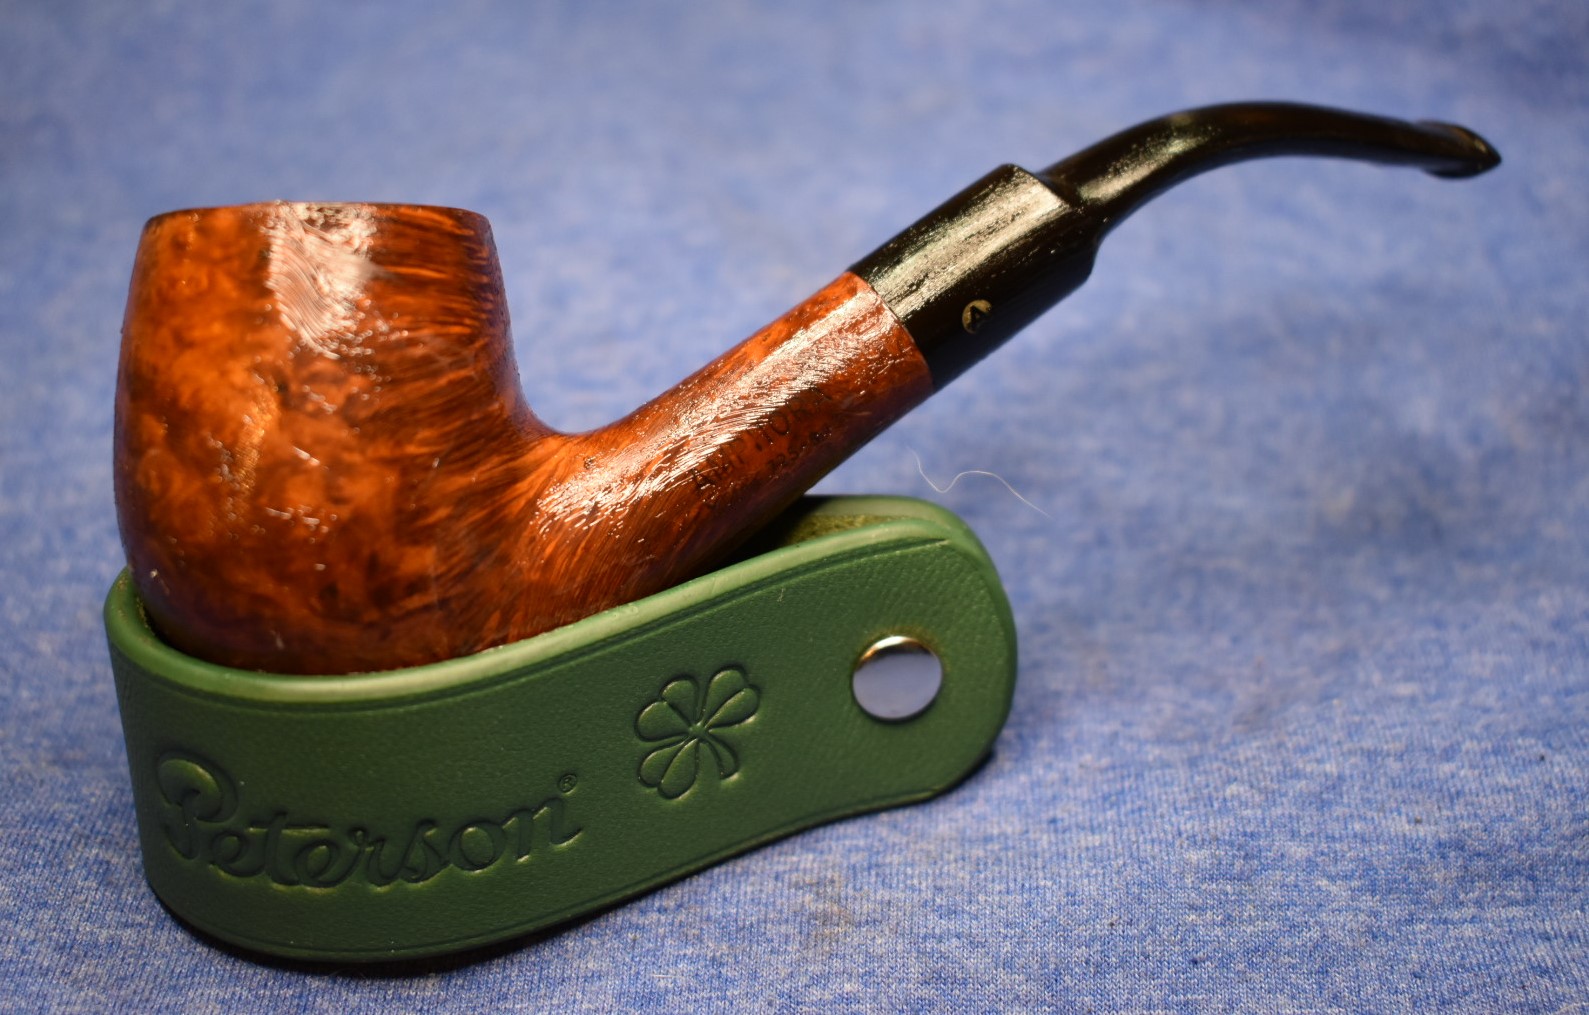
Overall the Amphora turned out very well. She is quite photogenic. The rich browns of the briar contrast nicely with the ebony stem and the grain patterns of the sides are mostly symmetrical and show off the swirls and bird’s eyes at the front. I neglected to repaint the logo. That will need to be done in the future. I have noticed two different colors when looking at old Amphora photos so, I am unsure as to which color would be more appropriate. I hope that you have found this restoration useful or at least entertaining. If you like this sort of thing please click the like and or subscribe, below. Thank you for reading the ramblings of an old pipe lover.
Below are photos of the finished (sans logo repainting) Amphora bent billiard.


