Bent Bulldog Restoration
Written and photographed by John M. Young

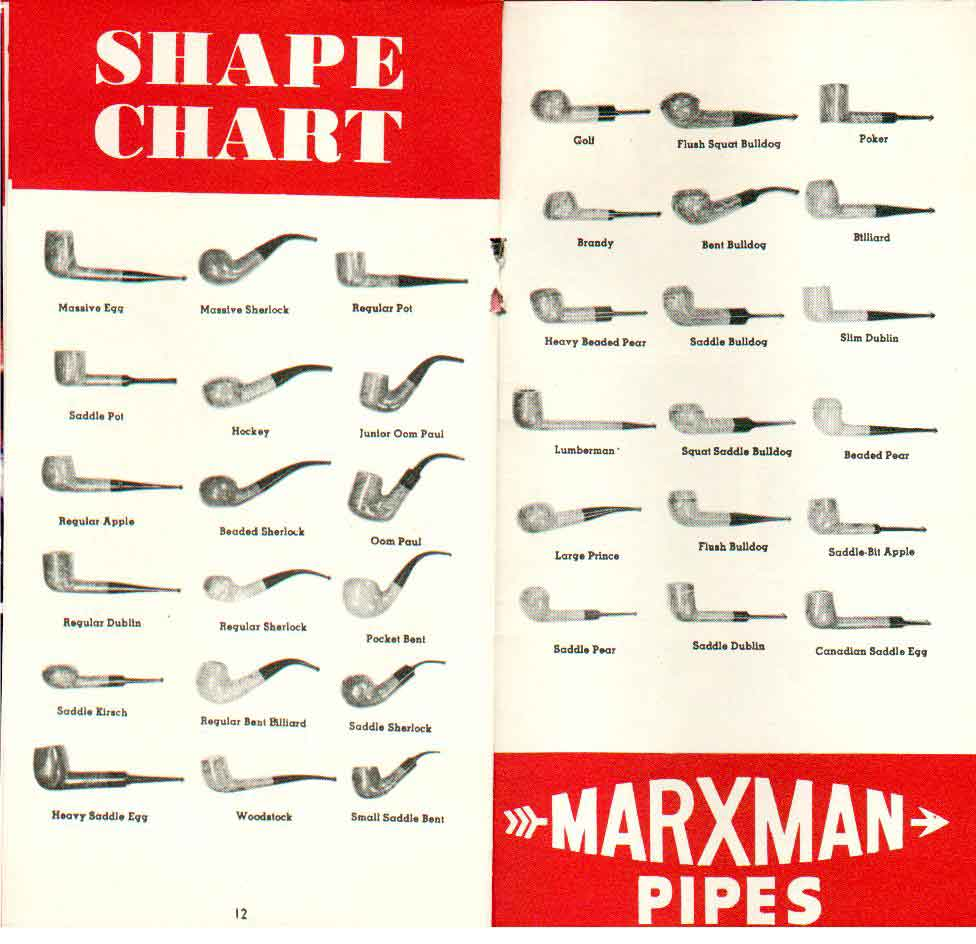
The bulldog, easily one of my favorite shapes. The other day I was discussing my favorite shapes and I joked that my top 3 list of pipe shapes had 5 contestants. This ridiculous statement indicates my inability to choose only 3 or that my math skills are subpar. Either way the Bulldog or Rhodesian is definitely on the list. The subject of this blog is a Marxman bent bulldog The shape comes directly from the Marxman catalog, circa 1945:
This Marxman bent bulldog was purchased individually on eBay. Yes, there are some people that purchase a Marxman pipe individually and not just one of an estate lot. I get the impression that there is a prevailing idea that Marxman pipes are pipes of lower quality. Let us examine some common claims:
- Marxman pipes were cheap.
Marxman did not produce any $.50 to $1.00 pipes. Judging by the Marxman catalogs and print ads $2.50, $3.00, $5, $7.50, $10and $15 were the 1945 prices of Marxman pipes. $1 in 1945 = $17 today thus, $42-255 in today’s dollars. (https://www.bls.gov/data/inflation_calculator.htm)
Comparing Marxman to 1946 Yello-bole print ads, Yello-bole pipes are listed at $1 and $1.50 (https://pipedia.org/wiki/File:YBShankLogo16.jpg)


- Marxman pipes are full of fills.
Look at the time frame. Marxman started the company in 1934 and sold it to Mastercraft in 1953. Other than the first 5 and last 5 years, World War 2 affected the ability to access Mediterranean briar. (Marxman – Pipedia)
I have Marxman pipes with many fills and with no fills, indicating that they used the briar that they could obtain.
I have yet to find a Marxman pipe that has more fills than I have birthday candles on my cake. Yeah MasterCraft, that is aimed at you.
- Marxman pipes are less than attractive (AKA Ugly).
Okay, I’ll give you that one.
- Marxman used those ugly worm trail carvings to hide cheap briar.
Perhaps those carvings are the best way to work the soft Algerian briar that smoke so well.
- Algerian briar is of poor quality.
Now that is a loaded statement. Search any pipe smoker forum for “Algerian briar” and you will find opinions as to it being the “best” to “barely fit for pipe making”. I have examples of exceptionally smoking pipes made from Algerian briar.
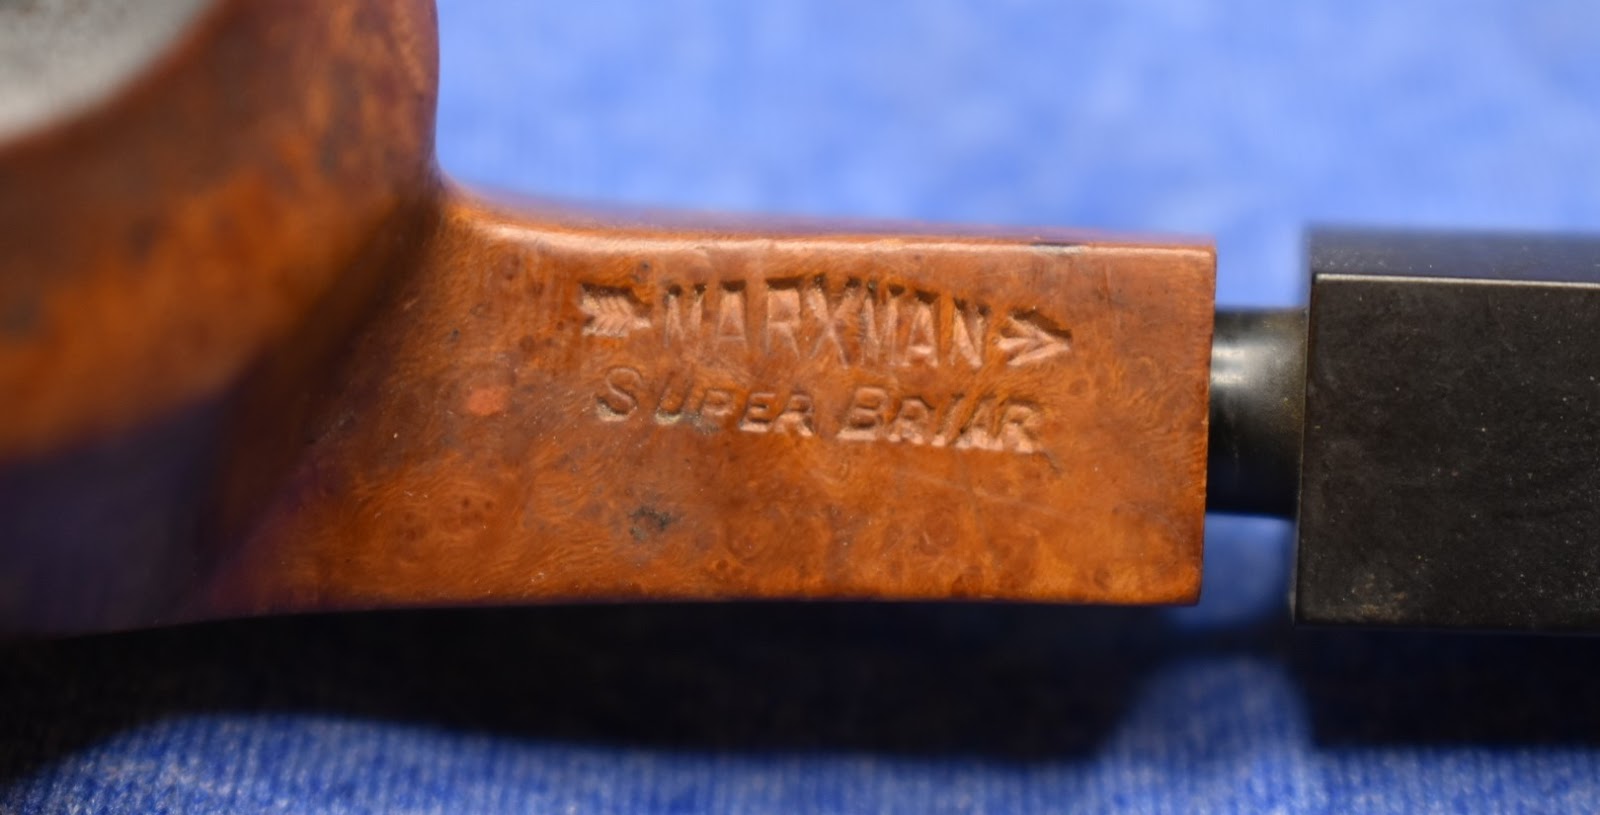
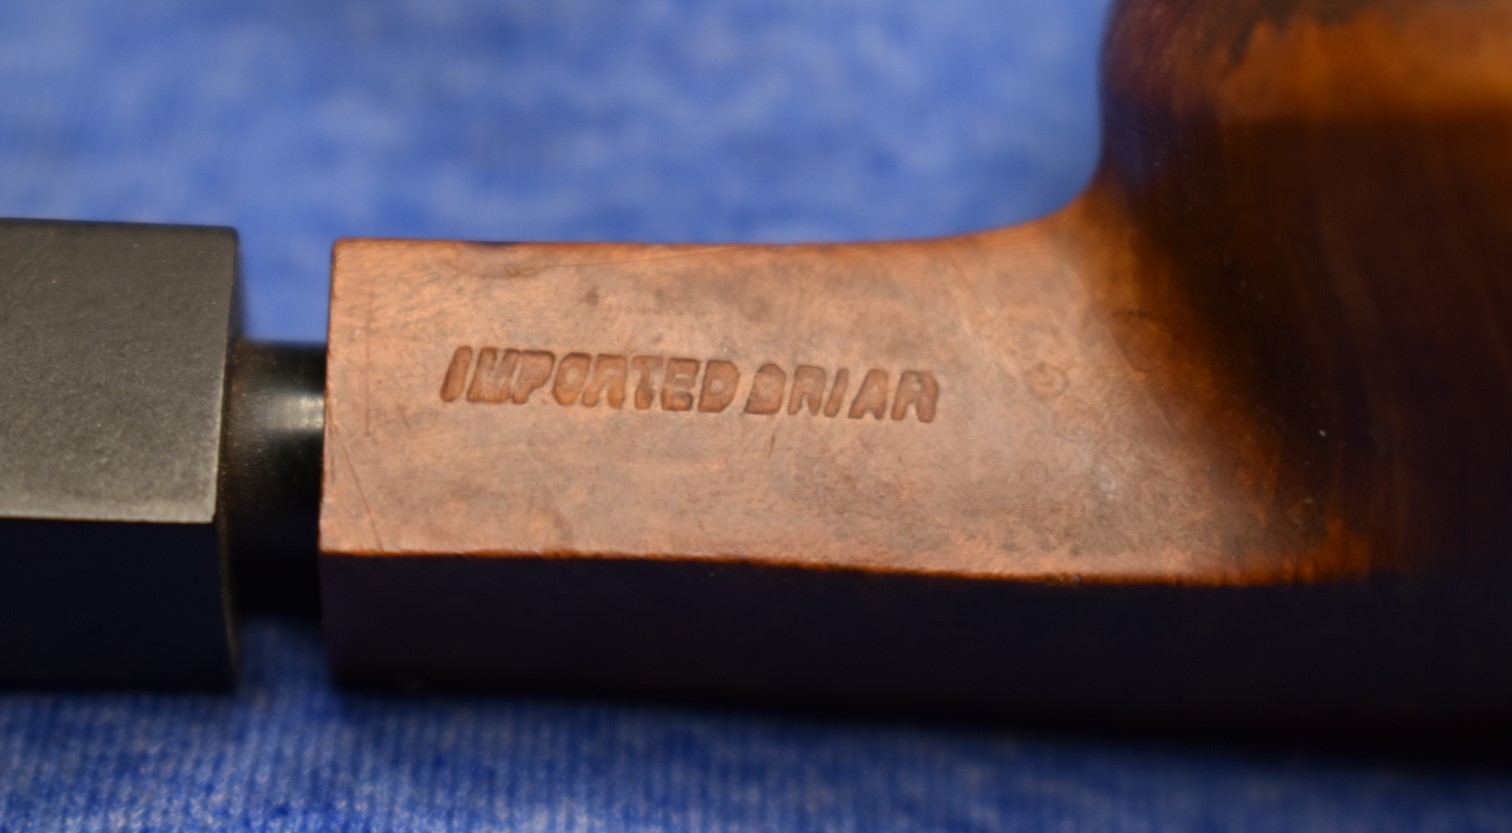
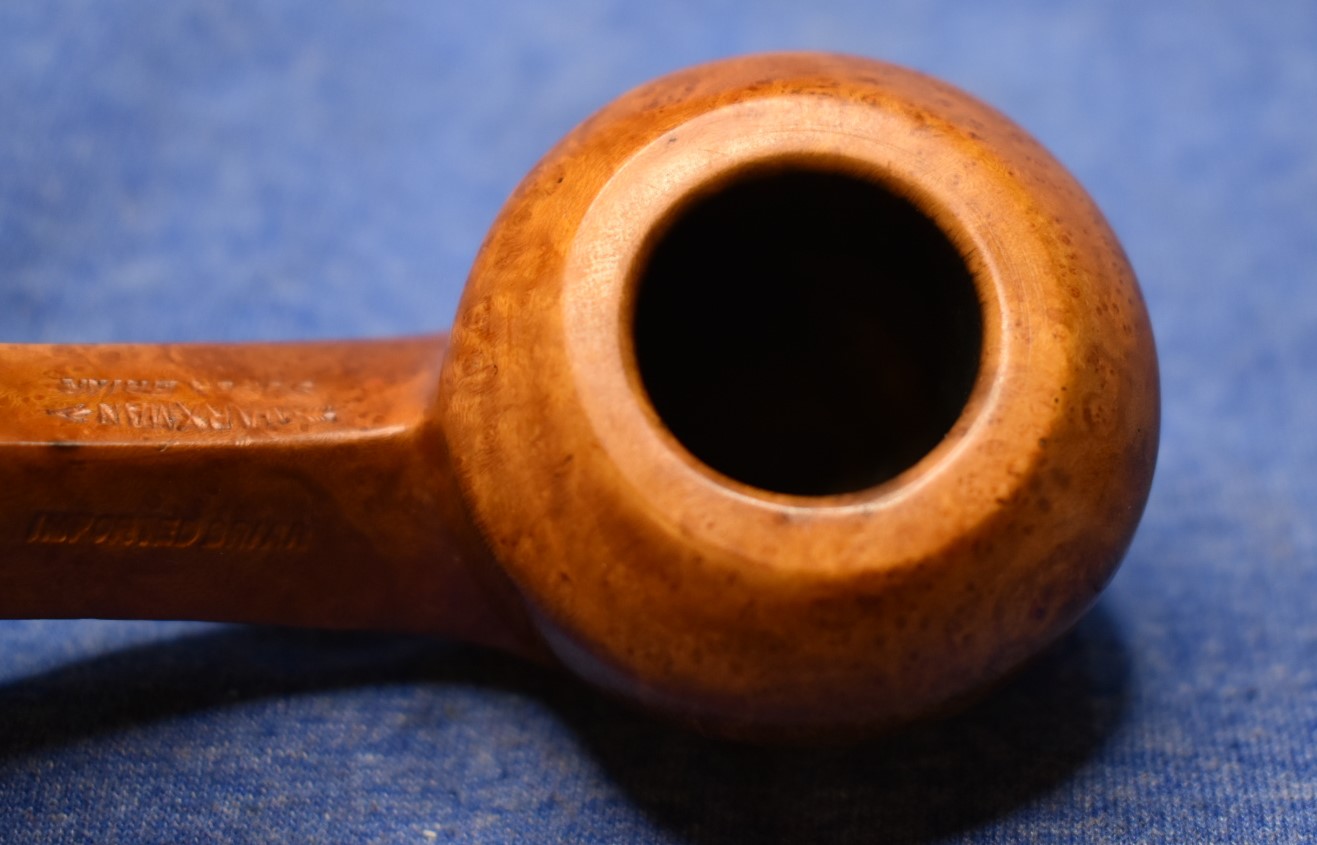
As for this Marxman Super Grain Bent Bulldog I can say that it was made in New York City (Marxman Pipes Inc., was located at 27 West 24th St. New York 10, NY.) between the dates of 1934-1953. (Marxman – Pipedia).
When this Marxman arrived it looked like this:
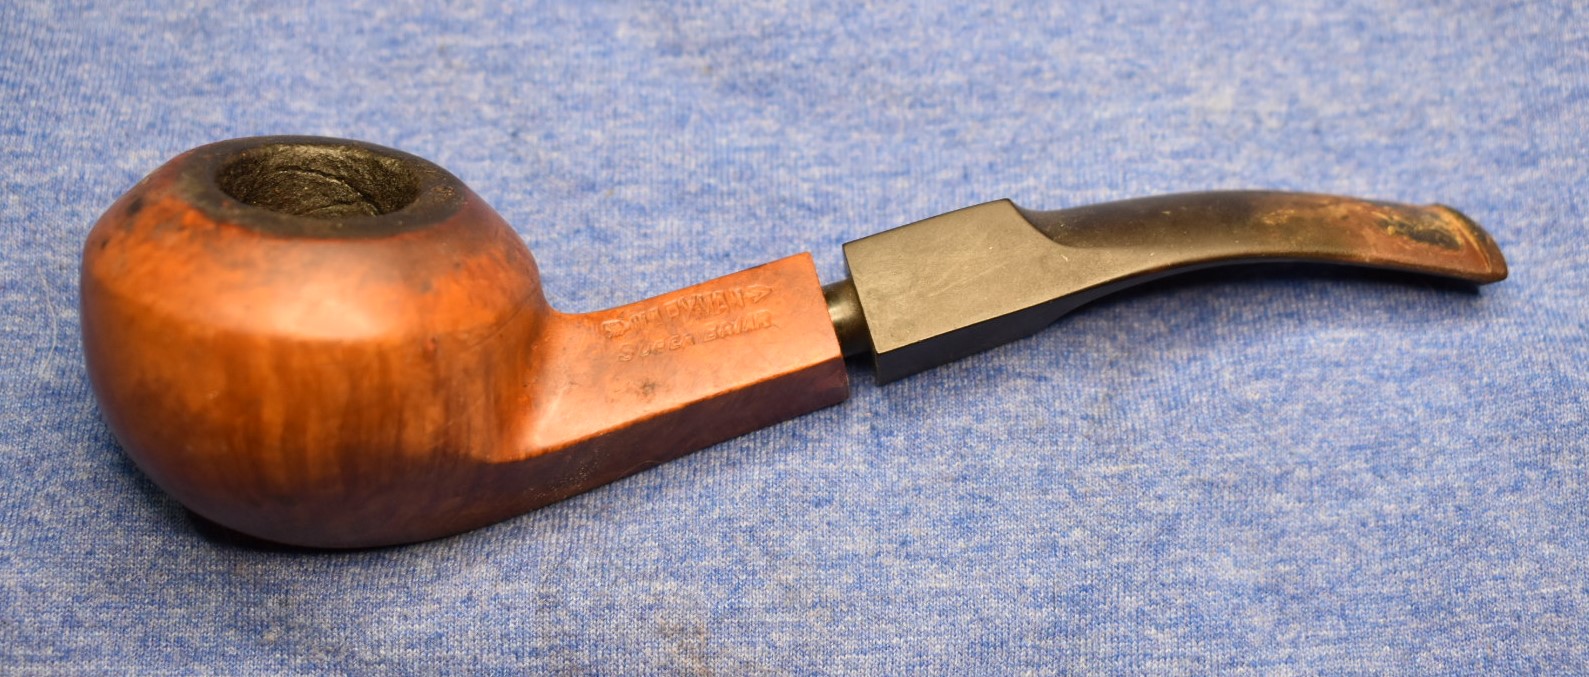
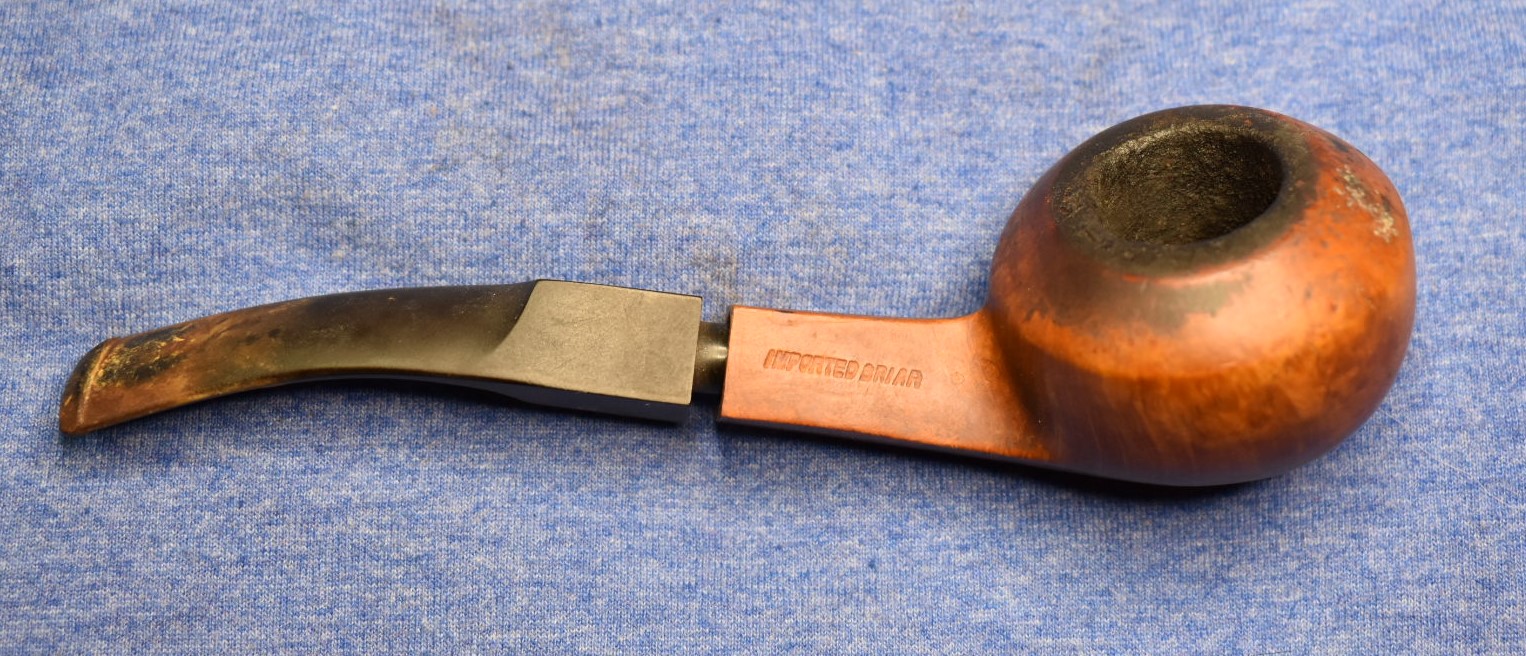


Everything a guy who loves to restore old pipes would possibly want. It is going to need the following: Tobacco chamber reaming, rim topping, scratch removal, fill replacement, button reconstruction, figure out why the stem won’t go in all the way, general cleaning and surface restoration. Better get started, eh?
The first thing I addressed was the stem issue. Looking down the airway with a flashlight I could see lots of yuck. Yuck is the technical term for any unwanted smoking residue. I don’t think I had ever seen chunks of yuck

before but they were there. I used a dental scraper and a drill bit (slightly smaller than the mortise drilling) to clear the mega-yuck. Mega-yuck is a newer technical term used to describe large pieces of yuck. When the stem was reinserted there was still an undesirable gap. Hmm, I’ll check it again after the reaming and scrubbing.
That was a nice segway to the next task, the reaming of the tobacco chamber. I used the number two sized blade with the PipNet reaming tool to clear the

majority of the chamber. The Smokingpipes reaming knife and the General triangular scraper were also used to rid the chamber of the cake. This was followed by a sanding of the interior with 220 sandpaper wrapped around a wood dowel and sandpaper on my finger. When finished I could see no damage to the interior of the chamber. I also scraped the rim lightly with the General scraper to remove the worst of the lava.
Next stop on the tour is the sink, for a Murphy’s Oil Soap scrub. The Murphy’s is used undiluted while the scrub is done with a medium bristle toothbrush. This eliminated the years worth of accumulated dirt and grime from the exterior of the stummel. The rim still retained blackened areas. I was hoping that they were lava but I could now see some of it was charred briar from lighters and/or matches. The stummel was rinsed with warm water and dried with a cotton dish towel.
I returned to the workbench and gave the stummel a wipe with a make-up removal pad soaked in 95% ethyl alcohol. The pad removed very little, only showing a yellowish smudge after the wipe. This indicated that there was little to no finish remailing and that the stummel was natural, not dyed/stained. I allowed the stummel to dry while I turned my attention to the stem.
Earlier in the day I had given the reaming knives and pocket knife a diamond stone sharpening. I used the pocket knife to scrape the surface of the stem. I did this holding the blade 90 degrees to the surface of the stem. I very lightly brought the blade towards me. This works very similar to a woodworking card


scraper. An amazing device that allows a woodworker to remove very thin layers of material. I was able to scrape the calcium deposits and the outermost oxidation from the stem. I then used 0000 steel wool to further smooth the surface.
I wanted to deal with the charred rim next. I used a technique described to me by a Germain Facebook buddy, Sascha Mertens. He said to rub the charred area with petroleum jelly then lightly scrape it with a very sharp knife edge. By doing this very slowly and carefully I was able to remove a very thin layer of

charred wood. I would wipe the blade on a make-up pad and repeat. When additional petroleum jelly was needed I applied more. Once finished removing the charred areas I very lightly topped the rim using 400 sandpaper.
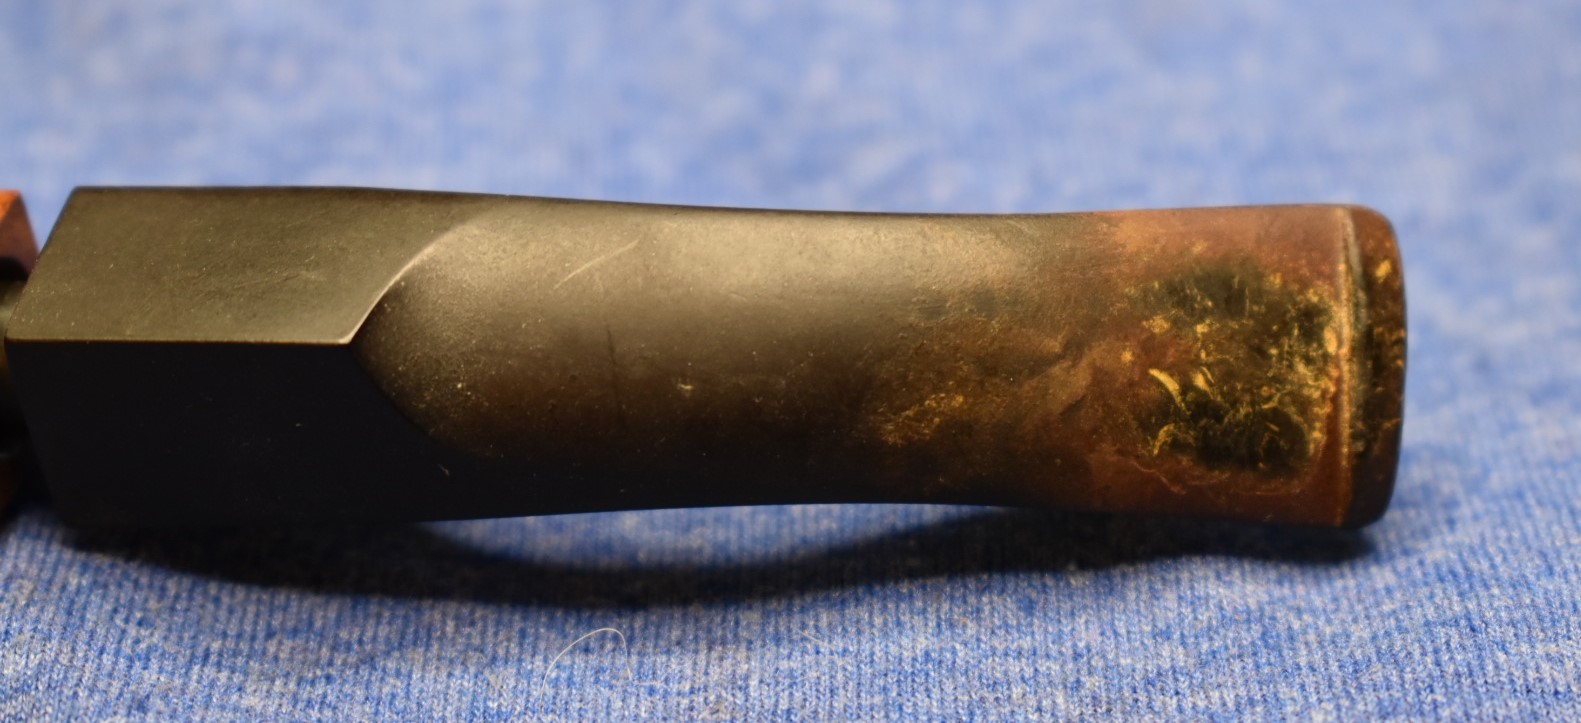
Next on the agenda was to clean out the airway. The stem was removed. The stinger was removed from the stem and dropped into a medicine cup with alcohol. While the stinger was soaking I dipped a pipe cleaner in the 95% ethyl alcohol and ran it through the stem. It came out very dirty. Where the alcohol touched my finger on the stem the surface felt slippery then tacky. Wait a minute! This is not vulcanite. As the alcohol evaporated I was left with a fingerprint on the stem where my finger had been. Okay, no more alcohol for you, stem. I switched to cleaning the stem with soap and water with the pipe cleaners. I am guessing that the stem was Bakelite or a bakelite-like material.
With the stem done I started cleaning the stummel airway. It too was rather filthy. Oh yeah, I remember the yuck and mega-yuck from earlier. Well, it hadn’t gotten andy better. I started with a cotton swab dipped in 95% ethyl alcohol. It returned dark brown. I figured that I could continue with a kajillion more cotton swabs or I could pour 3 ml of the alcohol into the bowl and use the nylon brush to scrub the yuck in an alcohol bath. I went with the alcohol bath and brush route. I scrubbed for a while, dumped the alcohol out, assessed the color and repeated with clean alcohol. I did this 4 times before the alcohol came back not looking like black coffee. Once it was more teacolored I switched over to the cotton swabs. After about 10 swabs the shank airway was clean.
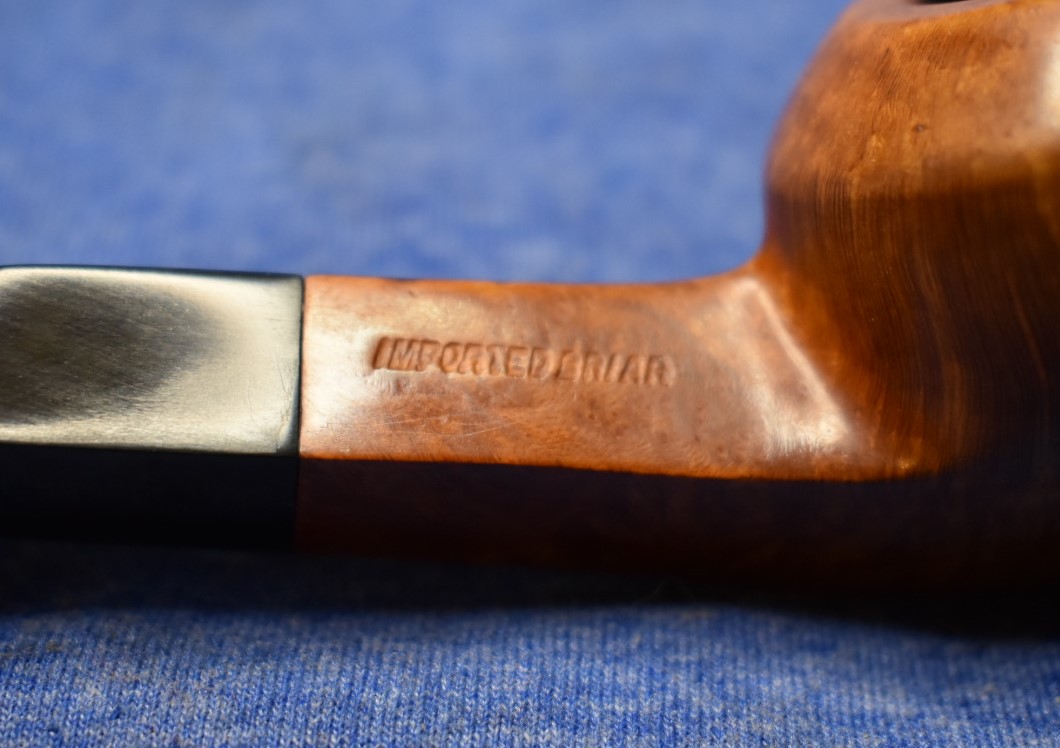
The pipe was reassembled without the stinger, wiped with alcohol and photographed. The post-scrub Marxman was looking significantly better. As a bonus the stem now fit snugly with the stummel. Small victories are accepted without question.


Next, that ugly fill by the stem had to go. There is just something about

those pink fills that makes me a bit crazier than normal. I used a fly tying bodkin to see how securely attached the fill material was. Yay, I popped right out.


It was deeper than I thought but was not worried about the structural integrity of the proximity to the mortise edge. Wow, that sentence made me sound all kids of intelligent – I will stop that at once. Yes, it was close to the edge but the replacement fill of cyanoacrylate (CA, super glue) and briar dust would be far stronger and better bonded to the briar than the pink goo (goo, a technical term describing anything either black or pink in pipe restoration) ever had been.
To fill in this larger pit, I placed a large drop of brown CA onto a small plastic lid. I then placed a pinch of briar dust next to the CA. Using the fly tying bodkin I dragged some briar dust into the CA and stirred the dust into the CA. I repeated this until the CA/dust had a consistency of syrup. If you add too much dust the magic smoke will rise from the mixture and it will set up immediately. This requires you to start over. (So, I hear…). Upon starting over and repeating the mixing, I then applied the mixture to the area needing to be filled with the bodkin. The CA set-up very quickly and allowed filing and sanding within minutes.

Tape applied to the stem to protect it from filing.

Once filed flat the tape was removed.

Sanding with 400 sandpaper.

This little sand pit was filled by placing a small drop of brown CA in the hole. A small pinch of briar dust was placed onto the CA and pressure was applied to the dust, forcing it into the hole. The CA set-up immediately filled the pit and C.A. Filmore was born. The small fill was then carefully filed smooth and sanded.

Hello, my name is C.A. Filmore and I will be your tour guide. Hmm, you may want to use nitrile gloves.
To rebuild the button I used a technique that I have not seen other restorers use. I first smoothed the area below the button with 400 sandpaper.

Scotch tape applied to the stem immediately below the button.

Black CA applied to the button to build-up the area.

The CA was spritzed with accelerant and “cut” at the back of the button with an Exacto knife while the CA was still soft. You only have a few seconds between the spritzing and the curing of the CA. The “cut” needs to be made during these critical seconds when the CA is still soft.

Scotch tape removed along with the CA that was “cut”.

The new button is shaped with needle files and sandpaper.
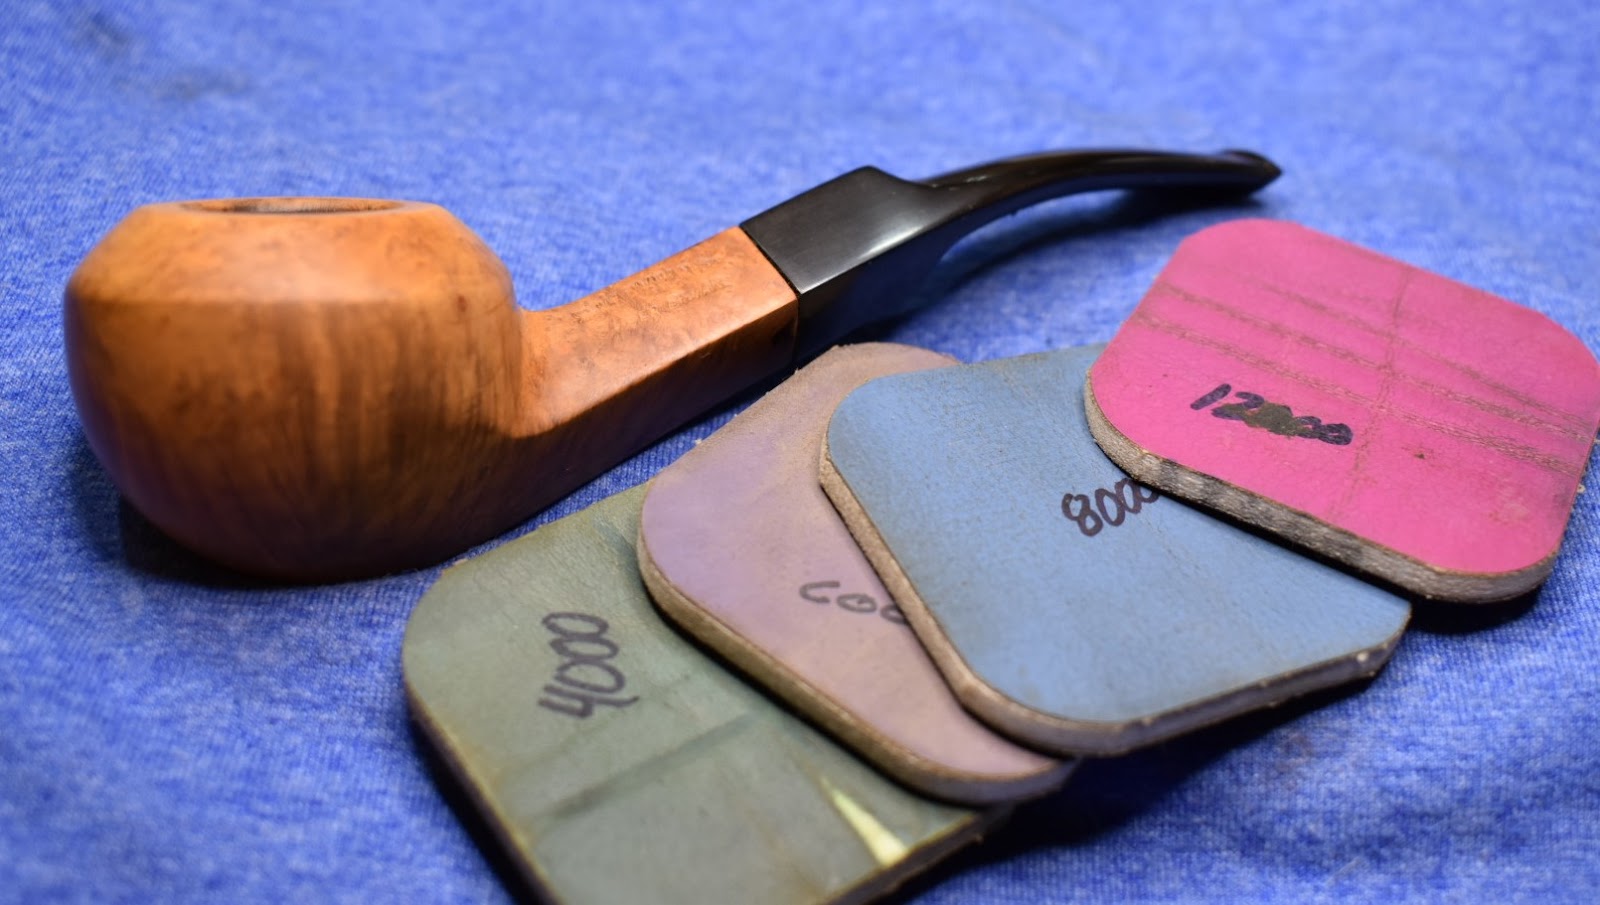
With the fills filled and the button rebuilt, all that remained was the micro-meshing of the stummel and stem. I kept both pieces attached during this process in order to keep the hard angles of their juncture. The 1500 and 1800 micro-mesh pads were moistened with a drop of water. Between each pad I would wipe the stummel with a make-up pad moistened with alcohol and would apply a drop of Obsidian Oil to the stem, work it in with my finger and wipe it off with a paper towel. I would then move to the next micro-mesh pad. The finer micro-mesh pads were all used in sequence, dry, with the same wiping with alcohol and oil to the stummel and stem respectively.

Upon completing the micro-meshing I applied a slathering of Before and After Restoration Balm to the pipe (stummel and stem) and allowed it to marinate for 20 minutes.

After the Restoration Balm had done it’s thing for 20 minutes, I removed the excess with a clean cotton rag. The pipe was really looking good. I took it down to the buffer for several coats of carnauba wax.
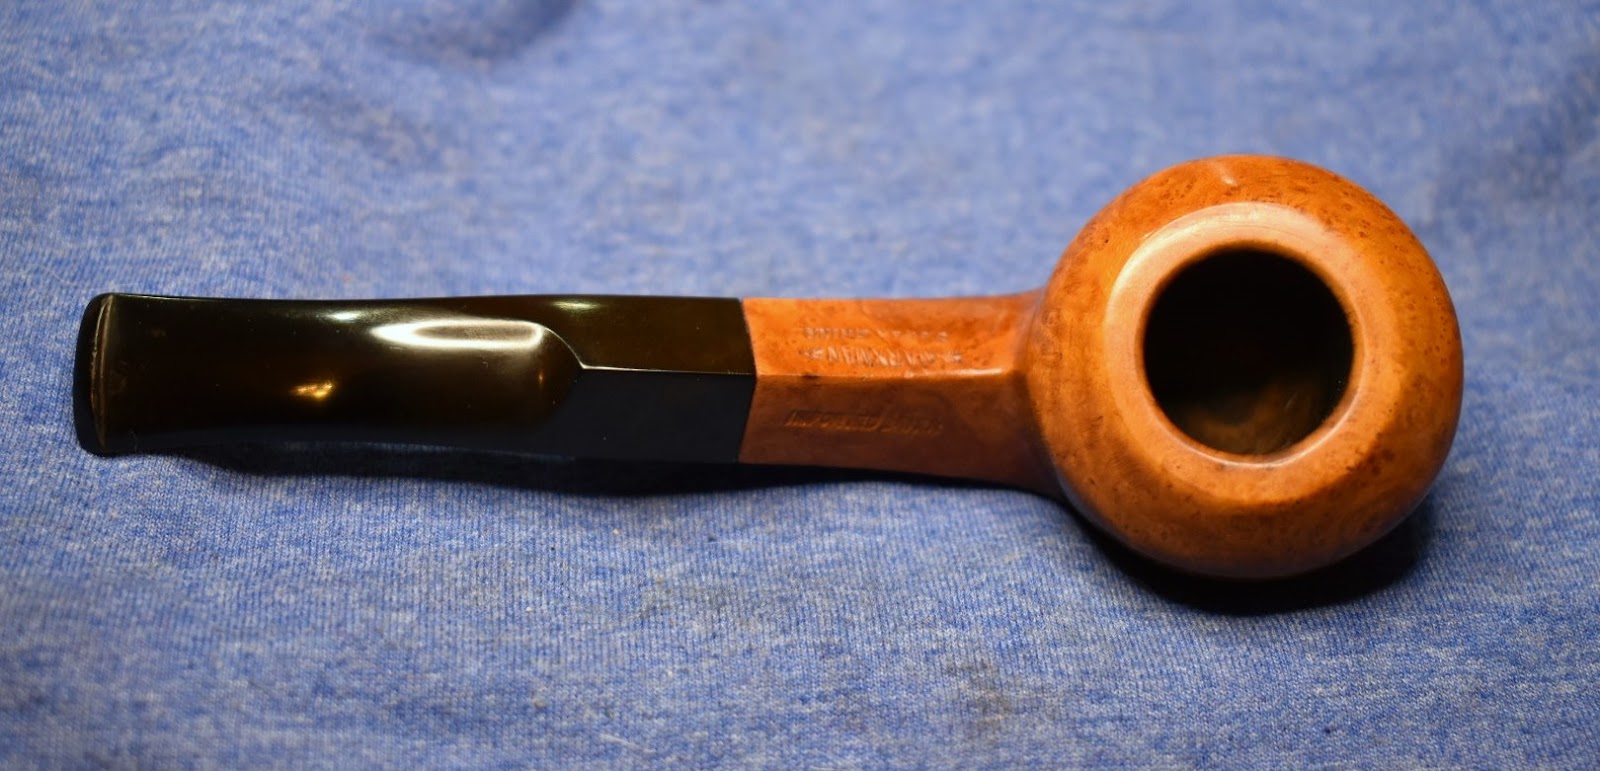
This old Marxman Super Grain bent bulldog turned out amazingly well. I did give it a smoke and that too was amazing. I do not know what it is about Marxman pipes but, the pipes made in New York from Algerian briar are some of the finest smoking pipes I have ever used. They remain cool, require no break in and deliver a sweetness that is just amazing. I hope you have found some of the techniques used here helpful in your own restorations or were at least entertained. If you enjoy this sort of thing please hit the like and subscribe below. Thank you very much for reading the ramblings of an old pipe lover.
Here are some photos of the finished Marxman Super Grain Bent Bulldog:


One response to “A Marxman Super Briar ”
[…] my last Marxman blog (Marxman Super Briar) I discussed the prices of Marxman pipes and adjusted them to current U.S. dollars. Briar Lee […]
LikeLike