Written and photographed by John M. Young

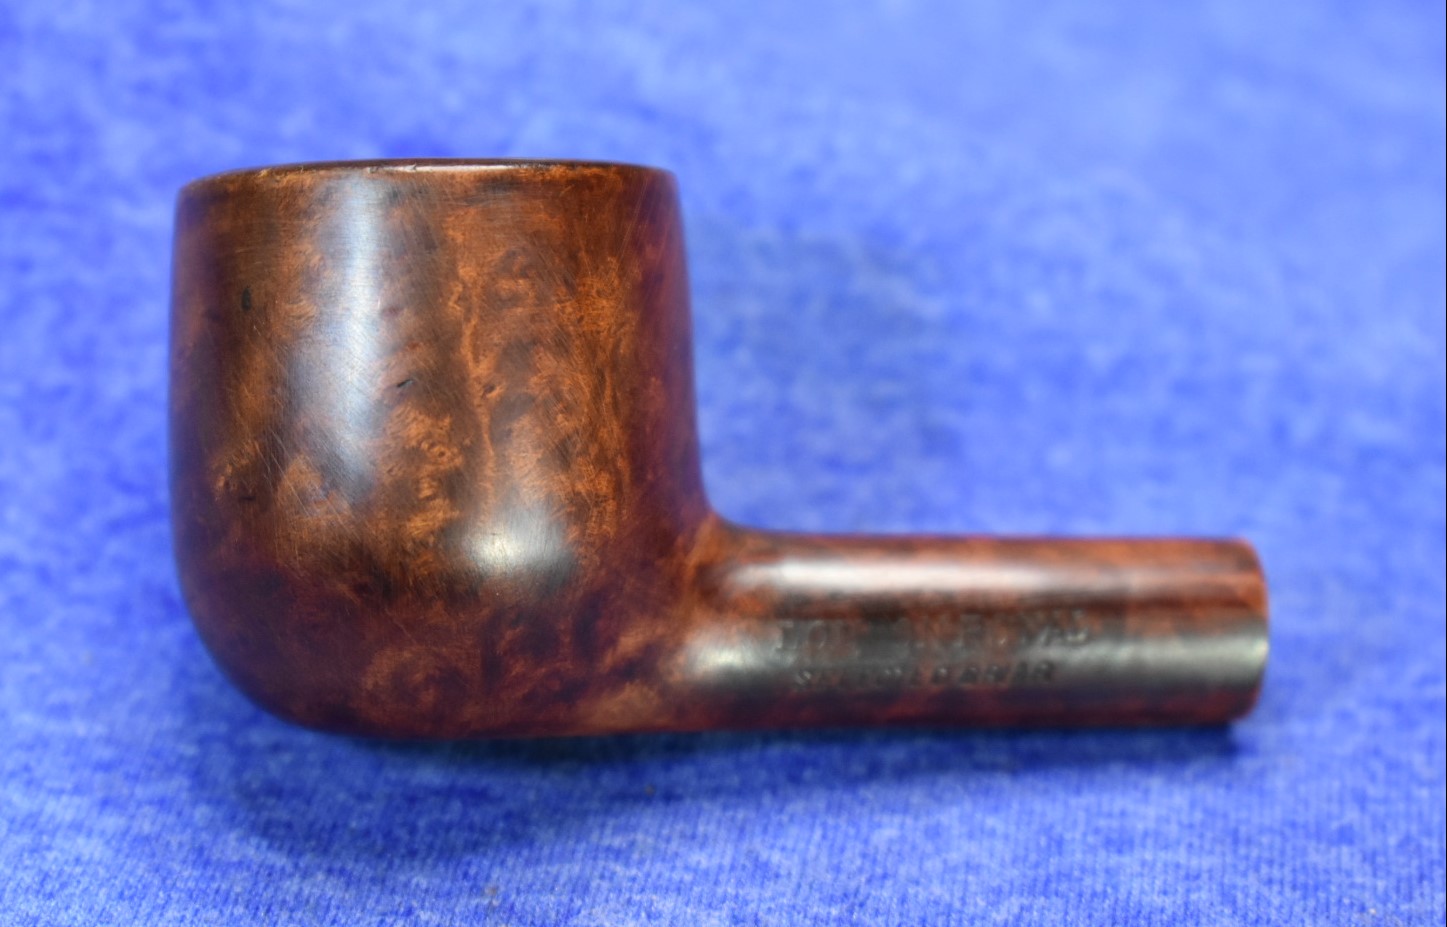
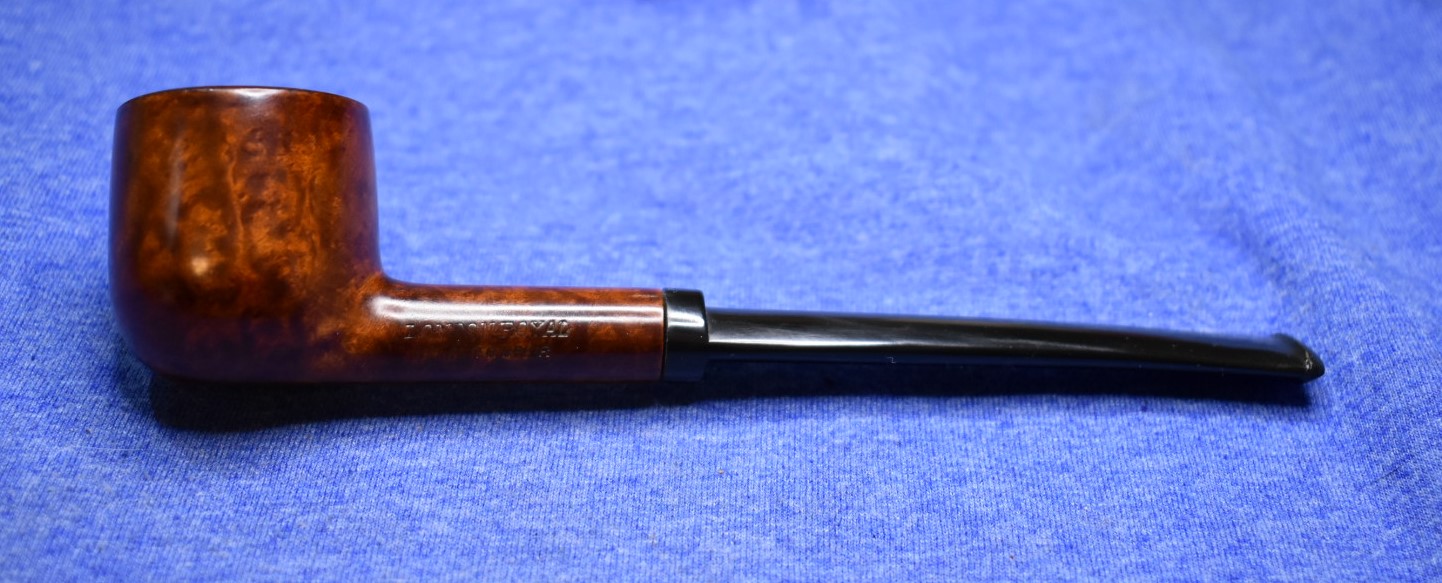
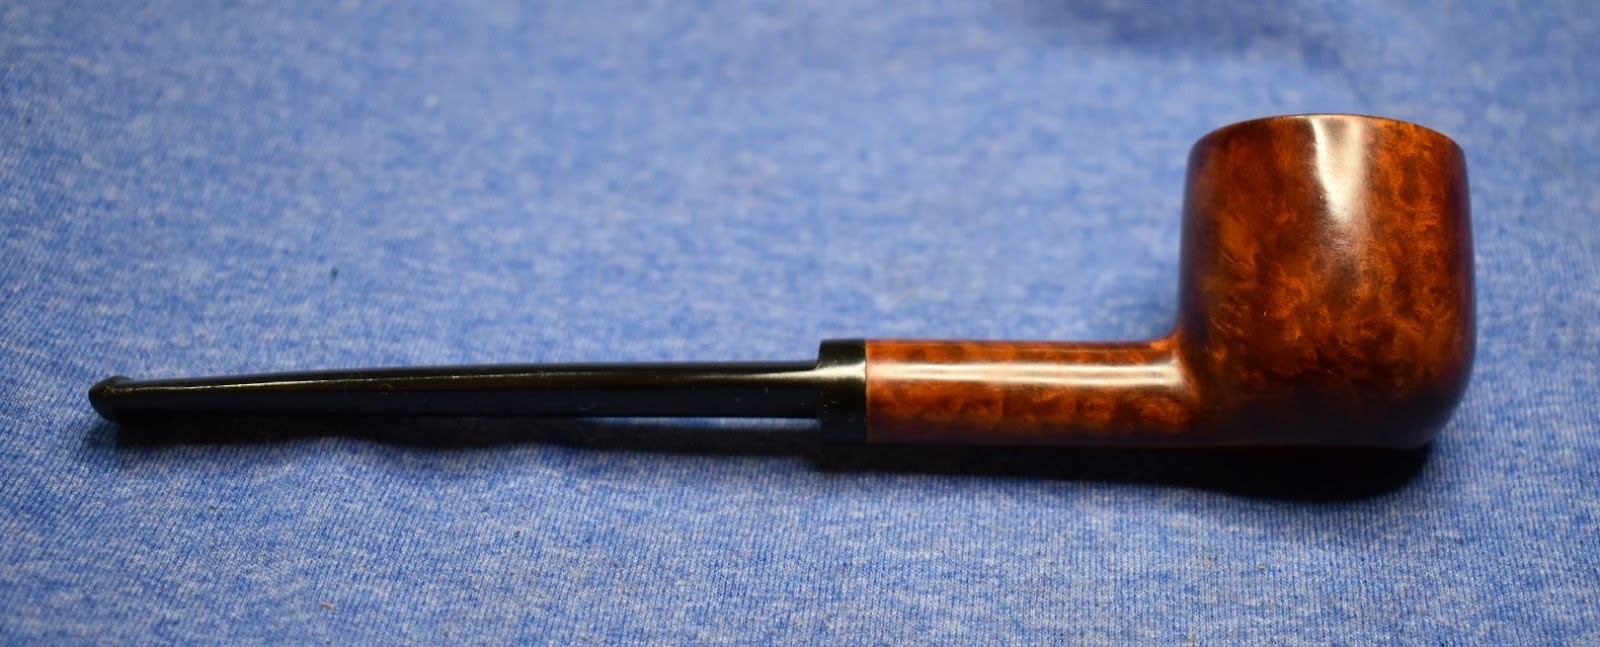
This little gem came in an eBay estate lot from Bemidji, Minnesota. We spent several family vacations with friends on Leech Lake (sounds horrible but it is beautiful) and I remember the annual visits to Bemidji fondly. This was a well loved little pipe and saw more than it’s share of tobacco. It looks to be a restoration requiring several techniques.
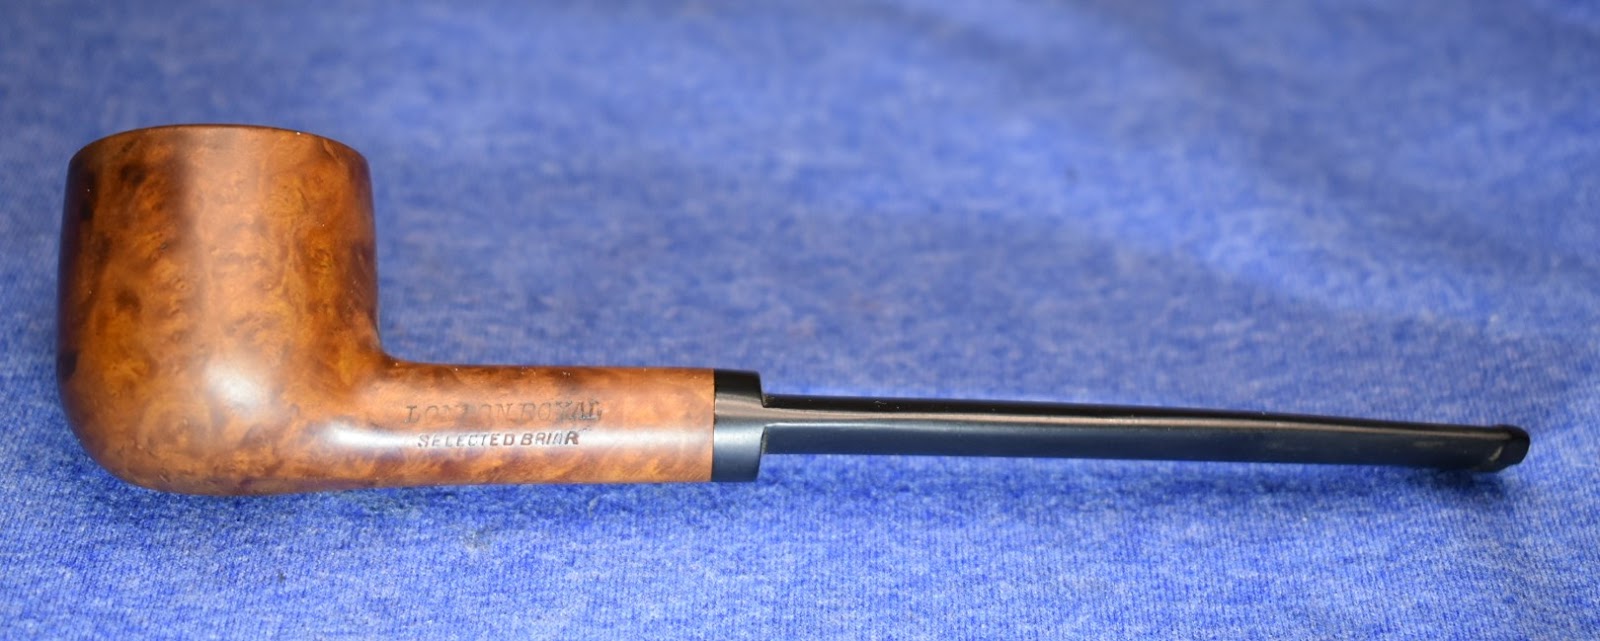


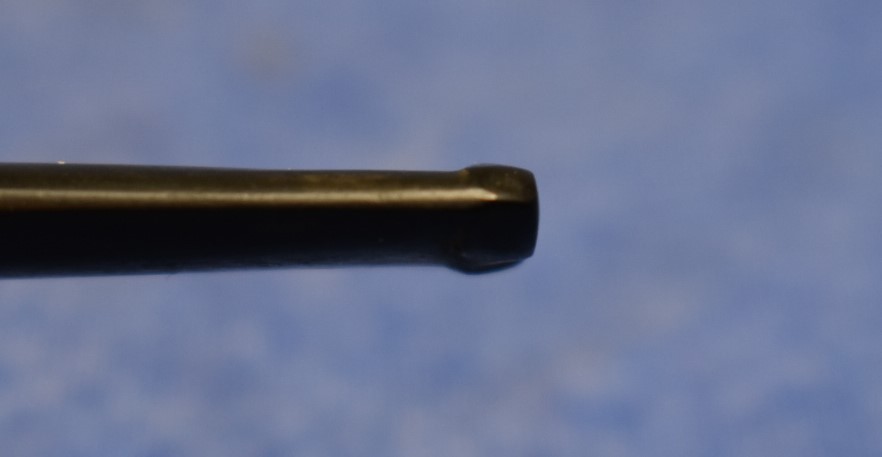
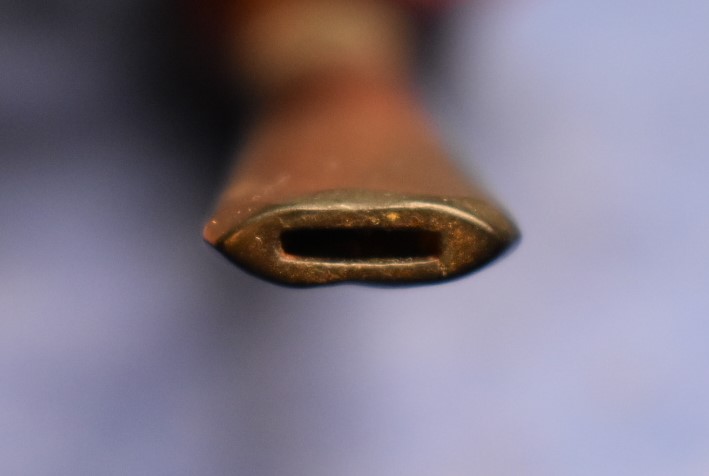

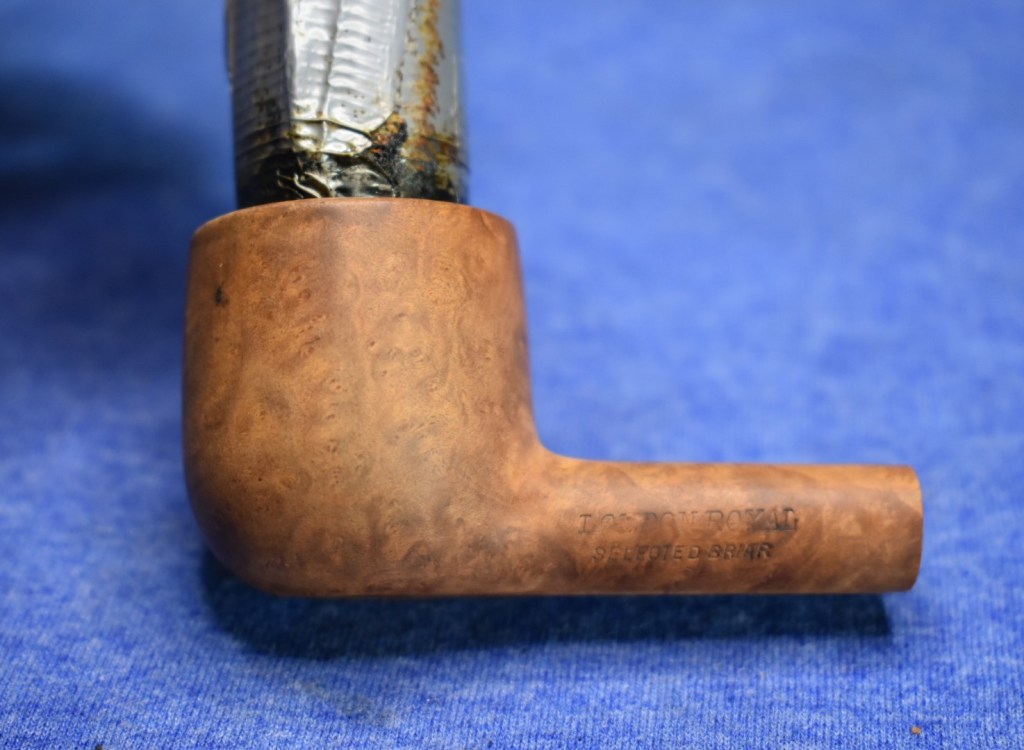
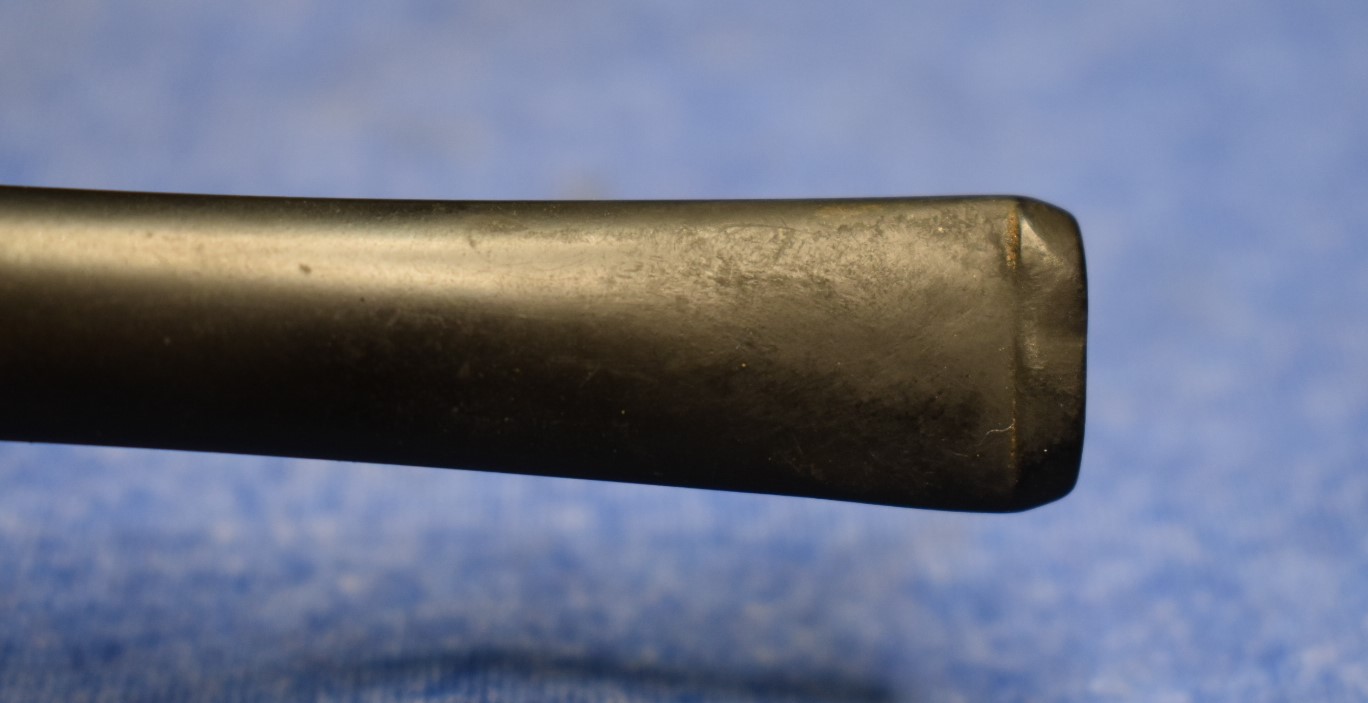
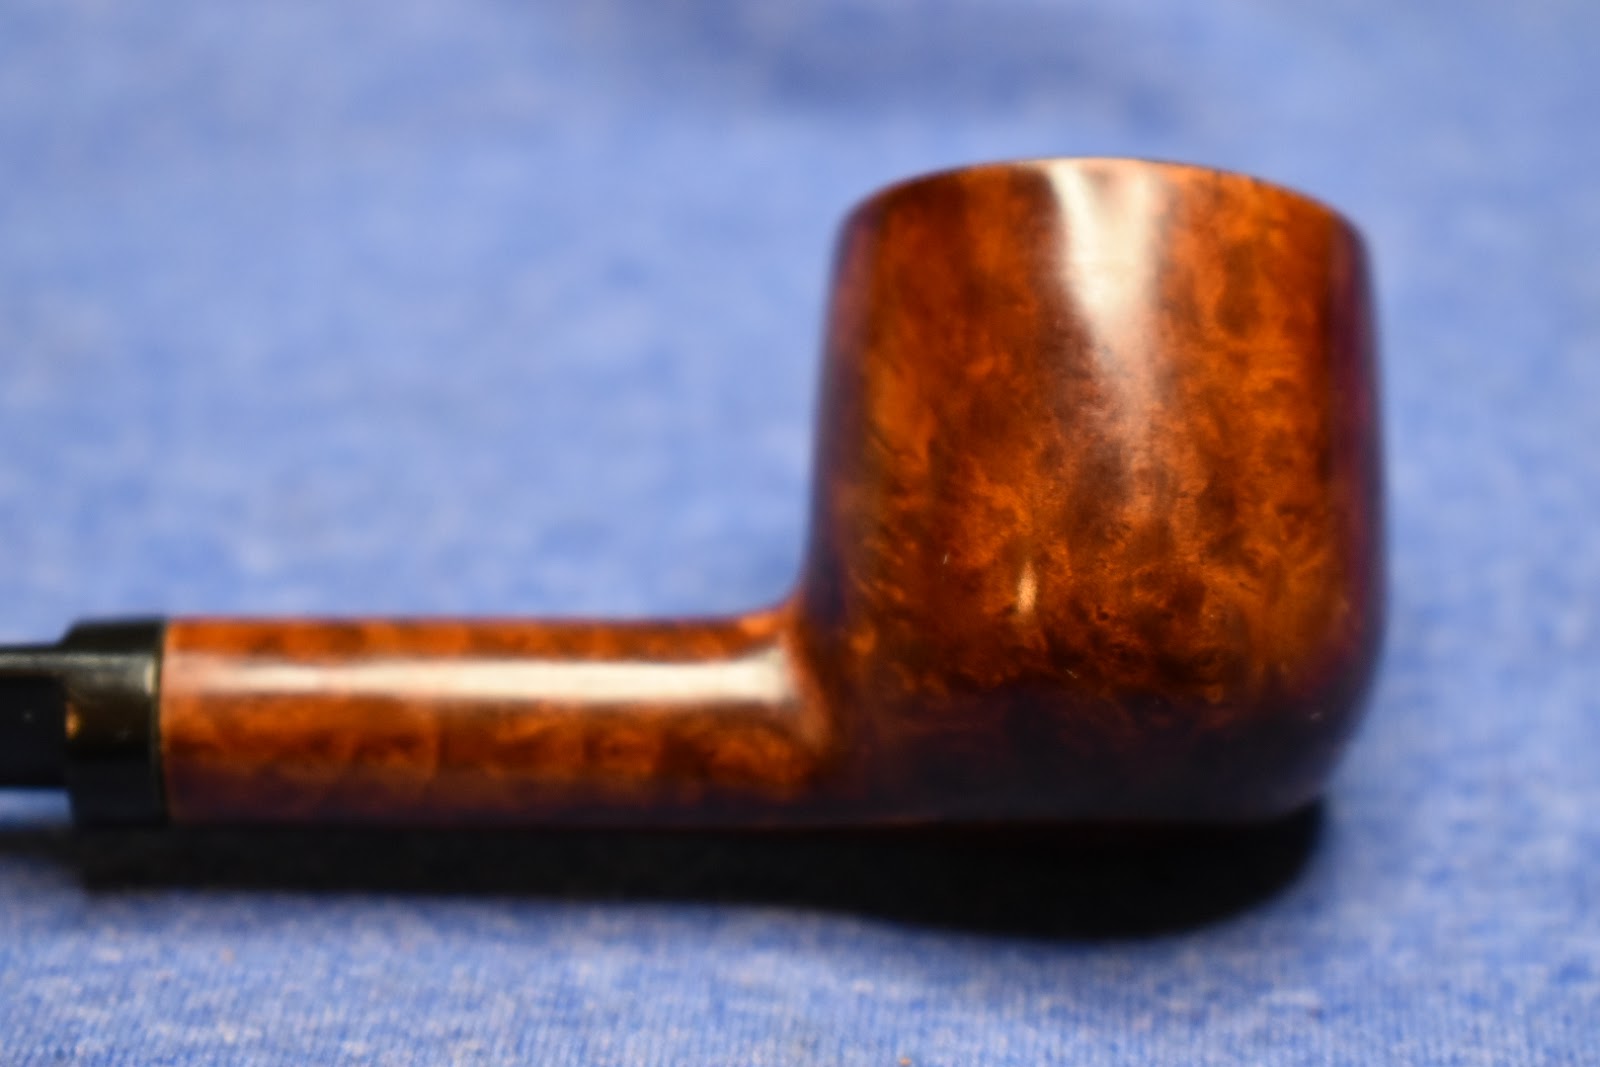
In looking at the photos you can see that this London Royal is in need of; a cleaning, reaming, rim work, stem refurbishment, a button rebuild, general sanding/refinishing and maybe a dye job (to emphasize wood grain). This looks like a fun one.
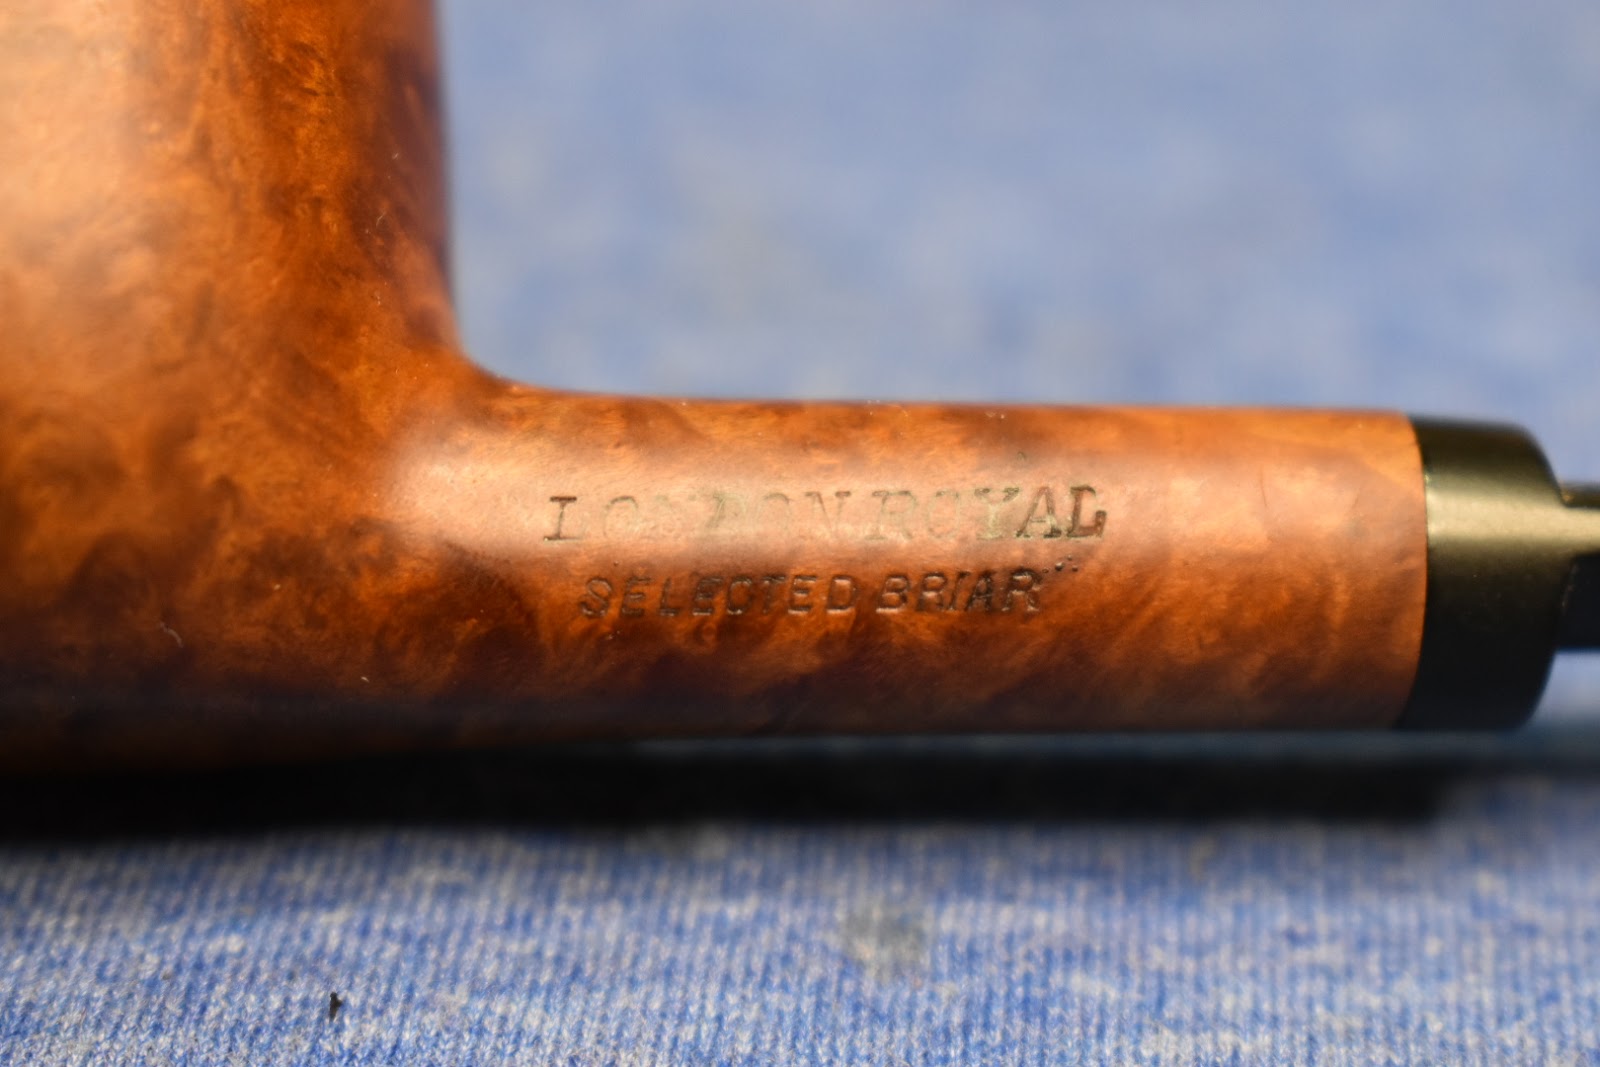
“Who made this London Royal?” was one of my first questions. I turned first to pipedia.org, where I was met with 20 mentions of “London” with none of them having the “Royal” after London. Hmm, not a promising start. Next I turned to pipehil.eu. This returned the following:

Now I was getting somewhere. The “Royal London” name was there but the stamping style did not match and the absence of any logo on the stem was worrisome. I did have the “LHS” lead to follow. Okay, pipedia.org, time to redeem yourself. With a search of “LHS”, I had more information to work with.
“Ludwig Stern, a successful pipe manufacturer since 1893 and closing around 1960, reorganized his company along with his brother Hugo Stern, opening a factory in 1911. They named the company L&H Stern Smoking Pipes & Holders. The newly formed company was moved into a six story building on the corner of Pearl and Waters street Brooklyn, NY.” (LHS – Pipedia)
This little London Royal did not strike me as being a very old pipe. When I saw the closing date of 1960 I was a bit surprised. This led me to think that I did not have the correct maker. I continued reading the LHS information.
“Thoroughly organized in all departments, and housed in a well-lighted and ventilated modern office and manufacturing building, the firm of L&H Stern Inc. is located near the first arch of the Manhattan bridge, near the river and convenient to the Brooklyn bridge, which makes it accessible from all the hotels in the metropolis for visiting buyers. The structure is six stories with a seventeen-foot basement, with light on three sides through prismatic glass windows, the first floor being seven feet above the sidewalk. Light enters the upper floors from all four sides.
L&H Stern is known to every important wholesaler and jobber in the country. LHS manufactures a complete line of briar pipes. Ginmetto wood pipes are also made, as well as Redmanol goods, the man-made amber. The first substitute for amber. Everything, even down to the sterling silver and other metal trimmings are made under one roof.” (LHS – Pipedia)
Interesting, a company that produced all aspects of their product. In today’s world that is nearly unheard of. The “Redmanol” part especially caught my attention. Redmanol was an early plastic created by Lawrence Redman:
“Born in Oil Springs, Ontario, Redman took a B.A. degree from the University of Toronto in 1908. He continued his studies at the University of Kansas. In 1913, with the backing of S. Karpen & Bros., a Chicago furniture manufacturers, Redman established the Redmanol Chemical Products Company which produced a plastics similar to Bakelite. Redman was the president.
In 1922, the Redmanol company, the Condensite Company of America, and General Bakelite were consolidated into Bakelite Corporation.[1] Redman became vice president and director of research. He retired in 1939.
Redman was a member of the American Chemical Society and its president in 1932.” (https://docs.google.com/document/d/147Wq0urGOvxojLwagHF3yXDwNu5XhtefJ3xp6zl-JAw/edit)
The reason this caught my attention was that the stem on this pipe did not have the appearance of vulcanite. It had a slightly different feel on my teeth and the texture just didn’t feel “right”. Also the fact that such a well used pipe with the button worn down yet did not display any noticeable indentations from being clenched seemed odd to me.
“Bakelite’s availability and ease and speed of molding helped to lower the costs and increase product availability so that telephones and radios became common household consumer goods.[8]: 116–117 [40][41] It was also very important to the developing automobile industry.[42] It was soon found in myriad other consumer products ranging from pipe stems and buttons to saxophone mouthpieces, cameras, early machine guns, and appliance casings.” (Bold added by me) (https://en.wikipedia.org/wiki/Bakelite)
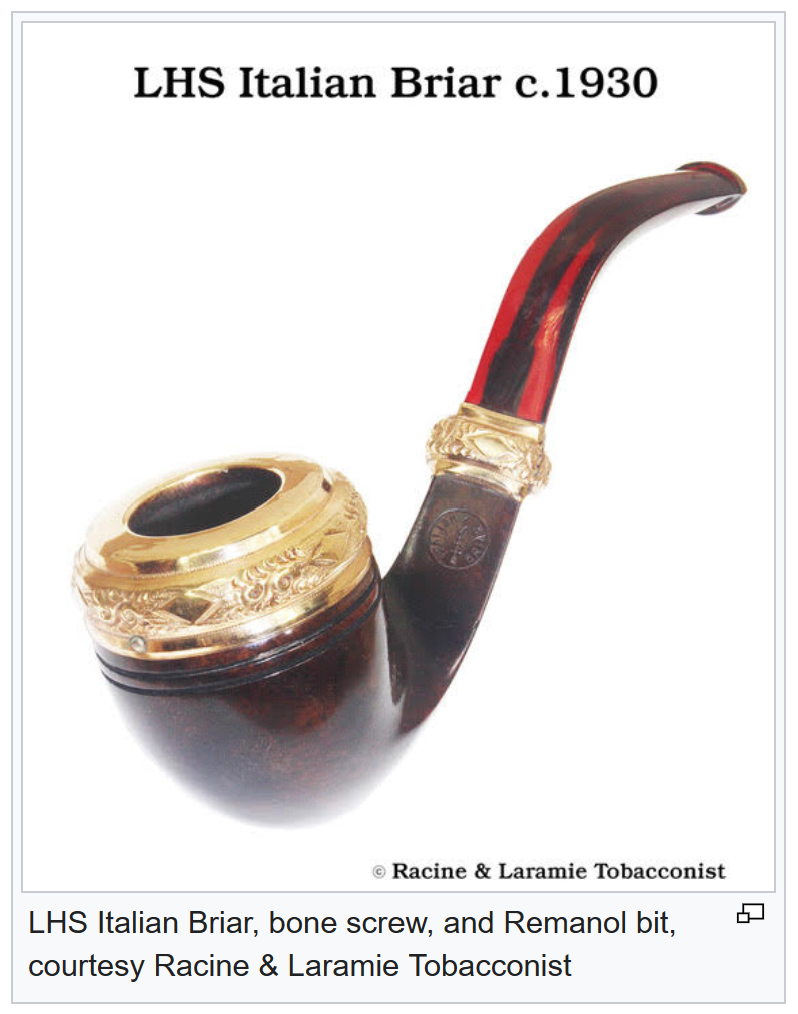
The final piece to this pipes provenance came from a photograph on the pipedia.cog LHS site:

(photos from LHS – Pipedia)
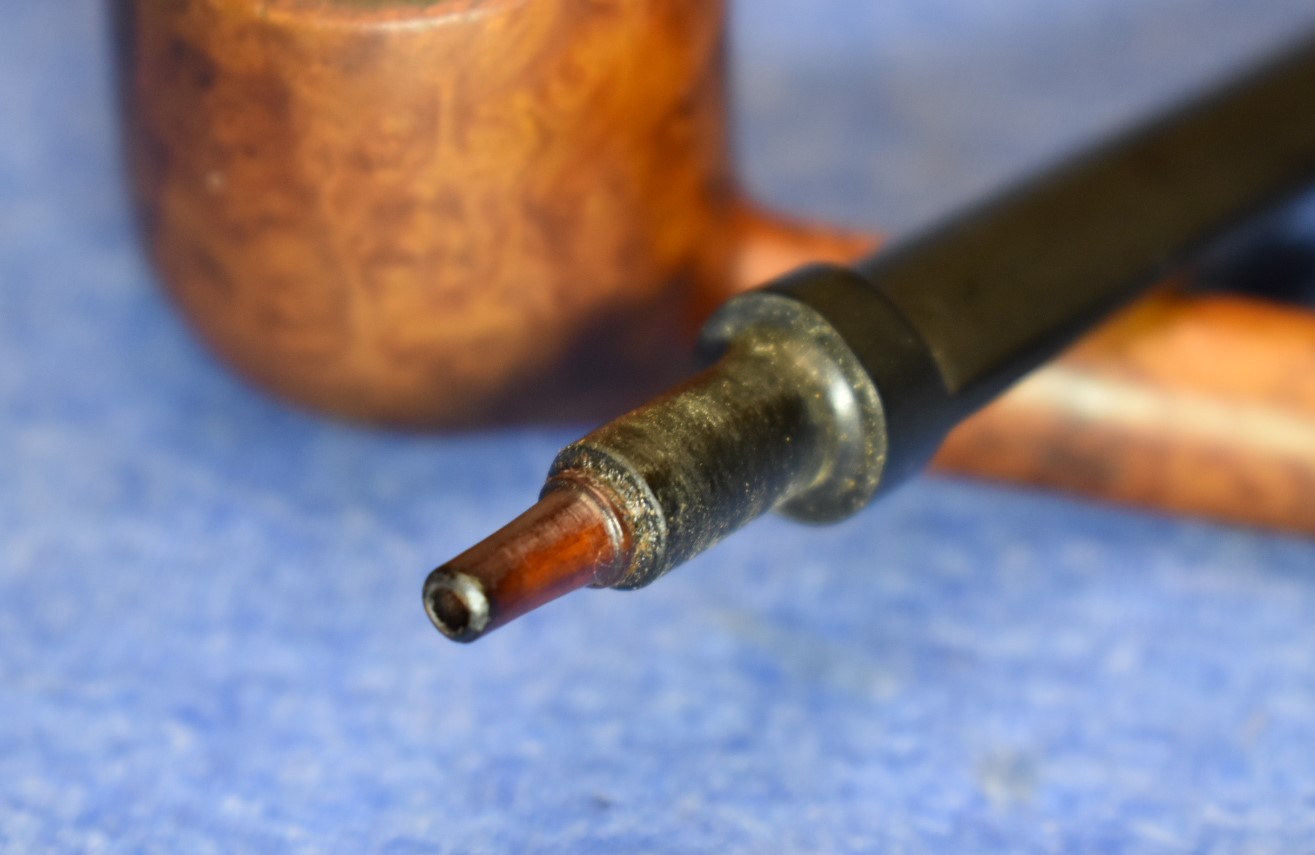
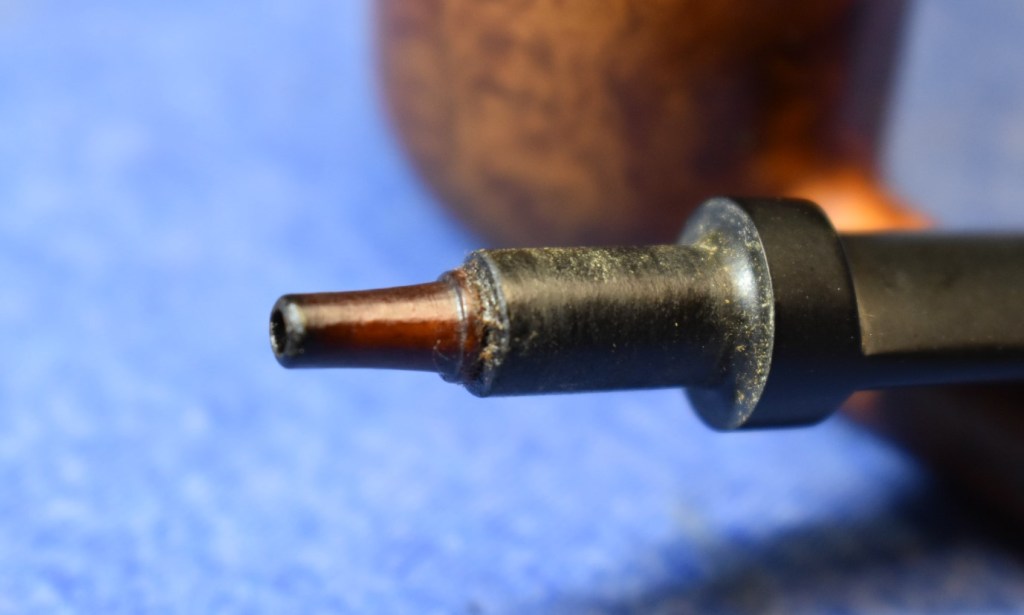
The tenon extension of the photo, right, is the exact same as the tenon extension of the London Royal. I own a couple of old Peterson pipes with bone tenon extensions. These extensions or “chimneys”, as they are known at the Peterson factory, change color with use. They change from their natural bone color to the deep brown, nearly black, that is seen both in this pipe and the photo, right. This leads to the question: “Is this a bone extension or is it a Bakelite/Redmanol extension?” I had not heard of plastics being used as tenon extensions. Another LHS – Pipedia photo shows the following and mentions “bone screw”:
(photo from LHS – Pipedia)
I am assuming the “bone screw and Redmanol bit” were together in a single stem. This shows that LHS was using tooled bone as part of their manufacturing. It also indicated a very strong case for the heritage of the London Royal as an LHS product with manufacture dates between 1920s-1960.
With this bit of the history solved I turned my attention from the computer to the pipe. The first step was to get the tobacco chamber reamed and check for any damage. The cake was extensive and required the use of the Scotti and PipNet reaming tools, the Low Country and General knives followed by the 200 sandpaper wrapped dowell.


You can see from the photos that there was a bit of rim scraping done with the edge of the knife as well.
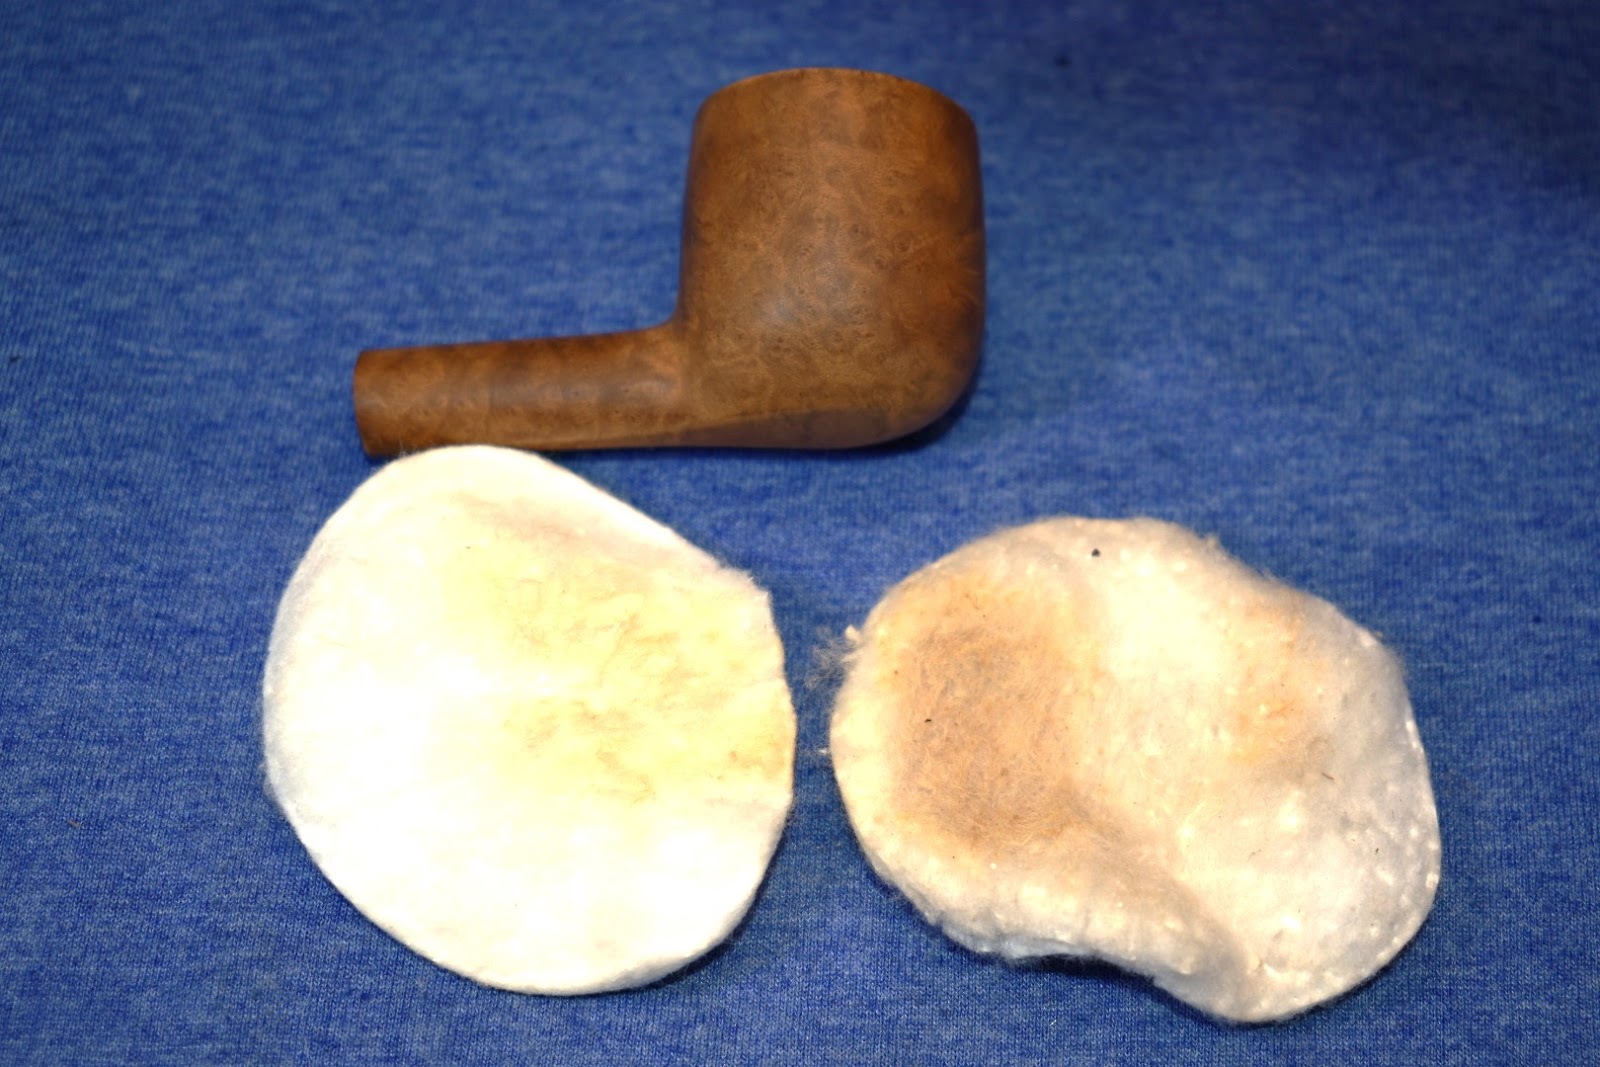
After the reaming and chamber sanding the stummel went to the sink for the Murphy’s Oil Soap and toothbrush scrub. The toothbrush is a medium stiff bristle and the Murphy’s is used undiluted. The stummel was rinsed with warm water after the scrub and dried with a cotton dish towel. I returned to the workbench for a good look at the condition of the stummel. The rim still had a few spots of lava after the Murphy scrub. These were worked on with saliva and a cotton rag until removed. The stummel was then rubbed with a 95% ethyl alcohol moistened make-up removal pad. The first pad came away with a bit of discoloration, indicating the removal of finish. This was probably a shellac. The second pad came away with less while the third was pretty much clean.
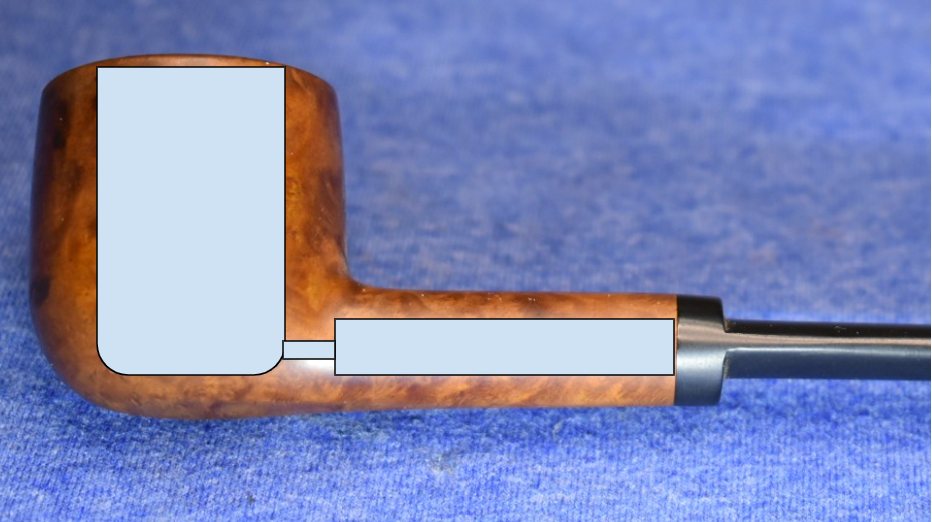
I was not looking forward to the next part of the cleaning. I figured if the tobacco chamber was that heavily caked the shank would be a tar filled wonderland (with extra sarcasm). I tried feeling around inside the airway with a dental pick but everything felt solid, not gummy. “Oh, this won’t be so bad”, I wishfully thought. I dipped cotton swab in alcohol and gave the airway a swirl. Dramatic pause. It came back brown, not black. The other end with more alcohol went in. Another dramatic pause. Umm, I think the first one just pissed off the tar. This end was BLACK. The first bit of alcohol had gone in and softened the dried residue and primed it for the second swabbing. Yeah, it was as bad as I had originally thought. To make matters more interesting the boring of the airway was done similar to a Peterson Straight System – in other words the mortise was drilled the length of the airway to the bowl-shank transition. At this point the draught hole was a short drilling from the bottom of the tobacco chamber to the enlarged airway. This diagram attempts to clarify:
I am the proud owner of several Peterson 31s and a pair of 120s that are all Peterson Straight System pipes. I absolutely love the way they smoke. Cleaning them is not as easy as a standard pipe. It is kind of like arguing with your child: You love the way your child uses logic and language to make a good point but dislike the fact that they are arguing with you. Anyway, this design allowed the smoke to enter the “chamber” (for lack of a better word) where it could cool and let the water and other stuff to condense, then the cooler drier smoke would pass through the stem to the smoker. All this other stuff had accumulated and dried in the chamber and created a less than easy cleaning.
I Started with cotton swabs. This proved inadequate for the job. I moved up to a piece of paper towel wrapped around a round needle file, dipped in alcohol. Also inadequate. I then graduated to pouring about 3-5 ml of alcohol into the tobacco chamber and using a nylon brush to scrub the airway while I held it at an angle to pool the alcohol in the bowl and shank while allowing it to dissolve the residues. Better but still not cutting the tar. Finally I got out the big gun – a .22 caliber brass bore cleaning brush. It was smaller in diameter than the chamber so I didn’t have to force it in. I refilled the bowl with 3-5 ml of fresh alcohol, held it at an angle and lightly scrubbed the interior with the .22 bore brush. This was finally able to cut through the residue. It still took a large number of cotton swabs but I was victorious.

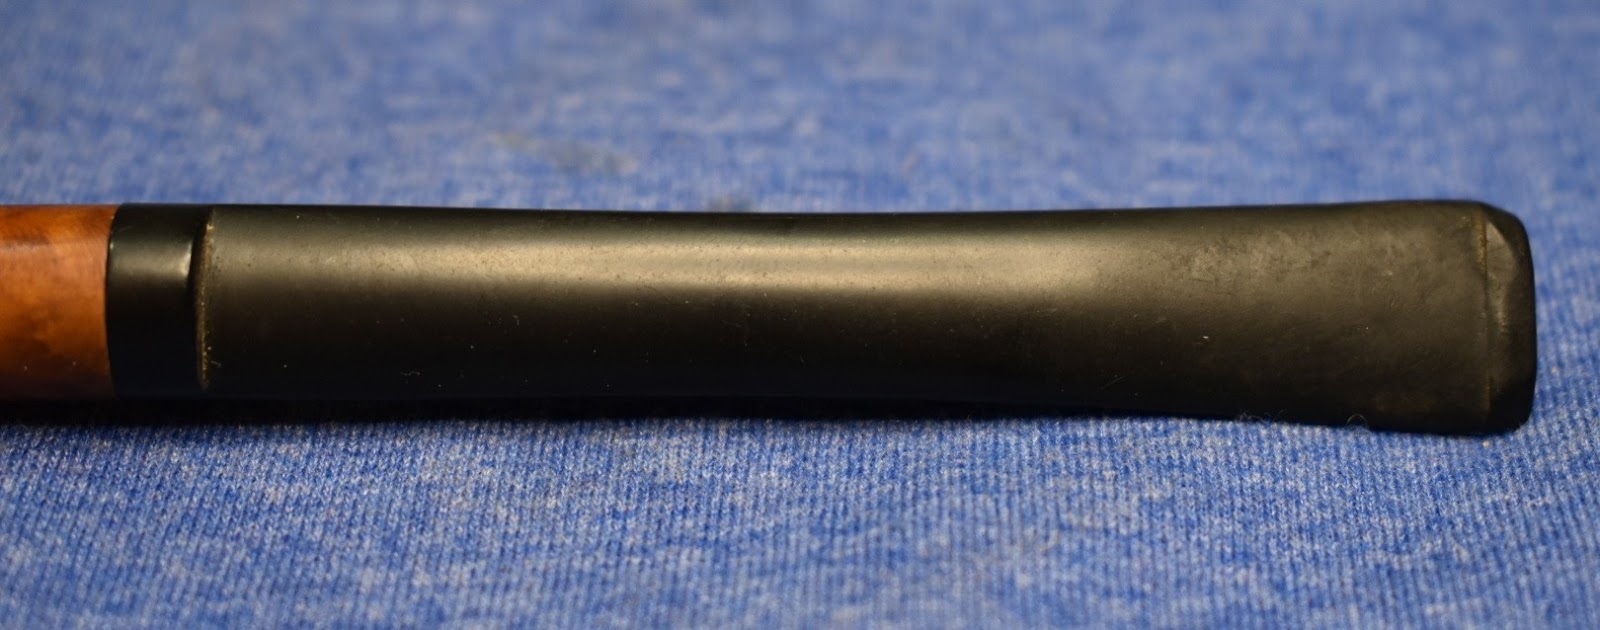
Next was the stem. Remember how I said that the stem didn’t feel like vulcanite? Well, I dipped a pipe cleaner into 95% ethyl alcohol and started to run it through the stem. I quickly realized that the stem absolutely was not vulcanite. It became very slippery in my fingers with a drop of alcohol. Bakelite and Redmanol are soluble in alcohol and acetone. Fortunately the alcohol dries quickly and the Bakelite goes back to being hard plastic. Hmm, that would be an easy test to see if the tenon extension is Bakelite or bone! The alcohol had no effect on it. Verdict, the tenon extension is bone. Okay, alcohol is out. Water on vulcanite is not good unless you like discoloration and oxidation. Guess what? Water has no effect on Bakelite. Problem solved. I would just use hot soapy water to remove the yuck (the technical term) from the stem. That sounded great until I realized that all of my nylon brushes were too large to fit in the button or the bone tenon extension. I used bristle pipe cleaners with Dawn dish soap and hot water. The pipe cleaners worked at removing the yuck (the technical term) from the stem airway.
Returning to the stummel, I started with a 1500 micro-mesh pad used dry. There were no large scratches of surface blemished to address. I worked up through the 4000 micro-mesh pad. Between each pad I wiped the stummel off with an alcohol dampened make-up pad. It was here that I thought again about giving this pipe a dye and light sanding to try for a contrast stained finish. The wood grain was not terrible nor was it anything wonderful. A bit of contrast may be just what this old pipe needs.
I got the necessary dye gear ready. Fiebing’s light brown leather dye, a pipe cleaner, the official bowl plug, a lighter and the plastic bin to protect the counter, and since the heat gun was already out, the heat gun. I put the official bowl plug into the bowl. This amazing device not only keep the


dye from getting into the bowl, it also provides a handle. Okay, it’s really just a fishing bobber wrapped in duct tape. I hear some people use wine bottle corks. I then heated the stummel with the heat gun. This expands the pores in the briar allowing better penetration of the dye. Next I used the pipe cleaner as an applicator with the dye. After I was satisfied with the coverage I flames the dye burning off the alcohol in the dye and setting the dye into the briar. I allowed the dye to dry for a while while I did some chores that I had been busy neglecting.

Chores complete, I returned to the workbench and began lightly micro-meshing the stummel with the 2400 micro-mesh pad. I did this dry to remove the outermost stained briar. Hopefully the light touch would remove the outermost layer of stained briar. This allows the briar to show the grain that absorbed more of the dye as darker while the grain that absorbed less remains lighter. At least that is the theory. I think it looks better than it did. I continued to micro-mesh the stummel with the 4000 and 6000 pads. I did not use alcohol to wipe the stummel between pads as I did not want the stain to bleed from the darker to the lighter area.

I started to work on the stem. I was not sure how the Bakelite would handle sanding or micro-meshing so I started with the 2400 micro-mesh pad. It seemed to removed marks and teeth chatter well. I went down to a more coarse grit to speed the process along. I used the 1800 micro-mesh pad dry to smooth the chatter and smooth the stem. I did this with a very light touch. After 1800, I returned to the 2400-6000 micro-mesh pads. I wiped between each with a water moistened paper towel.
I needed to rebuild the button before I did any more work on the stem. To build up the button I was going to use black cyanoacrylate (CA, superglue). I wrapped a piece of scotch tape around the stem right up against where the button started. This gave me a clean sharp edge to build material. I also did not know how the Bakelite would react to the accelerant for setting the CA. I figured the scotch tape would allow me to protect the stem surface from any over spray. Like usual, I got into the groove of adding material, spritzing, filing, adding more material, filing, sanding, etc… and completely forgot to document/photograph the process. AGAIN. Apologies, I can show the finished product though.
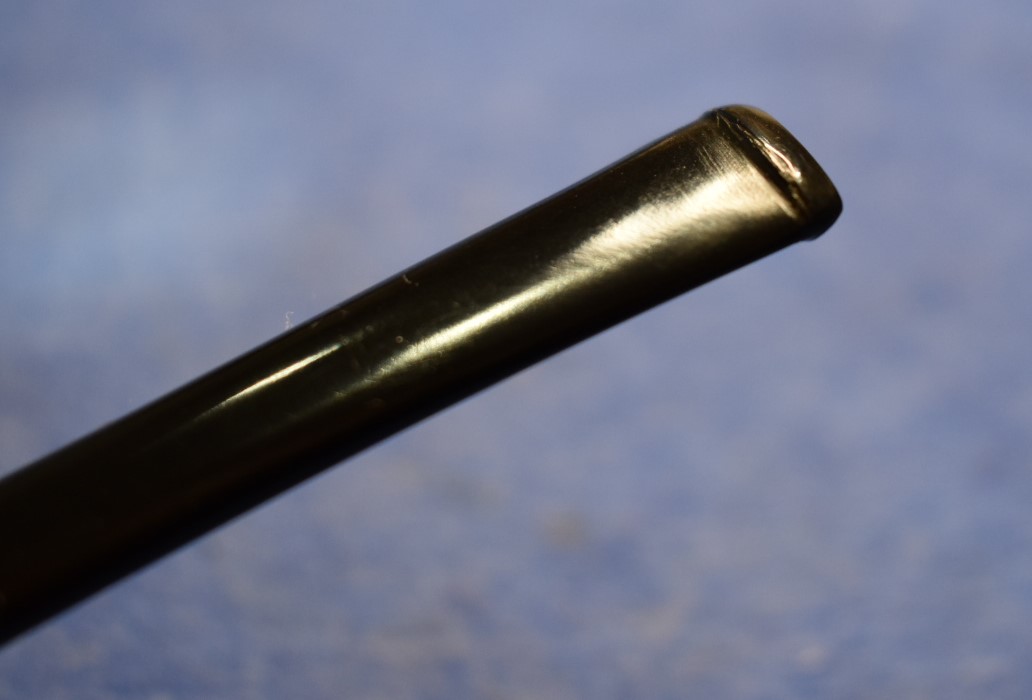


After the button rebuild I finished with the 6000-12000 micro-mesh pads again with the wetted paper towel between pads.
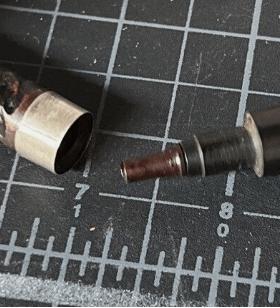
The stummel was reunited with the step and both were taken to the buffer where I applied several coats of carnauba wax to the entire pipe. In looking at this pipe I see a unique bit of history. I can’t help but think this was an attempt to copy the Peterson straight system. Below is the London Royal and my Peterson 120 with a bone tenon extension:

Peterson stopped using bone in about 1960, which is also the year LHS ended as a company. The bone tenon extensions have a tendency to fuse with the vulcanite with age and cannot be removed without breaking the bone. The bone would then have to be drilled out and replaced with an aluminum tenon extension. These are available from Peterson or
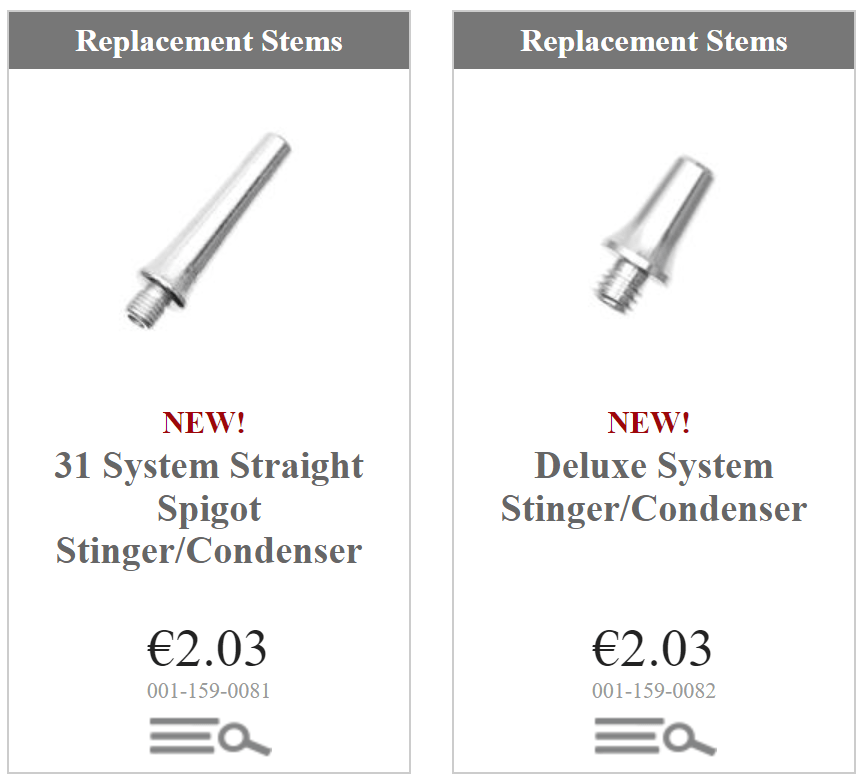
(https://www.smokingpipes.eu/accessories/replacement-stems/)
Smokingpipes.eu for a reasonable €2.03, then there is the €15 for shipping. The Smokingpipes.com has had them as sold out for over 2 years. If one were to accidentally break a bone tenon extension this would be a viable replacement. There I go, rambling on about Petersons again. Anyway this little London Royal made in Brooklyn with some darn old materials turned out to be a pretty little pipe. I do not know how well she smokes but, judging by the cake build-up she had, she must be pretty good. I do hope that some of the techniques used here are helpful to your restorations or entertaining. If you like this sort of thing please hit the like and subscribe at the bottom. I thank you for reading the ramblings of an old pipe lover.
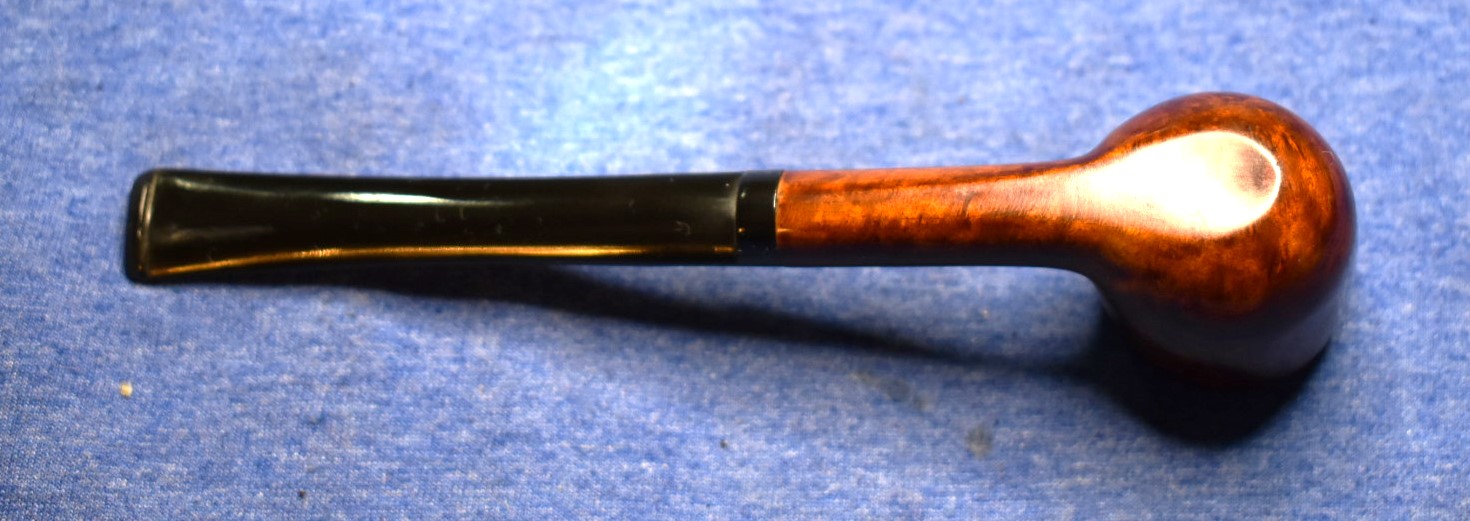
Here are the finished photos of the LHS London Royal.


One response to “An LHS London Royal Restoration”
[…] An LHS London Royal Restoration […]
LikeLike