Written and photographed by John M. Young

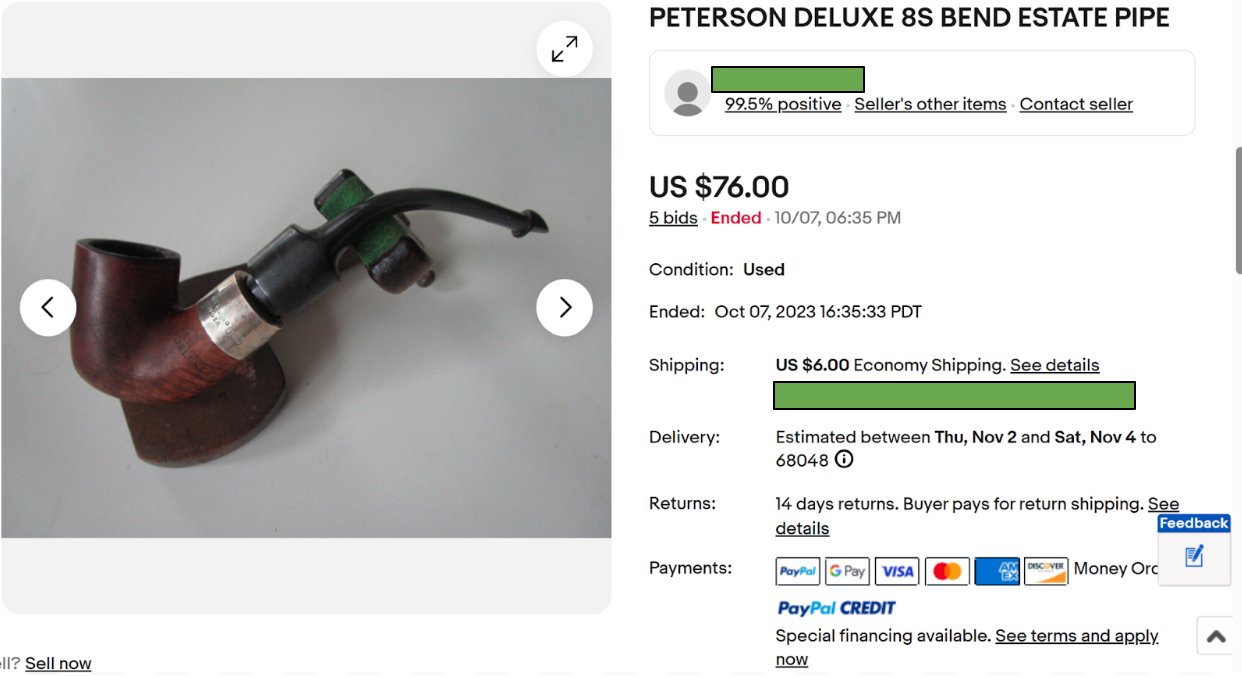
In October of 2023 I first lay eyes on this auction on eBay. I bid and won the below Peterson 8S. As far as restores go this one looked pretty easy and a Deluxe for under $100 is not too bad at all.
The photos all looked good for a pipe from the 1970s. The one slight issue that I noticed right off was the missing aluminum chimney or stem extension. I could see the stem was threaded and I know from experience that Peterson Deluxe pipe typically have the chimney. I thought, “no problem. I have a couple spare chimneys that I’d purchased from https://www.smokingpipes.eu. The U.S. version (https://www.smokingpipes.com) is usually sold out whereas the Dublin shop usually has them in stock.

While waiting for the 8S to arrive I went through The Peterson Pipe (the Big Book) to refresh myself with the history and lore of the new acquisition. The “8” is actually one of the original Peterson Patent shapes dating back to the 1896 catalog. I went to the Peterson Pipe Notes, by Mark Irwin, for a more condensed rendering of this shape history.Inb Blog “146. A Guide to System Shapes, 1896 – 2019, Part 1 (The 300 Shape Group)” mark Irwin does a great job summarizing this original shape:
“313 Medium Bent Dutch. 1896-Present.
Length: 4.94 in. / 125.48 mm.
Weight: 1.40 oz. / 39.69 g.
Bowl Height: 1.78 in. / 45.21 mm.
Chamber Depth: 1.53 in. / 38.86 mm.
Chamber Diameter: 0.70 in. / 17.78 mm.
Outside Diameter: 1.19 in. /30.23 mm.
The 313 is an original Patent dutch billiard bowl, pictured in the 1896 catalog as shape 8 and listed in the 1906 catalog as one of the small Patents. It was given its current shape number as a 2nd Quality pipe in the 1937 catalog, where it also appears as a 3rd Quality pipe with shape number 363. That catalog also gives shape number 8S to its De Luxe version, where it also appears as a Classic Range 2004B (K and 1st Quality) and 338 (Kapet and De Luxe). In the late 1970s it was released in the Dunmore System line as number 73.”
Quote from: https://petersonpipenotes.org/2019/09/03/146-a-guide-to-system-shapes-1896-2019-part-1-the-300-shape-group/
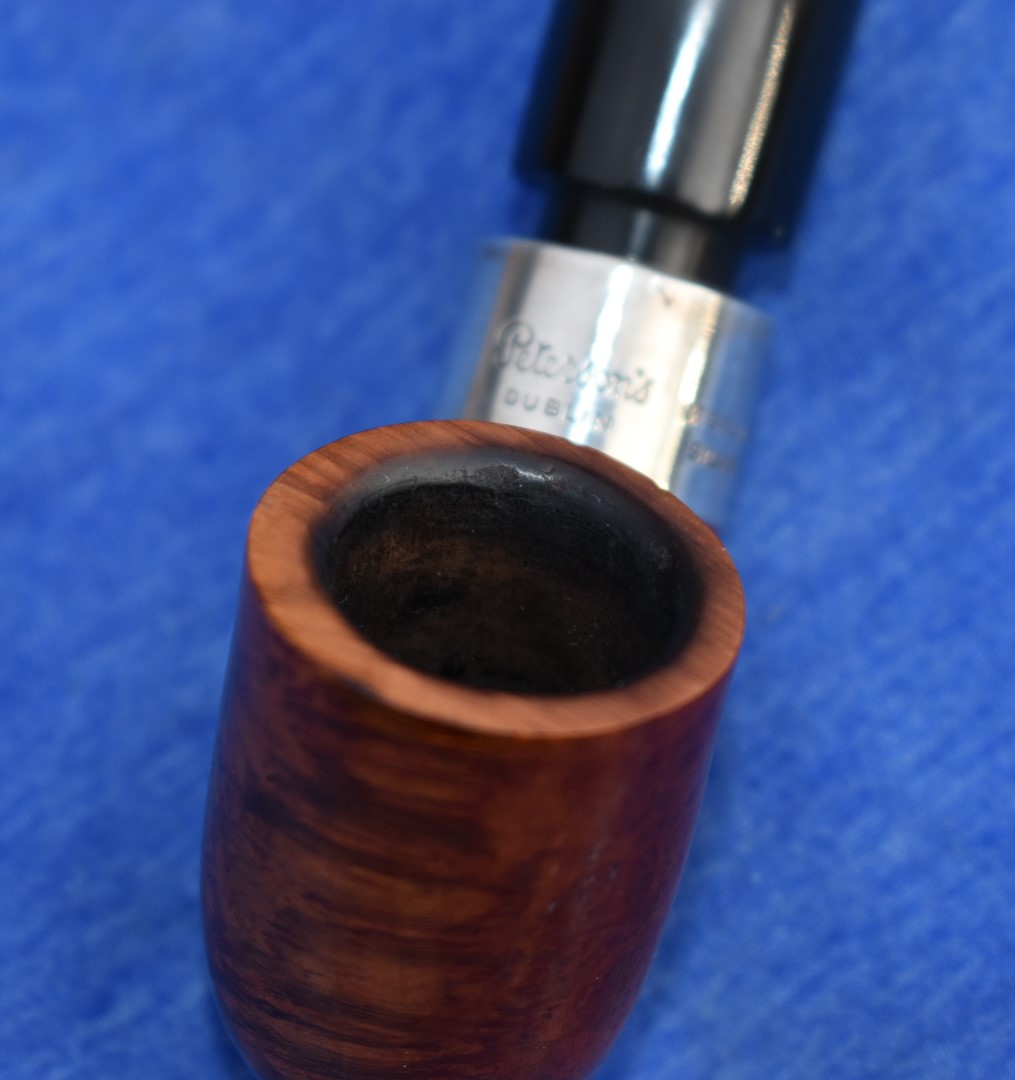
Looking at the photos from eBay, I could make out the third stamping from the hallmark as a “C”. I think it must be a 1970 based on the size of the “c”. The final warning came in the description and stated that the pipe had, “burnt marks around the bowl edge inside part .” So, when it arrives we will see an old pipe that is missing a chimney, has a charred rim and worn hallmarks – sounds like fun.
It finally did arrive and to no surprise it was an old pipe that was missing a chimney, had a charred rim and had worn hallmarks. Here are some photos taken prior to restoration:


As you can see the old 8S has some issues. I began with the tobacco chamber. It did not have a thick cake but I did want to see if the chamber had any charring issues of its own. I used the PipNet reamer and the Smokingpipes knife to clean out the tobacco chamber (photo below). After this was completed I sanded the interior of the tobacco chamber with 220 sandpaper on a wooden dowel. The chamber looked good with no sign of any charring.

With the tobacco chamber finished I decided to clean the exterior of the stummel. This was done using Murphy’s Oil Soap and a medium stiffness toothbrush. The exteriors cleaned up without any issues. The rim had some “lava”, the residue of dried tars. However it was difficult to tell where the lava ended and the charring began. I rinsed the exterior with warm water and used a damped finger to remove and sanding dust from the tobacco chamber. Next was the draught hole. I returned to the restoration bench and moistened a bristle pipe cleaner with 99% ethyl alcohol. This was run through the draught hole to gauge how dirty it was. The pipe cleaner came back quite blackened with tar. Here I poured about 5 ml of alcohol down into the tobacco chamber. Holding the stummel upright I used a small nylon brush to scrub and loosen/dissolve the old residue. After a minute of scrubbing I would pour the alcohol into a small medicine cup and run a pipe cleaner through to check on the color of the pipe cleaner. Black = more scrubbing, brown = more scrubbing with progress, white = finished. It was brown. I refilled with another 5 ml of alcohol and repeated the scrubbing. The result was cleaner than the first time. I repeated with another 5 ml of alcohol. Finally I started to get through the build-up of smoking residue. I finished by using alcohol soaked bristle pipe cleaners until they cam out clean.
Next was the reservoir. On a Peterson System pipe this is where the water from the smoke condenses and accumulates. A diligent Pete smoker will twist a napkin or paper towel and dab out this condensate before dumping the ash or dottle. All of my alcohol baths had softened the residues in the reservoir quite nicely. I scraped with a round ended blade as much of the residue out as I could before using cotton swabs soaked in alcohol to clean out the reservoir. After what seemed like hundreds of swabs was actually 15. The reservoir was now clean. All of this soap, water and alcohol had taken quite a toll on the finish of the pipe. I used a make-up removing pad dipped in alcohol to wipe away any wax that remained on the stummel.
I decided to top the rim of the pipe using 220 wet/dry sandpaper on a countertop. This ferrule is a little bit taller than the rim making topping a bit more difficult. I wanted to apply a little bit more pressure to the charred areas closer to the ferrule while keeping the flat profile and altering the shape of the 8S as little as possible. After I had sanded as much as I felt comfortable with the 220 grit I used a 400 grit paper to smooth out any scratch lines. This left the stummel looking better but I was still not happy with the charred area. I then used a small wood sphere wrapped in 220 sandpaper to chamfer the inside edge of the rim. This helped but I was still not happy with the rim. I quit worrying about it and moved on. More on this later.
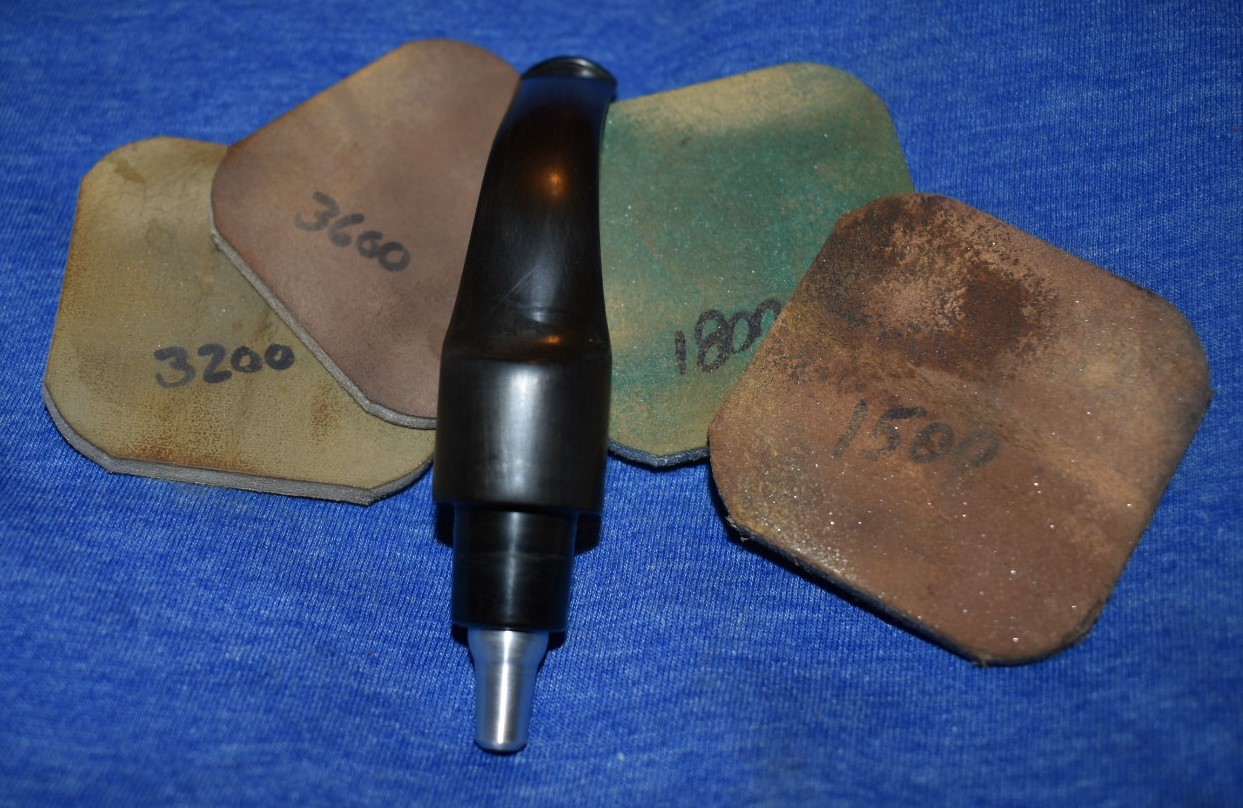
With the finish removed it was time to start sanding the wood. I noted exactly where the stamping were and made it a point to avoid sanding those areas. I started with the 1500 grit micro-mesh sanding pad moistened with a few drops of water. After sanding I wiped the stummel with a make-up pad moistened with alcohol. I repeated the wet sanding with the 1800 grit micro-mesh pad and wiping with the make-up pad. The subsequent micro-mesh pads were used dry with an alcohol wipe after each micro-mesh pad. I worked up to the 12000 grit micro-mesh pad.


The stem of this old 8S needed very little work. First off, what is a Peterson chimney? It is a tenon extension of the stem into the reservoir. The tenon extension is called a chimney by employees at the Peterson factory. They are part of Deluxe and Premier models. Here you can see a diagram of a Peterson System pipe. The chimney, though not labeled, is shown and I circled it in green.

Photo from: https://petersonpipenotes.org/2018/08/30/105-peterson-system-day-2018/
Below are examples of Peterson System pipe chimneys. The Straight System pipes in the 120 shape and the 31 shape also have tenon extensions, these are shown in the photos below. Today all of the chimneys are made of aluminum. Prior to 1960 the tenon extensions were made of bone. I have a couple of bone chimneys on System pipes. In each case the bone is fused to the vulcanite stem. When these bone chimneys eventually crack or break I will have to drill them out and replace them with a new aluminum chimney.

Top pipe is a Peterson 31 Straight System pipe. Below is a Deluxe XL339. Both showing aluminum chimneys.
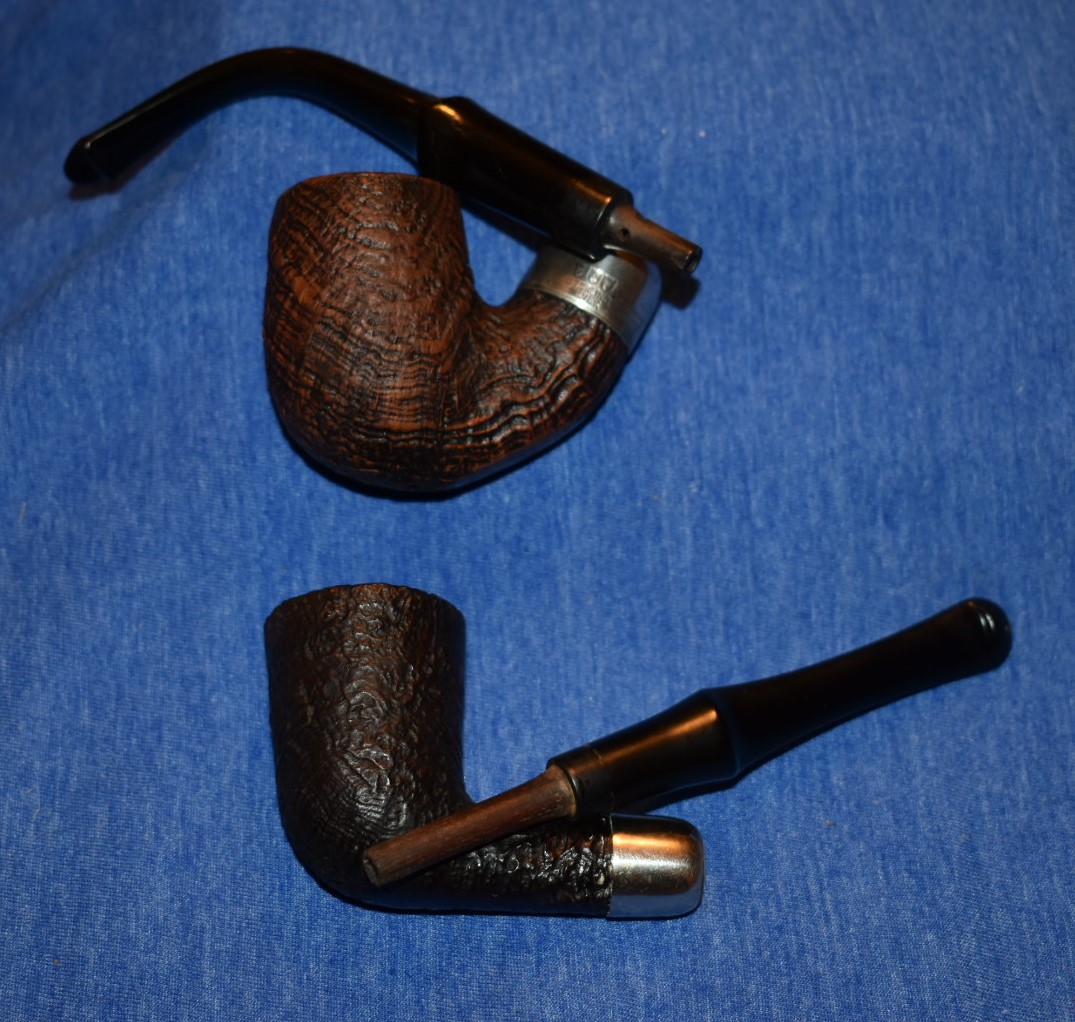
Top pipe is a Peterson Premier 312. Bottom pipe is a Peterson Straight System 120. Both pipes have bone tenon extensions.
Okay, now that we have had our Peterson chimney primer let’s try a new Peterson chimney in the old 8S. No luck there. The old style chimney is a slightly larger diameter than the new one. The below photo shows the new chimney flopping about in the threads.
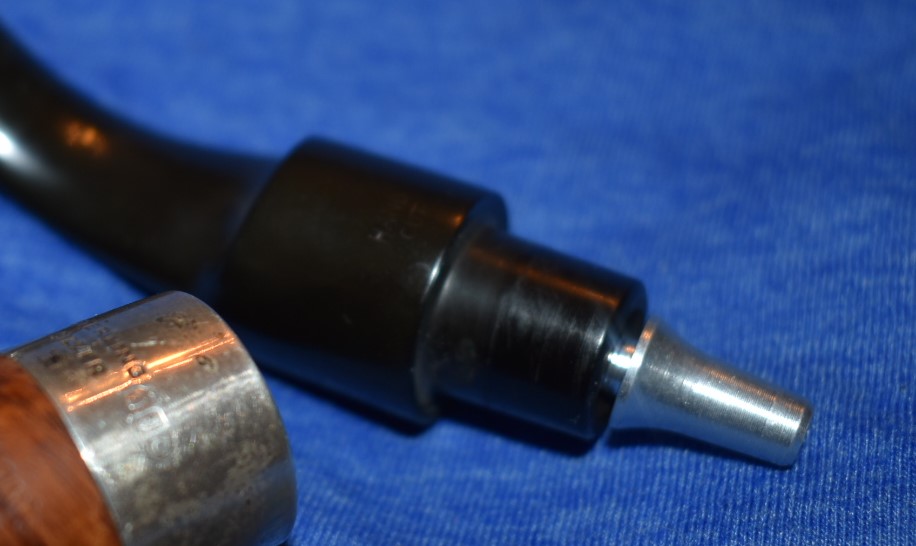
Fortunately I have a friend, Christian Baxter, who is a machinist. Normally he is building custom machines for testing prosthetics for humans. When asked, he was glad to work on something “important” for a change. Relativity, not just for physics. Christian is an amazing machinist and showed me some true reality altering things that could be done with a metal lathe. After a few minutes of work he had manufactured a very nice chimney for the 8S.


The above two photos are Christian Baxter’s lovely work making a replacement chimney.
The last thing that the stem needed was a good cleaning, micro-meshing and polish. The cleaning was done with bristle pipe cleaners dipped in 99% ethyl alcohol. These were run through the stem until the came out clean. The micro-mesh sanding of the stem was done in the same way as with the stummel – starting with 1500-1800 (wet), and working up to 12000. I wiped the stem off with Obsidian Oil between each micro-mesh pad. After the 12000 pad, I polished the stem using Fine Polish followed by the Extra Fine Polish from Lbepen.com.
The restoration was nearly finished. Here are a few photos before the final buff and application of the carnauba wax.


As previously stated, I was not happy with my attempts to repair the charred rim. I mention this with some photos on a Facebook group that I frequent. One gentleman there, Sascha Mertens from Germany, mentioned that he uses a technique where he applies petroleum jelly to the charred area then uses a sharp knife to very carefully scrape the charred wood leaving behind undamaged briar. I had not heard of this technique and decided to give it a try. My first step was to get out my old German Boker pocket knife and give it a very sharp edge. It only seemed appropriate to use a German knife with this new German advice.

Next, I applied the petroleum jelly and allowed it to soak the charred wood for a few minutes. I then careful began using the edge of the knife, held vertically, to lightly scrape the charred areas. I wiped the jelly/char off on a make-up removal pad and repeated the char scraping. It worked just like Sascha said. Below are the photos of the results.

The results were very nice. I was at last happy with the way the rim looked. Thank you Sascha Mertens.
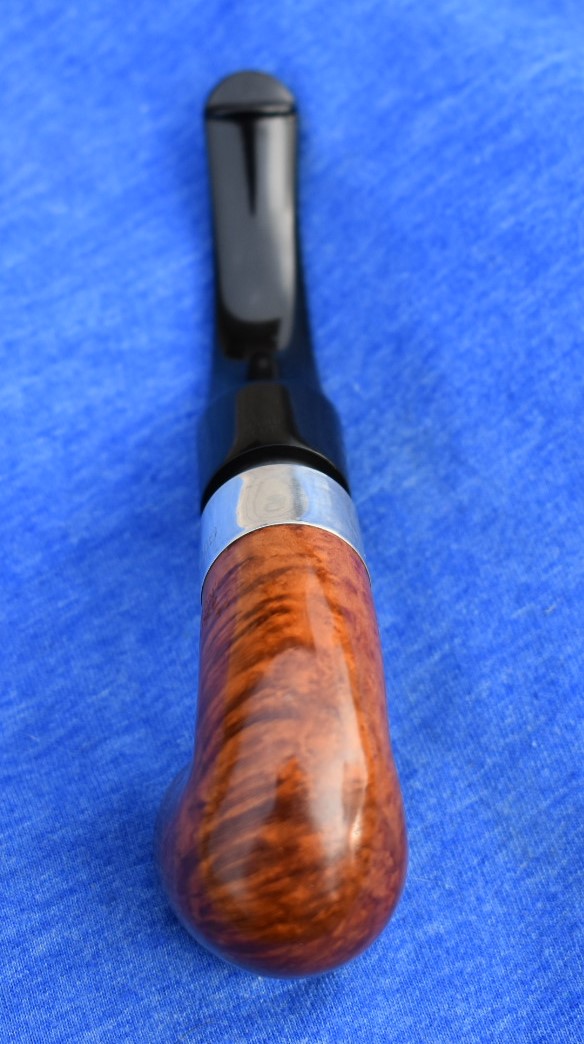
The final step was to apply a high quality carnauba wax with the buffer. This step really made the 8S shine and returned her to the near glorious condition when she left the Peterson factory. This project would not have been possible without the assistance of Christian Baxter, machinist extraordinaire, and Sascha Mertens. Their advice and skills made this restoration a success. And thank you for reading the ramblings of an old pipe lover.
Here are some final photos of the Peterson Deluxe 8S.