Written and Photographed by
John M. Young
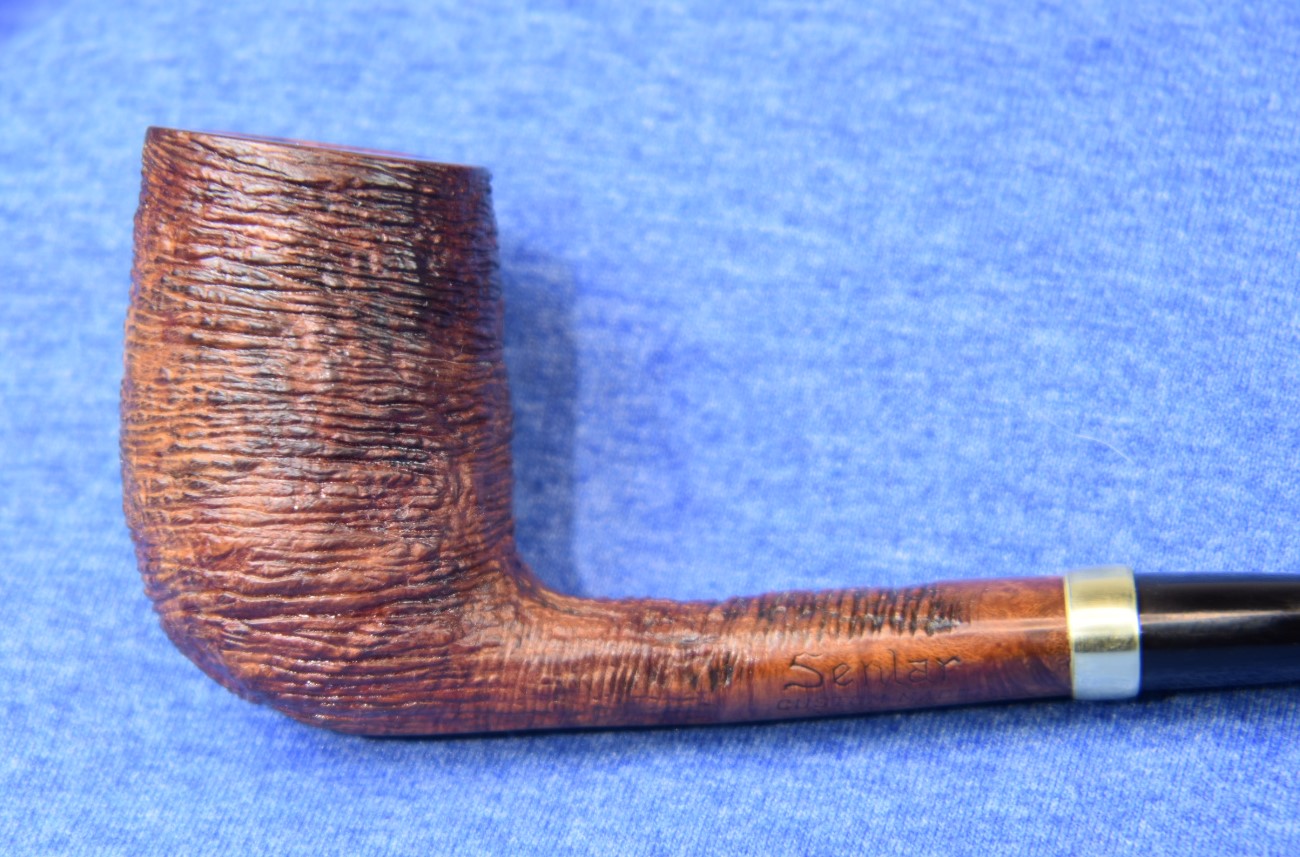
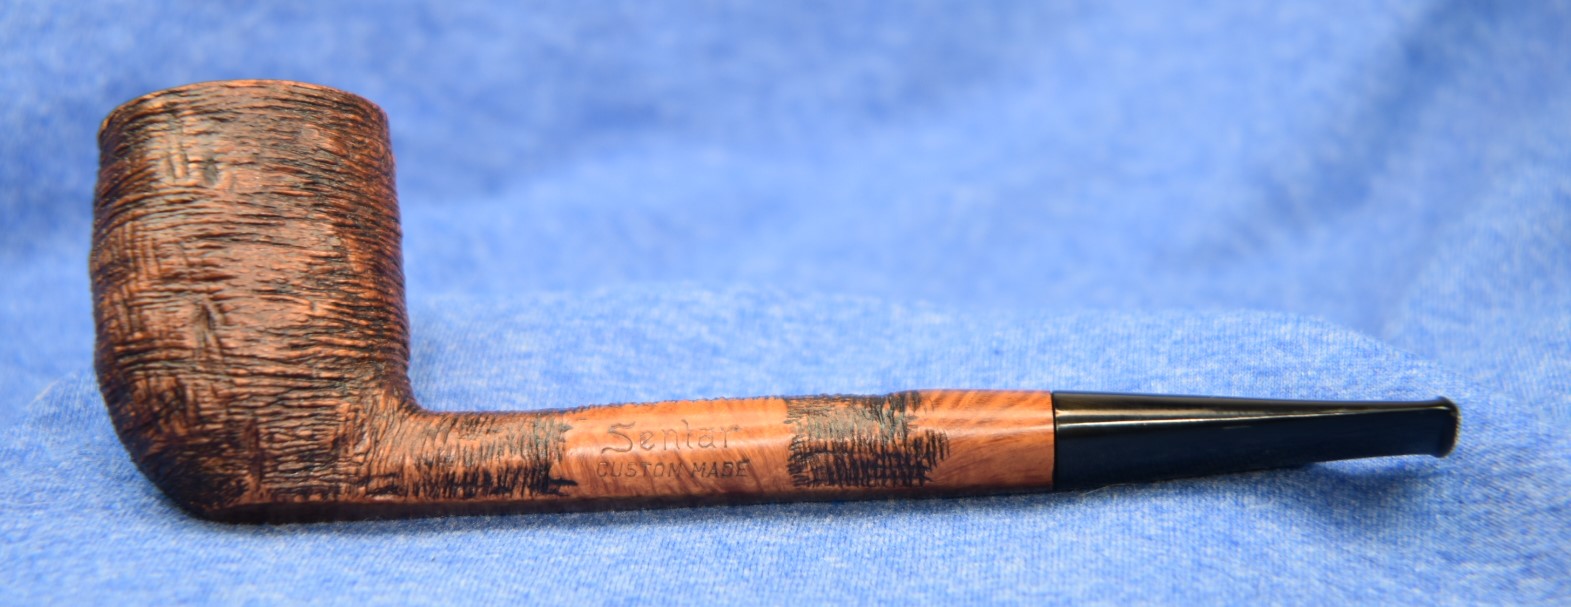
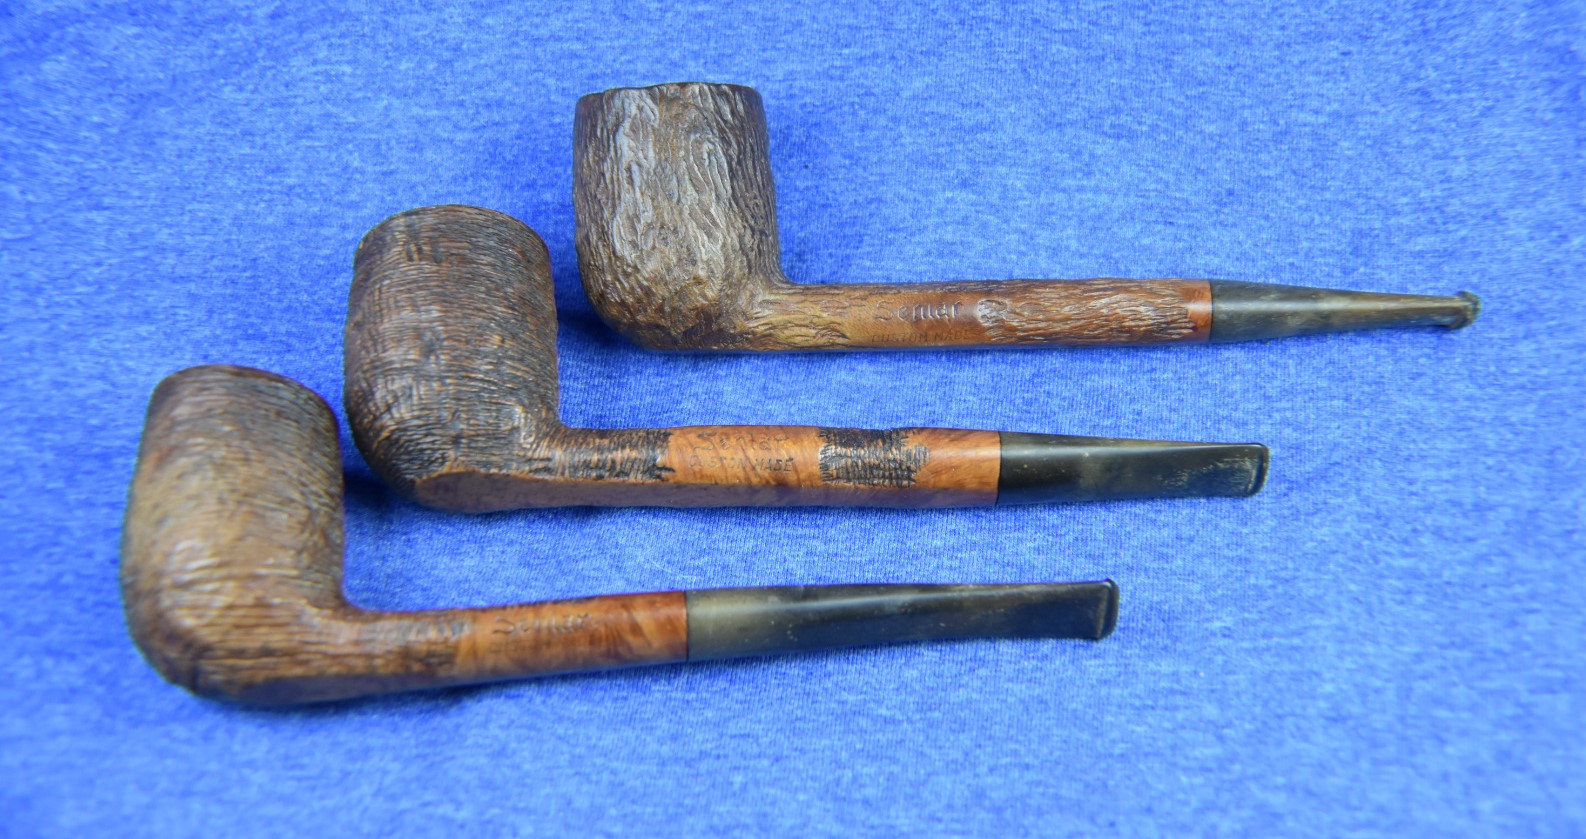
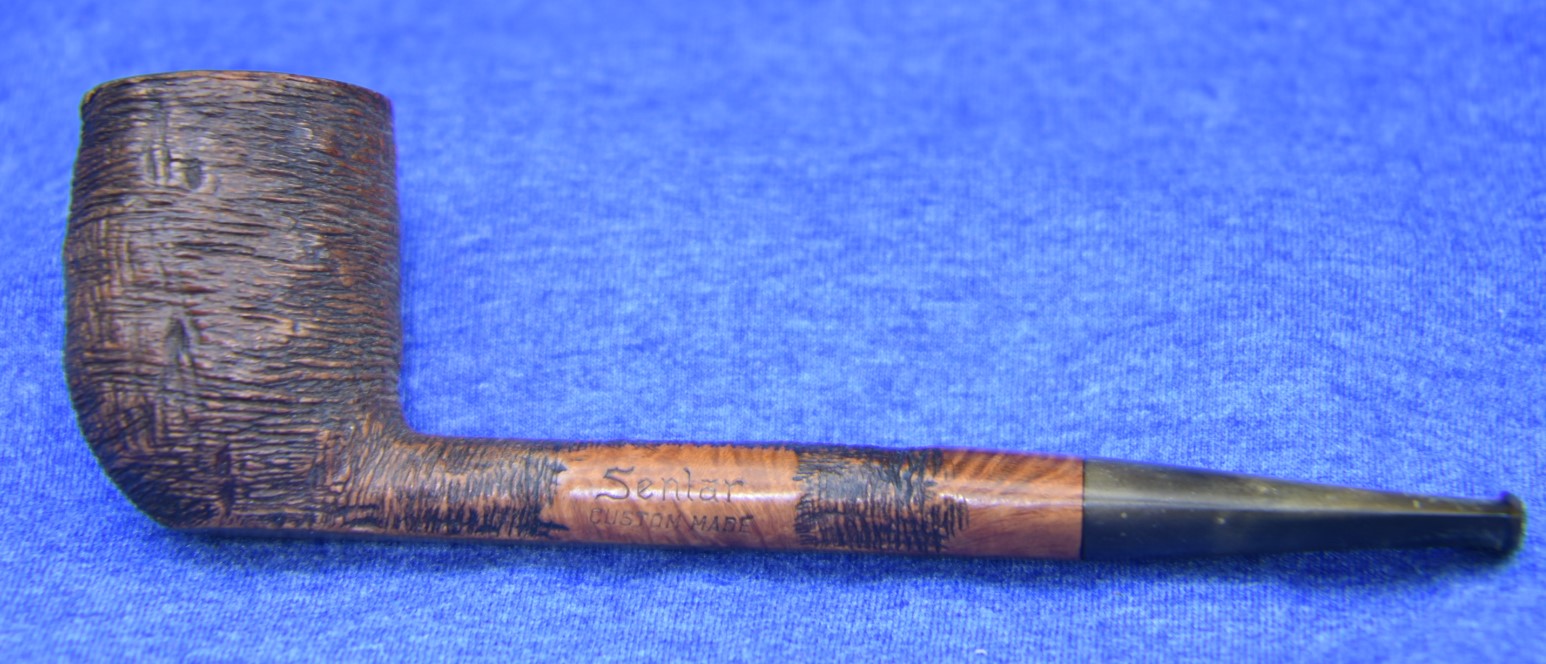
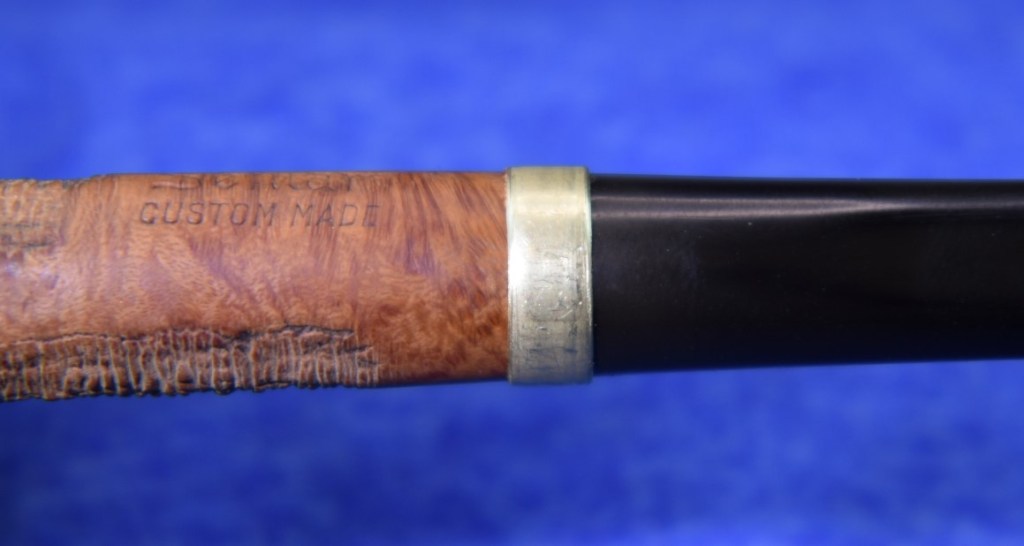
Over the past week I have restored two of the three Senlar pipes that I came into my possession. The first two were both Canadian style shapes with lovely tree bark like rustications. This last Senlar is more of a billiard shape with a slight bend. I can’t really call it an ⅛ bent since when I “eyeball” the stummel with a protractor I see about a 5 degree angle. I have to give Wally Larsen credit for making this pipe geometry lesson for me. I am getting ahead of myself again, if you haven’t read the first or second Senlar Canadian restorations Wally Larsen references make no sense. I will let pipedia.org summarize:
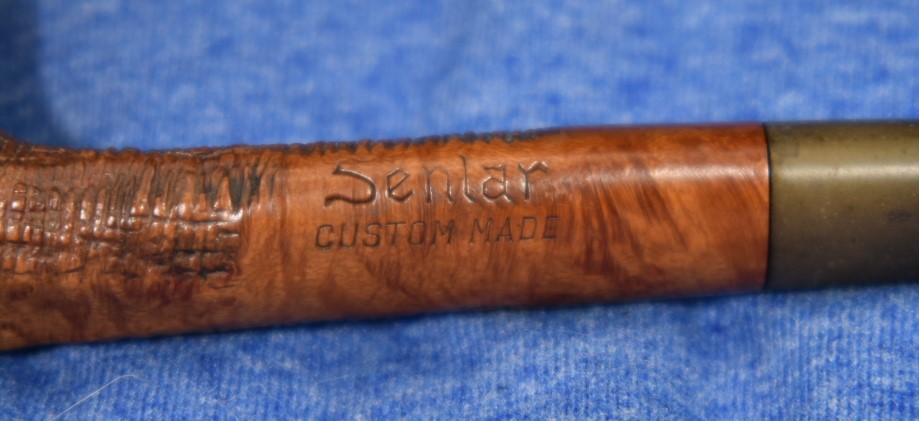
“”Senlar” – Pipes were made in Minnesota by pipe maker Wally Larsen who inverted his last name LAR SEN to come up with SEN LAR. The Saint Paul Pioneer Press nicknamed Larsen “The Great Dane Of The Pipe World” in 1973. Larsen’s pipes were made in the basement of his Minnetonka home, with pipes selling in 1973 for as much as $75. Larsen learned the pipe making craft in the 1940’s when an established pipe maker moved into the home next door. After observing this craftsman work for three years Larsen decided to make a pipe for himself. That first pipe got him some attention from fellow smokers and he sold his next nine before being able to keep another for himself.
Senlar pipes were apparently primarally sold in only three shops, St. Marie’s and the Tobak Shop in St. Paul, and Tobaccoland in Rosedale. Larsen expressed difficulty keeping up with the demand of just these three outlets.
Larsen sought to make Senlar pipes “Look like a tree.” Which he accomplished by using a whirling drill to carve a distinctive bark like finish on the pipe. It is a finish seen on most Senlars and Larsen regarded it as a sort of trademark.
He died in approximately 1988.” (https://pipedia.org/wiki/Senlar)
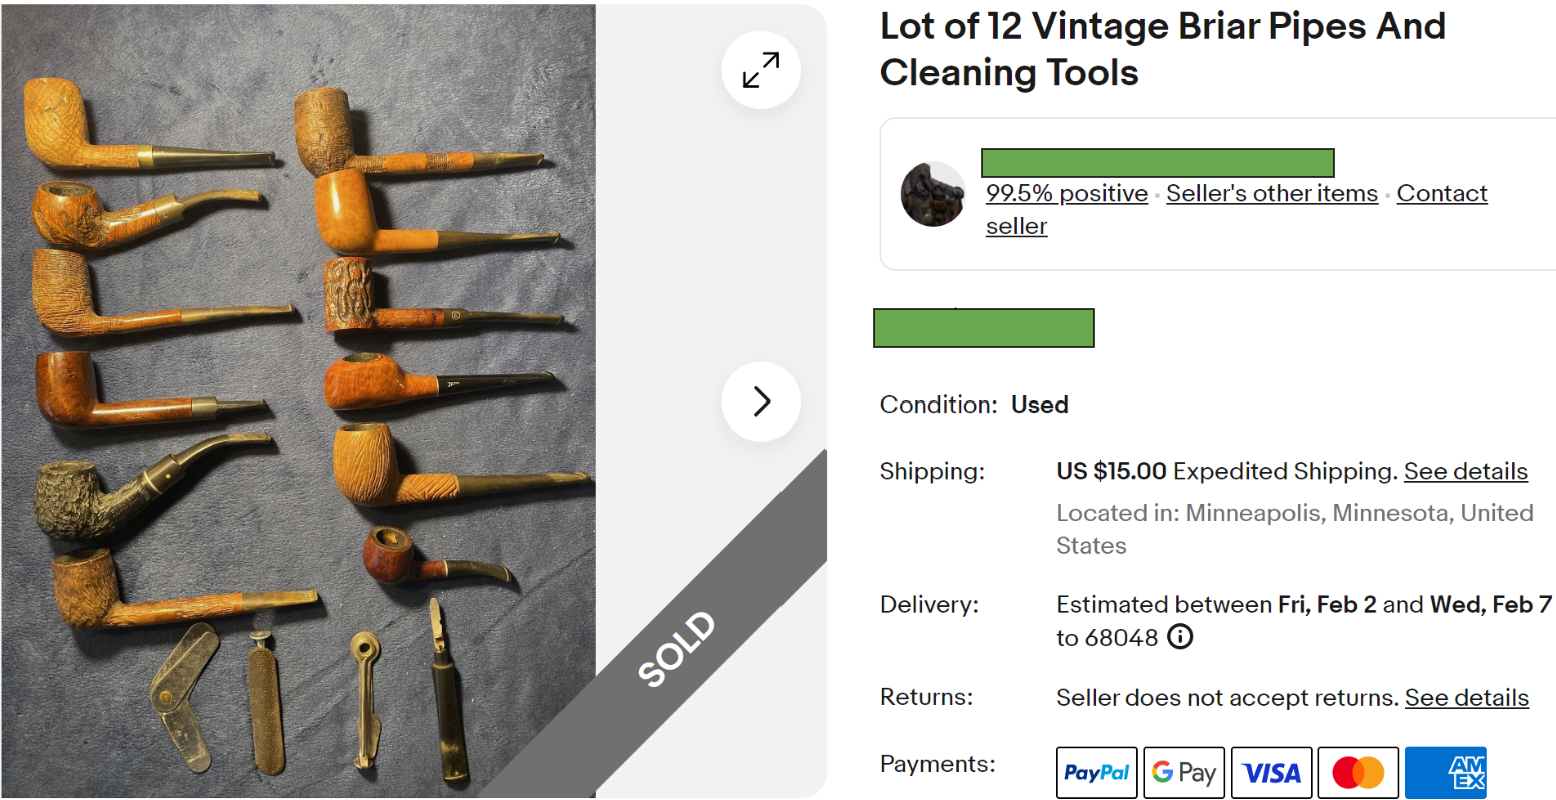
I had picked up 3 Senlar pipes in an estate lot purchased from eBay last month.


Clicking the above photos should take you to their respective restorations.
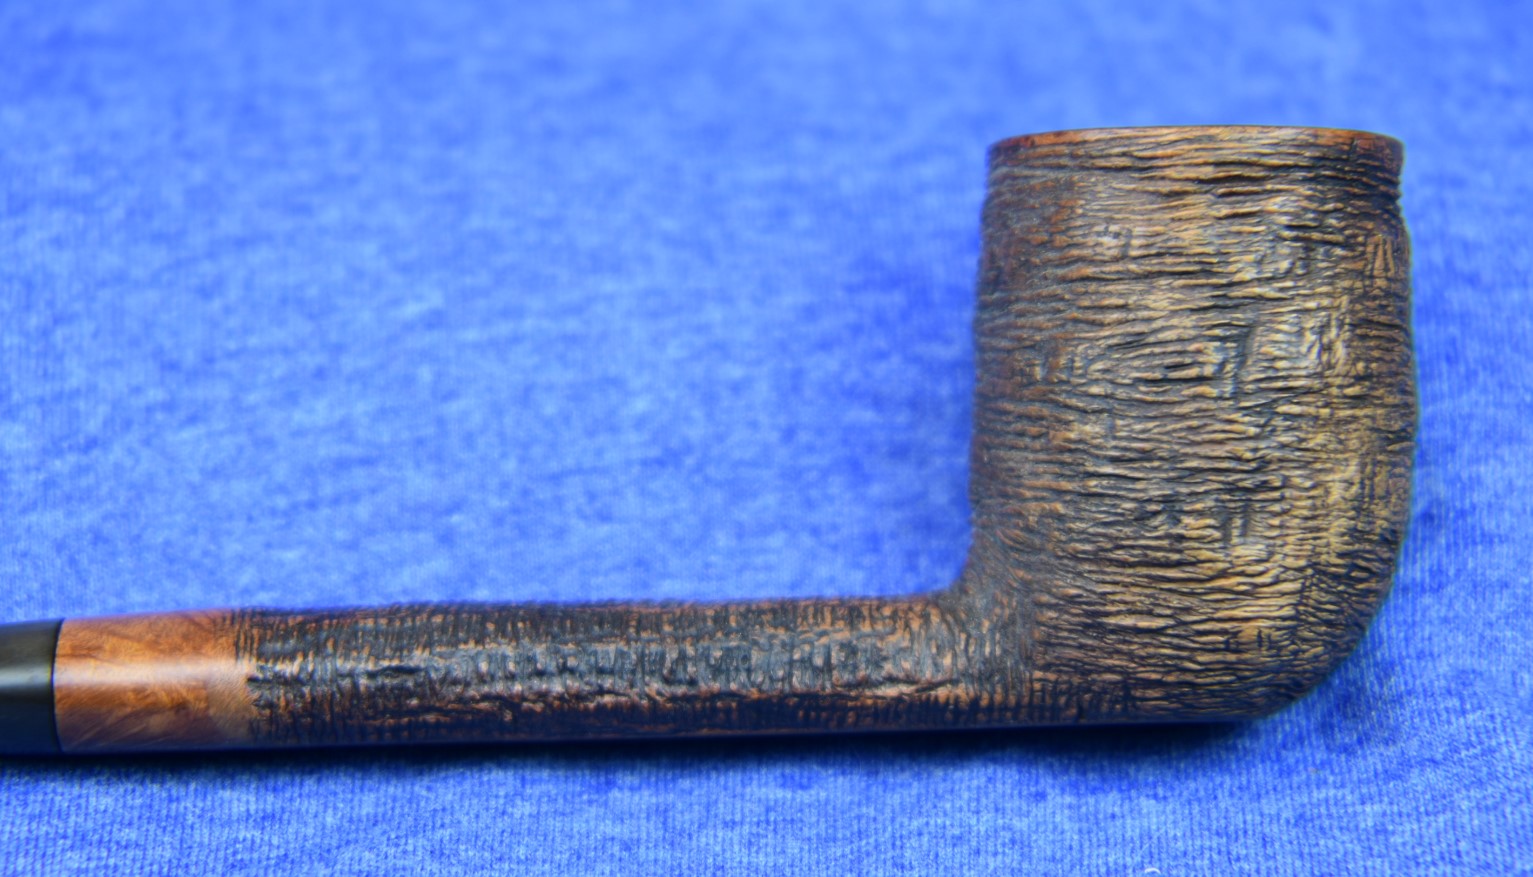
Back to the geometry lesson. I was reading about the characteristics of the traditional billiard shape. This pipe is just full of contradictions to that shape. Here is what Tobaccopipes.com says about billiards: “The Billiard shape is without a doubt the most popular tobacco pipe shape in the world. Billiards feature a perfectly cylindrical chamber and can be found with either a bent or a straight stem. The key to a classic Billiard is a cylindrical shank equal in length to the height of the bowl.” (https://www.tobaccopipes.com/blog/glossary-of-tobacco-pipe-and-pipe-tobacco-terms/)
Okay, the shank length and bowl height do match if you use the average for the front height and the back height. This pipe has a canted rim in relation to the shank. This angle is approximately 20 degrees.

Now to make matters more confusing the bowl meets the shank at a 90 degree angle at the rear of the bowl.
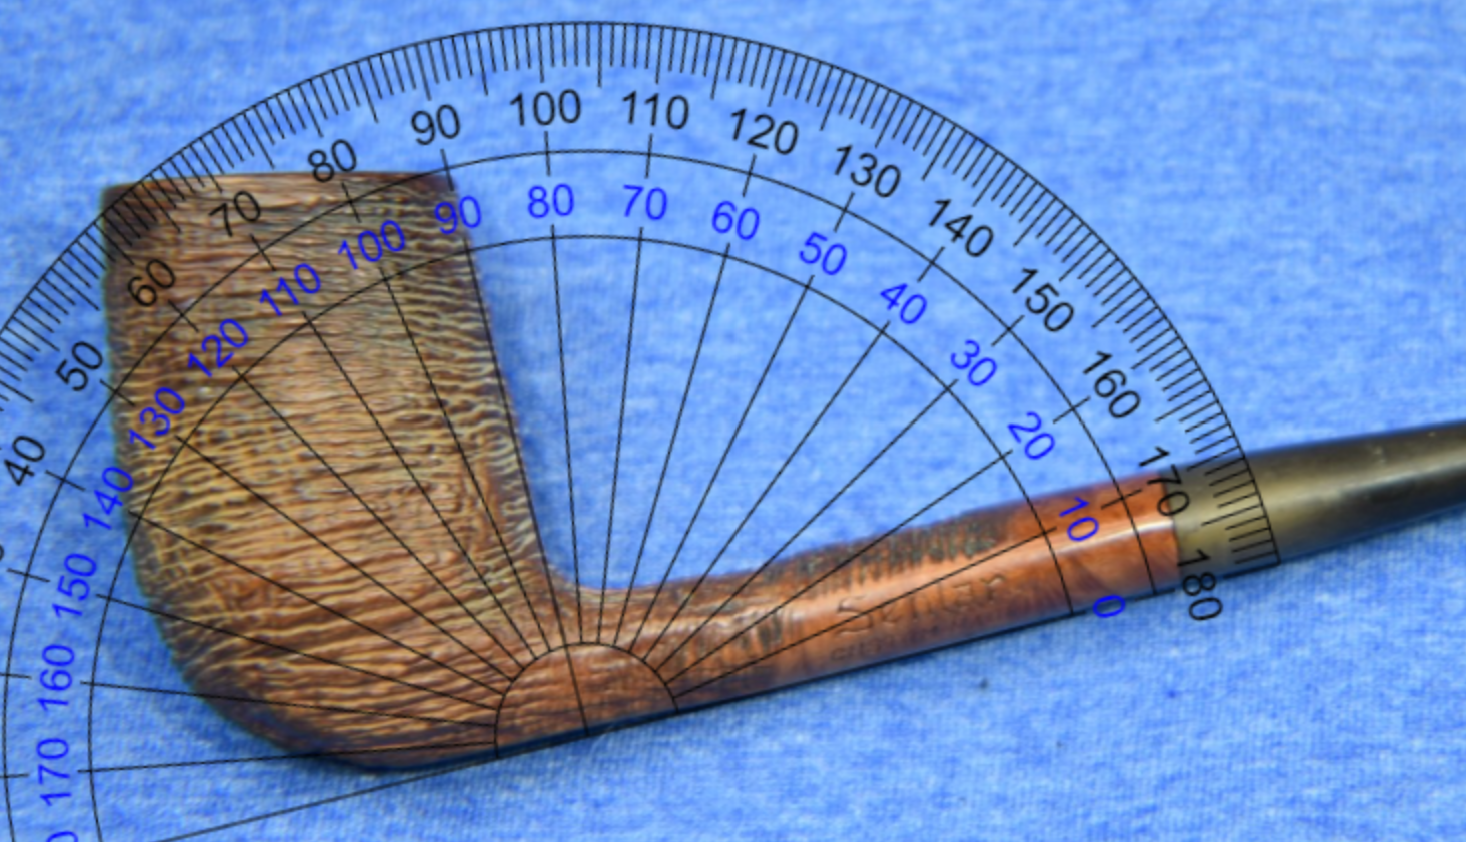
However the bowl is not cylindrical, it is flared at the bottom with the front of the bowl at a right angle to the rim.

So, what does all of this mean? I don’t know but it sure is cool and it makes for a very interesting looking pipe. It is like an optical illusion. The pipe looks like it is a slightly bent billiard, yet, when you measure it one way it is at a perfect 90 degree angle. However, when you look at it you see it as bent.

It is all about the angle from the front of the bowl to the shank. It gives the illusion of being a cylindrical bowl due to the curve at the heel yet the bowl is flaring outwards and you move down the bowl. Then there is a very slight bend to the stem which is comfortable to clench and allows easy viewing of the top of the tobacco chamber when lighting the pipe. Genius.
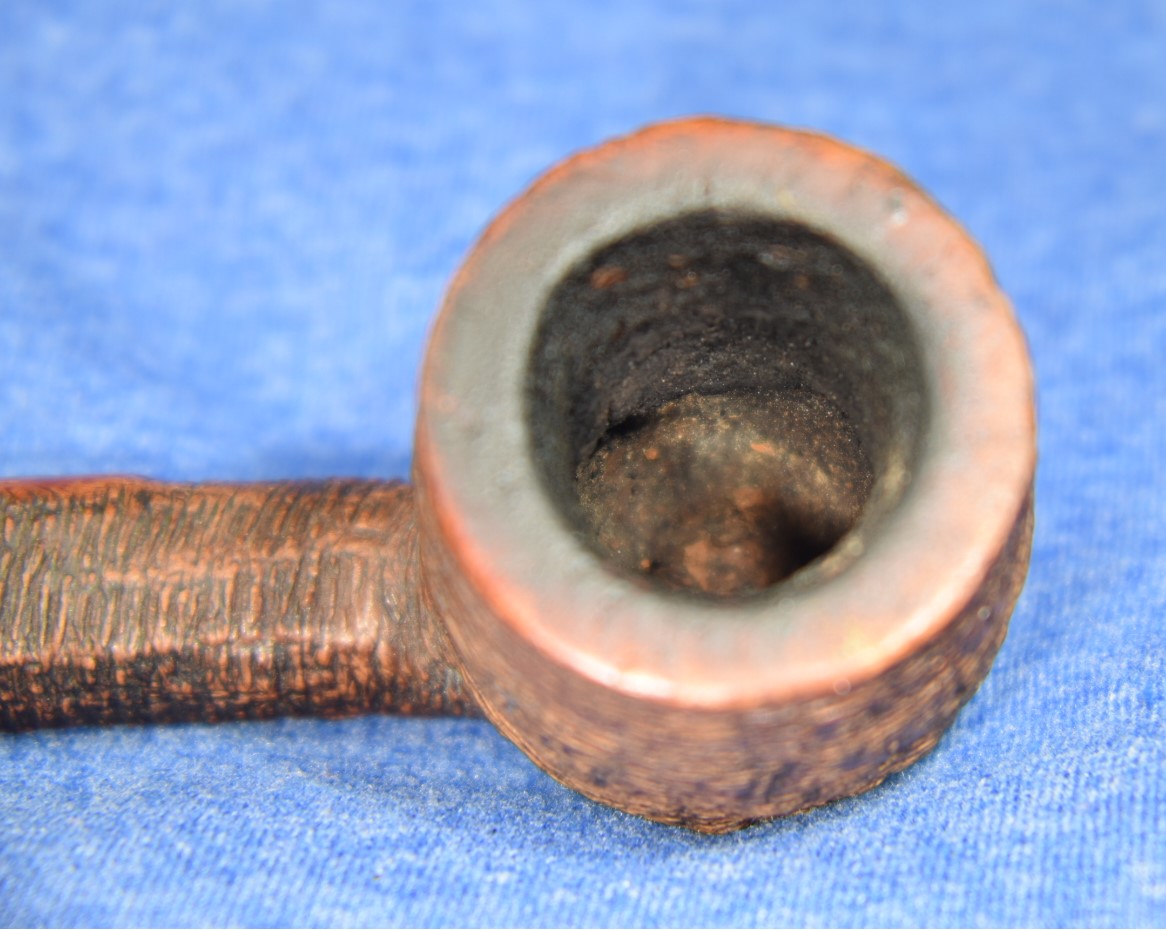
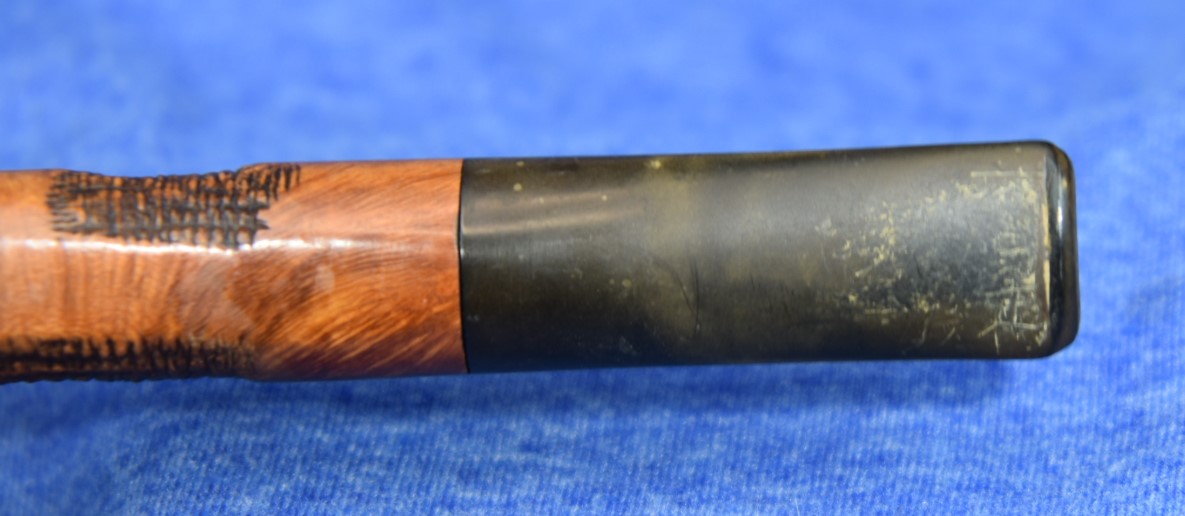
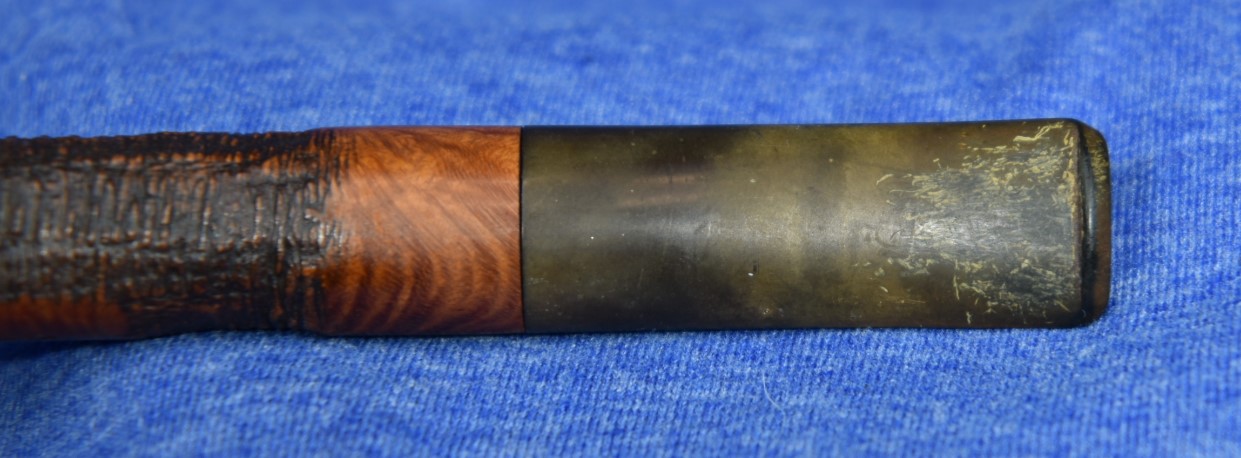
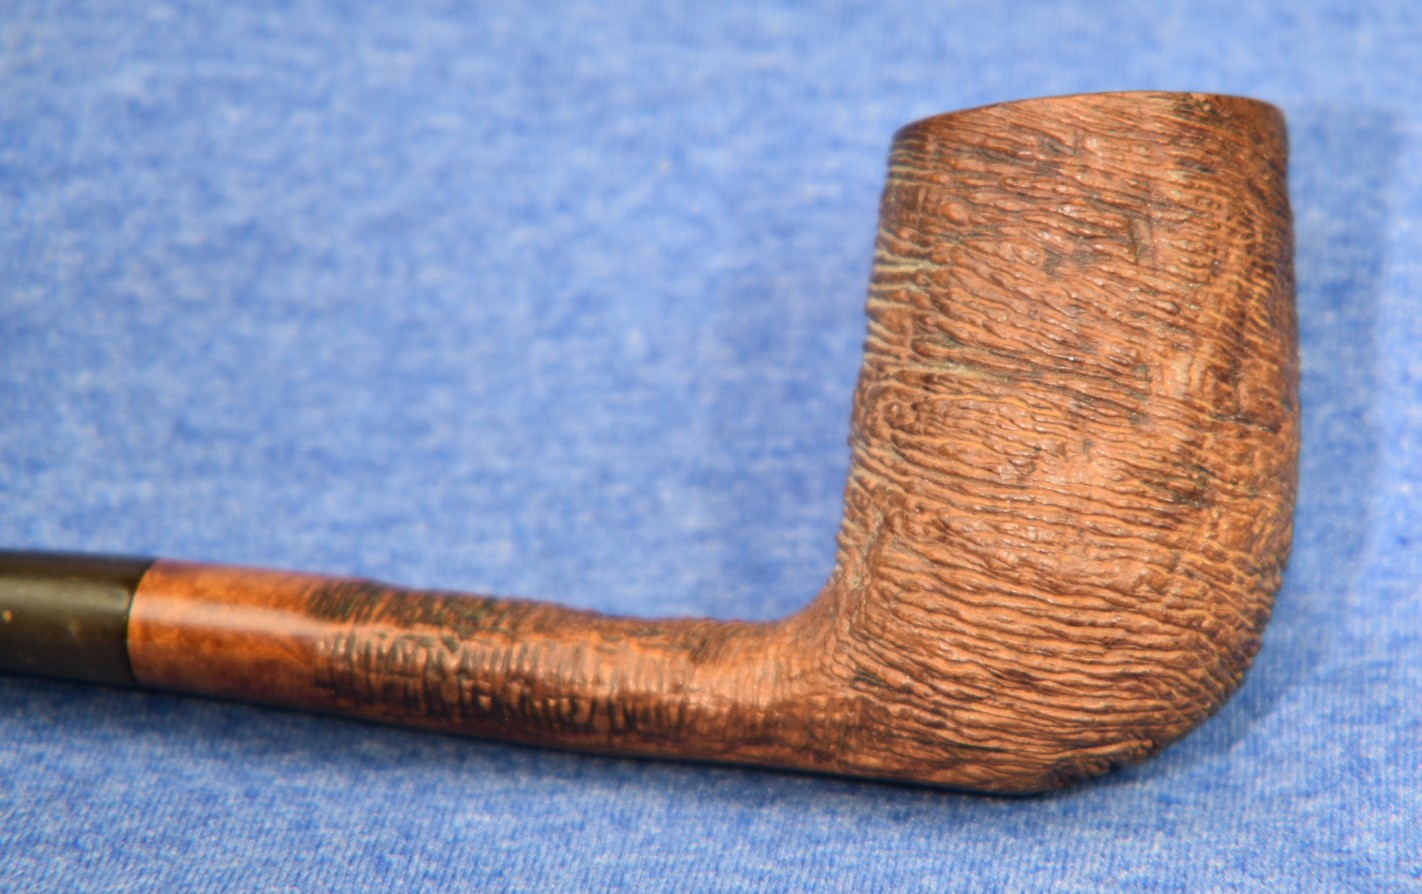
All this and I haven’t even started restoring it. I will get on with it. The pipe, though geometrically amazing, did need some attention. The tobacco chamber had a moderate layer of cake. The exterior was dirty with a lava crusted rim. The stem had minimal tooth chatter but had calcium deposits and oxidation issues. The most alarming part, to me, was the constriction or congestion of the draw. When the stem was disconnected it had a fine draw but when inserted into the pipe the draw was very restricted. I took this to mean the airway of the shank was going to be a tough one to clean. The stem also seemed to be slightly loose fitting.
Here is what I was looking at:


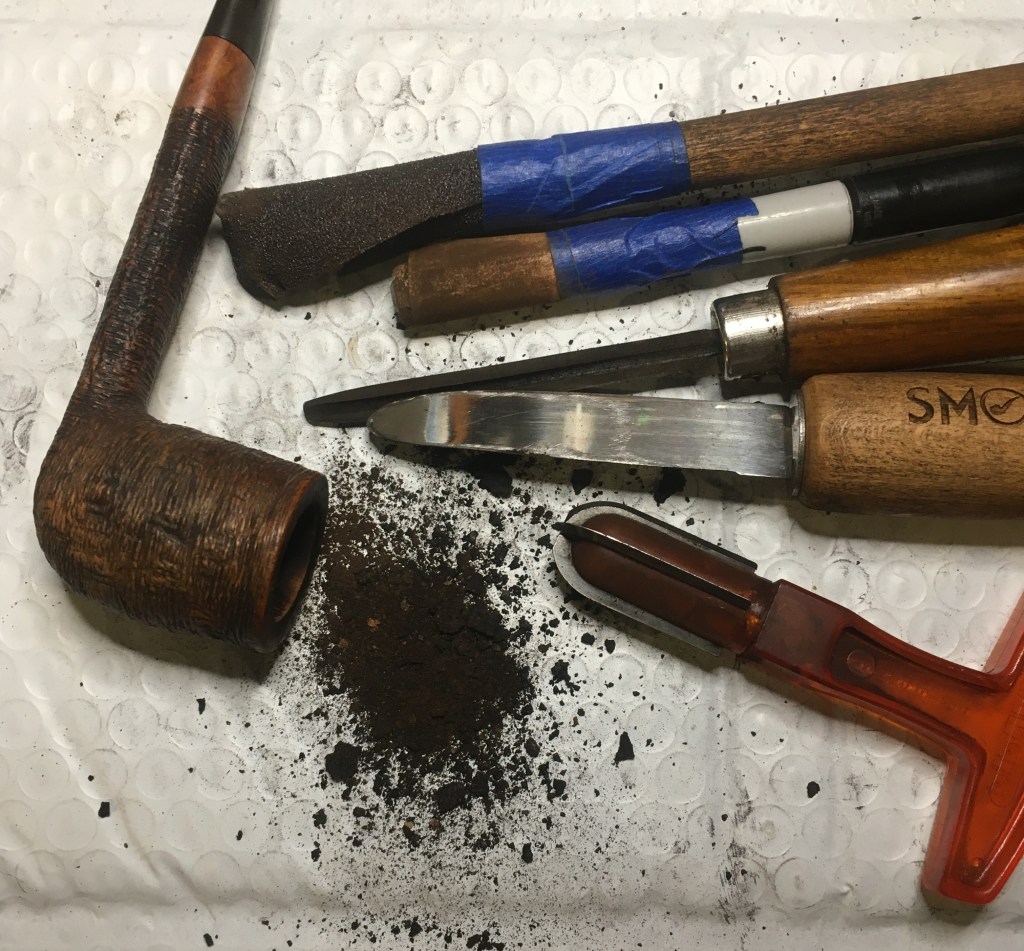
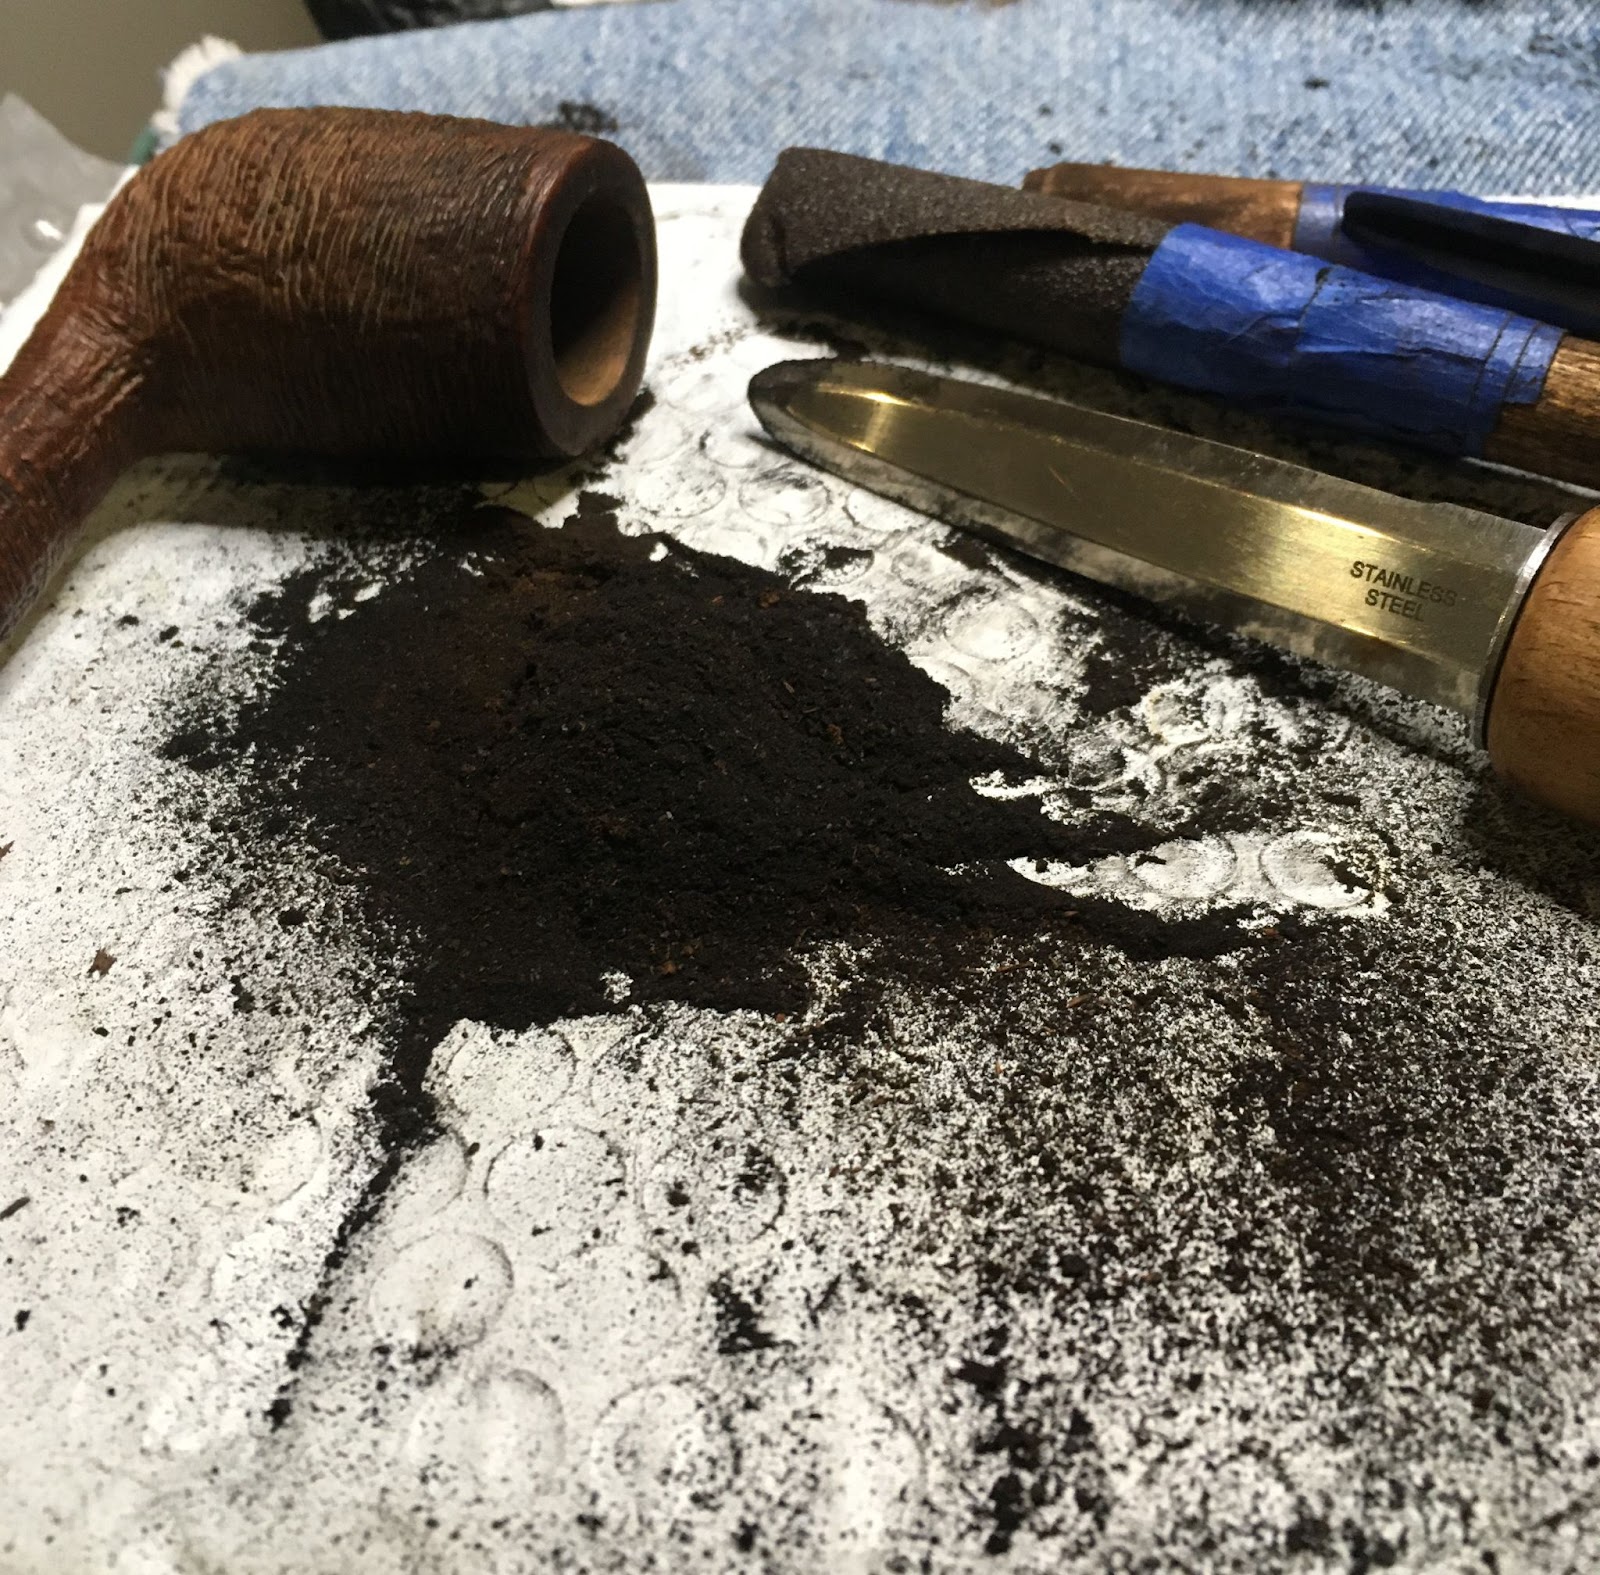
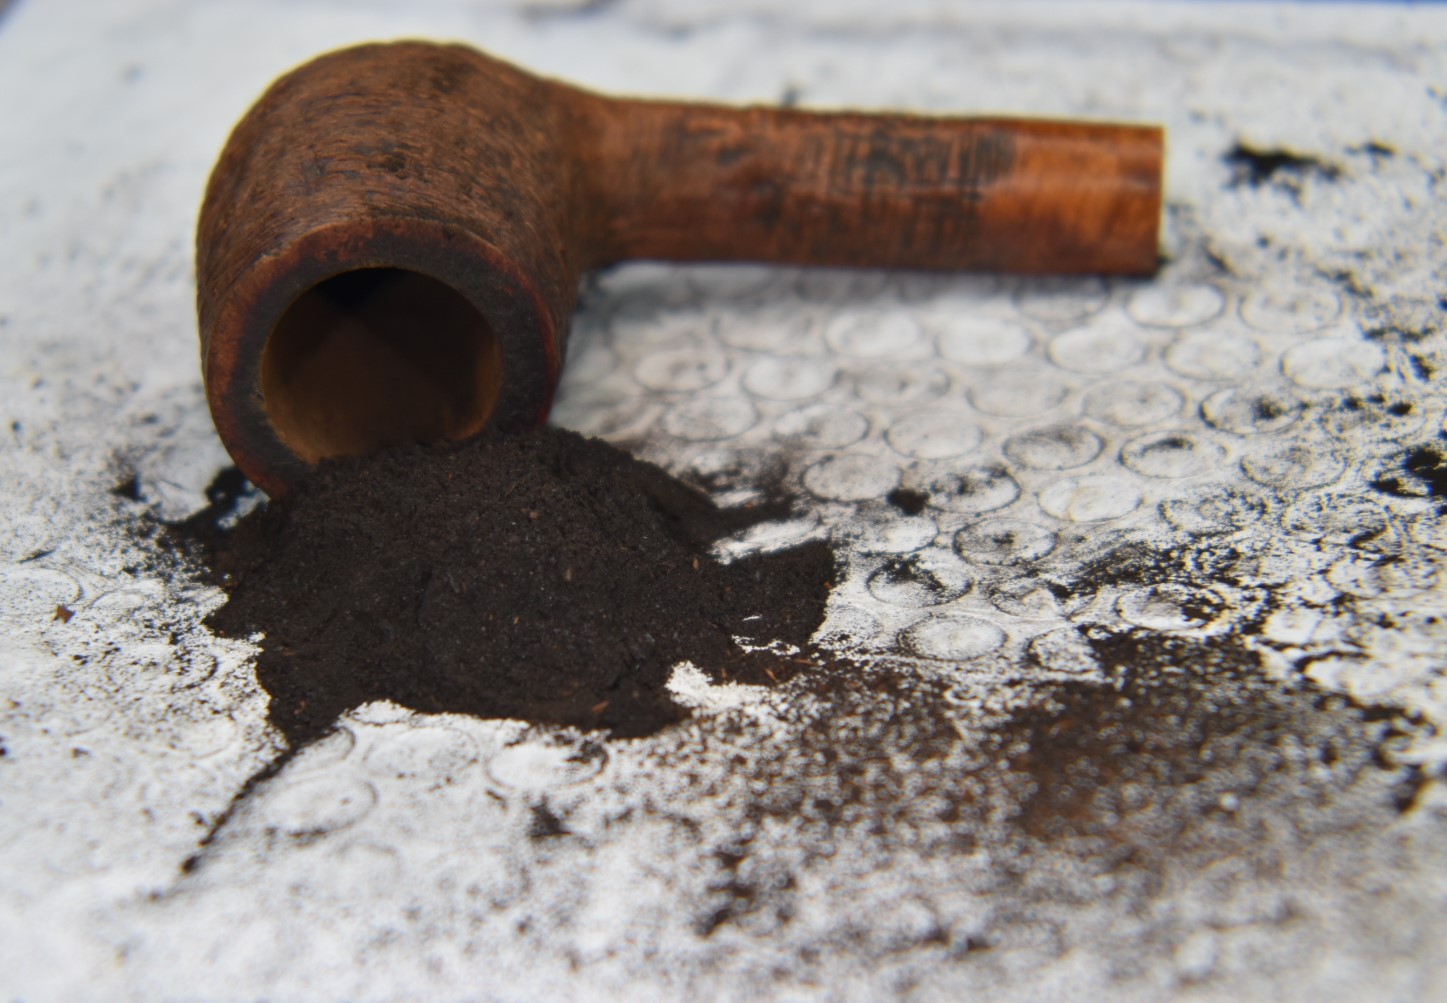
I started with a clean denim piece on the workbench surface then assembled the reaming tools. The PipNet with the #2 blade, the Smokingpipes knife, the General triangular scraper and the two sanding rods. 220 sandpaper wrapped around the wood dowel and 320 sandpaper on the sharpie. The cake was very hard and thicker than it appeared. As I was working the PipNet I had to stop frequently and scrape with the knife to allow the PipNet easier action. The bowl was also deeper than it appears – more of that optical illusion. Eventually the PipNet reached the bottom of the chamber. I was very surprised by the pile of carbonized cake remains on the plastic reaming pad.
The chamber was then sanded with the 220 and 320 sandpaper rods to bare briar. The interior looked very good with no signs of any heat damage to the chamber. At this point I tried to blow air through the airway but it was completely sealed. I used the Scotte Pipe Reaming tool’s drill needle to try to clear the airway. The needle drill worked through the airway with difficulty but eventually reached the tobacco chamber. This greatly opened up the airway and returned it to normal.
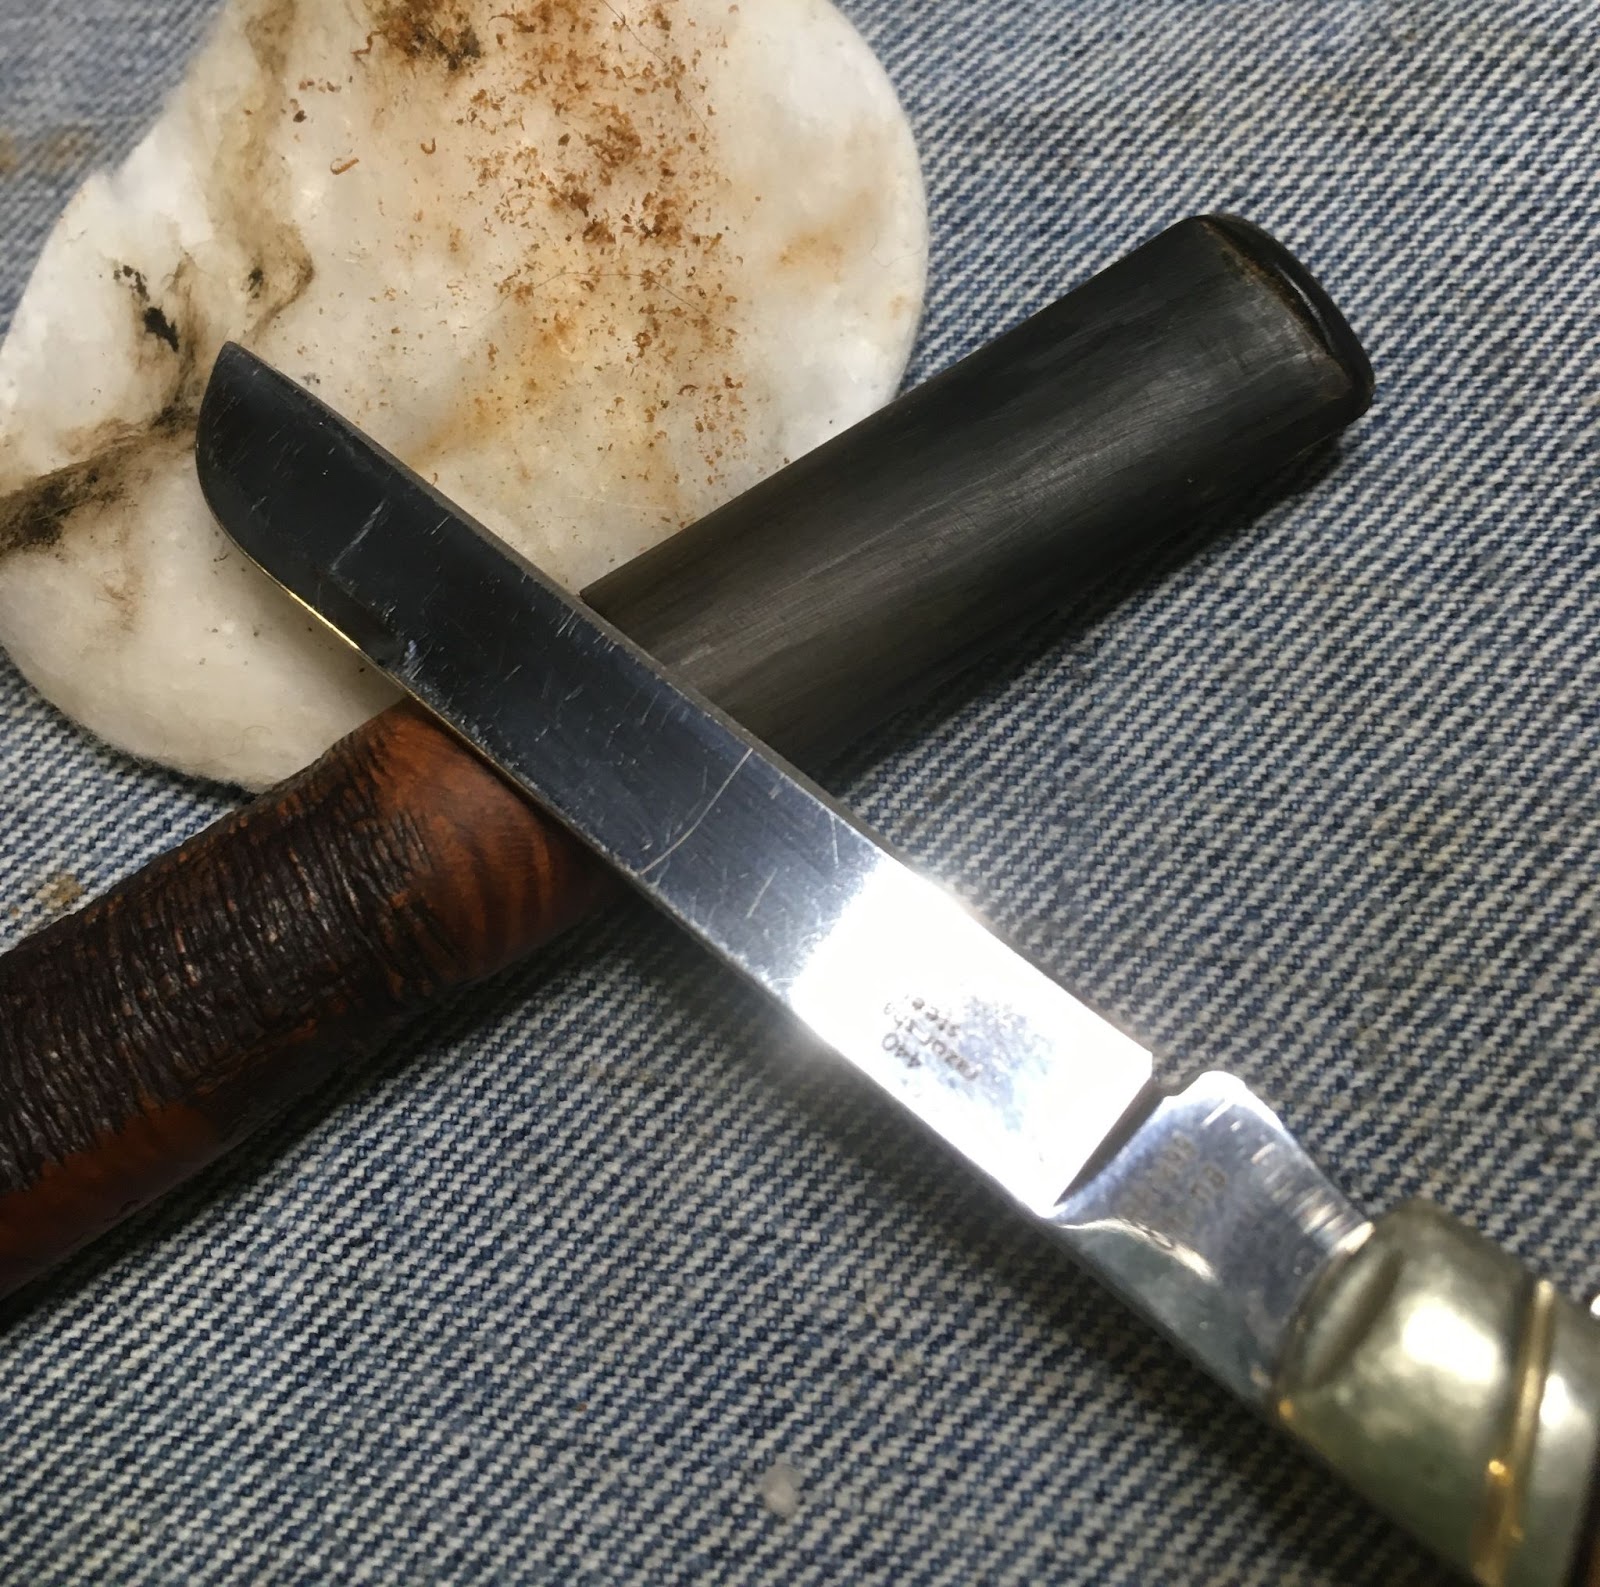
Next came the scraping of the lava from the rim. I moistened the lava with saliva and used a sharp pocket knife to carefully scrape the rim. The first photo shows the rim ½ finished.


With the rim scraped it was time to scrub the exterior of the stummel. I took it to the sink and applied a liberal blob of Murphy’s Oil Soap. The soap was used undiluted and was scrubbed with a medium bristle toothbrush. When finished scrubbing I rinsed the stummel with warm water and dried the stummel with a cotton dish towel. I then poured about 3 ml of 95% ethyl alcohol into the tobacco chamber, sloshed it around and allowed it to flow into the shank but not pouring it out. I then used a nylon shank brush to scrub the airway. I poured the scrubbing alcohol into a medicine cup to assess the color. The color indicated that there was still a good deal of work to be done cleaning the airway. I returned to the workbench and started work on the stem and allowed the stummel to dry out.
The briar surface looked very dry and prompted me to photograph it.

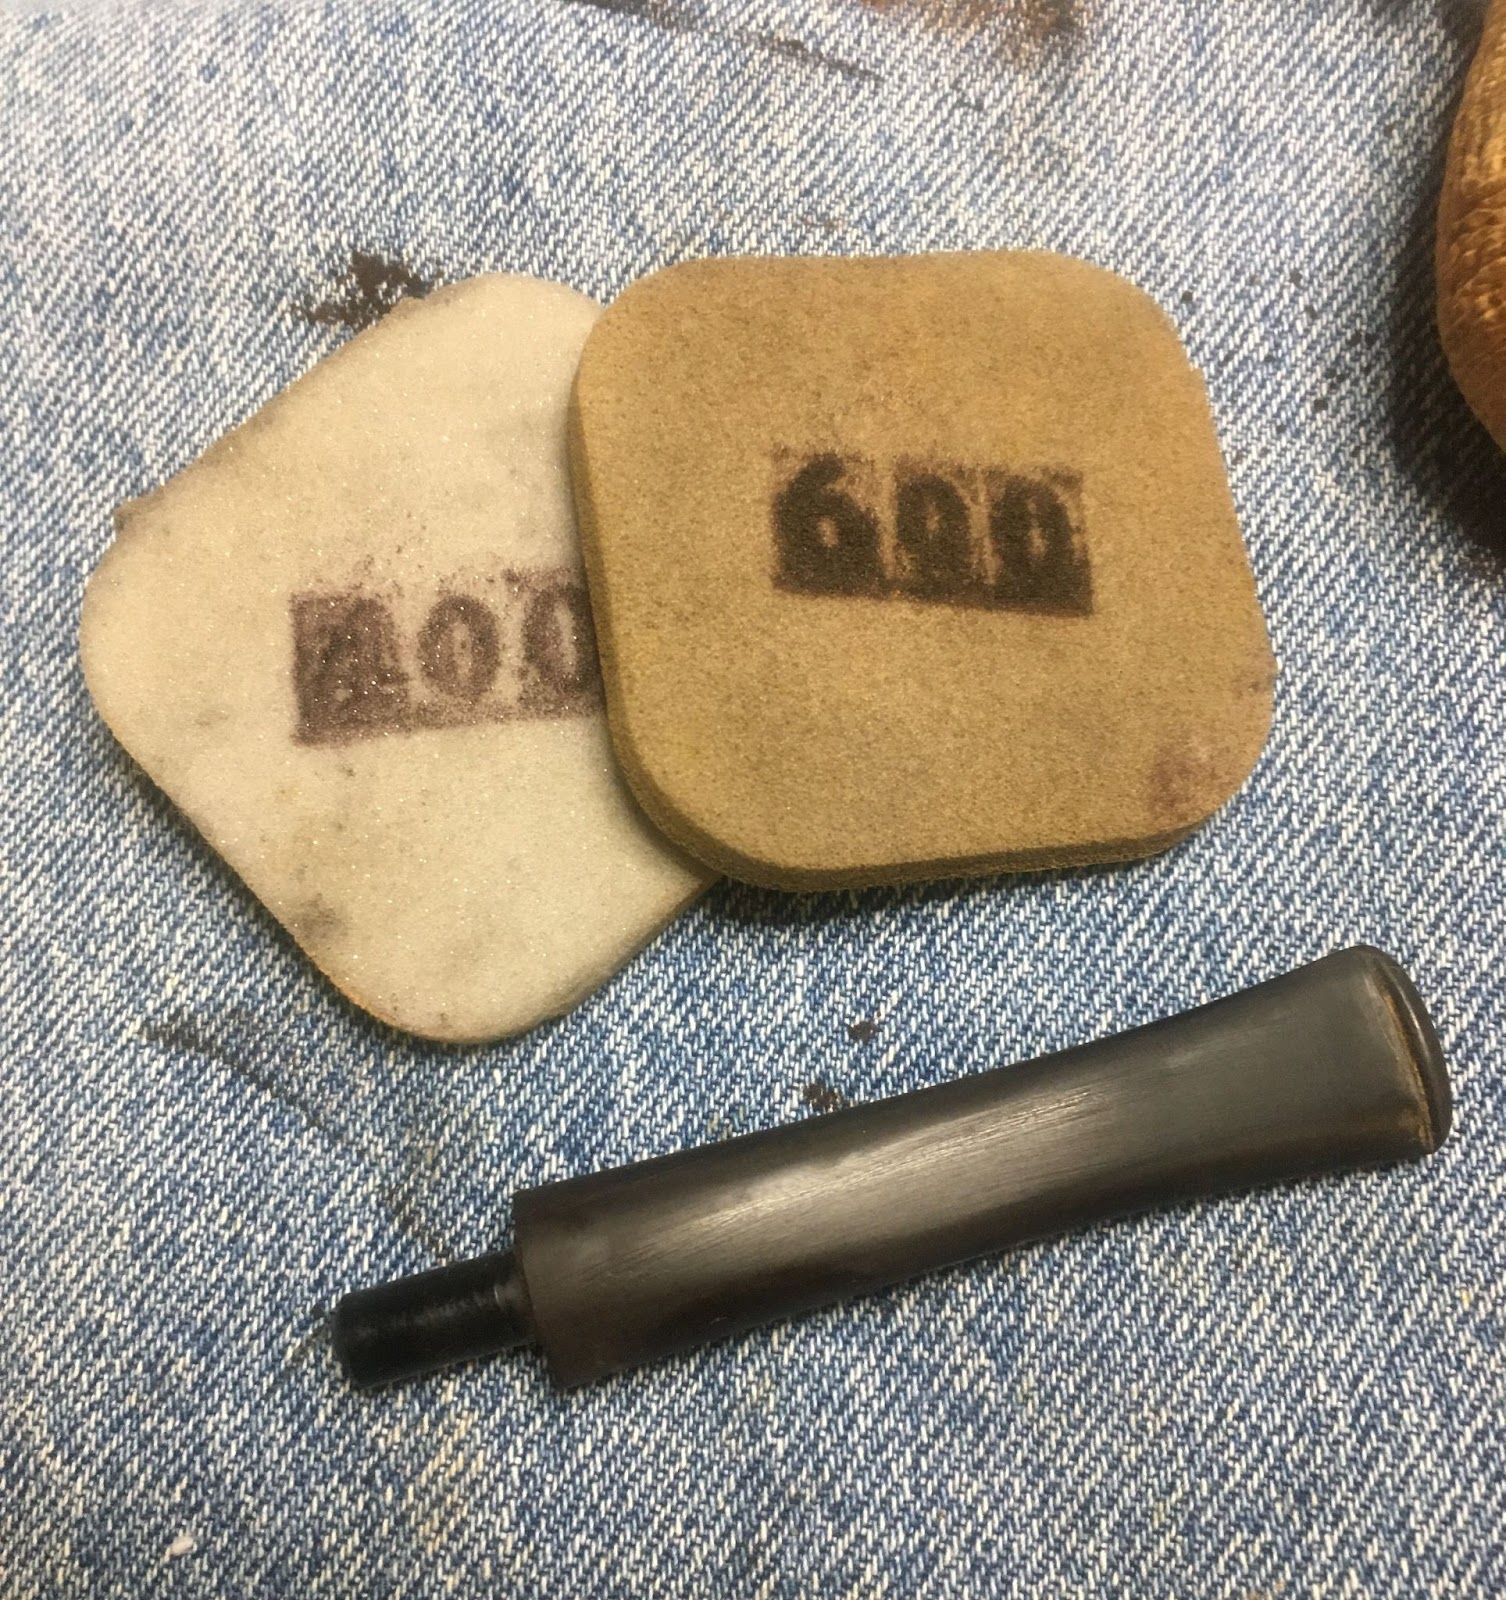
I started sanding the stem with 400 and 600 grit sanding sponges. These quickly removed the calcium deposits and smoothed the chatter. There did not appear to be any deep tooth marks that would require filling with black cyanoacrylate (CA, super glue). After the sanding I oiled the stem with mineral oil to prevent further oxidation.

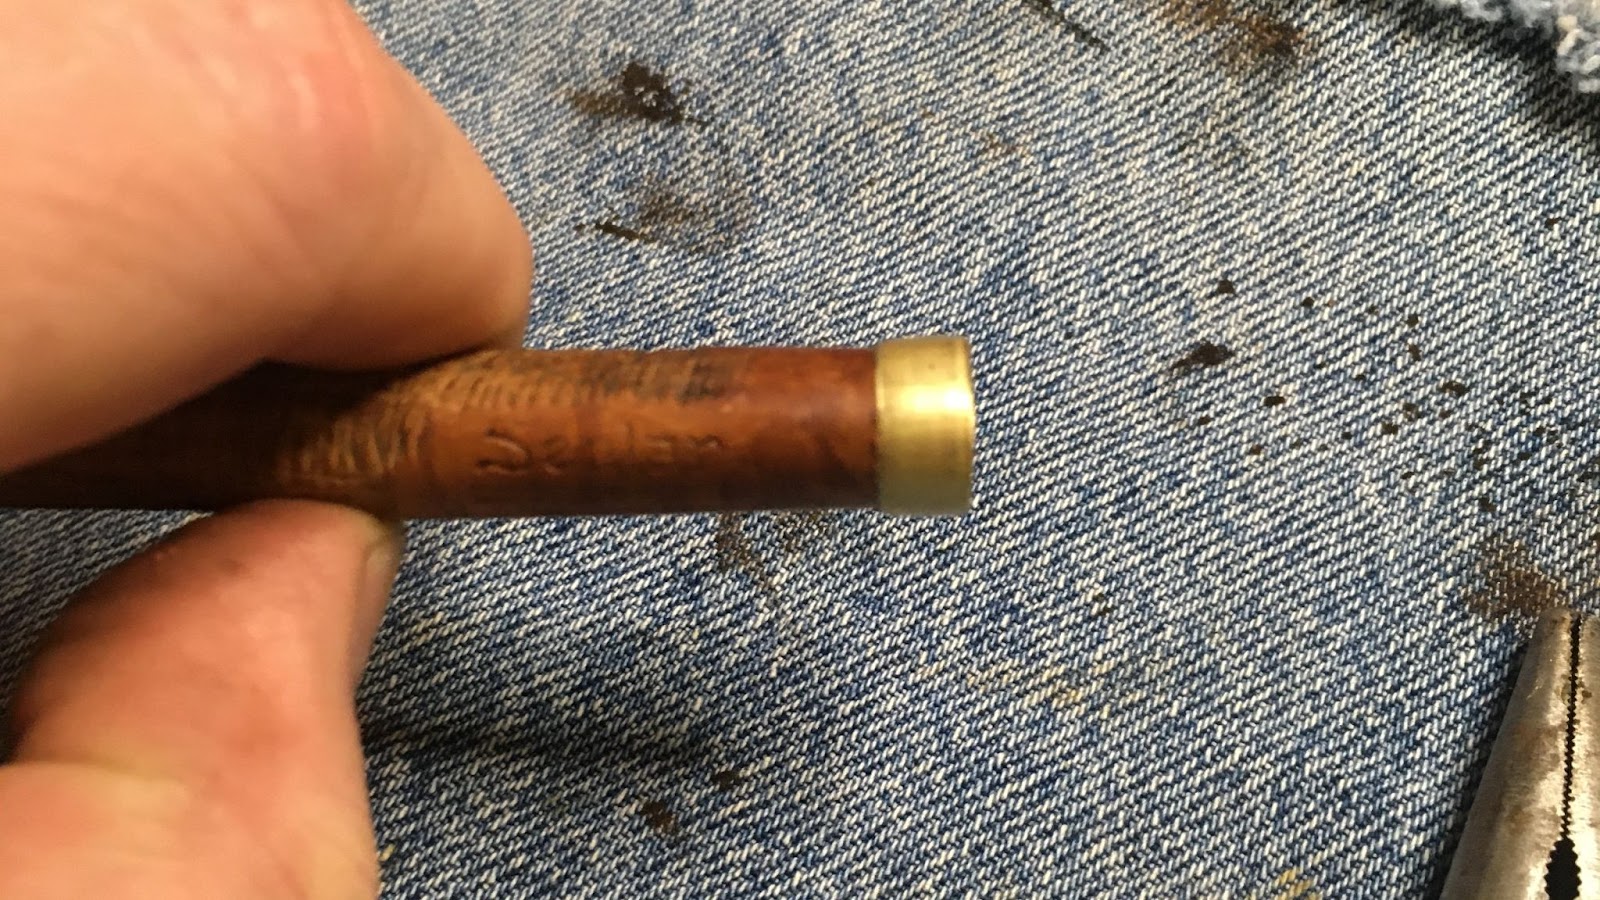
When inserting the stem into the stummel I heard a “click” that did not sound normal. I immediately examined the shank around the stem. There I saw a hairline crack.


I remembered that the stem had felt slightly loose earlier and wondered, “did I just crack that shank or did the cleaning remove the grime that had concealed it?” I went back through the photos that I had taken previously to see if I missed it.


There was a dark spot on the left photo of the mortise, at about 11:30. On the right photo, immediately above the glare, there may have been a crack. Neither of these photos were definitive. I suppose it didn’t really matter if I did it or if it was there. The crack would have to be addressed.
I had never fashioned a band on a pipe that had anything other than a round shank. Perhaps this whole experience was there to expand my horizons. I checked the size on my existing brass tubing. The 17/32 outside diameter tubing looked like it would work.
I measured the length that would be needed to cover the crack and reinforce the mortise. I then used a pipe cutter to cut a band from the end of the tube.
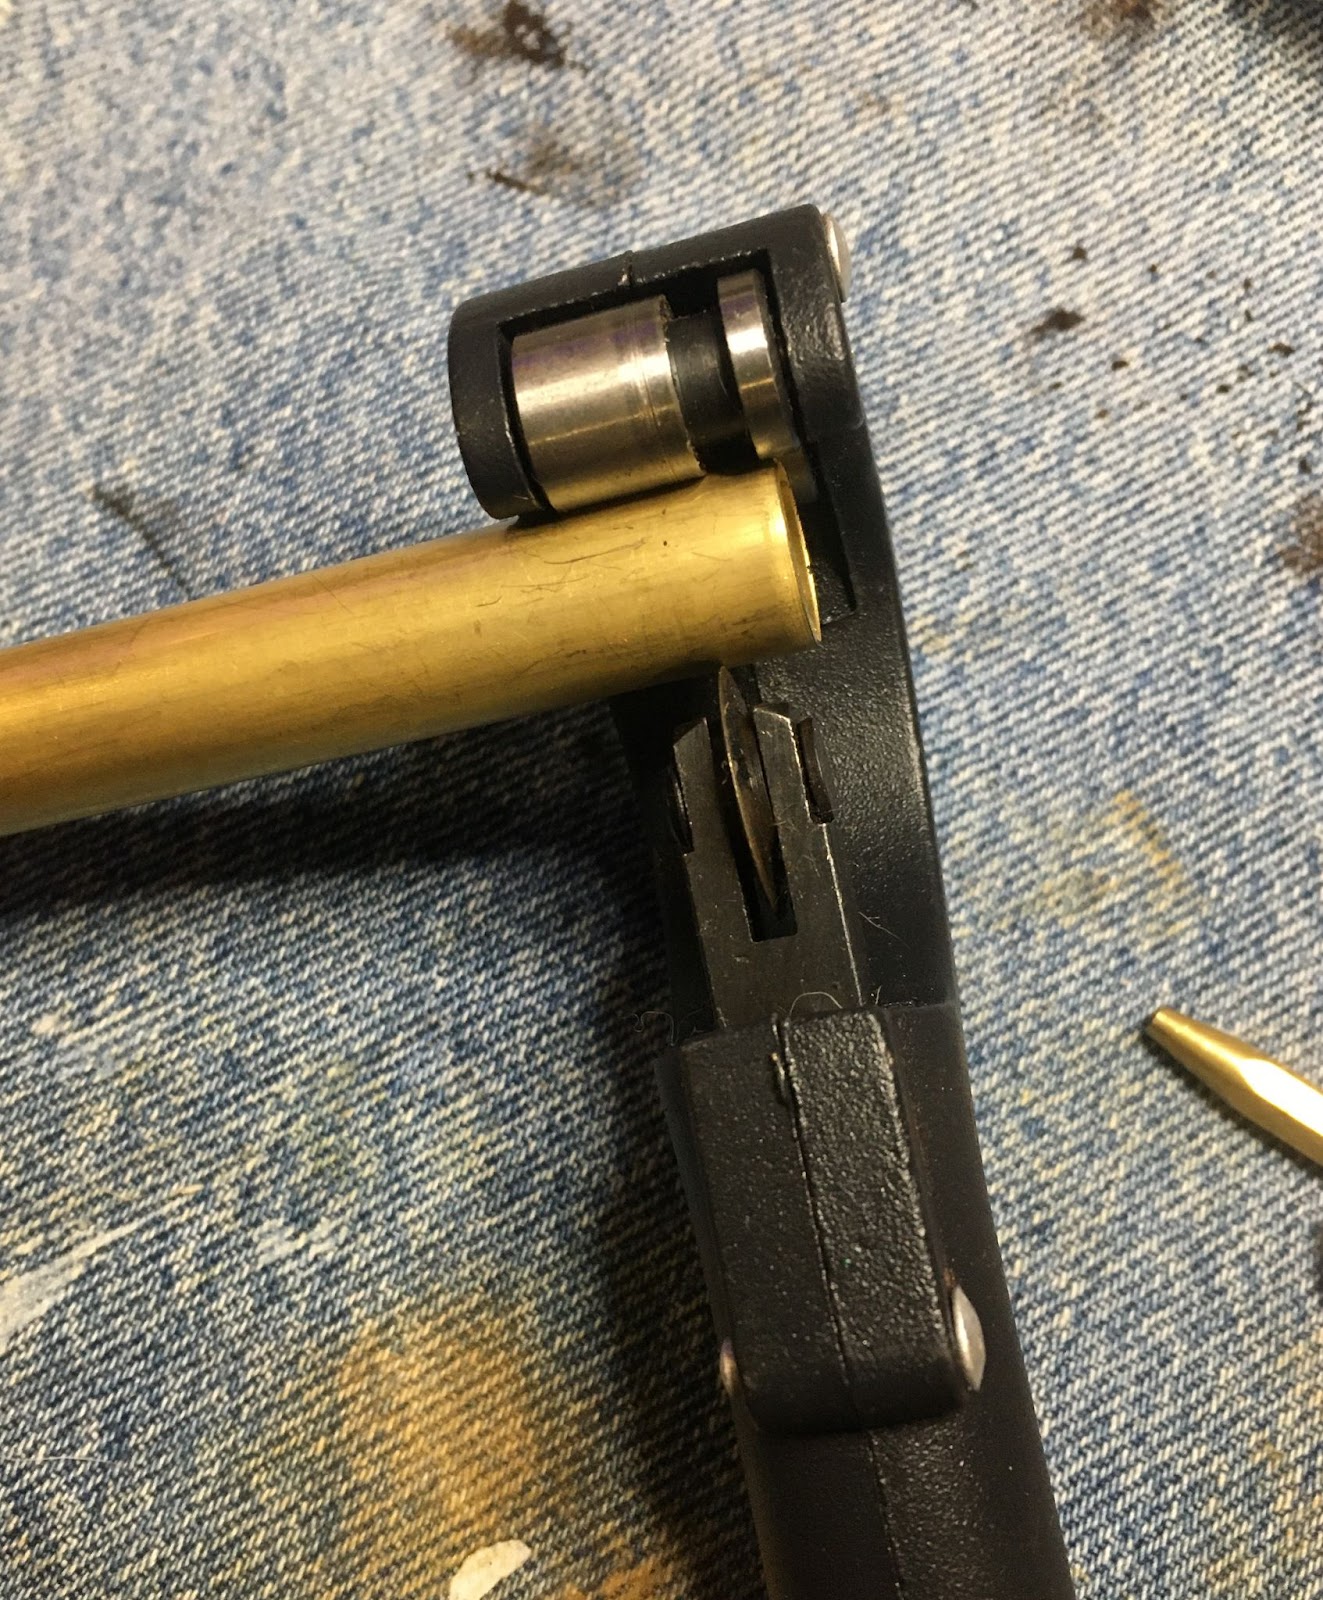

The band was cut now to see if making it into an oval would be as easy a process as I hoped it would be.
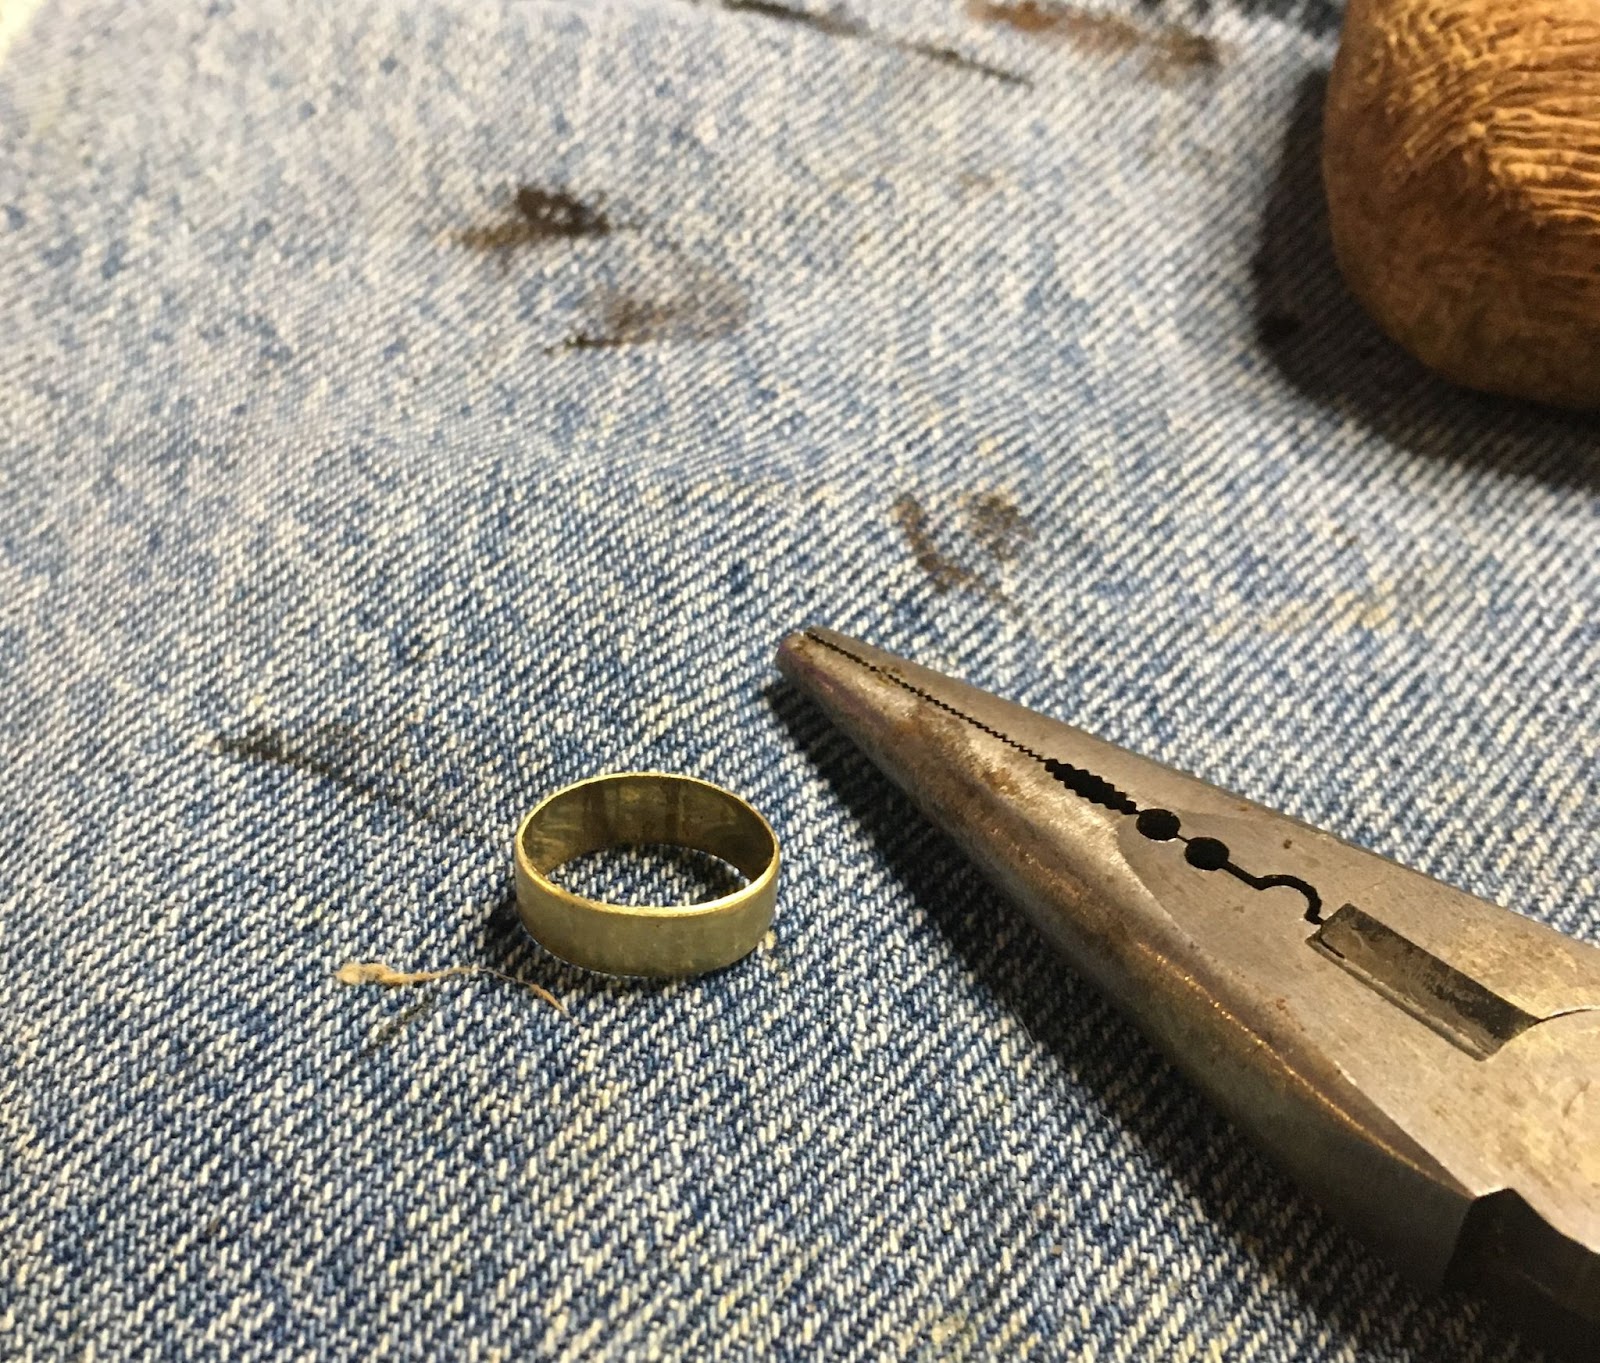
Using needle nose pliers the round band was bent onto an oval.

The oval was pressed onto the shank and tapped into place.

The band diameter was slightly greater than the diameter of the shank so I smoothed the edges of the band with sandpaper giving it a bevel on both sides.


I thought that it looked good and would look even better once it gets glued in place and is sanded with the stem for a more custom fit. I assembled the gluing gear.

I used the fly tying bodkin to apply the thin CA to the crack. The CA penetrated and bonded the broken parts together. After it had dried I sanded it with the 400 sanding sponge. I dipped a cotton swab into acetone and wiped the inside edge of the mortise to remove any CA from that surface. I then mixed the J.B. Weld per instructions. Again using the bodkin, I applied a bead of the epoxy to the first 2-3 mm of the shank. I applied a thin layer of the epoxy to the inside of the band. Trying to keep my left hand free of any epoxy, I worked the band into place with my right hand. I used the needle nose pliers to tap the band firmly into position. I then used acetone on a soft cotton rag to clean off both my fingers and the shank/band of epoxy. The mortise was wiped with a cotton swab dipped in acetone. Everything looked good. I coated the contact areas of the tenon and stem with Vaseline and inserted the stem. I was confident I had wiped all of the epoxy off but, I know my luck when it comes to these things… The pipe was set aside to allow the epoxy to cure.

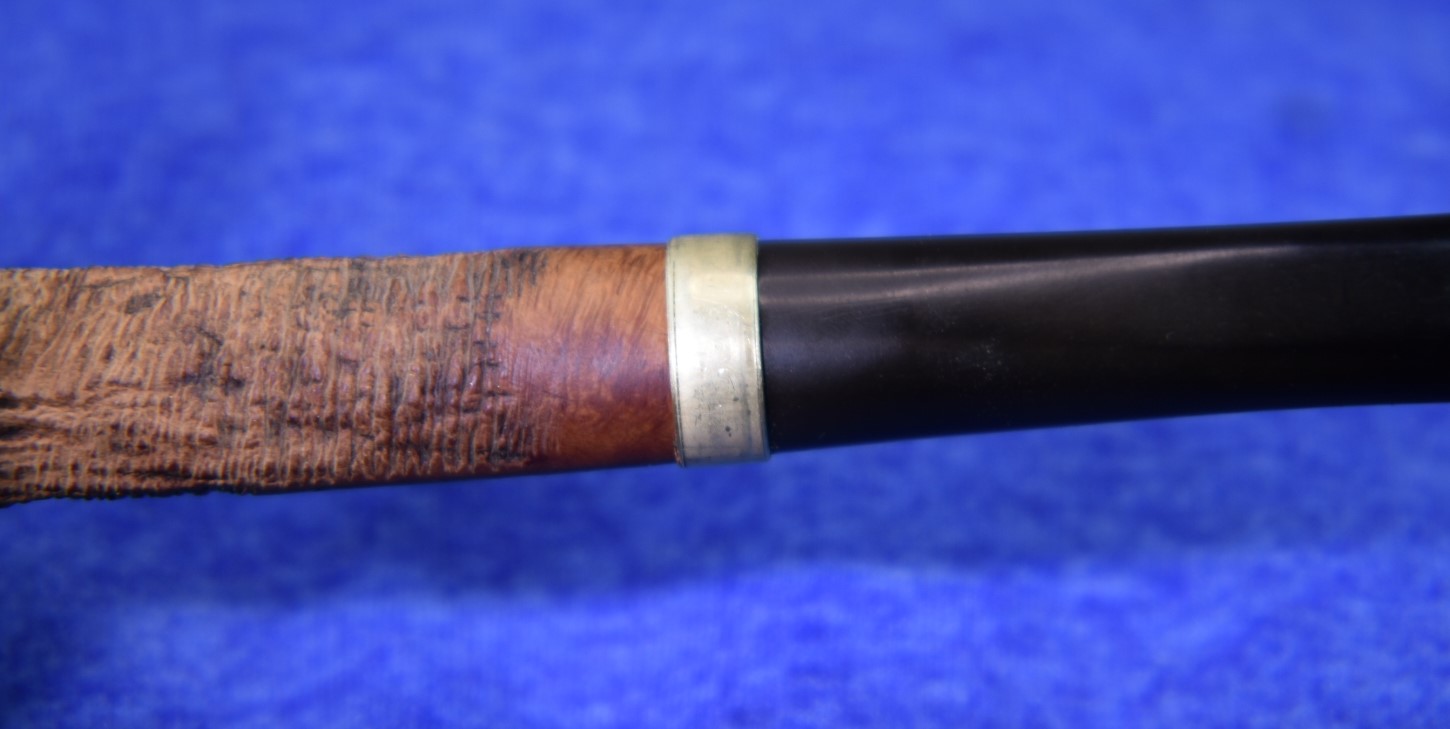
When I returned to the workbench I examined the band and determined that the epoxy had set beautifully. The stem slid free smoothly and had the correct snugness of fit. All that remained for this pipe was to; 1) sand and polish the stem and new band, 2) apply restoration balm to the stummel and 3) wax. I was looking forward to the finished product.
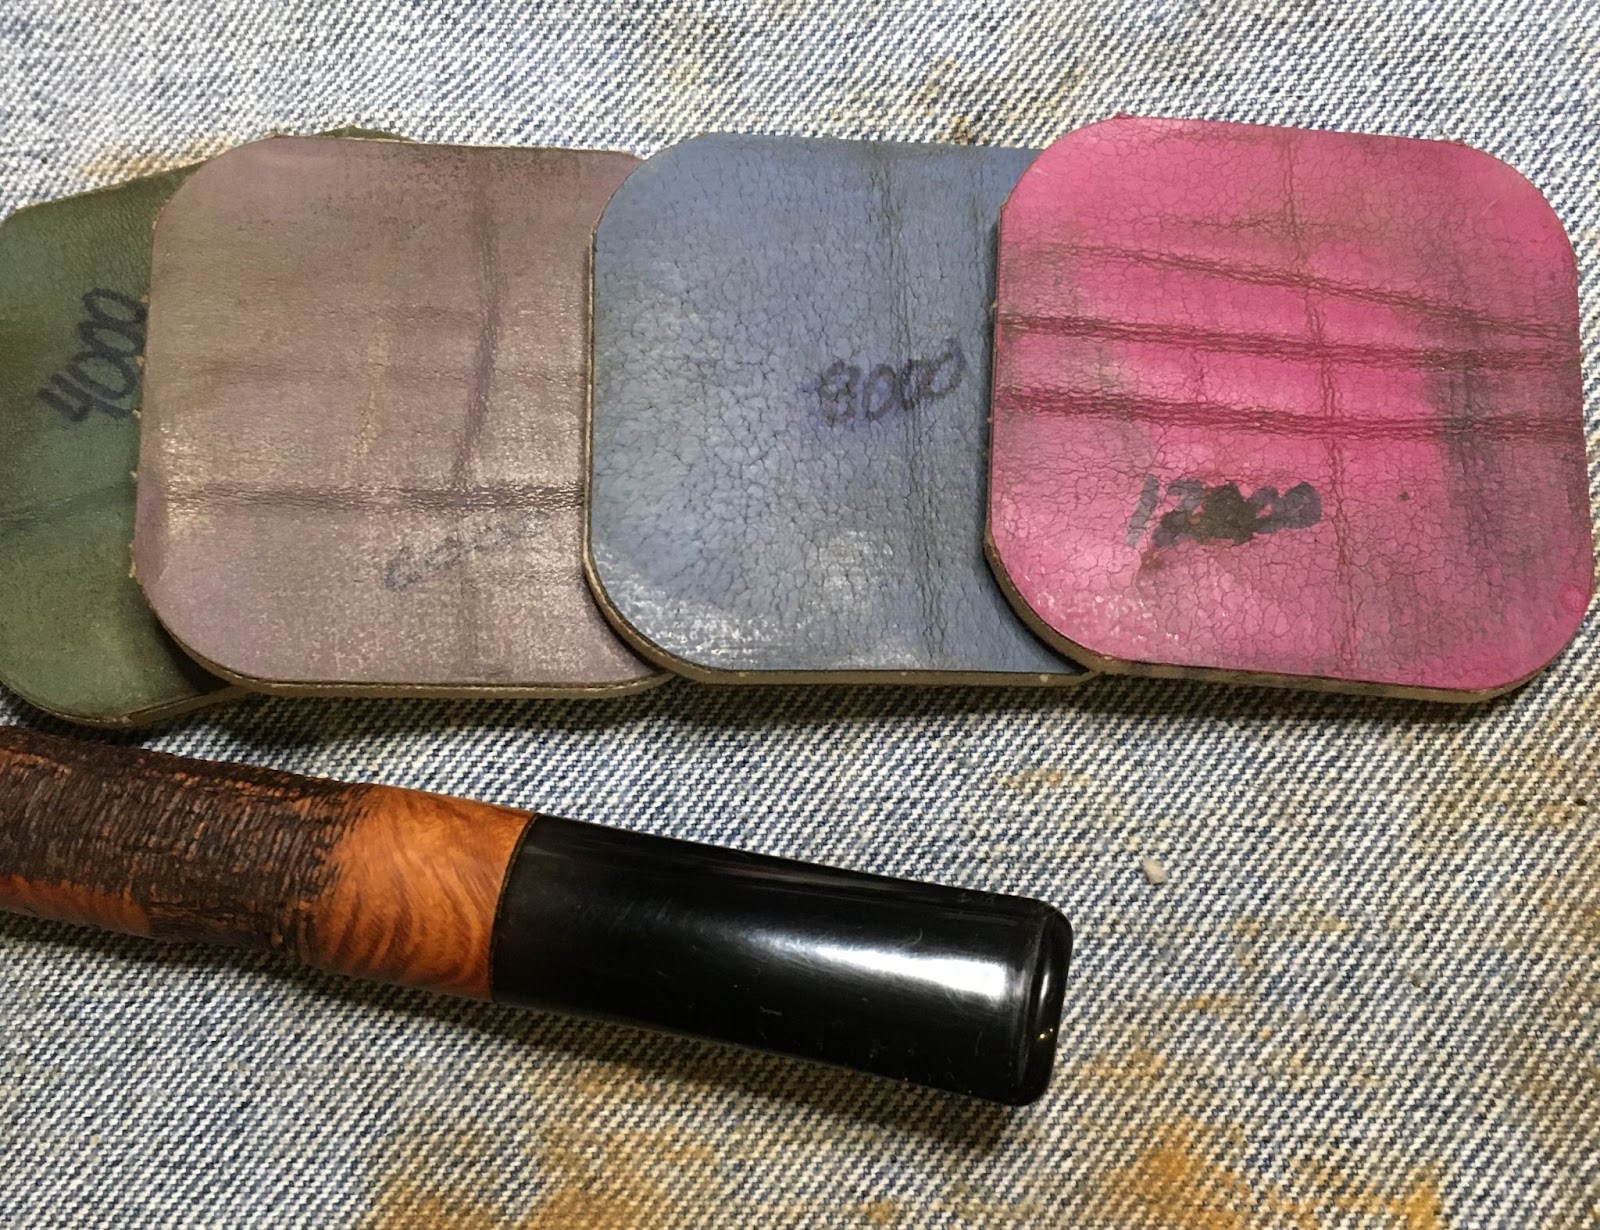
I had sanded the stem with the 400 and 600 sanding sponges before I used the Soft Scrub, so I proceeded on with the 1000-3500 sanding sponges. After each sponge I would wipe the dust from the stem and apply a finger-tip-dip of mineral oil to the stem. I would then wipe it again with a paper towel.

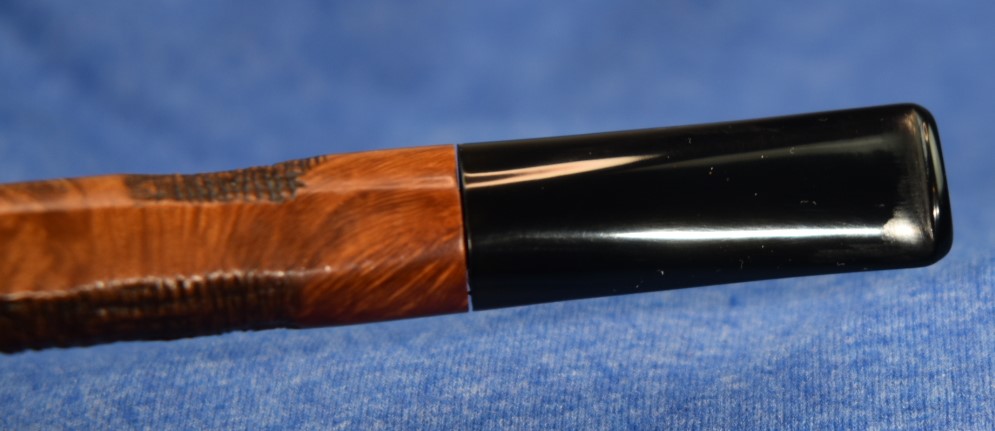
As I was sanding I let the sponge glide up over the edge of the new brass band. This sanding of the band smoothed it and took some of the edge off the band.
Micro-meshing pads were up next. I used the 4000-12000 pads. Between each of these I applied a drop of Obsidian Oil, rubbed it in with my finger and wiped with a paper towel.

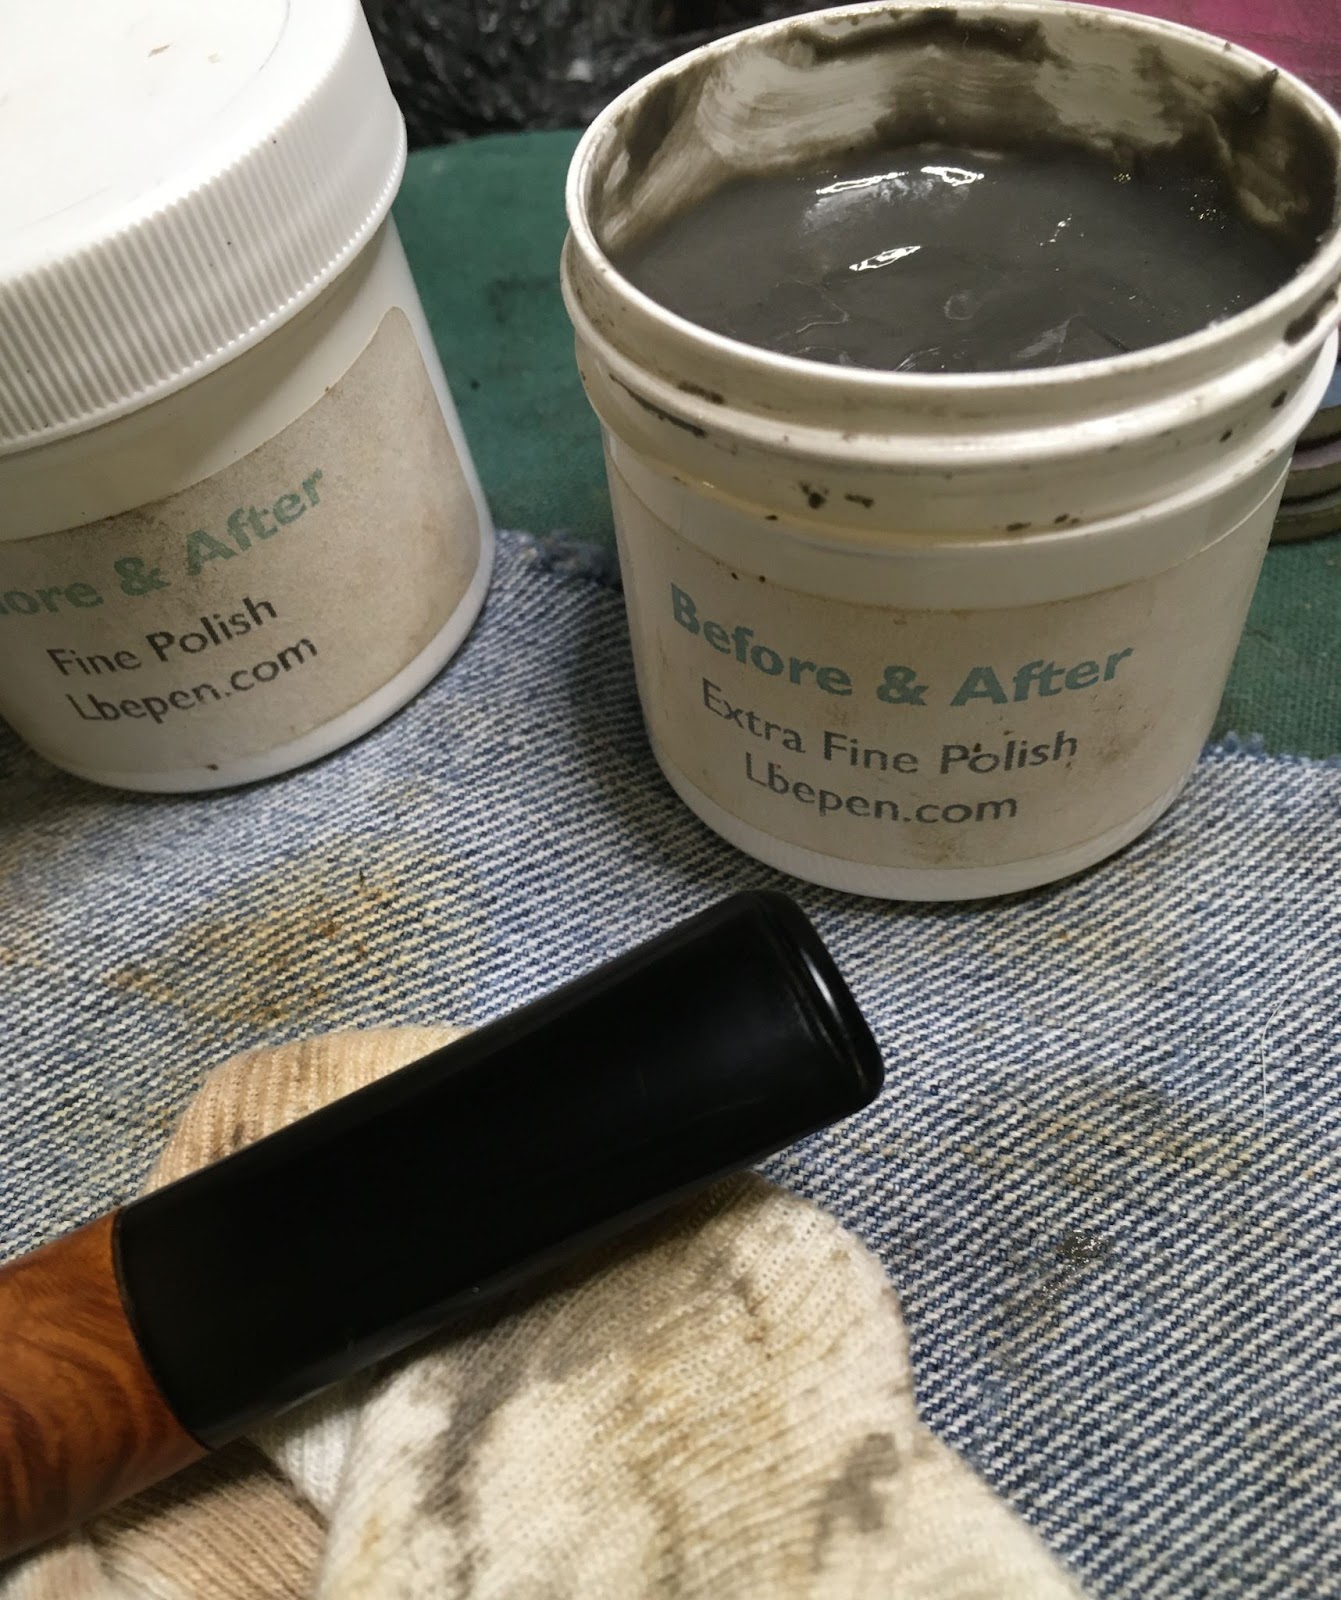
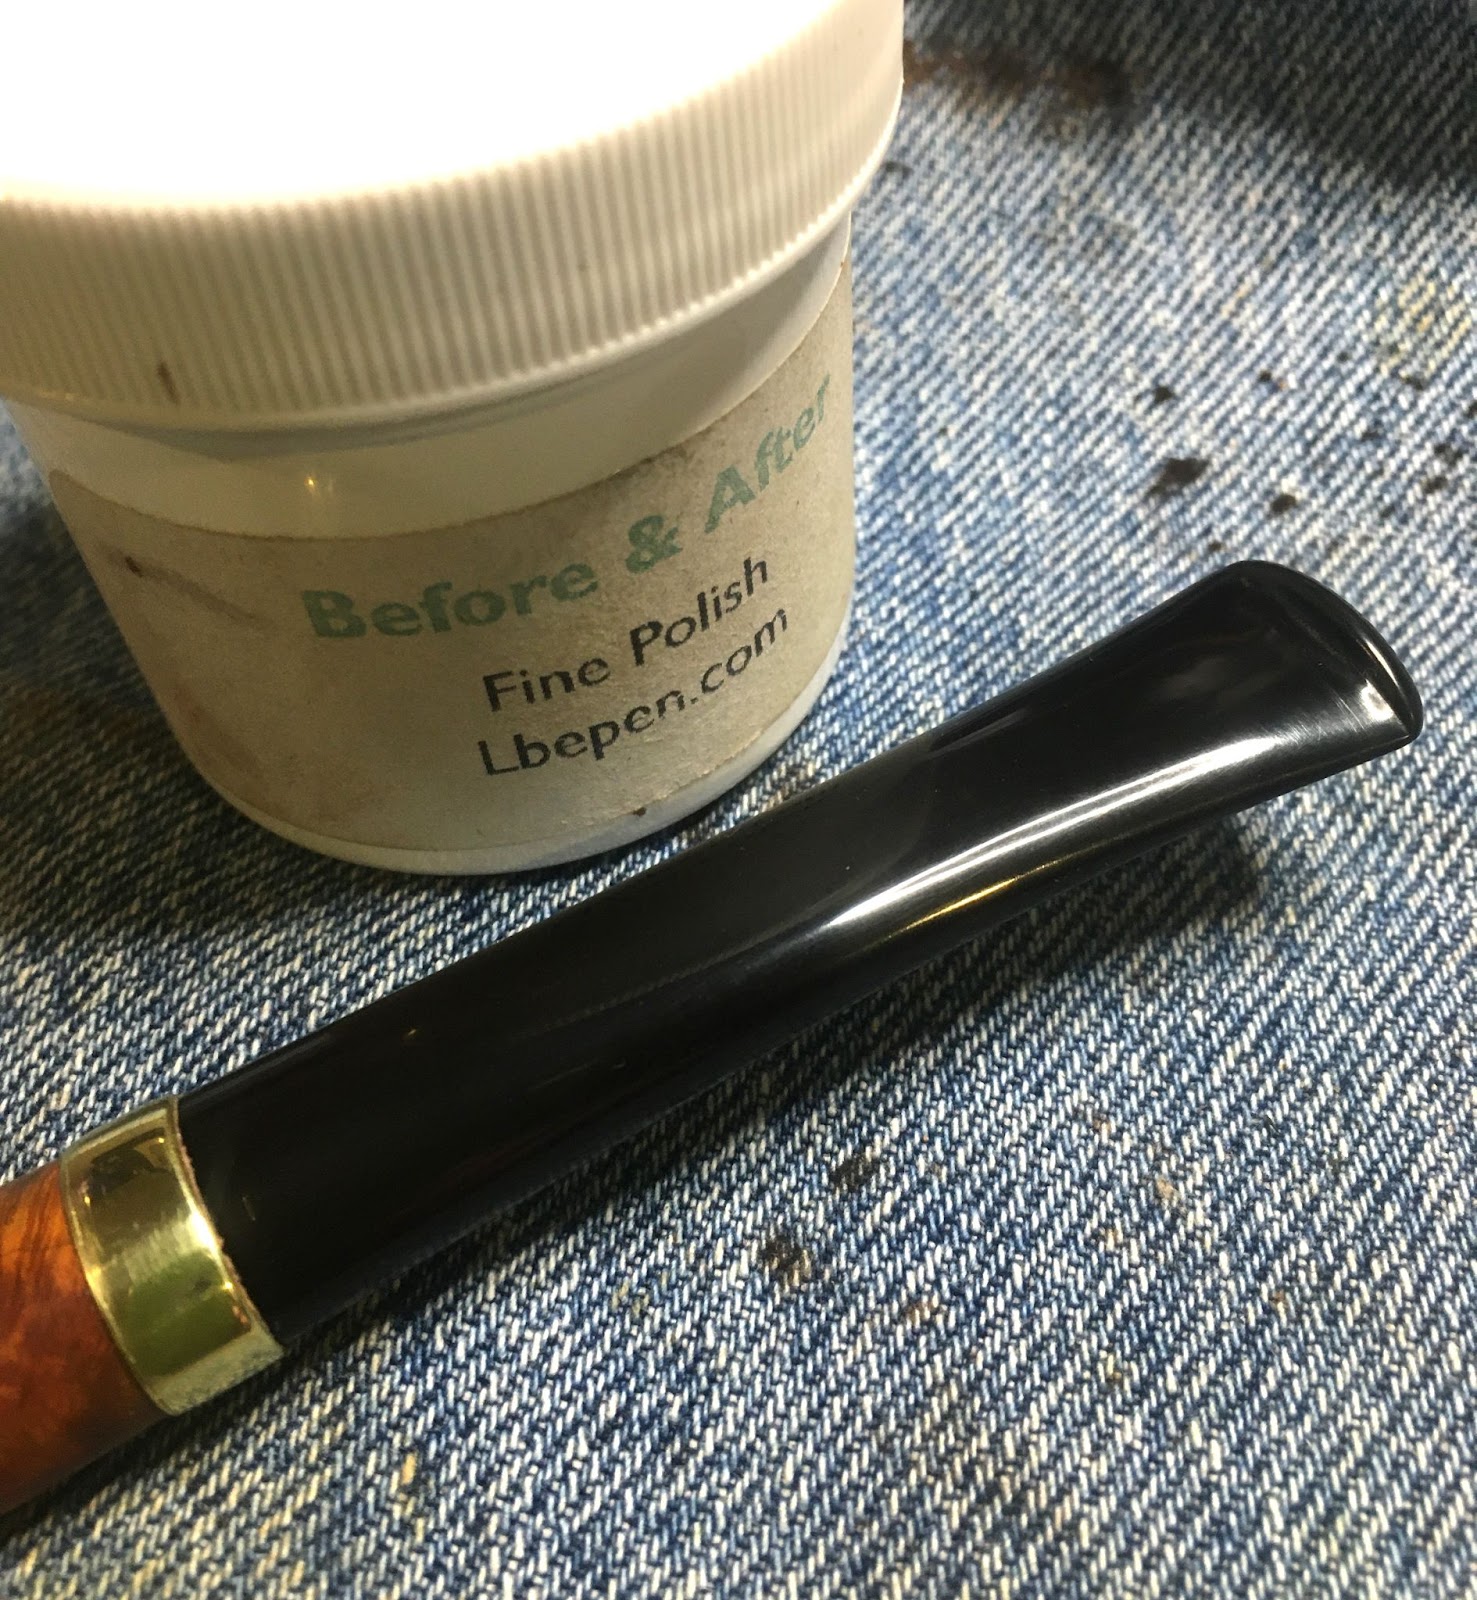
After the micro-mesh pads the stem and band were polished further with Before and After Fine Polish followed by the Extra Fine Polish. These were both applied by finger then rubbed with a soft cotton cloth.

The end is nigh, That reminds me of the graphic novel Watchmen everytime I say it.

(Moore, Alan & Gibbons, Dave. Watchmen. New York, New York, DC Comics, 1987)
I applied a coating of Before and After Restoration Balm to the stummel and worked it into the rustication with a baby toothbrush.
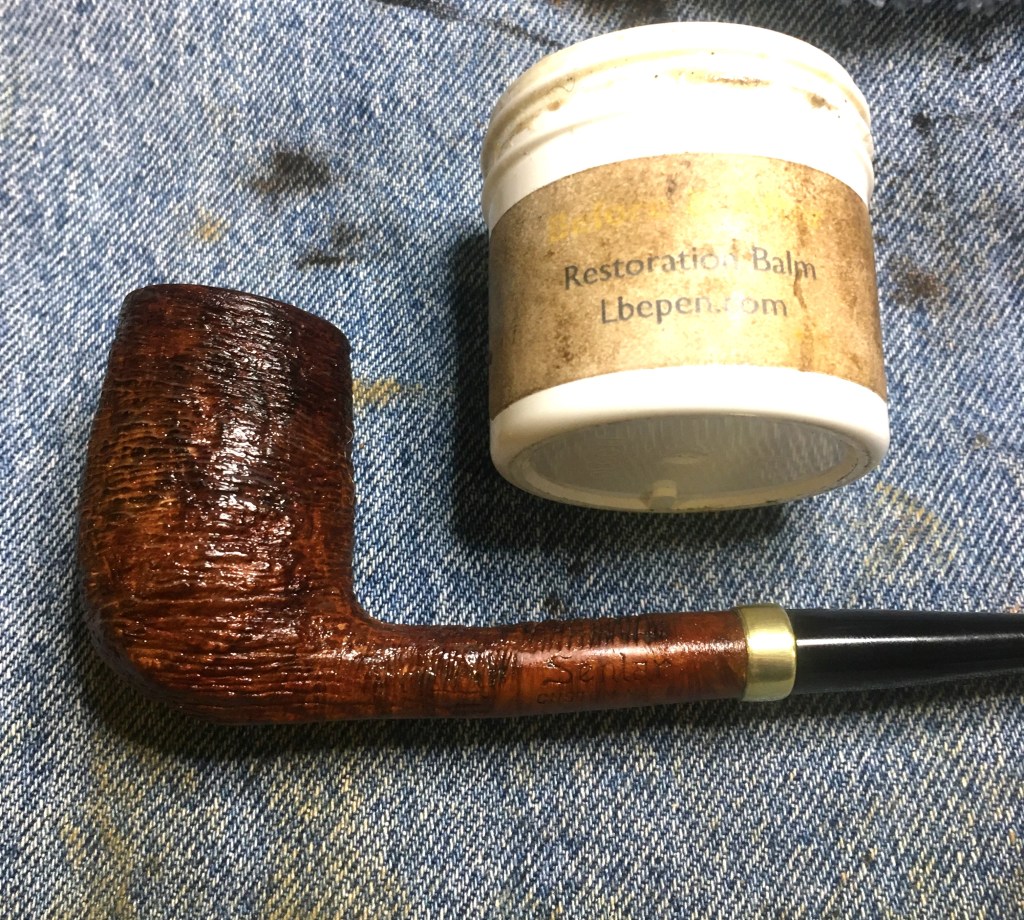
I allowed it to sit for about an hour then wiped the excess off with an inside-out athletic sock. I love the thick terry cloth for doing this. Oh, may we please have a moment of silence for this was the final pipe served by this jar of Restoration Balm. Dramatic pause.
I took the pipe to the buffer for a couple of coats of carnauba wax. I would not normally apply carnauba wax to a rusticated pipe like this but all of the rustications were running in the same direction so, I thought it would work out.
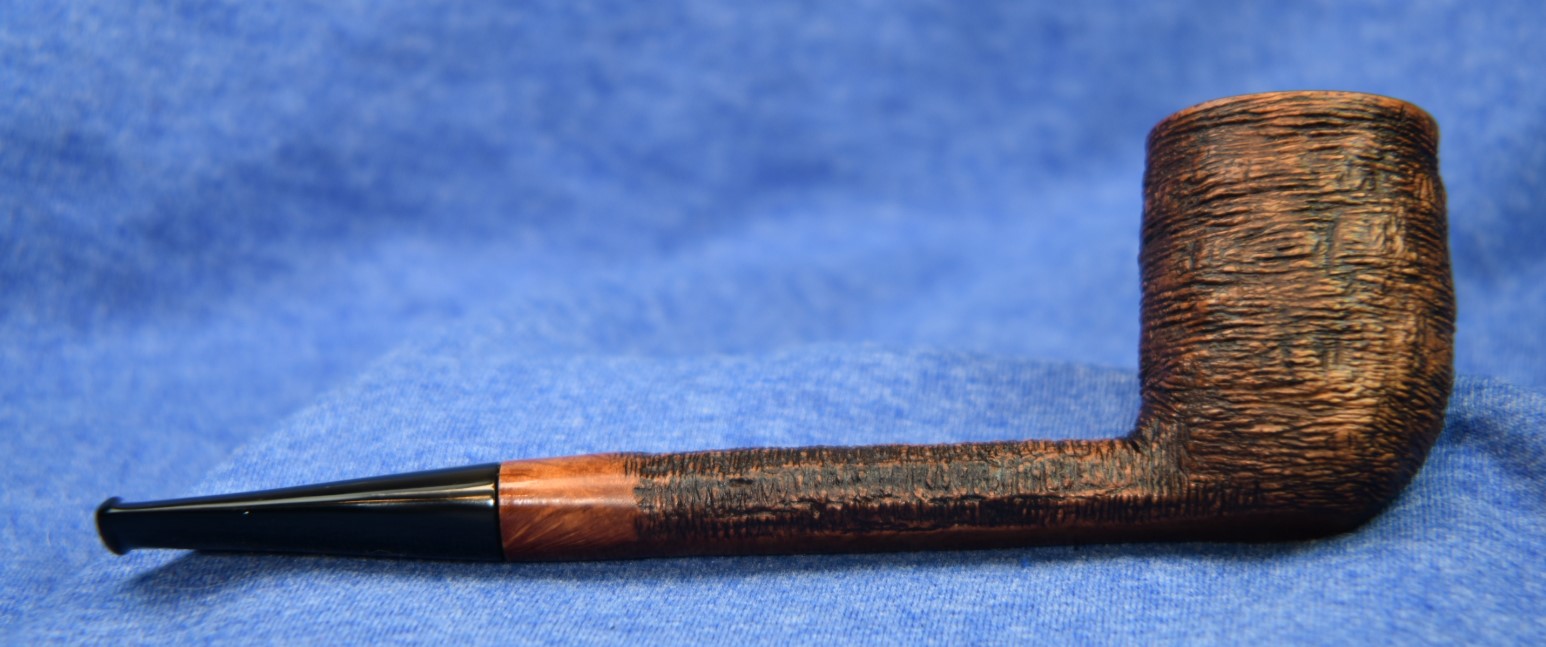
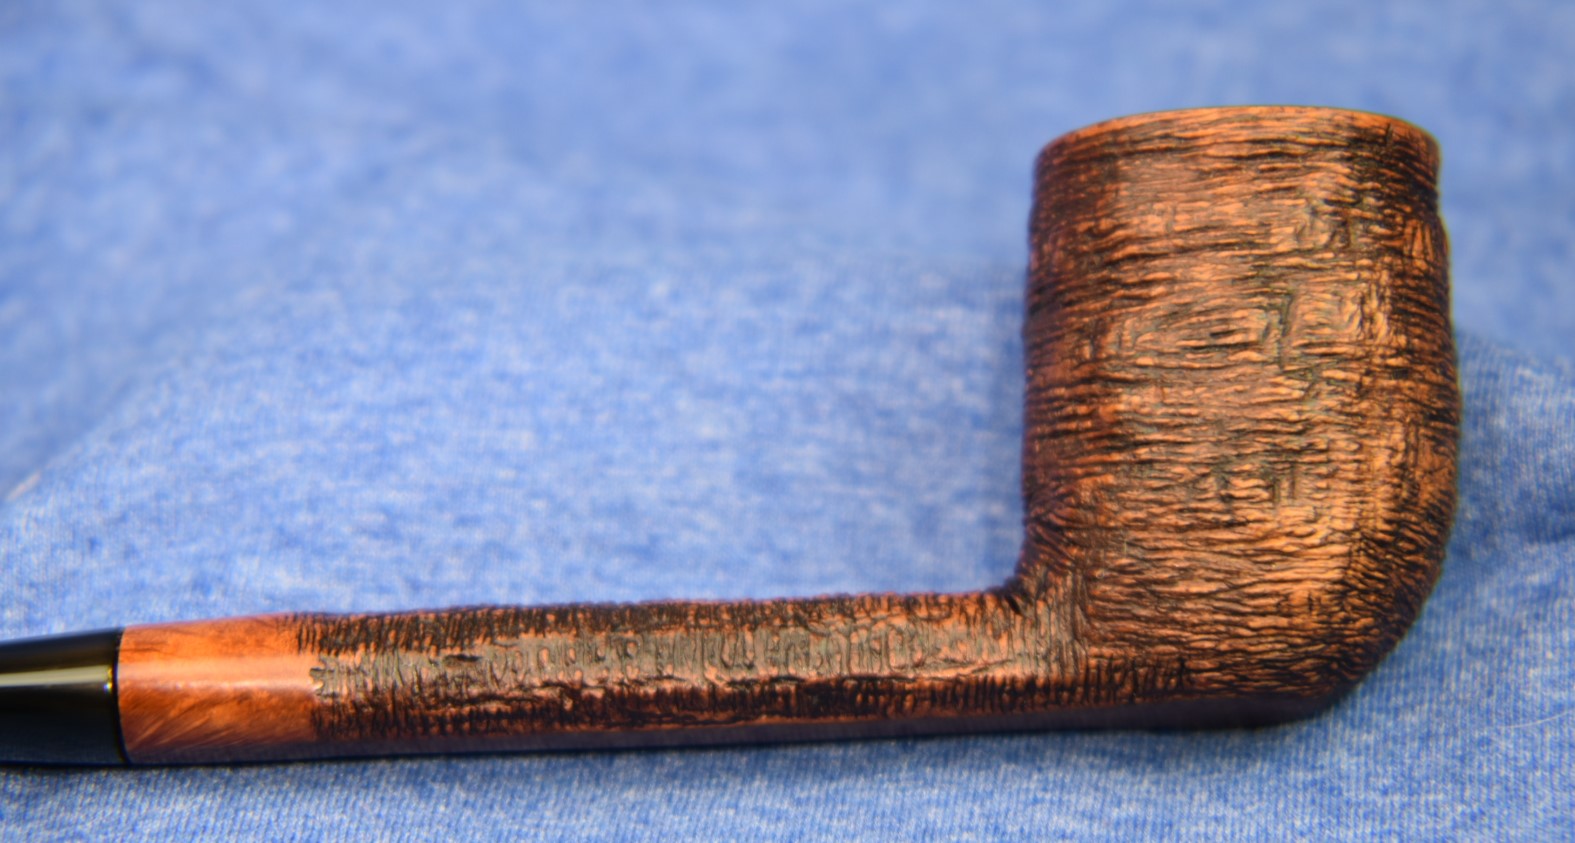
There you have it, the final pipe of the three Senlar collection. Of the three, this billiard is my favorite. I think the band added a little pizzazz that the two Canadians were lacking. Given, they didn’t suffer a shank crack and require a band but, still. The angles are the other part of the design of this pipe that I just love. The more I look at them the more appreciation I have for Wally Larsen. I can’t say that I can identify the tree bark that he was after with this pattern. I think the rustication looks interesting and accentuates the bizarre cant of the rim. The stem polished up very nicely to glossy black. This bordered with the polished brass then the rusticated briar is just a joy to the senses. As is the feel of this pipe in the hand, very comfortable with great balance. I hope that you have found something here useful or at least entertaining. If you do like this sort of thing, please click the like and subscribe buttons. I thank you for reading the ramblings of an old pipe lover.
Below are some photos of the finished Senlar Billiard.